We’re travelling again. After a few fairly hectic business trips, we arrived in Naples with 10 days to explore its environs – the first time I’ve been to the region. We started our little tour at the busy port of Salerno, on the Tyrrhenian coast an hour or so’s drive south-east from Naples airport.
For a brief spell from 1816 until the reunification of Italy in 1860, Naples was the capital of the “Kingdom of the two Sicilies”, a name which puts me in mind that Salerno is really the “border of the two Italies”. To the West, the glitzy Amalfi Coast, which attracts a slew of tourists, many of them well-heeled. To the south-east, Calabria, a region which is agriculturally rich but has one of the lowest GDPs per capita in Italy. Heading down the coast road (the SP175 “Litorale”), I couldn’t help being struck by how down-at-heel the farms looked, especially when compared to a recent trip to the beautifully kept farmland around Padova and Verona. There were just too many derelict buildings, too many stretches of land with awnings that clearly should have been protecting crops but only served to cover bare earth gradually filling with weeds. When a stretch of coastline is proud of itself, its beaches and seaside restaurants have names like “Blue Gulf”, “Beach of the Angels” and so on: here, they have names denoting the desire to escape to somewhere else: “Malibu”, “Hawaii”.

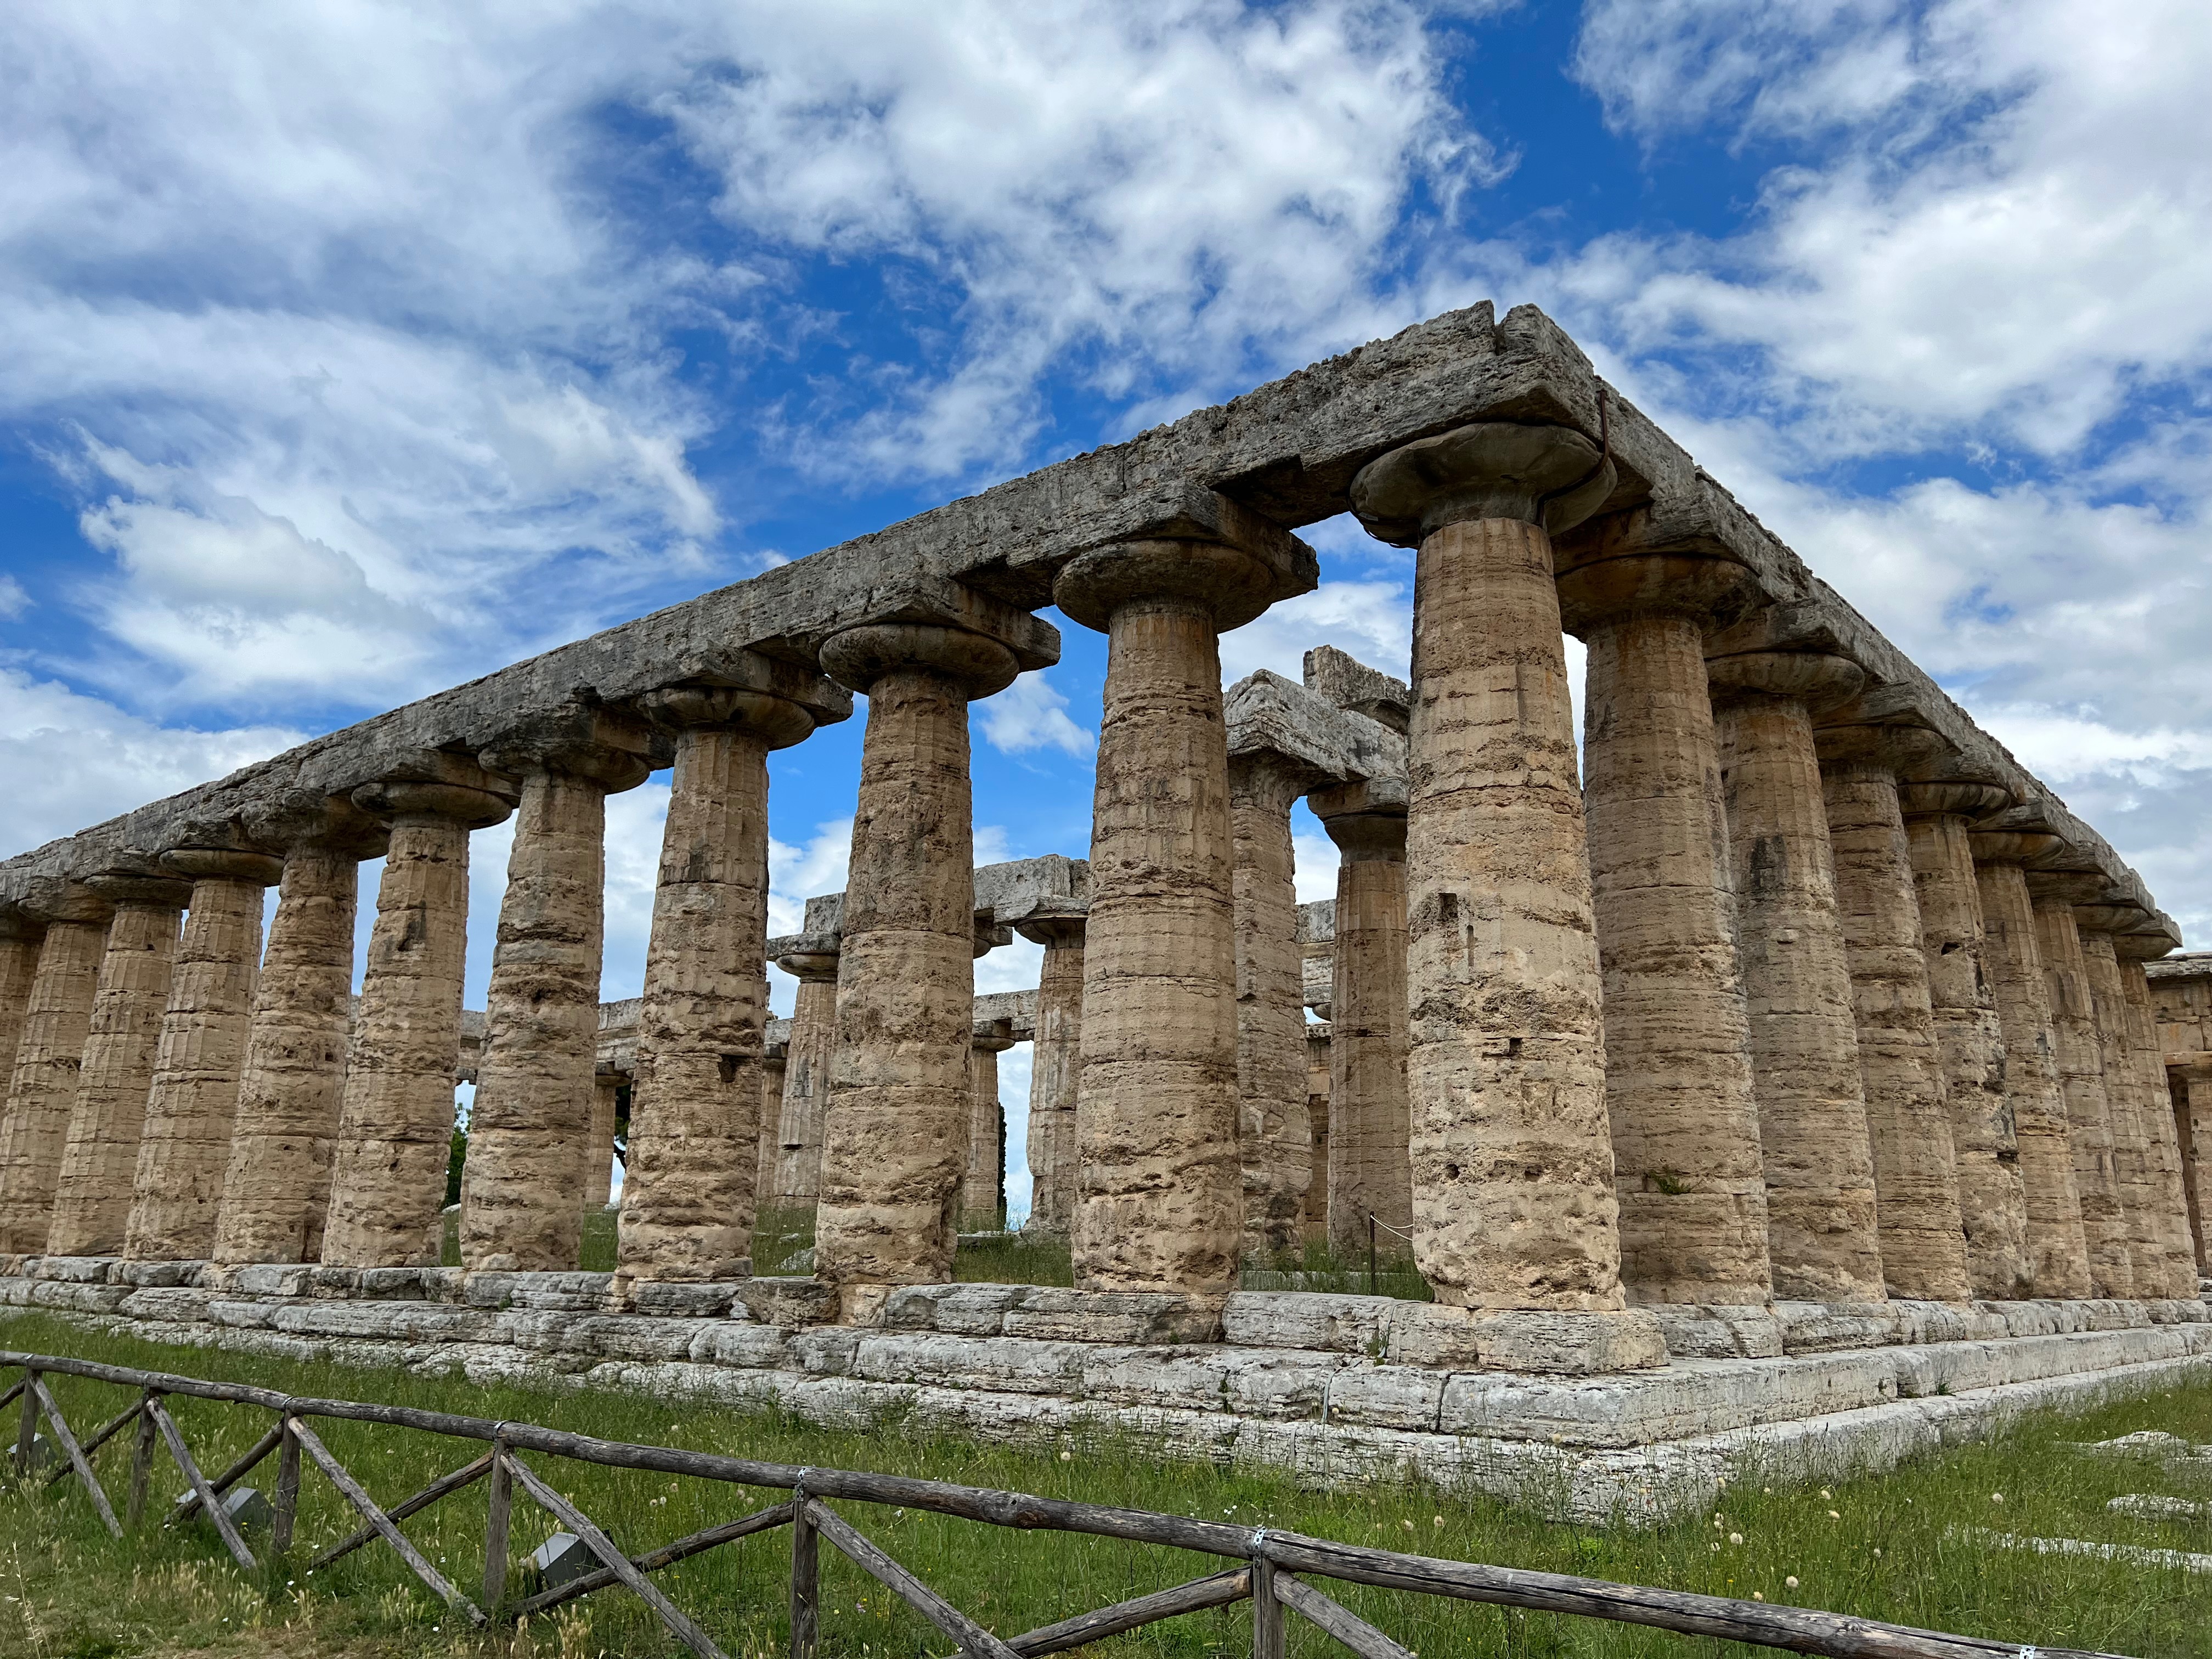
However, there’s a good reason to drive down this road, because after an hour, you get to the Archaeological Park at Paestum, which contains three of the best preserved Greek temples on the planet. The Temple of Poseidon (or Neptune – they’re a bit inconsistent about whether to use the Greek or Latin names here), with its array of huge Doric columns, is nothing short of awesome: I haven’t been to the Parthenon, but I’m told by those who have been to both that The Temple of Poseidon is close to as exciting a sight; you can get far closer, with the added bonus in June of seeing it isurrounded by a carpet of wildflowers. Next door, the Temple of Hera comes close, although the columns are slightly more spread out, which reduces the “shock and awe” quotient. As you walk back towards the park’s exit past various ruins of Roman settlements, which include a particularly noteworthy marble impluvium (rainfall collector) in the centre of a villa’s atrium, you pass the Temple of Athene, which is somewhat smaller. You come out with the feeling that you have just been thoroughly dipped into a large pool of the culture of 2,500 years ago.
The Amalfi Coast (or “Costiera Amalfitana”) fully deserves its reputation as one of the most beautiful stretches of coastline on the planet. Picture-perfect towns and villages perch uncertainly on the small flat spaces between cliffs that fall into the sea, or are hollowed into them. Vertiginous stairways take you from the coast road, high above the ocean, down to grey sand beaches. The scenery is studded with the luminous green of lemon trees: lemons from Amalfi and Sorrento are the most famous in Italy. Along the way, a never-ending series of places to vist, stay and/or eat with dazzling views: the picture here is taken from the Monastero Santa Rosa, a 17th century Dominican convent now turned into a high end hotel and restaurant.

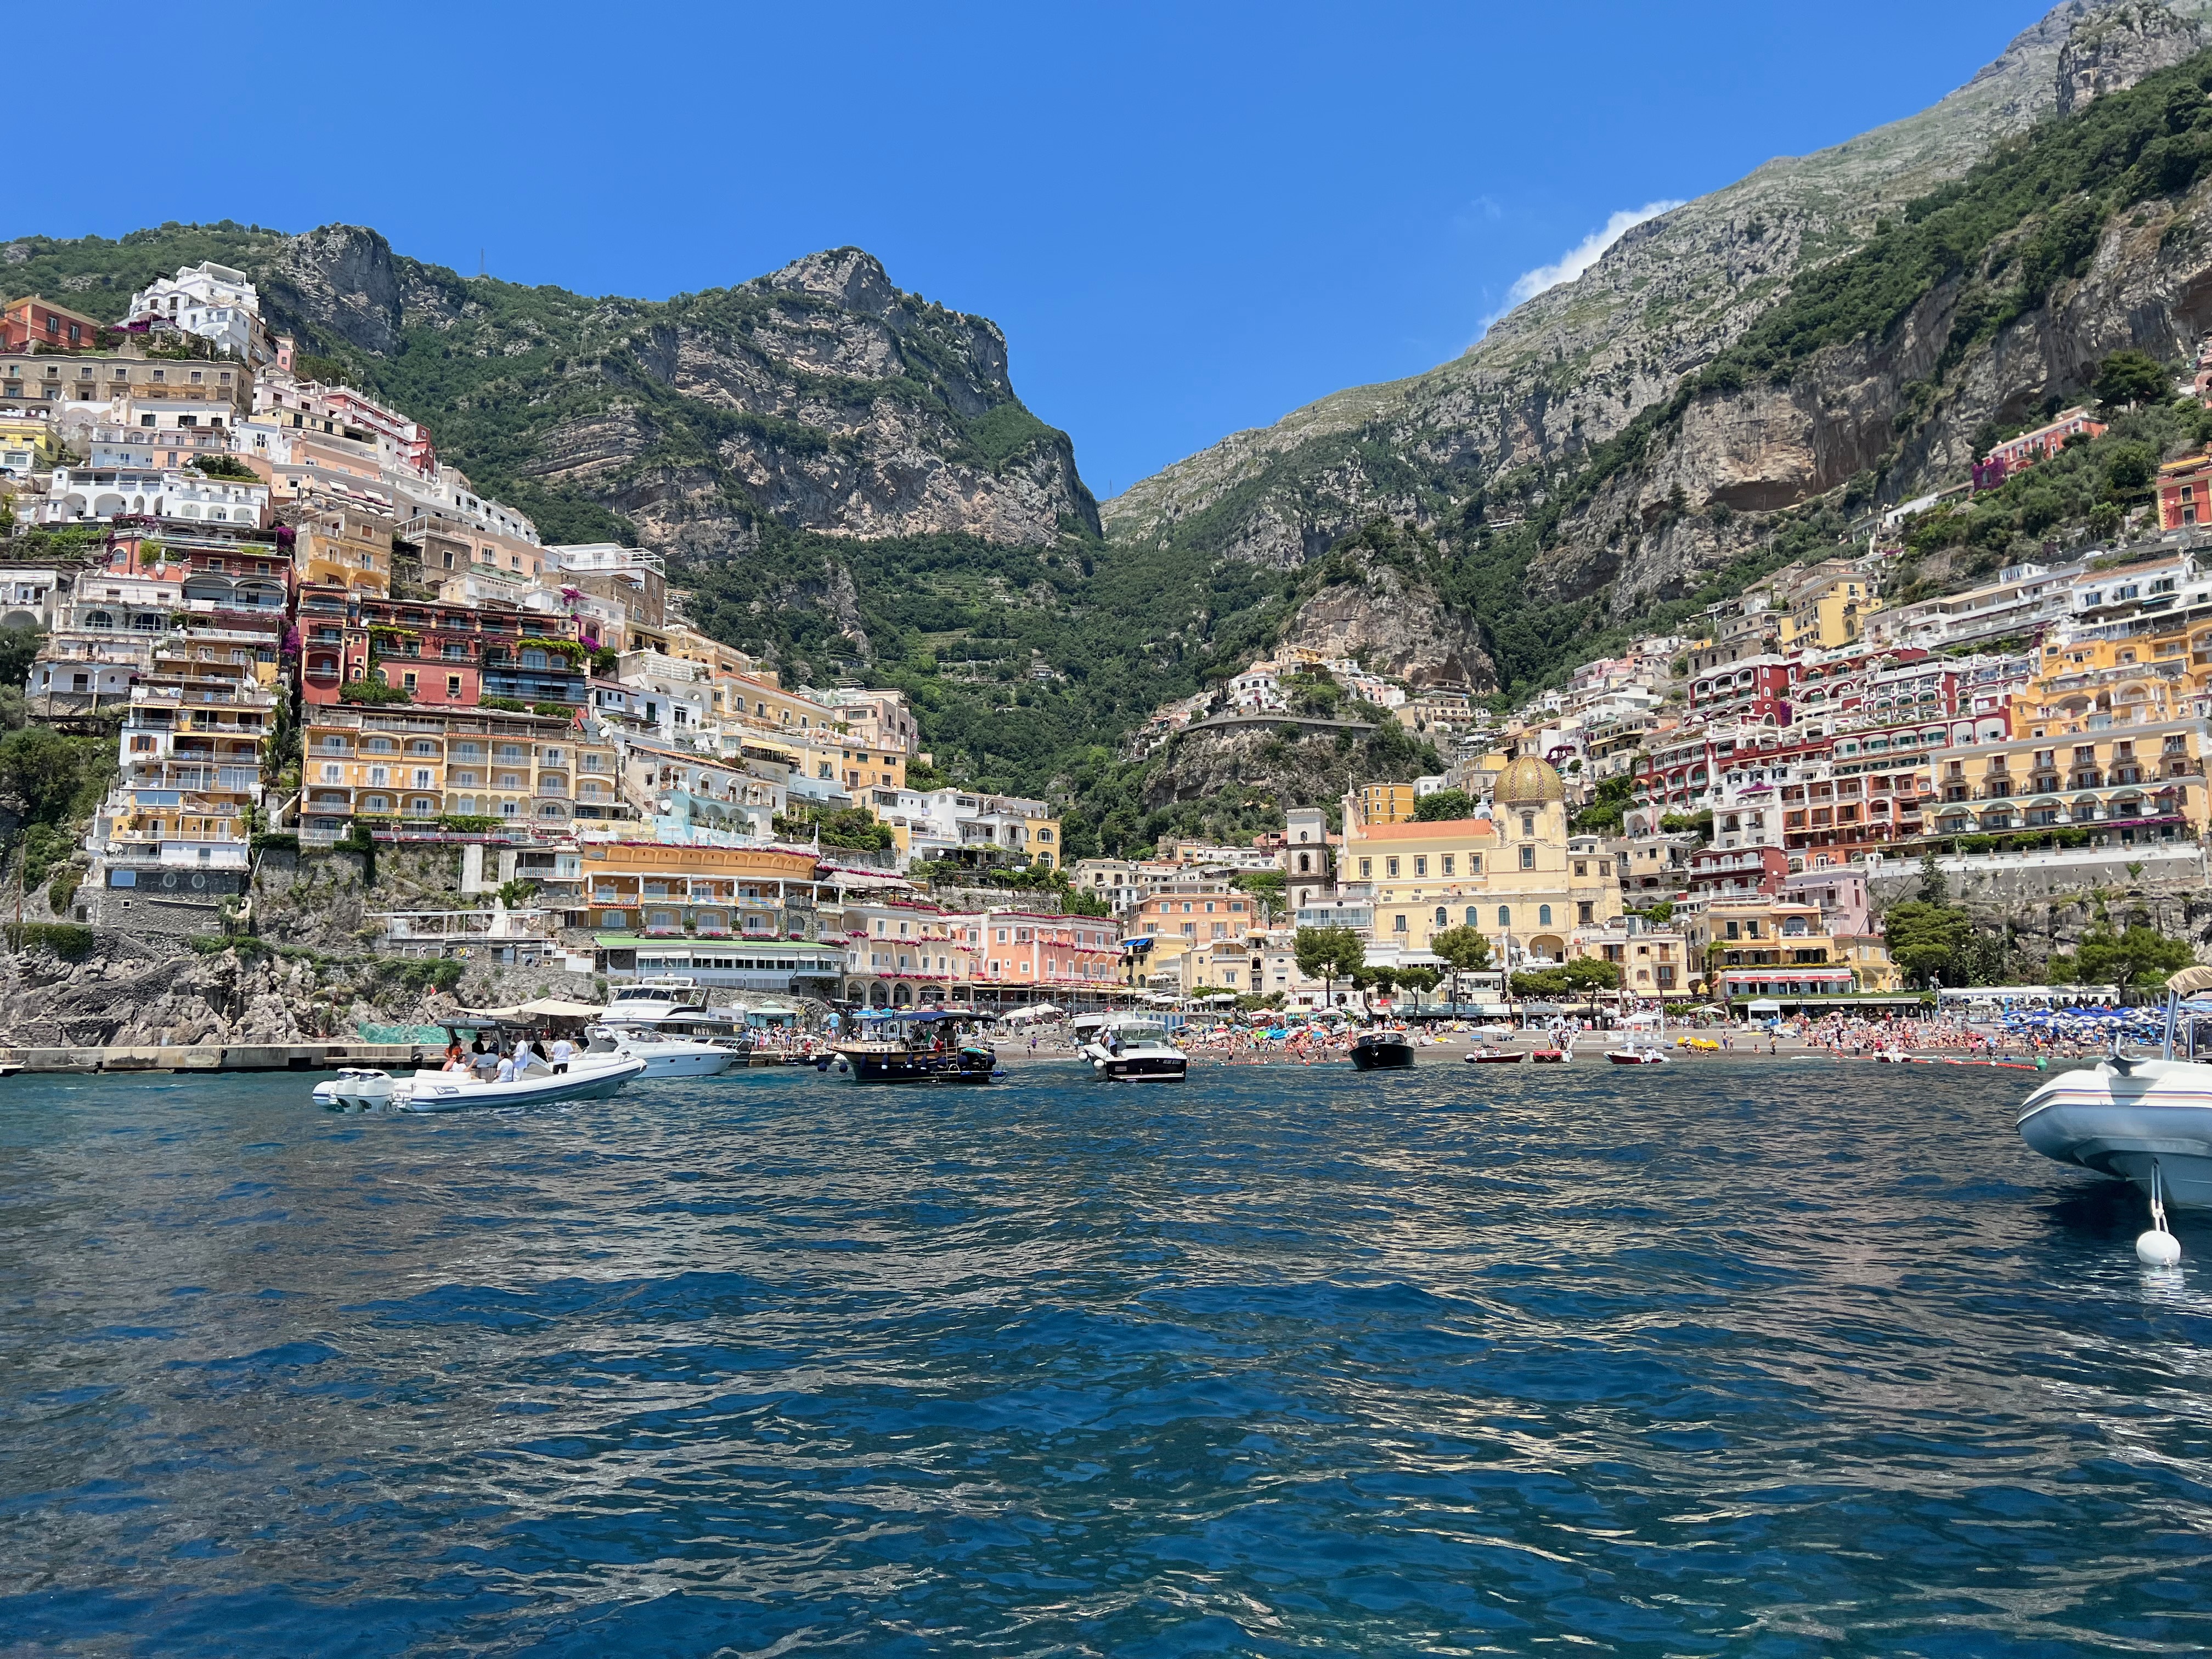
Sophia Loren’s villa is not far, with its mildly alarming open elevator to take Ms Loren from the house down the cliff drop towards the sea. I have to agree with the Italian friends who told us that the best views of the Amalfi Coast are to be had from the sea. Salerno turns out to be a good place to start a boat trip: go to Molo Manfredi marina and you’ll find several companies happy to rent you a boat, either with or without a skipper; for the cost conscious, joining a tour will make more sense than doing a private rental. There are fewer companies than the internet would appear to indicate, so you’ll find the same boats on offer on several different websites, aggregators or otherwise (for example, we started on “Blue Dream Rentals” and ended up renting from “Blu Mediterraneo”). The boat was fine and our skipper was very personable. We chose an intinerary that started at Salerno, proceeded to Positano (past Amalfi to the West) and then back via a stop for lunch. The photo here is of Positano, as glitzy as you can get and apparently the favoured ancharage for oligarchs’ superyachts (we saw five very large yachts moored there). You can also go to Capri, but that’s a longer trip and if you want to spend a substantial time going round Capri, you might prefer one of the many fast ferries and hydrofoils and then get a boat when you’re there. Alternatively, start your trip from further West along the coast: there are popular trips to Capri both from Amalfi and from Naples itself.
In between the glitzy Amalfi Coast and has-seen-better-days Calabria sits Salerno. What’s striking is the patchiness of the investment here. Stroll along the Corso Vittorio Emmanuele and you’ll find shops that are as modern and brightly maintained as you might wish for, with plenty of the usual big brands from Italy and beyond – Max Mara, Bennetton, Foot Locker – mixing with more local businesses that are maintained to a similarly high standard. The smartest restaurants, like the Michelin-mentioned Pescheria, are suitably ritzy; Embarcadero is a great looking bar and gelateria on the seafront; the 089 (zero-otto-nove) chain of bars is smart and fun. You can also eat extremely well at mid-level and cheaper places: Vasilicò, hidden away in a small square just off the Corso and run by the delightful chef patron Anna Clara Capacchione, served us some of the best Italian food I’ve ever had at a decidedly attractive price (including one of my favourite Italian wines, Lacryma Christi from nearby Vesuvius, at €13 a bottle).
There are other small businesses that don’t look like they’ve had any money spent on them in half a century. Unsurprisingly, when it comes to food, some of these are excellent: we had the warmest of welcomes and fabulously good salumi at the Salumeria del Corso; in the back streets of the old city, Dolci Sapori, run by a father-and-son team, gave us just as warm a welcome and a superb lunch (plus a great selection of vintage rock and soul music, which, the dad told us, were down to his son – he prefers traditional Neapolitan song). There’s a definite feeling of going back in time to pre-globalization days when supply chains were short, with local shops selling goods made in the local hinterland – a feeling that can be pleasant, as in the excellent handbag shop which reminded us of the days when a parent might have been thrilled with bringing a handbag home from a trip to Italy. In other places, going back in time didn’t seem so great.
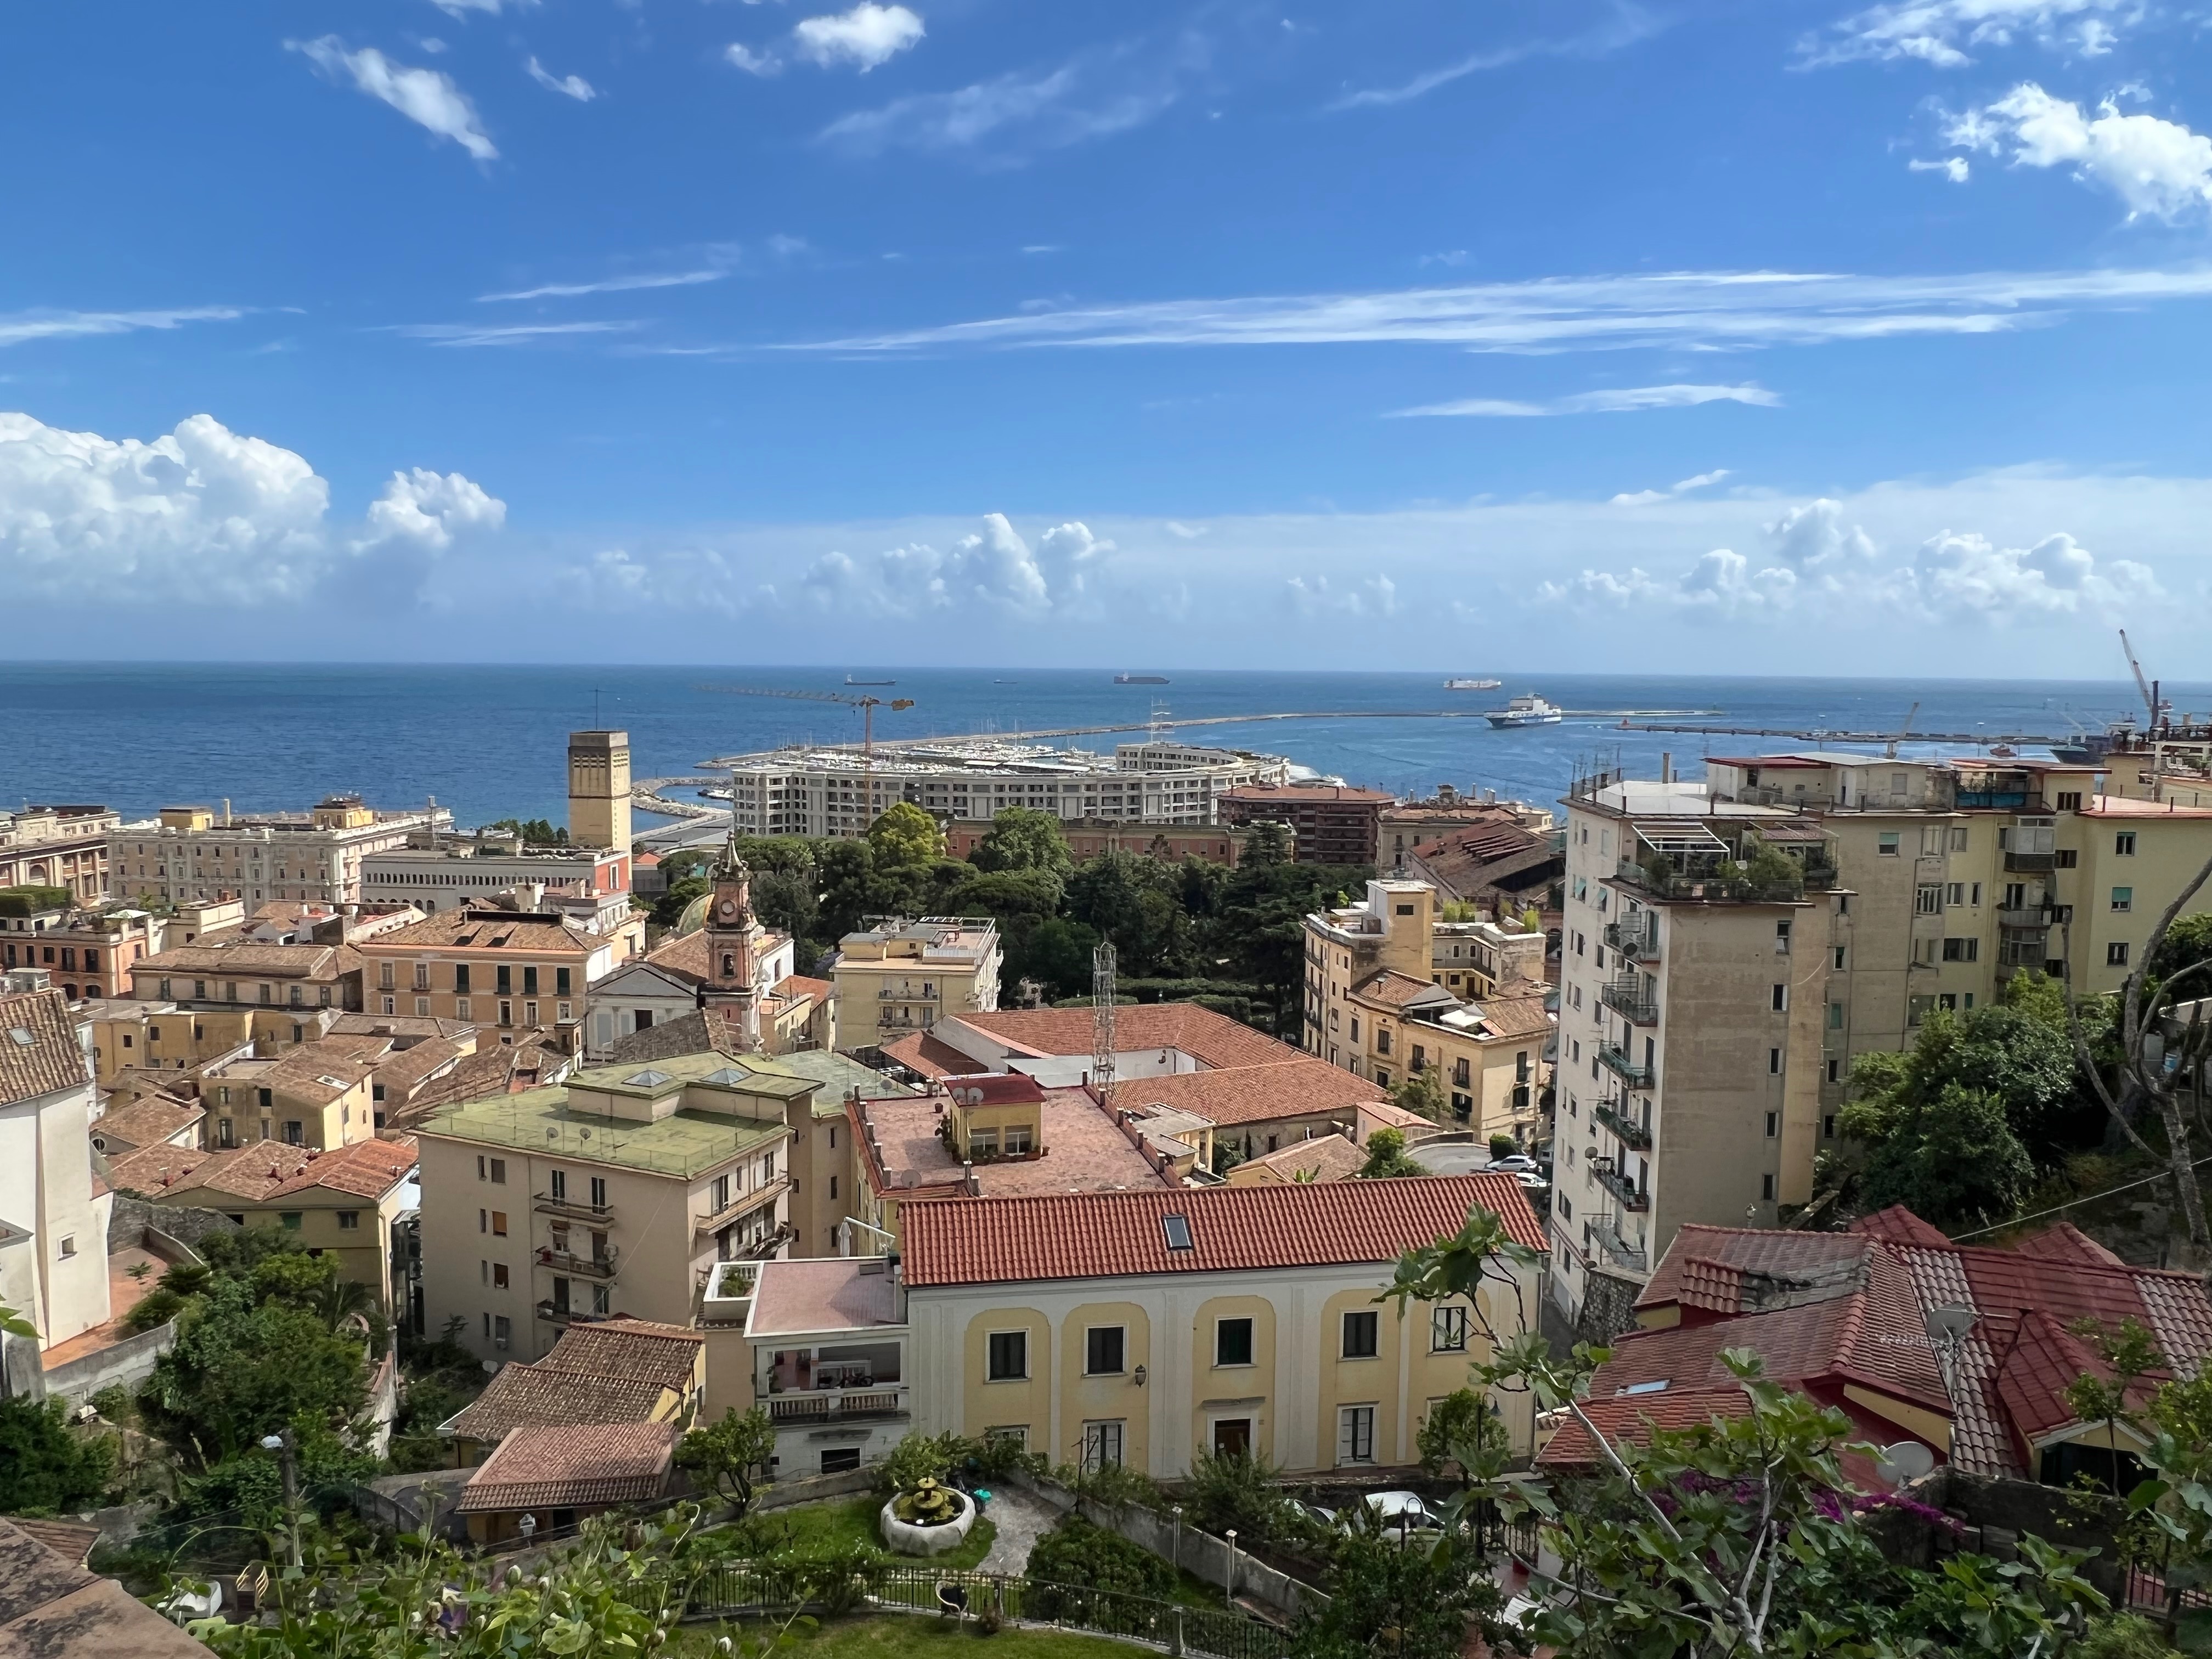
At the other end of the scale, there are huge architectural projects. Adjacent to Molo Manfredi marina is the gigantic Plaza della Libertà, 28,000 square metres of bright, shiny new square sitting atop a parking lot and completely empty except for a single crescent-shaped building (itself mostly empty). The square was completed in 2021 after an architectural contest whose brief was to “bring to reality a new image and identity of the urban waterfront: the definitive opening of the city to the sea”. It’s certainly an attractively designed and striking bit of urban landscape, but to my mind, given the immense backlog of building repairs throughout the city, that’s a vanity project if ever there was one. The car park was almost completely empty when we parked our rental car there, but that hasn’t stopped another immense waterfront car park from being under construction just a kilometre or so to the south.
In our small number of days, we didn’t attempt to go through an exhaustive list of the sights of Salerno, but I’ll mention a couple of notable places. In this part of Italy where the hills fall directly into the sea, almost everything is built on a steep slope. Starting at the Dolceria Pantaleone in the Centro Storico, walk a couple of steep blocks uphill and you will reach Salerno Cathedral, aka the “Duomo”, or, to give it its full name, the “Cattedrale di Santa Maria degli Angeli, San Matteo e San Gregorio VII”. It’s a beautifully proportioned, light and airy building which dates from the 11th century, a far cry from the baroque excess of so many Italian churches and notable for a glorious set of mosaics. The faithful can gaze in awe upon the relics of St. Matthew; the rest of us can admire the artistry and appreciate what a spiritual place this is.

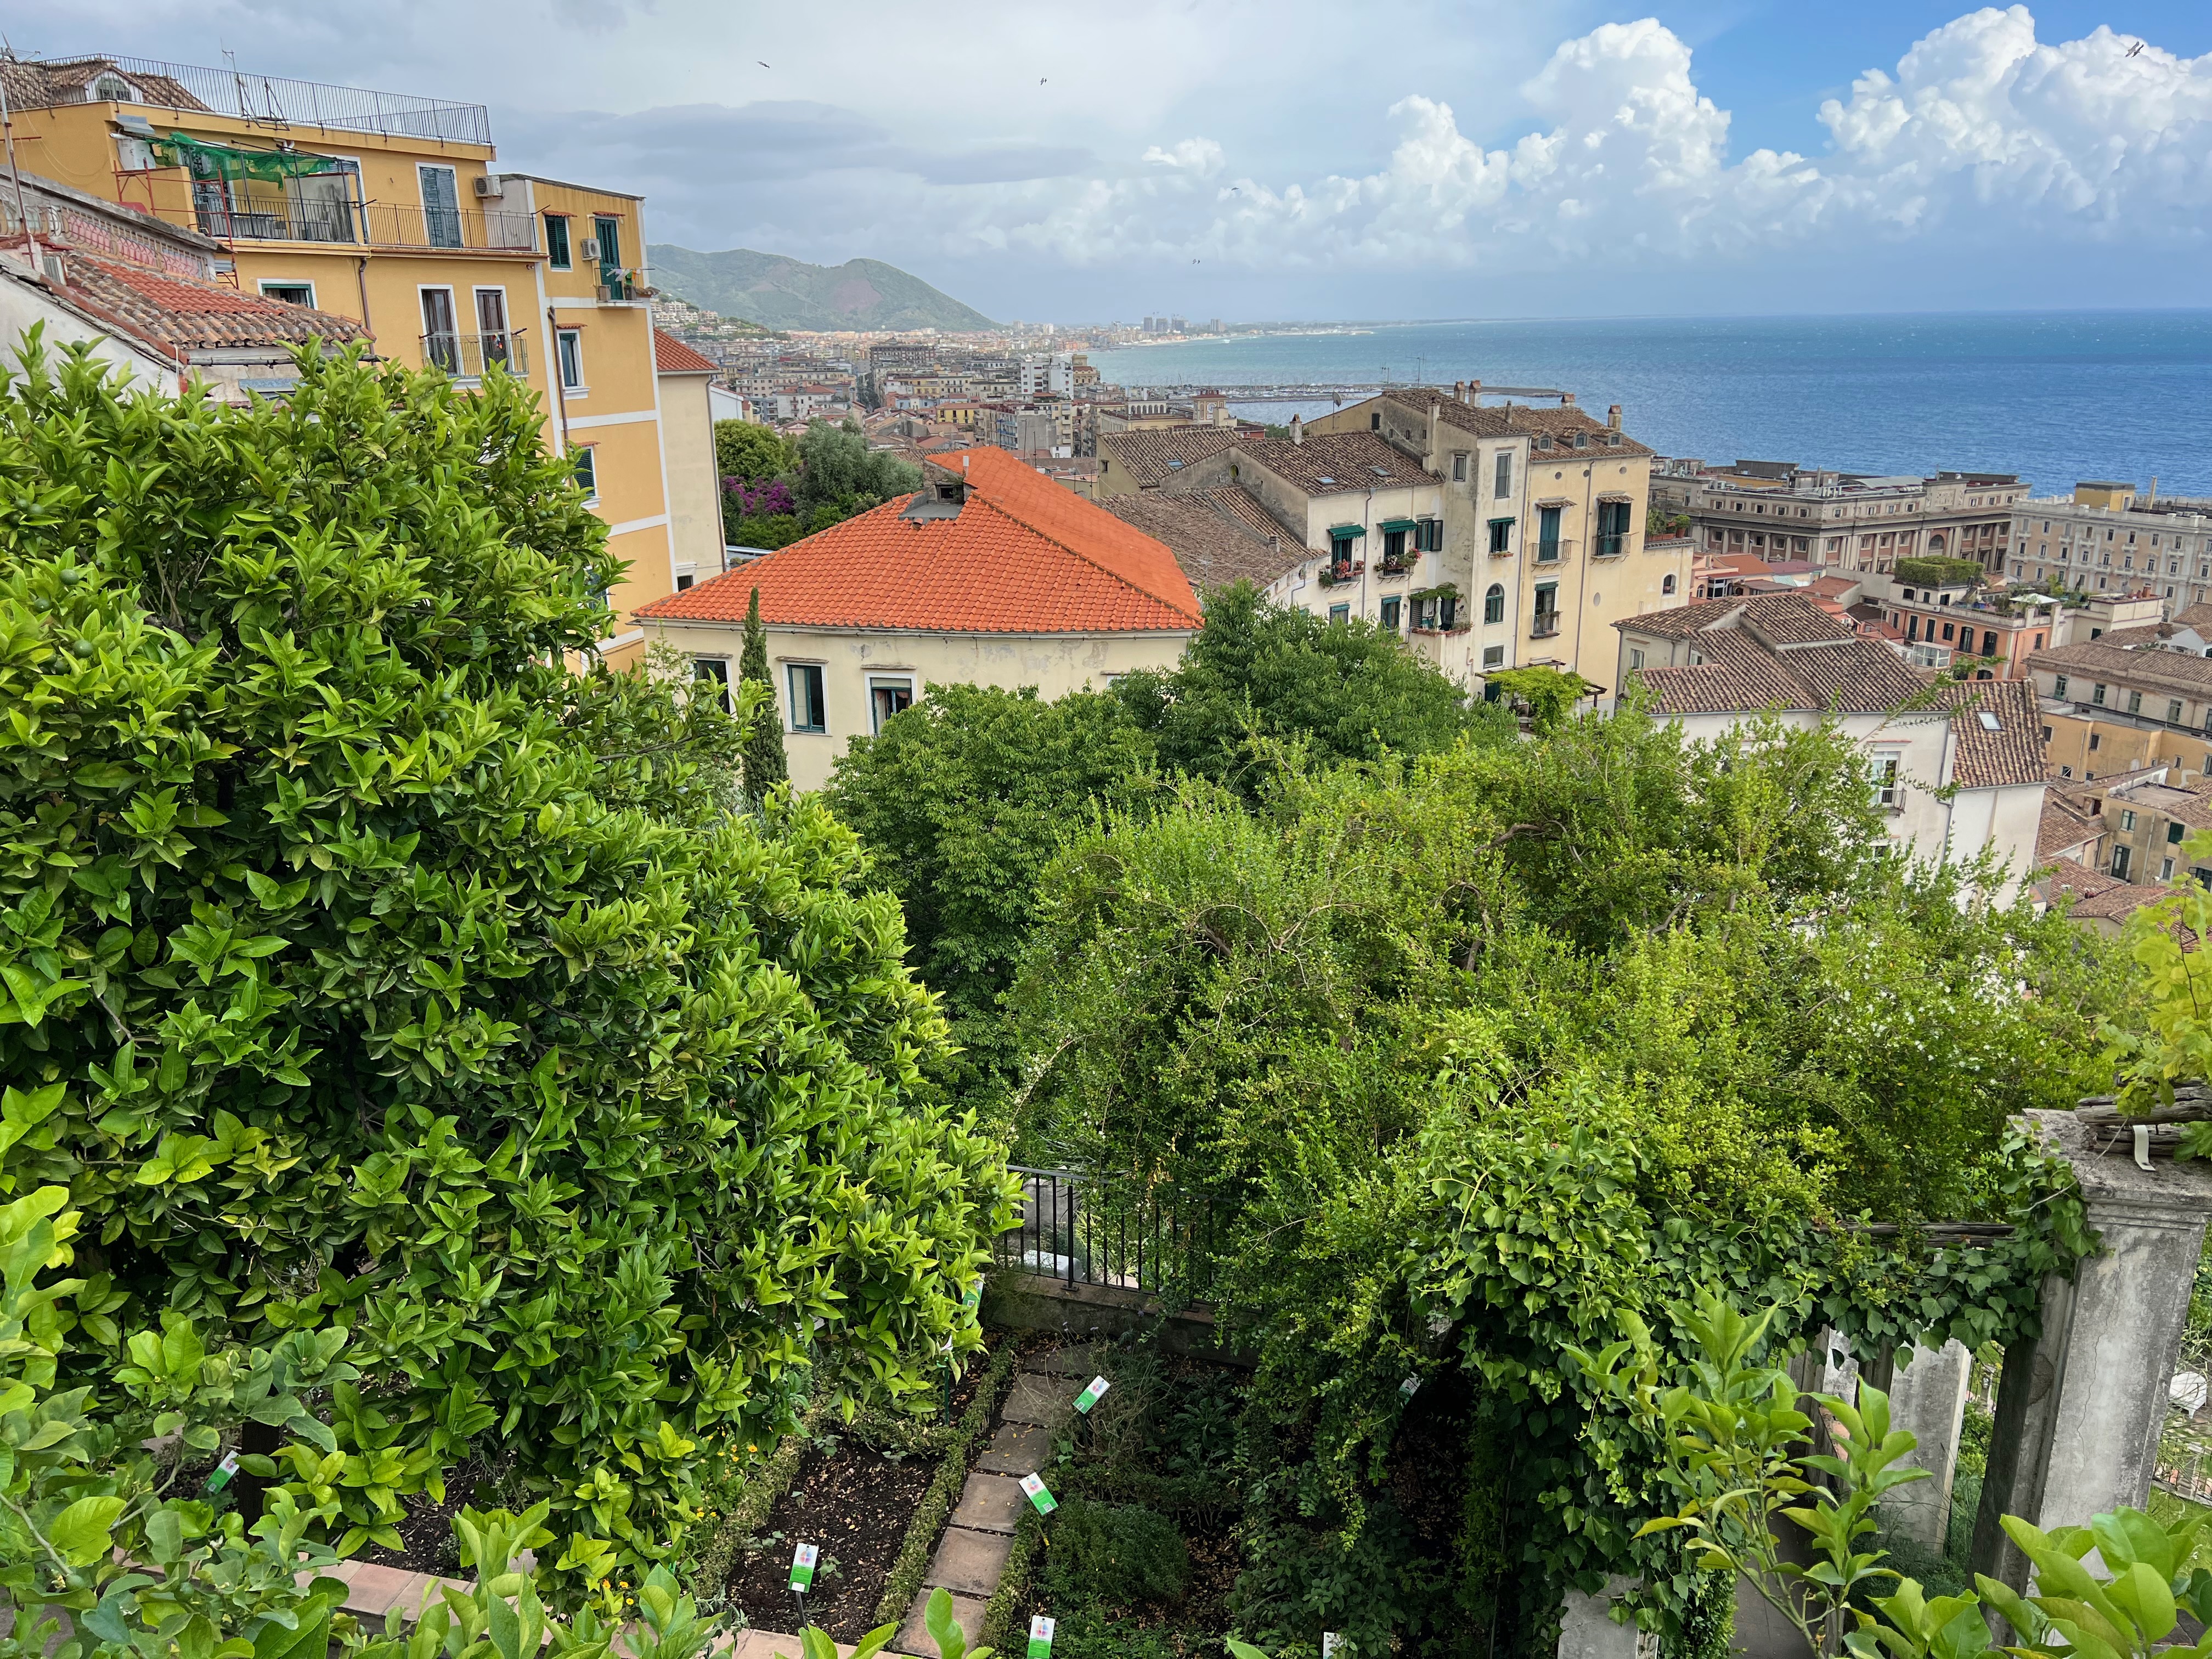
Coming out of the Duomo, if you don’t turn downhill but carry on gently uphill for many blocks, you will reach the Giardino della Minerva, the botanical garden of the city’s mediaeval medical school. This isn’t a garden for simple gawking at attractive plants: rather, it’s a kind of living encyclopaedia of medicinally or nutritionally interesting species: start at the bottom and you go up through a dizzying number of terraces, with dozens of species in each, to finish high above the city, with spectacular views. Inside the building, you discover that the medical school has been on this site, in one form or another, since mediaeval times. Furthermore, Salerno was one of the first places where women doctors practised and one of the first places where there was medicine specifically for women’s complaints. Perhaps the earliest text by a woman on feminine medicine was published here in the 12th century by “Trotula”, the alias of a certain Trota of Salerno.
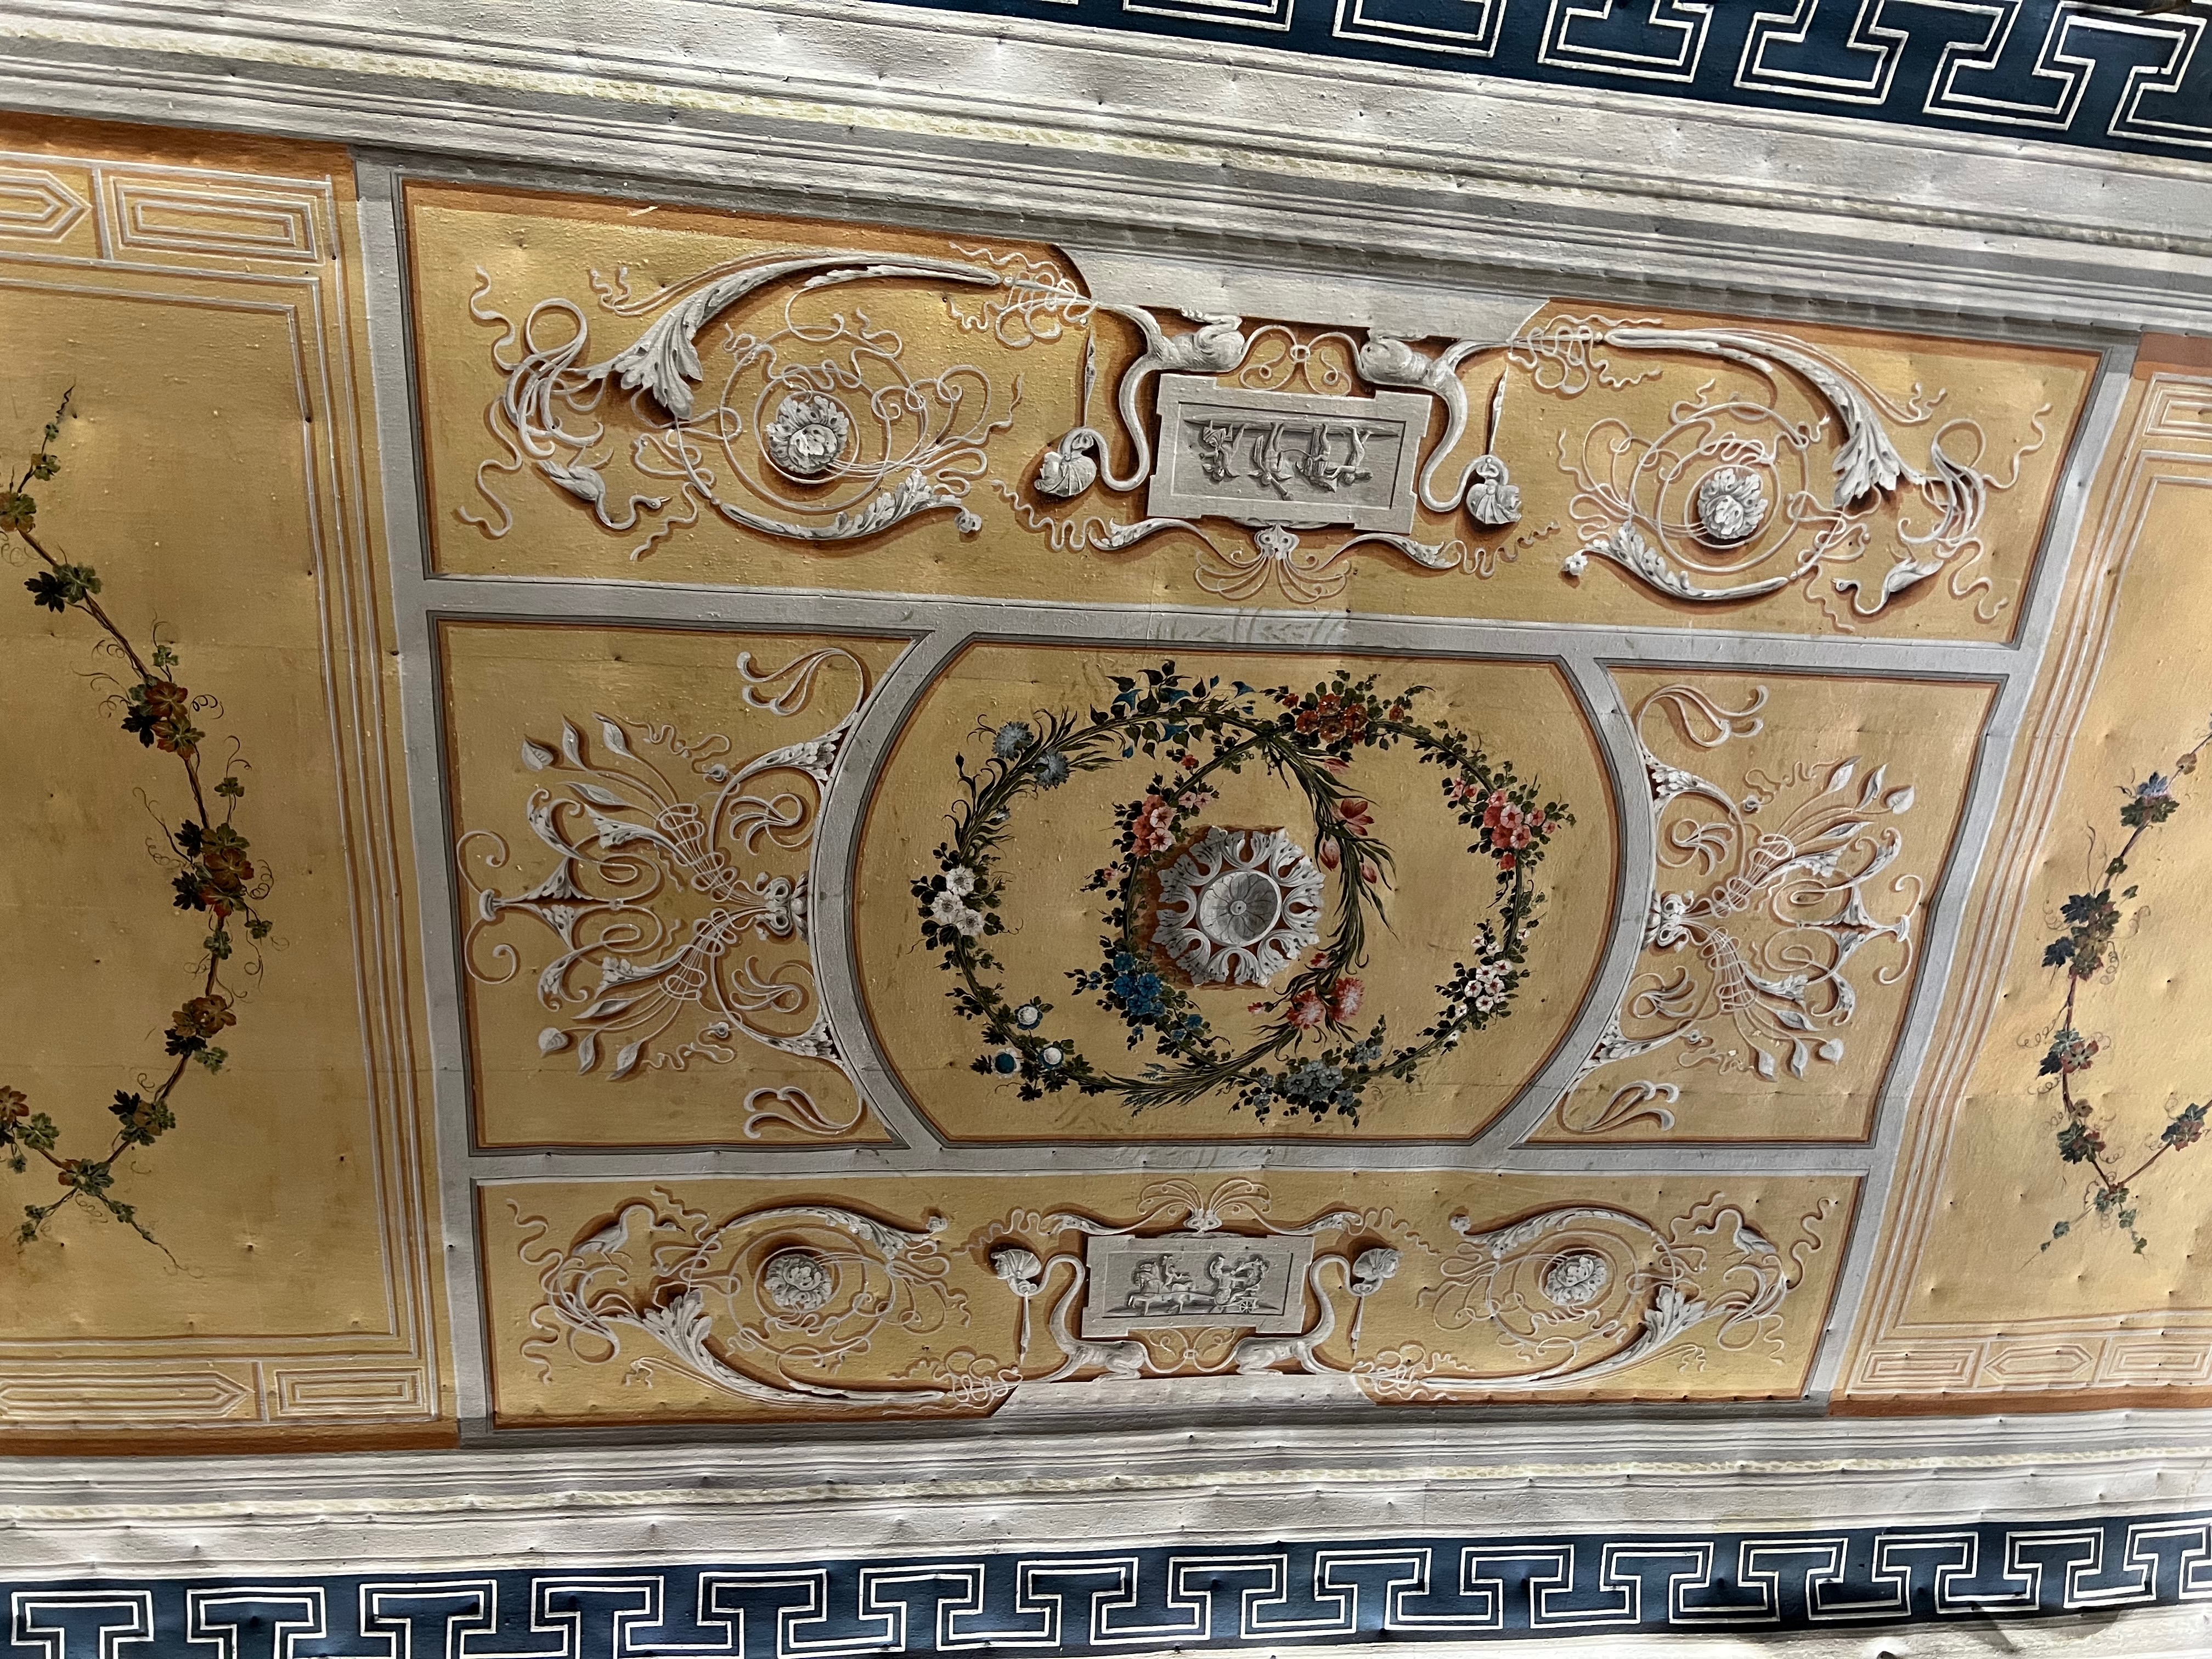
We stayed in a lovely B&B, the Casa Santangelo in Salerno’s Centro Storico, once the apartment of an Italian marquis and now converted into some very smart suites. I couldn’t resist including this photo of our bedroom’s trompe l’oeil ceiling, painted onto fabric and tacked to the framework above.
We’ve travelled to Italy a lot over the years, mainly to the north but also to Sicily and Puglia in the far south. It’s been our first time in this area: Salerno, the Amalfi Coast and Paestum have been completely new experiences. More antiquities await us at Pompeii and Herculaneum…