Month: January 2021

Around the world in 80 bakes, no.44: Runebergintorttu from Finland

Around the world in 80 bakes, no.44: Runebergintorttu from Finland

The weather in London today has been unremittingly grey with continuous drizzle, reminding me of a trip to Savonlinna in Finland, which is also the country which provided us with the biggest northern hemisphere rainstorm of our lives. So here, in homage to Finland and in honour of the poet Johan Ludvig Runeberg’s birthday next week, are Runebergintorttu or Runeberg Cakes.

To be fair on my many Finnish friends and on Savonlinna, which is a truly fabulous festival set in an impossible atmospheric mediaeval castle, it’s drop-dead gorgeous when the sun comes out (which it did the following day). And the Finns have a lot going for them, not least the best rainproof gear I’ve ever bought and also the best loudspeakers on the planet (with all those forests, the Finns really know their wood) and a surprisingly dry sense of humour (opera lovers need to check out Covid fan tutte).

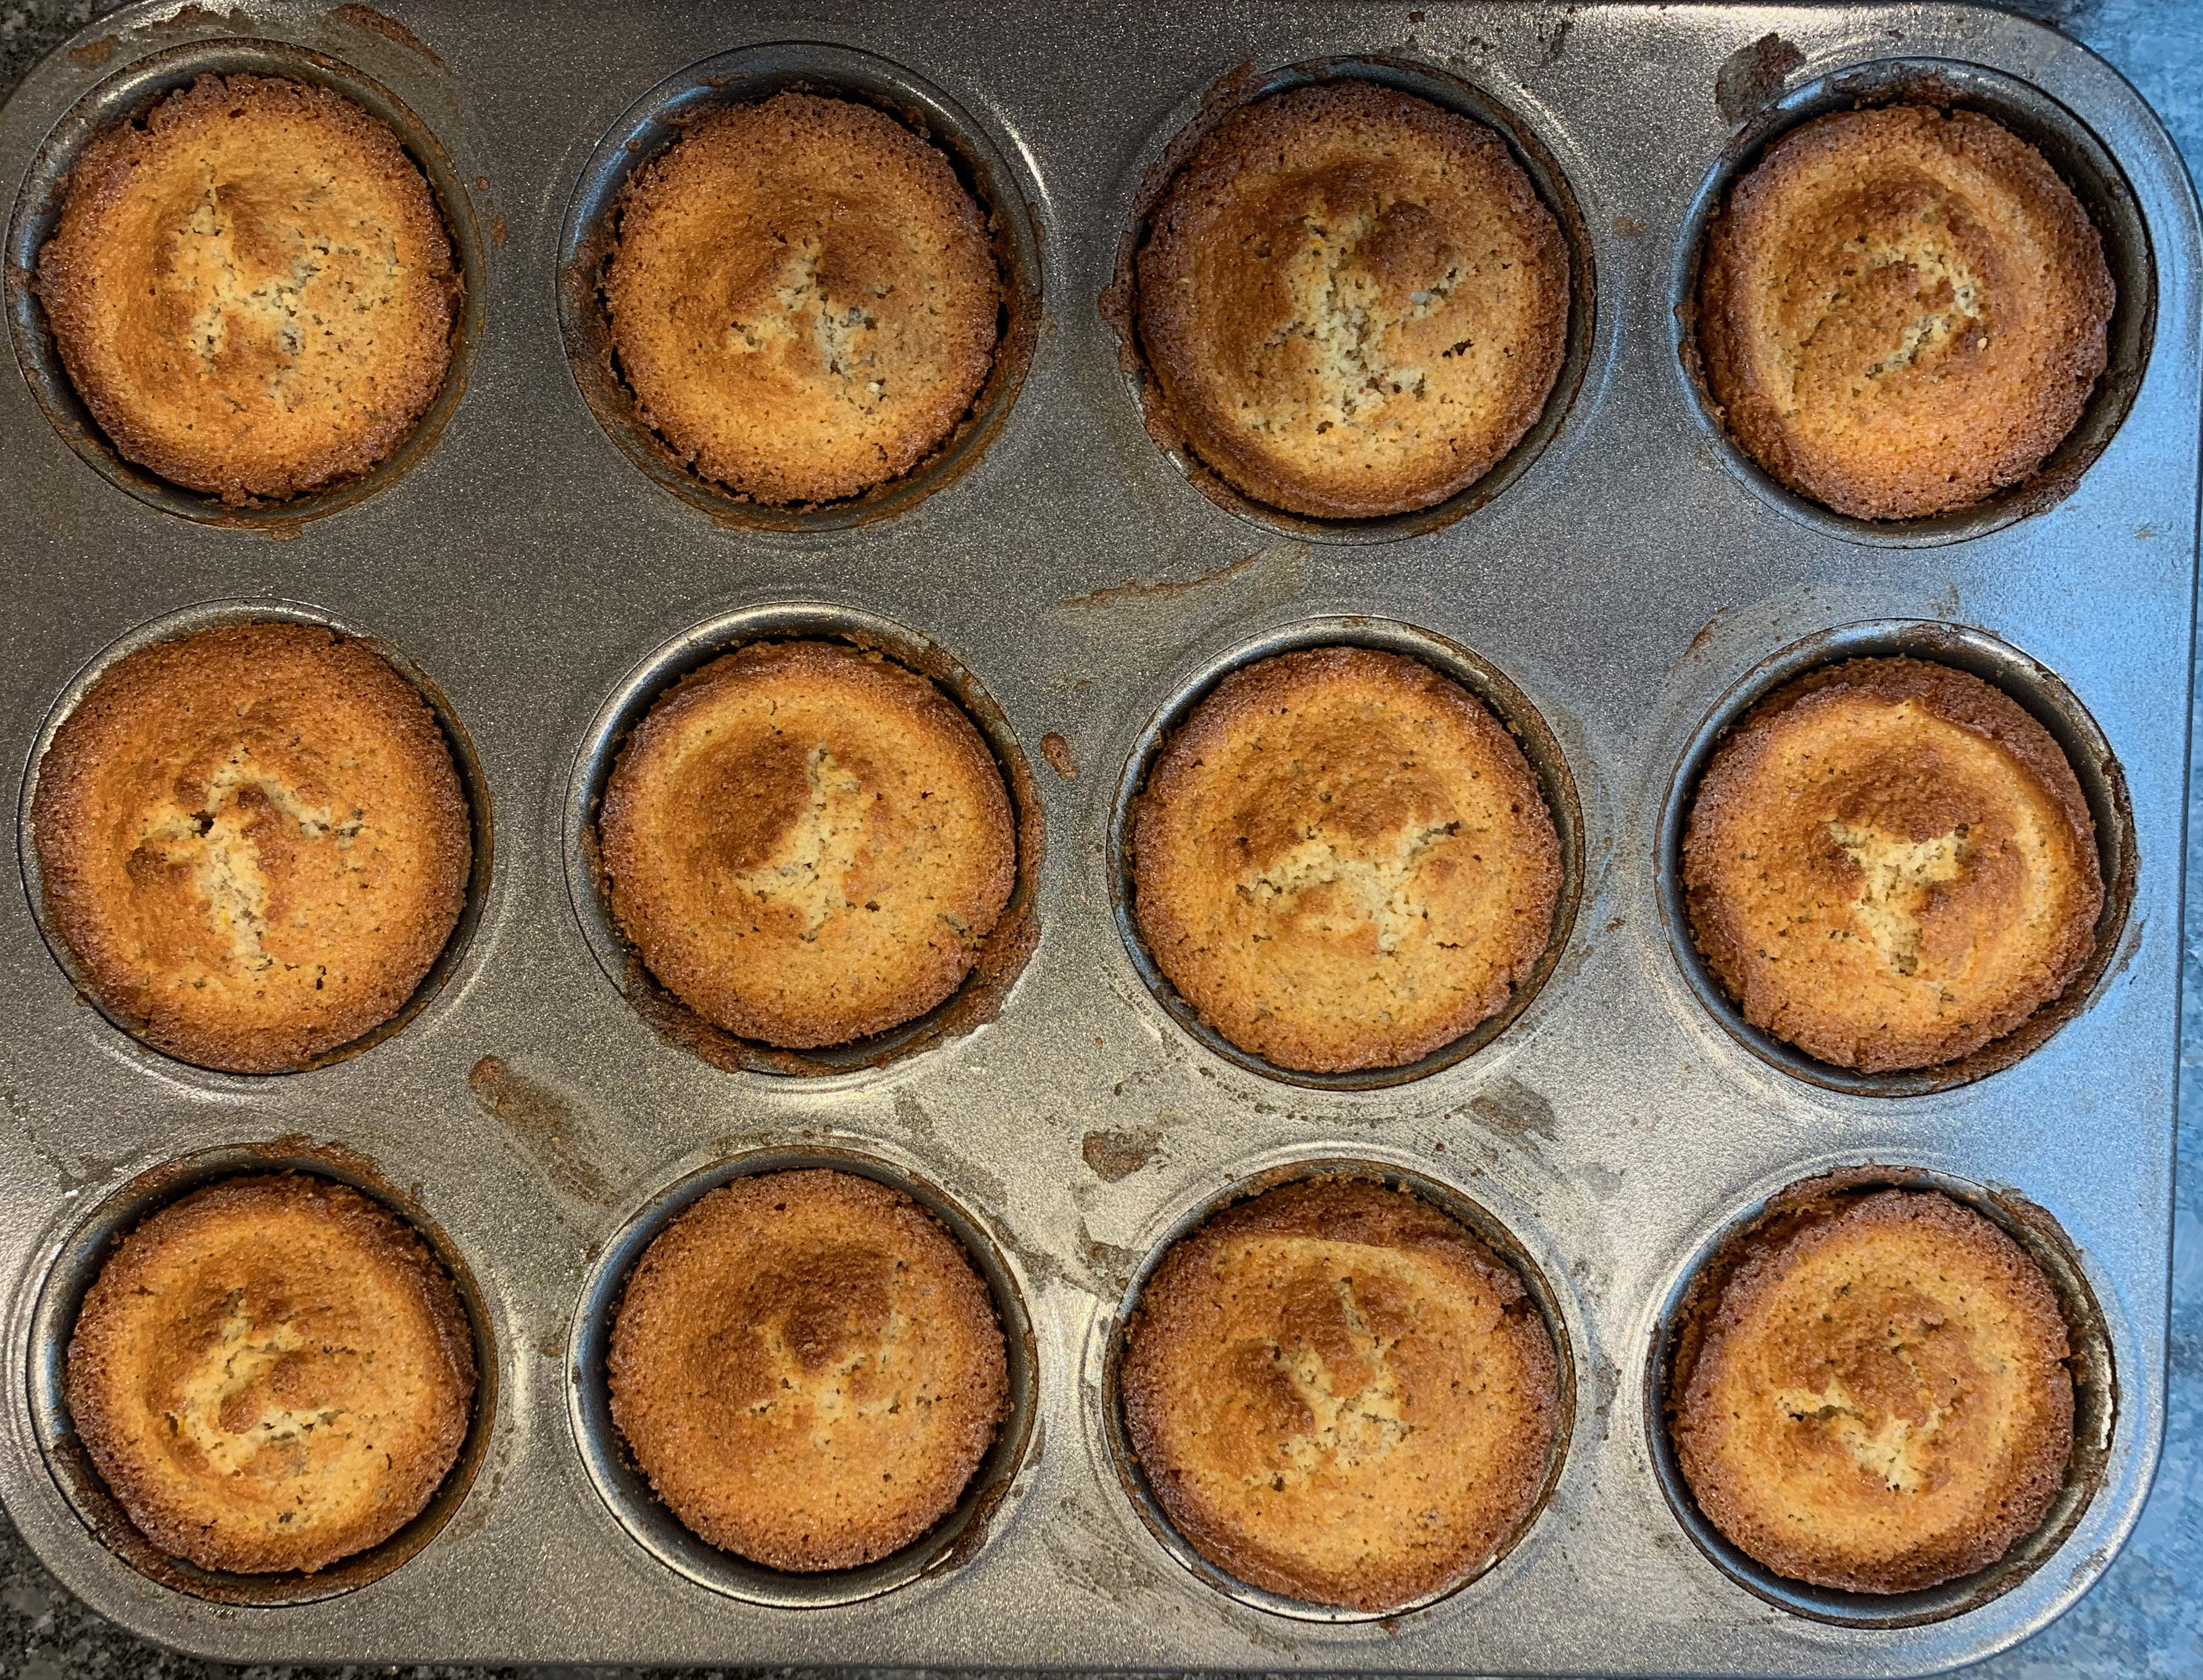
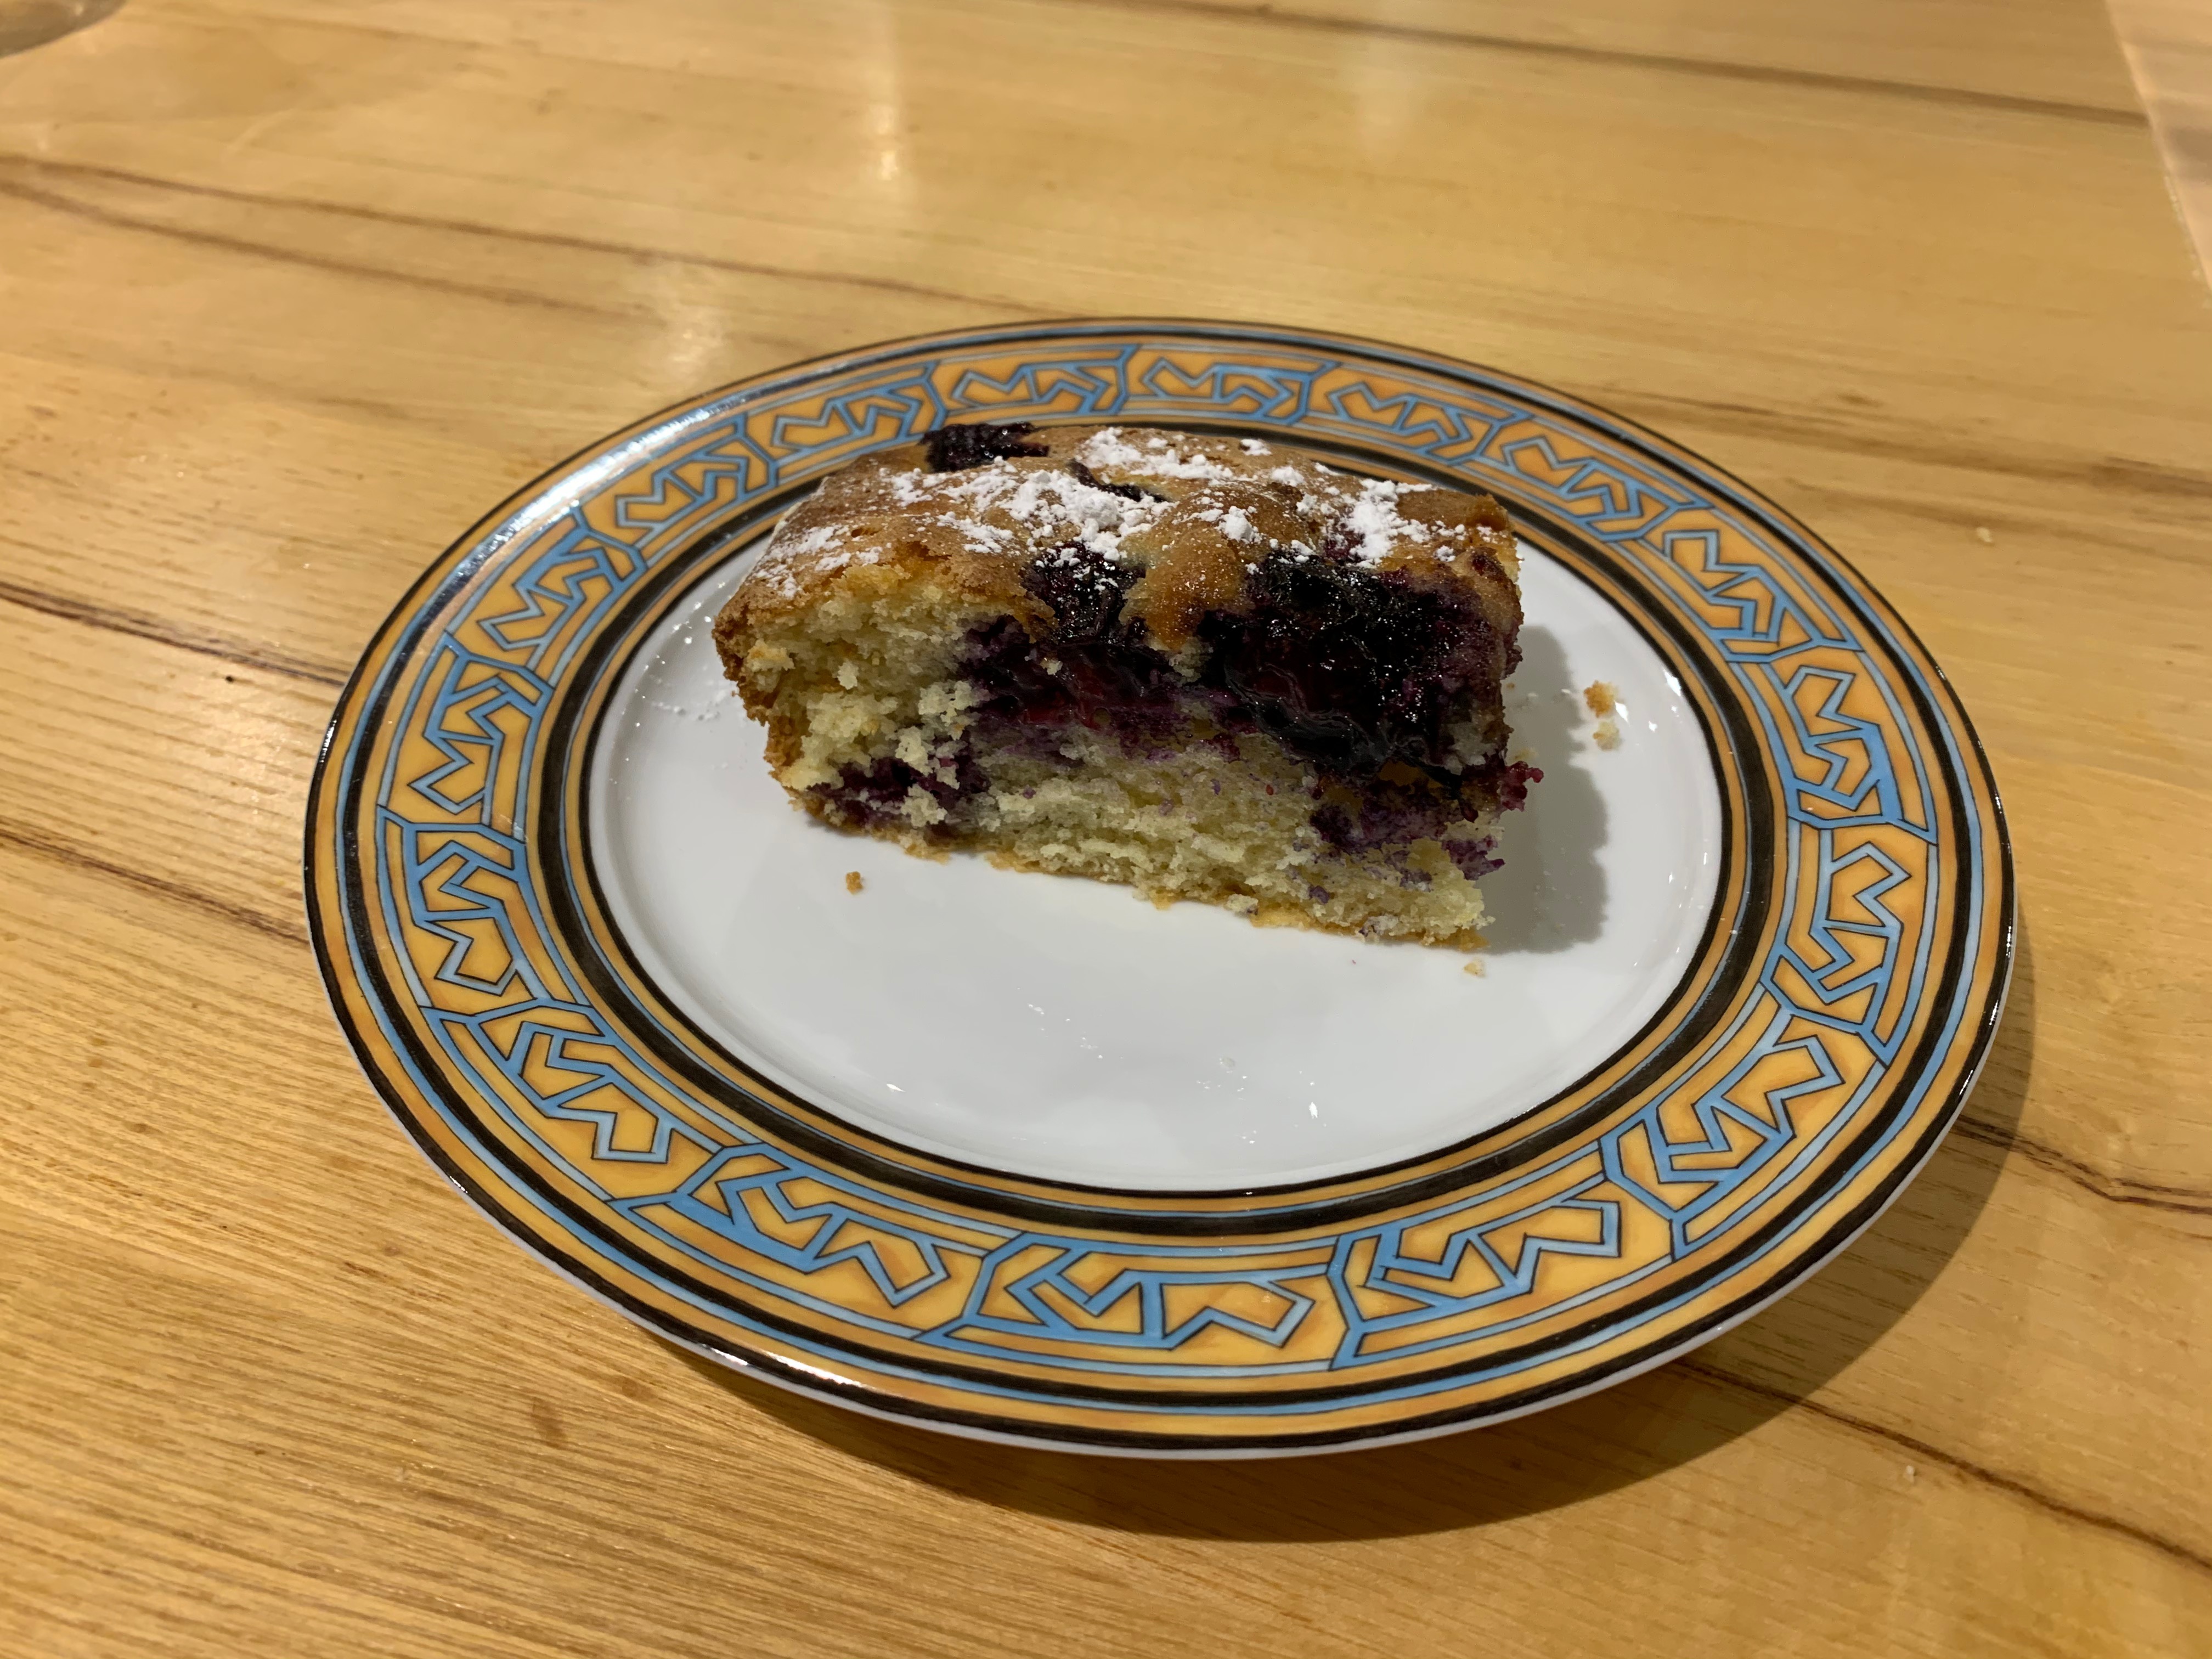
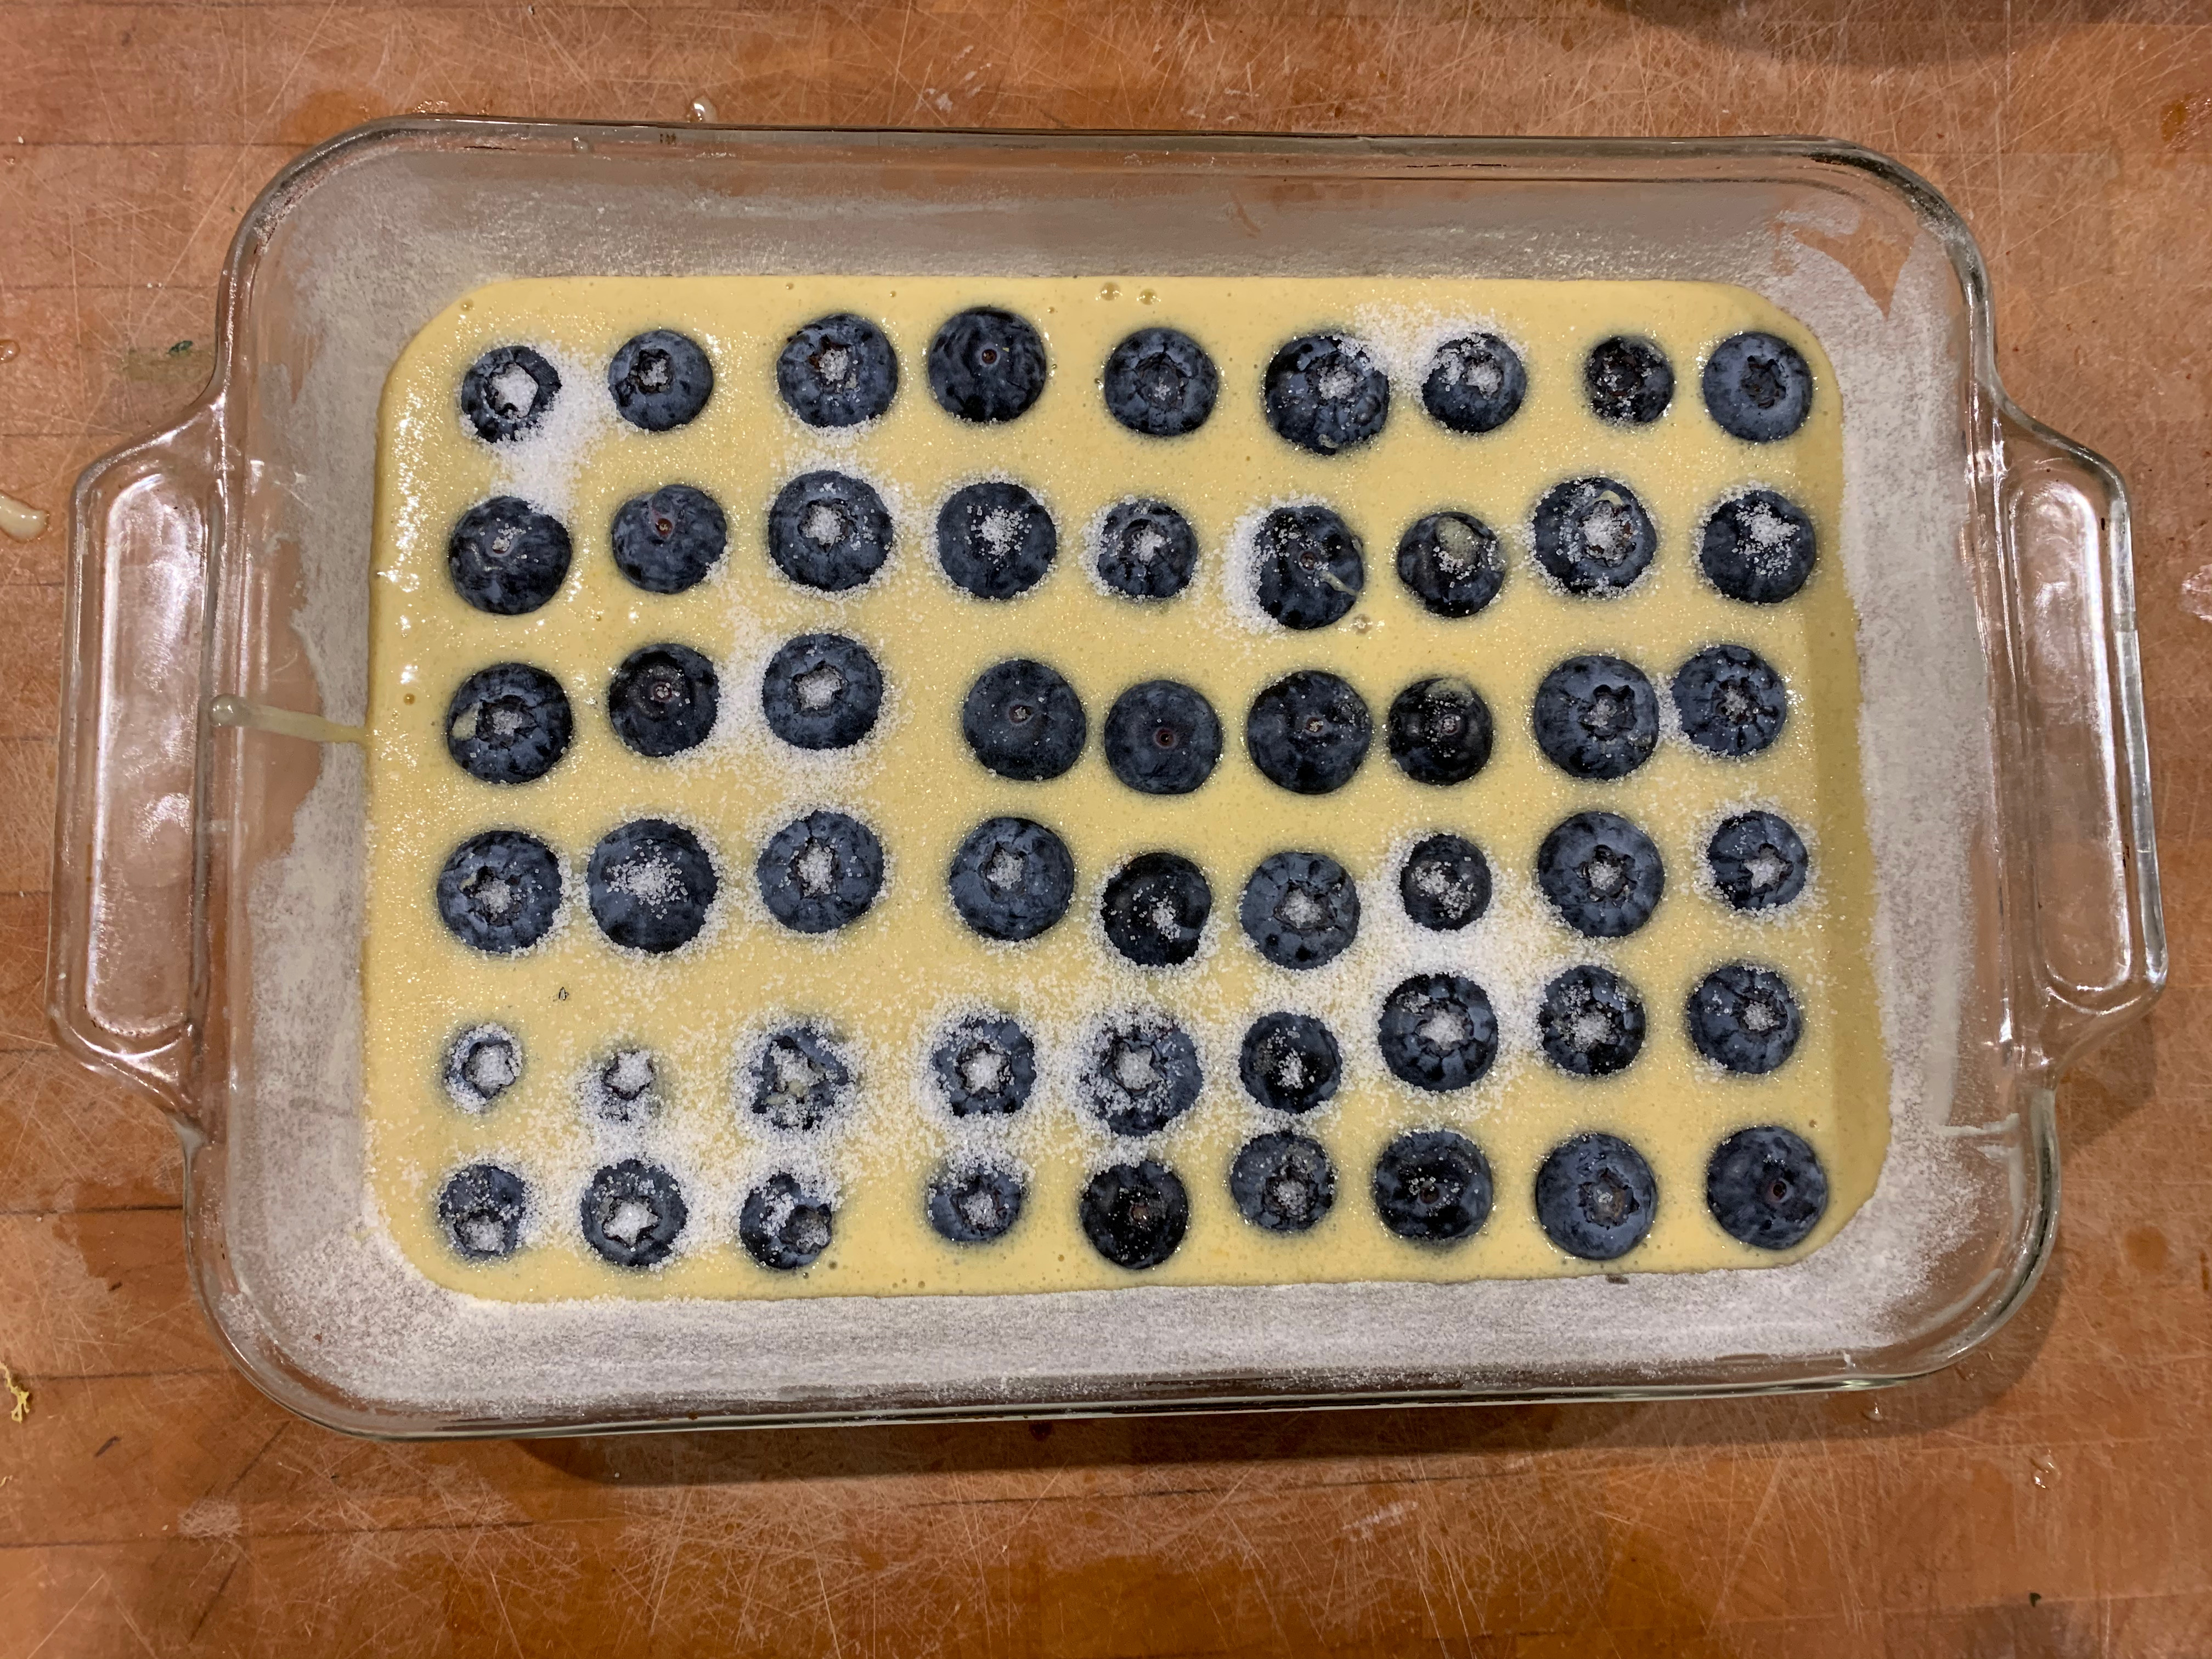
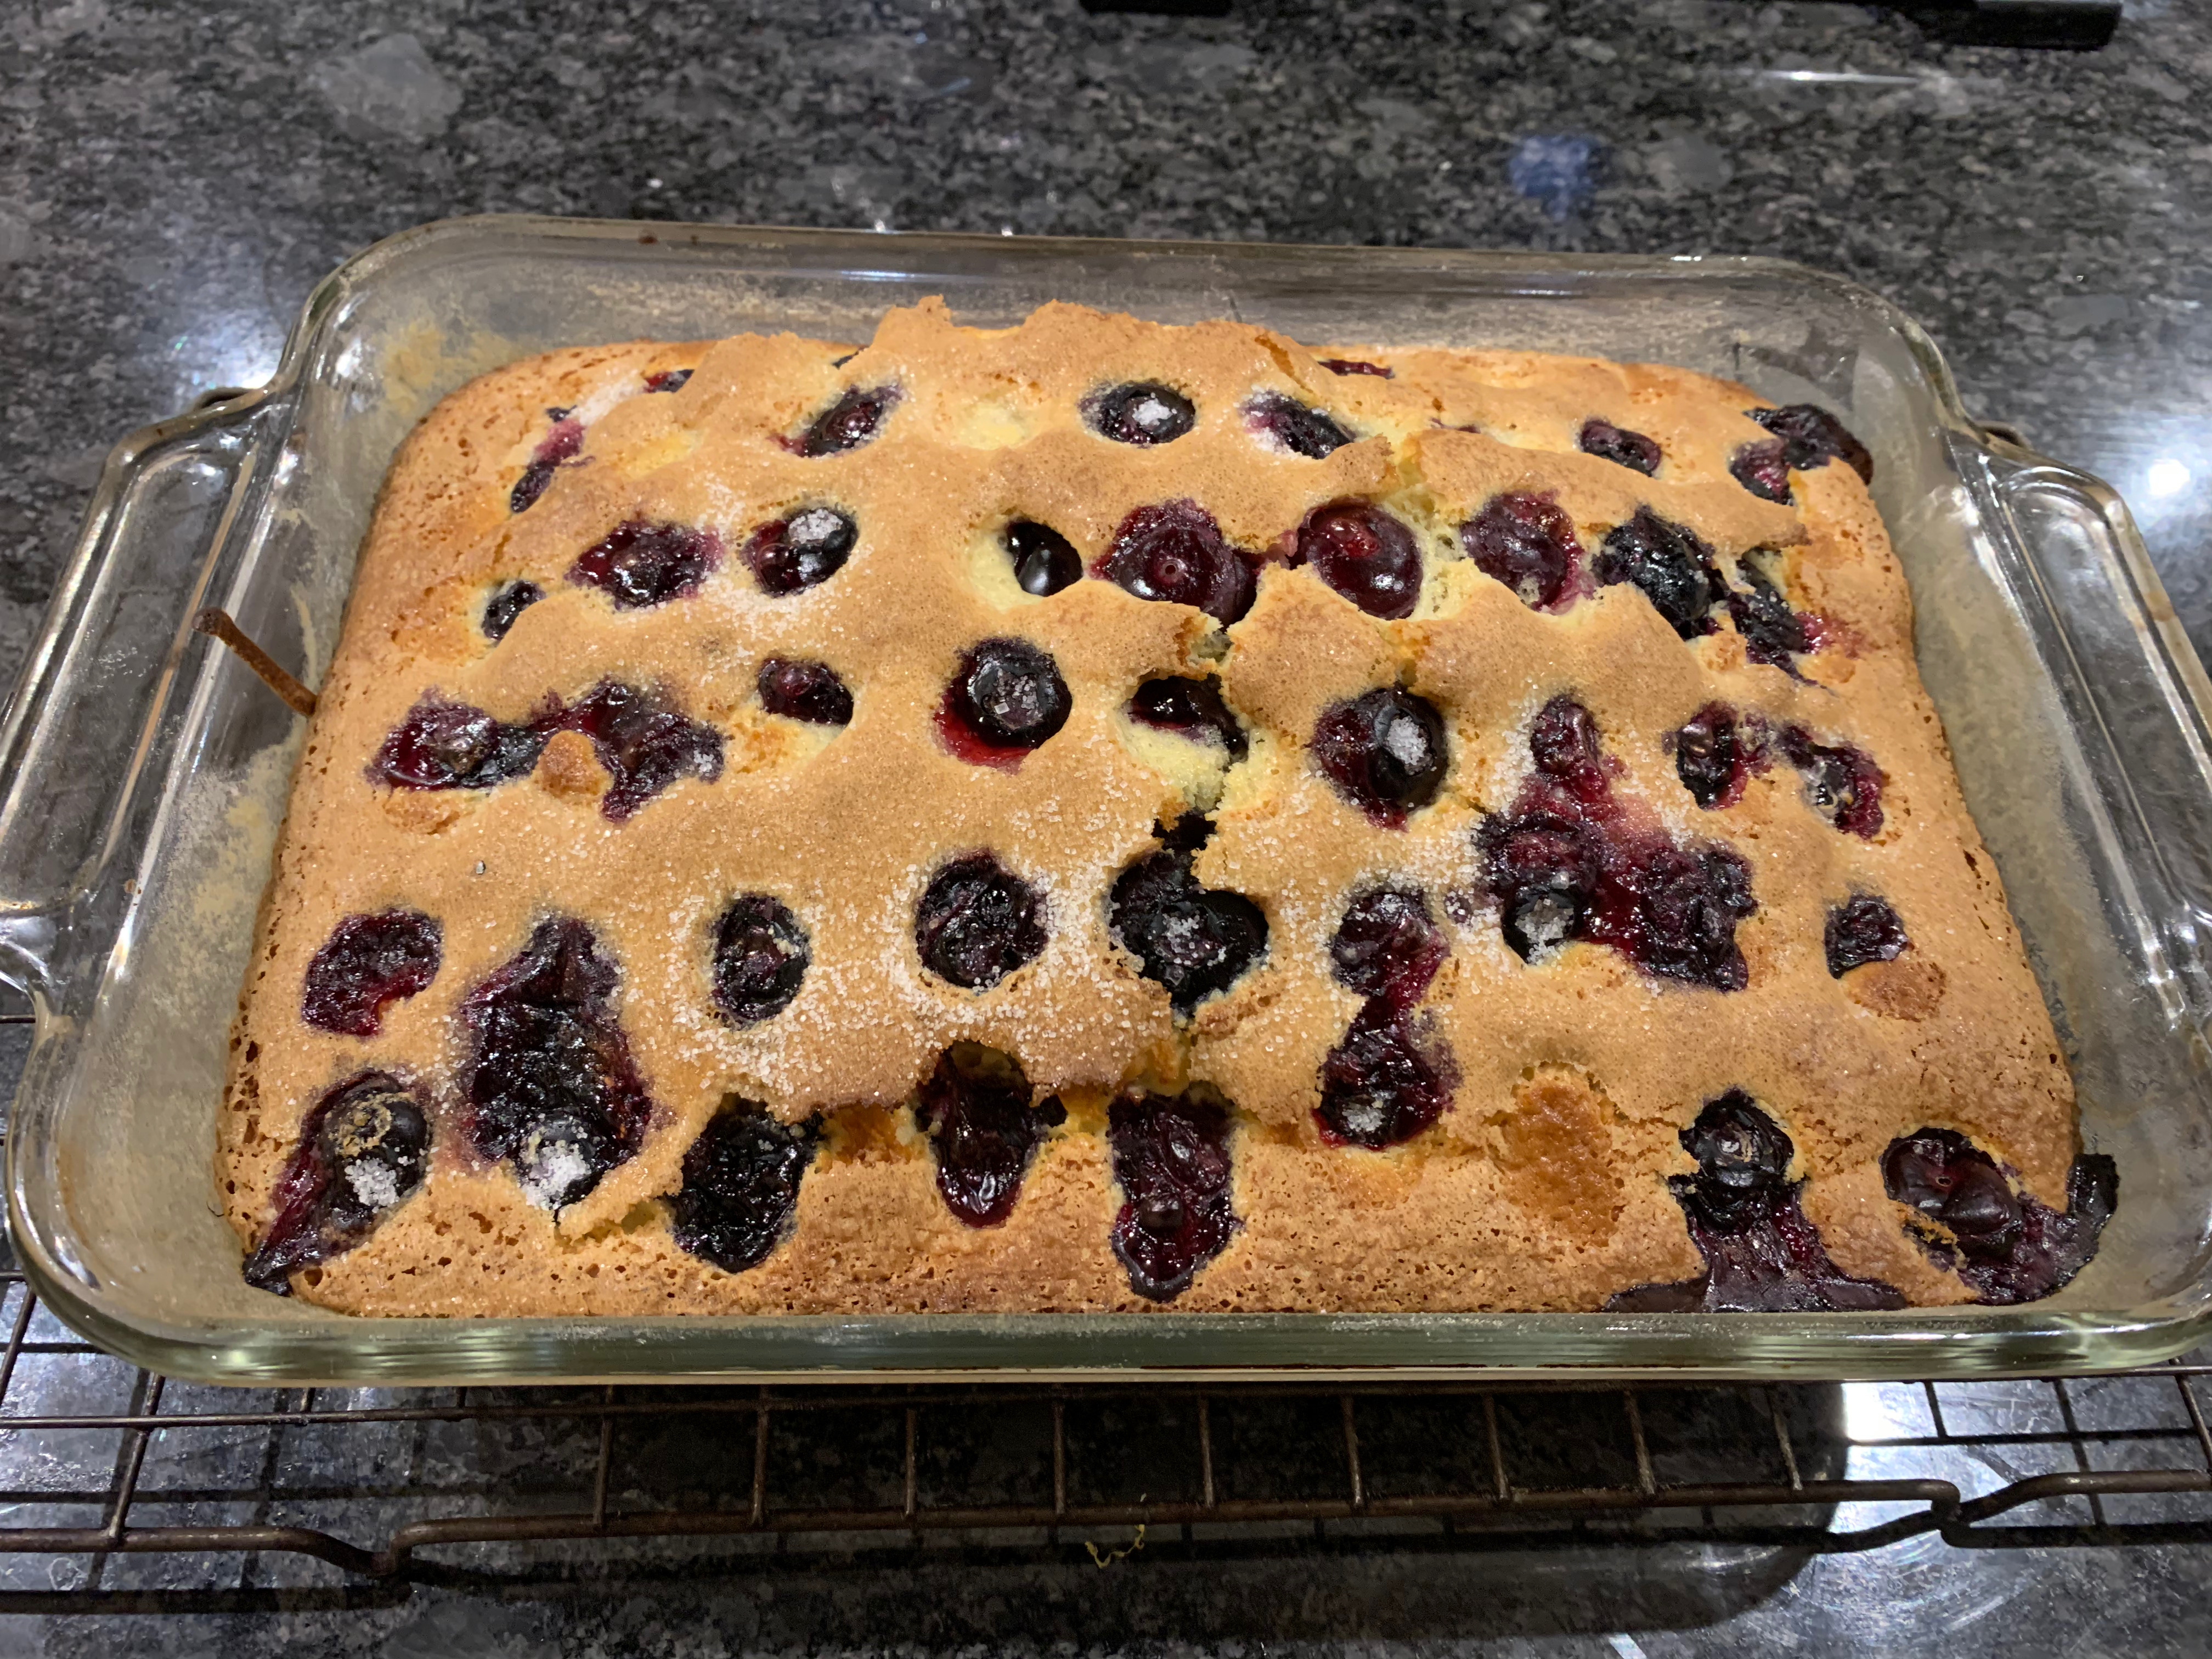
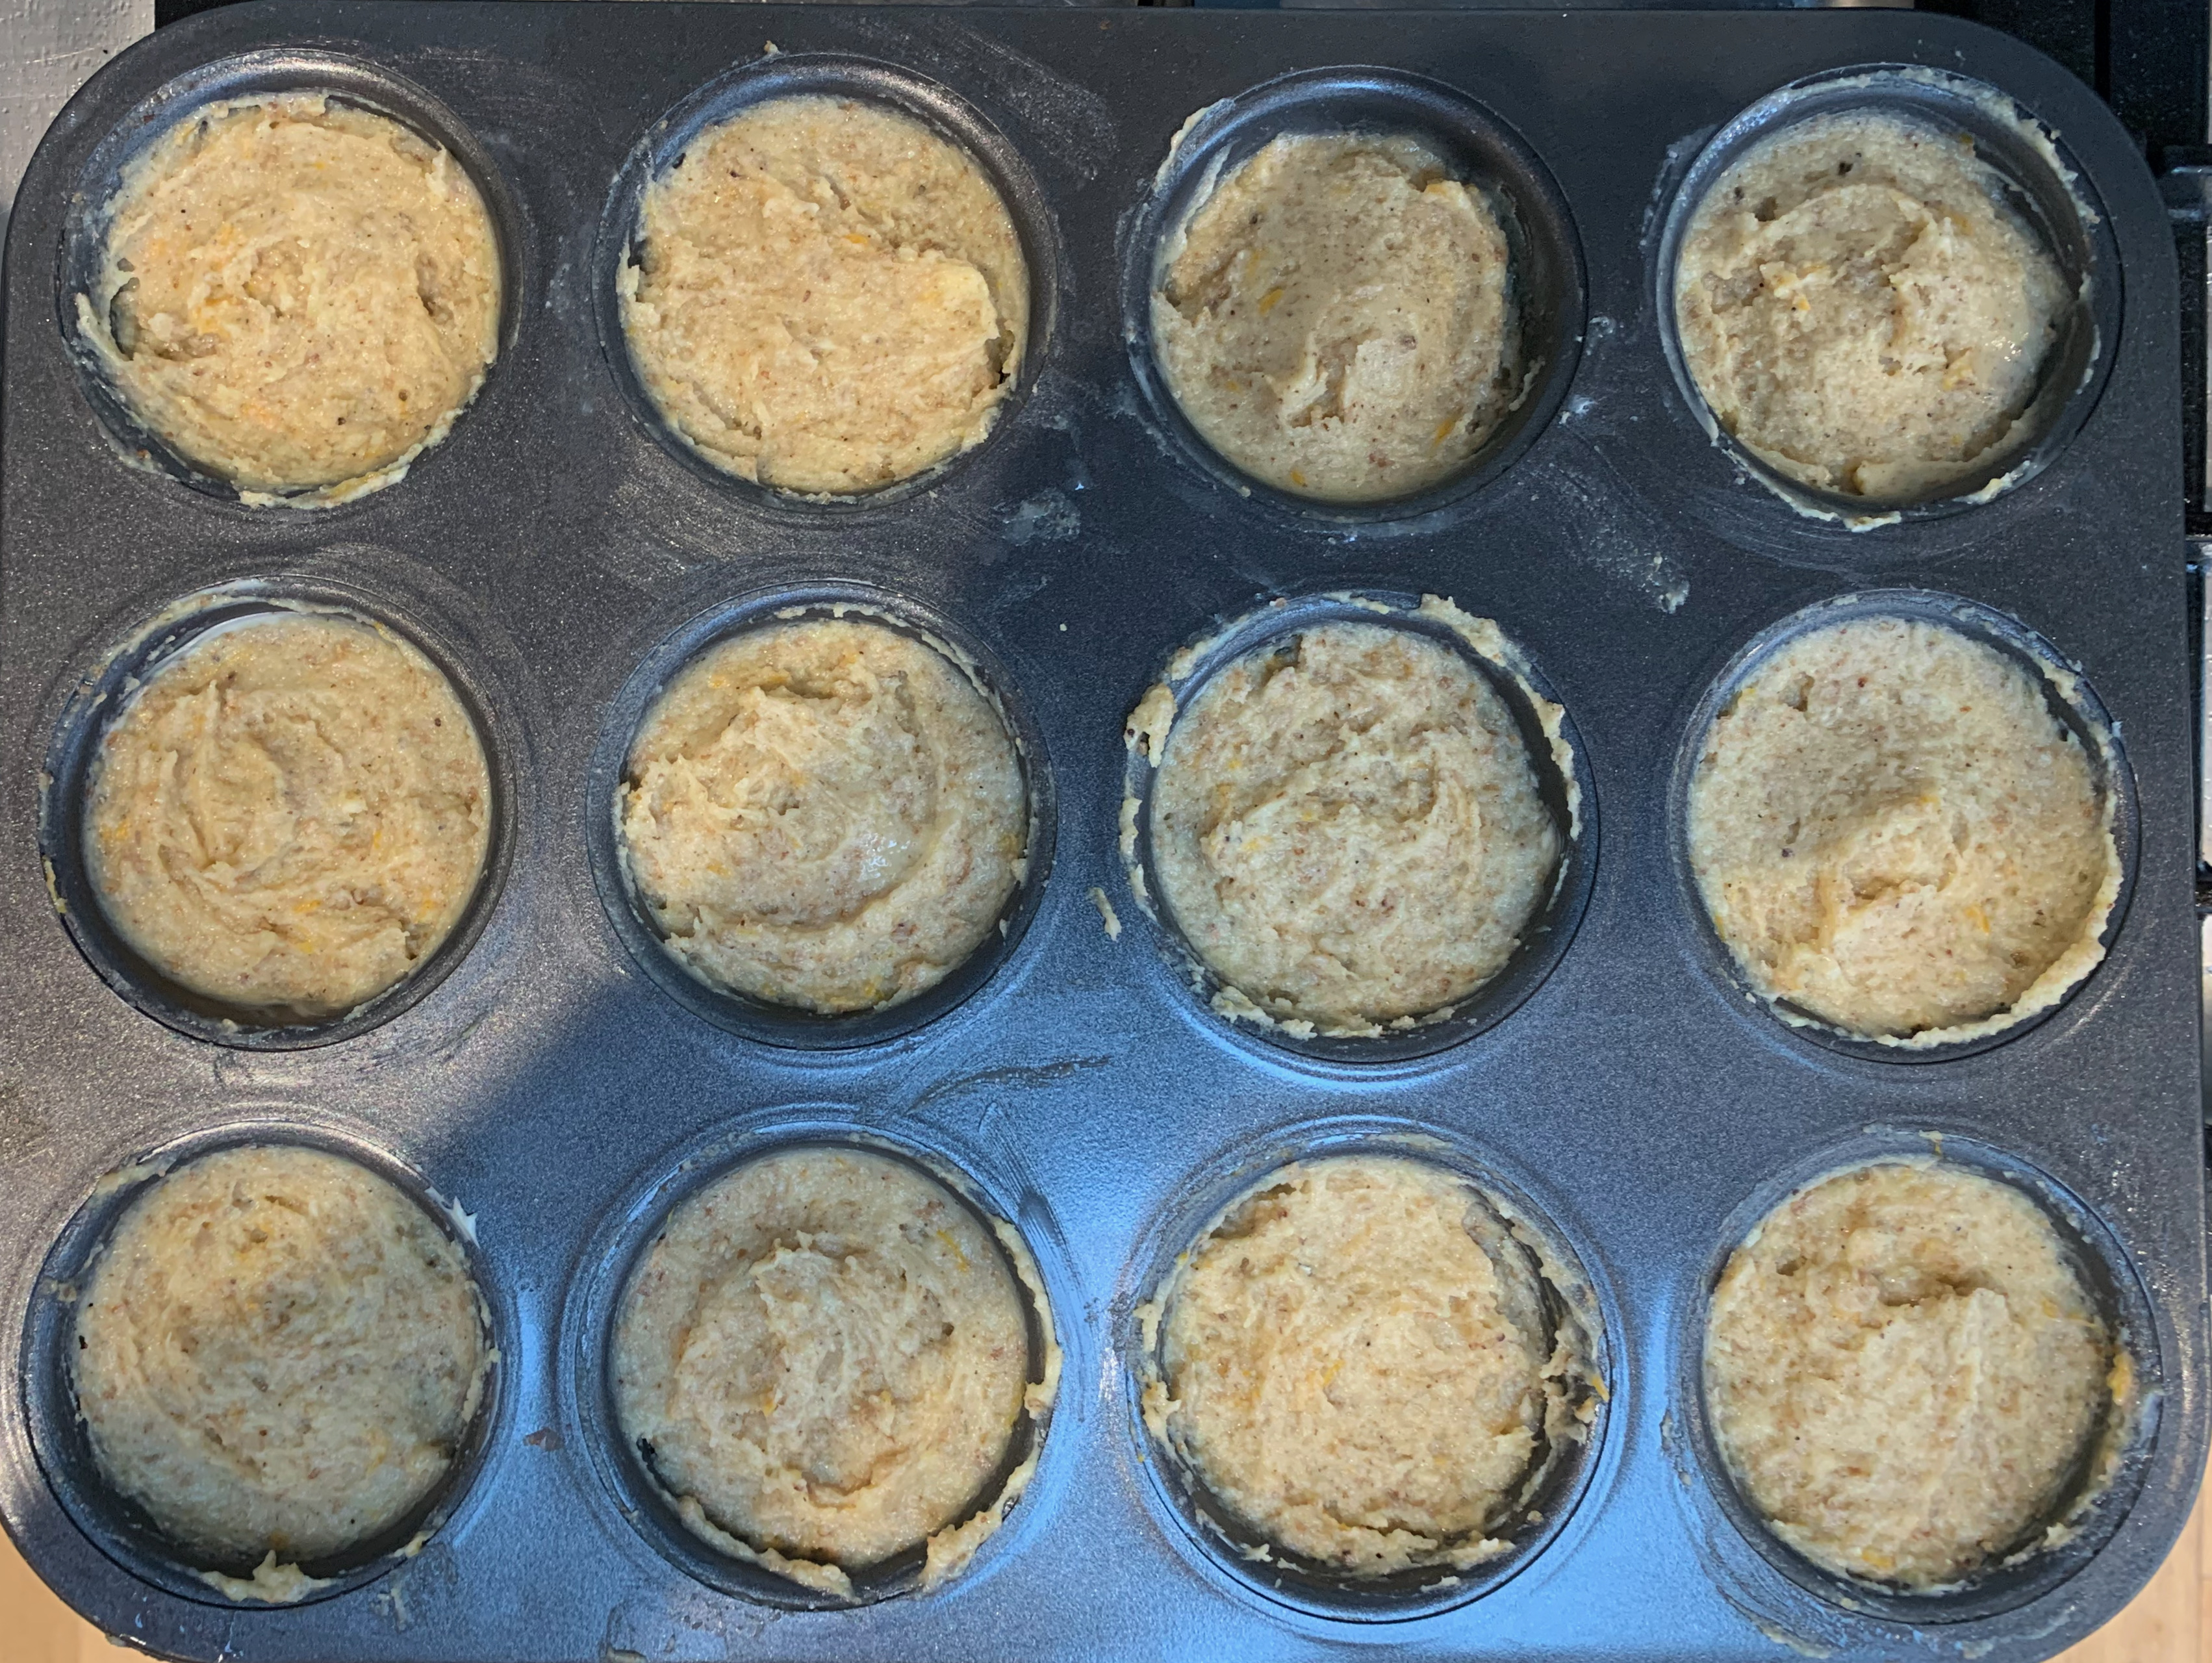
One note on the photos: I don’t have the tall cylindrical moulds that you need to make Runebergintorttu properly, so mine are baked in a standard muffin tin. But they taste the same… If that level of authenticity bothers you, this is the kind of thing that should work.

I started with a recipe from scandikitchen.co.uk and only changed a few things: I couldn’t get hold of Leksands crispbread, but I did find some dark Ryvita which I believe to be pretty similar. I used blackberry jam rather than raspberry. Vanilla essence is easier to find than vanilla sugar in these parts. I didn’t have any amaretto either, so I grated the zest of the orange that made the orange juice and added that. Personally, I think the combination of orange, cardamom and rye turned out to be an absolute winner.

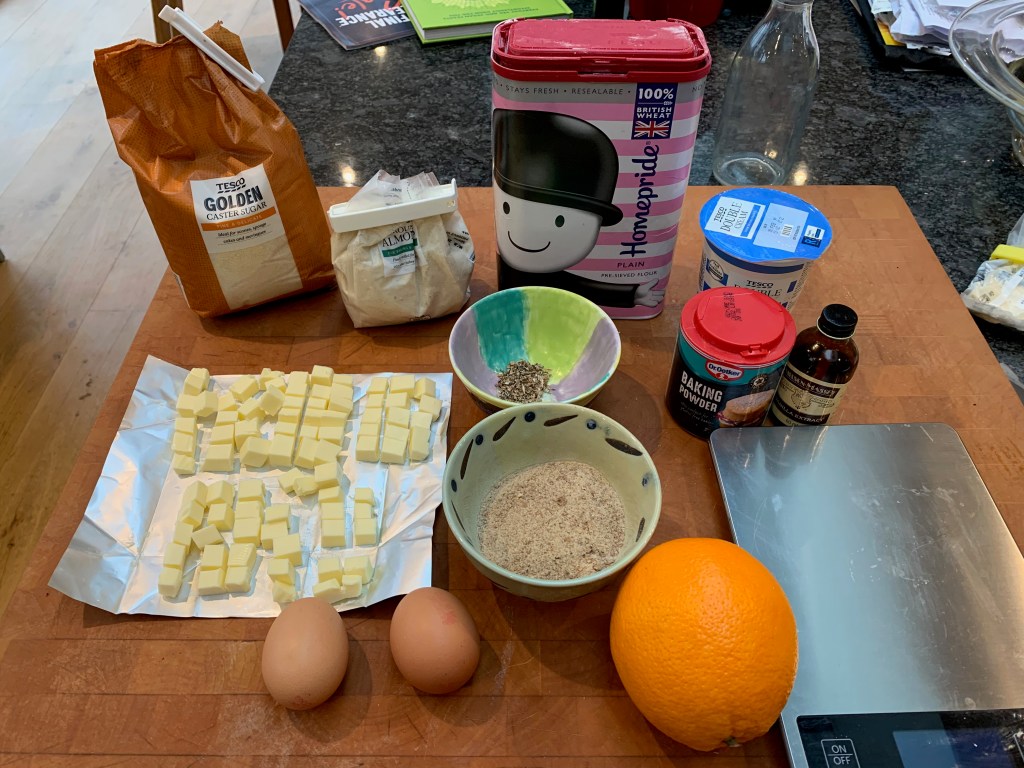
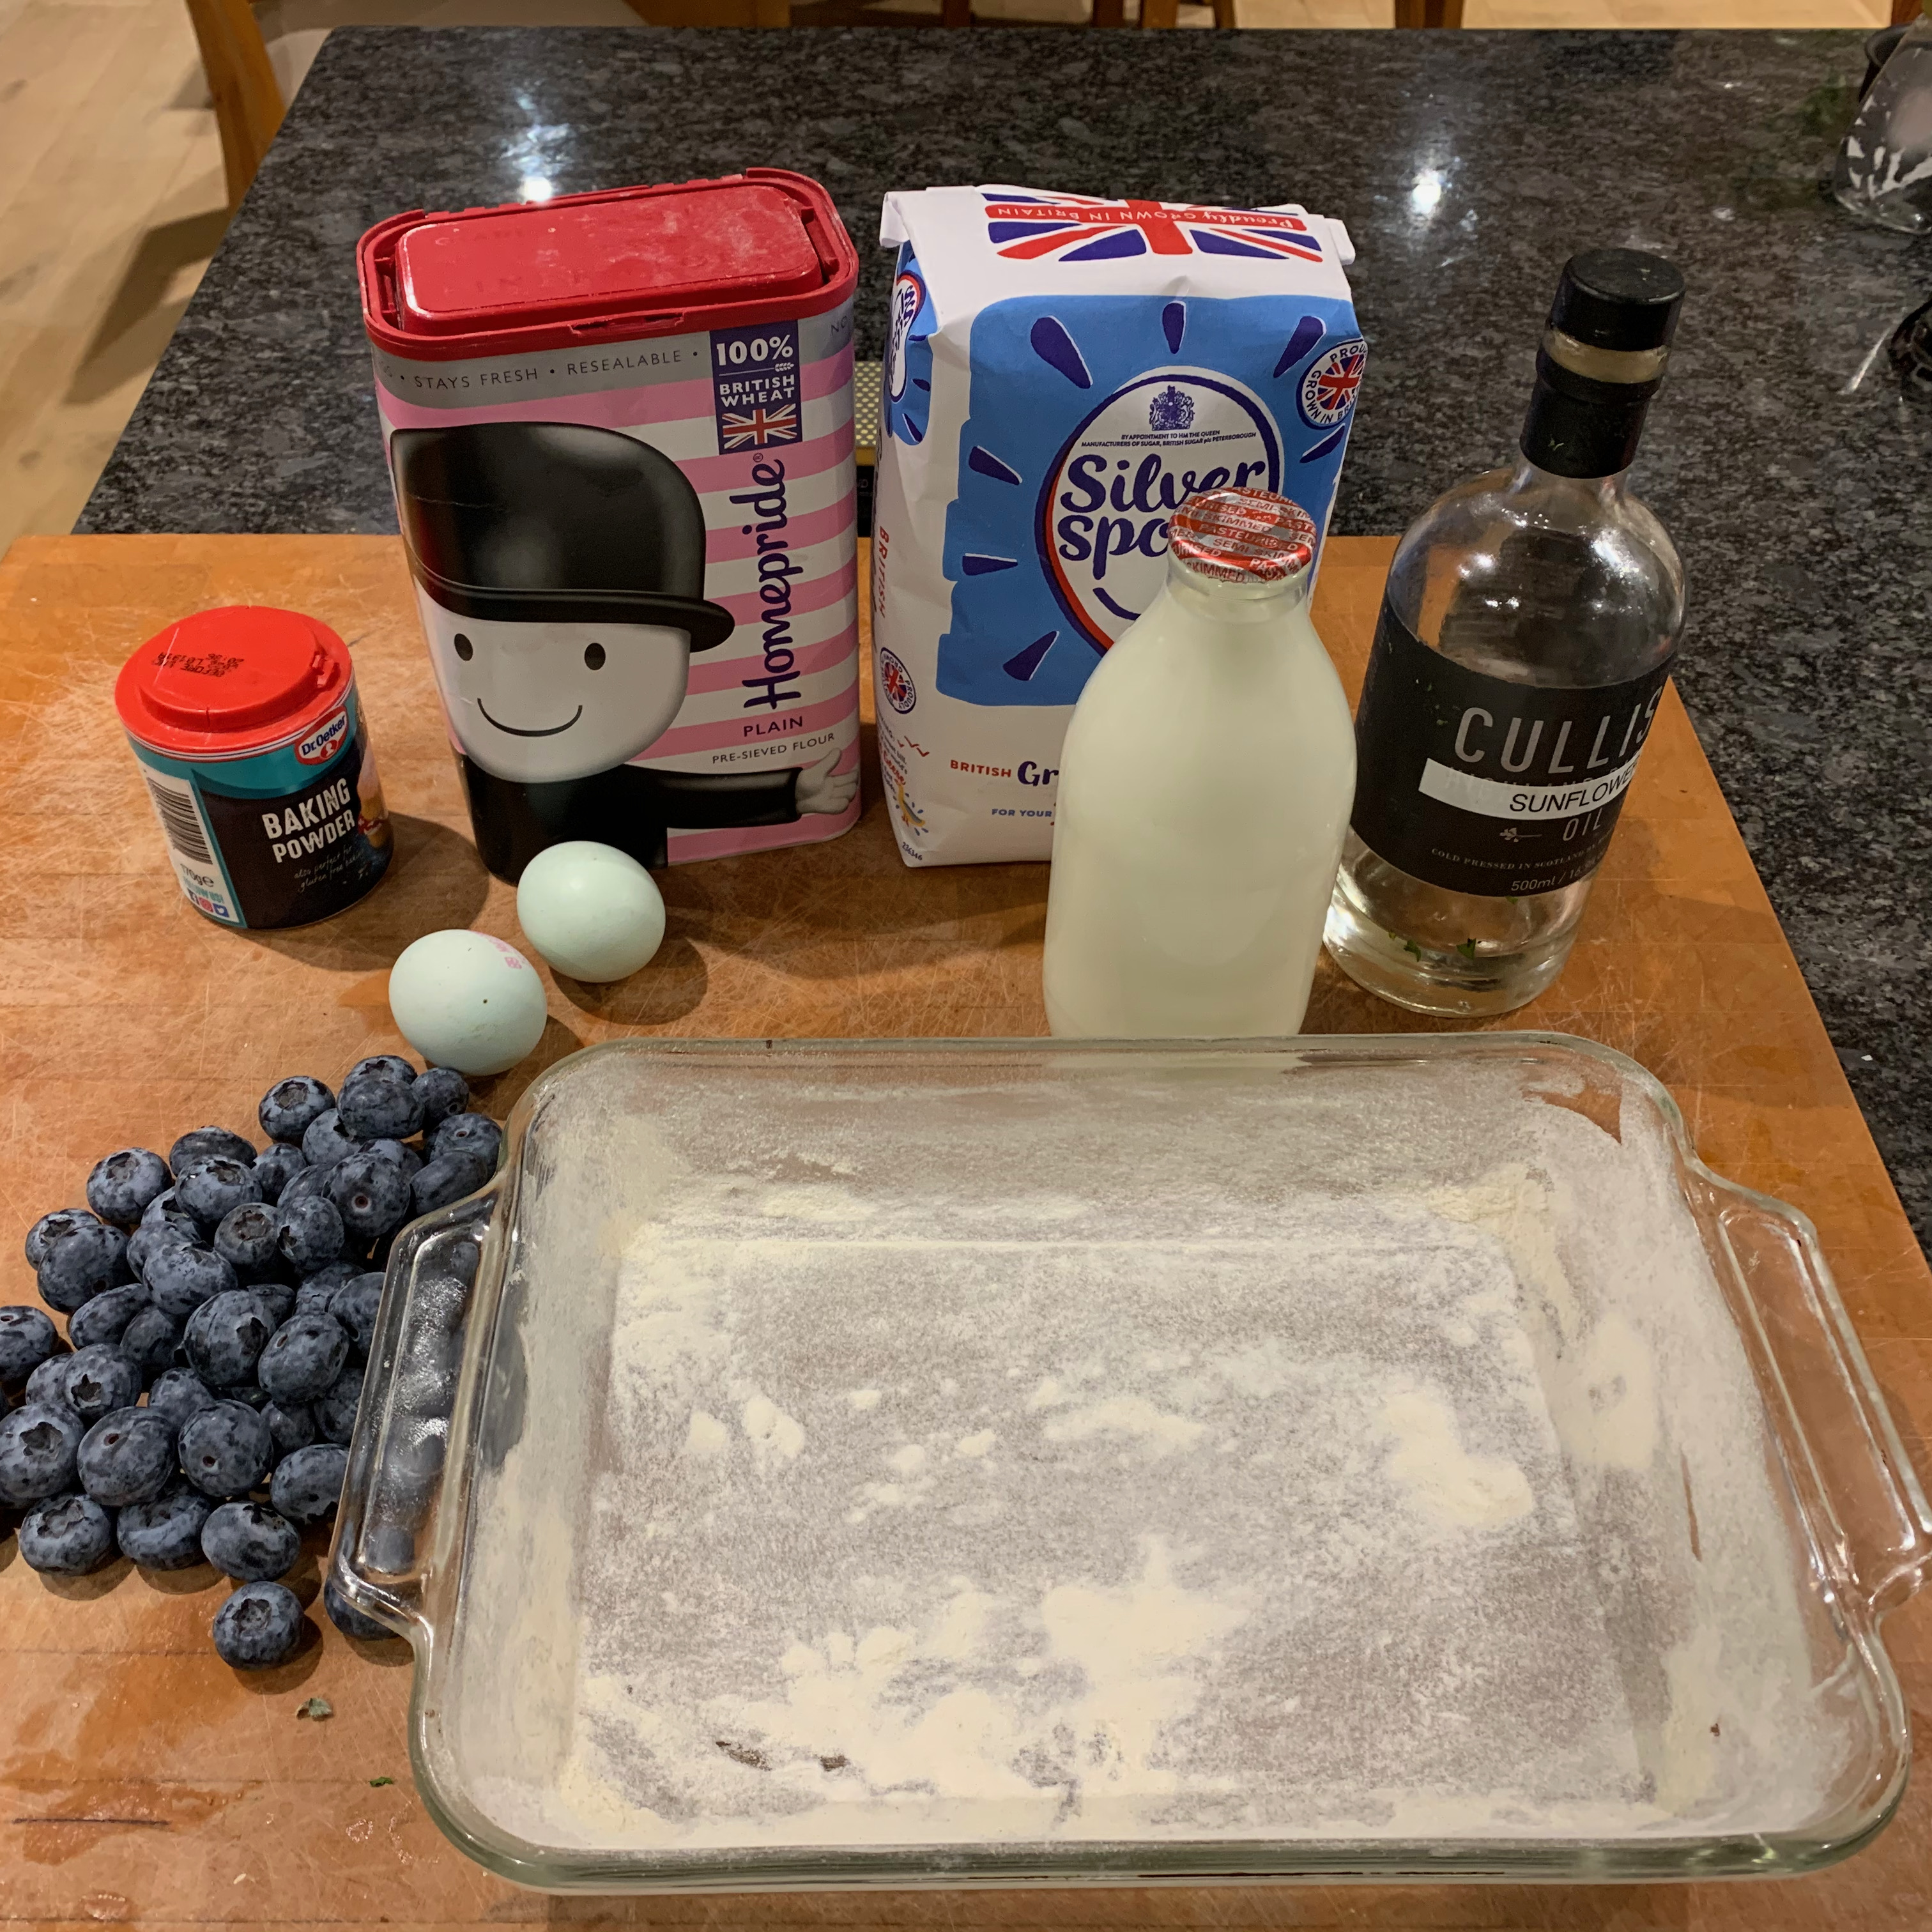
  • 125g butter, plus some for greasing
  • 50g ground almonds
  • 100g plain flour
  • 6g (1 tsp) baking powder
  • 2g salt
  • 50g crispbread (Leksands, Ryvita or whatever), or just use breadcrumbs
  • 80g caster sugar
  • 1 whole egg plus 1 egg yolk
  • 100ml cream
  • 50ml orange juice, plus zest of the orange
  • Vanilla essence to taste
  • 80g icing sugar
  • Raspberry jam (or, in my case, blackberry jelly) to finish
  1. Preheat oven to 180℃ fan.
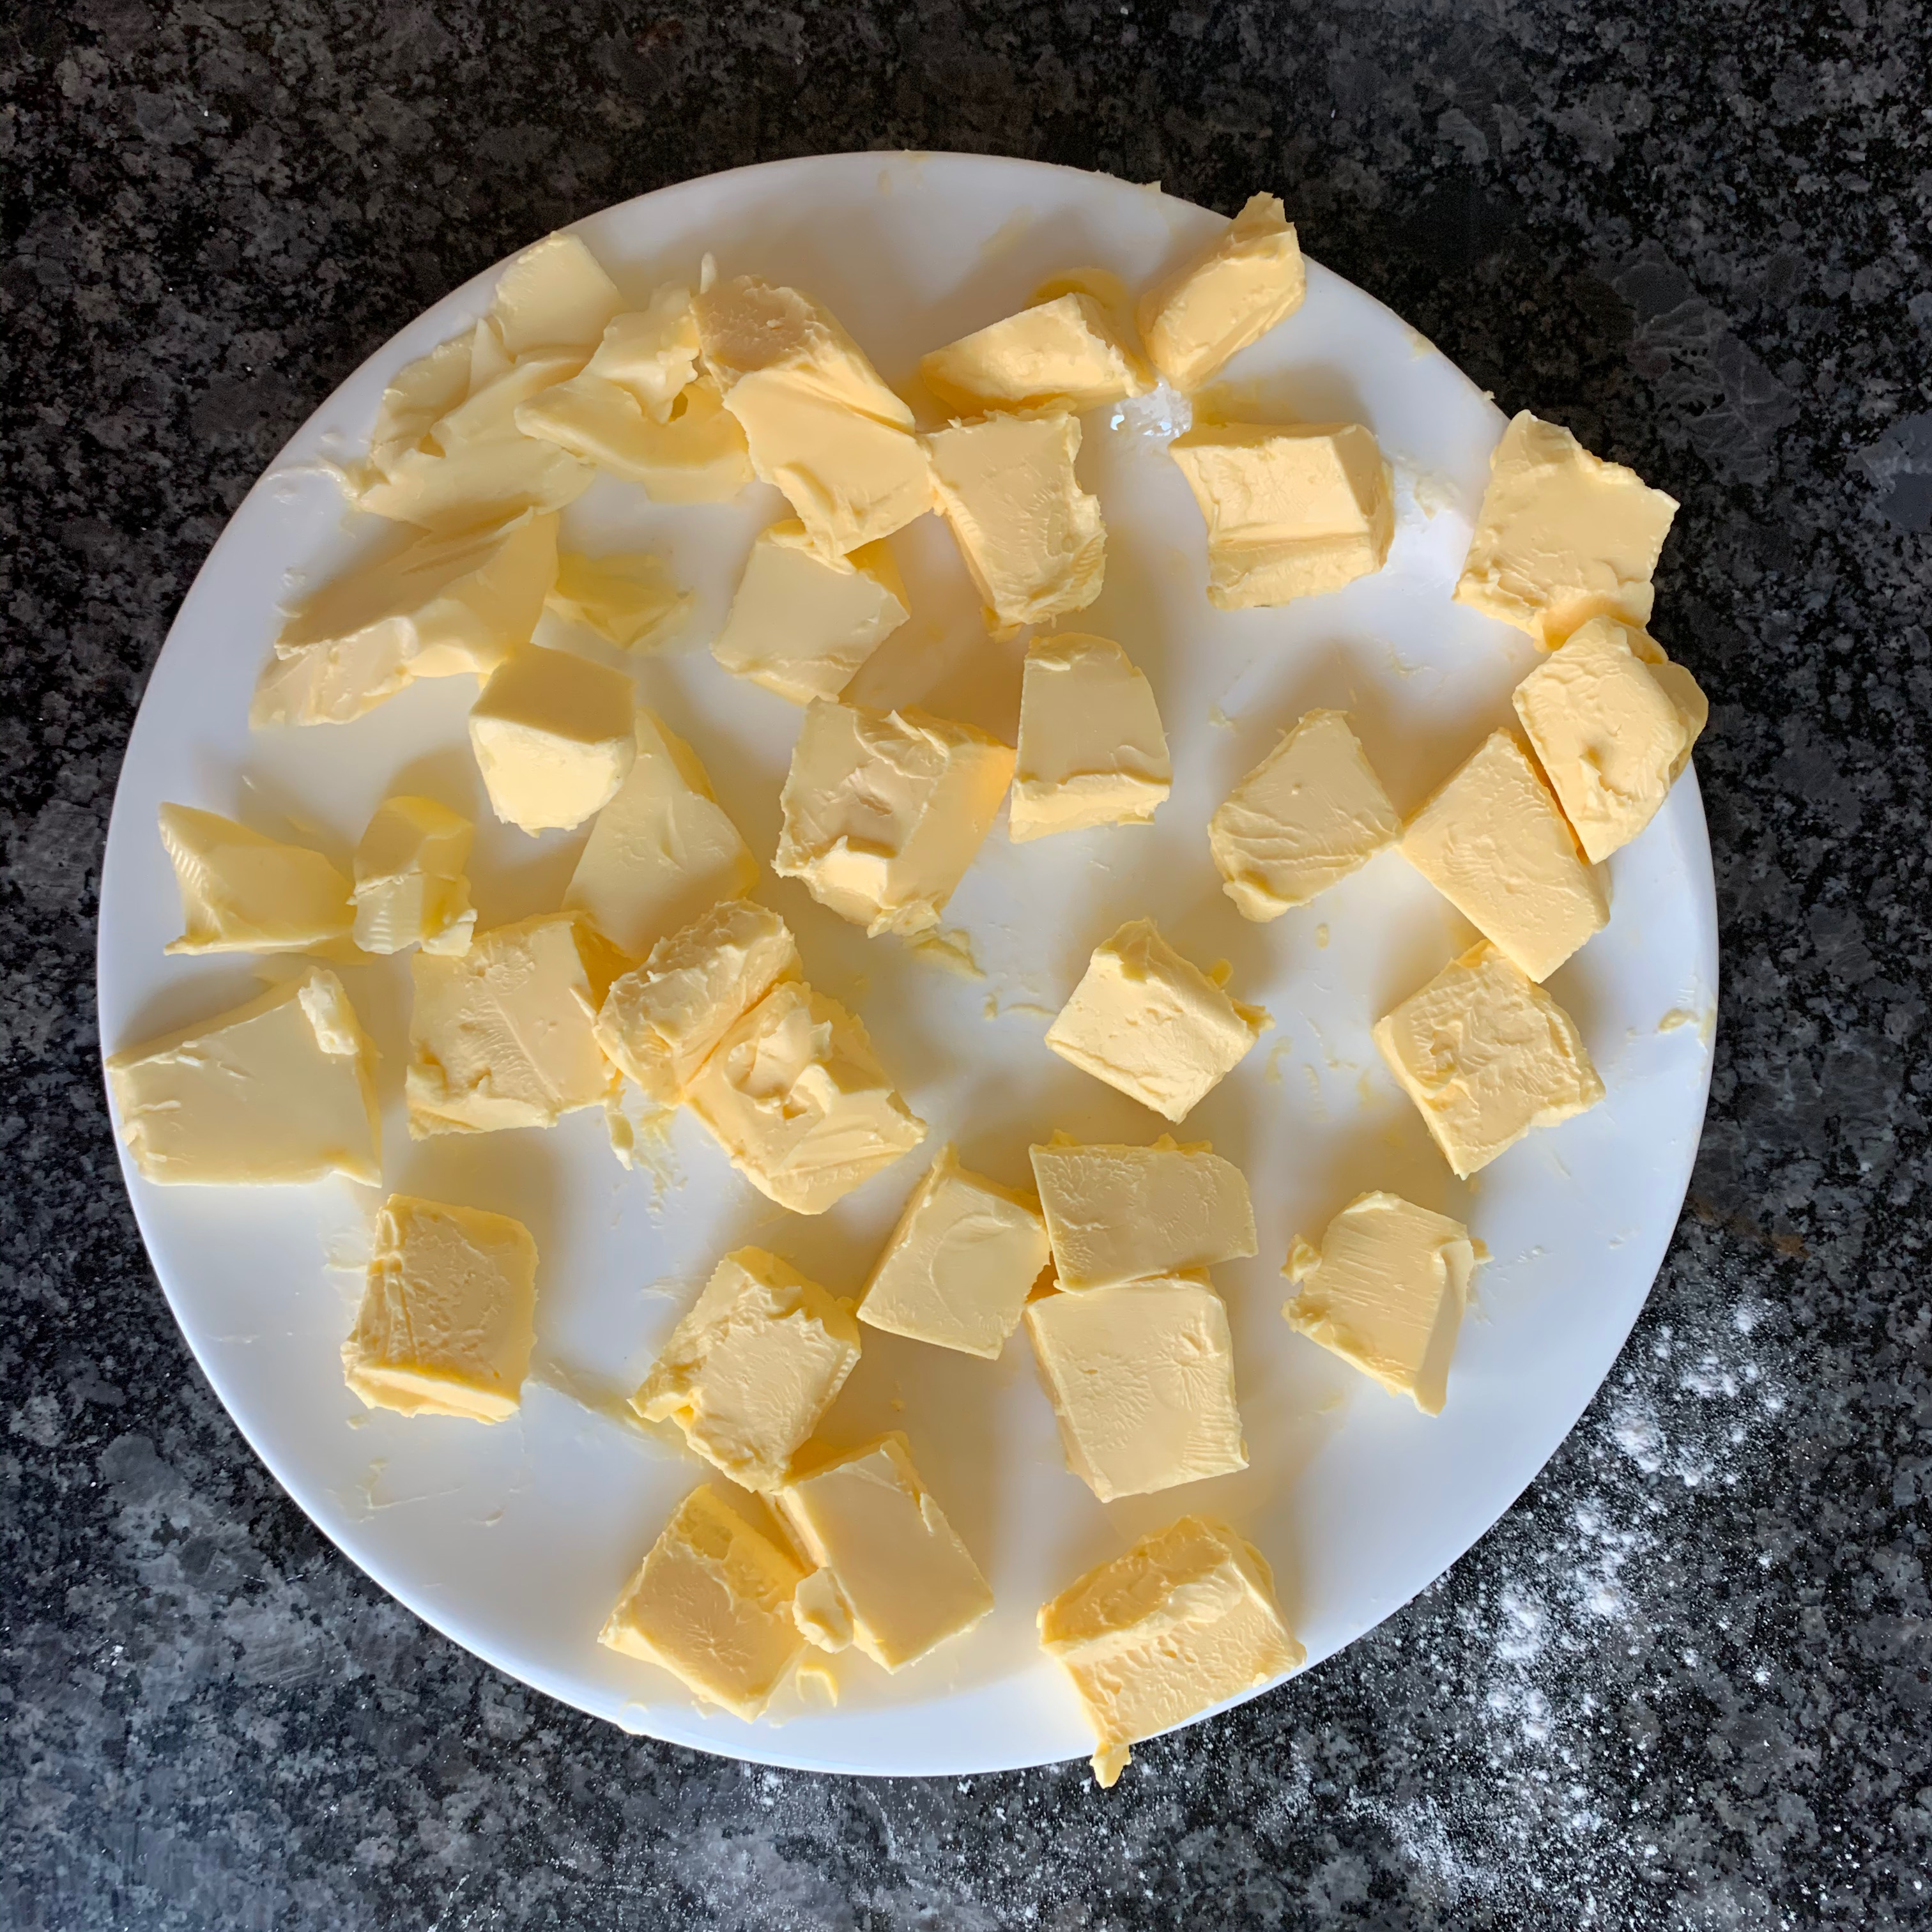
  2. If your butter isn’t soft, cut it into small cubes and leave to soften.
  3. Grease your muffin tin (or other cake mould) with some more butter.
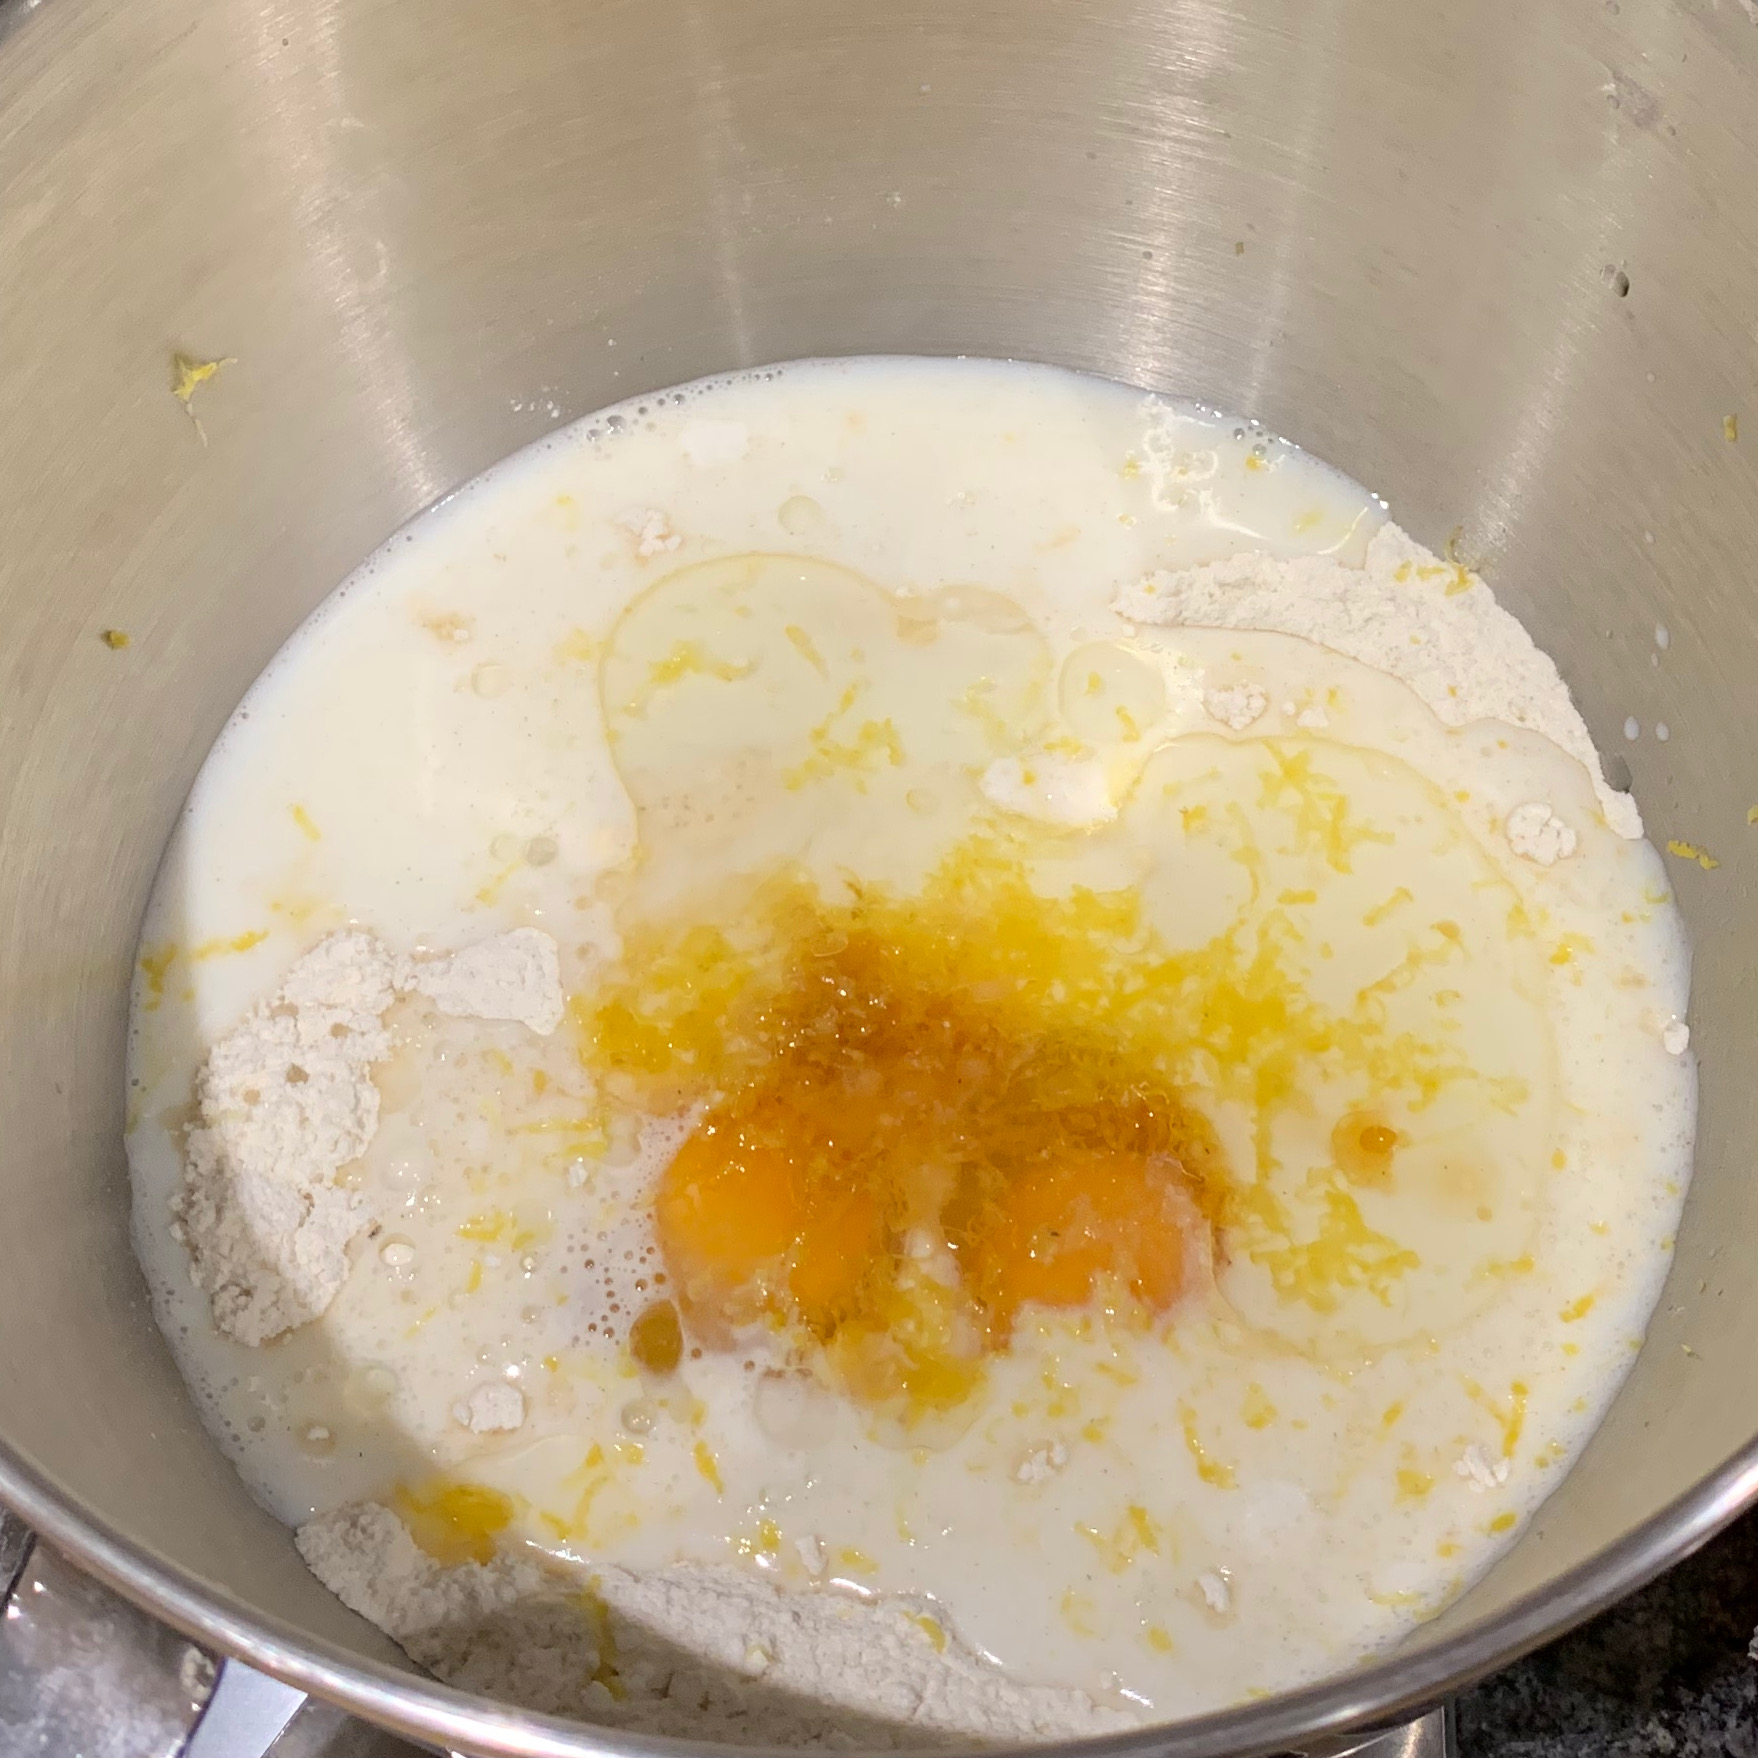
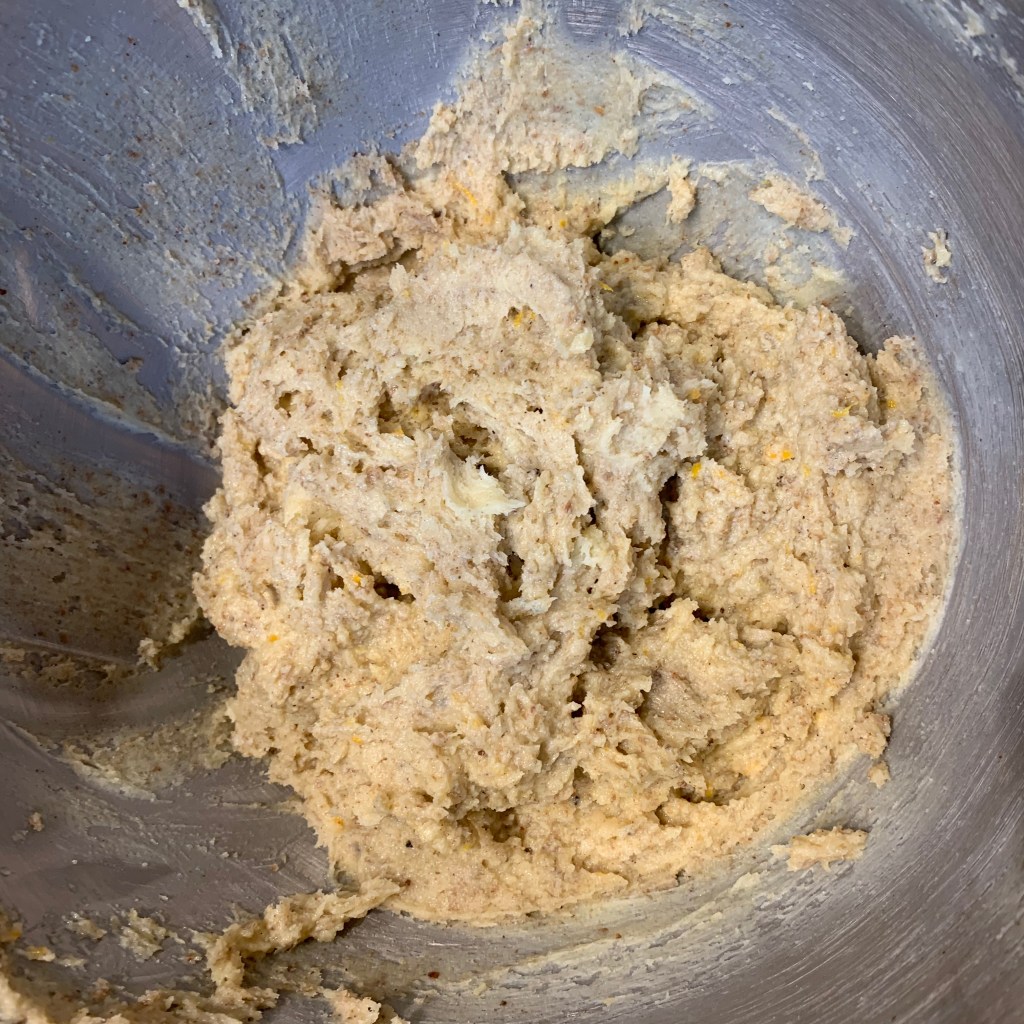
  4. Mix your flour, baking powder, ground almonds and salt.
  5. Grind your crispbread into breadcrumbs
  6. Cream the butter and sugar together
  7. Add the eggs and mix
  8. Add the flour mixture and combine
  9. Add the breadcrumbs and cream and combine
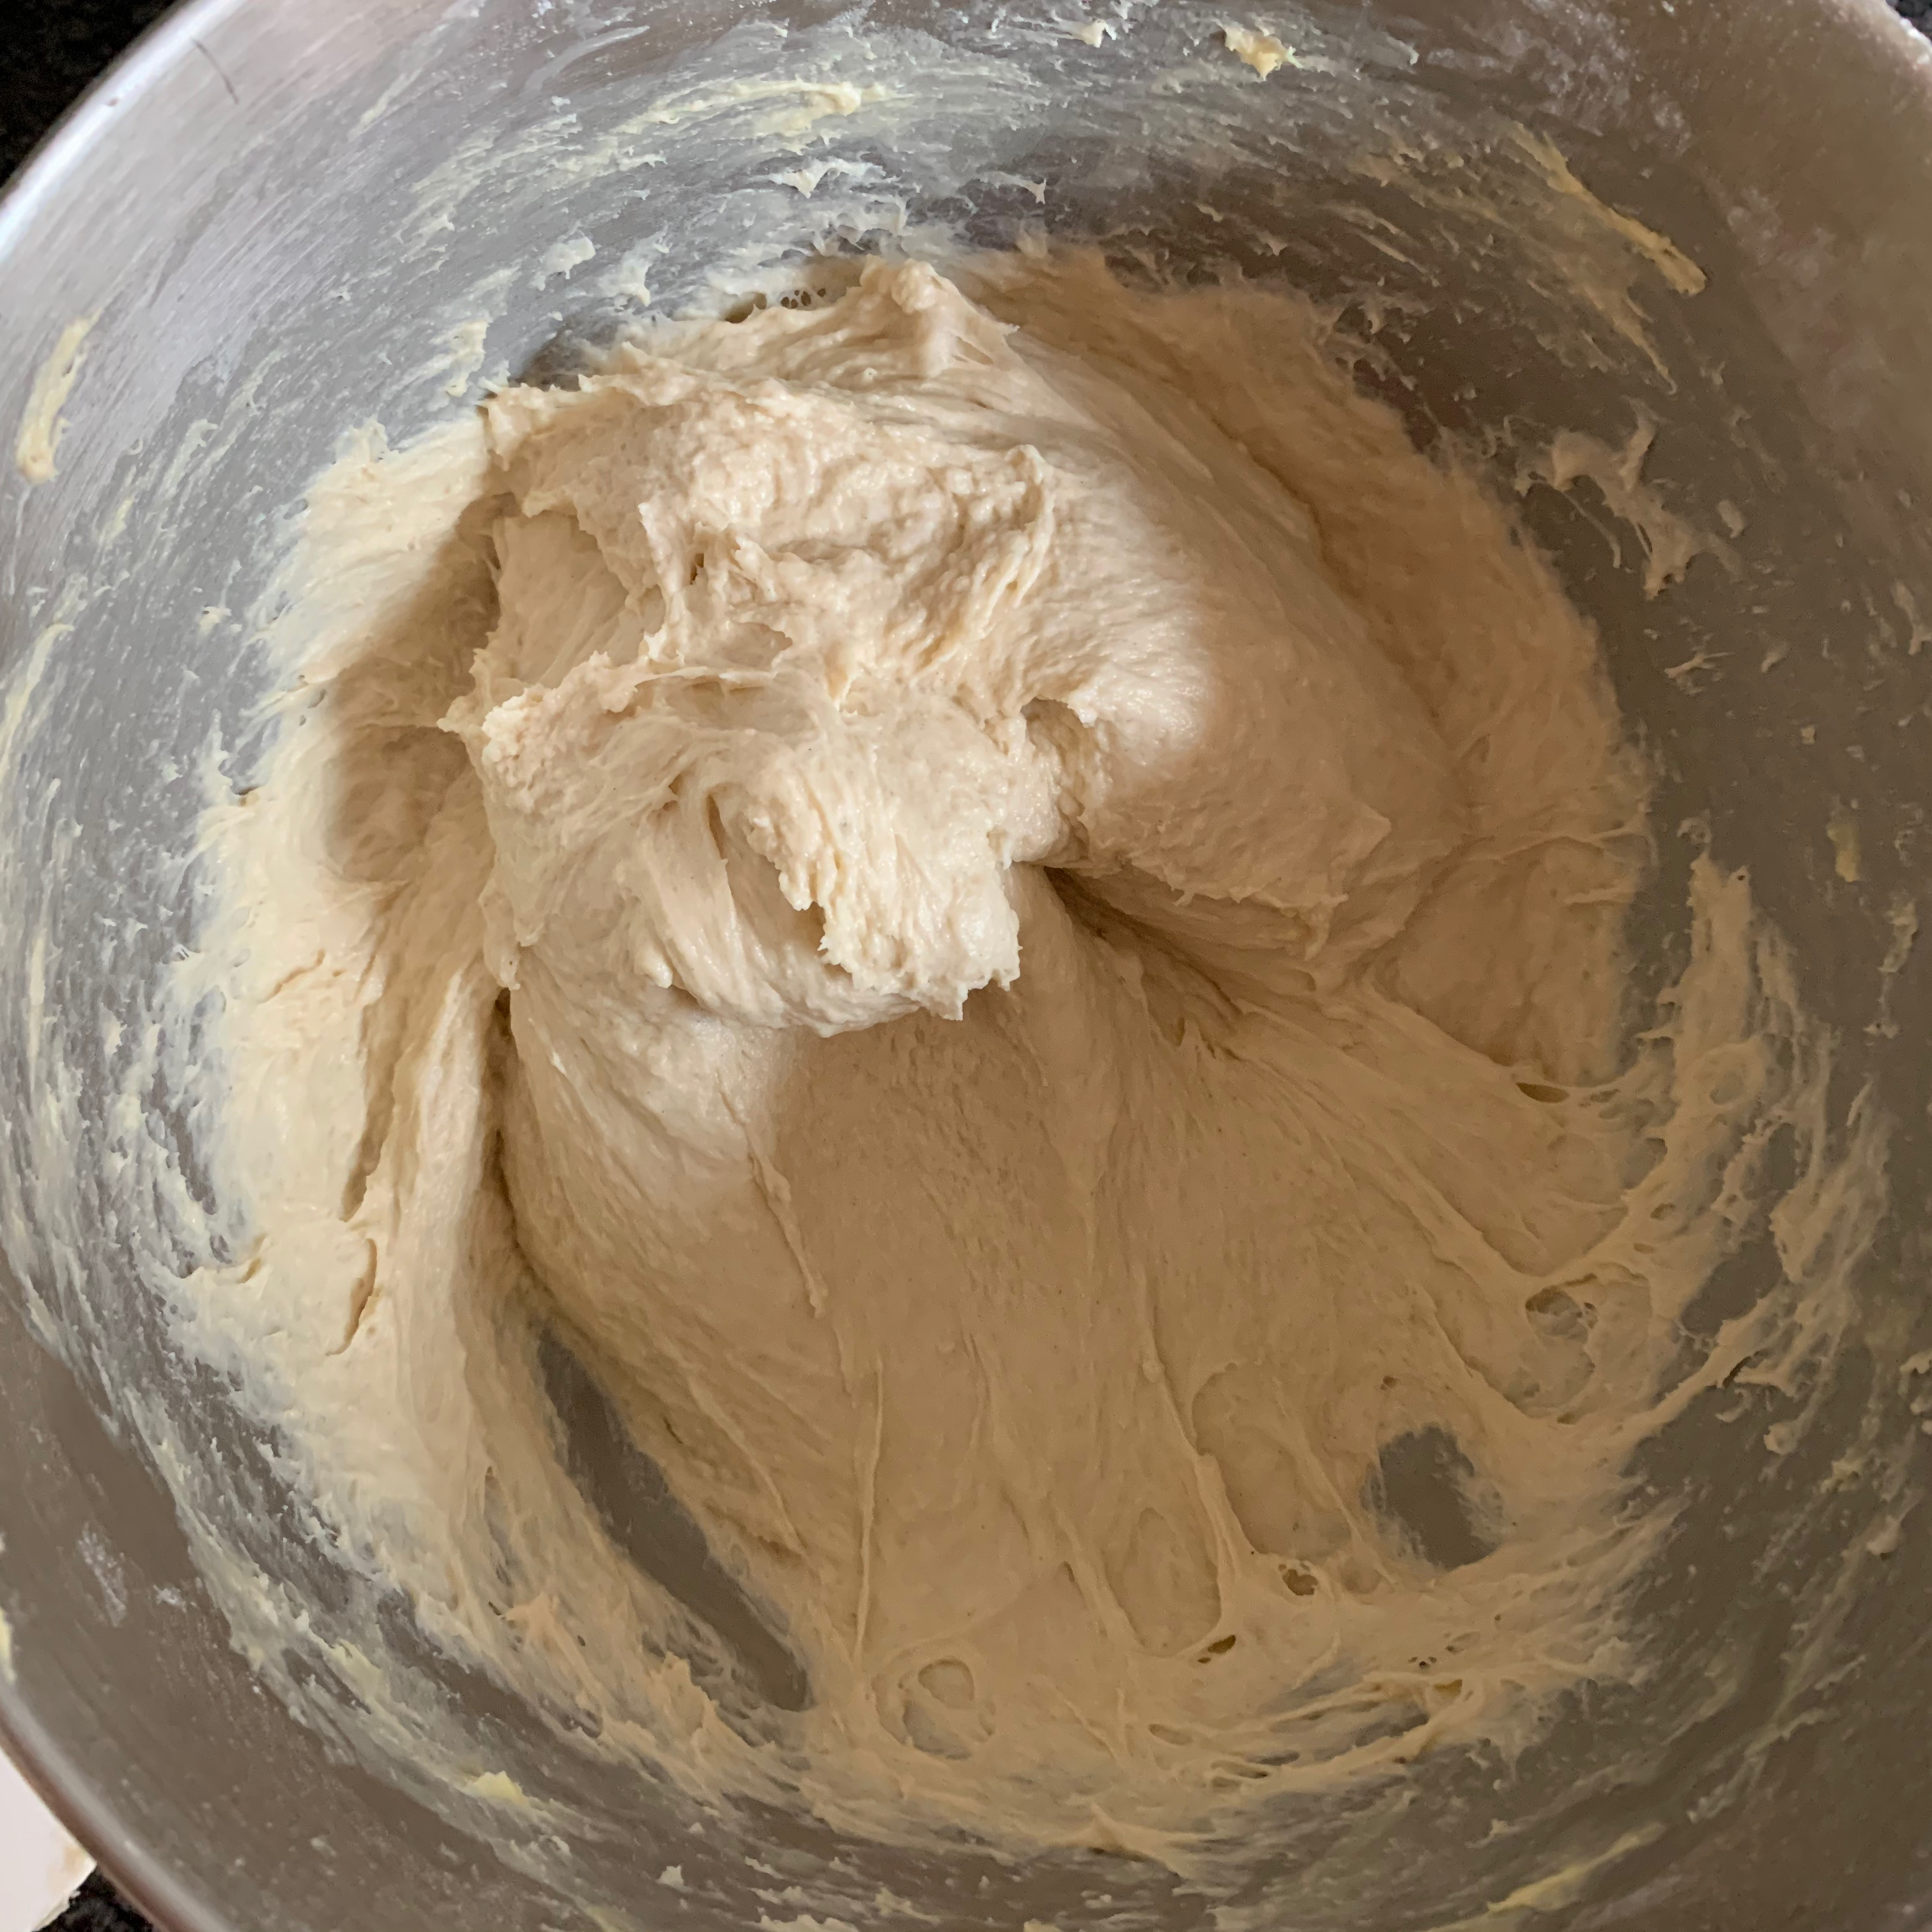
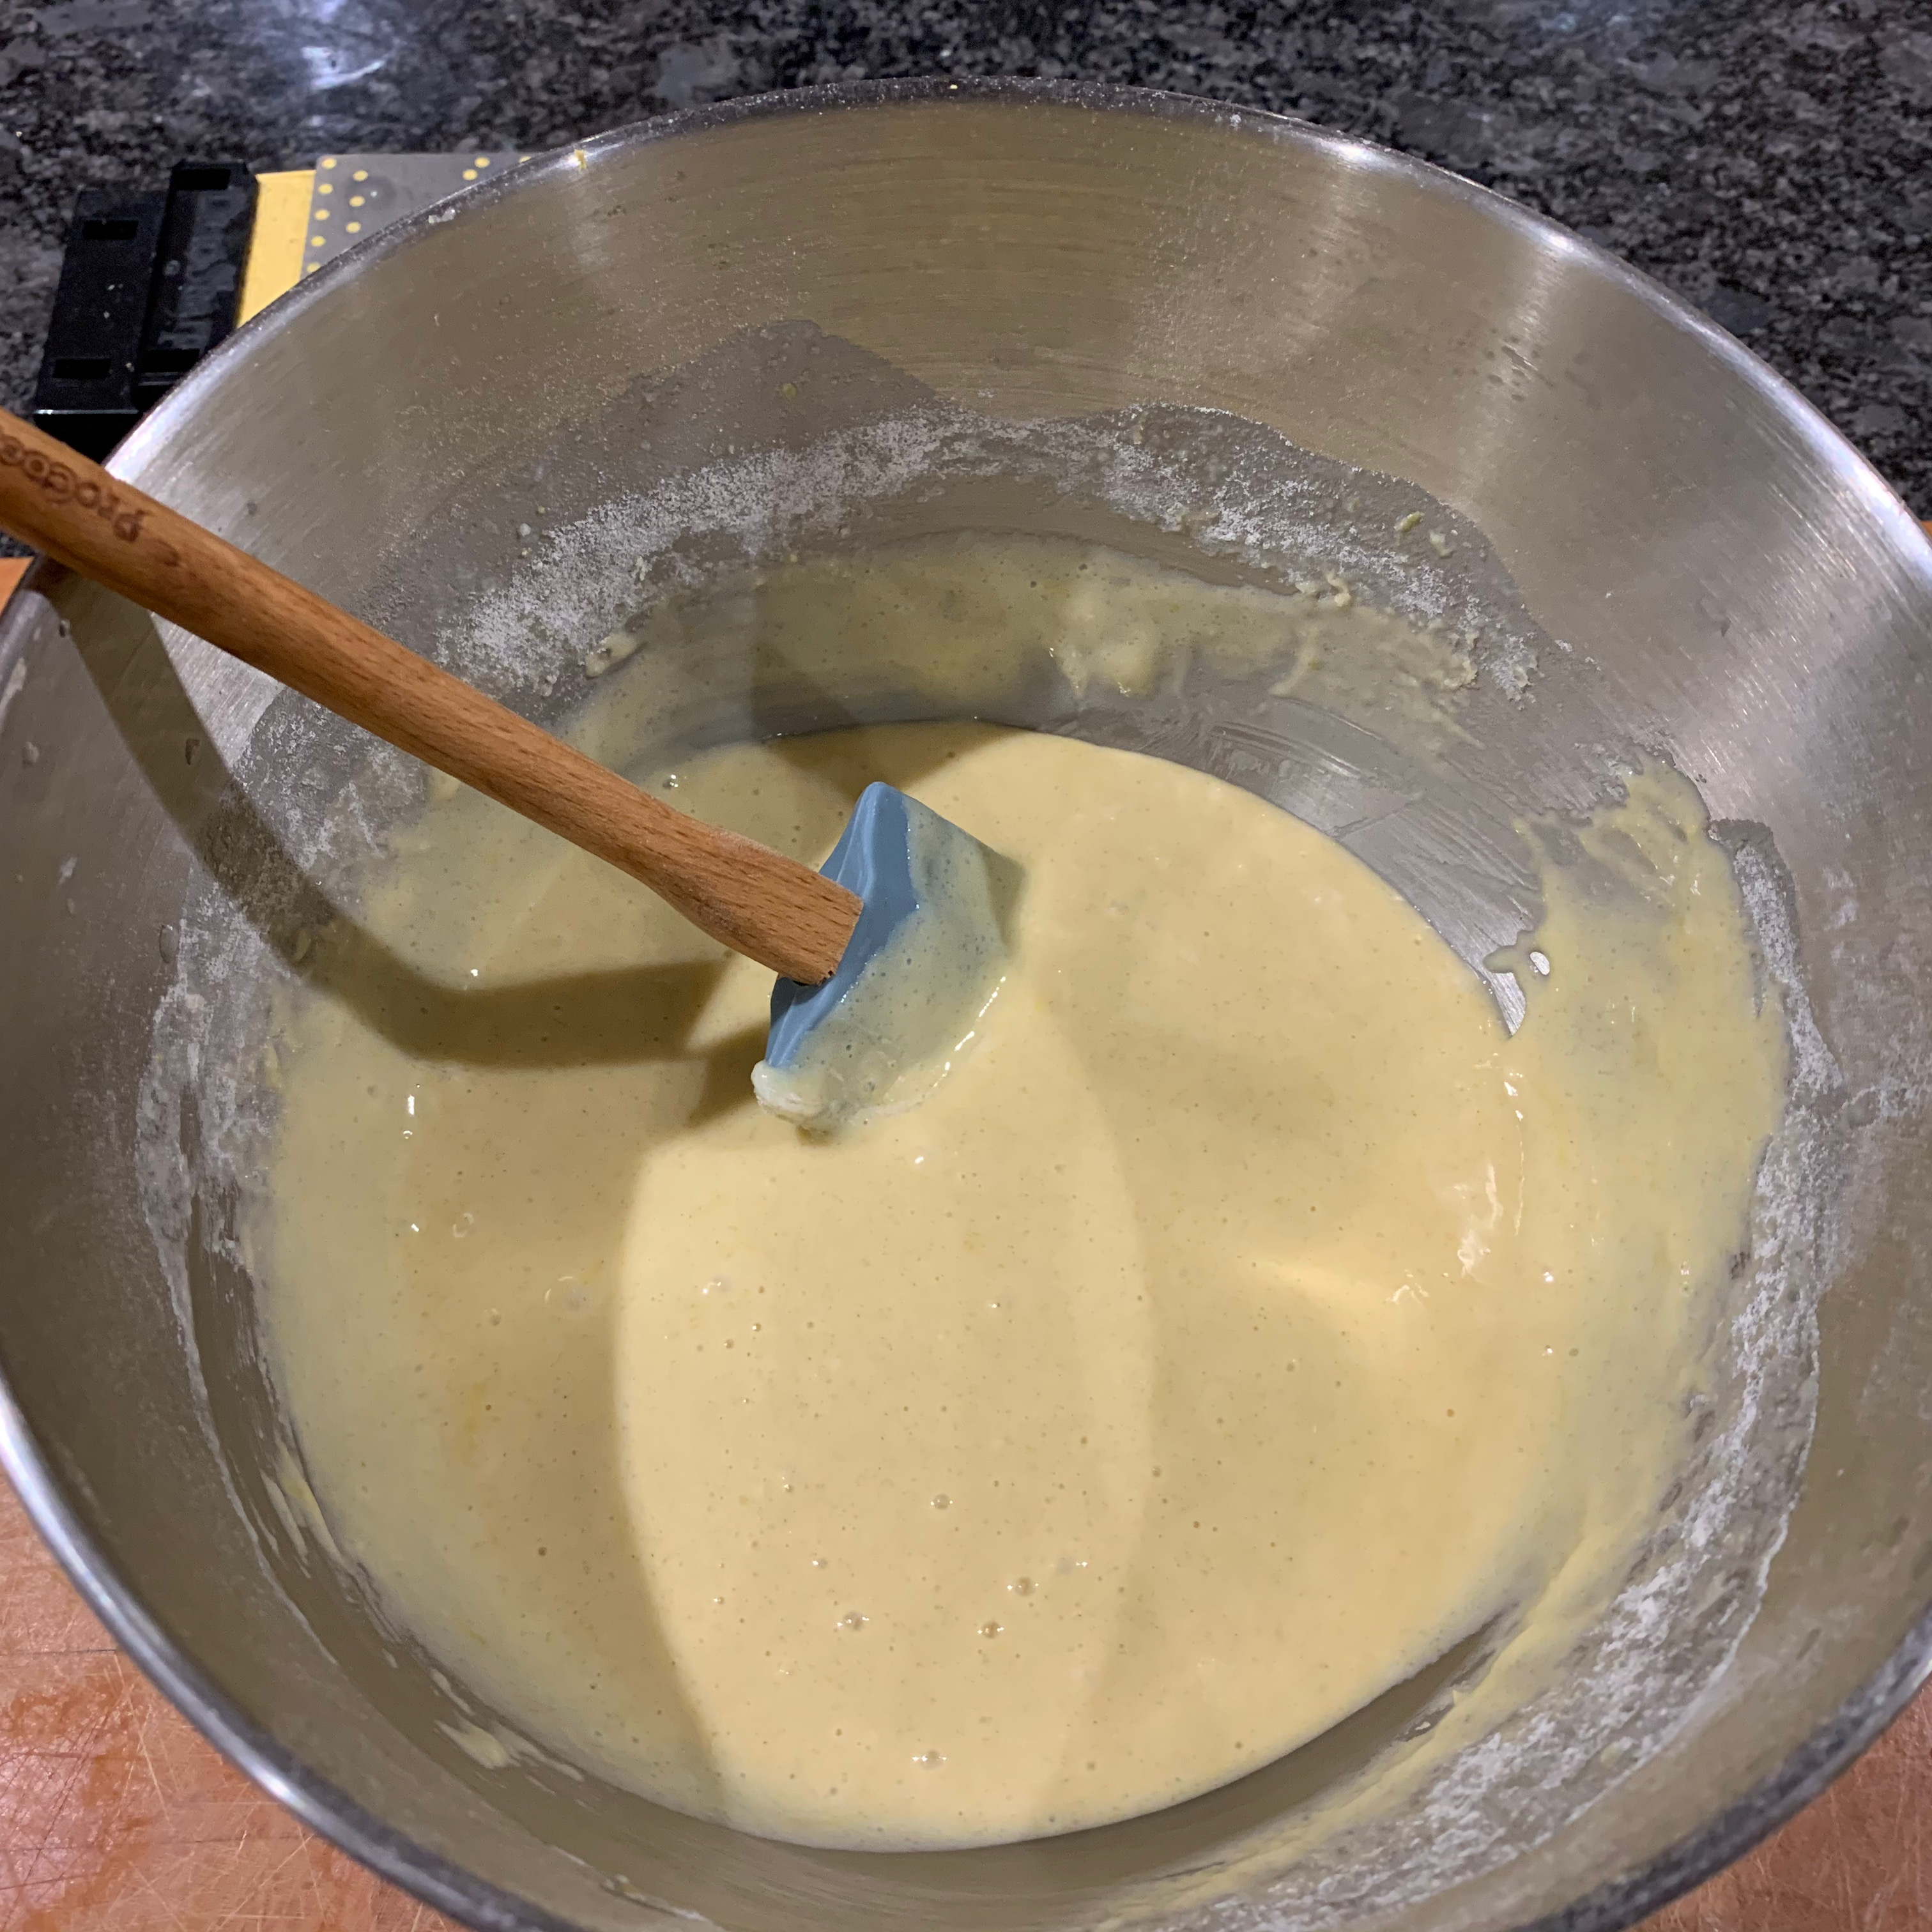
  10. Add the orange juice, zest and vanilla essence and mix thoroughly. You should now have a fairly thick, sticky batter.
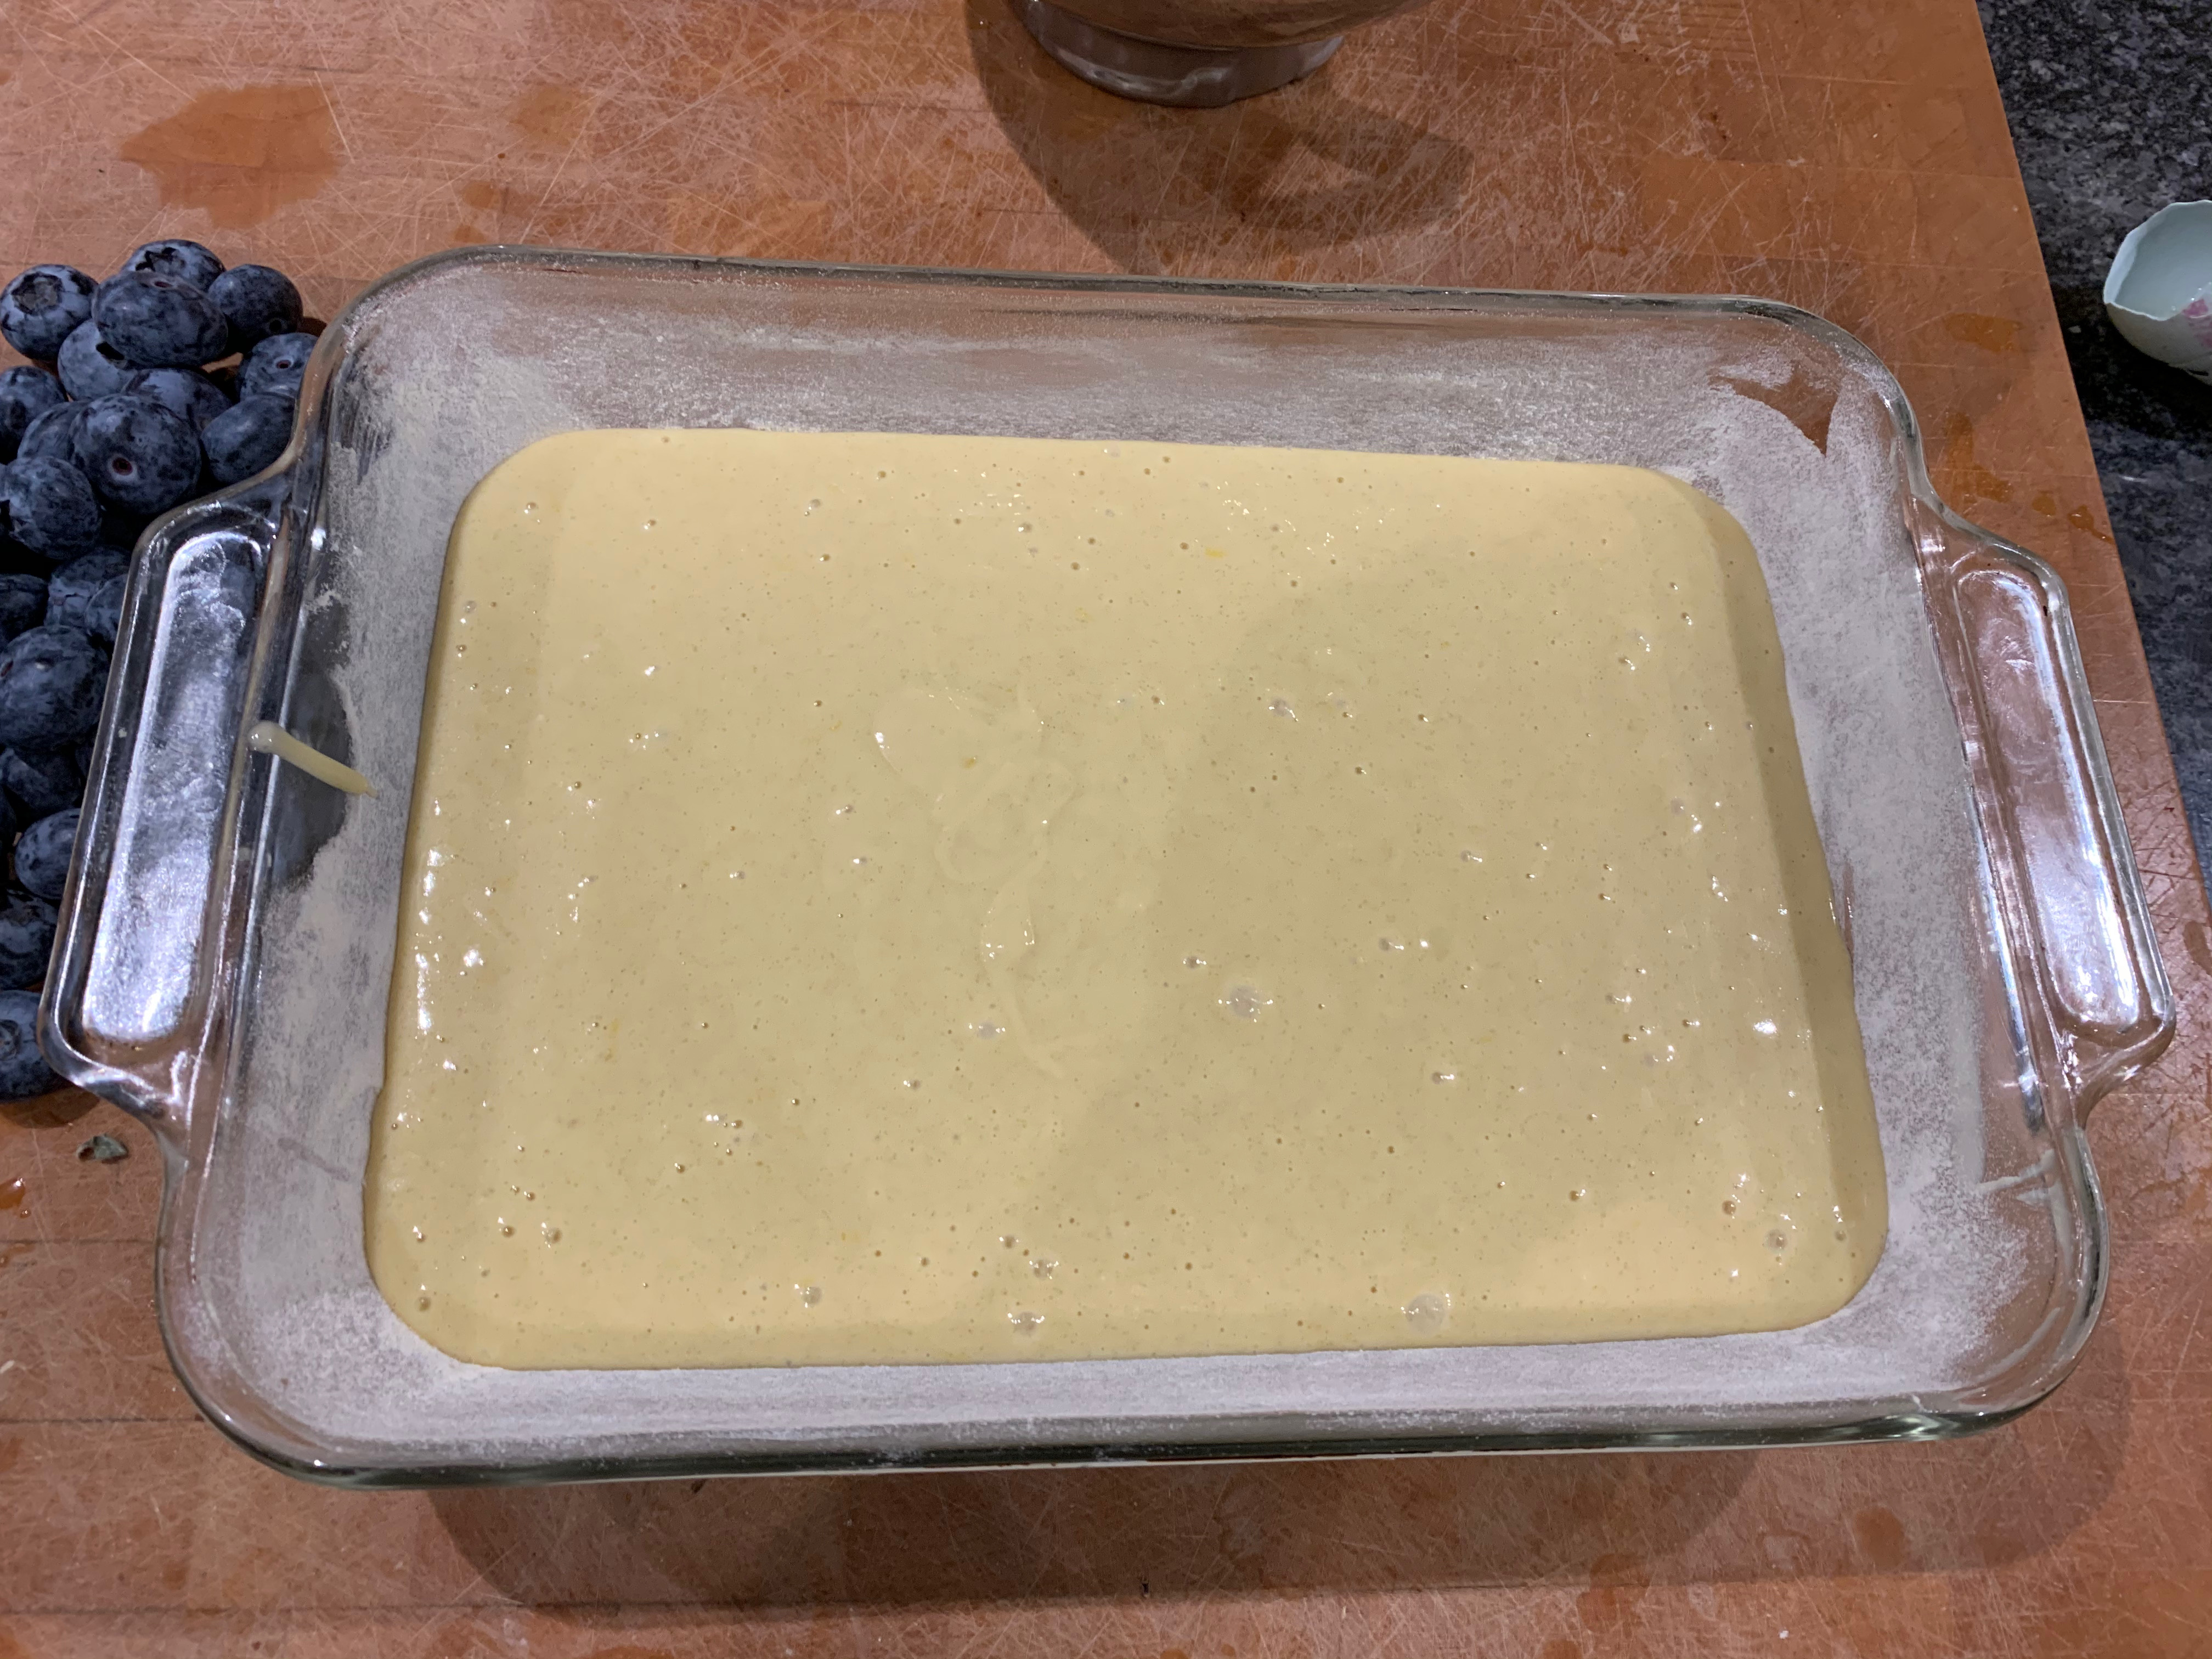
  11. Divide the batter into the moulds in your cake tin.
  12. Bake for around 15 minutes.
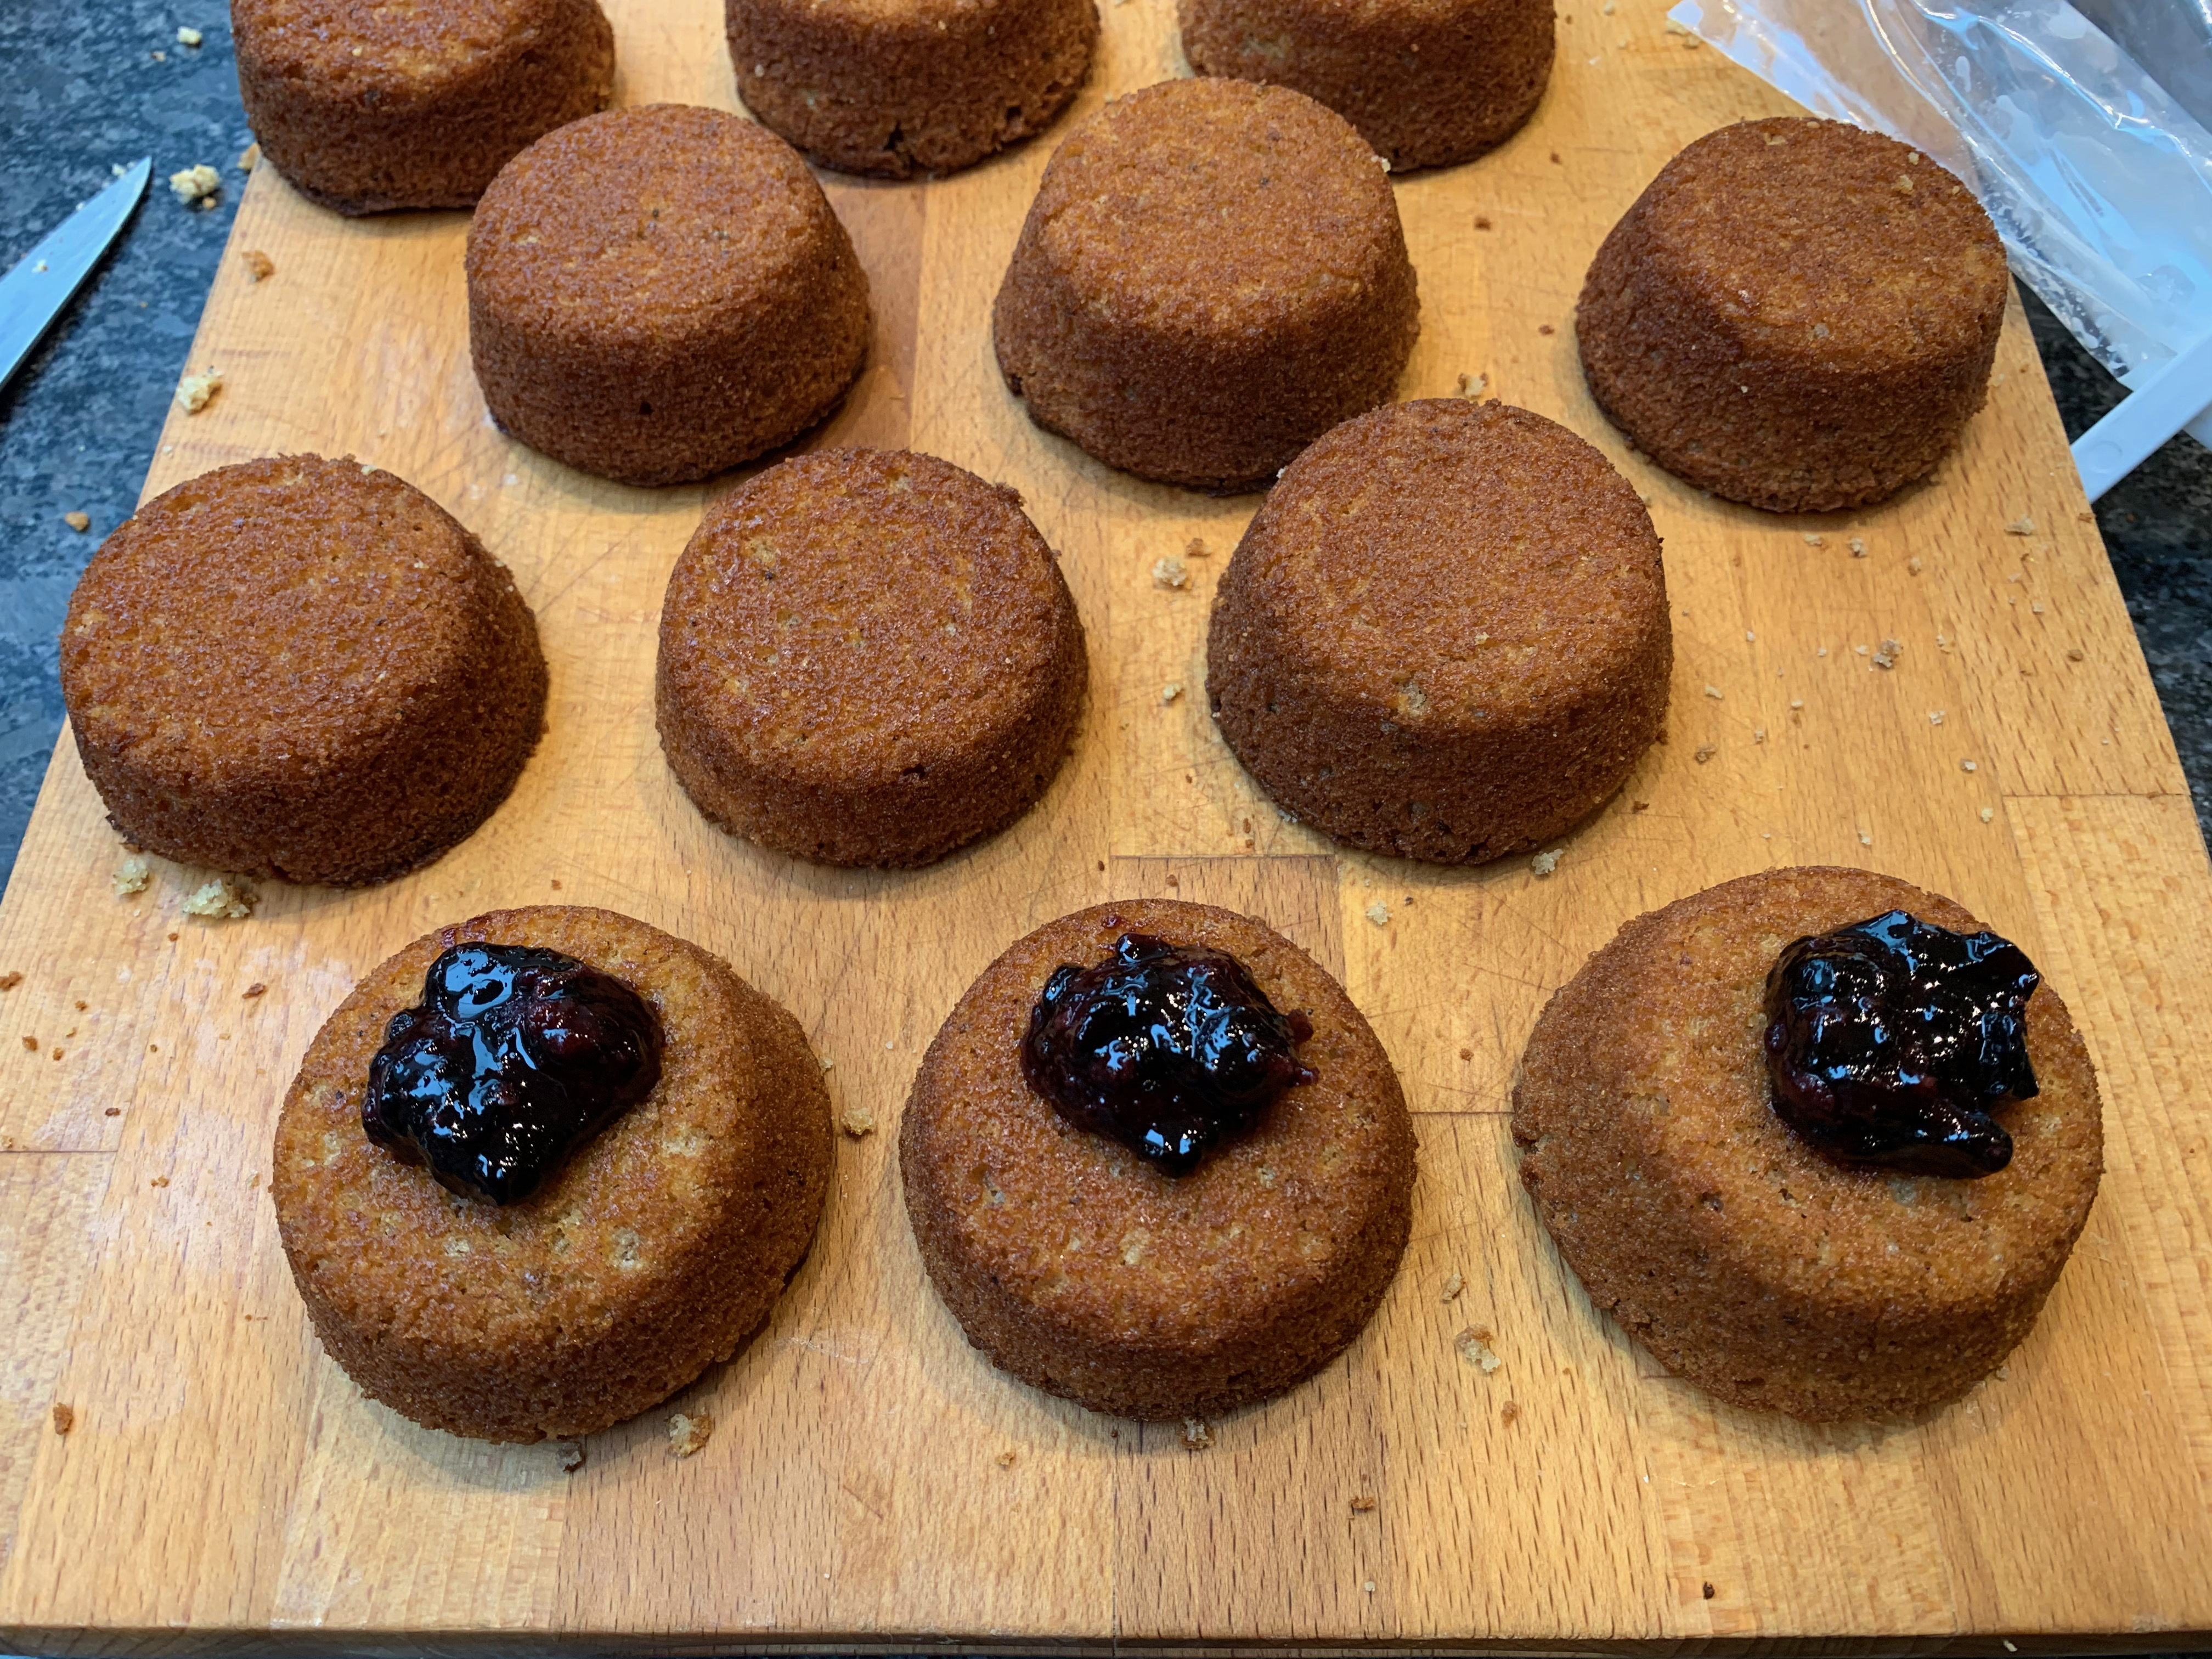
  13. Leave to cool in the tin for a short while, then turn them out.
  14. You will serve the cakes upside down. Since they have probably domed somewhat, cut them reasonably flat so that they stand upright.
  15. Mix the icing sugar with about 10ml warm water until you have a thick paste. Transfer this to a piping bag.
  16. Pipe a circle of icing around the top of each cake. Put a dollop of jam into the middle of the circle. I found this easier than the original recipe, which suggests doing the jam first (as per the photos).
  17. Leave the icing to dry (or don’t bother) and enjoy!
Around the world in 80 bakes, no.43: Sunday Bread from Antigua

Around the world in 80 bakes, no.43: Sunday Bread from Antigua

OK, so I can’t travel to Antigua right now. Or anywhere else, for that matter. But I can imagine myself on an Antiguan beach tucking into a breakfast of salt fish, eggplant and Sunday Bread.

I don’t eat that much white bread at home – our staple fare is more the rye sourdough that I make weekly – but I’ll make an exception for this Antiguan luxury version, which uses shortening to make it very puffy and soft. I’ve started with  a recipe from a Caribbean Cookbook by Freda Gore, which comes by way of food website Cooking Sense. I’ve reduced the quantities by around a third (this is only for a household of two right now) and reduced the water further, because the dough would have been far too wet without this. I’ve also modified the order slightly by blending the shortening in at the end of the mixing process in the way the French do for making brioche.

Warning: this isn’t a complex bake, but you need to handle the dough very gently: any rough treatment on this kind of bread risks a collapse.

  • 25g sugar
  • 10g yeast
  • 400 ml warm water (around 40℃)
  • 10g salt
  • 600g strong white flour
  • 125g vegetable shortening (Stork or Trex in the UK, I believe the U.S. equivalent is Crisco), at room temperature
  • 30g butter, at room temperature
  1. In a small bowl, mix sugar, yeast and water; leave for a few minutes until frothy.
  2. Cut the butter and shortening into small cubes
  3. Mix the flour and salt in the bowl of your stand mixer, then pour in your wet mix
  4. Mix gently with the dough hook or with a wooden spoon until combined. Make sure that you’ve taken the flour from the bottom of the bowl and blended it in.
  5. One third at a time, add the butter/shortening and mix on medium speed with the dough hook until most of it has been incorporated.
  6. The dough should come off the sides of the bowl pretty easily now. Form it into a ball with your hands and transfer it to an oiled bowl. Cover with a tea towel and leave to rise until approximately doubled in size.
  7. Transfer the dough onto a lightly floured surface, flour your hands and give it a brief knead, stretching one surface of the dough and tucking the sides into the bottom, before transferring it back to the bowl.
  8. Leave to rise again until pillowy and soft. Some time during this, switch on your oven to 190℃ fan.
  9. Line a baking tray with a silicone sheet.
  10. Transfer the dough back to your floured board. Cut it into two pieces, then take a small piece of the end of each.
  11. Form each large piece into a loaf, again stretching the surface and tucking it underneath, being extra careful to preserve the airiness. Transfer your loaves to the silicone sheet.
  12. Roll each small piece into a long thin cylinder, then use this to create a decoration of your choice.
  13. Leave to rest for 10-15 minutes.
  14. Brush lightly with a little water.
  15. Bake for 20-30 minutes until golden. Use your favourite test for done-ness: hitting the back and seeing what it sounds like, poking a skewer in, or just your sense of taste and colour.
  16. Cool on a rack.
Around the world in 80 bakes, no.42: Mađarica, layer cake from Croatia

Around the world in 80 bakes, no.42: Mađarica, layer cake from Croatia

Continuing with the Austro-Hungarian Empire’s coffee-and-cake tradition, here’s a cake from Croatia that deserves to be close to the top of the best-seller list, particularly with a coffee after a brisk morning winter walk (I speak from immediate experience). 

In point of fact, Mađarica (or Madjarica, if you prefer to avoid the “d with stroke”) is the Croatian word for “Hungarian girl”, and the cake bears a distinct resemblance to the Hungarian Dobos torte, created in 1885 for the National General Exhibition of Budapest. Who knows (or, for that matter, who cares) which came first?

Croatians seem to bake this cake for the thousands: all the recipes I came across were for seriously large quantities. I went for this recipe from Tamara Novacoviç and halved it, which still made for a generous cake.

Mađarica is one of those multi-layer cakes where you’re trying to get the layers as thin as you possibly can. Croatian recipes tend to assume that you’re using a standard cake tin and baking the layers one at a time. Since you’re trying to make a rectangular cake, I figure it’s easier to use large flat tins (Swiss roll tins or similar) and then cut the layers to size after baking.  Obviously, how you tackle this is going to depend on what tins you have available.

Filling

  • 25g plain flour
  • 25g cocoa powder
  • 500ml milk
  • 100g sugar
  • vanilla extract or paste to taste
  • 25g dark chocolate
  • 90g butter
  • ½ tbsp rum
  1. Mix the flour and cocoa powder in a bowl and set aside. Have a balloon whisk ready.
  2. Put the milk, sugar and vanilla into a saucepan and bring to the boil. When just boiling, take it off the heat, pour about a quarter of it into the bowl with the flour and cocoa powder, and whisk until thoroughly dissolved.
  3. Pour the mixture back into the saucepan and return the saucepan to the heat. Add the chocolate, reduce the heat and keep whisking until the mixture thickens.
  4. Take the mixture off the heat, give it a minute or so to cool slightly, then add the butter and whisk until thoroughly melted.
  5. Stir in the rum.
  6. Cover (to avoid too much skin forming – you can’t avoid having a bit) and leave to cool while you make the rest of the cake.

Cake layers

  • 300g plain flour
  • ½ tsp (2g) baking powder
  • 1 egg white
  • 90g sour cream
  • 90 g sugar
  • 90g butter, at room temperature

I’m going to confess at this point (in case it isn’t obvious from the photos) that I wimped out: I had two 33x22cm Swiss roll tins ready but I didn’t dare roll the dough thin enough to use more than one of them. I should have had the courage to use both – my layers are definitely twice the thickness they should be – so that’s what I recommend that you do.

  1. Preheat oven to 180℃.
  2. Prepare two 33cm x 22cm Swiss roll tins (or whatever other baking trays you have) by greasing them and lining them with baking paper.
  3. Sift the flour and baking powder into a bowl.
  4. Cut the butter into cubes and put it with the sugar, sour cream and egg white into the bowl of your mixer; beat until smooth.
  5. Add the flour mixture and knead to a smooth dough. Add a bit more sour cream or water if your dough is too crumbly.
  6. Now the tricky part: divide the dough into two, and roll each half  thinly enough to spread out evenly over its baking tin. It’s probably easiest to do this by rolling the dough between two sheets of baking paper. Transfer your rolled dough to the tin.
  7. Bake for around 8-10 minutes.
  8. Leave to cool on a wire rack.

Assembly and glaze

  • 50g dark chocolate
  • 25g butter
  • 20g sunflower oil (or other neutral oil)
  1. Cut each cake/biscuit layer into three, using a ruler or measuring tape to make pieces that are as close to identical in size as you possibly can.
  2. Place the first layer on your serving plate.
  3. Spread around one fifth of the filling evenly over the layer, then add the next layer. Repeat this four more times to build up your cake.
  4. Melt the chocolate and butter together (30s in a microwave should do this fine, if you can’t be bothered to wash up a double boiler).
  5. Add the oil and mix thoroughly.
  6. Pour the glaze over the top of the cake, making sure that you cover the whole cake with an even layer of glaze. Some of the glaze will have dripped over the sides: if you want, even this off with a palette knife.
  7. Refrigerate for several hours (or overnight) until the glaze hardens.
  8. Cut the cake into rectangles to serve.
Around the world in 80 bakes, no.41: Bublanina from the Czech Republic

Around the world in 80 bakes, no.41: Bublanina from the Czech Republic

Let’s start 2021 and the second half of this trip around the world with an easy, cheerful bake from the Czech Republic. Like every country in the former Austro-Hungarian empire, Czech has a strong coffee-and-cake culture, and the bake that you see everywhere is a light cake made with fresh fruit called Bublanina – a close relative of the French clafoutis.

The idea of a Bublanina is that the cake batter bubbles up around the fresh fruit. The trick is to use enough fruit that’s fresh enough that the cake is moist and fruity, but not so much that it’s damp and soggy. There’s no prescription about what fruit to use: it’s really a case of whatever’s in season. In the middle of a London winter, I went for blueberries (which are presumably in season somewhere across the globe), but strawberries, cherries, peaches and plums are all possible.

You have various options on the batter. At one of the end, you can just shove everything into a bowl and mix it; at the other, you can separate the eggs and pack air into the whites as a raising agent, soufflé-style. You can make the batter more traditional by using some semolina flour, can emulate the clafoutis by adding ground almonds, you can use various flavourings (vanilla, orange or lemon zest, Grand Marnier, etc). I’ve kept it simple and gone with a recipe from czechcookbook.com by Kristýna Koutná, a native of Brno, one of my favourite places in Czech; I’ve added lemon zest and changed the amount of flour slightly (my batter was definitely coming out runnier than Kristýna’s video).

A couple of notes on the photos: (1) I used 250g of blueberries, which was all I had. 400-500g would have been better. (2) The ingredients shot is missing the vanilla and lemon.

  • Butter for greasing cake tin
  • 320g plain flour (plus 20g or so for sprinkling)
  • 200g sugar (plus 30g or so for sprinkling)
  • 8g baking powder
  • Grated zest of 1 lemon
  • 240 ml milk
  • 2 eggs
  • 40 ml oil 
  • Vanilla extract to taste
  • 400g fresh fruit in season
  • Icing sugar for dusting
  1. Preheat oven to 180℃ fan
  2. Grease a cake tin or baking dish (I used a rectangular Pyrex dish or around 30cm x 20cm, but you can use any shape you like). Dust it with flour and shake out the excess.
  3. If you’re using fruit like peaches or large strawberries that need to be cut up, do so now: make sure the fruit isn’t too wet.
  4. In the bowl of a stand mixer, mix flour, sugar and baking powder and blend.
  5. Add lemon zest, eggs, milk and oil
  6. With the standard beater, mix until smooth – do not overbeat.
  7. Pour the batter into your cake tin or dish
  8. Lay out the fruit on the batter. If it sinks, it doesn’t matter.
  9. Sprinkle a bit of sugar over the top.
  10. Bake for around 40 minutes until golden brown on top
  11. Leave to cool
  12. Dust with icing sugar before serving

You can eat bublanina warm or cool it to room temperature. If you find it a bit dry on its own (particularly if, like me, you were a bit short of fruit), add a fruit coulis.