Time for a different kind of bake altogether: a yeasted fruit cake, which is a lovely afternoon snack somewhere between a cake and a bread. This one is from Lithuania and comes to us all via food writer Barbara Rolek: the same recipe seems to surface in lots of different US websites. I first spotted it on The Spruce Eats; I’ve halved and metricised the quantities, as well as tweaking a few things.
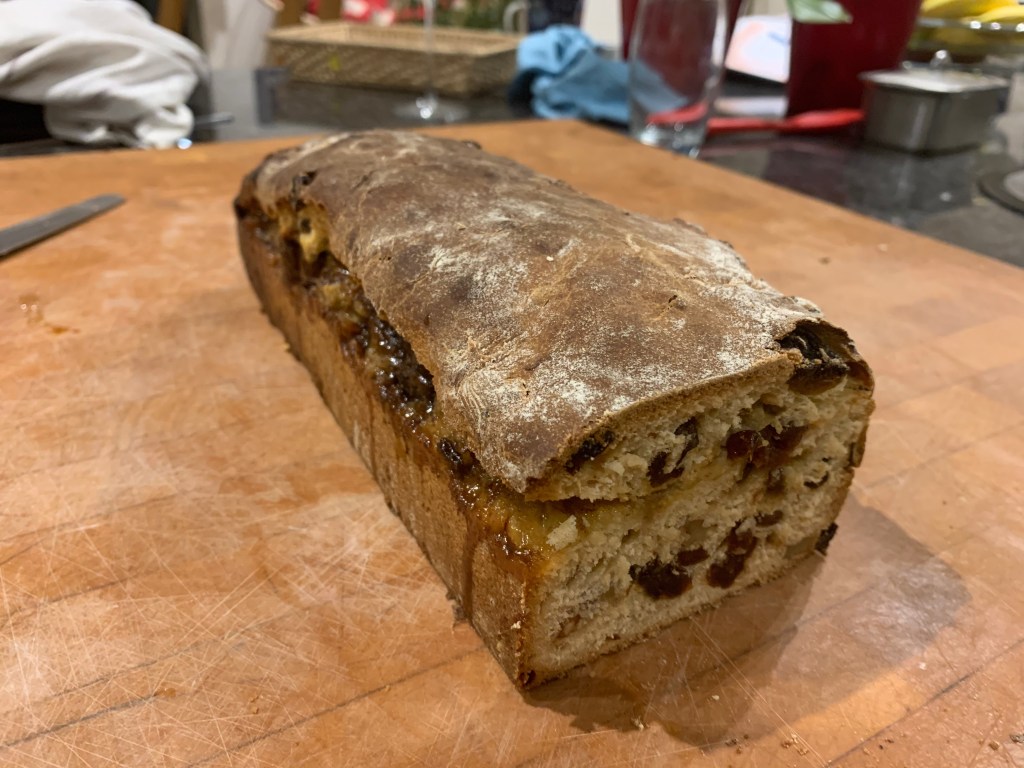
The result is a bit like a giant, fruit studded cinnamon bun. It’s great for slicing and storing in the freezer for a ready supply of snacks. The recipe doesn’t need excessive amounts of work, but it needs a lot of elapsed time – there are multiple rises which can each take a couple of hours, depending on the temperature of your kitchen. Start early.
A couple of caveats, especially if you’re looking at the photos:
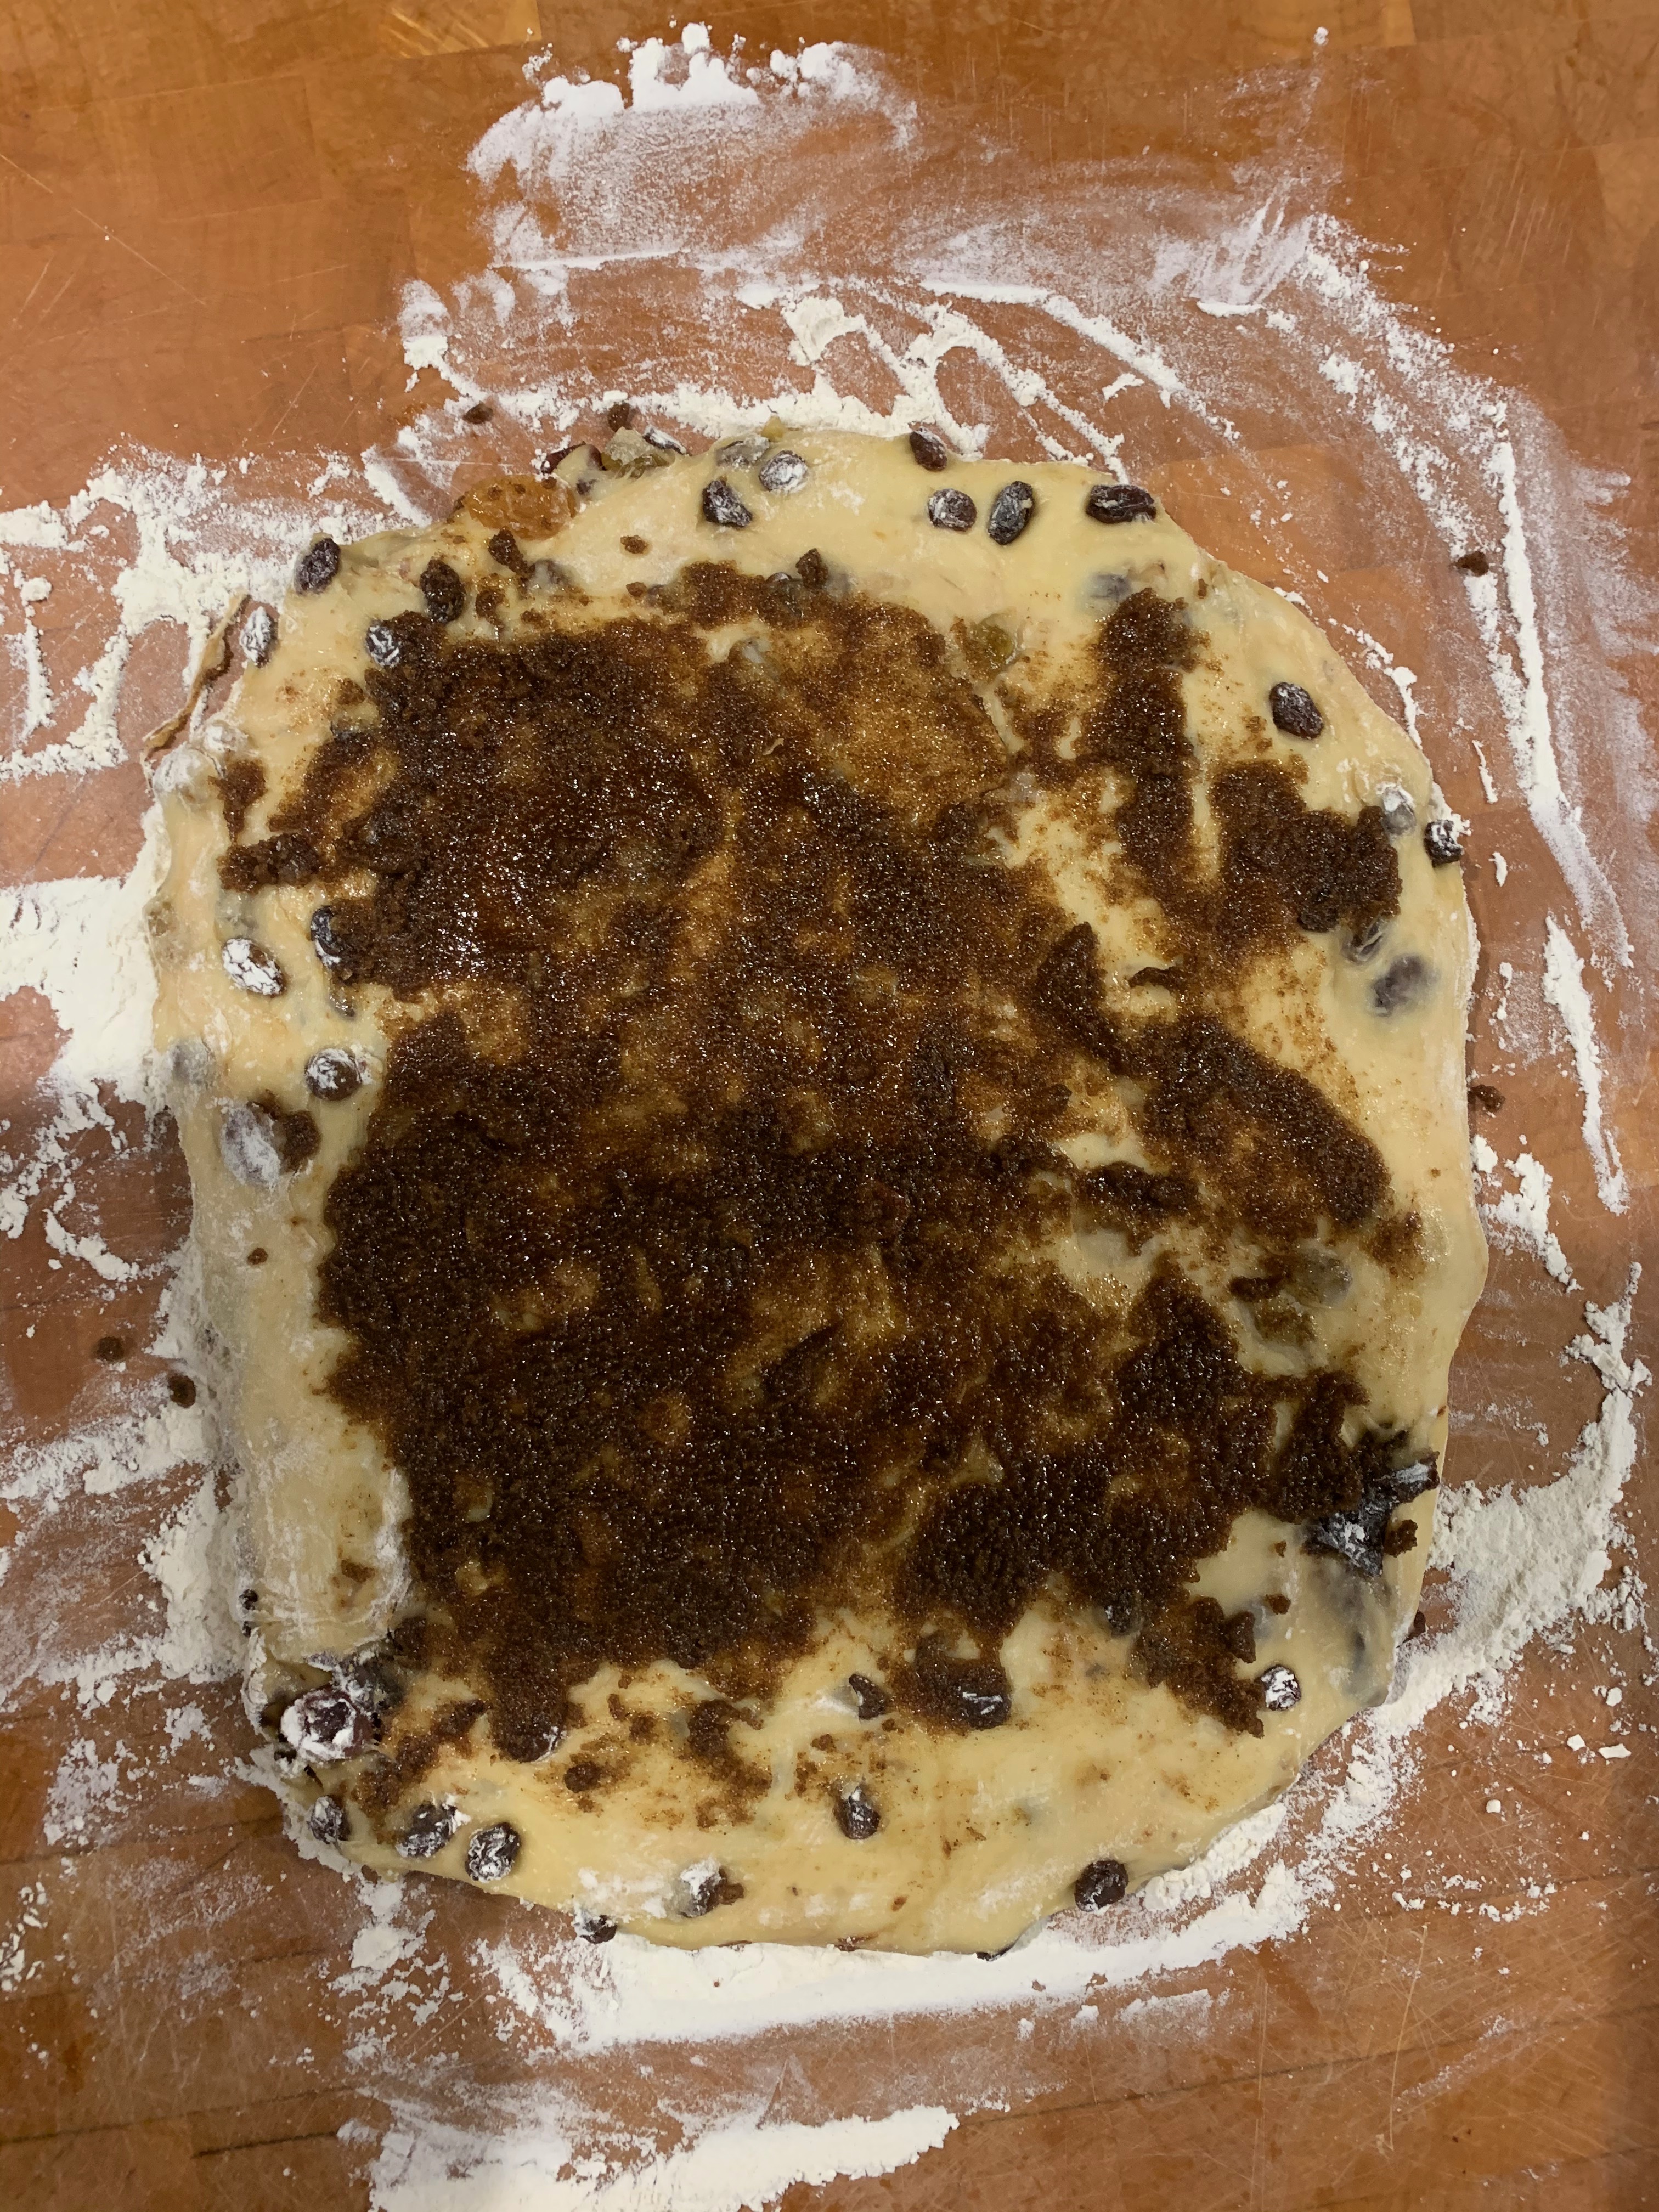
You can use pretty much any dried fruit you like. I couldn’t get glacé cherries, which looked nice in the original recipe.
The dough on mine came out very stiff indeed, so you may find you want to increase the amount of milk.
I used bread flour, which was probably a mistake. I’d stick with plain flour next time.
Also next time, I’d probably start by activating the yeast in some warm water (or milk) and sugar. The recipe doesn’t suggest this, but not doing it meant that my dough took an eternity to rise.
The dough
8g yeast
120g sugar
180 ml milk
550g plain flour
4g salt
60g butter
1.5 large eggs
180g mixed fruit
120g raisins
40g walnuts
30 ml rum
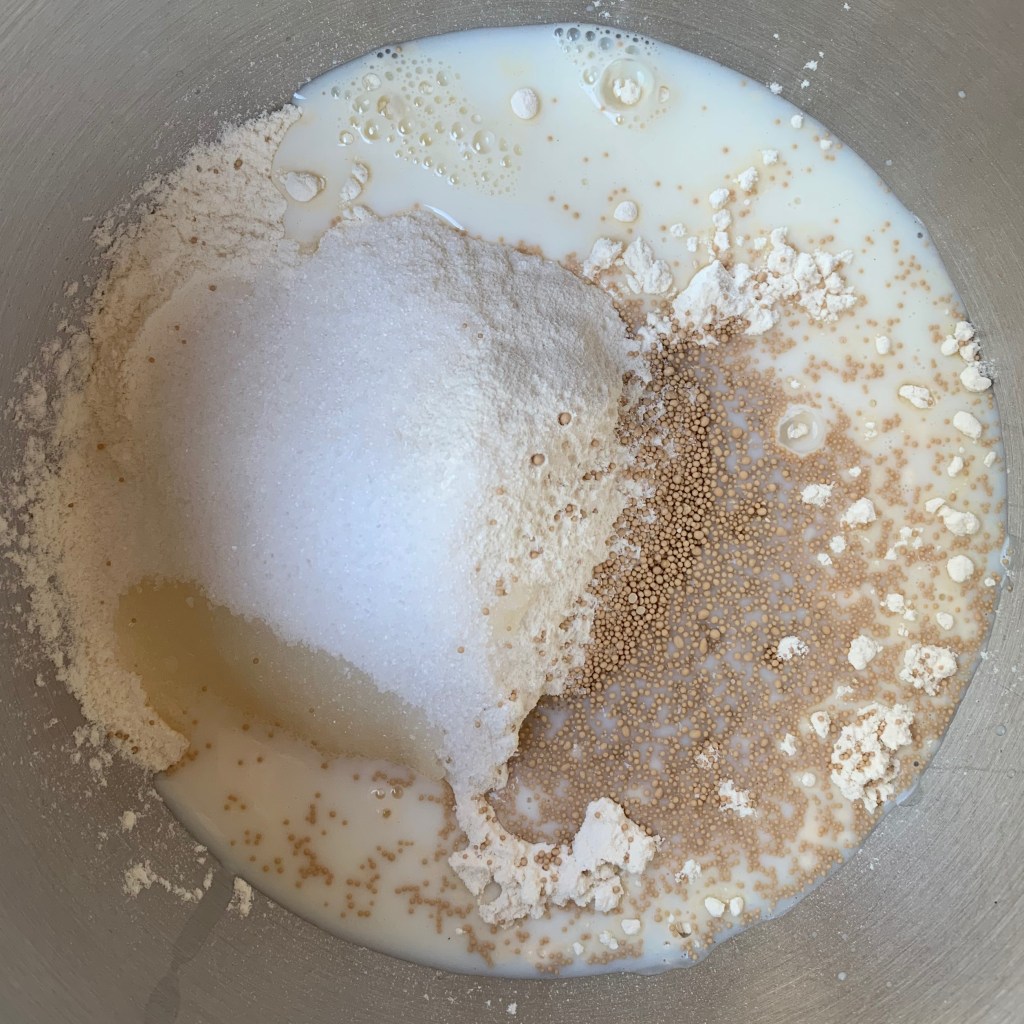
In your stand mixer, combine 300g of the flour, 60g of the sugar, the yeast and milk and mix until reasonably smooth. Cover and leave to rest for an hour.
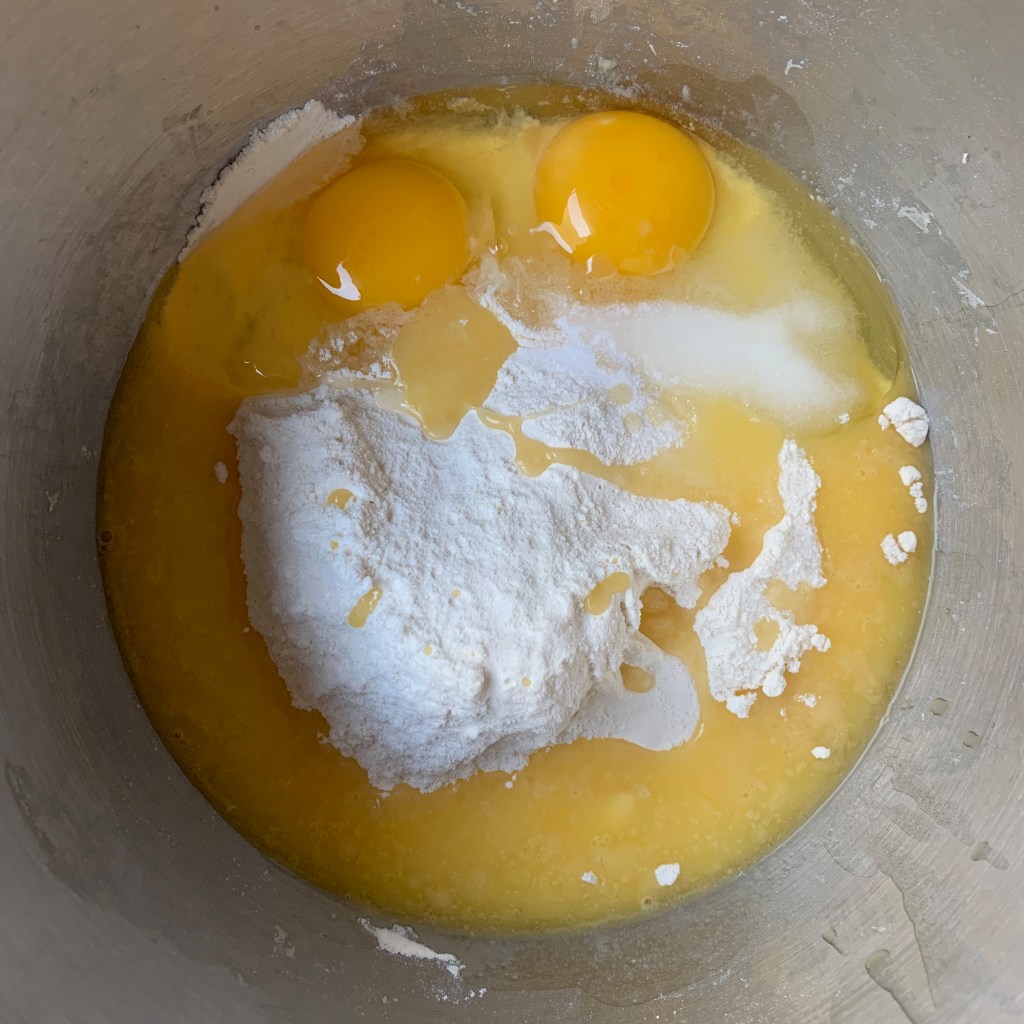
Melt the butter. Add it to the mix with the eggs, the salt and the rest of the sugar and the flour. With the dough hook, knead for 5-7 minutes.
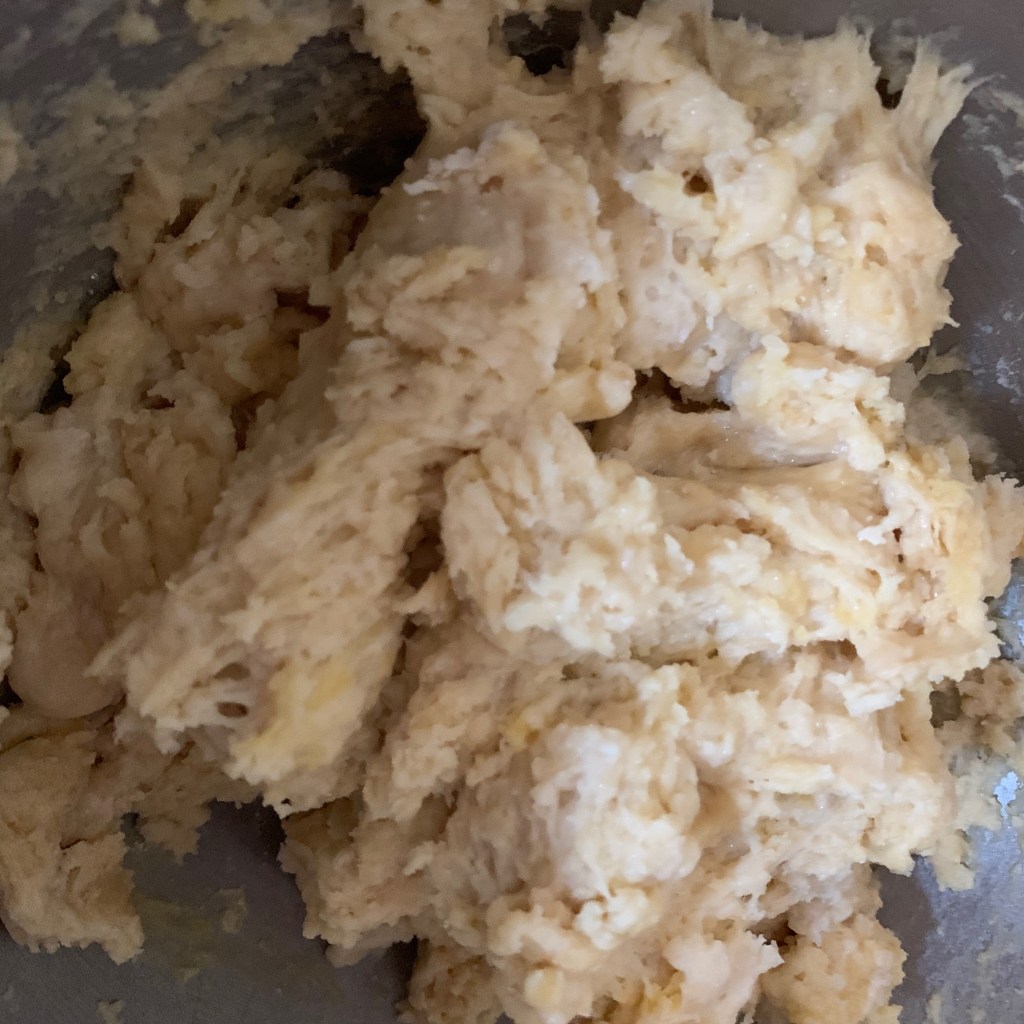
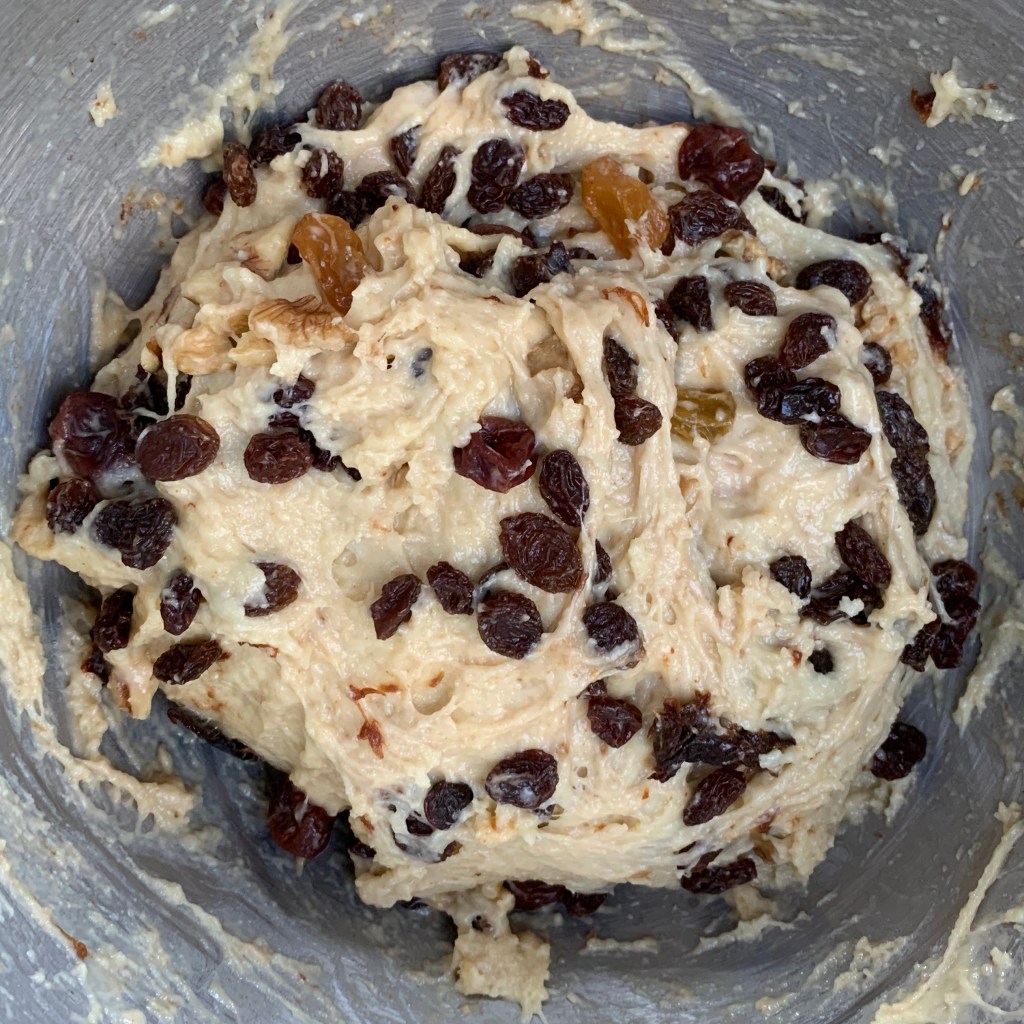
Add the fruit, raisins, walnuts and rum. Mix thoroughly.
Leave to rise until doubled in size. Expect this to take an hour or two.
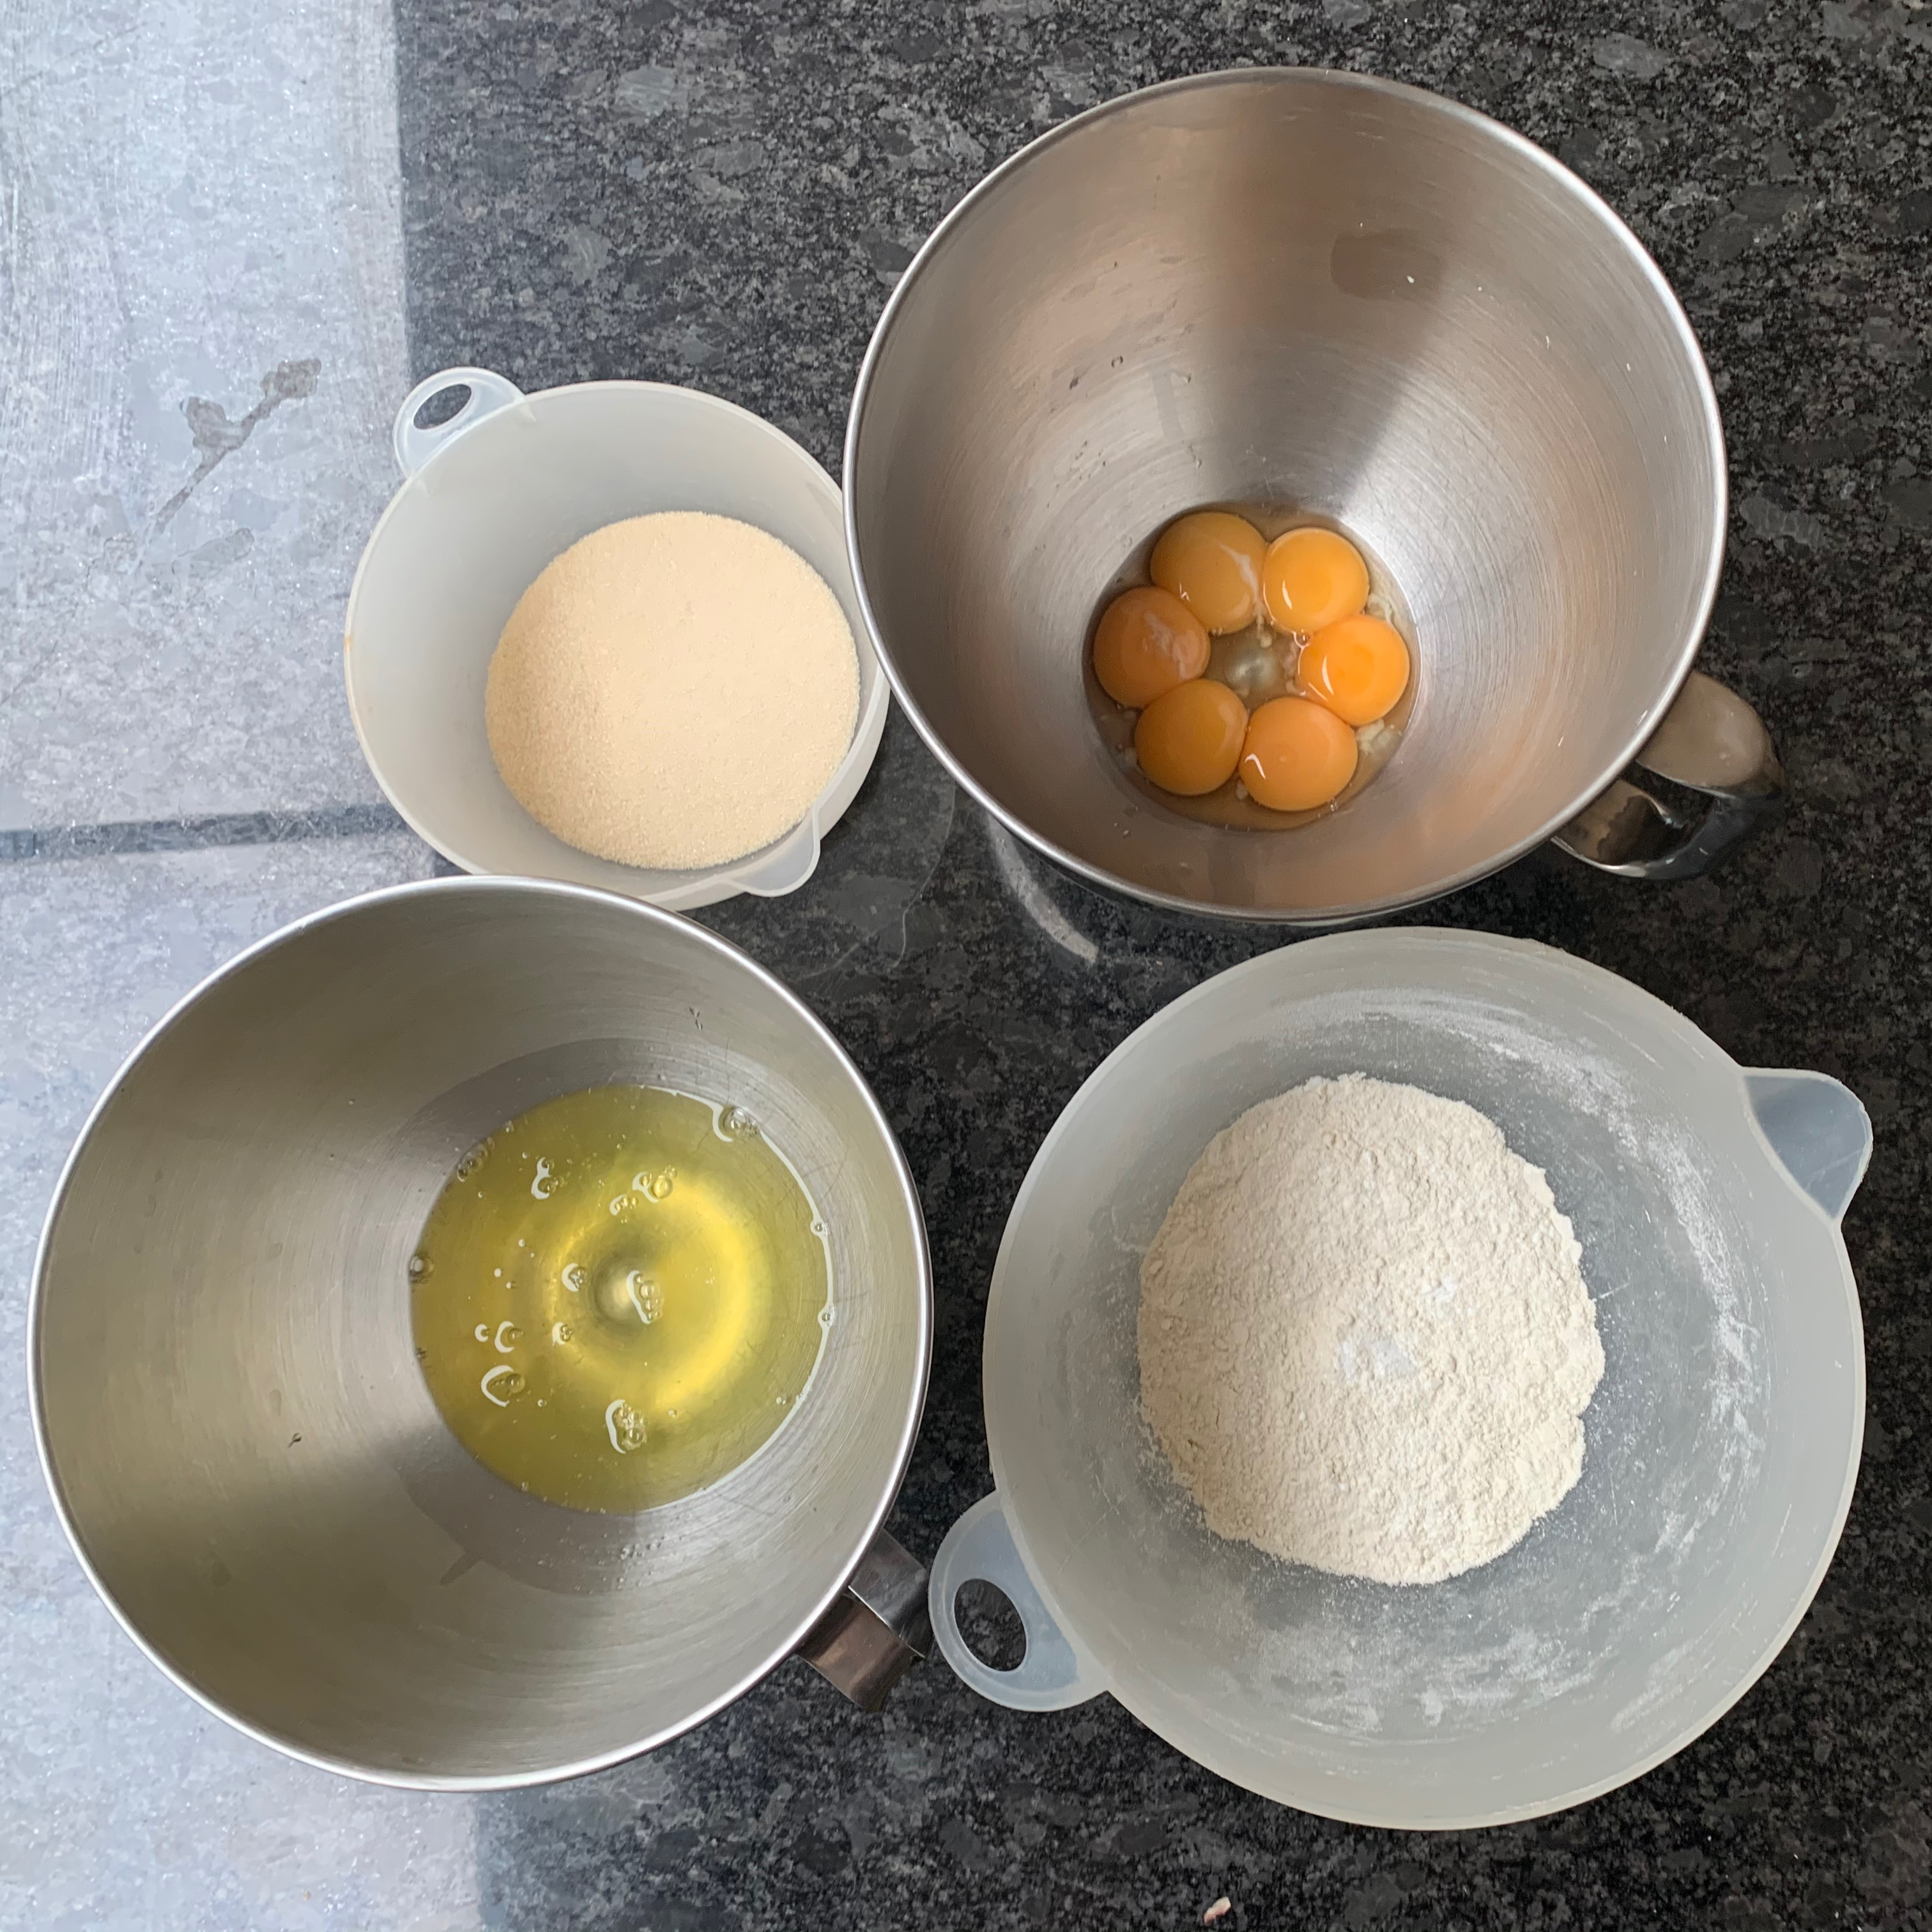
First batch of ingredients
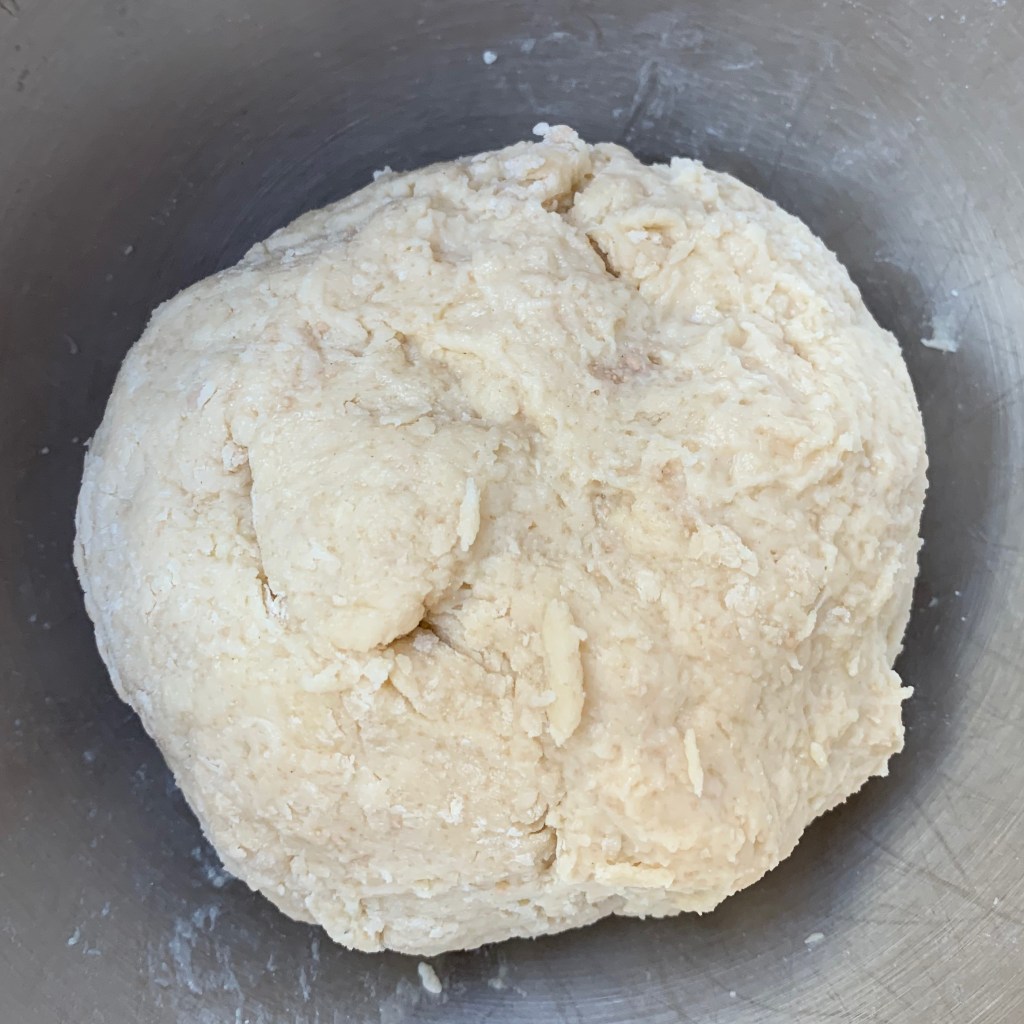
First dough
Additions for next mix
Mixed, ready to knead
With fruit and rum mixed in
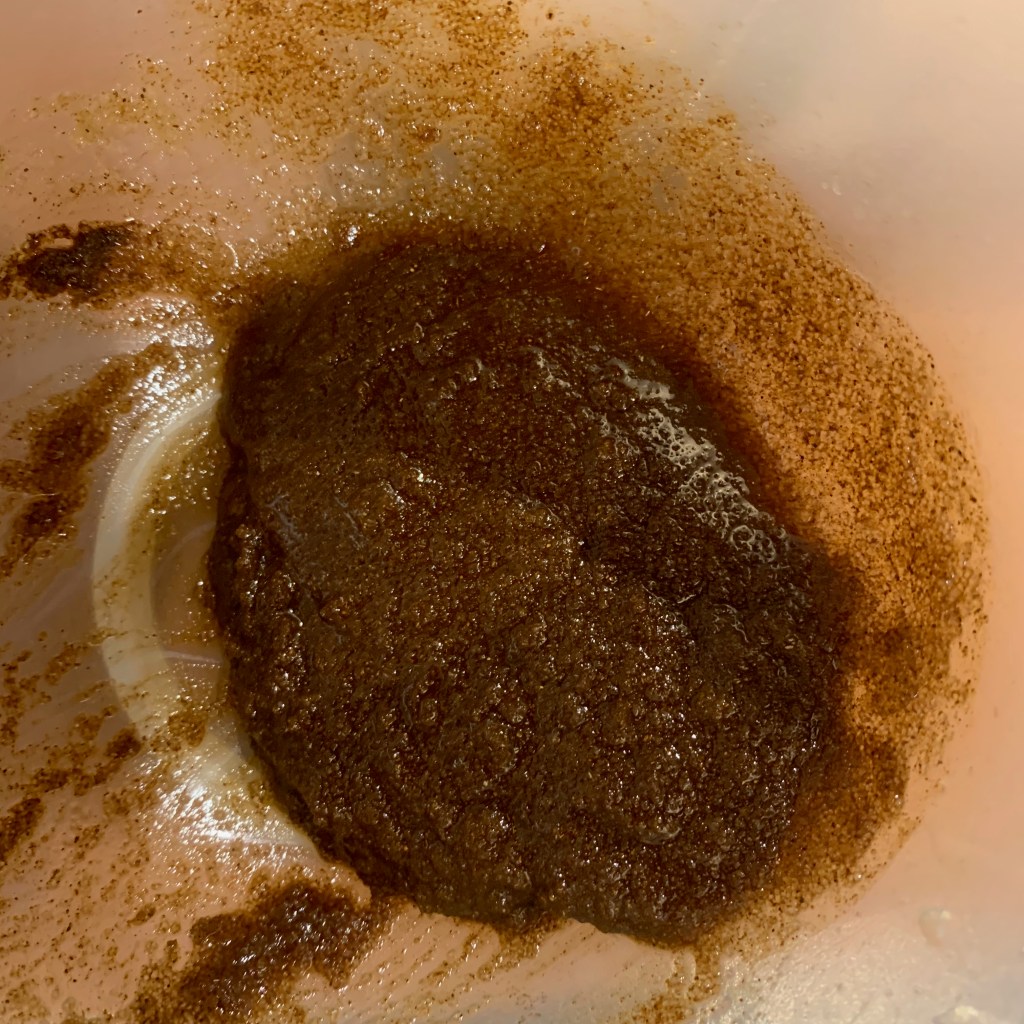
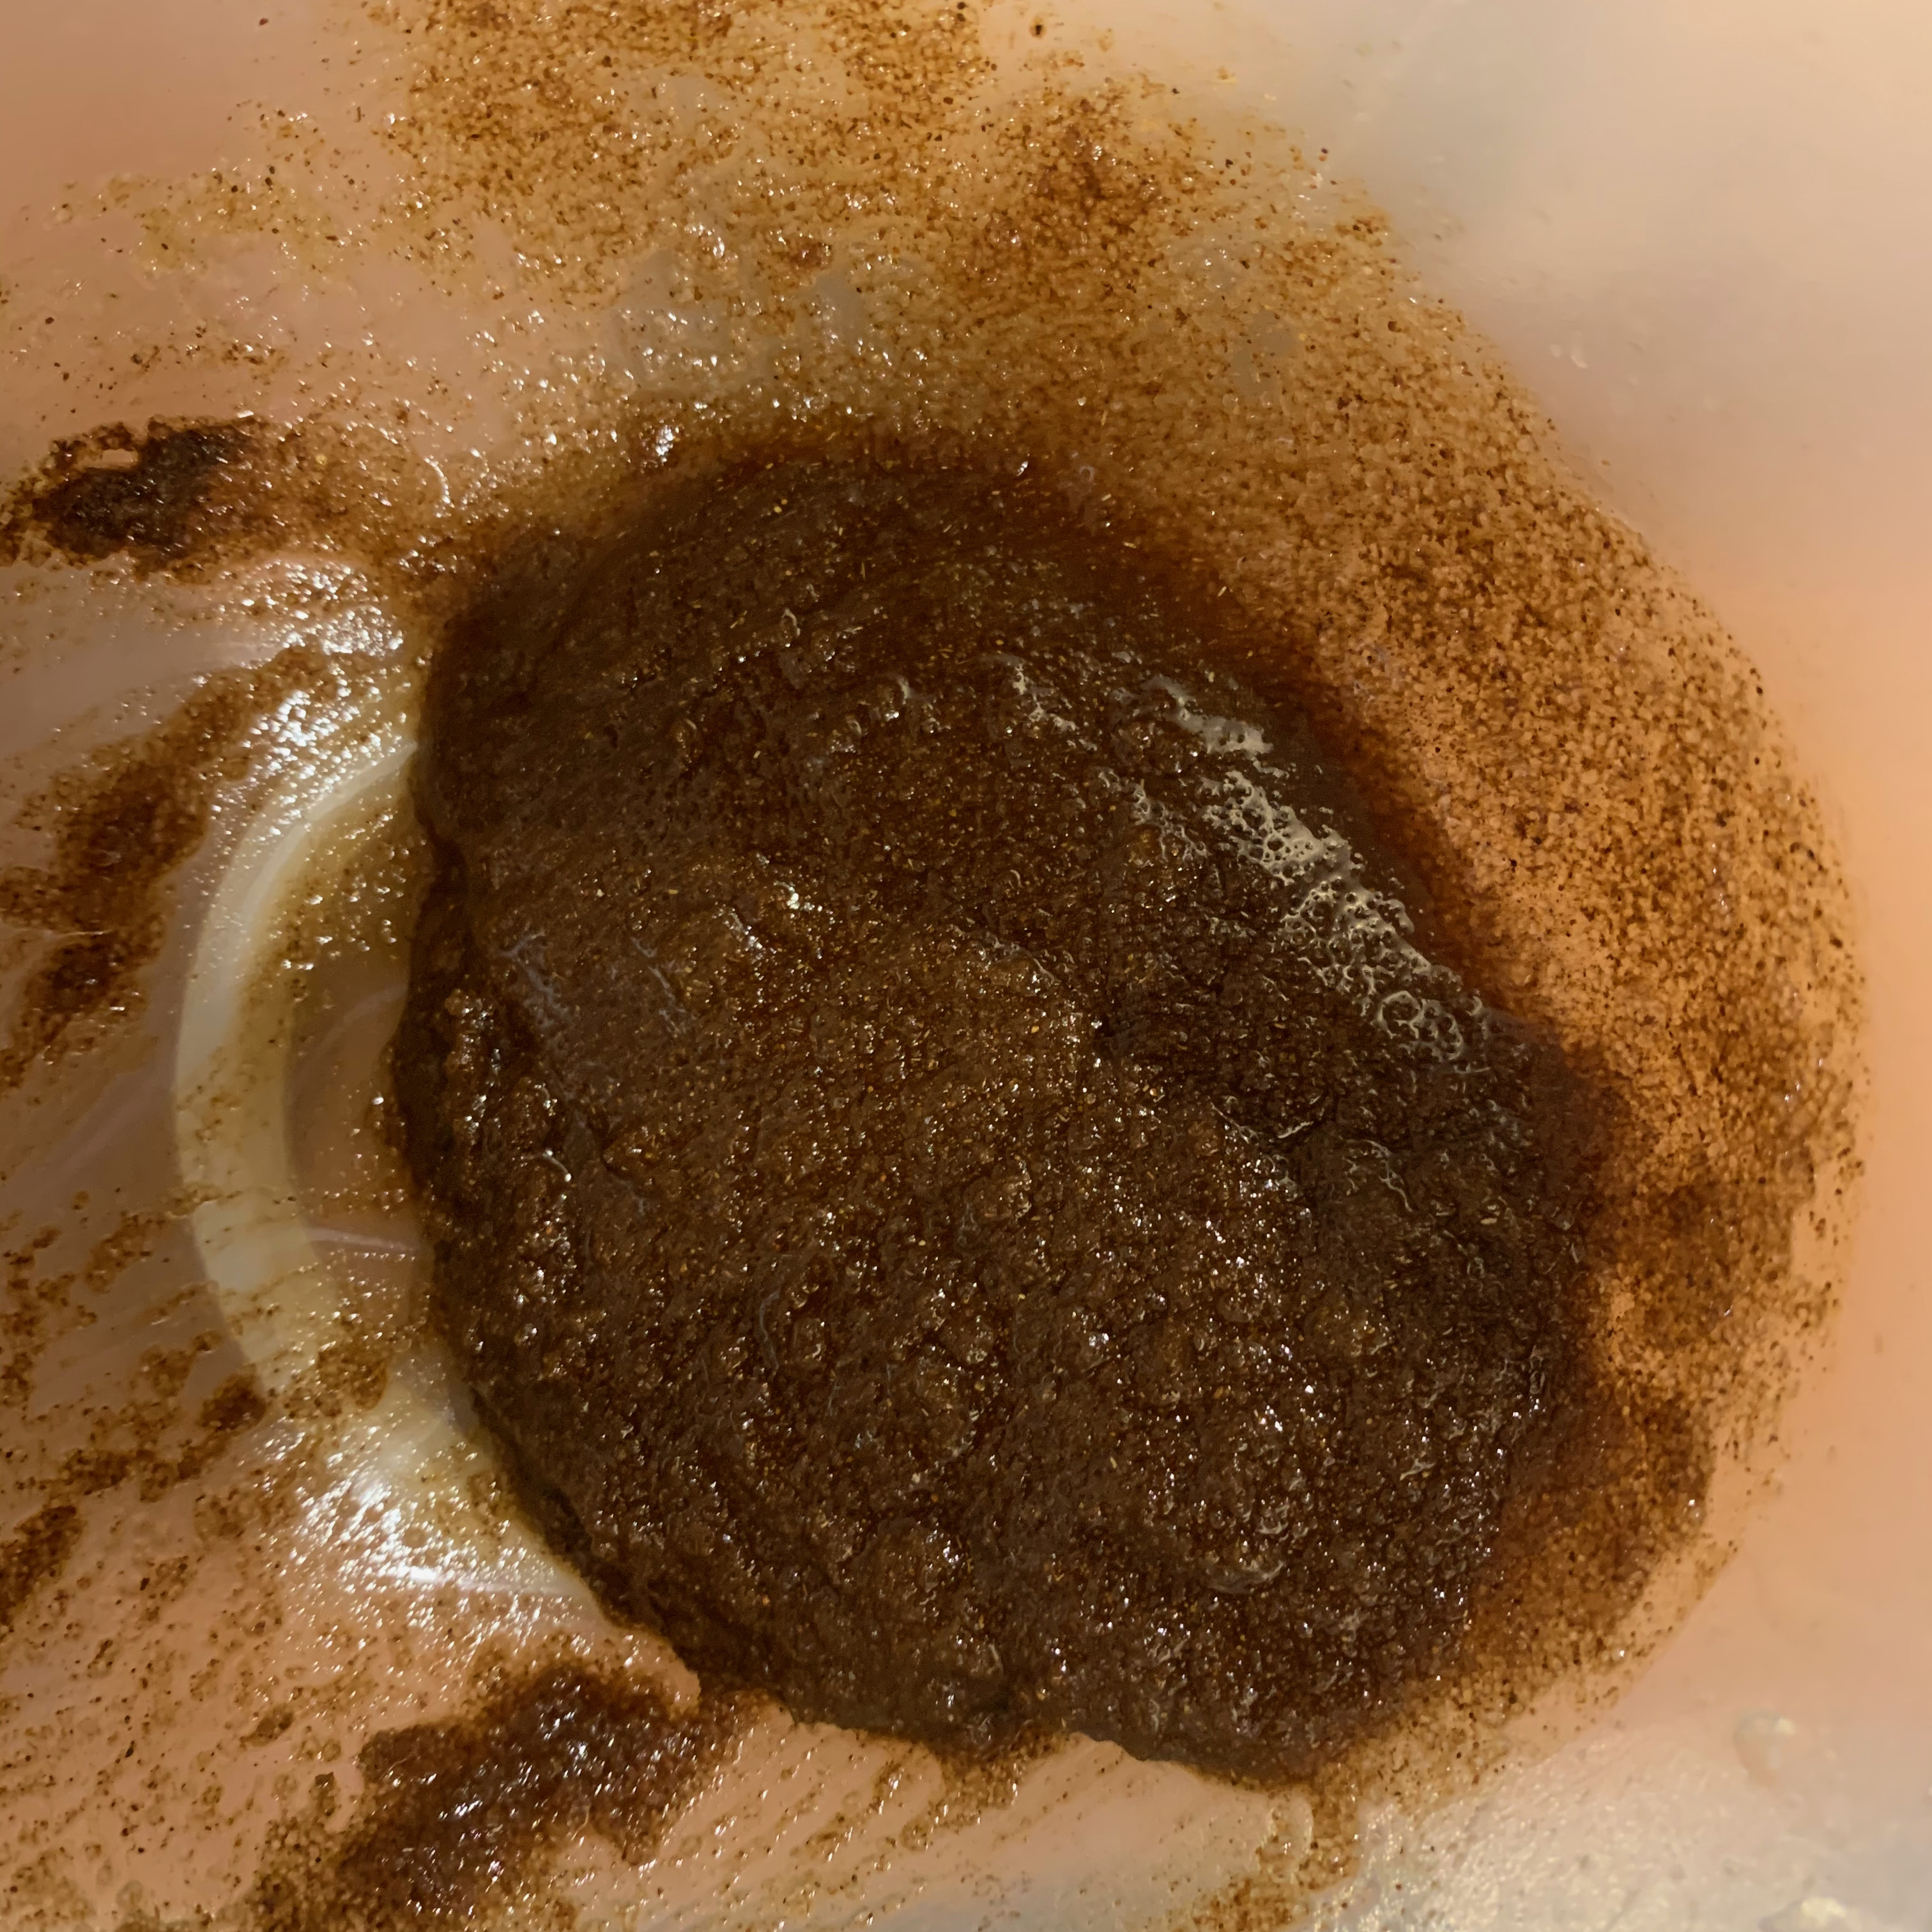
Cinnamon filling
The filling
30g butter
60g sugar
6g cinnamon
Melt the butter.
Mix with the sugar and cinnamon. Leave to cool somewhat.
Putting it together
Grease a loaf tin.
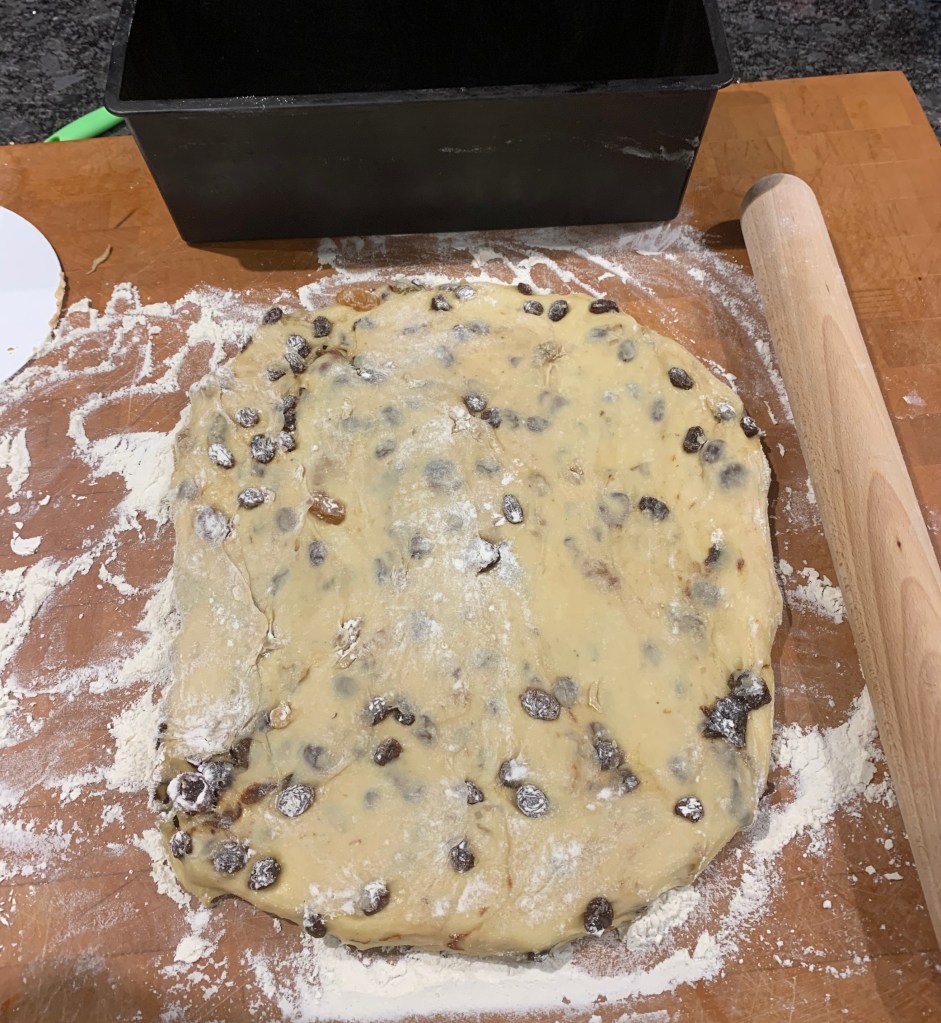
Flour a surface and roll out your dough into a rectangle. The width of your rectangle should be somewhat under the length of your loaf tin; the length around 1½ times the width.
Spread your rectangle of dough with the filling. Don’t go too close to the edges – you won’t want filling leaking out.
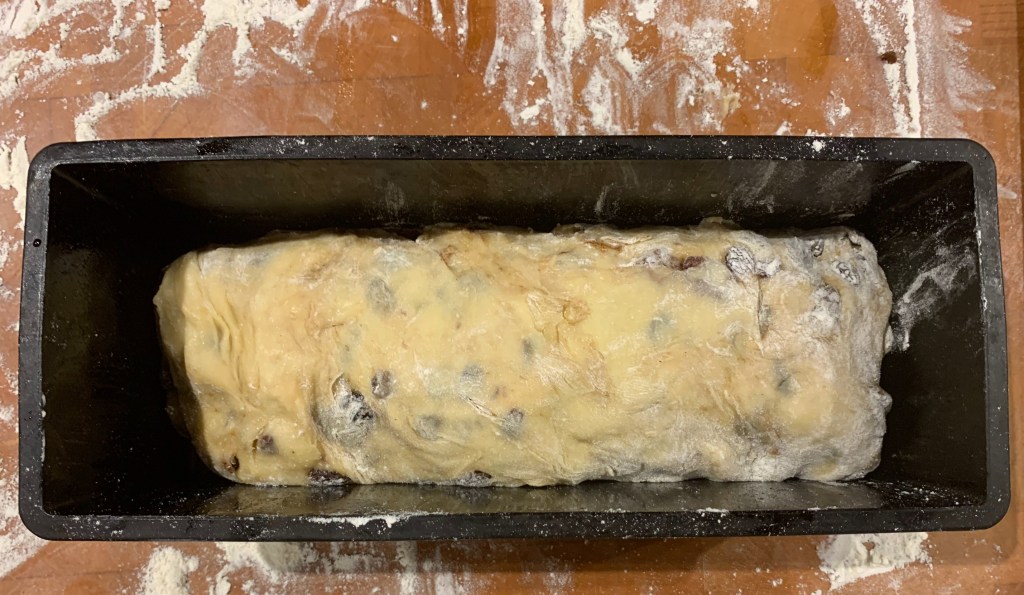
Roll up the dough into a thick sausage, ensuring the filling is sealed inside. Transfer the sausage into your loaf tin.
Leave to rise until doubled in size. Again, this could easily take 1-2 hours. If this hasn’t happened after a couple of hours, give up and bake it anyway.
Preheat oven to 200℃ fan
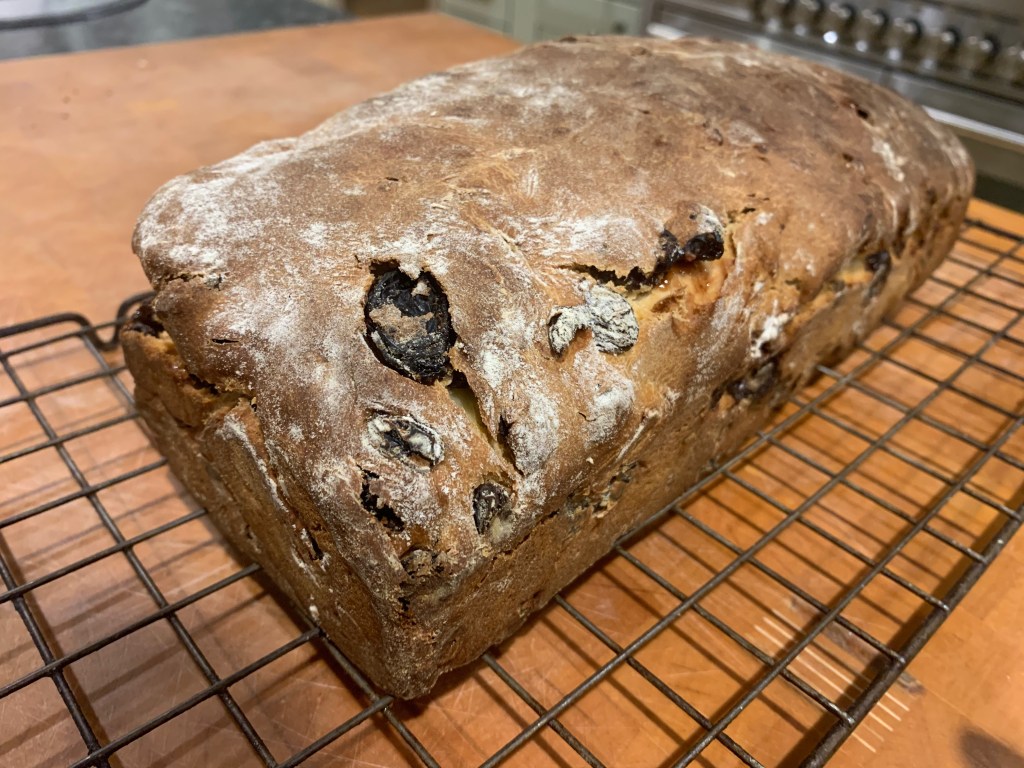
Bake for 10 minutes, then reduce temperature to 175℃, then bake for around another 40 minutes.
Leave to cool on a rack. If you want, sprinkle with icing sugar (I didn’t).
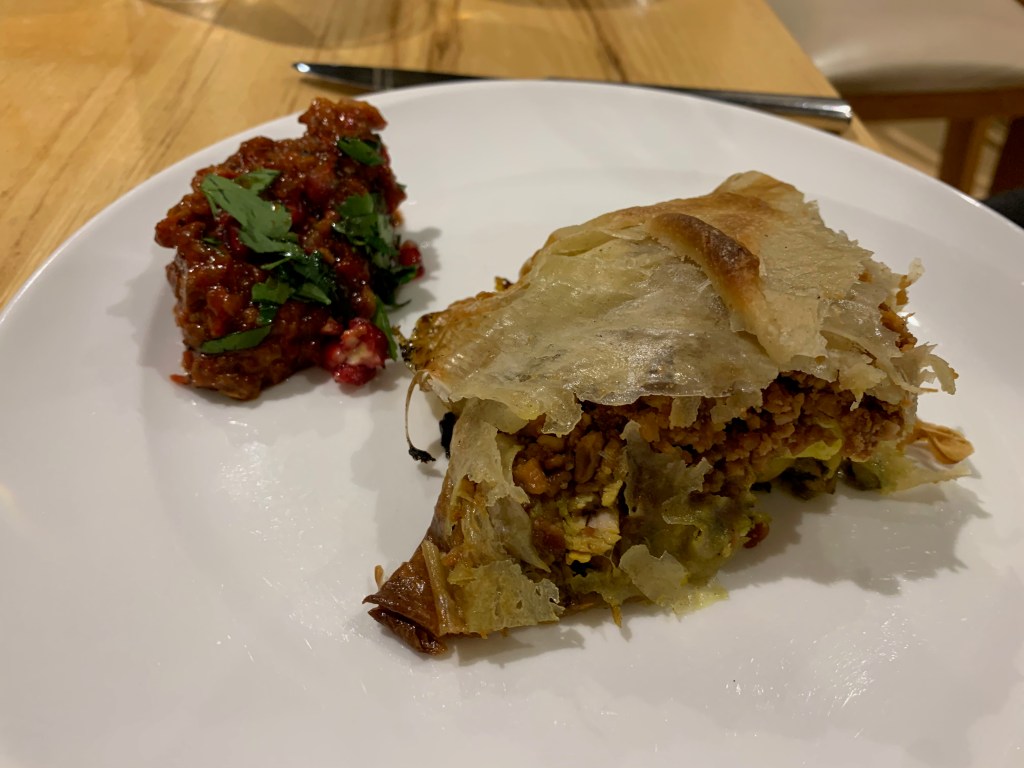
Bastillas (or Pastillas) are Moroccan pies made with ultra-thin pastry. They’re unquestionably one of the country’s most famous dishes: you will find dozens of different types, with different recipes for each type. But be careful: there are some disappointingly bland recipes around. On the other hand, a really good, flavour-packed Bastilla can be dazzling, a huge crowd-pleaser. It’s complex, but it’s worth it.
I’ve chosen one of the most popular types: the chicken, egg and almond bastilla. I based my version on a combination of The Spruce Eats, My Moroccan Food and French-language blog Choumicha.ma and the results were outstanding. But you have lots of choices, which I’ll try to explain.
There are some constants: you’re going to make a chicken and onion stew with herbs (most probably parsley and coriander) and spices, which will definitely include ground ginger and turmeric. You’re going to scramble some eggs. You’re going to chop up some almonds. And you’re going to bake all of these in a shell of layered thin pastry. But beyond those basics, you’ve got several options.
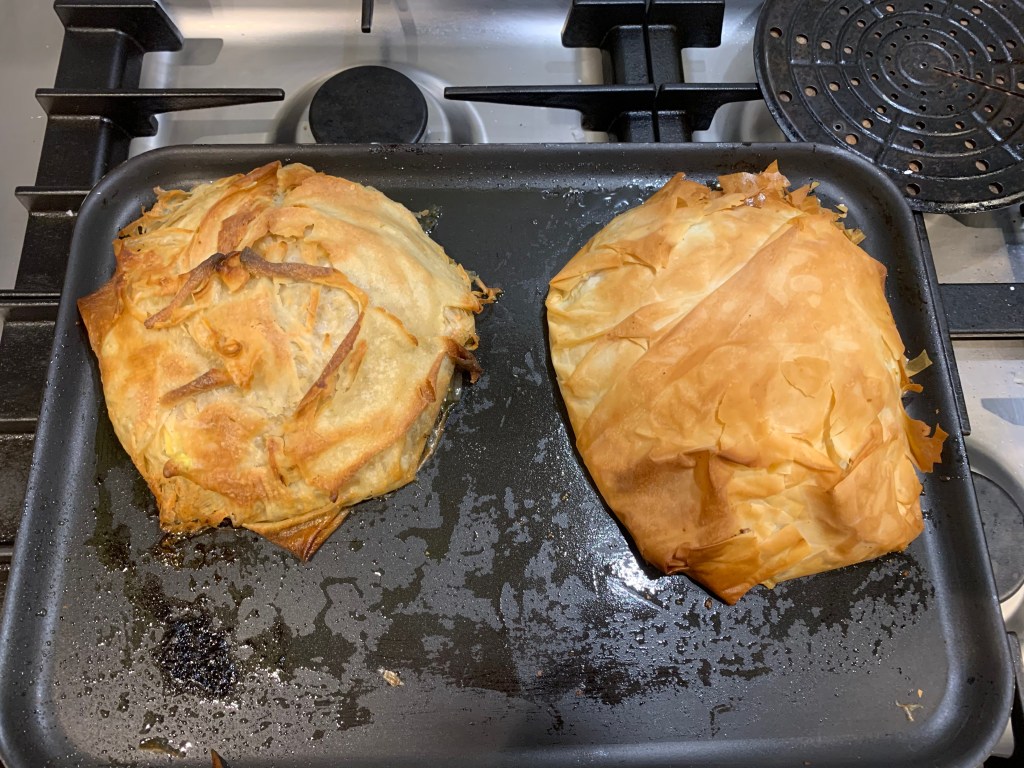
The first crucial one is the size: you can make a single large bastilla or multiple individually size ones. I went for something in between: the quantities below make enough for six people (assuming that you’ve got some other side dishes of some sort), and I chose to do two bastillas for the two of us to have on separate days (with leftovers).
The next question is the type of pastry. If you’re going for the full-on Moroccan experience, you’ll want to freshly make your own pastry sheets: Choumicha has a really nice video showing you how it’s done. The Spruce gives the pastry a name, “warqa”, and shows a similar recipe. The warqa process is seriously weird, but works fine once you’ve got used to it. Since I wasn’t feeling super-confident, I made enough pastry for one of my two bastillas, and used supermarket-bought filo pastry for the other. The warqa version was a clear winner: it’s a time consuming faff, but the result is considerably superior and I won’t be going back to filo any time soon.
You have options on the spicing: saffron, cinnamon, ras el hanout and orange blossom water are just some of them. Some Moroccan recipes use smen, a fermented butter not dissimilar to the Indian ghee, either in place of the oil or in addition to it.
I went for chicken thigh fillets because there are better quality ones available than whole thighs at the supermarket I use. Cooking your chicken on the bone will get you a richer sauce.
Next, there’s the question of how to layer your fillings. I went for a three layer approach: chicken mixed with onion sauce, scrambled eggs, ground almonds. There are other possibilities (keep the chicken and the sauce separate and/or blend your eggs into the sauce when you scramble them).
Finally, there’s the question of icing sugar. I really don’t like things sweet so I ignored the two instructions to add icing sugar: one when grinding the almonds and one when the whole bastilla is finished.
That’s more than enough about the possible variations: let’s get down to the recipe I made.
The chicken filling
If you can, make your filling the day before. Like many stewed dishes, it tastes more intense when the flavours have had lots of time to infuse. Quantities of herbs are very approximate: I’ve never yet found a dish that gets spoiled by adding too many fresh herbs.
Olive oil for frying
800g chicken thigh fillets (or around 8 large chicken thighs)
500g onions
1 tsp turmeric
1 tsp ground ginger
1 cinnamon stick
2 tsp ras el hanout
A small pinch saffron
Salt to taste
Black pepper to taste
20g flat leaf parsley
20g coriander leaves
½ tablespoon honey
Divide the chicken thigh fillets into two at the point where they’re nearly split anyway.
Chop the onions reasonably finely (you don’t need to go overboard).
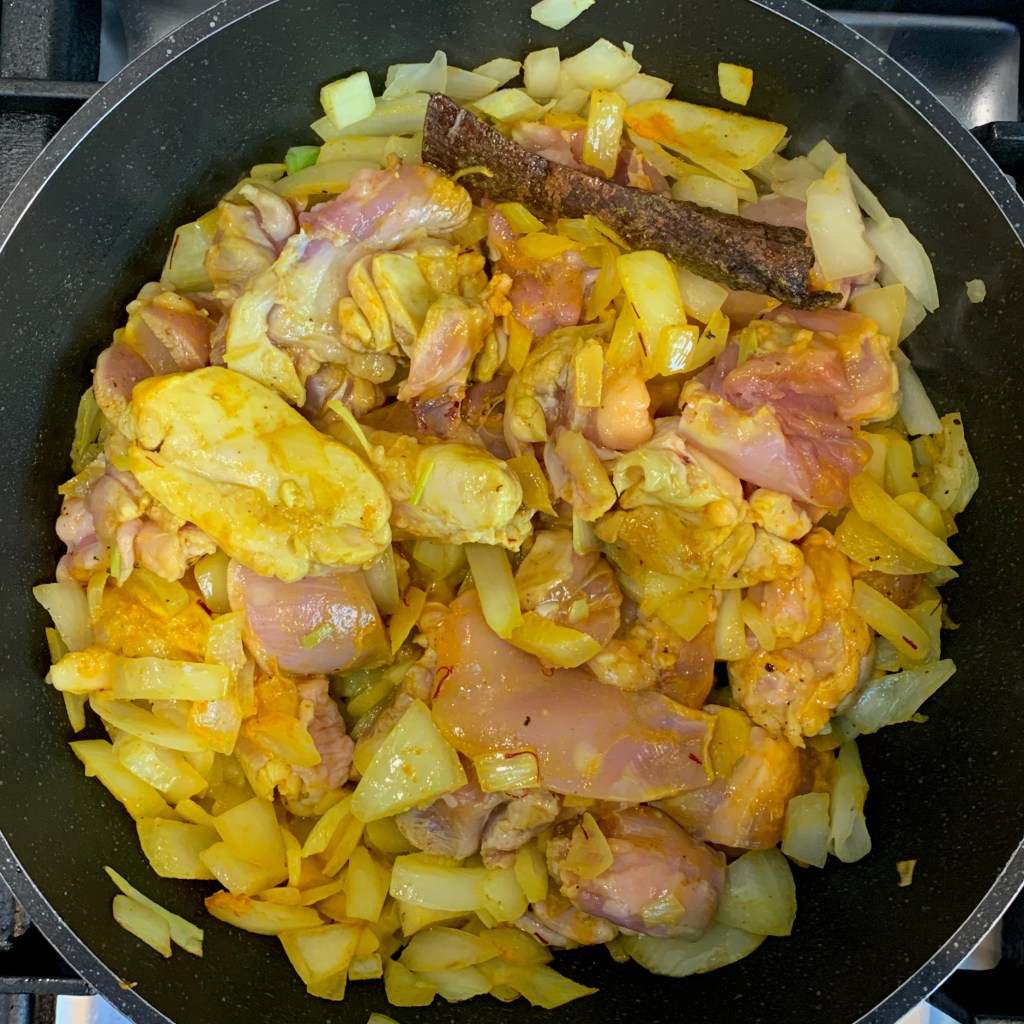
Heat oil in a pan, add the chicken, onions, spices, salt and pepper.
Fry on medium heat, uncovered, until the chicken is browned on all sides and the onions are transparent (around 10-15 minutes)
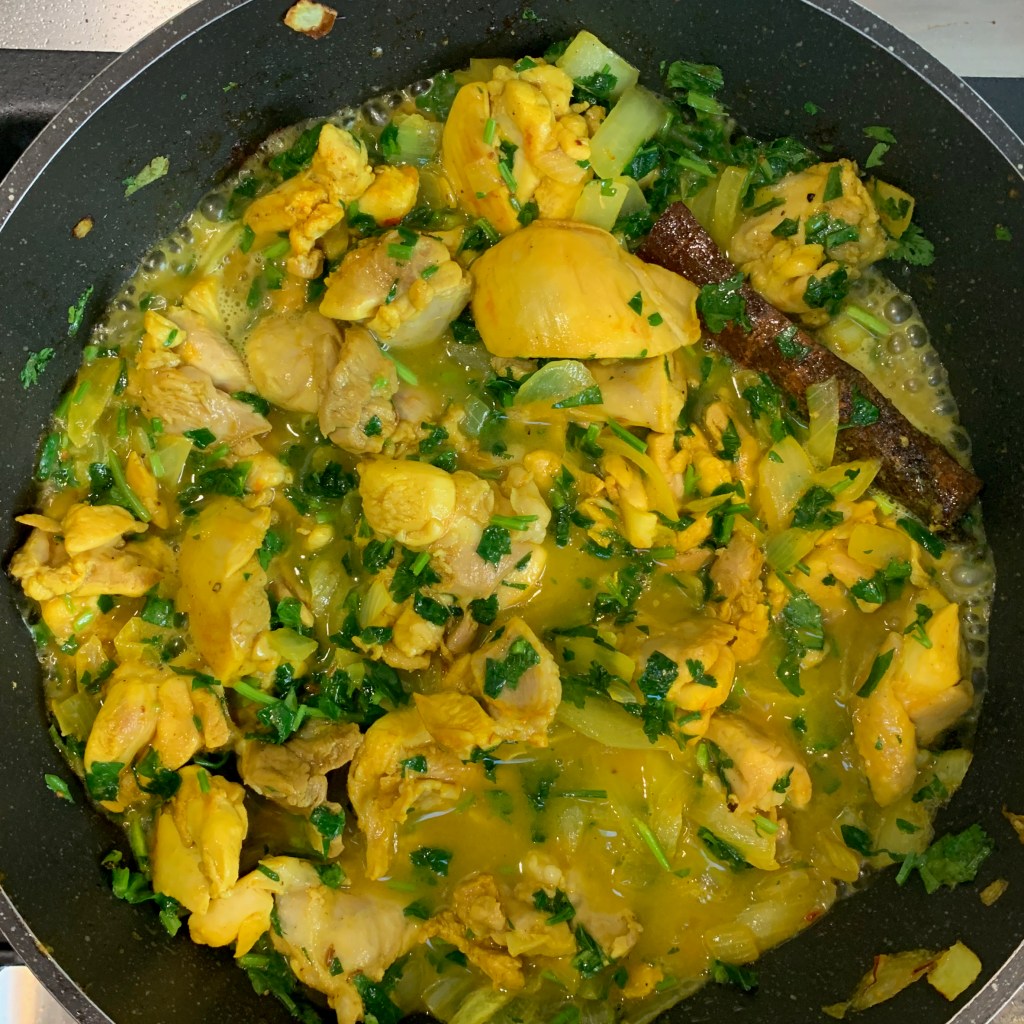
Add the parsley and coriander and a small amount of water (perhaps 50-100ml), cover your pan and simmer until the chicken is cooked through.
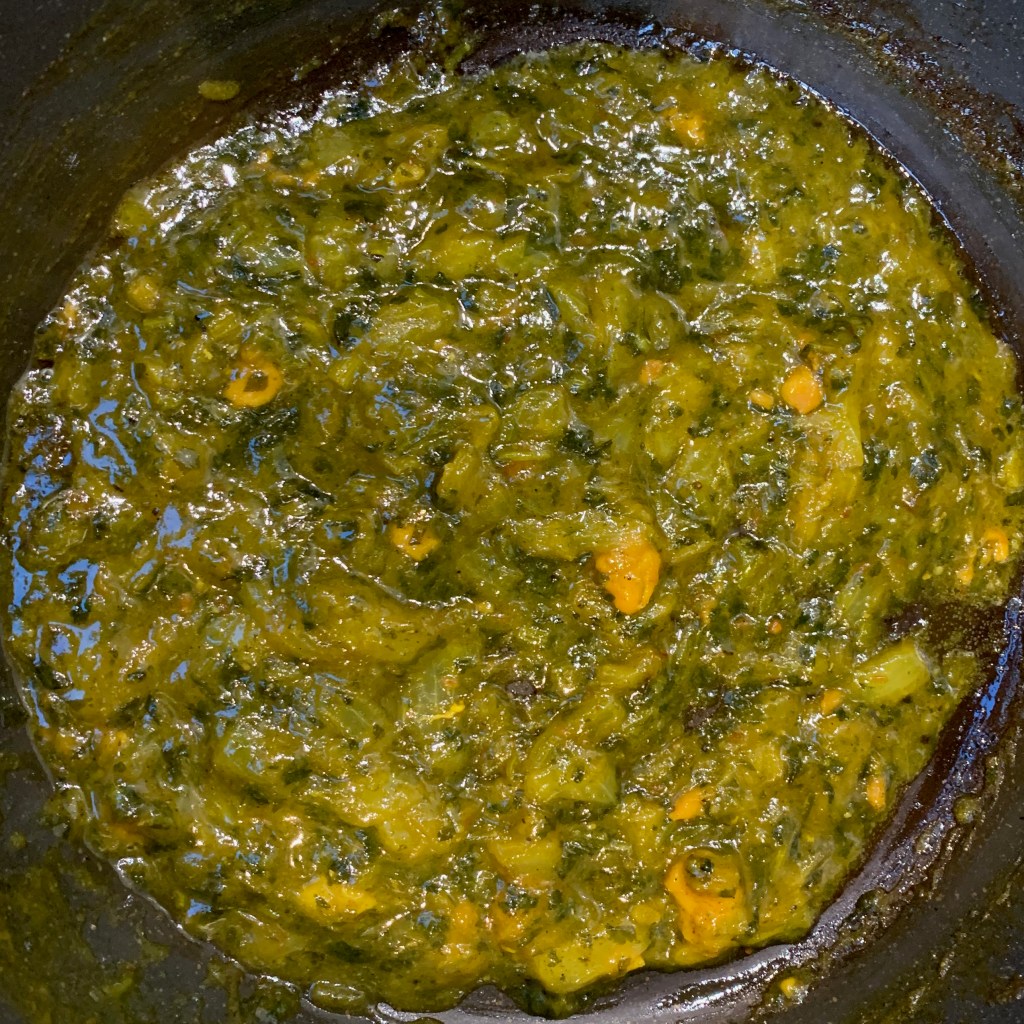
Remove the chicken and set aside. Discard the cinnamon stick. Add honey to the mixture, uncover your pan and cook until almost all the water has evaporated and you have a thick paste. You don’t want a watery sauce turning your pastry soggy.
Meanwhile, if your chicken was on the bone, remove the bones and skin. Chop the chicken into small pieces, perhaps 5-10mm across.
Recombine the chicken and the sauce and set aside.
The almond filling
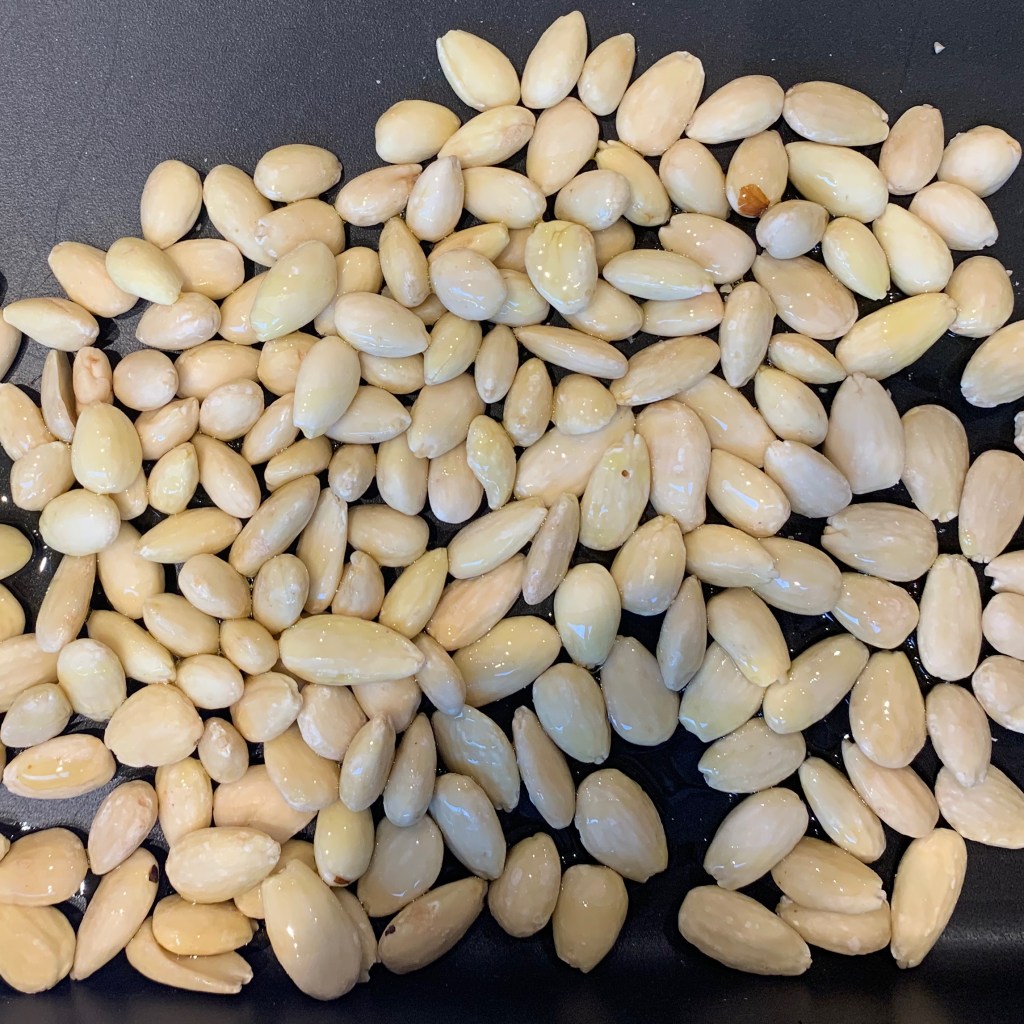
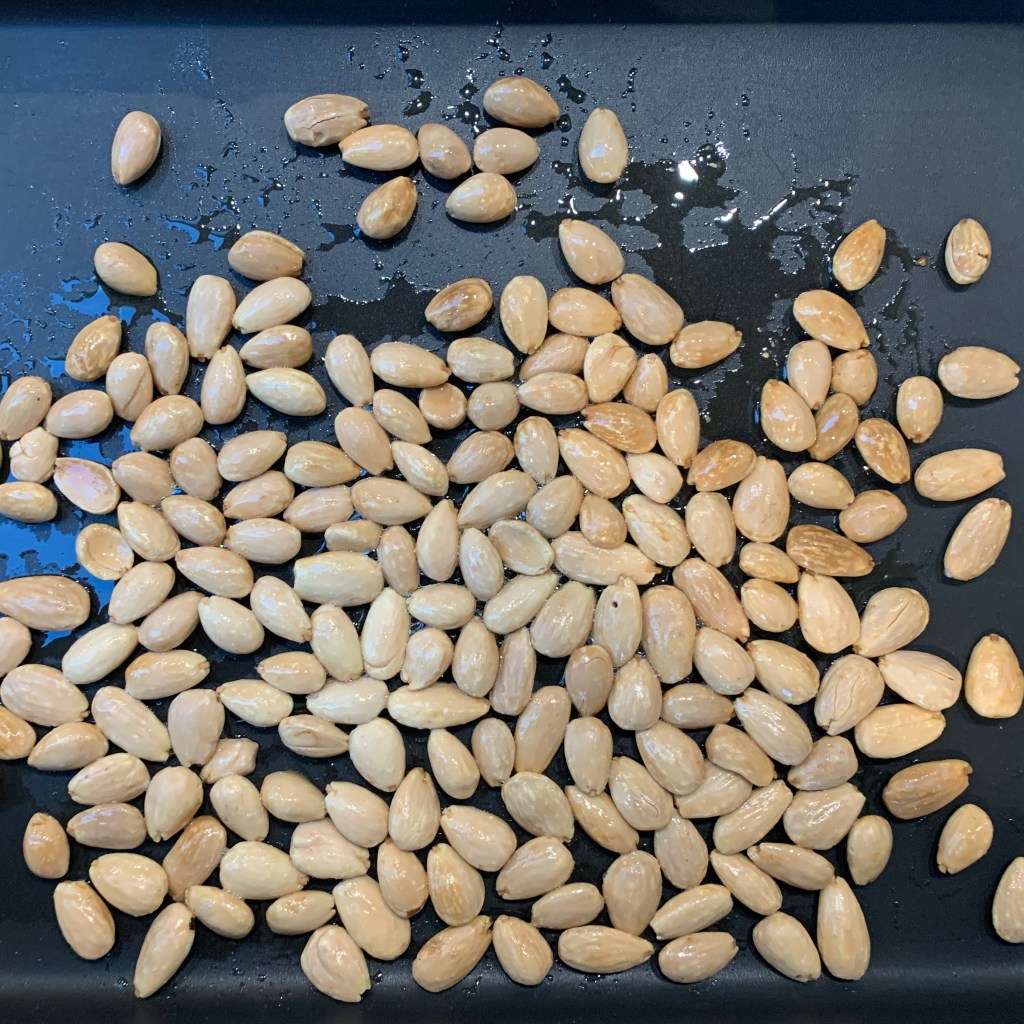
200g blanched almonds
Olive oil for drizzling
Preheat oven to 160℃ fan
Spread almonds out on a baking tray, drizzle with olive oil
Bake in the oven for until golden: around 15-20 minutes
Remove and leave to cool
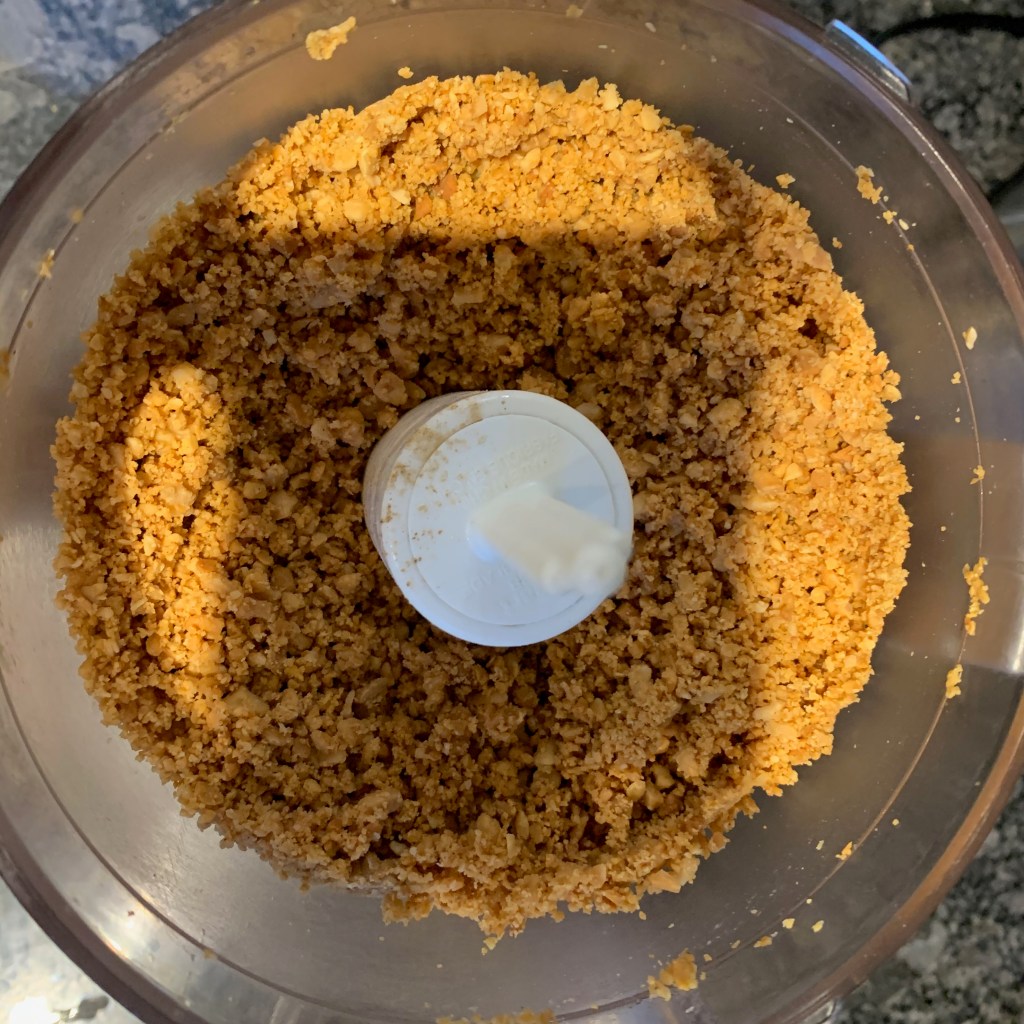
Blitz the almonds in a food processor until you have a coarse grain – you don’t want a fine powder or the oil will start coming out of the nuts.
Set aside
The warqa pastry sheets
The amount here should be about right for a single large bastilla. If you’re making more smaller bastillas and/or you’re a bit heavy handed with your pancake creation, you might need to increase the recipe, up to double.
160g flour
240 ml water
5g salt
Olive oil for brushing
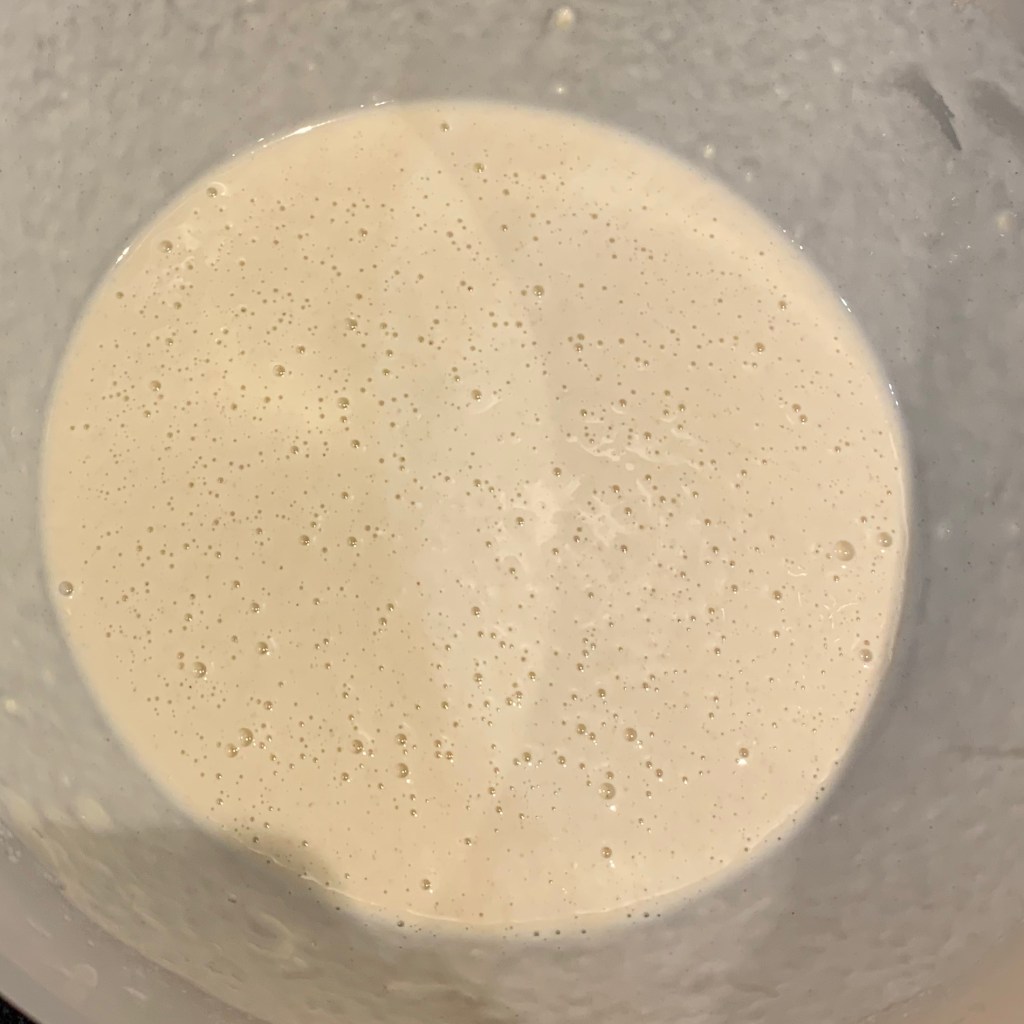
Whisk together flour, water and salt until you have a smooth, runny batter. In the Choumicha video, this is done in a blender, but a bowl and a balloon whisk work fine.
Have a nylon or silicone pastry brush ready.
Have a small dish of olive oil ready, with a different pastry brush (of any type you like)
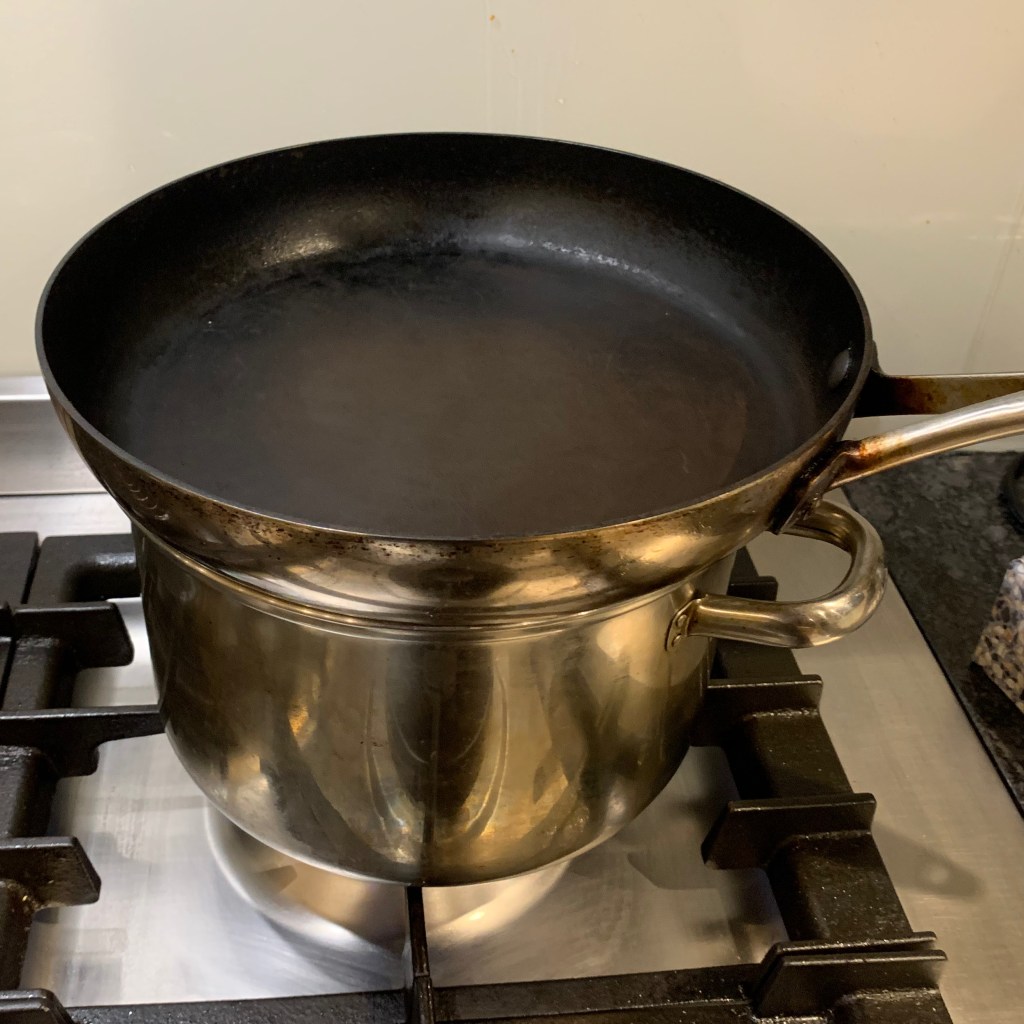
Prepare a double boiler by bringing water to the boil in a saucepan which should be just under the diameter of a non-stick frying pan that you place above it.
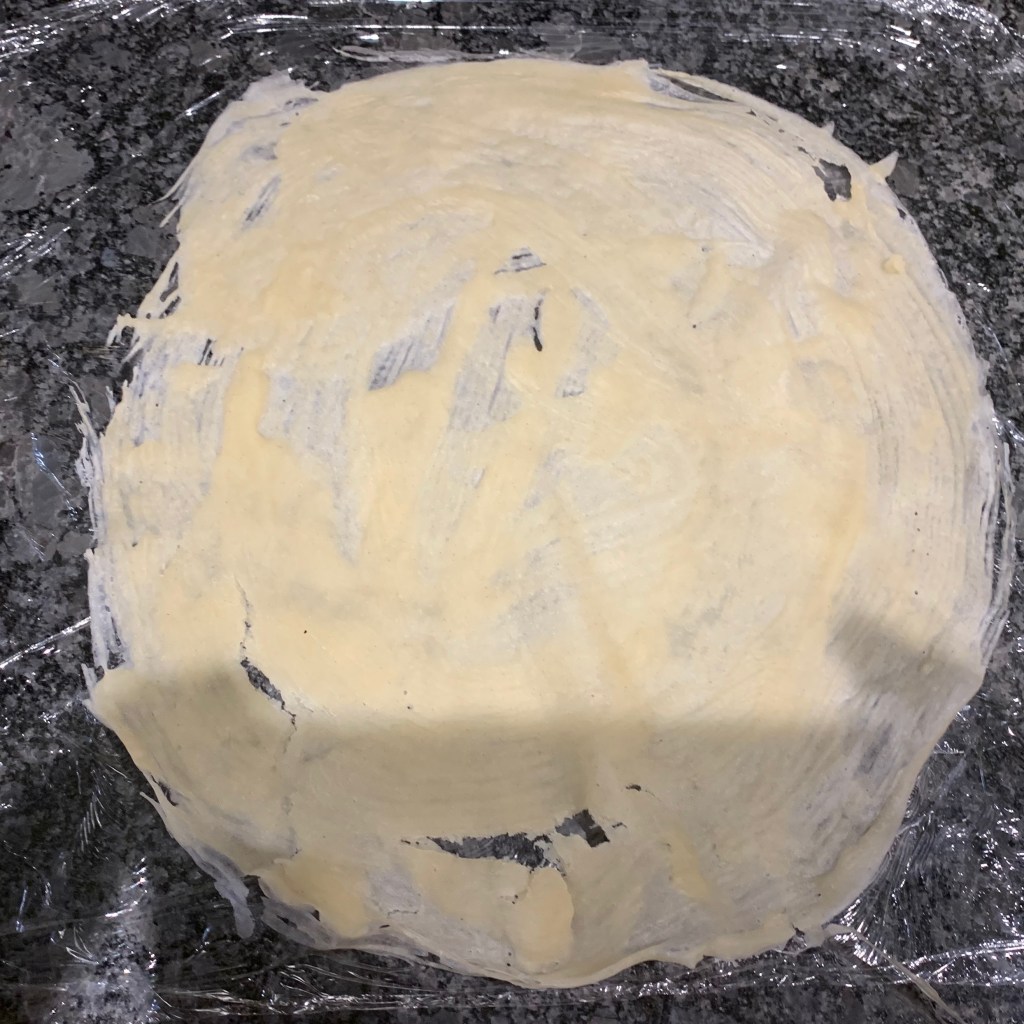
On a work surface as near as you can get to the pan, spread a sheet of plastic or cling film somewhat wider than your pan. Have another one of the same size ready.
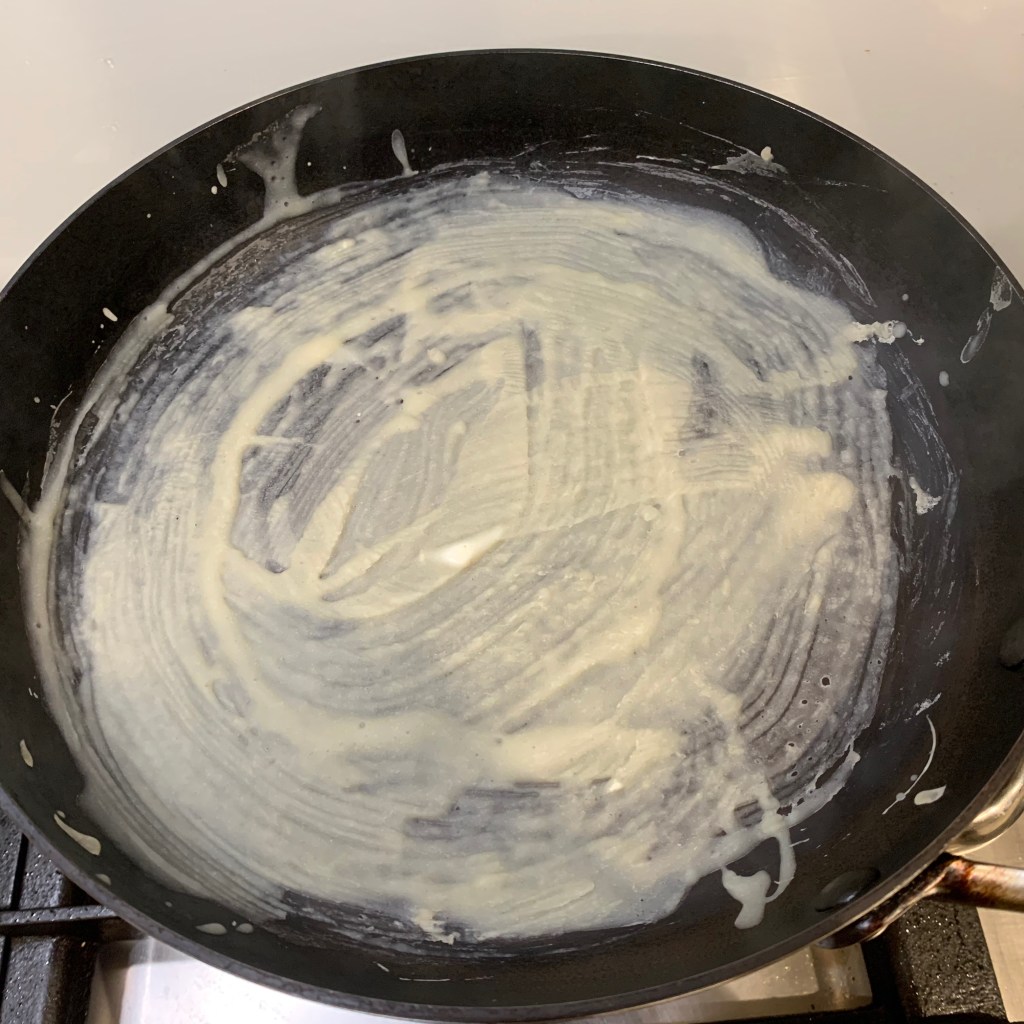
Once the pan is warm, quickly paint an ultra-thin layer of batter across all of the bottom of the pan. The correct thickness is less than you think – you’ll hardly be able to see the batter because it’s just about transparent.
After about 2-3 minutes, the pastry sheet will be cooked: you’ll know because the edges will start to curl away from the rounded sides of the pan. Now comes the scary part: pick the sheet up carefully by one of the edges and peel it off the pan.
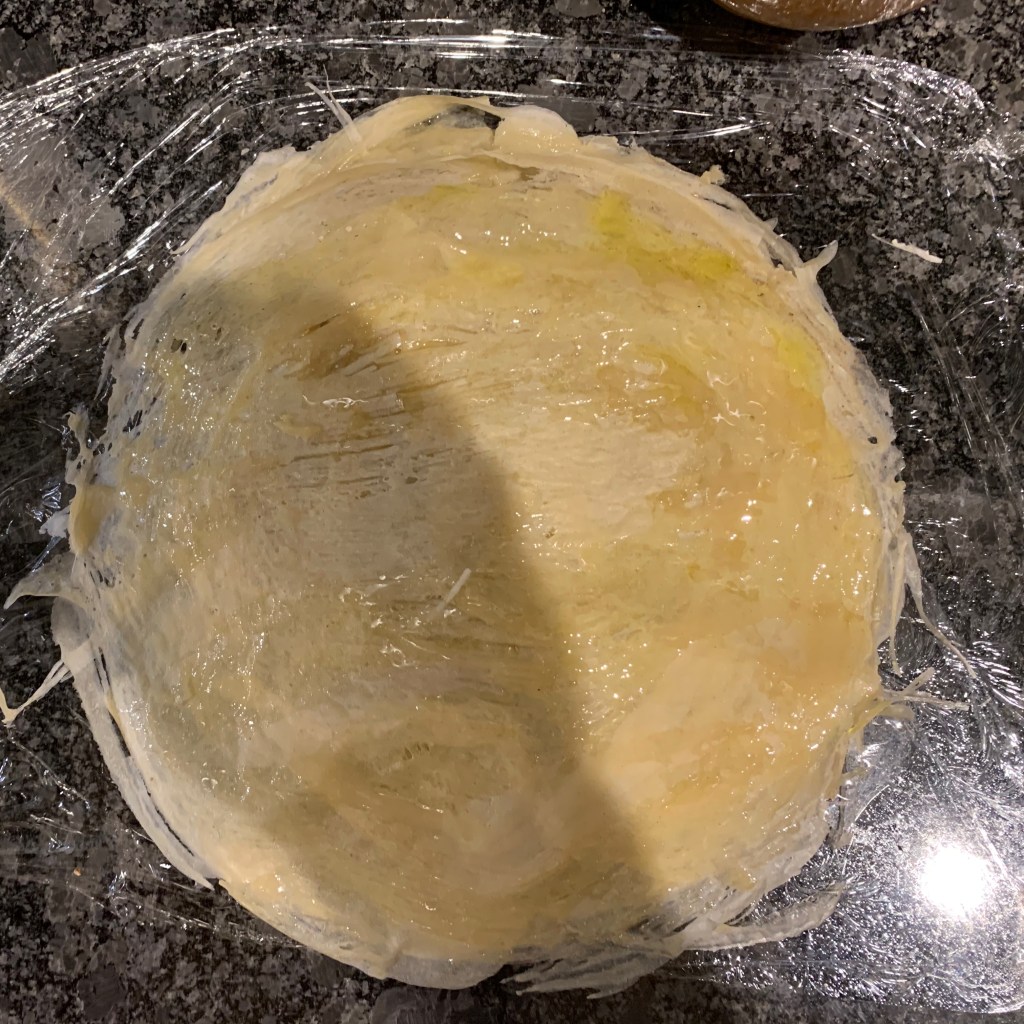
Transfer the pancake to your plastic sheet, brush olive oil over it, and put the second plastic sheet over it to stop it drying out. You’ll lift that second sheet off shortly before the next pancake is cooked.
Repeat until you’ve run out of batter. If all goes well, you’ll hardly need to clean your frying pan, but if you’ve had a failure, just wash up the frying pan, put it back in double boiler position and wait until it’s properly warmed up again before continuing.
Batter
Pans as double boiler
First sheet – far too thick!
Second sheet – getting better
Finished pile of warqa sheets
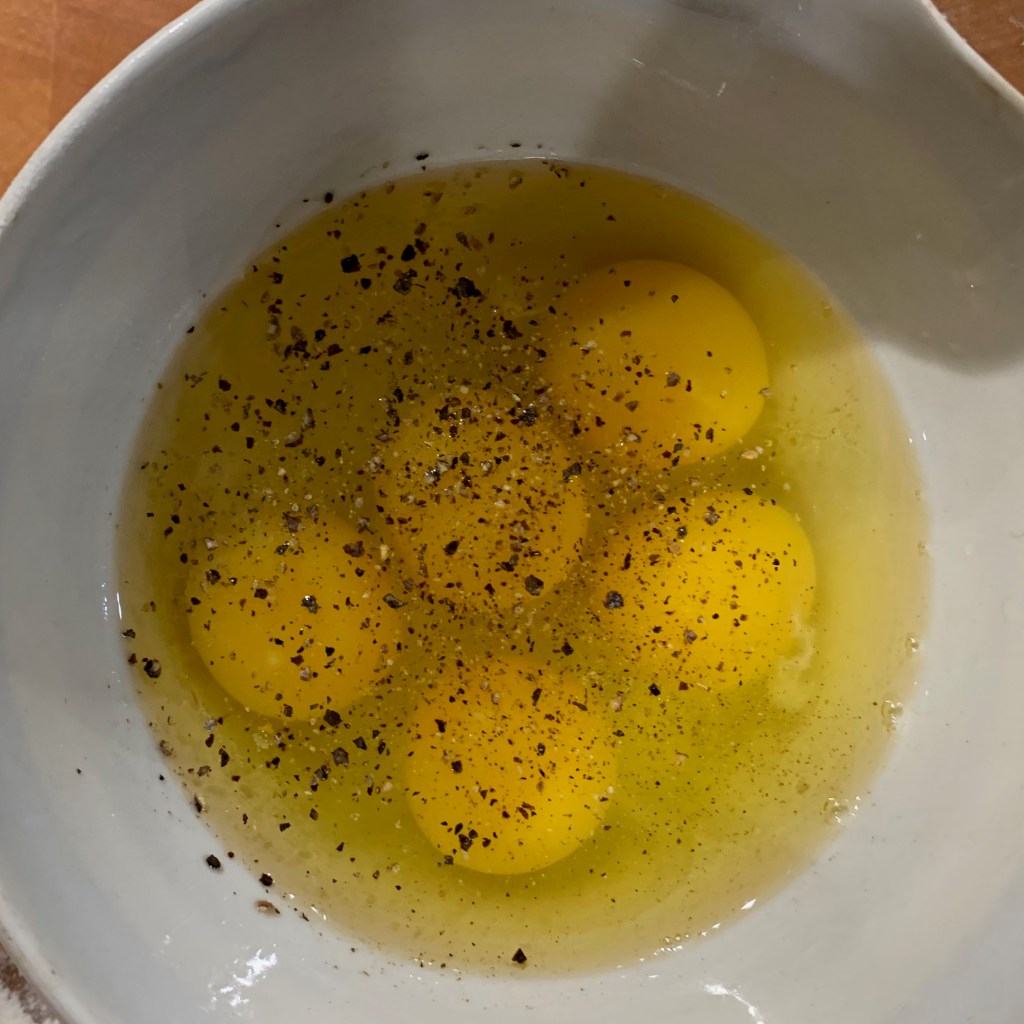
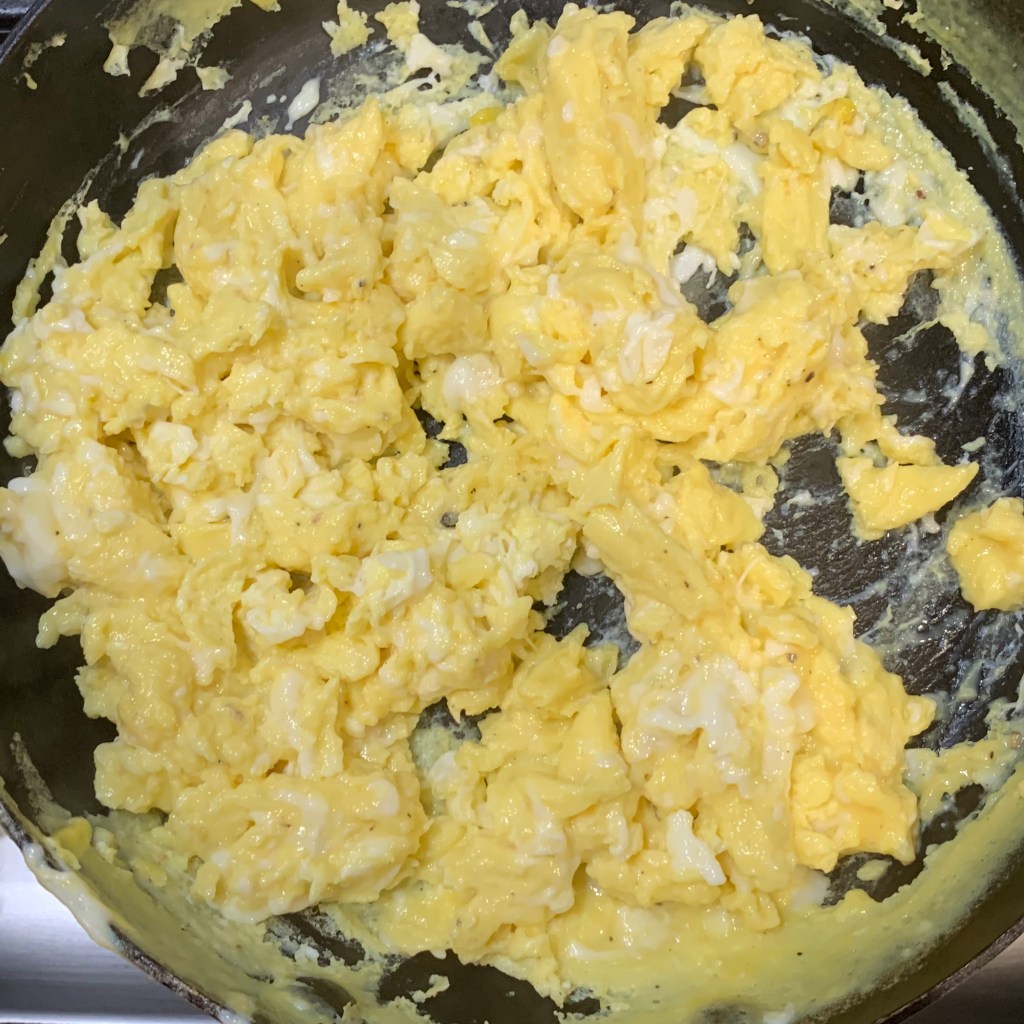
The egg filling
5 large eggs
10g butter (quantity very approximate)
Salt and pepper to taste
Whisk the eggs with the salt and pepper
Melt butter in a pan
Add the eggs and stir over medium heat until you have a fairly dry scrambled egg mixture (like the chicken filling, you don’t want it making your pastry soggy).
Putting it all together
Ideally, you will have a round dish with shallow, slightly rounded sides to help form you bastilla into the traditional round shape. If, like me, you don’t, you’ll just have to go freehand on a greased baking tray.
Olive oil, melted ghee or smen for brushing
Preheat oven to 200℃ fan
If you’re going to make more than one bastilla, divide your fillings up into equal portions and repeat the instructions below for each.
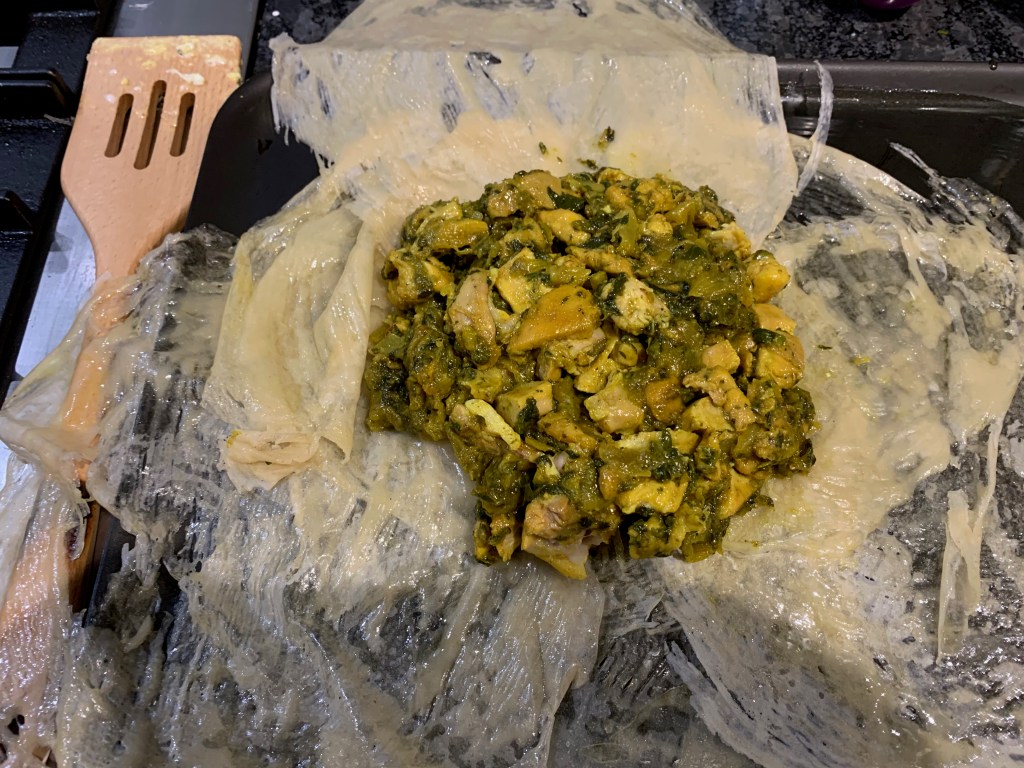
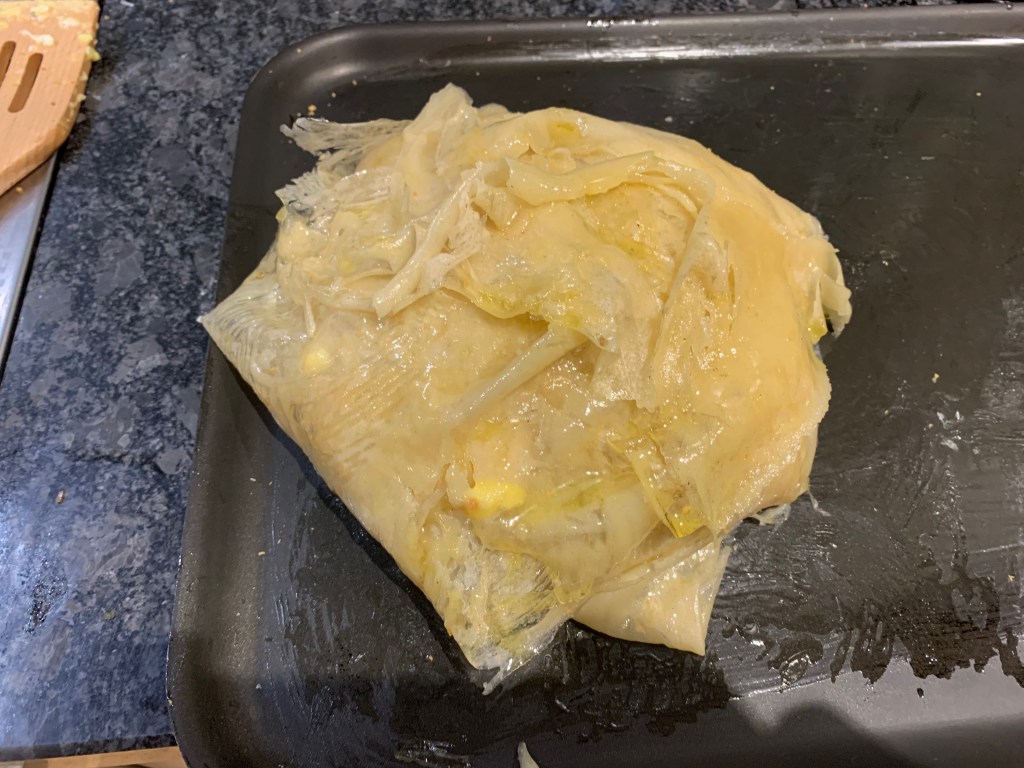
Place a few overlapping layers of pastry in a pattern big enough that once you’ve made your mound of fillings, you will be able to cover them in at least two or three sheets.
Make a flattened mound of chicken filling in the centre.
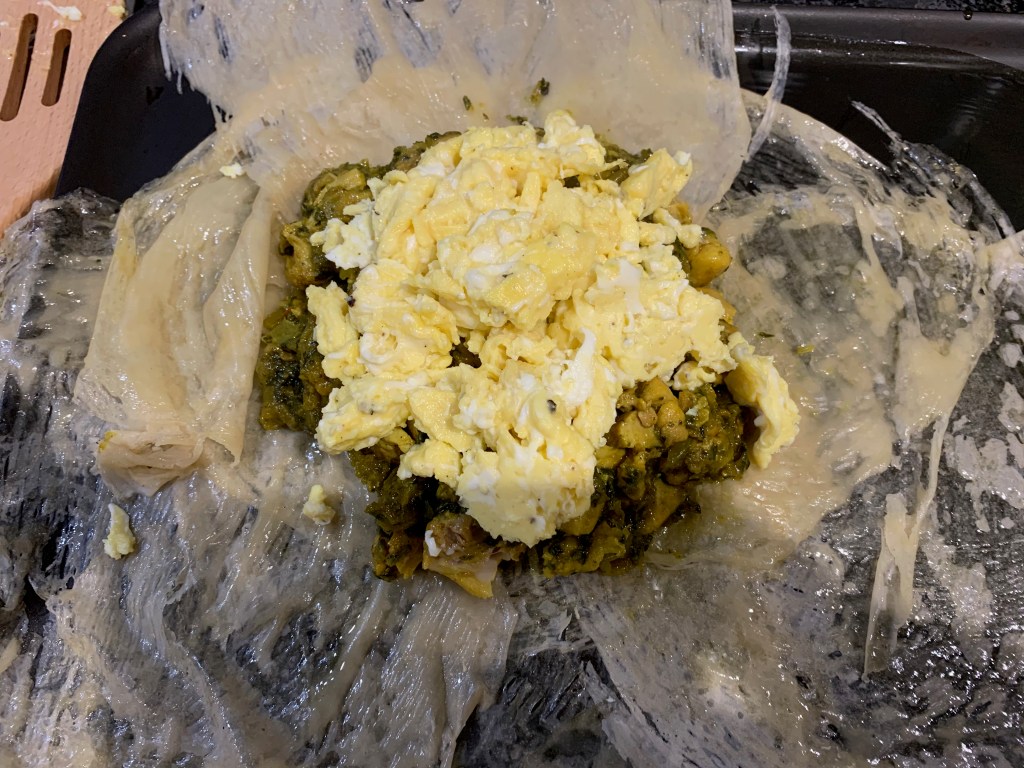
Spread the top with the scrambled egg.
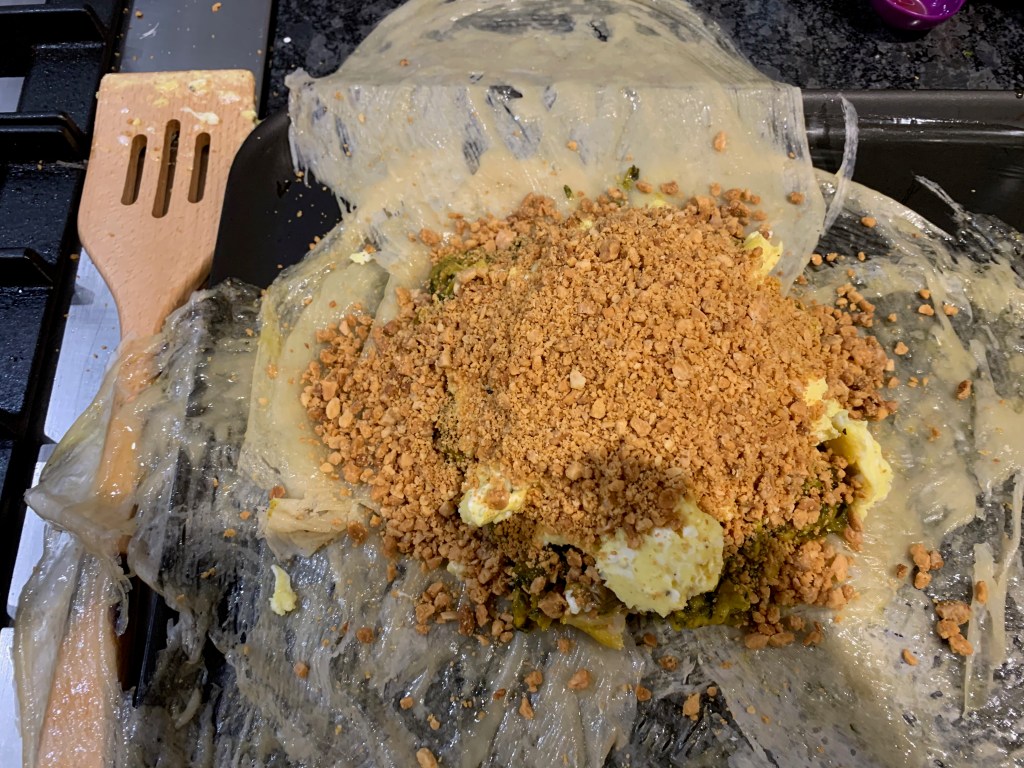
Spread the top with ground almonds.
Fold a layer of pastry over the top. Brush it with oil (or ghee or smen).
Repeat until all the layers have been folder over and you have a completed round pie, brushed across its top.
Bake until golden, around 20 minutes. Take out and cool.
Moroccans sprinkle the whole thing with icing sugar and cinnamon before serving. I didn’t.
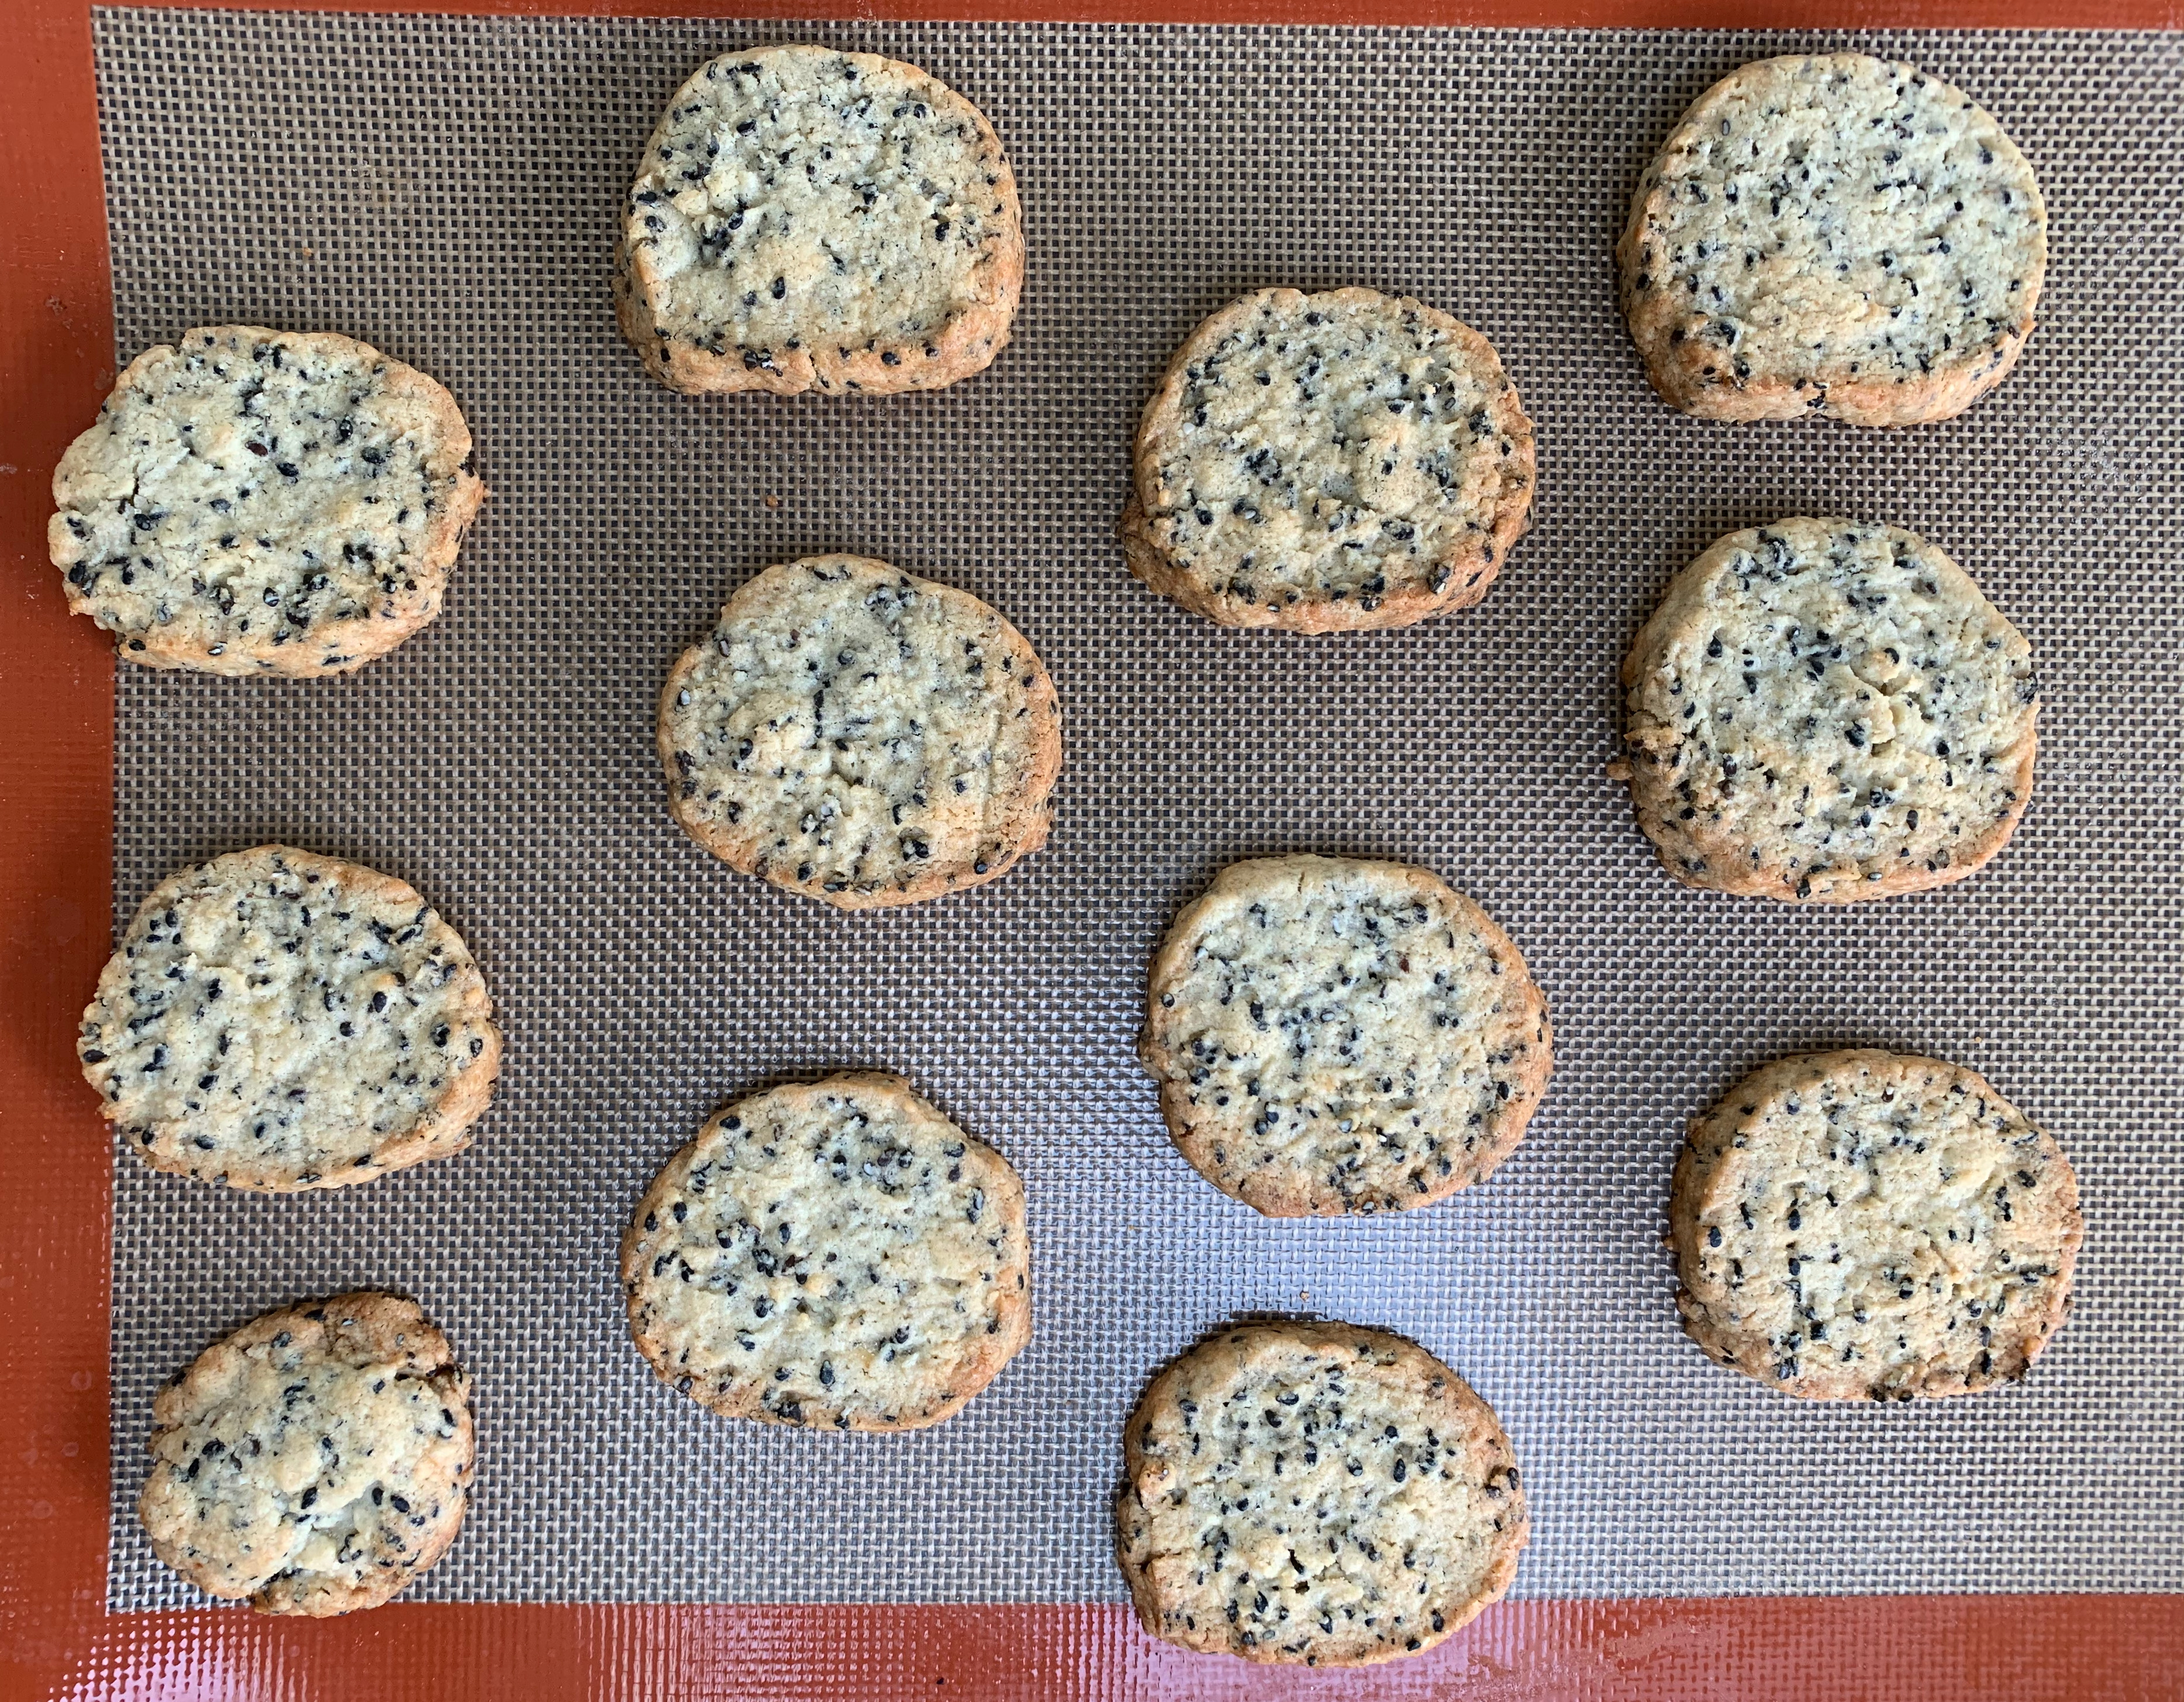
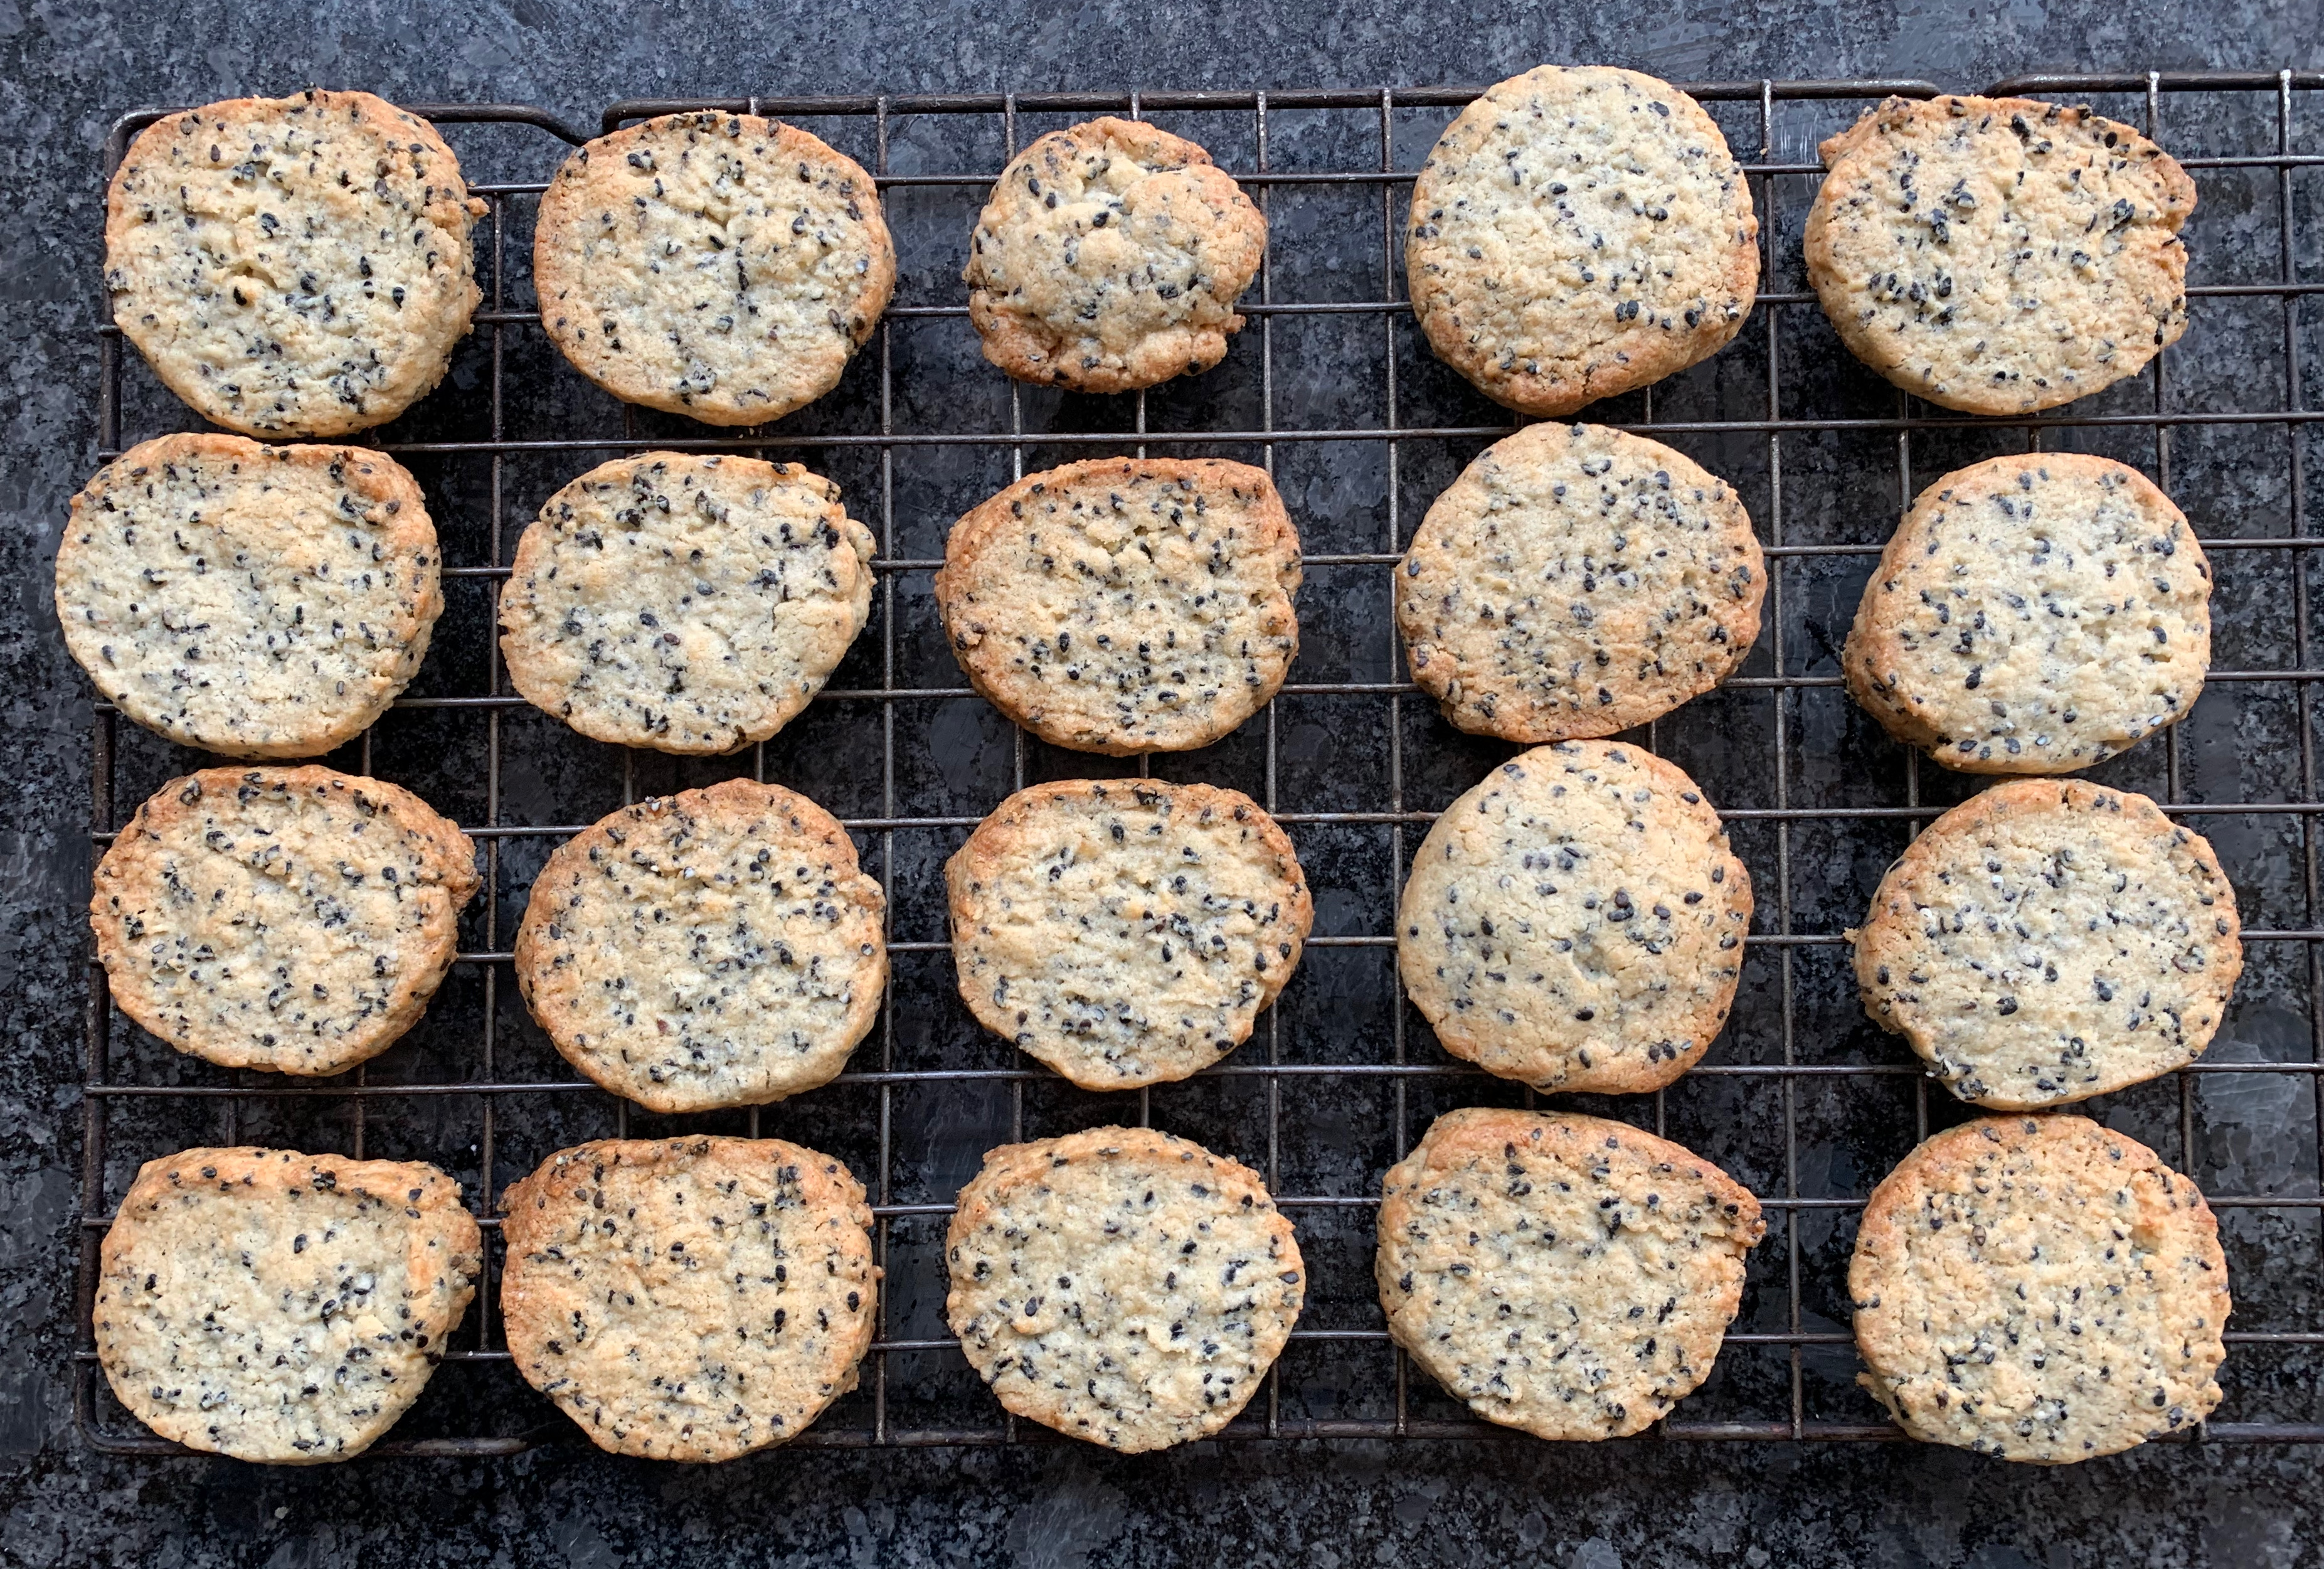
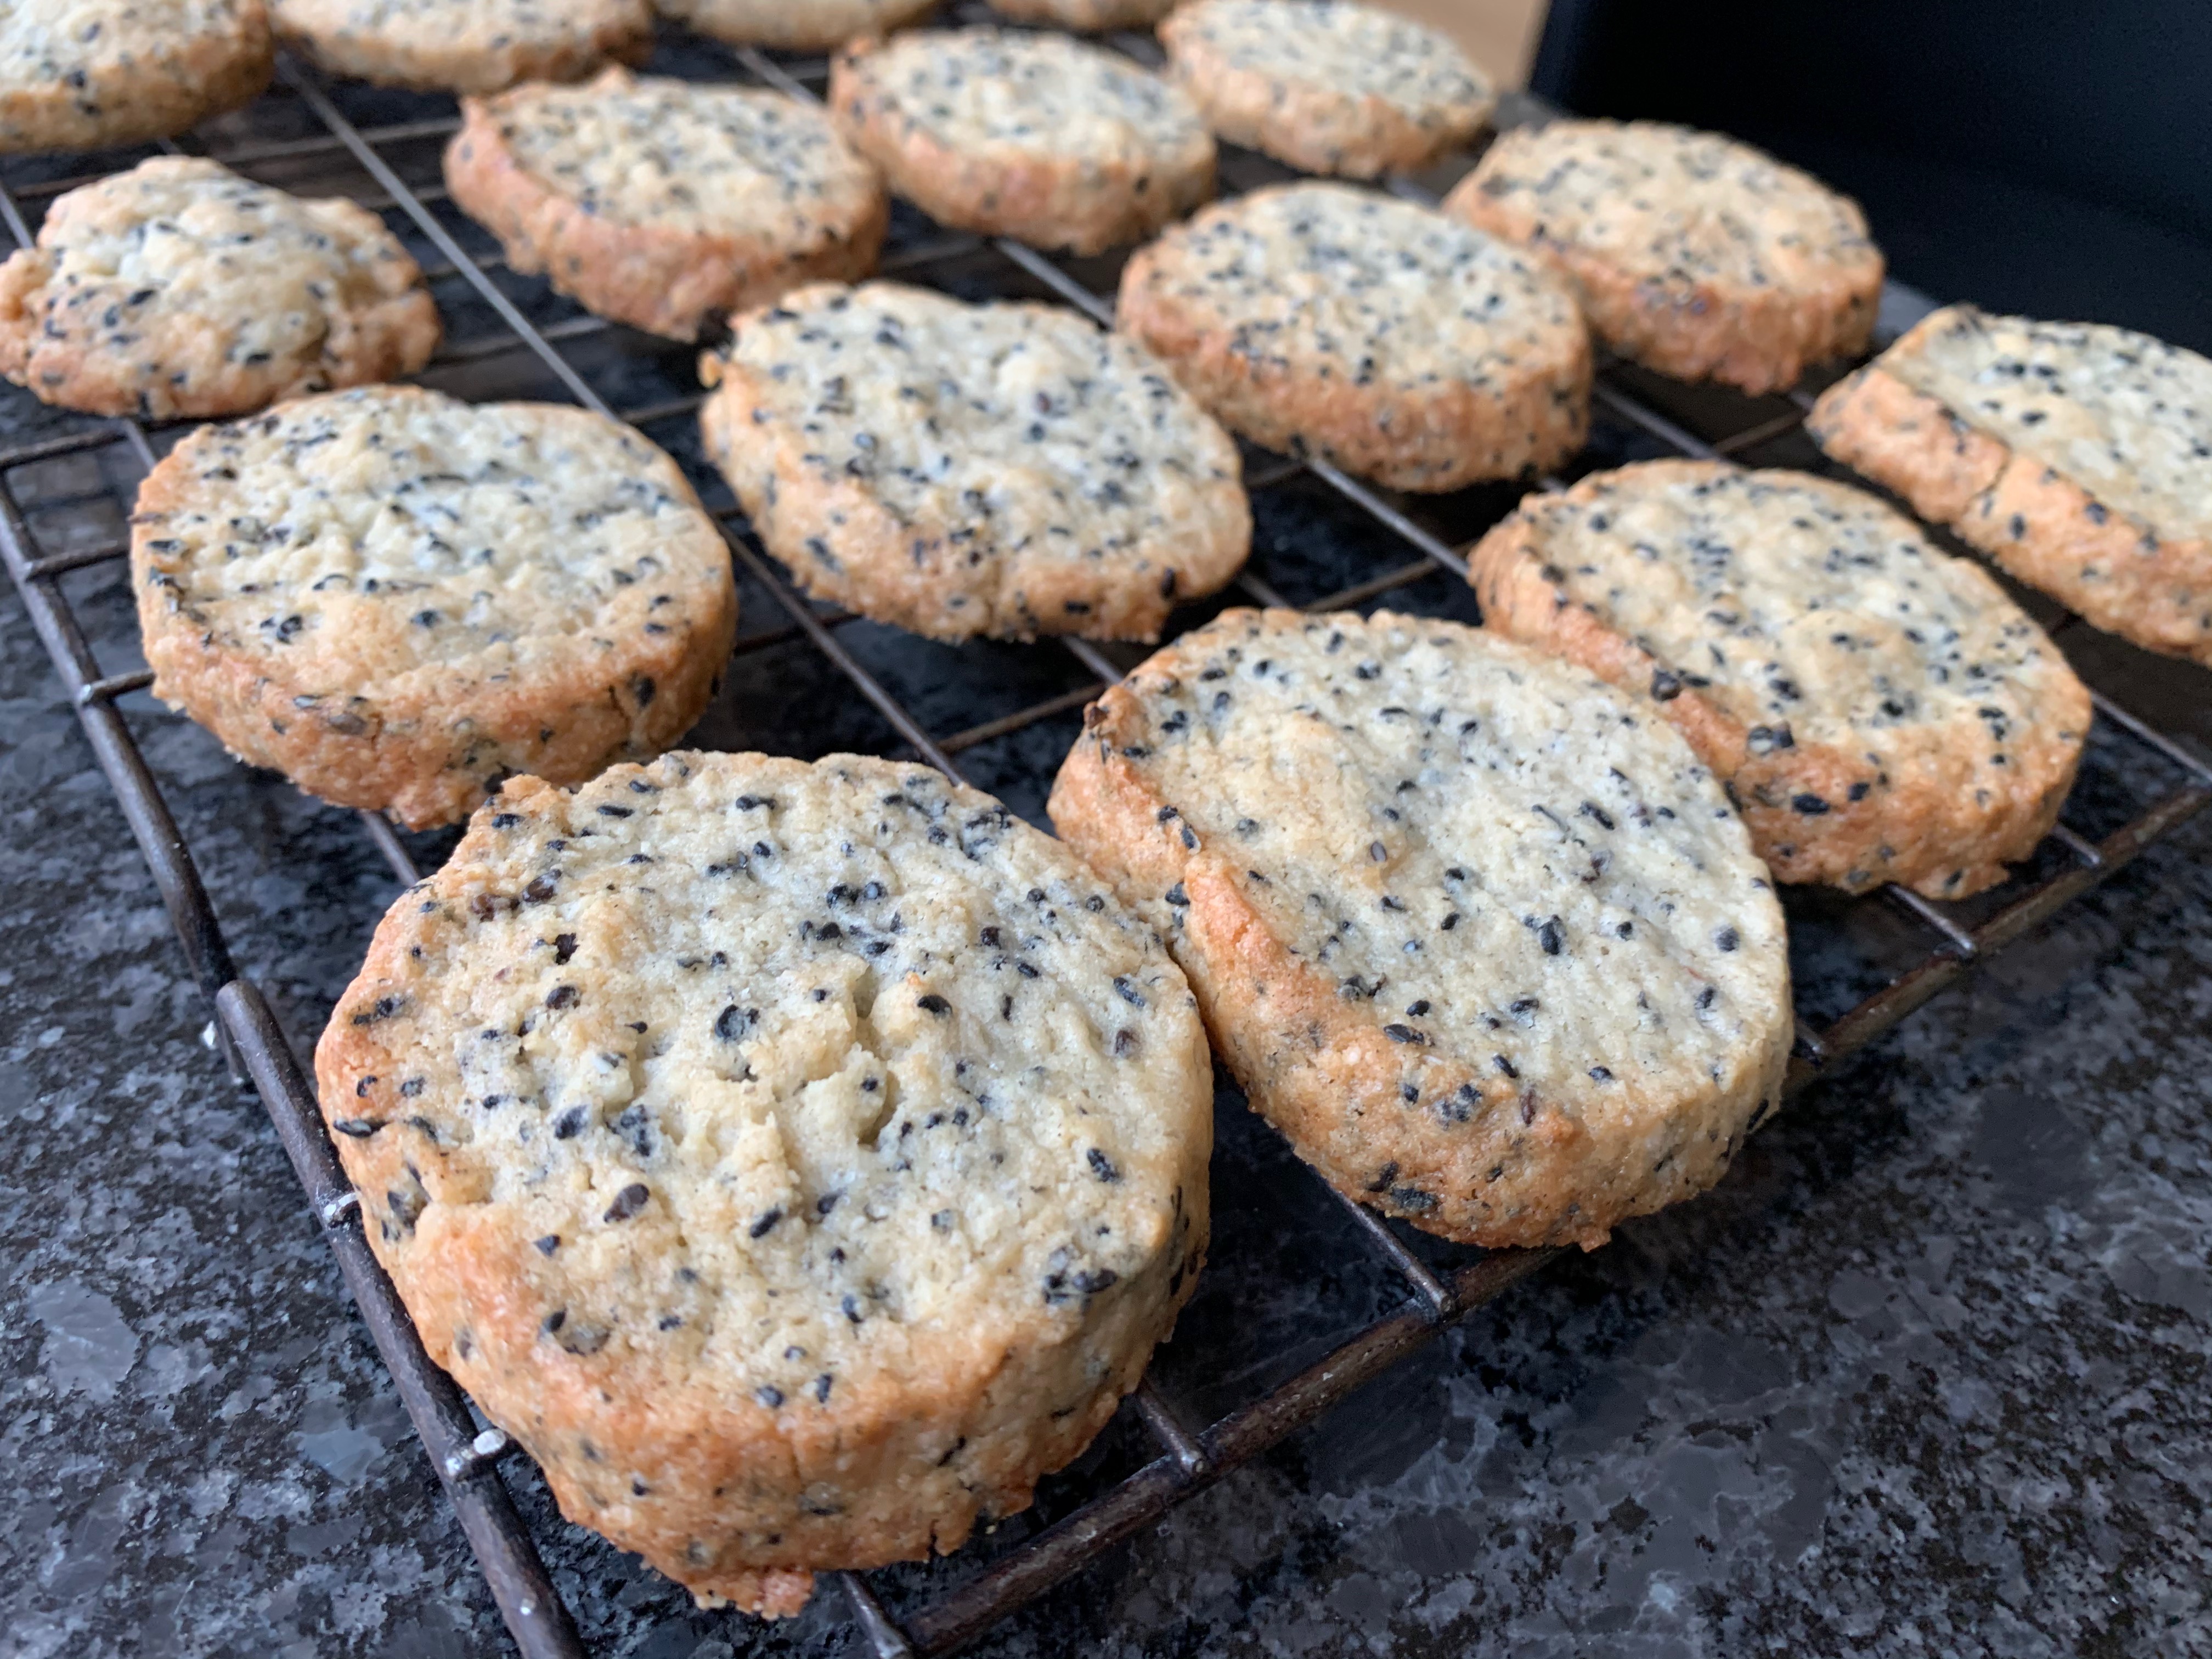
The Japanese may not have centuries worth of baking tradition: their traditional cuisine is more likely to involve steaming or cooking in a pan. But they’ve taken to the Western idea of baked desserts with a vengeance and added flavours that are characteristically Japanese. Green matcha tea cookies are a favourite for many, but as I’m not particularly fond of matcha, so I’ve gone for a different flavouring: black sesame seeds. These cookies (黒胡麻クッキー or Kuro goma kukkī) are very popular in Japan, they’re easy to make, not too sweet and have a distinct taste that I remember from trips to Japan but not from anywhere else. Thanks to Nami and her blog justonecookbook.com for the recipe.
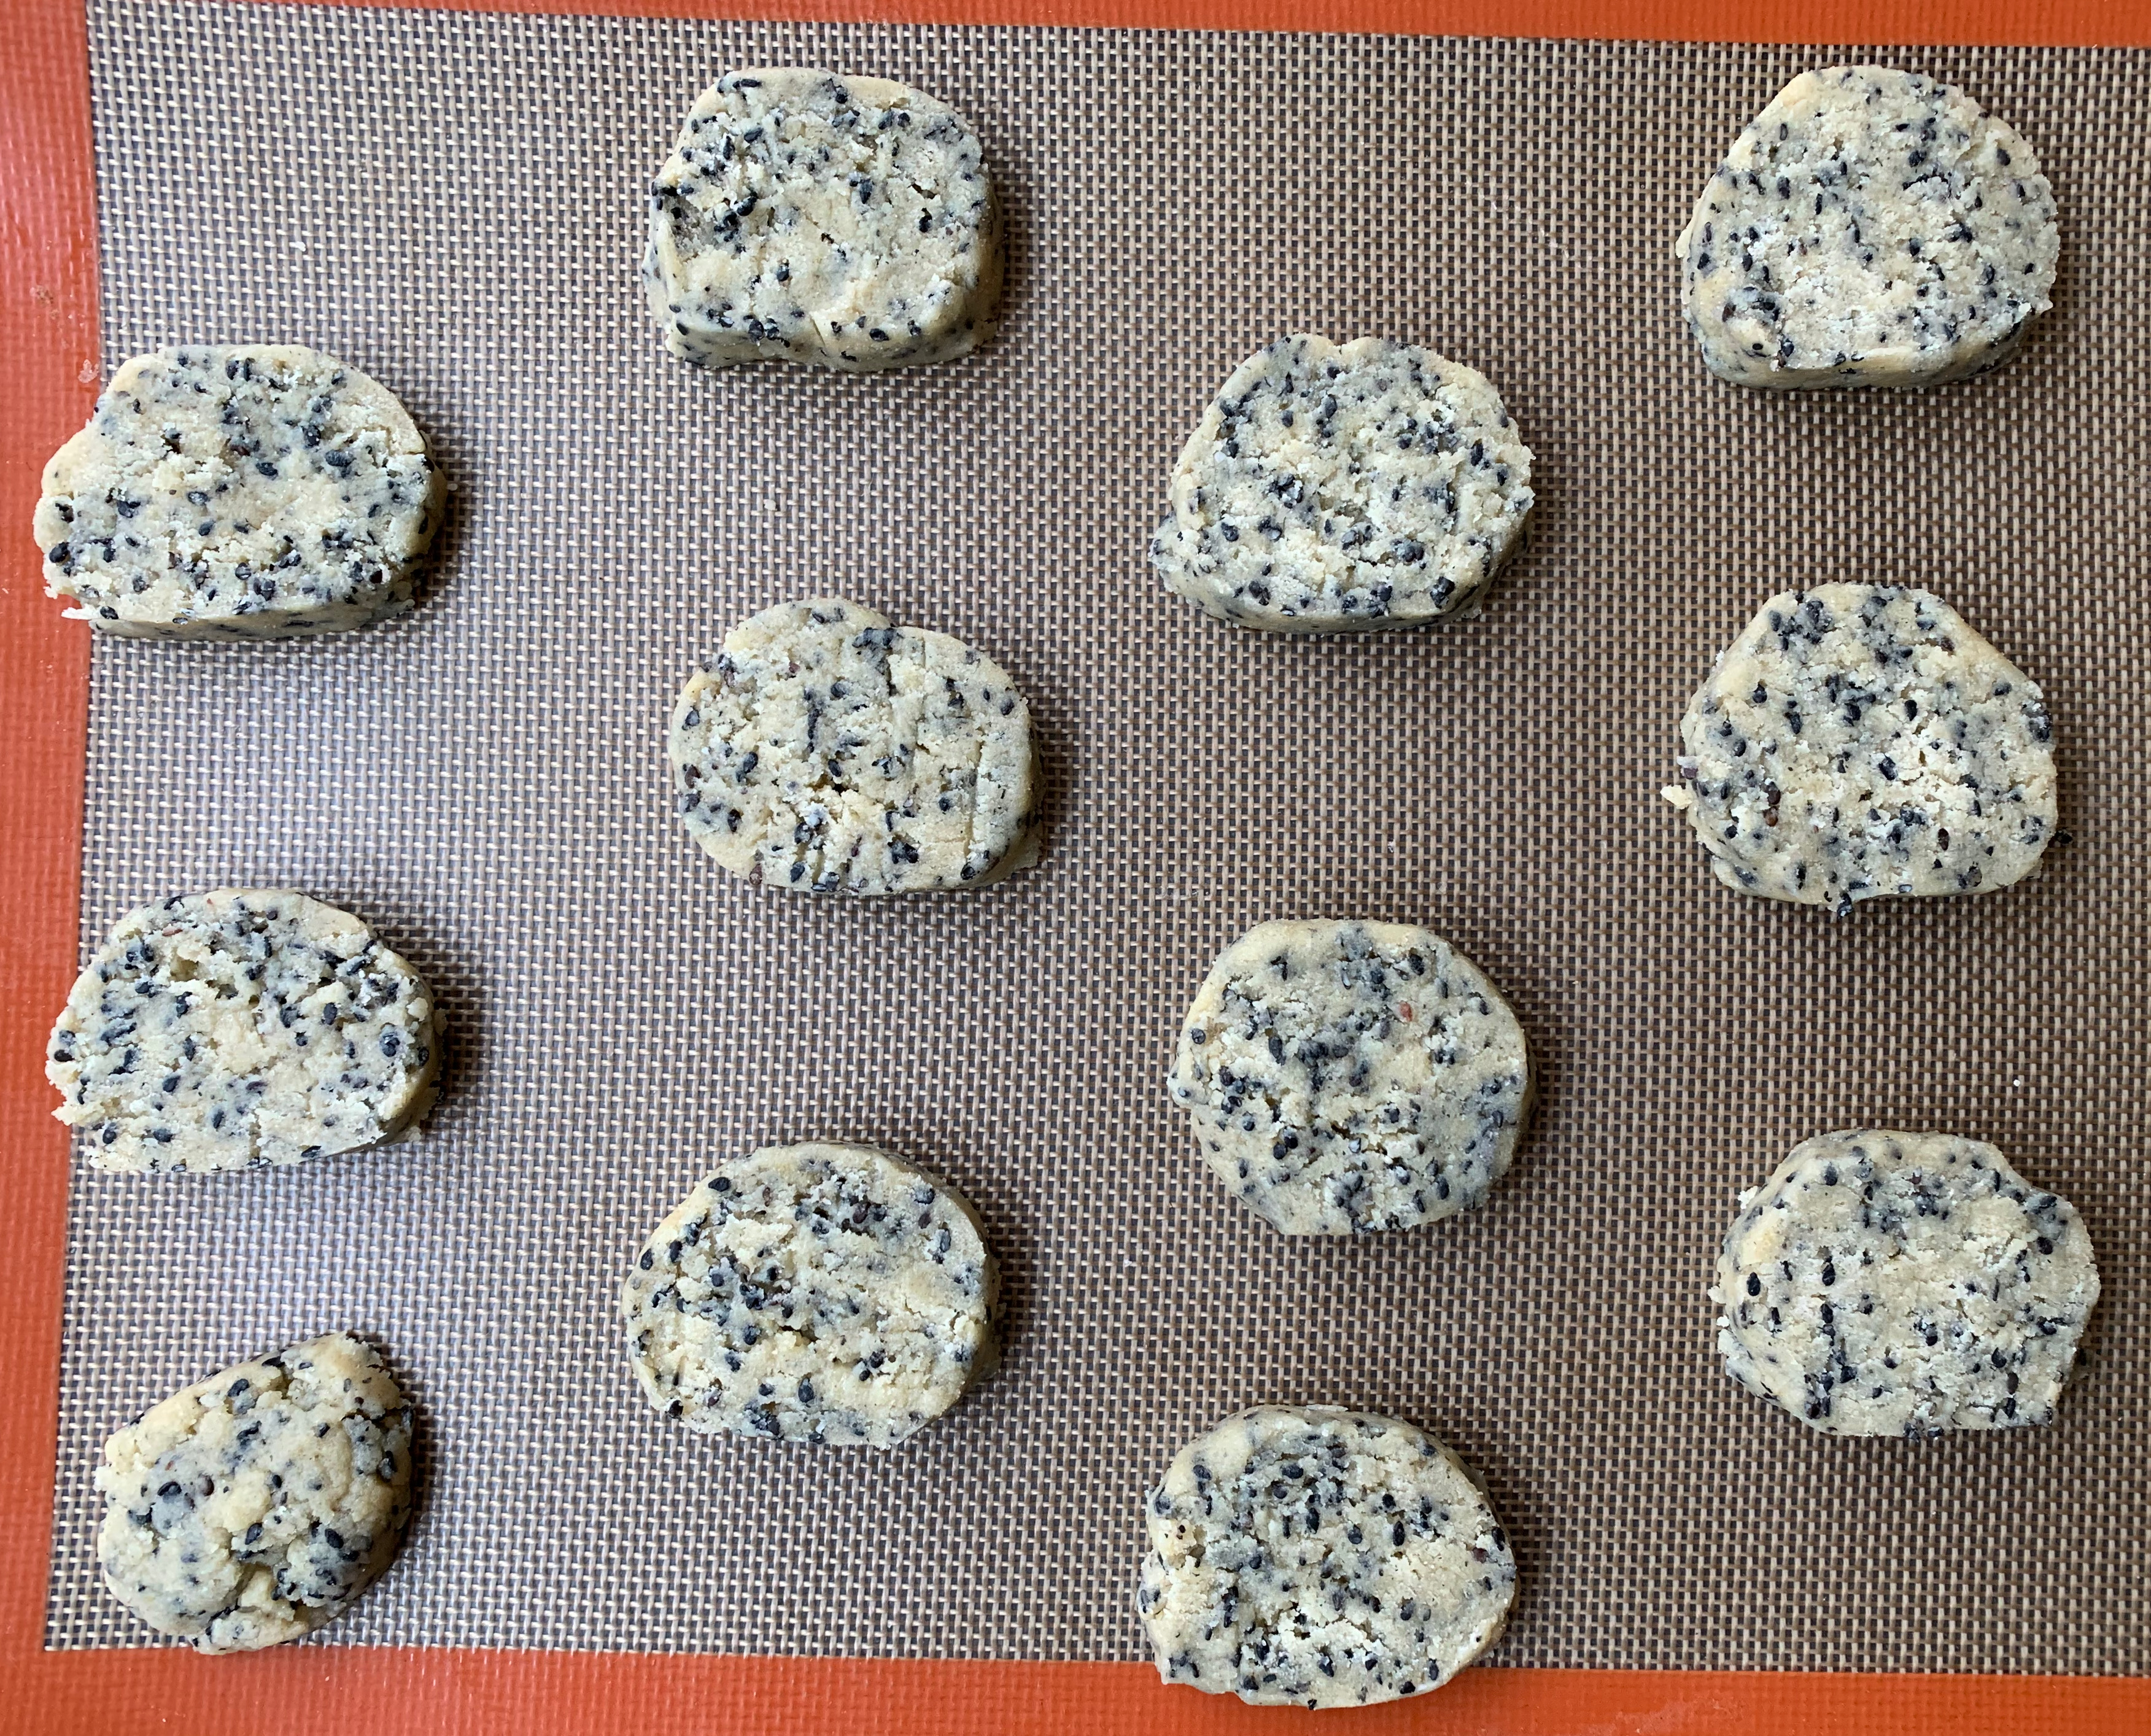
I’ve followed Nami’s recipe reasonably accurately for my first effort (she gives an option of keeping the sesame seeds whole or grinding them – I went for keeping them whole). Next time, I might go for grinding them and using a few more to get a bigger hit of sesame flavour. I might also take the sugar down a bit, although these aren’t extremely sweet by any means. If you’re looking at the photos, it’s clear that I should probably have sliced the cookies a lot thinner to get a crisper result.
40g black sesame seeds
160g plain flour
40g ground almonds
80g caster sugar
2g salt
120g unsalted butter
1 egg
Toast the sesame seeds in a pan until fragrant, leave to cool slightly.
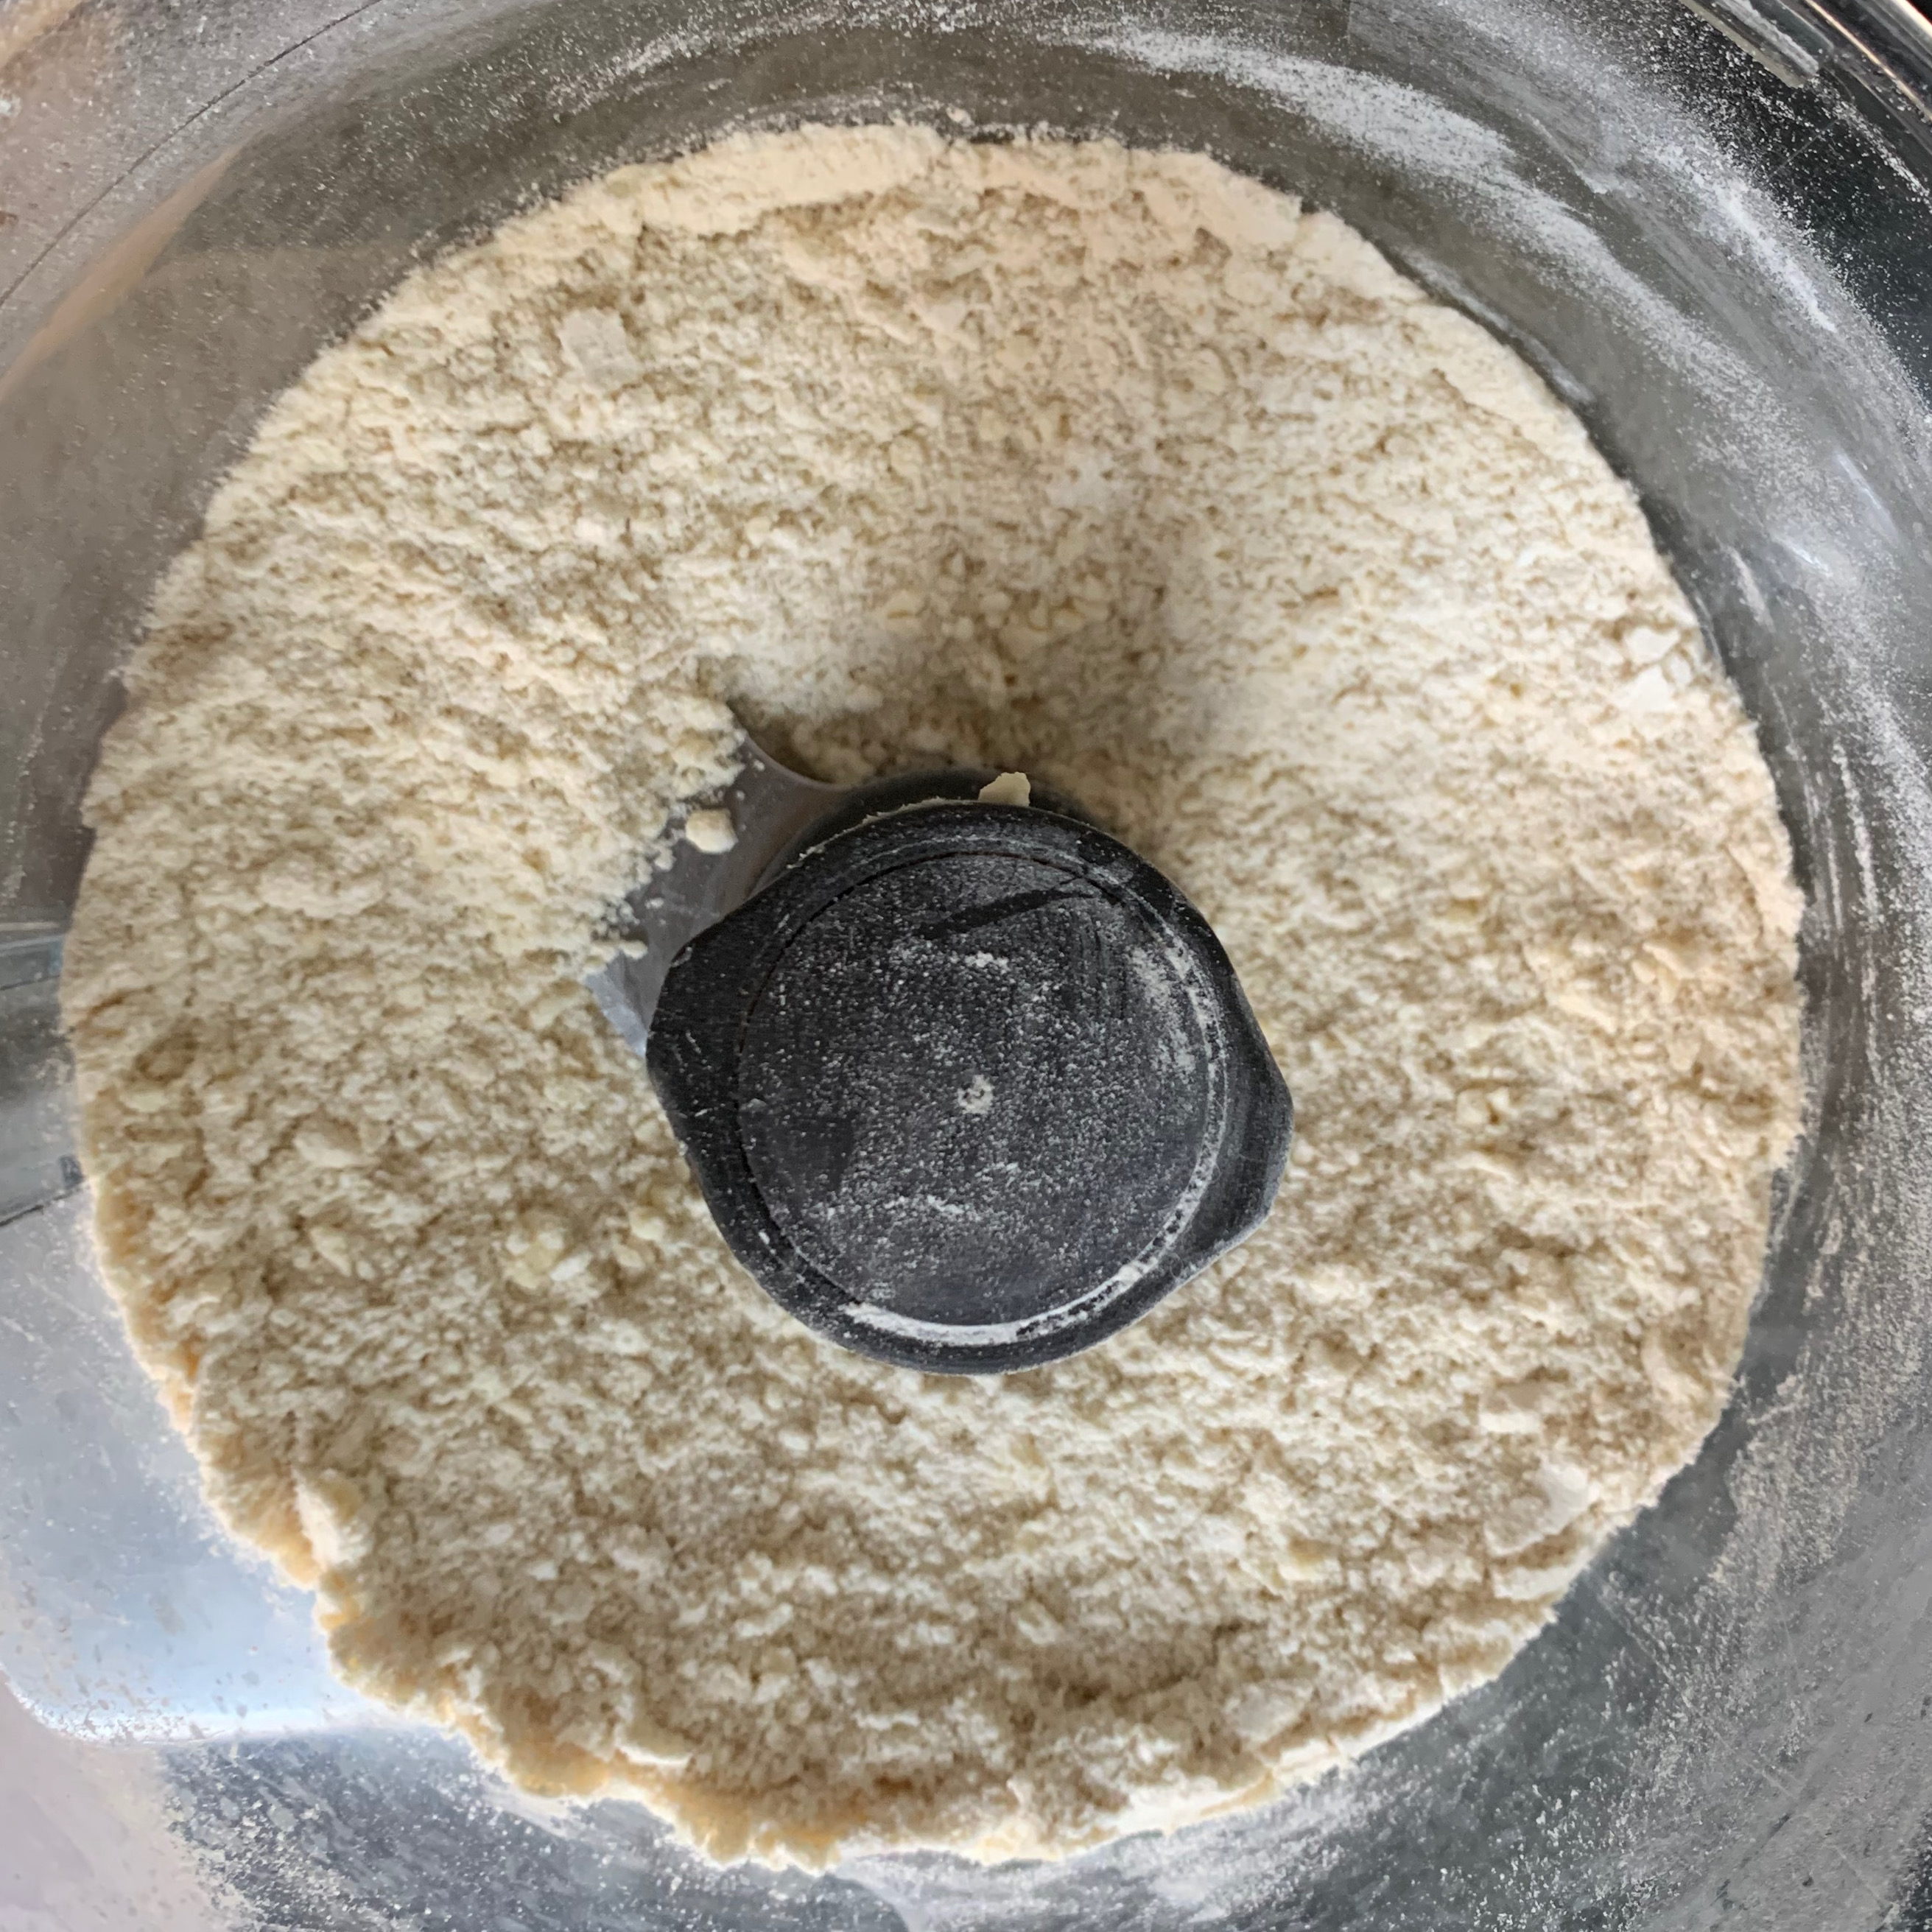
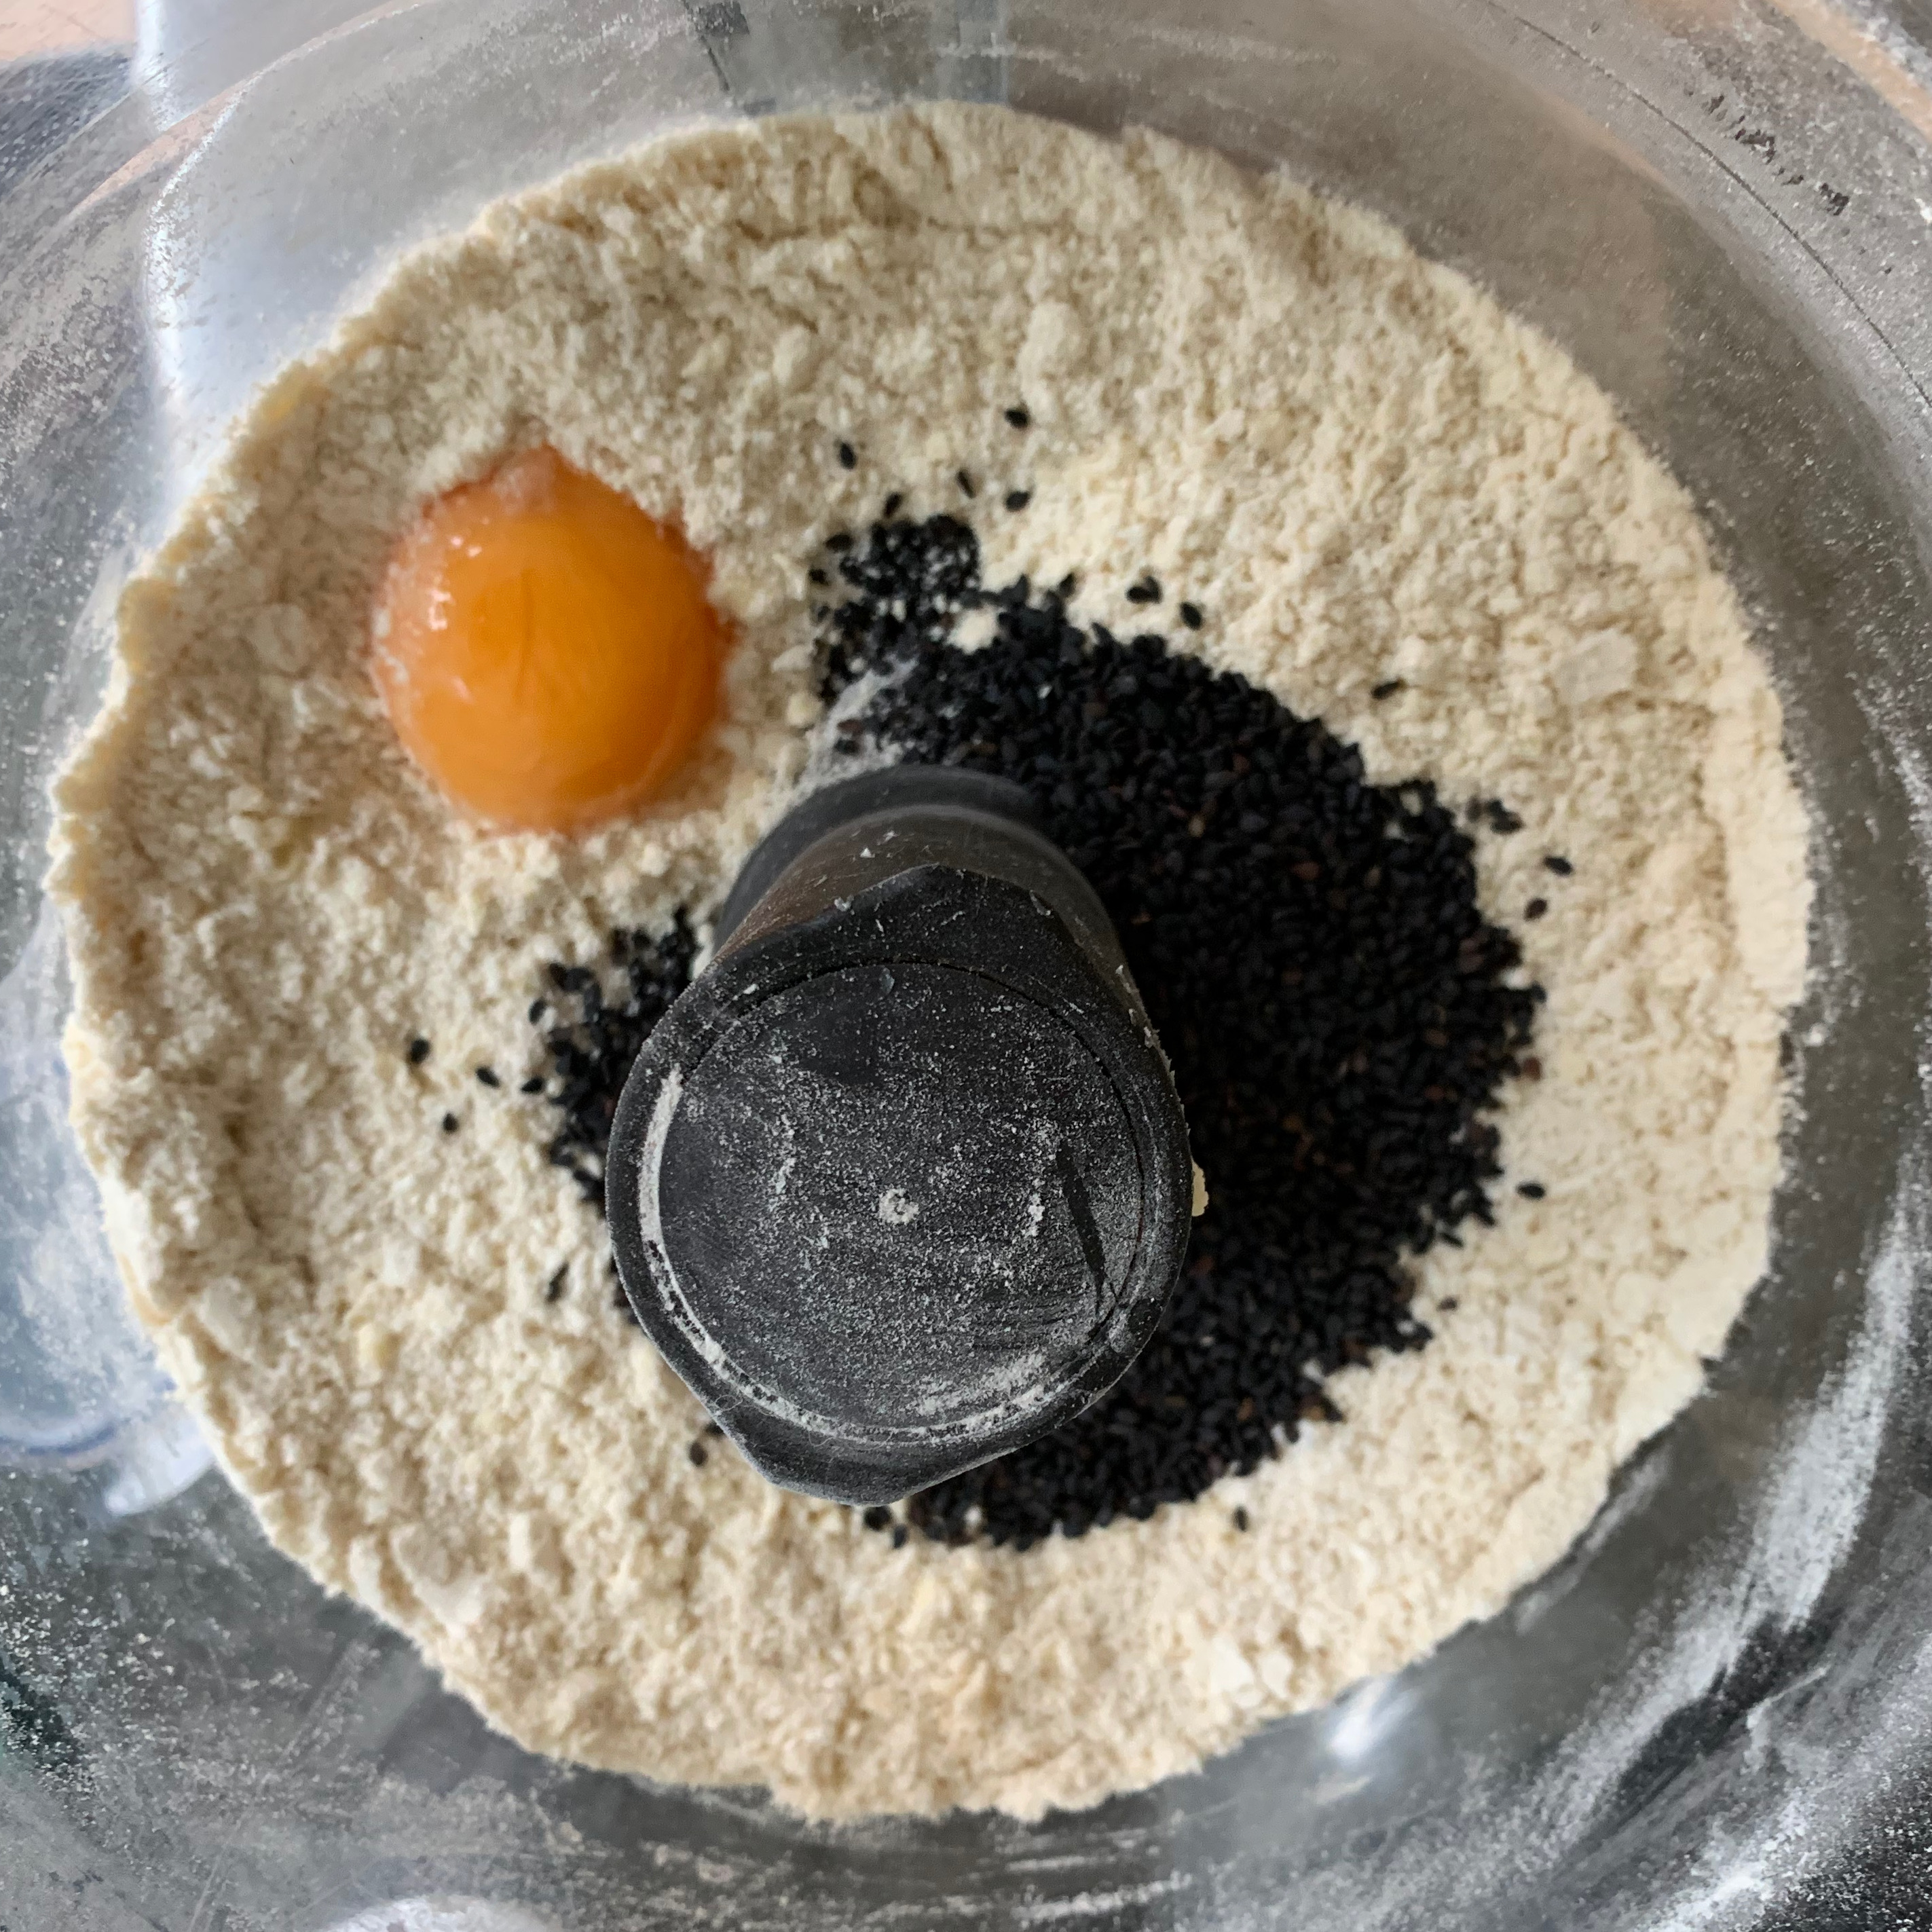
In the bowl of your food processor, weight out the flour, ground almonds, sugar and salt. Stir until evenly mixed (or, if you dare, pulse the food processor briefly).
Take the butter out of the fridge and cut it into cubes. Add to the food processor and run until you have an even crumbly mix.
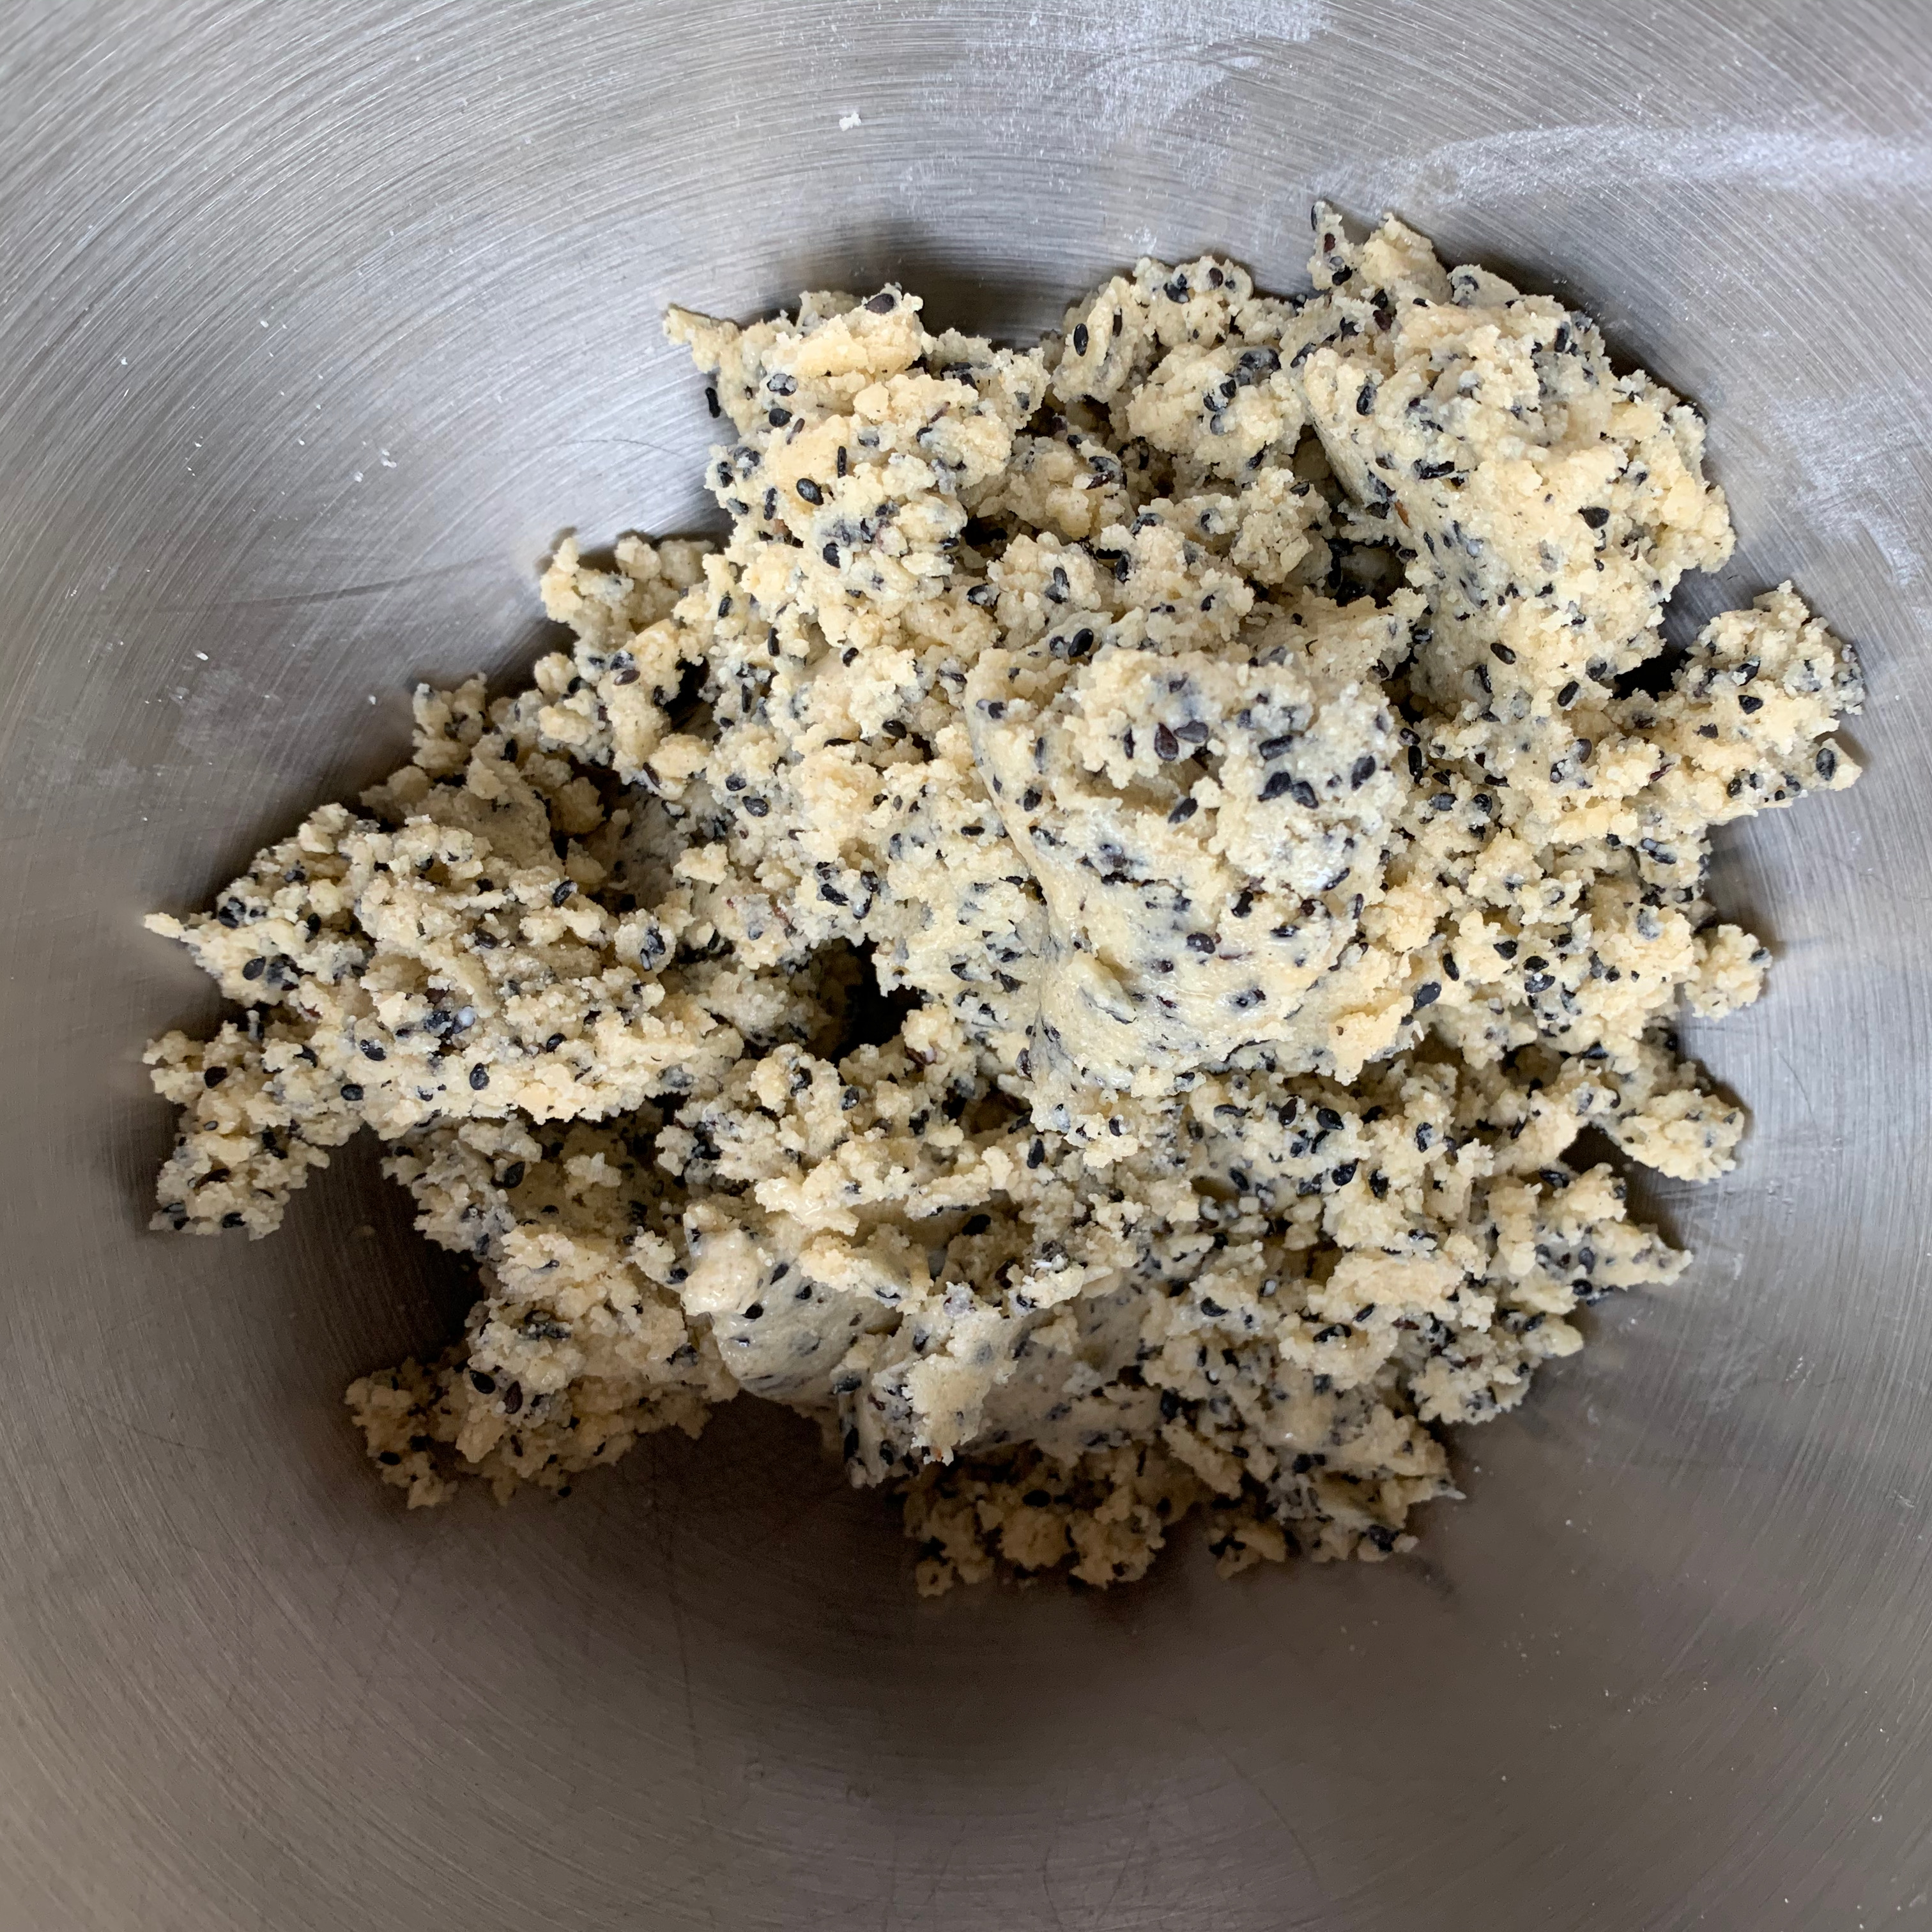
Add the egg and sesame seeds and pulse for a few seconds until everything is even.
Now take the mixture out of your food processor into a bowl and bring together with your hands until you have a smooth dough.
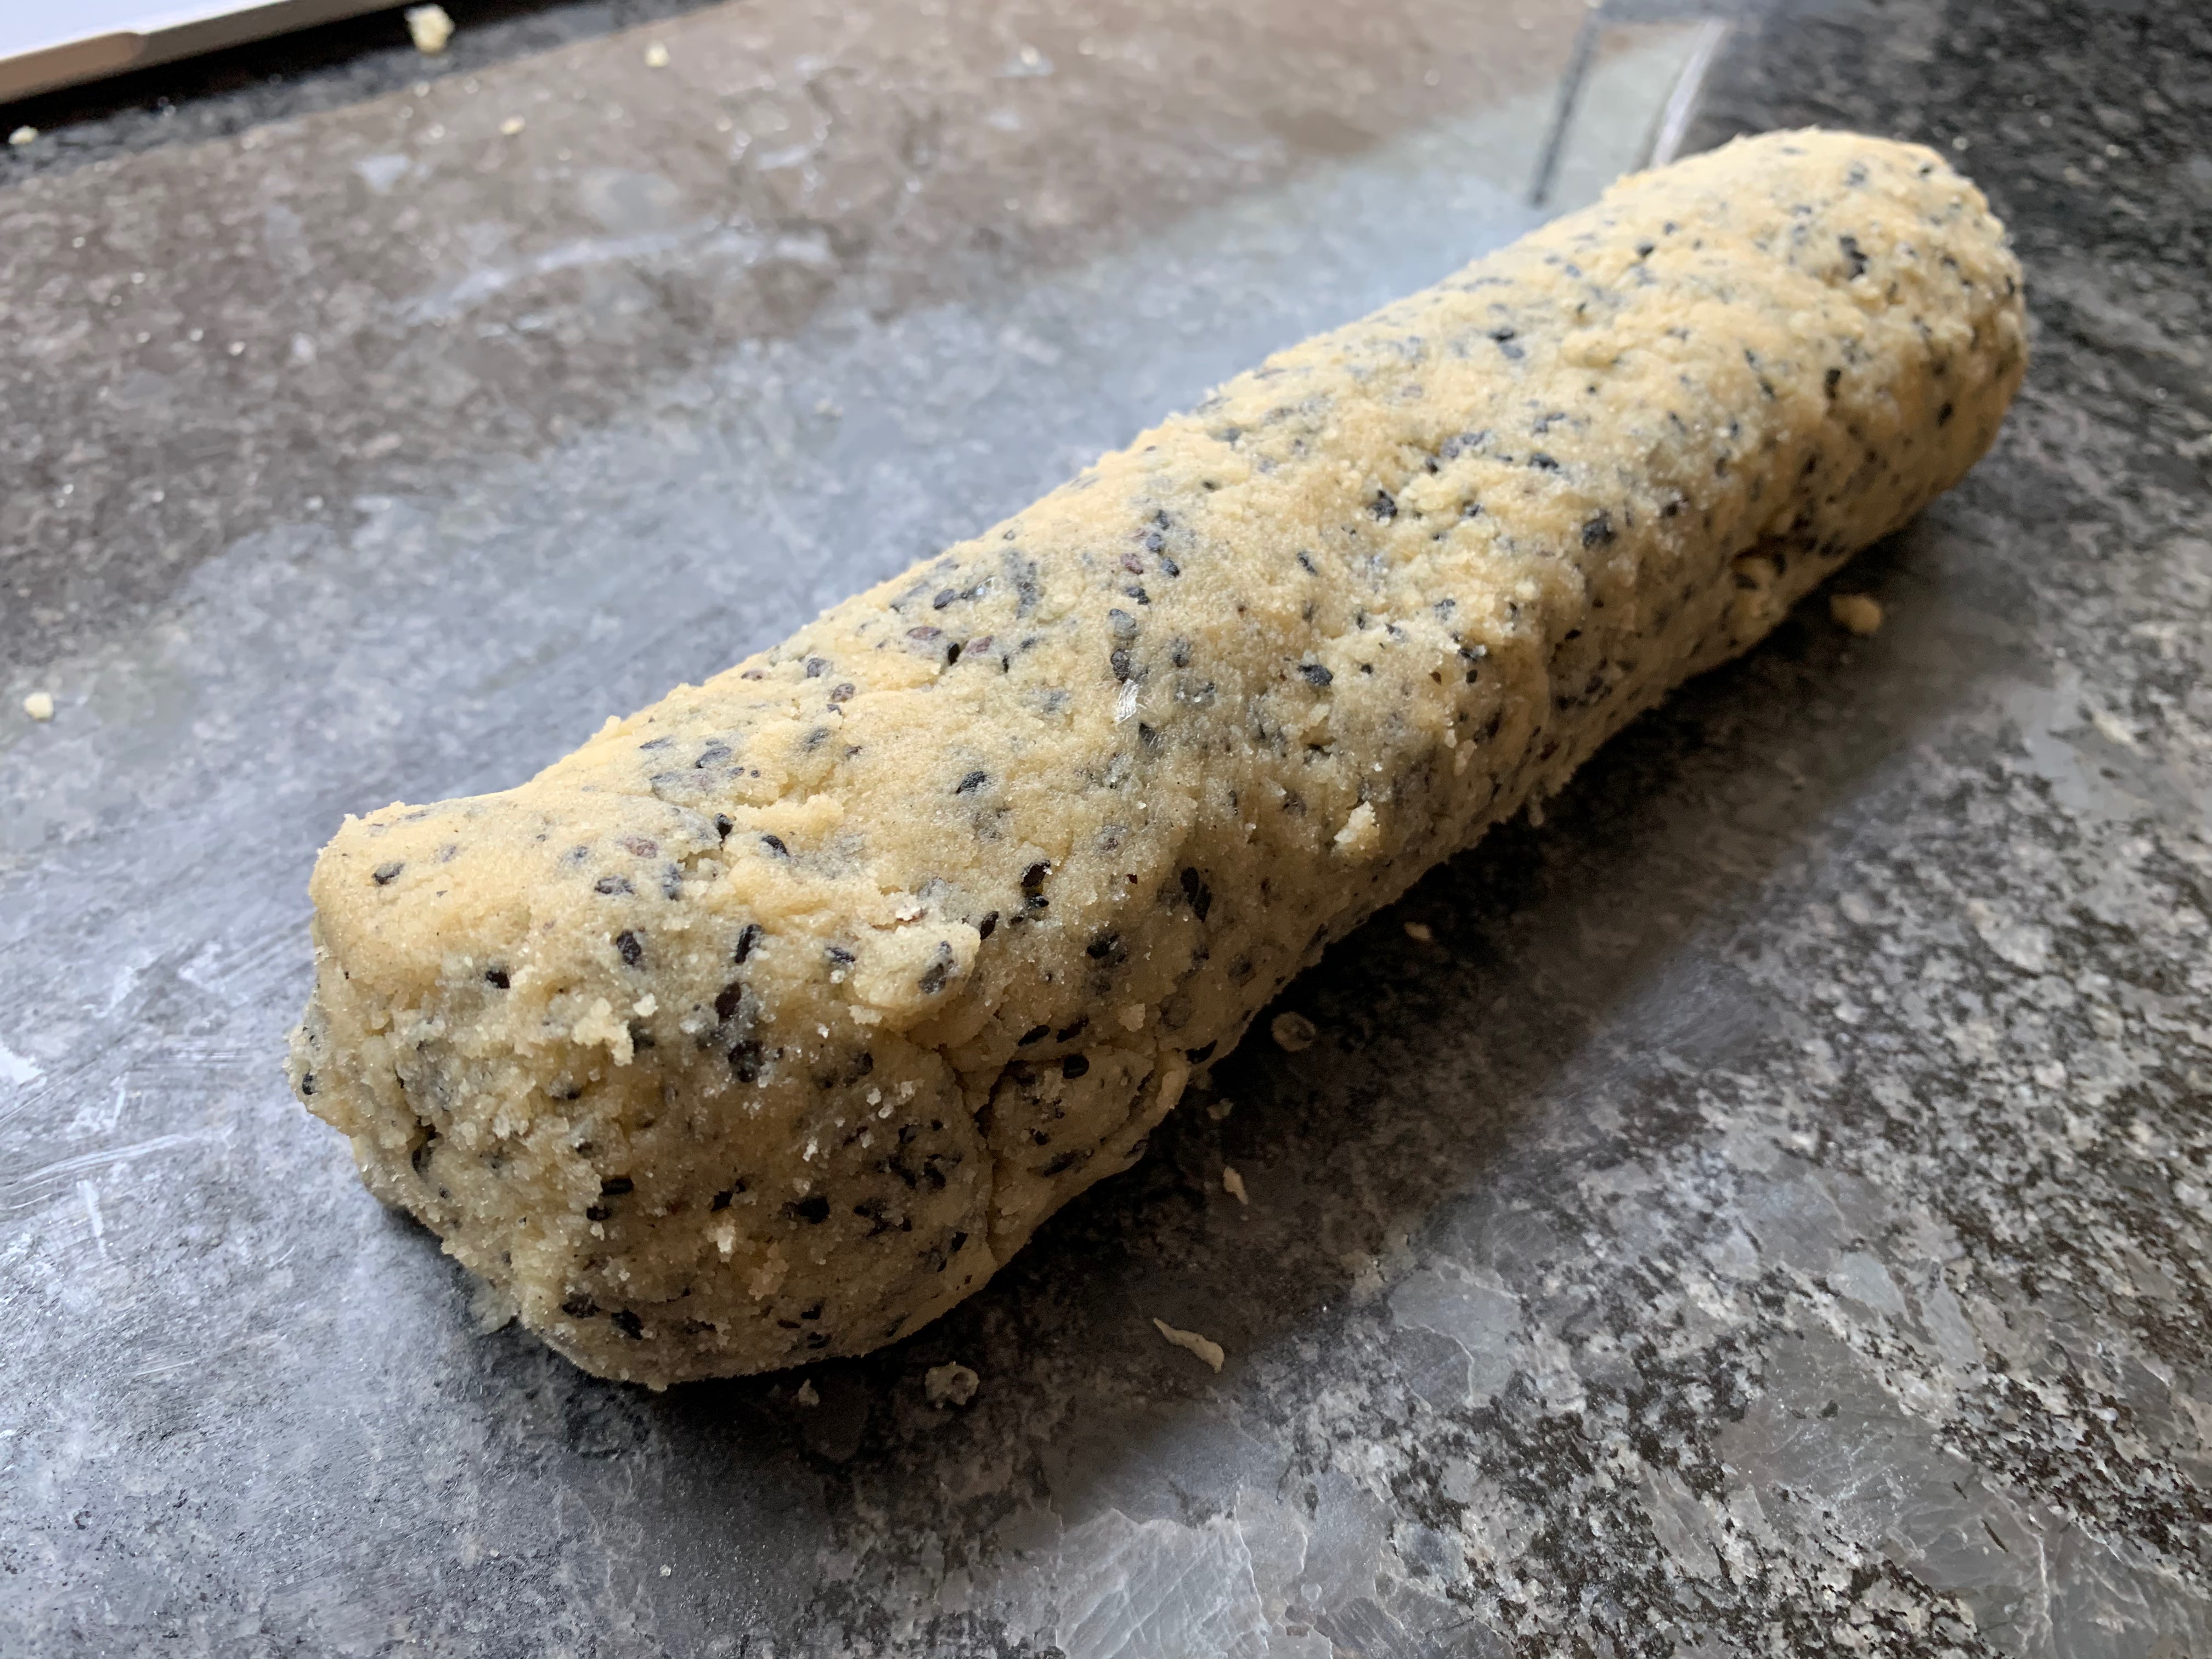
Form your dough into a long sausage. (Nami’s recipe says to cut the dough into two and do two sausages – I forgot). Wrap them in cling film and refrigerate for around an hour. Ideally, the sausage(s) should be round, but it’s fairly hard to avoid having a flat edge.
Meanwhile, prepare two baking trays with baking paper (or silicone mats) and preheat oven to 175℃.
Take the sausage of dough out of the fridge and cut it into circular slices around 5mm in width. Lay these out on your baking trays, allowing room for a bit of expansion.
Bake for around 15 minutes until a light golden colour.
Leave to cool on a rack for as long as you can manage without scoffing them.
I have no idea why a Swiss Roll is called a Swiss Roll. I’ve travelled to Switzerland a lot and I don’t remember seeing one there. If Wikipedia is to believed, it doesn’t even come from Switzerland in the first place. But apparently, if you happen to be in Chile, at 5pm, it’s time for a coffee and a slice of Brazo da Reina – a rolled sponge cake filled with dulce de leche (caramelised condensed milk). The name in Spanish means “the Queen’s Arm”, which sounds to British ears more like a pub sign, which just goes to show that there’s no accounting for language. It’s not really clear where that name comes from either, and the same cake has other names in different bits of Latin America: Brazo de gitano (gypsy’s arm) or Pionono. Other countries also use different fillings.
The Chilean recipe I started from is notable for having a lot of eggs and no shortening whatsoever, which makes for an incredibly light, airy sponge cake. There are other recipes that use a small amount of oil.
The recipe I used tells you to fold the egg yolks into the beaten whites, then add the flour to the whole lot. That was a little too far outside my comfort zone, so I stuck to a more conventional scheme of mixing egg yolks, sugar and flour before folding, which worked very well.
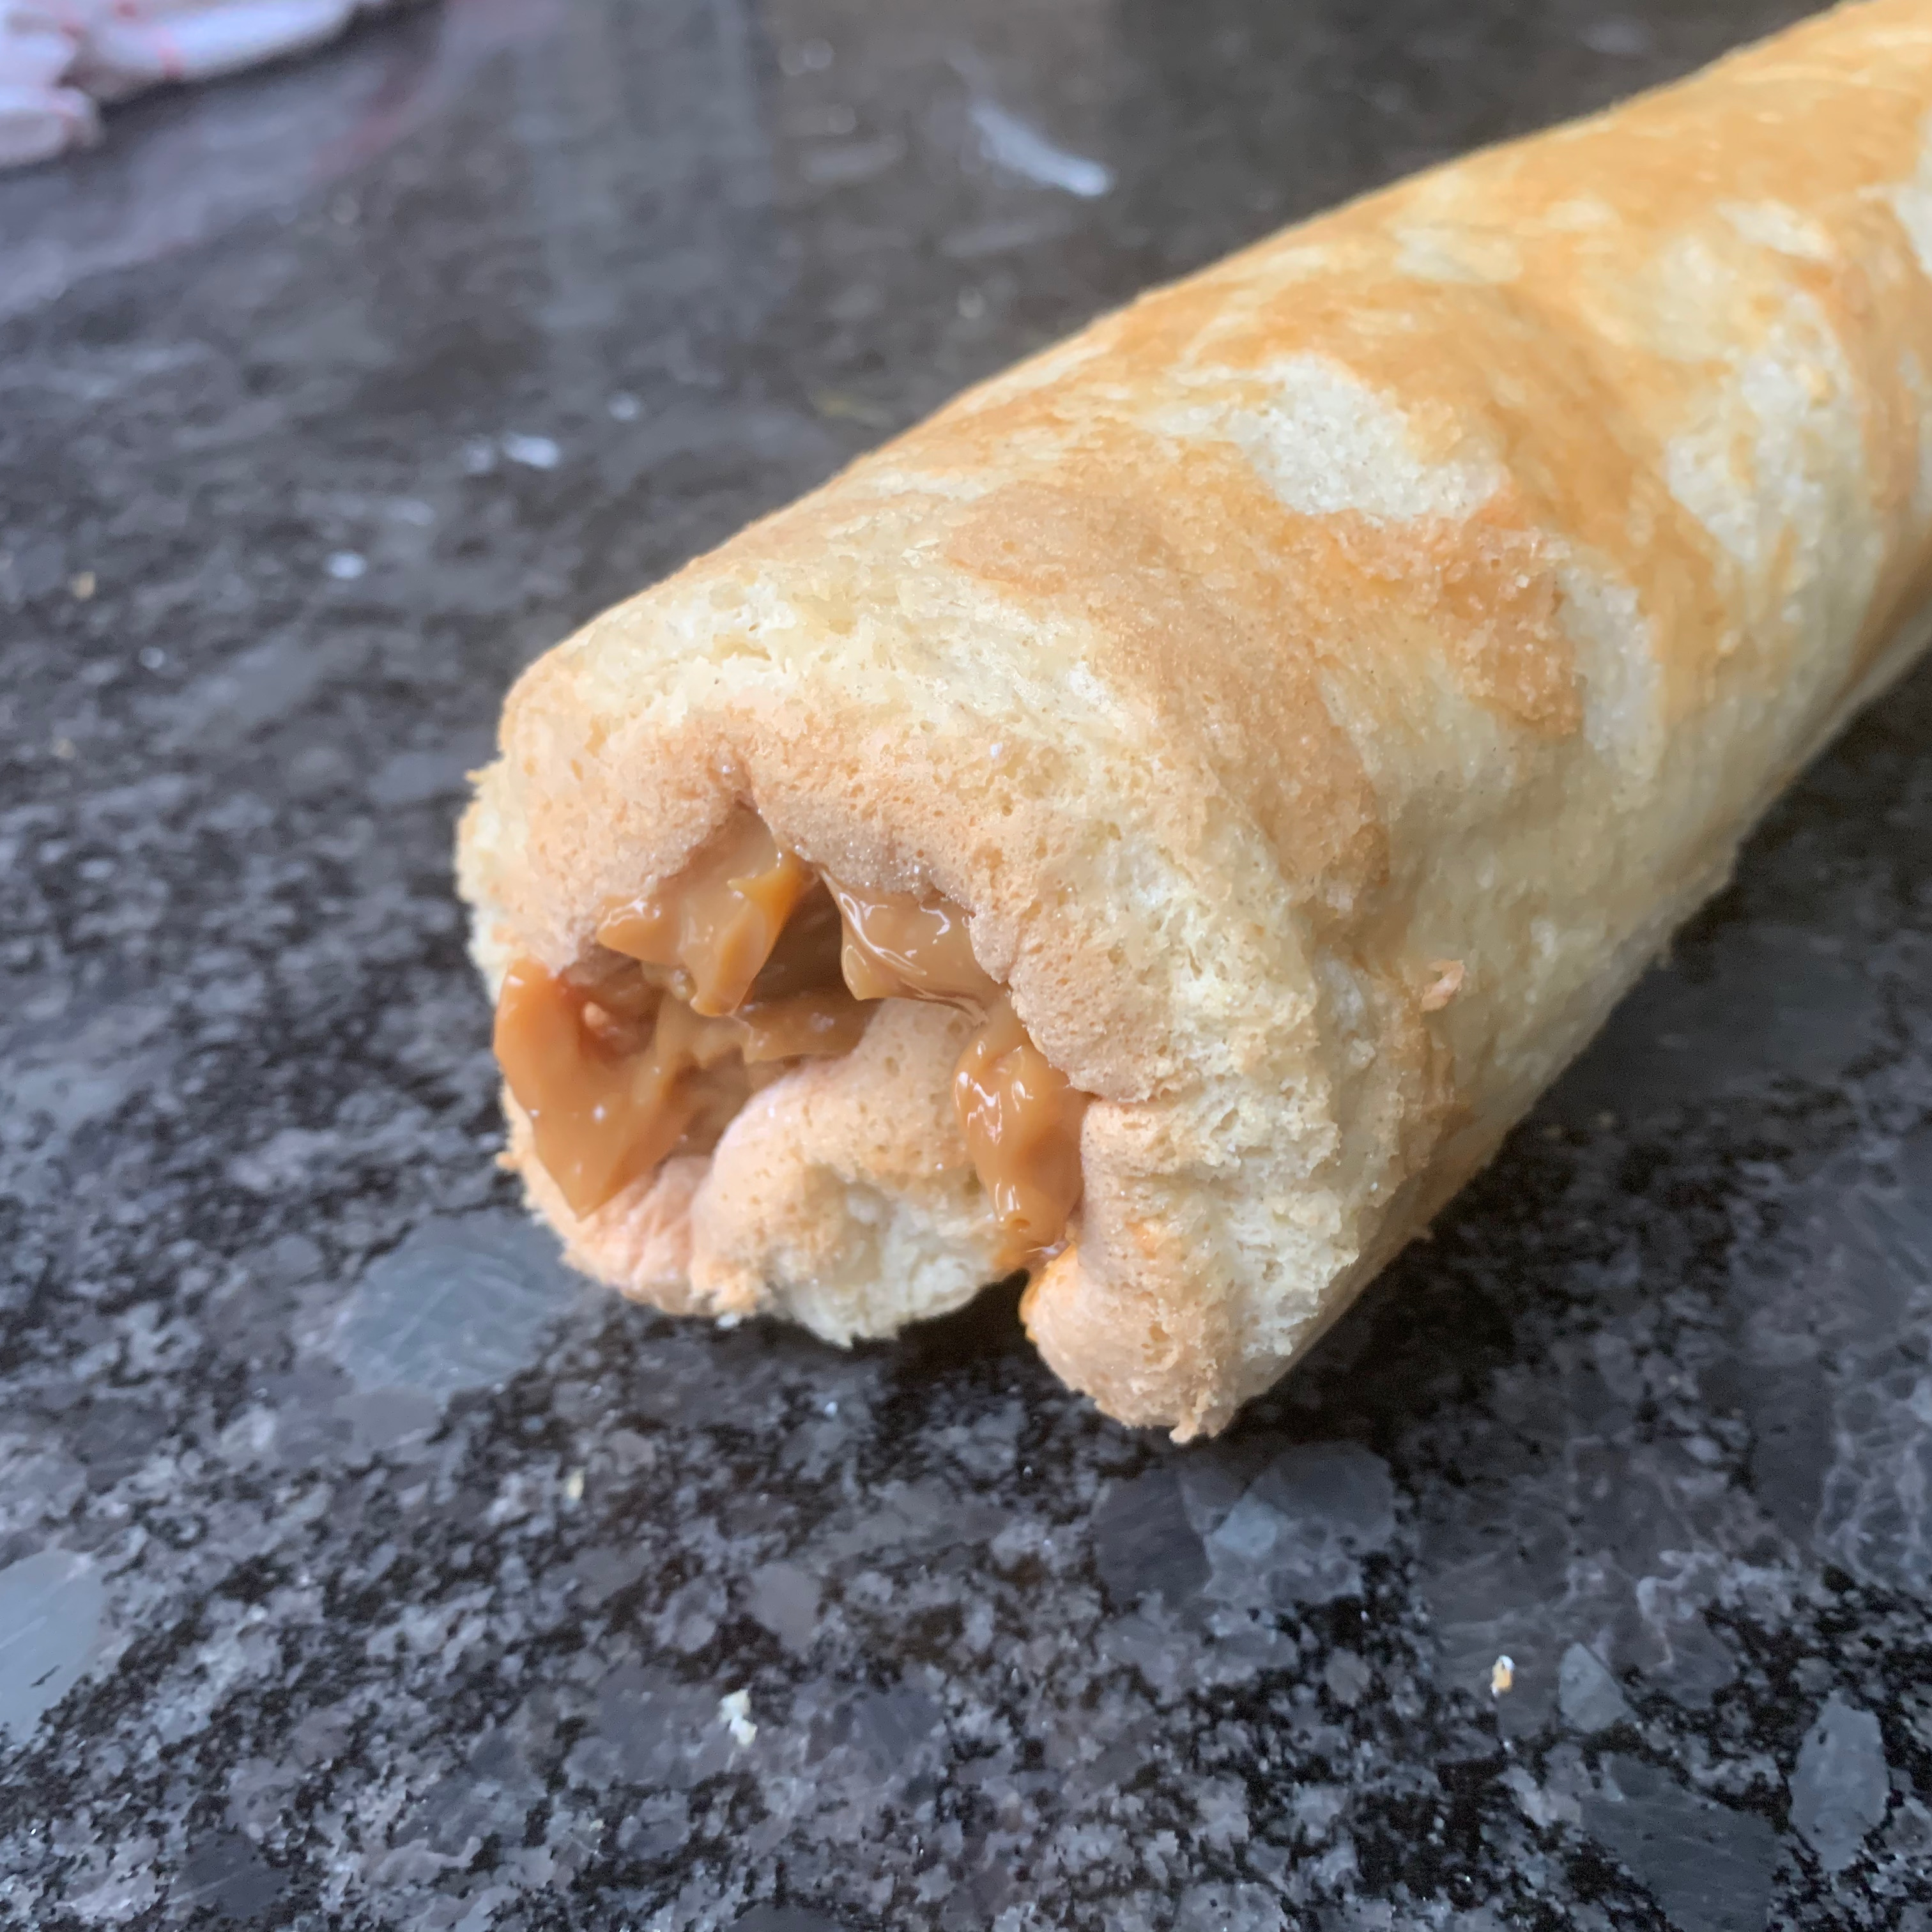
The tricky part of making a roll cake – especially one as light an airy as this – is to roll it up without tearing. I wasn’t 100% successful, but it was good enough.
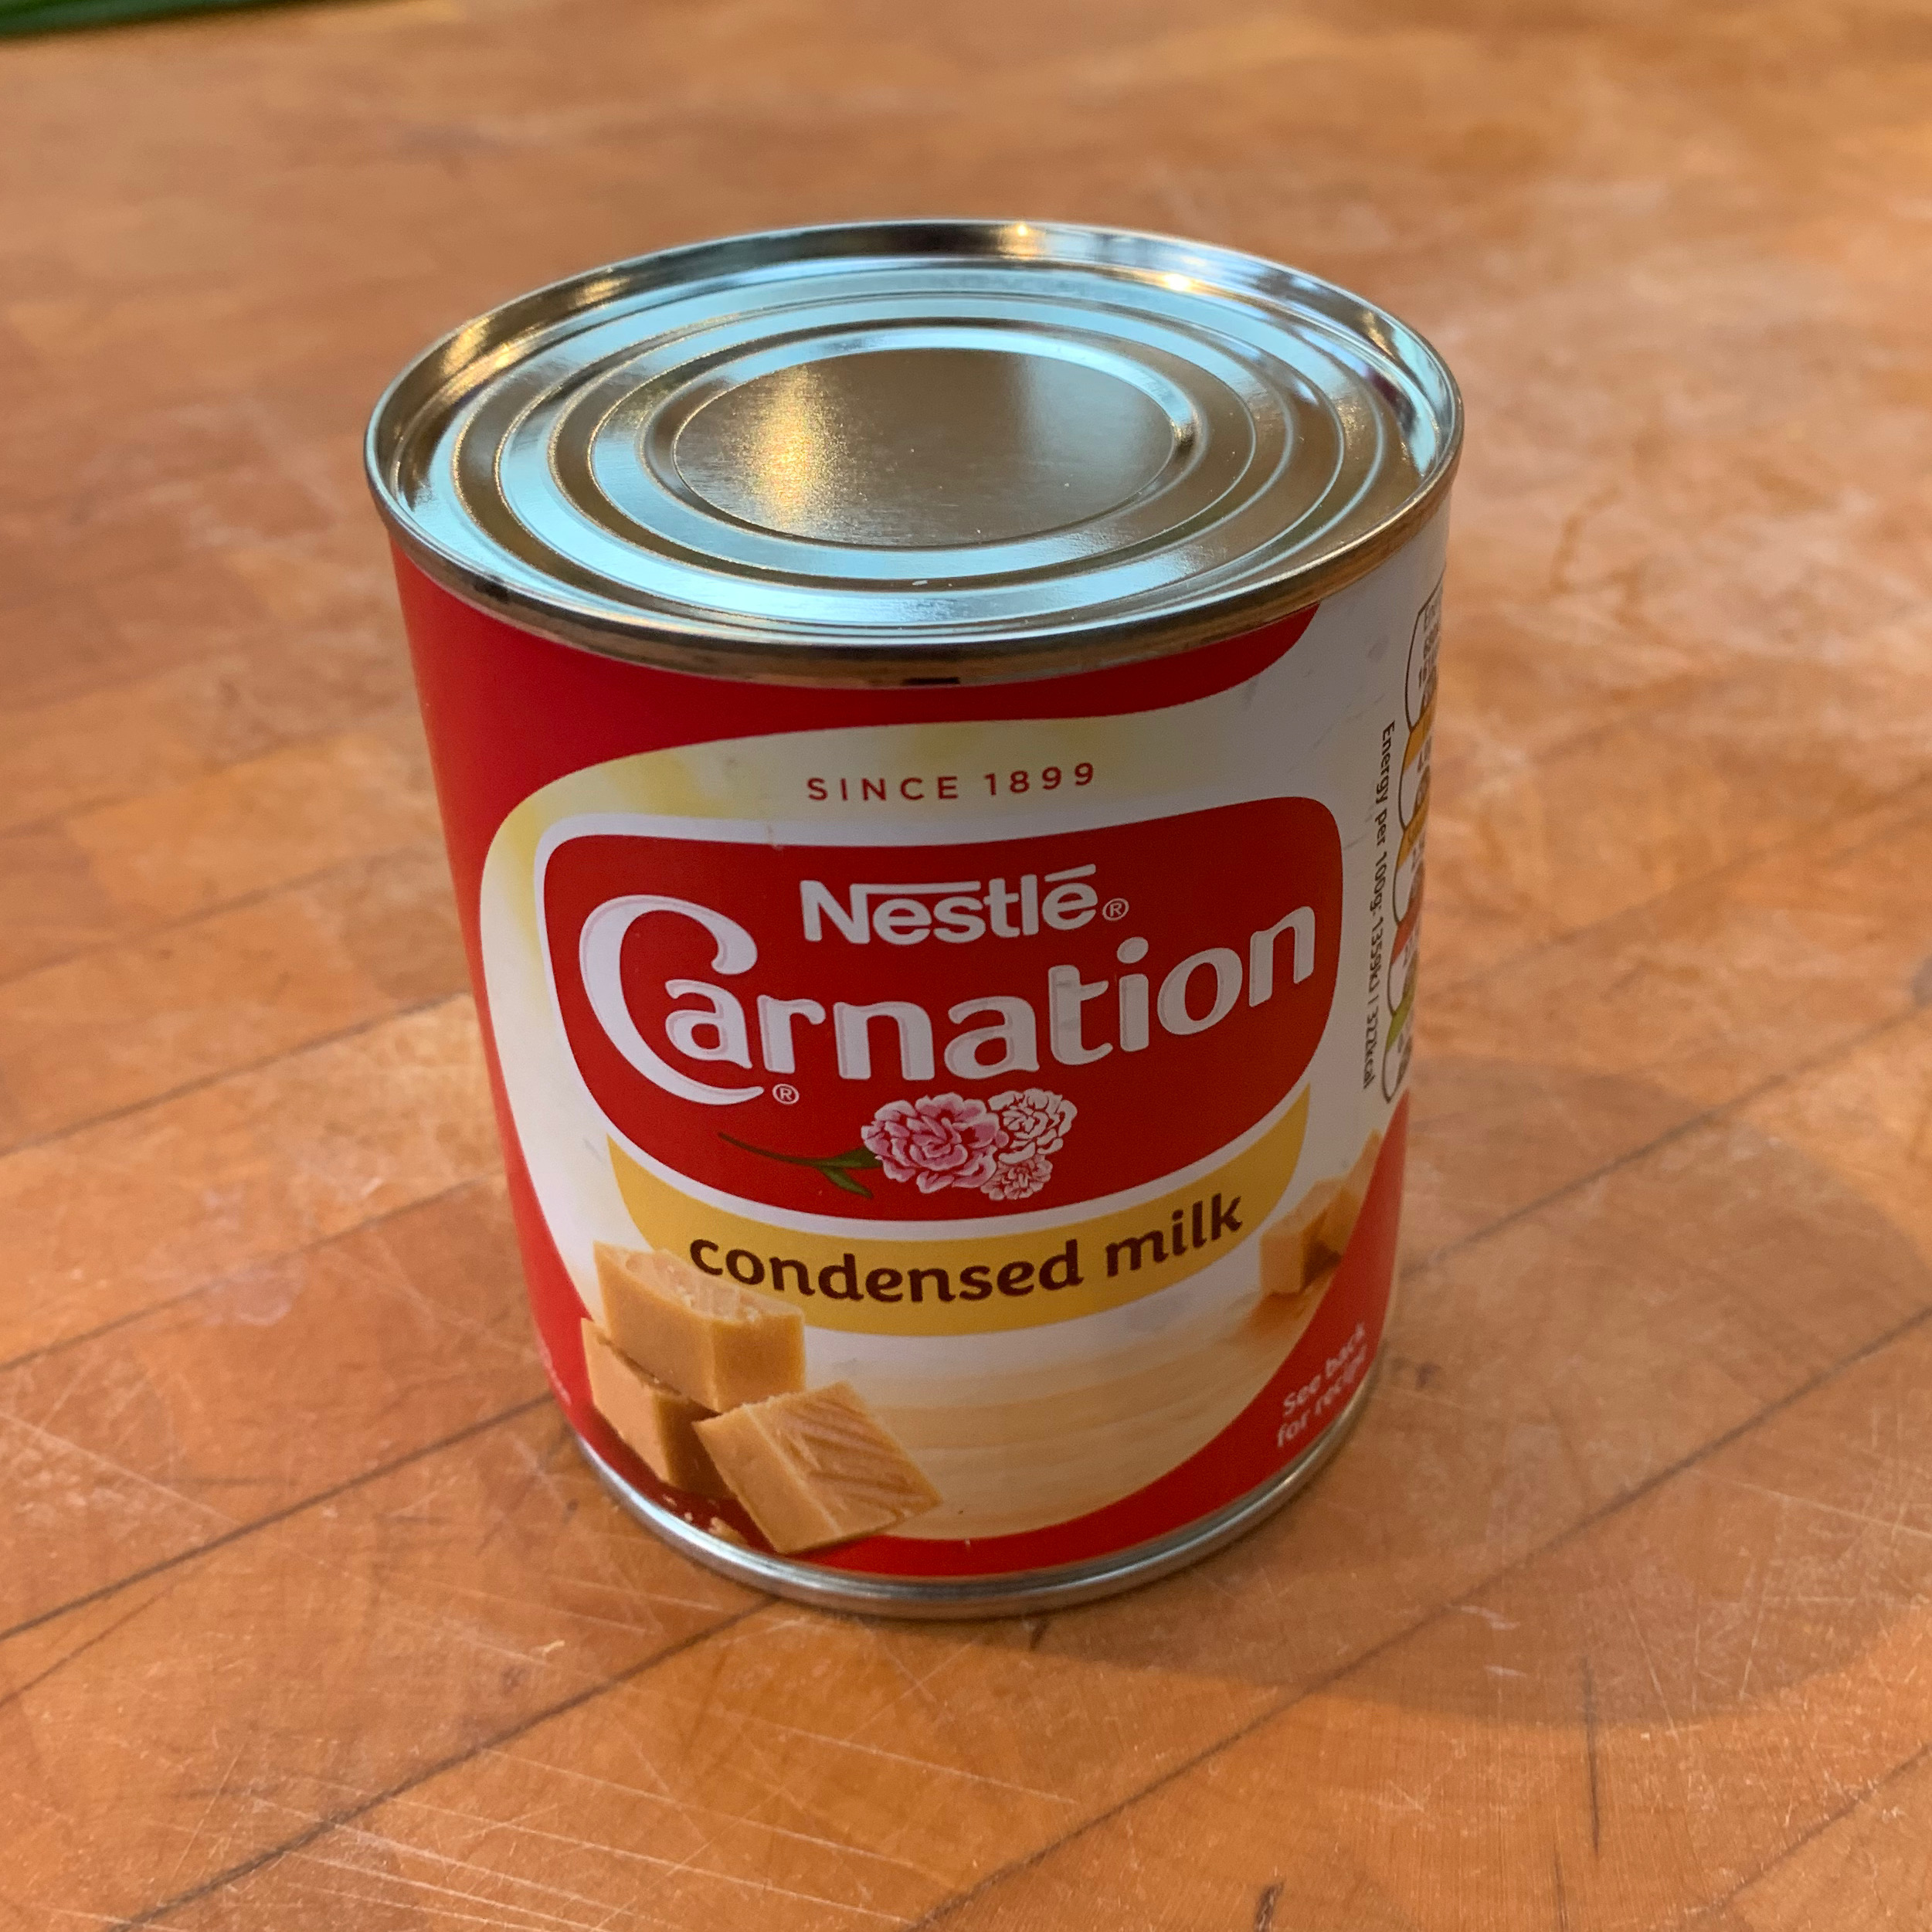
The last time I made dulce de leche, for Argentinian alfajores, I baked the condensed milk in an oven tray, which worked OK but was fiddly. For this recipe, I found the ultimate cheat method in the Brazo da Reina recipe in a blog called Curious Cuisiniere – just boil the condensed milk in its can. It’s close to zero effort and worked perfectly. Their advice for rolling up the cake seemed sensible too: this is the first time I’ve tried a roll cake, so I can’t speak for how well other methods work.
You’ll want a Swiss roll tin, around 30cm x 20cm.
The dulce de leche filling
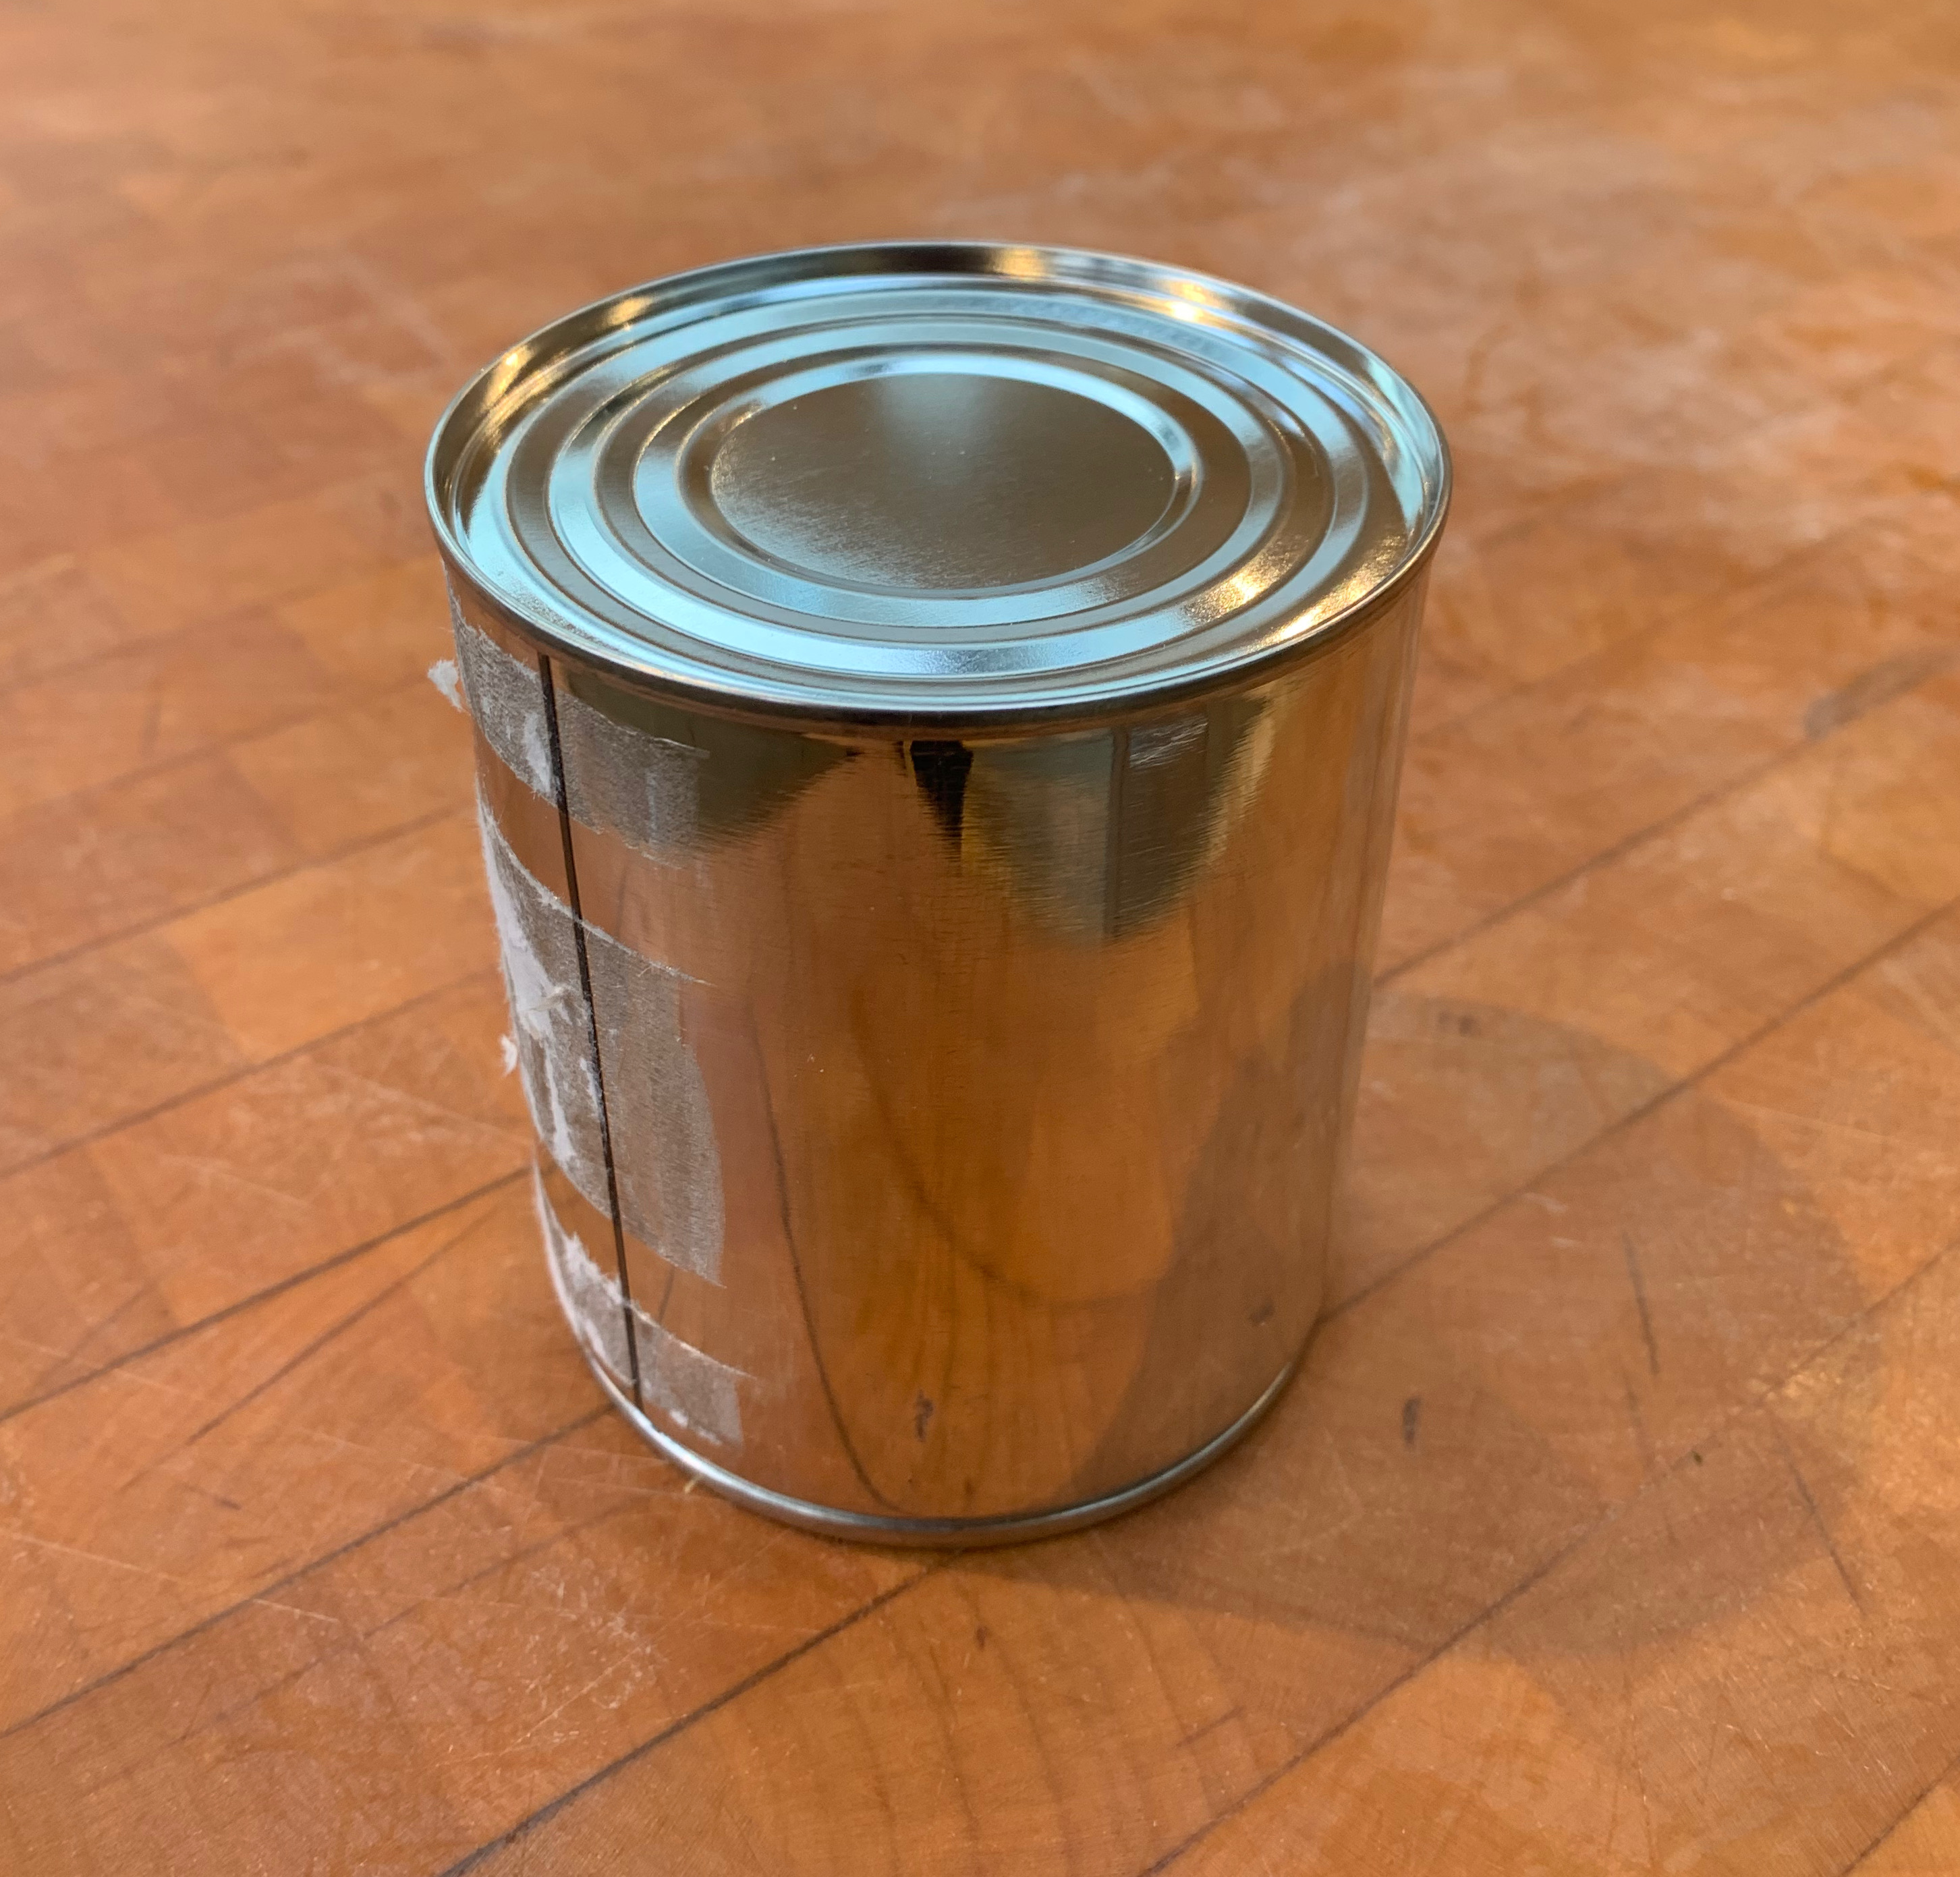
400g can of condensed milk
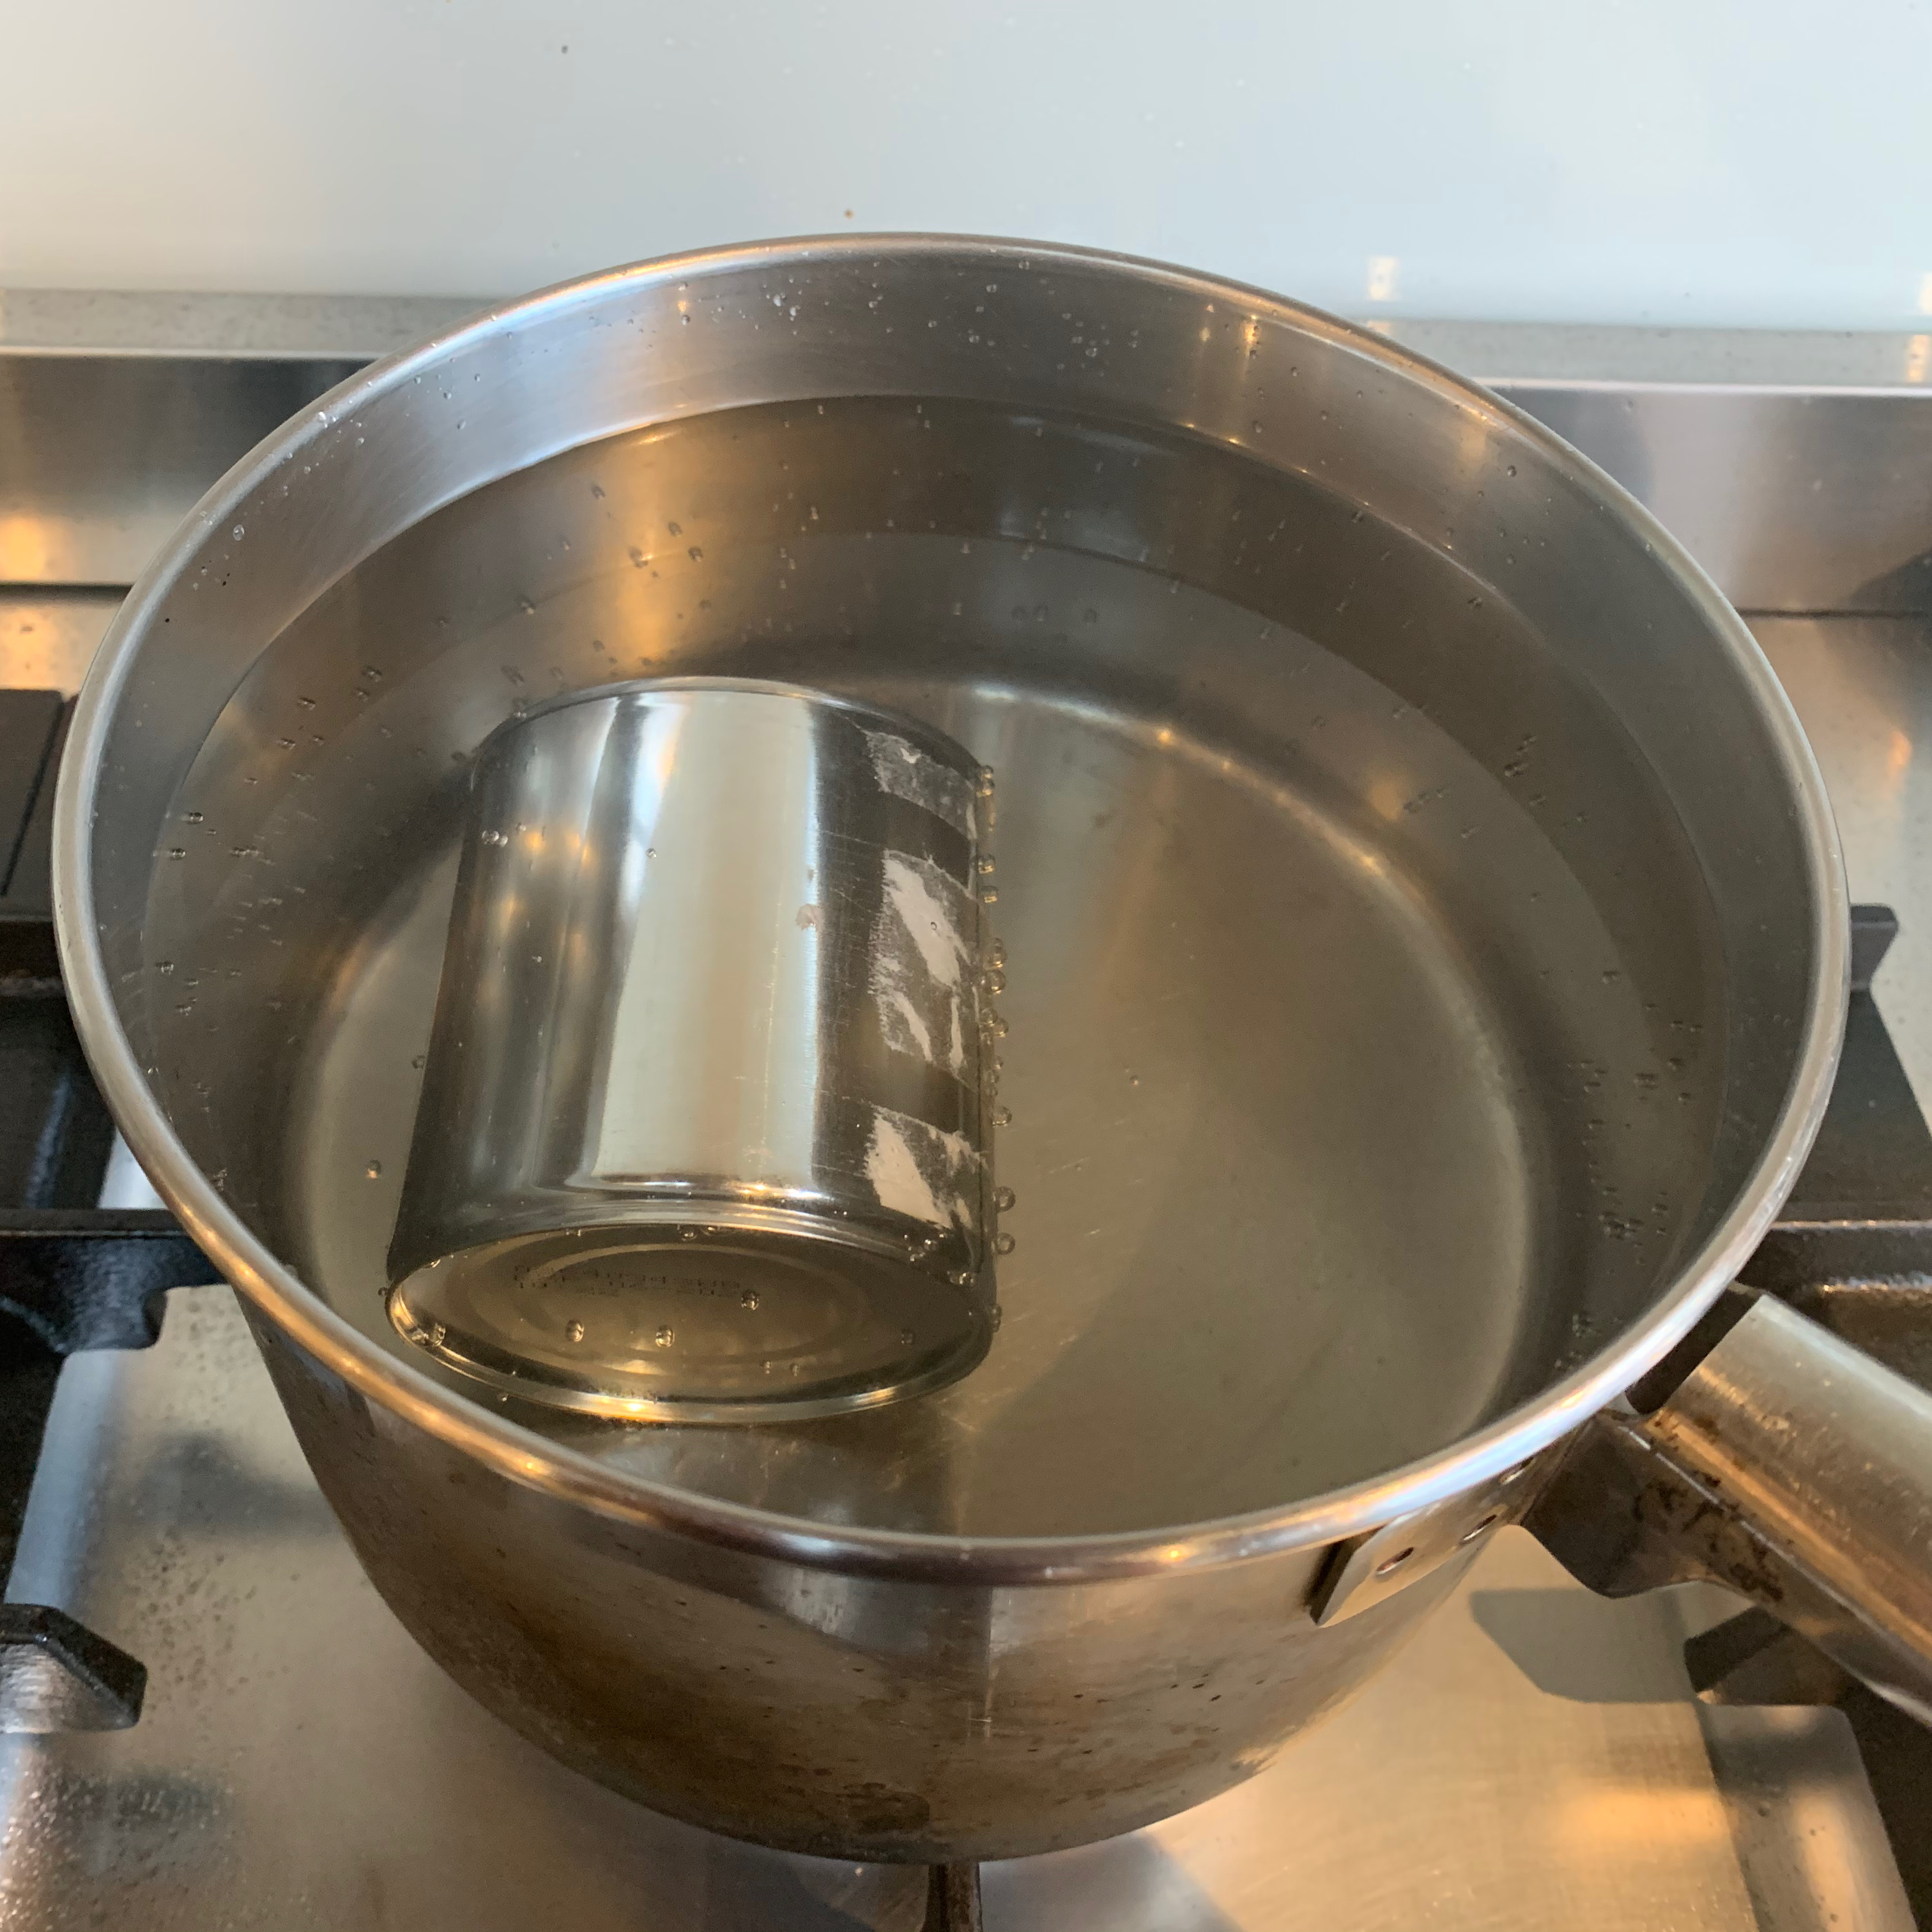
Put the tin of condensed milk (unopened, but you may want to take the paper off) into a saucepan, pour water to cover it (with some spare, since it will evaporate), and bring it to the boil.
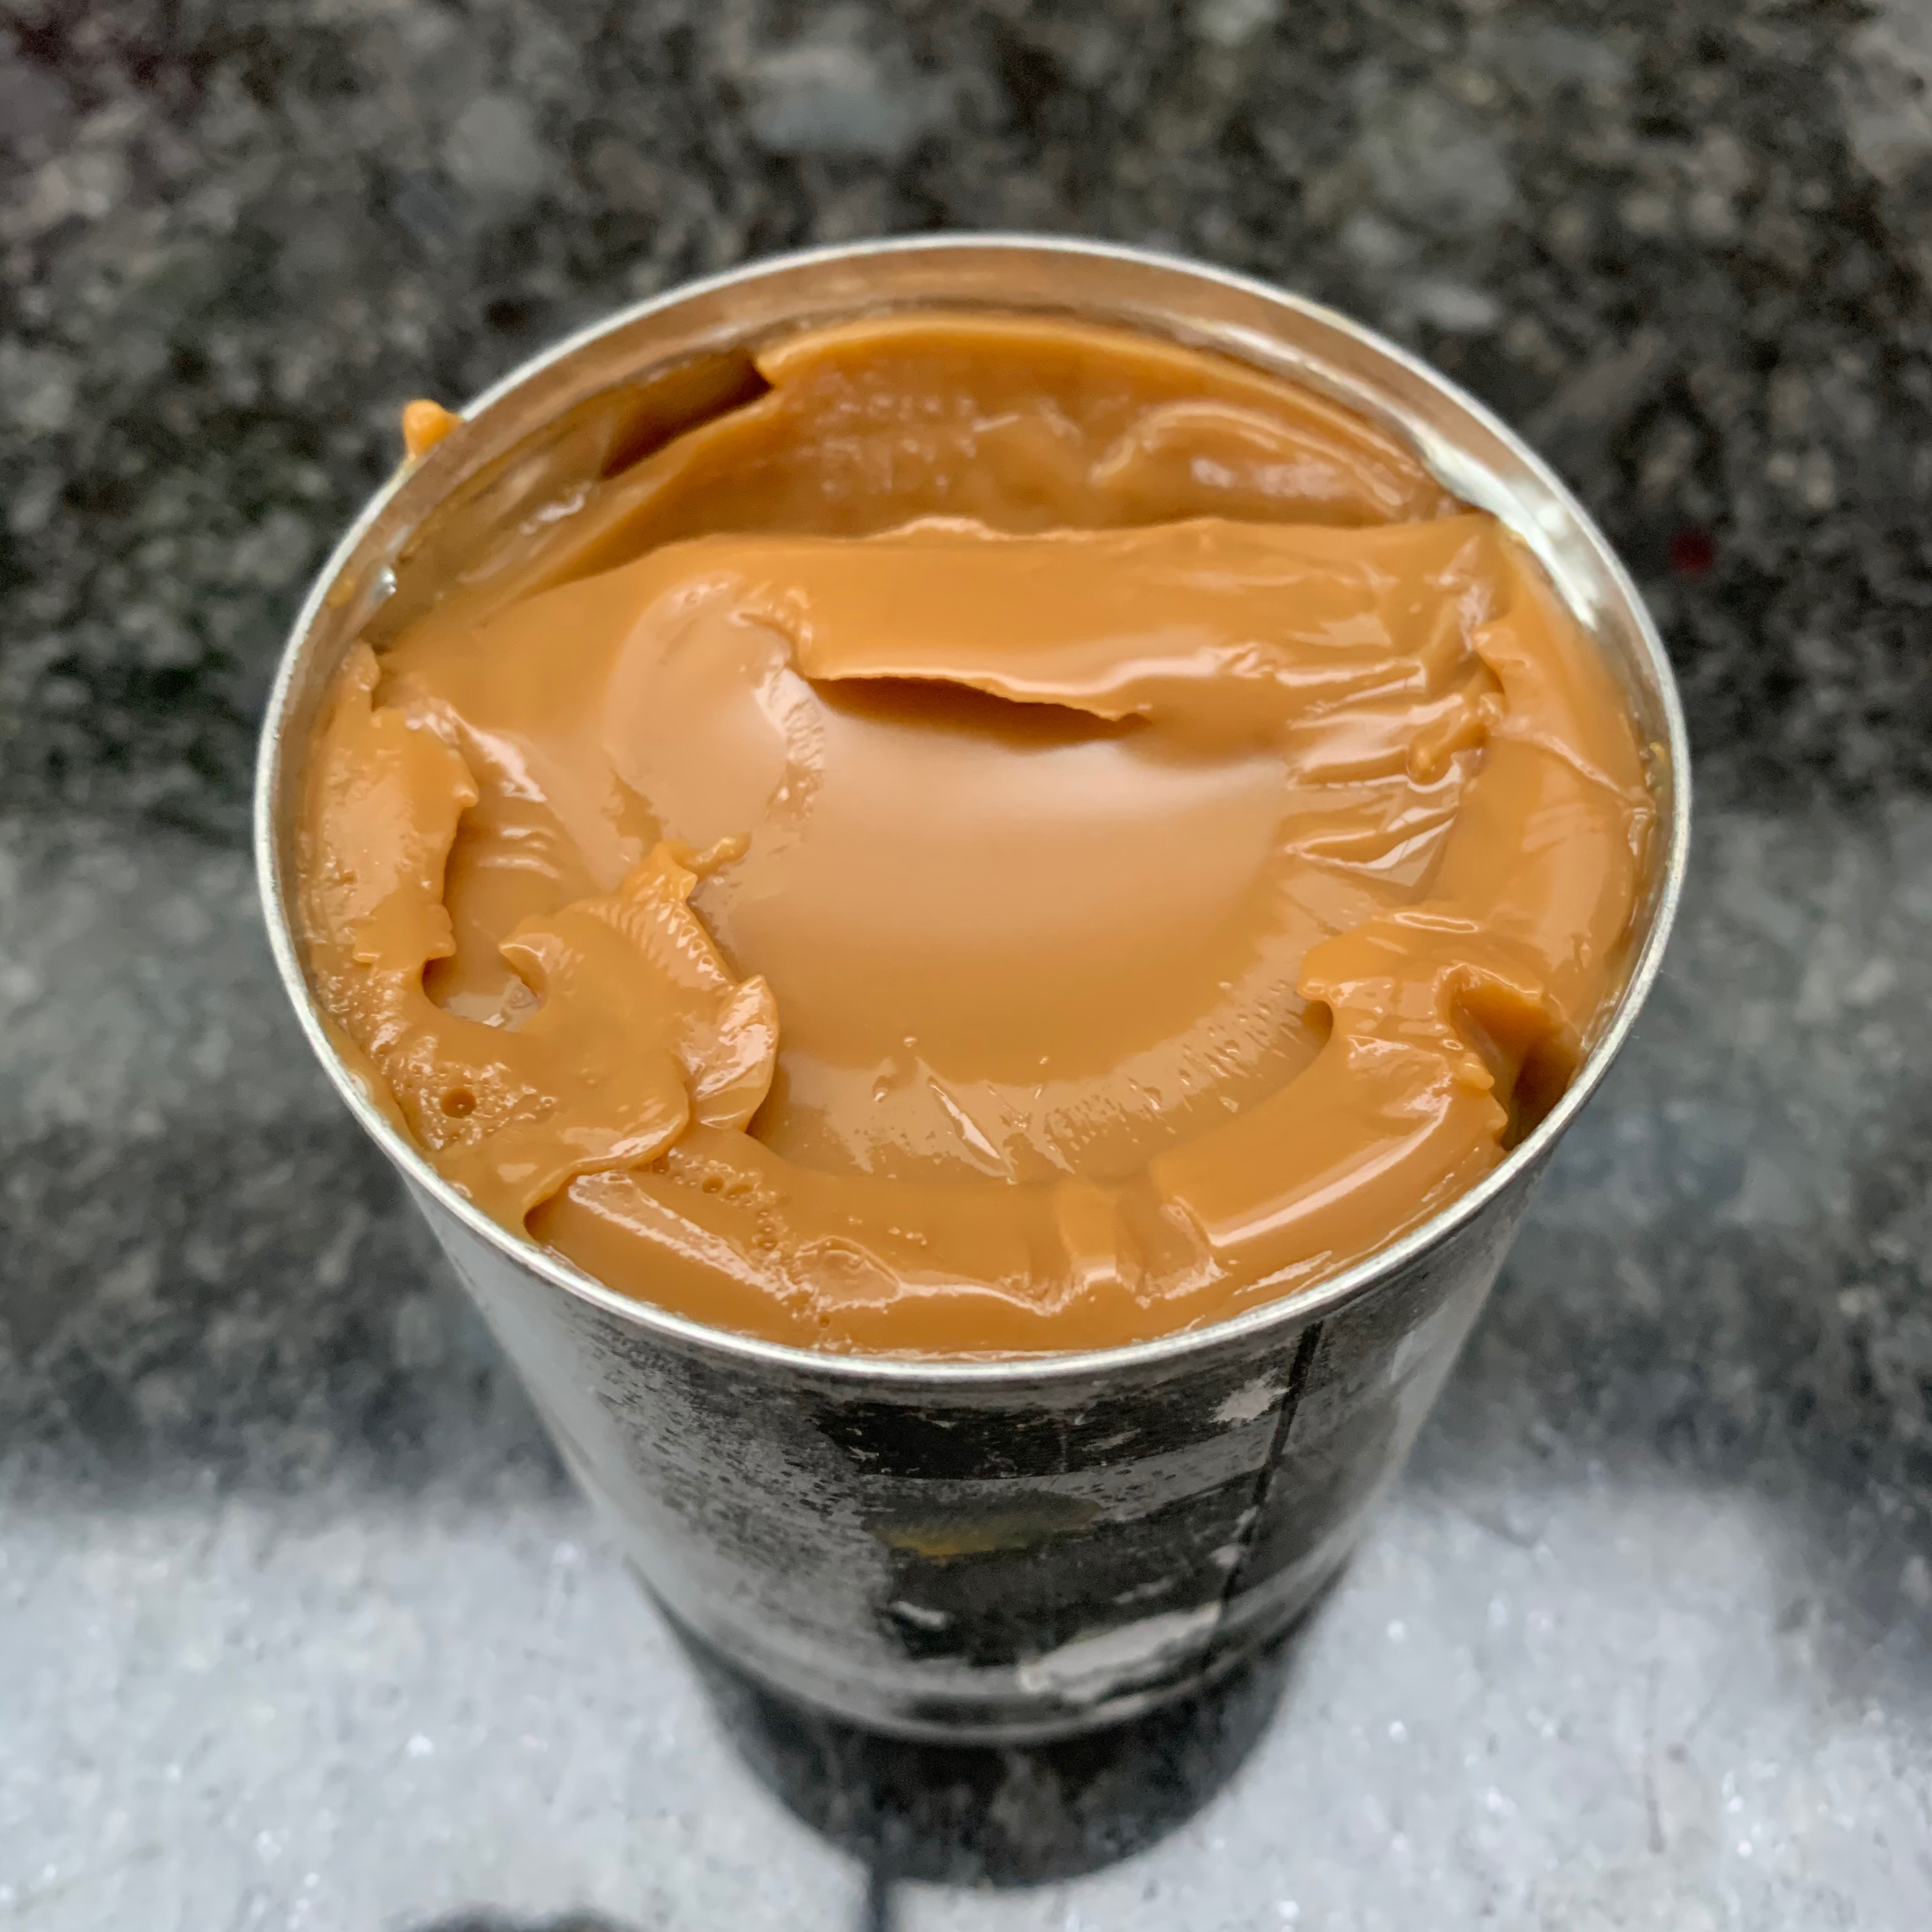
Leave it to simmer for 2-3 hours (two will get you a light caramelisation, 3 will get you a more golden-brown and stronger tasting result.
Remove the tin from the pan and leave it to cool.
The cake
Butter for greasing tin
6 eggs
240g flour
10g baking powder
180g caster sugar
icing sugar for dusting
Preheat oven to 175℃
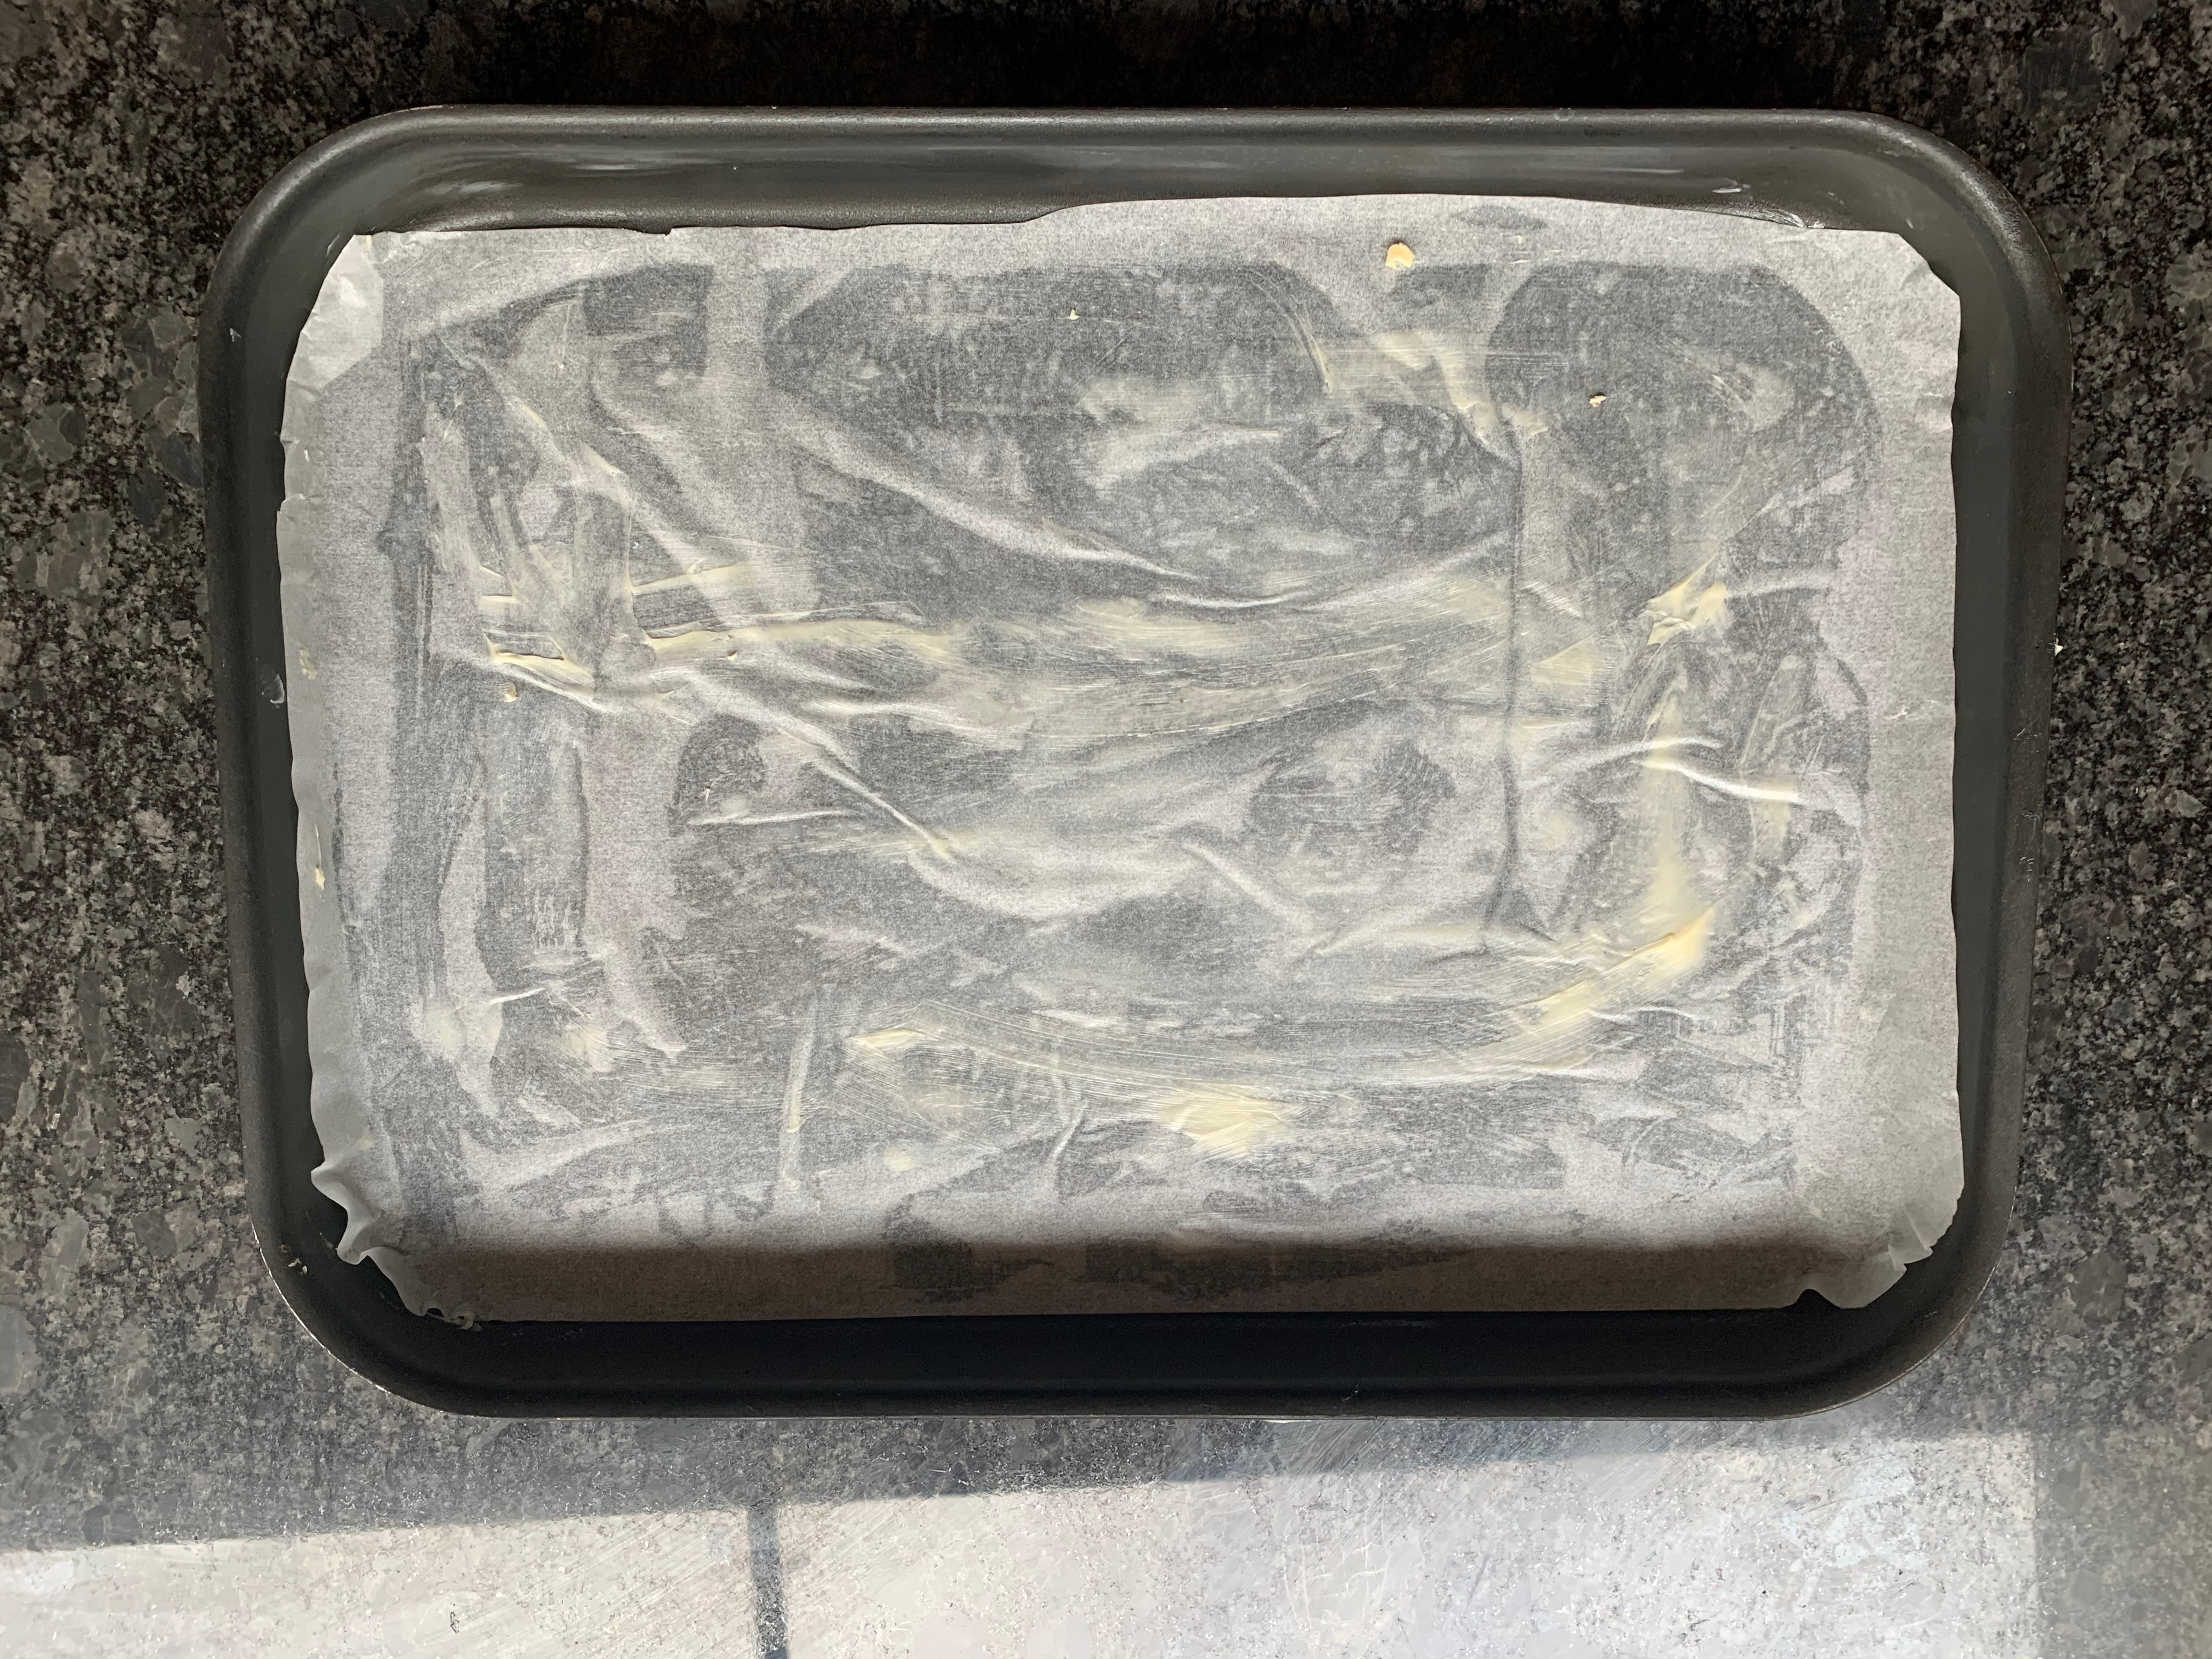
Grease your tin with butter, then line it with baking paper, then grease the baking paper generously.
Separate the eggs into two mixing bowls.
Sift the flour and baking powder together.
Beat the egg yolks and add half the caster sugar. Then add the flour and baking powder and mix until well blended. The mixture will be quite stiff.
In the other bowl, beat the egg whites until soft peaks form, add the remaining caster sugar and whisk at high speed until you have a stiff meringue
Add around a quarter of the meringue to your flour mixture and mix in until smooth. Do the same with another quarter, now taking care to keep as much air in the meringue as you can. Now fold in the remaining meringue, working really hard to keep the air in.
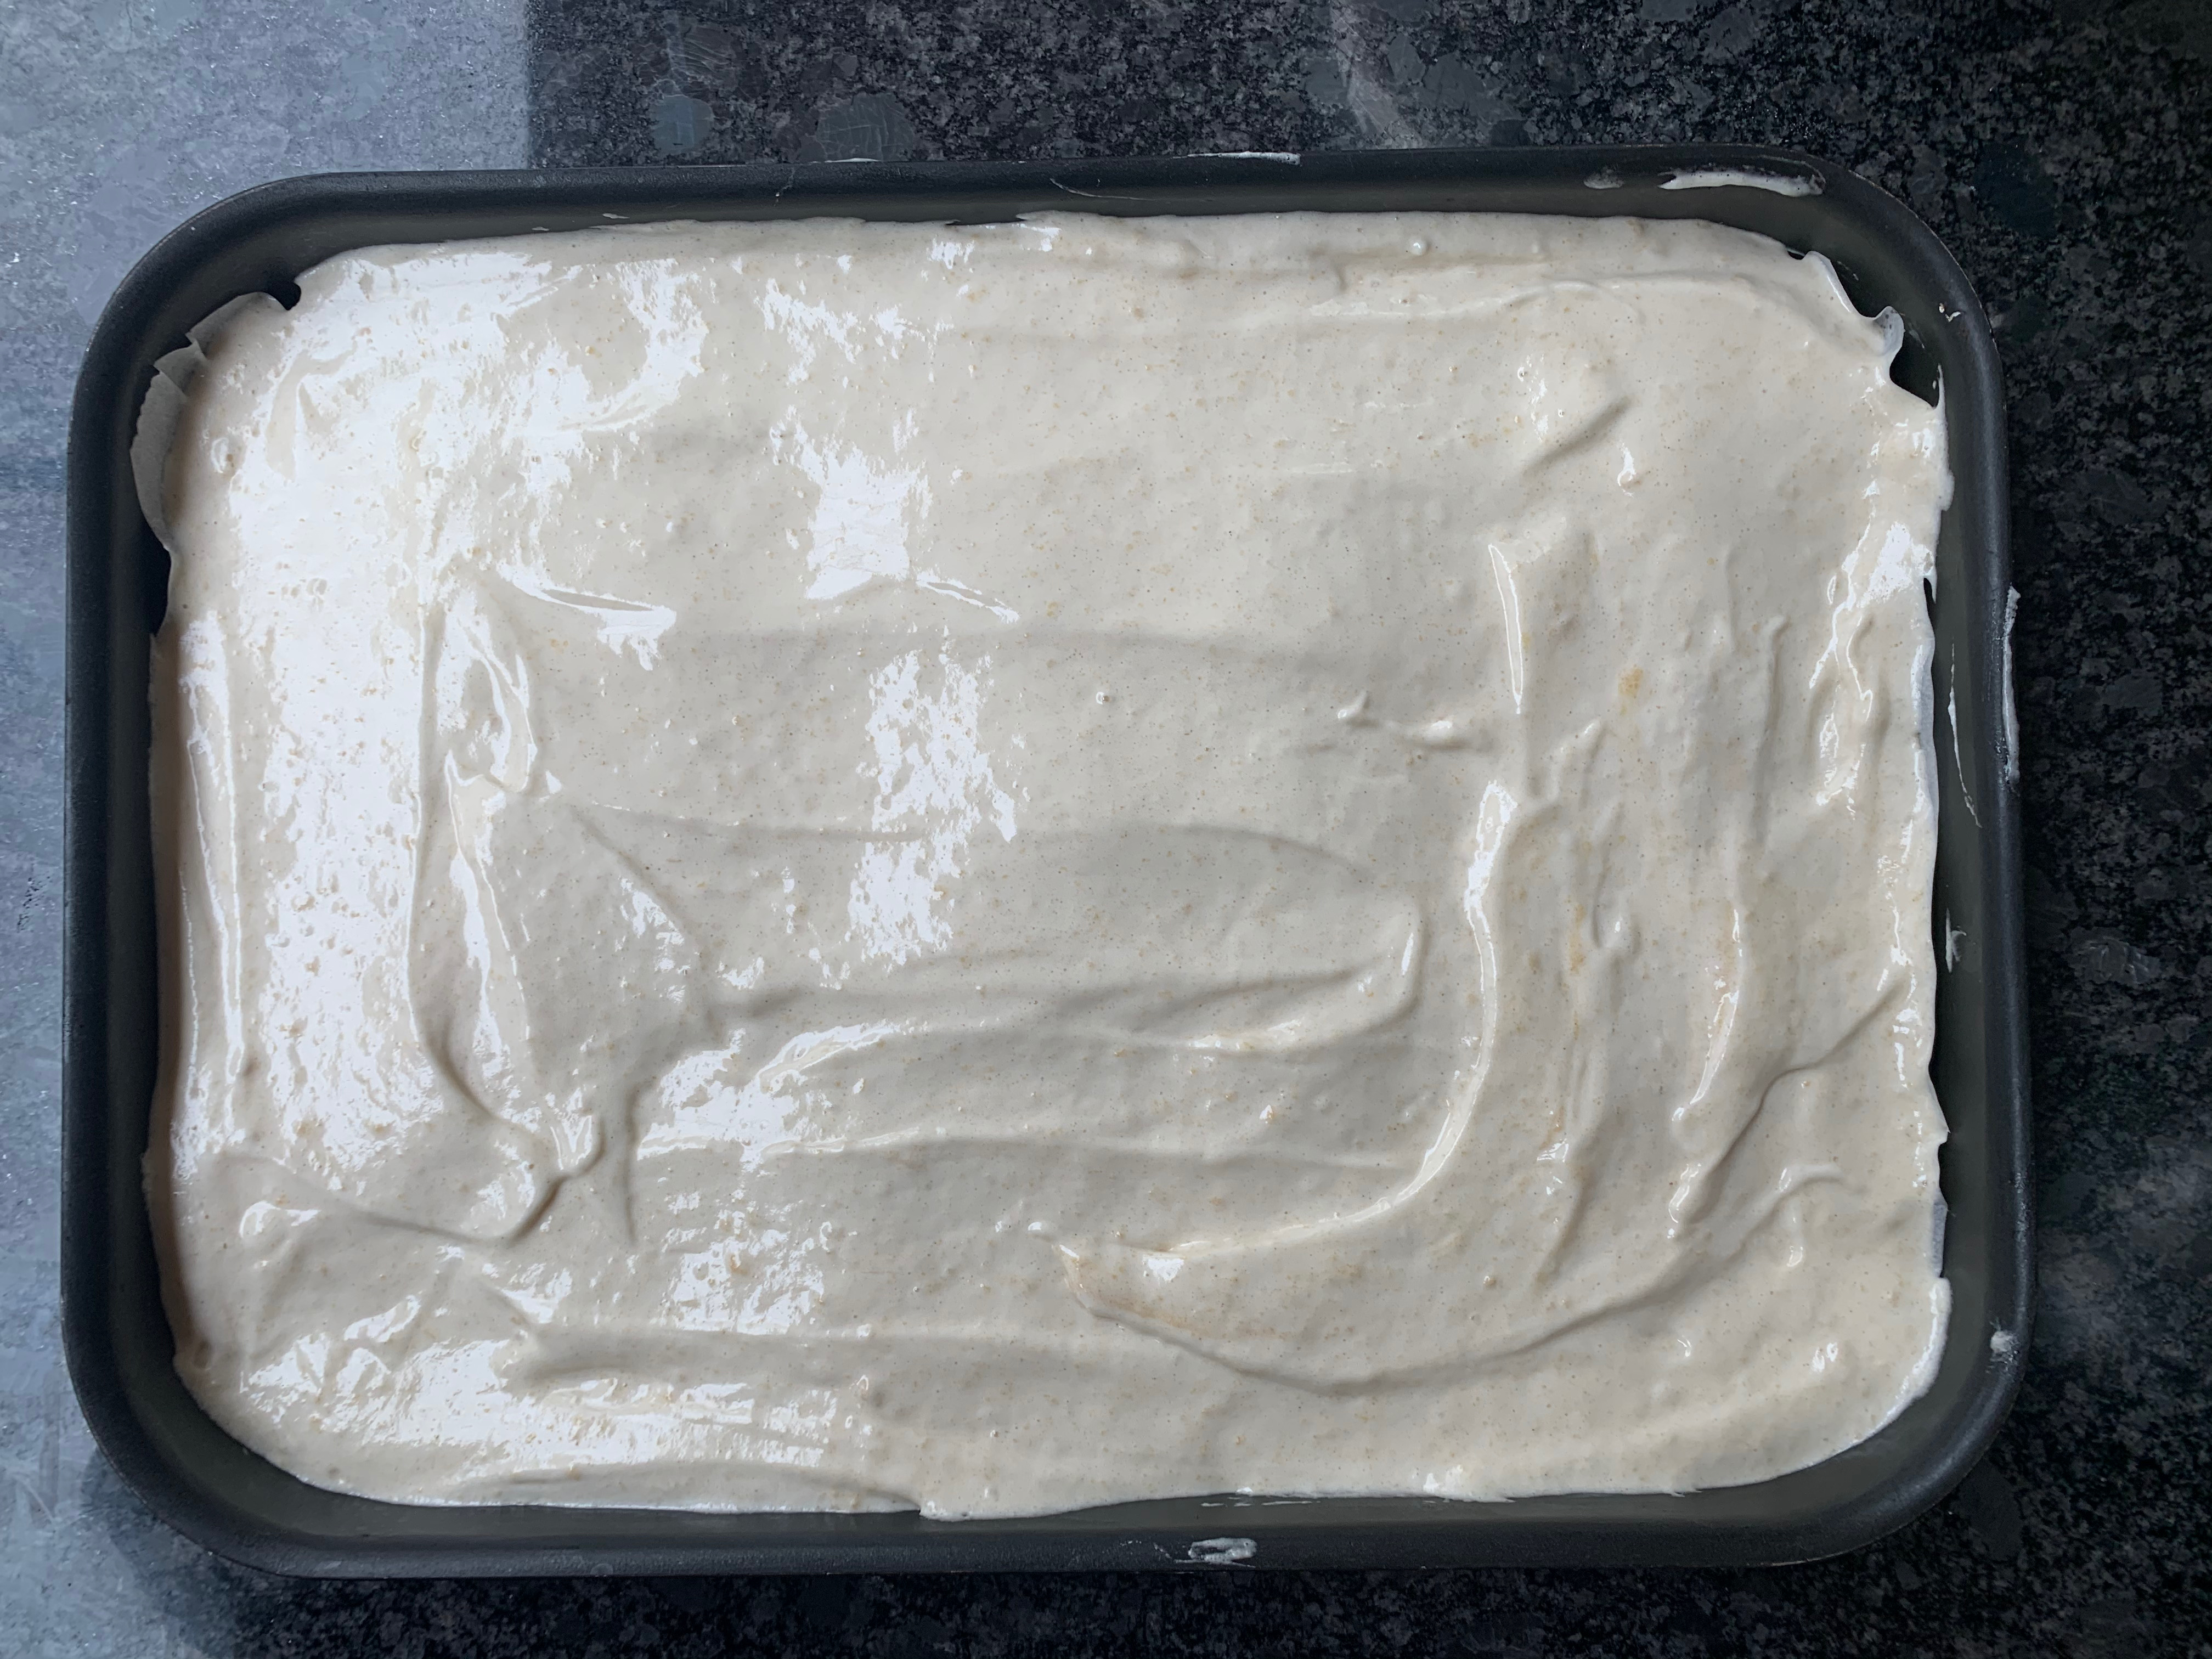
Spread the mixture evenly into your tin. Ideally, use an offset spatula to get it really level (I don’t have one, so I just did my best.
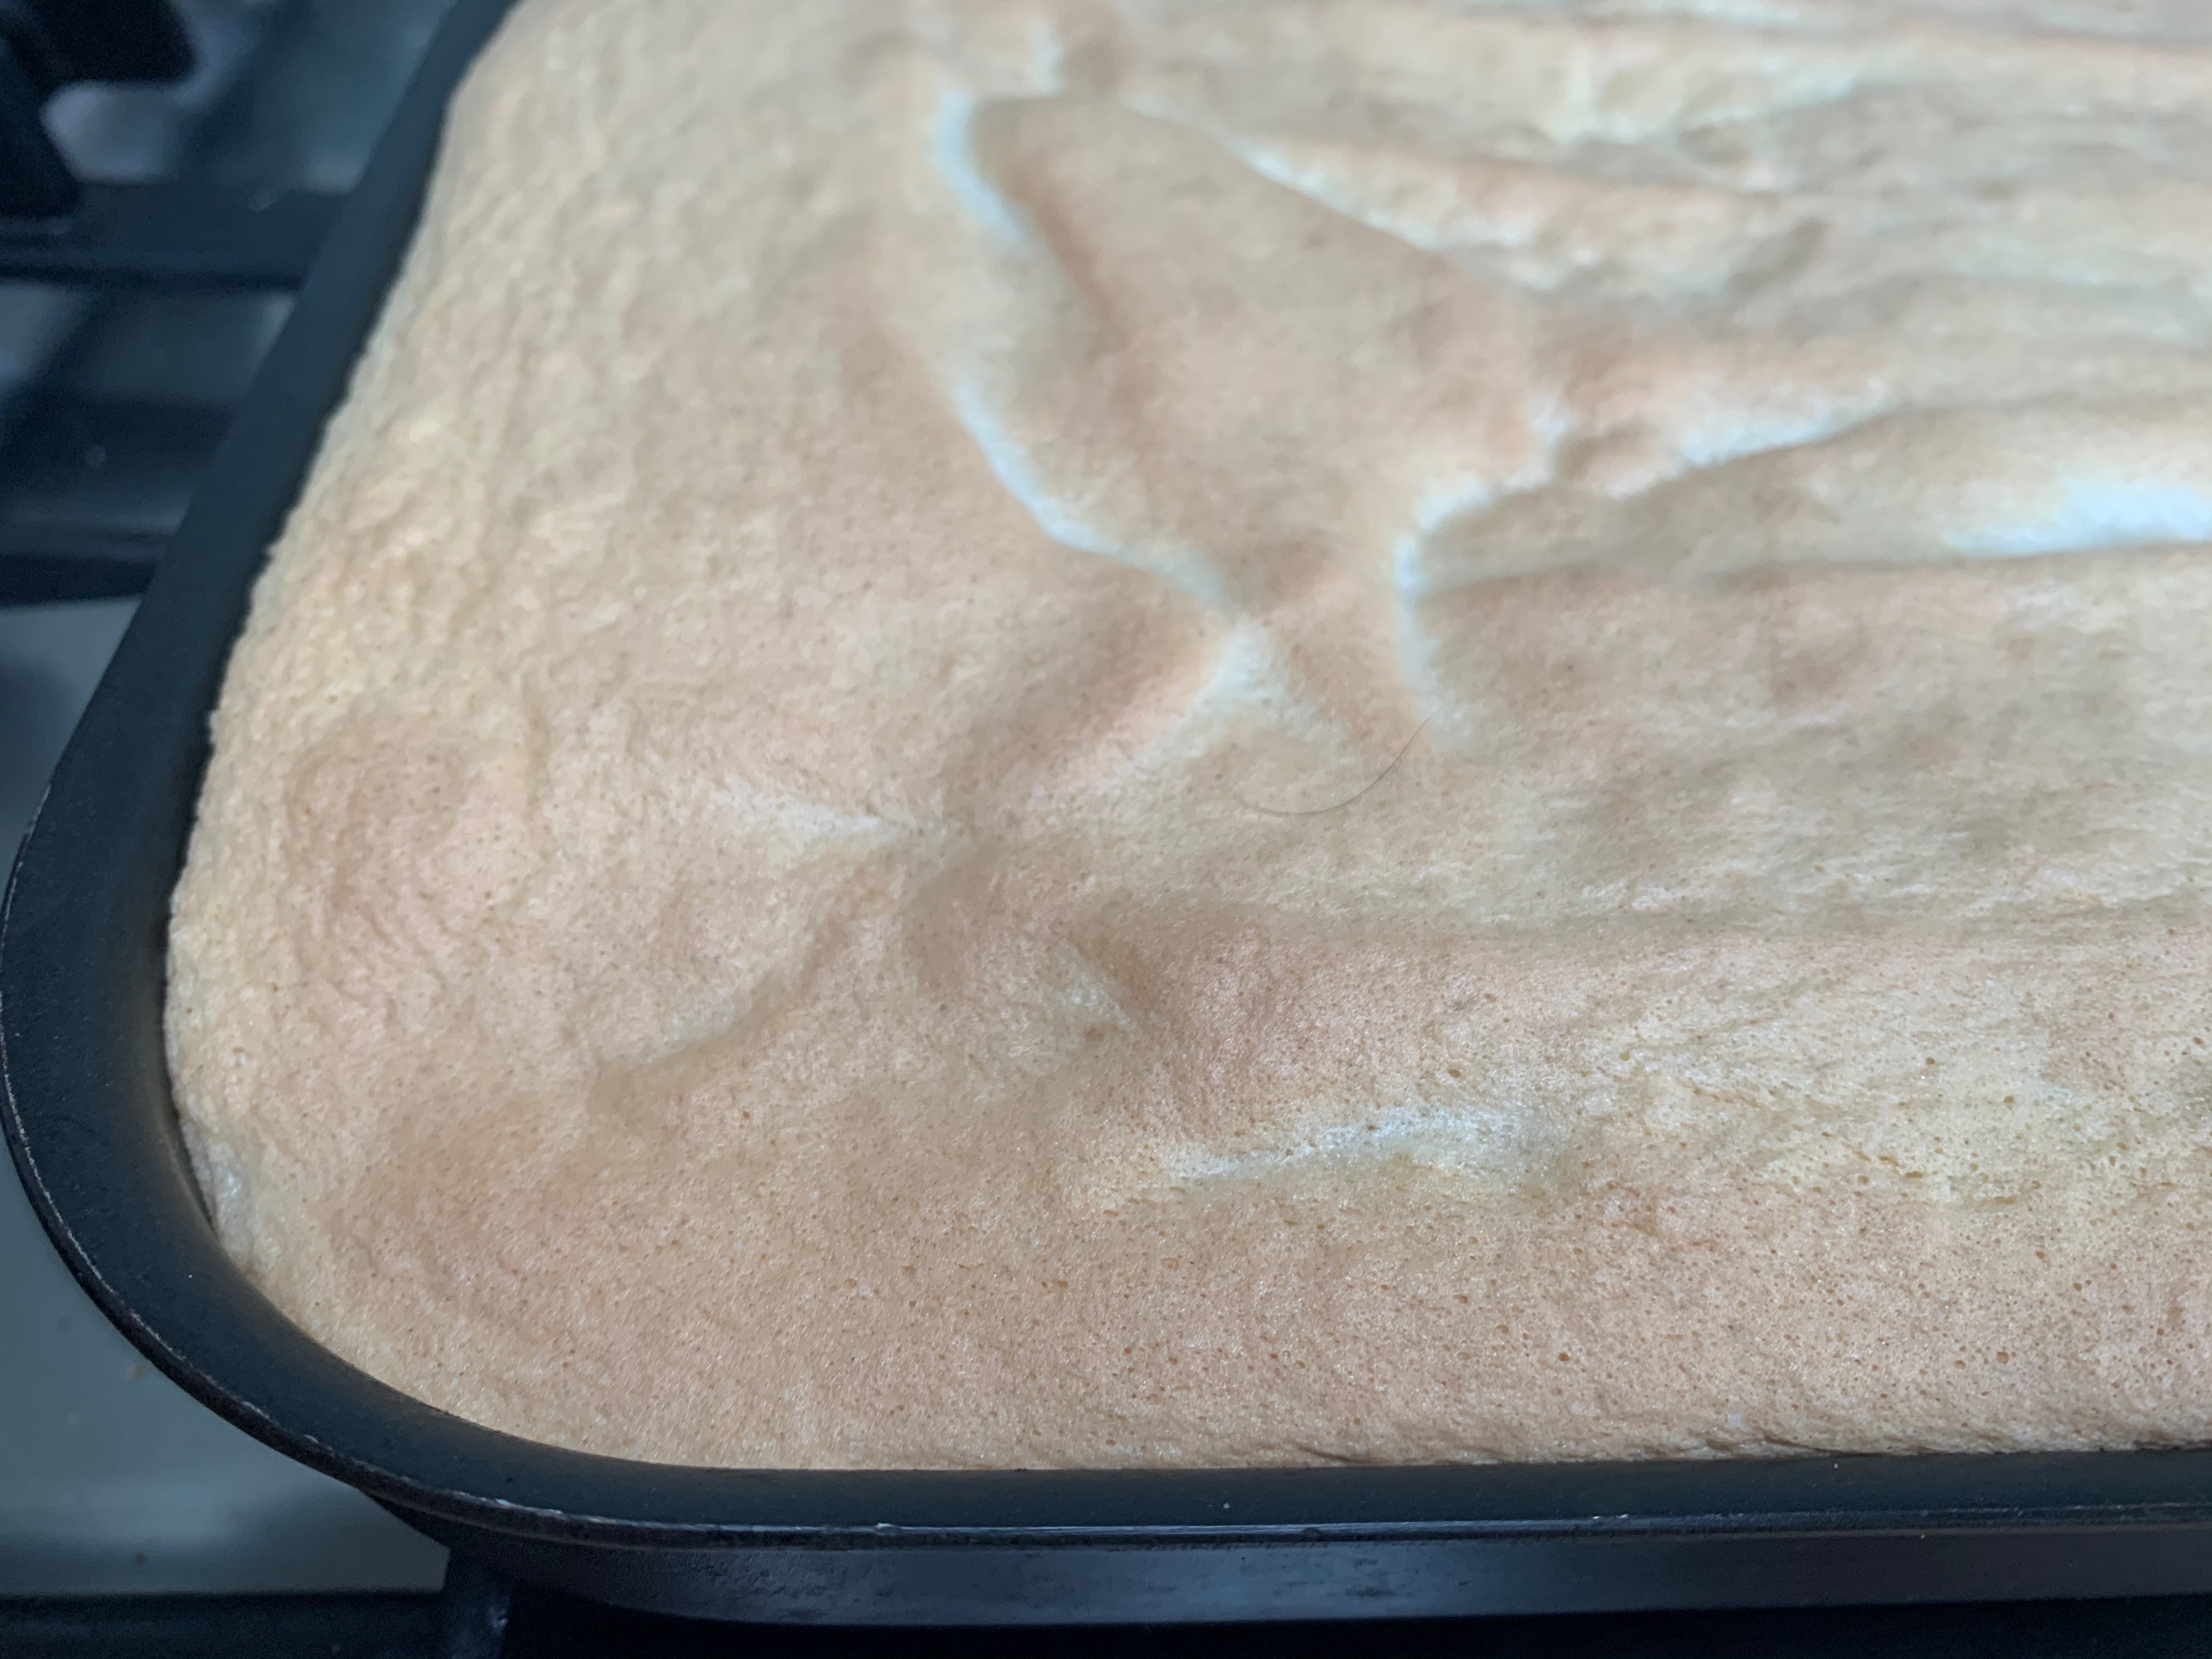
Bake for around 10 minutes. You do NOT want to overbake the sponge or you stand no chance of rolling it intact.
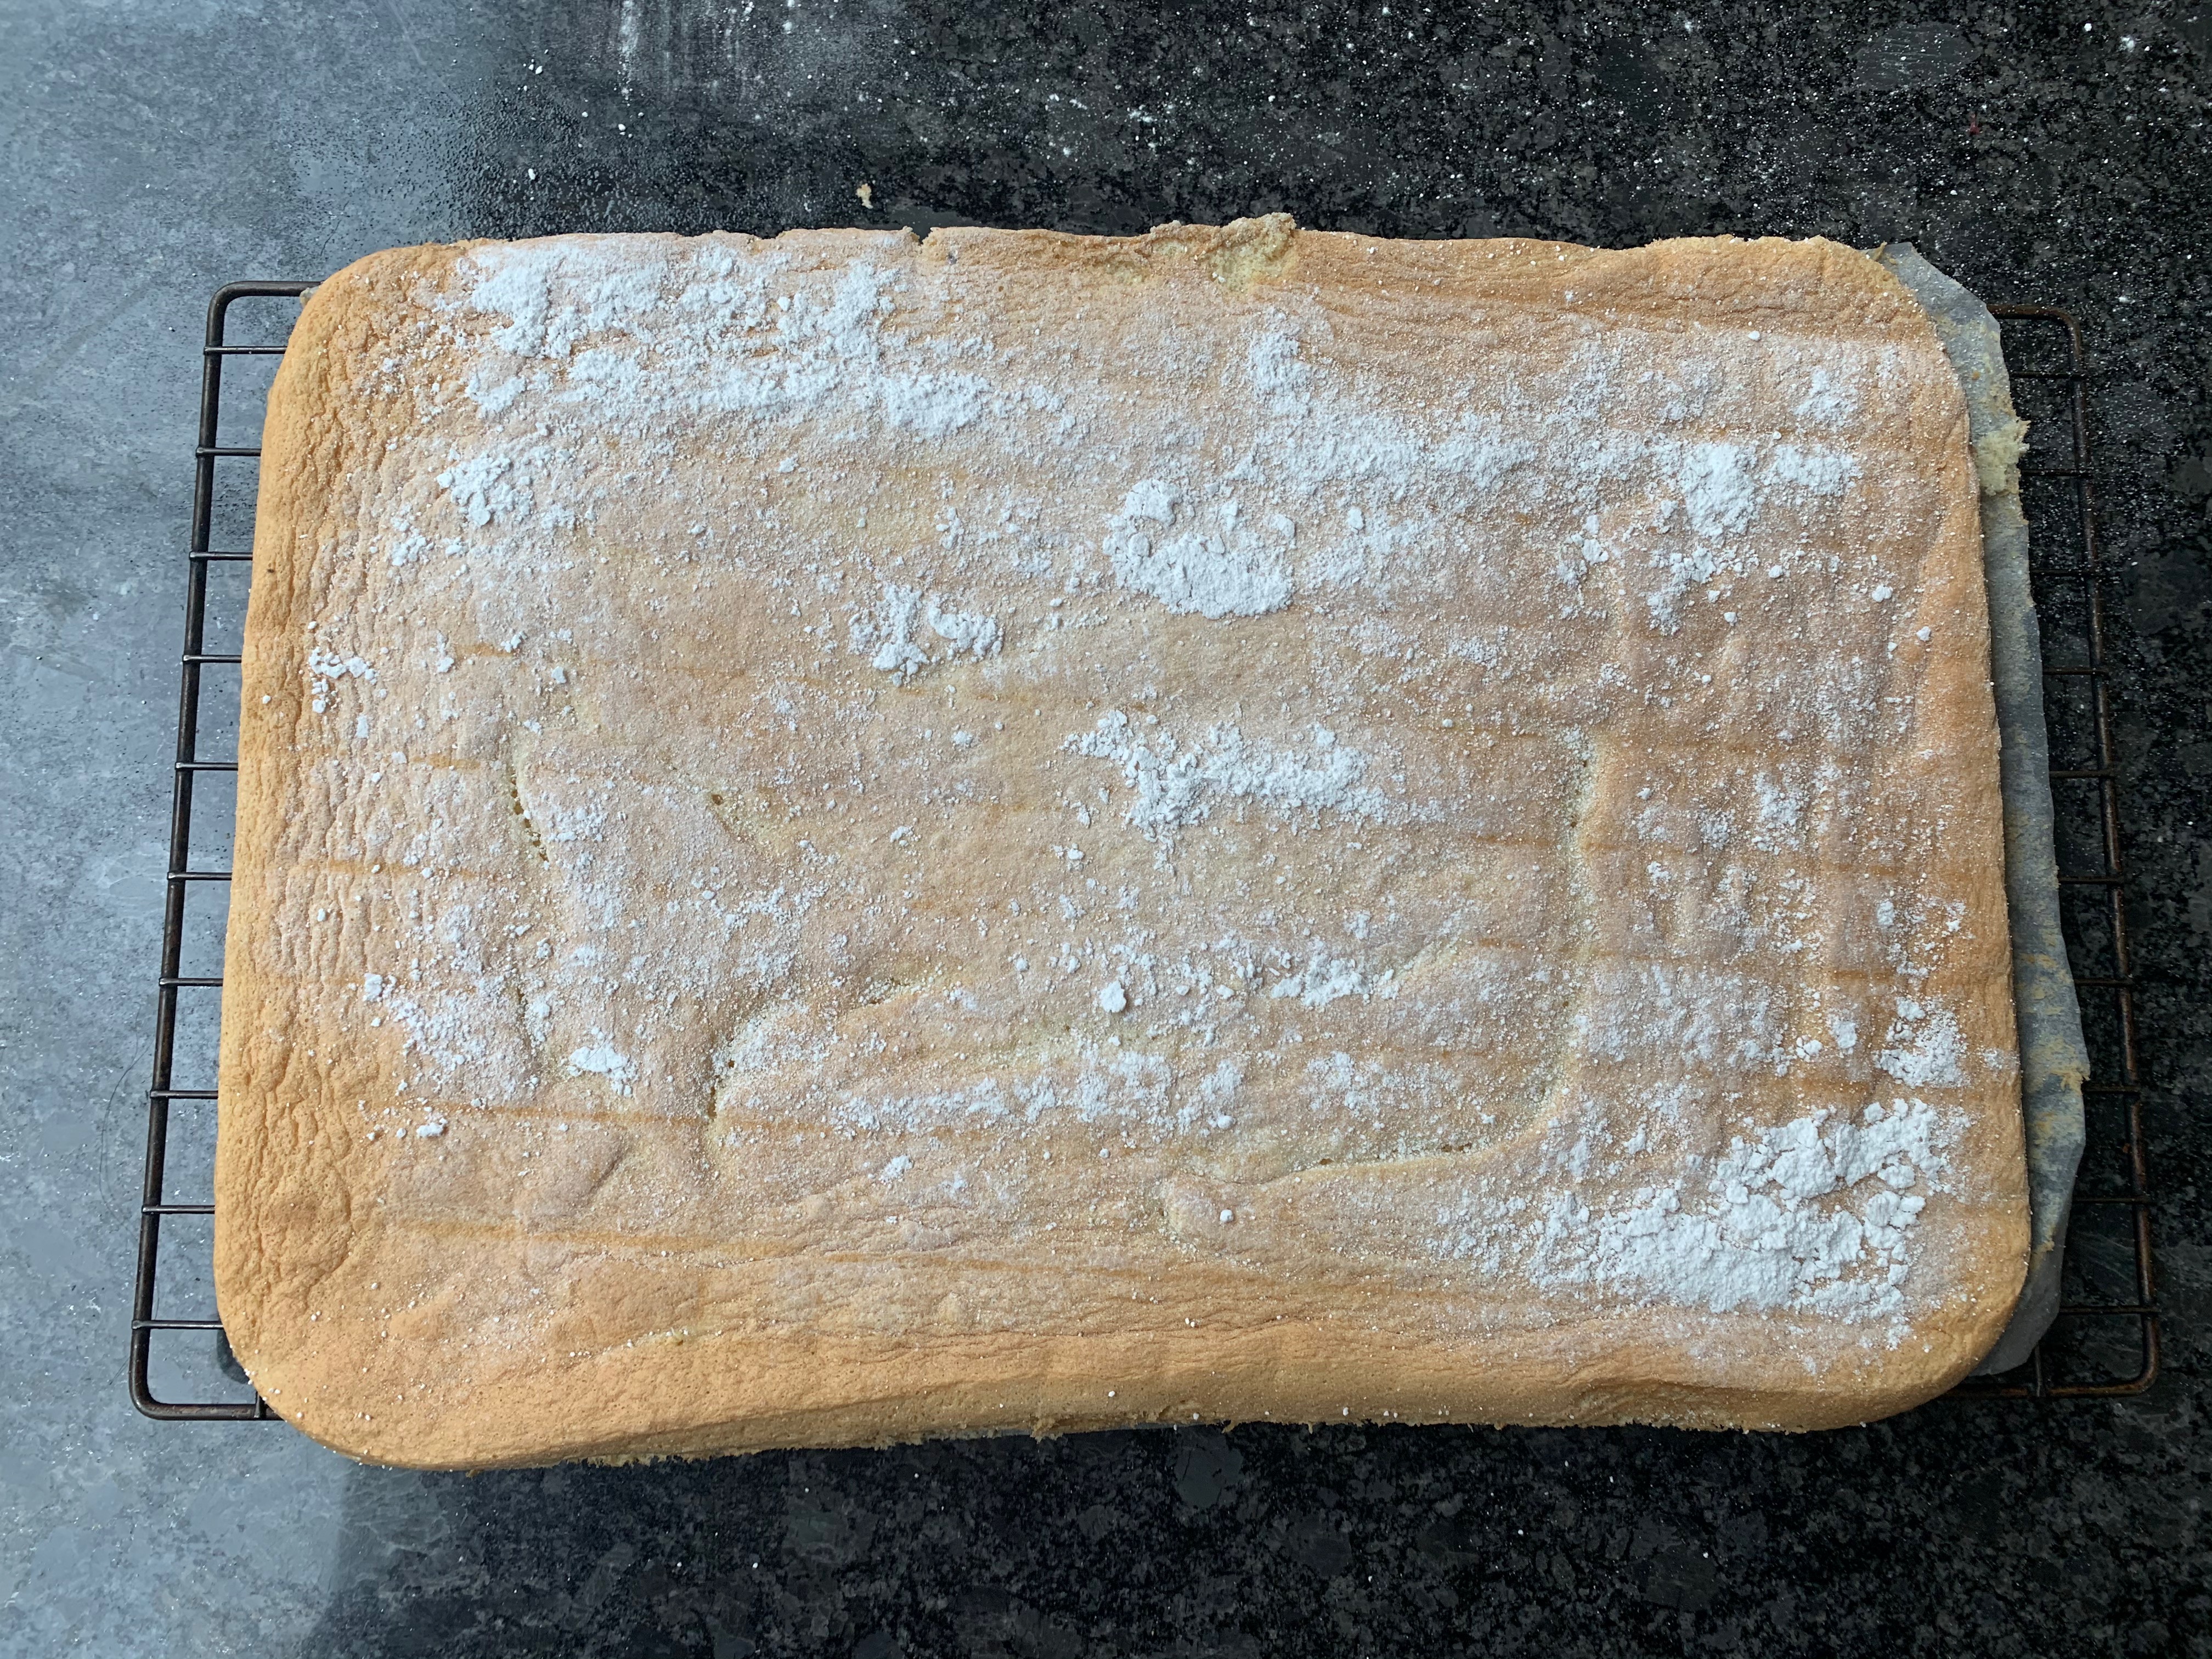
Leave to cool for a minute or two, then run a palette knife round the edge to make sure the cake is not sticking to the edge. Sprinkle some icing sugar over the cake.
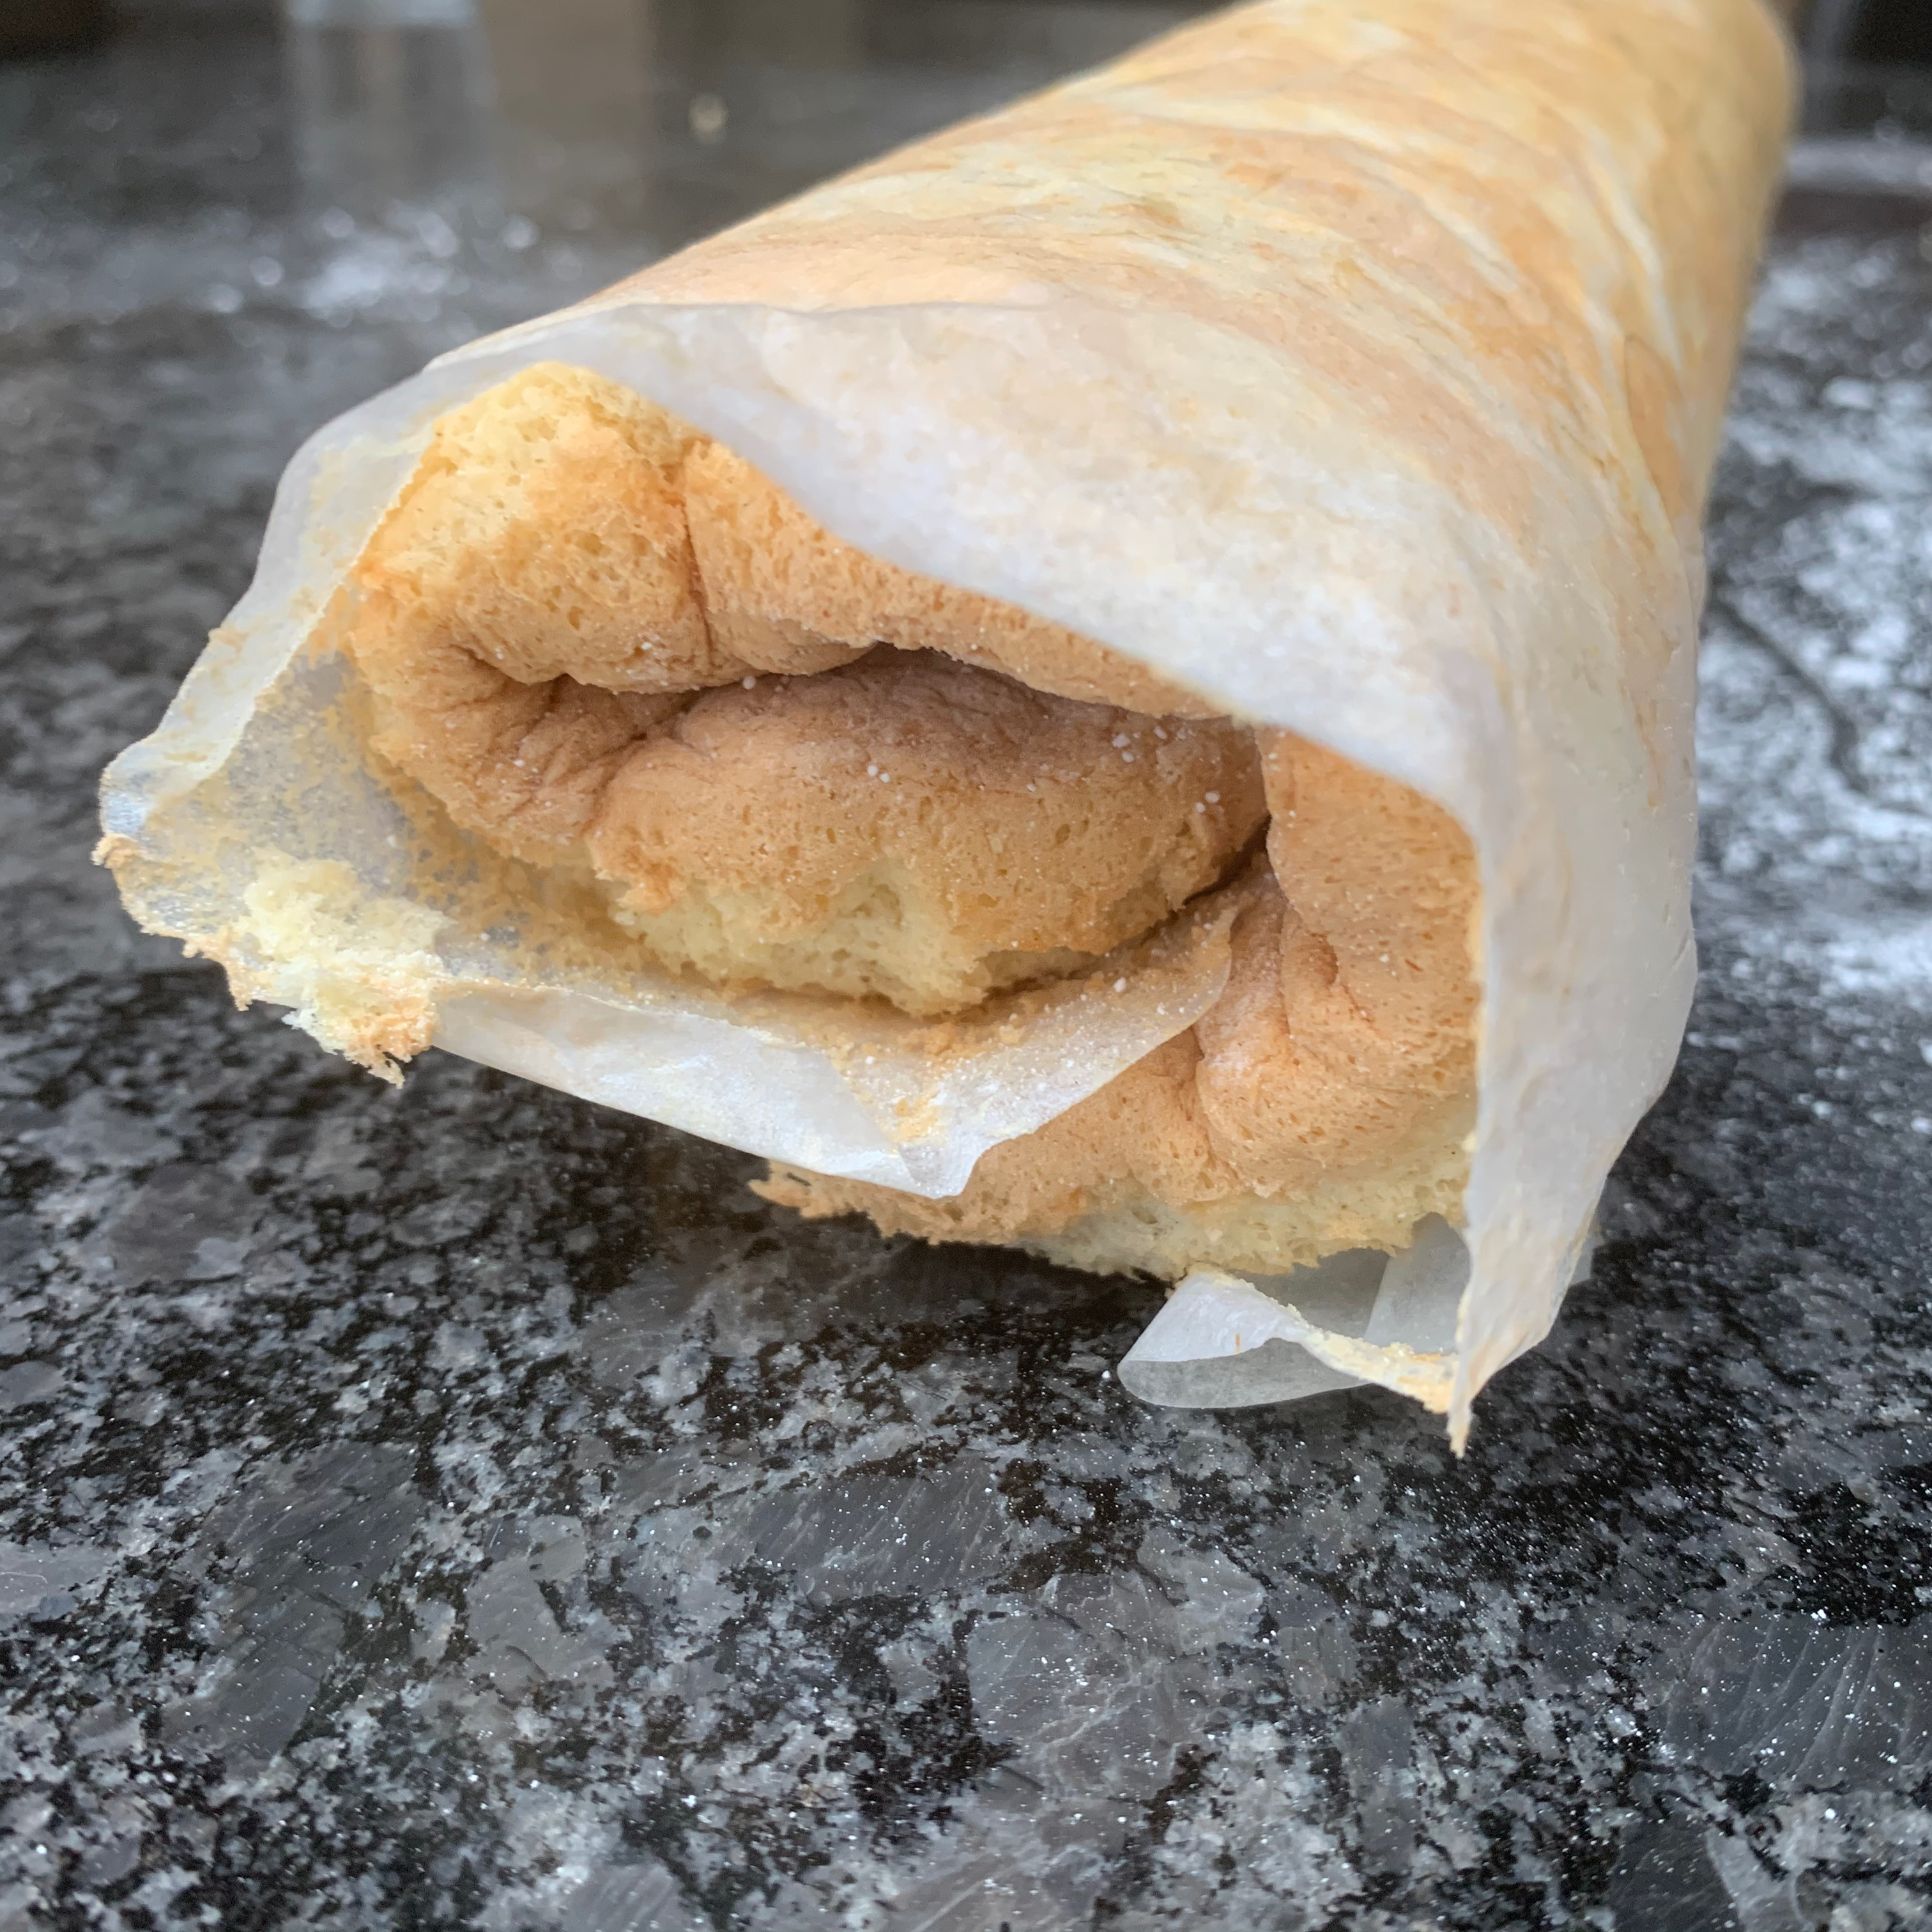
Spread a tea towel over the cake, and then an inverted cooling rack. Turn the whole assembly upside down. As gently as you can, remove your cake tin. The cake should sit on its tea towel in one piece.
Very gently, pull off the baking paper almost all the way, then put it back in place.
Now roll the cake up as tightly as you can, and leave to cool for an hour or so.
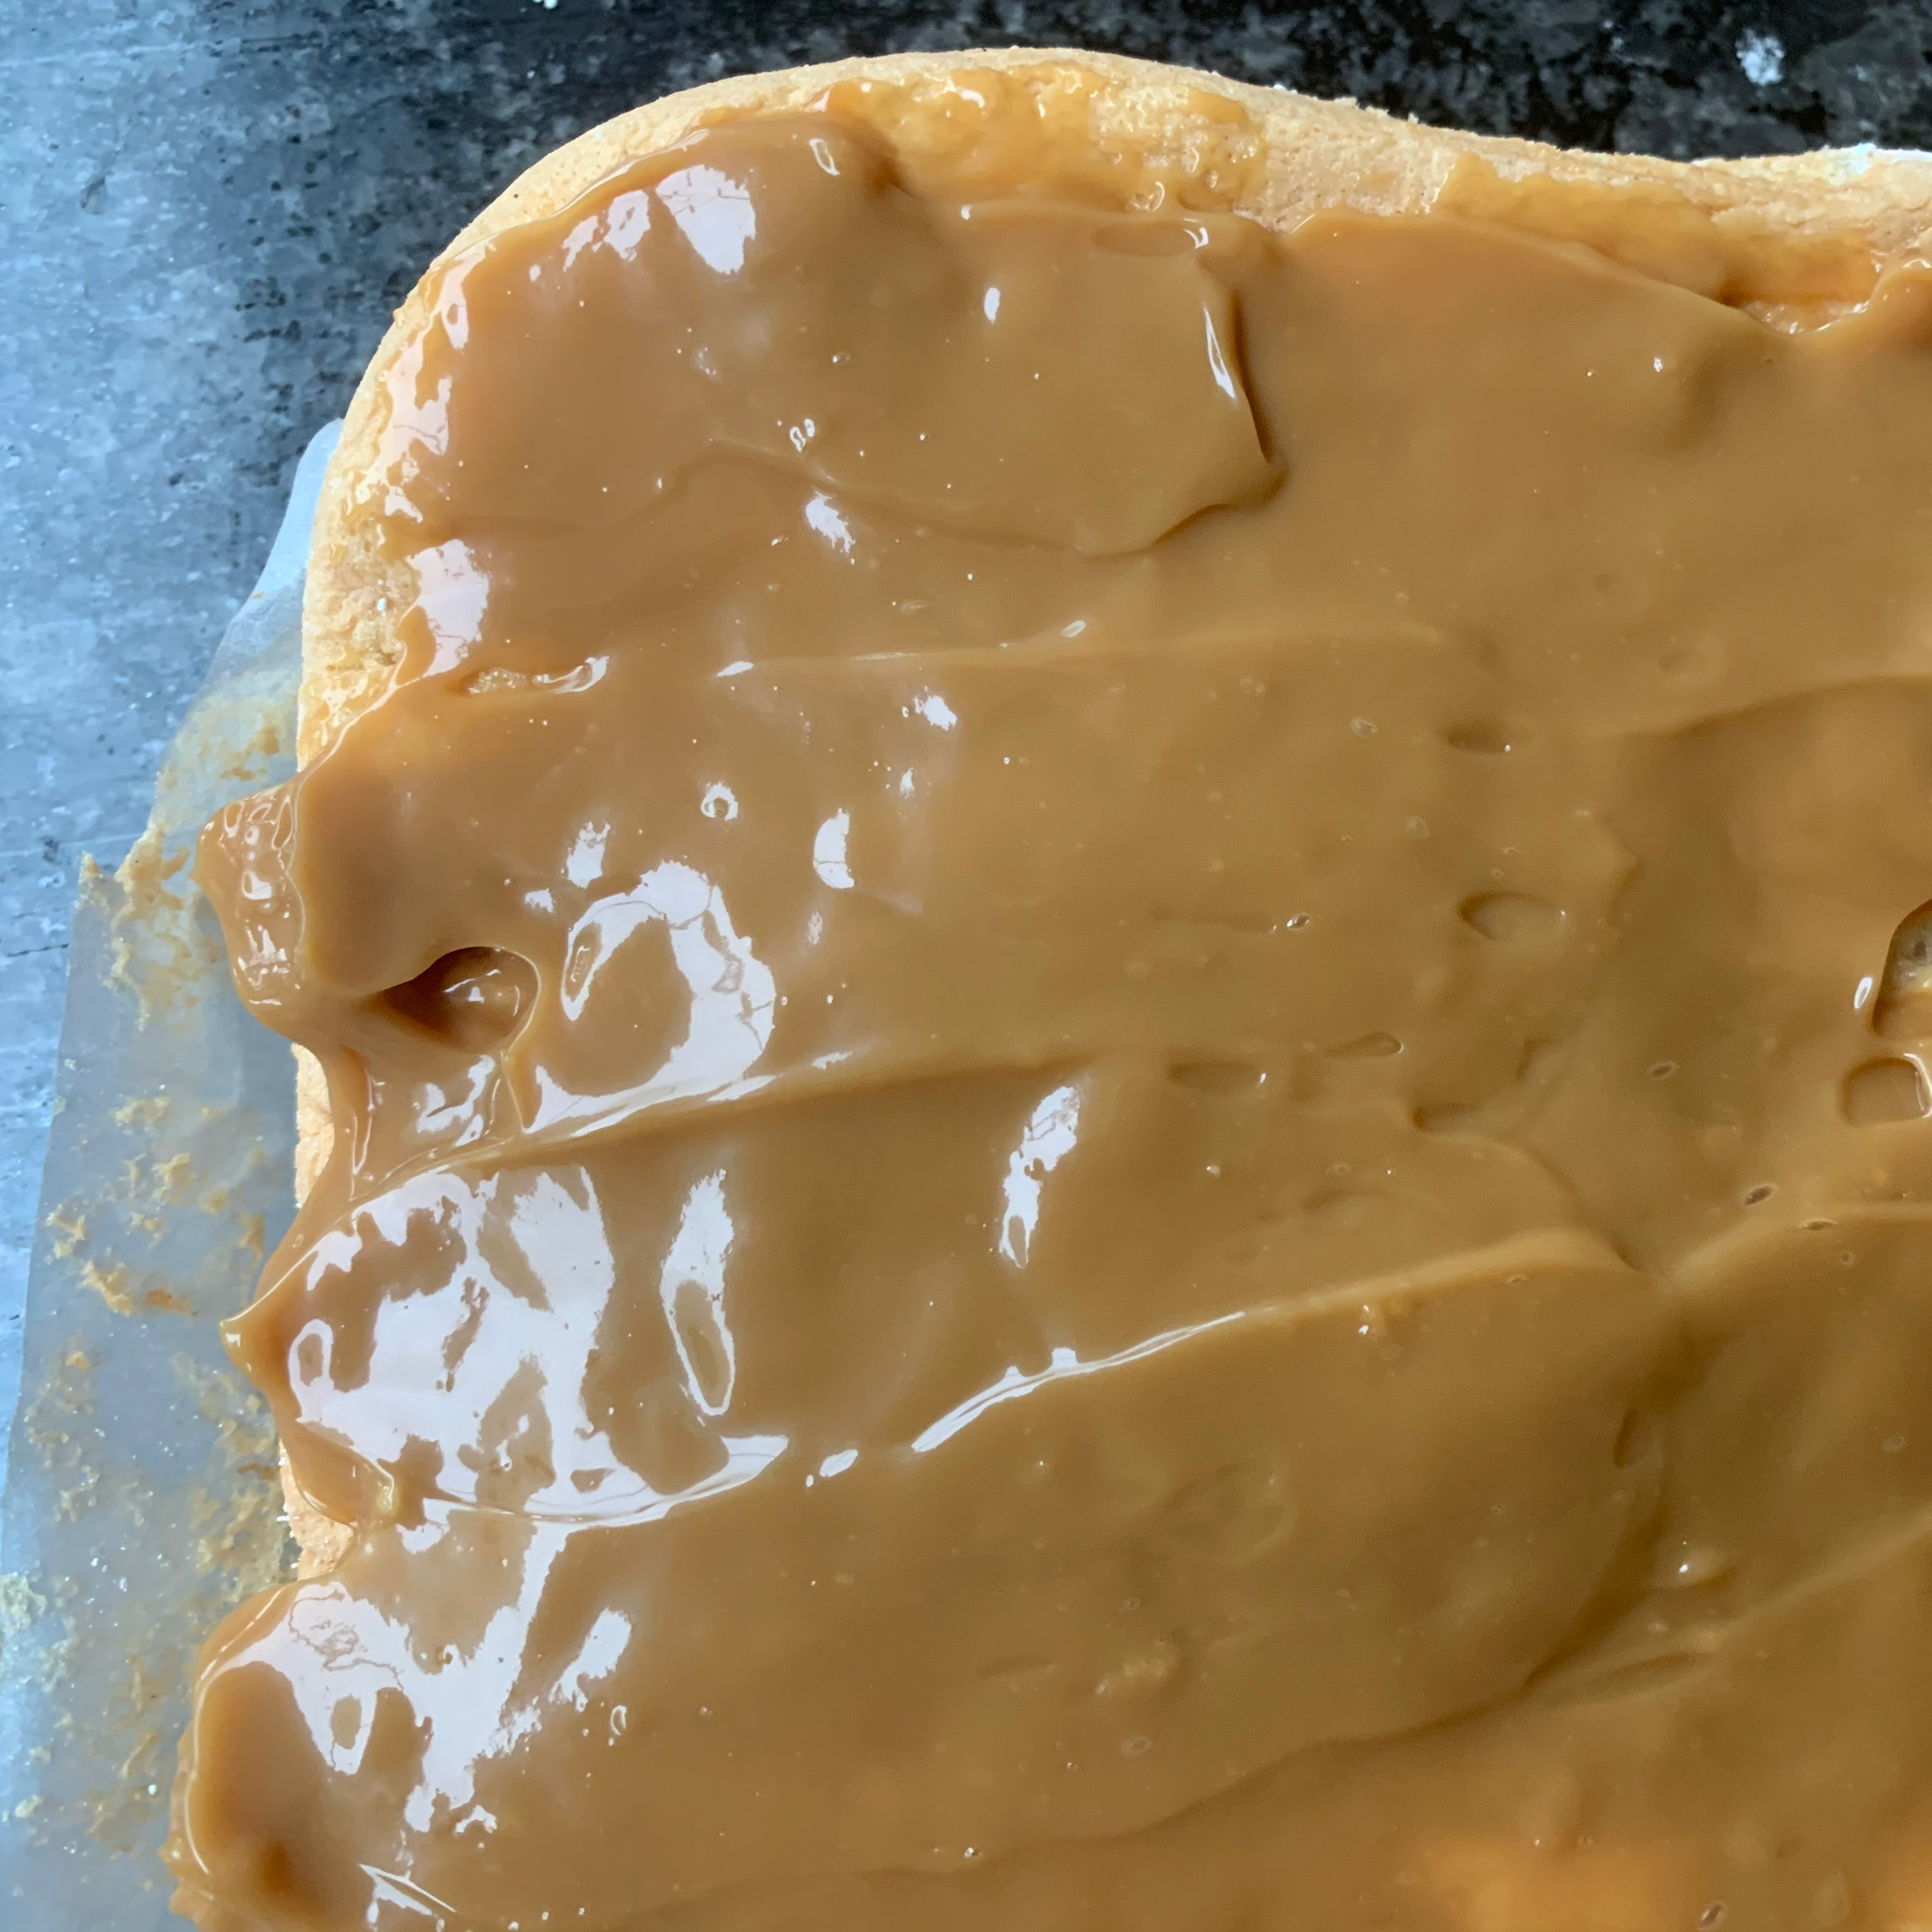
Unroll the cake (this is the part where it’s hard to stop it tearing), spread the filling over it, then roll it up again.
(Optional – I didn’t) dust the cake with more icing sugar.
The styles and sizes vary, but most food cultures have a filled parcel that you can eat on the street: China has bao dumplings, Japan has onigiri, most Latin countries have empañadas, and so on. The Maltese version is the pastizz, which is somewhere in size between a samosa and a Cornish pasty. Its case is flaky pastry which is made by creating a spiral cross-section of dough and shortening (the same trick, roughly, as used in Portuguese pastéis de nata); the filling can be pretty much anything but is often either based on ricotta cheese or peas.
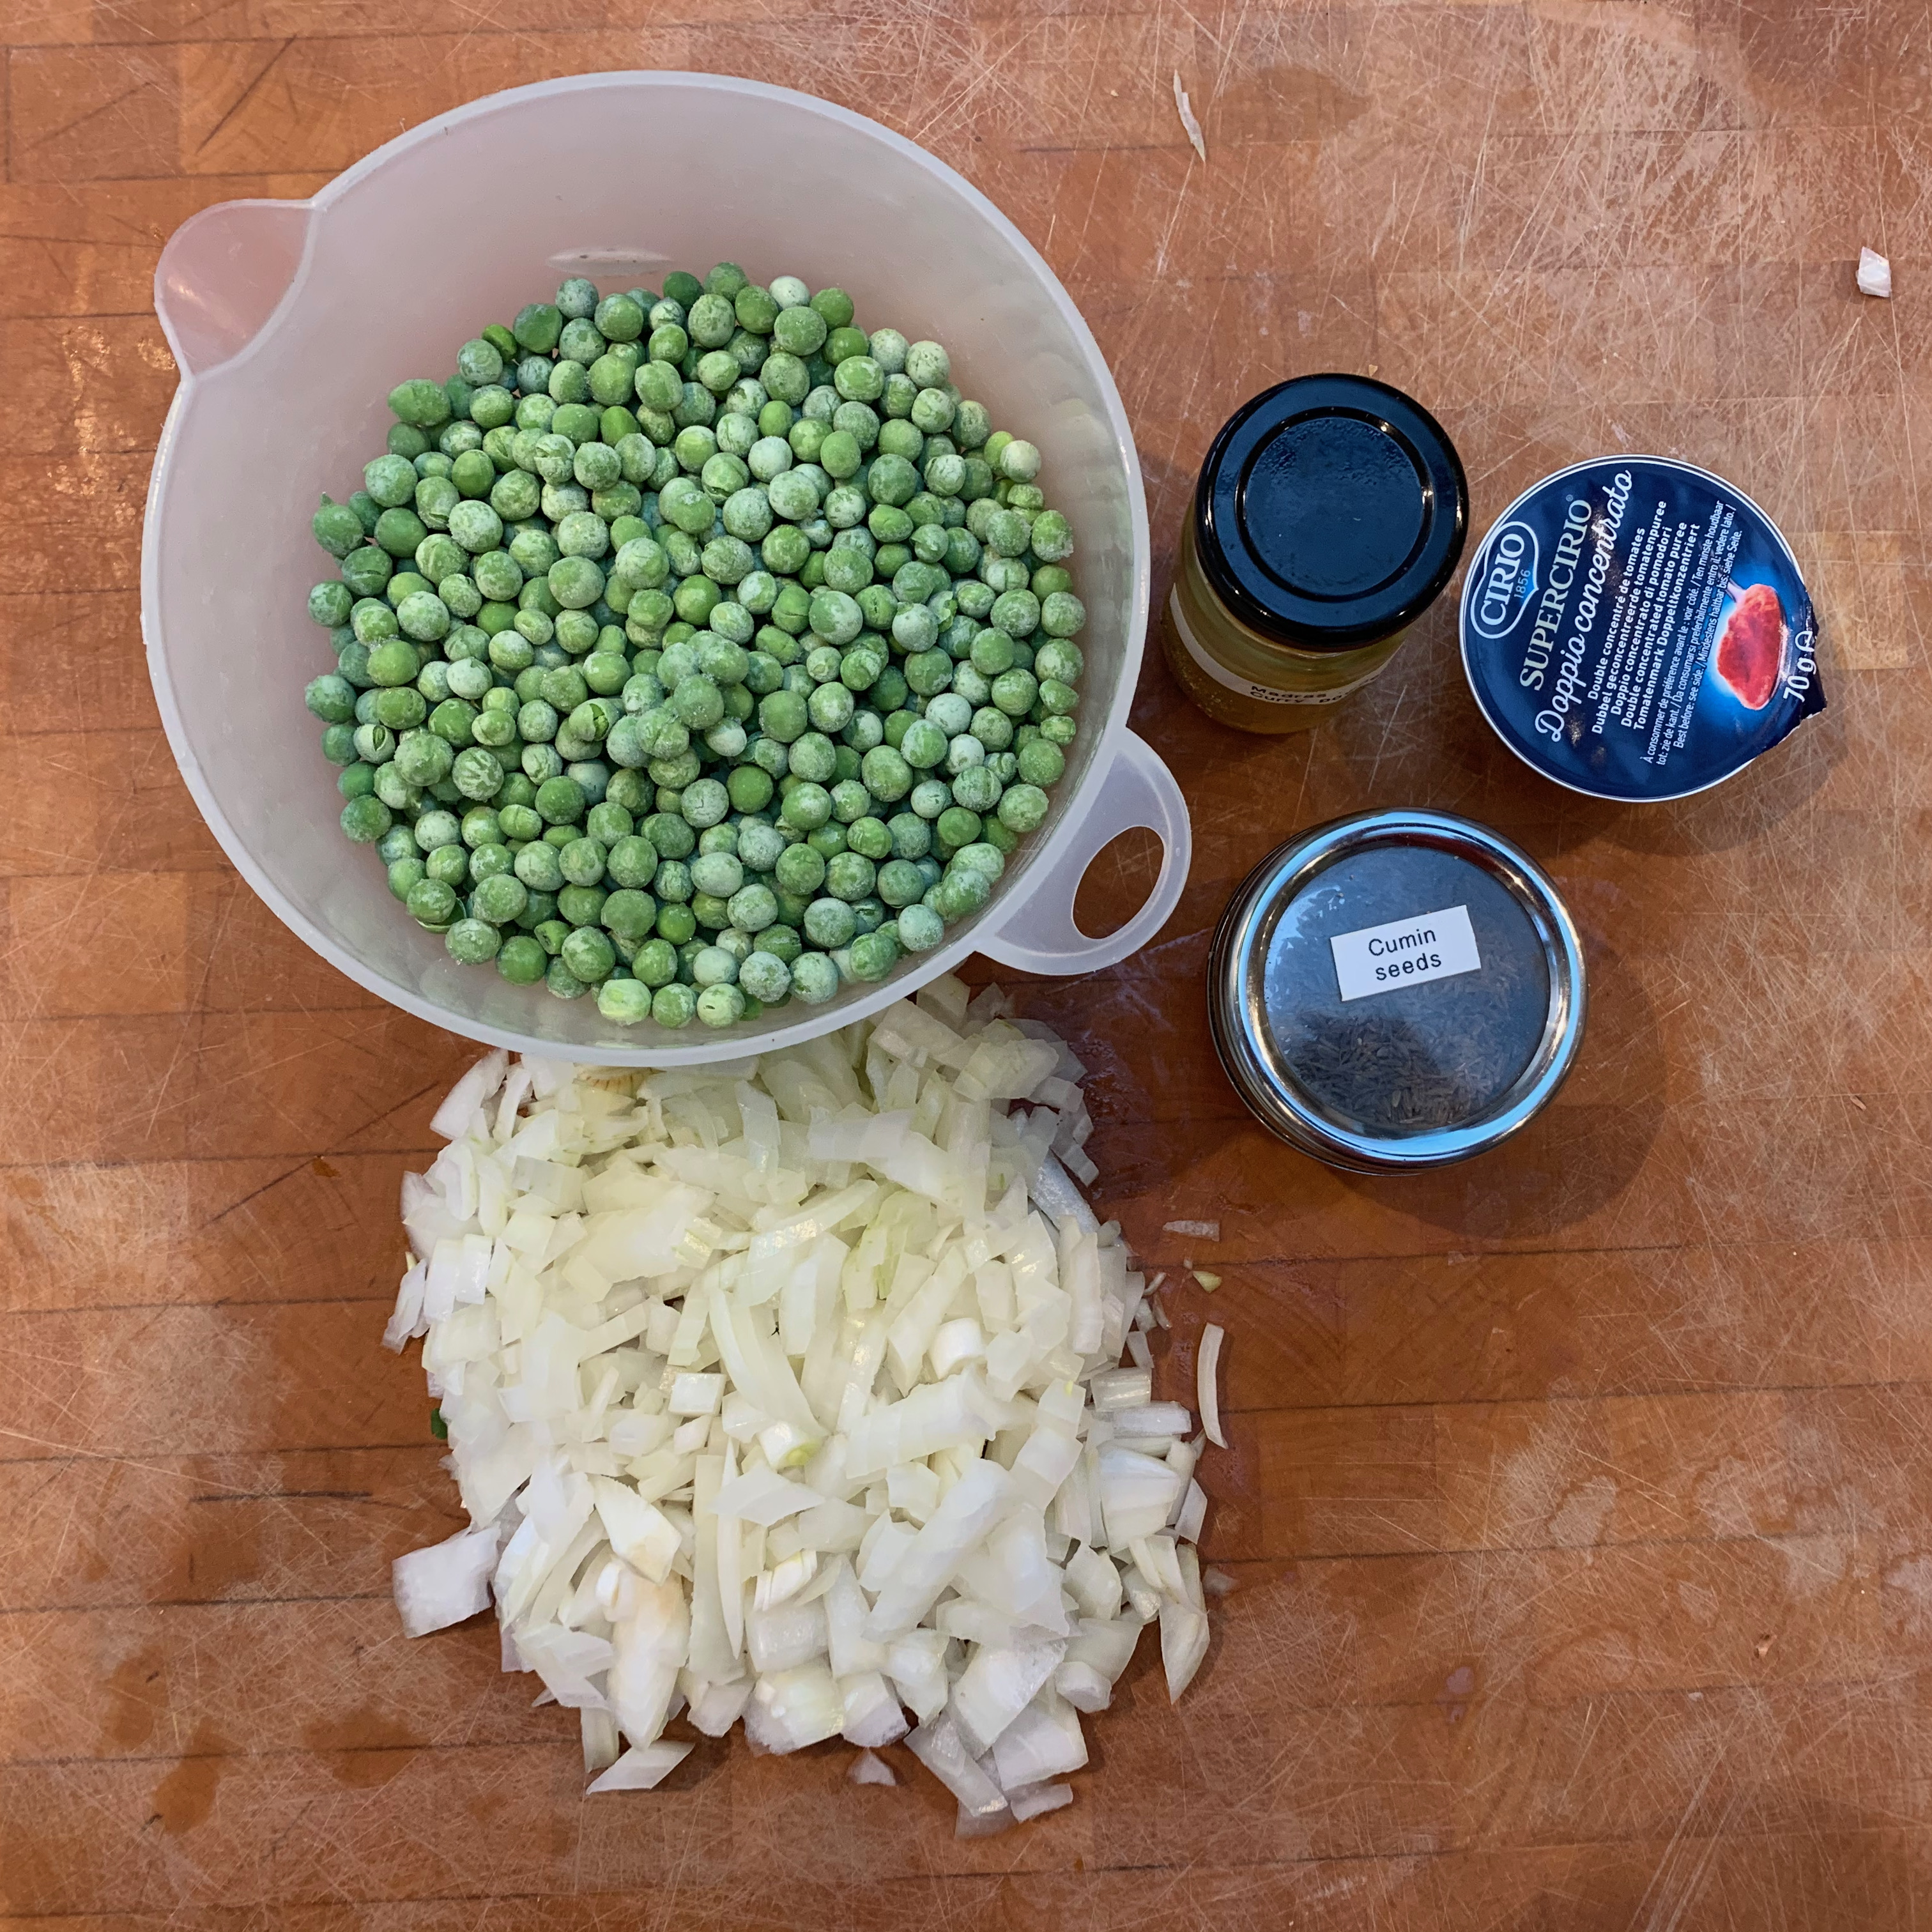
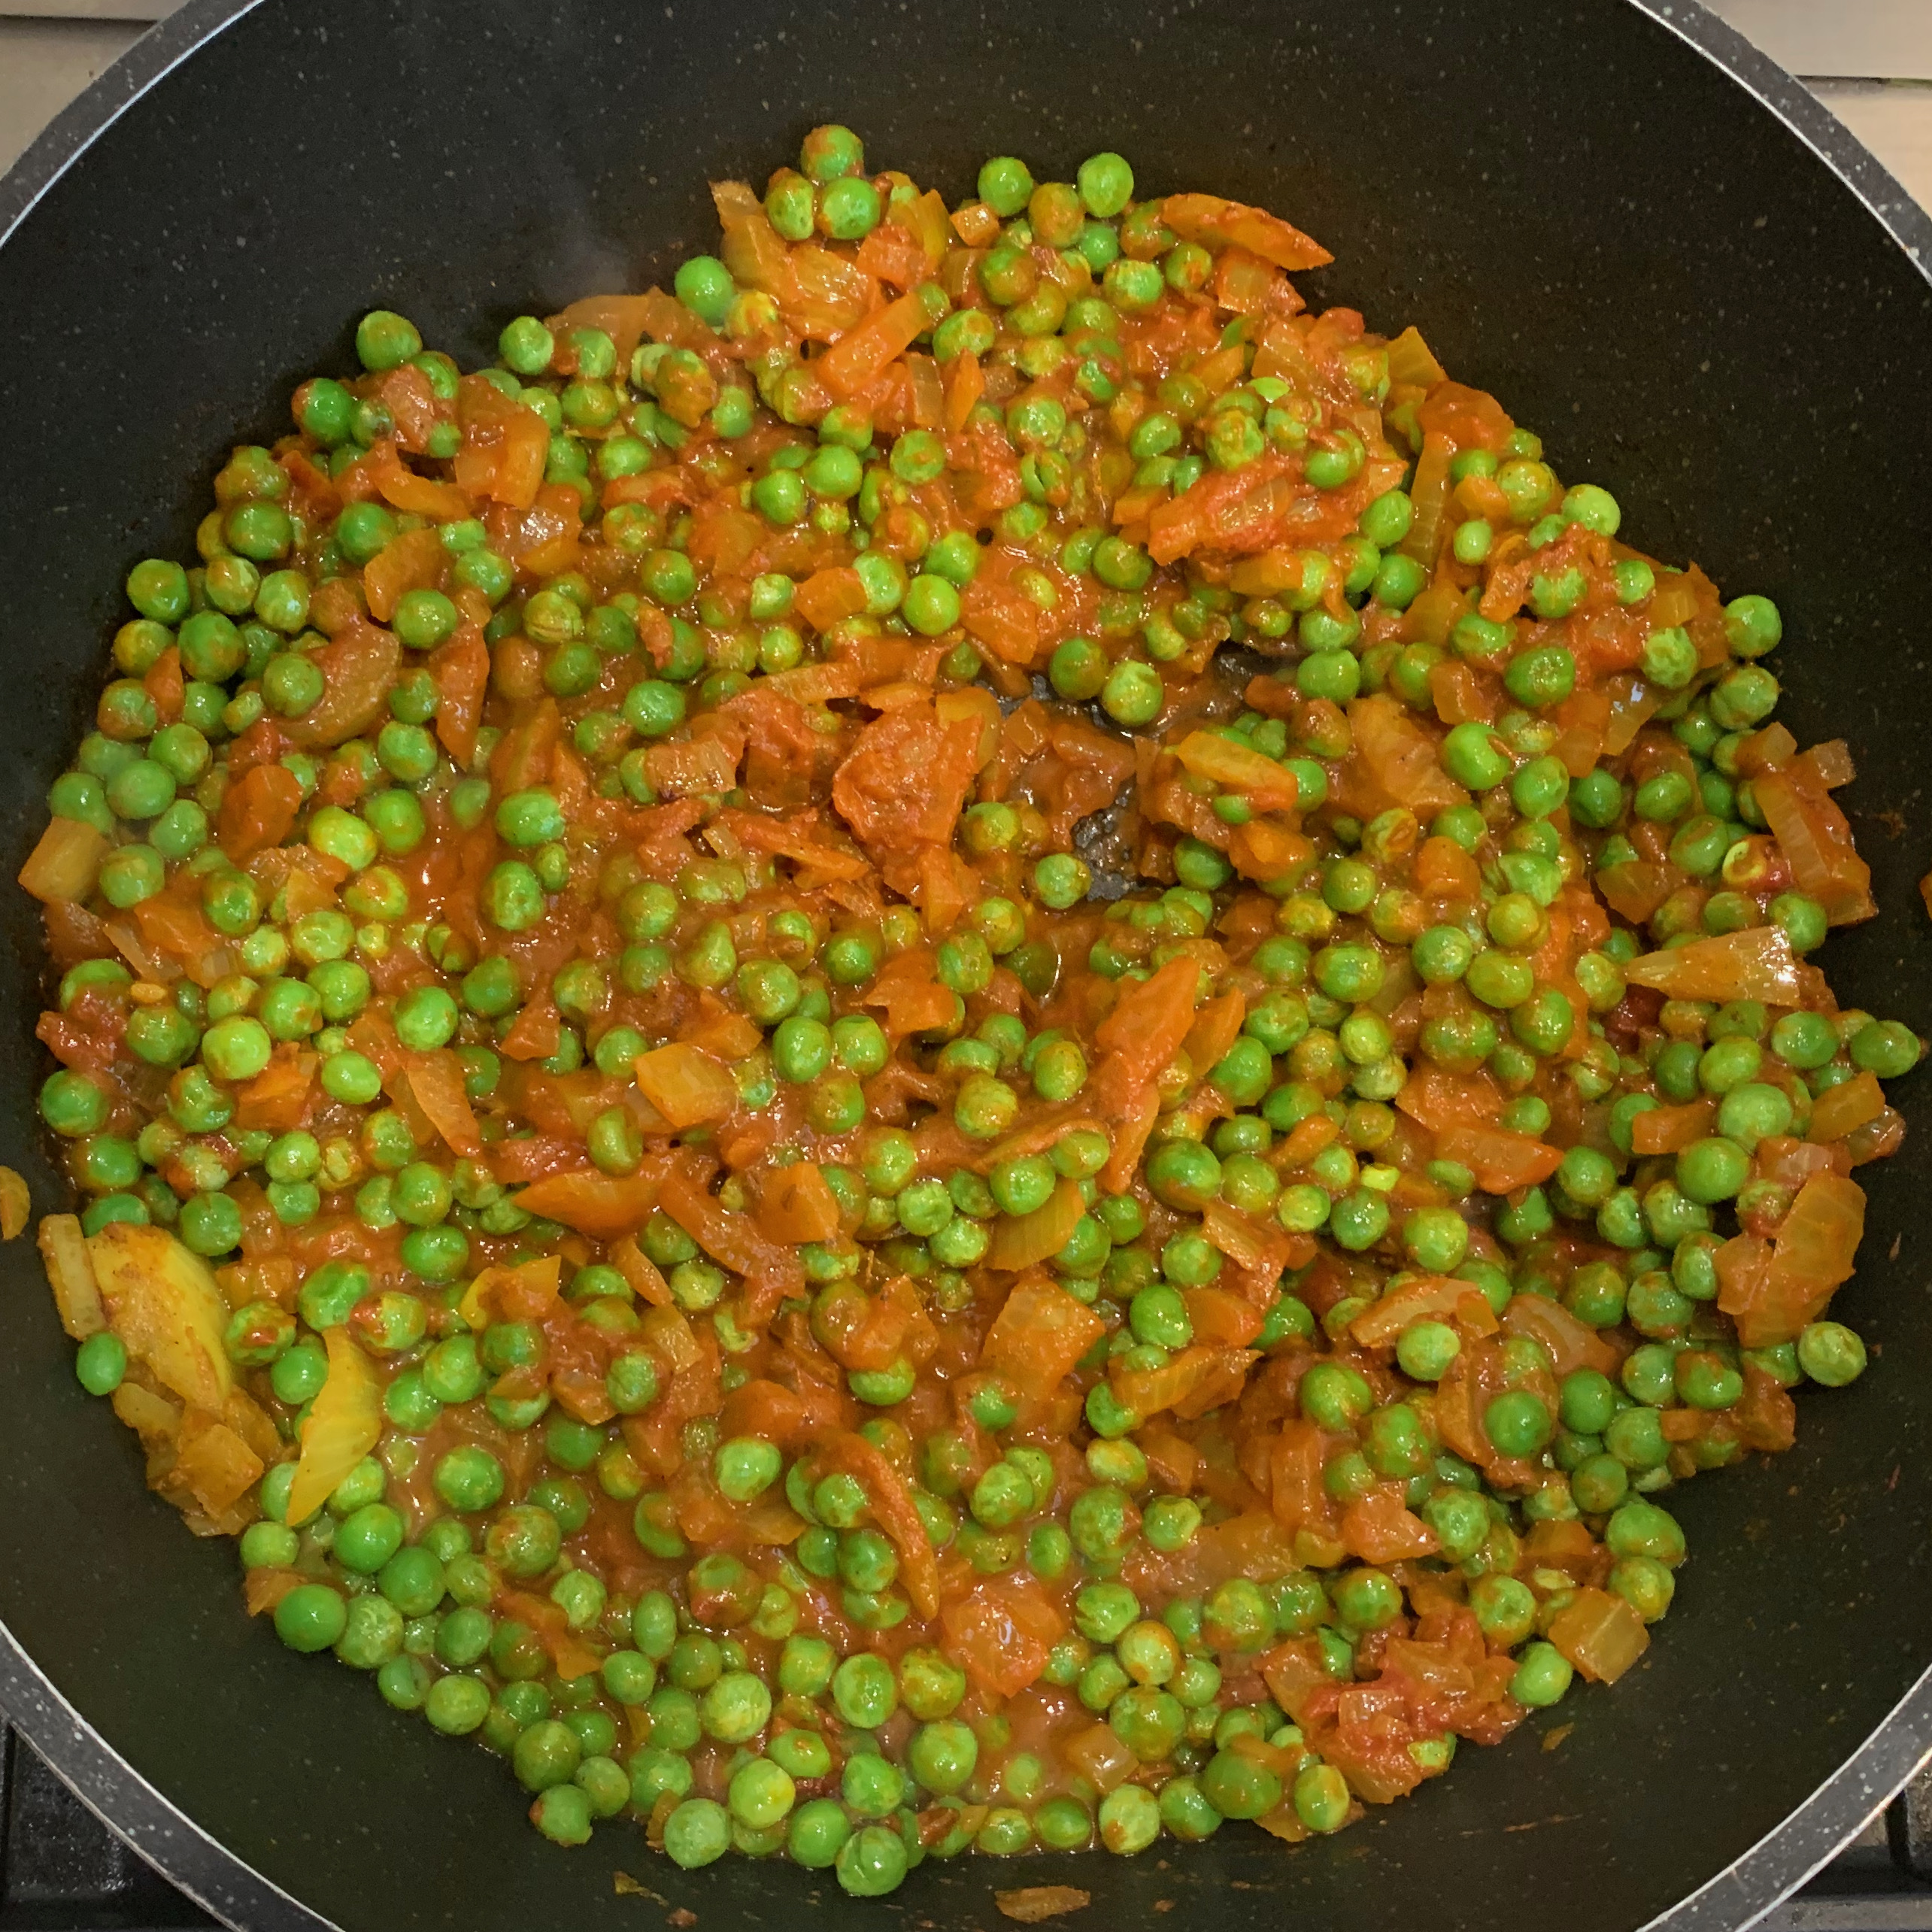
Starting from a Maltese Youtube video and halving the quantities, I chose a lightly curried pea-and-tomato filling, which is pretty straightforward and comes out rather like one of my favourite Indian dishes, mutter paneer (without the paneer, but I can’t see a good reason not to include that if you want). If you are looking carefully at the photos, you’ll see that I ran out of peas on one of my runs and substituted some mixed veg.
As with all versions of puff pastry, getting the layers right is tricky, and I got it spectacularly wrong on my first attempt, not least because the ratio of flour to water in the recipe is way off what it needs to be. This isn’t the most time consuming puff pastry recipe you’ll ever see: there’s a lot of elapsed time for resting, but it’s not too bad on actual work. But it’s fiddly to get the layers thin enough and roll them up into a good shape without breaking them. If you’re like me, you’ll need practise.
Anyway, the results are well worth it: they make a really good mid-morning or mid-afternoon snack, tasty, filling and nutritious.
Filling
Although I’m giving the filling recipe first, you’ll almost certainly want to start the dough first and make the filling during the extensive resting times.
You could add any of garlic, ginger or chilies to this if you want a spicier version. I like adding curry leaves, too, which isn’t exactly Maltese but adds aroma.
Sunflower or other neutral oil for frying
2g (1tsp) cumin seeds
220g onion
7g curry powder (or your own favourite mix of ground coriander, cumin, turmeric, chili powder)
70g double concentrated tomato paste (my favourite brand is Cirio)
350g frozen peas
Take the peas out of the freezer. You can do this in advance, but you don’t have to.
Chop the onion finely
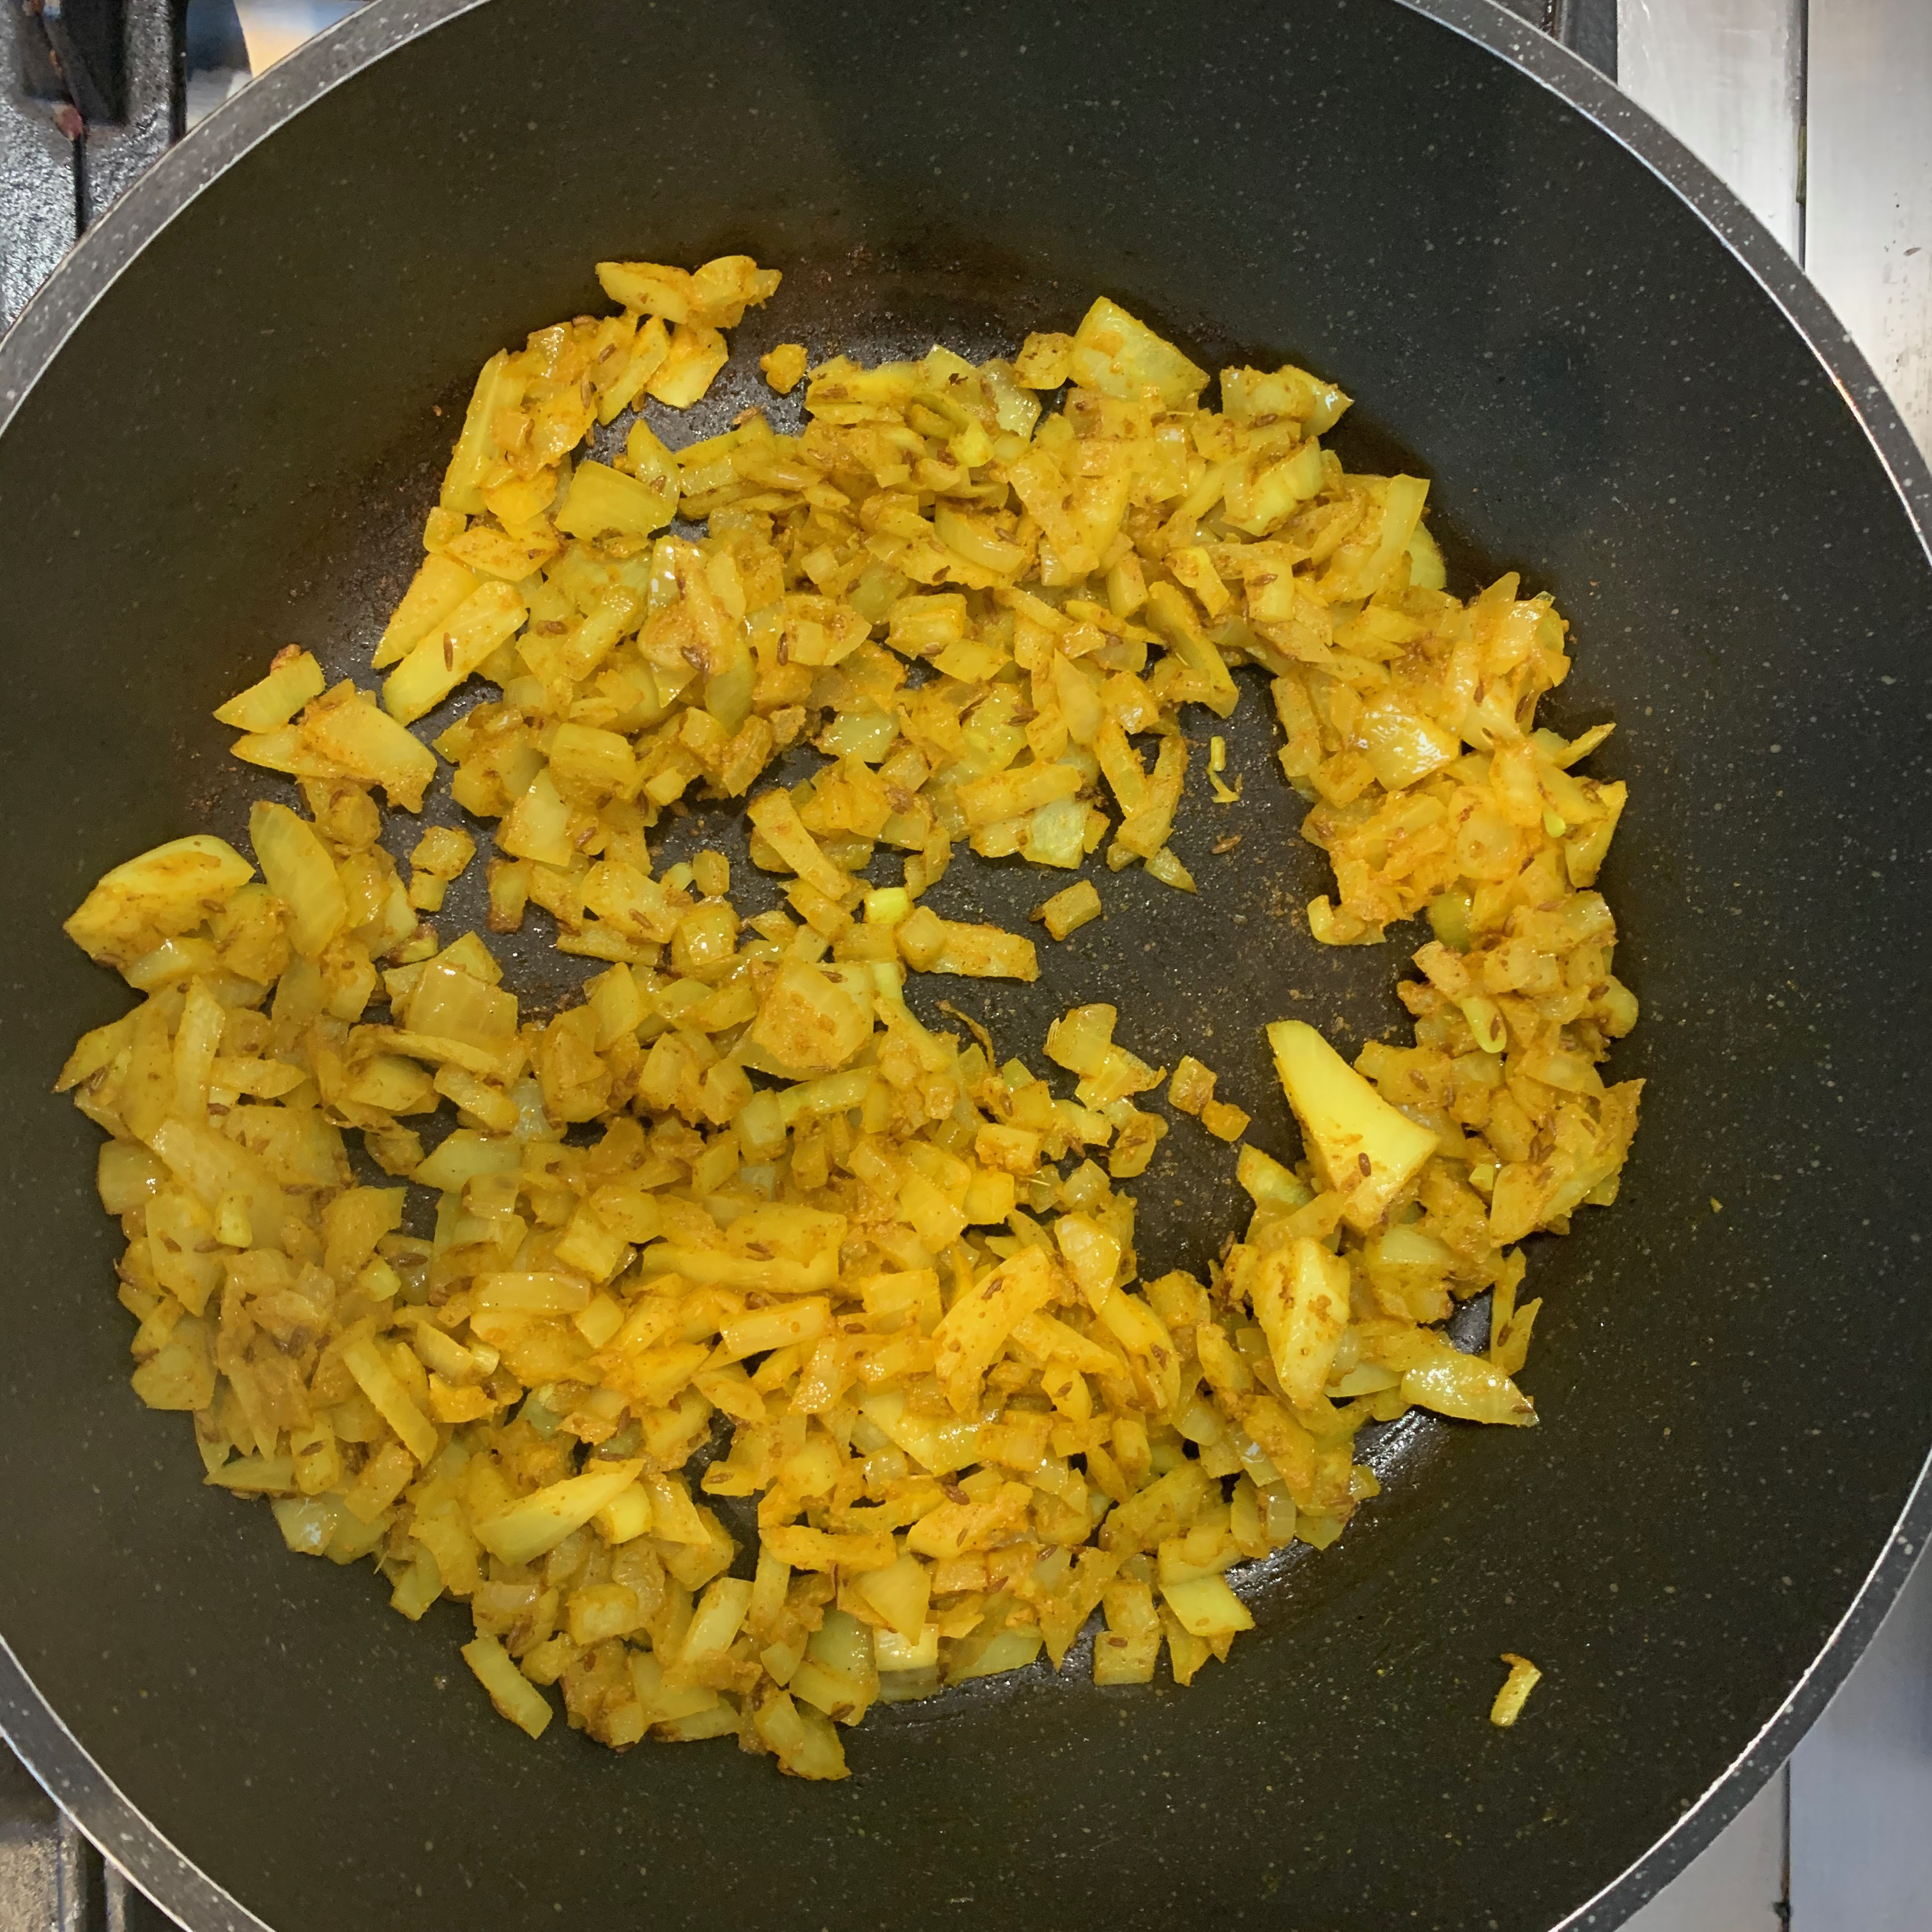
Heat cumin seeds in oil in a wok or medium size pan
Once the cumin seeds are spitting, add the onion and stir fry for a couple of minutes
Add the curry powder and continue frying until the onions are soft
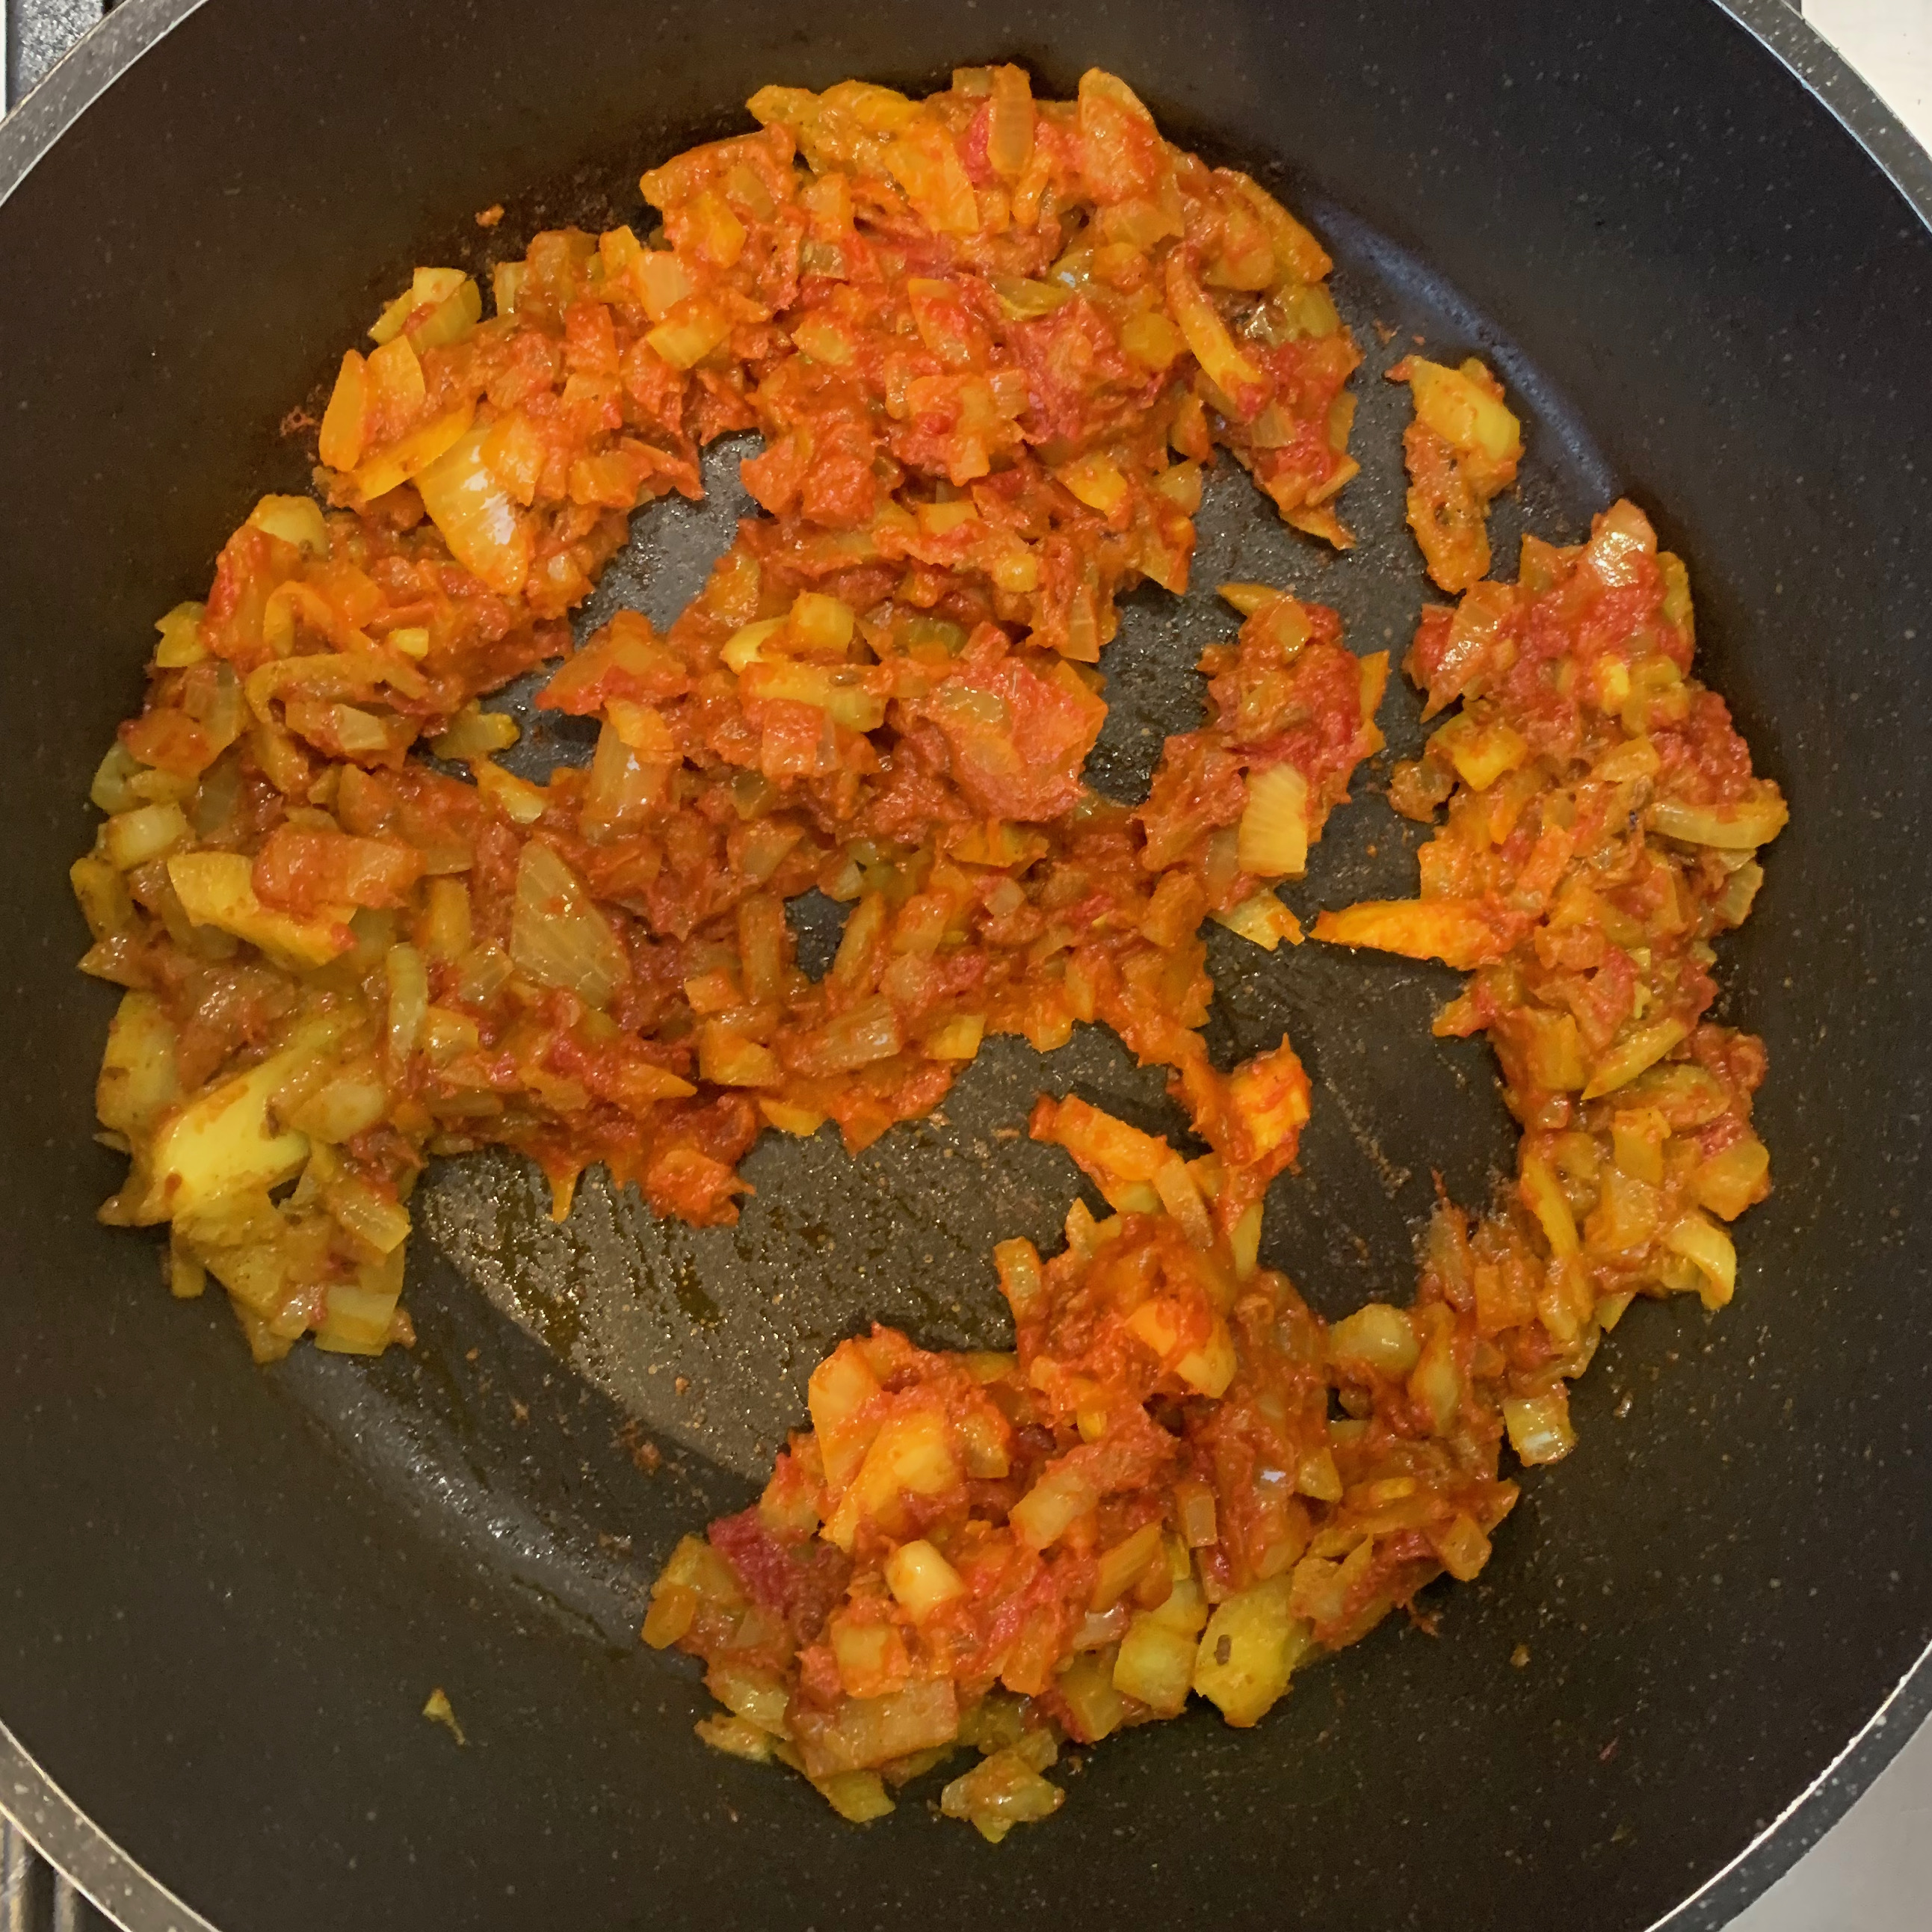
Add the tomato paste and 100ml or so of water, stir until blended.
Add the peas, bring back to the boil, turn the heat down and simmer until the peas are cooked and the sauce is very thick.
Turn the heat off and leave until needed.
Dough
420g flour +40 second time, + 15g sunflower oil
250ml water
10g salt
125g shortening – Maltese recipes specify a vegetable shortening like Trex or Crisco, but you can almost certainly substitute ghee or melted butter if you prefer the taste (or use a mixture)
A little olive oil
Mix flour and salt in the bowl of your stand mixer; add water and knead on low to medium speed with the dough hook until you have a smooth but fairly stiff dough. You need enough water that you don’t have lots of uncombined flour, but not so much as to make the mixture sticky.
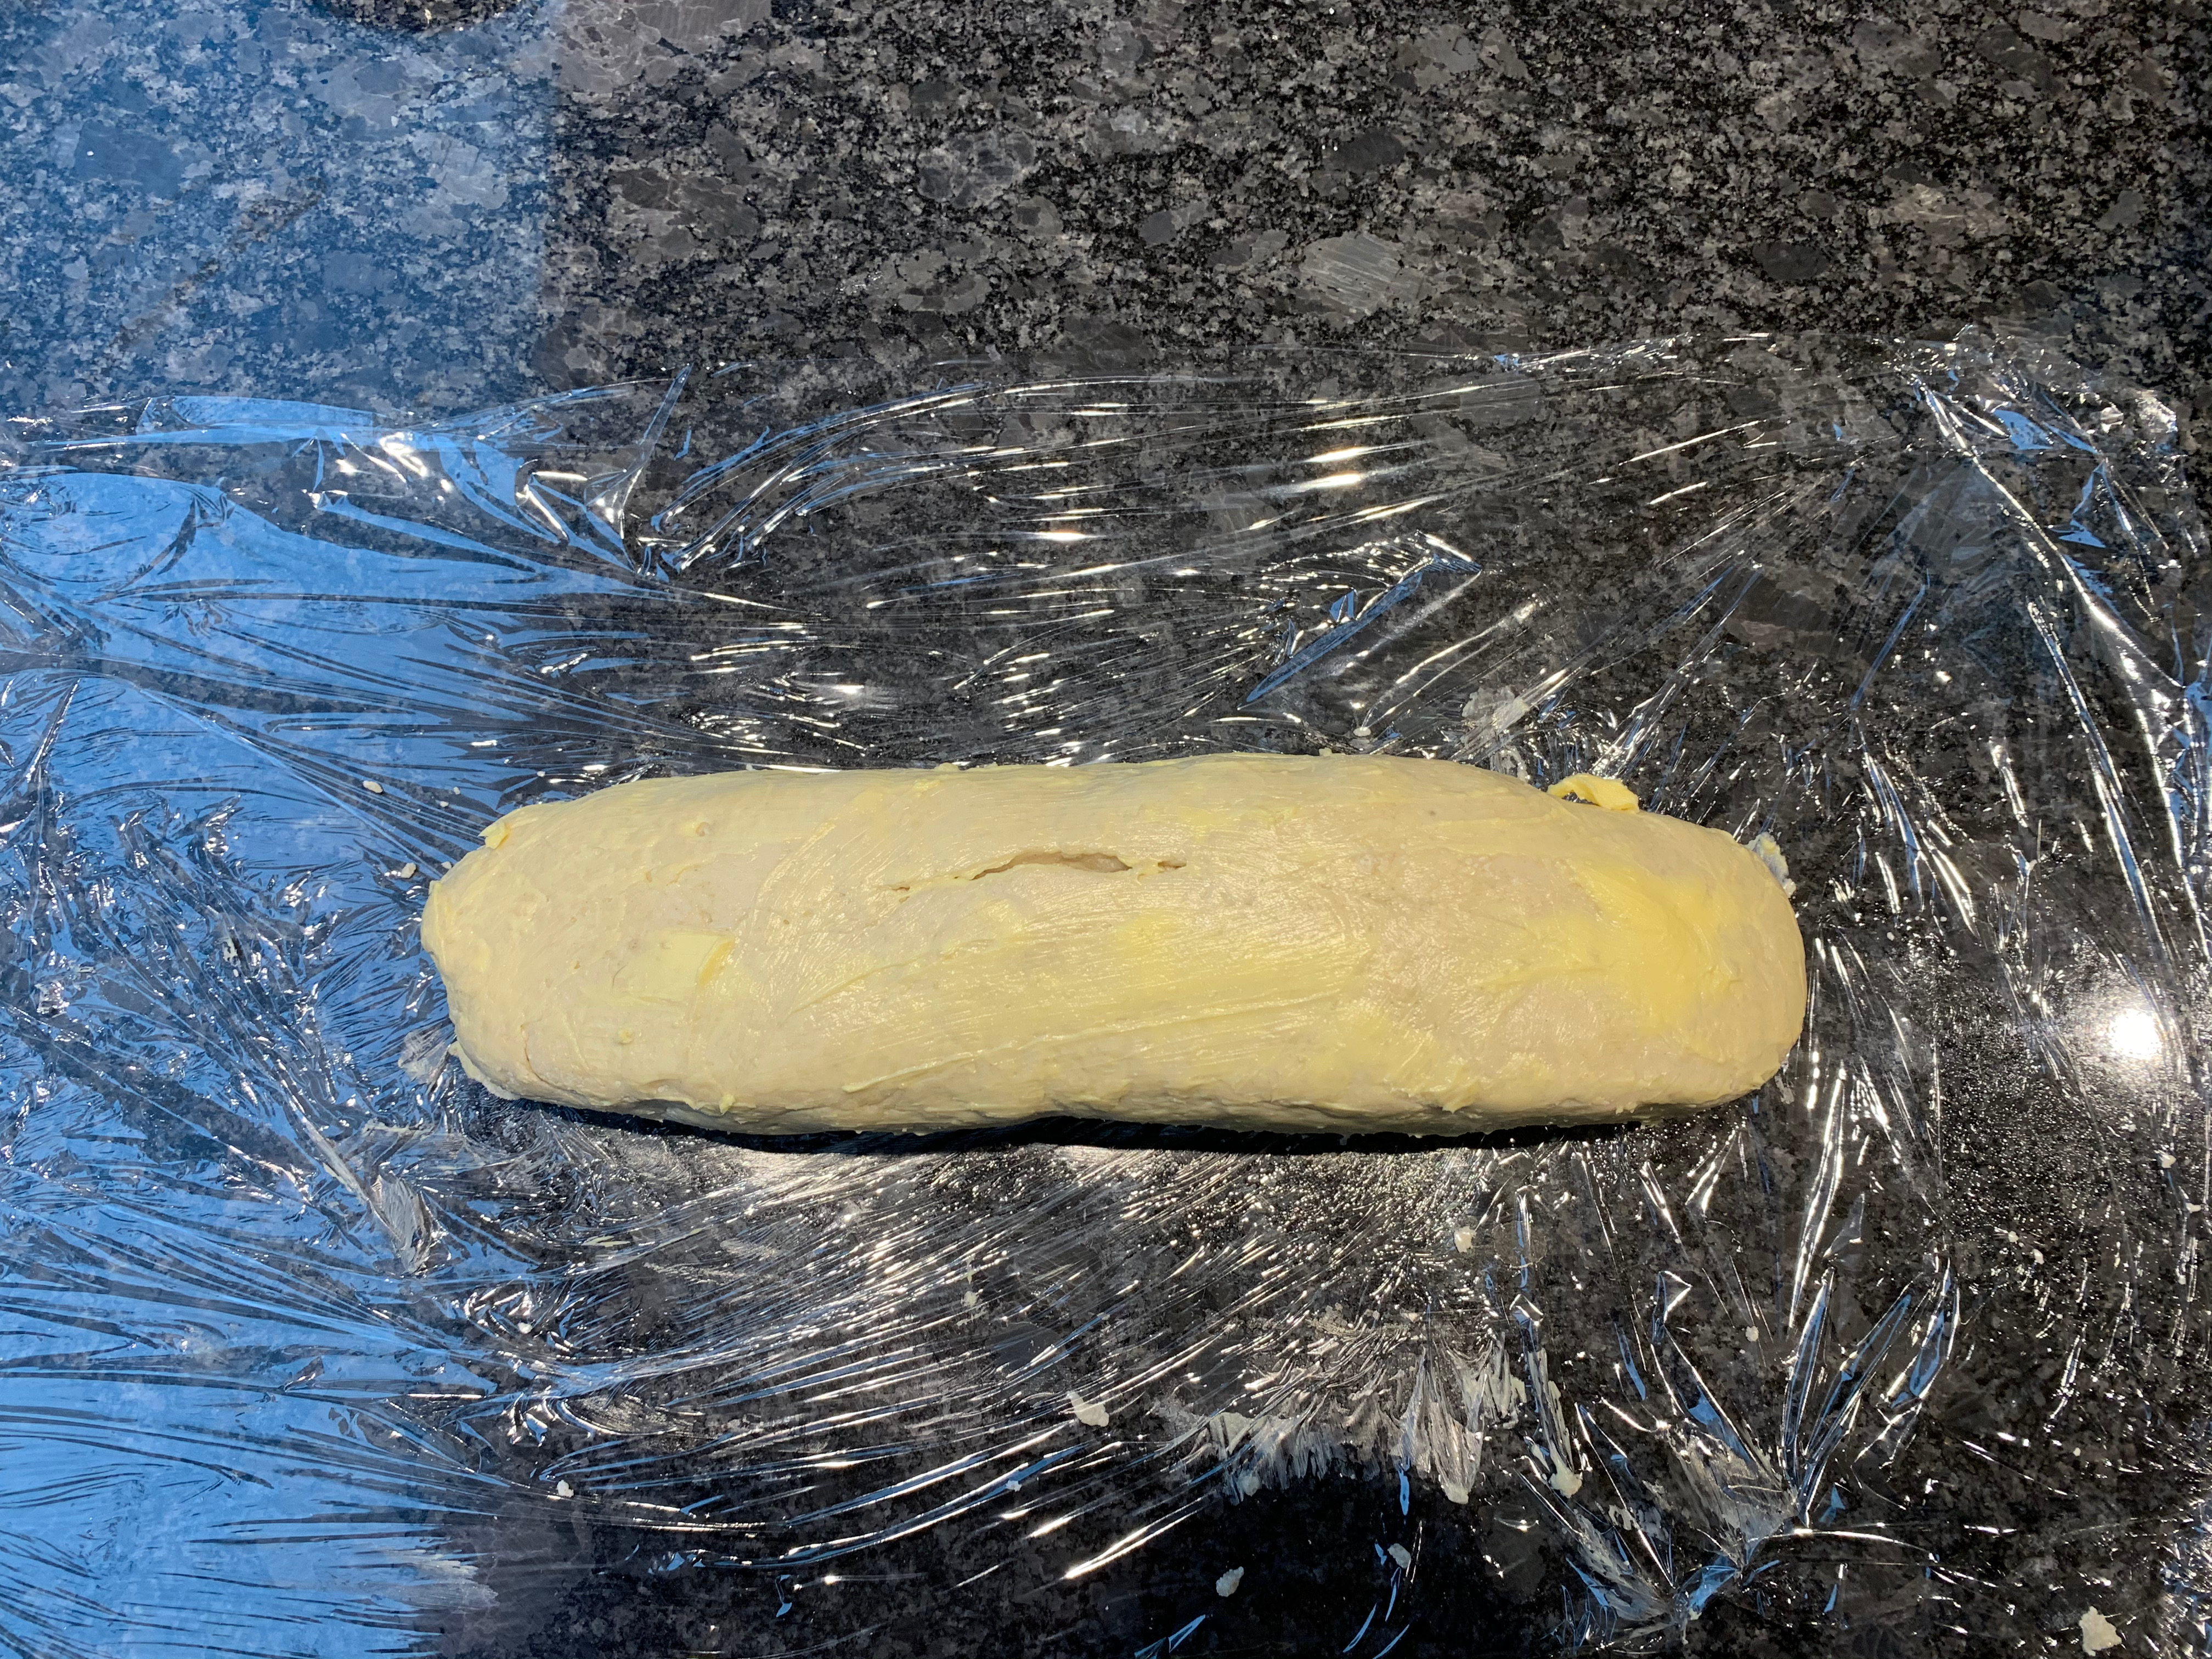
Form your dough into a thick cylinder, spread with shortening, wrap with cling film and leave to rest for around 30 minutes.
Roll the cylinder into a reasonably long and thin rectangle, spread with more shortening on both sides, place cling film over the top and rest again for another 30 minutes.
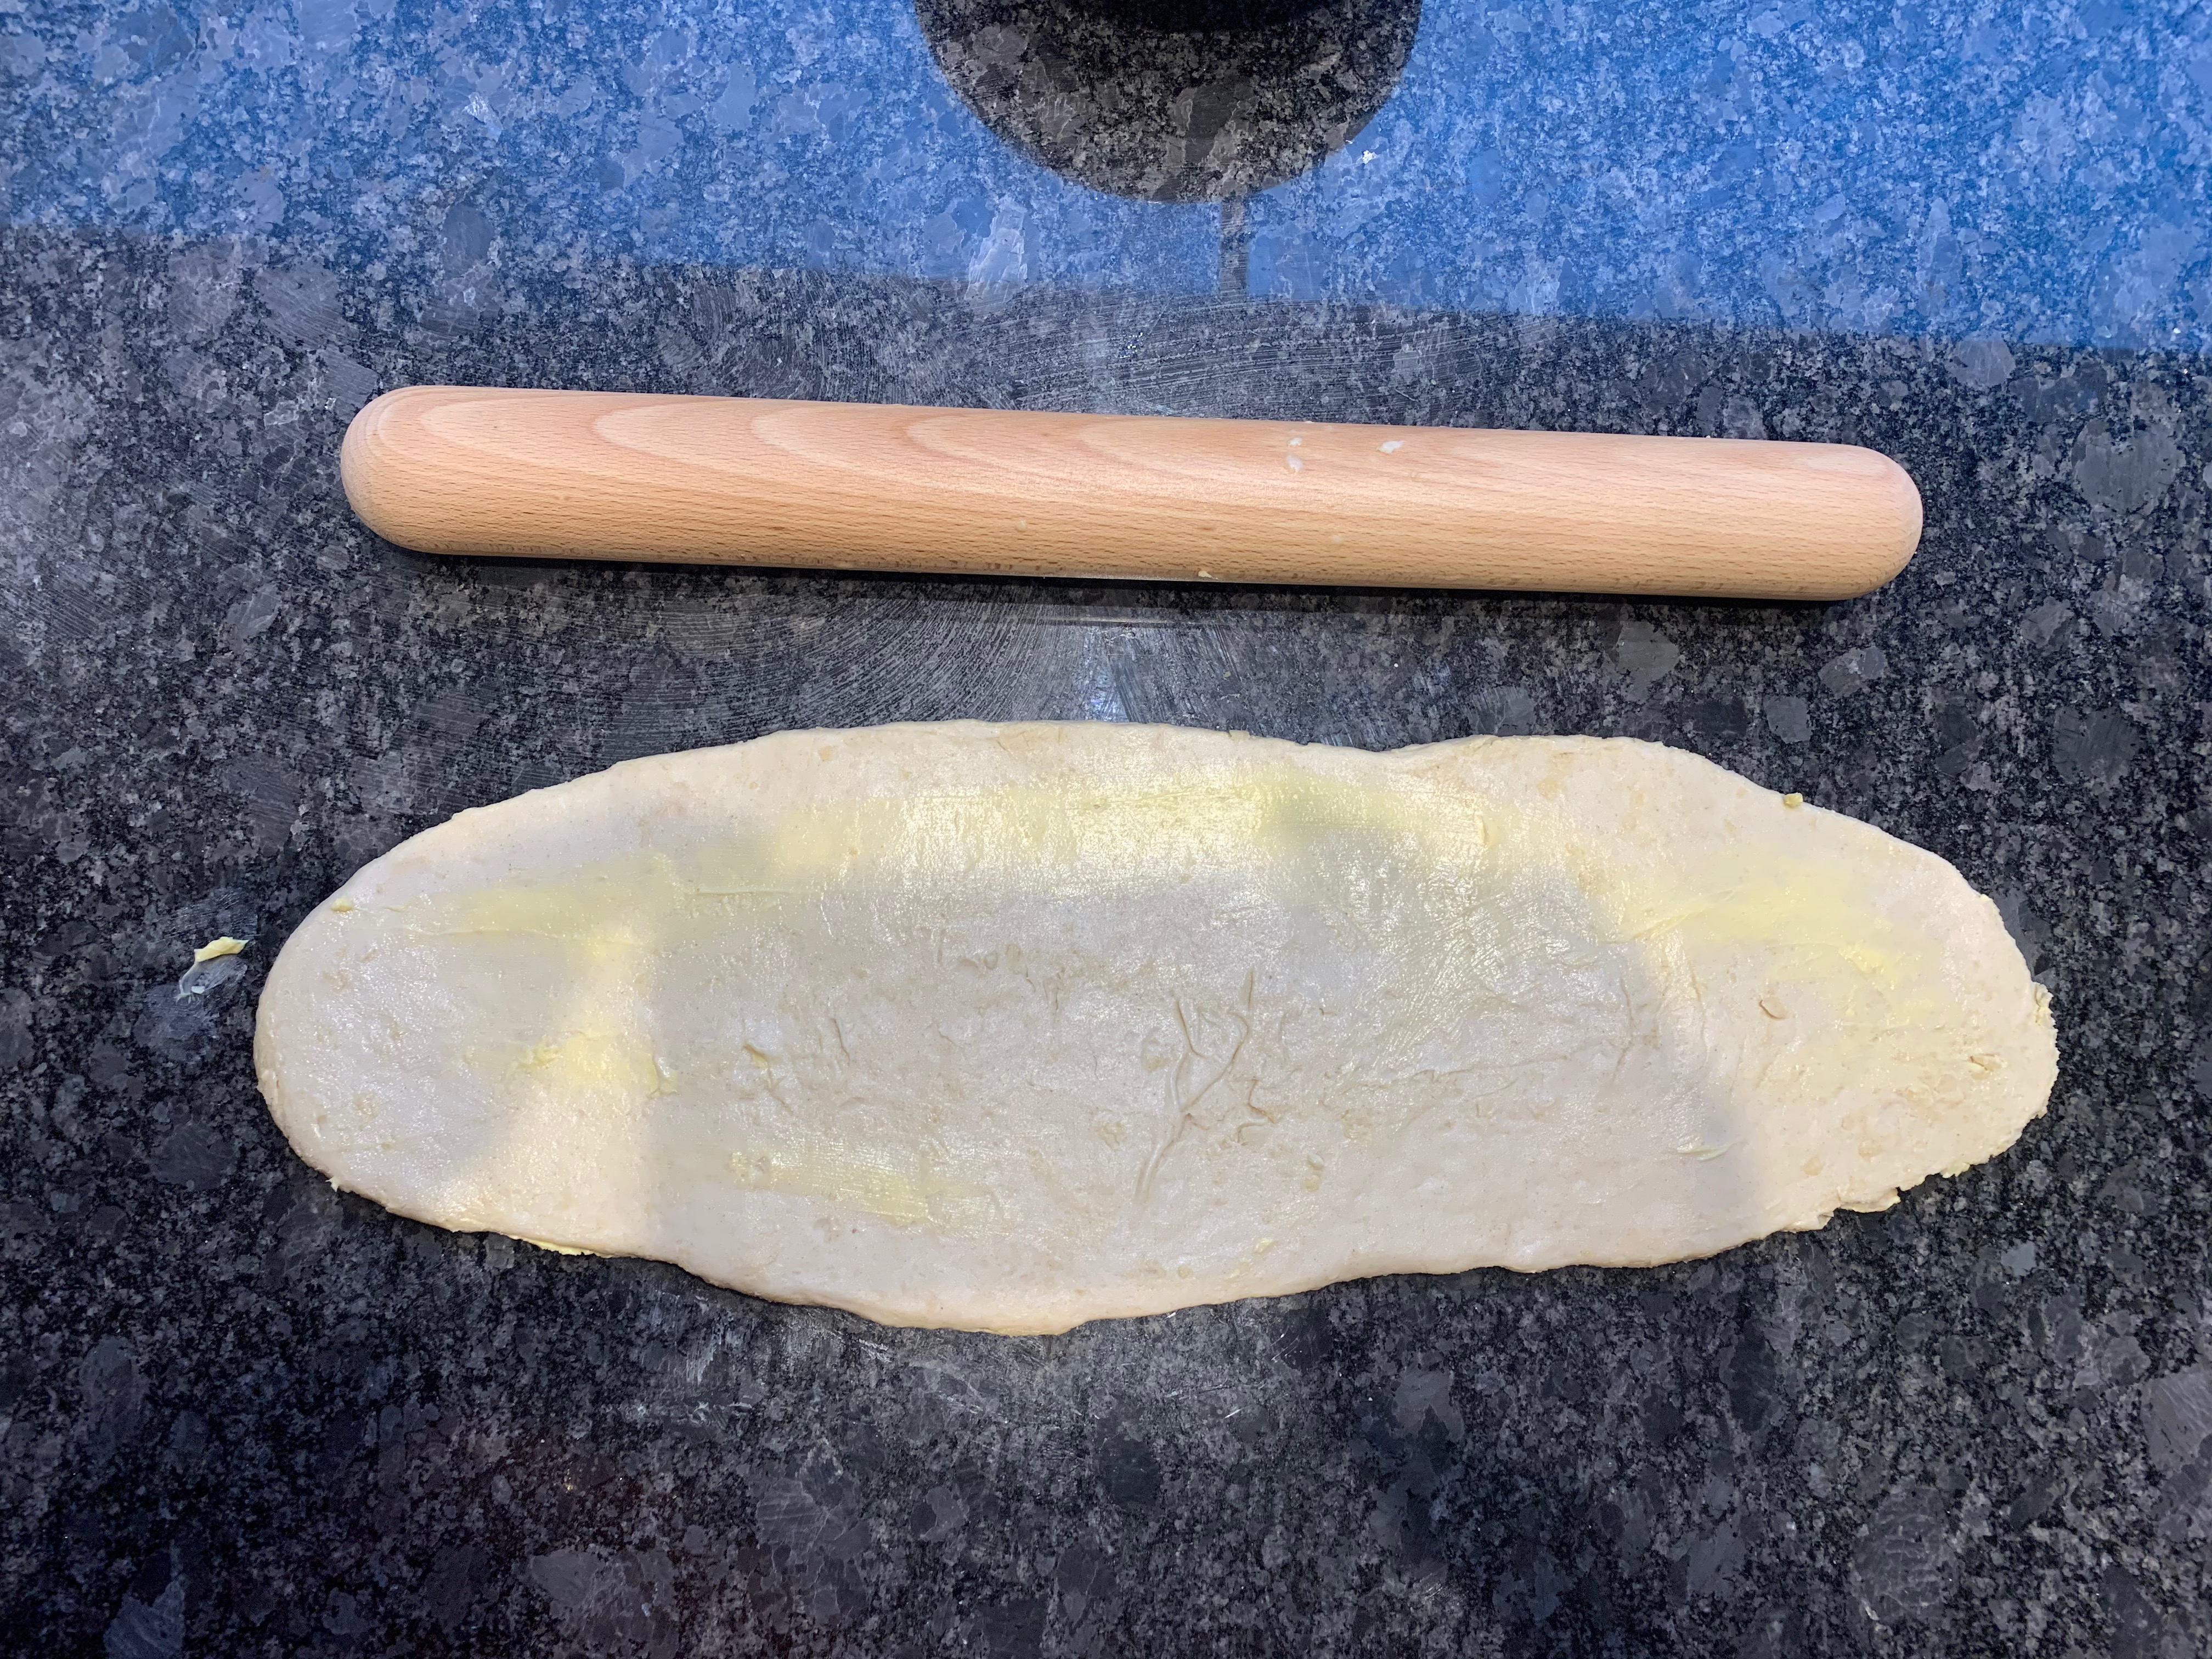
Now roll the dough as thin as you can possibly make it – still in a long, rectangle. Spread with shortening over the top.
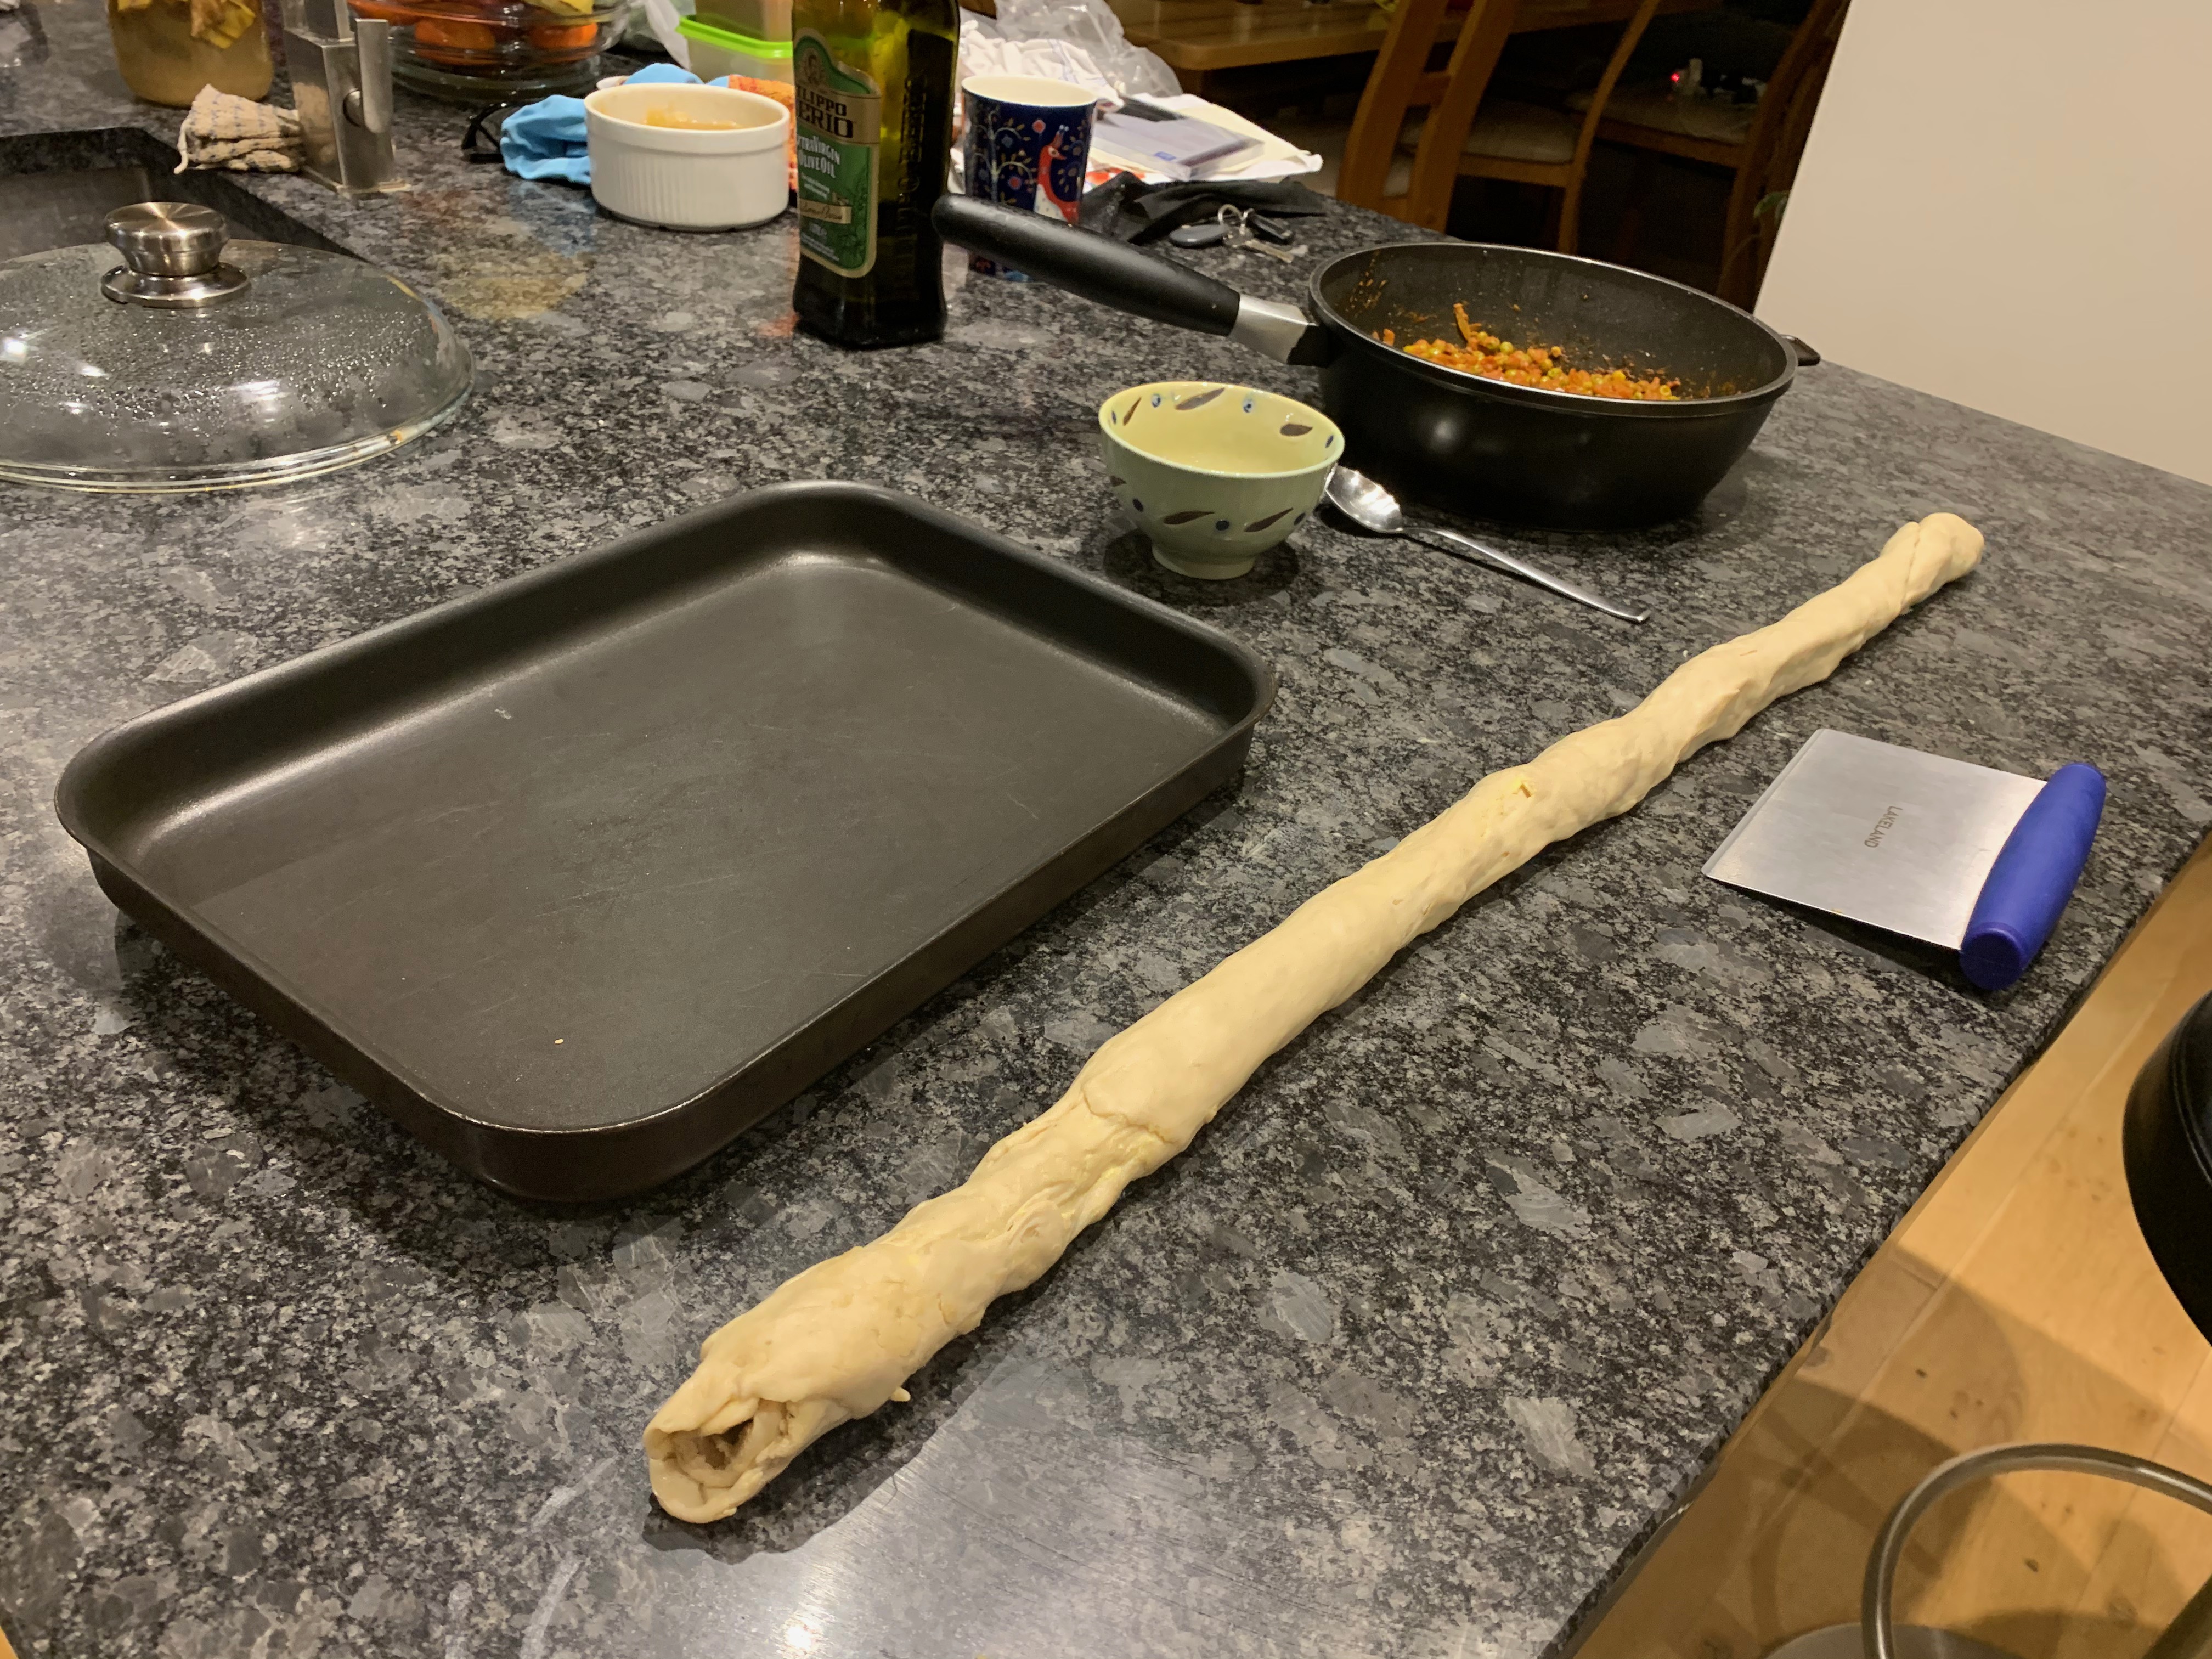
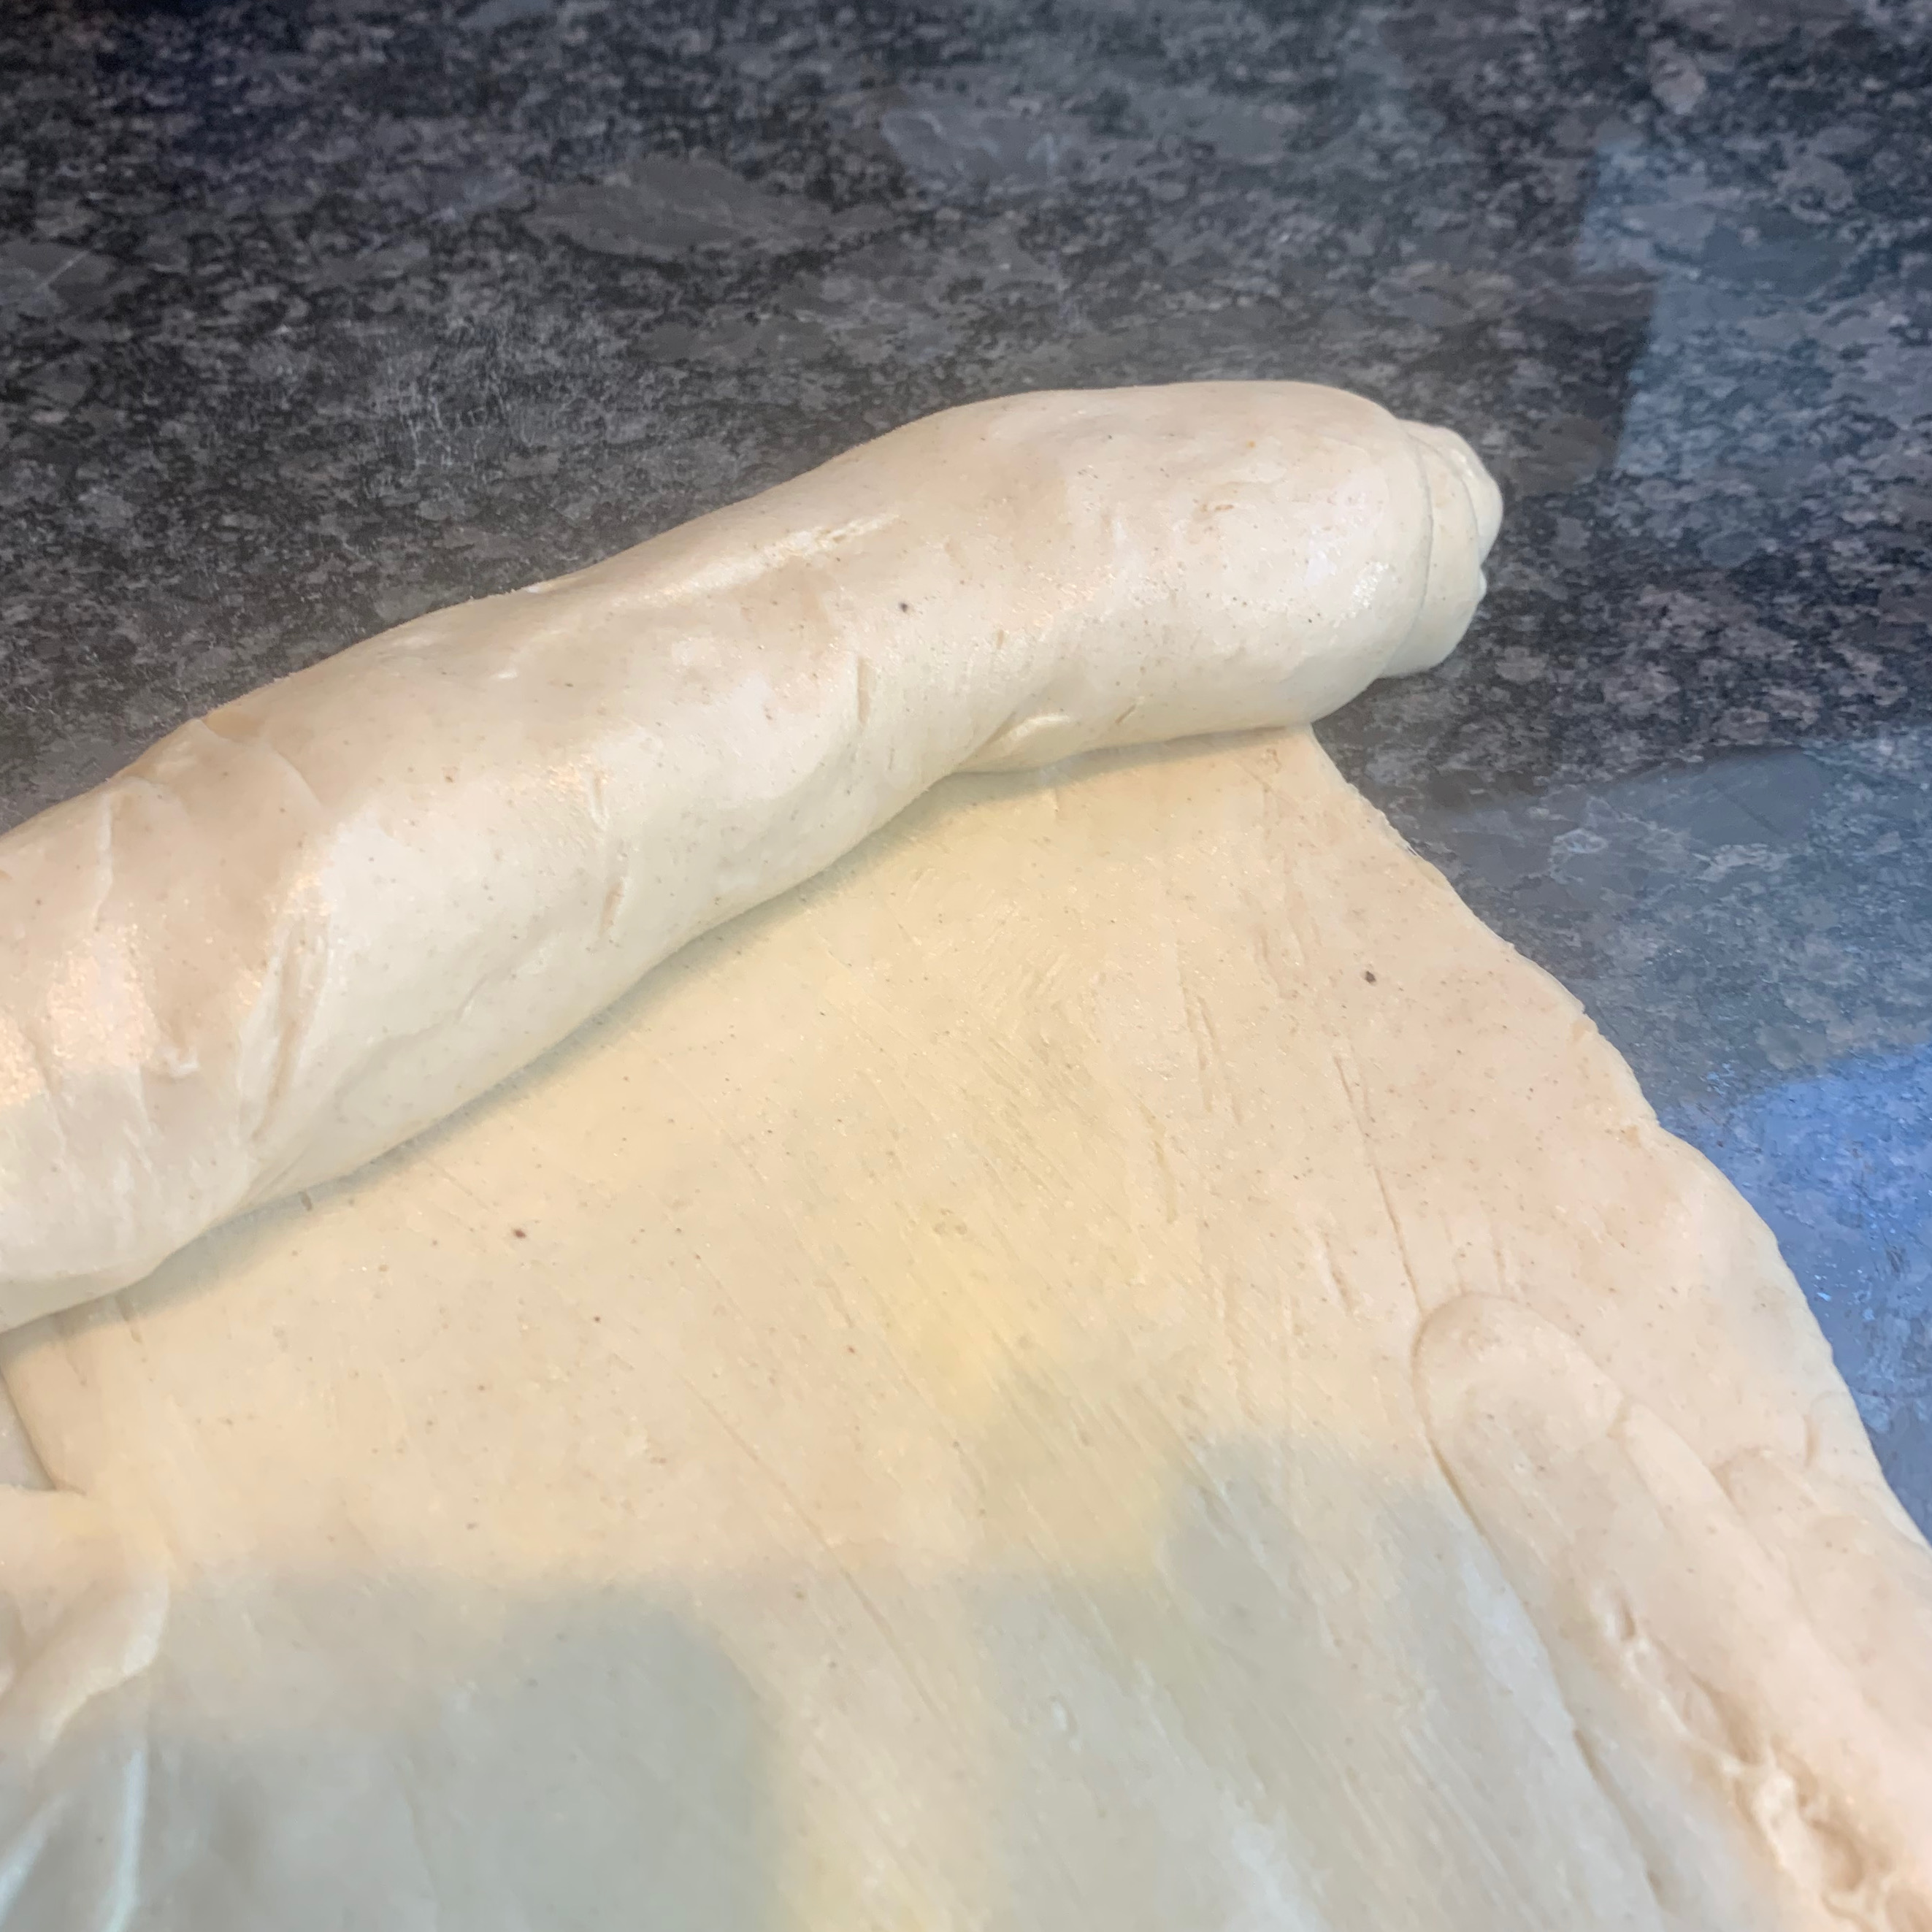
Starting from one end, roll your dough into a long cigar shape, pulling the pastry as you go and making sure you get all the air out. You will need to go from side to side and back again, pulling and rolling. Leave to rest for another hour or two. Towards the end of this, preheat your oven to 200℃ fan.
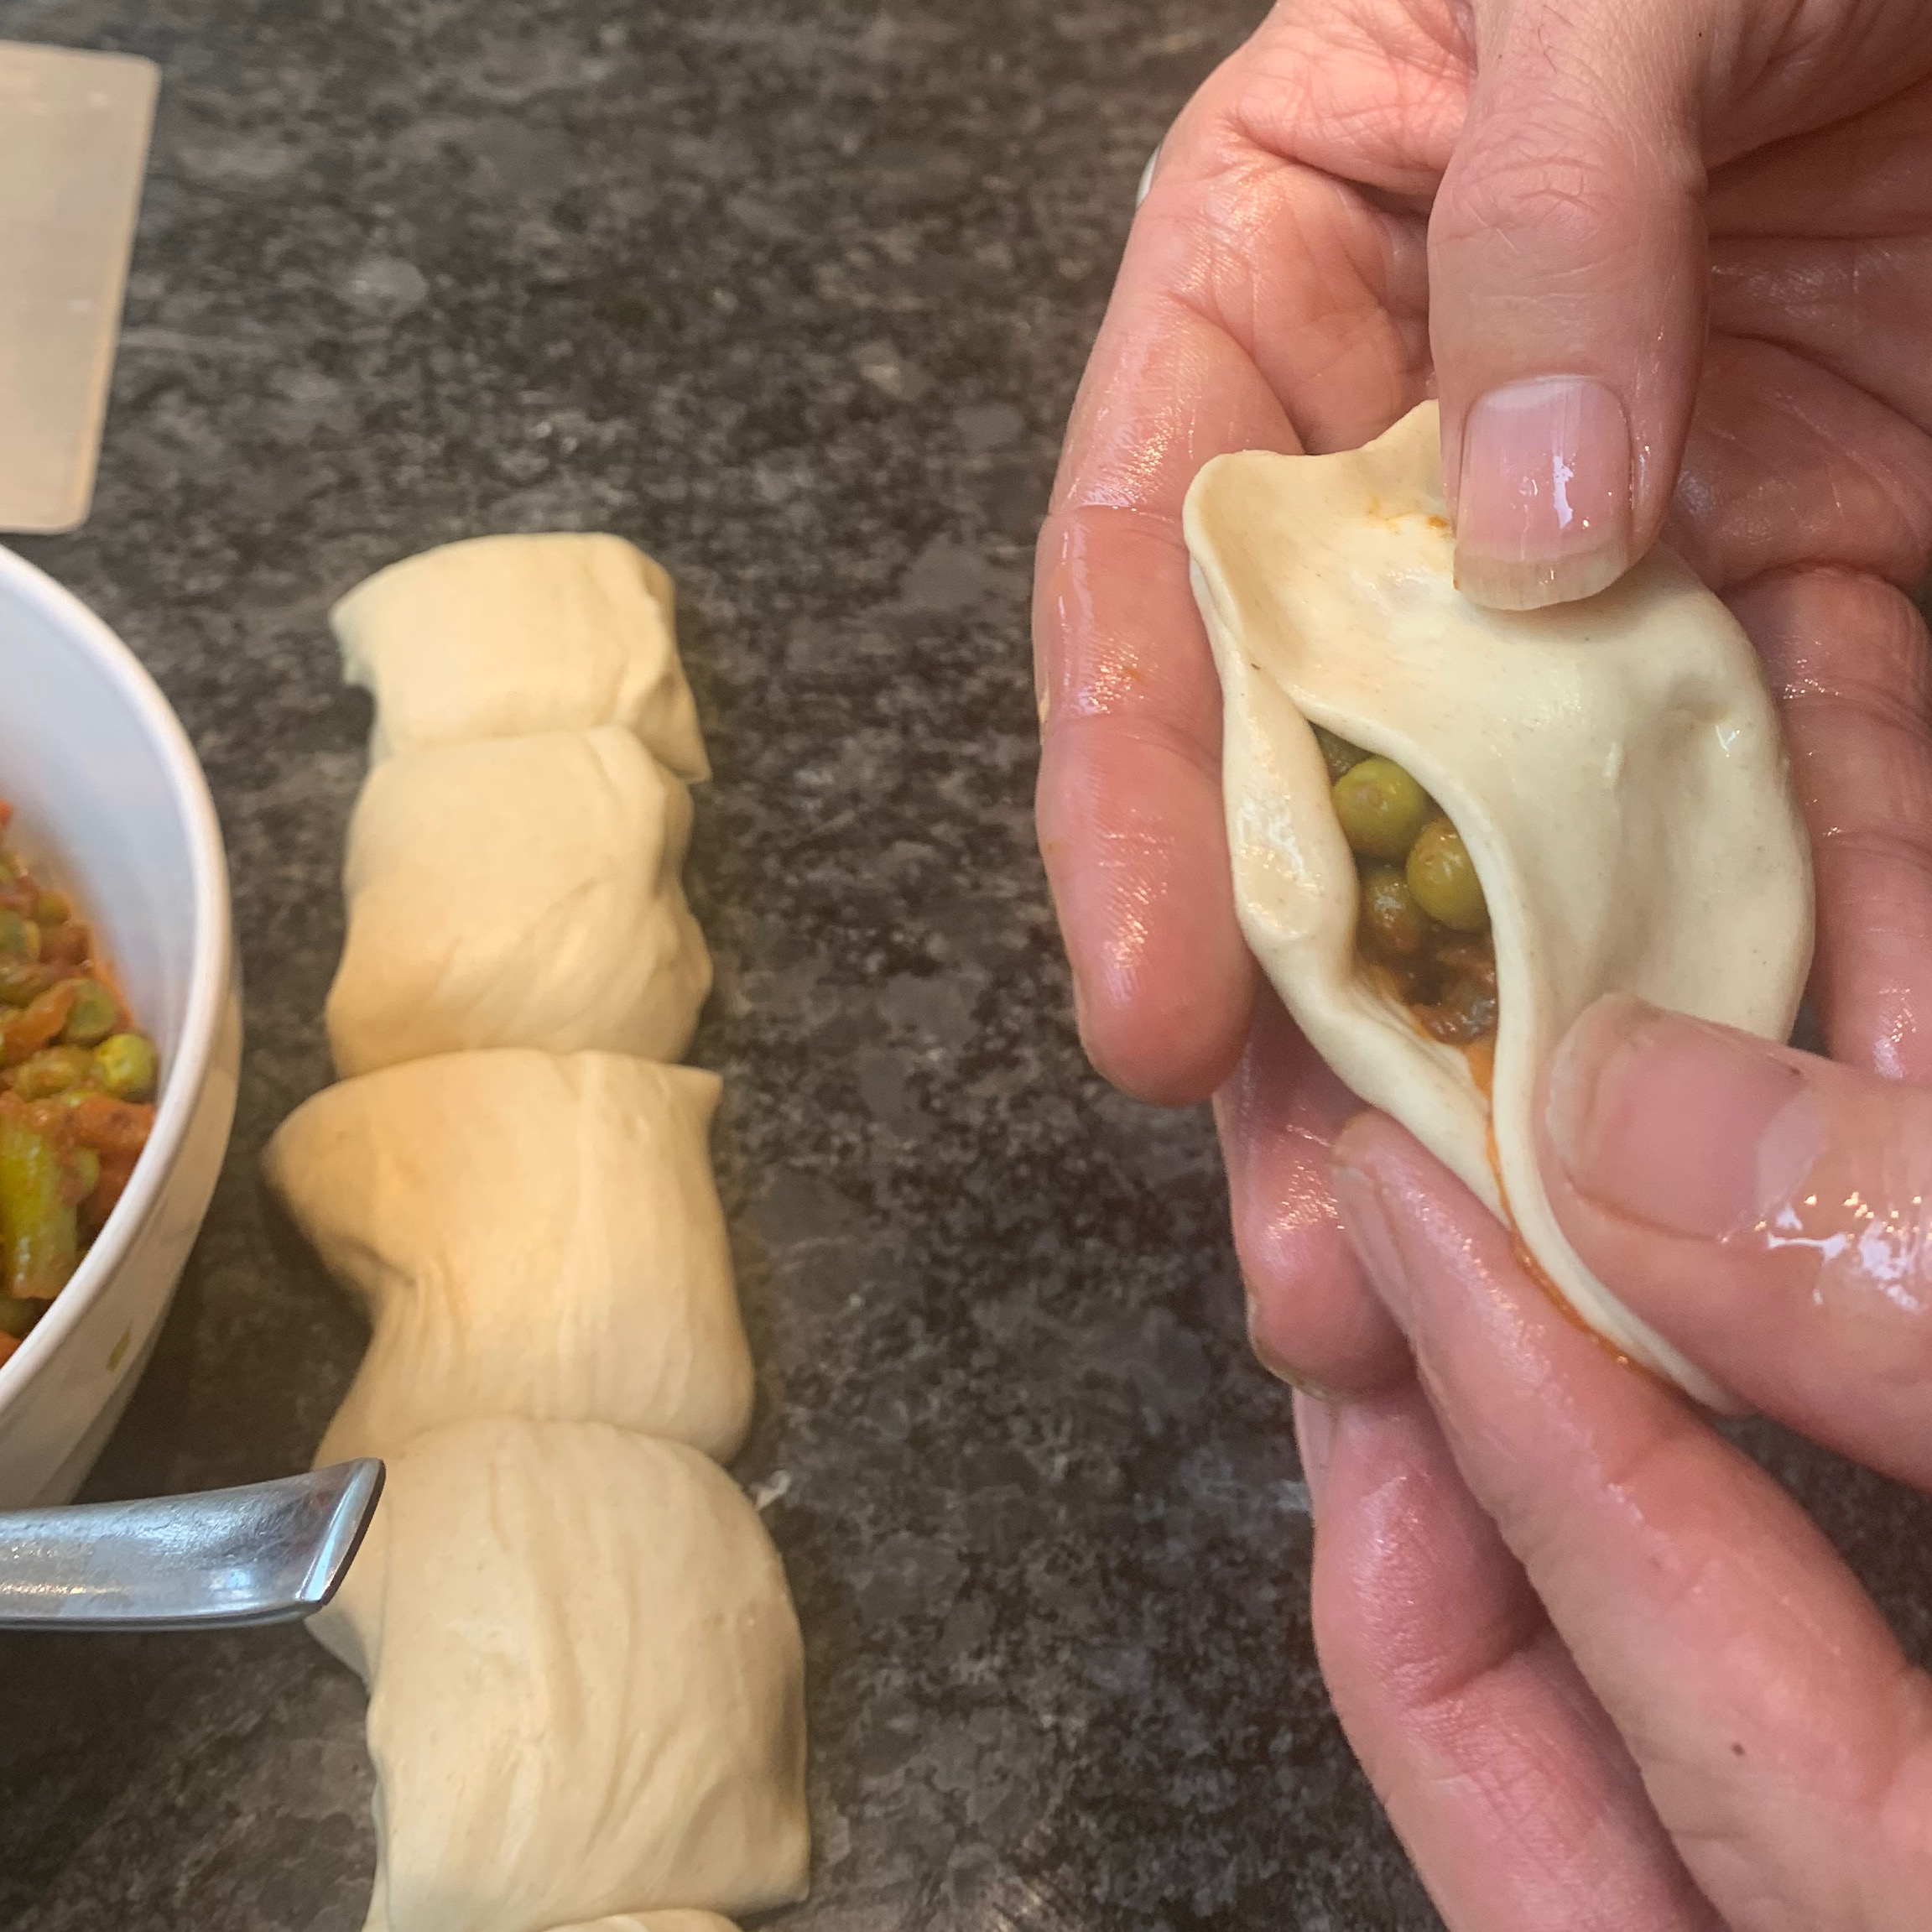
Pull your cylinder so that it’s now very long. Cut the resulting cylinder into around twelve pieces.
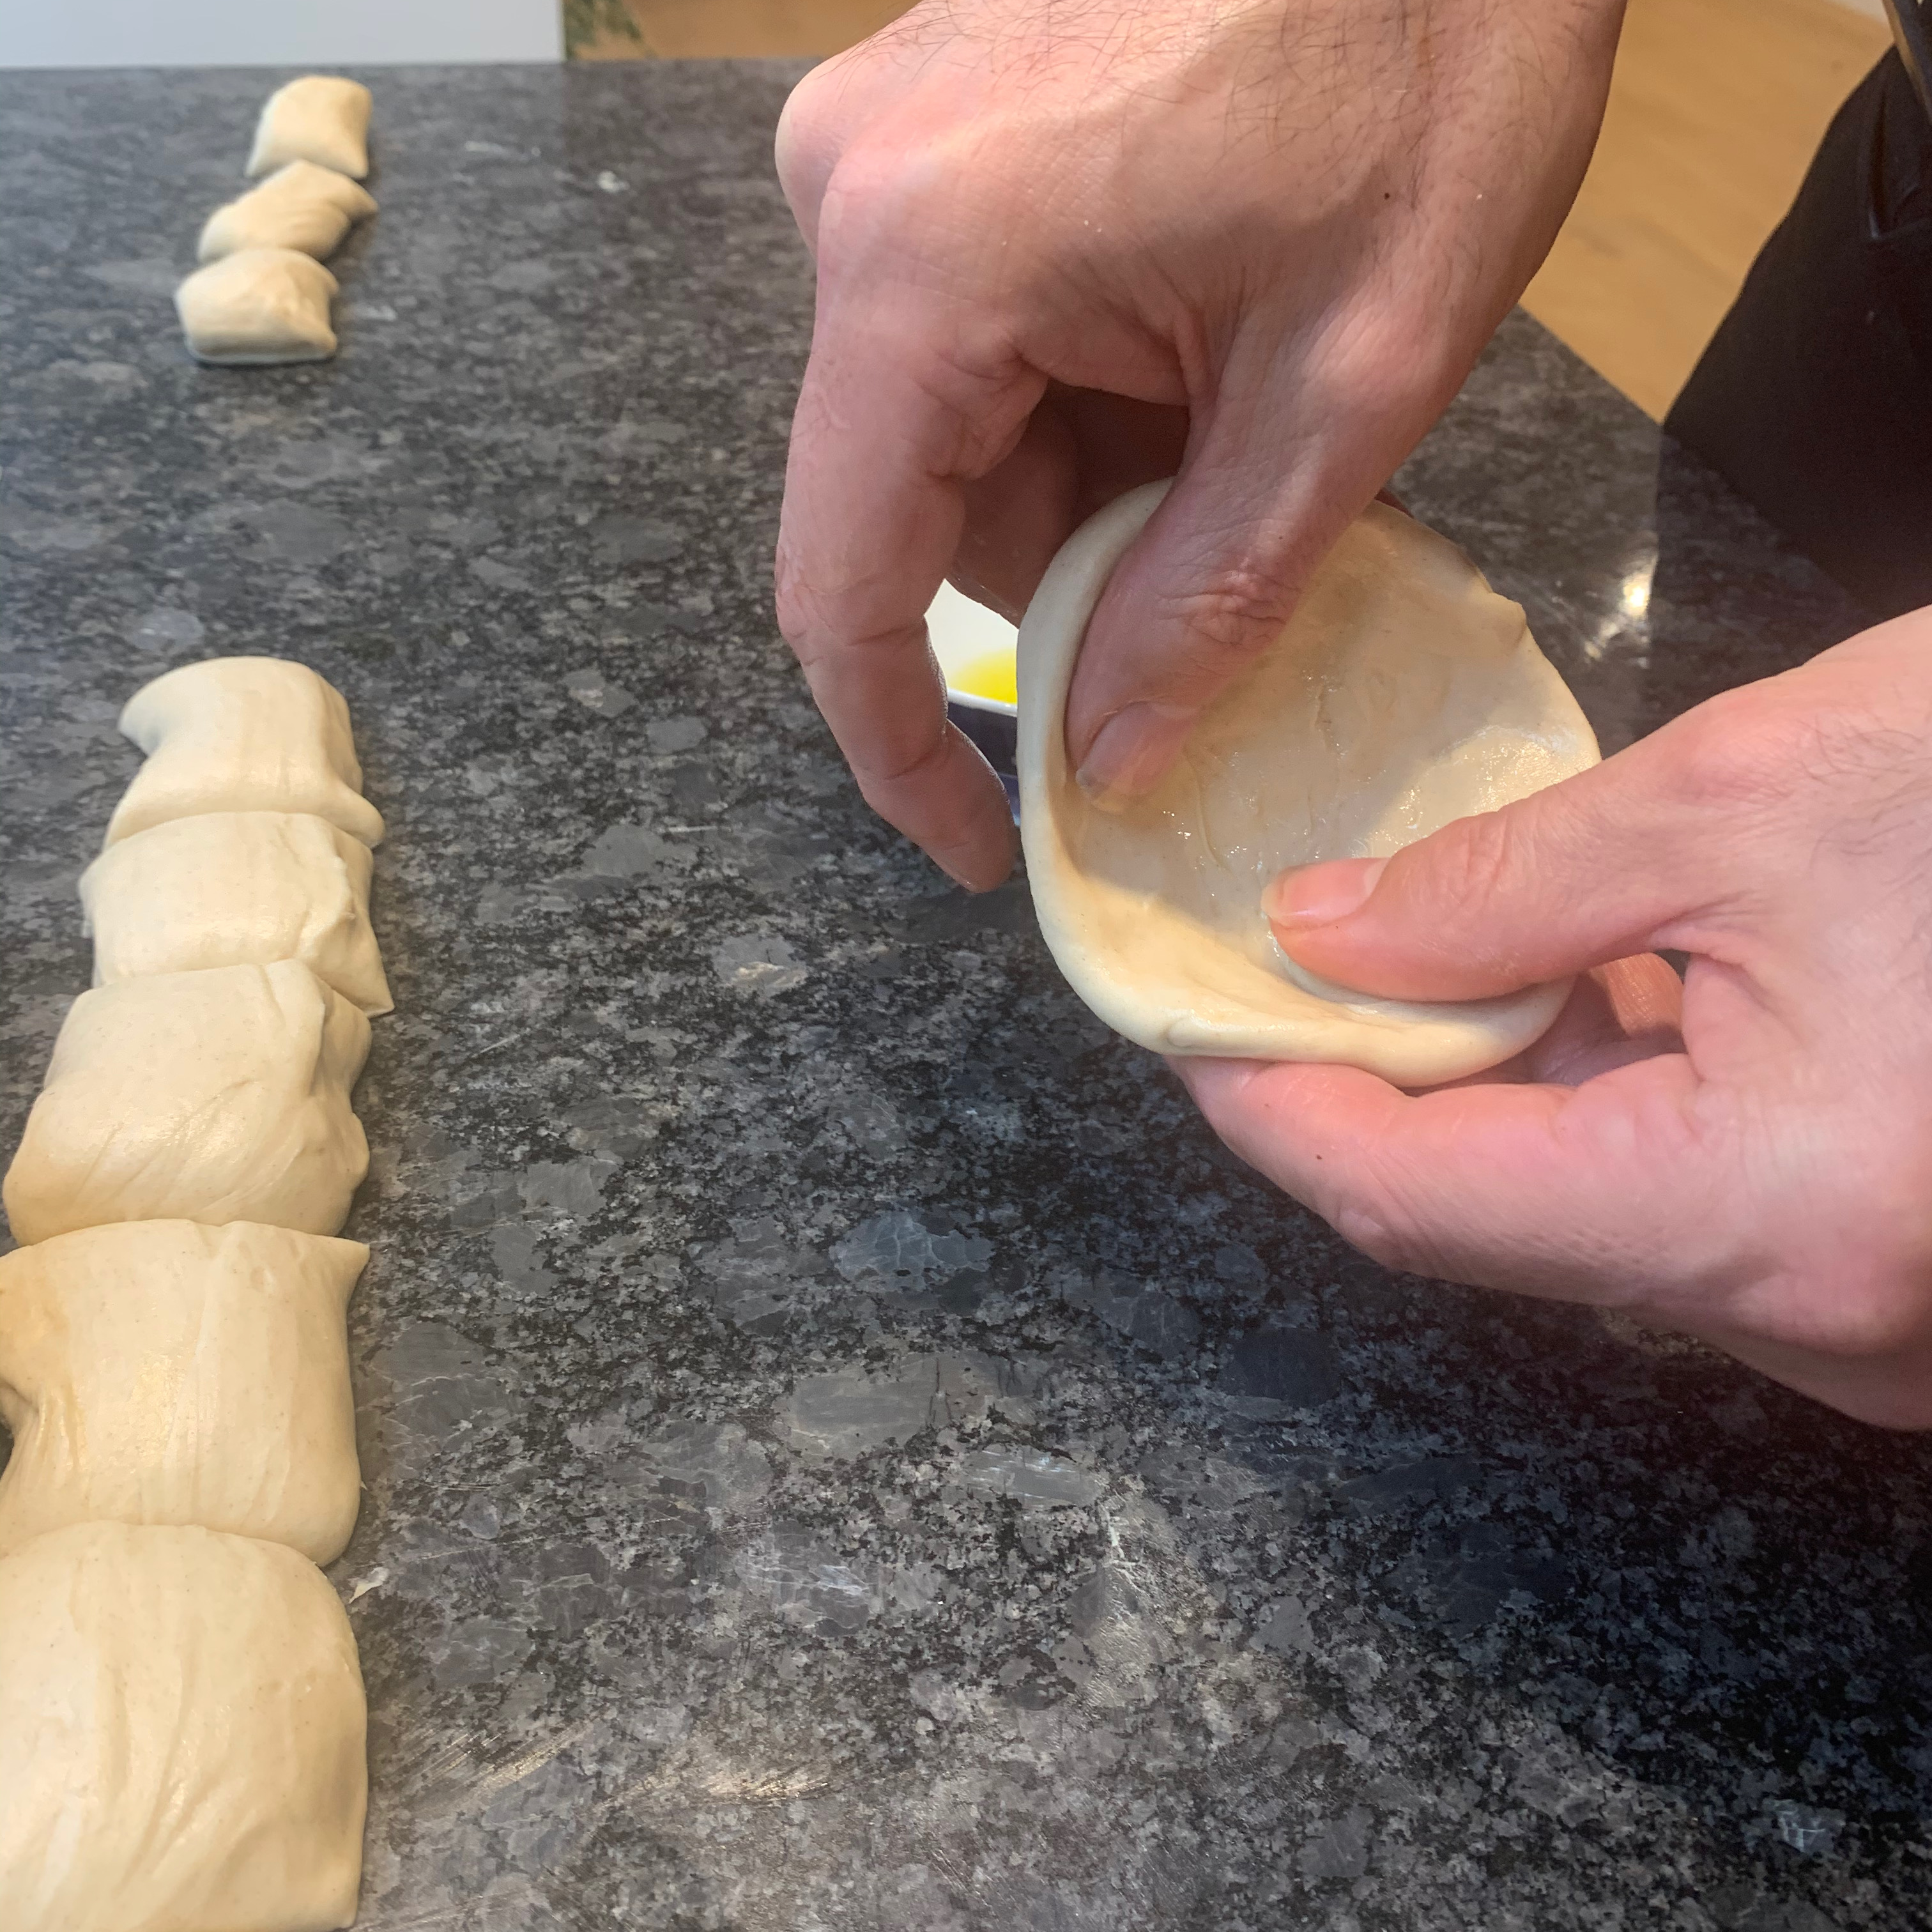
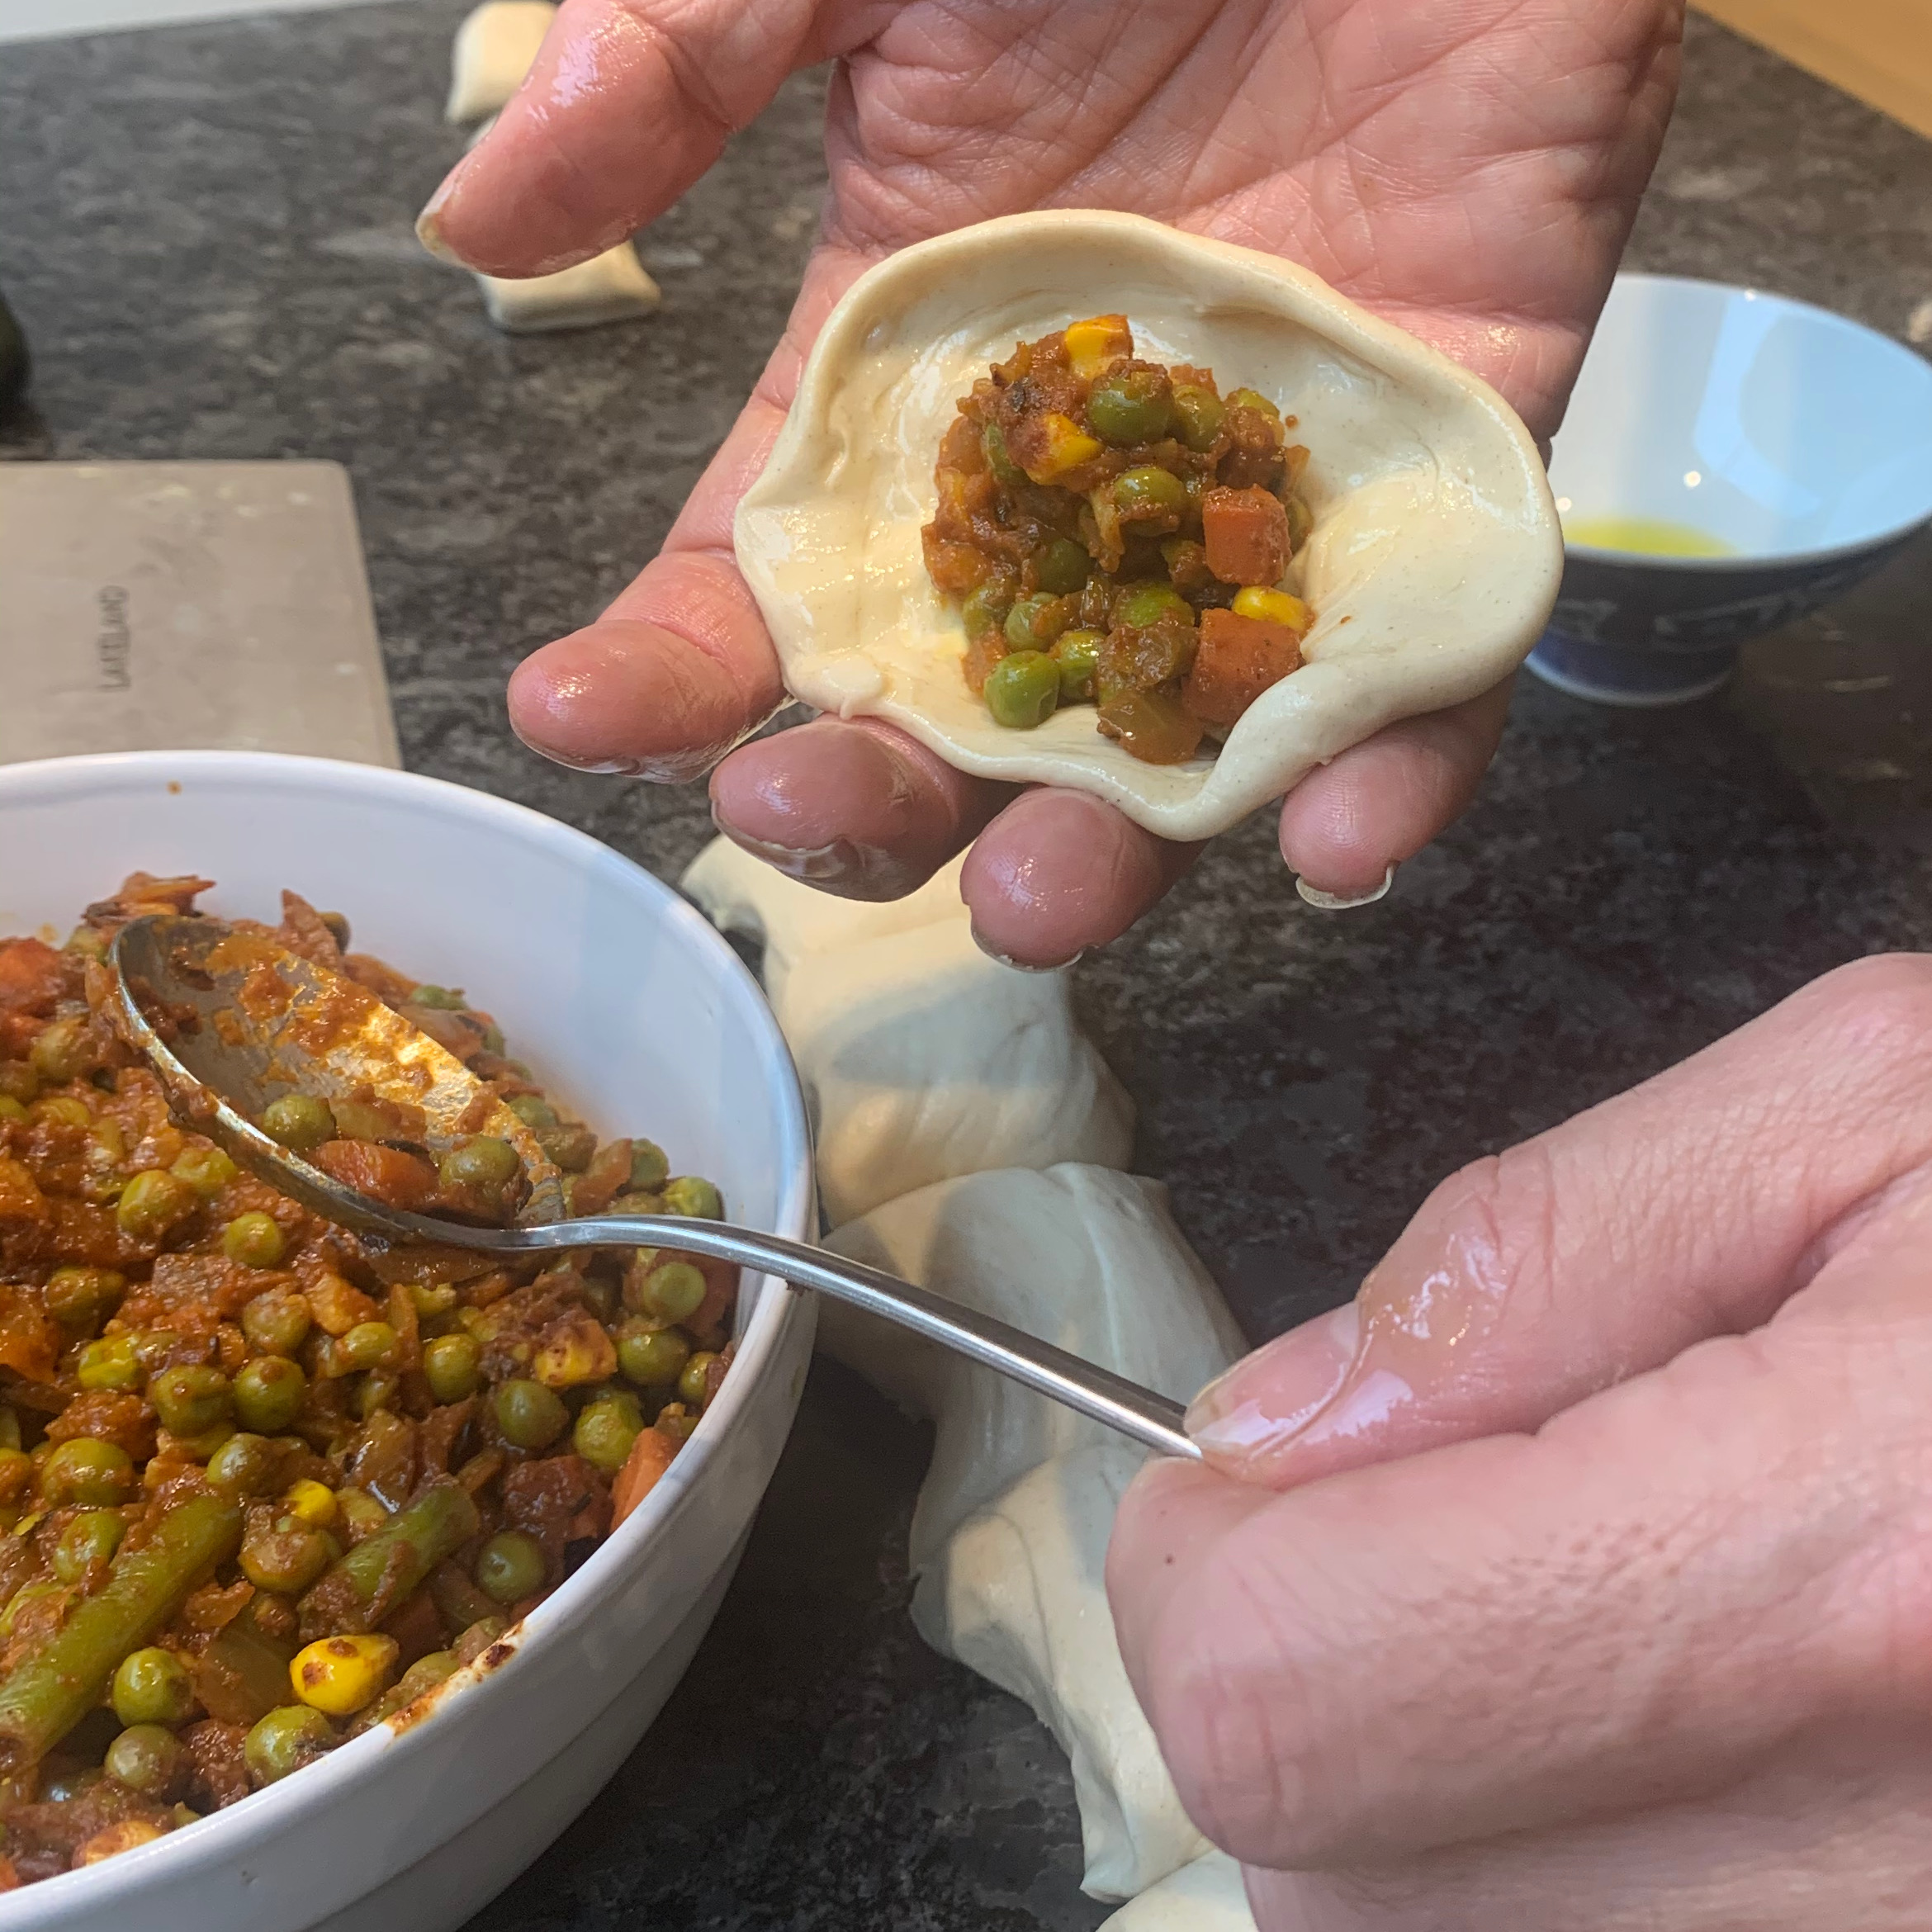
Have a small bowl of olive oil ready. Dip both thumbs in oil, then pick up a piece of dough, dig both thumbs into one end and shape and stretch it into a cup – this may or may not remind you of primary school pottery classes.
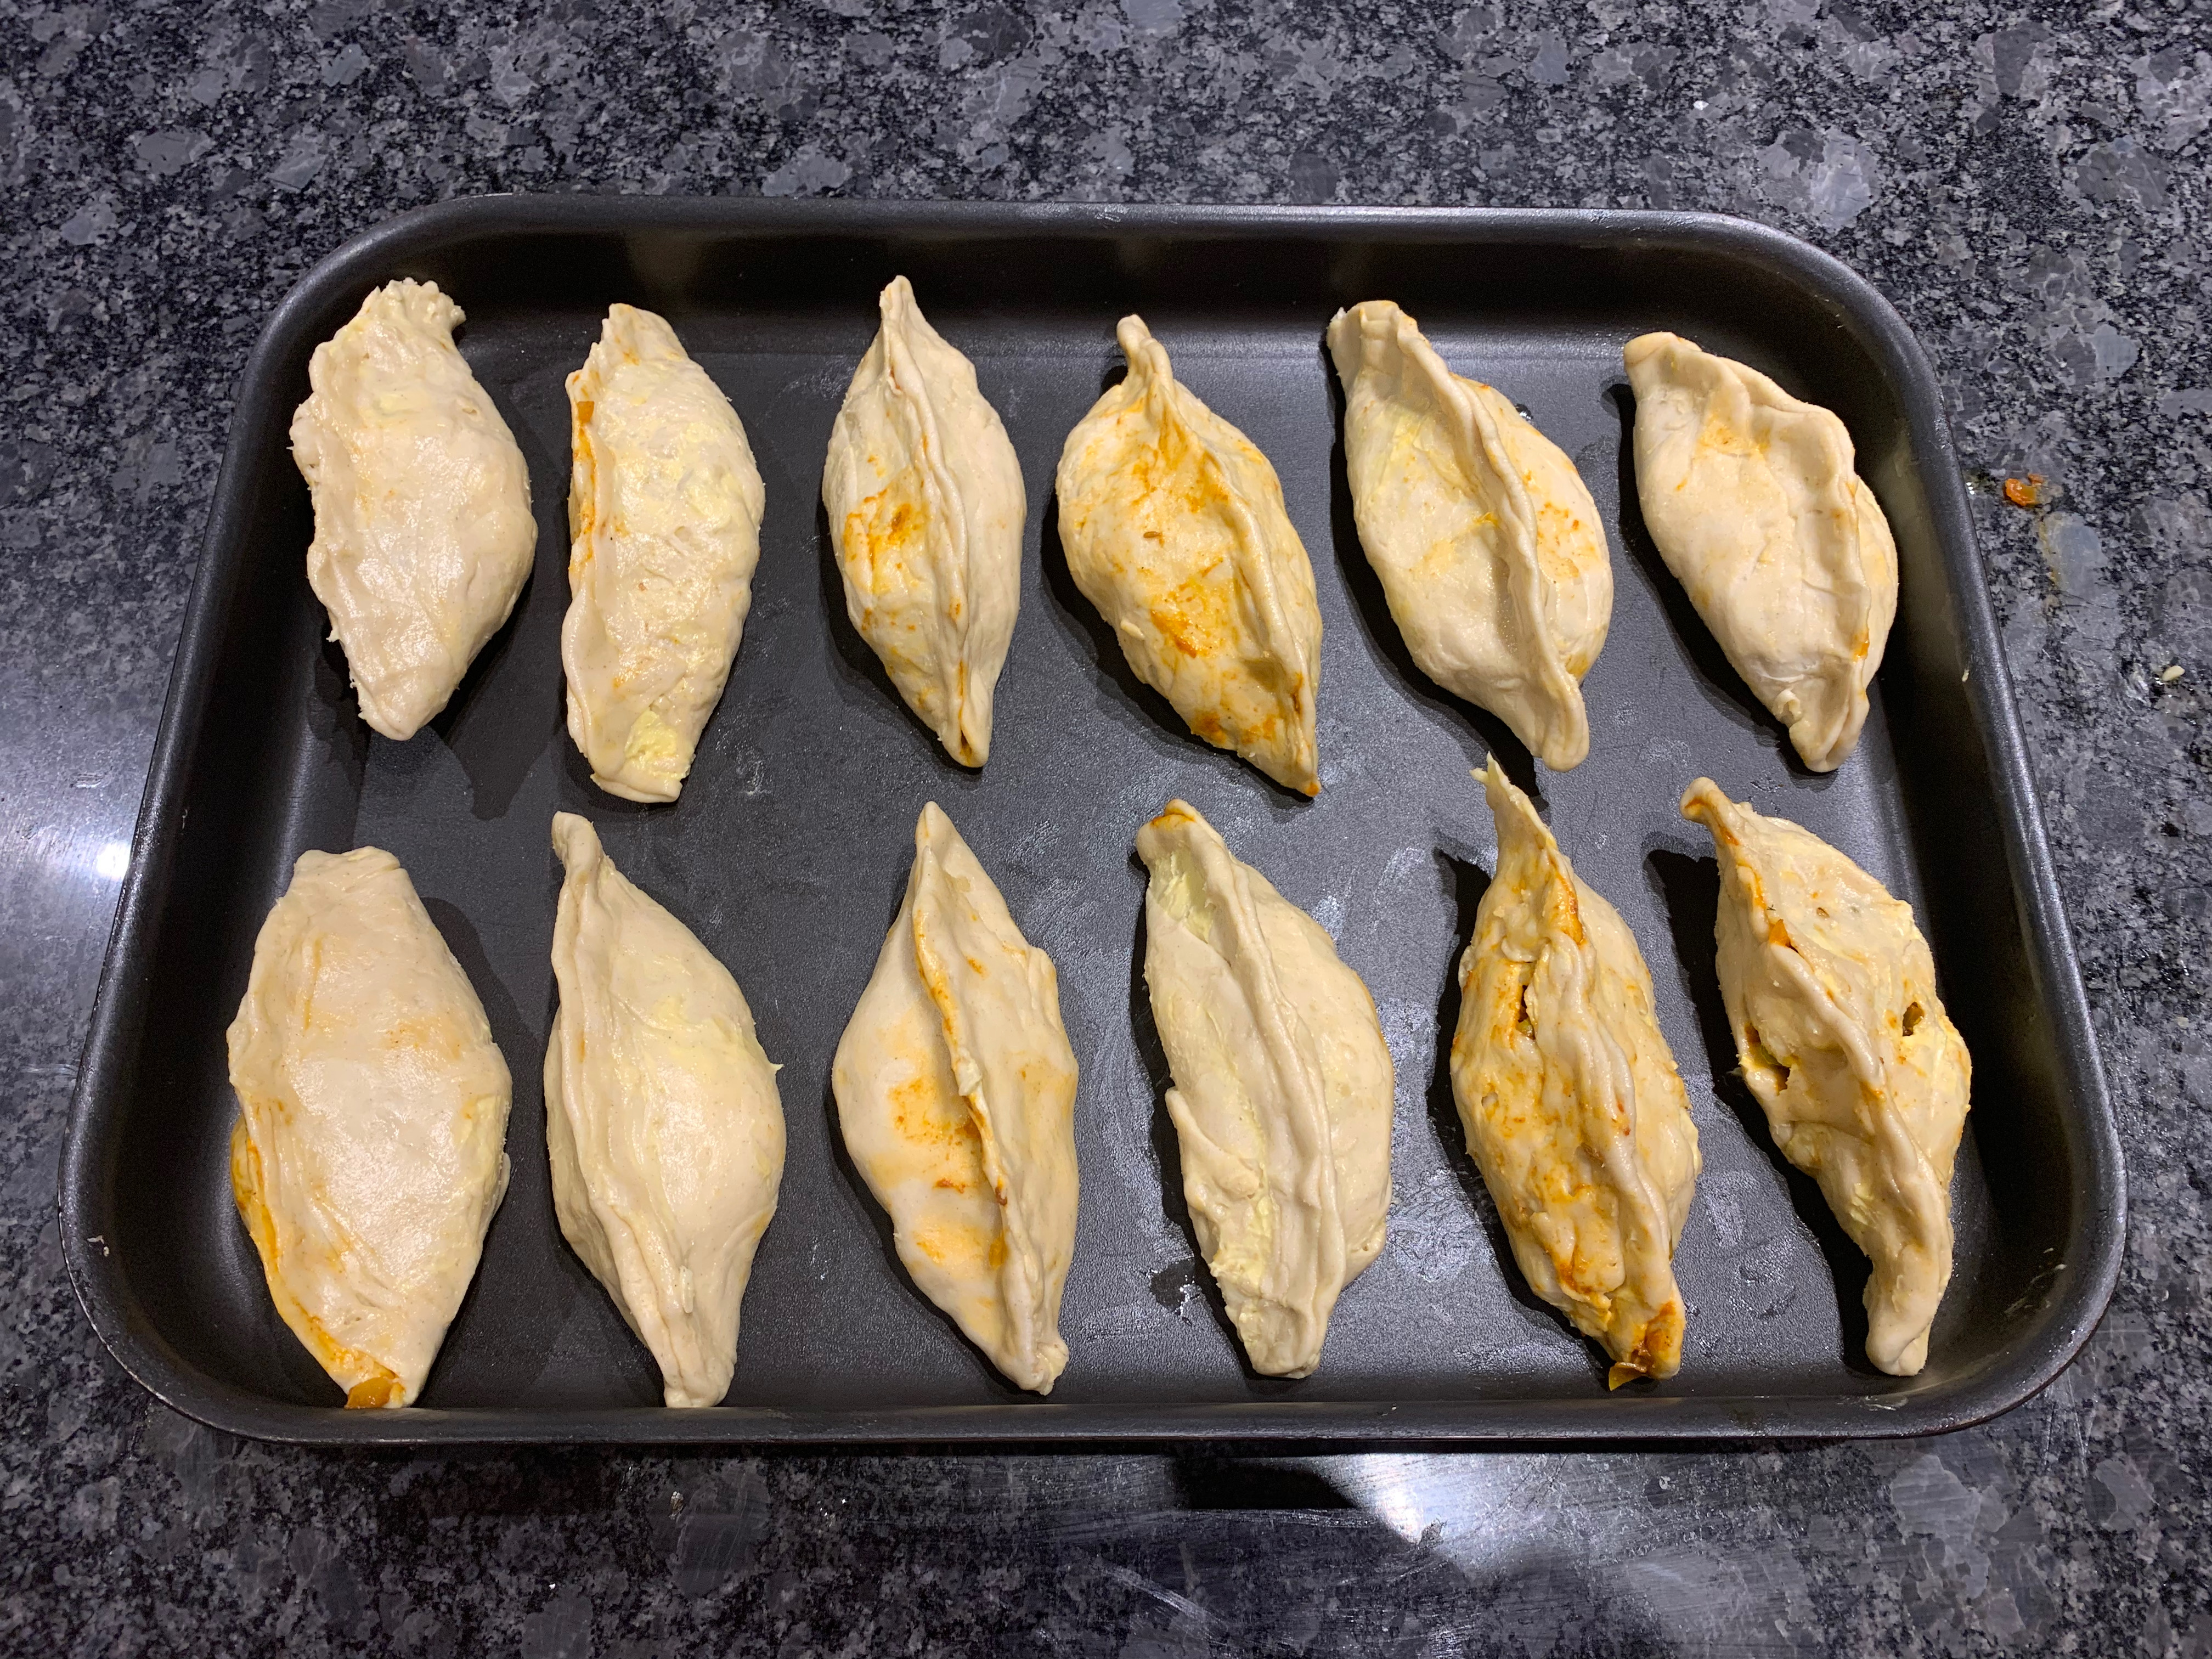
Flip the cup inside out (so that the bit with the olive oil is on the outside, spoon a dollop of filling into it, and pinch the outside together to seal. When it’s done, put it on a baking tray, lying it roughly flat (don’t try to leave the seam pointing upwards). Repeat for the other eleven pastizzi.
Bake for around 30 minutes. Take out of the oven when golden (and, we hope, flaky).
While leaving to cool, attempt to sing Maltese folksongs. Or not.