We’re now into the last ten bakes in this series, and I’m going to stop insisting on a different country for each bake: rather, I’m going to revisit some of the countries we’ve already looked at where we’ve missed recipes that seem so important that it seem crazy to leave them out just because I’ve included another bake from that country. Phileas Fogg might object.
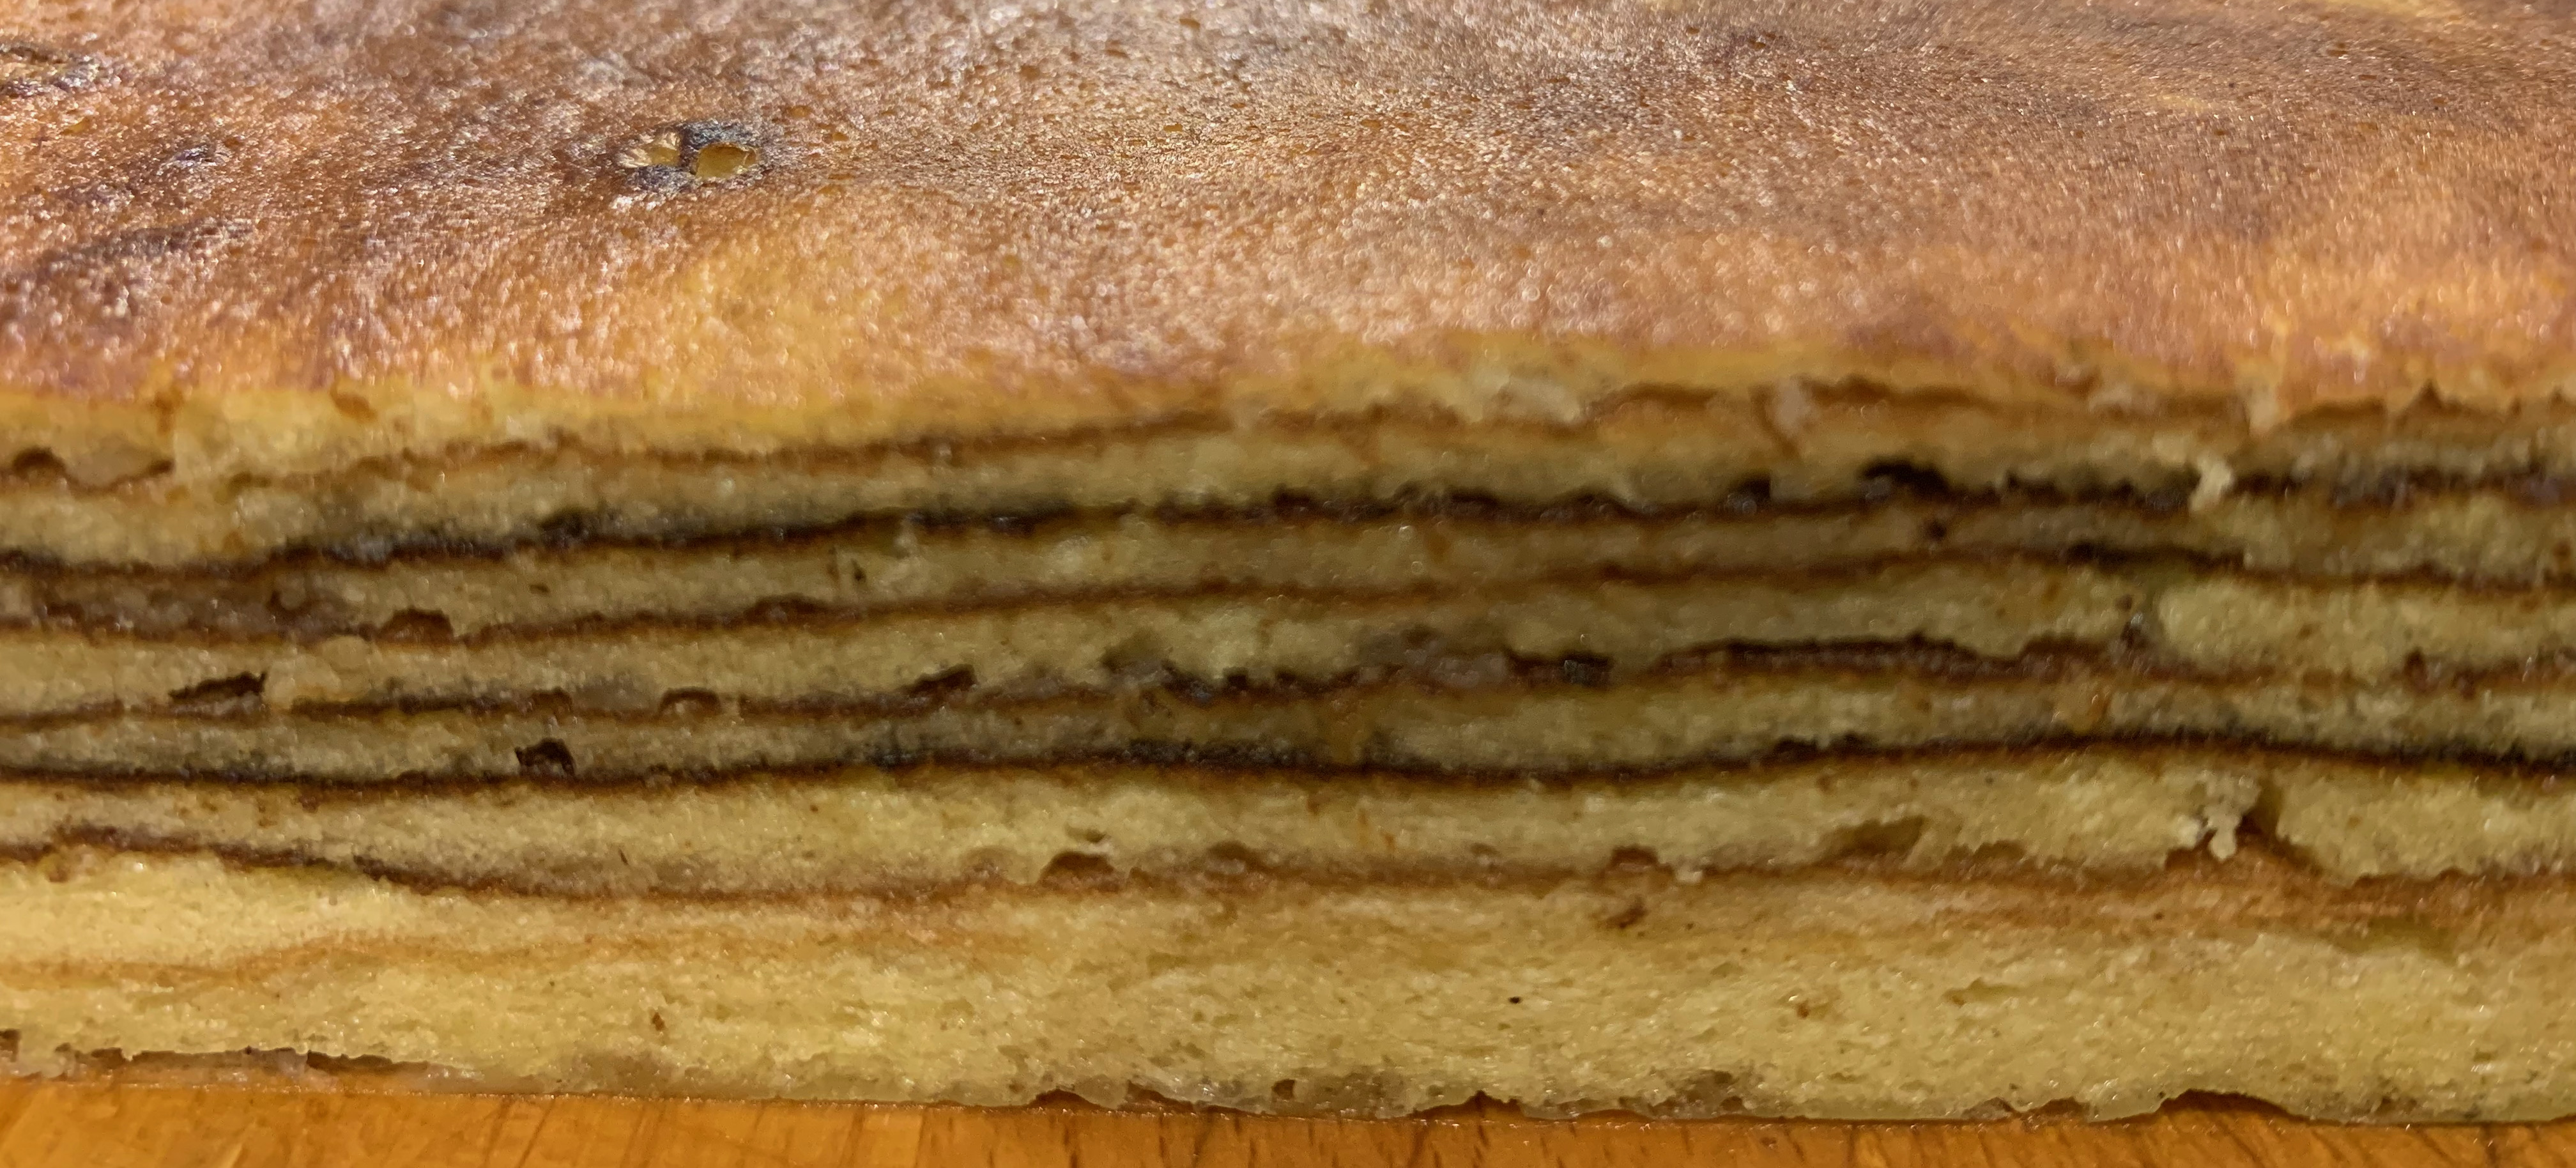
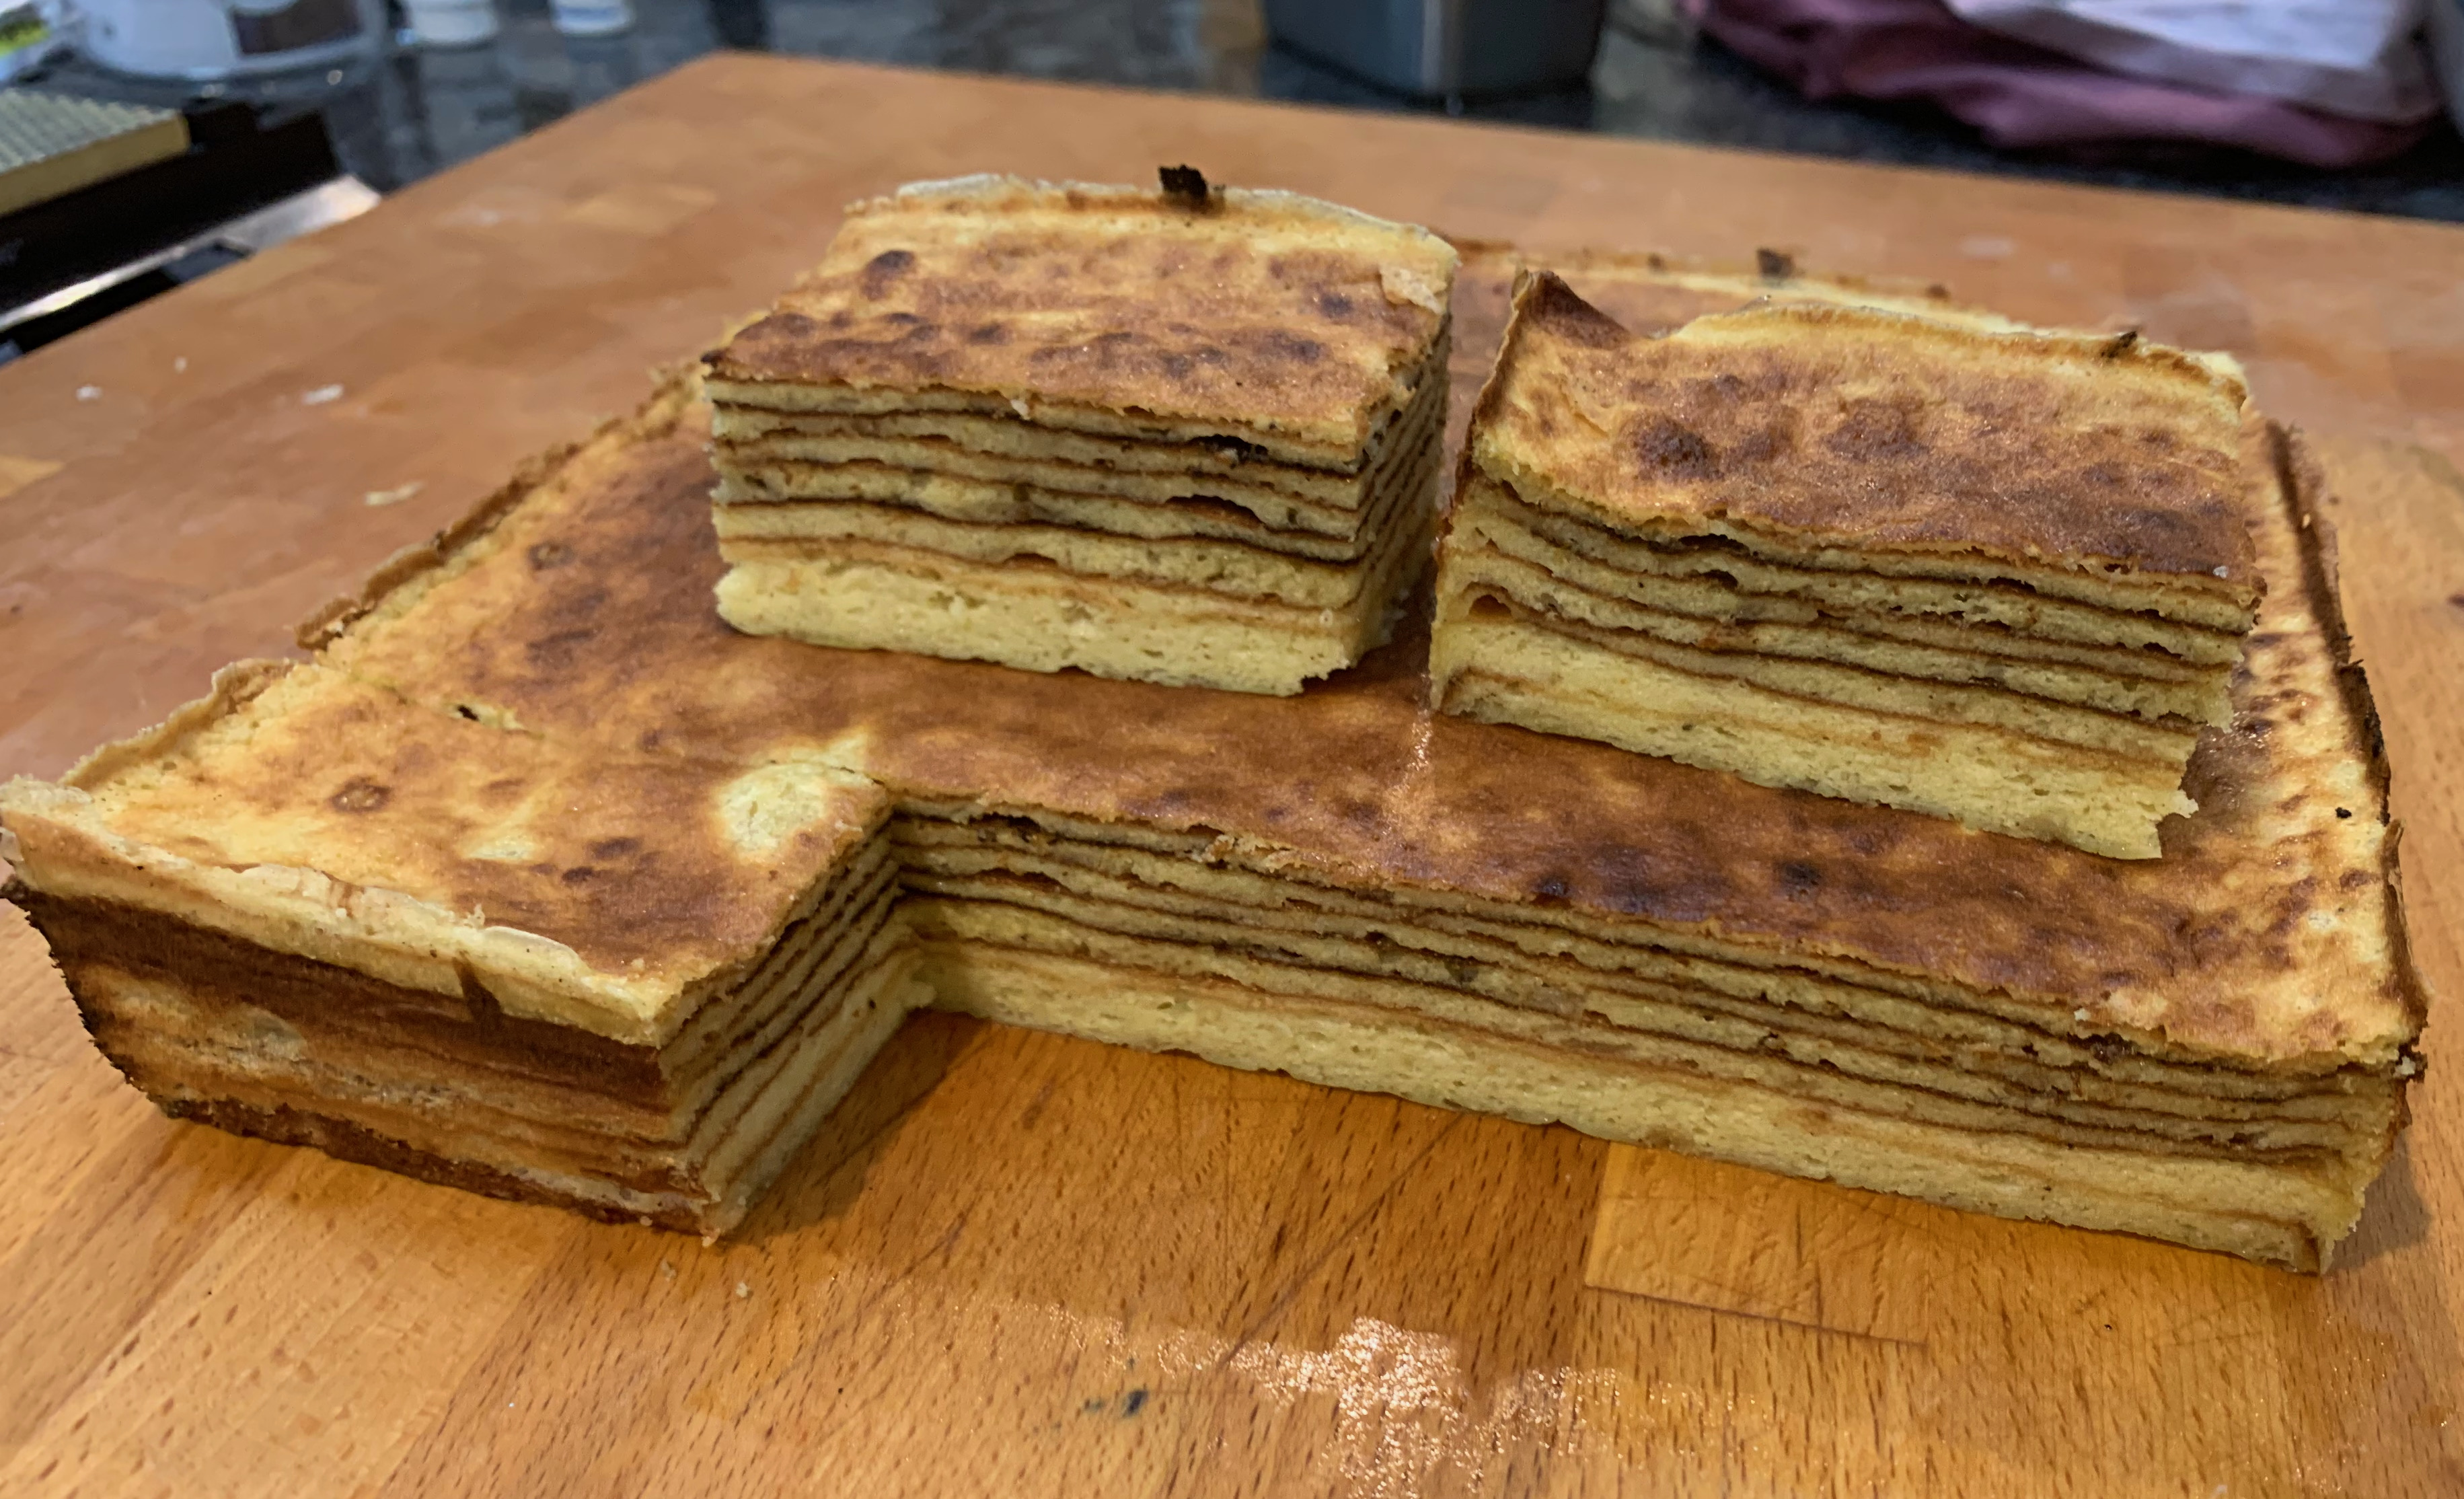
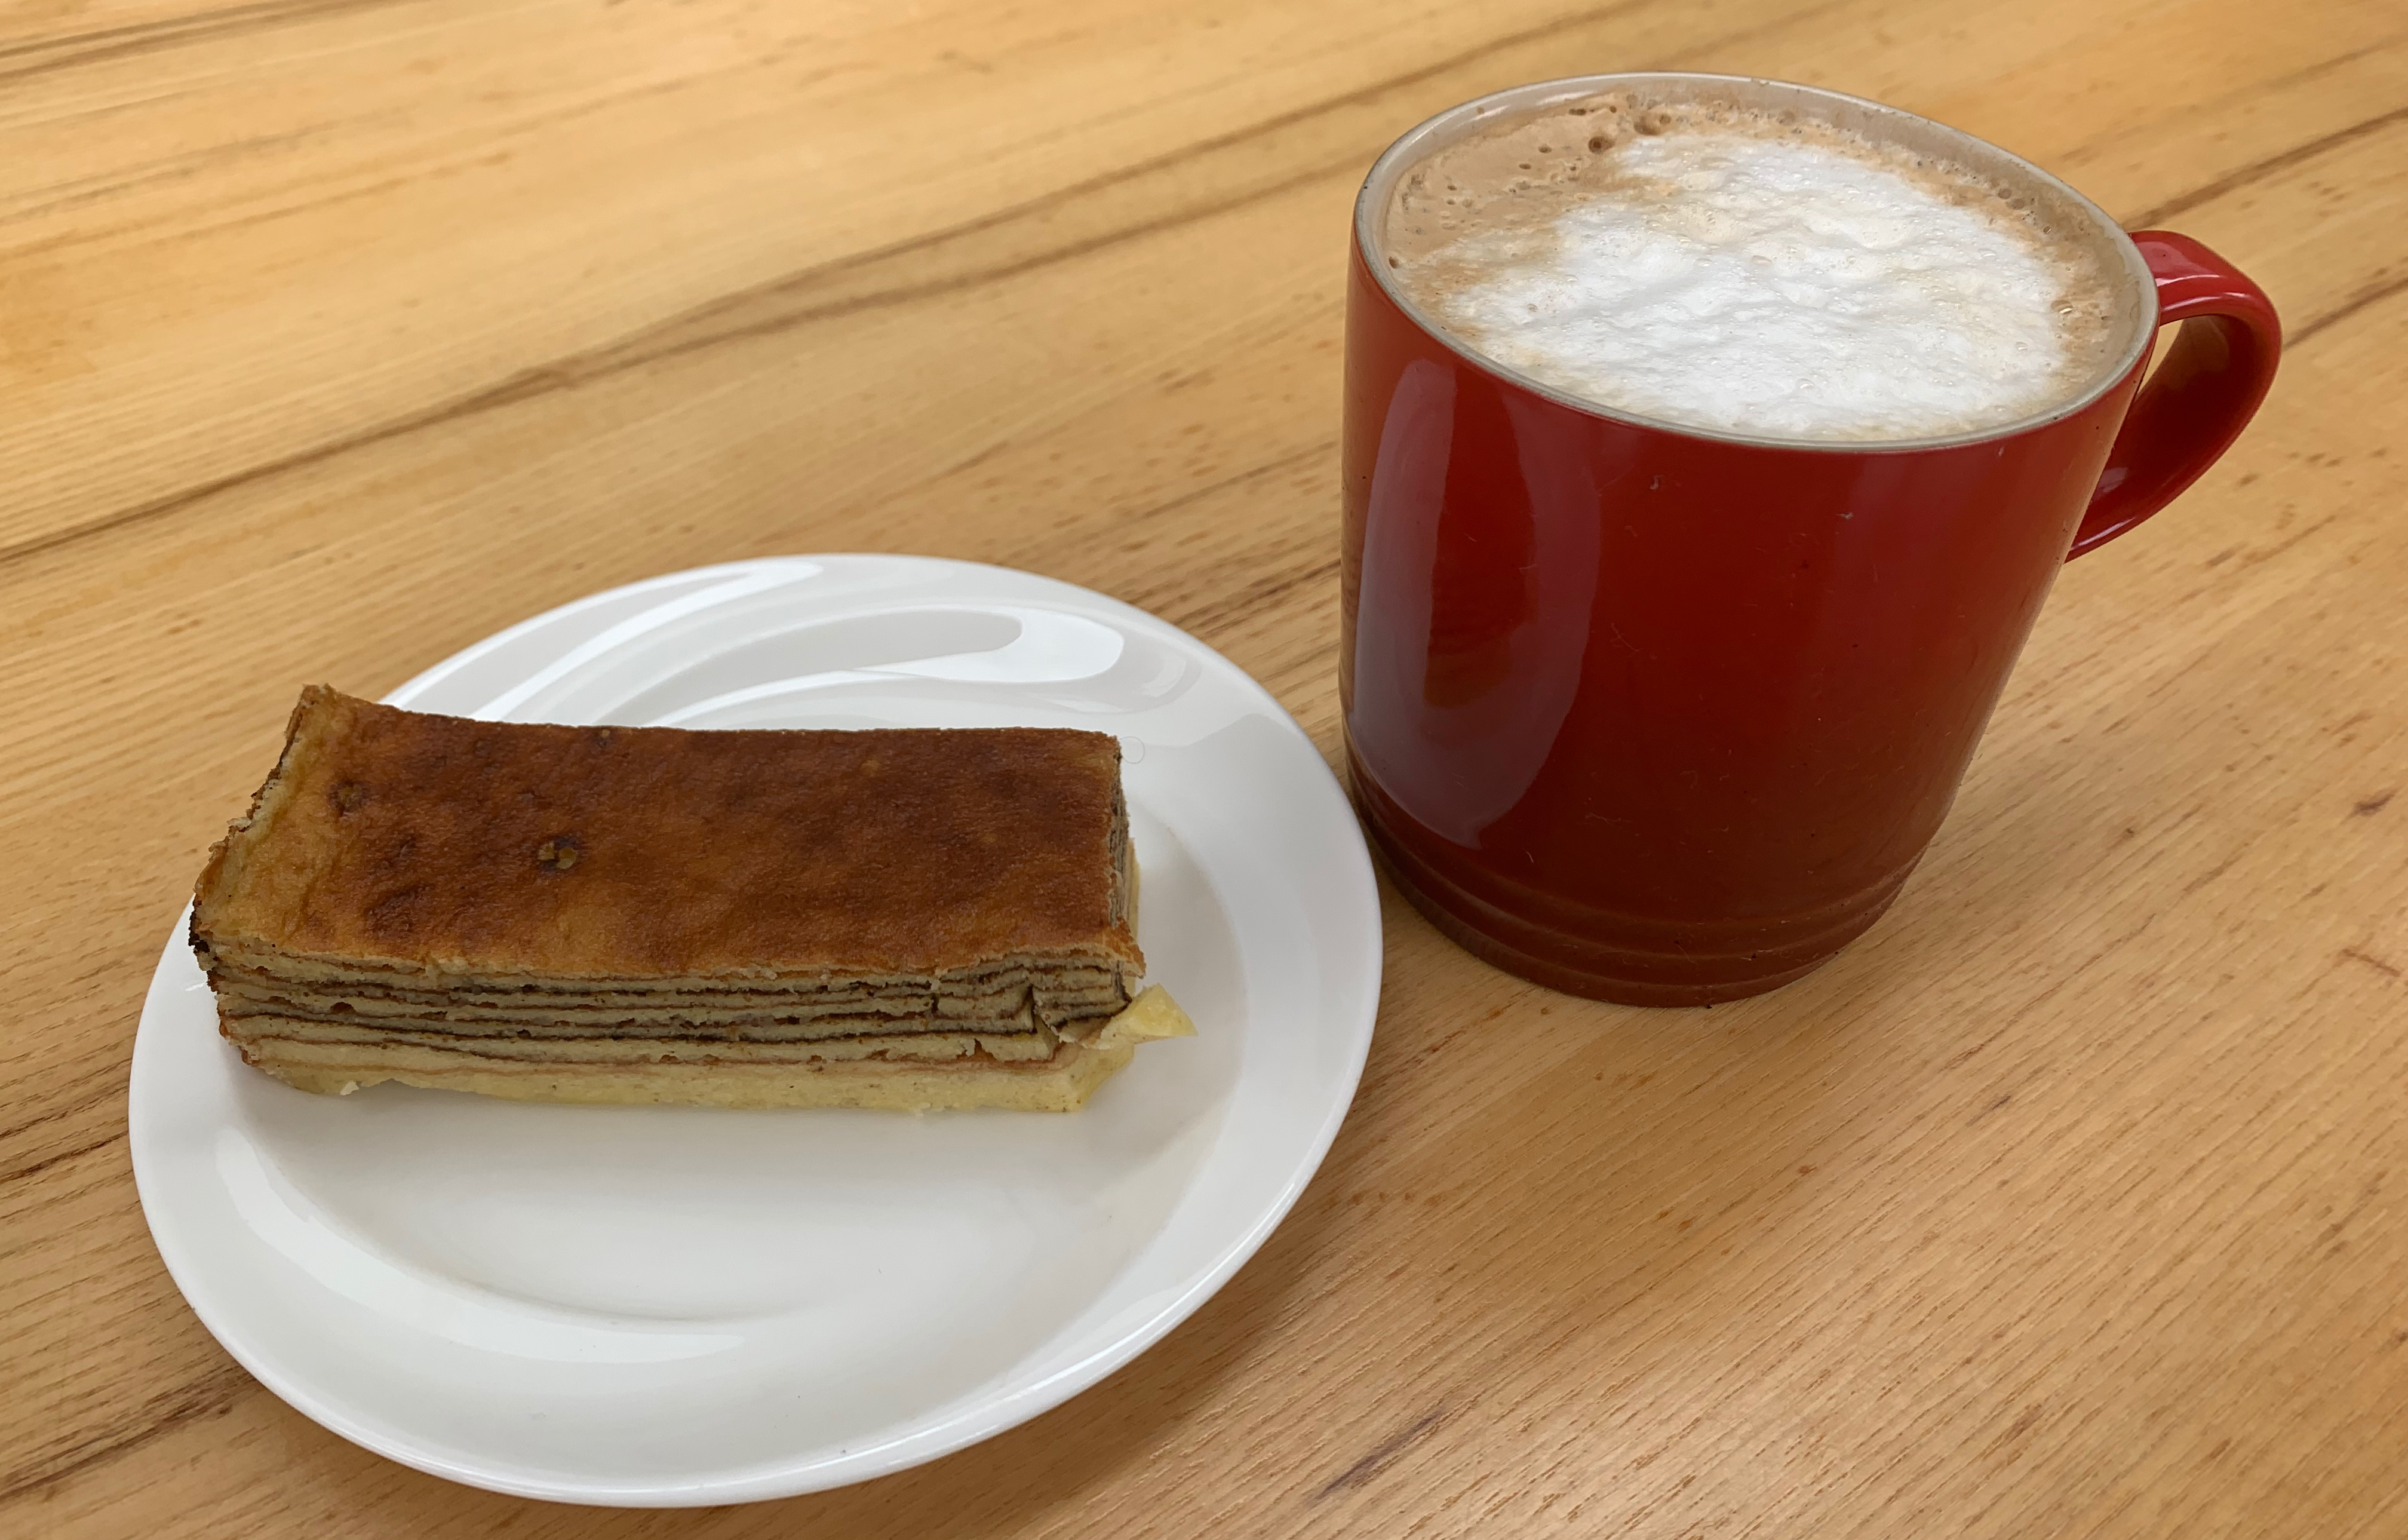
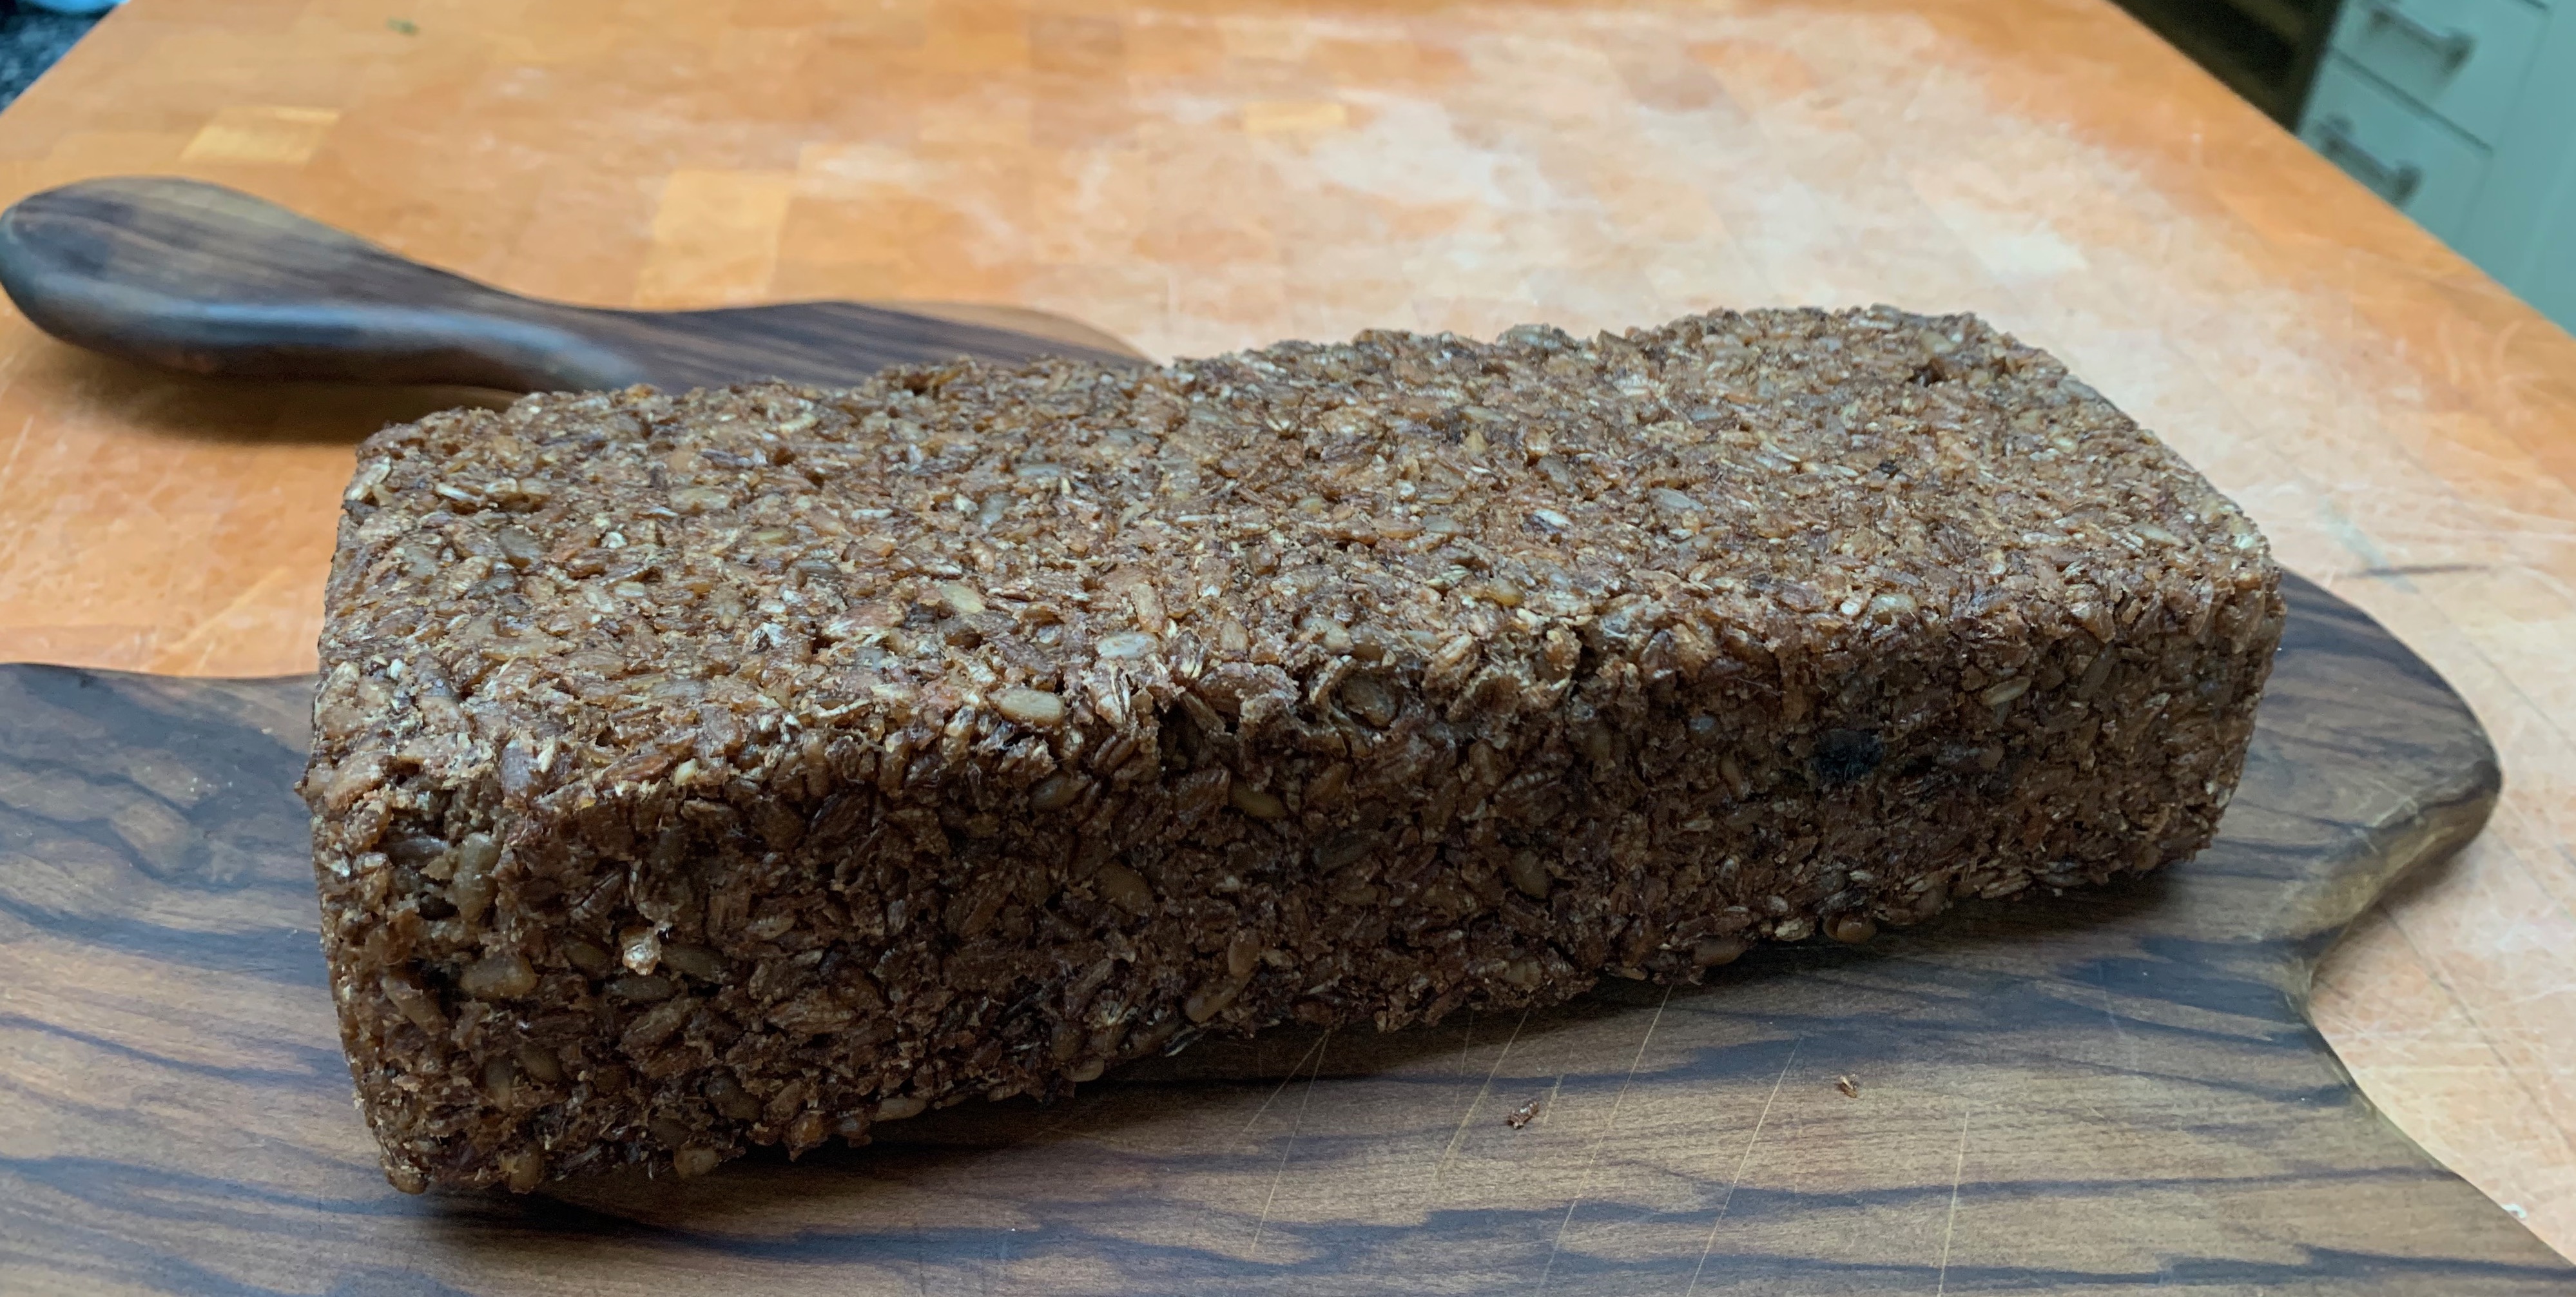
I’m going to start with Germany and the darkest, blackest rye bread called Pumpernickel, and more particularly with the original version from Westphalia (“Westfälischer Pumpernickel” in German), which has a baking time of 24 hours, the longest of any bread I know. The idea is that the very slow, low temperature bake imparts a particular colour and flavour to the bread in a way that you just don’t get by adding colouring agents, even natural ones like malt extract or molasses. The resulting bread, sliced thinly, is the best thing in the world to accompany dishes like smoked salmon or gravadlax.
The long baking time makes this version impractical for many commercial bakeries, so many other processes get used, usually going for a higher temperature, shorter bake, and often adding some plain wheat flour to the rye in order to get some gluten structure. The version I’ve done is certainly tricky to handle – I haven’t got it 100% right on this first try (I’ll explain what needs to be done differently) but I think this is going to be a bread that I revisit many times.
I went for an amalgam of various German recipes (most notably this one) and the instructions in Andrew Whitley’s Bread Matters.
The first key to pumpernickel is the use very coarse, dark rye flour. This is something you can’t necessarily get in the shops, so I’ve started with rye flakes and run them through the food processor. I did this fairly lightly, resulting in a loaf with a very grainy structure that the Germans would call “Vollkornbrot”. I love it – you may wish to grind down the rye flakes or grains rather more than I did. I also added some sunflower seeds, which one sees in several German recipes.
You’ll need a sourdough starter, home made or bought. My regular sourdough starter is made purely with dark rye flour: I use 90g at a time and replenish with 30g flour and 60g water. You will probably have your own version.
This isn’t a labour-intensive bake, but it takes a long time: you need to start around three days before you intend to eat the bread.
Day 1: production sourdough mix and main seed mix
- 90g dark rye sourdough starter
- 90g dark rye flour
- 180g cold or tepid water
- 350g rye flakes
- 100g sunflower seeds
- 270g boiling water
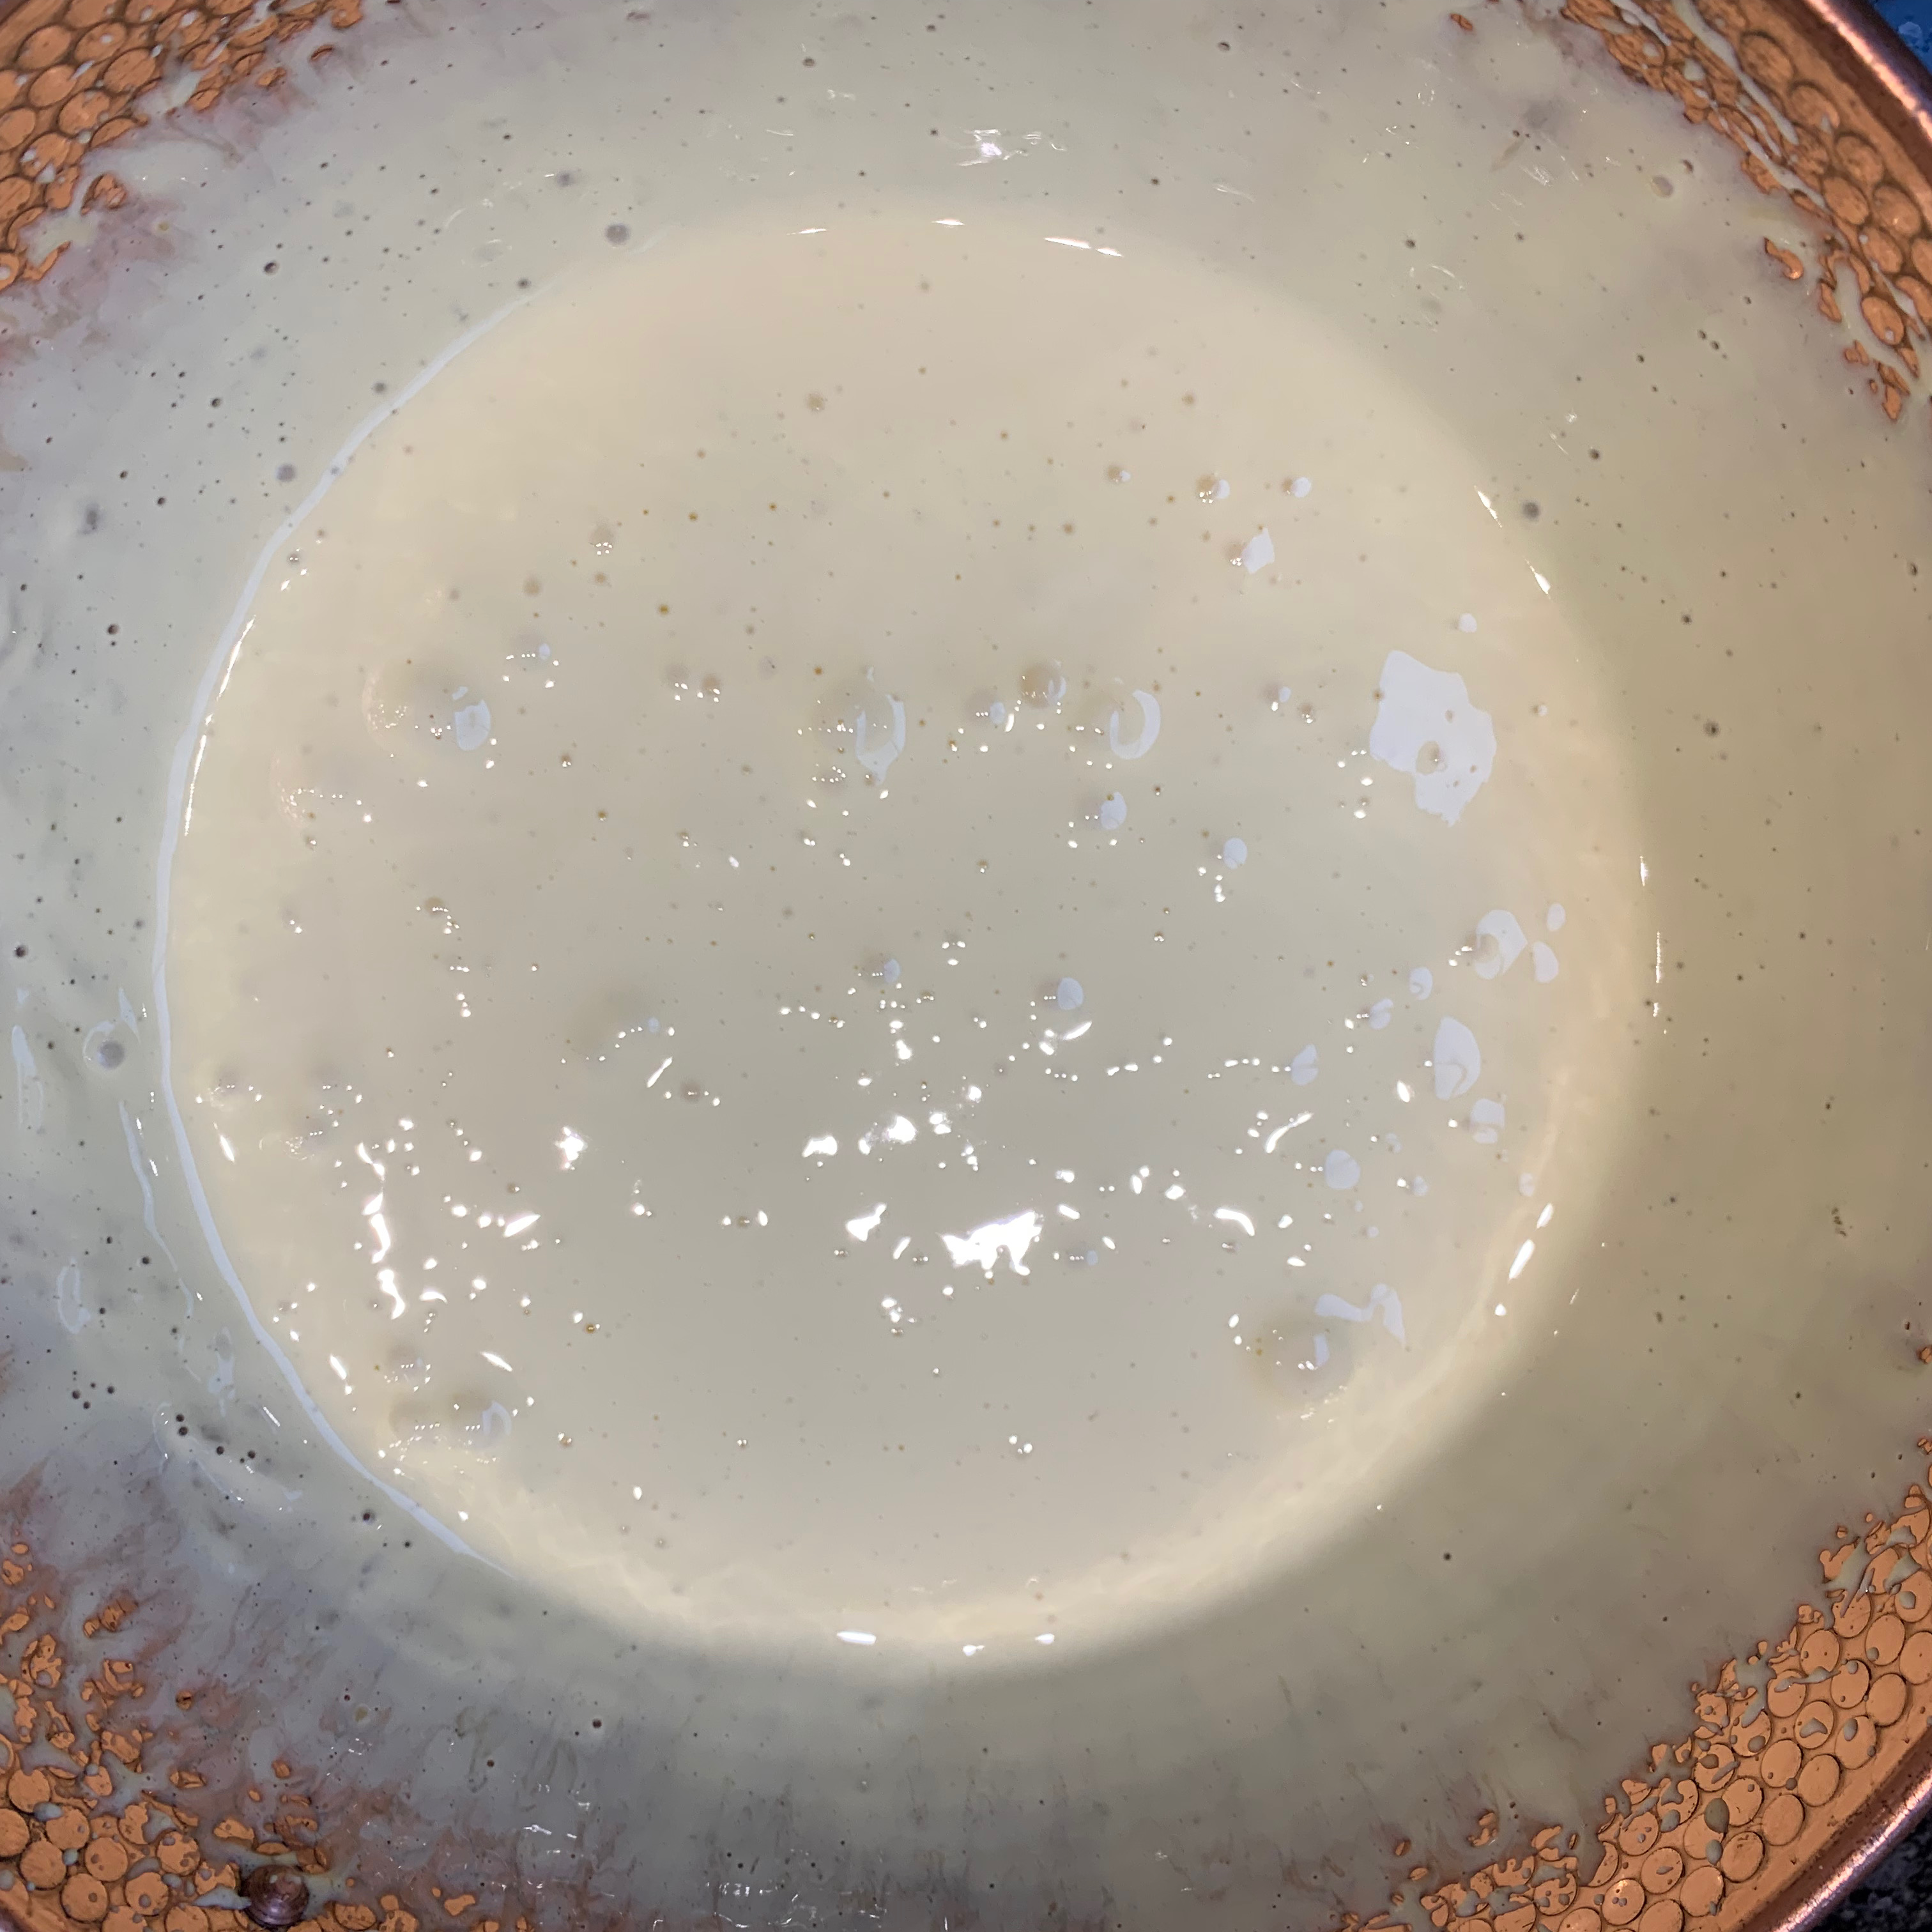
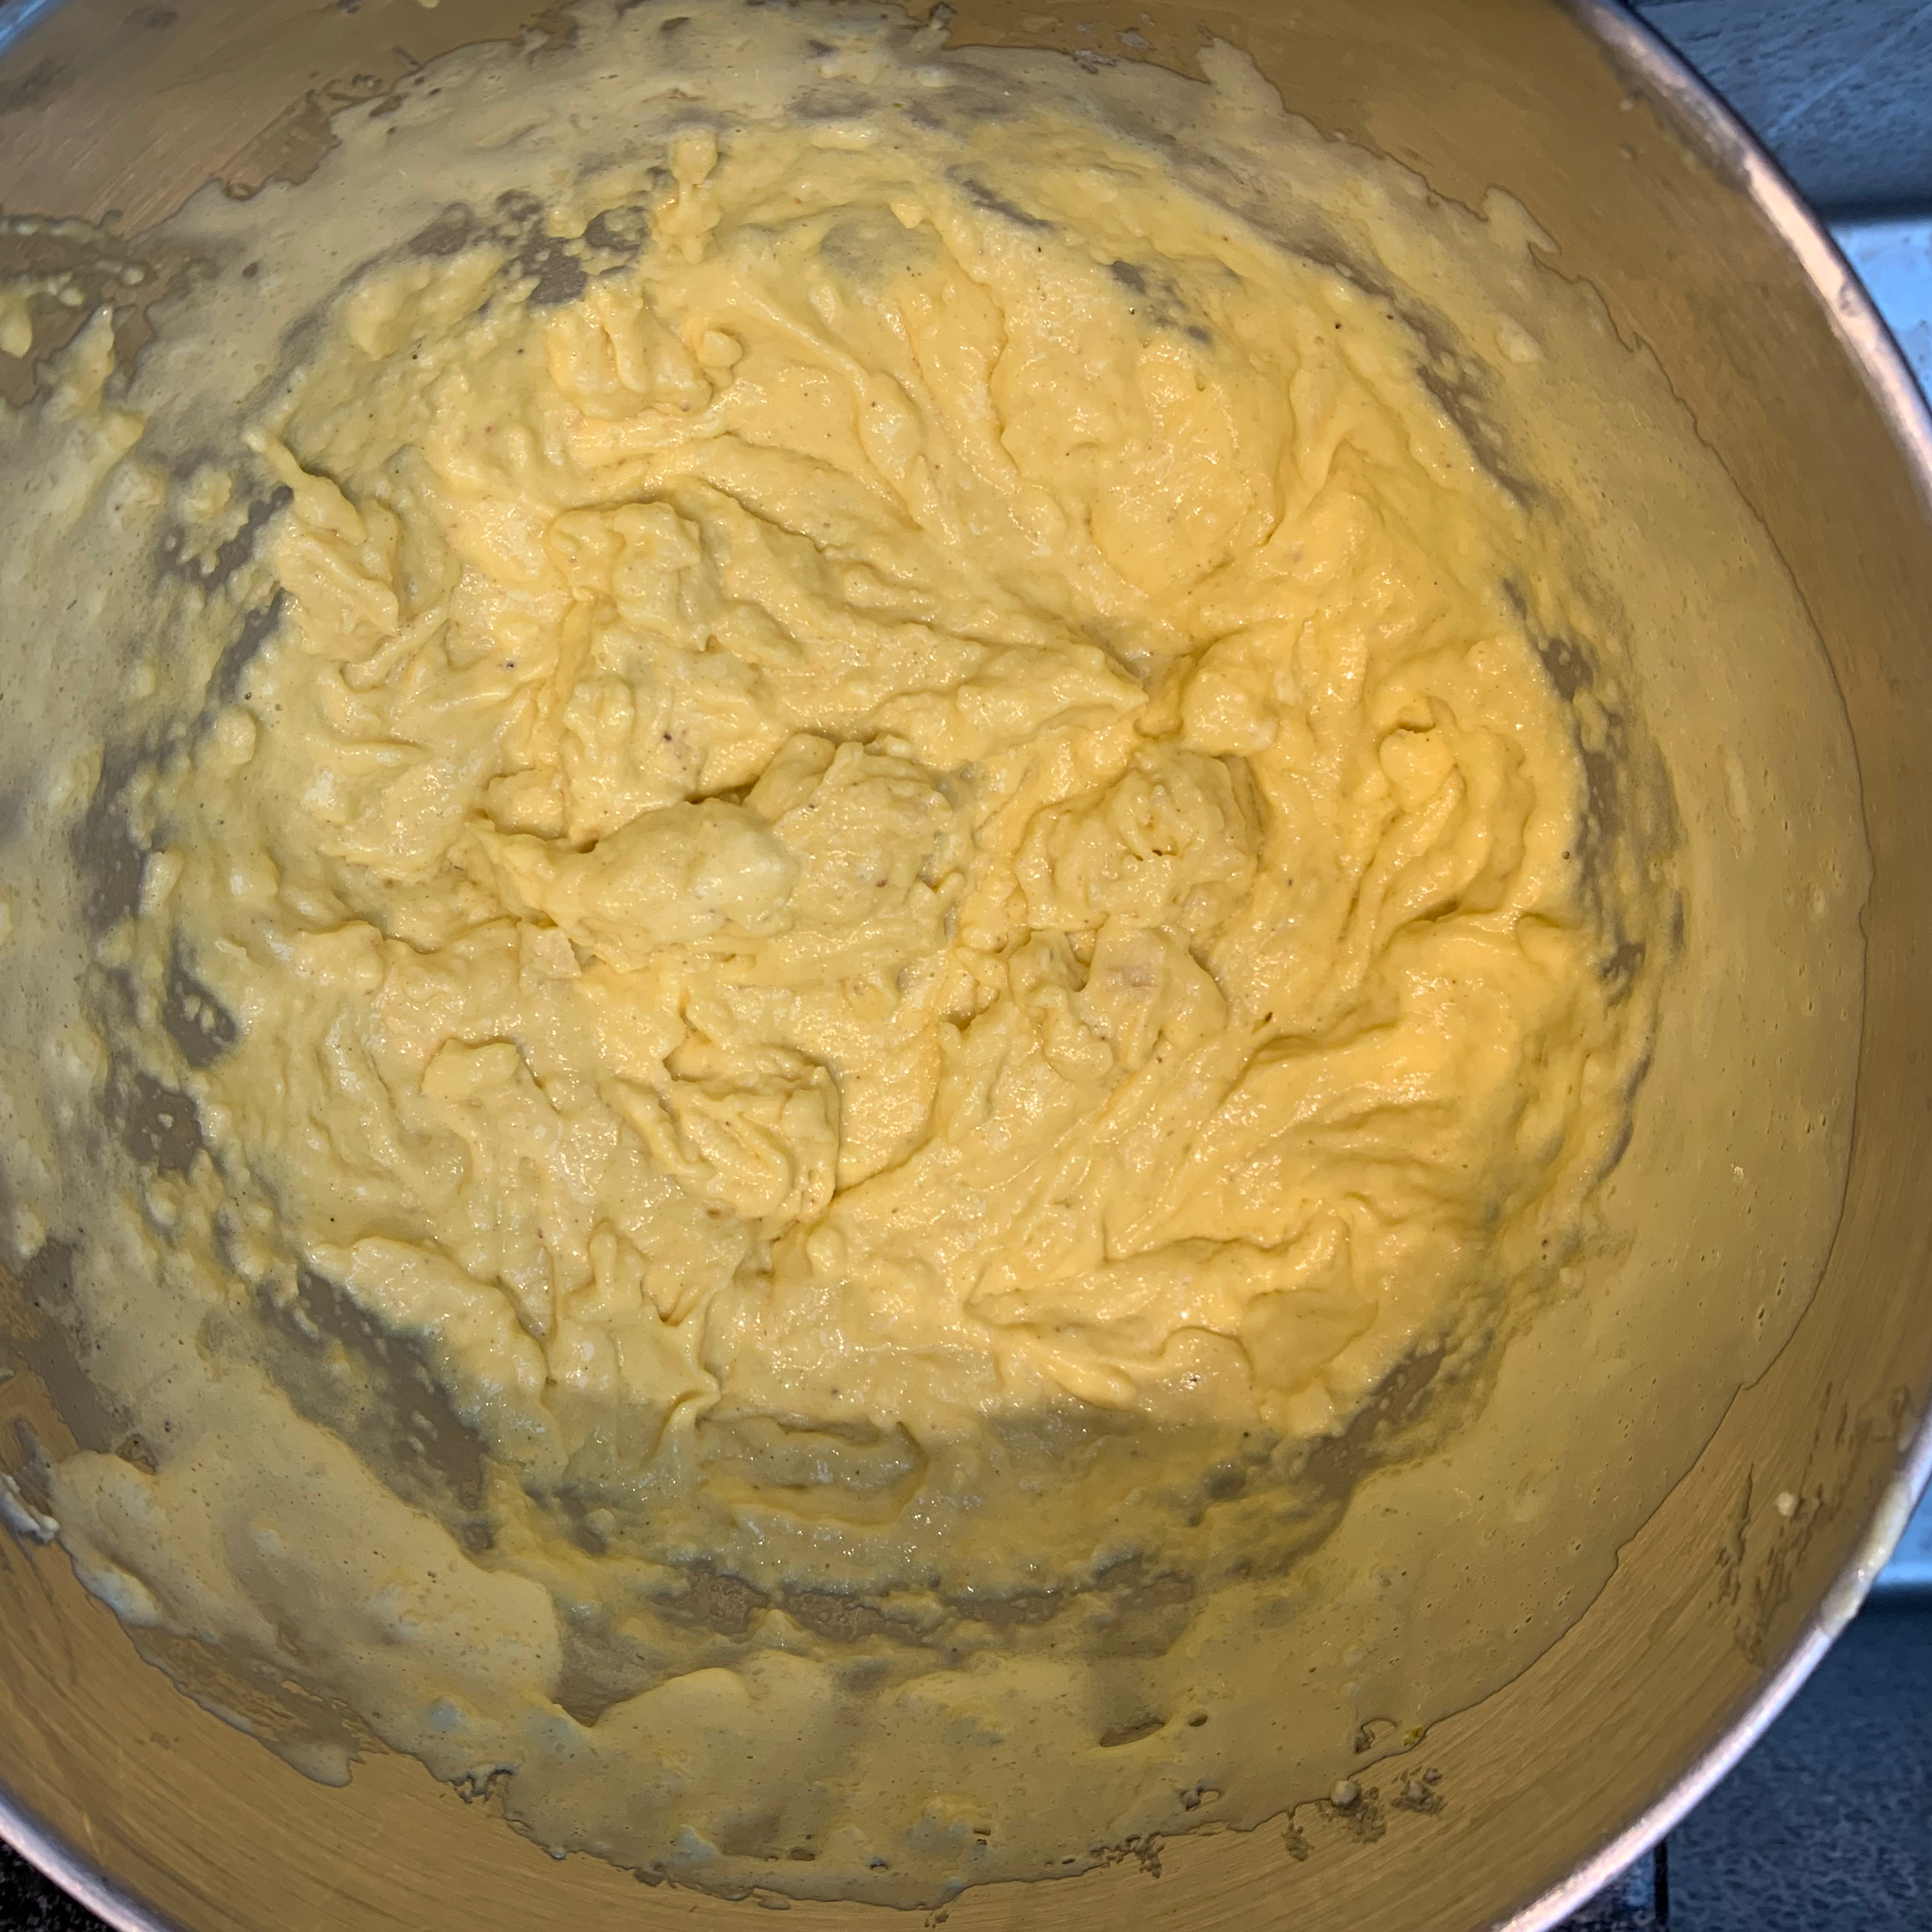
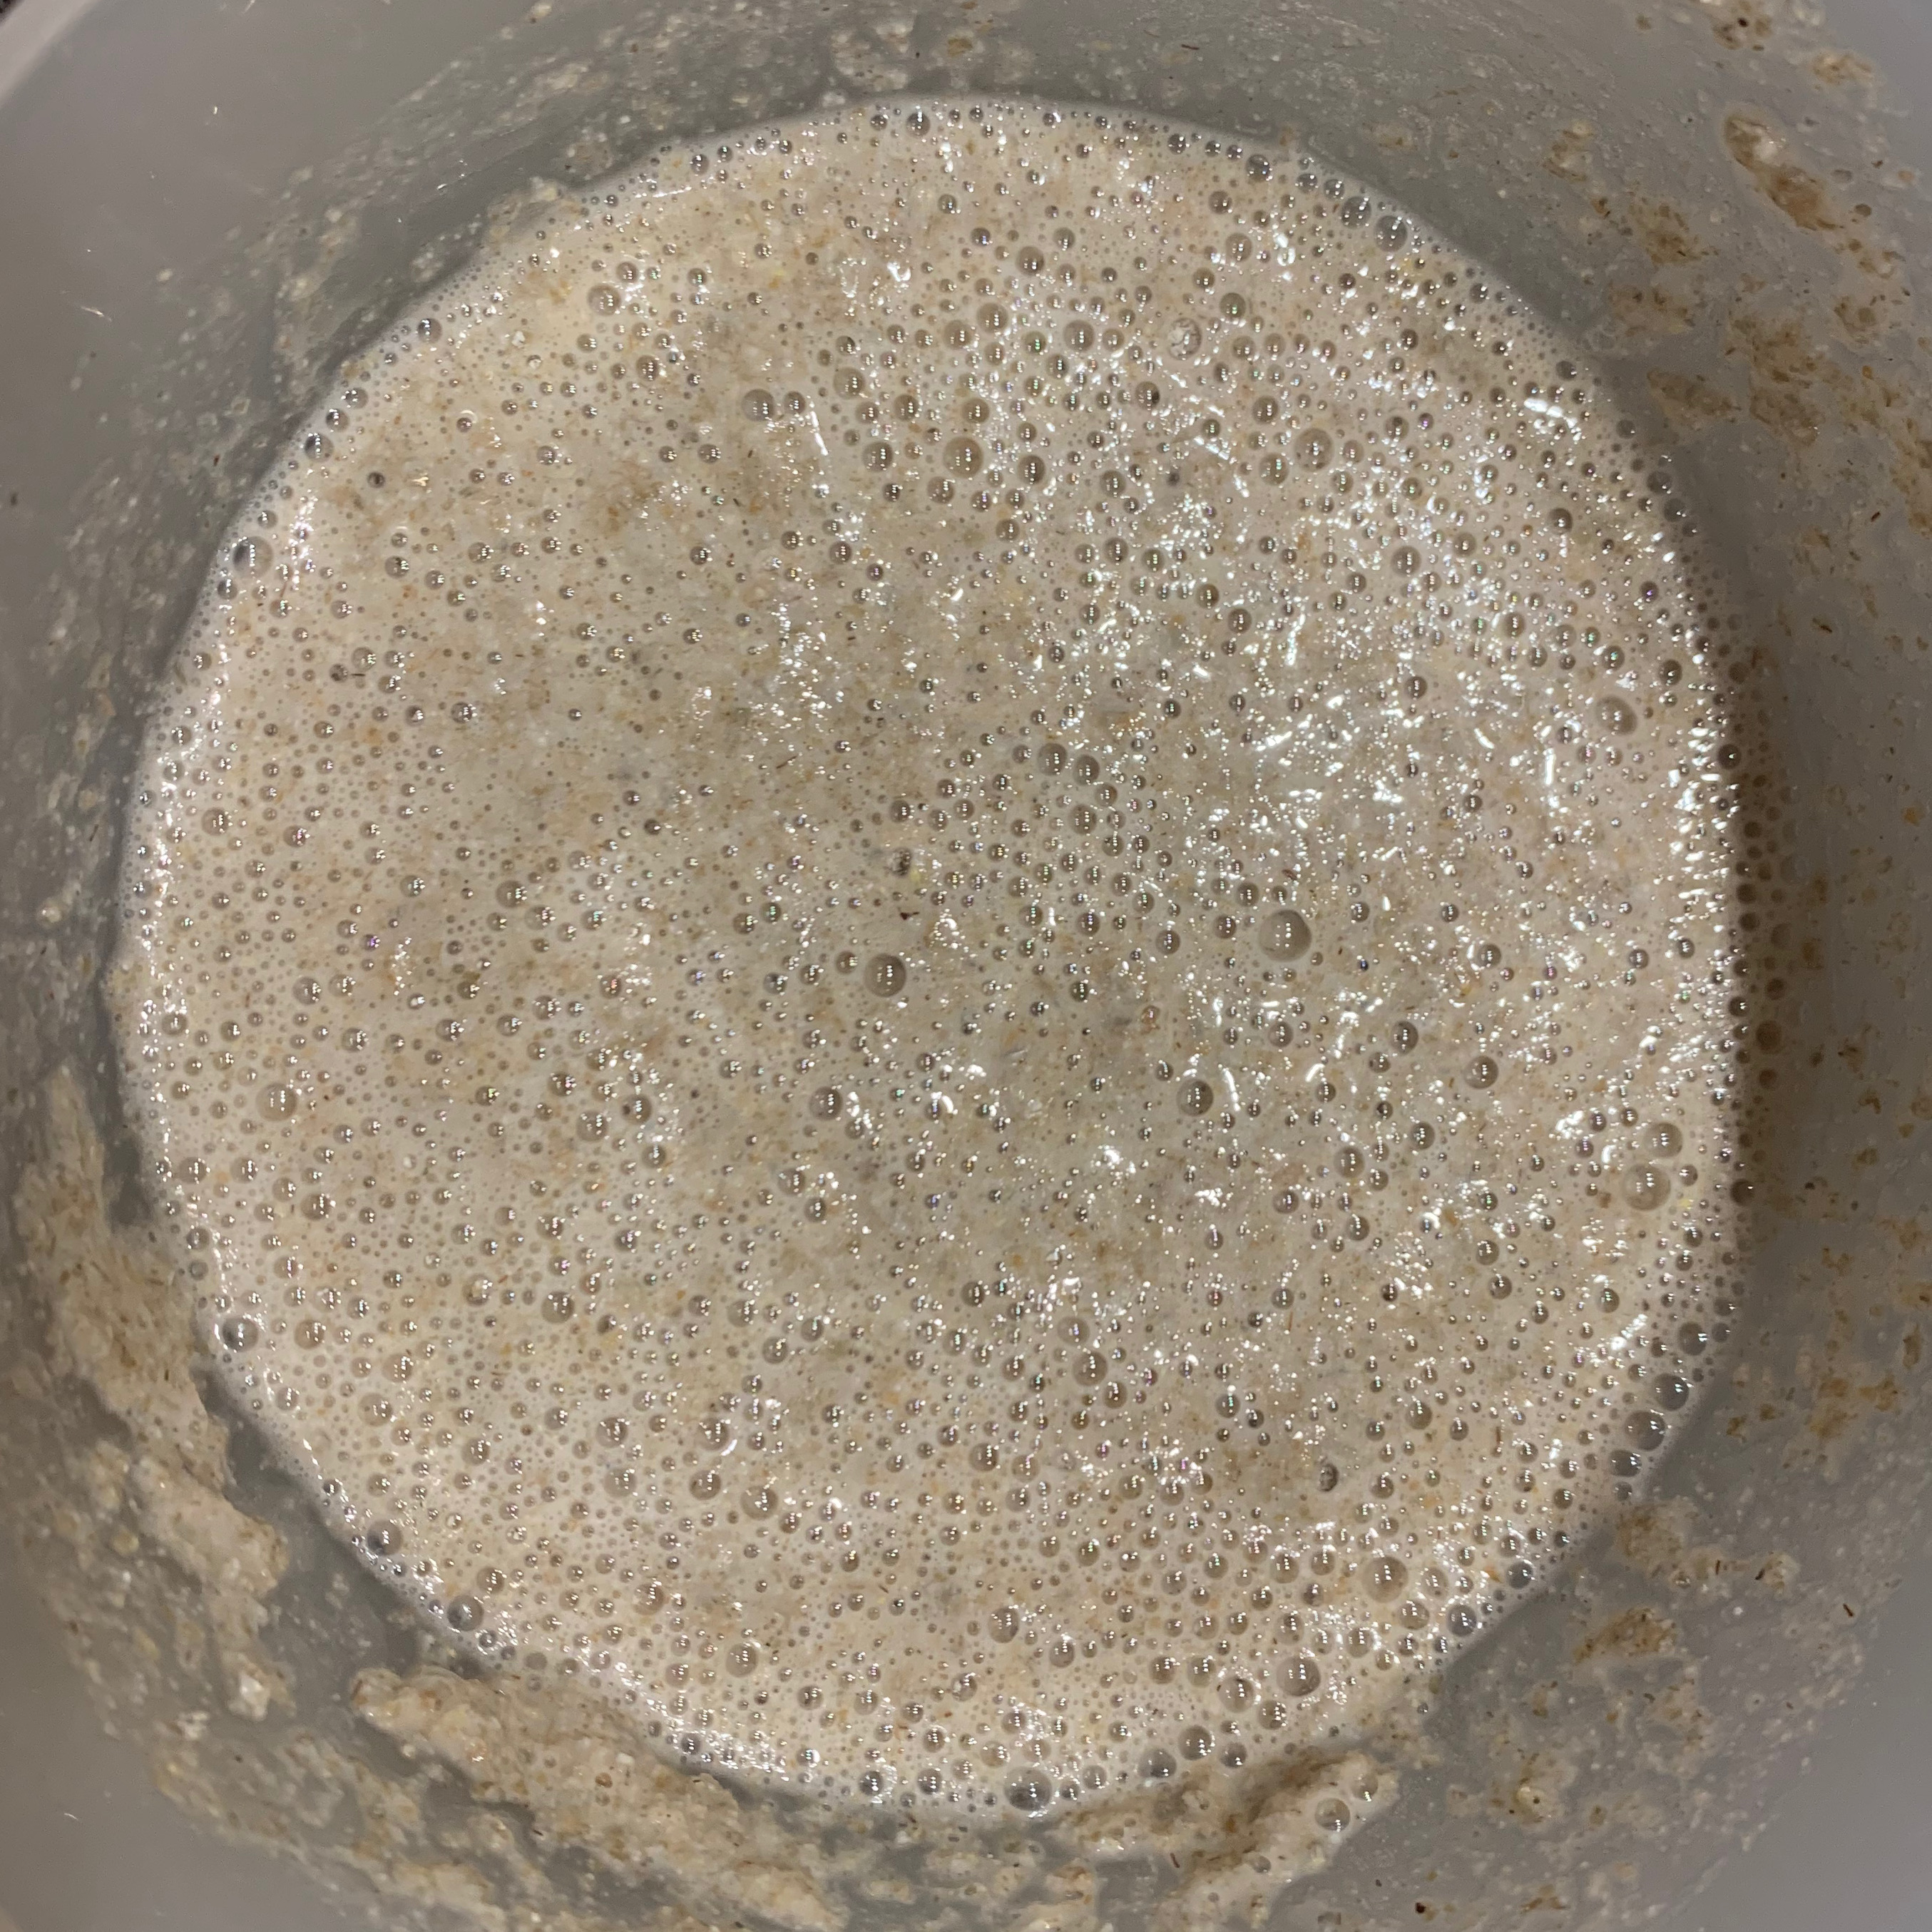
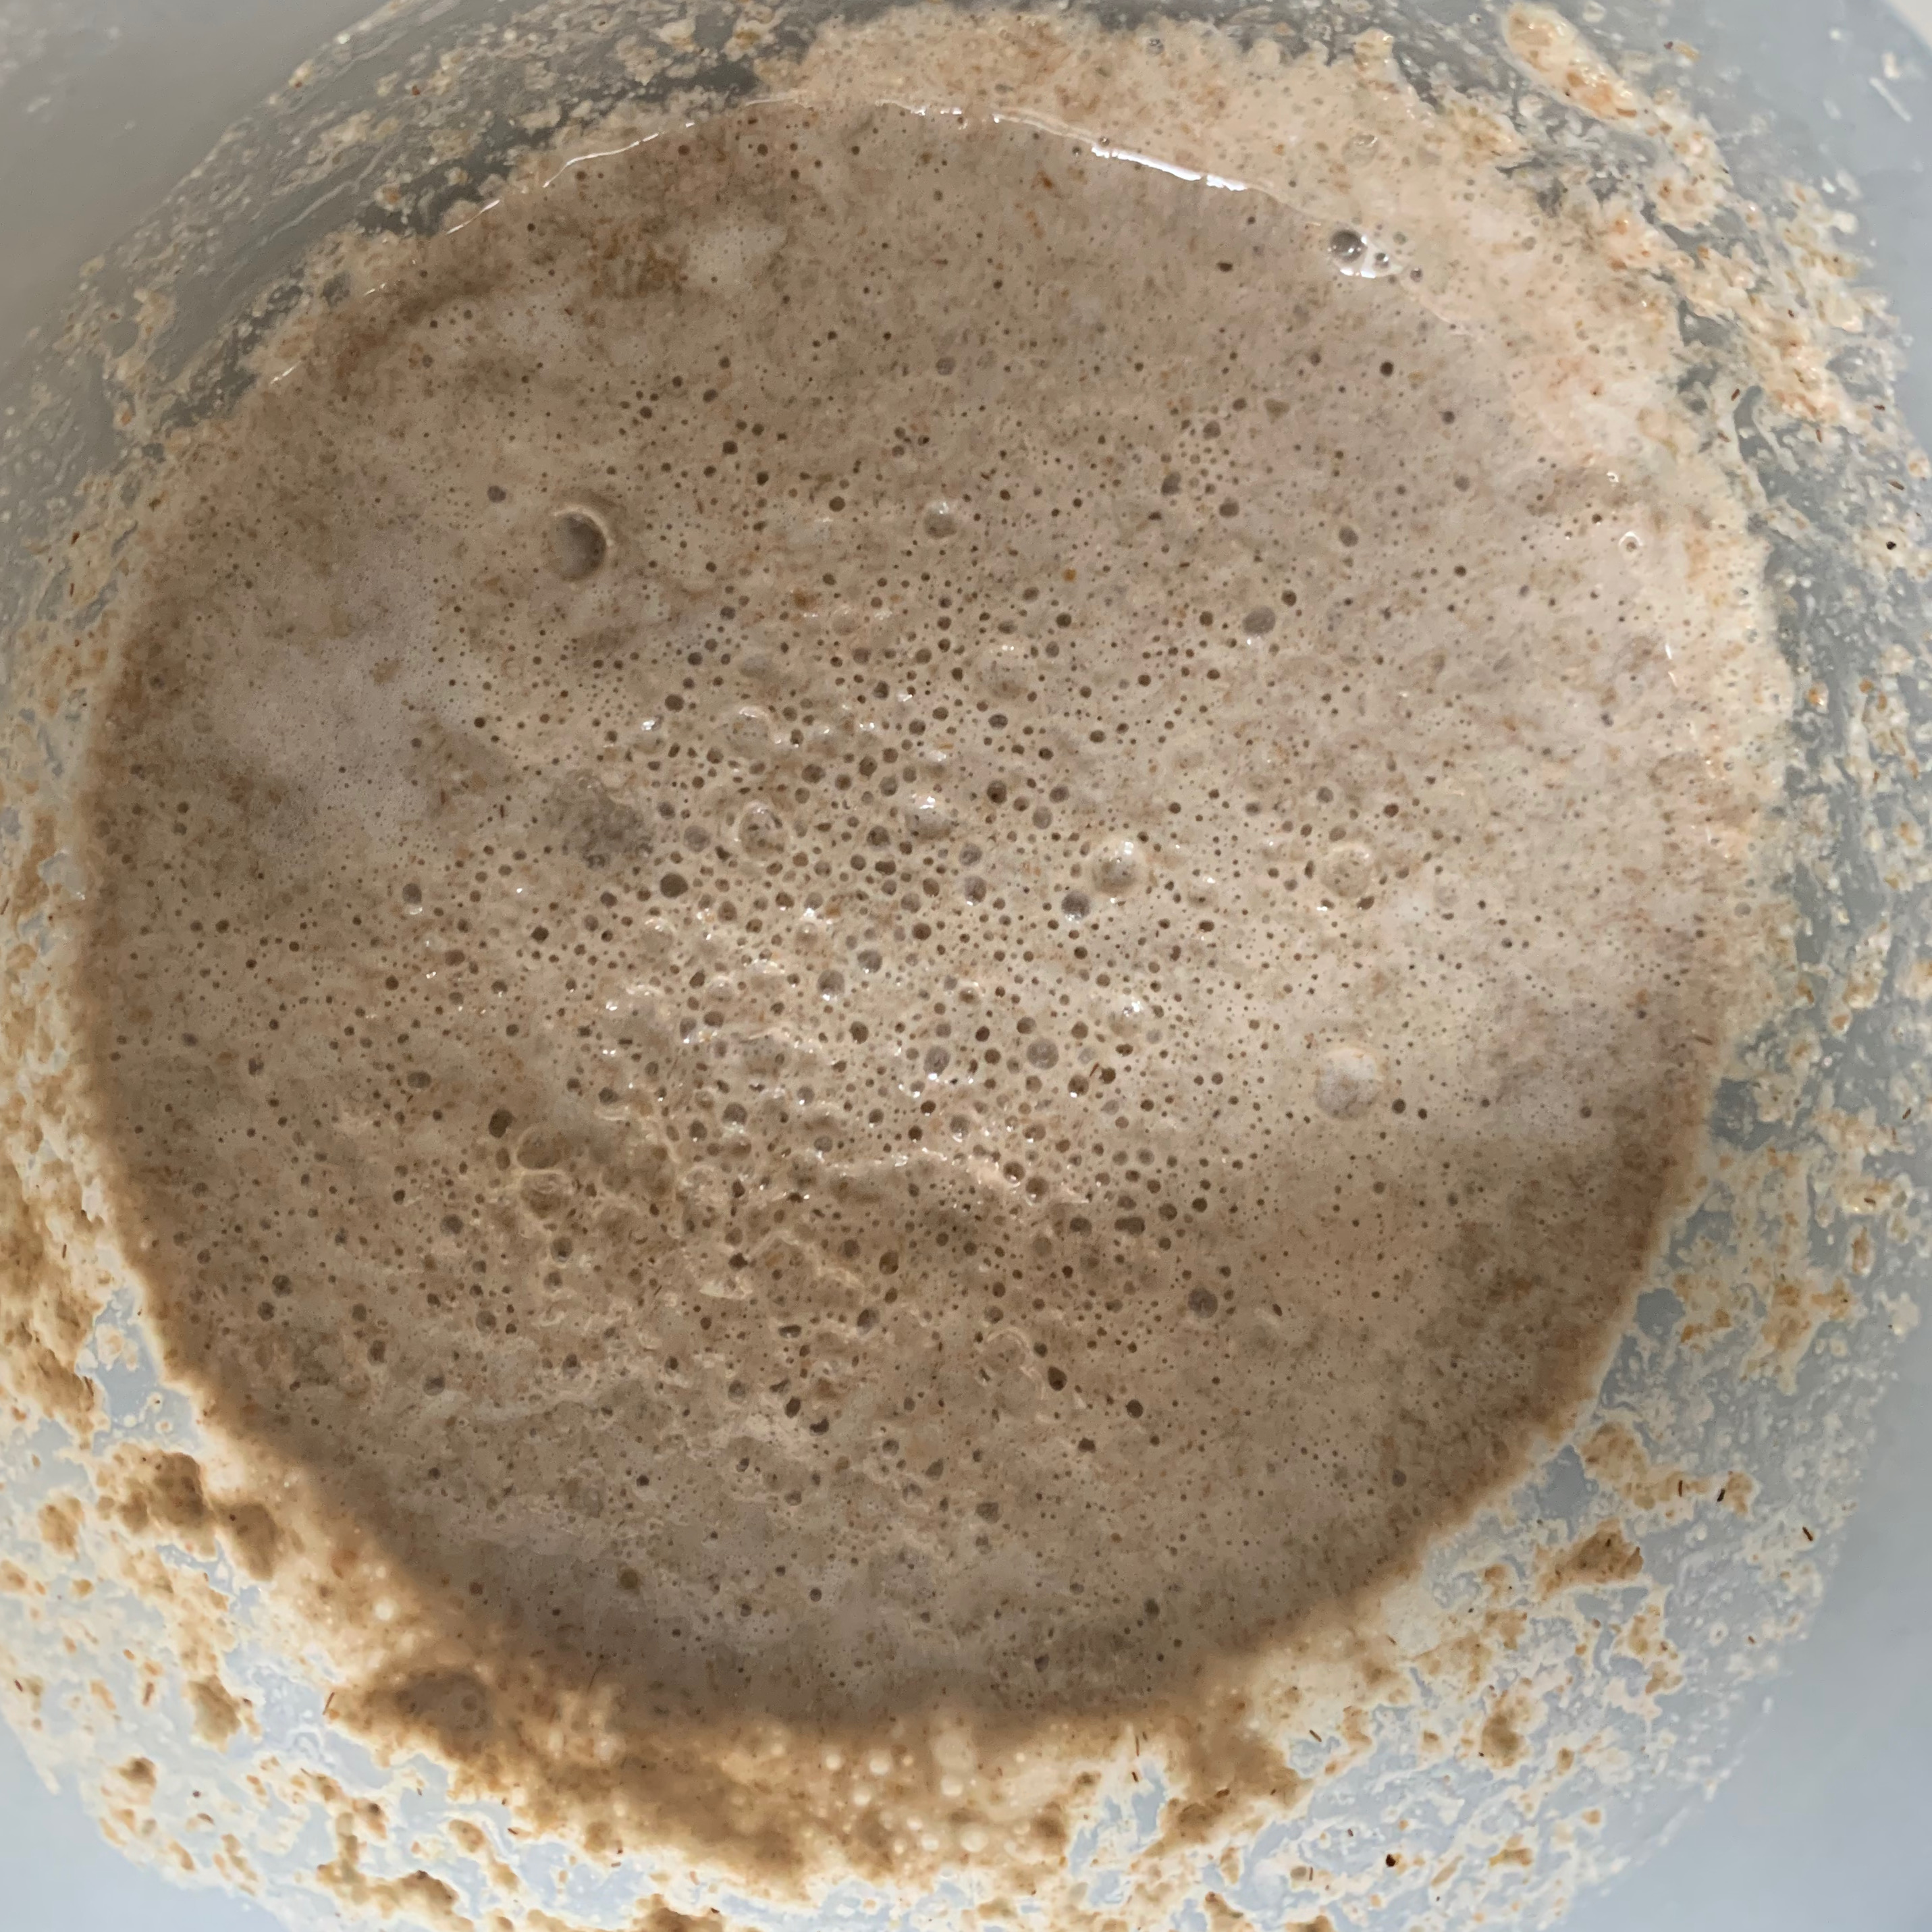
- Make the production sourdough: mix the sourdough starter with the rye flour and the cold/tepid water. Cover and leave at room temperature. (Don’t forget to refresh your starter).
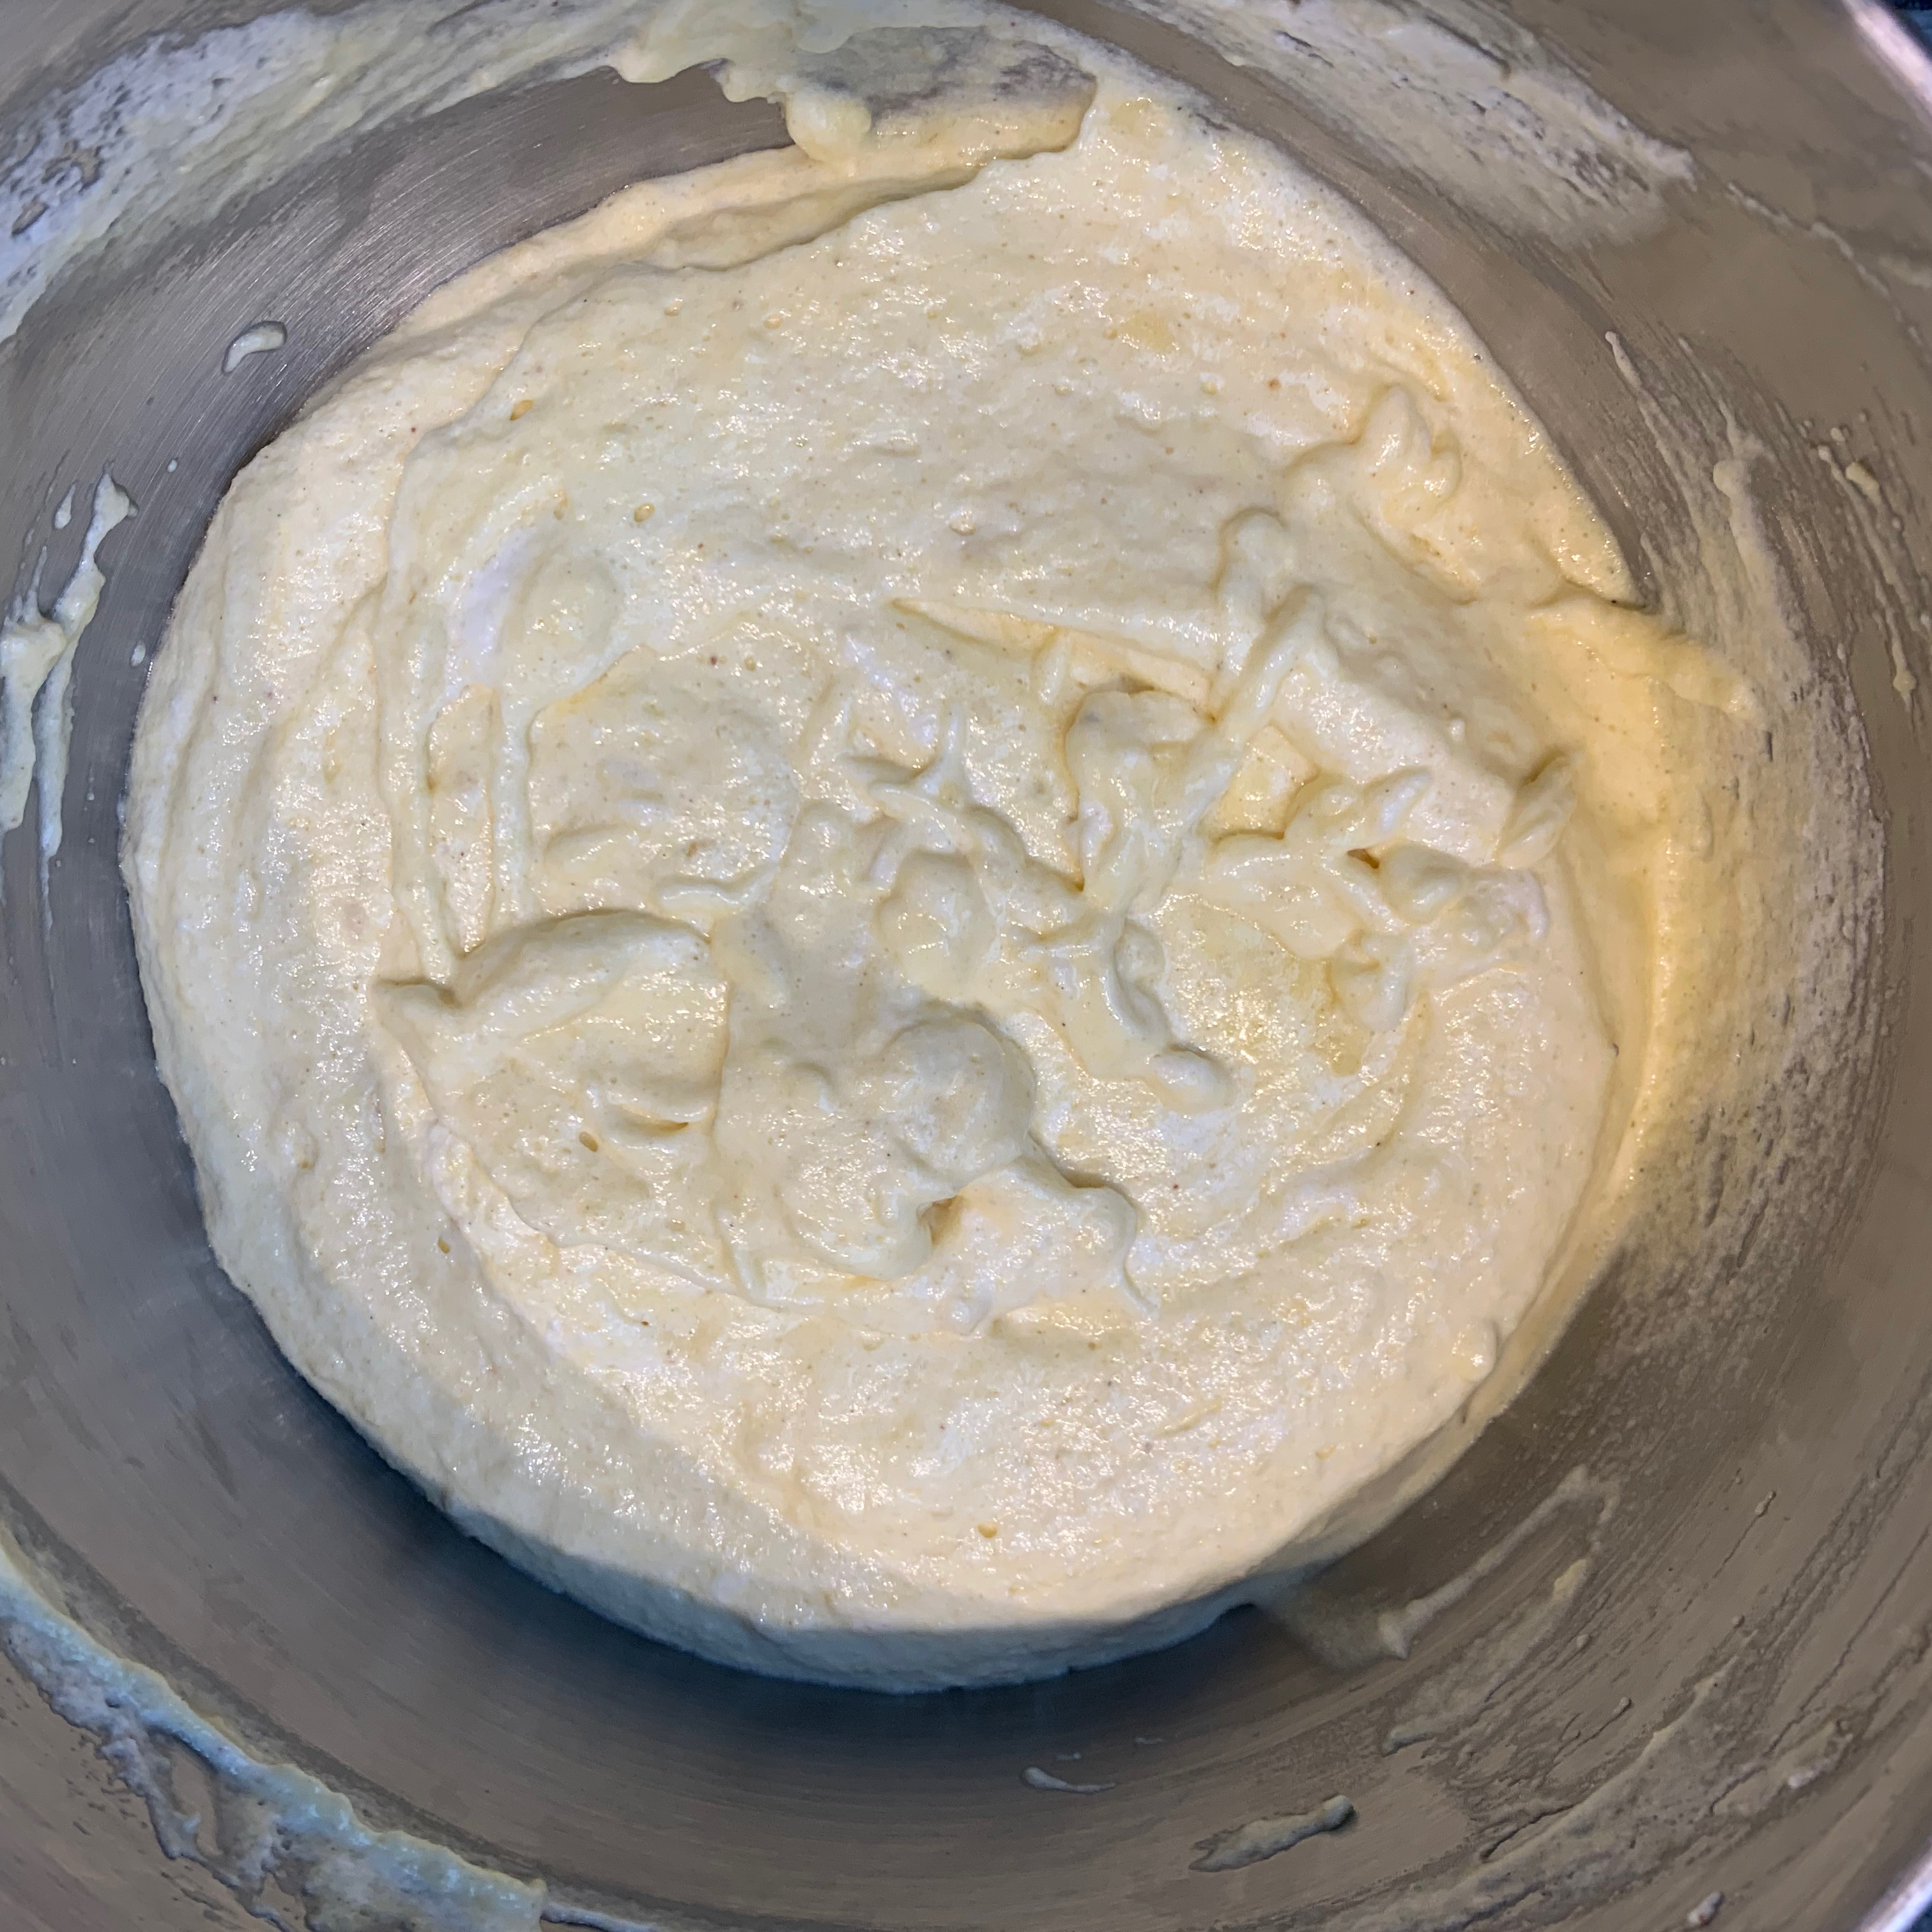
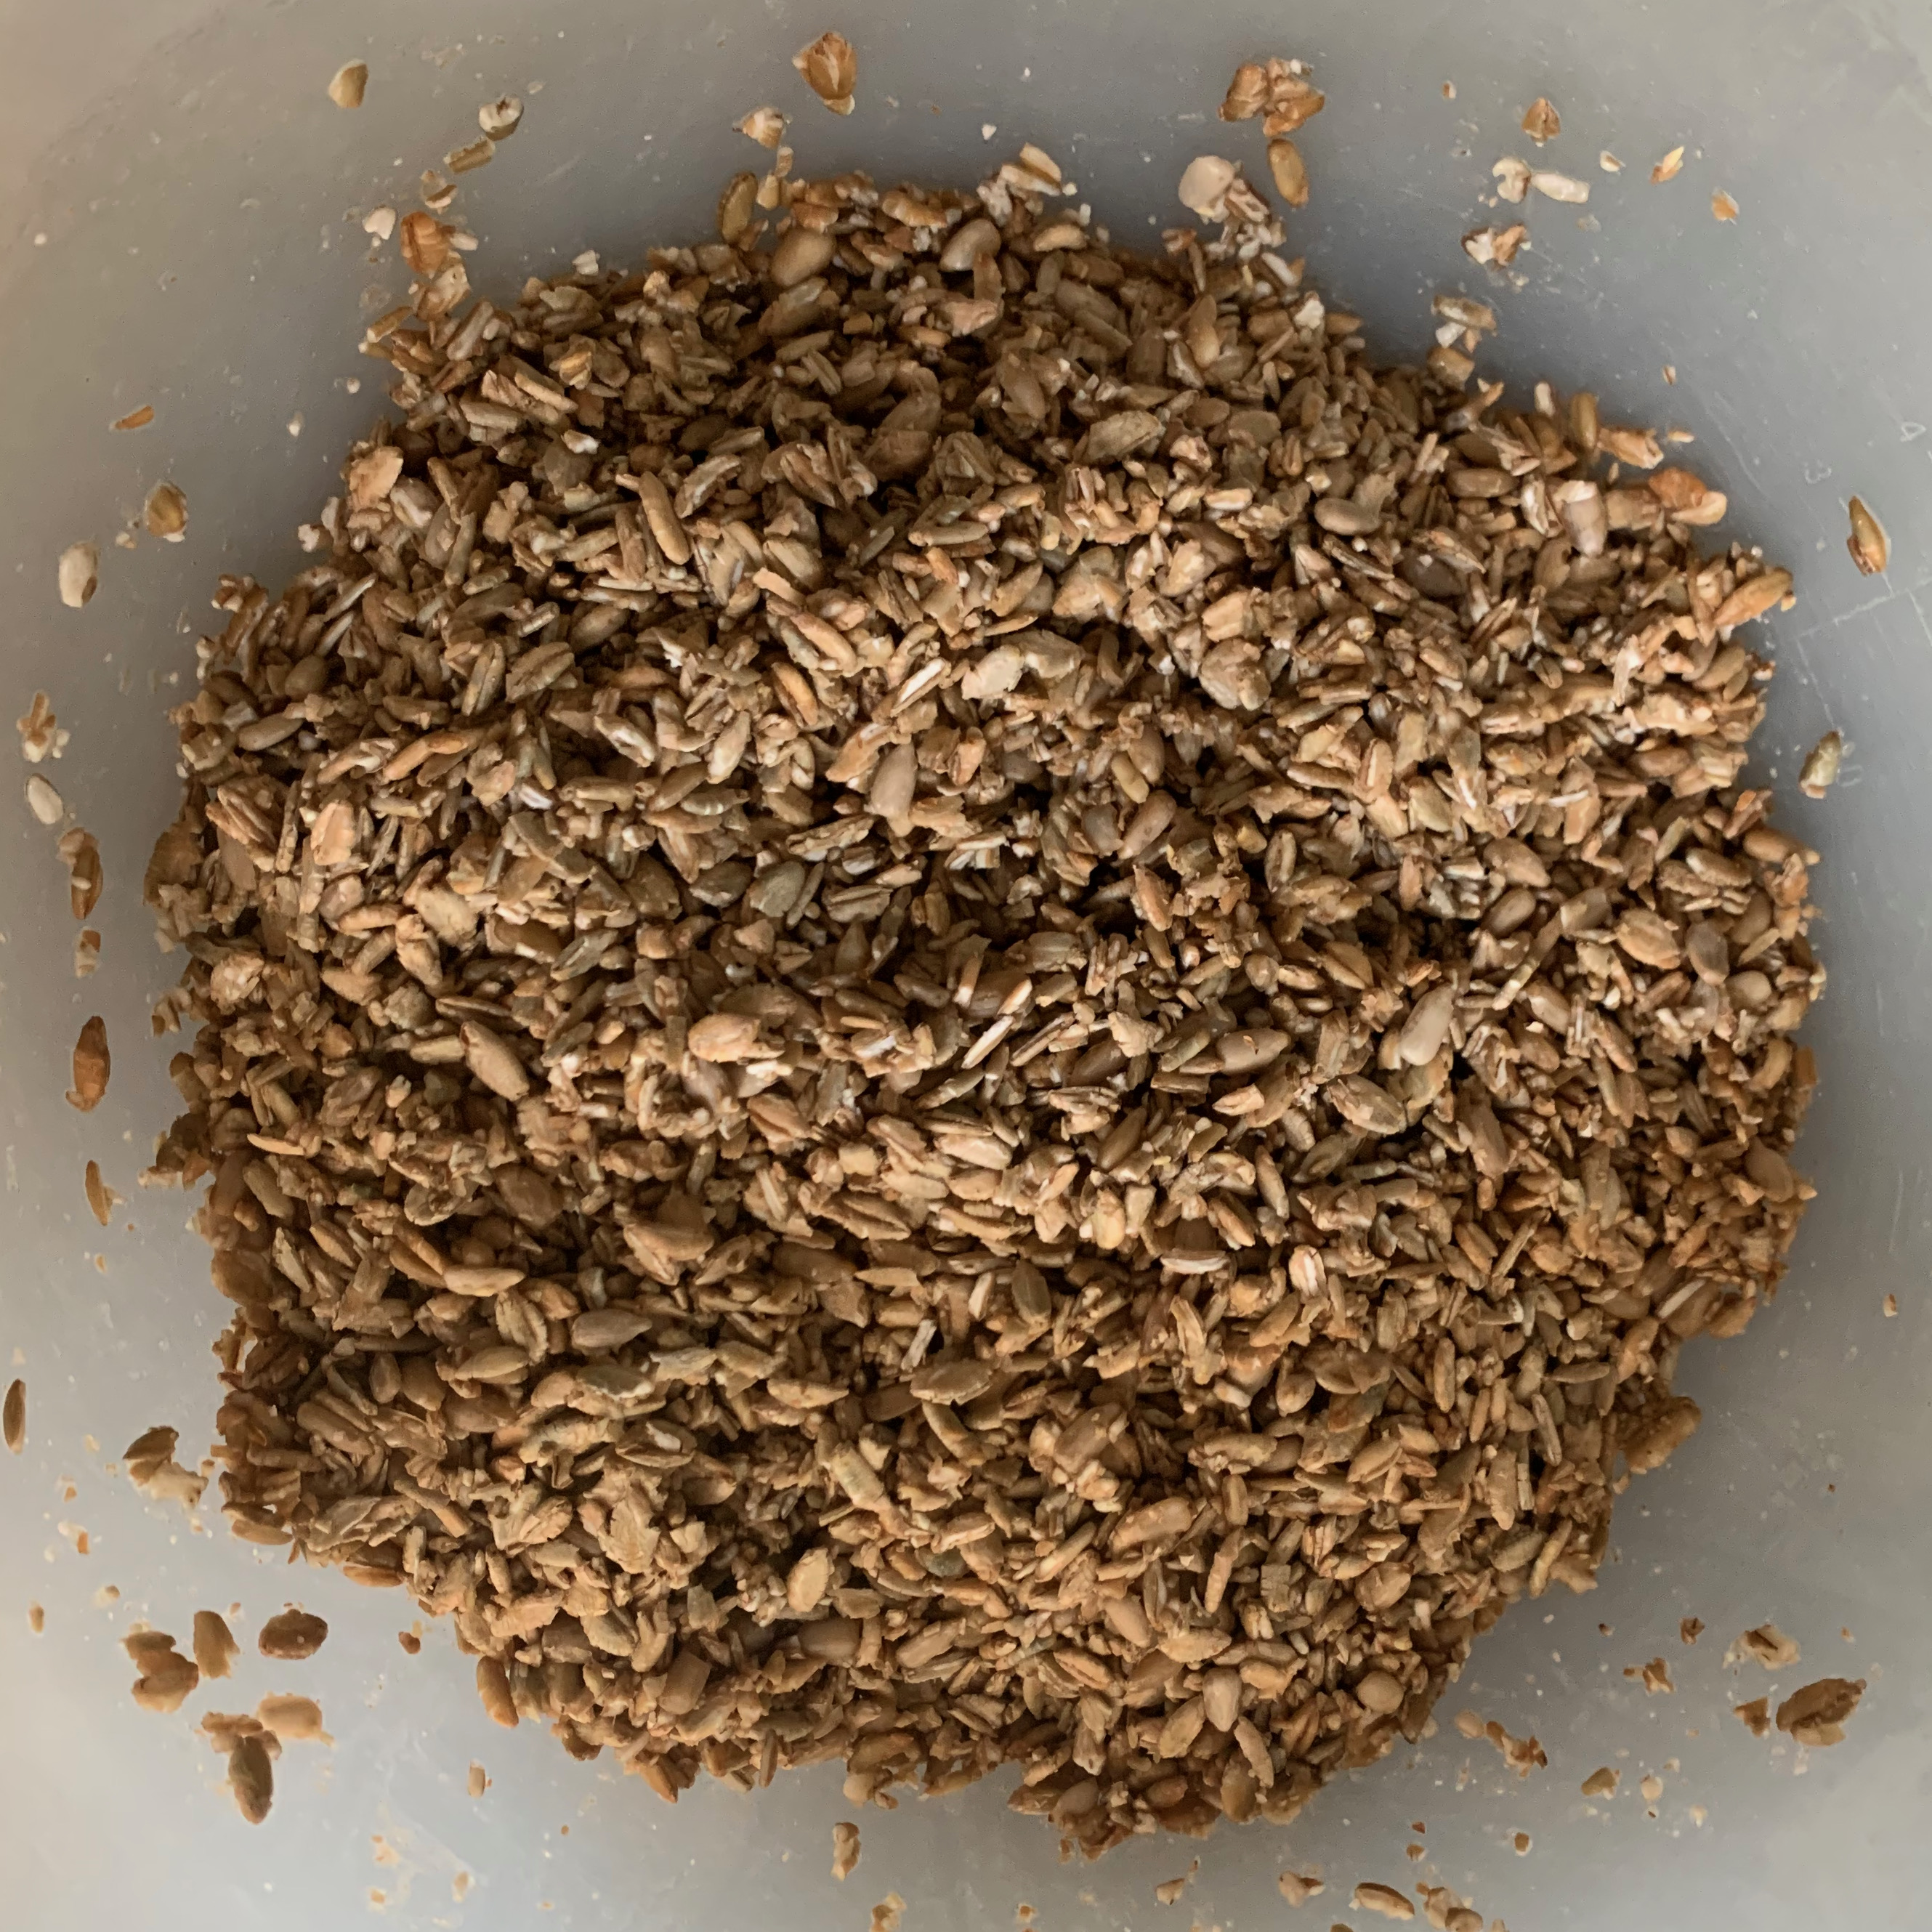
- Meanwhile, make the main seed mix. Take 300g of the rye flakes and blitz them in a food processor for a minute or two until you have extremely coarse meal. Just how long you blitz for is up to you: next time, I would probably go a little finer than my first attempt than what you see here in the photos.
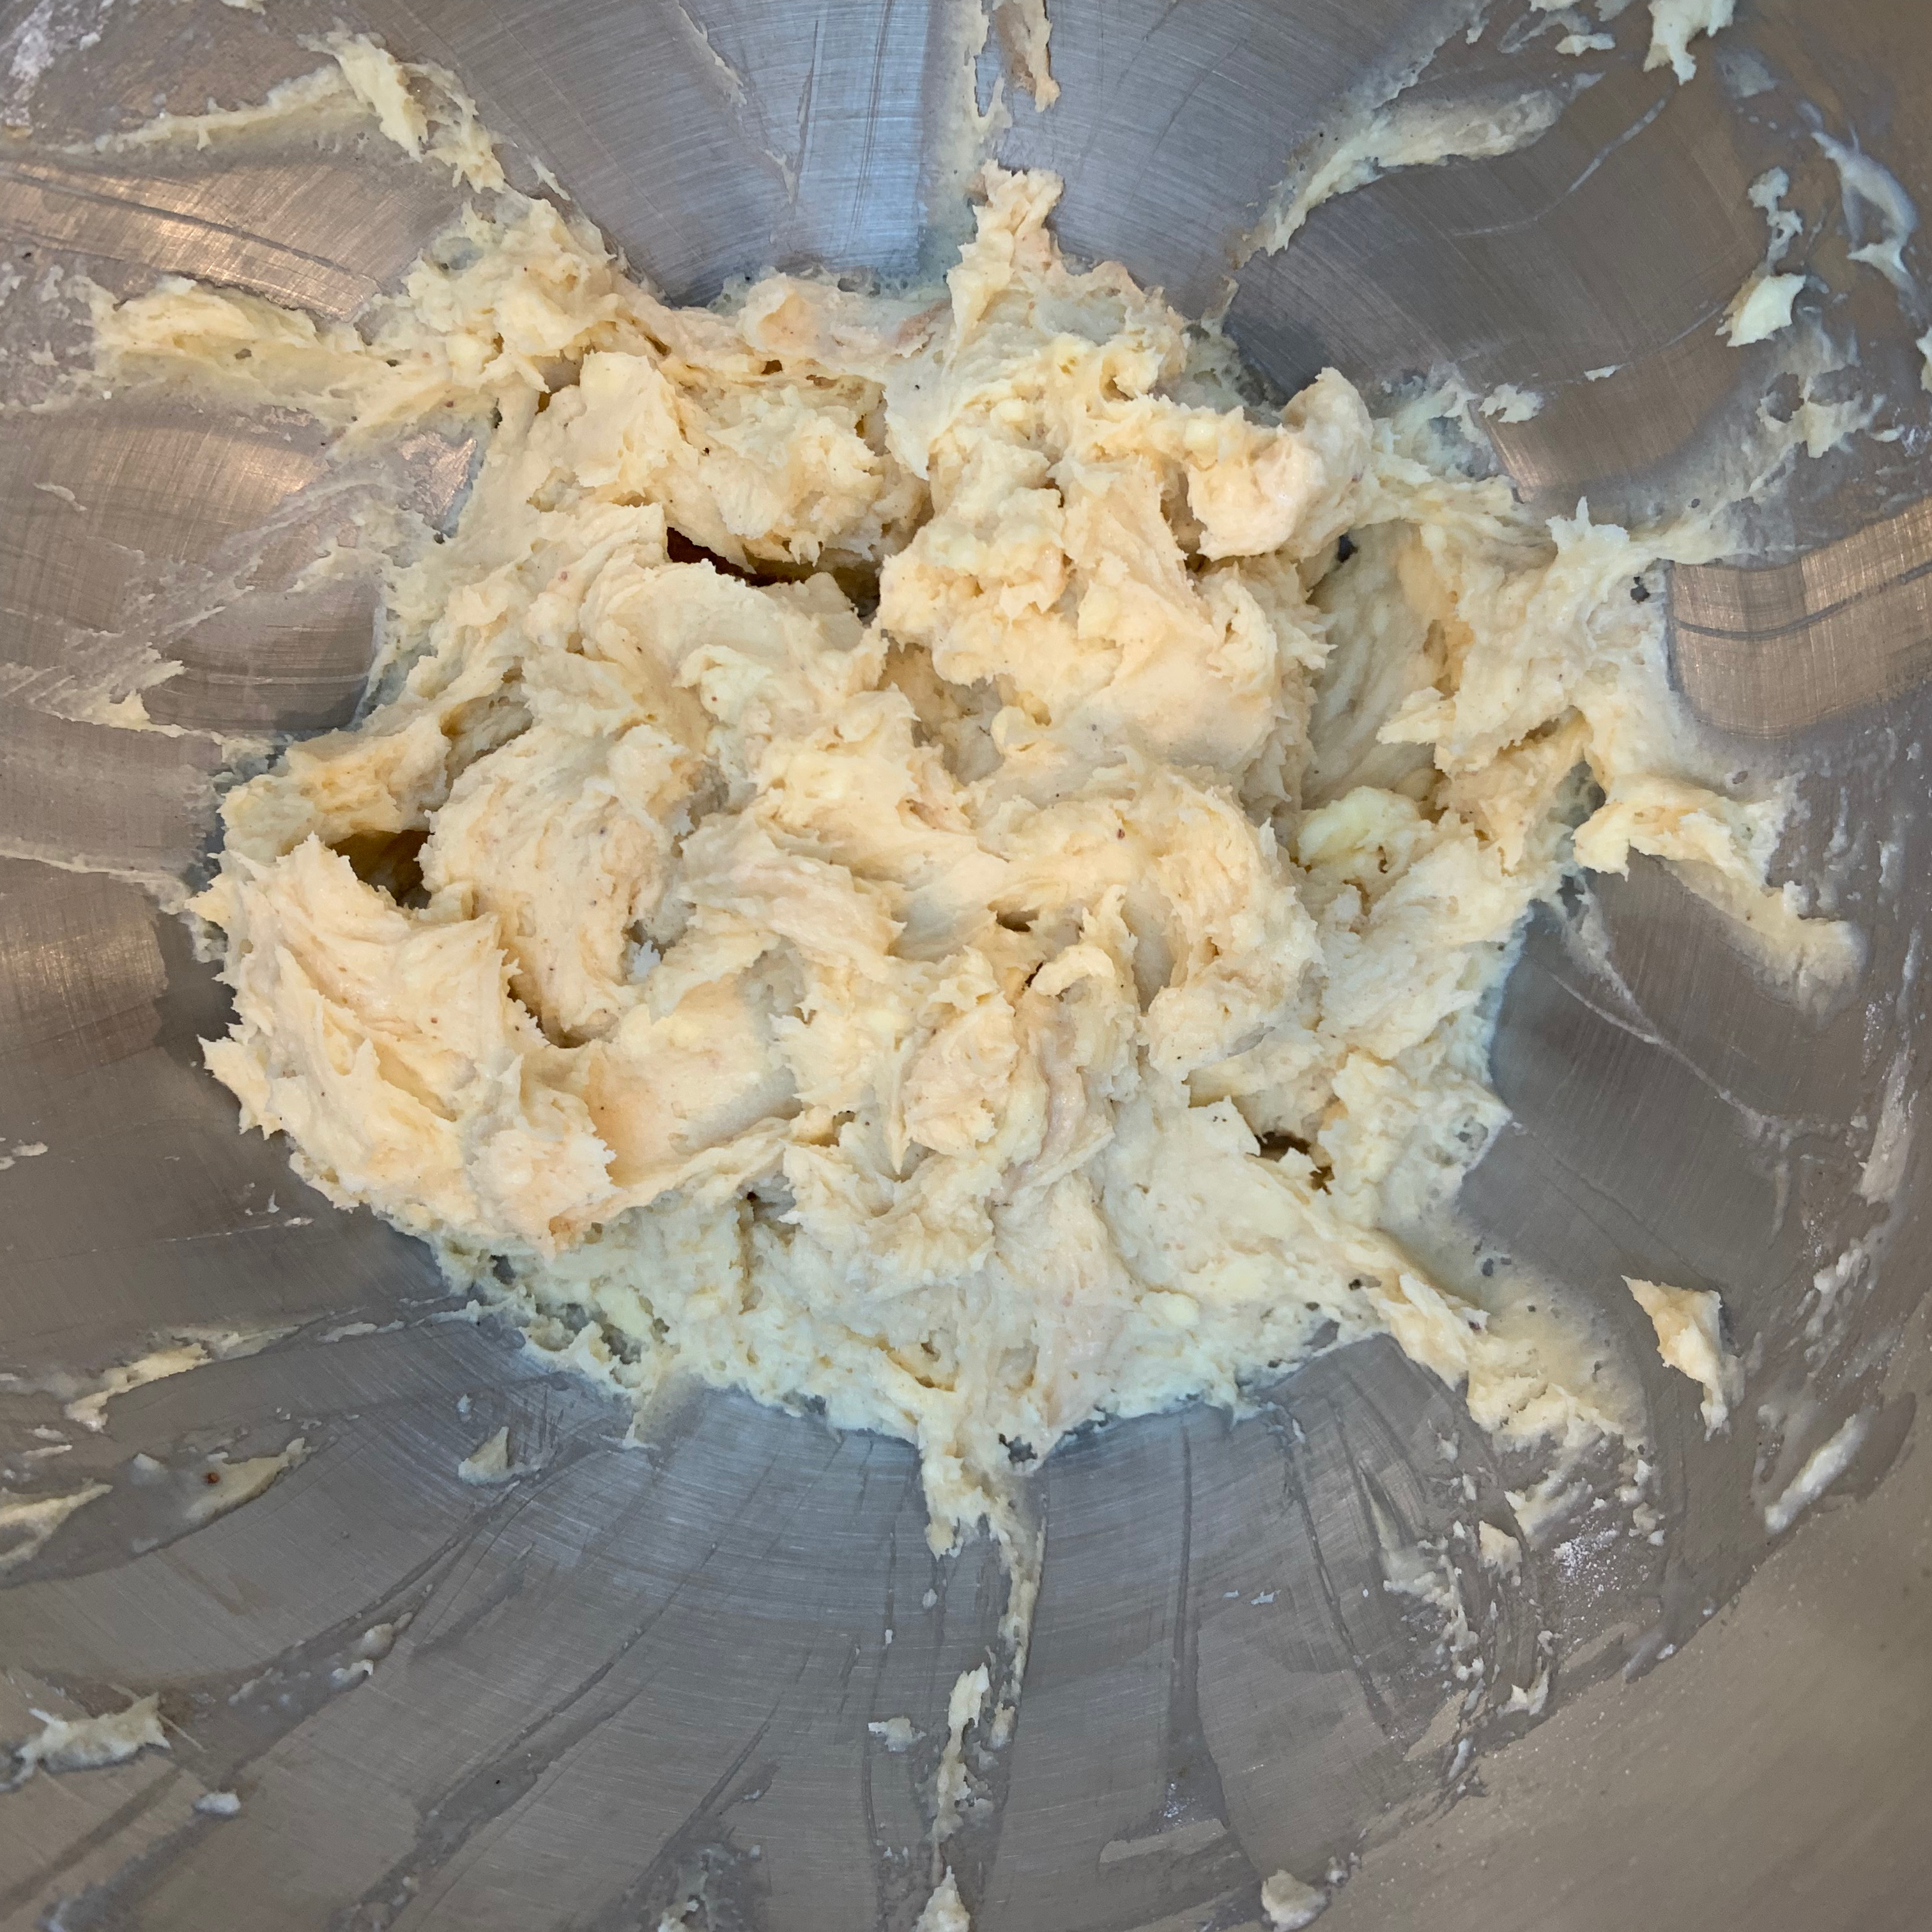
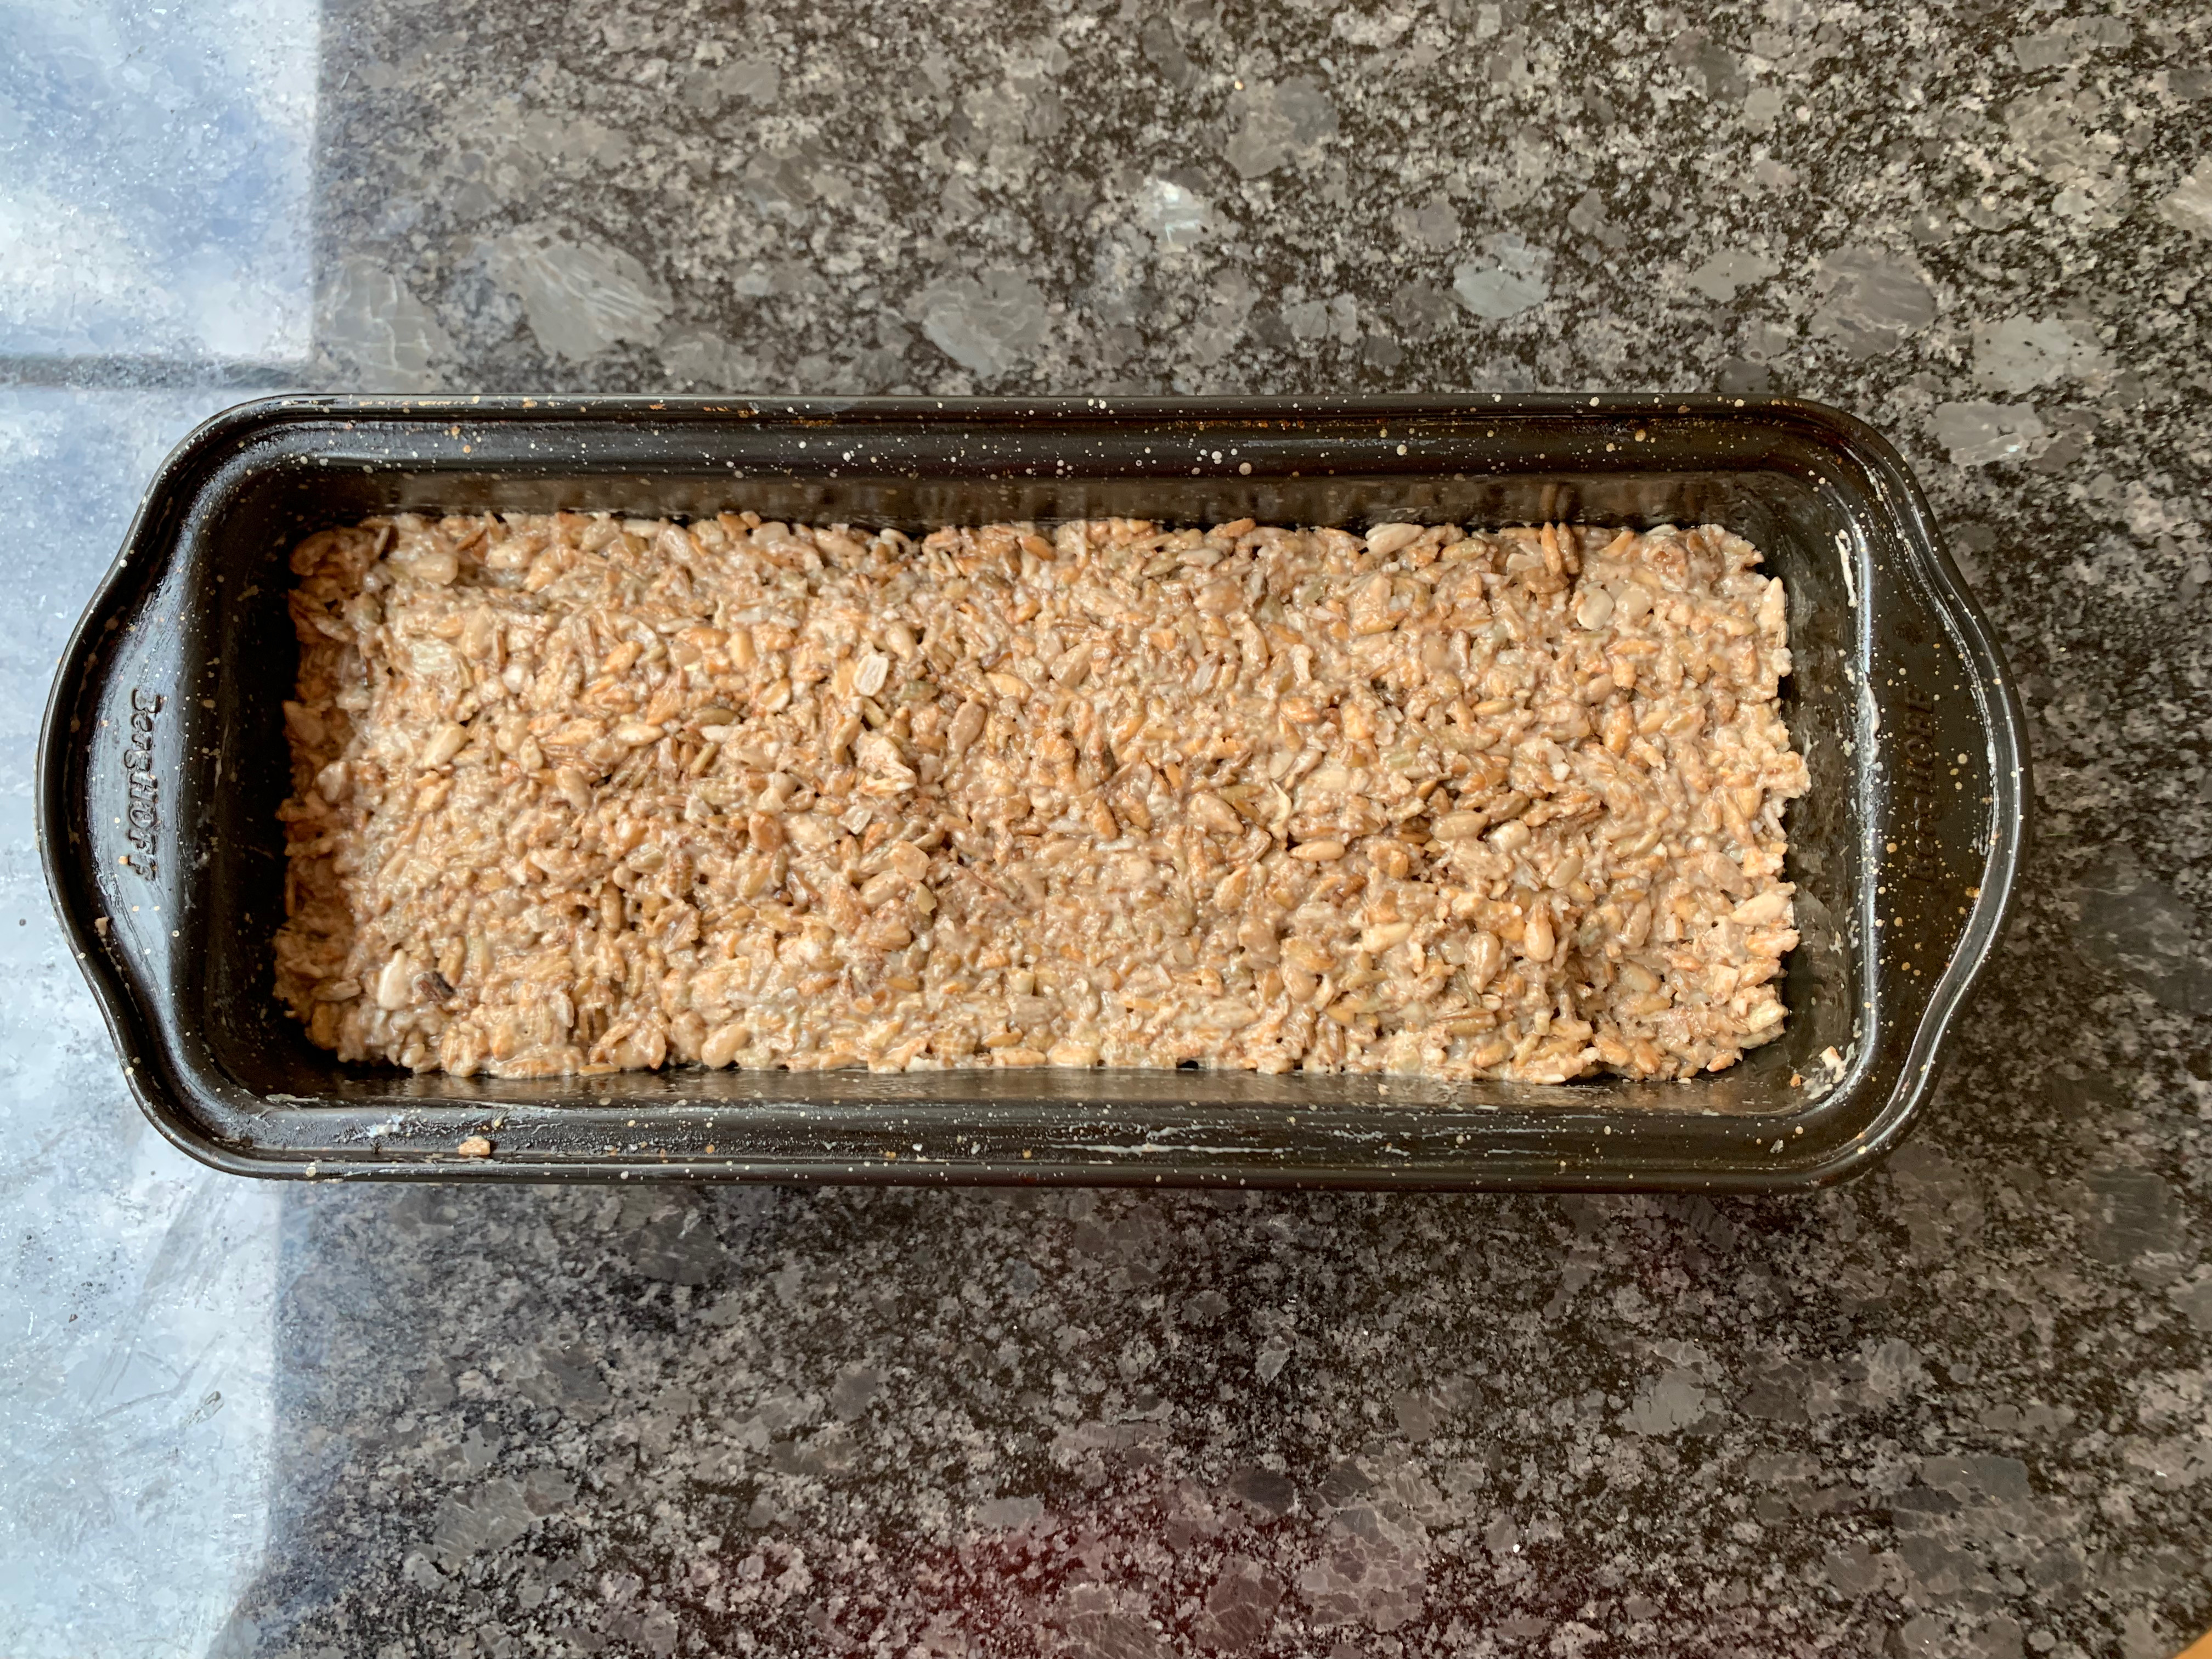
- Add the remaining re flakes, the sunflower seeds and the boiling water. Mix thoroughly (the texture will be something of a sludge). Cover.
- Leave both mixtures at room temperature for 16 hours or more.

Production sourdough 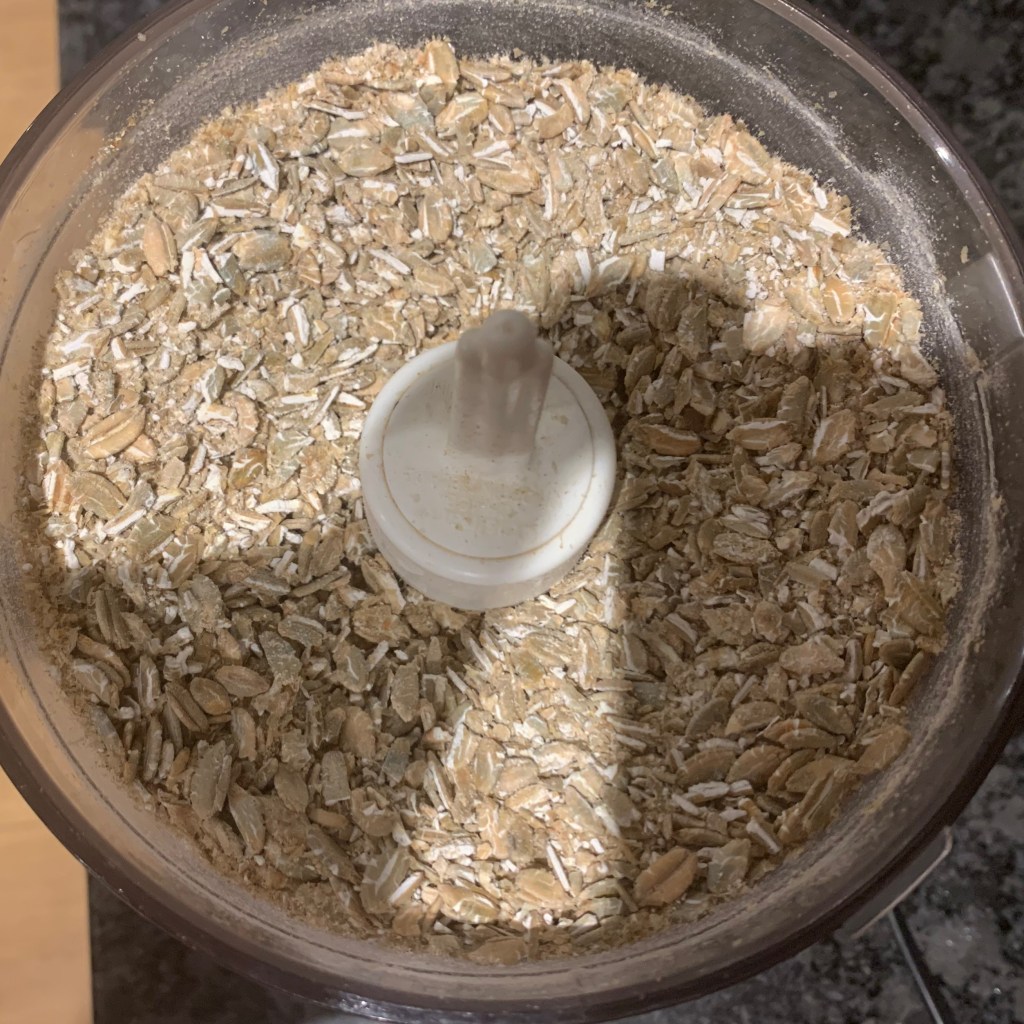
Rye flakes after milling (should have done more) 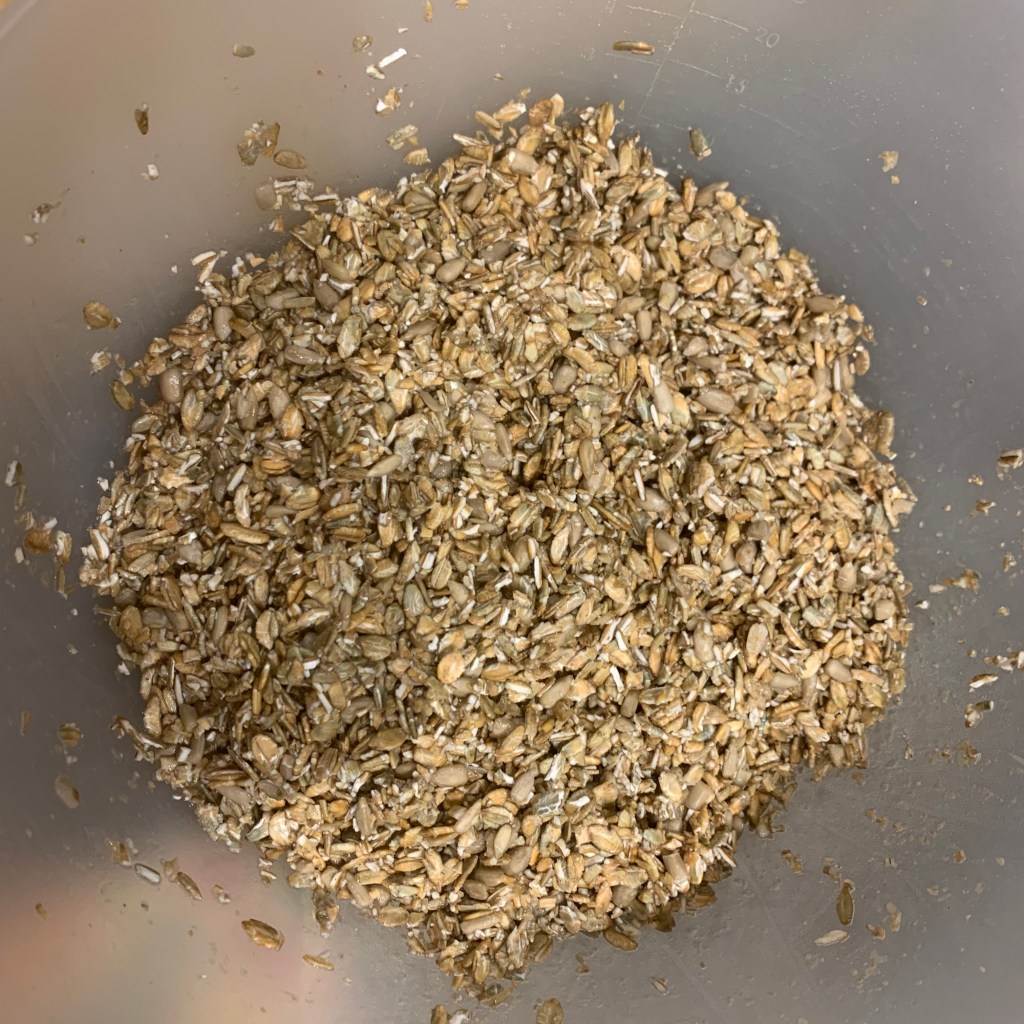
Seed mix


Day 2 – get the bread into the oven
- Sunflower or other neutral oil for greasing
- 10-20g salt. I used 10g of sea salt, which wasn’t enough; I’ll be going for 20g next time. It seems to me that if you use conventional rock salt, you need less.
- Preheat oven to 160℃ conventional
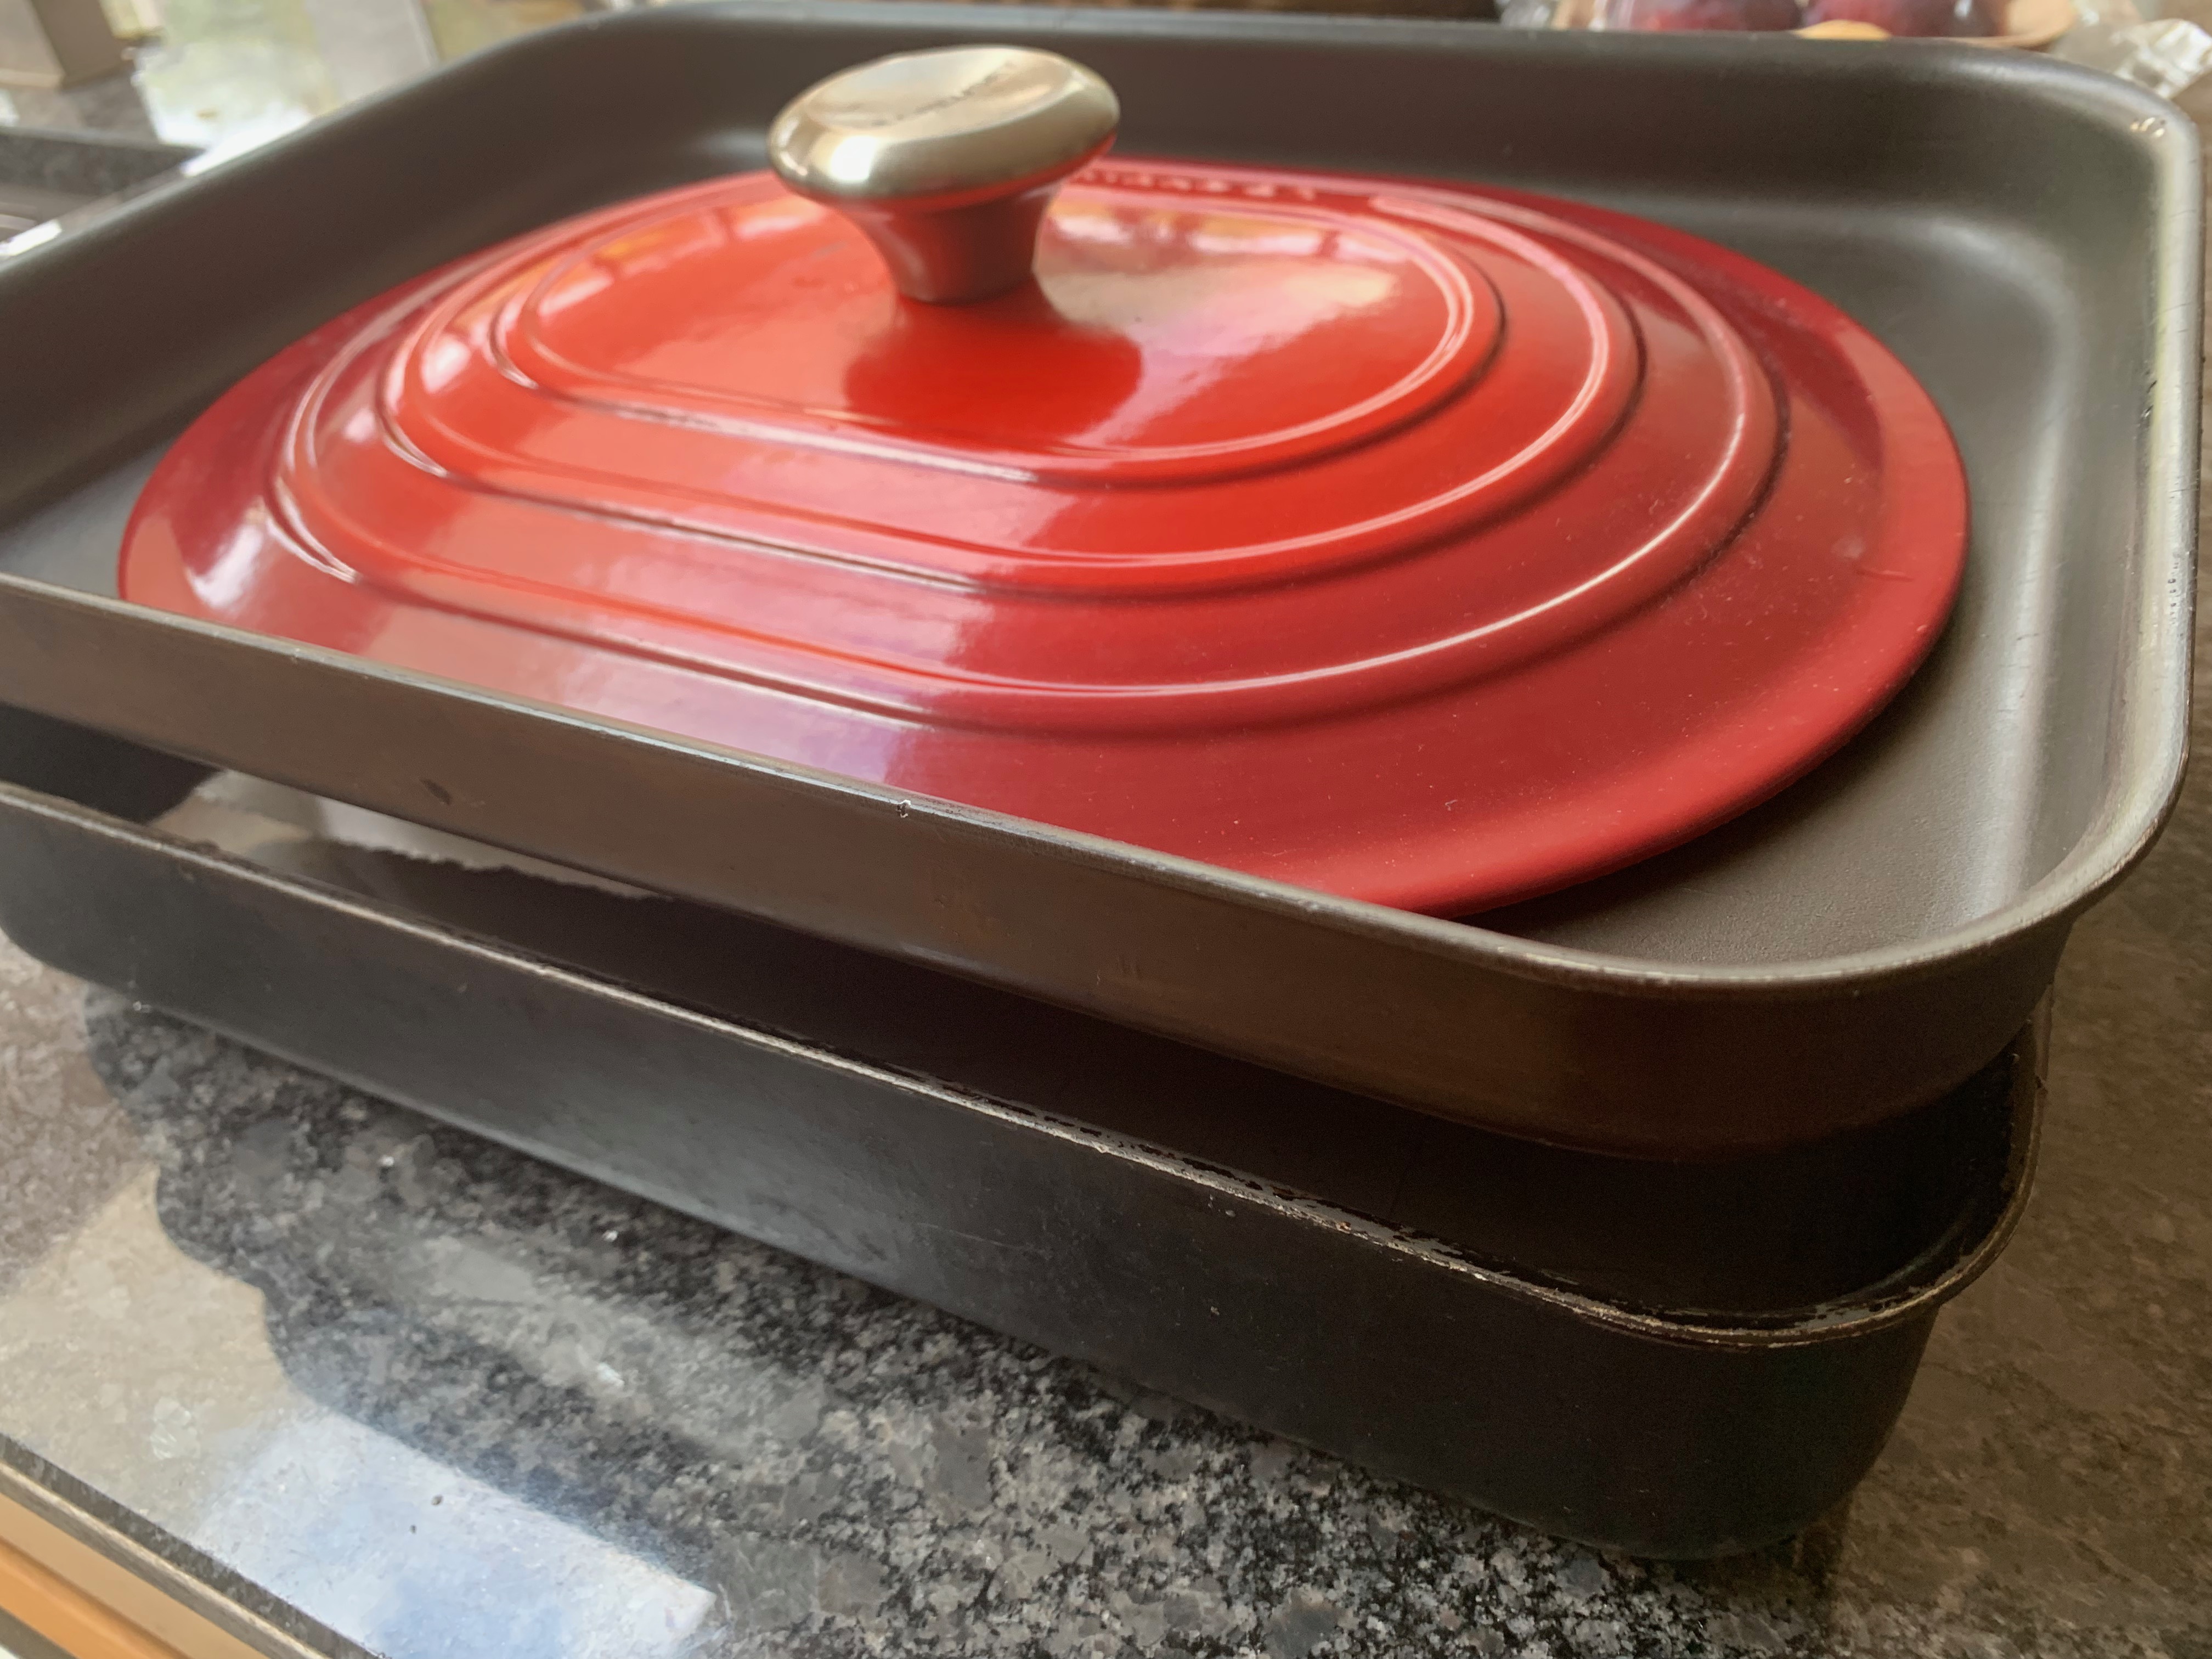
- Choose a loaf tin: the quantities above were about right for a xx tin. It’s ideal to use a loaf tin with a lid (a “Pullman tin”); if you don’t have one, you’ll be having to improvise a lid with a layer of baking paper, an inverted roasting tray and something heavy to weight it down.
- Combine your two mixtures and the salt, mixing thoroughly. Some recipes suggest that you knead the dough with a dough hook at this point, for 10 minutes or so: personally, I can’t see the point if you’re using an all-rye mixture which isn’t going to form significant amounts of gluten anyway. I did, however, leave it for half an hour.
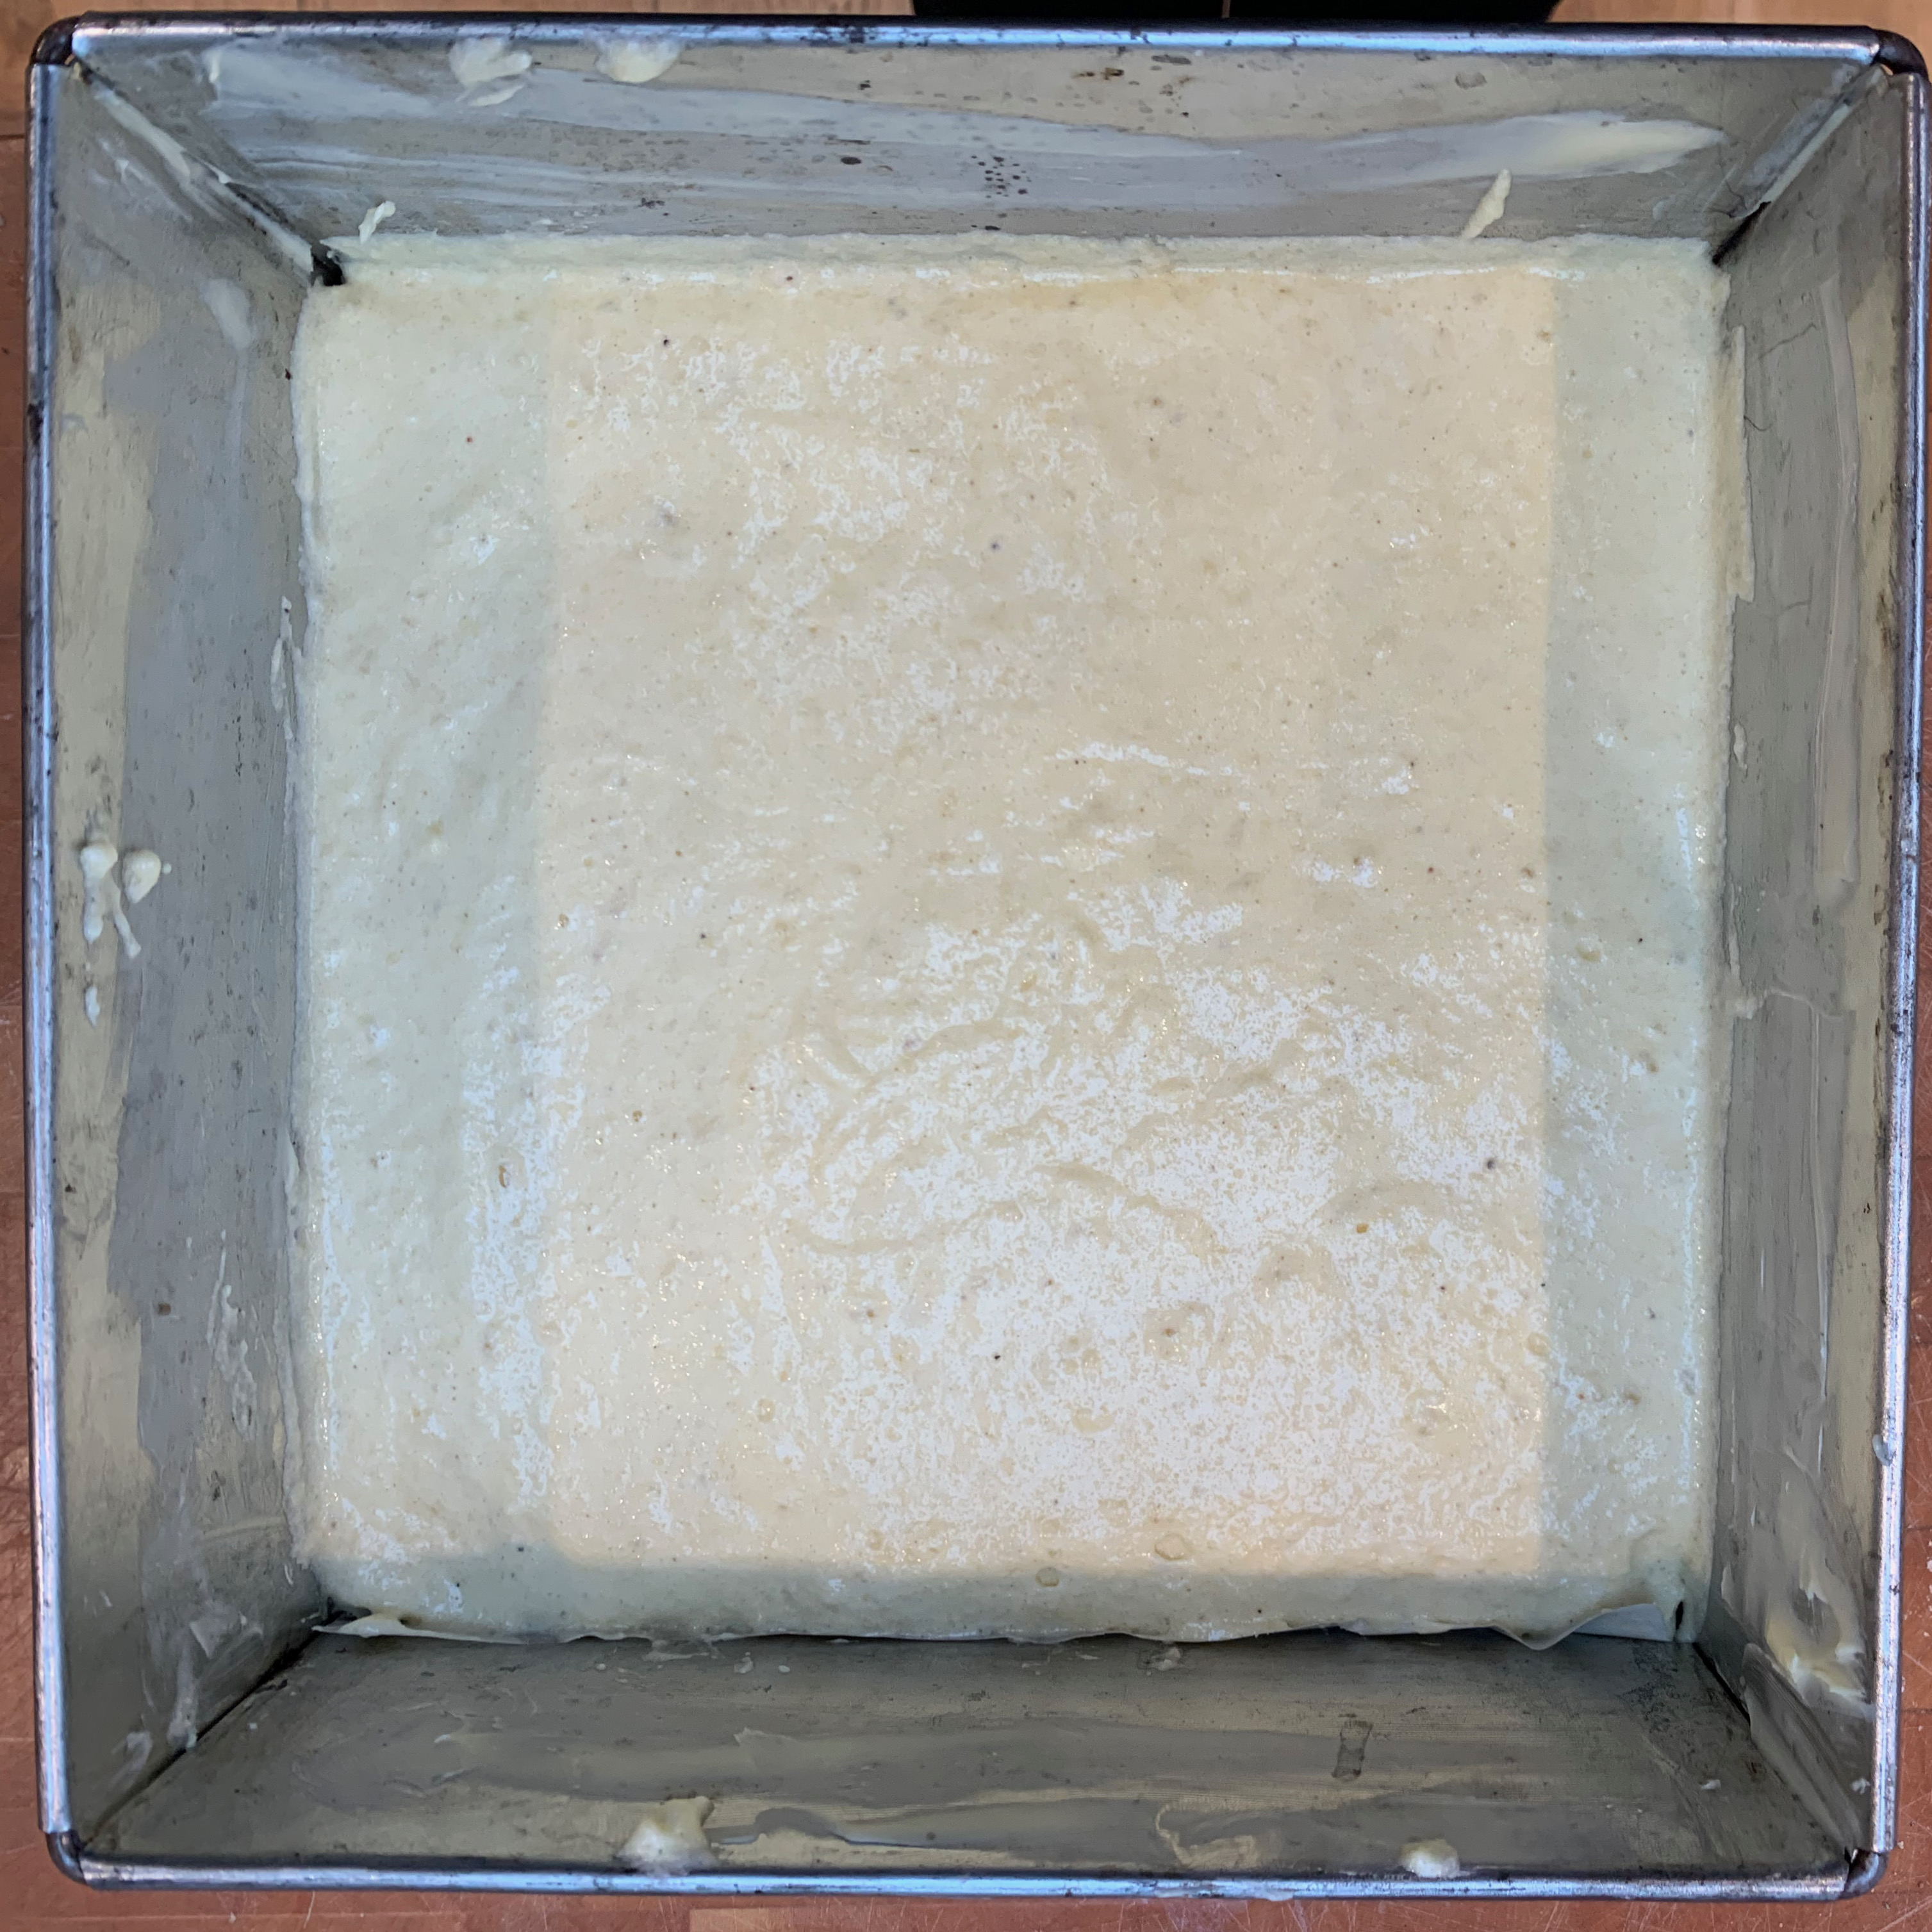
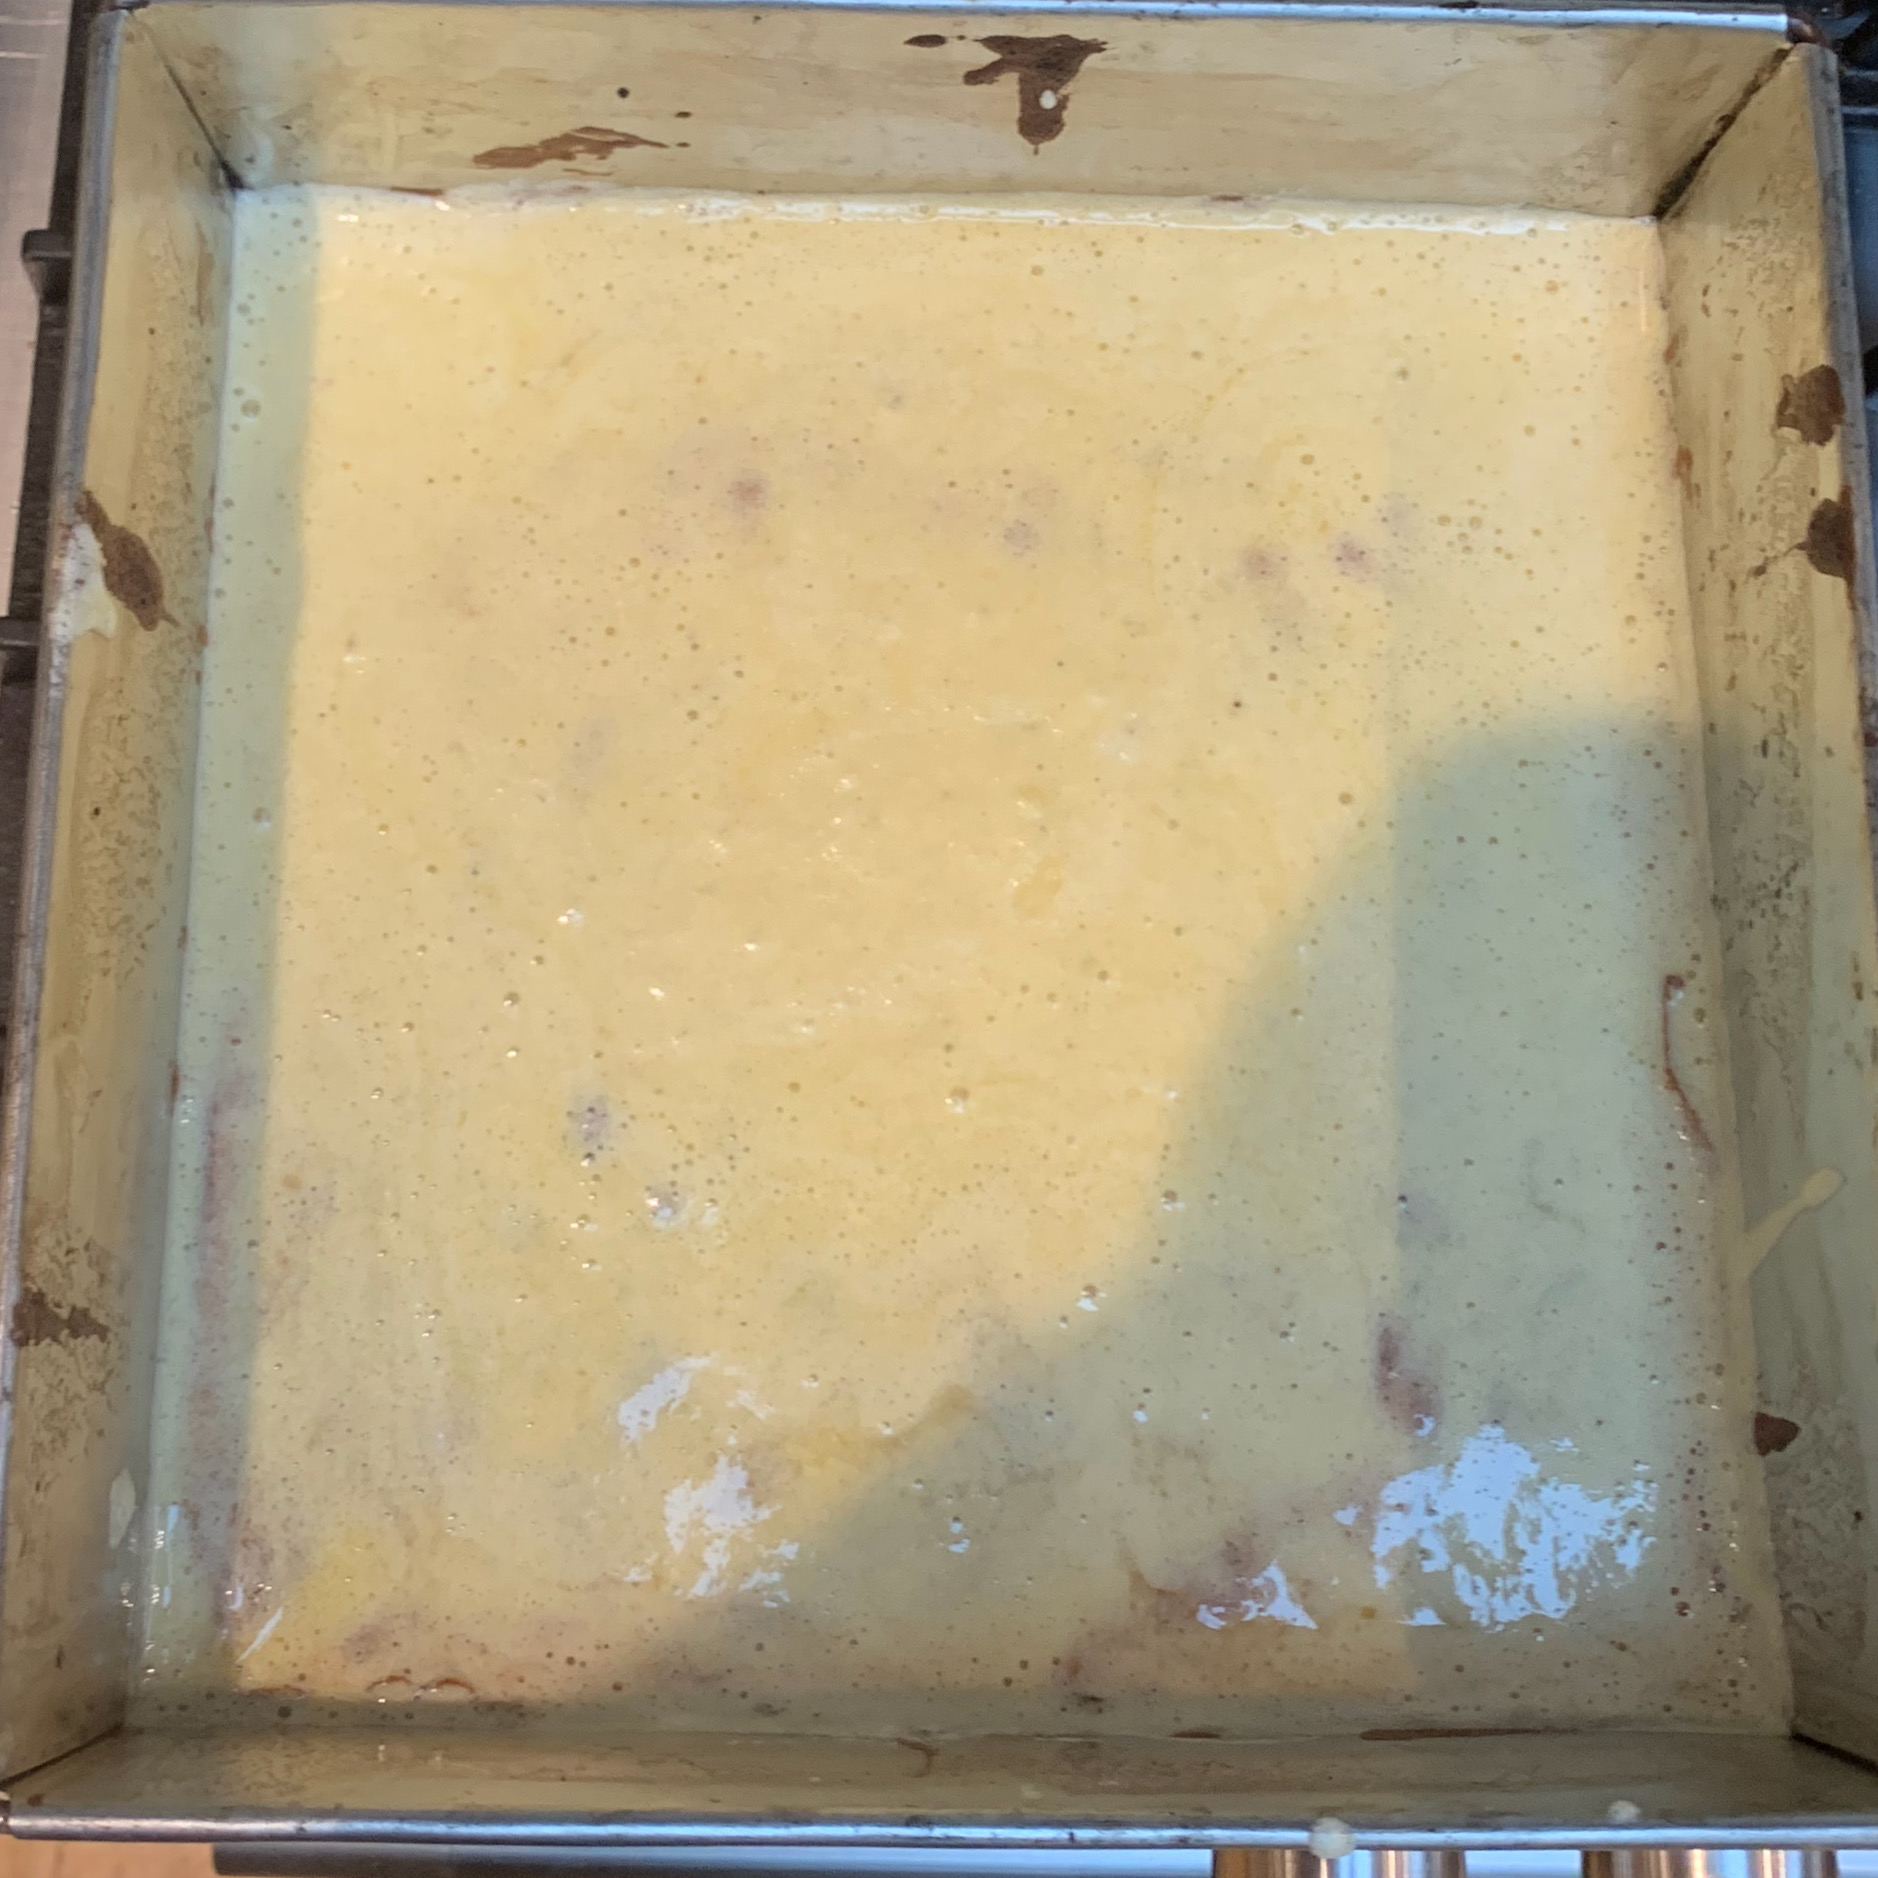
- Grease your loaf tin with oil and pour the dough into it, pressing it into the corners and forming a flat top (which should come up around ⅔ or ¾ of the way to the top).
- Put the tin into a deep-sided pan with water coming up to around half the height of your tin.
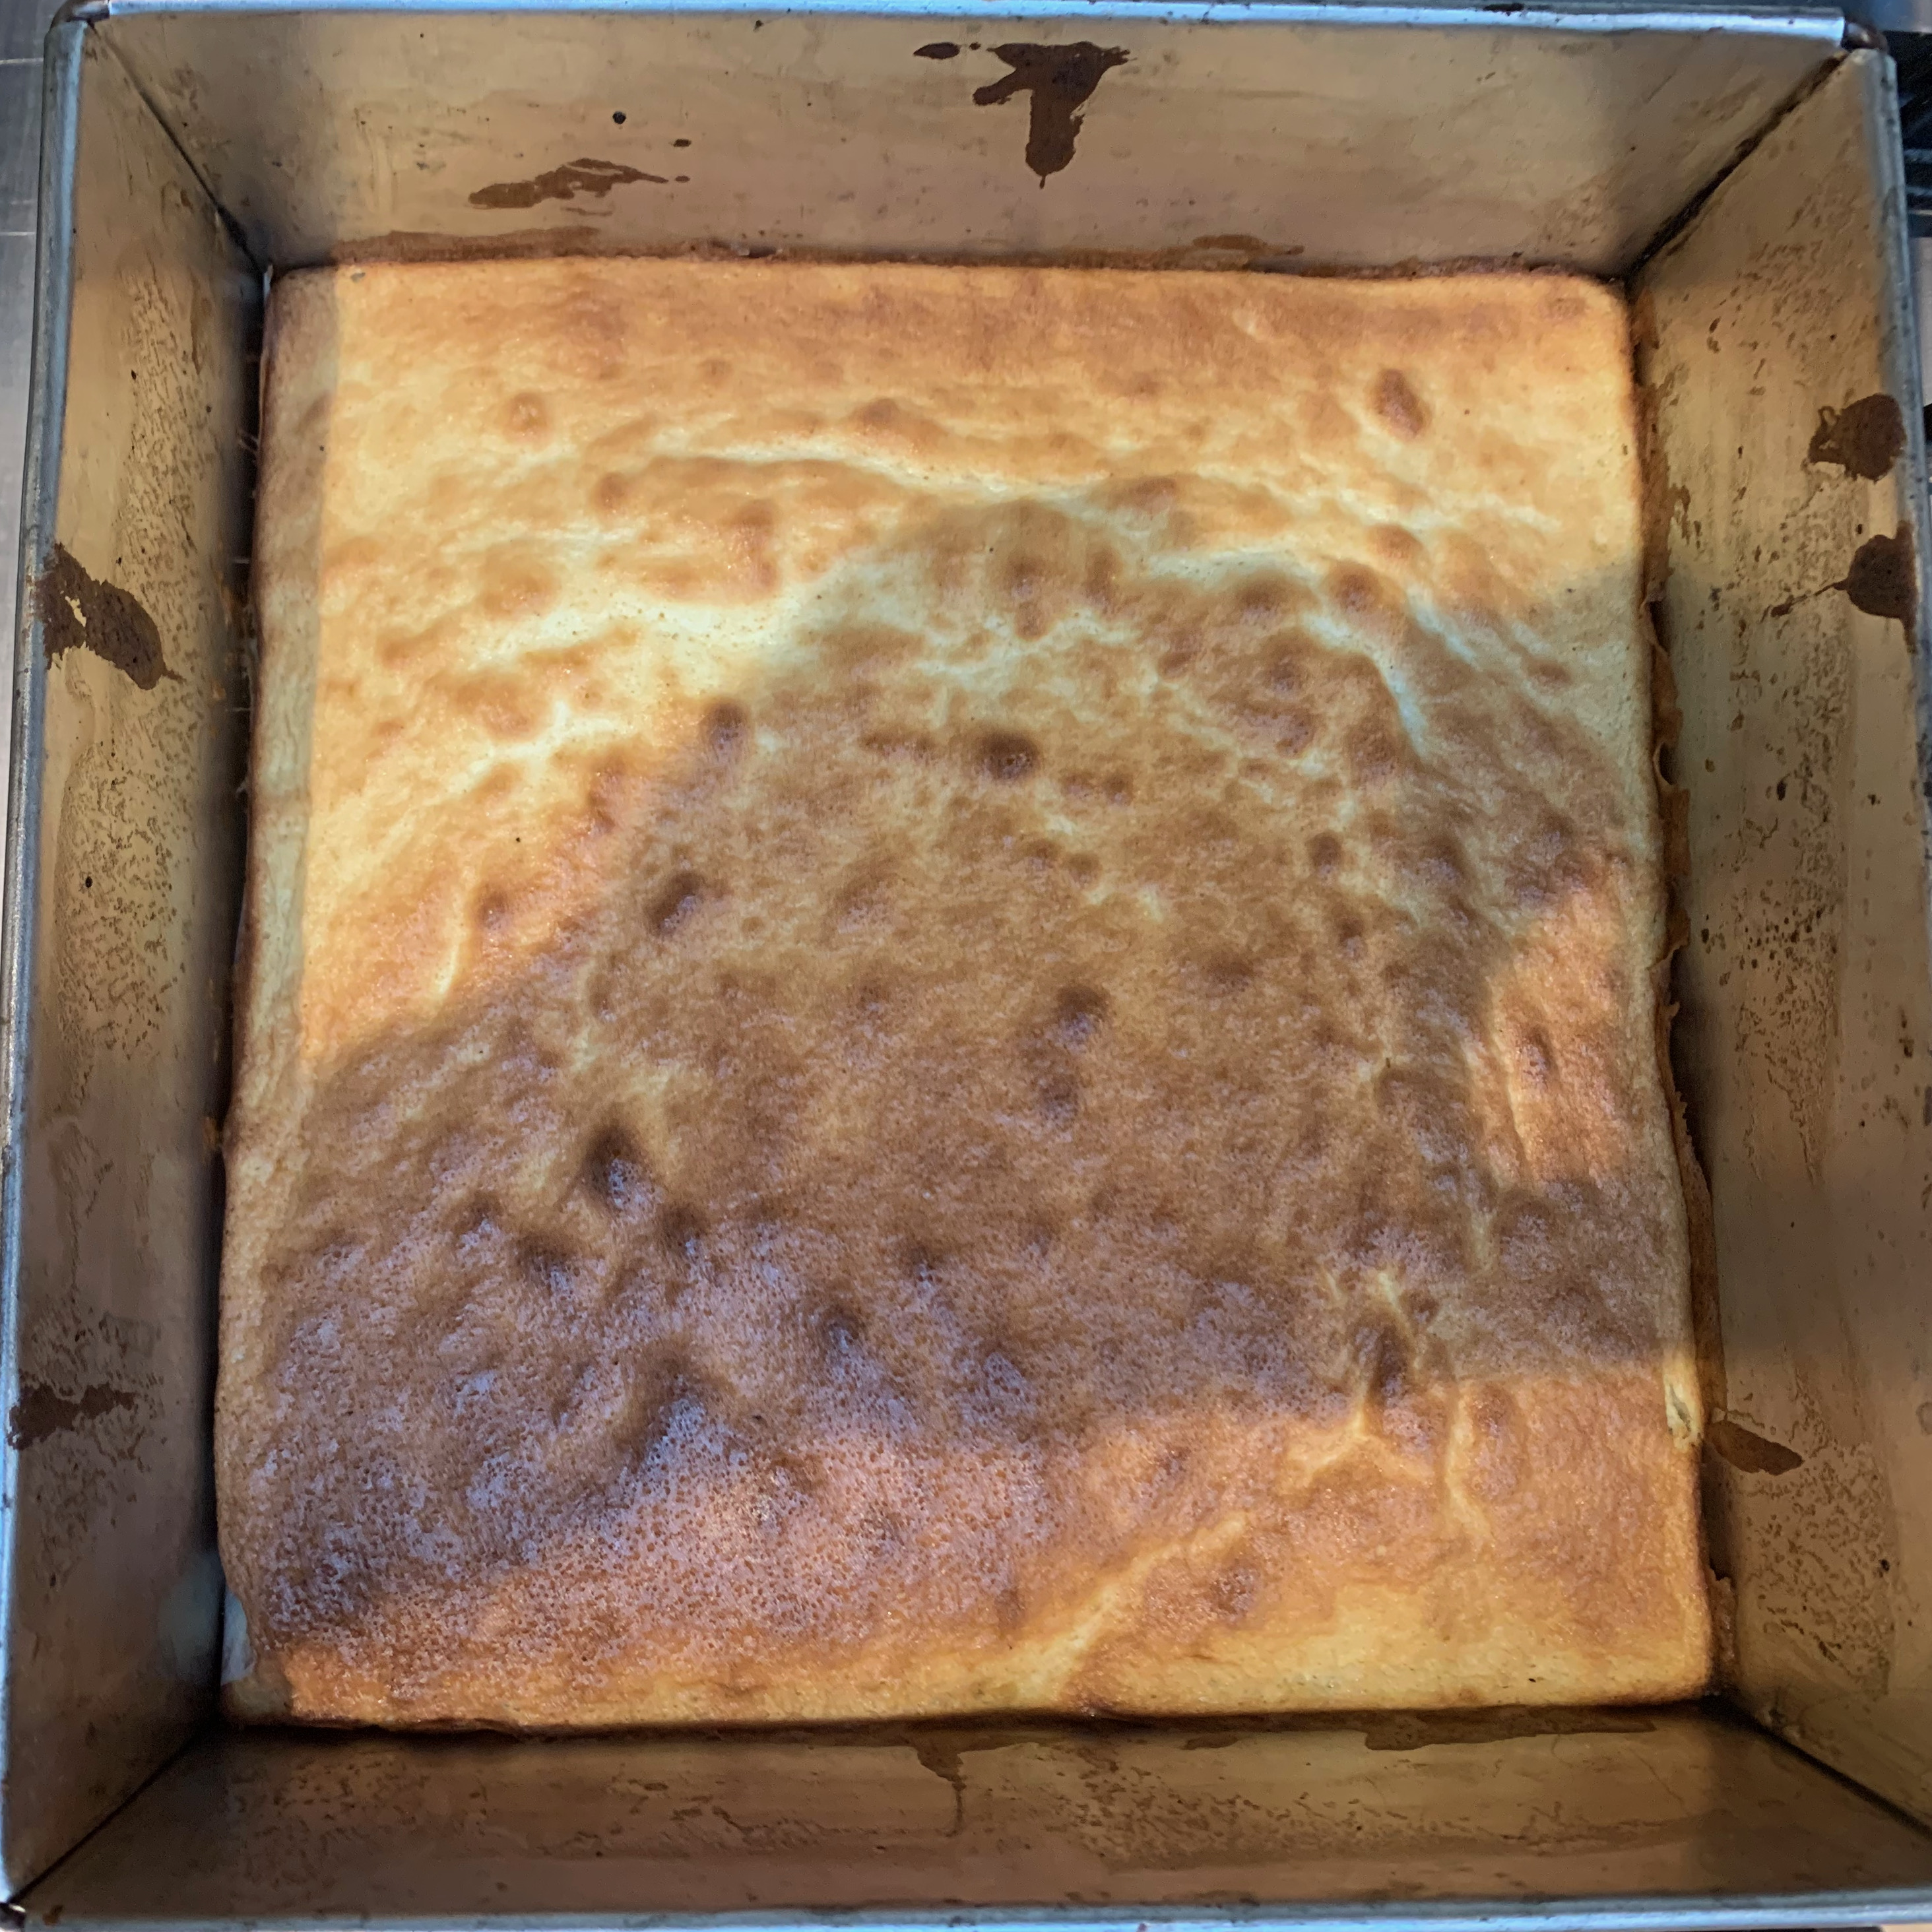
- Bake for an hour at 160℃, then reduce to 100℃ and continue baking for at least 24 hours.
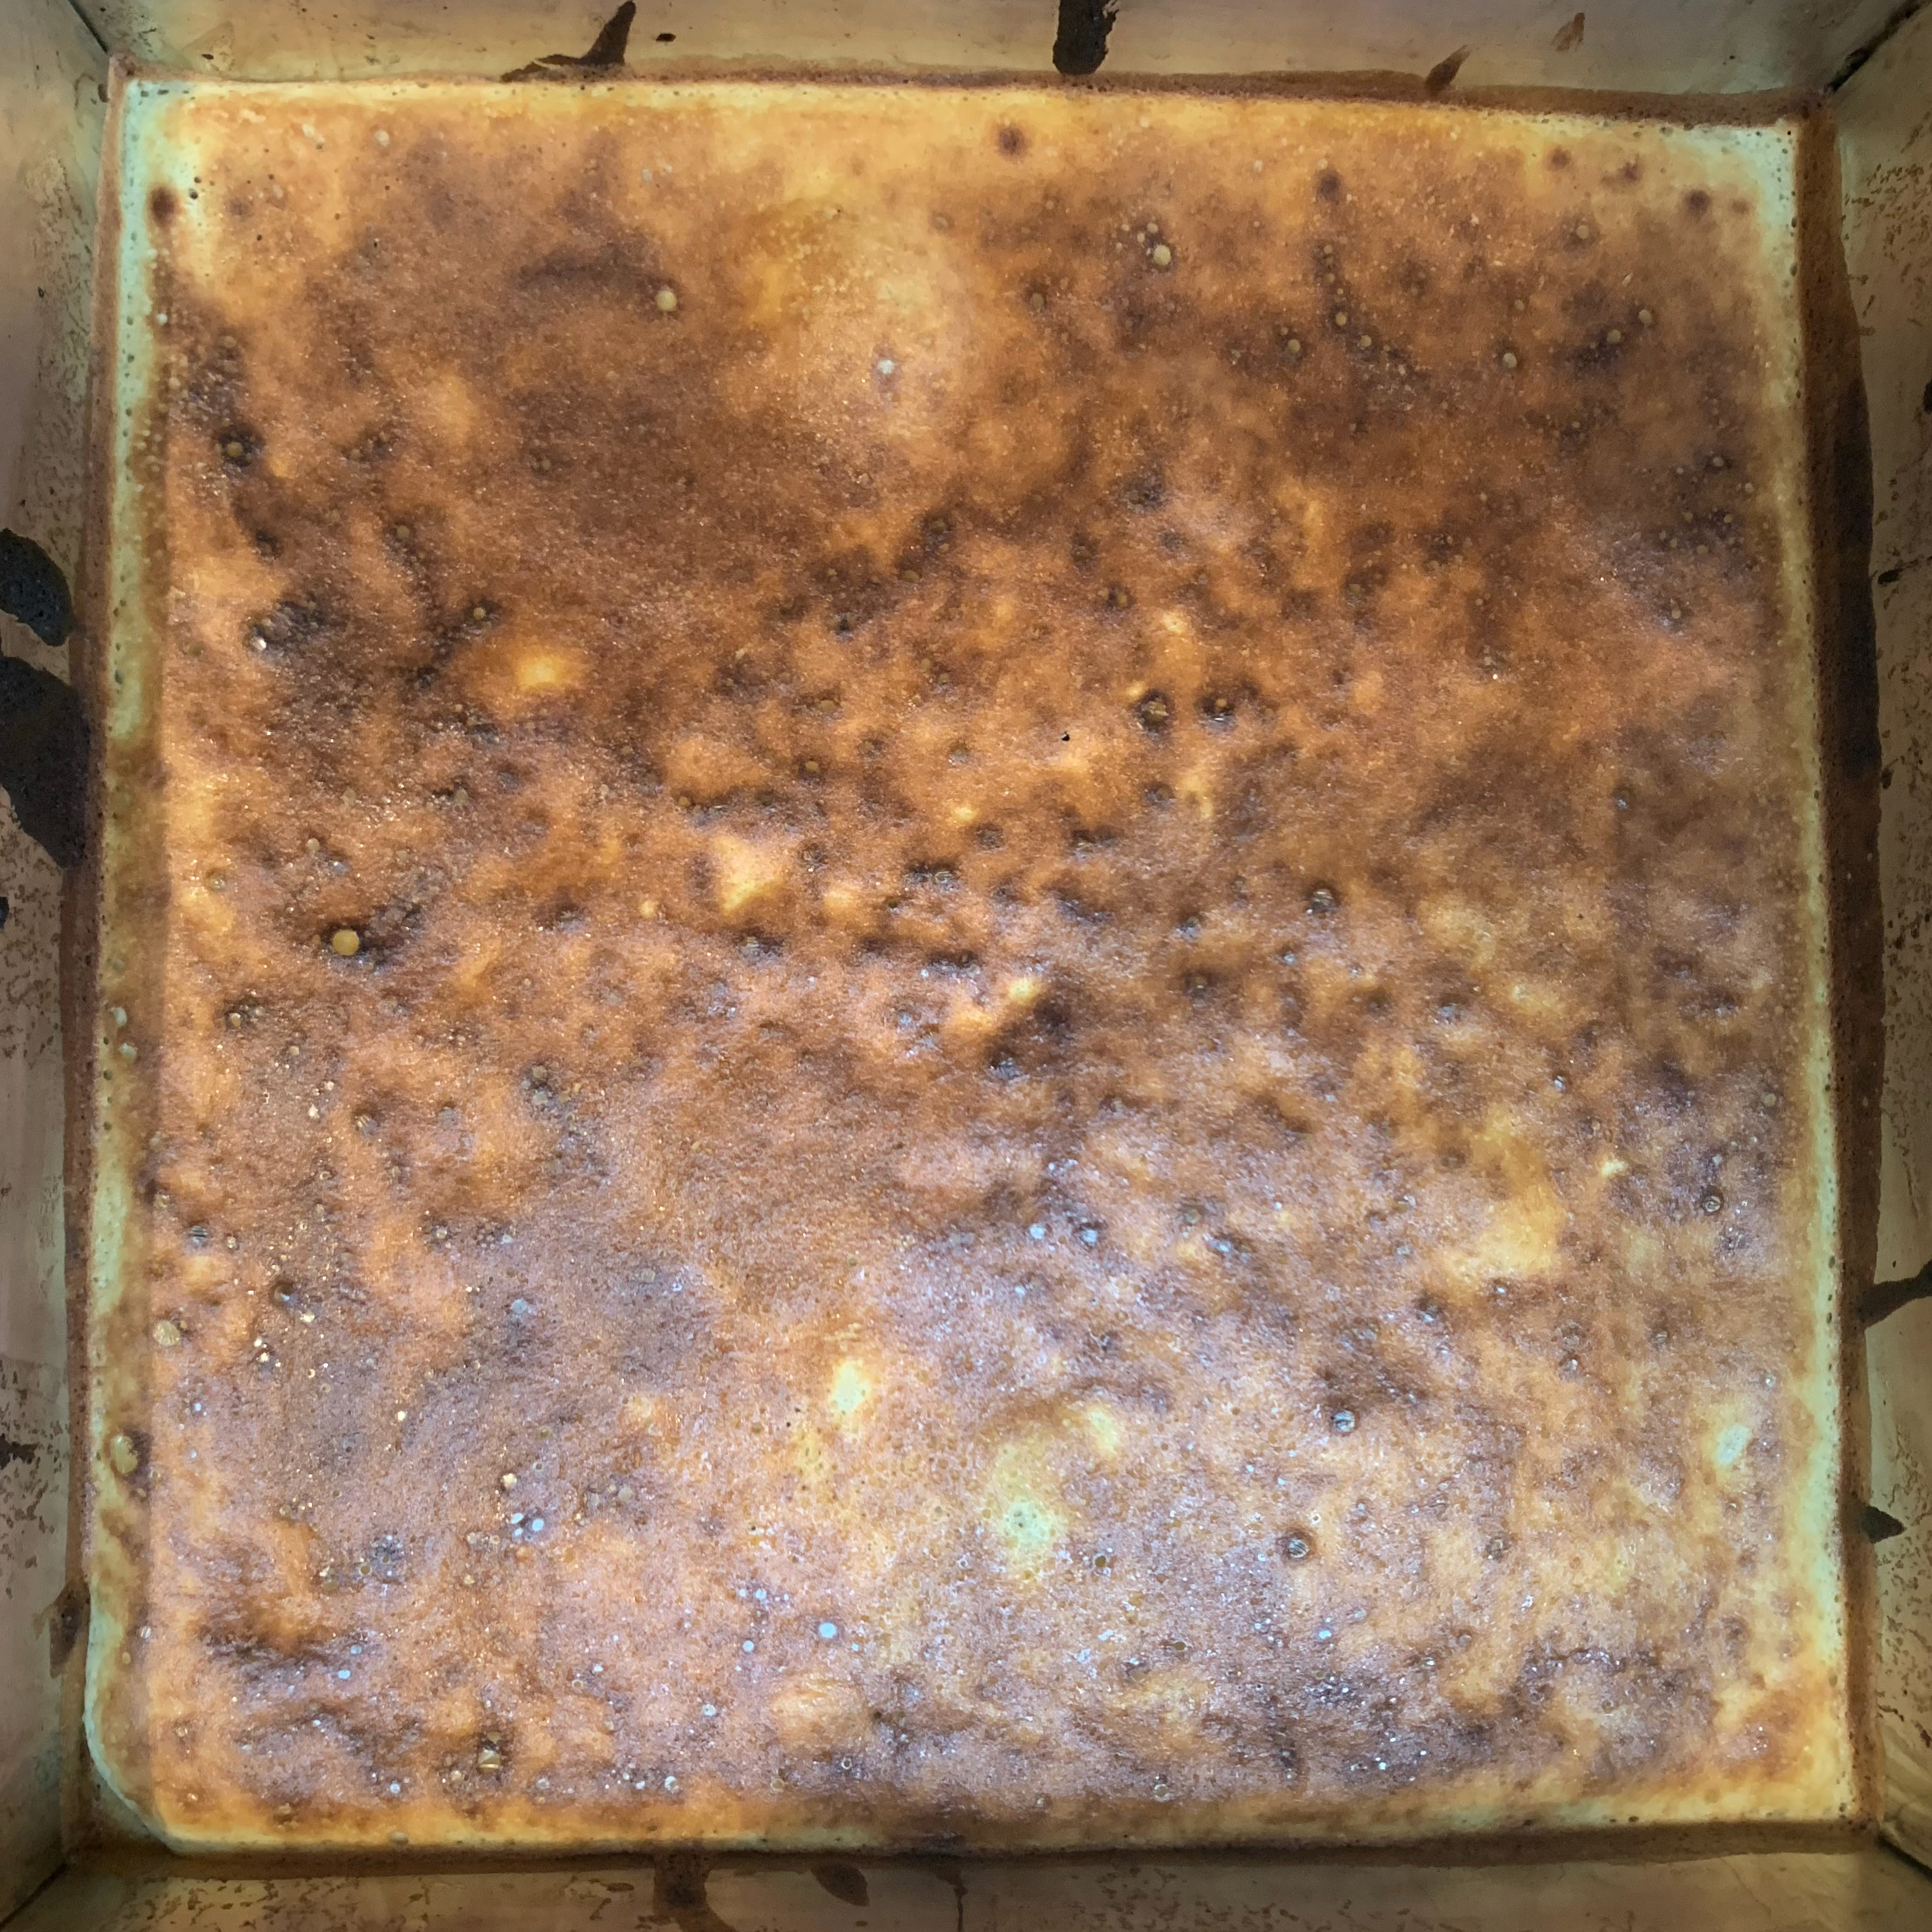
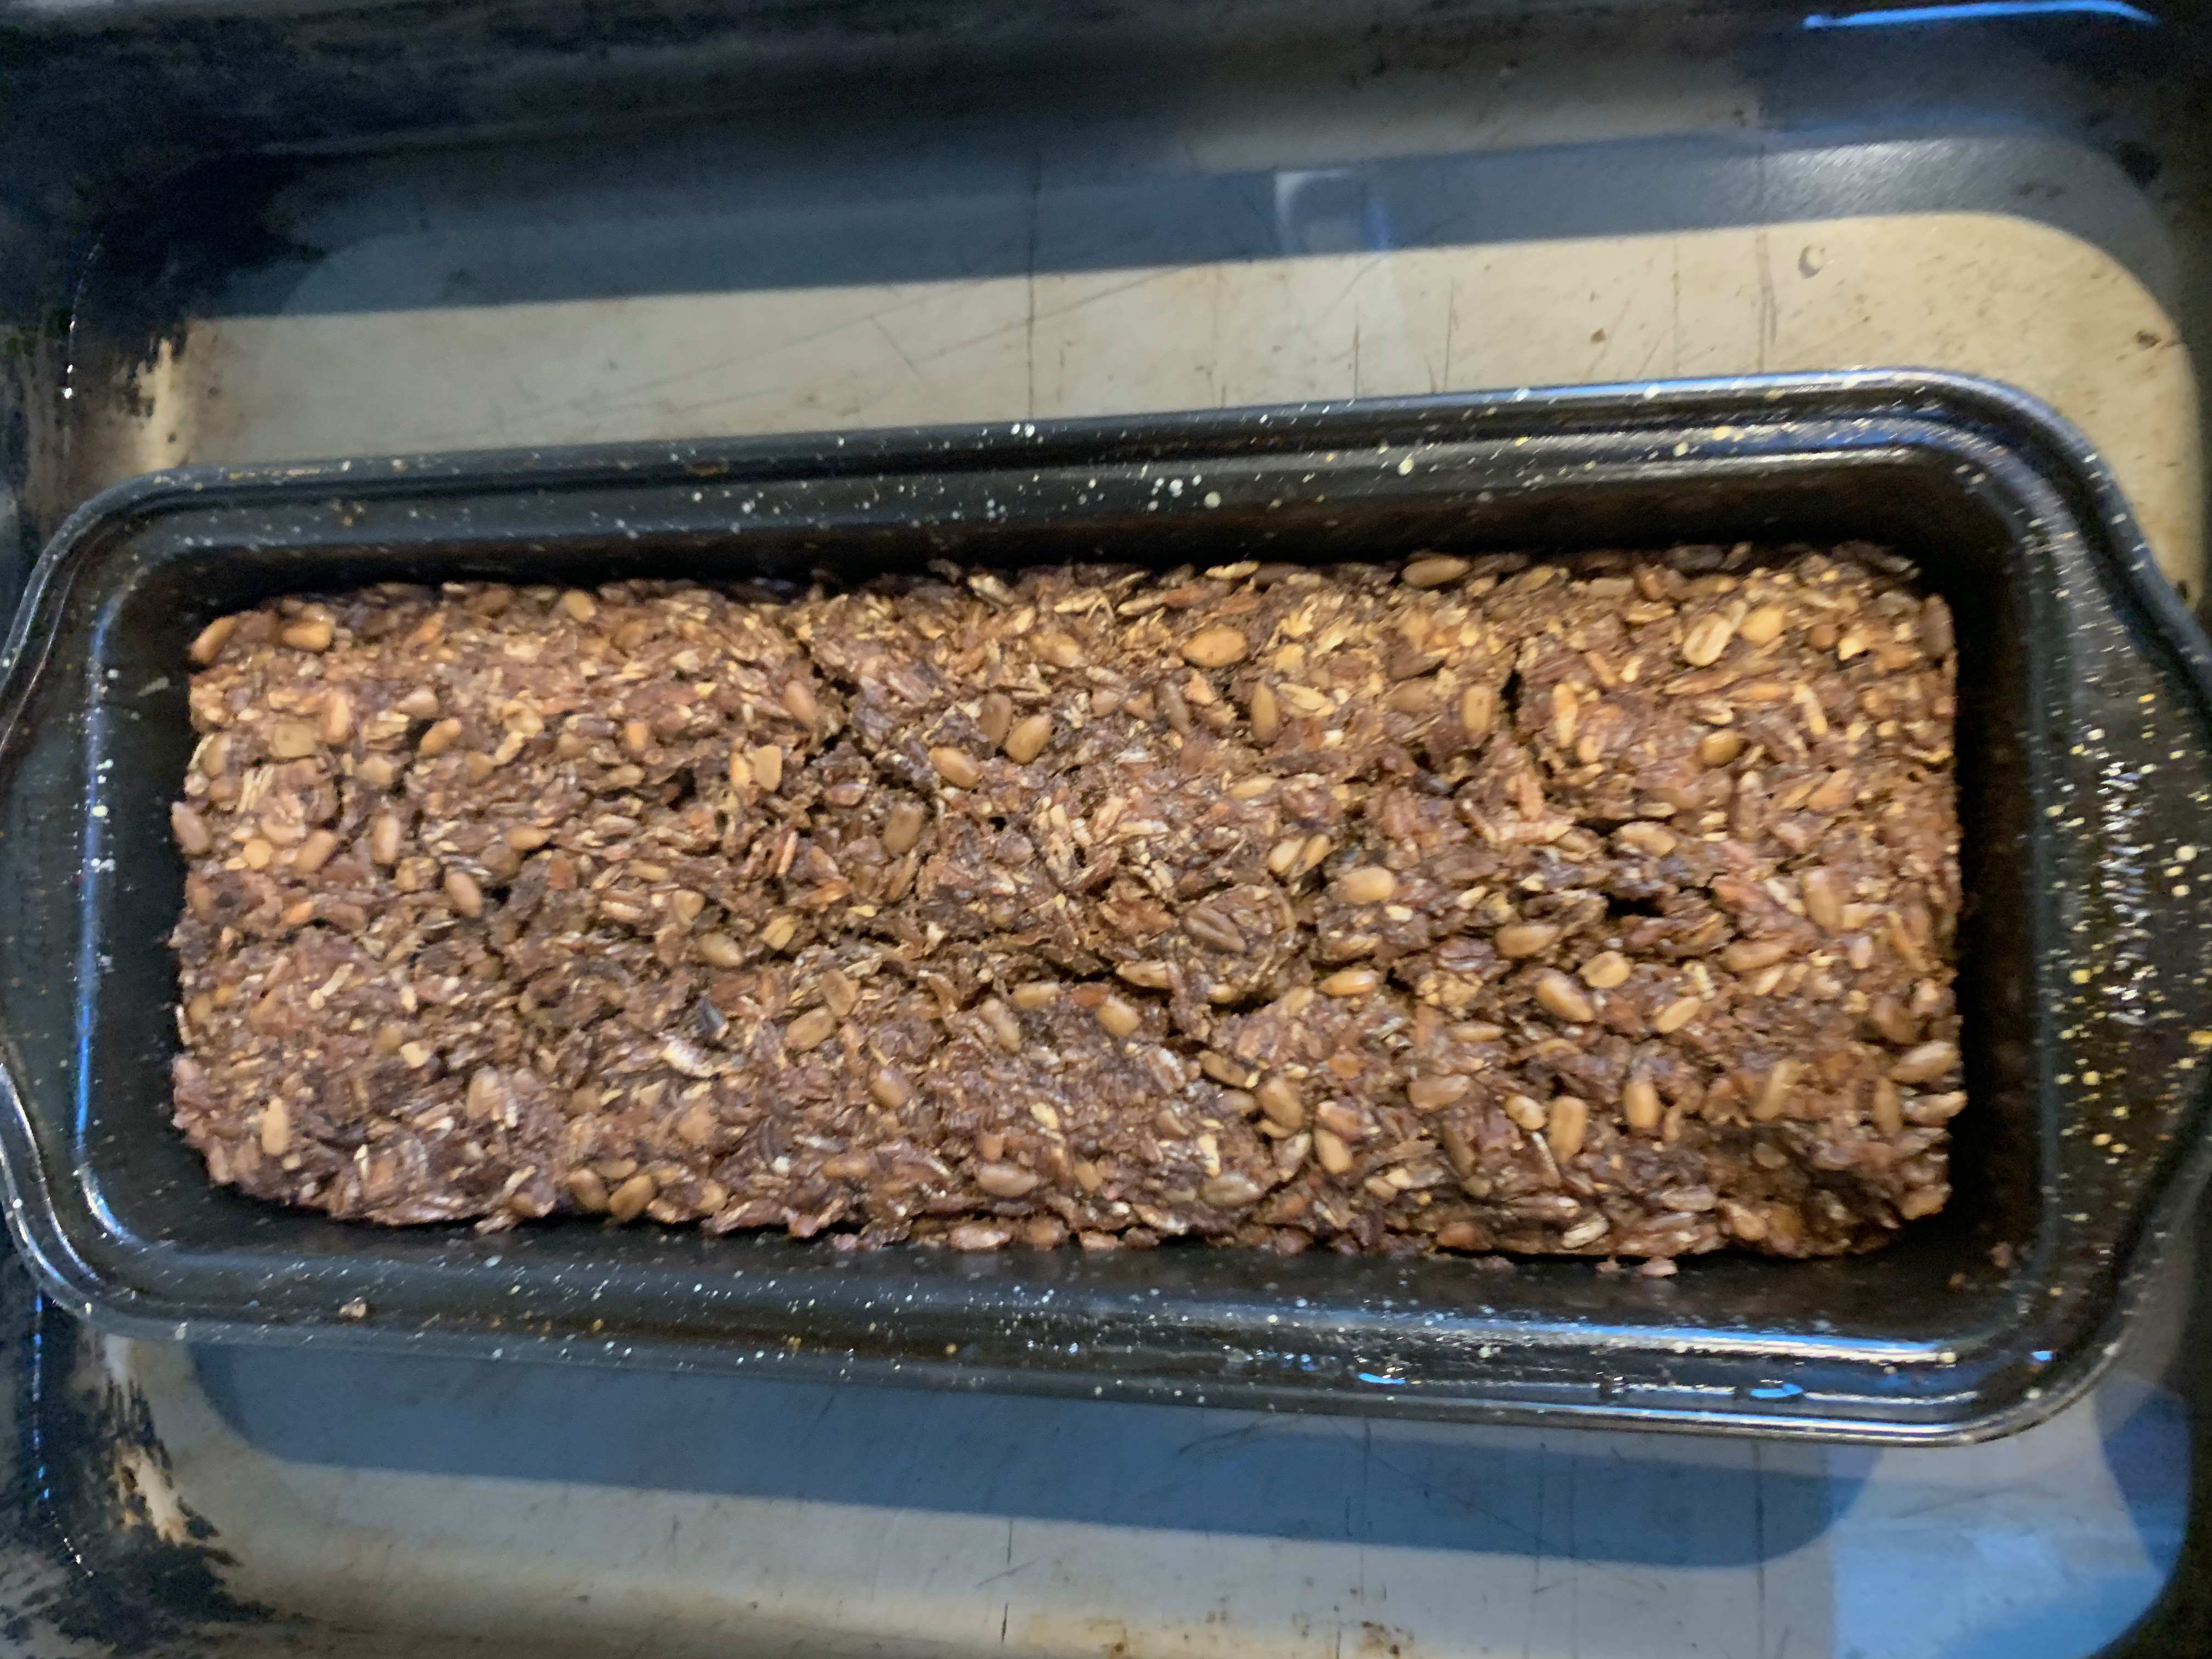
- The bread will be done when it reaches an internal temperature of around 90℃. After the 24 hours prescribed in the recipe, mine wasn’t close, so I turned the oven up to 110℃ and gave it another two hours, by which time the temperature was 82℃ and I wimped out. I shouldn’t have done – another hour would have been better.
Day 3 – bread out of oven
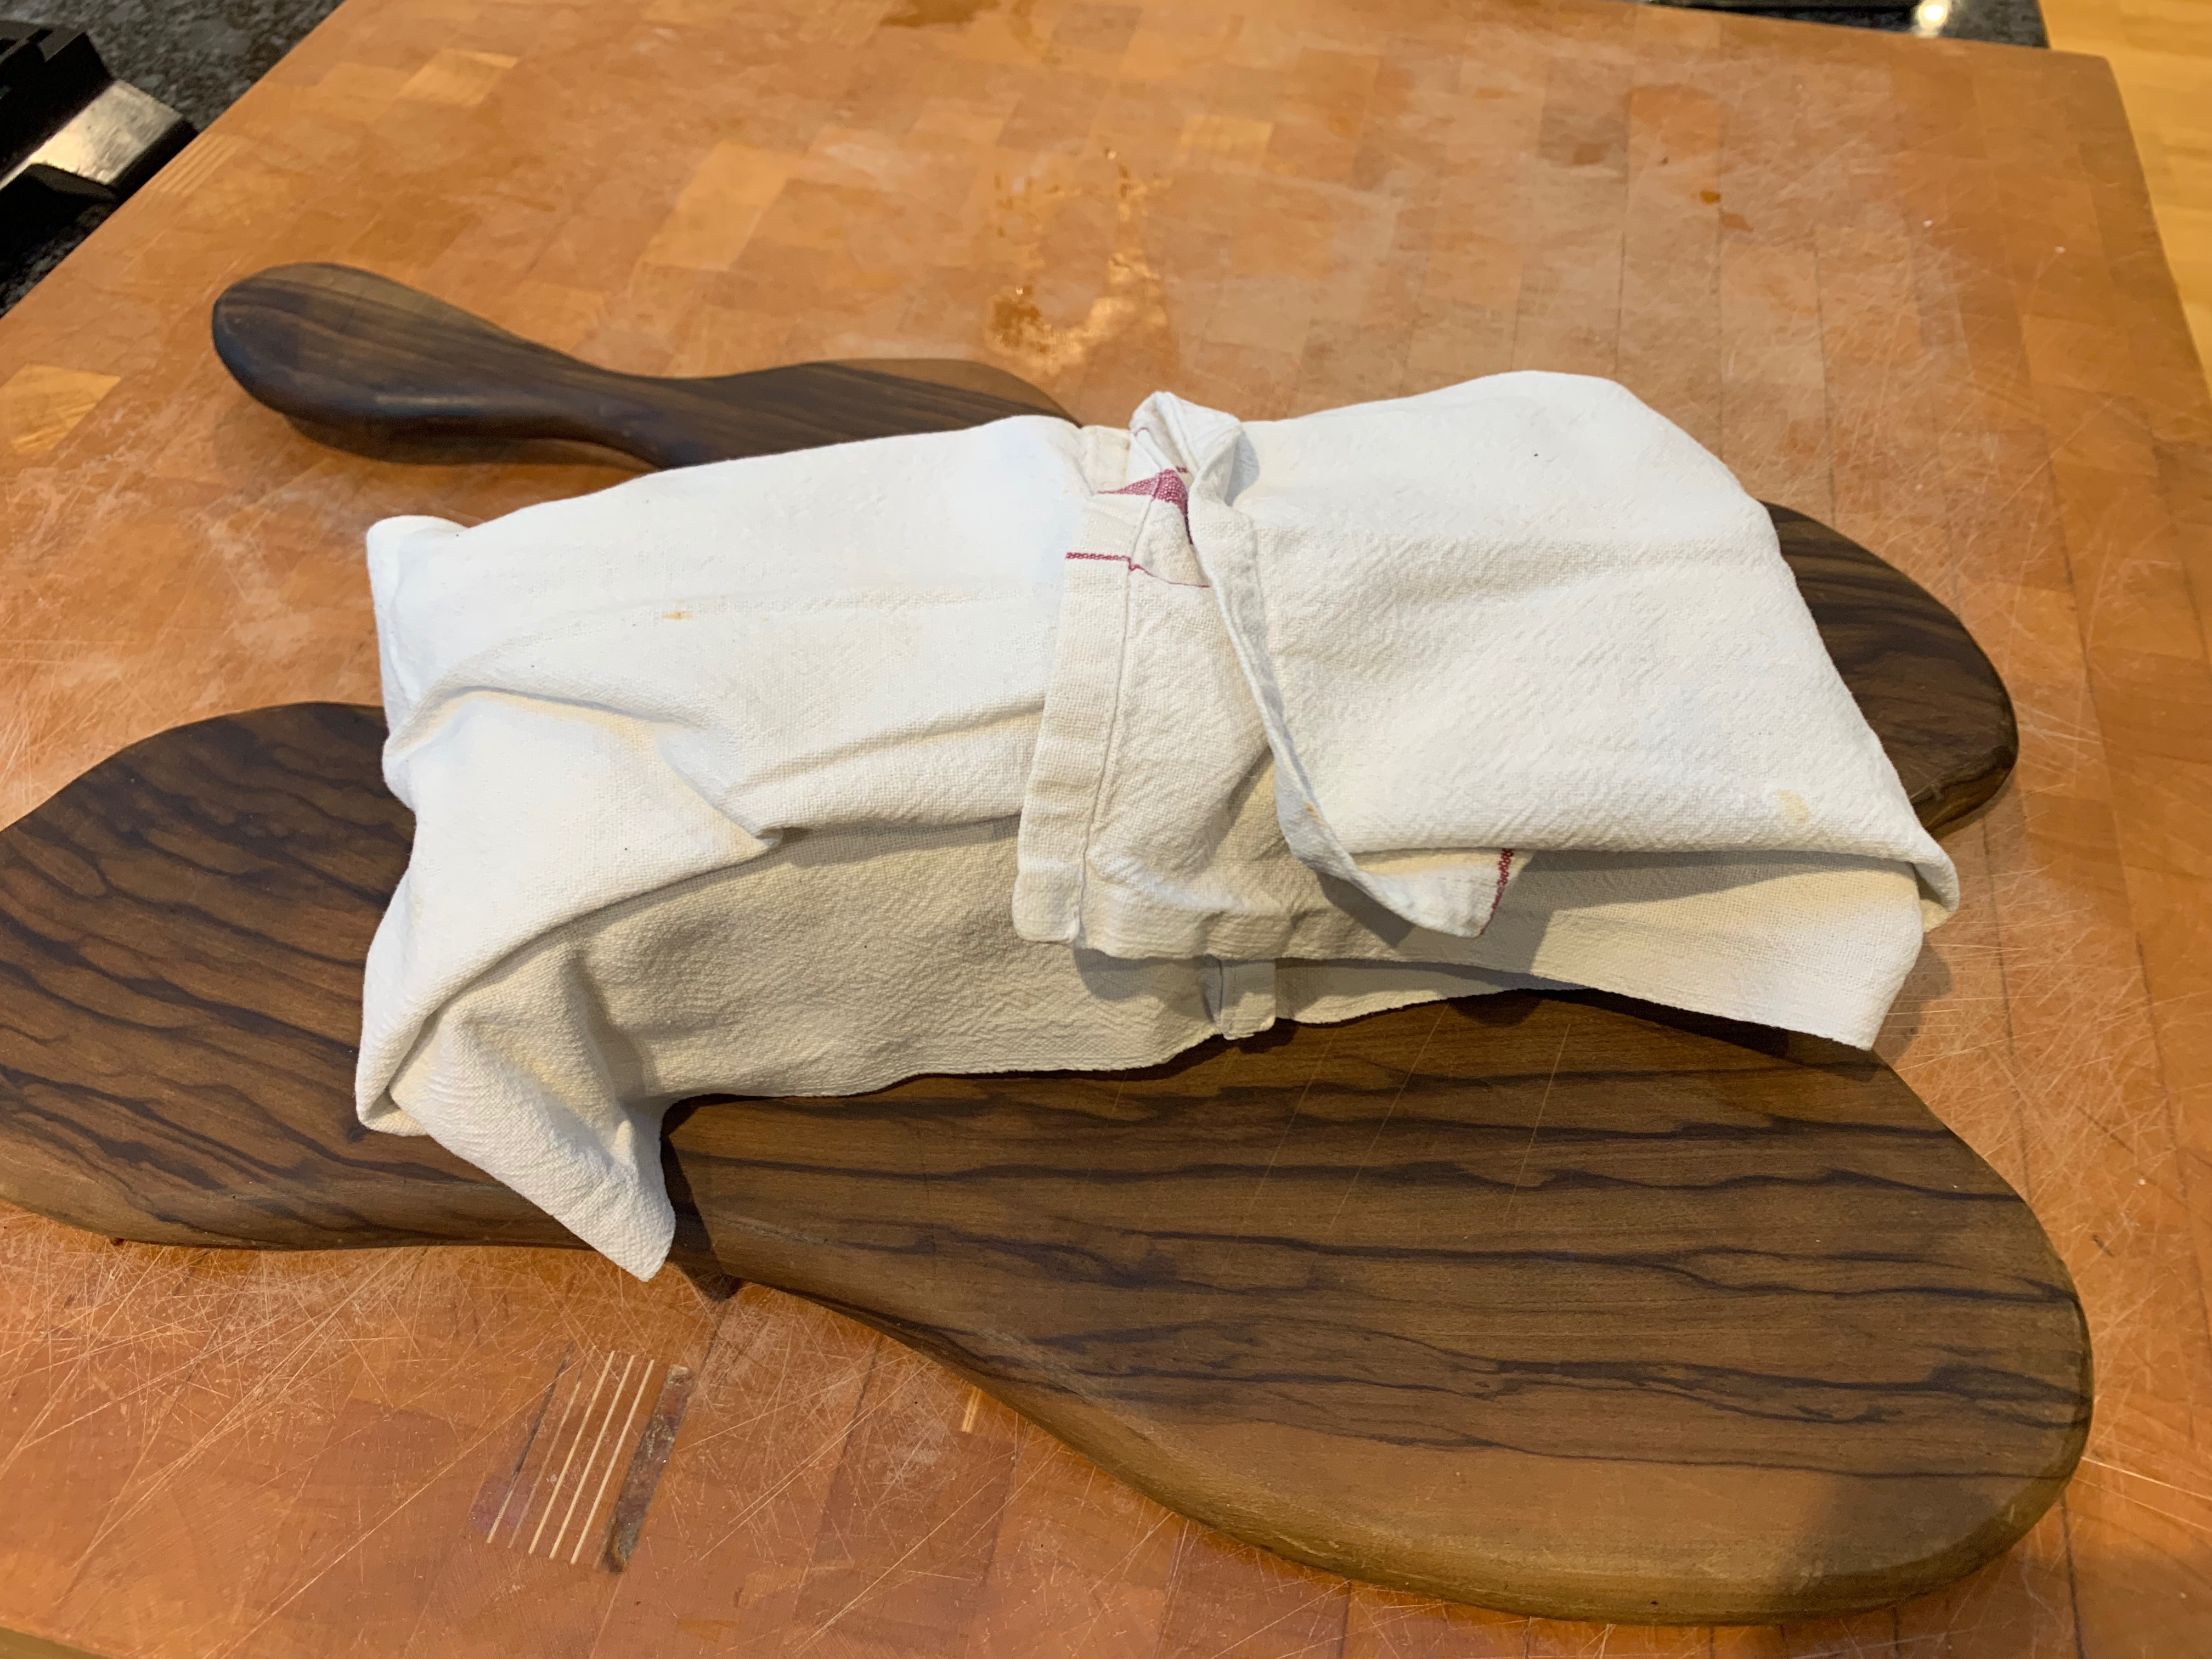
- Take the bread out of the oven and wrap it in a cloth. Leave at room temperature

Day 4
- Slice thinly – your pumpernickel is ready to eat, preferably with gravadlax, cream cheese and dill sauce!