Our Solis system, comprising solar panels and battery, was installed in June 2023, so we’ve now had a full year’s usage. That makes it worth checking on the experience: what was it like using the system, and how much electricity did it generate?
On the good side: the system reached the “fit and forget” stage reasonably rapidly. There was a certain amount of flailing around required to understand the electrity tariffs from our supplier, Octopus Energy, both for import (we’re buying electricity from the grid) and export (we’re selling excess electricity to the grid), followed by some experimentation to see what was likely to work best. But given that I started from a position of total ignorance, I don’t think the amount of hassle was unreasonable.
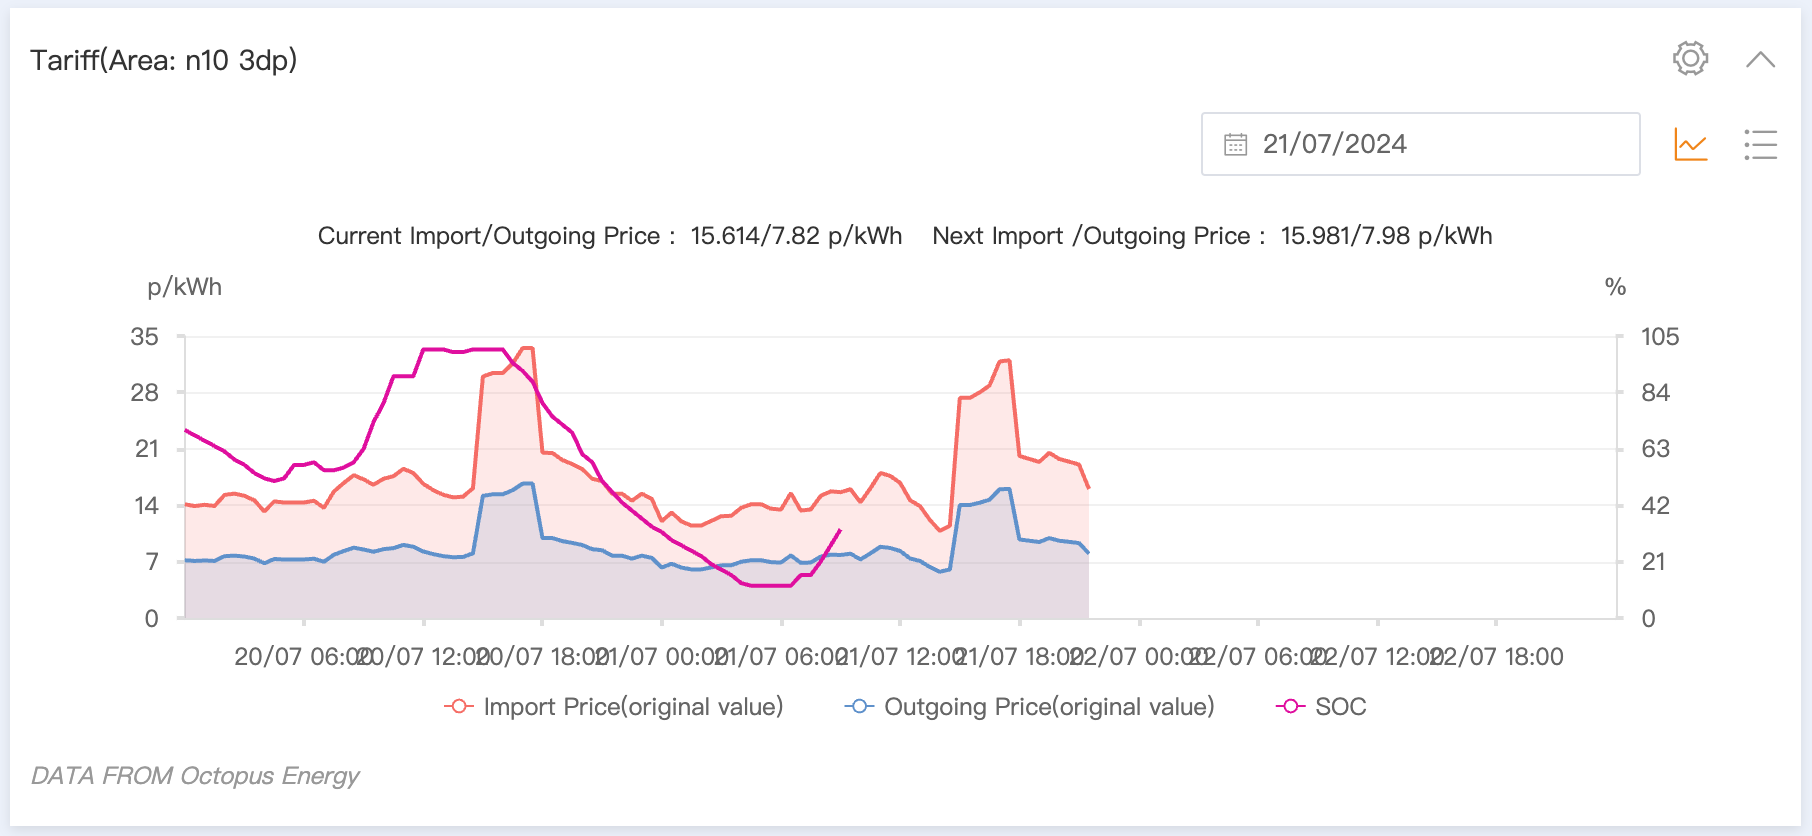
I’ve ended up settling on a plan called “Agile Octopus” for import, which varies the price considerably according to the time of day. The system seems quite good at avoiding importing energy in peak times, which means that the agile plan gives a reasonable import price: I’ve been paying around £0.165 / kWh (including 5% VAT). Since the import price varies between £0.156 and £0.31, I’d say the system is doing a good job here.
For export, however, I’ve settled on a plan called “Outgoing Octopus 12M Fixed”, which yields £0.15 per kWh: they have an agile plan, but that was yielding less revenue. The overall effect is that I’m only paying around 10% more for importing electricity than I am receiving when I export it.
In terms of how I use electricity, therefore, I’m now left with very little work. The car is set to charge at 00:30, when import tariffs are guaranteed to be around their lowest. The solar system’s 9.6 kWh battery does a good job of smoothing out everything else, so I’ve now stopped worrying about things like when’s the best time of day to put on the dishwasher, which was confusing, anyway, because it varies so much according to the seasons and according to whether the car needed charging.
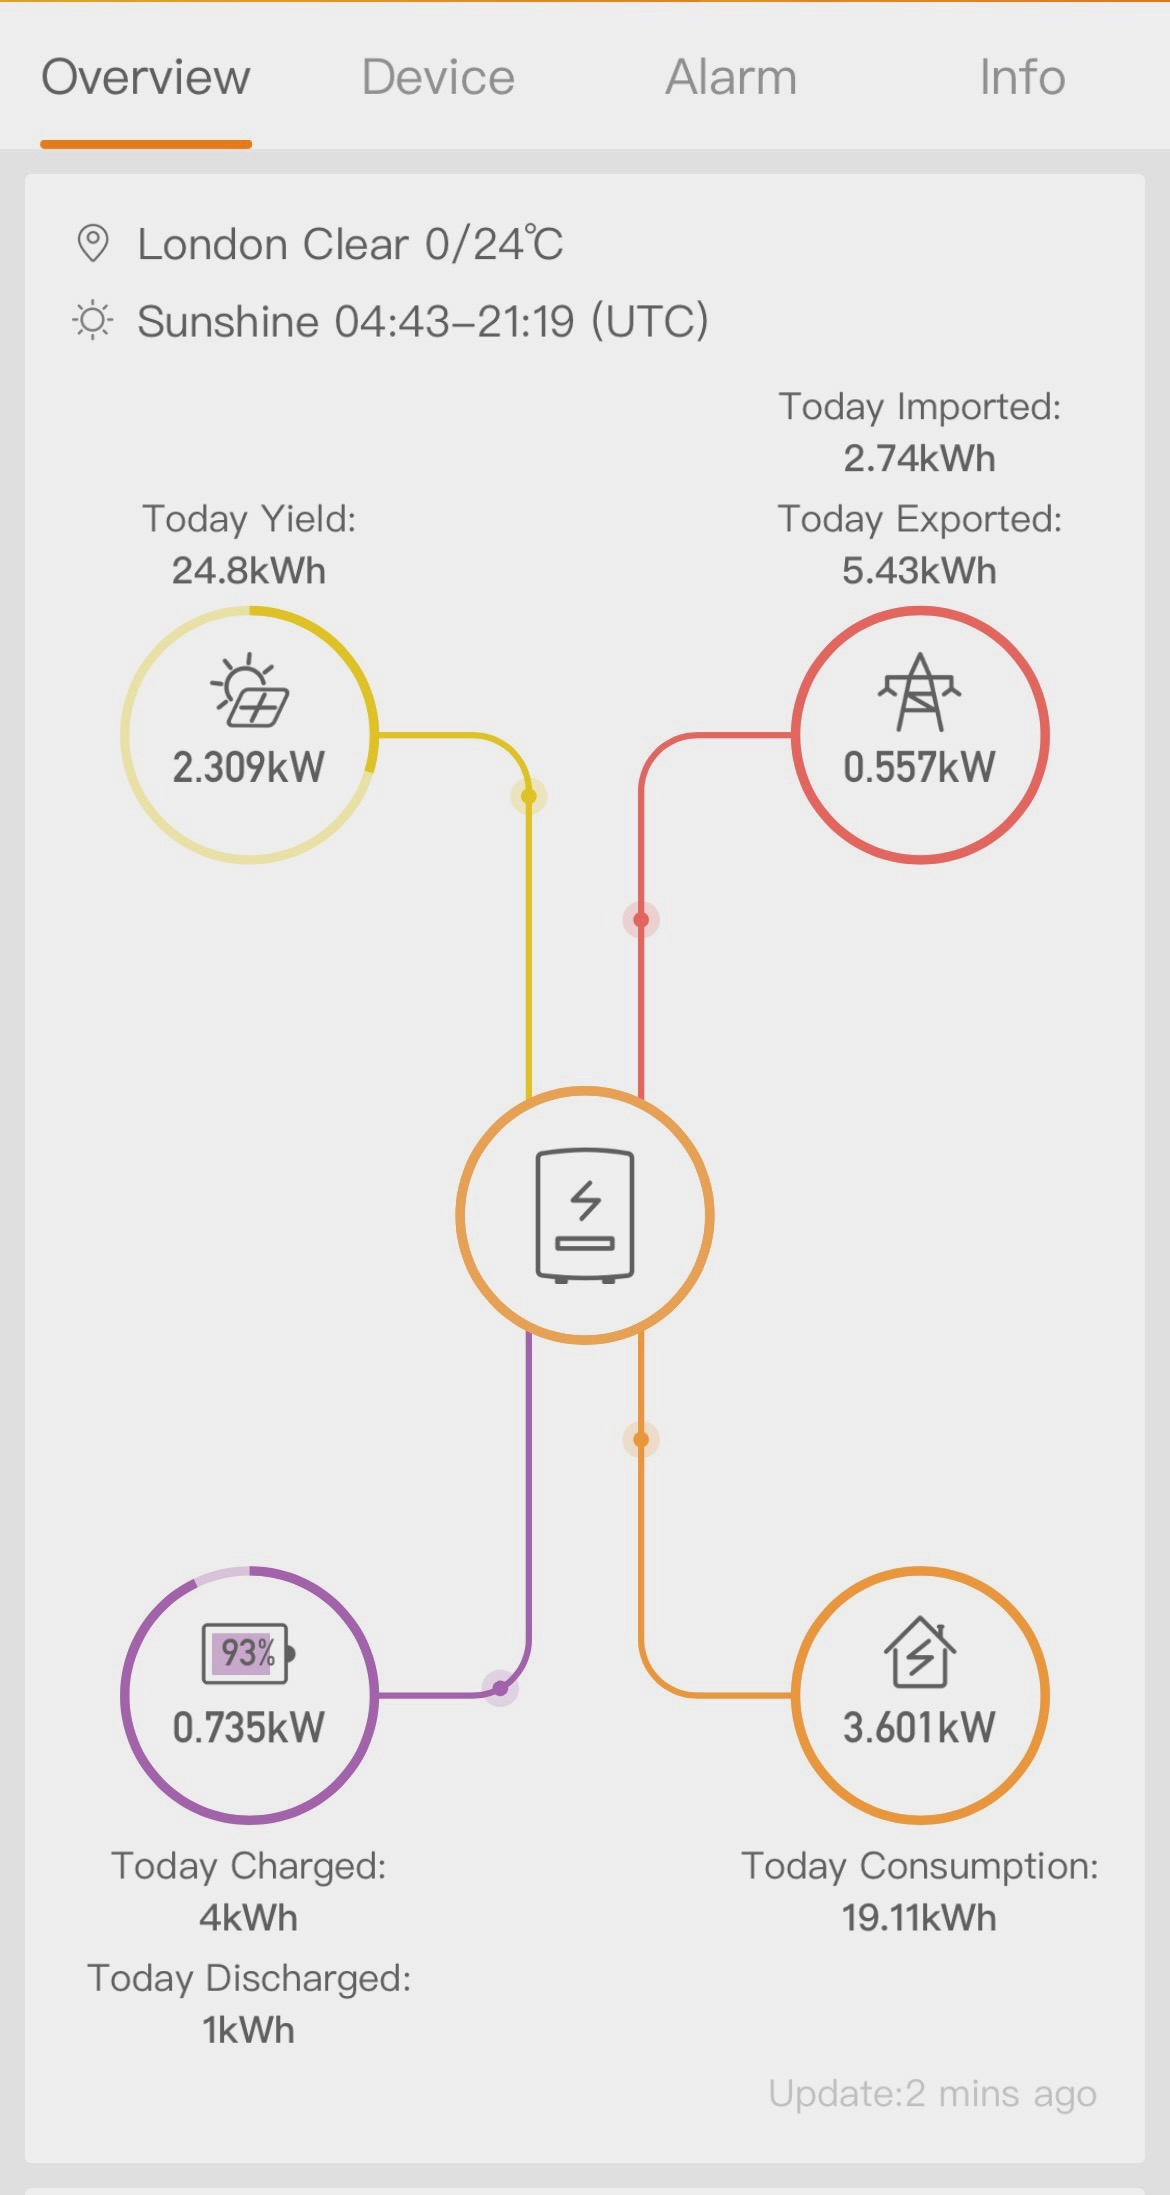
The Solis system gives pretty good maxi-geeky graphs of everything it’s been doing. But to be honest, I hardly bother to look at them any more.
So much for the usability. But that leaves the elephant in the room: how much electricity are the panels generating, compared to what was expected when our installer did their estimates? Here, I’m afraid, the results are less favourable.
In the course of the year, the system yielded 5,259 kWh – that’s just 77% of what was predicted in our installer’s quotation. Now obviously, you expect there to be much variability according to the weather: last month, for example, the system reached its best ever yield of 885 kWh, which was 96% of the estimate. Still, I think I was hoping for closer to 85-90% than the 77% I got.
In terms of value, that was £866 knocked off my electricity bill for a system that cost £22,520 to install. The payback is going to be more like 20 years than the expected 13, bearing in mind that energy prices have come down enormously from when the system was installed.
I certainly don’t regret installing the system. It was the right thing to do my bit for the environment and I never expected giant savings. However, I won’t pretend that I’m not mildly disappointed that the numbers don’t look a bit better.
Of course, things could easily change. The weather’s been pretty poor in London over the last year, so a sunnier year could yield a lot more electricity. And sadly, there’s likely to be another spike in energy prices at some point in the system’s lifetime, in which case it will look like a sounder investment. We’ll just have to wait and see, and attempt to feel virtuous in the mean time. (Of course, I haven’t computed the carbon footprint of getting the system installed – that’s another conversation in itself).
Like many people of our age, we’ve become more and more conscious of climate change and the world we’re bequeathing our children. We can’t claim to be paragons of green virtue – we’re still doing far too much flying to even approach this – but we have been taking some of the right steps, and two years ago, we made the leap and abandoned the internal combustion enging: our first electric car, a Tesla Model 3 Long Range, was delivered exactly two years ago, on 30th November 2021.
Here’s a potted assessment, not just of the car itself, but of the experience of owning and running a Tesla. The short answer is that I’ve loved it: the car is great and the charging infrastructure has worked superbly. That said, there’s plenty to criticise in the user interface, not in the basic “iPad on wheels” concept, but in many details which are either misconceived or just plain don’t work.
The car
The biggest surprise about the Model 3 was quite how good a car it is mechanically. Leave aside the technology bluster, the computer screen, the blistering acceleration: the Model 3 handles better than any other car I’ve owned. You get this overwhelming feeling that when you turn the wheel to point the car in a particular direction, the car will follow immediately and precisely. There’s no resistance to your hands, there’s no lag, there’s no discernible roll of the car’s body, not the slightest hint of uncertainty. The response to your control is precise and immediate.
The big point of difference between the way you drive a Tesla and the way you drive petrol or diesel cars is the regenerative braking. When you start taking your foot from the accelerator, once you get to the point where the car is no longer accelerating, it gradually starts to brake. This means that you don’t really use the brake pedal at all in normal driving: your right foot acts as both parts of the “go faster / go slower” control. You might think this takes some getting used to, but I didn’t find this: I was completely comfortable within minutes. And once you’re used to it, that combines with the car’s basic responsiveness to make it a real joy to drive.
As has been well documented, the acceleration is phenomenal. I’ve only floorboarded the car once, largely to see what would would happen – and the thing that transpired was the certainty that my back and neck would start complaining if I did it regularly. Effectively, you have an on-off switch which says “overtake now”. Weirdly, this means that I drive the Tesla far less aggressively than previous cars: knowing that I can overtake just about anything else on the road at will means that I don’t have to do any of the jockeying for position that drivers often do. There’s never a need to drive up close to someone’s bumper to prepare.
The modern features you expect work well, like electronic locking and remote boot opening (or trunk, as Tesla insist on calling it – one day, they might do a British English option). Having the car warm up to the right cabin temperature at the right time every morning is a genuine luxury. Admittedly, it took me a while to get used to abandoning the car key and simply wandering up to the car with a phone in your pocket, expecting it to unlock. And finally, we find the car very comfortable – the seats are supportive and adjust in all the right places.
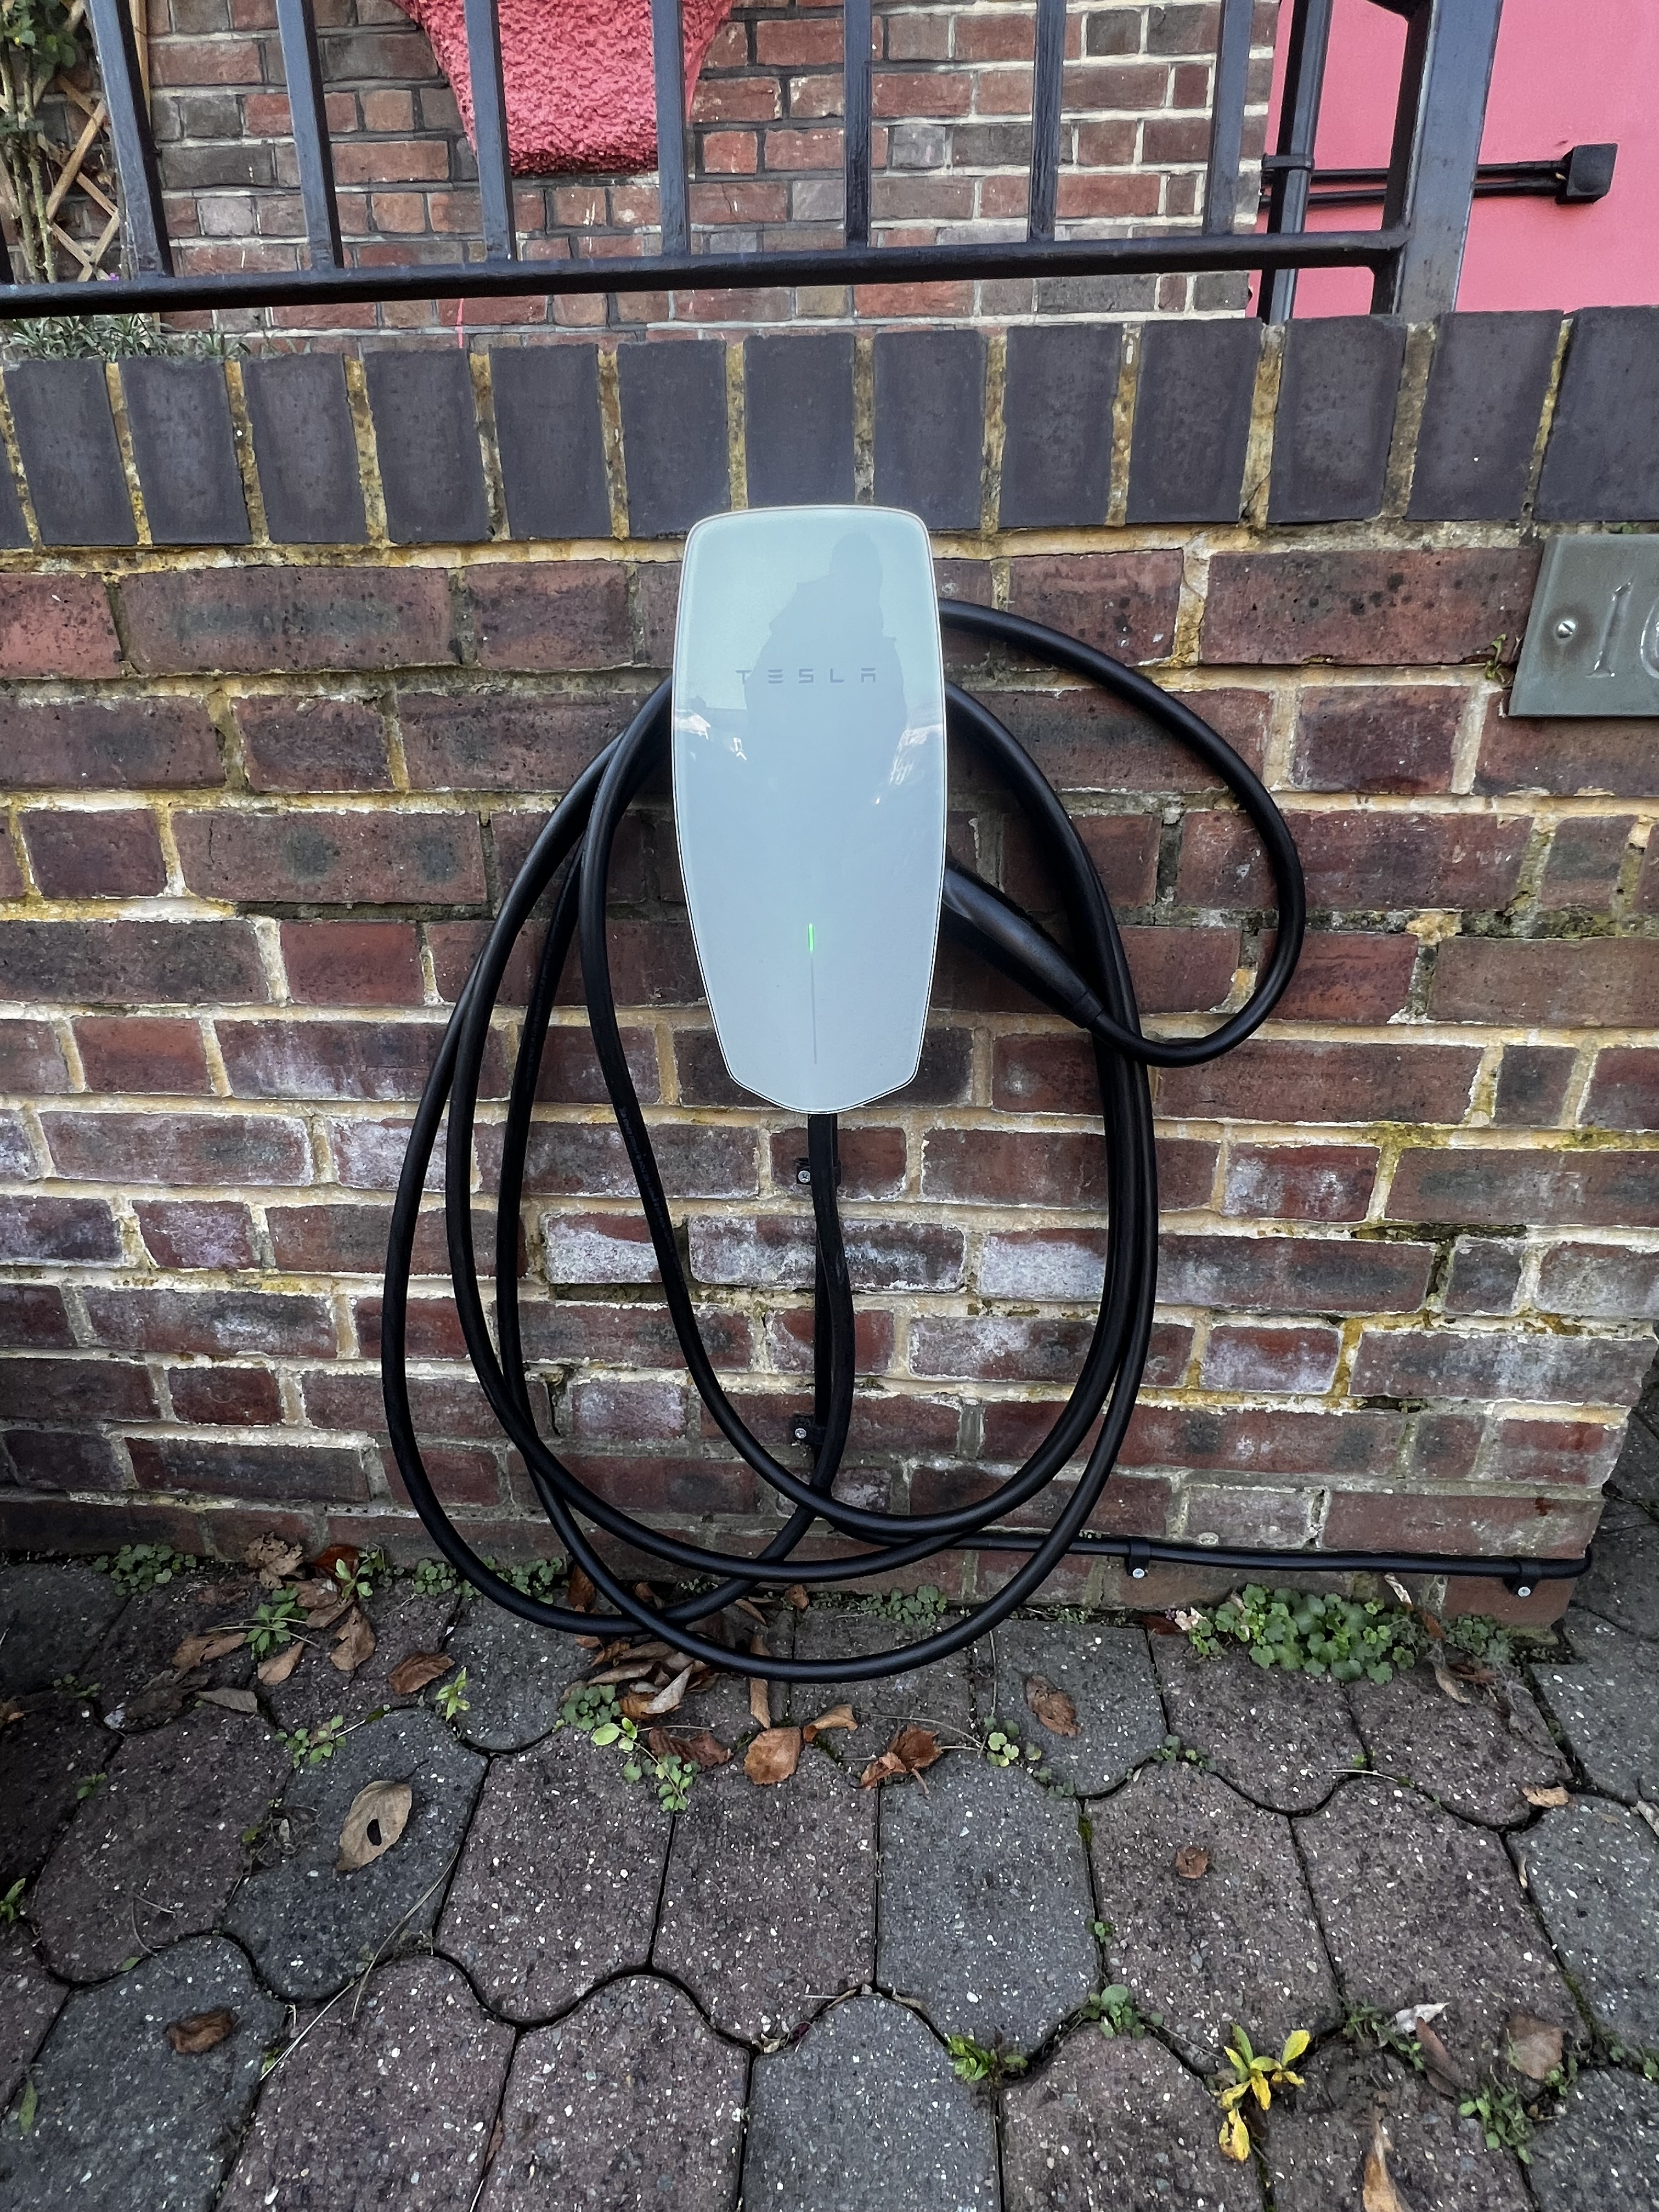
Our home charger
Range anxiety – or not
Our biggest concern about going electric was range anxiety: we do a regular round trip to Devon of around 250 miles each way and we’re often a bit pushed for time, so spending hours charging the car en route isn’t an option. So before buying the car, we did the trip in a rented Model 3.
What we found is that the Tesla Supercharger network works extraordinarily well. The chargers are very fast indeed: it’s rare for us to spend more than 20 minutes charging the car. That’s a very small overhead on top of the ten minutes we’d spend on a stop for the toilet and either a drink or a brief stretching of legs (we’re old enough that any long car journey carries the risk of our backs stiffening up). Our overall journey time to Devon hasn’t changed materially.
The ultimate test of range anxiety was the 2,000 mile road trip we did around France this July. Supercharger coverage in France isn’t quite what it is in the UK, so we needed a bit more preparation in the shape of acquiring a Chargemap card, which gives you access with a single RFID card to almost all the other commercial chargers around. Several of the hotels we stayed at recharged the car for free overnight, and there was a nice surprise when it turned out that the city of Aix-en-Provence provides free EV charging in their public car parks (although, admittedly, these are pretty expensive in the first place).
The car’s satnav is particularly good at this: dial in your destination (or even a couple of destinations ahead) and it will plan your supercharger stops. Then, when you’re on the road and approaching your supercharger, it will precondition the battery for ideal charging performance.
When touring, it’s worth noting that some supercharger stops are far nicer than others in terms of what facilities there are in the environs. Our stop in Valence was perfect because it was at lunchtime and the Novotel has a really nice brasserie. The Beaune supercharger allows a lovely 10-minutes-each-way walk into the city’s gorgeous old centre. The Amiens supercharger was decidedly less pleasant, with a lot of car park to walk through to get to the nearest toilet, in a MacDonalds. We discovered, rather late in the day, that an icon on your satnav allows you to find superchargers on your route so that you can Google them and see which ones look more salubrious; similar functionality is available on the phone app if you know where to look, off the bottom of the Location tab.
The user interface
If the Tesla is an obviously good answer to the “EV versus petrol” debate, its user interface is far more controversial. Some people will love the clean design that results from getting rid of as many manual controls as possible and putting them into a single iPad-like flat screen to the right of the steering wheel. For others, this will be unfamiliar and thoroughly unpleasant.
I’m somewhere in between. I’m perfectly happy to have all the controls on single flat screen, but there are an awful lot of things wrong in the way Tesla have done it. The good thing is that for most routine stuff, whether it’s setting up the climate control, checking tyre pressures or playing music from a bewildering variety of sources, the functions are easy to find and all work pretty well.
The single biggest problem is that I’m 65 years old, so I need reading glasses (but not distance vision ones). The speed at which my eyes can refocus between the screen and the road is limited and most of the fonts are so small that there’s a great deal of the UI that I simply can’t use while the car is in motion. A couple of months after I bought the car, Tesla relased an upgrade to allow me to select a larger font size, but that made only a modest difference.
This would matter less if the voice recognition worked better. Whether because of my British accent or vocabulary or because of something more fundamental, most of the time, I simply can’t get the car to understand what I’m saying, even for apparently simple commands like “windscreen wipers off” or “play music from Tidal”. Worse, the car often misinterprets my commands and does something completely unexpected, which you really don’t want to happen when you’re driving at speed.
Even at rest with reading glasses, the font size is also an issue when doing satnav searches: too often, you get a list of choices which are too long for the search results box and therefore get abbreviated with a “…” on the end. The effect is that you’re being presented with up to a dozen search results which look identical and which, on a bad day, can be several hundred kilmetres away from each other.
Future self-driving
For me, the most blatantly stupid aspect of the UI is the decision to devote the most important real estate on the screen – the third of the screen on the side closest to the steering wheel – to a 3-D visualisation of the car AI’s view of its surroundings – vehicles, pedestrians and cyclists, lane or edge-of-road markings. I assume that the motivation is to encourage the idea that the car is so good at modelling what’s around it that one day, we’ll have enough confidence to let it drive itself for us (if any Tesla employees are reading this who know better, feel free to disabuse me and explain the reality).
The trouble is, the visualisation is comically inept. Cars and lorries appear and vanish at dizzying speed. There’s no consistency I can identify as to when I’m likely to see pedestrians and when I’m not. The effect is the exact opposite of what’s intended: if the current display is the best model Tesla can create of the car’s surroundings, I’m not going to touch self-driving with a bargepole. It really irks me that this useless display is taking up the prime screen real estate where what I actually want is a large, easily readable speedometer, with some extras like the current speed limit, my journey time so far, expected arrival time and expected battery level at arrival in a large enough size that I can read them quickly. And I really would have thought that after going to the same car park barrier every day for a year, the car would have learned that no, I’m not going to drive straight into its box of electronics, and no, it doesn’t need to beep at me.
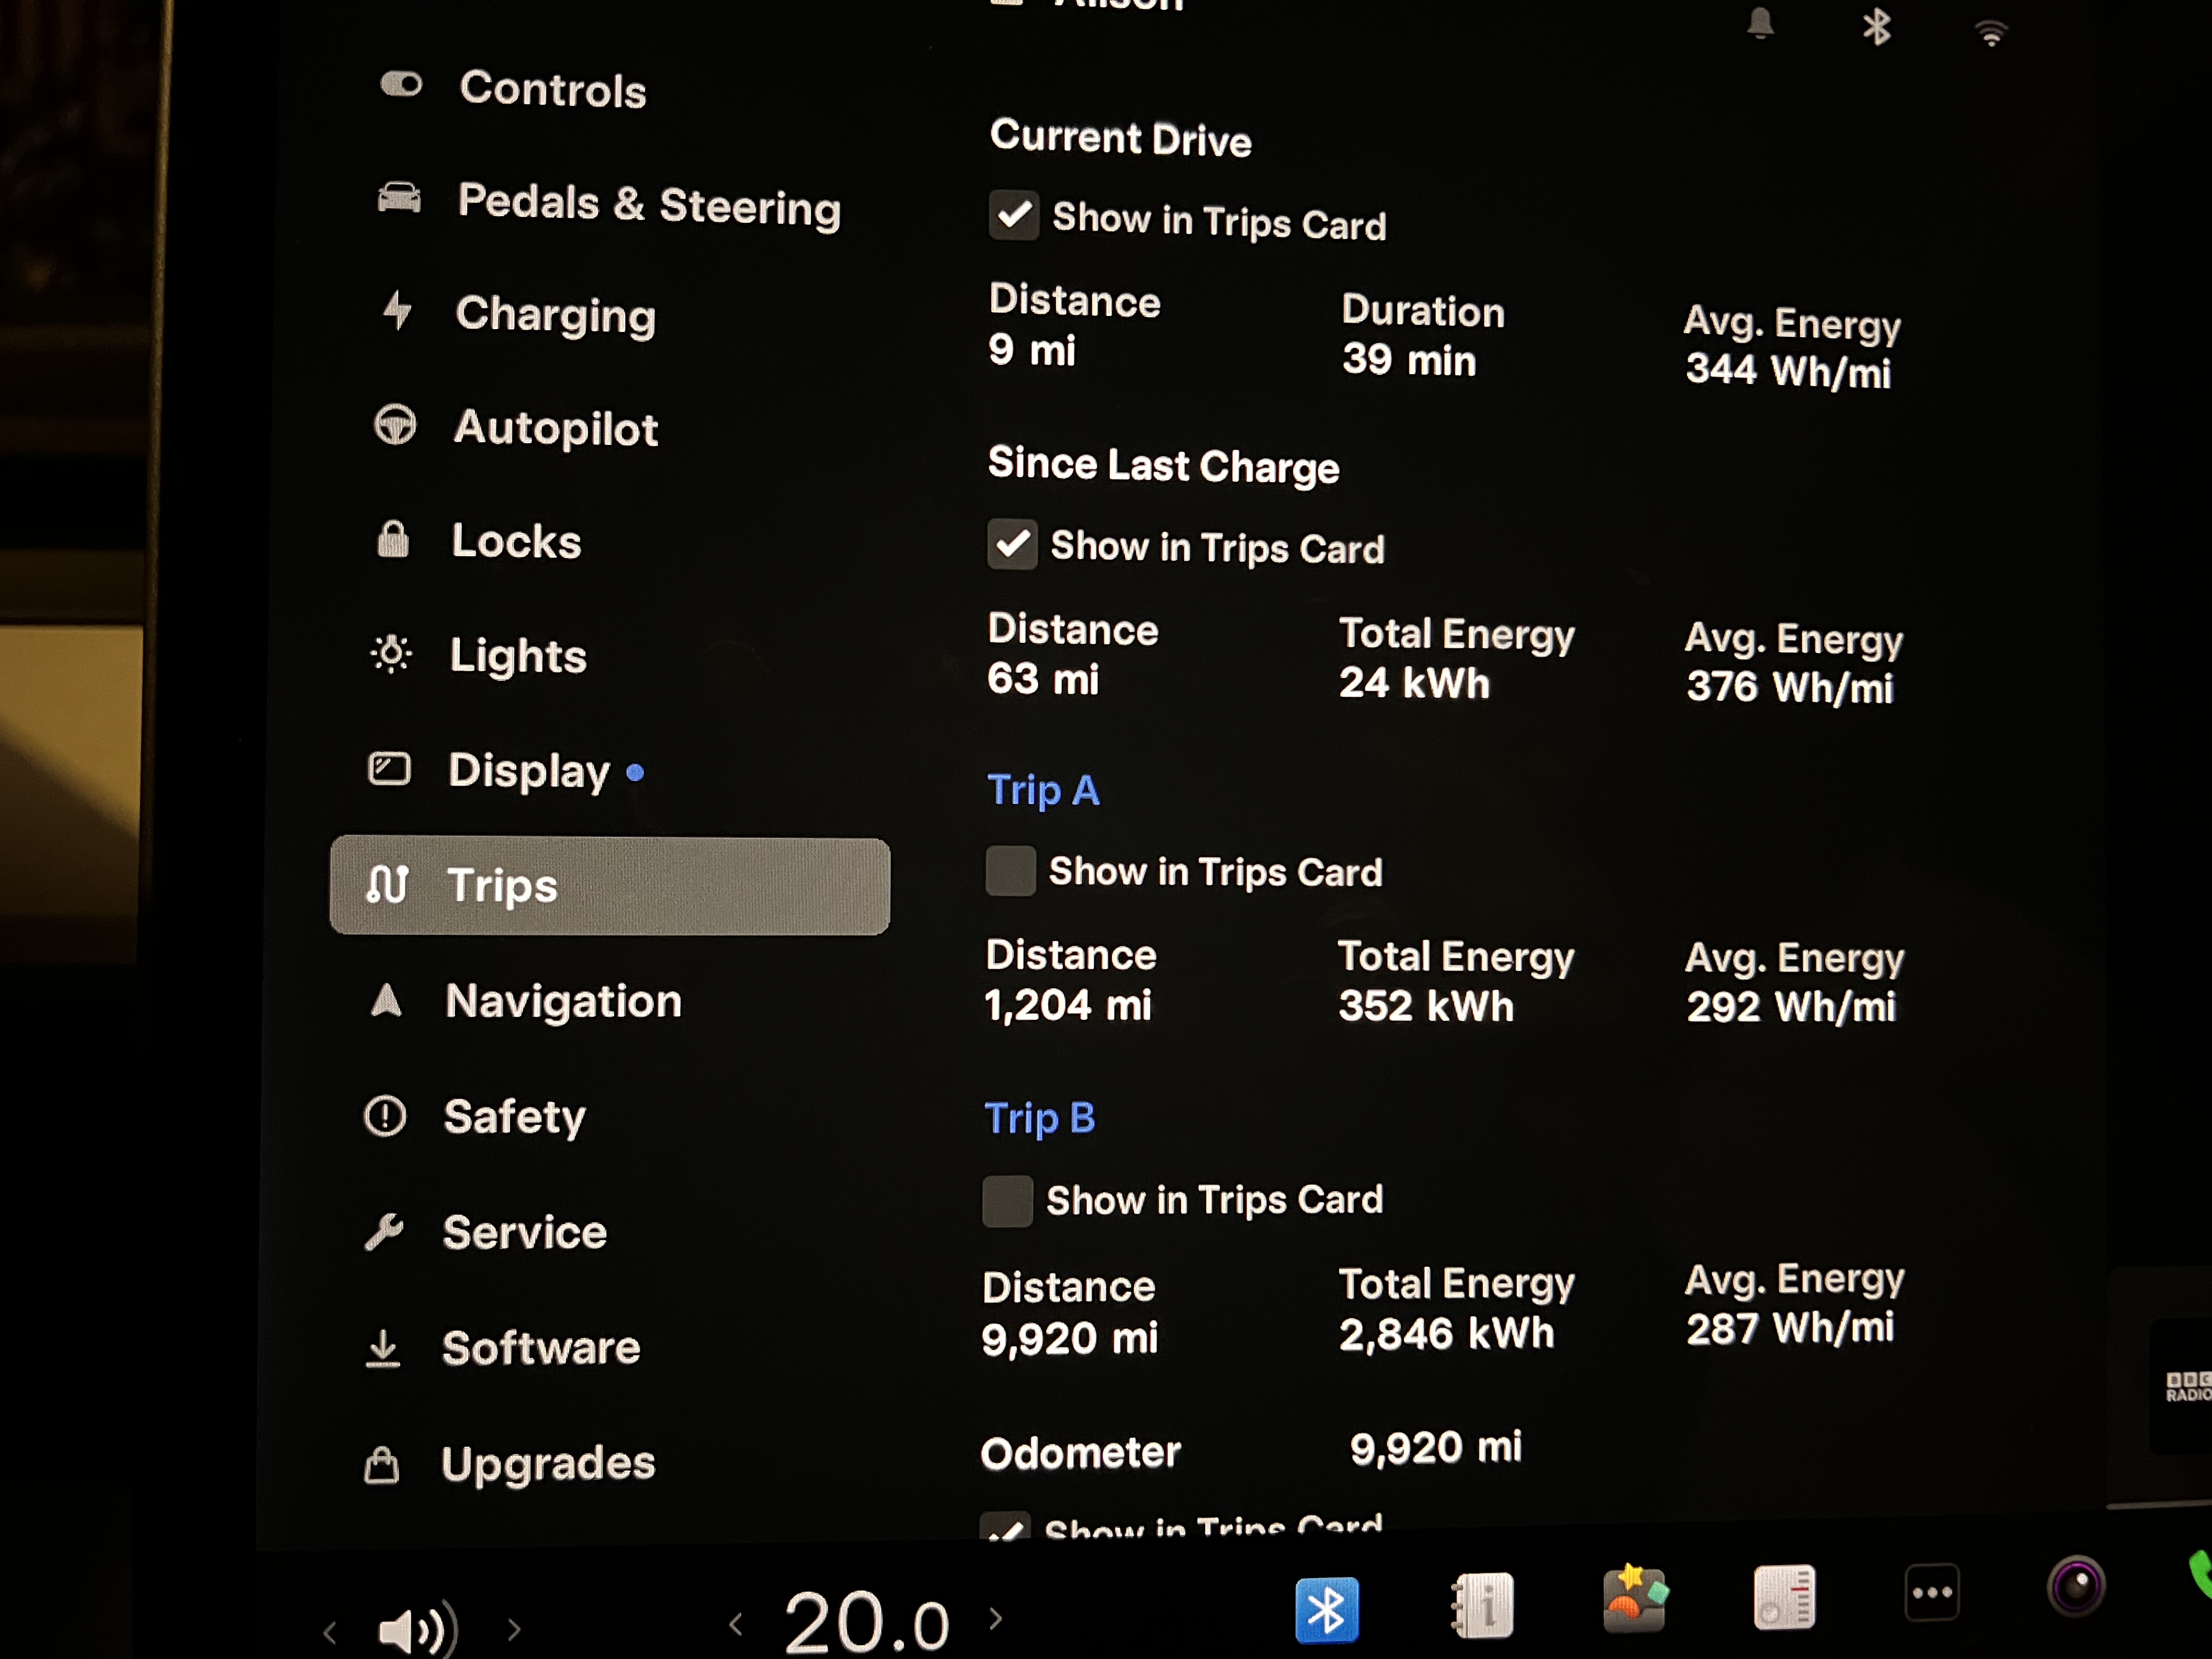
Some statistics
We’ve driven 9,920 miles in the two years we’ve had the car – a smidgin under 5,000 miles per year. The car reports our total energy use at 2,846 kWh, or 287 Wh /mile. At our current overnight electricity price of around £0.185 / kWh, that’s ust over 5p of electricity per mile, which strikes me as staggeringly good. To be honest, at our relatively low mileage, depreciation and insurance are going to be a far more significant cost than fuel.
For our France trip, a mixture of superchargers, other paid-for chargers and some free recharges, we ended up spending €0.09 per mile; if you ignore the free recharges, the figure goes up to €0.11.
The buying process
I need to mention that during the process of purchasing the car, Tesla’s customer engagement was dire. Sure, the online screen to set up your account and select the options you wanted worked fine. But navigating their phone system was horrific, there was really no idea given of when the car might arrive, and it wasn’t pleasant to discover that the pickup point closest to my home got mysteriously discontinued at some point during the ordering process. For a £50,000+ purchase, I’d have expected someone to answer the phones and give me a bit of TLC. They didn’t.
My overall impression is that their view of customer service is that it’s a cost centre: their strongest desire is to get you off the line and stop costing them salaries. Ensuring that you get a good experience to associate with their brand doesn’t seem to something that bothers them.
In summary
Quite simply, the Model 3 is the best car I’ve ever owned. It’s lovely to drive, staggeringly fast, practical, comfortable, reasonably attractive and its fuel costs are incredibly low (particularly since I have solar panels at home). Its charging network is second to none.
It would be great if Tesla had a serious rethink about their customer engagement and dealt with the dafter bits of the user interface. But I guess you can’t have everything. So far, therefore, all things considered, I’m not suffering from anything resembling buyer’s remorse.
The climate crisis has made me steadily more interested in reducing my carbon footprint by putting solar panels on our roof. As well as being the green thing to do, the recent turmoil in energy prices has made it economically sensible, so I’ve taken the plunge: last month, a substantial system of photovoltaic (“PV”) panels was installed on our roof. Should you do the same?
When specifying a solar energy system, there are many possible choices of exactly what equipment to install. The decision-making is complex because there are a lot of variables: how much electricity you expect to use (which will vary according to the time of day and the season), how you think energy prices will change, interest rates, whether you’re going to charge an electric car at home… The list goes on.
Solar installers will give you all sorts of models to show your return on investment: these can be somewhat rosy-coloured and generally only tell part of the picture, so I thought it would be a good idea to talk you through what the various components do and why I made the decisions I did, in the hope that it might help with yours (or just pique your interest). Most of what follows will apply regardless of which country you live in, but a few points will be specific to the current regulations in the UK.
First, you need an approximate scale of what you’re trying to achieve. Electricity use is measured in kilowatt-hours (kWh): roughly speaking, 1 kWh will light a small room for a couple of days, boil an electric kettle ten times or run a load on a small dishwasher. An average detached house in the UK uses around 10 kWh per day, according to OVO energy. Your daily usage should be shown on your electricity bill: ours was 17 kWh. I’m not yet totally clear about why we’re so far above average, but I’ll be working on it.
The major components of the system are as follows:
The PV panels, which convert sunlight into DC (direct current) electricity
The battery, which stores electricity for later use
The inverter, which converts the DC into the AC (alterating current) electricity that your house will use and also controls how much electricity flows to and from the battery
All of these cost serious money, so it’s important to get their amounts and sizes right.
How many panels?
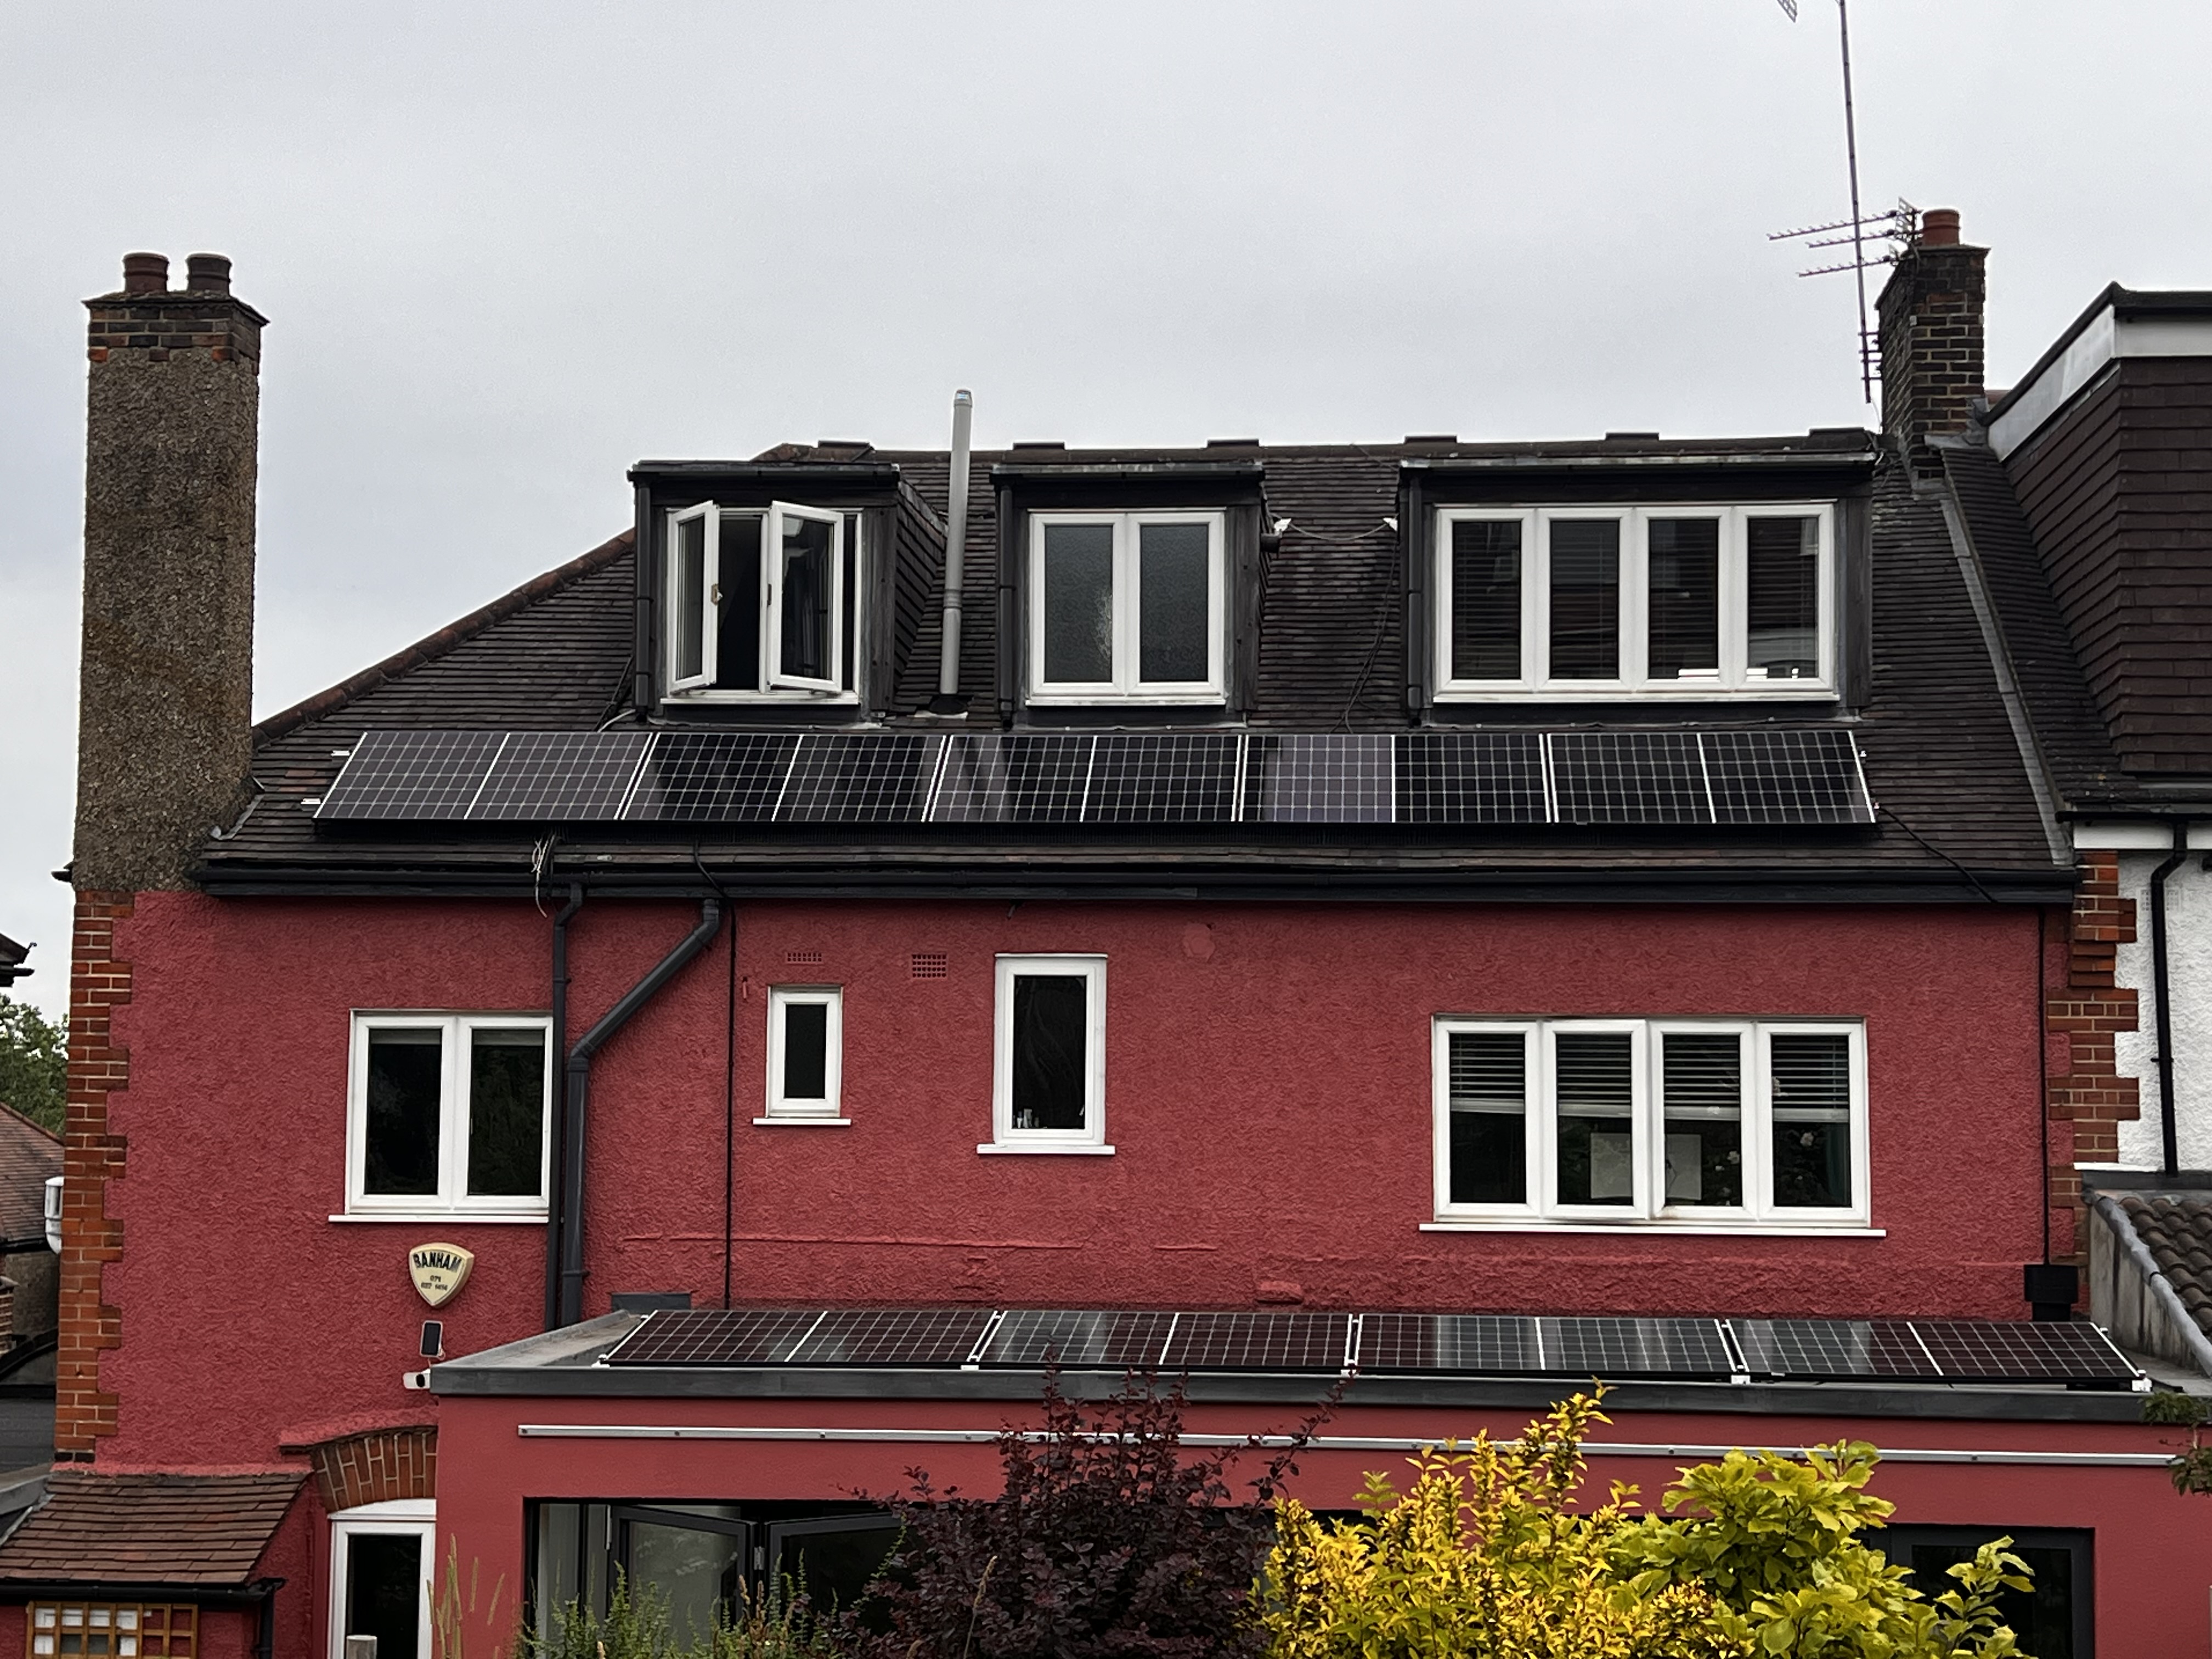
A typical rooftop might fit between 10 and 20 410W panels – I ended up with 19, giving a maximum rated power output of 7.79kW. At first sight, that sounds like massive overkill: a maximum rated output of over 90 kWh on an average day with 12 hours of sunlight, compared to the 17 kWh that I use. But that’s wrong, for a variety of reasons:
In winter, days get much shorter than 12 hours
If the weather’s cloudy, the panels will produce a lot less than their rated output
In my case, because my roof faces east-west, only half the panels (roughly speaking) are operating at any time: the east-facing panels in the morning and the west-facing ones in the afternoon
There are inefficiencies in the system anyway
So far, the best that my system has managed, on one of the longest and hottest days of the year, was just over 40kWh (which was actually pretty impressive). The predictions in my quote are that I will be generating 61% of my total electricity usage: we’ll see how that pans out over the course of the year.
How big a battery?
Of course, you could operate without a battery at all, selling any surplus electricity back to the grid immediately and never storing it. The trouble is, in the UK at least, many of the electricity providers have been paying a pretty inadequate rate (as low as £0.05). This does seem to be improving, though: my provider Octopus have a tariff where they will buy my surplus power at a fixed rate of £0.15 per kWh, compared to the £0.49 they have been charging me for supply (which, to be fair, is going down to £0.31 this month).
Particularly since we have no idea how any of these tariffs are going to change, it therefore makes sense to have a battery big enough to store your usual overnight consumption (if you haver a smart meter, you should be able to figure out what this is, or you can let your solar supplier guess based on your total consumption and national averages). My battery has a capacity of 9.6kWh, which means that I will be exporting electricity back to the grid at the height of summer or when we’re on holiday and the house is empty, but not at other times. The batteries are modular and we might add another module to increase capacity in future, if it looks sensible to do so.
The inverter
In practise, the inverter will be the model with which your installer is most familiar. The decision to be made will be its capacity for delivering power, which needs to be higher than the maximum amount your system will generate at any one time. In the UK, there is an important limit: if your inverter is at or below 6kW, your application to join the electricity network is granted automatically; above it and you could suffer delays. My inverter is exactly at 6kW: because of my East-West facing roof, we can be sure that my solar panels will never deliver more than that, by a safe margin.
With your inverter comes a suite of software for monitoring how your panels are performing, how much electricity they are delivering, how much you are using, how much is going to and from the battery. Staring at the control panel on my phone was pretty addictive for the first week or two: the novelty is beginning to wear off now and I’m more inclined to let the system get on with it. Of course, it would be possible to spend hours analysing data and tweaking the inverter setup to the nth degree, most notably the parameters about how much it decides to charge the battery. I haven’t bothered to learn the tricks for doing this.
If your house doesn’t have much unused space, you may struggle to find a suitable place to locate the inverter and batteries. They generate a fair amount of waste heat, so you have to leave quite a lot of space around them. The place you choose has to be well ventilated. They won’t like being in direct sunlight (because of the risk of overheating). And you need to be able to run DC cables from them to all the panels, and AC cables to your consumer unit (the place where your electricity is distributed to the building).
Weatherproofed inverters do exist, which you can install on an outside wall. They’re more expensive, and you still have to be sure to keep them out of the sun.
You also generally need to ensure that they have an Internet connection available (different inverters handle this in a variety of ways).
Other ways of using surplus electricity
If you live in a very sunny place with a large roof, you might end up with a lot of surplus electricity. Here are some of the things you might choose to do with it.
Charge an electric vehicle – just to give you an idea of scale, the battery in my Tesla is 75kWh, nearly eight times the size of the one in my house. A typical 100 mile recharge is around 30kWh. But you could be generating enough power to make a sizeable dent in that, and/or you may have pretty low mileage anyway. In this case, you can buy a special purpose diverter (the popular brand in the UK is called a Zappi), which figures out, reasonably intelligently, when it’s a good idea to pump surplus energy into your car rather than selling it back to the grid.
Use it to heat water. In many UK homes, your hot water is powered by gas or oil, which is a lot cheaper than electricity, but the tank has an electric immersion heater for use as a backup. In principle, you could send the surplus electricity to your immersion heater to reduce your boiler’s gas usage, effectively using your hot water tank as a form of energy storage (the Zappi has a friend called an Eddi which does this). Trouble is, you need the right hot water tank for this to work: most domestic systems run on a thermostat, so unless you’re running your bath at exactly the moment when your electricity generation is high, the Eddi won’t contribute much.
Use it to power a heat pump. Air-sourced and ground-sourced heat pumps aren’t all that popular in the UK yet, because of a variety of difficulties. But the technology is improving, gas prices might get another upwards shock, and regulations discouraging gas usage could come in. As a result, heat pumps may become the way to go for more houses. If that’s the case for you, a considerably larger solar setup may be desirable.
The economics
If we’re honest, the economic case is a bit marginal, even with the recent turmoil in energy prices. My system cost over £20,000 and my installer’s fancy proposal-creating software gave a payback time of around 10 years, but that needed to be taken with a serious pinch of salt given that it all relies on assumptions about what was going to happen to electricity prices and interest rates (obviously, it matters whether you’re financing the project by borrowing or whether you have the money and it’s simply reducing your investment income).
So the chances are that you’re not planning to install solar for the economic benefit alone: you’re doing it at least in part because reducing your carbon footprint is a good thing in itself, or possibly because you live somewhere which gets a lot of power cuts, so having a high capacity battery gives you much wanted immunity to these.
Finding an installer
Even before the Ukraine war, the increasing desire to go green, together with the steady improvement in PV system performance, meant that there weren’t enough installers to meet demand. The energy price shock brought on by the war made the situation worse. So in the UK at least, good quality installers can pick and choose which jobs they do – which means that they’ll choose the ones they can do with least effort, ones close to where they’re based which don’t suffer from obvious technical difficulty.
Don’t be surprised if you contact an installer, get a first off quote which has taken them 10 mimutes with a bit of software, and if you then never hear from them again. I’ve had that happen twice, with a third attempt where an installer based somewhat far away decided that my job was all a bit too much effort and declined to continue. What finally worked for me was to identify a company who had done a successful installation at another house in my road.
Finally, once your system is installed and you get the right certificates to allow you to connect to the grid, you’ll want to choose the best possible tariff and get your installer’s help to programme the inverter to make use of it (for example, Octopus Energy tell me that for them, you want to avoid taking grid electricity between 4pm and 7pm). But that’s a whole other story…
So should you invest in PV?
Every situation is different: your economic forecasts and financial situation will be different from mine, as will your expected energy usage, the orientation of your roof, the ease or difficulty of access to it, the value you place on reducing your carbon footprint and many other things. And of course, there important things we don’t know: how energy prices will change, and how the technologies involved will change (hopefully to improve, but maybe to become more expensive if there are materials shortages).
Anyway, I’ve done my best to give you enough background to properly critique your supplier’s proposal and estimates and come to an informed decision. Good luck with your solar power journey!
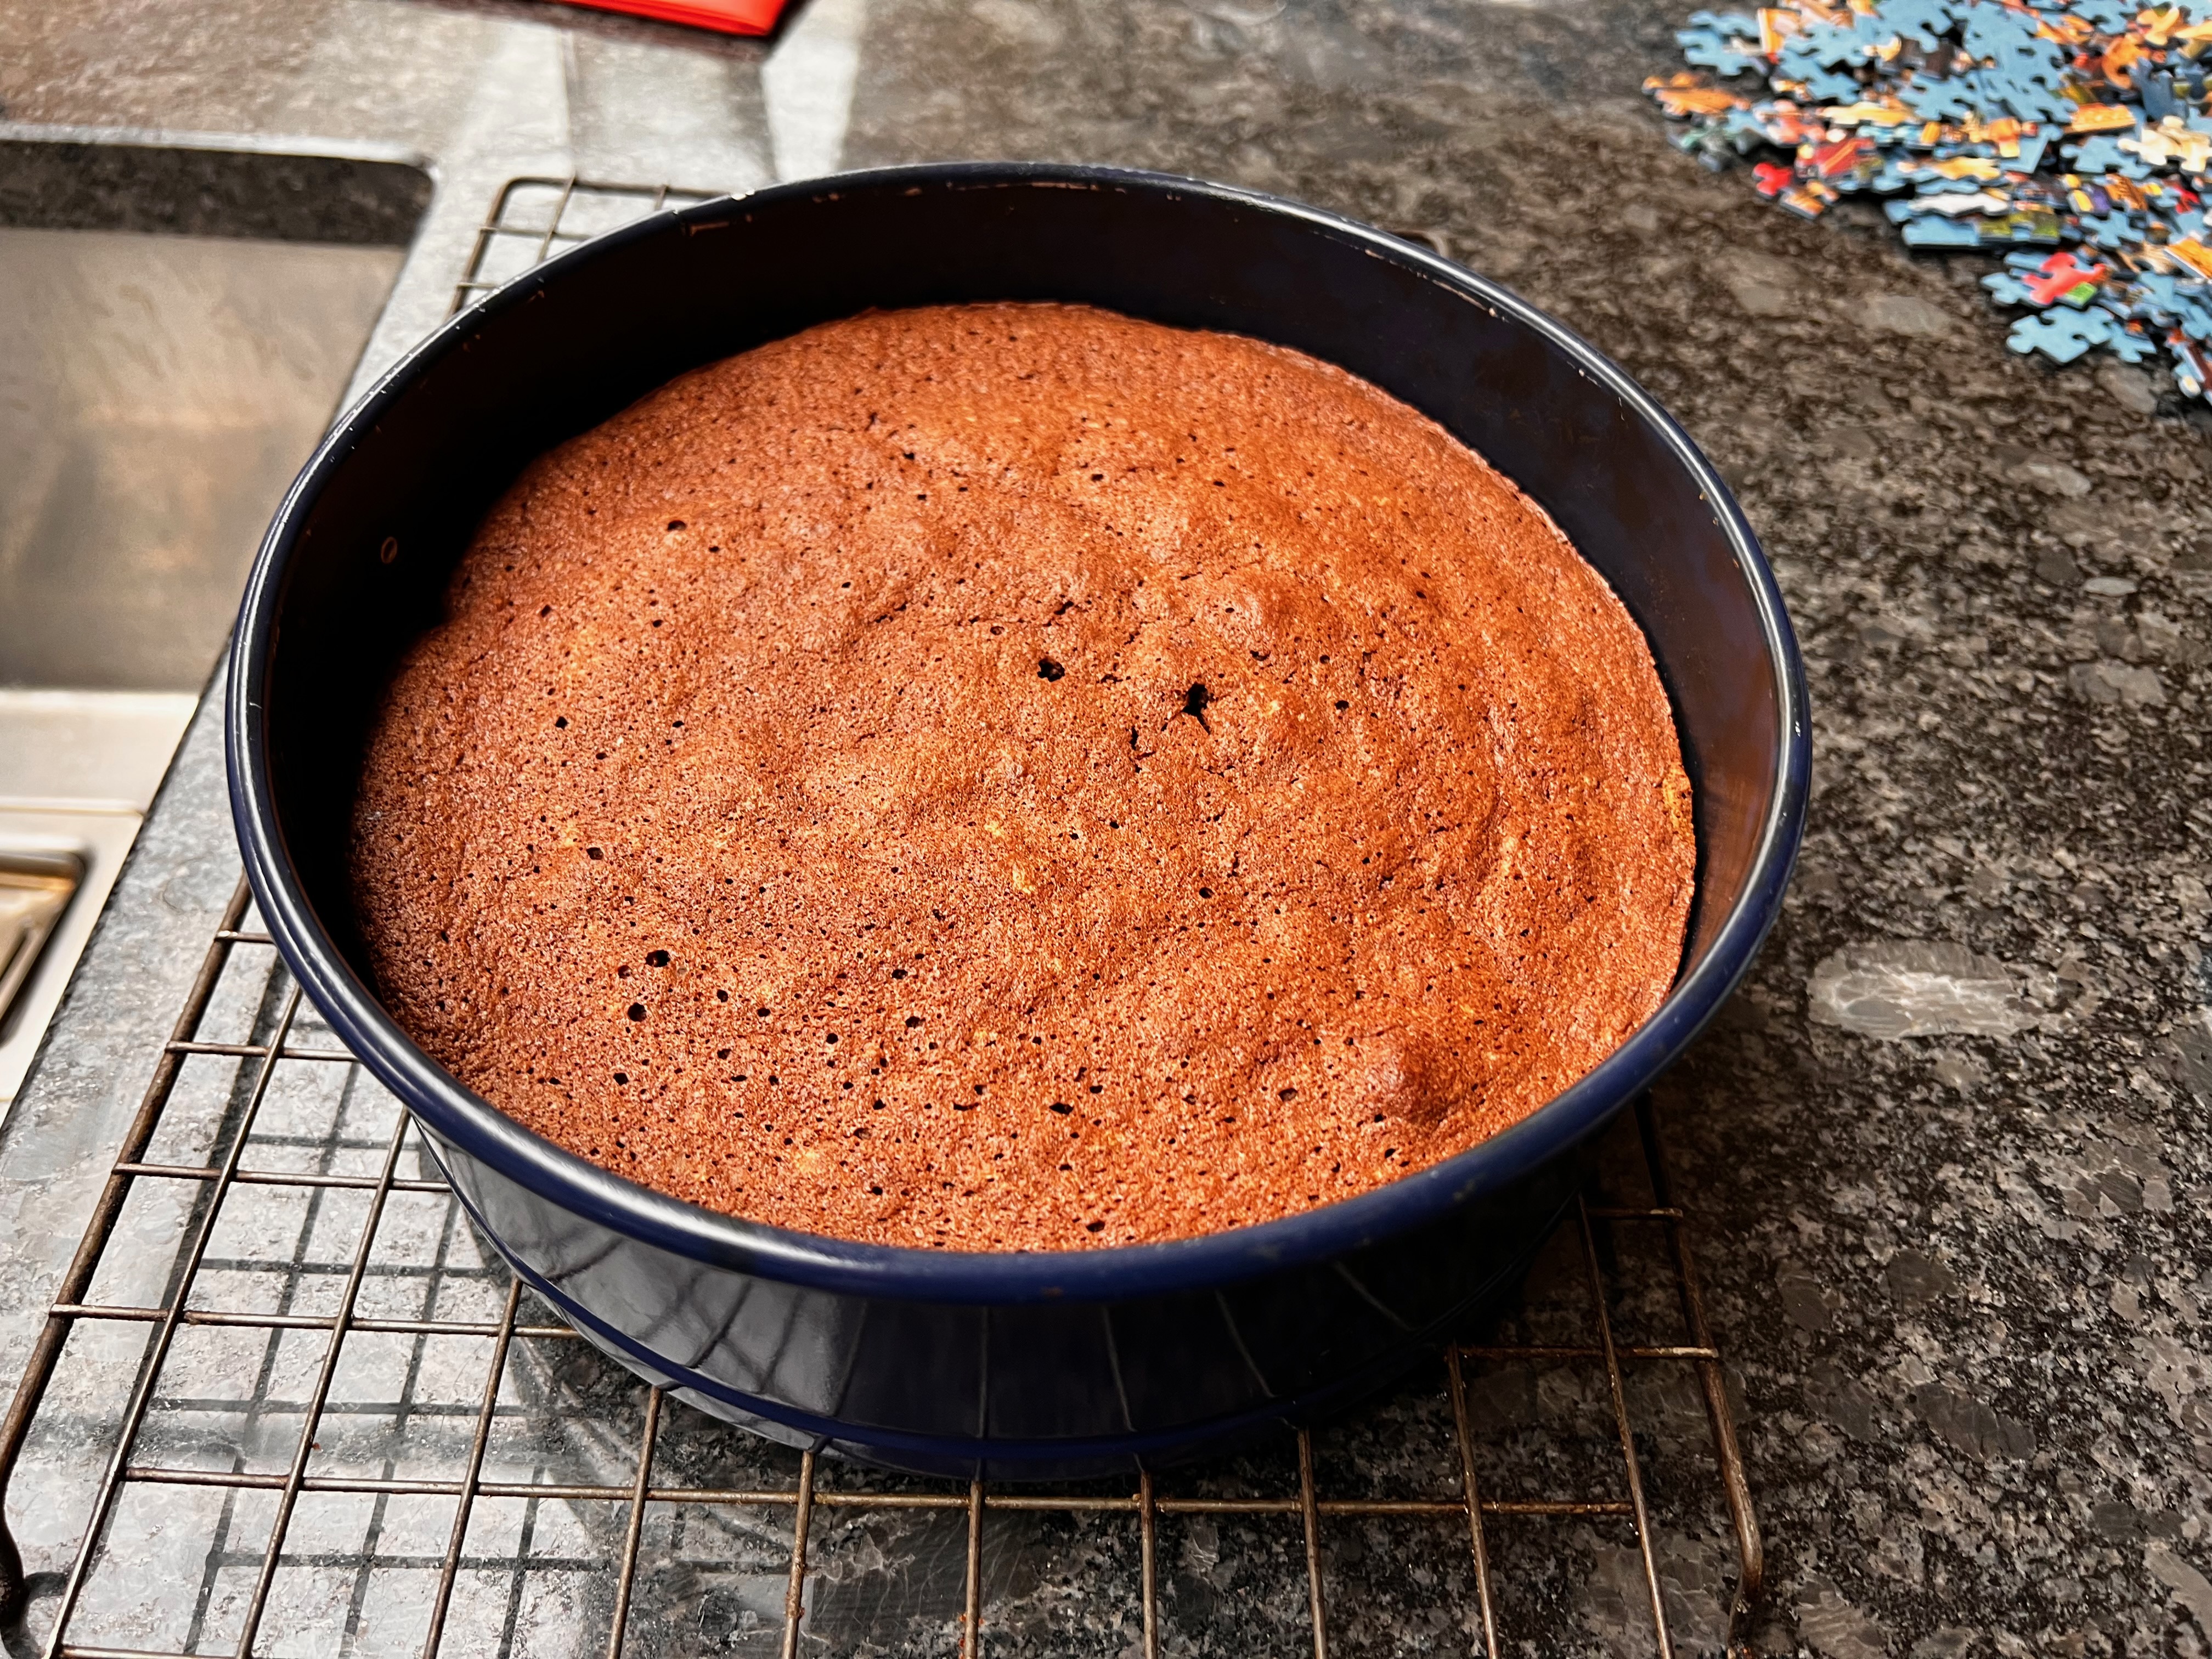
Sachertorte is my favourite chocolate cake, but since it’s based on flour, you can’t serve it at Passover. You can, however, serve this flourless chocolate almond cake, whose recipe was passed down to us by my late mother-in-law and is a firm family favourite (Joan was much loved, by the way – very much the opposite of the Les Dawson stereotype).
3 eggs
100g dark chocolate (as usual, my favourite is 70% Chocolat Menier)
100g sugar
100g ground almonds
100g butter, plus some for greasing
15ml (1tbsp) brandy or rum, optional
A small cup of espresso coffee (I made 60ml or so). An alternative would be a teaspoon of instant coffee dissolved in 30ml or so of water
Preheat oven to 135℃ fan
Line the base of a 23cm (or so) cake tin with baking paper, grease the sides with butter
Melt the chocolate in a double boiler. If the butter is hard, chop it into small pieces.
Add the butter and mix until melted
Reserve 25g of the sugar in a small bowl
Add the remaining 75g of sugar, ground almonds, coffee and brandy to the chocolate mixture and stir until smooth
Remove the top of the double boiler from the heat. If you’re feeling impatient, cool it in an ice bath. Otherwise, just wait for it to be not too much above room temperature: you don’t want it scrambling the egg yolks.
Separate the eggs into two bowls
Whisk the whites until soft, add the 25g of sugar, and whisk until you have a stiff meringue
Whisk the yolks until foamy, then add the chocolate mixture and stir
Fold in the meringue until you’ve got rid of any blobs of egg white and any swirls of dark chocolate.
Pour into your cake tin and bake. Everyone’s oven is different: I gave the cake around 40 minutes, opened to check it with a skewer, and then gave it another 10 when the skewer didn’t come out quite dry.
Cool on a rack for as long as you can bear it.
Serve (with whipped cream, if you’re feeling Viennese).
There have been several dark rye breads in this series, but after a recent visit to Estonia, I felt compelled to make the Estonian version, known simply as “Leib” (bread) or, if you’re feeling loquacious, “Must Leib” (black bread). It’s a soft, earthy and aromatic loaf that immediately hit the top of family favourites of any bread that I’ve made, displacing its Russian cousin Borodinsky bread; it also seems to keep particularly well. You need a couple of days elapsed time and it’s fairly hard work compared to many breads, not least because the dough is very sticky so you spend masses of time on washing up, but it was well worth the trouble and it’s definitely going to become a regular.
As ever, recipes vary: the common theme is the use of dark rye, caraway seeds and various other seeds (pumpkin and sunflower here; I’m sure others are possible), as well as the use of a fairly long fermentation time. I’ve started with a post on Deutsche Welle from their EU correspondent Georg Matthes, taking down the quantities around 20% to suit the size of my bread tin and changing a couple of ingredients to the ones readily available to me. By the way, my bread tin measures around 29cm x 11cm x 10cm, so around 3 litres, probably not far off an American 10 x 5 inch loaf pan.
Georg is surprisingly precise about fermentation time and temperature – 17 hours at 24℃ – which is fine if you are a professional baker with access to a temperature controlled environment but sounds scary to us amateurs. I have the choice of room temperature (around 20℃ in winter) or the cupboard containing my boiler (more like 30℃), so I ended up doing a kind of mix and match. It worked fine, so I suspect that things really aren’t all that sensitive.
I’ve given you the timings and sizes that I used successfully. Obviously, adapt as needed to your schedule, kitchen and available equipment.
Day 1 – around noon
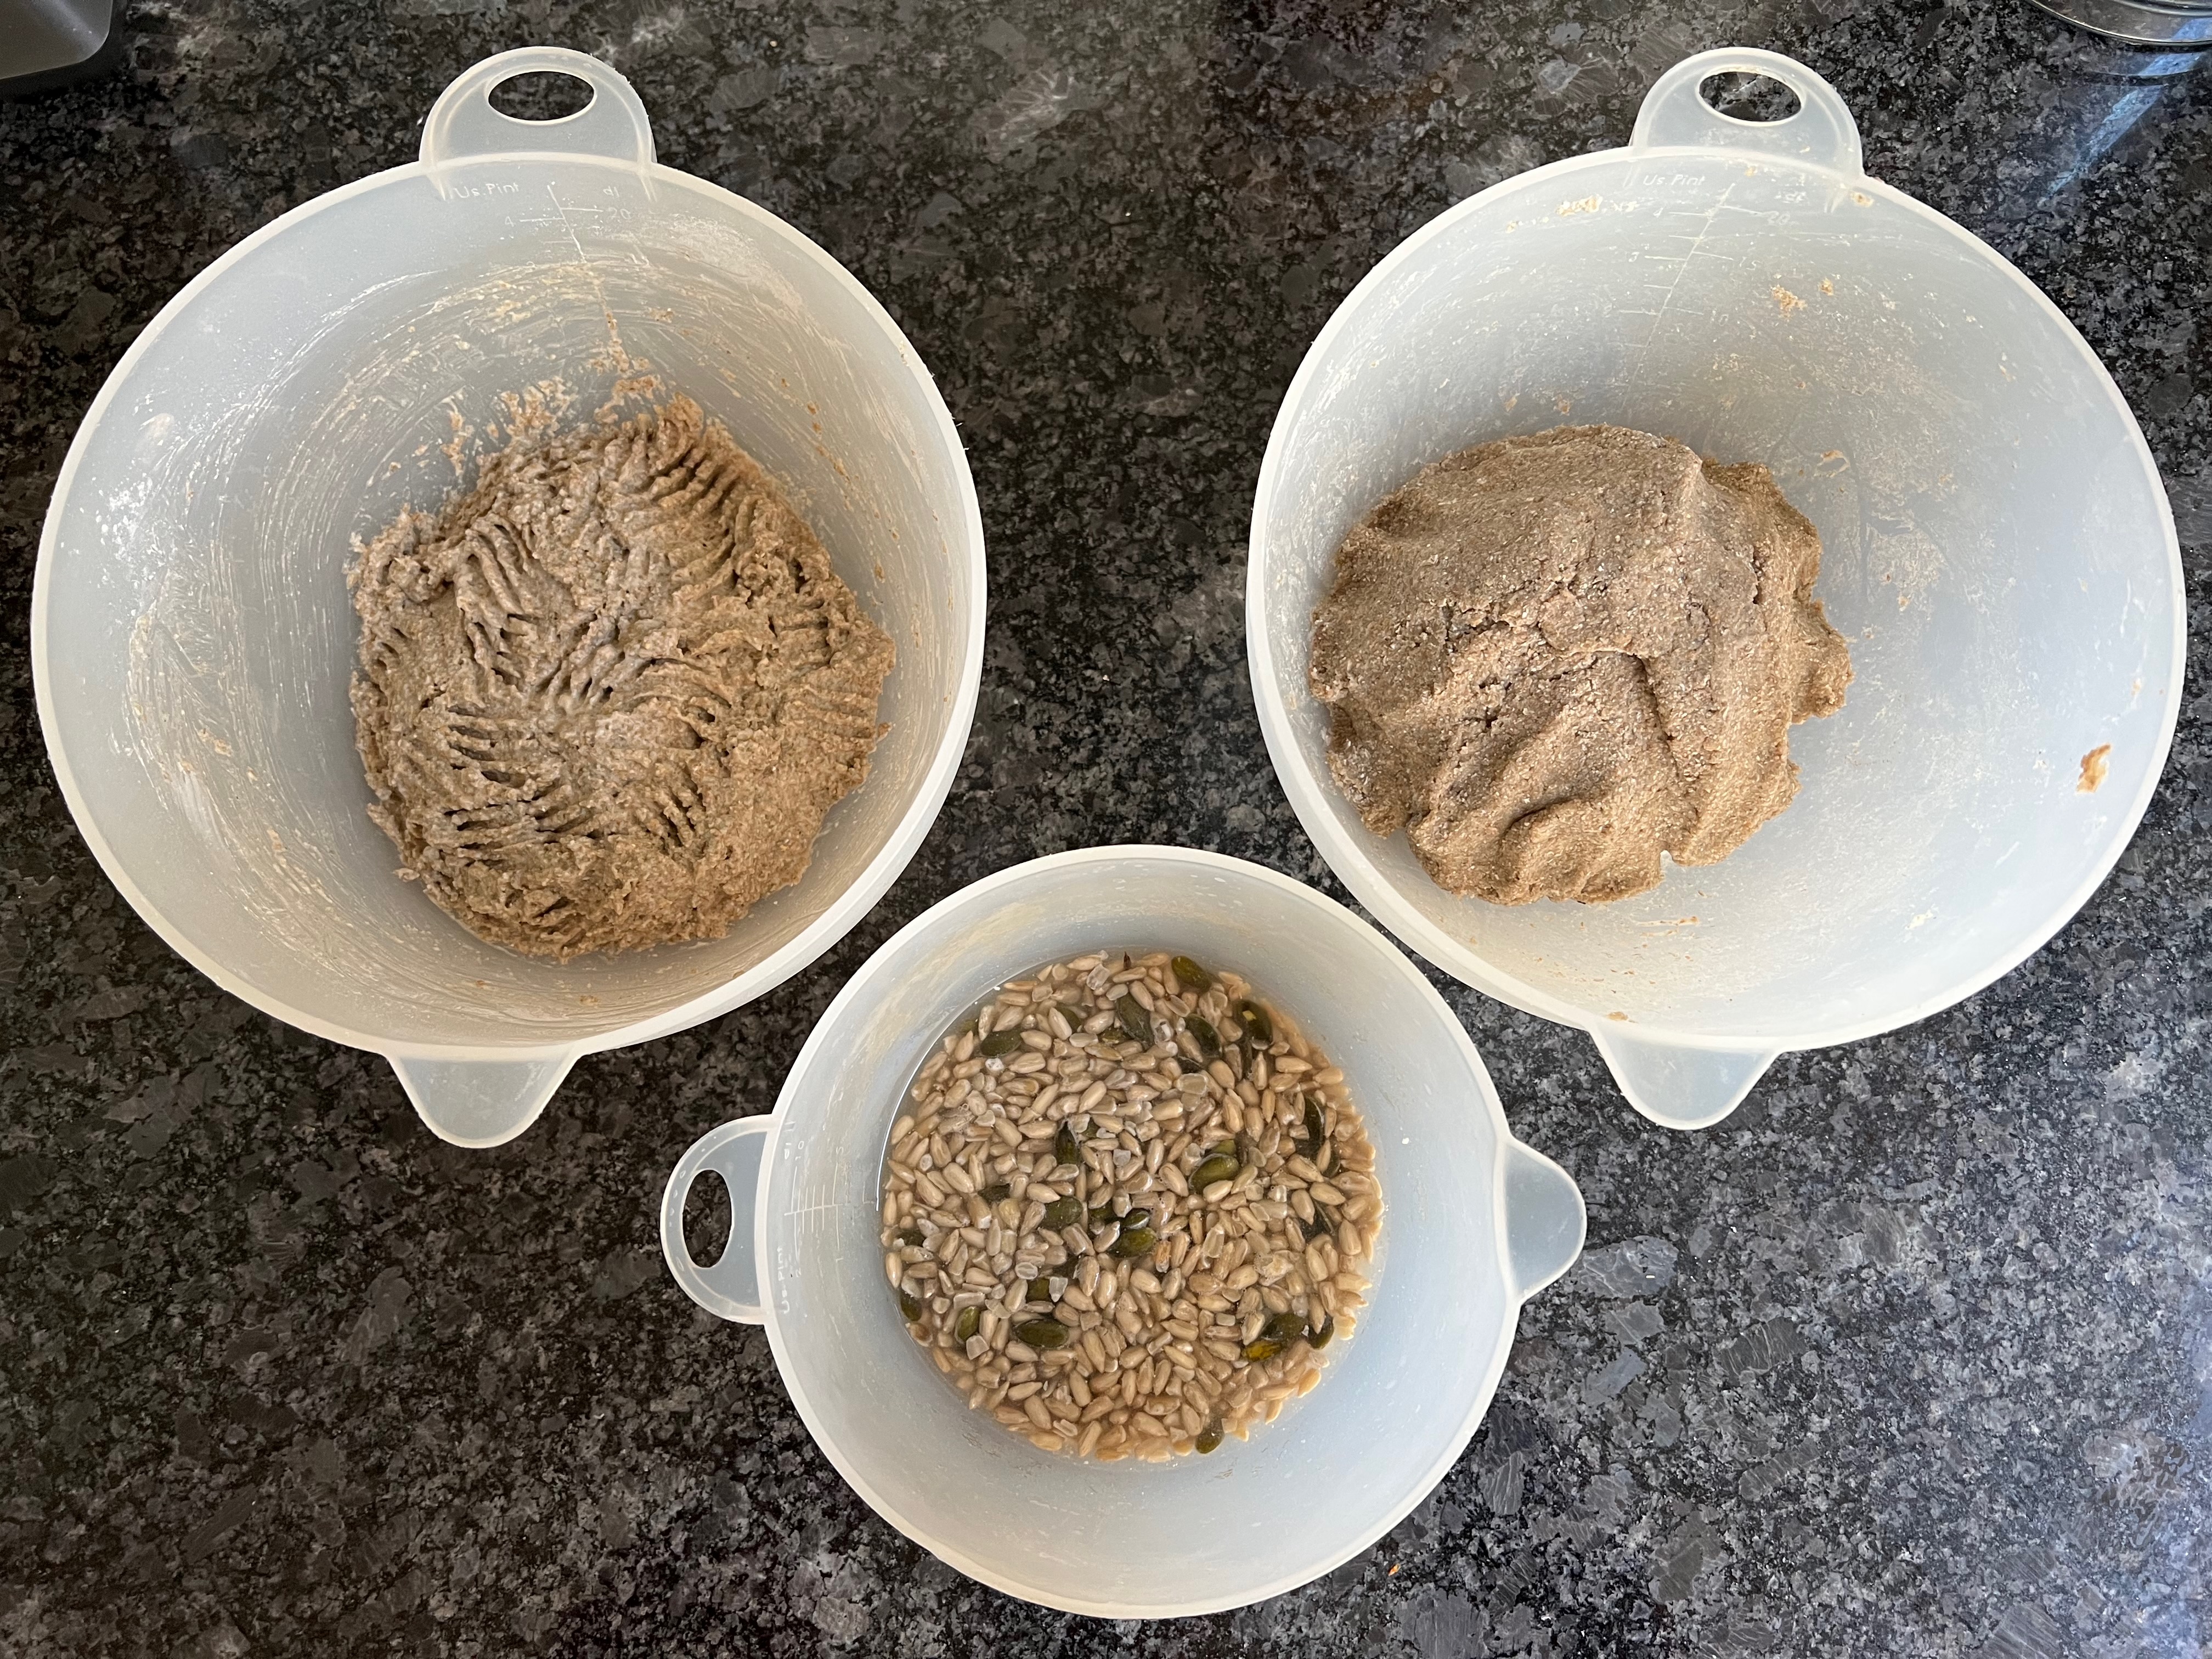
You’ll start by making three separate mixtures and leaving them to ferment. In each case, combine all the ingredients in a bowl, mix thoroughly, cover and leave.
Sourdough
50g sourdough starter (mine is dark rye)
200g dark rye flour
200ml water
Plain dough
280g dark rye flour
300 ml water
Seed mix
50g pumpkin seeds
75g sunflower seeds
8g salt
120ml boiling water
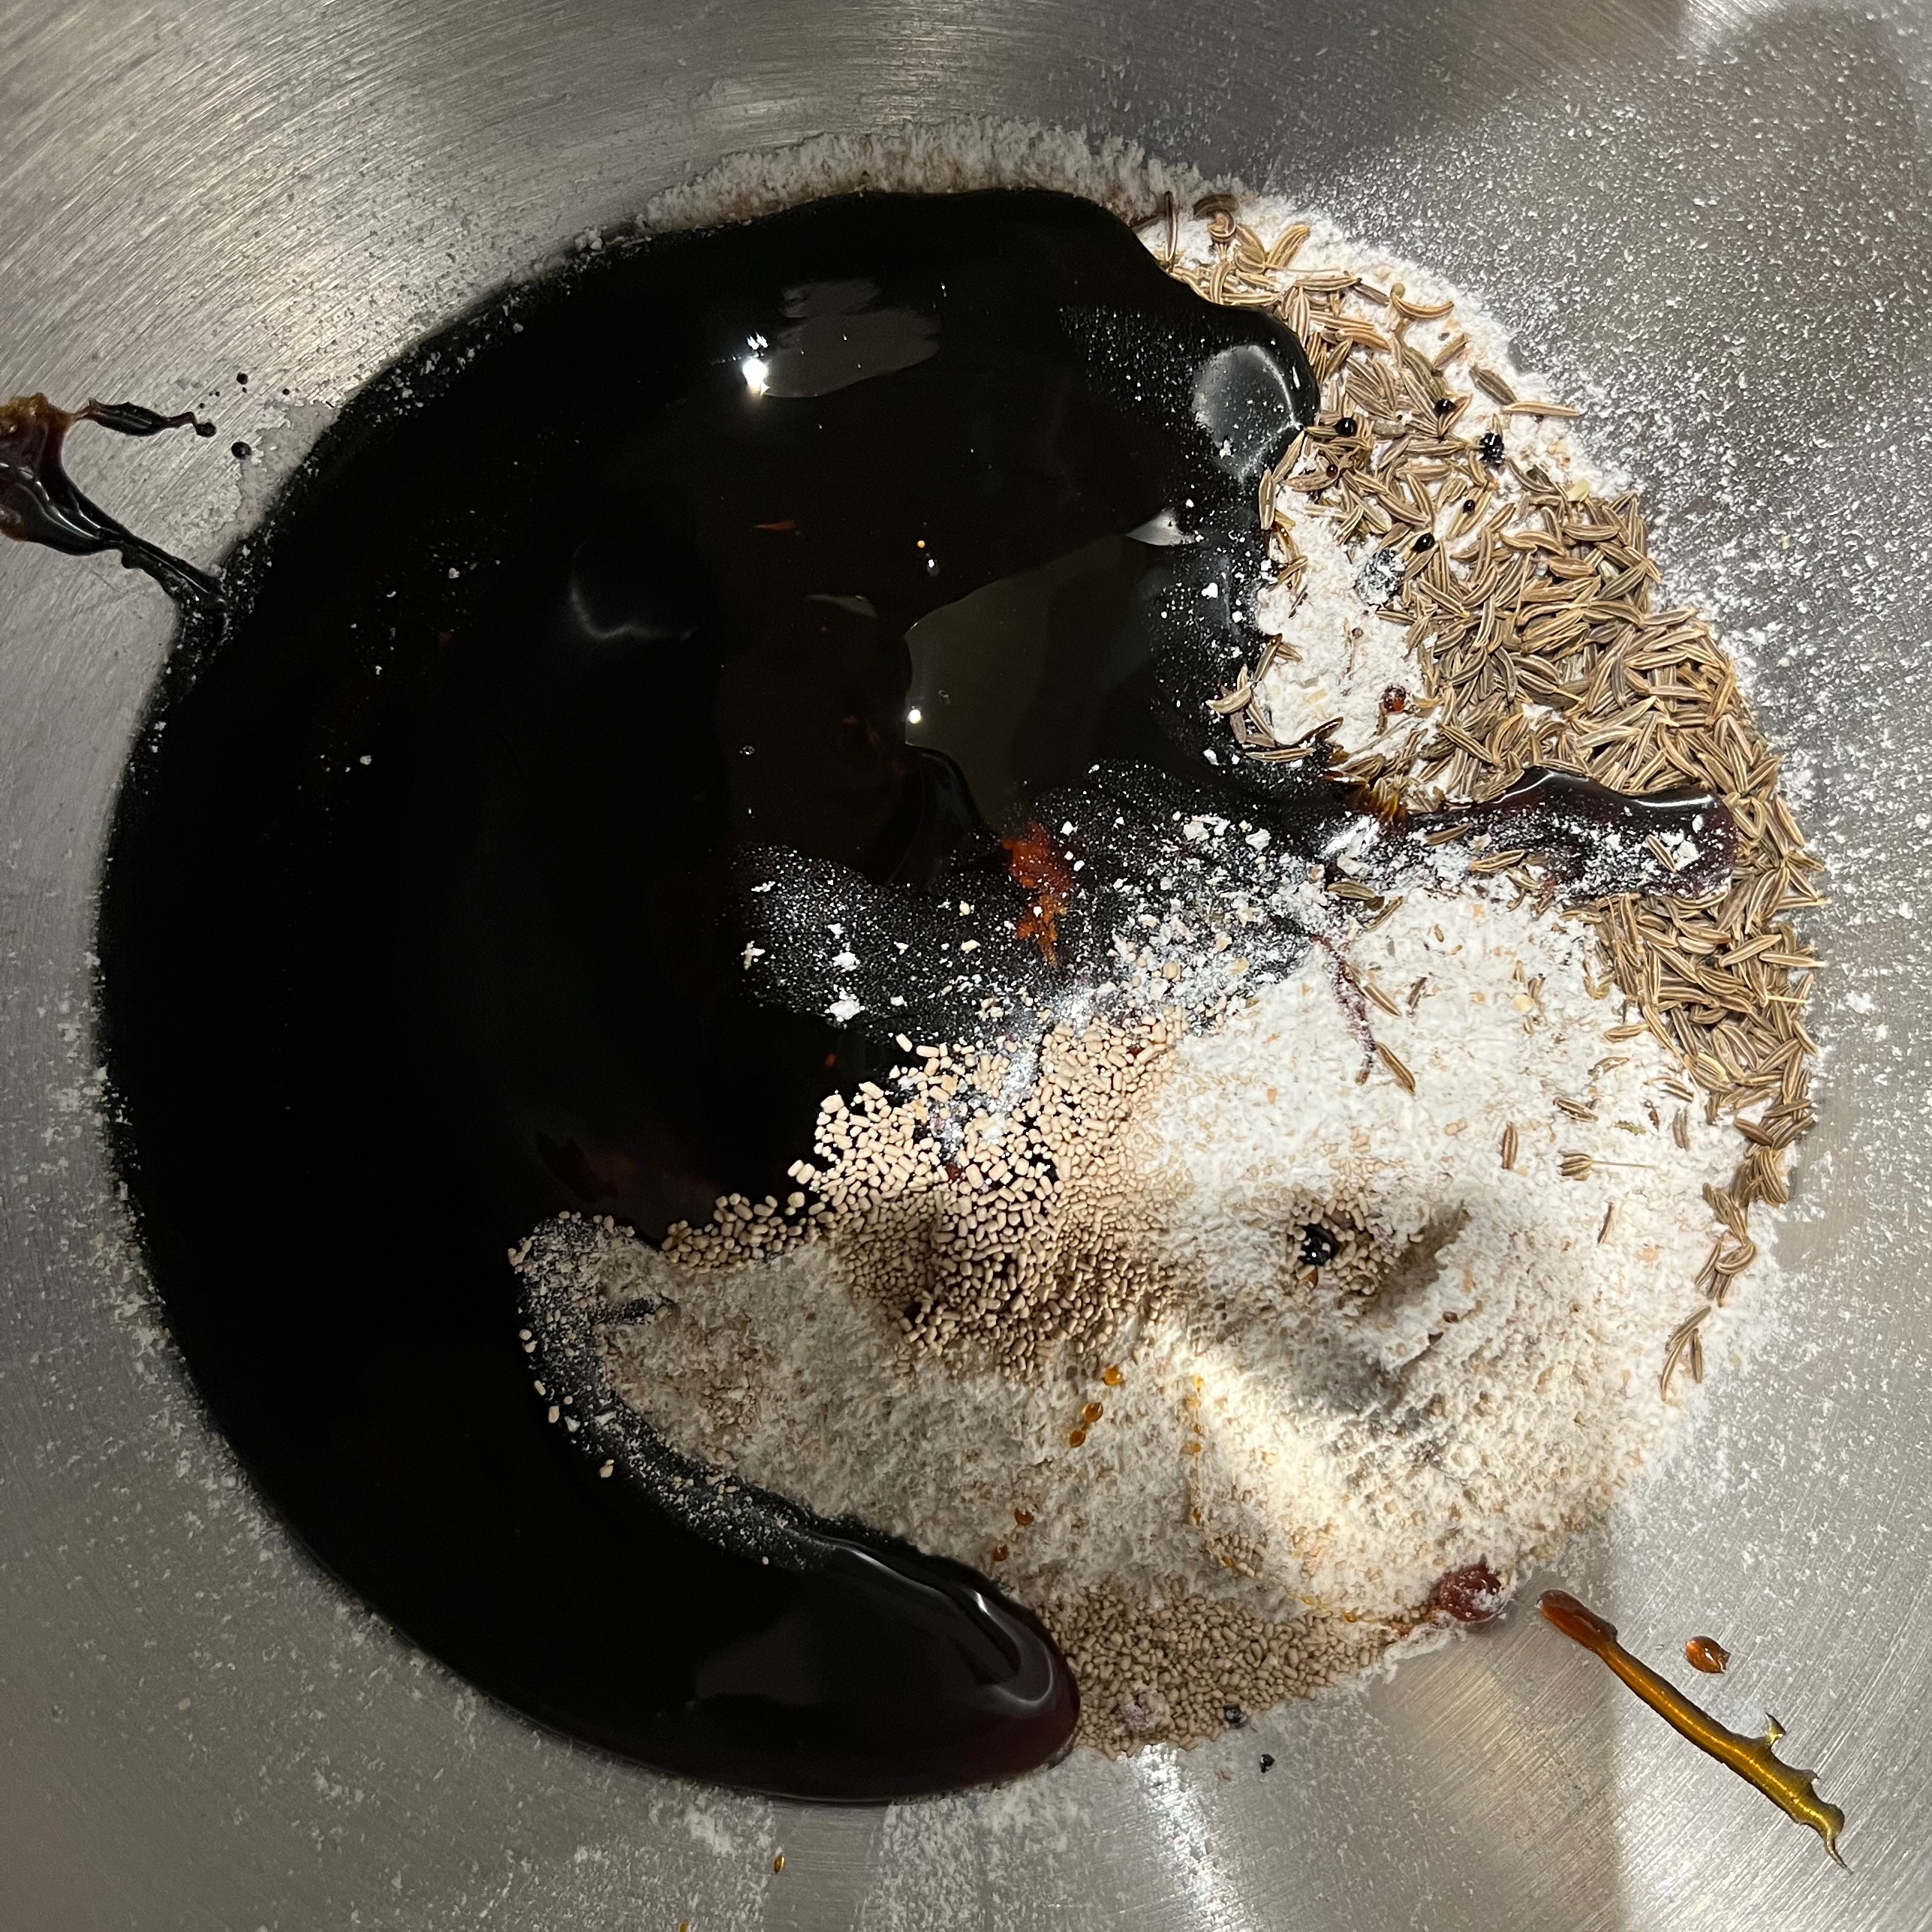
Day 2 – around 9am – mix and first rise
200g wholemeal wheat flour
10g dried yeast
35g malt extract
50g molasses
7g caraway seeds
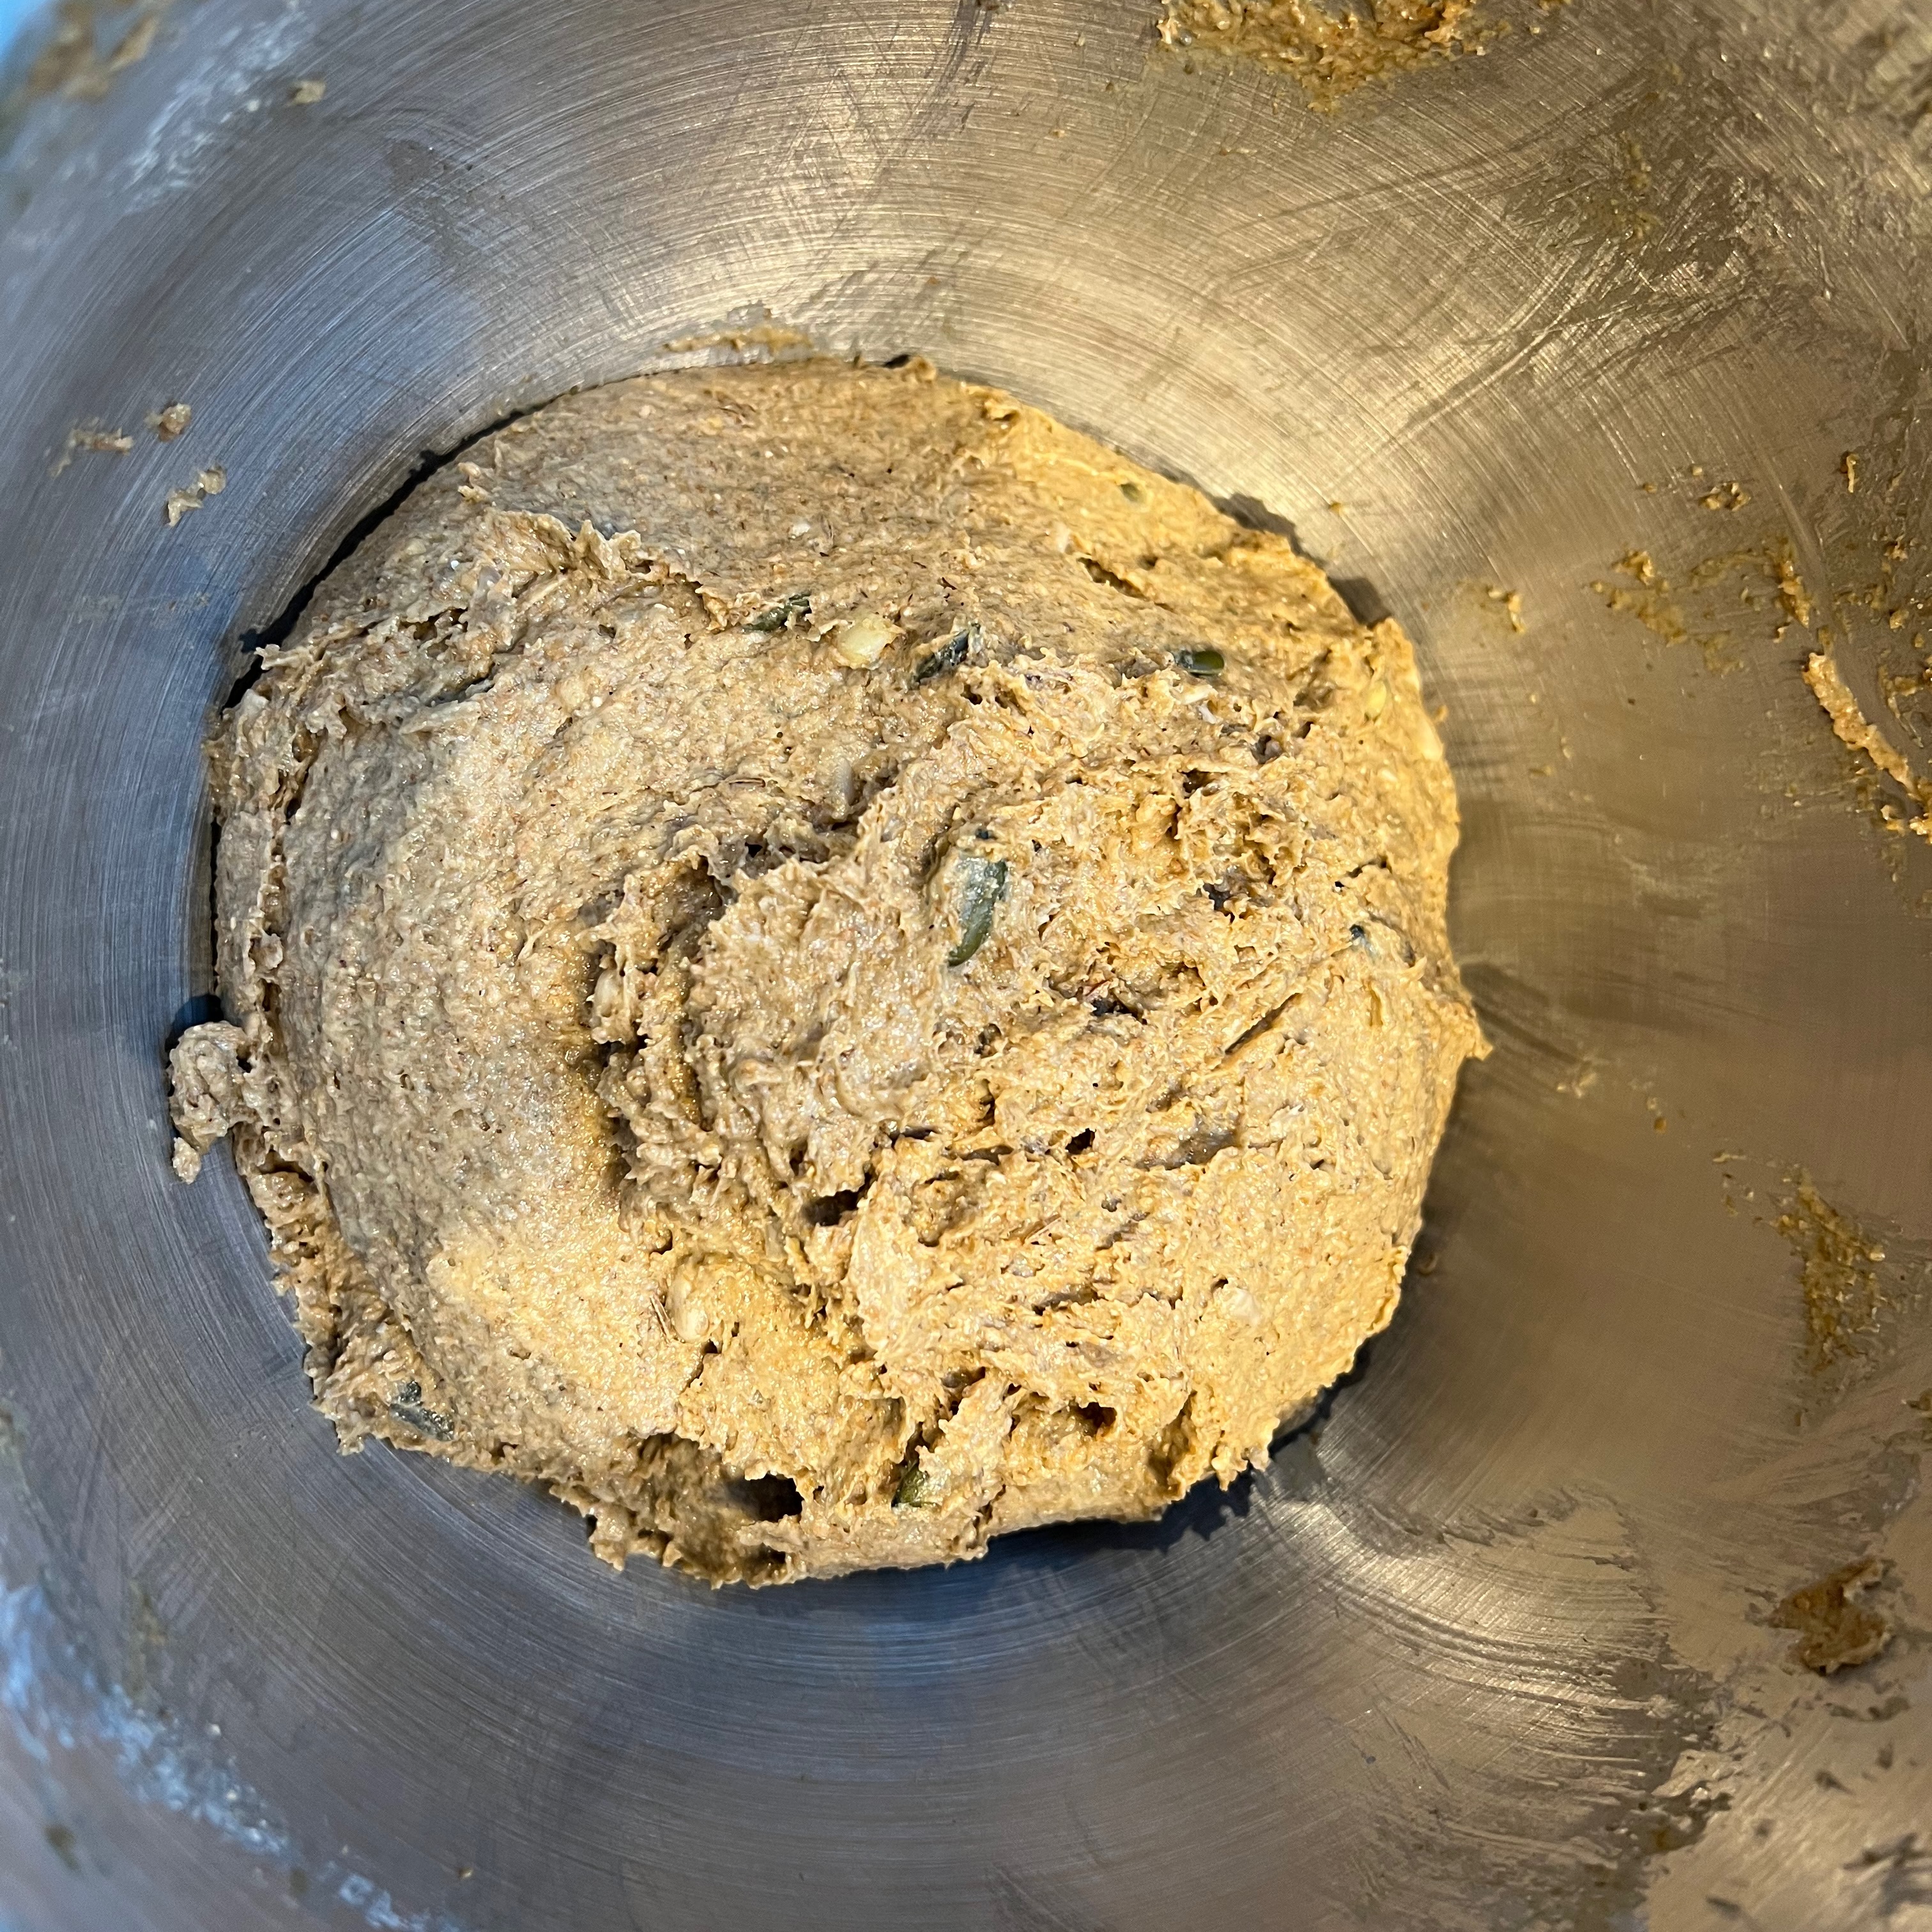
Put all ingredients into the bowl of your stand mixer.
Add all three doughs from the previous day.
Mix thoroughly at medium speed for around 10 minutes using the normal paddle (the dough hook won’t work). You may need to stop and scrape the sides a few times to make sure that you incorporate any flour at the bottom that hasn’t blended in, as well as ensuring that the sticky malt extract and molasses are evenly distributed.
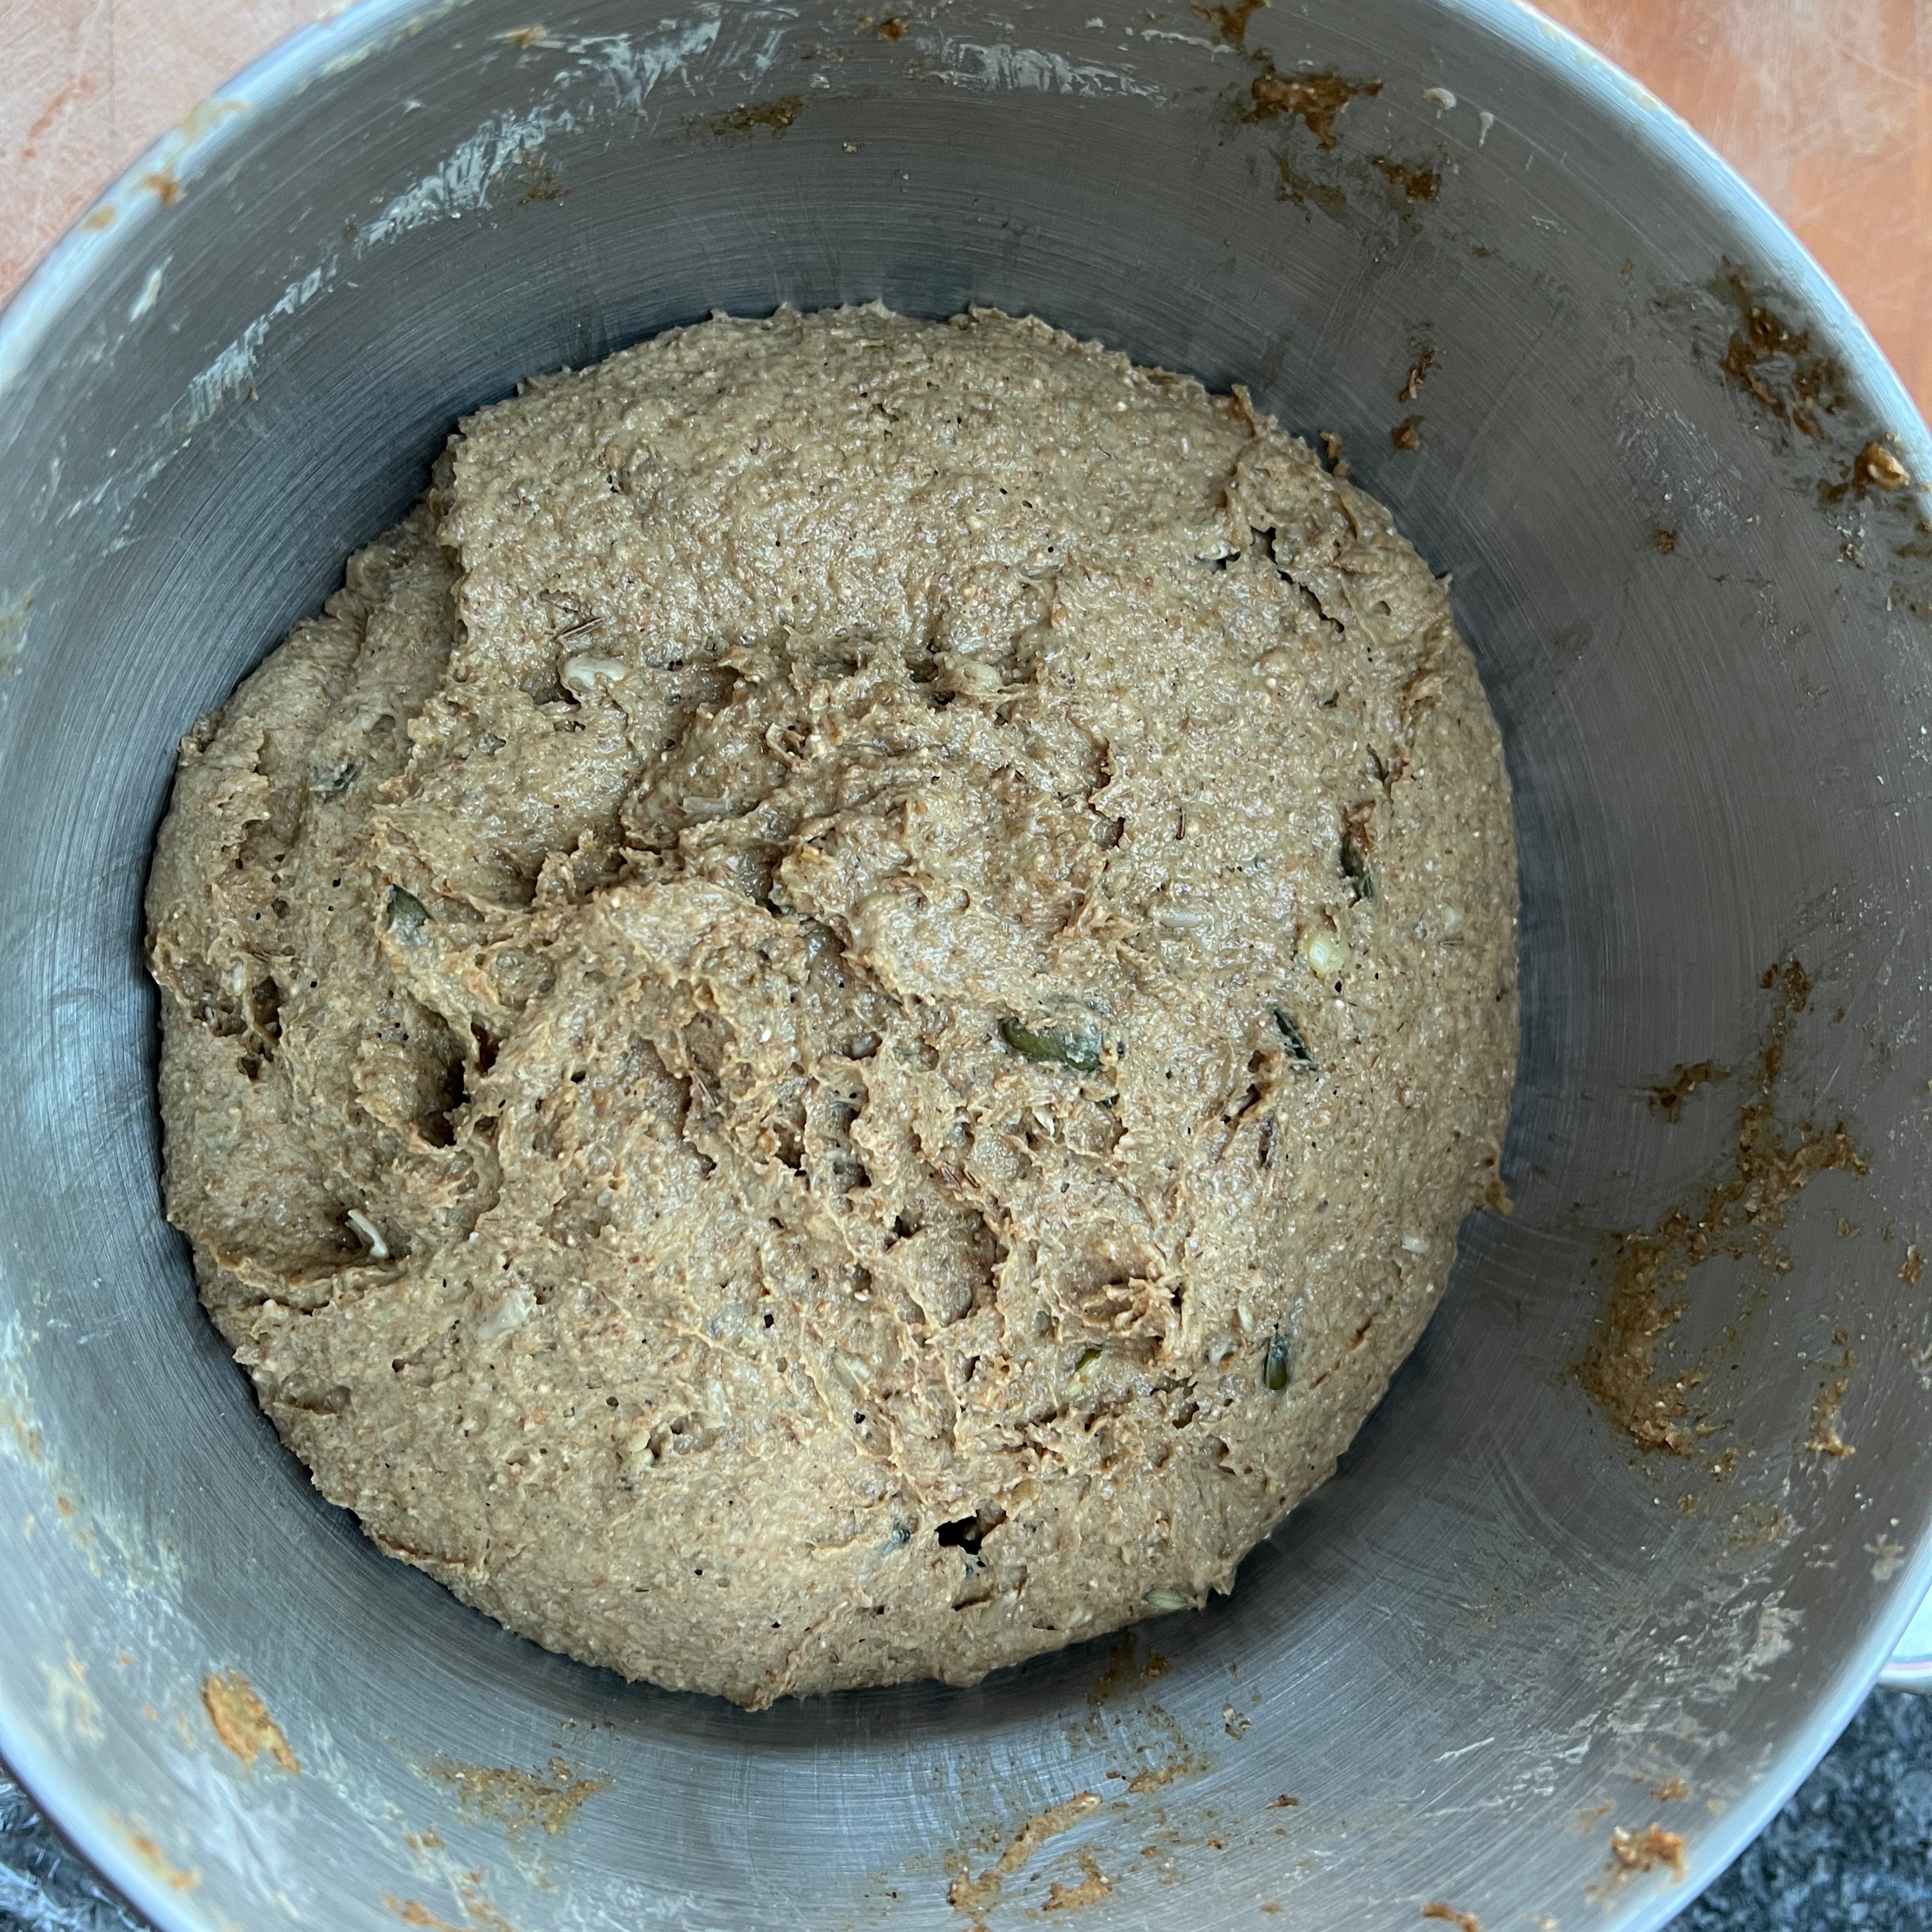
Cover the bowl with cling film and leave to rise until doubled in size (in my relatively cold kitchen, this took close to two hours).
Day 2 – around 11am – shape and second rise
15g butter
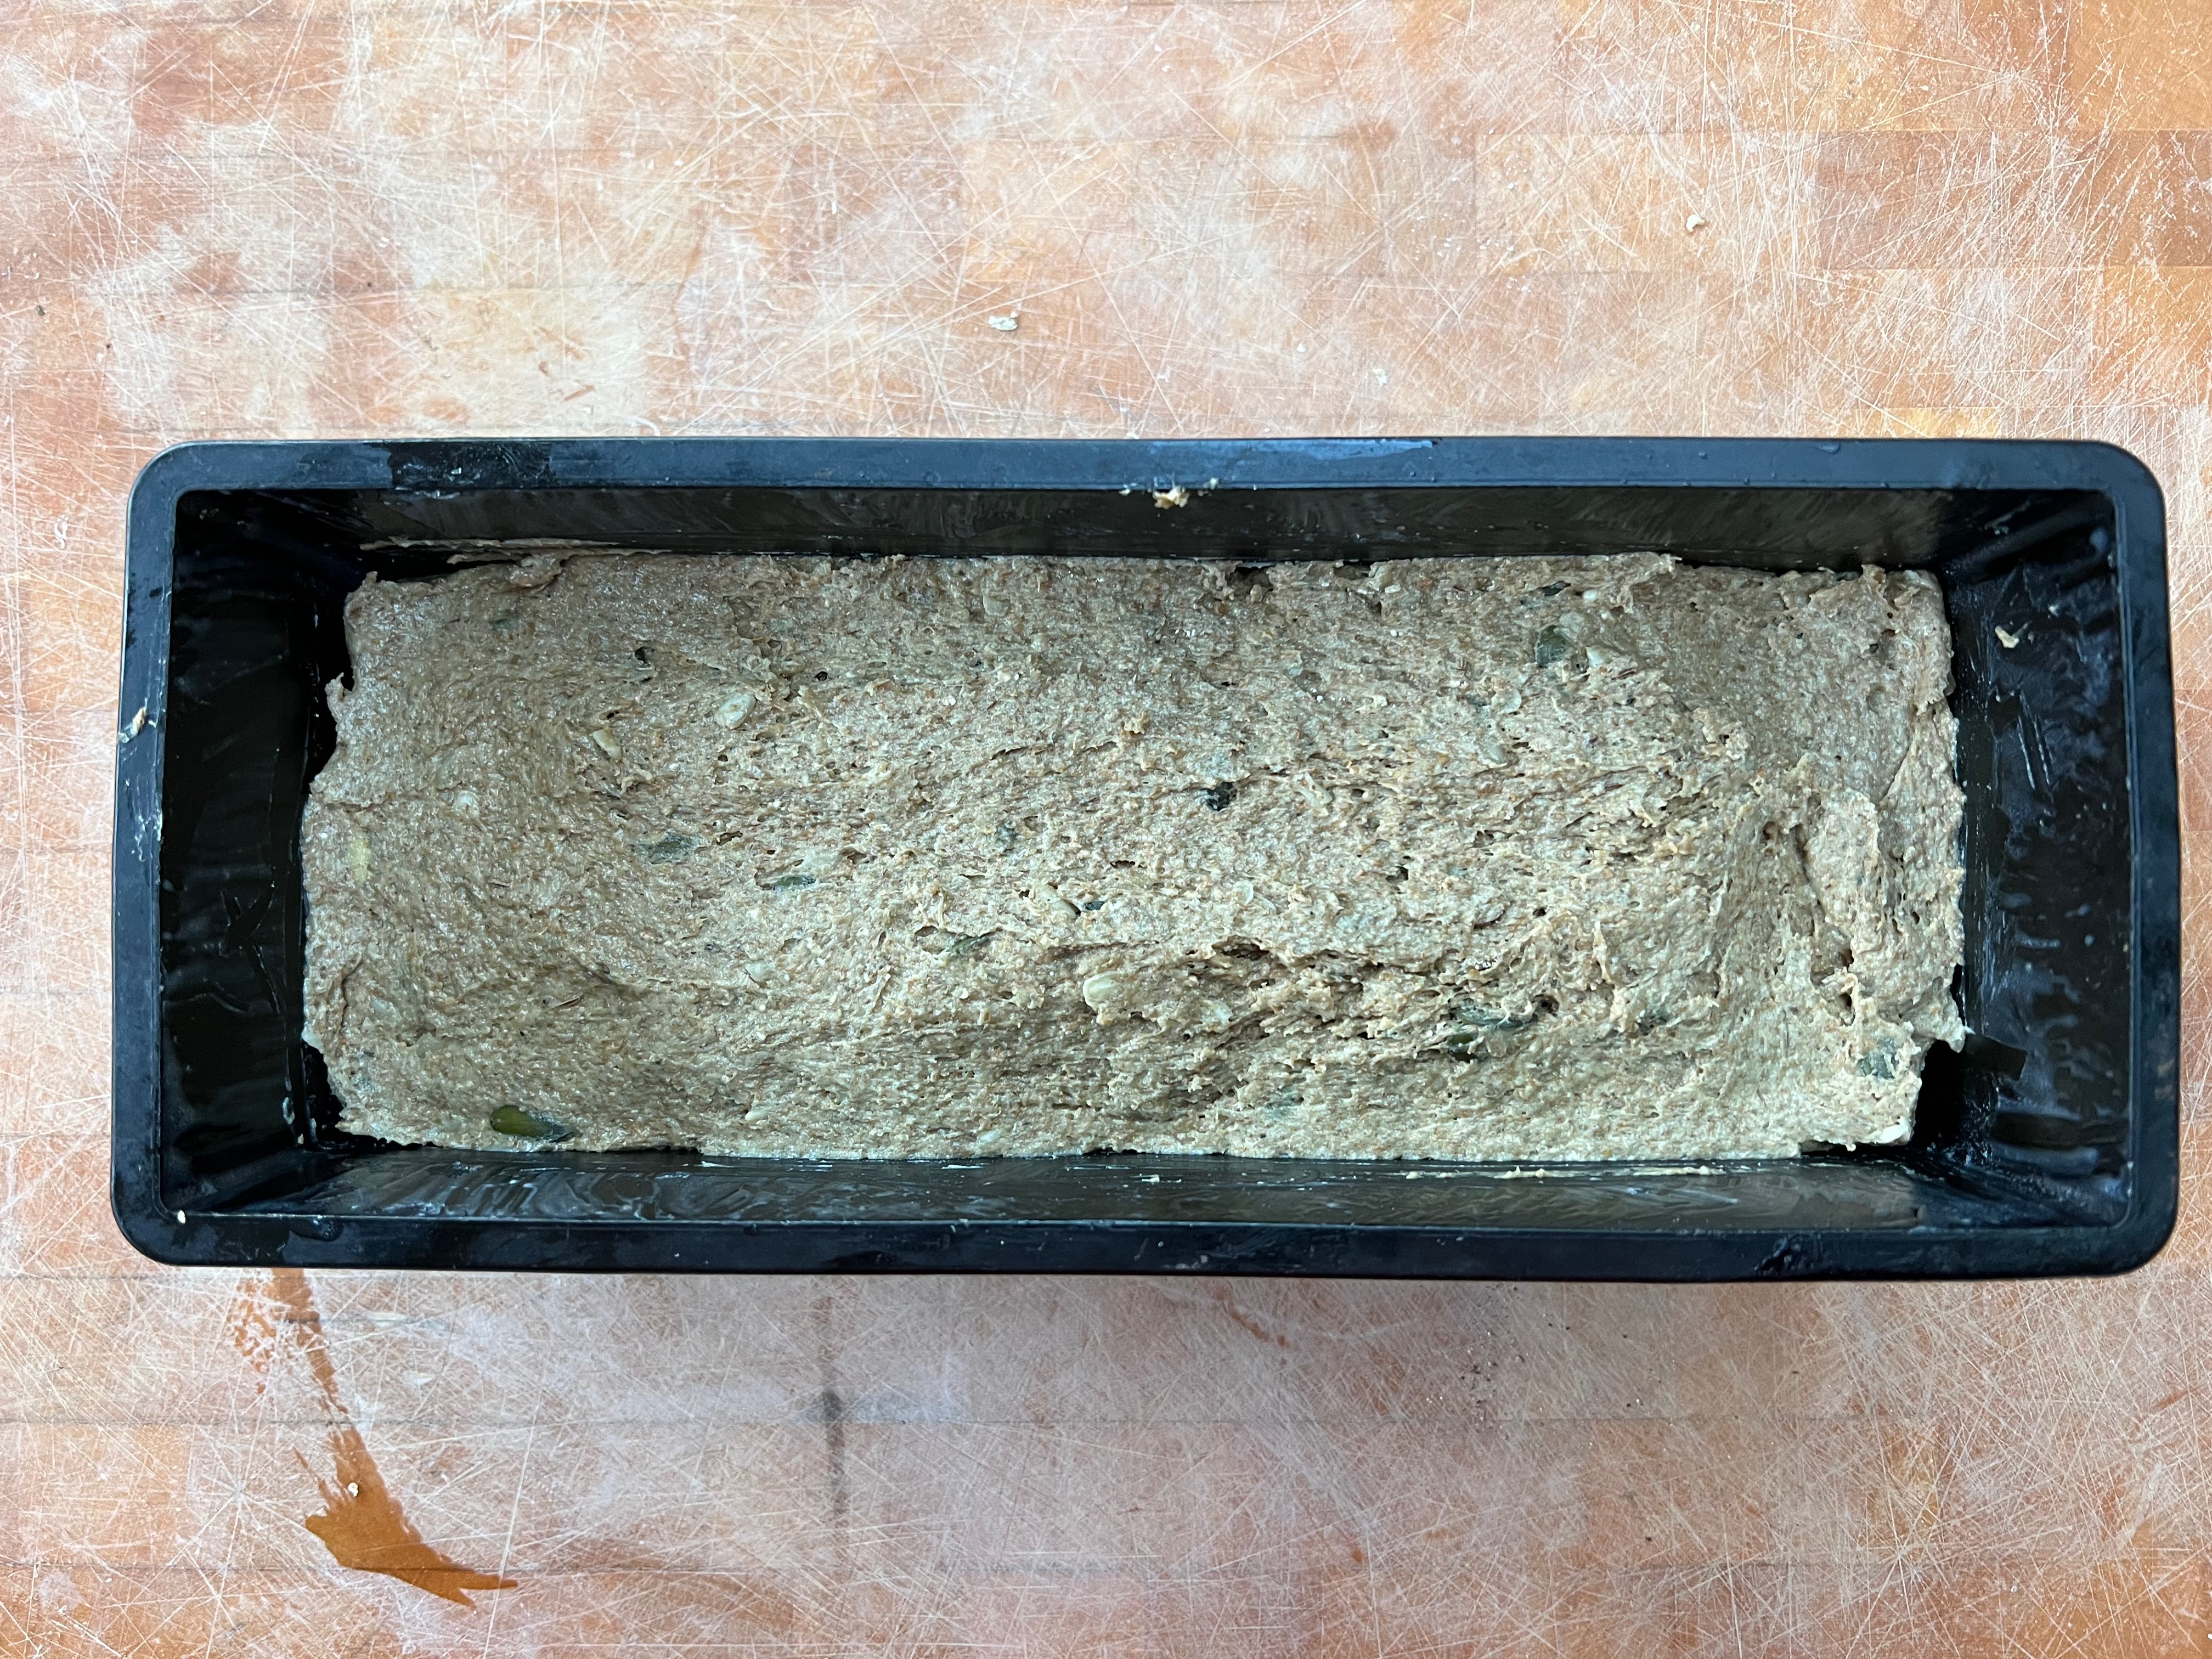
Melt the butter and brush your baking tin with it.
Press the dough into the pan, getting it fully into the corners and making as even a shape as you can. Don’t worry about maintaining gluten structure: the preponderance of dark rye flour means there won’t be much.
Leave to rise until the bread is nearly level with the top of the tin. This took another two hours, but in all honesty, the time is completely variable (disclaimer: I should have left mine about half an hour longer than I did for the loaf photographed here). You just have to be patient and keep watching the bread at regular intervals.
Day 2 – around 2pm – bake and glaze
8g potato starch
30ml water (this is a guess – Georg doesn’t specify)
Around half an hour before you think your loaf will be fully risen, preheat your oven to 250℃ fan.
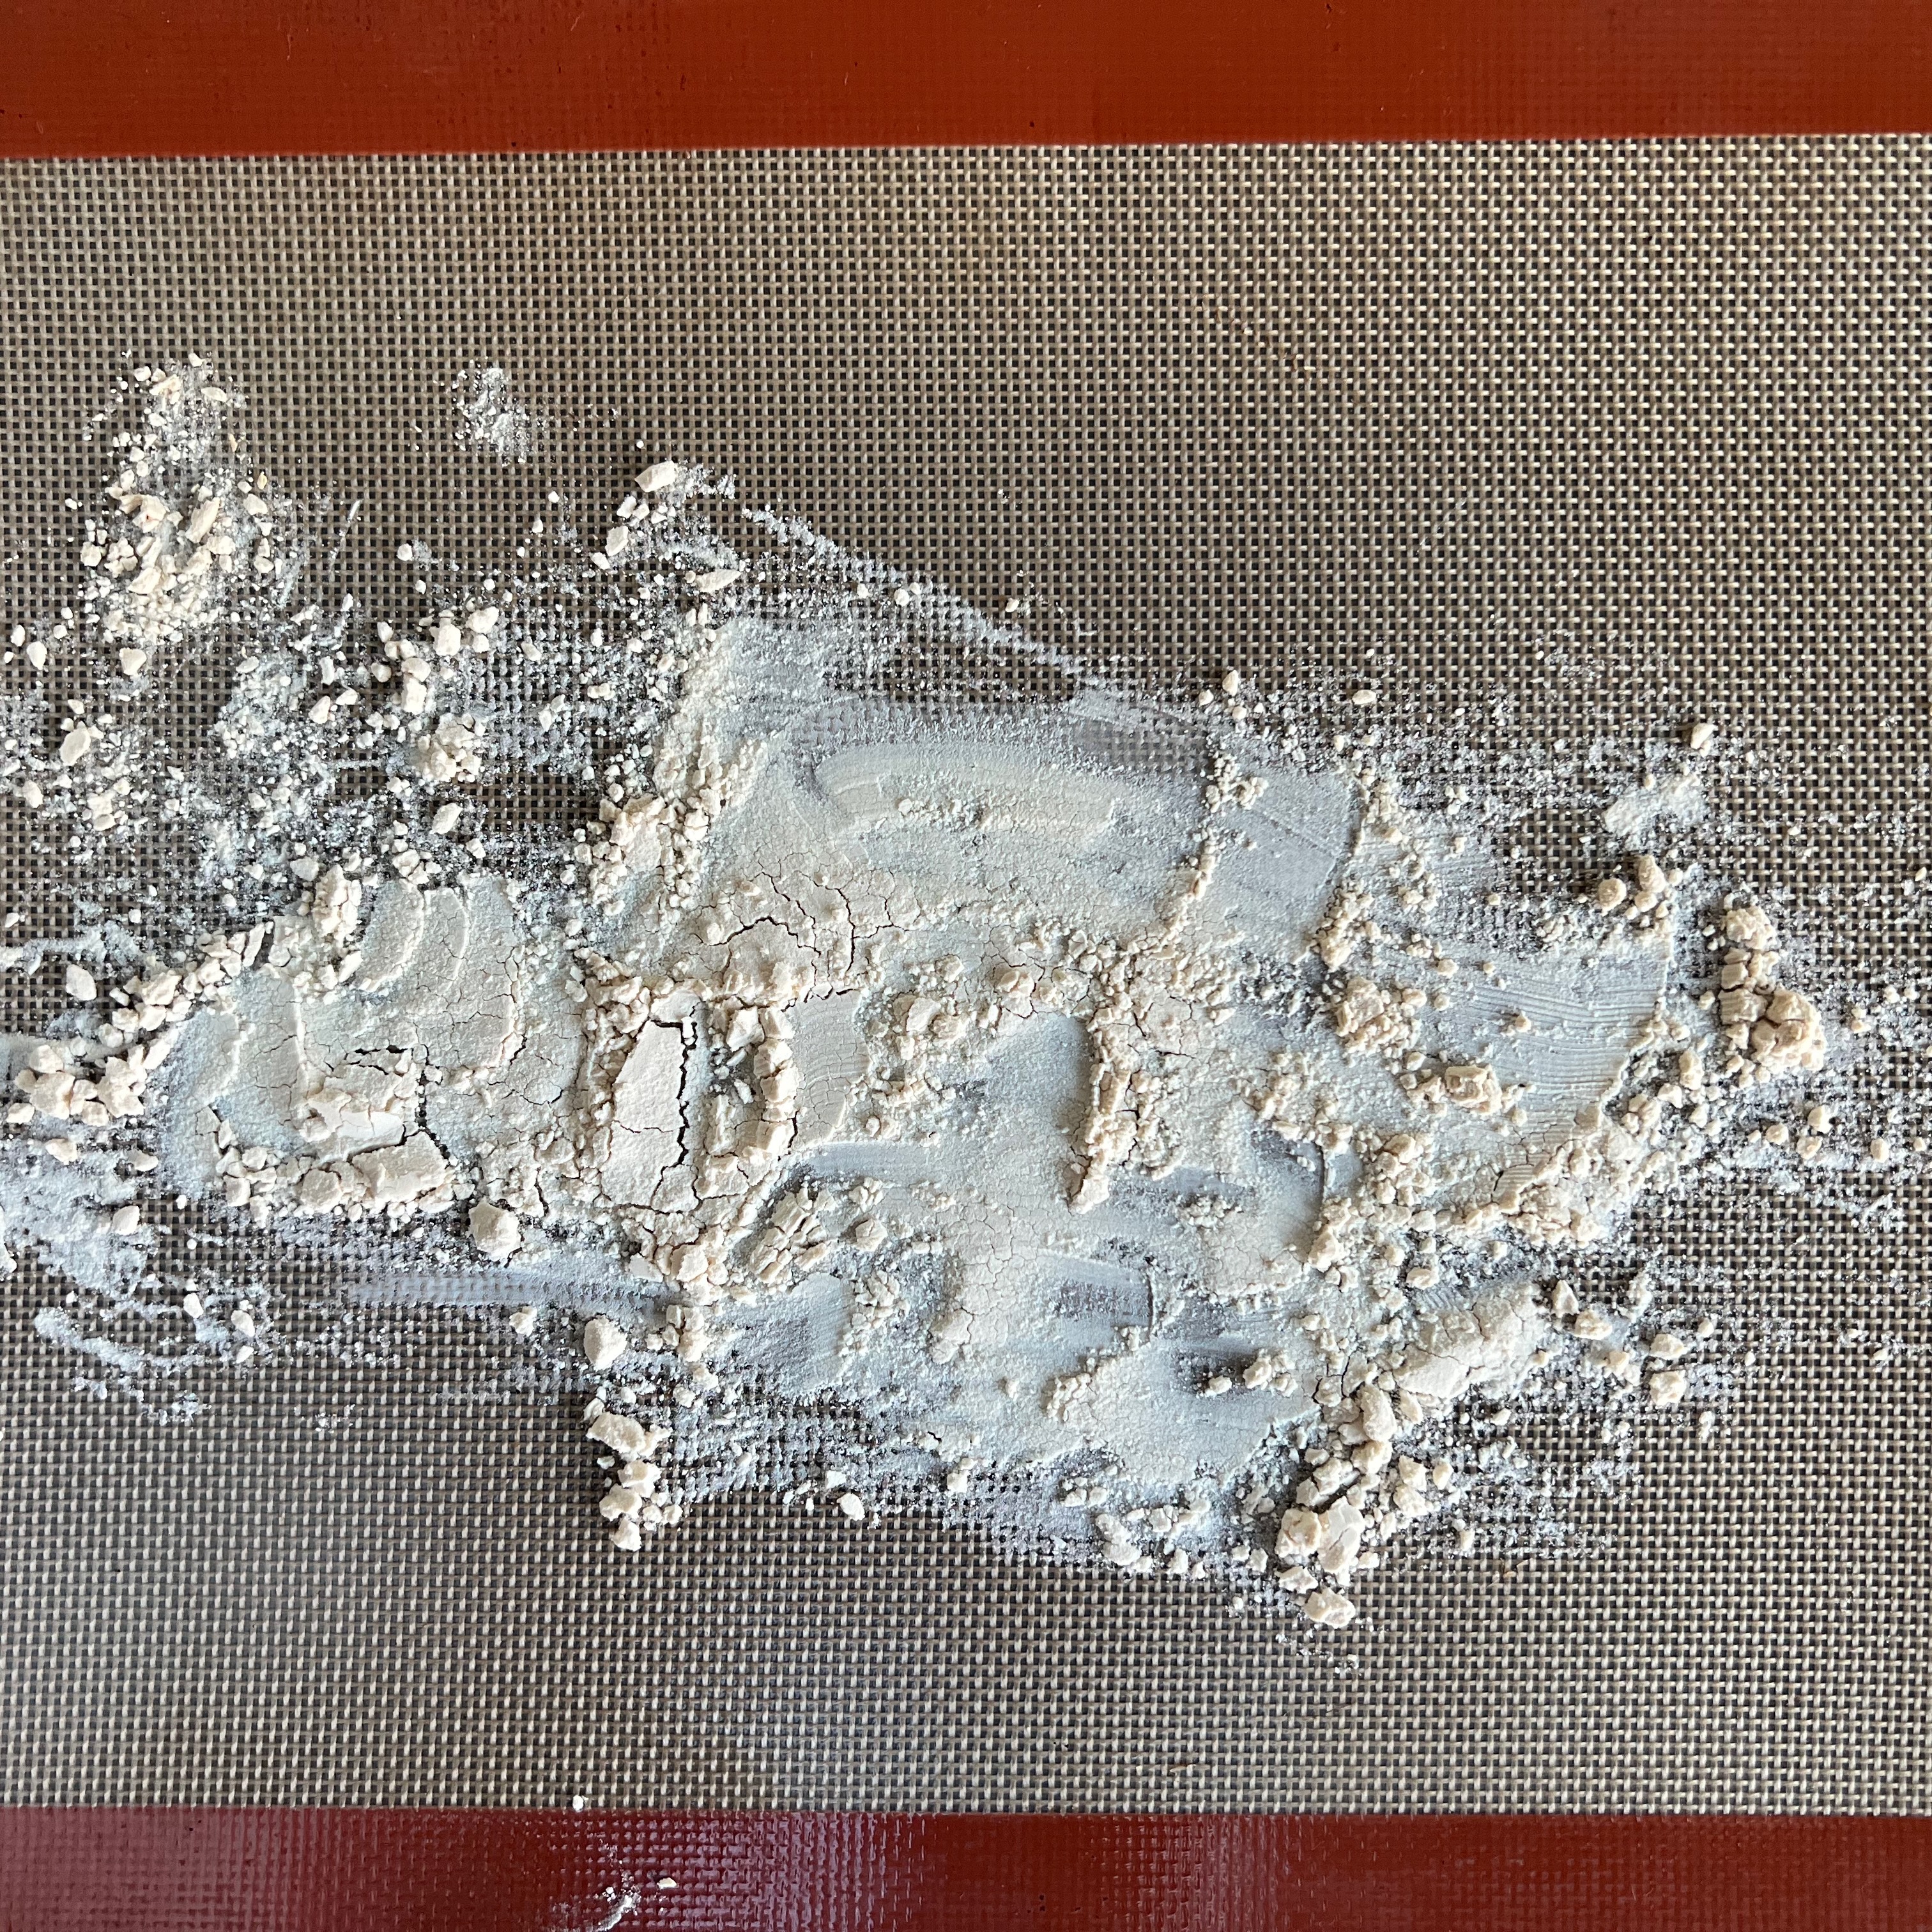
Spread the potato starch thinly over a Silpat sheet or sheet of baking paper over a baking tray. When the oven is up to temperature, put it in the oven and roast until golden (this took me around 15 minutes). Remove from the oven and leave to cool.
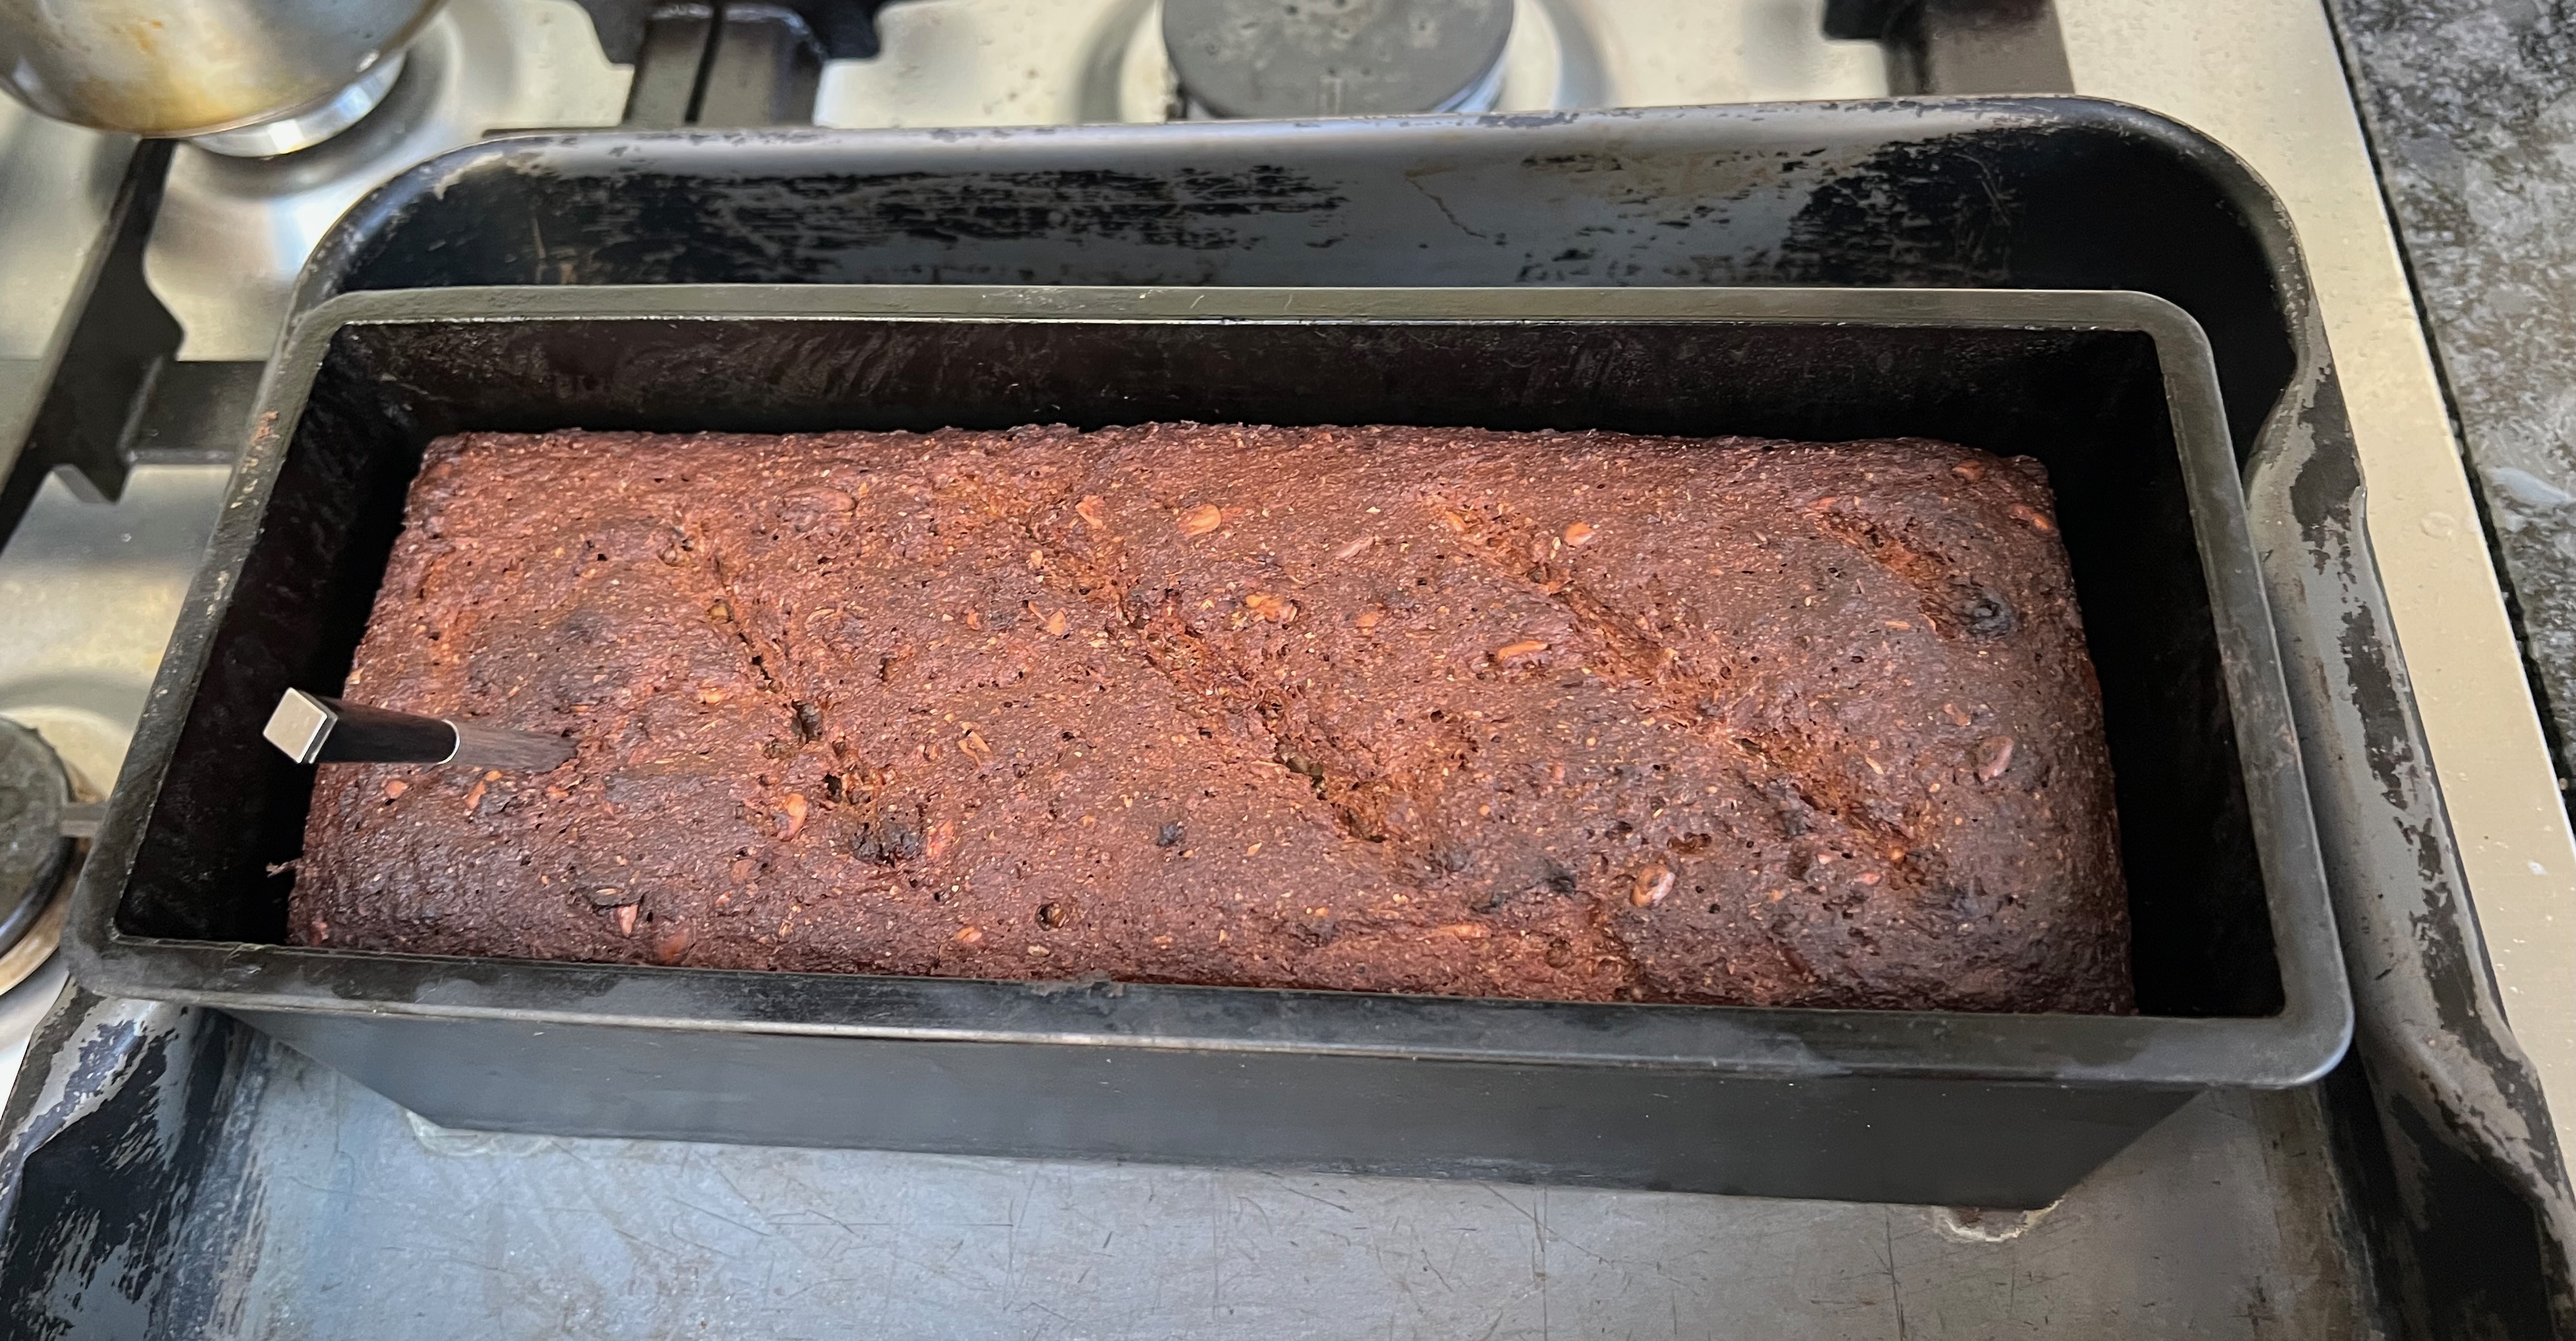
When your loaf is risen to your satisfaction, score the top and brush it with a little water. If you have a thermometer probe that you can use in the oven, stick it into the loaf.
Put the tin into a larger roasting pan with some water and put the whole assembly into the oven.
After 10 minutes, turn the oven temperature down to 180℃ fan and open the oven briefly to let off the steam.
Bake until the internal temperature reaches 98℃ (this took me around 50 minutes).
Around 10 minutes before the end of the baking time, put the roasted potato starch and the water into a saucepan, bring to the boil and simmer for five minutes or so. Take off the heat.
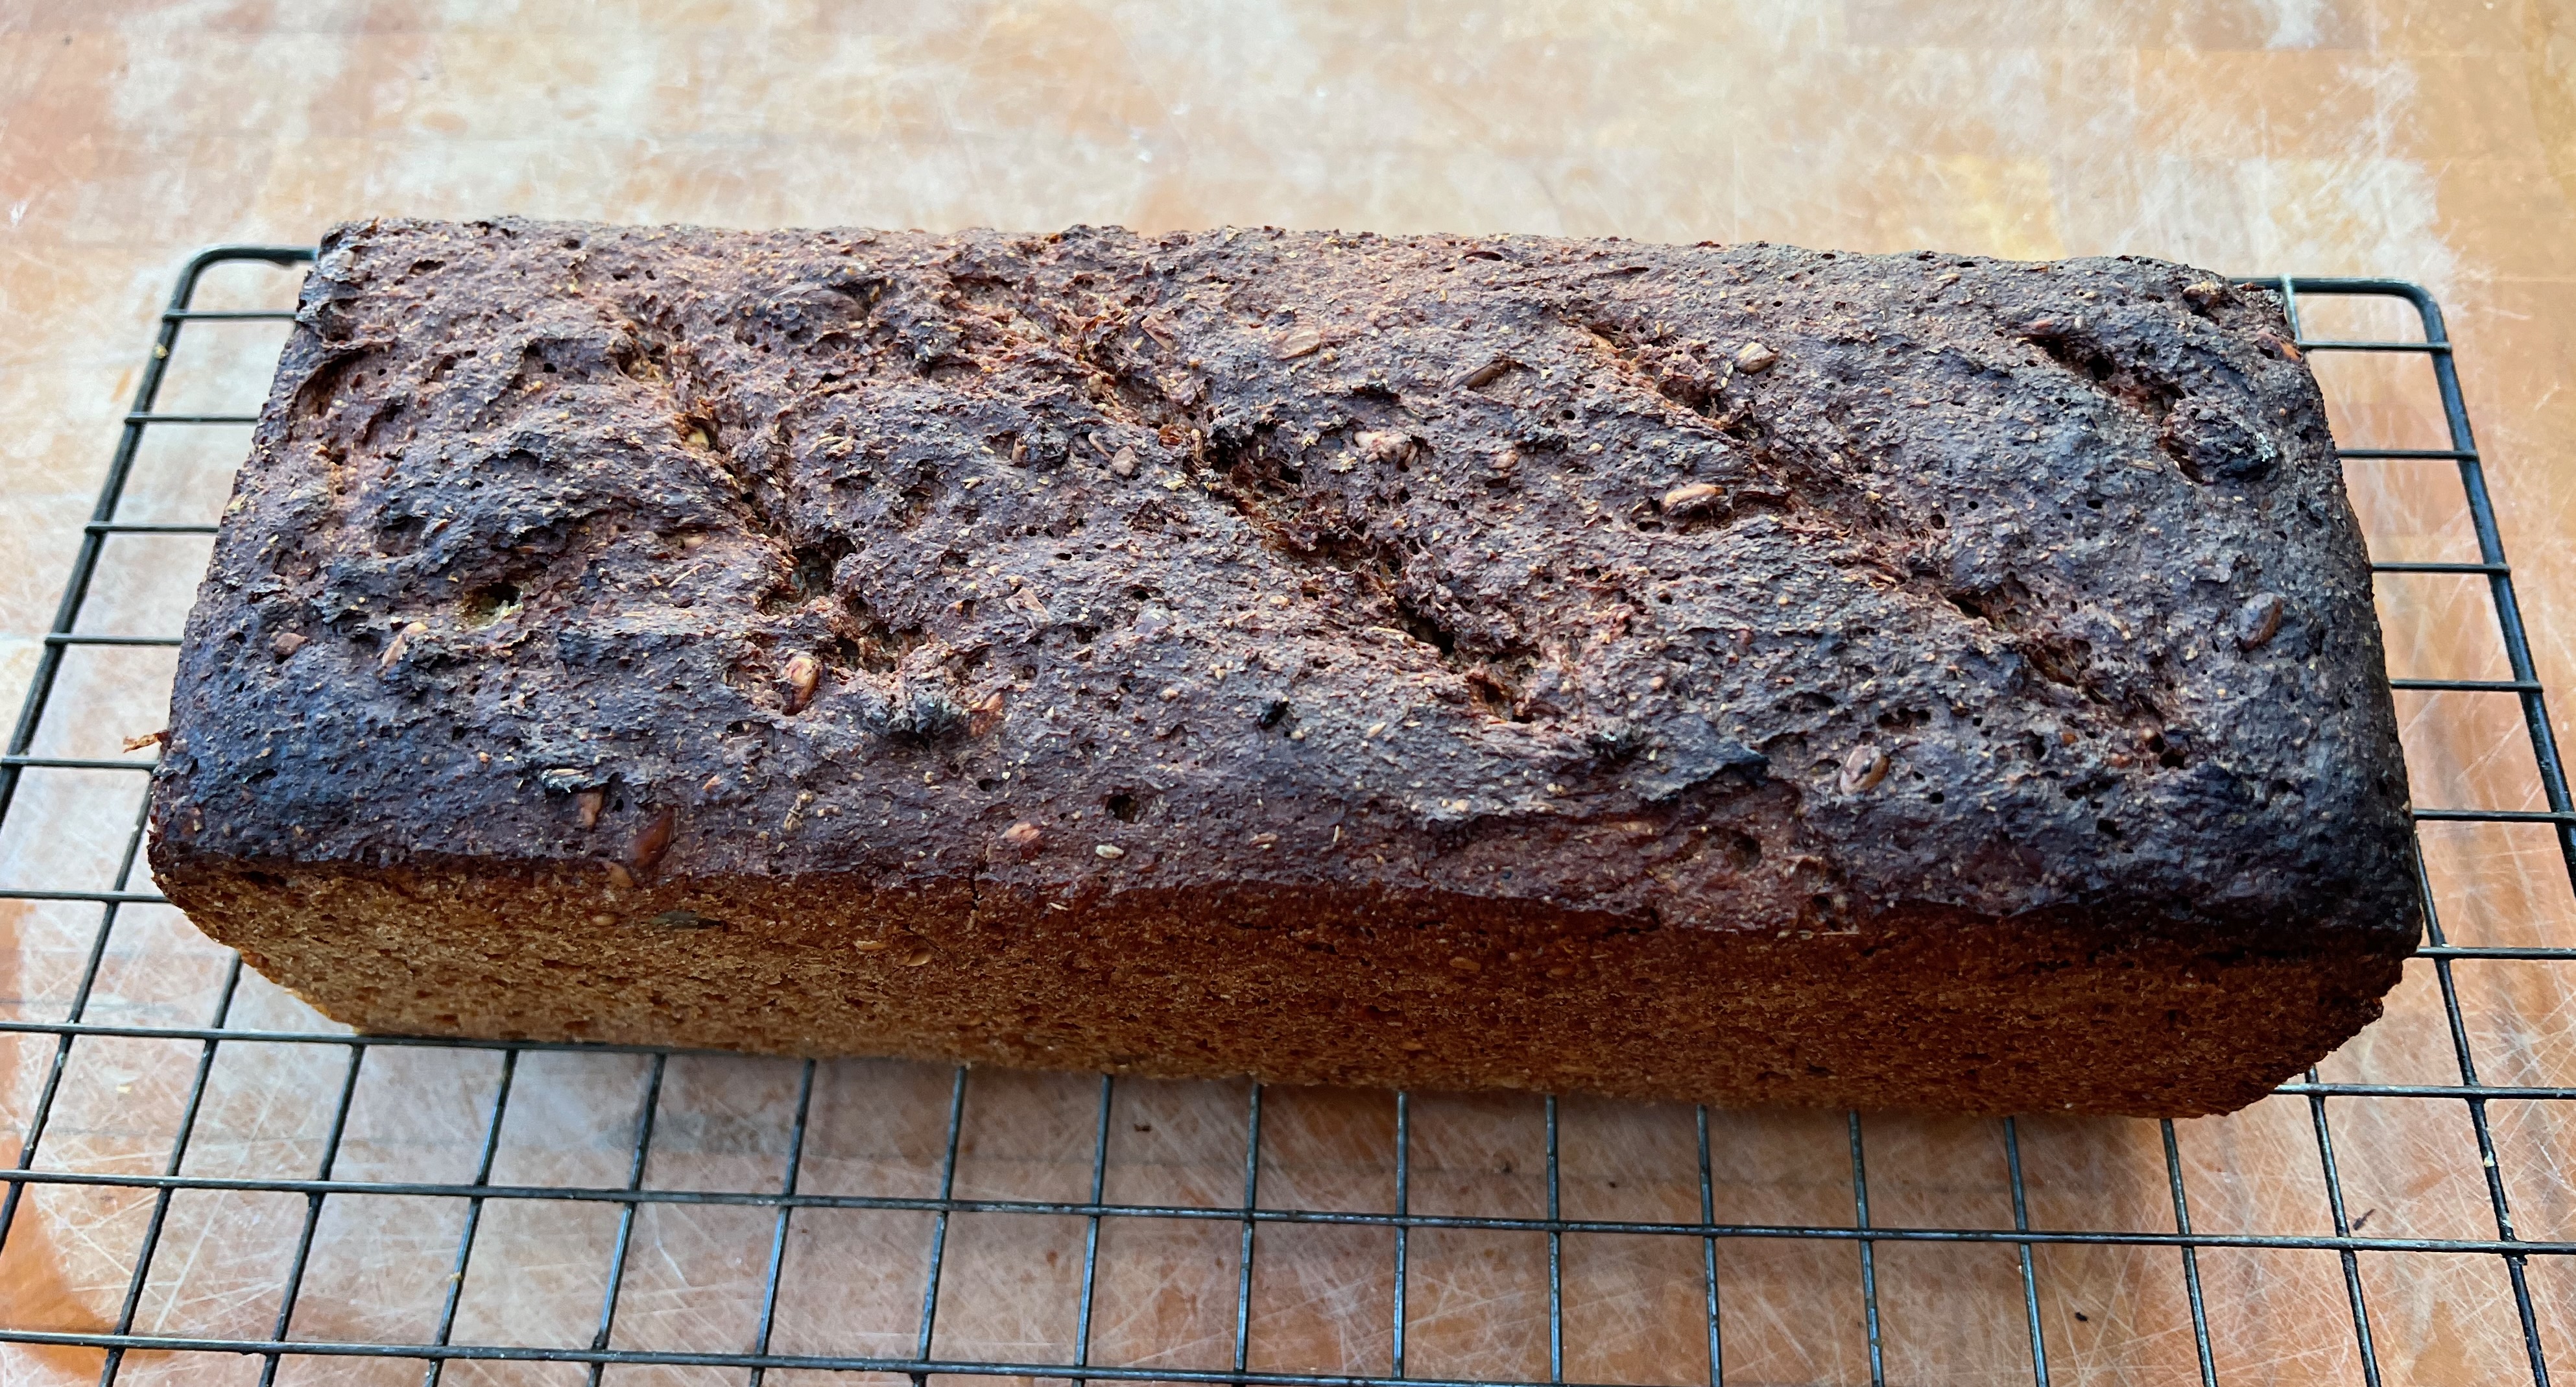
Remove from the oven and place on a wire rack. Brush it all over with the potato starch and water mixture.
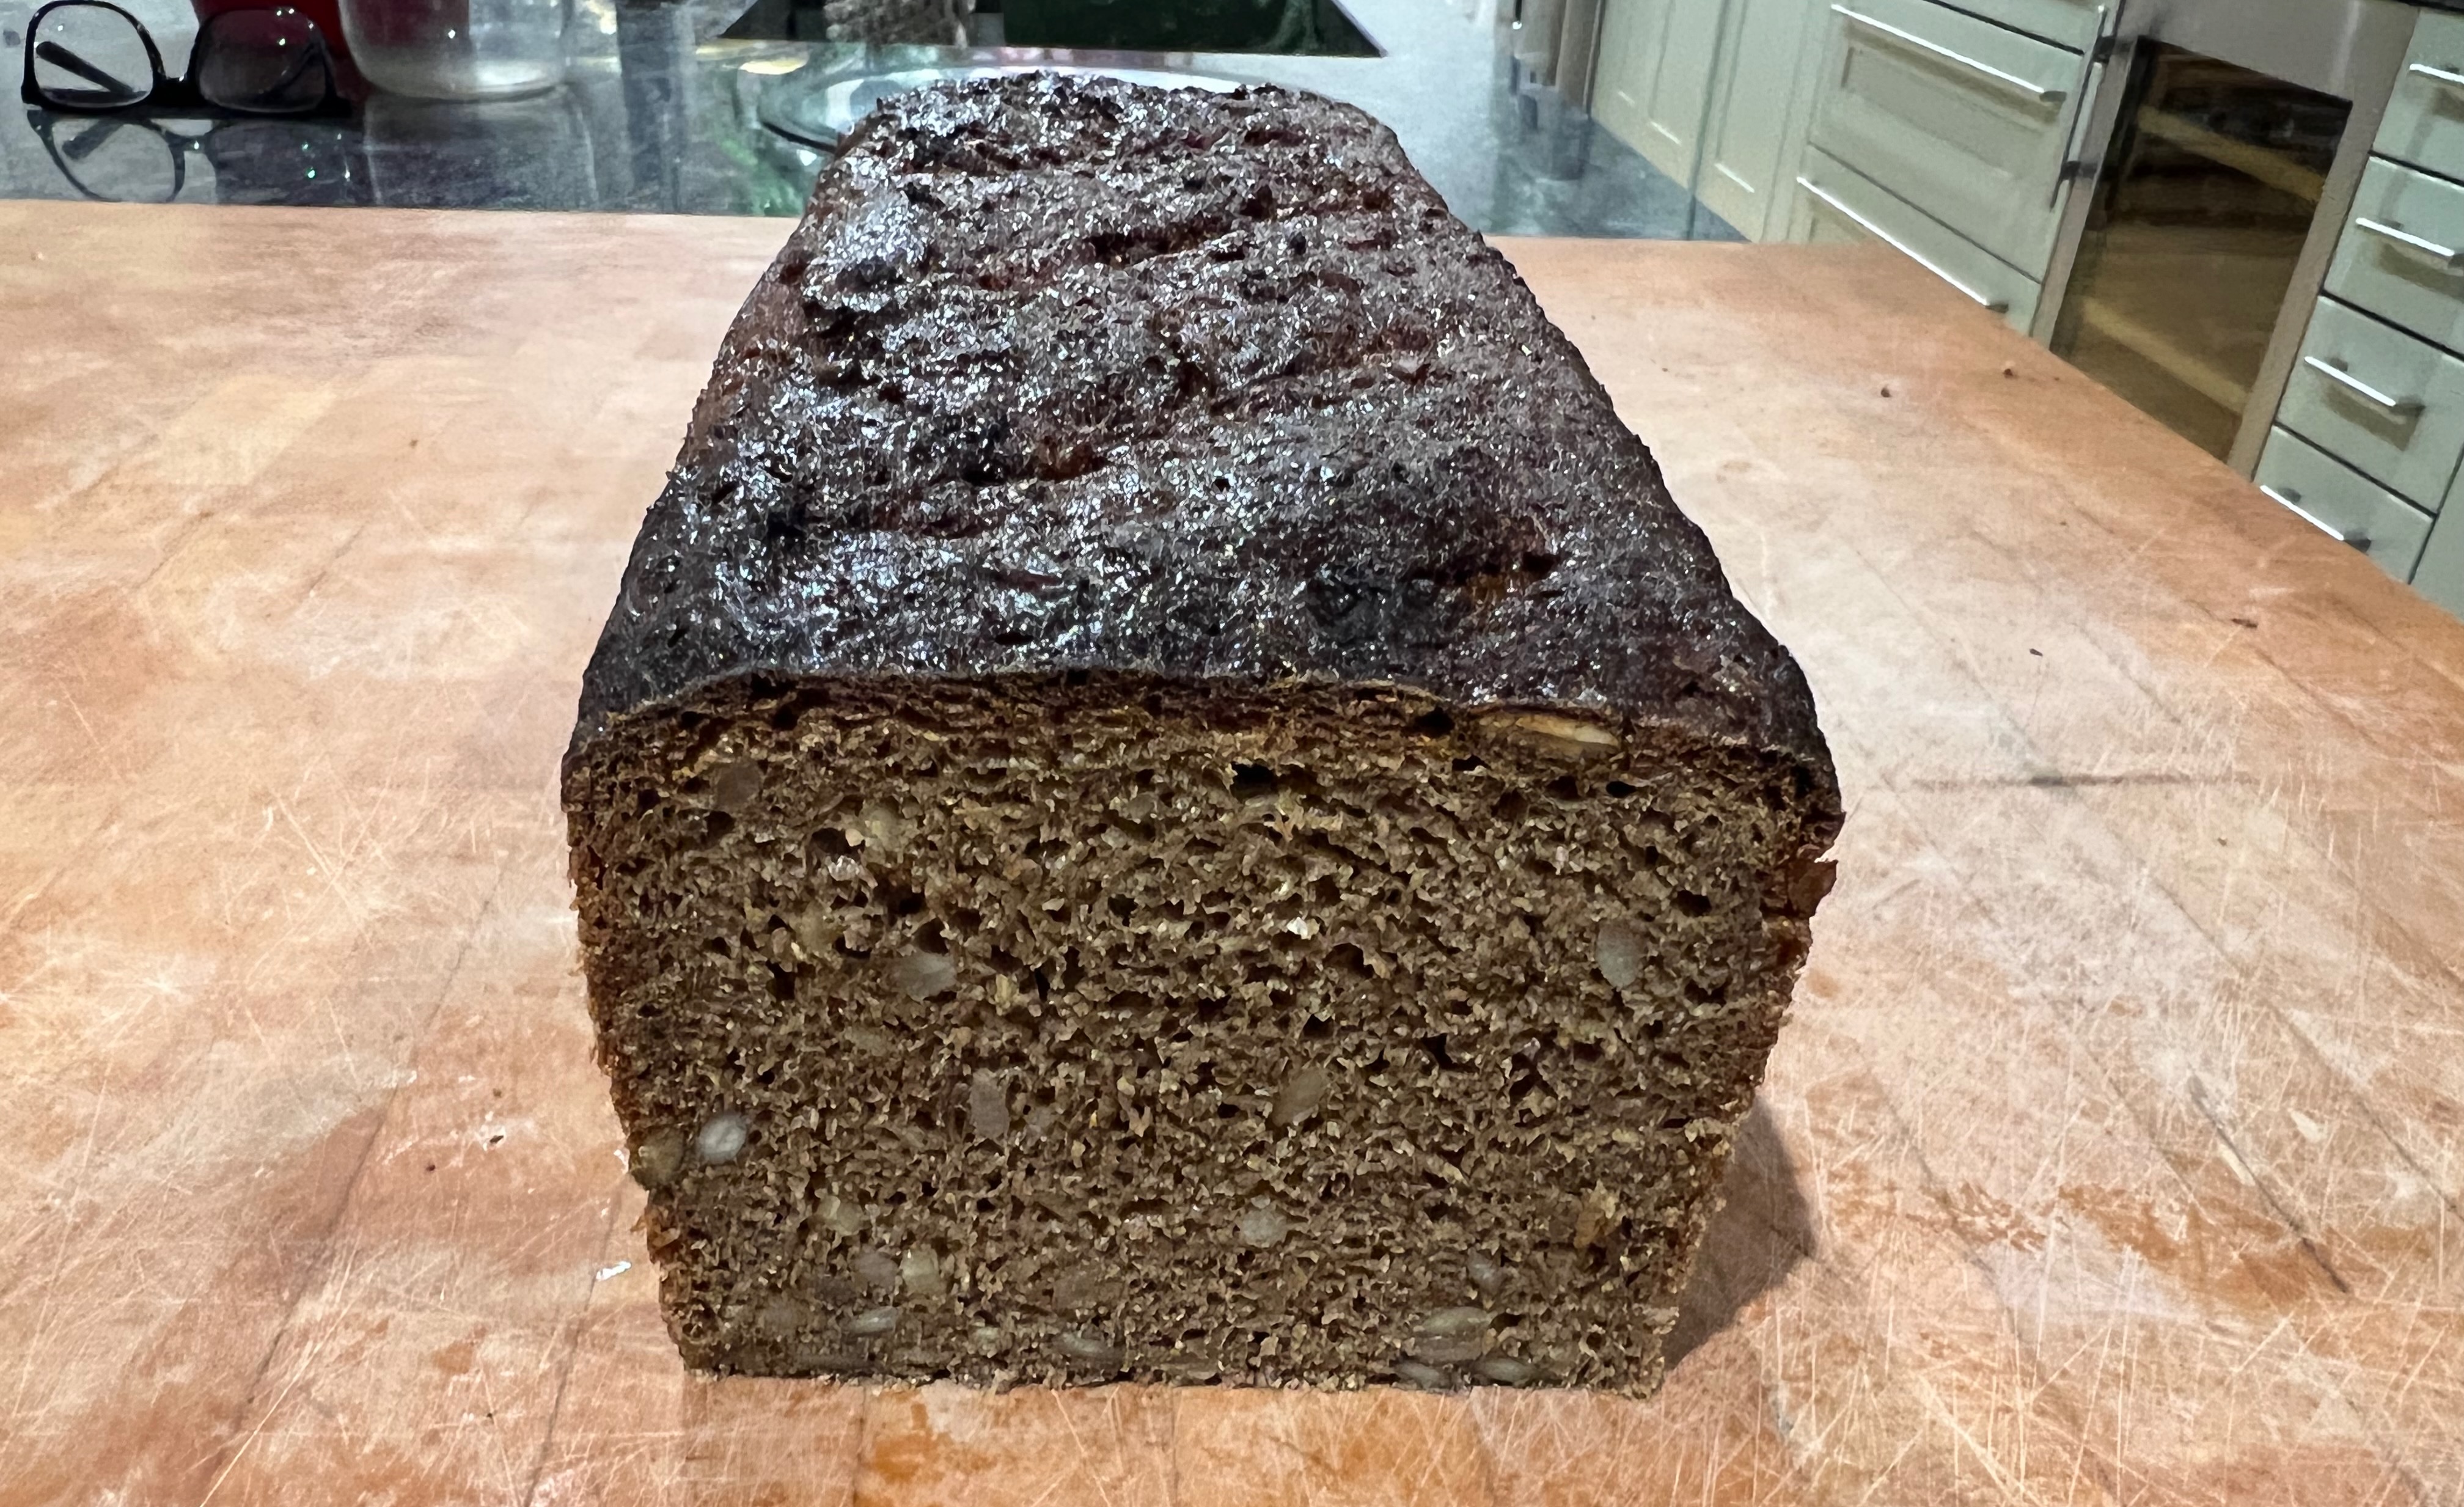
And here’s the hard part: leave the bread to rest for 24 hours before eating!
After 10 minutes – with thermometer probeOut of ovenAfter glazingAfter first slice!
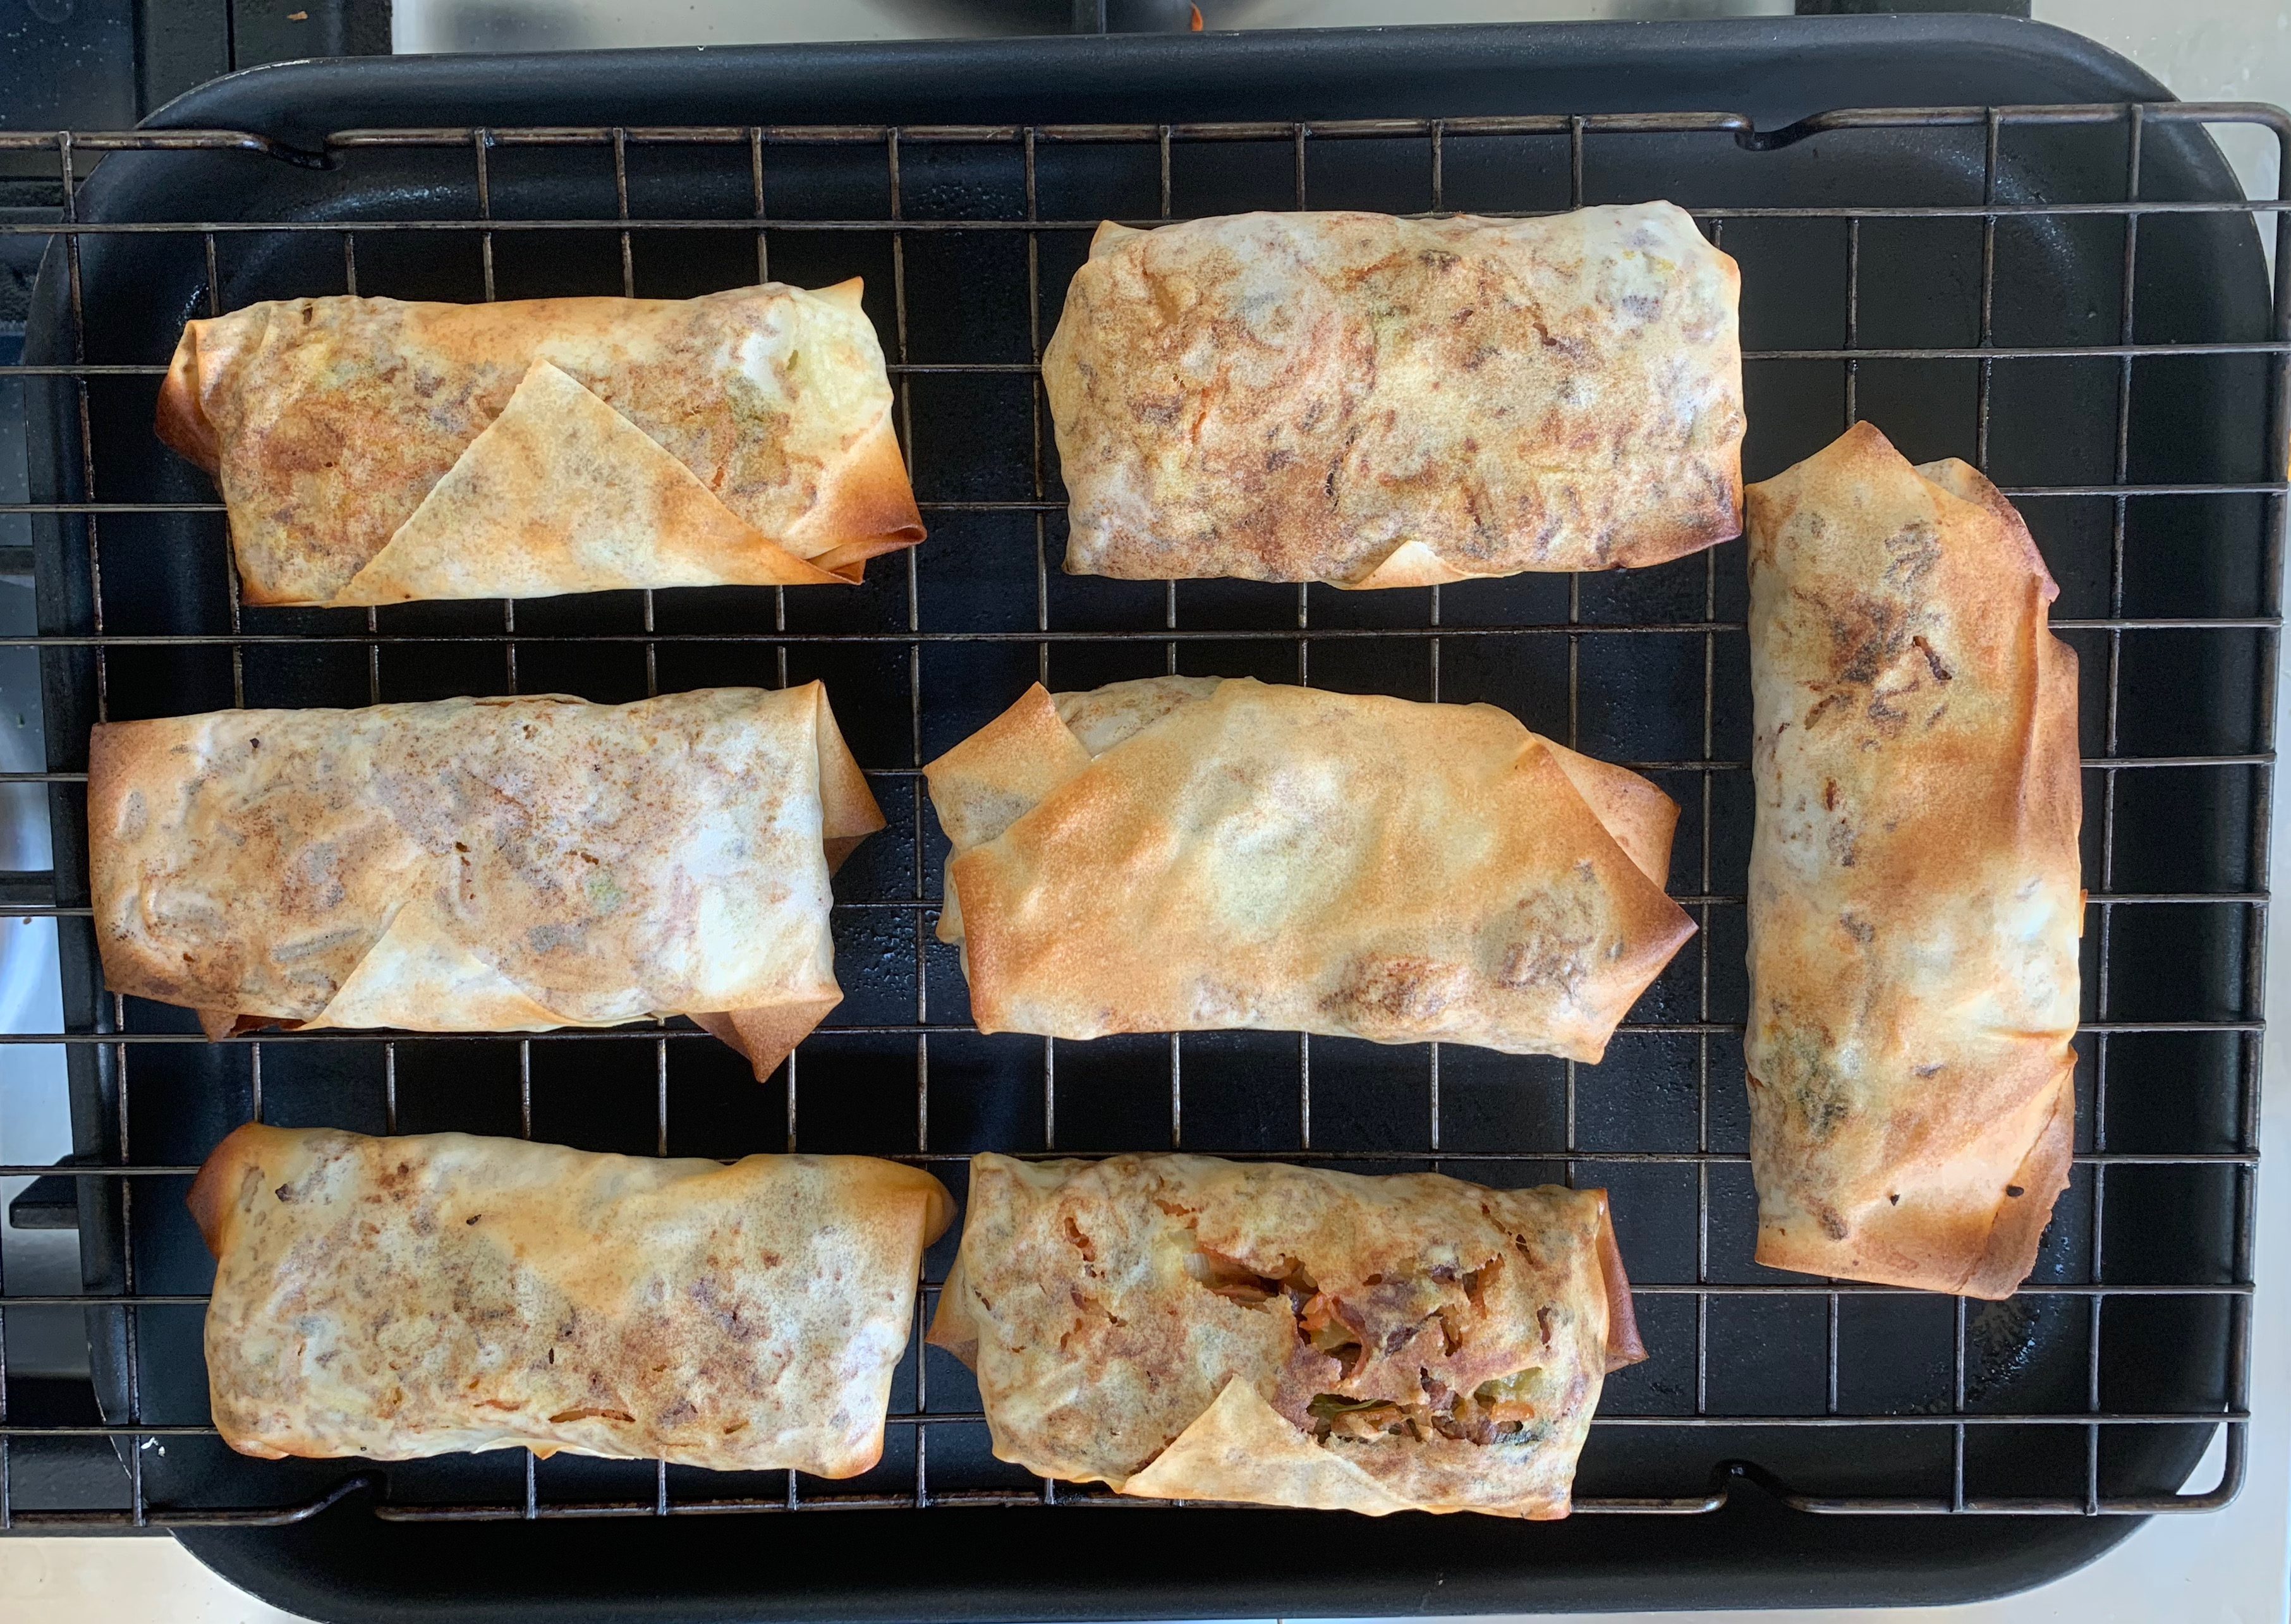
As far as I can see, the real definition of a spring roll is “anything you like that has vaguely Far Eastern flavourings, wrapped in a cigar shape of very thin pastry”. However, this being a baking blog with pretensions of authenticity, I started off with an actual Malaysian recipe – and one that specifies how to bake them rather than the more usual deep fry. If like me, you try to steer clear of deep frying, the use of cooking spray – not something I’d come across before using this recipe – seems to work pretty well, getting a result that’s crisp, non-greasy and holds its filling, even if you don’t get the classic “golden all over” look of the fried version.
The recipe will be very forgiving as to quantities: shown here are what I had easily available. The original recipe specifies jicama, a root vegetable that I couldn’t get hold of, so I substituted with a couple of cans of water chestnuts. I believe that mooli (aka daikon) also makes a good substitute, but with a more distinctive flavour of its own.
The filling
500g lean pork mince
1 tbsp dark soy sauce
Ground black pepper to taste
1 onion
2 cloves garlic
Oil for frying (I used groundnut oil, any neutral oil will do
450g water chestnuts
2 large carrots
450g cabbage
3 spring onions
Combine pork mince, soy sauce and black pepper in a bowl, mix well.
Chop garlic and onion finely
Shred cabbage
Peel the carrots, grate them and the water chestnuts – I did this in a food processor.
Warm a small amount of oil in a wok, add the pork mixture and fry for a couple of minutes
Add onion and garlic, fry until the meat is browned and the onion is soft
Add the water chestnuts, carrots and cabbage, and keep cooking until the vegetables are cooked through and most of the water has been cooked out of them.
Chop the spring onions and add them.
Put the whole lot in a colander or sieve for ten minutes or so (or as long as you like) to allow more of the excess moisture to drain away.
Assembly and baking
Although I usually try to make my own pastry from scratch for this blog, I just couldn’t see a good reason for doing so here – and as far as I know, none of my Asian friends can be bothered either: the supermarket-bought wrappers are just fine. I couldn’t find fresh ones, so I bought a frozen pack: it was important to defrost them well in advance, because otherwise, peeling a wrapper off the frozen block would have been impossible without tearing it.
How many spring rolls this makes is a function of the size of your wrappers and how much filling you want to put into each. If you put a large amount of filling into each wrapper, you’ll have thinner pastry and a less carb-heavy dish; if you put less filling, you’ll have multiple layers of pastry, which will make it easier to get a crisper outside. I used wrappers that were 190mm square and put quite a lot of filling in, so the quantities here made about 20. Next time, I think, I’d go for two thirds of the filling I used here and make 30 rolls.
You want to work as quickly as you can manage, because the moisture from the filling will soak into the pastry faster than you would like.
1 packet spring roll wrappers (20-30)
Cooking spray (I used a sunflower oil spray)
Preheat oven to 225℃ fan
Have ready a baking tray with a rack above it – I used a rack that I would normally use for cooling cakes or biscuits. Also have ready a small bowl of water and a pastry brush.
Place a wrapper on a clean work surface so that you’re looking at a diamond rather than a square (i.e. the thing furthest away from you is a corner, not an edge).
Spoon some filling into a cigar shape in the middle of the wrapper, going left-to-right as you see it.
Tuck the corner furthest from you over your cigar of filling
Tuck the left hand right corners into the middle
Brush the remaining flat part of the wrapper with water, and tuck it over your filling to form the completed roll.
Repeat for half a dozen or so rolls, spray them generously with cooking spray, transfer them onto you rack, turning them outside down as you go. Now spray the other side.
Repeat until your rack is full. You’ll probably need to do the whole process twice: if you have a second pan and rack, you can bake them all at the same time; otherwise, you’ll have to wait until the first batch is backed.
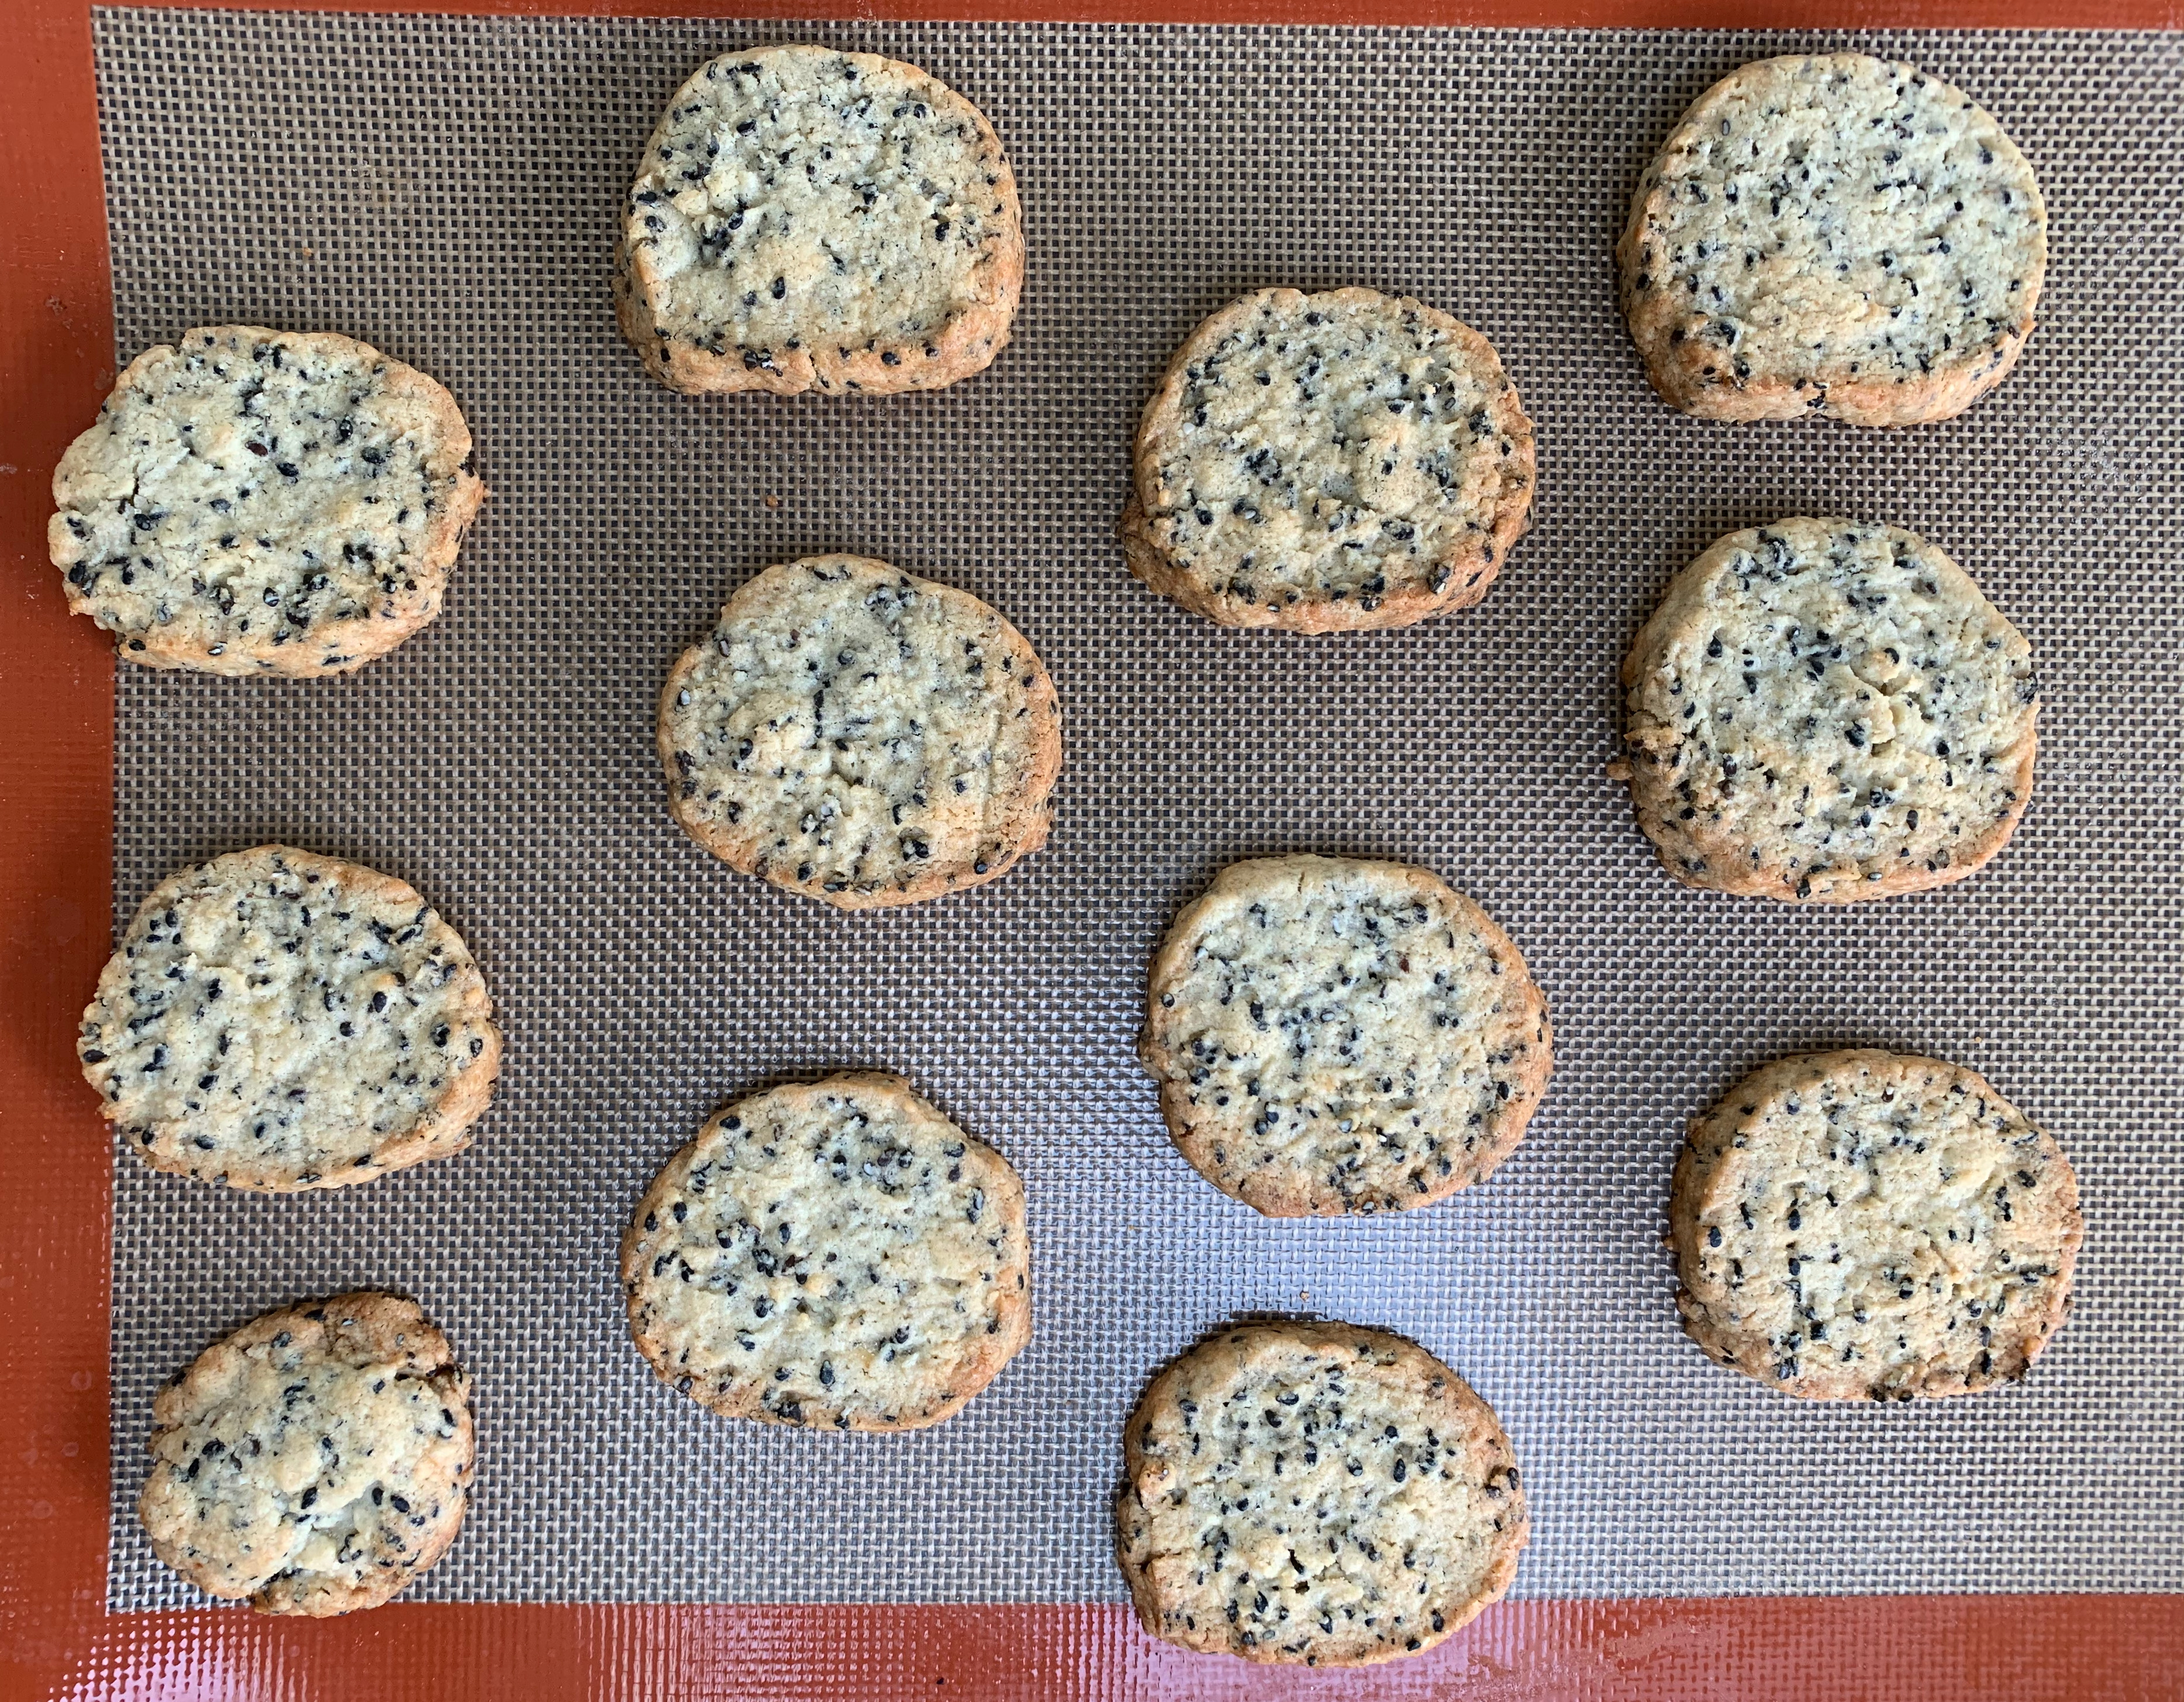
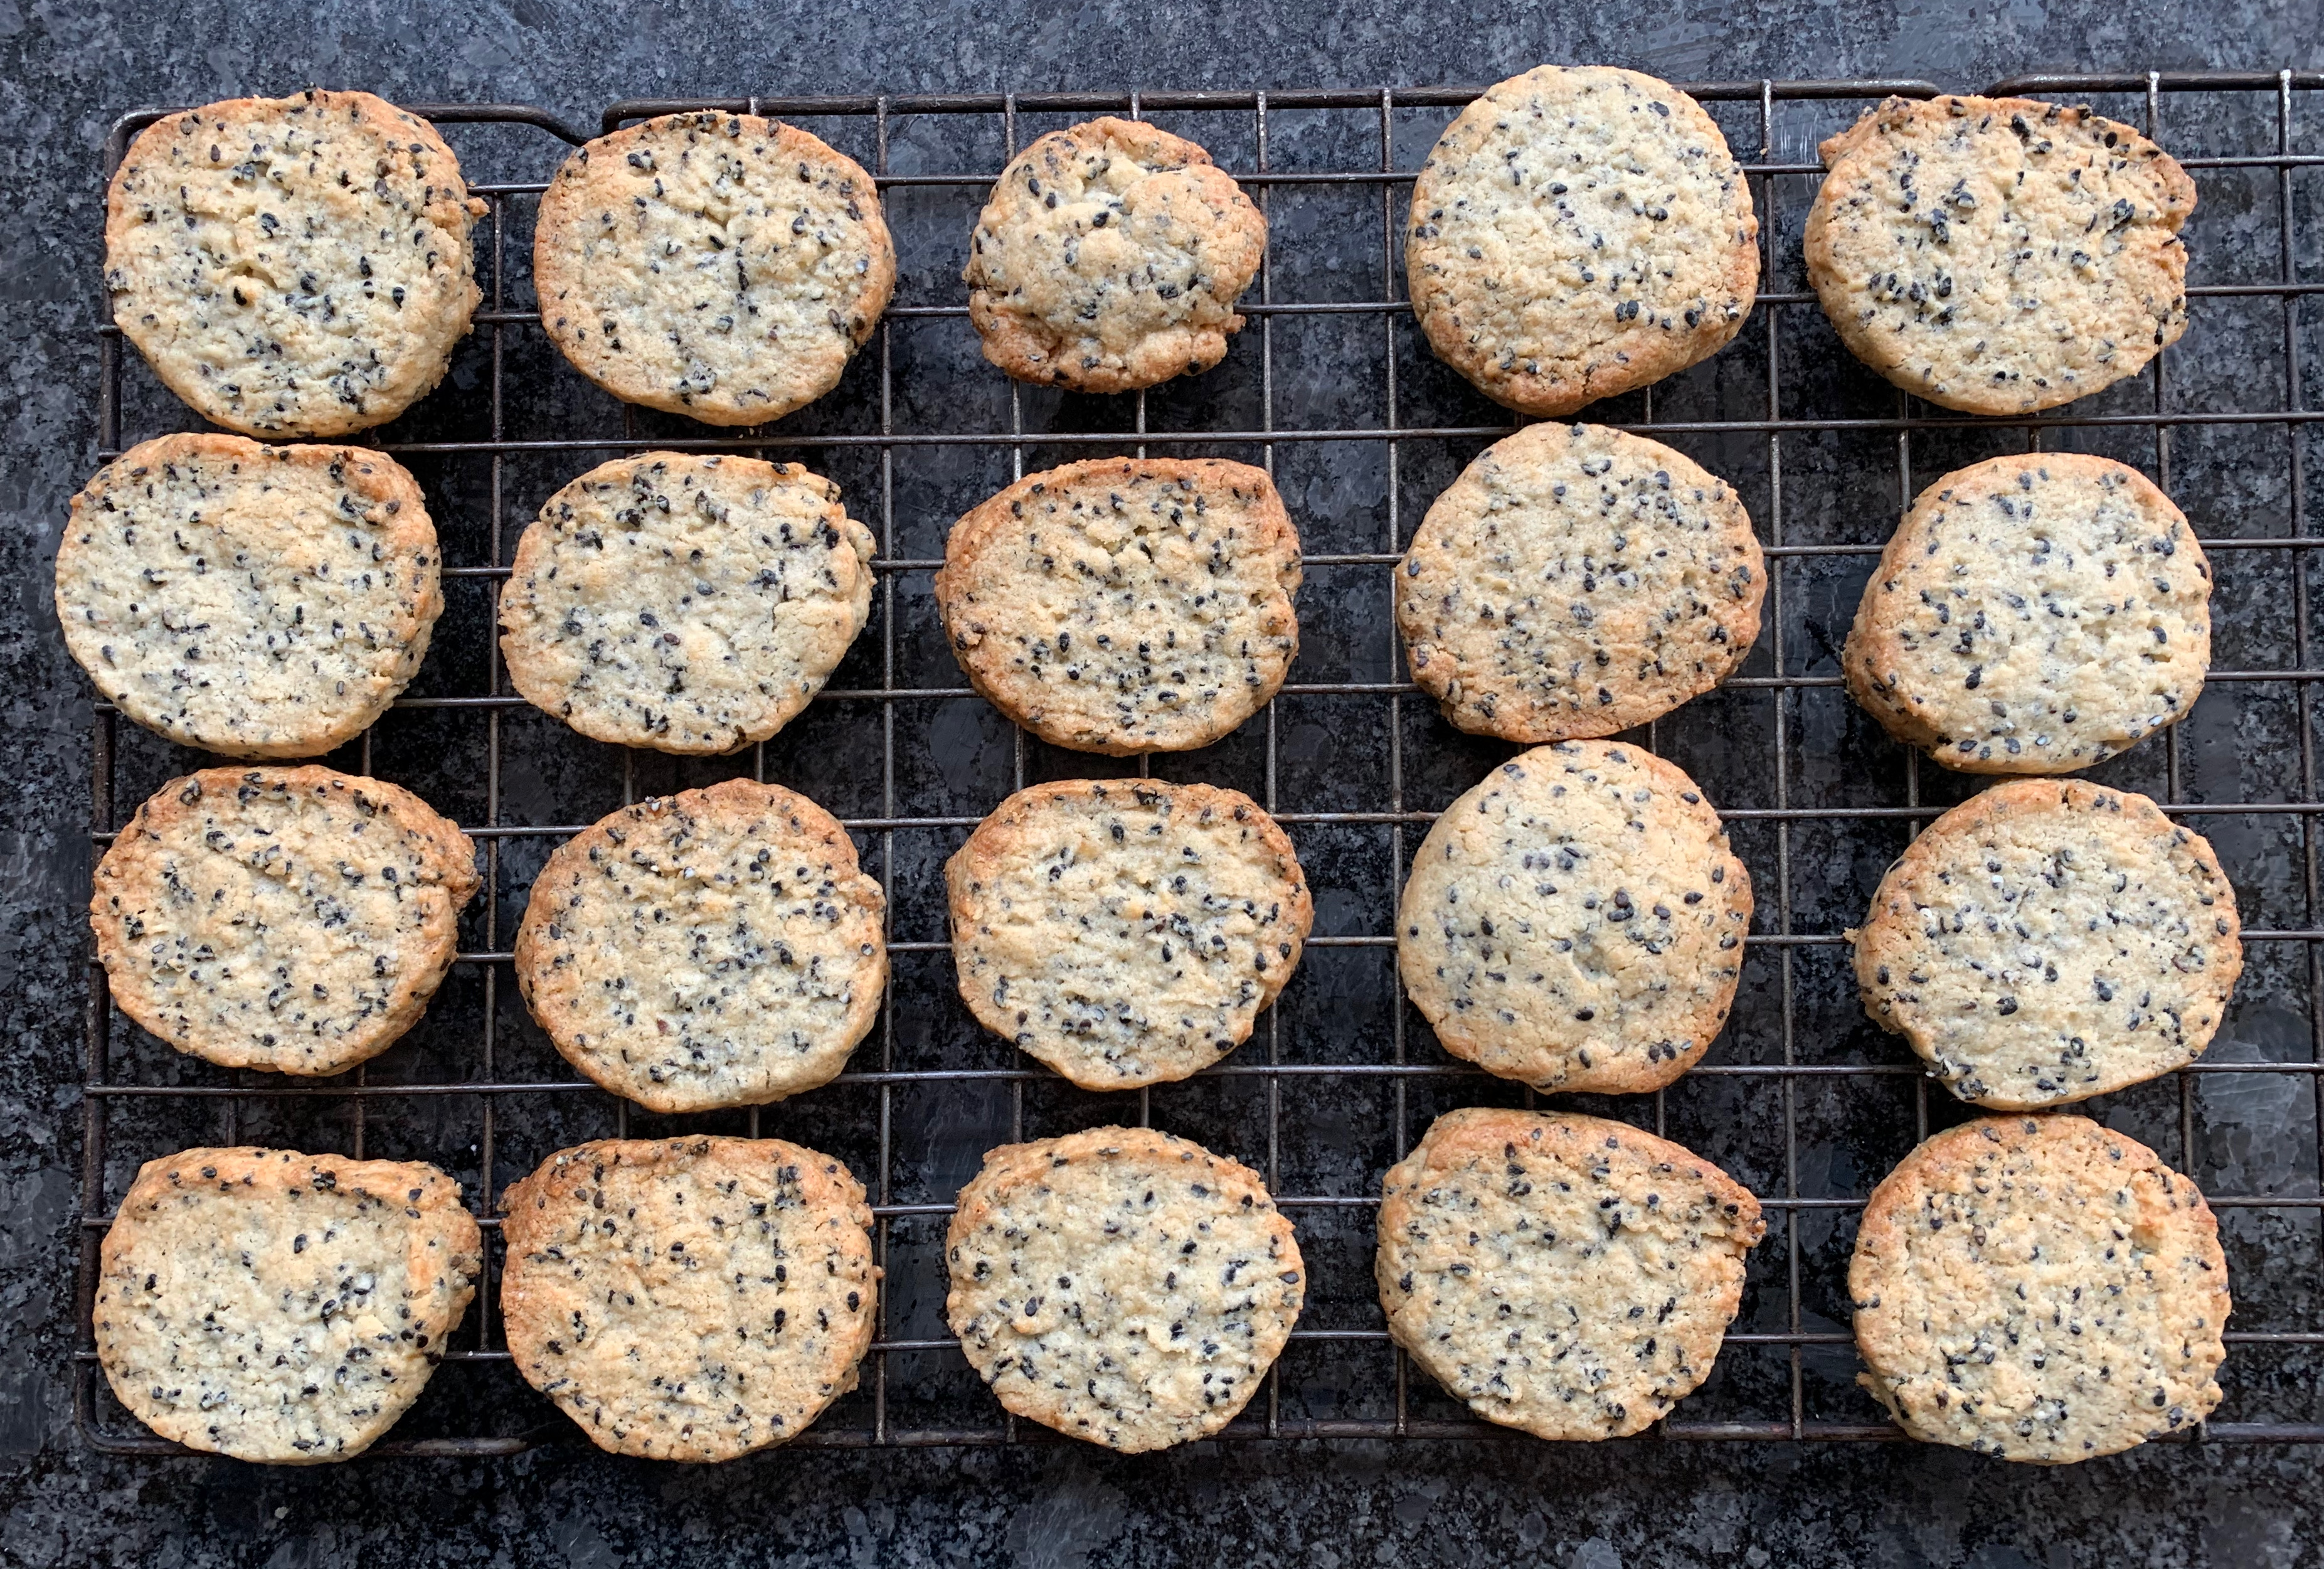
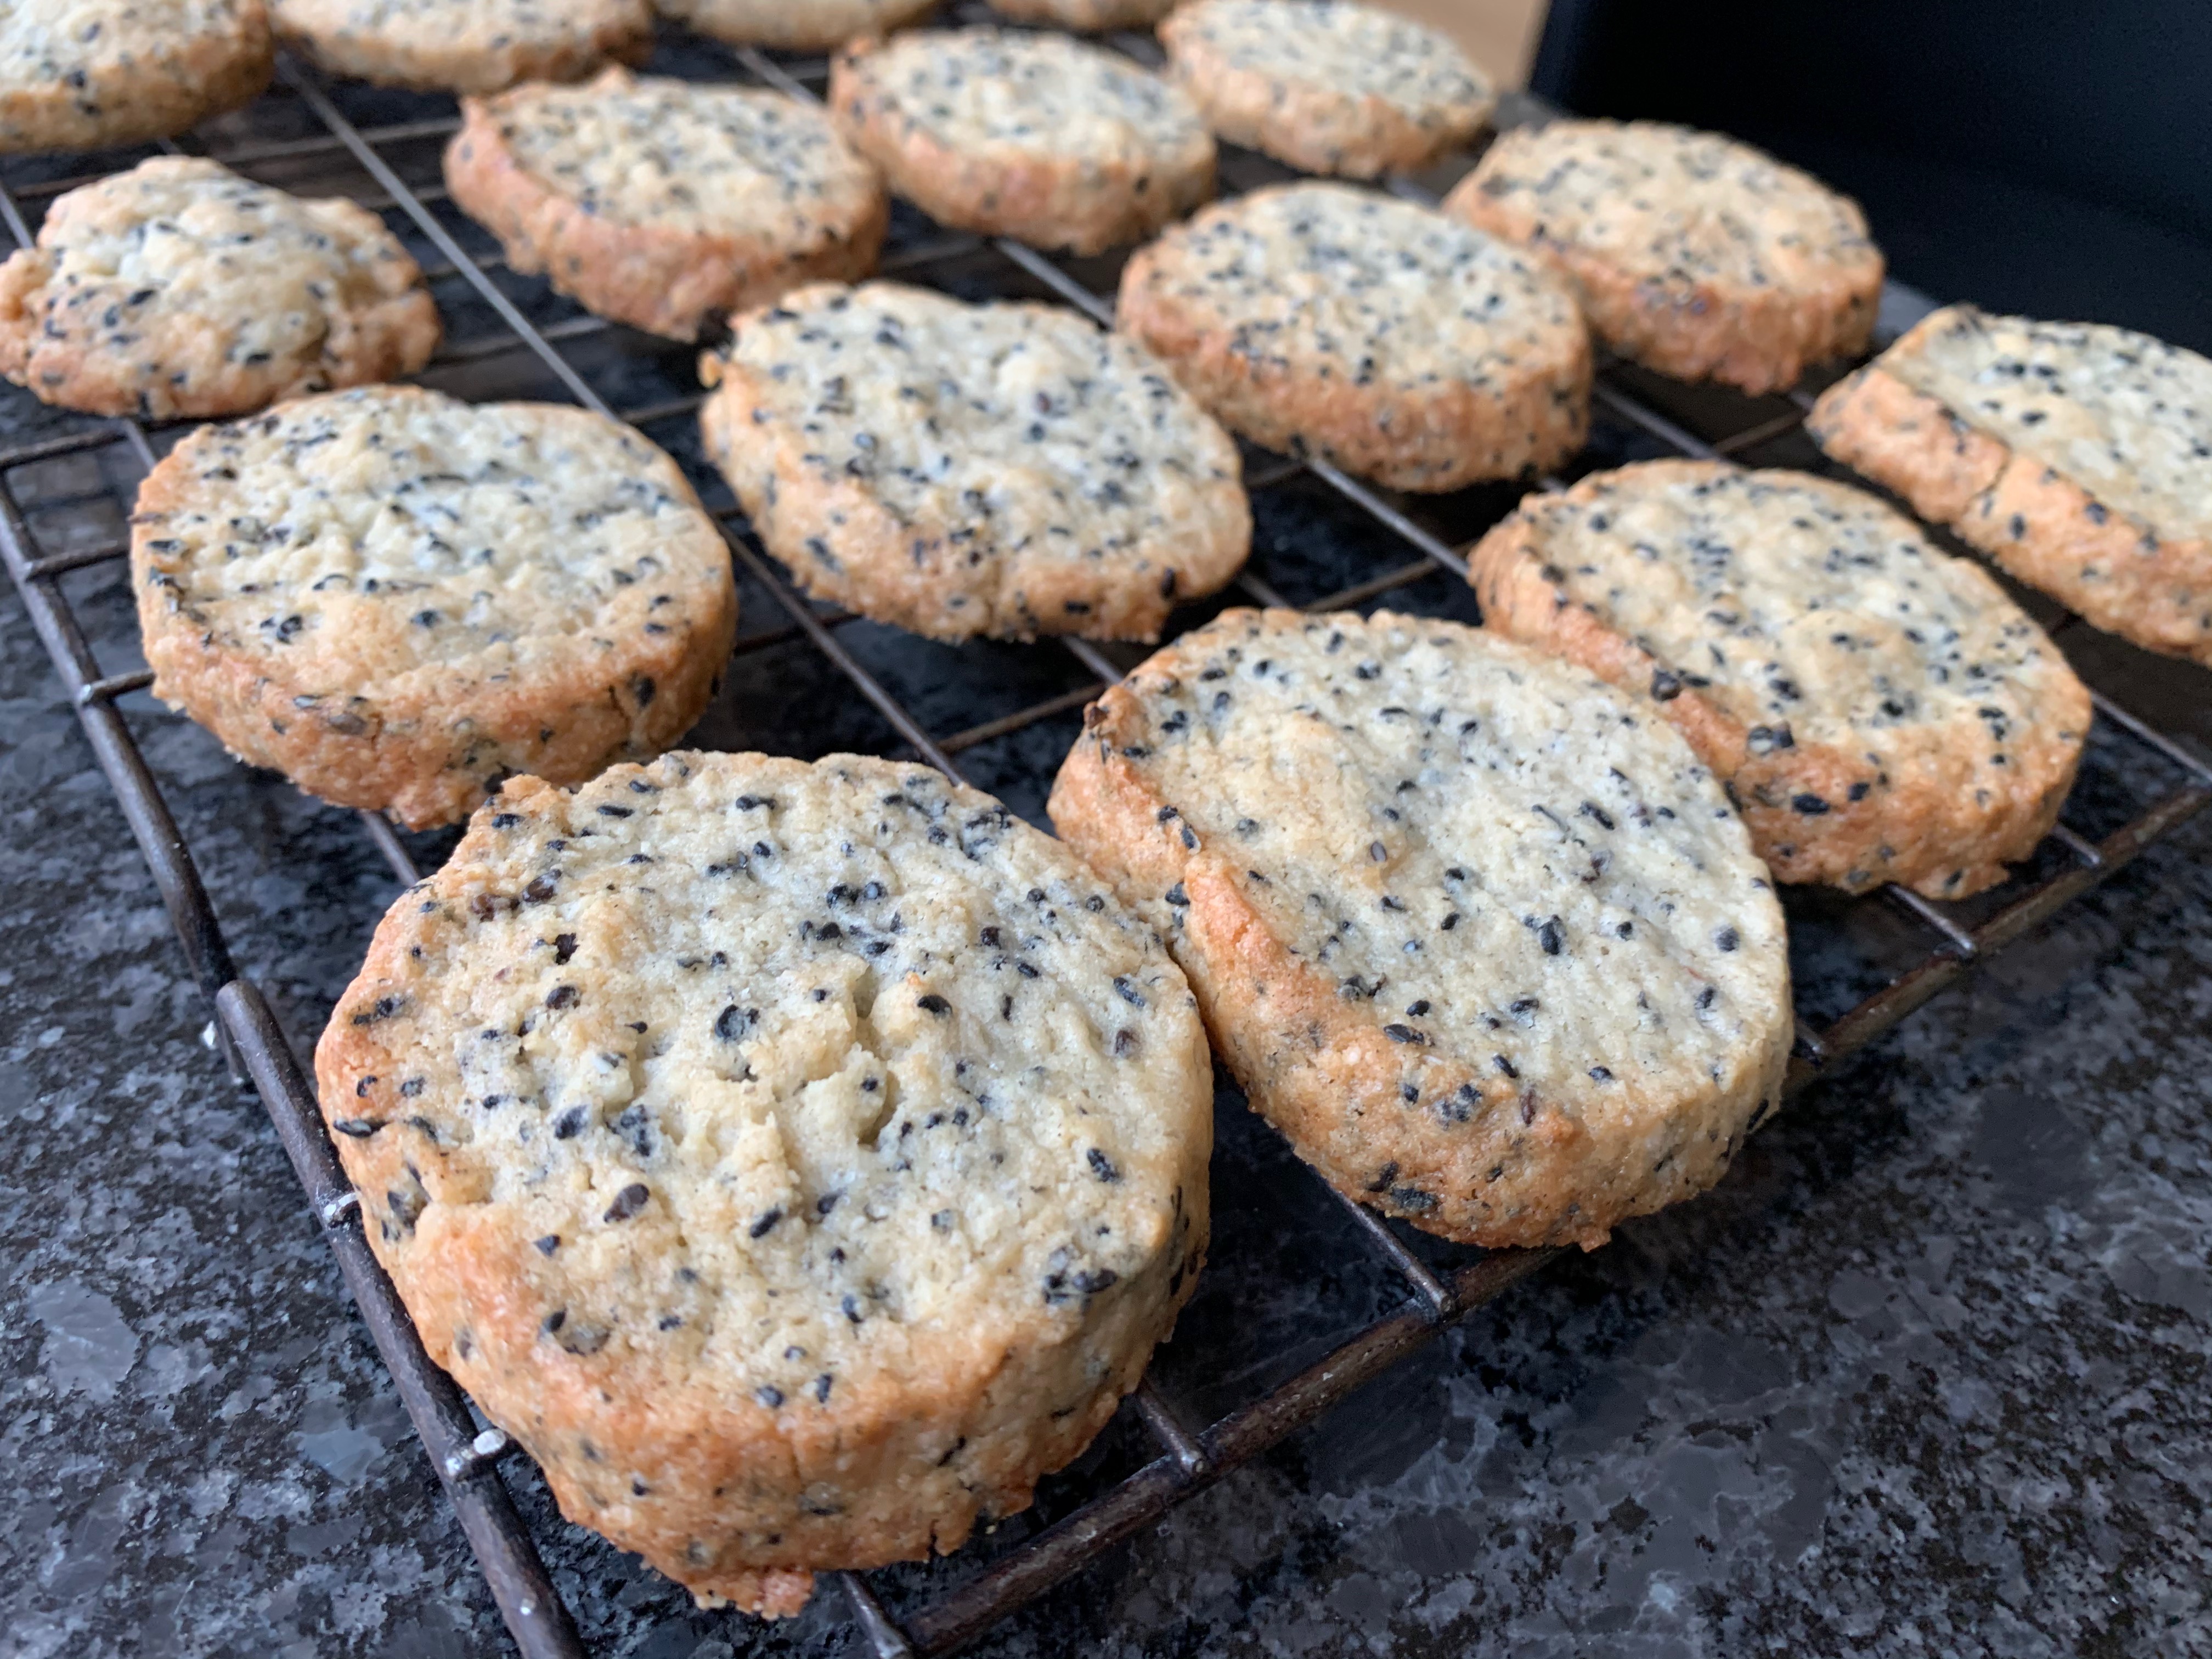
The Japanese may not have centuries worth of baking tradition: their traditional cuisine is more likely to involve steaming or cooking in a pan. But they’ve taken to the Western idea of baked desserts with a vengeance and added flavours that are characteristically Japanese. Green matcha tea cookies are a favourite for many, but as I’m not particularly fond of matcha, so I’ve gone for a different flavouring: black sesame seeds. These cookies (黒胡麻クッキー or Kuro goma kukkī) are very popular in Japan, they’re easy to make, not too sweet and have a distinct taste that I remember from trips to Japan but not from anywhere else. Thanks to Nami and her blog justonecookbook.com for the recipe.
I’ve followed Nami’s recipe reasonably accurately for my first effort (she gives an option of keeping the sesame seeds whole or grinding them – I went for keeping them whole). Next time, I might go for grinding them and using a few more to get a bigger hit of sesame flavour. I might also take the sugar down a bit, although these aren’t extremely sweet by any means. If you’re looking at the photos, it’s clear that I should probably have sliced the cookies a lot thinner to get a crisper result.
40g black sesame seeds
160g plain flour
40g ground almonds
80g caster sugar
2g salt
120g unsalted butter
1 egg
Toast the sesame seeds in a pan until fragrant, leave to cool slightly.
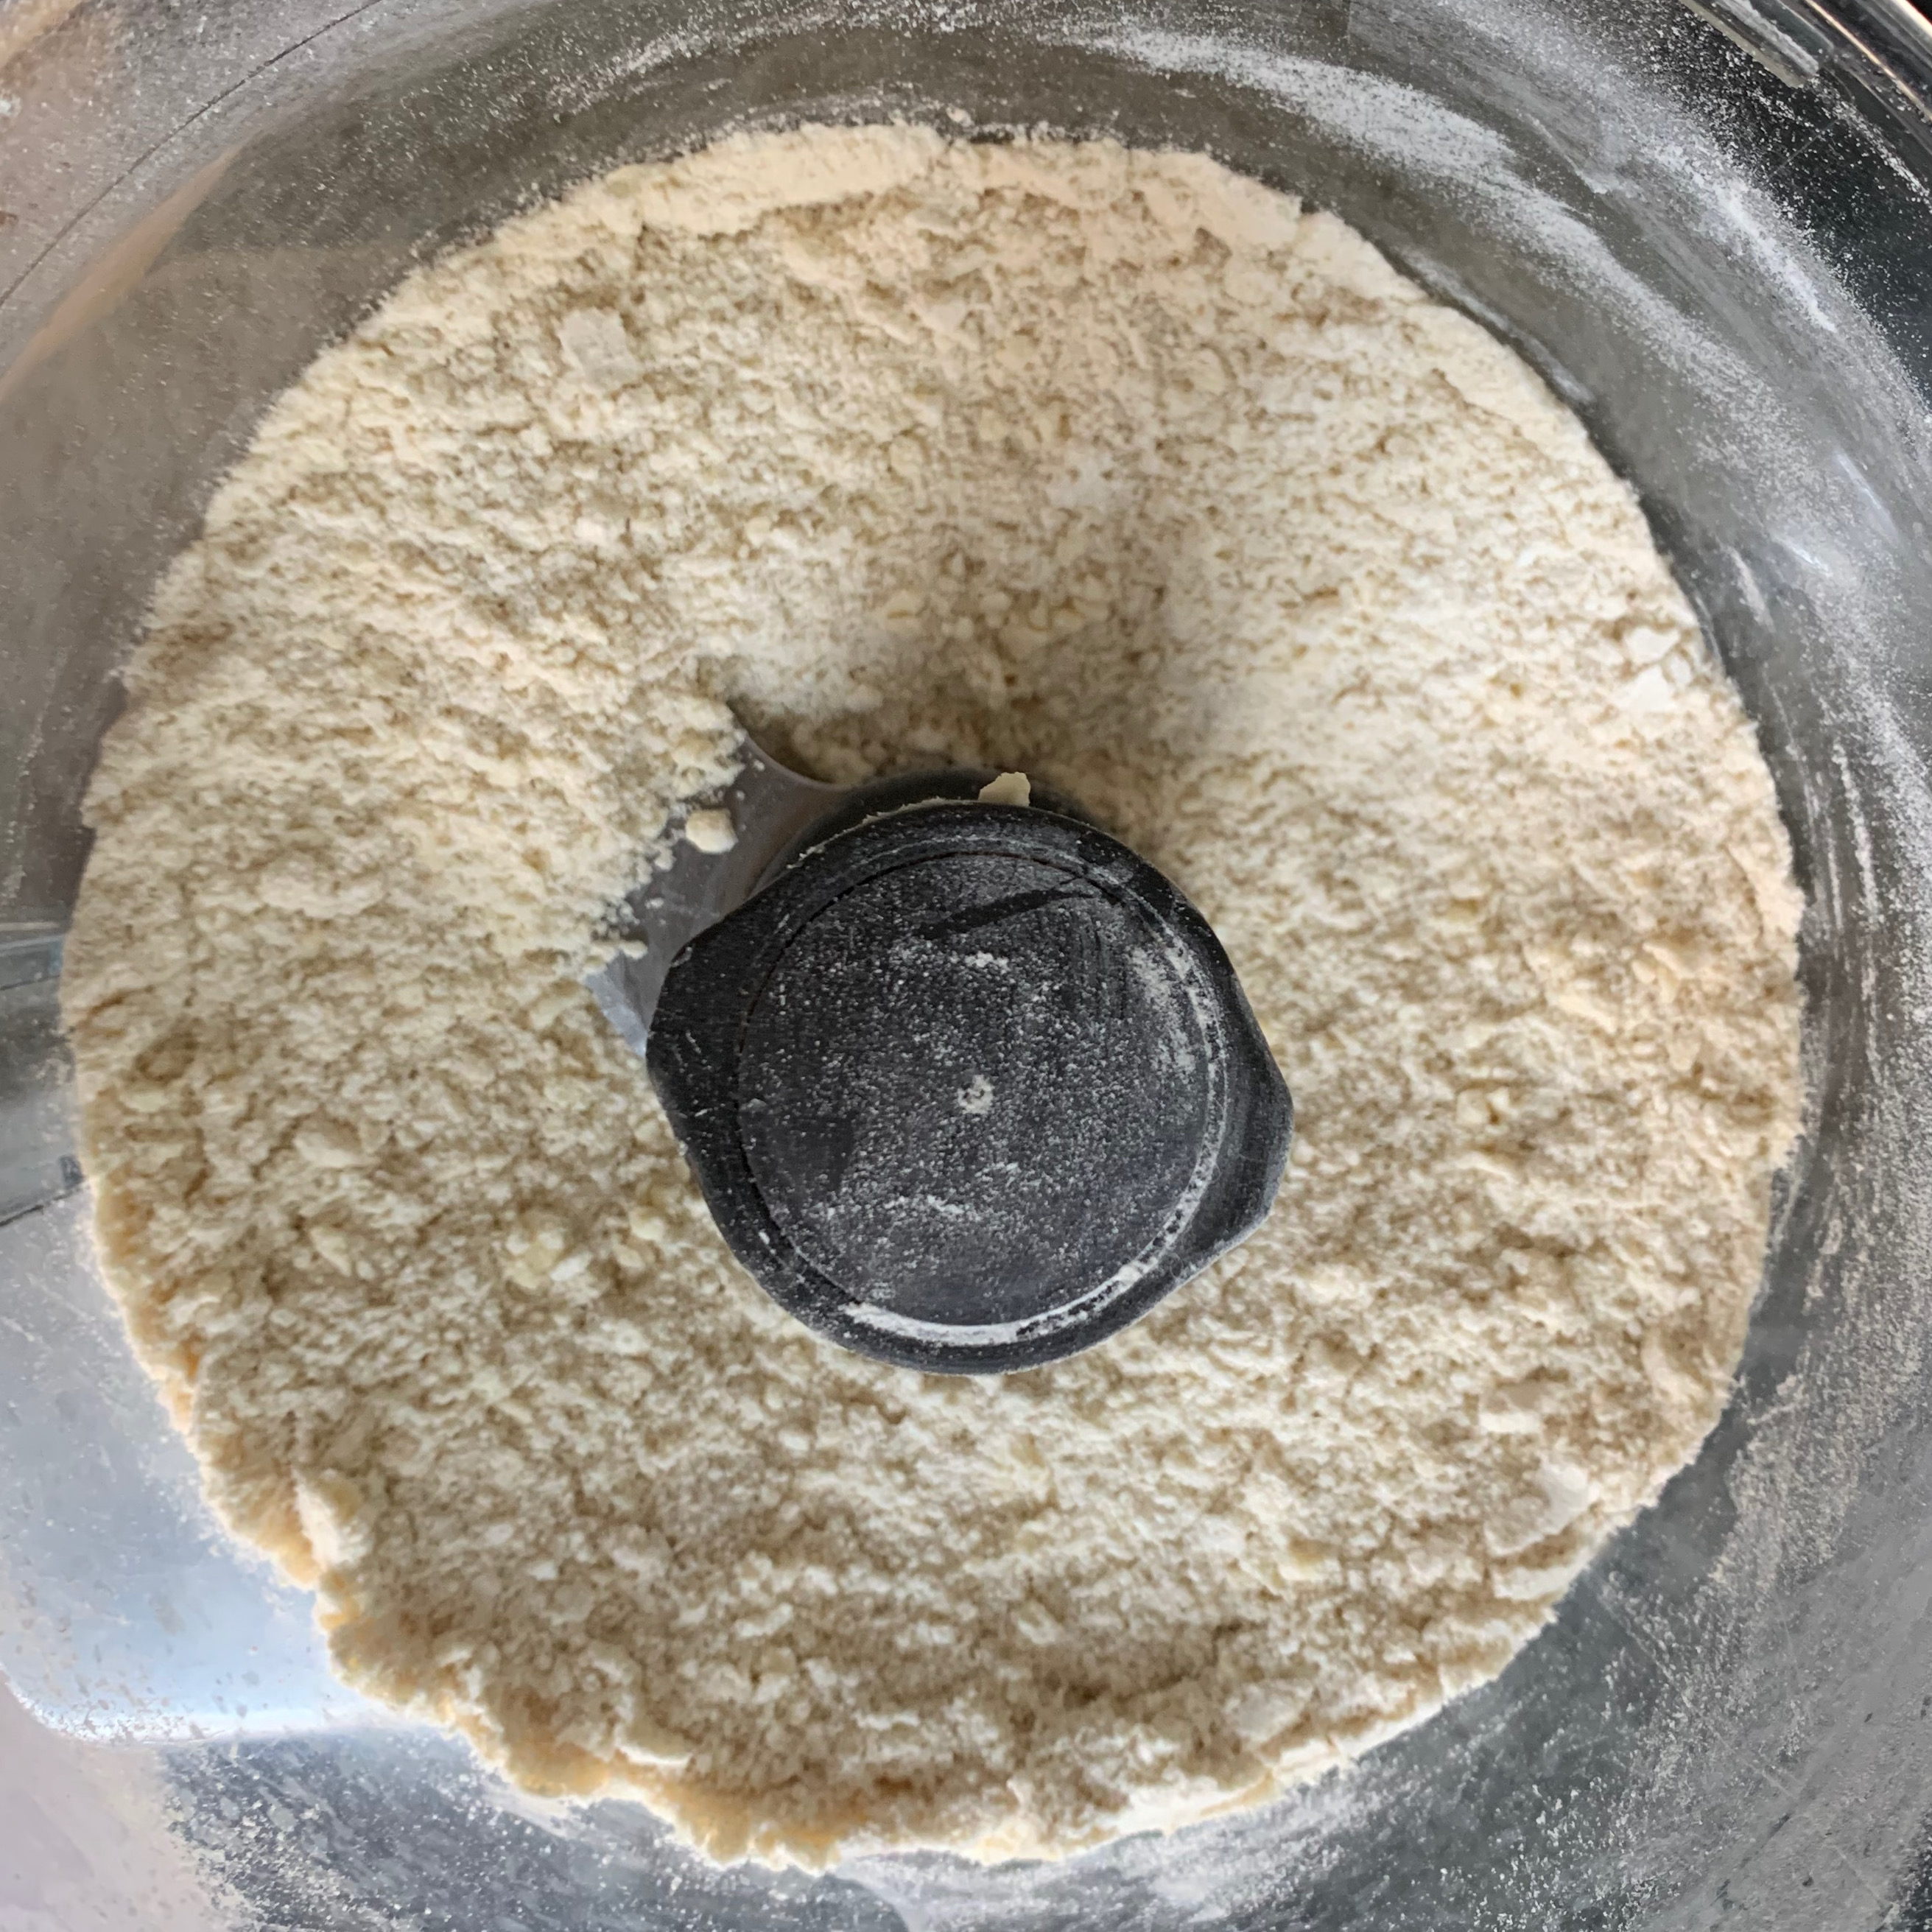
In the bowl of your food processor, weight out the flour, ground almonds, sugar and salt. Stir until evenly mixed (or, if you dare, pulse the food processor briefly).
Take the butter out of the fridge and cut it into cubes. Add to the food processor and run until you have an even crumbly mix.
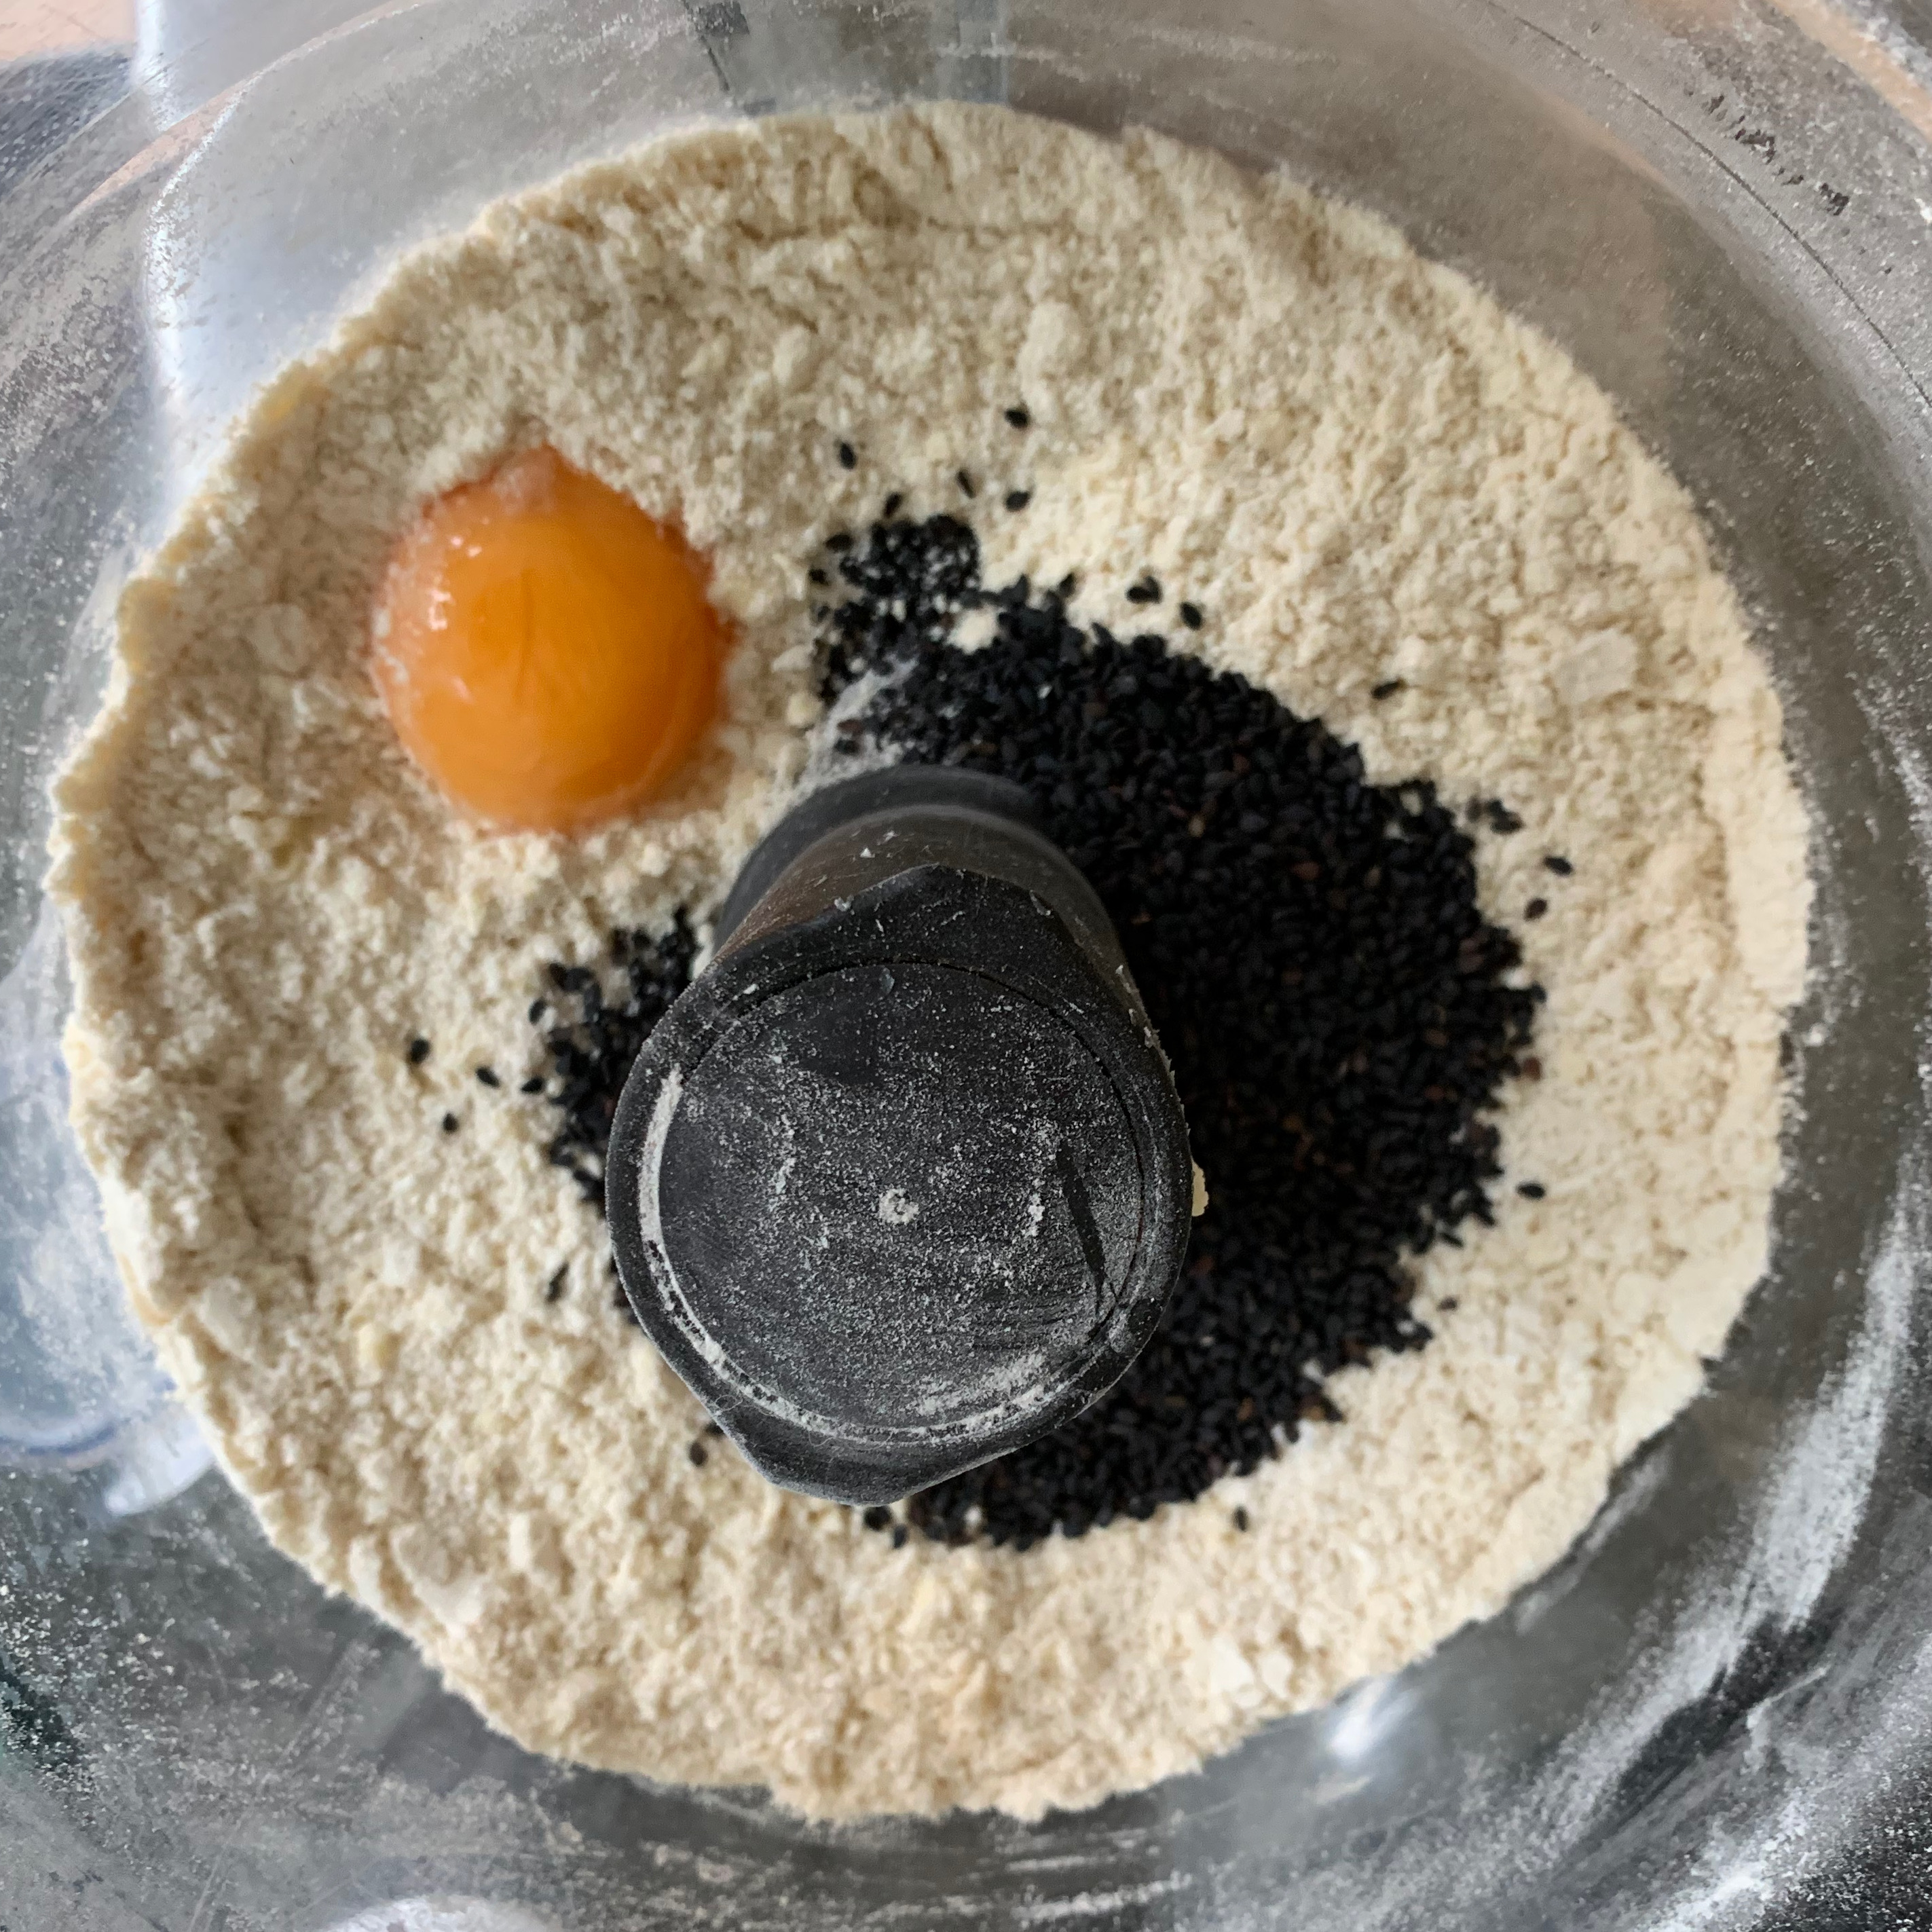
Add the egg and sesame seeds and pulse for a few seconds until everything is even.
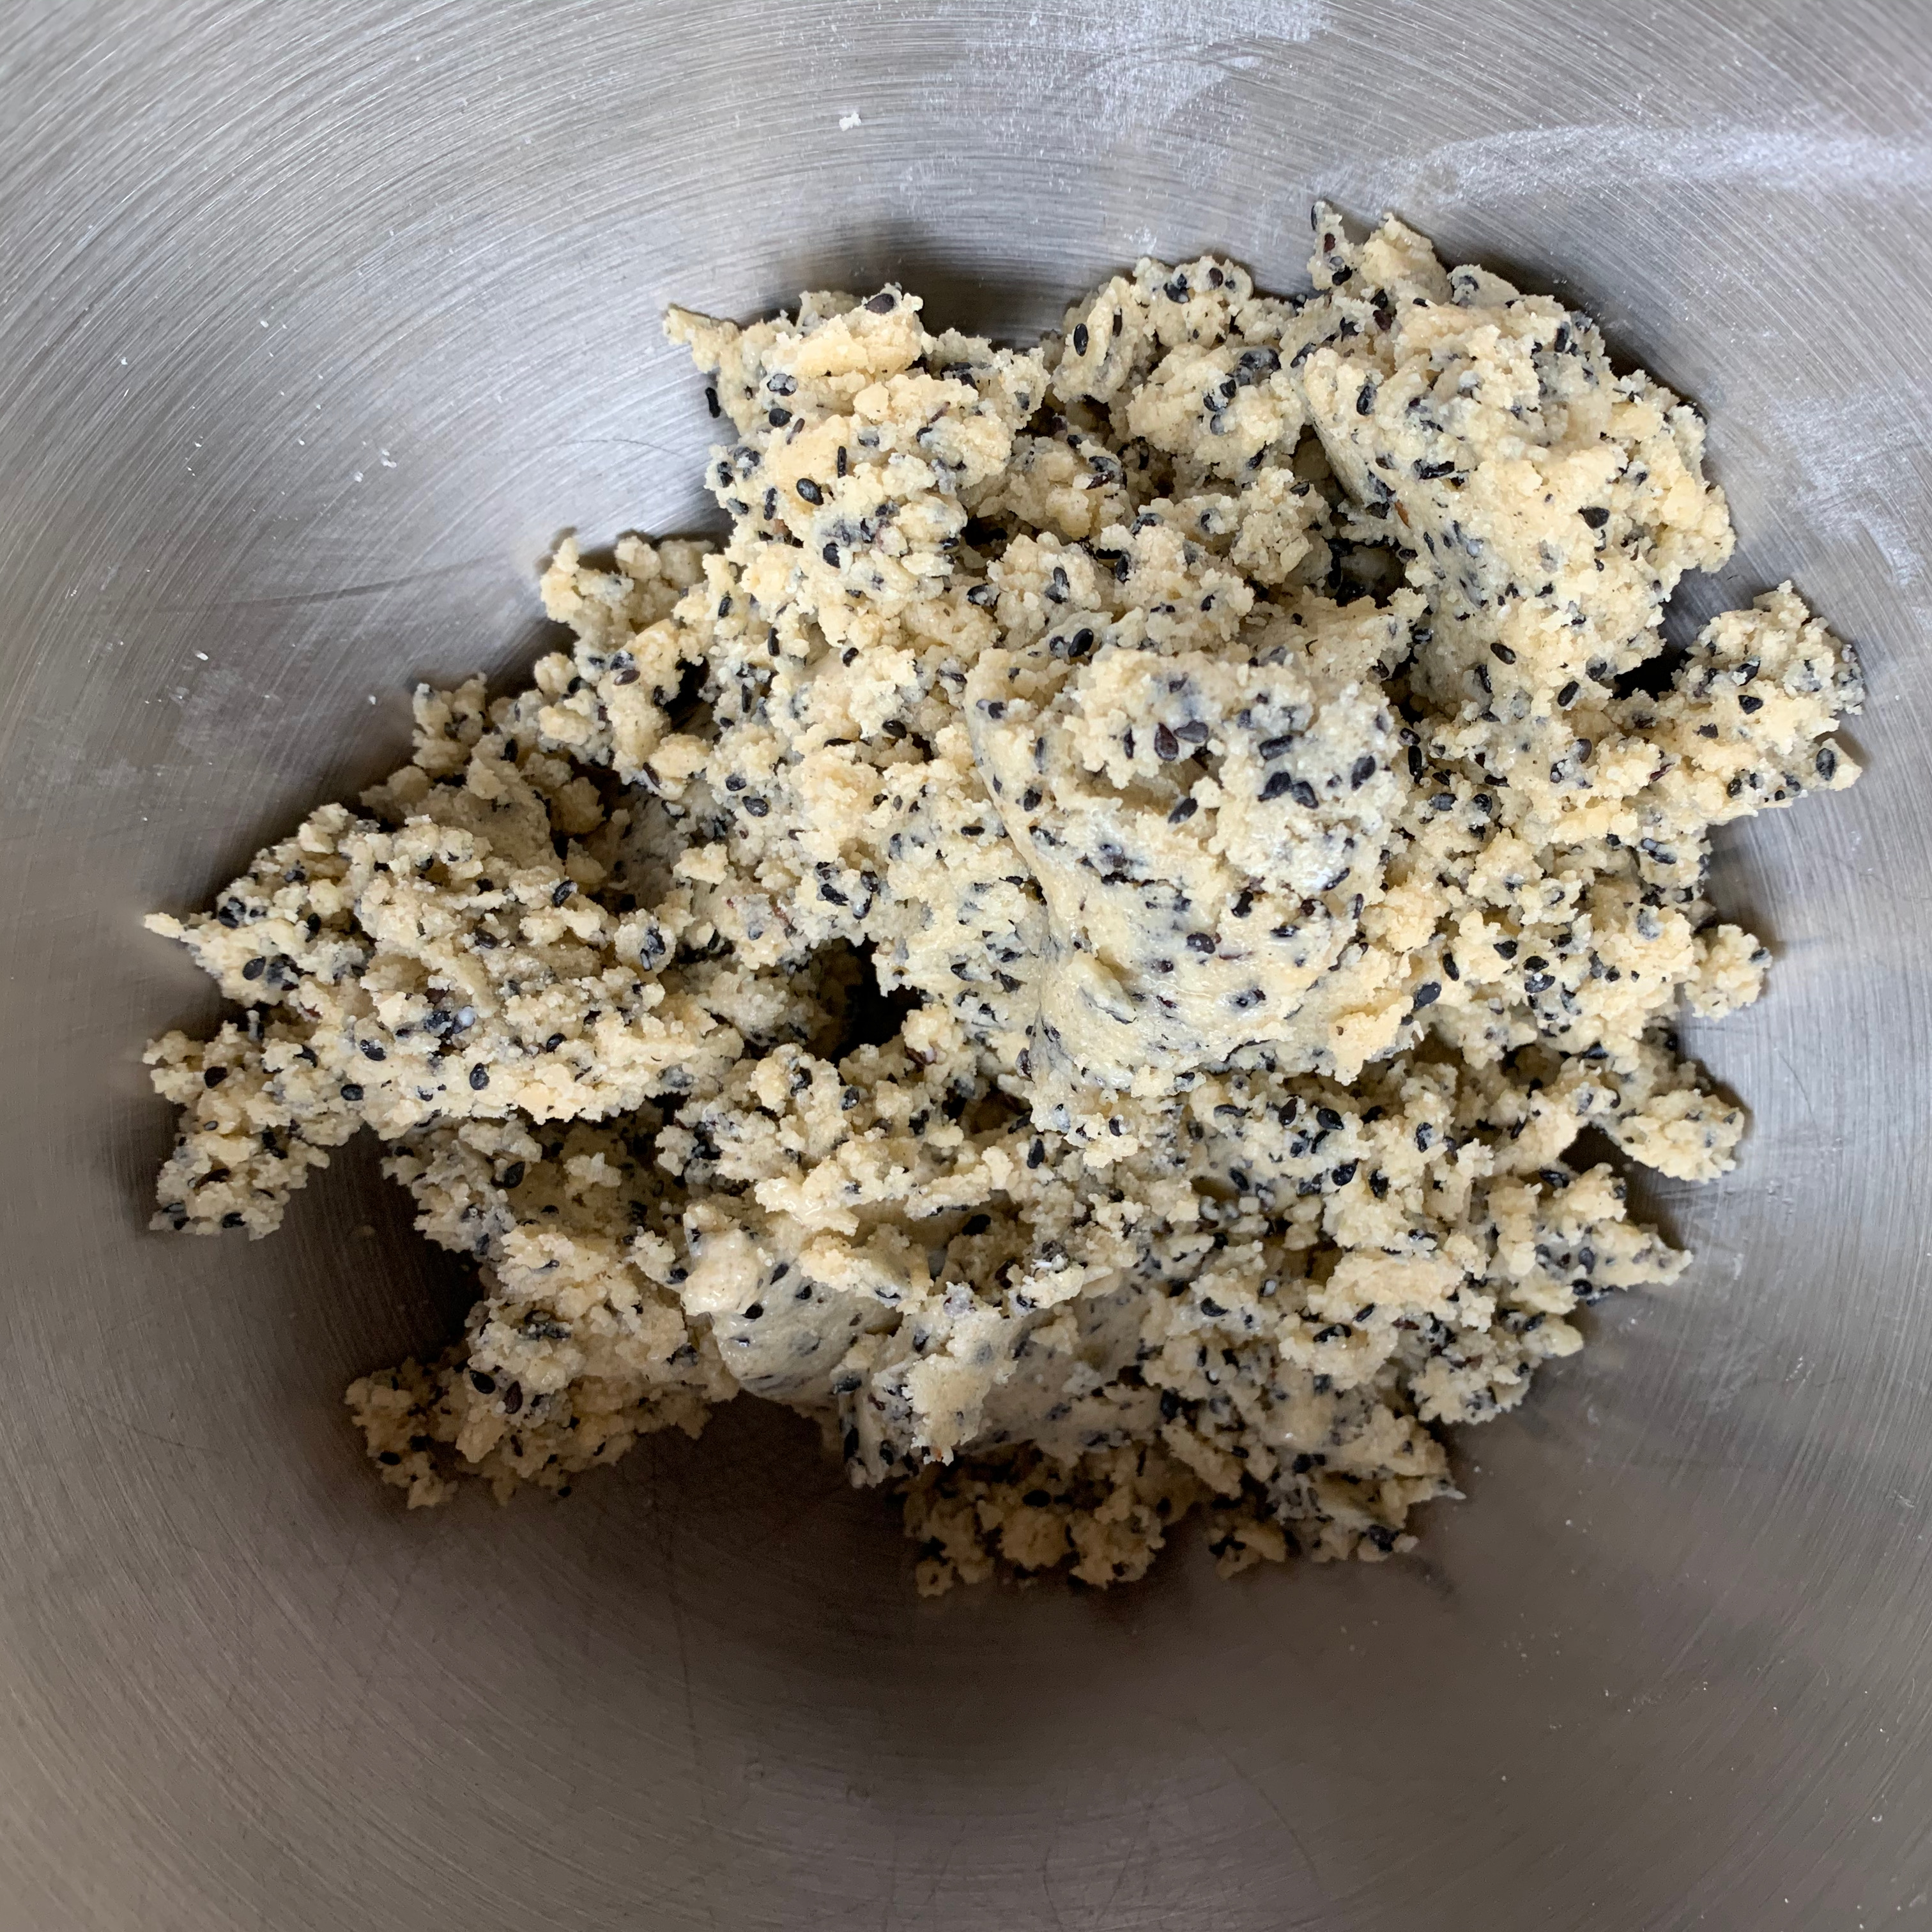
Now take the mixture out of your food processor into a bowl and bring together with your hands until you have a smooth dough.
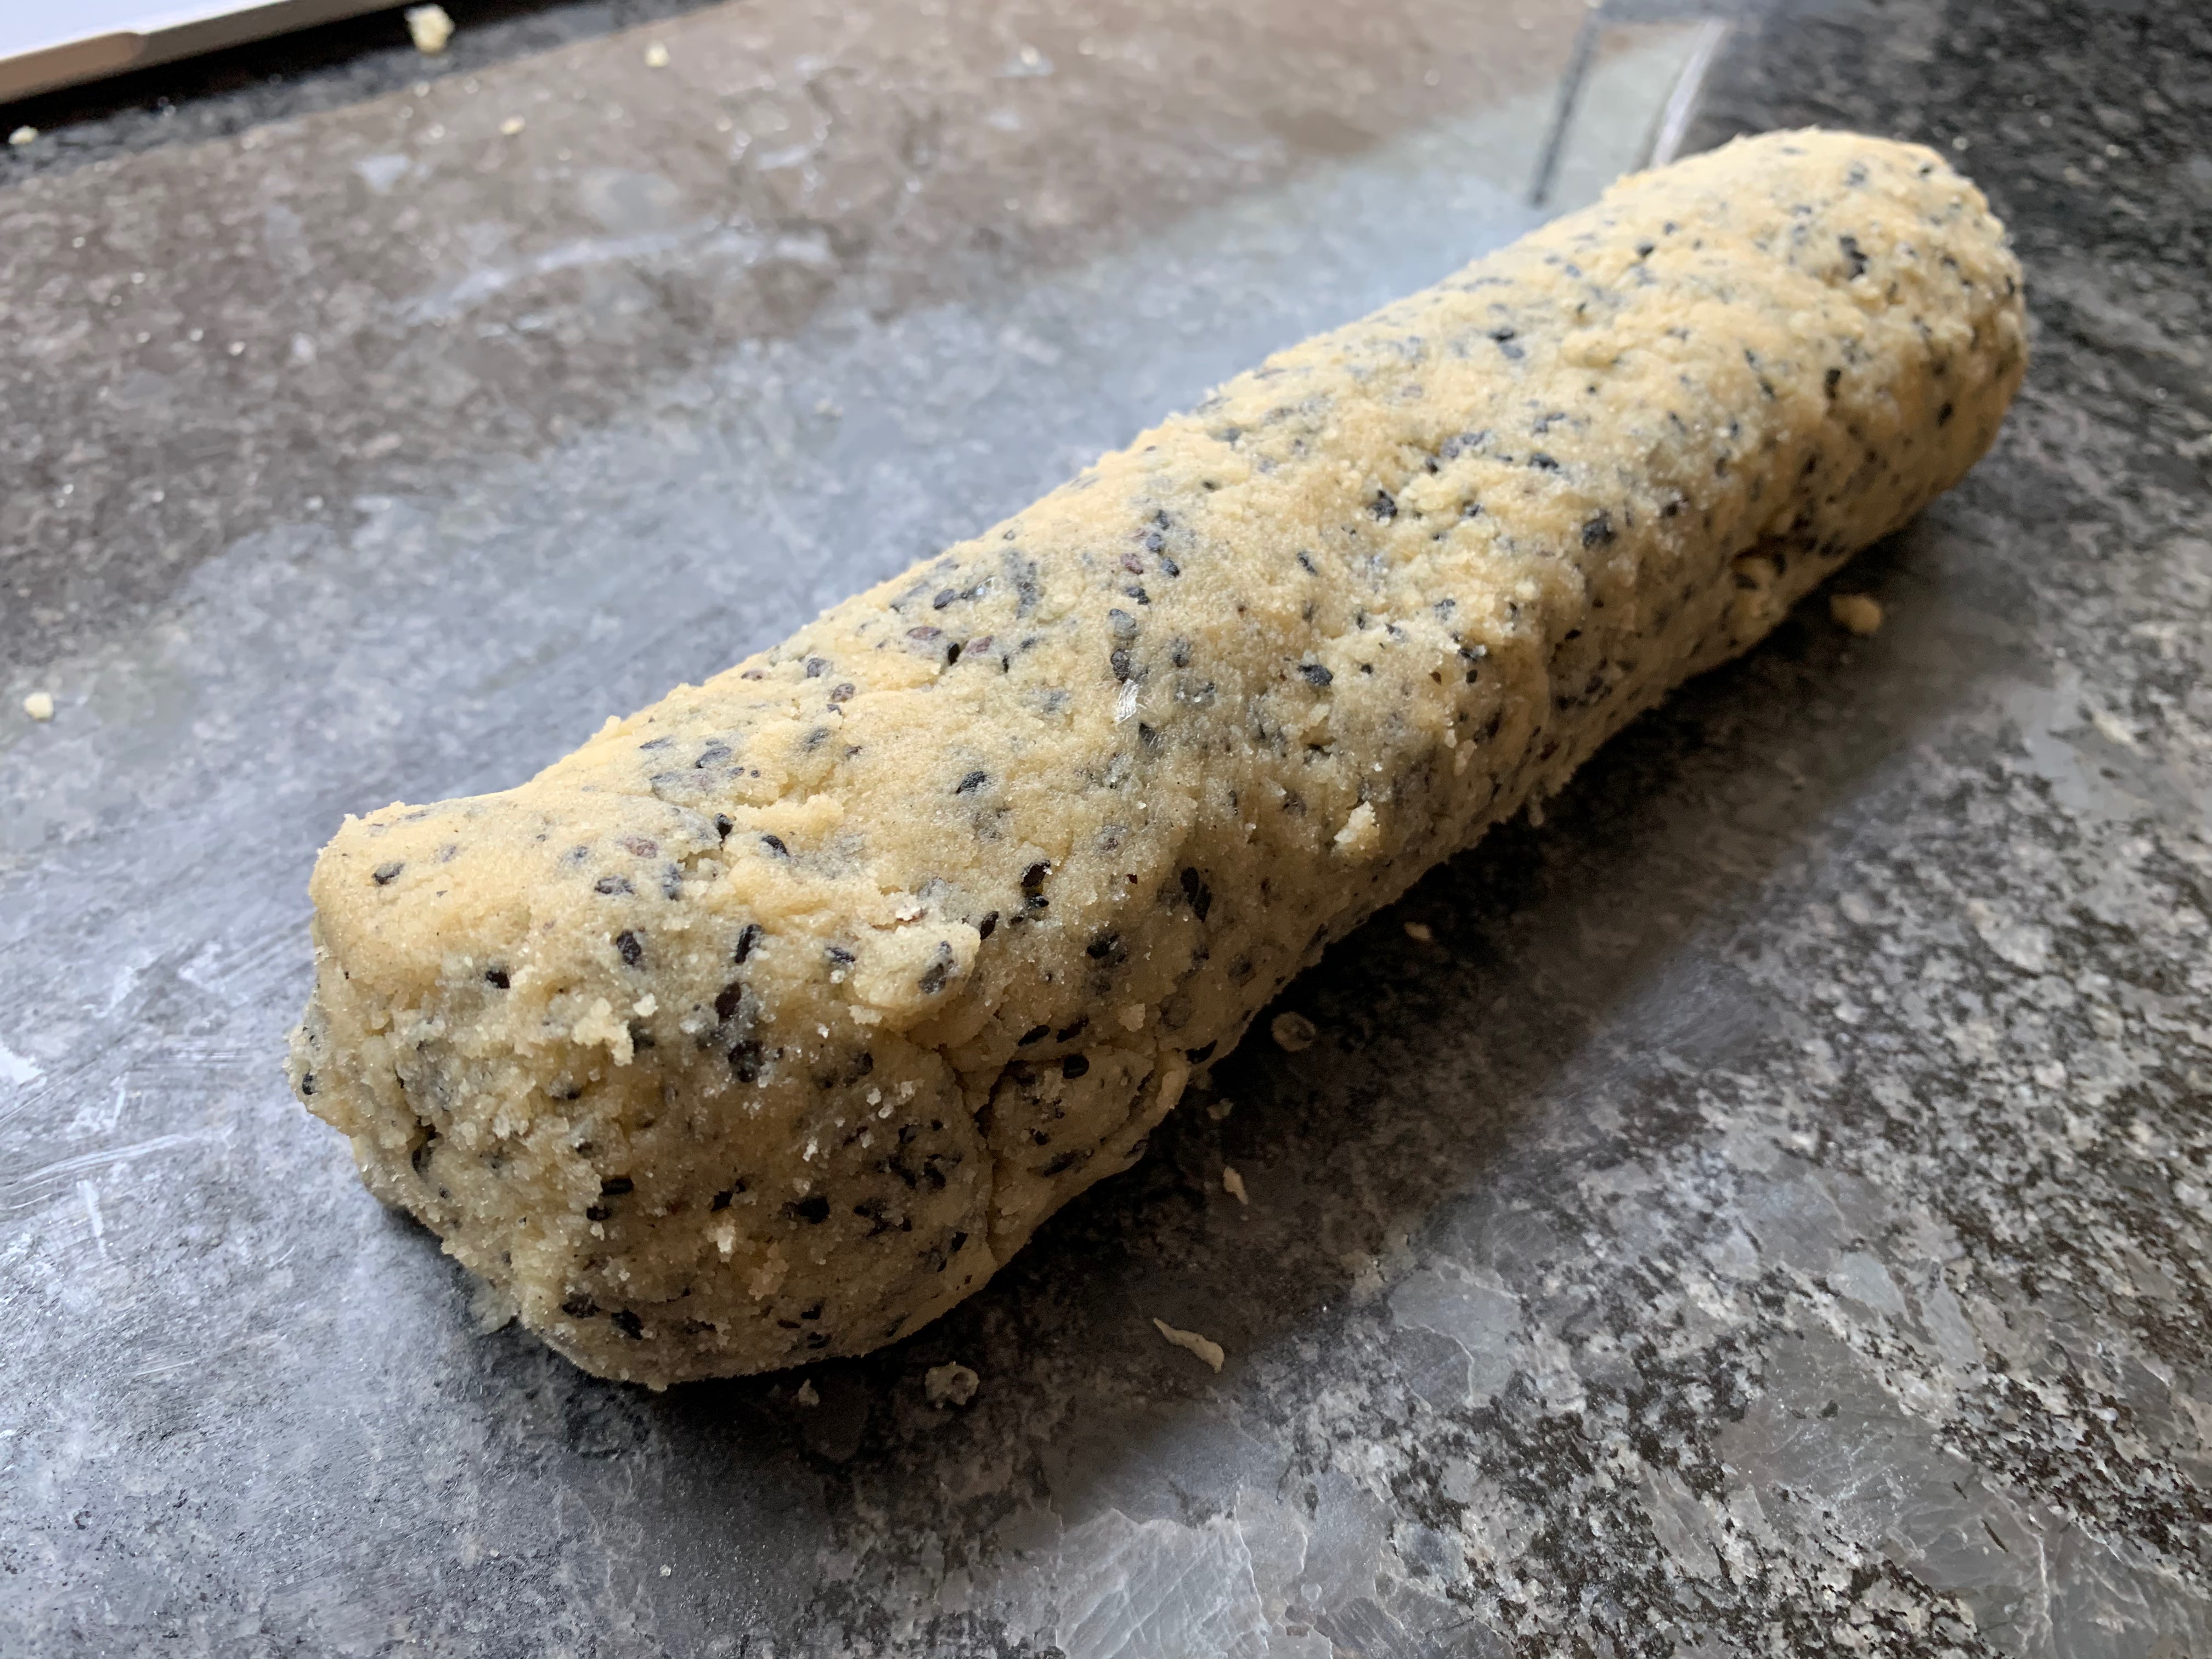
Form your dough into a long sausage. (Nami’s recipe says to cut the dough into two and do two sausages – I forgot). Wrap them in cling film and refrigerate for around an hour. Ideally, the sausage(s) should be round, but it’s fairly hard to avoid having a flat edge.
Meanwhile, prepare two baking trays with baking paper (or silicone mats) and preheat oven to 175℃.
Take the sausage of dough out of the fridge and cut it into circular slices around 5mm in width. Lay these out on your baking trays, allowing room for a bit of expansion.
Bake for around 15 minutes until a light golden colour.
Leave to cool on a rack for as long as you can manage without scoffing them.
The styles and sizes vary, but most food cultures have a filled parcel that you can eat on the street: China has bao dumplings, Japan has onigiri, most Latin countries have empañadas, and so on. The Maltese version is the pastizz, which is somewhere in size between a samosa and a Cornish pasty. Its case is flaky pastry which is made by creating a spiral cross-section of dough and shortening (the same trick, roughly, as used in Portuguese pastéis de nata); the filling can be pretty much anything but is often either based on ricotta cheese or peas.
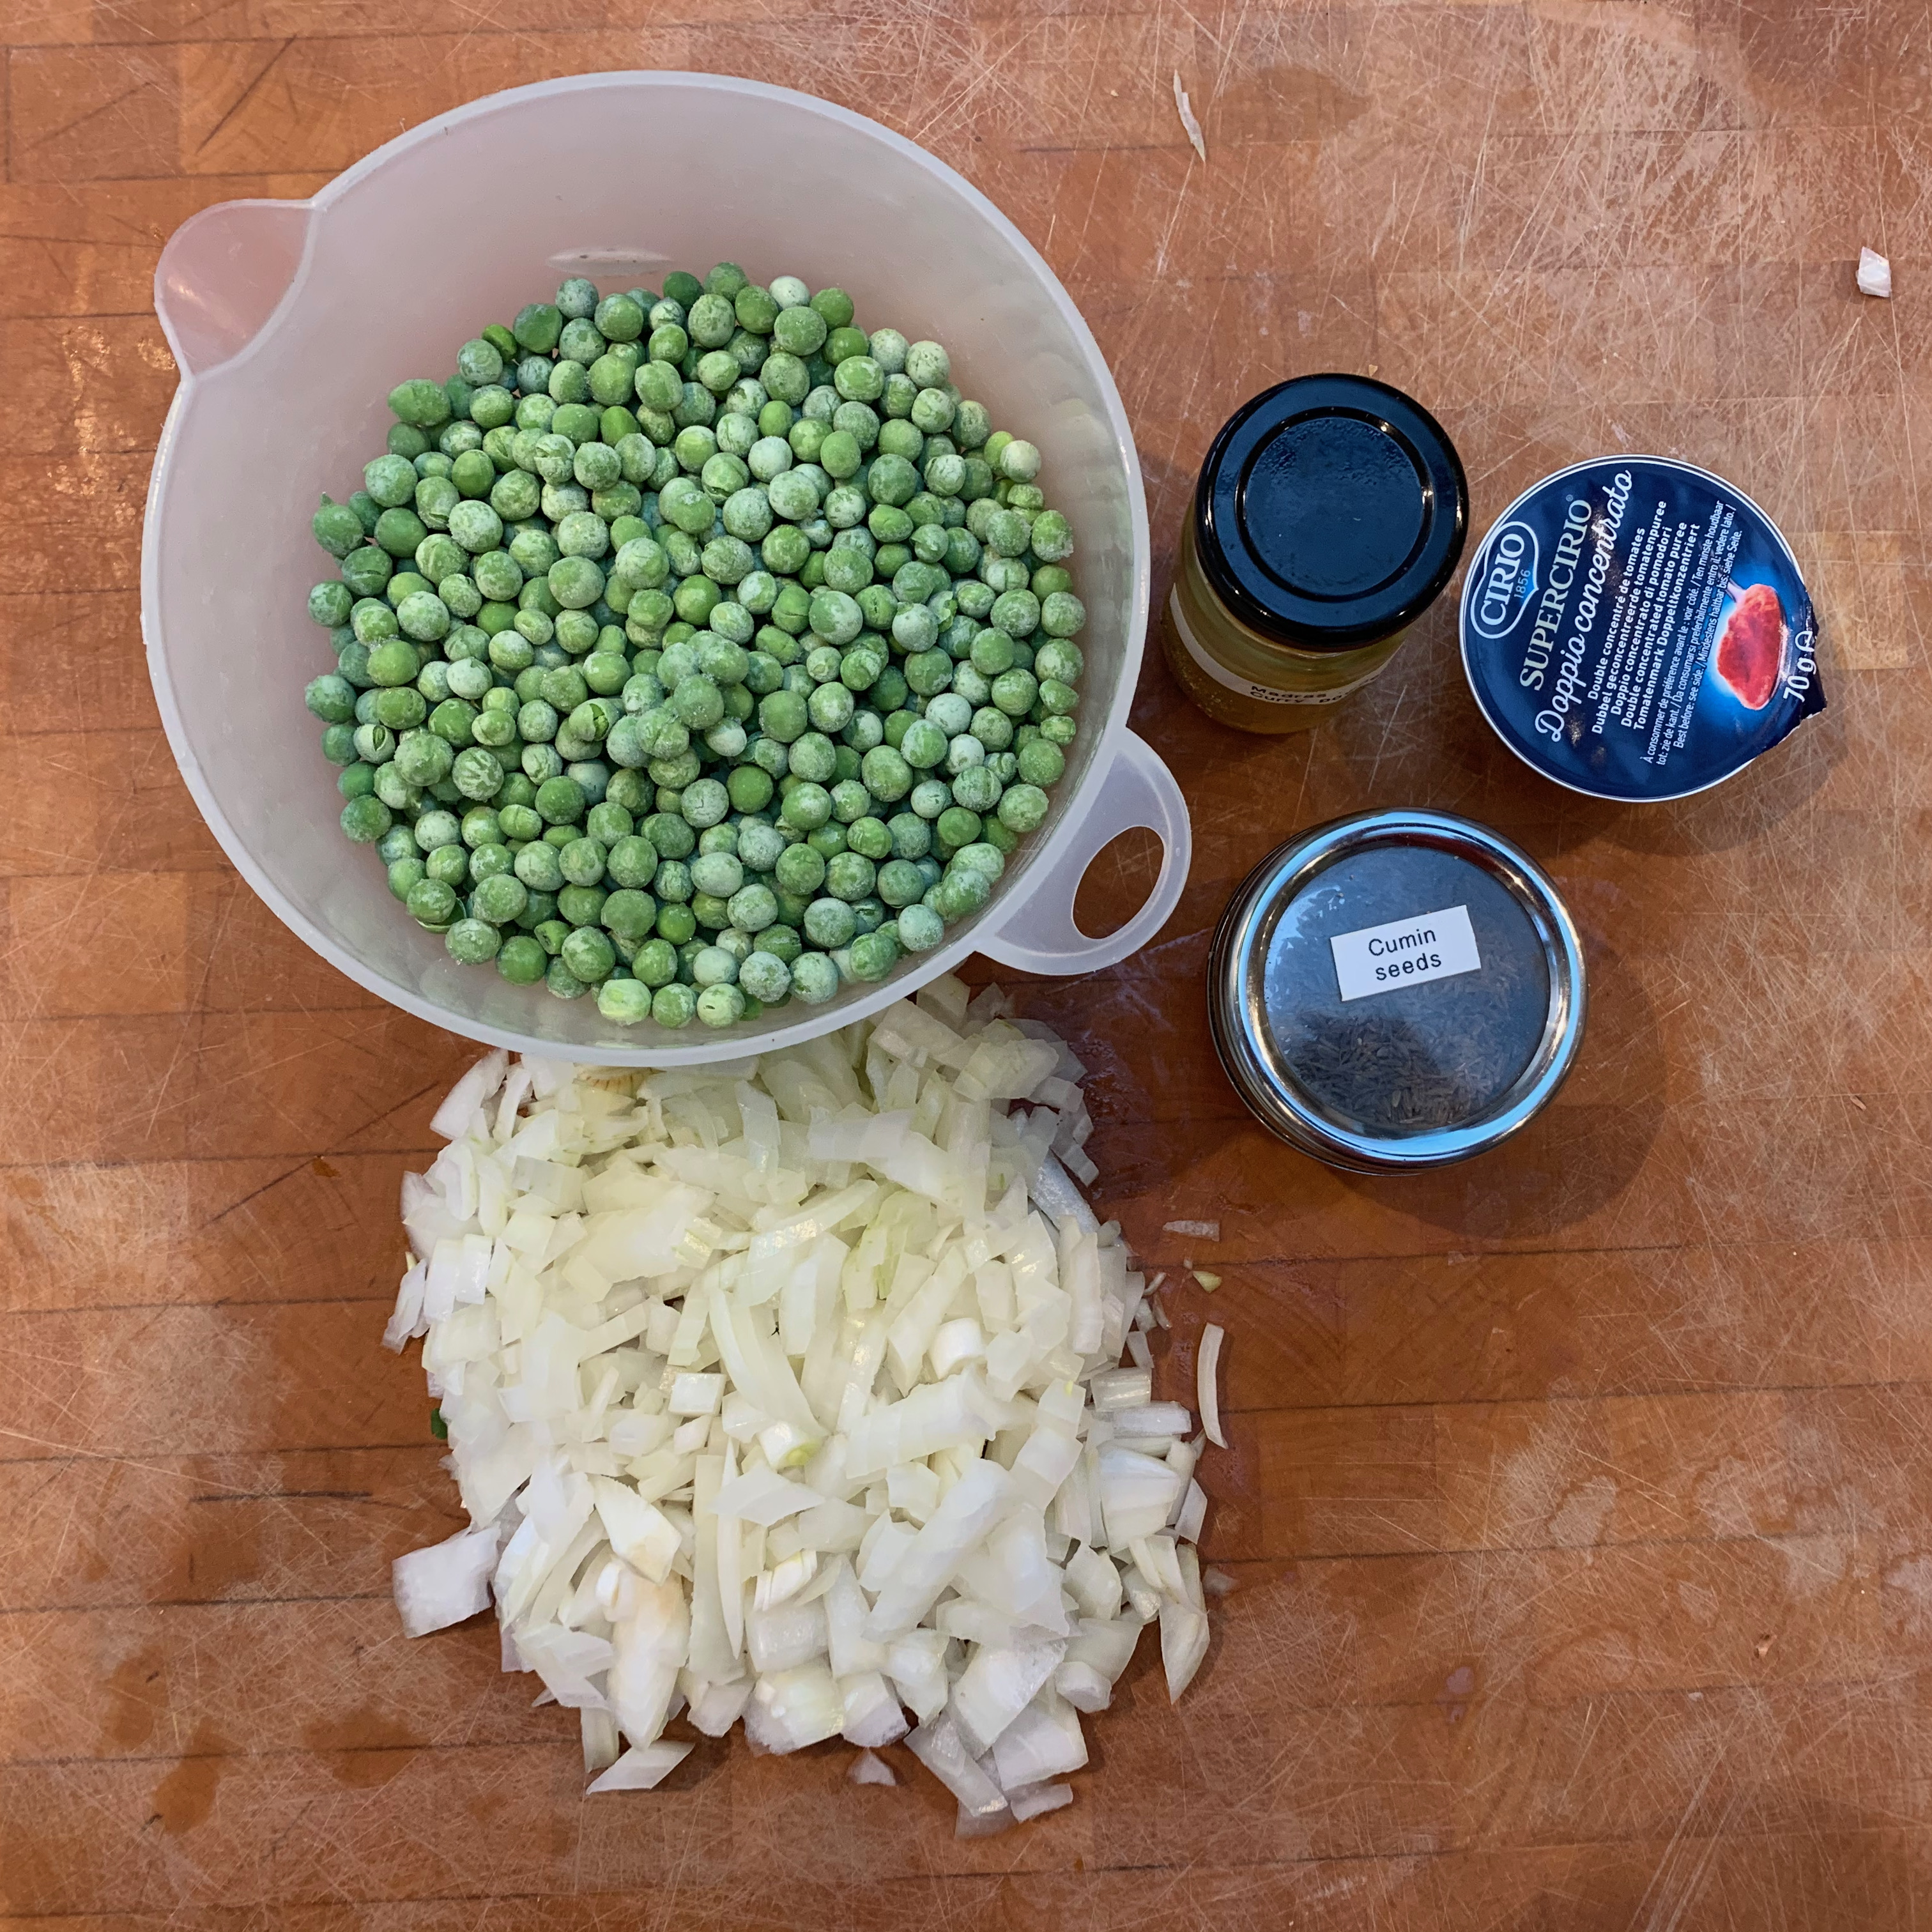
Starting from a Maltese Youtube video and halving the quantities, I chose a lightly curried pea-and-tomato filling, which is pretty straightforward and comes out rather like one of my favourite Indian dishes, mutter paneer (without the paneer, but I can’t see a good reason not to include that if you want). If you are looking carefully at the photos, you’ll see that I ran out of peas on one of my runs and substituted some mixed veg.
As with all versions of puff pastry, getting the layers right is tricky, and I got it spectacularly wrong on my first attempt, not least because the ratio of flour to water in the recipe is way off what it needs to be. This isn’t the most time consuming puff pastry recipe you’ll ever see: there’s a lot of elapsed time for resting, but it’s not too bad on actual work. But it’s fiddly to get the layers thin enough and roll them up into a good shape without breaking them. If you’re like me, you’ll need practise.
Anyway, the results are well worth it: they make a really good mid-morning or mid-afternoon snack, tasty, filling and nutritious.
Filling
Although I’m giving the filling recipe first, you’ll almost certainly want to start the dough first and make the filling during the extensive resting times.
You could add any of garlic, ginger or chilies to this if you want a spicier version. I like adding curry leaves, too, which isn’t exactly Maltese but adds aroma.
Sunflower or other neutral oil for frying
2g (1tsp) cumin seeds
220g onion
7g curry powder (or your own favourite mix of ground coriander, cumin, turmeric, chili powder)
70g double concentrated tomato paste (my favourite brand is Cirio)
350g frozen peas
Take the peas out of the freezer. You can do this in advance, but you don’t have to.
Chop the onion finely
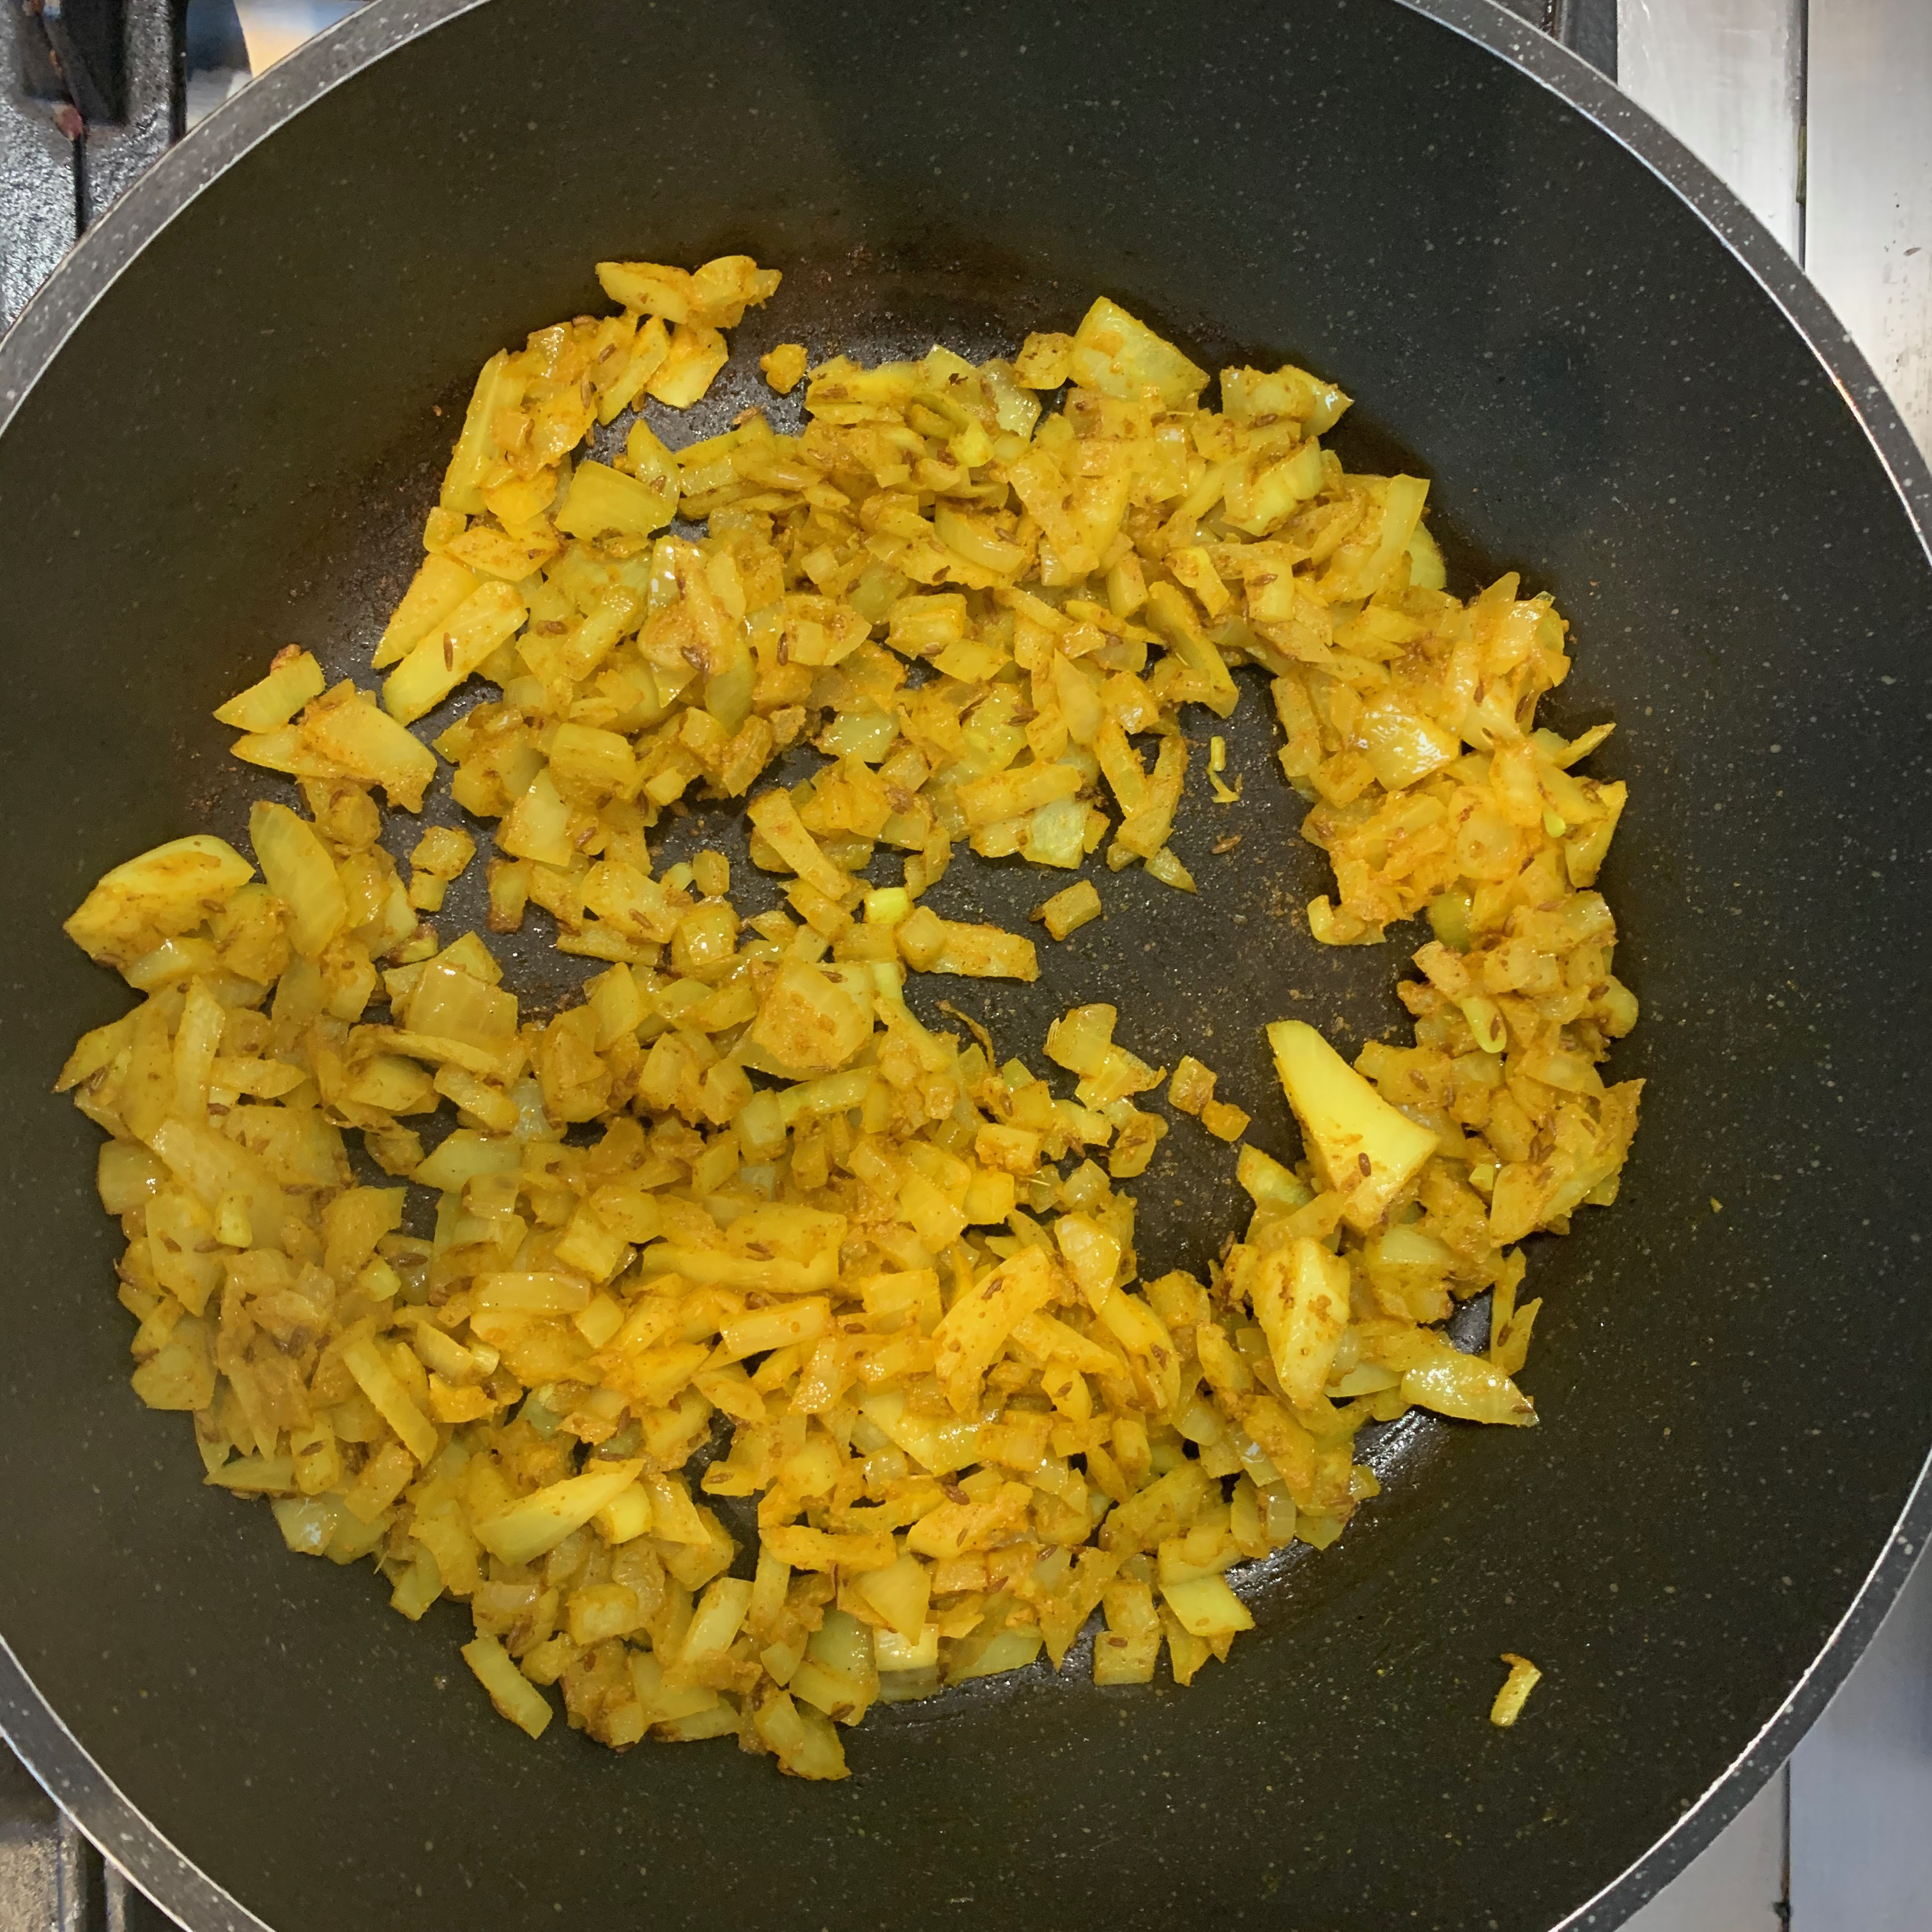
Heat cumin seeds in oil in a wok or medium size pan
Once the cumin seeds are spitting, add the onion and stir fry for a couple of minutes
Add the curry powder and continue frying until the onions are soft
Add the tomato paste and 100ml or so of water, stir until blended.
Add the peas, bring back to the boil, turn the heat down and simmer until the peas are cooked and the sauce is very thick.
Turn the heat off and leave until needed.
Dough
420g flour +40 second time, + 15g sunflower oil
250ml water
10g salt
125g shortening – Maltese recipes specify a vegetable shortening like Trex or Crisco, but you can almost certainly substitute ghee or melted butter if you prefer the taste (or use a mixture)
A little olive oil
Mix flour and salt in the bowl of your stand mixer; add water and knead on low to medium speed with the dough hook until you have a smooth but fairly stiff dough. You need enough water that you don’t have lots of uncombined flour, but not so much as to make the mixture sticky.
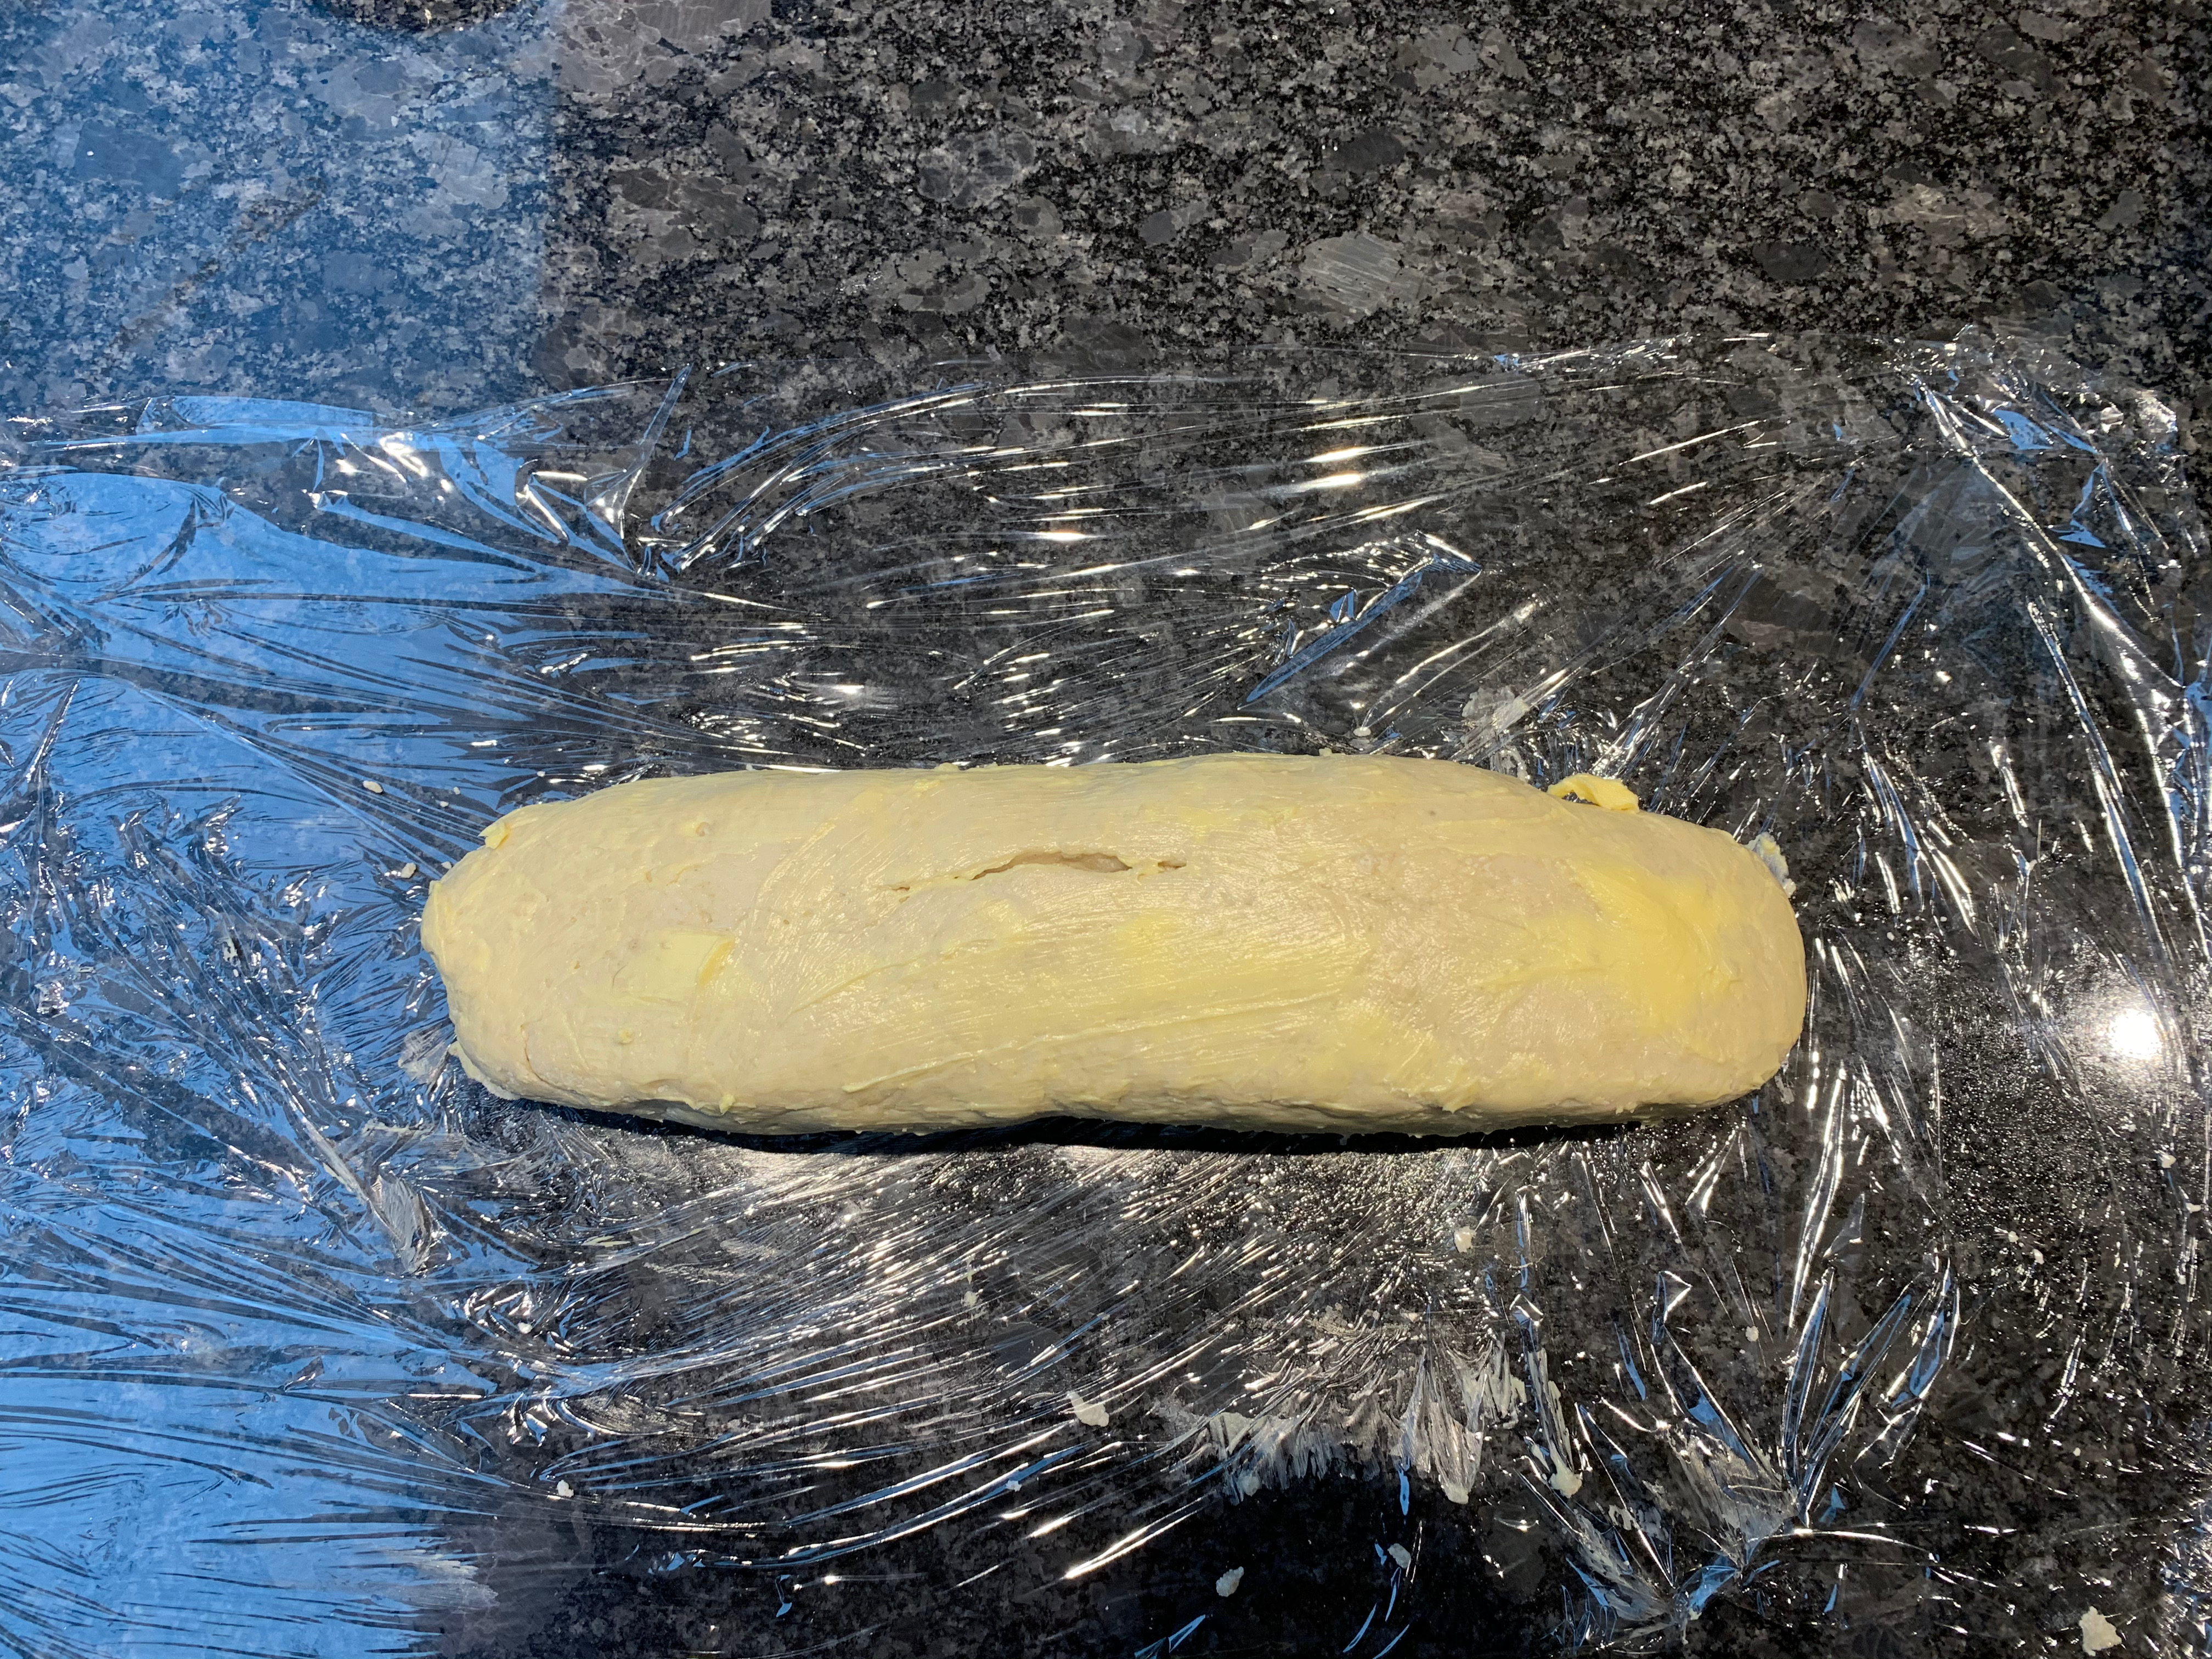
Form your dough into a thick cylinder, spread with shortening, wrap with cling film and leave to rest for around 30 minutes.
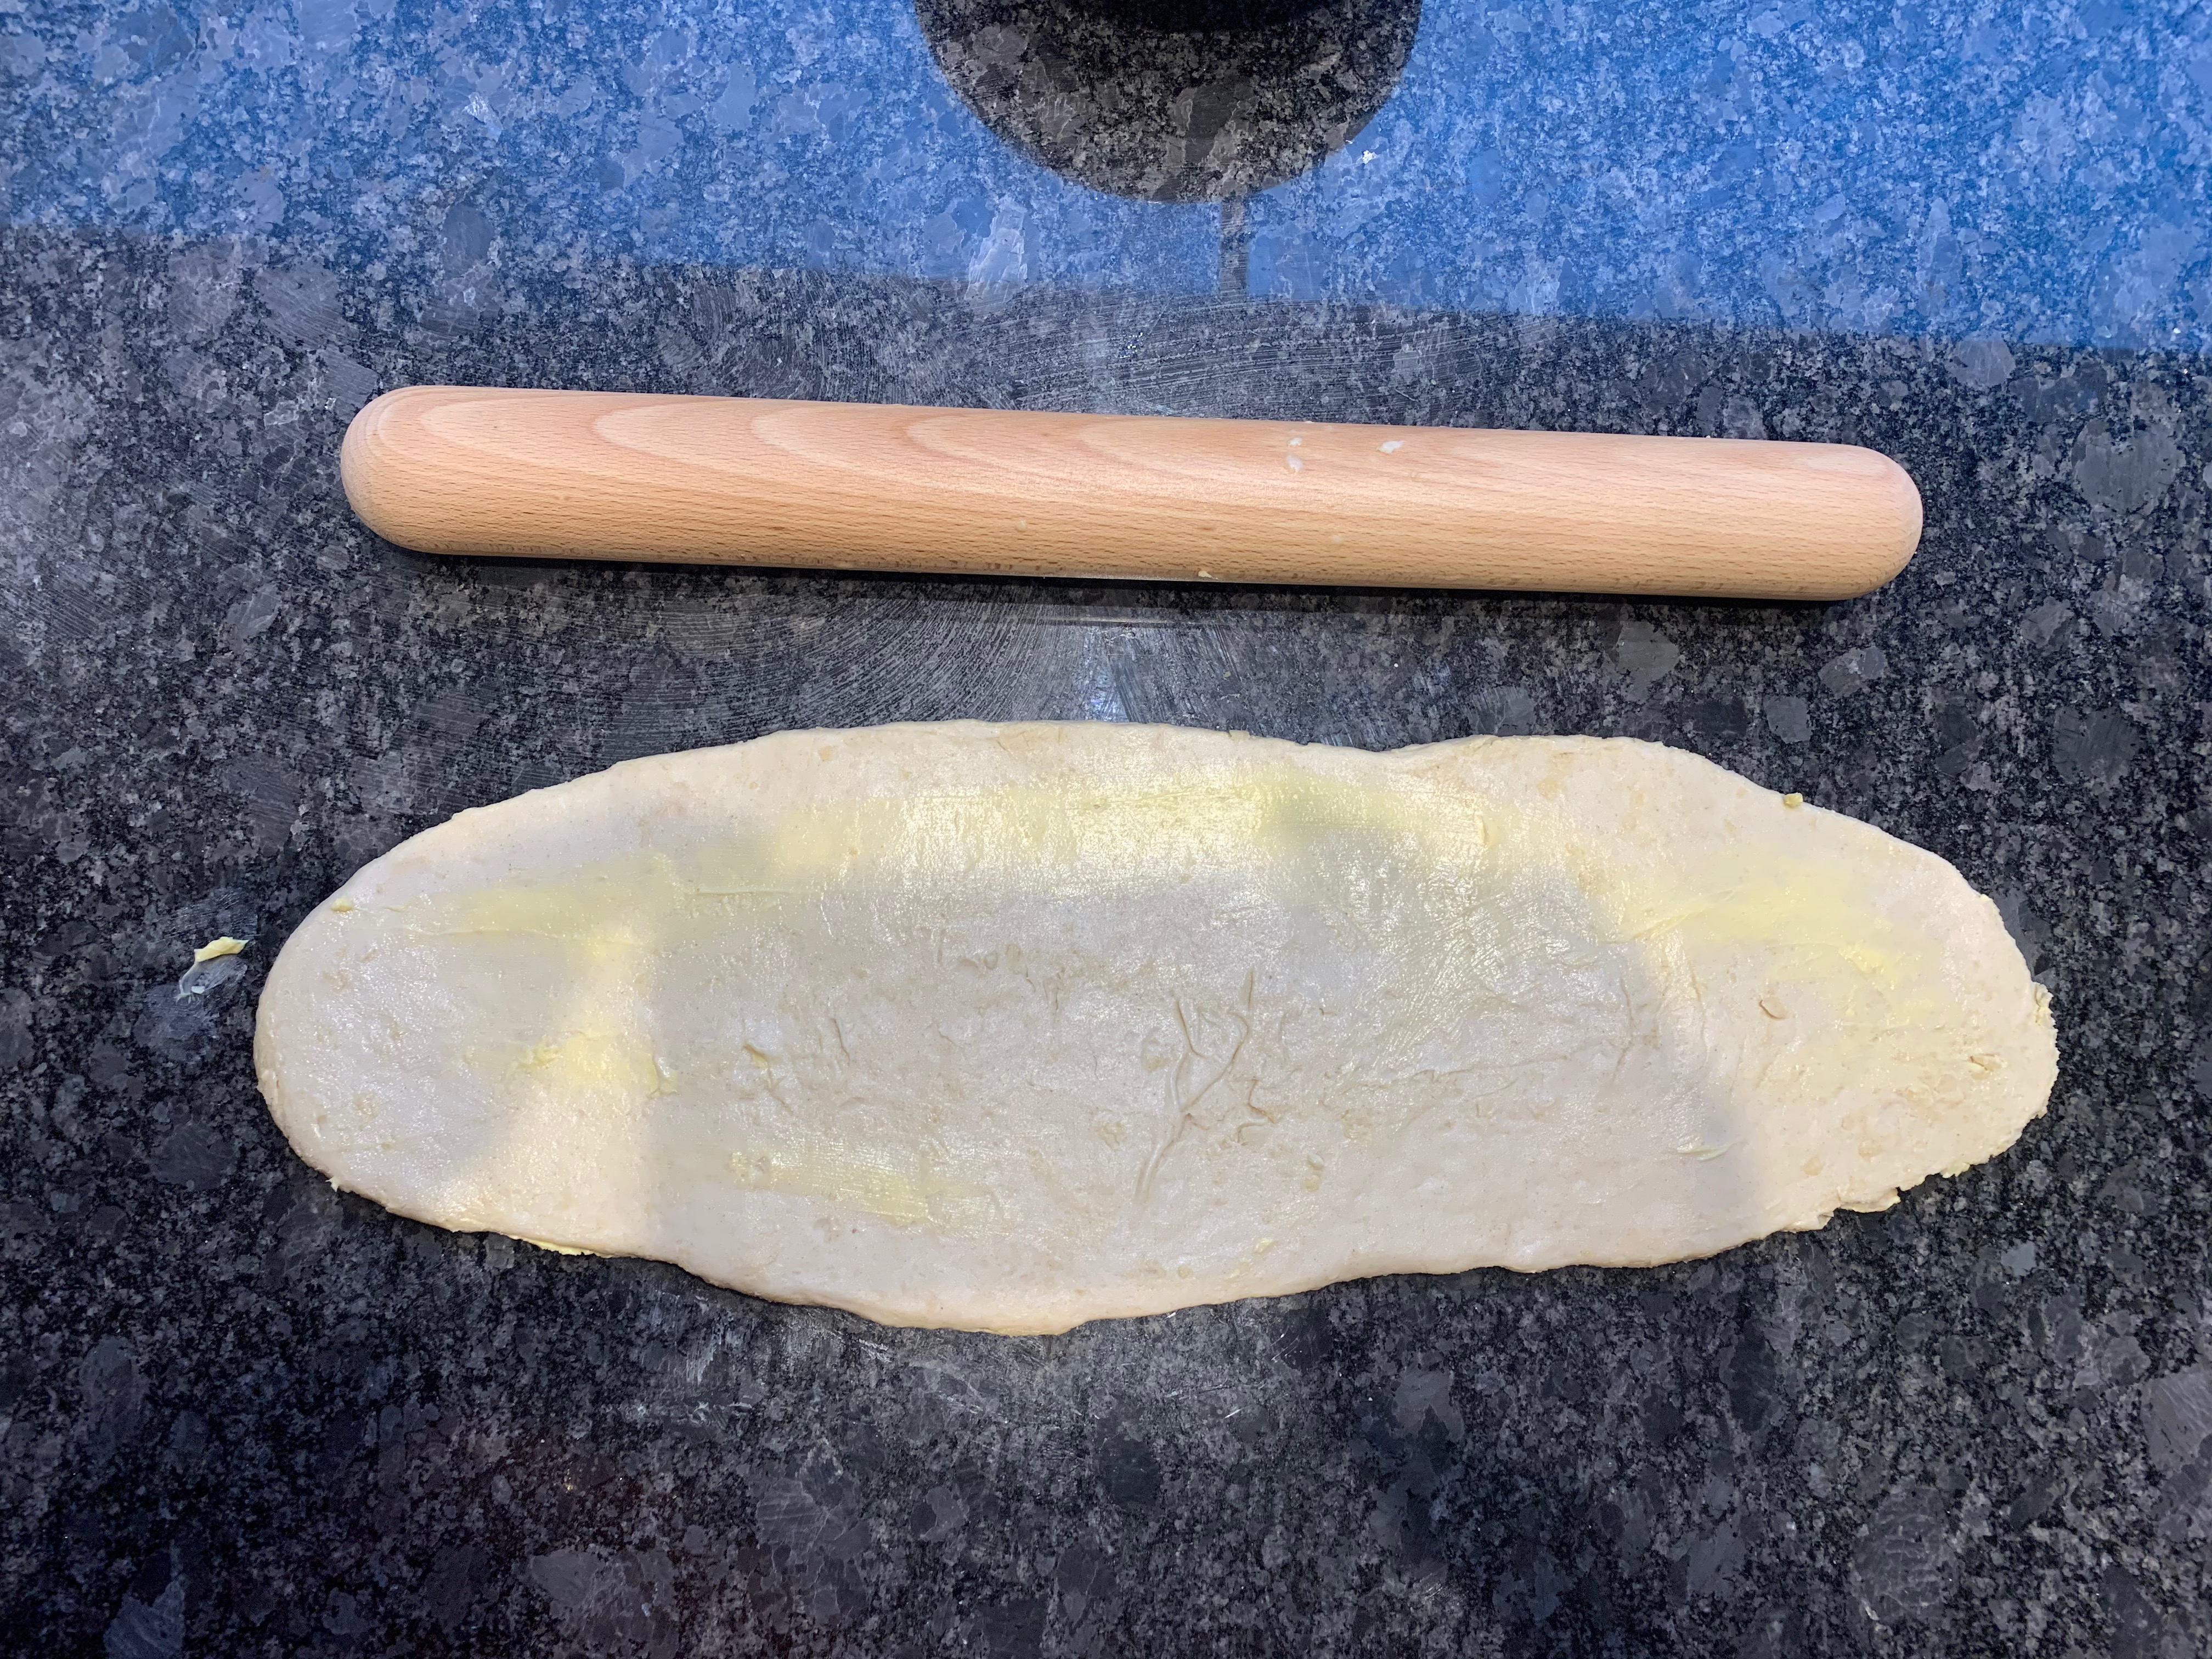
Roll the cylinder into a reasonably long and thin rectangle, spread with more shortening on both sides, place cling film over the top and rest again for another 30 minutes.
Now roll the dough as thin as you can possibly make it – still in a long, rectangle. Spread with shortening over the top.
Starting from one end, roll your dough into a long cigar shape, pulling the pastry as you go and making sure you get all the air out. You will need to go from side to side and back again, pulling and rolling. Leave to rest for another hour or two. Towards the end of this, preheat your oven to 200℃ fan.
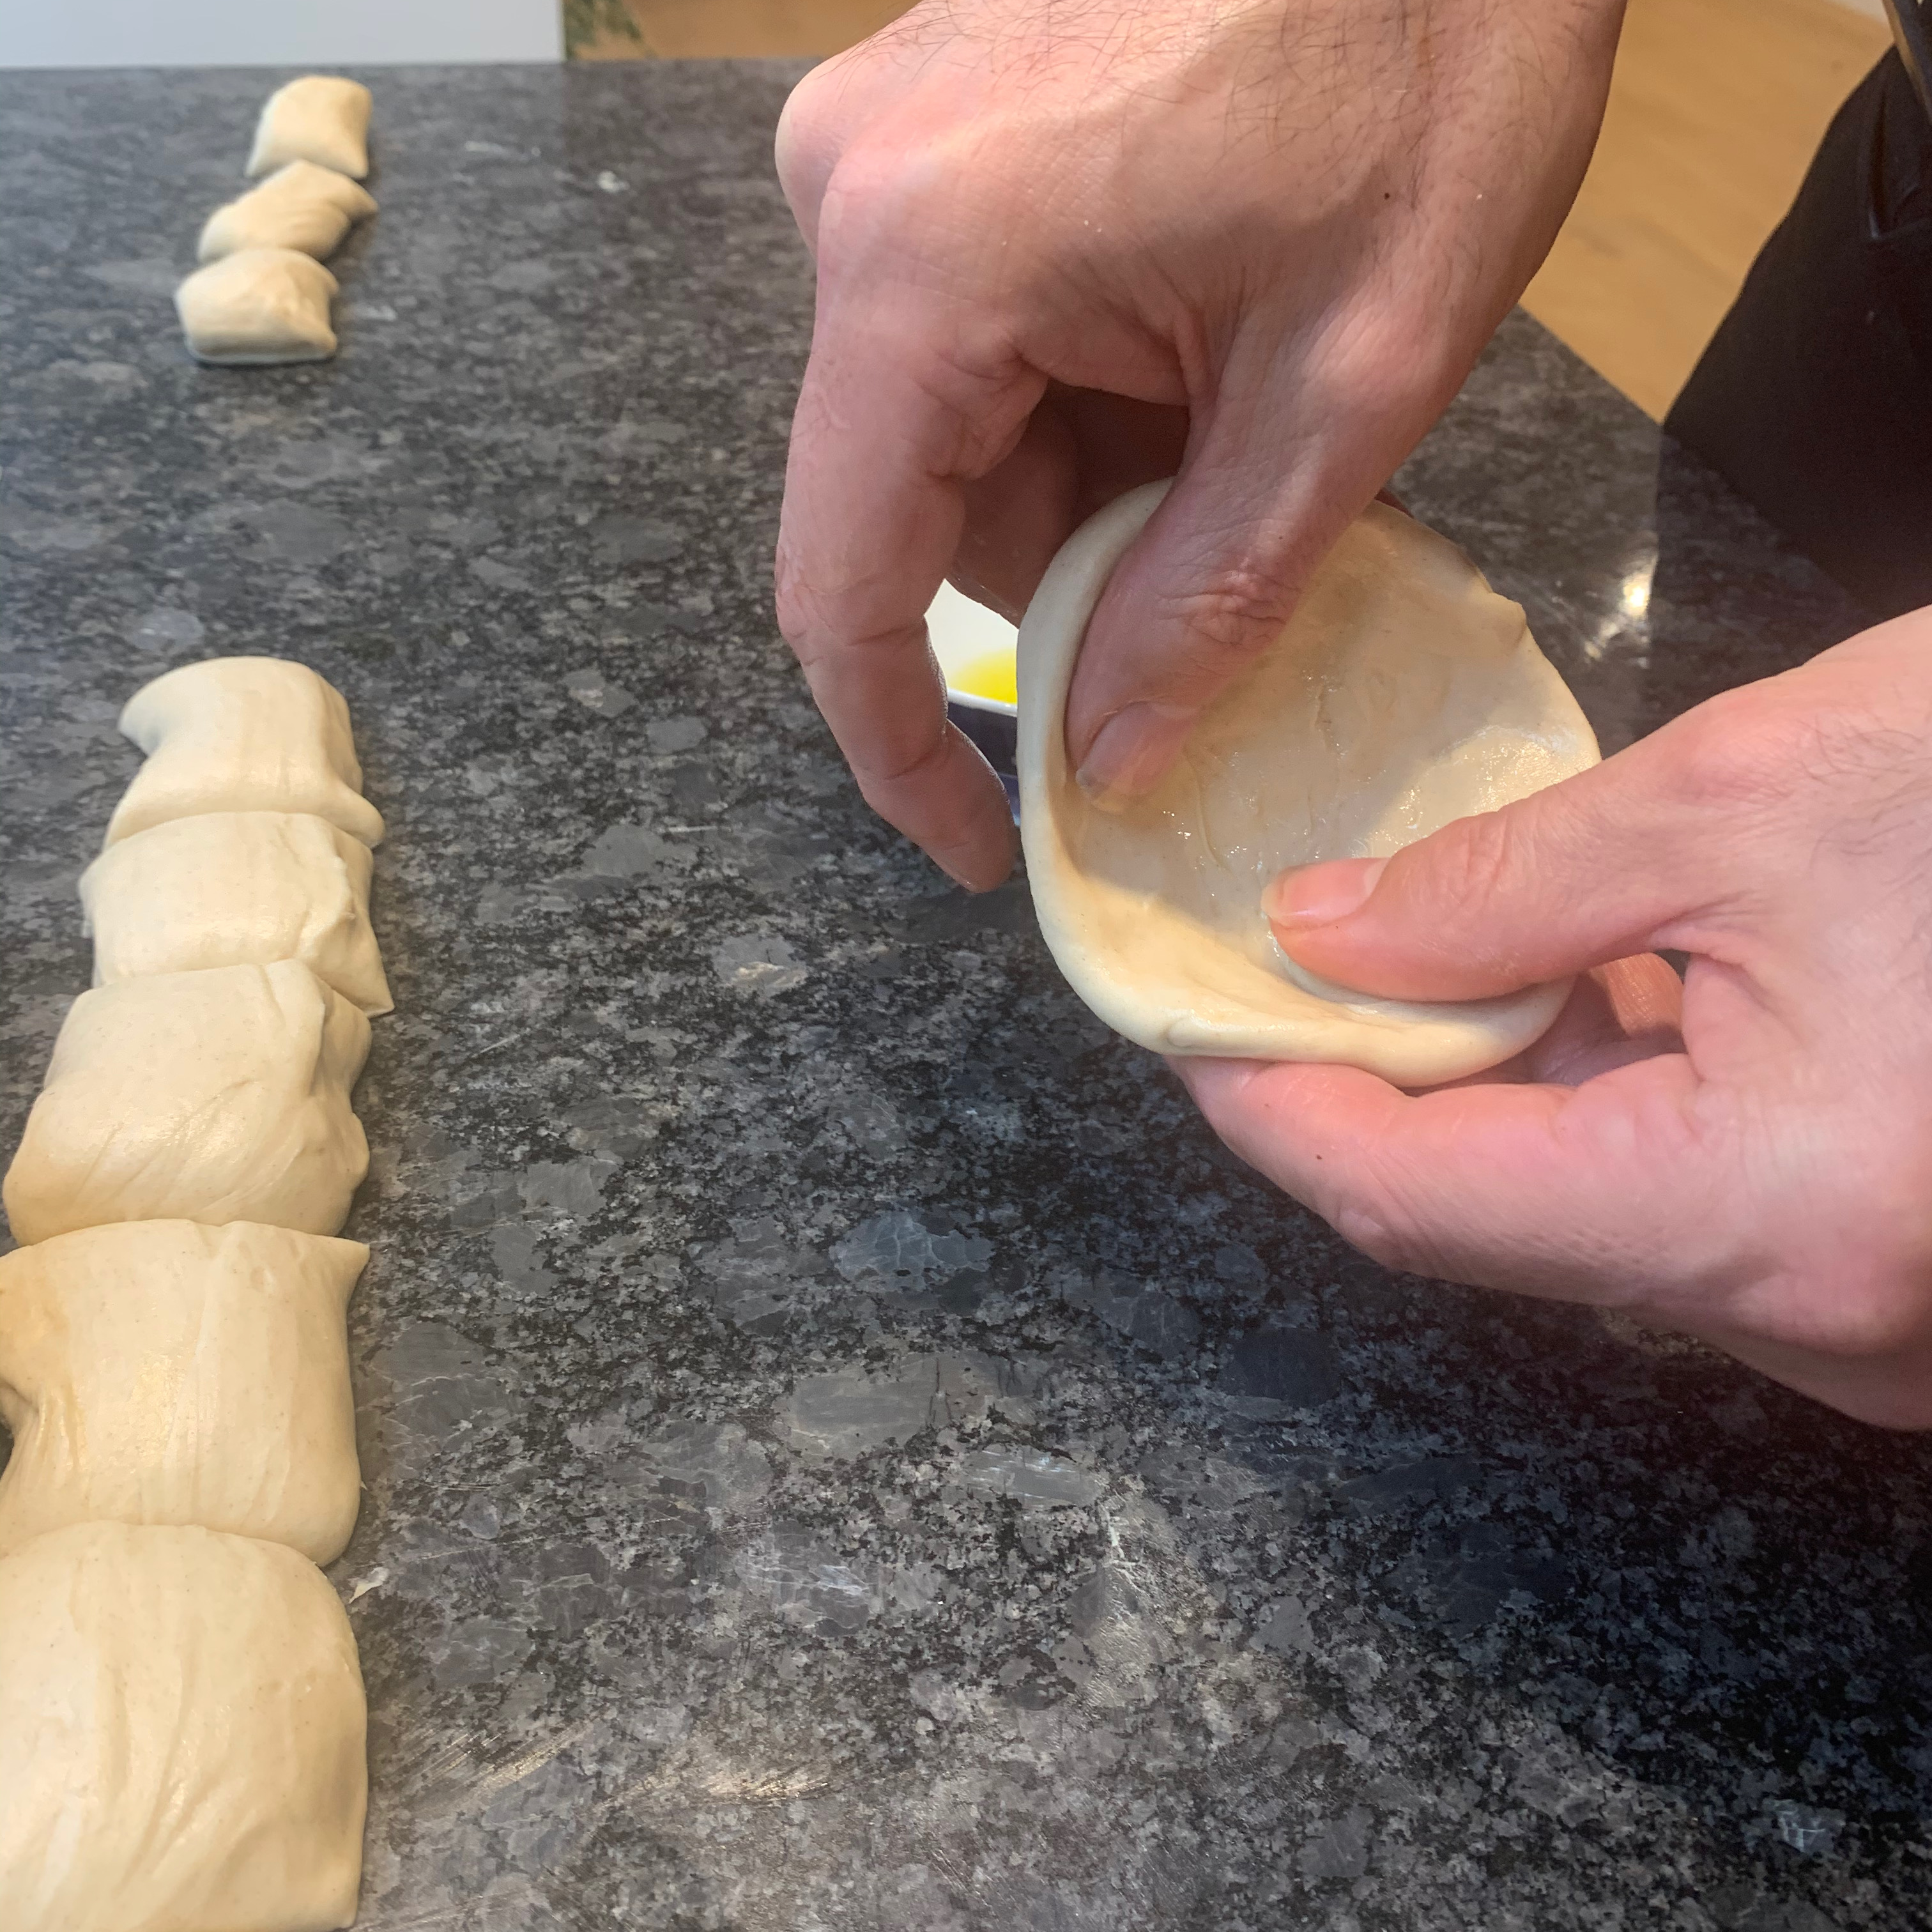
Pull your cylinder so that it’s now very long. Cut the resulting cylinder into around twelve pieces.
Have a small bowl of olive oil ready. Dip both thumbs in oil, then pick up a piece of dough, dig both thumbs into one end and shape and stretch it into a cup – this may or may not remind you of primary school pottery classes.
Flip the cup inside out (so that the bit with the olive oil is on the outside, spoon a dollop of filling into it, and pinch the outside together to seal. When it’s done, put it on a baking tray, lying it roughly flat (don’t try to leave the seam pointing upwards). Repeat for the other eleven pastizzi.
Bake for around 30 minutes. Take out of the oven when golden (and, we hope, flaky).
While leaving to cool, attempt to sing Maltese folksongs. Or not.
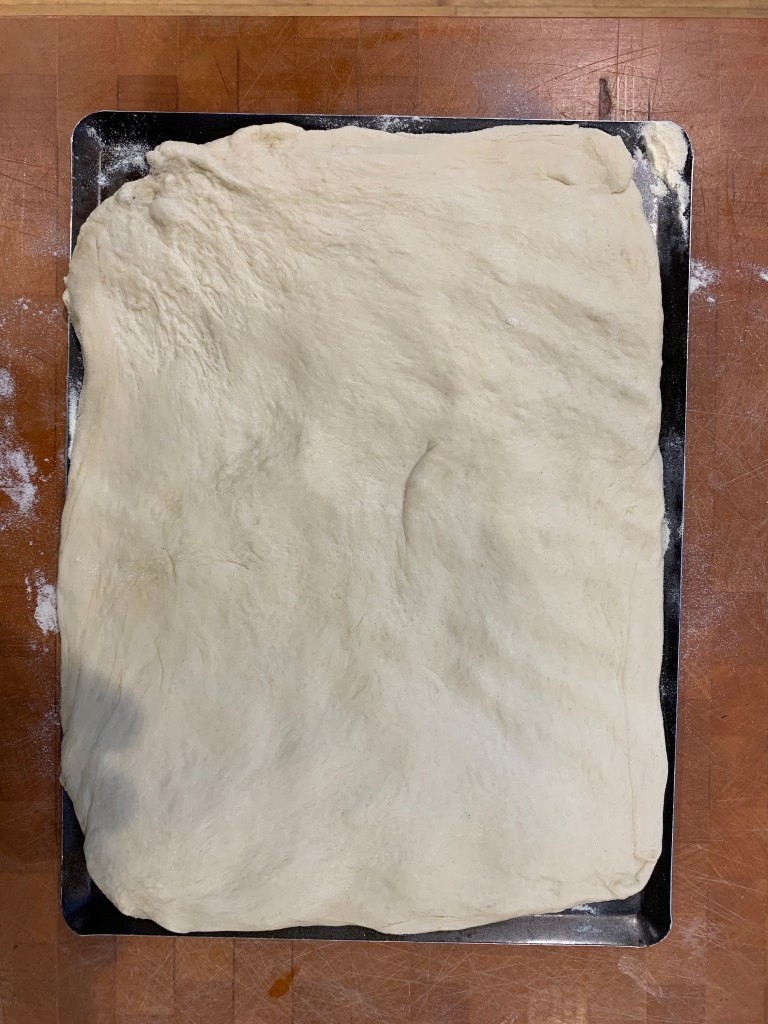
With apologies to ciabatta-lovers, focaccia is the Italian bread par excellence. Its pillowy, soft texture, coupled with a crisp outside, a slight crunch of salt flakes and the aroma of olive oil simply can’t be beaten.
My focaccia recipe is, to be honest, a bit of a mongrel. Prior to this strange year, I was visiting Italy around twice a year, but the best focaccia I have ever had was not made by an Italian but by an Indian chef at a hotel in the mountains of Oman who swore by a triple proving. The softest, most pillowy dough – my ideal focaccia consistency – comes from the kneading method in the Persian flatbread recipe in Sabrina Ghayour’s Persiana. I’ve gone for Giorgio Locatelli’s recommendation for flour (from his Made in Italy, via Felicity Cloake’s round-up recipe in her excellent “The perfect xyz” series in The Guardian), and done toppings as suggested by Italian-American Maurizio, aka The Perfect Loaf. Personally, I think the results are well worth the extra effort, but there are certainly shortcuts available if you’re pushed for time.
Two important variables are the salt and oil content. I eat a fairly low salt diet and the amount in here is about the maximum I can take. For some, even this will be too much; for others, this won’t be nearly enough compared to the salt hit they expect from a focaccia. My focaccia is also relatively low in oil: you may prefer to drizzle on a lot more than me. You’re just going to have to experiment until you get these to your taste.
Also, I’ve opted for a 40cm x 30cm tray, which gives a flattish focaccia with a relatively short, hot baking time. A variation would be to use a smaller, higher-sided tin and a lower temperature (say 200℃) for a loaf with a higher ratio of inside softness to outside crust.
400ml warm water (around 40℃)
20g sugar
8g dried yeast
375g strong white bread flour
375g OO flour
10g salt
100ml olive oil, plus 30ml for the drizzle
A tablespoon or so semolina flour (optional)
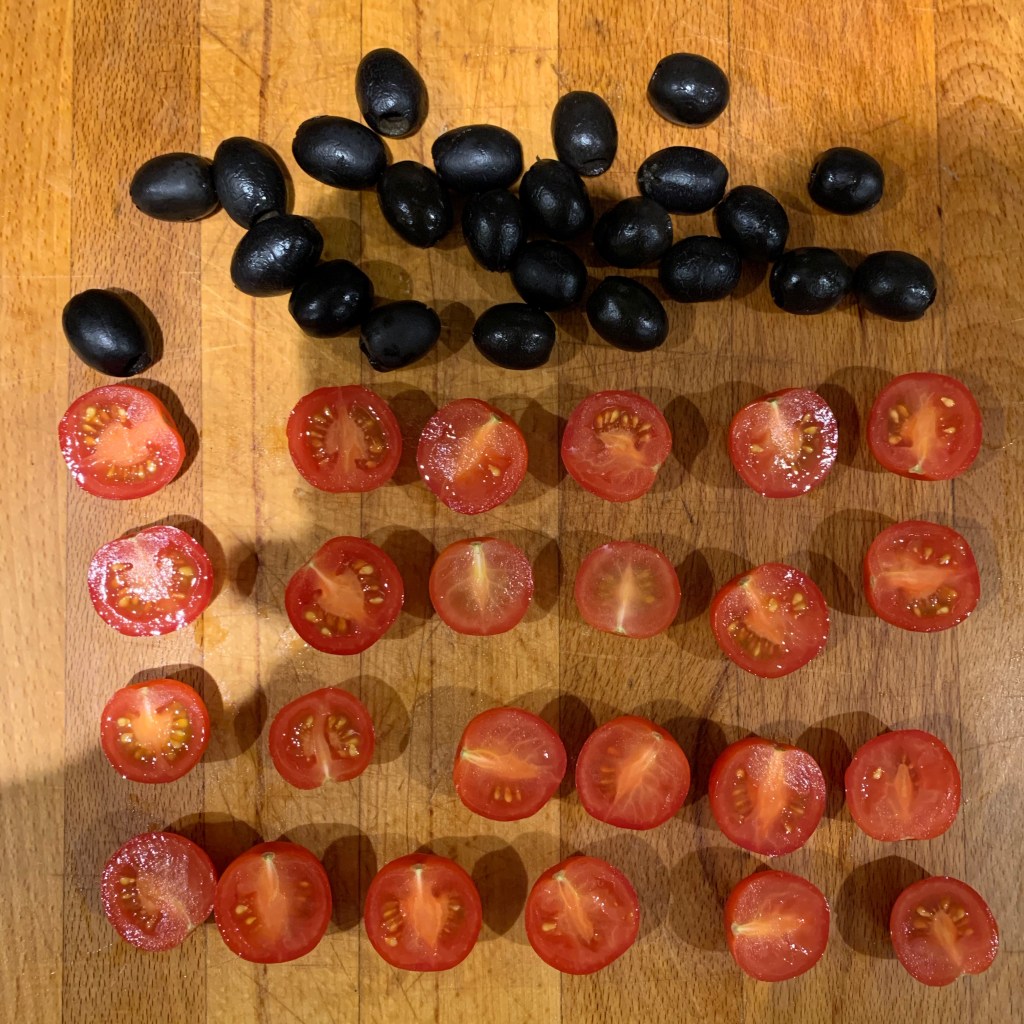
12 cherry tomatoes
24 black olives, pitted
Half a dozen sprigs of rosemary
20ml cold water
10g sea salt flakes
My choice of toppings – you can use many other things!
There are some options as to how to prepare baking trays. You’re trying to get high heat onto the base of your focaccia as soon as you can, so Cloake suggests that you preheat a pizza stone in your oven and “transfer” the focaccia to it. That’s all very well, but it’s difficult to transfer a large rectangle of dough while keeping its shape, without the toppings falling off. I opted for a metal baking tray placed onto the stone: metal is a good conductor and this did the job just fine. An alternative is to lay out your focaccia on baking parchment: if you don’t have a pizza stone, you’ll want to preheat the metal tray and then move your dough to the heated tray while still on its parchment base.
As ever, rising times depend completely on the temperature in your kitchen, and the alternatives should be obvious if you don’t have a stand mixer.
Combine water, sugar and yeast; leave for a few minutes until frothy
In the bowl of your stand mixer, combine the flours and salt and stir until mixed evenly
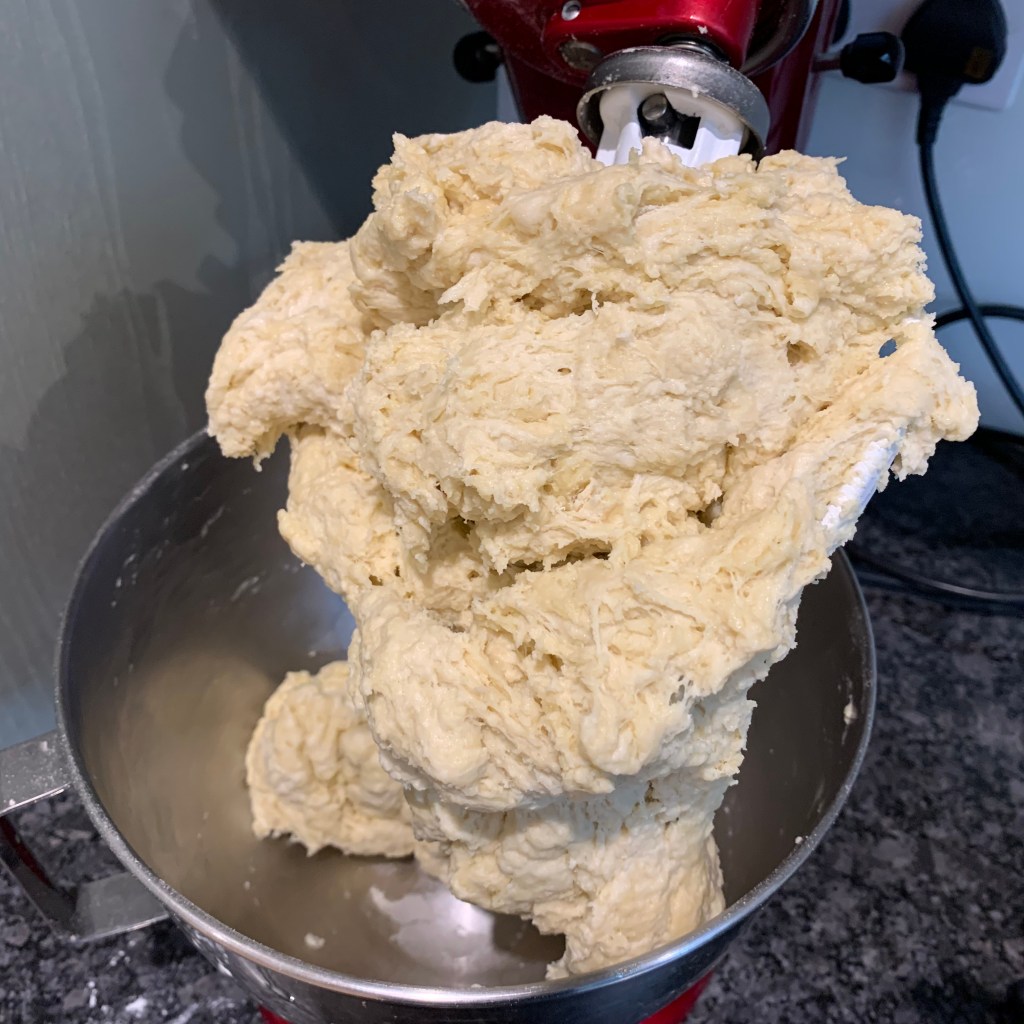
Add the wet mix and 100ml olive oil to the dry mix
With the standard paddle, mix for a minute or so until you have a smooth dough: you should find that it comes away cleanly from the sides of bowl
Switch to the dough hook and knead for 5 minutes
Leave to stand for 10 minutes, then knead for another 2 minutes. Repeat this.
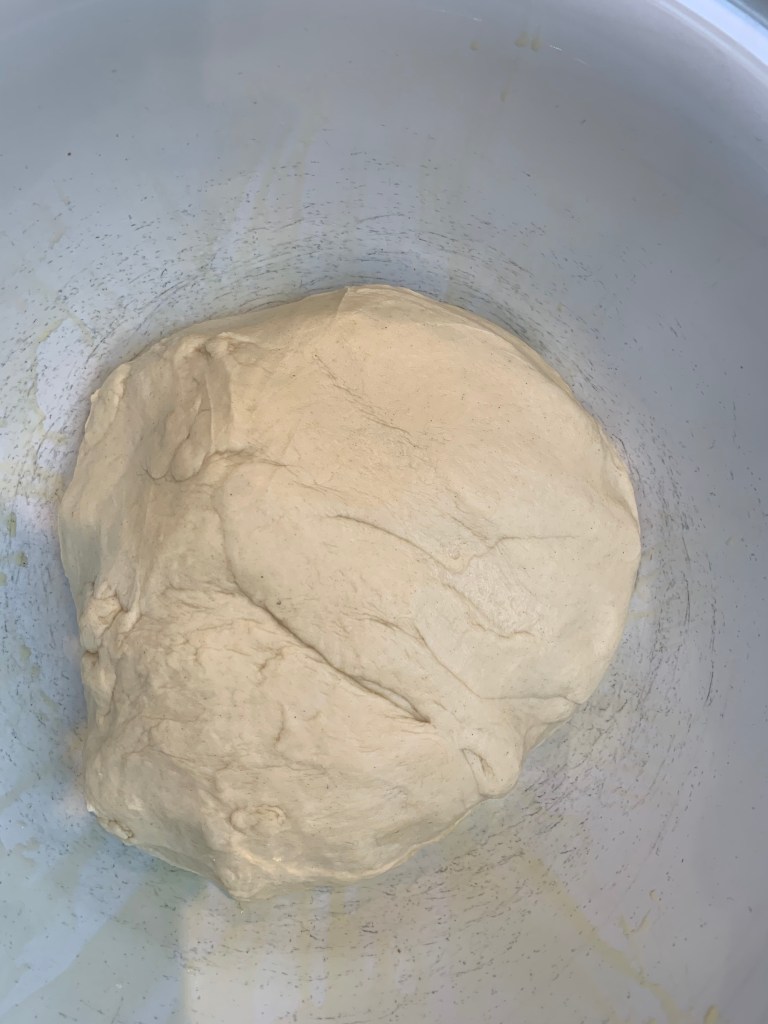
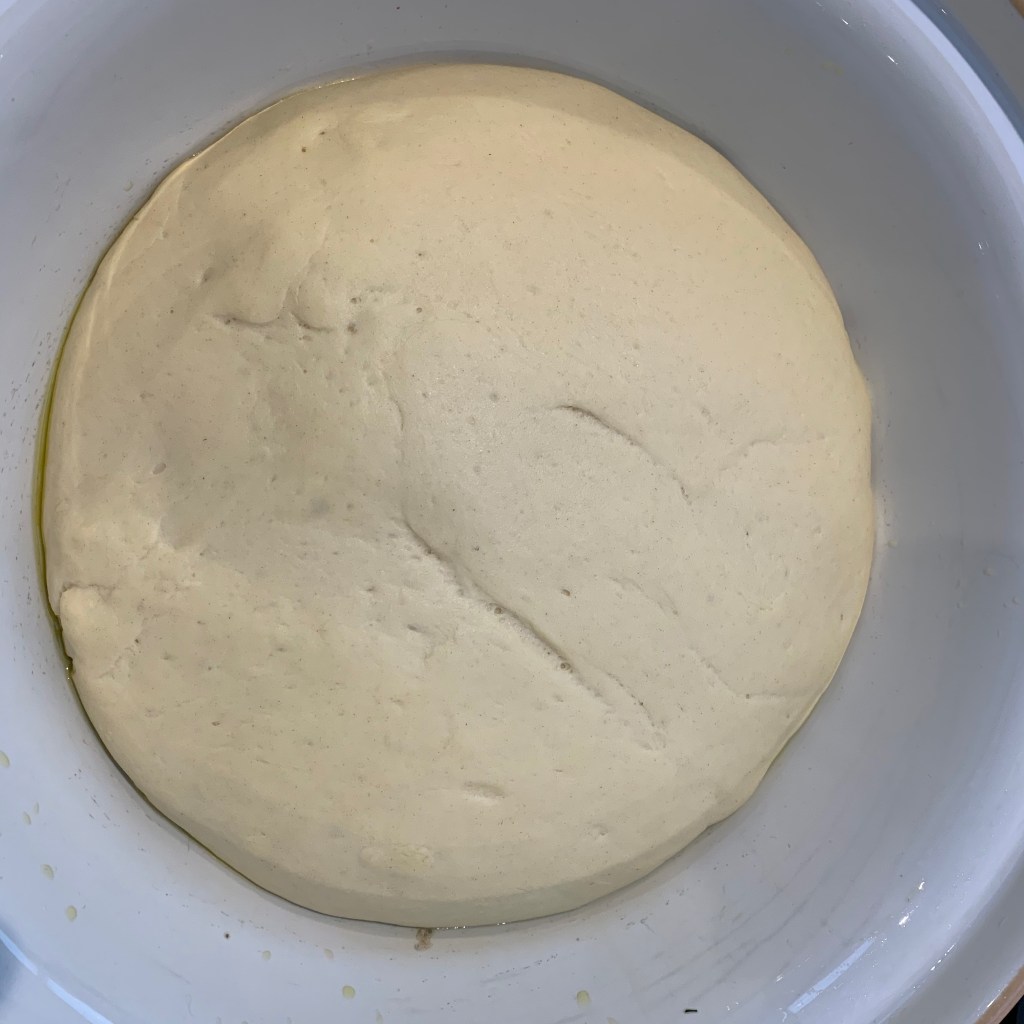
Brush a little olive oil over the surface of a large bowl, transfer your ball of dough to it, cover and leave to rise for around 60-90 minutes.
If you’re using baking parchment, line your baking tray with it. Optionally, dust a tablespoon or two of semolina flour over this.
Knock back the dough and shape it into a rectangle covering the whole tray, Make it as even as you can: you’ll get some resistance, but you can pull it around with little danger of tearing.
Cover with a tea towel and leave to rise for another 45 minutes or so.
If using a pizza stone, put it into your oven now. Otherwise, slide the parchment sheet off your baking tray and put the tray into the oven.
Preheat oven to 250℃ fan (or as near as you can get).
Leave the dough for its second rise, around 45-60 minutes.
Meanwhile, prepare your toppings: chop of blitz the rosemary very fine, halve the cherry tomatoes. If your olives came in brine, wash them thoroughly to remove the salt.
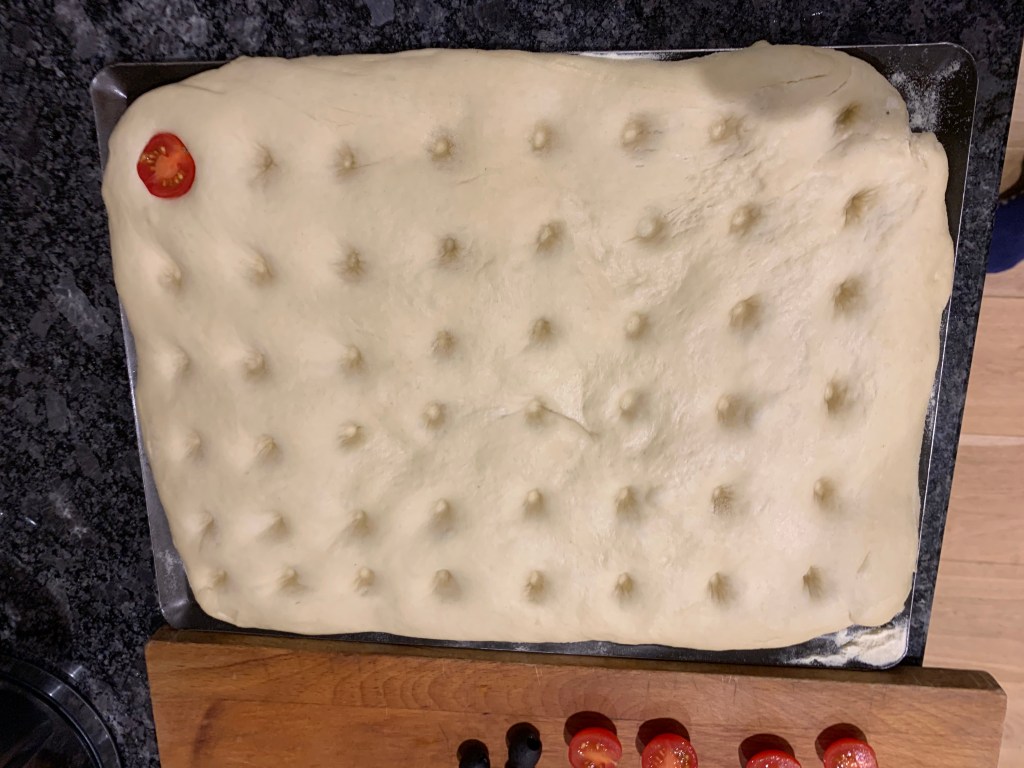
Uncover the dough and with a finger, press a pattern of 6 x 8 indentations into it with a finger, going deep. Press the cherry tomato halves and the olives into the indentations in a chequerboard pattern (that’s why I’ve been fussy about the numbers). Sprinkle the rosemary evenly over the top.
Cover with a tea towel again and leave for another 30-45 minutes.
Prepare a mixture of 30ml olive oil and 20ml water, whisking with a fork until emulsified. Spread this evenly over the focaccia.
Sprinkle the sea salt flakes evenly over.
Now work quickly: open the oven, take out the stone or tray, transfer your focaccia to it, replace it in the oven and close. Now reduce the oven temperature to 225℃.
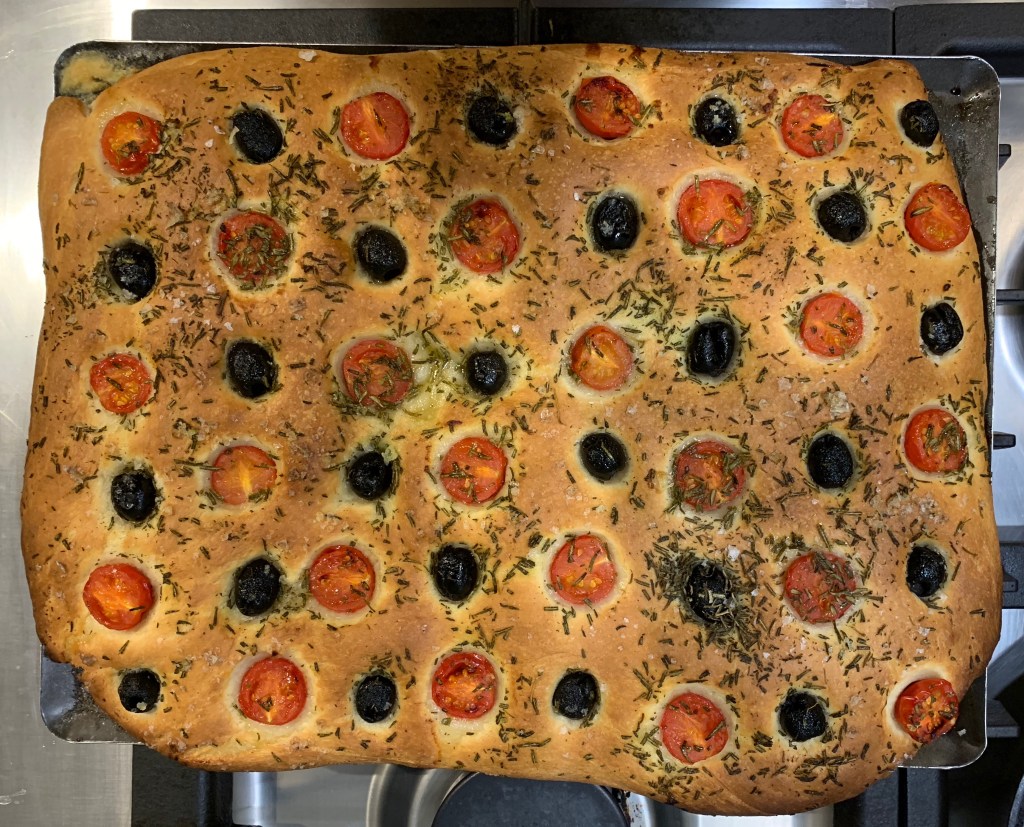
Bake for around 20-25 minutes until golden brown.
Remove from the oven, slide the focaccia onto whatever board or tray you’re going to serve it on, and leave to cool for a few minutes before eating. This may be the hardest thing in the recipe, but you don’t want to burn your mouth!
It’s been a strange Fourth of July this year: the poison of the Trump era has made it harder than ever to summon positive feelings for the United States. Still, I’ll use the occasion to celebrate happy days in the past and hope for happier ones in the future, with some close family members and numerous friends in the USA firmly in mind.
I lived in California for a couple of years in the early 1980s and one of my fondest memories is of whiling away hours at Printers Inc., a bookshop-plus-café that was a kind of prototype Borders. Long before Starbucks had started to expand outside Seattle, Printers Inc. served really good coffee and superb brownies and carrot cake. Cake lovers would invariably spot some book they liked, while those in search of a book, with equal inevitability, would be entrapped by the aroma of fresh coffee and cake.
Sadly, I never did get the recipe for the best carrot cake I ever had, baked by Gigi Ellis, the wife of my boss at Fairchild, and I lost touch with Frank and Gigi decades ago. So this recipe, which is close to the Printers Inc. version, comes from the cookbook I bought at the time, a model of Californian eclecticism entitled San Francisco à la Carte. I’ve turned everything metric, because I just don’t see how you can bake accurately using measuring cups, or indeed why you would want to when digital scales are cheap, accurate and generate less washing up.
The quantities here will work for a single cake in a 23cm x 23cm square tin. That will do for 16 small portions (or 8 very generous portions, or whatever you pick in between). If you prefer, you can use more than one tin, which avoids the tricky process of slicing the cake in half, at the price of leaving you with an internal crust that you don’t really want.
Make the cake:
250g carrots (weight after peeling)
250g plain flour
300g sugar
10g baking soda
4g salt
3g cinnamon
3 eggs
150g corn oil
Preheat oven to 175℃.
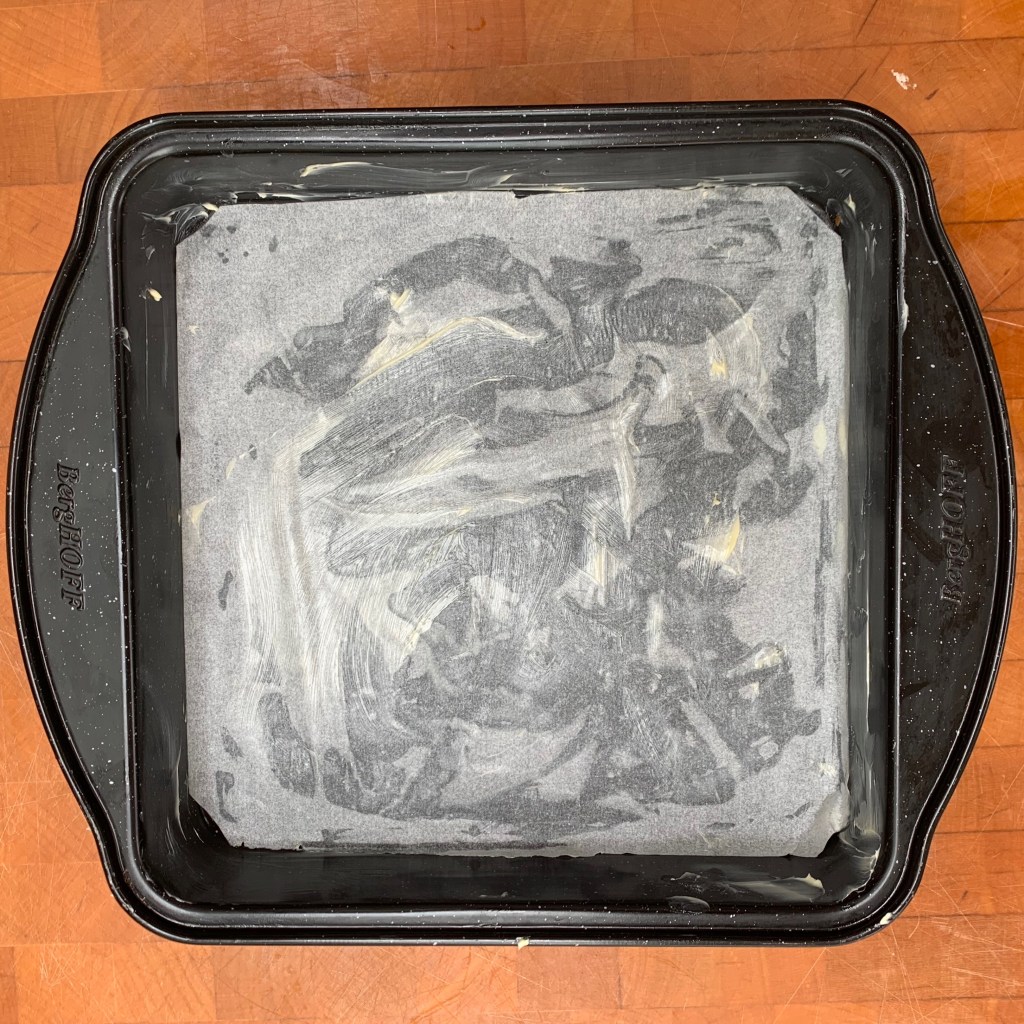
Grease the bottom of your cake tin, line it with baking paper, then grease the bottom and sides.
Mix together the flour, sugar, baking soda, salt and cinnamon. There’s no need to sift the flour.
Peel and grate the carrots.
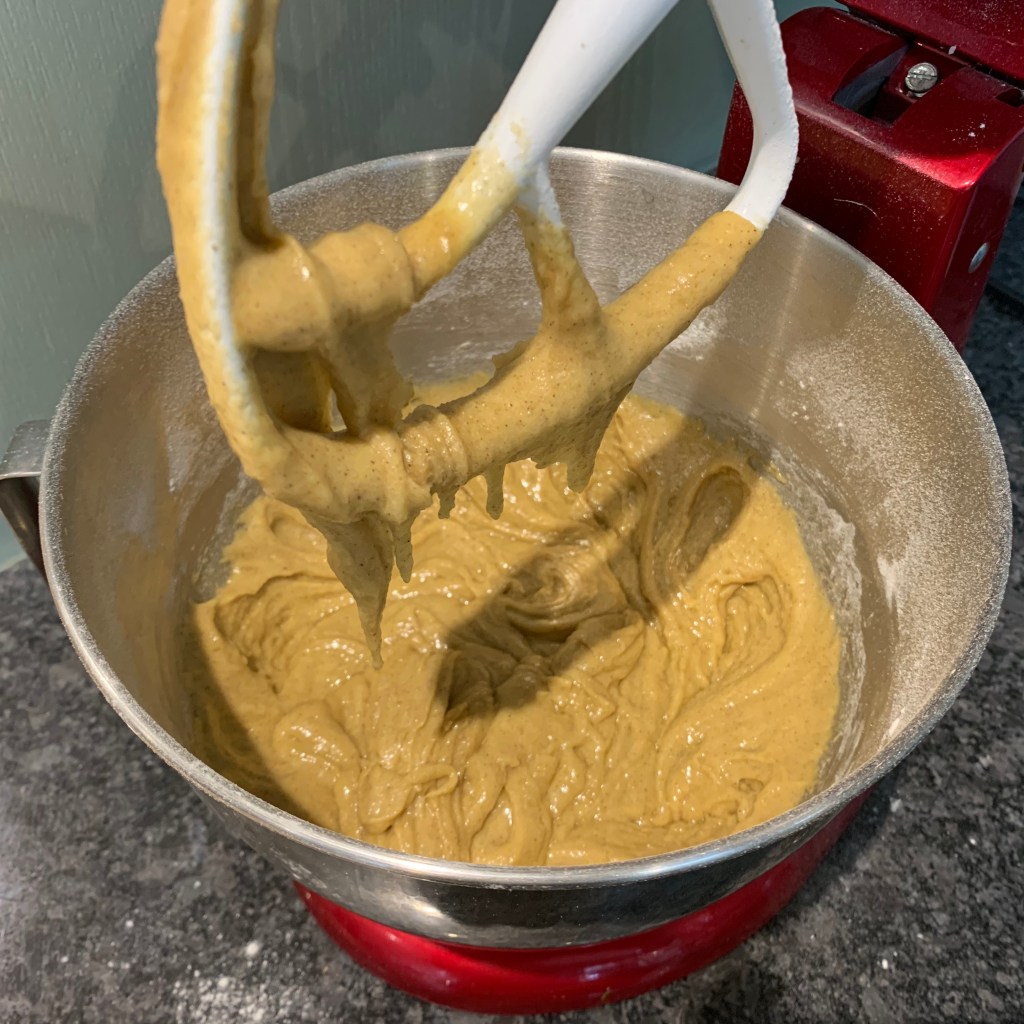
Beat the eggs (I use a stand mixer). Add the oil and beat until the eggs and oil have combined into a smooth mixture.
Add the flour mixture to the egg and oil mixture and beat until smoothly combined.
Add the carrots and stir until they’re evenly distributed.
Pour the whole mixture into your baking tin, ensuring that you spread it evenly including the corners.
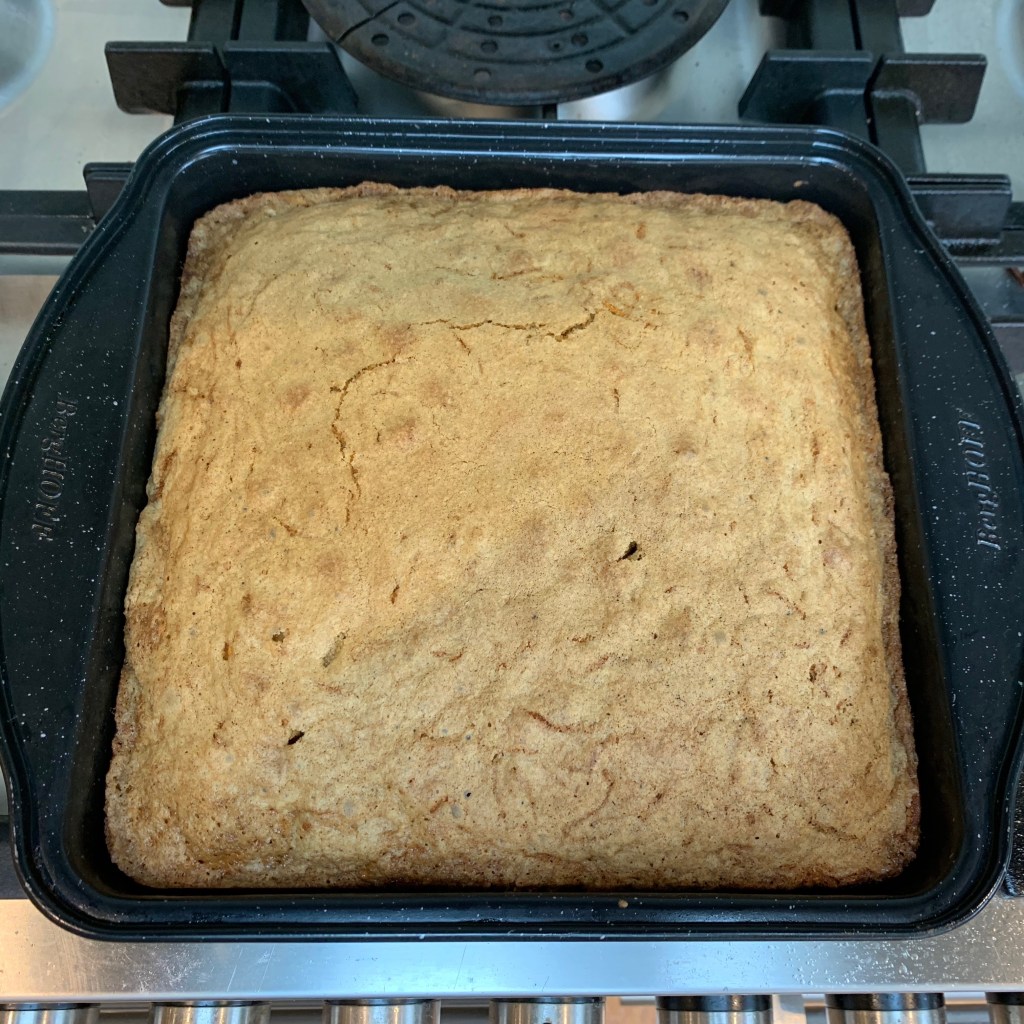
Bake for 30 minutes – use the usual skewer test to ensure that it’s done. I’m always surprised by the way the cake can be really raw at 25 minutes and just fine at 30. By the way, some people like their carrot cake sticky: if you’re one of them, make sure the skewer *does* come out with some mixture sticking to it.
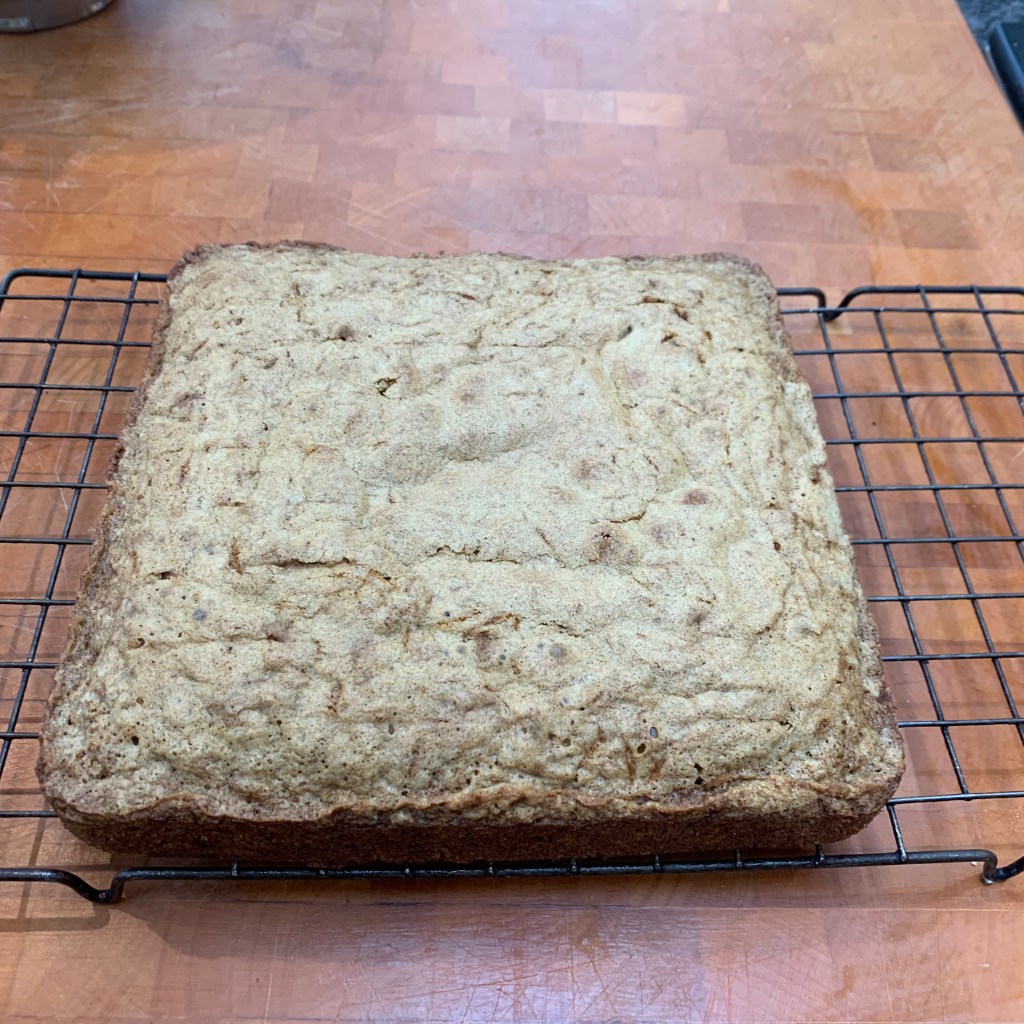
Cool in the baking tin for 5-10 minutes and then on a wire rack.
Make the frosting:
200g cream cheese
50g butter
150g icing sugar
Vanilla essence to taste (optional)
Beat these together thoroughly until very smooth.
Cover and leave in the refrigerator: especially if it’s summer, the frosting will be very runny and you want it to hold its shape when you spread it.
Assemble the cake:
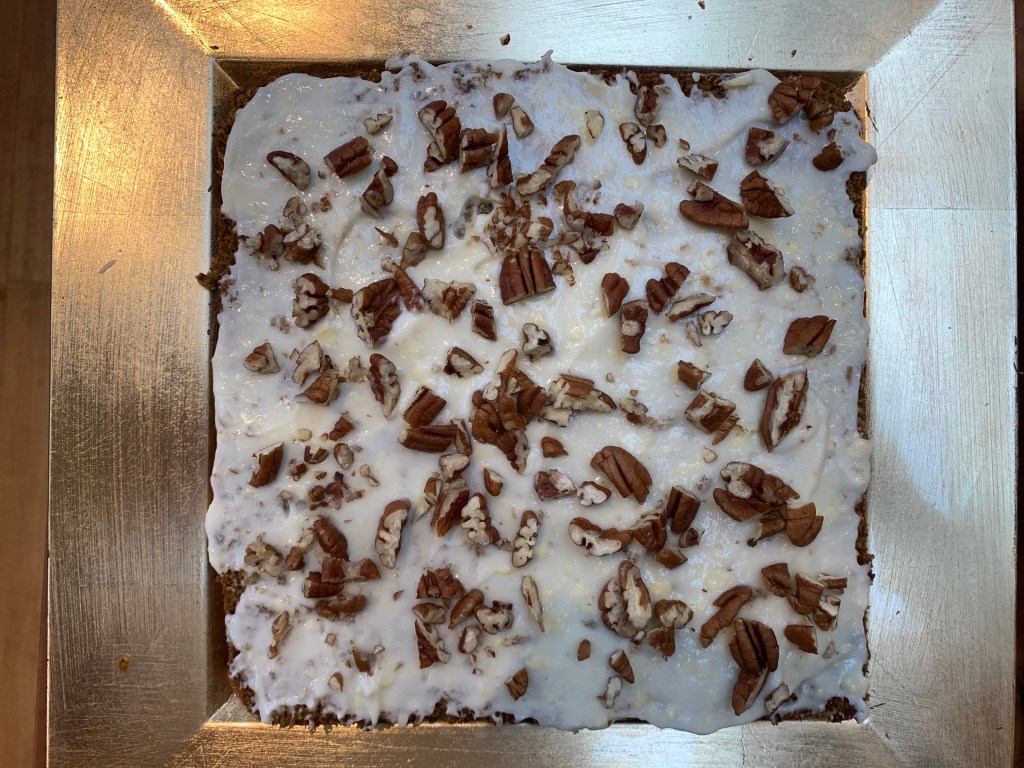
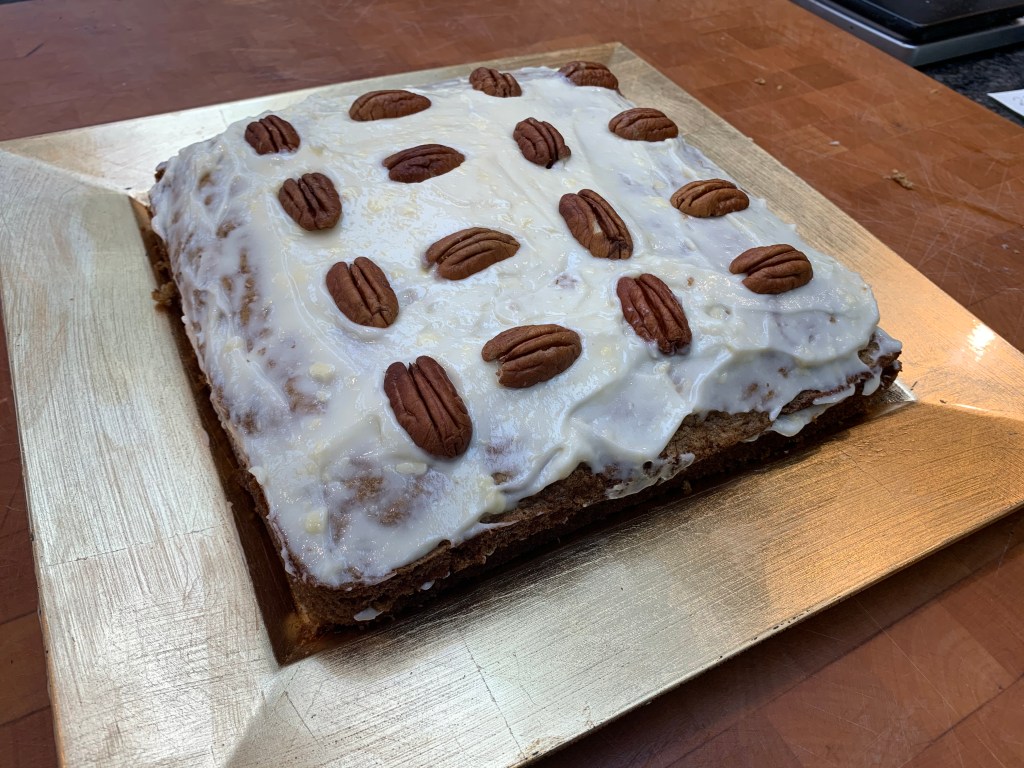
90g pecan halves
Reserve 16 of the best pecan halves for decoration (this will use around 40g). Chop the remainder into small pieces.
Transfer the cake from the wire rack to whatever you’re going to serve the cake on: cake plate, board, tray or whatever.
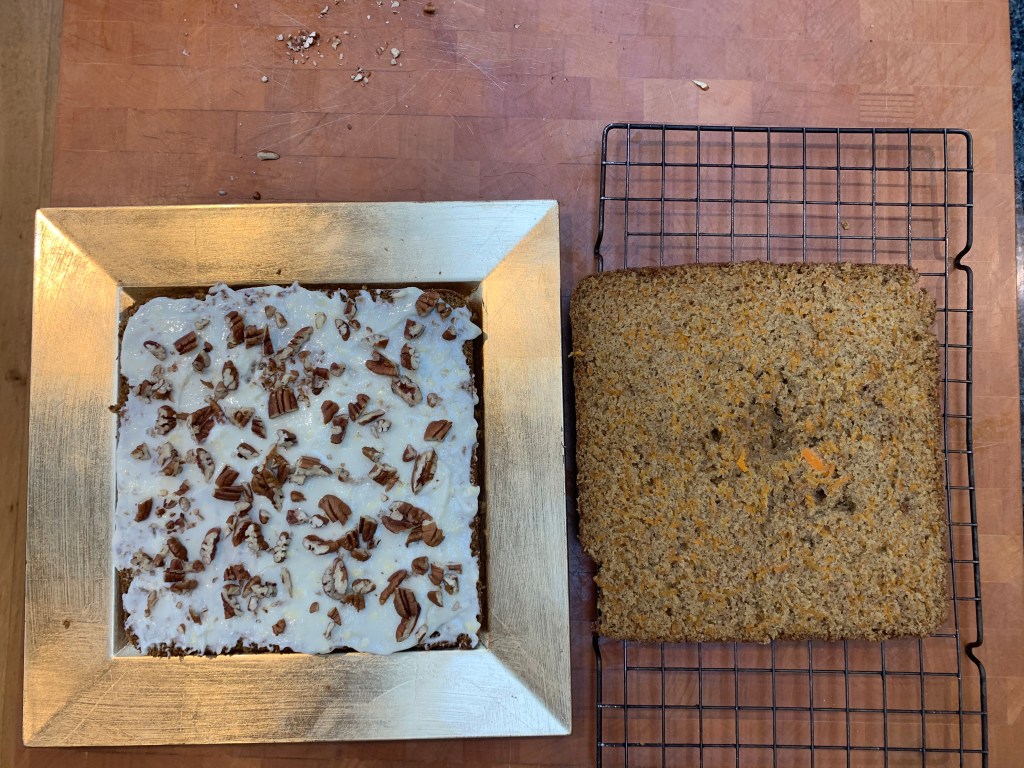
With a long knife, slice the cake horizontally into two approximately equal parts. Take the top half off and set aside – I do this by sliding a plastic chopping mat between the two halves, sandwiching the top half between the mat and a wire rack and lifting it off.
Spread half the frosting over the bottom half. Scatter the chopped walnut pieces evenly across the cake.
Put the top half of the cake back into place.
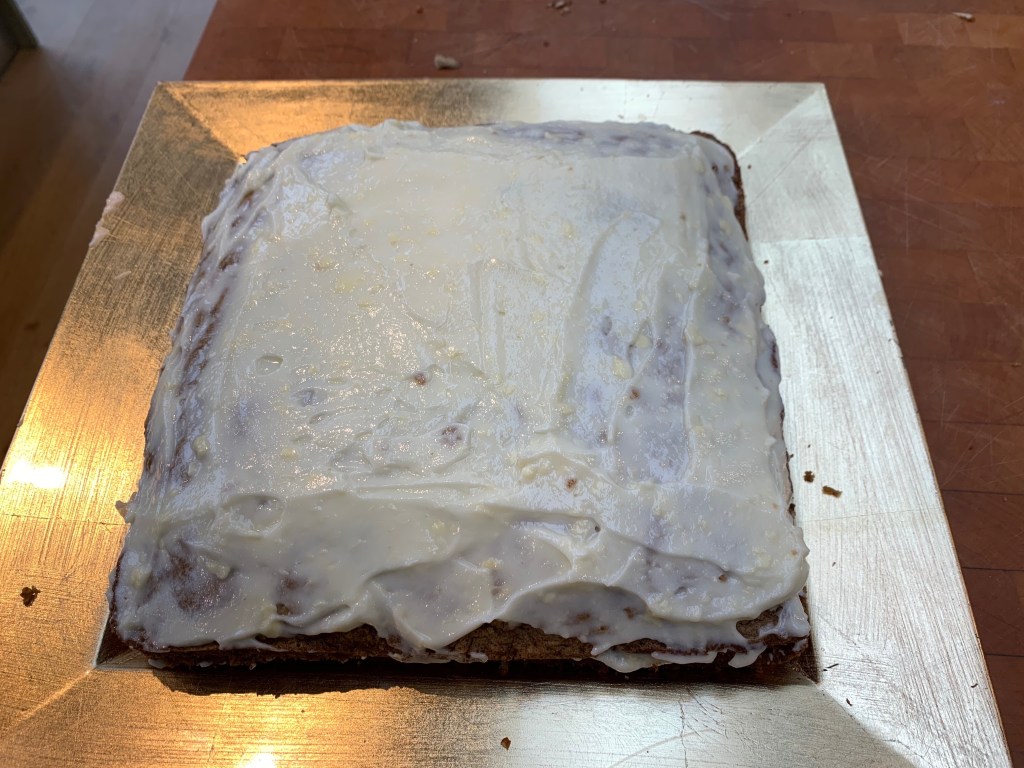
Spread the remaining half of the frosting over the cake and decorate with remaining pecan halves, in whatever pattern takes your fancy.
It’s probably a good idea to chill the cake at this point, because the frosting really is quite liquid. Take it out of the refrigerator half an hour or so before serving.