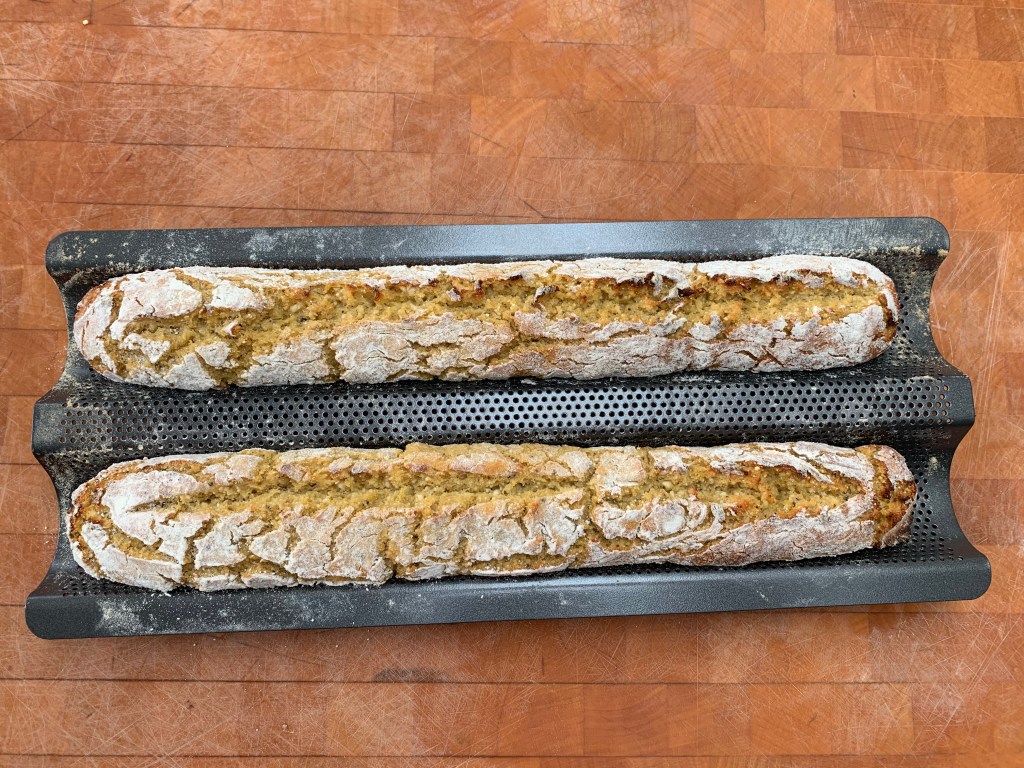
To borrow Mr. Spock’s apocryphal turn of phrase: it’s baguette, Jim, but not as we know it. Tapalapa, from the Gambia, is shaped like baguette, but there the resemblance ends: where the centre of a baguette is soft, aerated and, let’s admit it, relatively tasteless (the flavour is all in the crust), tapalapa is a heavier bread with a dense crumb and a strong, distinctive taste…
…which means, dear reader, that this is a bread that splits the crowds. One of my family members loved it and one hated it. I’m in the middle: I really enjoyed tapalapa when eaten with the right things (hummous was ideal) but there a lot of European foods I wouldn’t eat it with – don’t under any circumstances try it for teatime bread and jam.
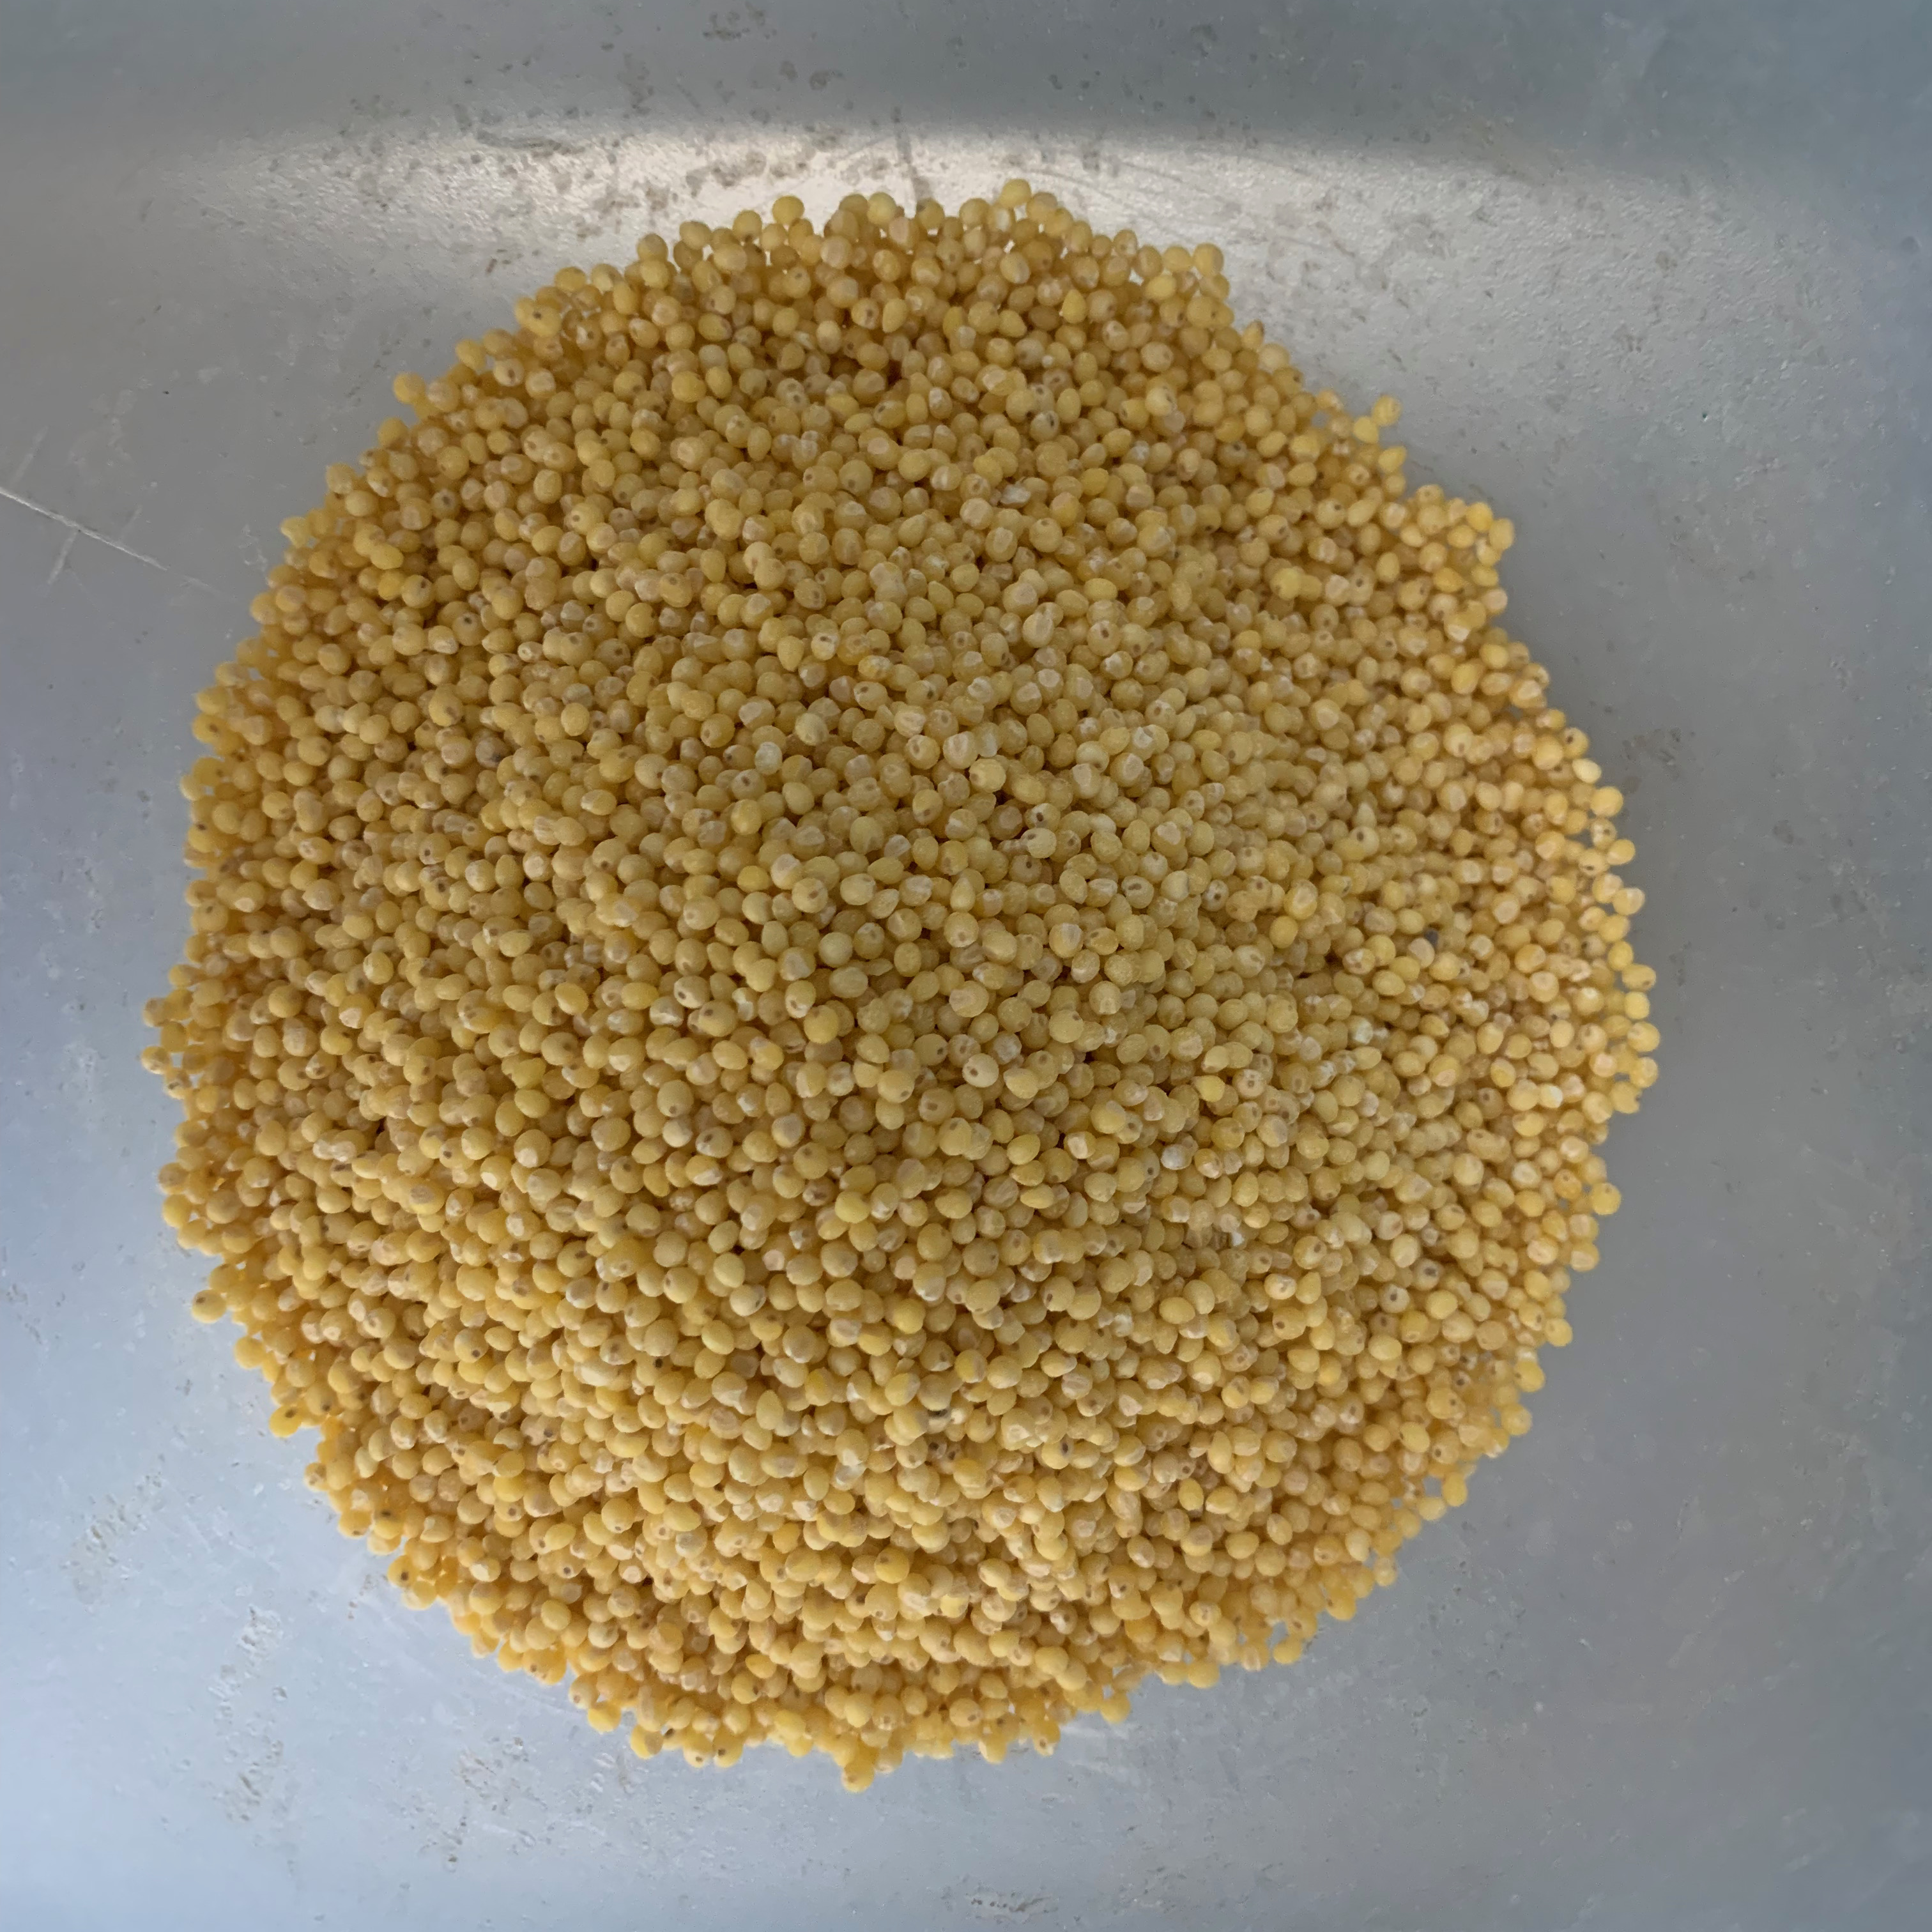
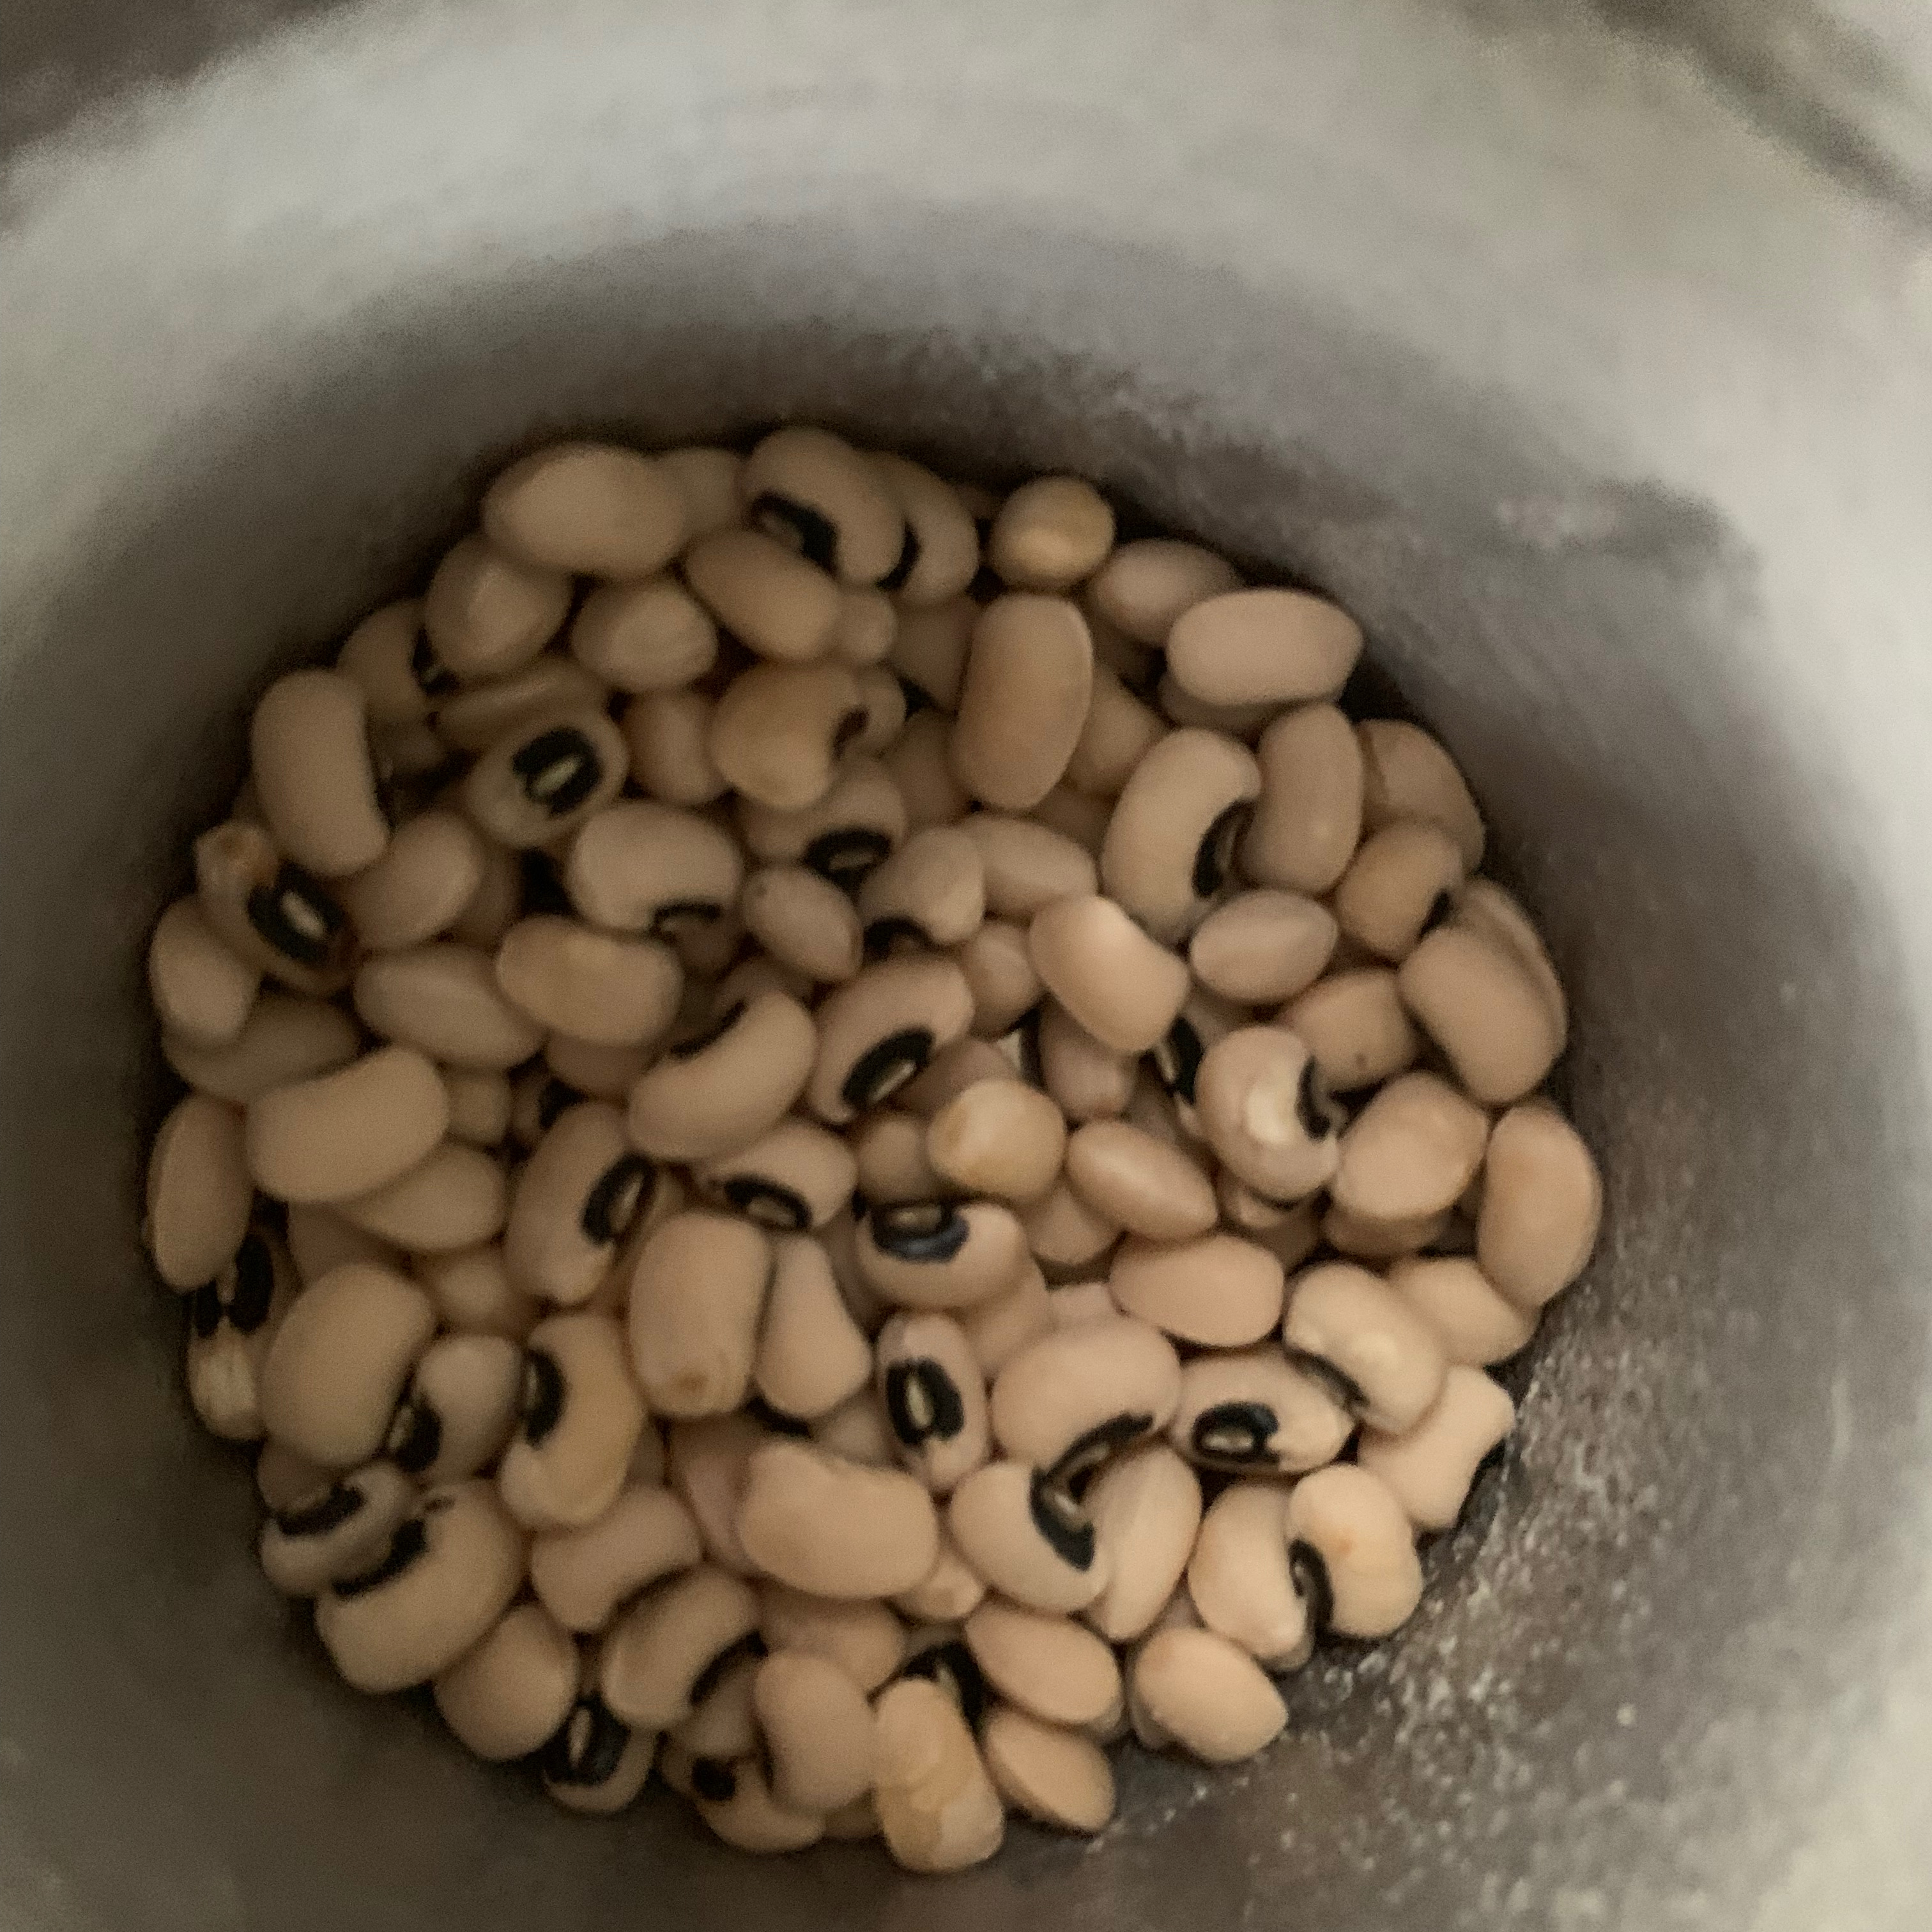
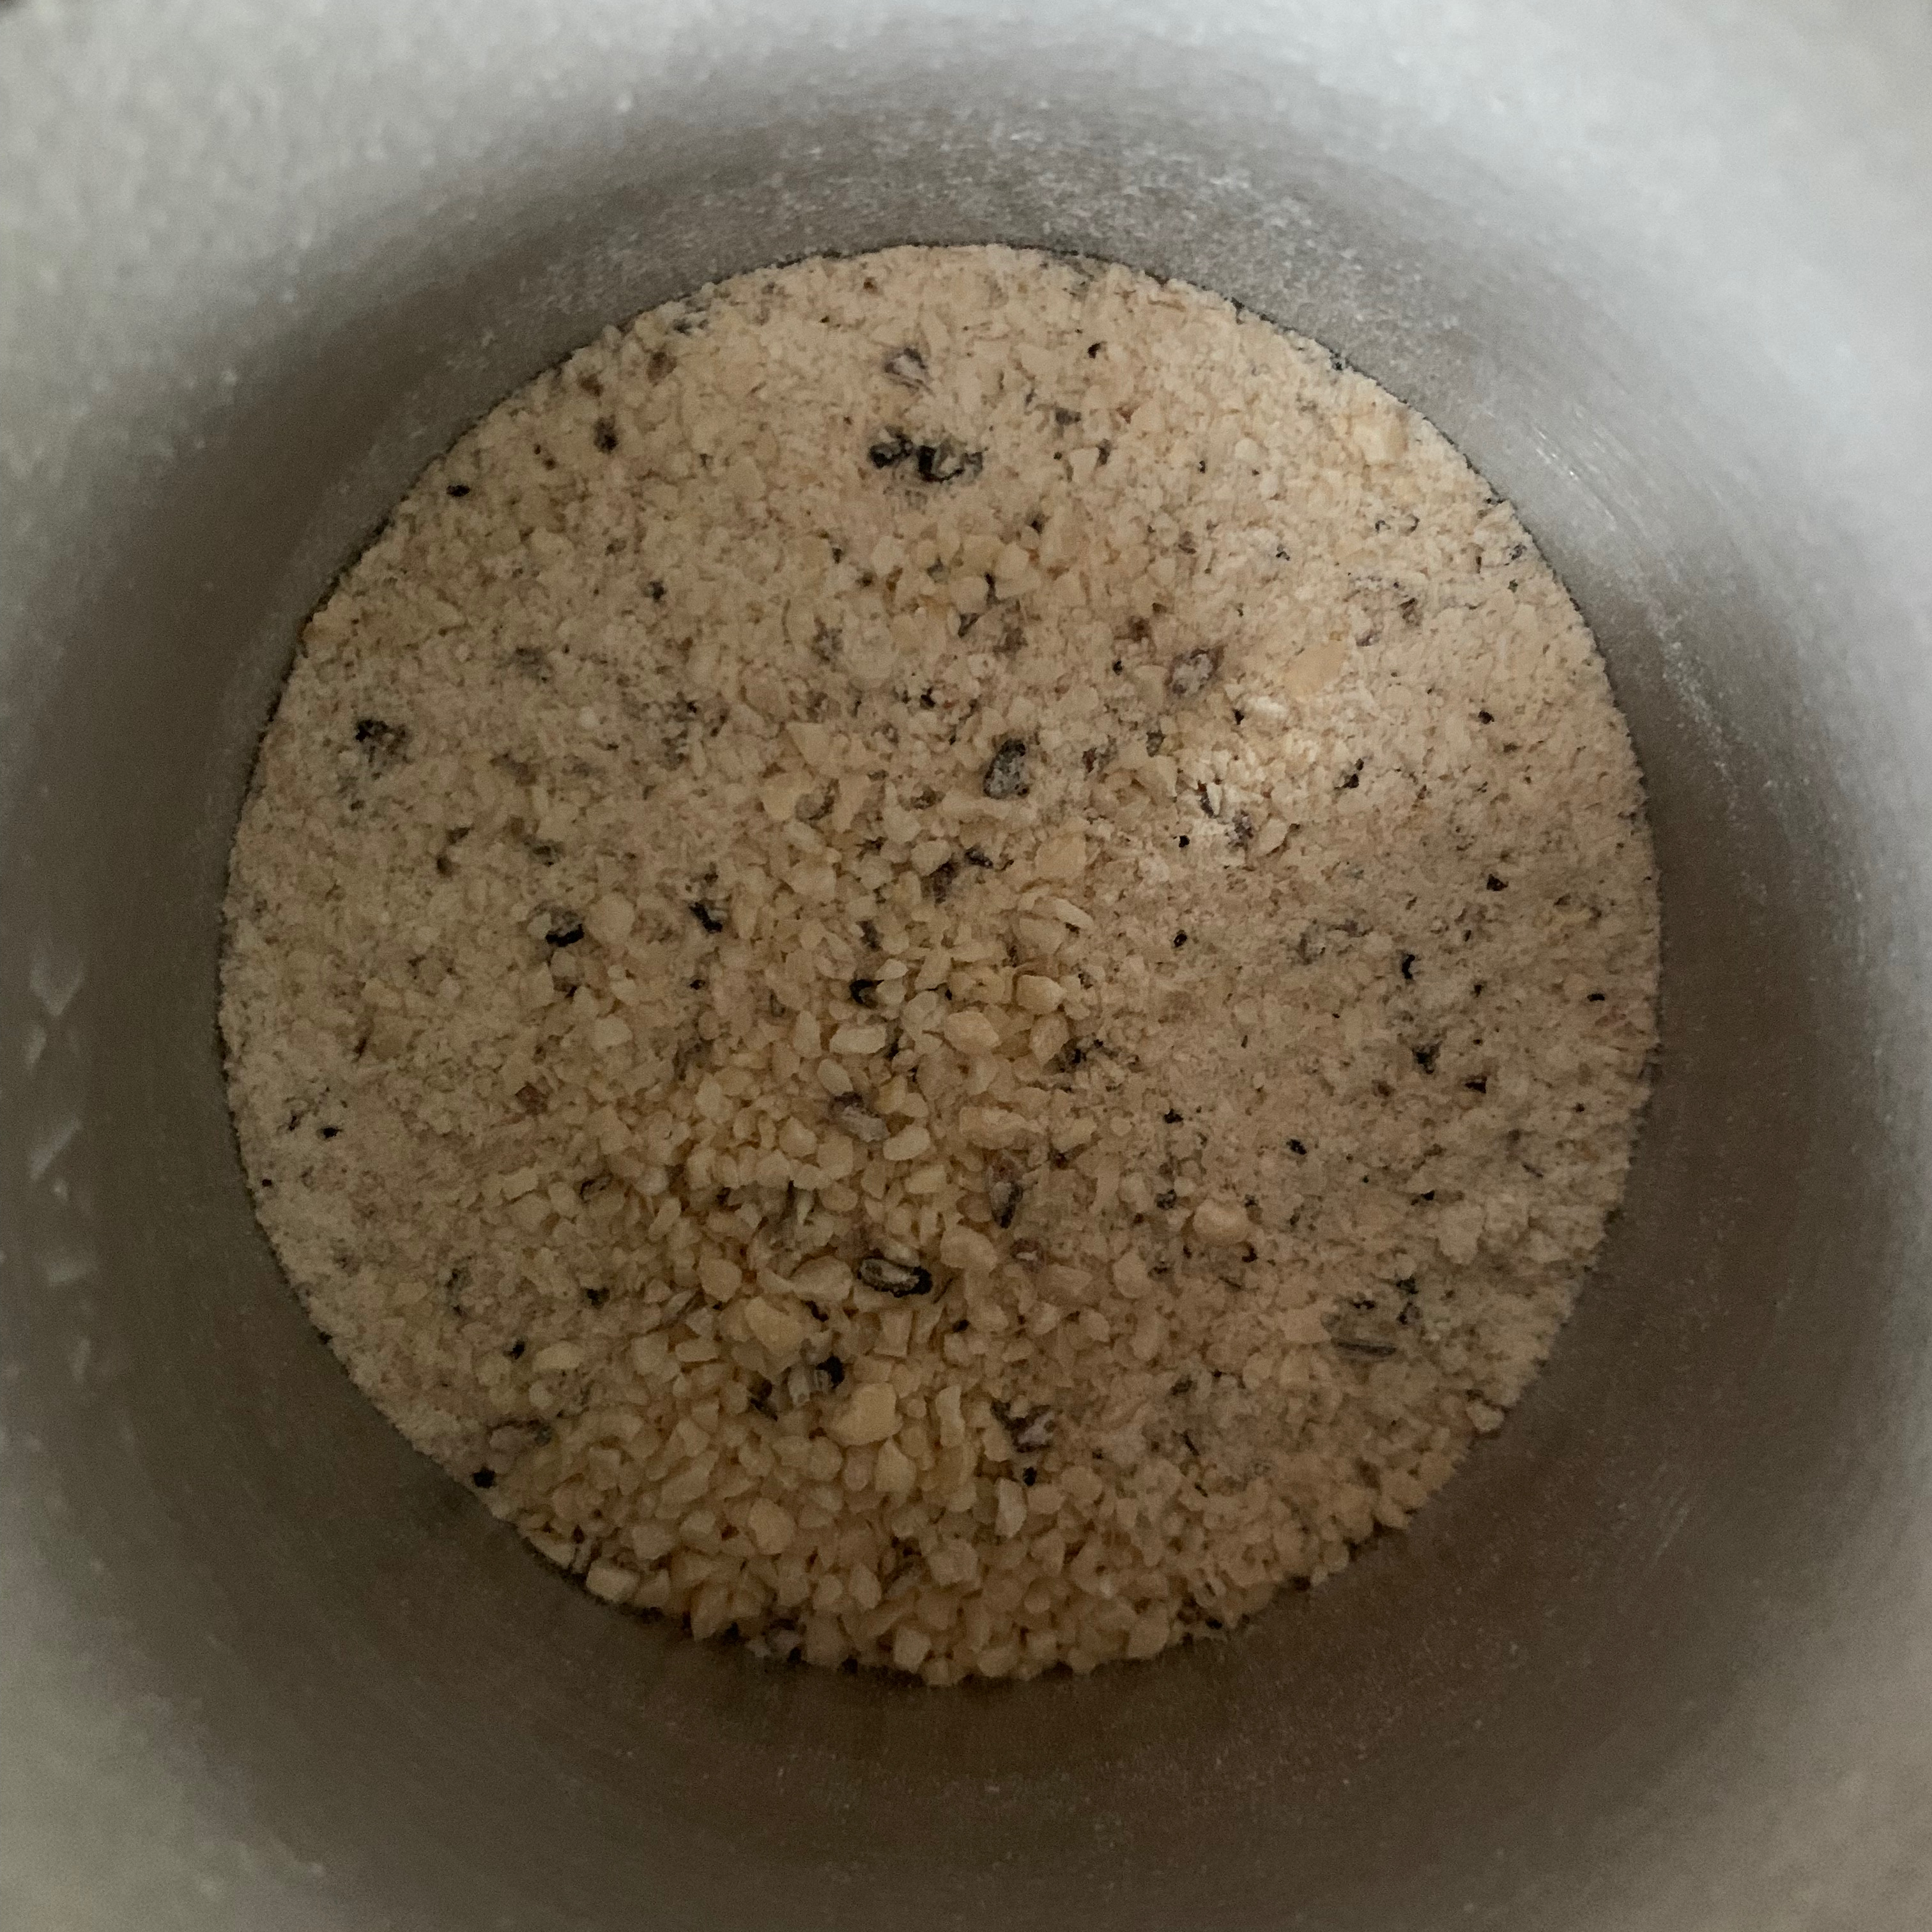
What makes tapalapa special is the combination of flours: a mixture of wheat flour, millet flour, cornflour and what’s called “cowpea flour” (in the UK, this translates as ground black-eyed beans). I used a recipe from the ever-reliable 196flavors.com – with the proviso that with my particular dried yeast on a decidedly chilly English summer’s day, the rise times were many times as long as Mike suggests in the recipe.
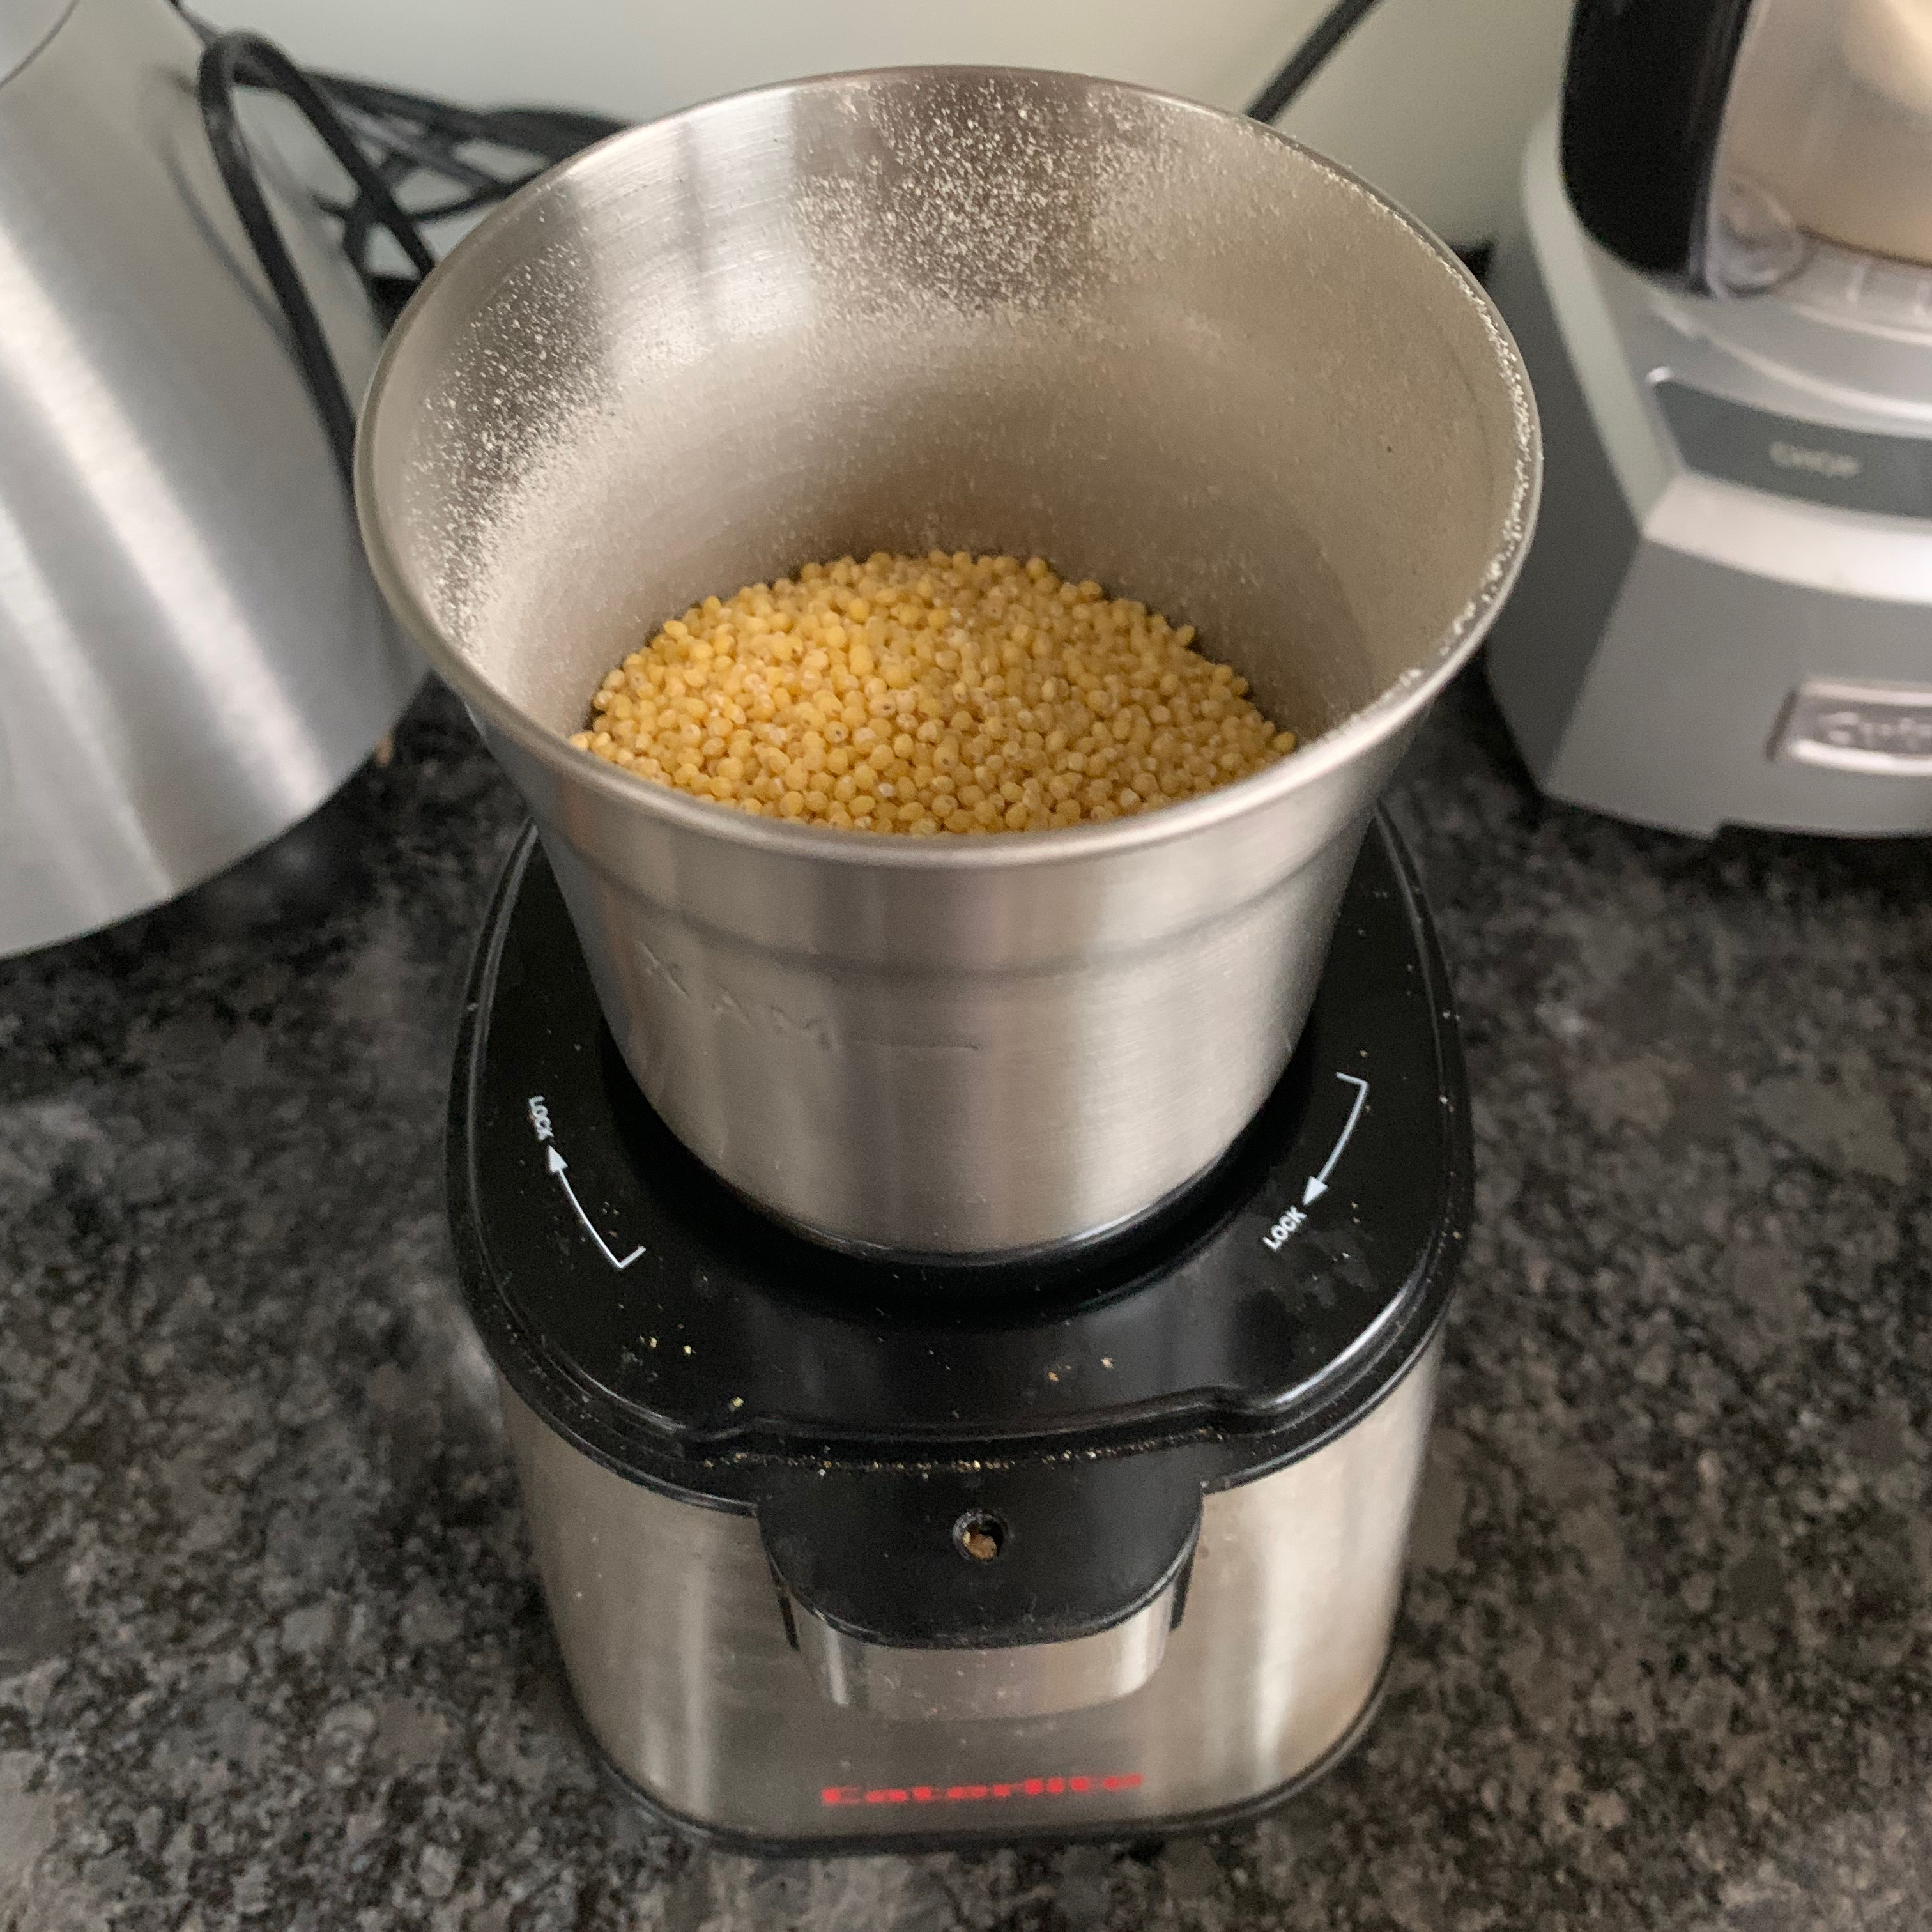
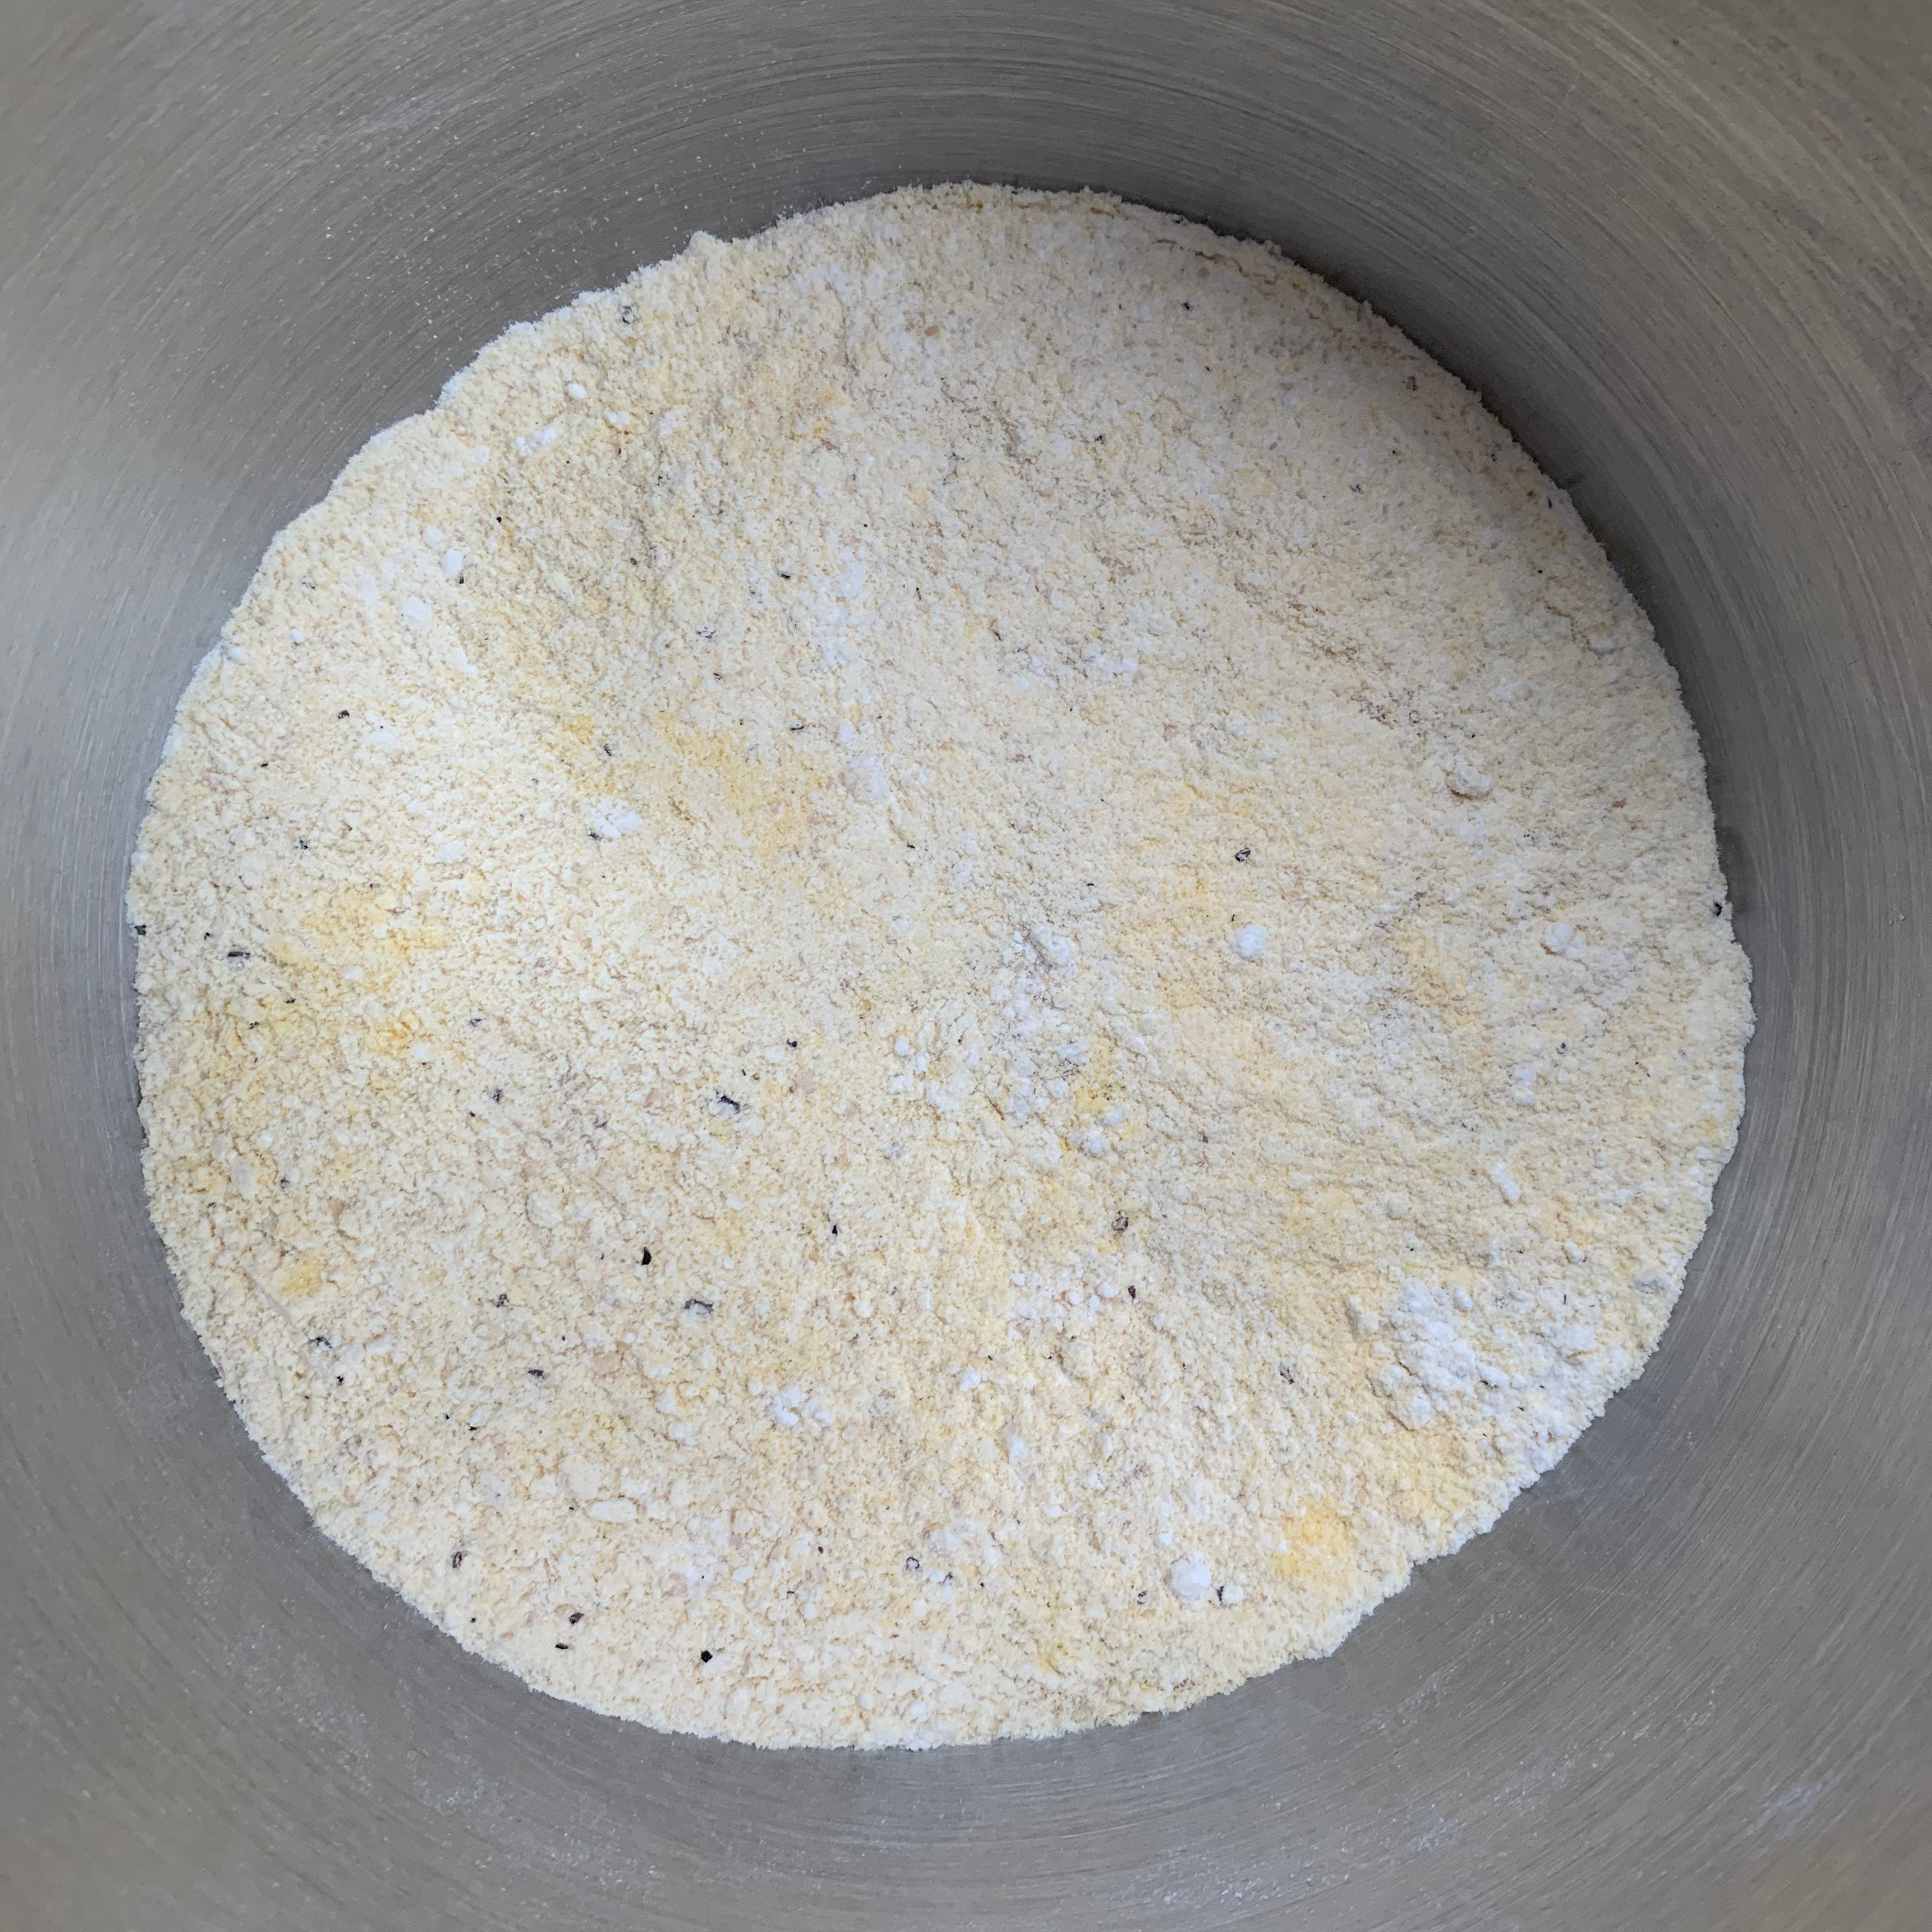
Millet flour and cowpea flour are hard to find in the UK, but it’s easy enough to get millet and black-eyed peas: a coffee grinder turns them into flour with no difficulty.
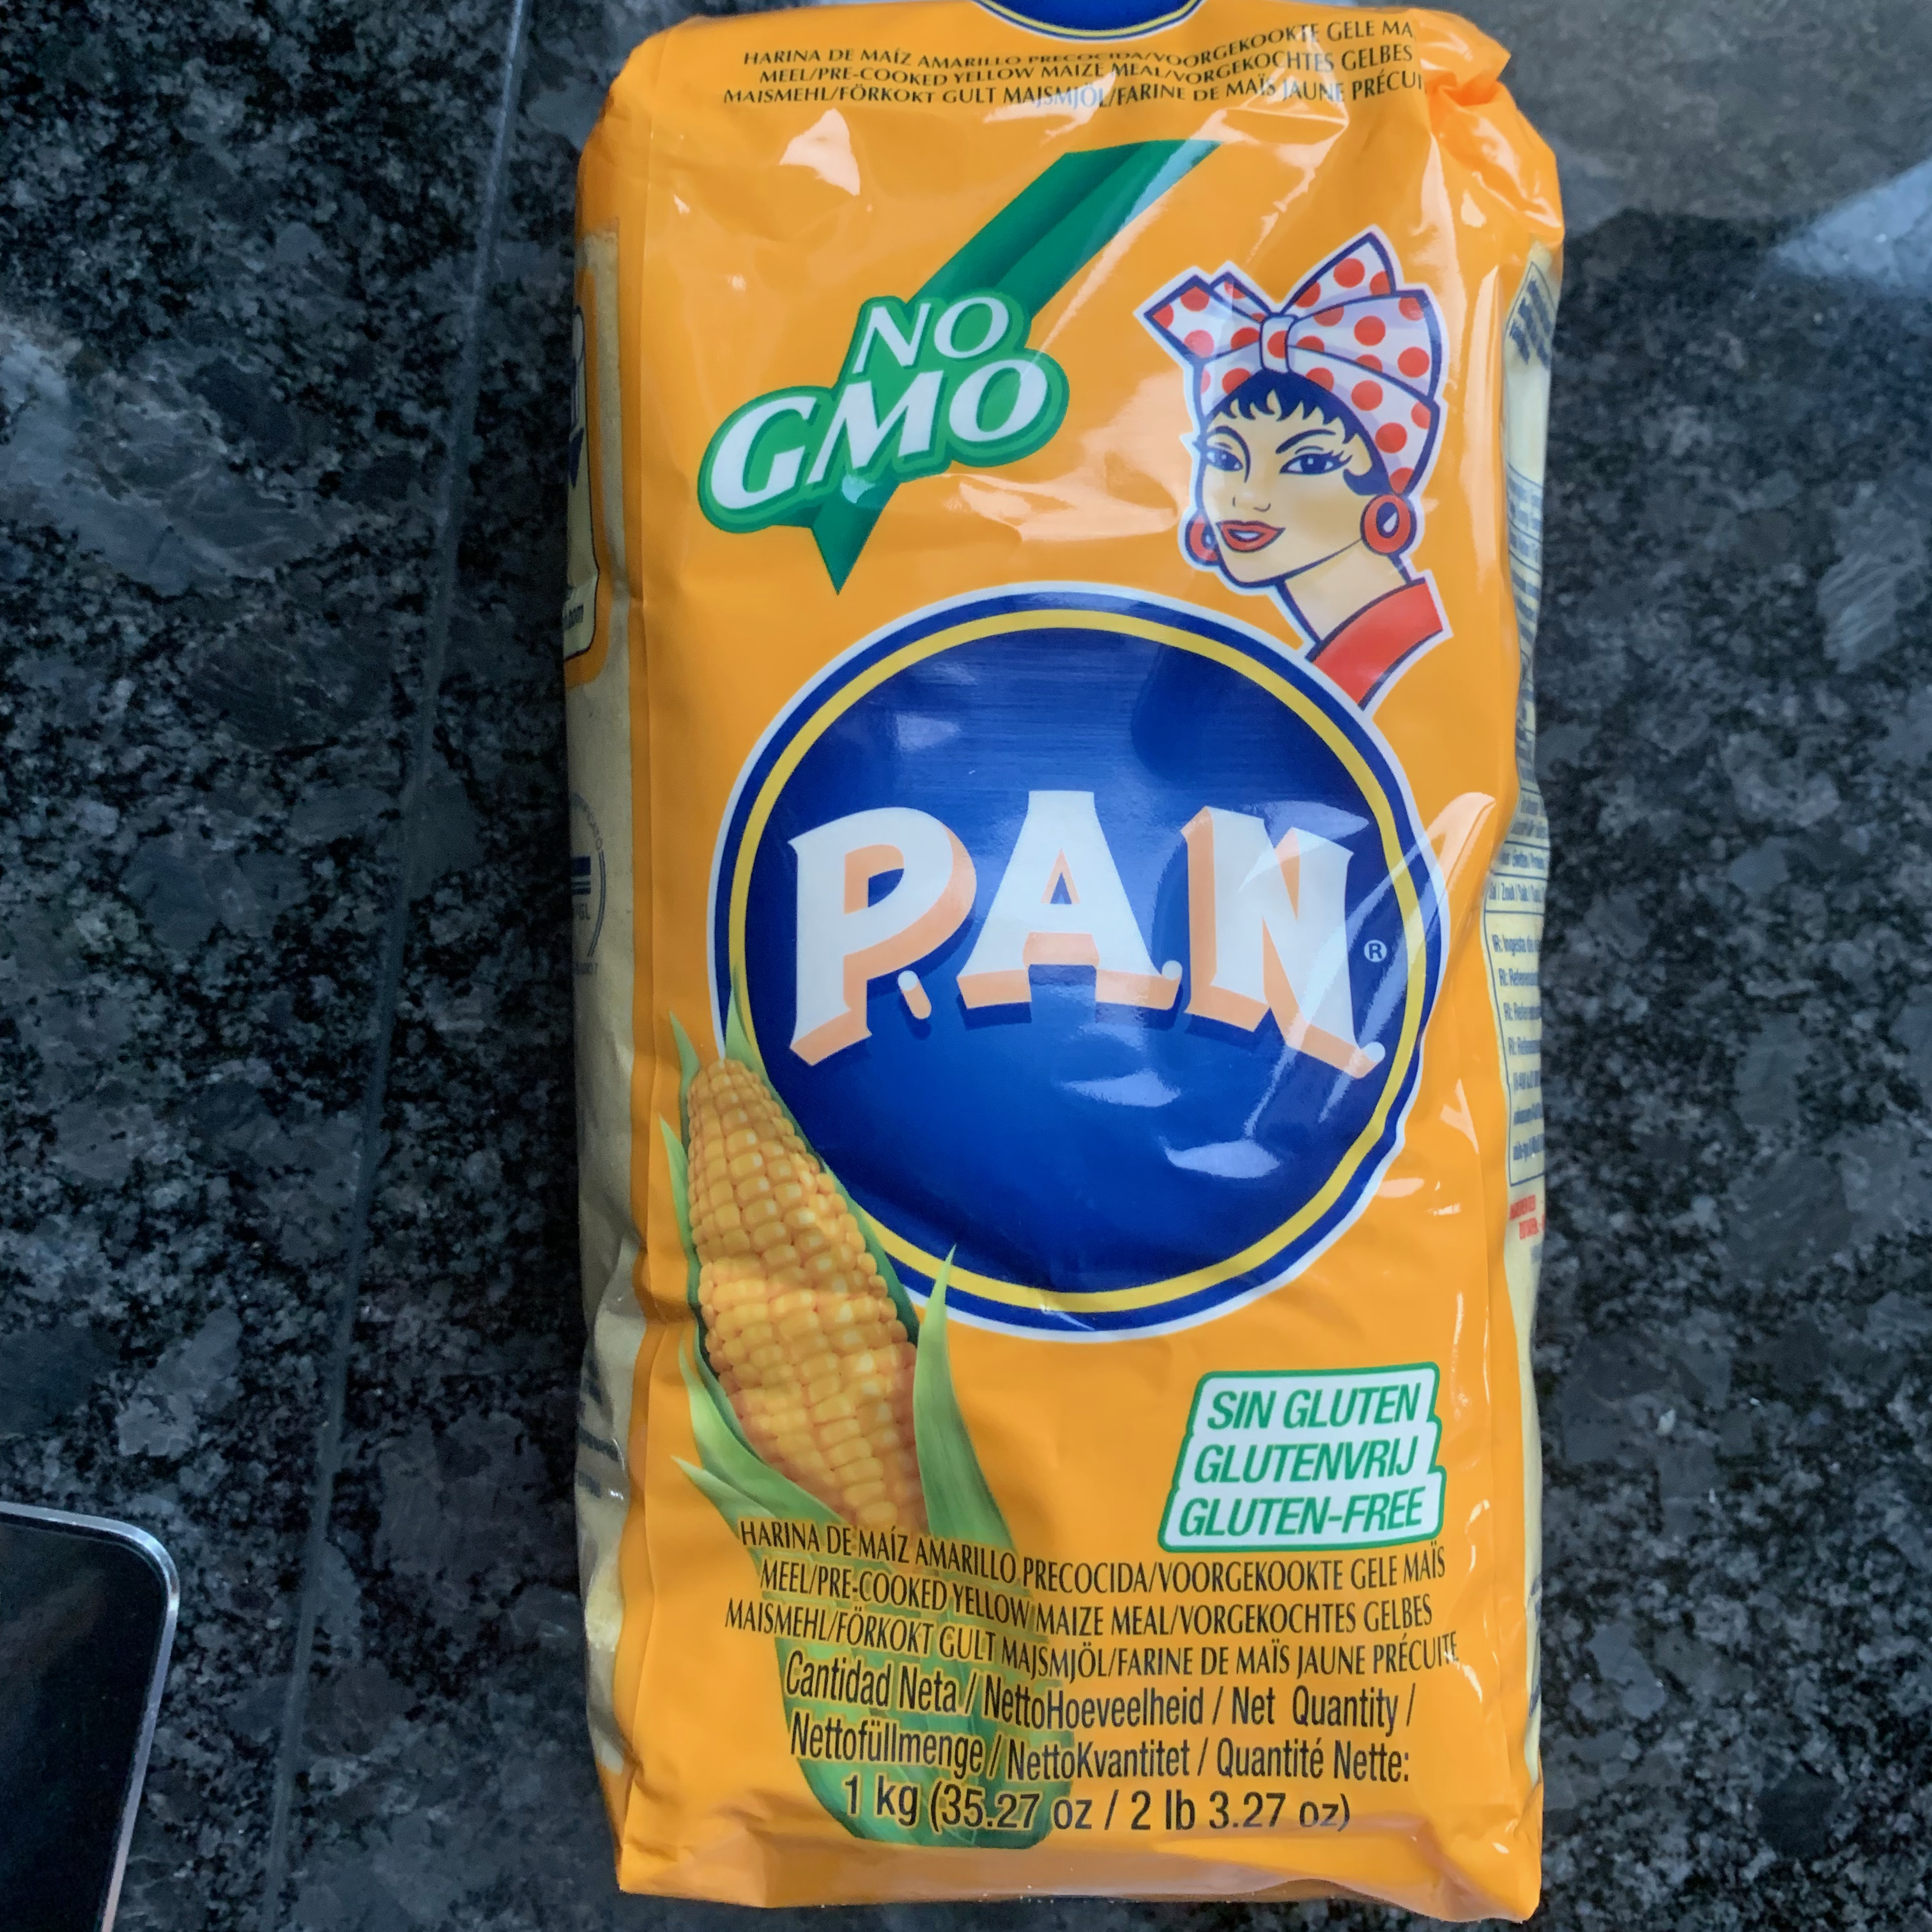
Yellow cornflour is available from specialist Mexican grocers. I’m going to guess that standard cornflour would have been fine.
160 g bread flour
70 g millet flour
160 g yellow cornflour
60 g cowpea flour
12g dried yeast
1 teaspoon salt
350ml lukewarm water (around 40℃)
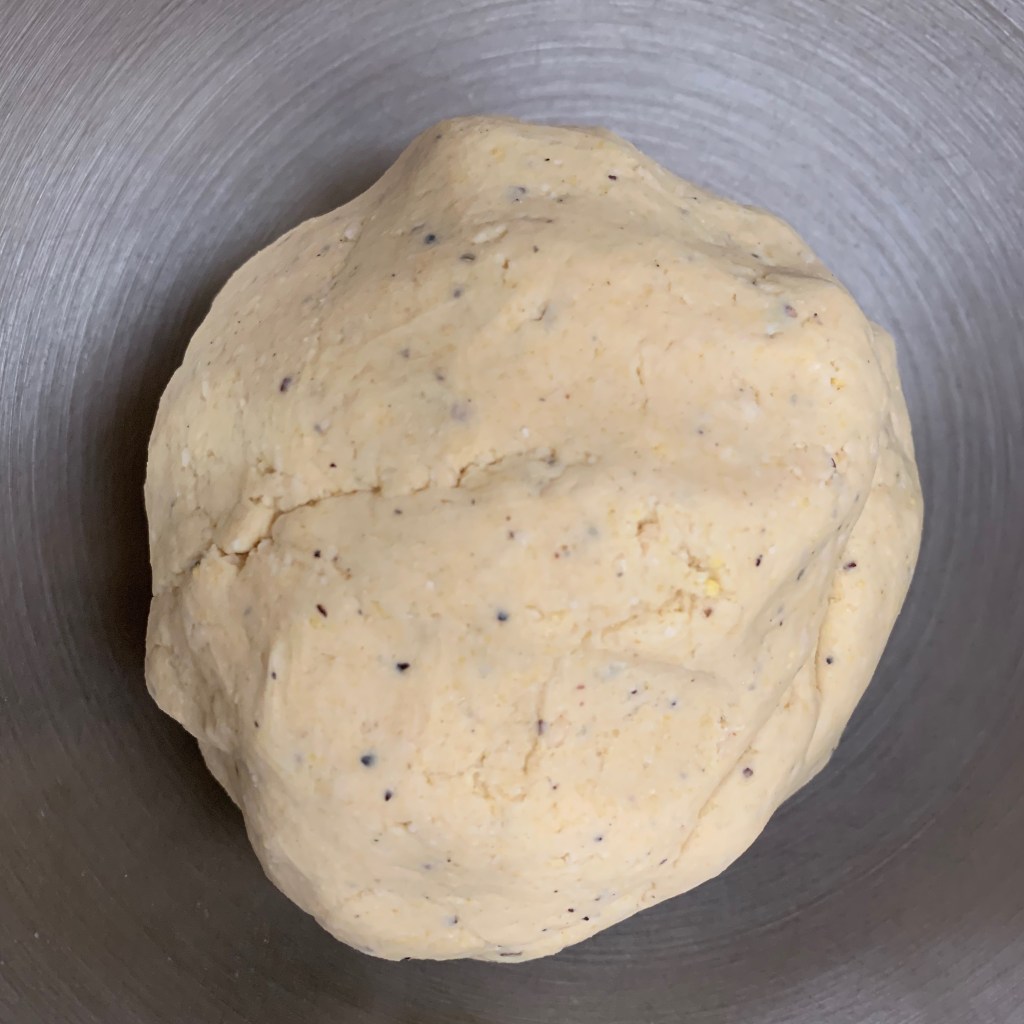
Put the flours, yeast and salt in the bowl of your stand mixer and stir until blended. Add the water and mix until you have a smooth dough.
Switch to the dough hook and knead for around 5-7 minutes.
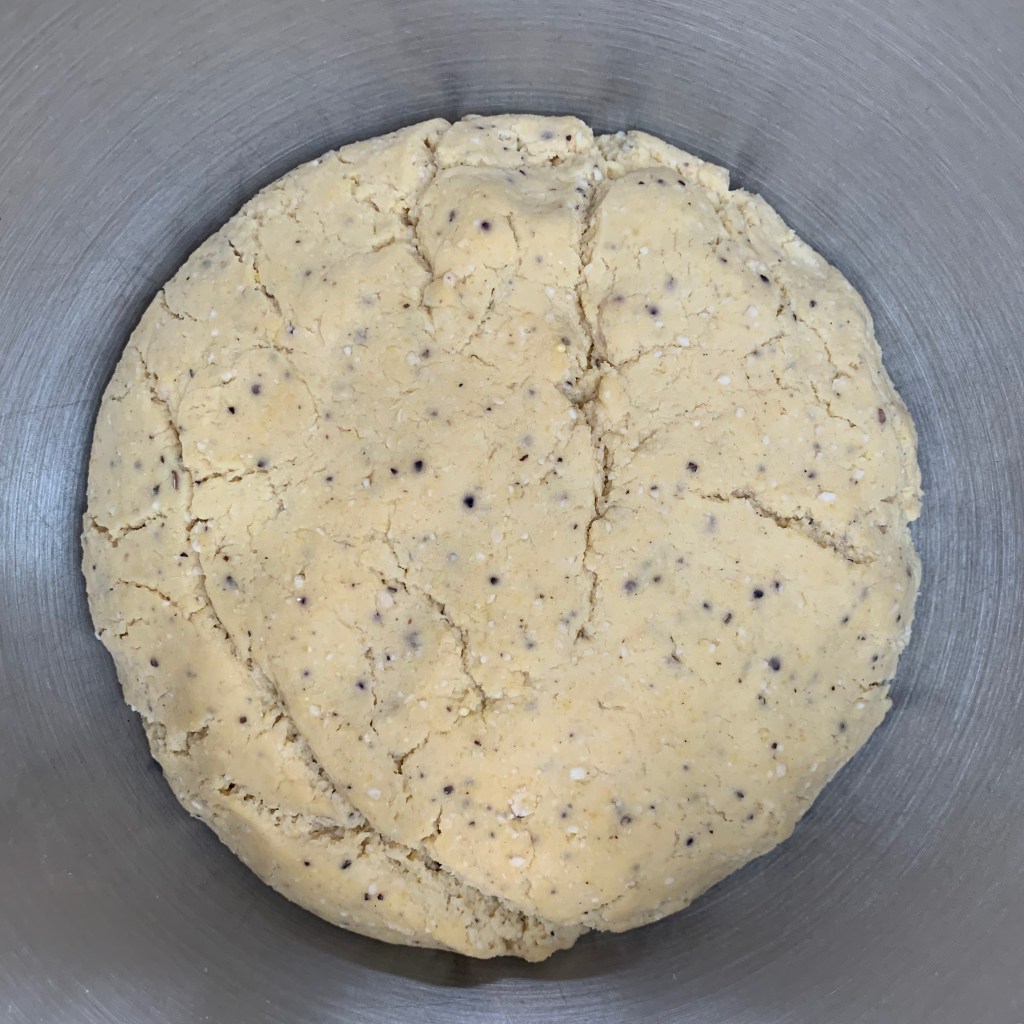
Form the dough into a ball, cover and leave to rise until doubled in size. The recipe suggests that this might take an hour: for whatever the reason, it took around three hours in my kitchen.
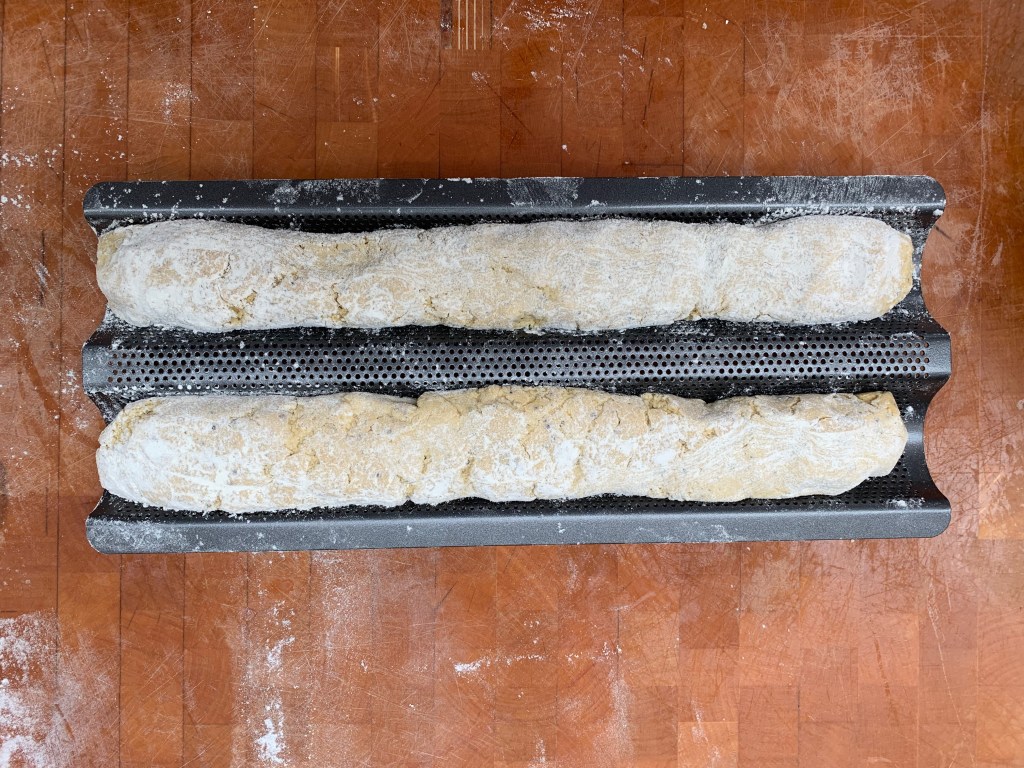
Split the dough into two and form each half into a baguette shape. I happen to have a specially shaped tin for baguettes, but you can probably get away with just putting them on a greased baking sheet.
Preheat oven to 220℃ fan
Leave to rise for another hour or so.
Slash a shallow gash down the middle of each stick.
Bake until golden brown and dry on the inside: this should take around 15-20 minutes
Obviously (this is the 21st century, after all), a lot of the choice of what to bake for a given country starts with Google. For Canada, the result really wasn’t in doubt: everything on the Internet seems to point at the butter tart as the iconic Canadian baked food.
There are lots of variations on the butter tart, but here are some givens that apply to the majority of the recipes:
They are small single-portion tartlets
The tart shell is fairly standard shortcrust, perhaps sweetened but not excessively so
The basic filling is made of butter, eggs and sugar
Although tastes vary as to how runny the filling should be, you never bake the filling such that it’s completely set: you want to end up somewhere on the scale between runny and squidgy.
The basic filling, therefore, ends up not a million miles away from an English treacle tart. However, lots of people add various extras, as you can see from foodnetwork.ca: I’ve gone for walnut and maple syrup, starting from their maple pecan version. Clearly, Canadians have a serious sweet tooth, because all the recipes I’ve found have been big sugar hits. I’ve gone for slightly more nuts and slightly less sugar.
The quantities here make 12 small tarts: you’ll probably be using a 12 slot muffin tin.
The pastry
300g plain flour (OO grade if you can)
25g sugar
5g salt
200g butter
90ml water
15ml lemon juice (around half a lemon)
Put the flour, sugar and salt into the bowl of your stand mixer.
Take the butter out of your fridge and cut into small cubes (perhaps 1cm).
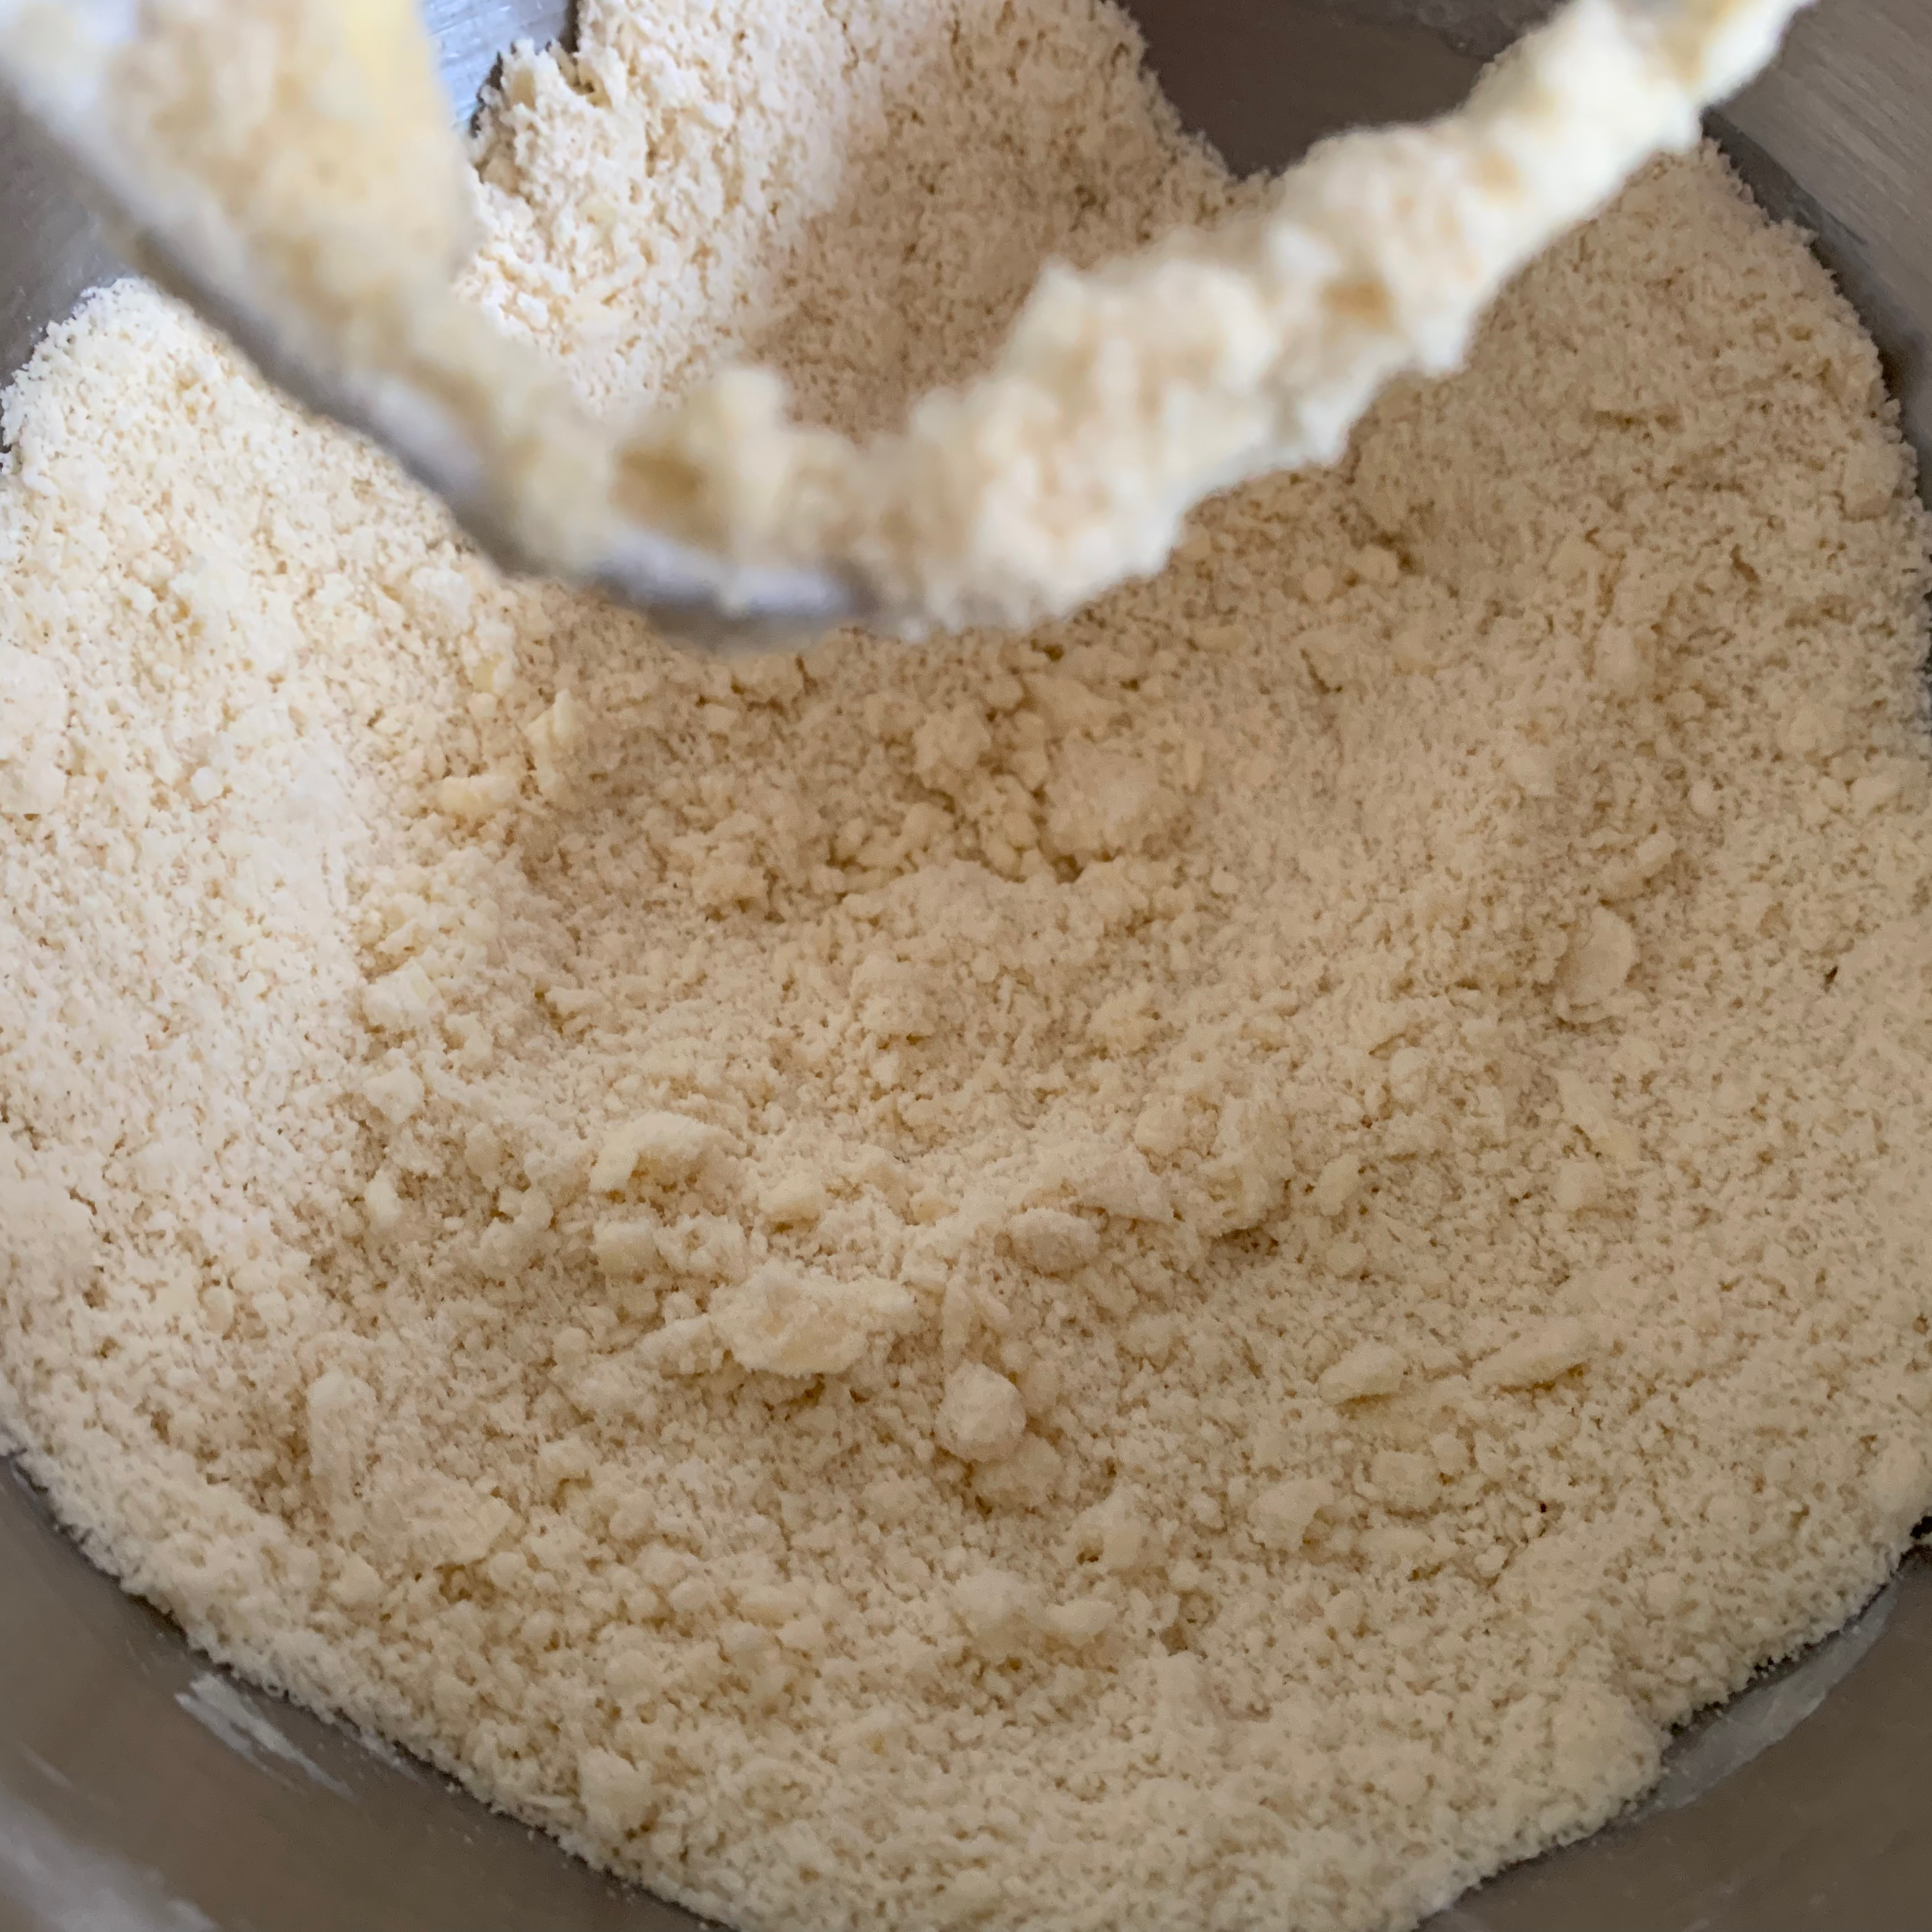
Add the butter to the flour mix and mix with the standard beater on the lowest setting until the largest lumps of butter are gone.
Add the water and lemon juice and beat until well combined.
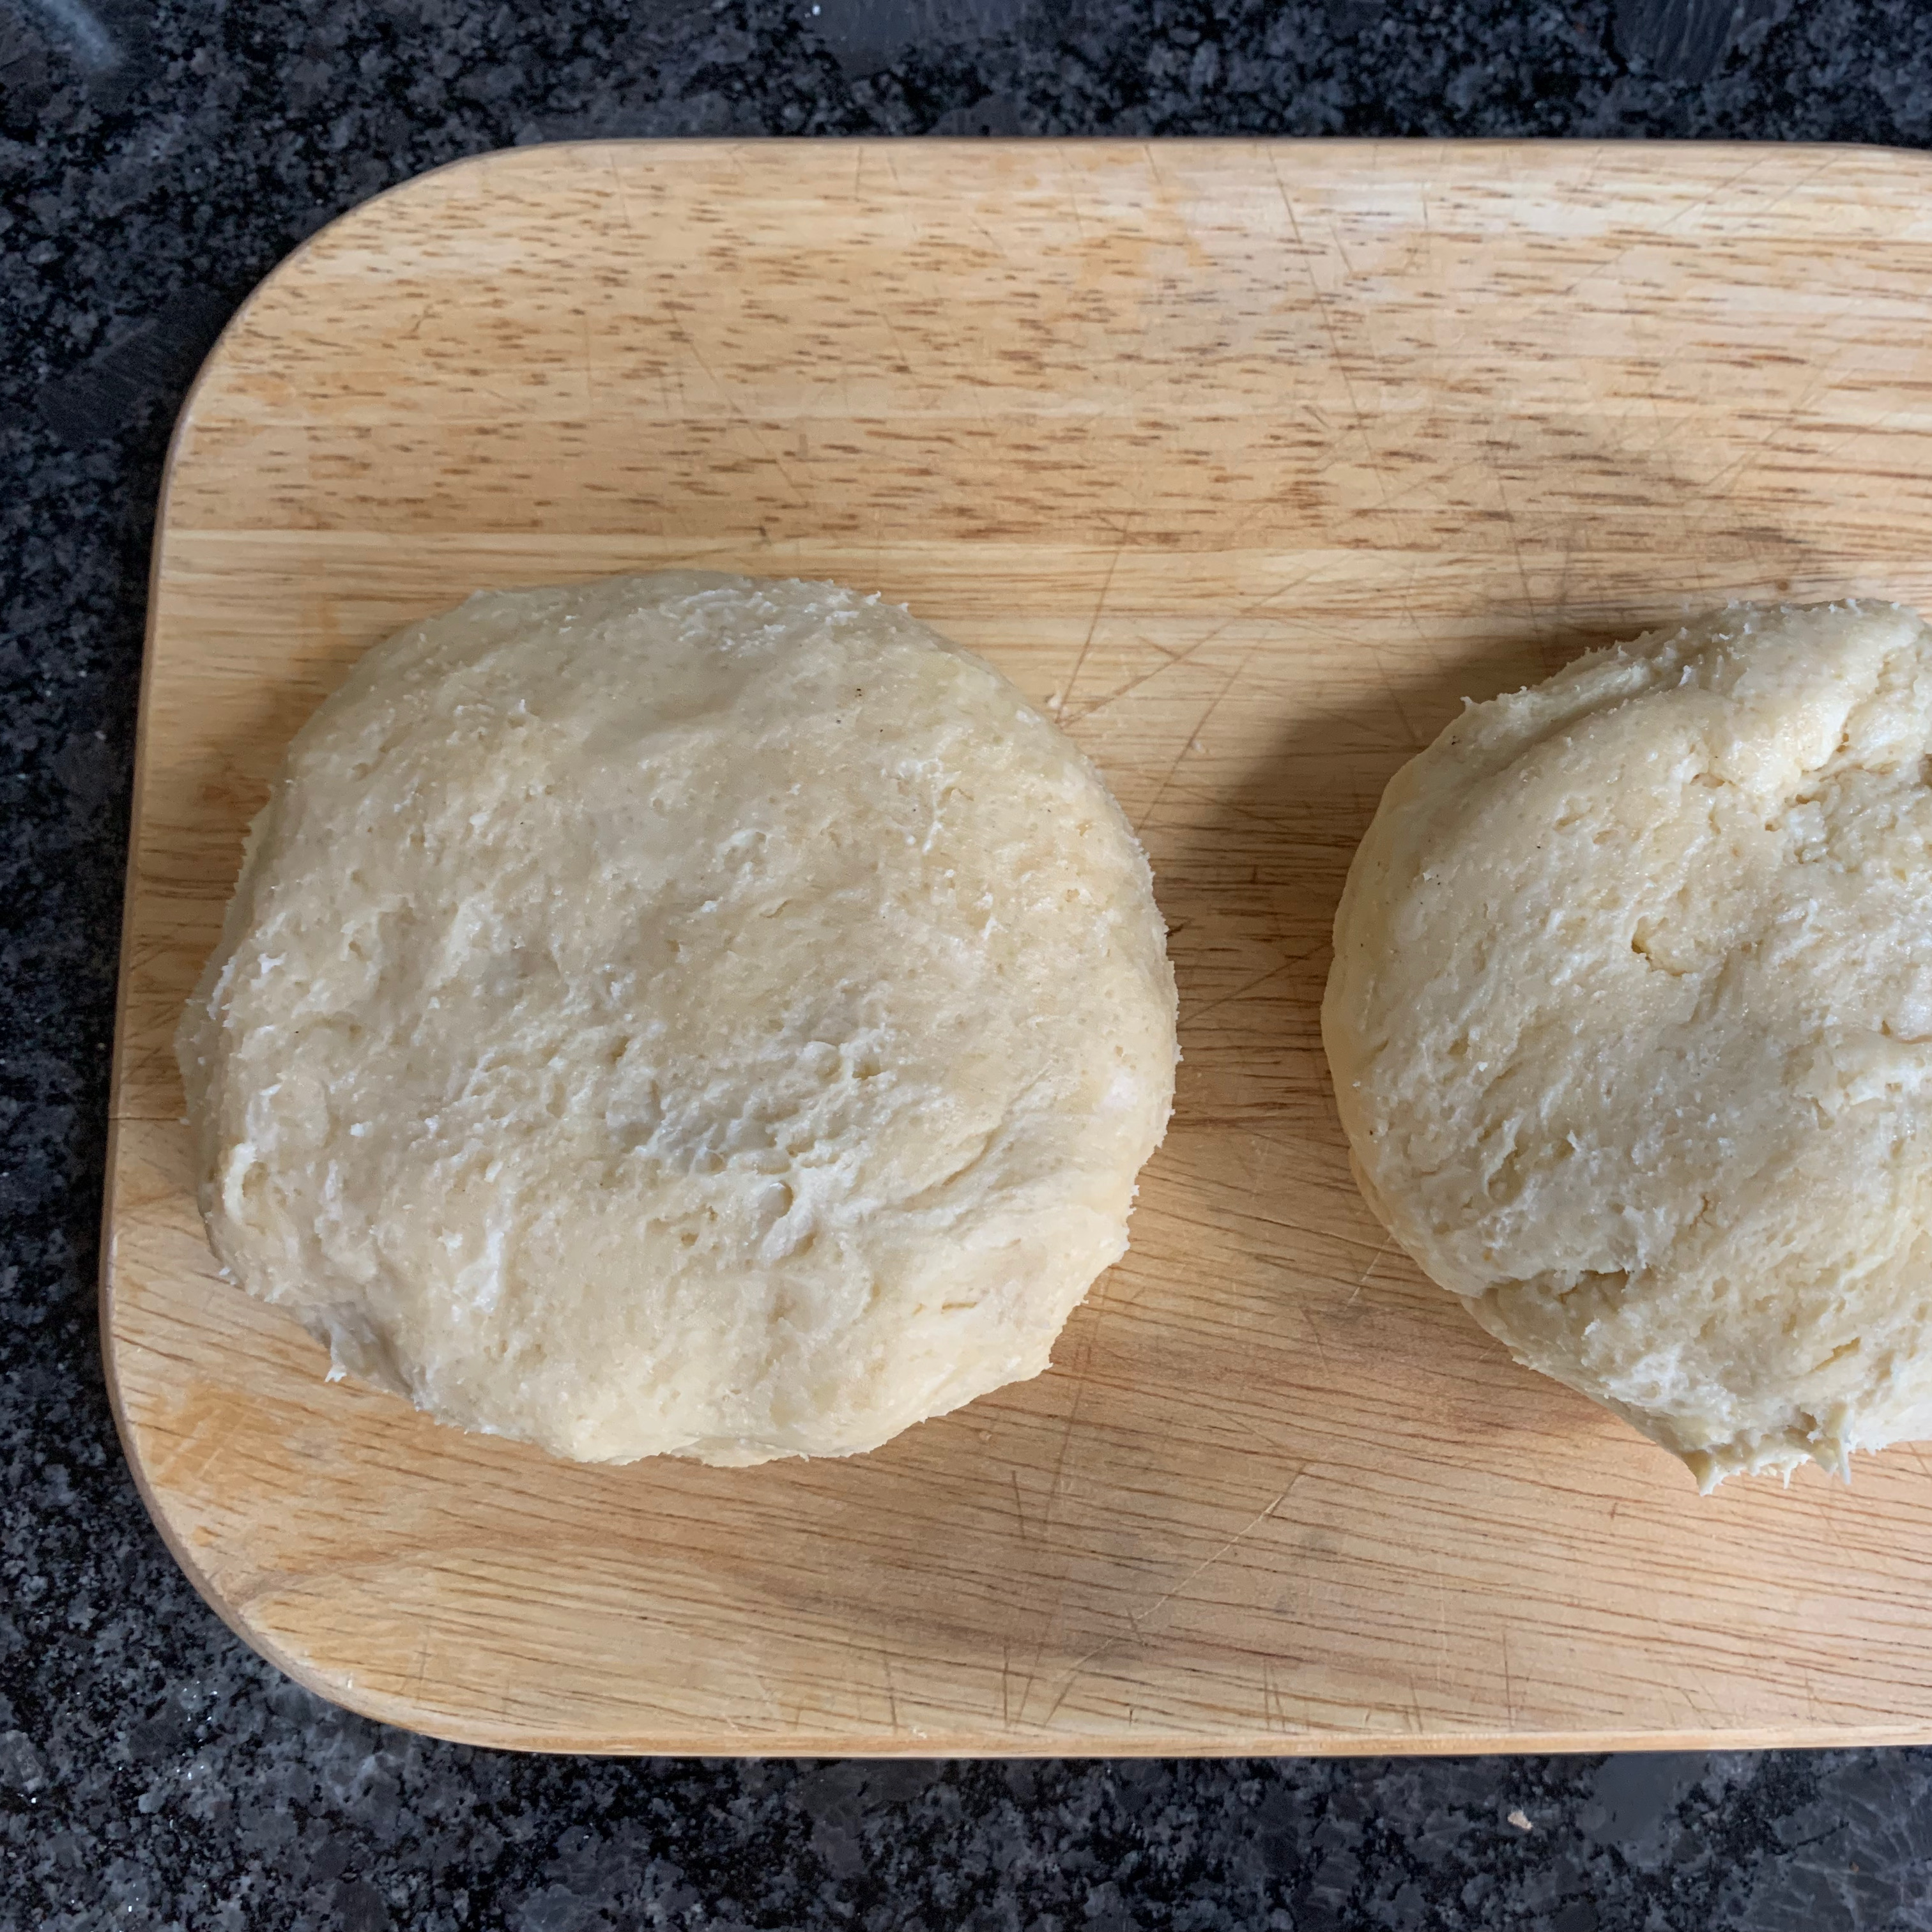
Form the dough into two approximately equal portions, shape into discs, wrap in cling film and refrigerate for at least an hour (I did 90 minutes).
Grease your muffin tin.
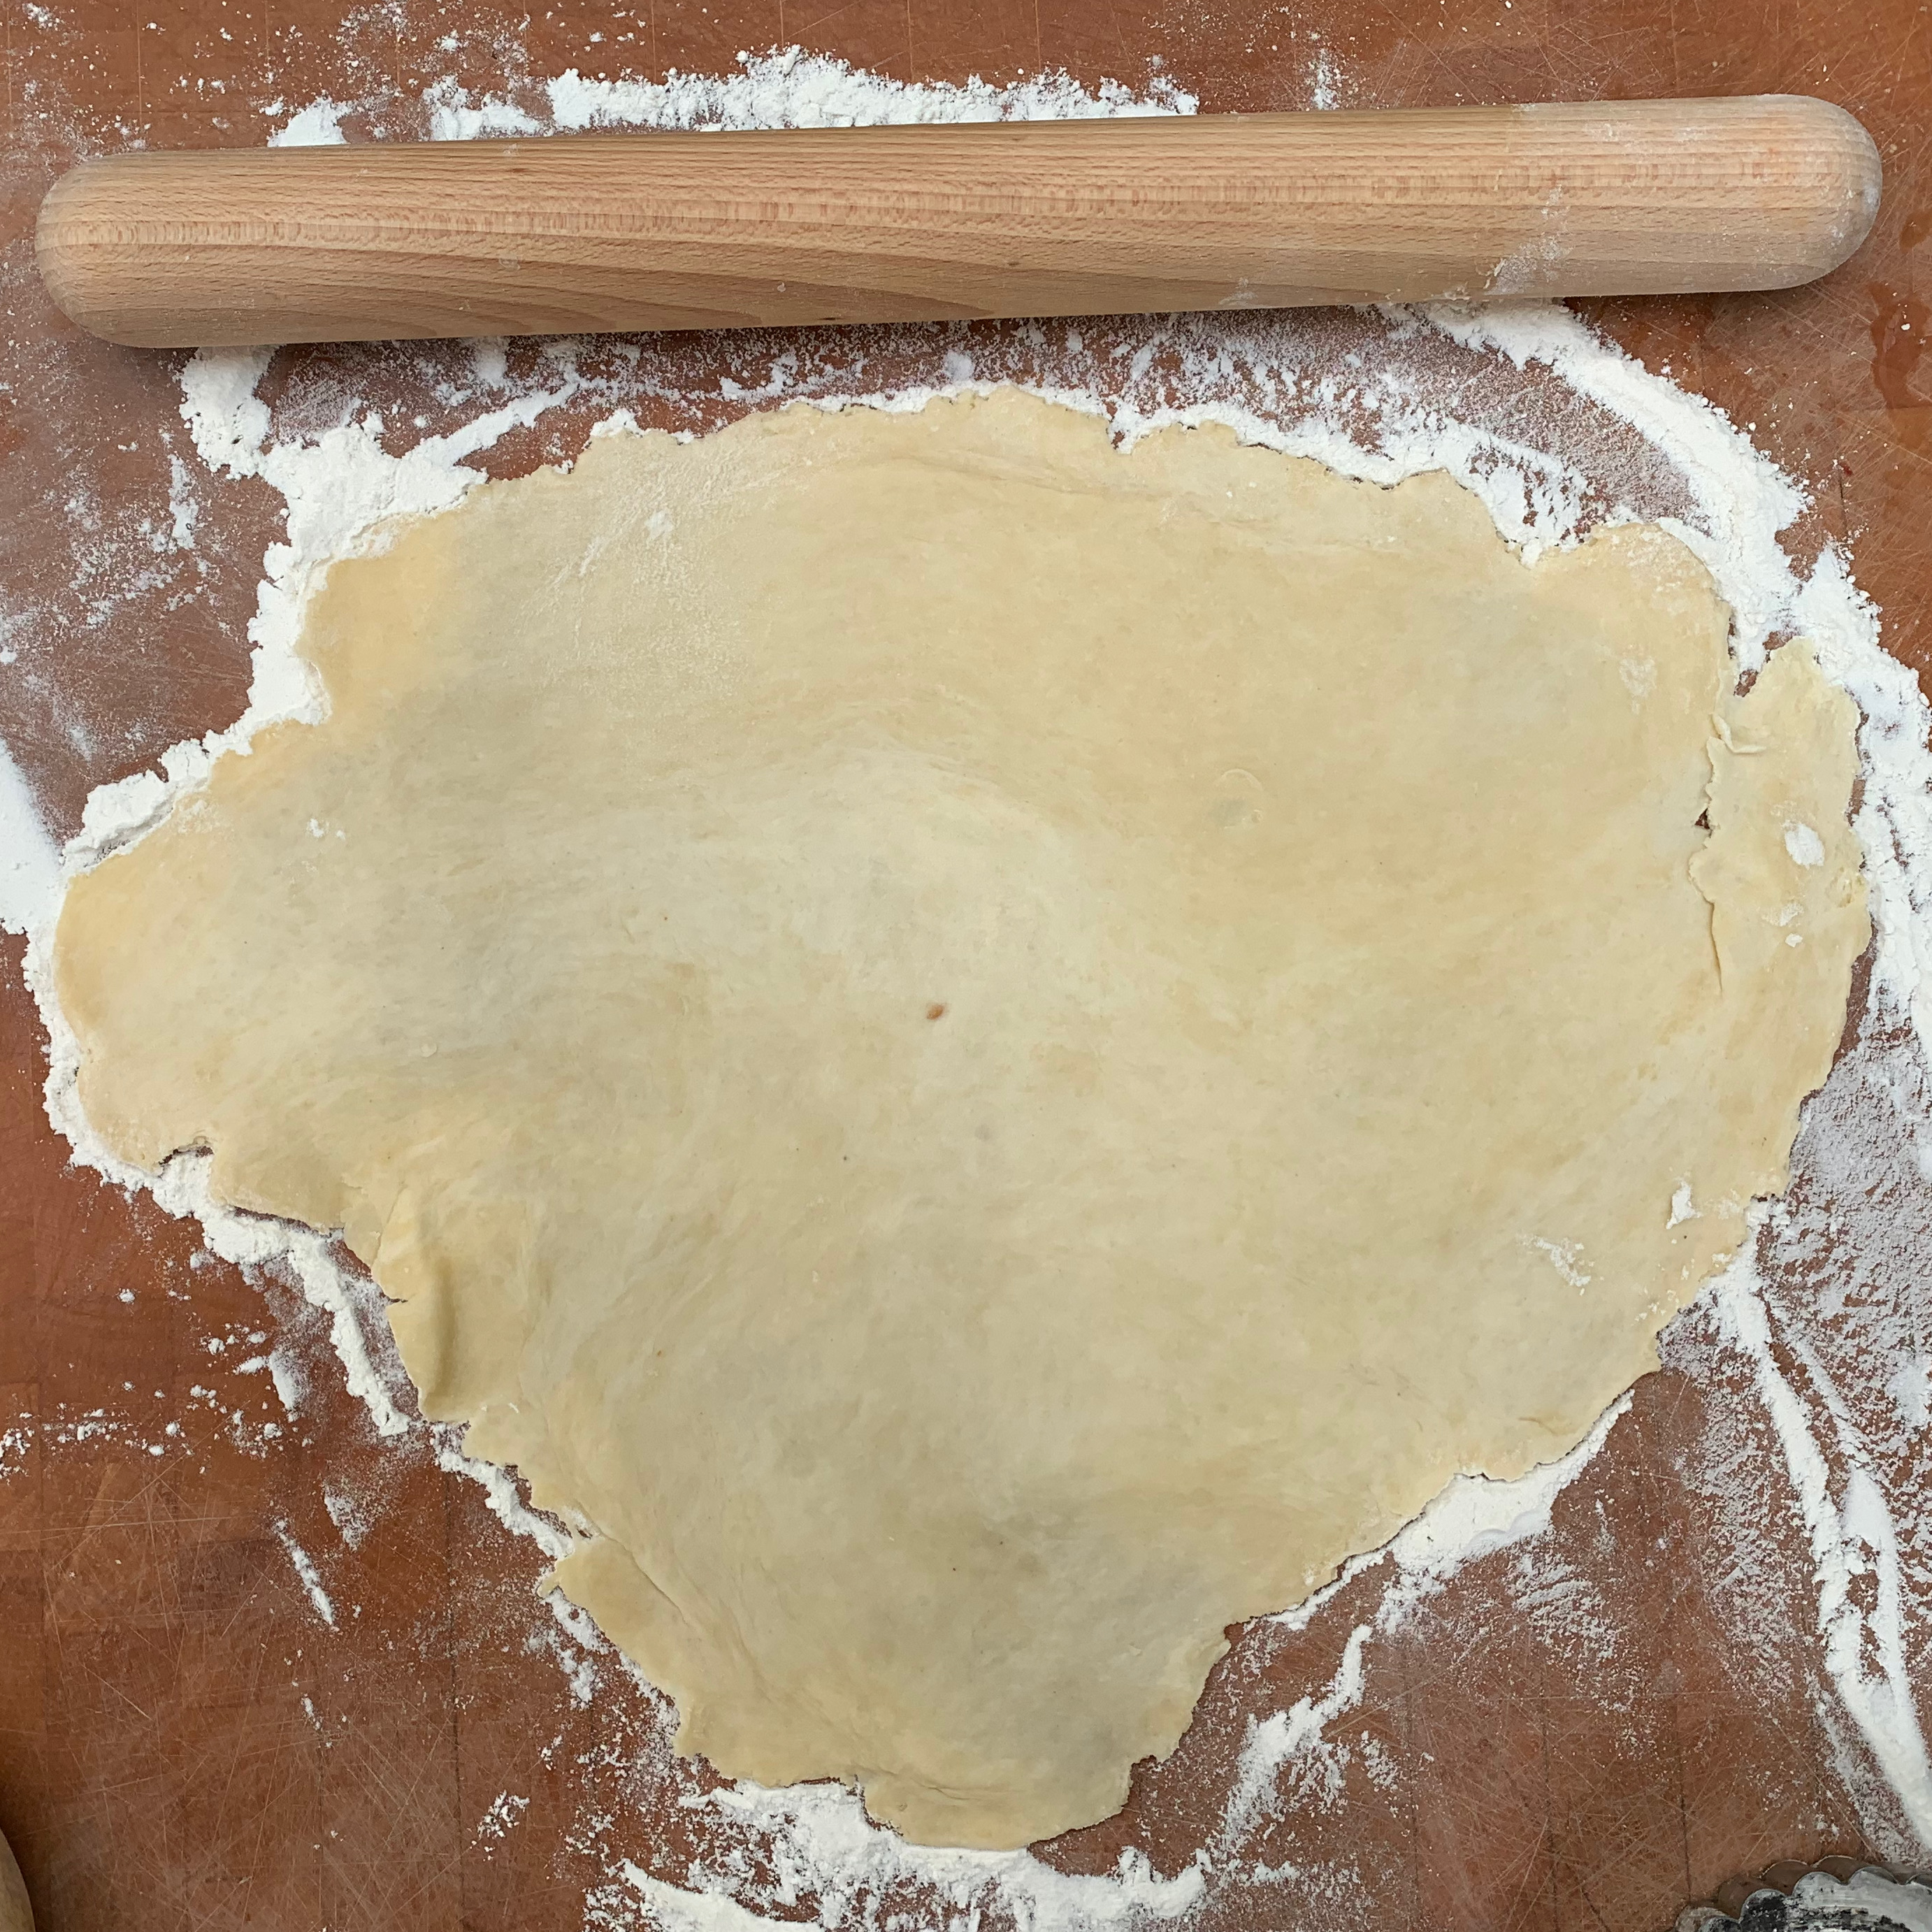
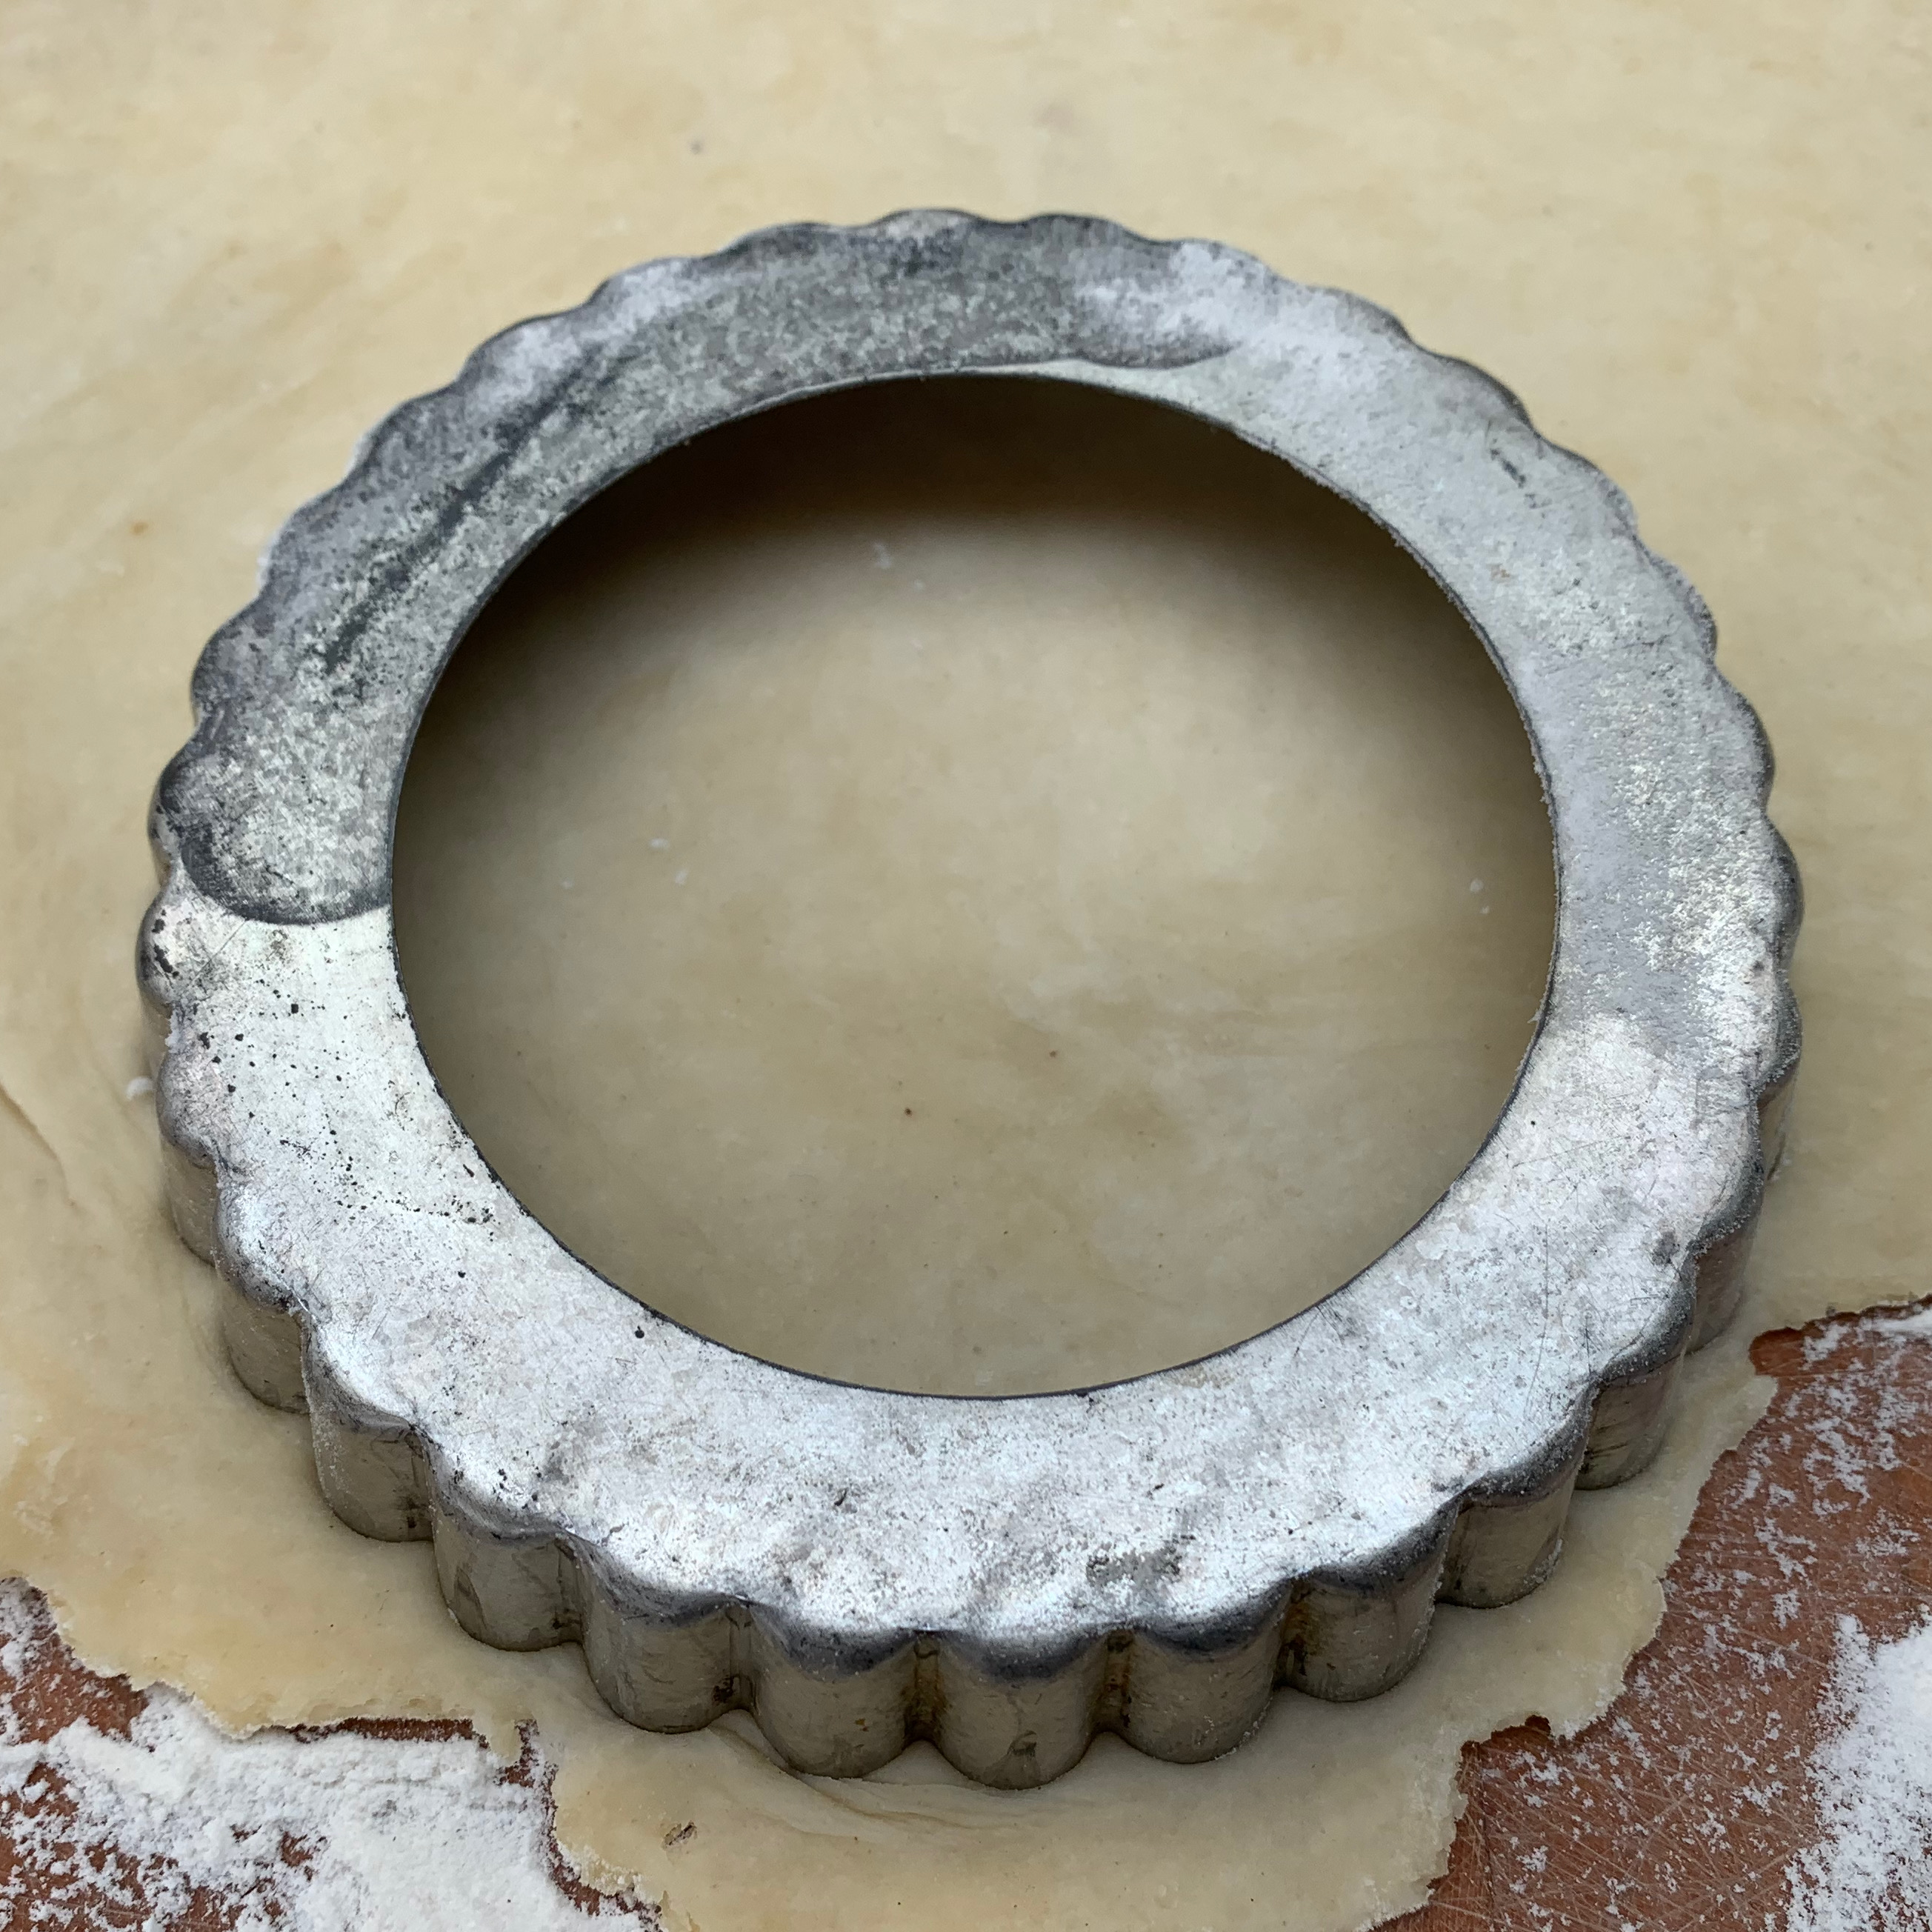
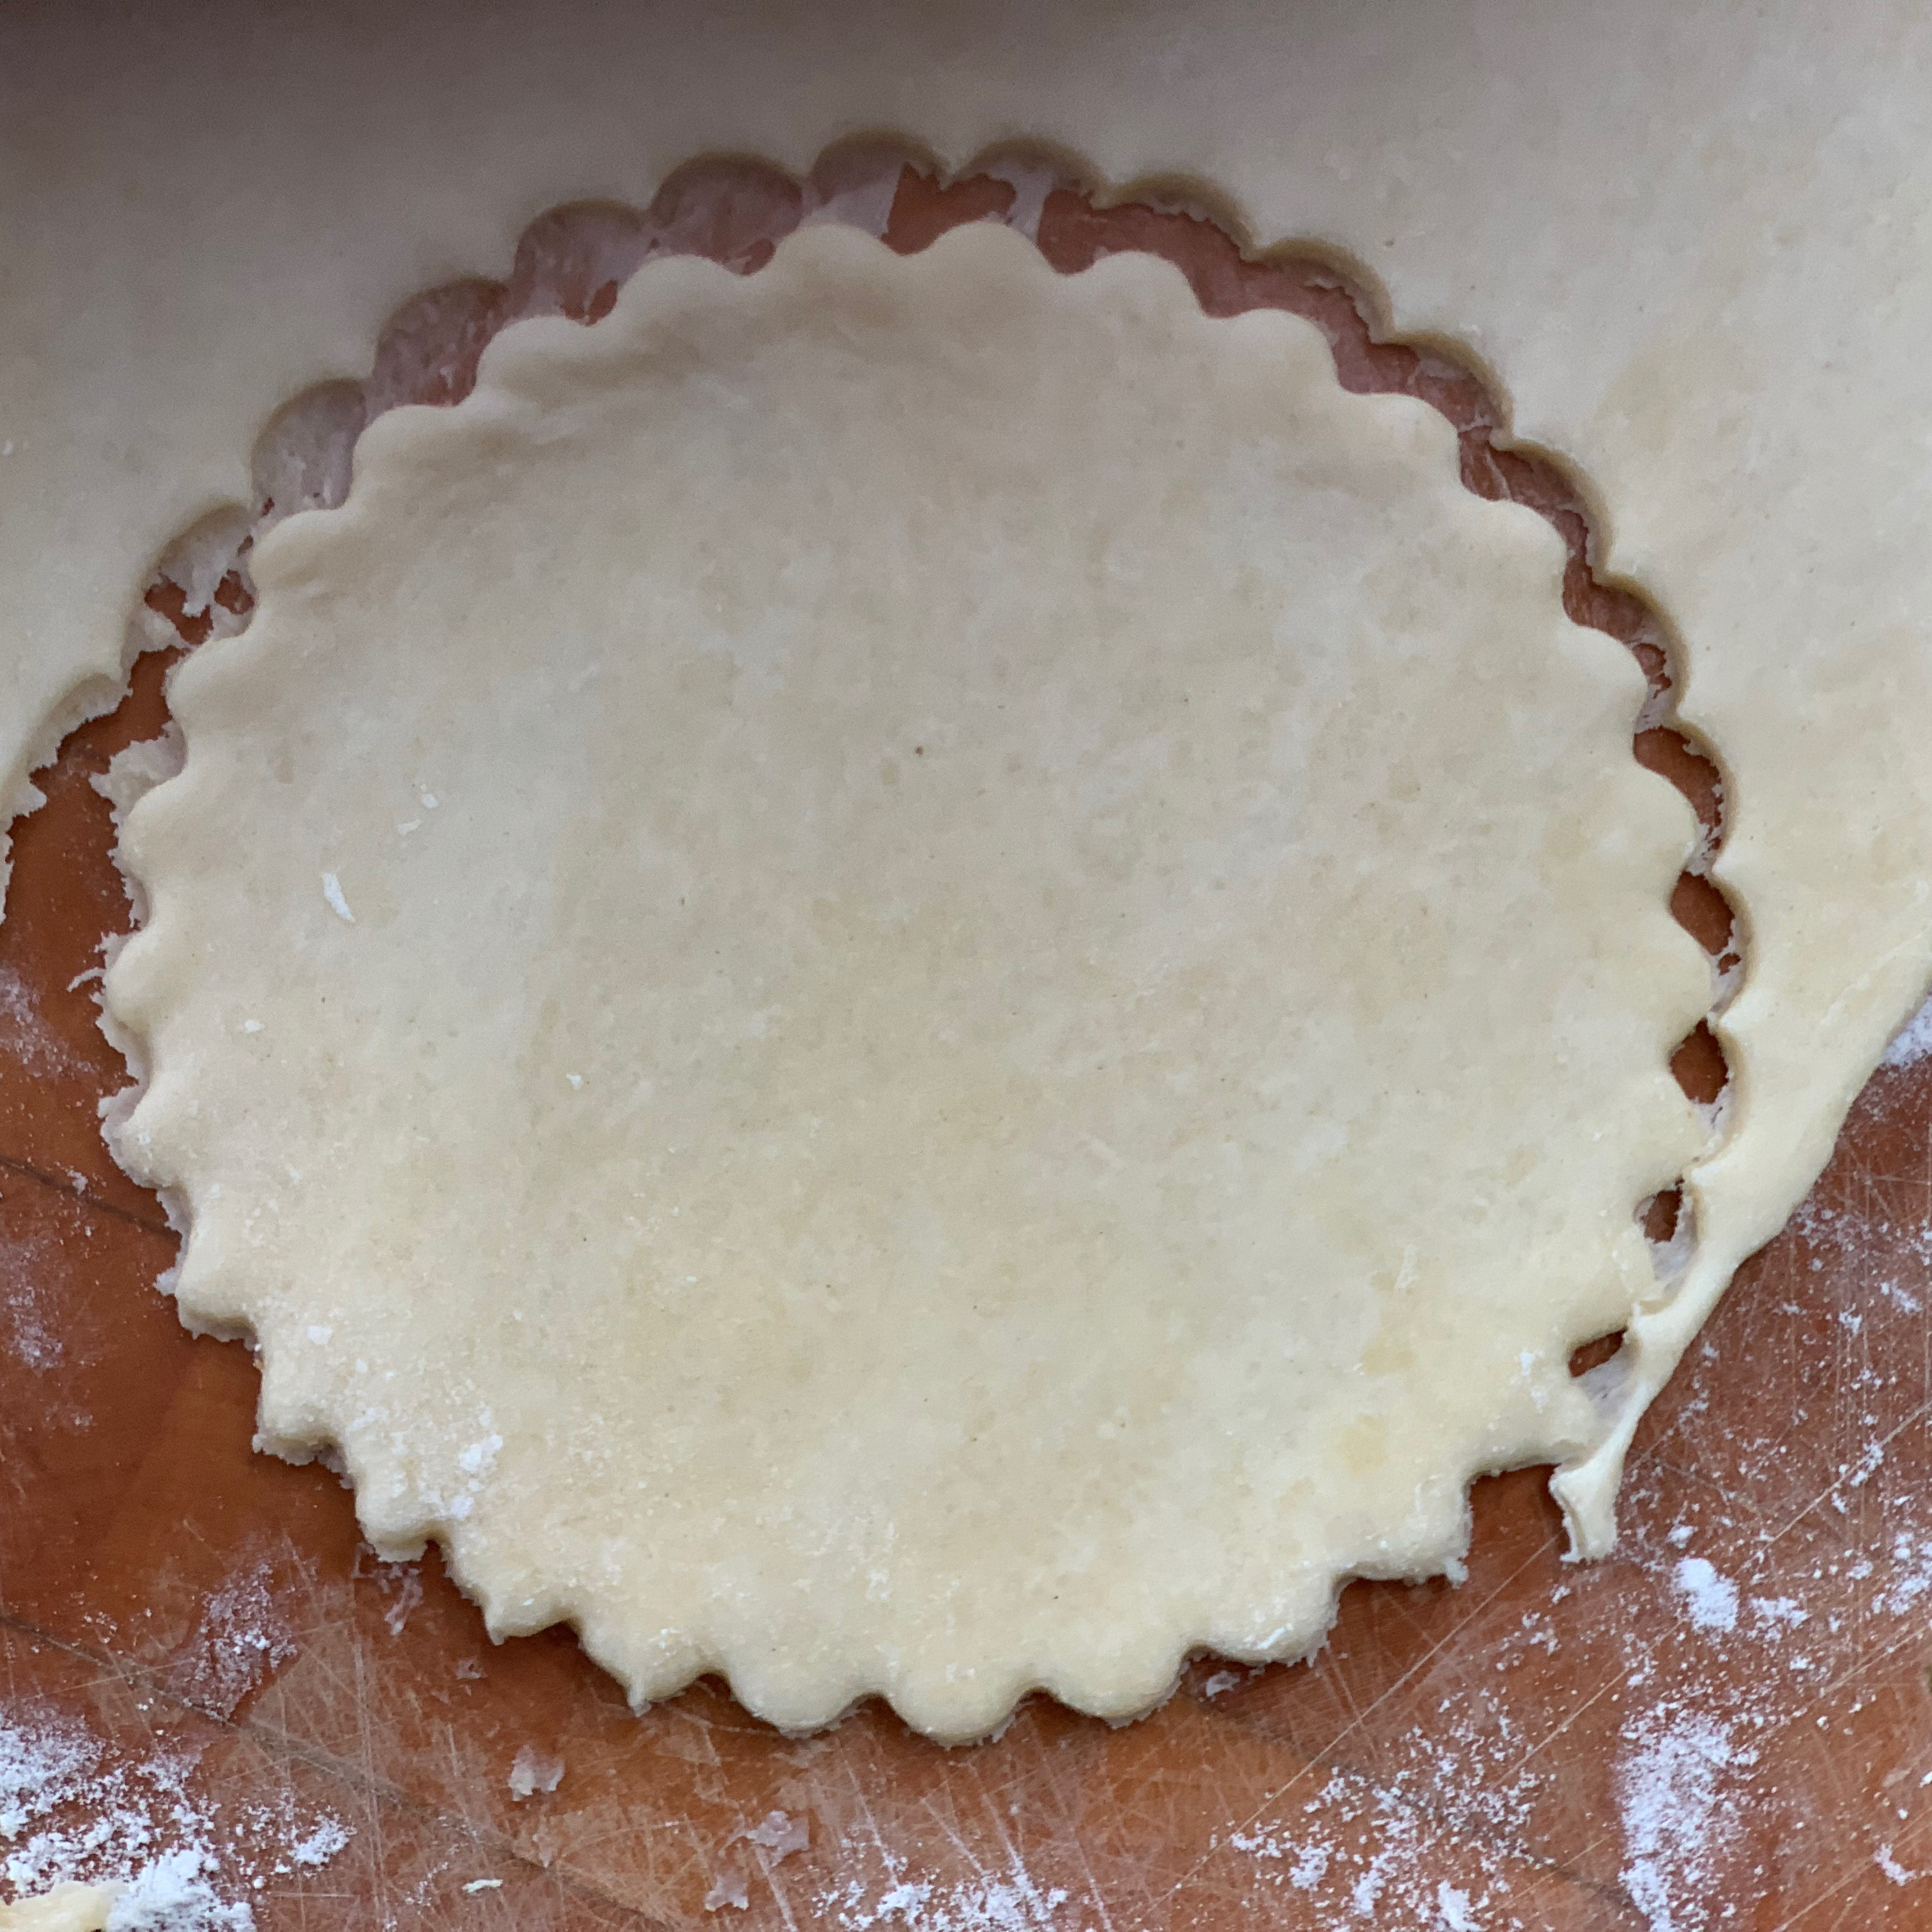
Roll out your pastry thinly and cut out a circle around 12cm in diameter – you’ll be trying to get six tartlets out of each of your two balls of dough. Use the cutting tool of your choice: mine was an inverted fluted tartlet tin which happened to be the right size.
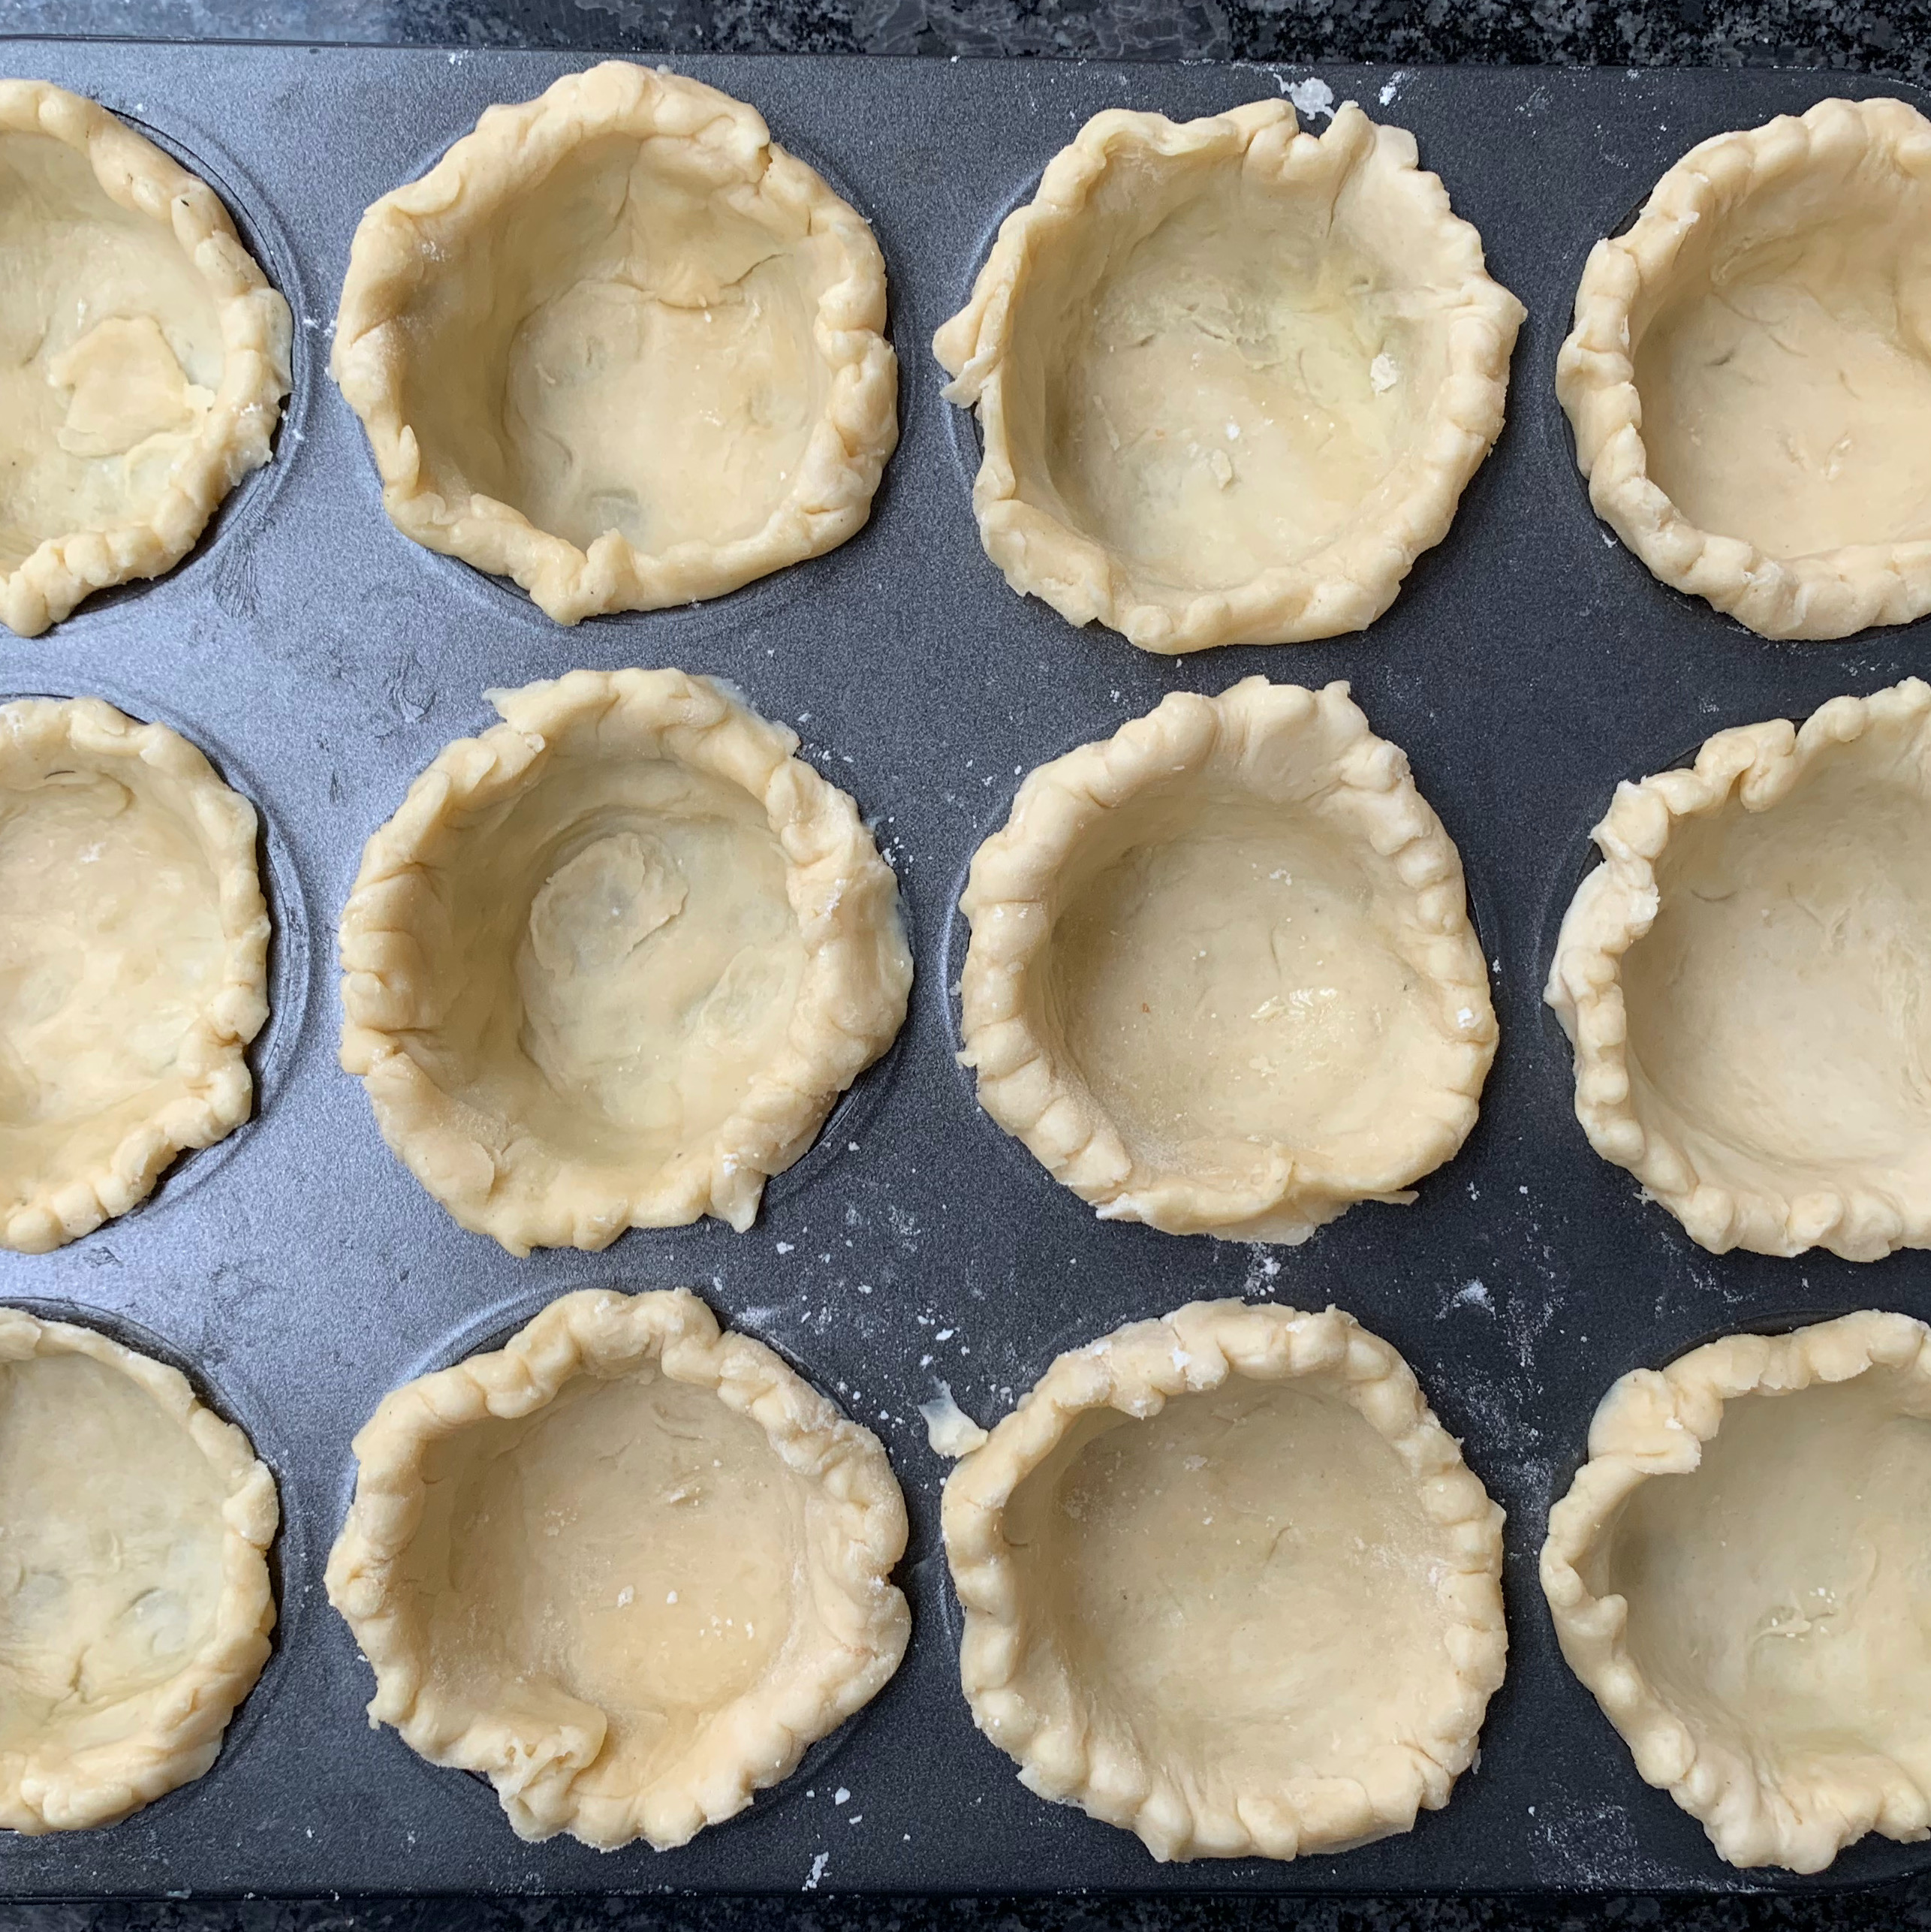
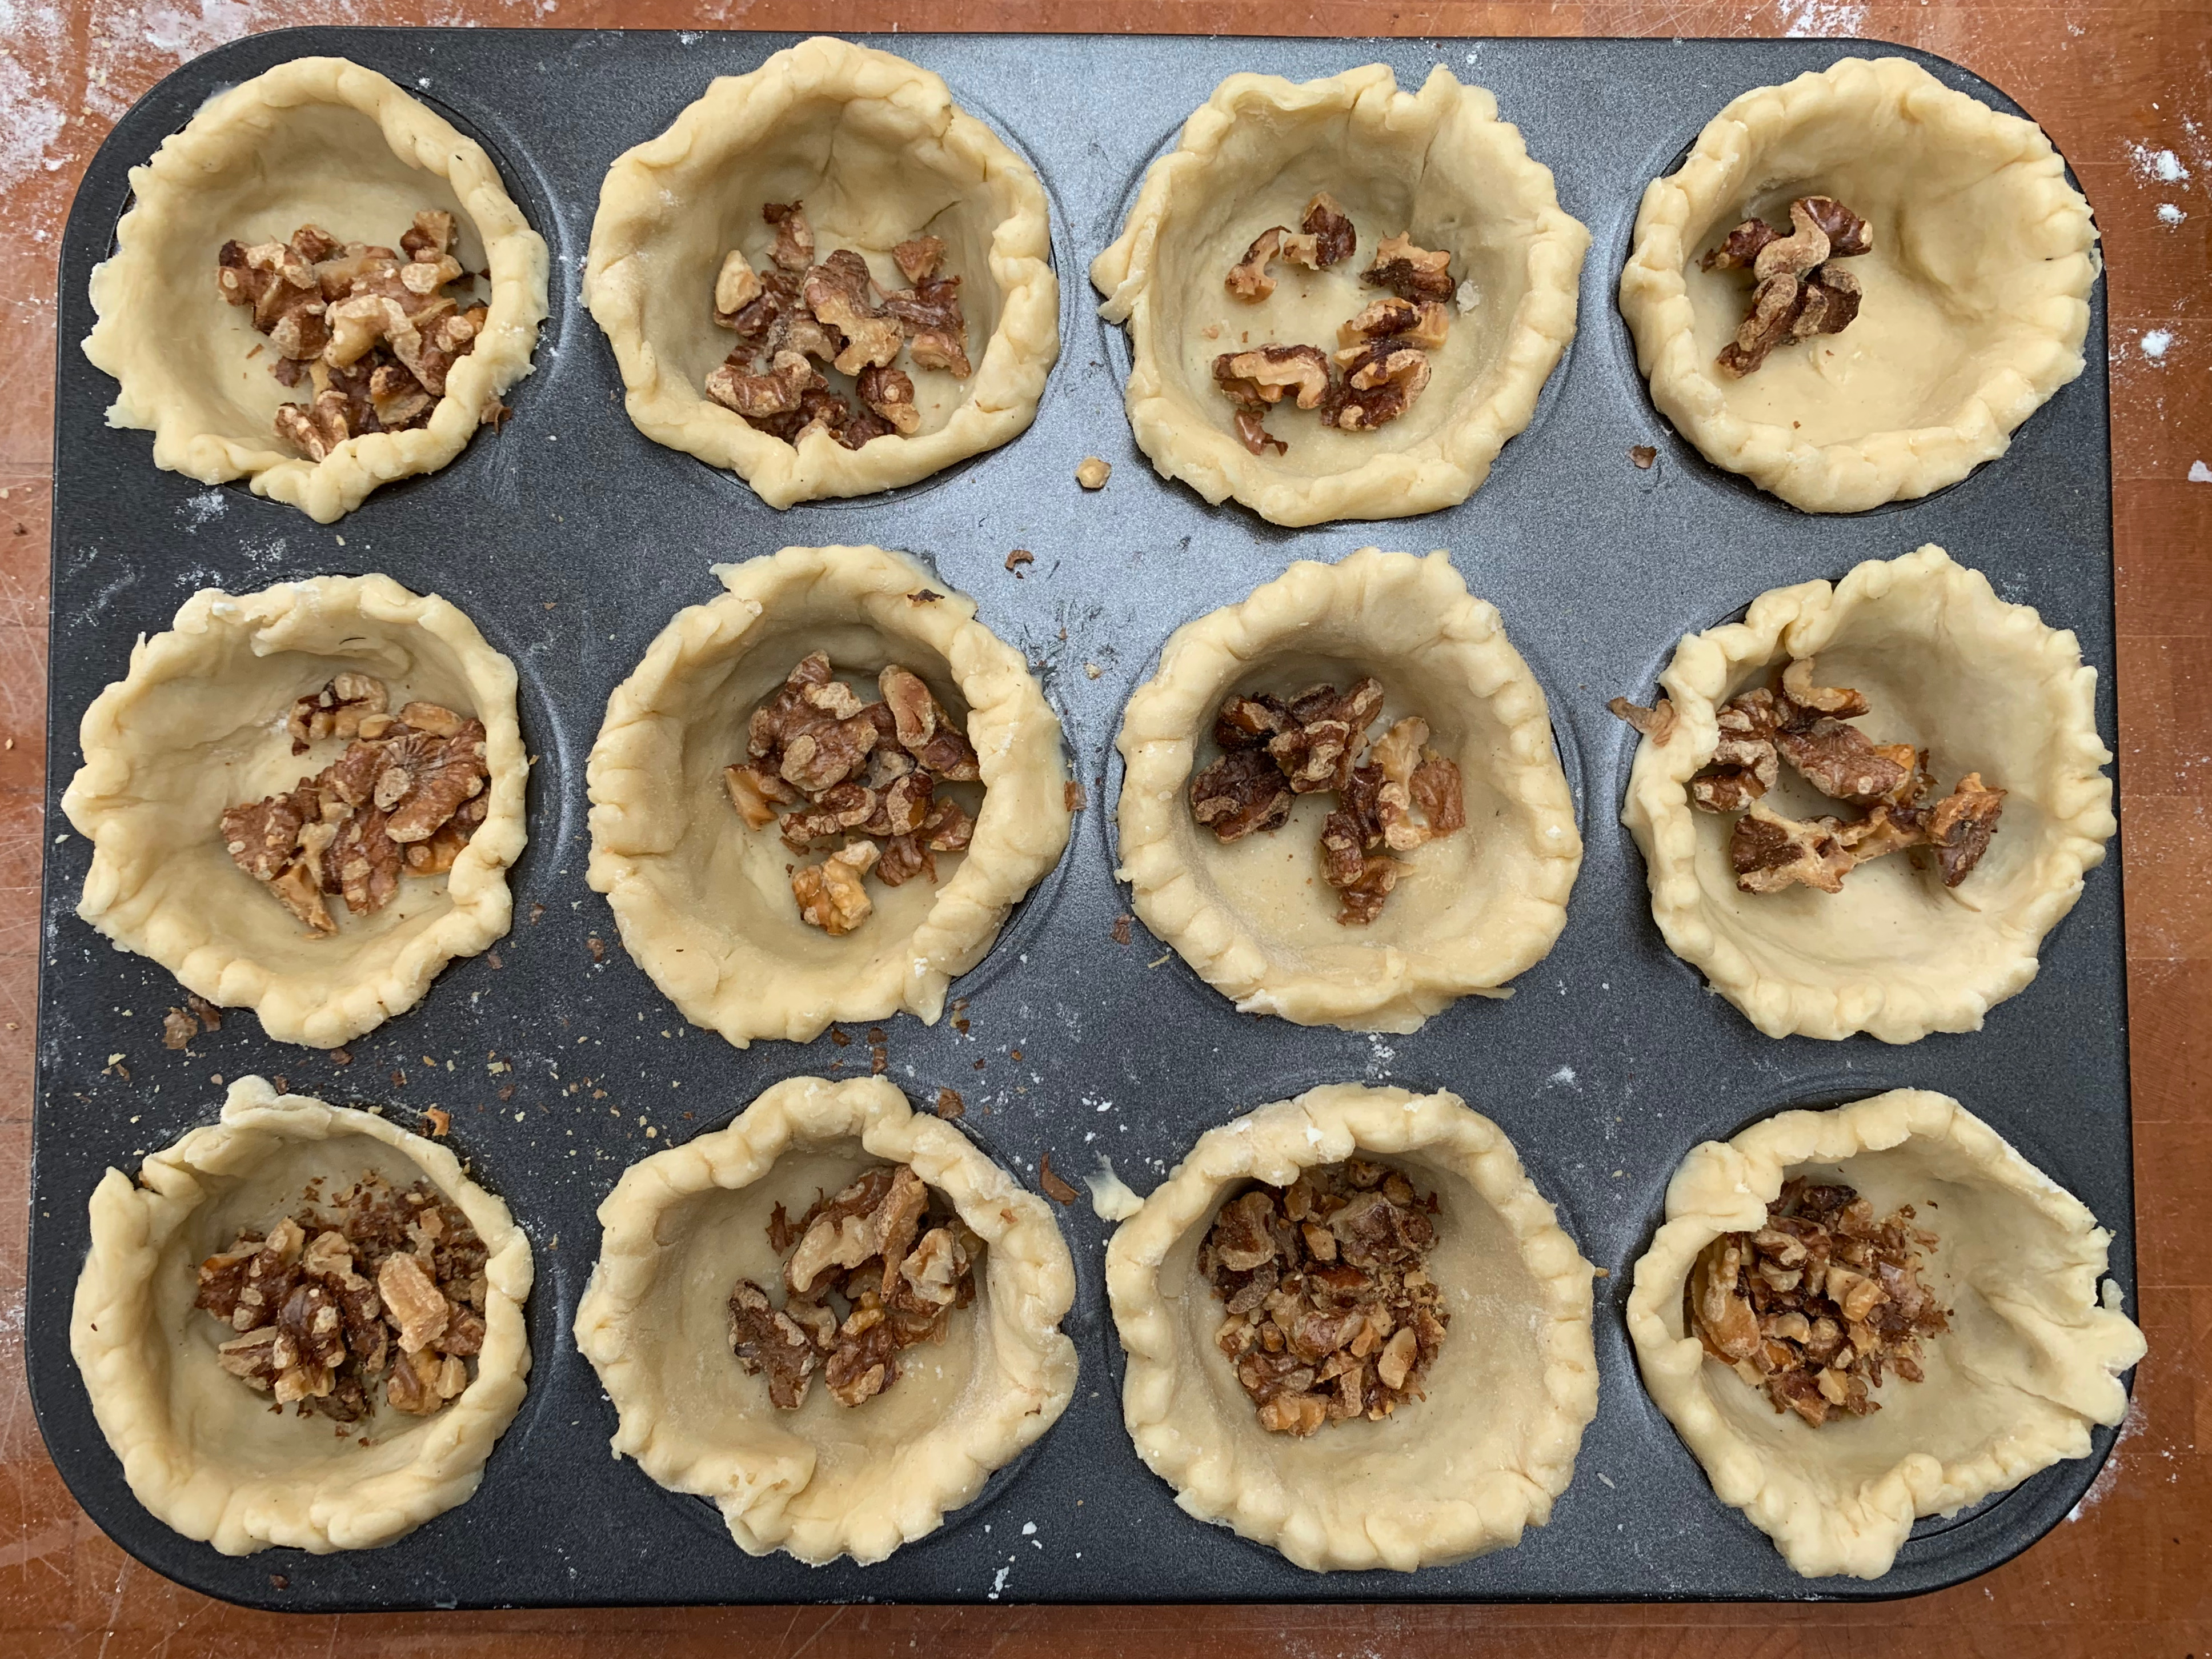
Press your circle of pastry into one of the muffin shapes, allowing the edges to sit above the level of the tin. The key here is to press the pastry down into the tin so that there isn’t any air trapped, and to try to stop the filling from leaking out over the sides.
Repeat for the other eleven tarts.
Put the tarts into the fridge until you’ve made the filling.
Filling and assembling the tarts
100g walnuts or pecans
2 eggs
170g maple syrup
15ml lemon juice (around half a lemon)
2g salt
Vanilla essence to taste
100g butter
200g sugar
Preheat oven to 200℃ fan.
Place walnuts in a roasting tray and toast until fragrant but not burnt, around 5-10 minutes. Leave to cool.
Put eggs, maple syrup, lemon juice, salt and vanilla into the bowl of your stand mixer and whisk briefly with a balloon whisk at top speed.
Put butter and sugar into a saucepan and cook over medium heat until the two elements have completely combined and the mixture has started frothing.
Turn the mixer back up to full speed, and gradually drizzle the hot filling into the mixture, whisking continuously.
Divide the chopped walnuts into your twelve tartlets.
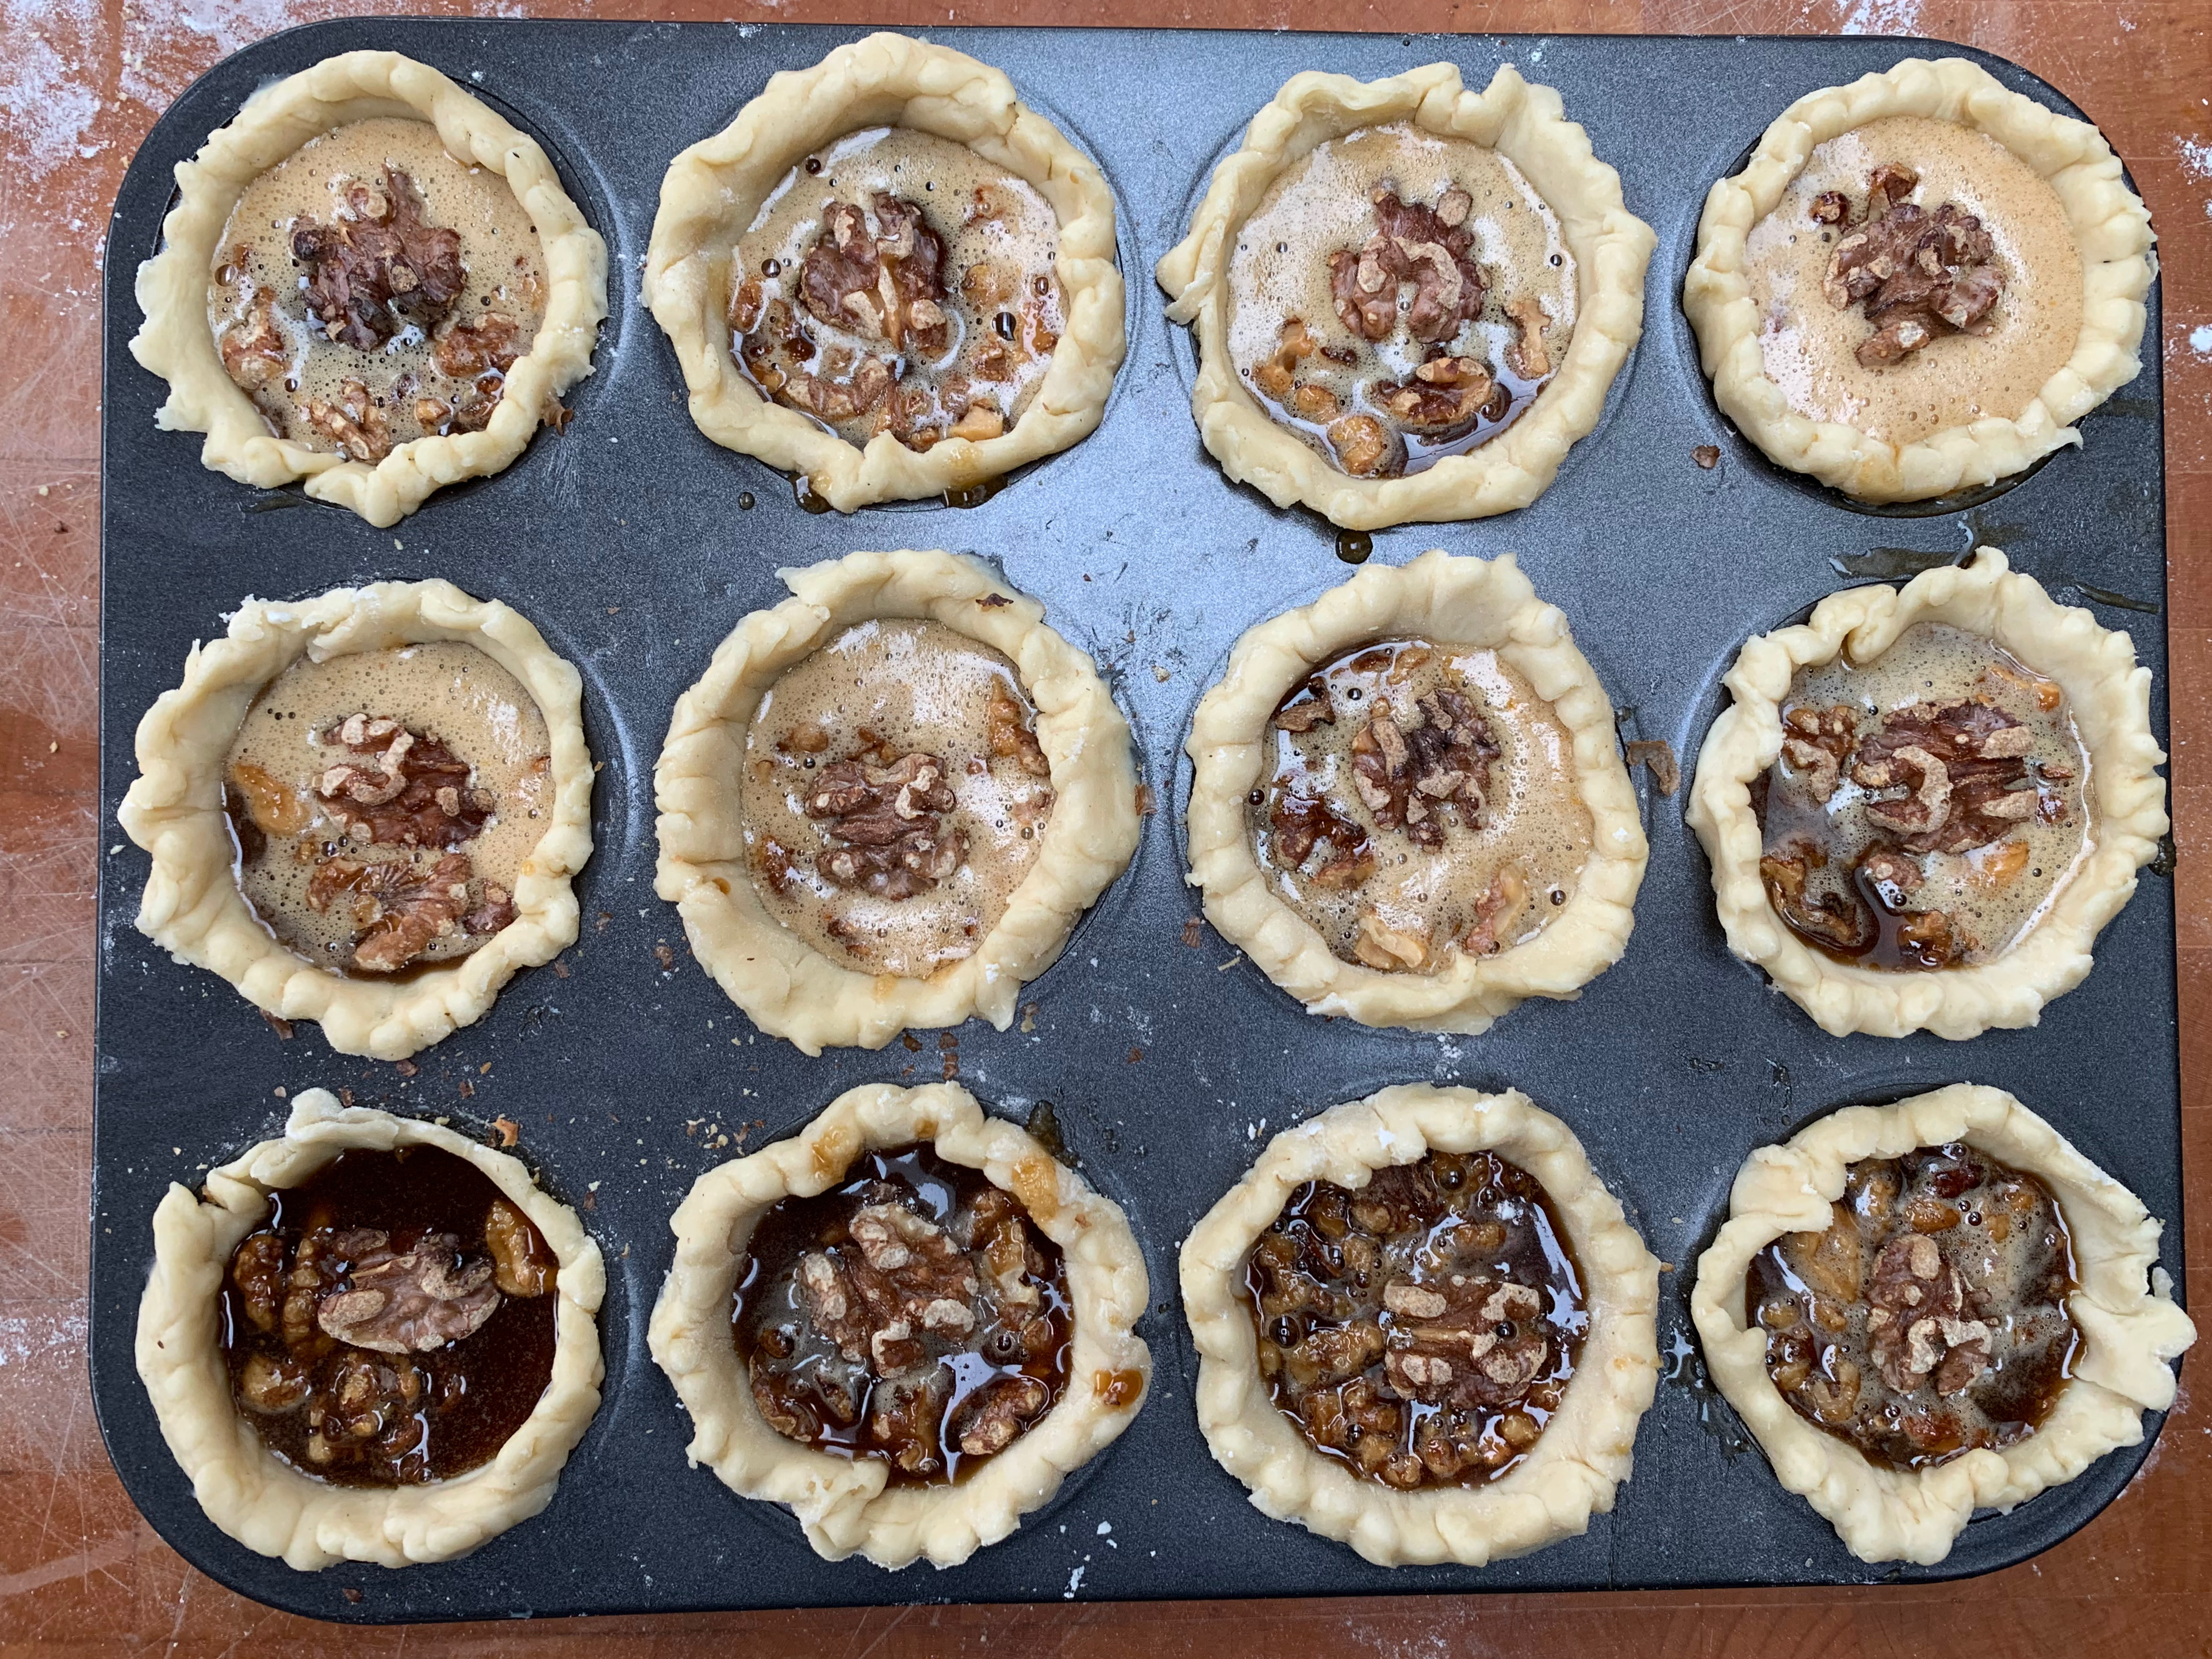
Pour the filling into the twelve tartlets.
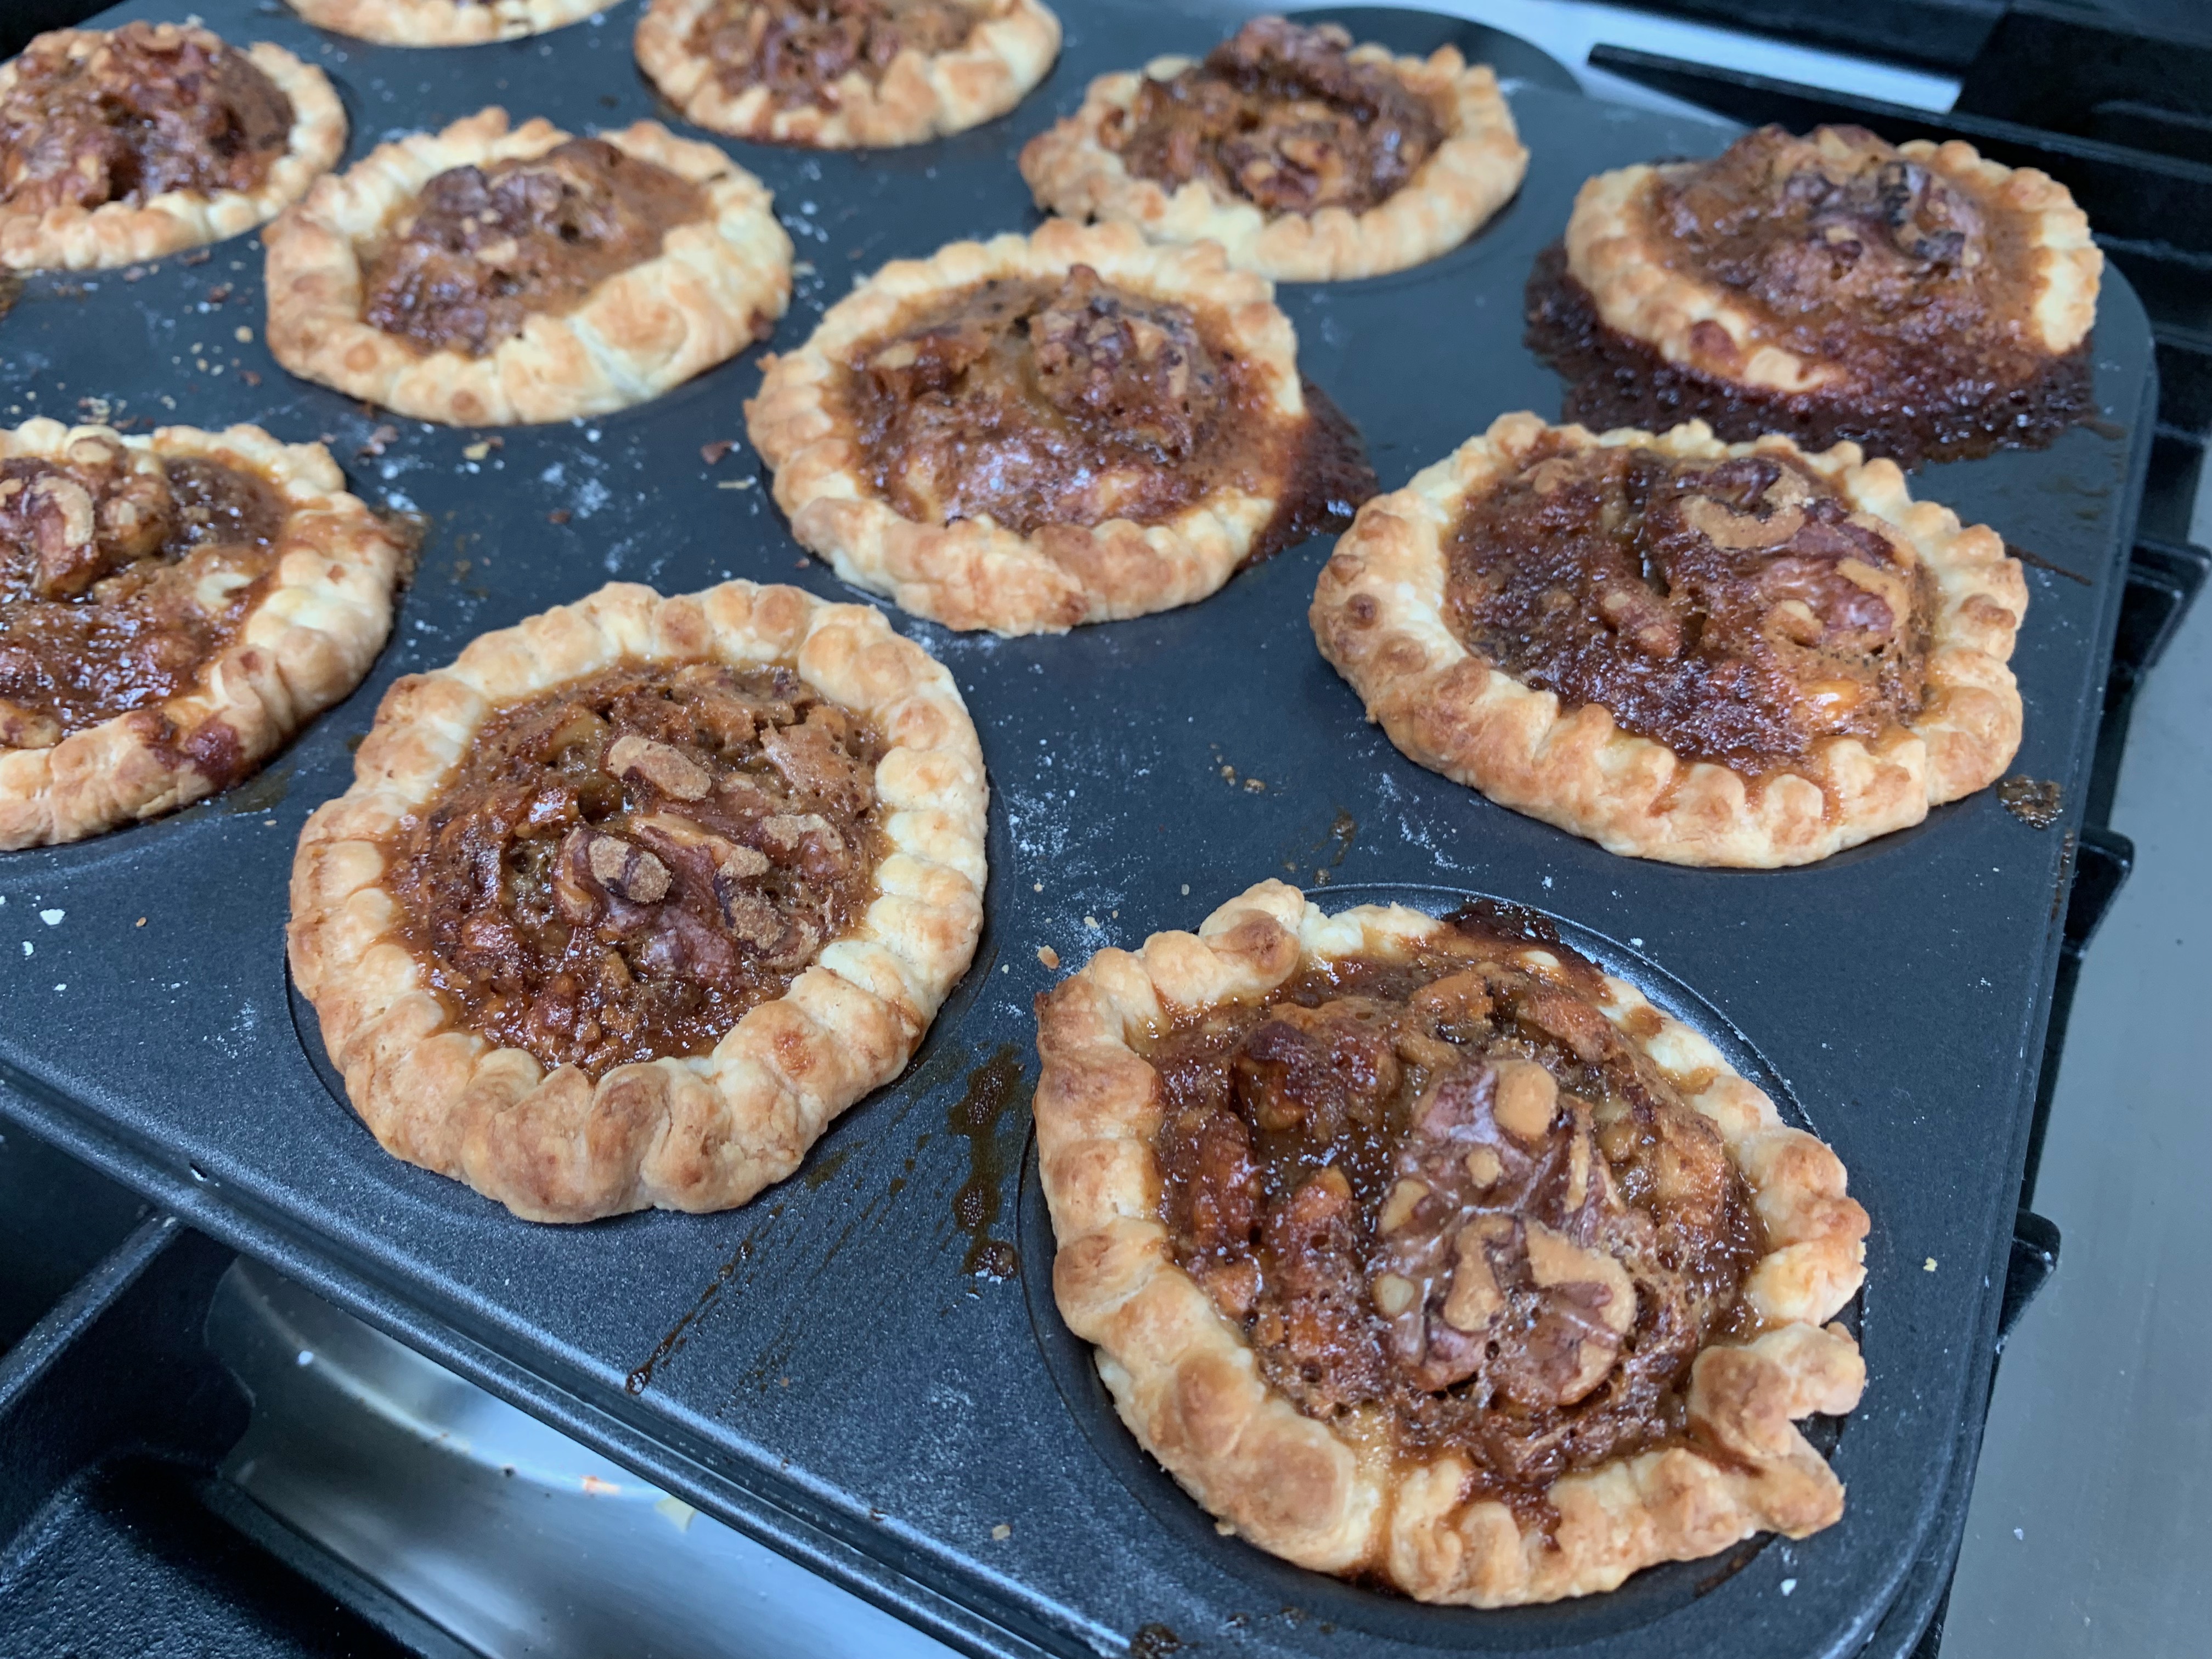
Bake for 10 minutes, the reduce the temperature to 175℃ fan, then bake for another 15 minutes, then leave to cool.
At the end of the day, there are only so many basic ways in which you can wrap a piece of dough around a filling, so it’s unsurprising that lots of different cultures have their equivalent of a filled turnover. The Spanish version, which is ubiquitous in Spain and Latin America, is the Empanada. The verb empañar just means to wrap or cover and in no way specifies what the thing is that you’re covering: it can be sweet or savoury, meaty, cheesy or veggie, sticky or chunky.
I could have picked any Latin country for this bake, but I’ve gone East to the Philippines, where they’re extremely fond of their empanadas. What follows is an amalgam of several Filipino recipes: feel free to choose minced pork or shredded chicken in place of the beef, use butter or vegetable shortening in place of the lard and/or play whatever games you fancy with the flavourings: I’ve kept things to a mild, faintly Far Eastern kind of feel.
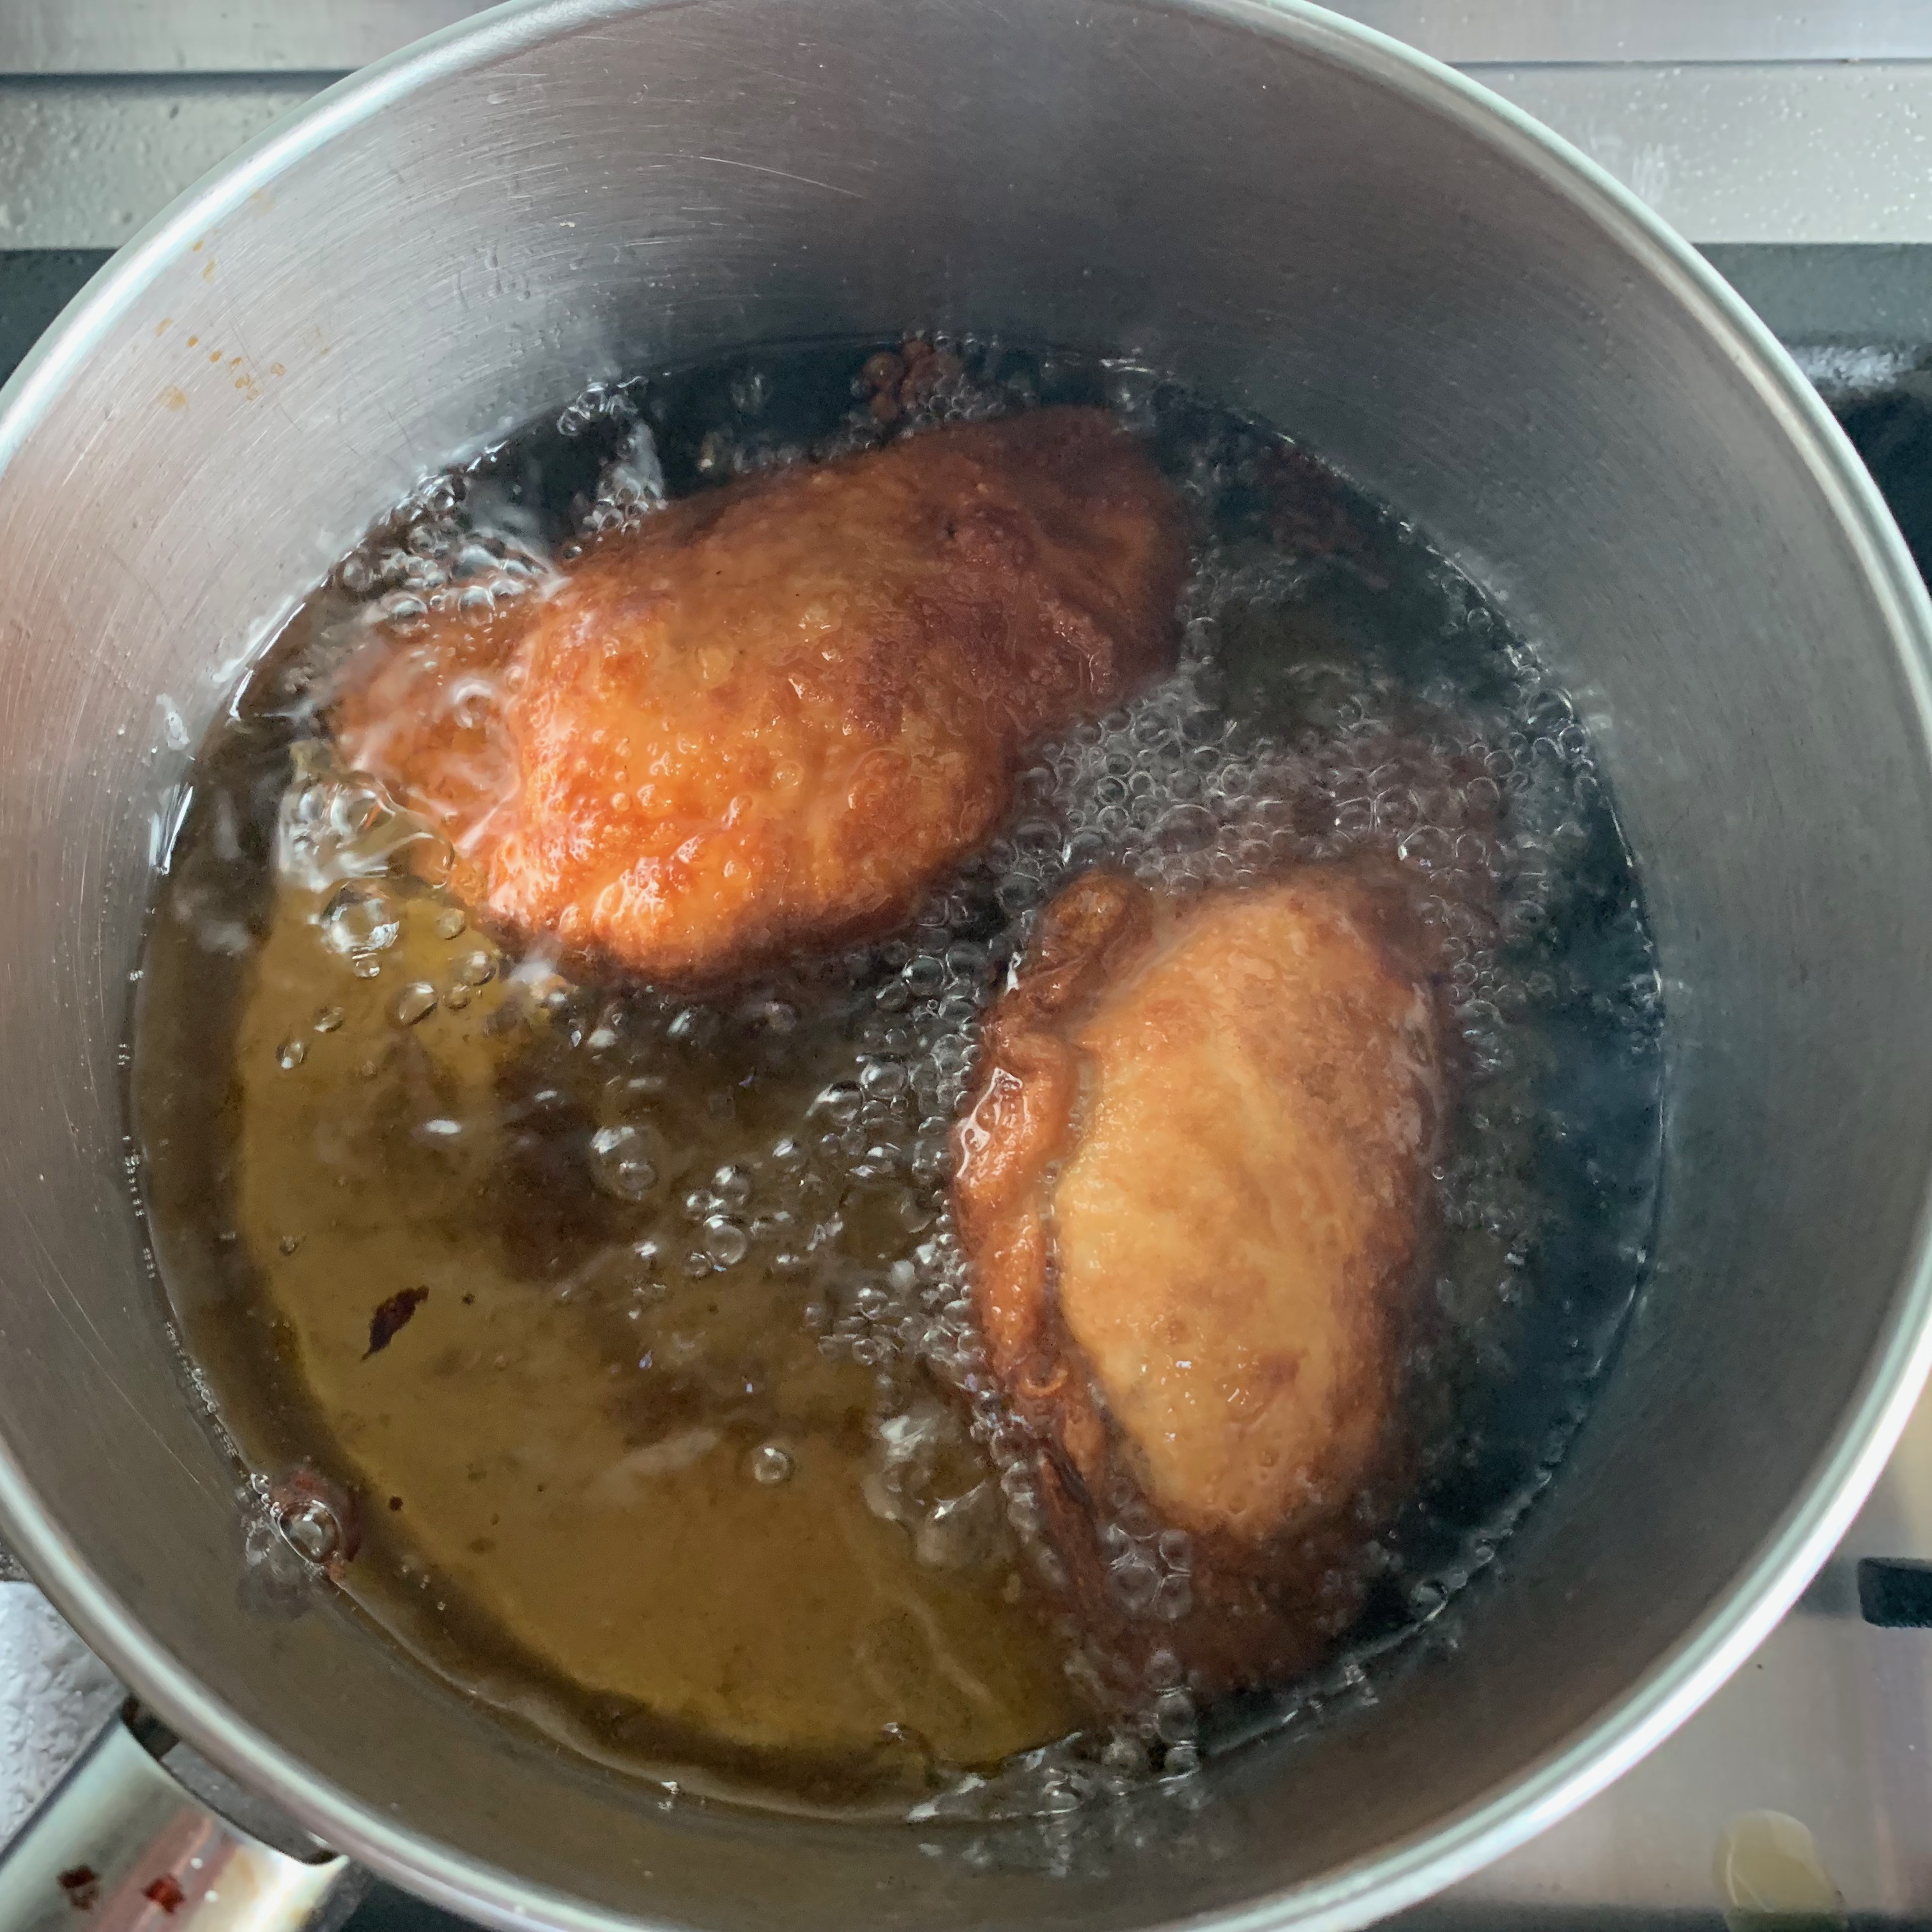
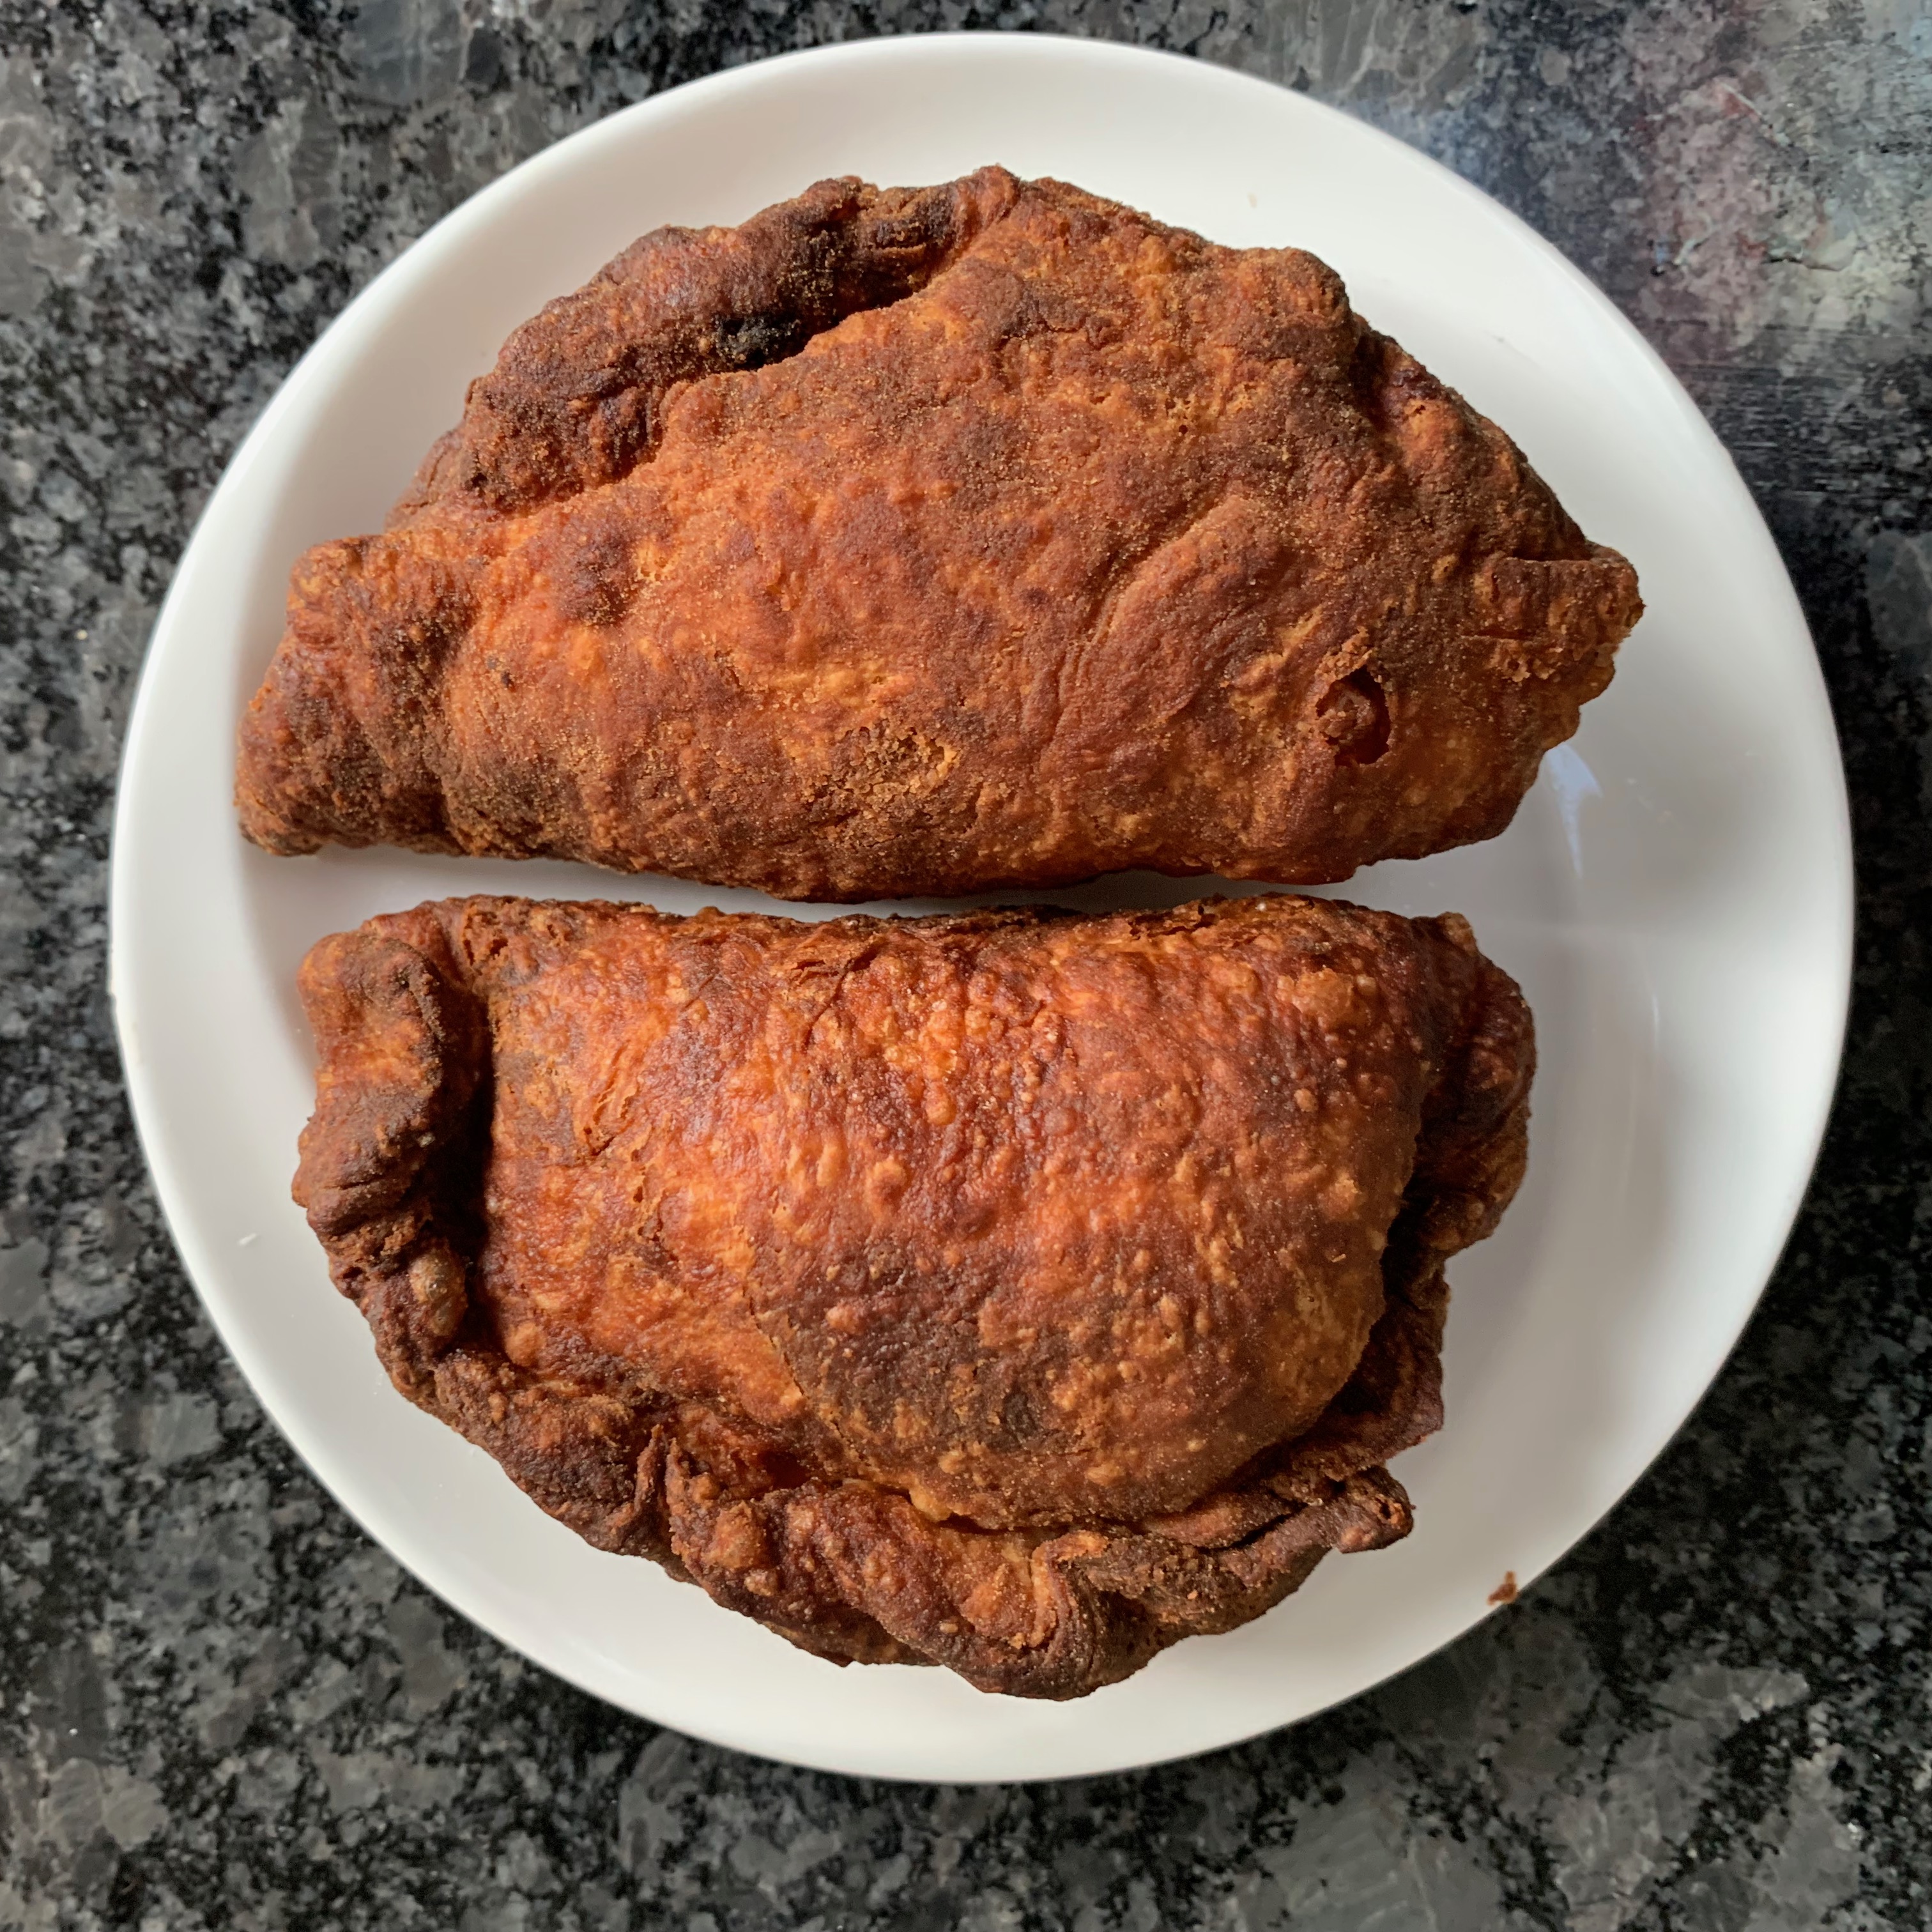
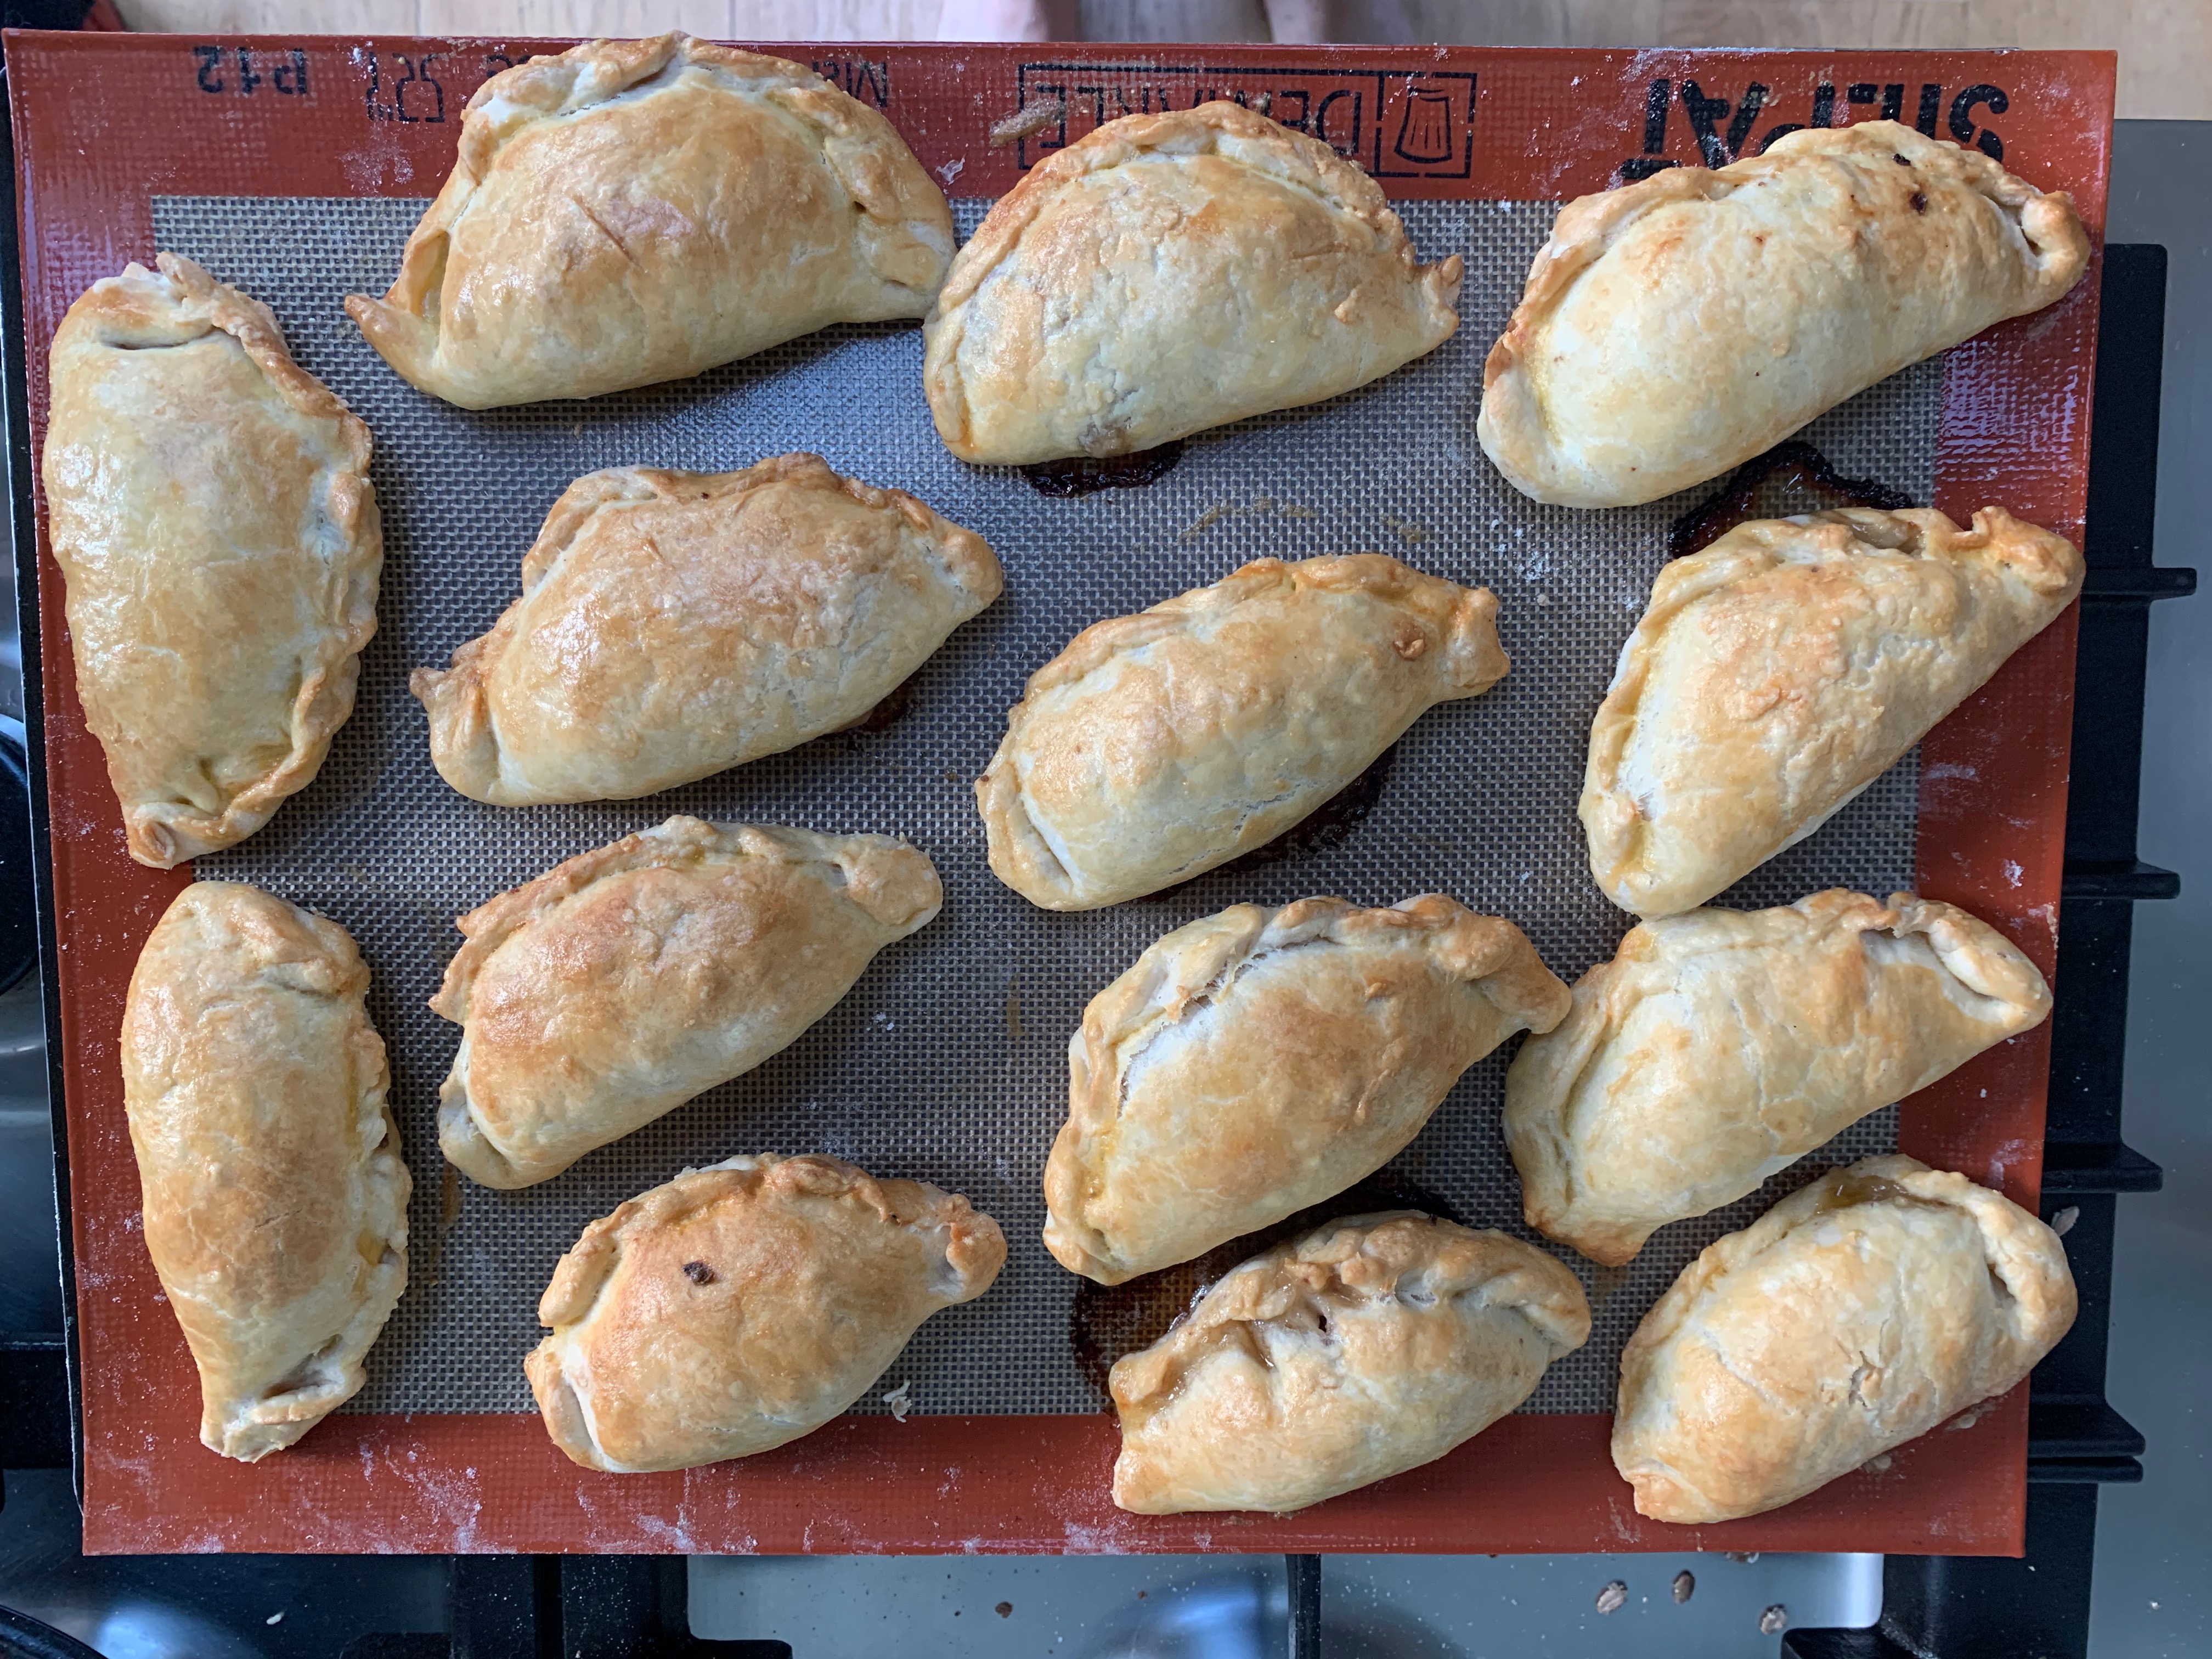
Empanadas can be baked or deep fried. I baked mine, although I deep fried two of them for comparison. Both were nice: I preferred the deep fried version for flavour, but the baked one had a nice flaky texture that gets lost in deep frier. Eat a couple of them with some salad for a light supper, or they make a fantastic savoury snack dish.
The filling
All the weights given here are net weights after peeling. Having said which, the exact amounts really aren’t critical: there’s no point in following them slavishly and it’s far more important that you taste the filling and get it seasoned the way you want.
The filling is best made well in advance – you want it completely cold when you actually start assembling the empanadas.
Sunflower or other neutral oil for frying
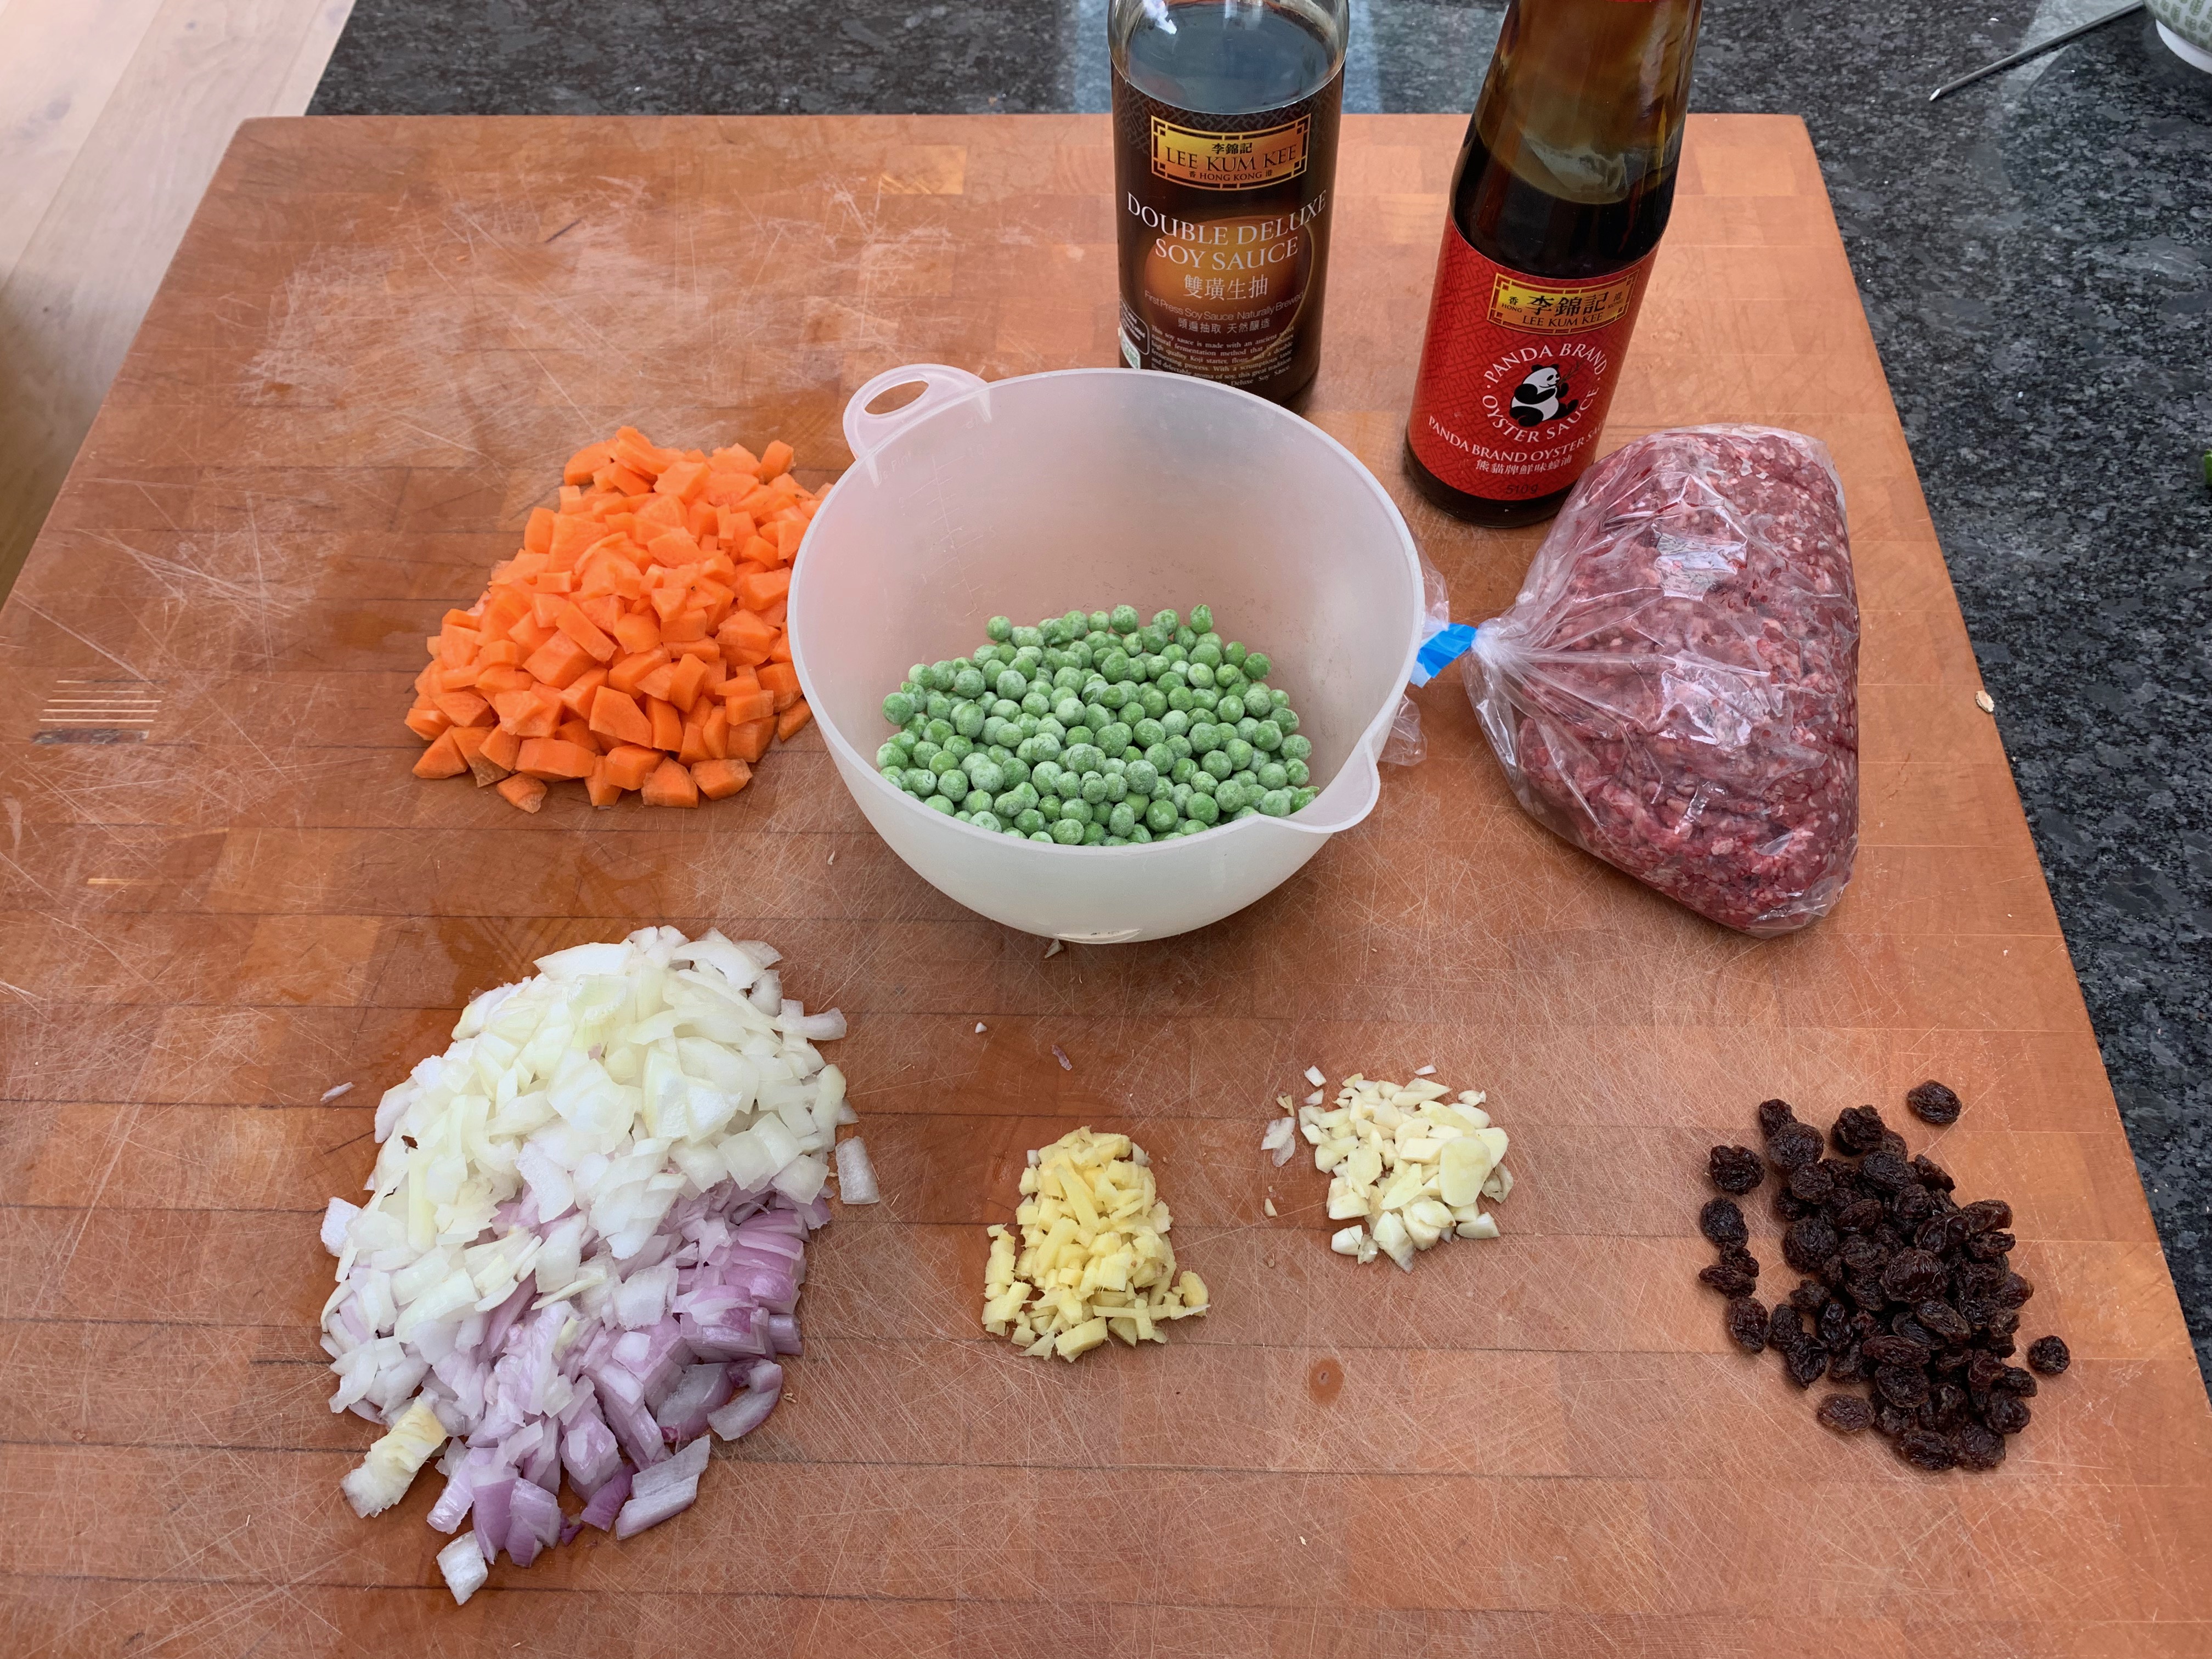
180g onion (around one medium to large onion)
12g ginger
10g garlic
500g minced beef
180g carrots (two medium to large carrots)
1 tbs dark soy sauce
2 tbs oyster sauce
Sichuan peppercorns to taste (perhaps a teaspoon) – substitute with black pepper, paprika etc if you prefer
150g frozen peas
35g raisins: these are optional. Most Filipino recipes usually include them because they like a touch of sweetness, but others hate the idea.
Chili paste to taste (I used around a tablespoon of the stuff you get in jars from Chinese supermarkets – this is very much optional but I liked the extra slight kick)
Chop the onion, garlic, ginger and carrots, keeping them separate.
Pound the peppercorns in a pestle and mortar.
Heat oil and fry the onions on medium heat until transparent.
Add the garlic and ginger and fry for another minute or two.
Add the minced beef and keep stir-frying until you can’t obviously see any pinkness.
Add the carrots and stir fry for another five minutes or so.
Add the soy and oyster sauces and the Sichuan peppercorns, and stir some more.
Add frozen peas and raisins (if using), salt and Sichuan peppercorns, and cook the sauce until most of the liquid has evaporated.
Remove from the heat and cool thoroughly. Leave the filling uncovered for the first hour or so to ensure that surplus water evaporates: a wet filling results in the dreaded soggy bottom!
The dough
The quantities here made about 670g of pastry, so enough for 16 empanadas using 40g each, with a tiny bit to spare.
400g plain flour (if possible, use OO grade flour)
½ tsp baking powder
½ tsp salt
100g lard (keep chilled until use)
125ml water
1 egg
1 tsp vinegar
Combine flour, baking powder and salt in a bowl and stir until evenly mixed. (Some recipes add sugar to the dough – I really didn’t like that idea).
Cut the lard into very small cubes, tip them into the flour mix and work with your fingers until there are no big lumps of lard remaining and most of the flour has been absorbed.
Beat together the egg, vinegar and water and add to your flour mixture. Mix in until you have a smooth dough.
Knead the dough for five minutes or so until it is elastic and springs back when you press a dent into it with your thumb.
Form into a ball, cover and leave in the fridge to rest for 20-30 minutes.
Assembly and baking
More flour for dusting – you’ll need a surprisingly large amount
1 egg for the wash
Preheat oven to 180℃ fan (if deep frying, 180℃ is also a good temperature for your oil).
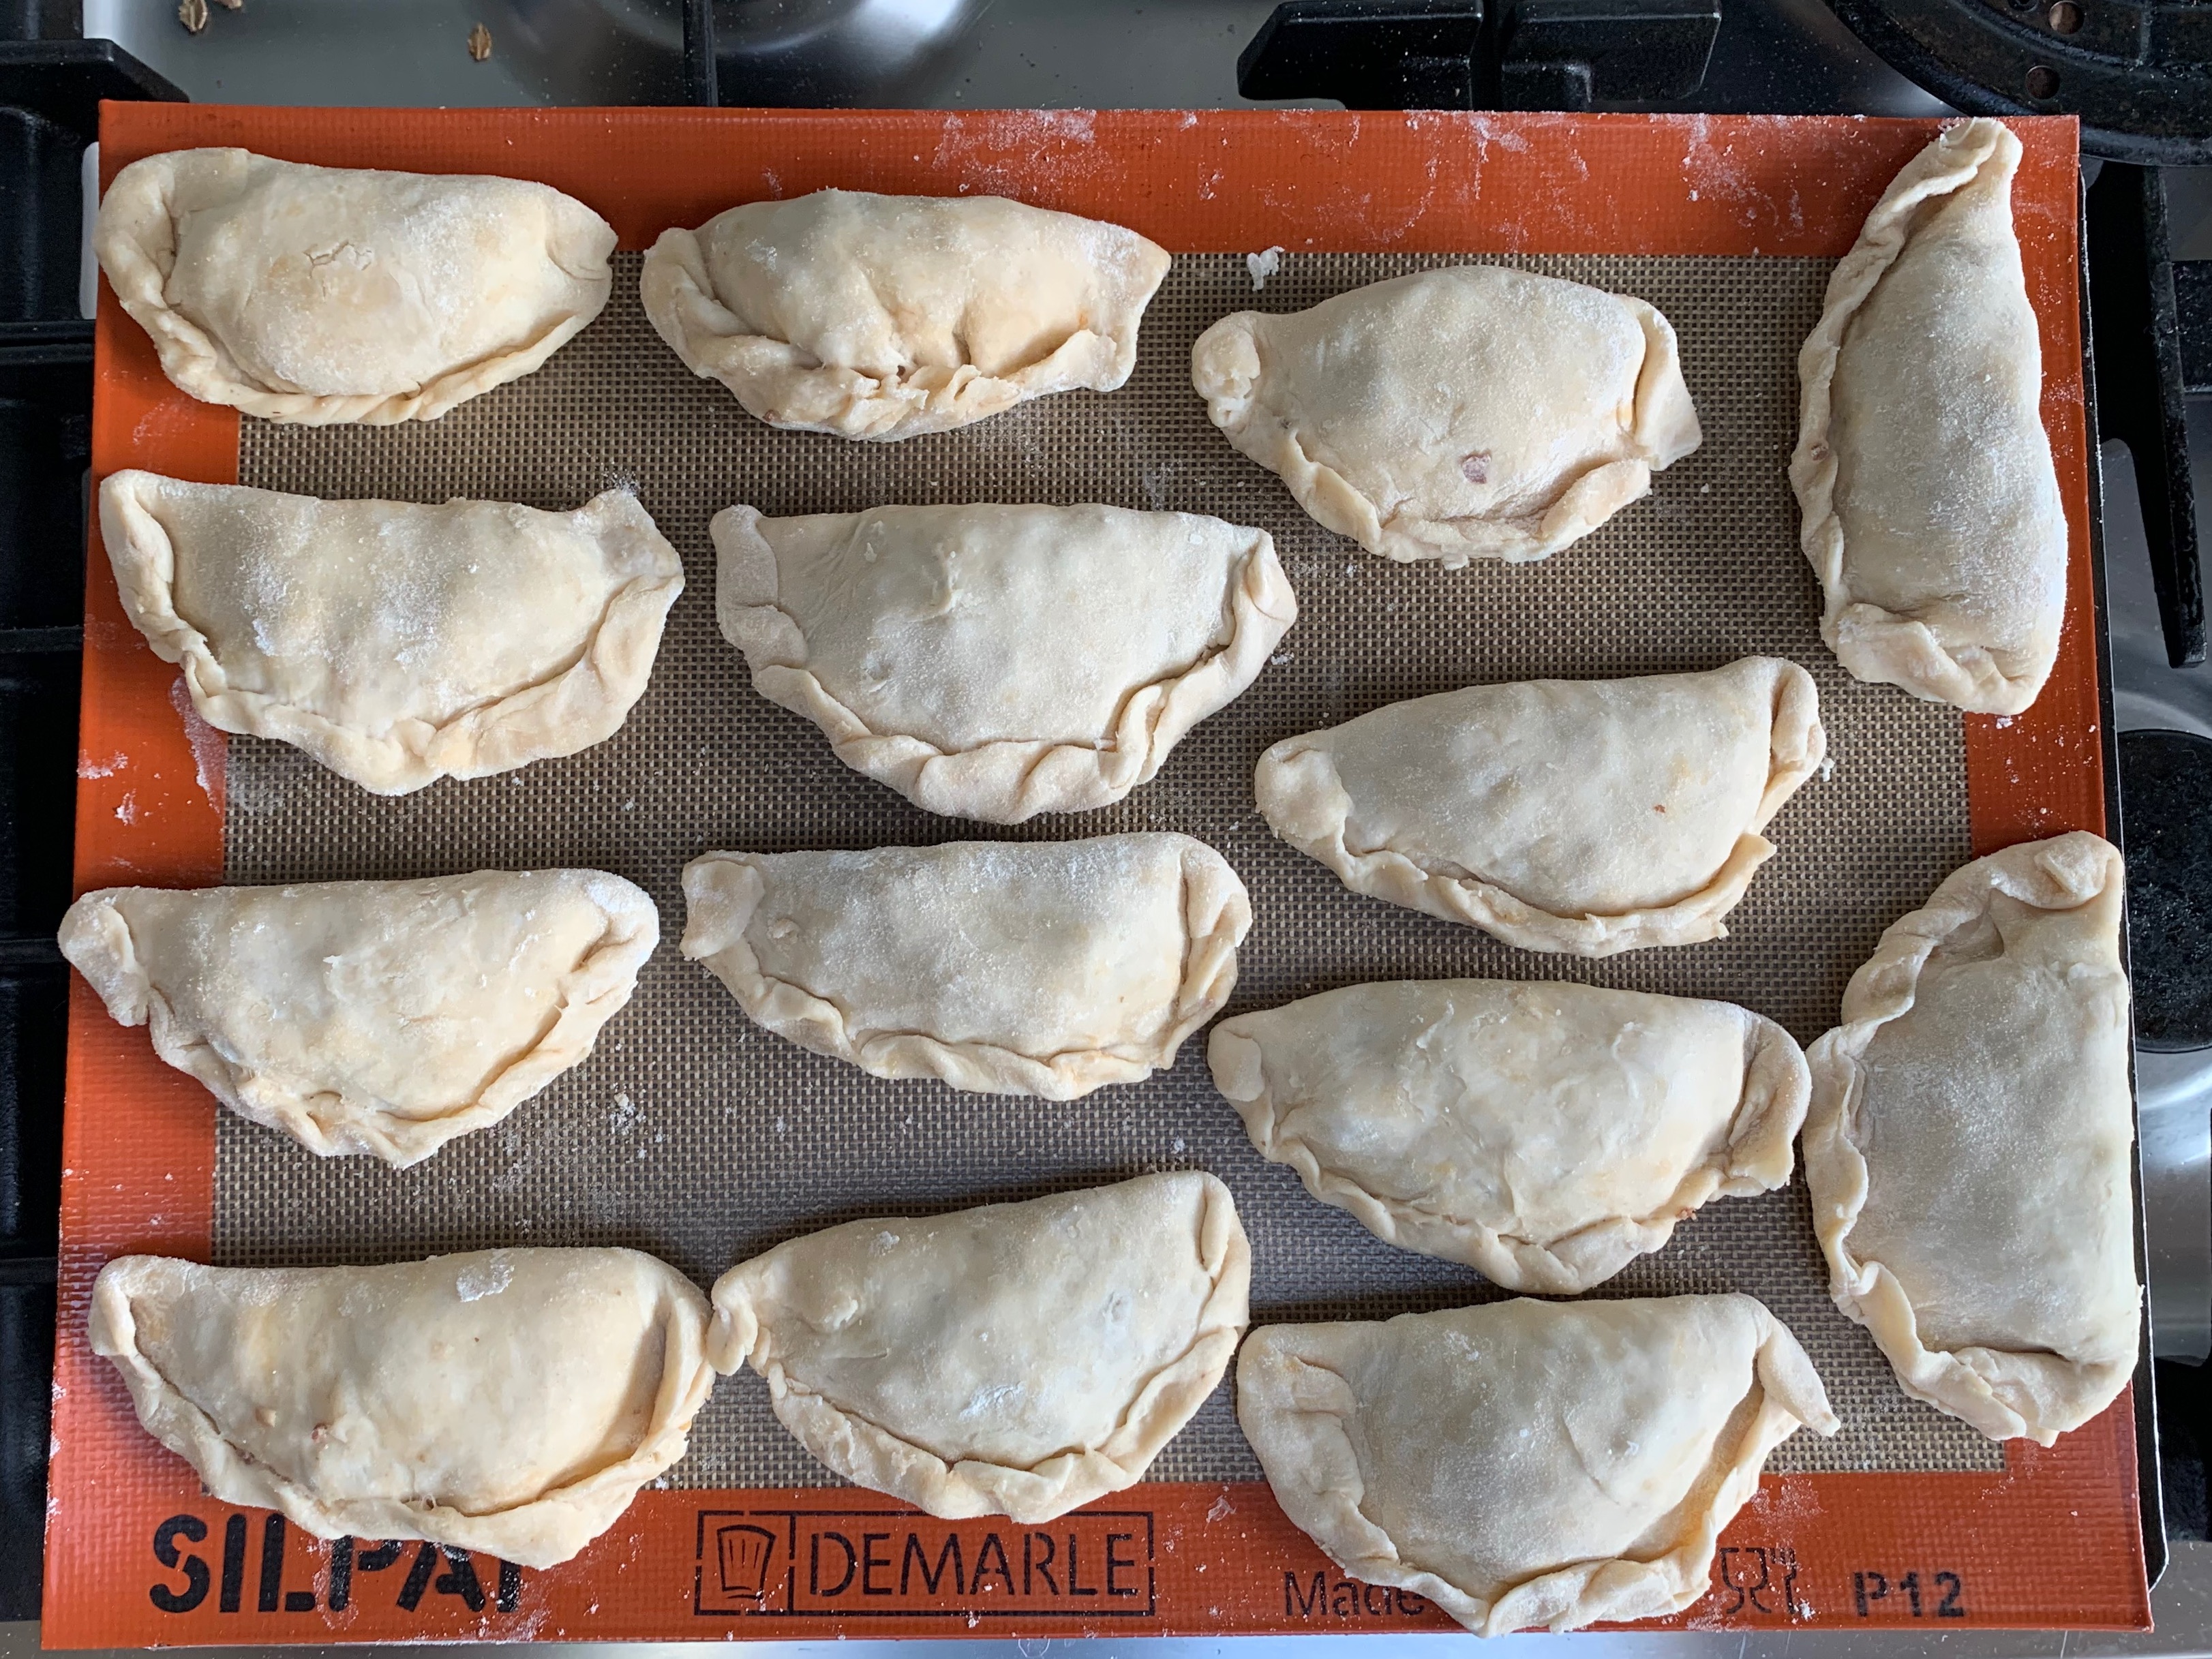
Cover a baking tray with a Silpat sheet if you have one, or baking paper if you don’t.
Flour your pastry board.
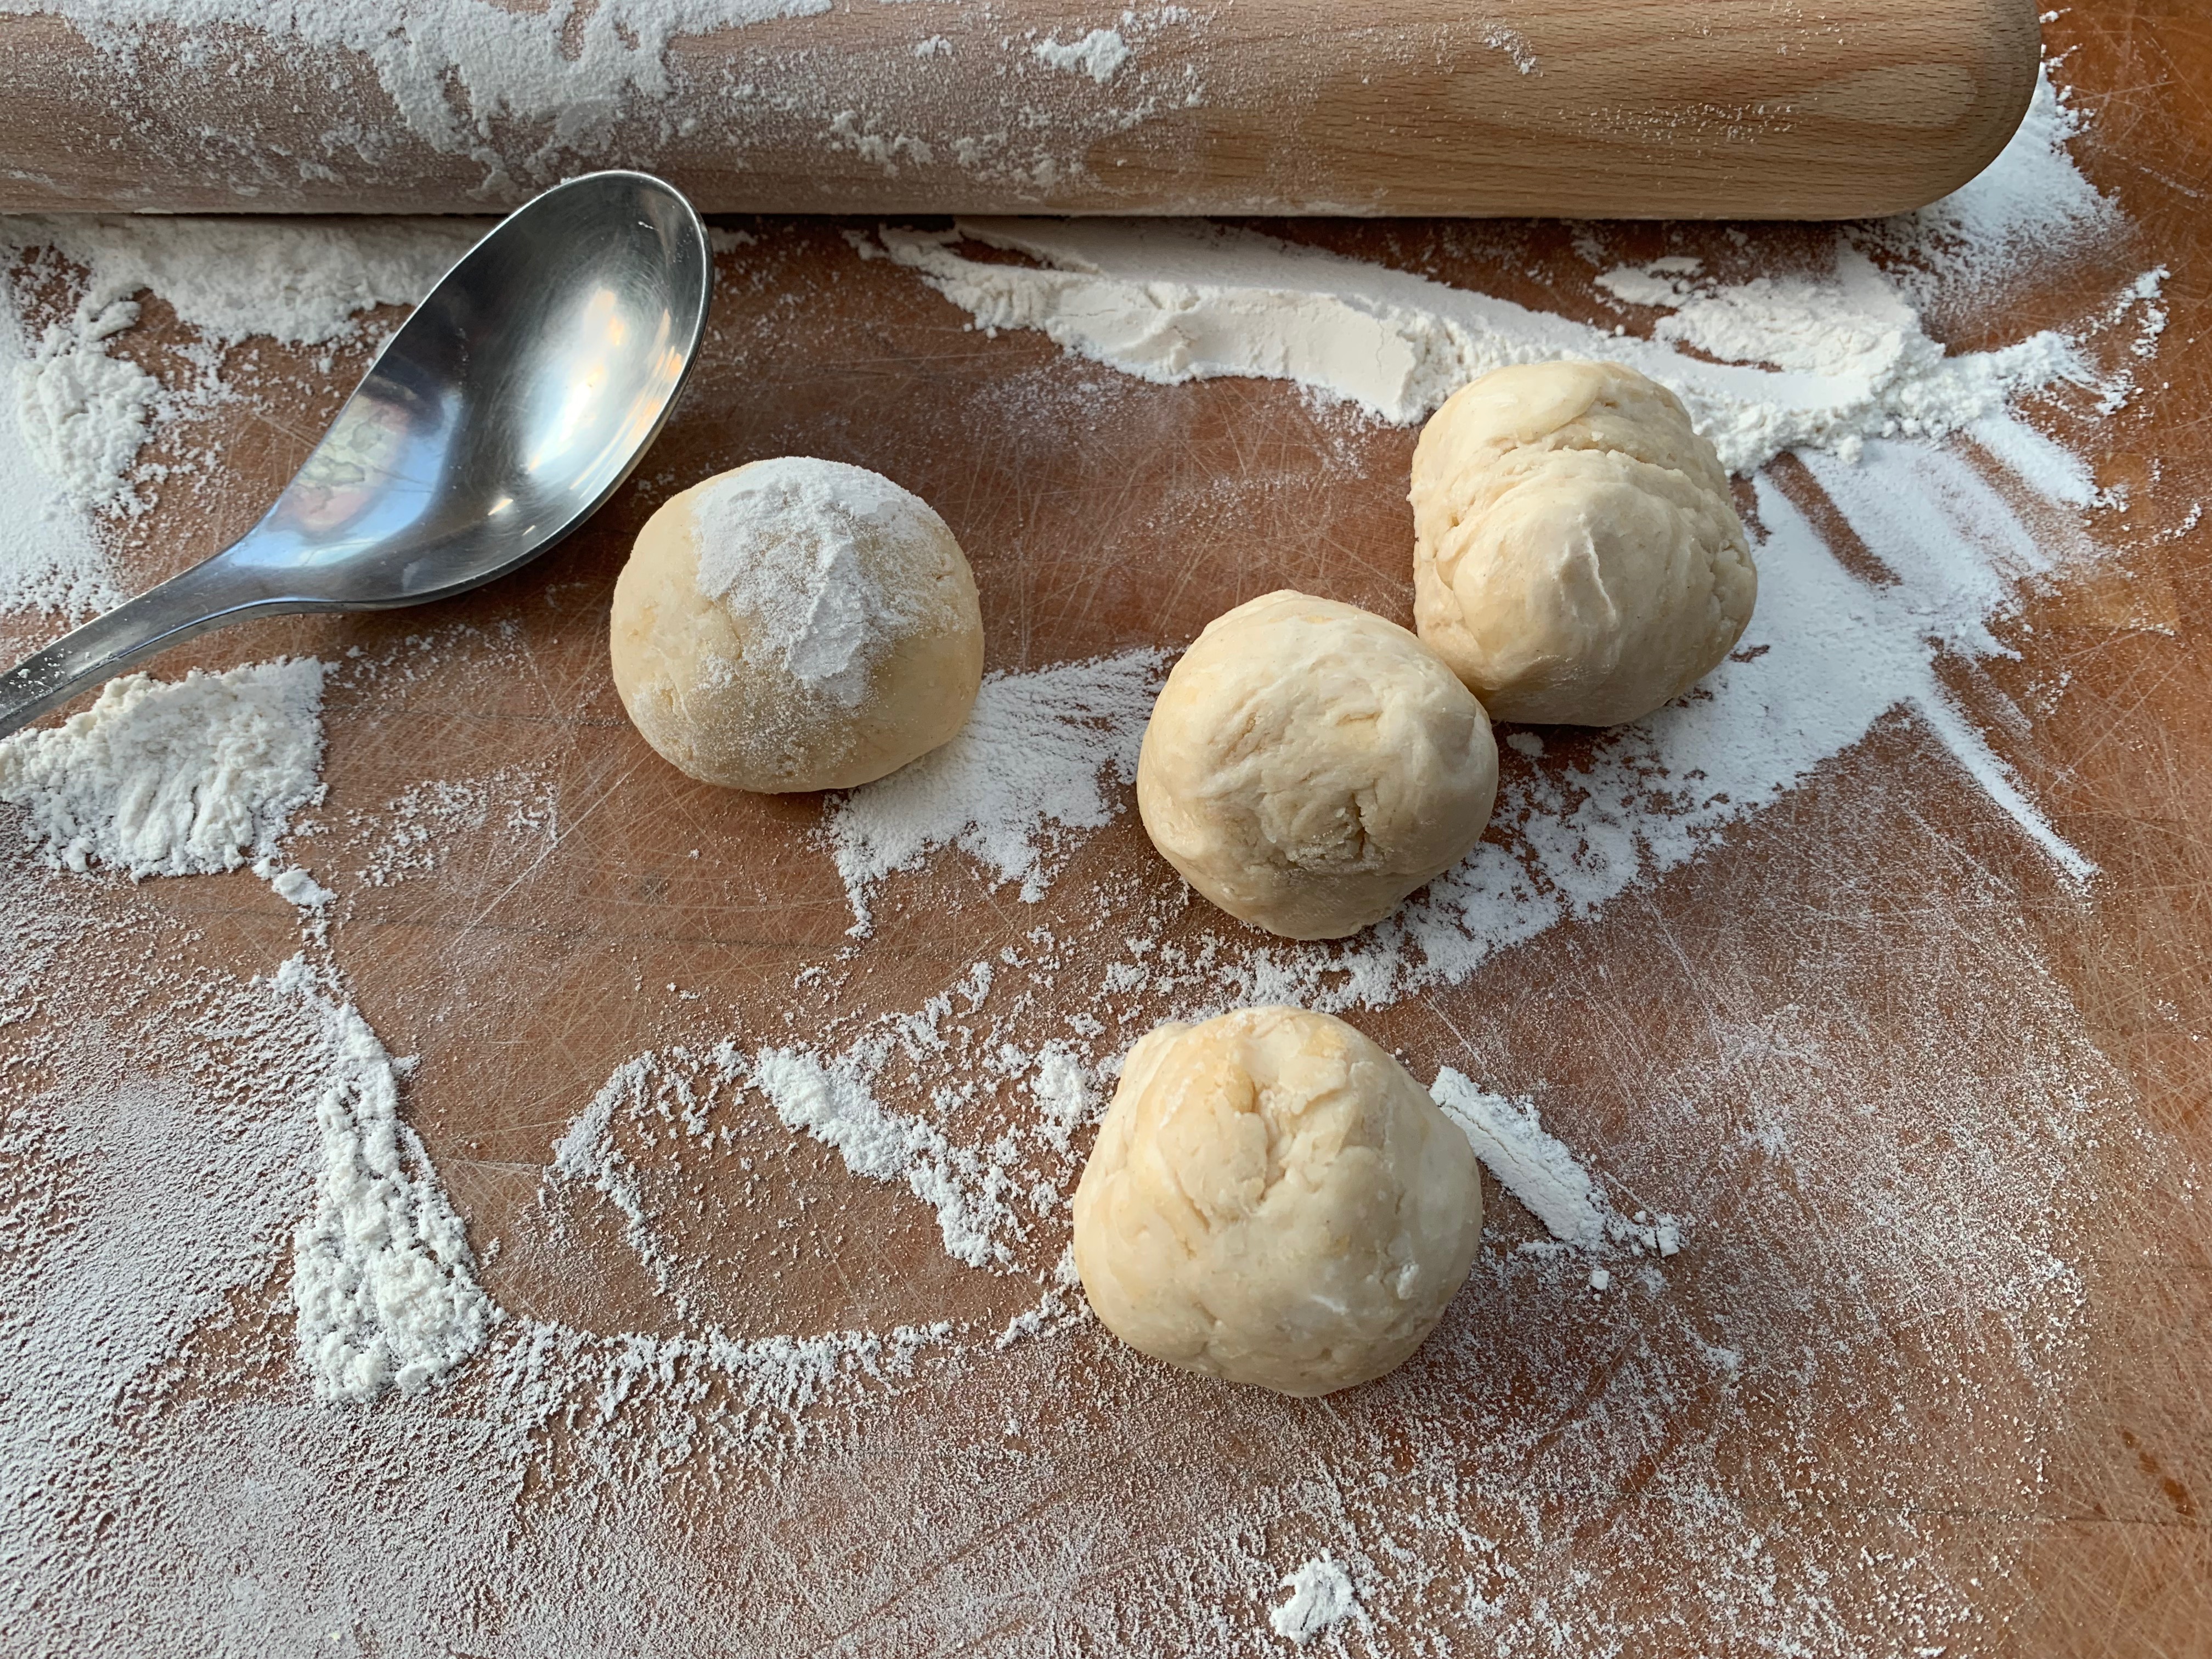
Divide your dough into 16 balls of around 40g each (I actually did four at a time, leaving the rest of the dough in the bowl, covered to stop it drying out).
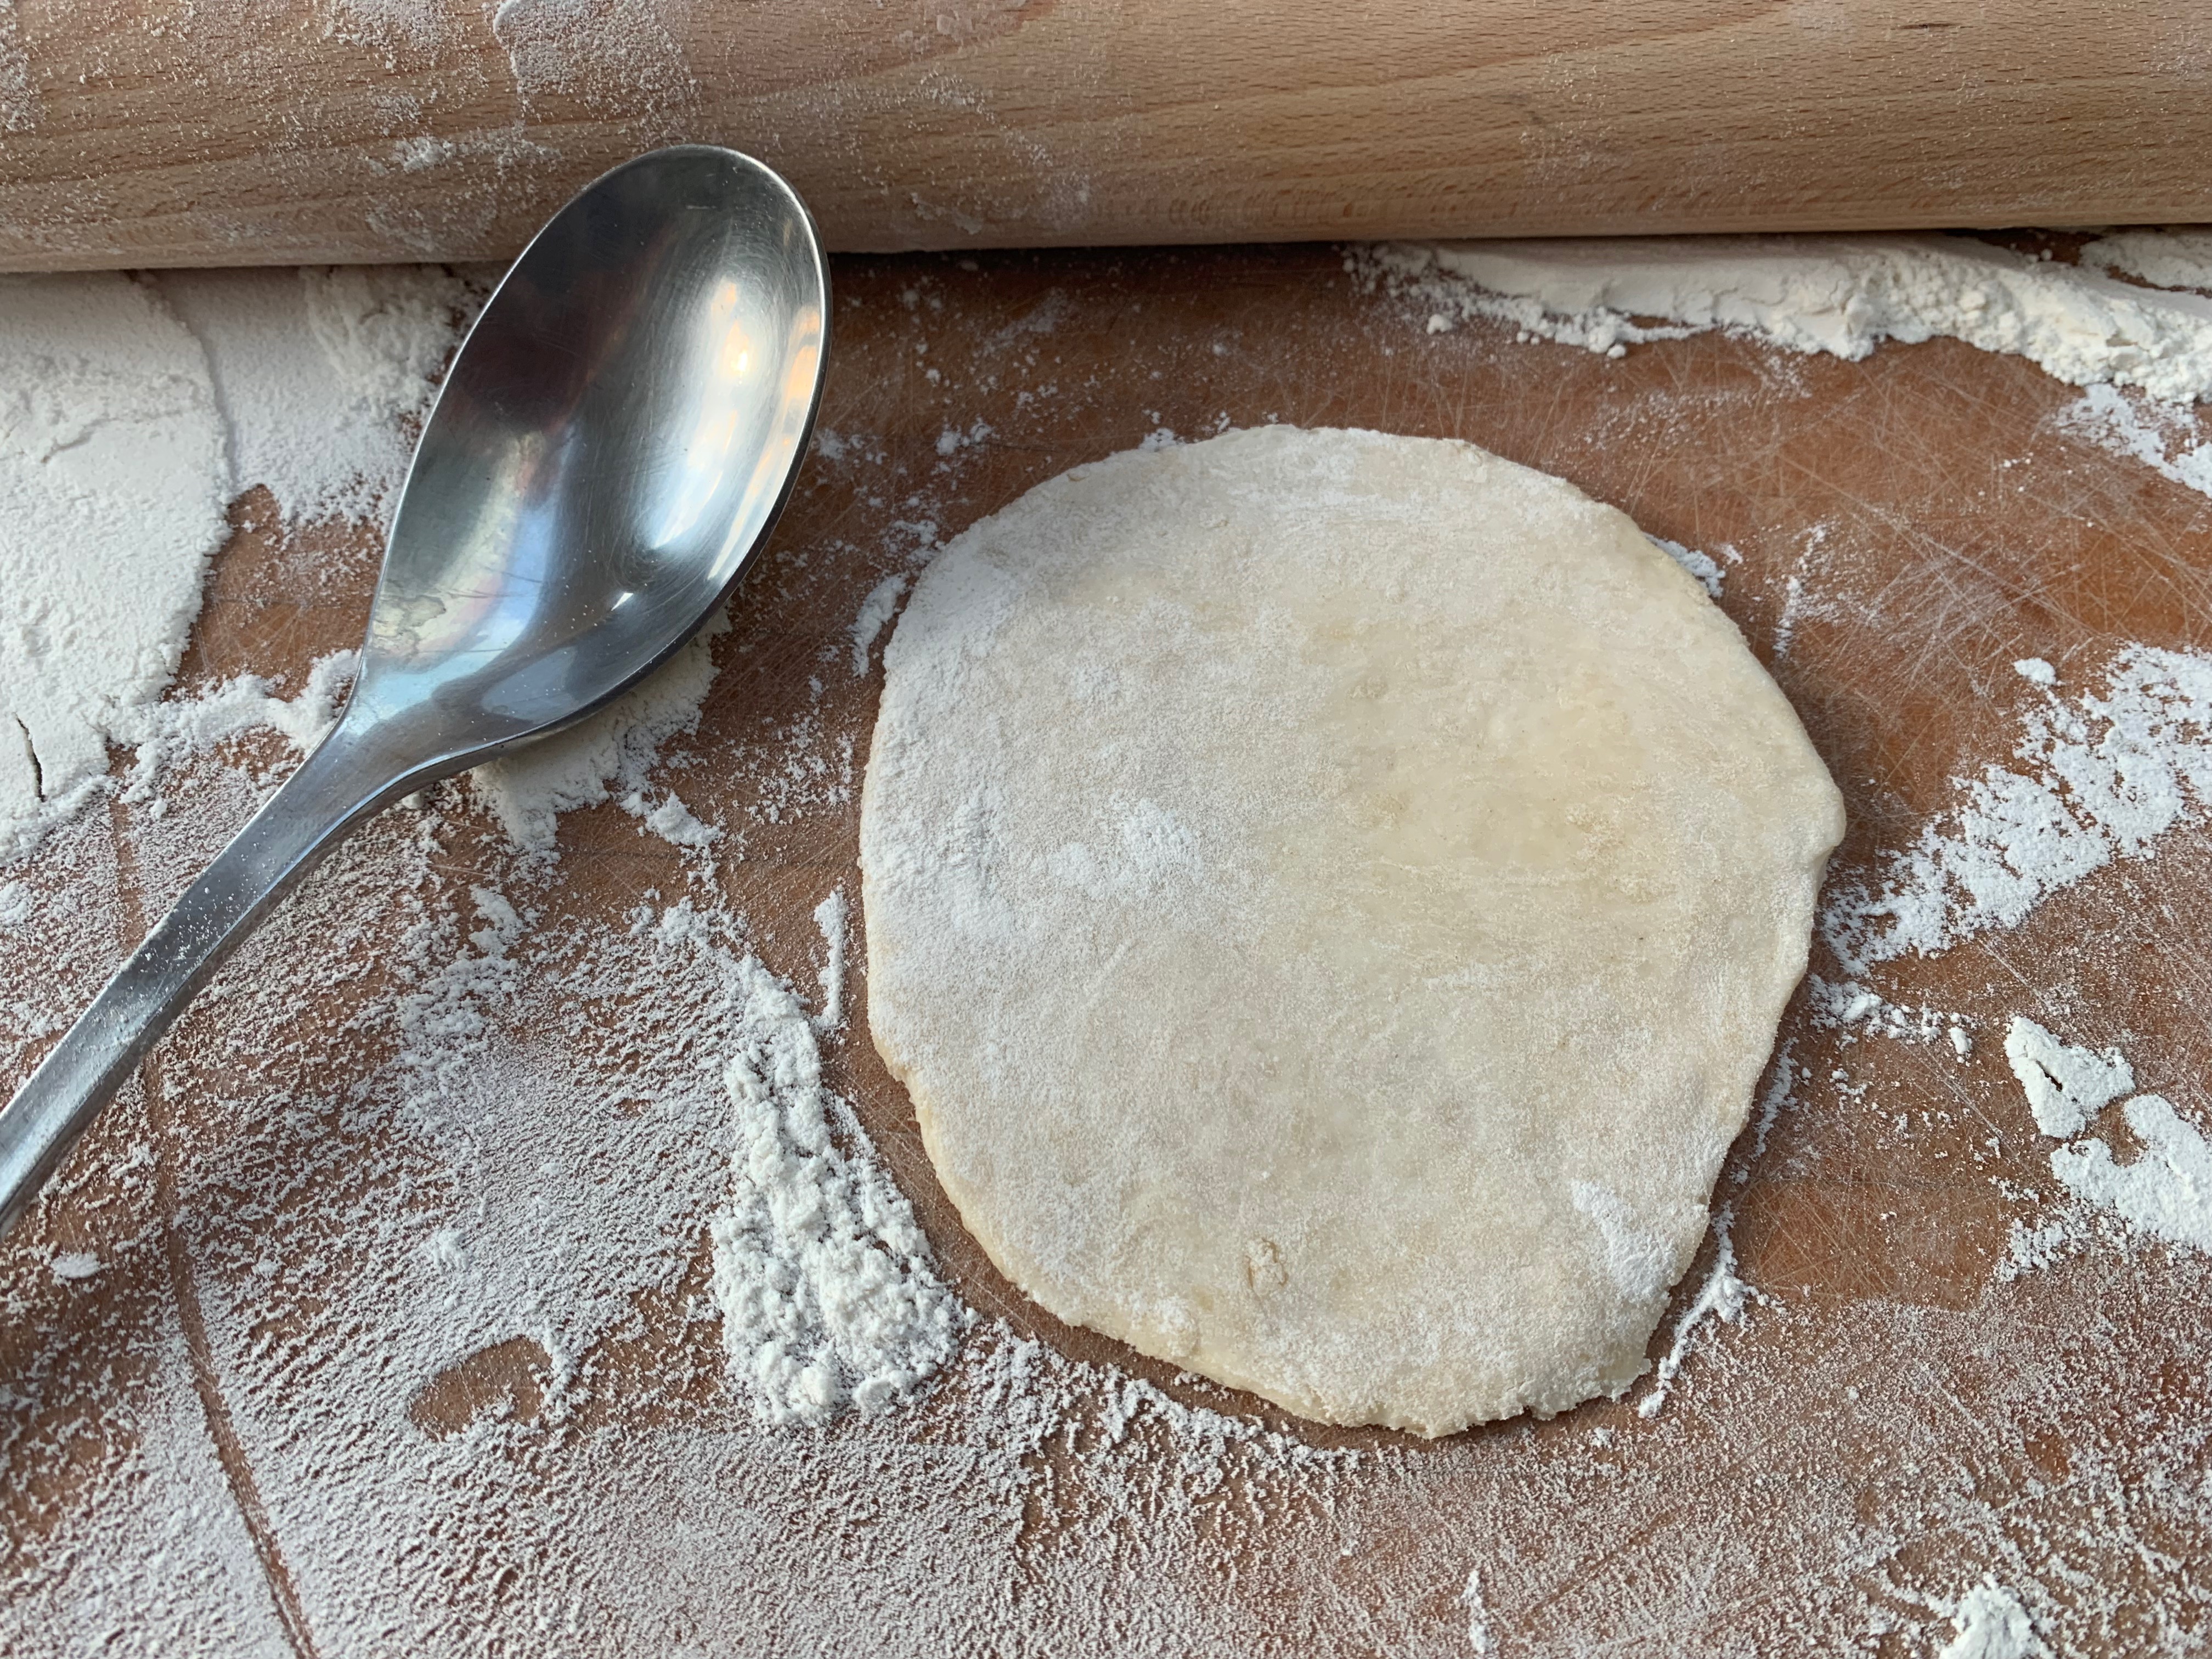
Roll out a ball of dough into as good a circle as you can manage, perhaps 10-12cm in diameter.
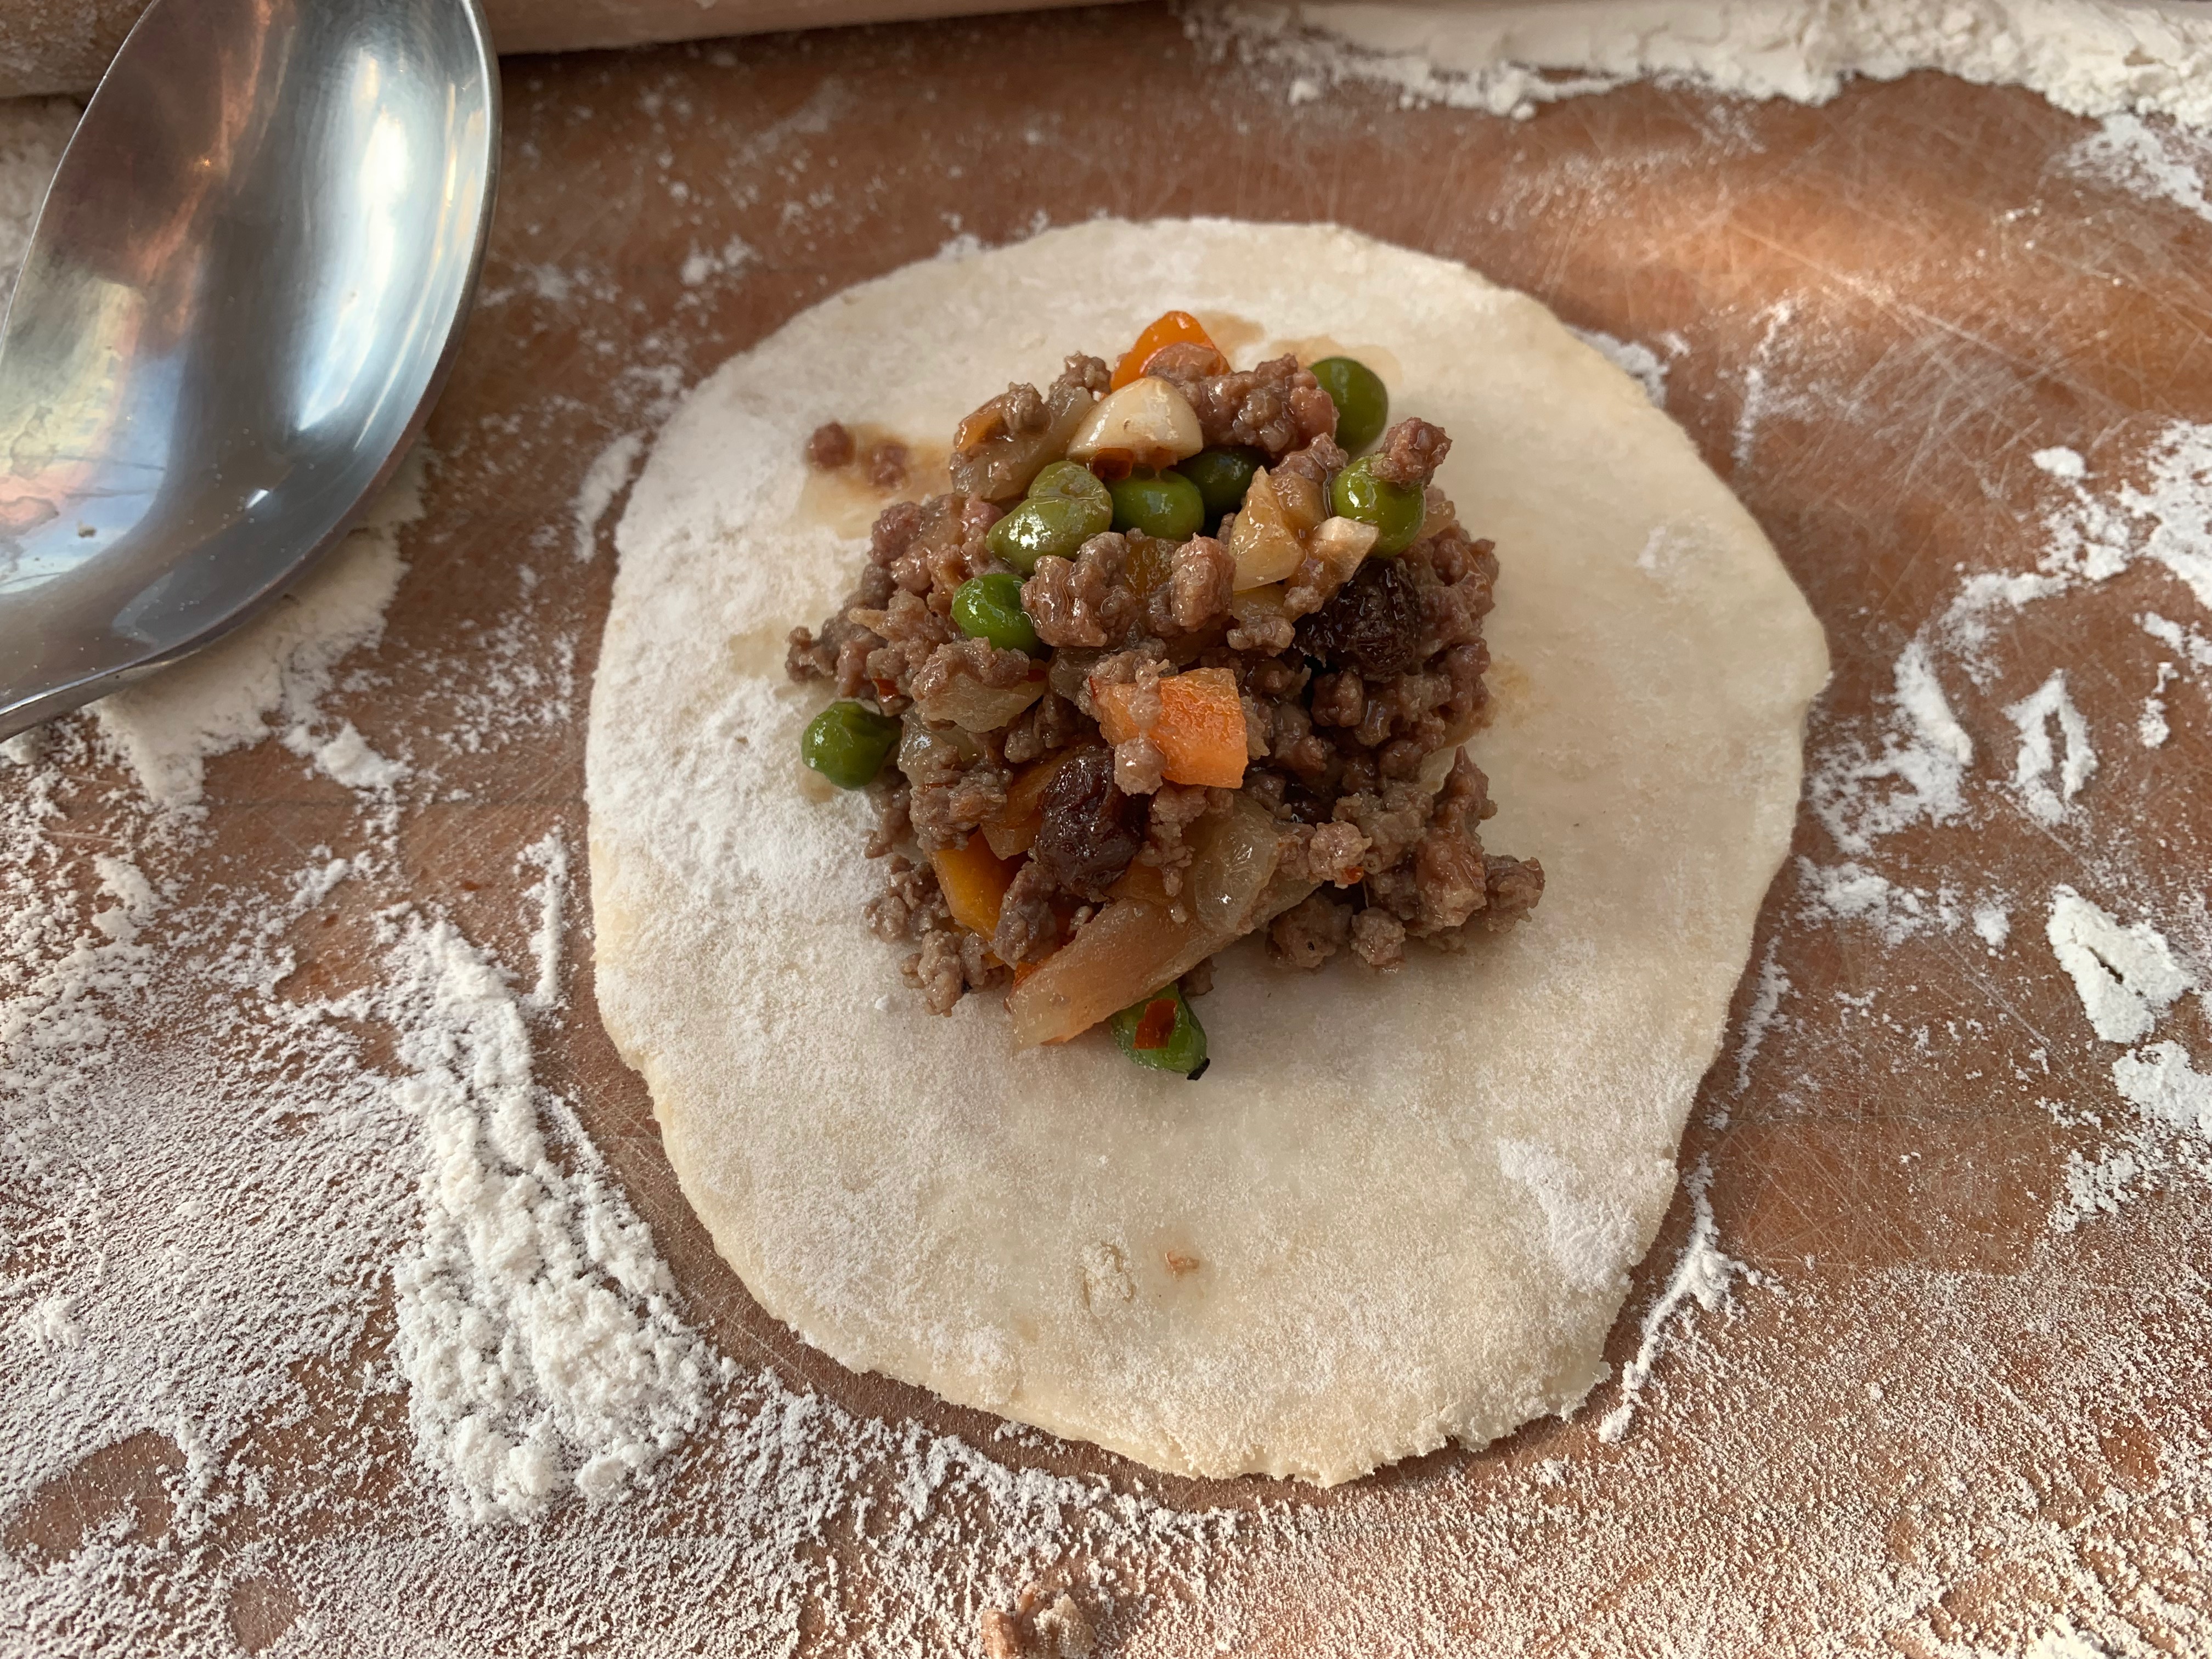
Spoon a ball of filling into the middle of your circle. I used about two dessertspoonfuls of filling per empanada.
Brush the circle of dough around the outside of your filling with water: that’s to help the edges stick together when you seal the parcel.
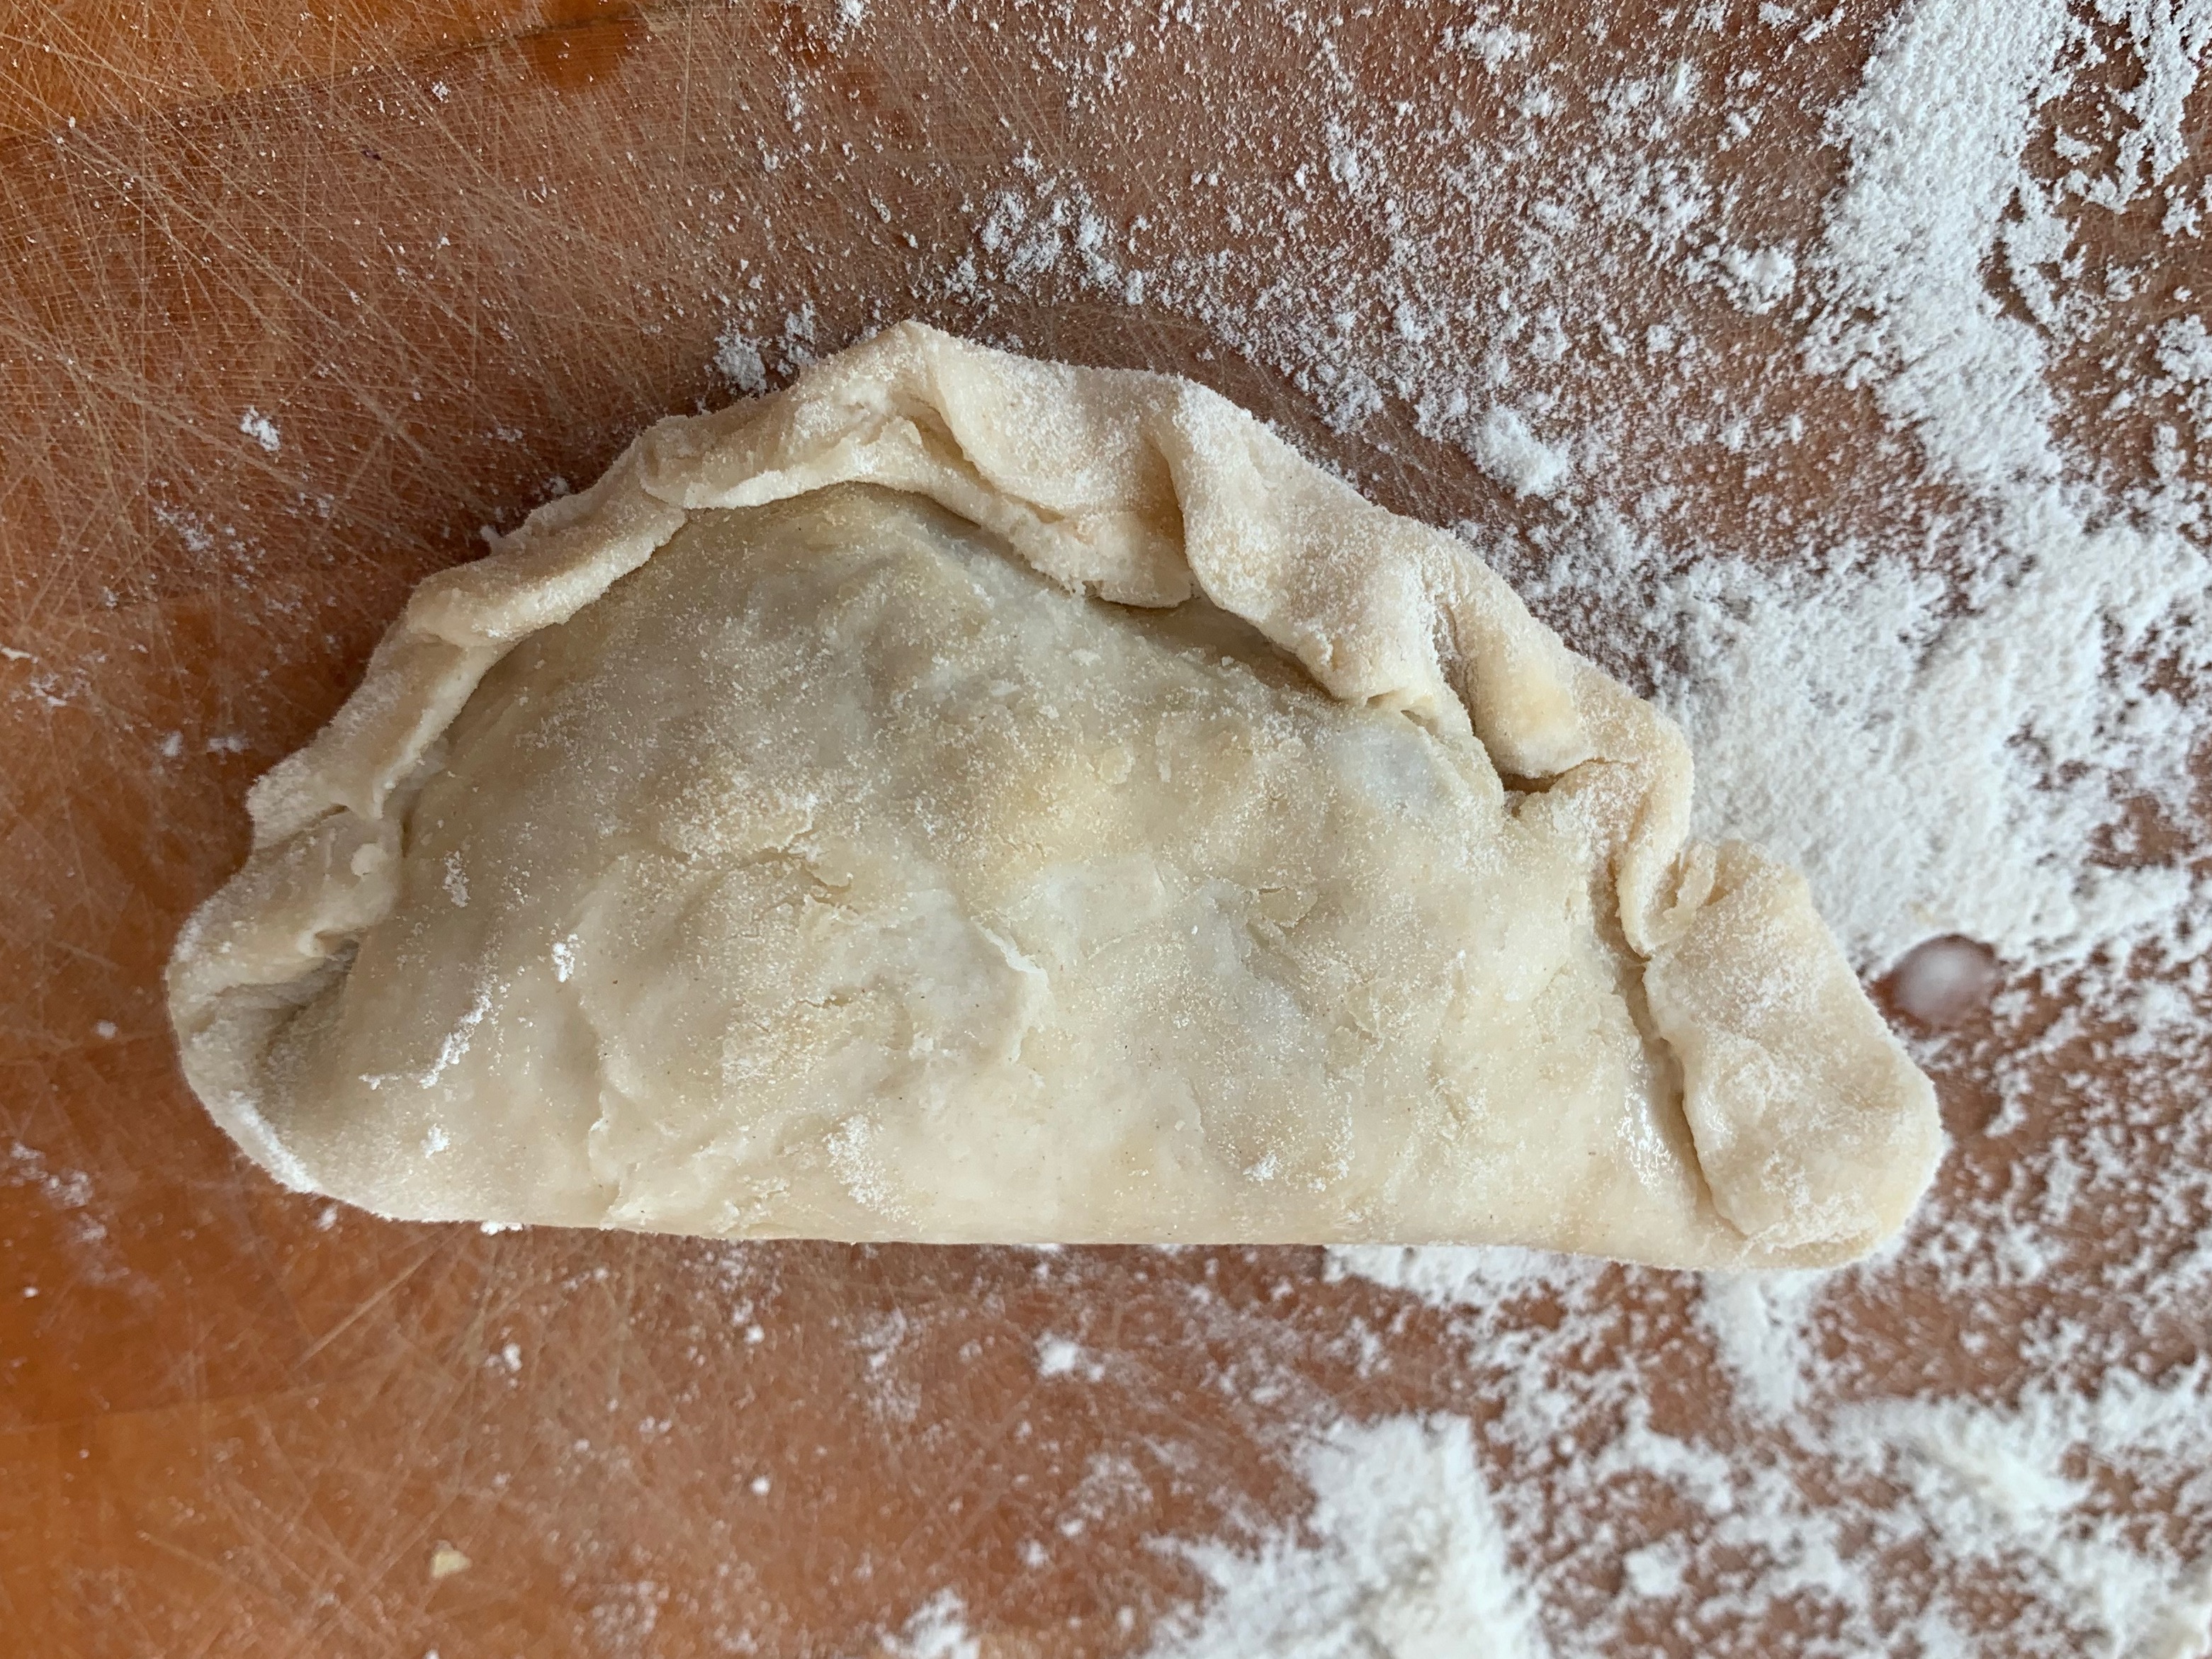
Pick up two opposite edges of the circle and fold them together; then squeeze together all the way round the semicircle. You want to get all the air out and distribute the filling nicely while being sure that the dough doesn’t tear and the filling doesn’t leak out of the edge.
Fold an end of your semi-circle inwards (about 5mm or so), then repeat until you have the characteristic braided pattern around the edge of your semi-circle. Personally, I’m incredibly messy at this, so you’re best not to look at my photos too closely and look at the Instagram video pointed to by this recipe.
Put the empanada on your baking sheet, and repeat for the next fifteen.
Beat the egg with a bit of water and brush the pastries with the resulting wash (tip: if you don’t want to waste the leftover egg wash, which will be most of the egg, it makes a perfectly nice small omelette).