For my first bake from the United States, I chose my personal favourite of Californian carrot cake. But if I’m being honest, the archetypal American bake (leaving aside apple pie, which is really Dutch), is the chocolate brownie – born in the U.S.A and the favourite of millions. Somehow, I’ve managed to live all these years and eat countless brownies without ever having tried to make a batch, so it was about time to try.
There are a million variations on the basic brownie recipe, mainly to do with how gooey you do or don’t like your brownies, but also about choices of nuts and additional flavourings (there are even “blondies” if you prefer white chocolate or you want to omit chocolate altogether). If you are keen to calibrate your recipe carefully to your own taste, Felicity Cloake in The Guardian is probably a good place to start. This being my first time, I went for authentic Americanness rather than perfection and headed for Irma S. Rombauer and Marion Rombauer Becker’s The Joy of Cooking, probably the most famous American cookbook of all time and the book bought by my mother in New York when my family lived there briefly in the early 1960s.
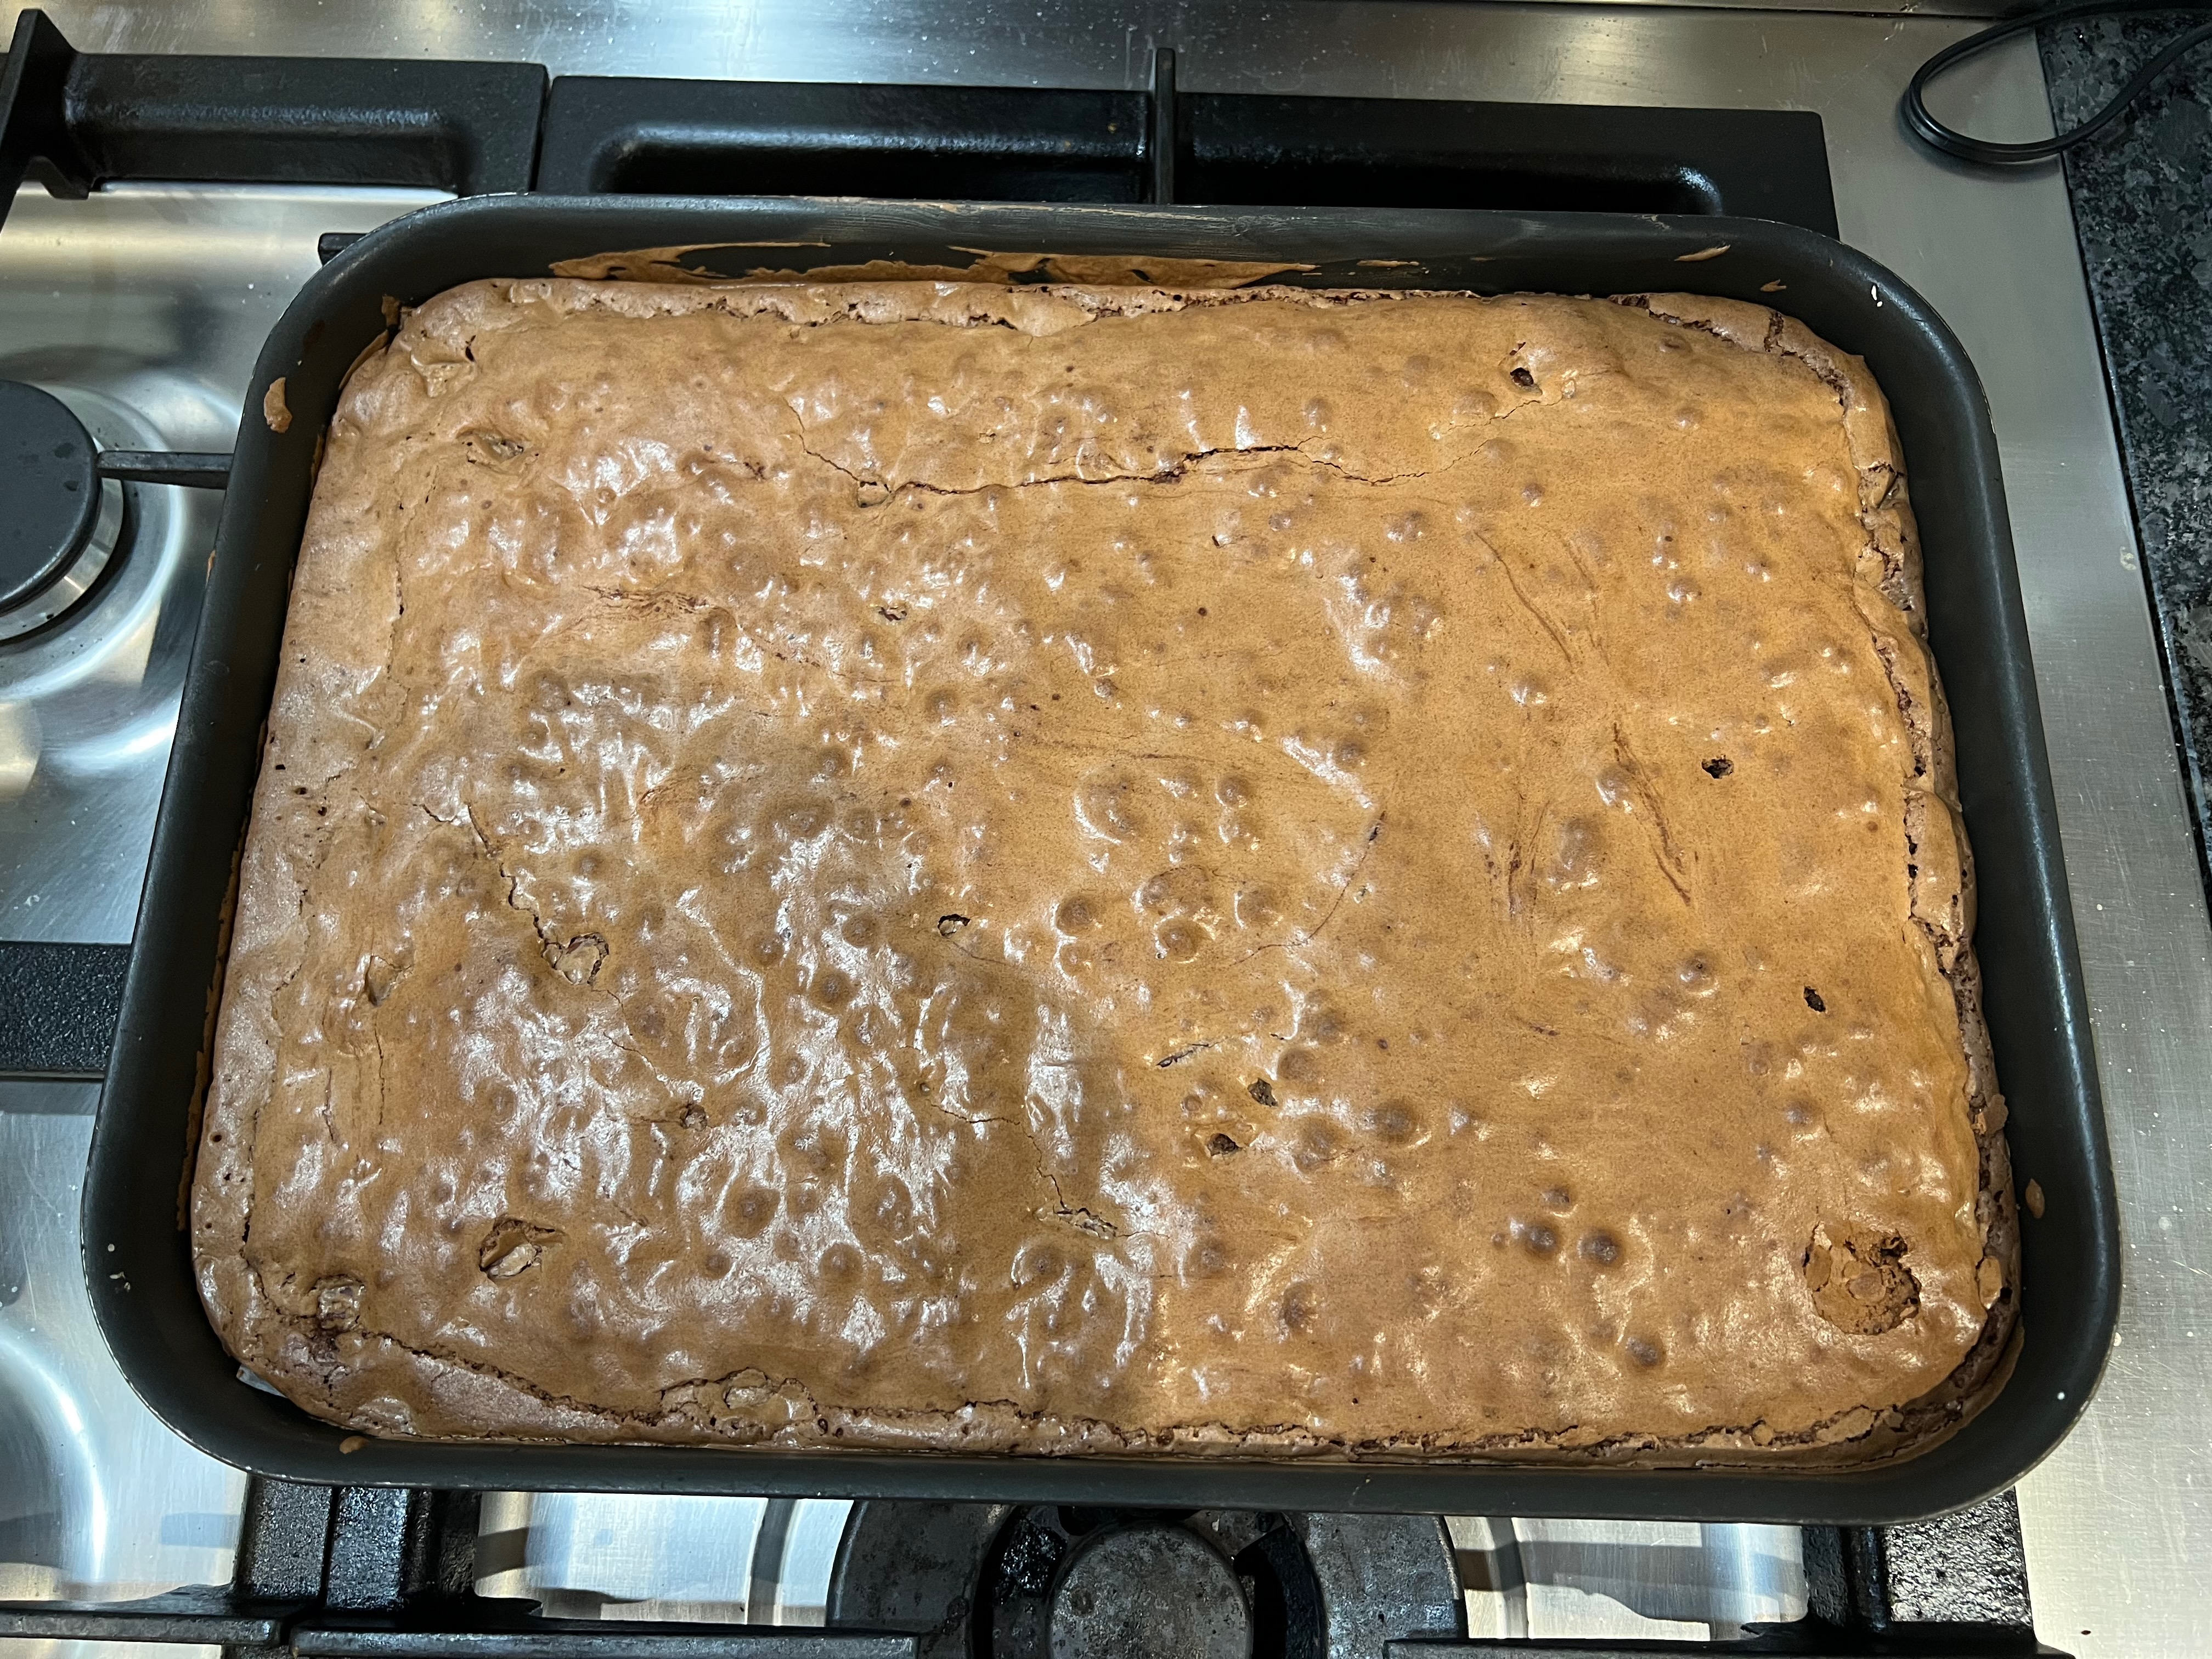
On the grand scale of things, brownies are not a difficult bake: there’s just one tricky bit, namely knowing when they’re done. Again, this is a function of how gooey you want them: I got panicky and left mine in too long, so they were considerably too cake-like for my taste. So don’t use the “skewer has to come out dry” test if you want them remotely sticky.
With my usual aversion to measuring things in cups, I’ve turned everything to metric.
Brownies are, by tradition, square or rectangular. I used a pretty standard 30cm x 40cm baking tin which resulted in fairly thin brownies. If you like them thicker, either go for a smaller tin or multiply up the recipe.
100g chocolate (I used Menier 70%)
60g unsalted butter
4 eggs (mine were of mixed size and weighed about 200g in total)
¼ tsp salt
350g sugar
Vanilla essence to taste
100g pecans
120g flour
Preheat oven to 175℃ fan
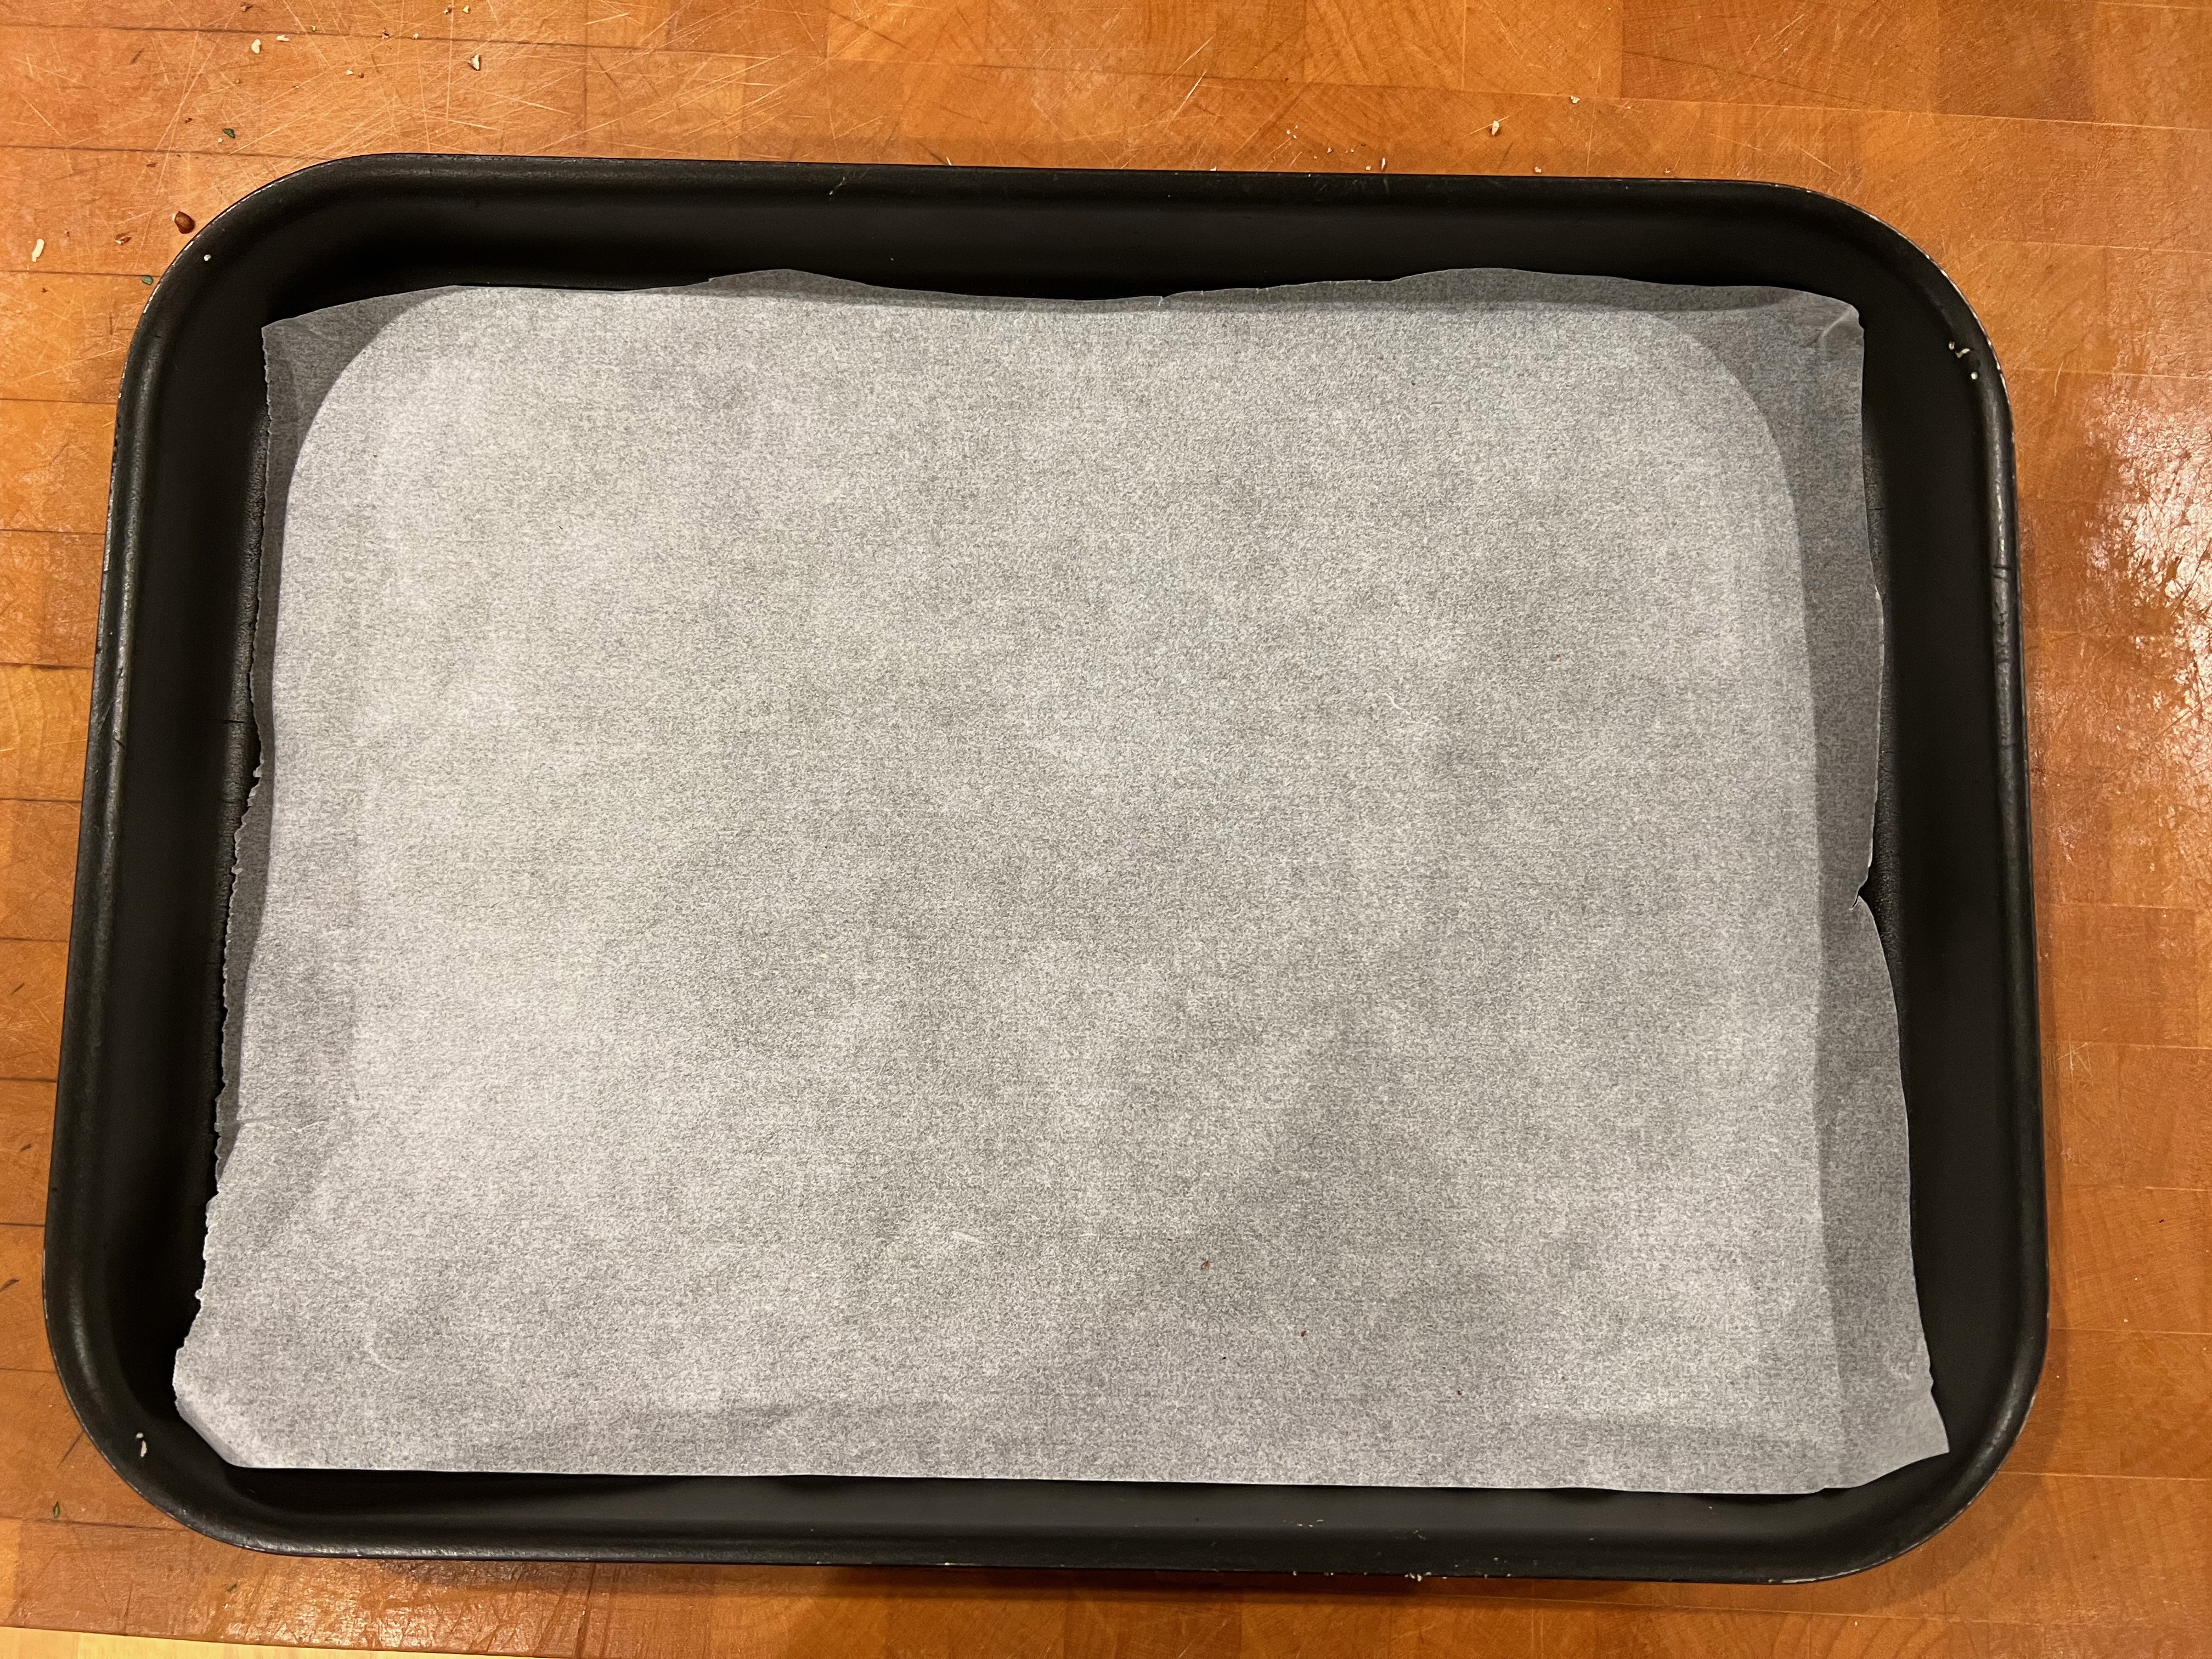
Prepare your baking tin by lining its base with baking paper
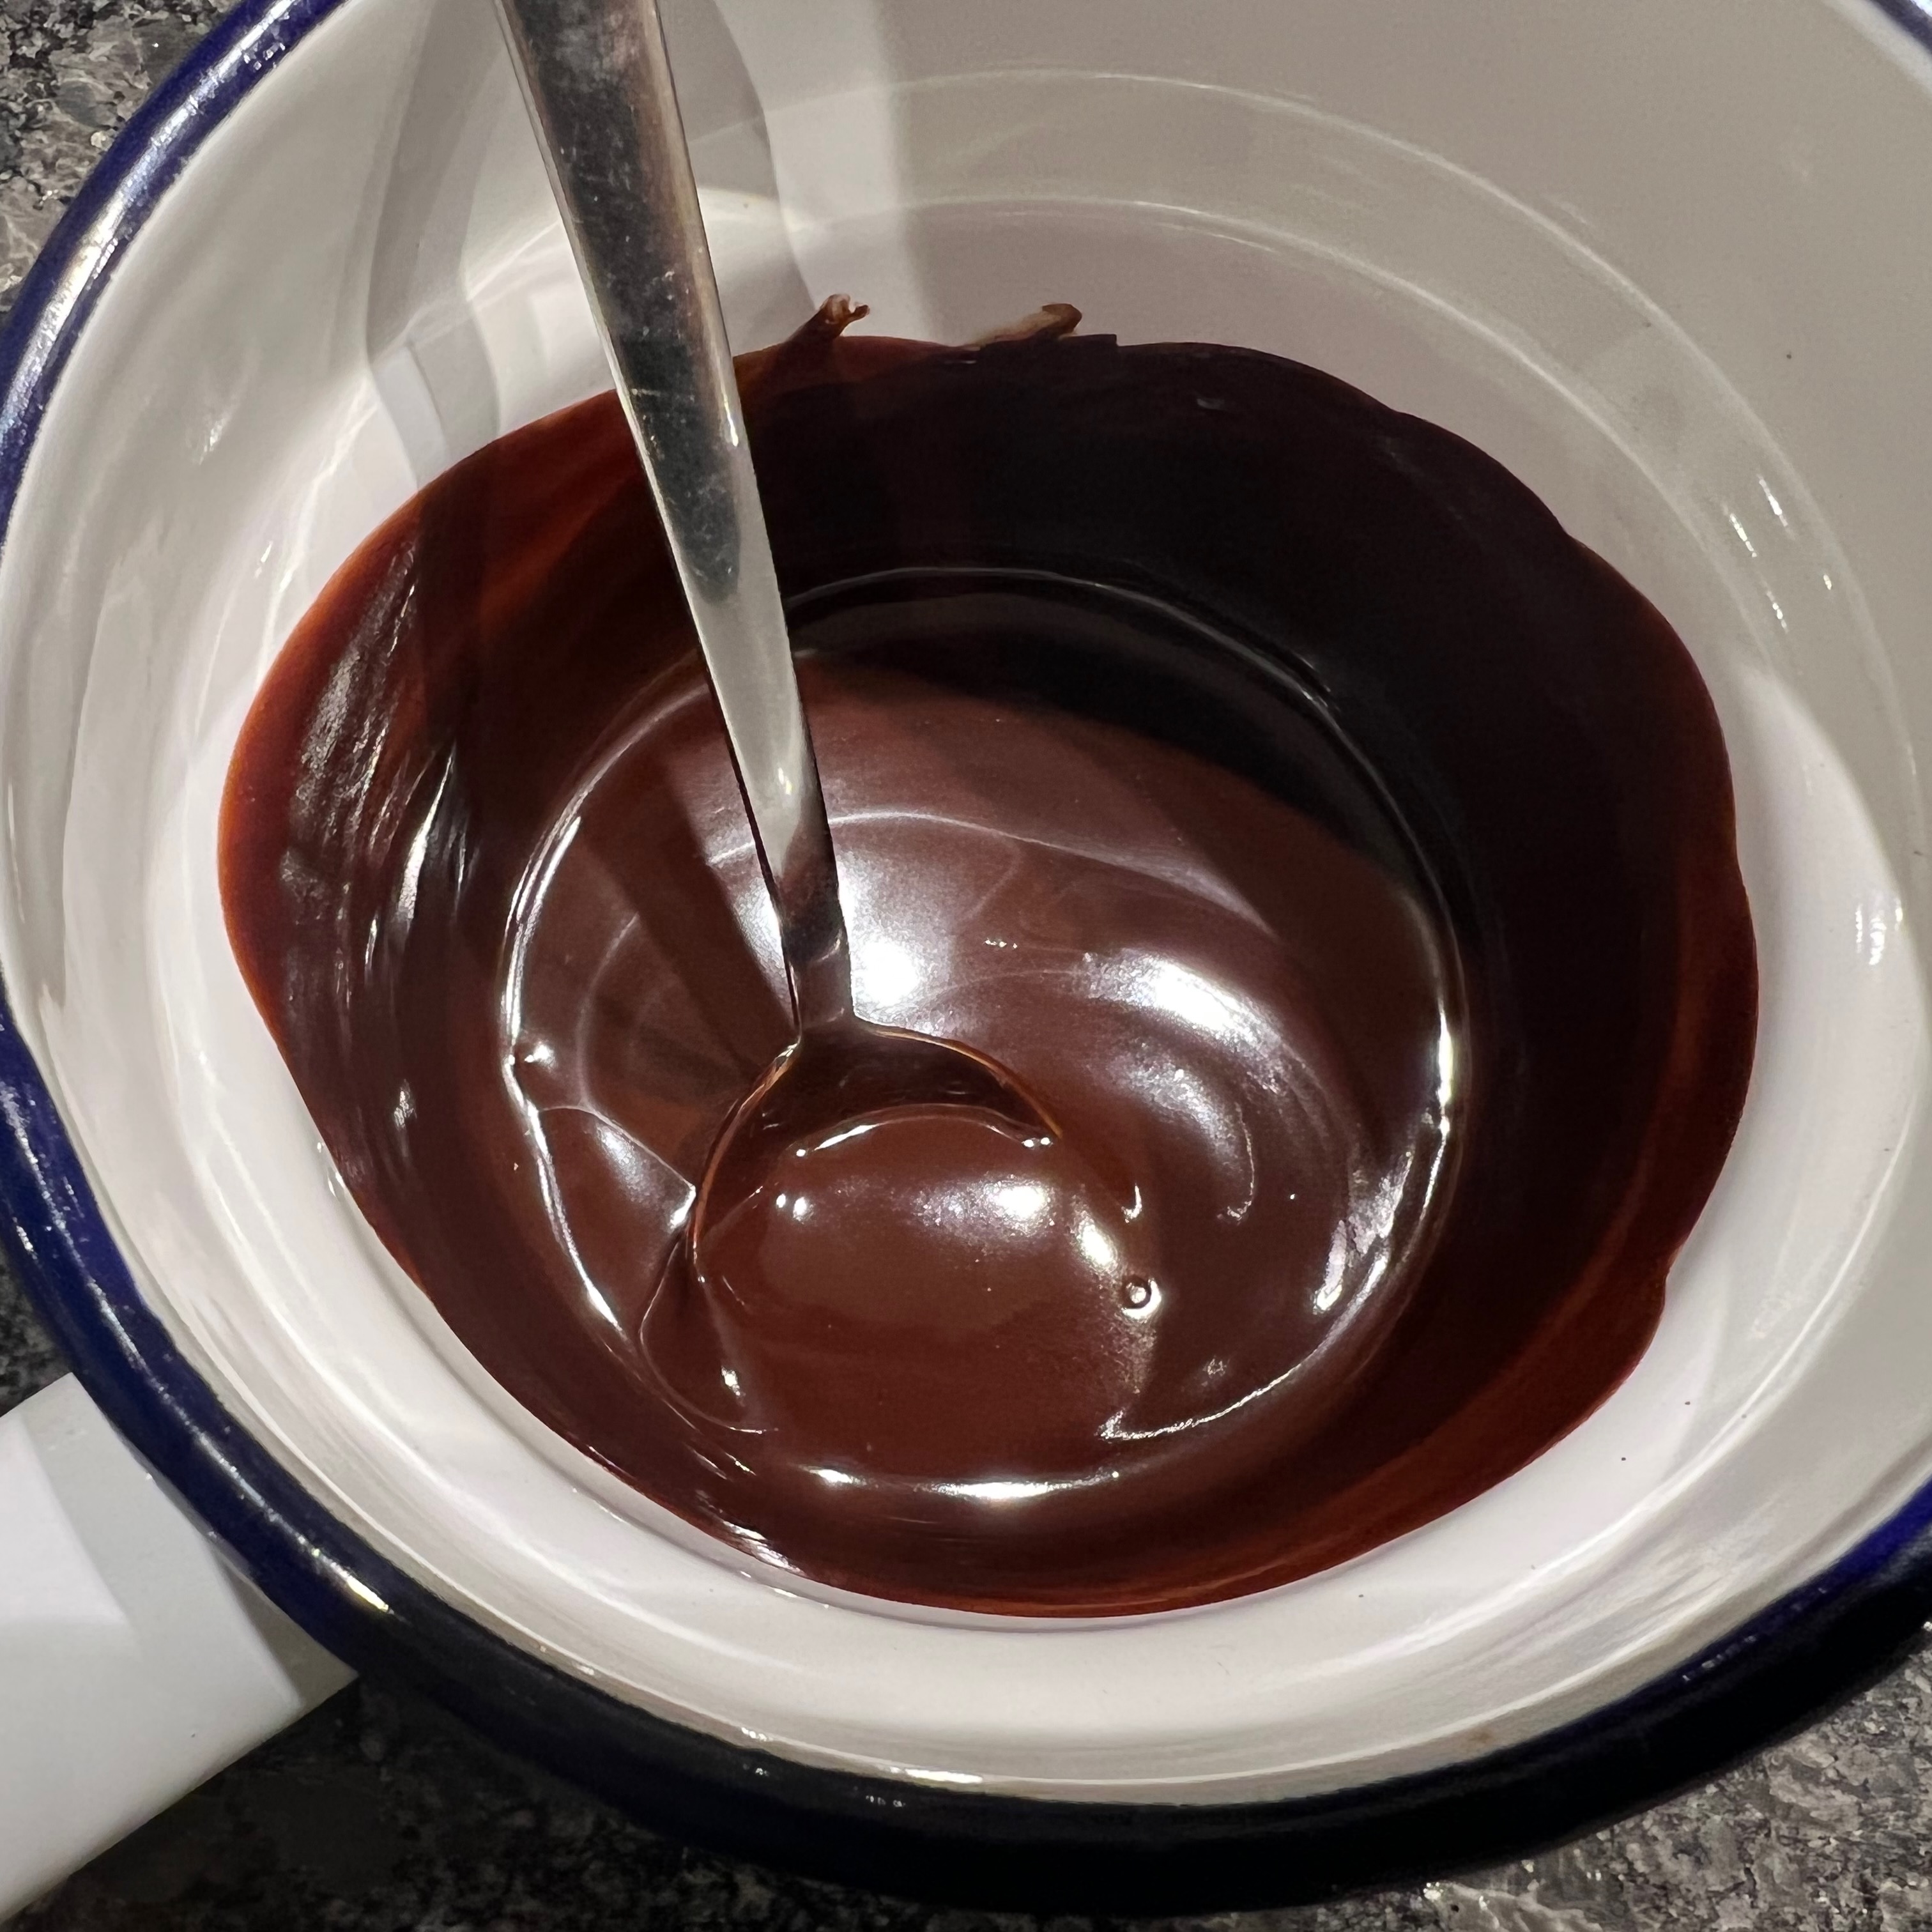
Melt the butter and chocolate in a double boiler, blend well and leave to cool.
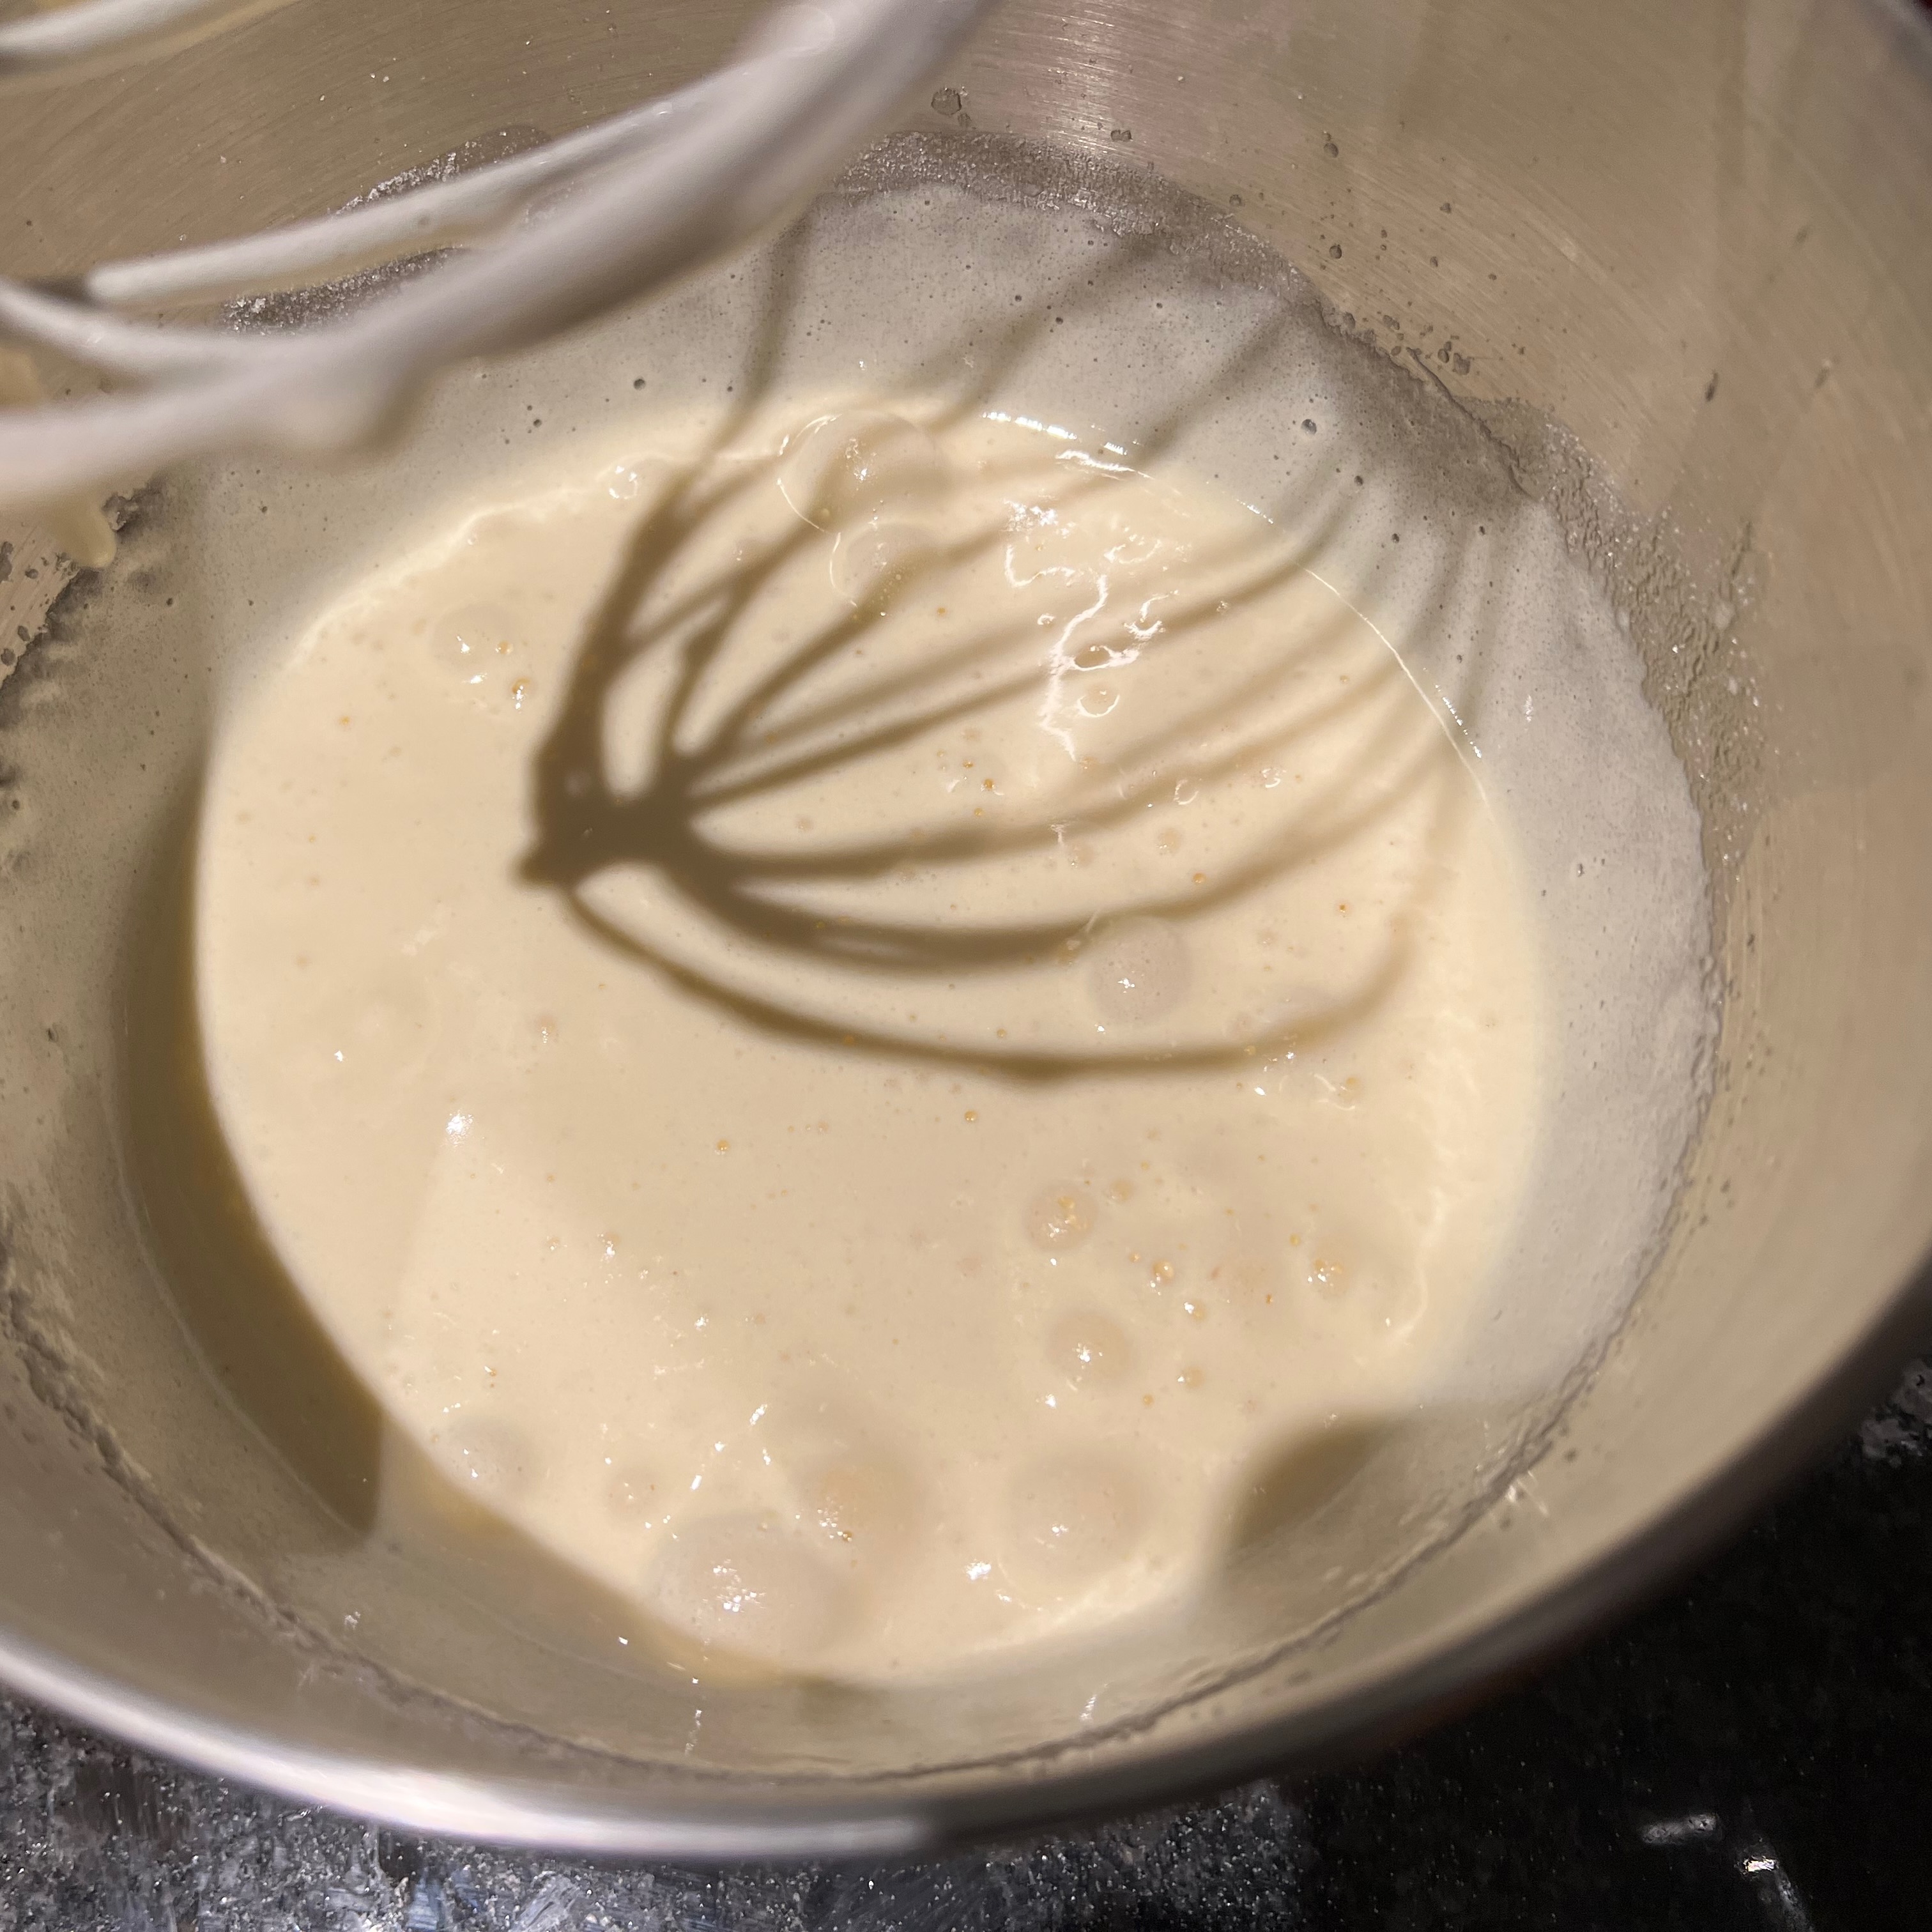
Add salt to the eggs and beat at high speed until frothy and mousse-like.
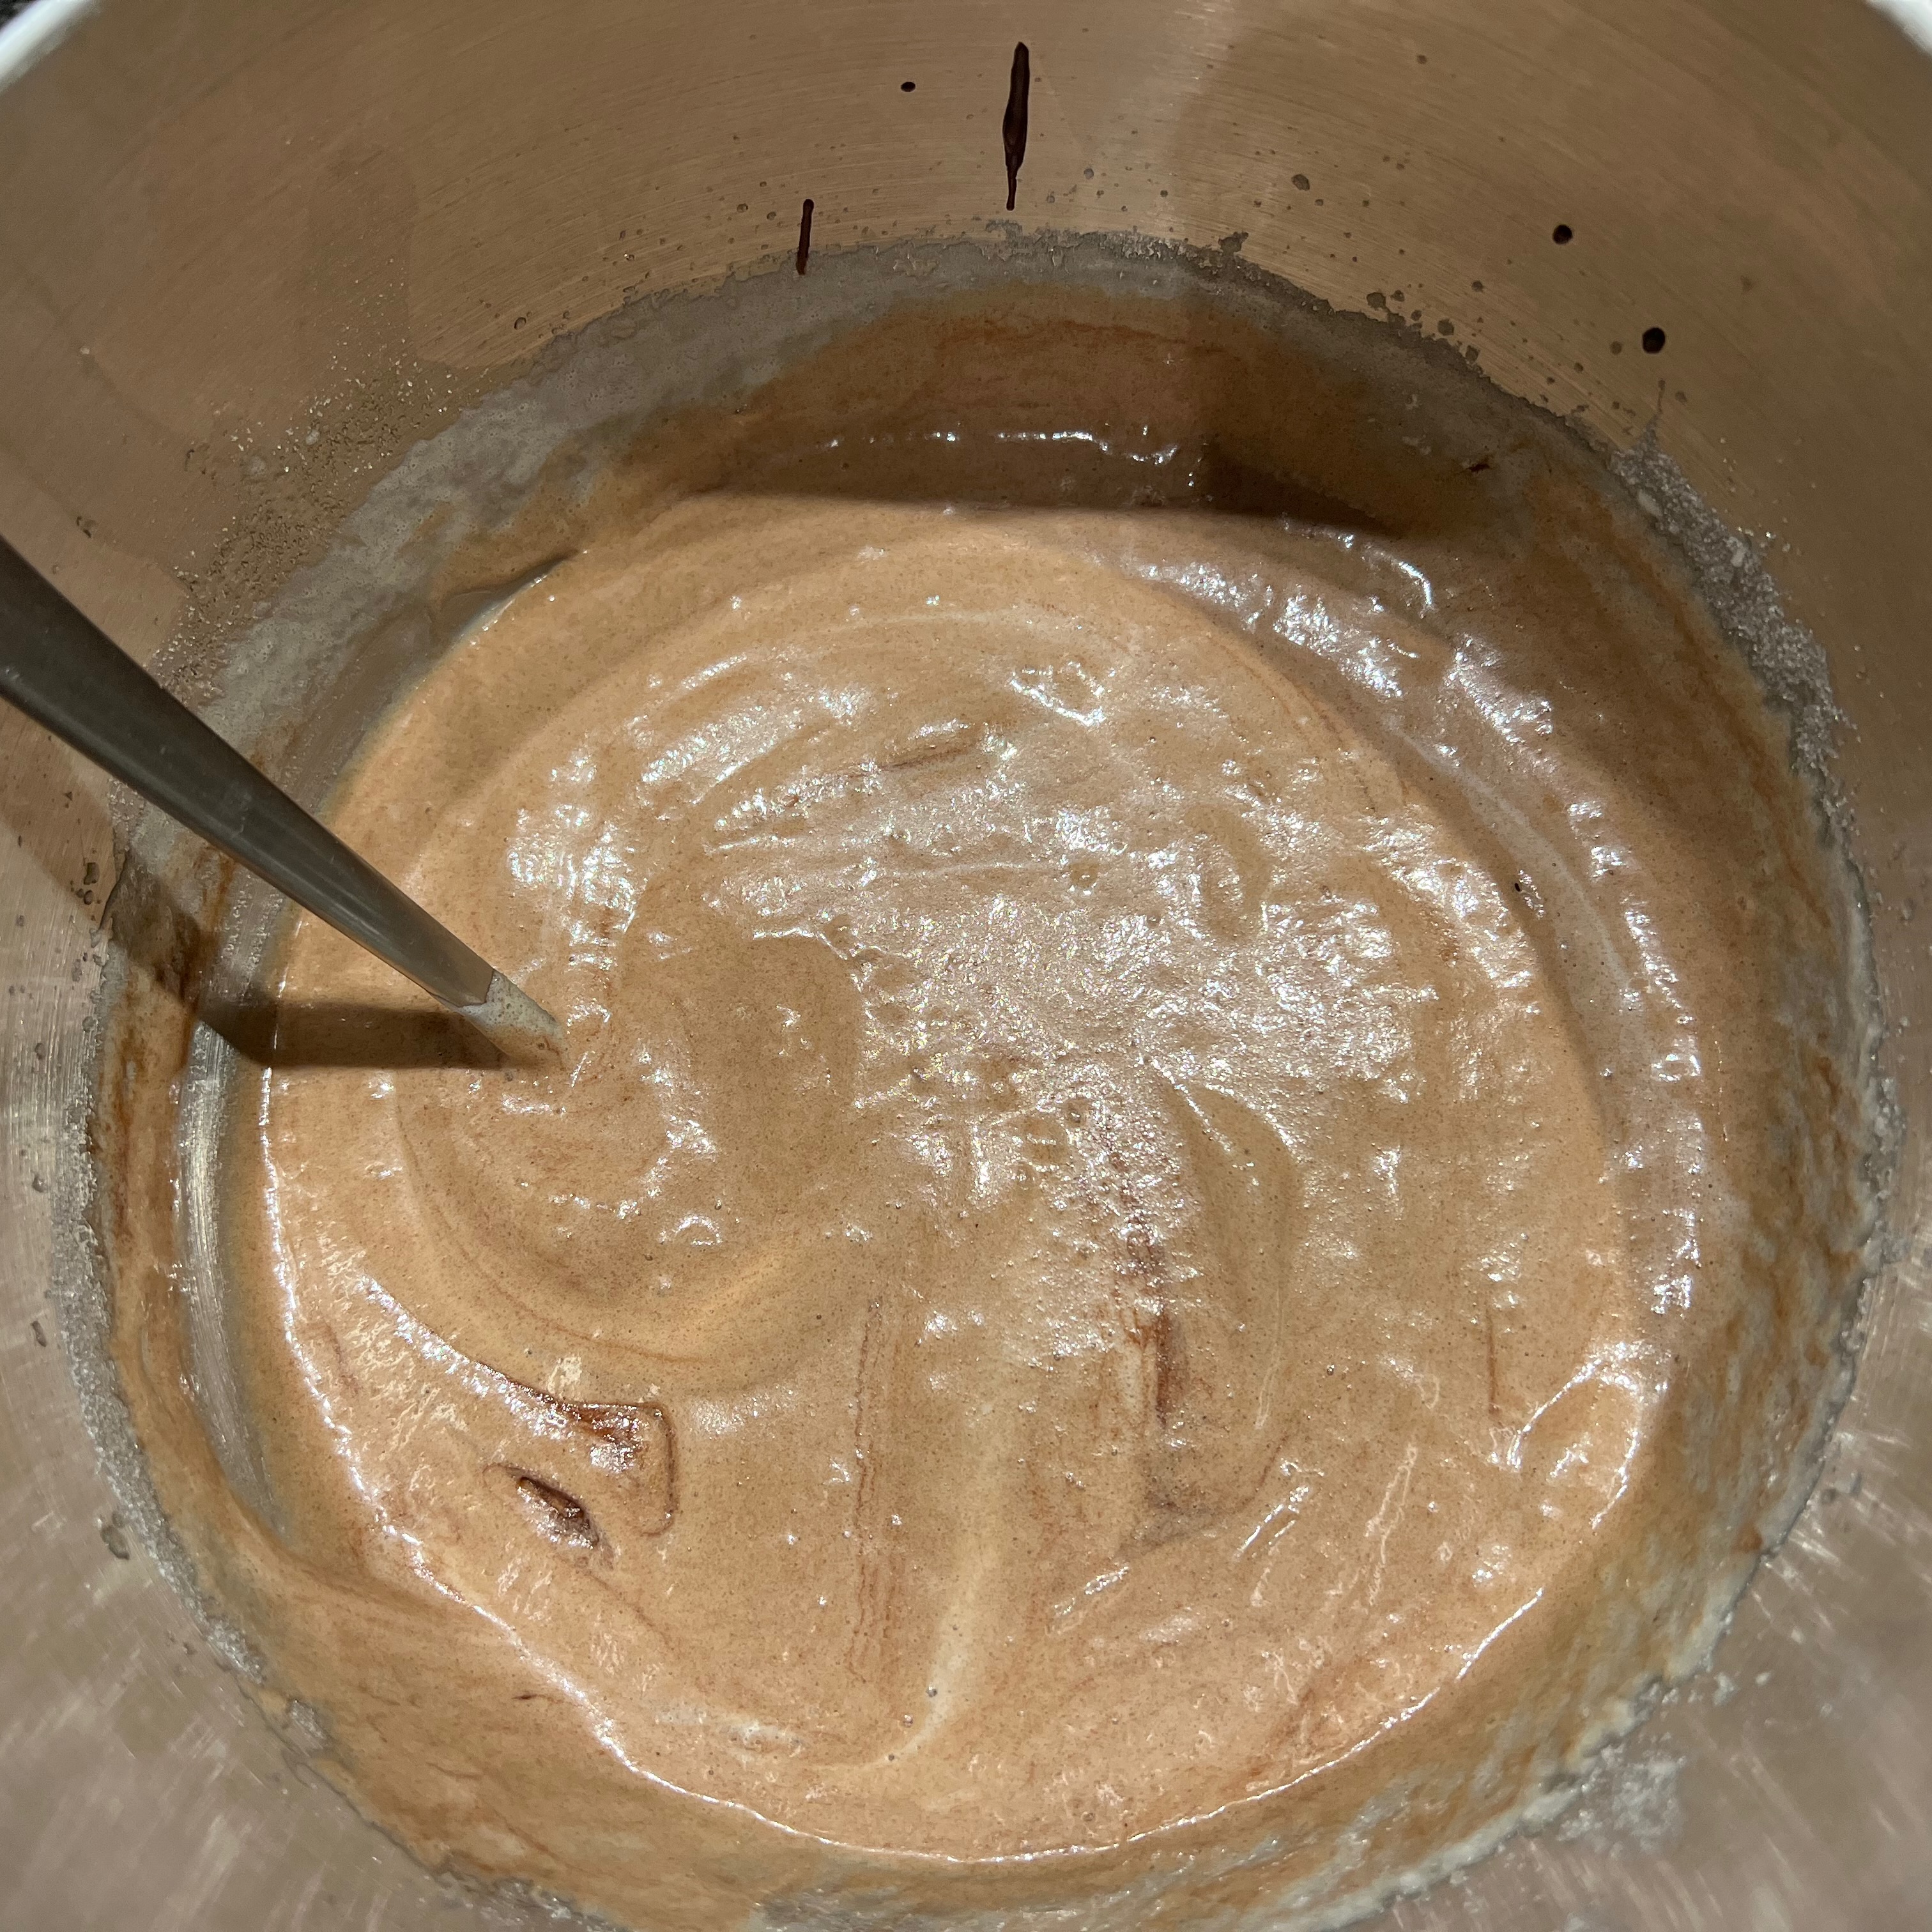
Still beating, add the sugar gradually and then the vanilla essence.
Gently fold in the chocolate-butter mixture.
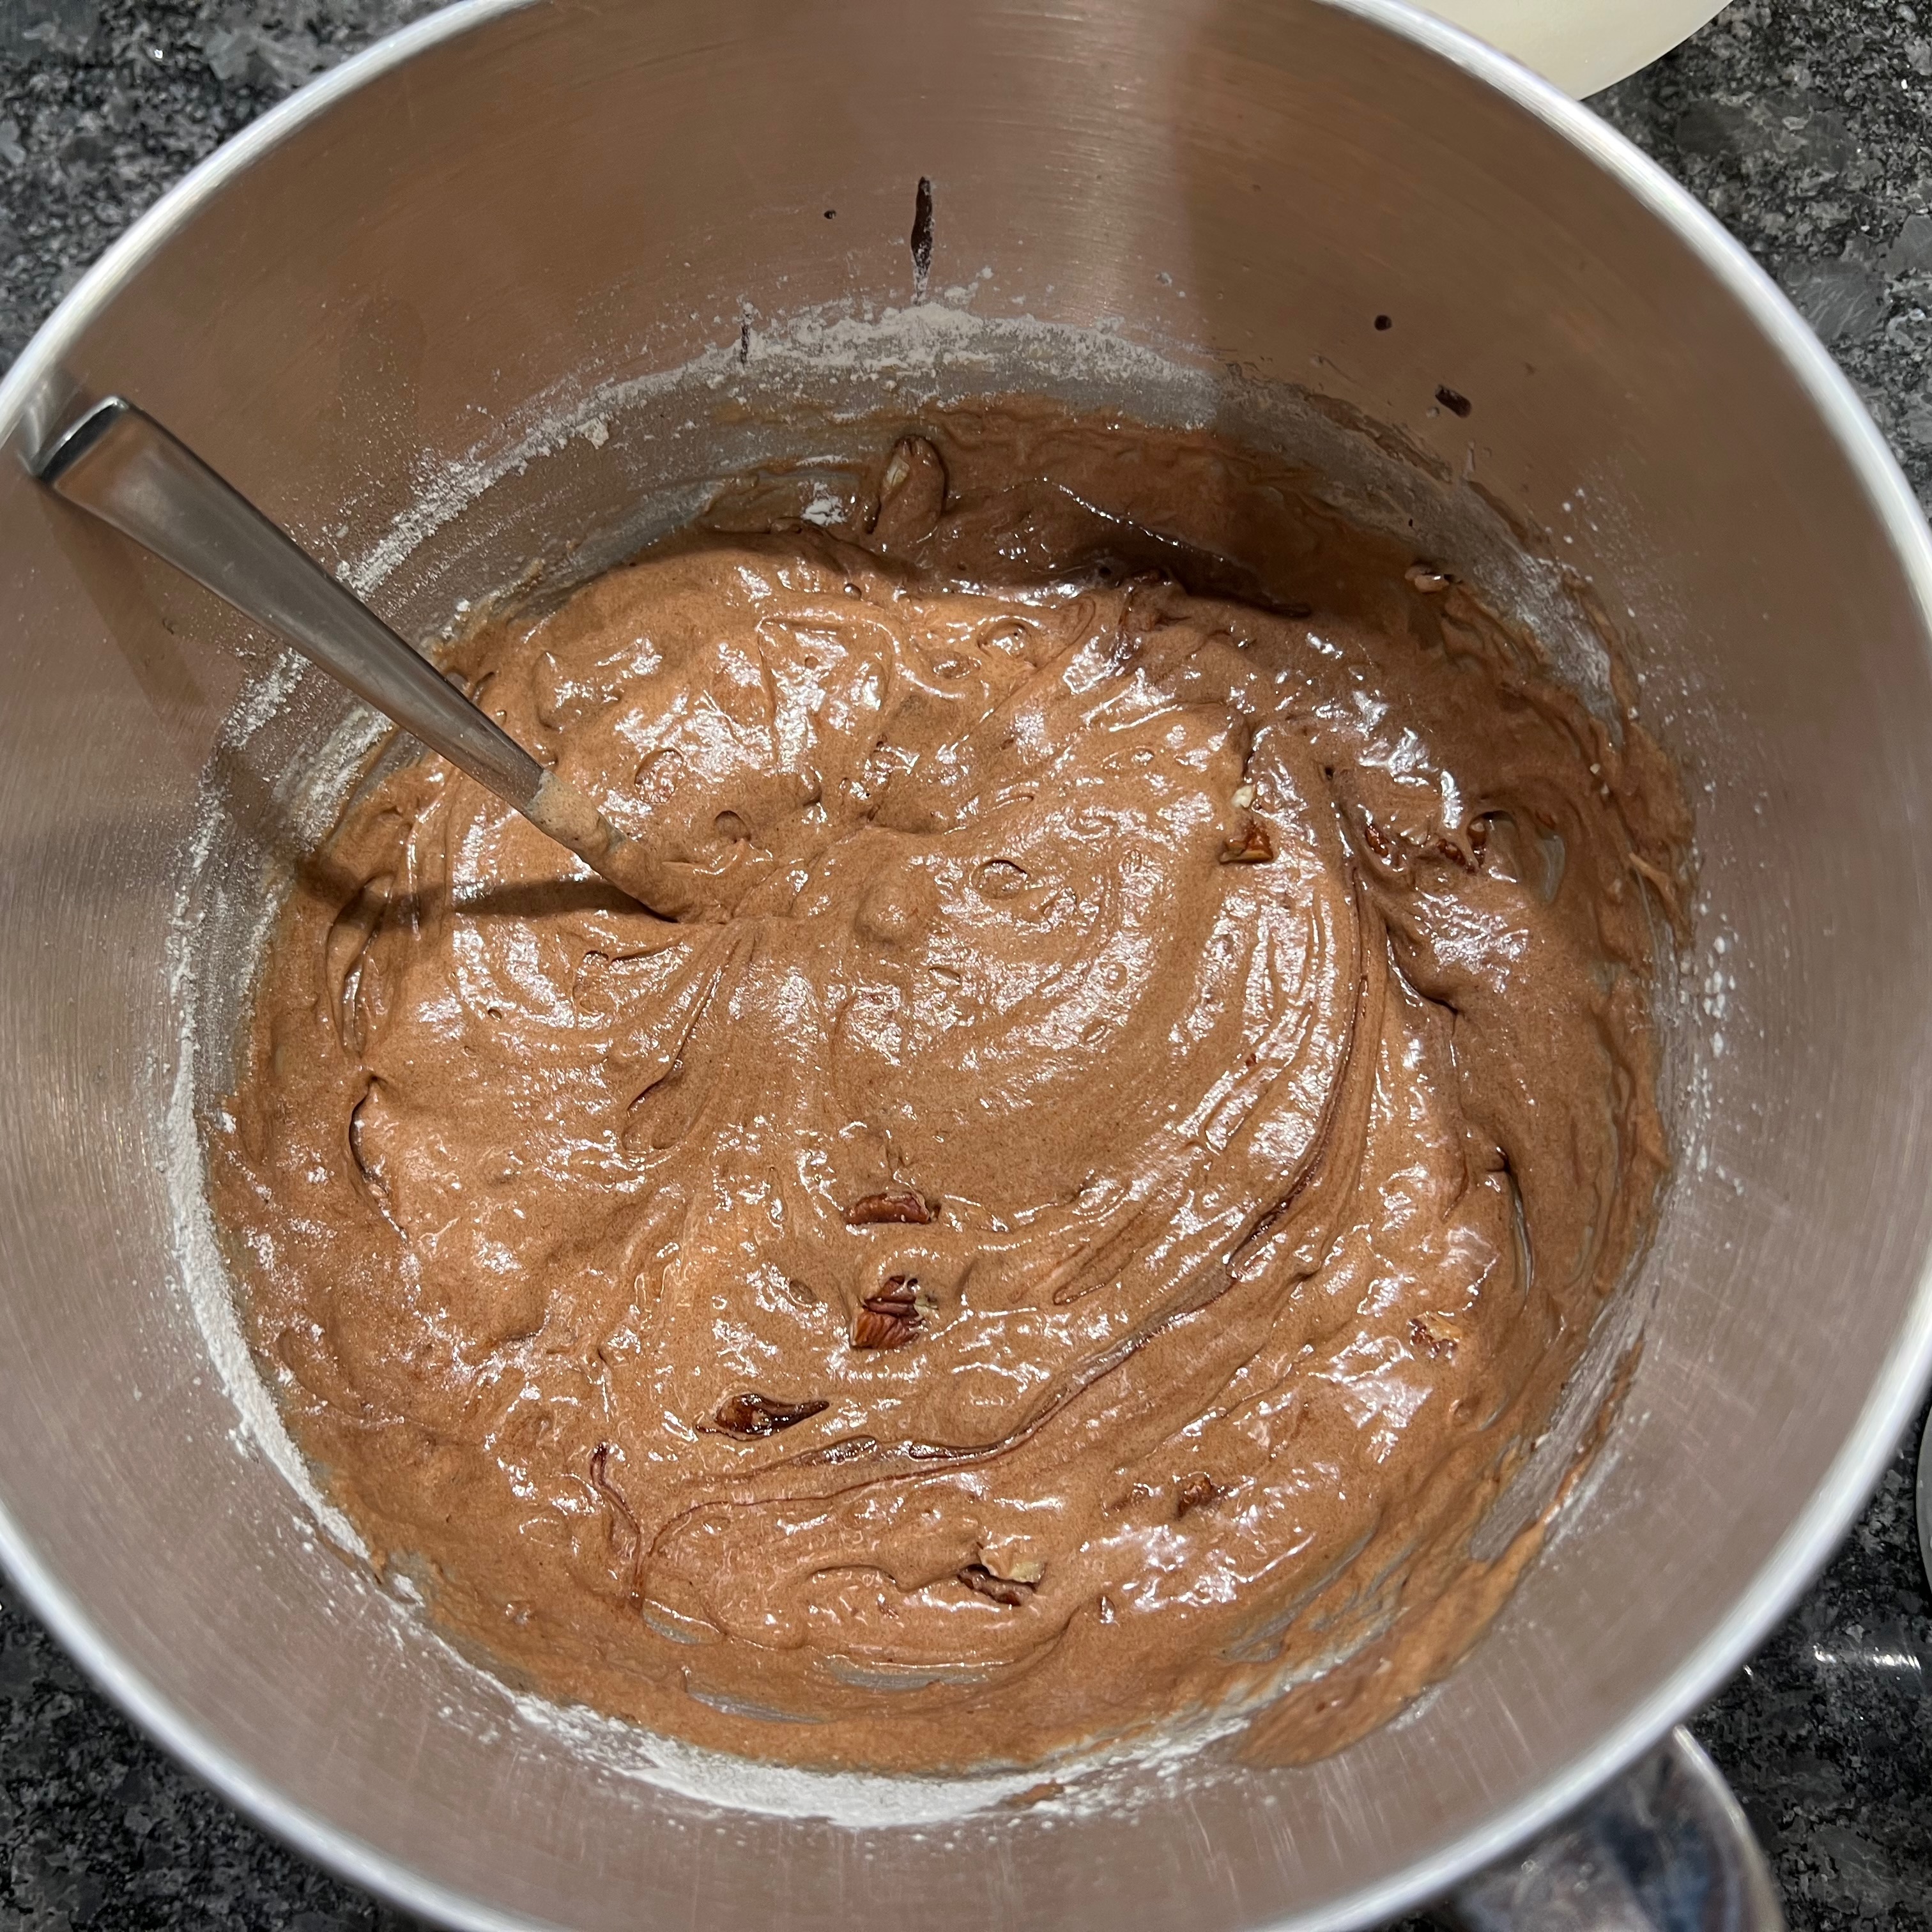
Sirt in the flour and stir.
Chop the pecans coarsely, add them and stir.
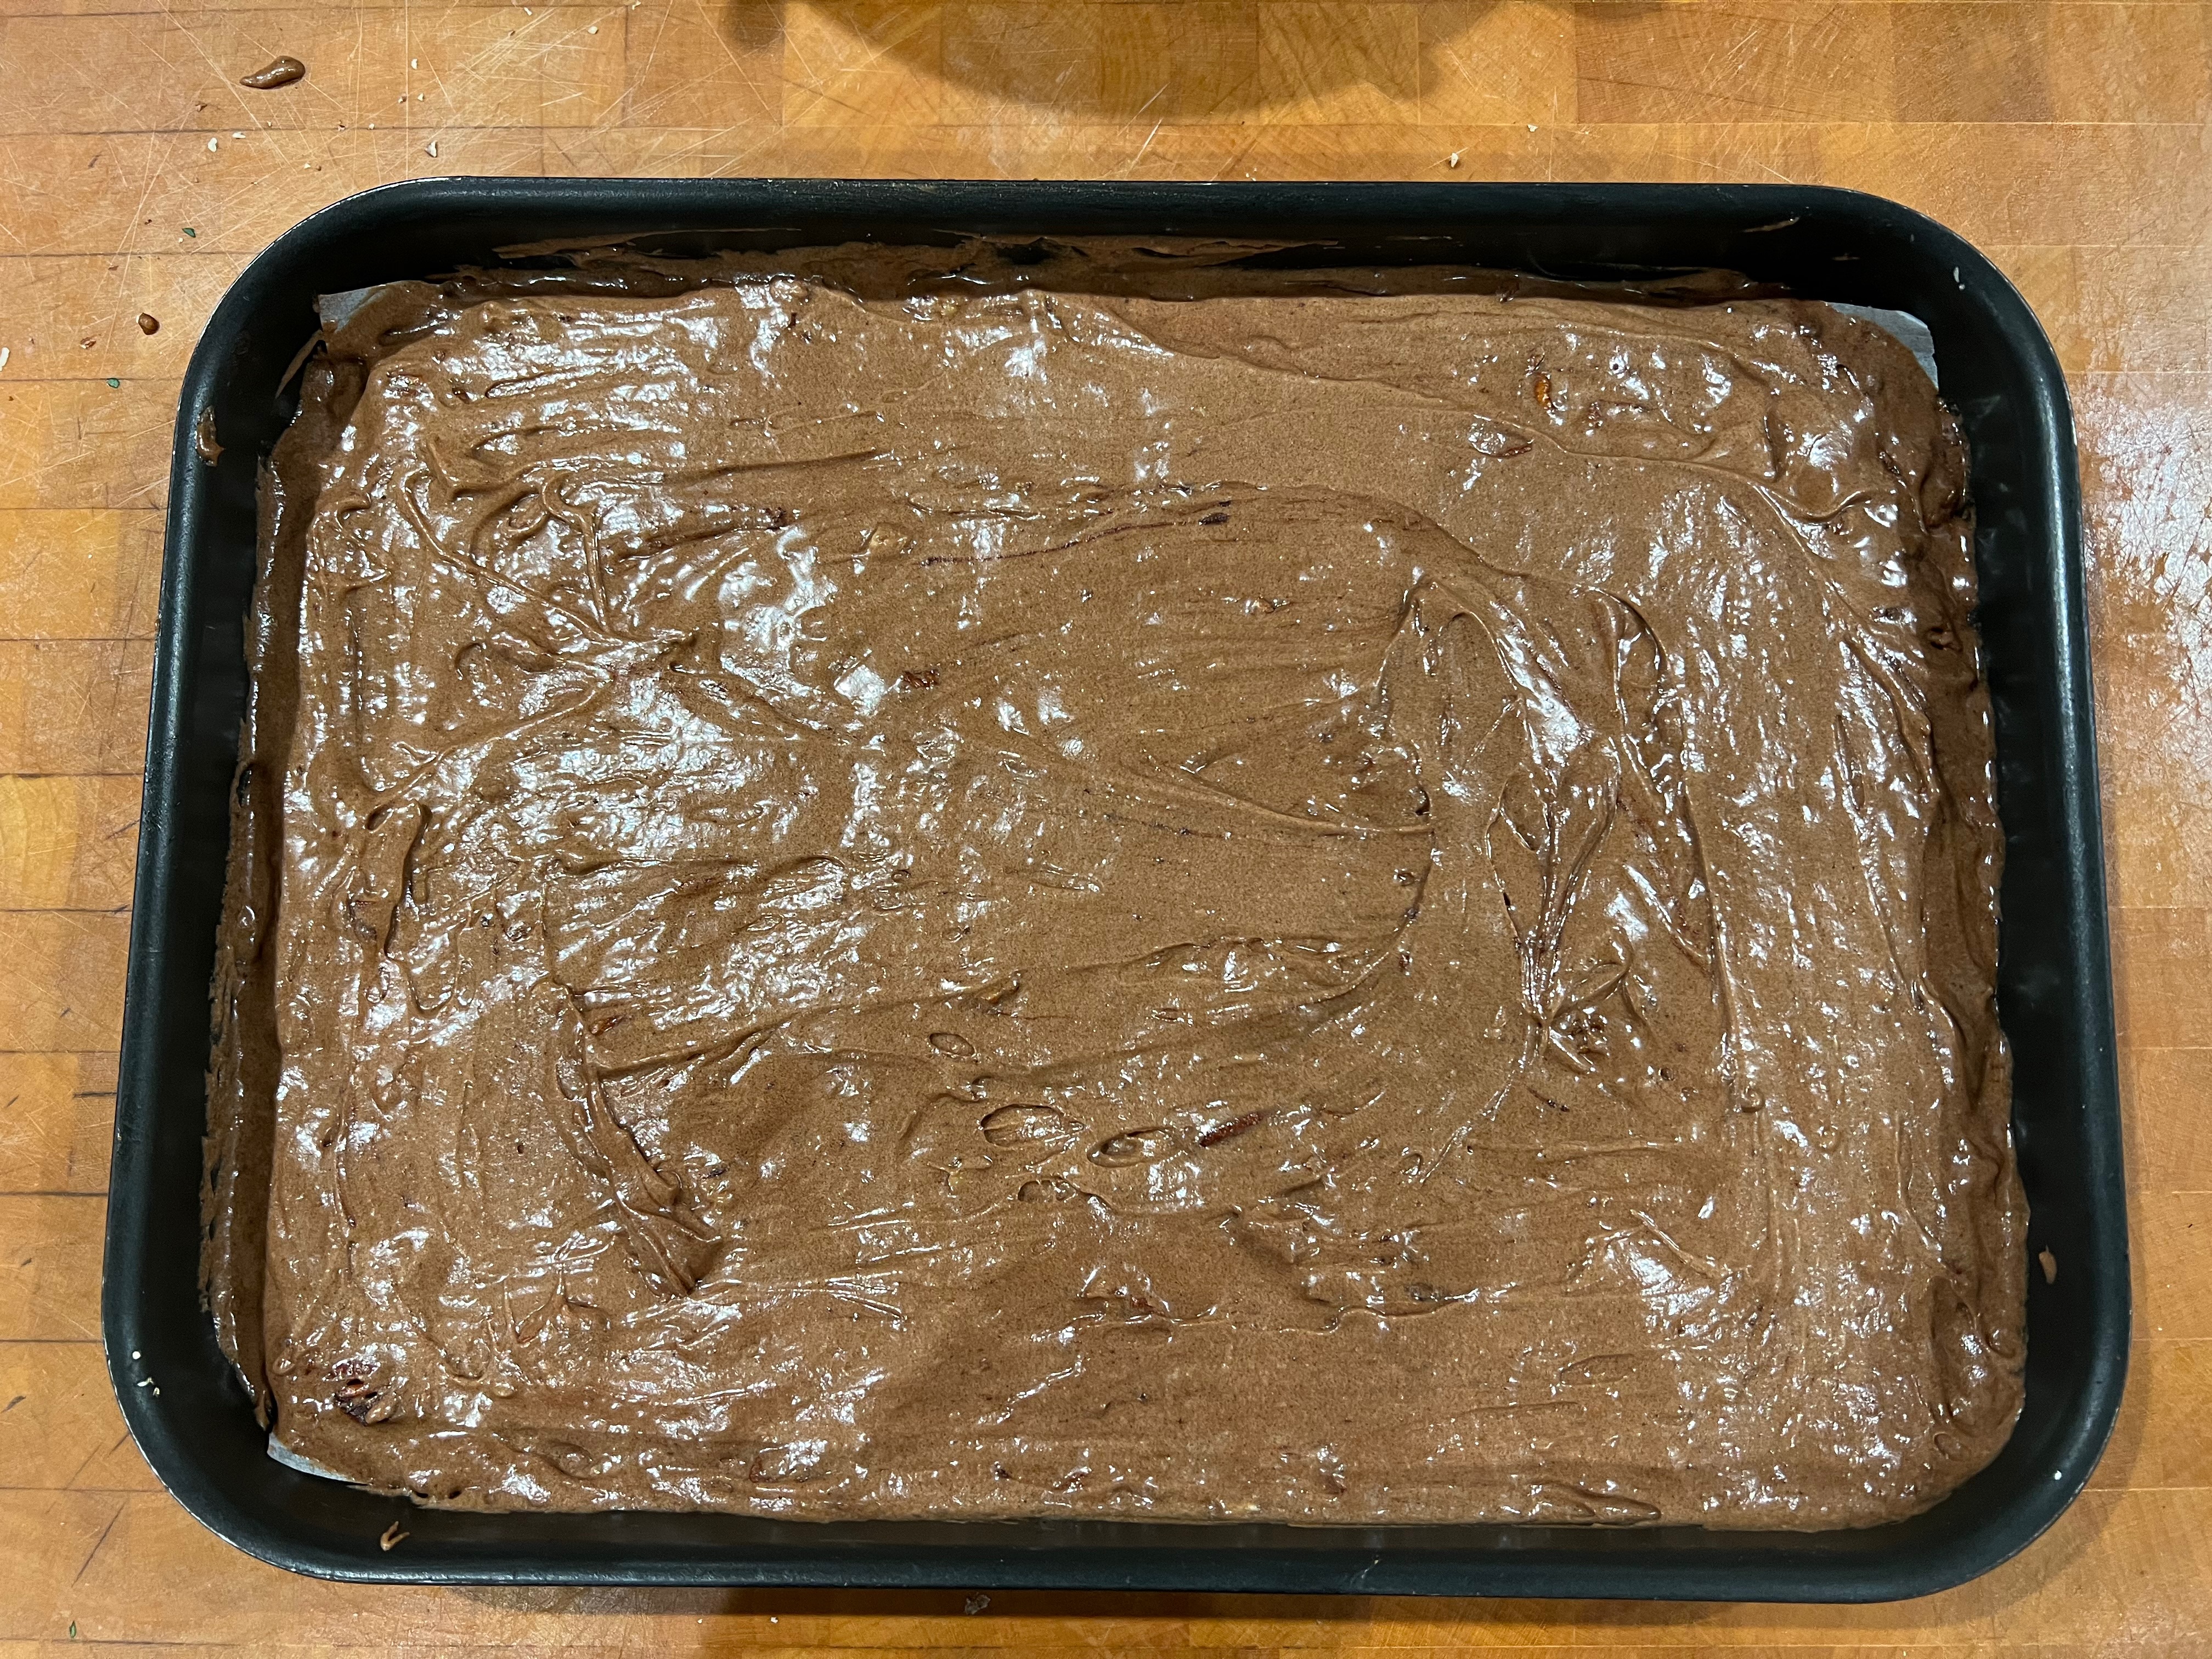
Pour the mixture into your baking tin, smooth it out so that it’s level.
Bake for around 20 minutes – less for more fudgey, more for more cakey.
Cut into squares or rectangles. For the full Americana (and particularly if, like mine, you’ve overbaked the brownies so they’re too dry, they go well with blueberries and whipped cream.
I have no idea why a Swiss Roll is called a Swiss Roll. I’ve travelled to Switzerland a lot and I don’t remember seeing one there. If Wikipedia is to believed, it doesn’t even come from Switzerland in the first place. But apparently, if you happen to be in Chile, at 5pm, it’s time for a coffee and a slice of Brazo da Reina – a rolled sponge cake filled with dulce de leche (caramelised condensed milk). The name in Spanish means “the Queen’s Arm”, which sounds to British ears more like a pub sign, which just goes to show that there’s no accounting for language. It’s not really clear where that name comes from either, and the same cake has other names in different bits of Latin America: Brazo de gitano (gypsy’s arm) or Pionono. Other countries also use different fillings.
The Chilean recipe I started from is notable for having a lot of eggs and no shortening whatsoever, which makes for an incredibly light, airy sponge cake. There are other recipes that use a small amount of oil.
The recipe I used tells you to fold the egg yolks into the beaten whites, then add the flour to the whole lot. That was a little too far outside my comfort zone, so I stuck to a more conventional scheme of mixing egg yolks, sugar and flour before folding, which worked very well.
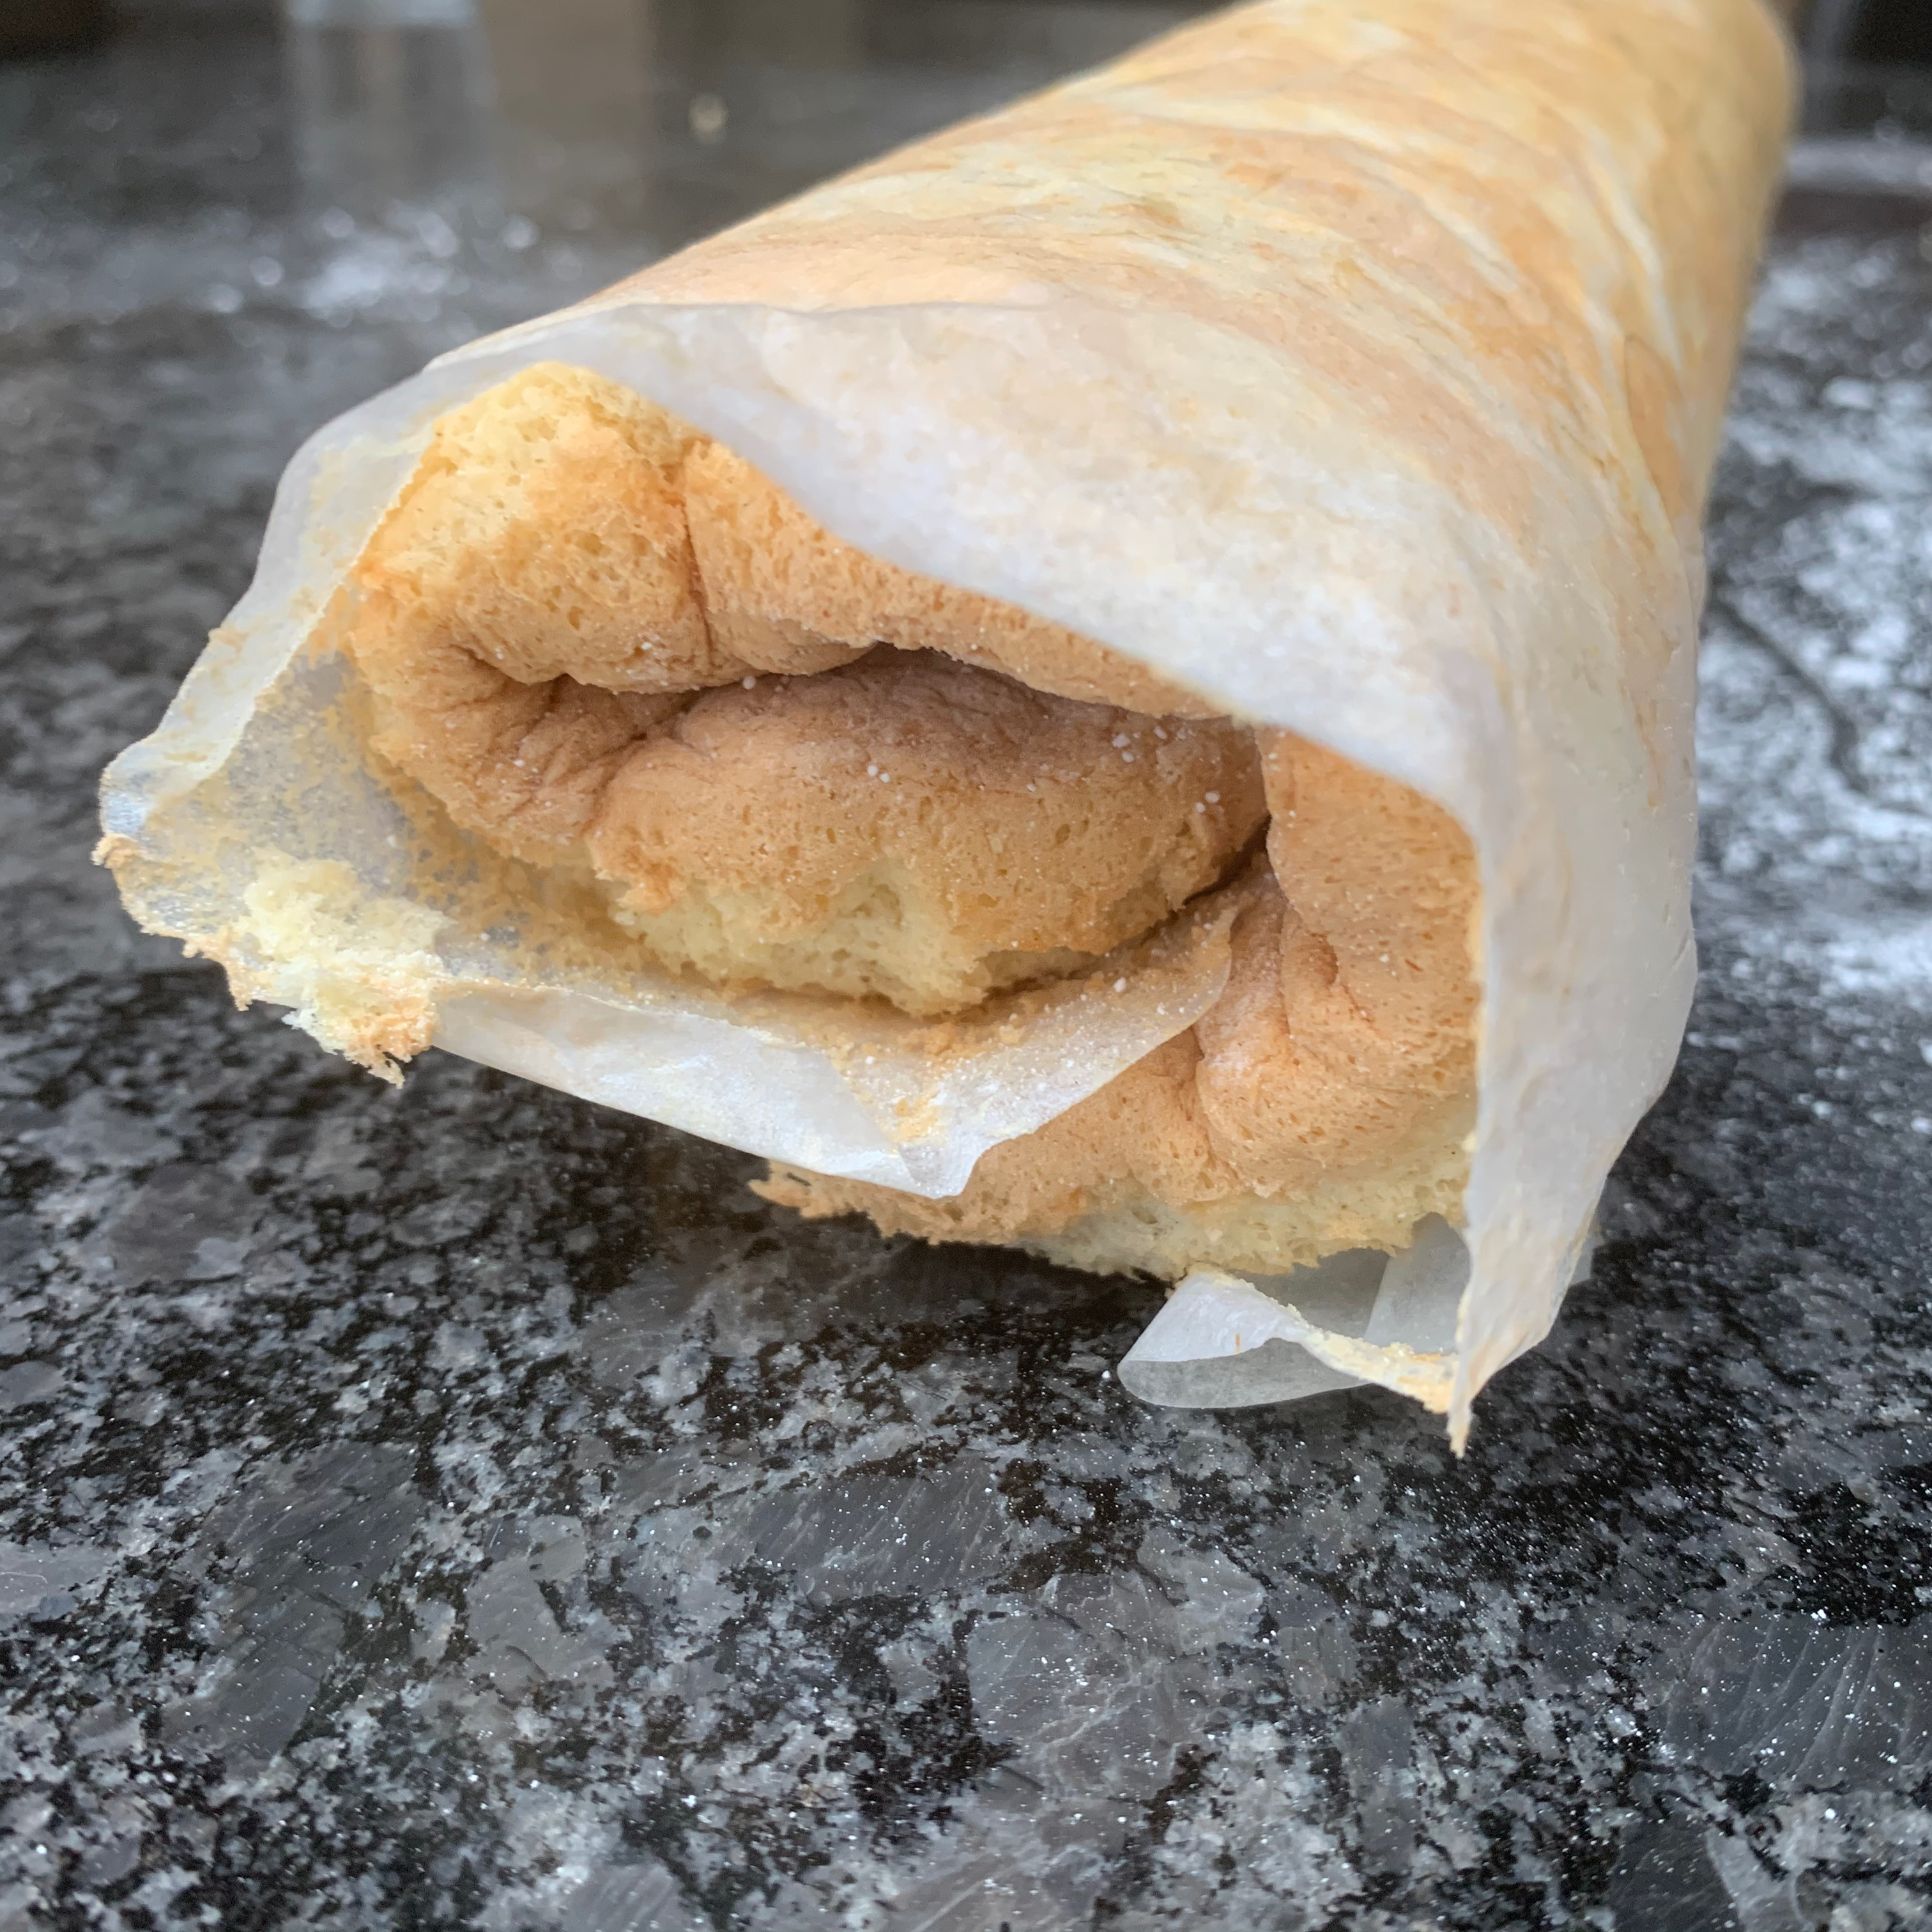
The tricky part of making a roll cake – especially one as light an airy as this – is to roll it up without tearing. I wasn’t 100% successful, but it was good enough.
The last time I made dulce de leche, for Argentinian alfajores, I baked the condensed milk in an oven tray, which worked OK but was fiddly. For this recipe, I found the ultimate cheat method in the Brazo da Reina recipe in a blog called Curious Cuisiniere – just boil the condensed milk in its can. It’s close to zero effort and worked perfectly. Their advice for rolling up the cake seemed sensible too: this is the first time I’ve tried a roll cake, so I can’t speak for how well other methods work.
You’ll want a Swiss roll tin, around 30cm x 20cm.
The dulce de leche filling
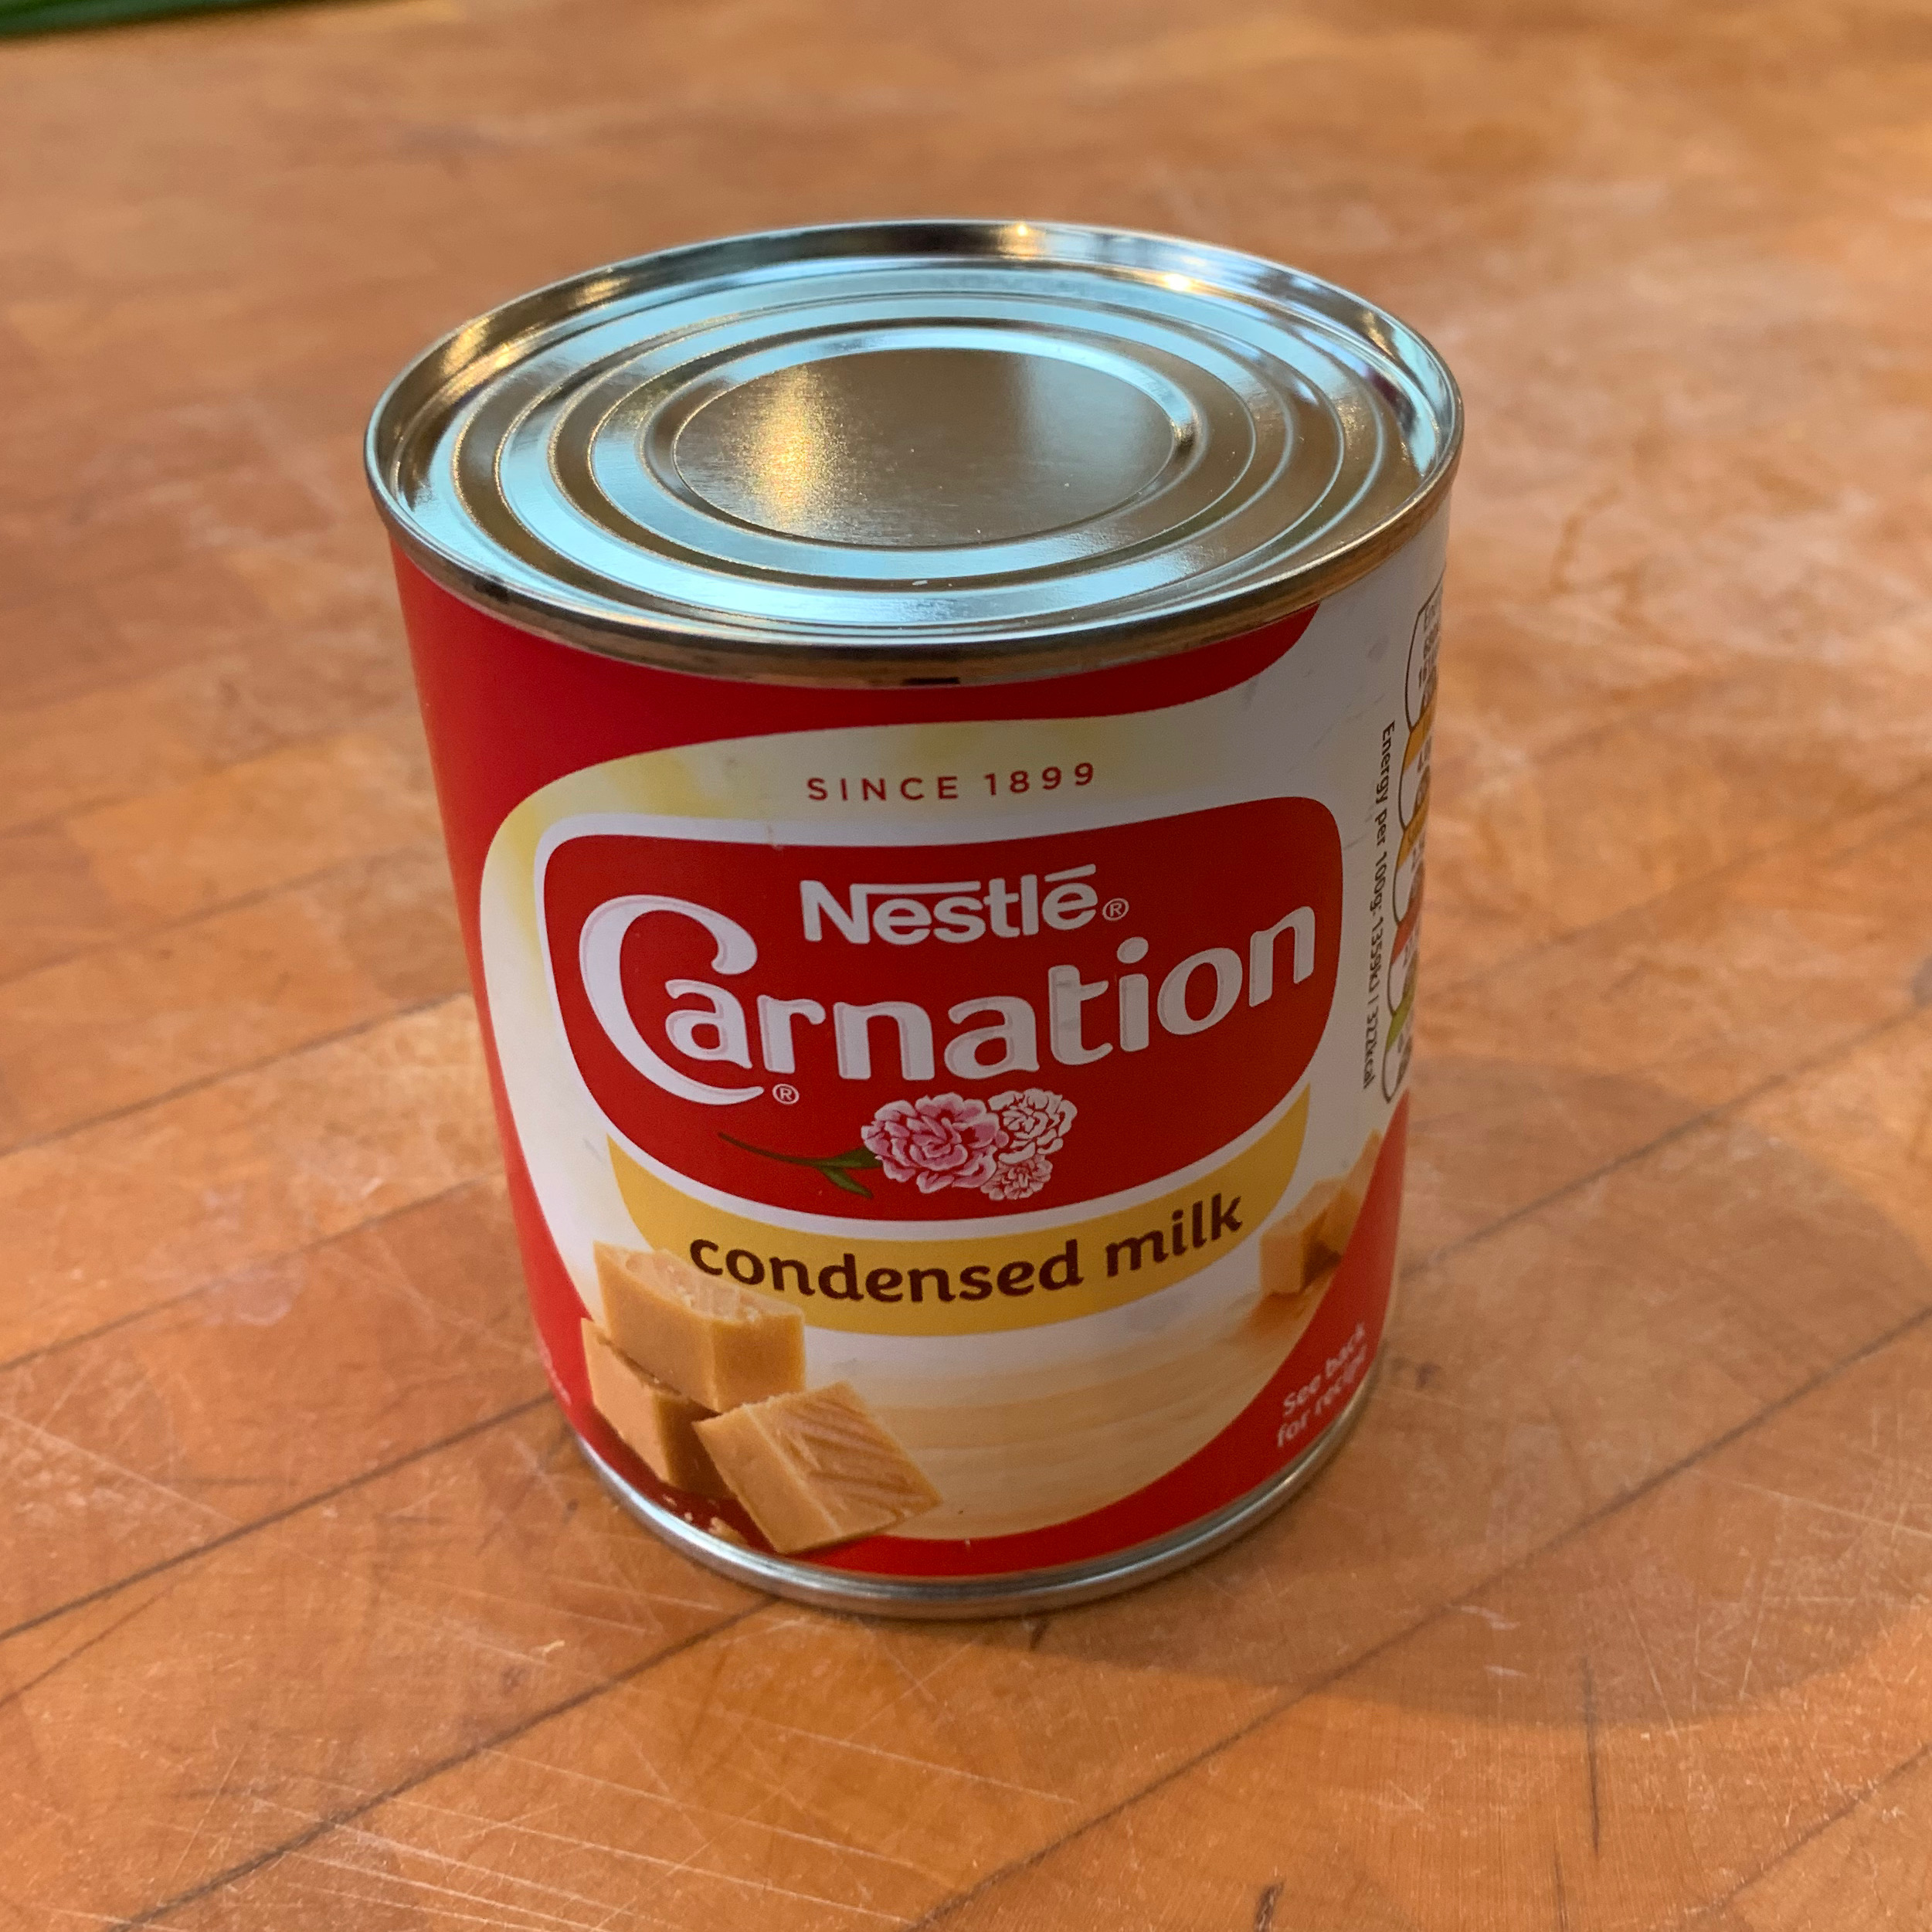
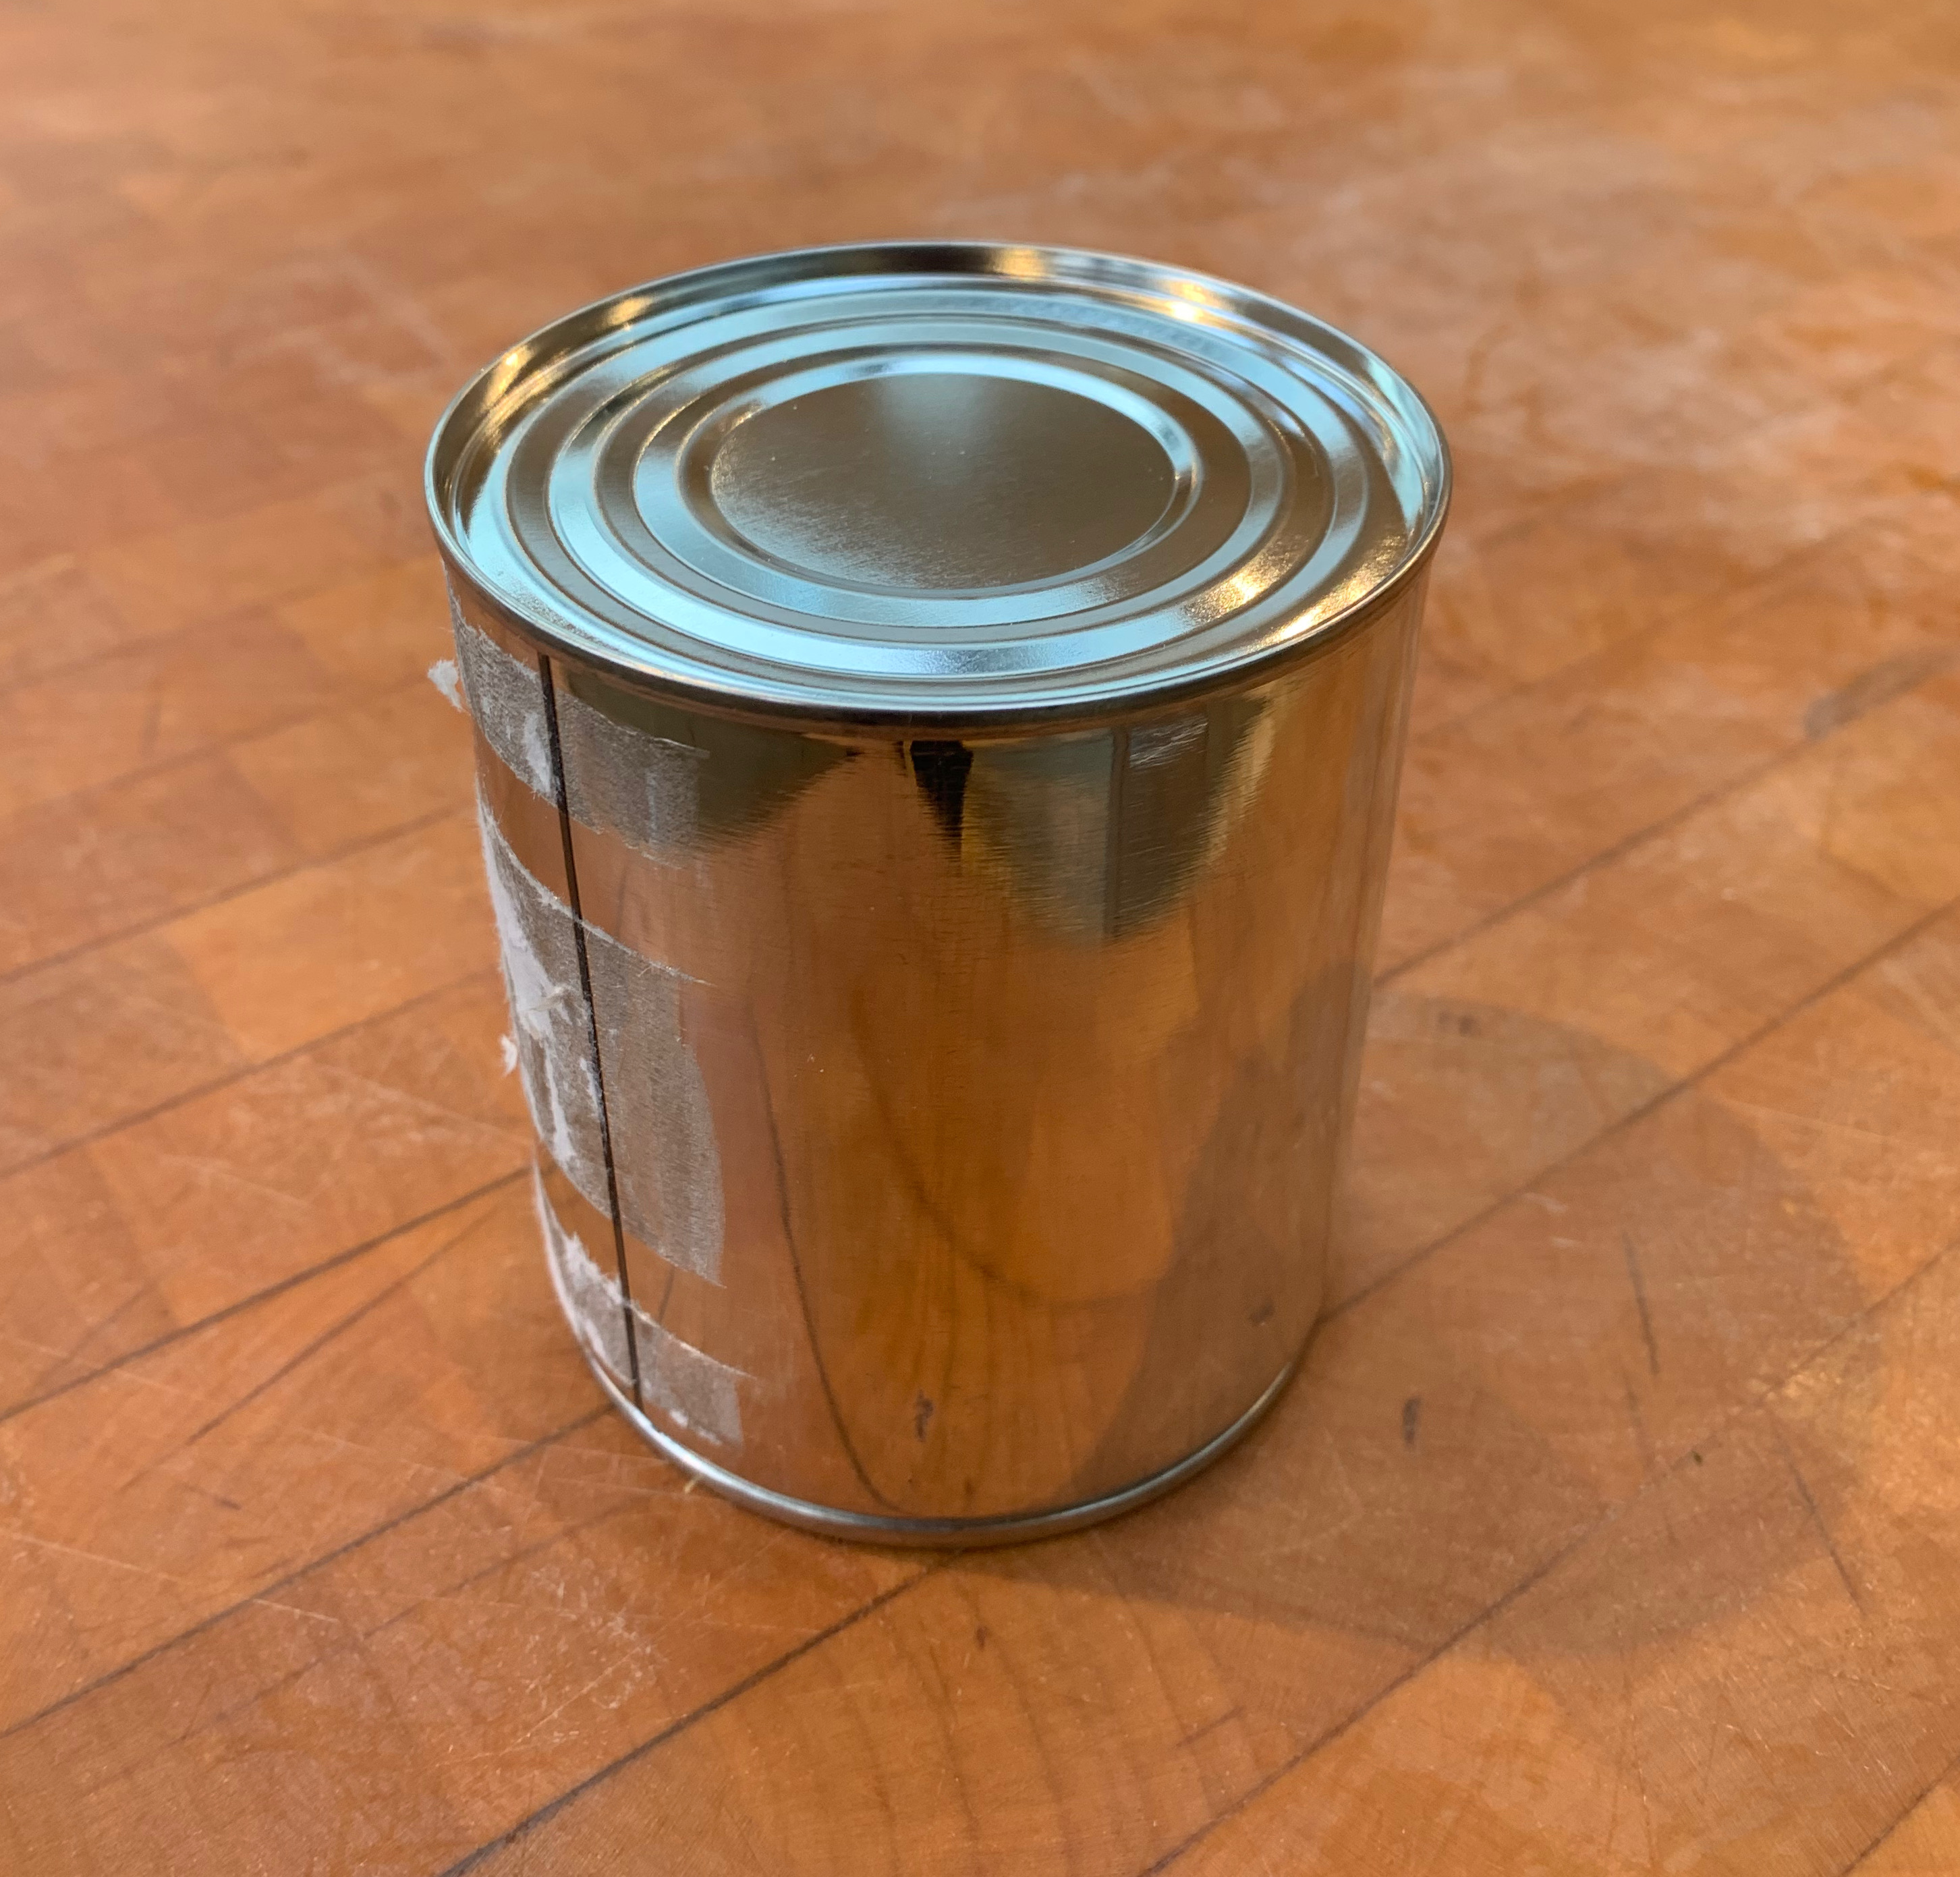
400g can of condensed milk
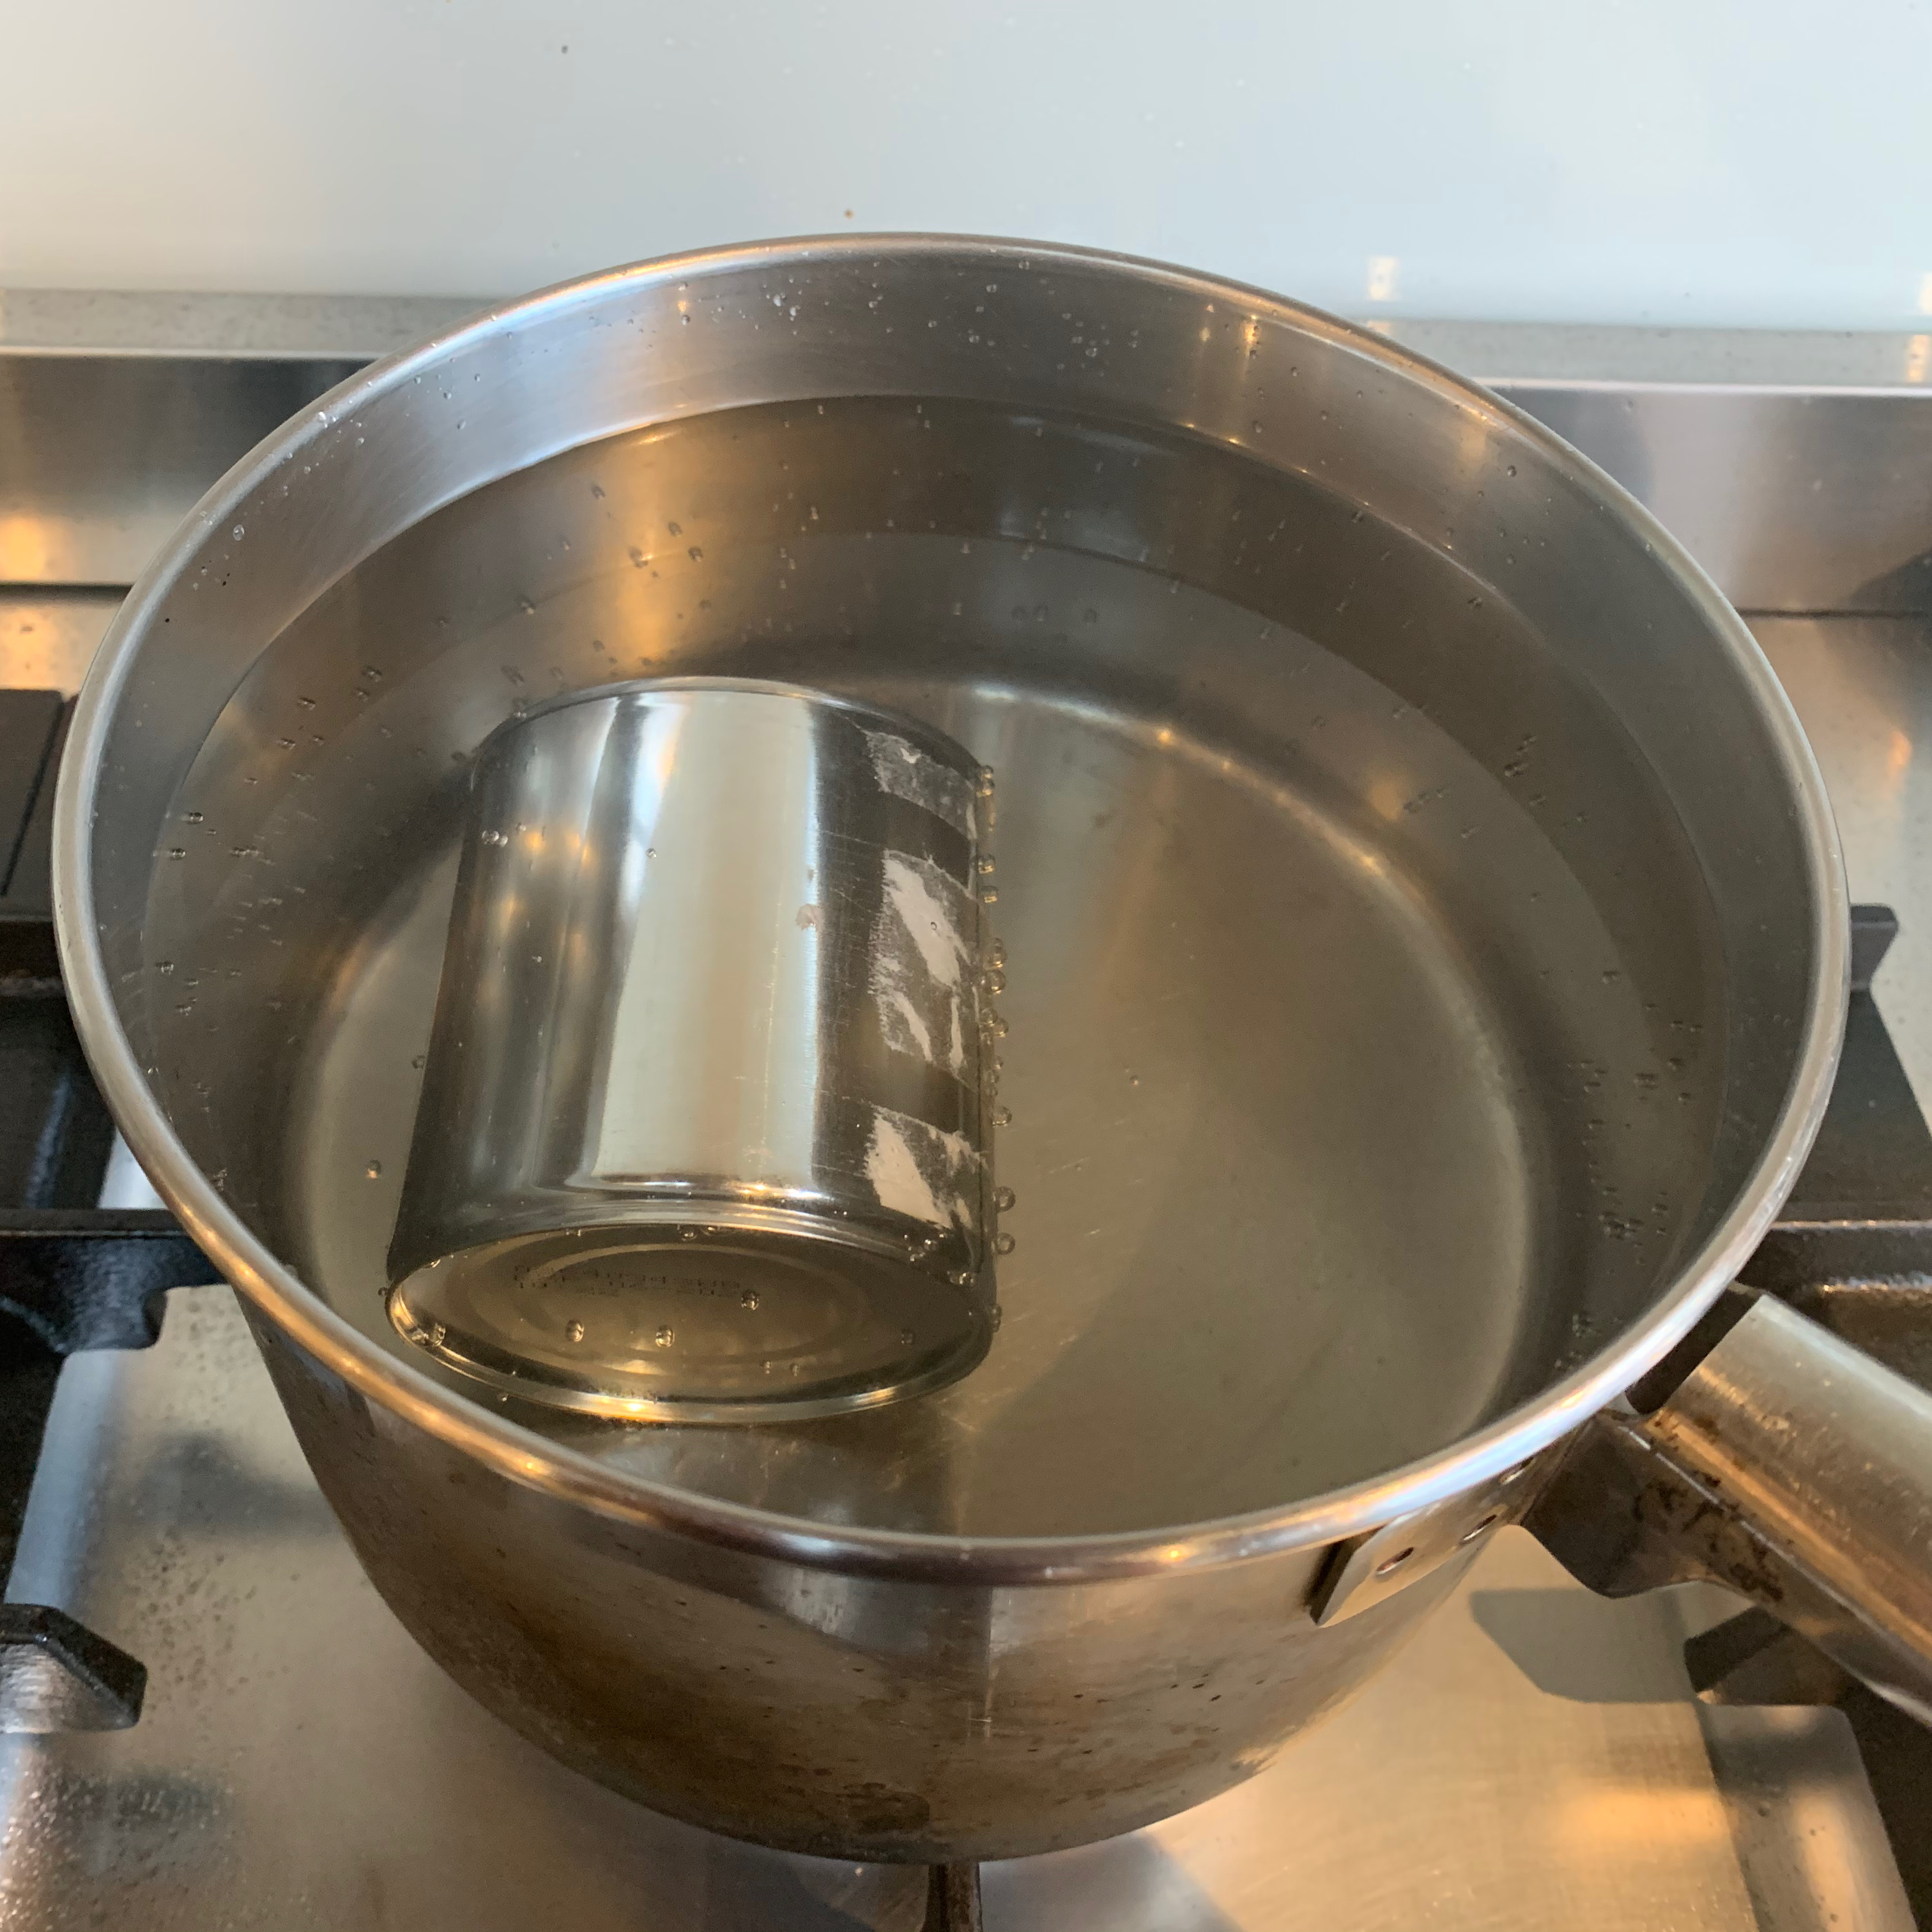
Put the tin of condensed milk (unopened, but you may want to take the paper off) into a saucepan, pour water to cover it (with some spare, since it will evaporate), and bring it to the boil.
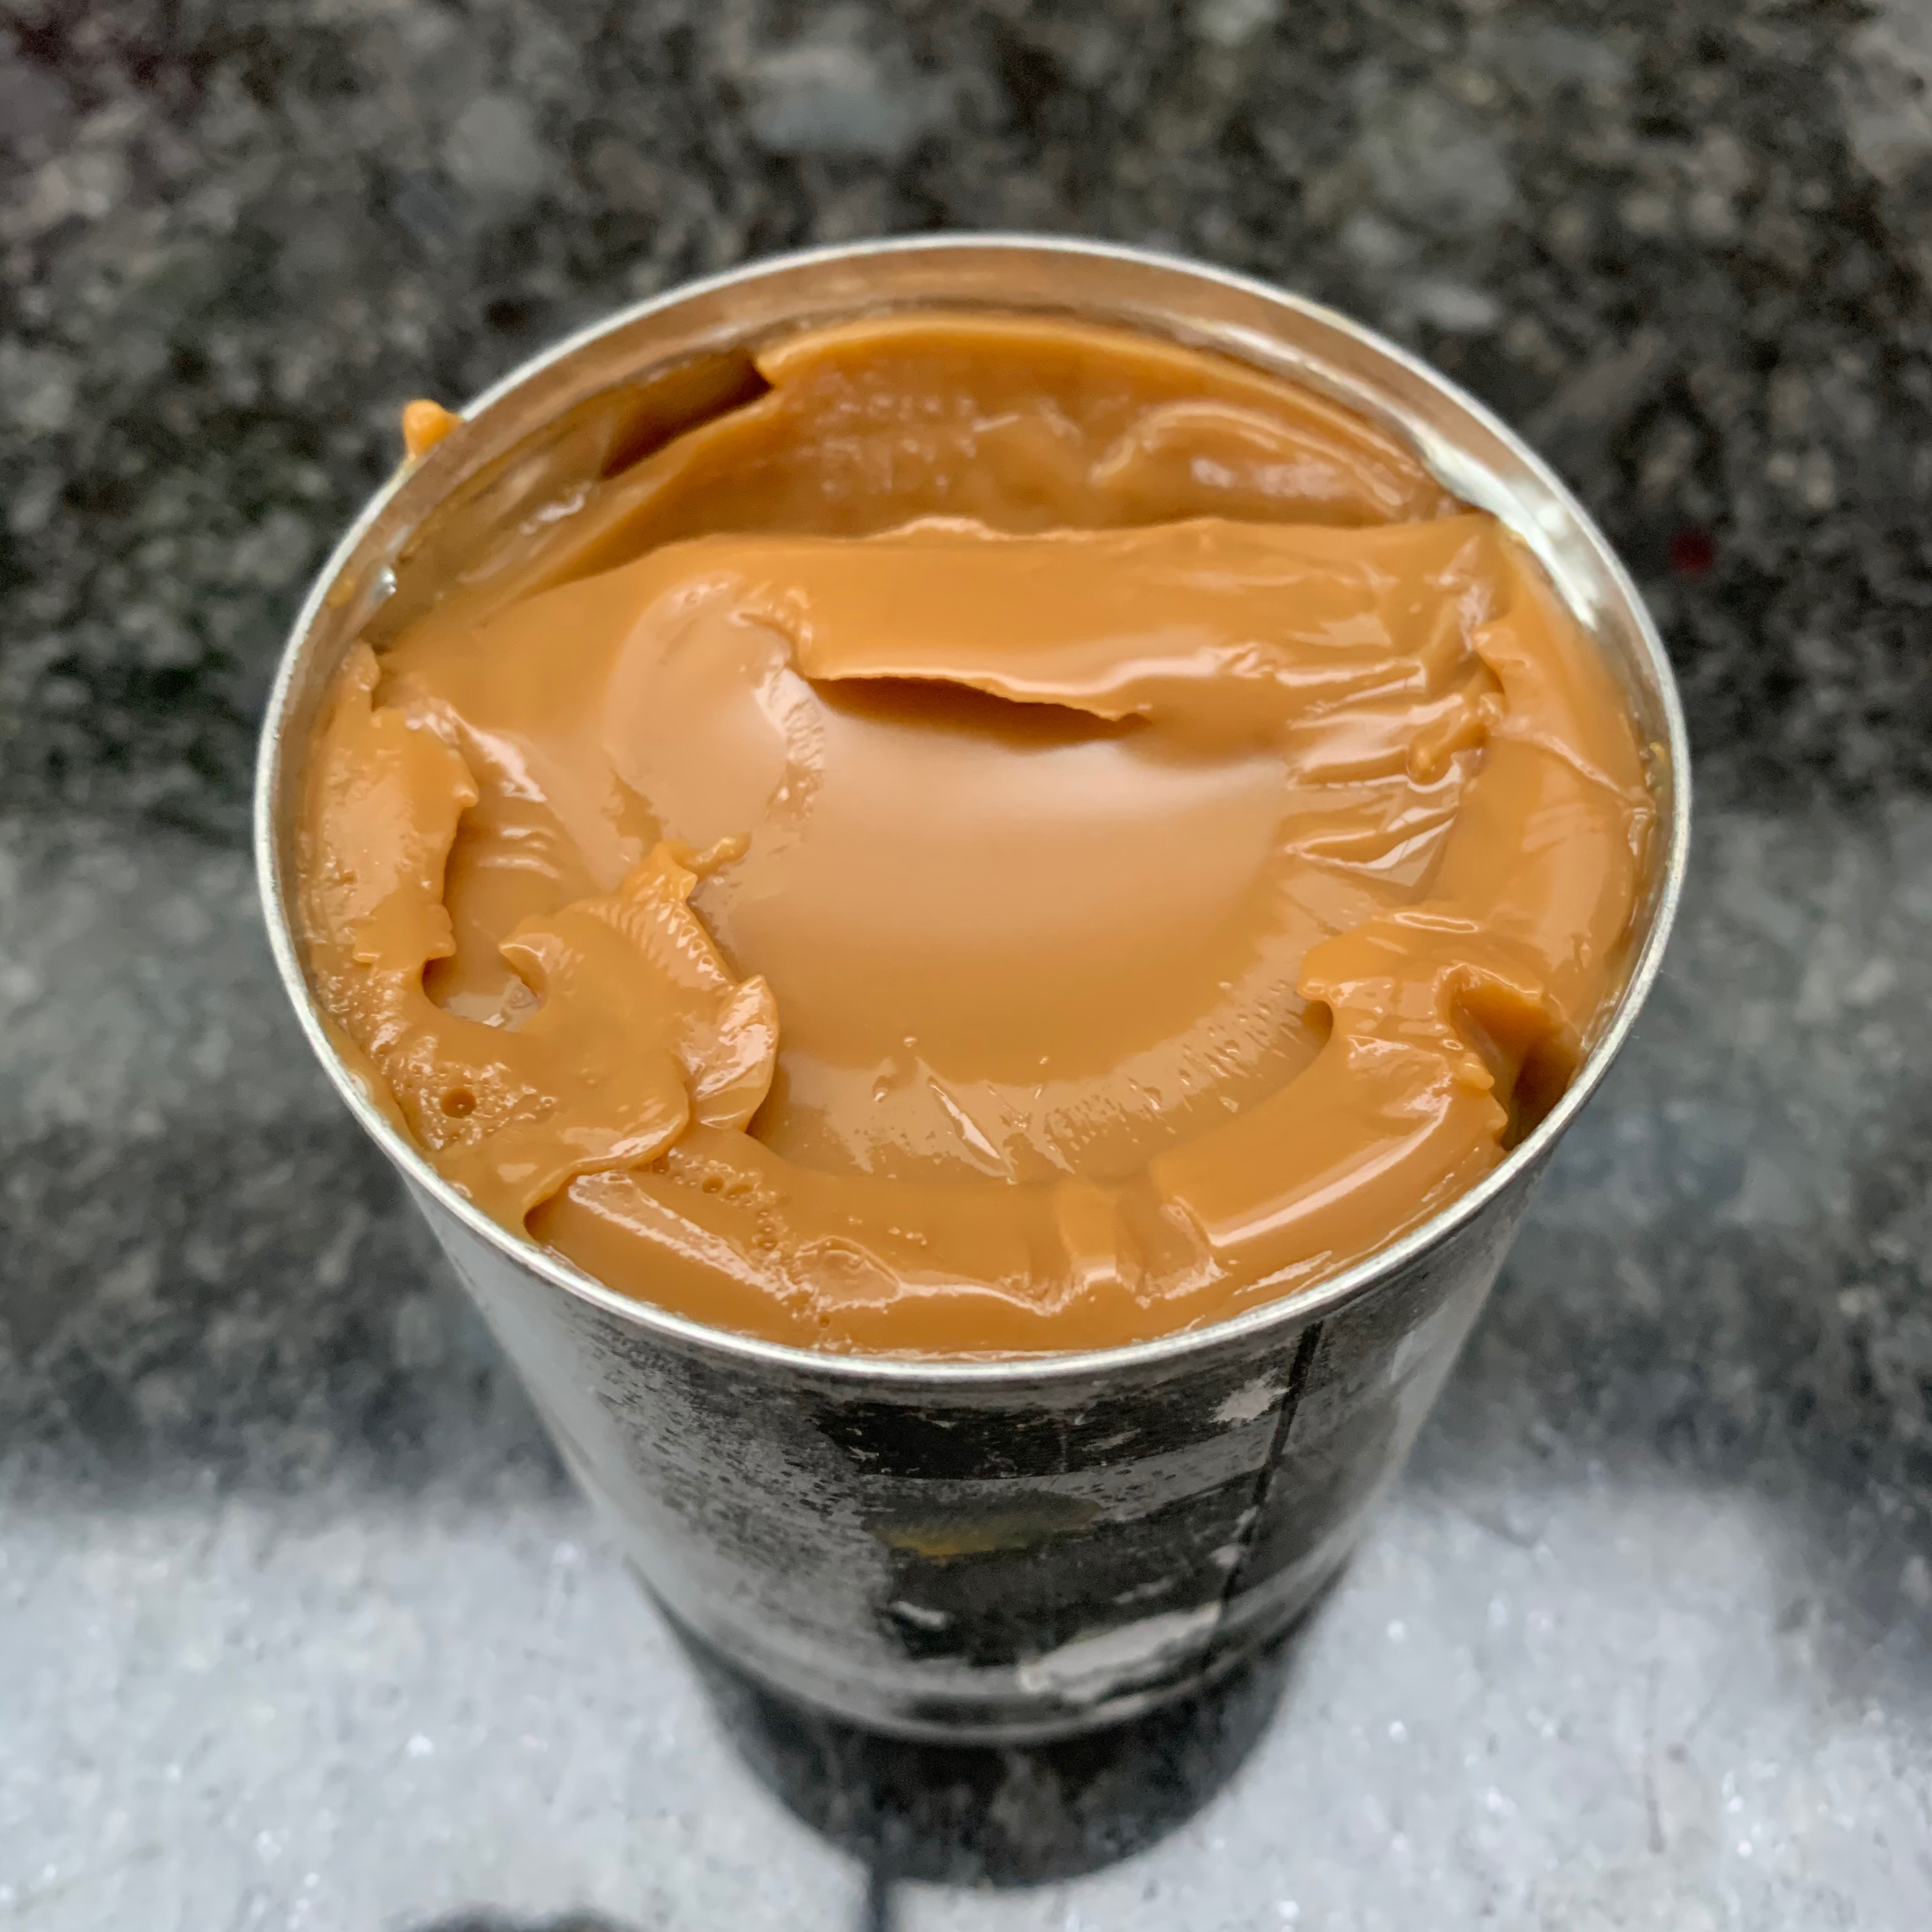
Leave it to simmer for 2-3 hours (two will get you a light caramelisation, 3 will get you a more golden-brown and stronger tasting result.
Remove the tin from the pan and leave it to cool.
The cake
Butter for greasing tin
6 eggs
240g flour
10g baking powder
180g caster sugar
icing sugar for dusting
Preheat oven to 175℃
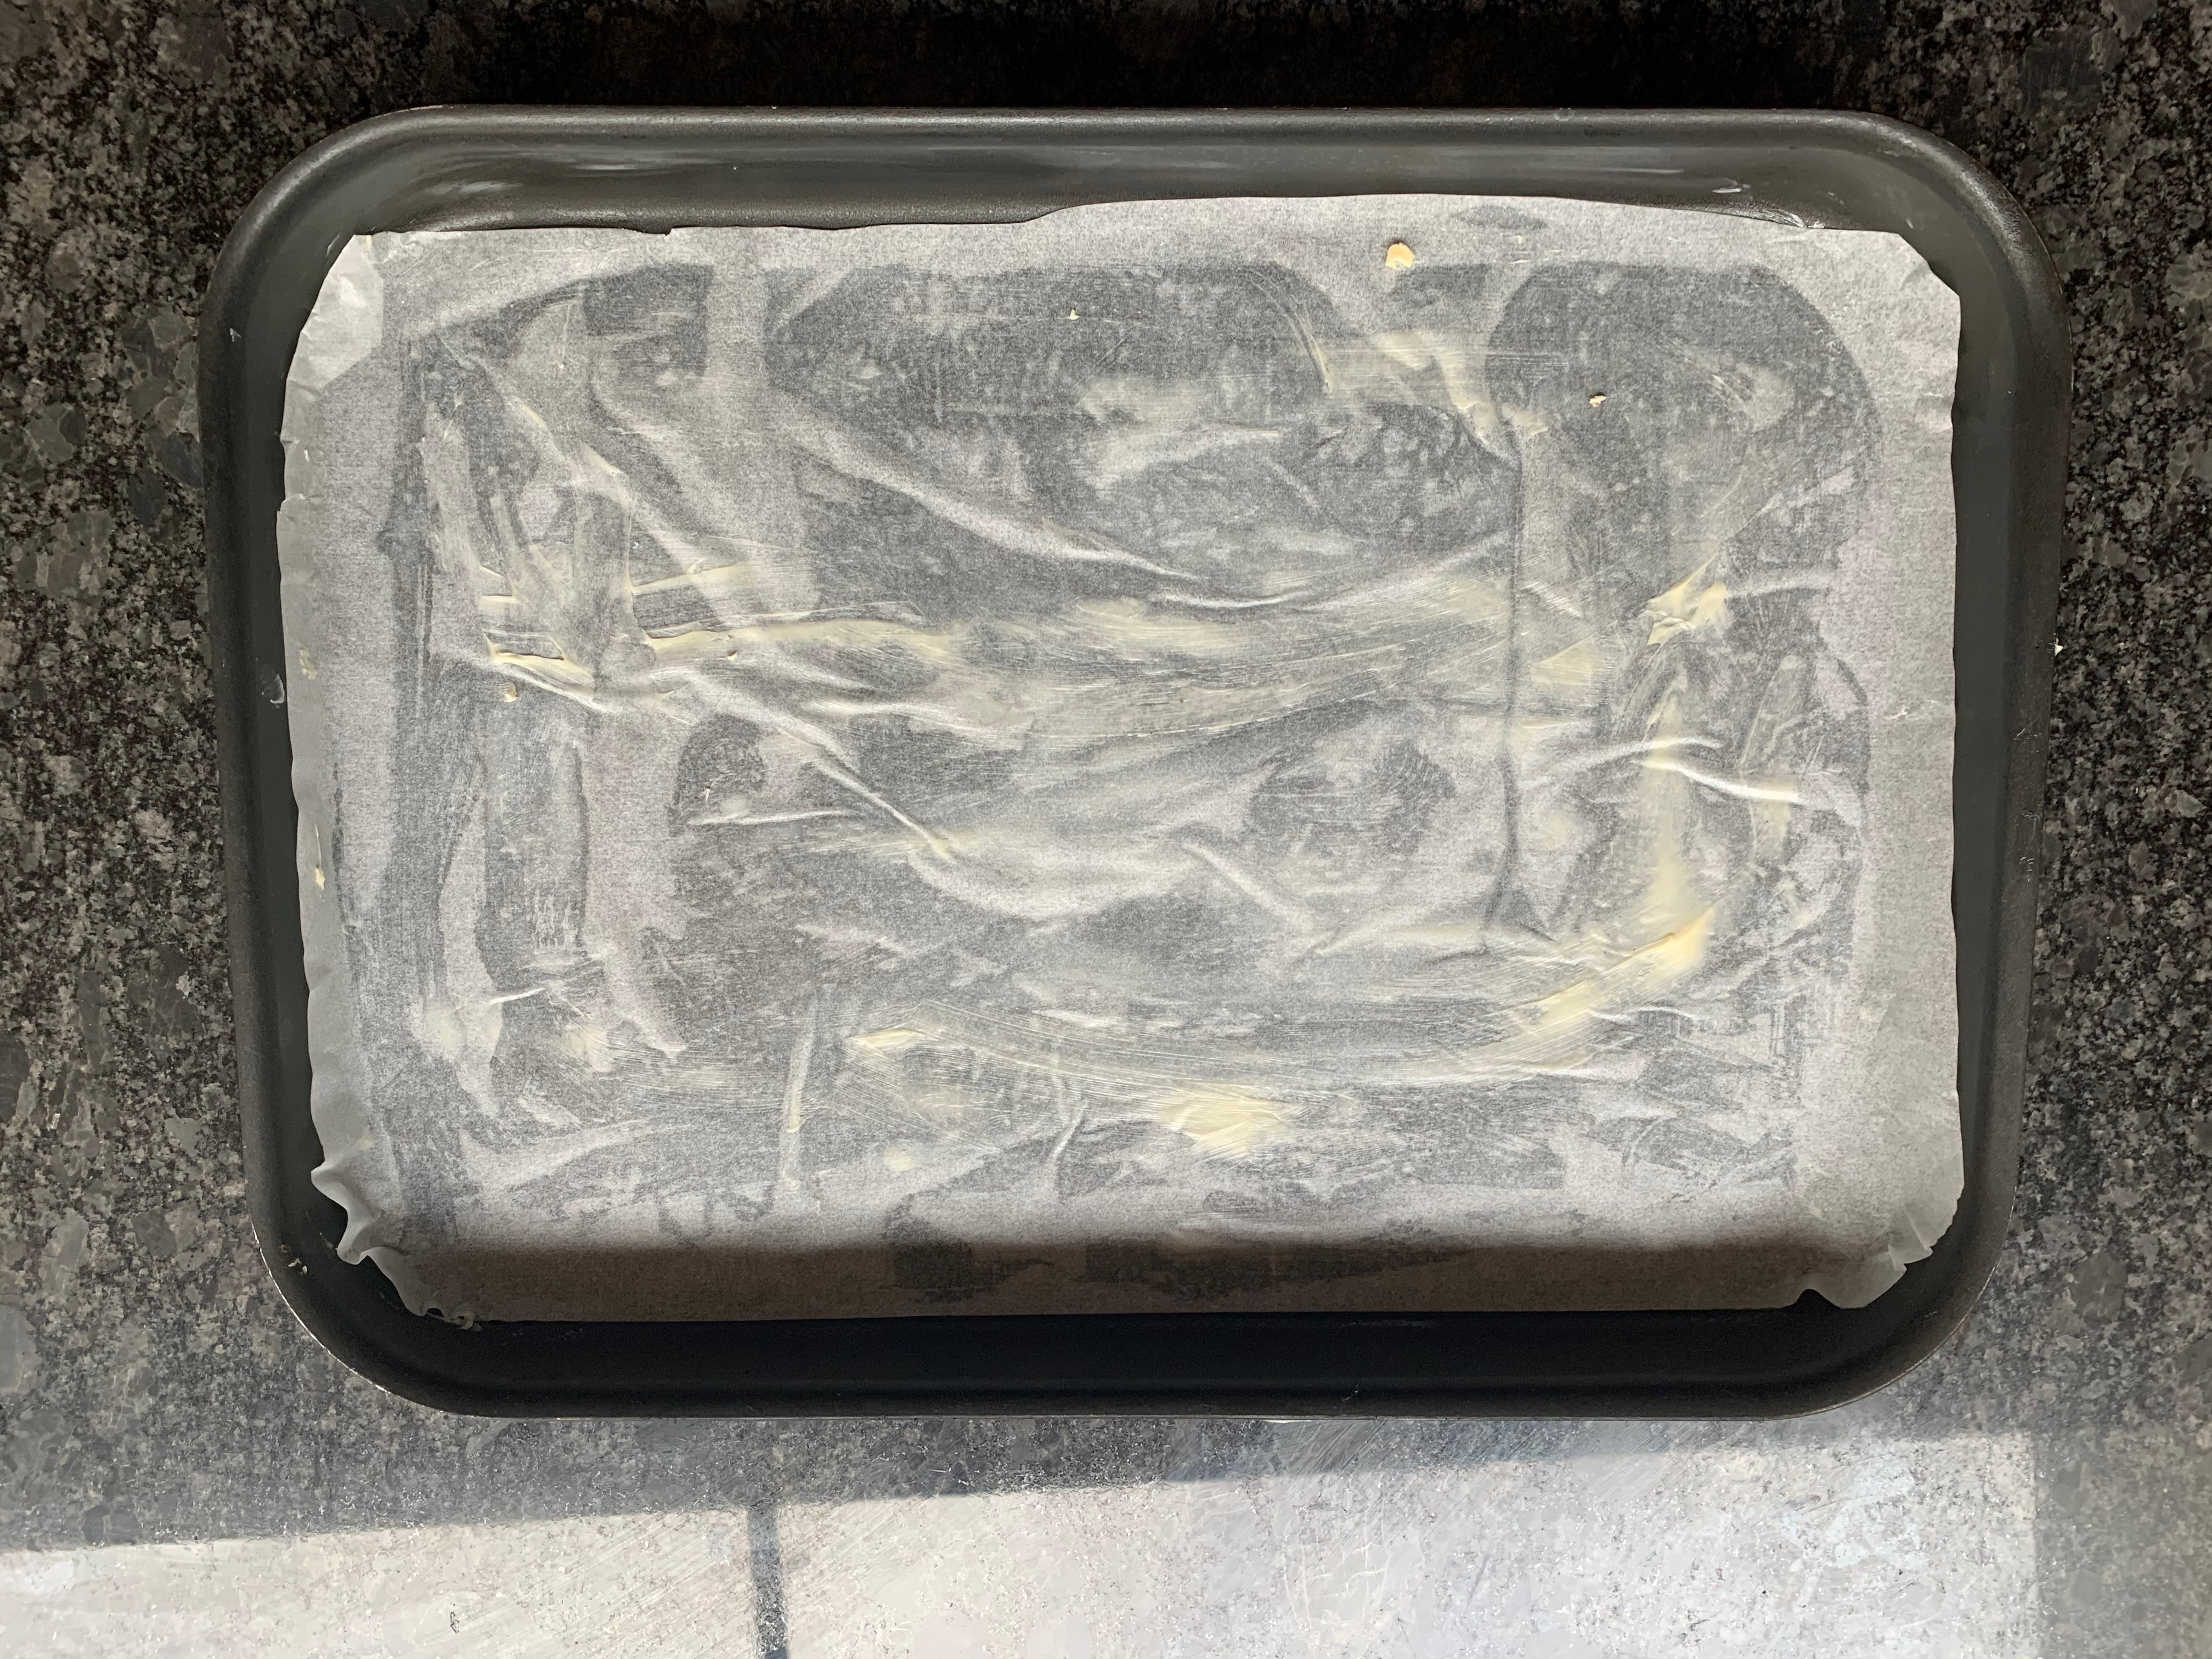
Grease your tin with butter, then line it with baking paper, then grease the baking paper generously.
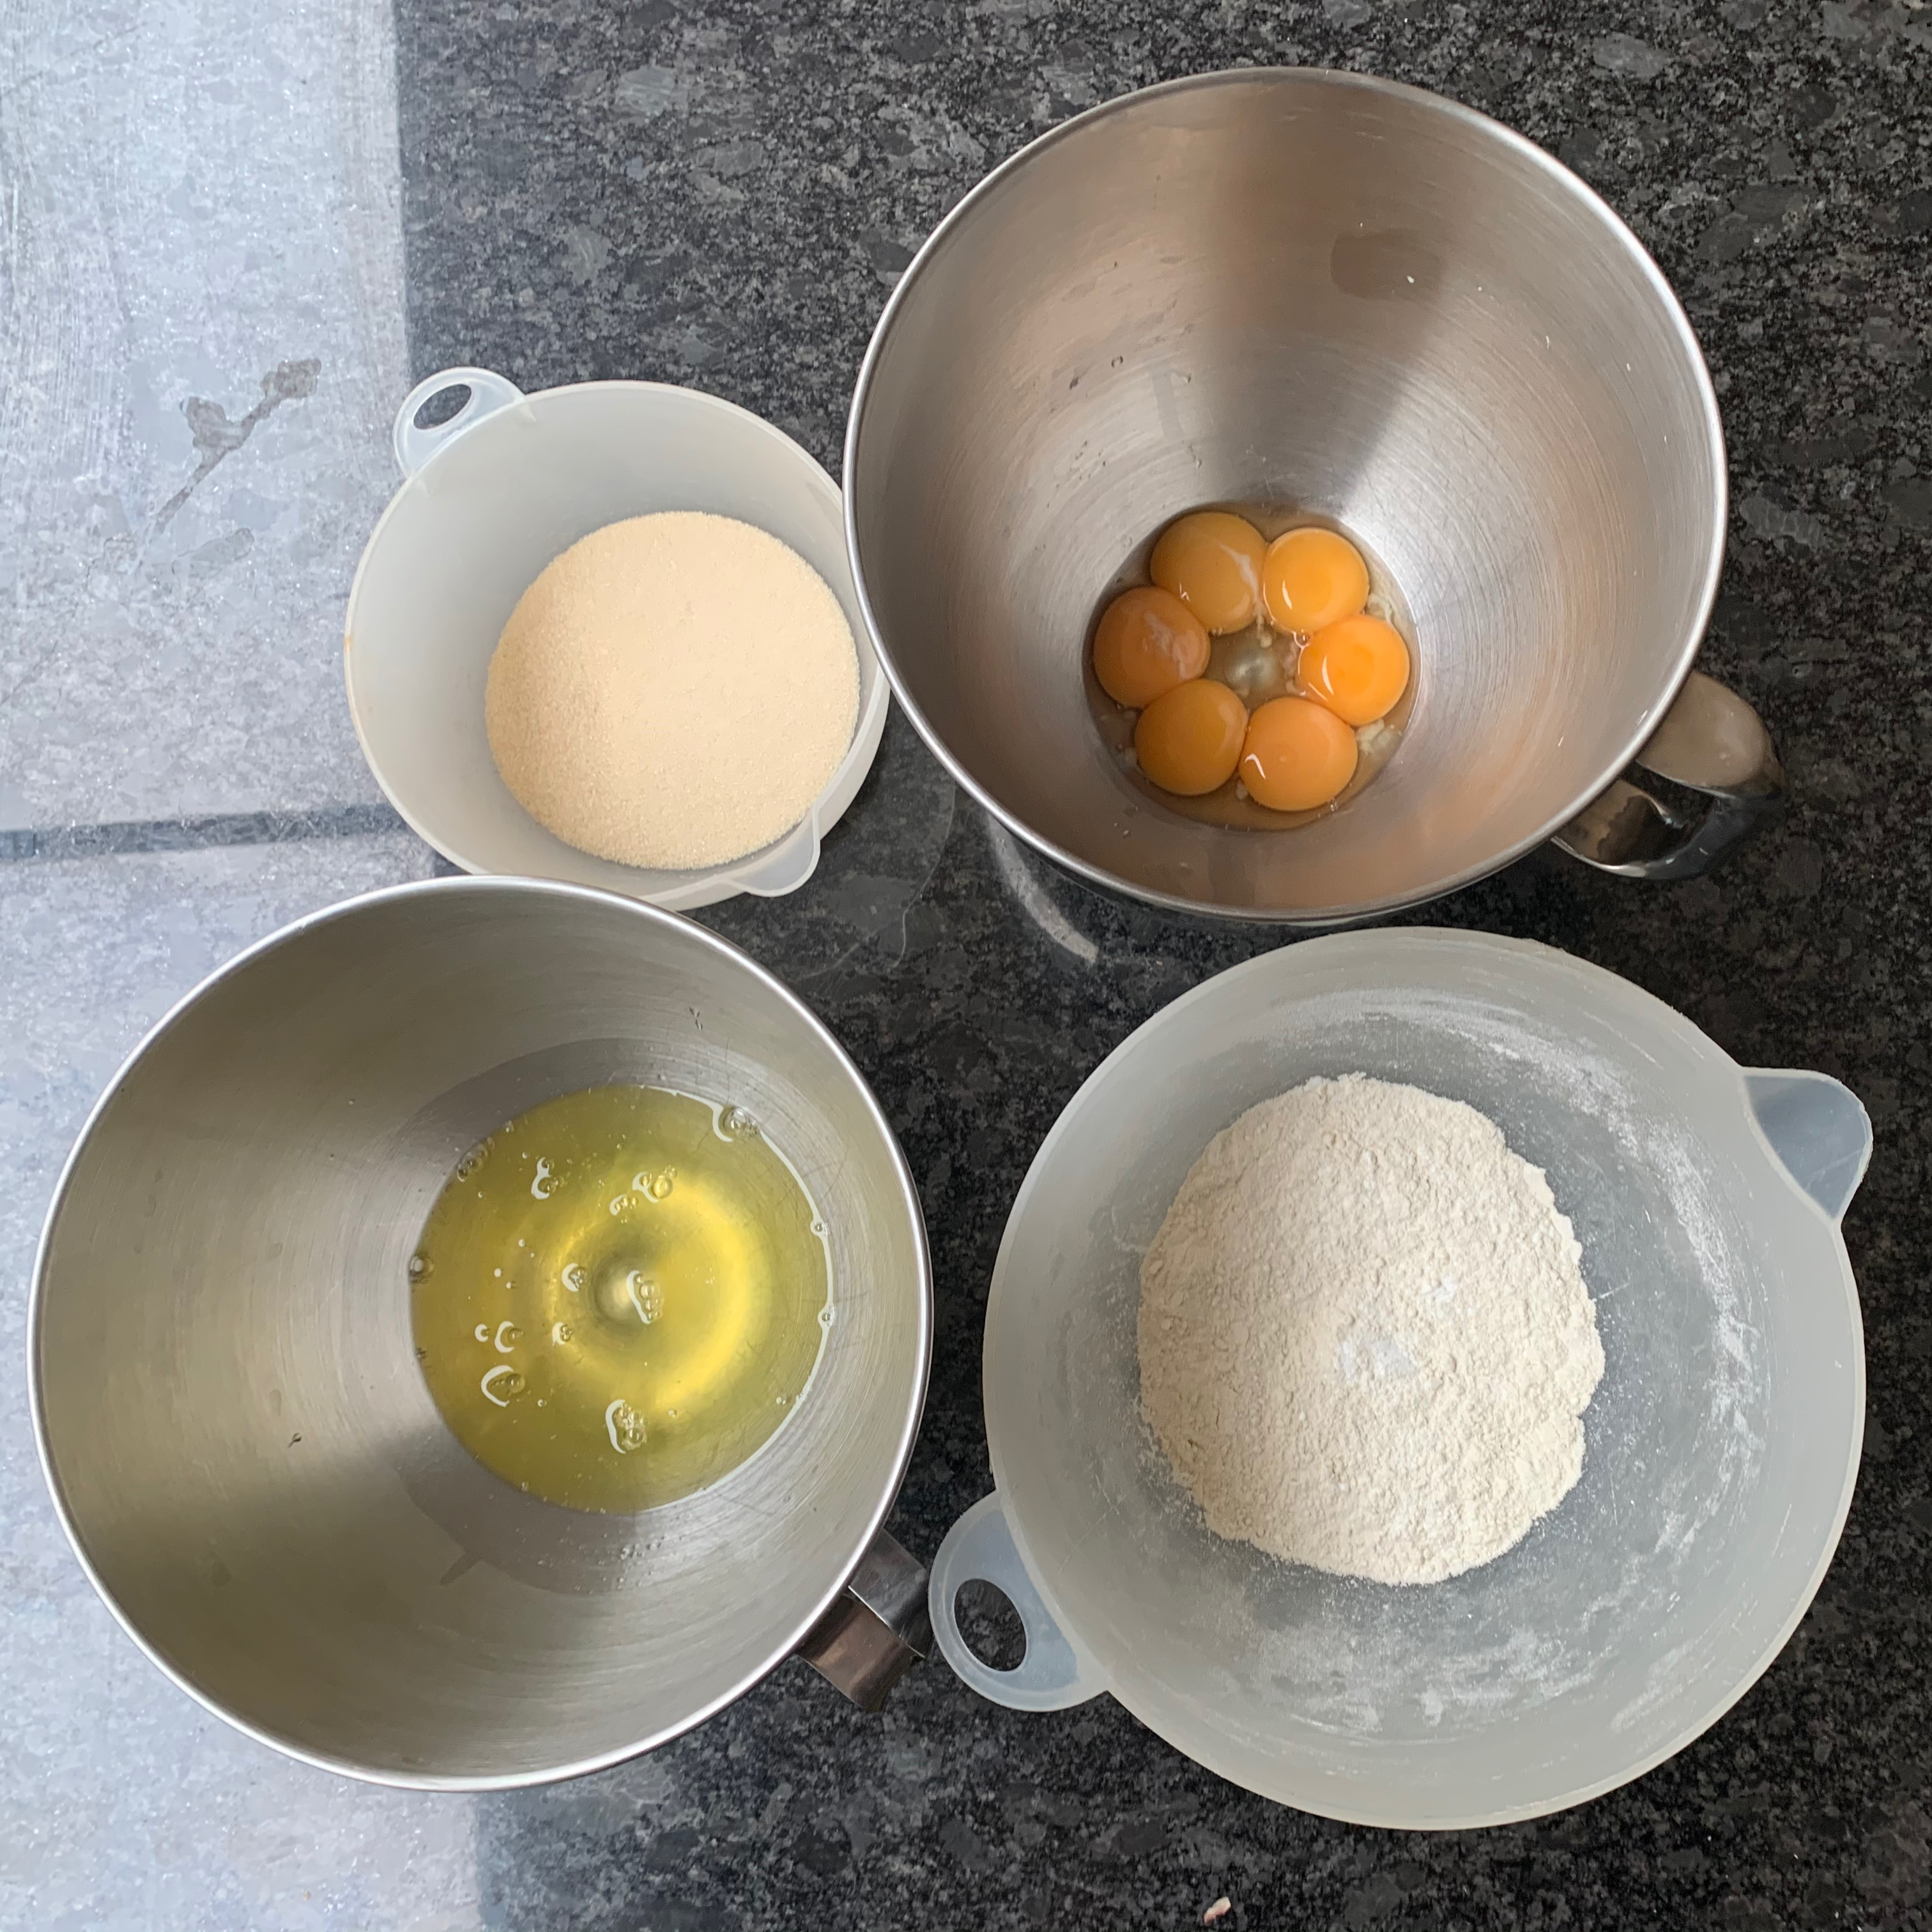
Separate the eggs into two mixing bowls.
Sift the flour and baking powder together.
Beat the egg yolks and add half the caster sugar. Then add the flour and baking powder and mix until well blended. The mixture will be quite stiff.
In the other bowl, beat the egg whites until soft peaks form, add the remaining caster sugar and whisk at high speed until you have a stiff meringue
Add around a quarter of the meringue to your flour mixture and mix in until smooth. Do the same with another quarter, now taking care to keep as much air in the meringue as you can. Now fold in the remaining meringue, working really hard to keep the air in.
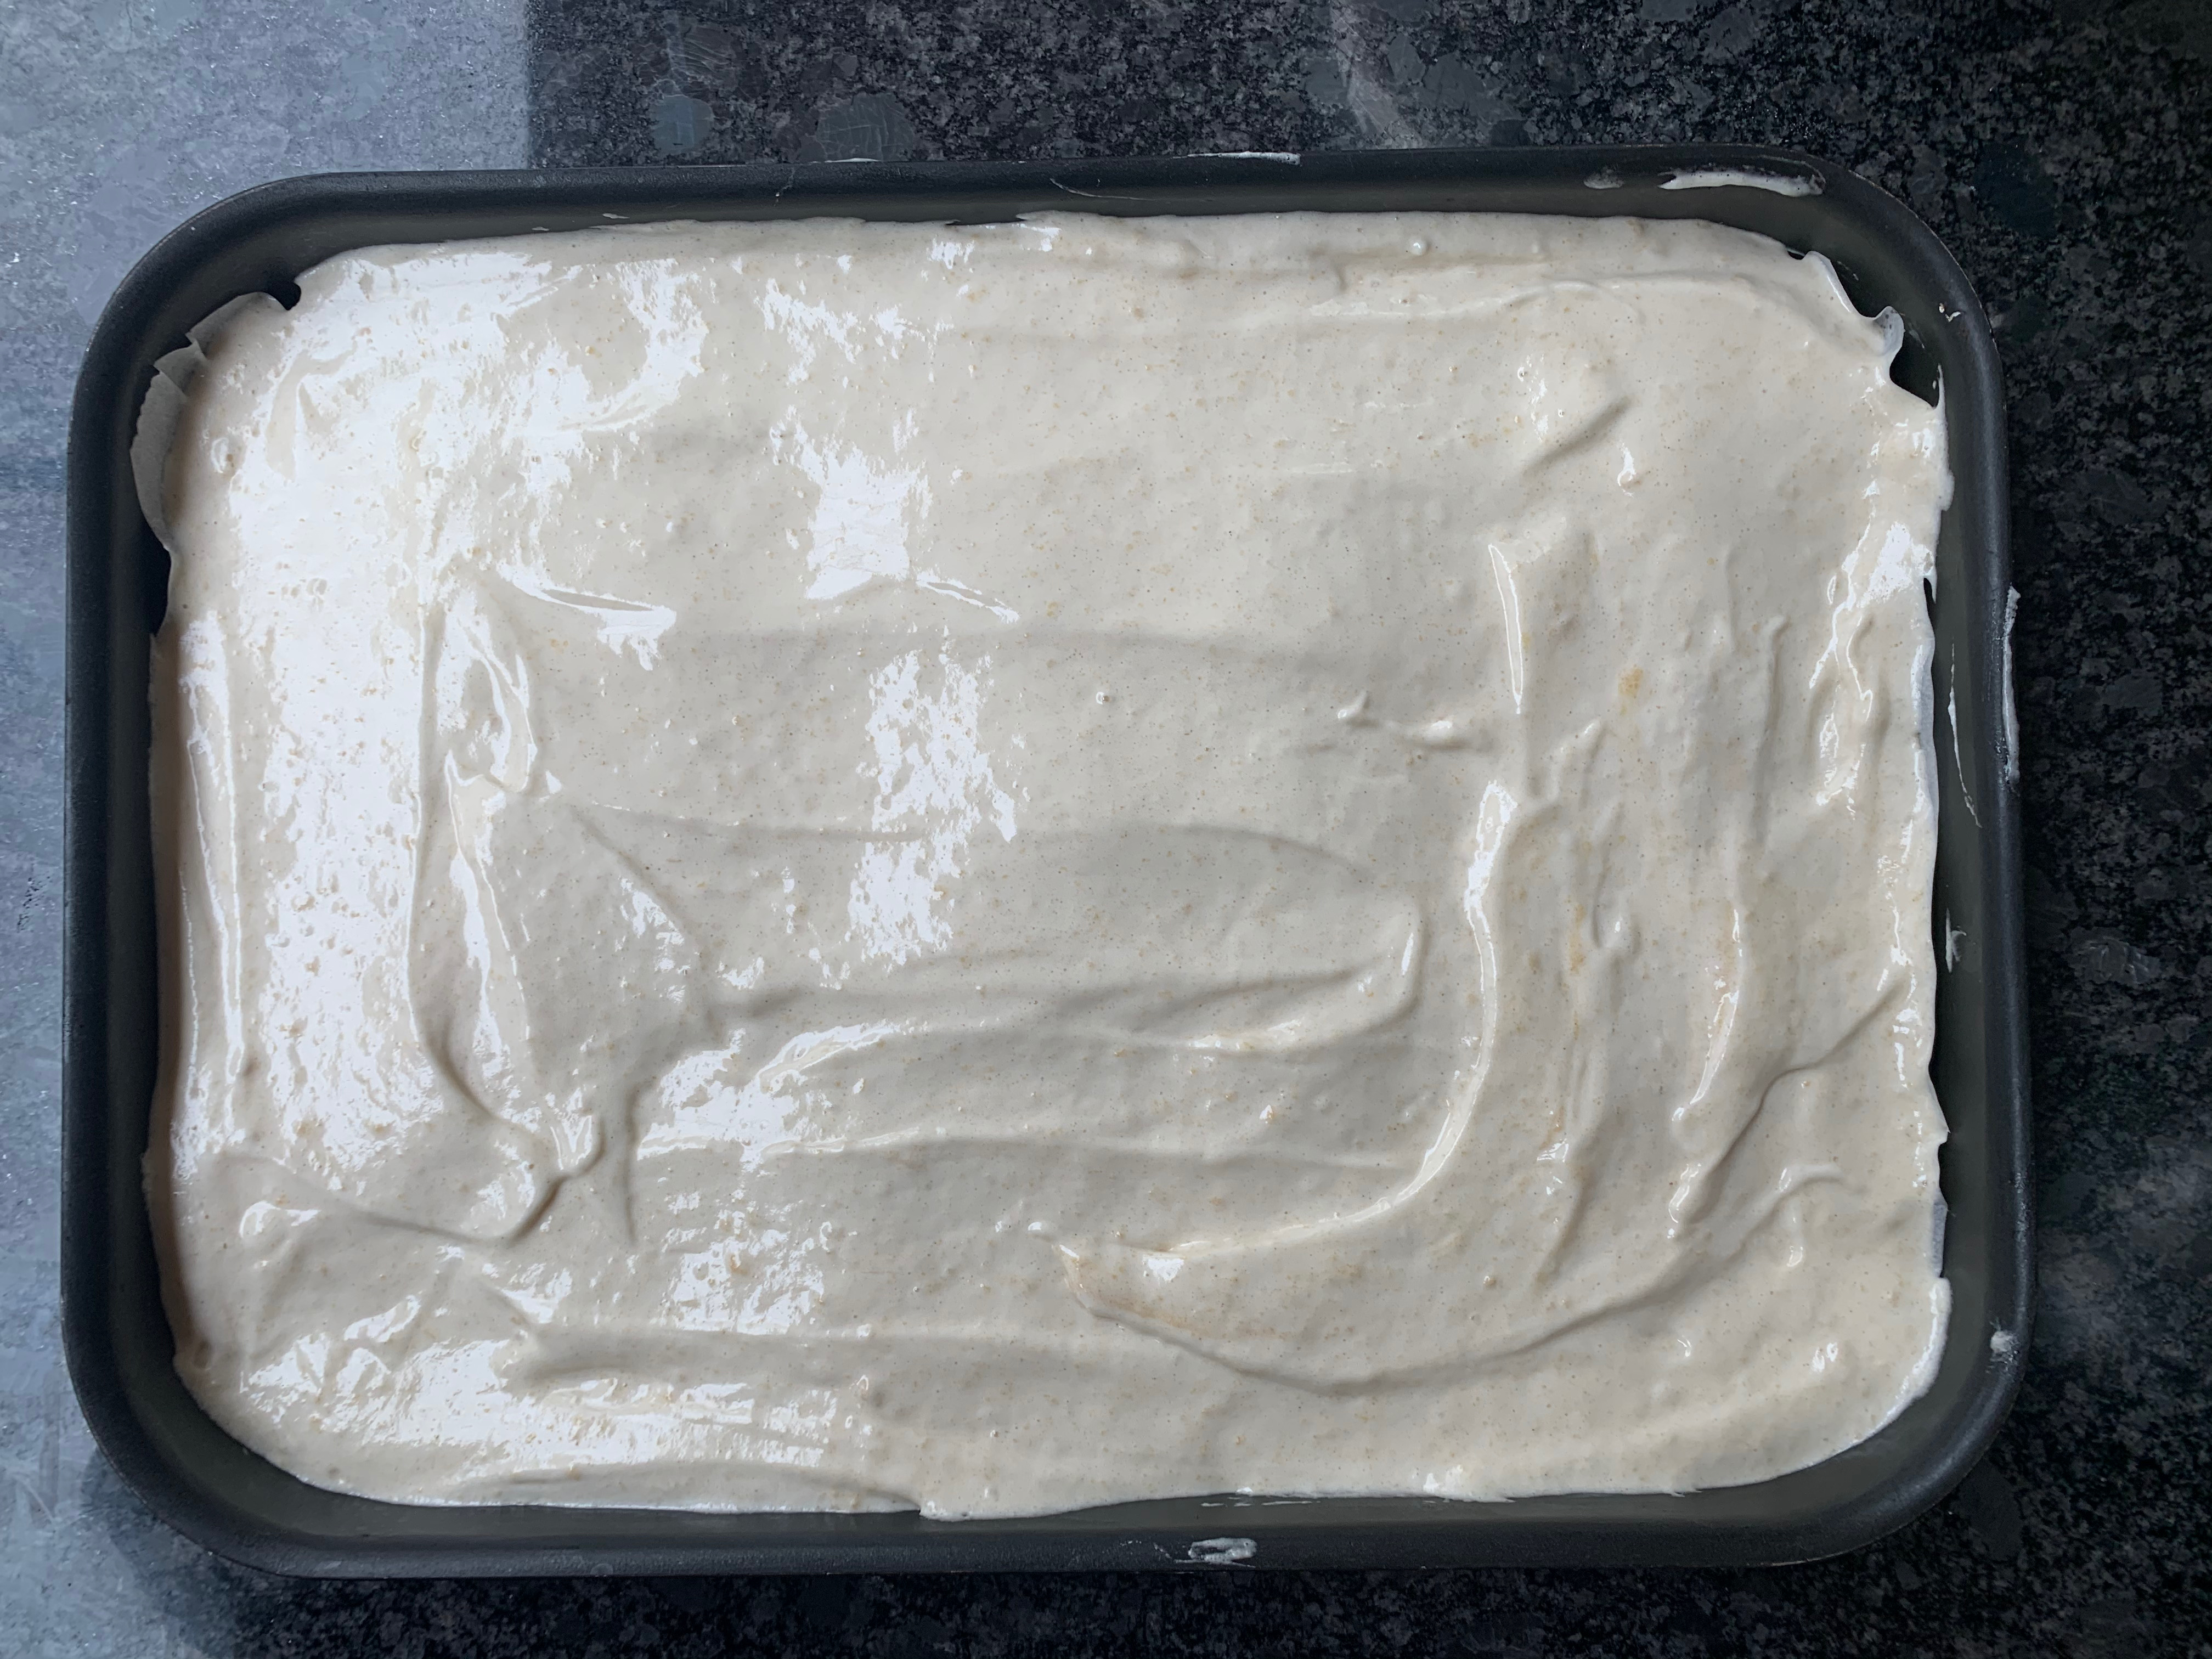
Spread the mixture evenly into your tin. Ideally, use an offset spatula to get it really level (I don’t have one, so I just did my best.
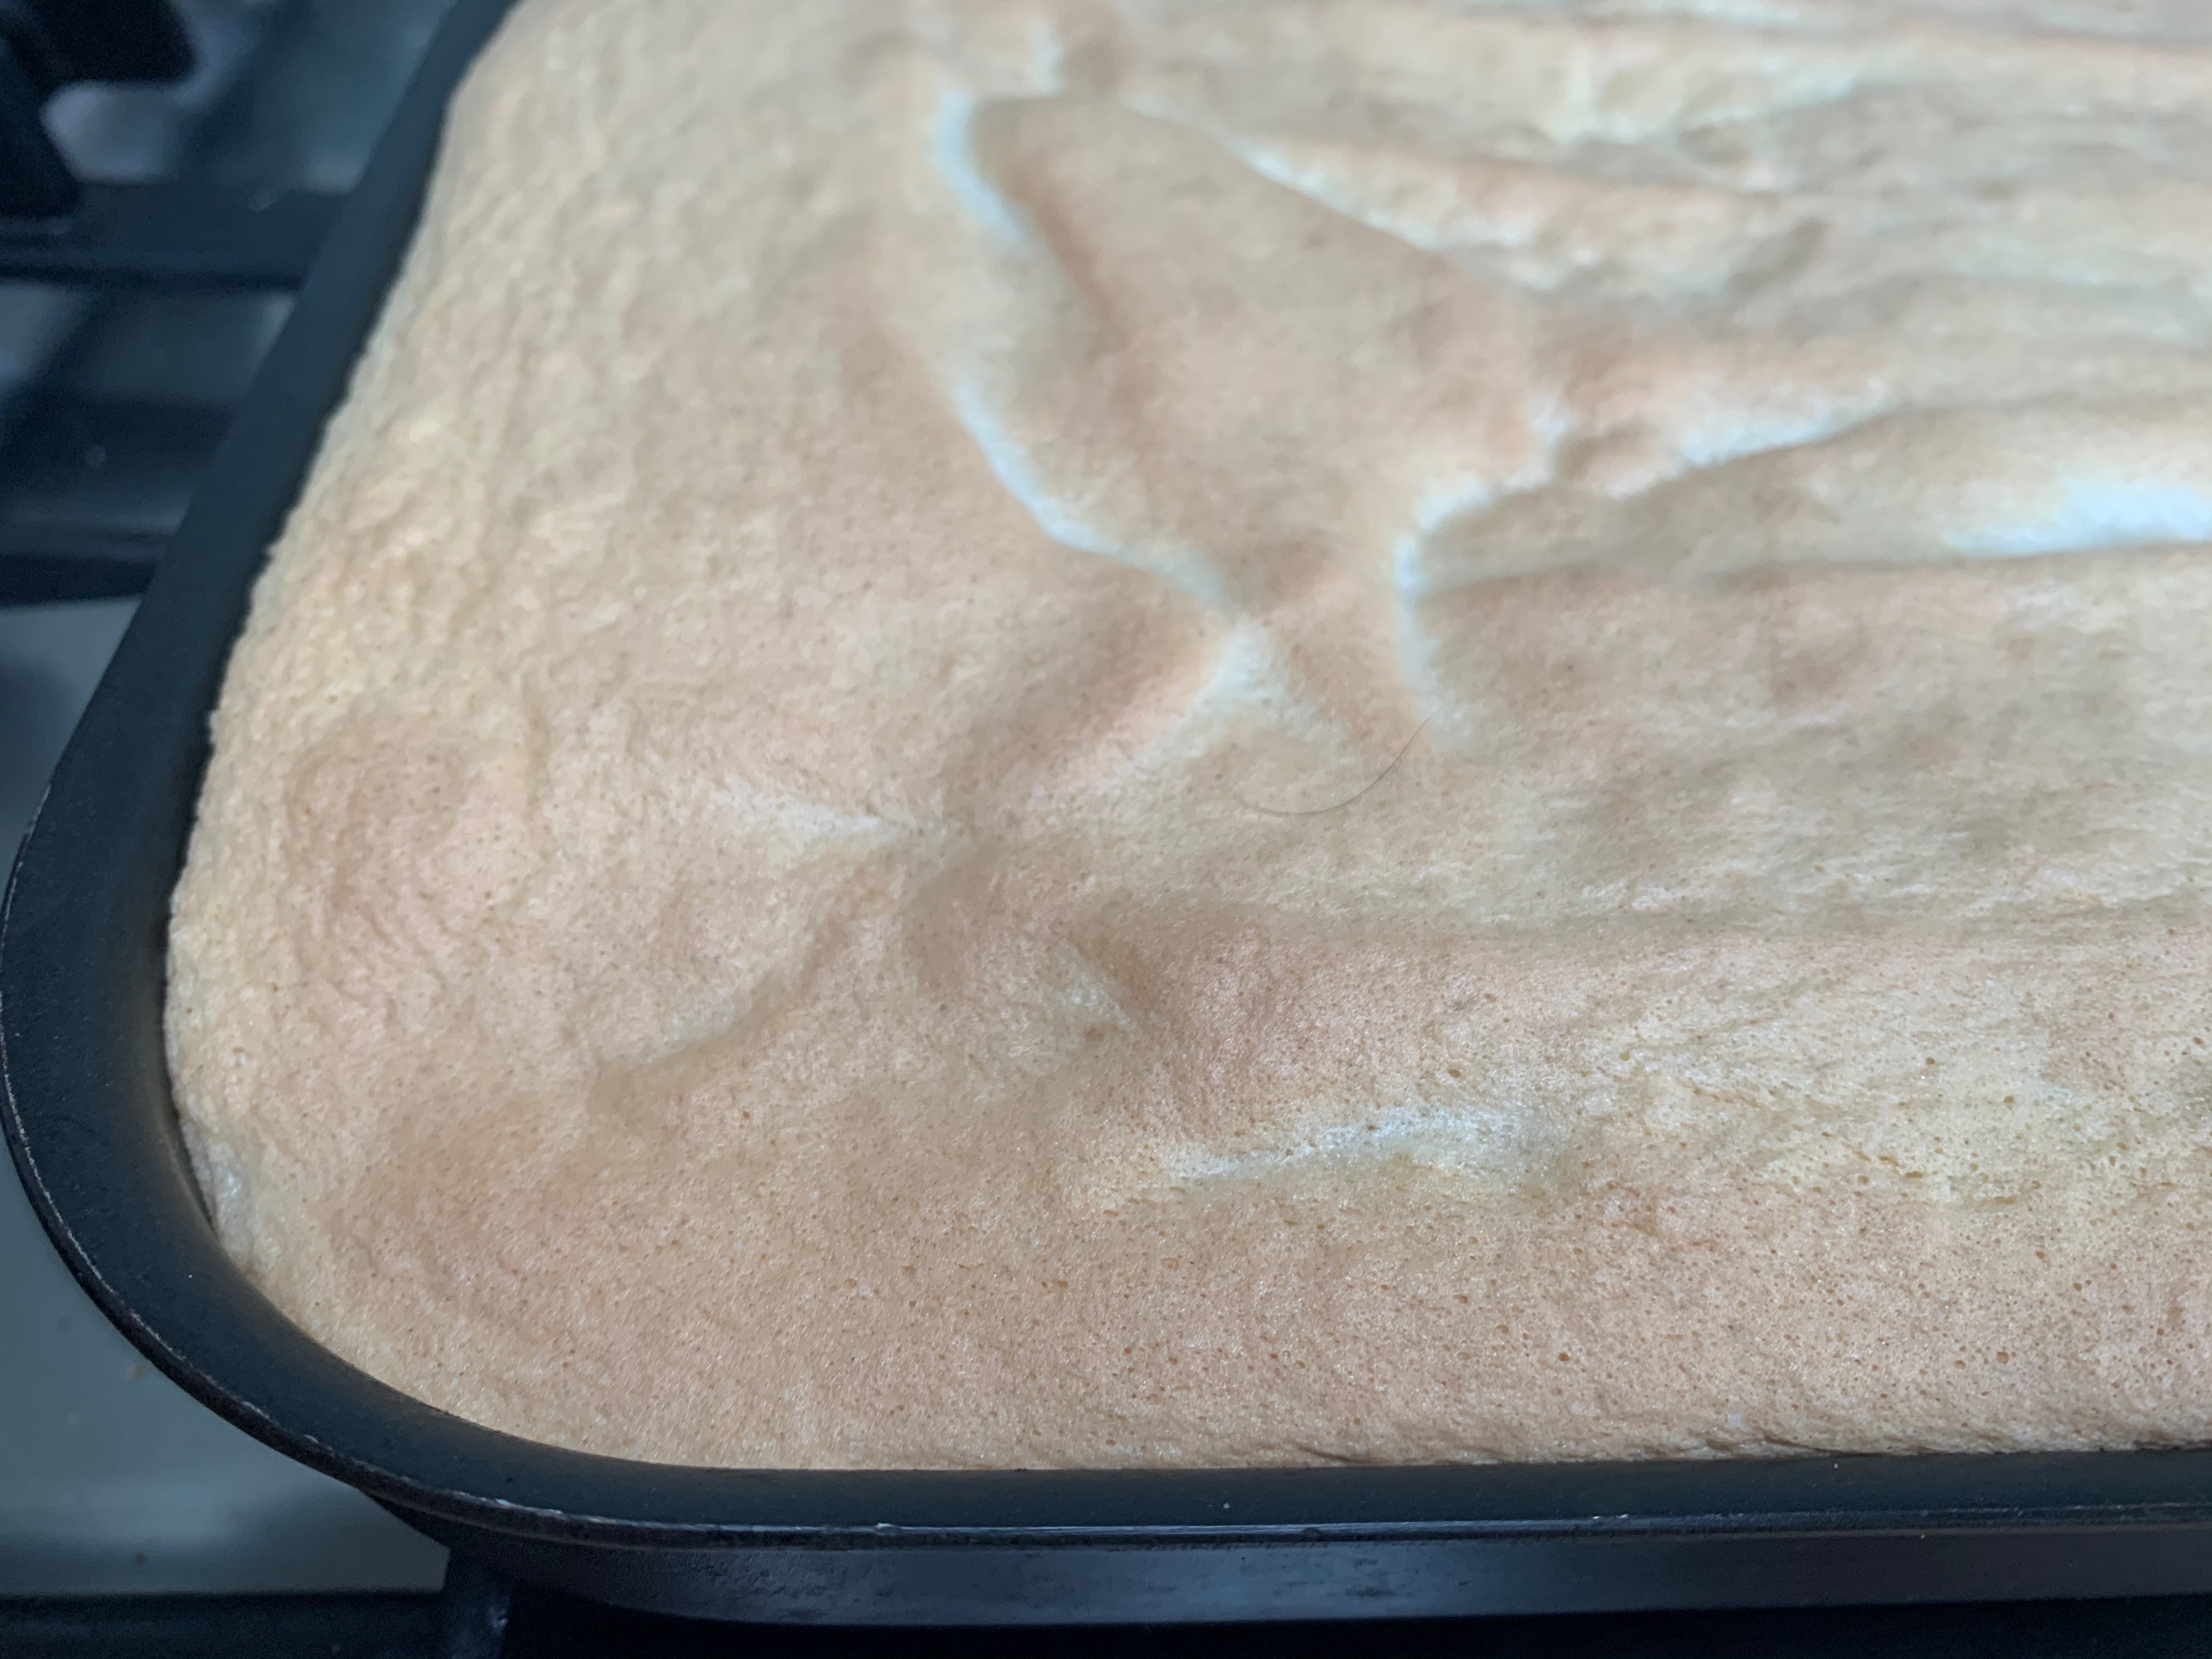
Bake for around 10 minutes. You do NOT want to overbake the sponge or you stand no chance of rolling it intact.
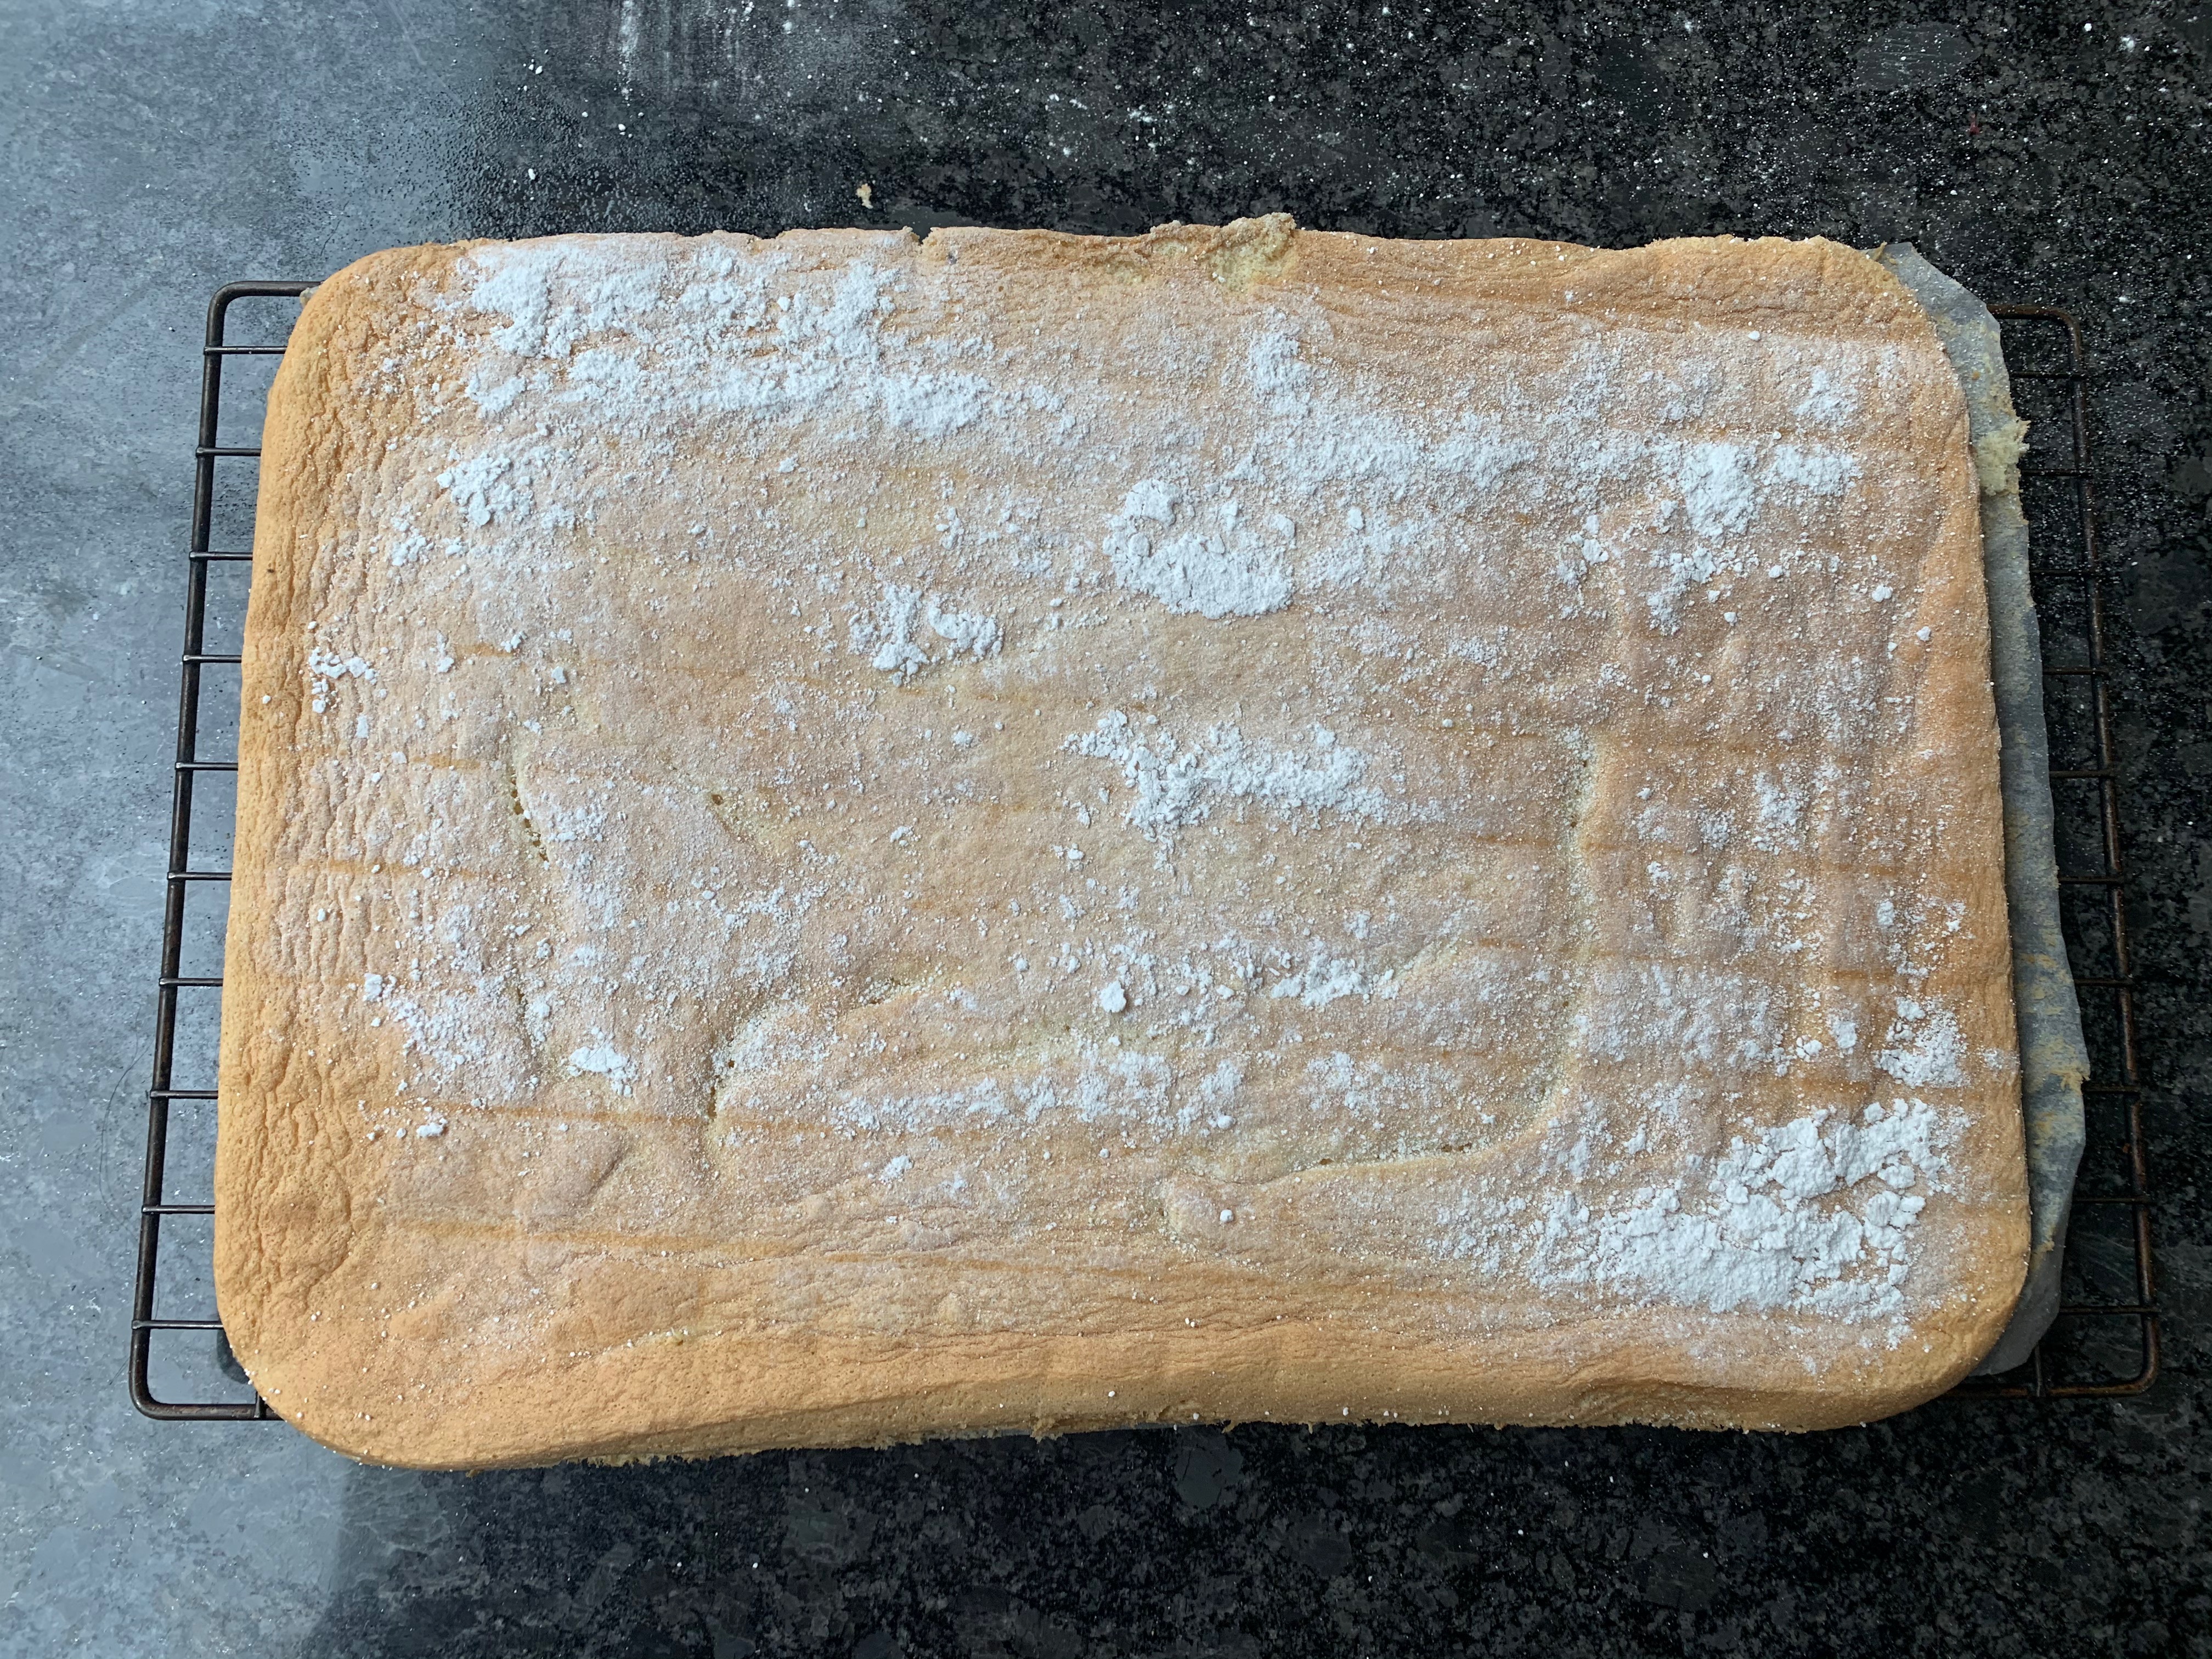
Leave to cool for a minute or two, then run a palette knife round the edge to make sure the cake is not sticking to the edge. Sprinkle some icing sugar over the cake.
Spread a tea towel over the cake, and then an inverted cooling rack. Turn the whole assembly upside down. As gently as you can, remove your cake tin. The cake should sit on its tea towel in one piece.
Very gently, pull off the baking paper almost all the way, then put it back in place.
Now roll the cake up as tightly as you can, and leave to cool for an hour or so.
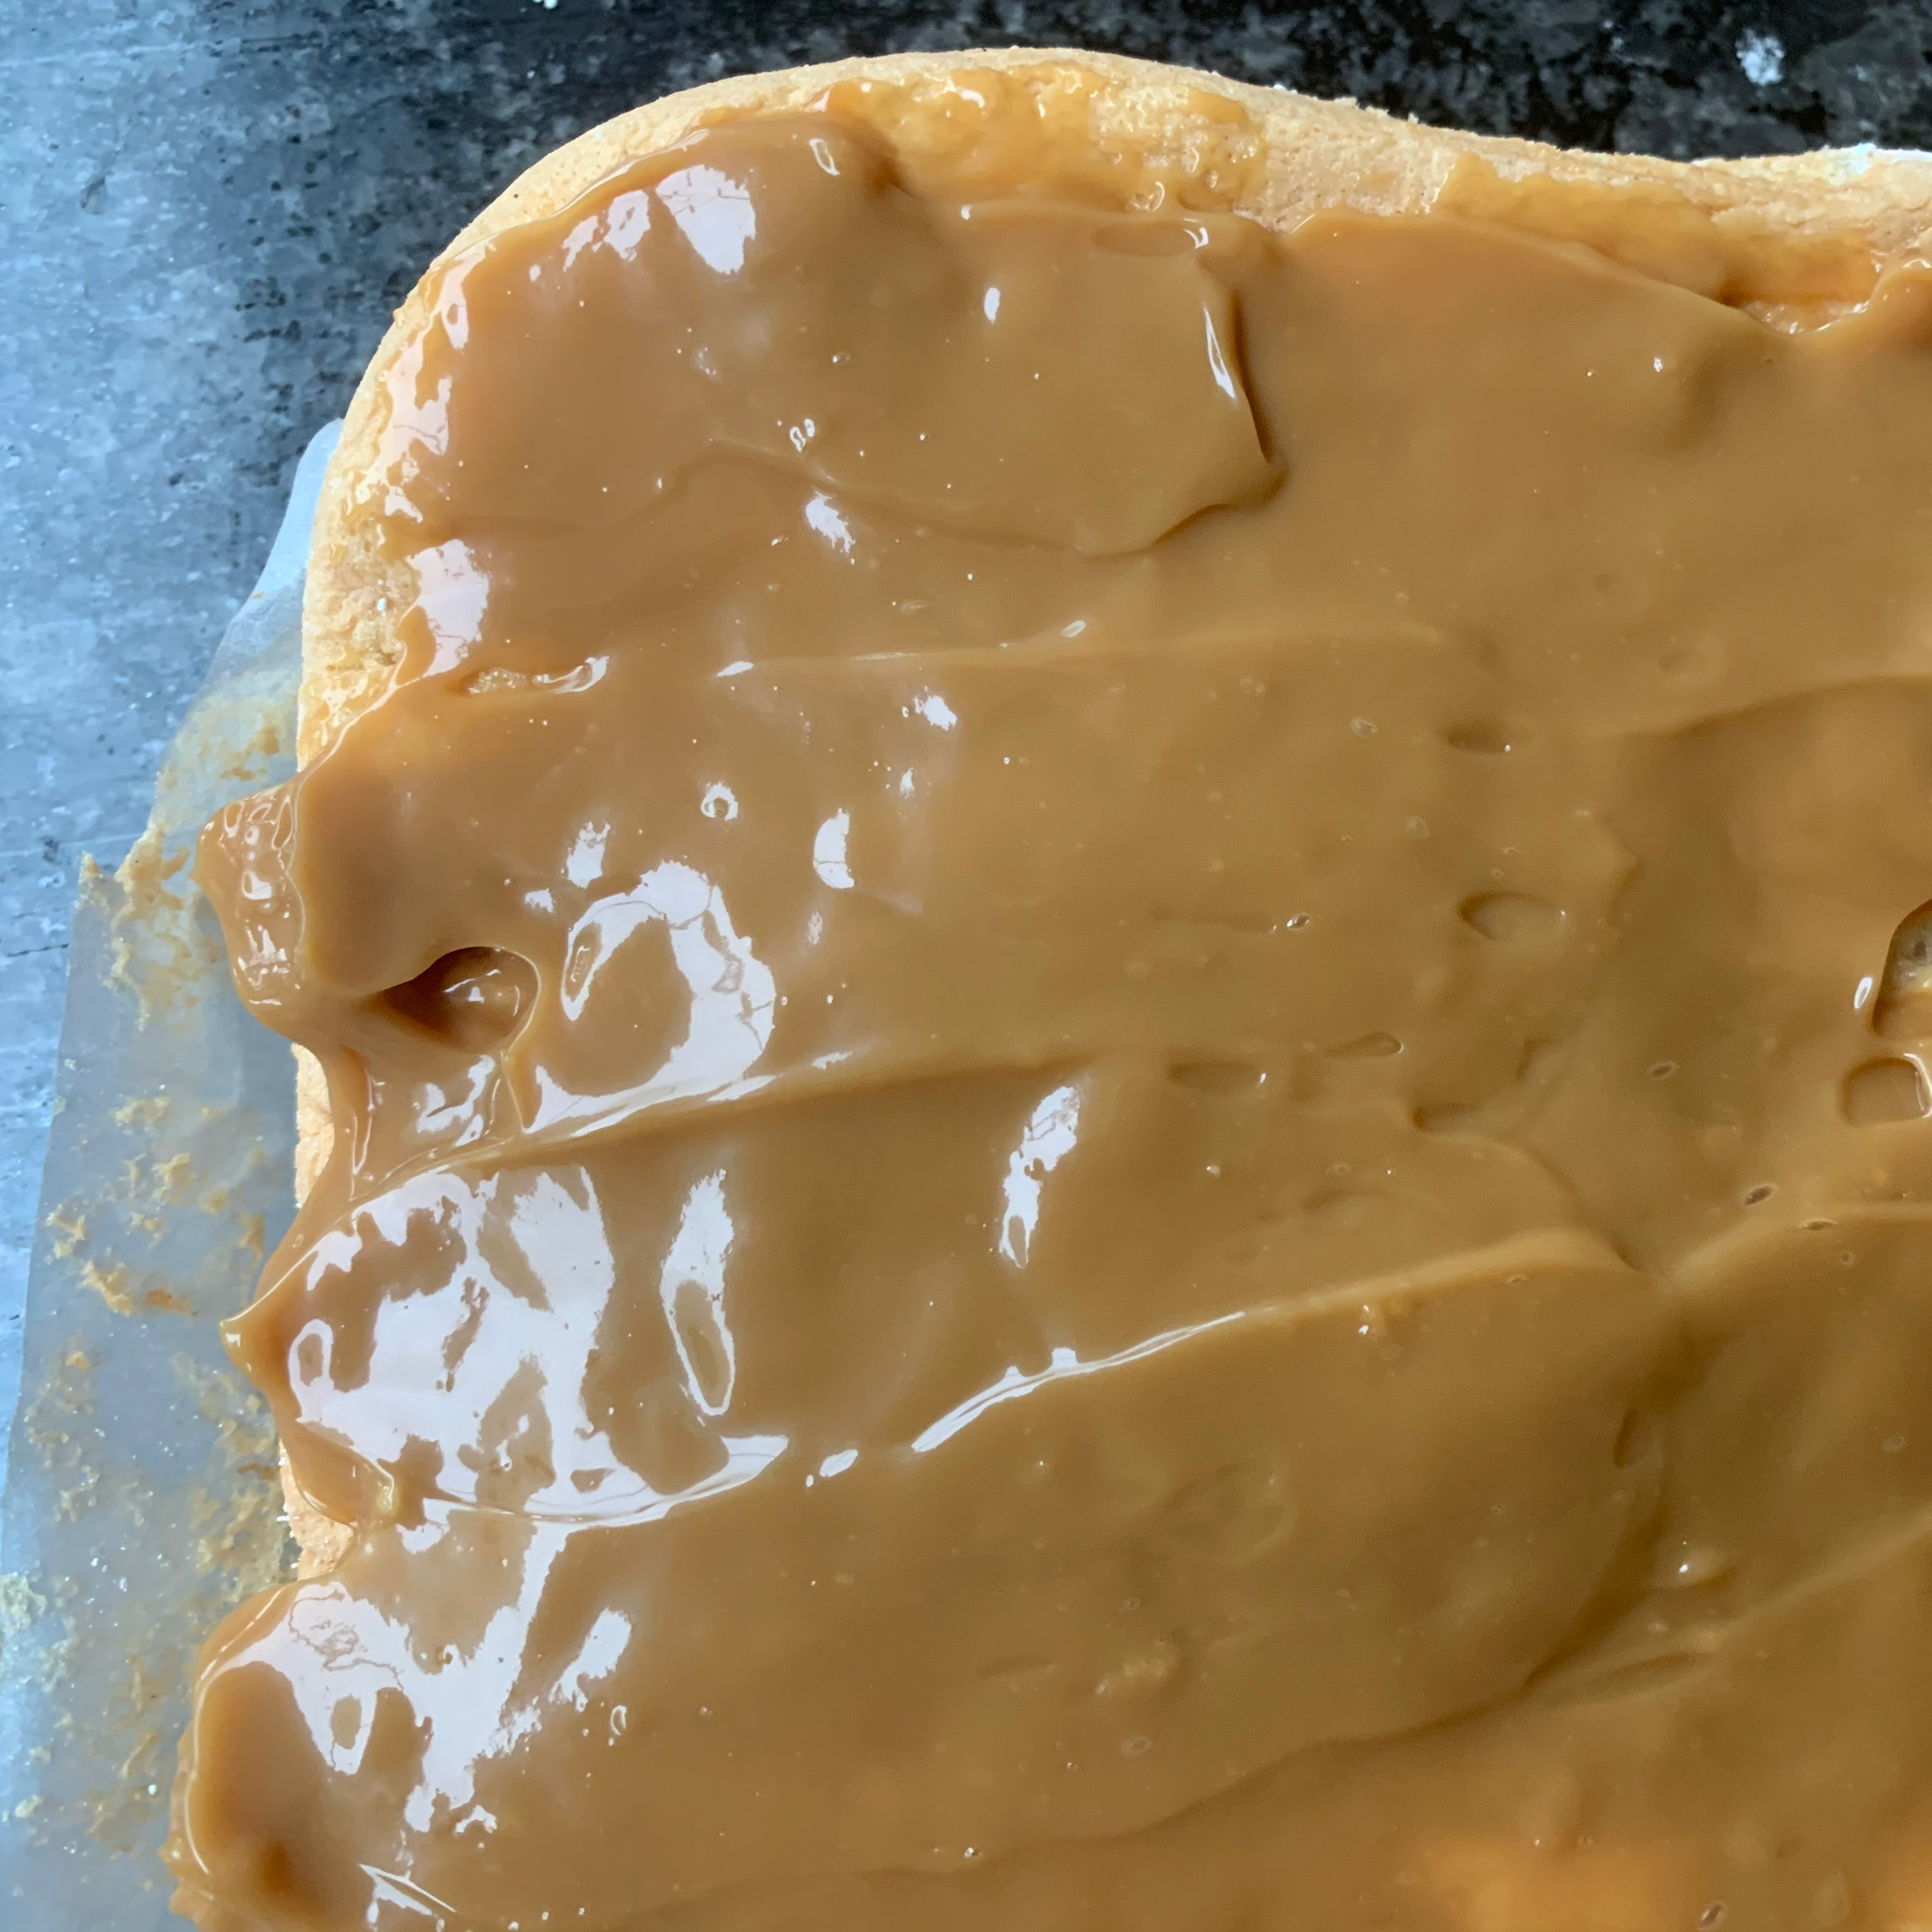
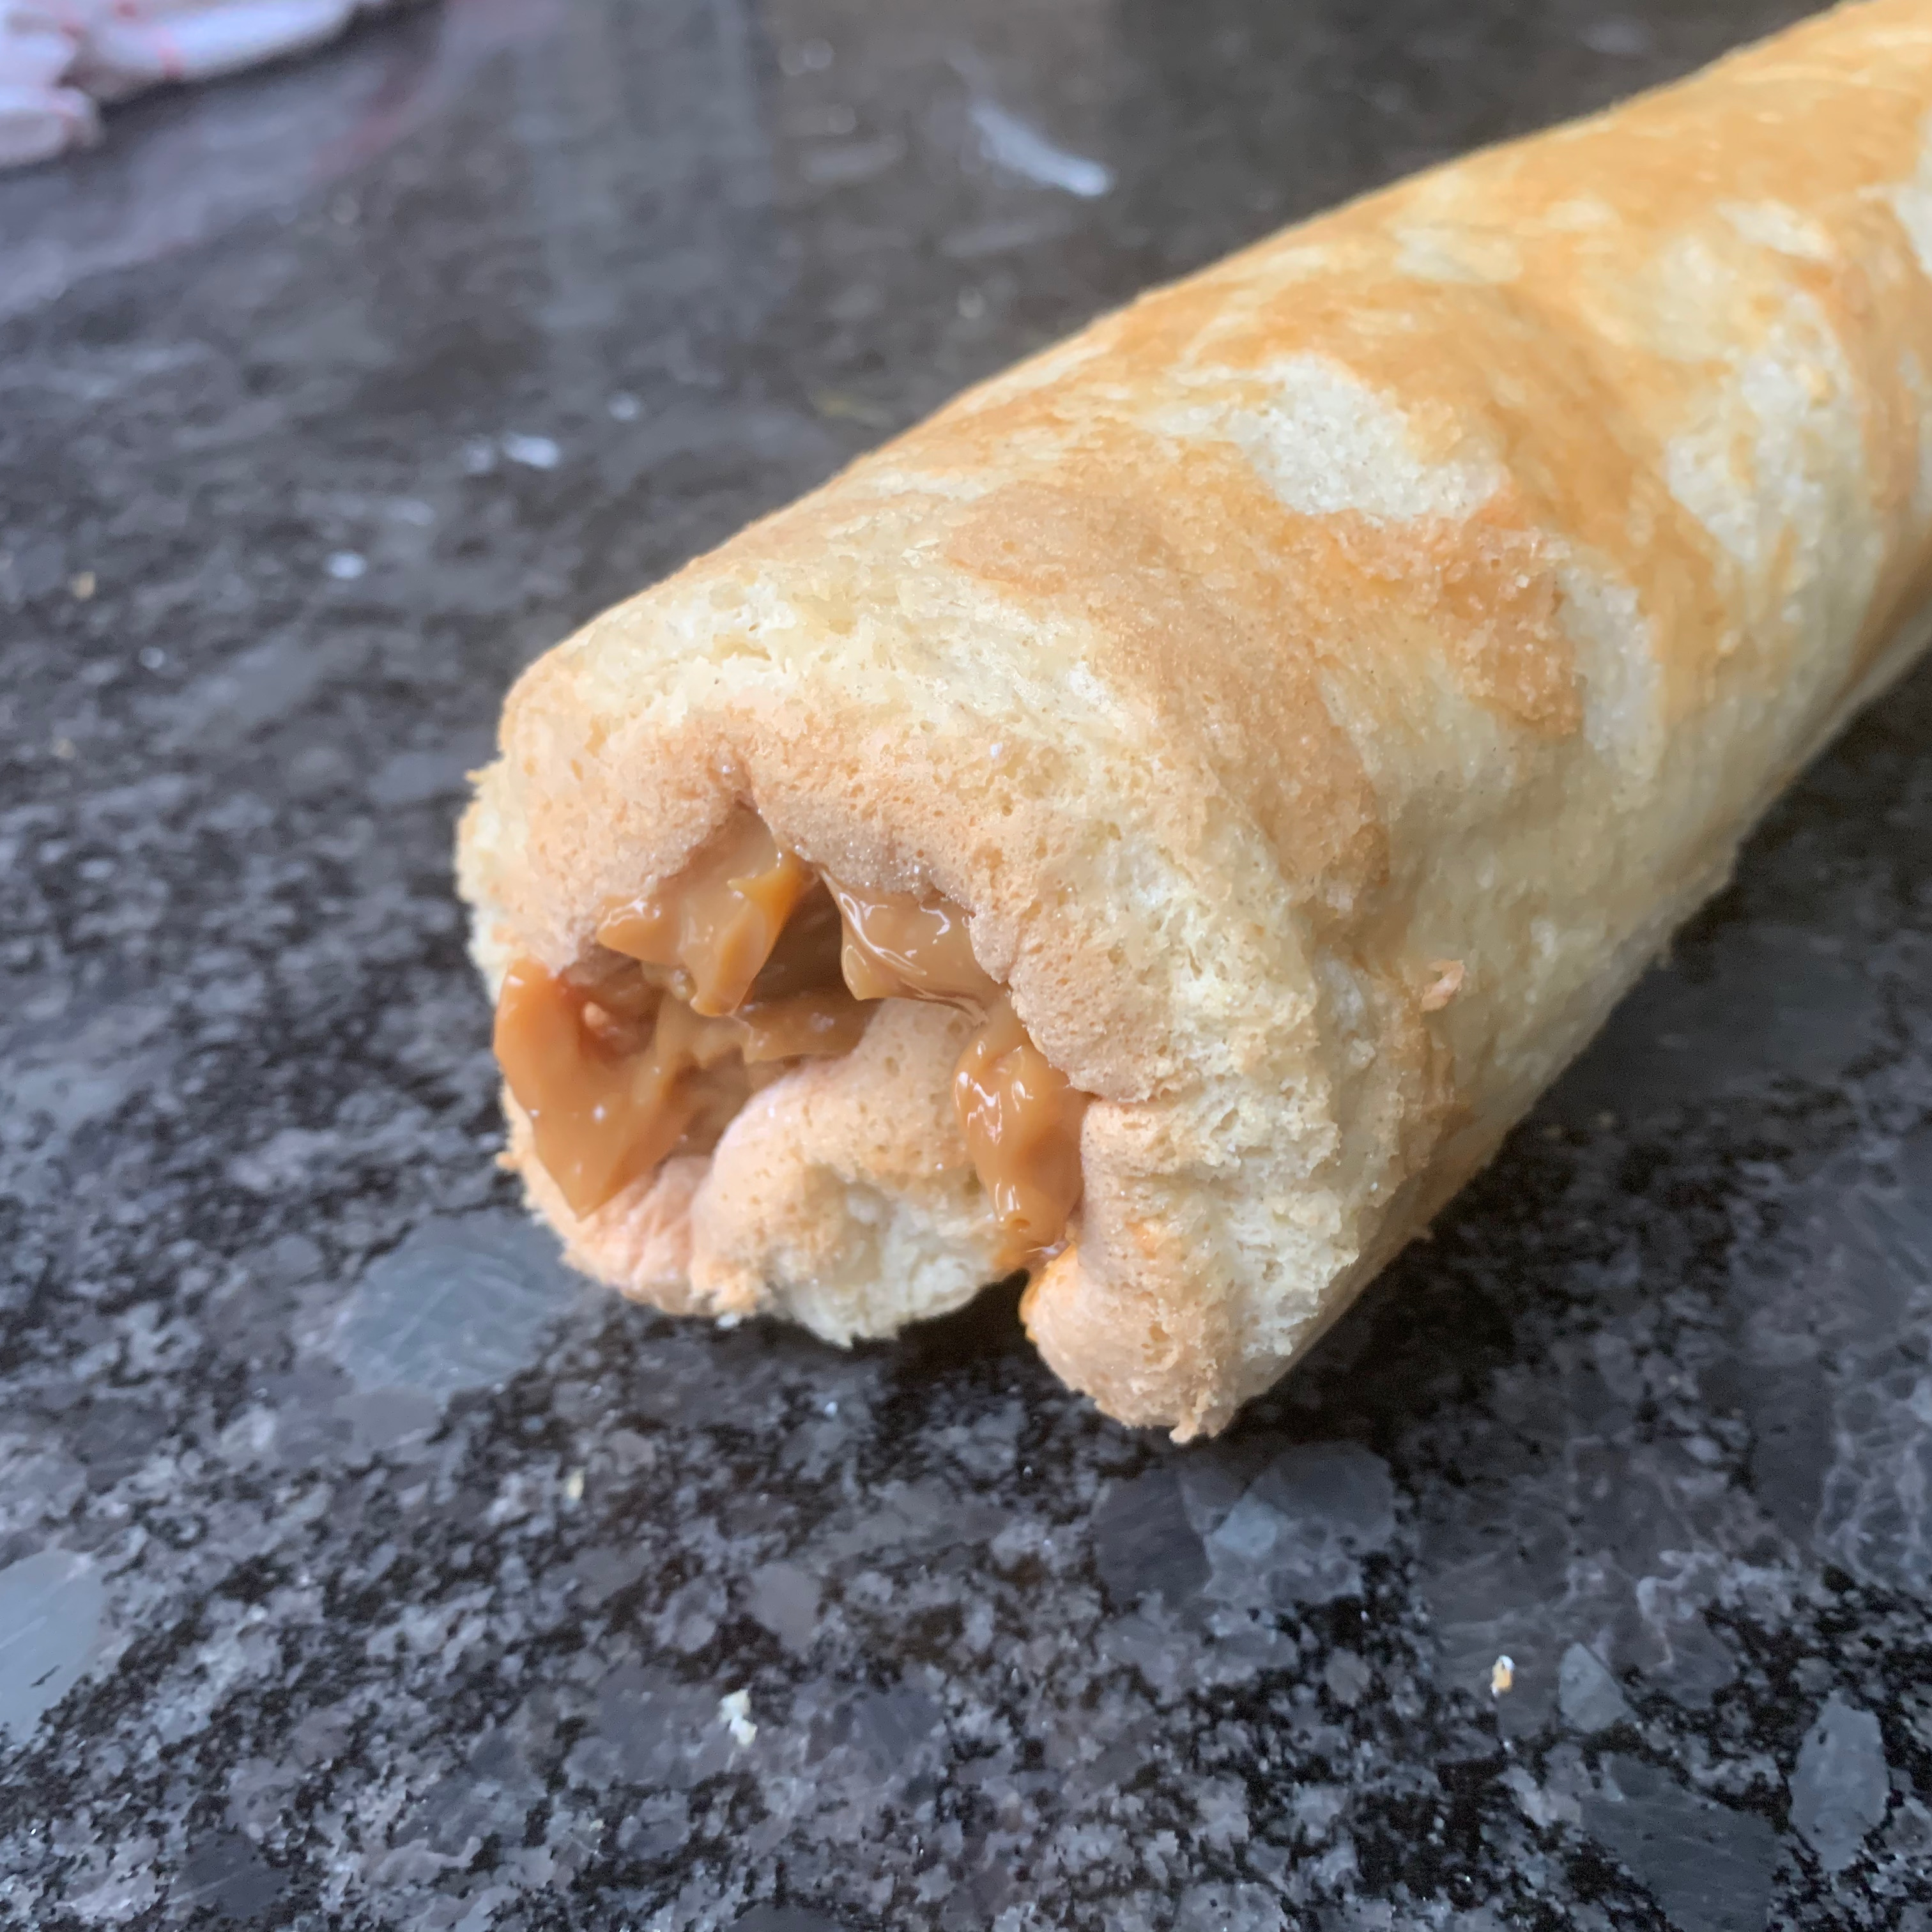
Unroll the cake (this is the part where it’s hard to stop it tearing), spread the filling over it, then roll it up again.
(Optional – I didn’t) dust the cake with more icing sugar.
The Germans are fantastic bakers. I could have chosen from dozens of breads and pastries: pumpernickel, pretzels, seed-filled Vollkornbrot, melt-in-mouth Franzbrötchen and so many more. But I’m a child of the 1960s and I couldn’t resist the German cake of my childhood: the over-the-top architectural construction of chocolate cake, cherries and whipped cream that is the Schwarzwälder Kirschtorte – the Black Forest gâteau.
You need to be careful on this one: most English and American recipes are very sweet. The German recipes have better flavour balance, but do tend to be unbelievably heavy on the cream – I’ve seen recipes specifying over 1 kg of cream for a cake not much bigger than the one I’ve made here. The nice people at Gästehaus Reger, in the heart of the Black Forest, have posted an English language version of their recipe, so I’ve used that as my starting point (dramatically reducing the cream content). By the way, according to Wikipedia, Black Forest gâteau doesn’t actually come from the Black Forest (it was created by a confectioner near Bonn), but they seem to have embraced it with enthusiasm.
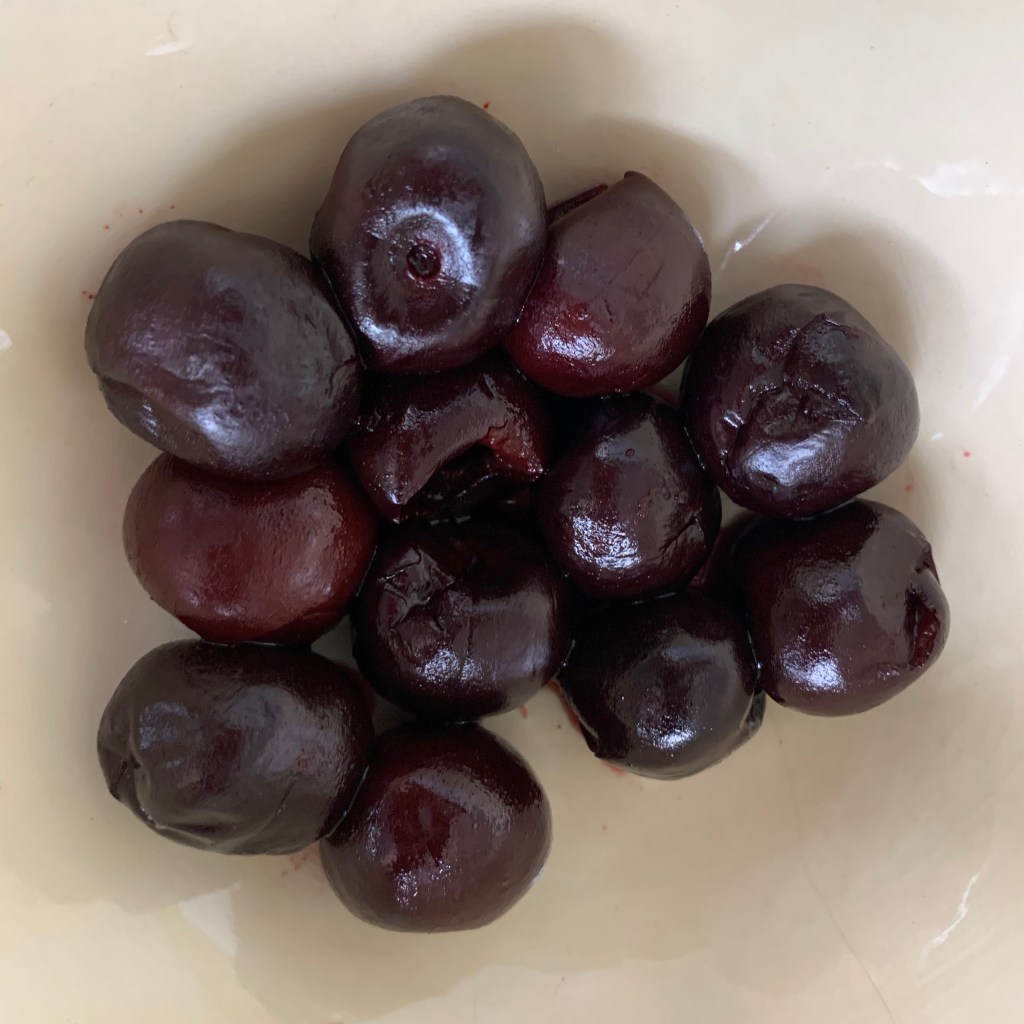
German recipes specify jars of sour cherries. Being unable to get these, I substituted frozen black cherries, adding lemon juice to give a sour edge. It’s not perfect, but it worked. I was also short of kirsch – the cherry-based firewater that is the key ingredient of authentic Schwarzwälder Kirschtorte, so I had to substitute some blackcurrant schnapps, left over from a trip to Sweden, which gives a similar flavour. I suggest that you don’t go for the cherry brandy that features in many recipes, because it has a very different flavour, stronger and sweeter.
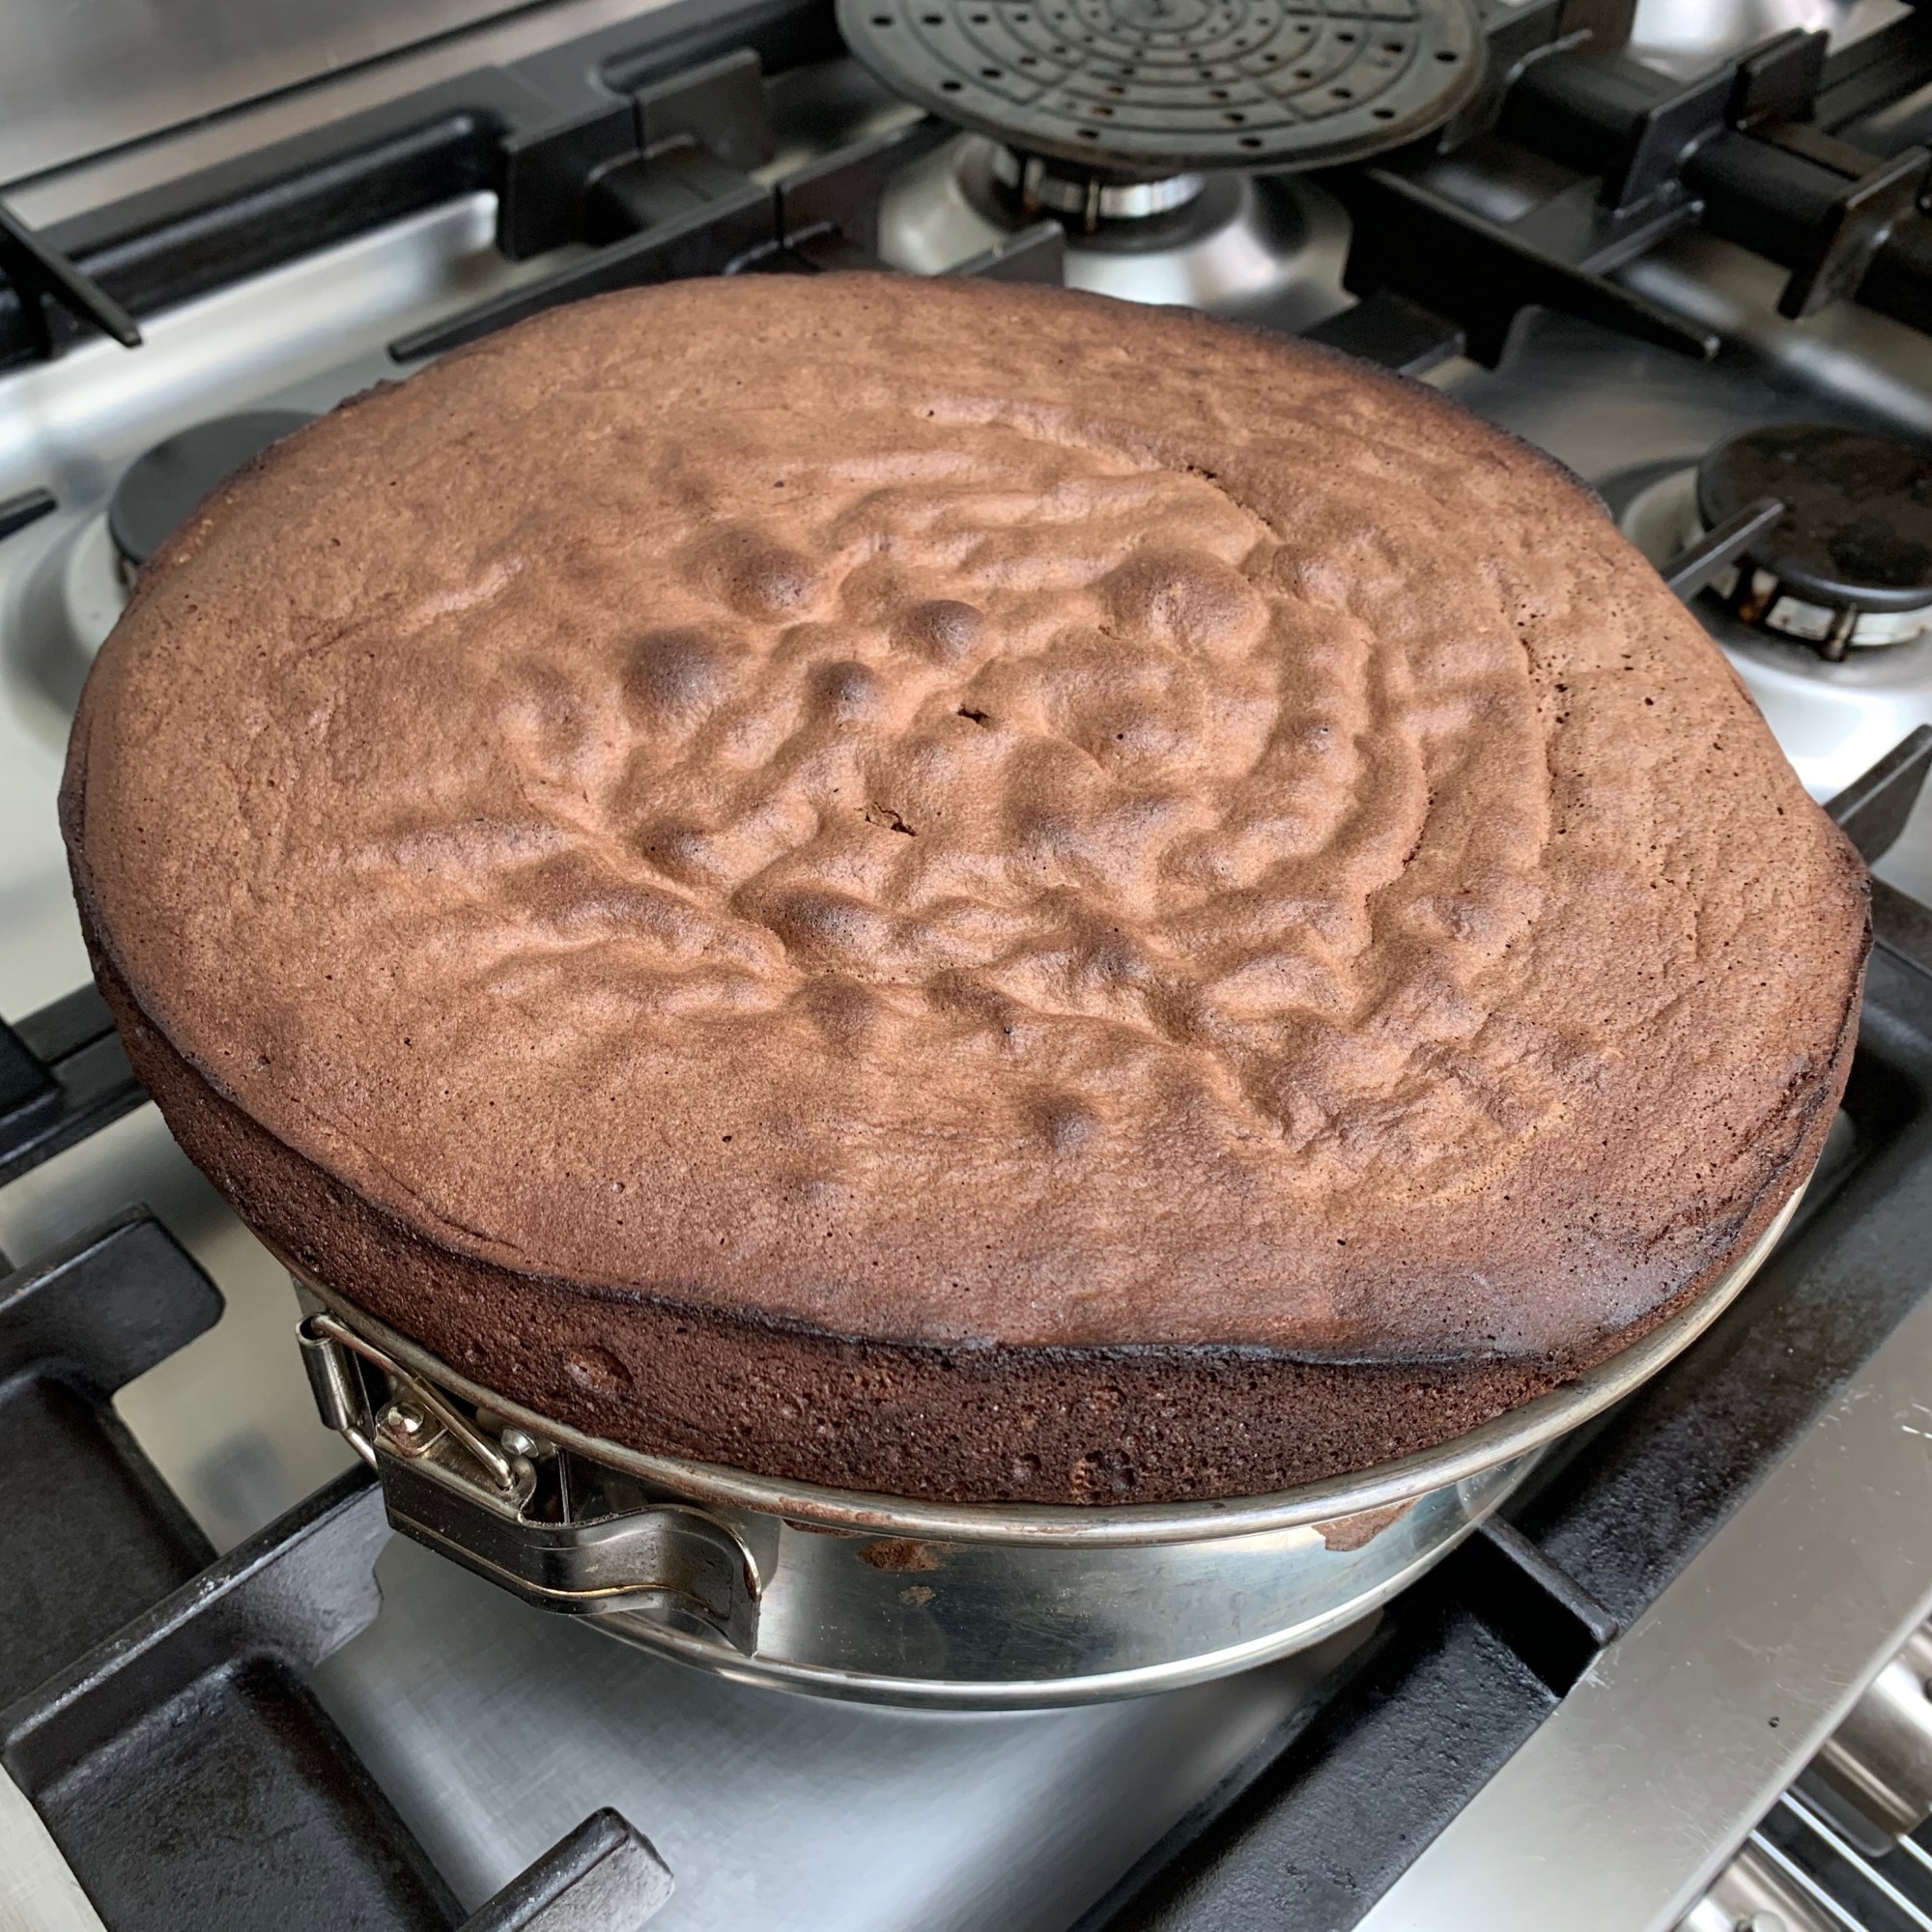
The next problem to solve is your choice of cake tin. Ideally, you want to follow the Germans and use a single tin, slicing the cake into three layers after baking, because you don’t want lots of crusts. However, the cake extremely light and airy due to its mixture of both sabayon and meringue: my 23cm springform tin is about 6cm high and the cake overflowed it by some margin. This required me to trim some rather misshapen excess: use a deep tin if you have one.
This is a fairly complex and time consuming recipe, with two different baked layers and three fillings/drizzles. You will also use and wash up more bowls than you can possibly imagine. But none of this is unduly difficult.
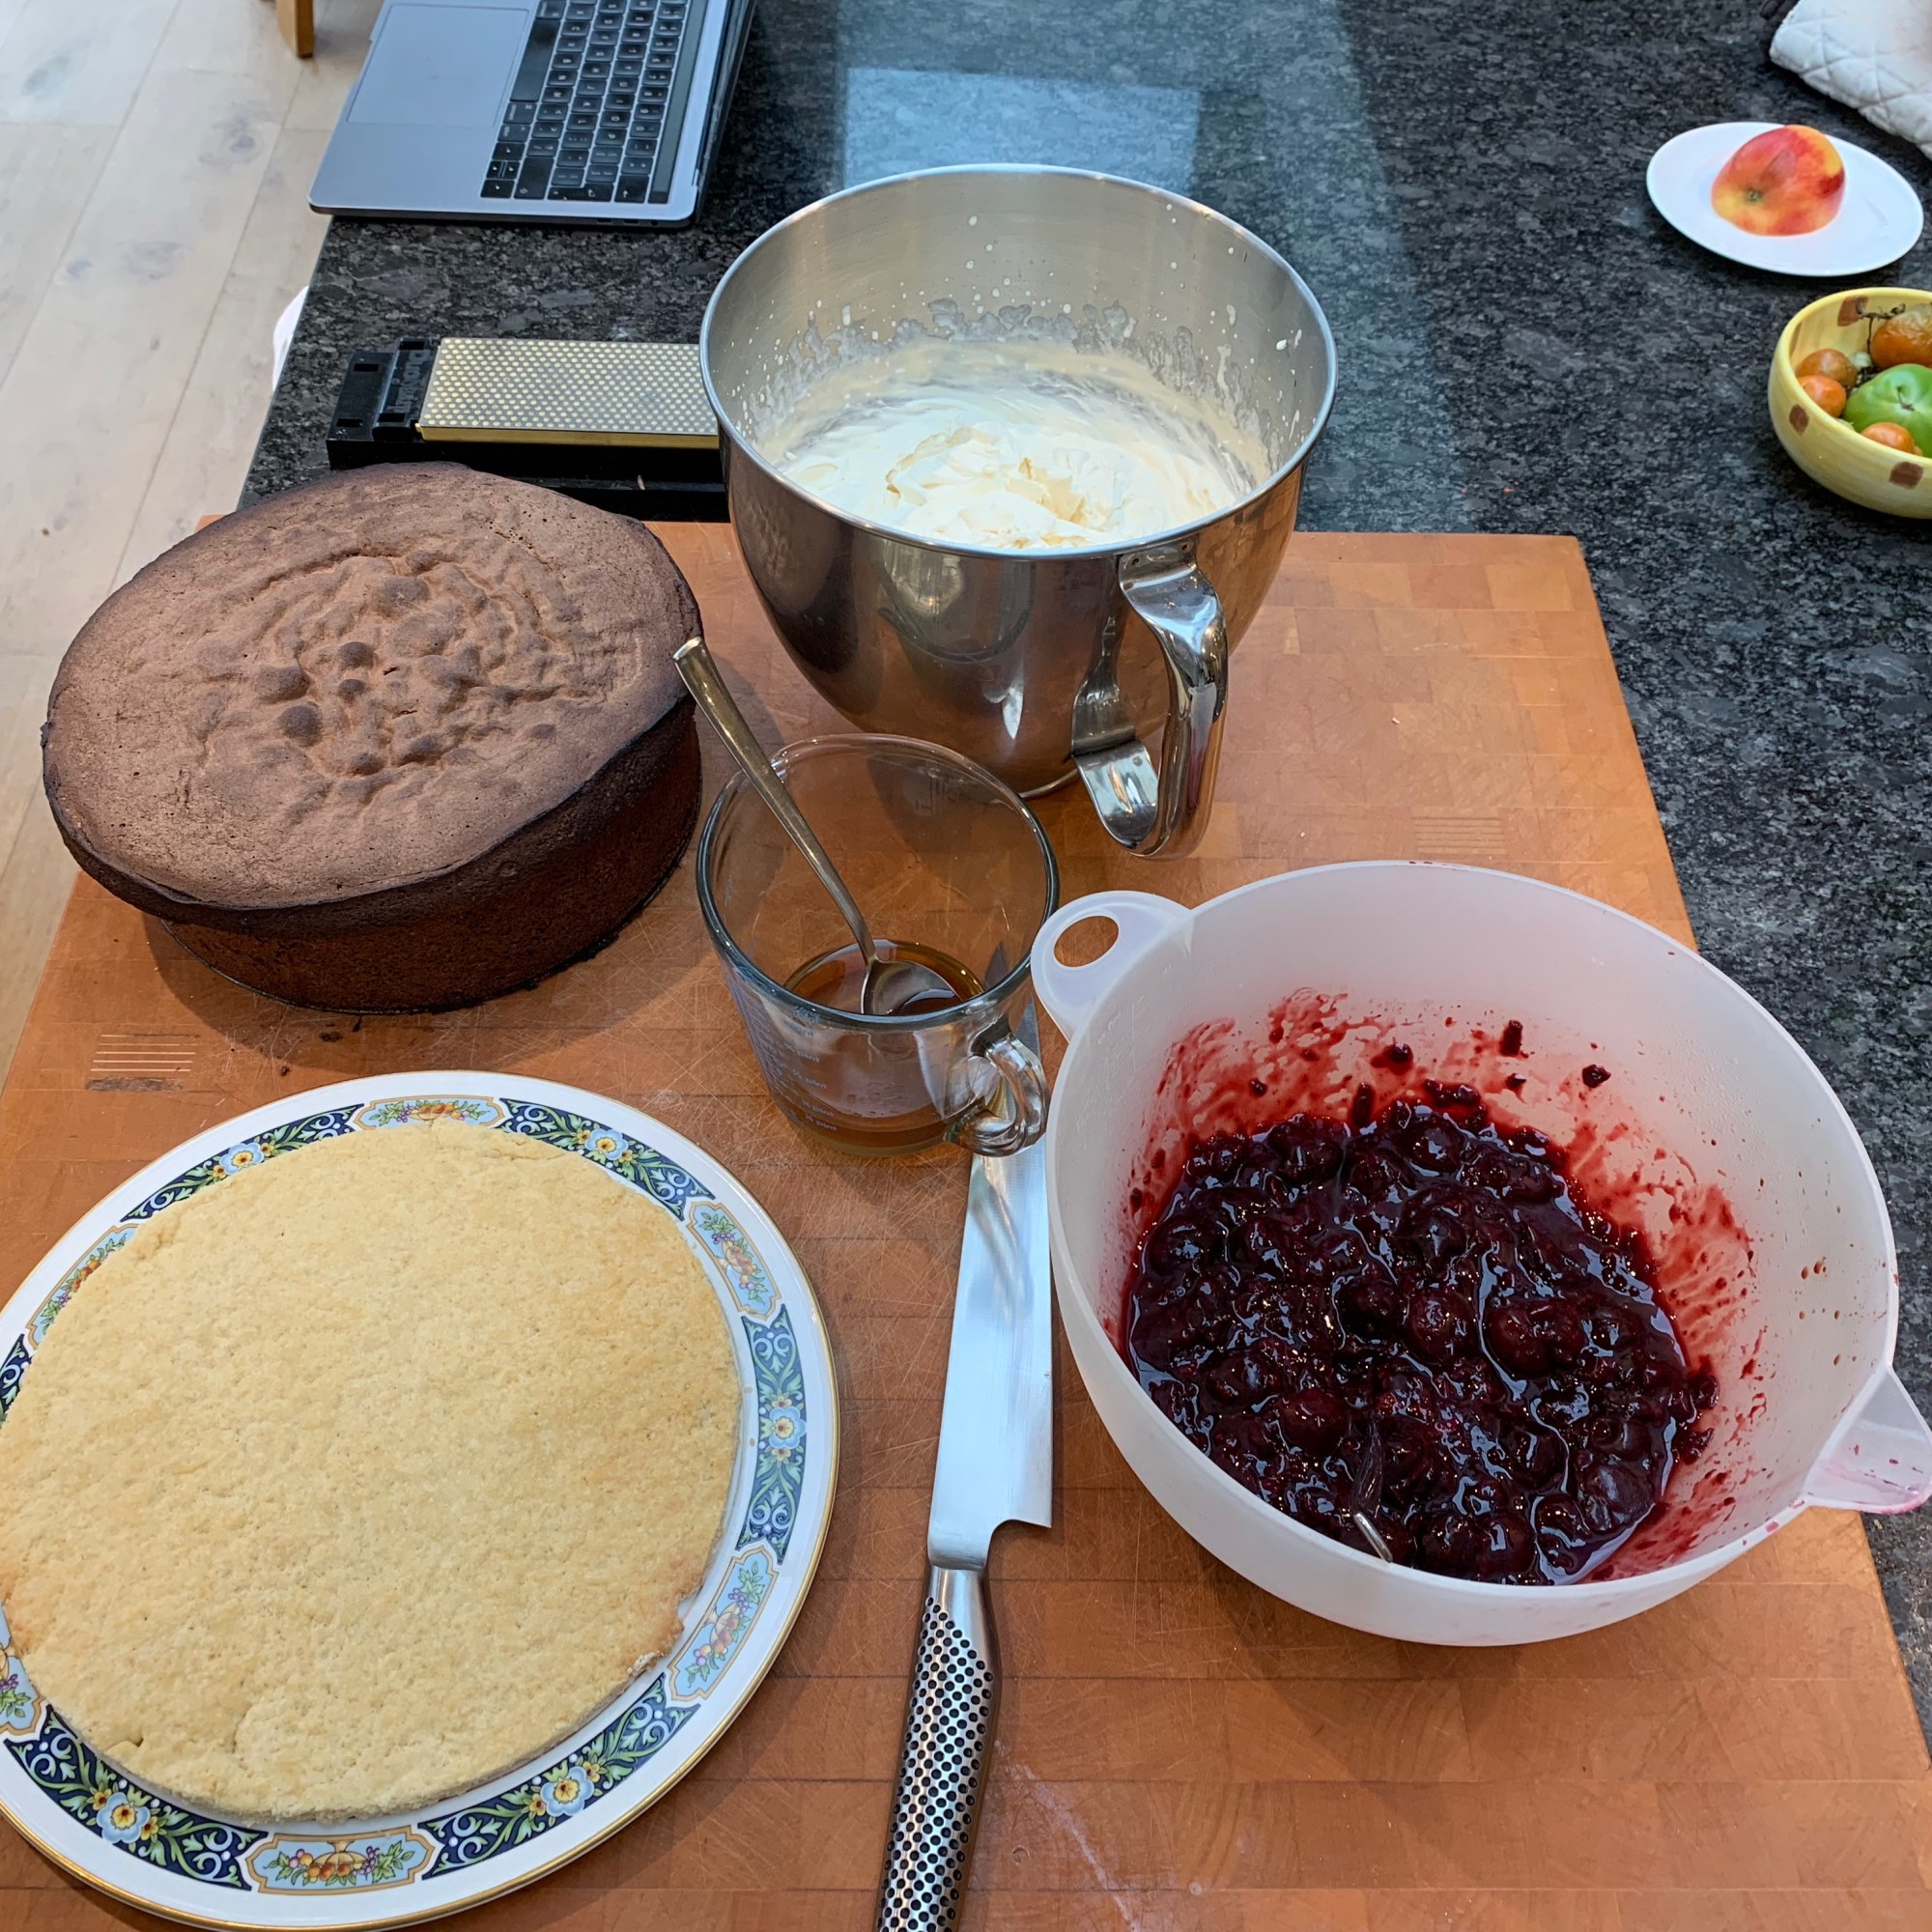
You need to make the base, the cake and the cherry filling far enough in advance that they’re completely cool. The rest is best done at the last minute.
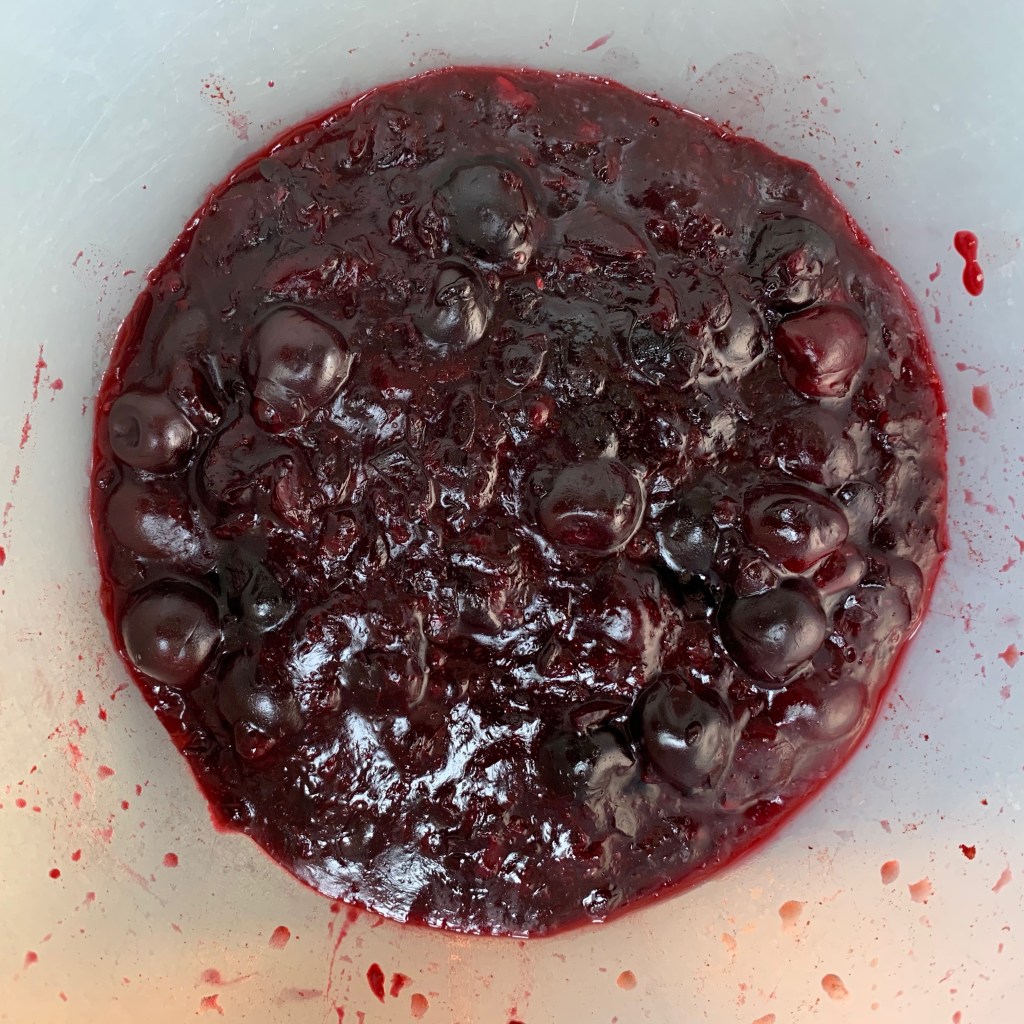
The cherry filling
If you can get jars of sour cherries, use 500g of those and 250g of the juice from the jar in place of the frozen cherries and lemon juice listed below. Also omit the blitzing of cherries and add 30g sugar.
750g frozen pitted cherries
Juice of 1 lemon
25g cornflour
Defrost the cherries. (That’s why I’ve shown this step first – you may want to make your cake layers while this is happening).
Reserve 12 of the best looking cherries – you will use them later for decoration.
Blitz half of the remaining cherries to a coarse puree.
Put the puree and any juice into a saucepan with the cornflour, stir thoroughly and warm gently until thickened.
Add the remaining cherries and bring to the boil.
Remove from heat and refrigerate.
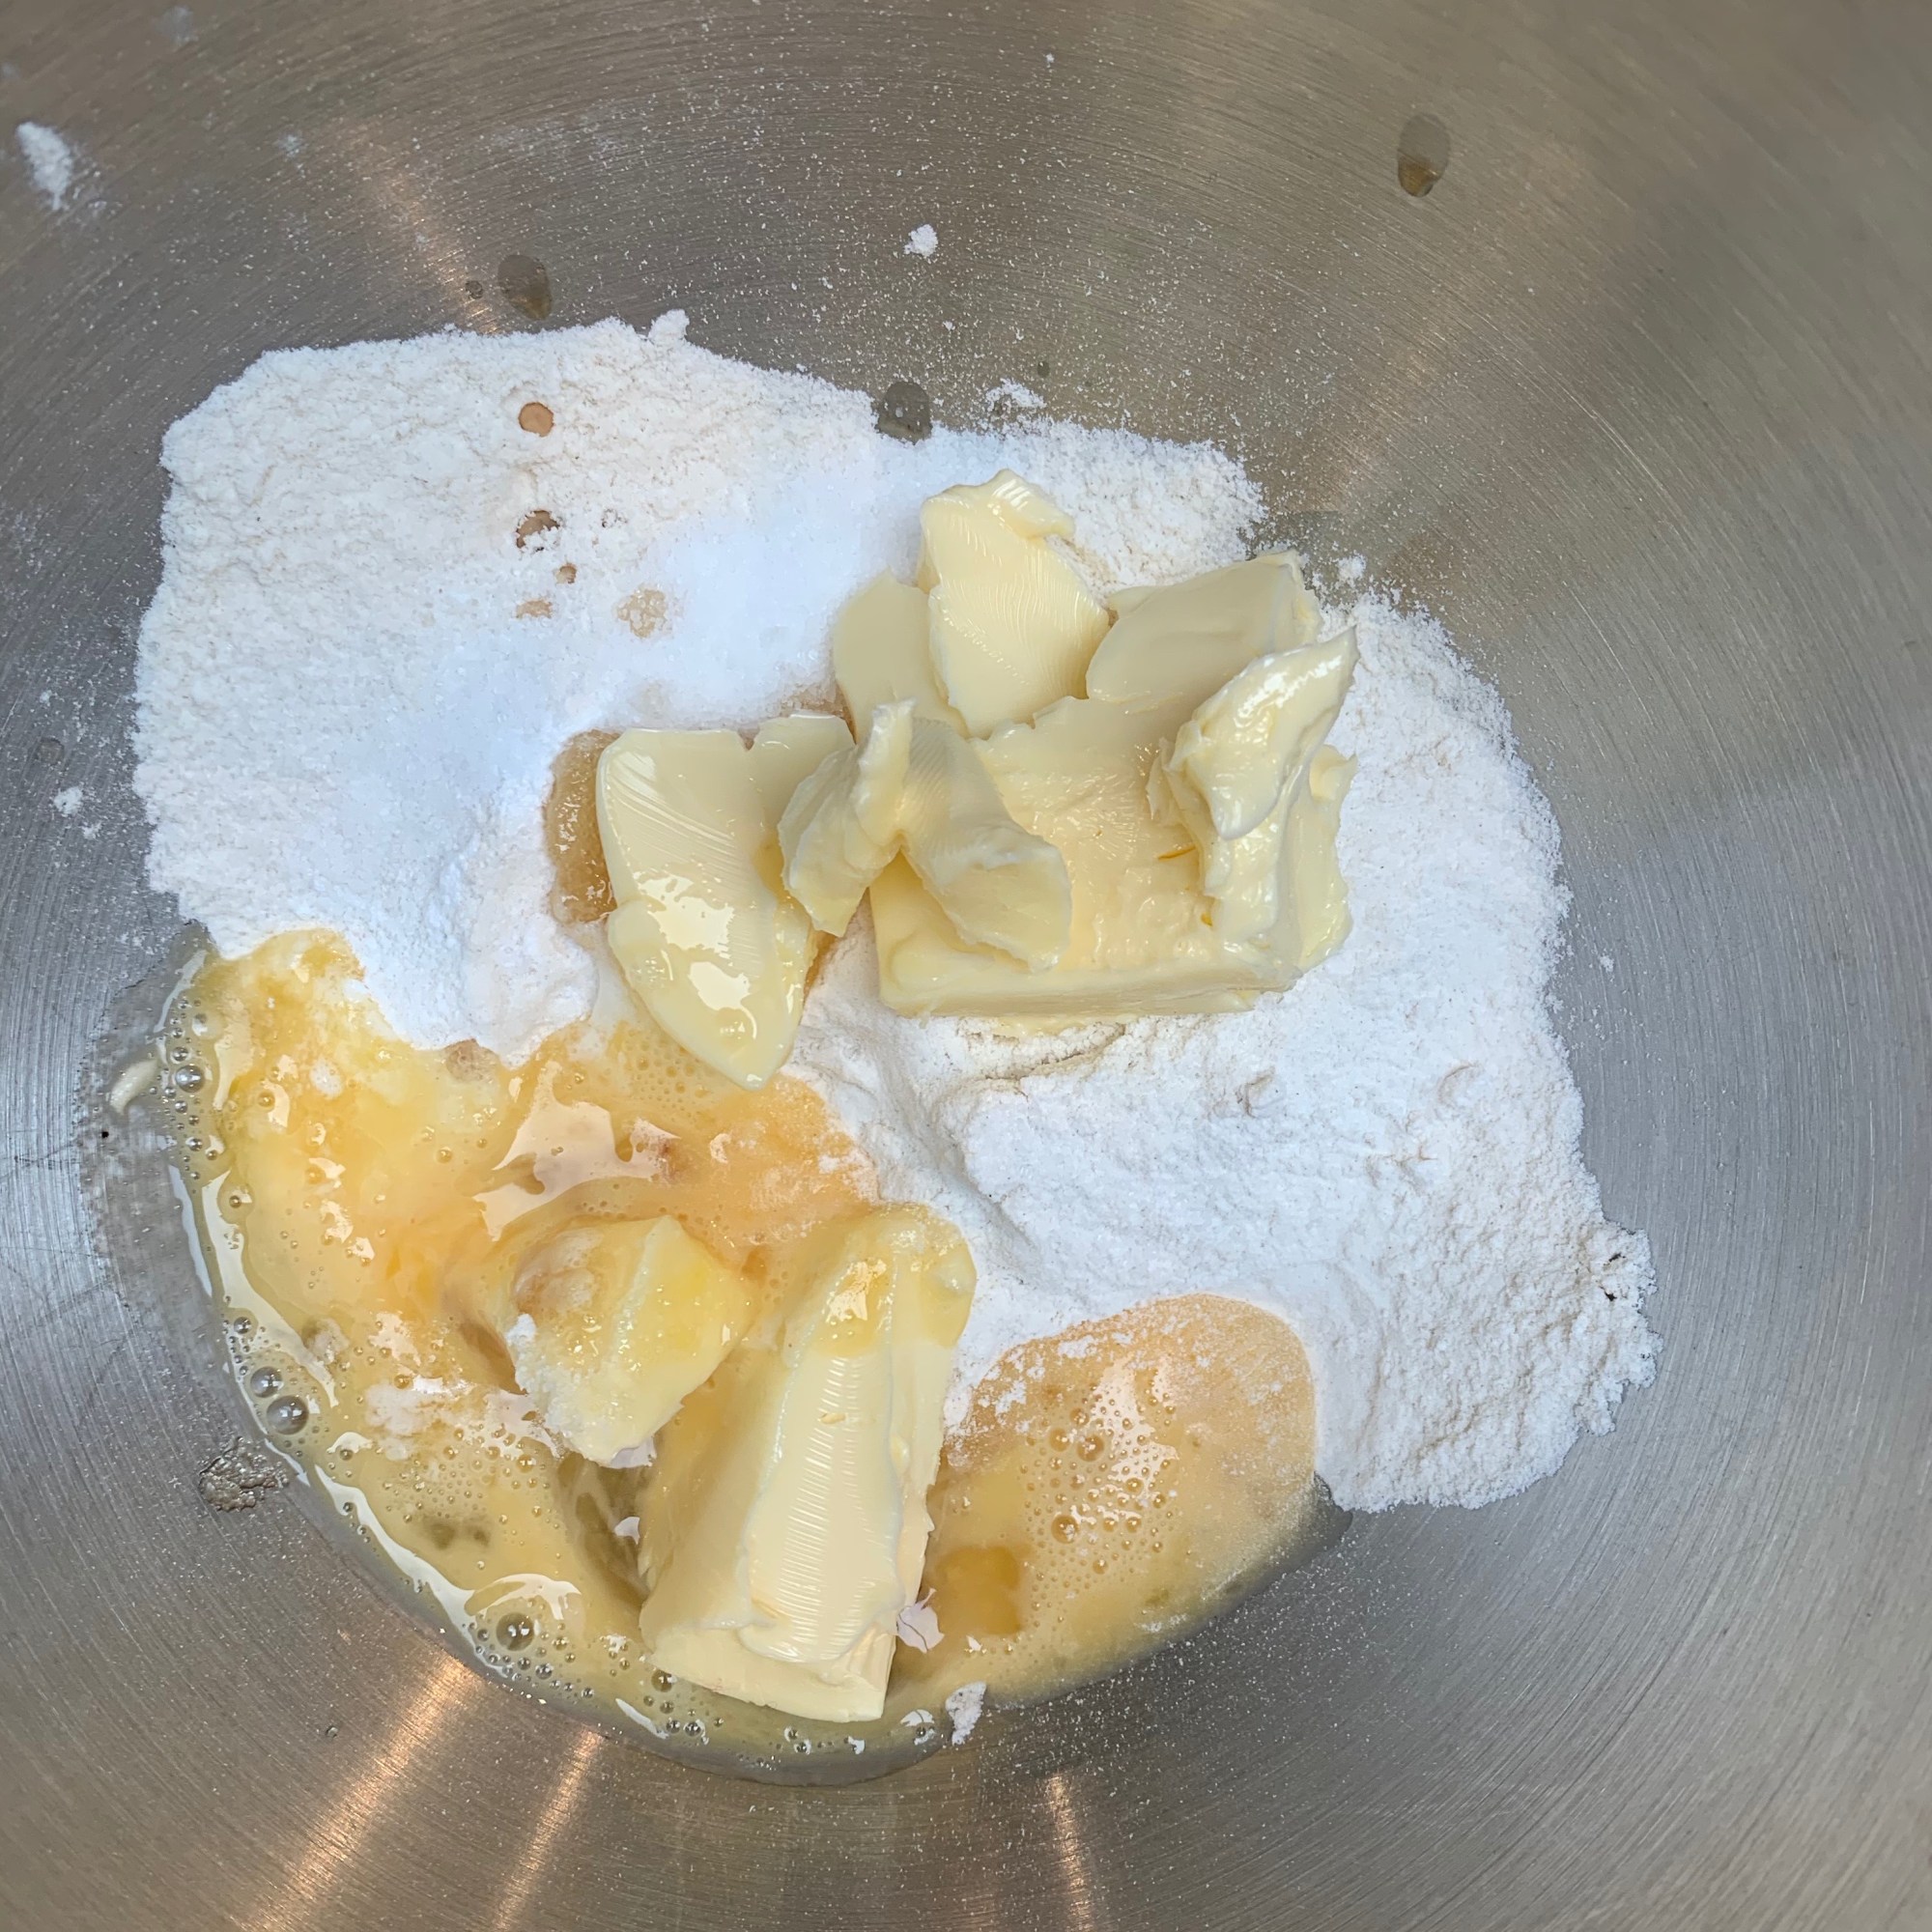
The shortcrust base
This is optional (several recipes don’t include one) but it gives a nice contrast of texture and makes the cake easier to handle.
120g plain flour
3g (around ½ tsp) baking powder
25g sugar
vanilla essence to taste (around 1 tsp)
1 small egg
60g butter, softened
Preheat oven to 180℃ fan
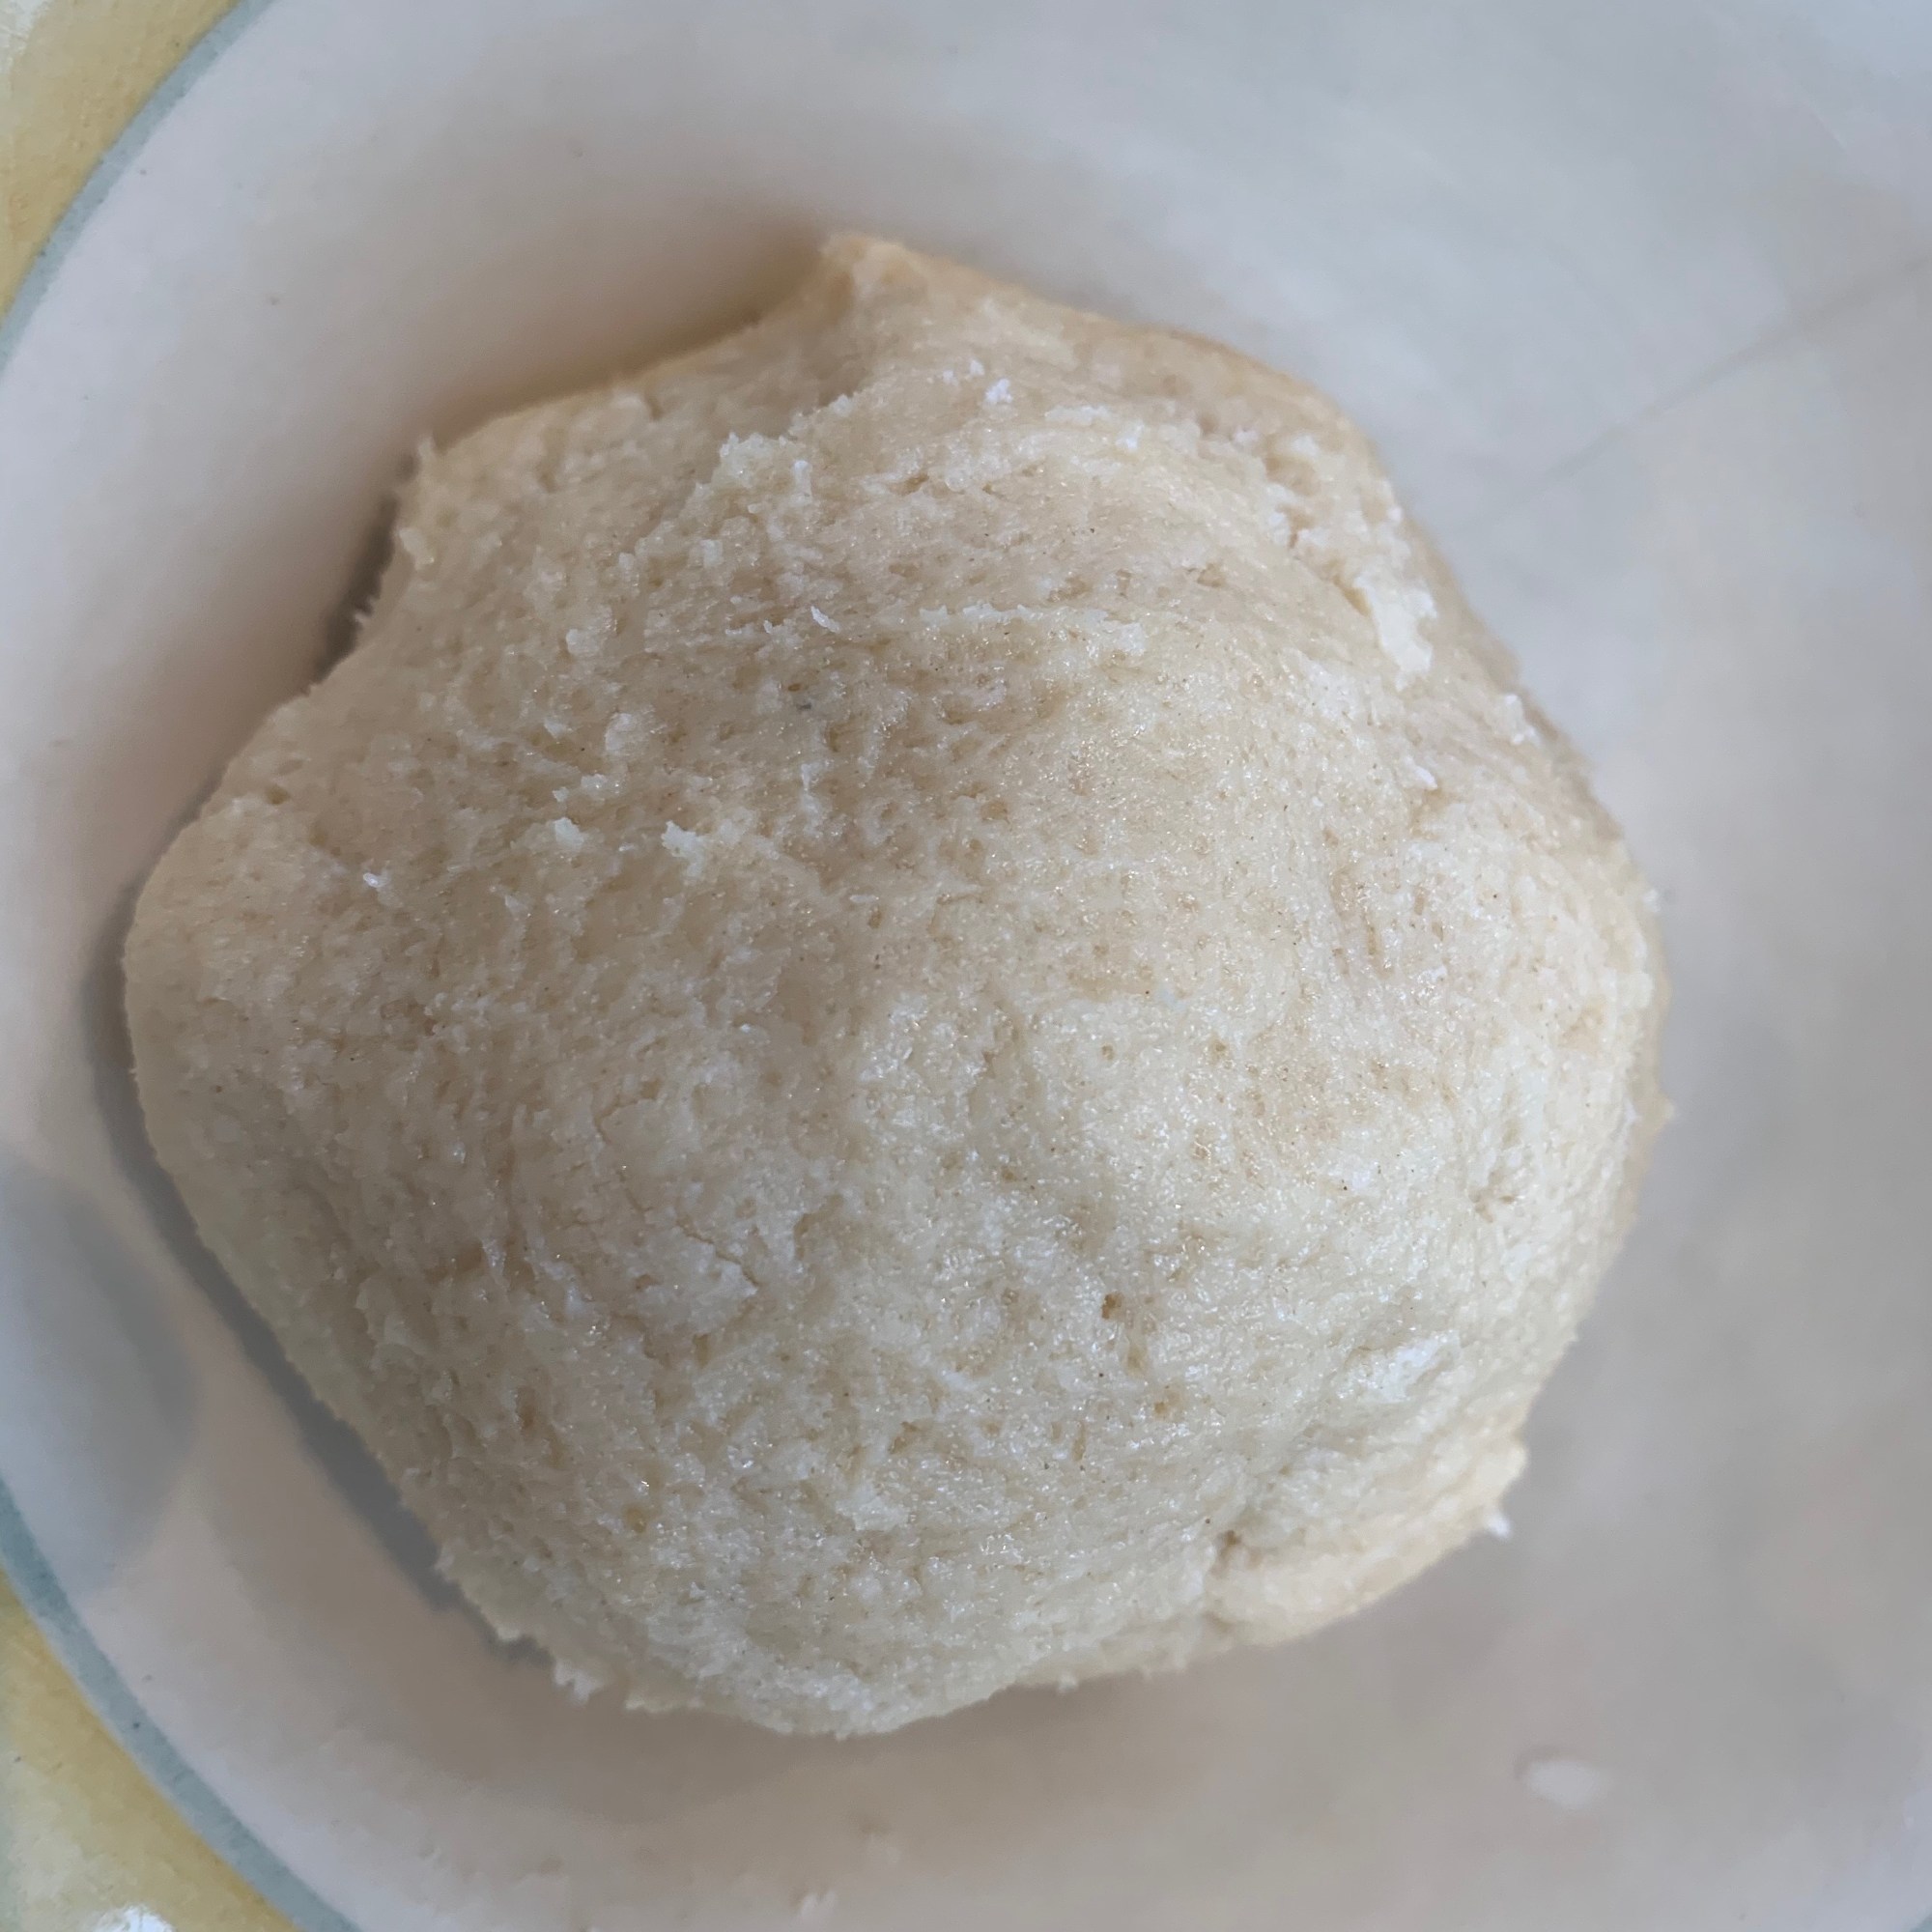
Mix all ingredients together. Cover and refrigerate for around 30 minutes.
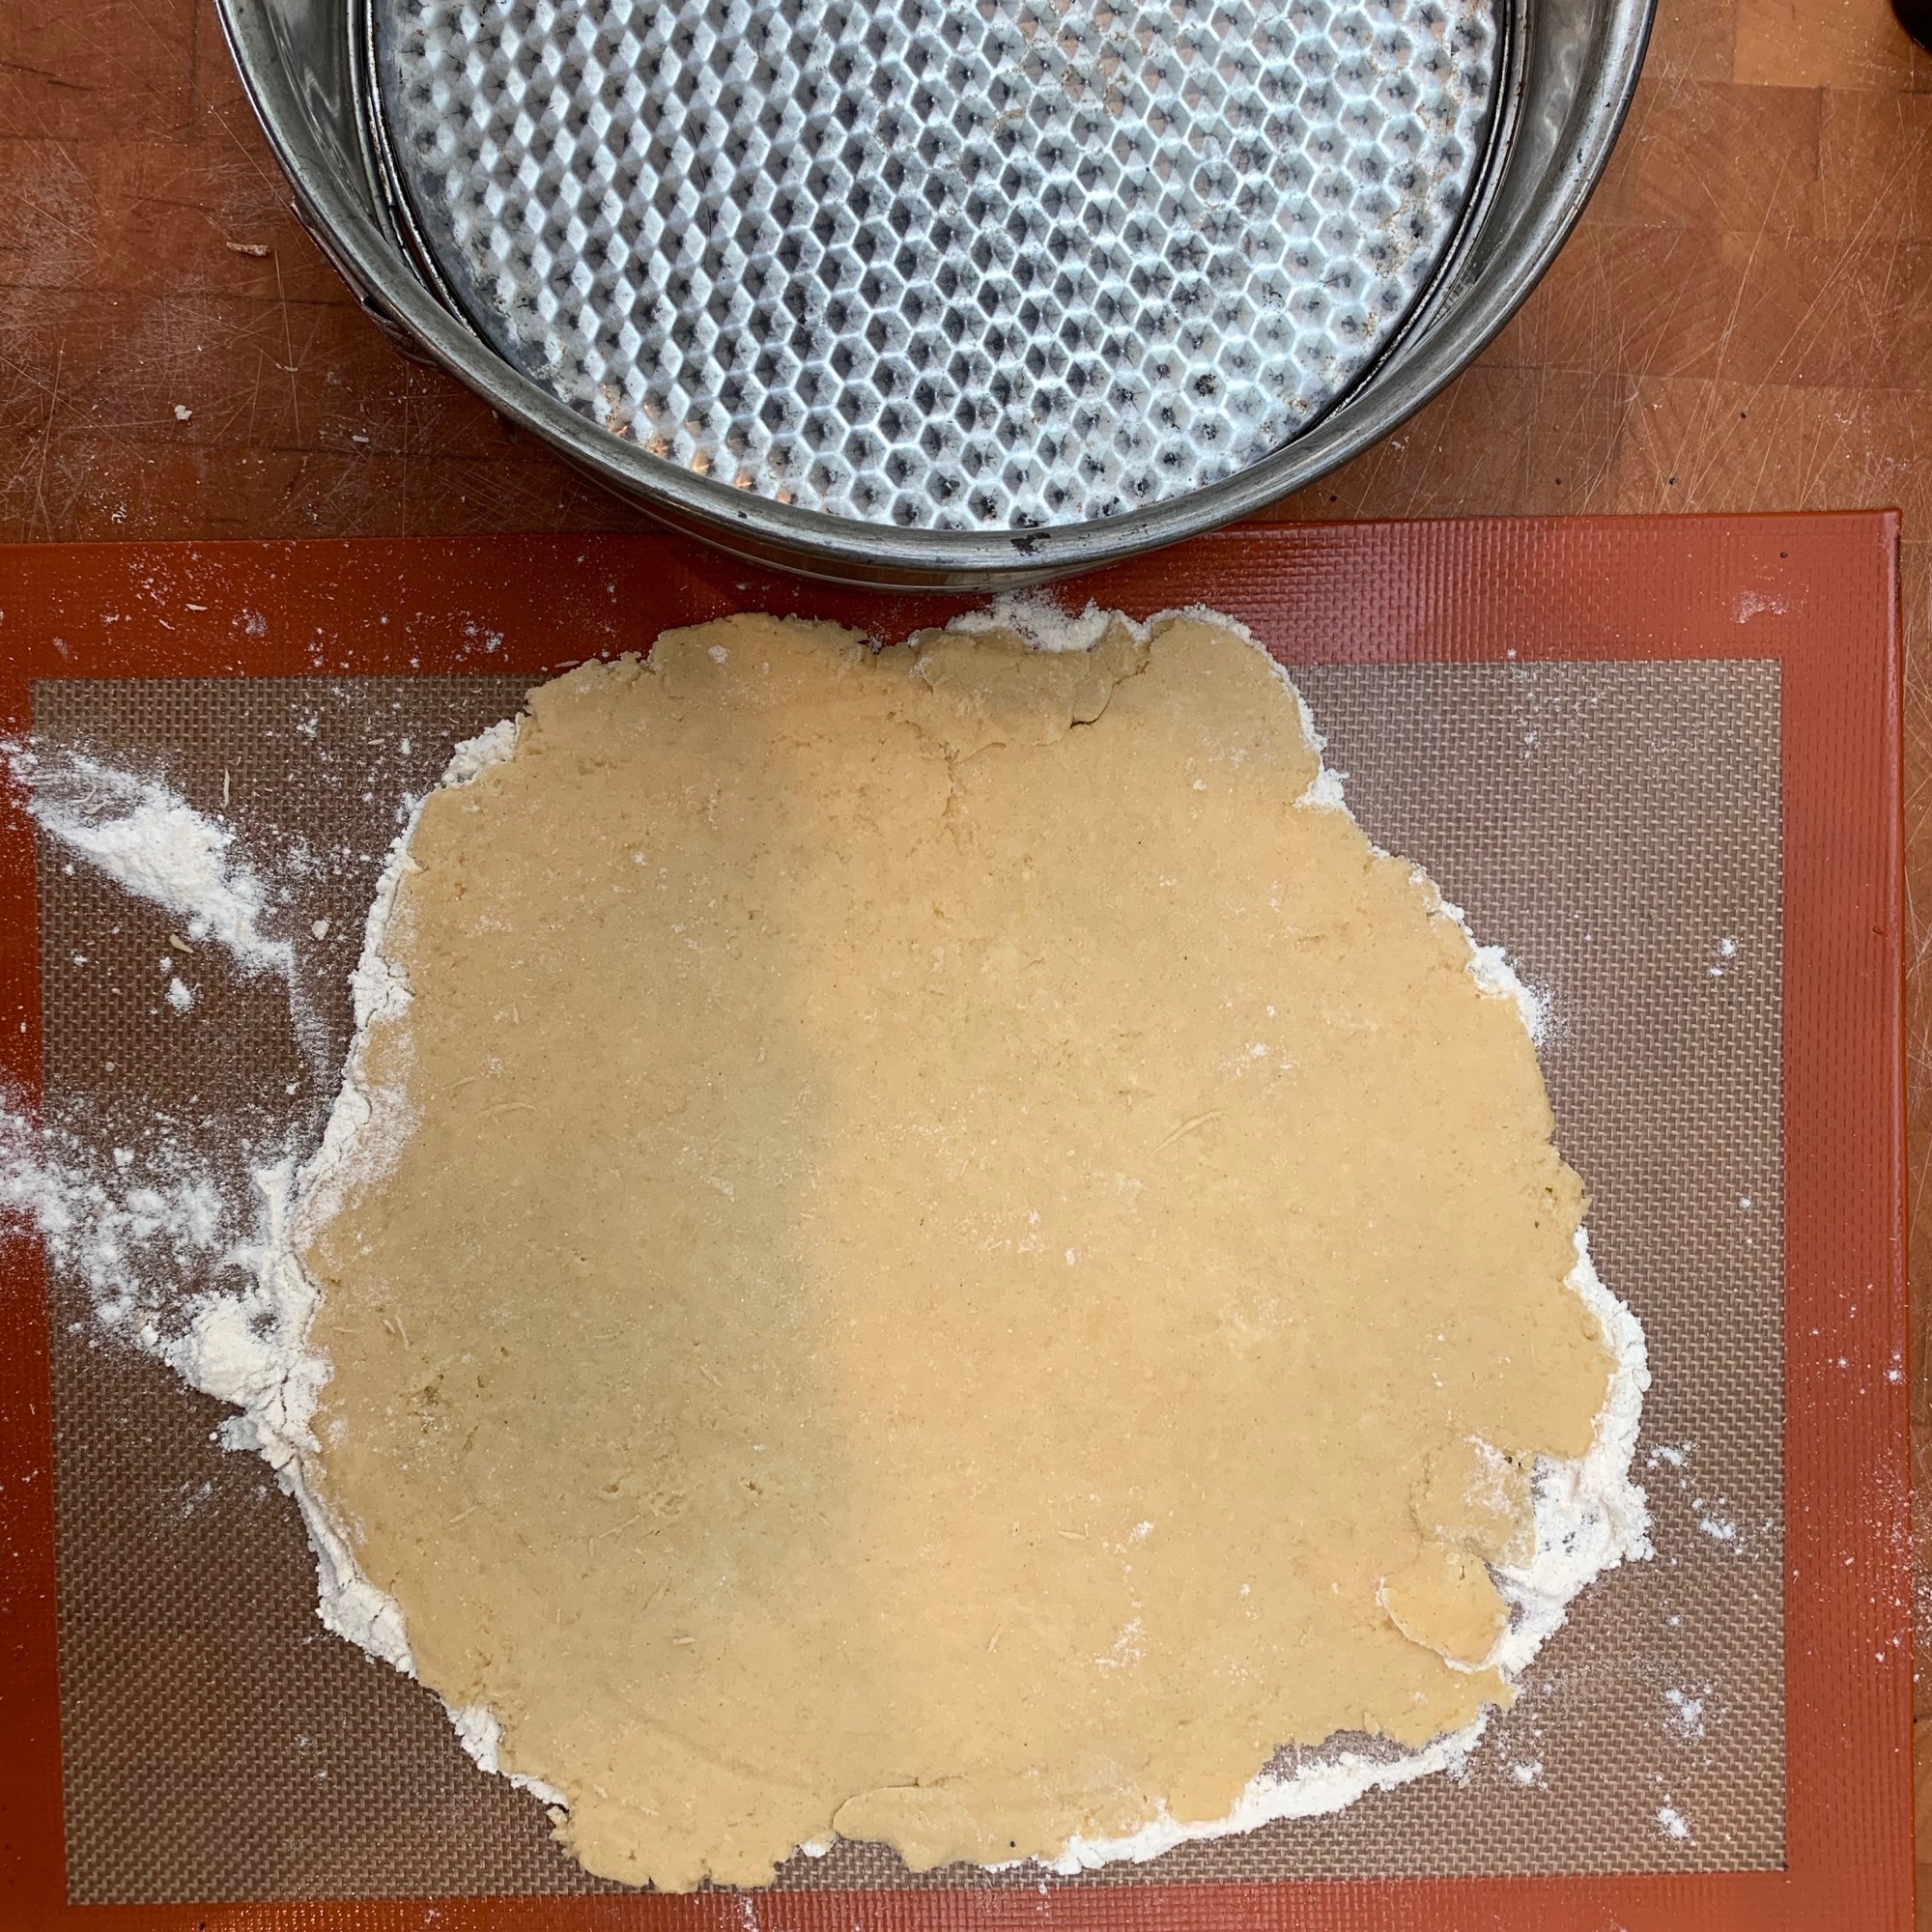
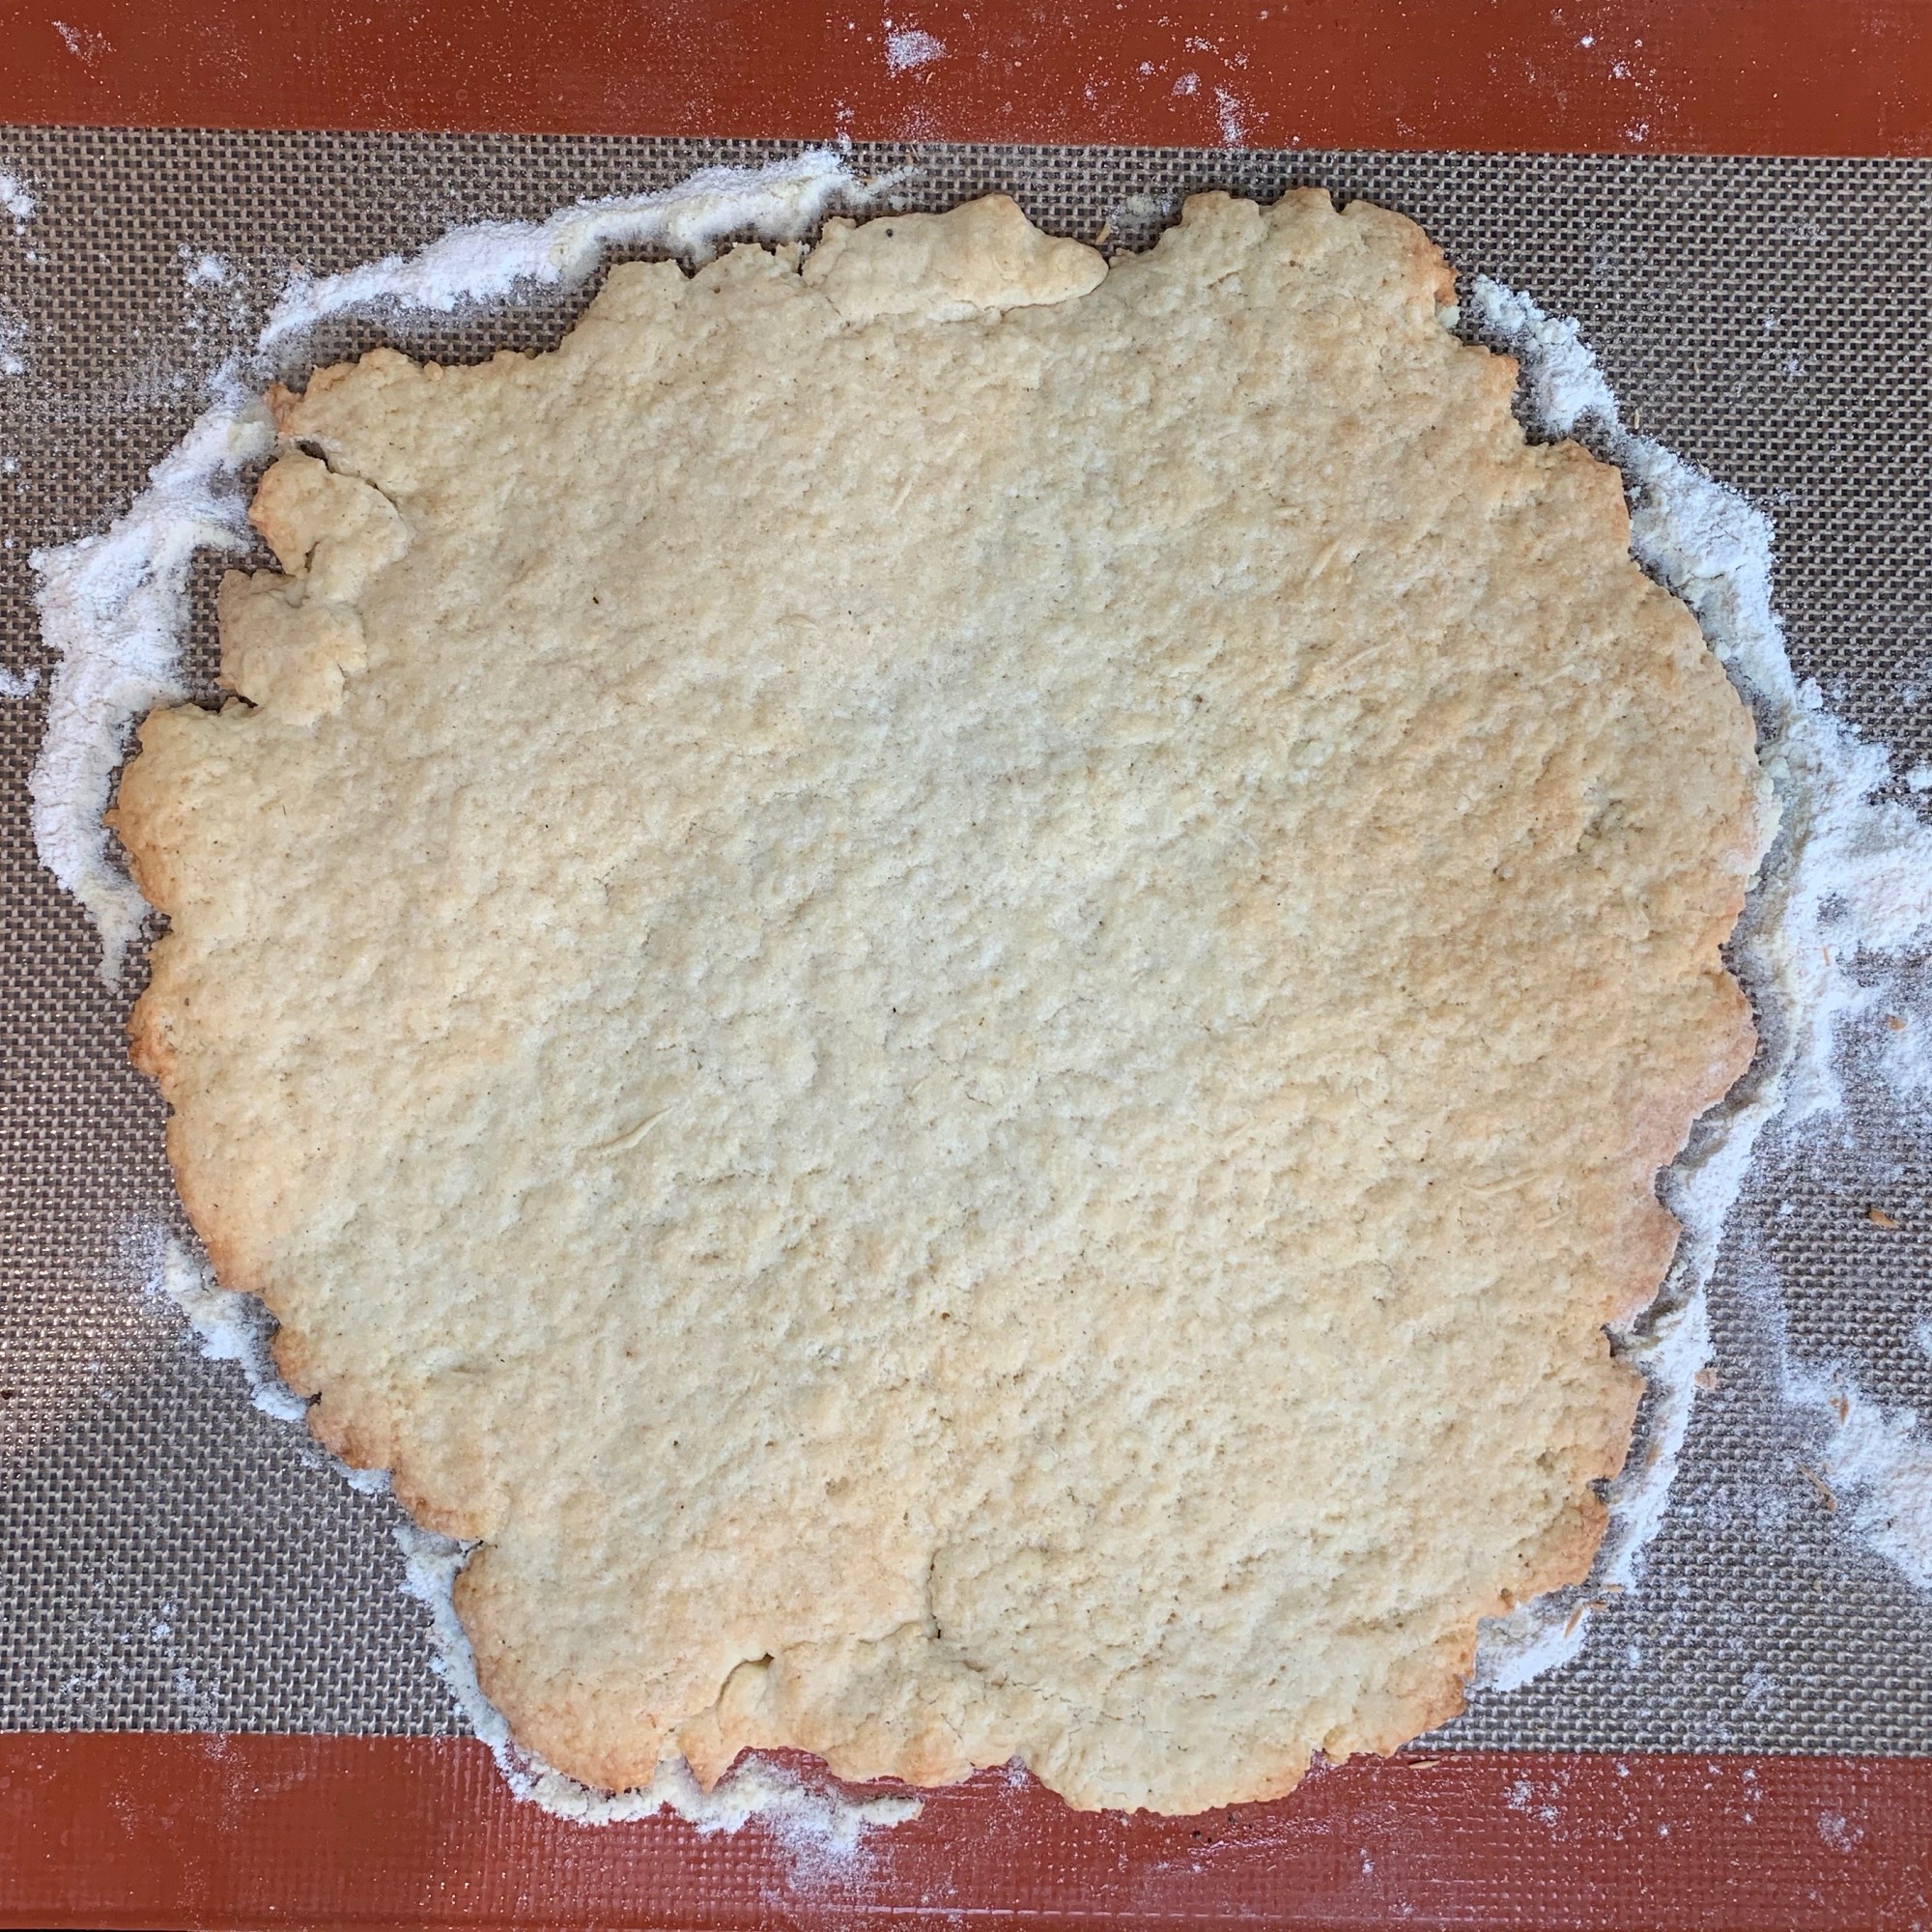
Roll out on a baking sheet to a size slightly larger than your cake tin.
Bake for around 10 minutes
Leave to cool
The chocolate cake
150g plain flour
60g cornflour
50g cocoa powder
10g baking powder – around 2 tsp
6 eggs
200g caster sugar
Vanilla essence to taste – around 1 tsp
Grease your cake tin
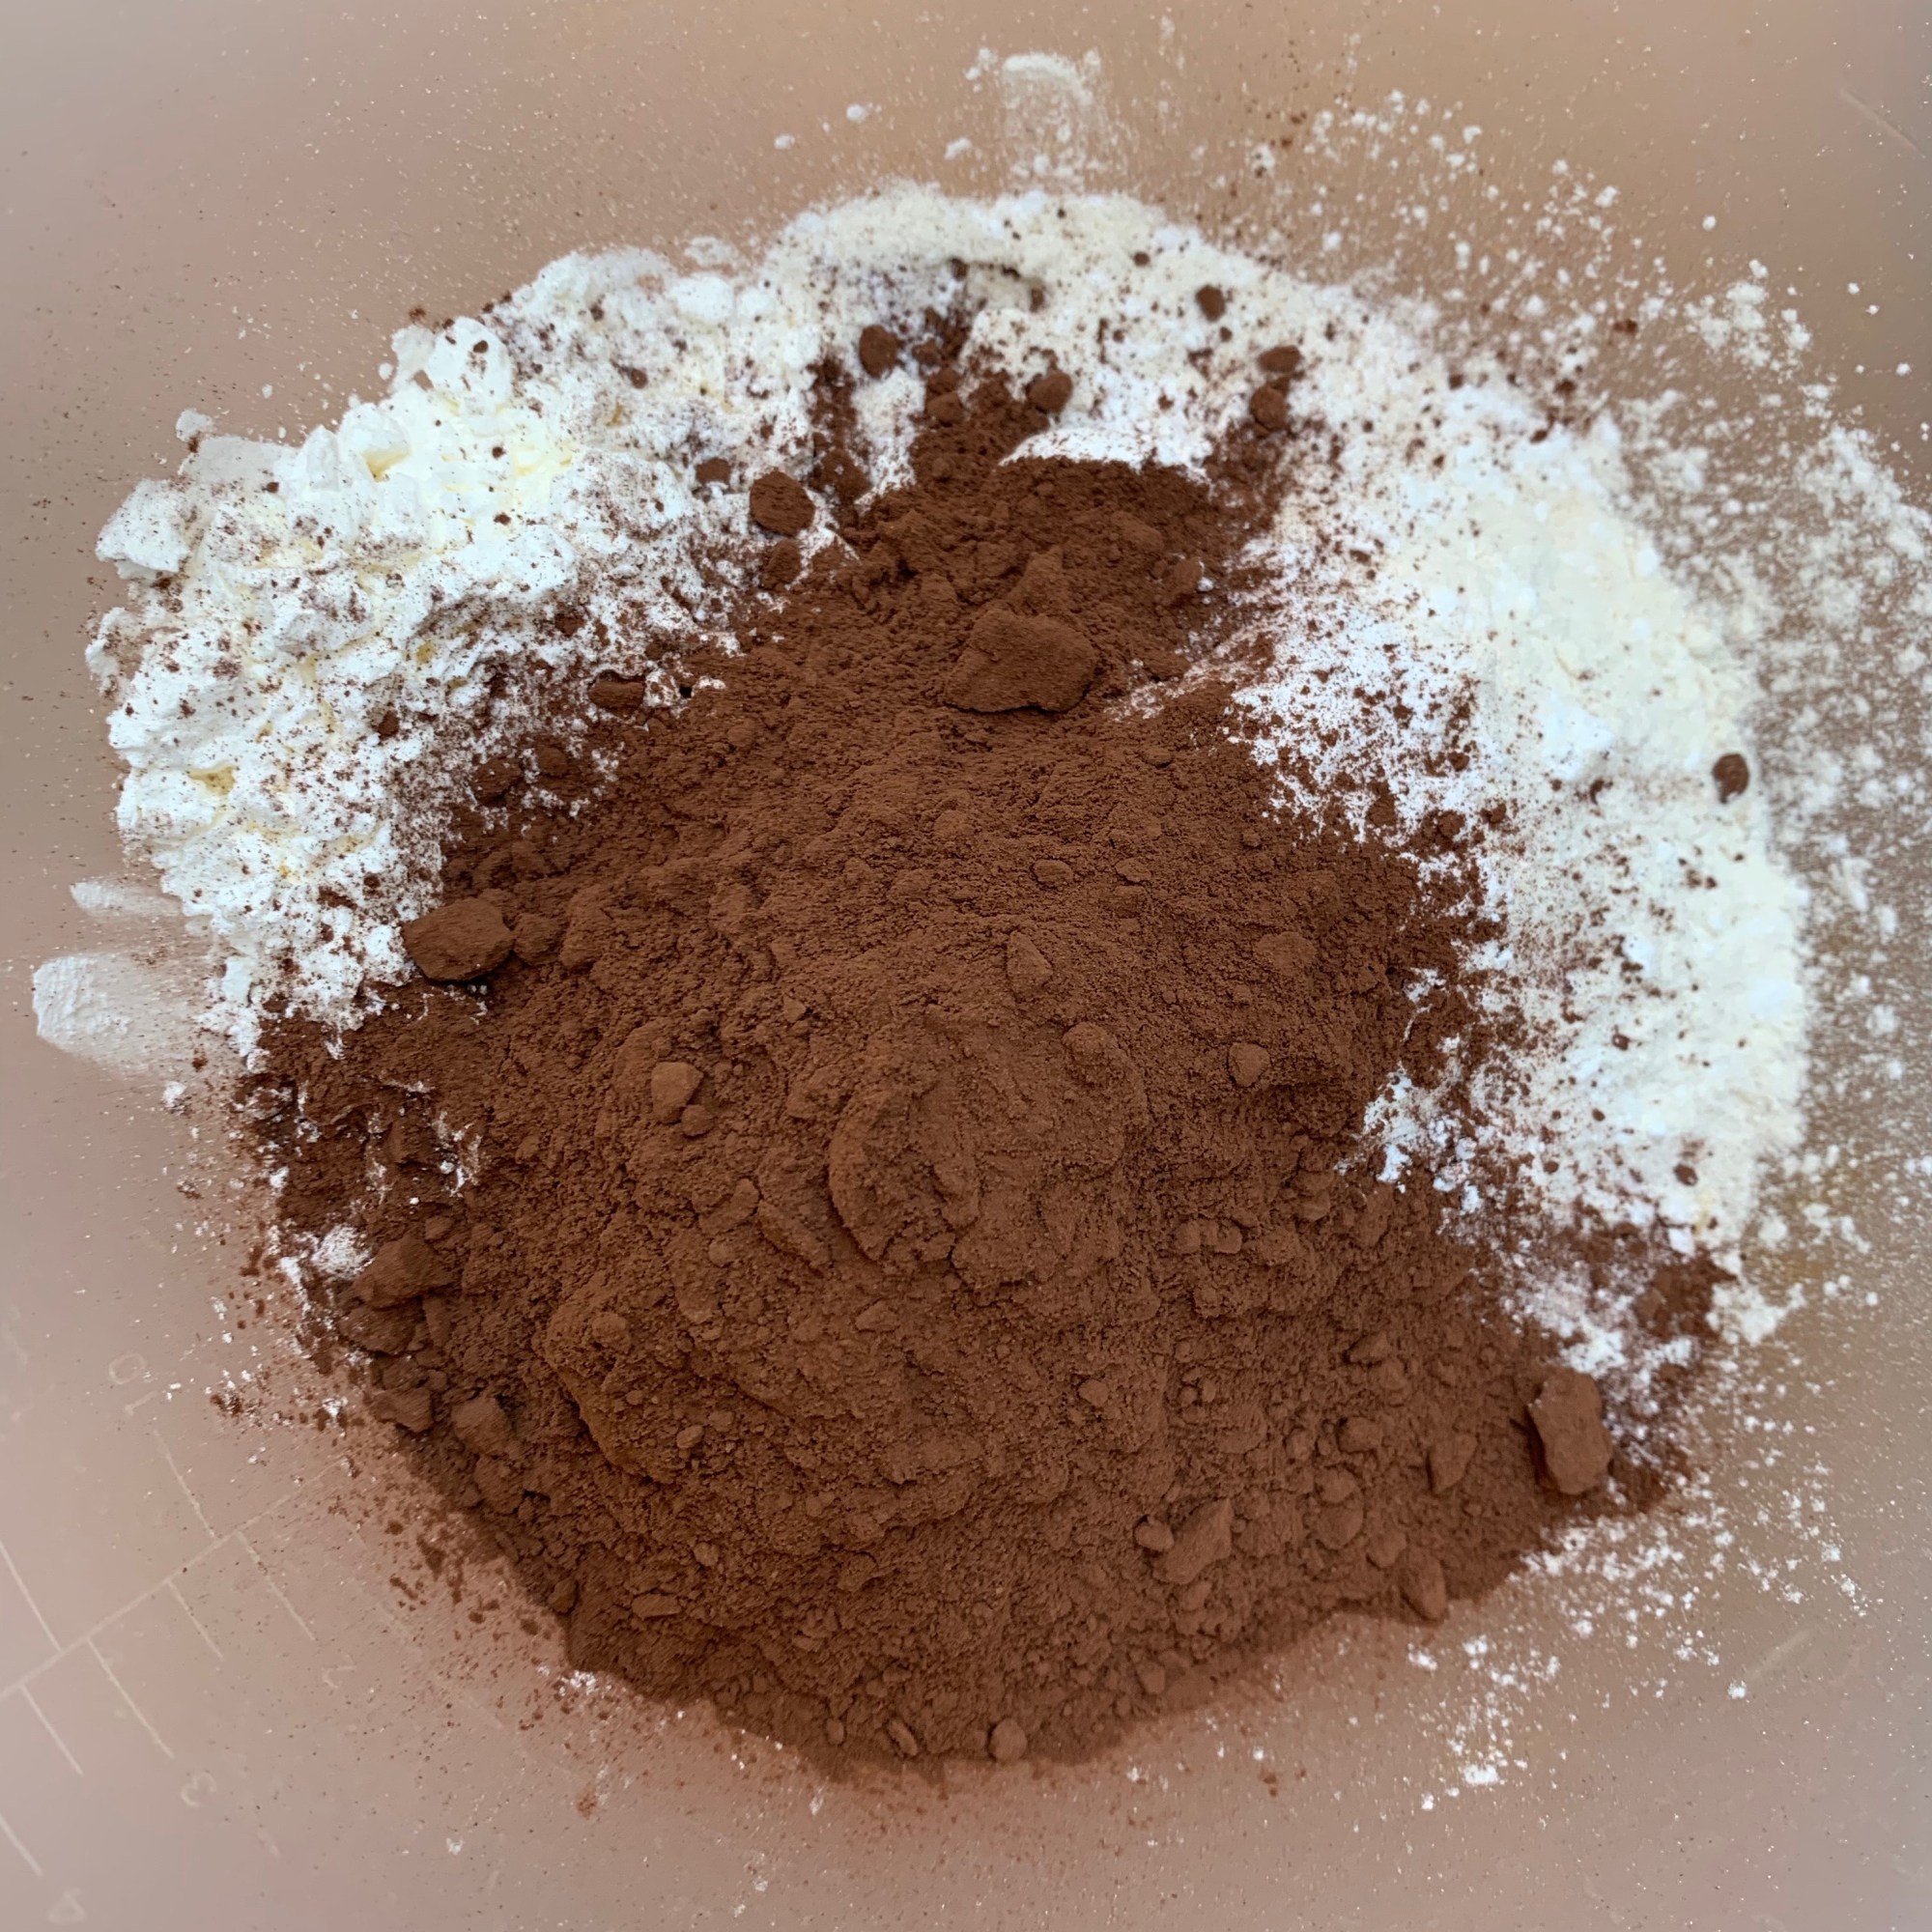
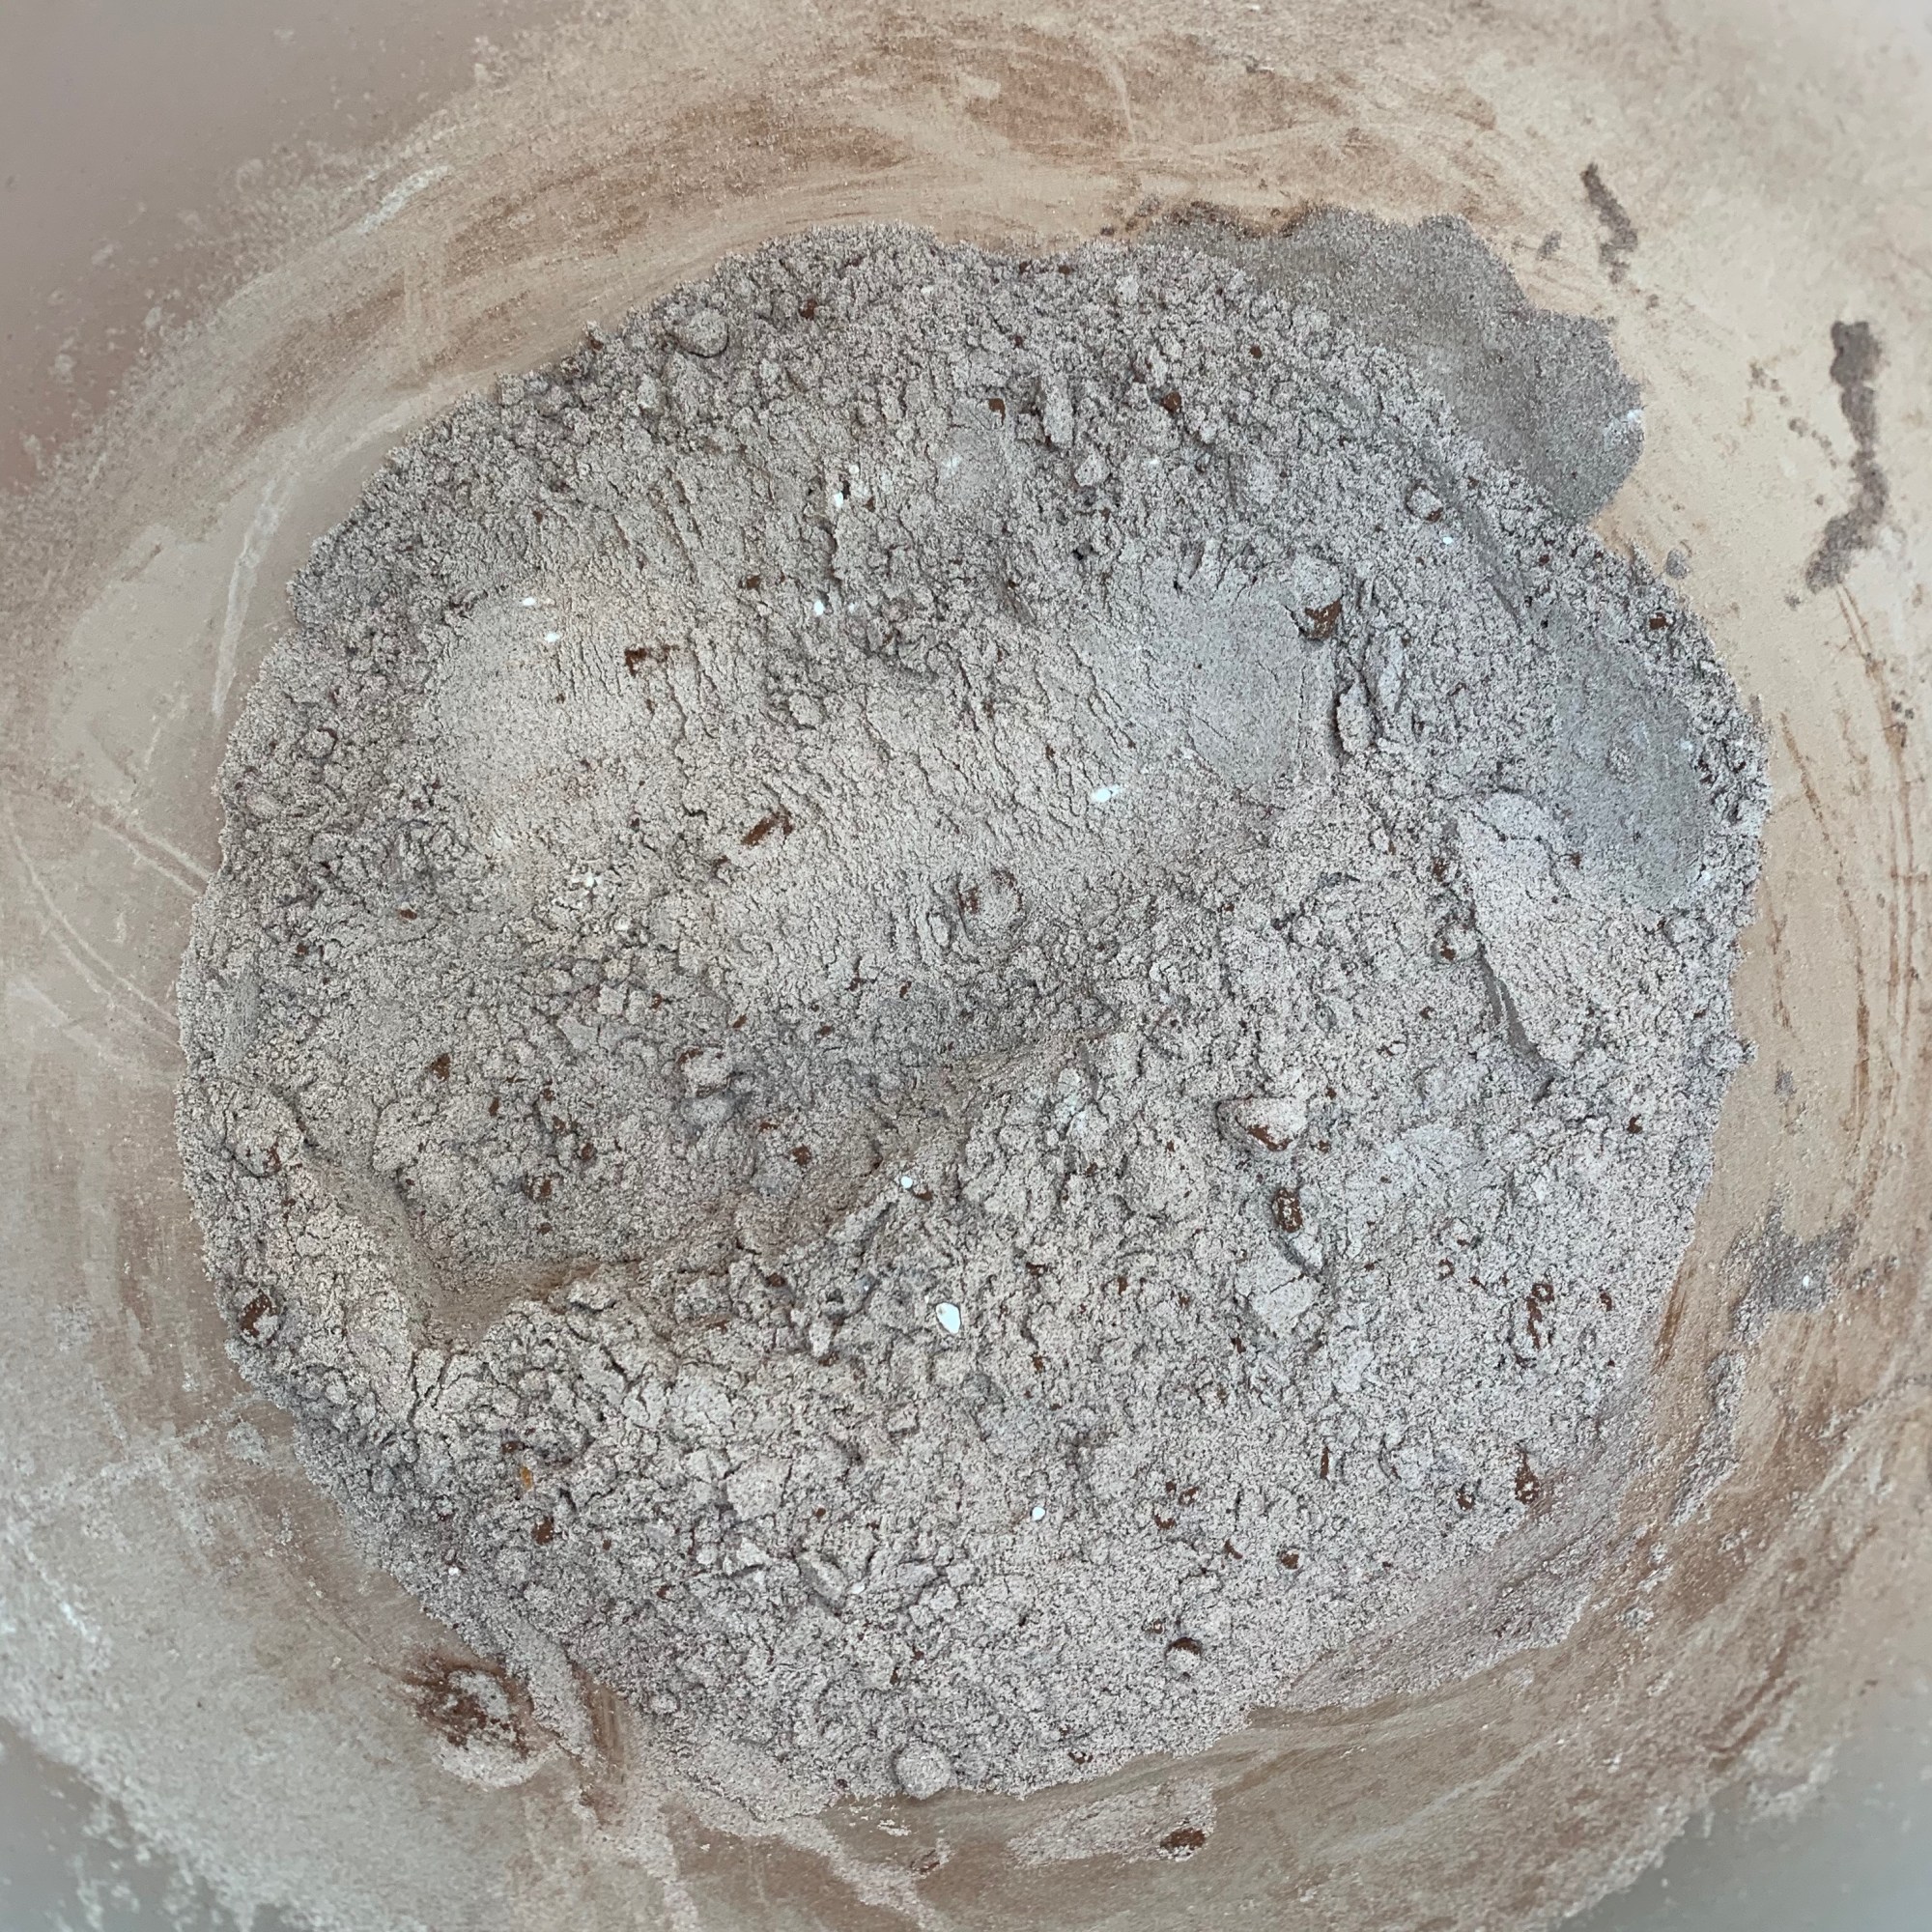
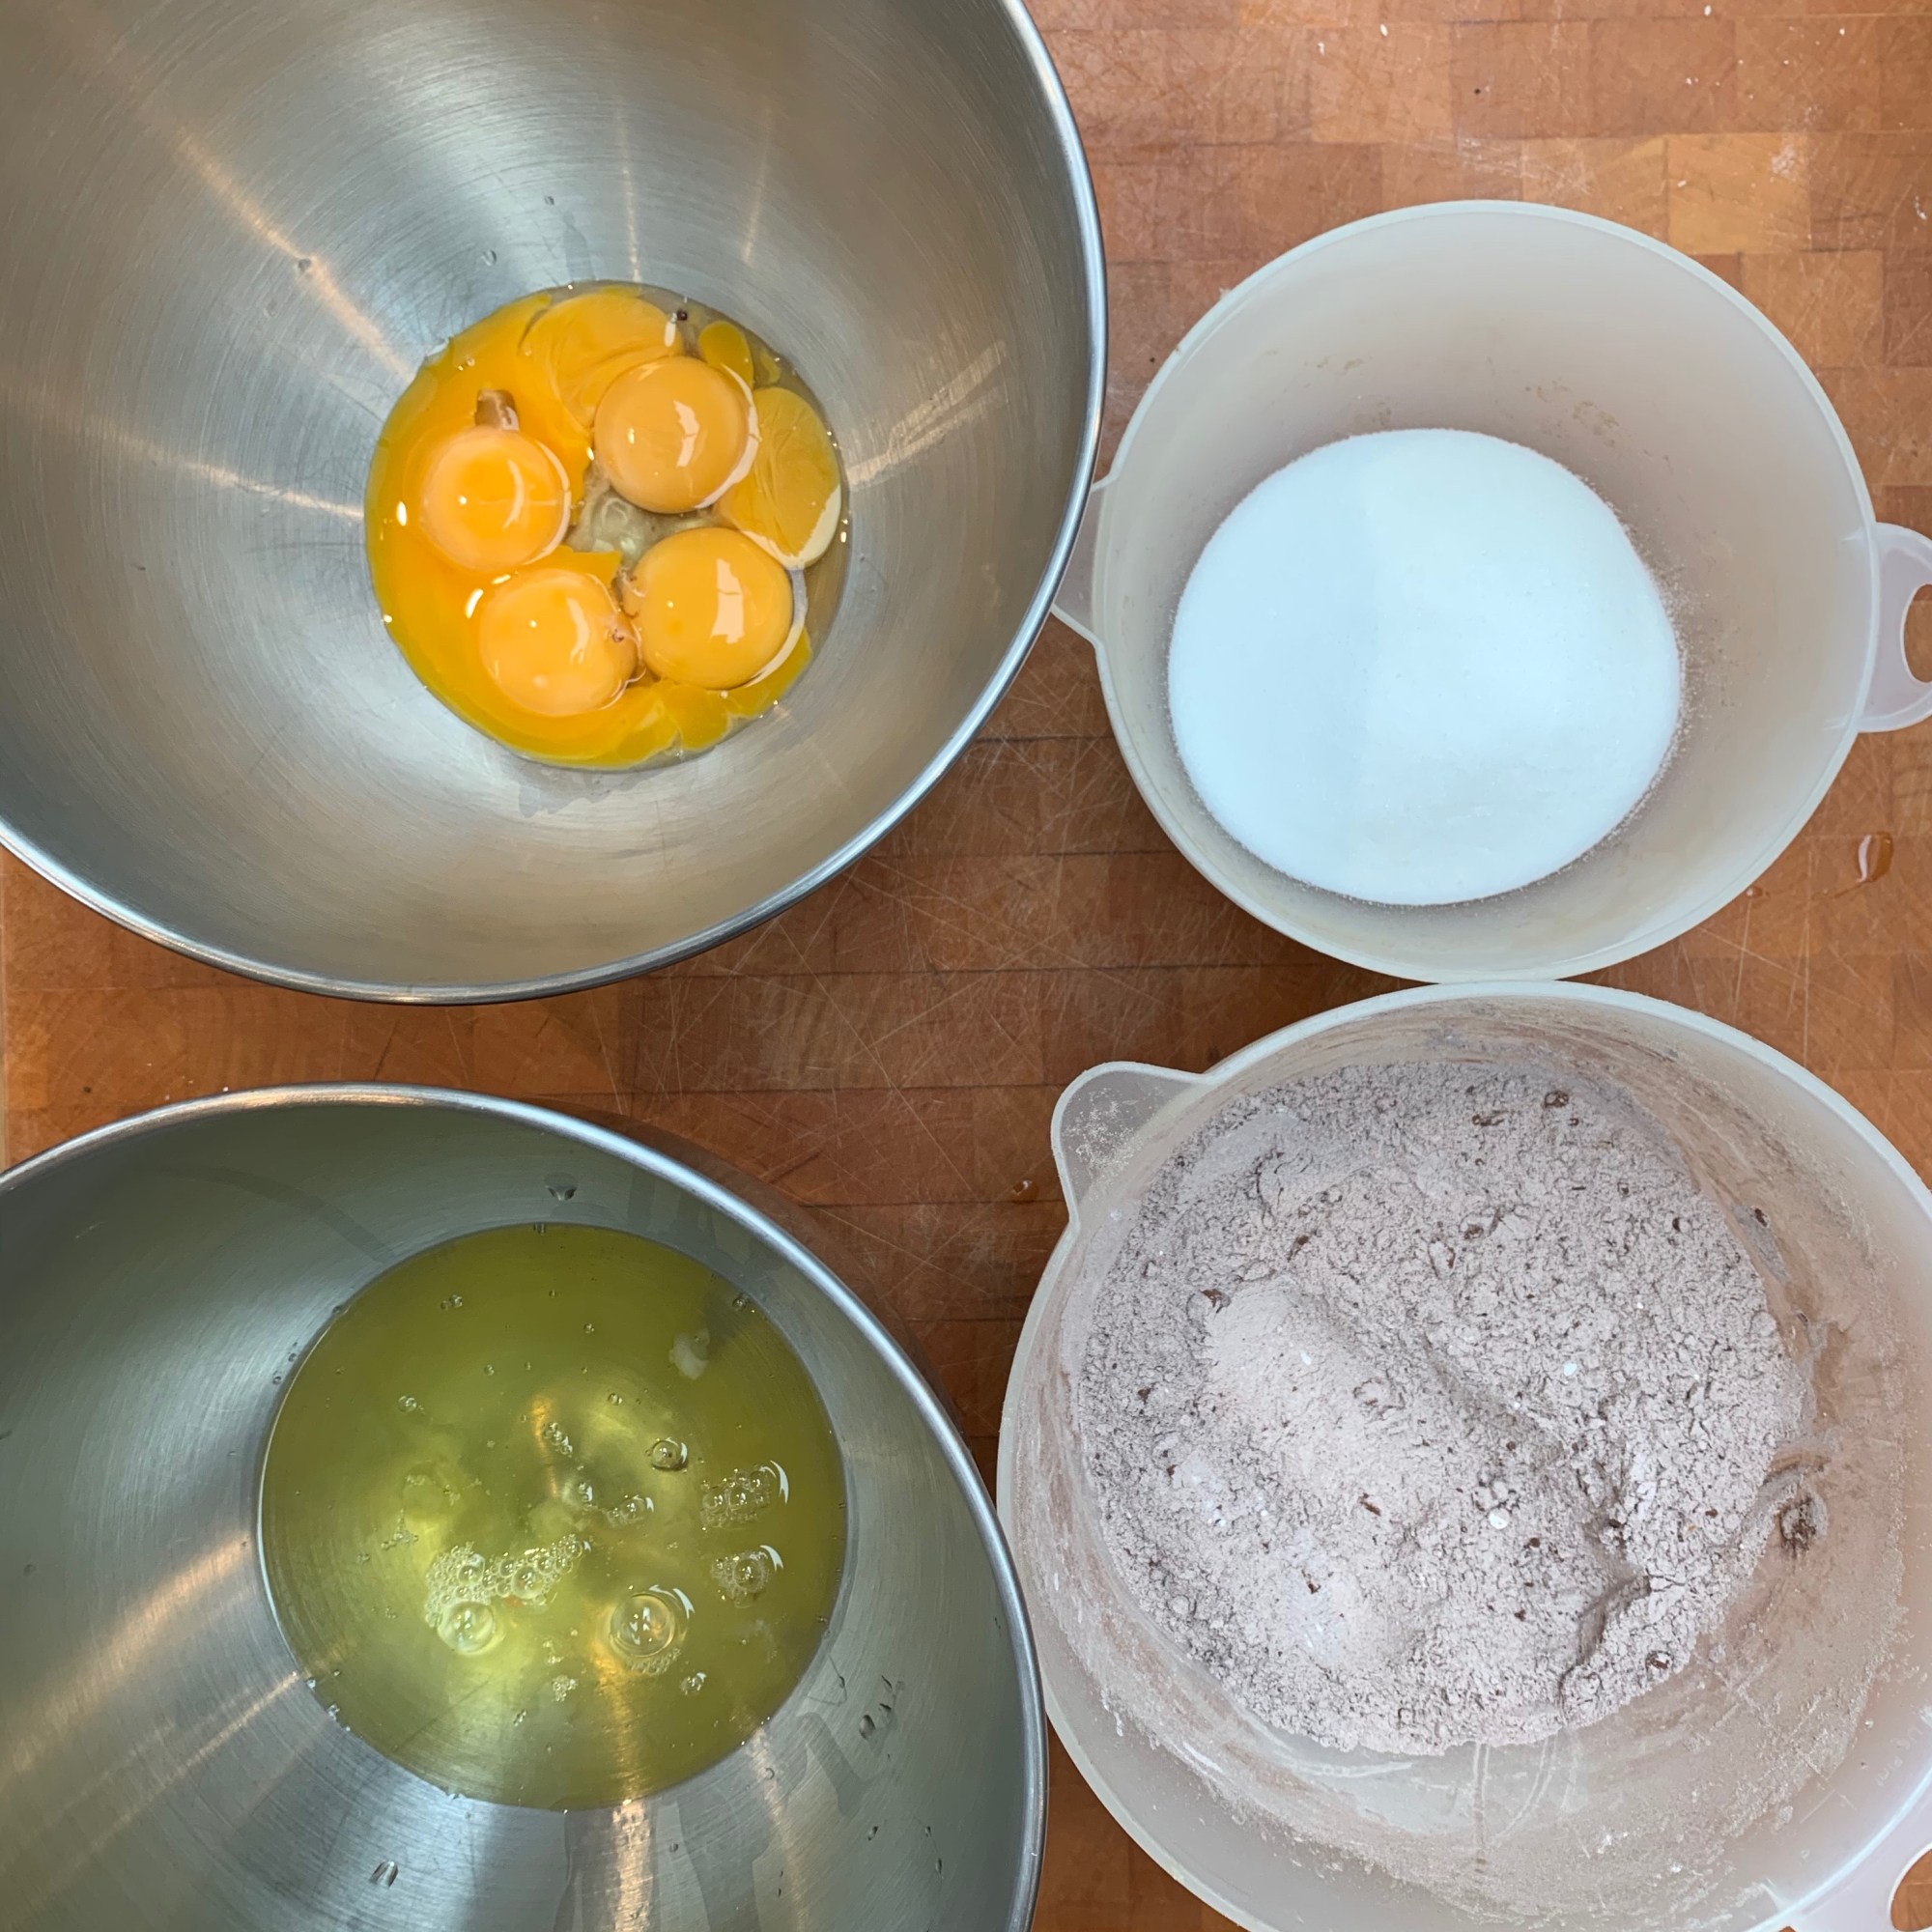
Sift the flour, cornflour, cocoa powder and baking powder into a bowl and combine evenly
Separate the eggs
Add around 50 ml of warm water to the egg yolks and beat at your mixer’s highest speed for around three minutes, until you have a creamy sabayon-like texture. Add 130g of the sugar and beat for another three minutes.
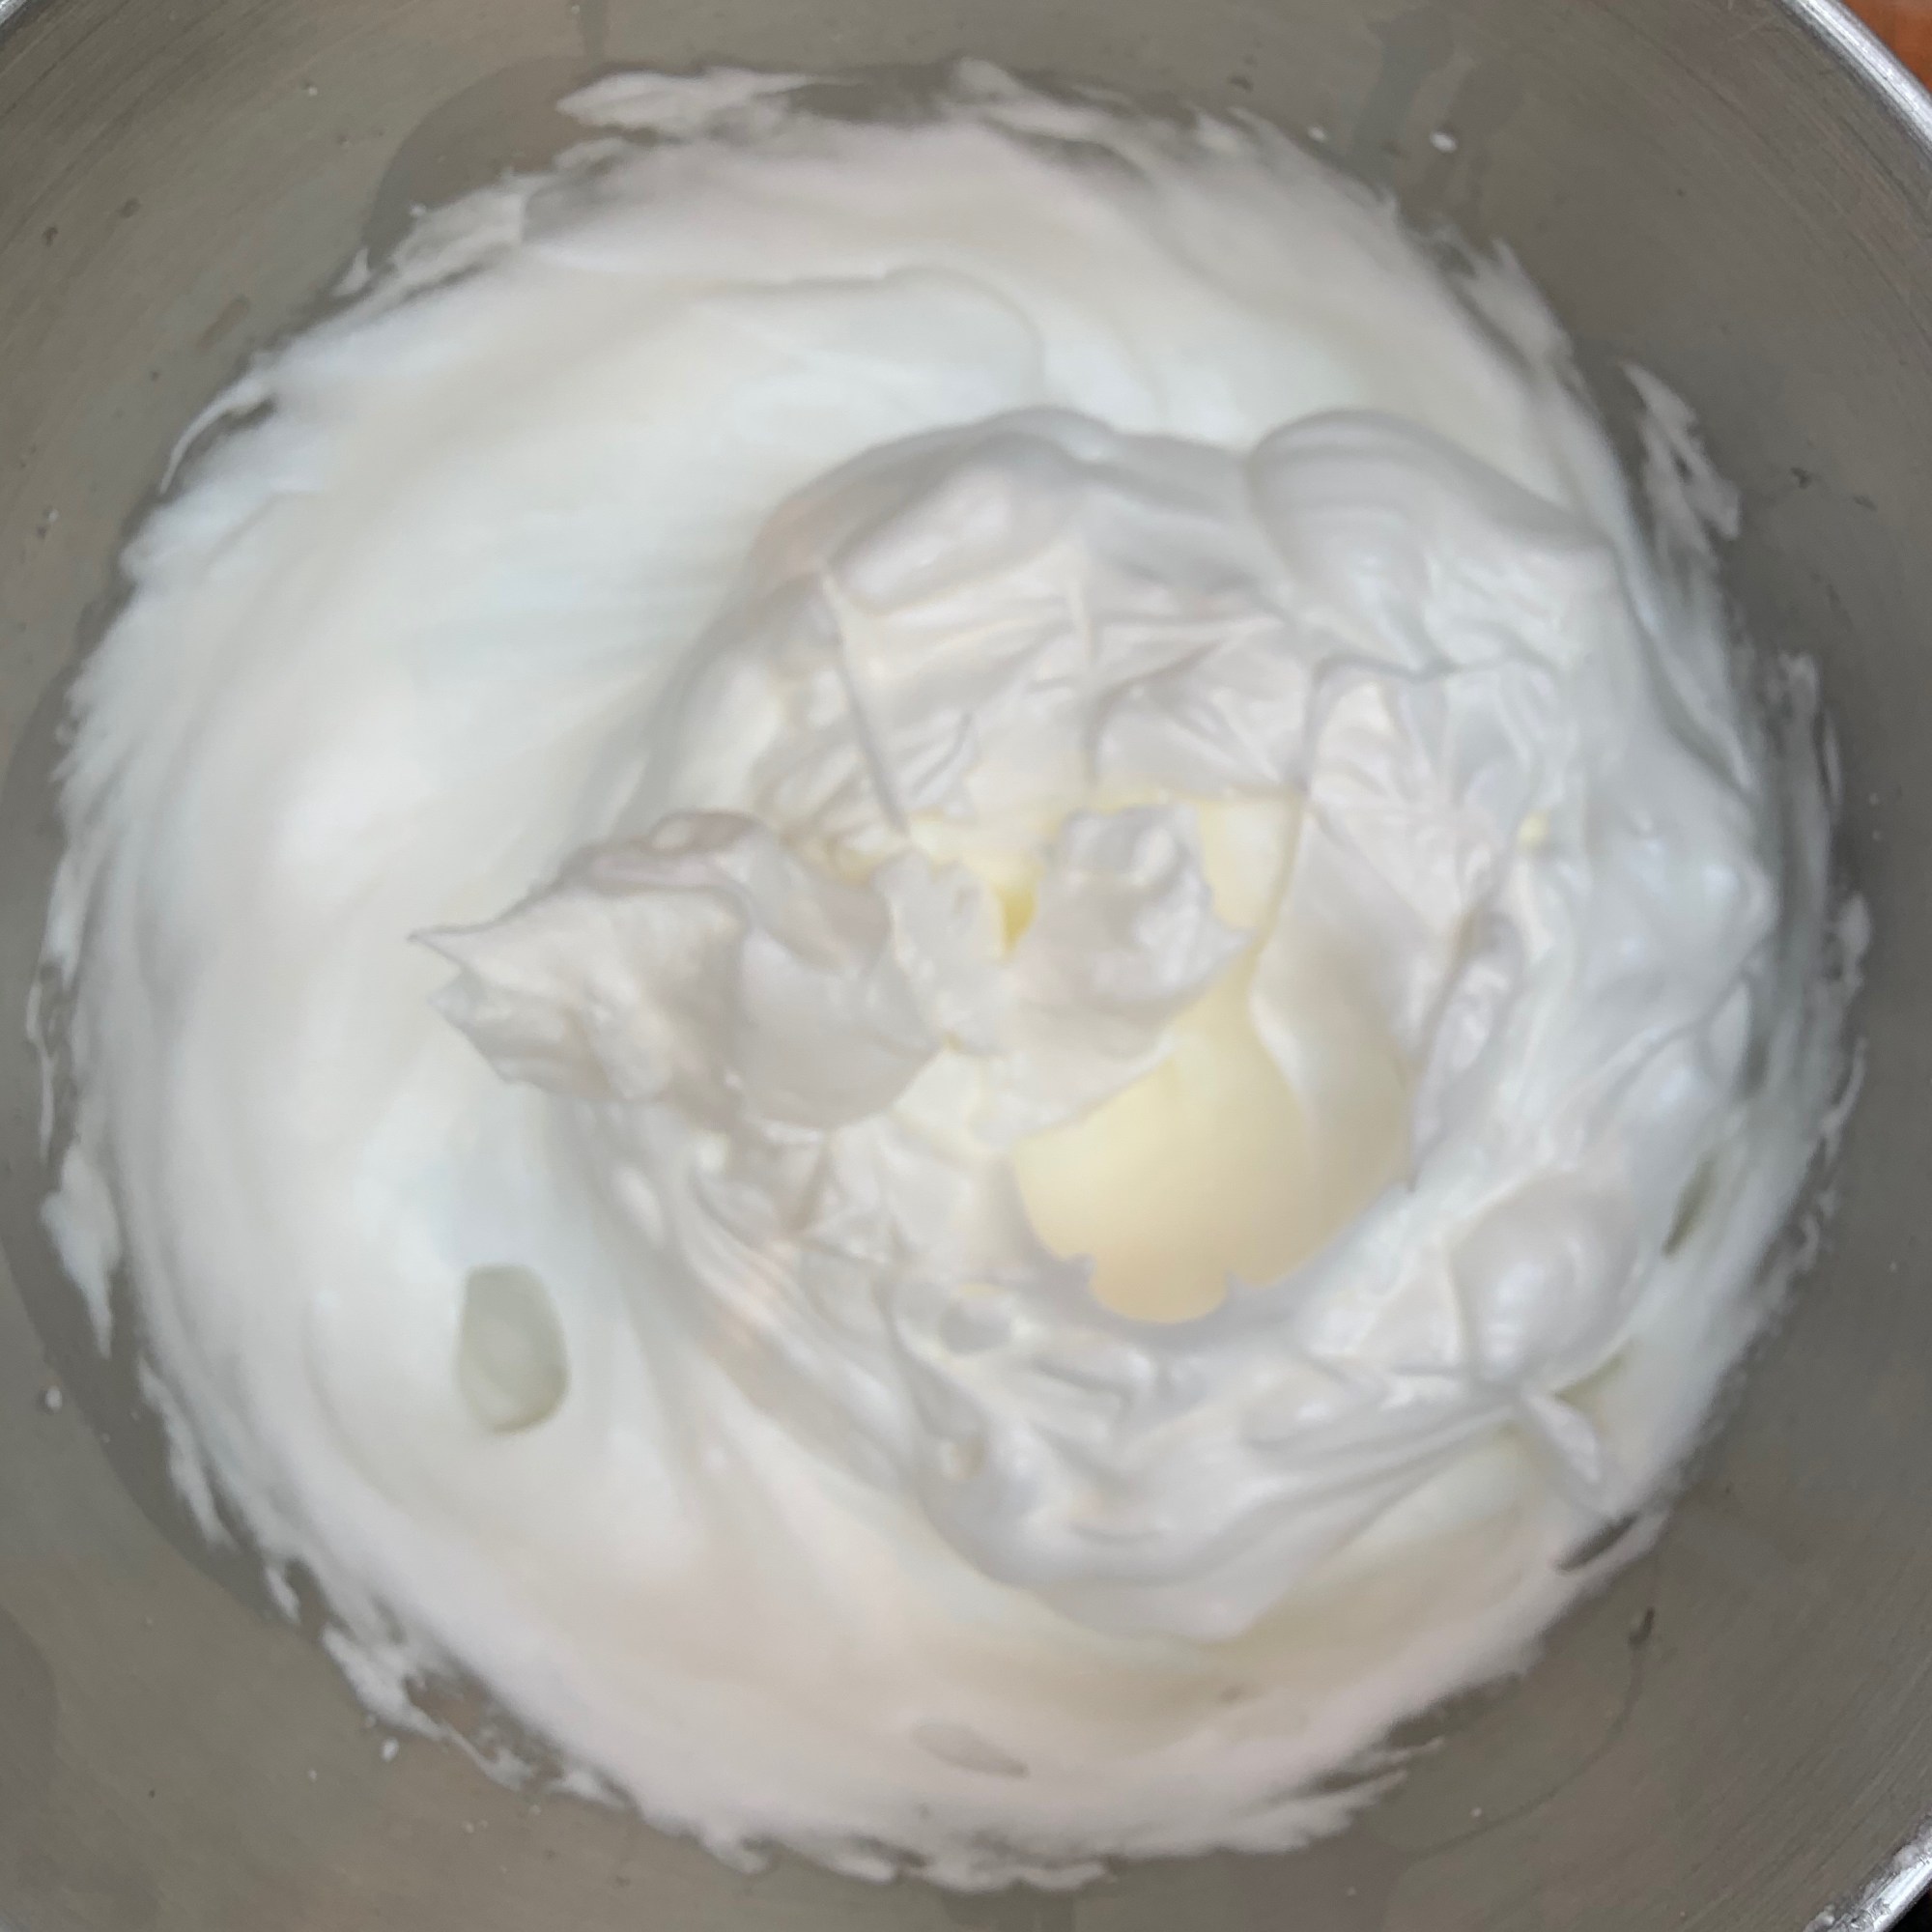
Beat the egg whites until soft peaks form, then add the remaining sugar, then beat until you have a stiff meringue.
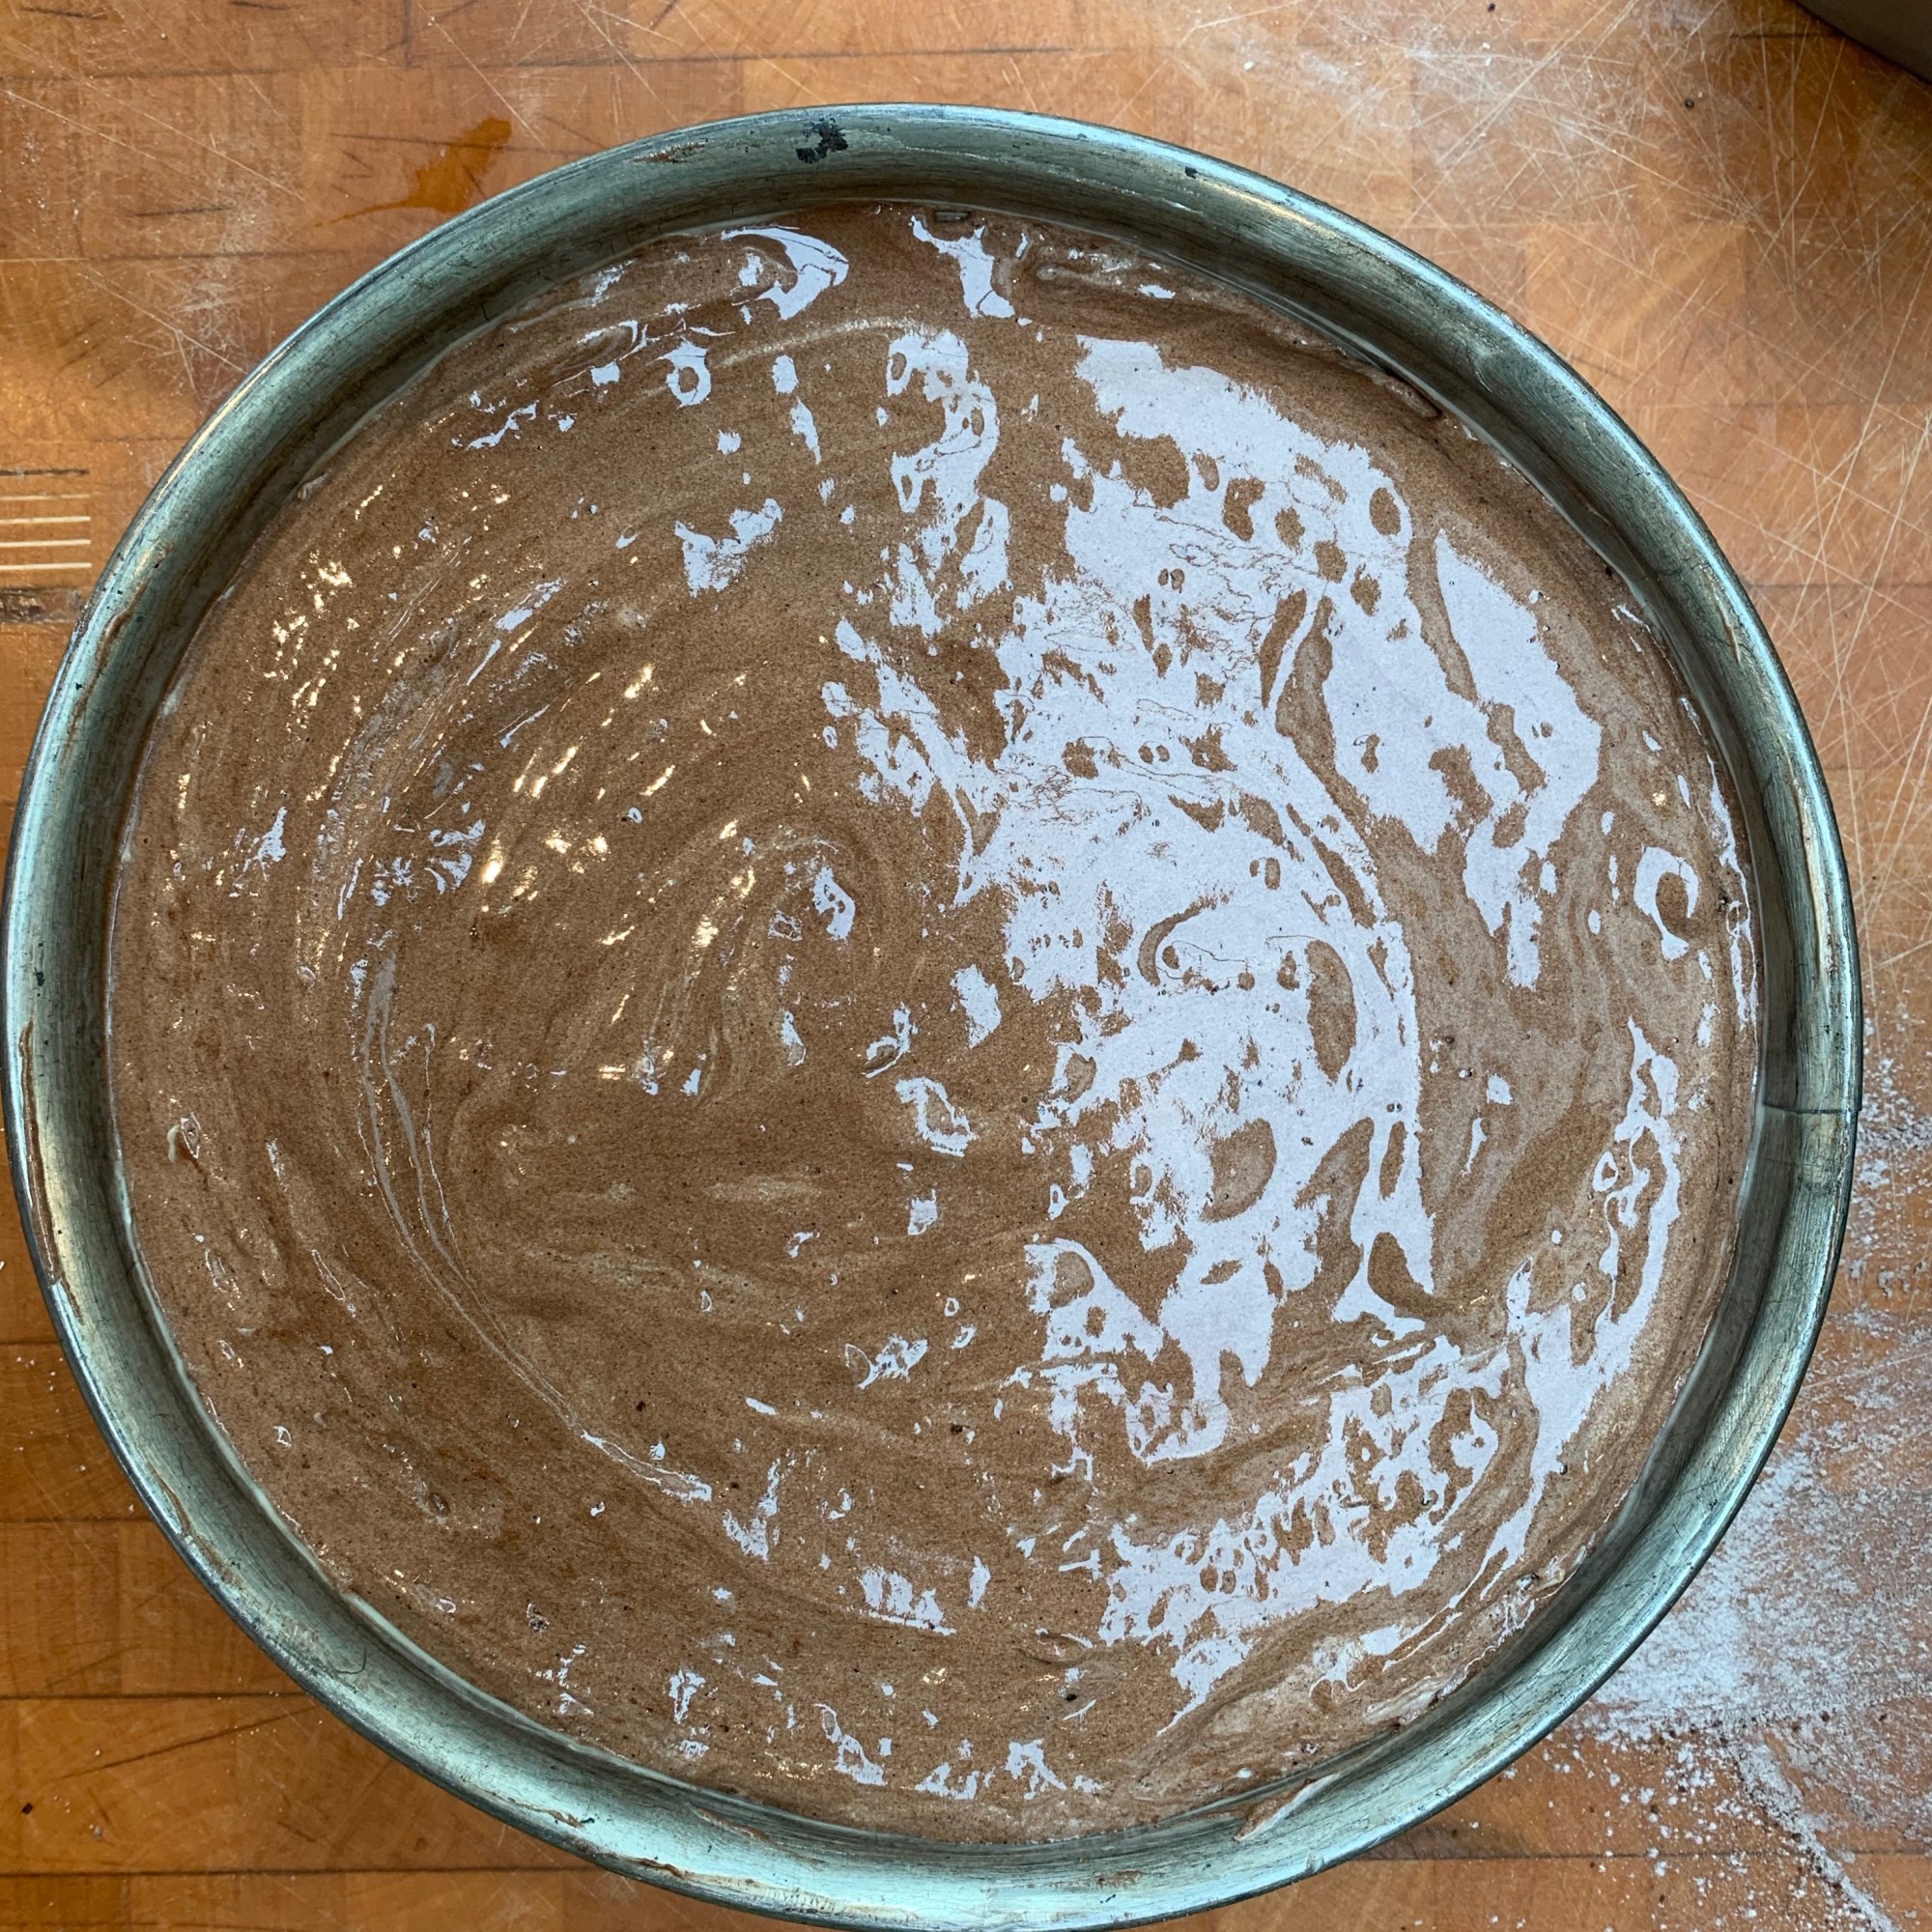
Combine the sabayon, the meringue and the flour mix and blend thoroughly. Mix it as a gently as you can (avoiding losing the air that you’ve just beaten into the eggs) but enough to be sure that you haven’t left any clumps of unblended flour.
Pour the cake into your tin, smooth it off so you have a flat top, then bake for around 40 minutes. The cake is ready when a skewer comes out clean.
Remove from the springform tin and leave to cool.
The whipped cream filling
600 g double cream
60 g sugar
Vanilla essence to taste (around 1 tsp)
60 ml kirsch
Whip the cream for a minute or so.
Add sugar, vanilla essence and kirsch.
Whip the mixture until stiff.
Final assembly
150ml kirsch
20g sugar
20g dark chocolate for grating (the amount is very approximate)
Add 75 ml kirsch to the cherry filling and mix thoroughly
Add 75 ml kirsch to 75 ml water and 20g caster sugar and mix thoroughly
If the cake is heavily domed (mine wasn’t), trim off the domed crust.
Turn the cake over so the crust side is down.
If your cake overspilled the edges of your tin, trim it so that you have a cylinder.
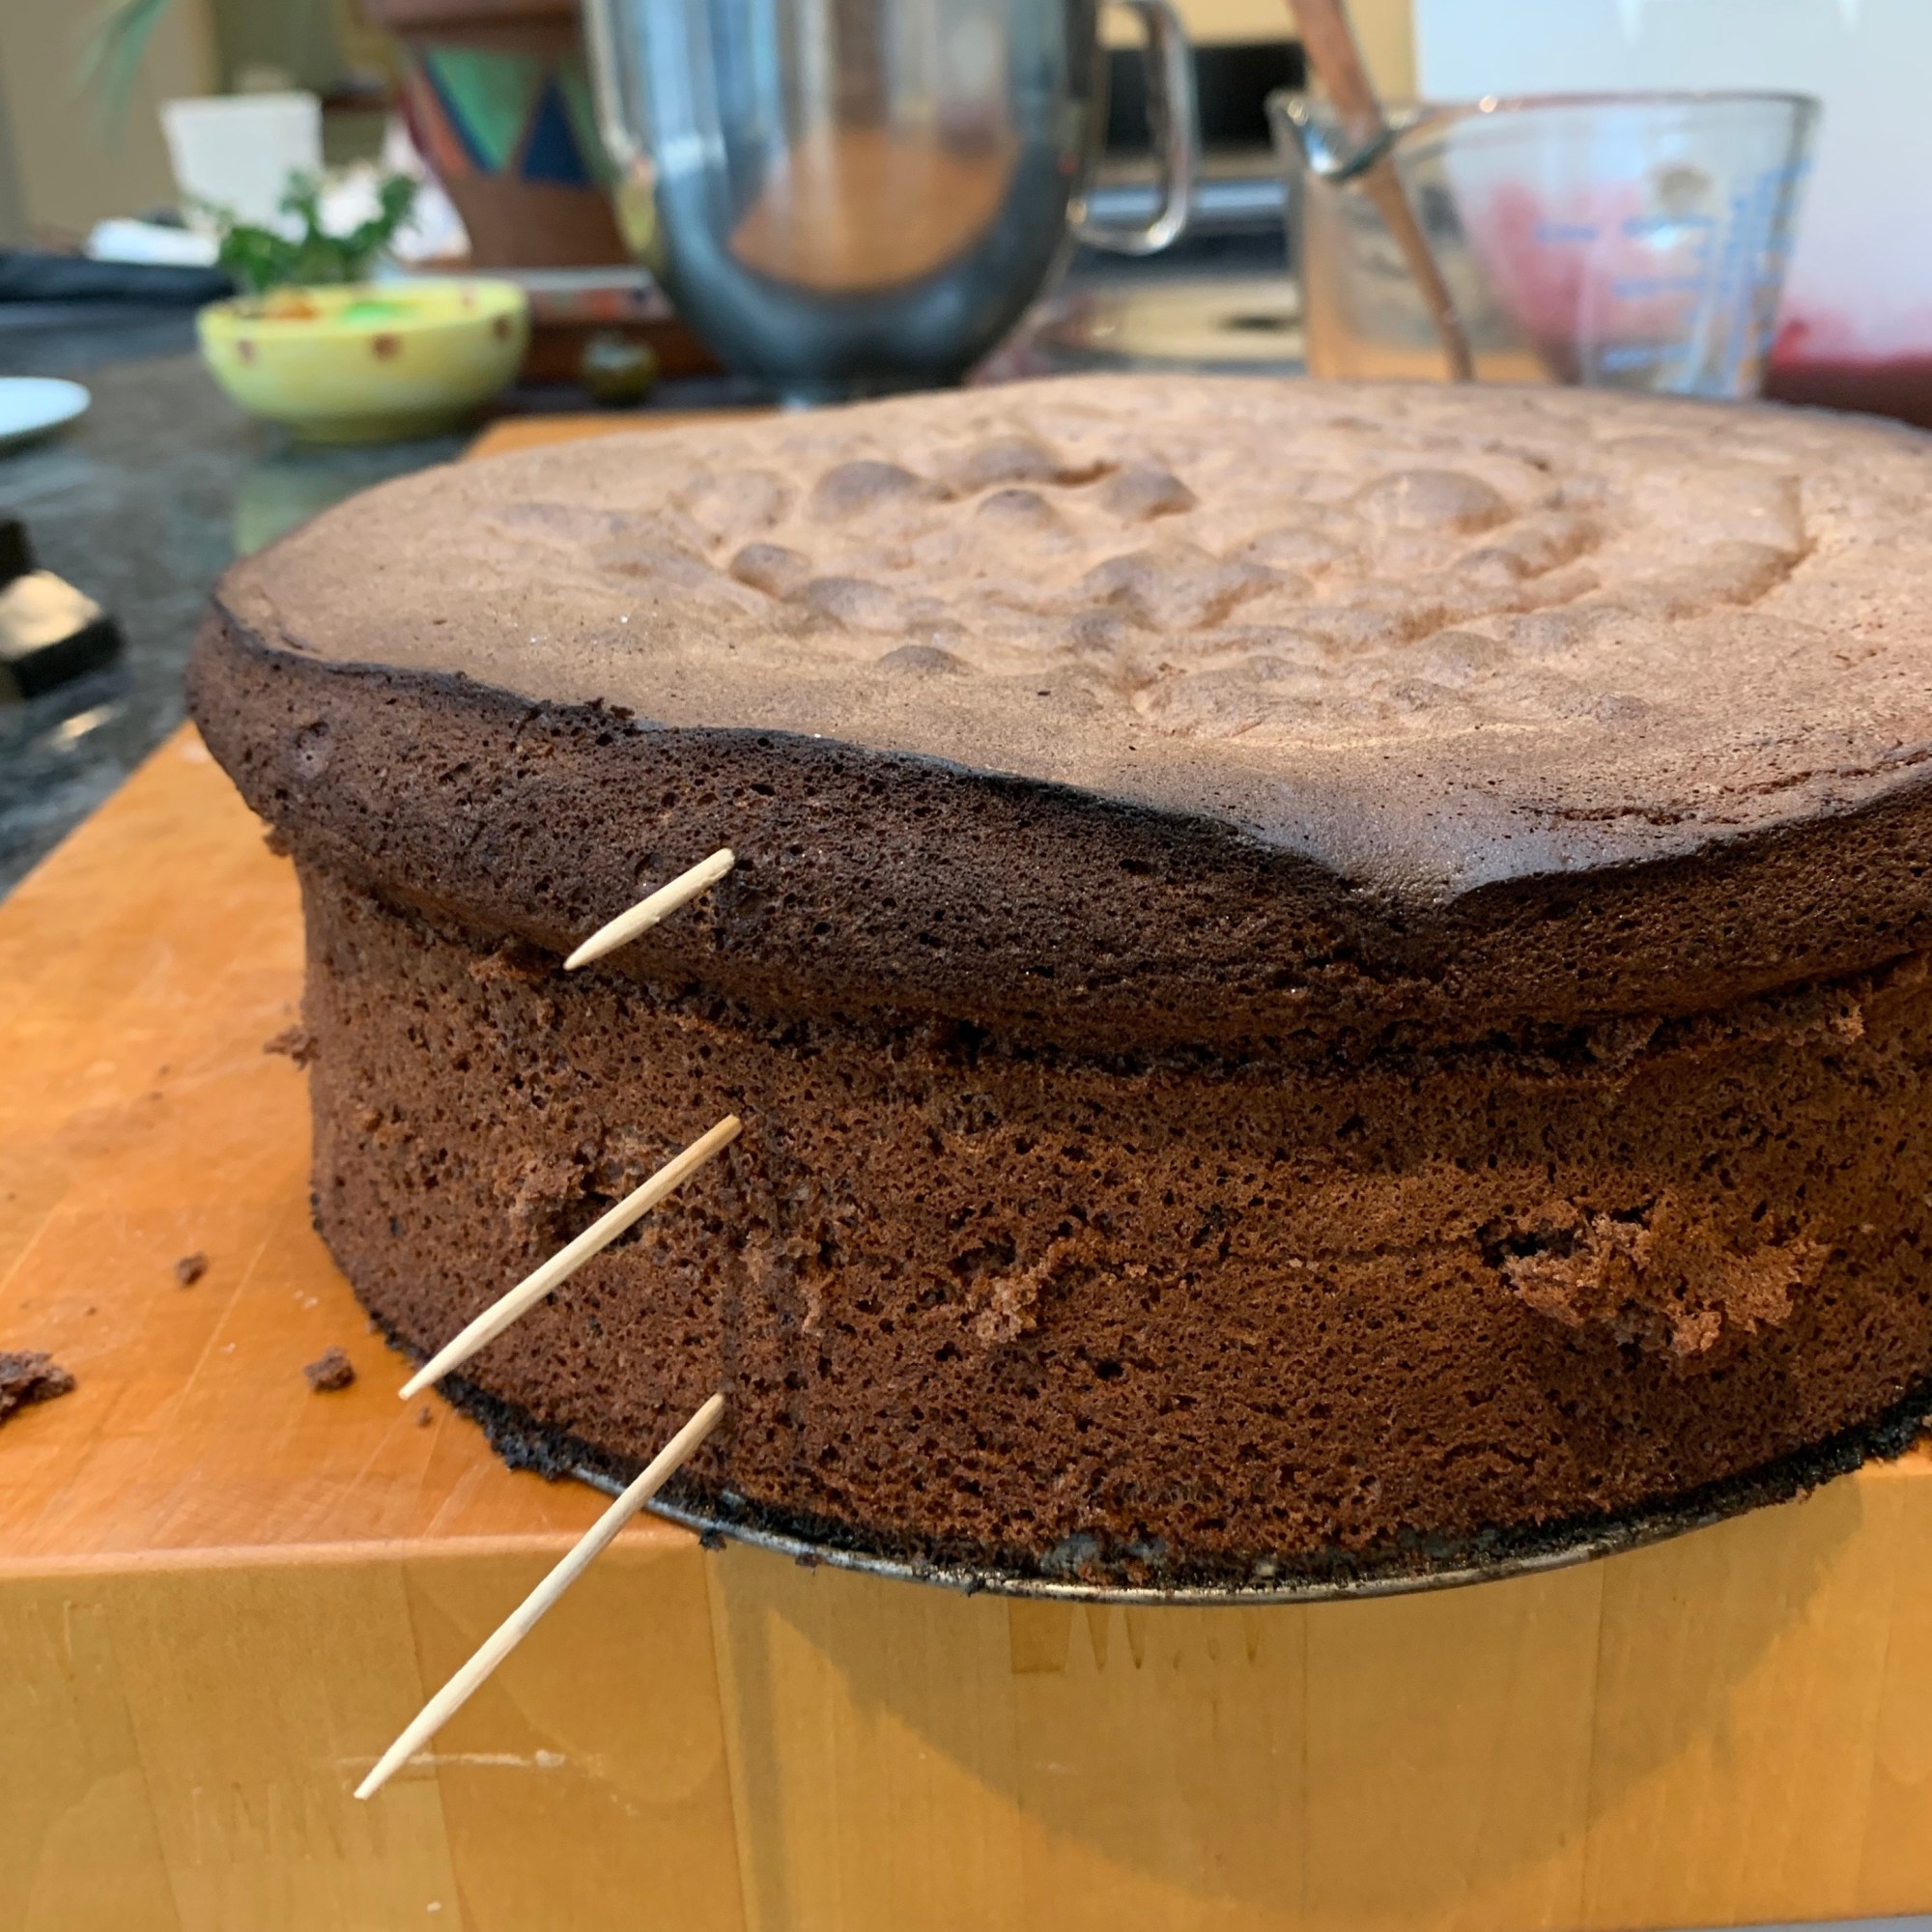
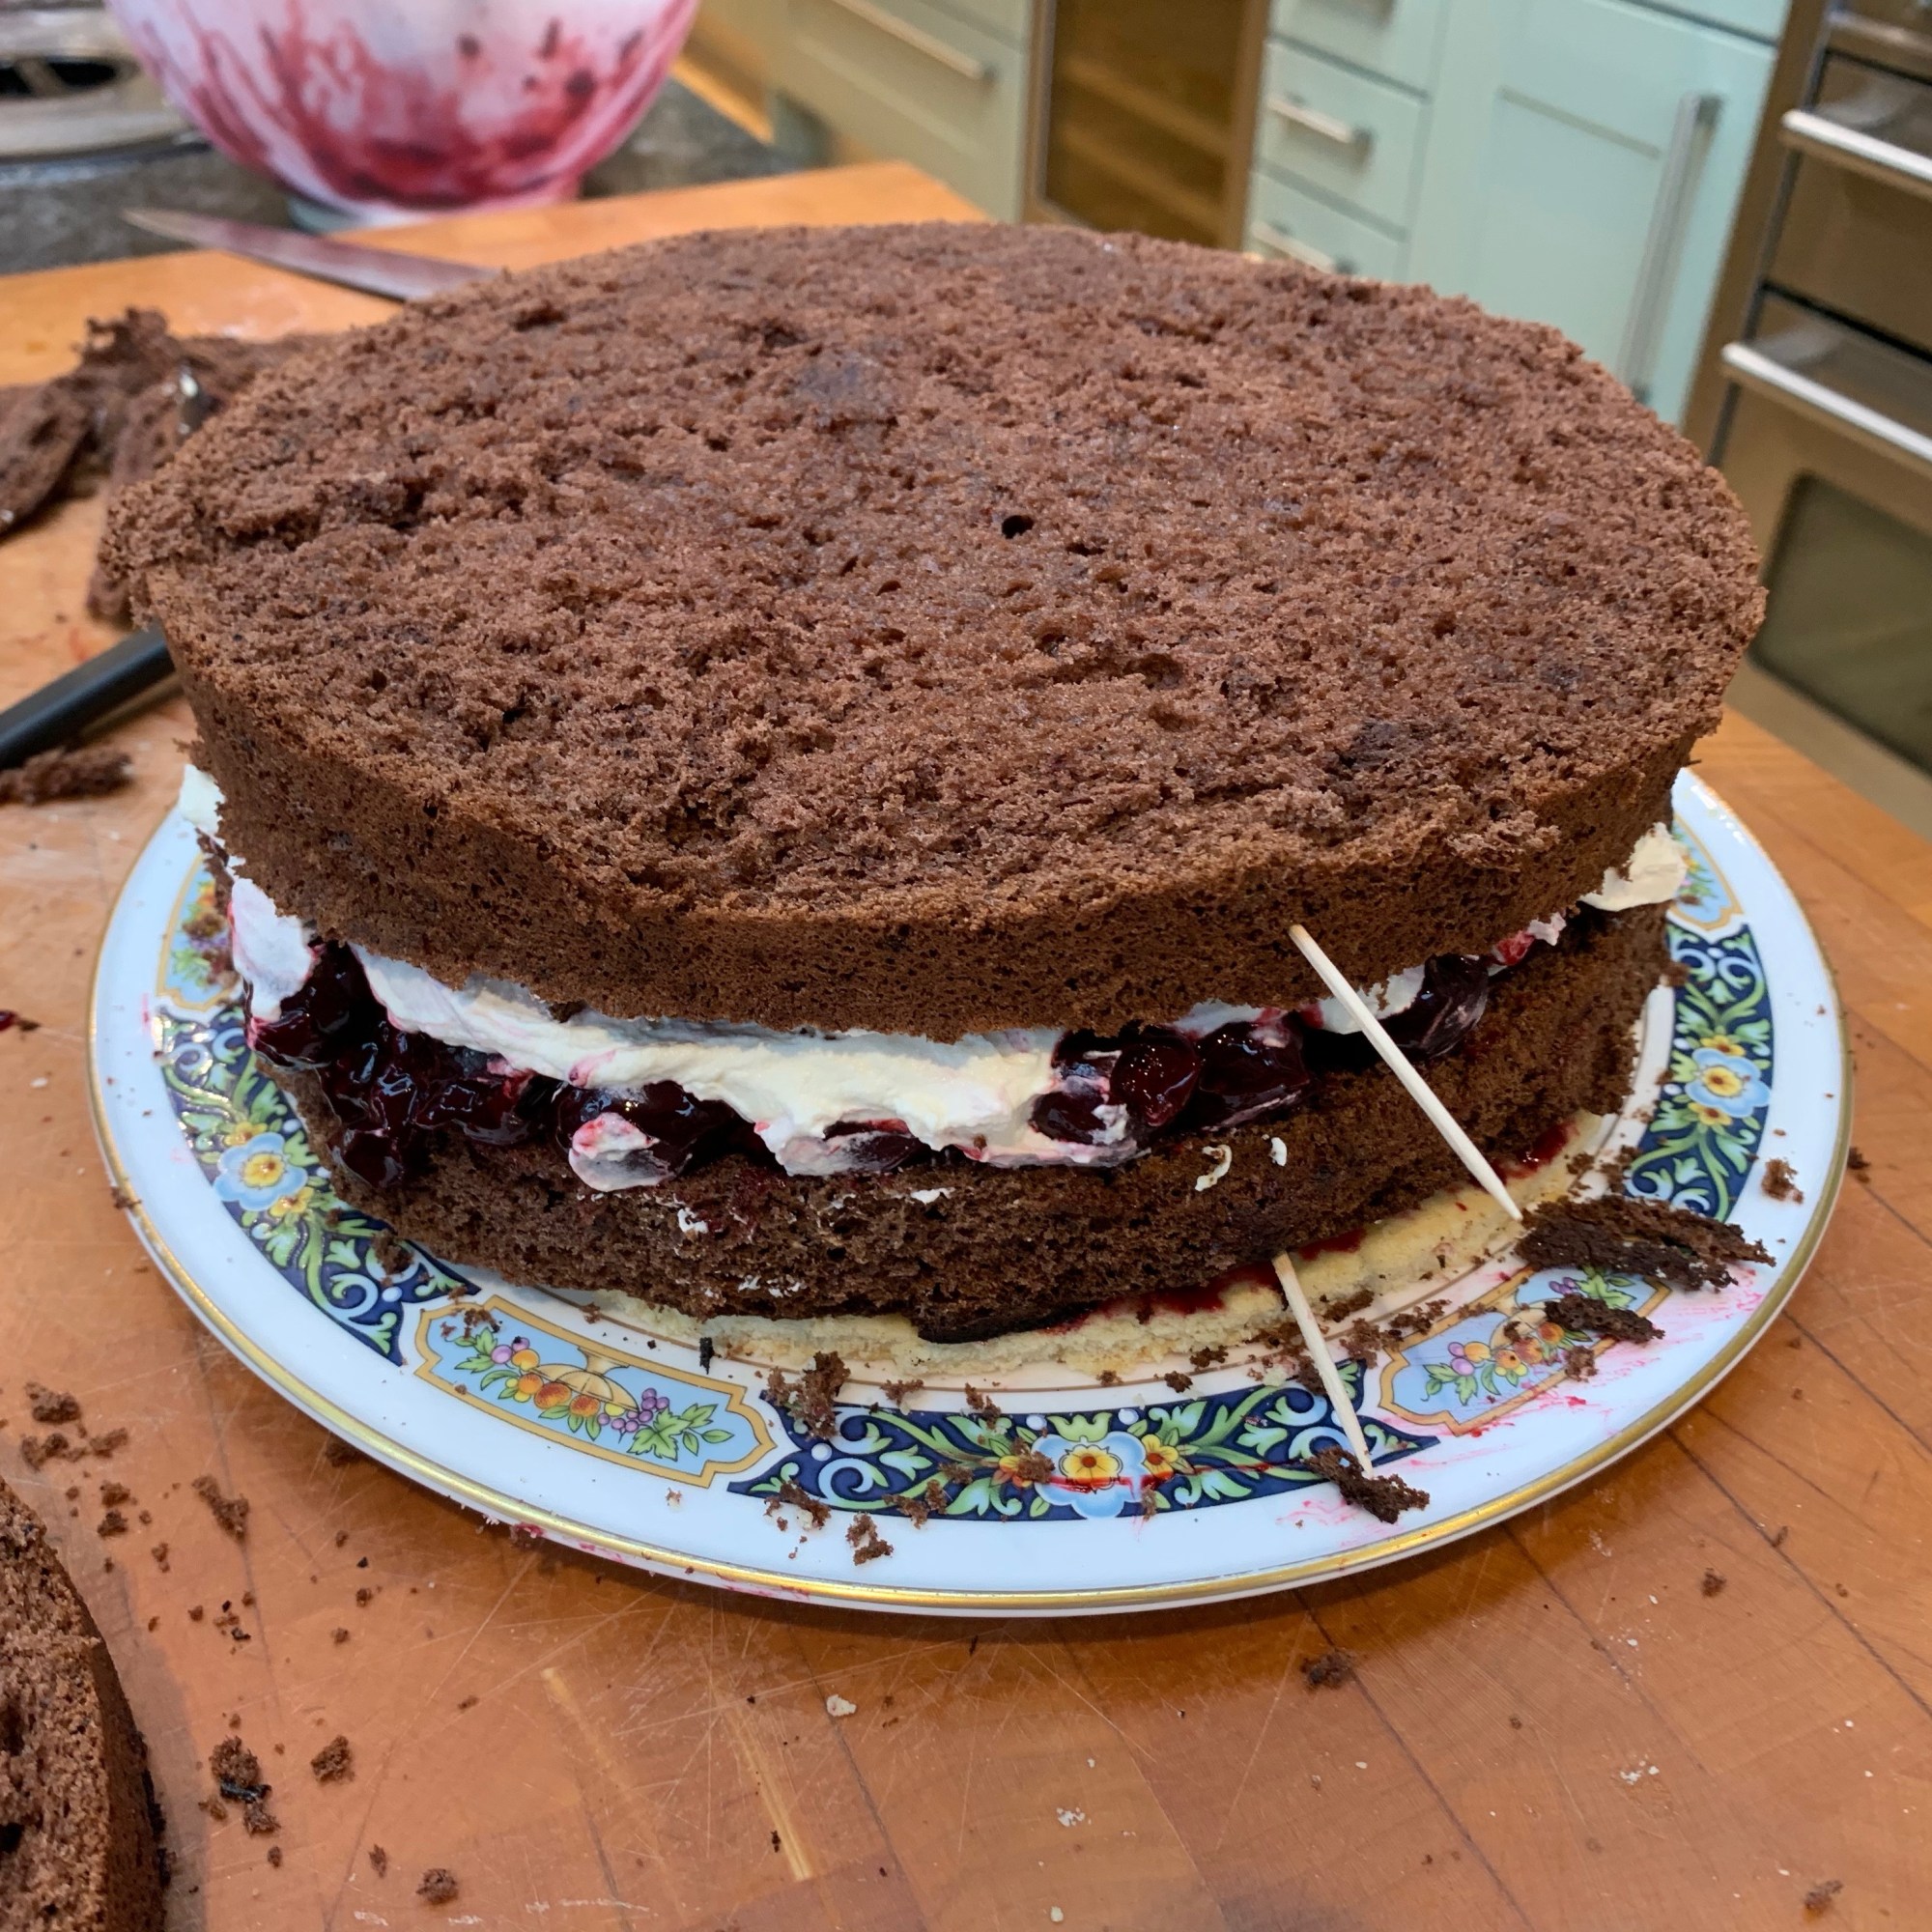
Slice the chocolate cake into three slices horizontally. It’s helpful to mark the slices with a toothpick in each one, immediately above each other: this will help you re-assemble the cake into exactly the right place.
Move the slices next to each other and drizzle them with the kirsch/water/sugar mix.
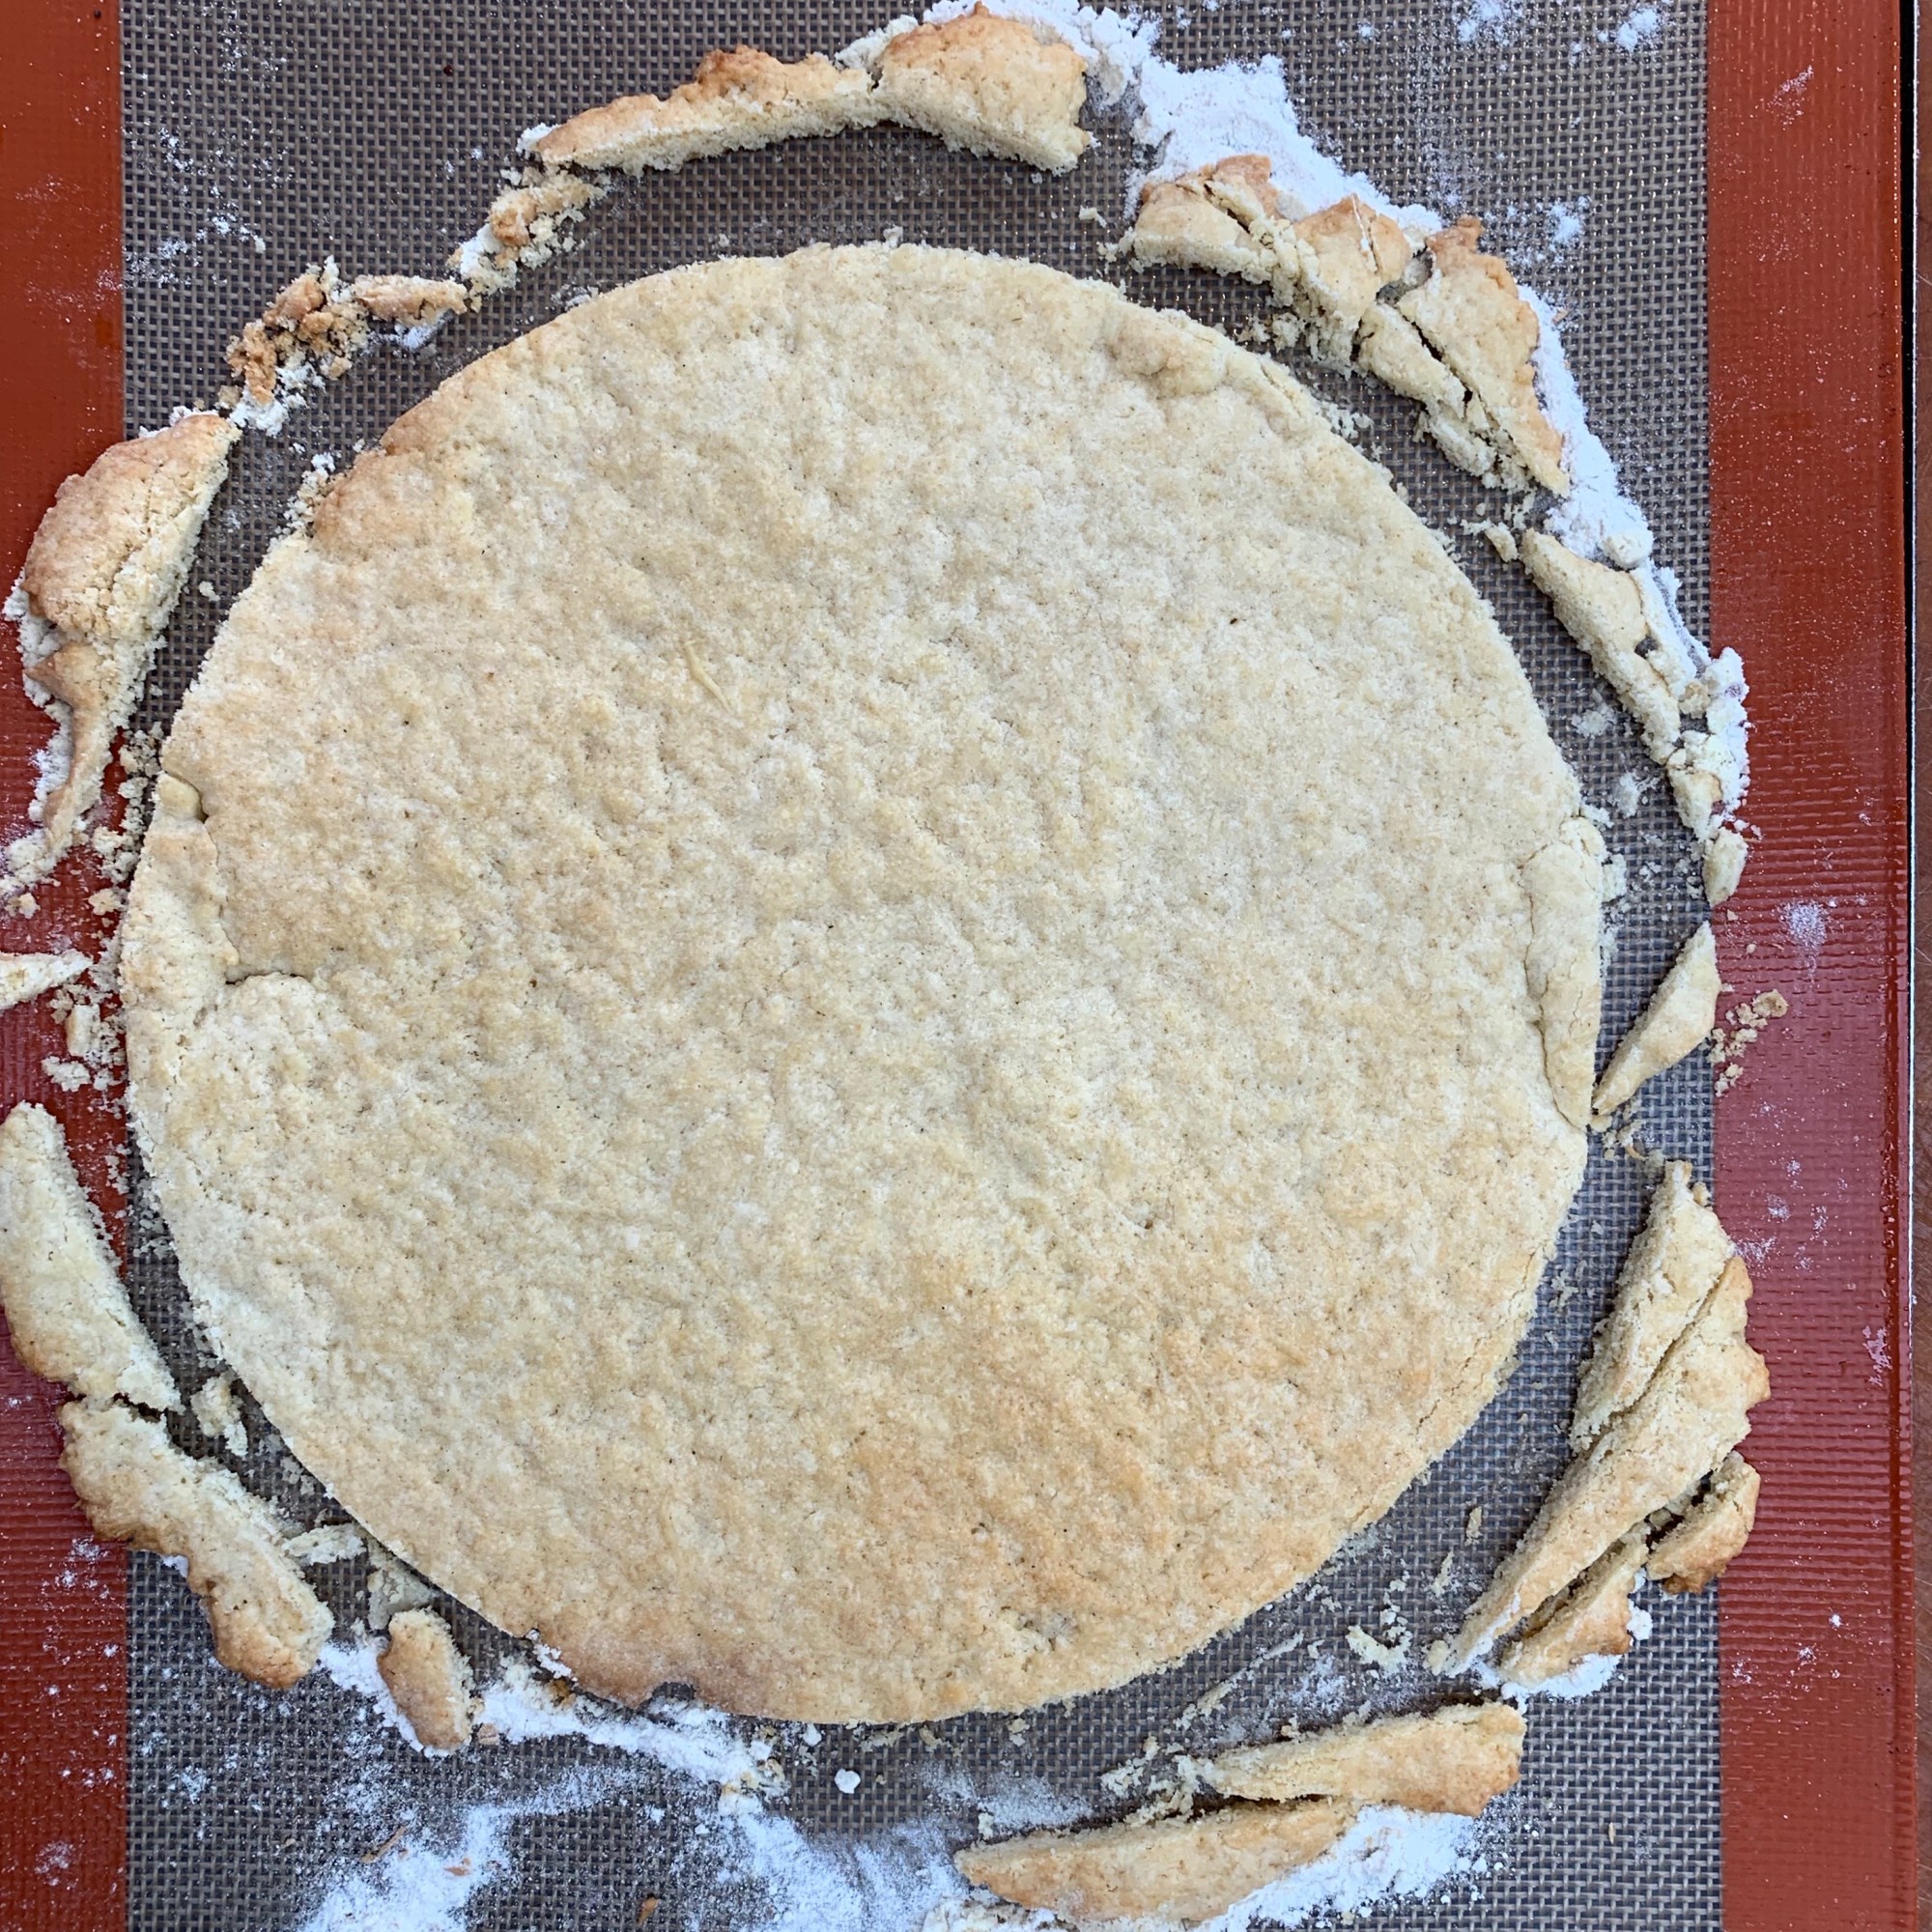
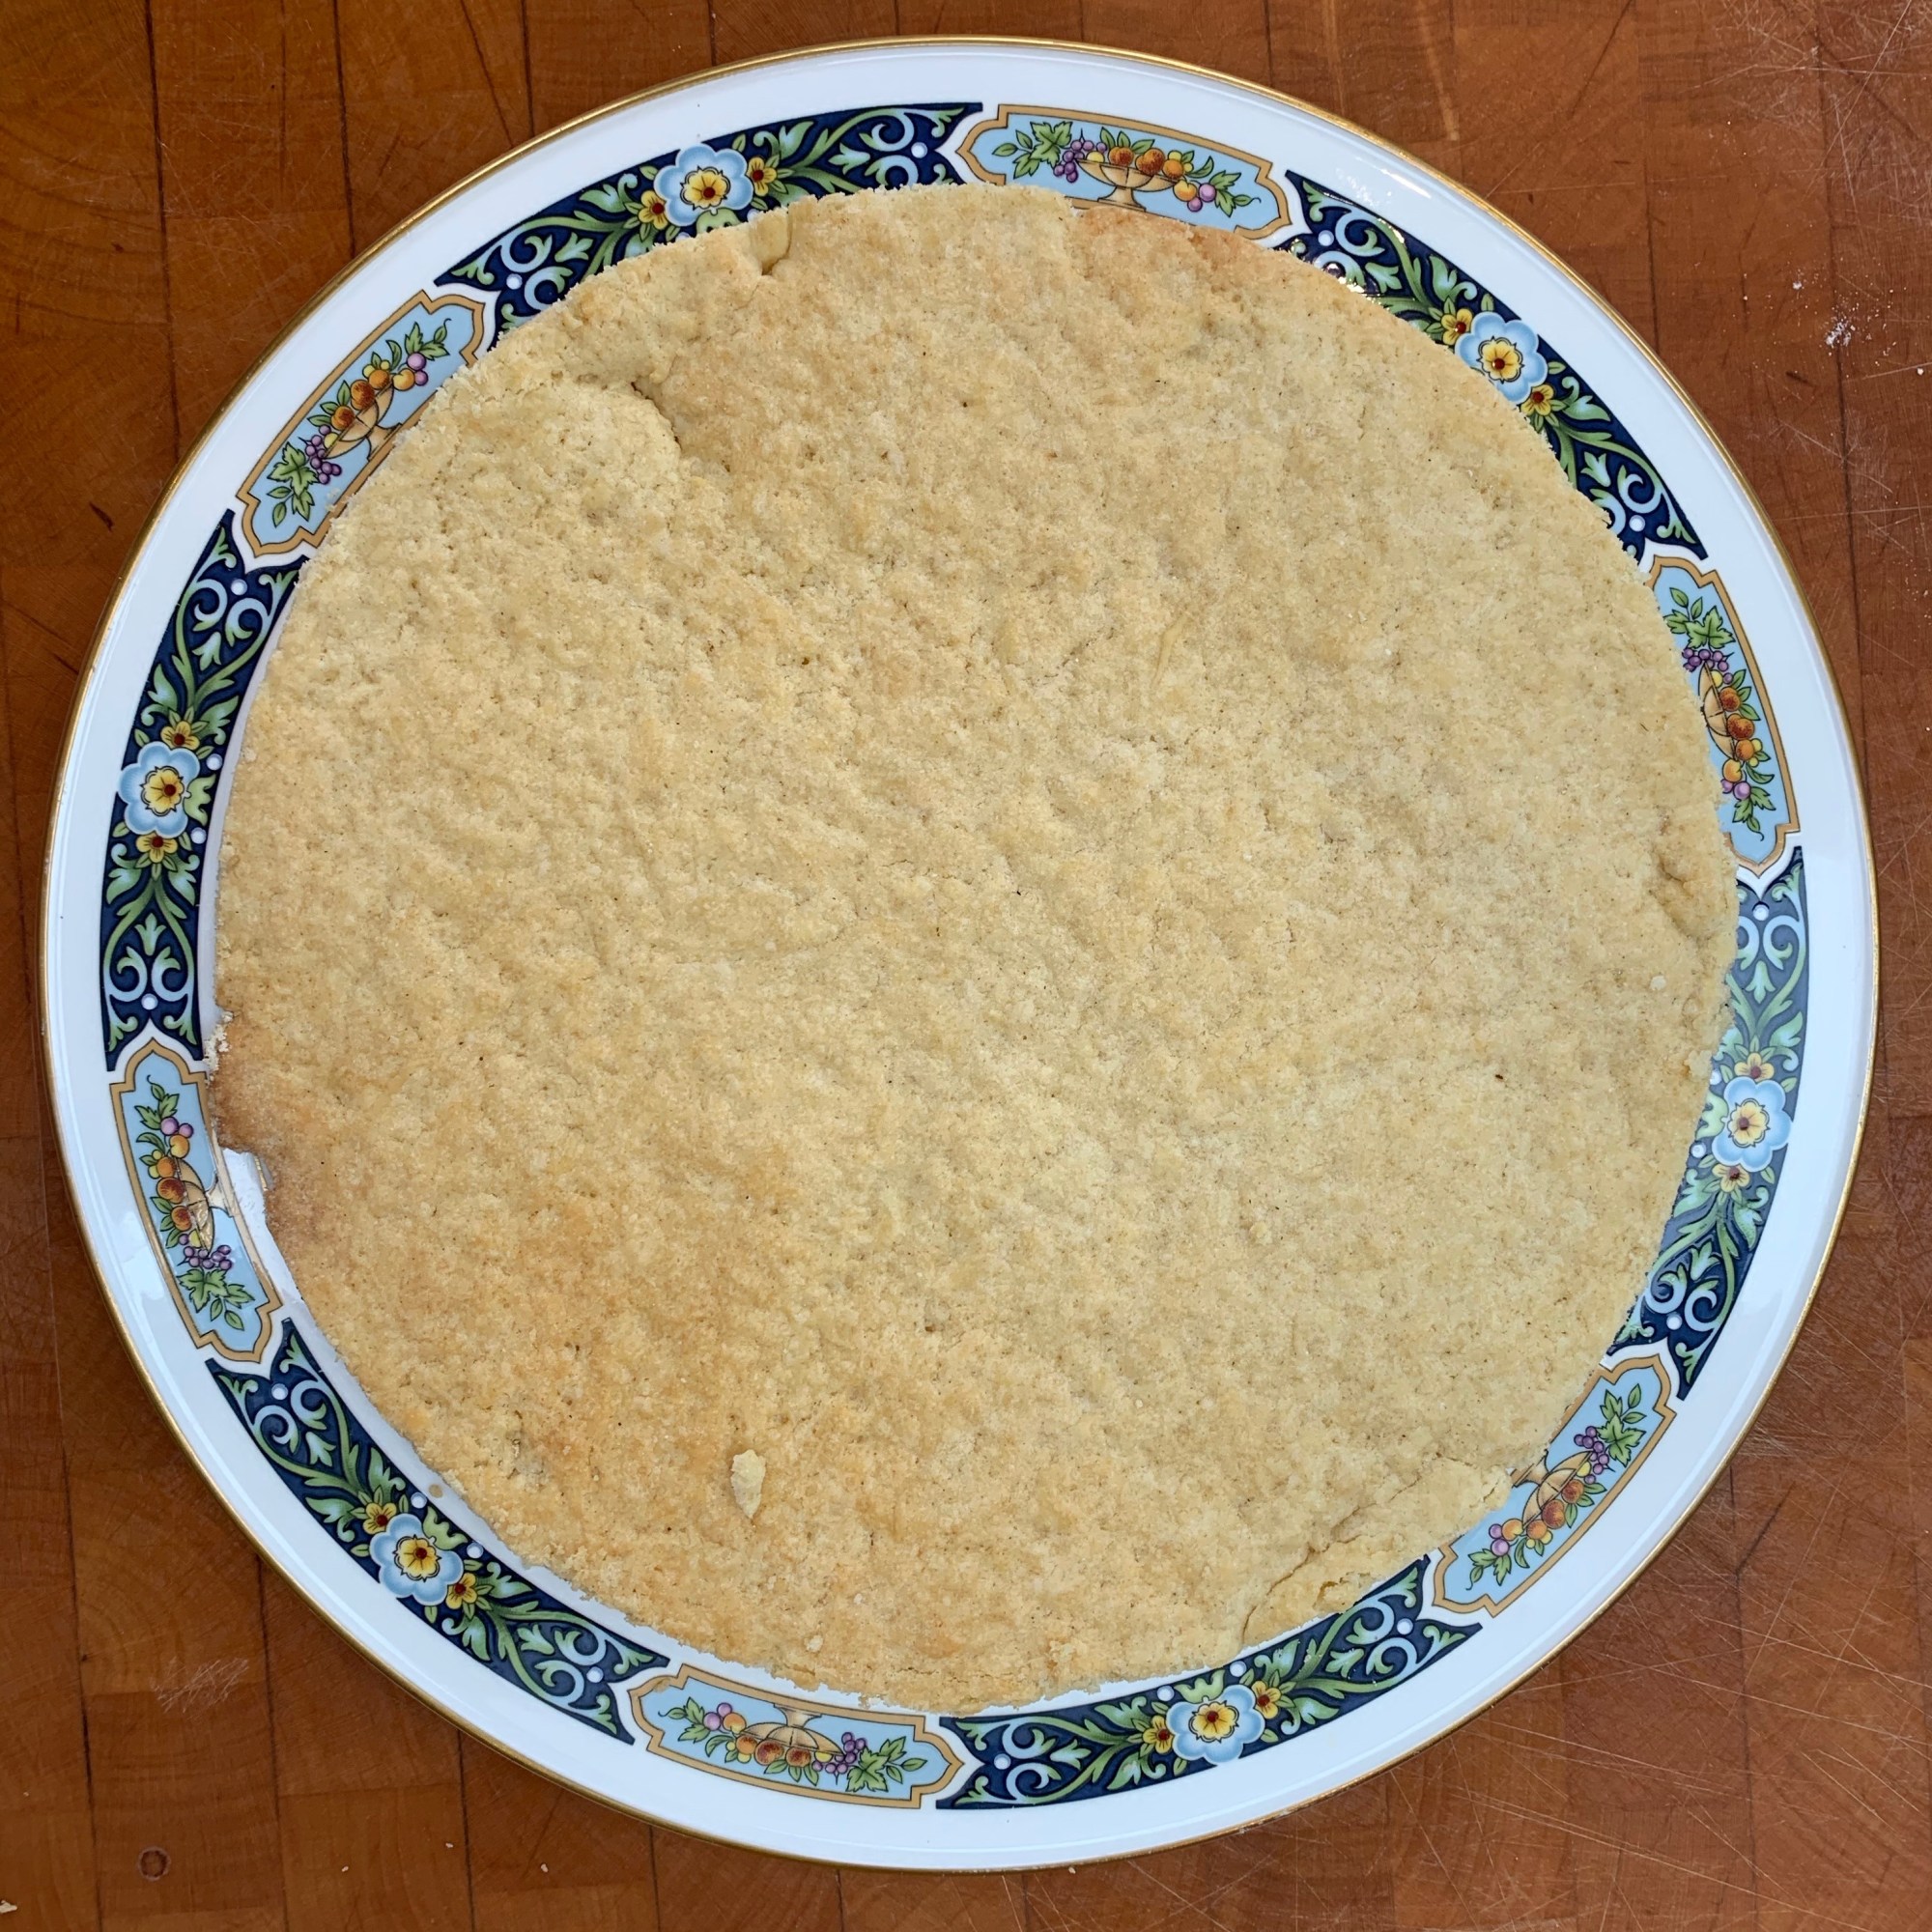
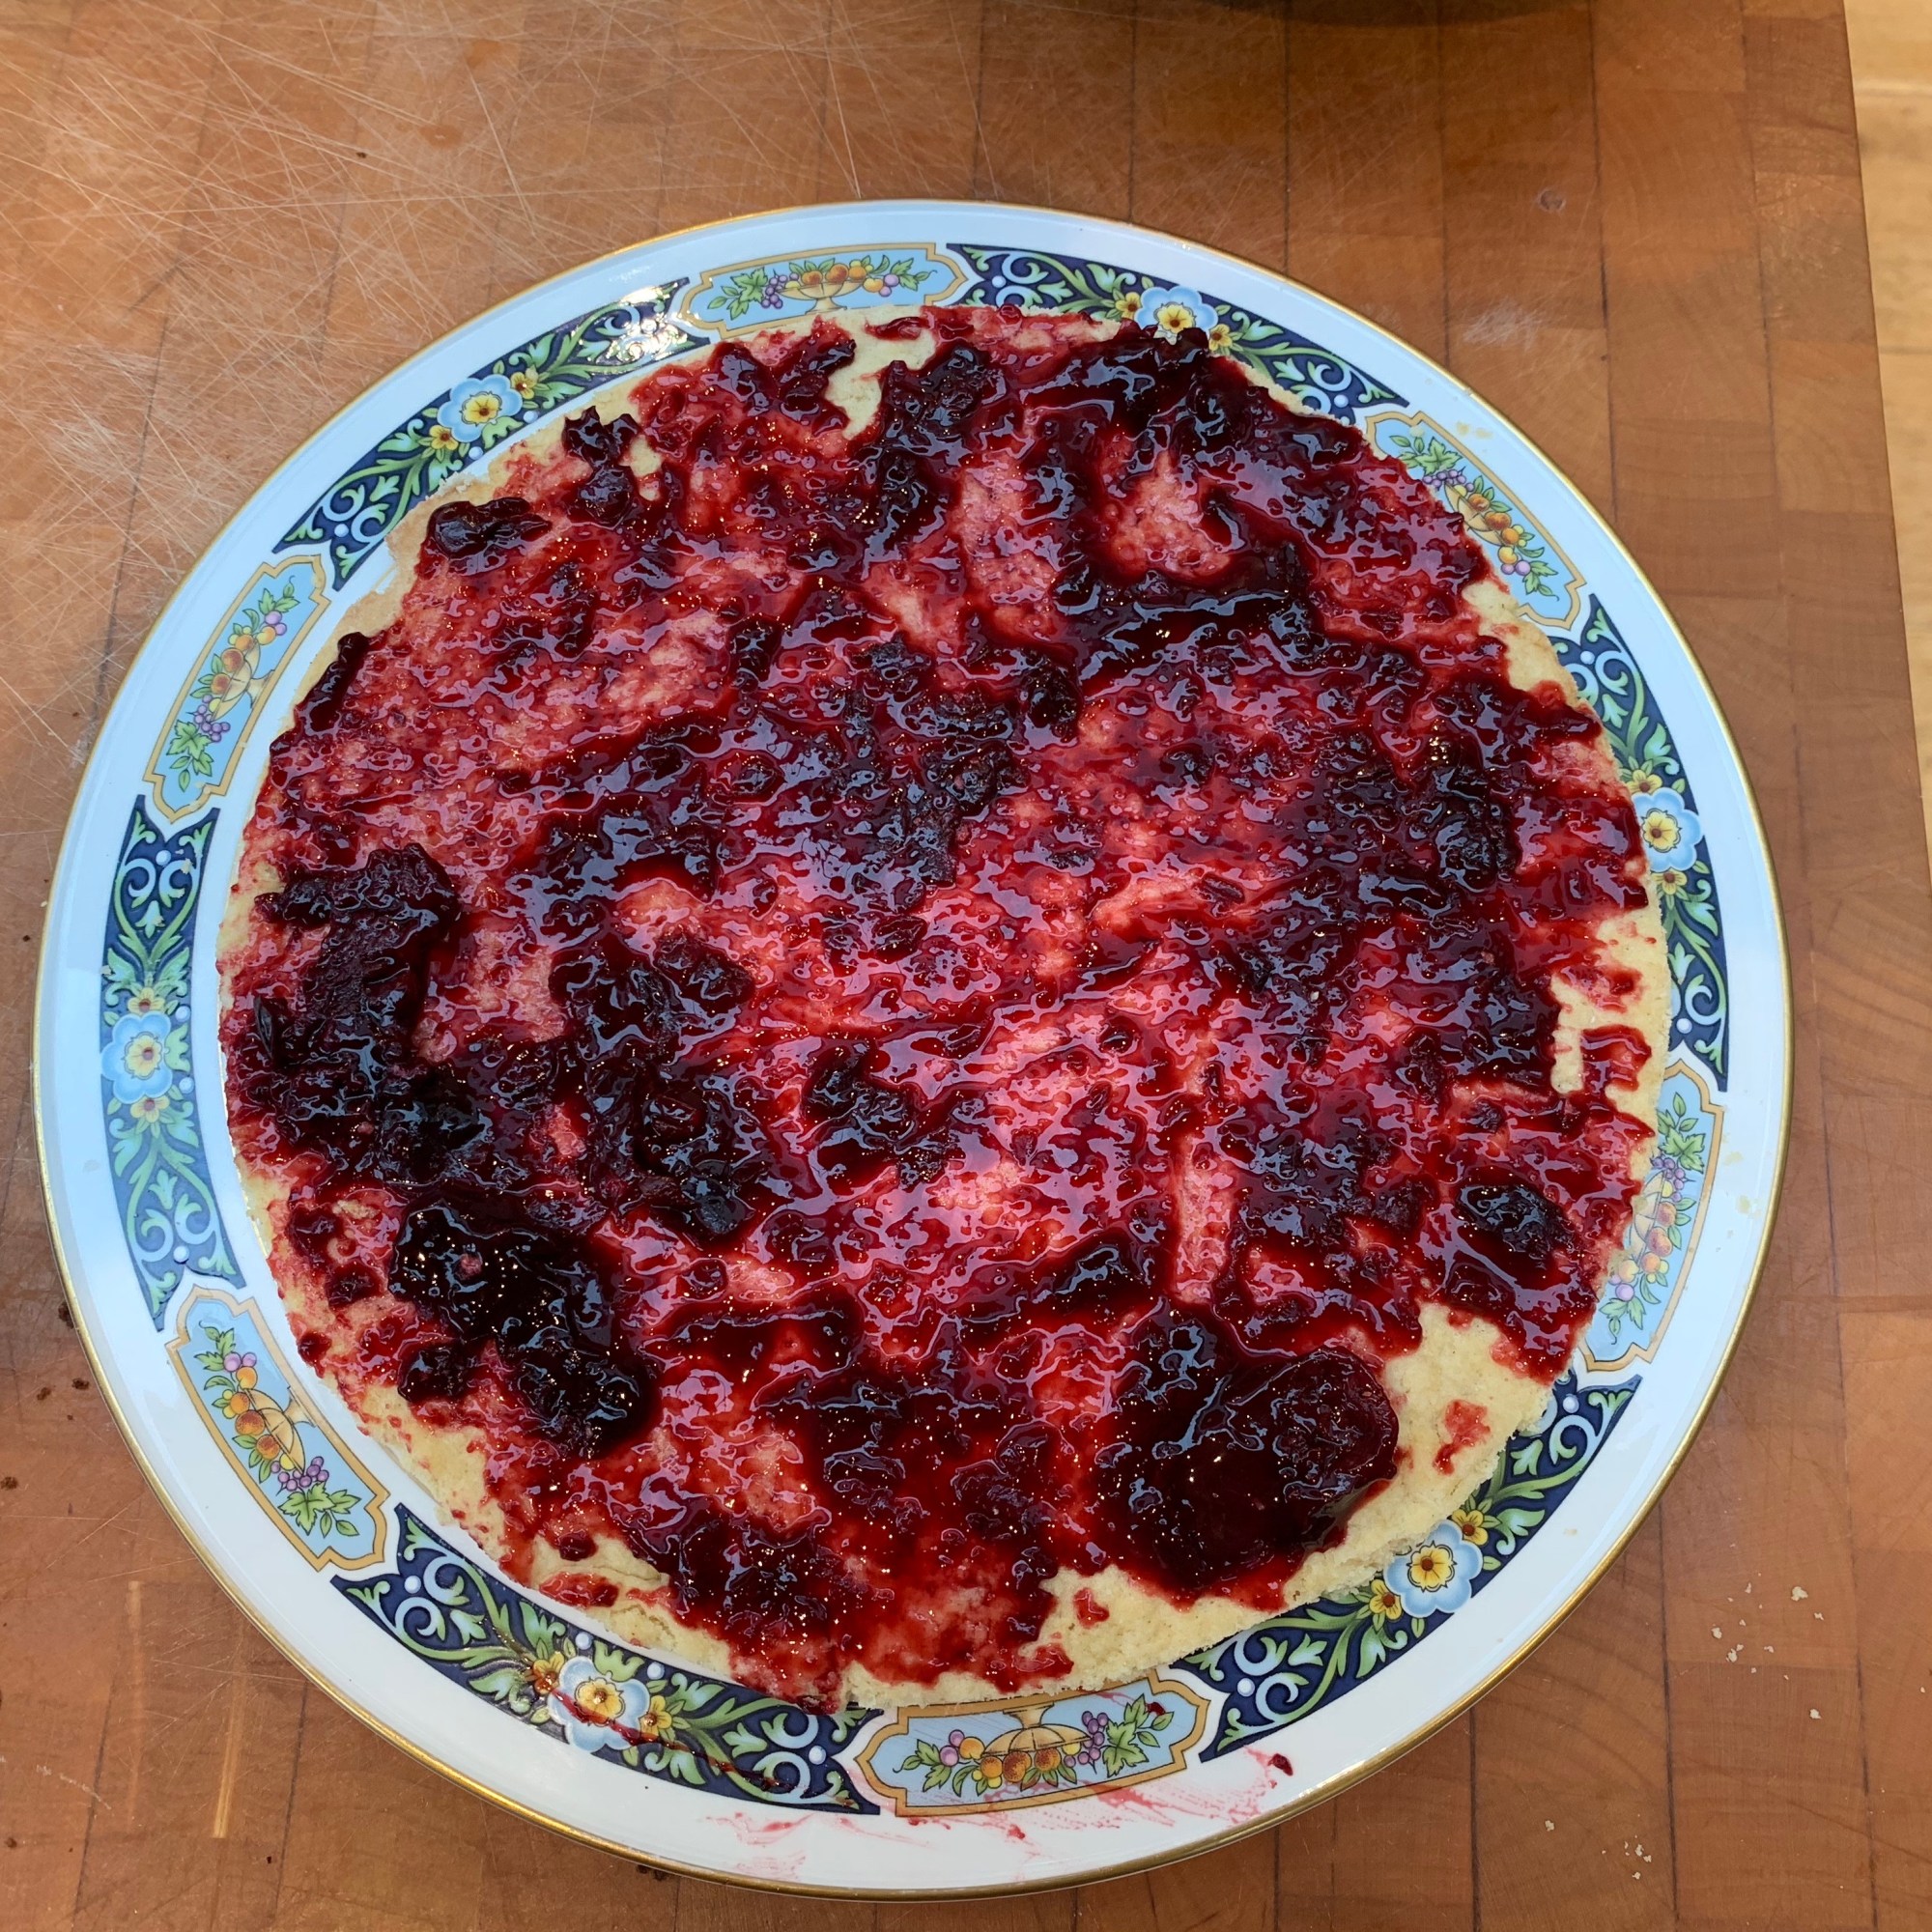
Trim the shortcrust base to a circle the same size as your cake.
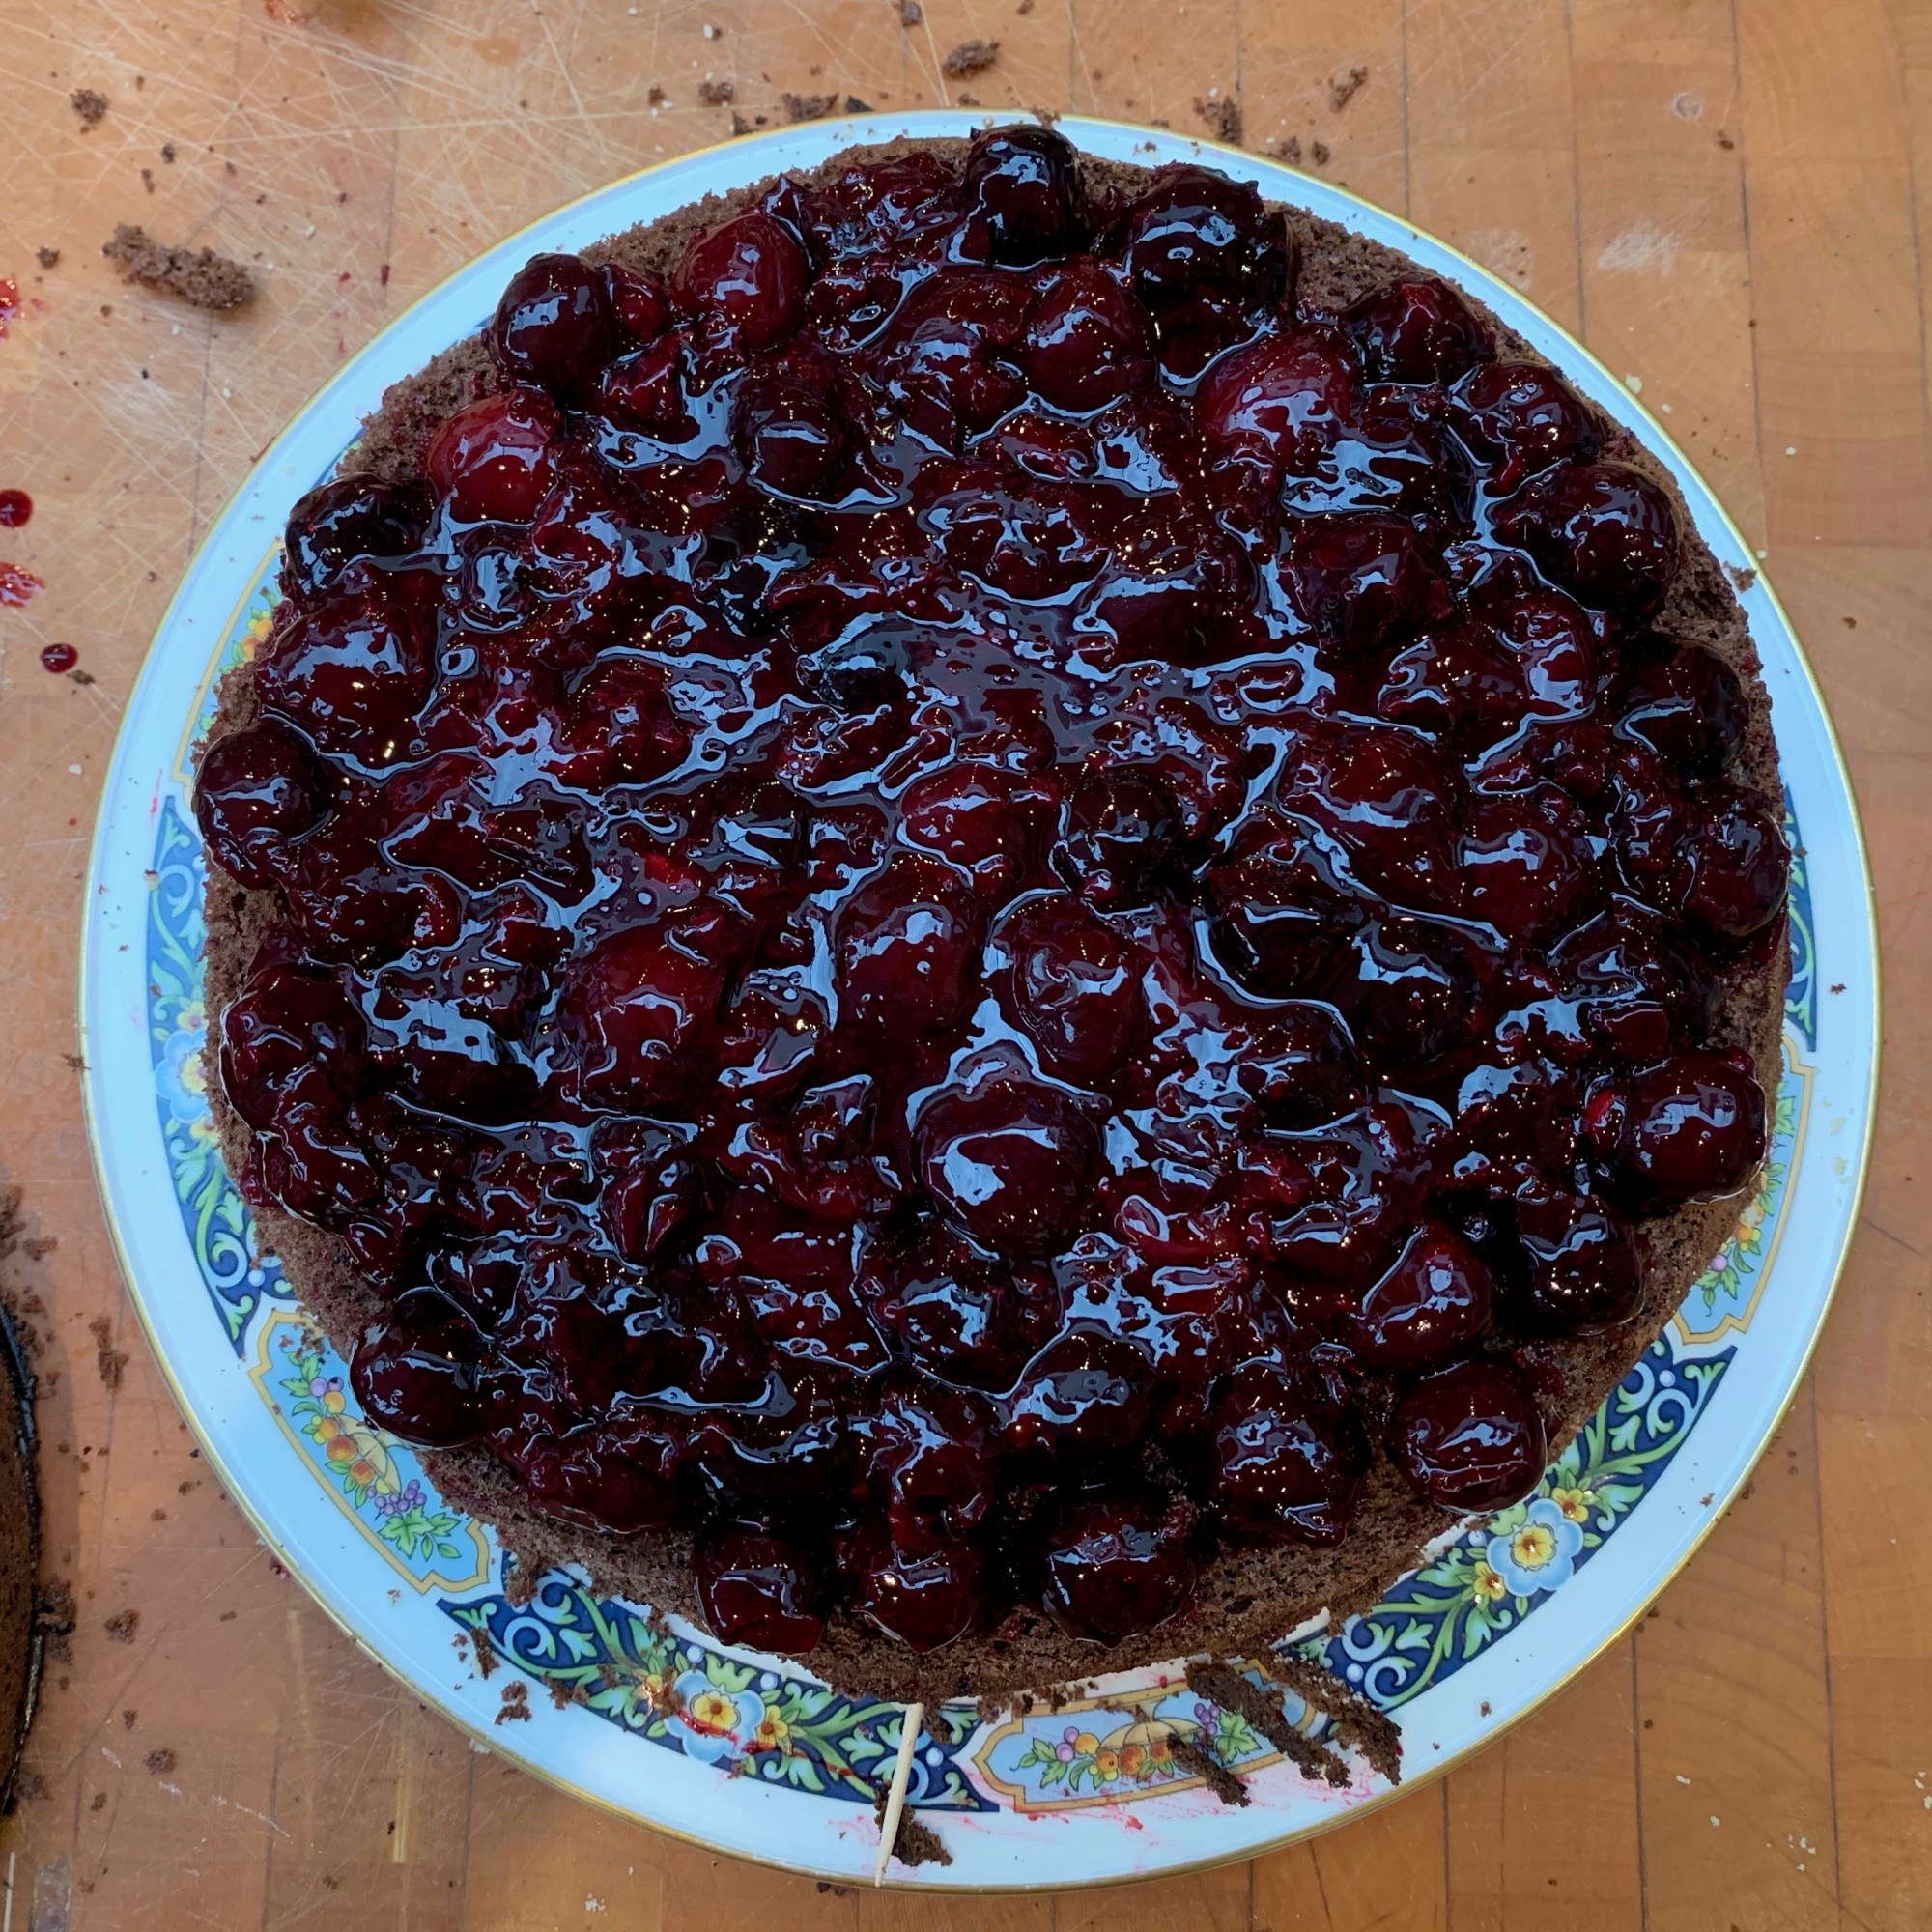
Spread some cherry filling over the base – remove any whole cherries so that you’re just spreading the jam.
Place a layer of cake onto the base (start with the one that was the topmost layer while baking).
Spread the rest of the cherry filling evenly over the cake. Make sure you get to the edges.
Reserve around 80g of the whipped cream for decoration: you’ll want to put it into a piping bag with a star nozzle.
Spread ⅓ of the remaining whipped cream over the cherry filling. Make sure you get to the edges.
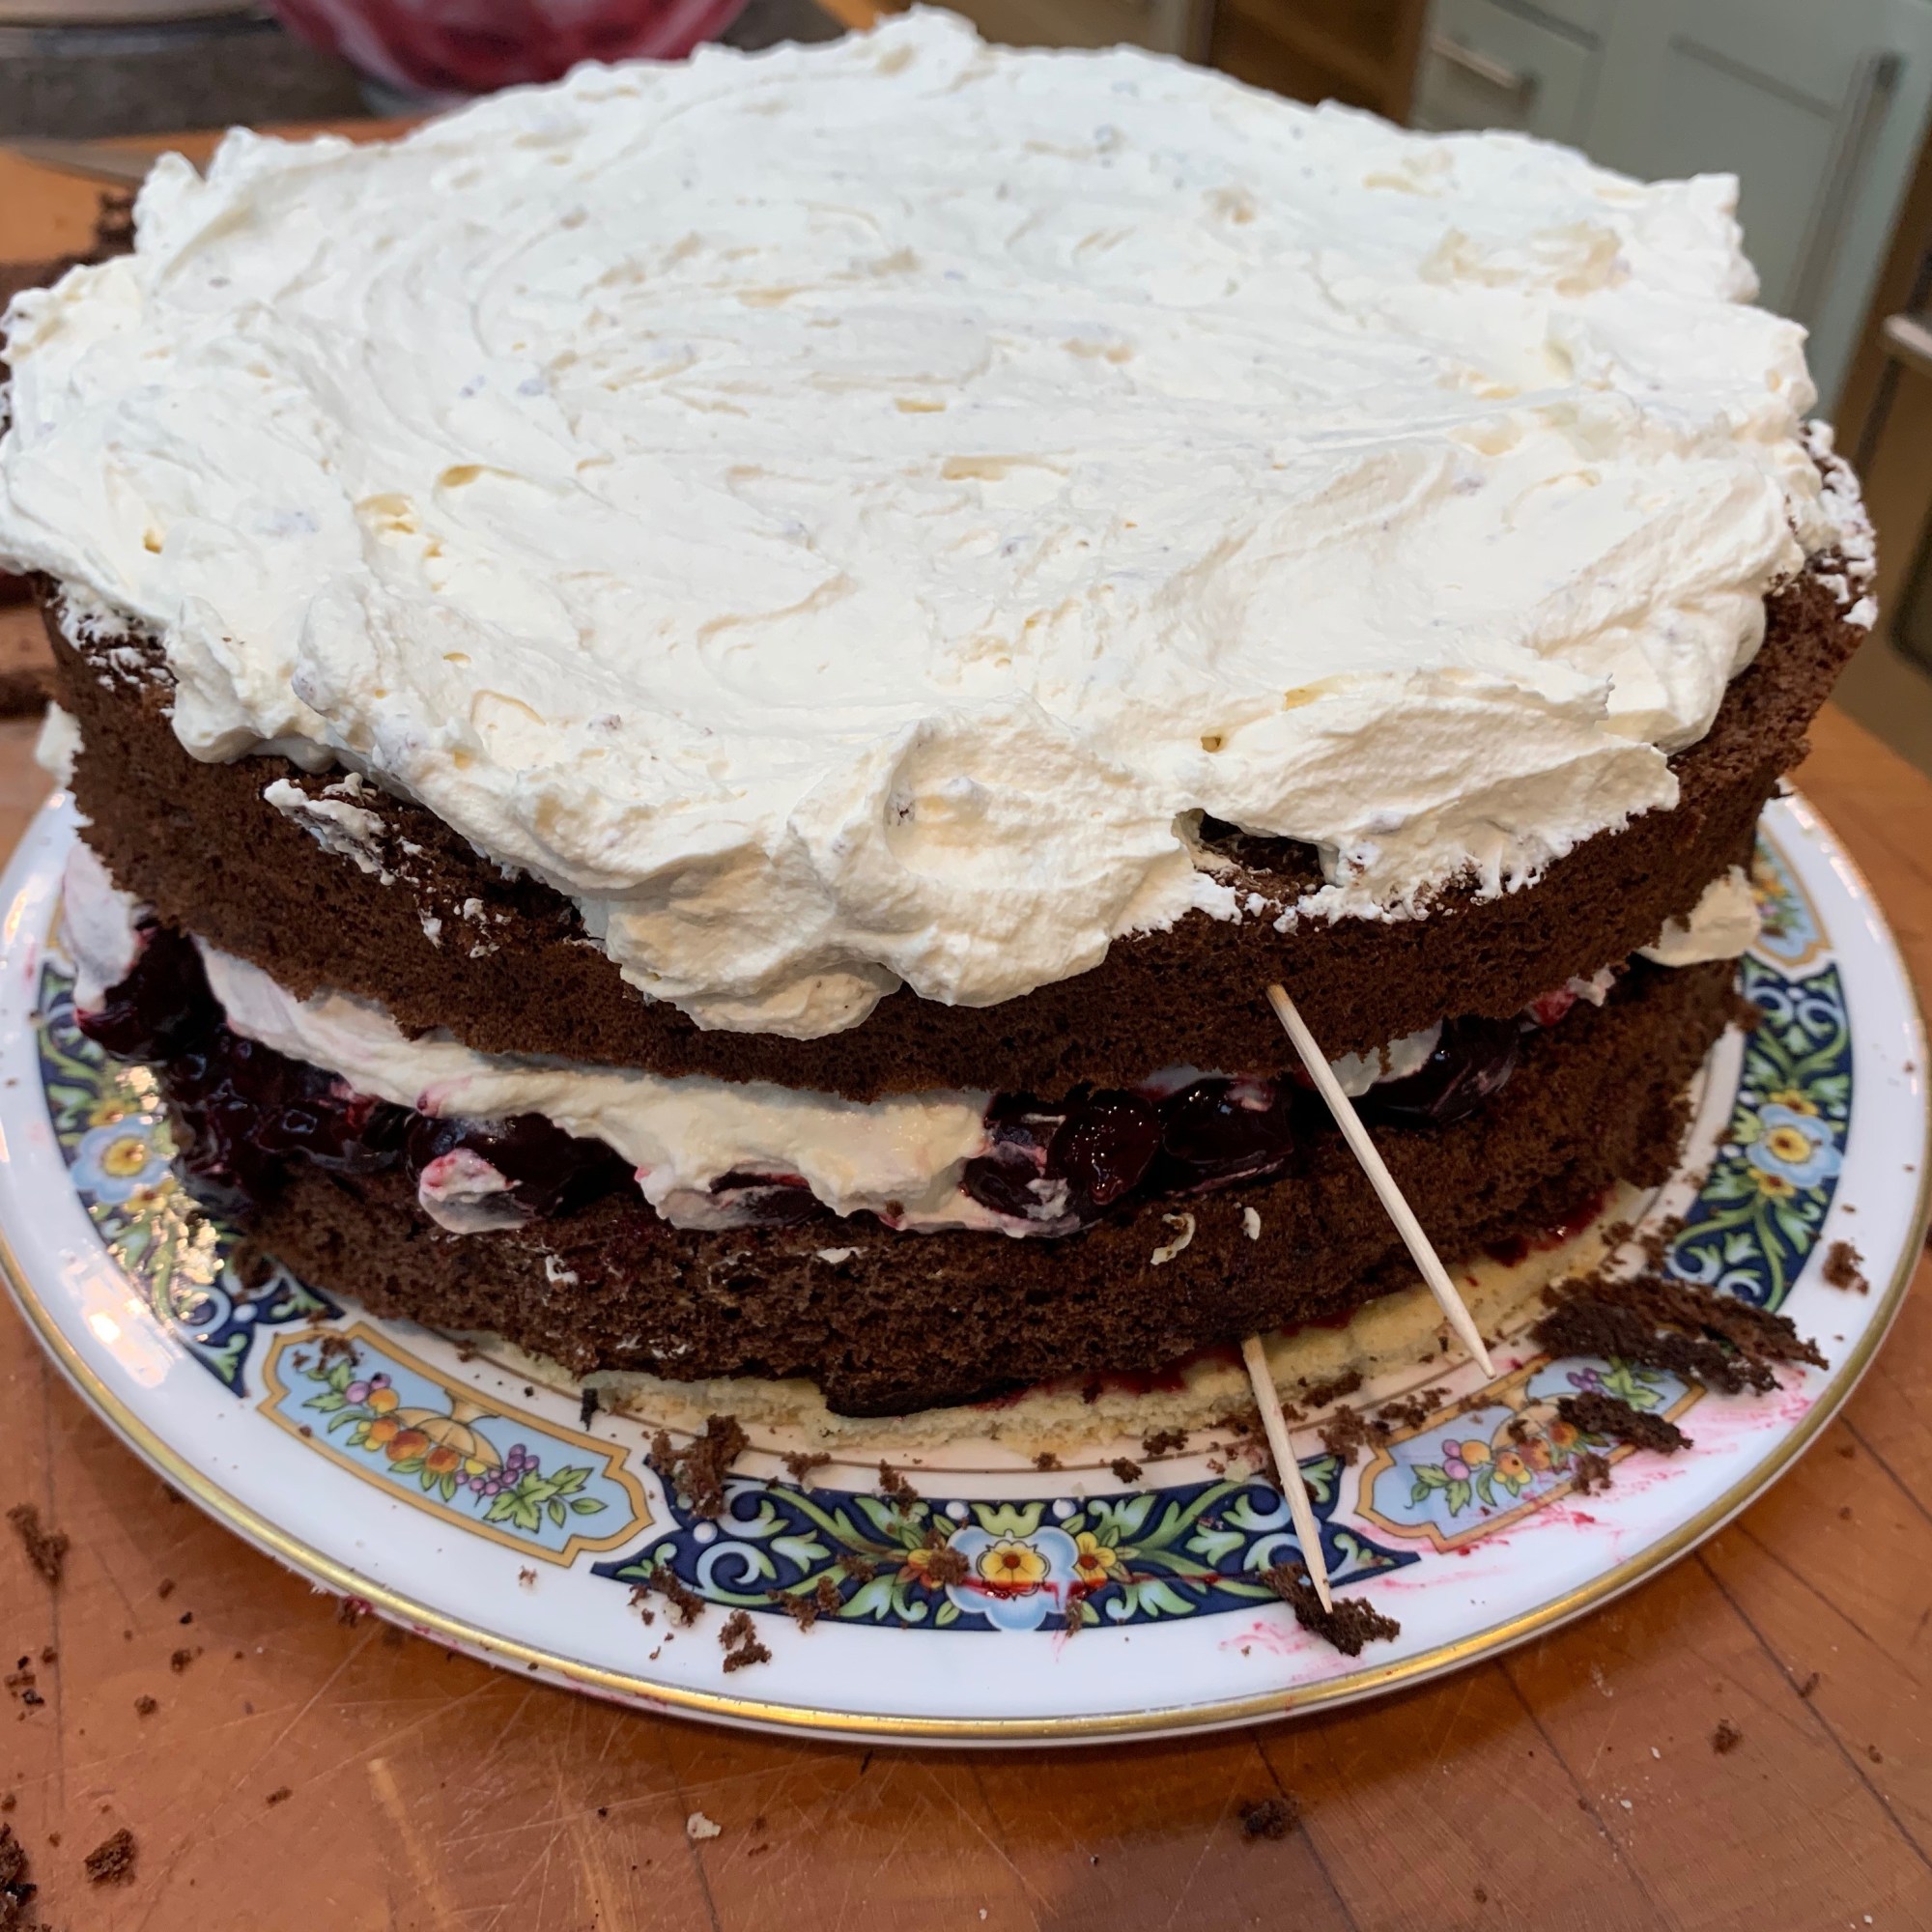
Place the remaining two layers of cake on top, using the toothpicks to orient you as to exactly where to put them. After each layer, spread another third of the whipped cream: the top layer should be very even. (At this point, the Germans would also spread cream over the sides to form a perfect white cylinder. But that’s too much cream for me.)
Grate the chocolate into shavings with a grater of vegetable peeler, and sprinkle the shavings over the cake. If you’ve put cream over the sides, also dust the sides with grated chocolate.
Pipe twelve small doughnuts of cream in a circle close to the edge of the cake. Into each doughnut, place a cherry.
You’re done! It was complicated and it was a long haul, but you’ve created a real spectacular, which is light as a feather and tastes fantastic.