Christmas food in Italy is a whole lot more varied than in England, with all manner of different meats, fish, pasta dishes, cakes and biscuits (mercifully, the Italians don’t share our obsession with roast turkey). But there’s one thing that you’ll see at Christmas all over Italy: the cylindrical, sweetened, enriched bread called “Panettone” – the “big loaf”. Whenever I’ve been to a café in Italy at Christmas time, usually in or near Milan, the base of modern, industrial scale panettone manufacture and said to be its city of origin, piles of panettone pieces have been arrayed on the bar for everyone to nibble with their coffee. The aroma of citrus and vanilla in a bread of extreme fluffiness is unbeatable.
There are zillions of recipes, from the traditional candied fruit to those with more outlandish fillings: chocolate, hazelnut puree, tangerine paste, marrons glacés and so on. But there are a few things that distinguish a panettone from other breads/cakes of its type:
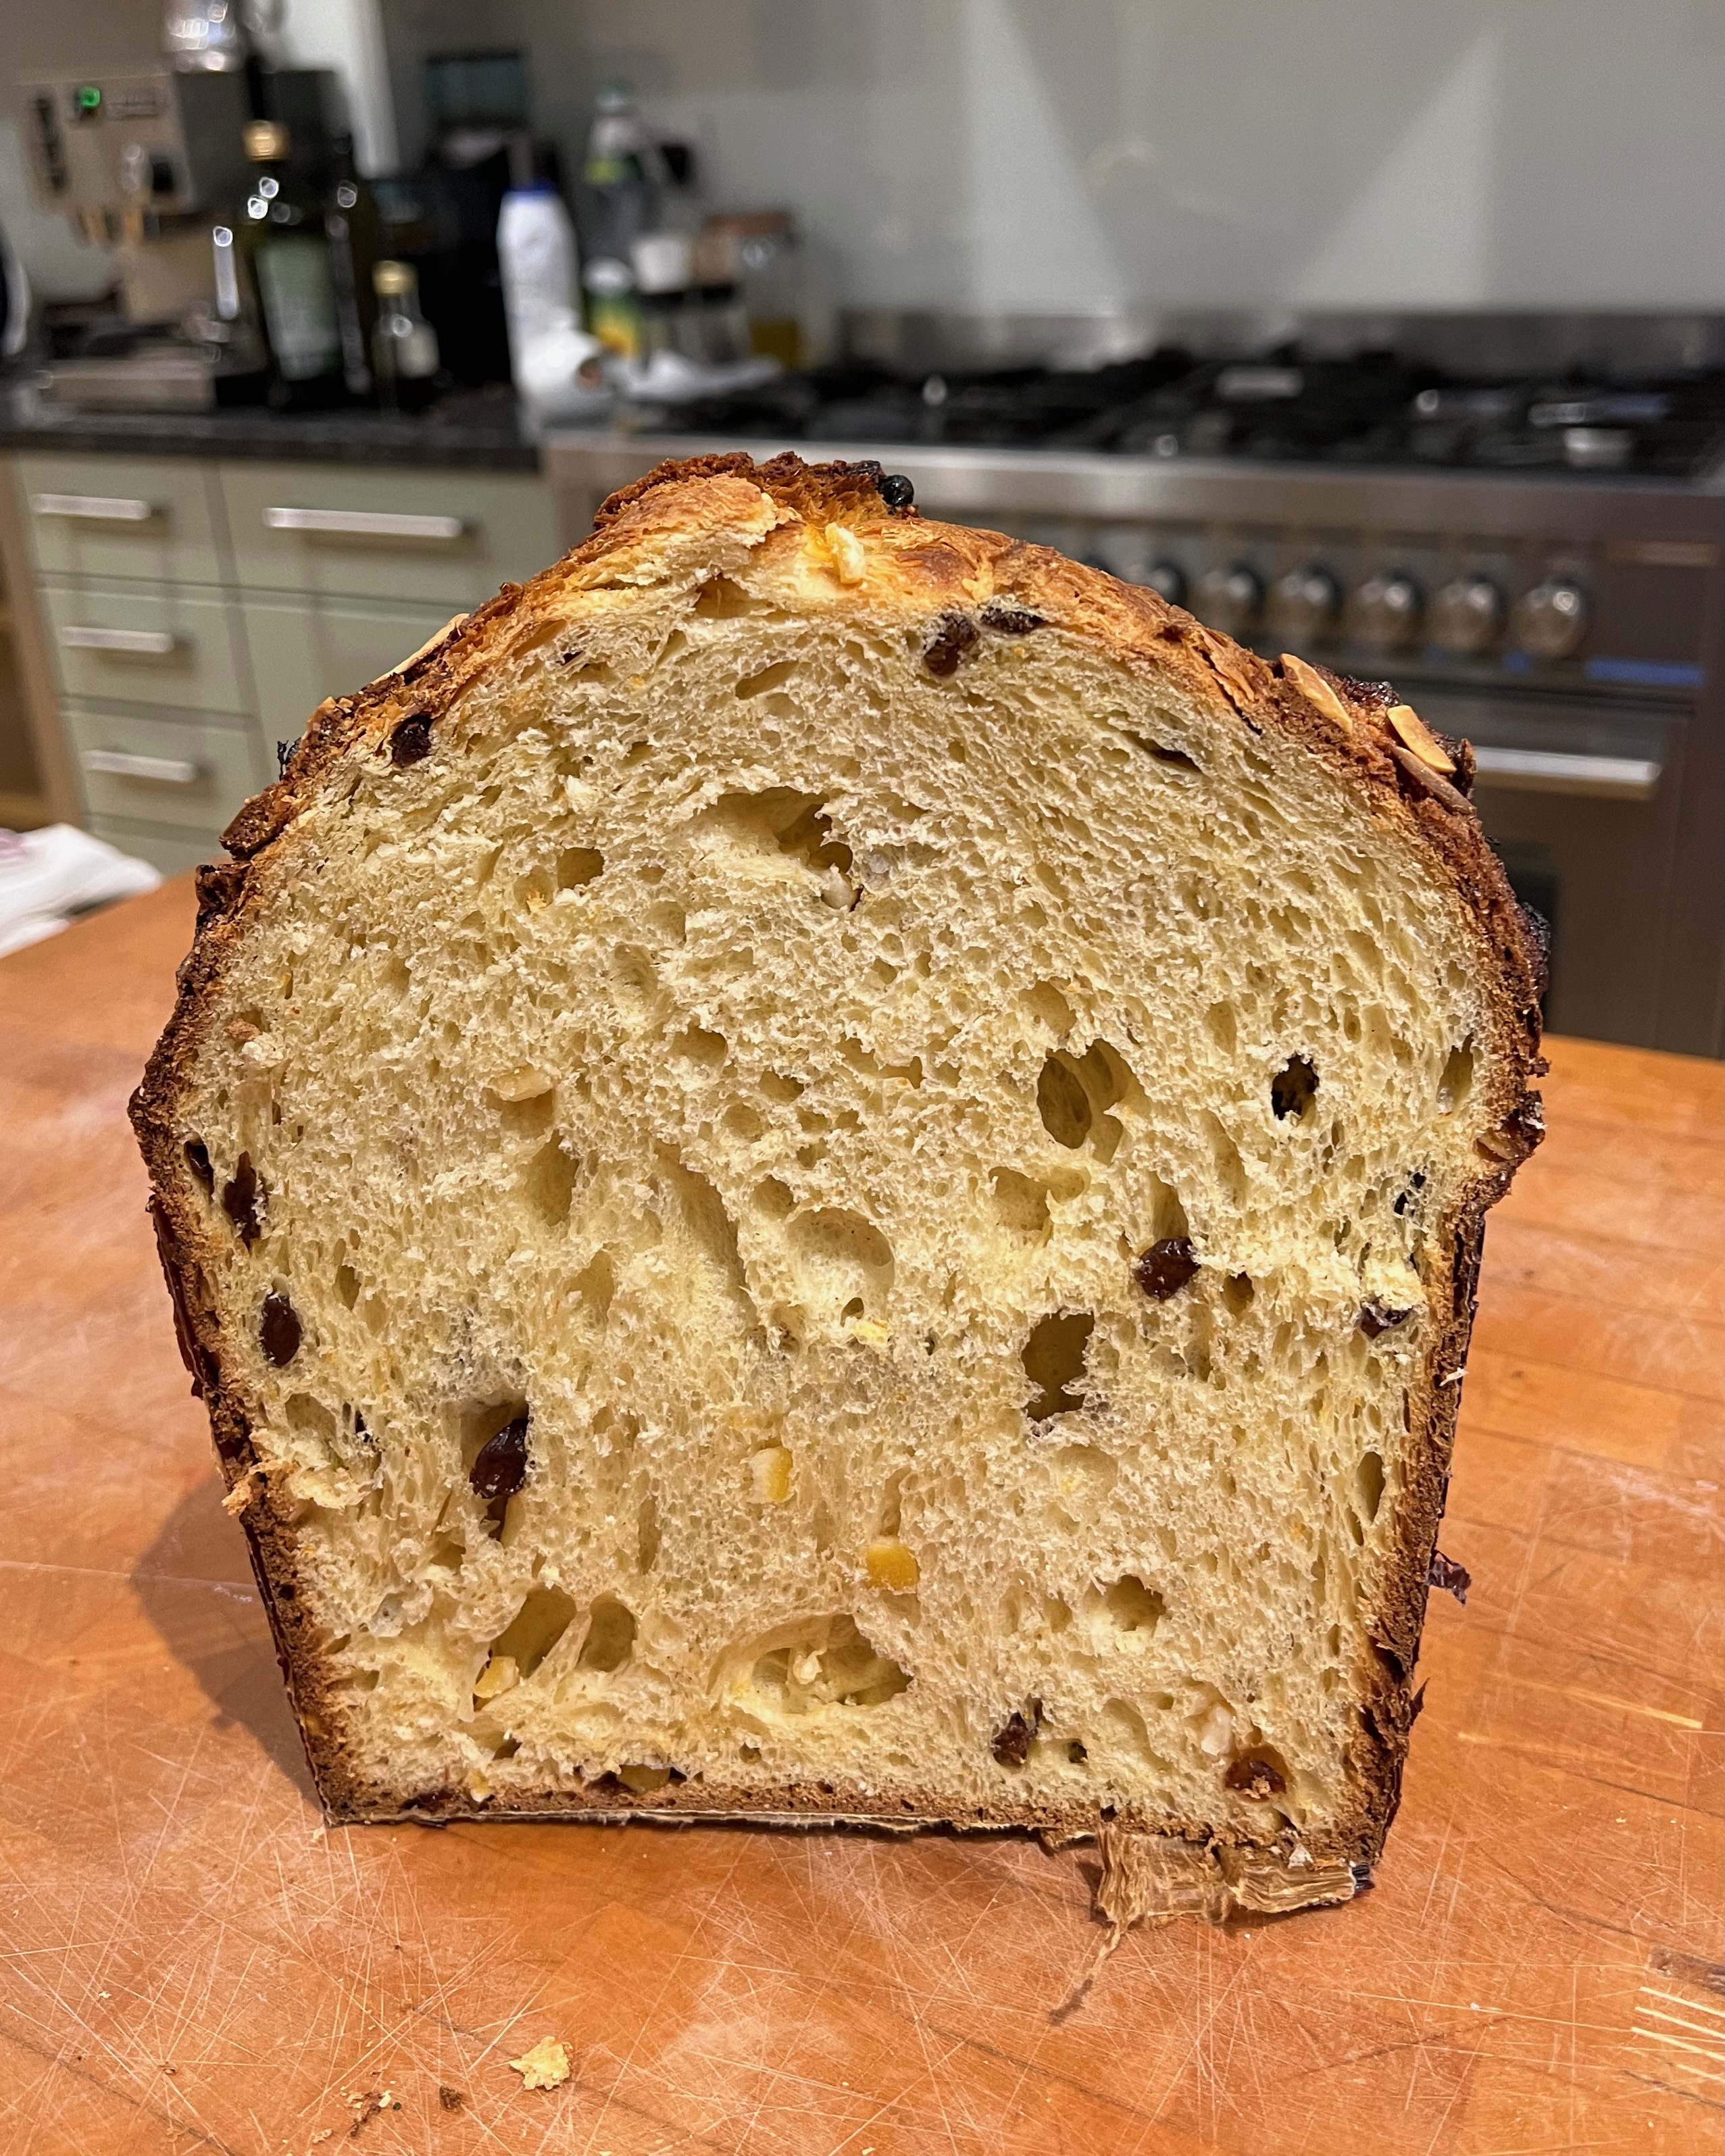
- The dough is sweetened and enriched with egg yolks and butter, giving an overall flavour profile something like a brioche. But where you would try to get a brioche smooth and even in crumb, a panettone should be as aerated as you can make it: fluffiness is mandatory and large air pockets are completely acceptable.
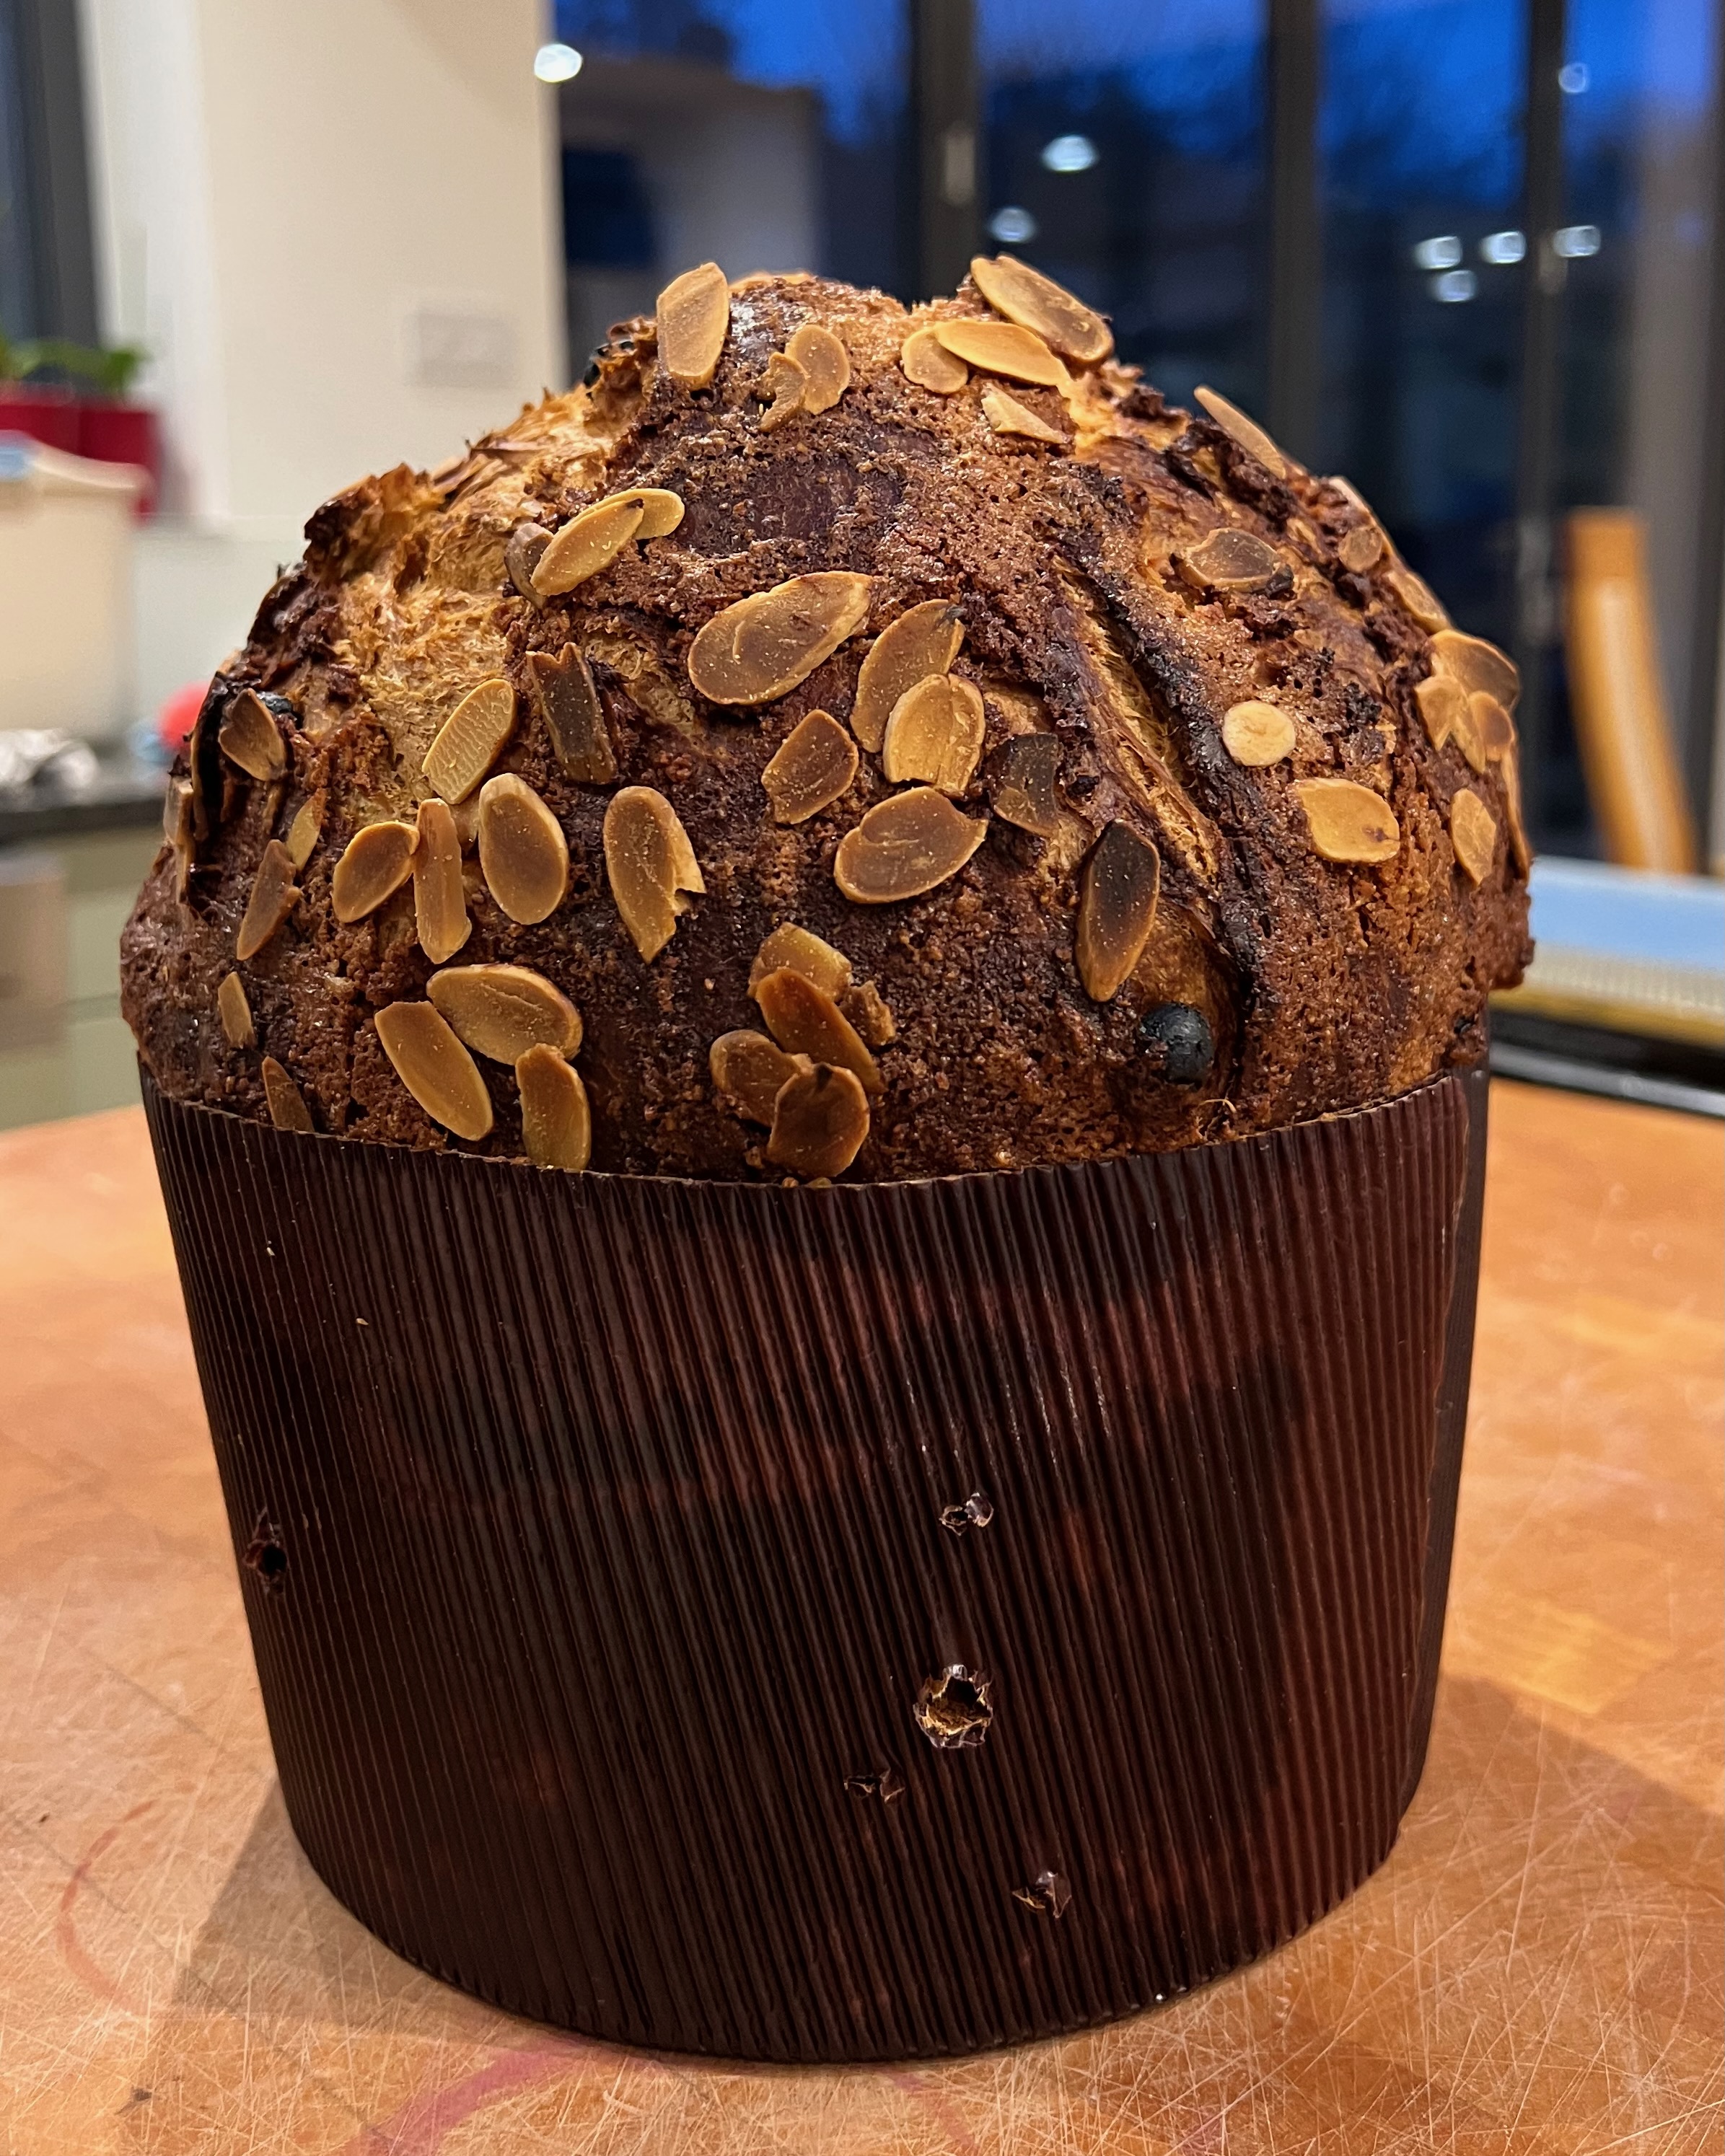
- The loaf is baked in a cylindrical case or tin. Originally, the chances are that you’d have reused one of the large tins in which canned goods were sold, but today, you are more likely to go for a single-use paper case made specially for the purpose: these are inexpensive and readily available both in the UK and the US.
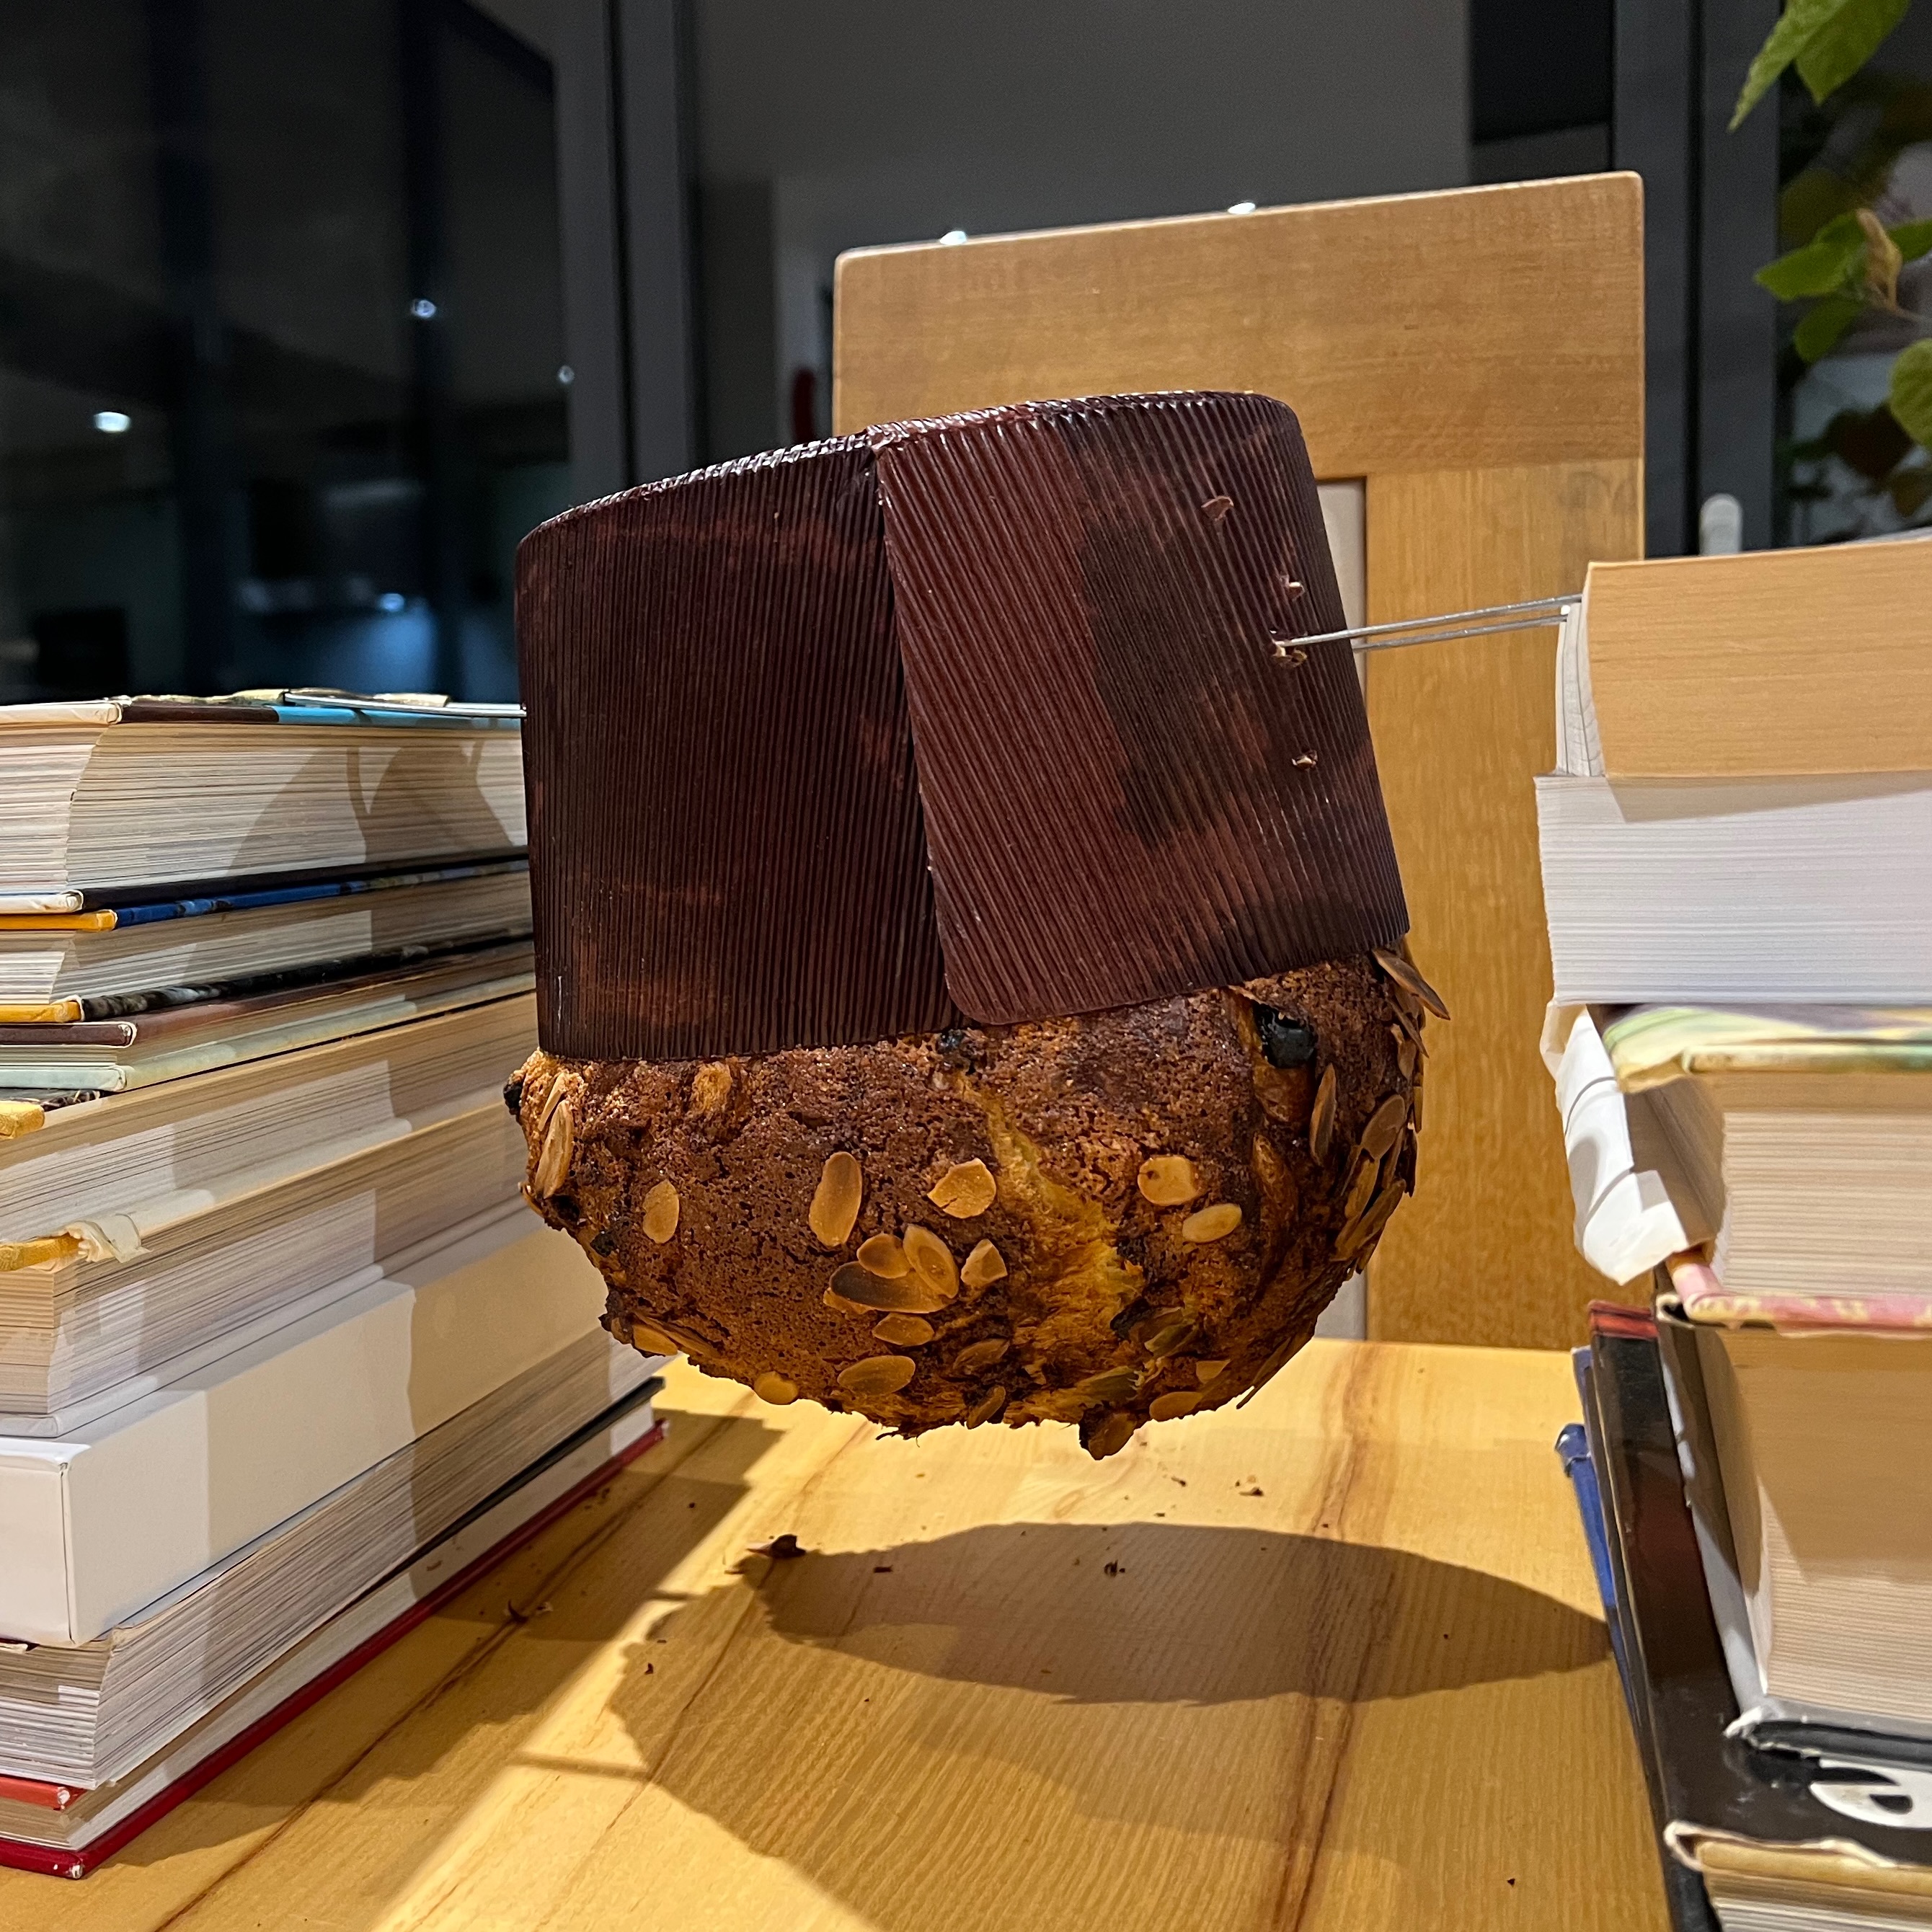
- To prevent your loaf collapsing down the moment you take it out of the oven – the fate of most heavily aerated breads and cakes – a panettone is cooled upside down: instead of collapsing, it gains extra height and fluffiness.
Making panettone turns out to be something of a project: it’s going to take you most of a day as an absolute minimum, with some recipes calling for multiple resting and proving stages taking several days, in order to develop the flavour to its maximum. I went for an intermediate, starting with a sourdough “sponge” at 6pm on day 1 and getting the panettone out of the oven around 24 hours later, to be cooled and ready for breakfast the next morning.
I ended up taking bits and pieces from several different recipes: Giallo Zaferrano, Great Italian Chefs, BBC Good Food. But rather than slavishly following a set of quantities and times, I relied more on getting the dough to look right at each stage, with my main reference being this video from chefsteps.com. You’ll see from the photos that my texture came out perfectly – I couldn’t have asked for better. However, my flavours beed adjusting for next time: I used a bit too much salt and not enough sugar and I was definitely too conservative about how much candied fruit to add. I’ve adjusted the quantities below to what I think I should have used (and will try for next Christmas).
Confession time: I was going by look and feel and not measuring all the quantities as accurately as usual. So if you’re going to try this, use your judgment.
Day 1, around 6pm: the sourdough sponge, part 1
- 30g sourdough starter
- 170g strong white flour
- 130ml water
- Mix thoroughly the sourdough starter with 30g of the flour and 60ml of the water. Leave to ferment for around three hours.
- Add the rest of the flour and water, mix thoroughly then leave to ferment overnight.

Day 2, around 8am: the sourdough sponge, part 2
- 100g strong white flour
- 4g dried yeast
- 100g yoghurt (any active yoghourt should do, buttermilk or kefir might be better)
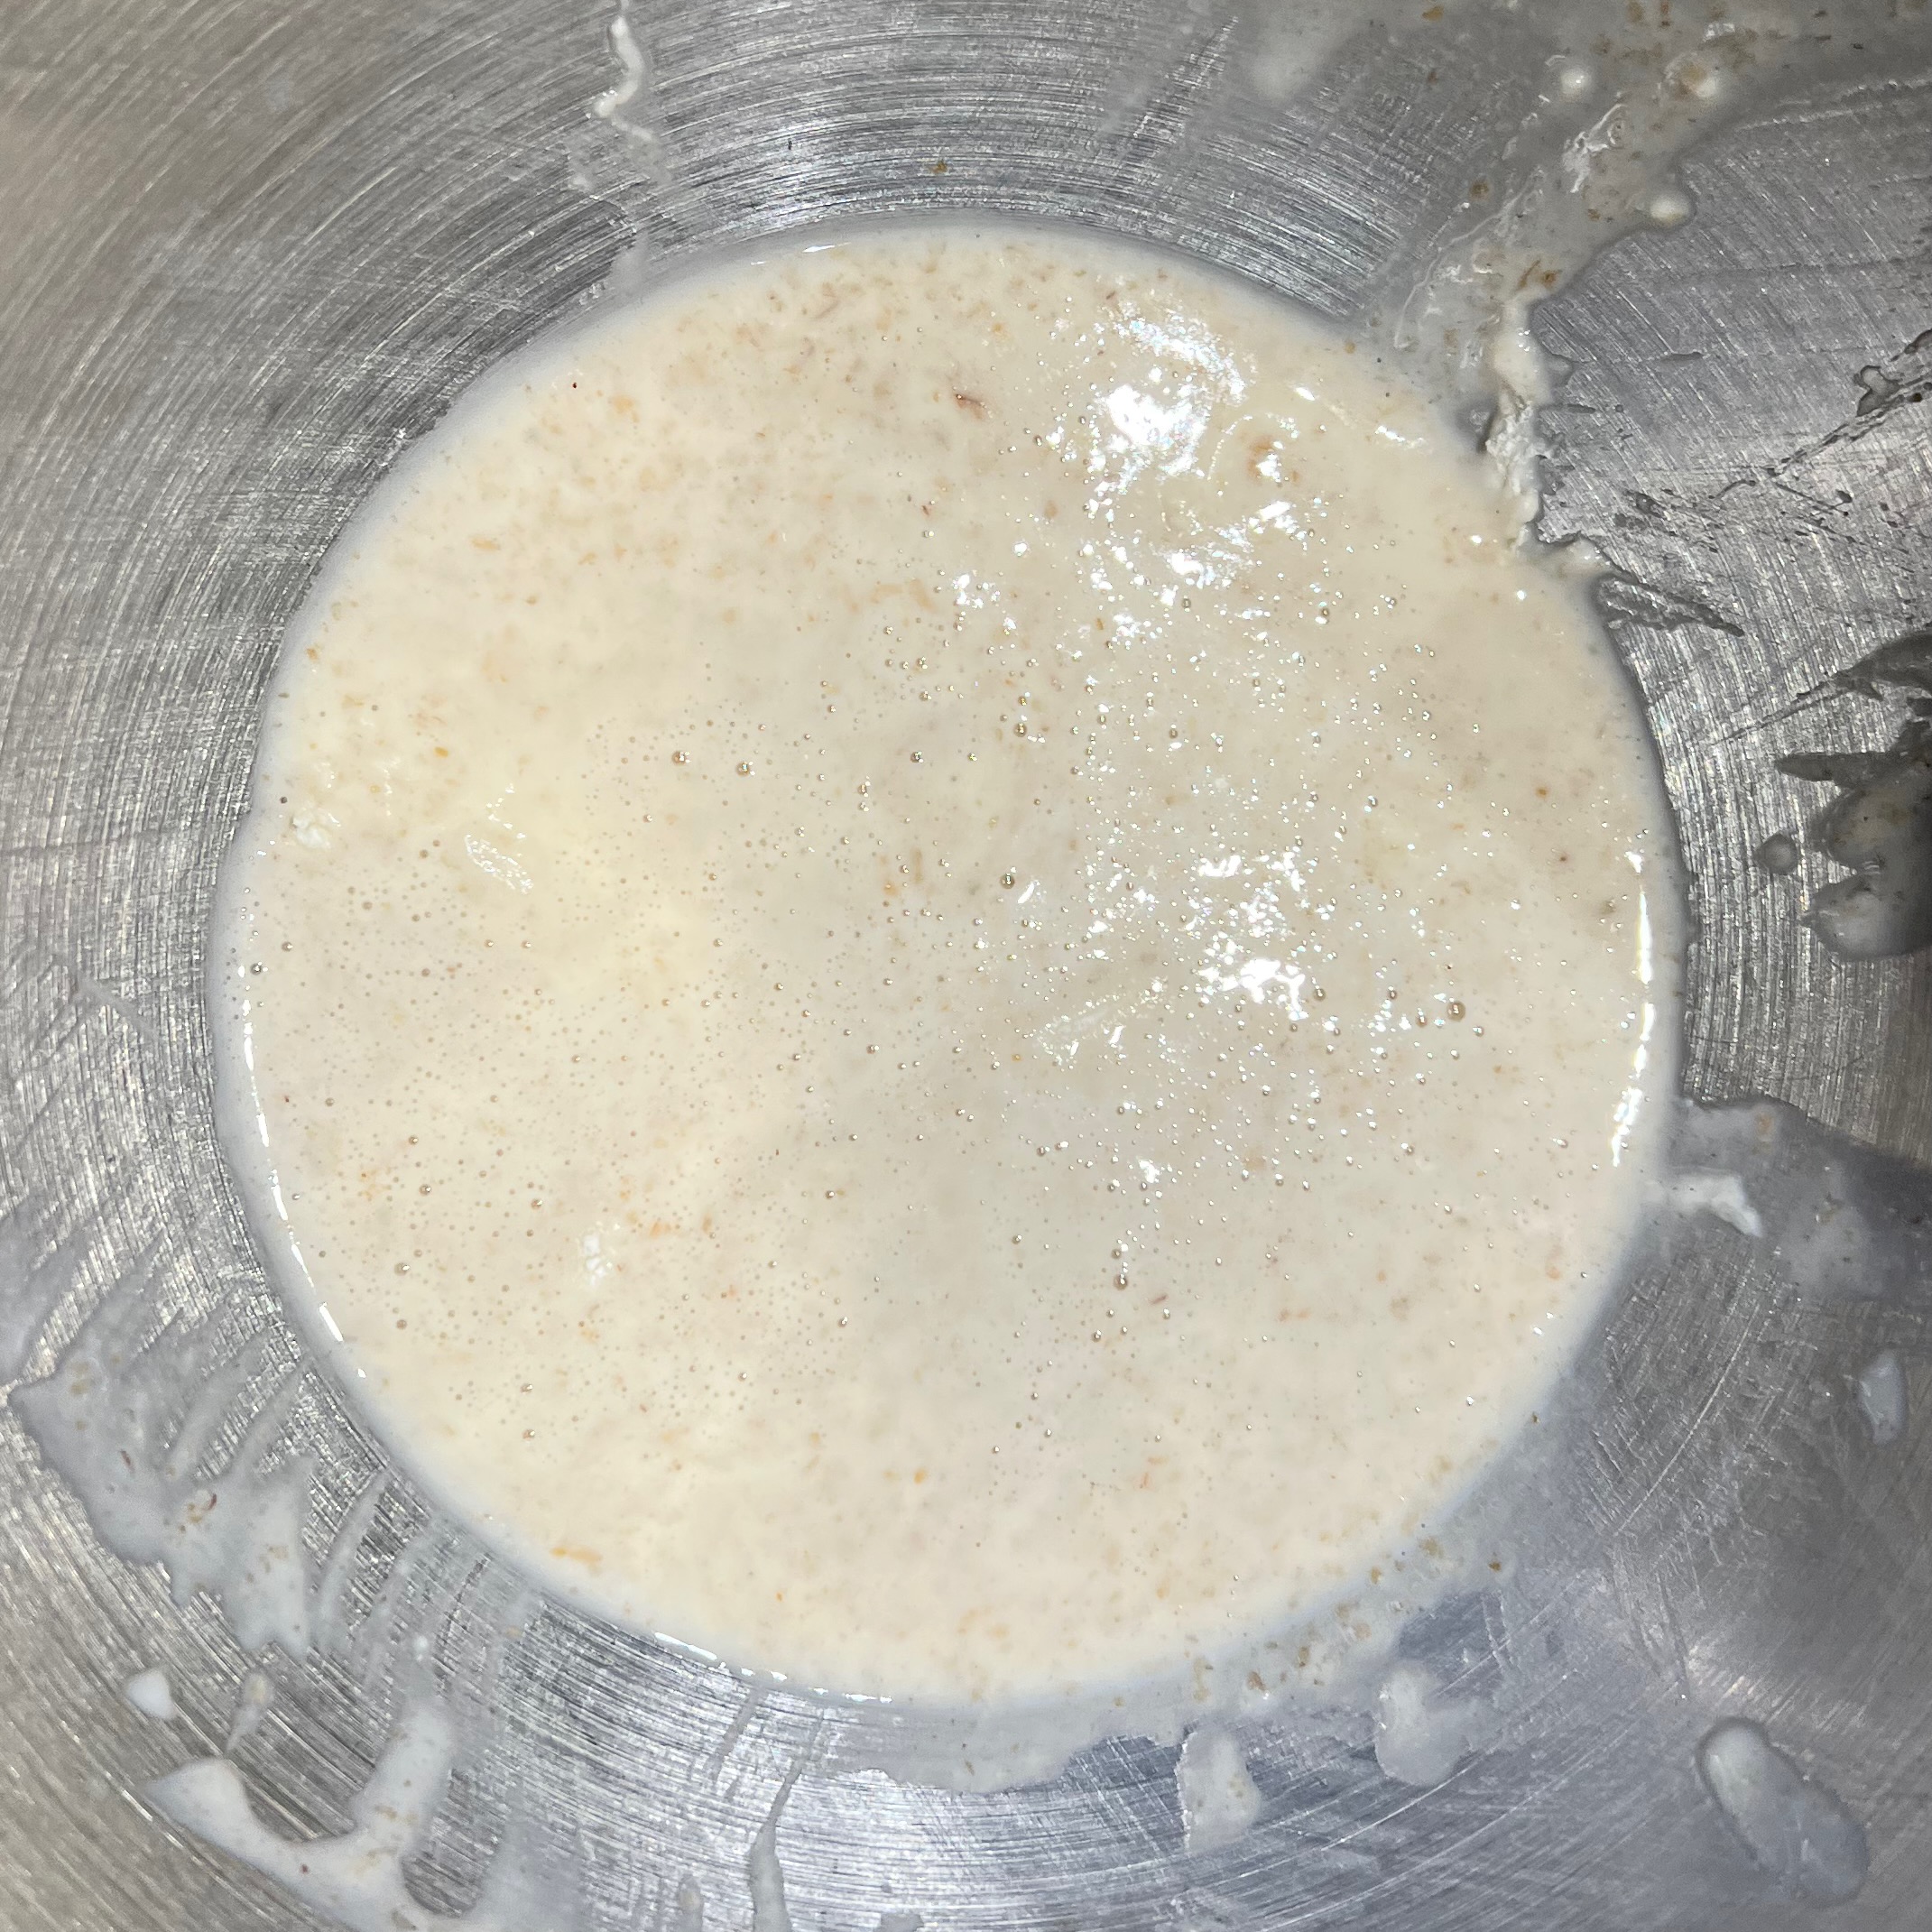
- Add all the ingredients to your sponge from the previous day, mix thoroughly and leave to rest until everything is bubbling nicely. This will depend on the ambient temperature: I left mine for around two hours in a place near my boiler which is around 30℃.
Day 2 mid-morning: make the dough
- 400g flour (very approximate, do by feel of the dough)
- 8 egg yolks, at room temperature (when you separate the eggs, keep a small amount of the white – you’ll use it for the glaze.
- 200g caster sugar
- 140g butter, at room temperature
- zest of one orange
- zest of one lemon
- seeds scraped from one vanilla pod
- 5g salt
- 120g lemon peel
- 120g sultanas
- If it didn’t start there, put your sponge into the bowl of your stand mixer. Add flour and egg yolks and knead using the dough hook for five minutes. Leave half an hour, then start kneading again, for perhaps another five minutes, until the dough is extremely elastic with the gluten very stretchy.
- Slowly add the sugar and continue mixing with the dough hook until throughly mixed in. The dough should loosen out as the sugar dissolves.
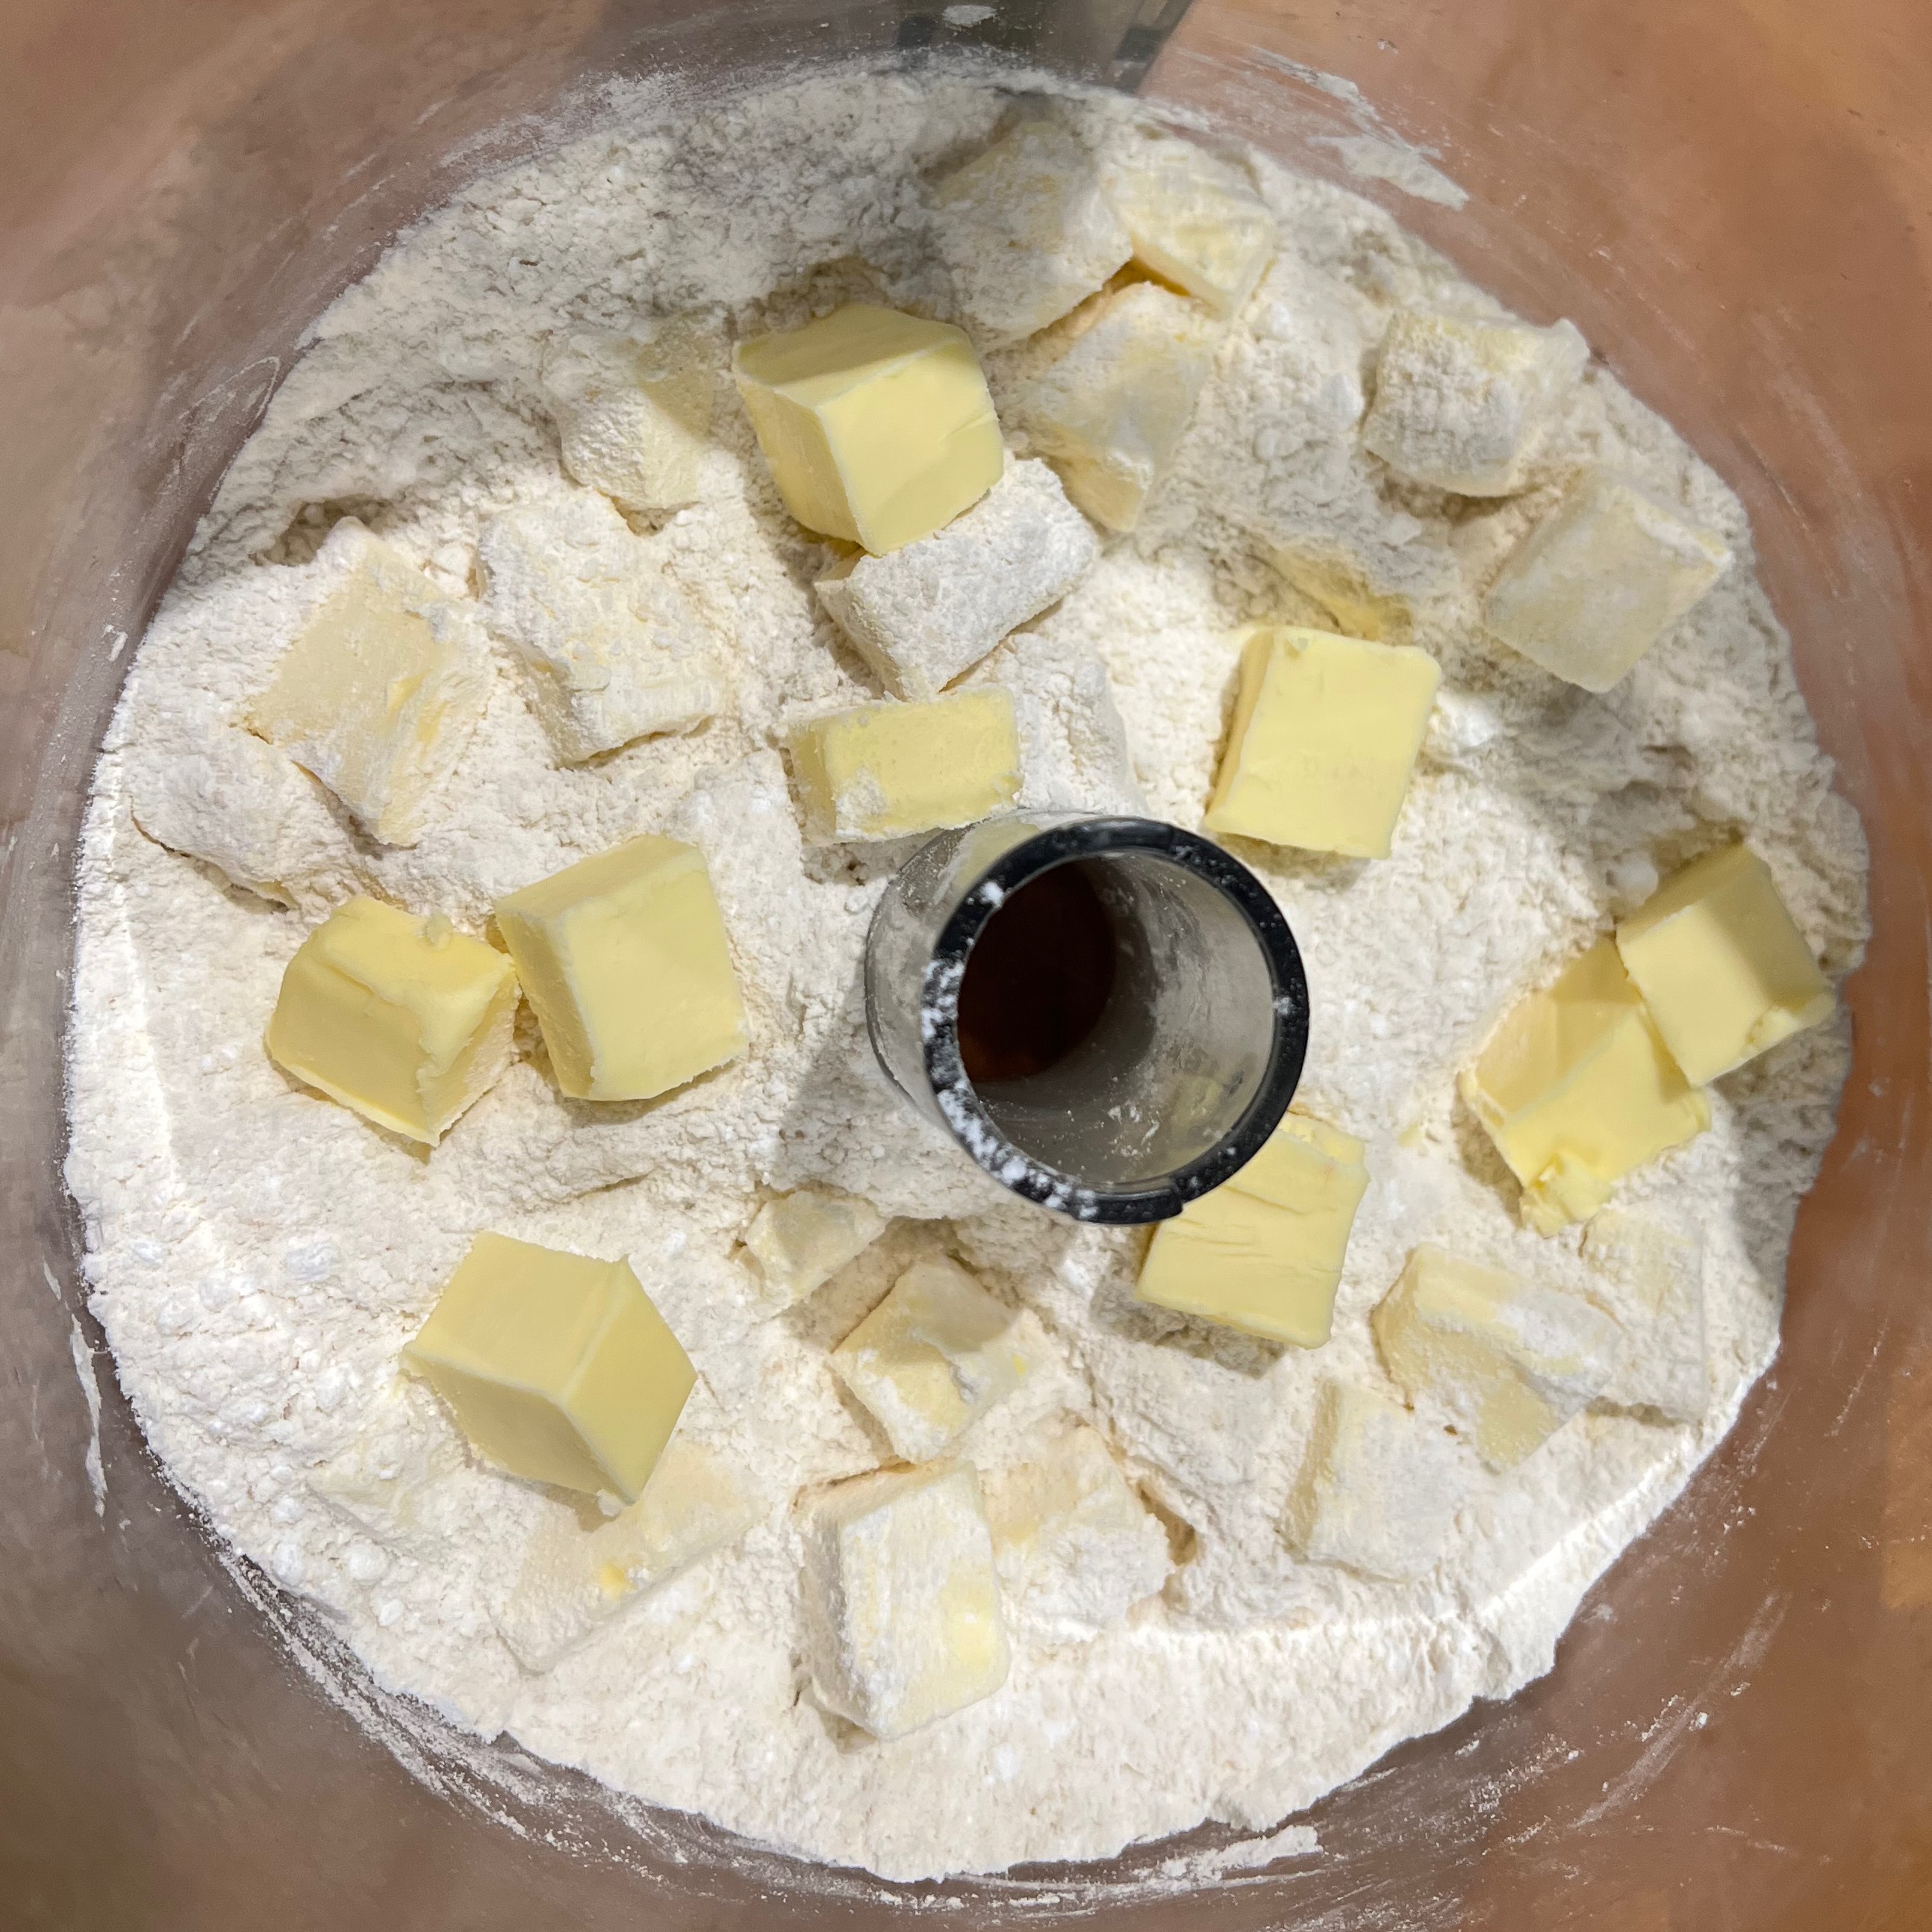
- Cut the butter into small cubes, perhaps 1cm on a side. Add the butter a little at a time, continuing to mix until it’s all incorporated. I found that the butter tended to clump around the side of the bowl, requiring me to stop mixing at regular intervals and scrape down the sides.
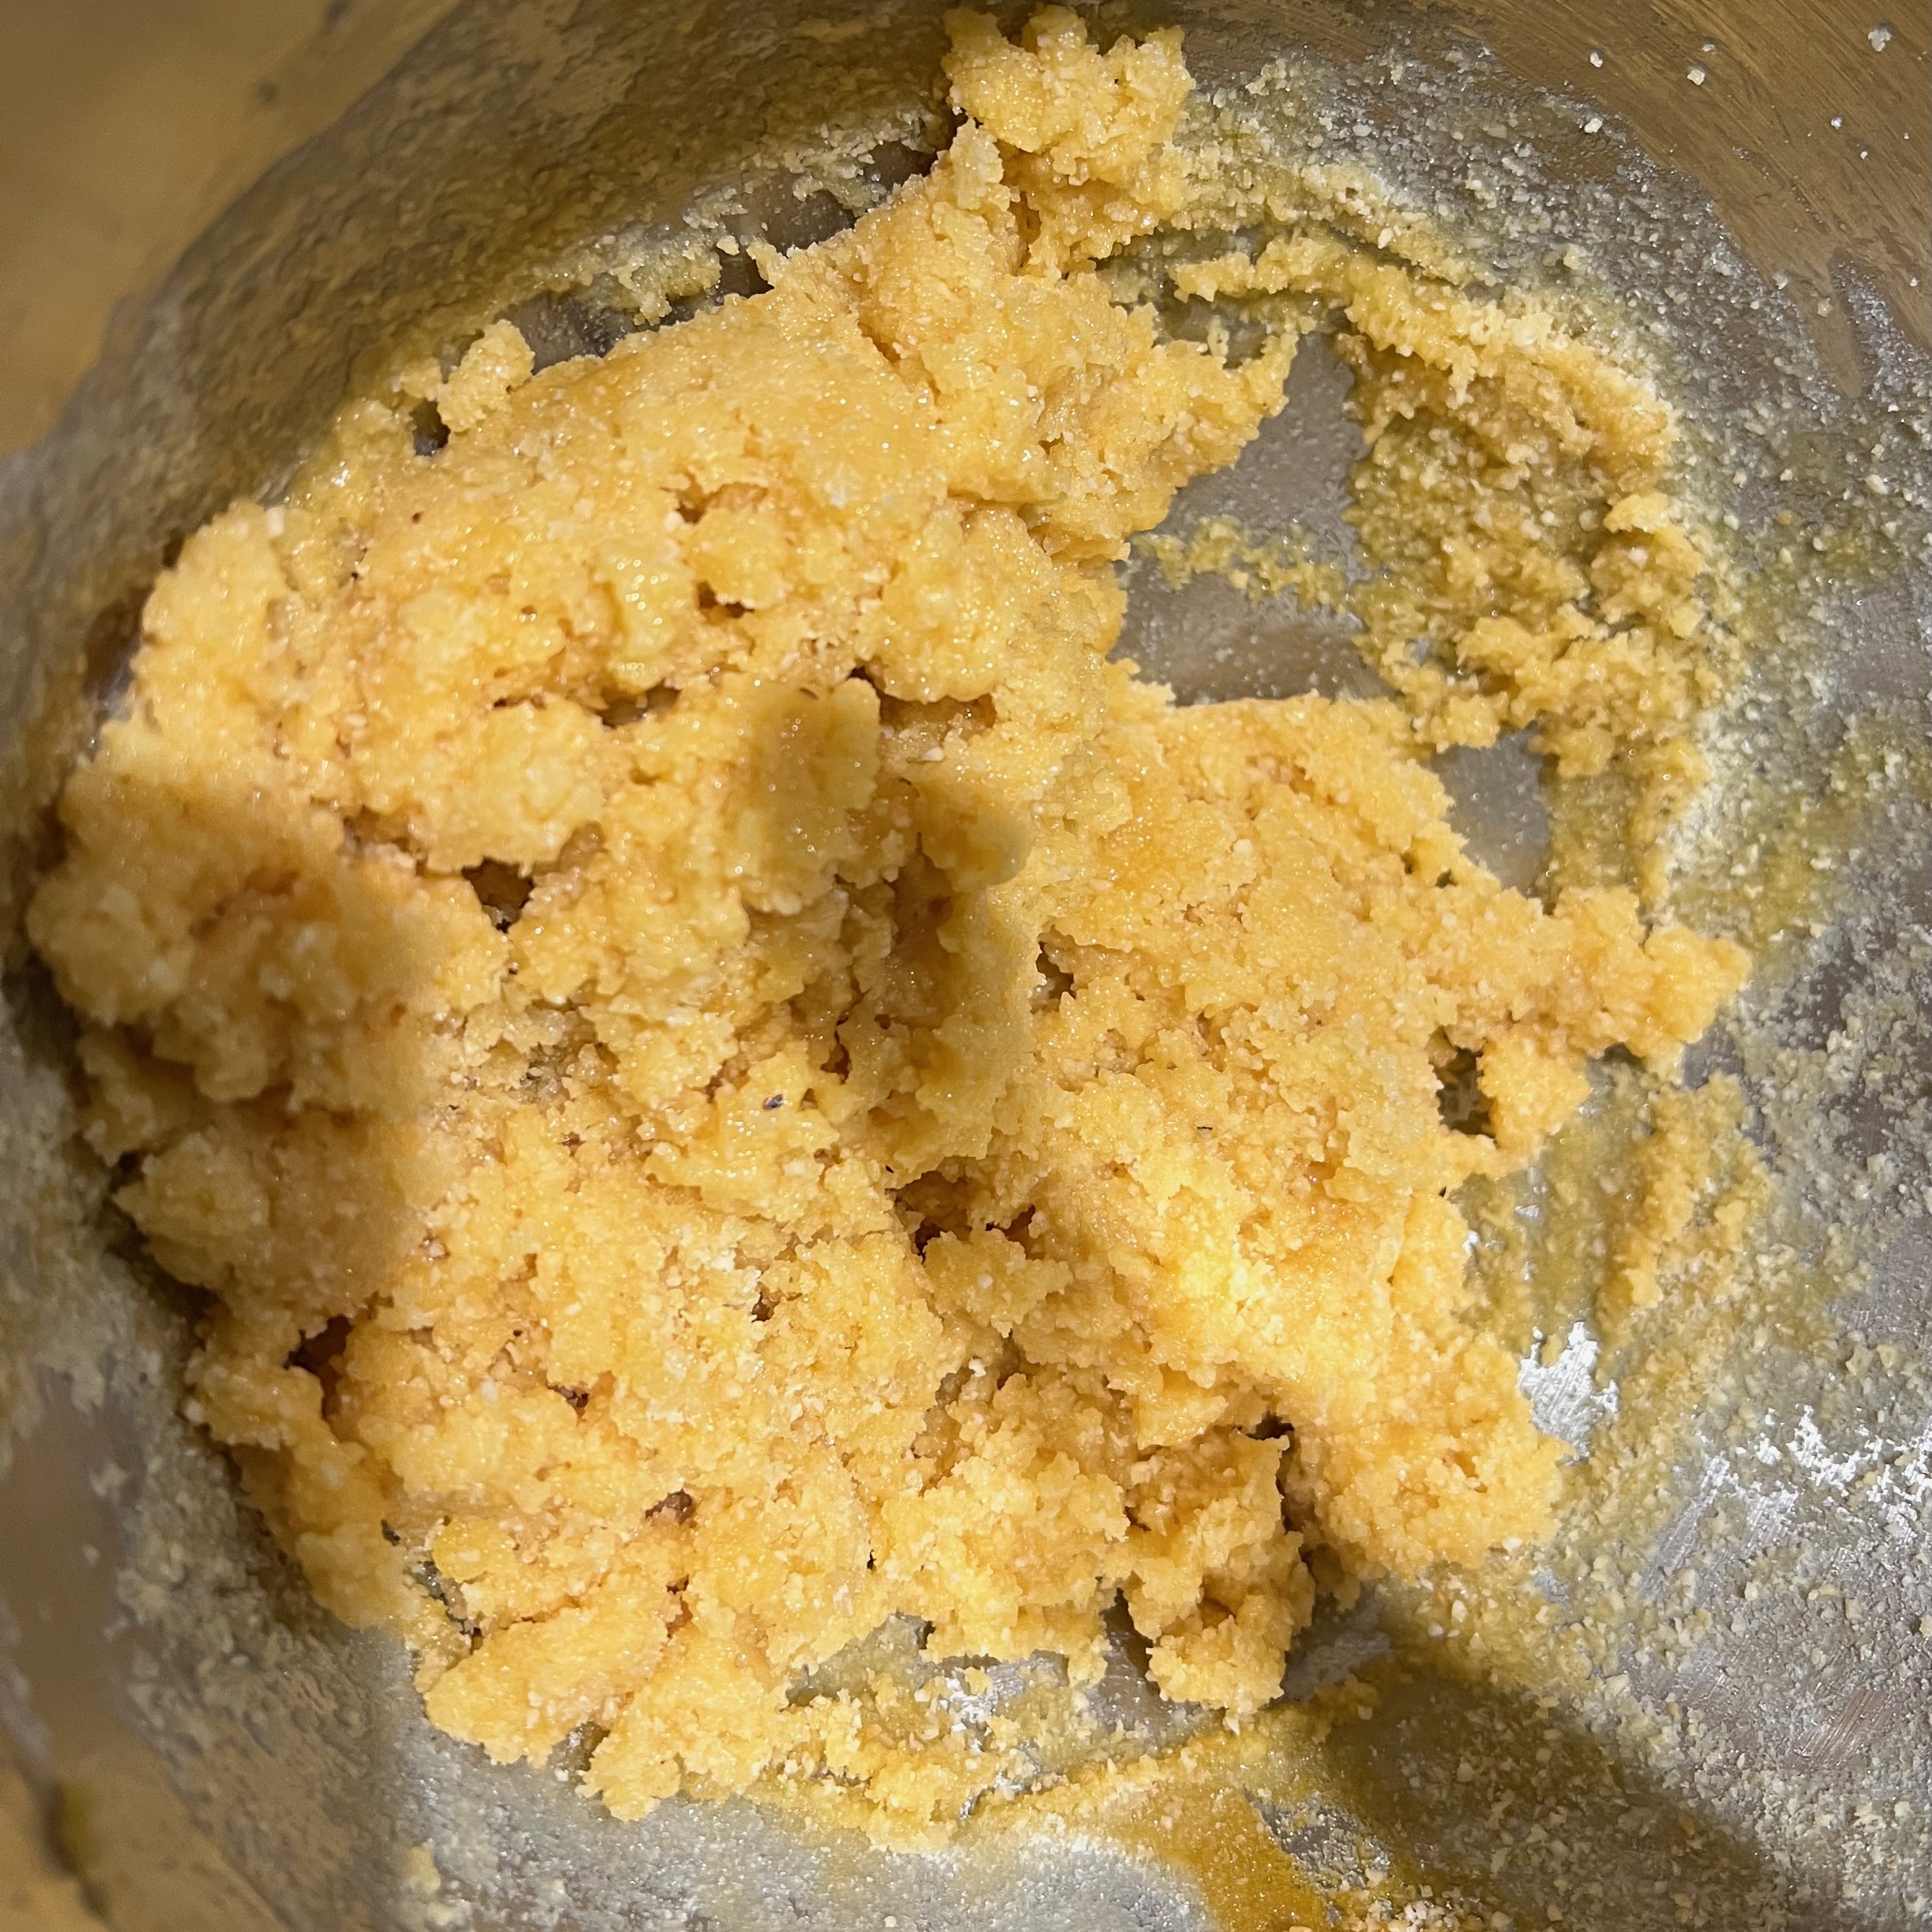
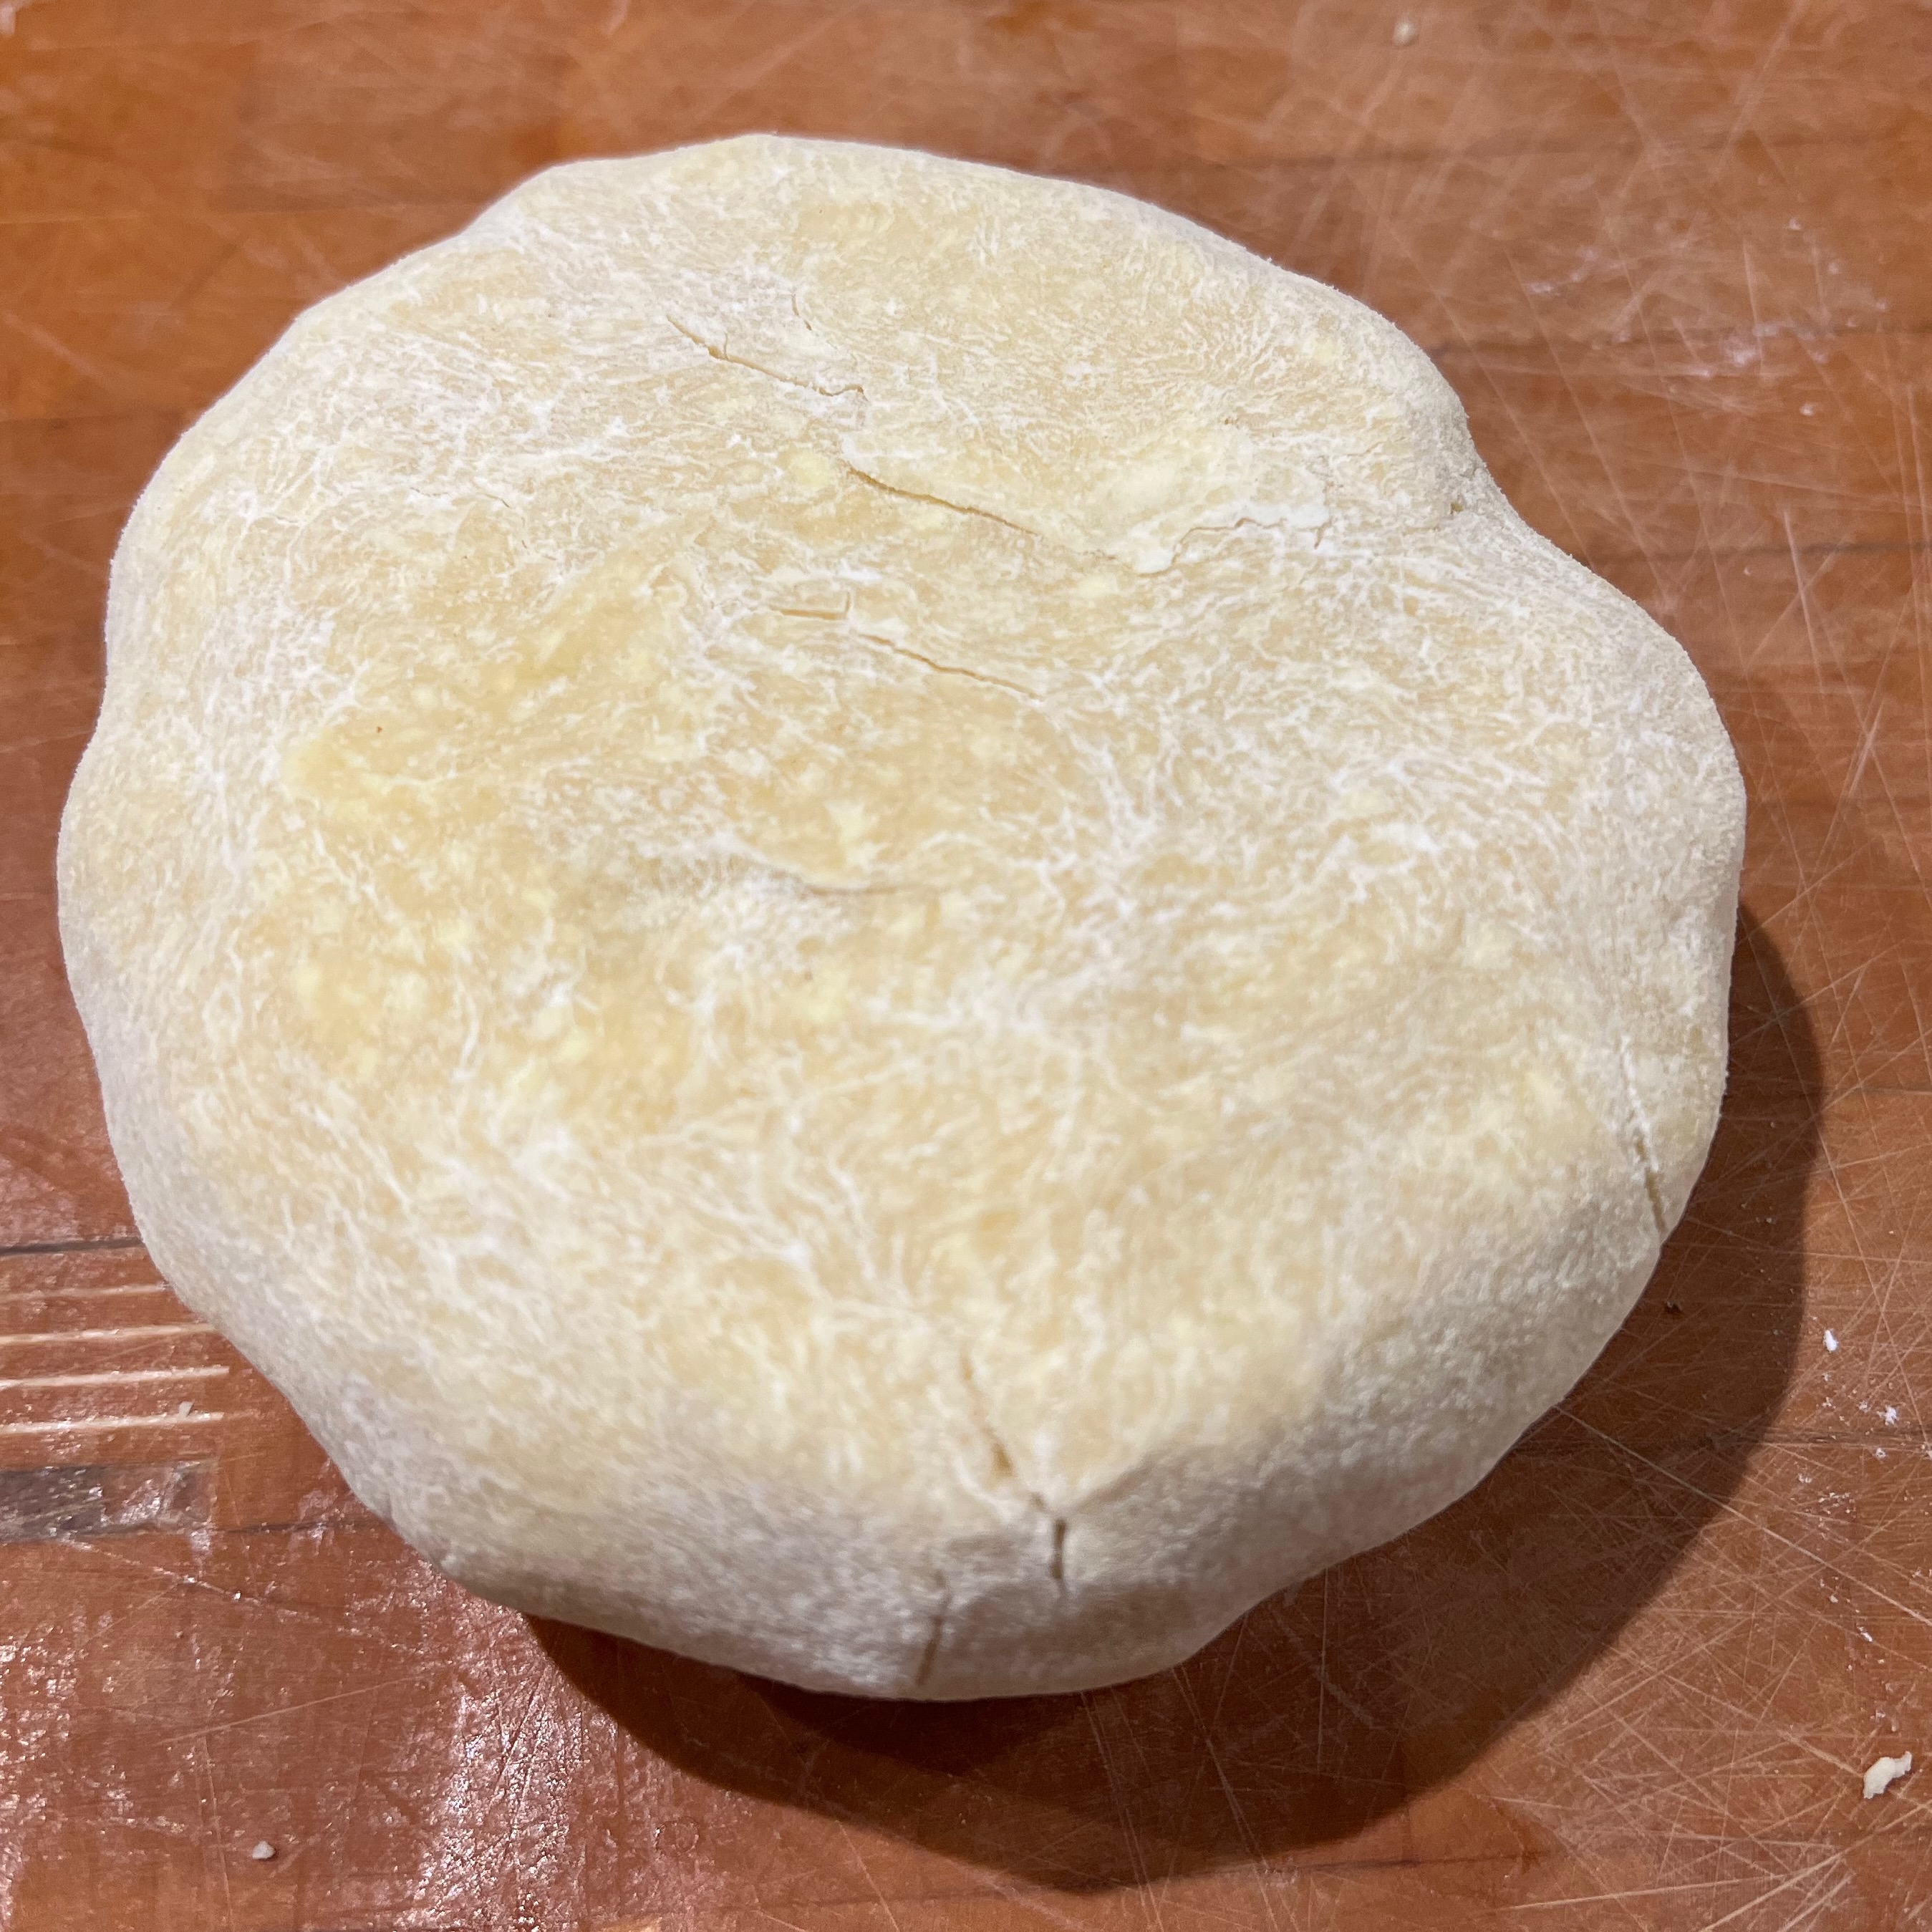
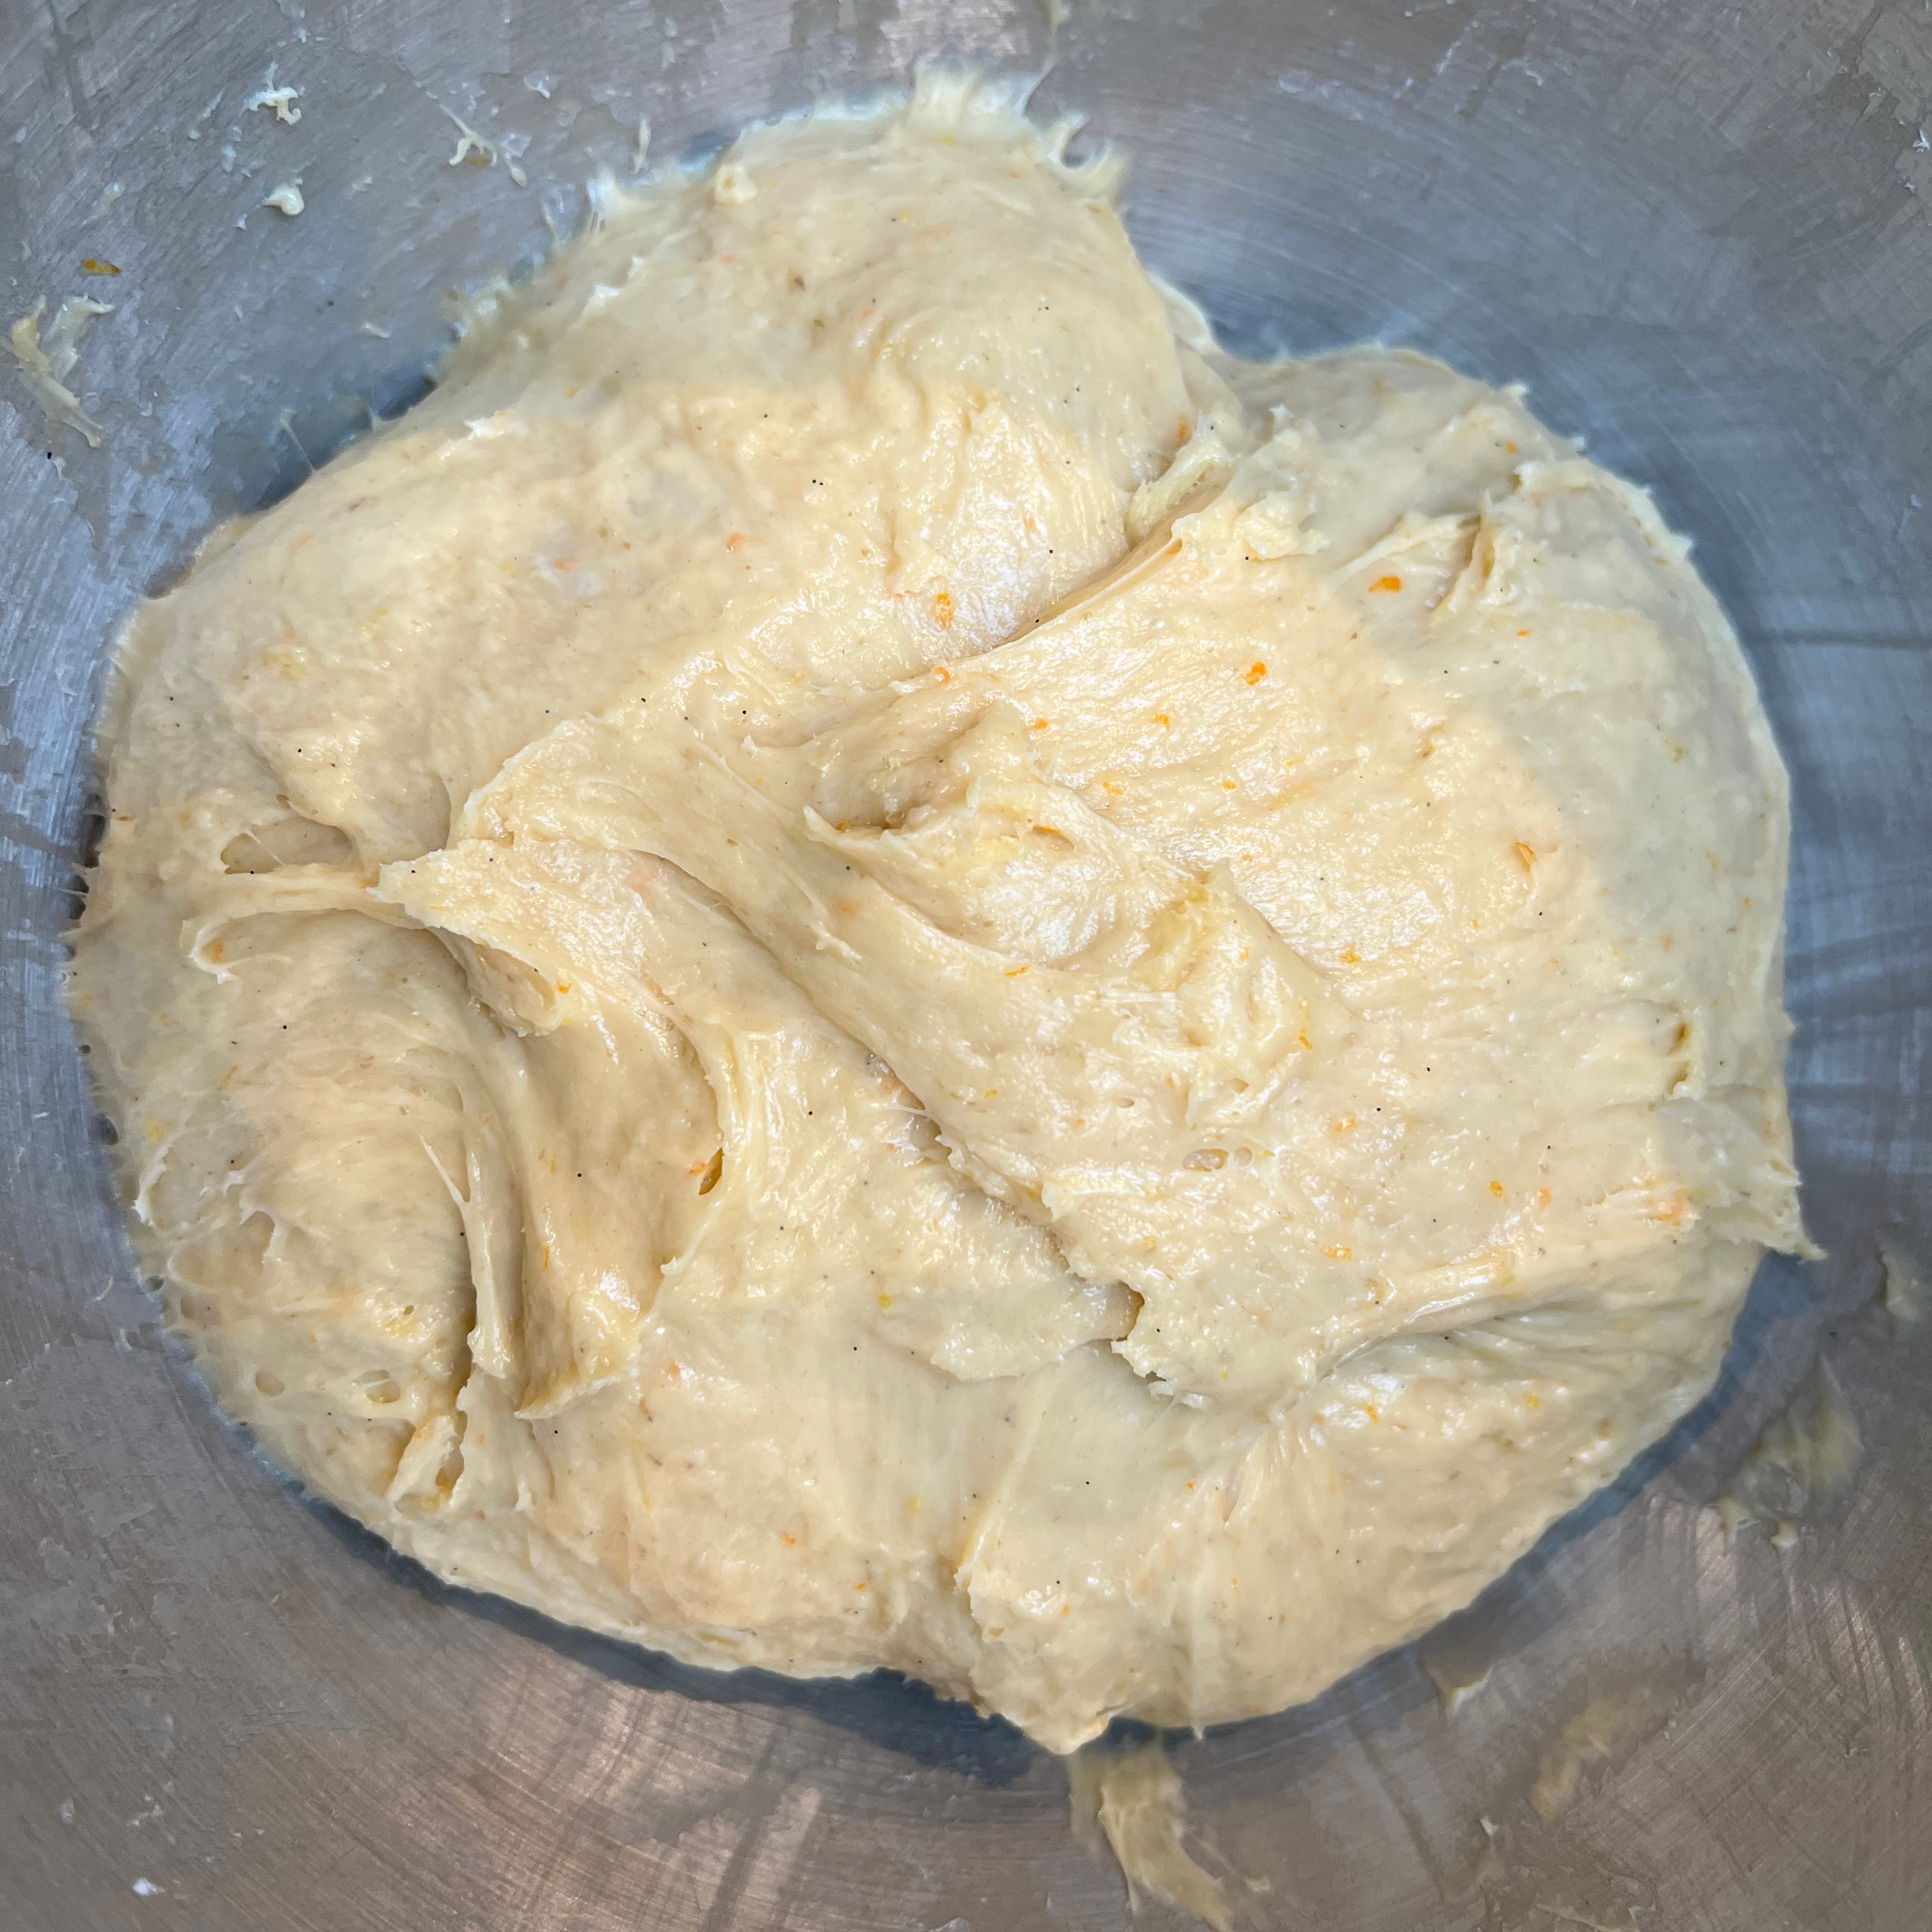
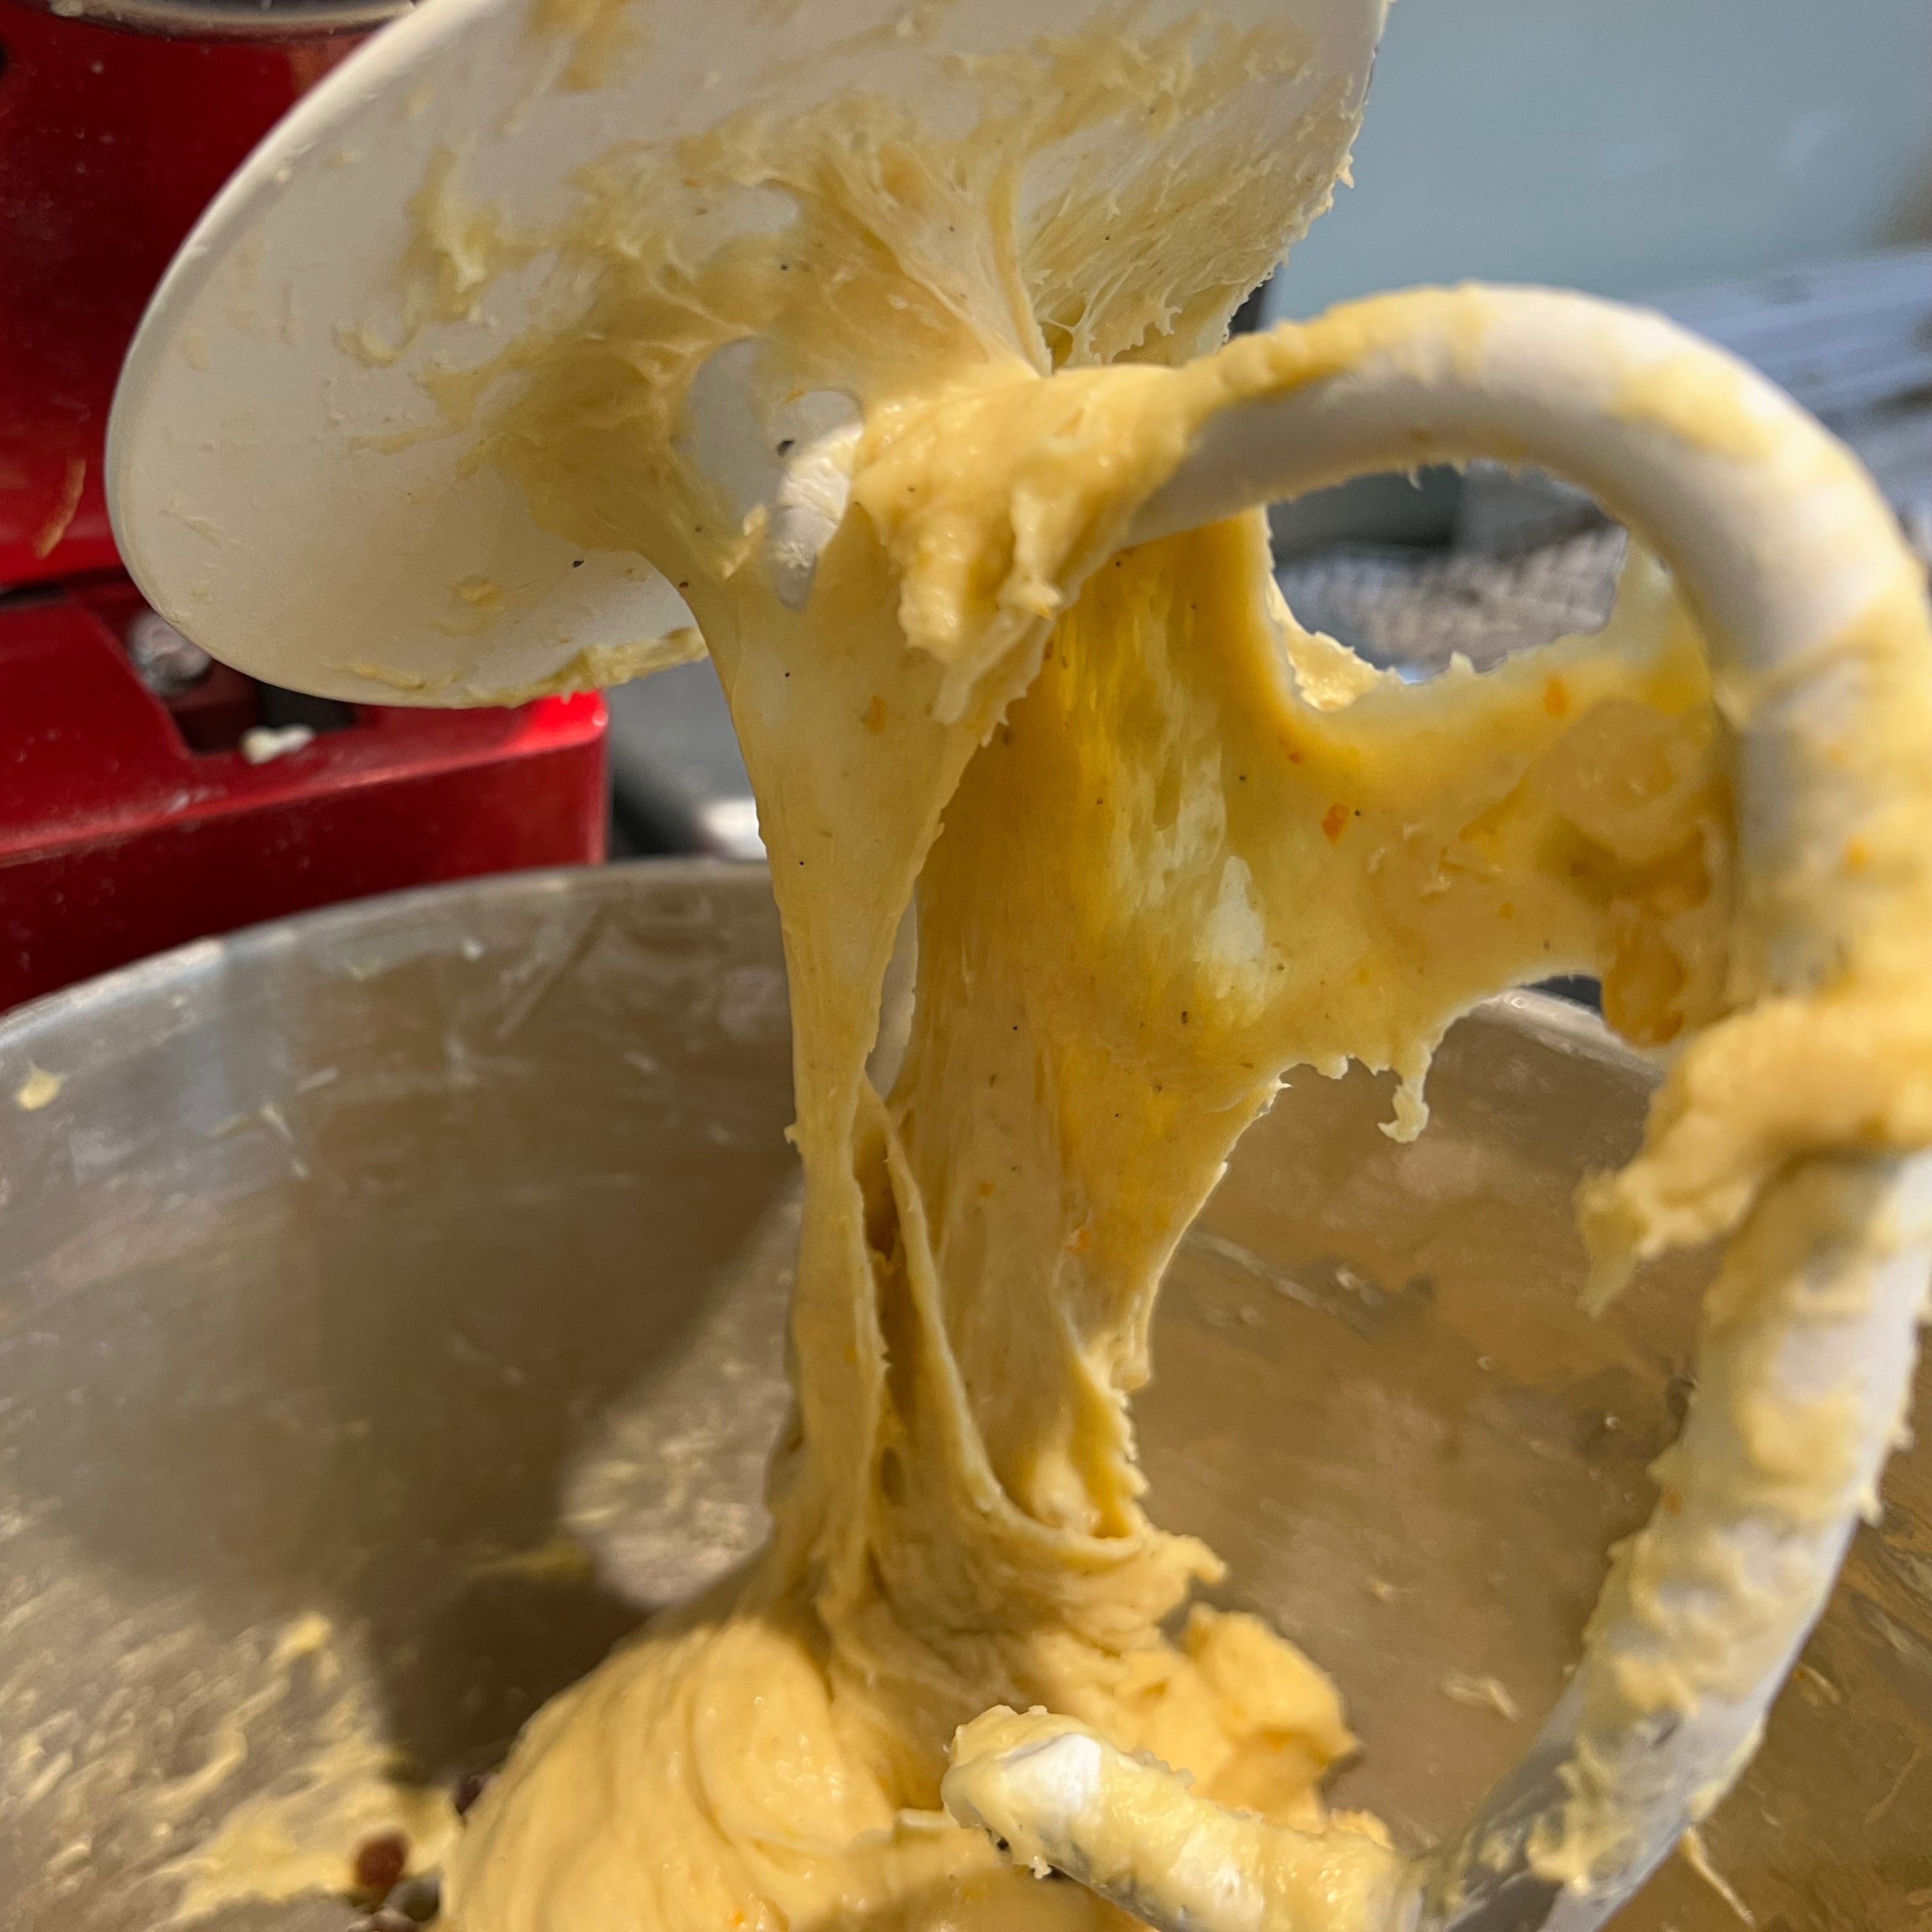
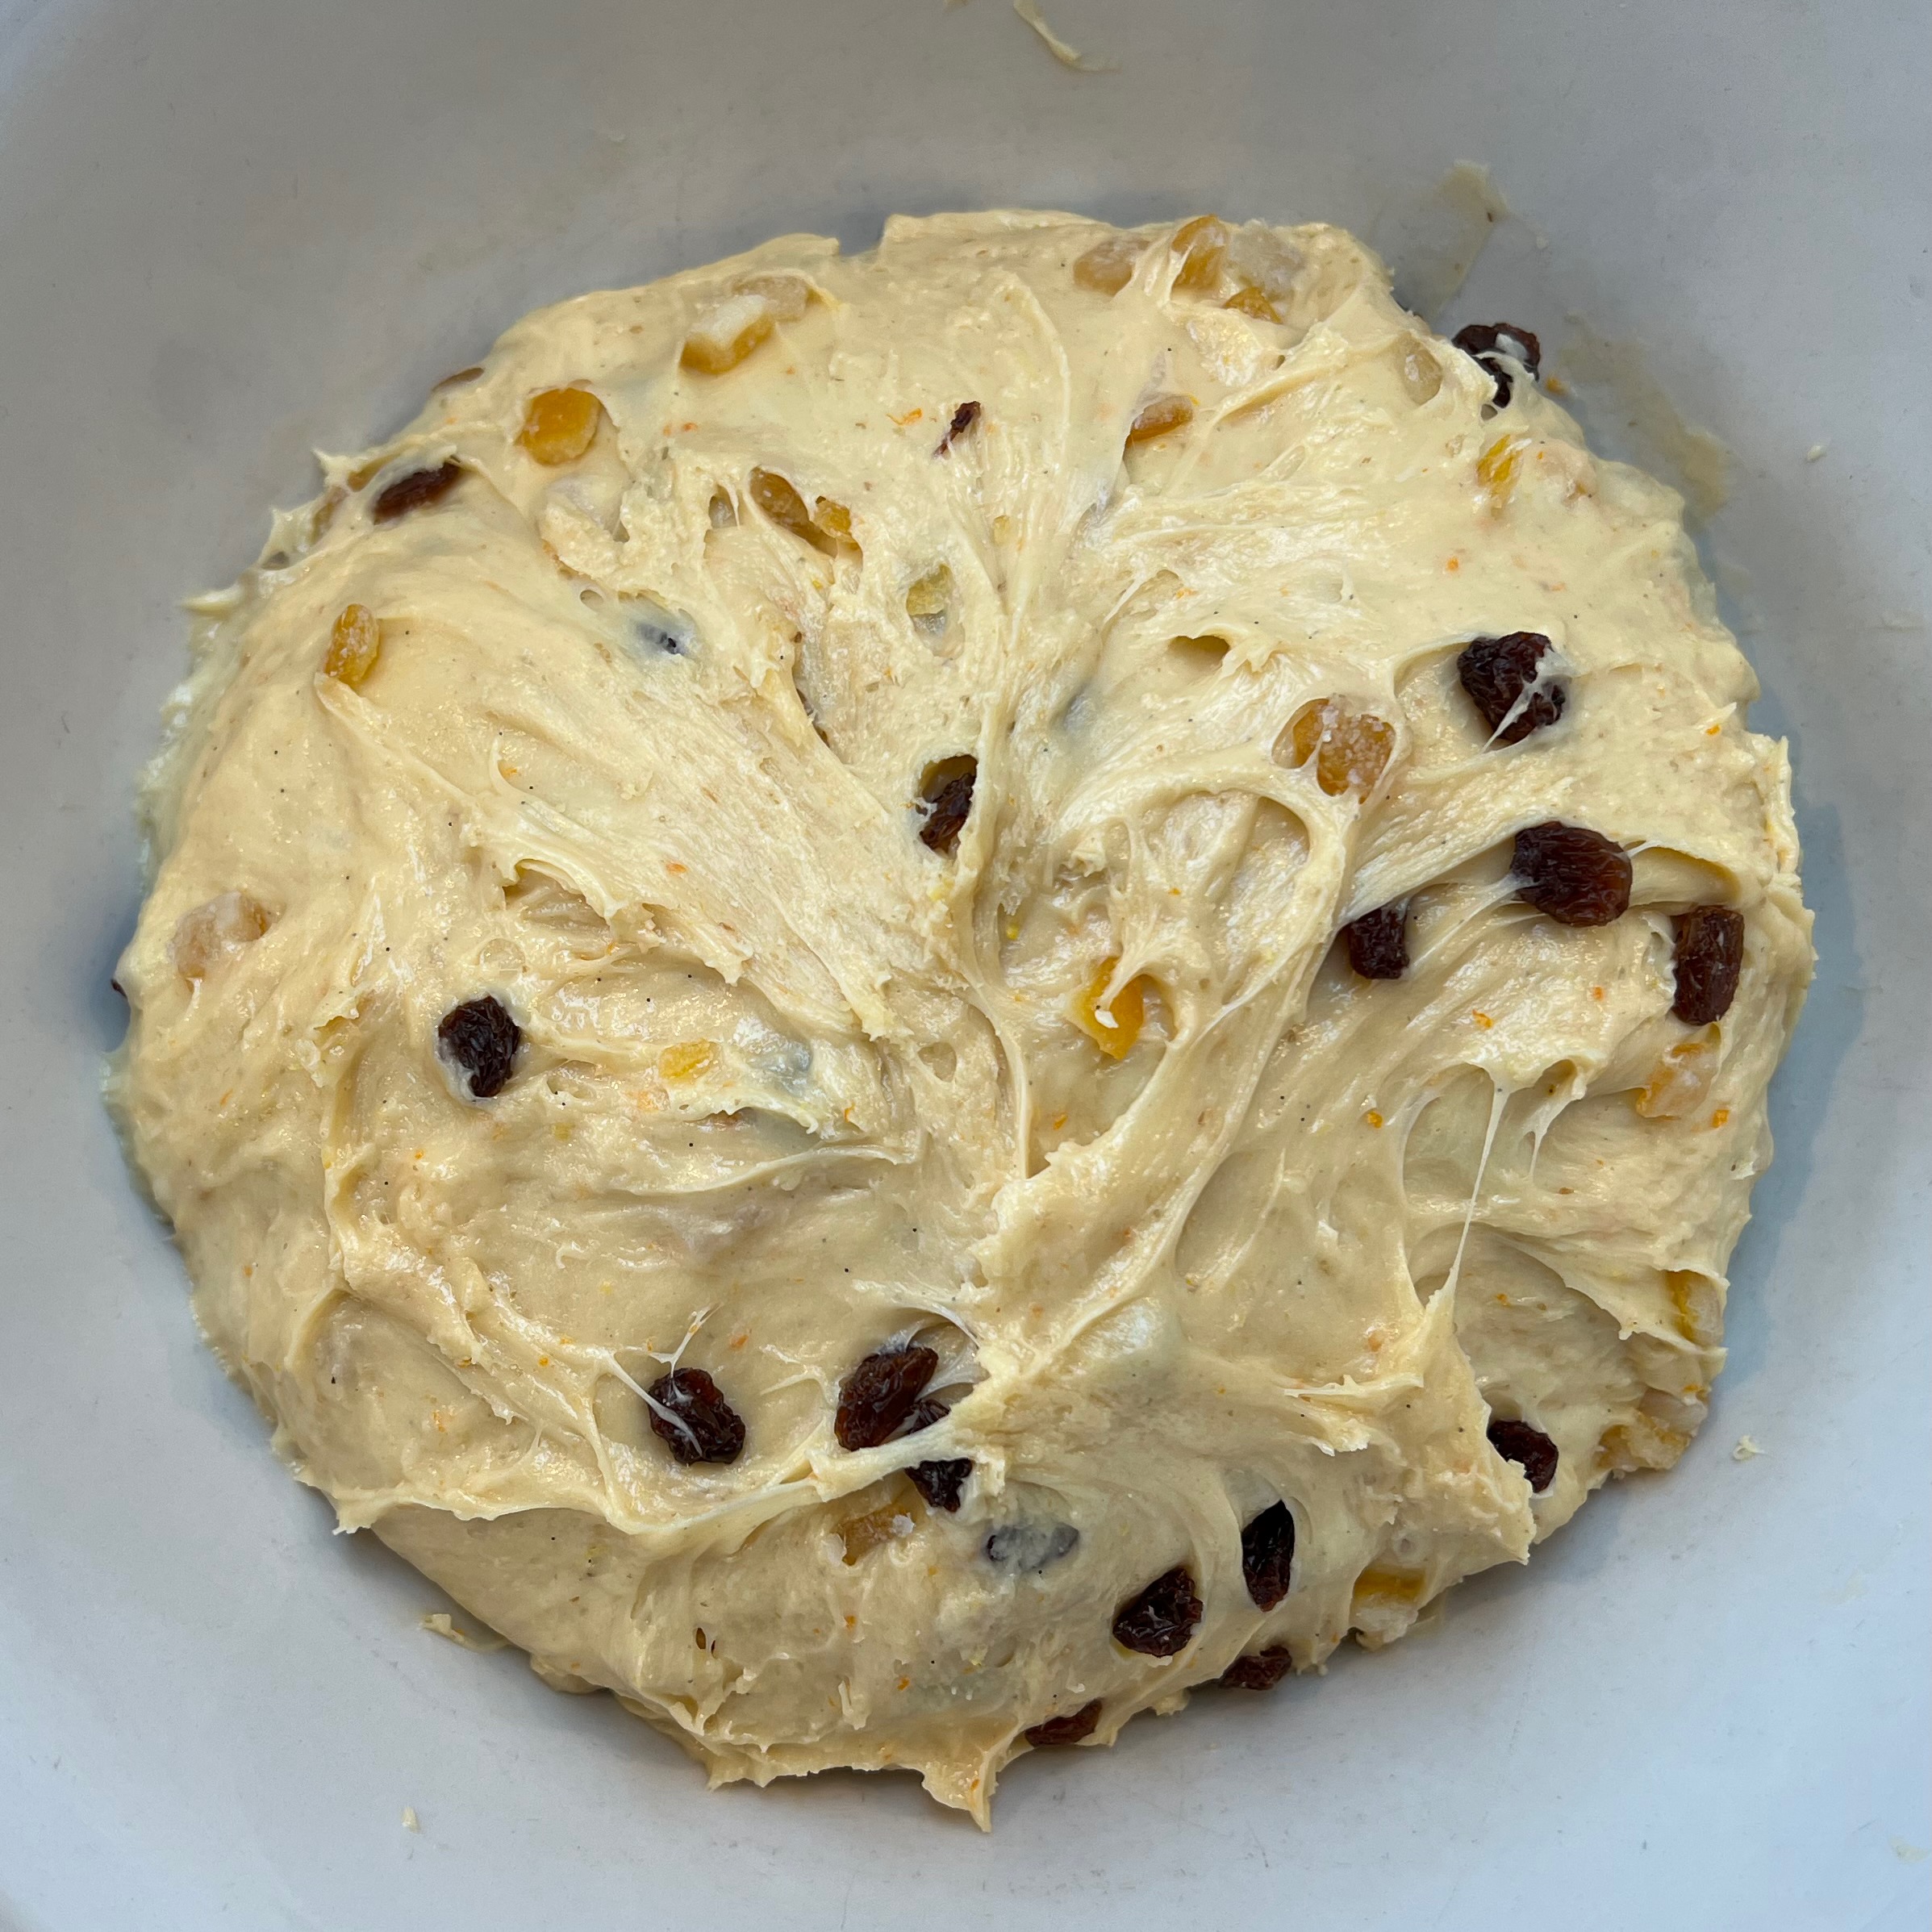
- Eventually, you should have a soft, silky dough whose gluten makes it stretch into thin sheets when pulled. Leave it to relax for ten minutes or so.
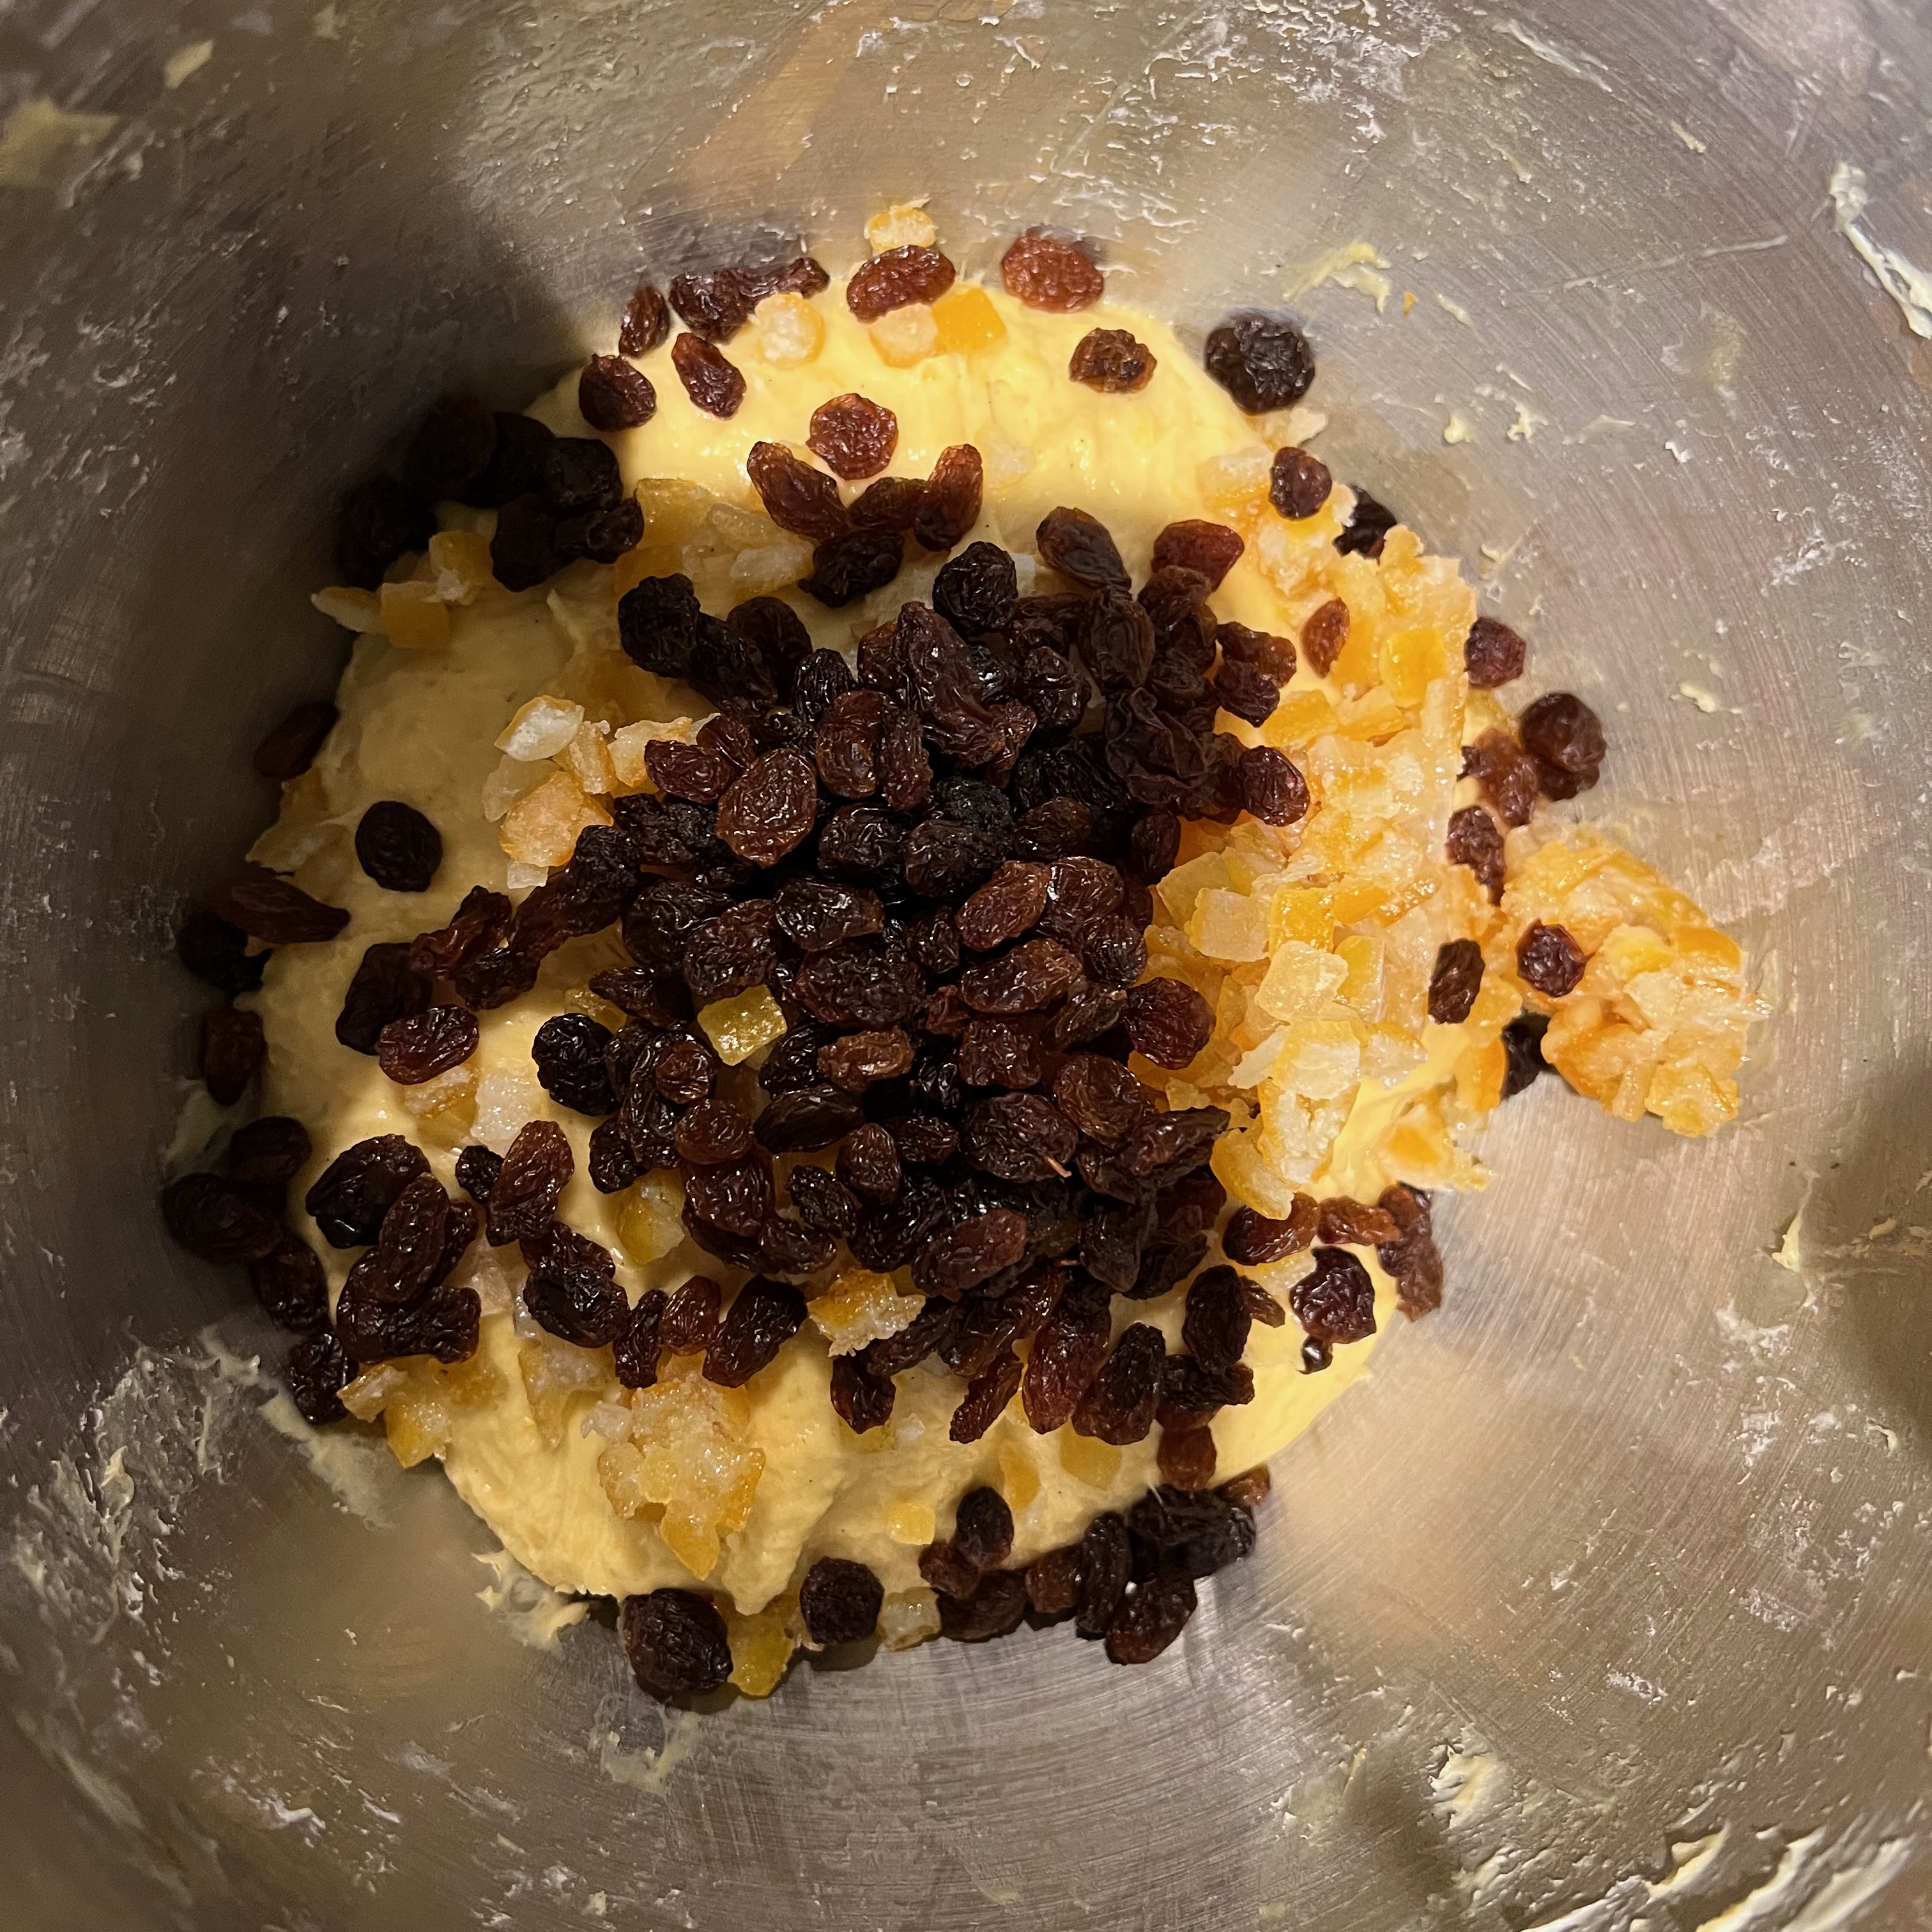
- Add the vanilla, the lemon and orange zest, the salt and the dried fruit, and carry on mixing until the fruit is nicely coated in dough – this is what will stop if from sinking to the bottom of your panettone during baking.
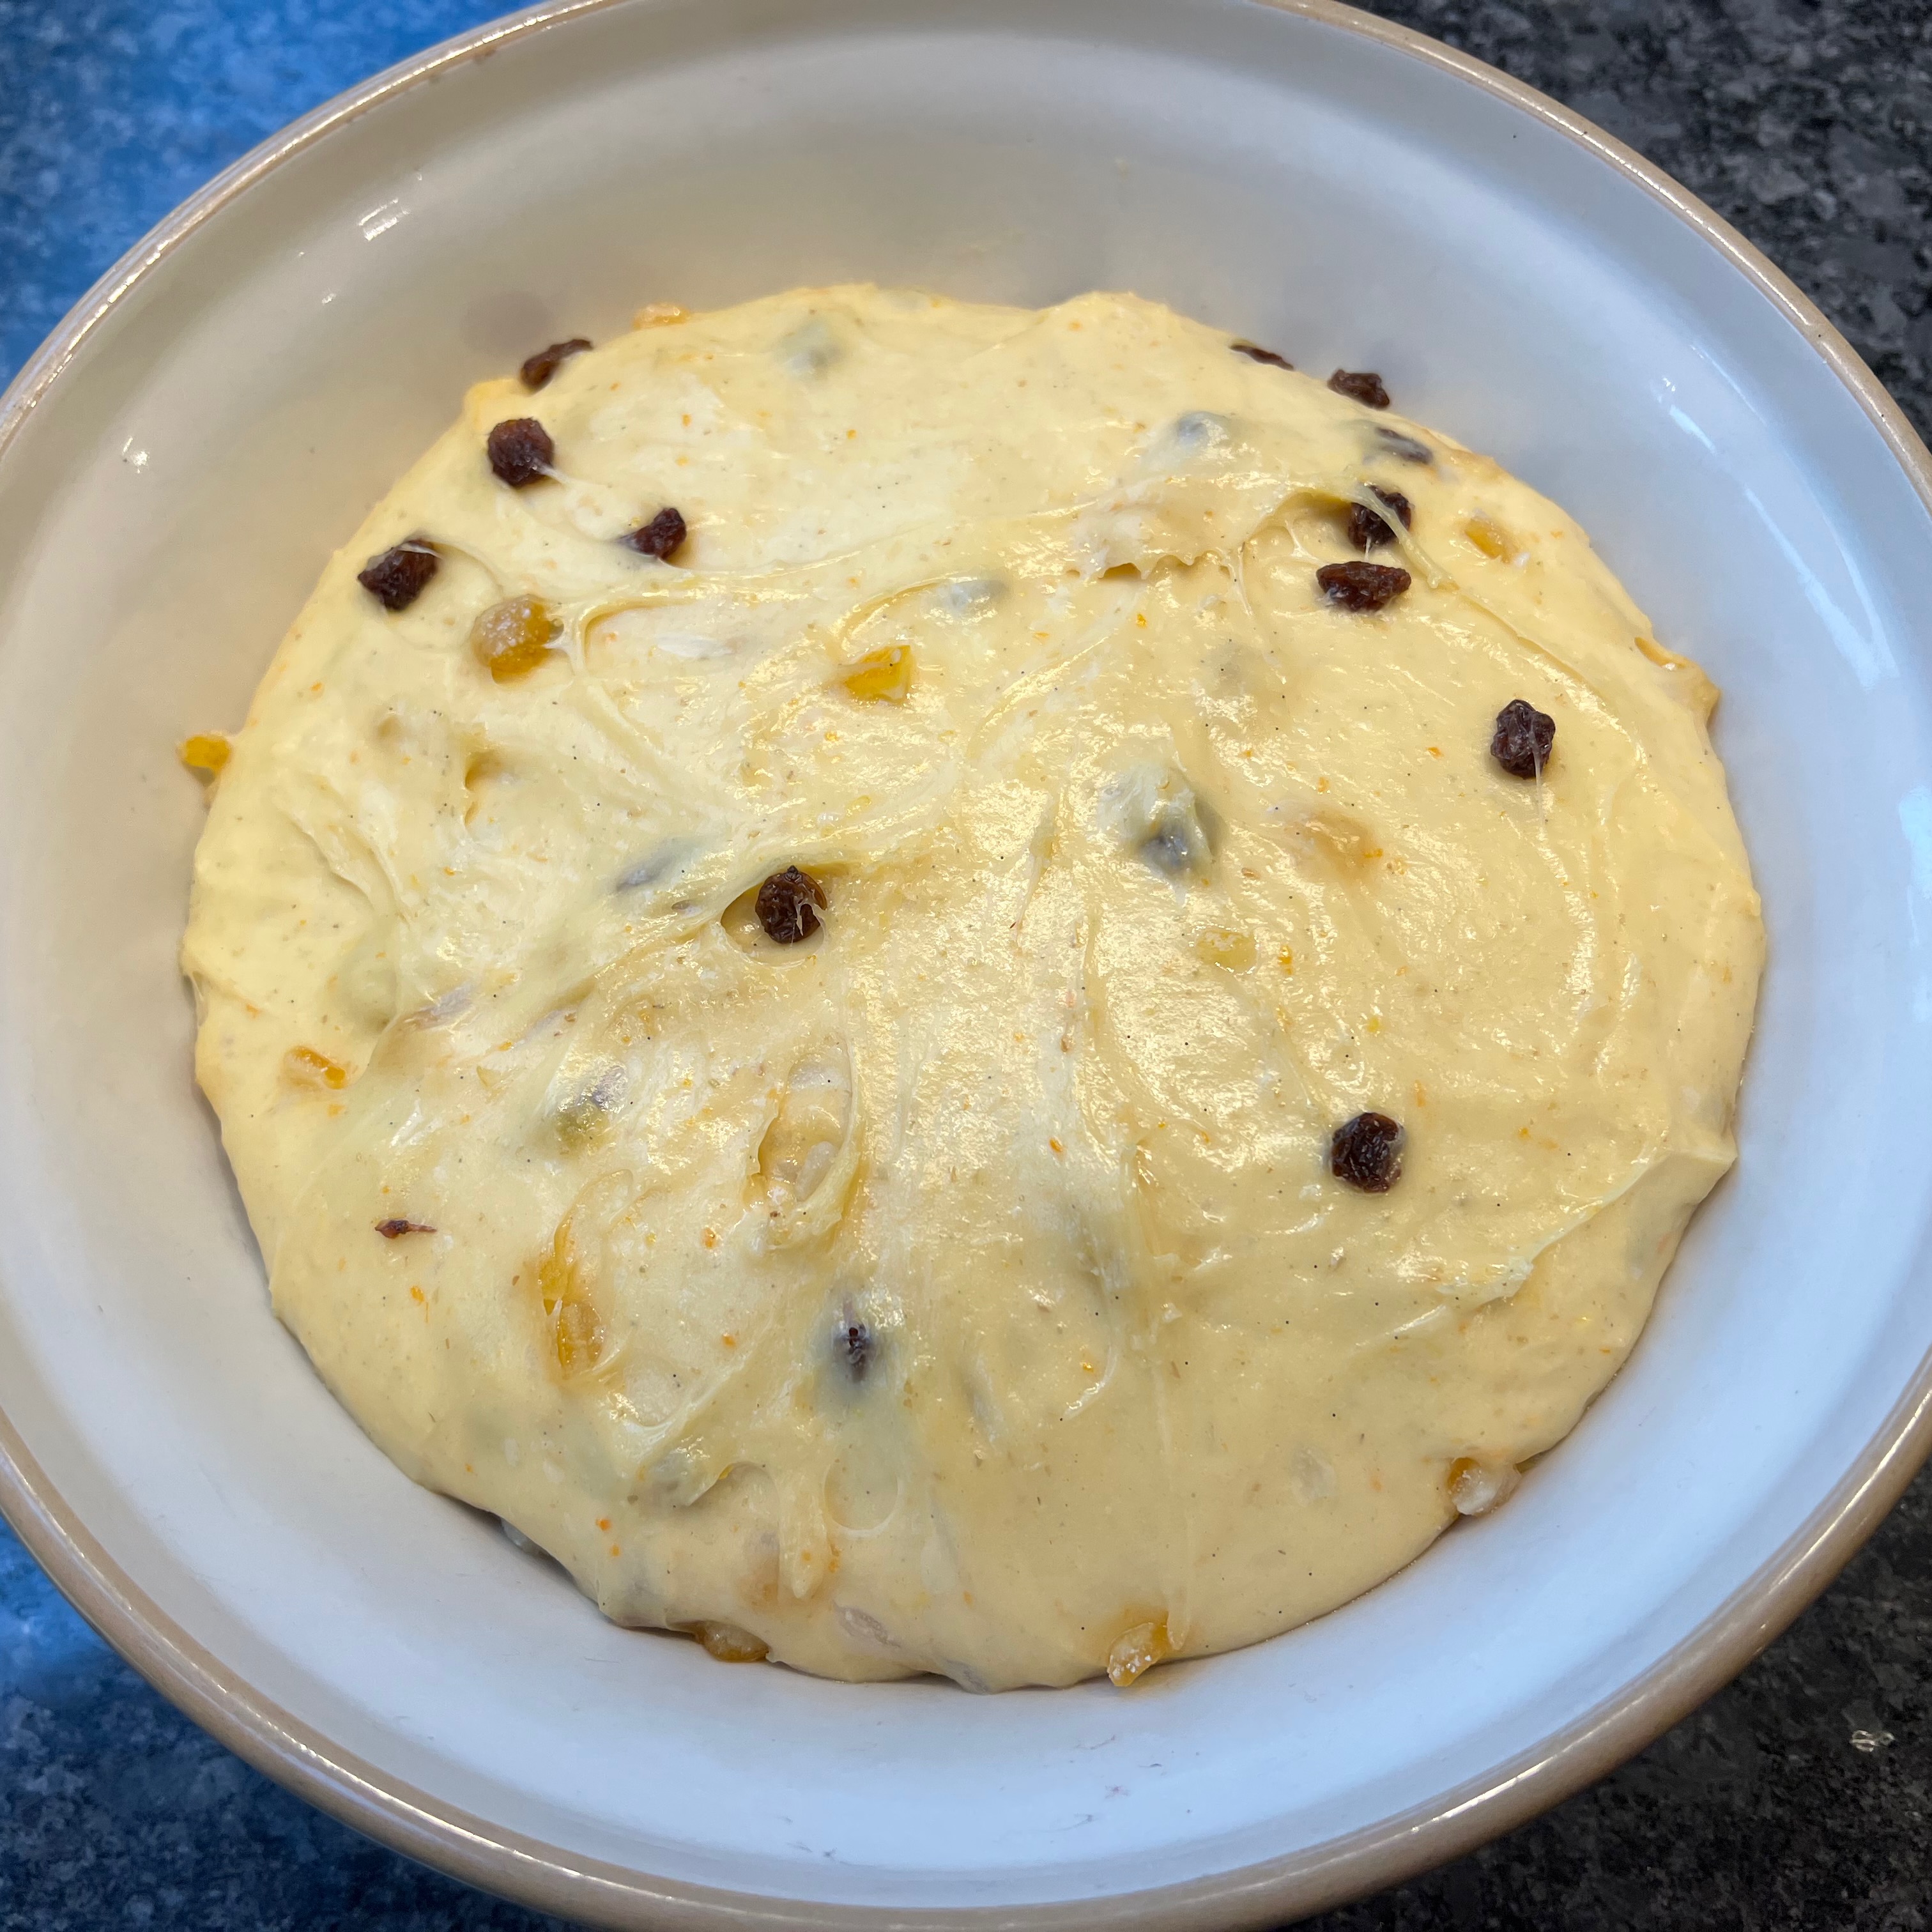
- Now leave to ferment until doubled or tripled in size – in my case, this took around three hours.
Day 2 mid-afternoon – stretch and fold
- 1 panettone mould (or other cylindrical tin)
- Oil spray
- Spray a non-absorbent work surface with oil; also spray your hands, your scraper and the surface of your dough.
- Transfer the dough to the work surface.
- Stretch the dough as far as you dare, then fold it over onto itself, trapping some air. Repeat a few times, respraying with oil as needed.
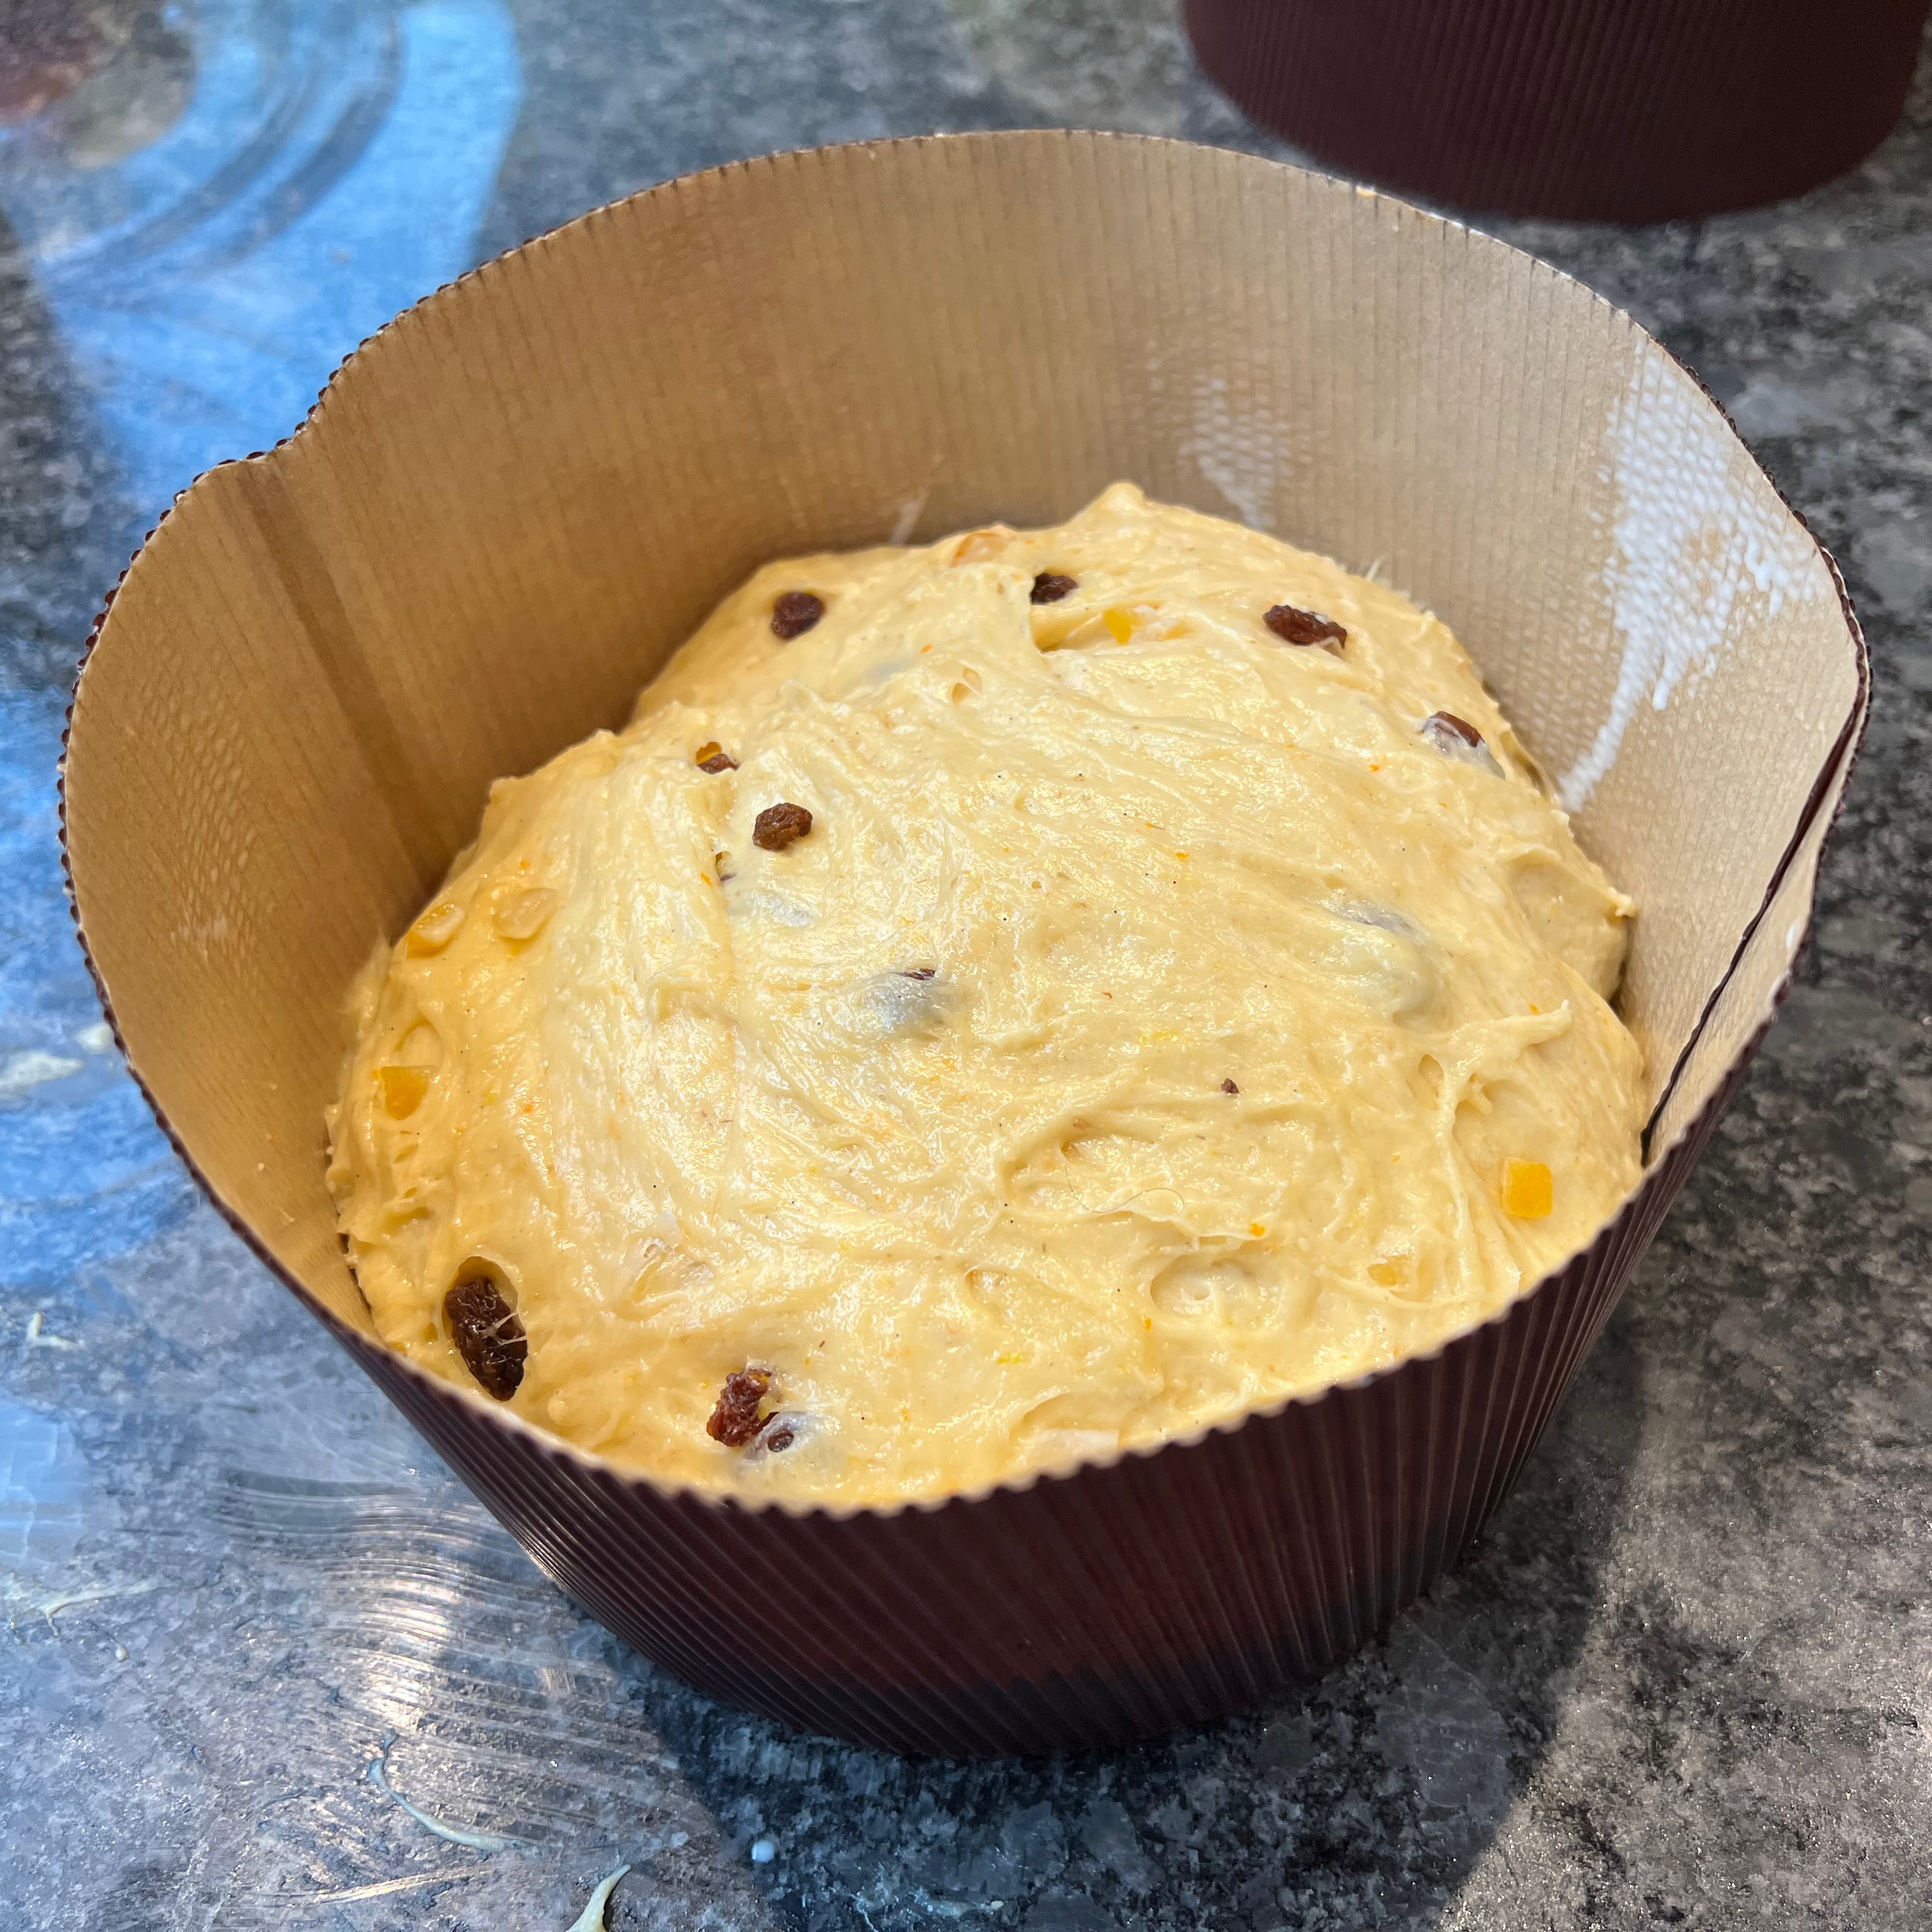
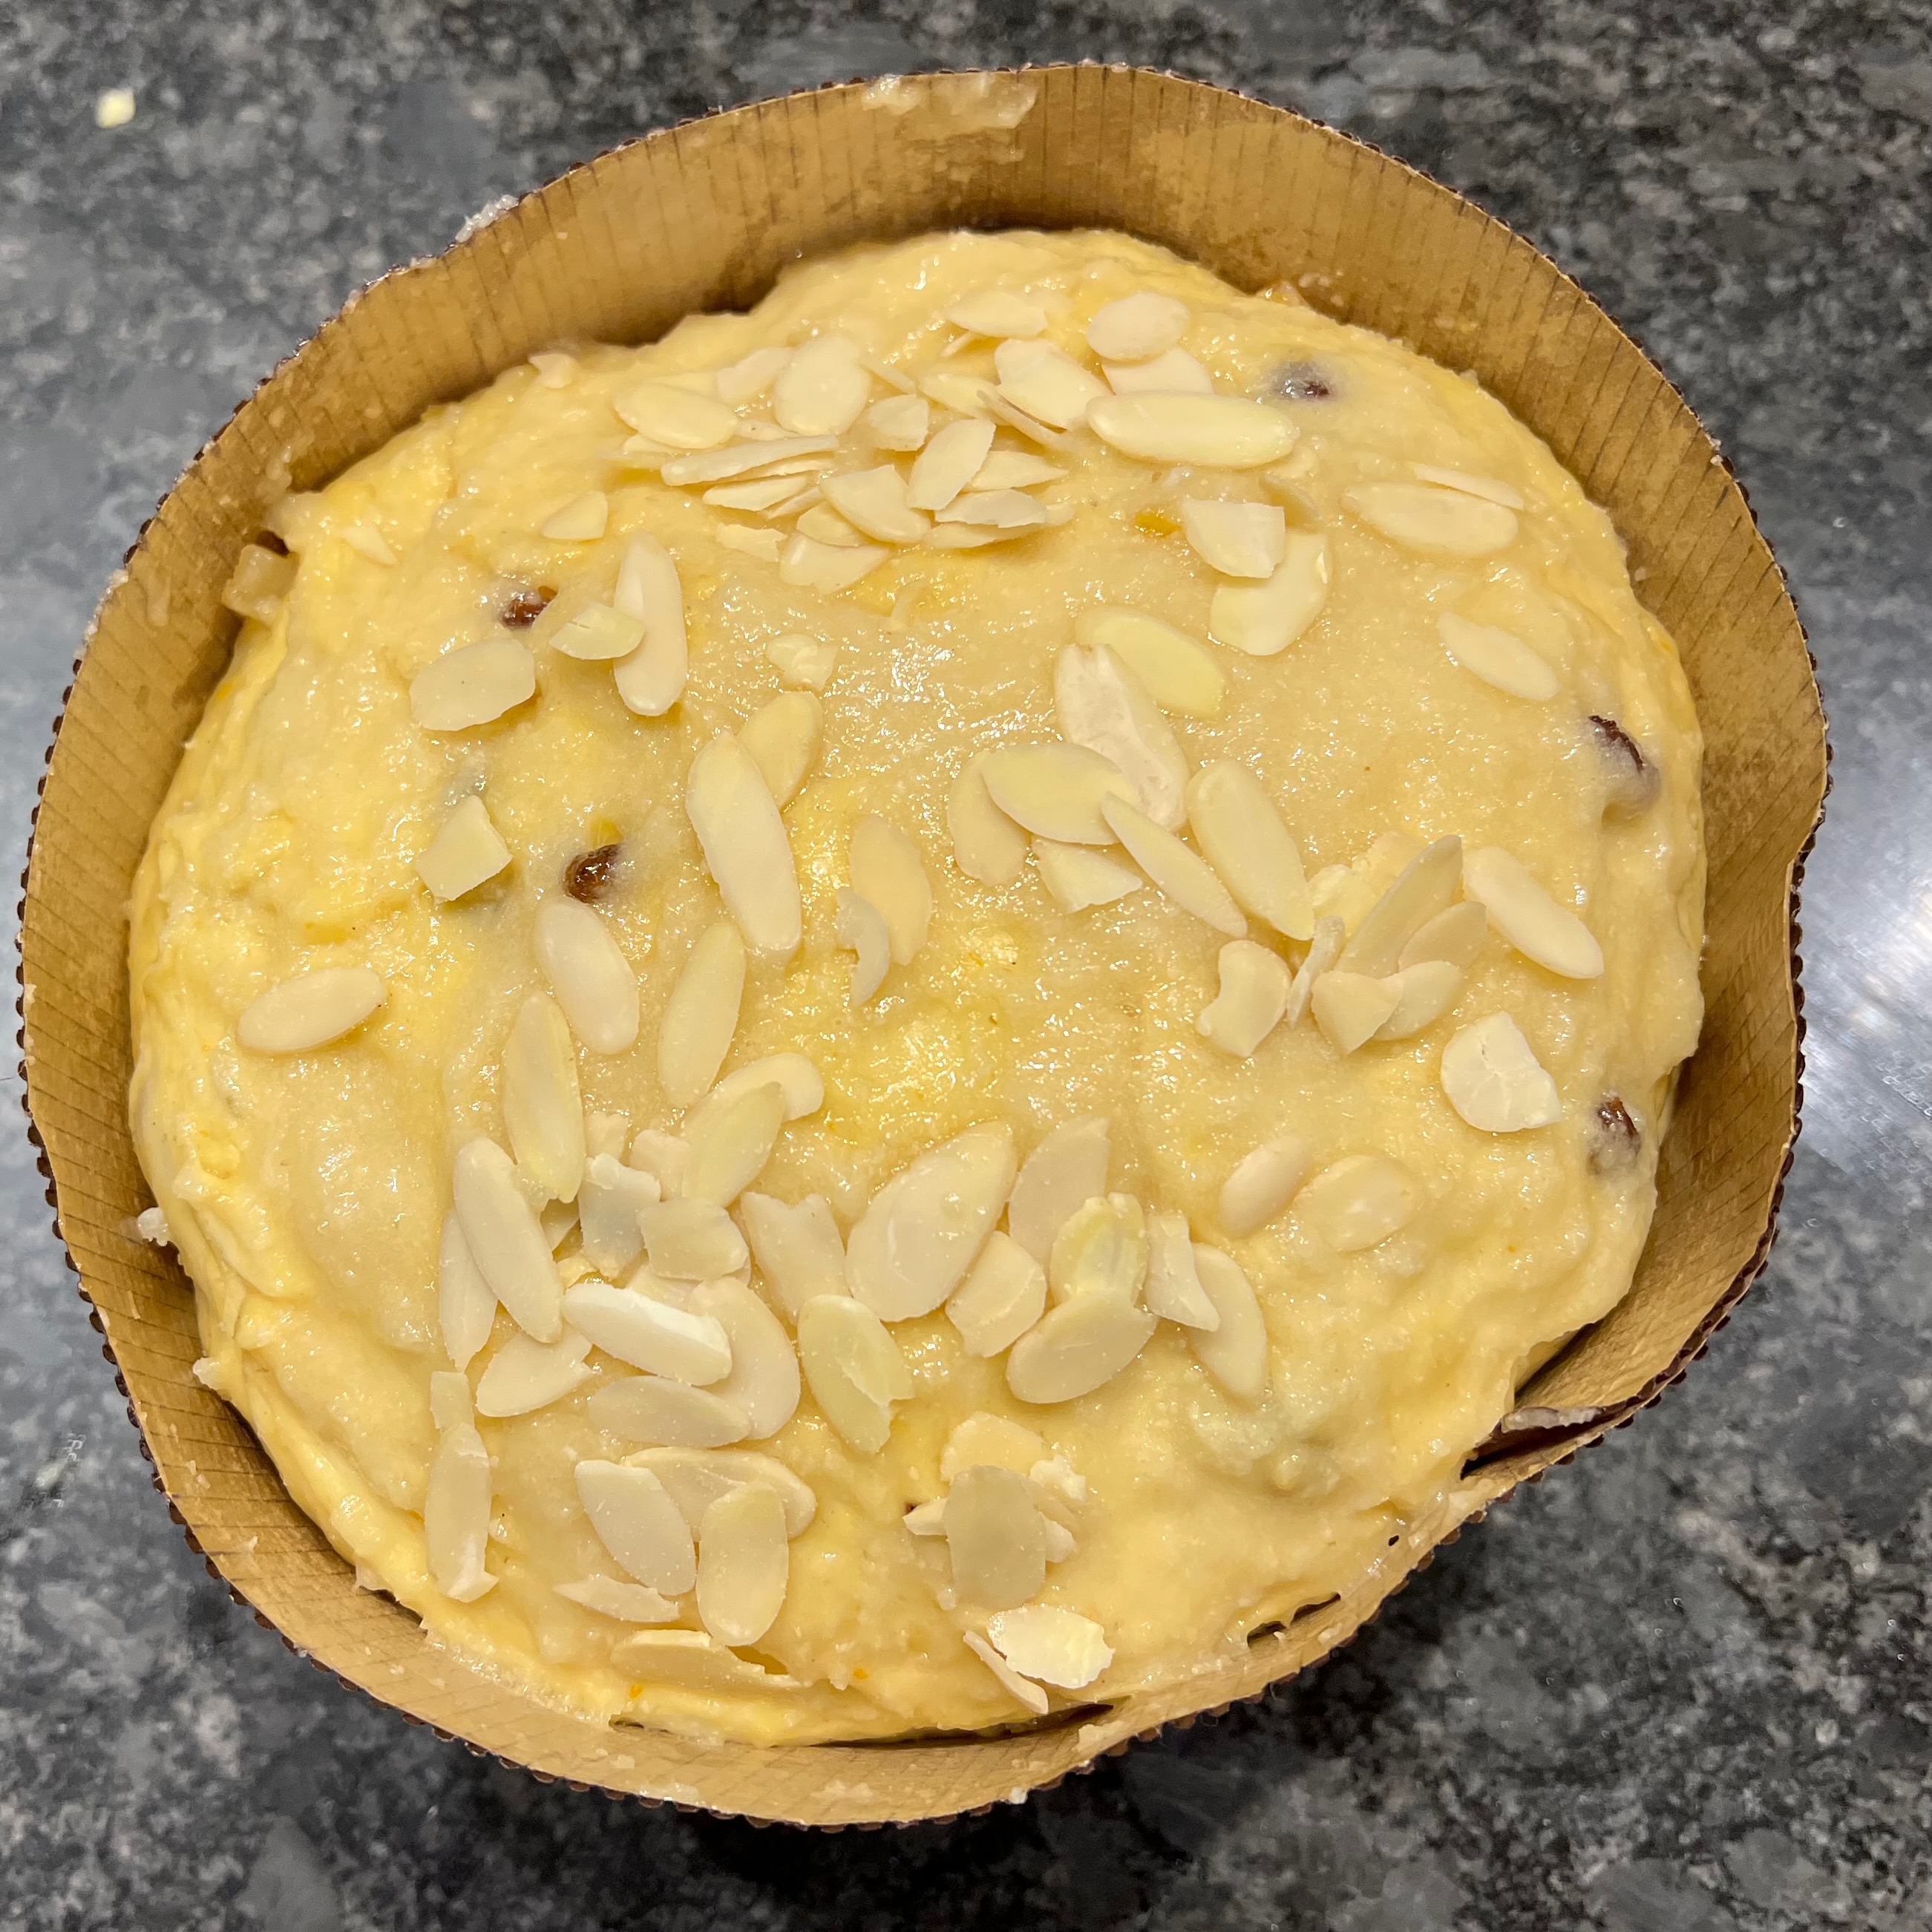
- Transfer the dough to your mould. It should reach half to 2/3 of the way up.
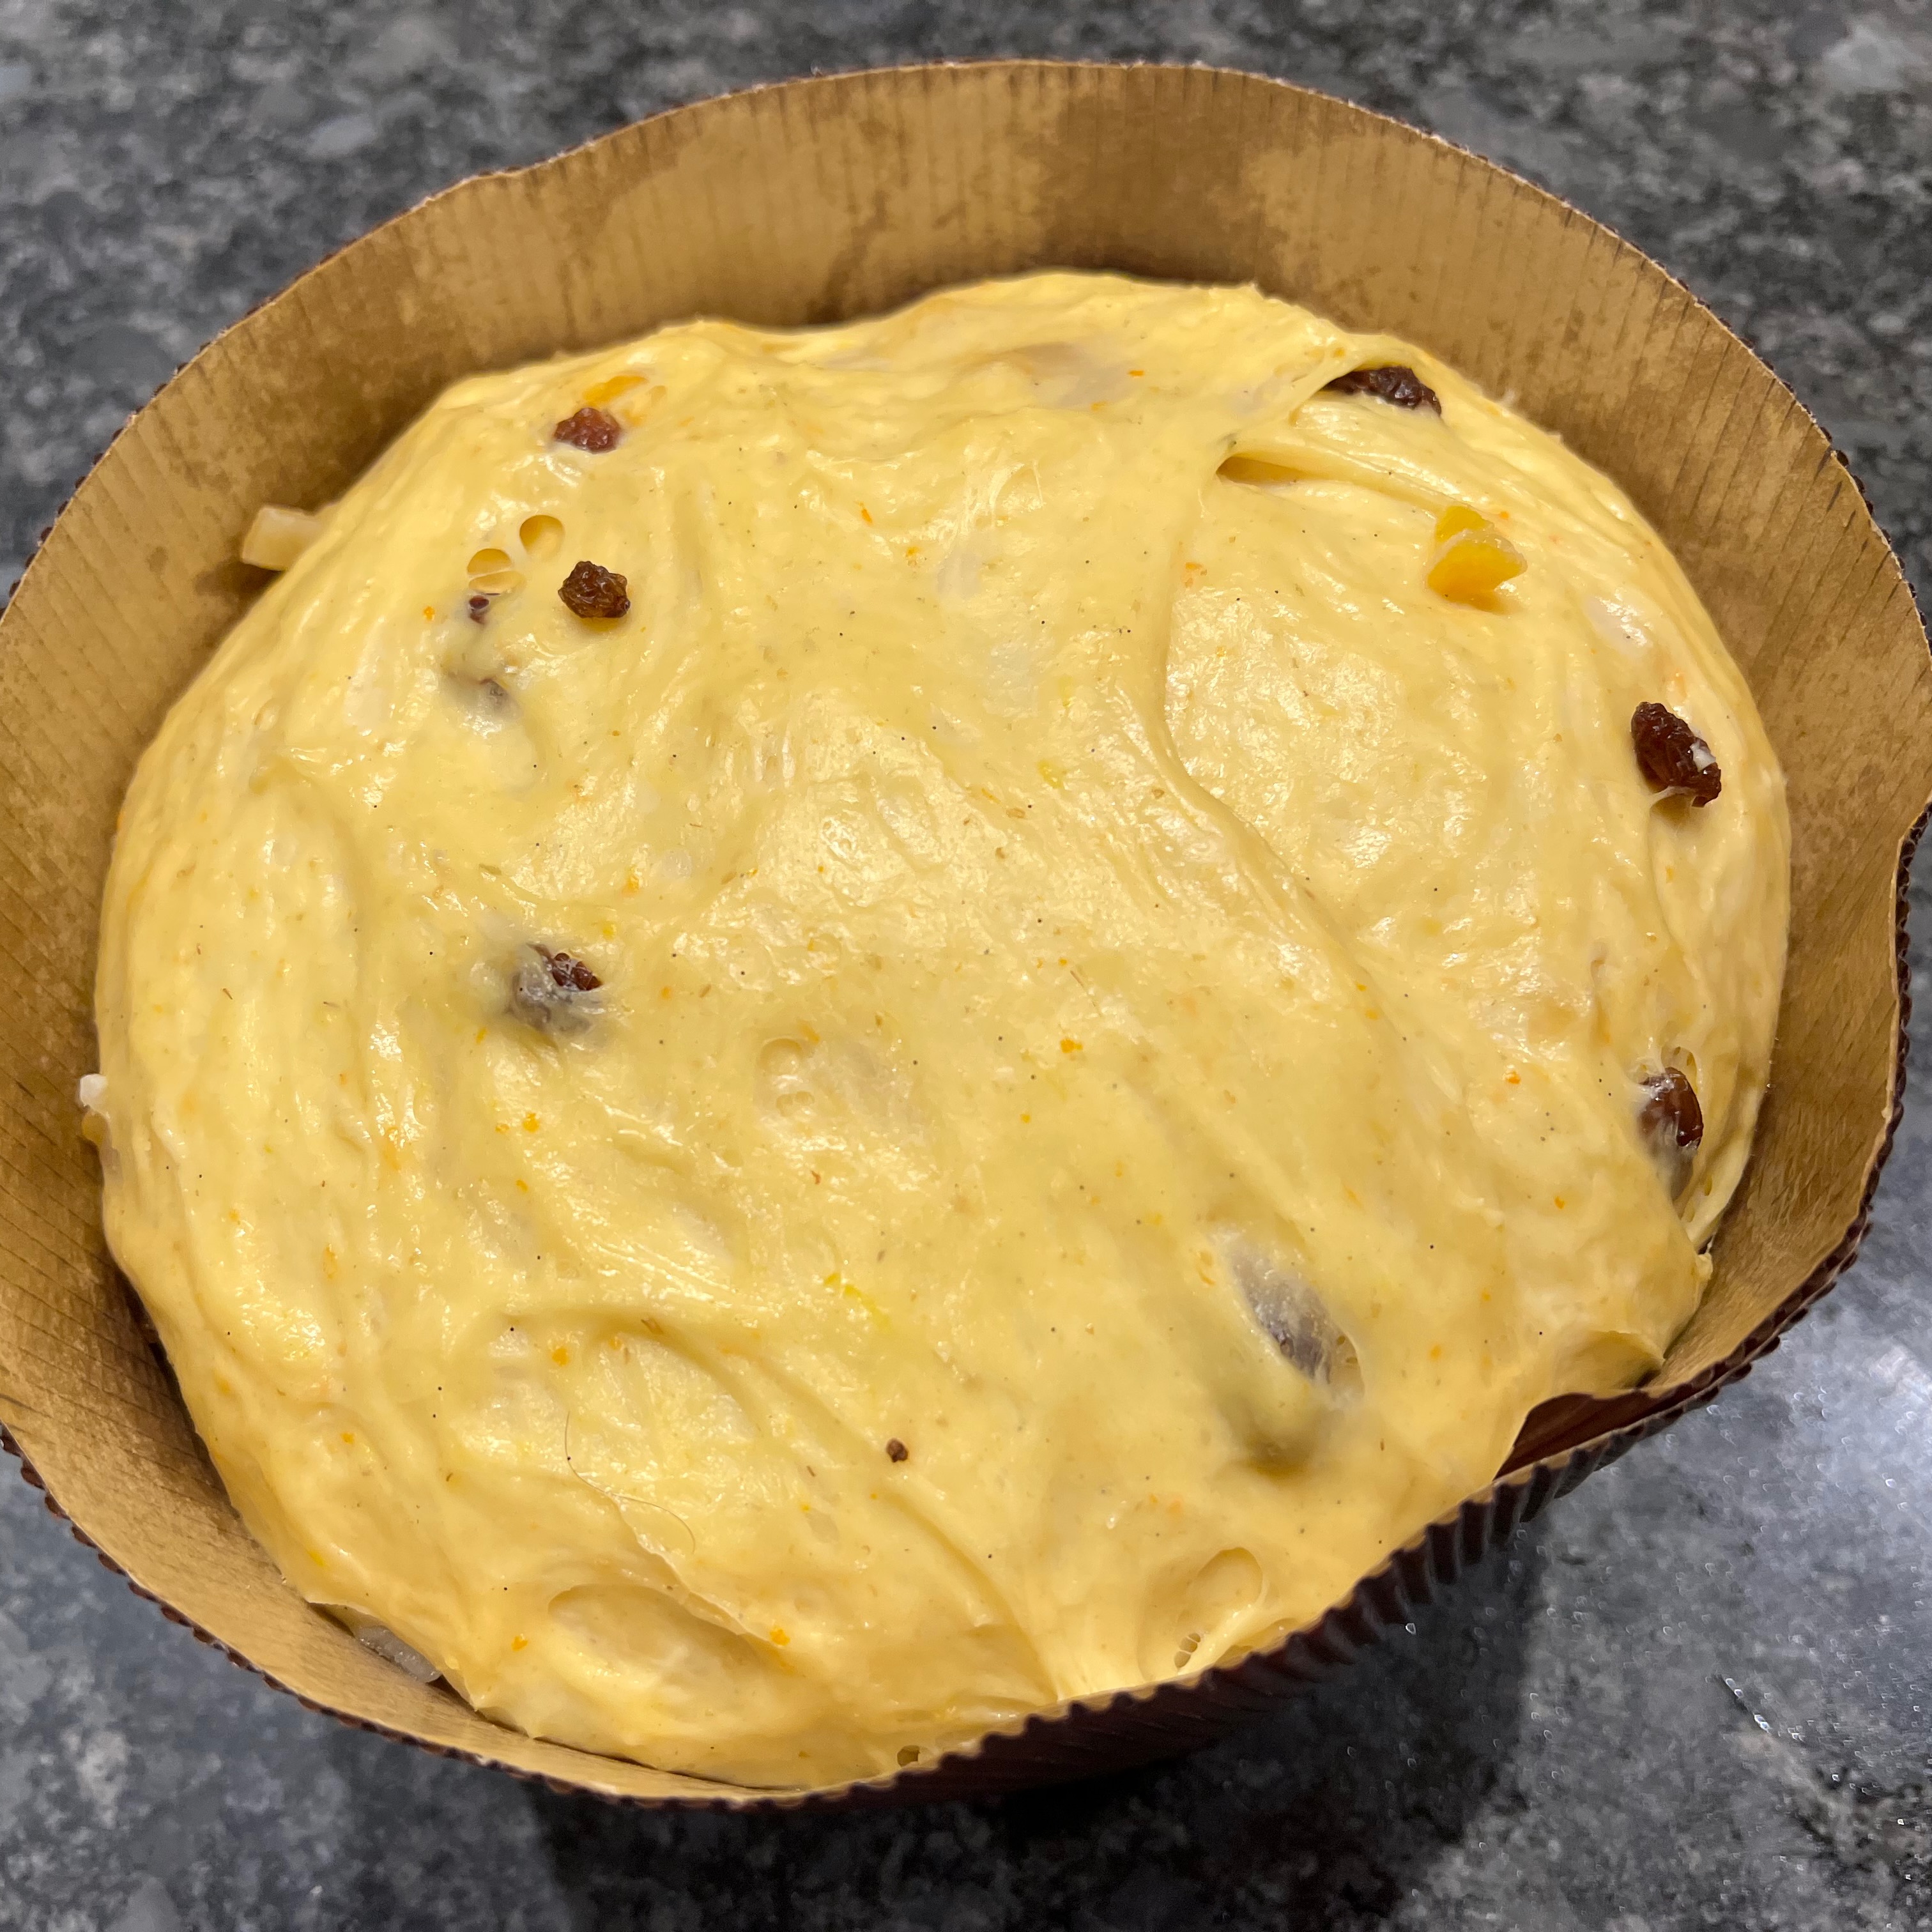
- Leave to rise. You’re hoping for the dough to reach close to the top of the mould, which will probably take at least an hour, maybe two. At some point during this, start heating your oven to 180℃ fan.
Day 2 early evening: glaze and bake
- 20g egg white
- 20g icing sugar
- 20g ground almonds
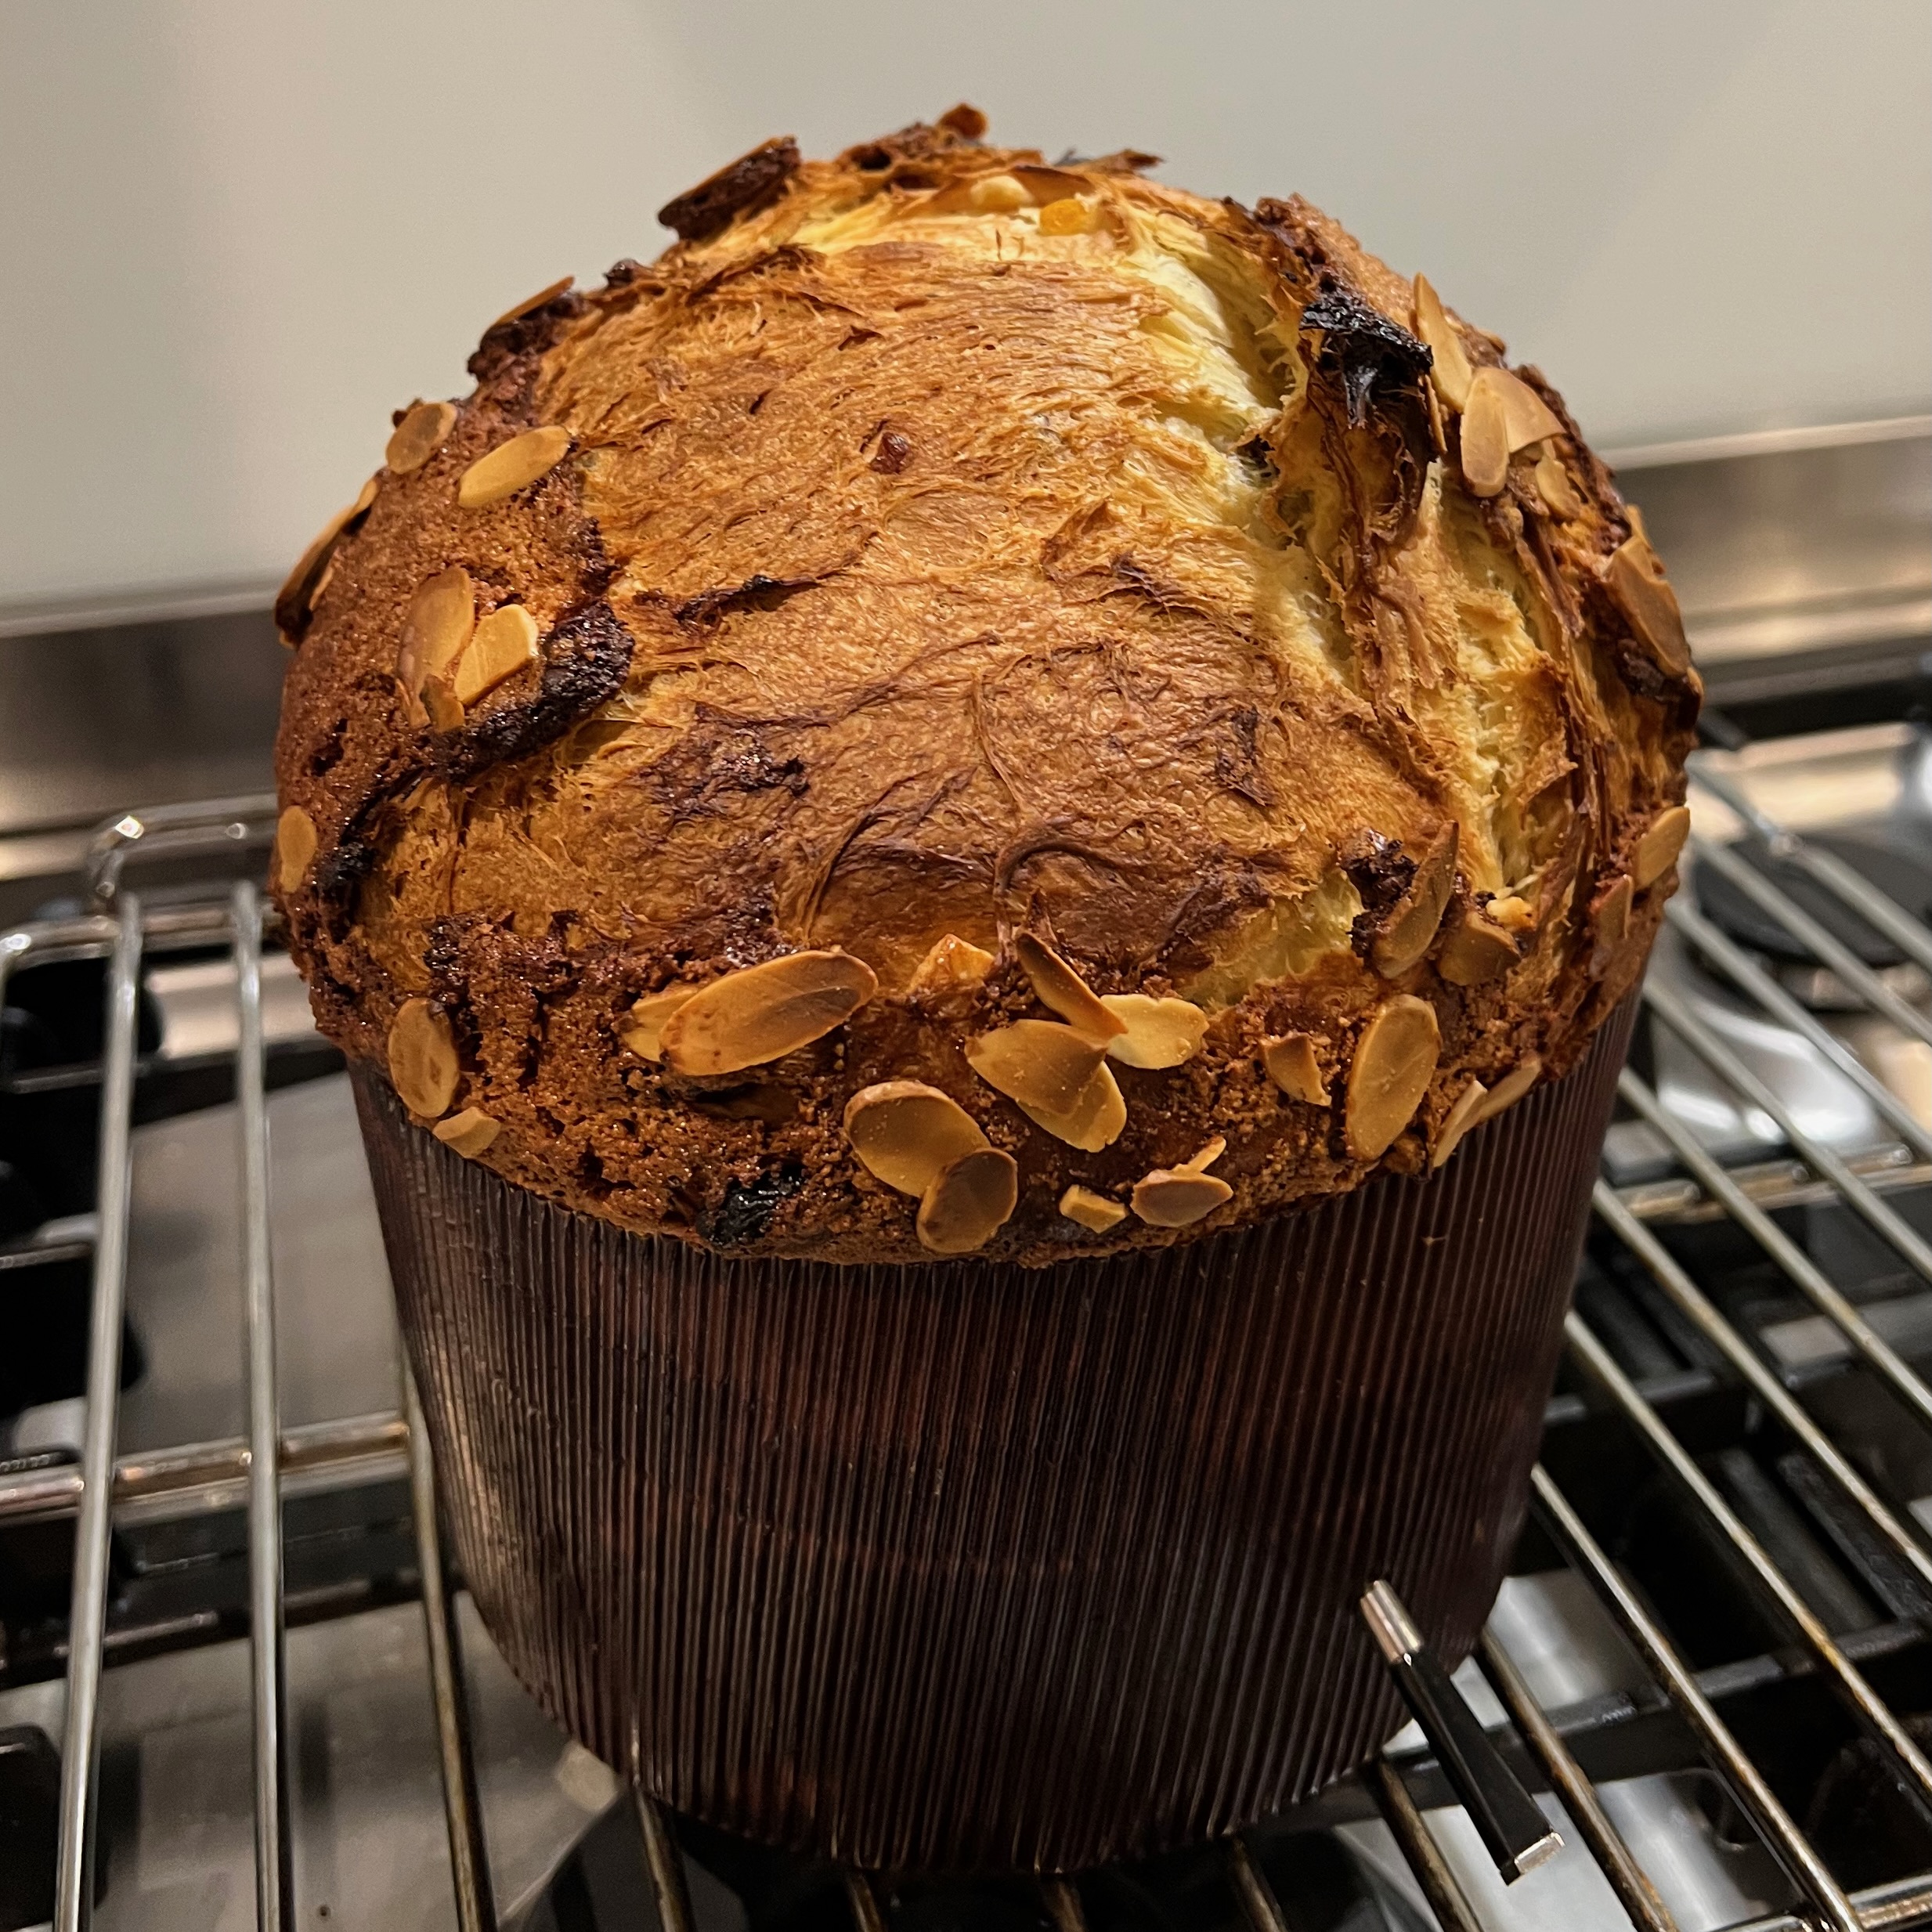
- 20g flaked almonds for topping – I’ve never liked the traditional topping of “pearl sugar” which is often found on a shop-bought panettone, so I’ve just used the almonds. But you choose.
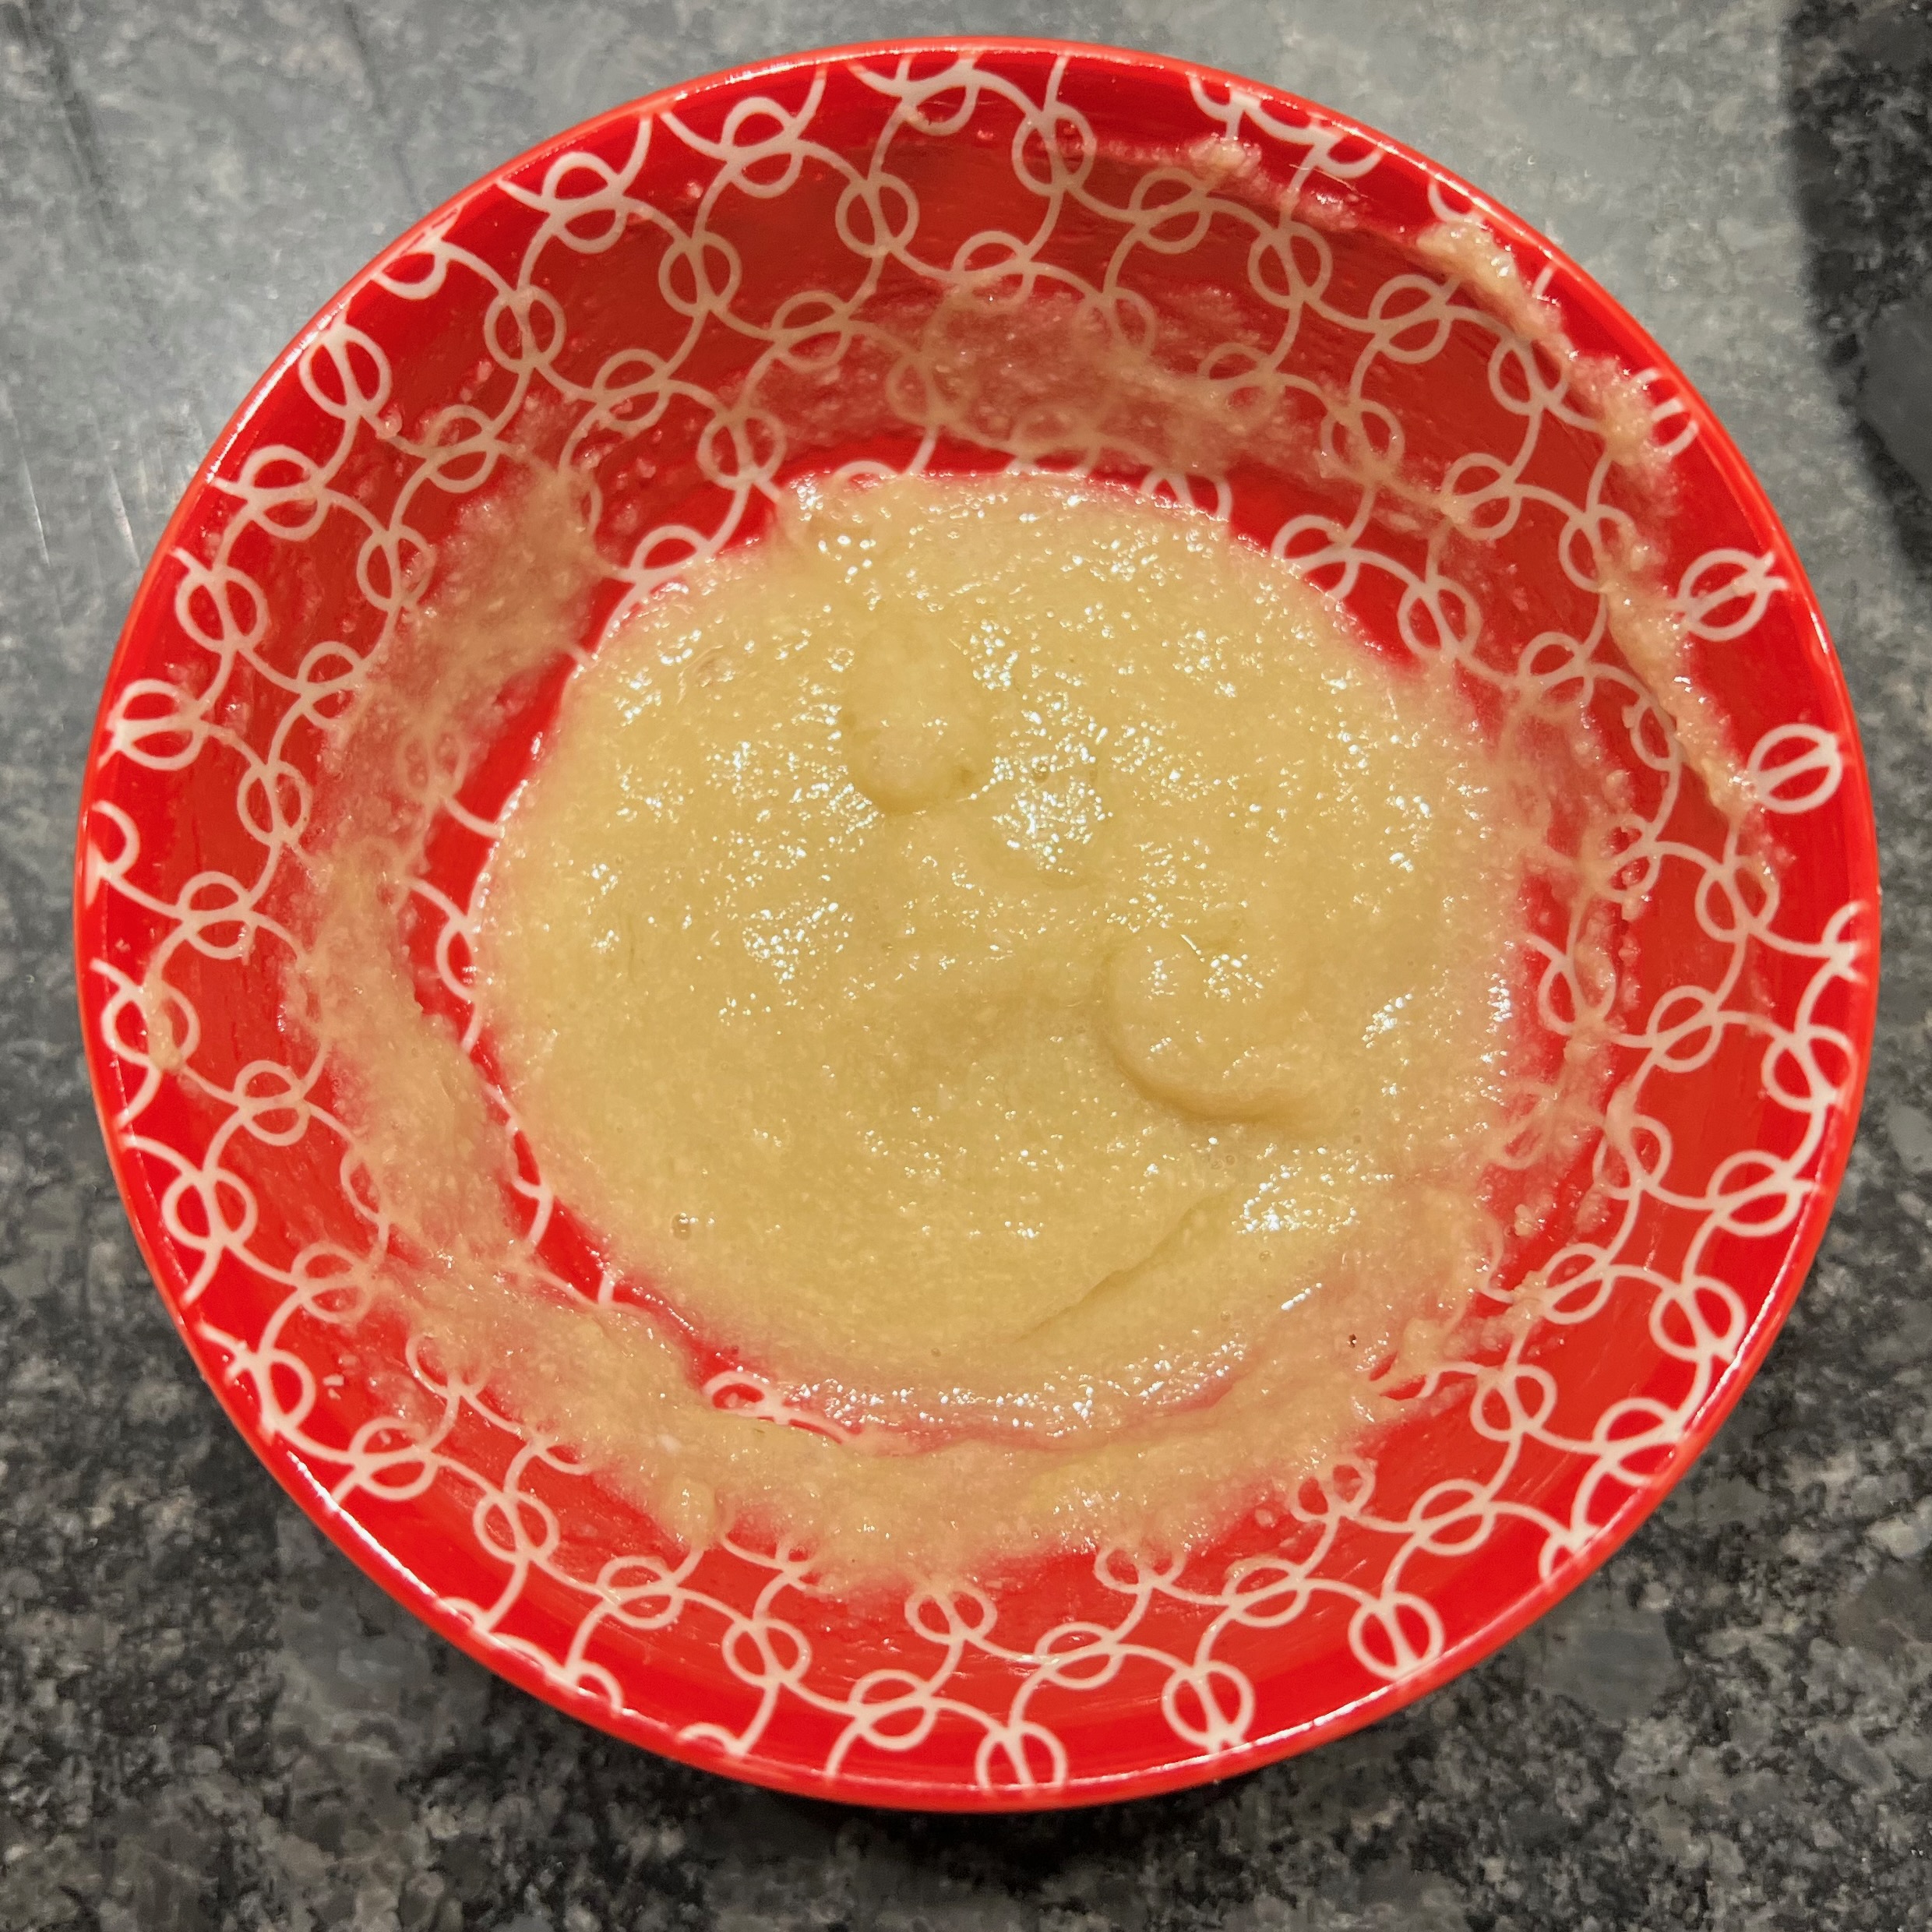
- In a small bowl, thoroughly mix the egg white, icing sugar and ground almonds to form a fairly thick, sticky glaze (add egg white if it’s too thick).
- Preferably with a silicone brush, paint the mixture carefully over the top of the panettone. Since the dough is very light an puffy at this point, you need to treat it gently: you really don’t want to be tearing holes in the surface right now.
- Scatter the ground almonds over the glazed panettone. You can press them in a tiny amount, but again, don’t risk tearing the surface.
- If you have an oven-proof temperature probe, insert it into the middle of the loaf and bake until the internal temperature reaches 94℃. I use one called a “Meater”, which is intended for meat cookery but works well for this.
- If you don’t have a temperature probe, you’ll have to guess: bake for around 40 minutes and then poke a skewer in through the side to look for signs of dough that’s still wet. Mine took just short of 50 minutes total, in an oven that was supposedly set to 175℃ but was actually running at 180.
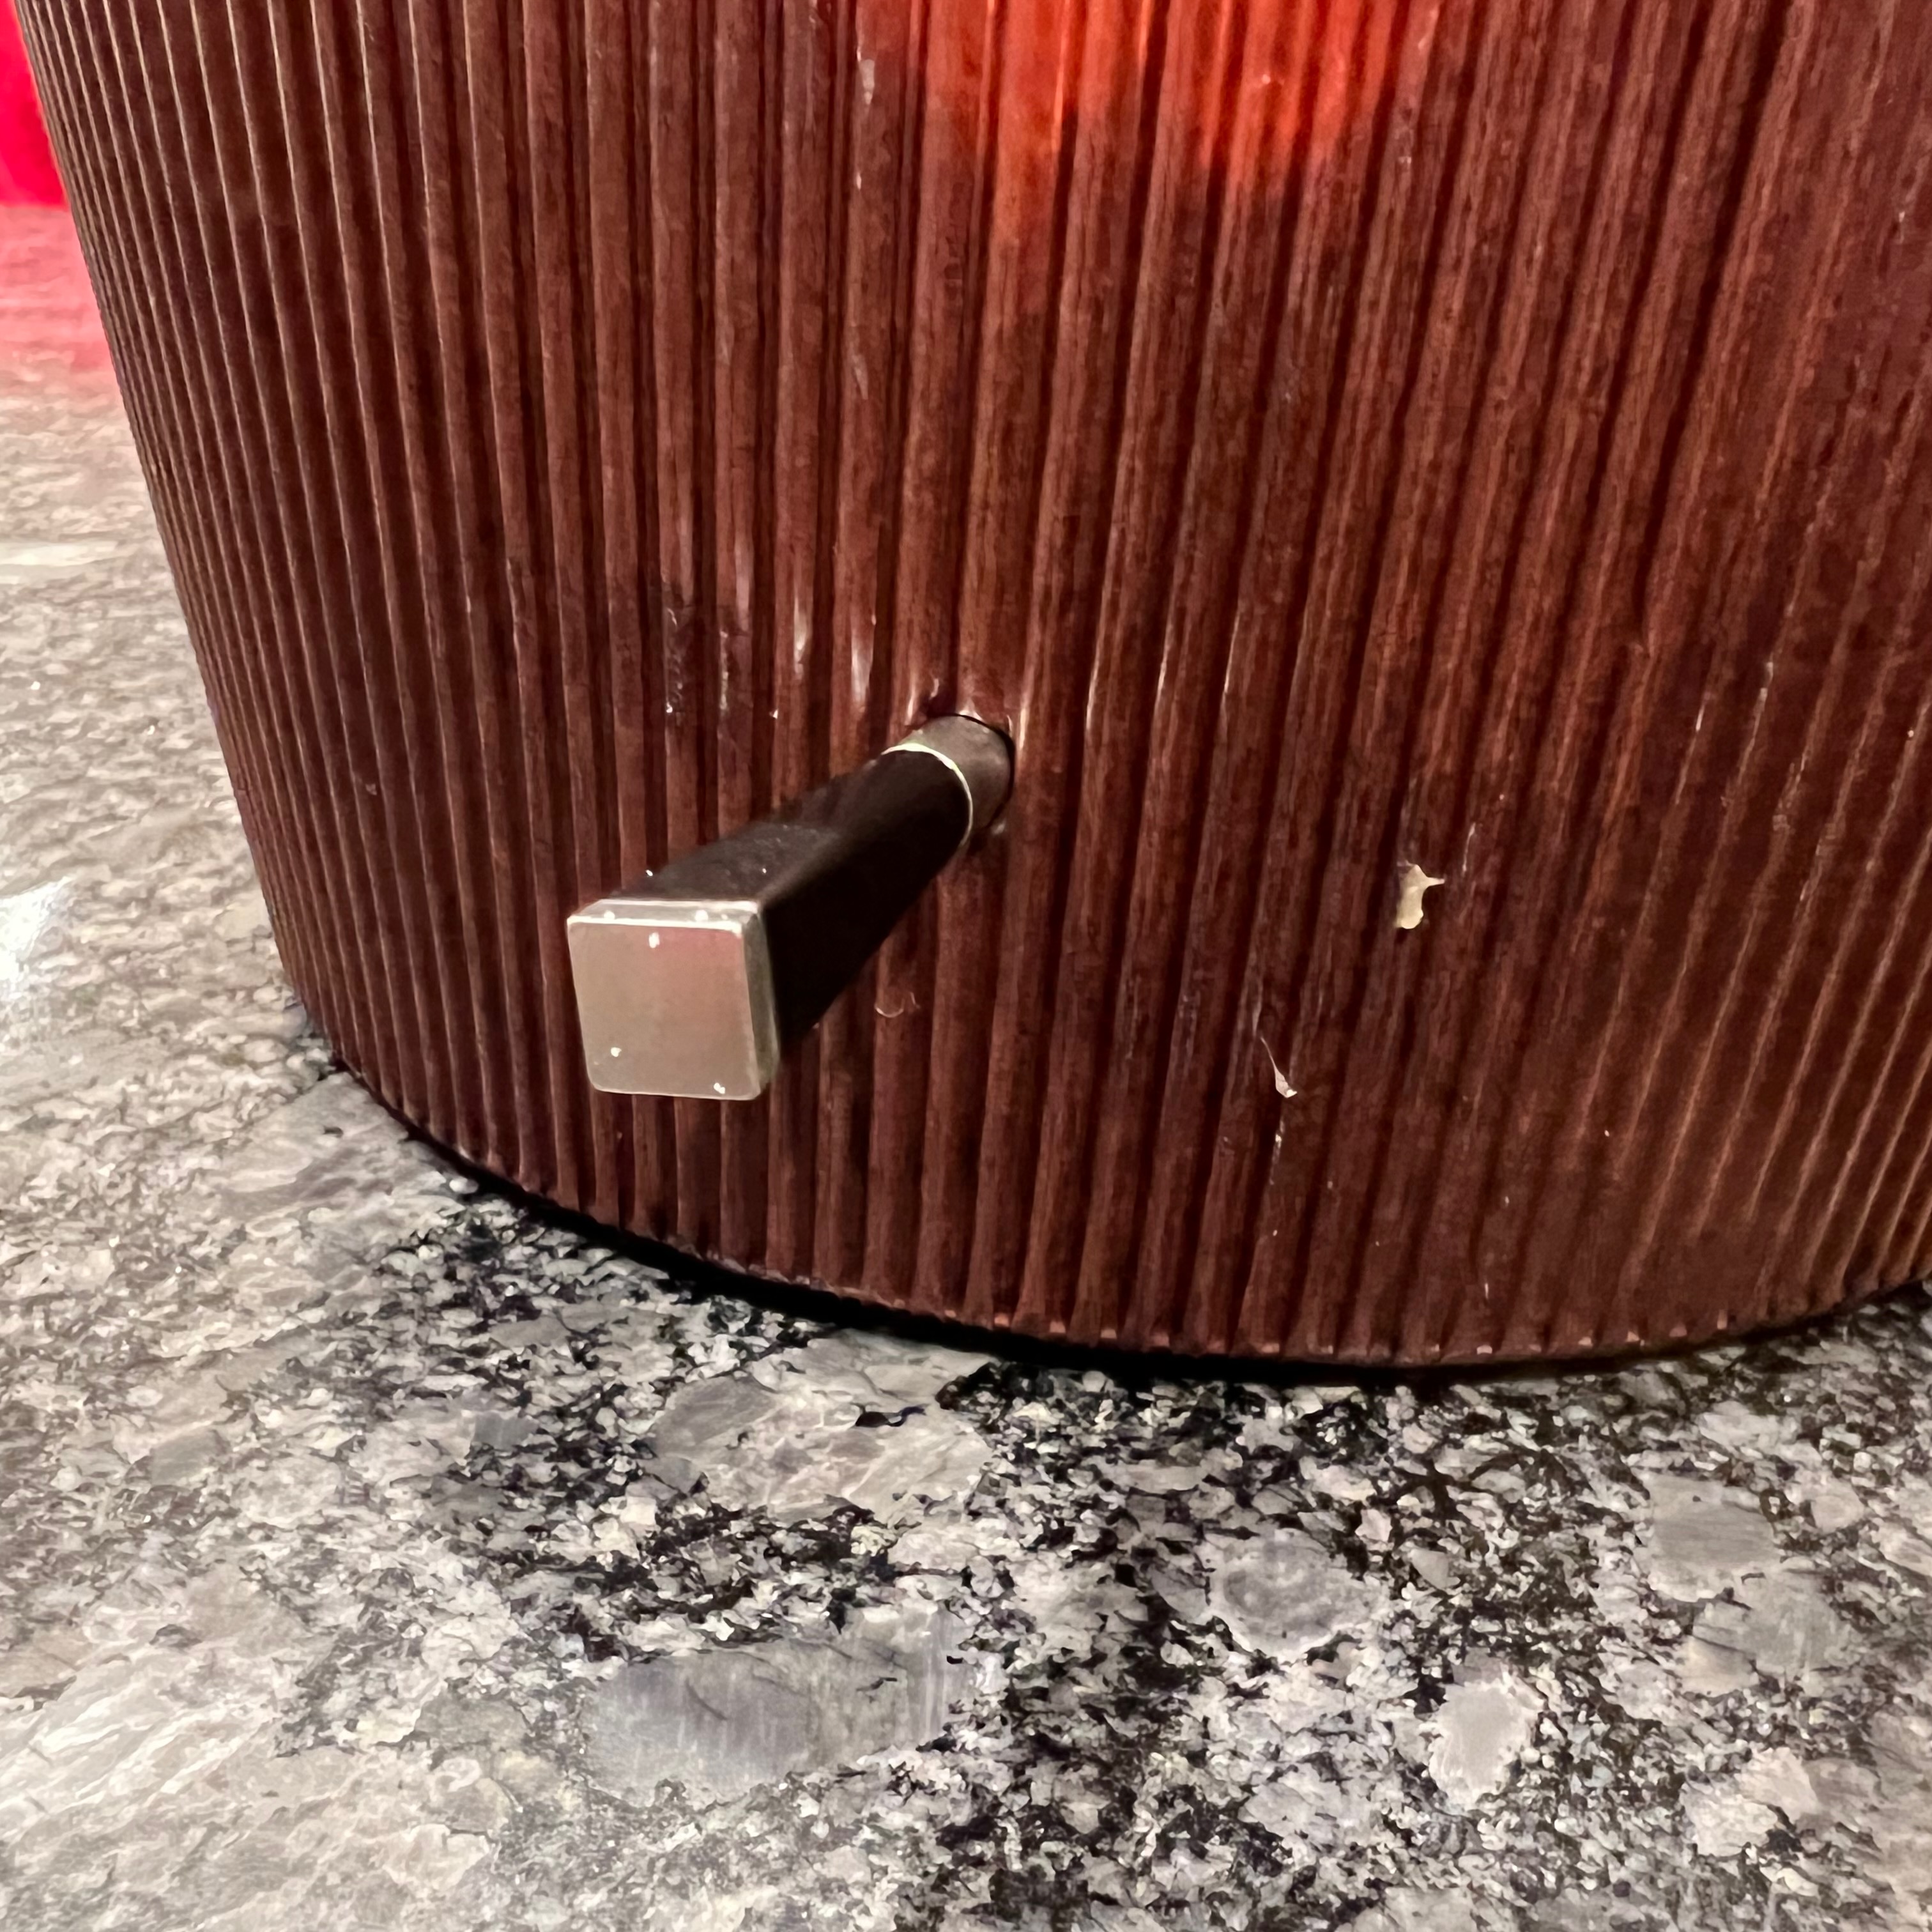
- When the panettone comes out the oven, hang it upside down to cool for at least 12 hours before serving. There are various ways of doing this: most involve knitting needles or, in my case, Turkish kebab skewers. As you’ll see from the photos, I poked two skewers through the loaf and balanced the whole lot on a pair of towers of cookbooks. It was rustic, but it worked.
If you get this far and have a lovely dome reminiscent of the cupola of the cathedral in Milan, bravo!