For anyone planning a Seder night (the Jewish celebration of Passover eve), the question raises itself of how to make a flourless dessert. There are various standard tricks, like using ground almonds or matzo meal to substitute for the flour, but here is a fabulous, indulgent dessert that avoids the tricks altogether.
This chocolate mousse started life as one of my mother’s standards, taken from the classic American cookbook Joy of Cooking (still in print and being revised, 93 years after its first edition – my own copy is now so tattered that it needs replacing). I’ve made things metric and changed various quantities, mainly to suit what you buy in English supermarkets, although, to be honest, it’s incredibly forgiving: the recipe will still work OK even if you change the ratios of cream to chocolate to eggs sugar, so you can make sweeter, lighter or more intensely chocolatey at will.
Recently, I’ve been making a more substantial change: making the egg whites into an Italian meringue before folding them into the rest of the mixture. The result is a far lighter, stable consistency which, in my view, is well worth the extra effort. This needs a thermometer – if you don’t have one, just go for standard sweetened beaten egg whites.
By the way, I tend to use the egg yolks for crème pâtissière, for use in éclairs or fruit tarts.
The Italian meringue
4 large egg whites
200g sugar (this is less than most recipes, so you can up it to 300g if wanted)
5oml water
Juice of half a lemon
Pu the egg whites into the bowl of your stand mixer, equipped with the whisk attachment.
Put the sugar and water into a small saucepan and heat: for the first part of the process, make sure you mix things until the sugar is properly dissolved.
Monitor the temperature regularly with a thermometer: you will be using the syrup when it reaches 121℃.
Well in time for the syrup to be complete (I tend to start when it’s at around 90℃), whisk the egg whites until they form soft peaks. Stop the mixer.
When the syrup reaches 121℃, restart the mixer on full speed, and slowly pour the syrup into the bowl, in as thin a dribble as you can manage.
Add the lemon juice, then continue mixing for at least 10 minutes while the meringue cools.
Remove the whisk – you meringue is now ready to use.
The mousse
50g sugar
80g rum
350g dark chocolate, at least 70% cocoa solids
500ml cream
Put the sugar and rum into a saucepan and warm gently until dissolved into a syrup. You do NOT want the syrup to caramelise.
Take the syrup off the heat and leave to cool somewhat.
Break up the chocolate, then heat in a double boiler until melted
Mix in the syrup
Mix in 100ml of the cream, a bit at a time, until everything is smoothly blended
Whip the remaining 400ml of the cream until stiff
Fold in the chocolate mixture until completely blended (you don’t really want white blotches).
Now fold in the Italian meringue. Try to do it without overworking, which will lose the air – but at the same time, you want it completely mixed. It’s a good idea to fold in about a quarter of the meringue first, and then the remainder, which you’ll be able to do more gently.
Put the mousse into a large bowl for serving, or into individual ramekins or glasses if you prefer.
I like serving this with a red fruit coulis, made from reducing and sieving frozen red fruit and sugar, with a bit of lemon juice added. The sharpness of the coulis cuts through the richness of the mousse, and anyway, raspberries and chocolate are a marriage made in heaven.
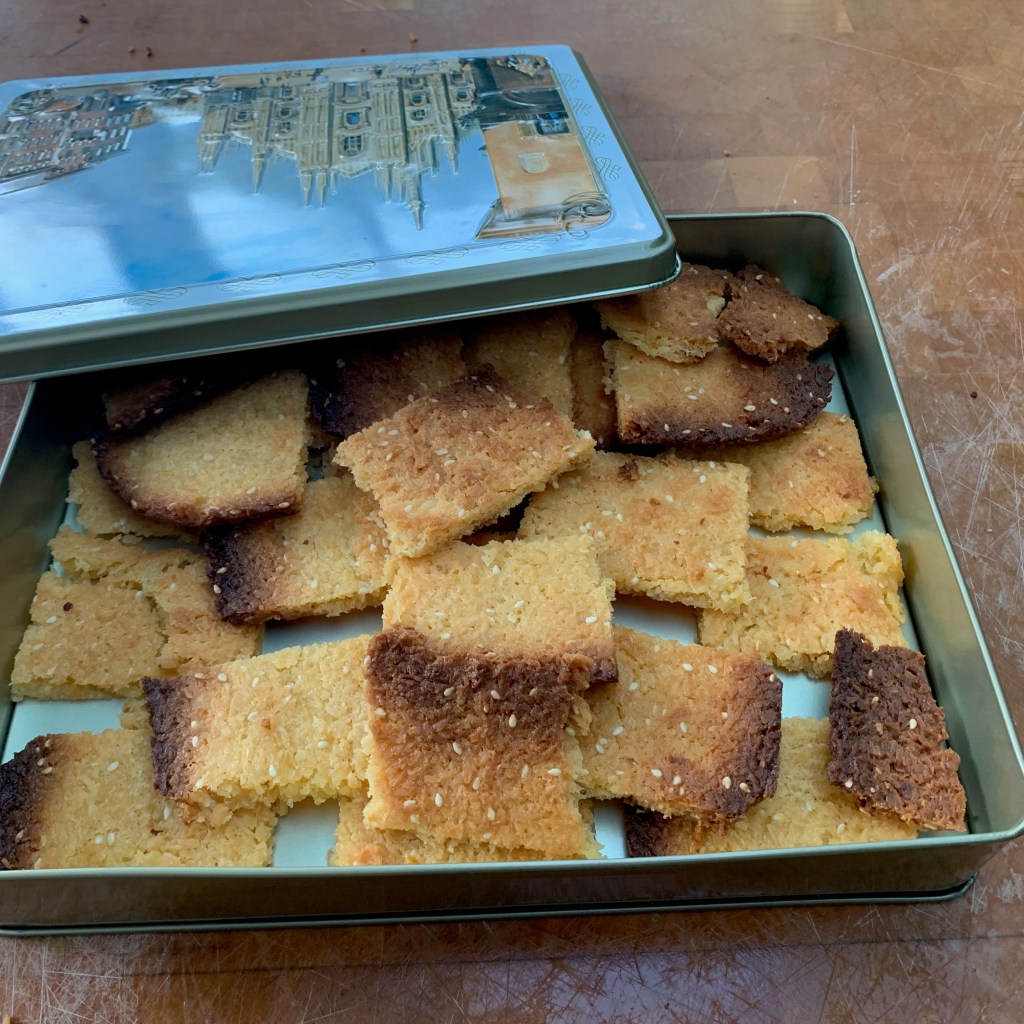
The words “diabetic baker” are something of an oxymoron: diabetics really shouldn’t be eating high carbohydrate foods, which pretty much rules out bread, cakes, biscuits, pies, pastries and just about any kind of baked goods. That makes my series of blog posts on baked goods from around the world a totally inappropriate project to have done (or, viewed more positively, a rash thumbing of my nose at the health gods).
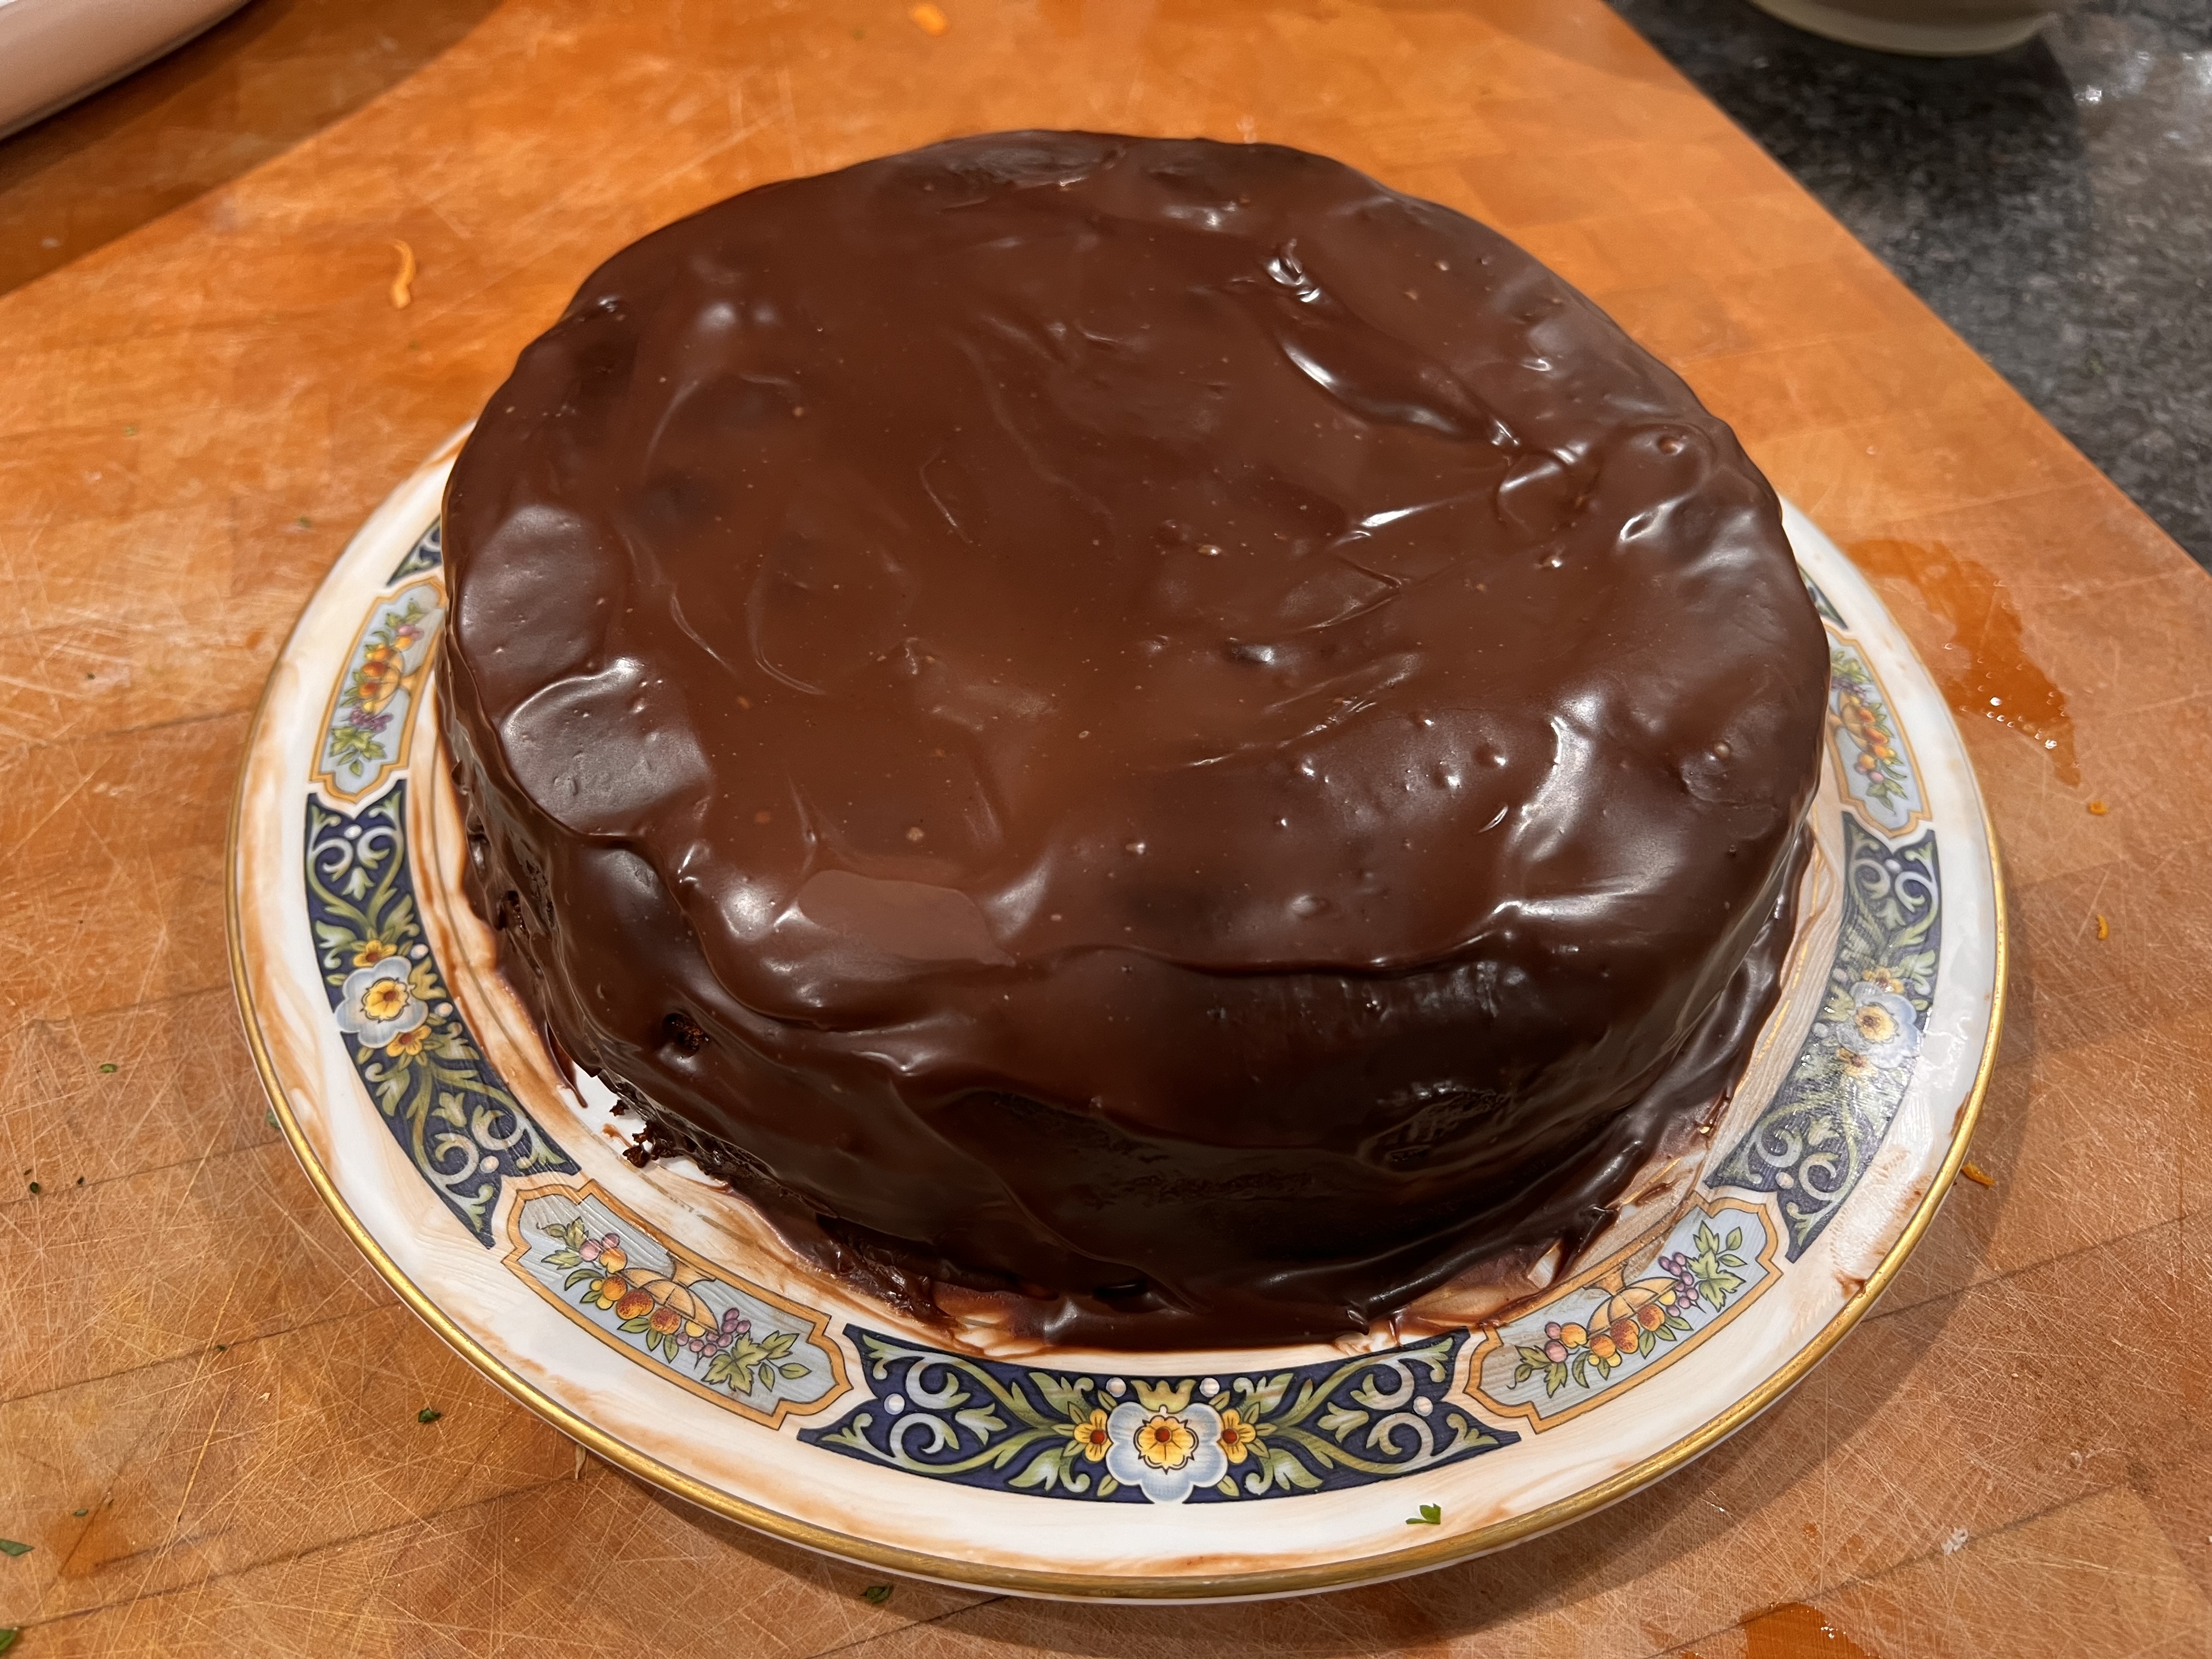
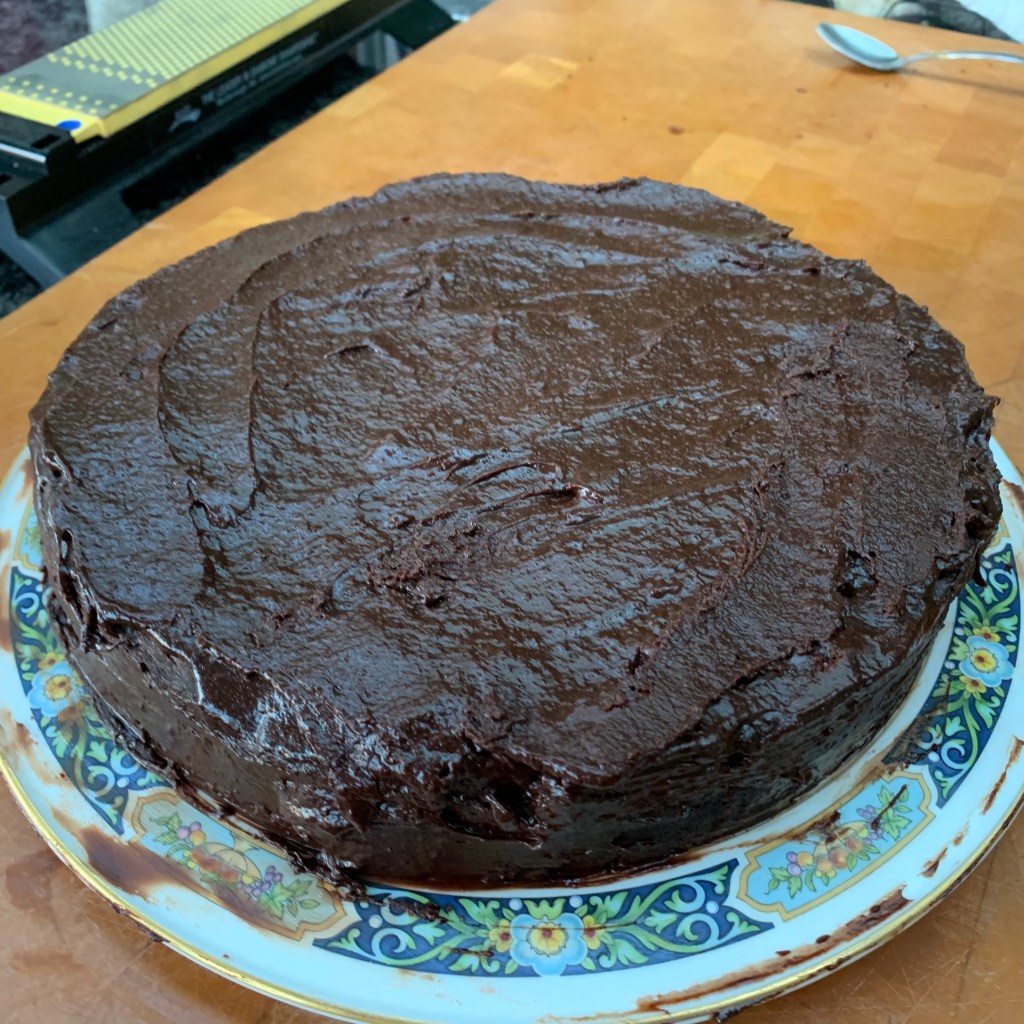
But there are times when you can cheat. I just ran an experiment to see how far I could minimise the carbohydrate content of my favourite cake – Sachertorte – and it was outstandingly successful.
Starting with my recipe for normal Sachertorte, I did four things:
Replace the flour with ground almonds
Replace the sugar with allulose
Replace the icing with a chocolate ganache
Keep careful control of the amount of apricot jam in the filling
With more time available and apricots in season, I could have made my own apricot compote with allulose, but there really wasn’t time.
If you aren’t aware of allulose (aka Psicose or D-ribo-2-hexulose): it’s a naturally occurring sugar which you can’t digest normally. It tastes something like 70% as sweet as sugar. I find that it has little or none of the aftertaste of most non-sugar sweeteners – and in a recipe with this one, with its strong-tasting dark chocolate, I could detect no aftertaste whatsoever. People have questioned whether there any health risks, but the US FDA have approved it with a maximum consumption of 33-36g per day for a 60kg adult (a portion of this cake uses under 20g, so I reckon it looks OK).
Comparing the two recipes, the carbohydrate budget looks like this. In rough numbers, the new recipe’s carbohydrate count is a quarter of the standard one.
Normal
Diabetic
Saving
Dark chocolate 300g
90g
90g
–
Sugar to allulose
150g
0
150g
Flour to ground almonds
76g
19g
57g
Remove icing
200g
0
200g
Apricot jam 90g to 60g
53g
35g
18g
Total for a 1kg cake
569g
144g
425g
Total for a (generous) 125g portion
71g
18g
53g
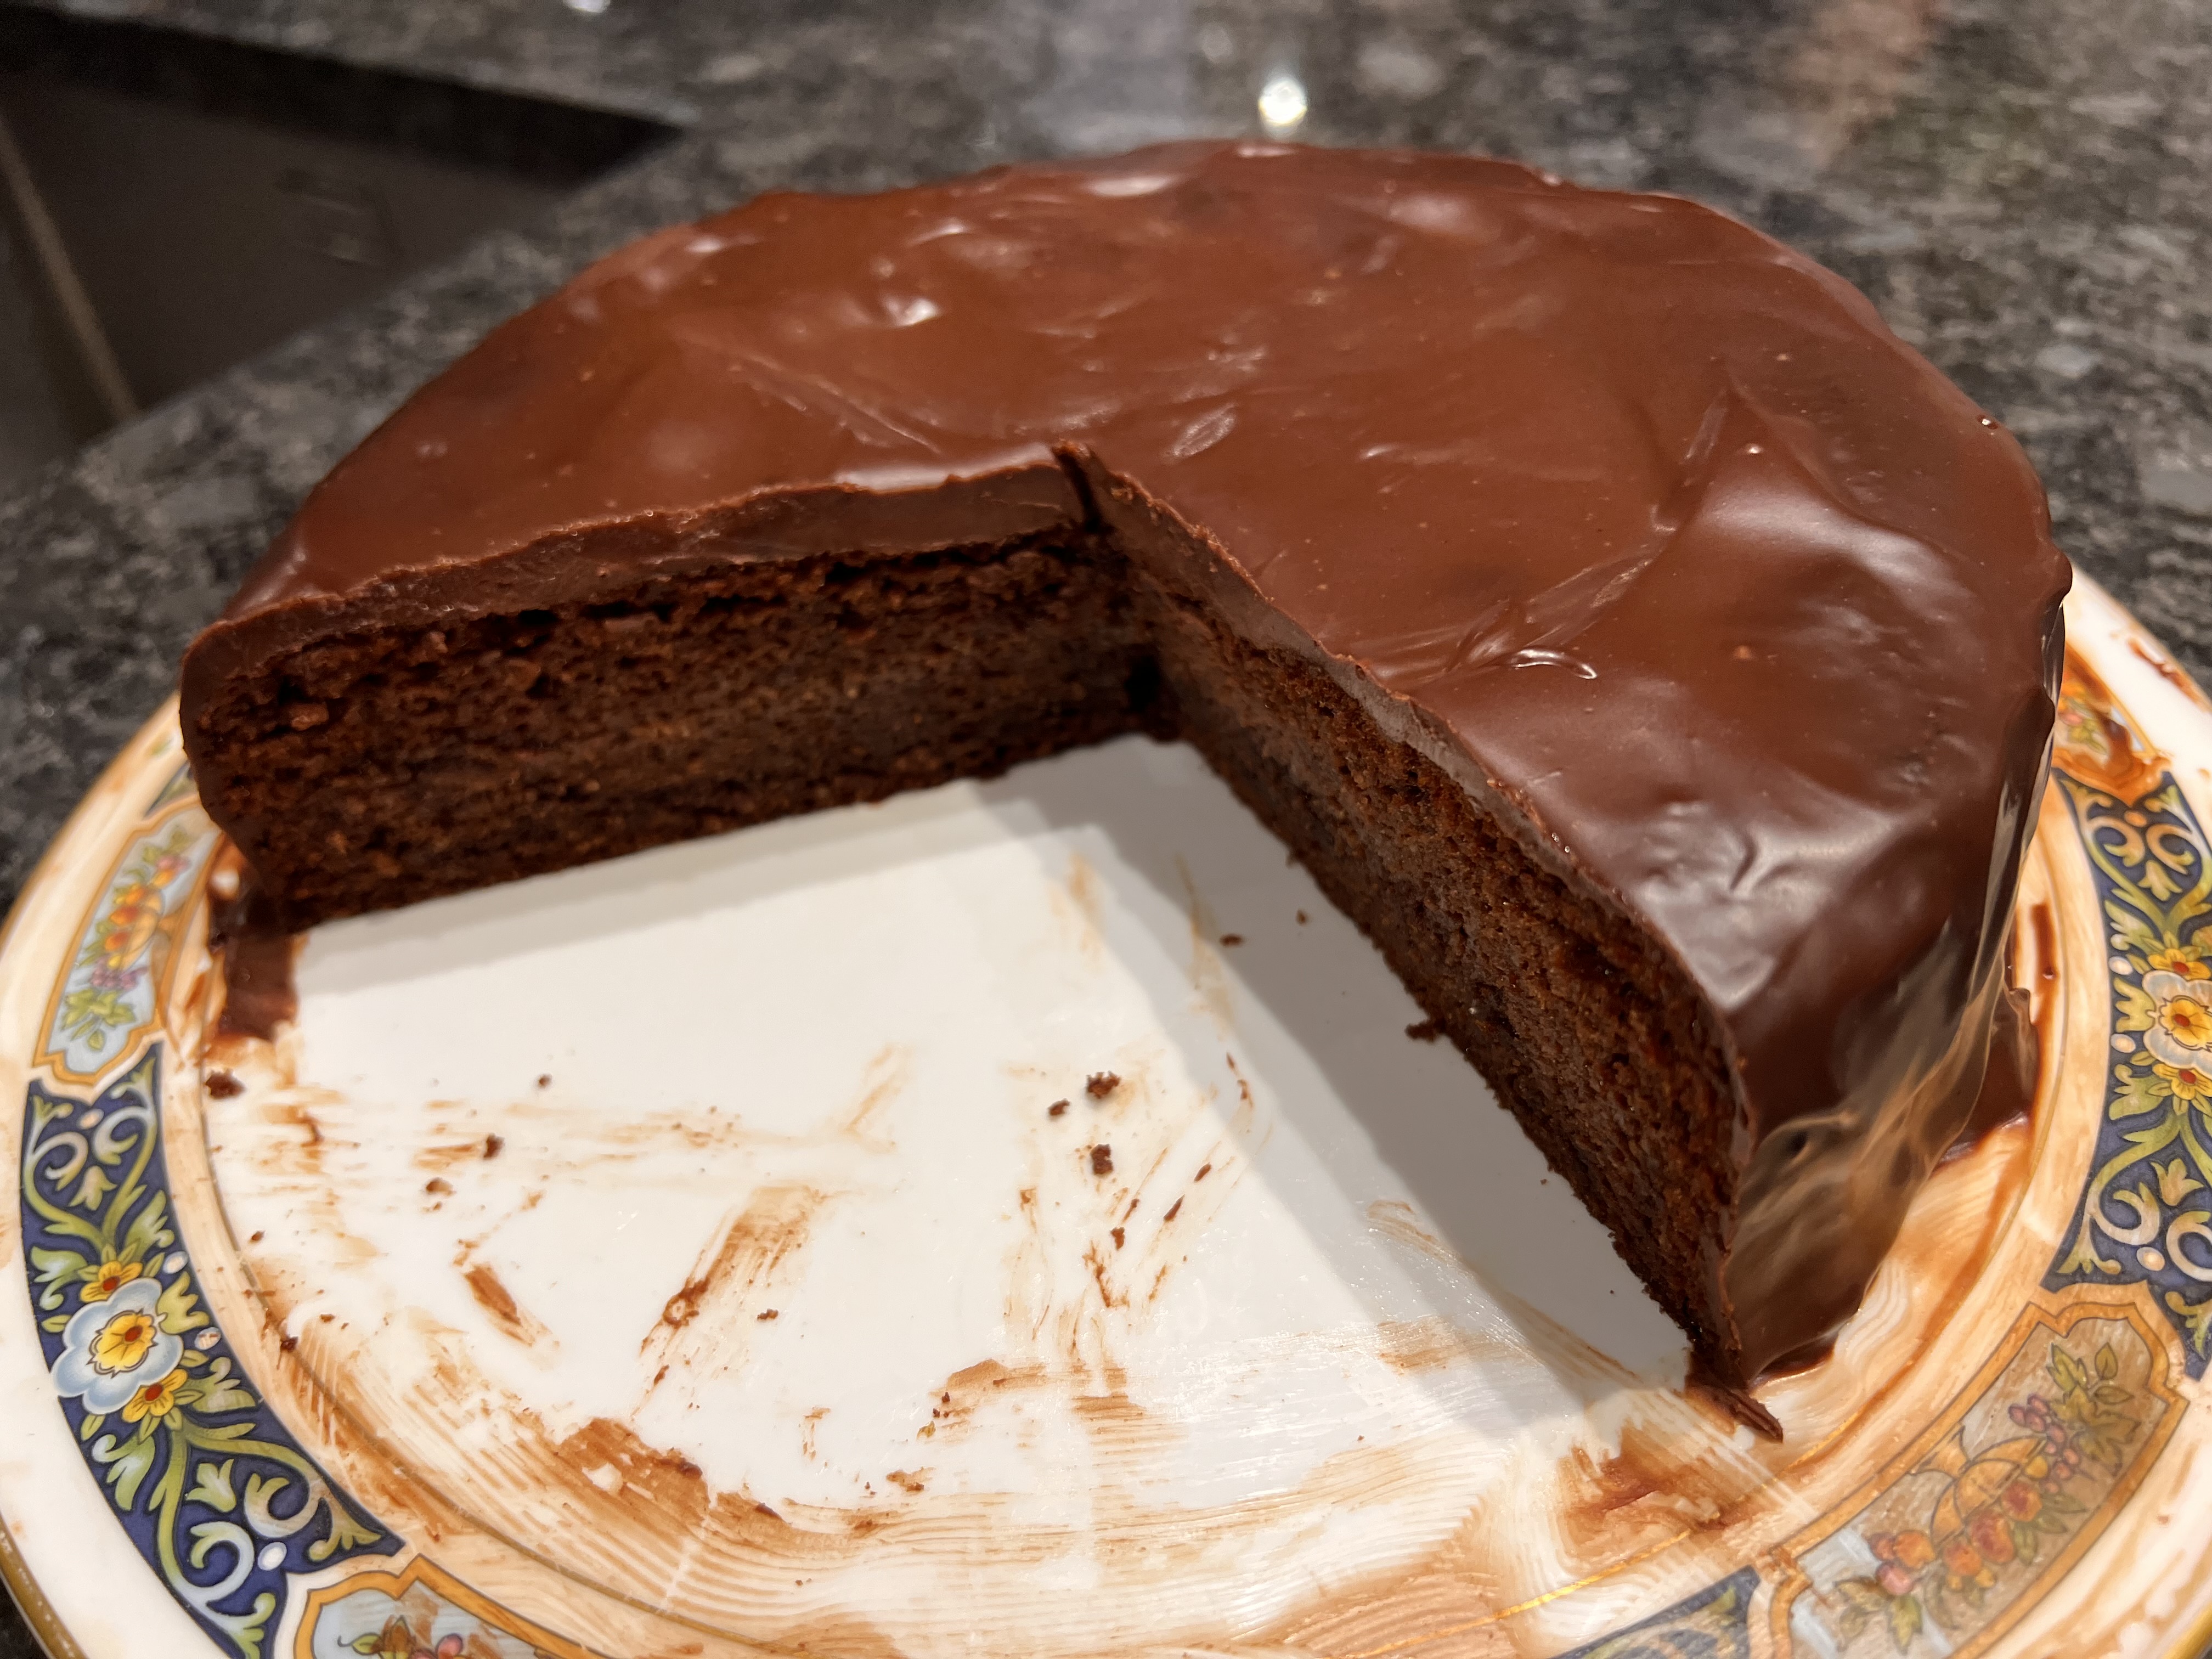
I can’t fault the results. My family proclaimed this to be better than the original, which we attribute to liking the extra flavour of the almonds and preferring the creaminess of the ganache to the extra sweetness of the chocolate icing. It’s a winner.
For completeness, here’s the modified recipe. Make it in a greased, 8-9 inch, removable-rim pan.
Ingredients
Cake
150g dark chocolate (70-80% cocoa solids)
150g allulose
30g granulated sugar
170g butter, softened
100g ground almonds
6 eggs
60g apricot jam mixed with the juice of half a lemon
1/2 tsp baking powder
vanilla essence or vanilla paste to taste (different brands are so different in strength that I can’t give an amount)
Ganache
150g dark chocolate (70-80% cocoa solids)
200g double cream
Method
Cake
Preheat the oven to 160°C fan. Grease the sides of an 8-9 inch, removable-rim cake tin with butter and line the bottom with baking paper or parchment.
Separate the eggs into yolks and whites
Melt 150g of the chocolate in a double boiler. Then leave it to cool.
Cream 120g of the allulose and the butter until the mixture is fluffy.
Beat in the egg yolks gradually until the mixture is light in colour.
Add the melted cooled chocolate.
Add the ground almonds. Add the baking powder and mix everything thoroughly.
Beat the egg whites until they are beginning to be stiff. Add the remaining 30g of allulose and beat on maximum speed until stiff but not dry.
Fold the resulting meringue mix into the cake mixture, about a fifth at a time. The weight of the almond-rich mixture will make this trickier than for a normal cake.
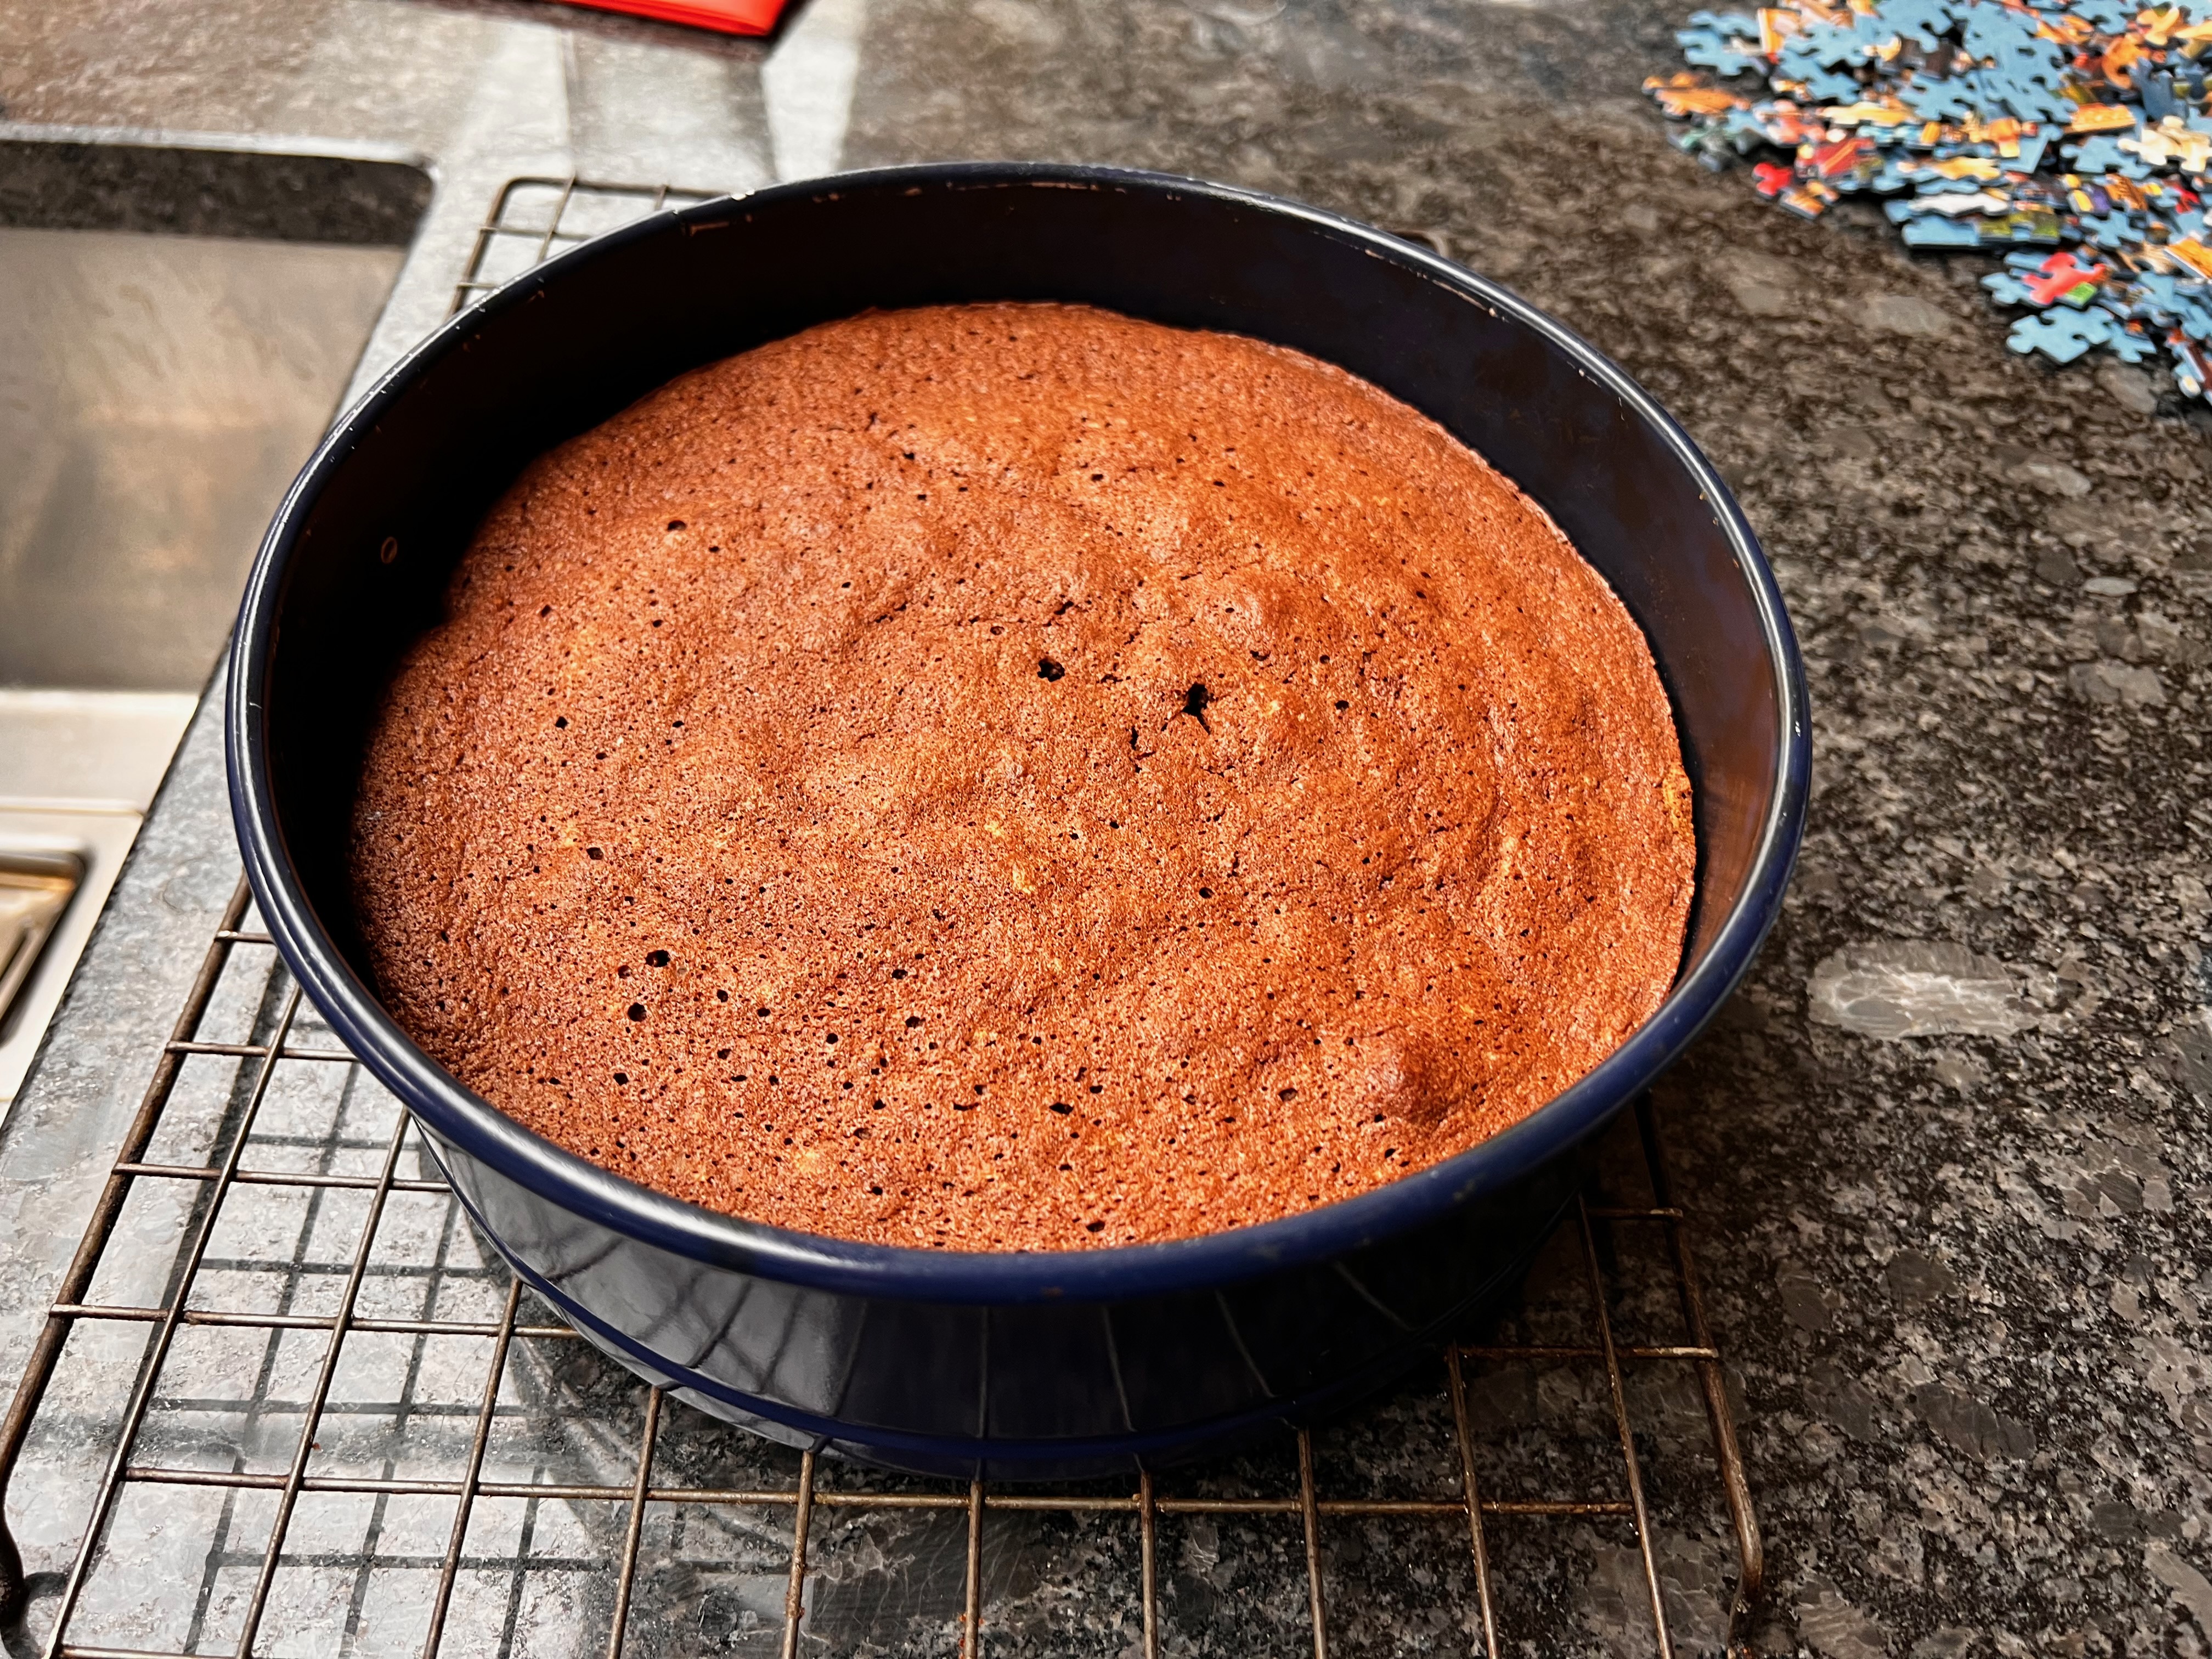
Bake the mixture in the pan for around 40 minutes.
Remove and cool on a rack.
Optionally, slice the top dome from the cake and set aside. Slice the remaining cake in half. Spread the jam on the bottom half and reassemble (optionally, spread jam on the top of the cake also).
Ganache
Break or chop the chocolate into small pieces (less than 1cm square) and put in a reasonably heatproof bowl. Of course, if you’ve bought your chocolate in the form of chips/pellets, this has already been done for you.
Bring the cream close to the boil, and pour it over the chocolate.
Stir rapidly and continuously until the mixture is smooth.
Cool enough that the ganache no longer runs really easily, but is still spreadable with a glossy finish.
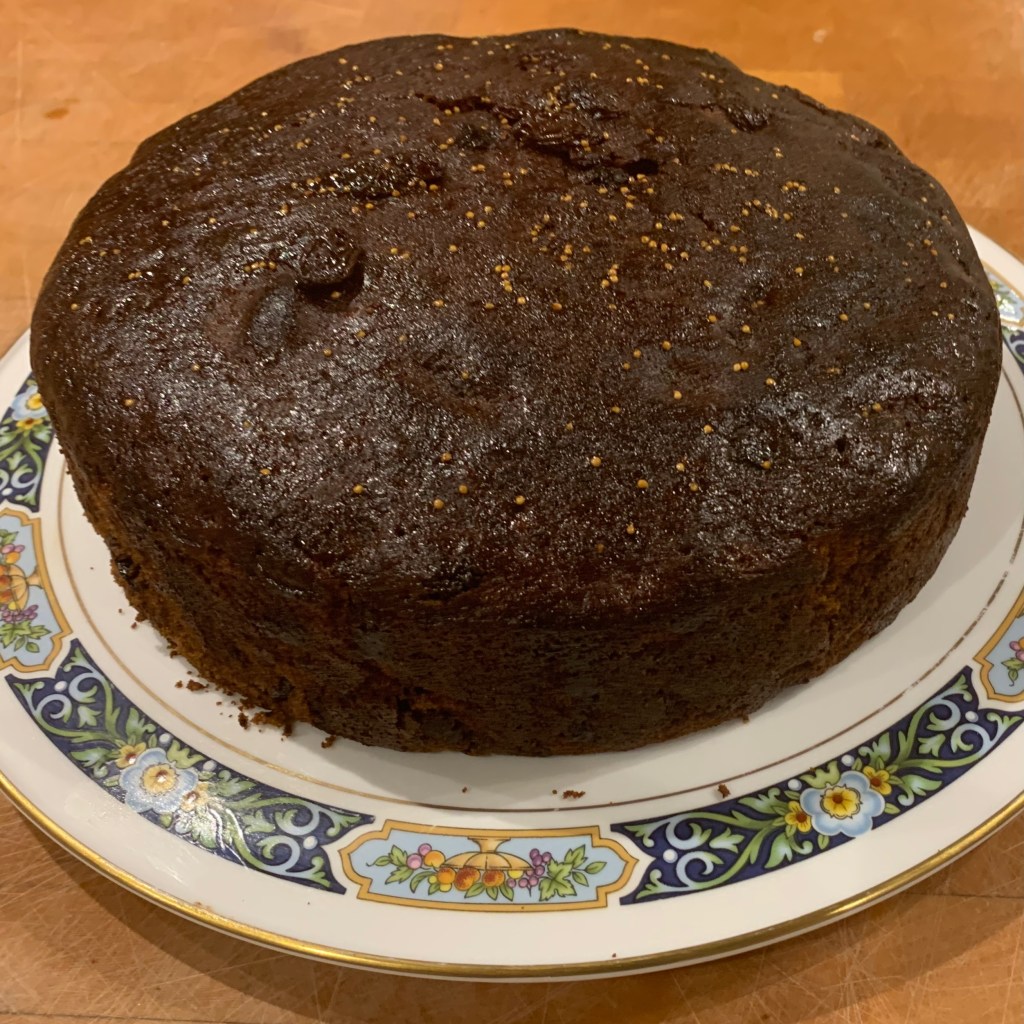
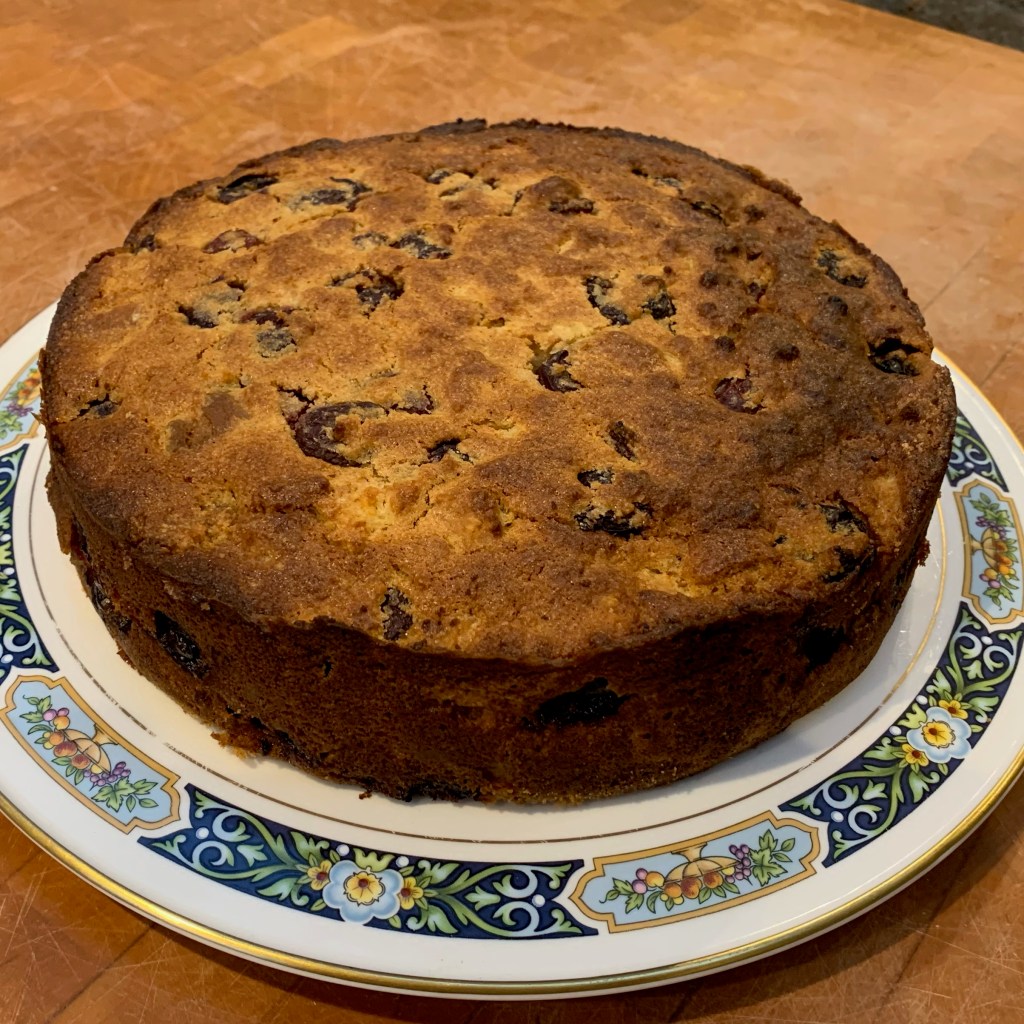
Sachertorte is my favourite chocolate cake, but since it’s based on flour, you can’t serve it at Passover. You can, however, serve this flourless chocolate almond cake, whose recipe was passed down to us by my late mother-in-law and is a firm family favourite (Joan was much loved, by the way – very much the opposite of the Les Dawson stereotype).
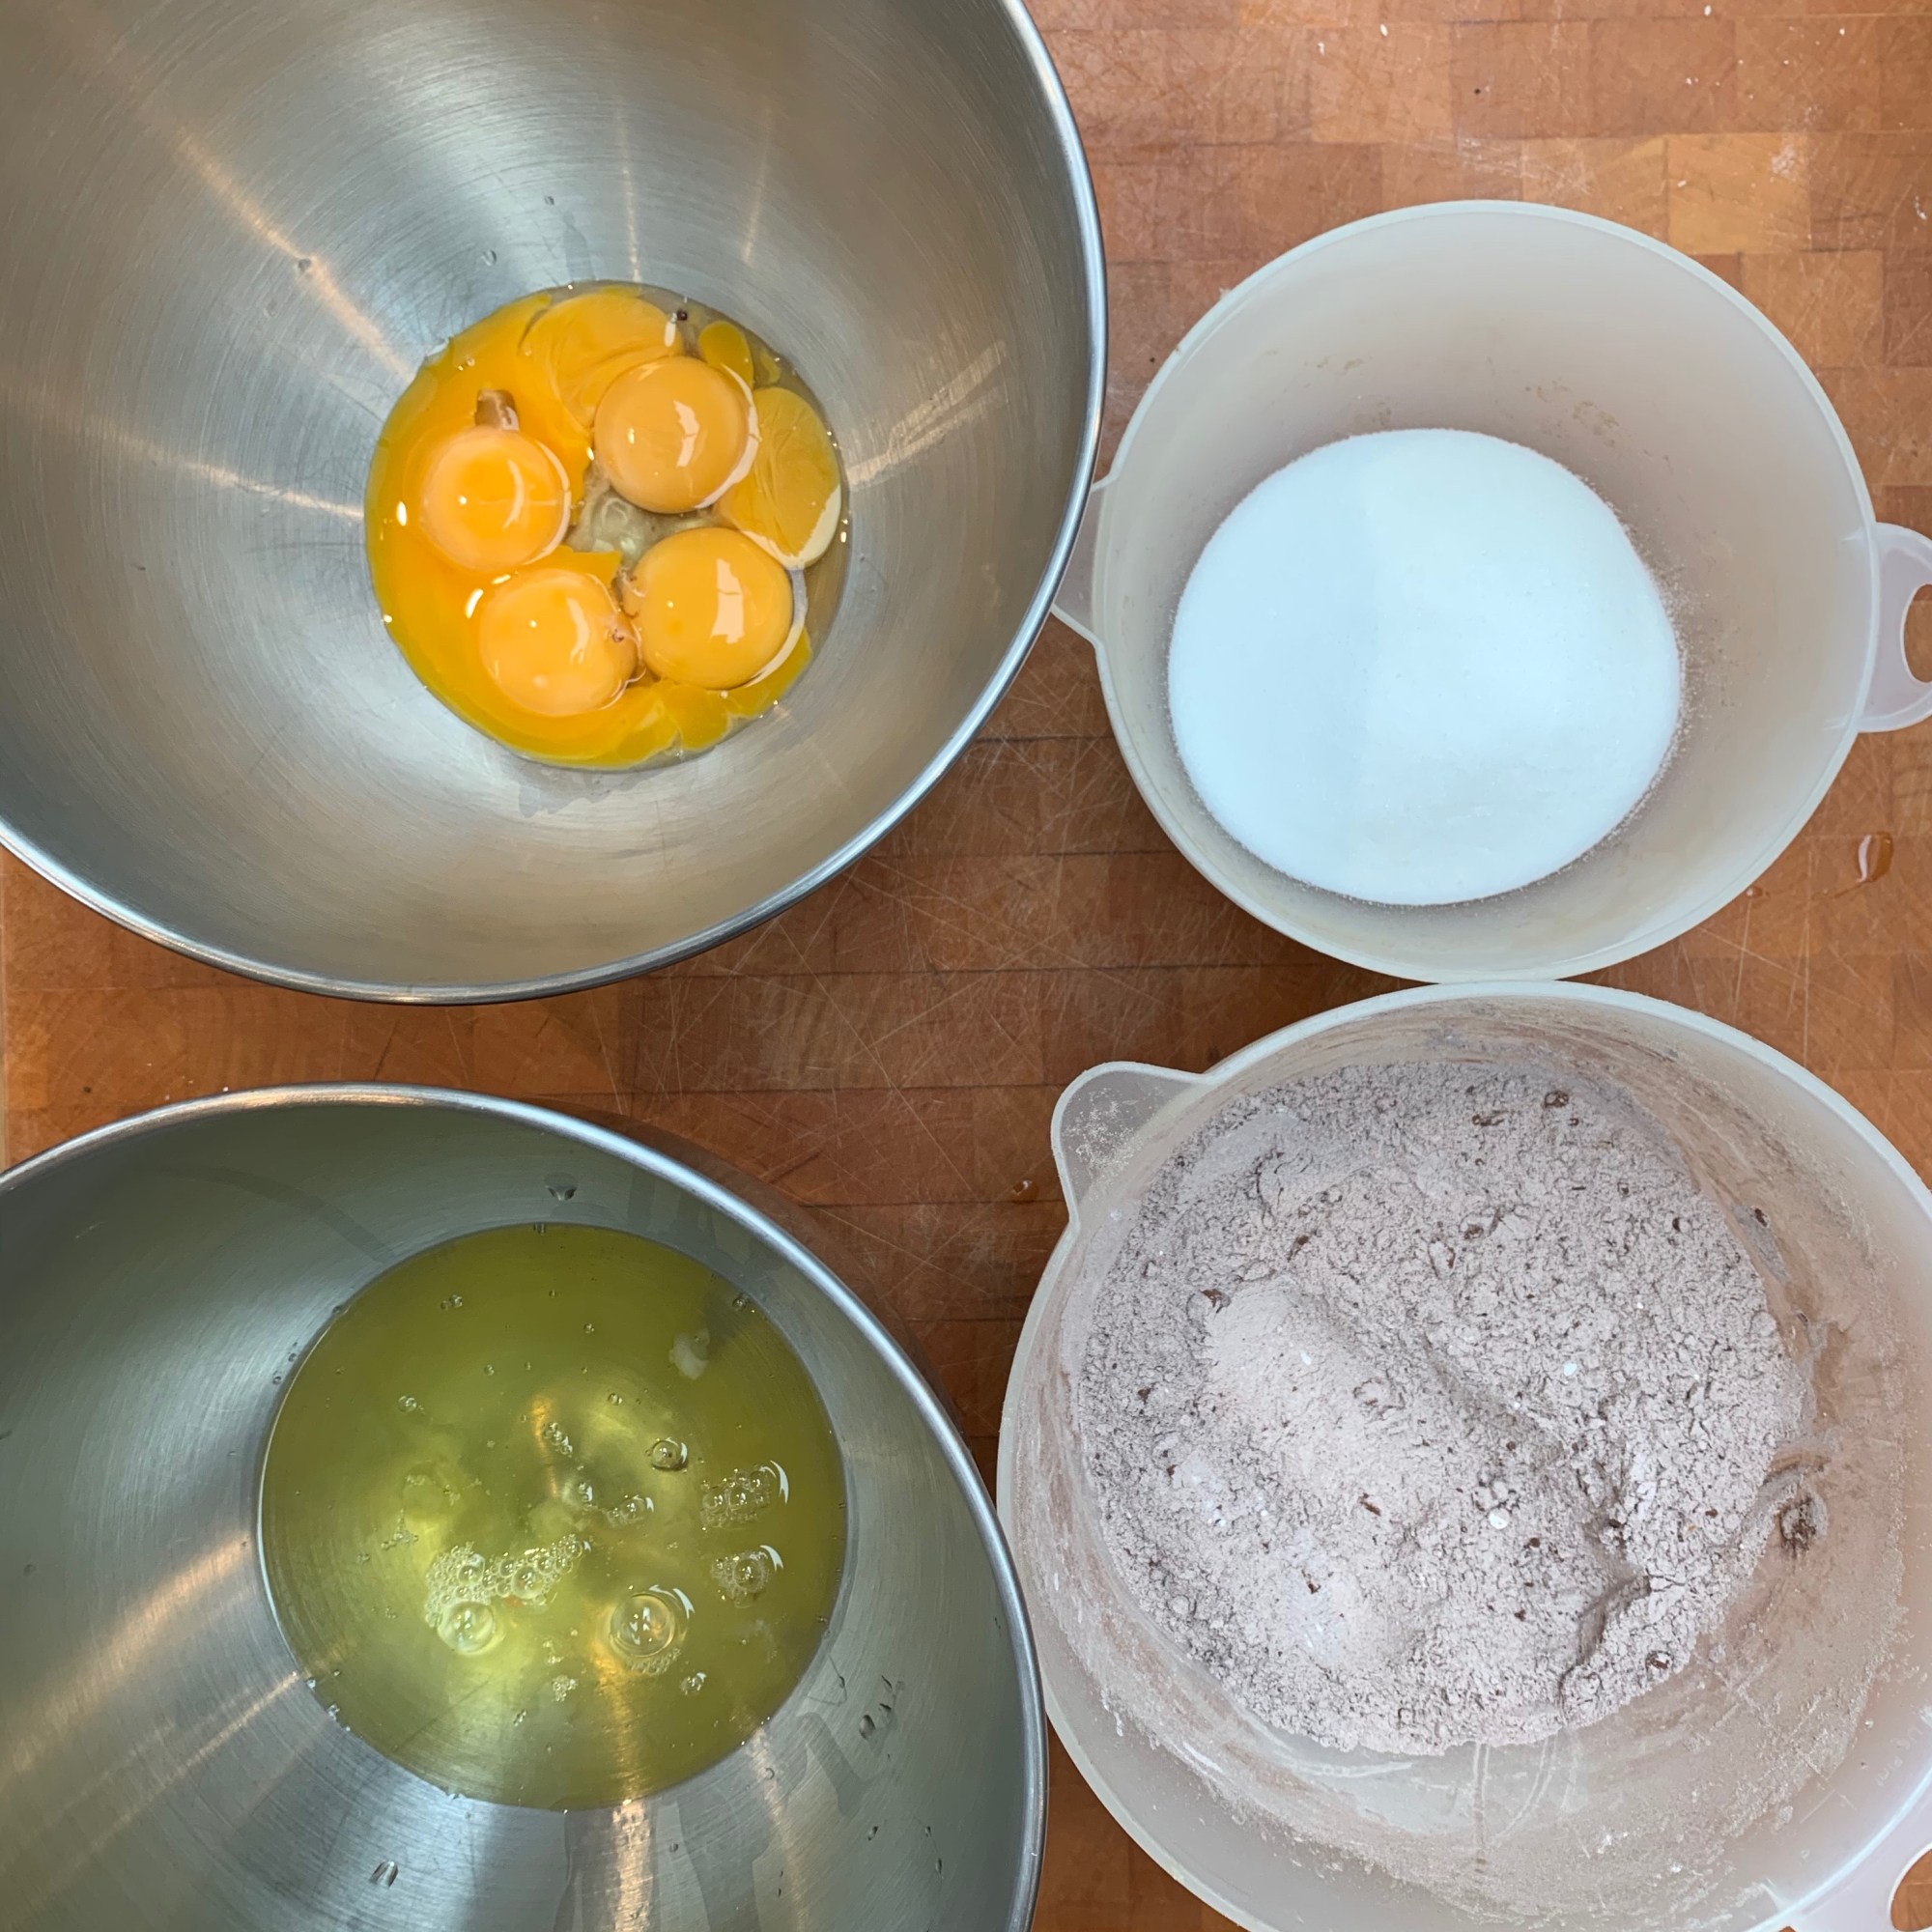
3 eggs
100g dark chocolate (as usual, my favourite is 70% Chocolat Menier)
100g sugar
100g ground almonds
100g butter, plus some for greasing
15ml (1tbsp) brandy or rum, optional
A small cup of espresso coffee (I made 60ml or so). An alternative would be a teaspoon of instant coffee dissolved in 30ml or so of water
Preheat oven to 135℃ fan
Line the base of a 23cm (or so) cake tin with baking paper, grease the sides with butter
Melt the chocolate in a double boiler. If the butter is hard, chop it into small pieces.
Add the butter and mix until melted
Reserve 25g of the sugar in a small bowl
Add the remaining 75g of sugar, ground almonds, coffee and brandy to the chocolate mixture and stir until smooth
Remove the top of the double boiler from the heat. If you’re feeling impatient, cool it in an ice bath. Otherwise, just wait for it to be not too much above room temperature: you don’t want it scrambling the egg yolks.
Separate the eggs into two bowls
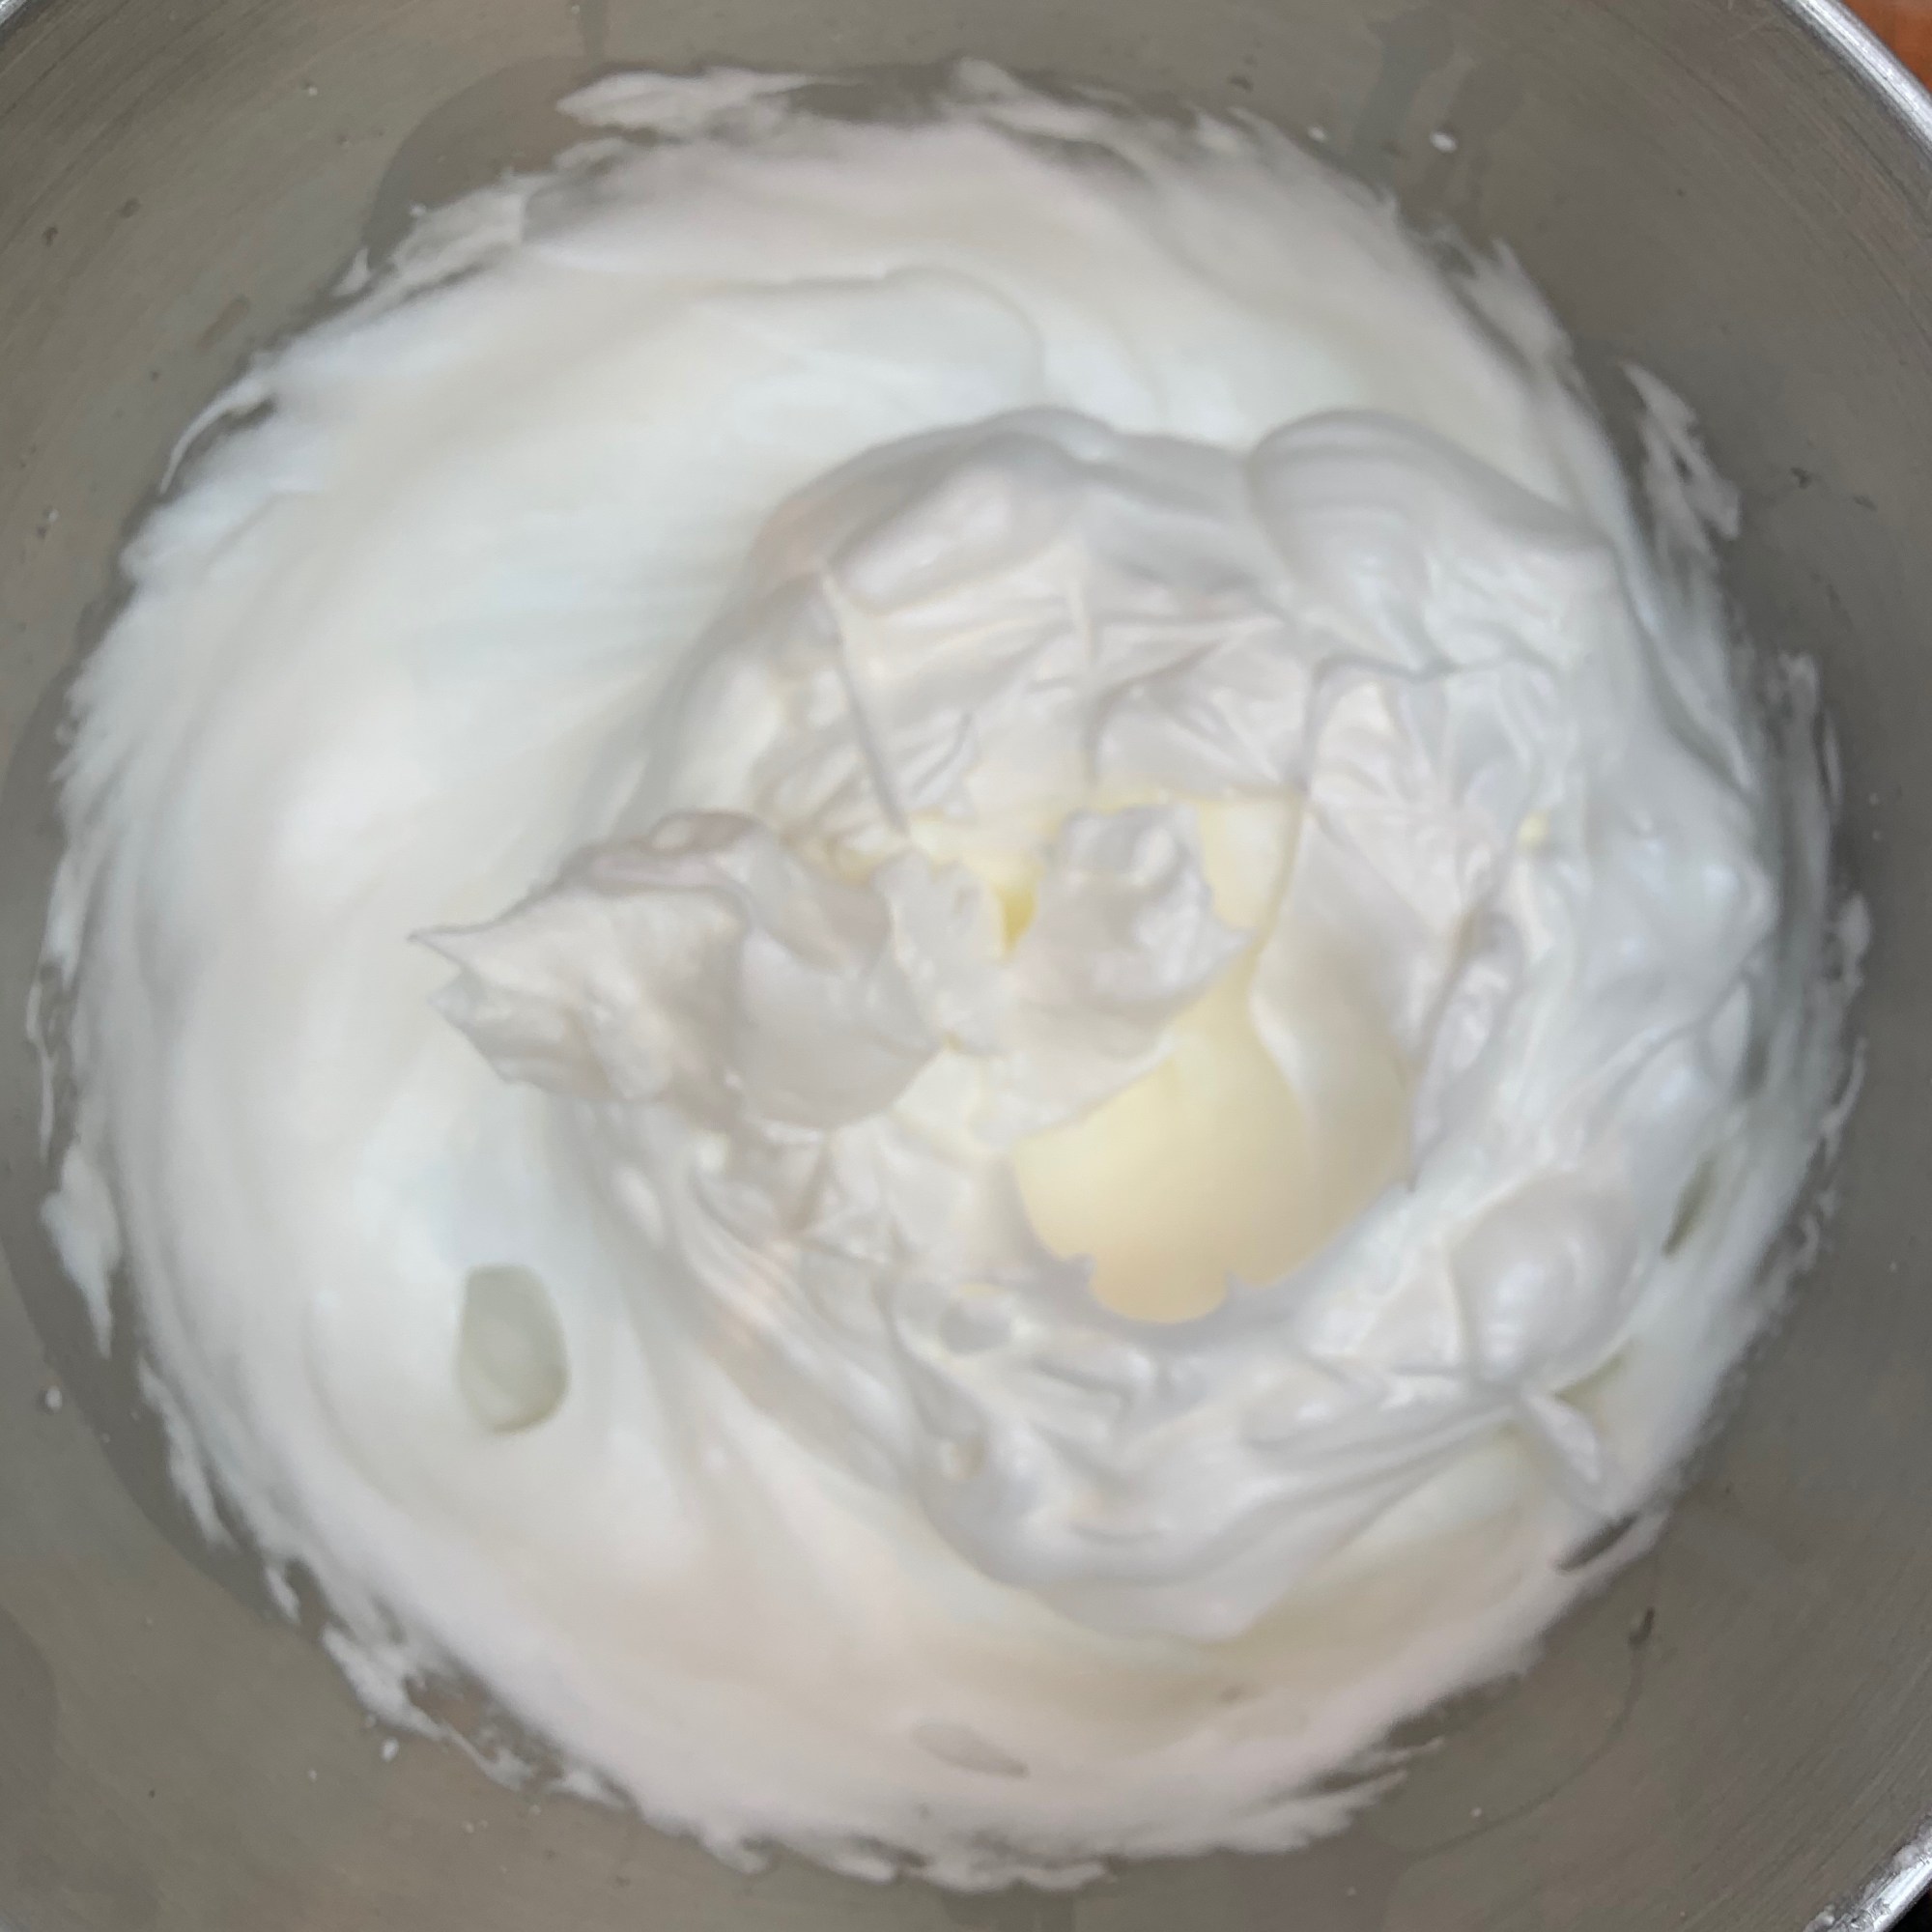
Whisk the whites until soft, add the 25g of sugar, and whisk until you have a stiff meringue
Whisk the yolks until foamy, then add the chocolate mixture and stir
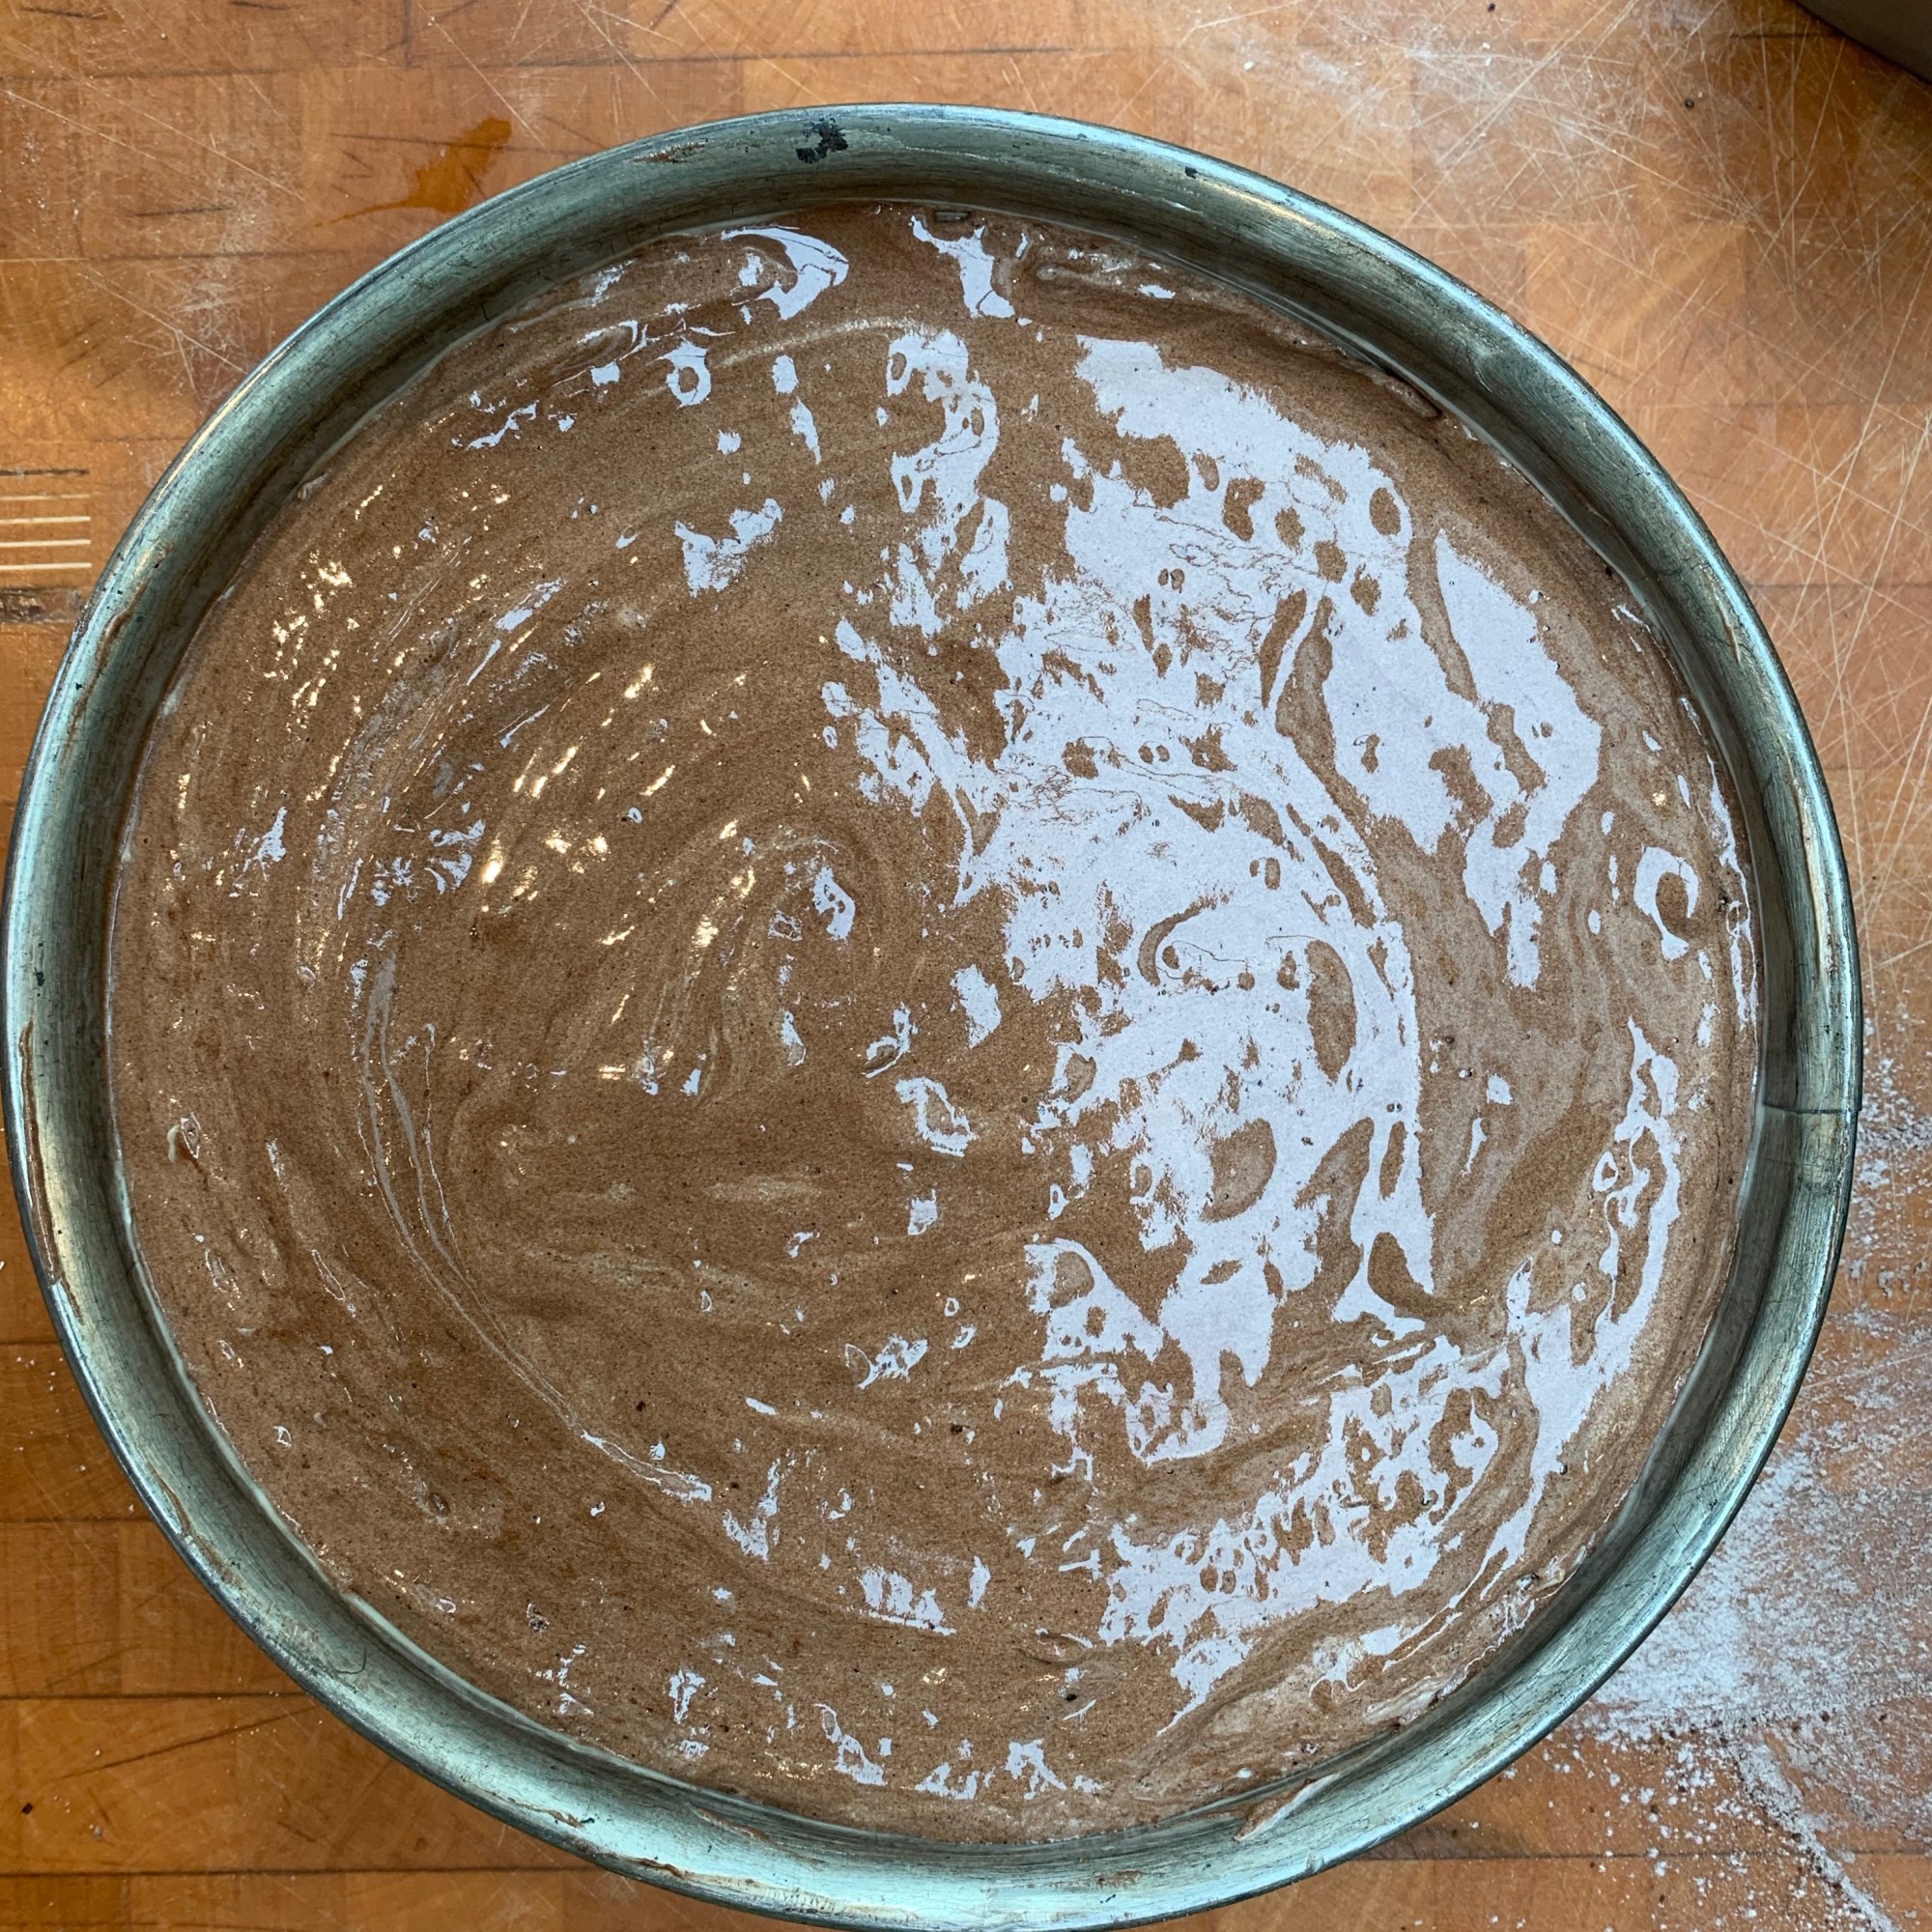
Fold in the meringue until you’ve got rid of any blobs of egg white and any swirls of dark chocolate.
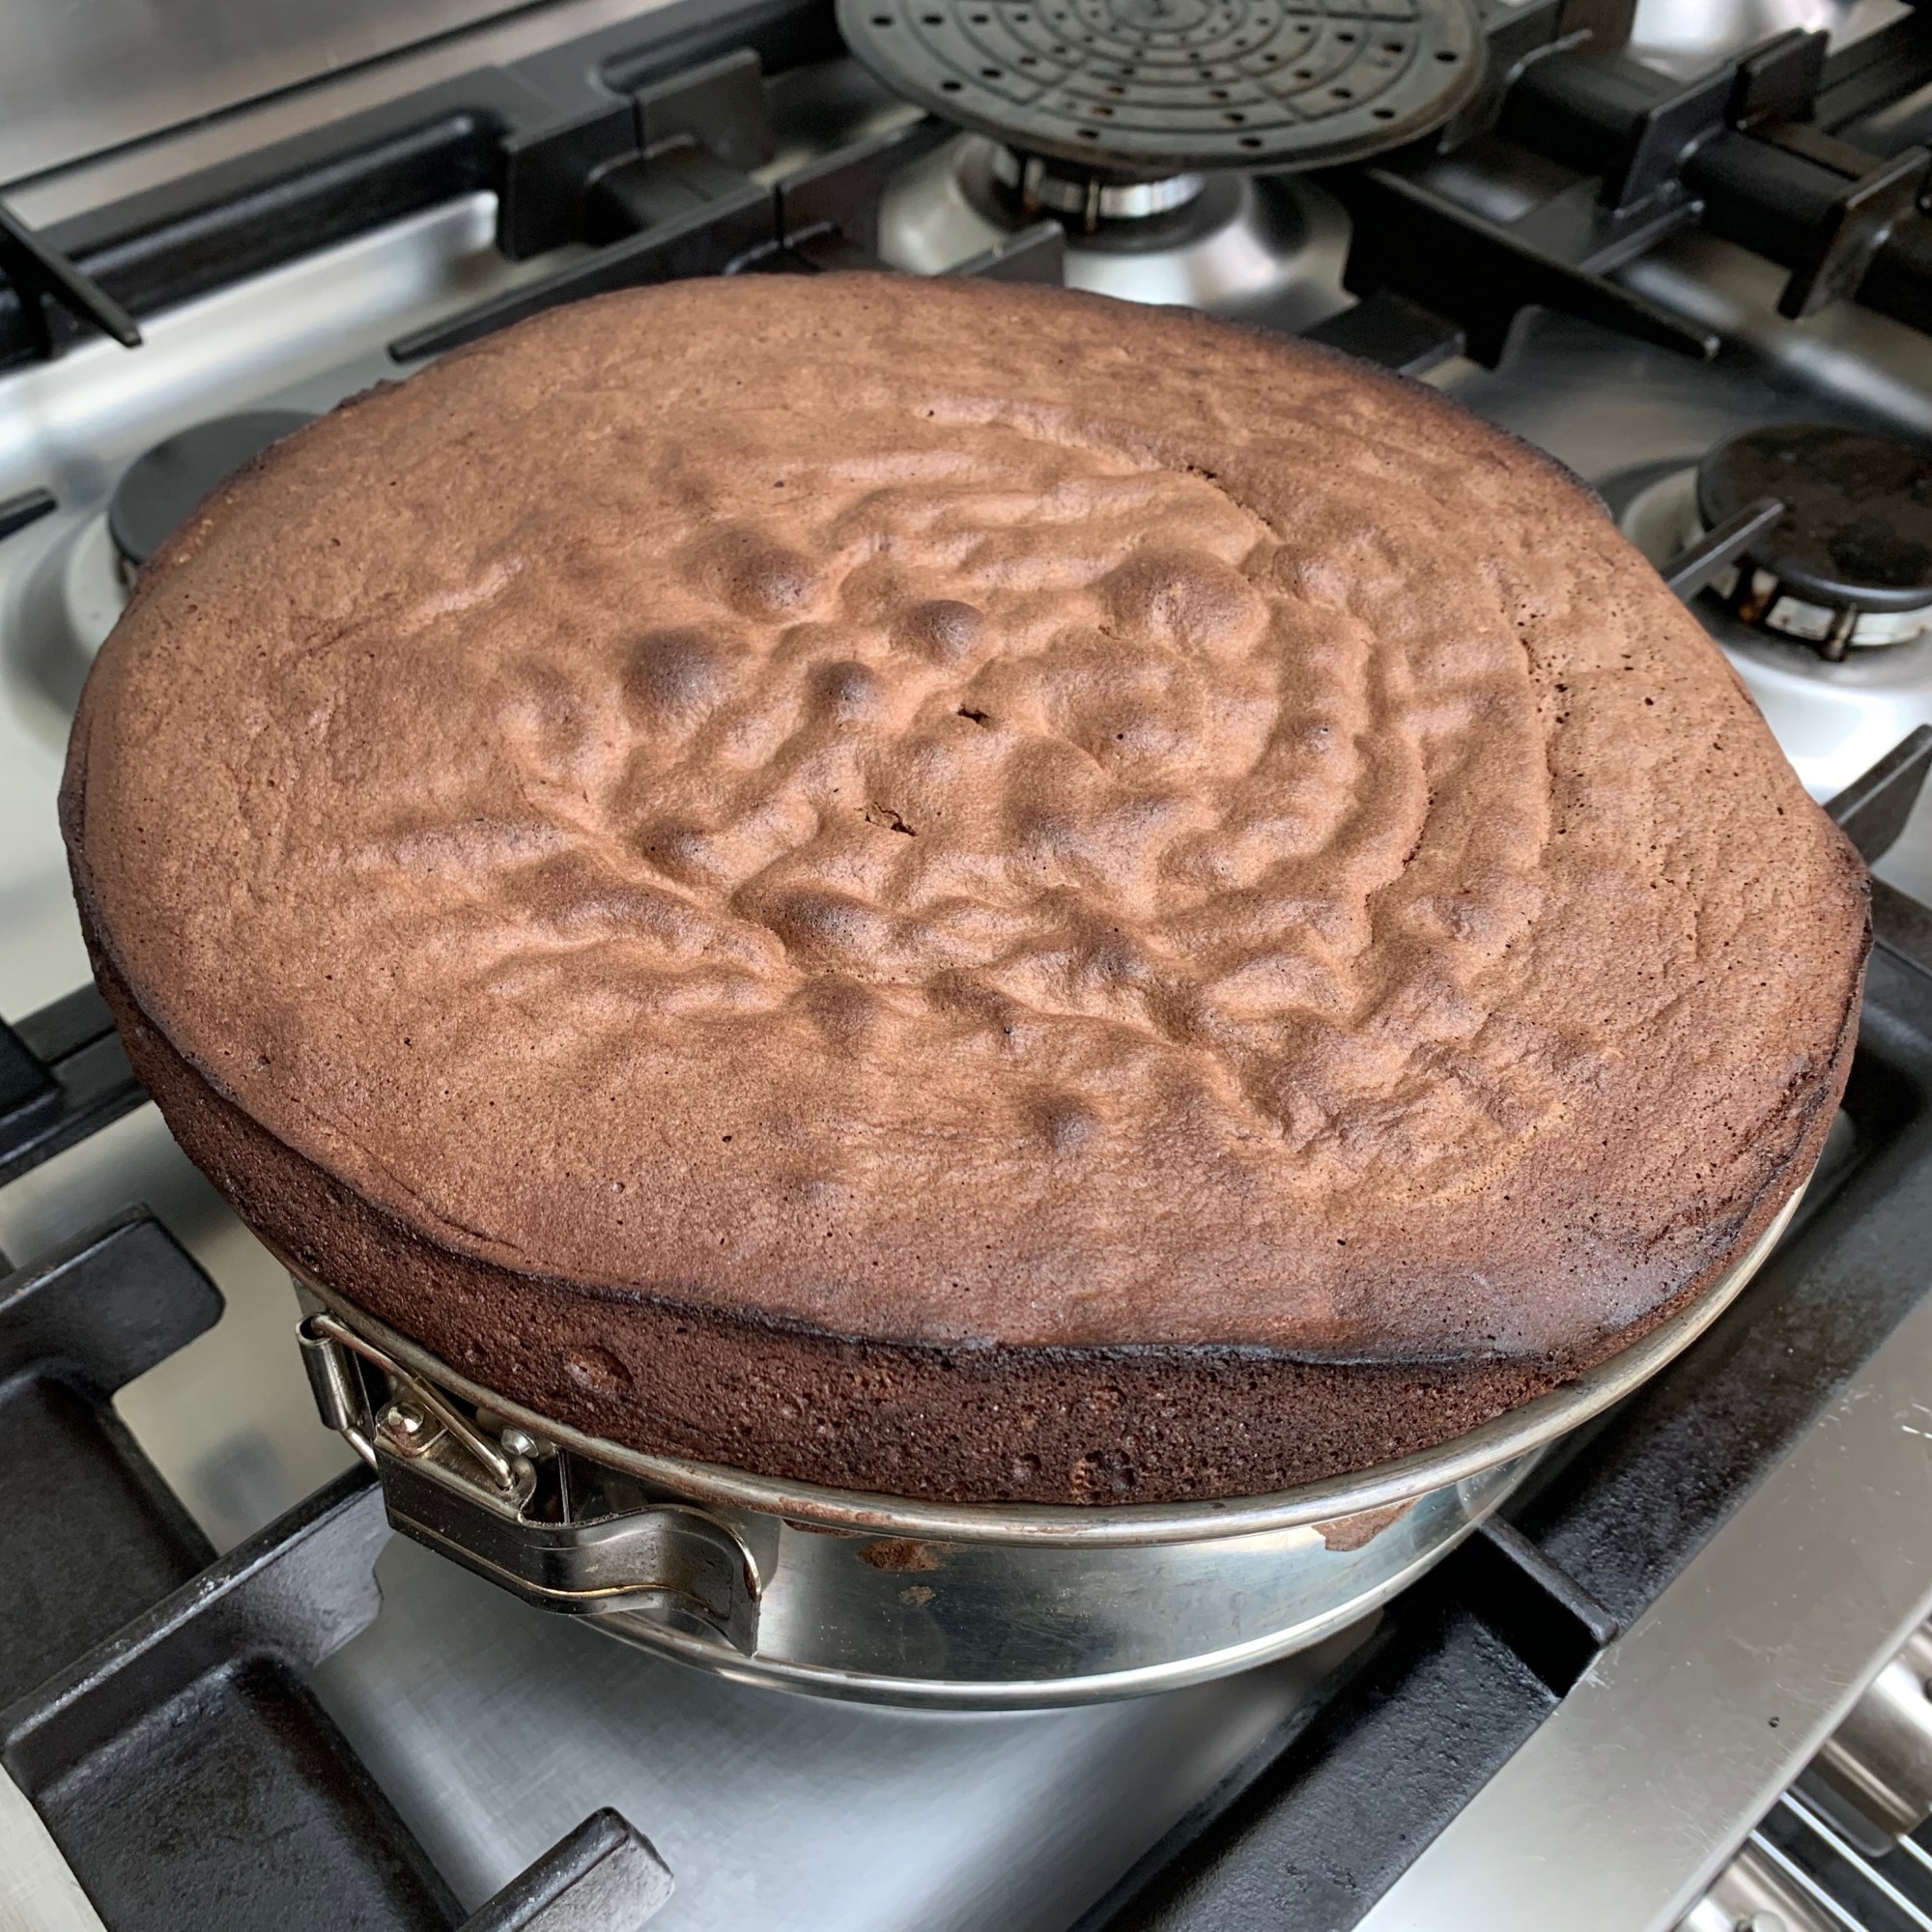
Pour into your cake tin and bake. Everyone’s oven is different: I gave the cake around 40 minutes, opened to check it with a skewer, and then gave it another 10 when the skewer didn’t come out quite dry.
Cool on a rack for as long as you can bear it.
Serve (with whipped cream, if you’re feeling Viennese).
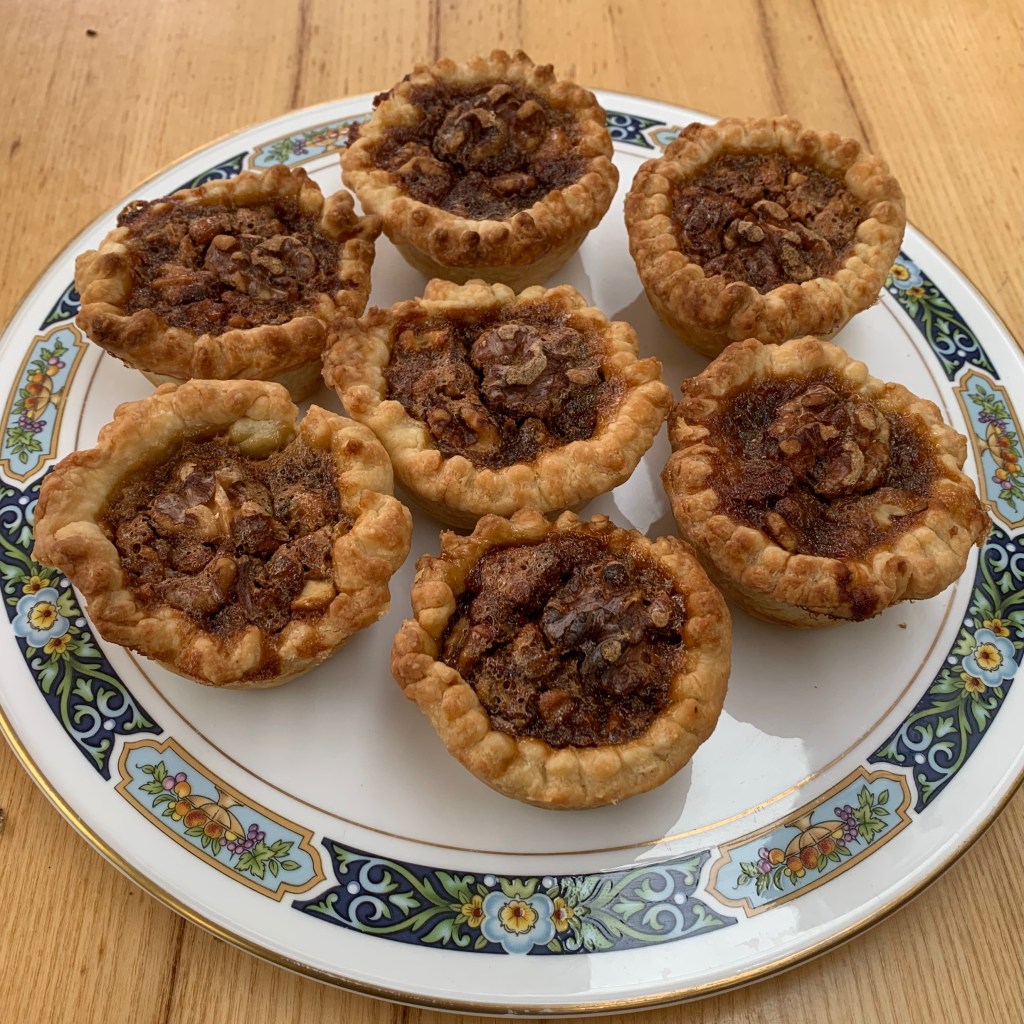
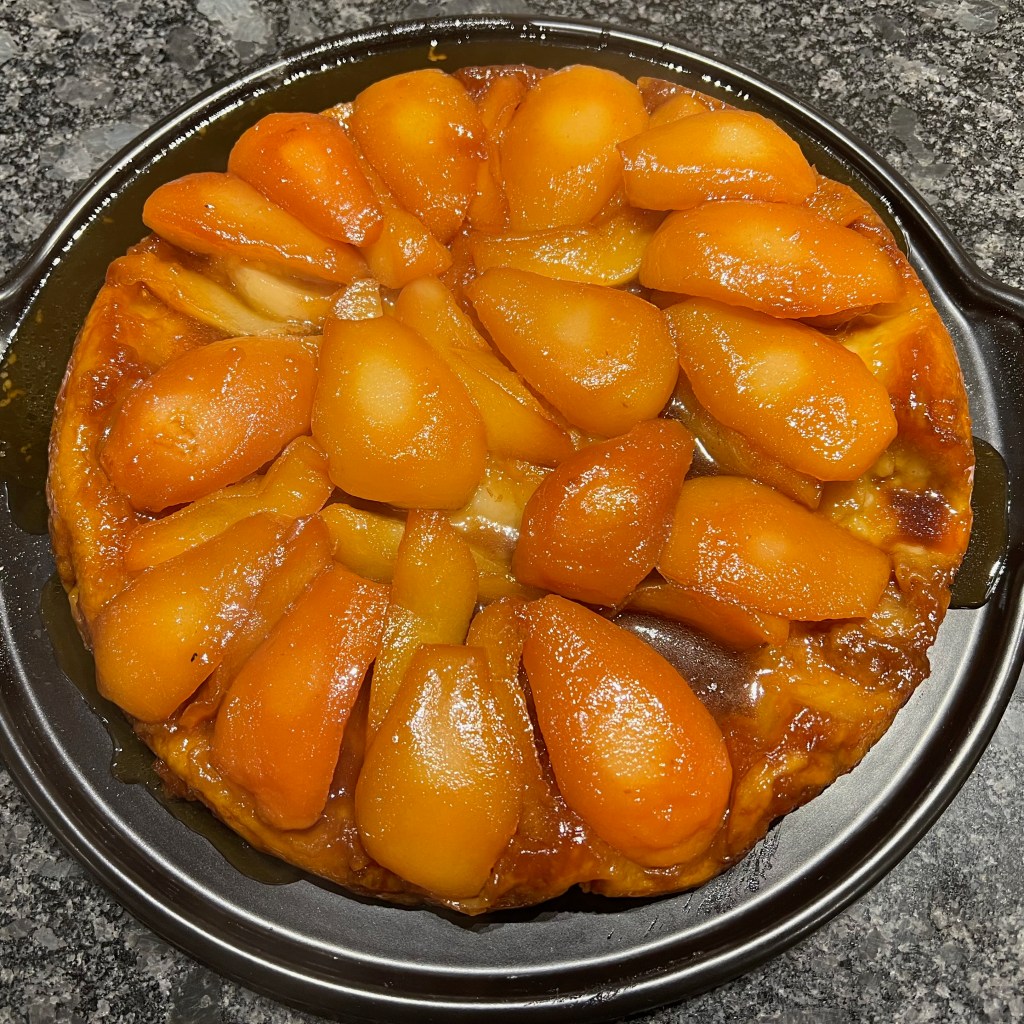
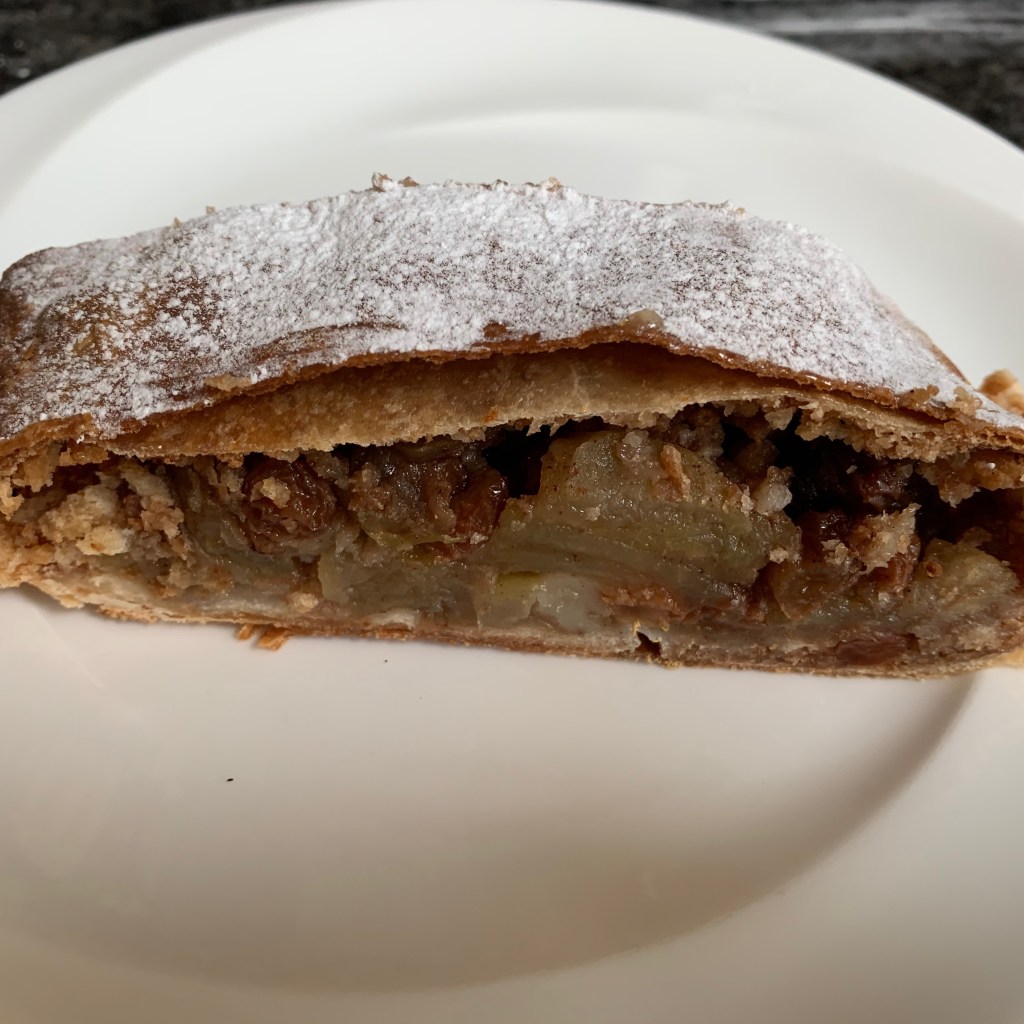
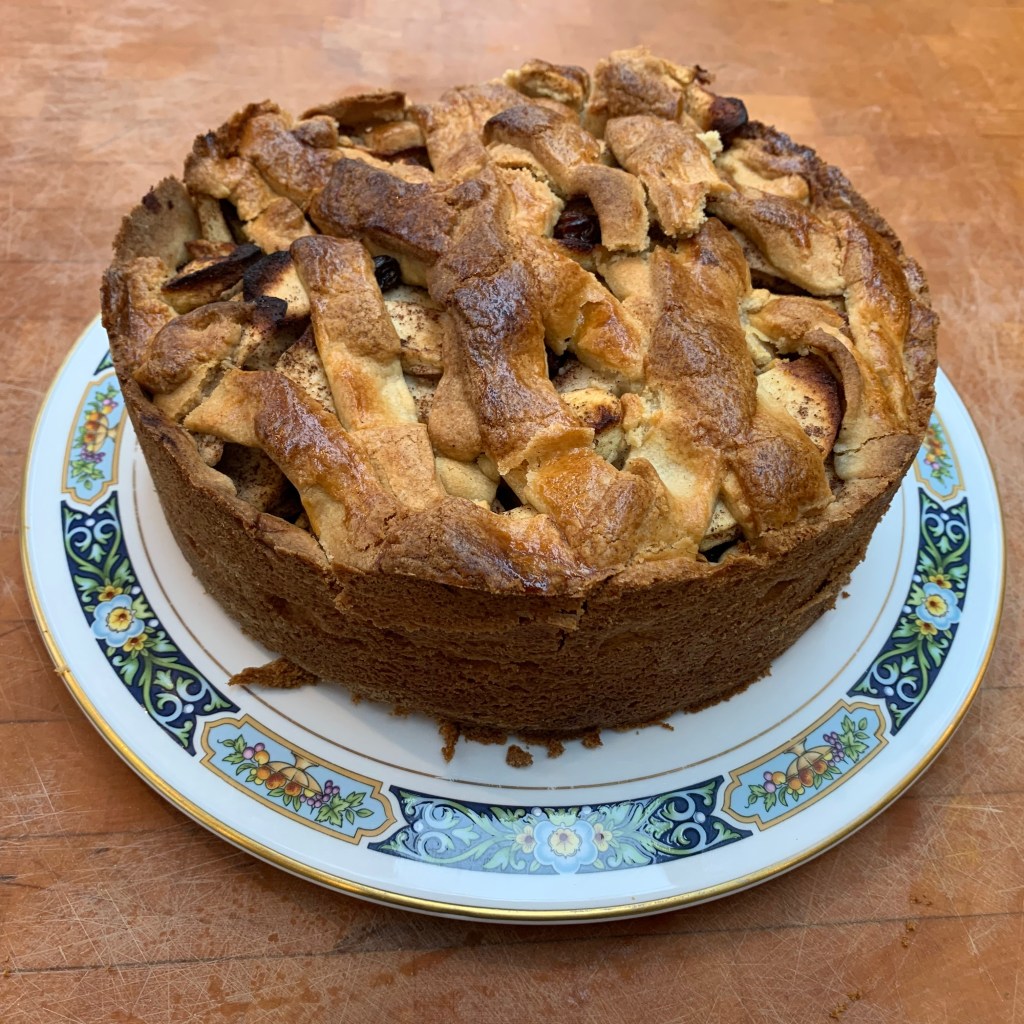
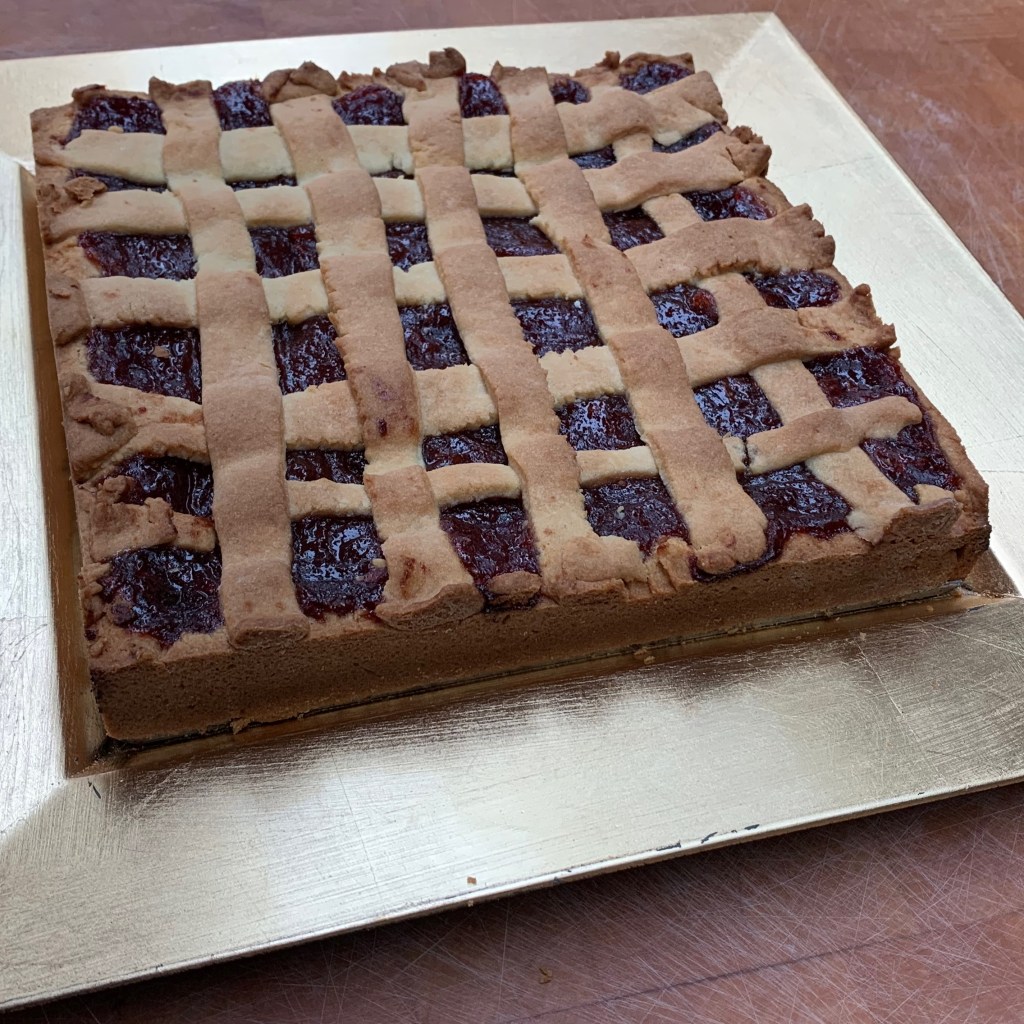
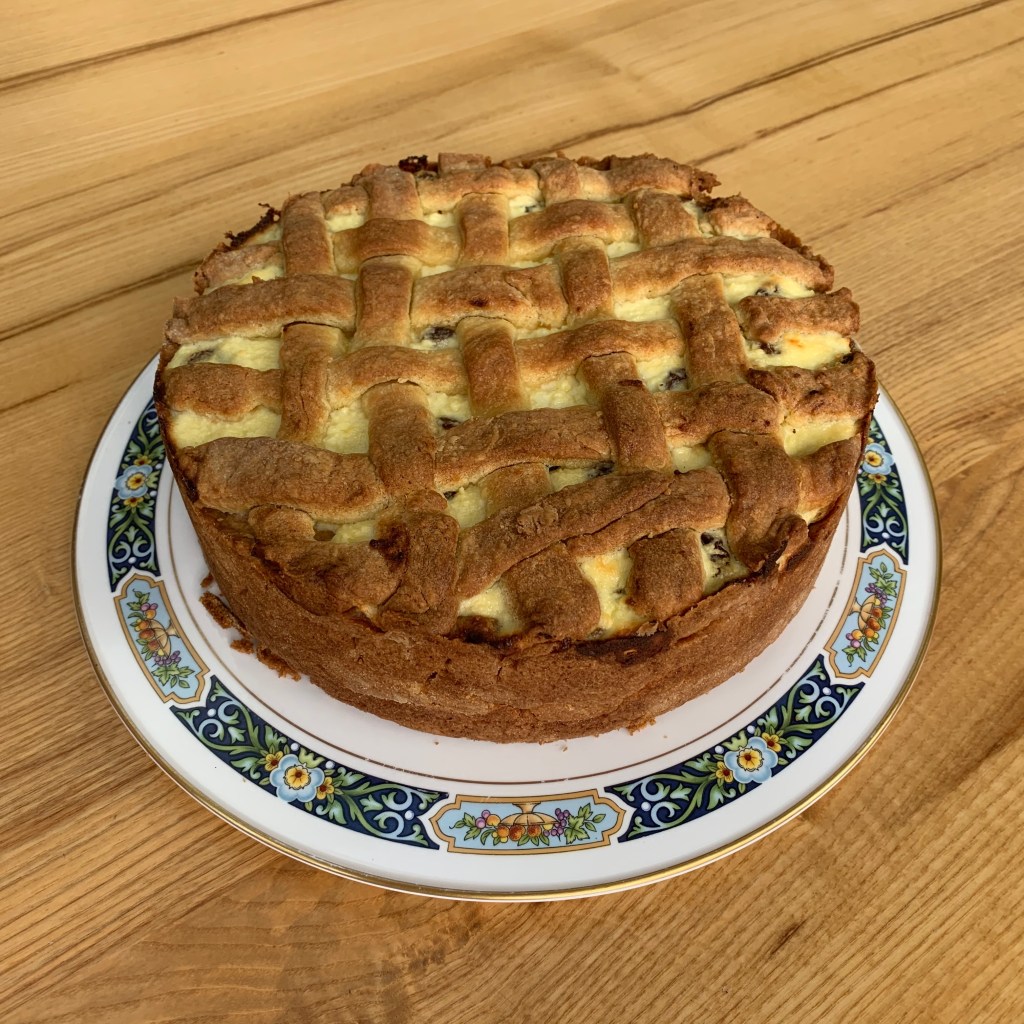
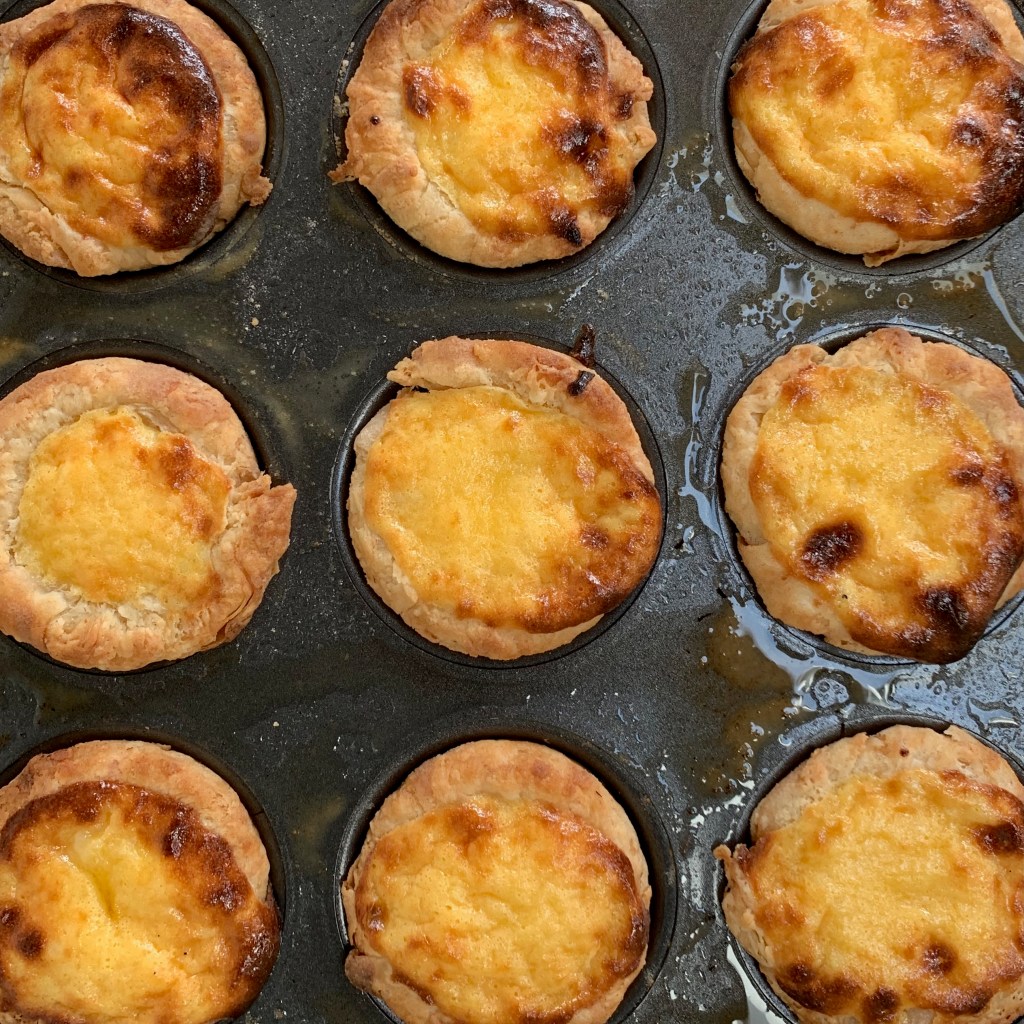
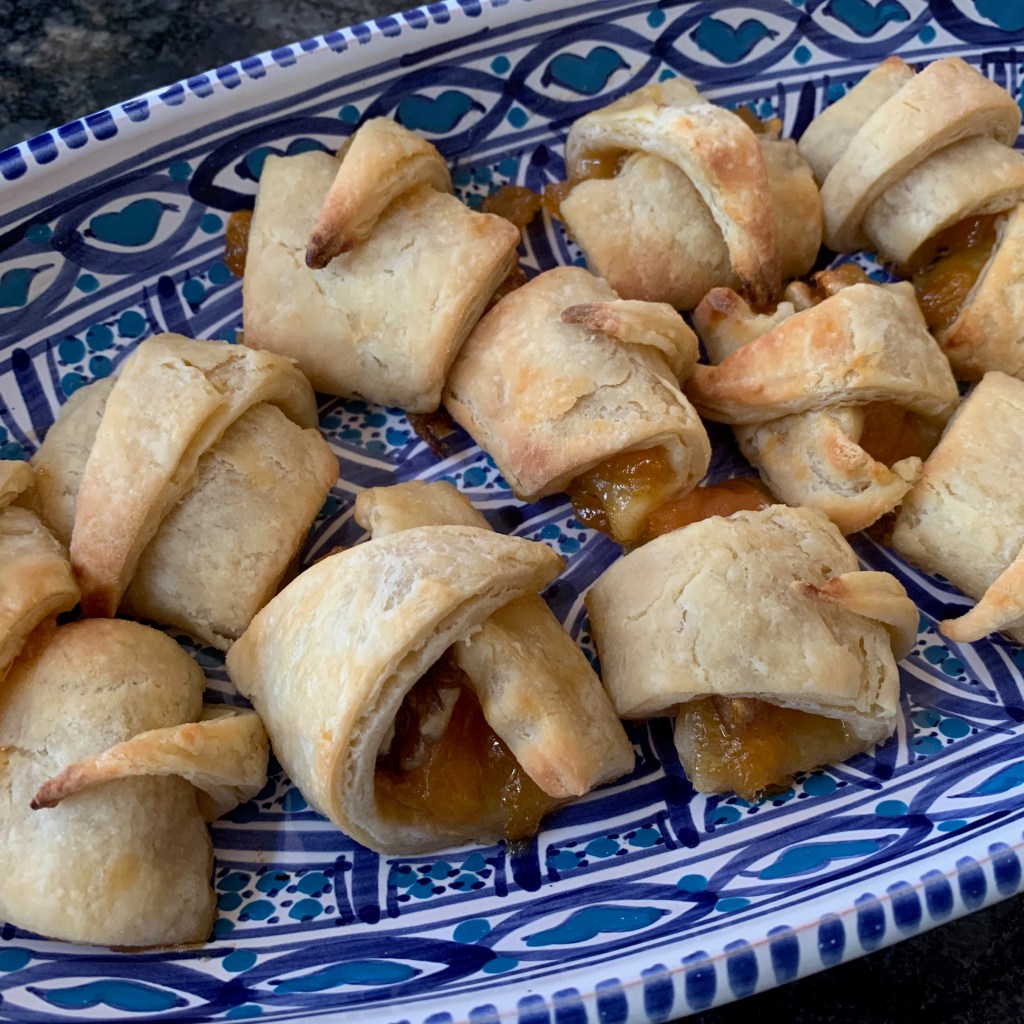
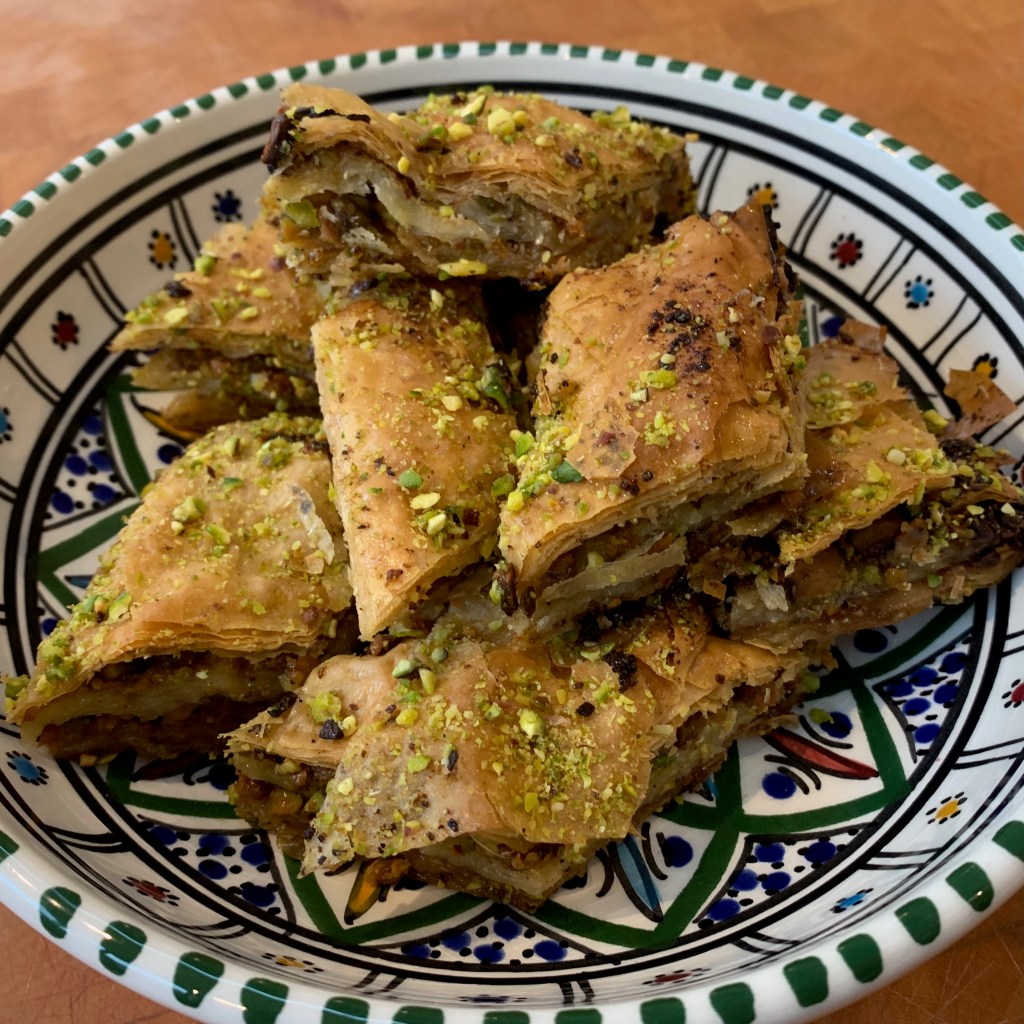
Canada: Butter tartDenmark: WienerbrødEngland: Bakewell tartFrance: Éclairs au chocolatFrance: Tarte TatinHungary: Apple strudelNetherlands: Apple pieParaguay: Pasta FrolaPoland: SernikPortugal: Pastéis de nataRomania: CornuleteTurkey: Baklava
Savoury dishes
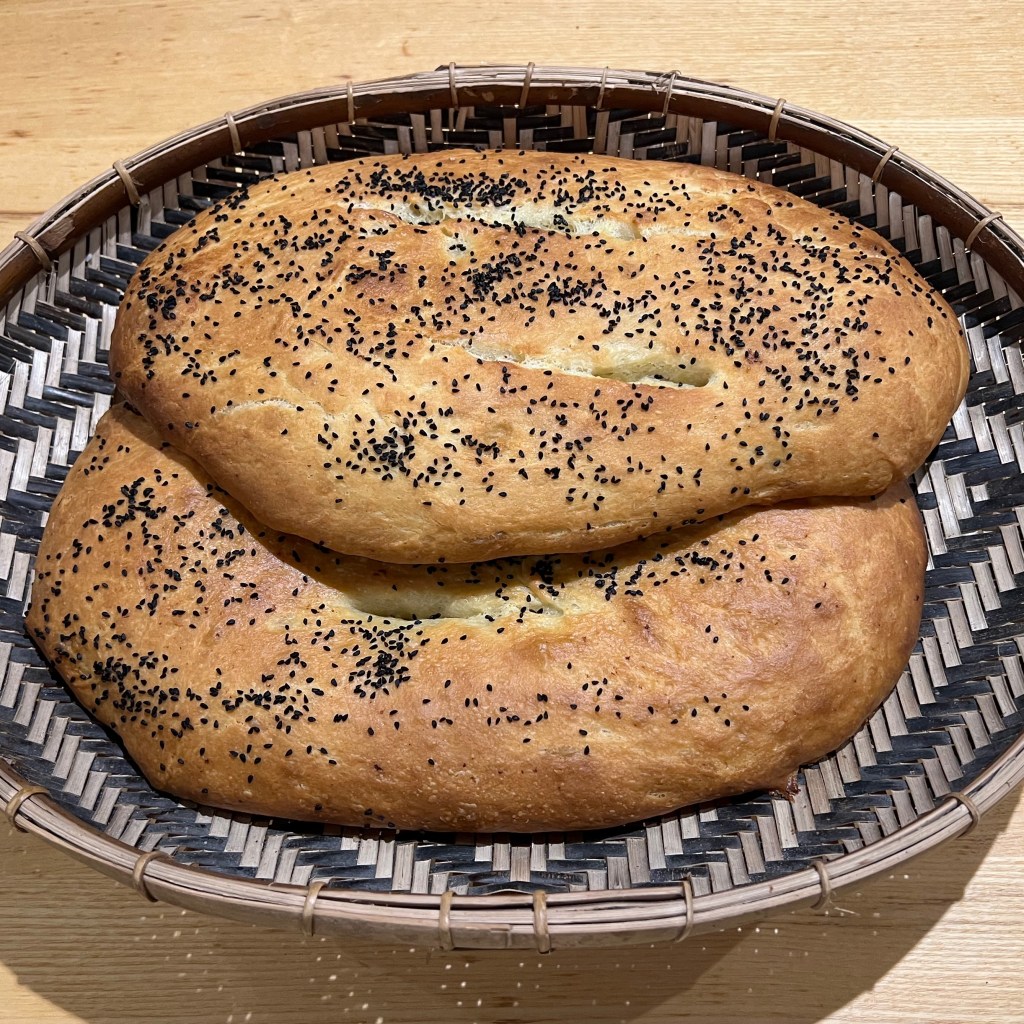
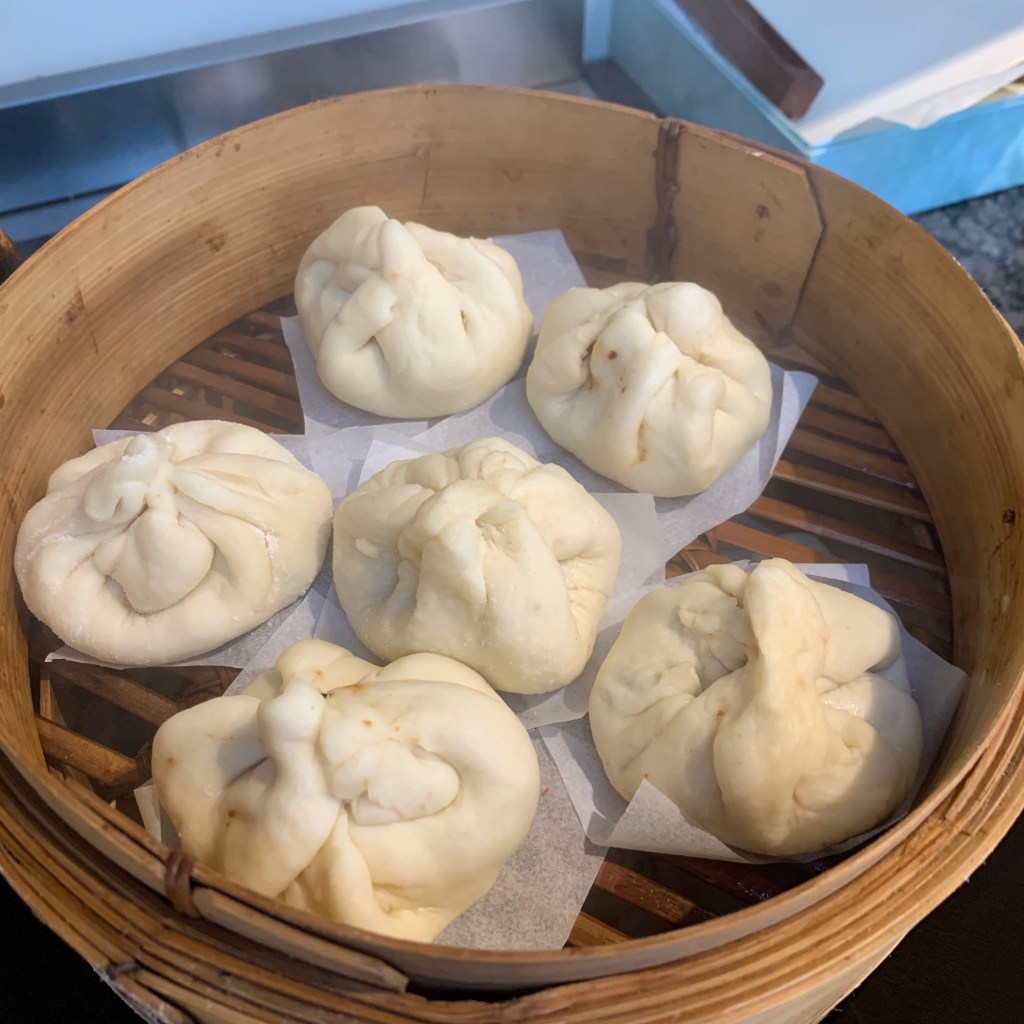
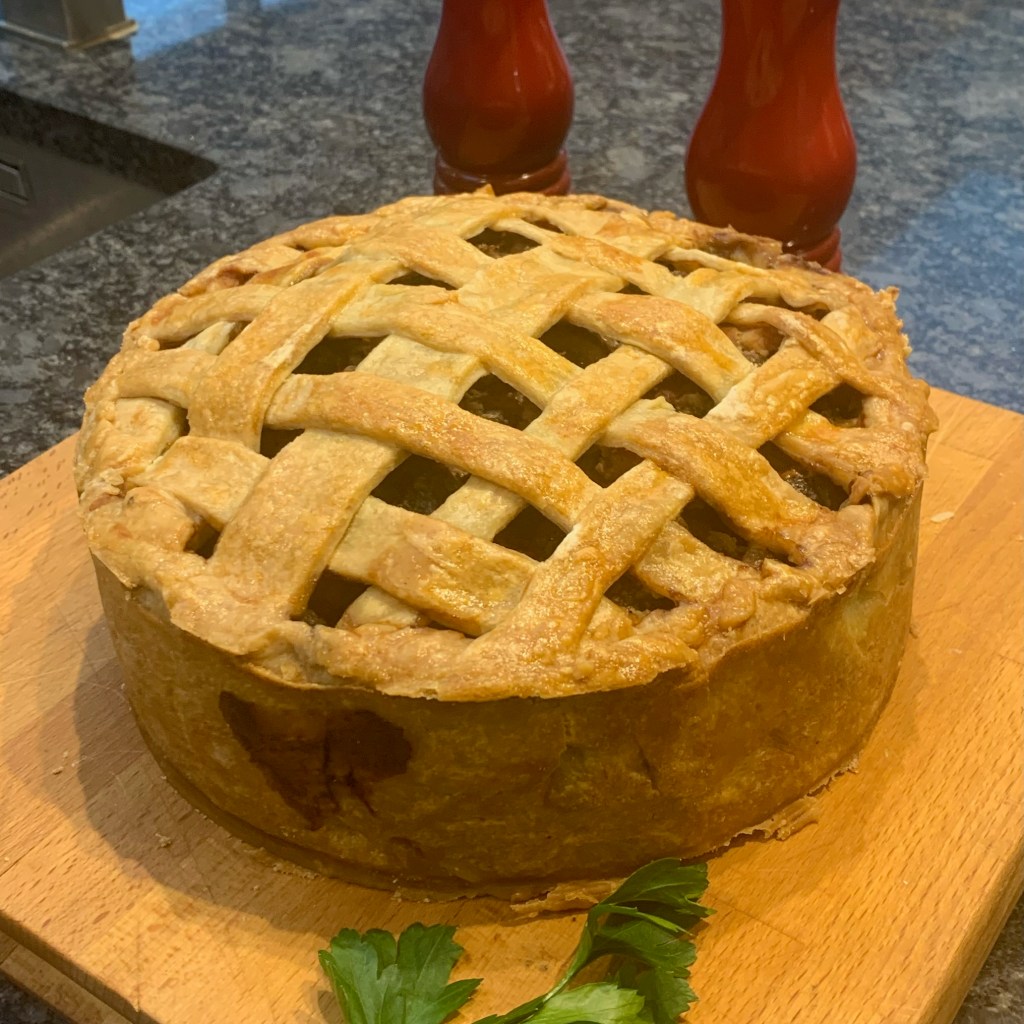
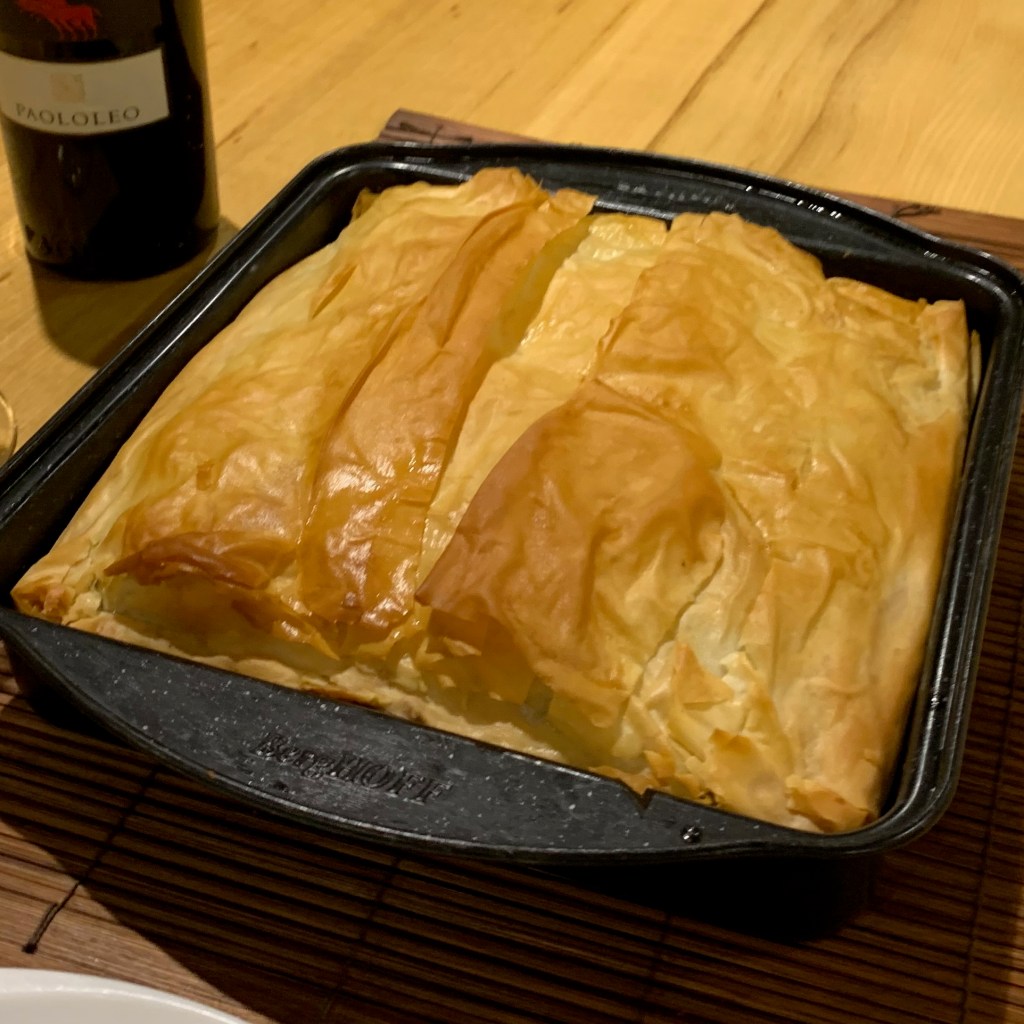
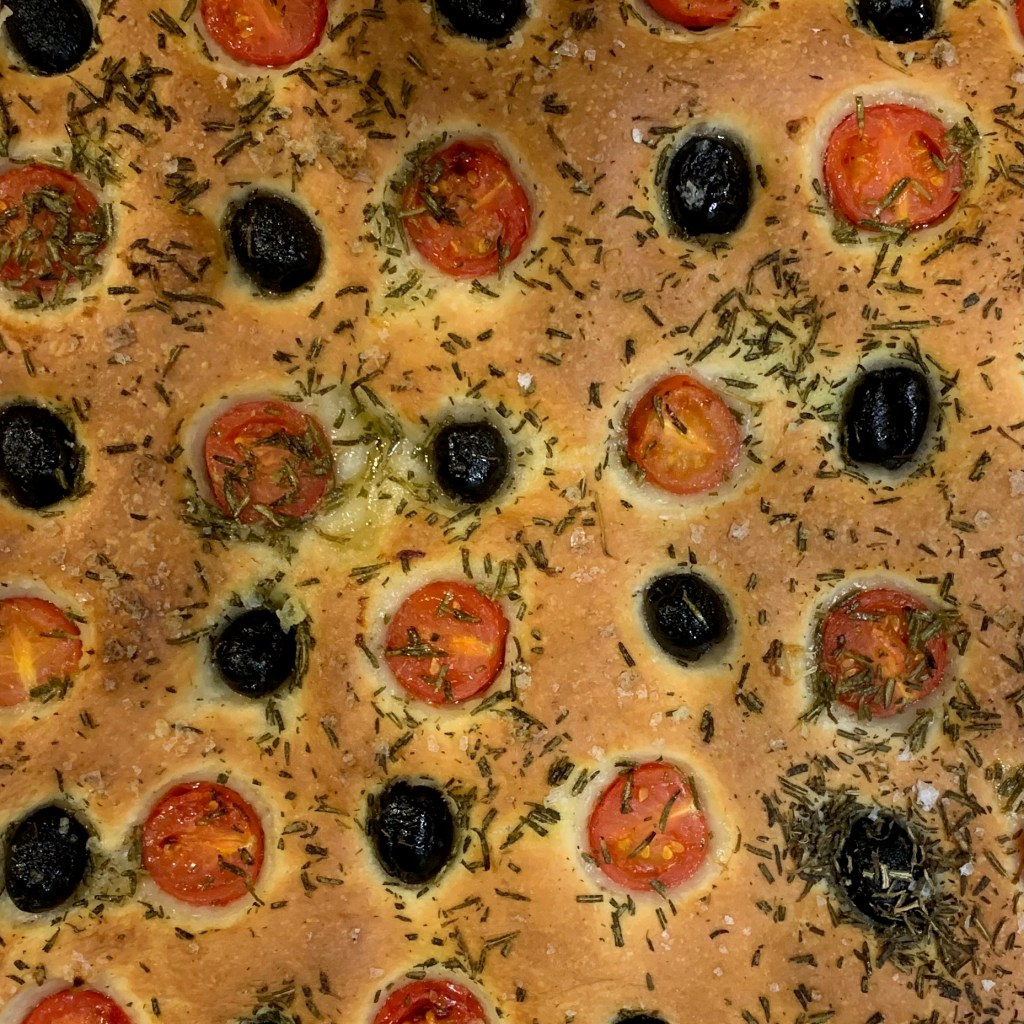
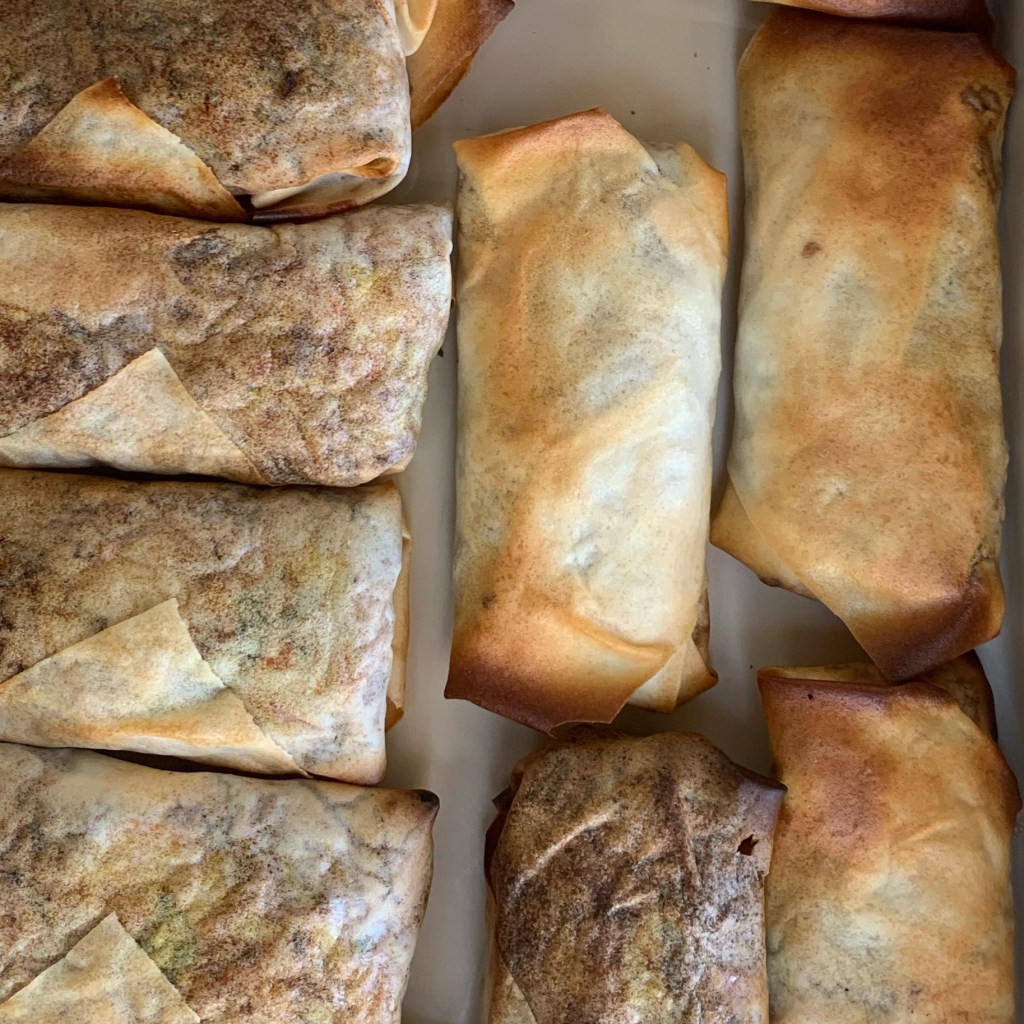
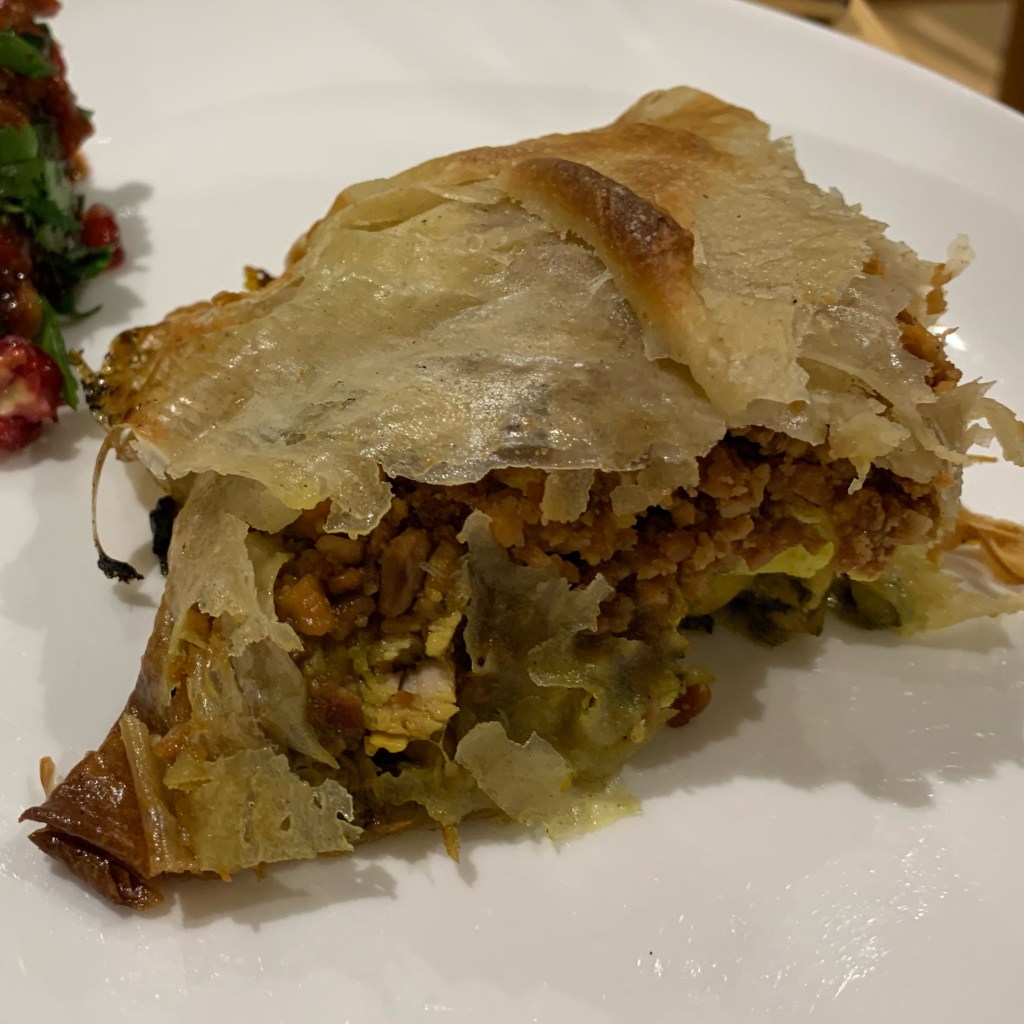
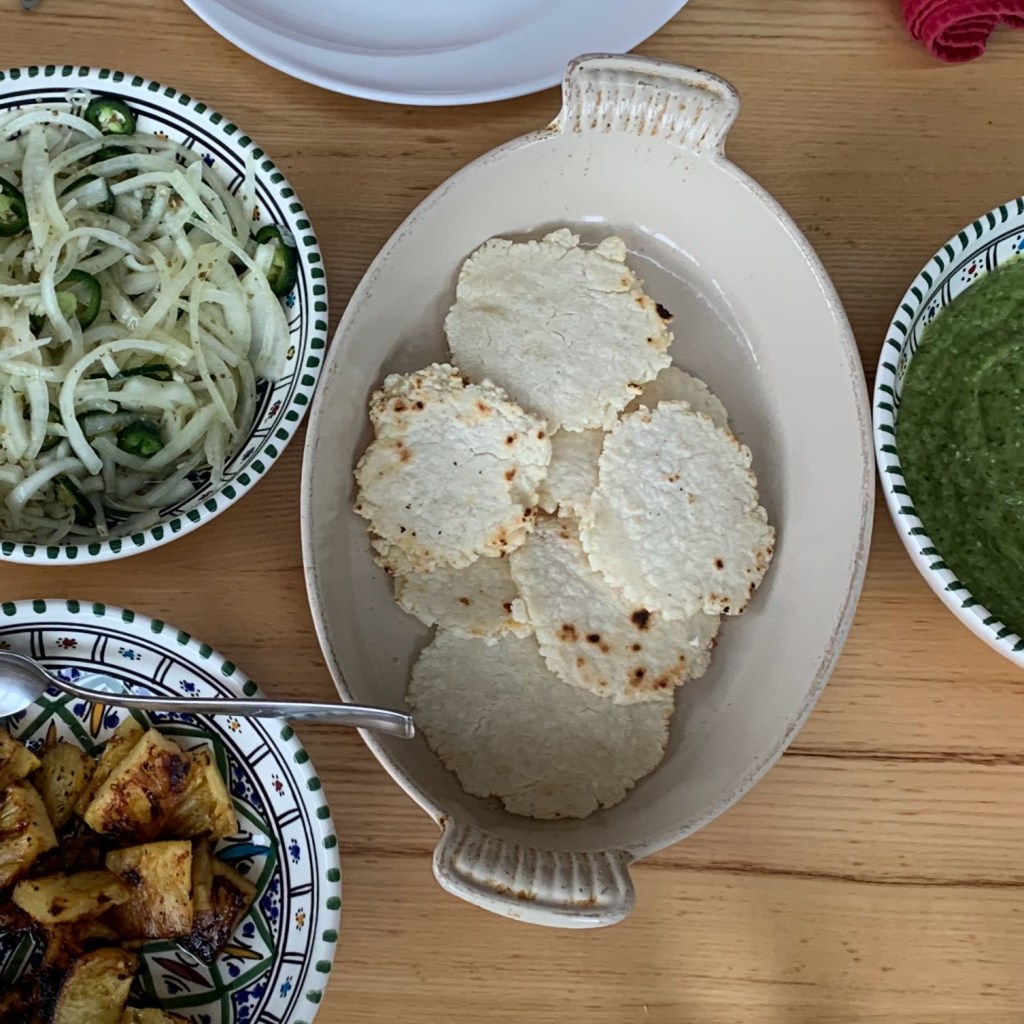
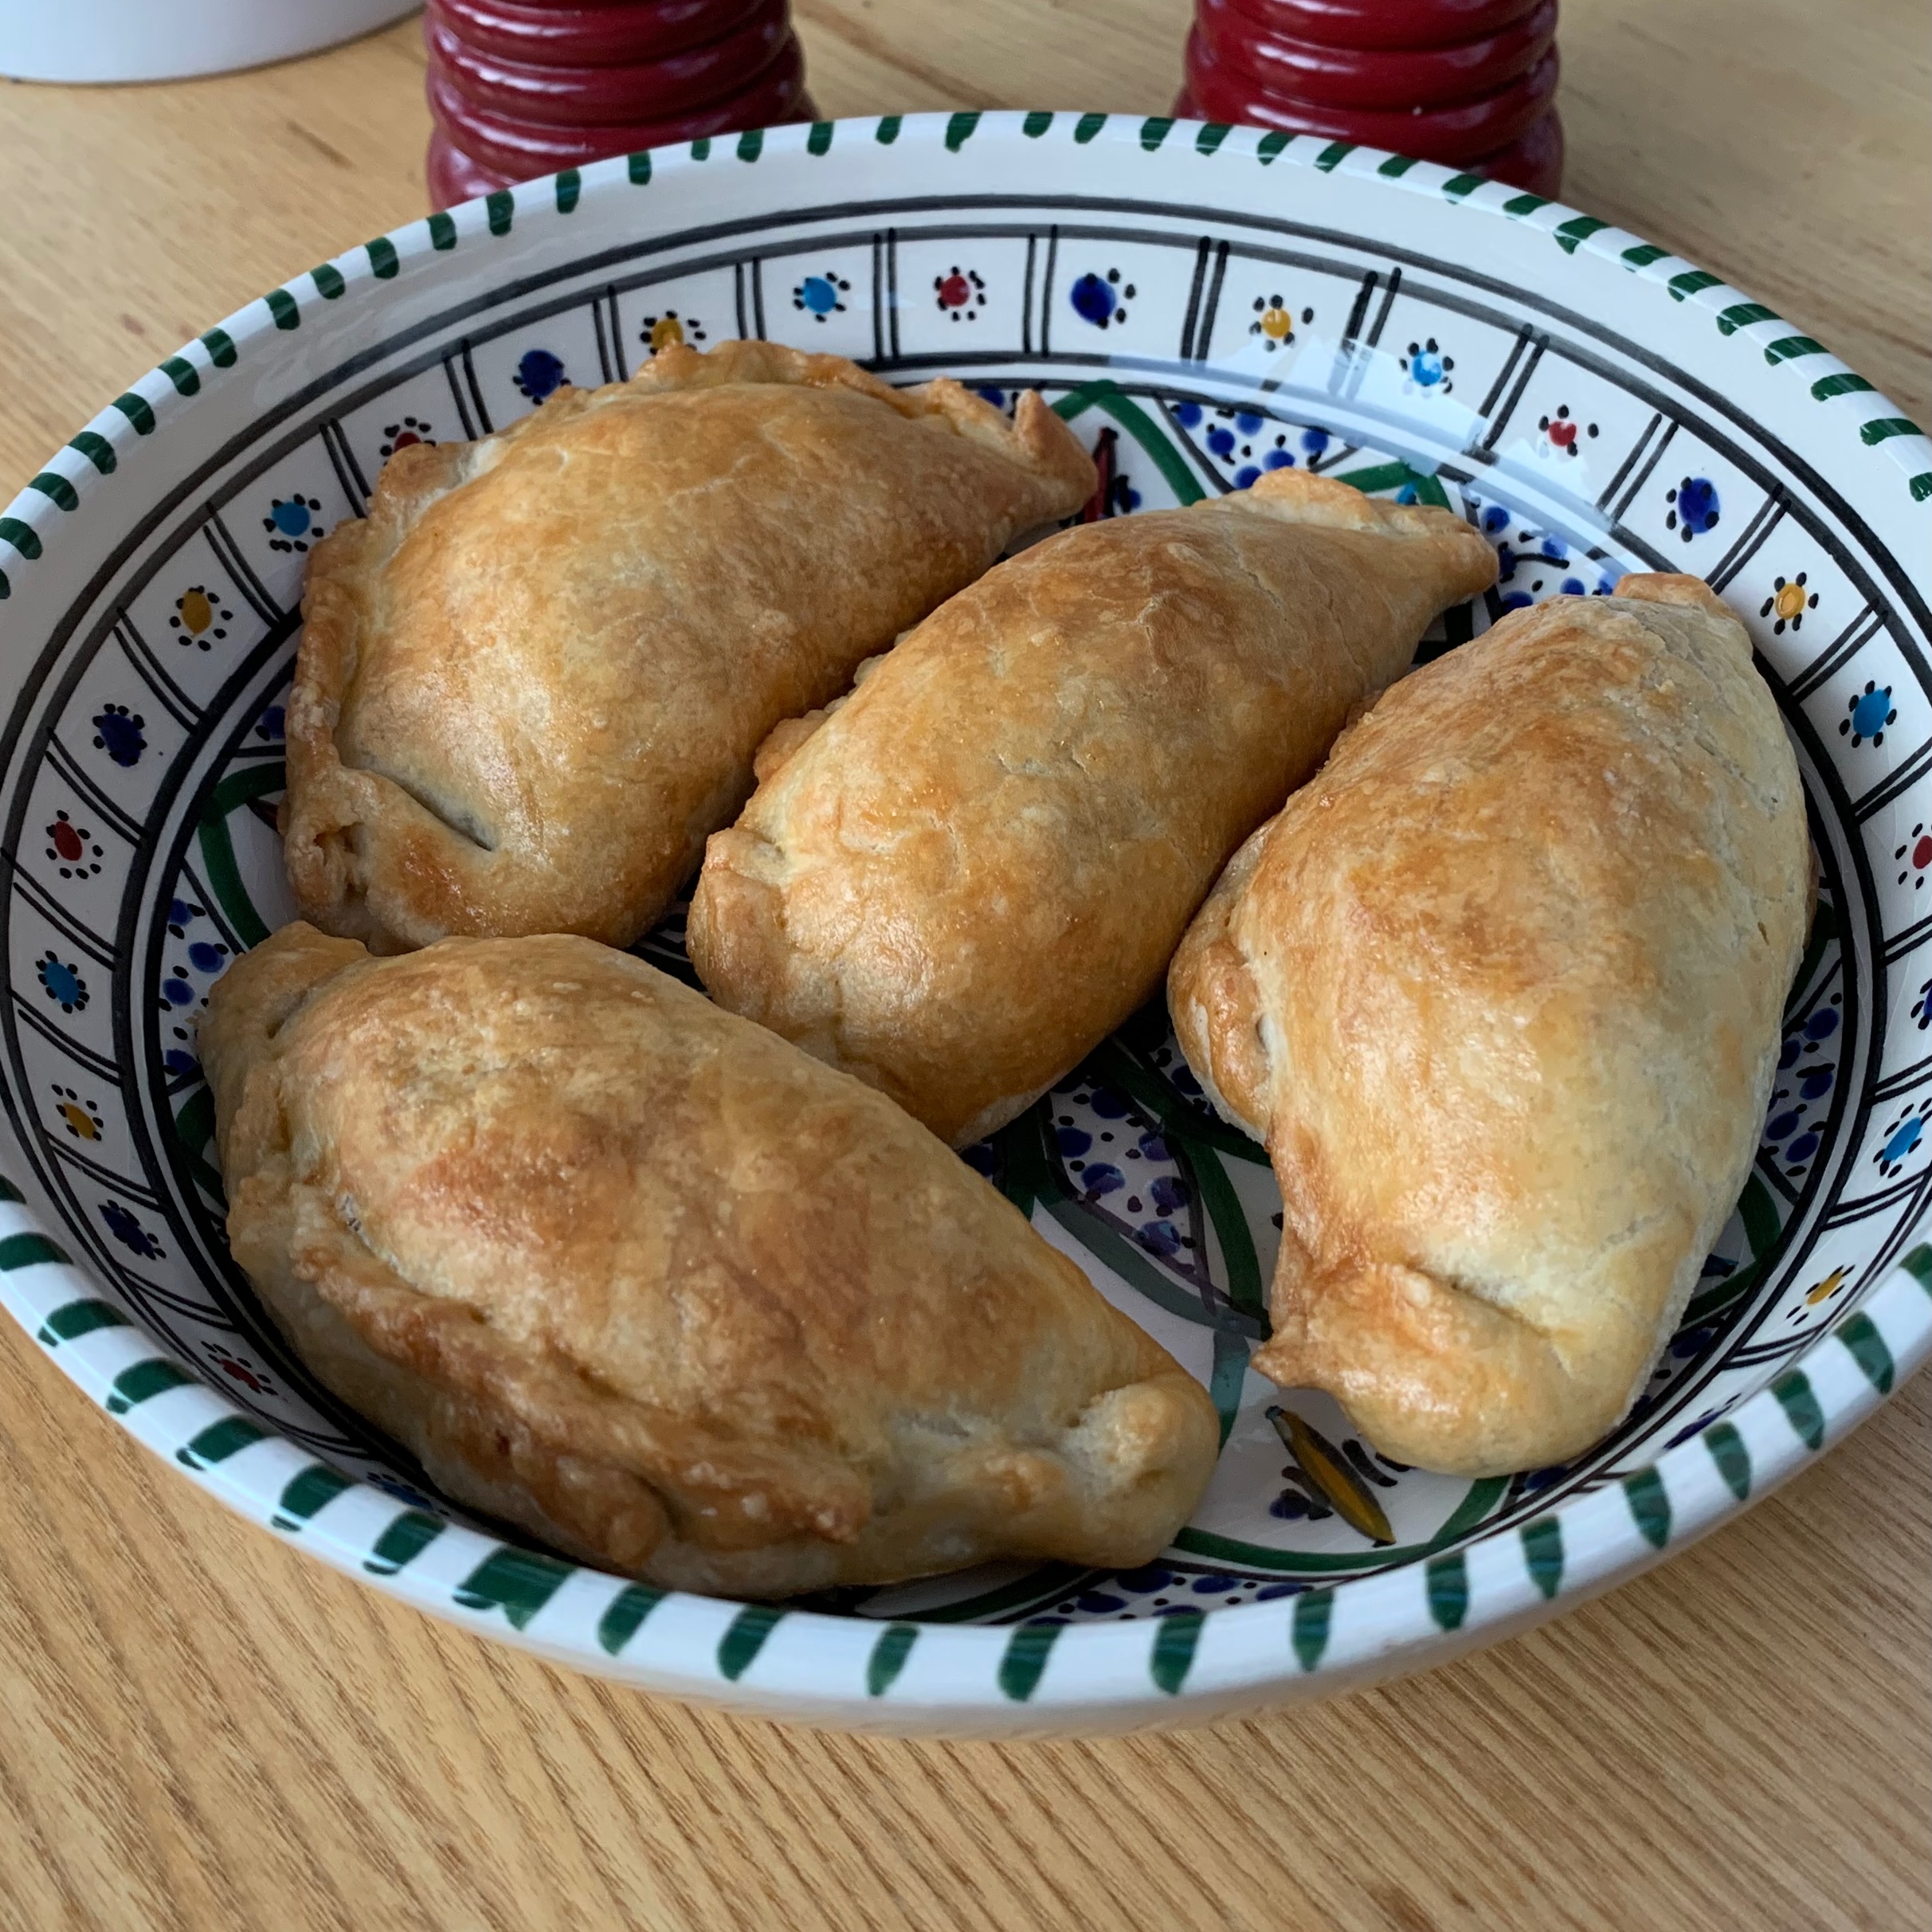
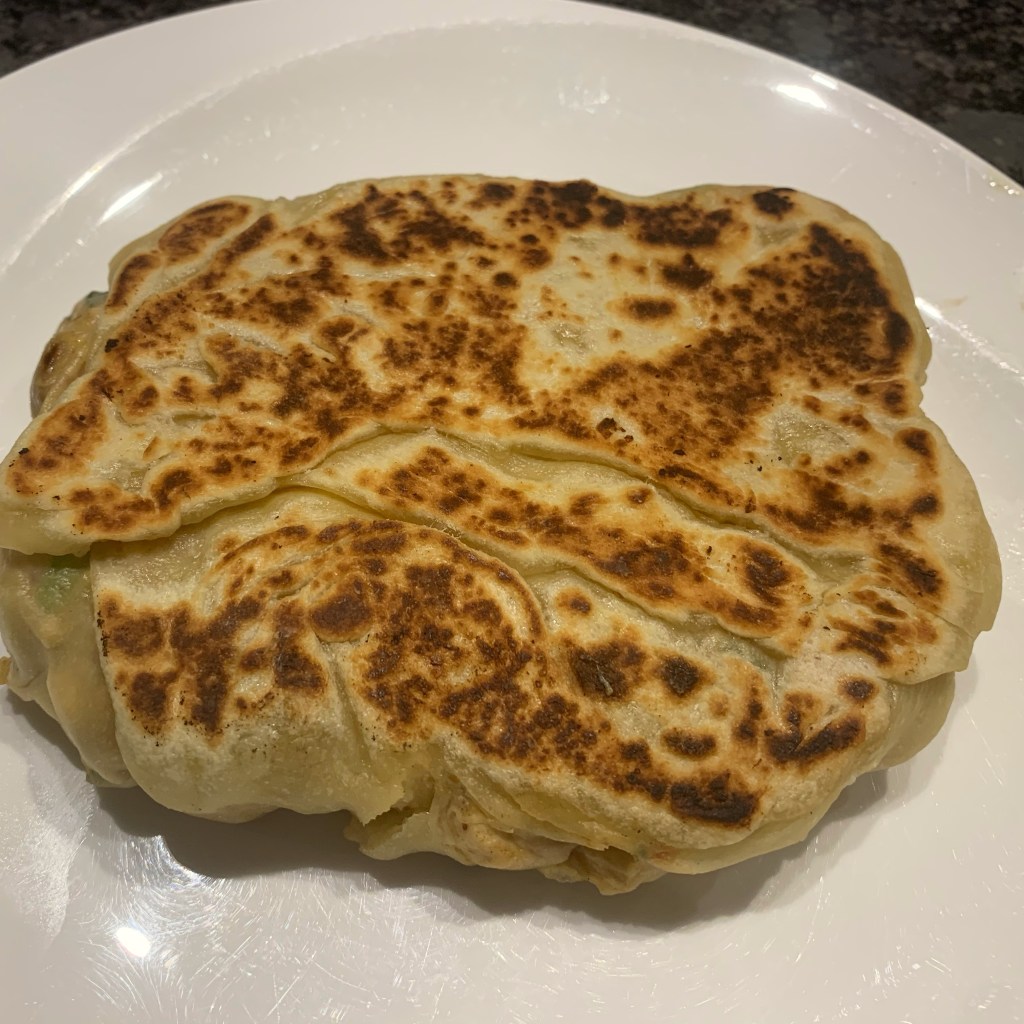
China: Char siu baoEngland: Game pieGreece: SpanakopitaItaly: FocacciaMalaysia: Baked spring rollsMalta: PastizziMorocco: BastillaMexico: Tacos al PastorPhilippines: EmpañadasSaudi Arabia: MurtabakSyria: FatayerVenezuela: Arepas
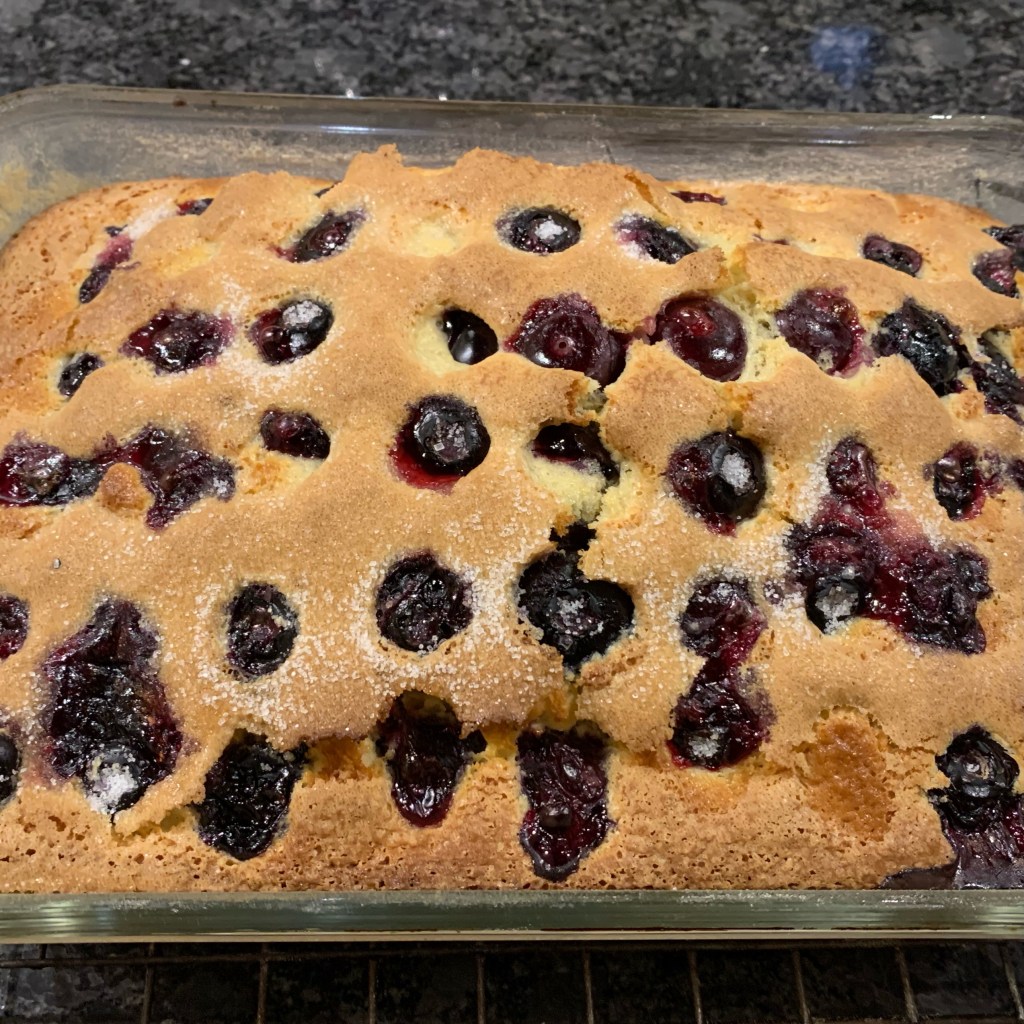
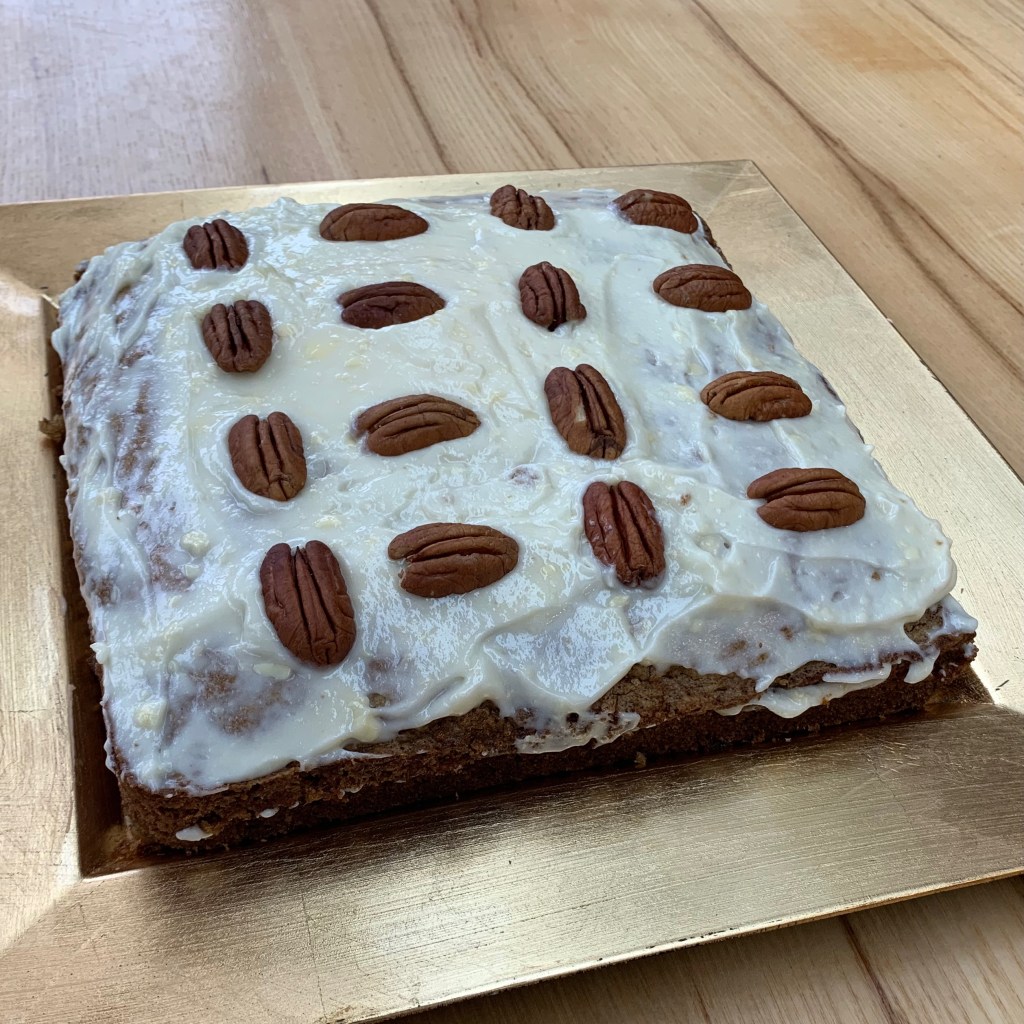
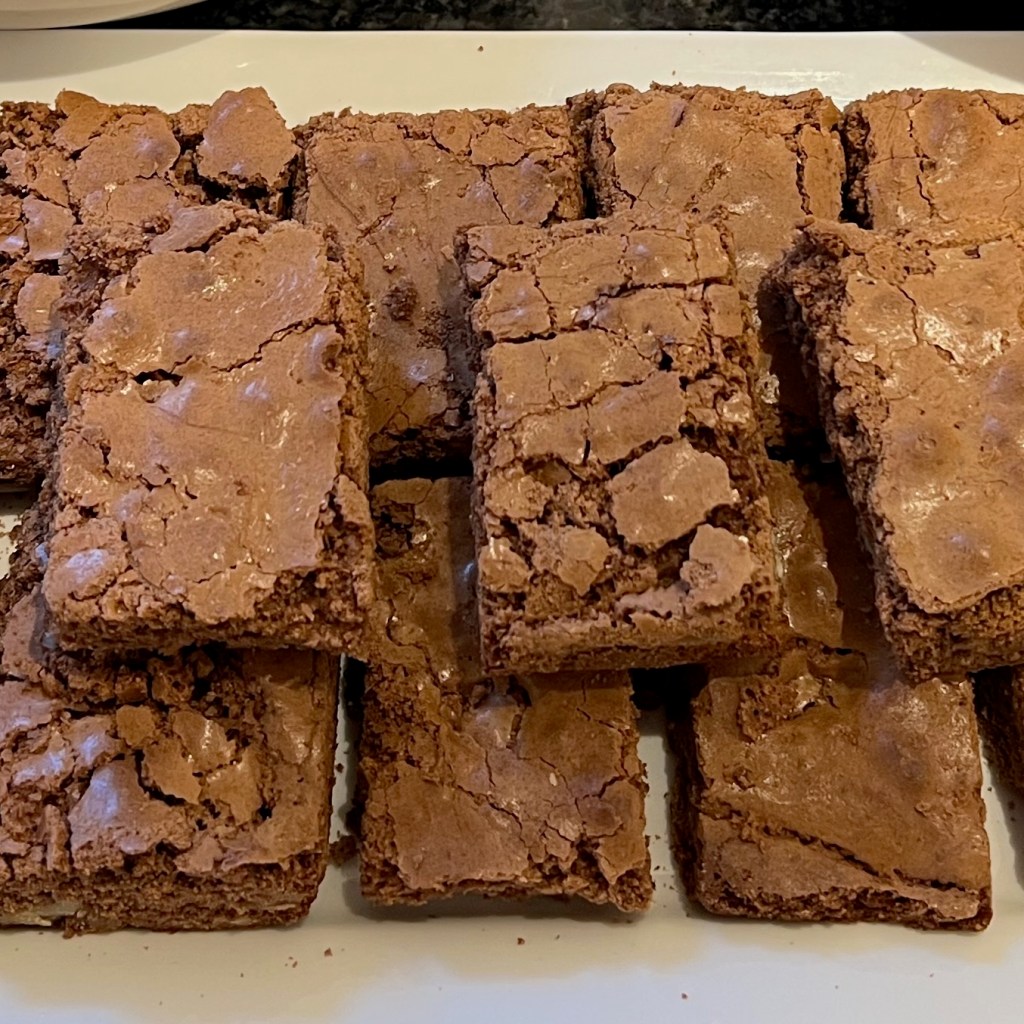
For my first bake from the United States, I chose my personal favourite of Californian carrot cake. But if I’m being honest, the archetypal American bake (leaving aside apple pie, which is really Dutch), is the chocolate brownie – born in the U.S.A and the favourite of millions. Somehow, I’ve managed to live all these years and eat countless brownies without ever having tried to make a batch, so it was about time to try.
There are a million variations on the basic brownie recipe, mainly to do with how gooey you do or don’t like your brownies, but also about choices of nuts and additional flavourings (there are even “blondies” if you prefer white chocolate or you want to omit chocolate altogether). If you are keen to calibrate your recipe carefully to your own taste, Felicity Cloake in The Guardian is probably a good place to start. This being my first time, I went for authentic Americanness rather than perfection and headed for Irma S. Rombauer and Marion Rombauer Becker’s The Joy of Cooking, probably the most famous American cookbook of all time and the book bought by my mother in New York when my family lived there briefly in the early 1960s.
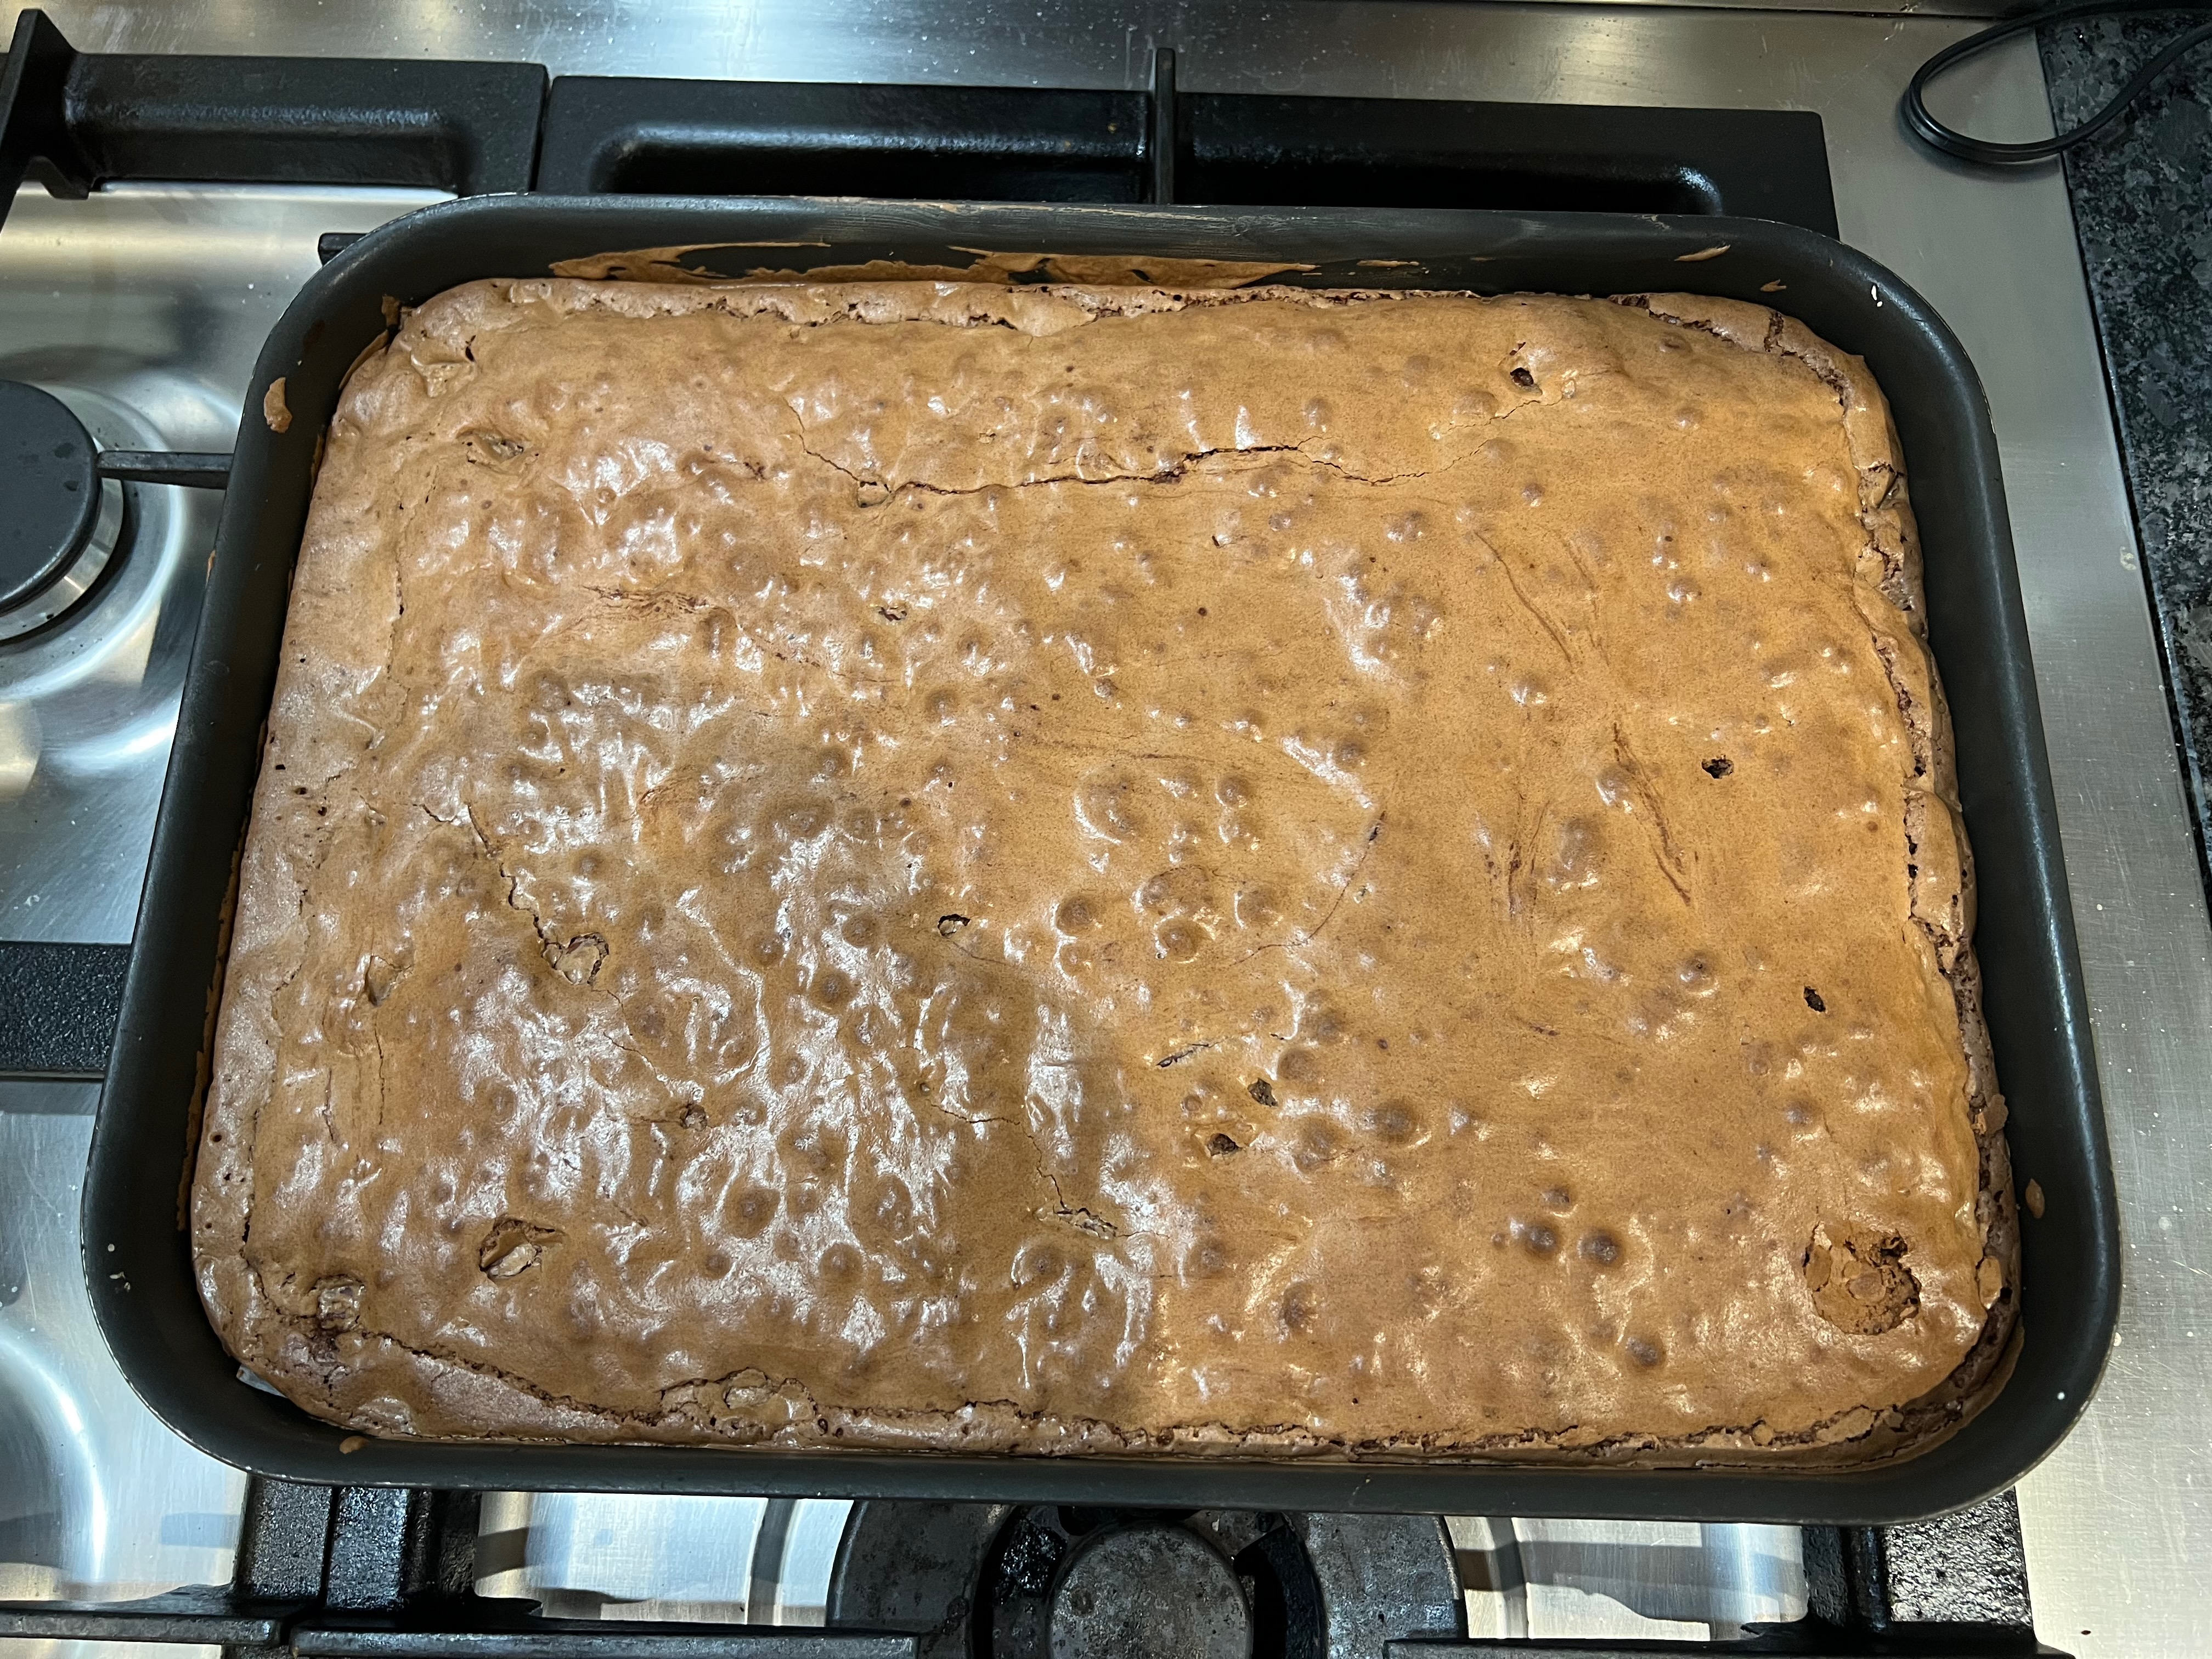
On the grand scale of things, brownies are not a difficult bake: there’s just one tricky bit, namely knowing when they’re done. Again, this is a function of how gooey you want them: I got panicky and left mine in too long, so they were considerably too cake-like for my taste. So don’t use the “skewer has to come out dry” test if you want them remotely sticky.
With my usual aversion to measuring things in cups, I’ve turned everything to metric.
Brownies are, by tradition, square or rectangular. I used a pretty standard 30cm x 40cm baking tin which resulted in fairly thin brownies. If you like them thicker, either go for a smaller tin or multiply up the recipe.
100g chocolate (I used Menier 70%)
60g unsalted butter
4 eggs (mine were of mixed size and weighed about 200g in total)
¼ tsp salt
350g sugar
Vanilla essence to taste
100g pecans
120g flour
Preheat oven to 175℃ fan
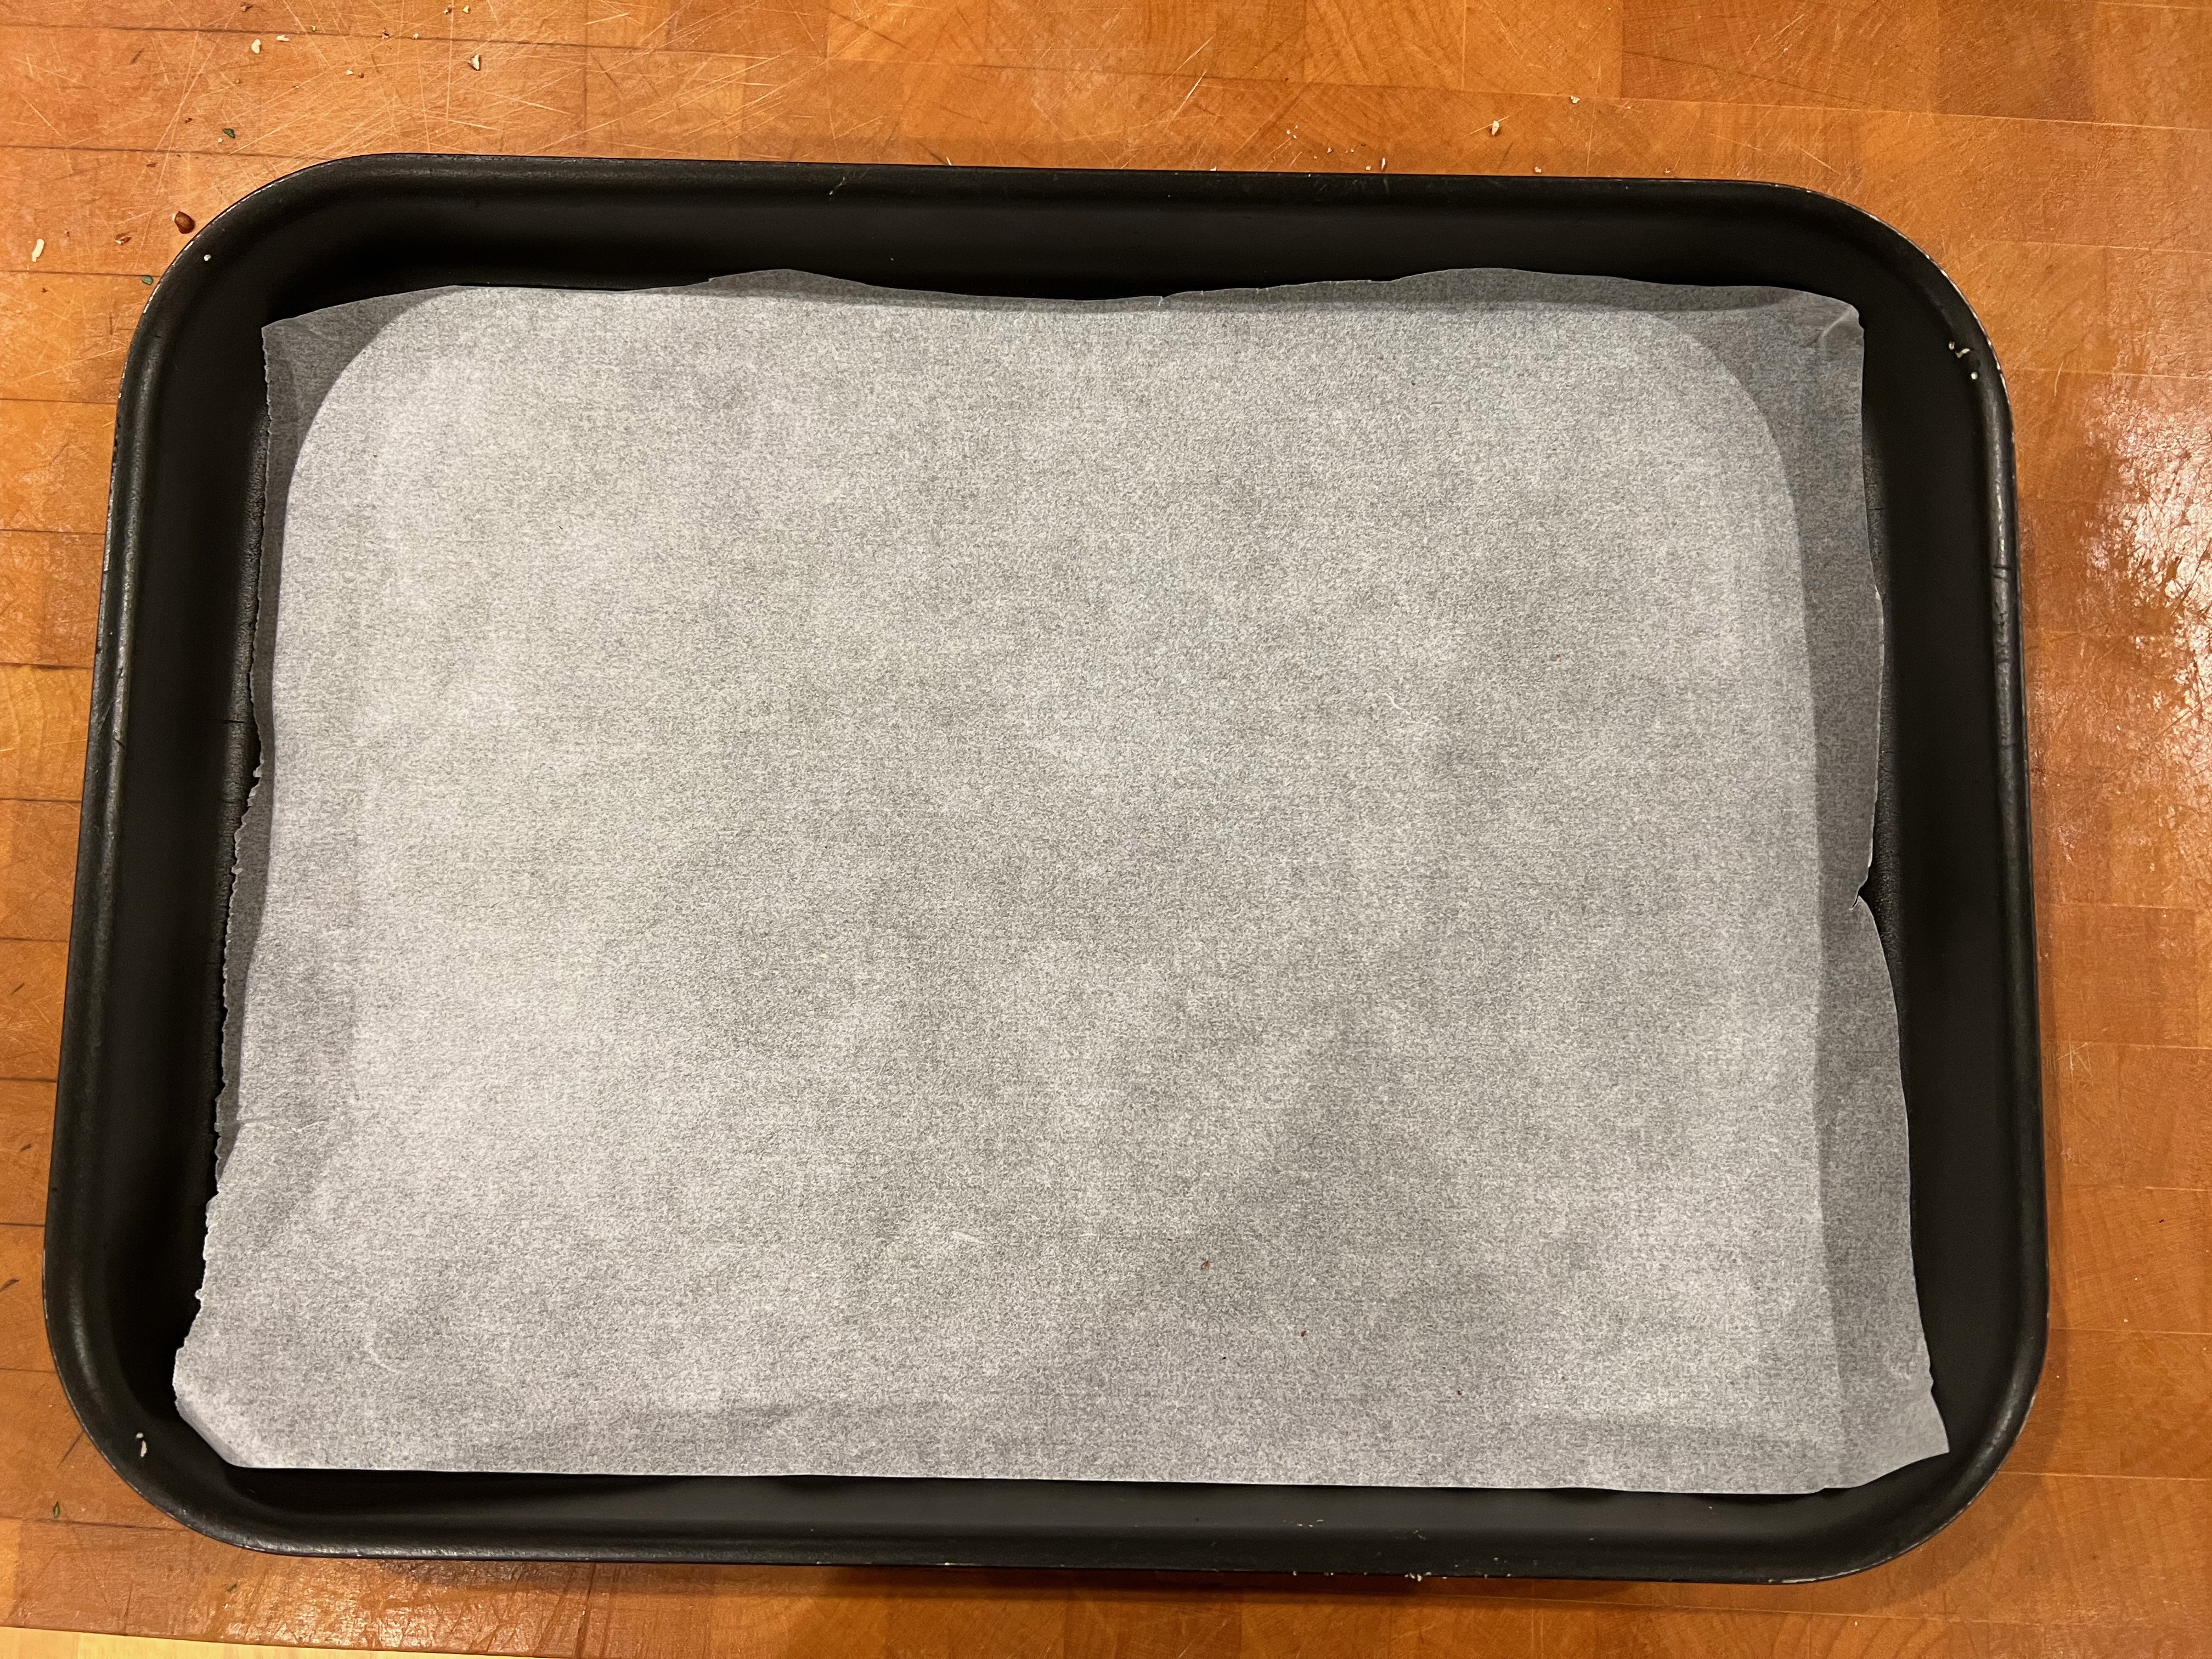
Prepare your baking tin by lining its base with baking paper
Melt the butter and chocolate in a double boiler, blend well and leave to cool.
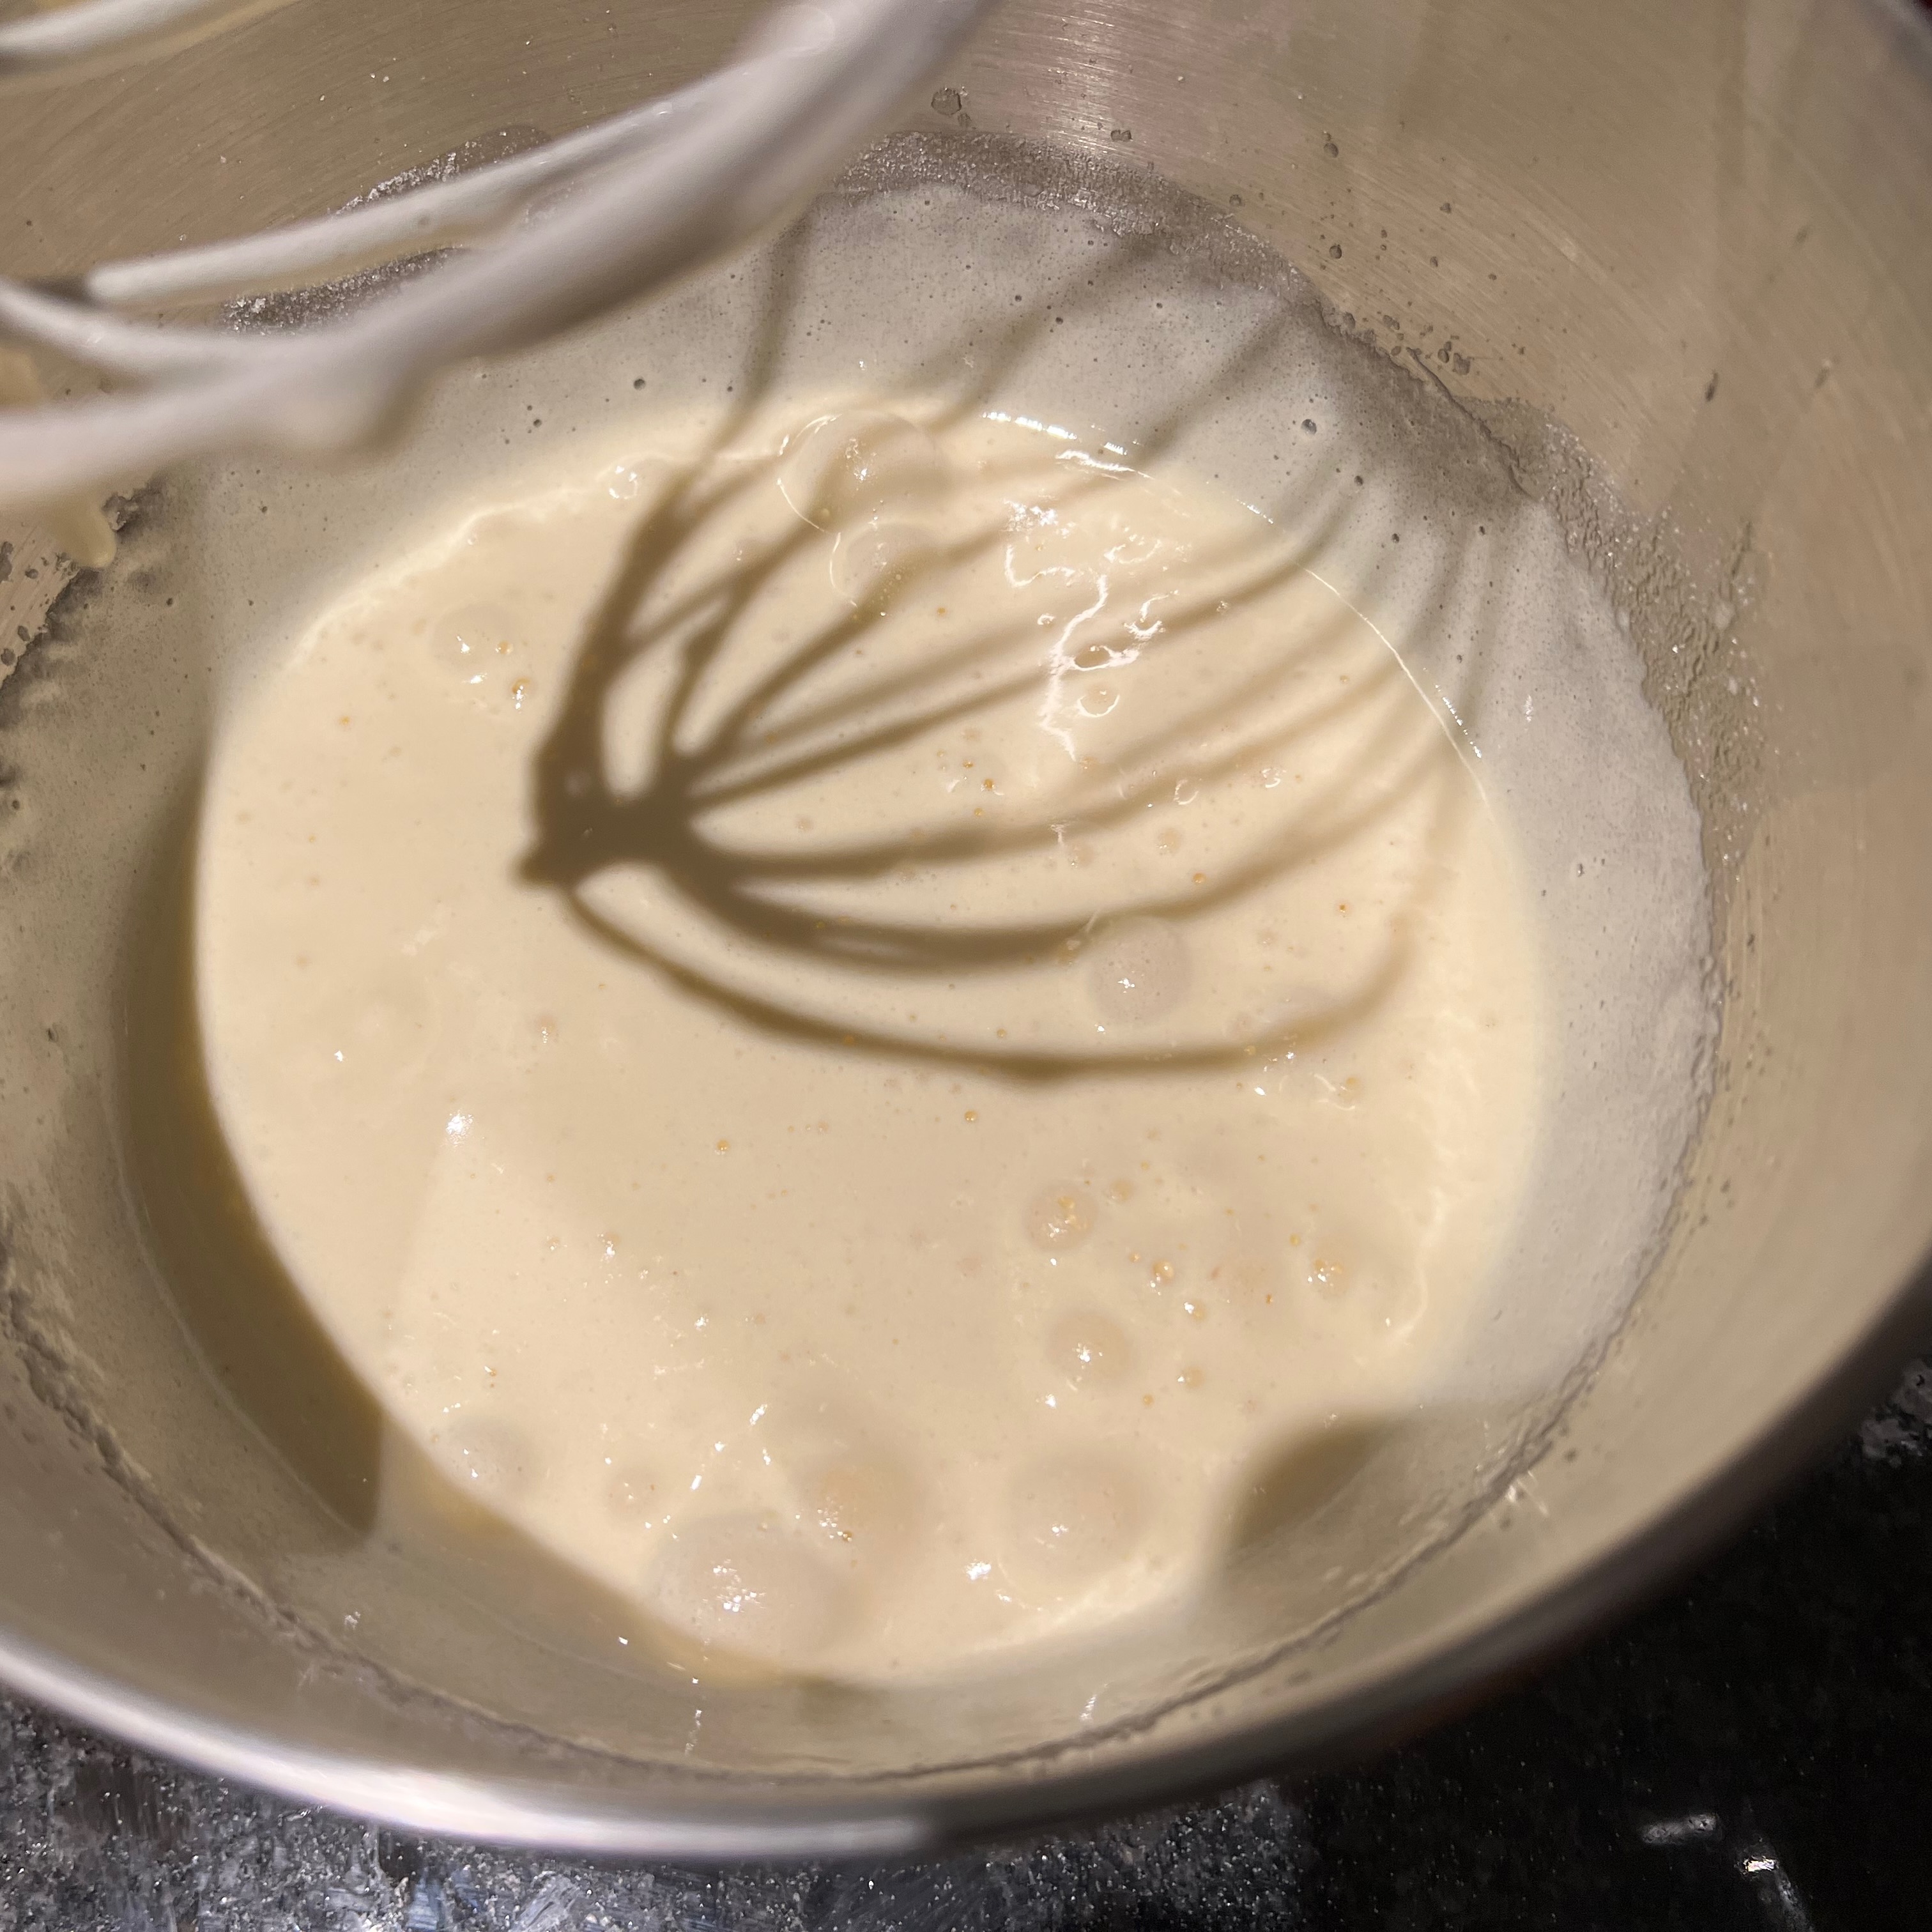
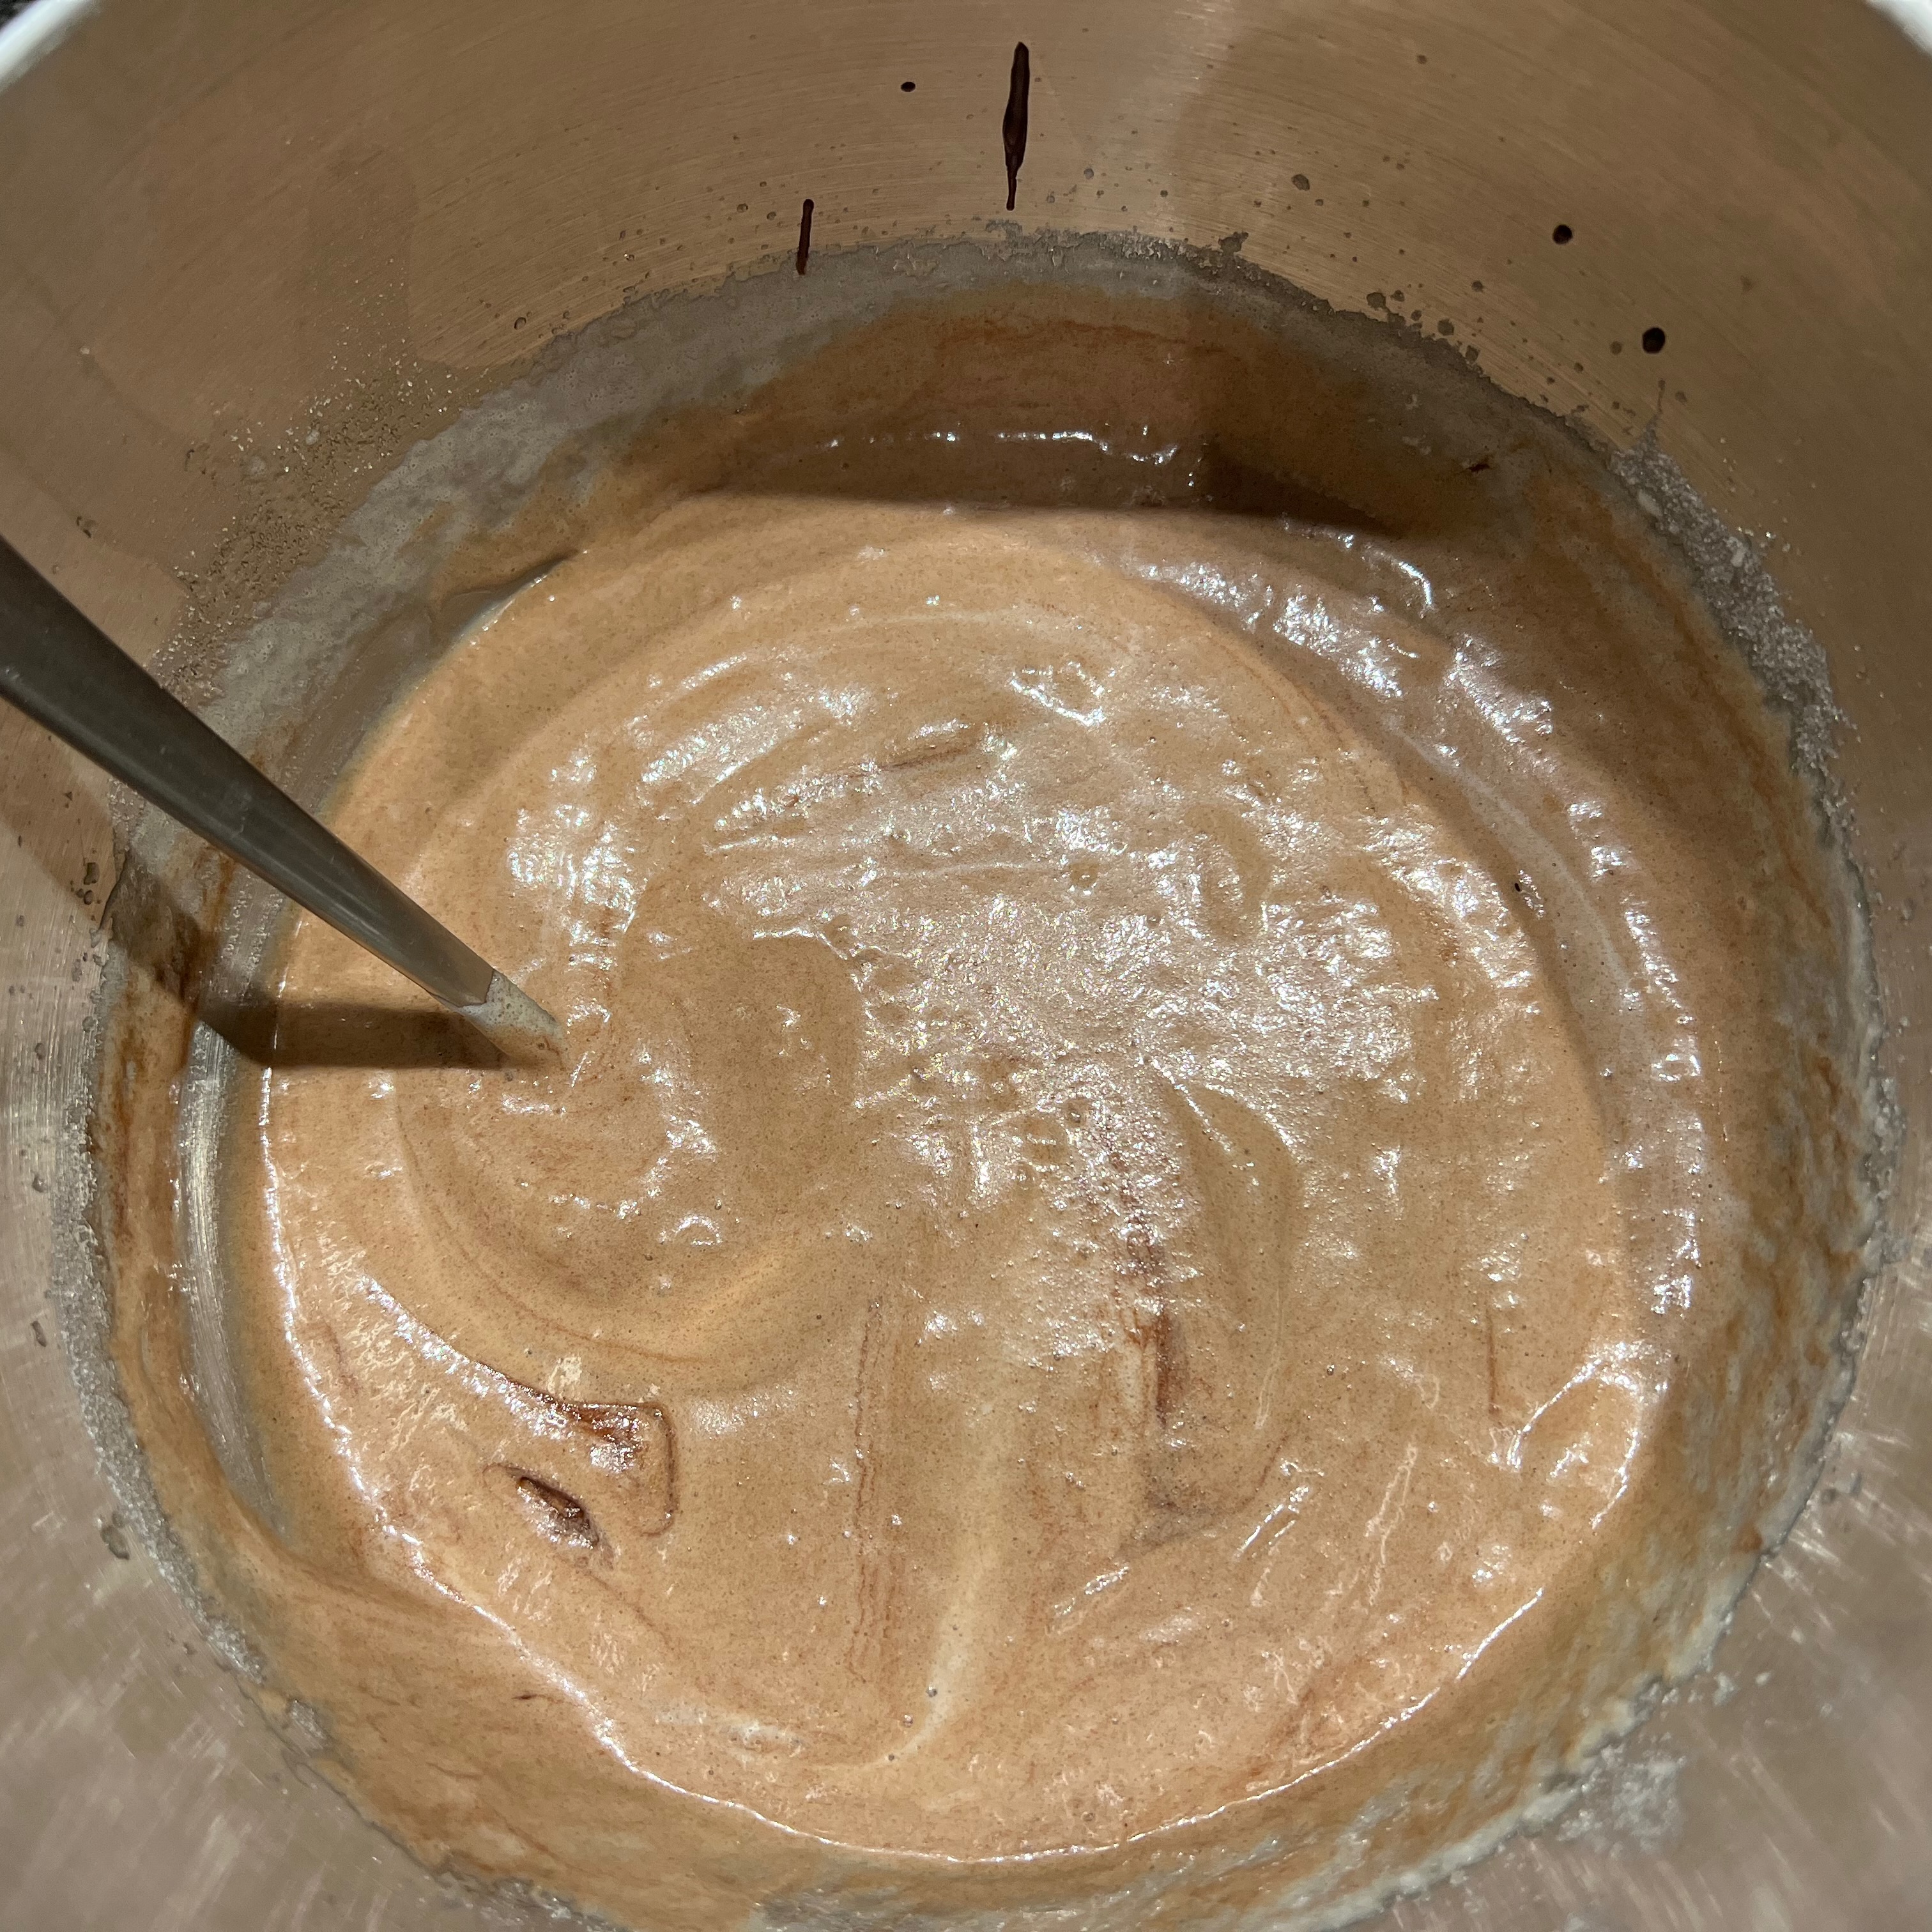
Add salt to the eggs and beat at high speed until frothy and mousse-like.
Still beating, add the sugar gradually and then the vanilla essence.
Gently fold in the chocolate-butter mixture.
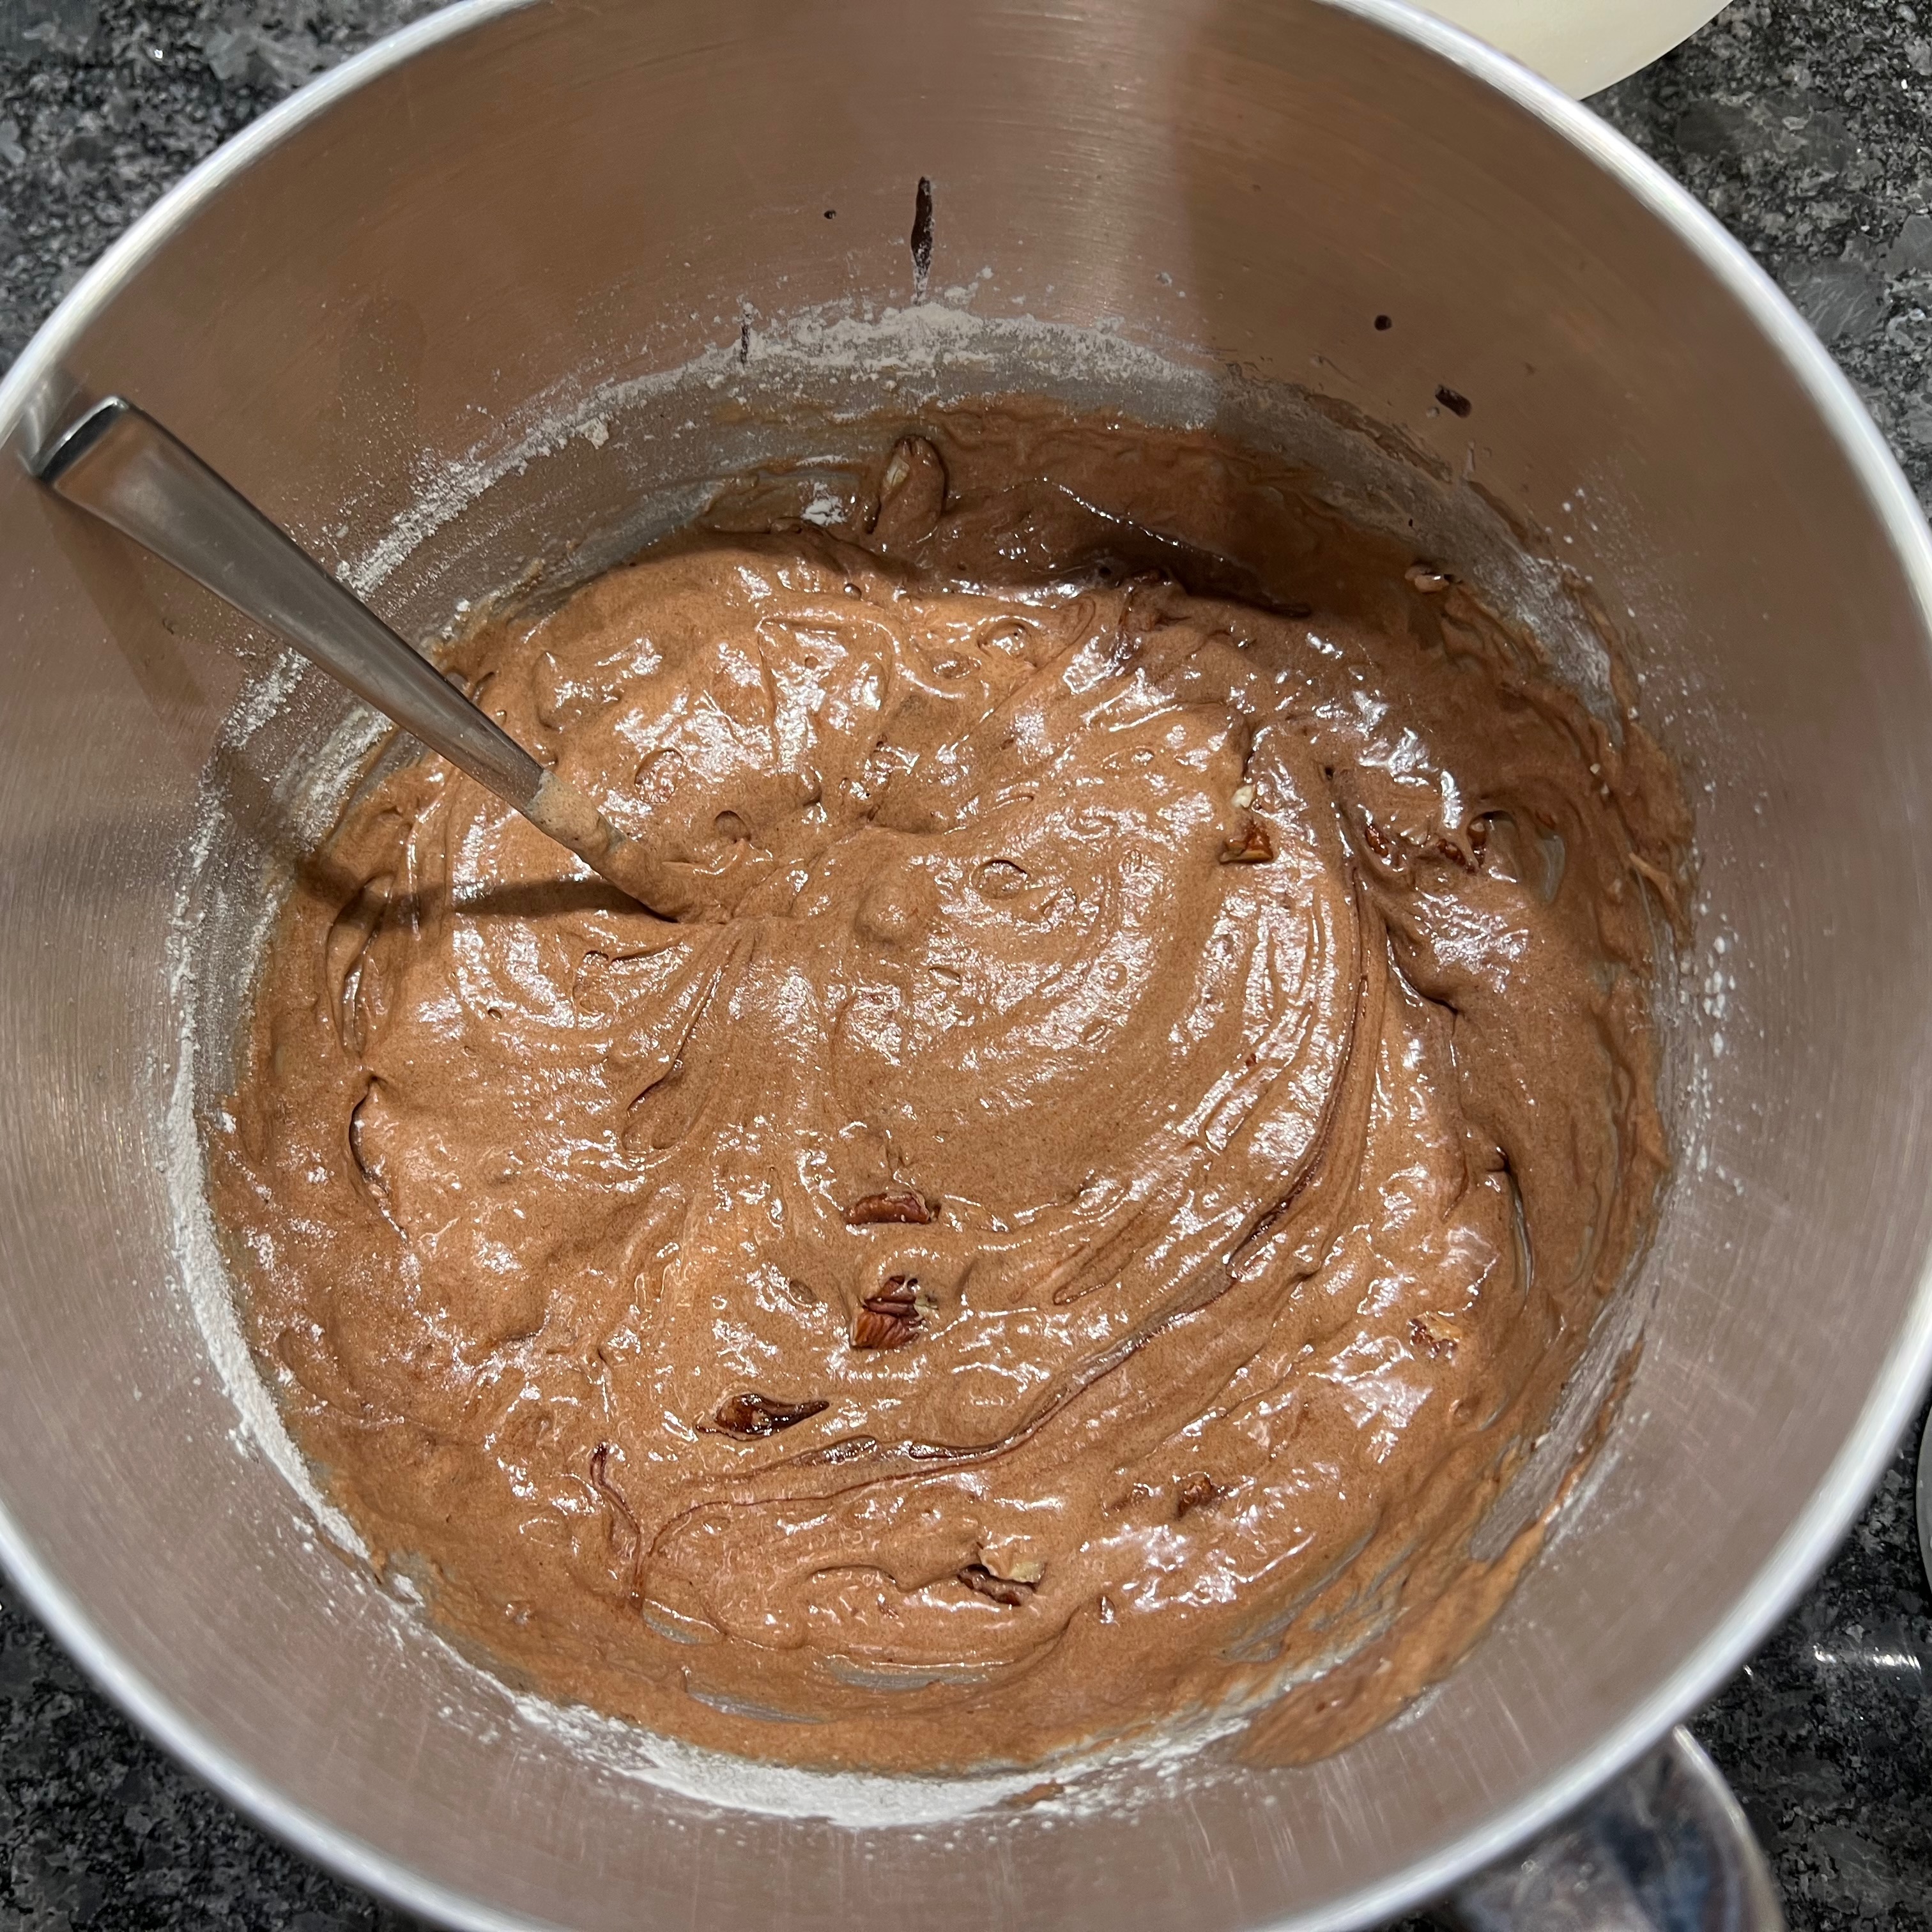
Sirt in the flour and stir.
Chop the pecans coarsely, add them and stir.
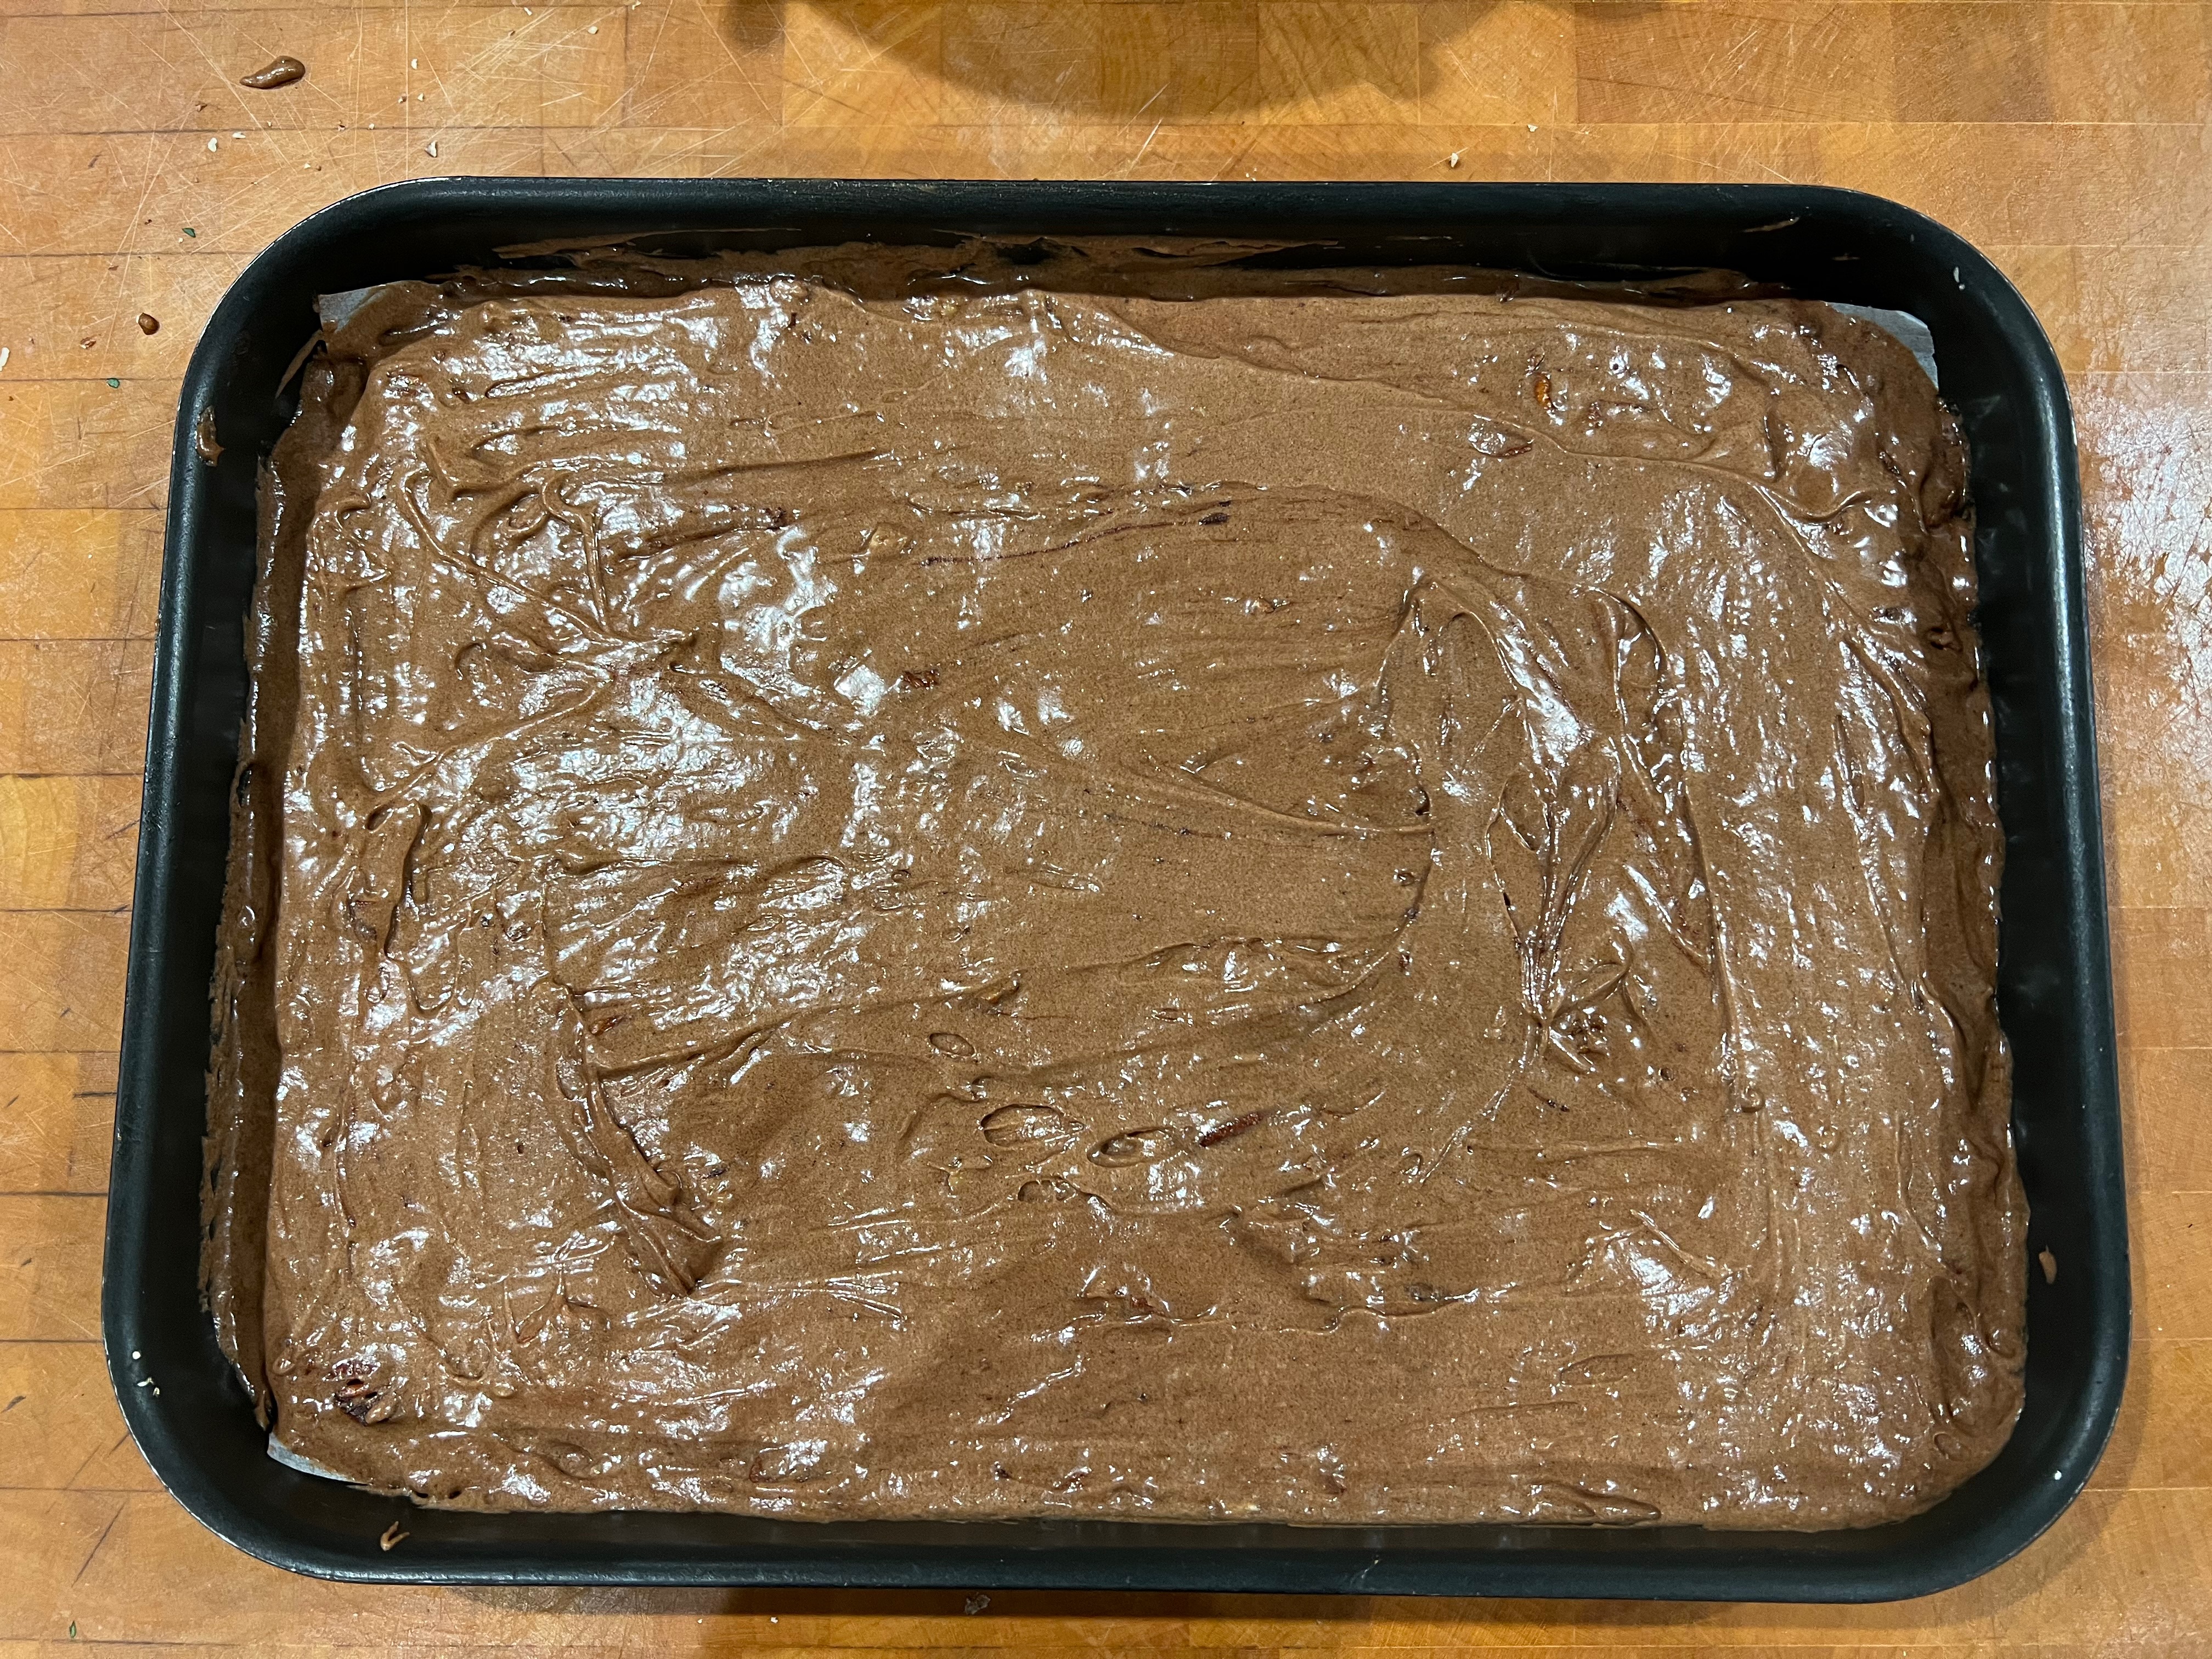
Pour the mixture into your baking tin, smooth it out so that it’s level.
Bake for around 20 minutes – less for more fudgey, more for more cakey.
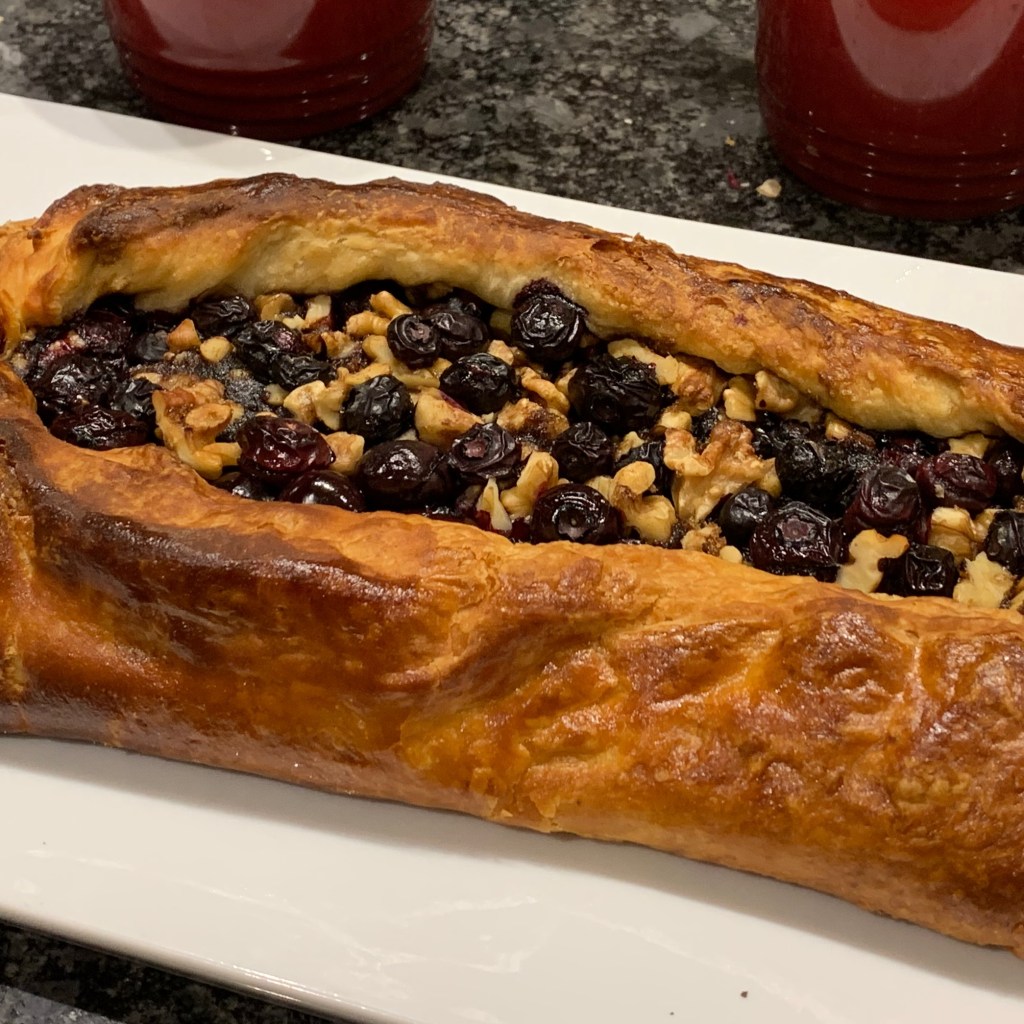
Cut into squares or rectangles. For the full Americana (and particularly if, like mine, you’ve overbaked the brownies so they’re too dry, they go well with blueberries and whipped cream.
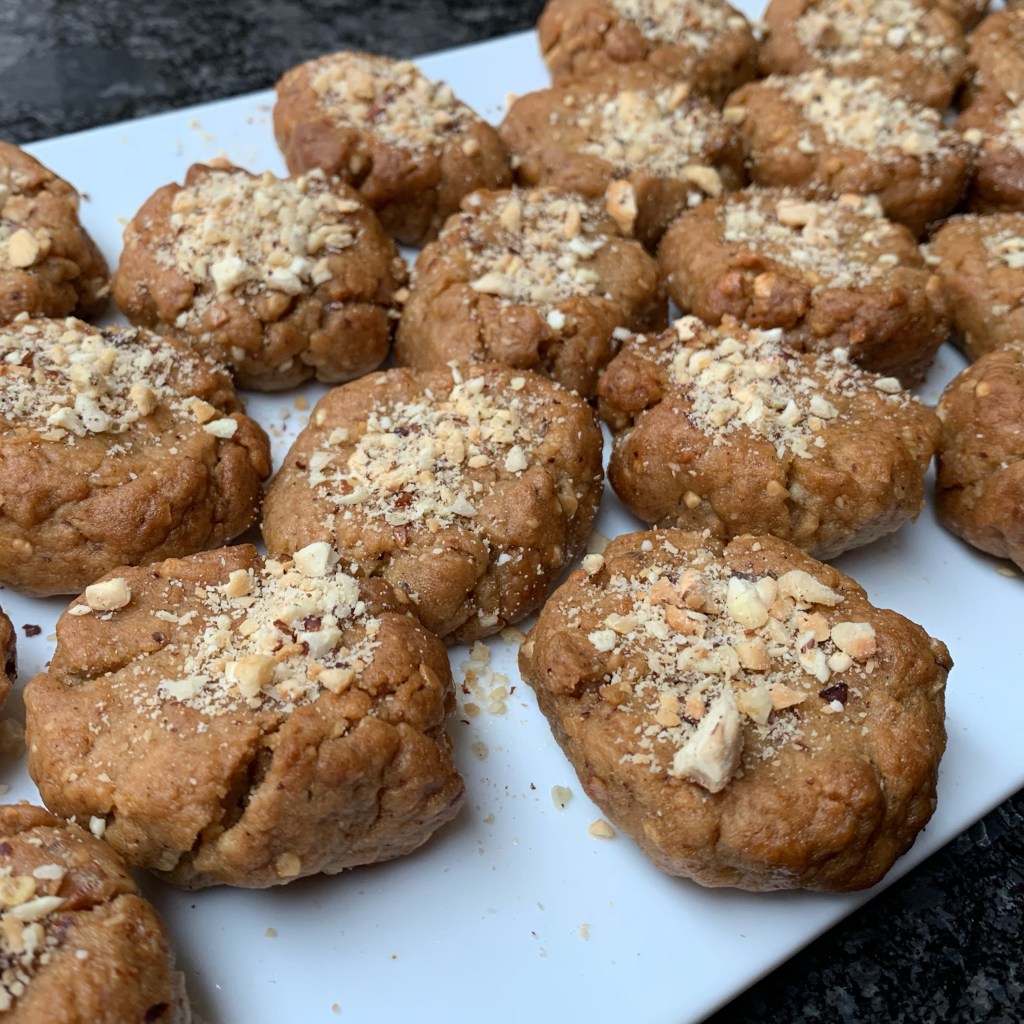
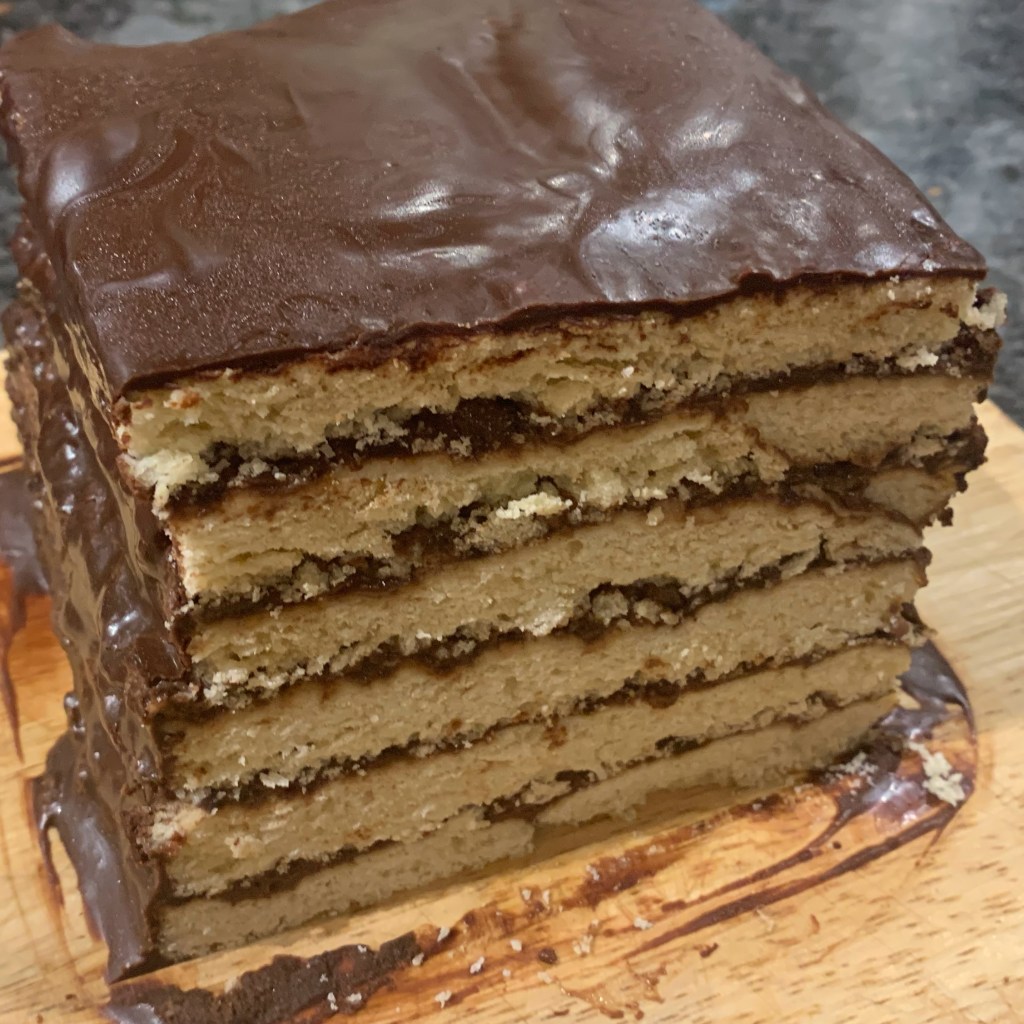
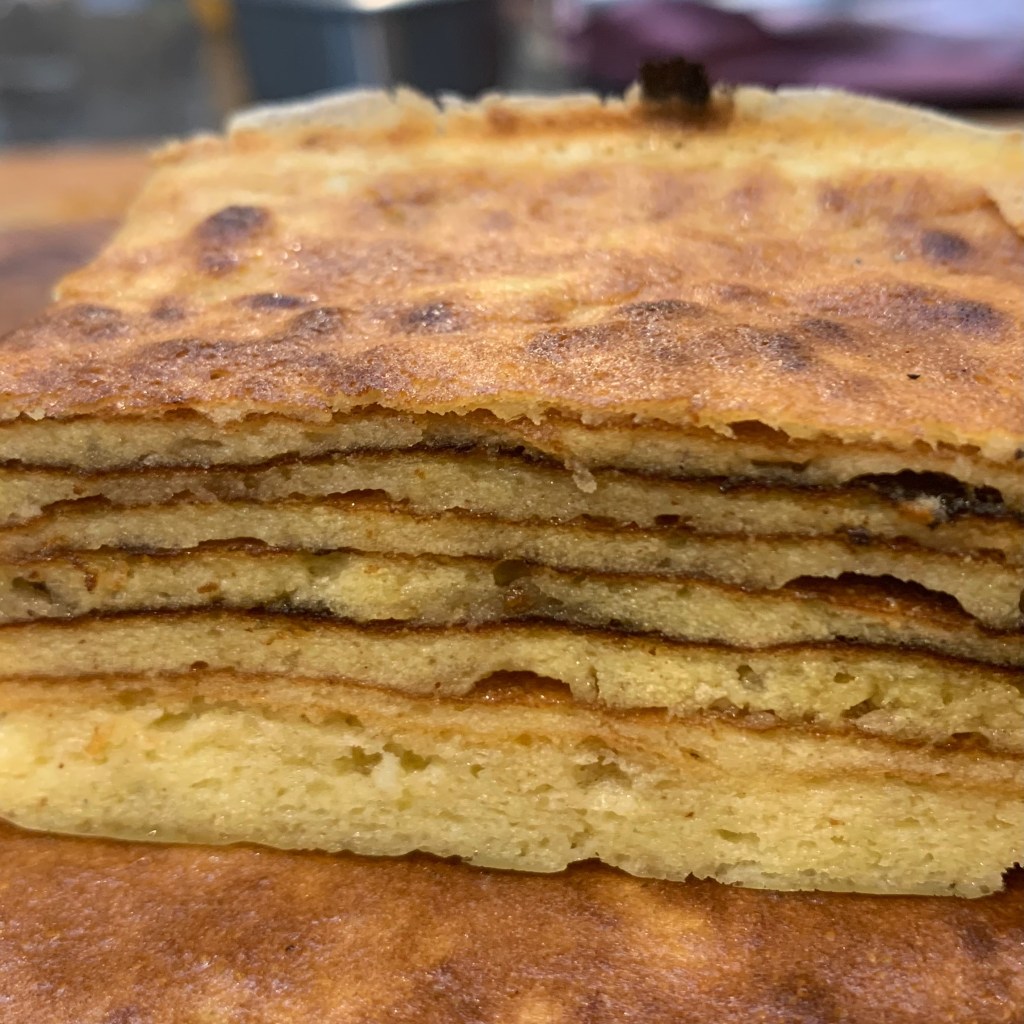
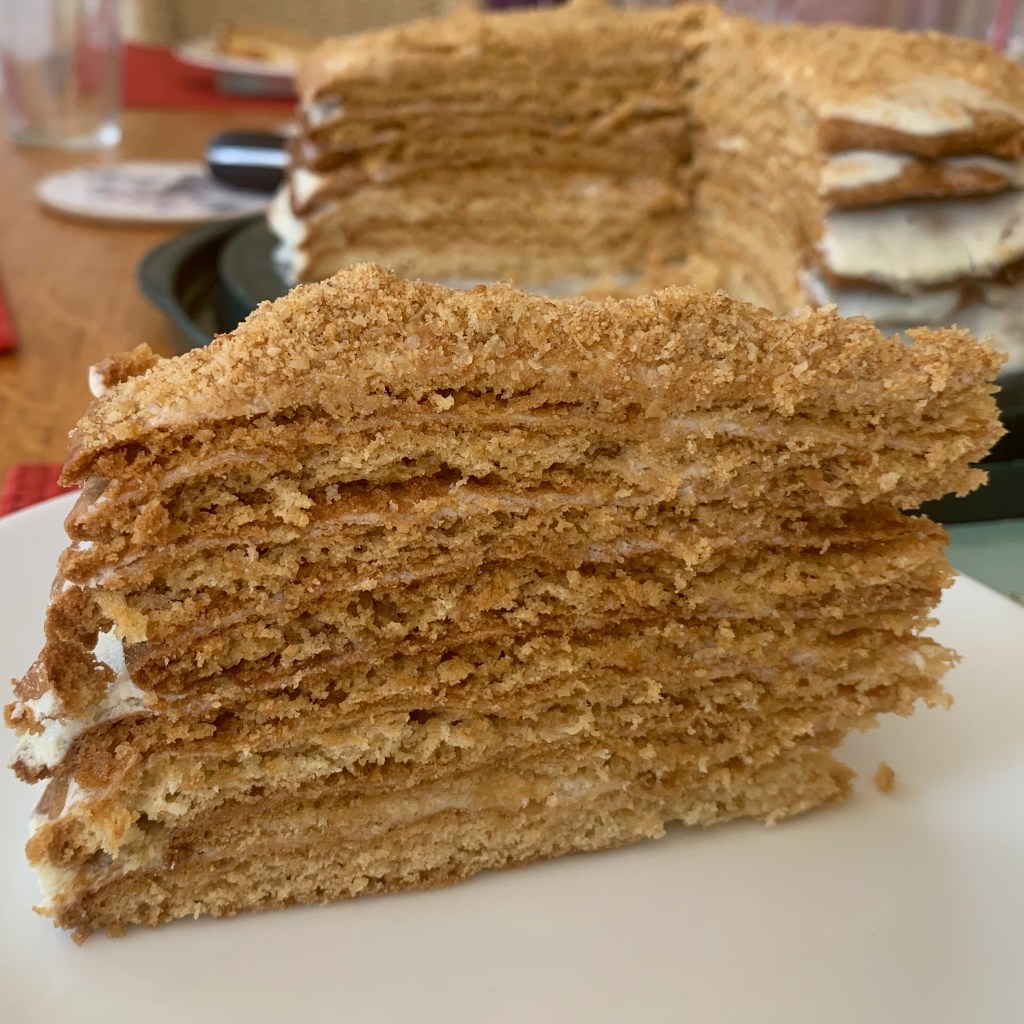
Continuing with the Austro-Hungarian Empire’s coffee-and-cake tradition, here’s a cake from Croatia that deserves to be close to the top of the best-seller list, particularly with a coffee after a brisk morning winter walk (I speak from immediate experience).
In point of fact, Mađarica (or Madjarica, if you prefer to avoid the “d with stroke”) is the Croatian word for “Hungarian girl”, and the cake bears a distinct resemblance to the Hungarian Dobos torte, created in 1885 for the National General Exhibition of Budapest. Who knows (or, for that matter, who cares) which came first?
Croatians seem to bake this cake for the thousands: all the recipes I came across were for seriously large quantities. I went for this recipe from Tamara Novacoviç and halved it, which still made for a generous cake.
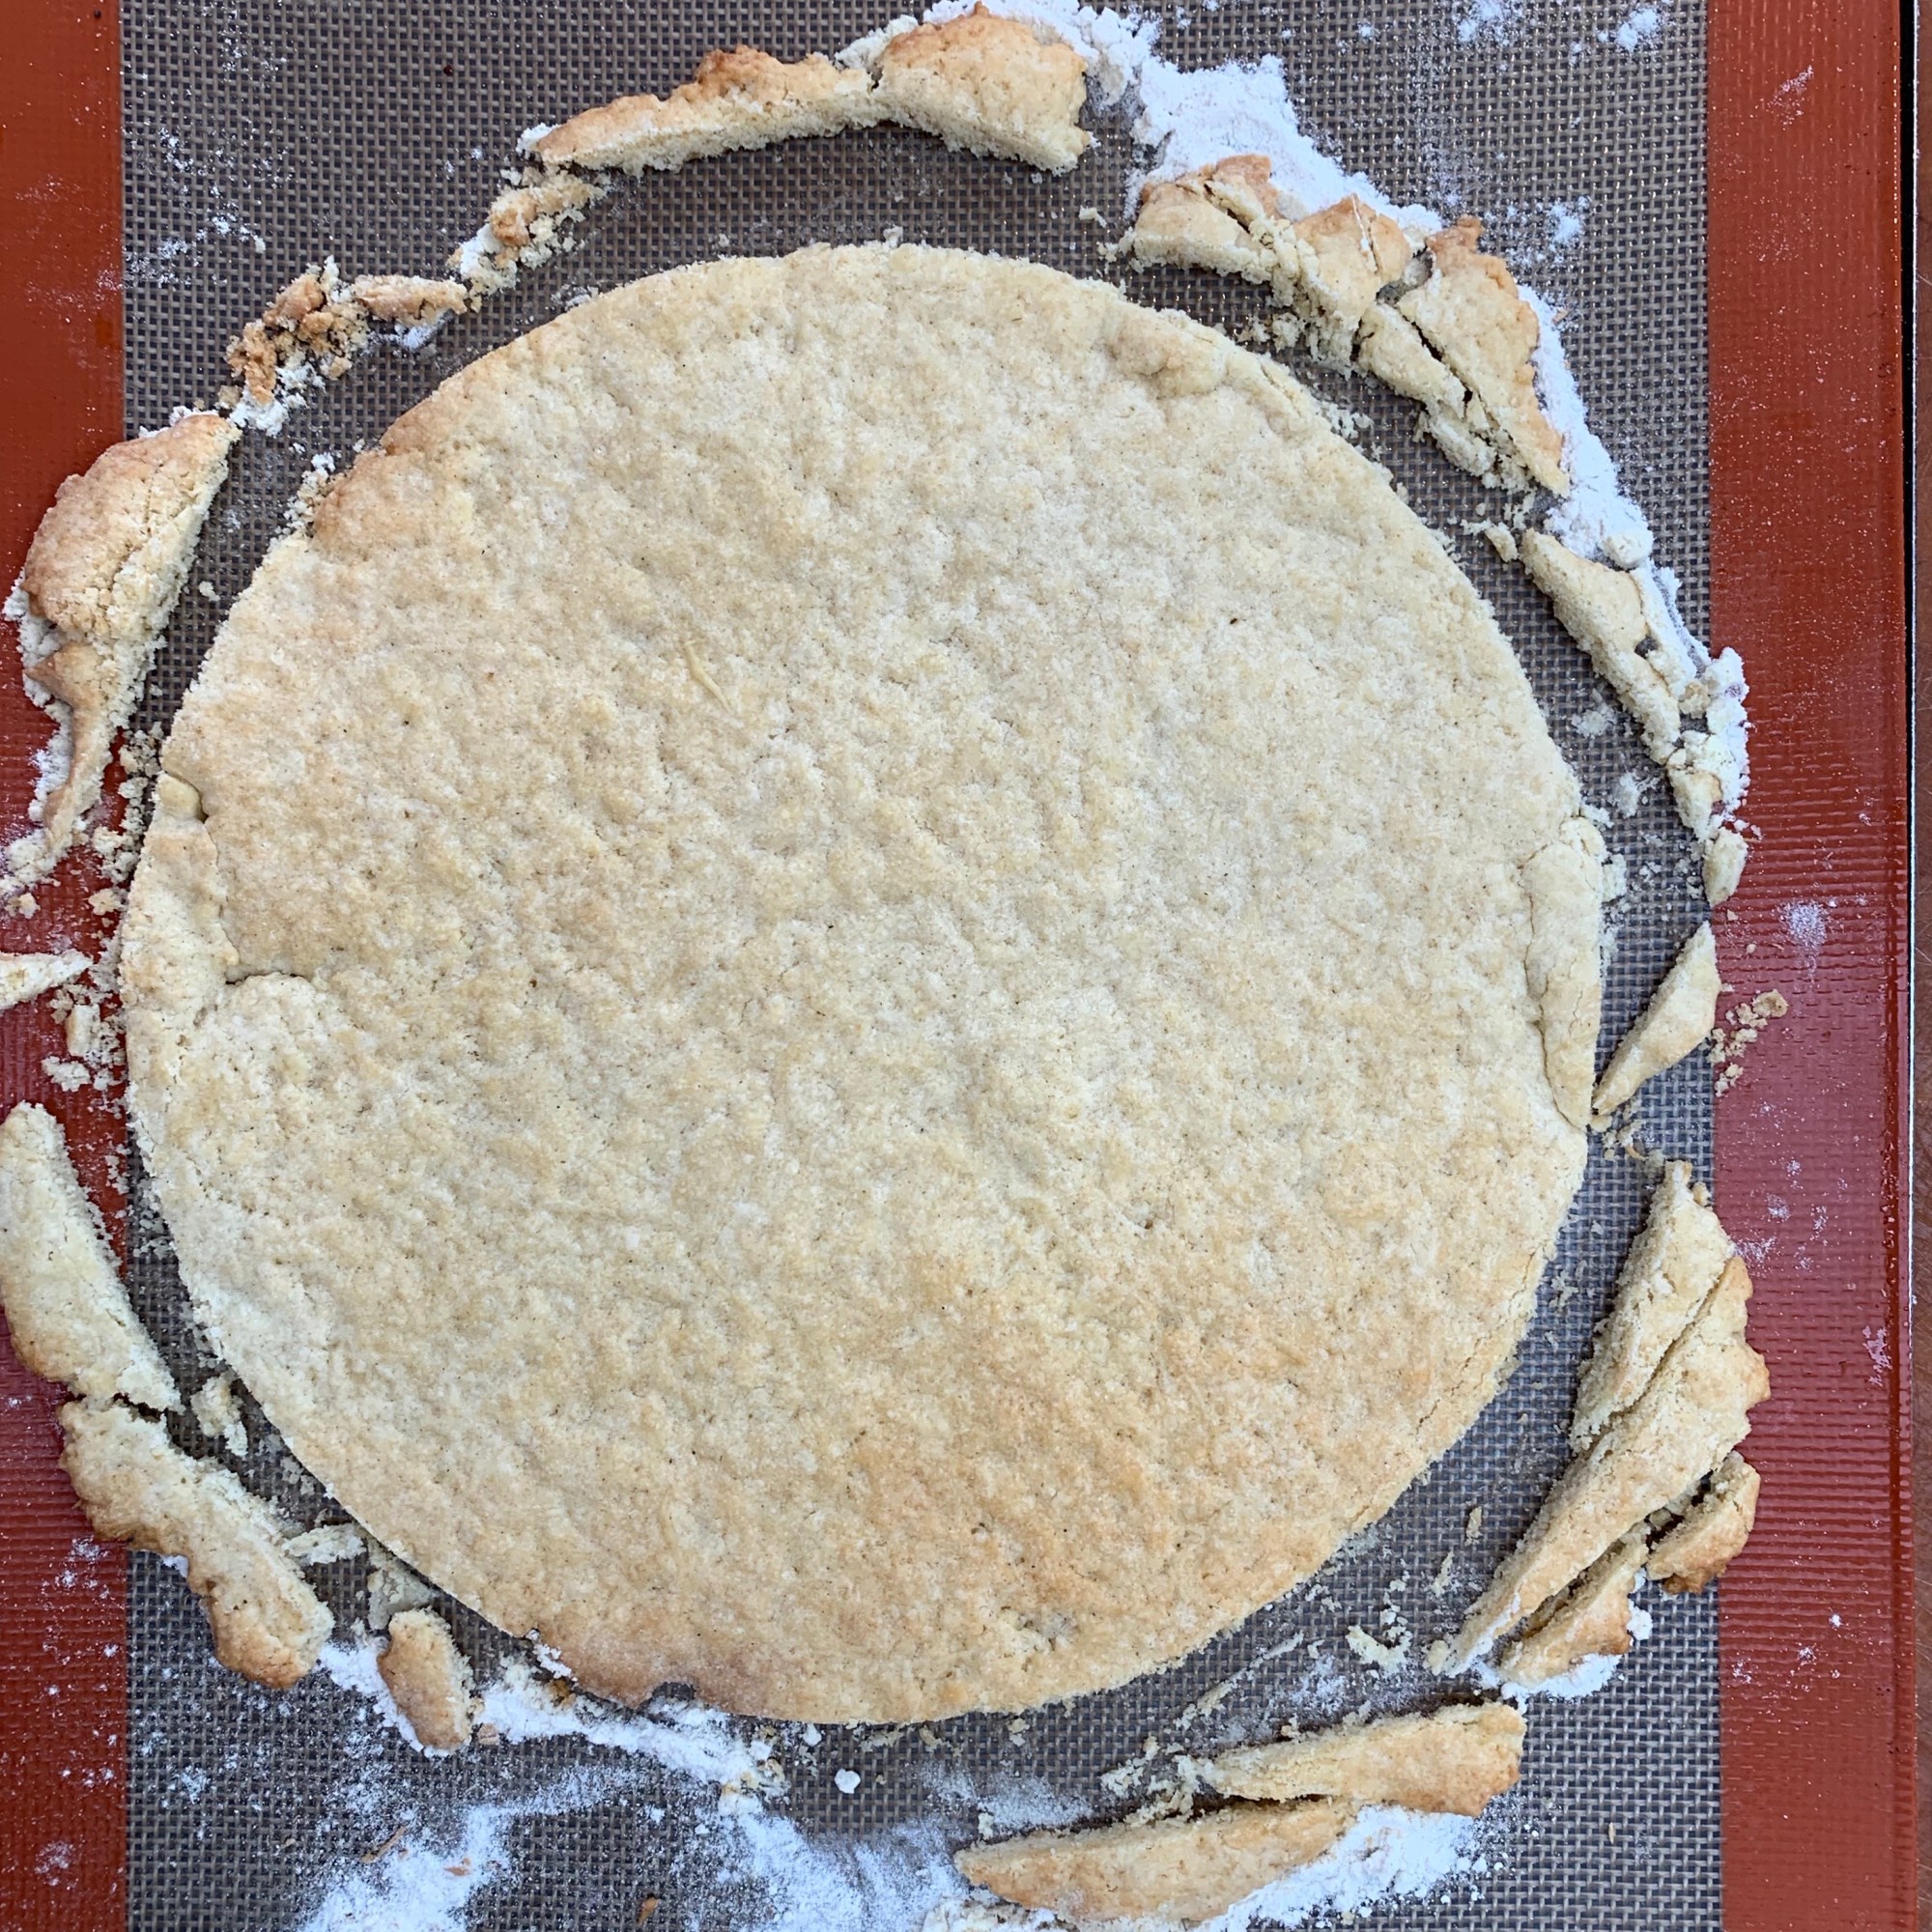
Mađarica is one of those multi-layer cakes where you’re trying to get the layers as thin as you possibly can. Croatian recipes tend to assume that you’re using a standard cake tin and baking the layers one at a time. Since you’re trying to make a rectangular cake, I figure it’s easier to use large flat tins (Swiss roll tins or similar) and then cut the layers to size after baking. Obviously, how you tackle this is going to depend on what tins you have available.
Filling
25g plain flour
25g cocoa powder
500ml milk
100g sugar
vanilla extract or paste to taste
25g dark chocolate
90g butter
½ tbsp rum
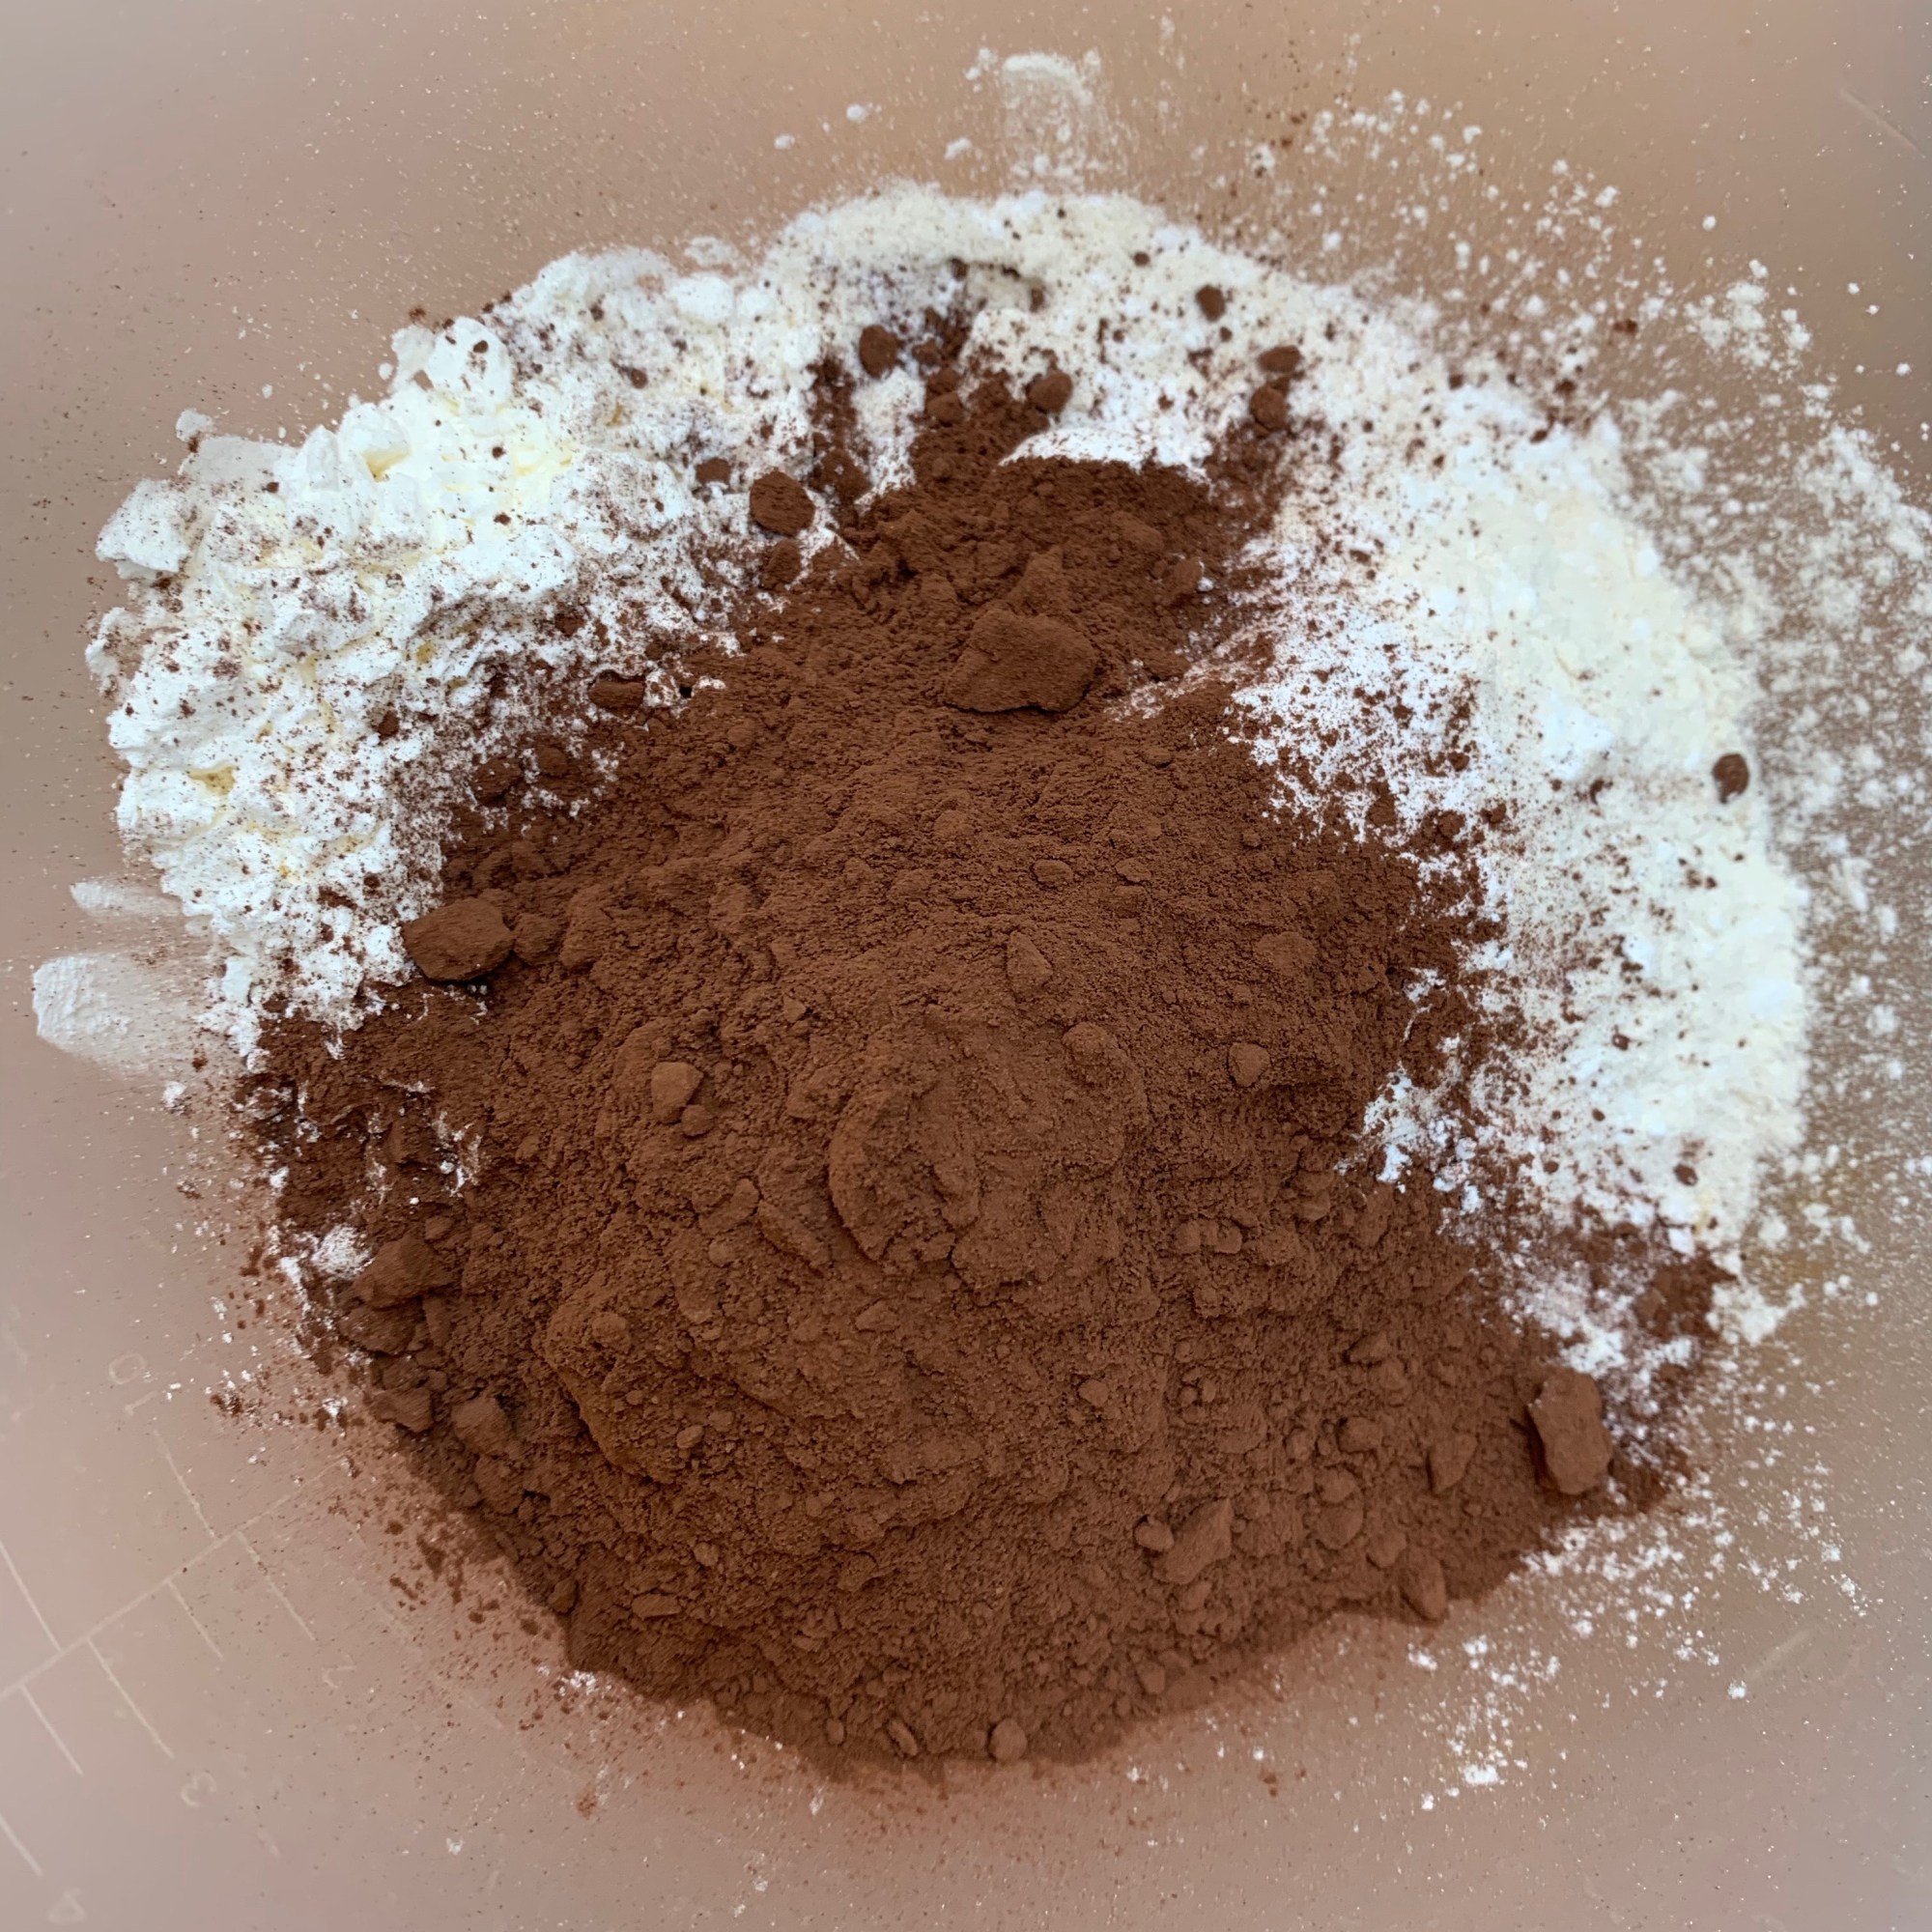
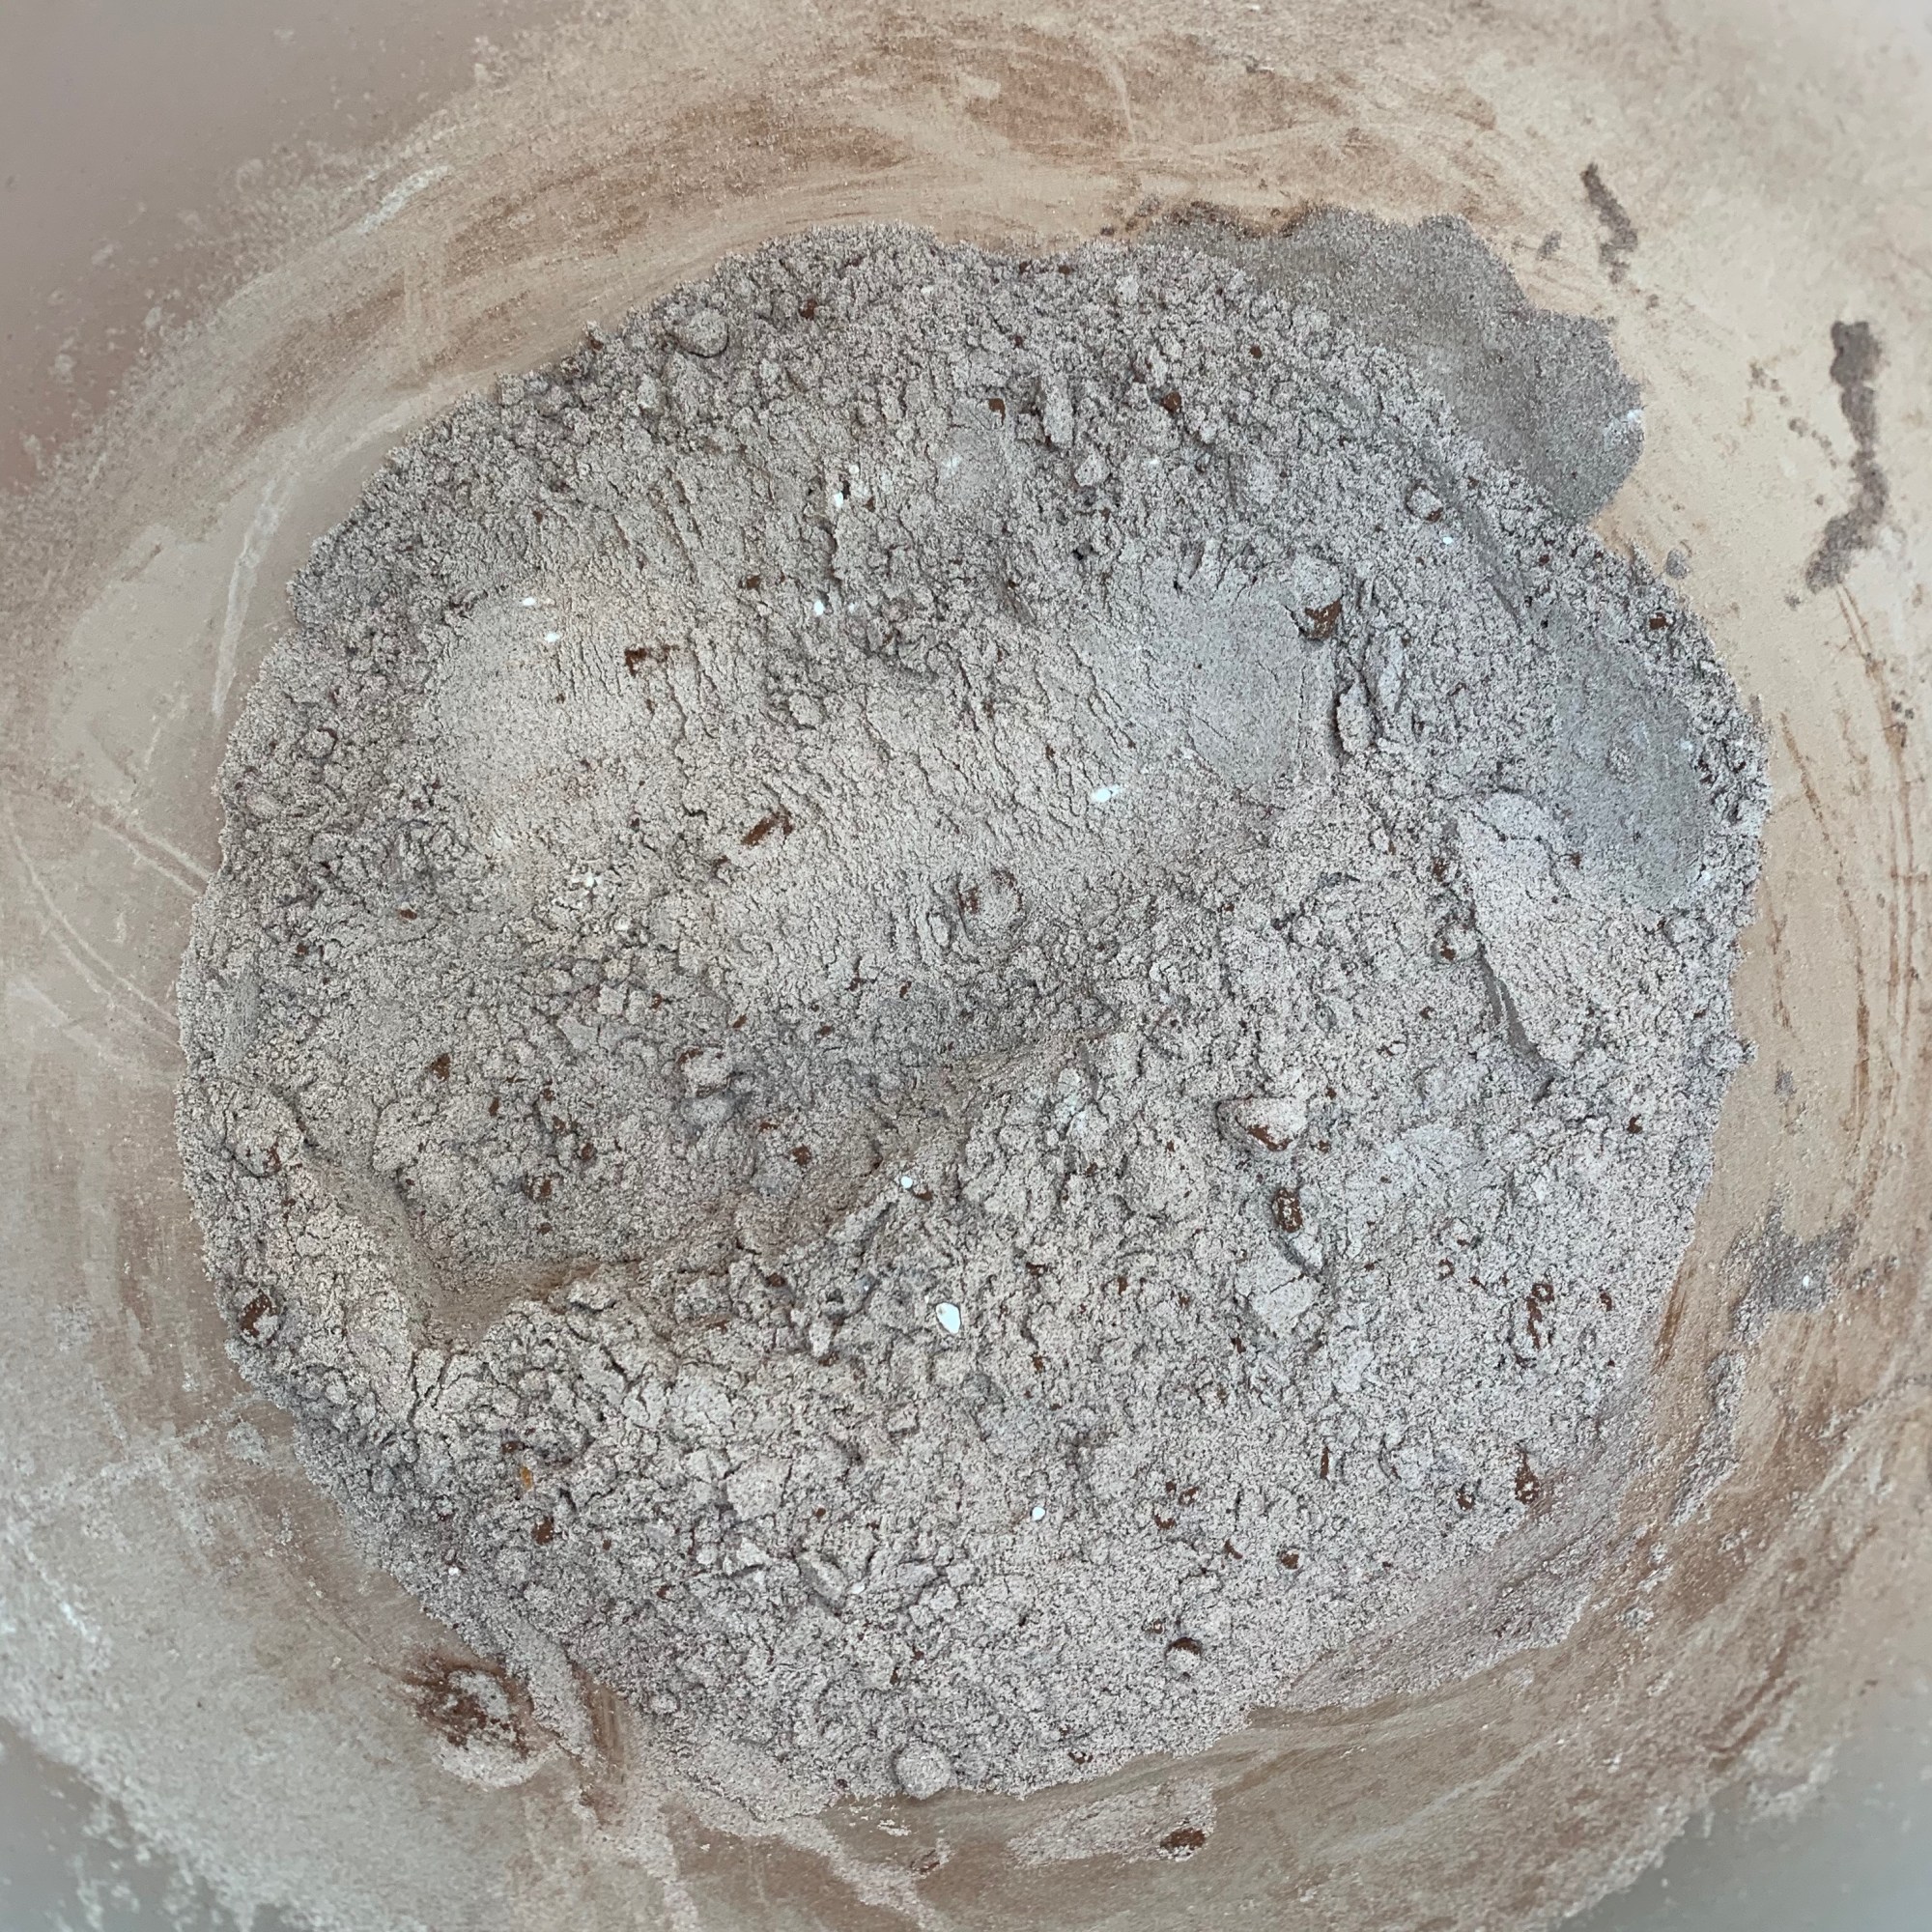
Mix the flour and cocoa powder in a bowl and set aside. Have a balloon whisk ready.
Put the milk, sugar and vanilla into a saucepan and bring to the boil. When just boiling, take it off the heat, pour about a quarter of it into the bowl with the flour and cocoa powder, and whisk until thoroughly dissolved.
Pour the mixture back into the saucepan and return the saucepan to the heat. Add the chocolate, reduce the heat and keep whisking until the mixture thickens.
Take the mixture off the heat, give it a minute or so to cool slightly, then add the butter and whisk until thoroughly melted.
Stir in the rum.
Cover (to avoid too much skin forming – you can’t avoid having a bit) and leave to cool while you make the rest of the cake.
Cake layers
300g plain flour
½ tsp (2g) baking powder
1 egg white
90g sour cream
90 g sugar
90g butter, at room temperature
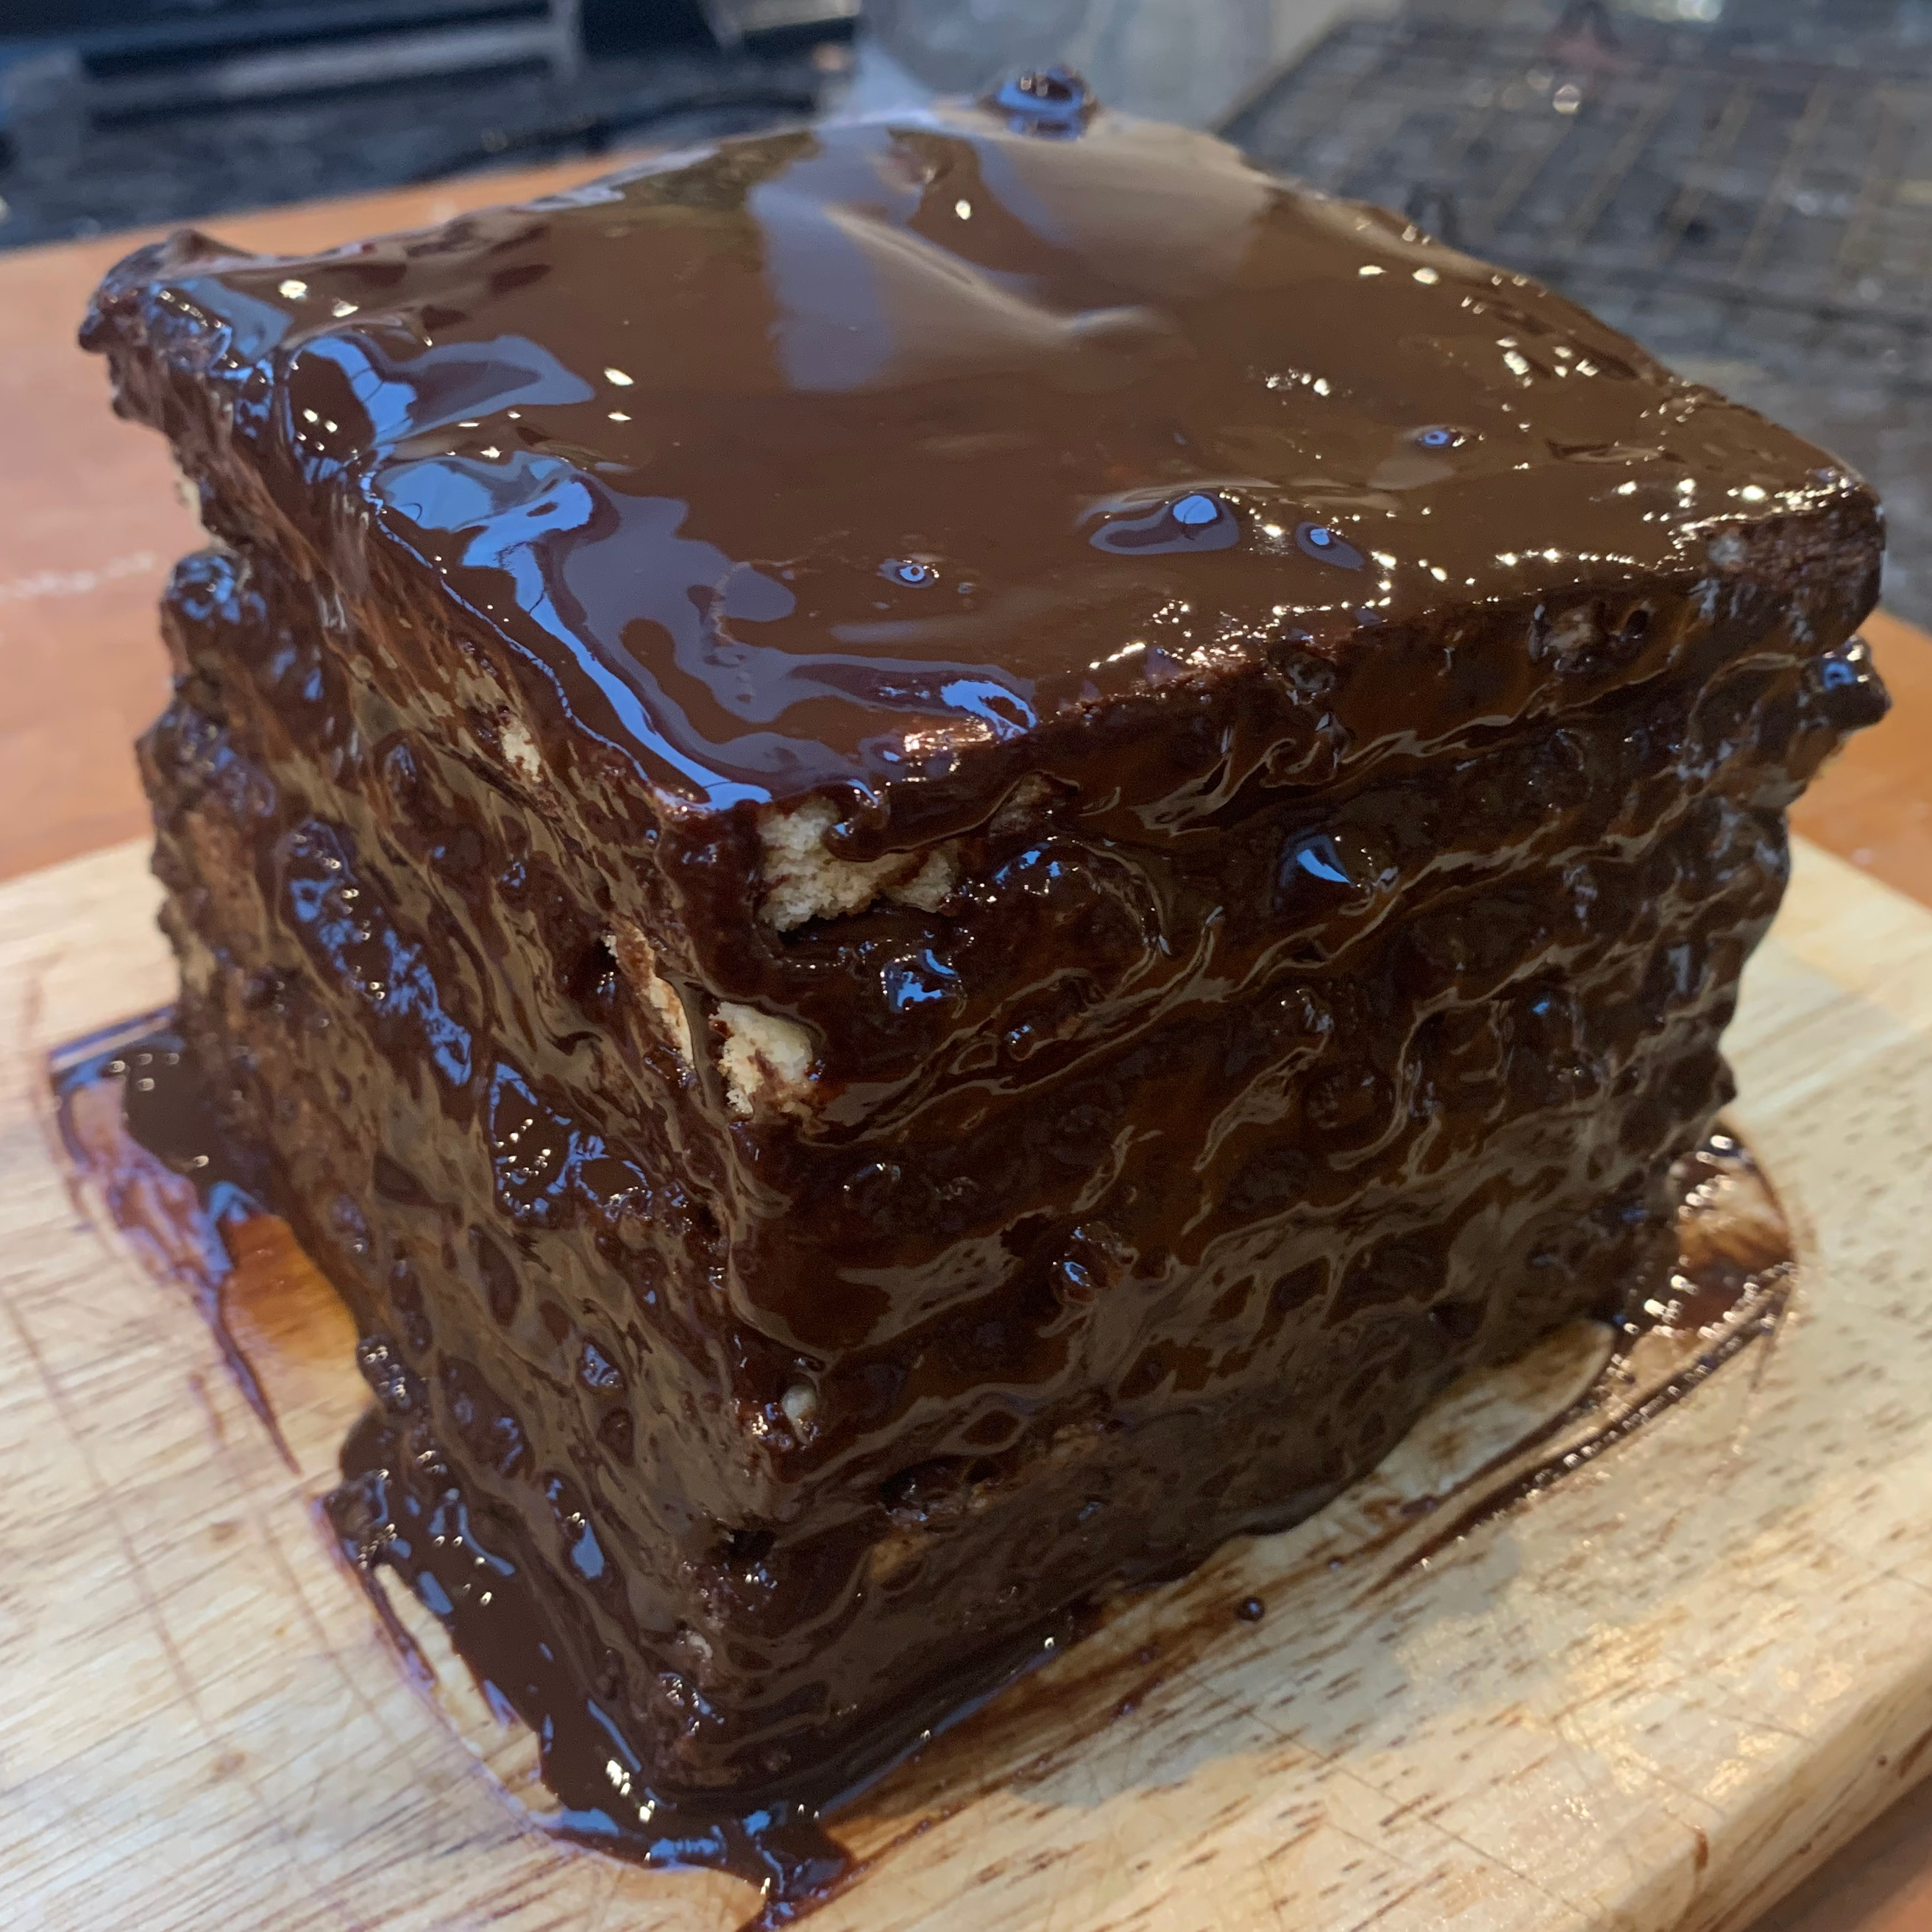
I’m going to confess at this point (in case it isn’t obvious from the photos) that I wimped out: I had two 33x22cm Swiss roll tins ready but I didn’t dare roll the dough thin enough to use more than one of them. I should have had the courage to use both – my layers are definitely twice the thickness they should be – so that’s what I recommend that you do.
Preheat oven to 180℃.
Prepare two 33cm x 22cm Swiss roll tins (or whatever other baking trays you have) by greasing them and lining them with baking paper.
Sift the flour and baking powder into a bowl.
Cut the butter into cubes and put it with the sugar, sour cream and egg white into the bowl of your mixer; beat until smooth.
Add the flour mixture and knead to a smooth dough. Add a bit more sour cream or water if your dough is too crumbly.
Now the tricky part: divide the dough into two, and roll each half thinly enough to spread out evenly over its baking tin. It’s probably easiest to do this by rolling the dough between two sheets of baking paper. Transfer your rolled dough to the tin.
Bake for around 8-10 minutes.
Leave to cool on a wire rack.
Assembly and glaze
50g dark chocolate
25g butter
20g sunflower oil (or other neutral oil)
Cut each cake/biscuit layer into three, using a ruler or measuring tape to make pieces that are as close to identical in size as you possibly can.
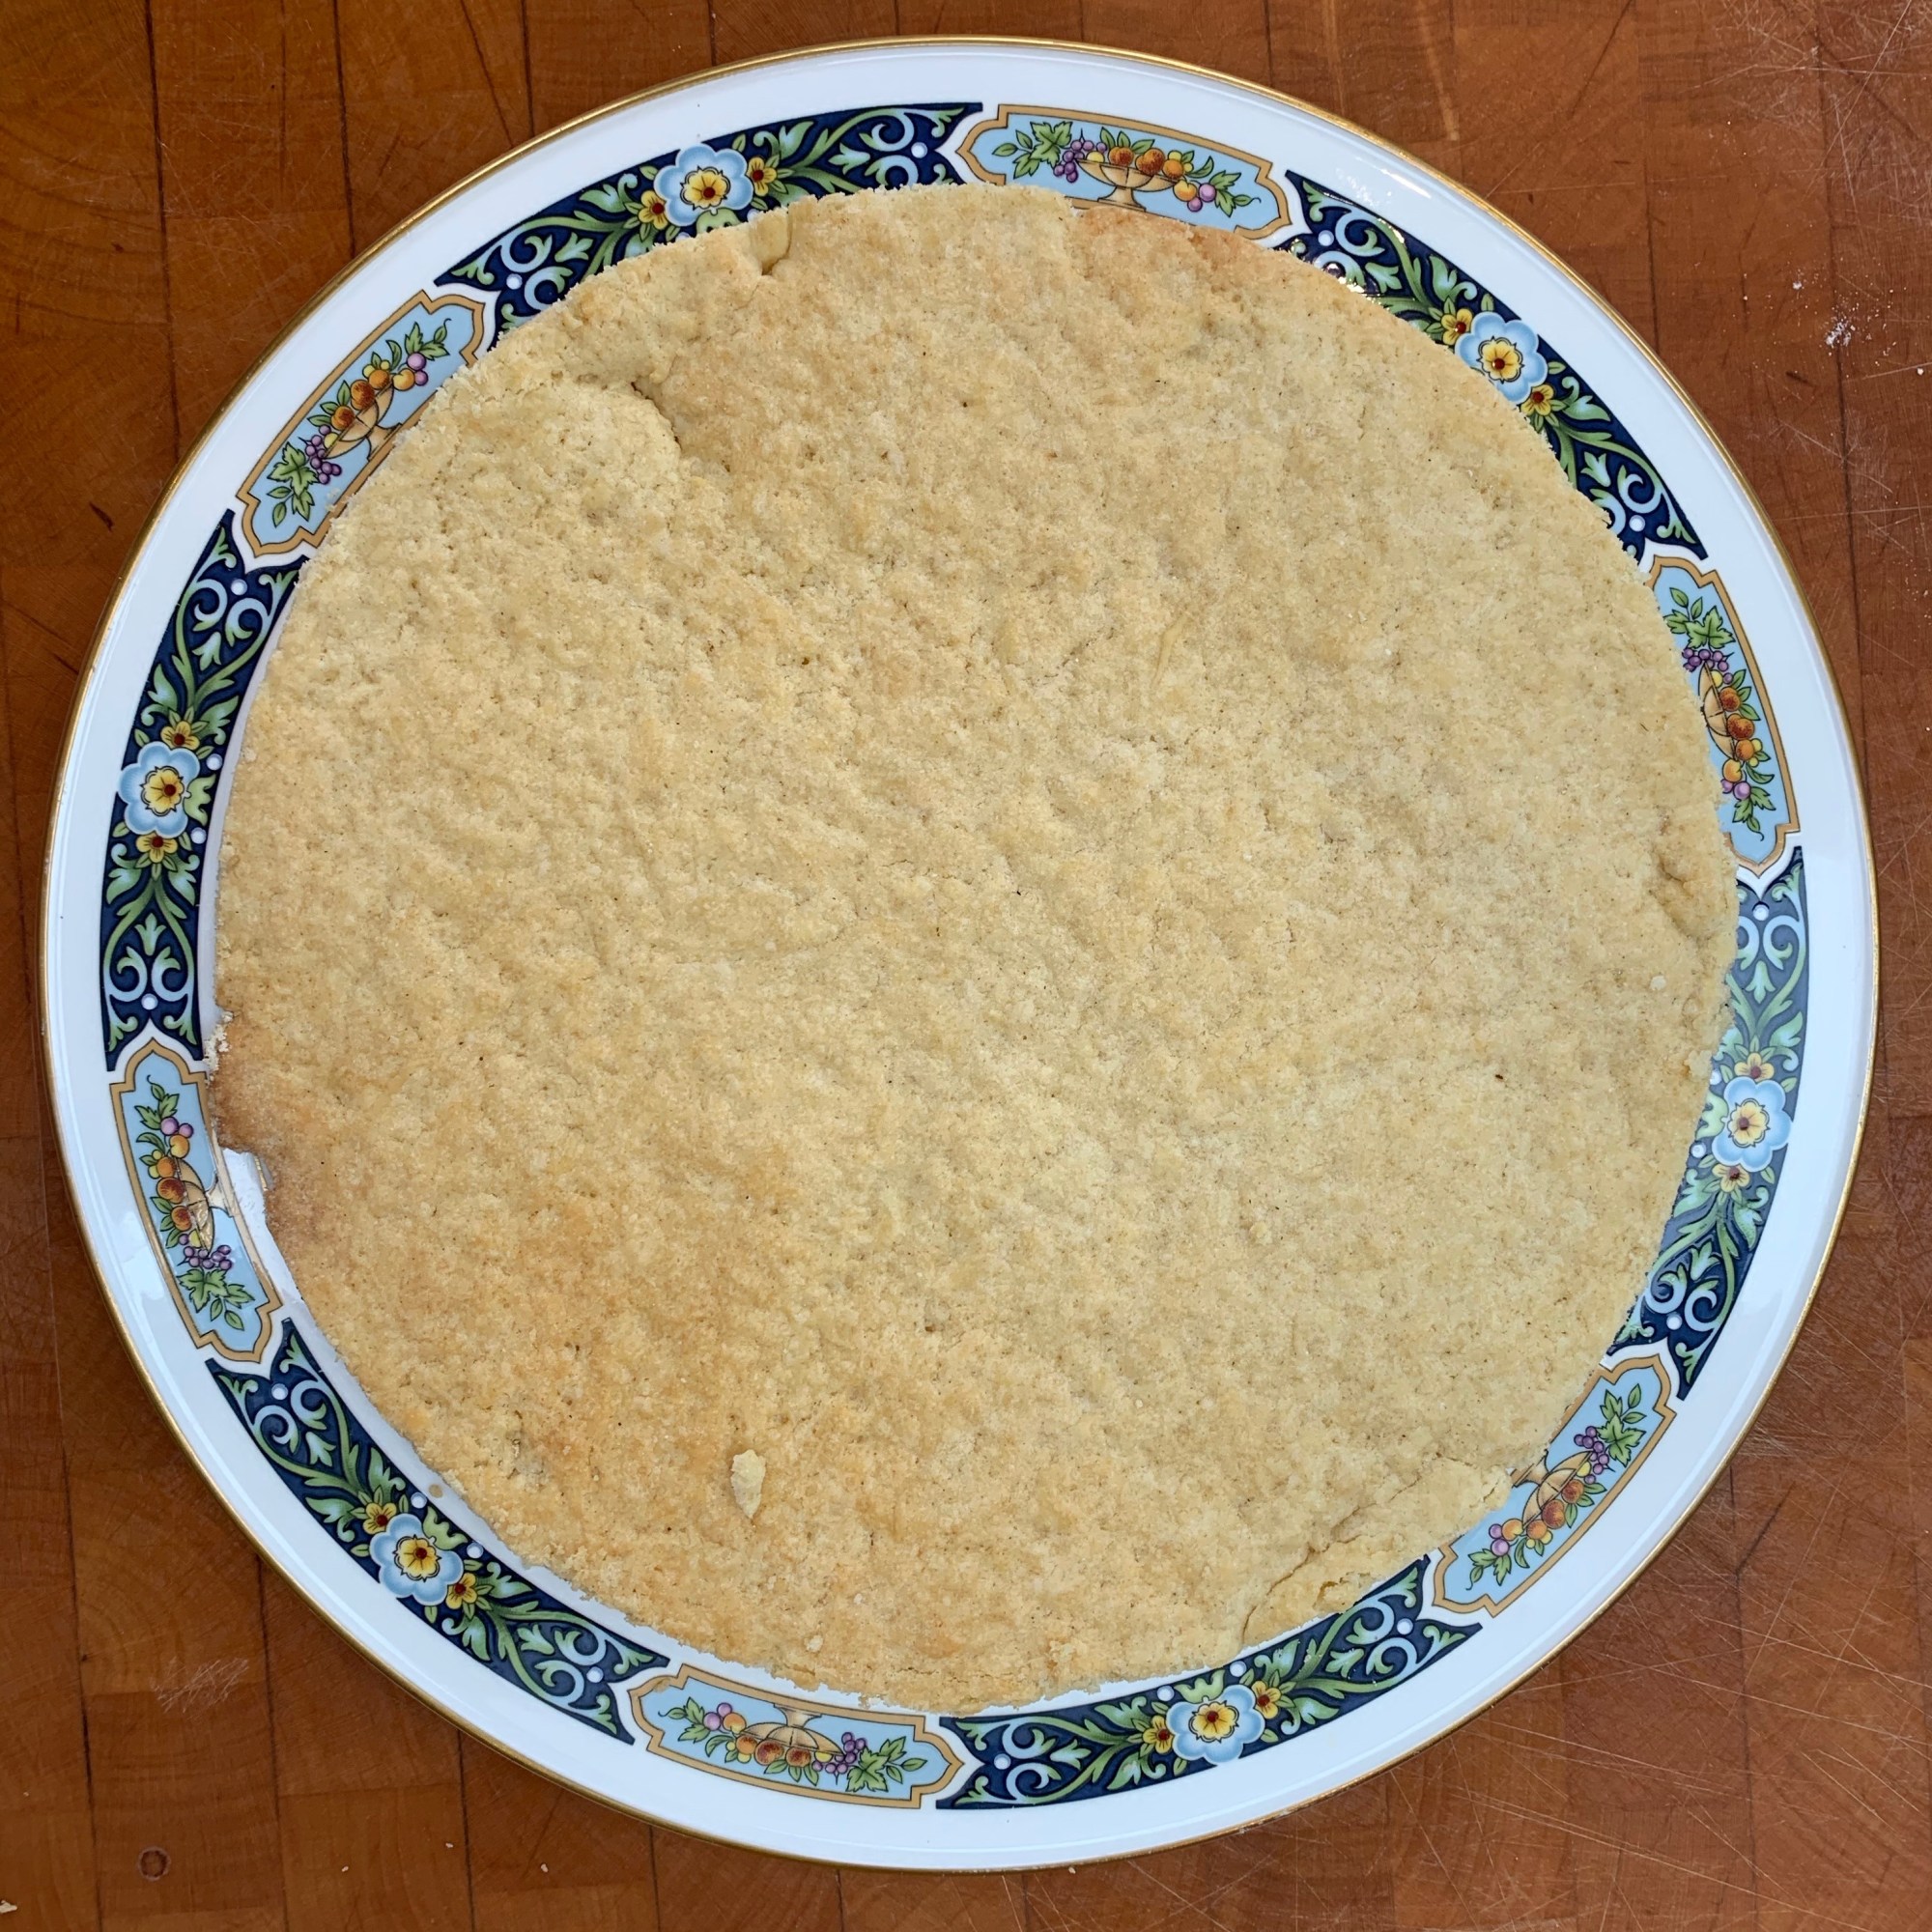
Place the first layer on your serving plate.
Spread around one fifth of the filling evenly over the layer, then add the next layer. Repeat this four more times to build up your cake.
Melt the chocolate and butter together (30s in a microwave should do this fine, if you can’t be bothered to wash up a double boiler).
Add the oil and mix thoroughly.
Pour the glaze over the top of the cake, making sure that you cover the whole cake with an even layer of glaze. Some of the glaze will have dripped over the sides: if you want, even this off with a palette knife.
Refrigerate for several hours (or overnight) until the glaze hardens.
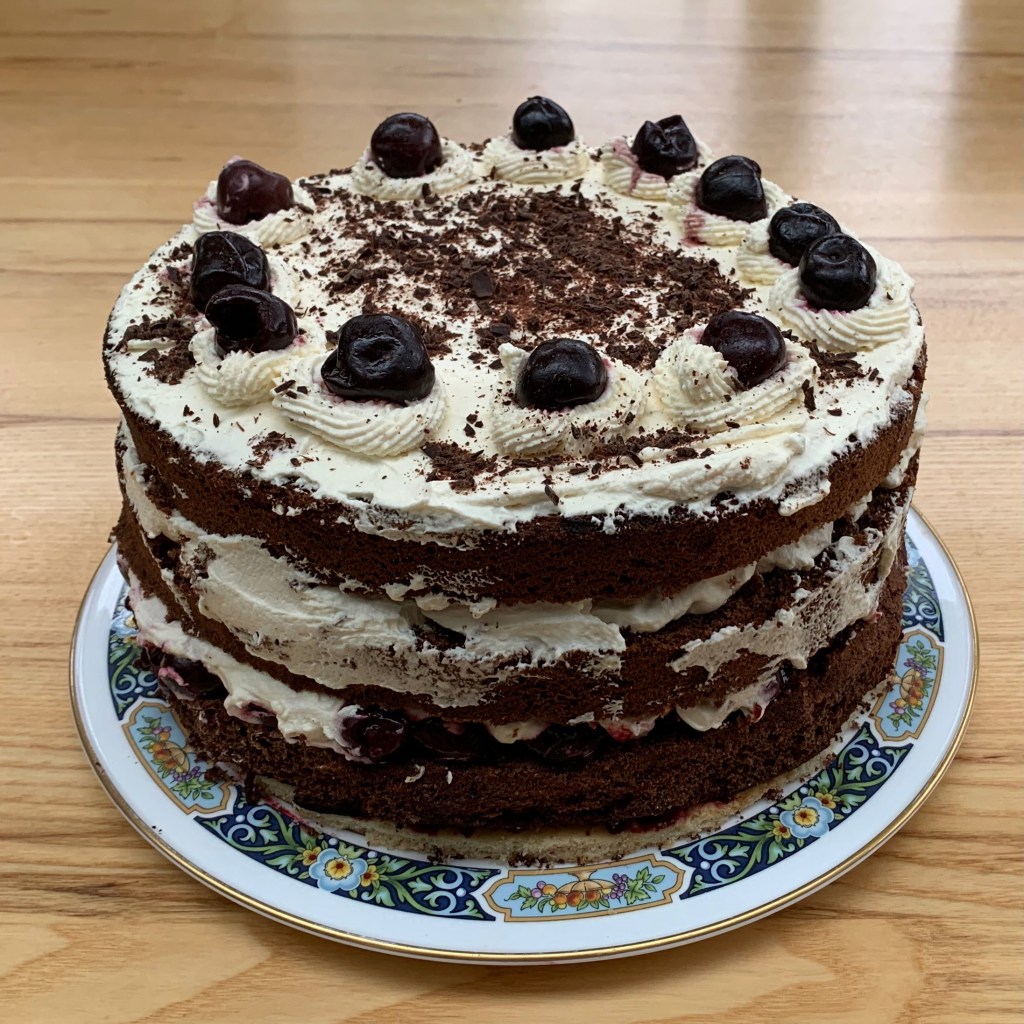
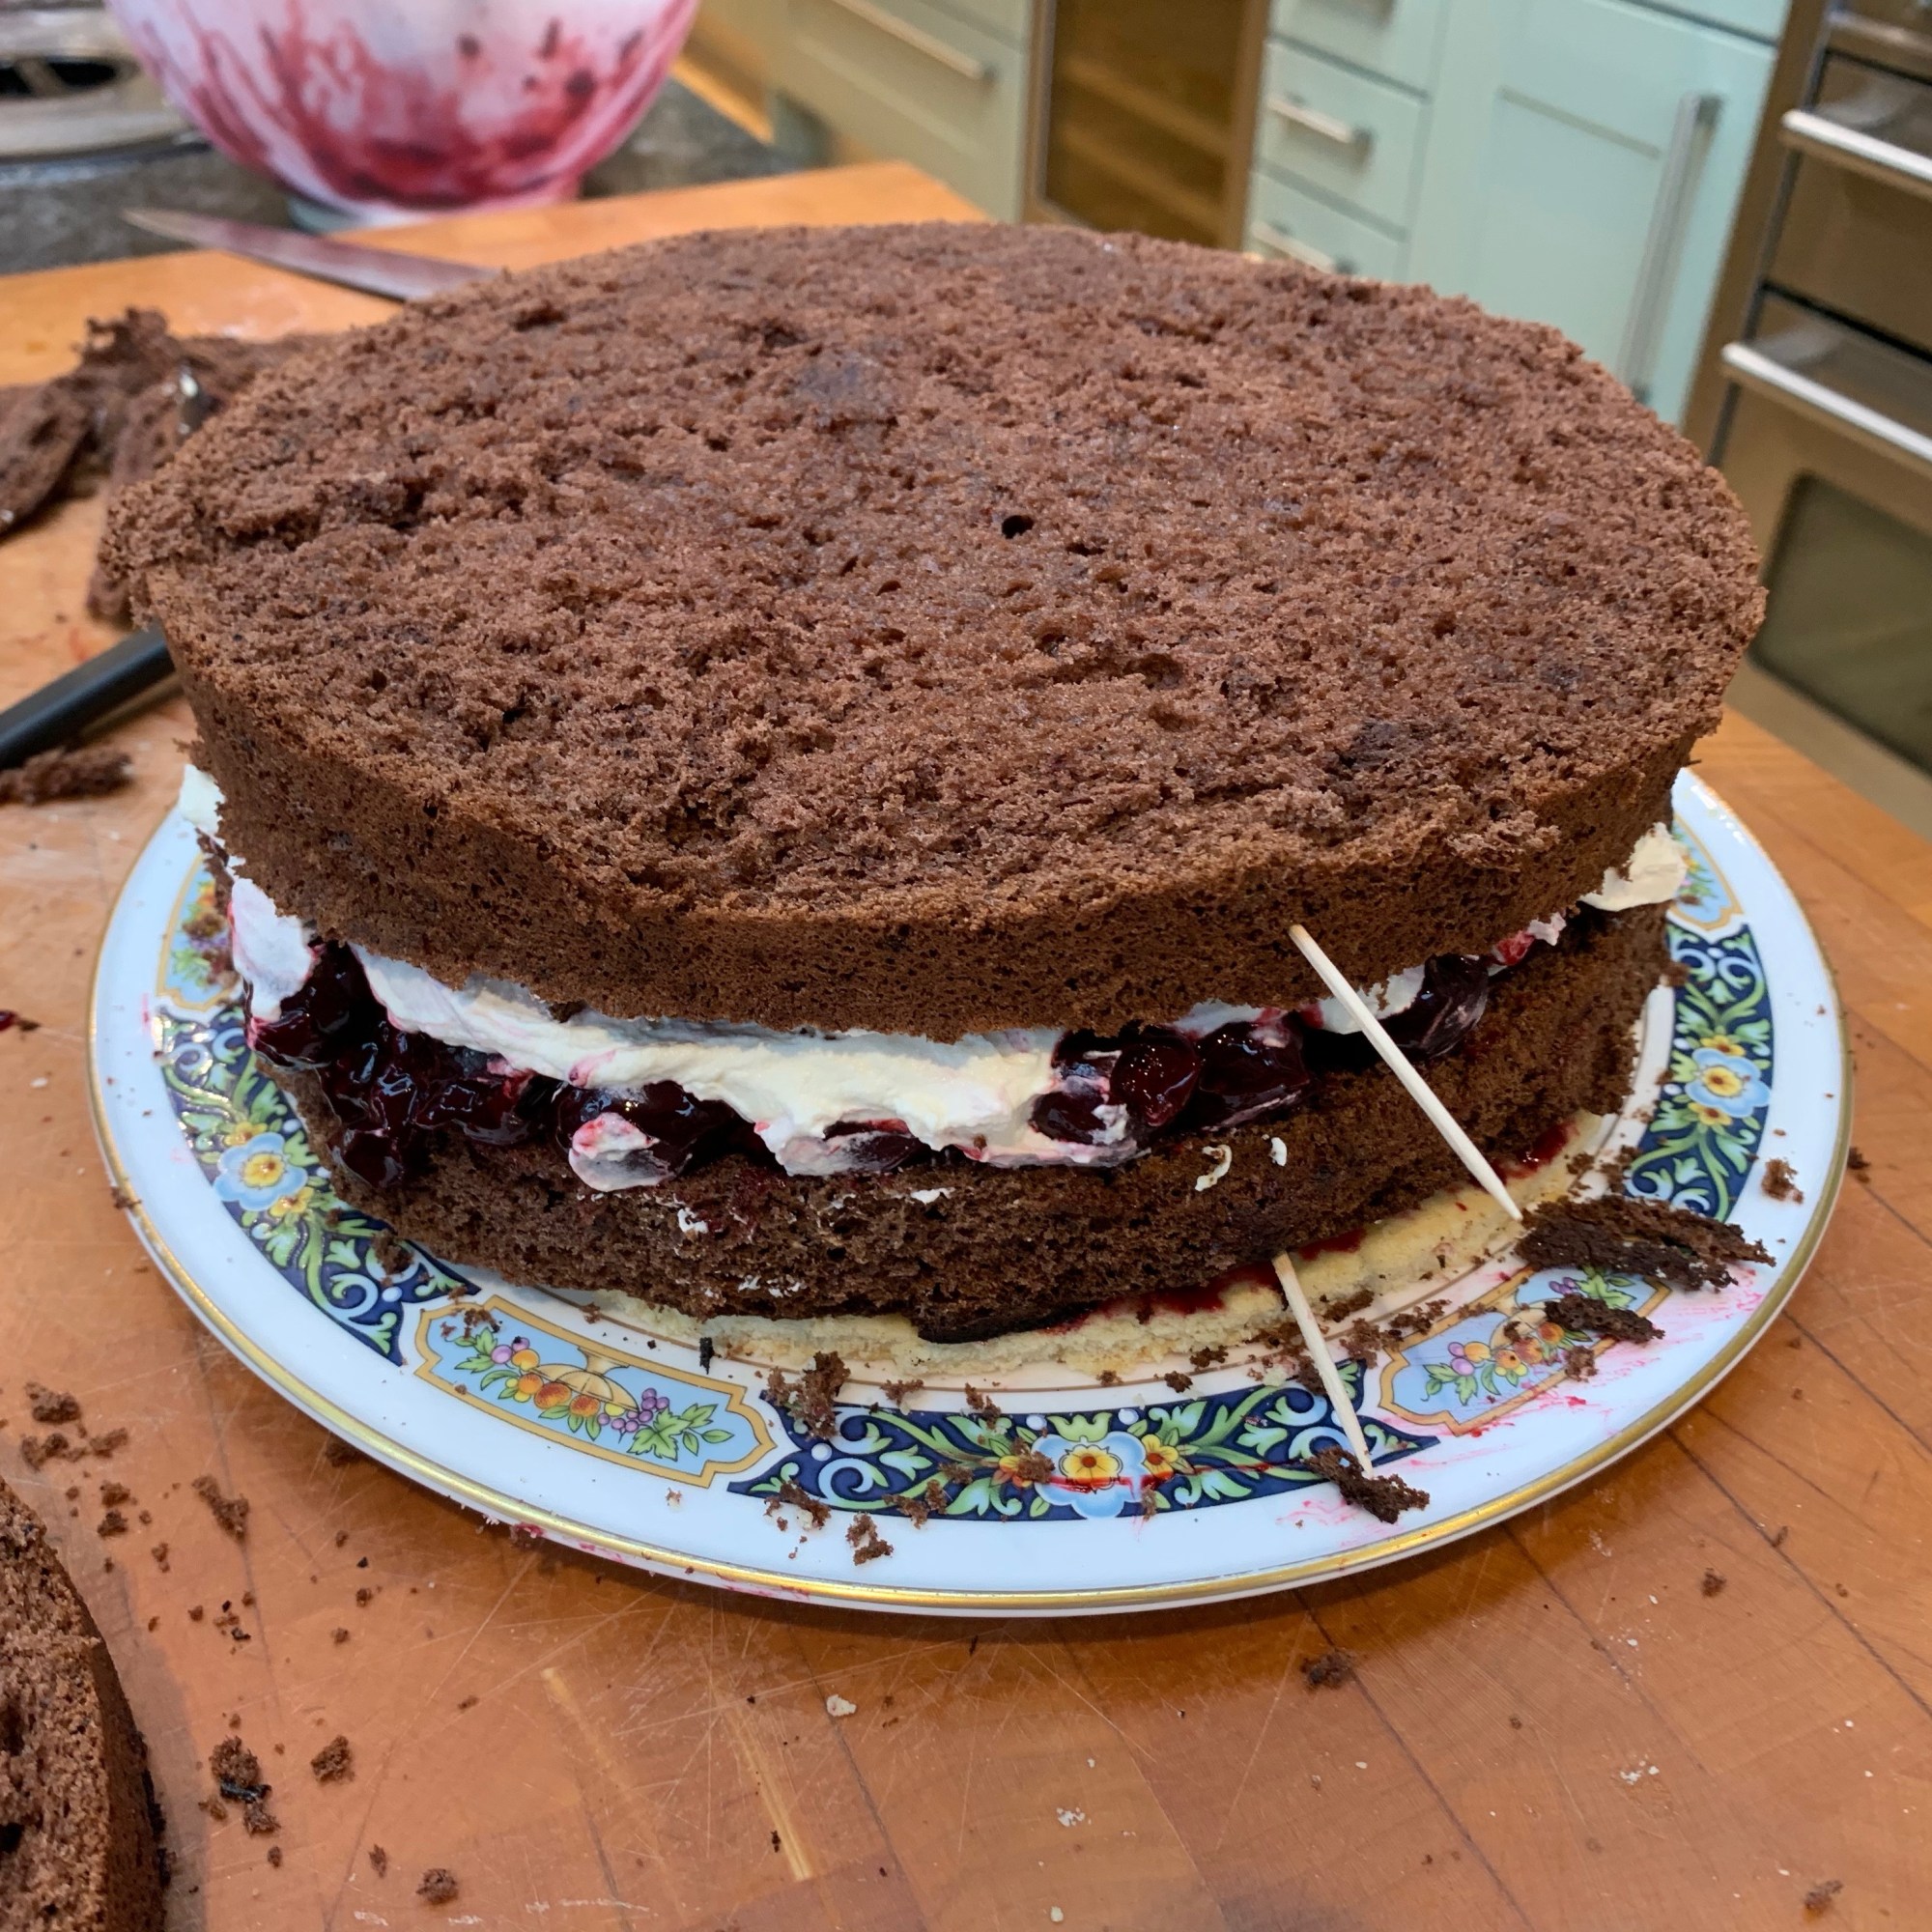
The Germans are fantastic bakers. I could have chosen from dozens of breads and pastries: pumpernickel, pretzels, seed-filled Vollkornbrot, melt-in-mouth Franzbrötchen and so many more. But I’m a child of the 1960s and I couldn’t resist the German cake of my childhood: the over-the-top architectural construction of chocolate cake, cherries and whipped cream that is the Schwarzwälder Kirschtorte – the Black Forest gâteau.
You need to be careful on this one: most English and American recipes are very sweet. The German recipes have better flavour balance, but do tend to be unbelievably heavy on the cream – I’ve seen recipes specifying over 1 kg of cream for a cake not much bigger than the one I’ve made here. The nice people at Gästehaus Reger, in the heart of the Black Forest, have posted an English language version of their recipe, so I’ve used that as my starting point (dramatically reducing the cream content). By the way, according to Wikipedia, Black Forest gâteau doesn’t actually come from the Black Forest (it was created by a confectioner near Bonn), but they seem to have embraced it with enthusiasm.
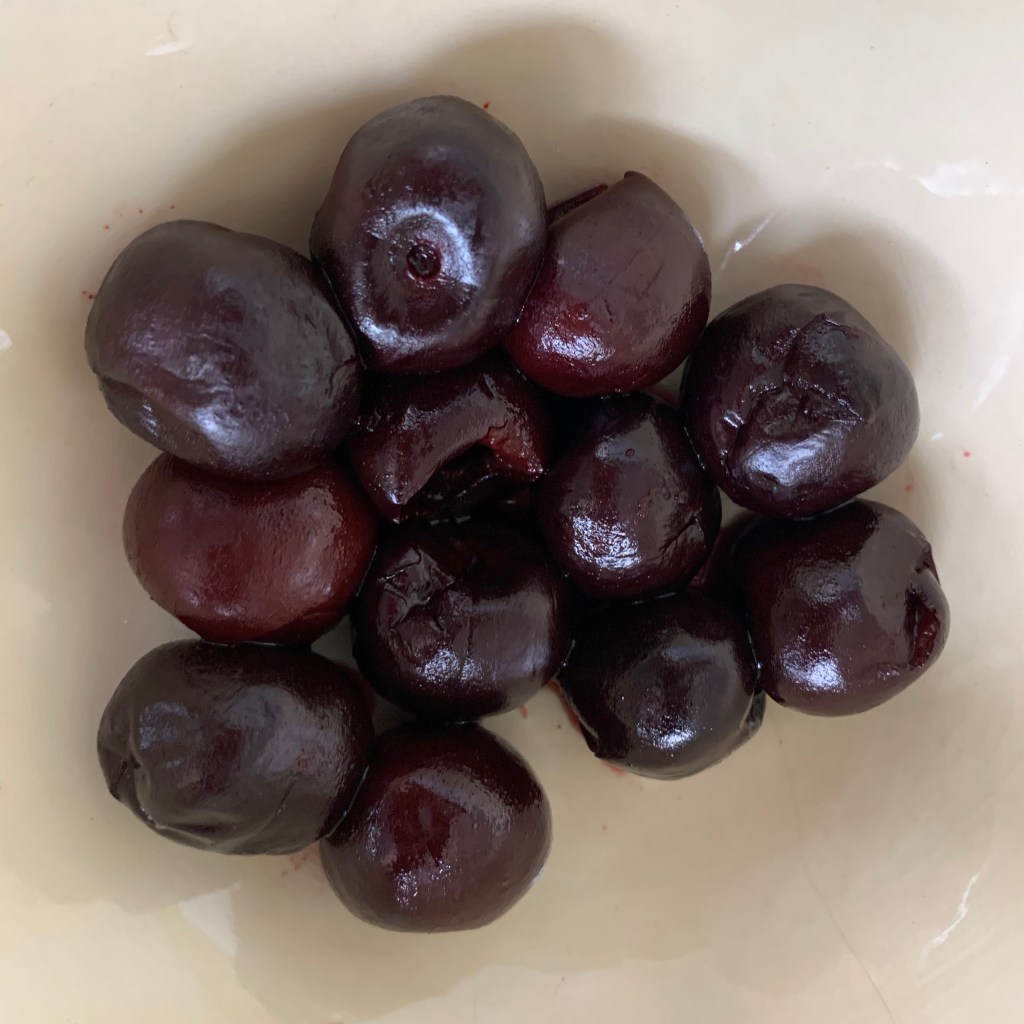
German recipes specify jars of sour cherries. Being unable to get these, I substituted frozen black cherries, adding lemon juice to give a sour edge. It’s not perfect, but it worked. I was also short of kirsch – the cherry-based firewater that is the key ingredient of authentic Schwarzwälder Kirschtorte, so I had to substitute some blackcurrant schnapps, left over from a trip to Sweden, which gives a similar flavour. I suggest that you don’t go for the cherry brandy that features in many recipes, because it has a very different flavour, stronger and sweeter.
The next problem to solve is your choice of cake tin. Ideally, you want to follow the Germans and use a single tin, slicing the cake into three layers after baking, because you don’t want lots of crusts. However, the cake extremely light and airy due to its mixture of both sabayon and meringue: my 23cm springform tin is about 6cm high and the cake overflowed it by some margin. This required me to trim some rather misshapen excess: use a deep tin if you have one.
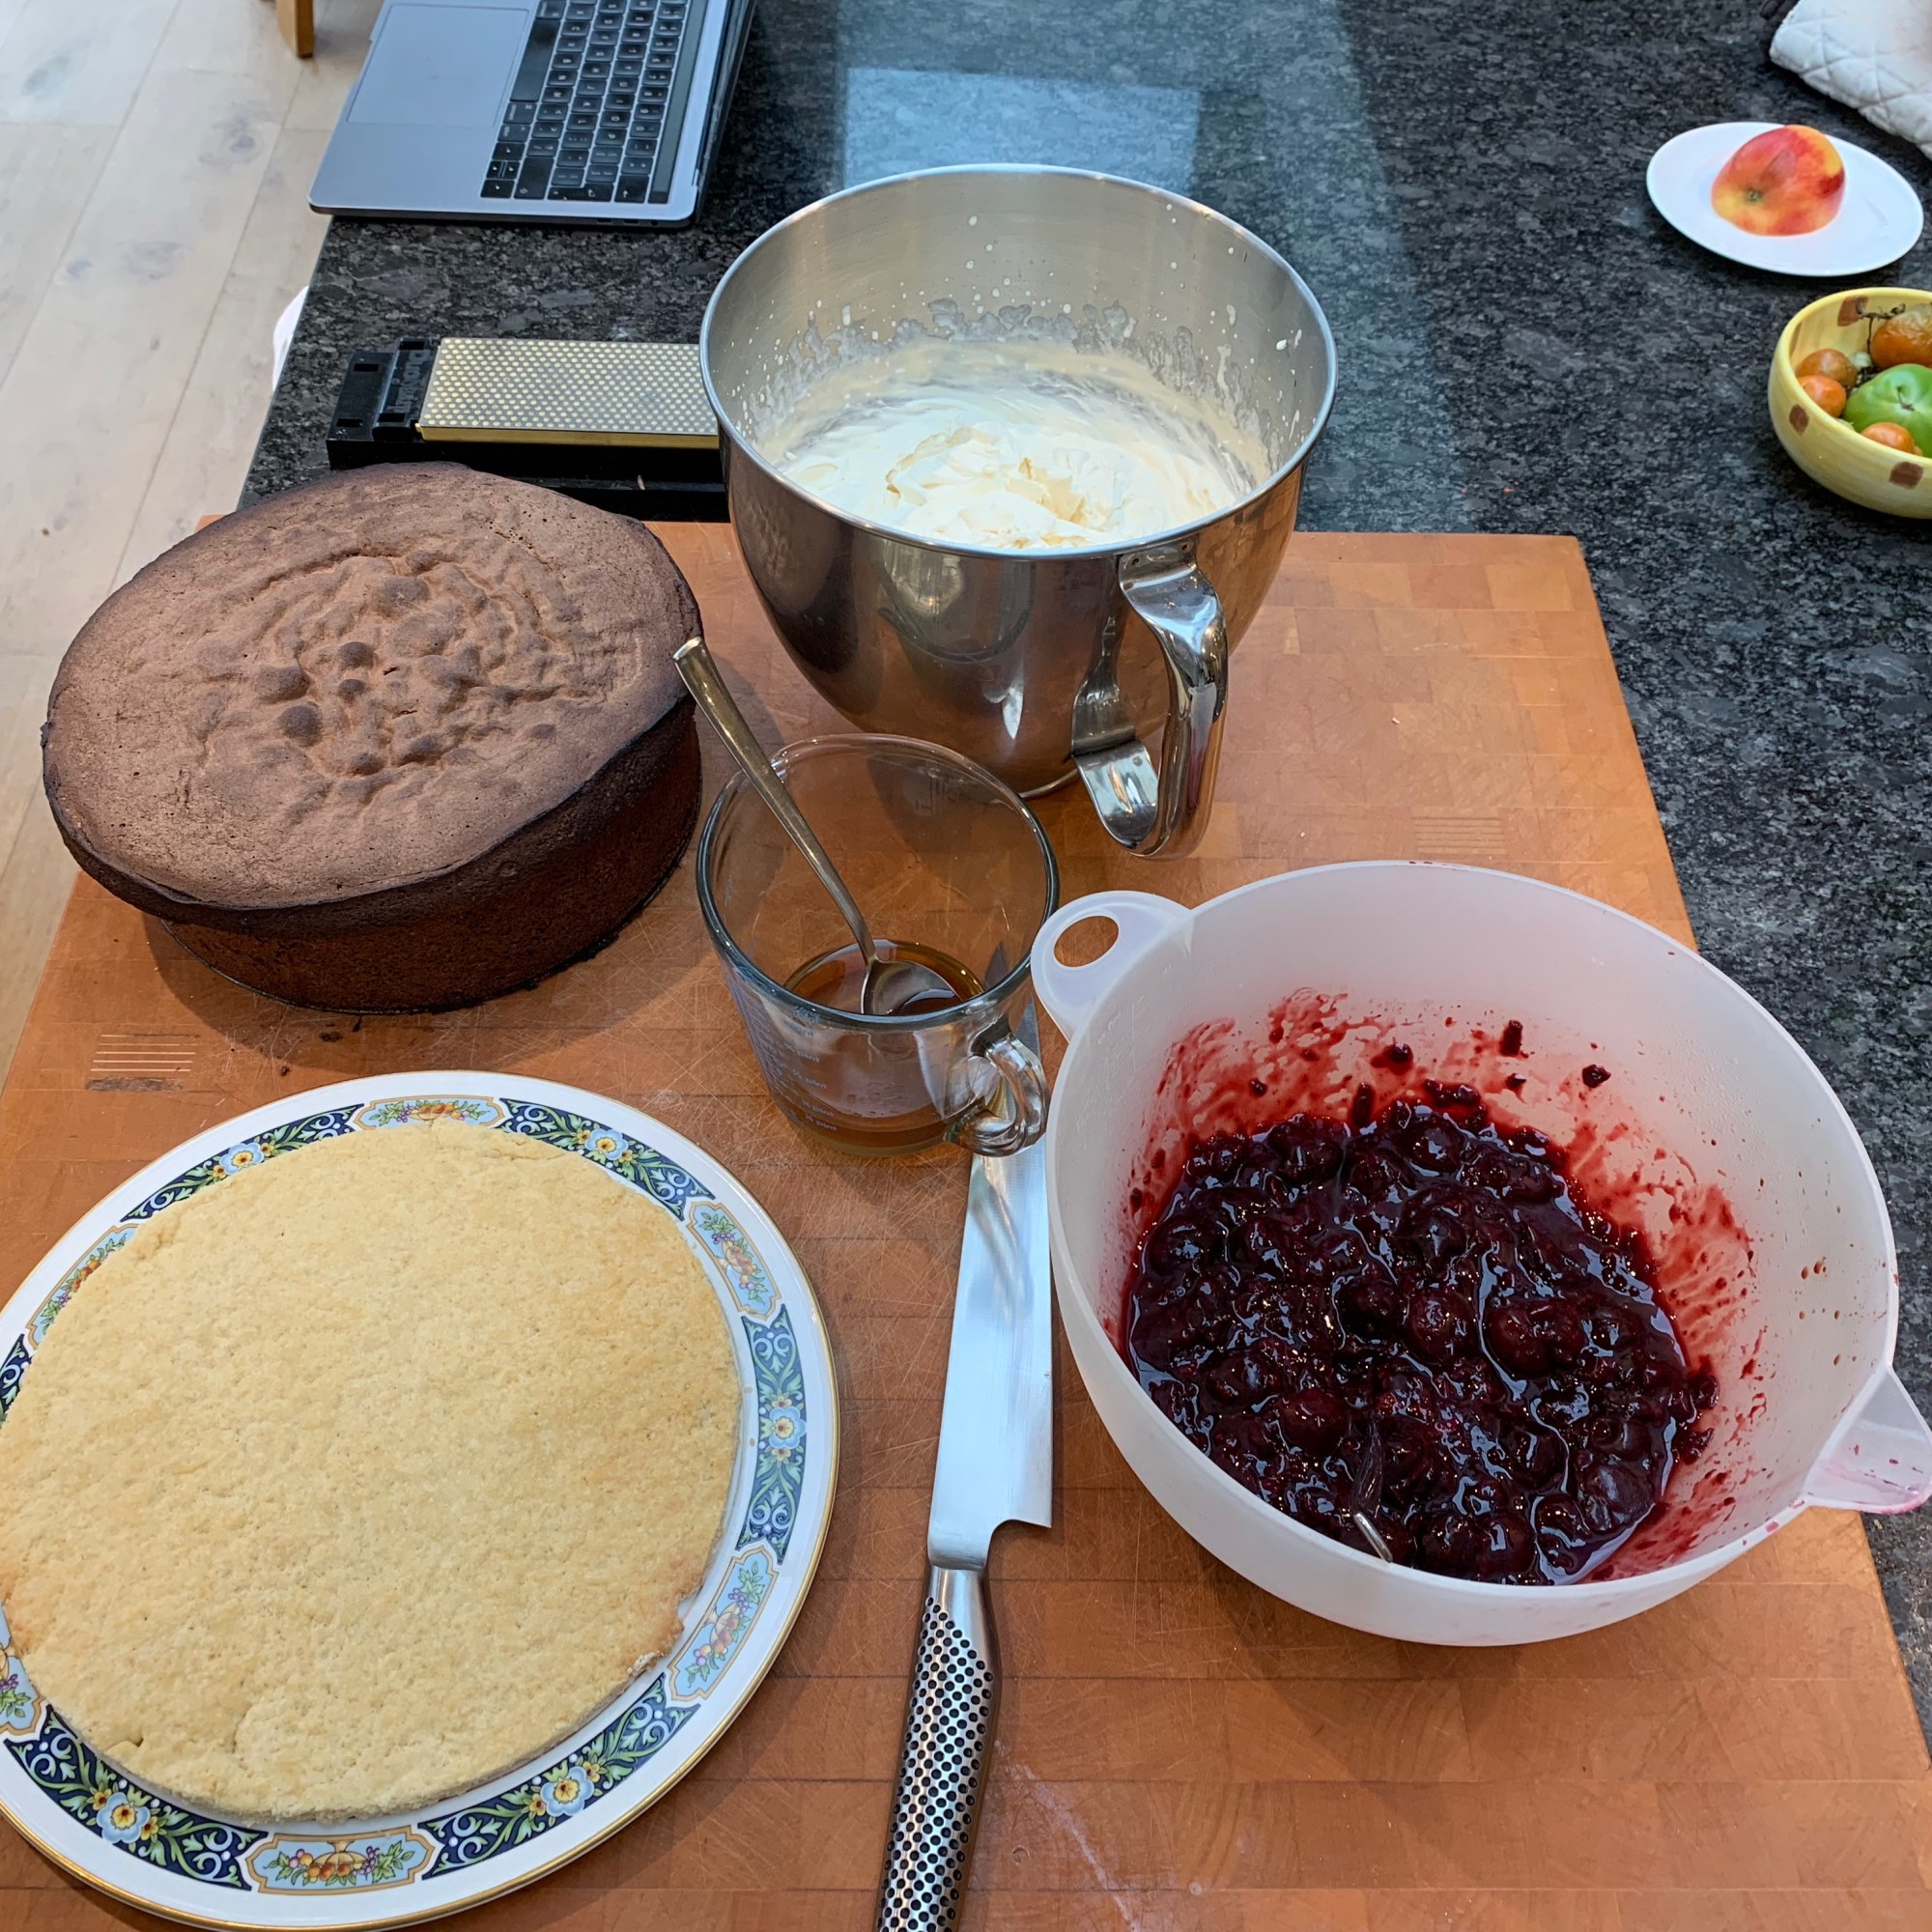
This is a fairly complex and time consuming recipe, with two different baked layers and three fillings/drizzles. You will also use and wash up more bowls than you can possibly imagine. But none of this is unduly difficult.
You need to make the base, the cake and the cherry filling far enough in advance that they’re completely cool. The rest is best done at the last minute.
The cherry filling
If you can get jars of sour cherries, use 500g of those and 250g of the juice from the jar in place of the frozen cherries and lemon juice listed below. Also omit the blitzing of cherries and add 30g sugar.
750g frozen pitted cherries
Juice of 1 lemon
25g cornflour
Defrost the cherries. (That’s why I’ve shown this step first – you may want to make your cake layers while this is happening).
Reserve 12 of the best looking cherries – you will use them later for decoration.
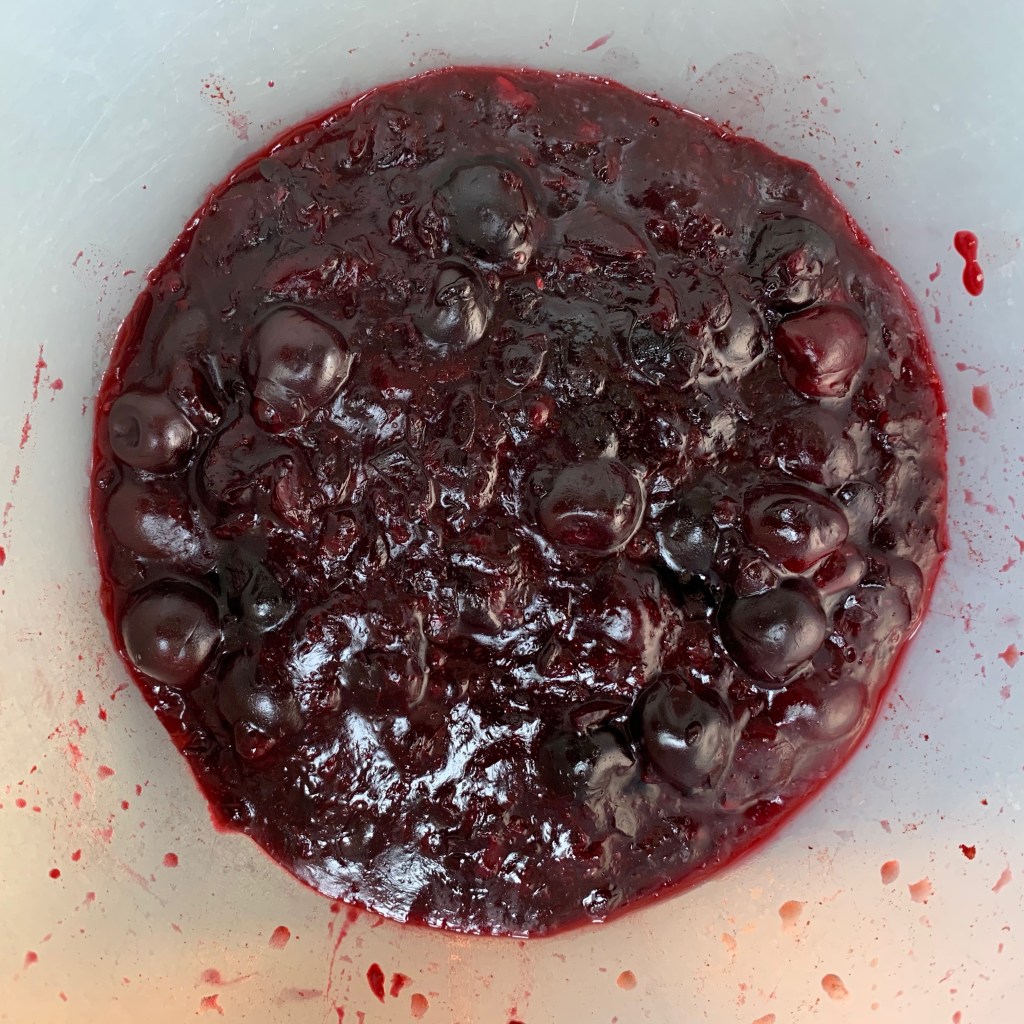
Blitz half of the remaining cherries to a coarse puree.
Put the puree and any juice into a saucepan with the cornflour, stir thoroughly and warm gently until thickened.
Add the remaining cherries and bring to the boil.
Remove from heat and refrigerate.
The shortcrust base
This is optional (several recipes don’t include one) but it gives a nice contrast of texture and makes the cake easier to handle.
120g plain flour
3g (around ½ tsp) baking powder
25g sugar
vanilla essence to taste (around 1 tsp)
1 small egg
60g butter, softened
Preheat oven to 180℃ fan
Mix all ingredients together. Cover and refrigerate for around 30 minutes.
Roll out on a baking sheet to a size slightly larger than your cake tin.
Bake for around 10 minutes
Leave to cool
The chocolate cake
150g plain flour
60g cornflour
50g cocoa powder
10g baking powder – around 2 tsp
6 eggs
200g caster sugar
Vanilla essence to taste – around 1 tsp
Grease your cake tin
Sift the flour, cornflour, cocoa powder and baking powder into a bowl and combine evenly
Separate the eggs
Add around 50 ml of warm water to the egg yolks and beat at your mixer’s highest speed for around three minutes, until you have a creamy sabayon-like texture. Add 130g of the sugar and beat for another three minutes.
Beat the egg whites until soft peaks form, then add the remaining sugar, then beat until you have a stiff meringue.
Combine the sabayon, the meringue and the flour mix and blend thoroughly. Mix it as a gently as you can (avoiding losing the air that you’ve just beaten into the eggs) but enough to be sure that you haven’t left any clumps of unblended flour.
Pour the cake into your tin, smooth it off so you have a flat top, then bake for around 40 minutes. The cake is ready when a skewer comes out clean.
Remove from the springform tin and leave to cool.
The whipped cream filling
600 g double cream
60 g sugar
Vanilla essence to taste (around 1 tsp)
60 ml kirsch
Whip the cream for a minute or so.
Add sugar, vanilla essence and kirsch.
Whip the mixture until stiff.
Final assembly
150ml kirsch
20g sugar
20g dark chocolate for grating (the amount is very approximate)
Add 75 ml kirsch to the cherry filling and mix thoroughly
Add 75 ml kirsch to 75 ml water and 20g caster sugar and mix thoroughly
If the cake is heavily domed (mine wasn’t), trim off the domed crust.
Turn the cake over so the crust side is down.
If your cake overspilled the edges of your tin, trim it so that you have a cylinder.
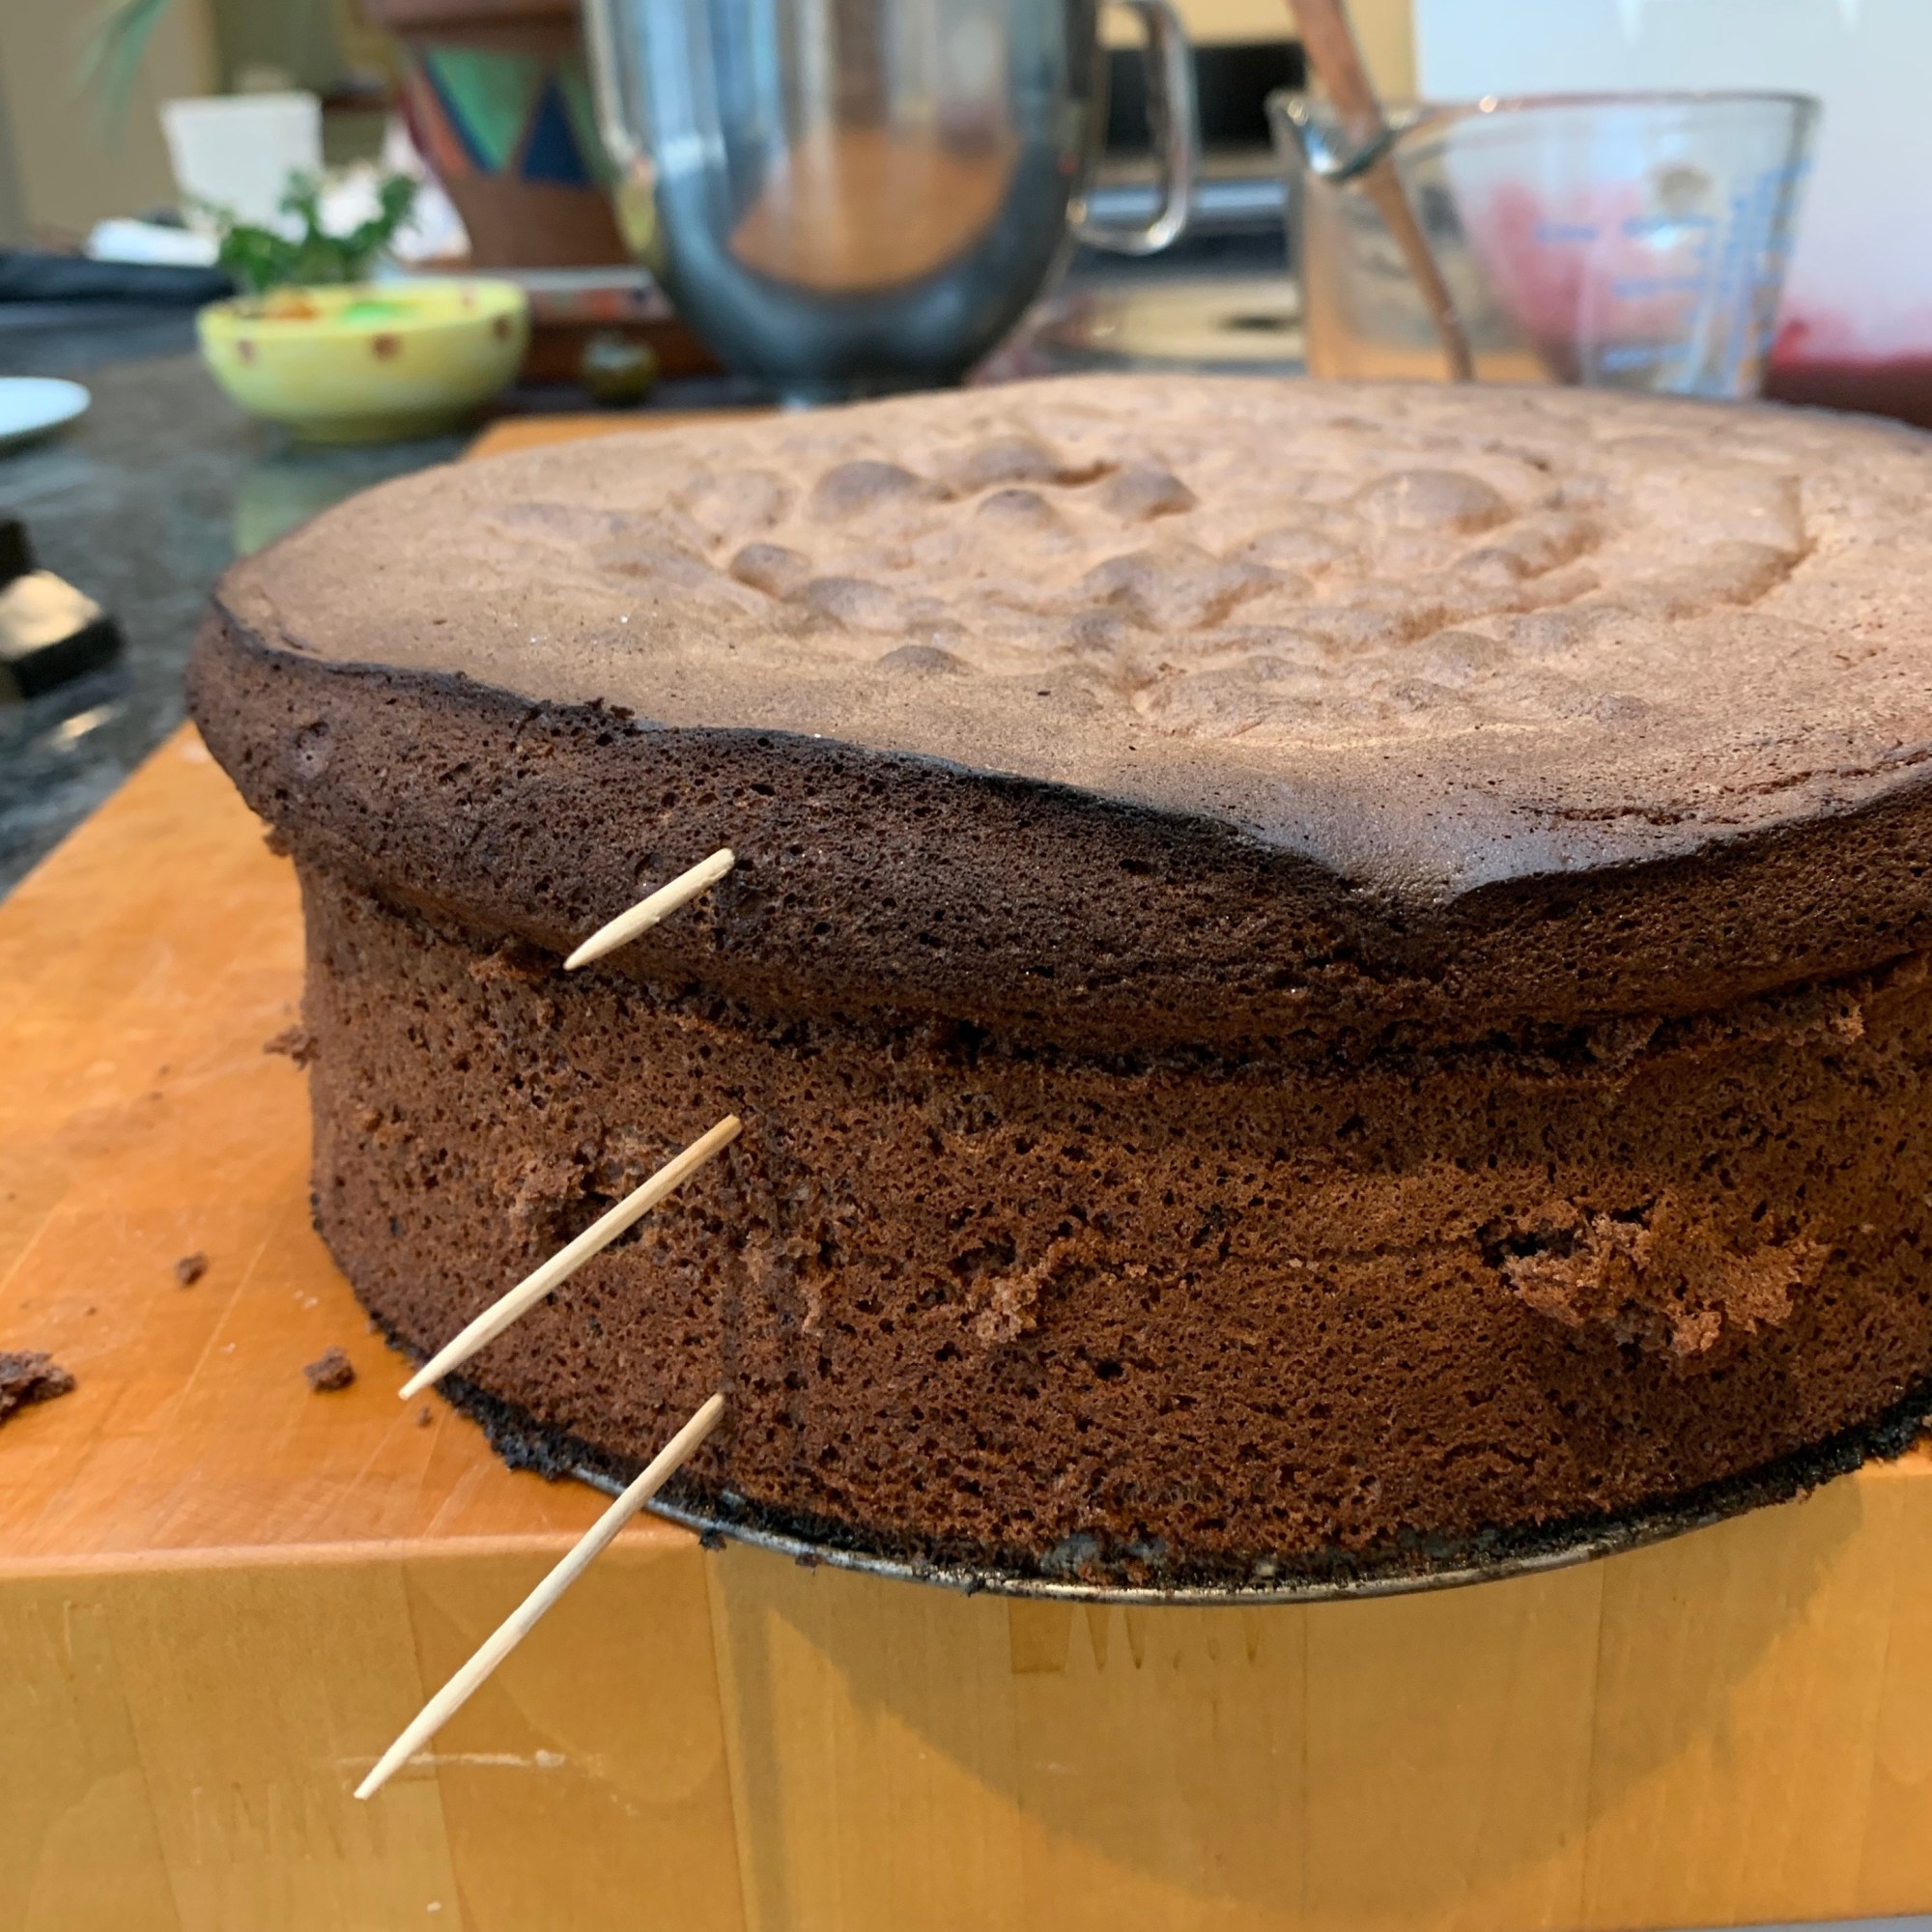
Slice the chocolate cake into three slices horizontally. It’s helpful to mark the slices with a toothpick in each one, immediately above each other: this will help you re-assemble the cake into exactly the right place.
Move the slices next to each other and drizzle them with the kirsch/water/sugar mix.
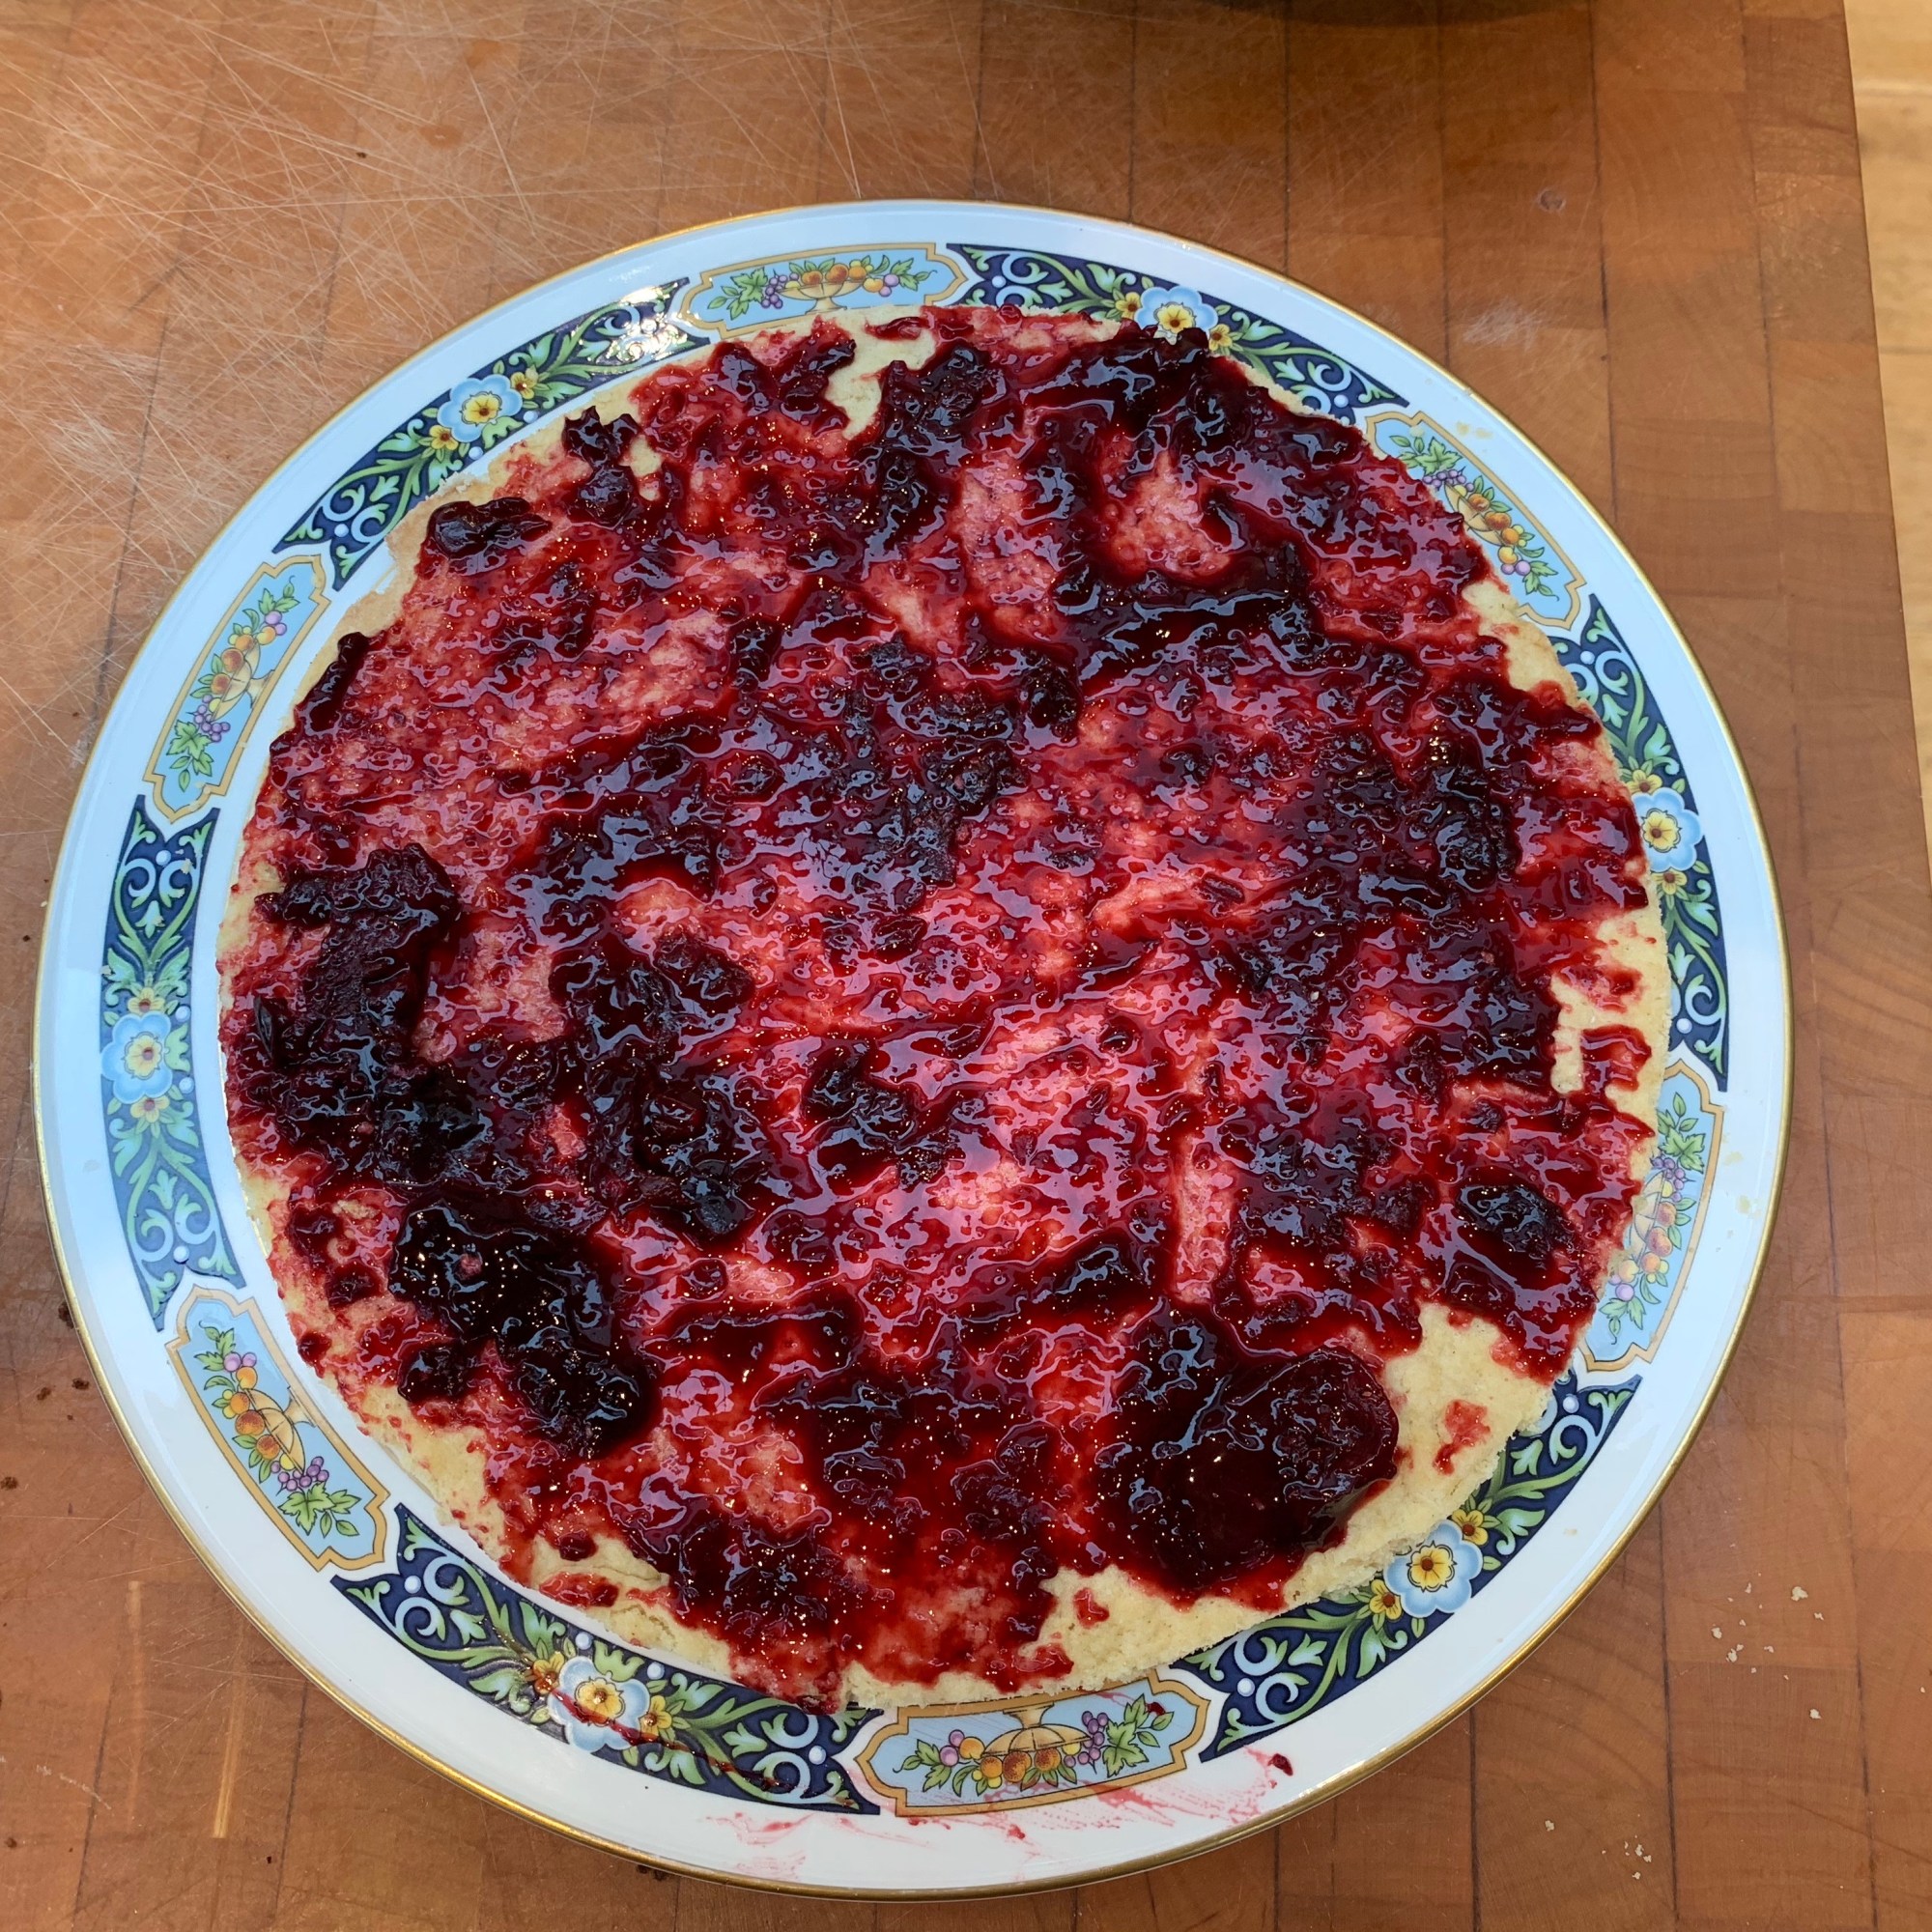
Trim the shortcrust base to a circle the same size as your cake.
Spread some cherry filling over the base – remove any whole cherries so that you’re just spreading the jam.
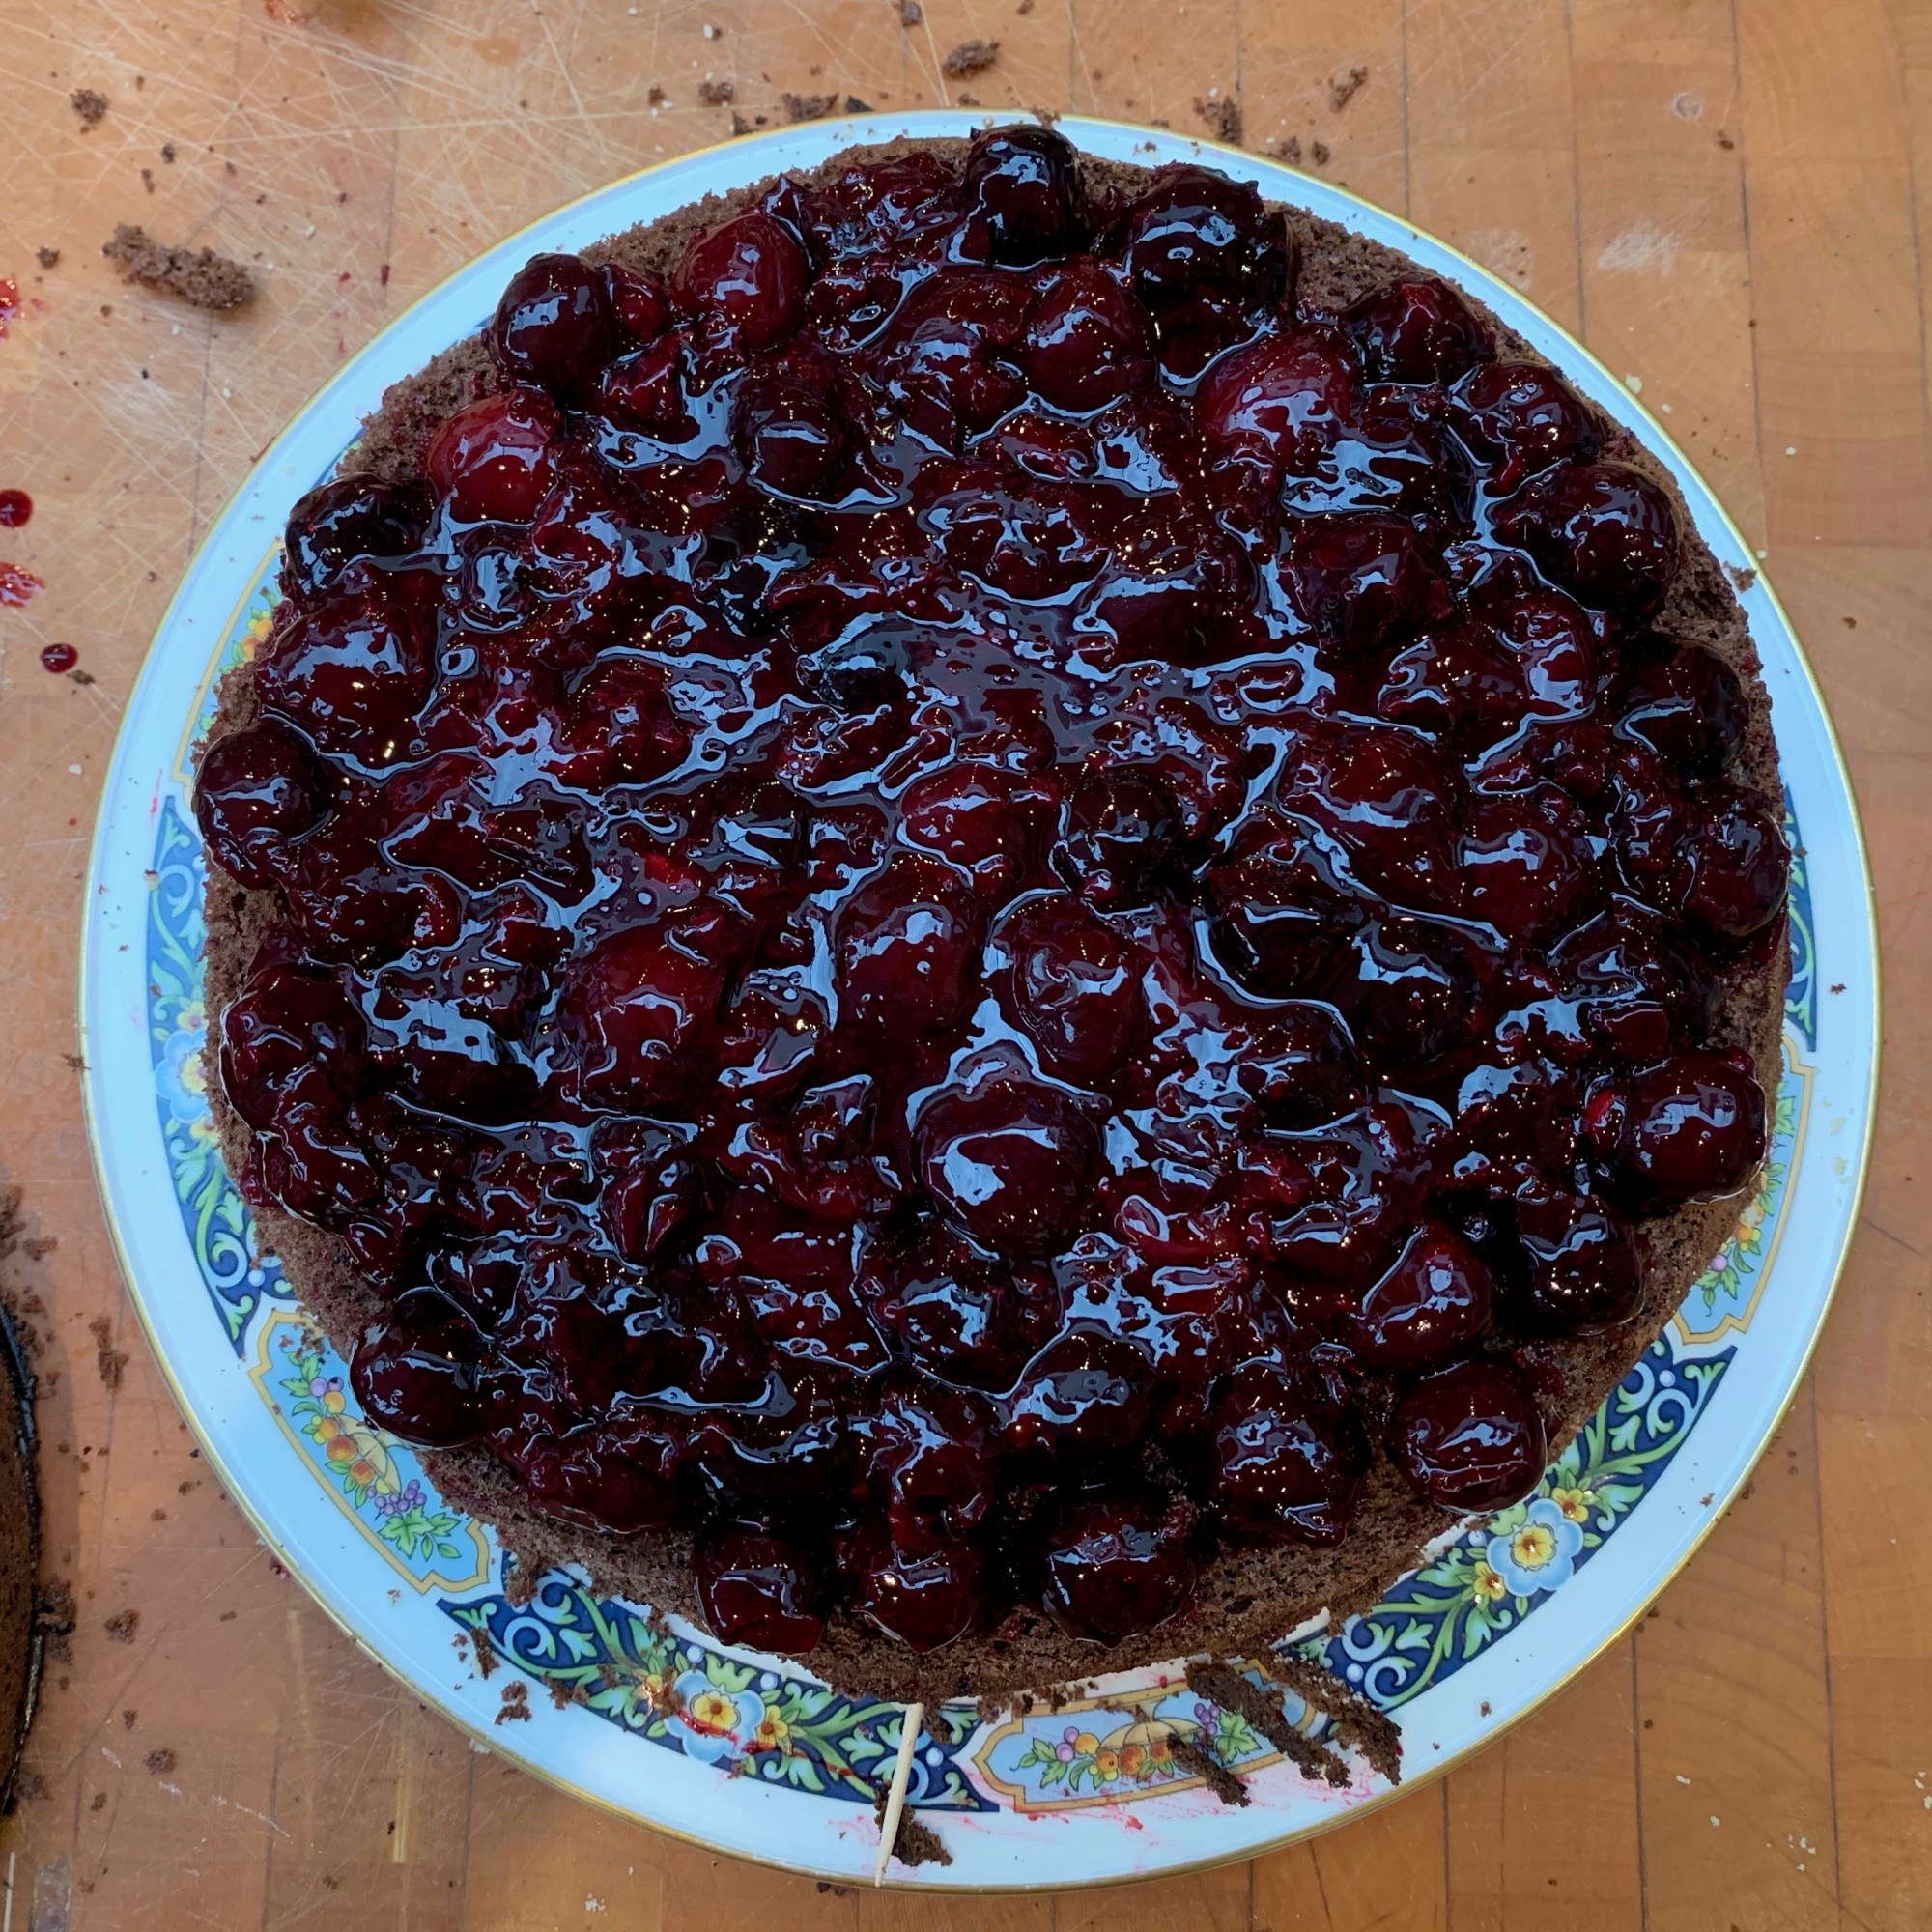
Place a layer of cake onto the base (start with the one that was the topmost layer while baking).
Spread the rest of the cherry filling evenly over the cake. Make sure you get to the edges.
Reserve around 80g of the whipped cream for decoration: you’ll want to put it into a piping bag with a star nozzle.
Spread ⅓ of the remaining whipped cream over the cherry filling. Make sure you get to the edges.
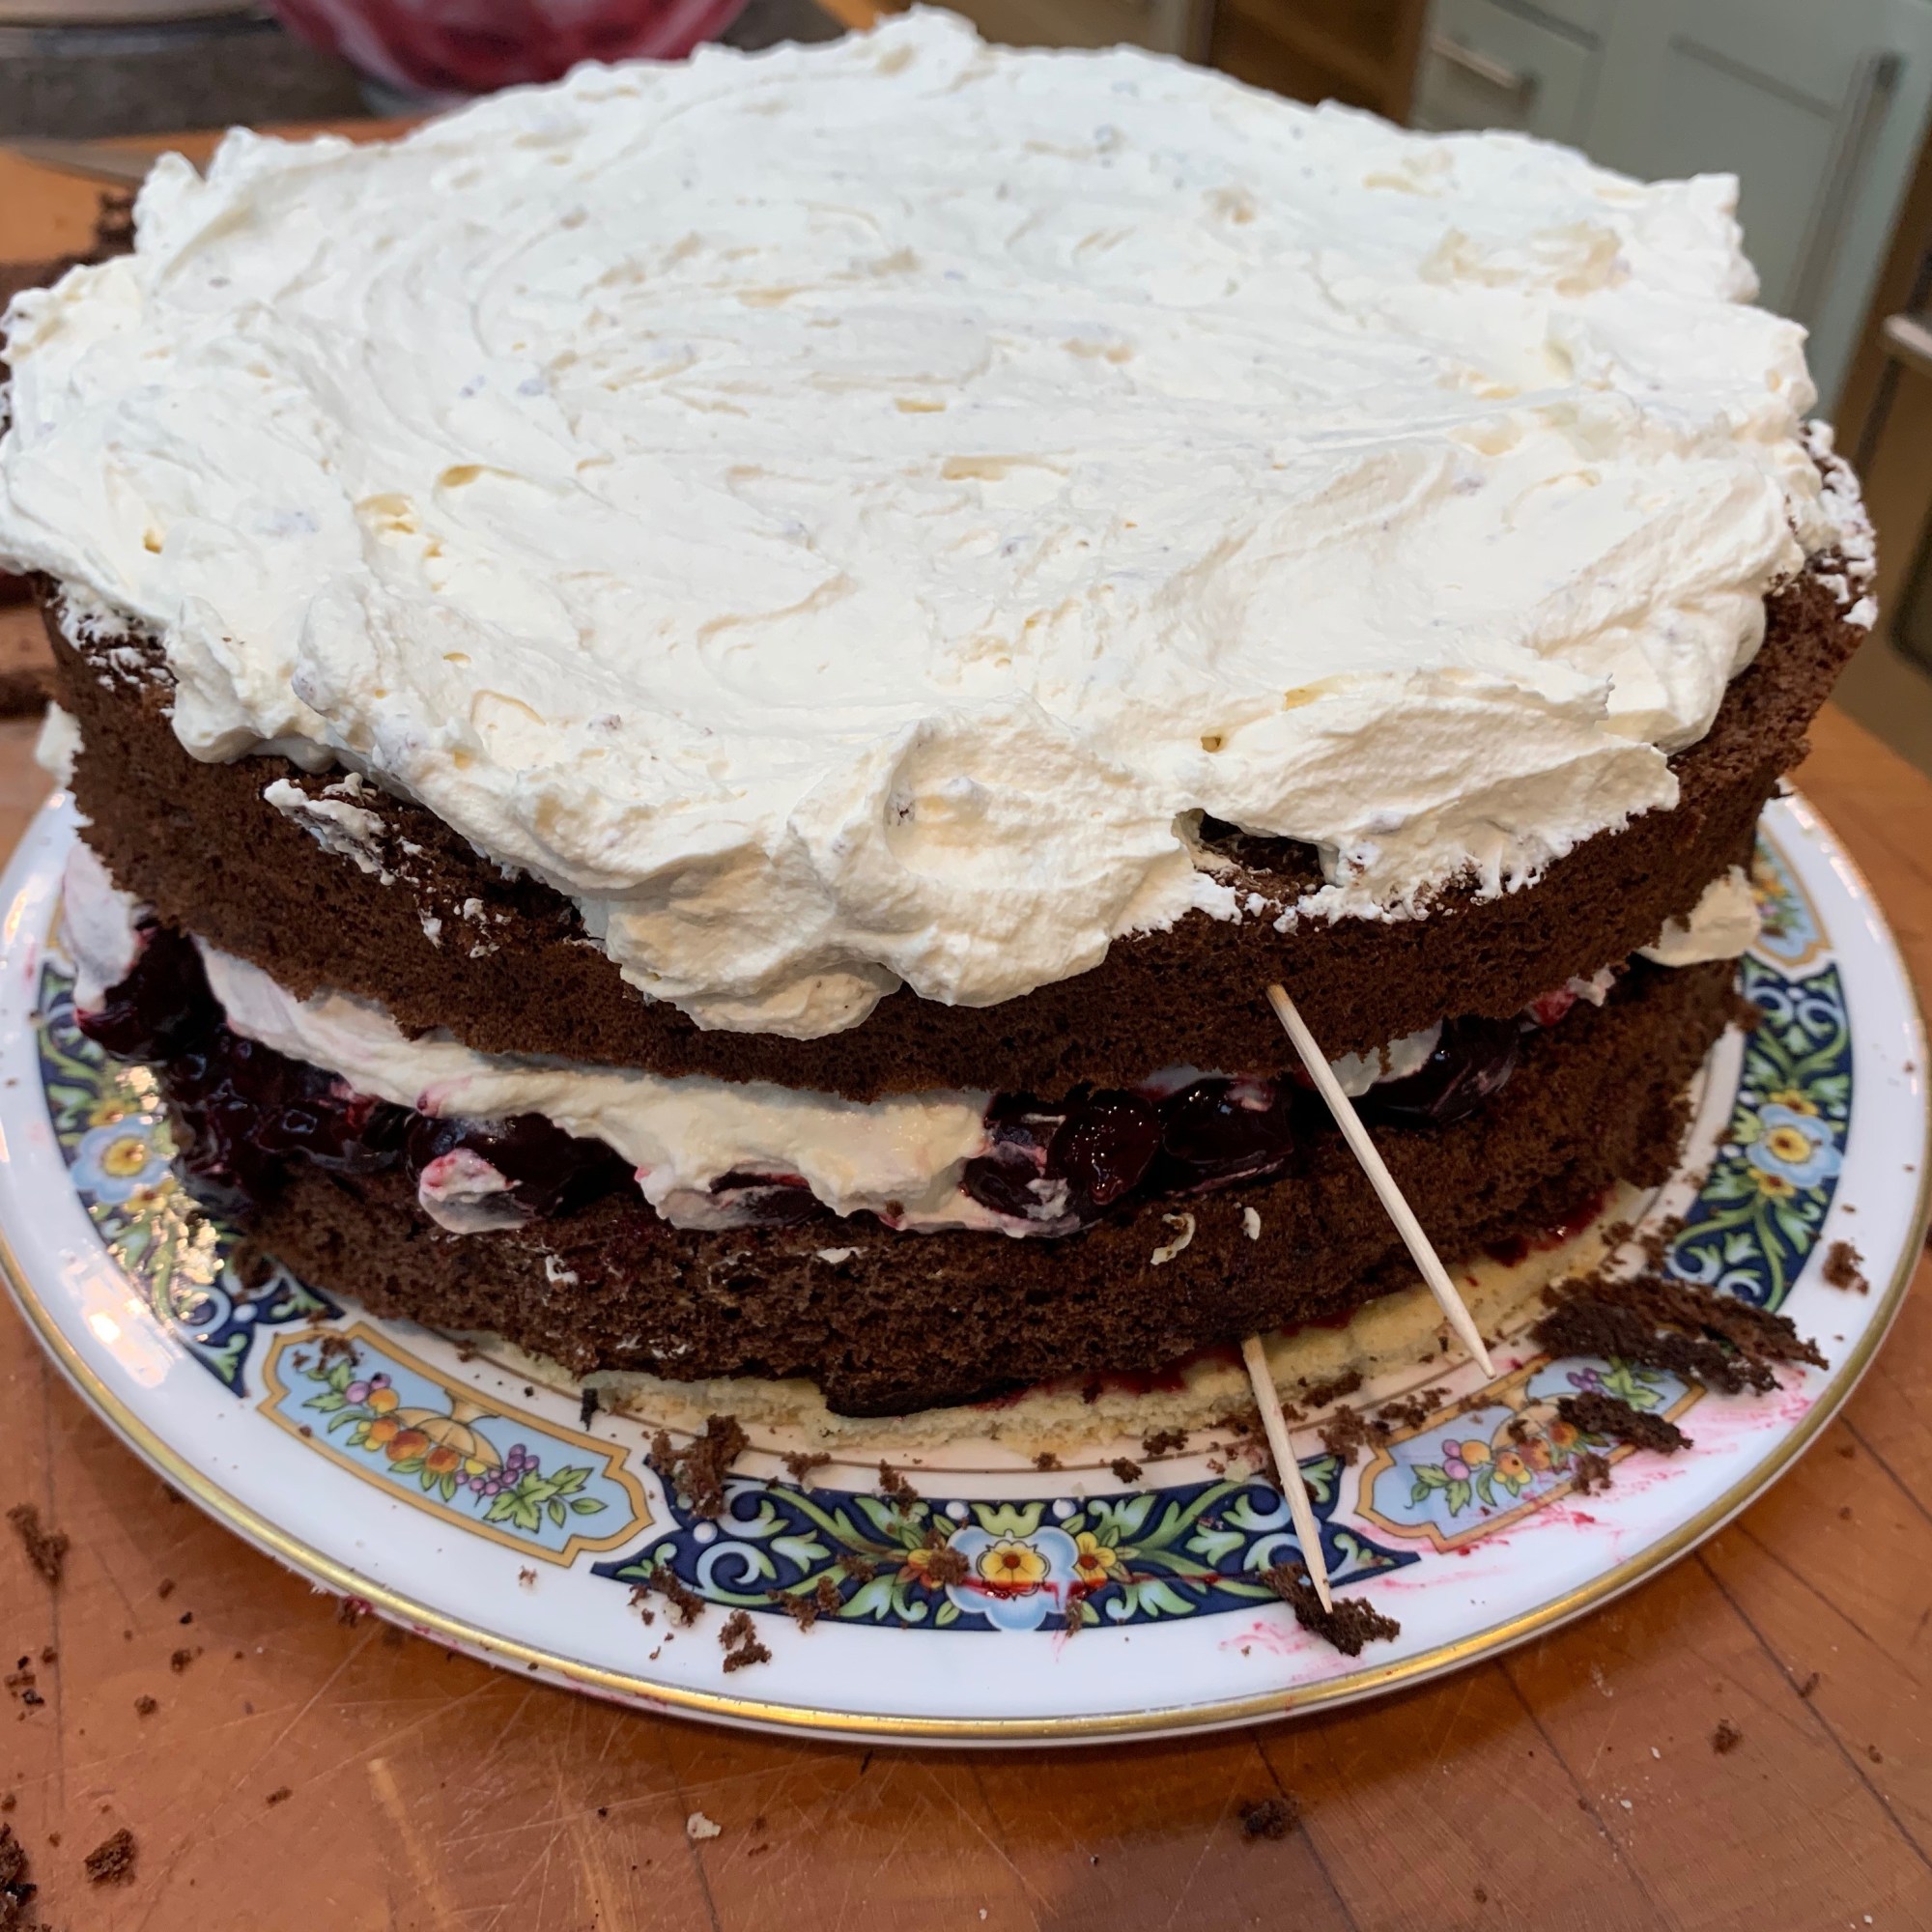
Place the remaining two layers of cake on top, using the toothpicks to orient you as to exactly where to put them. After each layer, spread another third of the whipped cream: the top layer should be very even. (At this point, the Germans would also spread cream over the sides to form a perfect white cylinder. But that’s too much cream for me.)
Grate the chocolate into shavings with a grater of vegetable peeler, and sprinkle the shavings over the cake. If you’ve put cream over the sides, also dust the sides with grated chocolate.
Pipe twelve small doughnuts of cream in a circle close to the edge of the cake. Into each doughnut, place a cherry.
You’re done! It was complicated and it was a long haul, but you’ve created a real spectacular, which is light as a feather and tastes fantastic.
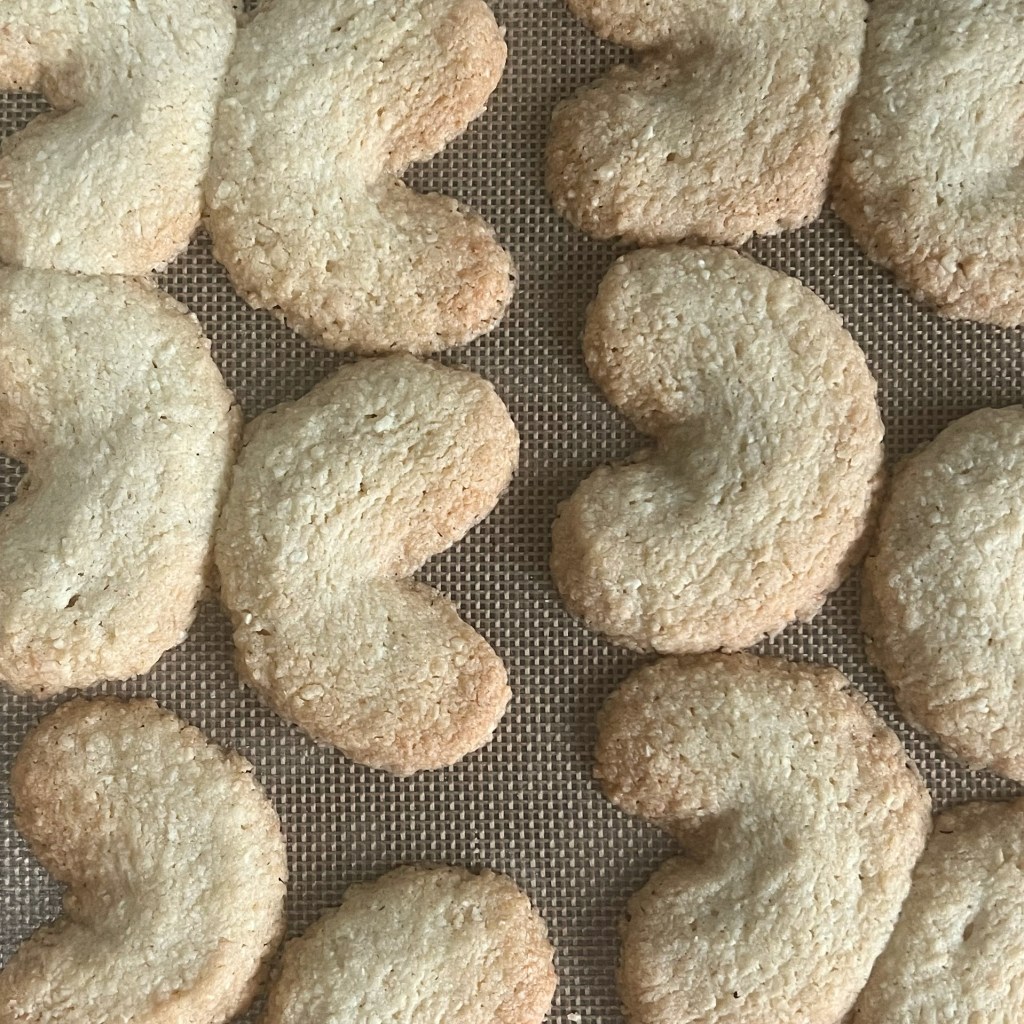
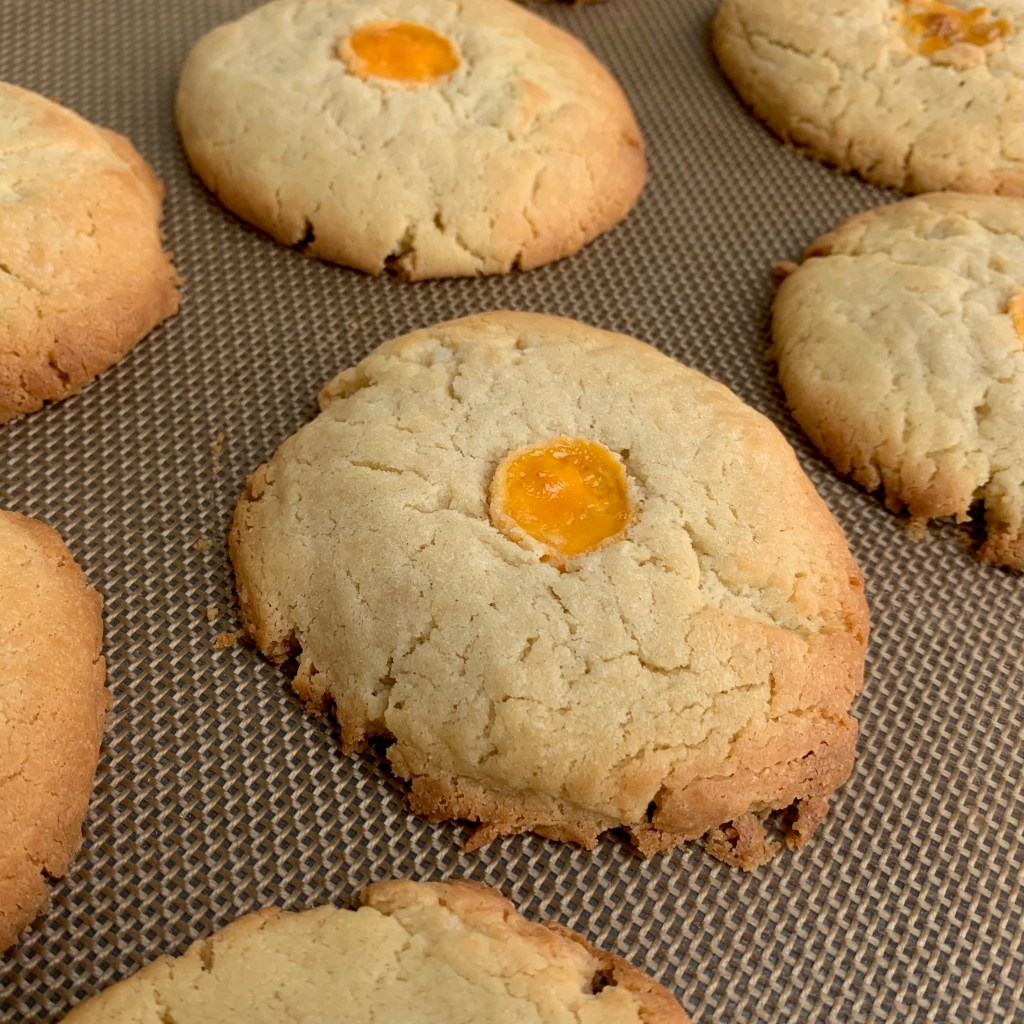
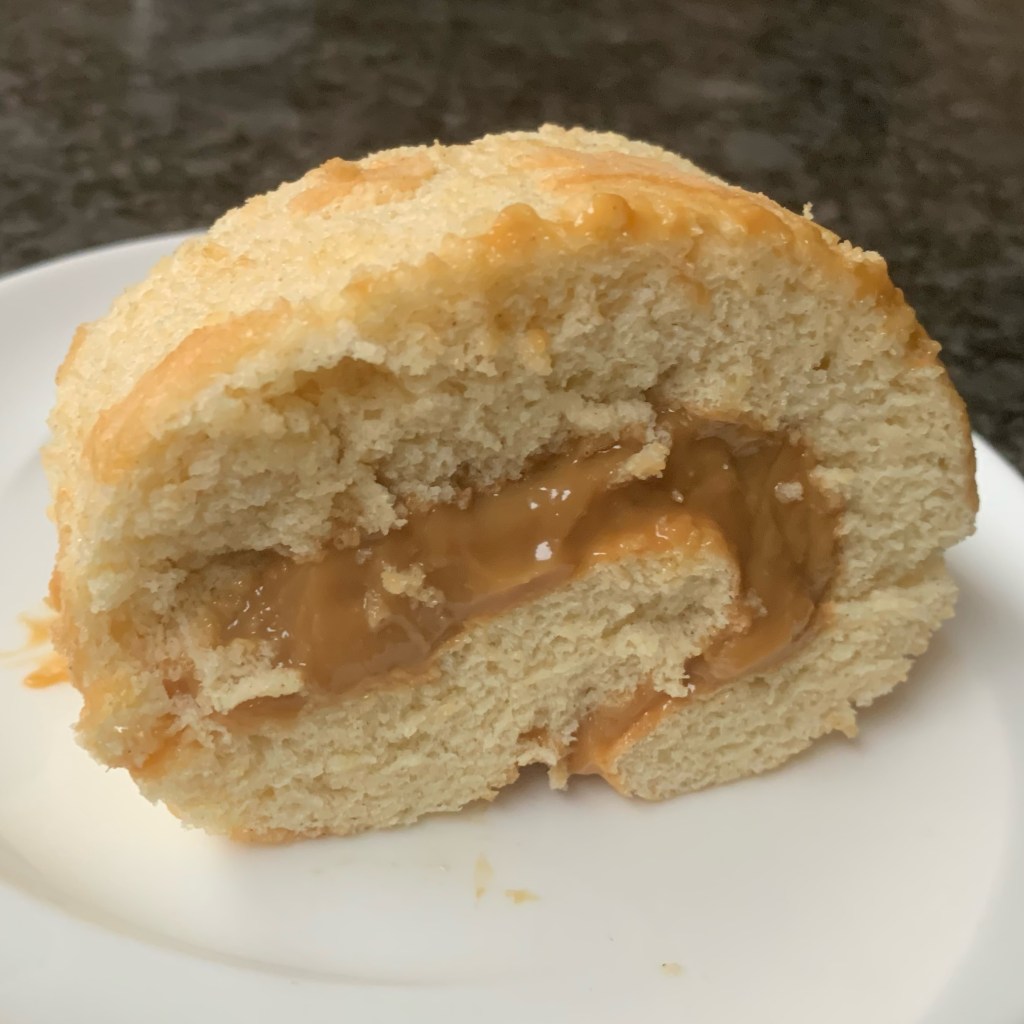
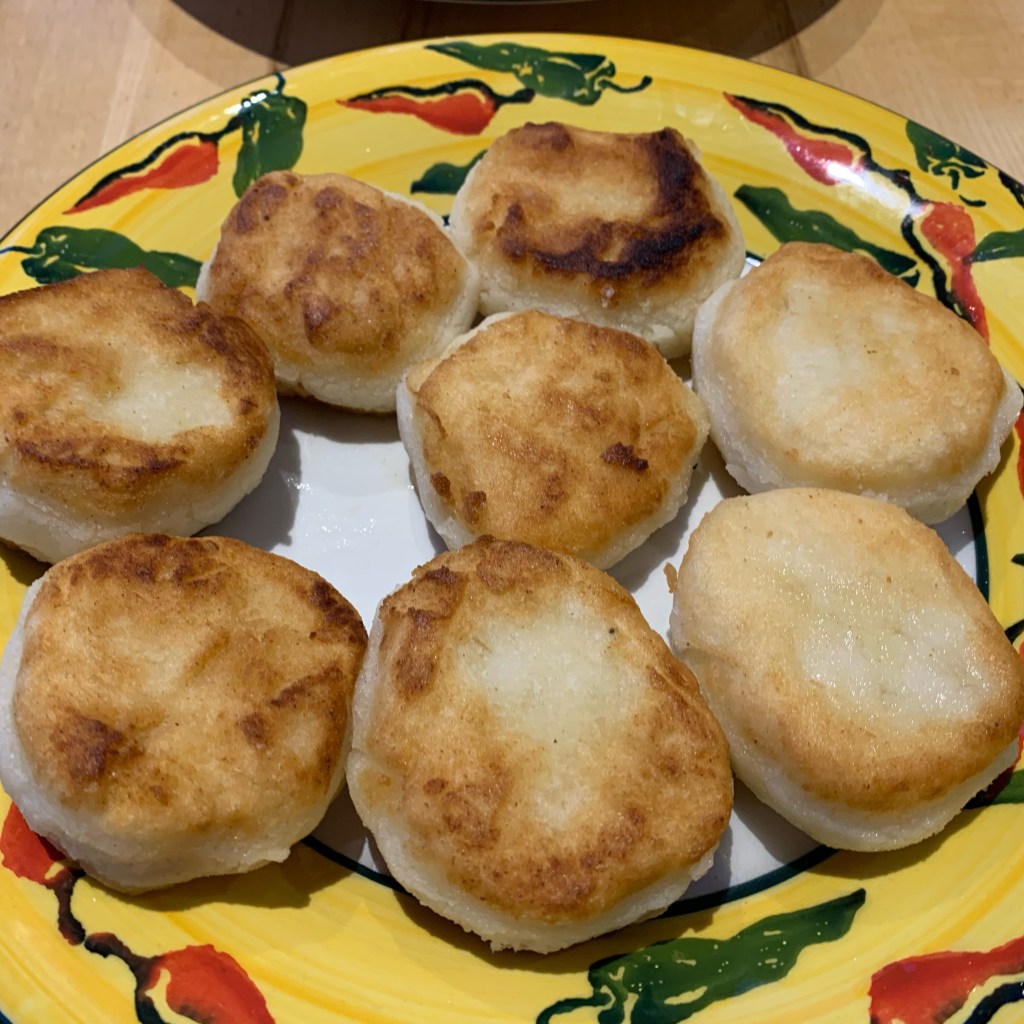
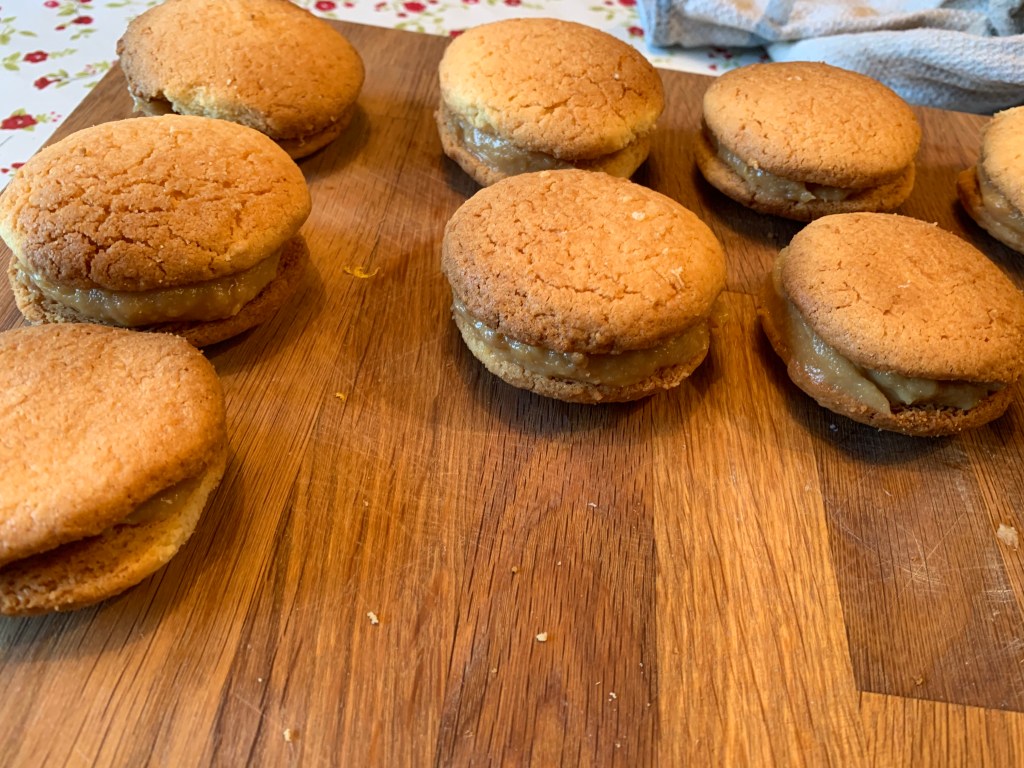
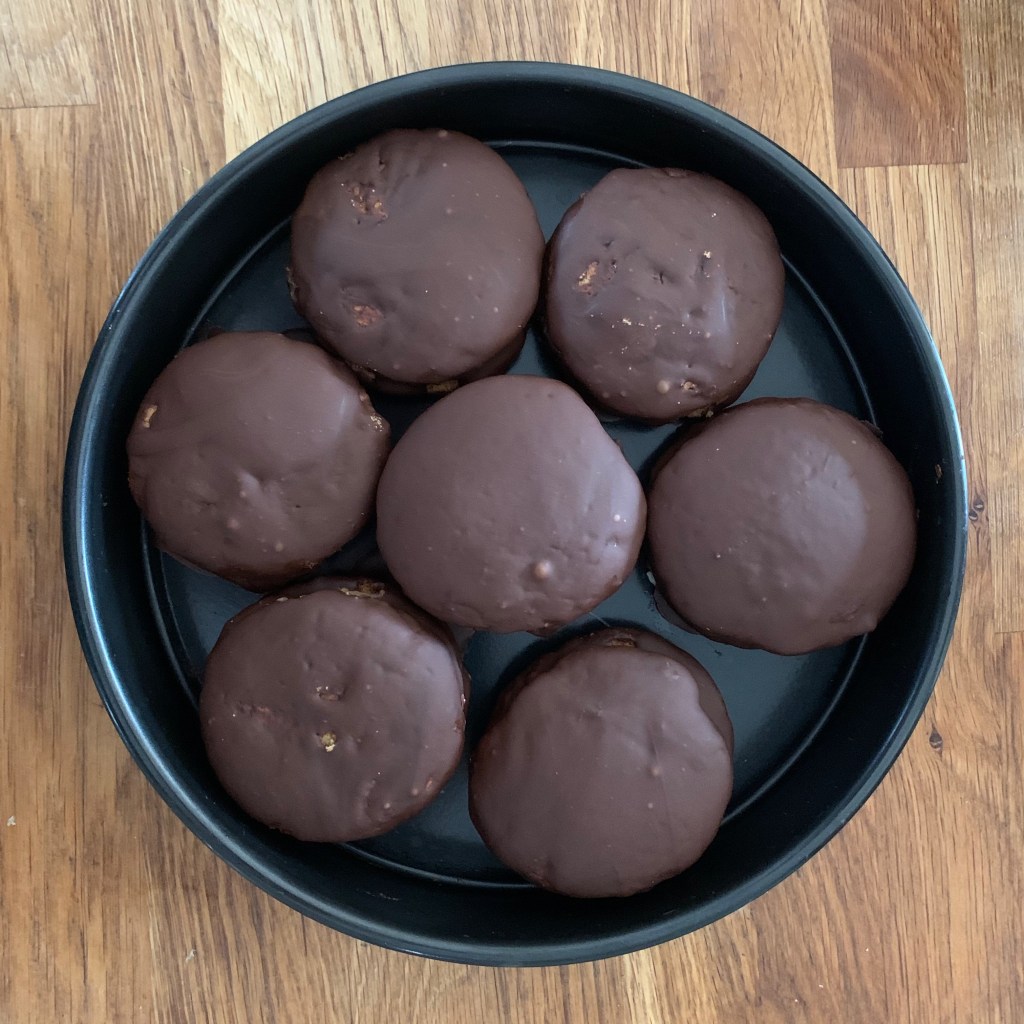
When my daughter’s Argentinian colleague returns to London after a trip home, you can predict with certainty that he will be carrying a number of packs of Alfajores, his country’s favourite sweet treat. They’re biscuits made from a dough rich in butter and cornflour; a layer of dulce de leche (caramelised condensed milk) is sandwiched between a pair of biscuits, with the edges of the filling rolled in desiccated coconut – or, as in the version I’ve made here, dipped in chocolate, in which case they’re called “Alfajores marplatenses” (from Mar del Plata). The combination of crumbly, melt-in-your-mouth biscuit, soft caramel and chocolate is a sure fire winner.
I made alfajores of the most often recommended size, around 5 cm diameter, which are substantial enough to make a complete small dessert on their own, the alternative being to make smaller “alfajorcitos” of 3-4 cm diameter.
Recipes for the biscuits vary to a fair extent and my choices were largely dictated by the ingredients I had to hand. Here are some of the things you can adjust:
Ratio of cornflour to wheat flour (many recipes put in significantly more cornflour than my 50/50).
Flavourings: some recipes choose a dash of cognac or orange liqueur in addition to or instead of the lemon zest that I’ve used.
You can add cocoa powder and/or use brown sugar to get a darker biscuit
The recipe that follows made 12 fully assembled alfajores with plenty of biscuits and a bit of chocolate to spare. But this will depend very much on the thickness and diameter to which you roll and cut them.
The dulce de leche filling
If you’re in Spain or the Americas, the chances are that ready made dulce de leche is available in your local supermarket. Otherwise, here’s how to make it from sweetened condensed milk (if you can’t find that, you can make dulce de leche from scratch from milk and sugar, as shown in this post on Epicurious, but that looks like a lot of work).
1 can sweetened condensed milk (around 400g)
Heat oven to 220℃
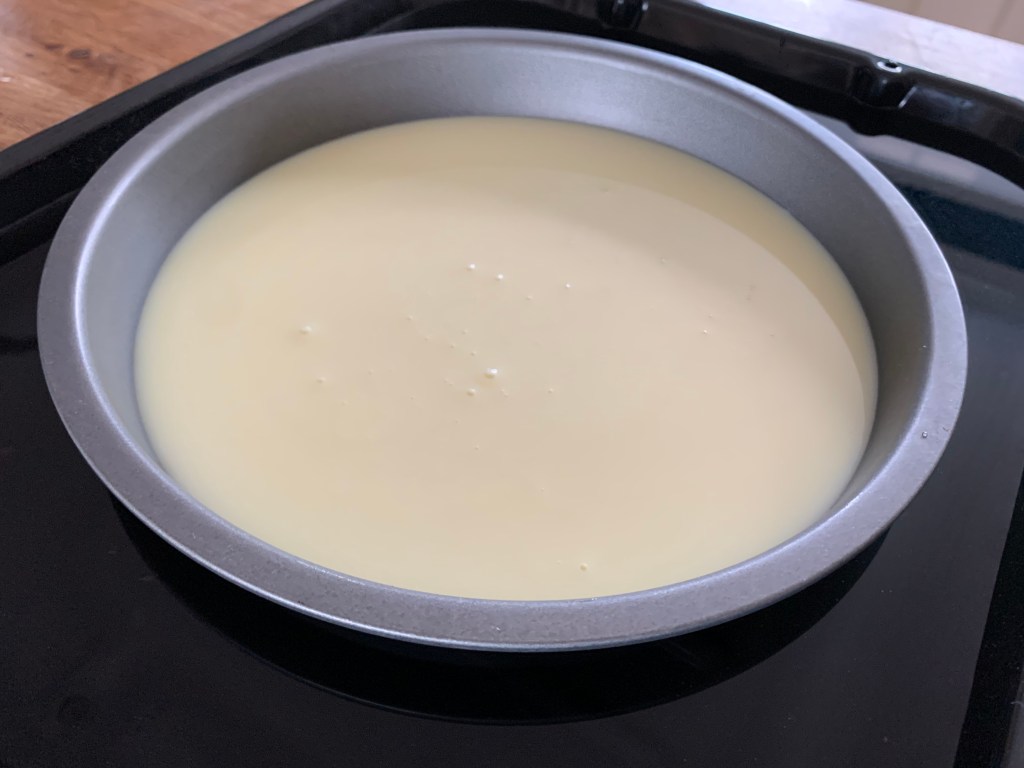
Pour the condensed milk into a small oven proof dish
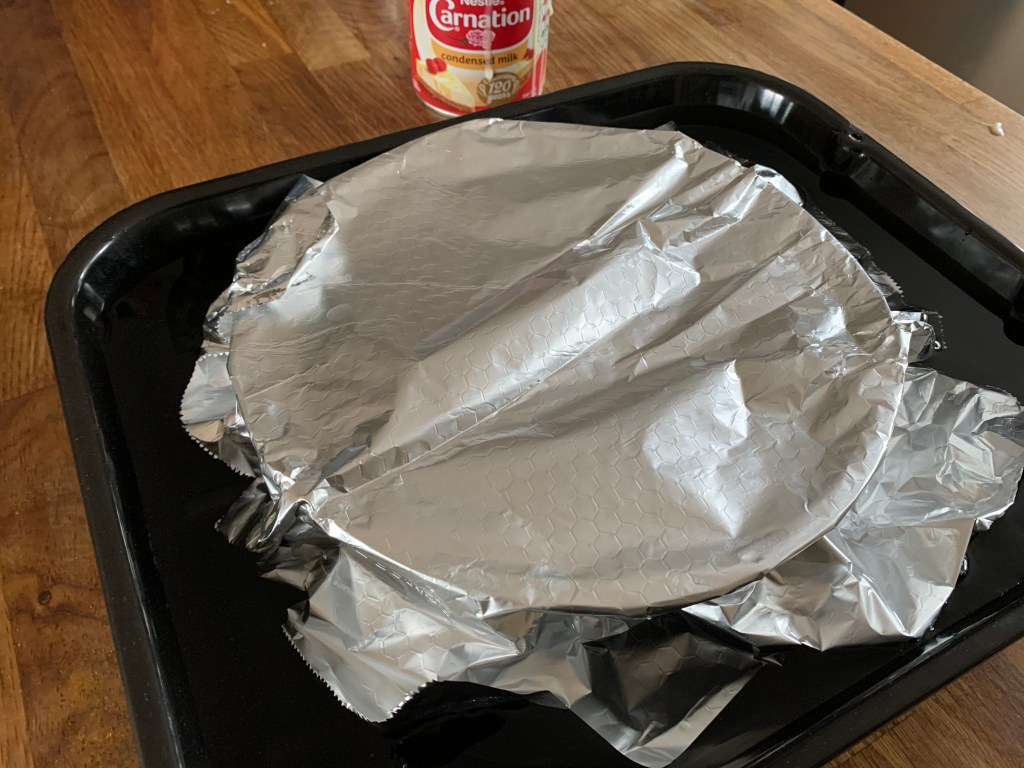
Cover the dish with foil and place it in a high-sided baking tray. Fill the rest of the tray with water to around 2-3cm up the side of the dish
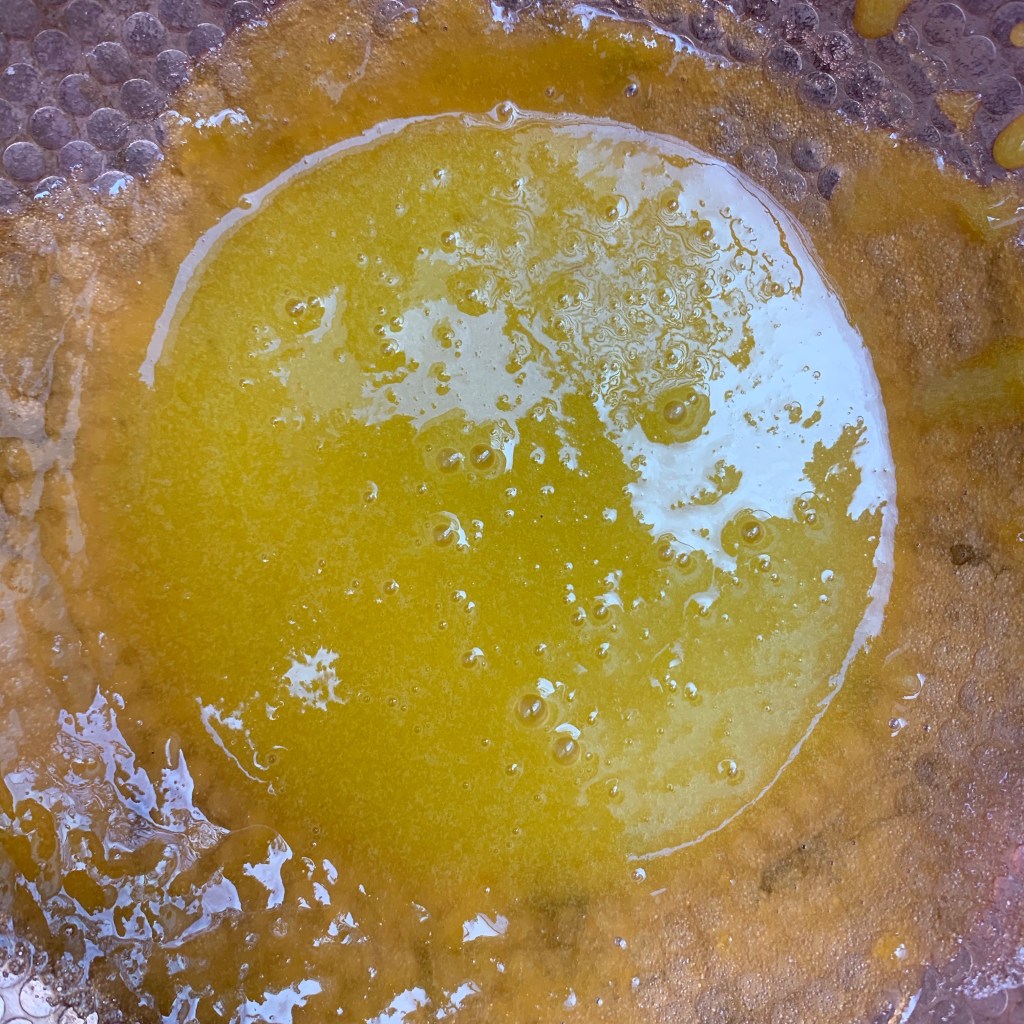
Bake for around 60 minutes until the milk has turned light brown
Remove from the oven and leave to cool, stirring occasionally to get any lumps out
The biscuits
200g butter
100g sugar (most recipes suggest icing sugar, which I didn’t have)
3 egg yolks
vanilla essence to taste
grated zest of one lemon
150g plain flour
150g cornflour
10g baking powder
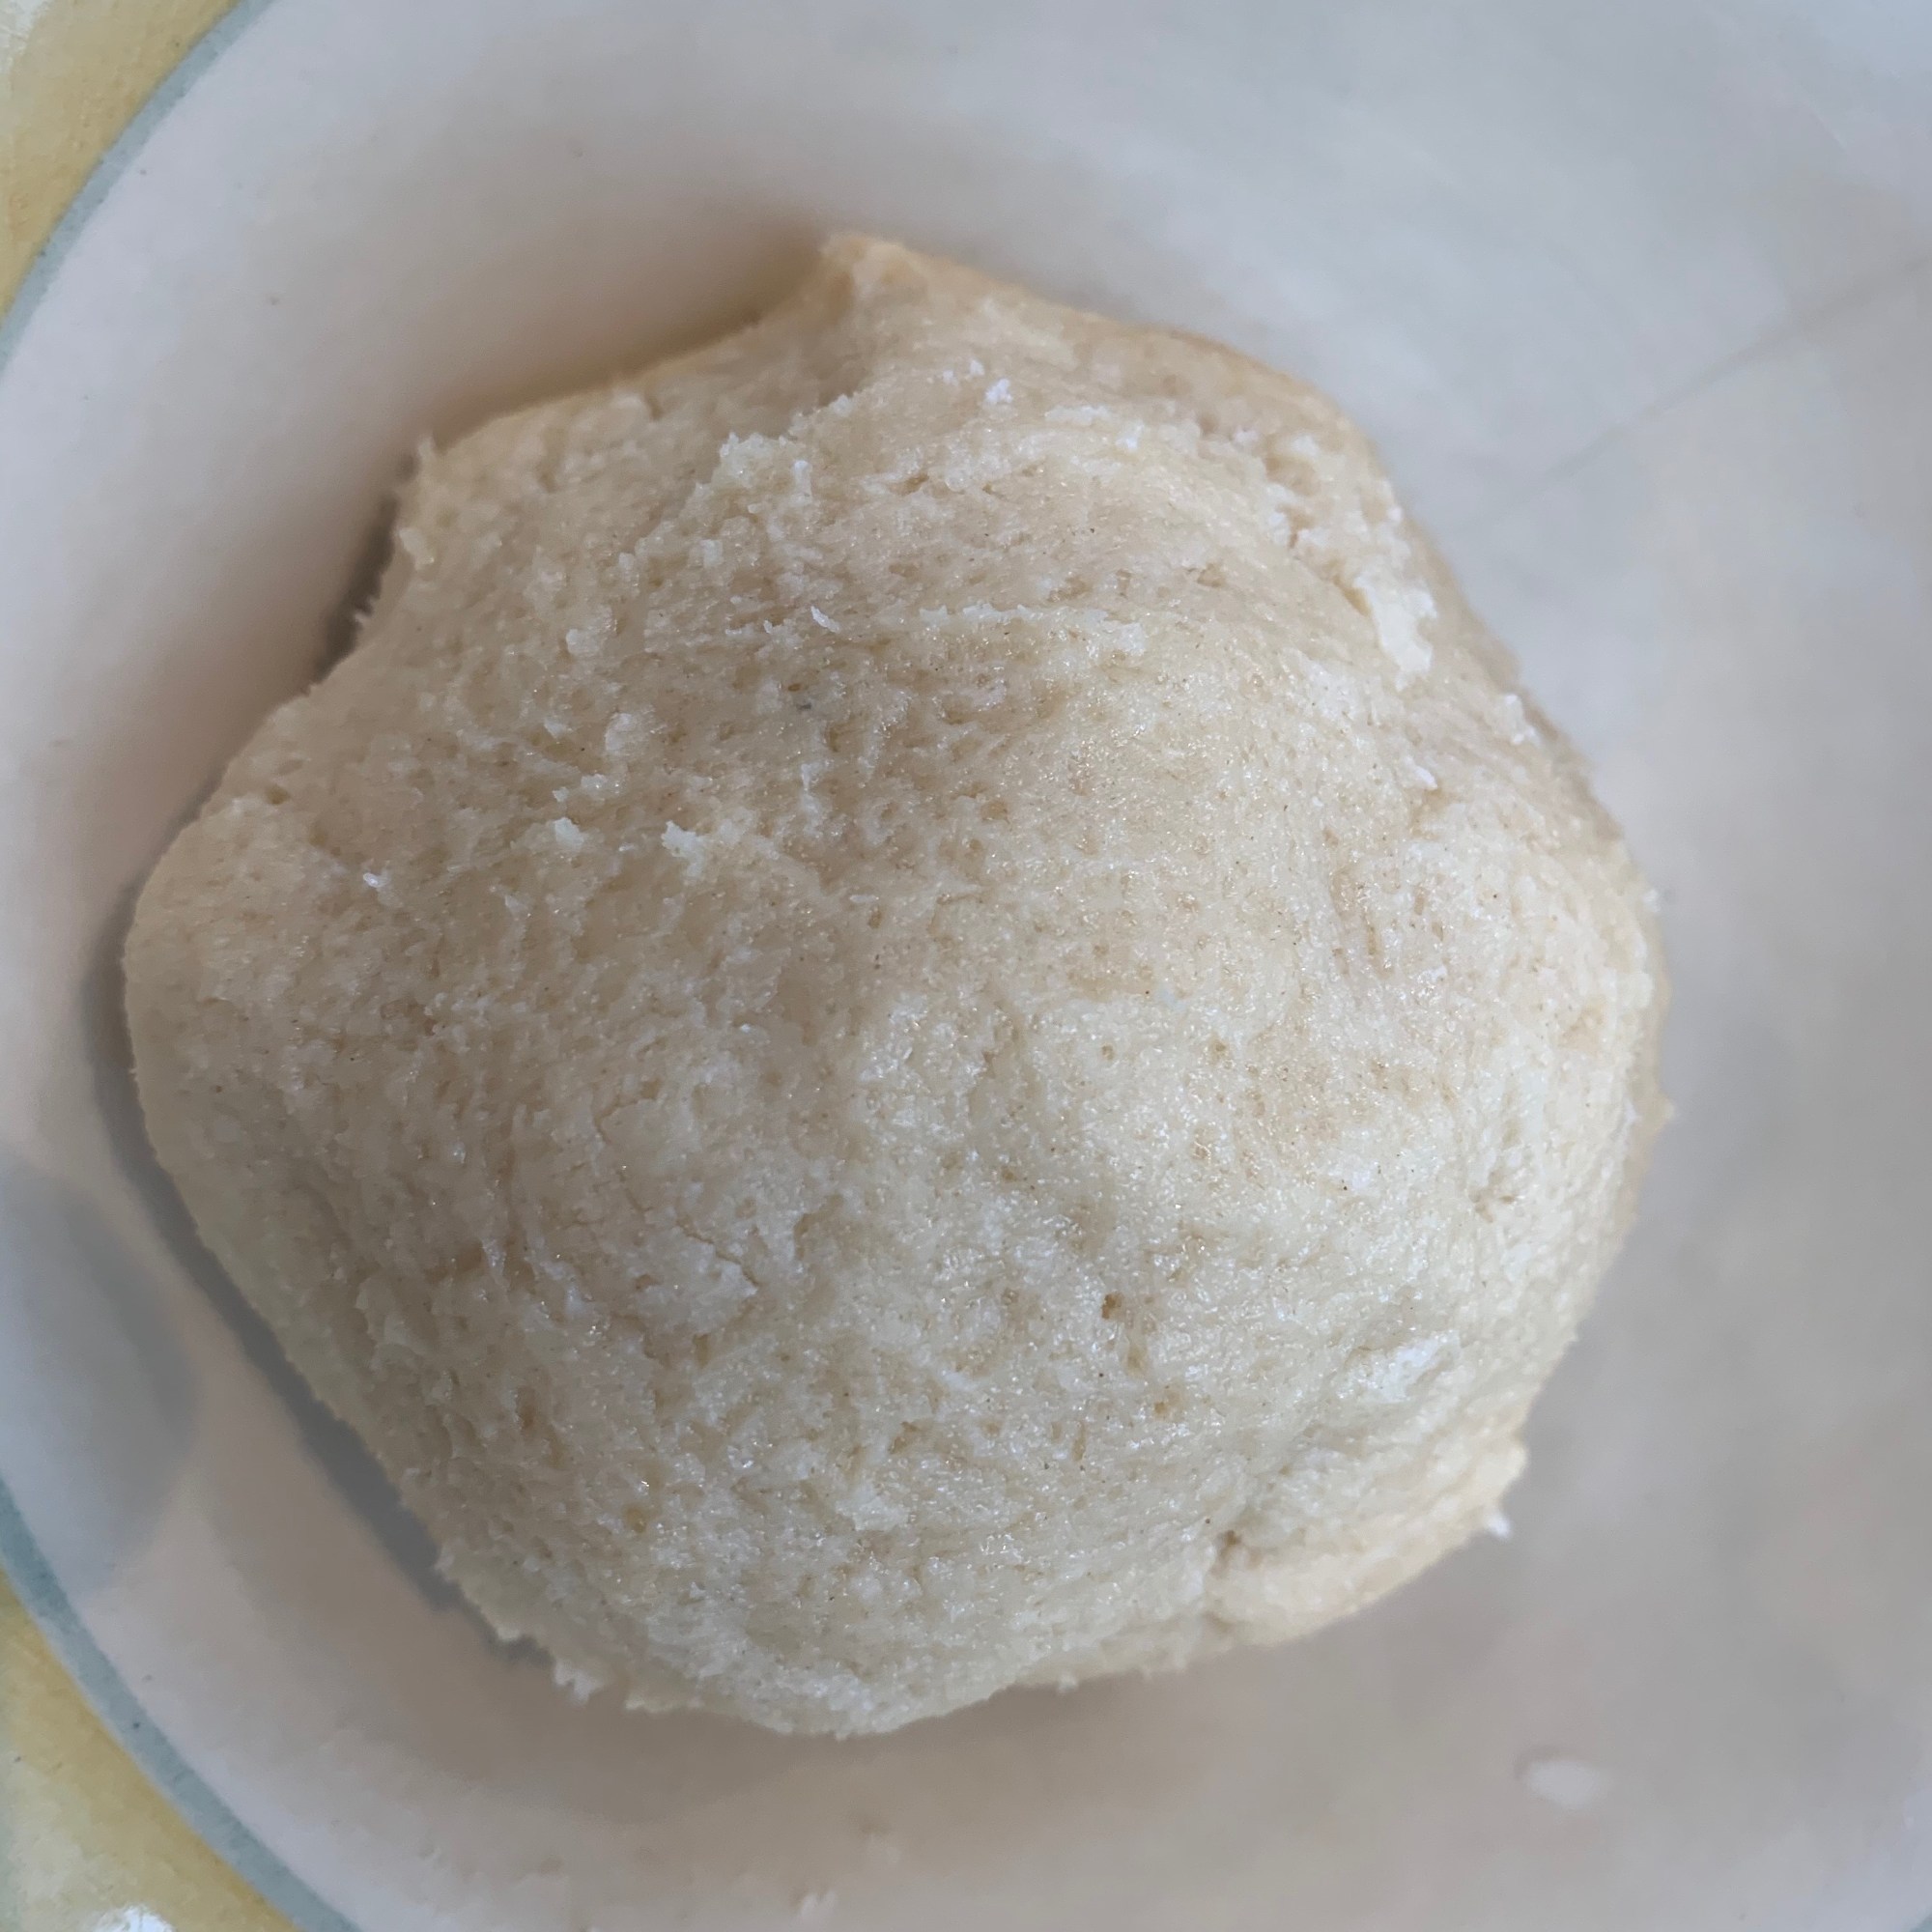
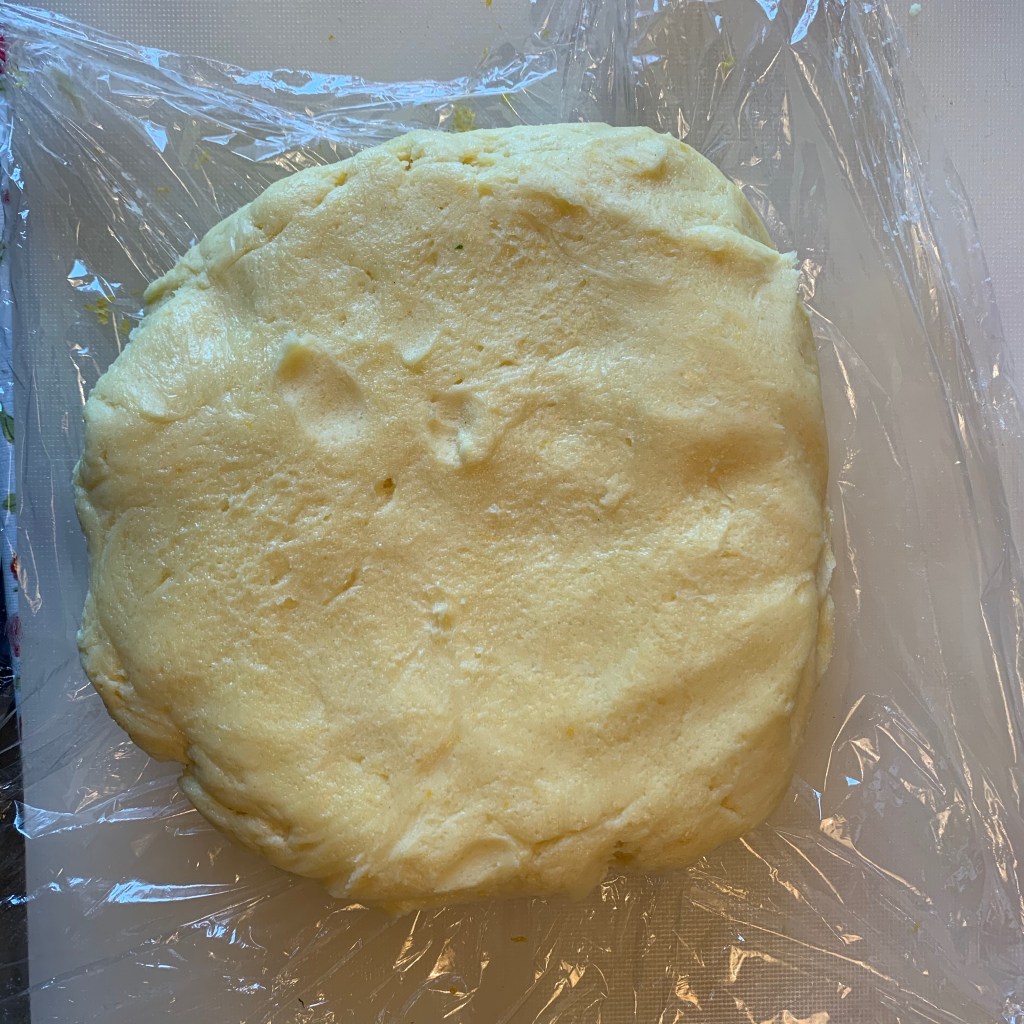
Ready to roll
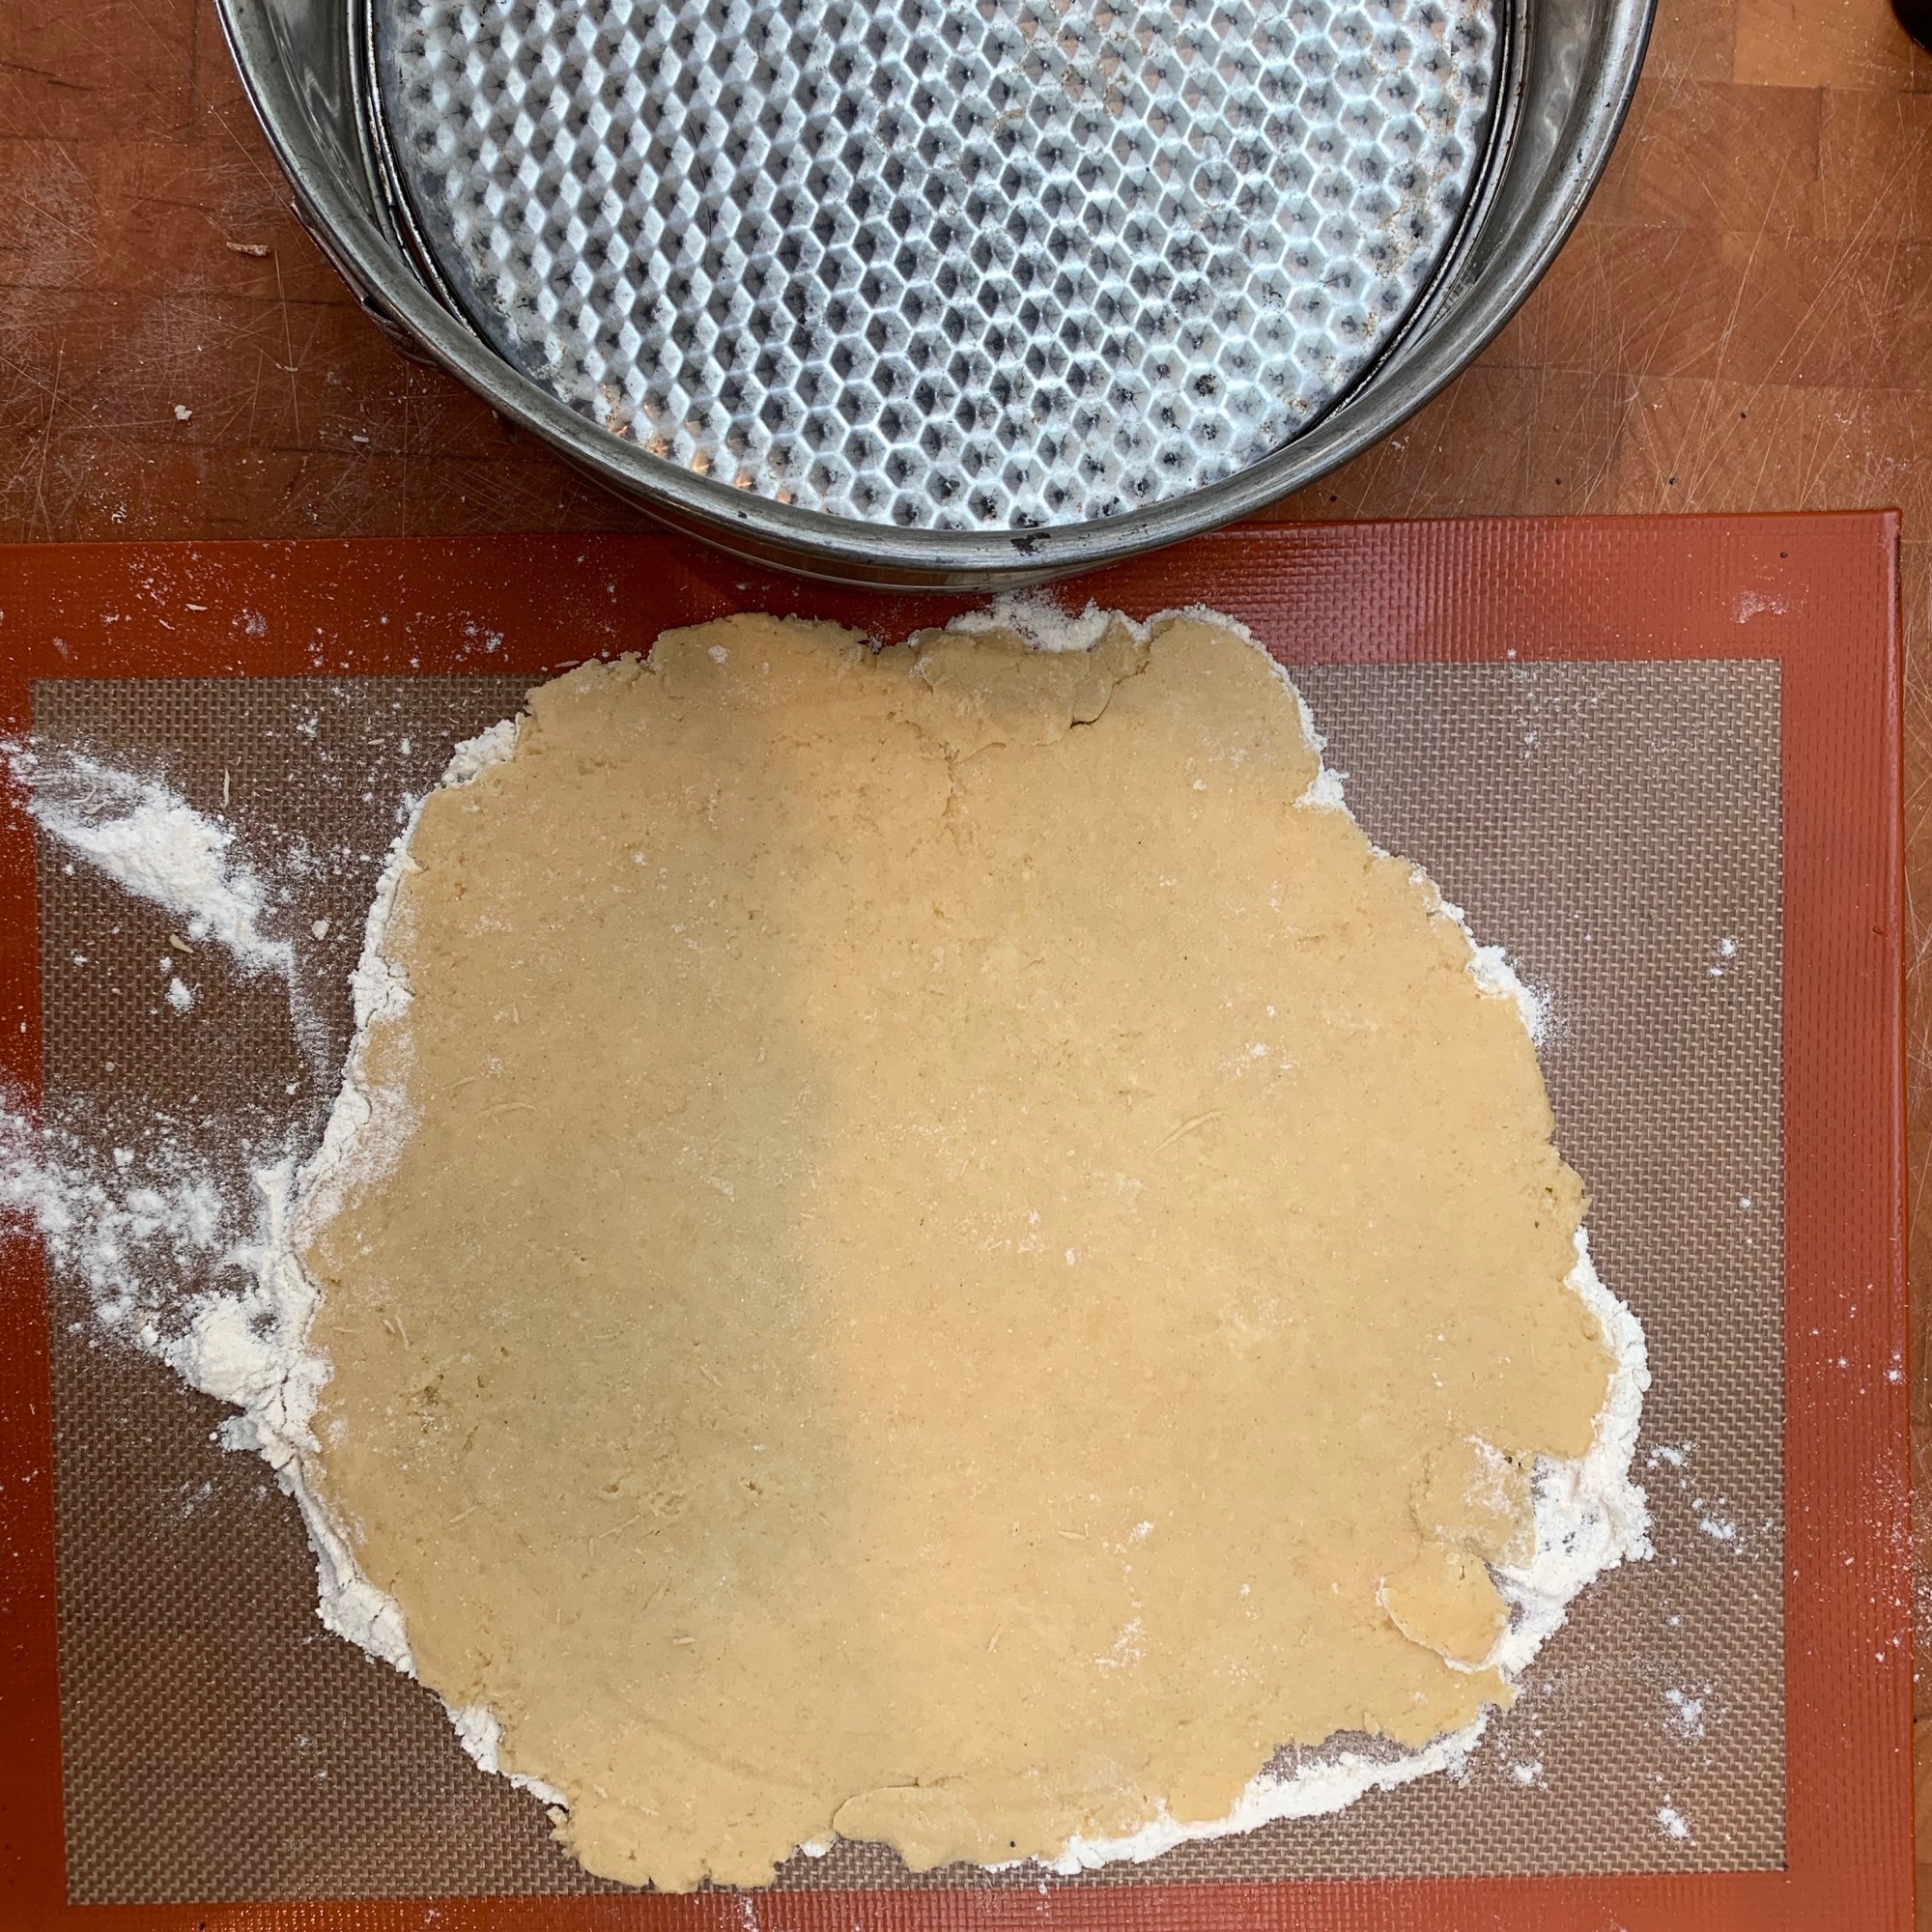
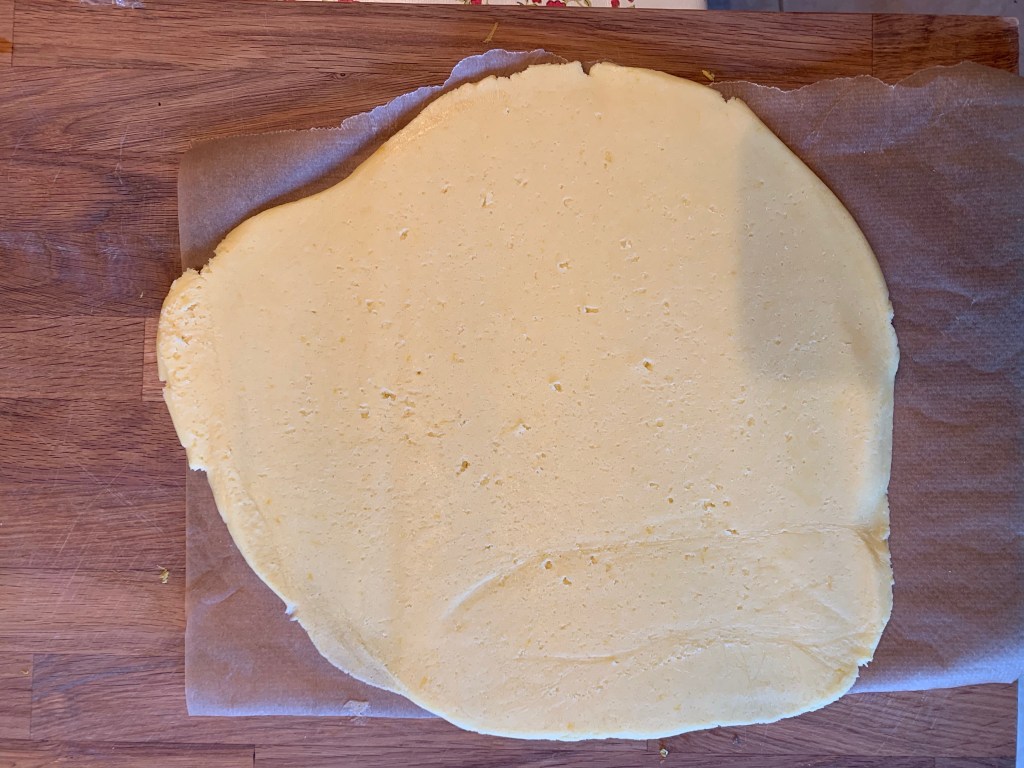
After rolling
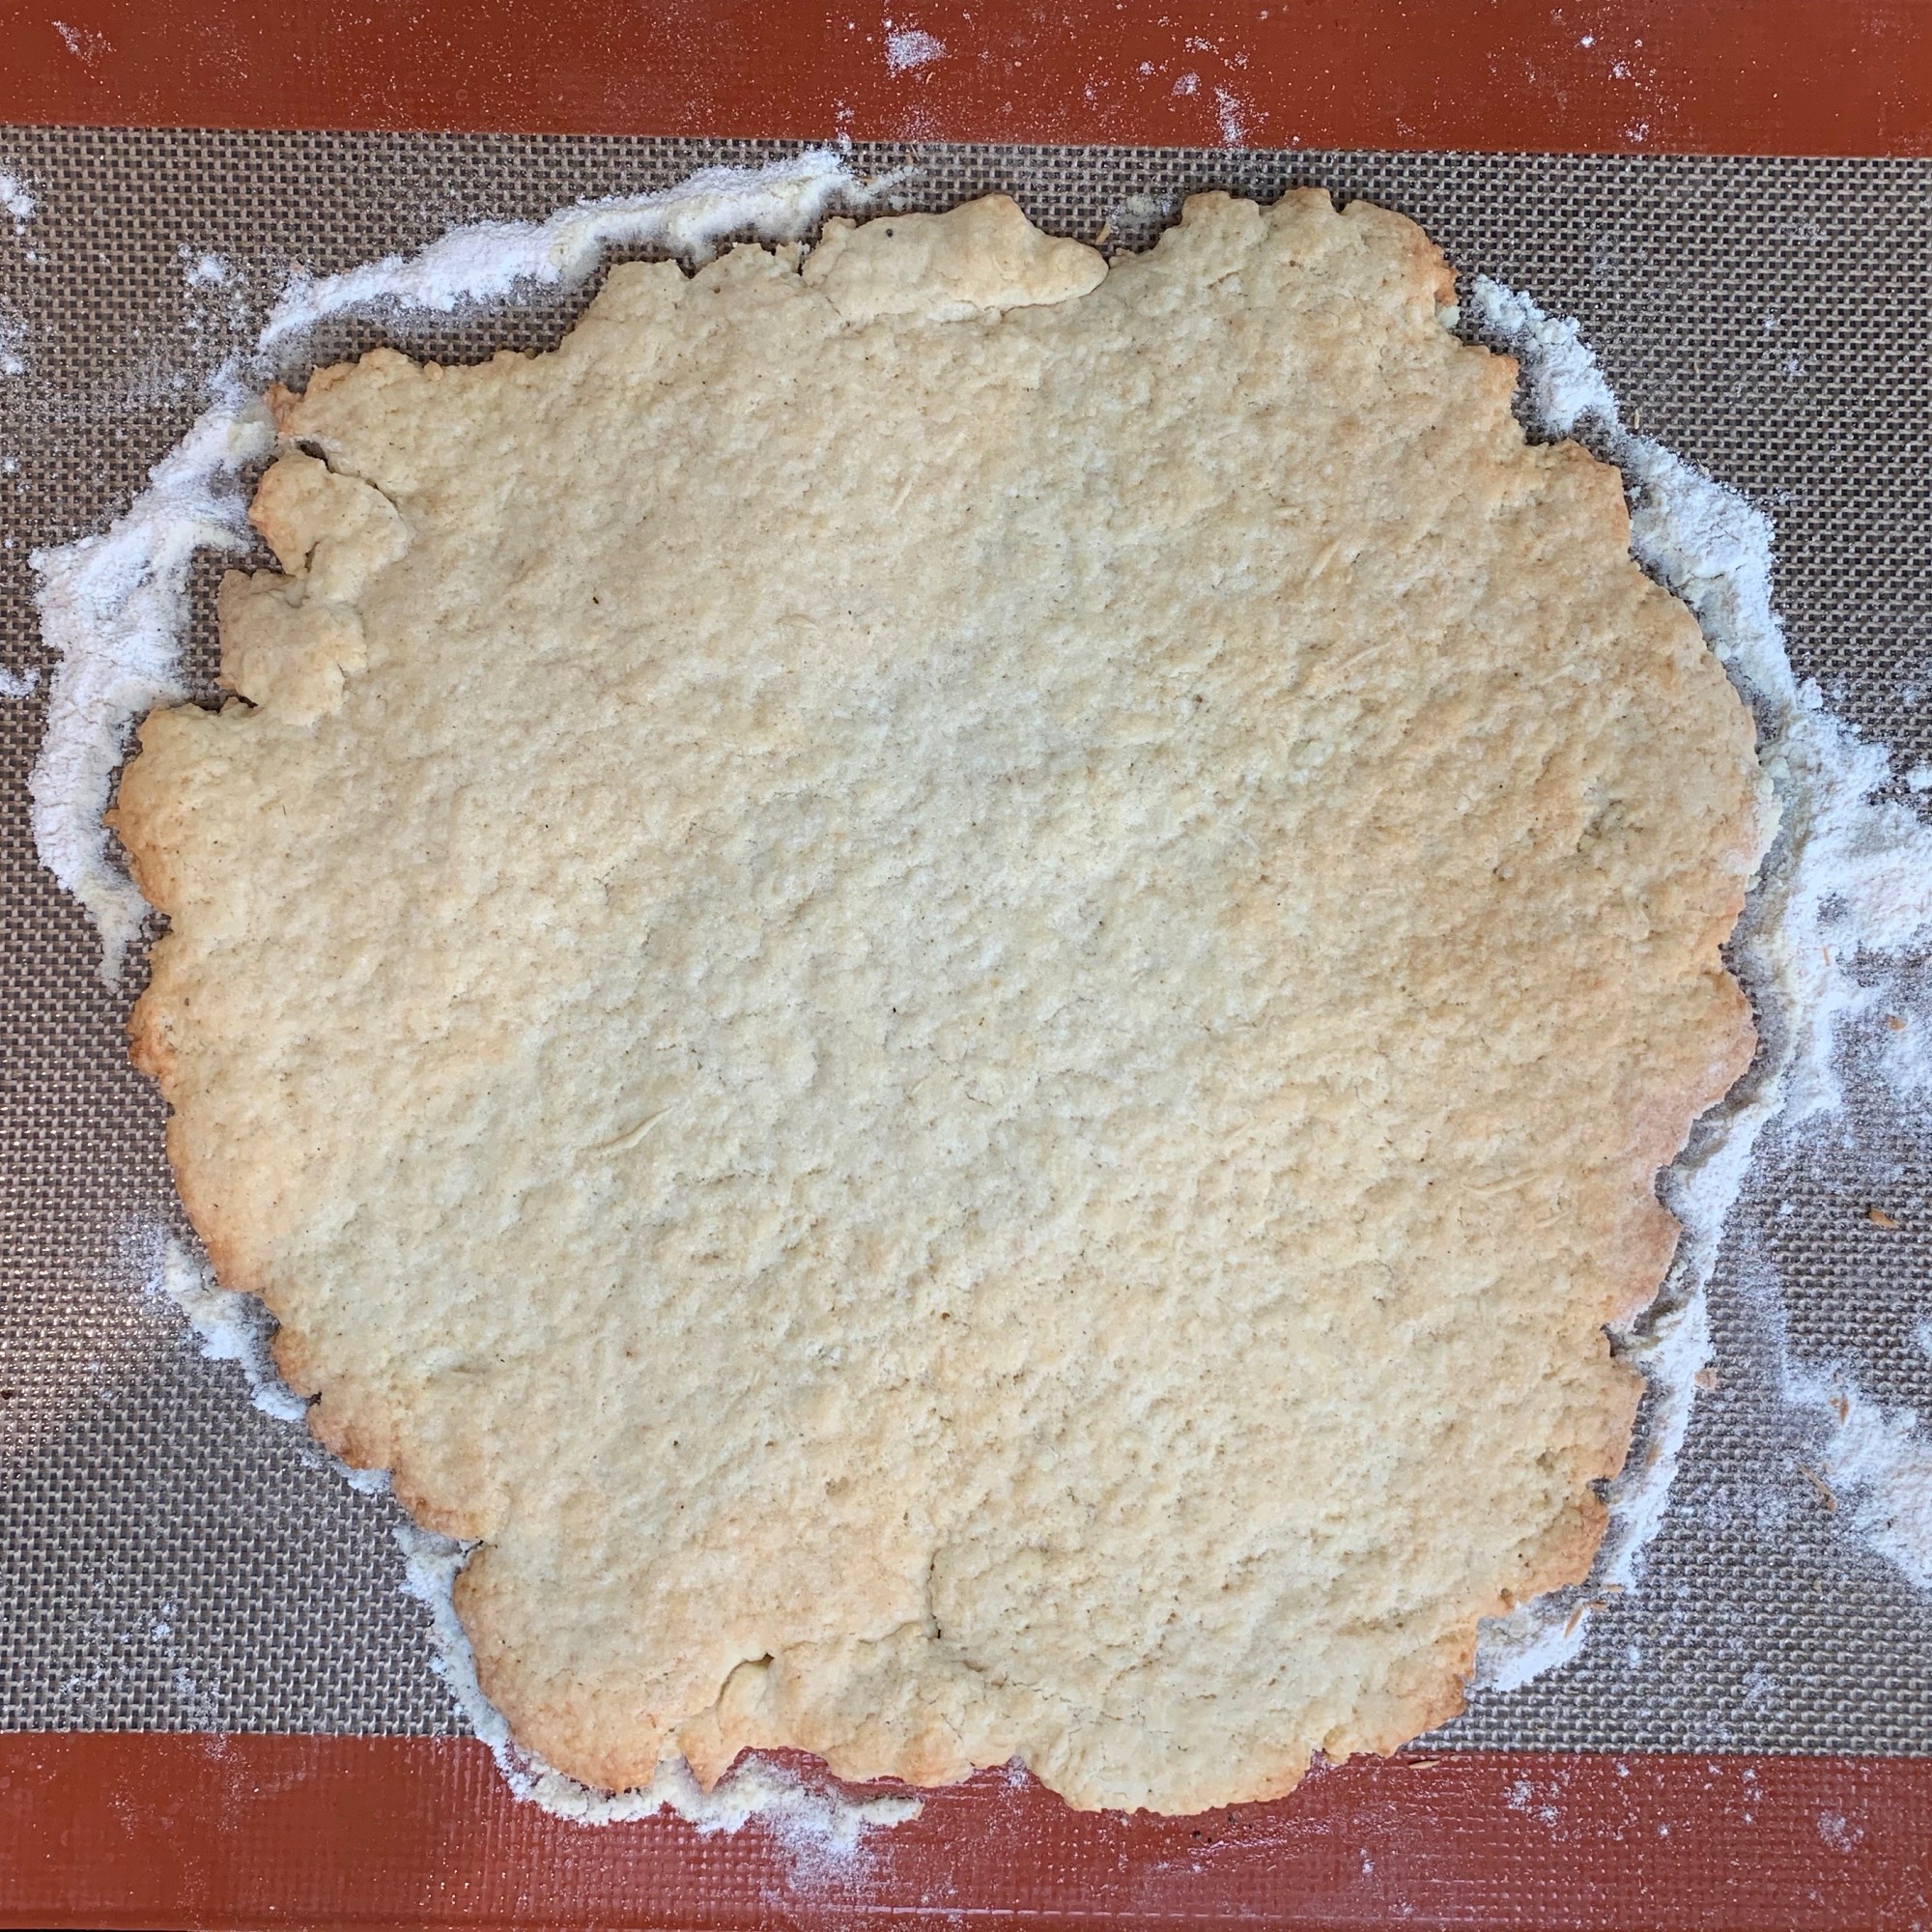
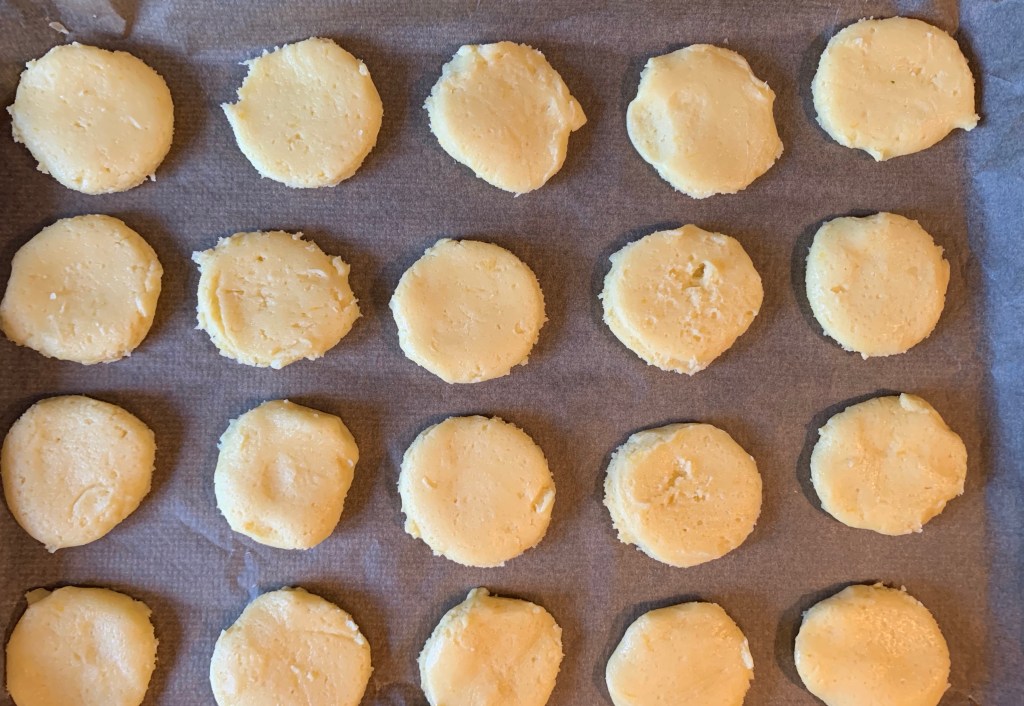
Ready for oven
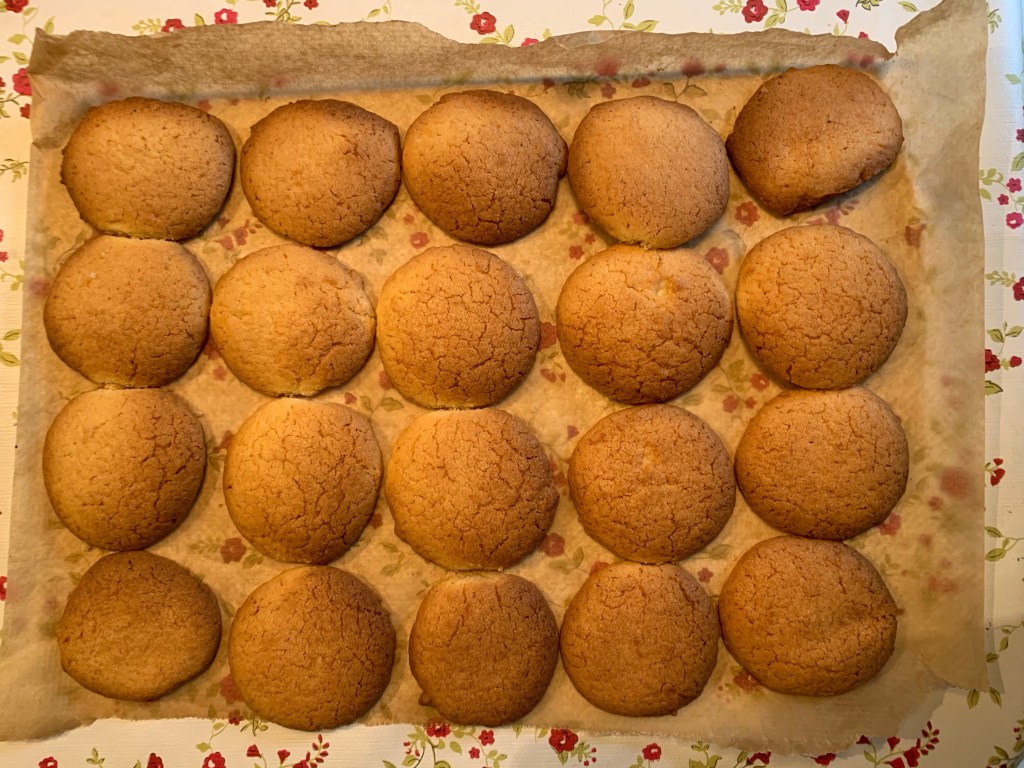
Just baked
Preheat oven to 180℃ fan
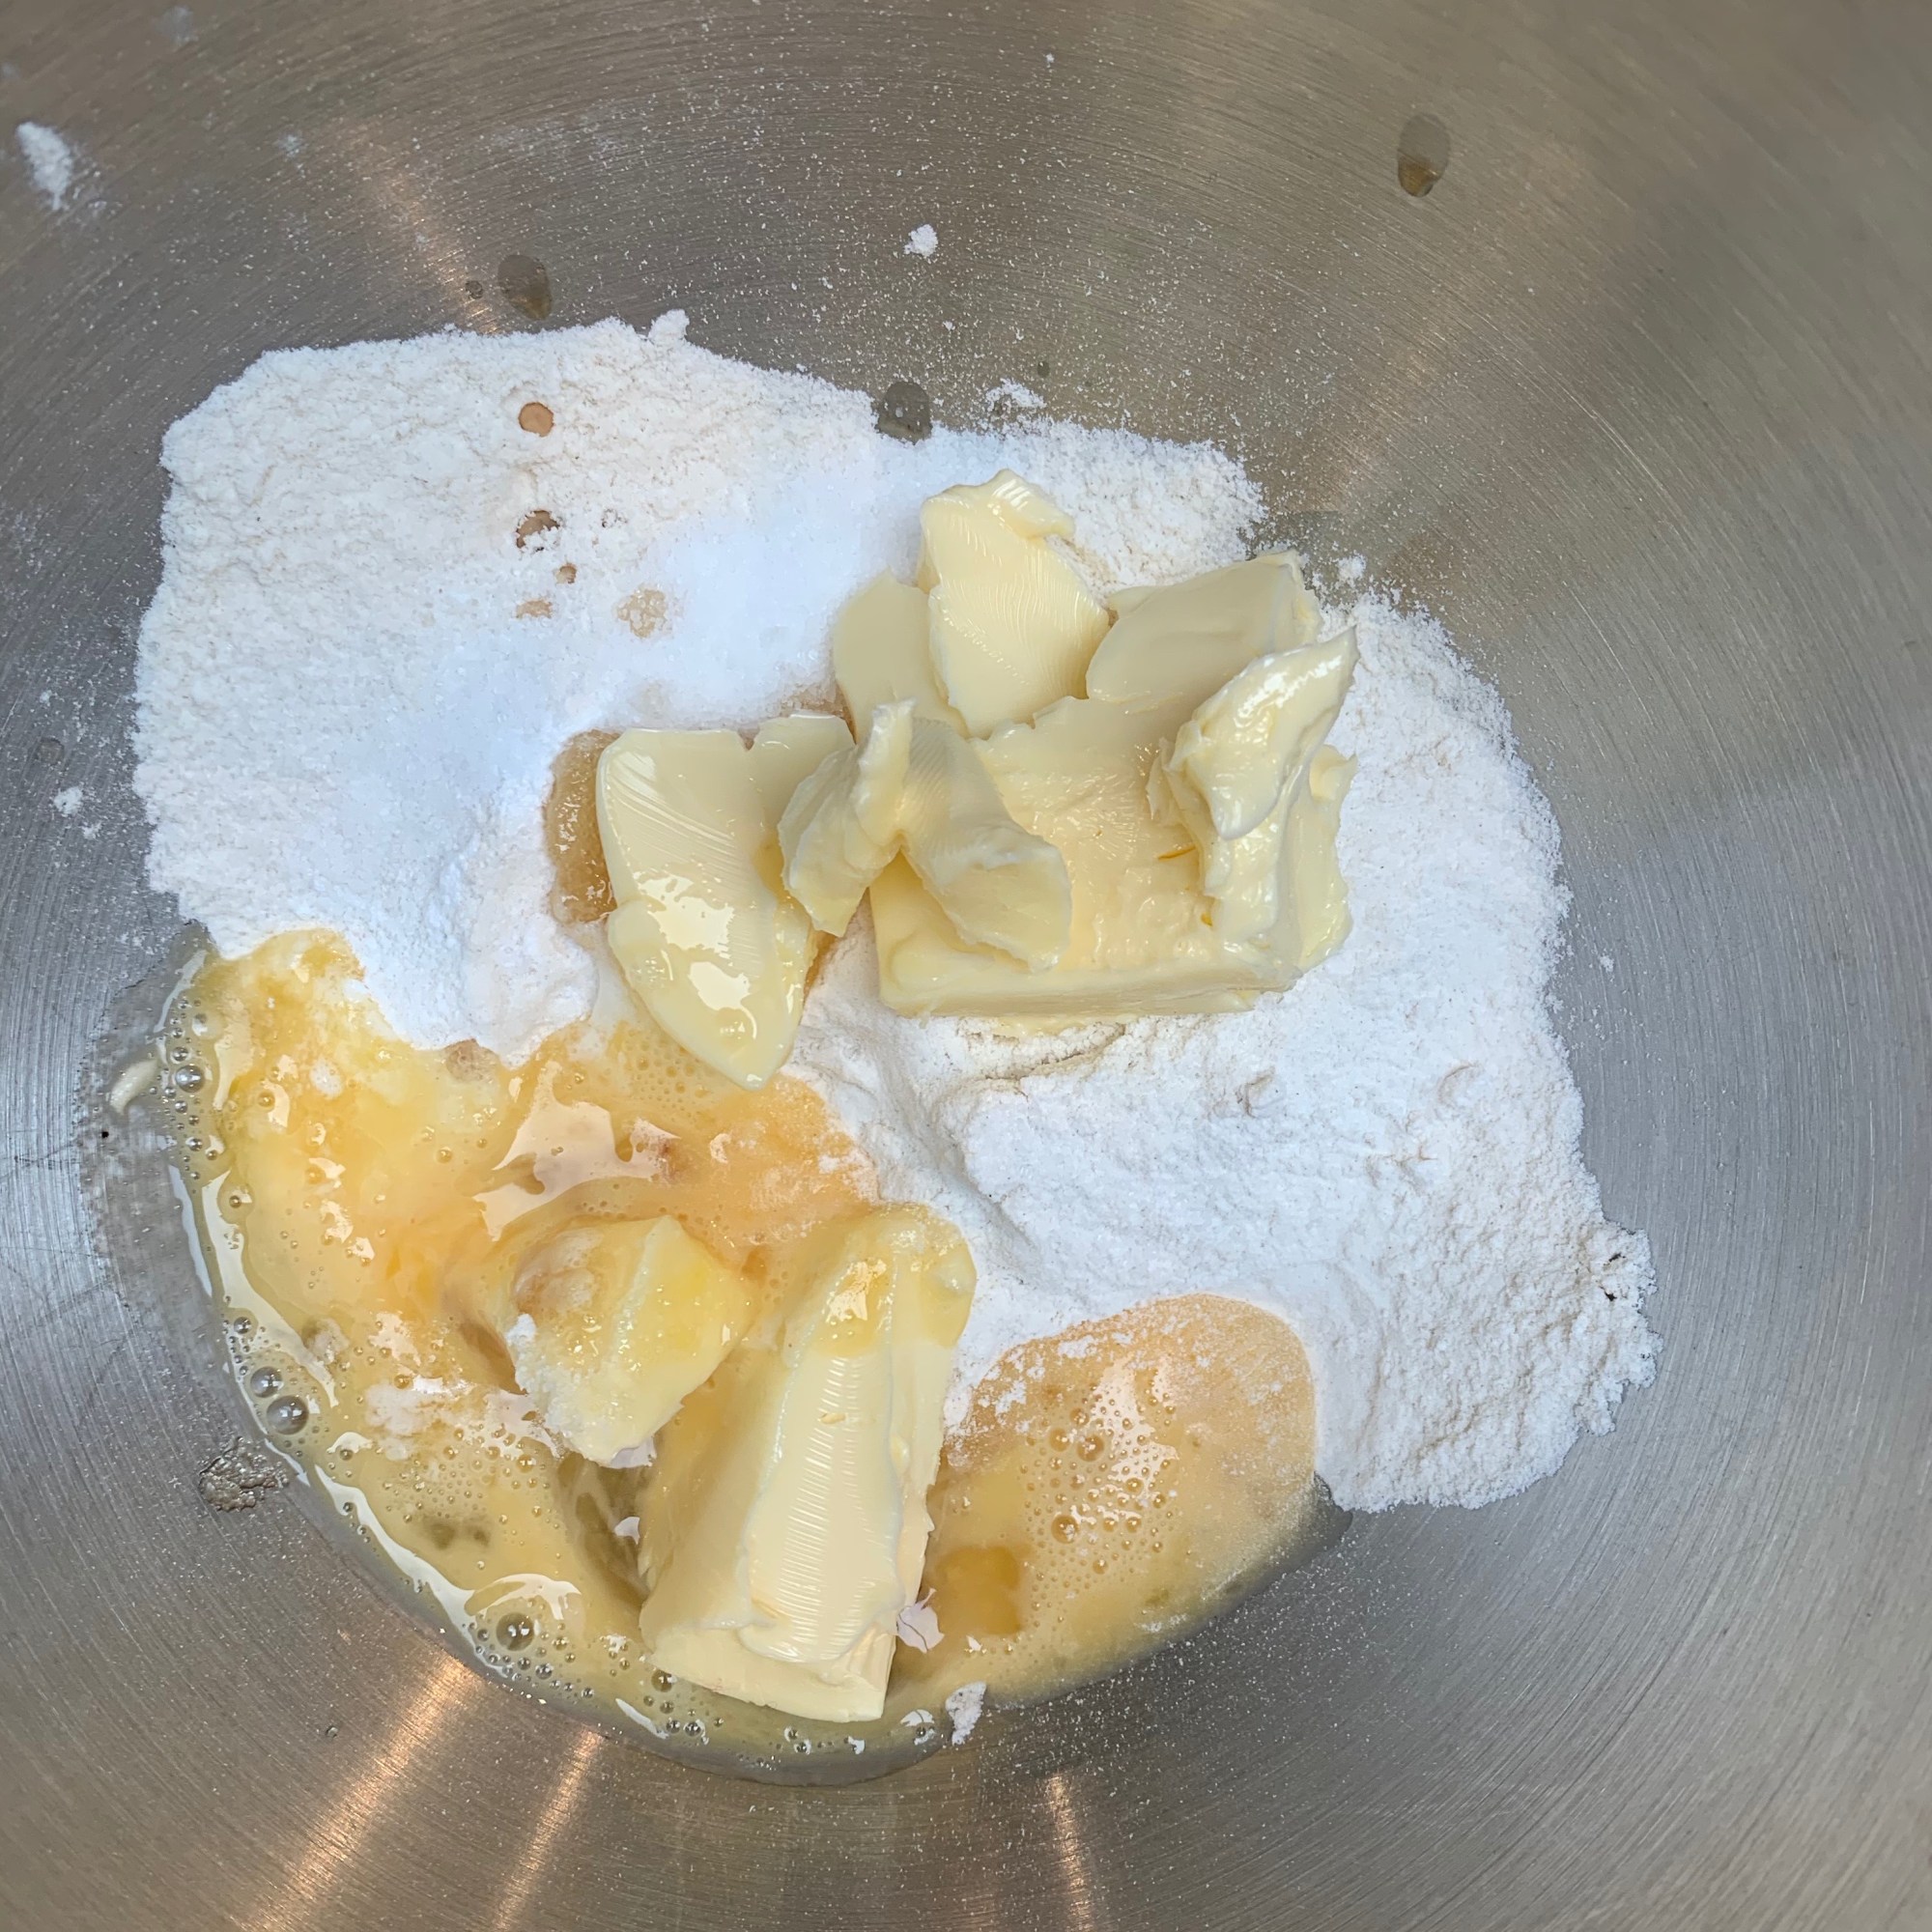
In the bowl of your stand mixer, whip the butter gently
Add the sugar and beat until well creamed
Add the eggs and beat
Add the lemon zest and vanilla and mix in
In a bowl, combine the flours and baking powder and stir evenly. Add to the butter/sugar/egg mixture and mix until you have a smooth batter
Wrap the ball of batter with cling film and refrigerate for 30 minutes
Place the batter between two sheets of cling film and roll out to around 3-5mm thickness
Cut the batter into circles and transfer to a baking sheet lined with baking parchment. The biscuits will expand, so leave around 2cm gap between them (I didn’t leave enough), which means you’ll probably need two baking sheets.
Bake for around 10 minutes until golden brown
Leave to cool
Assembly and dipping
Warning: the many wonderful features of alfajores do NOT include structural integrity. They are very fragile – the crumbliness is part of the appeal – so handle with care!
300g cooking chocolate (I used 150g milk and 150g dark, but choose anything you like)
Before dipping
After dipping
The next day
Grease a sheet of baking parchment and put it onto a baking tray or board that you can put in the fridge
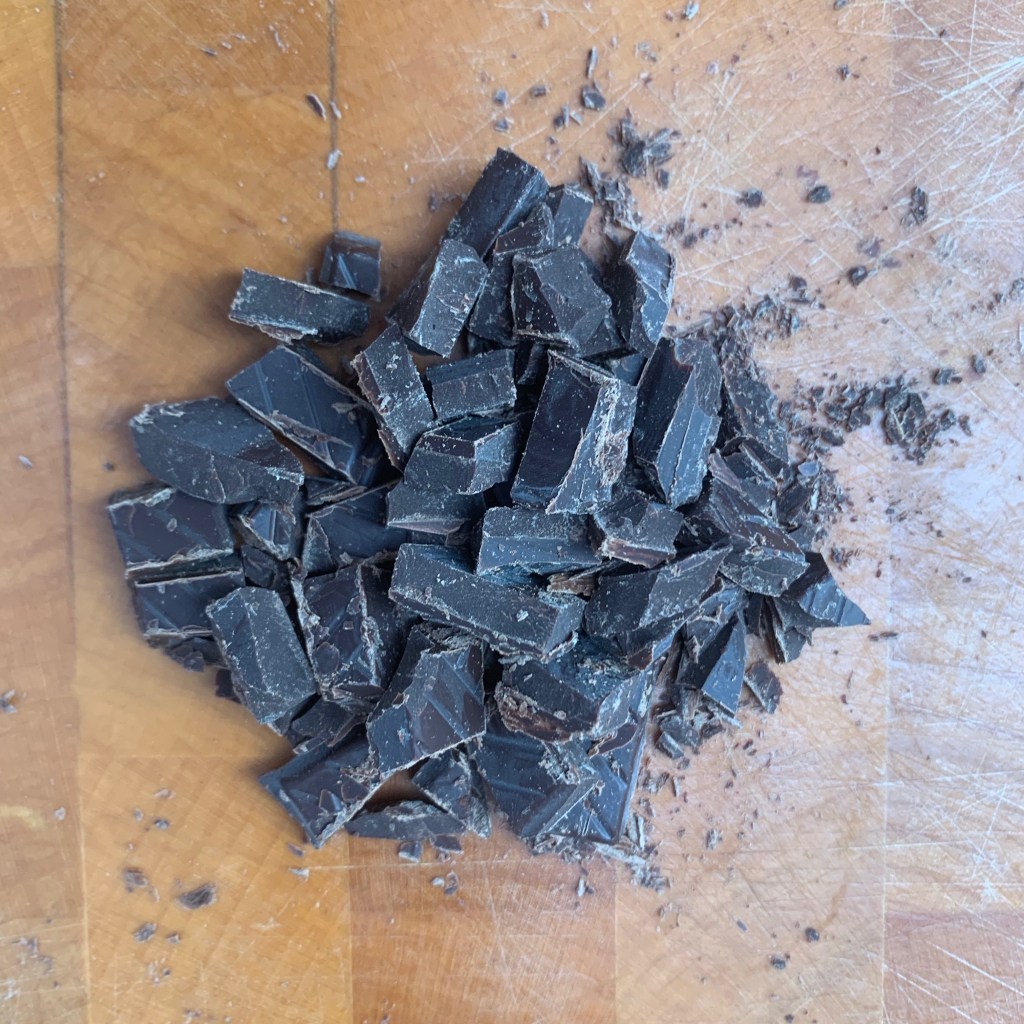
Break up the chocolate into a heatproof dish wide enough for you to dip a biscuit easily. Place the dish over boiling water and wait for the chocolate to be all melted, stirring occasionally
Spread the flat side of a biscuit with dulce de leche. The pros use a piping bag to do this, but if you don’t have one, a spatula works OK. Add another biscuit, flat side down, to form a sandwich.
Using a couple of forks, dip the biscuit into the melted chocolate and cover it completely. Hold it up to allow most of the excess to drip off, and transfer to your sheet of baking paper.
Repeat for the remaining biscuits
Place in the refrigerator for several hours for the chocolate to harden
Several Alfajores recipes point out that step 6 is more or less impossible to accomplish, including the one which goes “my mum always says these should be eaten the next day but I’ve never managed this”. I can confirm that they *are* better the next day, but I’ll leave the decision to you and your self-control…
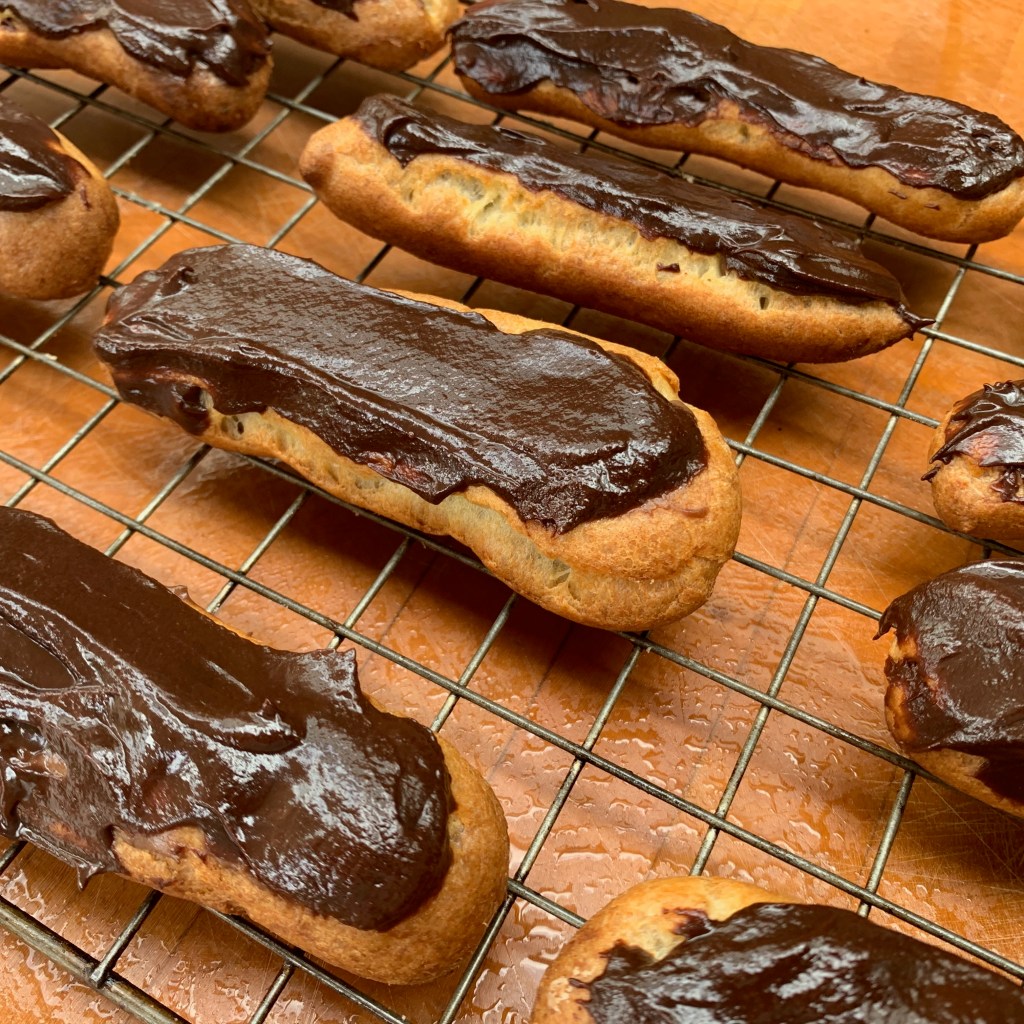
The French are fabulous bakers. I could have chosen any of a dozen bakes from France, but this one is the taste of my childhood – my Proustian Madeleine, if you’re of a literary mind. So let’s hear it for the “éclair au chocolat”, which brings back a flood of happy memories of small boy in Parisian patisserie.
There have been some easy bakes in this series of posts: this isn’t one of them. It’s fiddly and requires hand skill as well as pin-sharp attention to quantities and timing. If anyone labels an eclair recipe as “quick and easy”, don’t believe them.
The éclair is a three part dish: a cylindrical choux pastry bun, a crème pâtissière (pastry cream) filling and a ganache or glaze. Each one has its choices: I’m going to write only one recipe, but I’ll give some ideas about the other options. I should also point out that I’m not a master pastry chef: if you are looking for perfect symmetry and an immaculately shiny top, you’ll need to go well beyond my skill level. But I can assure you that these tasted suitably authentic and went down very well with the family…
The crème pâtissière filling
Eclairs in England tend to use whipped cream as a filling. The French don’t do this: the filling is always some variant of crème pâtissière (pastry cream or creme pat in English), either vanilla or chocolate. You can use plain pastry cream or add some Crème Chantilly (sweetened whipped cream), in which case it’s technically called a Crème Diplomate. I went for something in between: a chocolate crème pâtissière, but with double cream mixed in to thin it down to a pipable consistency.
3 eggs
15g flour
5g cornflour
5g (1tbs) cocoa powder
60g vanilla sugar (or 60g caster sugar plus vanilla essence to taste)
25g dark chocolate (I used chocolate with 70% cocoa solids)
250 ml milk
double cream as needed – perhaps 30-50ml
In the methods, I’ve sequenced things to minimise stress rather than overall preparation time. For example, if you were trying to minimise time, you’d probably put the milk on straightaway and then quickly sort out the egg mix while the milk heats up.
Separate the eggs and put the yolks in a bowl
If your chocolate came in a bar as opposed to chips, chop it up into small pieces
Add 45g of the sugar to the eggs and whisk together
Add the cornflour, flour and cocoa powder and whisk thoroughly
Put the milk into a saucepan with the rest of the sugar (and vanilla essence if using) and bring to the boil
Pour the milk into your egg mixture and whisk together thoroughly
Return your mixture the saucepan and whisk in the chocolate
Cook for a minute or two longer until there is no hint of raw flour taste in the mixture
Decant your mixture into a bowl, dust it with icing sugar to stop a skin forming, cover and leave to cool; refrigerate until thoroughly cold and your eclairs are ready to be filled
Eggs, sugar to start
Eggs and sugar mixed
Flours/cocoa added
Chopped chocolate
In the saucepan
Cooling down
The choux pastry buns
Most choux pastry recipes are pretty similar: mine mainly comes from an old Roux Brothers cookbook and therefore has a level of French authenticity. The real choice you have is how to improve the crust on the top of your eclair: I’ve sprinkled icing sugar on top, but you can use egg wash if you prefer. Some French recipes like this one from Ricardo use a thin layer of a sweet pastry called “craquelin”, which merges into the main eclair, caramelises and forms a characteristic cracked pattern.
45g unsalted butter, plus another 5g if your milk is semi-skimmed
65ml milk
65ml water
½ tsp sugar
75g flour
2 eggs
icing sugar to dust
Preheat oven to 190℃ fan.
Get your baking tray ready: lie a silicone mat over it (if you have one), patterned side up, or a sheet of baking parchment otherwise
Prepare a piping bag with a 1cm nozzle. A French star nozzle is ideal: this gets you a ridged eclair with more surface area to go crisp. I don’t have one of these, so I went for plain.
Sift the flour
Chop the butter into small pieces and put into a saucepan
Add the milk, water and sugar (you can also add ½ tsp of salt at this stage, which some recipes suggest)
Bring to the boil and take off the heat
Immediately add the flour to the mixture in a single go and stir to combine
When properly mixed, return to the heat and cook for a short while – perhaps a minute or two – until the mixture comes away nicely from the sides of the pan. Take off the heat and leave to cool for a short while
Whisk in the eggs, one at a time, whisking thoroughly until you have a smooth mix. If the consistency is right, you should be able to pipe the mixture but it should hold its shape when piped. If it’s too stiff, you can add more egg. If it’s too loose, you’re in trouble, so an alternative to the “whisk in eggs one at a time” instruction is to whisk the eggs into a bowl on their own, and then add the egg mix a bit at a time until you are sure the consistency. For me, life was too short and I just added them in.
Leave to cool for five minutes or so, then fill your piping bag with the mixture
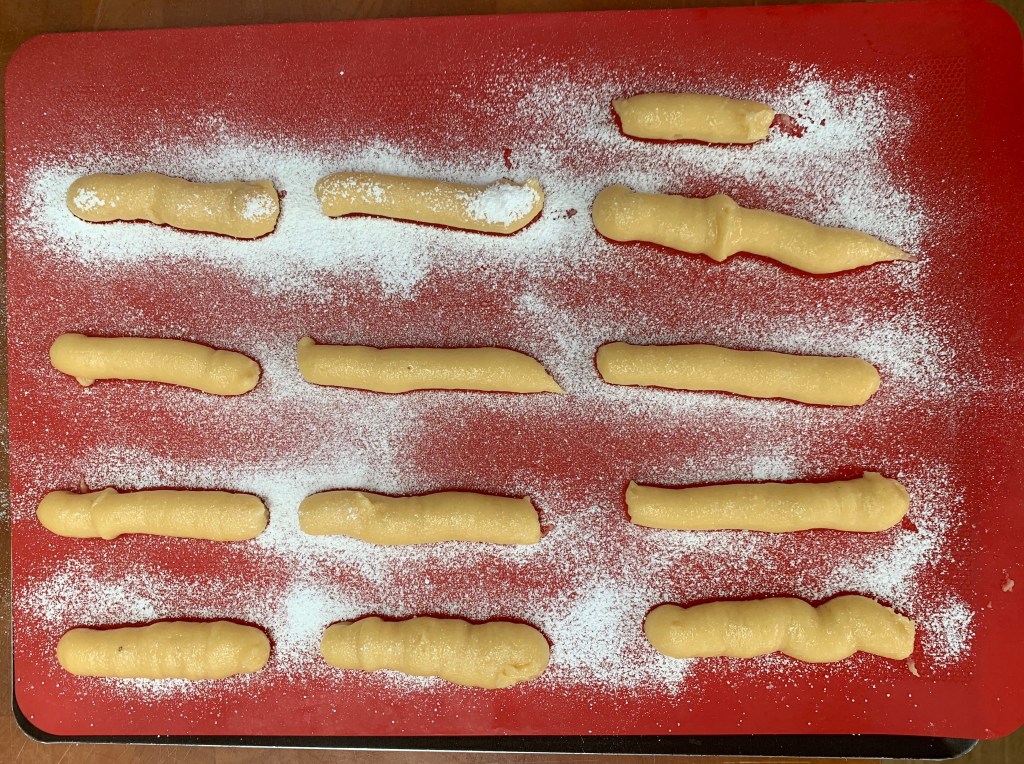
Pipe your eclairs into tubes of choux pastry around 8cm long – the recipe should get you a dozen of them. Make sure they are properly spaced out from each other: they will grow during baking. You really need to try to get an even cylinder here, which means piping quickly with a constant pressure: this takes practise. On the photos here, you’ll see that I have some way to go…
Tidy up any stray bits of dough which are sticking out at the ends, doing your best not to destroy the structure of what’s left
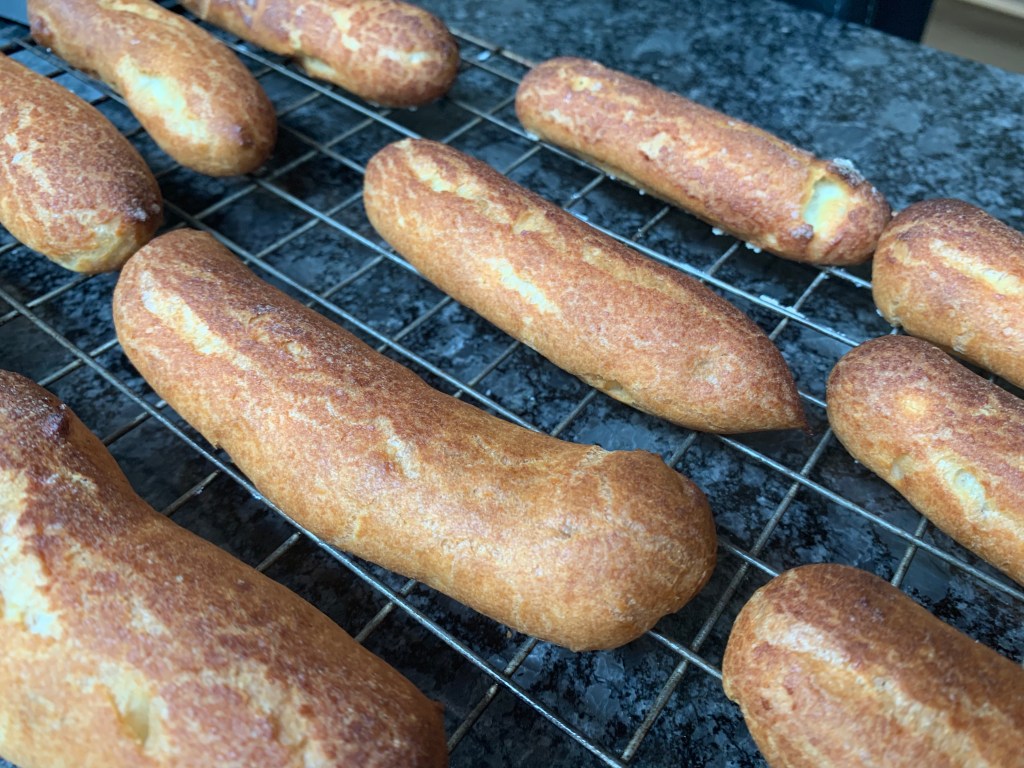
Bake for 20 minutes without opening the oven door
Open the oven door to check: close it quickly and then continue baking for however long it needs for your eclairs to go golden brown (probably 5-10 more minutes)
Remove the eclairs from the oven and leave to cool on a wire rack
Buttter, milk and water
After stirring in flour
Ready for piping
Dubiously shaped…
Out of the oven
Filling the eclairs
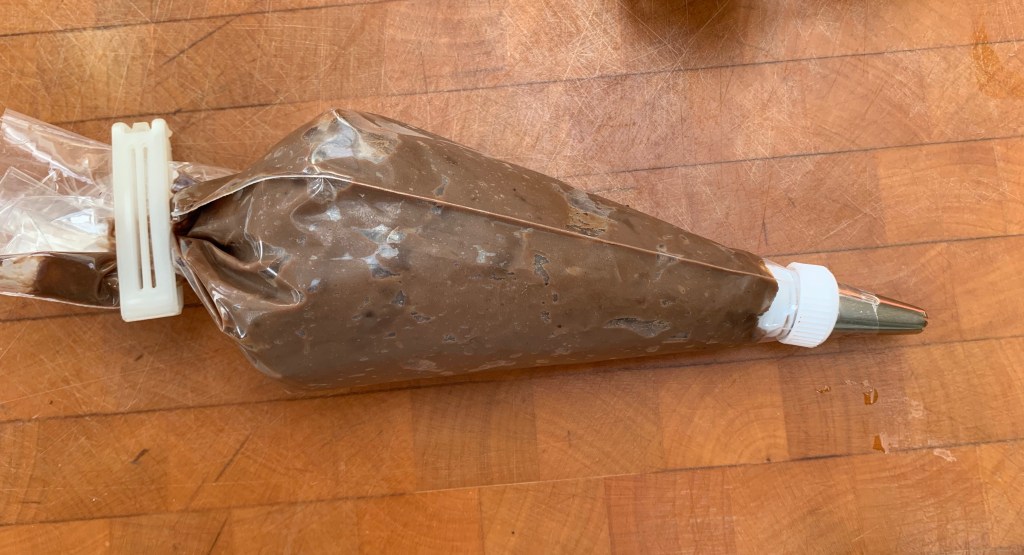
Take your crème pâtissière out of the fridge. Whisk in enough add double cream until you have a mixture that you can pipe easily: you want it to be rather thinner than toothpaste but not runny
Transfer the crème pâtissière to a piping bag with a nozzle of around 5mm: the exact dimension doesn’t matter, but piping will be difficult if it’s too small and you’re likely to damage the choux pastry if it’s too wide.
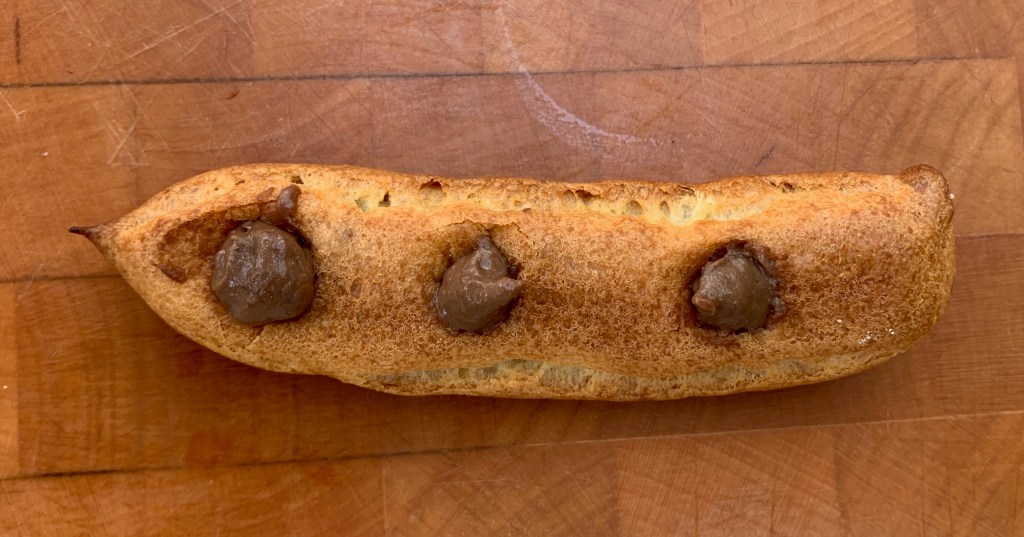
With your nozzle, make three holes in what is currently the bottom of each eclair, reasonably evenly spaced, piping filling into each until the eclair is full. Wipe off any excess and add it back to bowl – in the quantities in this recipe, you’ll have little or none to spare.
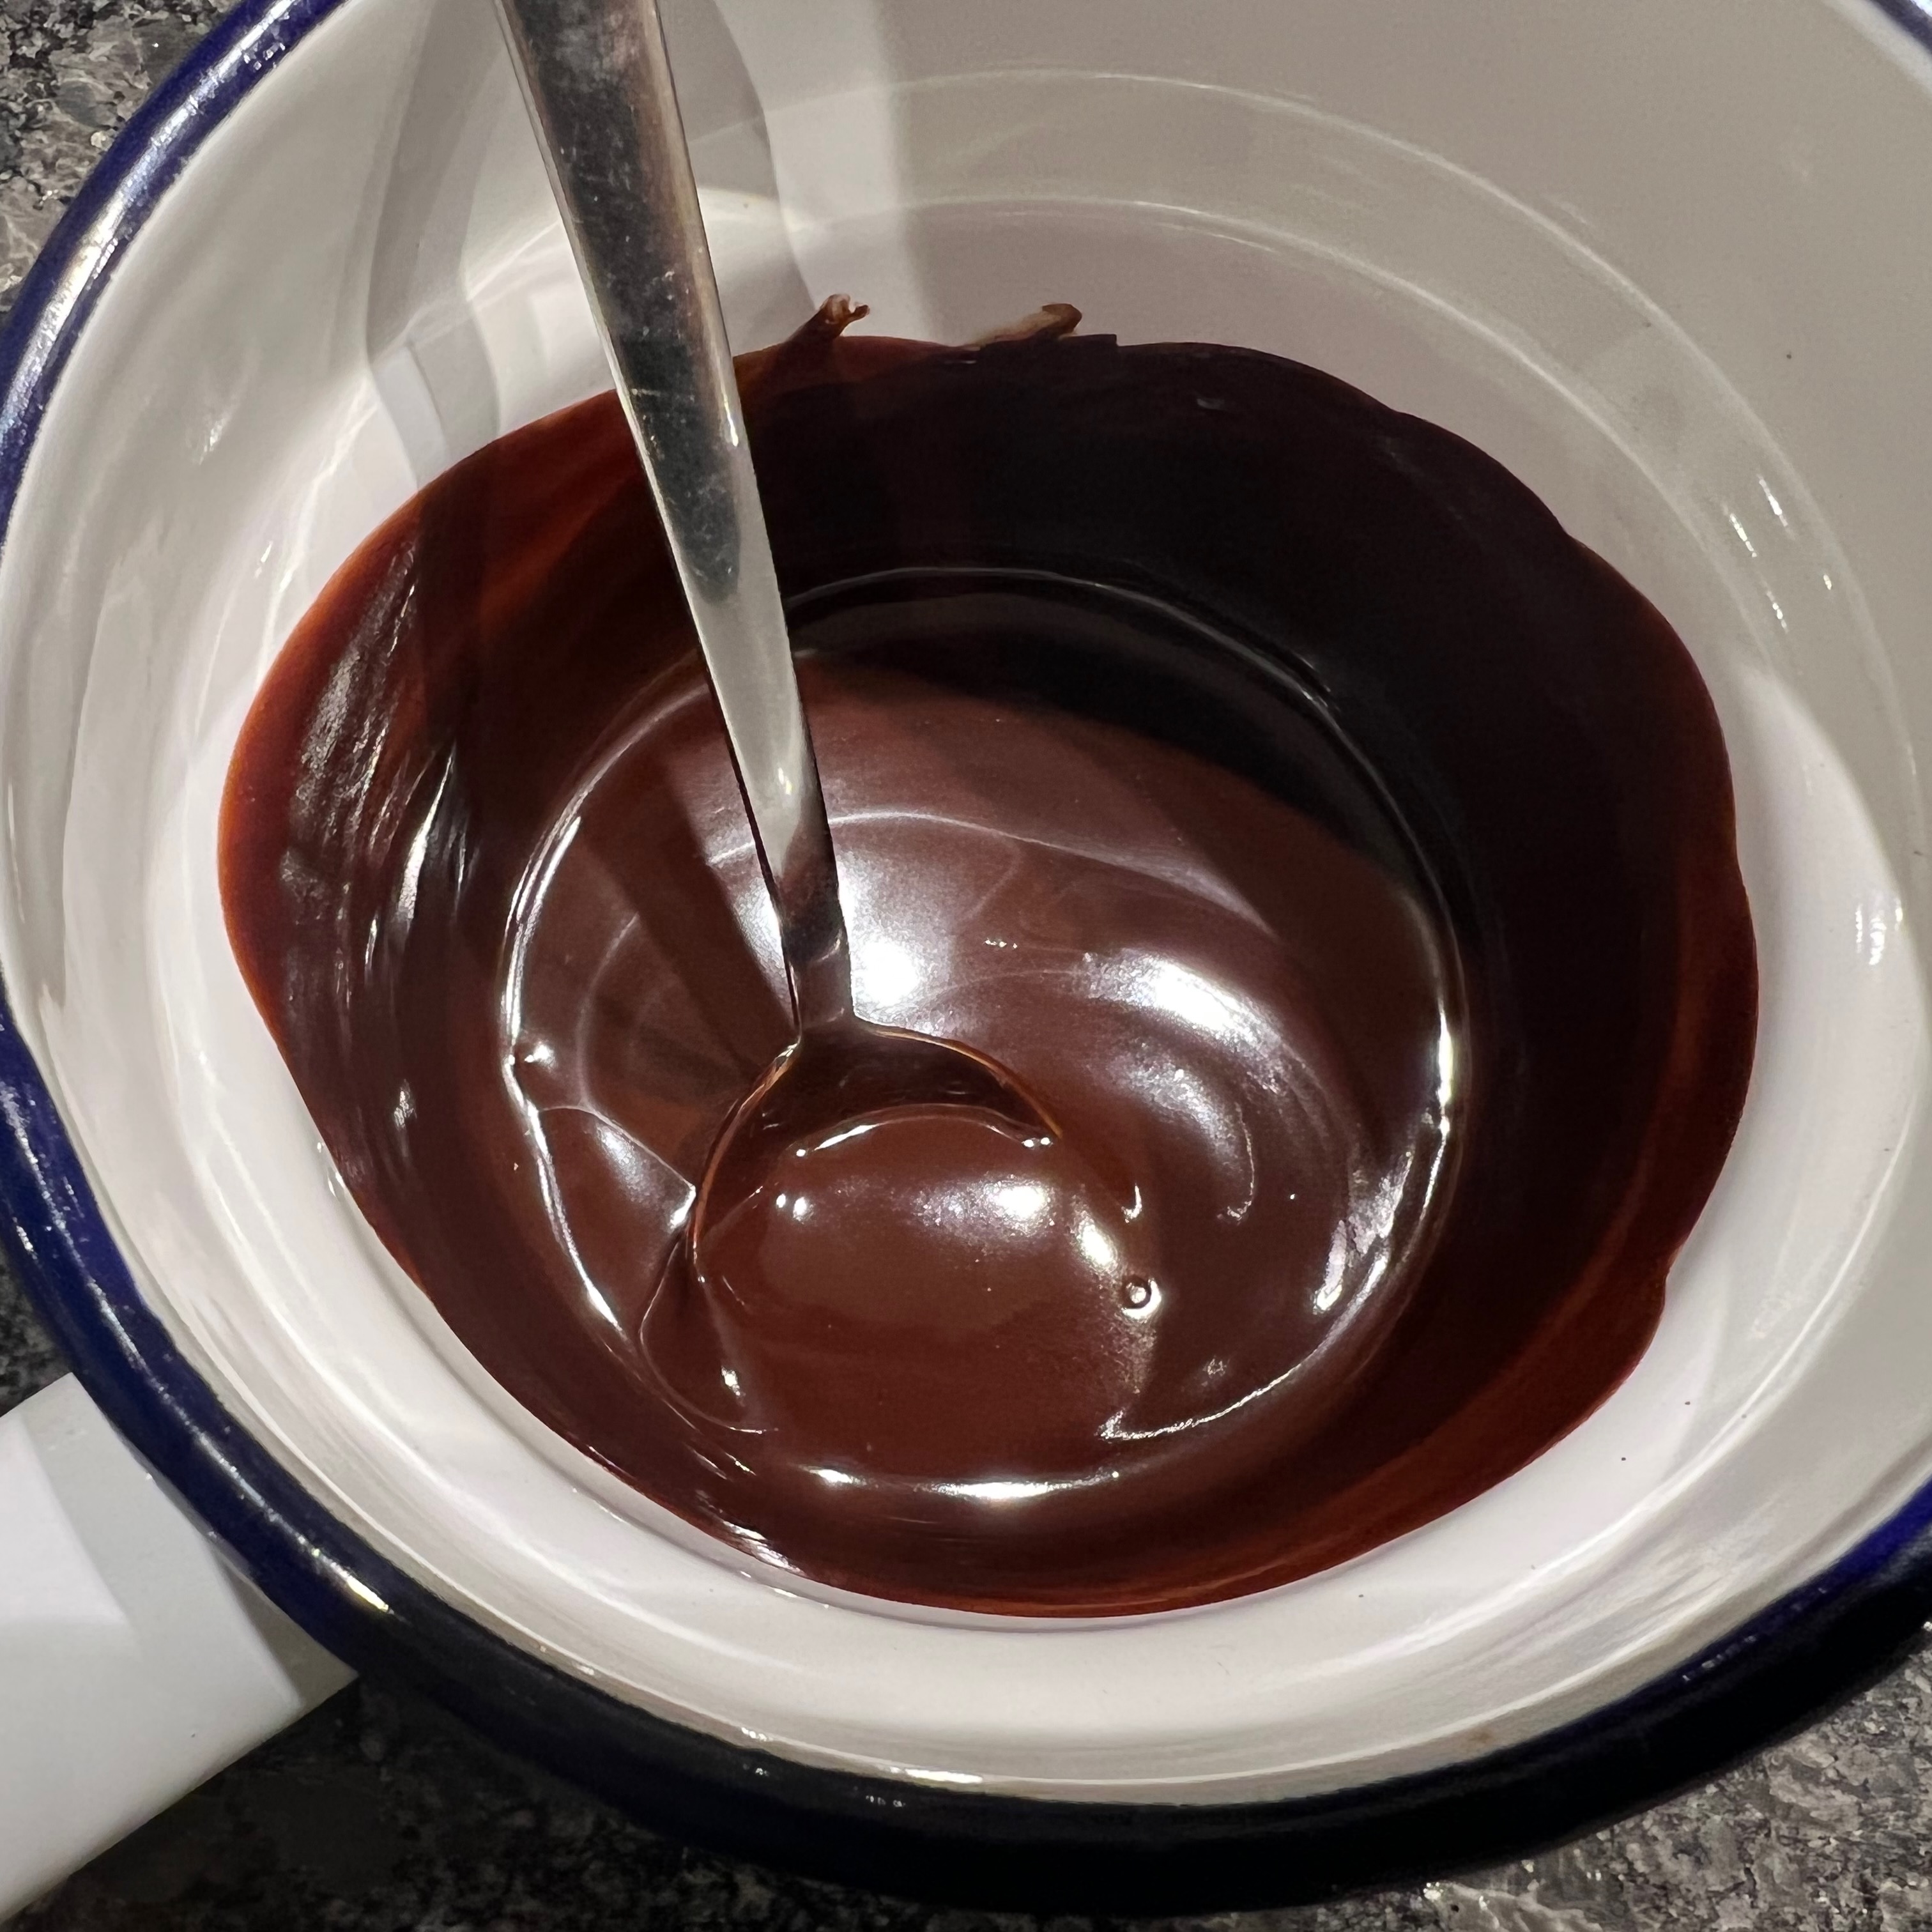
The ganache or glaze
The best tasting and easiest topping, in my view, is a simple chocolate-and-cream ganache and that’s what I’ve gone for here. But if you want that patisserie hard gloss look (or you just want something that doesn’t get quite so dramatically sticky in hot weather), there are plenty of alternatives around, involving icing sugar or glucose syrup (some American recipes specify corn syrup).
75g dark chocolate
75g double cream
Melt the chocolate in a double boiler
Cool slightly
Whisk in the cream and mix thoroughly
Leave to cool for 10 minutes or so
Spread smoothly over the eclairs with a small knife or spatula (spread them over the side with the holes you filled them from)
Leave to cool for an hour or so
If you have to, refrigerate and keep them for no more than a day or two: you don’t want to leave them for much longer, because the filling soaks into the pastry and it goes soggy. Eclairs don’t freeze, because the pastry cream splits. So really, you’re better off just eating them on the day…
Some notes and tips
Using cornflour guarantees that your pastry cream will thicken, but you risk it setting too thick to be piped easily – which is why I needed to thin it out with cream. If you use just 20g of plain flour rather than the flour/cornflour mix, you’ll need to cook the cream for much longer – perhaps as much as five minutes more – for it to thicken, but you then won’t need the cream afterwards.
Your biggest problem with eclairs is making sure that the buns dry out properly but don’t go rock hard. Of the various ways of preventing this, the one that seems to work best for me is to bake them at a relatively high temperature and have the nerve to bake them for at least 20 minutes before you open the oven to see how they’re doing. When you take them out, transfer them to a wire rack immediately: you don’t want any moisture building up on the base.
Canadian blog “the flavor bender” has an excellent post on how to troubleshoot problems with your eclairs, with a long list of what’s likely to go wrong and what you should do about it. It’s wordy and overly long, but the information is first class. Good luck!
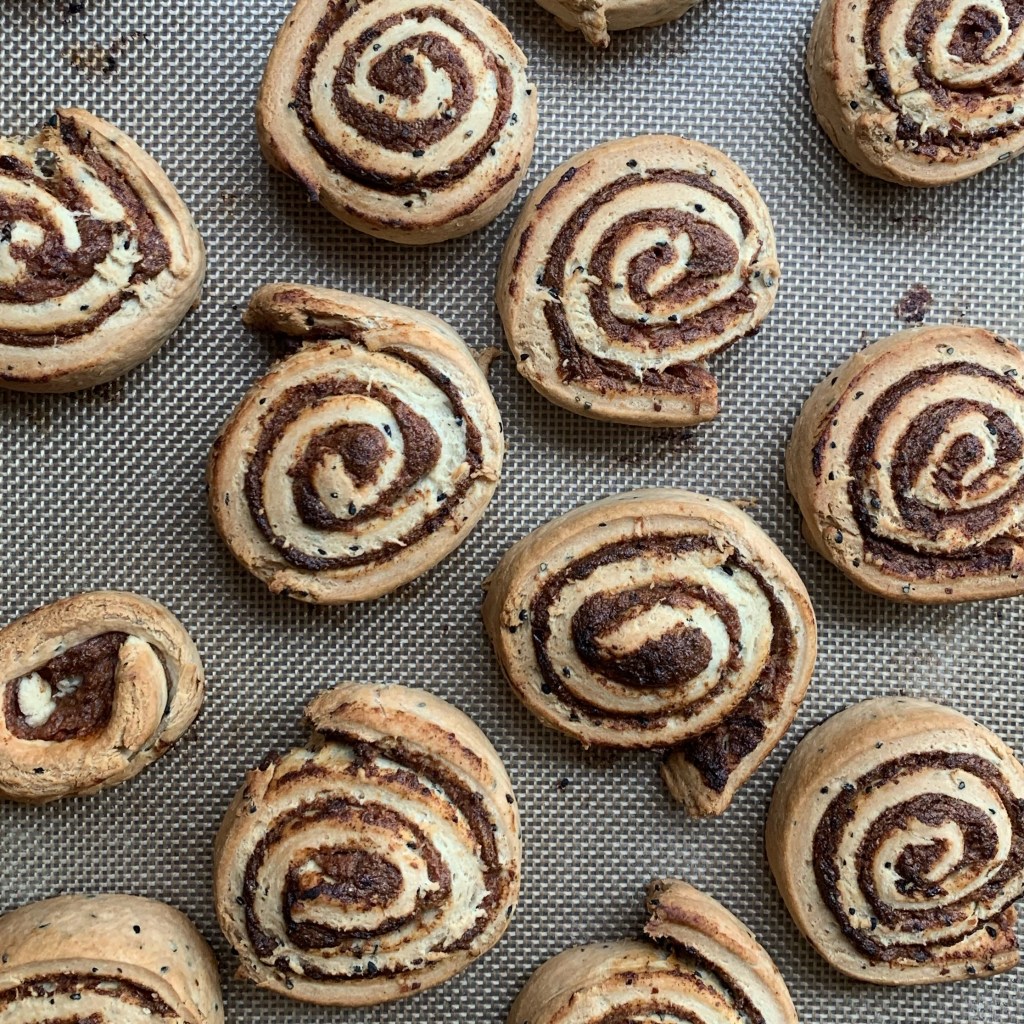
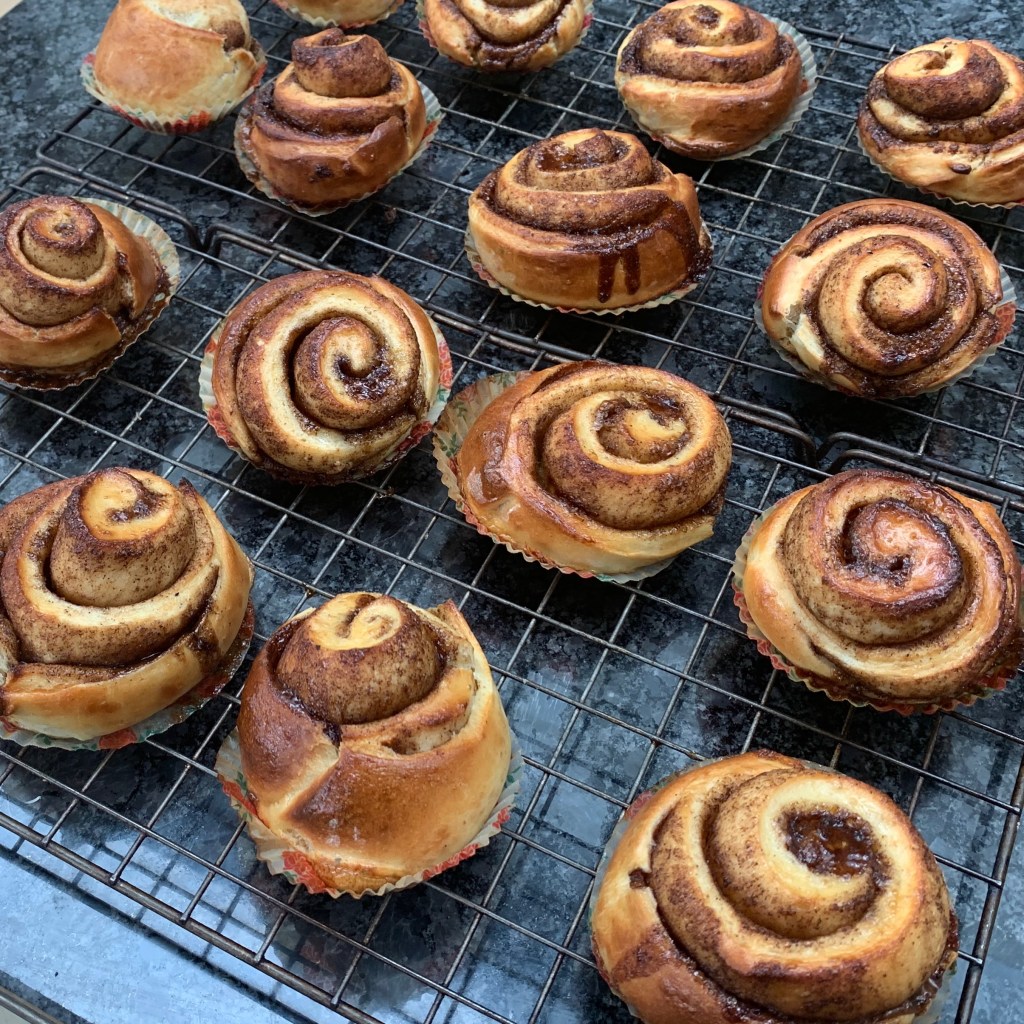
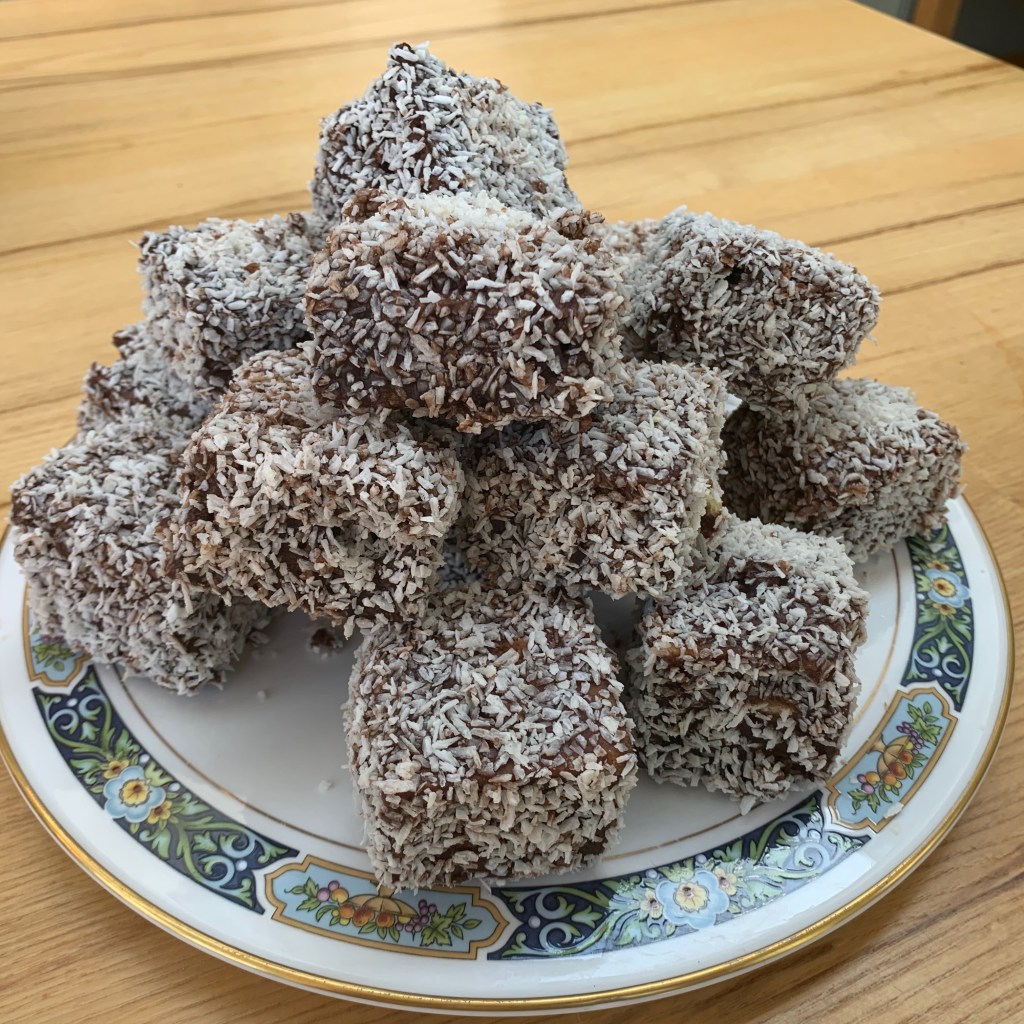
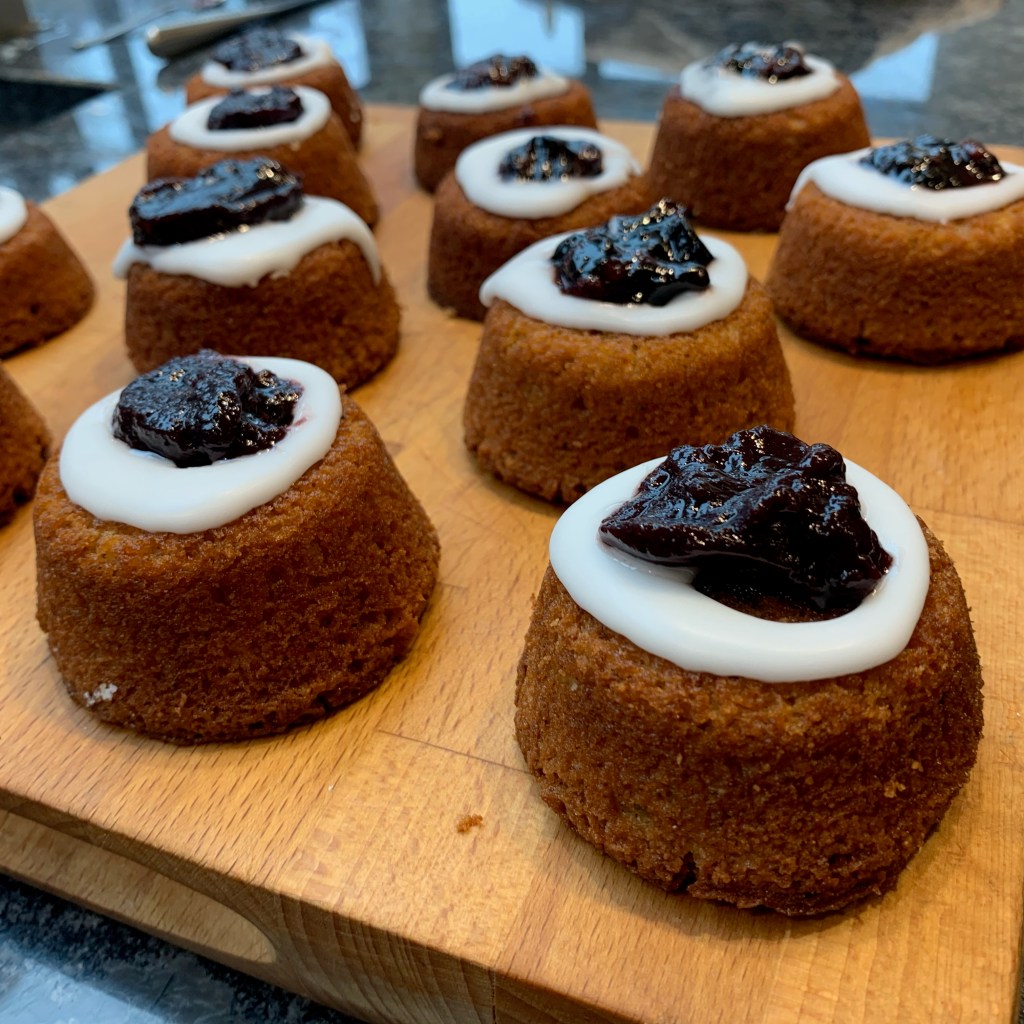
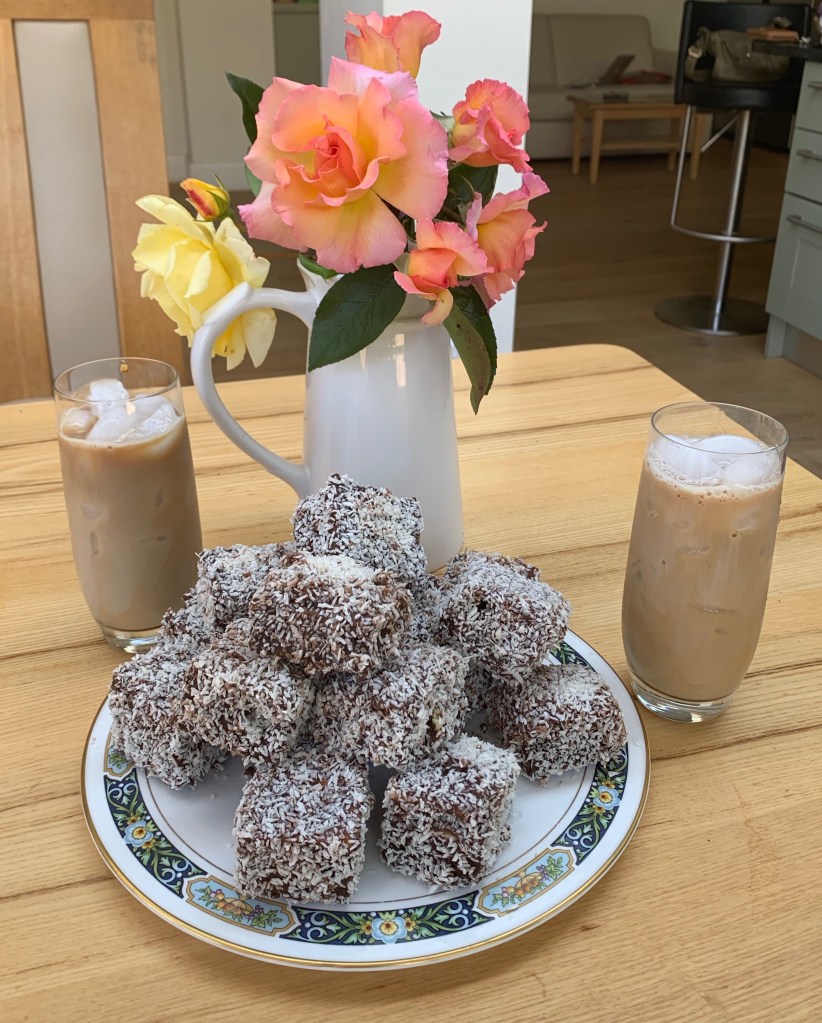
Since long haul travel looks like being impossible – or at least unwise – for the foreseeable future, let’s travel to the opposite end of the earth in our baking imagination. The Lamington is the definitive Australian cake, named after a sometime governor of Queensland (who apparently didn’t like them, according to TasteAtlas). There’s even a National Lamington Day, on July 21st, so if you’re reading this shortly after publication, you’ve got plenty of time to practise. This makes the Lamington one of a select collection of baked goods to have its own annual celebration day (cinnamon rolls are another, with Sweden’s Kanelbullens dag).
The recipe for Lamingtons could be written in a single line: cut a sponge cake into cubes, dip each cube in chocolate icing and roll it in desiccated coconut. I’m going to go into a bit more detail (after all, what self-respecting baking blog wouldn’t) but here’s the point: they’re a great option for hot weather because the coconut helps to stop everything melting onto your fingers. Anyway, I’m a sucker for anything made with coconut, so what’s not to like?
Most Lamington recipes are broadly similar. In fact, they don’t really vary much from the first recipe on record, from Queensland Country Life in 1900. You’ve basically got a couple of choices: filled/unfilled and portion-sized/bite-sized. Also, you can choose to use a filling or not. The original recipe specifies more icing, but you can also use whipped cream and/or raspberry jam, which is popular in New Zealand. I’ve gone for plain, largely because I think the recipe is sweet enough as it is, and anyway, keeping the cube structure looks really tricky with two layers of cake stuck together.
The much quoted Australian recipe in taste.com.au gets you 15 cakes of around 6cm on a side, which is a reasonable full portion size; Jamie Oliver’s somewhat different recipe gets you 30 cakes from around the same total weight of ingredients, which makes it more suitable for finger food at a party when there’s lots of other stuff. I’ve kept the sugar down a bit in my version.
What everyone agrees is that you should make the cake the day before you try to ice it: otherwise, your cake is going to fall apart horribly when you try to dip it. So here’s the day 1 part of the recipe:
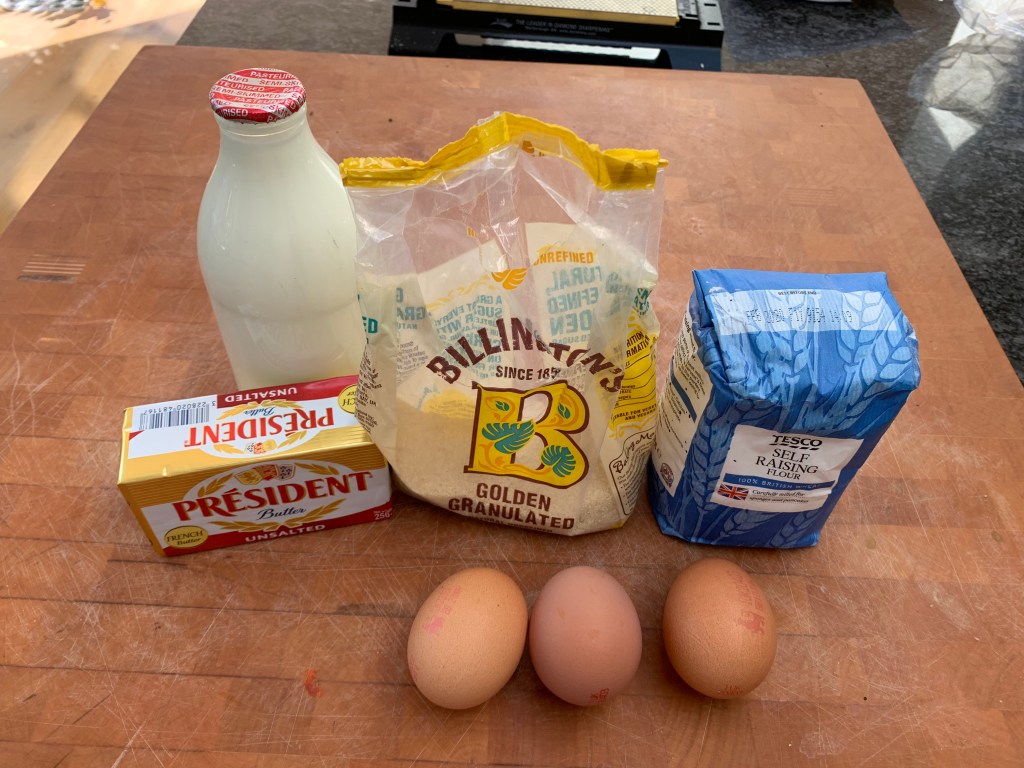
150g sugar
125g butter
3 medium eggs or 2 large
240g self-raising flour, sifted
120ml milk
Preheat oven to 180℃ (or 160℃ fan)
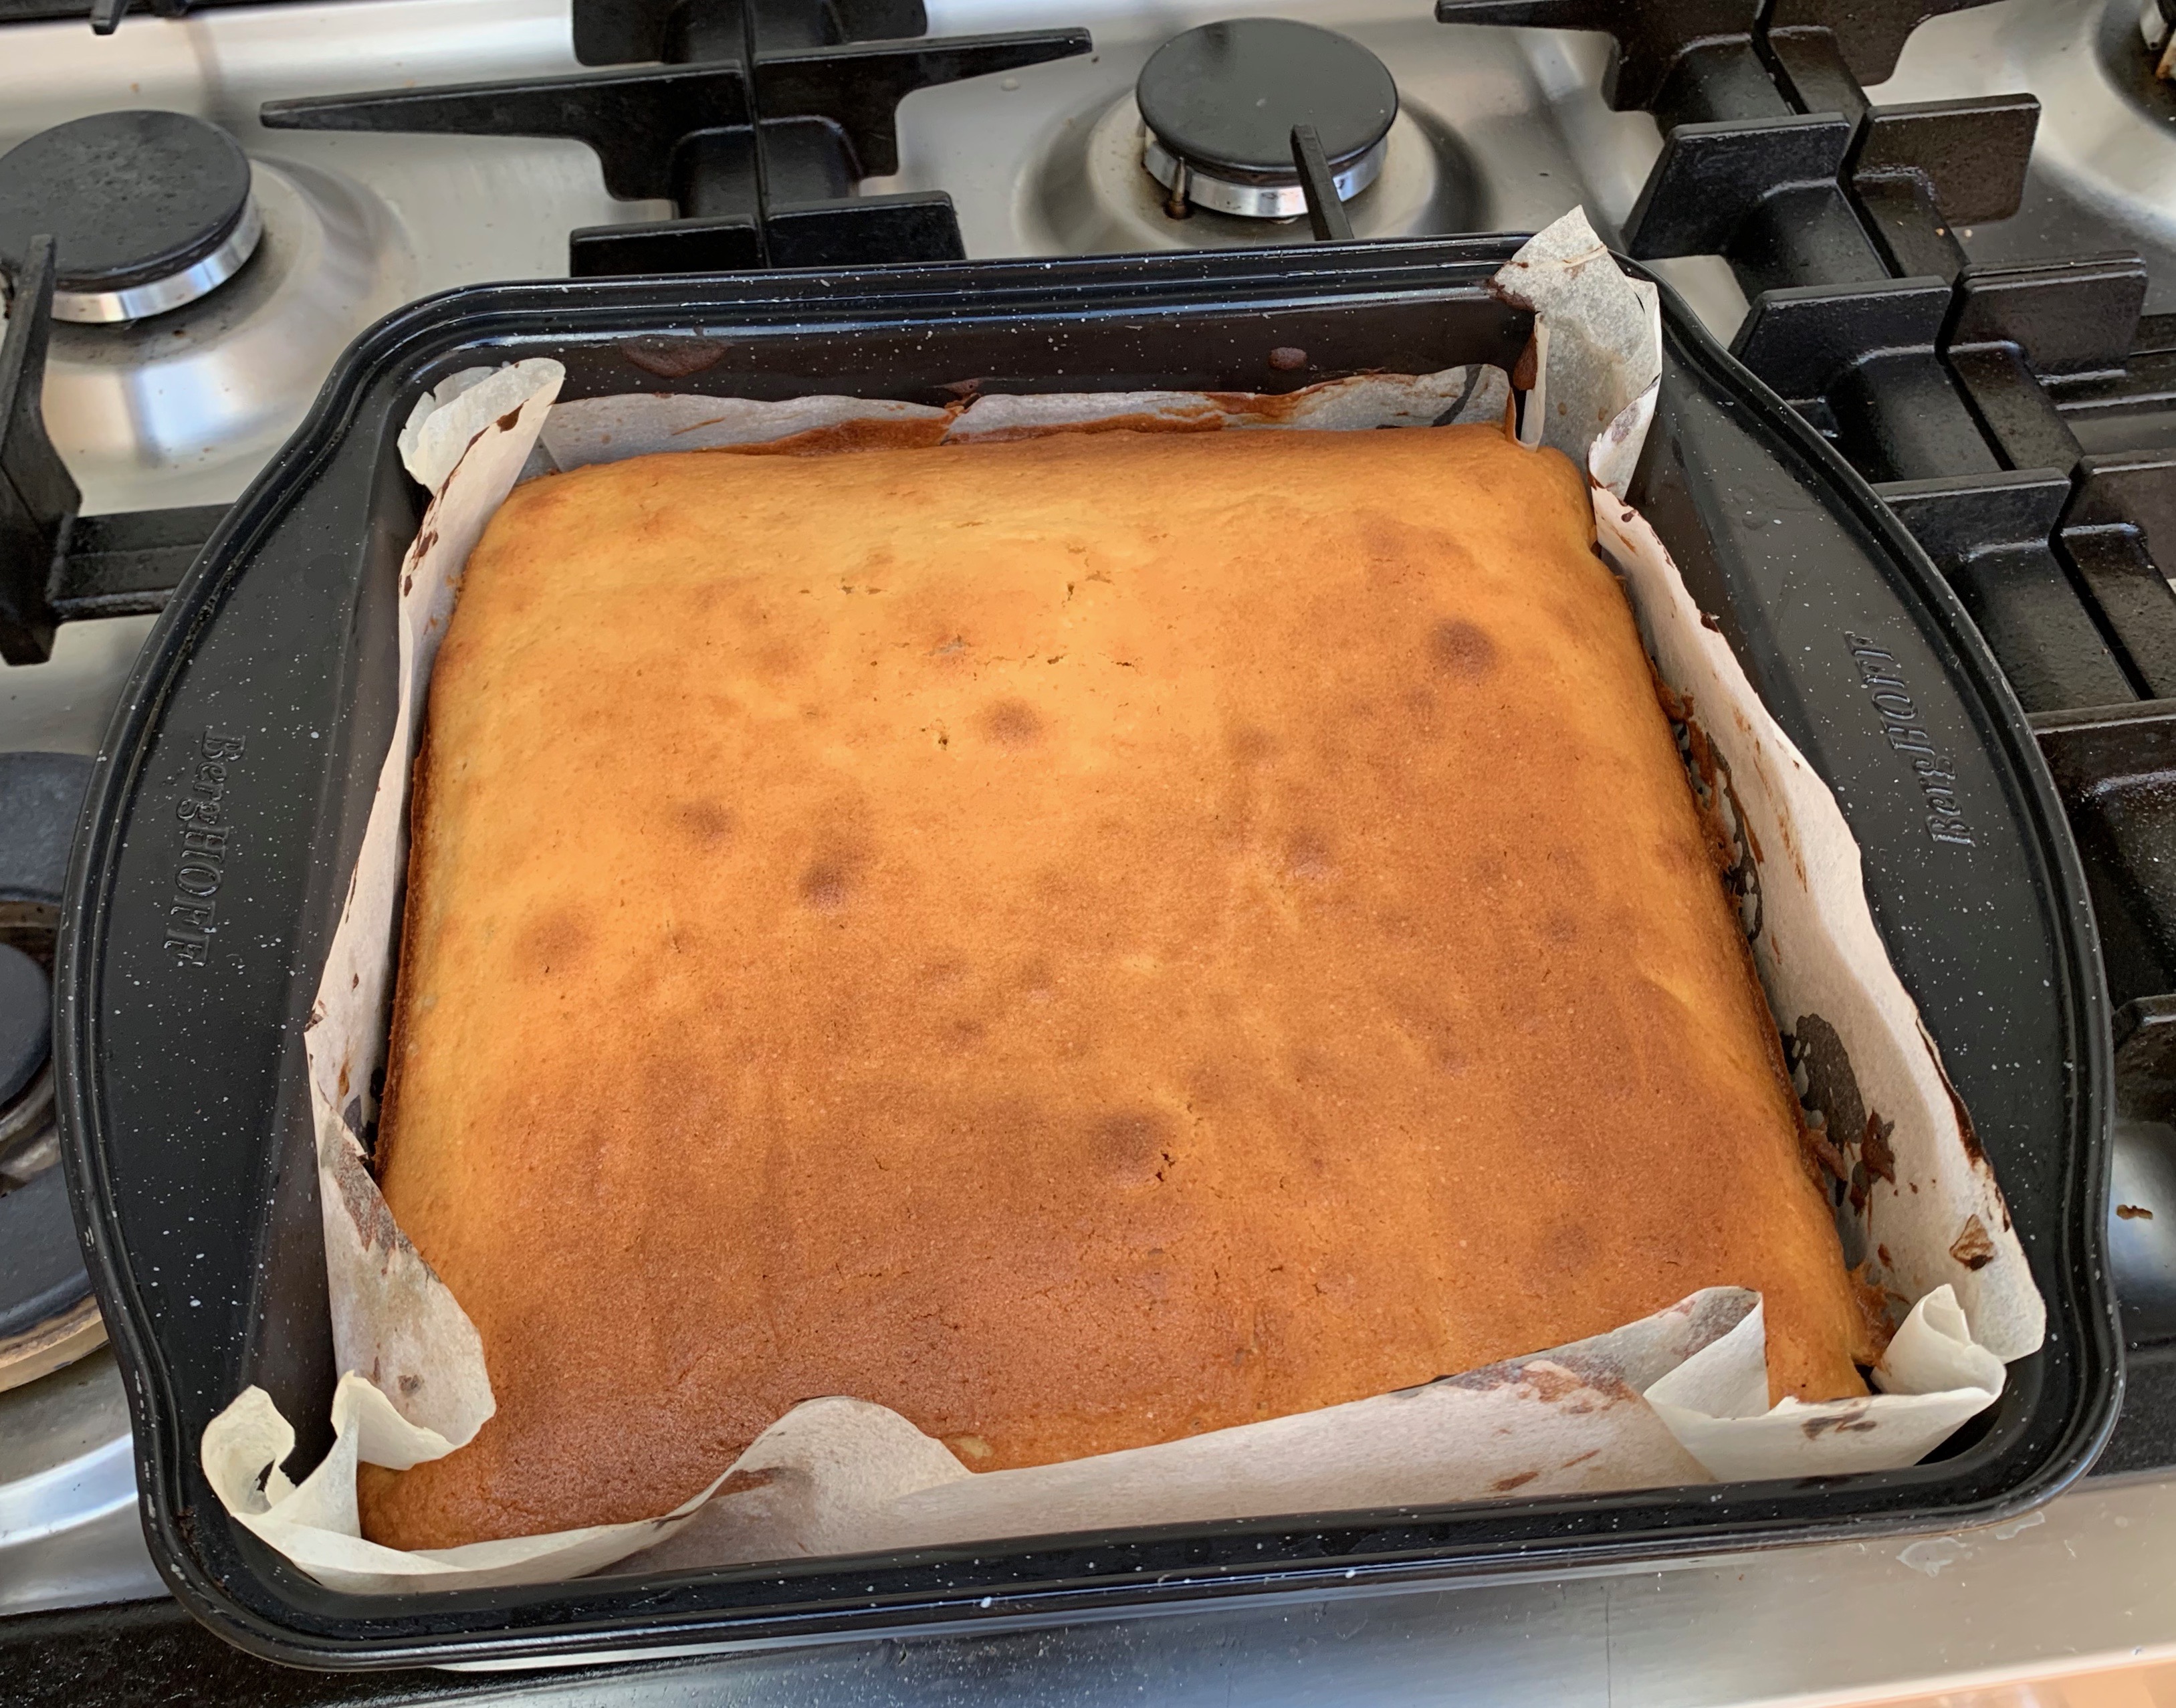
Grease and line a baking pan (purpose made “Lamington pans” tend to be 20cm x 30cm; mine is 23cm square)
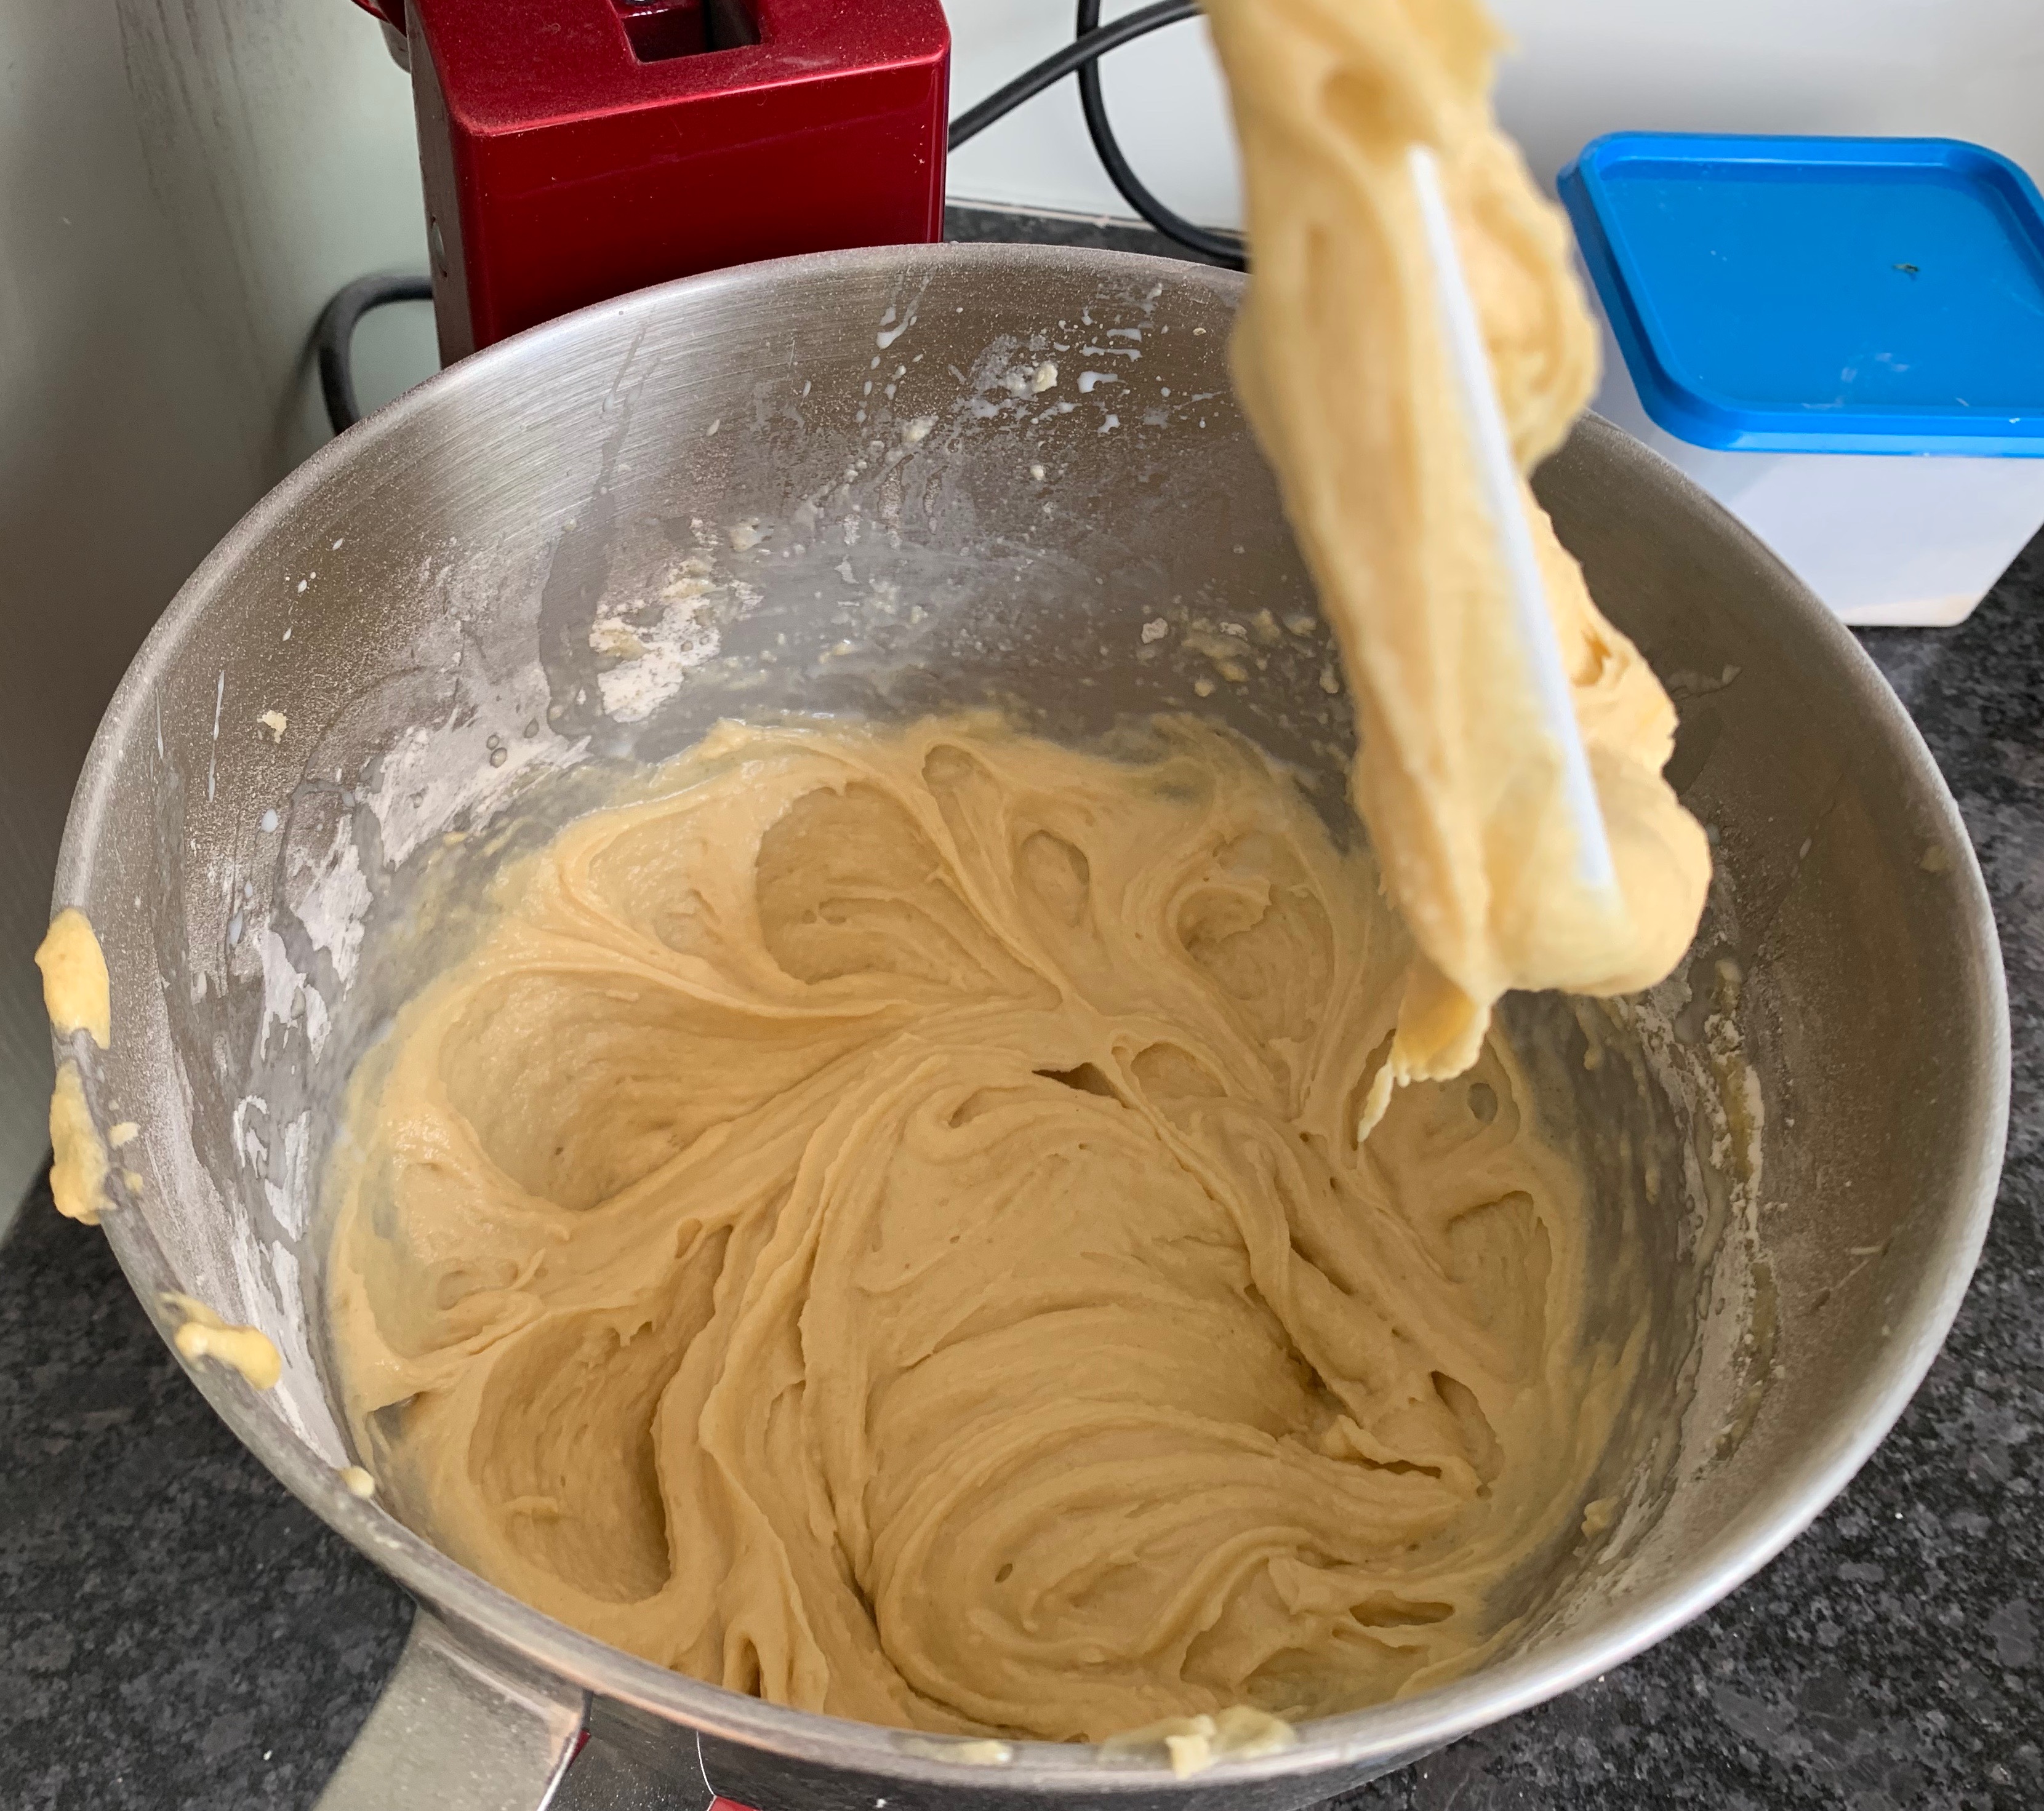
Cream the butter and sugar together
Add the eggs, one at a time, beating after each one
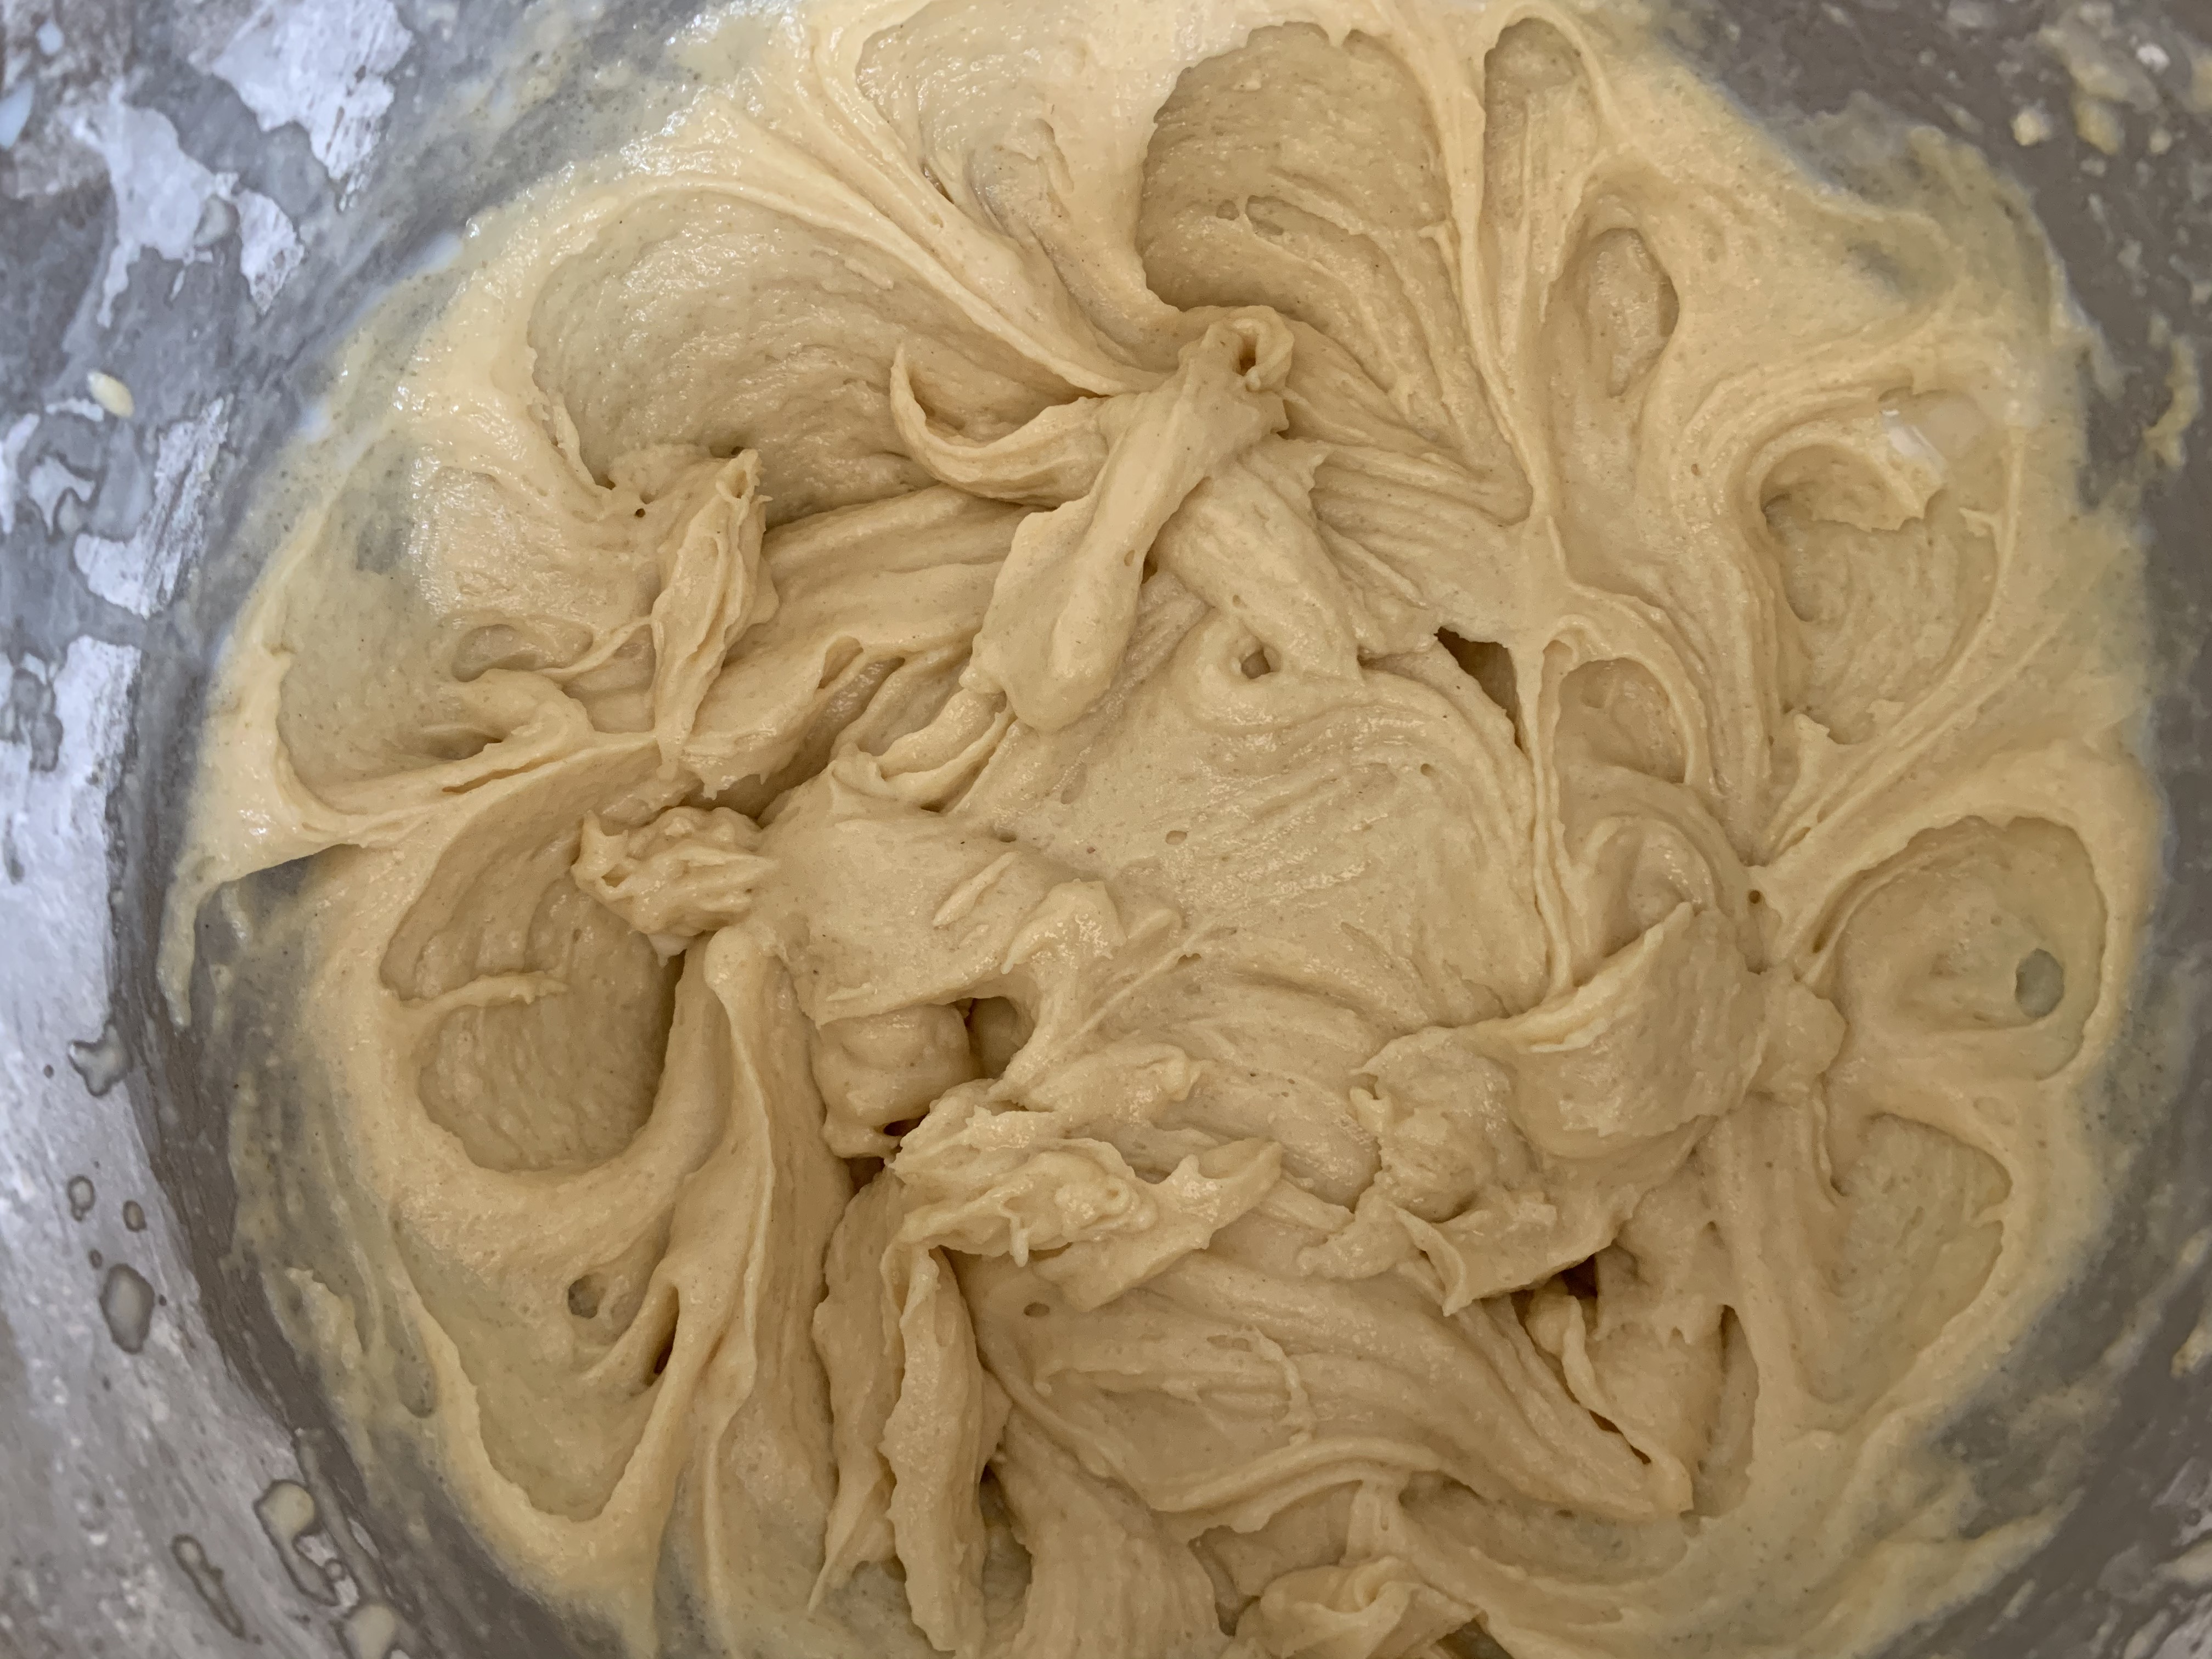
Add half the flour and beat, then half the milk and beat, then repeat
Pour the mixture into your baking pan; do your best to spread it evenly
Bake for around 20-30 minutes, use the usual “a skewer should come out dry” test
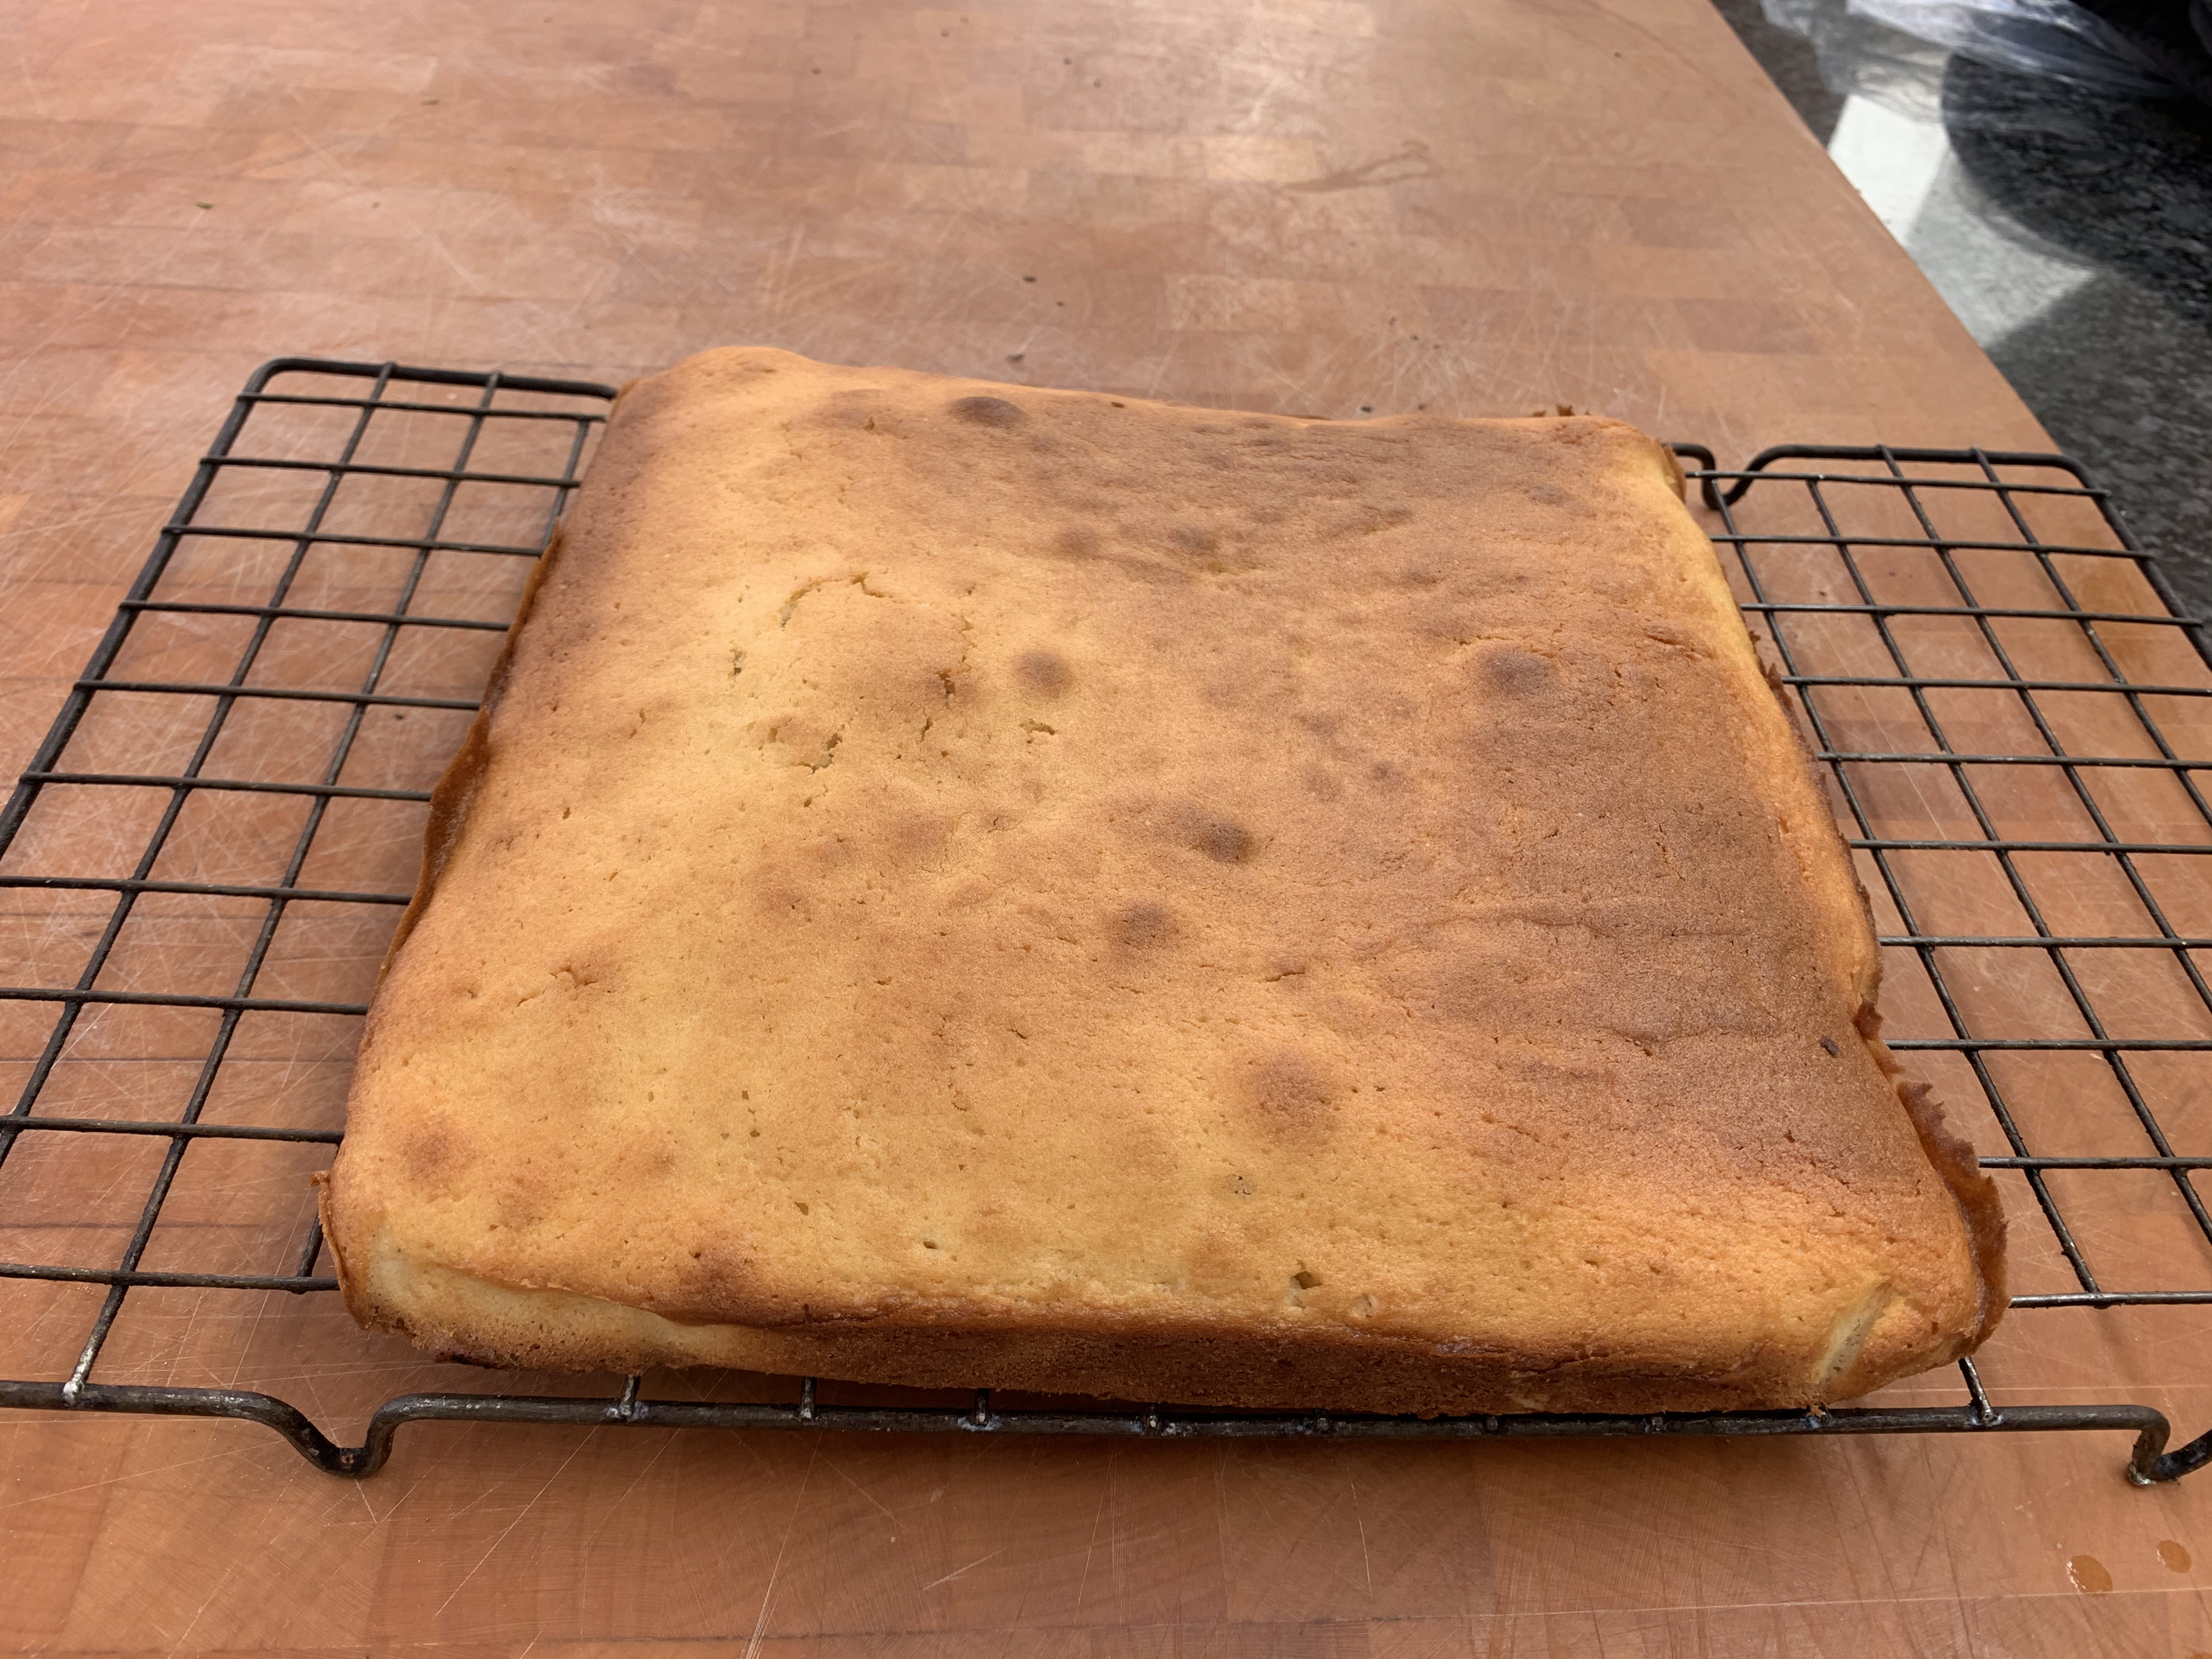
Cool in the pan for 10 minutes and then on a rack
Seal with cling film or in a tupperware and refrigerate overnight
The next morning, you’ll be doing the icing and rolling.
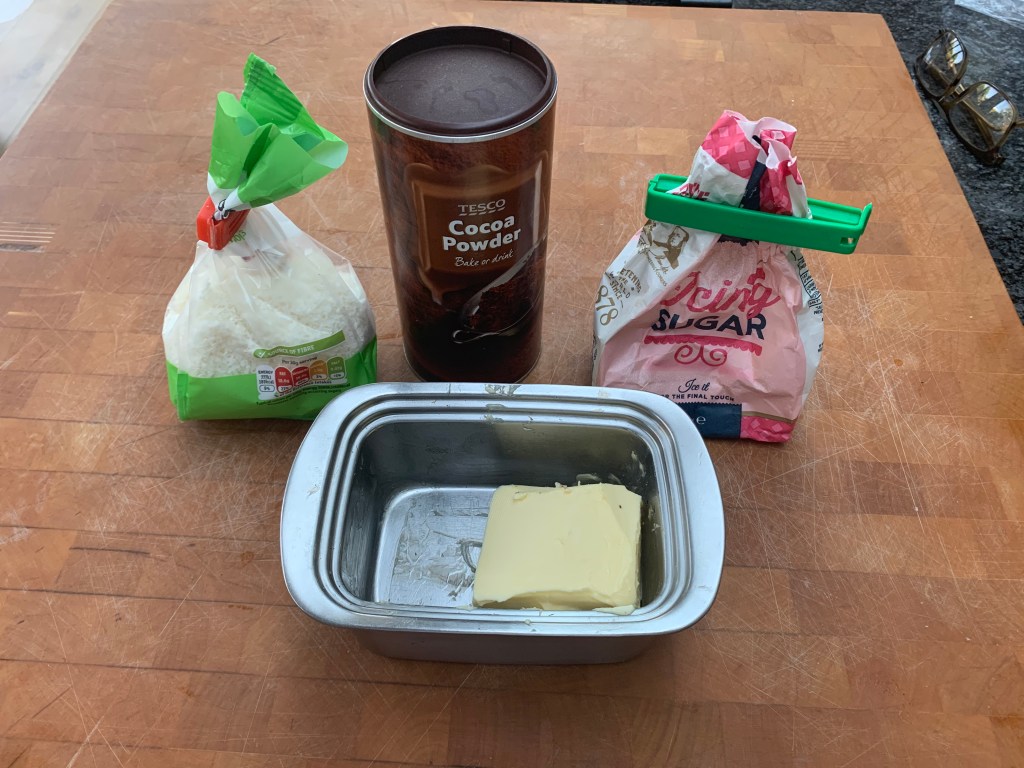
Dessicated coconut: you’ll need somewhere in the region of 300-350g, but it really depends on your rolling technique
350g icing sugar
25g cocoa
15g butter, softened
125ml boiling water
You might as well start by getting the coconut ready: you’ll want a decent amount of it in a shallow dish into which you’re going to roll your cakes and the rest in a separate bowl which you’re going to attempt to keep clear of drips of chocolate. Also get a cooling rack ready, putting it on a surface which you’ll be able to clean easily, because icing will drip onto it despite your best efforts.
Next:
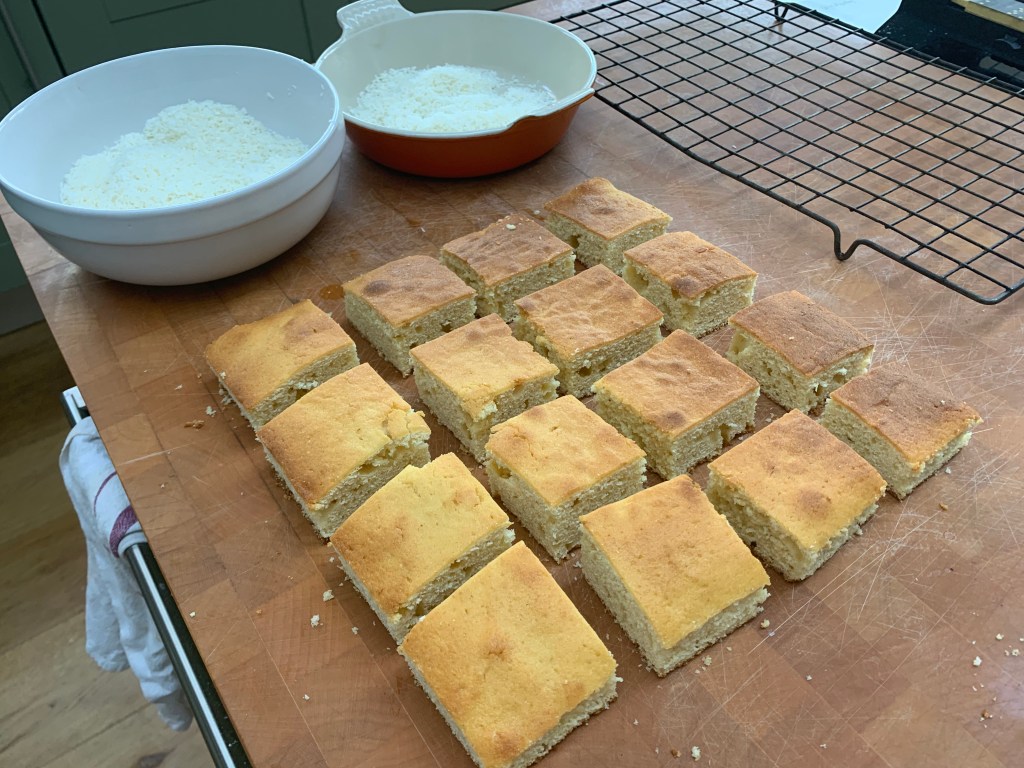
Trim off the edges of the cake and cut it into your preferred size. With my square pan, I cut it into 16 squares around 5½cm on a side (they weren’t quite tall enough to be cubes, but it was close enough). A 20 x 30cm Lamington pan will get you 15 6cm squares.
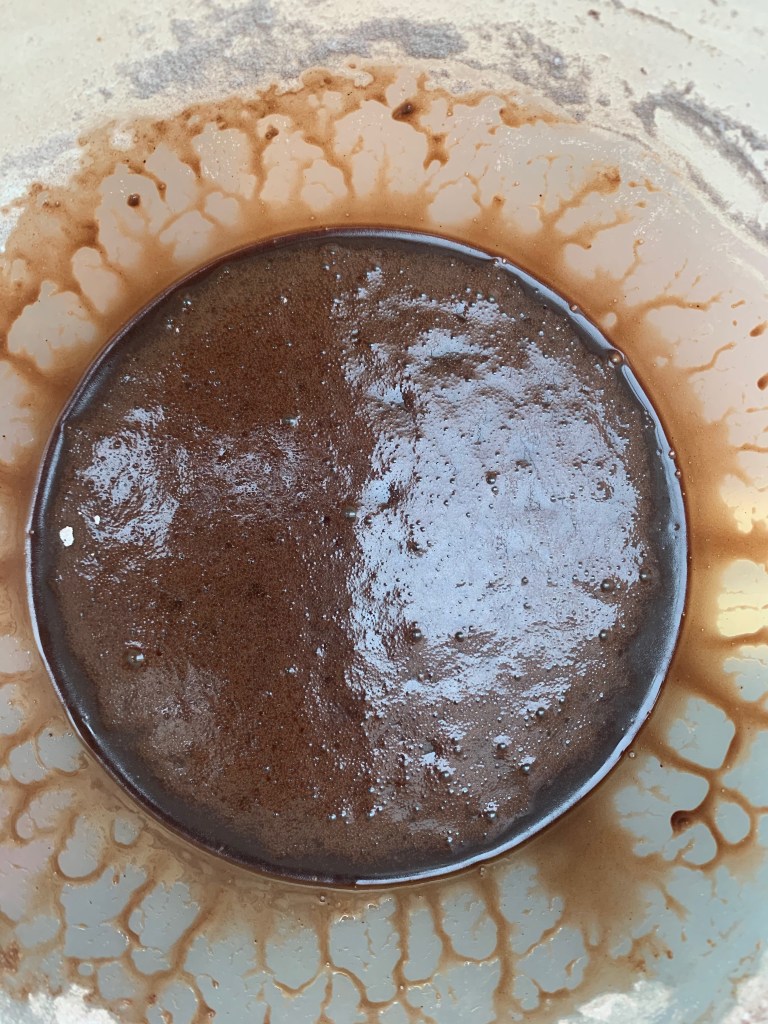
Sift the icing sugar and cocoa into a bowl, using the finest sieve you have. You’d be amazed at how lumpy they both of these can be when coming straight out of the packet.
Add the butter and boiling water and then whisk until you’ve got all of the lumps out. You will have a wet, liquid icing.
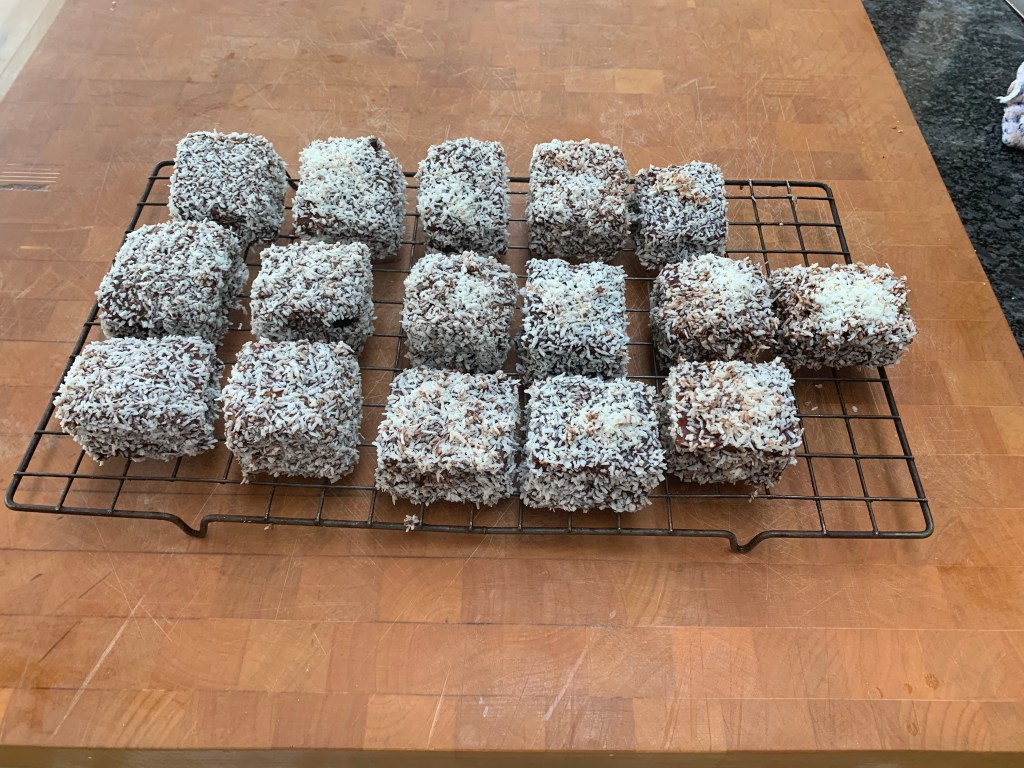
Here’s the tricky bit: you now need to completely cover each cake in icing and then roll it in desiccated coconut without making a giant, gooey mess. I did this by dropping the cake in the icing, turning it over gently with a fork and then picking it up by sticking the fork into it. I held the cake over the bowl of icing to let the excess drip off and then transferred the cake to the shallow bowl of coconut to coat the bottom; I then sprinkled coconut from the other bowl onto any sides that weren’t covered and shook of the excess (for use on the next cube.).
Having transferred all your completed Lamingtons to the rack, leave them for a couple of hours for the icing to set.
That’s it. On a hot day, a Lamington and a glass of iced coffee is a snack fit for a king.