
This recipe is dedicated to Conceiçao, who looked after me during many happy childhood summers in Portugal. There was only one option for the Portuguese bake: the little puff-pastry custard tartlets called Pastéis de nata – or Pastéis de Belém, in their most famous incarnation in the bakery in the Lisbon suburb of Belém, around the corner from the Mosteiro dos Jerónimos and opposite the monument to Henry the Navigator.
A Pastel de nata has two components: a puff-pastry case and its custard filling. There’s nothing particularly unusual about Portuguese puff pastry recipes, so you can use whatever recipe you like. Since puff pastry is fundamentally difficult, the alternative is to simply buy the stuff ready made, but if you do this, try to get an all-butter version or the flavour balance will be seriously off.
What is slightly unusual is the mechanics of the tartlet: the trick is to roll the whole sheet of pastry up tightly, Swiss roll style, then cut it into rounds. You flatten each round and press into the depression of a shallow cupcake or muffin tin to form the characteristic snail shell pattern in the flakes of the cooked pastry.
The custard is also unusual: it starts with a simple flour and water mixture; you then add hot syrup, then you cool the whole lot and add egg yolks; the custard is then baked in the tartlets.
I’ve started from two Portuguese recipes: one for the pastry and one for the pastéis themselves. If you haven’t made puff pastry before, the recipe contains a handy video showing you the technique far better than I can describe it.

The puff pastry
- 300g plain flour (OO grade if you can get it)
- 7g salt
- 170ml water
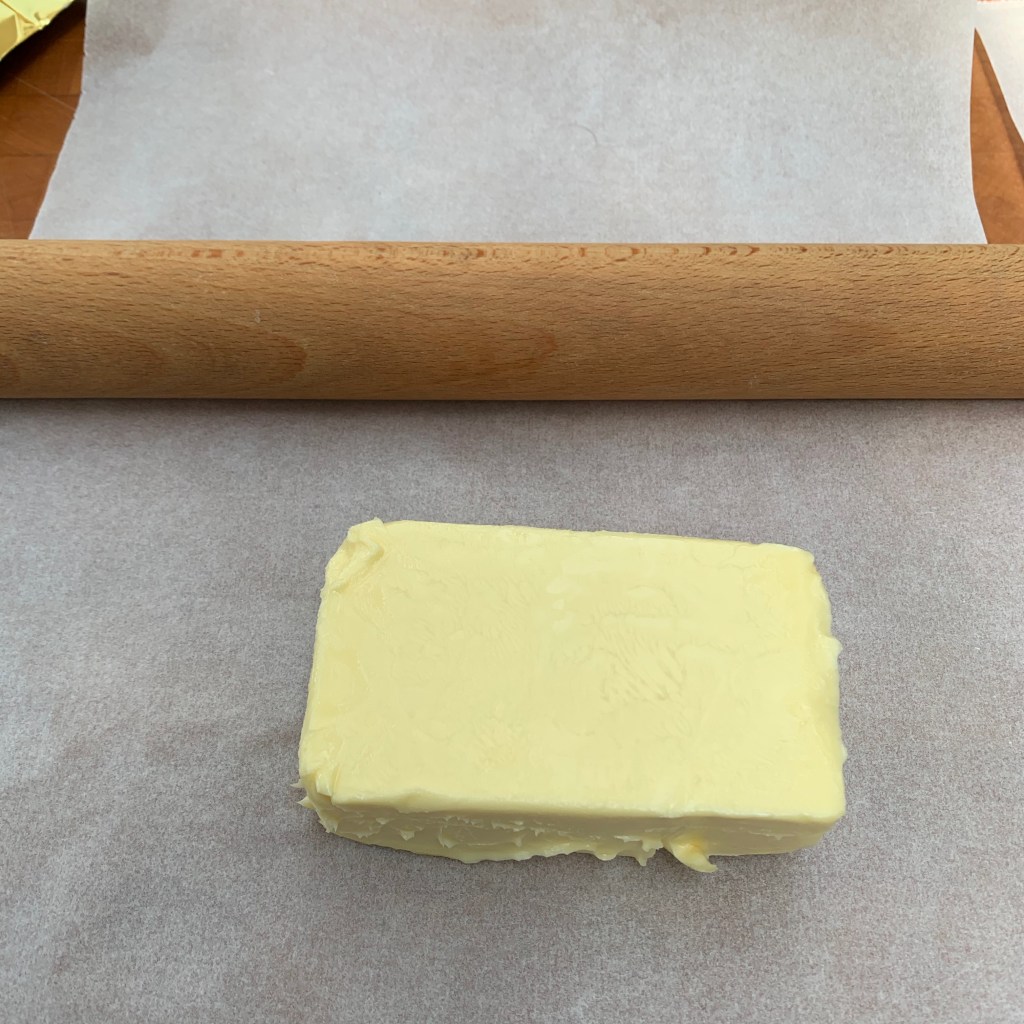
- 250g butter (if you can, use a high melting point butter like Président)
Your key objective throughout this process is to avoid the butter melting and leaking out through the sides of your pastry. If it’s a very hot day, which it was when I made these, you will need to put things back into the fridge frequently to keep them down to well below the melting point of the butter. You can tell from the cover photo that I wasn’t entirely successful.
- Take the butter out of the fridge. Time this so that when you get to step 3, the butter will be soft enough to roll but still cold enough to be in no danger of melting.
- Put the flour, water and salt into a bowl and mix thoroughly until you have a smooth dough. Form the dough into a ball, cut a cross in top (I have no idea why), cover and refrigerate for 30 minutes.
- Cut out two large sheets of baking parchment (perhaps 40cm long). Roll the butter between the two sheets to form as neat a square as you can manage: you want a constant thickness. Put the assembly back into the fridge.
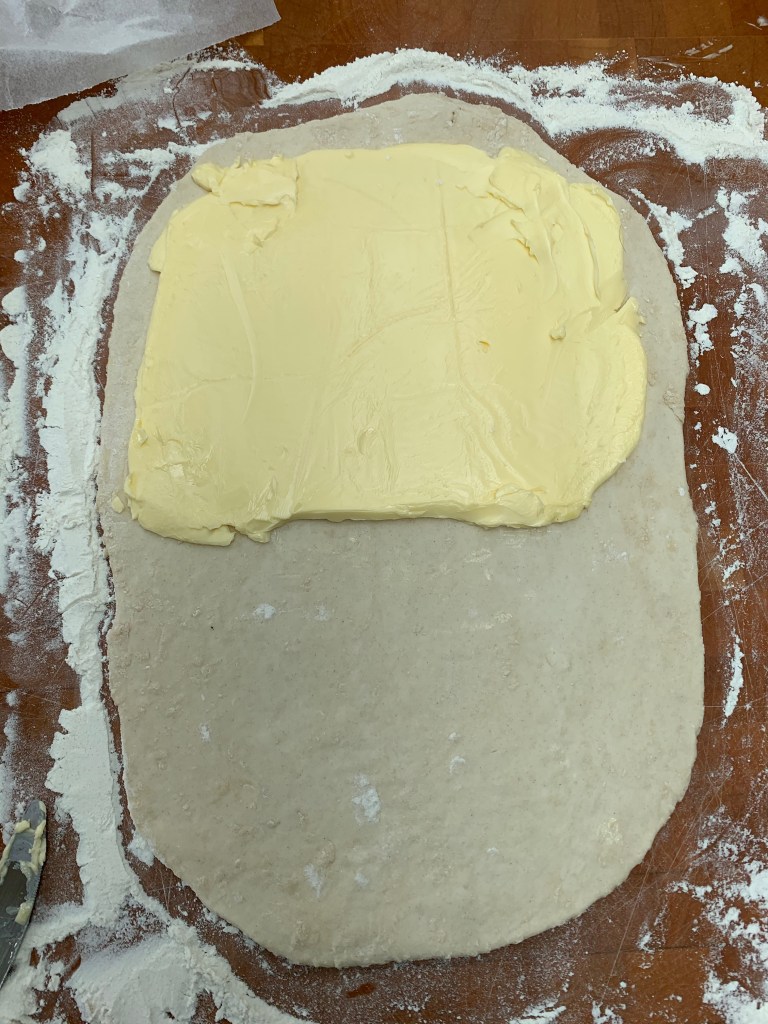
- On a floured board, roll the dough until it’s slightly over twice the size of your square of butter.
- Removing the paper, place the square of butter onto one end of the dough, fold the dough over and seal the edges. Roll the dough out slightly more to make sure that it’s properly laminated.
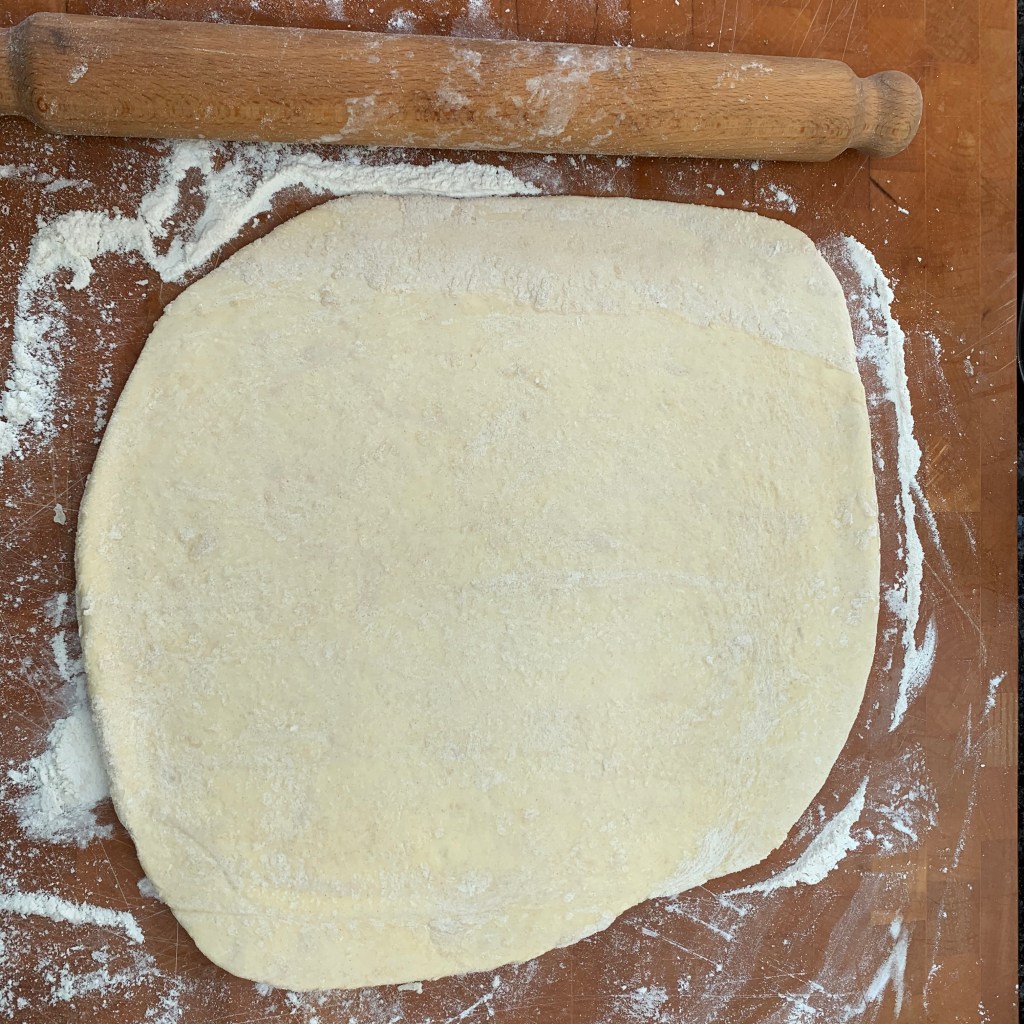
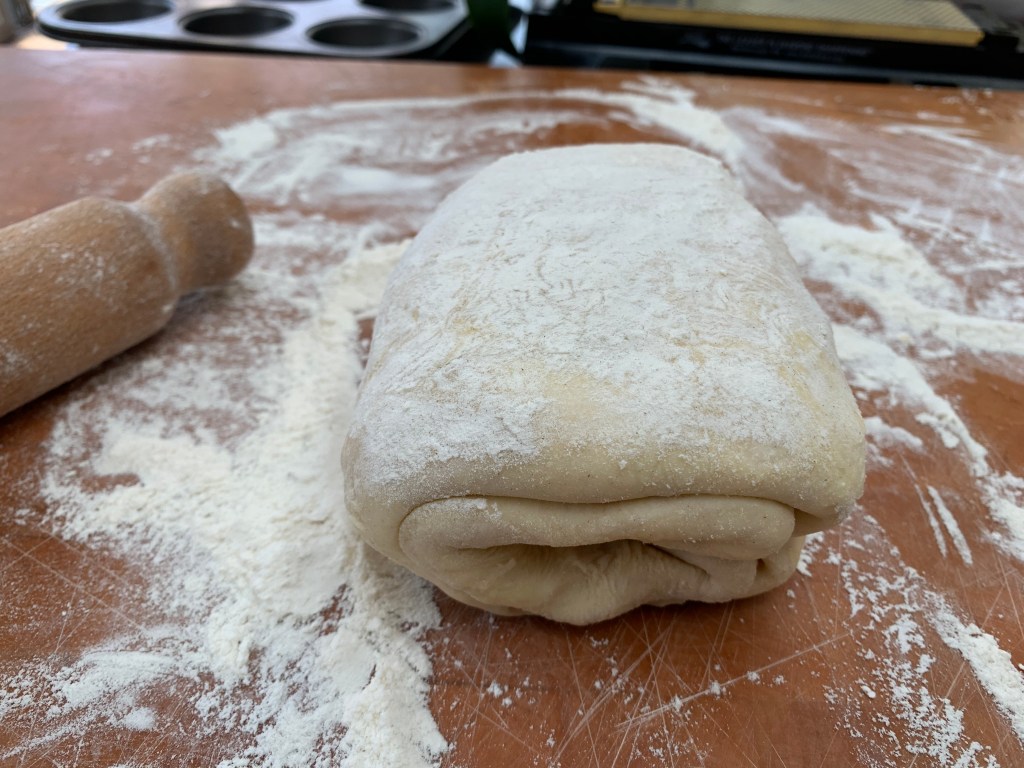
- Fold the dough into three by taking one end to the middle and then the other end on top. Turn it by 90°, roll it out, fold into three again, then wrap with cling film and refrigerate.
- Repeat this process twice (if you want to follow the Portuguese recipe strictly, do a 4-way book fold as your second stage). Refrigerate for 20 minutes or more again.
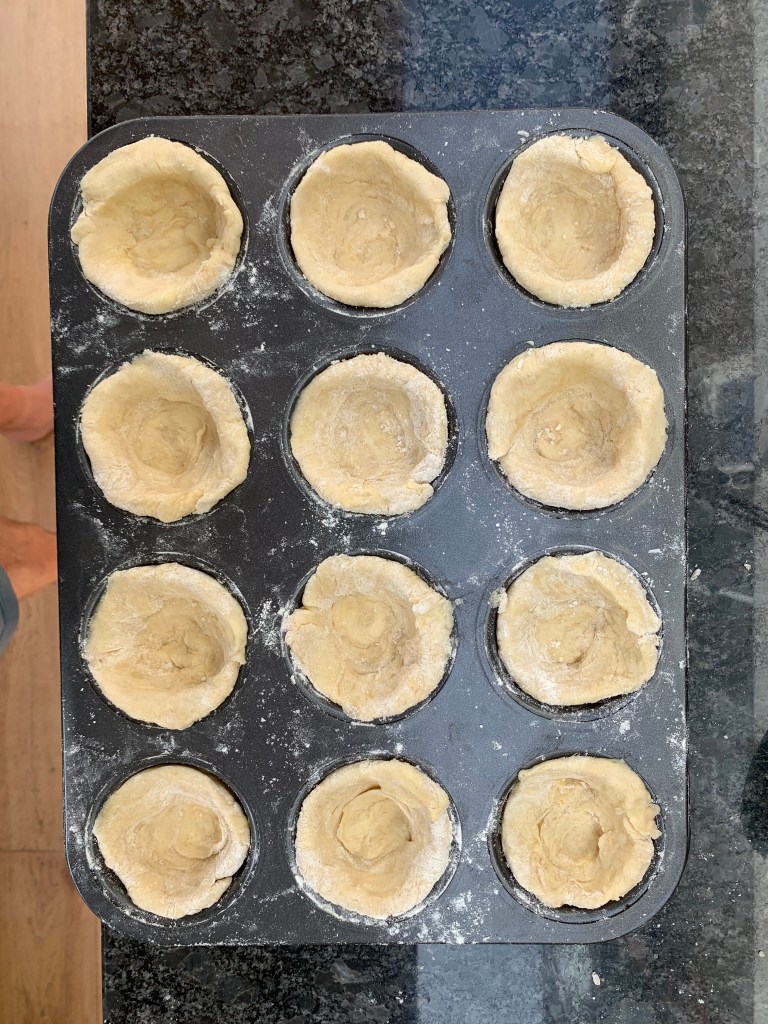
- Have a set of muffin or cupcake tins ready. Grease them with a bit of butter.
- Roll the pastry flat, then roll the flattened pastry tightly into a cylinder. Cut the cylinder into slices: the recipe says 12, but my pastry came out a bit thick and I reckon that I should have tried to get a few more, perhaps 15 or 18.
- Flatten each slice into a circle with the flat of your hand and/or a rolling pin, then press each circle into a muffin tin so that it lines the bottom and sides.
- Refrigerate all of this while you make your custard.
The custard
- 250 ml milk
- Peel of one lemon
- 150g sugar
- 75 g water
- 4 egg yolks
- Ground cinnamon to taste
The tricky part of this recipe is to get as many of the lumps out as you can. Use a wire whisk and be ruthless with it!
- Preheat oven to 230℃
- Peel the lemon, keeping the peel whole in as few pieces as you can manage. Count the pieces. Keep the rest of the lemon for juice later.
- In a bowl, mix 100ml of the milk with the flour. Get as many of the lumps out as you can manage.
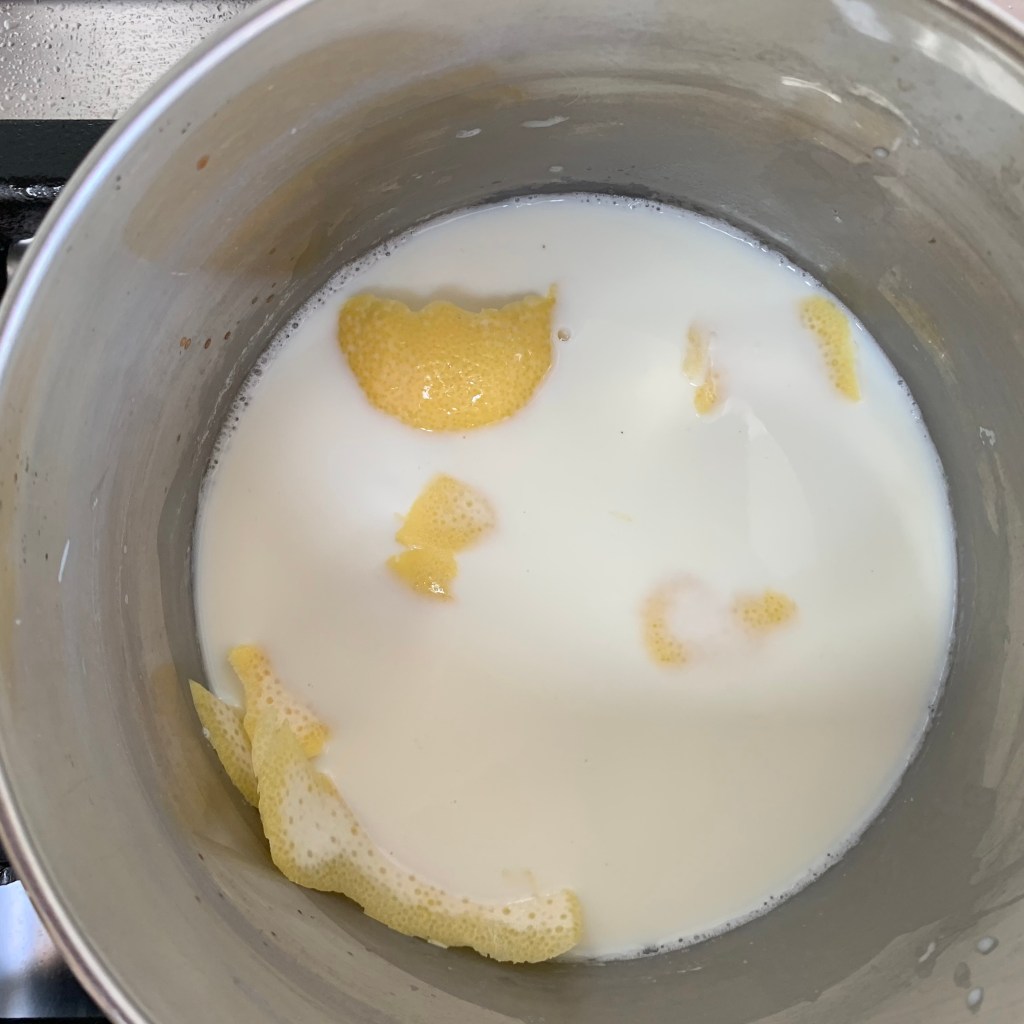
- In a saucepan, bring the remaining 150ml of the milk to the boil with the lemon peel.
- Pour in the flour/milk mixture and whisk vigorously, on the heat, for another couple of minutes until you have a thick paste. Remove from the heat and discard the lemon peel (that’s why you needed to count the pieces). You now have another opportunity to have a go with the whisk to get more of the lumps out.
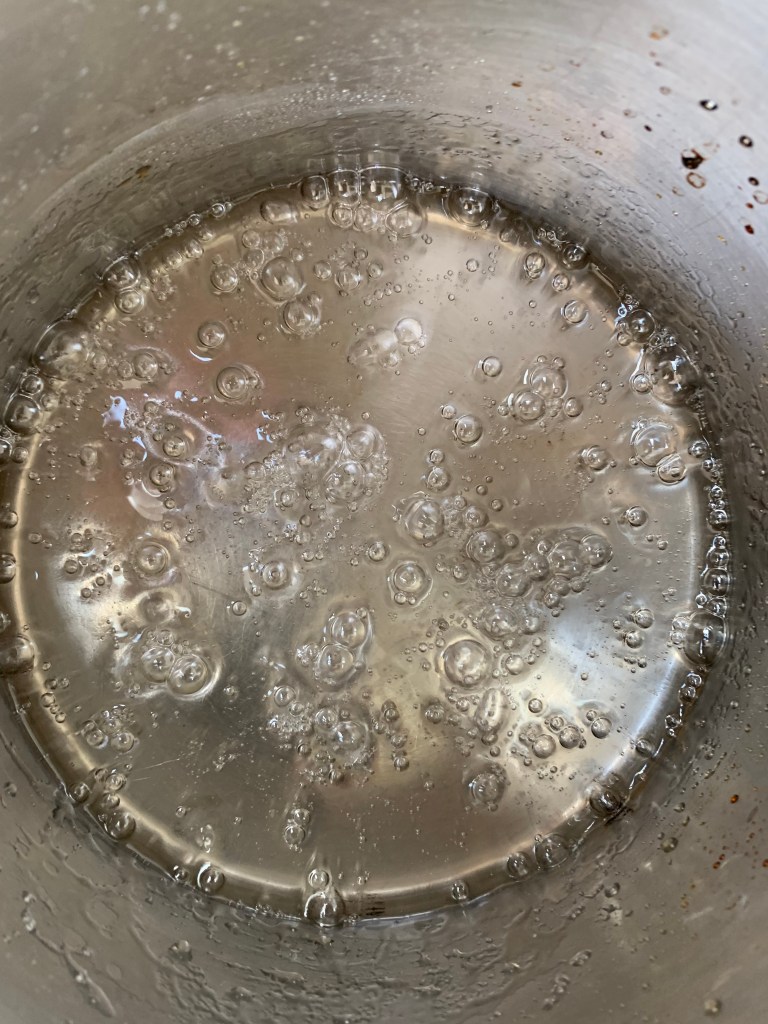
- In another pan, mix the sugar and water. Bring to the boil and cook until you have a thick syrup. Mine got as far as 111℃ on a sugar thermometer, which is the top end of the “thread” stage, before it gets to “soft ball”.
- Take your pastry out of the fridge around now.
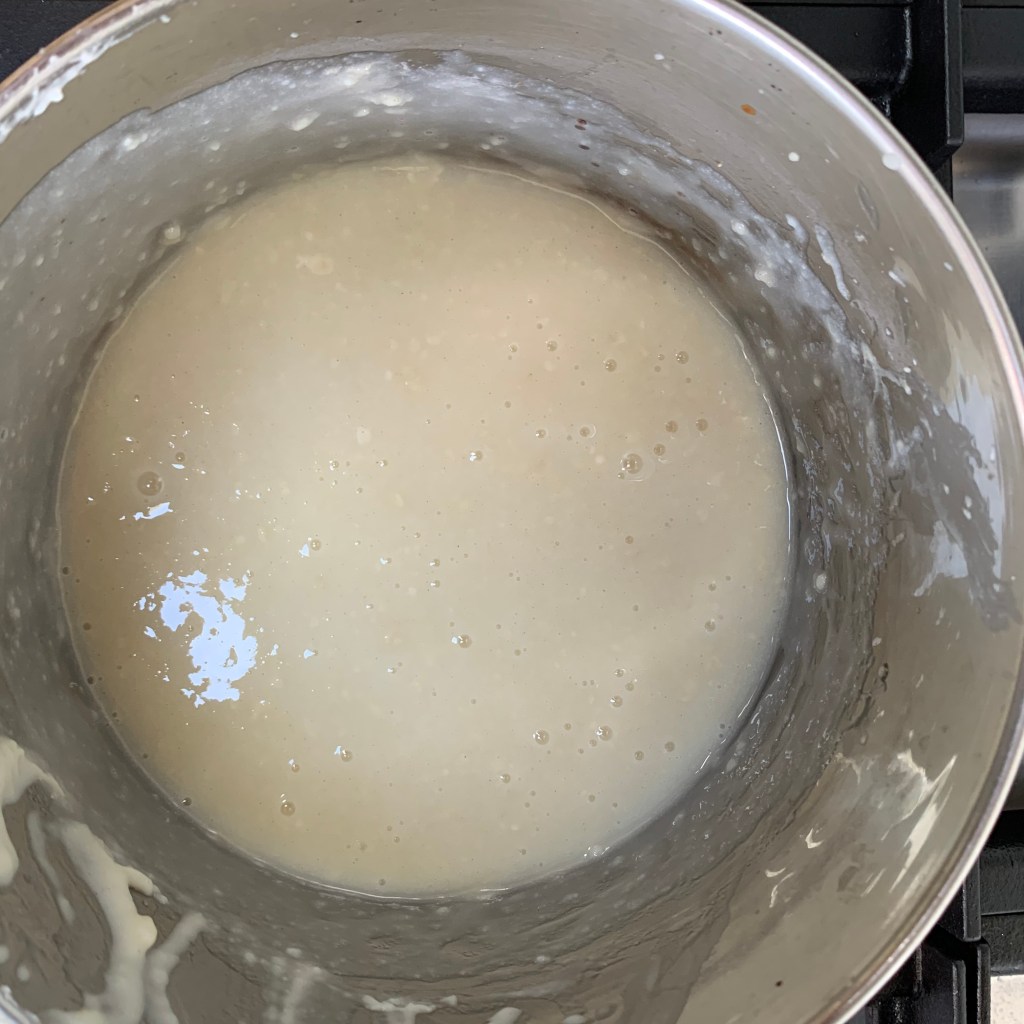
- A little at a time, dribble the syrup into your flour mix, whisking all the time. You can speed up towards the end: make sure the syrup and flour mix is as smooth as possible.
- Yes, you got it. It’s time to get the lumps out again. I did this by more frantic whisking: I suspect that passing it through a sieve might have been less work, at the cost of a bit of wastage and more washing up.
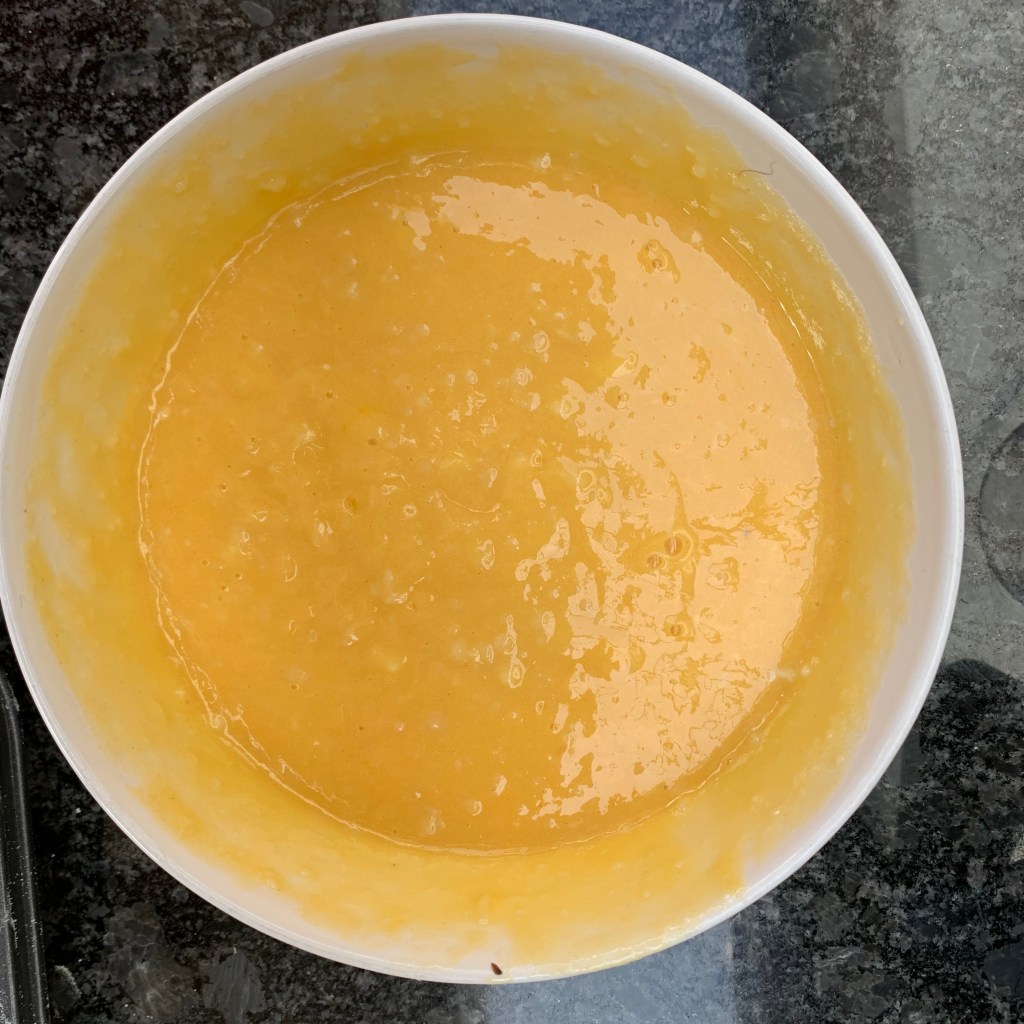
- Add the egg yolks and whisk until smooth
Assembly
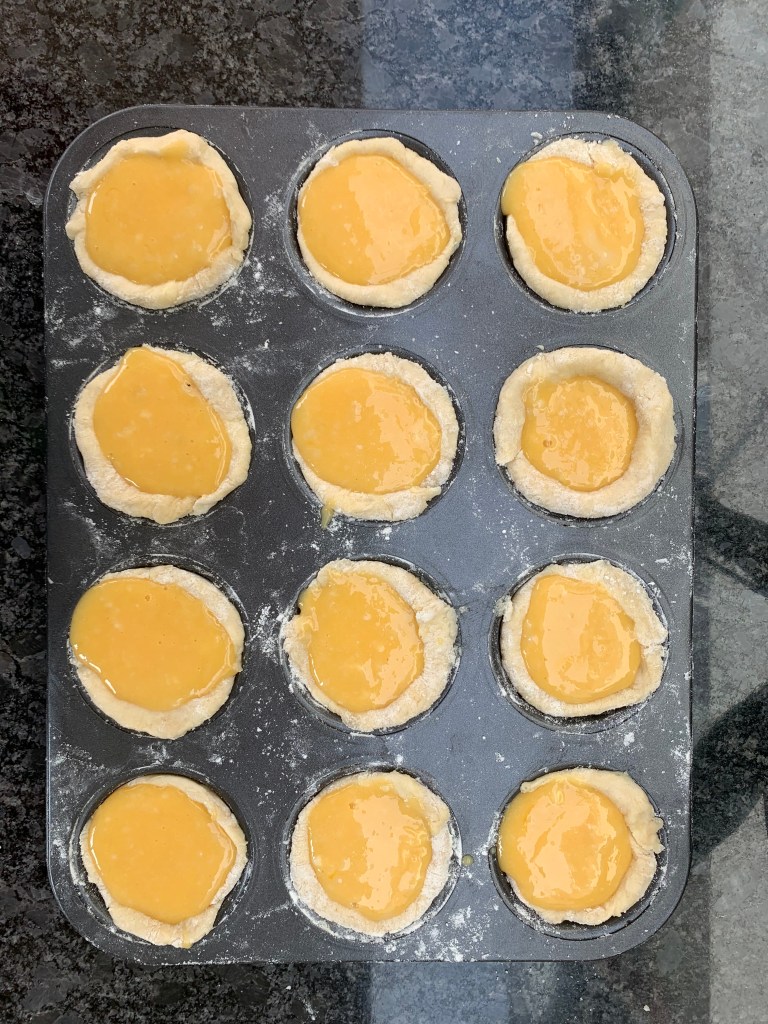
- Pour the custard into the tartlets
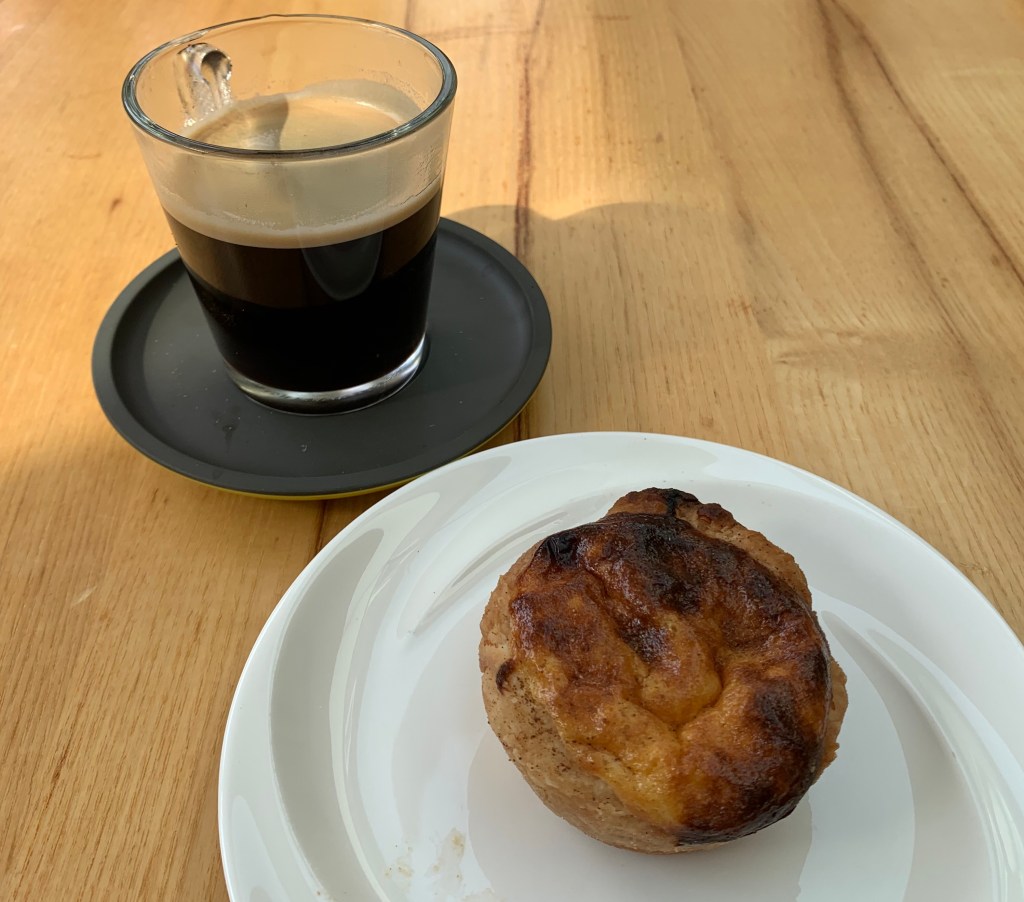
- Bake for around 15 minutes. The custard should have blobs that are dark brown, on the verge of burning but not quite there; the pastry around the edges should look golden and flaky.
- Dust with a little cinnamon.
- Leave to cool for at least 10 minutes before serving. Pastéis de nata are fabulous straight out of the oven, but you don’t want to burn your tongue. Of course, you can have them cold later.
- The Portuguese would never pass up a chance to have these with a bica (short espresso).

These look delicious! I love the focus of your site!
LikeLike