Month: March 2021

Around the world in 80 bakes, no.53: Kozunak – Bulgarian Easter Bread

Around the world in 80 bakes, no.53: Kozunak – Bulgarian Easter Bread

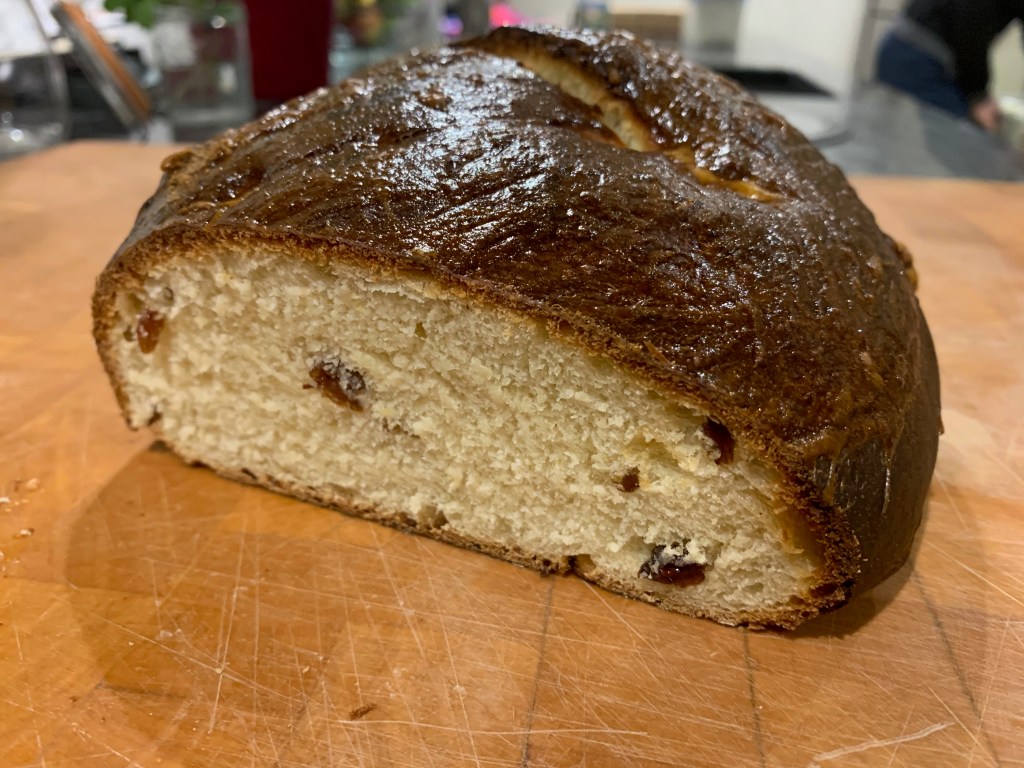
Most Christian countries have some form of enriched bread that they bake for Easter: there’s the Greek Tsoureki, Italian Pane di Pasqua, German Osterbrot, Russian Kulich, English Hot Cross Buns, Paraguayan Chipa – there are dozens more. Since it’s coming up to Easter and I needed a country that I haven’t yet visited on this round the world trip, I’ve gone for Kozunak, the version that’s popular in Bulgaria  (and, indeed, in Romania, Serbia and other Balkan countries.

This is a braided loaf, not so far off a Jewish Challah, but sweeter and with the addition of  lemon and rum-soaked raisins. It’s not massively difficult in essence, but set aside a good amount of time for the three rises that will be needed. I’ve started with a recipe from The Spruce Eats (another of Barbara Rolek’s), halved the quantities as best I could, and broken the recipe up into several stages so that it’s easier to see which ingredients you need for which stage.

My one moan about this recipe is that it uses heroic numbers of small bowls. If you hate washing up, this probably isn’t one for you, or you might want to reshuffle the exact order of the processes a bit.
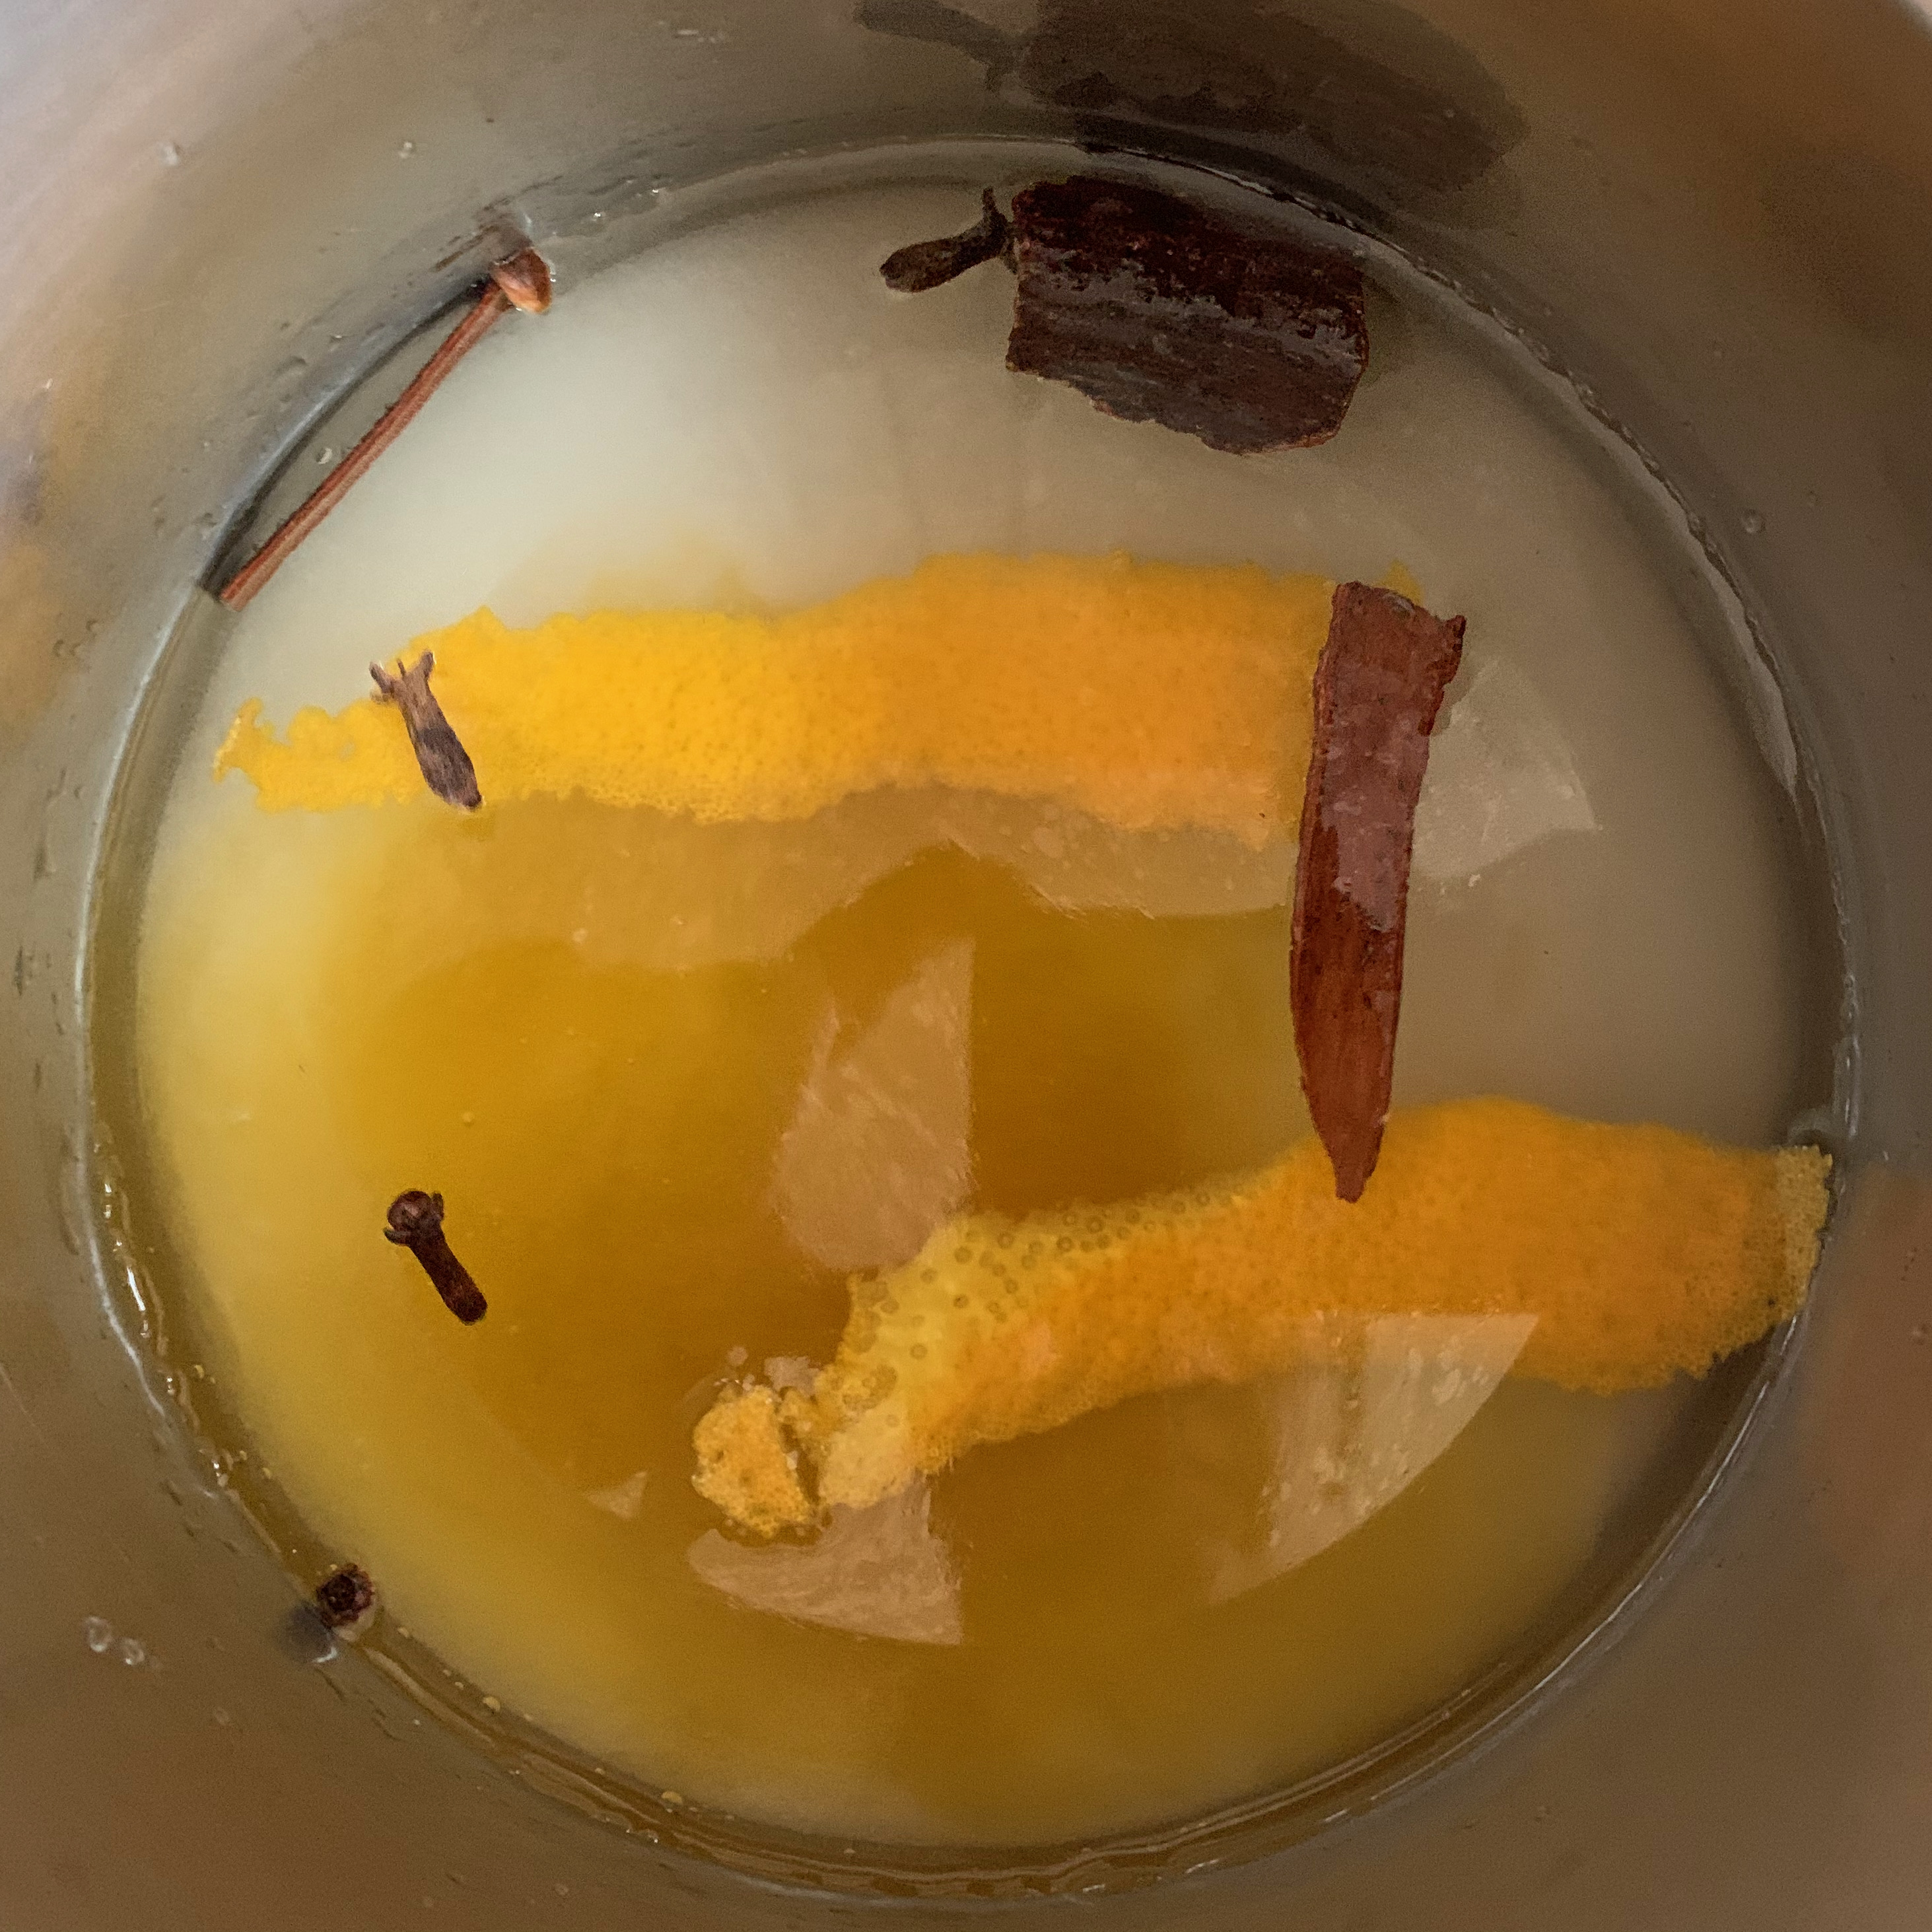
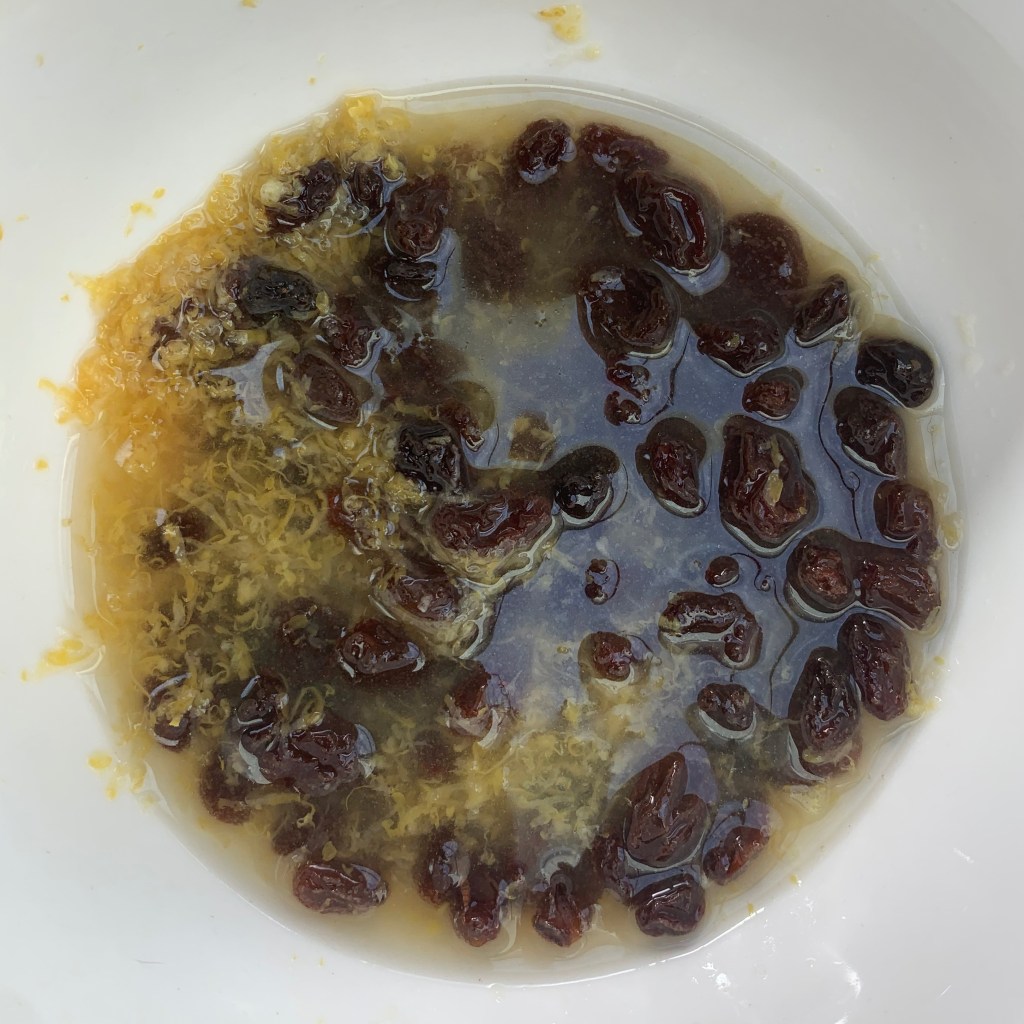
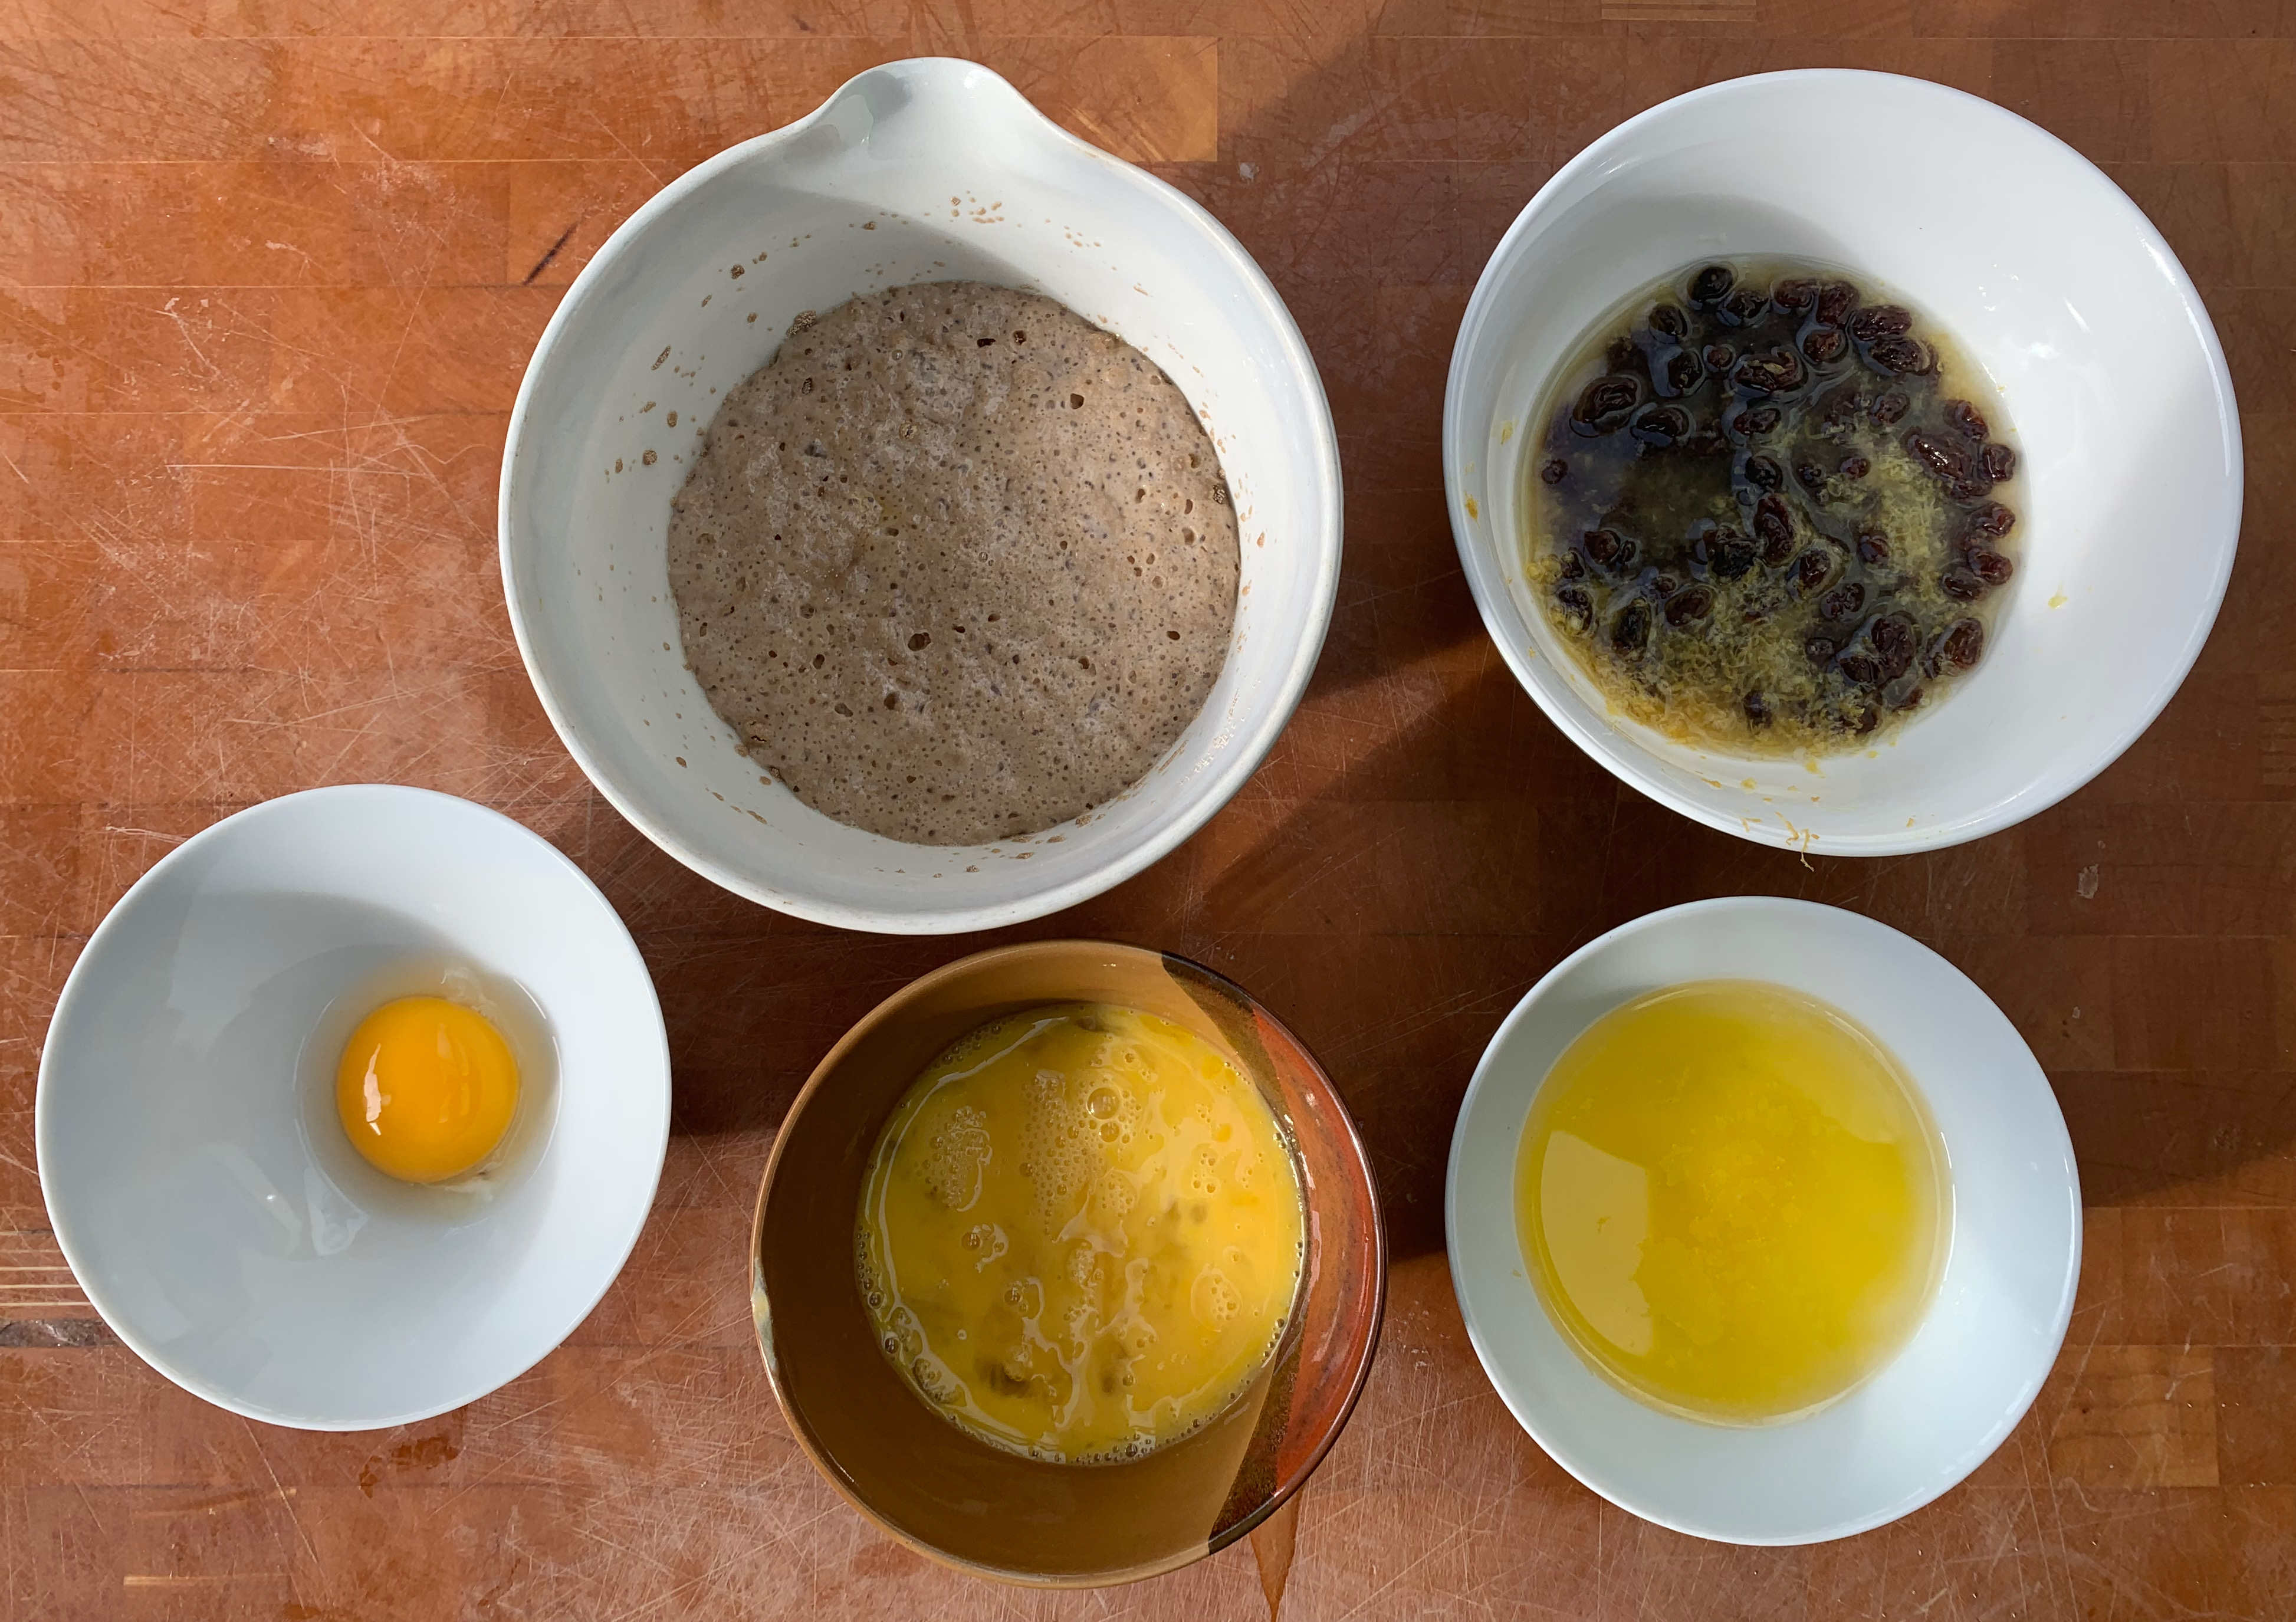
The raisins

  • 1 lemon
  • 30 ml rum
  • 50g raisins
  1. Grate the lemon zest into a small bowl
  2. Juice around half the lemon and add it to the bowl (I ended up with about 30ml)
  3. Add the rum and raisins to the bowl and mix
  4. Leave to stand until needed

Yeast mix

  • 90ml milk
  • 1 egg (you’ll use half at this stage, half later)
  • 7g yeast
  • 10g sugar
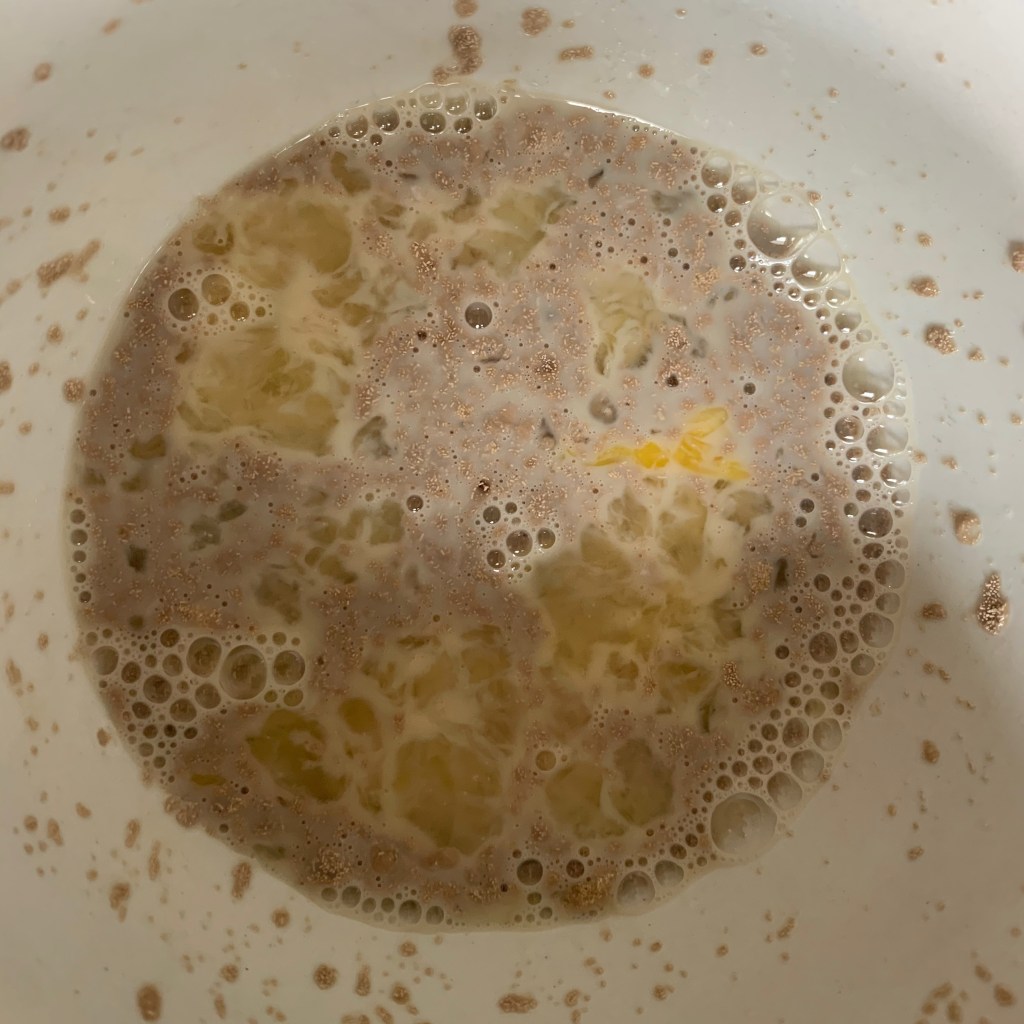
  1. Warm the milk to just below boiling – say 80℃. Pour it into a small bowl. (Note: it’s sensible to put this straight into the bowl of your stand mixer, which I didn’t do)
  2. Beat the egg in a small bowl
  3. Once the milk has cooled to around 40℃, add the yeast, sugar and around half the beaten egg. Keep the rest of the egg: you’ll be using it shortly.
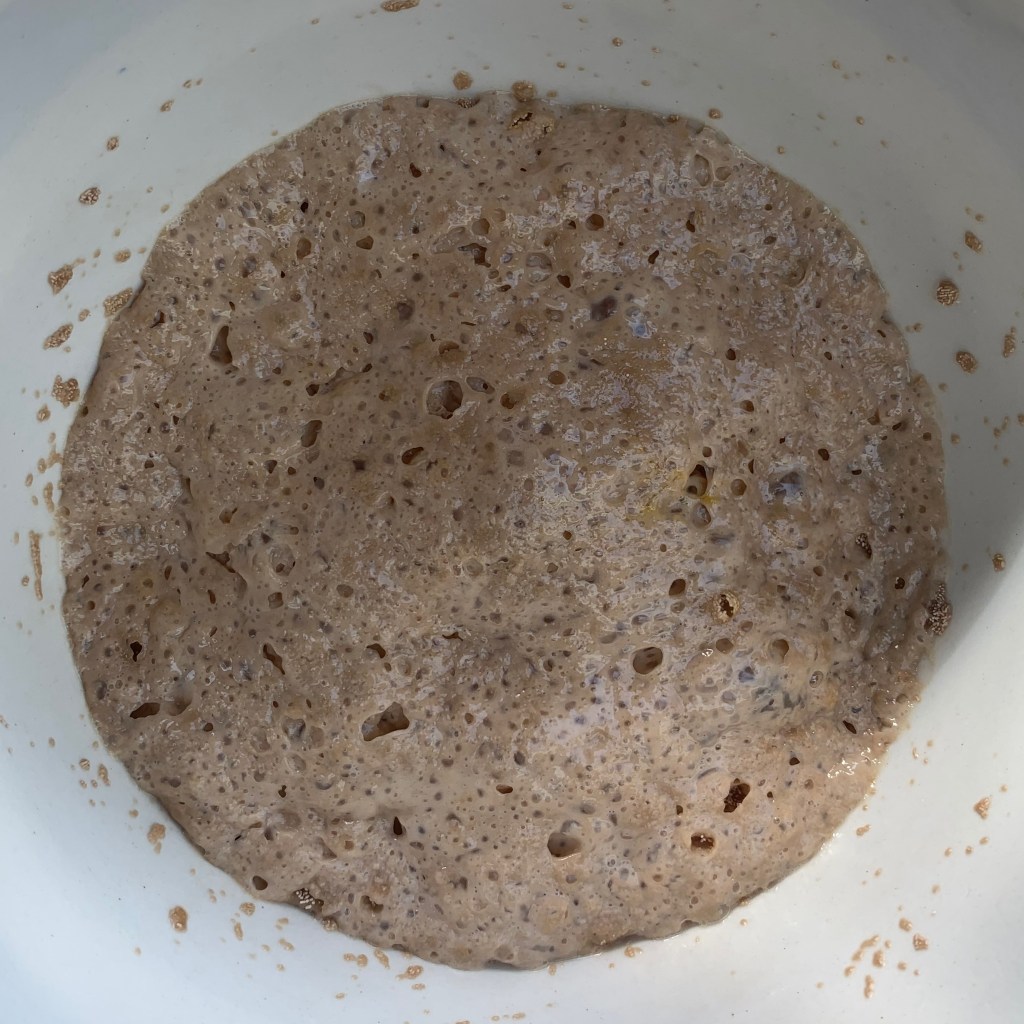
  4. Leave to stand for 20-30 minutes until the mixture is frothy.

The dough and final baking

  • 120ml milk
  • 100g sugar
  • 30g sunflower oil, plus some more for greasing
  • 30g butter
  • 2 eggs, plus the half left over from earlier
  • vanilla essence to taste
  • 600g flour
  • 10g salt
  • 20g flaked almonds
  1. Put the milk and sugar into a saucepan; warm until the sugar is dissolved. Remove from the heat.
  2. Melt the butter and mix with the oil (I use 20 seconds in the microwave, but if you don’t have one, you’ll want to use a  pan).
  3. Separate one of the eggs: reserve the yolk in a small bowl, add the white and the other egg to the half a whole egg that you had left over earlier. Add some vanilla essence and beat them together. Keep the yolk aside, covered: you’ll use it for a wash before baking.
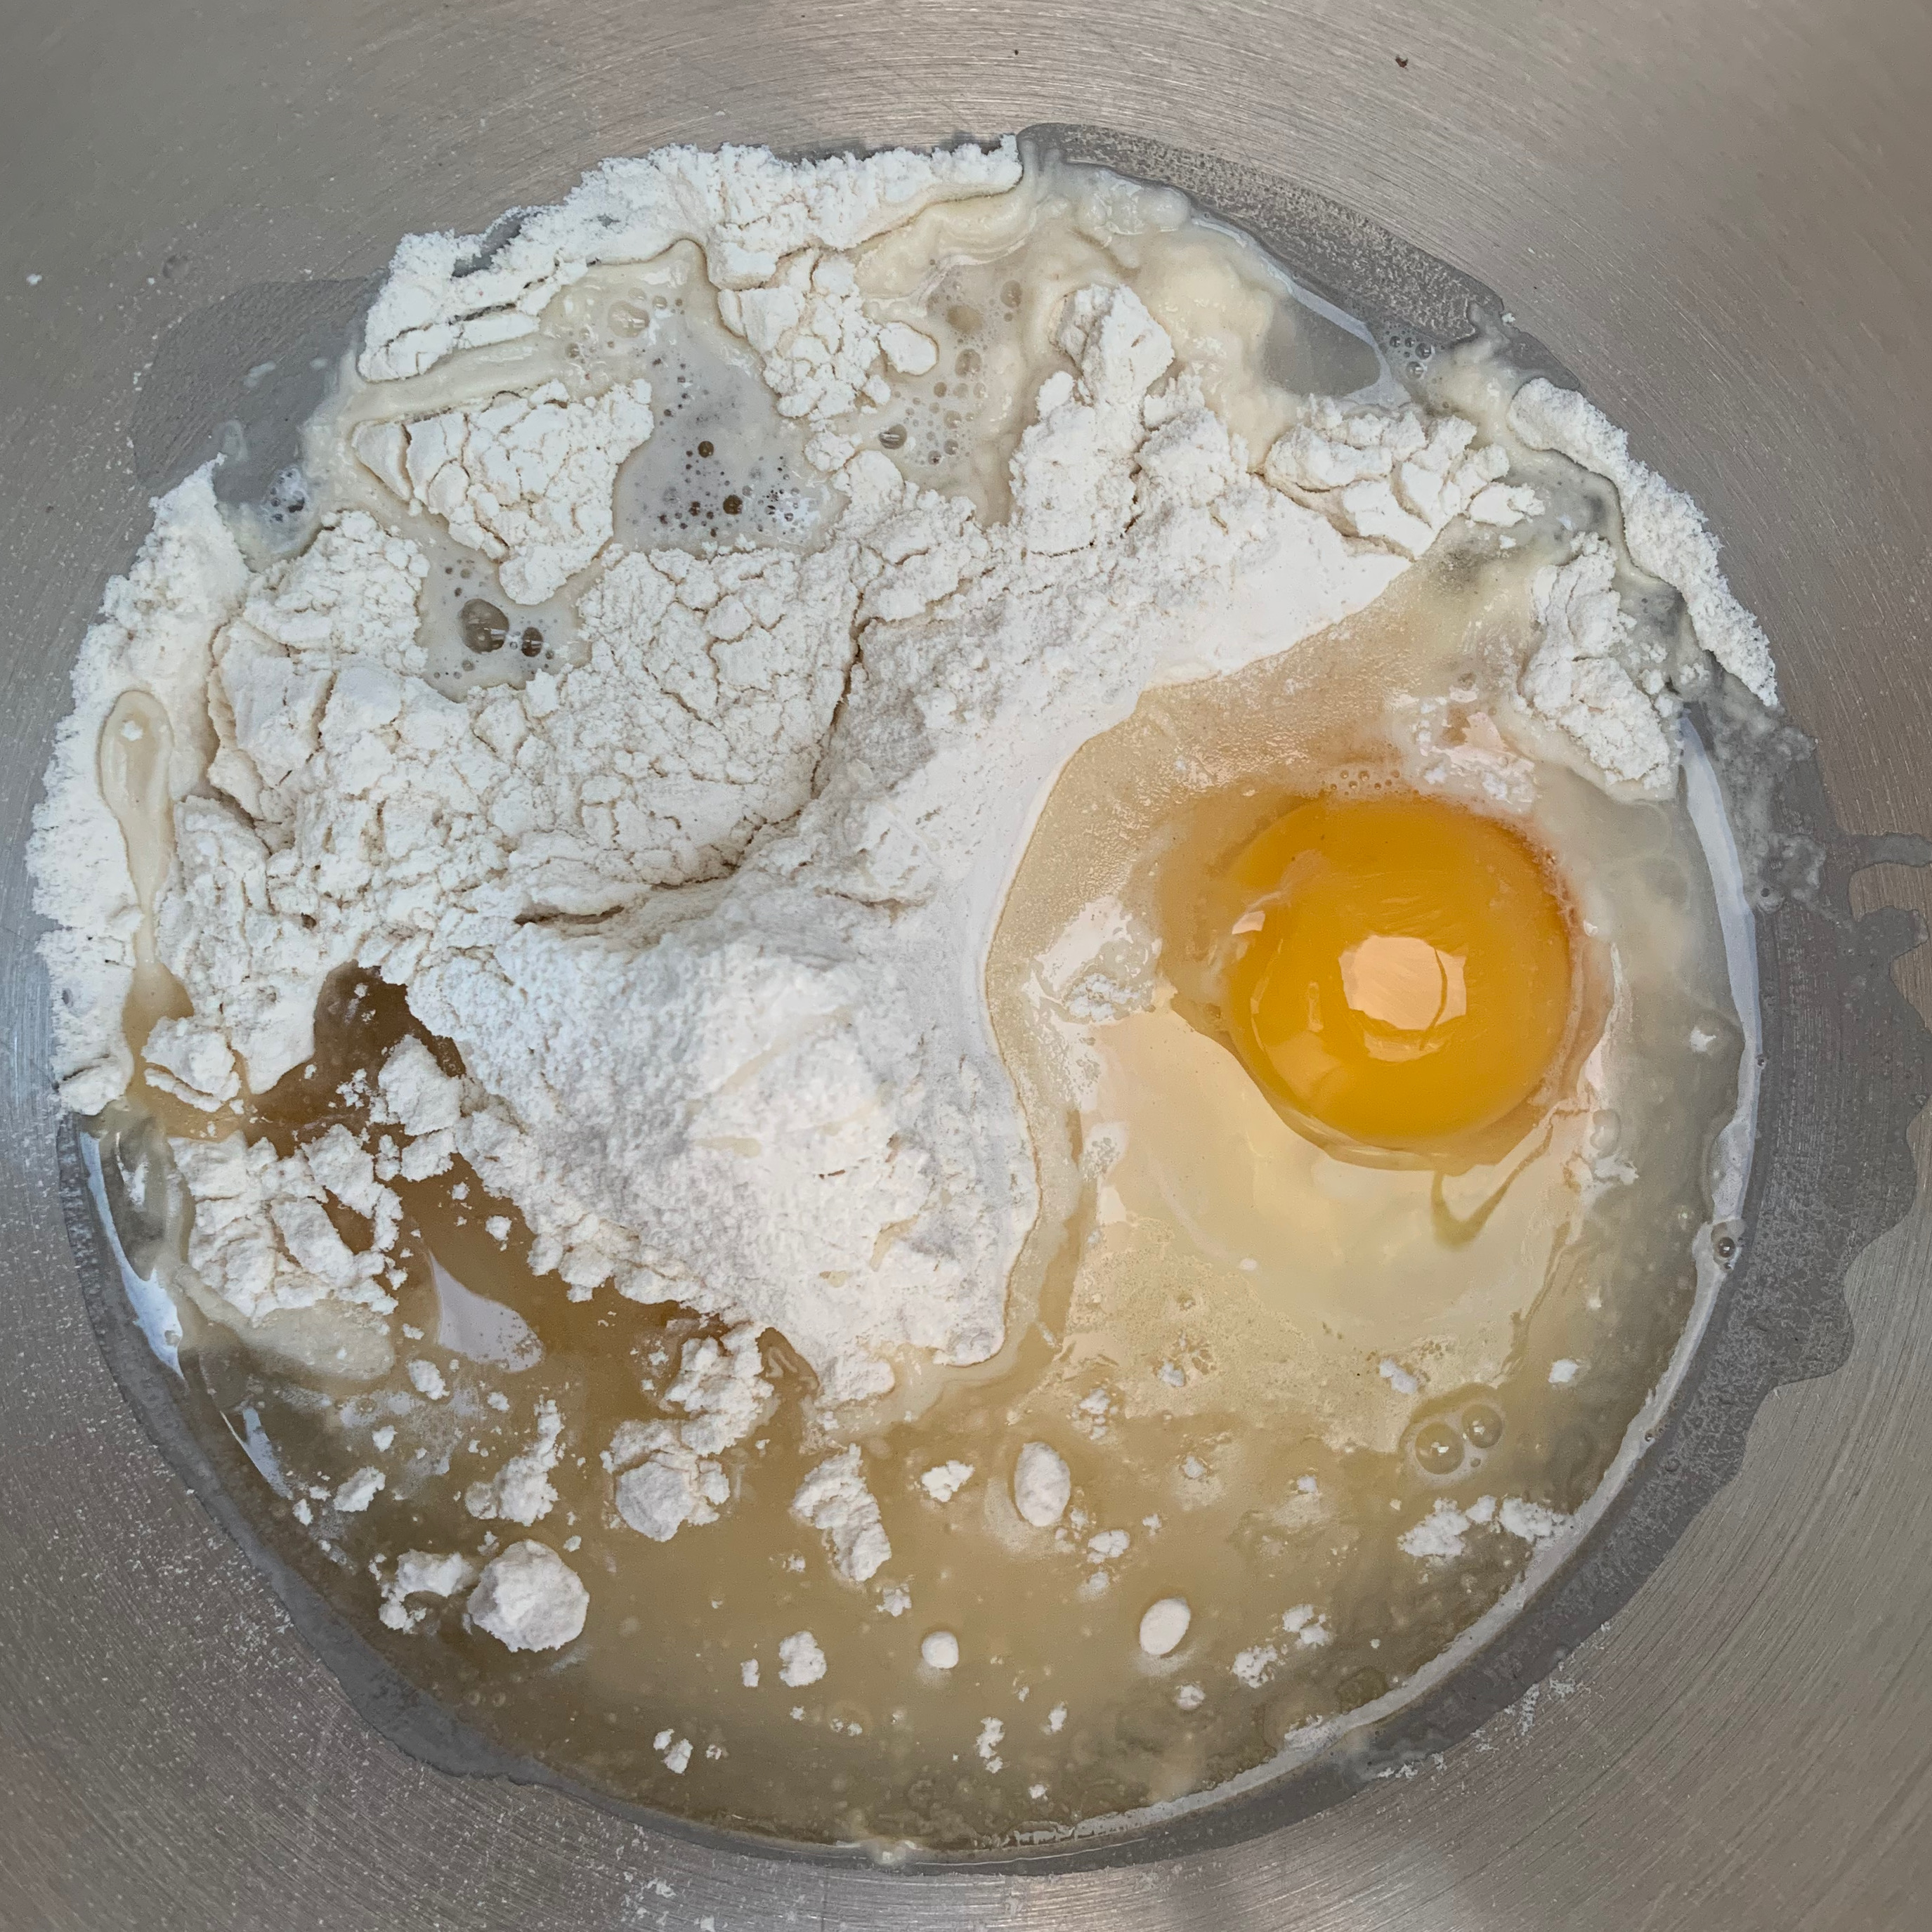
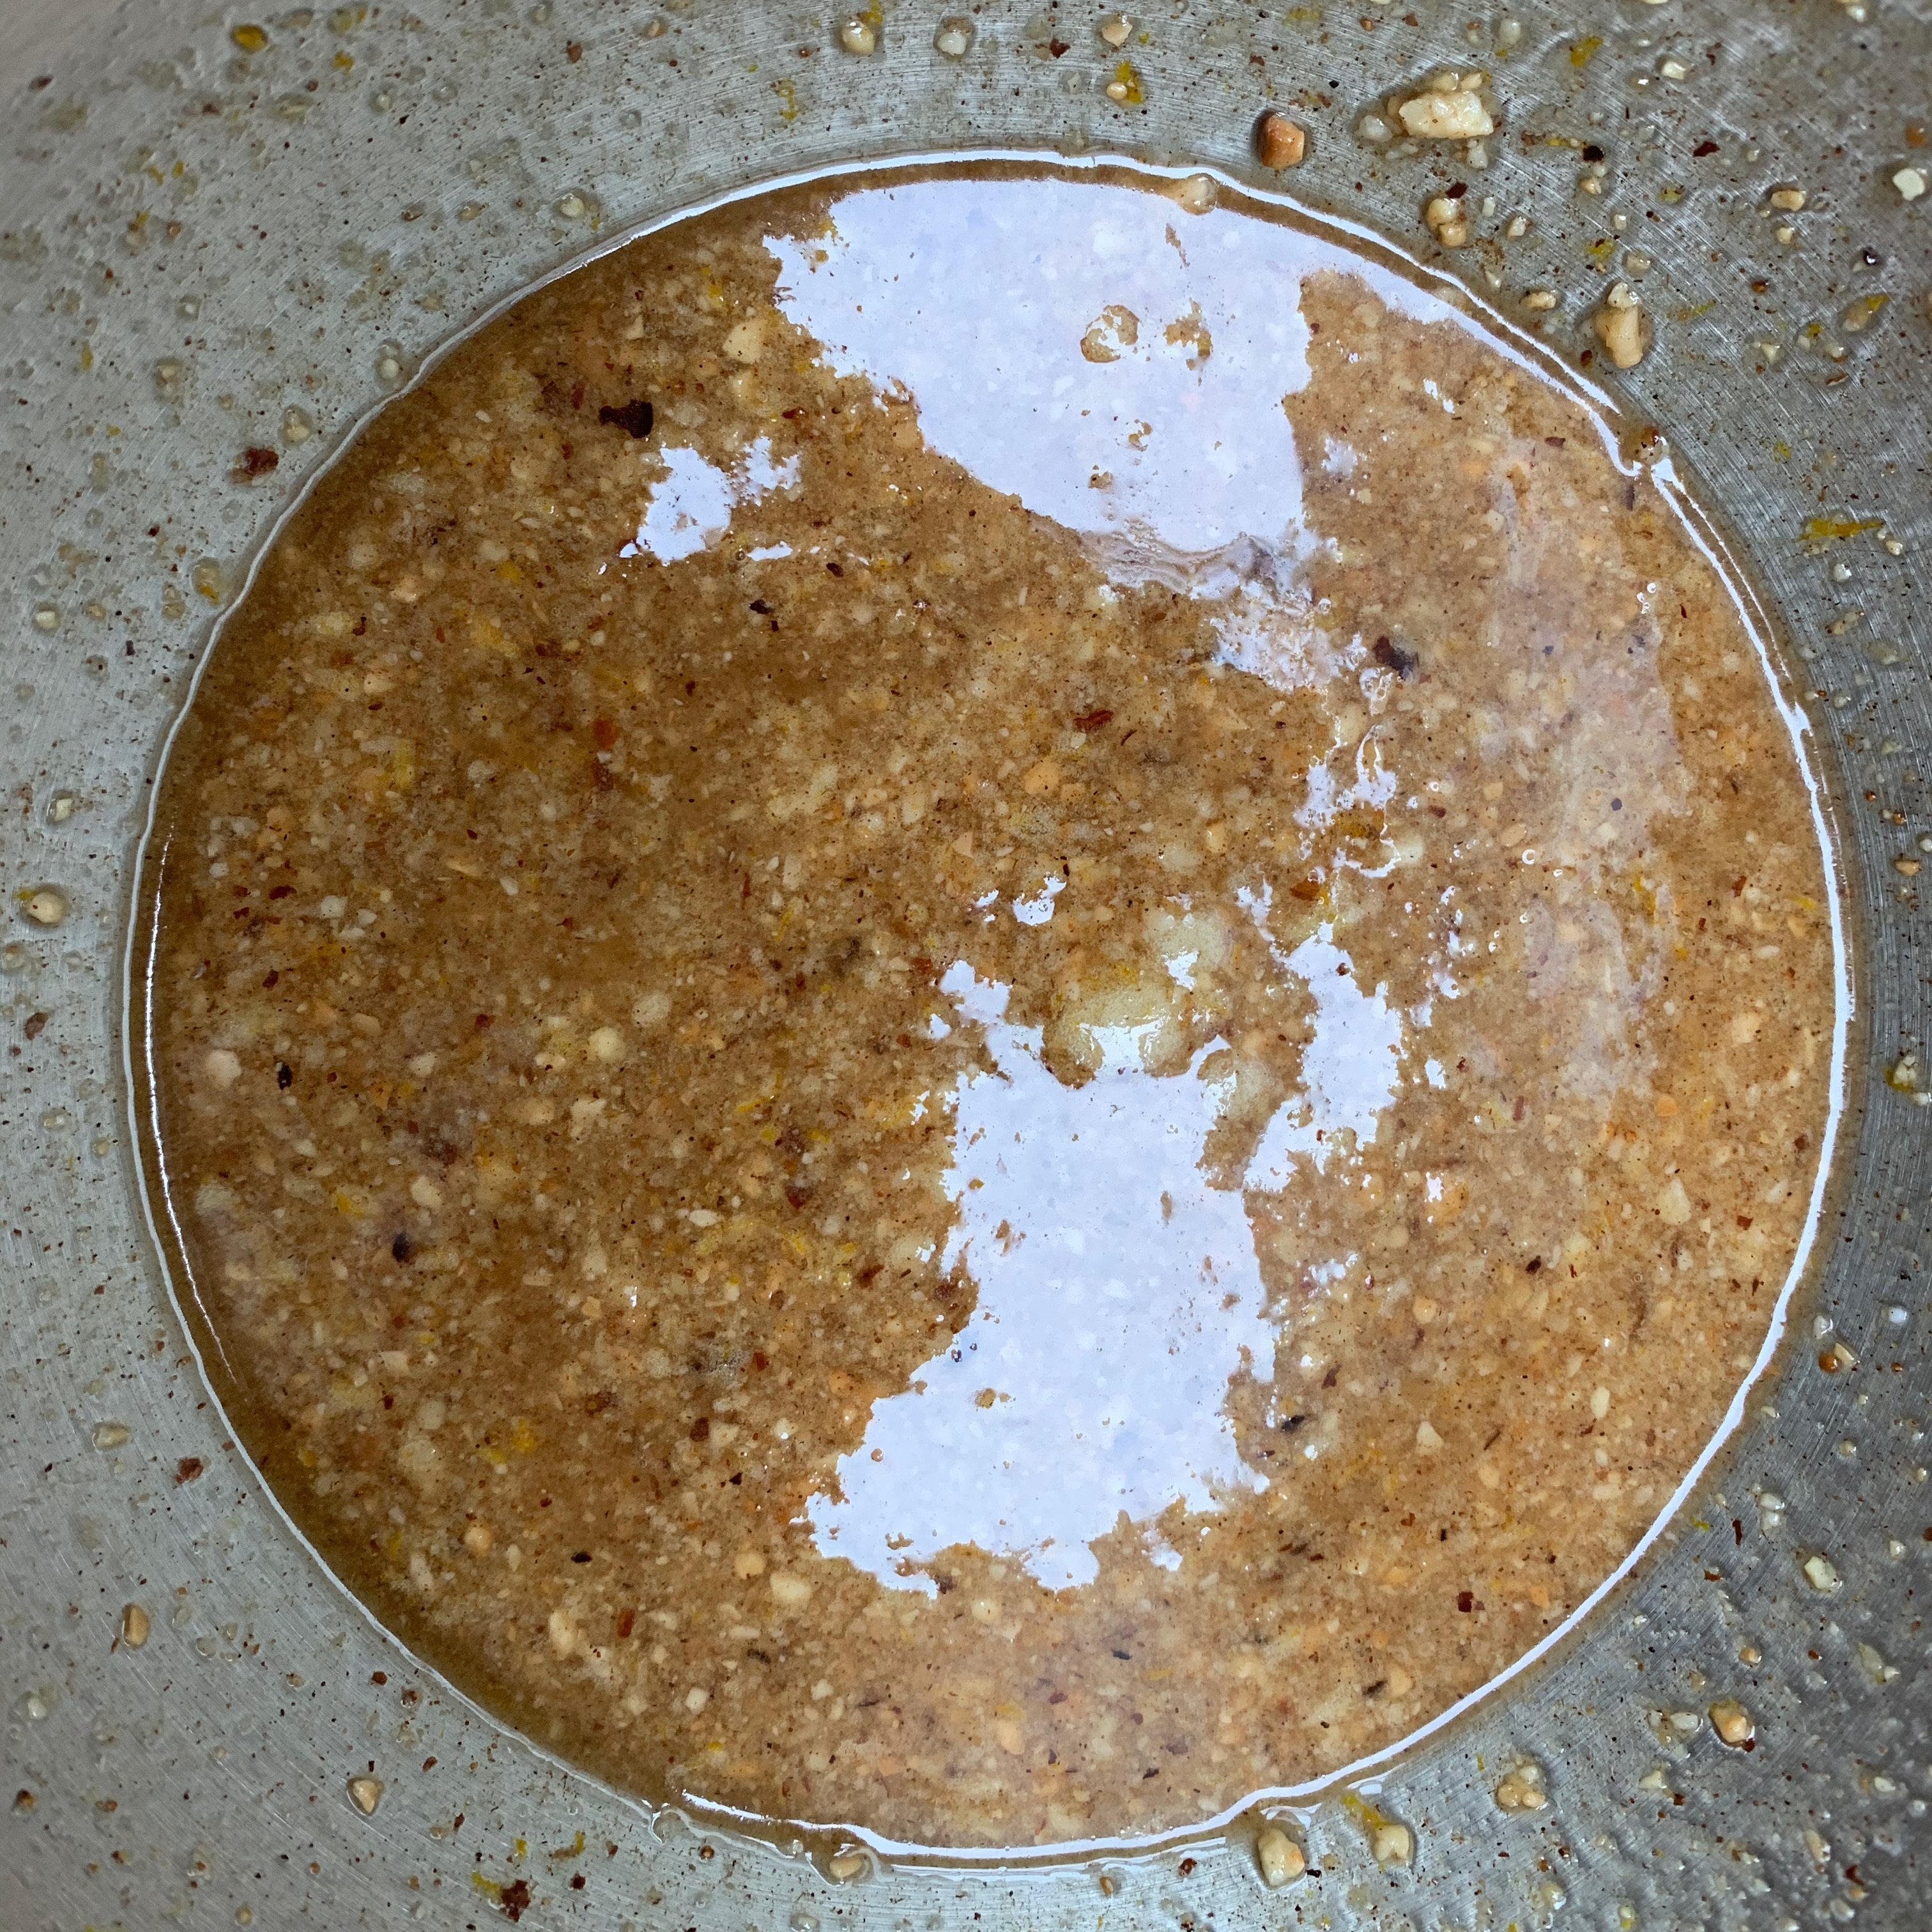
  4. Once your sweetened milk is cool and the yeast mix is frothy, you can get started on the dough. With the yeast mixture in the bowl of my stand mixer, I used the standard beater and set it going at low speed.
  5. Add the milk mixture.
  6. Add the butter/oil mixture.
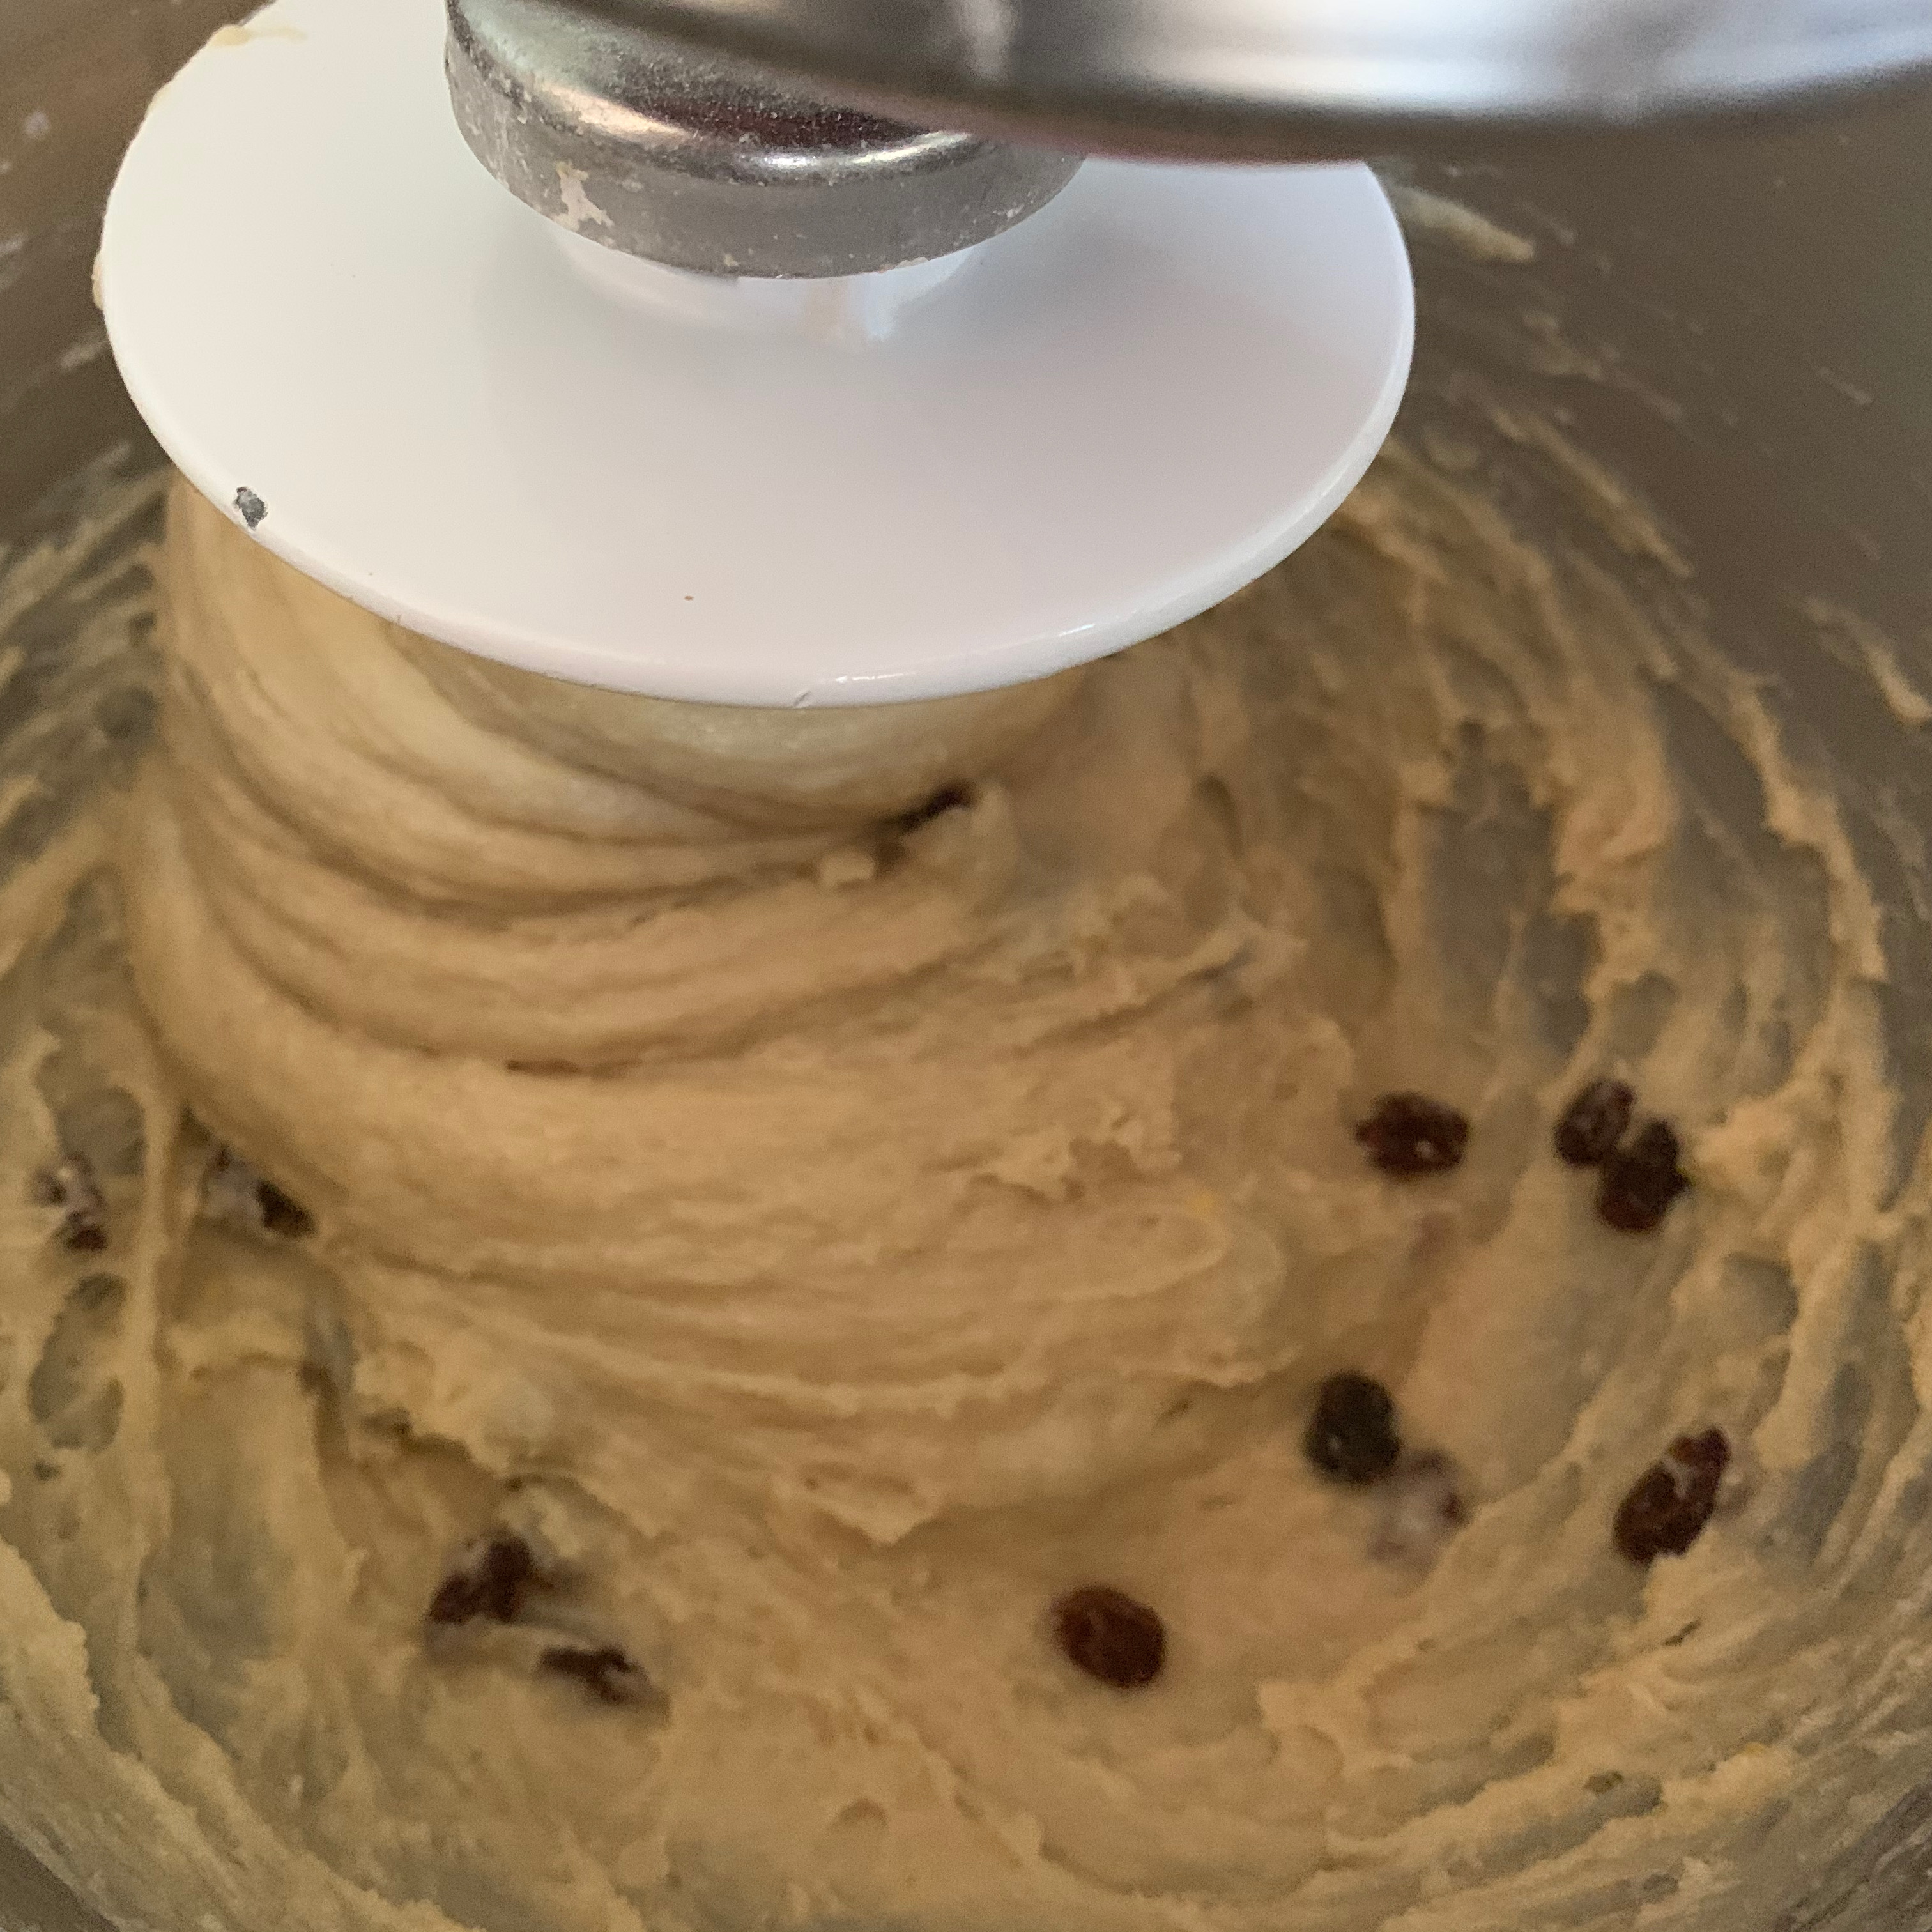
  7. Drain the raisins and add them.
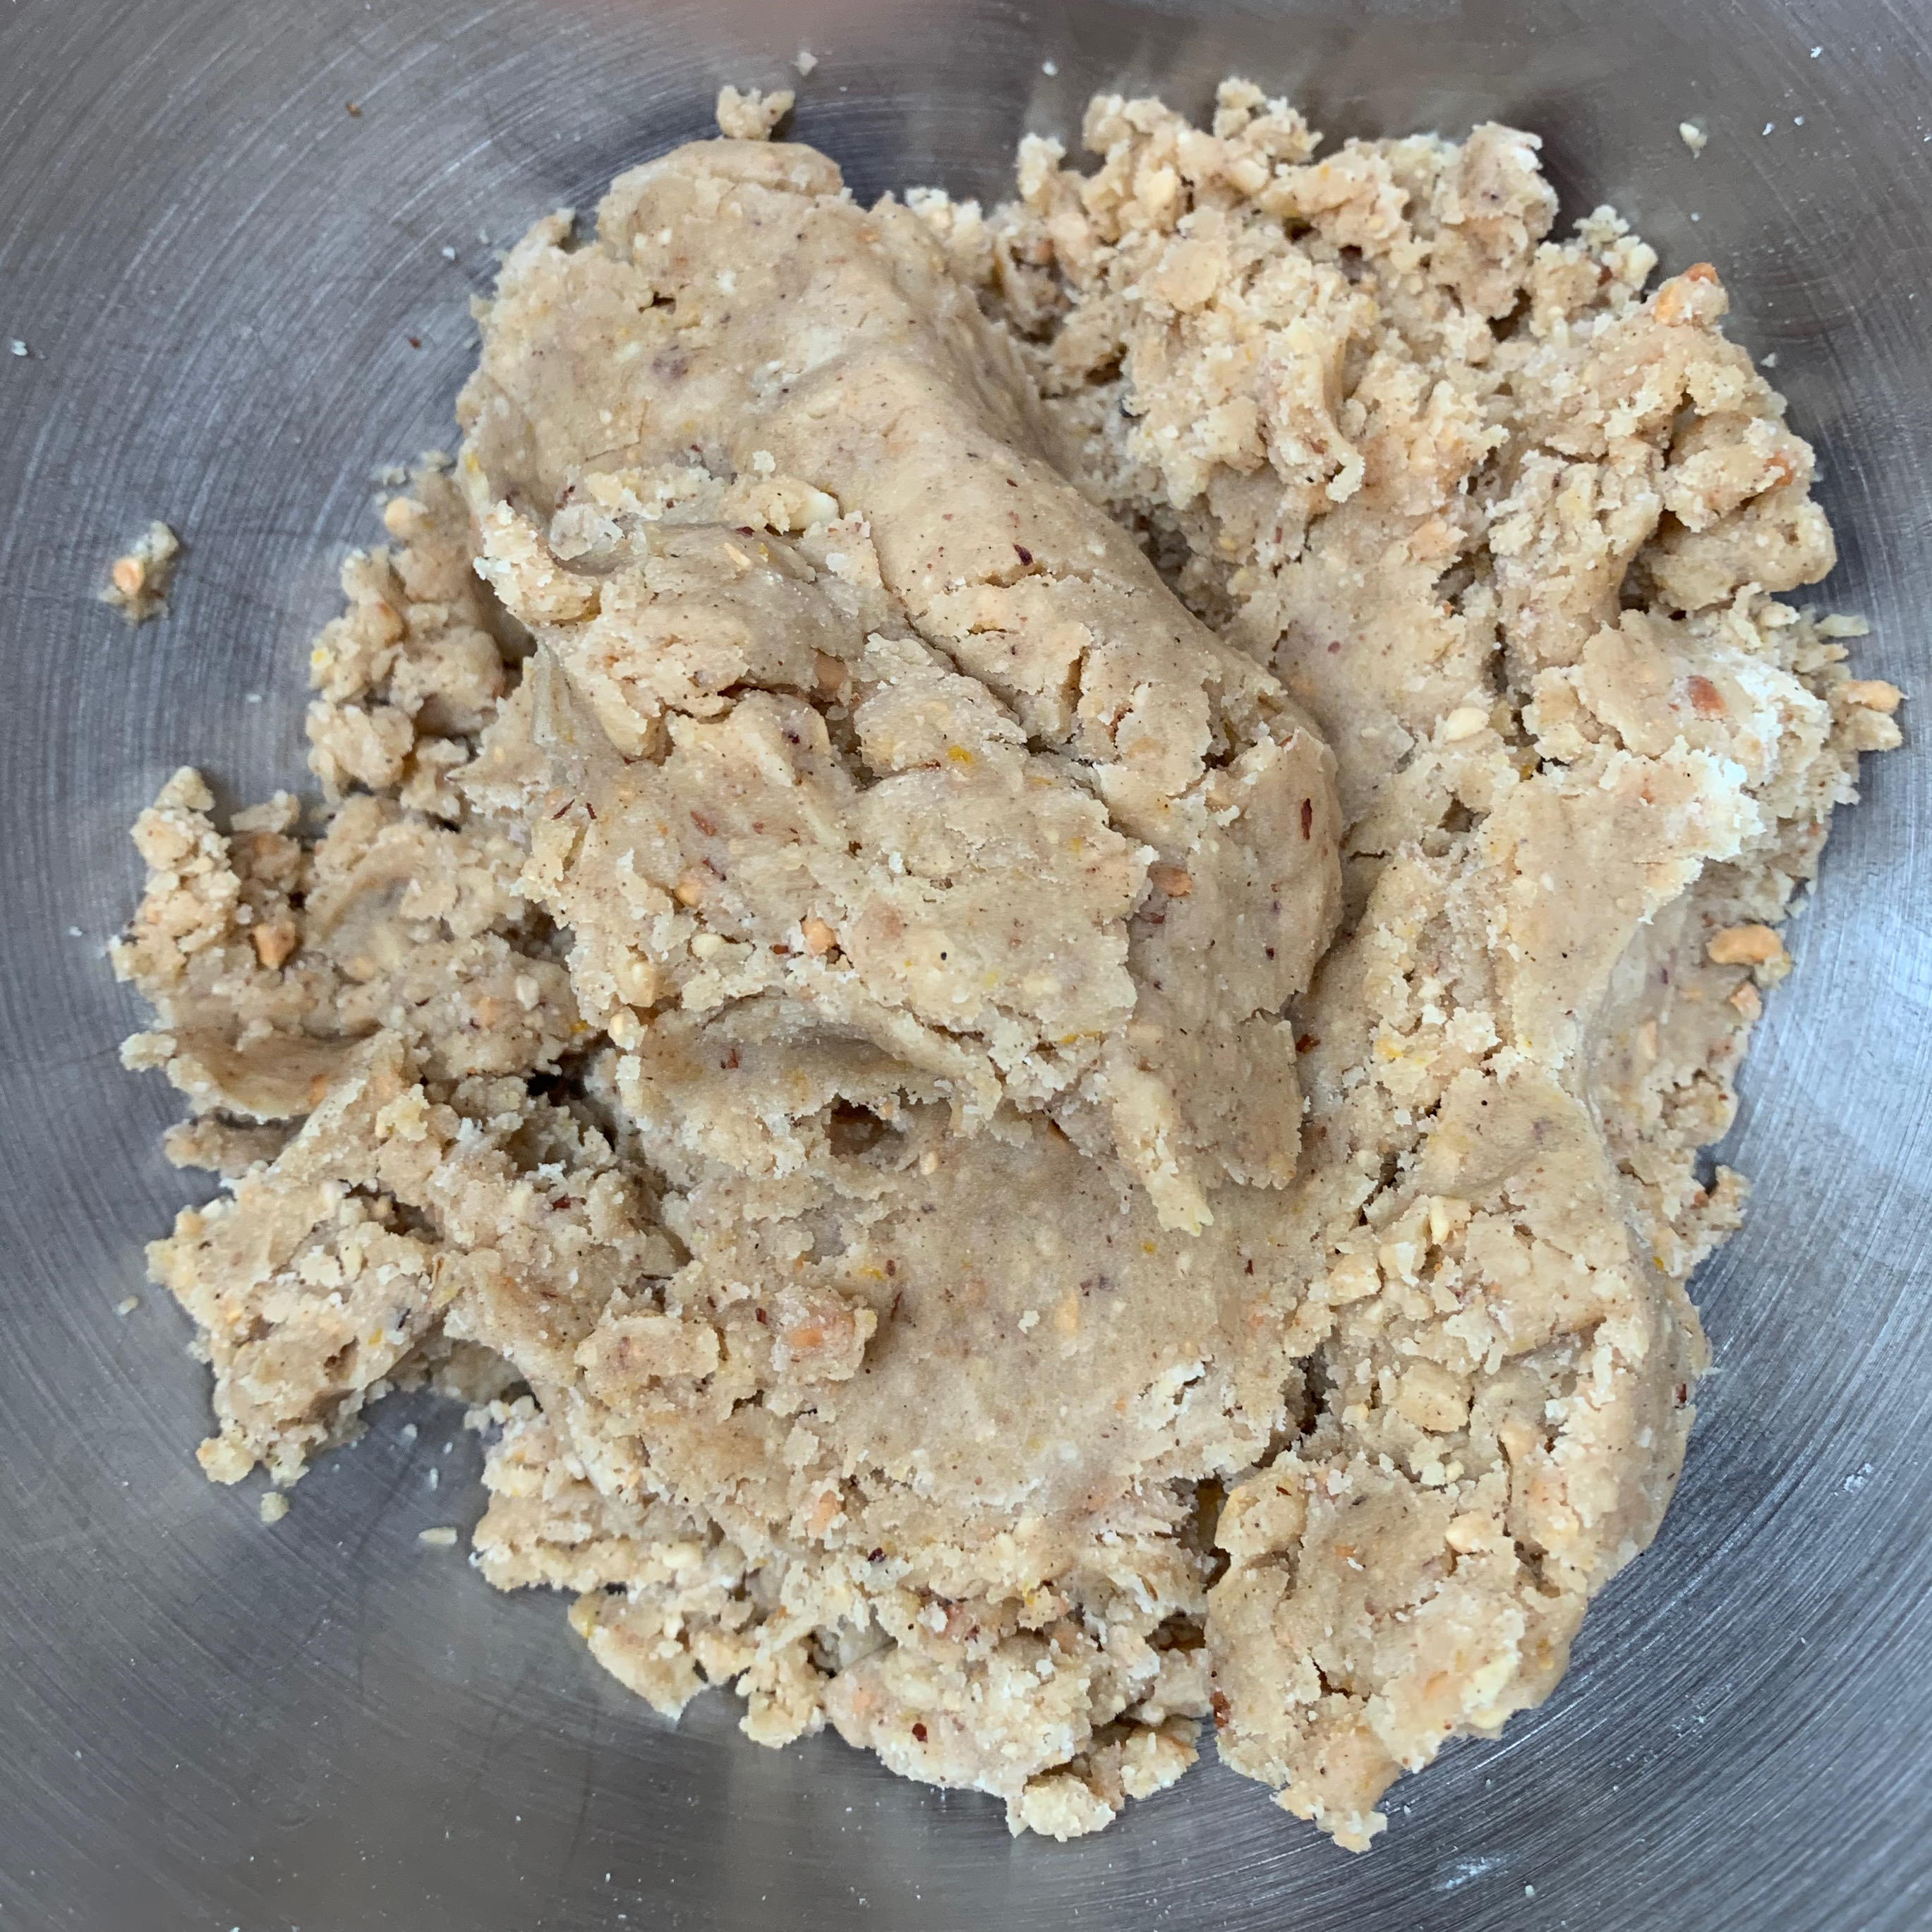
  8. Add the flour and salt. Mix until all the ingredients are combined.
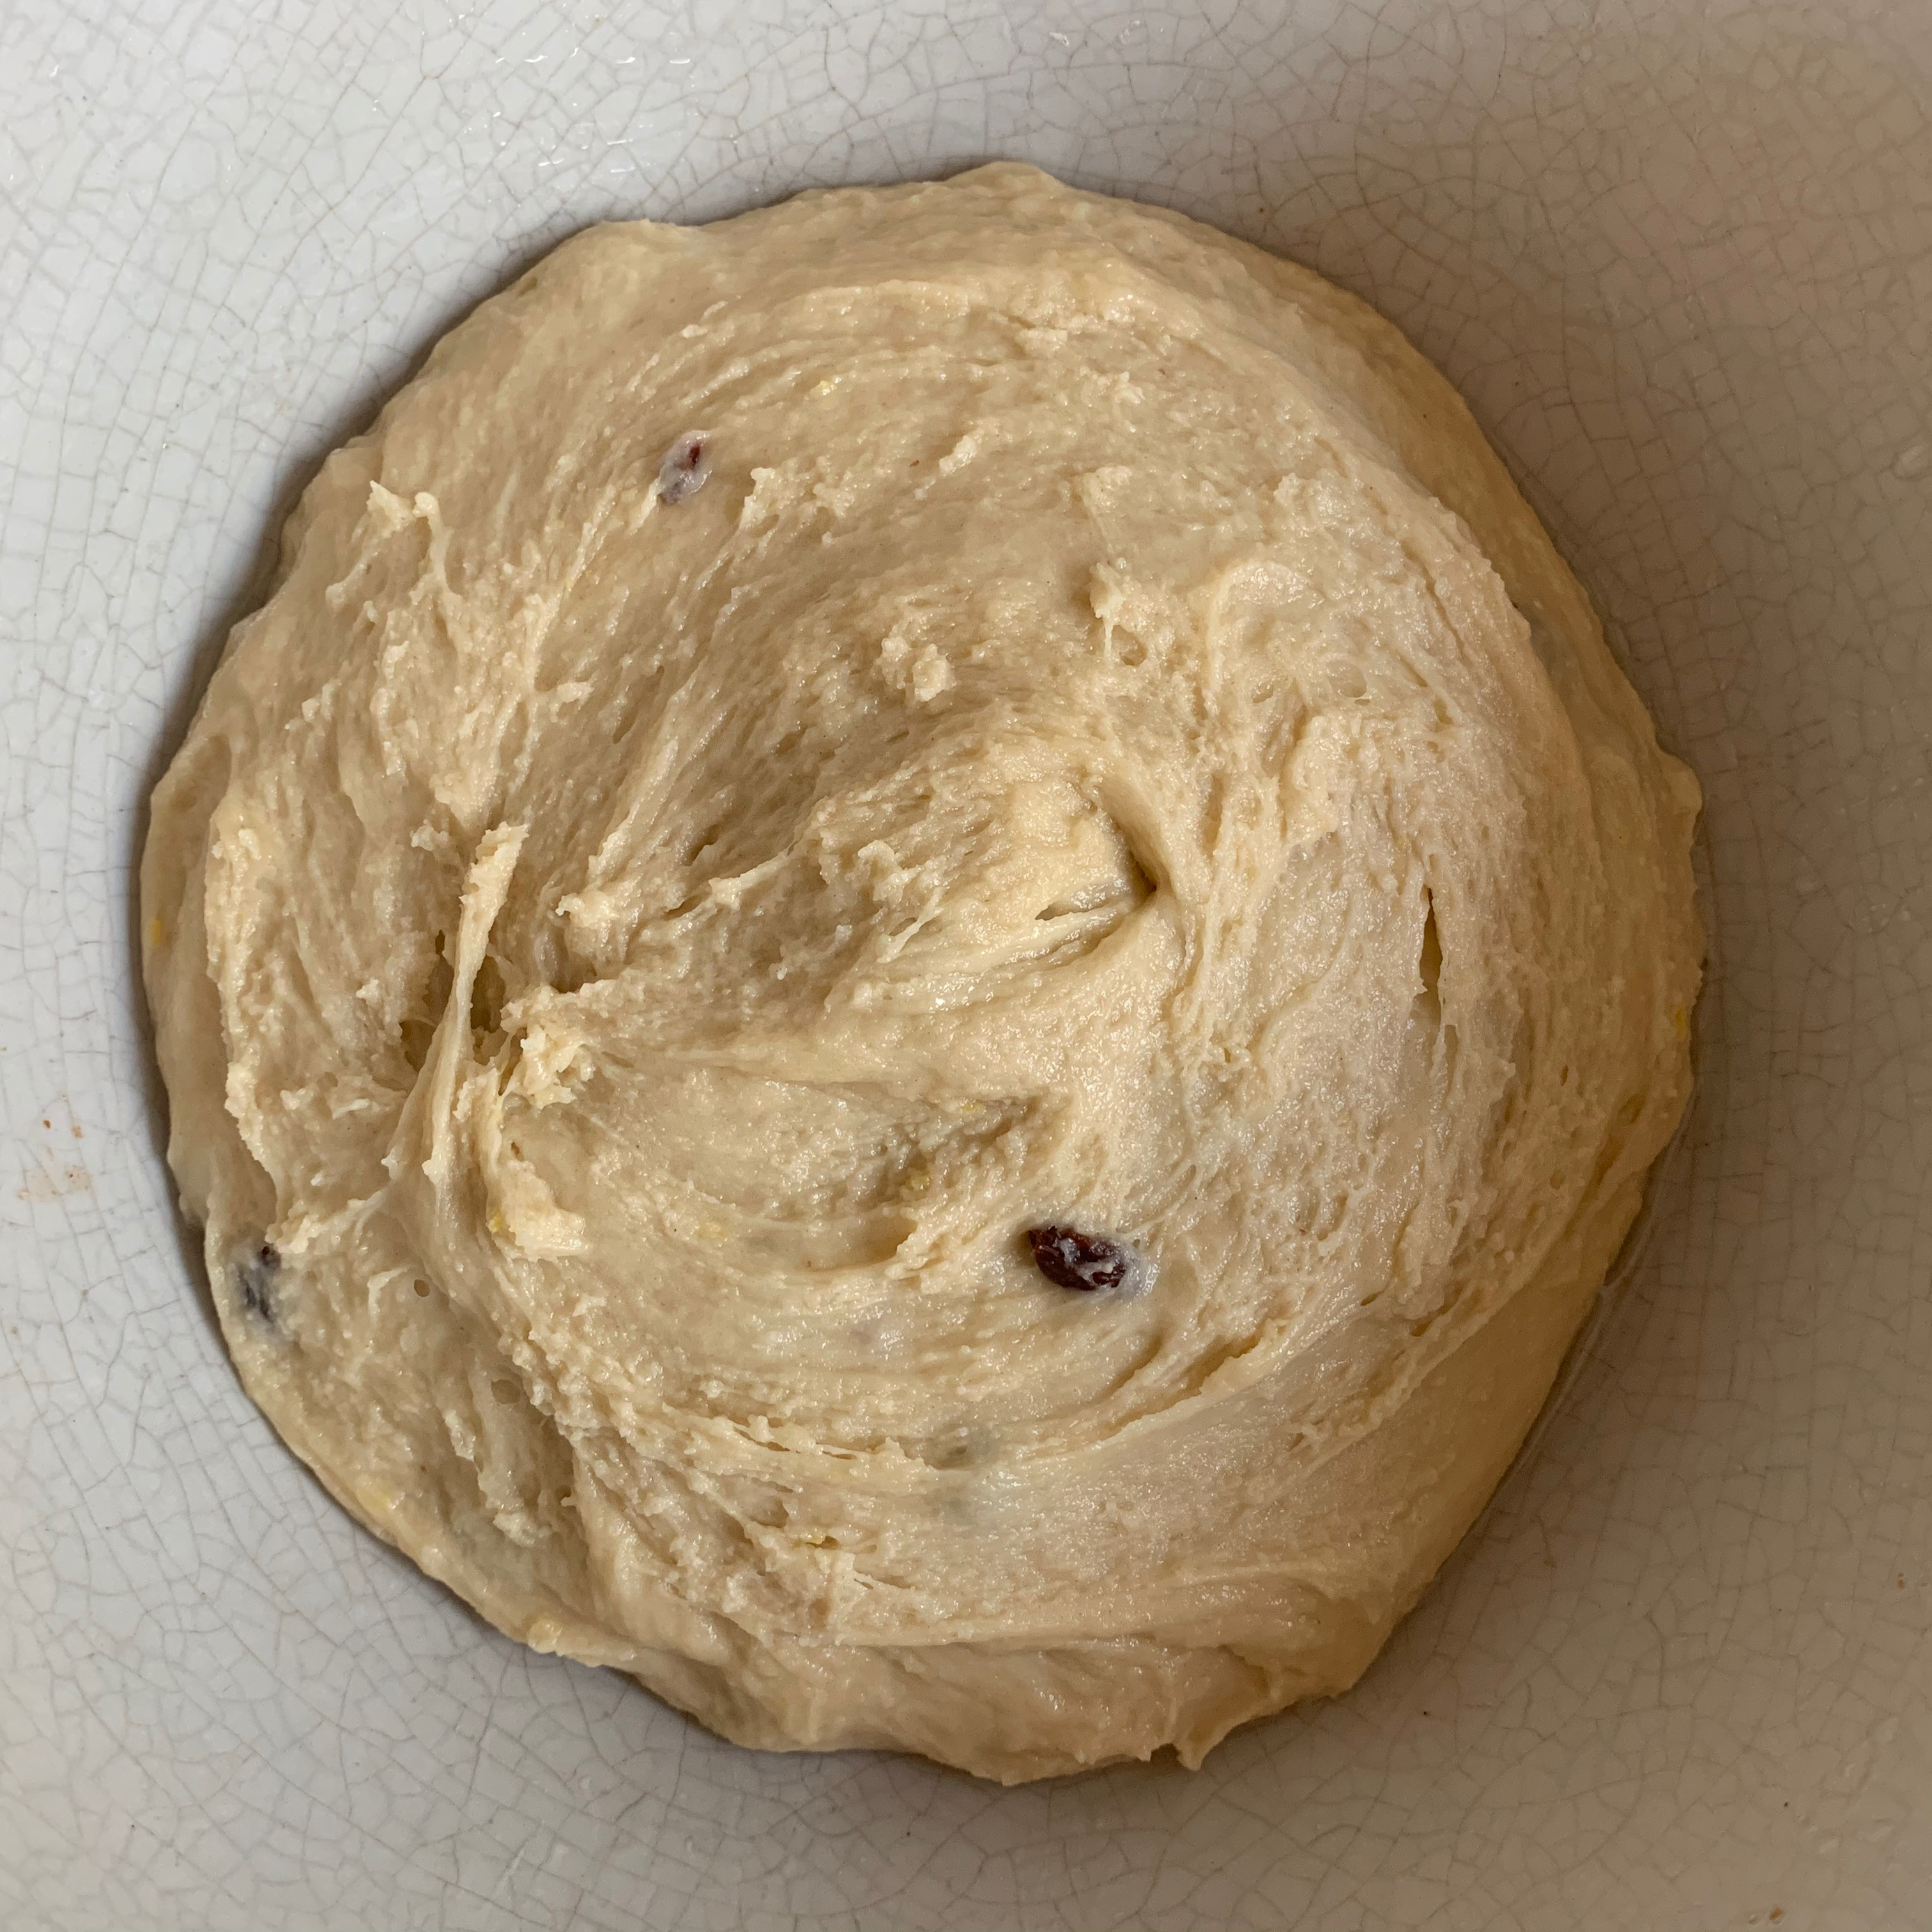
  9. Switch to the dough hook and knead for around 5 minutes until the dough is very elastic
  10. Grease a bowl with oil.
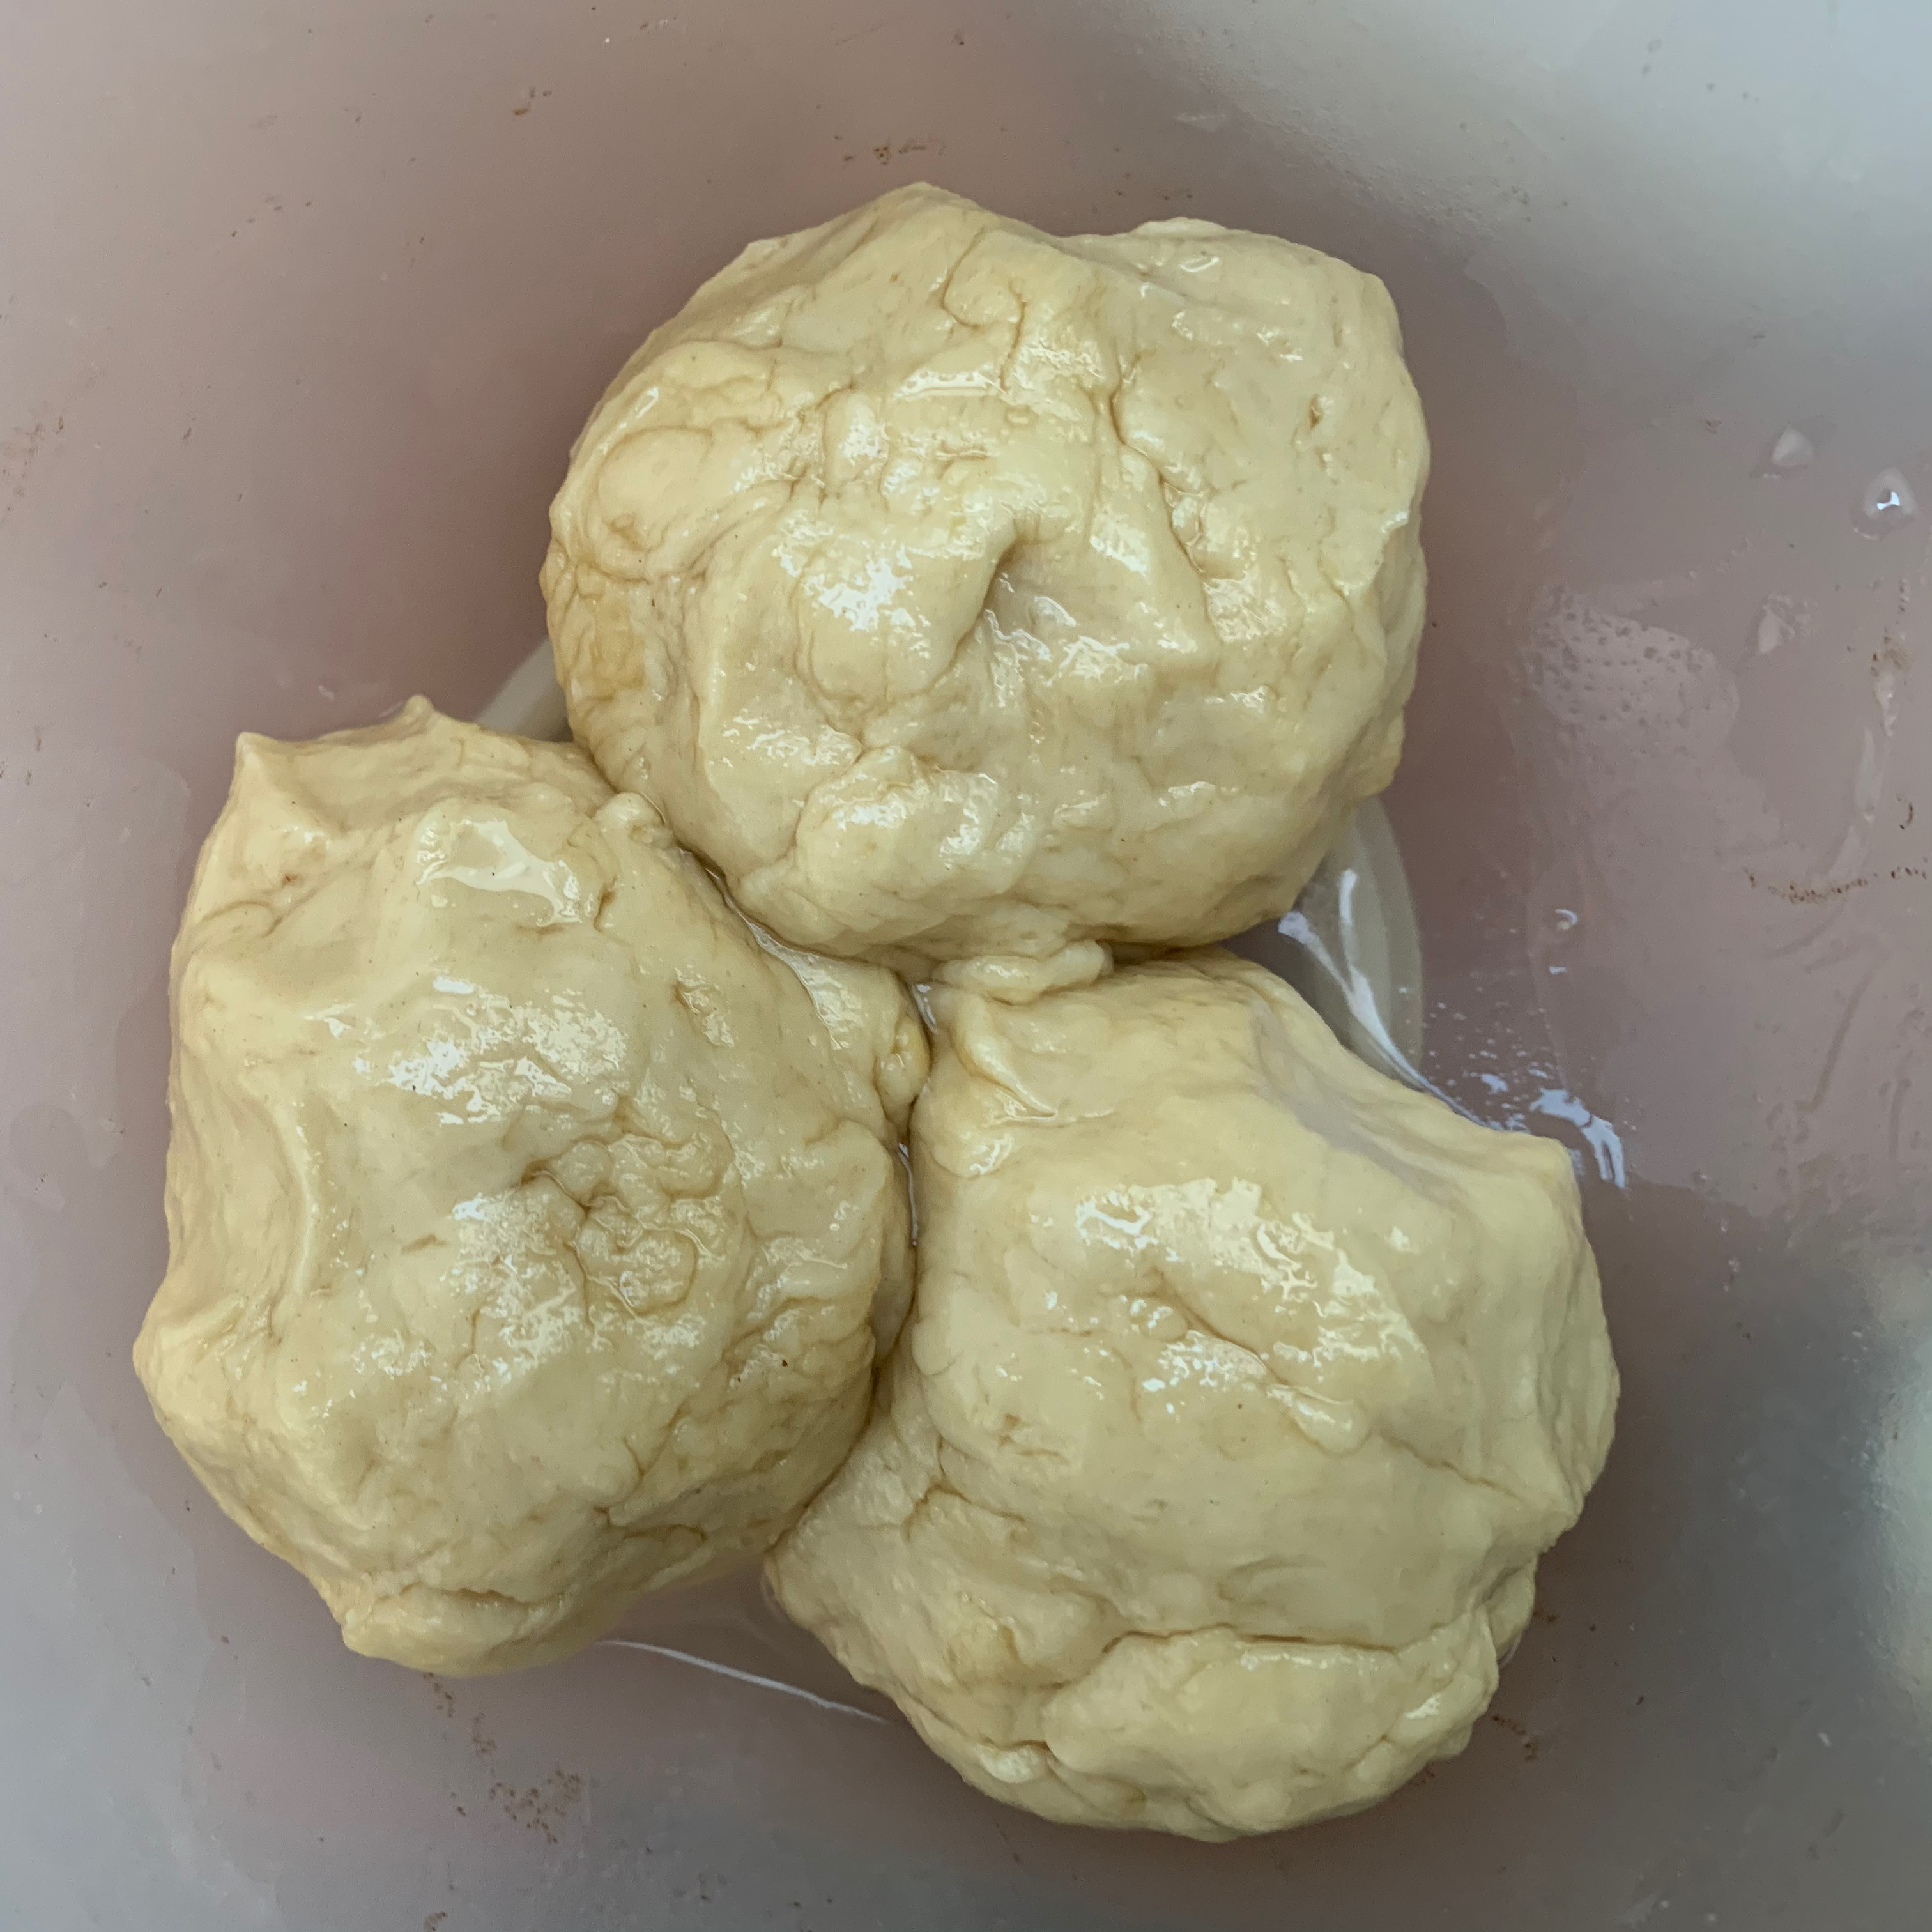
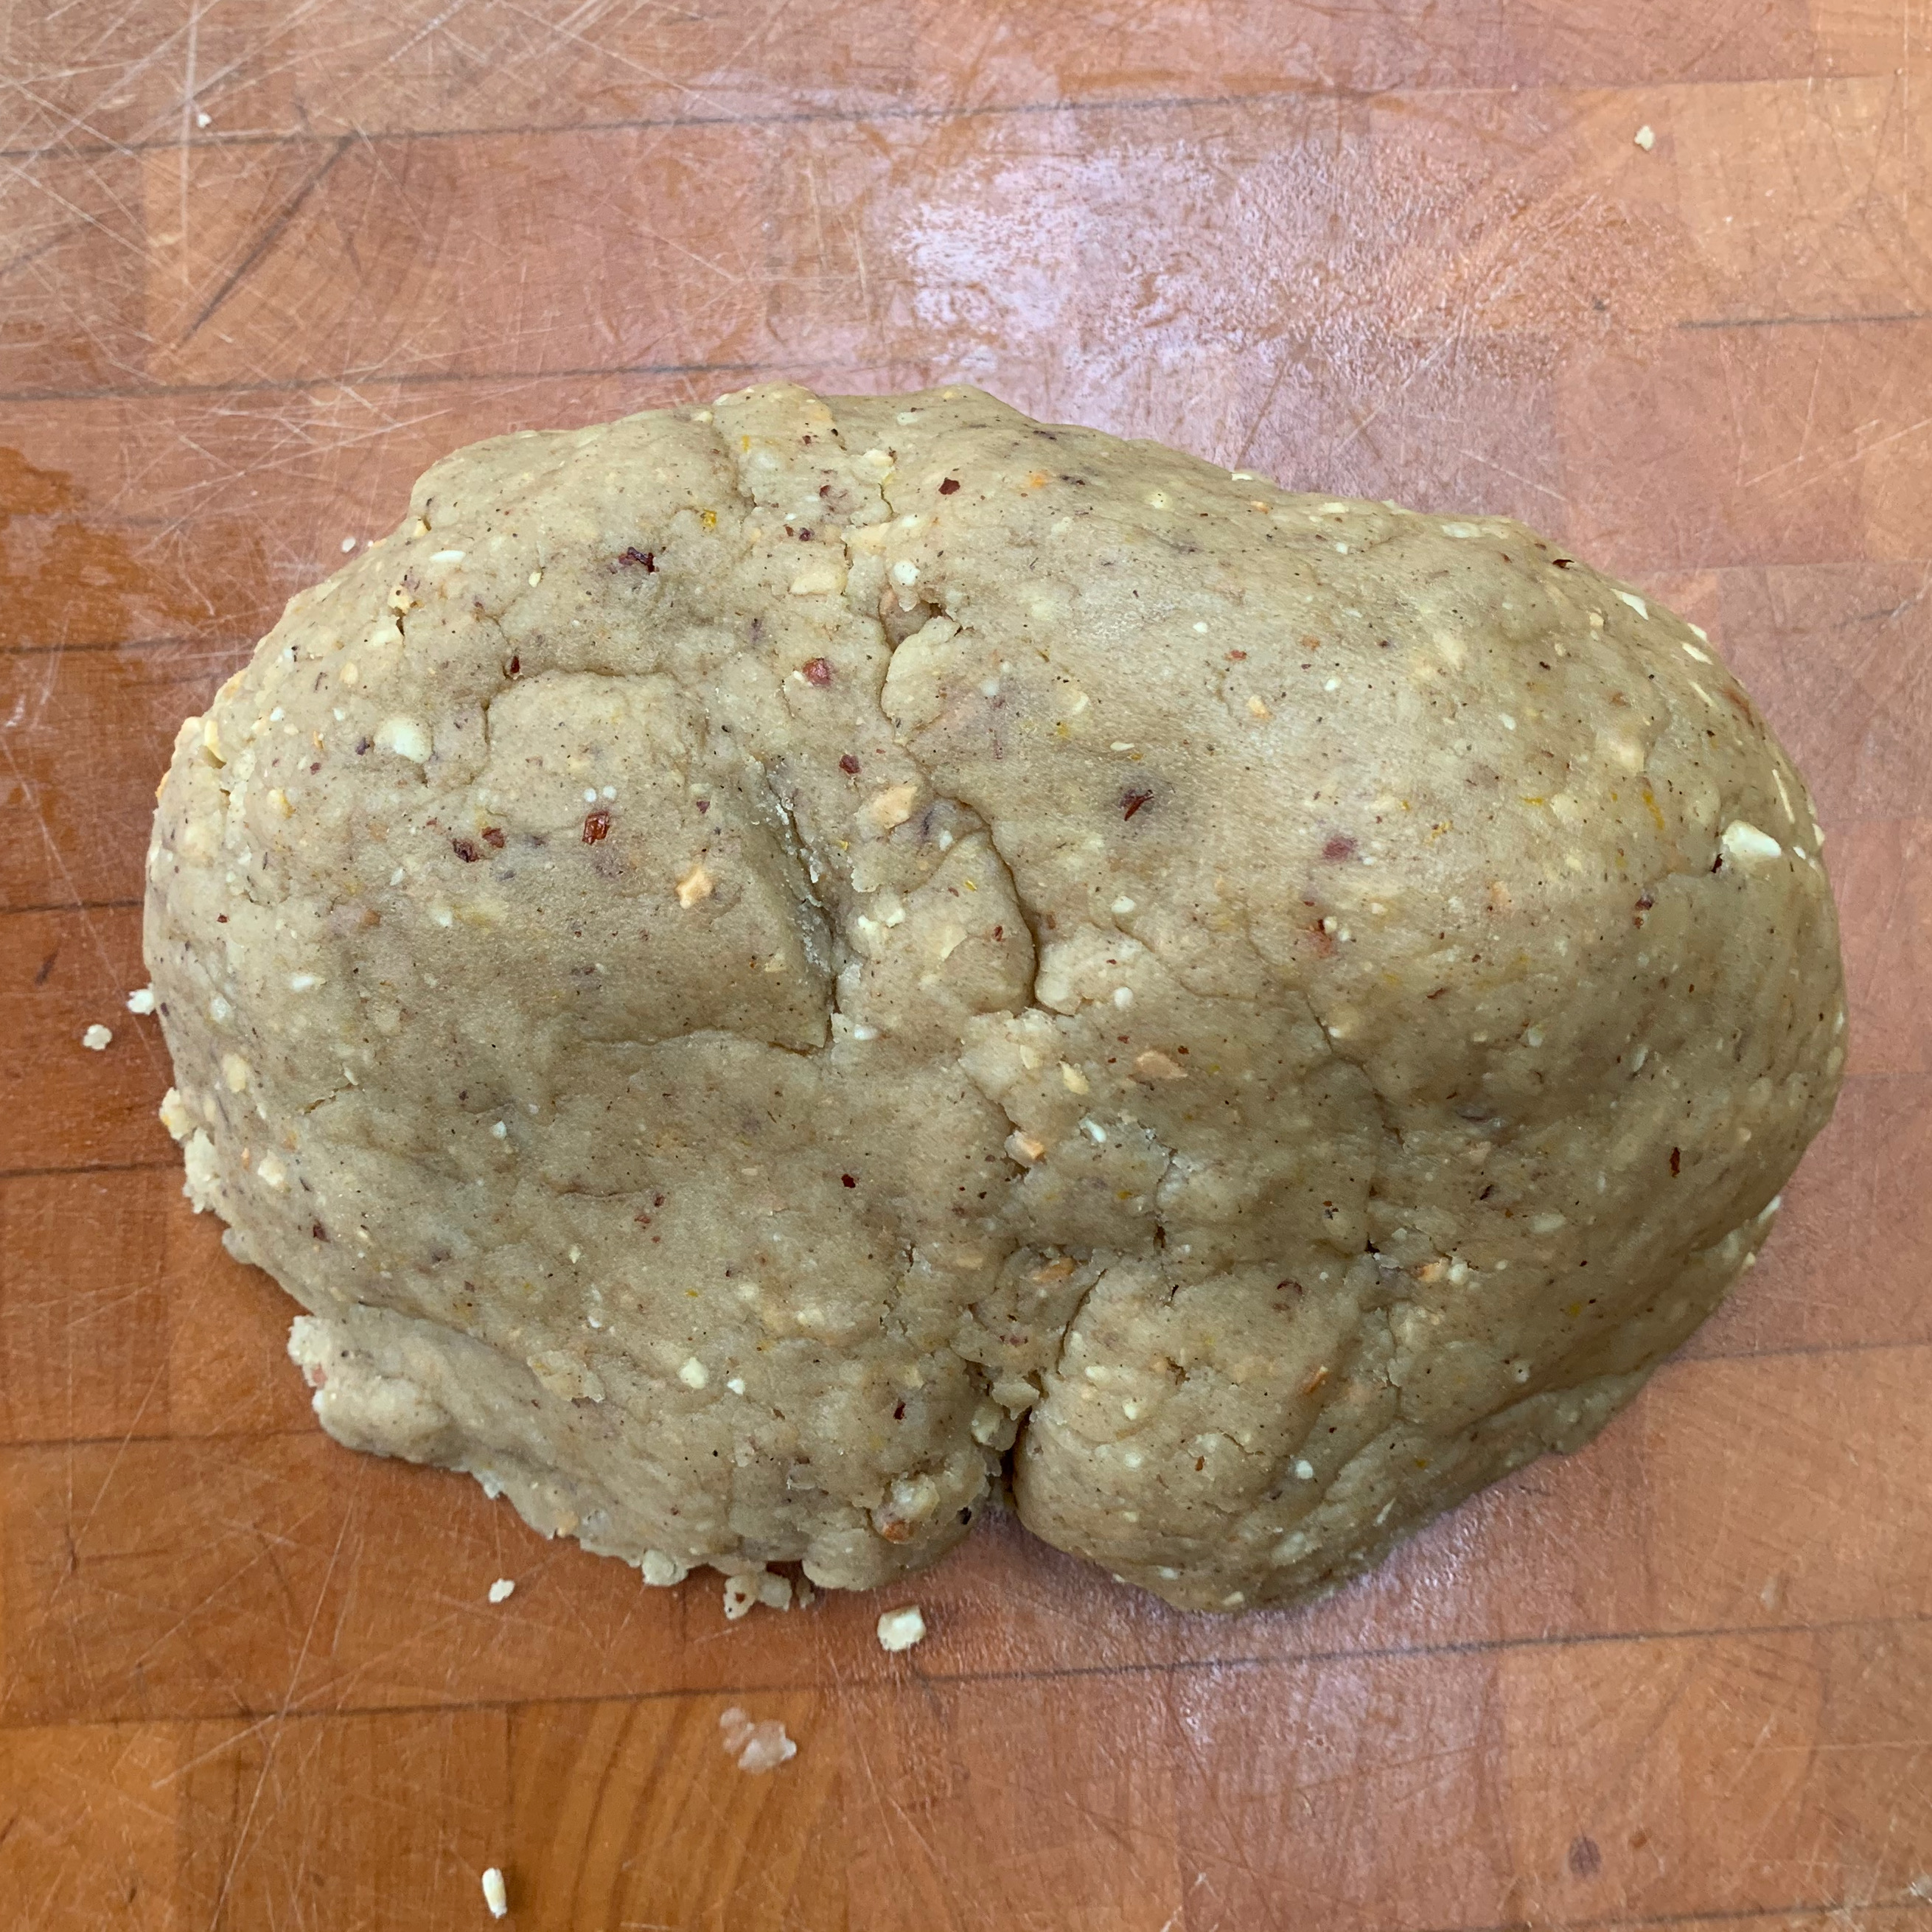
  11. Form your dough into a ball and transfer it to the bowl. Coat the dough in oil, either by turning it or by brushing some more oil over the top.
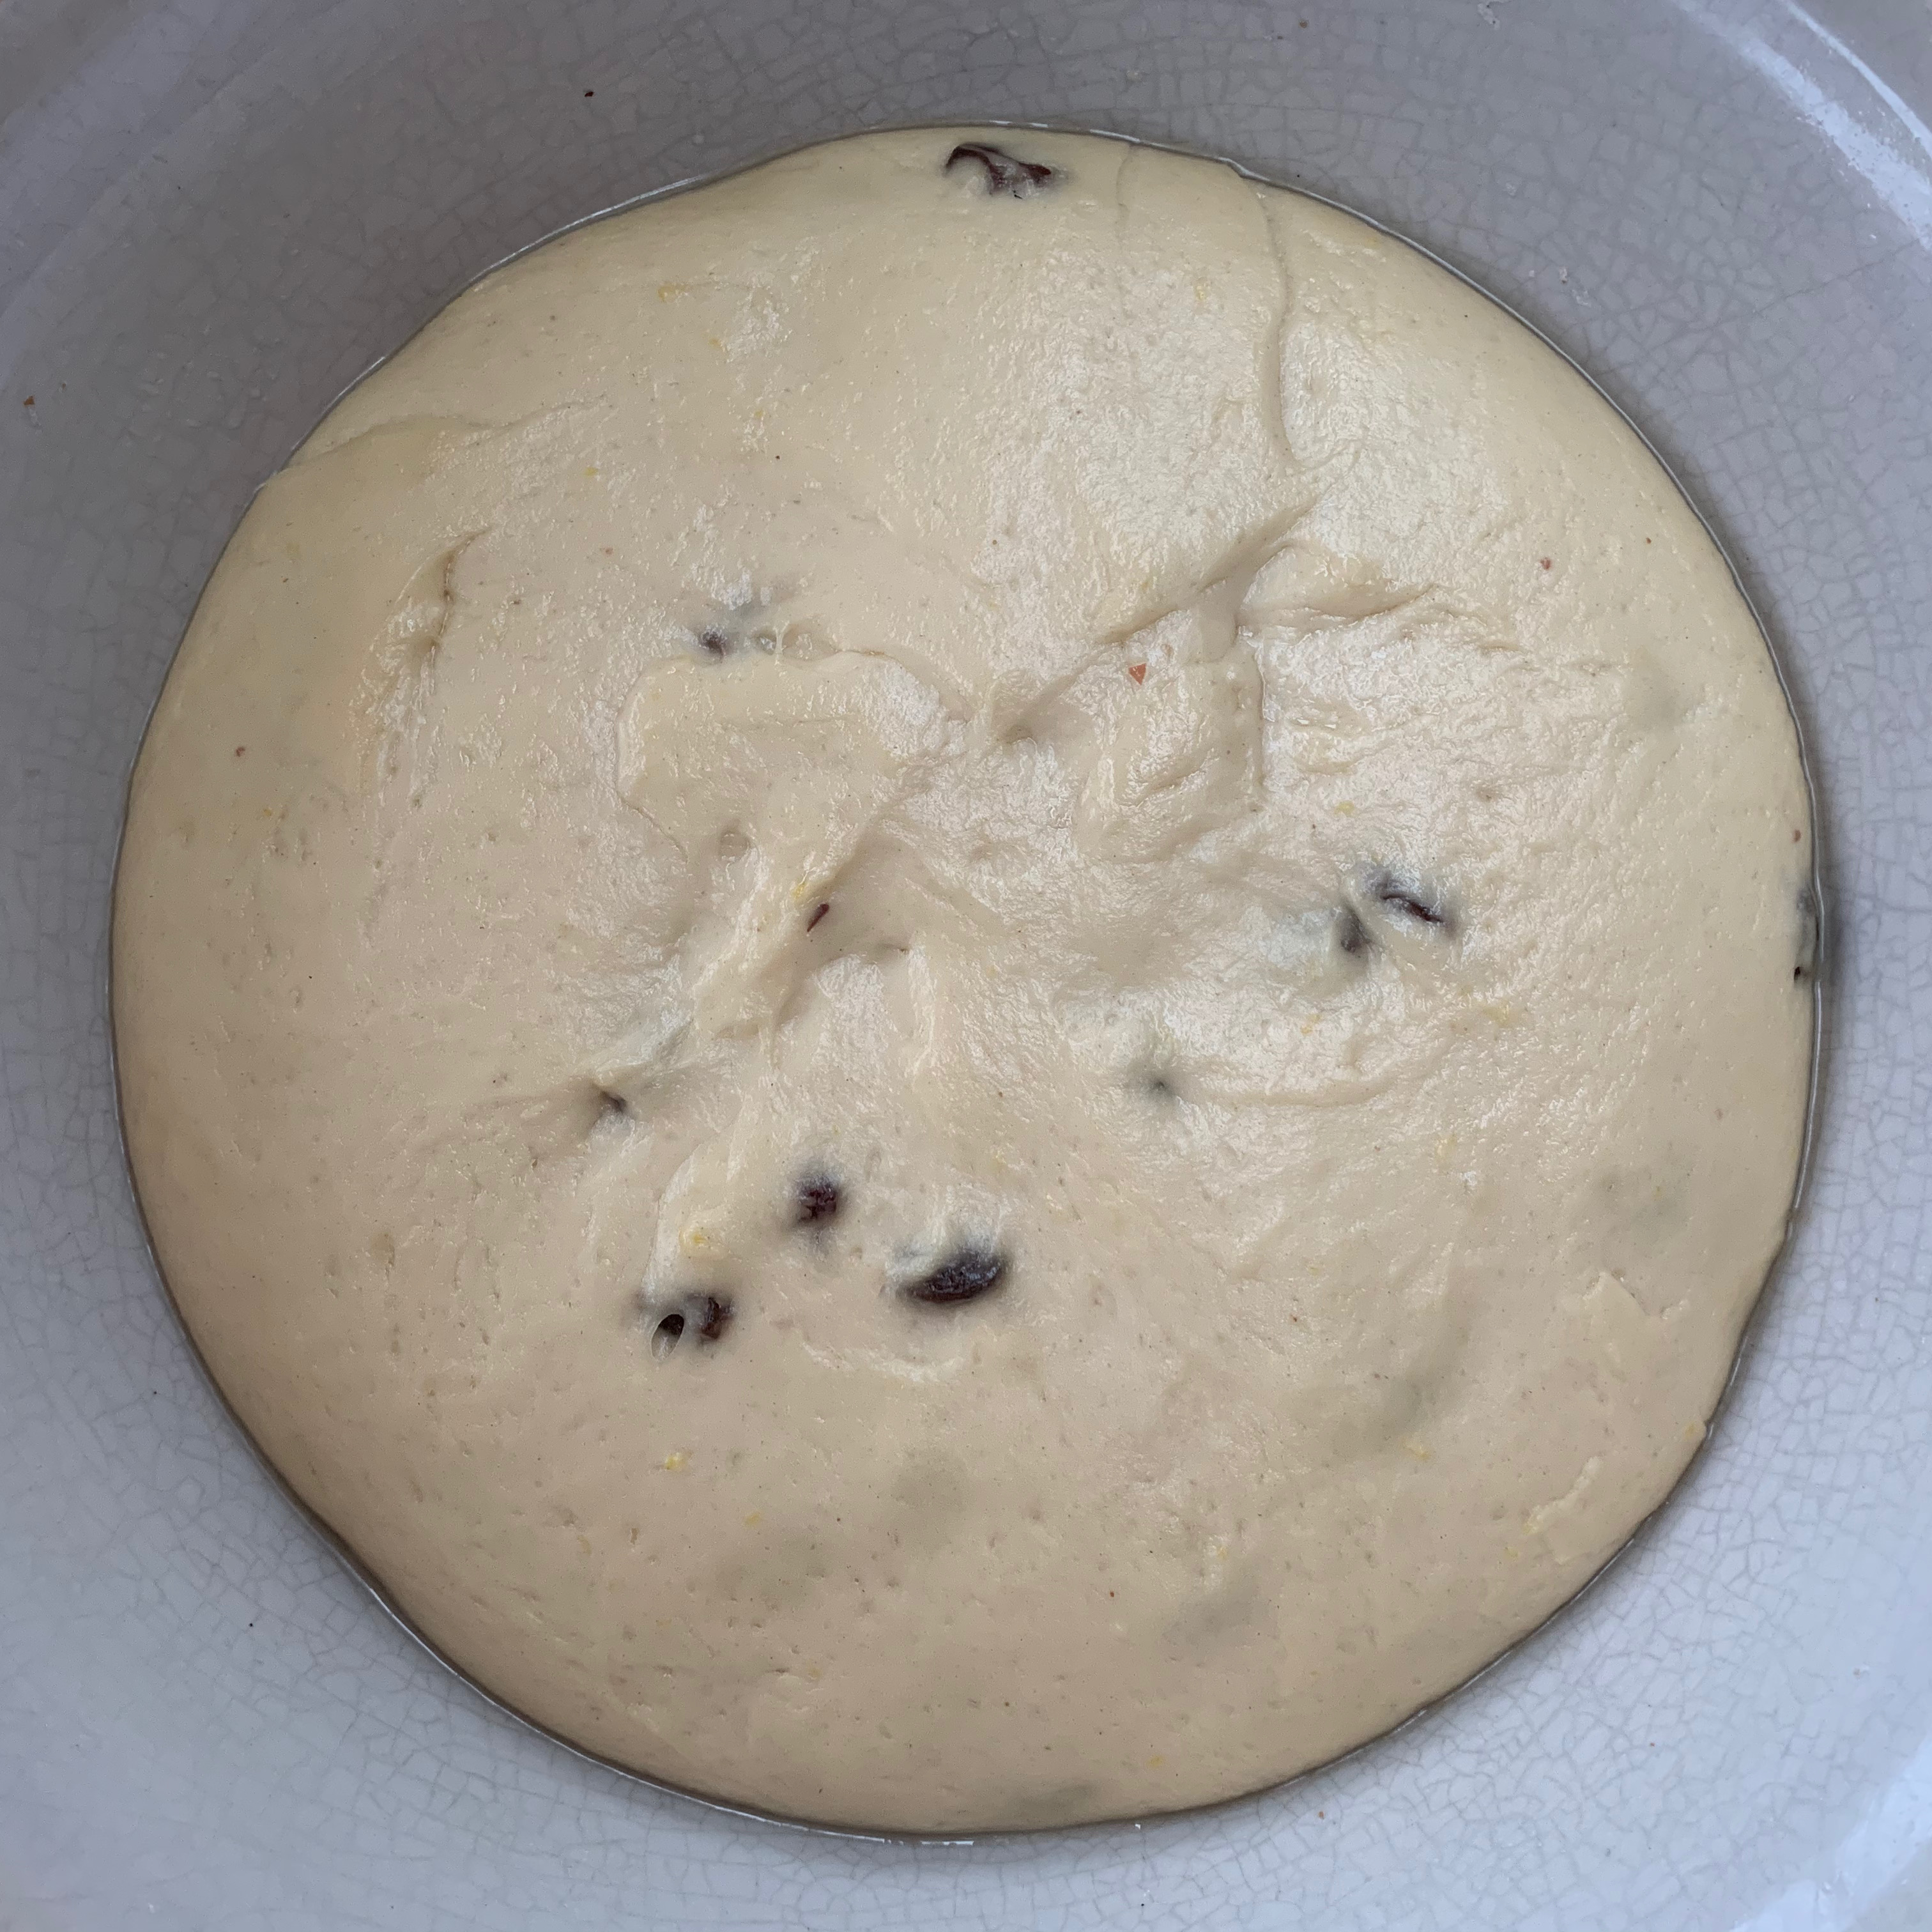
  12. Cover with cling film and leave to rise until doubled in size – probably 1-2 hours.
  13. Punch the dough down and leave to rise again – probably 1-2 hours.
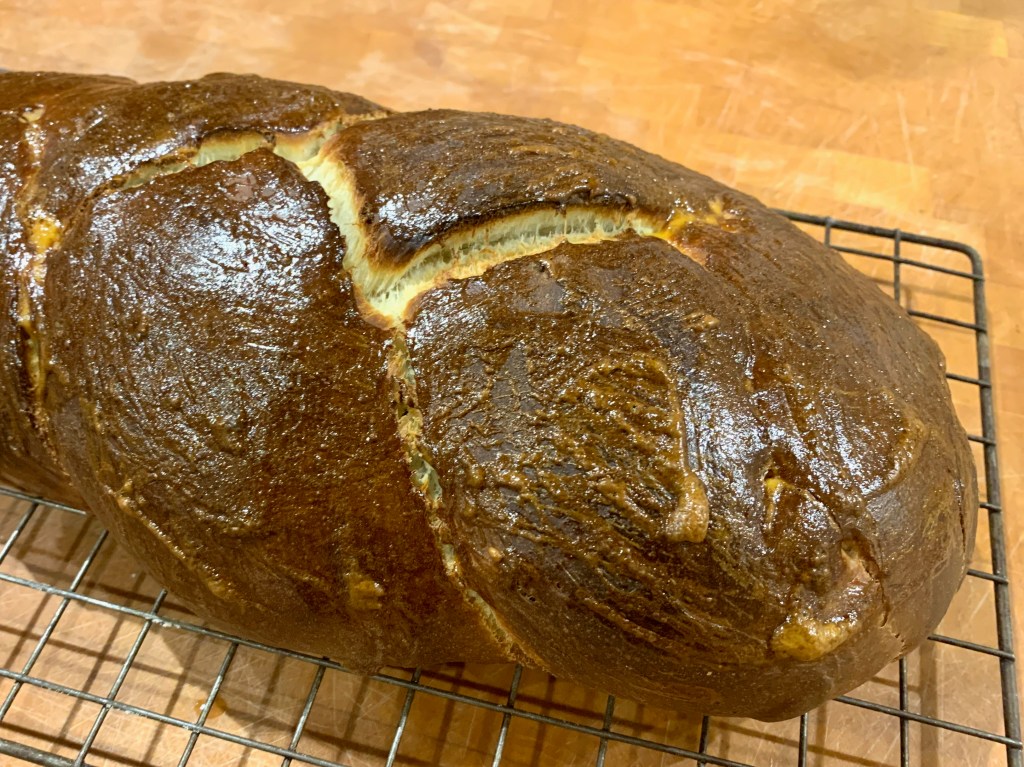
  14. Preheat oven to 190℃ fan (I used 200℃, and my crust is too dark)
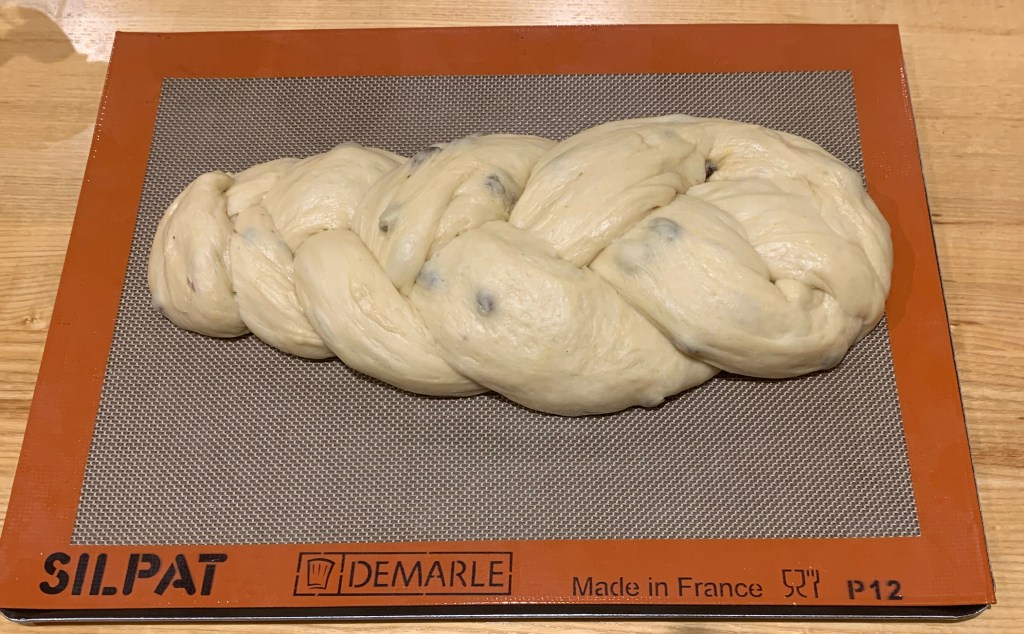
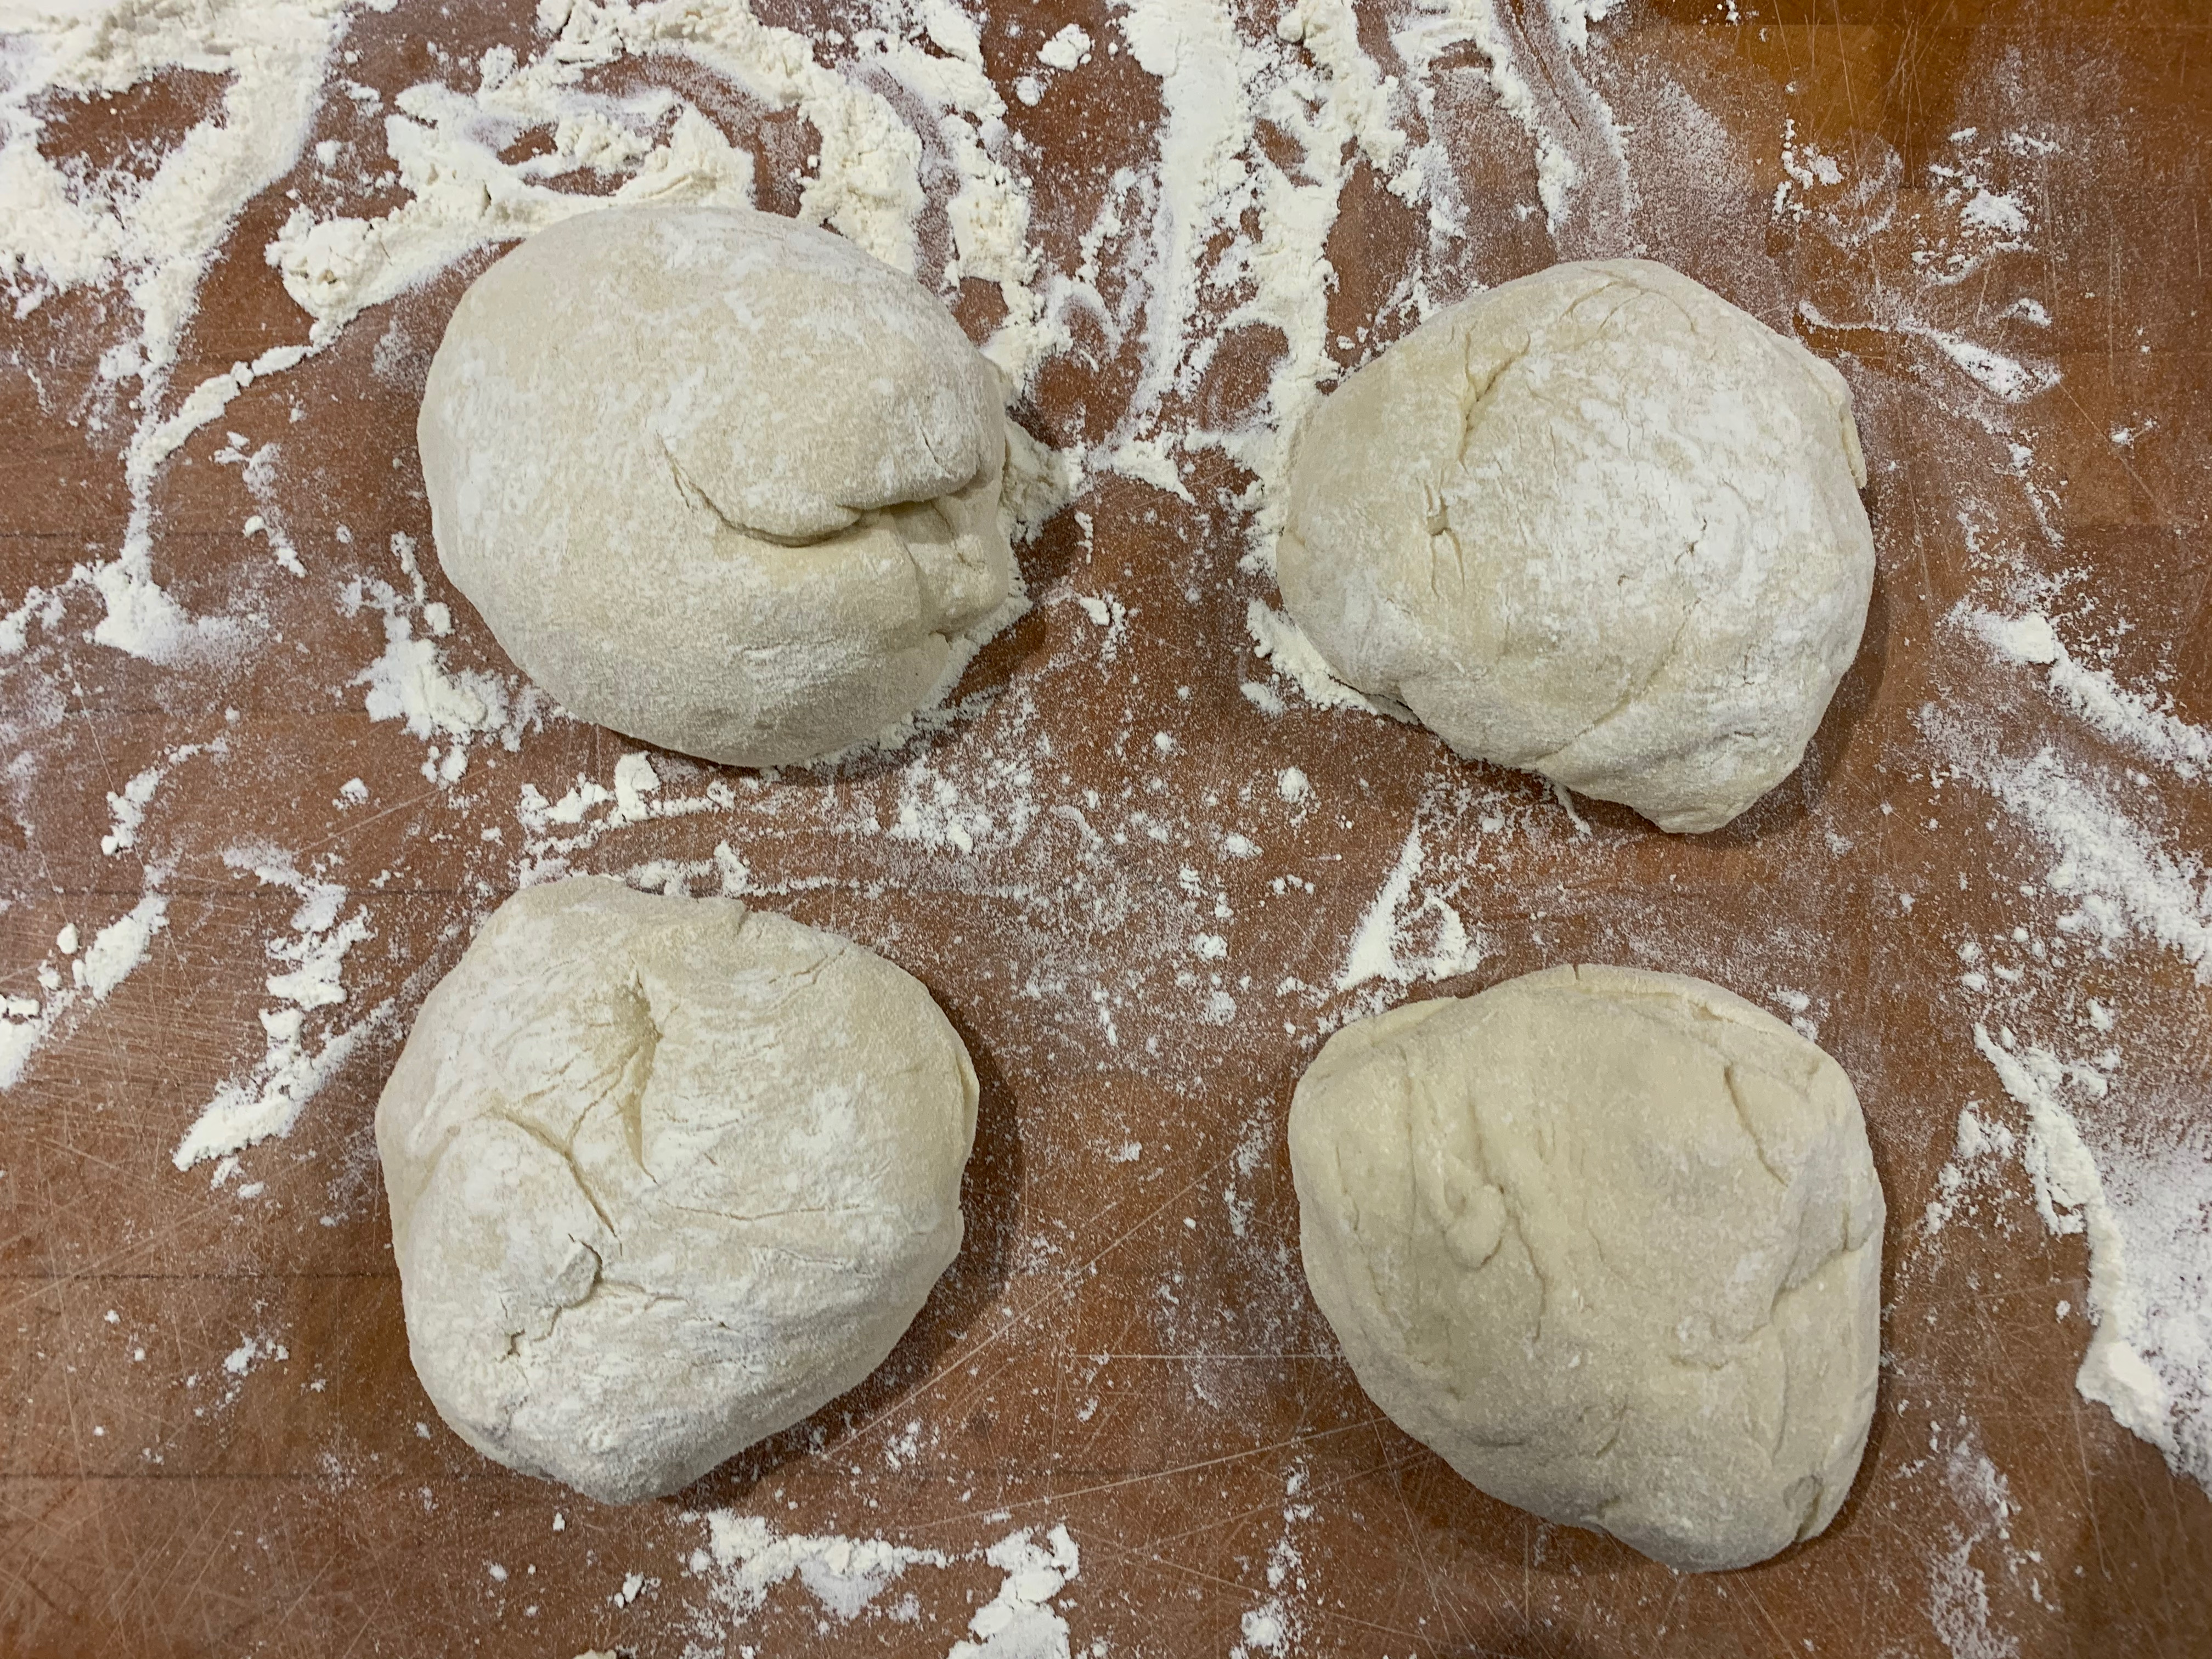
  15. Separate your dough into three parts (actually, as many parts as you fancy for your favourite braid: now create your braid as shown in this video.
  16. Cover and leave for another 30 minutes.
  17. Spread the loaf with your beaten egg, scatter the almonds over the loaf and put in oven (photo disclaimer: I forgot the almonds!)
  18. Bake for around 25-30 minutes
Around the world in 80 bakes, no. 52: Murtabak from Saudi Arabia

Around the world in 80 bakes, no. 52: Murtabak from Saudi Arabia

Travellers to Saudi Arabia report that the street food par excellence is Murtabak: a rectangular parcel made with paper thin dough and packed with a variety of flavourings, savoury or sweet  (the name مطبق is the Arabic word for “folded”).

Murtabak (or Muttabak or Muttabaq – there are many transliterations) probably originated in Yemen and has found its way to vast tracts of the Middle East, then to India and further. I first came across it in Singapore back in the 1980s, where it was brought by the Tamil community and is a standard item in hawker stalls: the sight of a Murtabak man flinging his circles of dough into the air to stretch them to translucency was always joyous.

Savoury fillings are more common, with minced lamb probably the most popular. Eggs are usually involved, either folded into the filling, as I’ve done here, or spread over the pancake before adding the filling (as done by the Tamils). I’ve gone for diced chicken; the recipe here is something of an amalgam of various Saudi and Yemeni sites: the spicing is authentic-ish, but truly, you have a lot of latitude for putting in your personal favourites.

Any dough that you’re trying to roll to translucent thickness takes a lot of skill and practice to do really well: strudel dough, the warqa dough used in Bastillas or home-made phyllo are all examples of this. Murtabak dough is no exception, but it’s worth mentioning that it’s fairly forgiving in the sense that if you get it wrong by tearing it or making it a bit misshapen, the world really doesn’t end – you’ll still get a thoroughly tasty result.

This recipe makes 3 murtabak. A whole one makes a very generous meal for one or, cut into pieces, a lovely component of a meze spread.

The dough

  • 240g strong white bread flour
  • 4g salt
  • 90ml water
  • 40ml sunflower oil, plus more for covering
  • 1 egg (optional, but you’ll need to adjust flour quantities if you don’t use it)
  1. Mix the ingredients together until they have come together into a smooth dough.
  2. Some recipes suggest that you should knead the dough for a few minutes. Confession time: I forgot to do the kneading, and it didn’t seem to matter.
  3. Oil your hands. Divide the dough into three balls of equal weight, coat them with oil and leave to rest. Recipes suggest anything from 30 minutes to three hours: about 75 minutes worked fine for me.

The filling

  • Oil for frying: I used olive, but you can use whatever you like
  • 150g onion
  • 10g root ginger
  • 20g garlic
  • 1 tsp ground cumin
  • 1 tsp ground coriander
  • 1 tsp Aleppo chili flakes (or whatever form of chili or paprika you fancy, but these worked particularly well for me)
  • 400g chicken breast
  • 70g spring onions
  • 1 tomato (mine was 100g)
  • 5g fresh coriander (or flat leaf parsley, or your other favourite herbs, optional)
  • 2 eggs
  1. Chop your various ingredients. The garlic and ginger need to be very fine. The onion, tomato and spring onion should be reasonably fine. The chicken should be small dice, perhaps 5mm or so. The coriander, if you’re using it, can be anything you like.
  2. Heat oil in a pan over medium heat and add the onions and some salt, fry for a couple of minutes
  3. Add the garlic and ginger and fry until the onions are translucent
  4. Add the spices and stir until nicely combined
  5. Add the chicken and stir fry until you can’t see any raw meat
  6. Add the spring onions, tomato and coriander; keep stir-frying until the chicken is cooked through
  7. Beat the eggs, add them to the pan and stir until everything is blended
  8. Set the pan aside

Putting it together

 The best video I found showing you how to do this comes from a site called Sheba Yemeni Food.

  1. Thoroughly clean a large space of work surface and spread it with a little oil.
  2. Take one of your balls of dough and press it flat.
  3. This is where you need to have faith. Pick up your circle of dough in both hands and throw the loose end away from you (a bit like when you’re shaking sand off a towel). Once the dough has landed on your surface, use your fingers to flatten out any thick bits around the edge and get it to as close to a rectangle as you can manage.
  4. Repeat this as often as you dare until the dough is thin enough to be translucent. Obviously, you can’t go too far or the dough will tear.
  5. Spoon a third of your filling into a rectangle in the middle of your dough. Fold the dough over the filling from each of the four sides.
  6. Carefully transfer the completed parcel onto a board so that you can repeat for the next two.
  7. Warm up a griddle or skillet to medium heat. Brush it with a little oil, then fry your murtabak for about 3-4 minutes on each side, until they have a medium brown pattern but aren’t burning.

Serve as soon as you can. The Tamils serve these with a briyani sauce, but for me, a simple green salad or other Middle Eastern salad works fine.

Around the world in 80 bakes, no.51: Melomakarona, Christmas cookies from Cyprus

Around the world in 80 bakes, no.51: Melomakarona, Christmas cookies from Cyprus

Many countries have taditional Christmas cookies. Melomakarona (μελομακάρονα) are the version from Cyprus (the Greek bit, as well as being from Greece). They’re laden with the flavours of orange and spices, dipped in syrup and dusted with nuts. They’re really delicious, so when the cookie jar is empty, why wait for Christmas?

I started with a recipe from food blog Afrodite’s Kitchen, but there are plenty of others which vary in terms of choice of nuts, choice of spices and various other details. So everyone agrees that you dip the cookies in syrup, but some people cool the syrup first and others specify hot syrup. And I made my melomakarona round and dimpled, but other recipes are clear in preferring more of an egg shape.

I’ve halved the quantities in the original recipe and simplified things a bit. My dough came out a bit too floury, so I have reduced the amount of flour slightly here. Add a bit more flour (or, in the opposite direction, orange juice or water) if you think you need it.

The cookies

  • 1 orange
  • 80g almonds
  • 50g hazelnuts
  • 150ml sunflower oil
  • 50g icing sugar
  • 4g (1 tsp) cinnamon
  • 1g (¼ tsp) nutmeg
  • 1g (¼ tsp) ground cloves
  • 1 tsp ground ginger
  • 6g (¾ tsp) baking powder
  • 6g (¾ tsp) baking soda
  • 3g (½ tsp) salt
  • 400g OO flour
  1. Preheat oven to 175℃ fan.
  2. With a potato peeler, take a couple of thick pieces of rind from the orange and reserve. Grate the rest of the zest of the orange and juice it (expect around 80ml of juice). 
  3. Put the almonds and hazelnuts on a baking tray. When the oven is up to temperature, roast them for around 10 minutes until they’re a medium brown colour. Remove and leave to cool until you can handle them. Meanwhile, you can get on with making the cookie dough.
  4. Put the sunflower oil, orange juice and zest, icing sugar and spices into a bowl.
  5. Once the nuts are cool, reserve around 20g of each (you’ll be using them later for dusting). Blitz the rest to a powder (but don’t overdo it: you don’t want the oil coming out of the nuts).
  6. Add the nuts to the oil and spice mixture and whisk until smooth.
  7. Put the flour, salt, baking powder, baking soda and salt into a bowl, stir until even; add these to the wet mix.
  8. Mix thoroughly and knead until you have a smooth dough which is the consistency of a thick paste.
  9. Divide the dough into balls of around 30g each (my dough made 27 cookies). Press each ball into your choice of a dimpled circle or an oval.
  10. Place on a baking sheet and bake for around 20 minutes
  11. Leave to cool

The syrup, and final assembly

  • 240ml water
  • 200g sugar
  • 120g honey
  • 1 cinnamon stick
  • 3 cloves
  • 2 thick pieces of orange rind (from above)
  • Almonds and hazelnuts (from above)
  1. Chop the toasted nuts finely. You can use your food processor, but don’t blitz the nuts to a powder as you did with the others.
  2. Combine water, sugar, honey, cinnamon, cloves and orange rind in a small saucepan. Bring to a boil and then turn the heat down to simmer.
  3. Dip each cookie into the simmering syrup. Afrodite’s Kitchen says 10-15 seconds max, but I found it needed 20 to get enough syrup to soak in: this probably depends on the exact texture of your dough.
  4. Sprinkle the cookies with the chopped nuts.
  5. You can leave them to cool at this point, but you don’t have to…
Around the world in 80 bakes, no.50: Tabun or Pita bread, from Jordan

Around the world in 80 bakes, no.50: Tabun or Pita bread, from Jordan

This blog post is a two-in-one, because these two flatbreads are the same for the whole process up to the final bake, where different techniques get a different structure. I’ve labelled them as Jordanian because the first recipe I looked up claimed to be from Jordan, but in all honesty, you’ll find these all over the Arab world. I was actually making them to eat with lamb shawarma, in a recipe from Sami Tamiri’s wonderful Falastin.

If your idea of pita bread is the small oval slices of cardboard bought from supermarkets, think again. Freshly made pita crisps and puffs up like a ball, perfect for stuffing with the filling of your choice: shawarma, falafel, muhamarra or any other Middle Eastern goodies. Tabun (or taboon) is softer and flatter: use as open sandwich rather than trying to stuff it. (The tabun is the name of the wood-fired open-topped oven in which the bread is traditionally baked, similar to the indian tandoor.)

Since  I don’t have a tabun, I’m improvising, using one of two techniques. For pita, I’m putting a pizza stone in the oven and winding the temperature as high as I can get. The sudden heat applied to the dough makes the moisture in the centre evaporate, resulting in the characteristic pocket. For tabun, I’m approximating to the stones on which the bread would traditionally be made by pouring ceramic baking beads into a frying pan (or skillet), and laying the flatbread over the top and using a lower temperature oven (you could also do this on the hob).

Here’s an updated round-up on the list of flatbreads in this blog:

  • Aish baladi (Egypt): the wholemeal version of pita or tabun
  • Focaccia (Italy): flavoured with olive oil, salt and other ingredients such as rosemary, olives or tomatoes. Thickness varies from one baker to another (it can be very thick)
  • Lavash (Armenia): similar dough to tabun, but rolled or thrown to be wafer thin before baking
  • Naan (India): between a tabun and a focaccia in thickness, often flavoured with ghee, nigella seeds or other ingredients.
  • Pita: thickness somewhere between lavash and naan, baked quickly at high heat to puff up into a pocket for filling.
  • Tabun: thickness starts similar to pita, but baked more slowly for a more pillowy texture.
  • Finally, there’s Persian flatbread (Nan Barbari), which is probably my favourite of the lot of them, which has the generous softness of a focaccia but with Middle Eastern flavours instead of the oil. I’ve already done a Persian bake in this series, so I’ll just point you at Sabrina Ghayour’s Persiana as the source of a fabulous Nan Barbari recipe. The Afghans do their own version (Nan Afghani), so this may appear in a future post – but first, when I stop being worried about lockdown, I want to go and watch them at the Afghan shop a few km from my home.

The dough

The quantities here make four flatbreads.

  • 5g dried yeast
  • 10g sugar
  • 200g lukewarm water (around 40℃)
  • 25g olive oil
  • 300g strong white flour
  • 10g salt
  1. Combine yeast, sugar and water, leave for a few minutes until frothy.
  2. Combine flour and salt. Add the wet mixture and the olive oil and mix until smooth.
  3. Knead until stretchy. I found these quantities too small to work properly with the dough hook in my stand mixer, so I did the kneading by hand. If you double the recipe, the stand mixer should work fine.
  4. Leave to rise until doubled in size (1-2 hours depending on ambient temperature and the temperature of the water you used).
  5. Divide the dough into four, roll into flat circles of around 5mm thick. Personally, I seem to be incapable of rolling a perfect circle, so mine tend to end up oval, heart-shaped or some crazy irregular alternative. This doesn’t seem to matter too much.

The Pita version

  1. Place a pizza stone in your oven and preheat the oven to 250℃ fan
  2. When you’re ready to bake, give a circle of dough an extra roll (it’s probably shrunk a bit).
  3. Working quickly, open the oven, take the stone out, place the circle of the dough on the stone and put back into the oven. If you have space for two at a time, great.
  4. Bake for around 8 minutes (you can turn the bread half way if you want, but that’s not essential) until puffed up and crisp.
  5. Repeat for the remaining flatbreads.

The Tabun version

  1. Pour baking beads into a skillet. If using an oven, preheat it to 200℃ fan. If using the hob, heat your skillet until everything is very hot.
  2. When you’re ready to bake, give a circle of dough an extra roll (it’s probably shrunk a bit).
  3. Lay the circle of dough over the beads. If using the oven, put the skillet back in.
  4. The flatbreads should each take around 10 minutes to cook. You’ll want to turn them over half way.