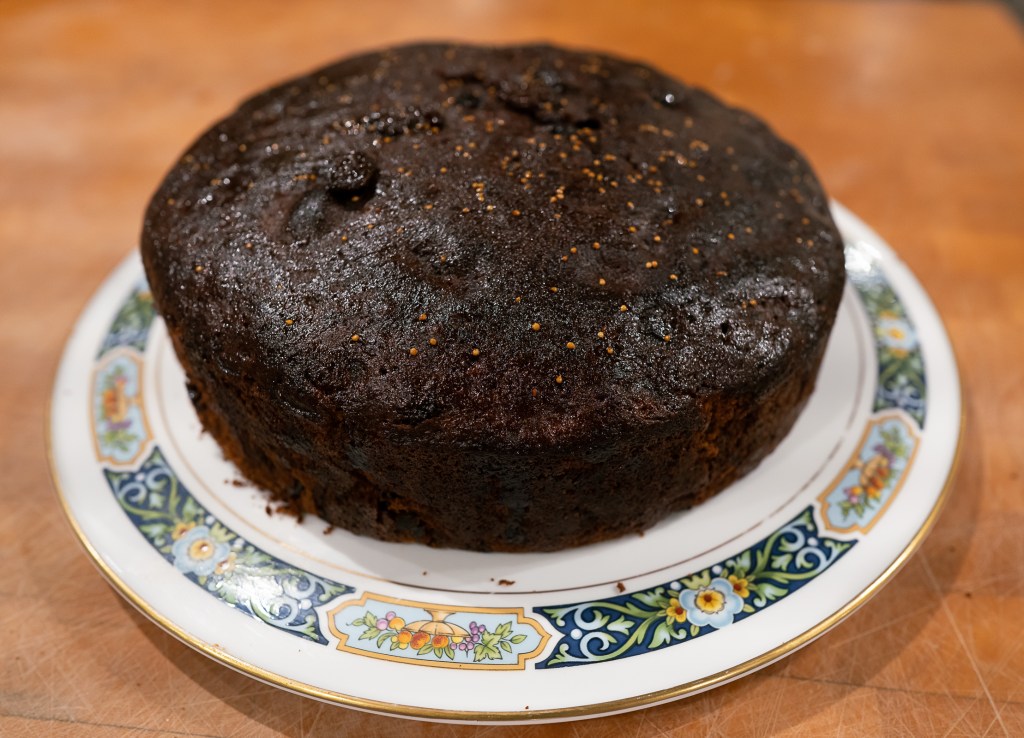
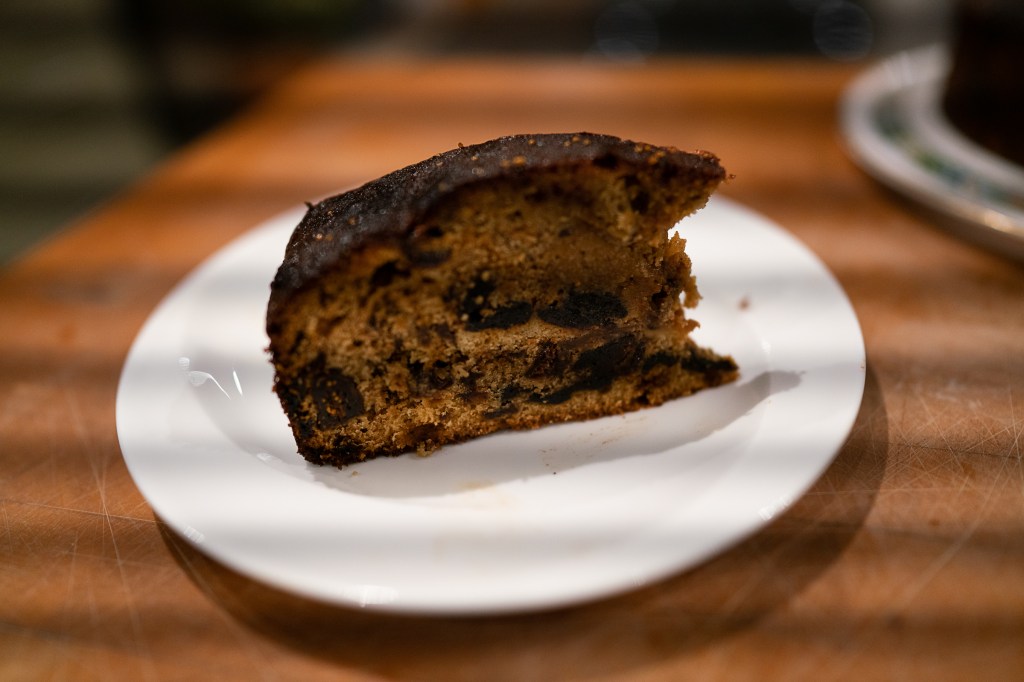
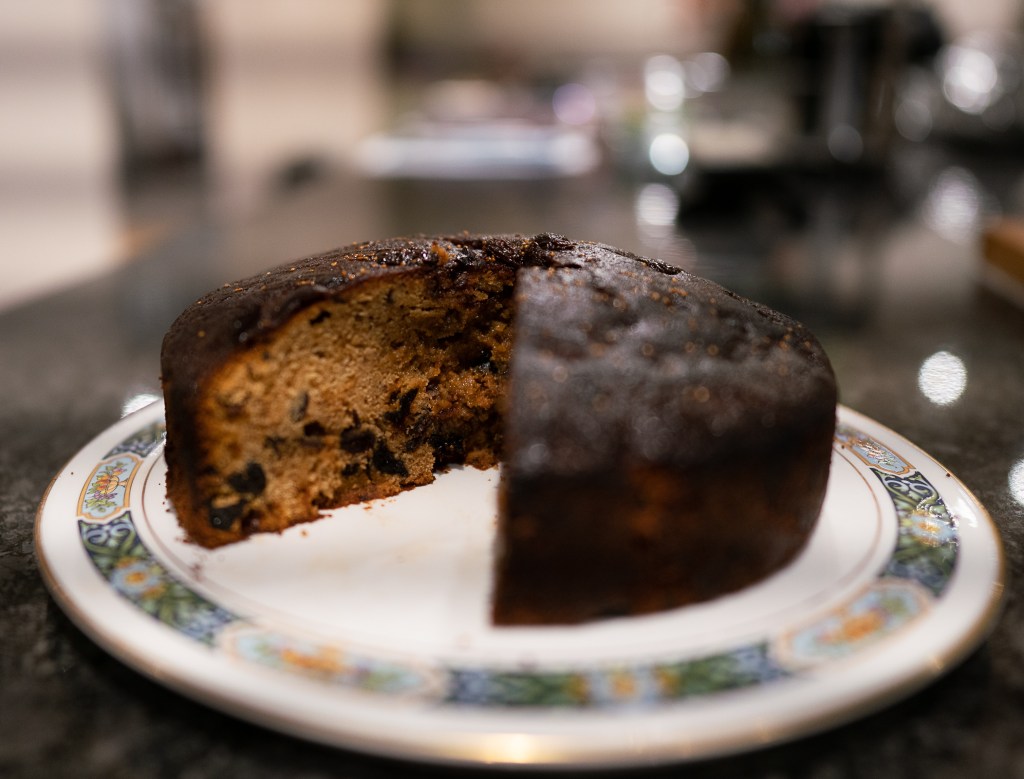
It’s time for this blog to cross a few time zones and head to the Caribbean coast of South America. “Torta negra” is the go-to cake for family celebrations in Colombia, if the Internet is to be believed. It’s a fruit cake darkened by caramel (the name means “Black cake”) and it’s lighter in weight and darker in colour than a typical English fruit cake. On the basis of the recipe I started with, from Colombian expatriate Erica Dinho, Torta Negra is a lot less sweet than the average fruit cake over here – although this may vary, since it seems to be another of those bakes where every family has its own recipe.
Erica must have a large family or friendship group, because her recipe is for two substantial cakes at a time. I therefore started by halving her recipe; I’ve also turned the measurements into metric and the US names into English ones. That left the thorny question of the caramel: Erica recommends baker’s caramel or dulce quemado, neither of which I knew how to find (even in the foodie land of North London, where you really can get most things) or molasses, which make me nervous because they have a strong and distinctive flavour of their own which tends to overpower everything else. So I decided to go for making my own caramel, which is messy but not all that hard.
Since there’s a very long waiting time in the middle of this recipe, I’ve split the ingredient lists up according to stage.
Stage 1 – get some fruit macerating
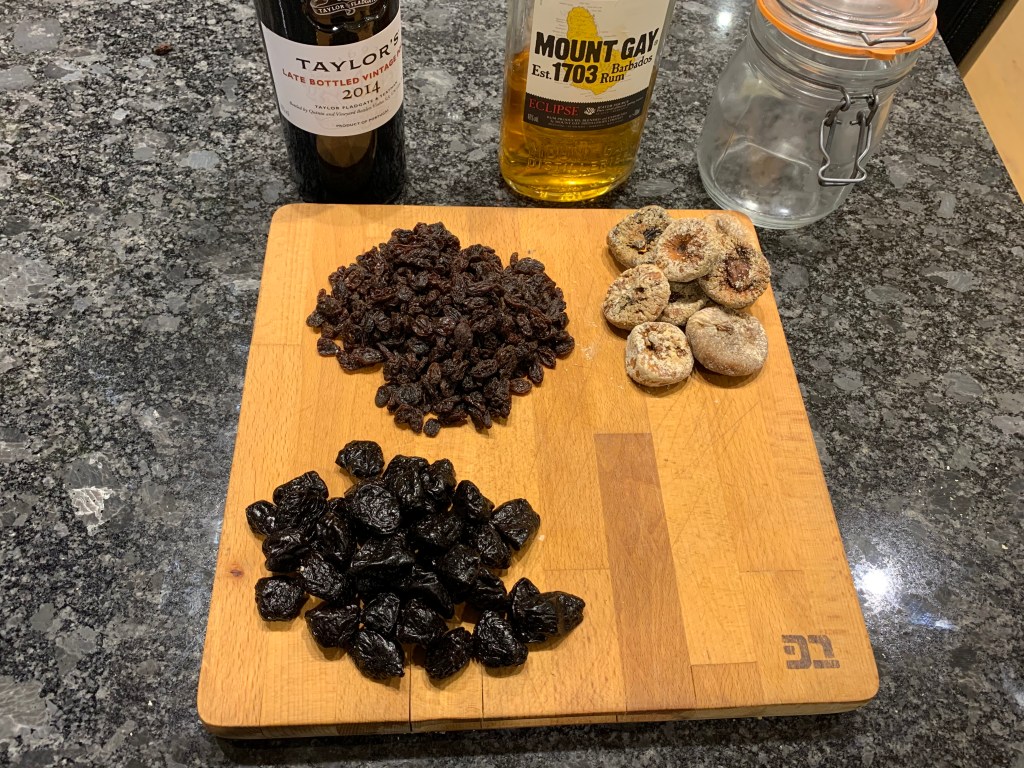
- 120g pitted prunes
- 120g dried figs
- 150g raisins
- 120 ml port
- 60 ml rum
Chop up the prunes and figs, then put everything into a tightly sealed jar (I used a Kilner of the sort you use for making jam). Before sealing the jar, do your best to press the fruit down so that as little as possible pokes above the surface of the liquid.
Now leave the fruit to macerate for at least two weeks, turning it every few days to make sure that none of the fruit is simply drying out.

Stage 2 – make some caramel
If you do this immediately before starting to make your cake mix, it will be not too far off the right temperature to add to the mix: you don’t want the caramel to cool past its freezing point the second you add it to your mix, but you also don’t want it so hot that it’s baking the mix the moment it touches it. (By the way, this might be a good time to start preheating your oven, and to get your butter out of the fridge and softening).
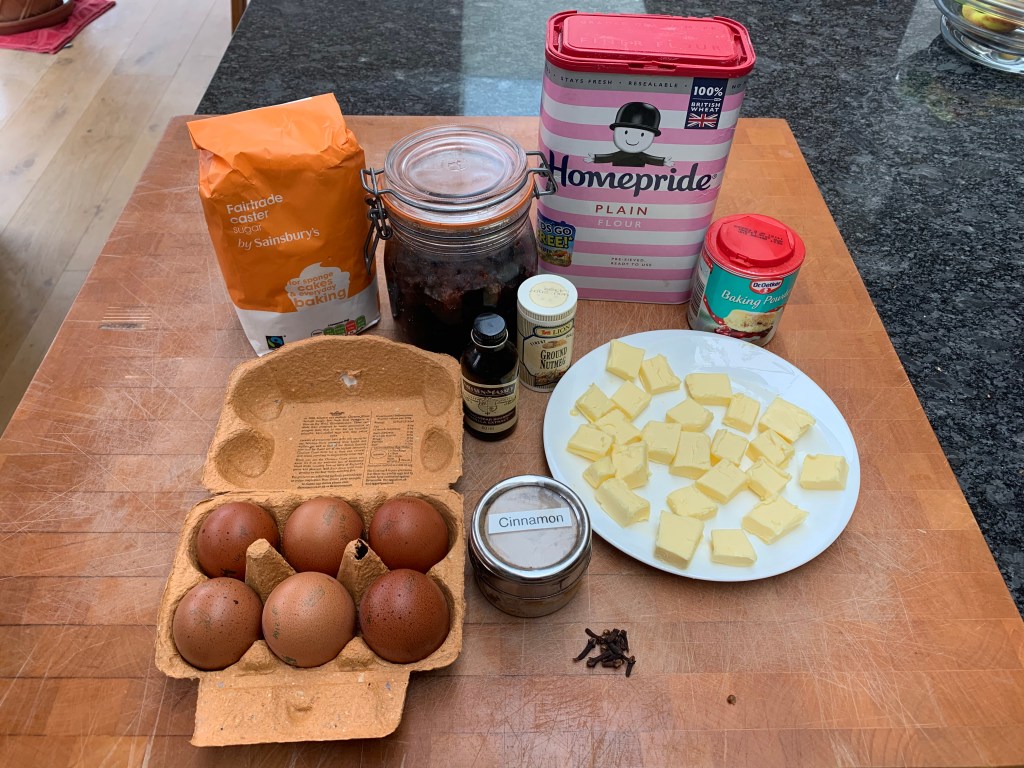
- 100g sugar
- 15 ml water
- 15g butter (optional)
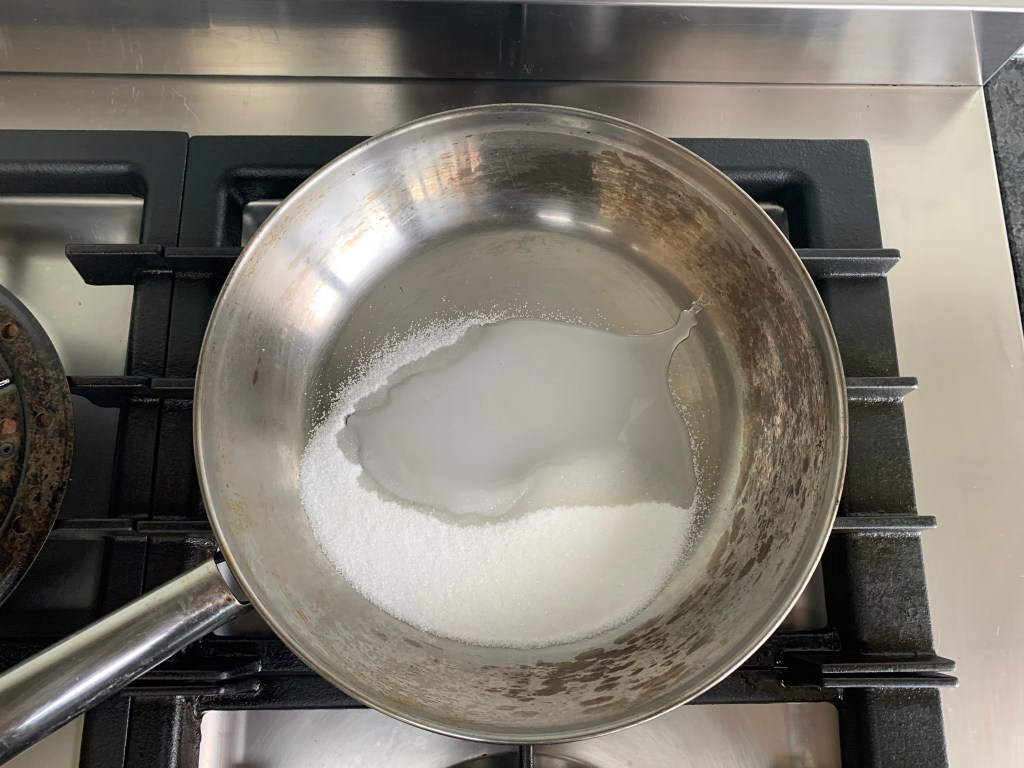
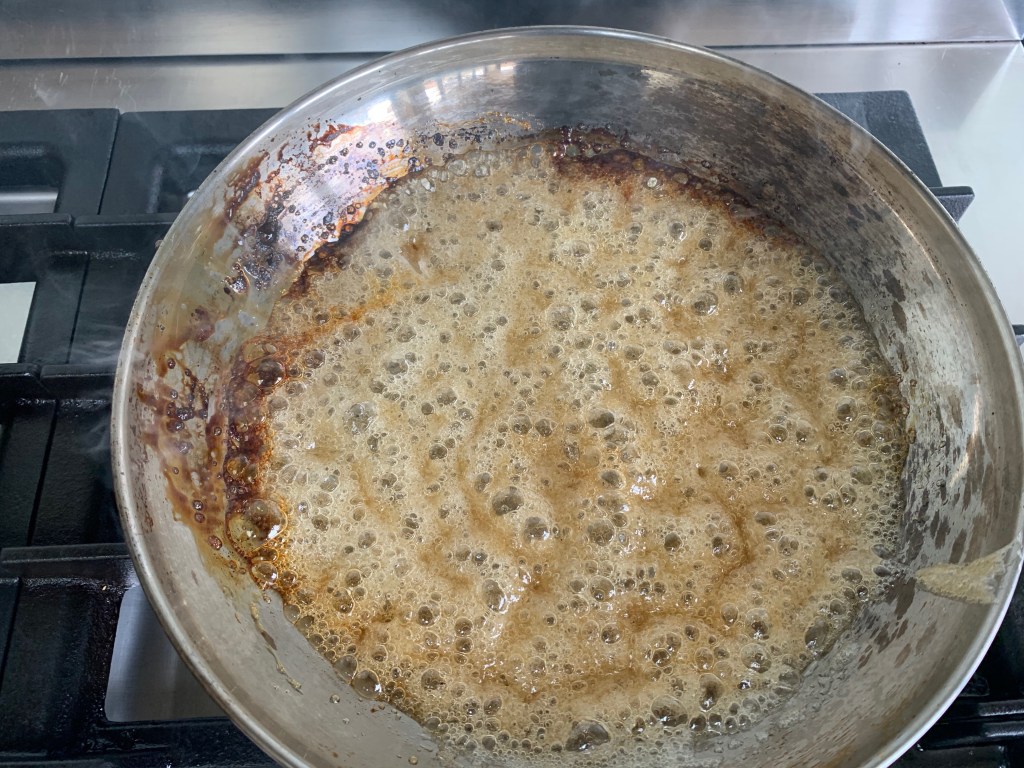
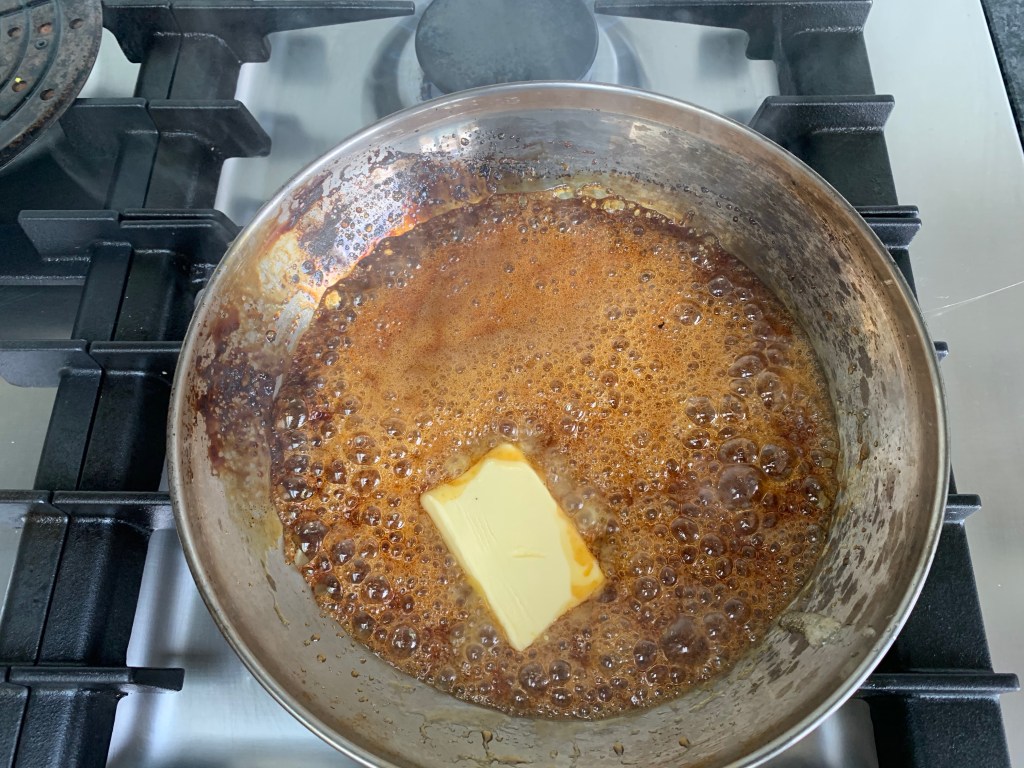
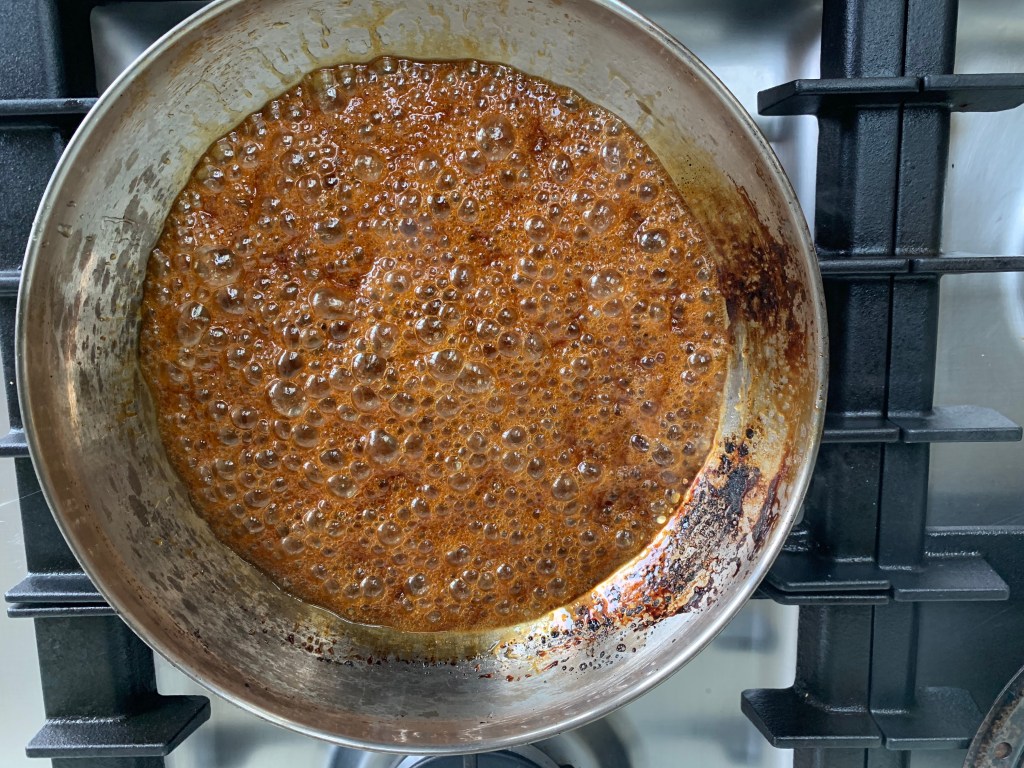
Choose a small stainless steel pan. Put in the sugar and water, mix thoroughly, and heat it up, fast at first and then more gently as you’re trying to find the right caramelisation point. It’s going to bubble furiously, but keep stirring it and you’ll eventually get to a point (around 175-180℃, if you have a sugar thermometer) where it turns very dark. Take it off the heat and add the butter and mix thoroughly (the only point of this is it keeps it a bit more liquid).
By the way, you’ll have way more caramel than you needed. When I had used what I neede for the cake, I poured the rest onto a sheet of baking paper: once it had cooled, I broke it up and kept in a jar for future use.
Stage 3 – mix your dry ingredients
- 240g flour
- ½ tsp ground cinnamon
- ½ tsp baking powder
- ¼ tsp ground nutmeg
- ¼ tsp ground cloves
Mix all these together in a bowl.
Stage 4 – make your cake mix and bake
Grease a cake tin and line the base with baking paper. Mine worked fine on a 20cm diameter round springform tin, but I imagine you can use any shape you like.
- 250g butter, softened
- 250g sugar
- 6 medium to large eggs
- ½ tsp vanilla extract
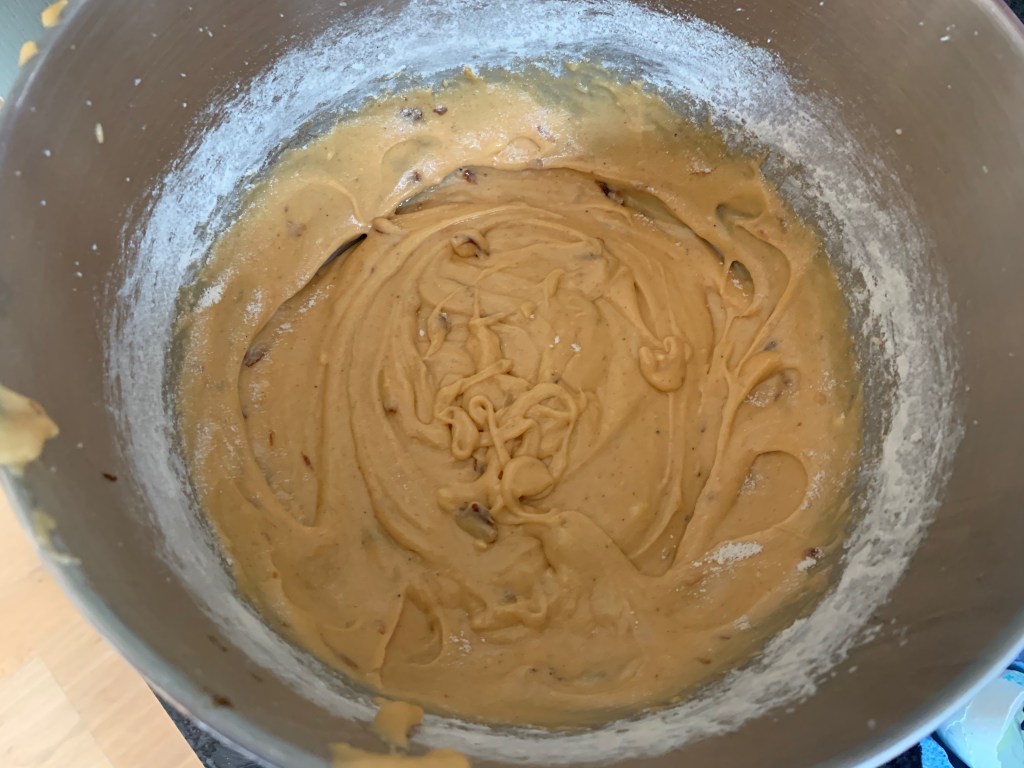
Cream your butter and sugar together (I use a Kitchenaid stand mixer for this, but if you don’t have one, elbow grease and a wooden spoon works fine). Add the eggs, two at a time, mixing well at each stage. Add the vanilla extract and mix in. Next, put in your dry ingredient mixture and mix thoroughly: you don’t want lumps and you don’t want bits of dry raw flour.
Now add around 2 tbs of the caramel you made above. If you’ve left the caramel long enough for it to solidify, warm it up until it’s the consistency of toothpaste before trying this, or you’ll merely end up with shards of caramel through your mixture.
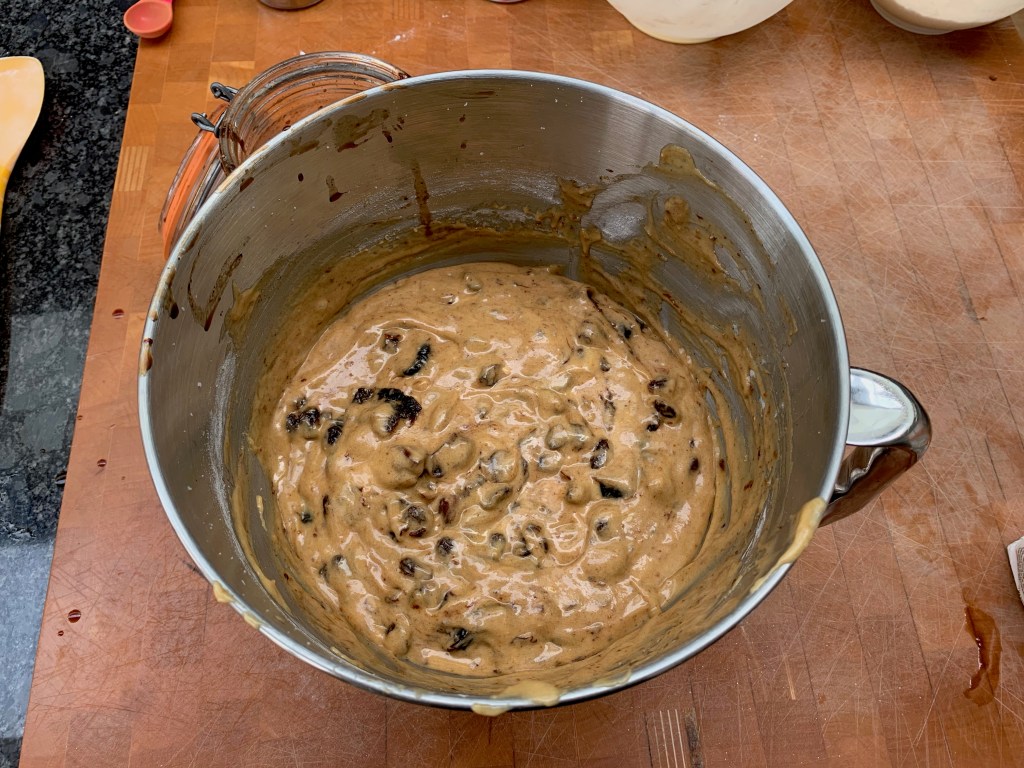
Take your macerated fruit out of its jar, giving it a squeeze so that you’re keeping as much as you can of the soaking liquid in the jar. Add the fruit to the cake mix and do your best to mix it evenly through the mix.
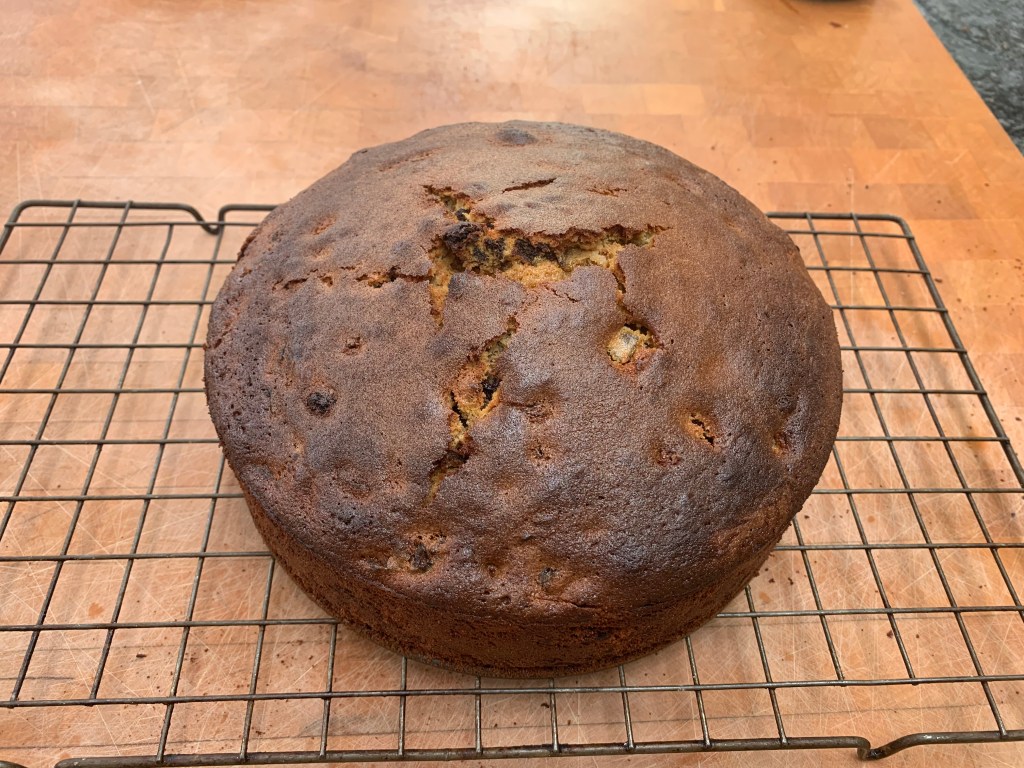
Put the mix into a tin and bake until the cake passes the usual test of a skewer poked into the middle coming out clean. Erica’s recipe says 1h45: mine was done in 1h15 in a 175℃ fan oven. Everyone’s oven is different, I guess – and I suppose hers might not be a fan oven.
Leave the cake to cool for 10 minutes or so, remove from the tin and leave to cool for another 10, then brush your remaining wine/port mix over the cake, letting it seep in.
Wrap the cake in cling film and foil, leave it to mature for a few days, and serve.
To end with: a few more of the usual in-process shots…

any way to make it gluten free ?
LikeLike
Sorry – it’s not a problem I have in the family, so I haven’t researched it.
LikeLike