I eat between meals. Because I’m type 2 diabetic, I need things that I can snack on that are neither overly sweet (we’ll draw a discreet veil over the cake recipes in this series of posts) nor overly salty (I can eat bags of peanuts for days, but this is a terrible idea also). Scottish oatcakes contain little or no sugar, don’t have to be overly salty and are really delicious, either on their own or with a bit of cheese: in short, they are the perfect snack. And they turn out to be one of the easiest things on the planet to bake.
This recipe is only slightly modified from the recipe by BBC good food contributor “zetallgerman”: I’ve changed a few things and added some details, but it’s basically their recipe and hats off to them, because it works like a charm.
I’ve given quite a lot of detail on rolling and cutting here, because this is a really good beginner’s bake – I beg forgiveness from experienced bakers for whom this is all obvious.
Ingredients
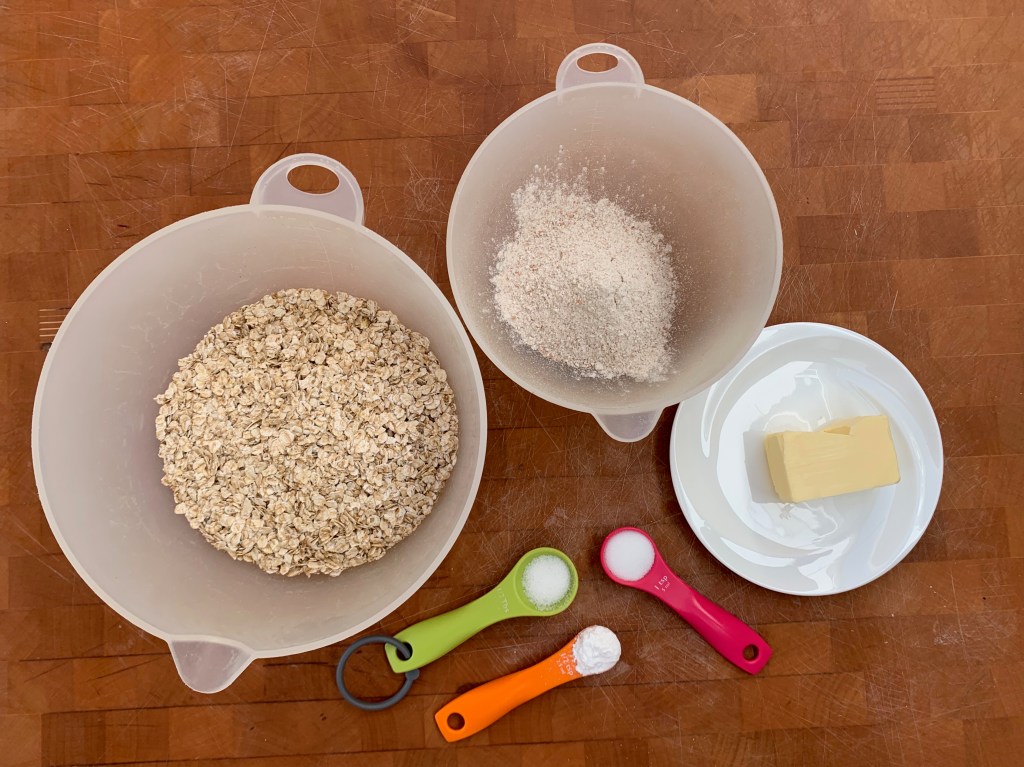
- 225g oats (ordinary porridge oats if you can; jumbo oats need to be blitzed first)
- 60g wholemeal spelt flour (ordinary wholemeal wheat flour is fine: my lockdown larder has spelt flour and it works very well)
- ½ tsp bicarbonate of soda or baking powder
- ½ tsp salt (zetallgerman says 1 tsp: I prefer ½ to ¾)
- ½ tsp sugar (optional, as far as I’m concerned)
- 60g unsalted butter (or use salted and reduce the amount of added salt)
- 70ml warm water, plus 10ml or so more for the next round
Method
- Preheat oven to 190℃ fan
- Get a baking tray ready. If it isn’t non-stick, line it with baking paper. You’ll also need something with which to cut the oatcakes into circles: I use a fairly solid mug whose diameter is 9cm, so I just fit 12 oatcakes into my 30cm x 40cm tray.
- If your butter came out of the fridge, soften. My favourite way is to cut it into small cubes and leave it in a warm place in the kitchen: five minutes in spring sunshine is plenty.
- Mix the oats, flour, baking soda or powder, salt and sugar until everything’s reasonably evenly distributed.
- Add the butter and mix thoroughly, pinching with your fingers until all the butter is absorbed. If you can, do this with one hand to keep the other one clean. Pastry and biscuit recipes always say “to the consistency of breadcrumbs”: personally, I’ve never succeeded in achieving anything looking remotely like a breadcrumb, but it doesn’t seem to matter.
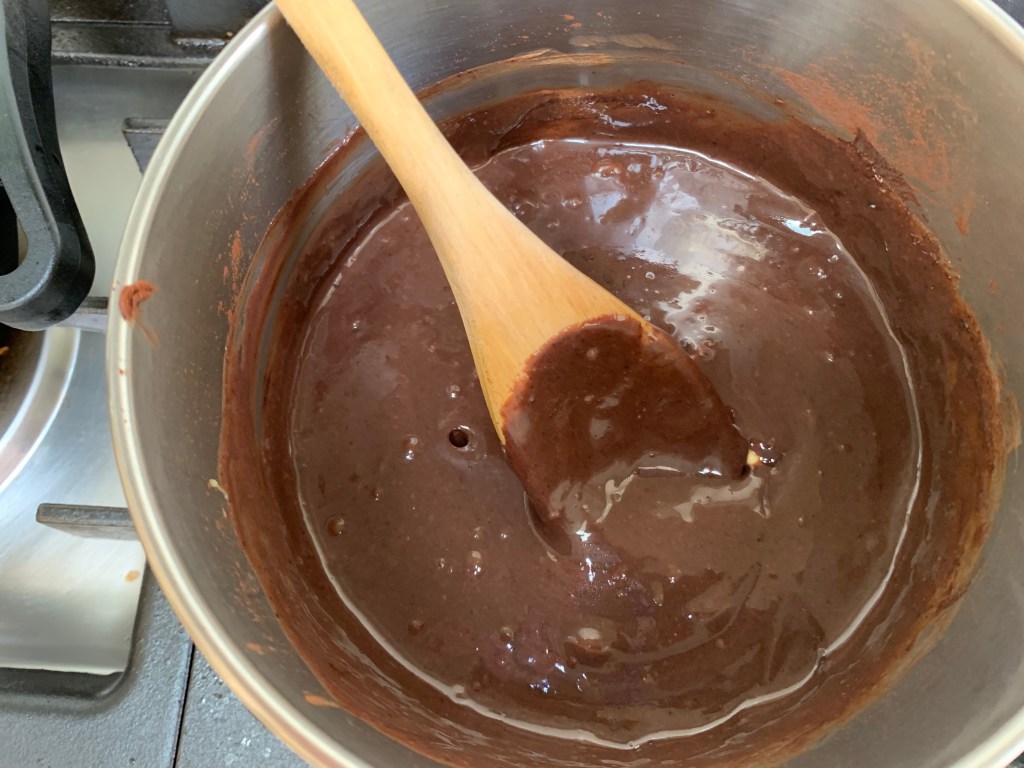
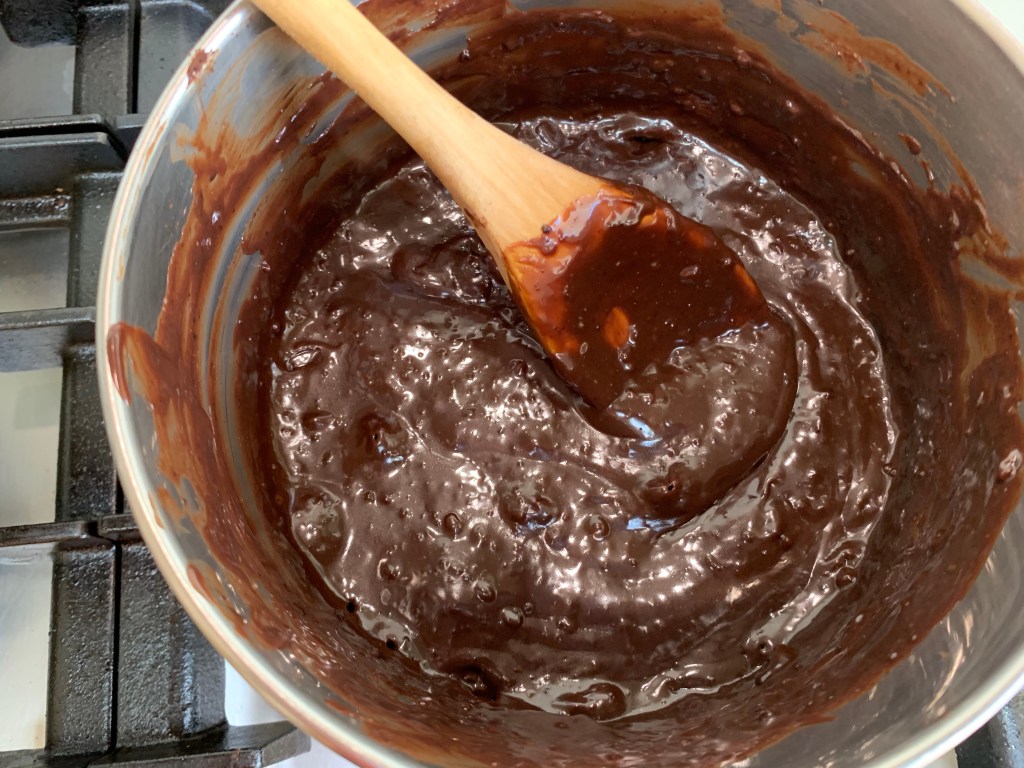
- Add 70ml of warm water and combine everything together into a dough. The amount of water is a bit variable: if your dough fragments horribly when you try to roll it, add a few drops more, remix and try again.
- On a floured board, roll your dough out to 4-5mm thickness. Cut a circle (I use a mug) and transfer to your baking sheet (I have to first put the mug over my hand and then thump it for the oatcake to come out). Repeat: if all is well, you should be able to get six oatcakes.
- Now gather together the off-cut dough and put it back in your bowl, add a few drops more water and recombine. You can now roll out the dough again and repeat. Hopefully, you’ll manage another four oatcakes this time.
- At this stage, I normally have enough dough for two oatcakes. I divide it in half and roll them out individually
- Bake for 20 minutes. As well as the usual oven variability, the exact time is a matter of taste: longer = crispier but gives more danger of a burnt taste
That’s it folks – a really low effort bake which has given me reliable results every time!
The usual in-process shots:
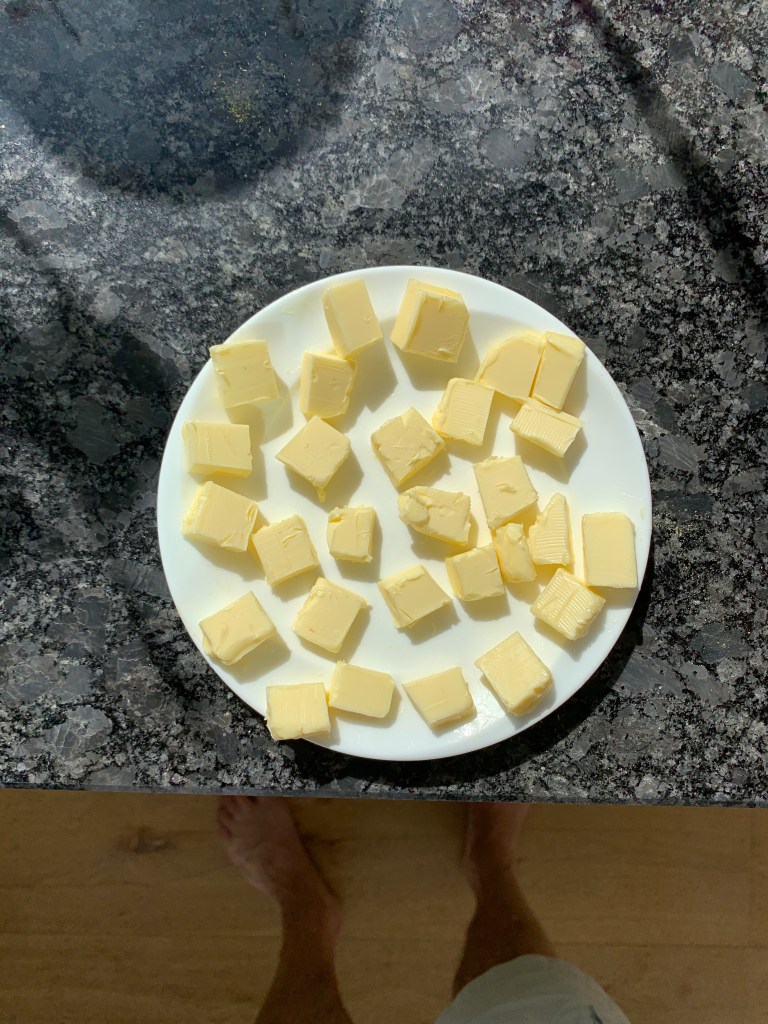
Softening butter 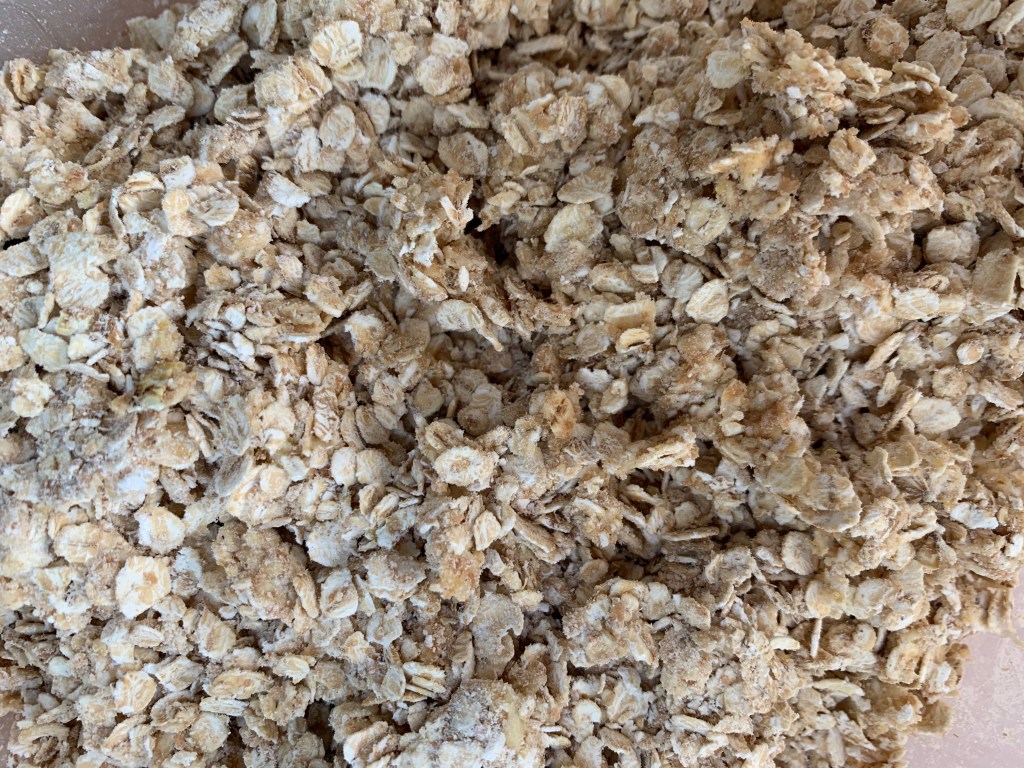
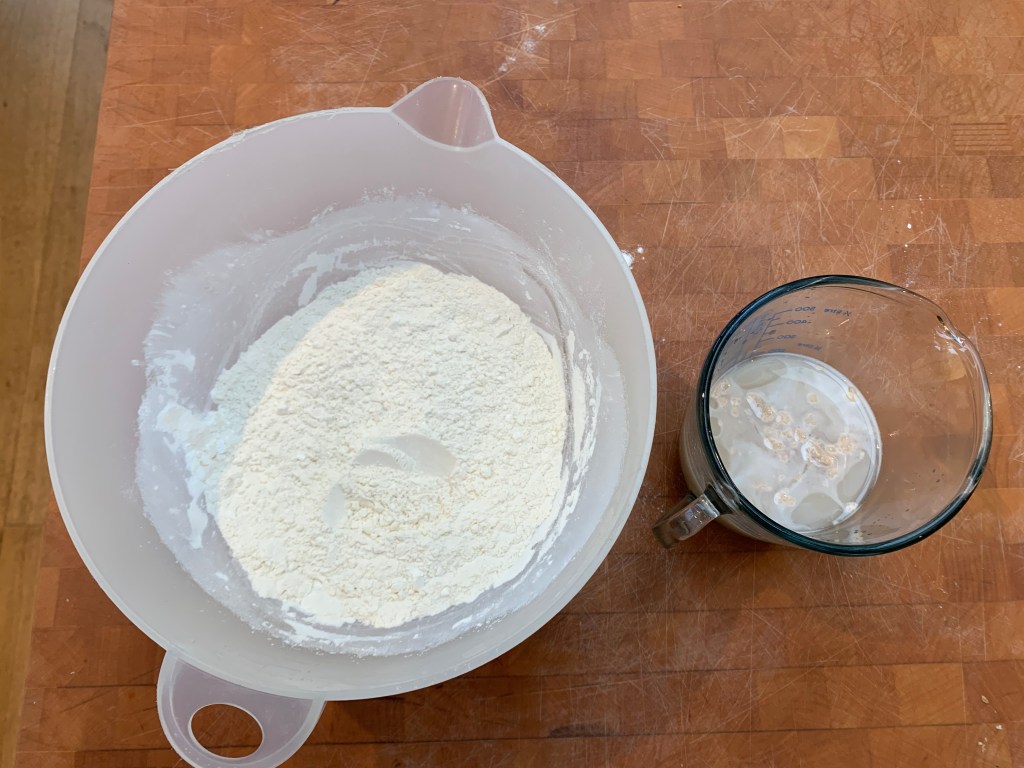
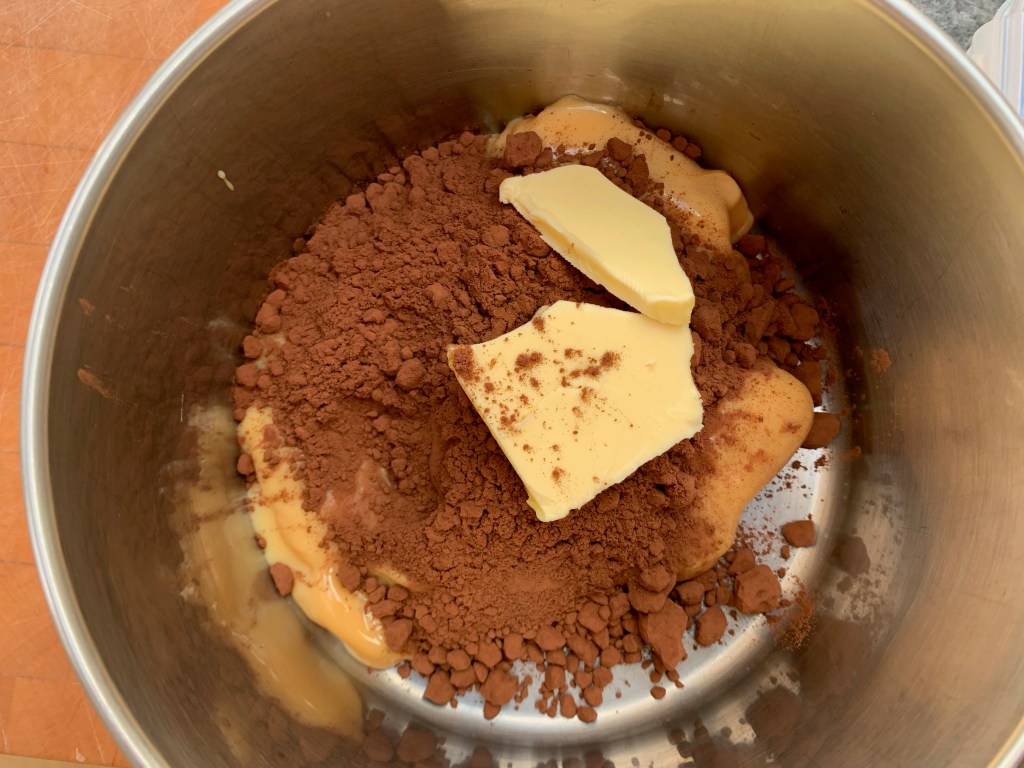
Mixture before water 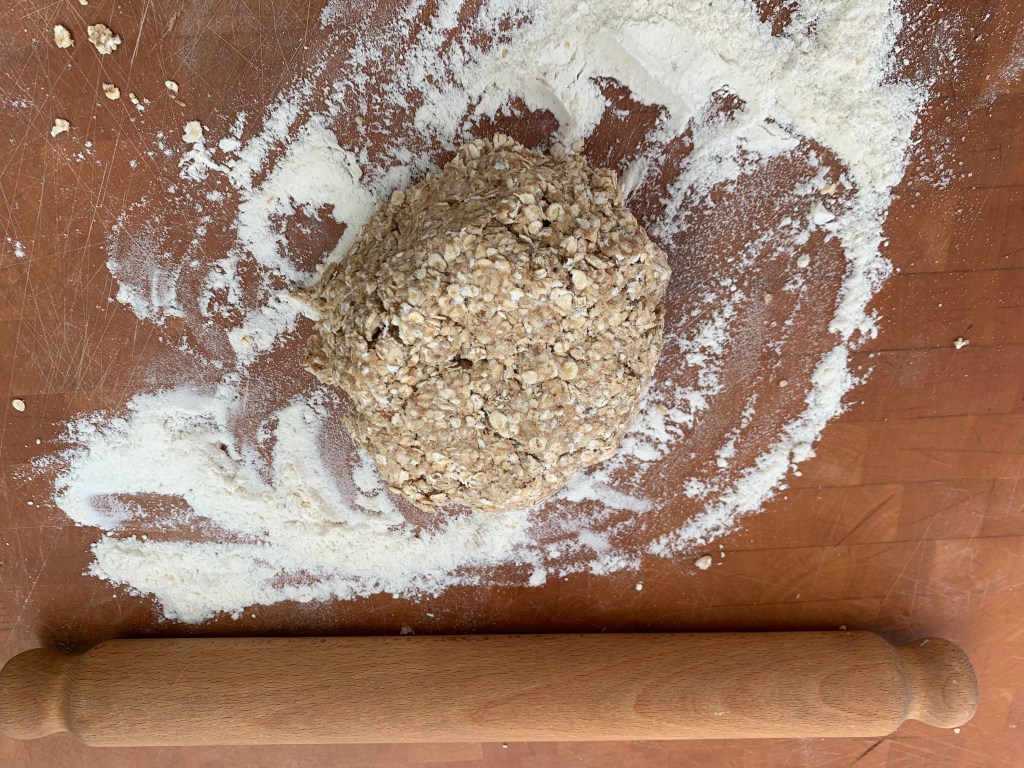
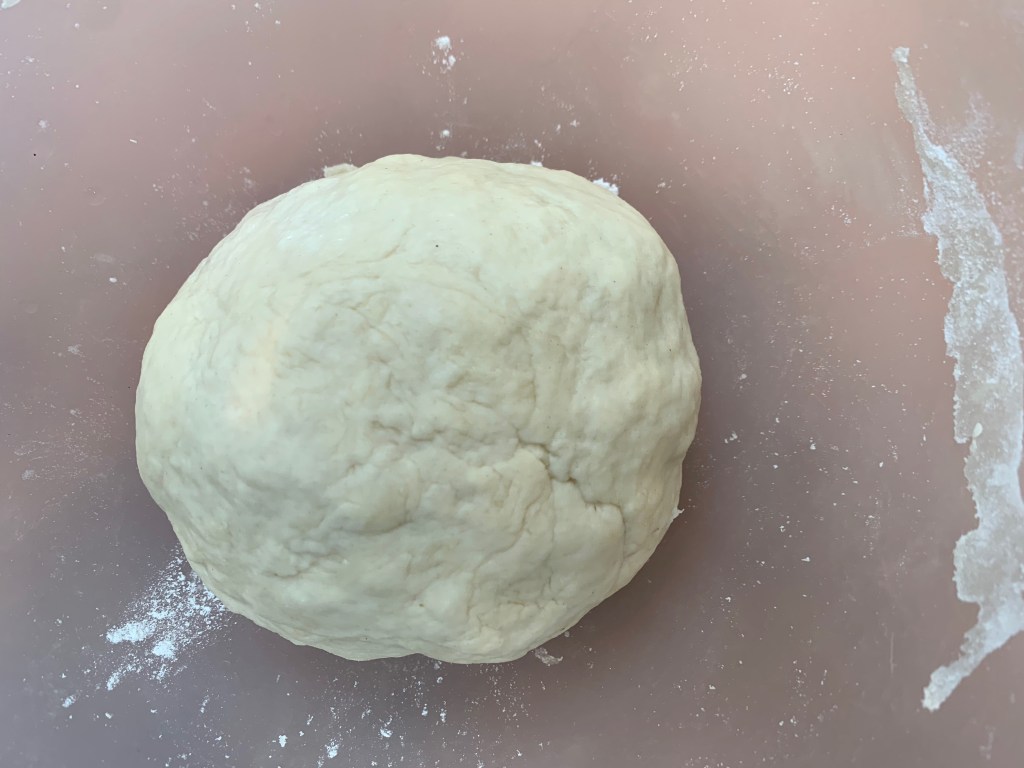
Dough ready to roll 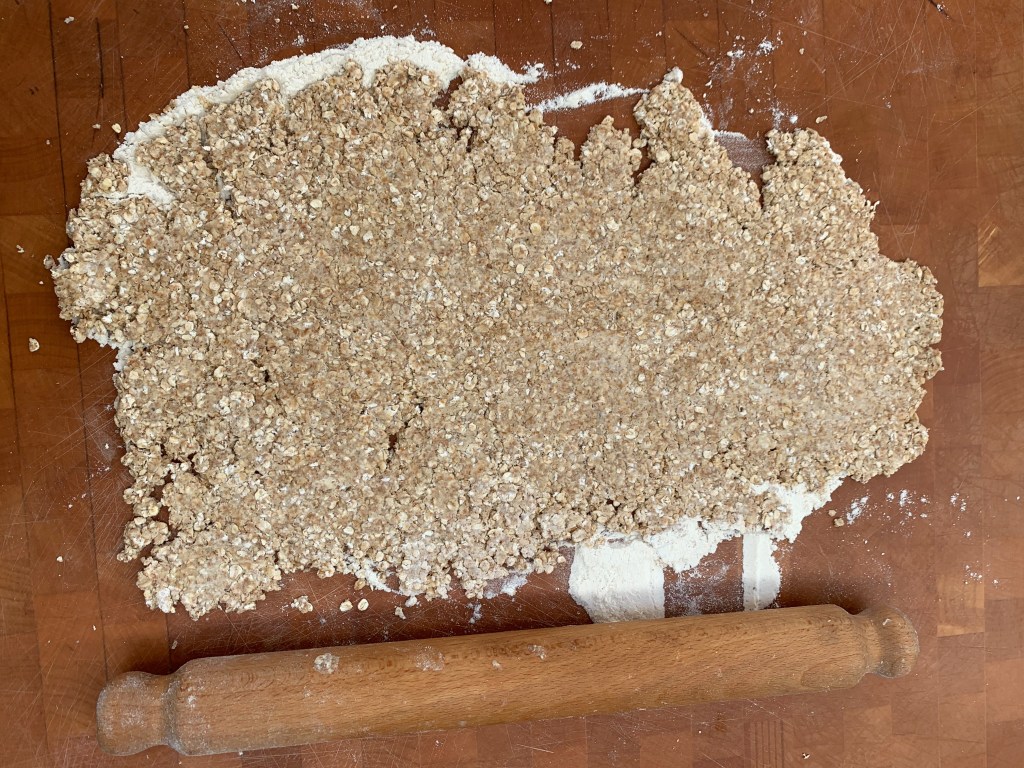
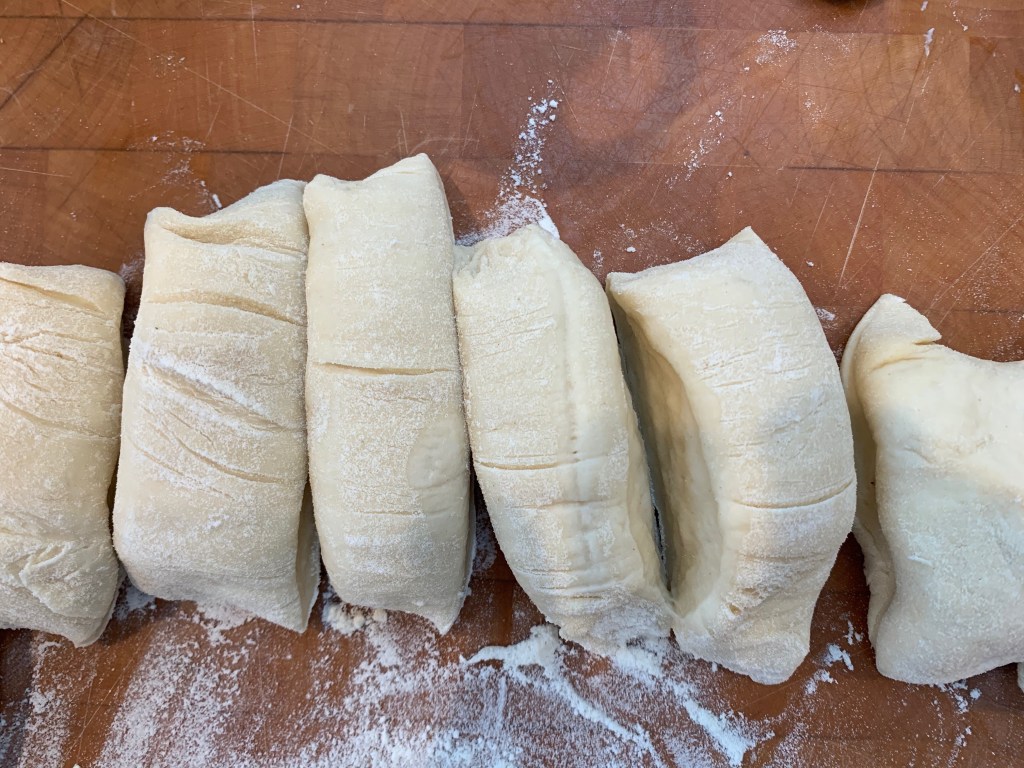
After first roll 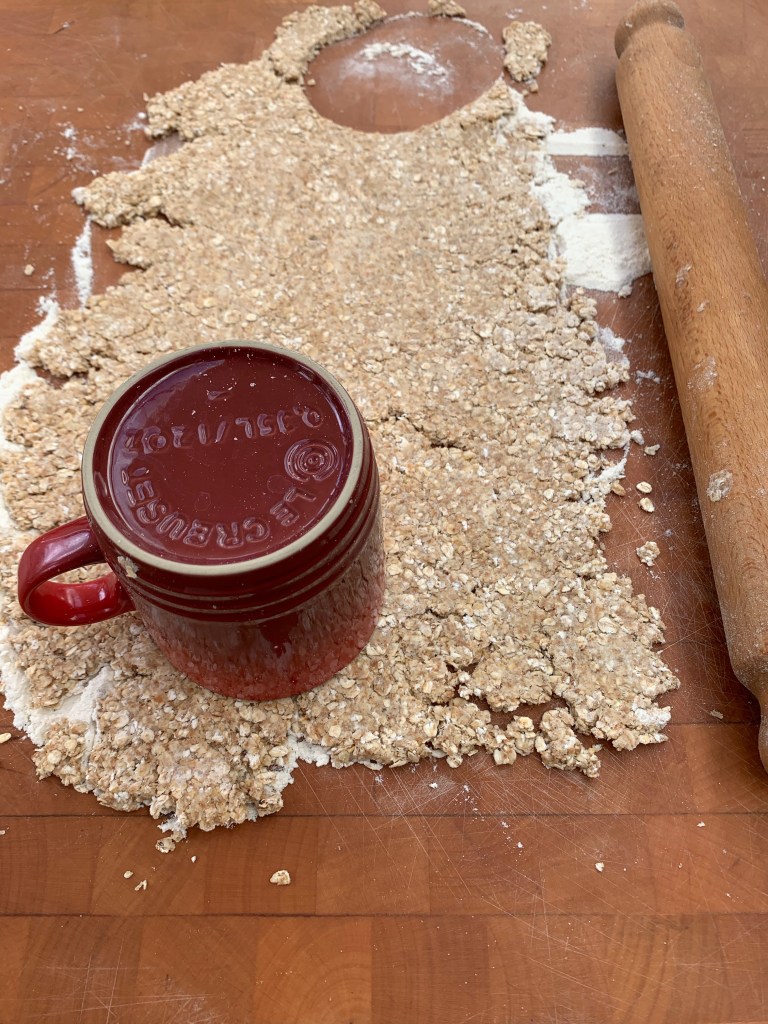
Cutting the oatcakes 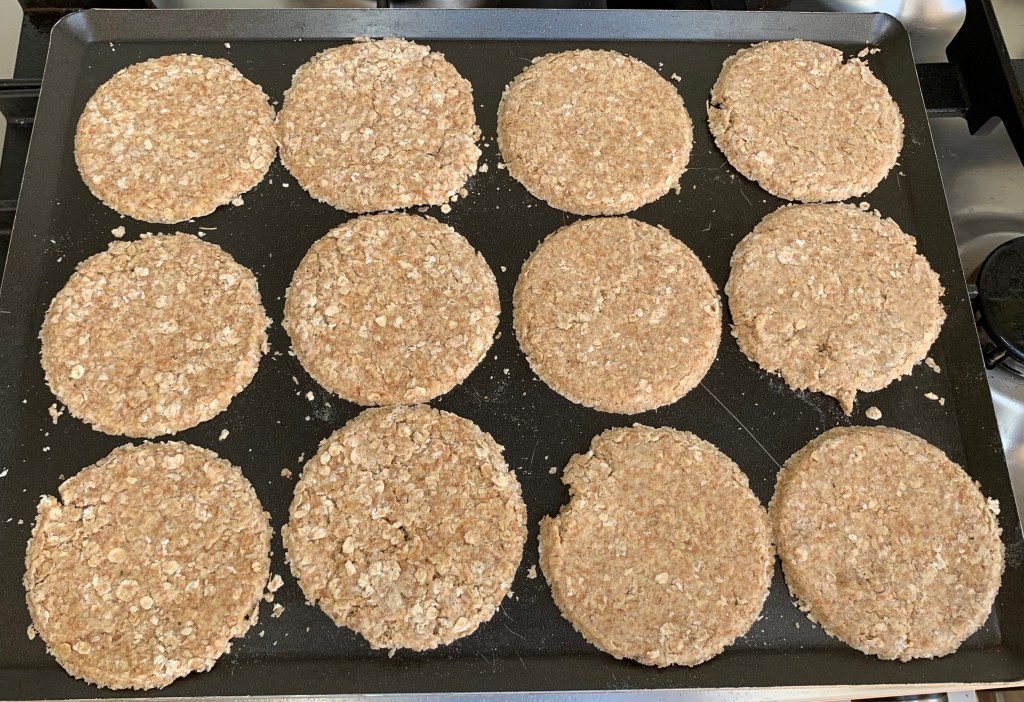
Going into the oven