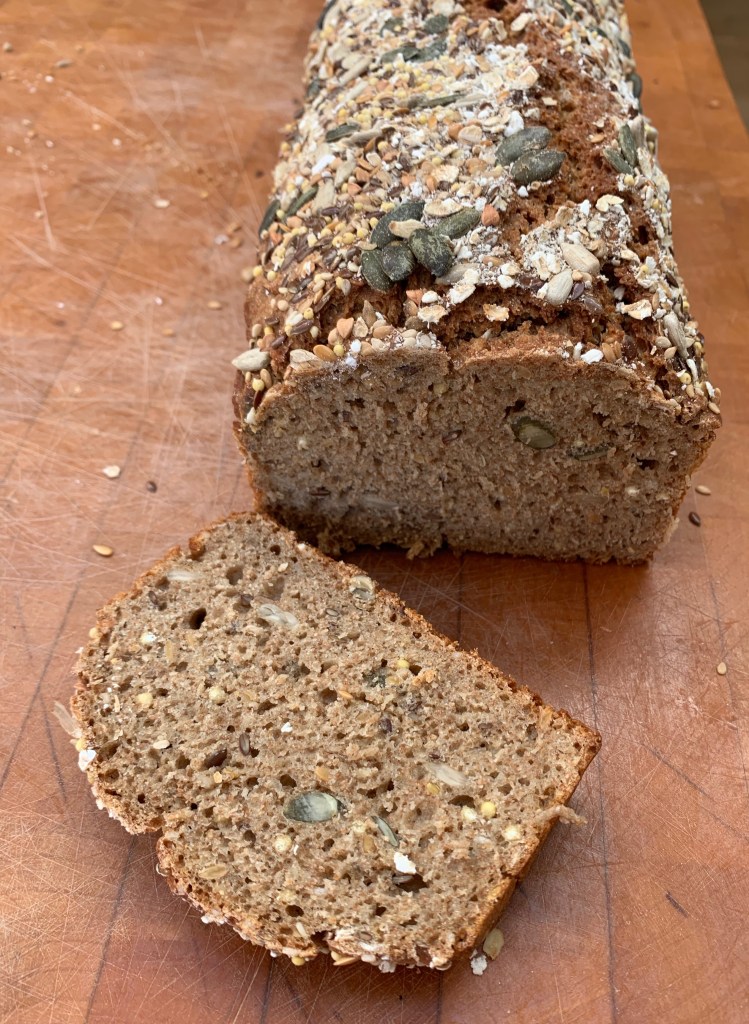
There have been several dark rye breads in this series, but after a recent visit to Estonia, I felt compelled to make the Estonian version, known simply as “Leib” (bread) or, if you’re feeling loquacious, “Must Leib” (black bread). It’s a soft, earthy and aromatic loaf that immediately hit the top of family favourites of any bread that I’ve made, displacing its Russian cousin Borodinsky bread; it also seems to keep particularly well. You need a couple of days elapsed time and it’s fairly hard work compared to many breads, not least because the dough is very sticky so you spend masses of time on washing up, but it was well worth the trouble and it’s definitely going to become a regular.
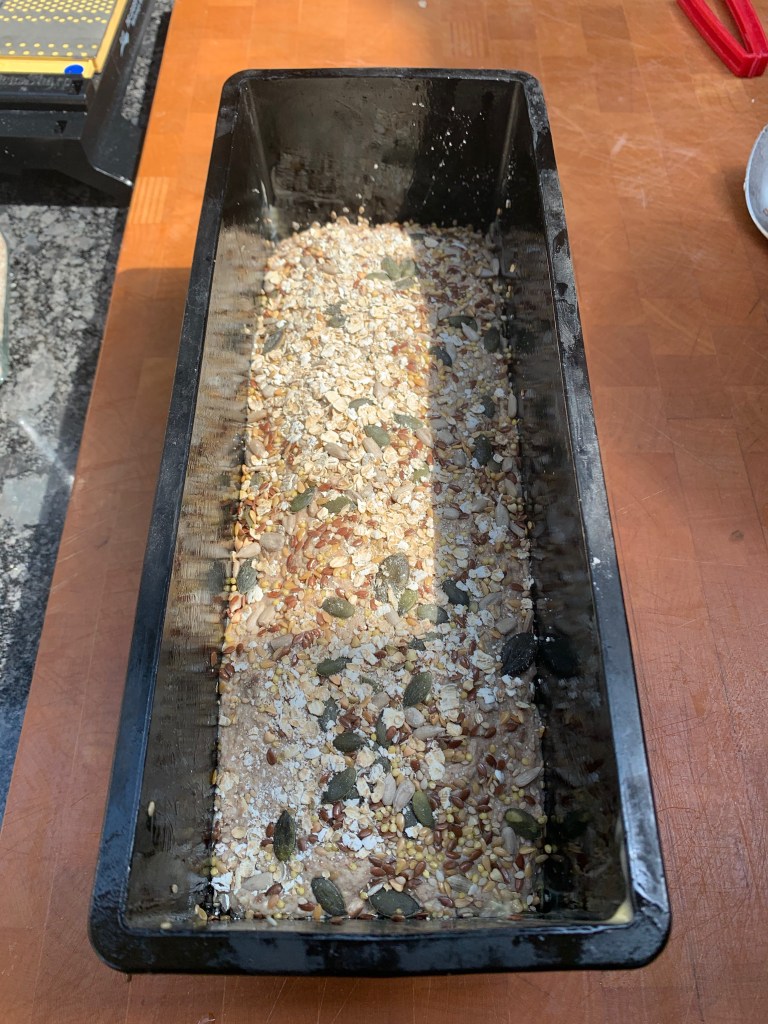
As ever, recipes vary: the common theme is the use of dark rye, caraway seeds and various other seeds (pumpkin and sunflower here; I’m sure others are possible), as well as the use of a fairly long fermentation time. I’ve started with a post on Deutsche Welle from their EU correspondent Georg Matthes, taking down the quantities around 20% to suit the size of my bread tin and changing a couple of ingredients to the ones readily available to me. By the way, my bread tin measures around 29cm x 11cm x 10cm, so around 3 litres, probably not far off an American 10 x 5 inch loaf pan.
Georg is surprisingly precise about fermentation time and temperature – 17 hours at 24℃ – which is fine if you are a professional baker with access to a temperature controlled environment but sounds scary to us amateurs. I have the choice of room temperature (around 20℃ in winter) or the cupboard containing my boiler (more like 30℃), so I ended up doing a kind of mix and match. It worked fine, so I suspect that things really aren’t all that sensitive.
I’ve given you the timings and sizes that I used successfully. Obviously, adapt as needed to your schedule, kitchen and available equipment.
Day 1 – around noon
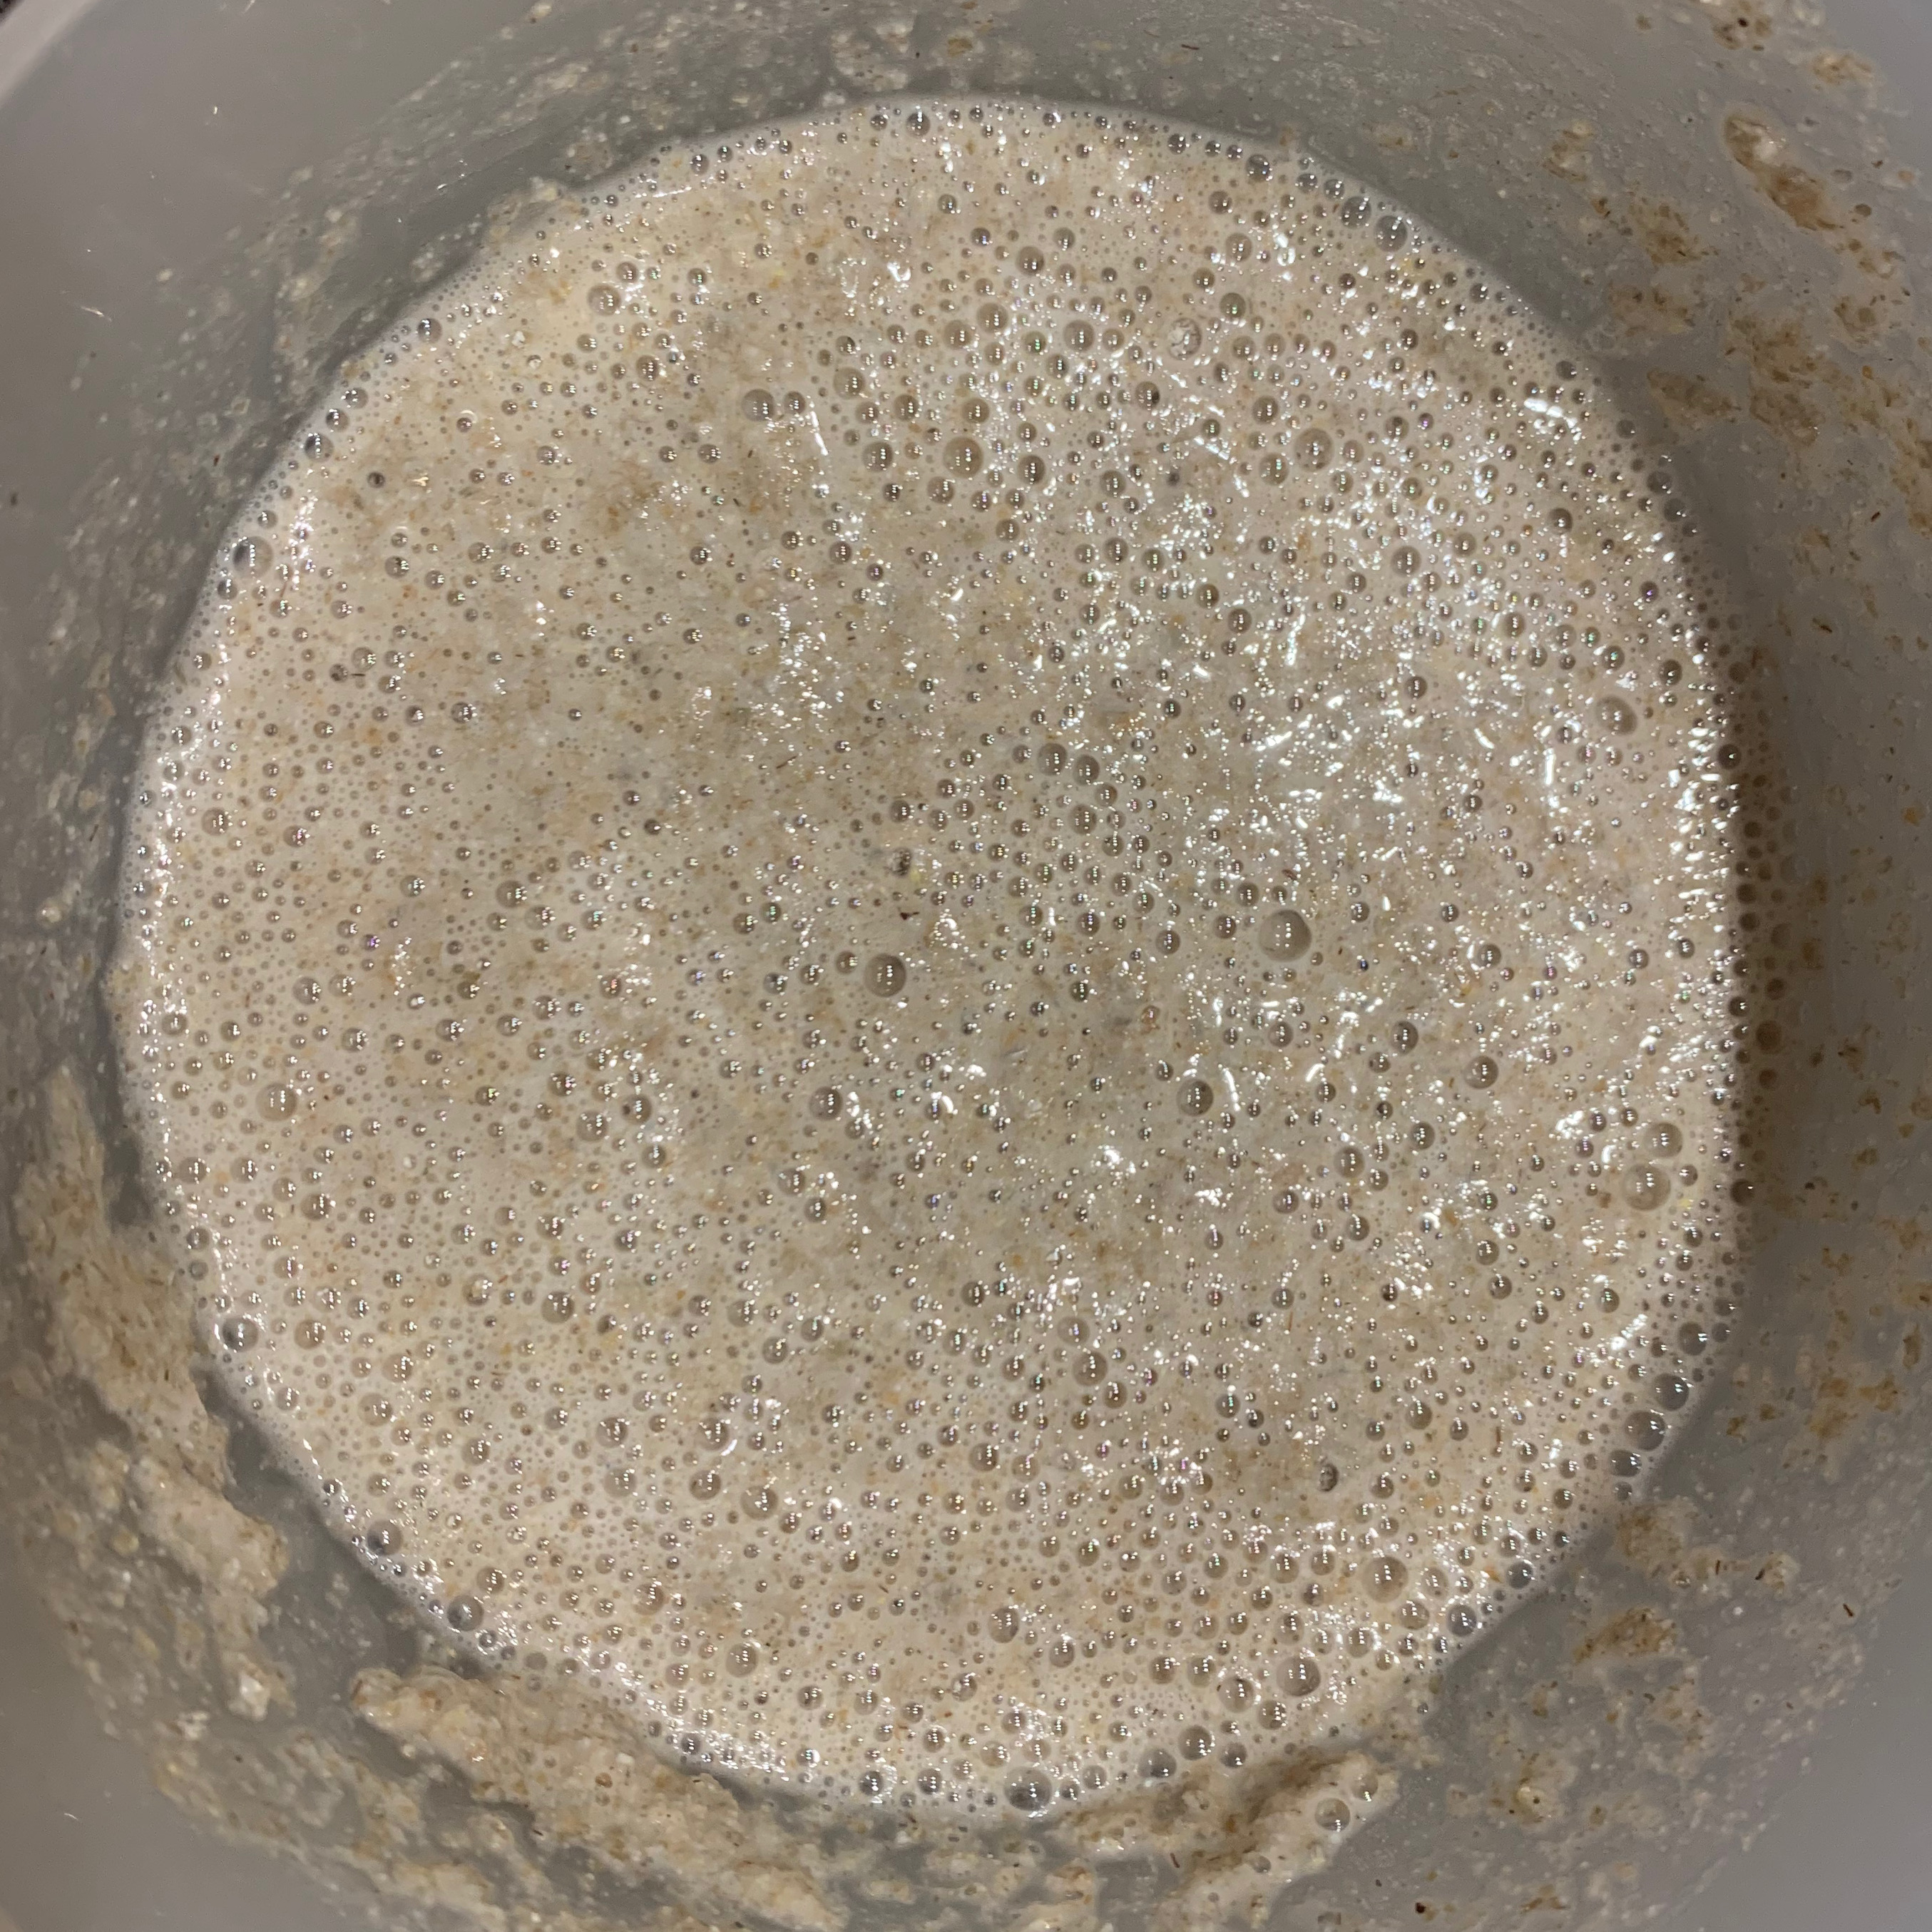
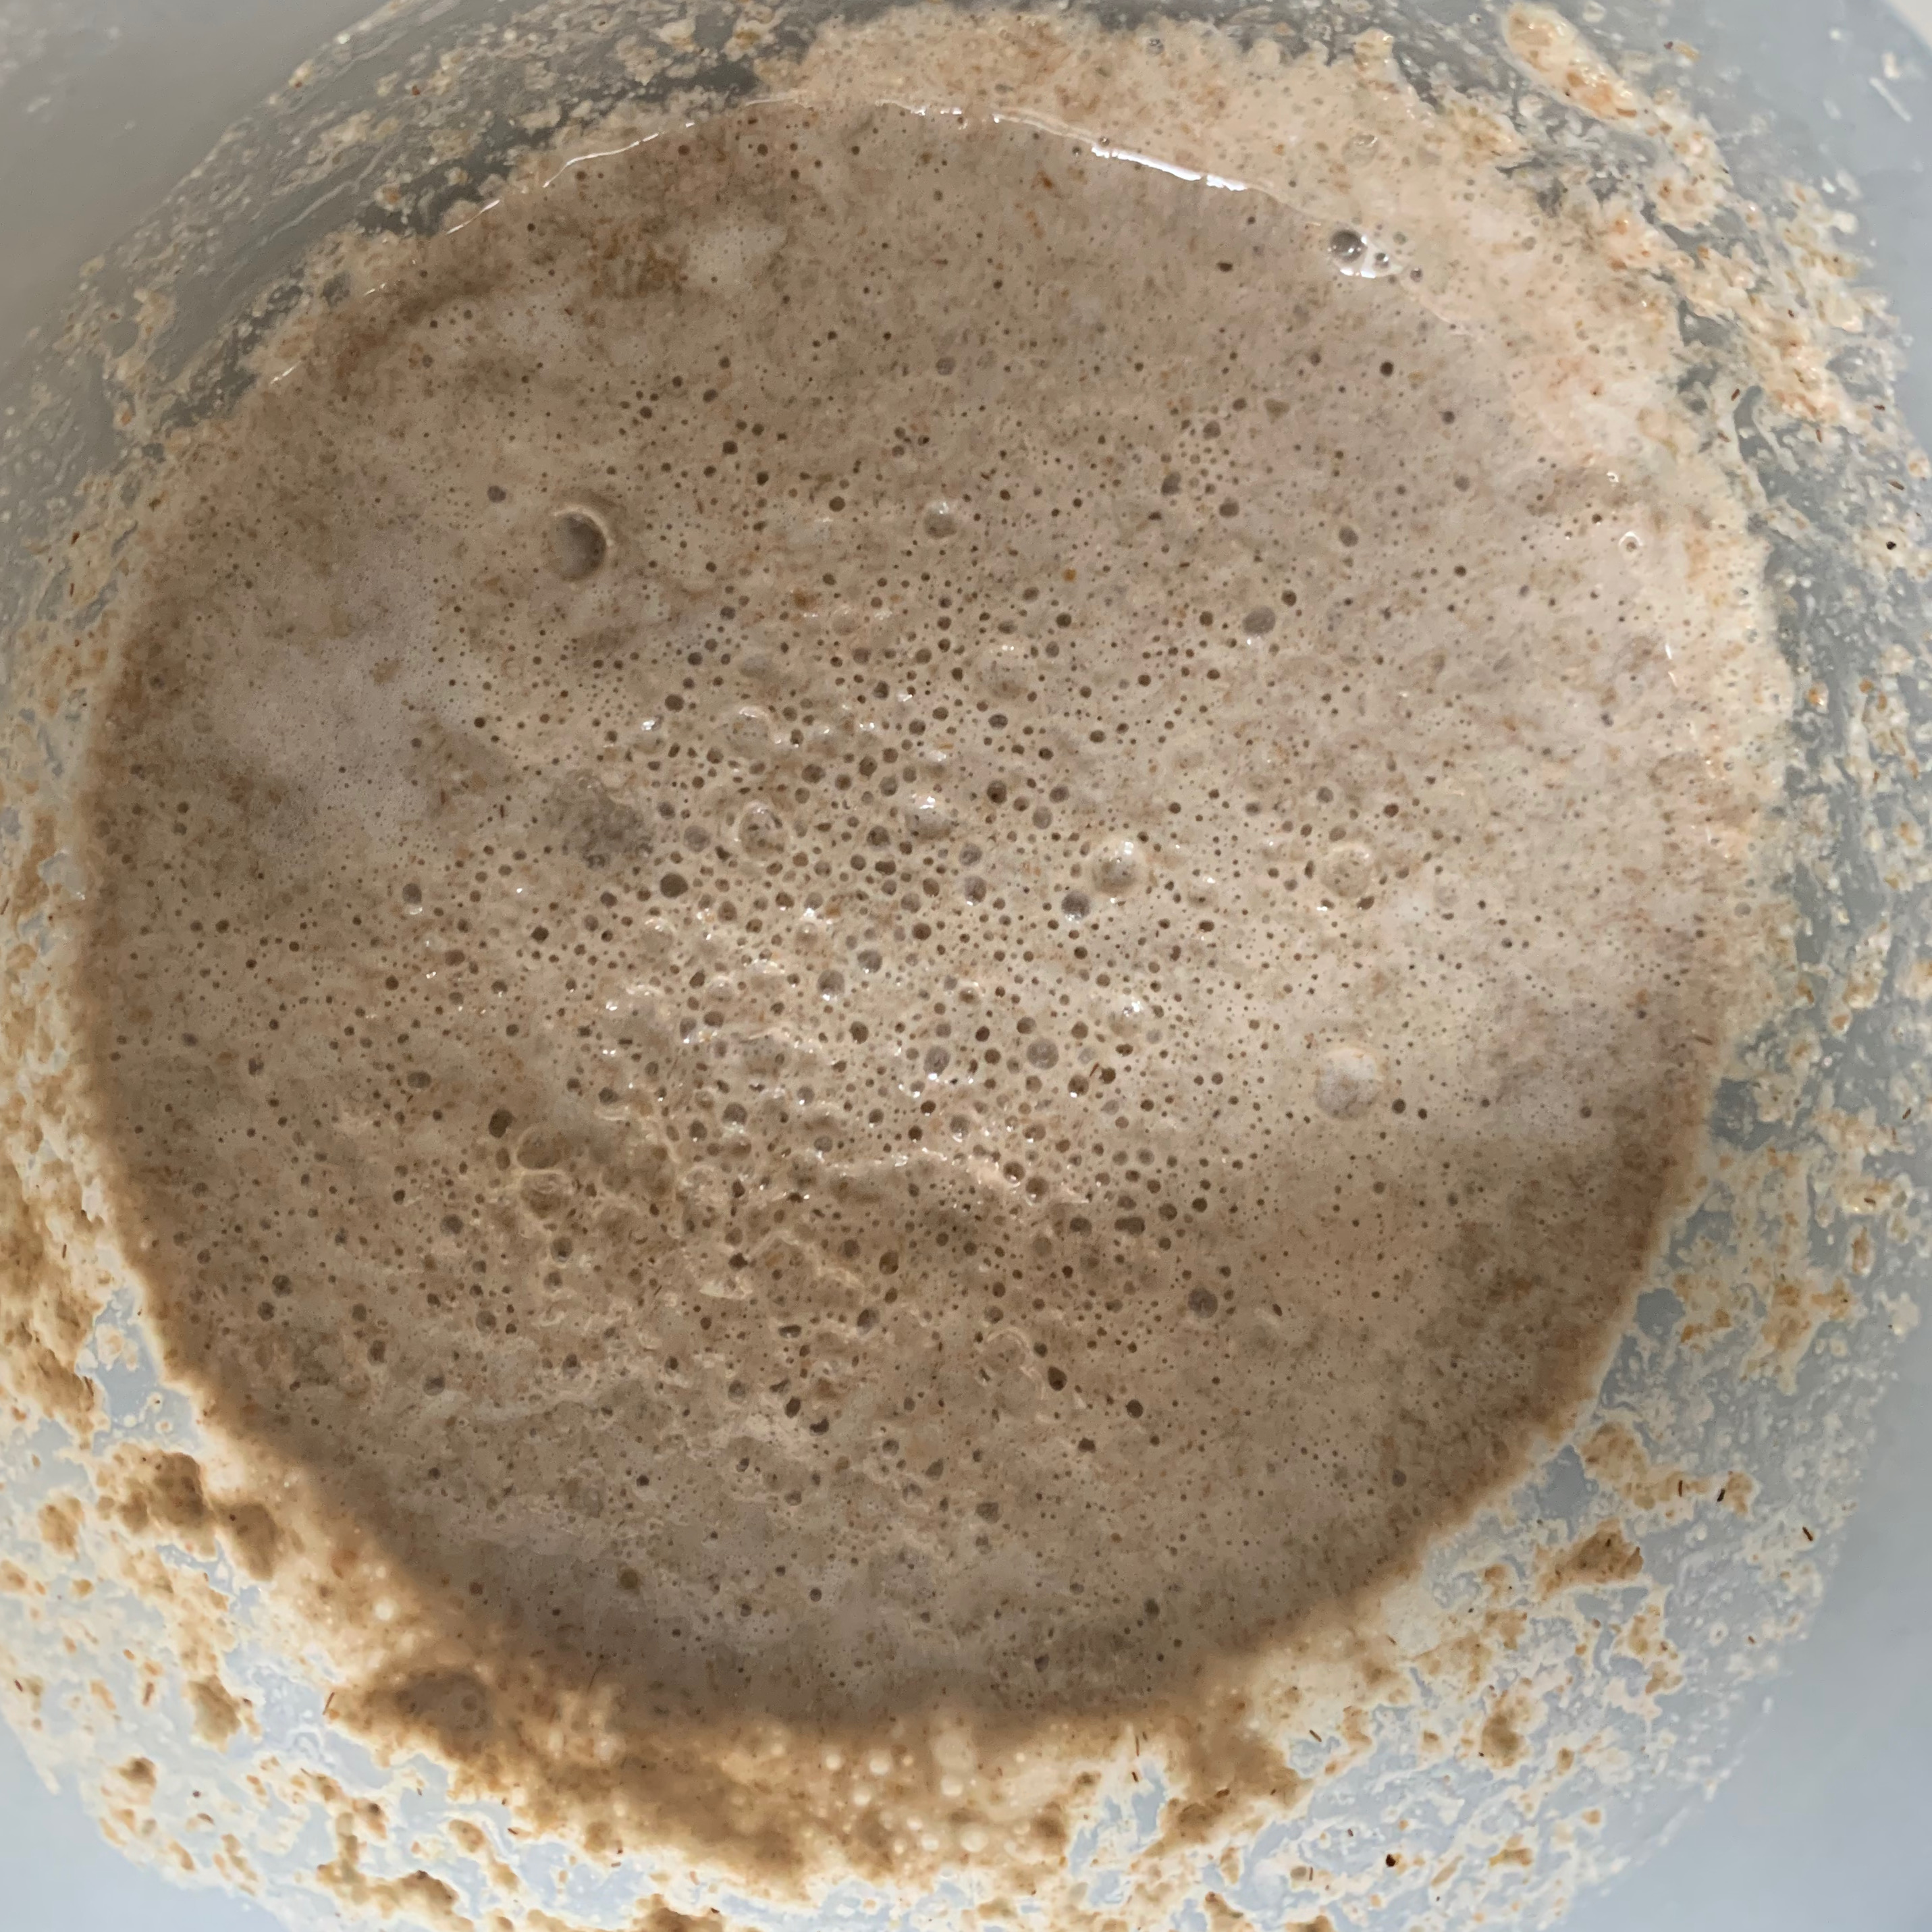
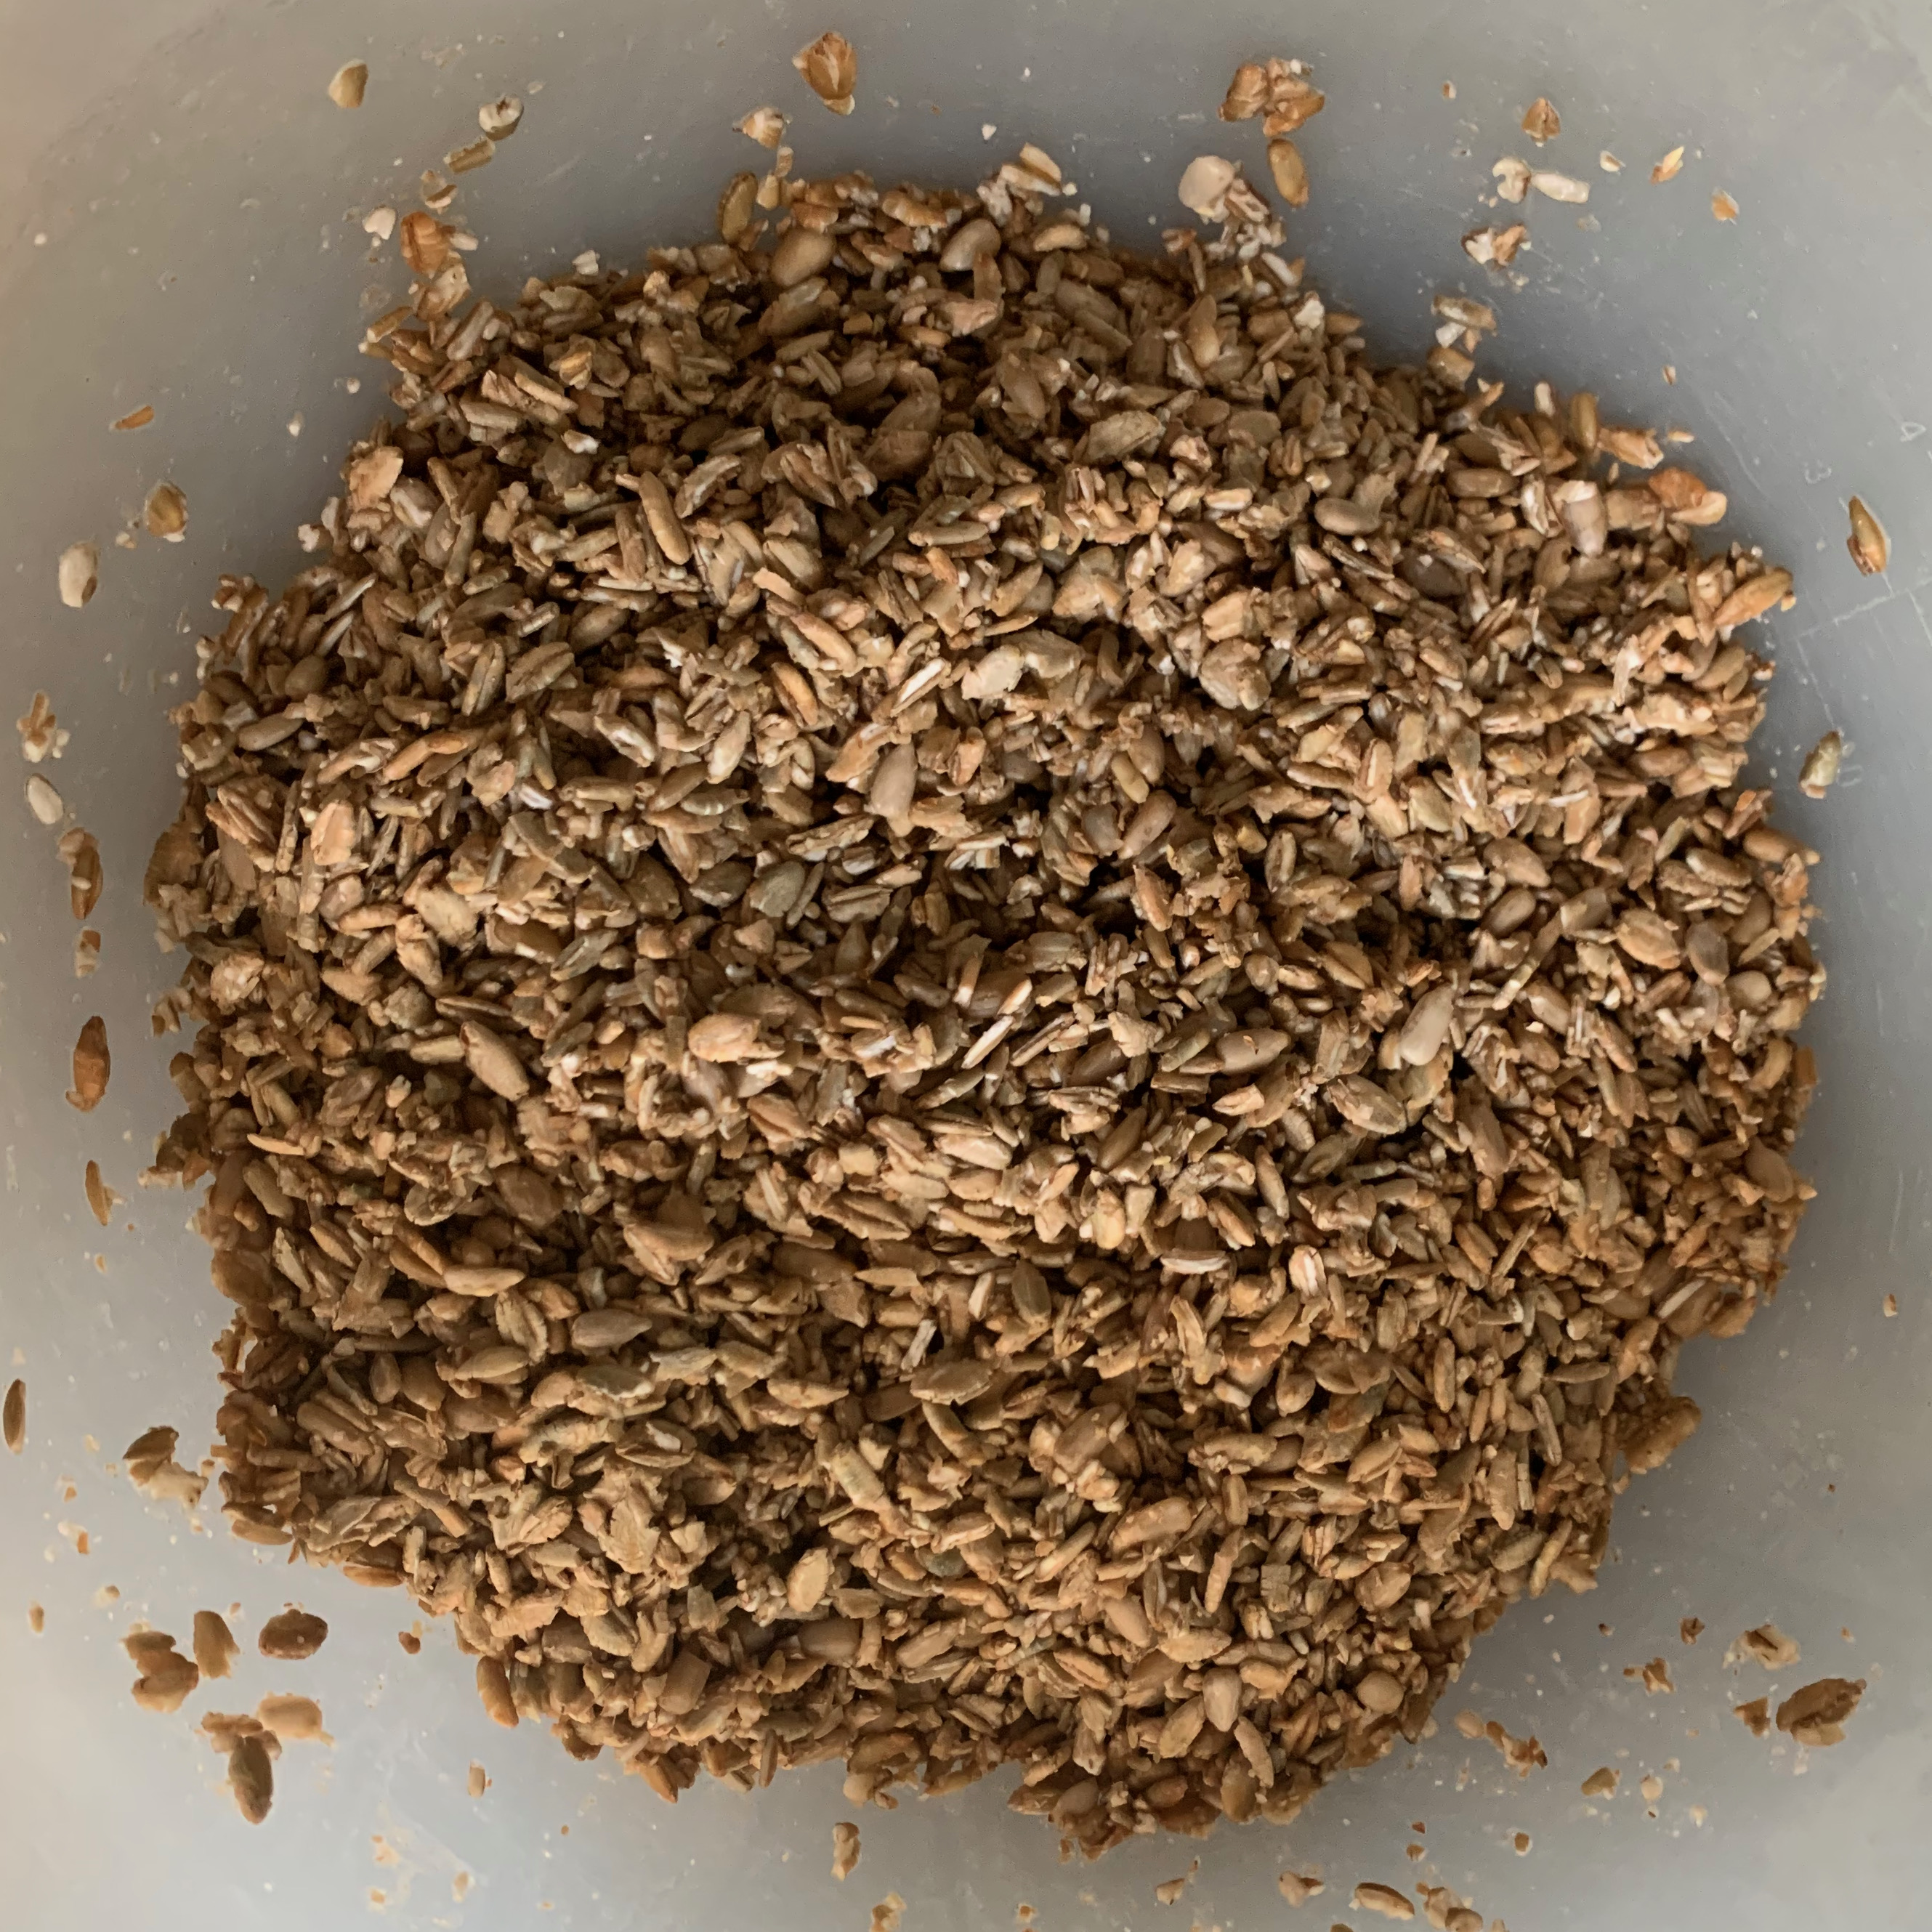
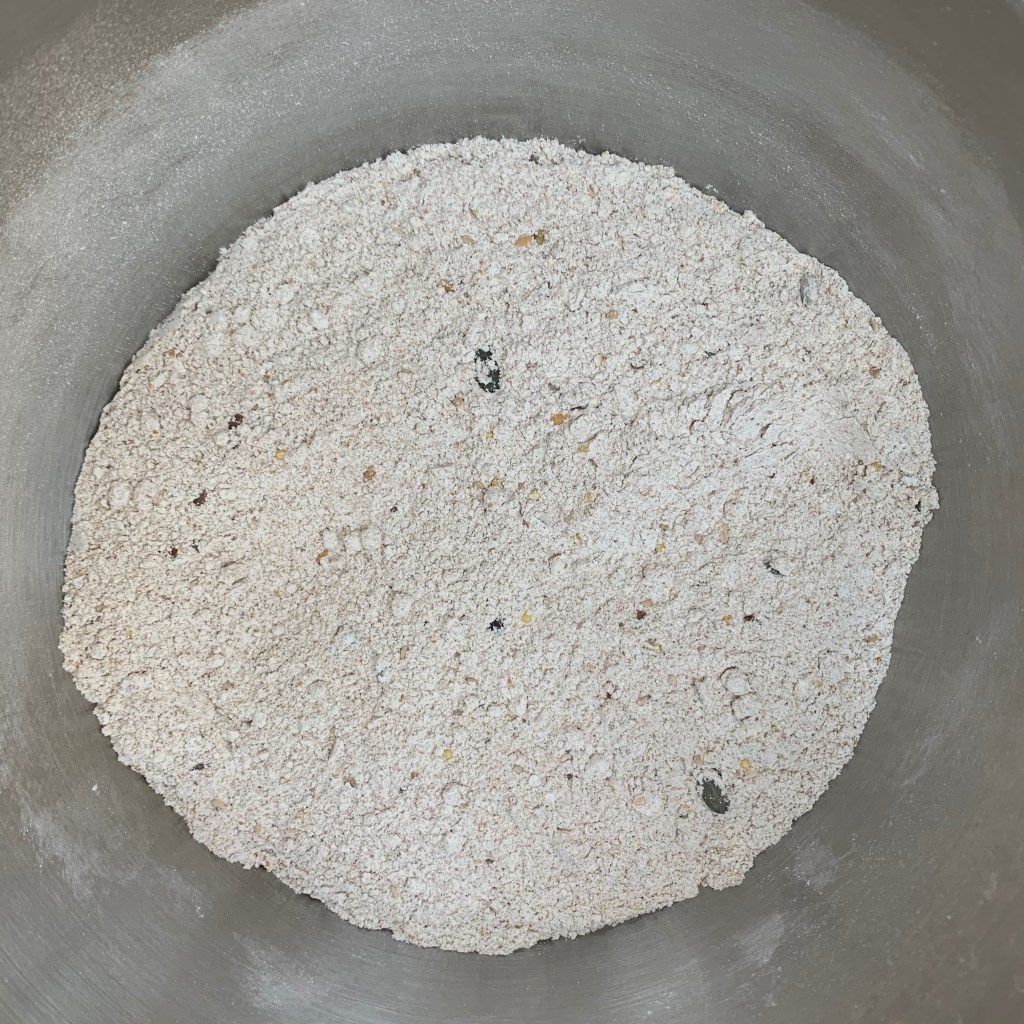
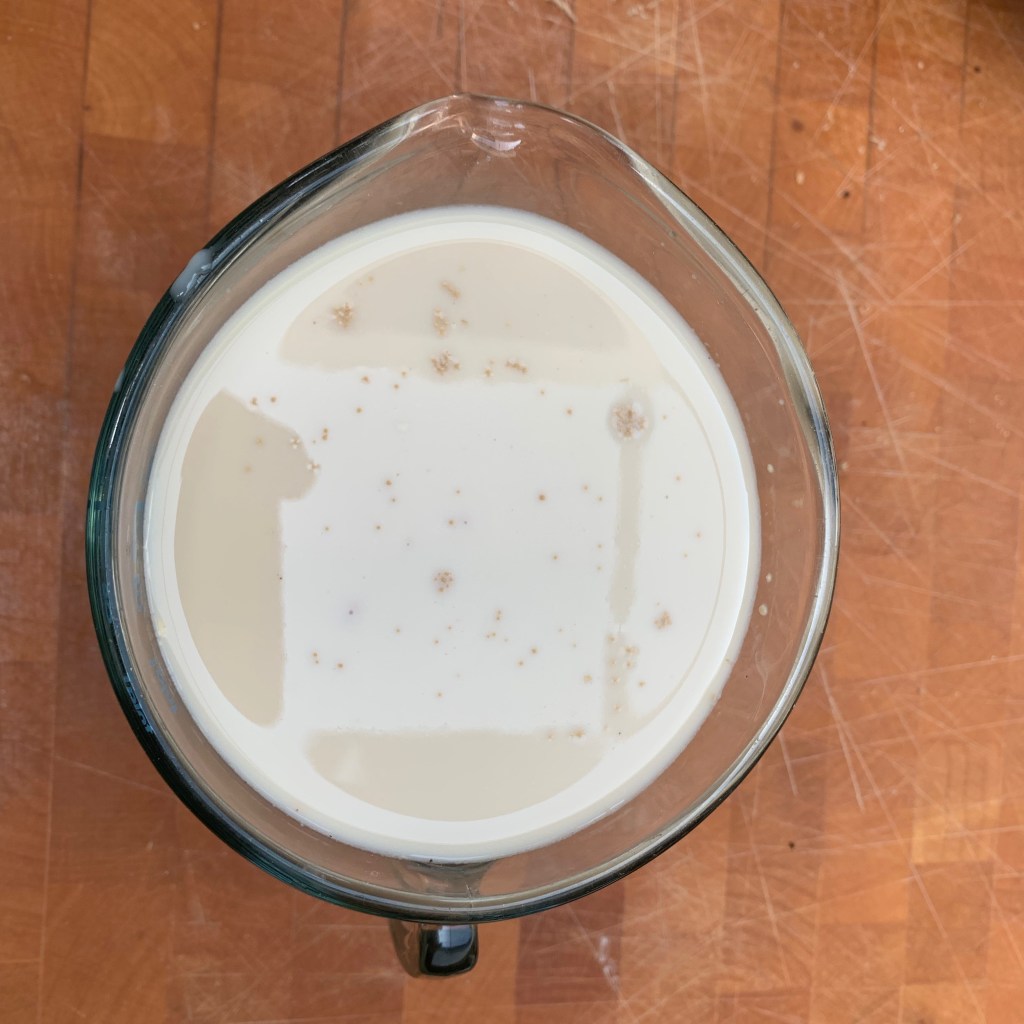
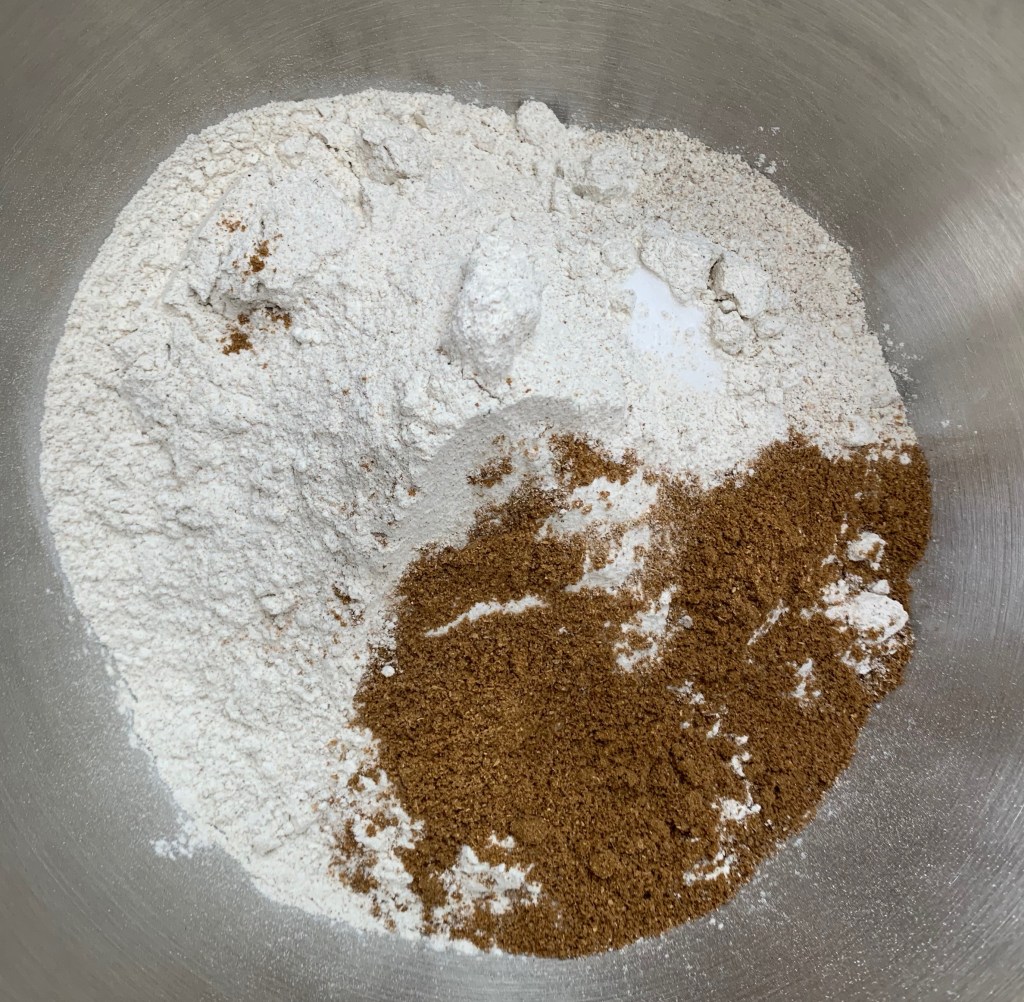
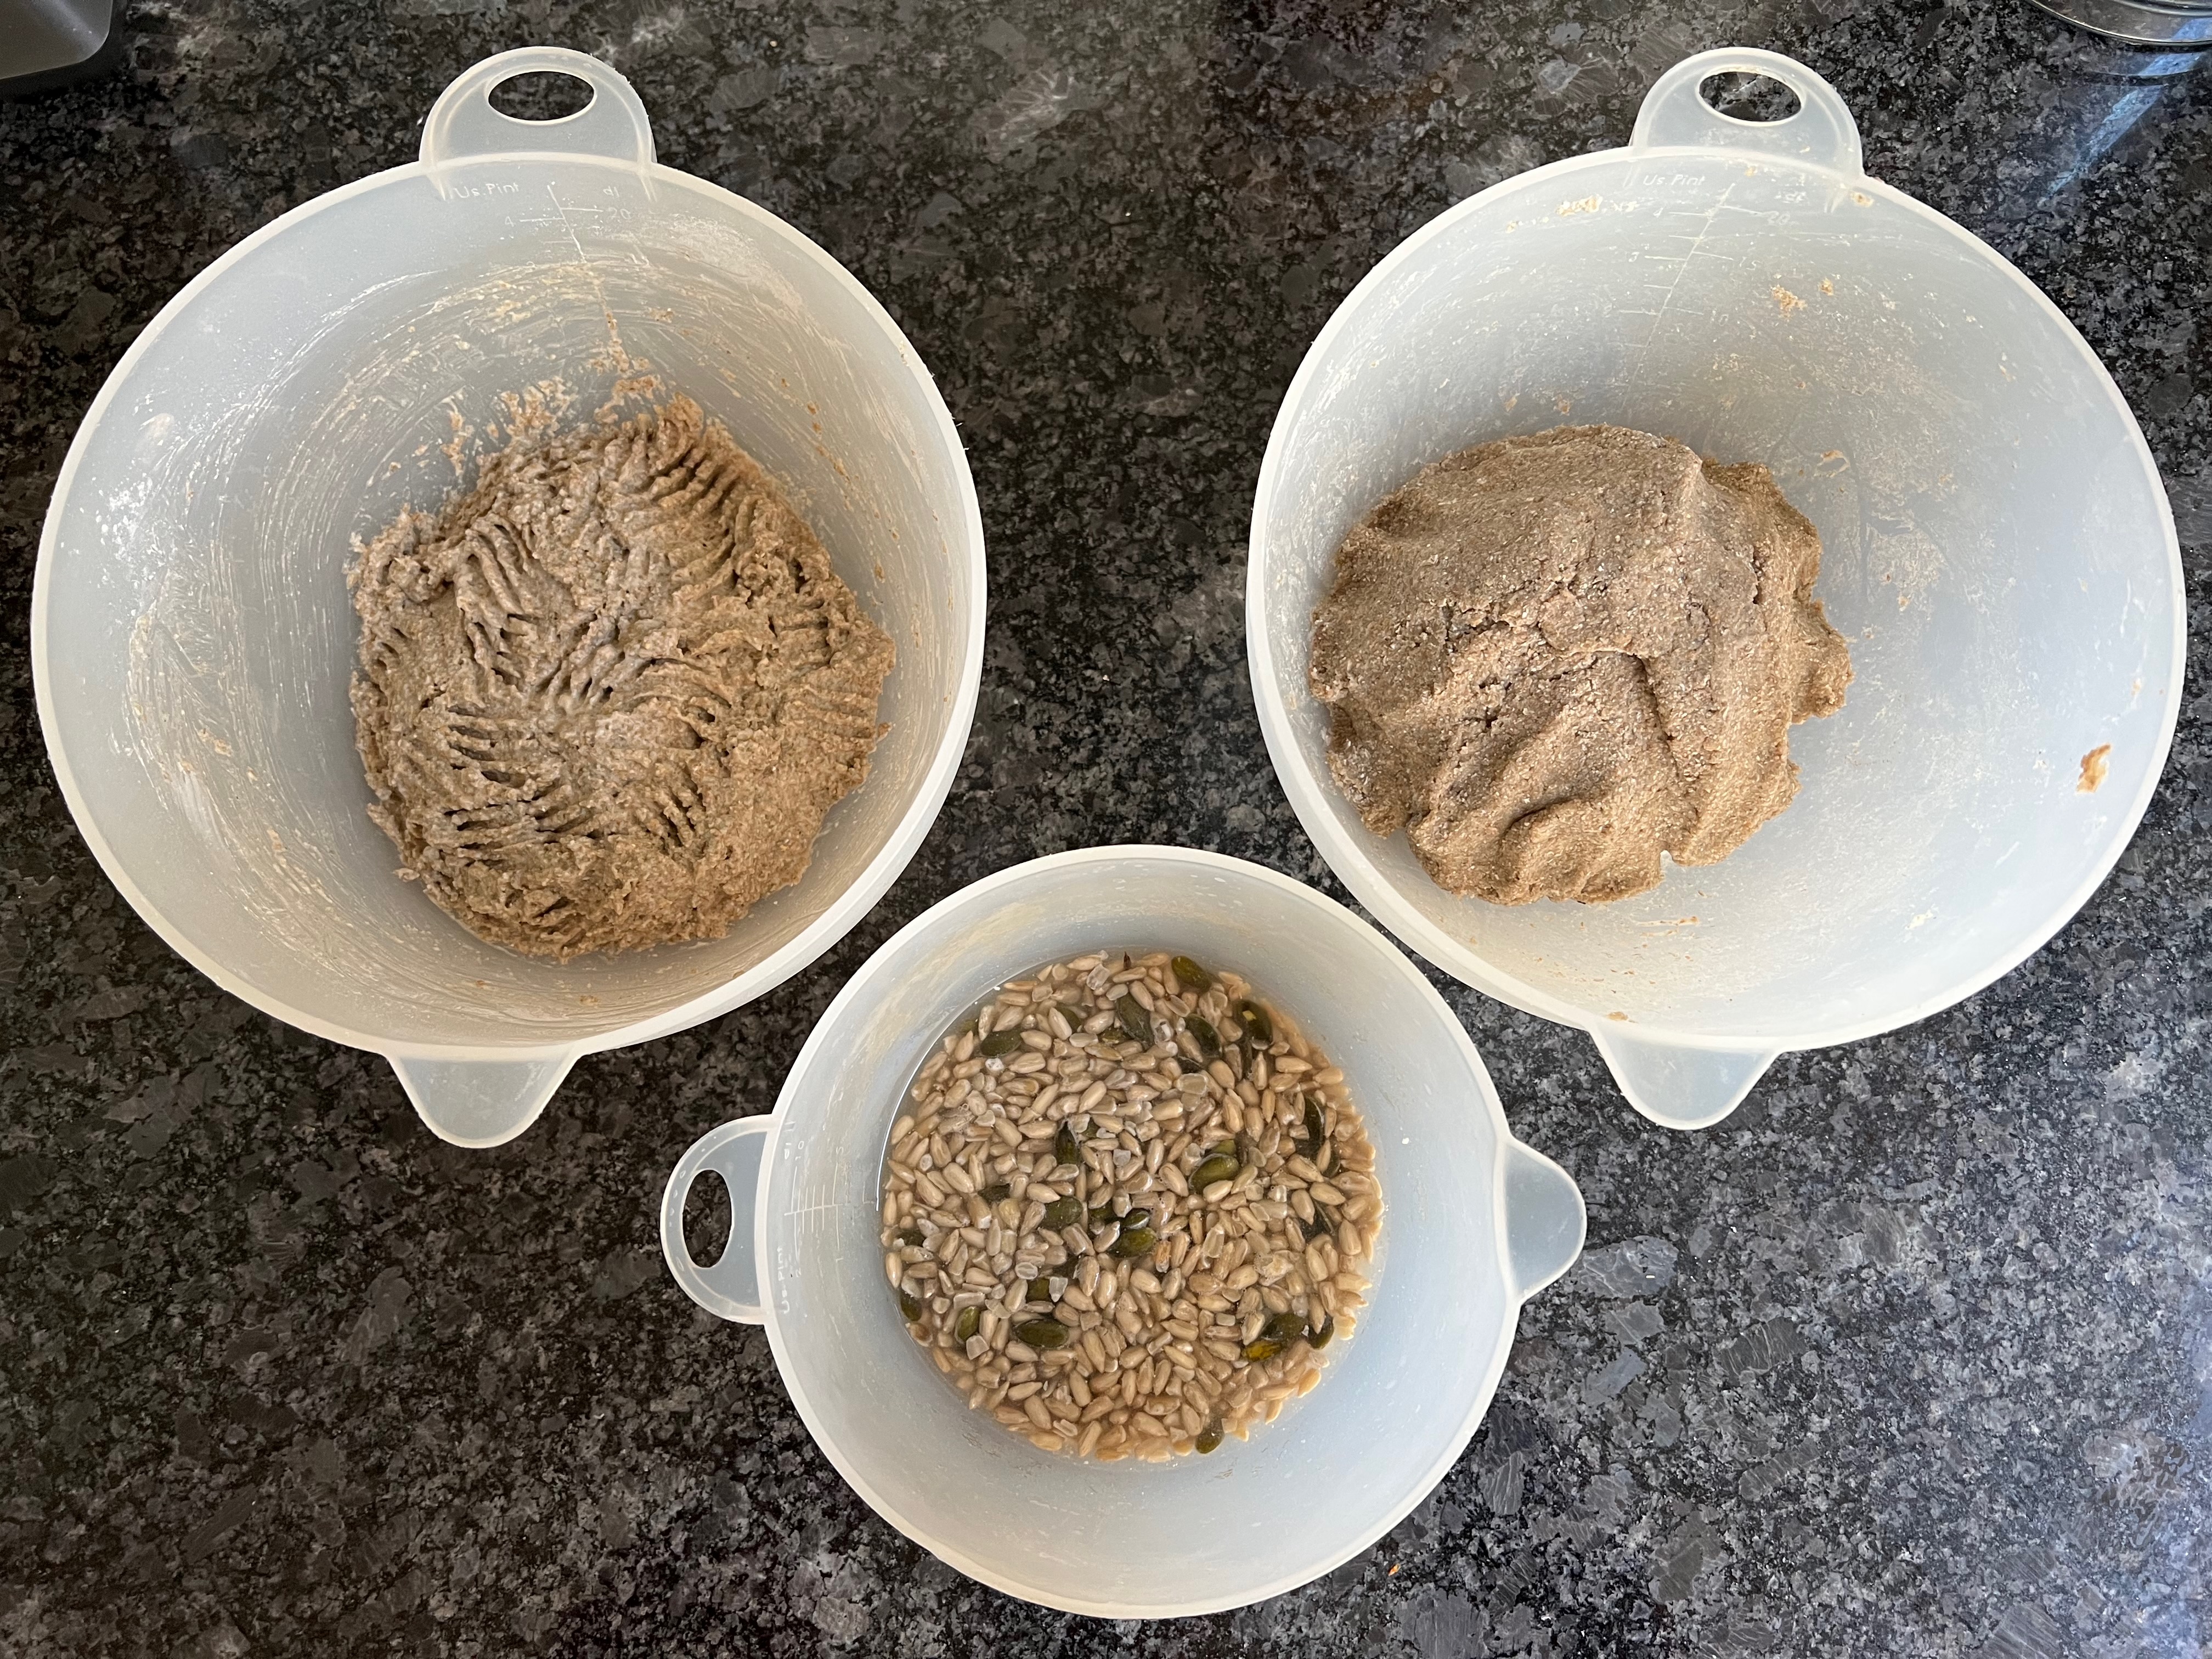
You’ll start by making three separate mixtures and leaving them to ferment. In each case, combine all the ingredients in a bowl, mix thoroughly, cover and leave.
Sourdough
- 50g sourdough starter (mine is dark rye)
- 200g dark rye flour
- 200ml water
Plain dough
- 280g dark rye flour
- 300 ml water
Seed mix
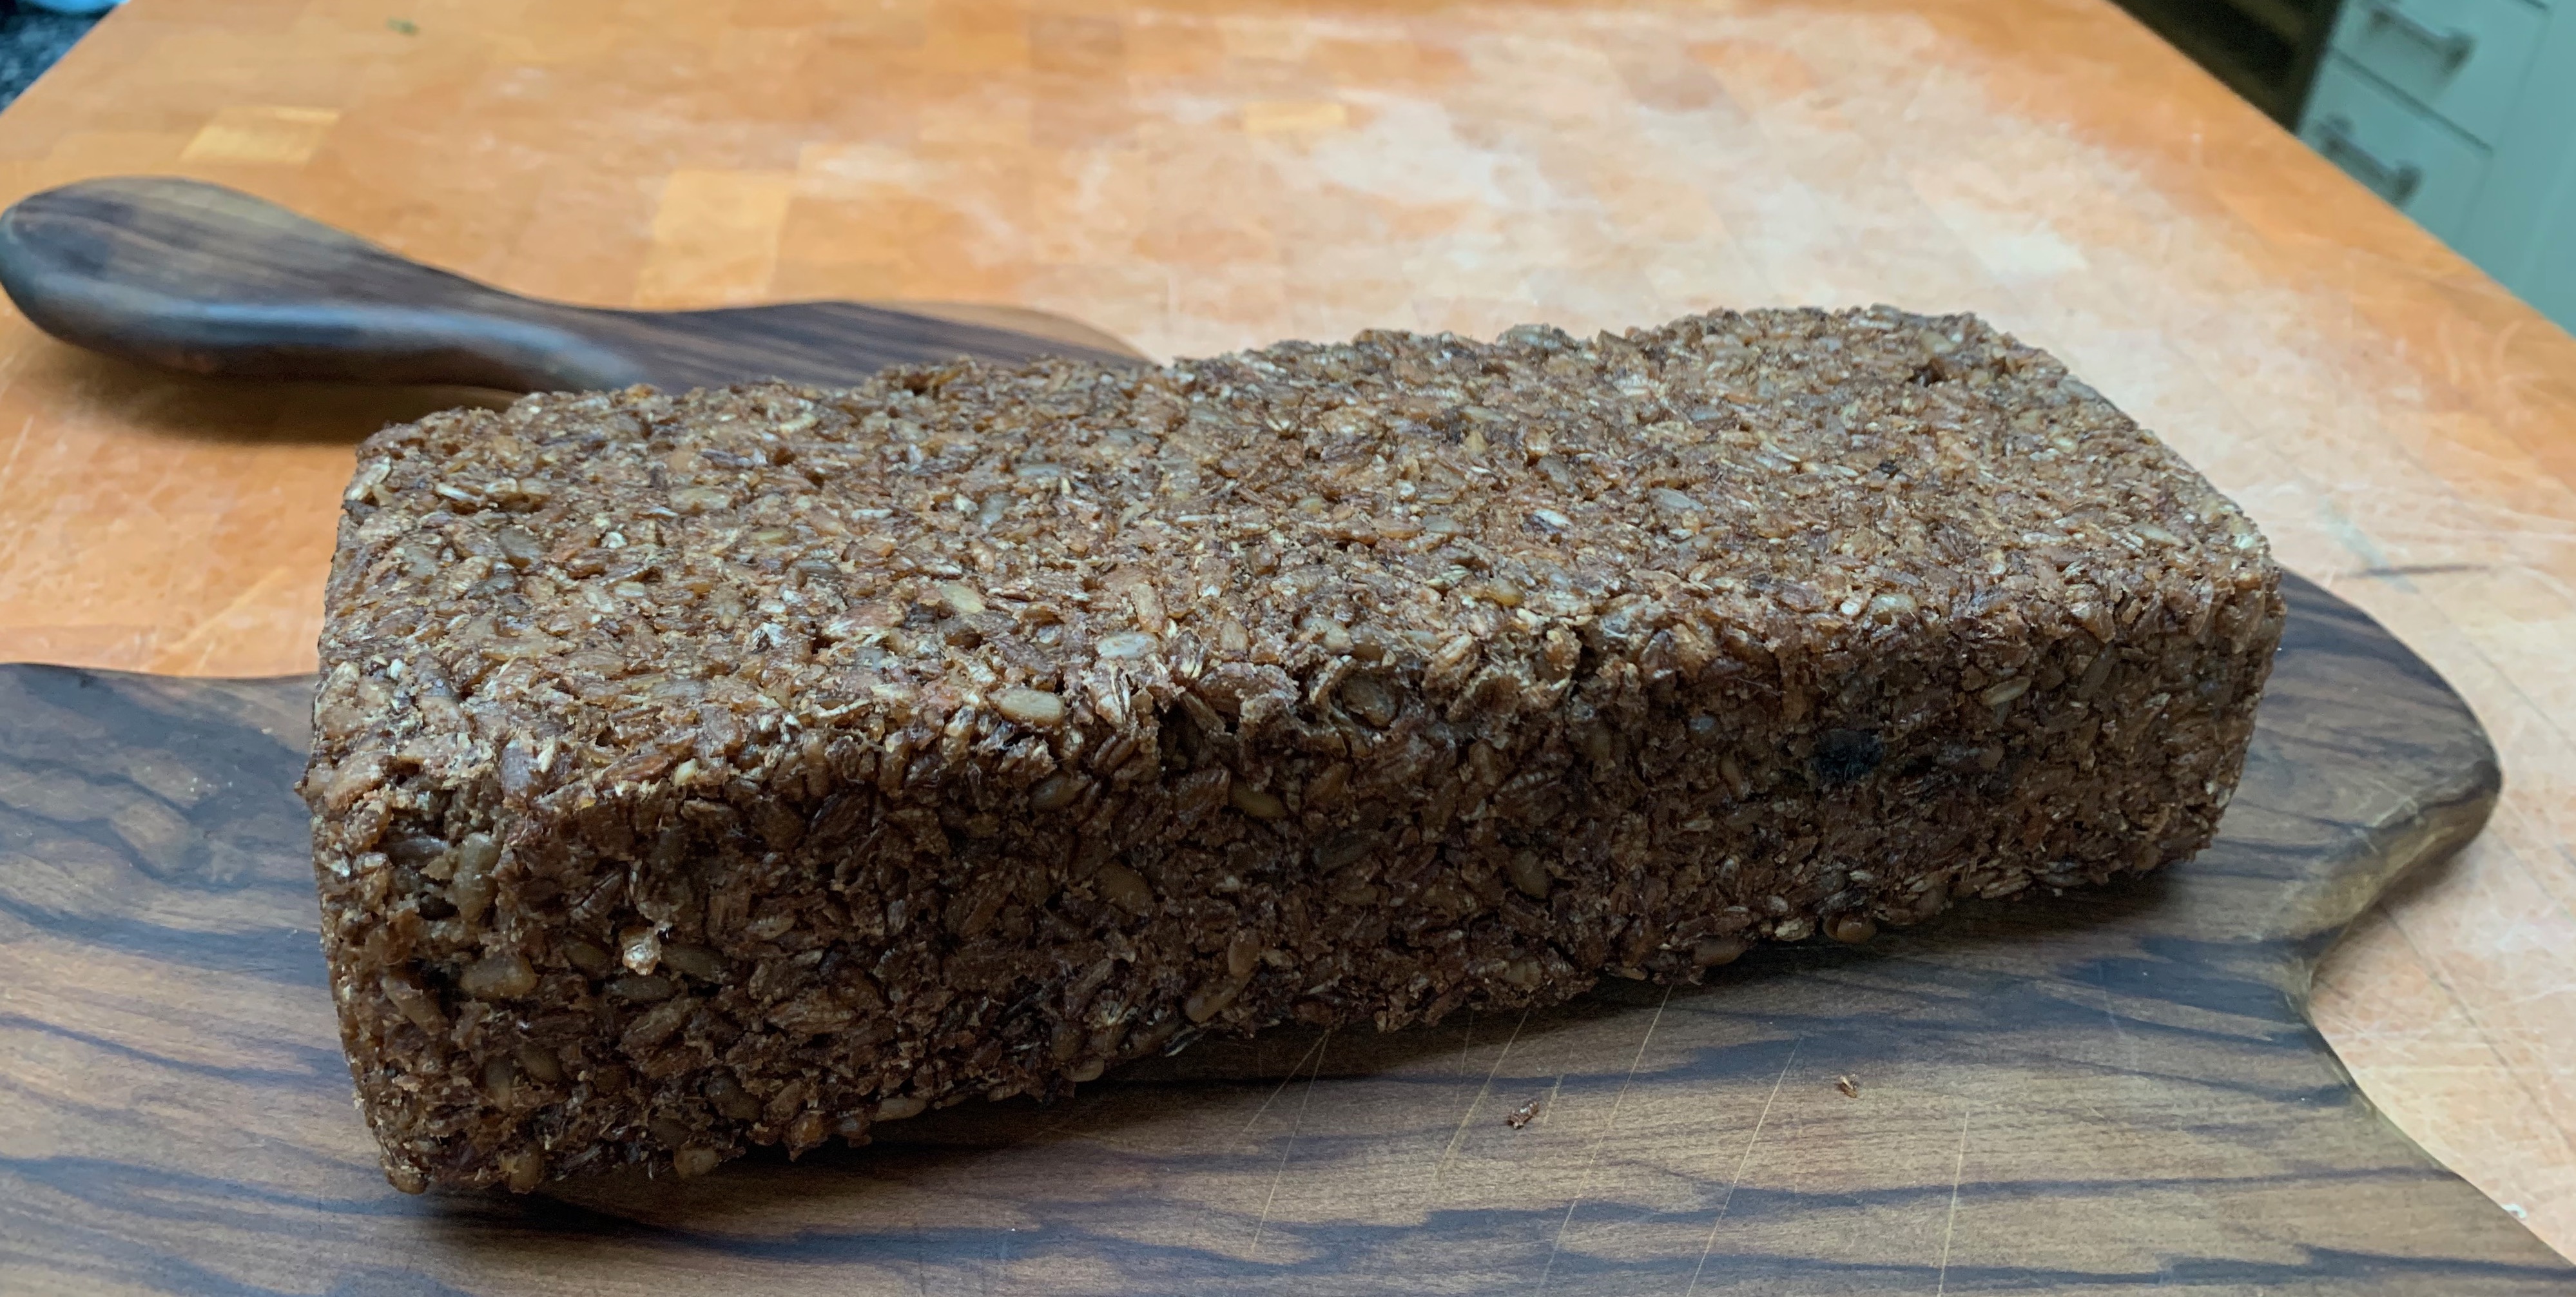
- 50g pumpkin seeds
- 75g sunflower seeds
- 8g salt
- 120ml boiling water
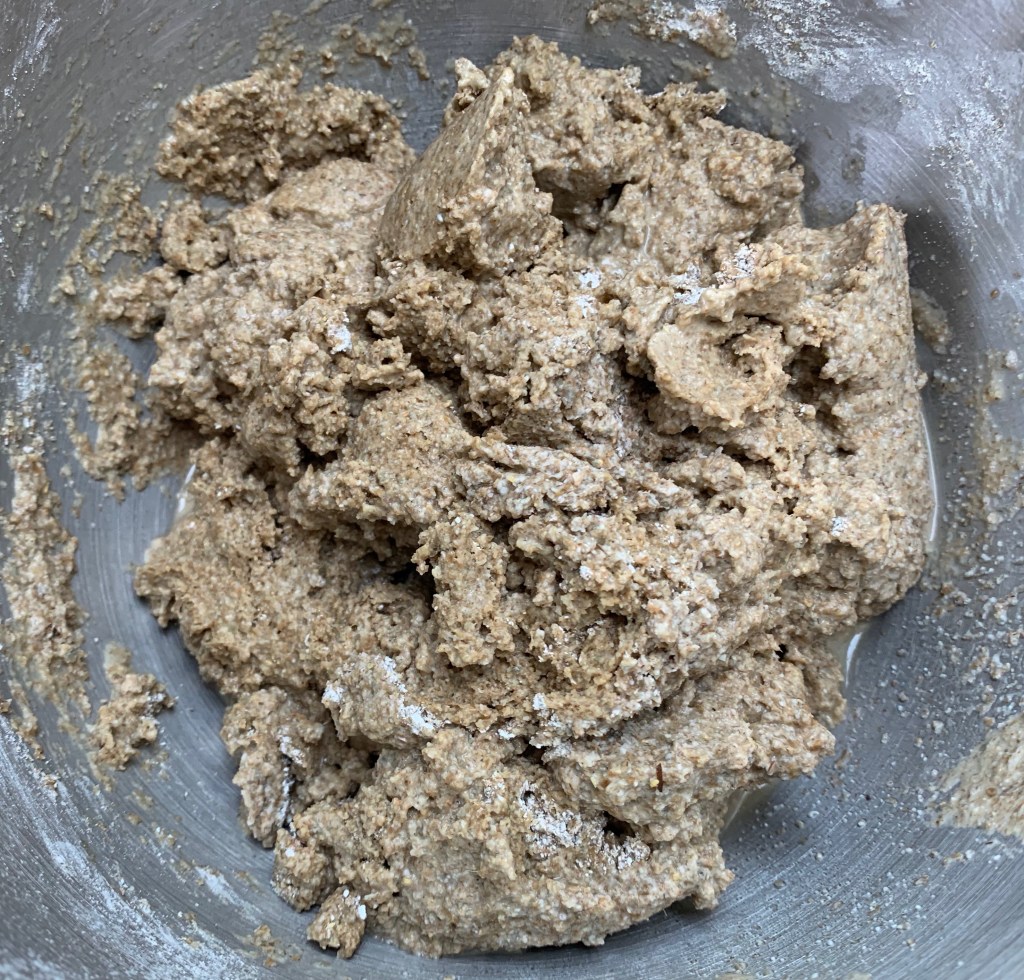
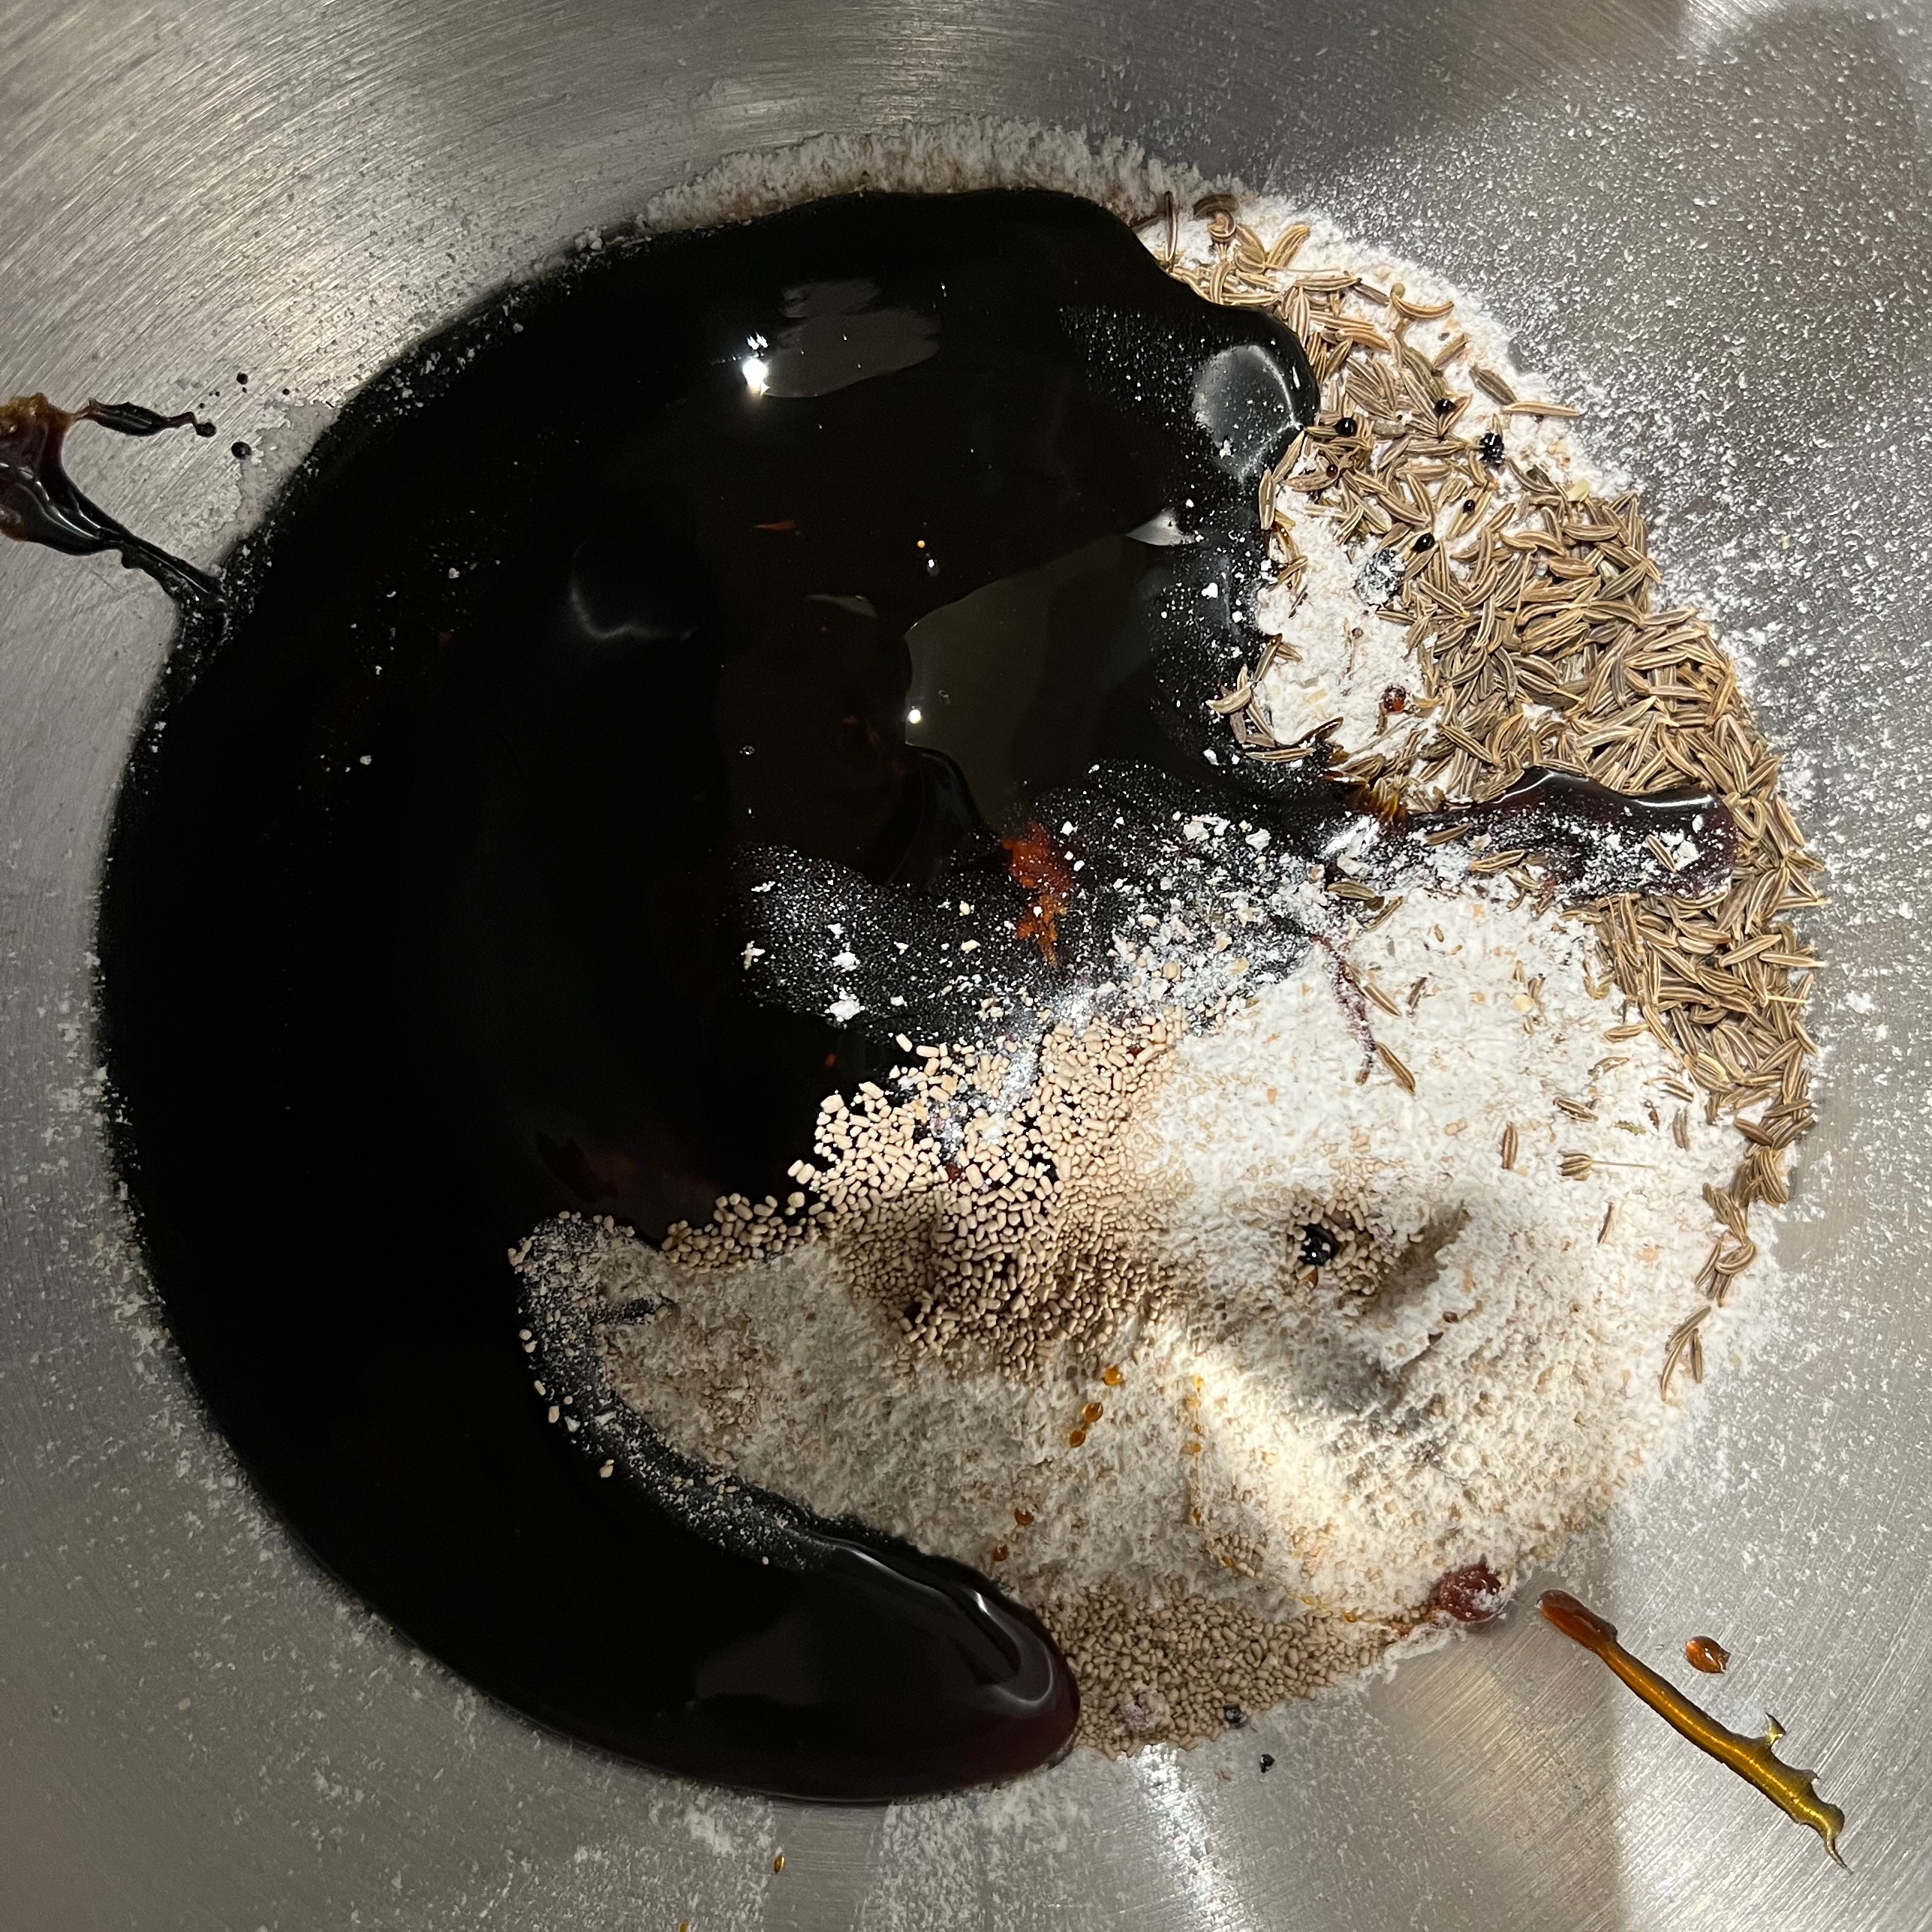
Day 2 – around 9am – mix and first rise
- 200g wholemeal wheat flour
- 10g dried yeast
- 35g malt extract
- 50g molasses
- 7g caraway seeds
- Put all ingredients into the bowl of your stand mixer.
- Add all three doughs from the previous day.
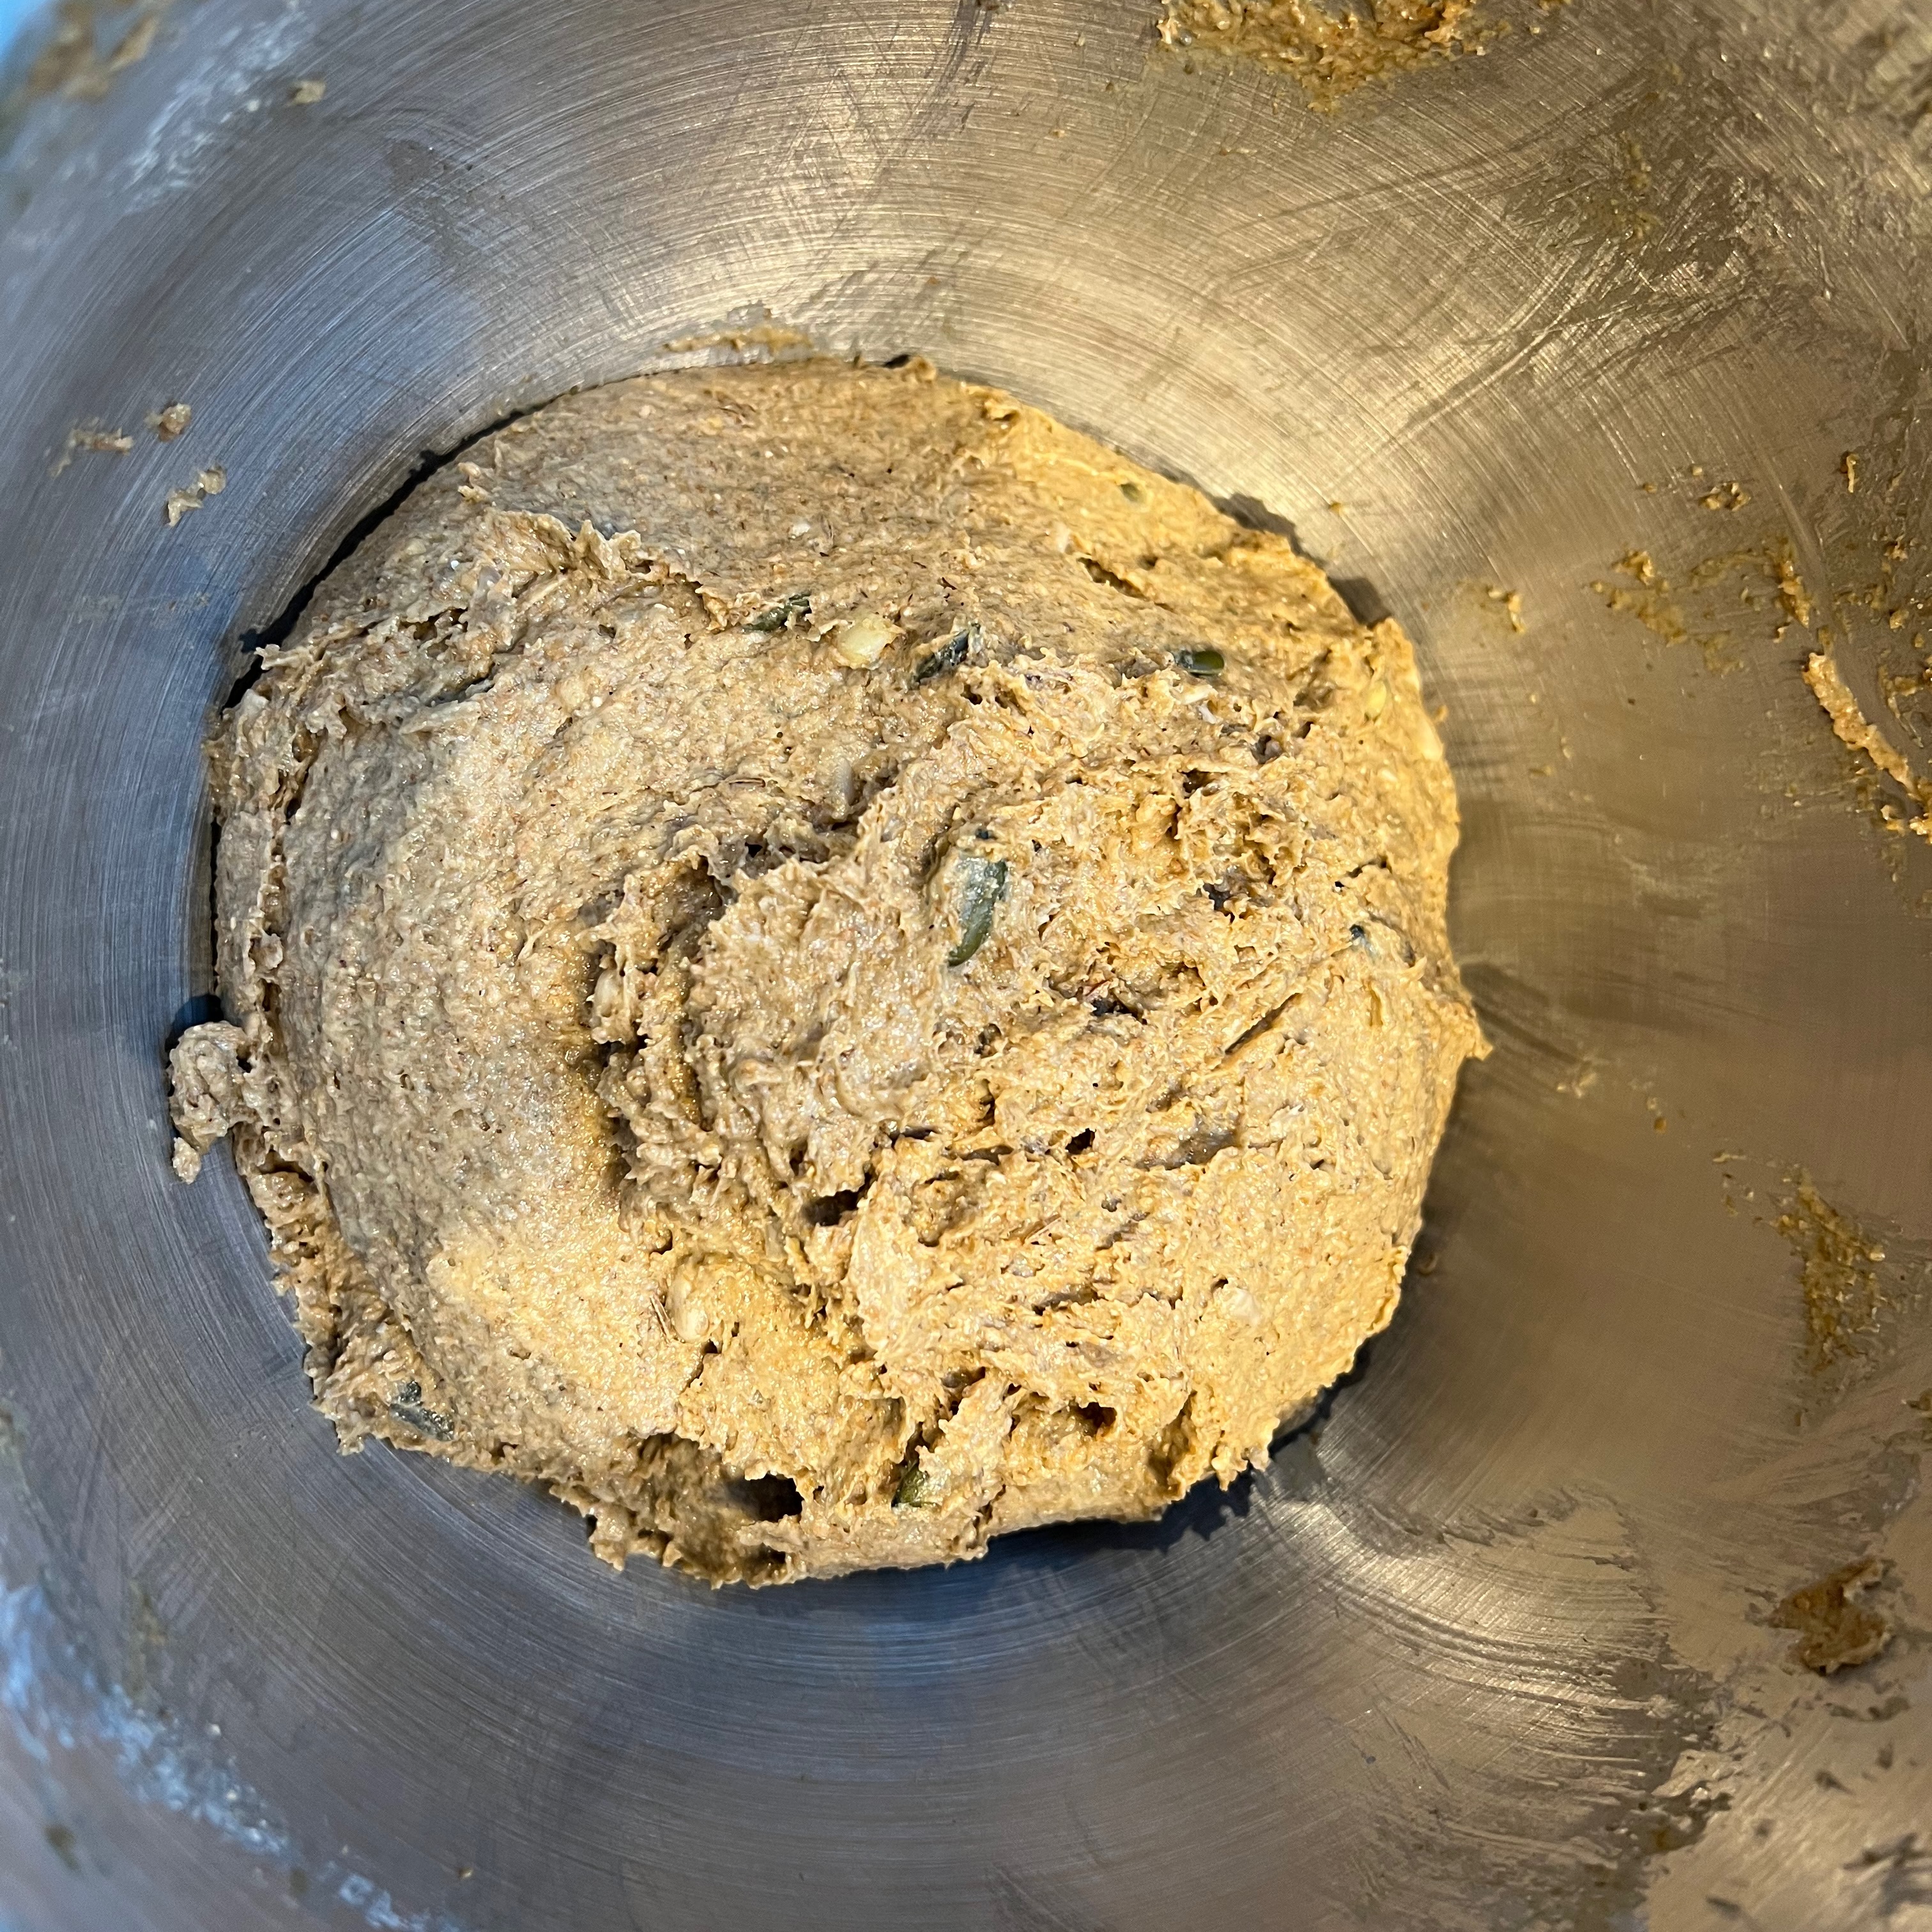
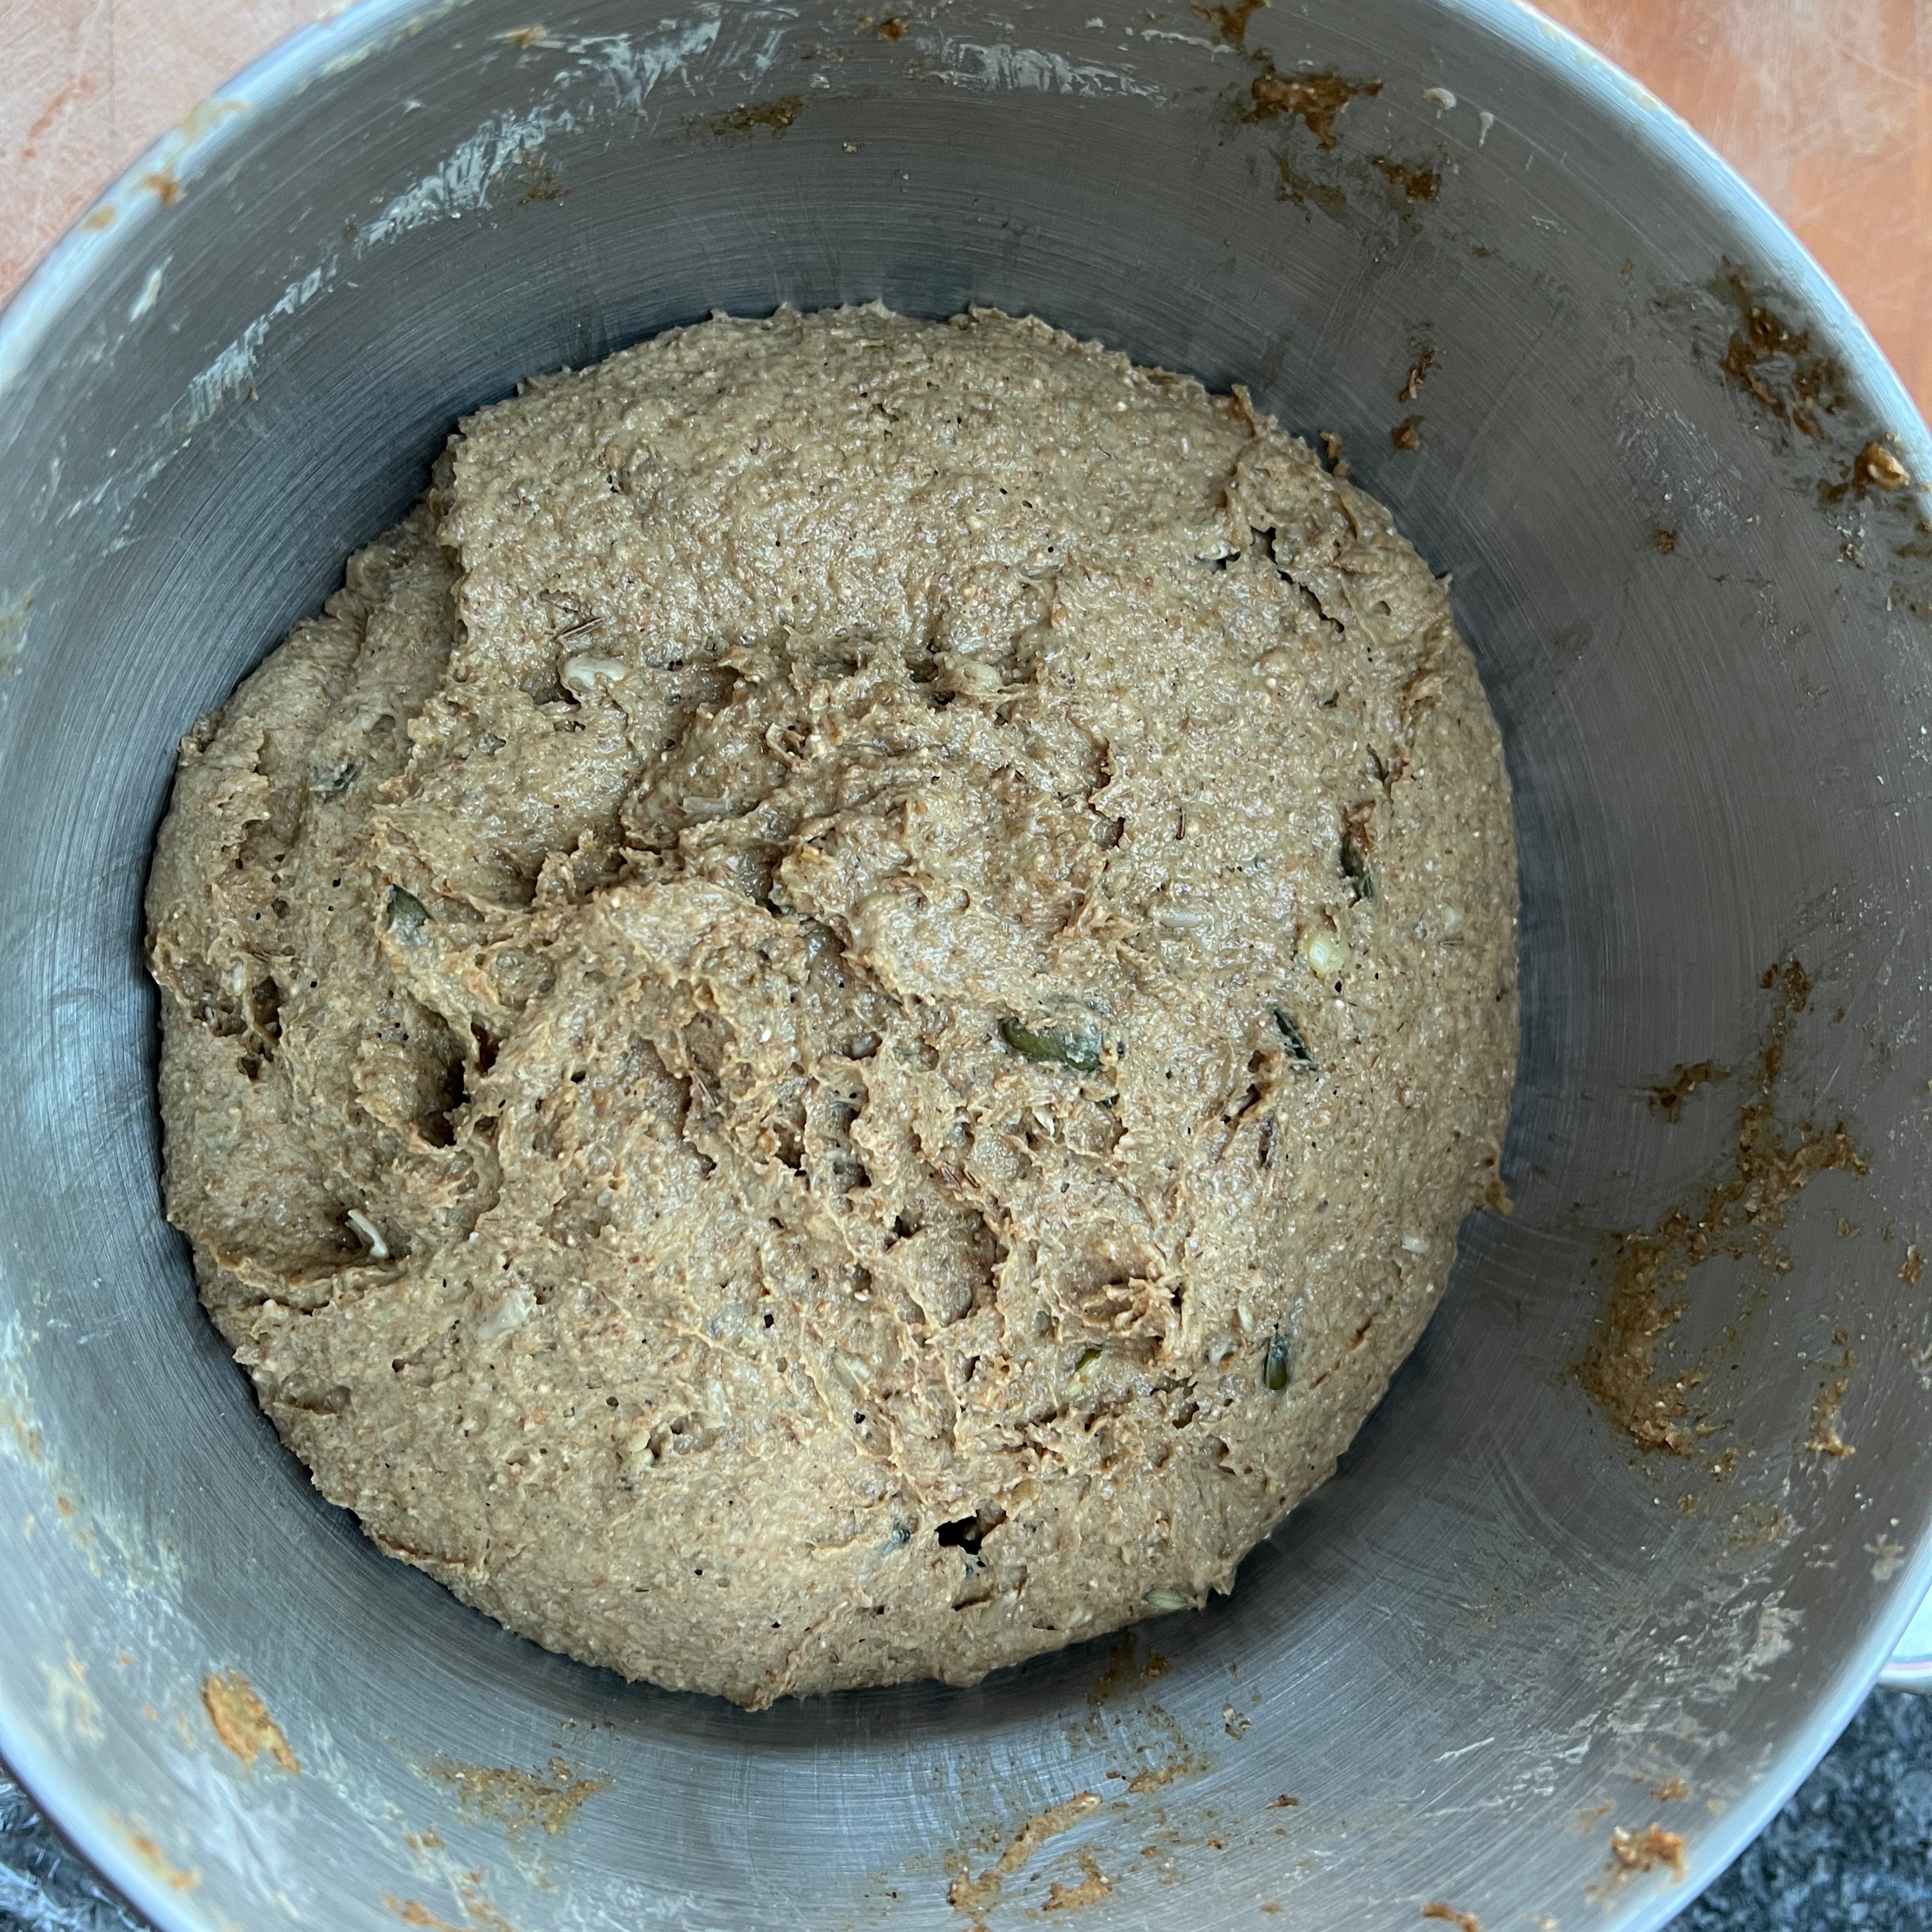
- Mix thoroughly at medium speed for around 10 minutes using the normal paddle (the dough hook won’t work). You may need to stop and scrape the sides a few times to make sure that you incorporate any flour at the bottom that hasn’t blended in, as well as ensuring that the sticky malt extract and molasses are evenly distributed.
- Cover the bowl with cling film and leave to rise until doubled in size (in my relatively cold kitchen, this took close to two hours).
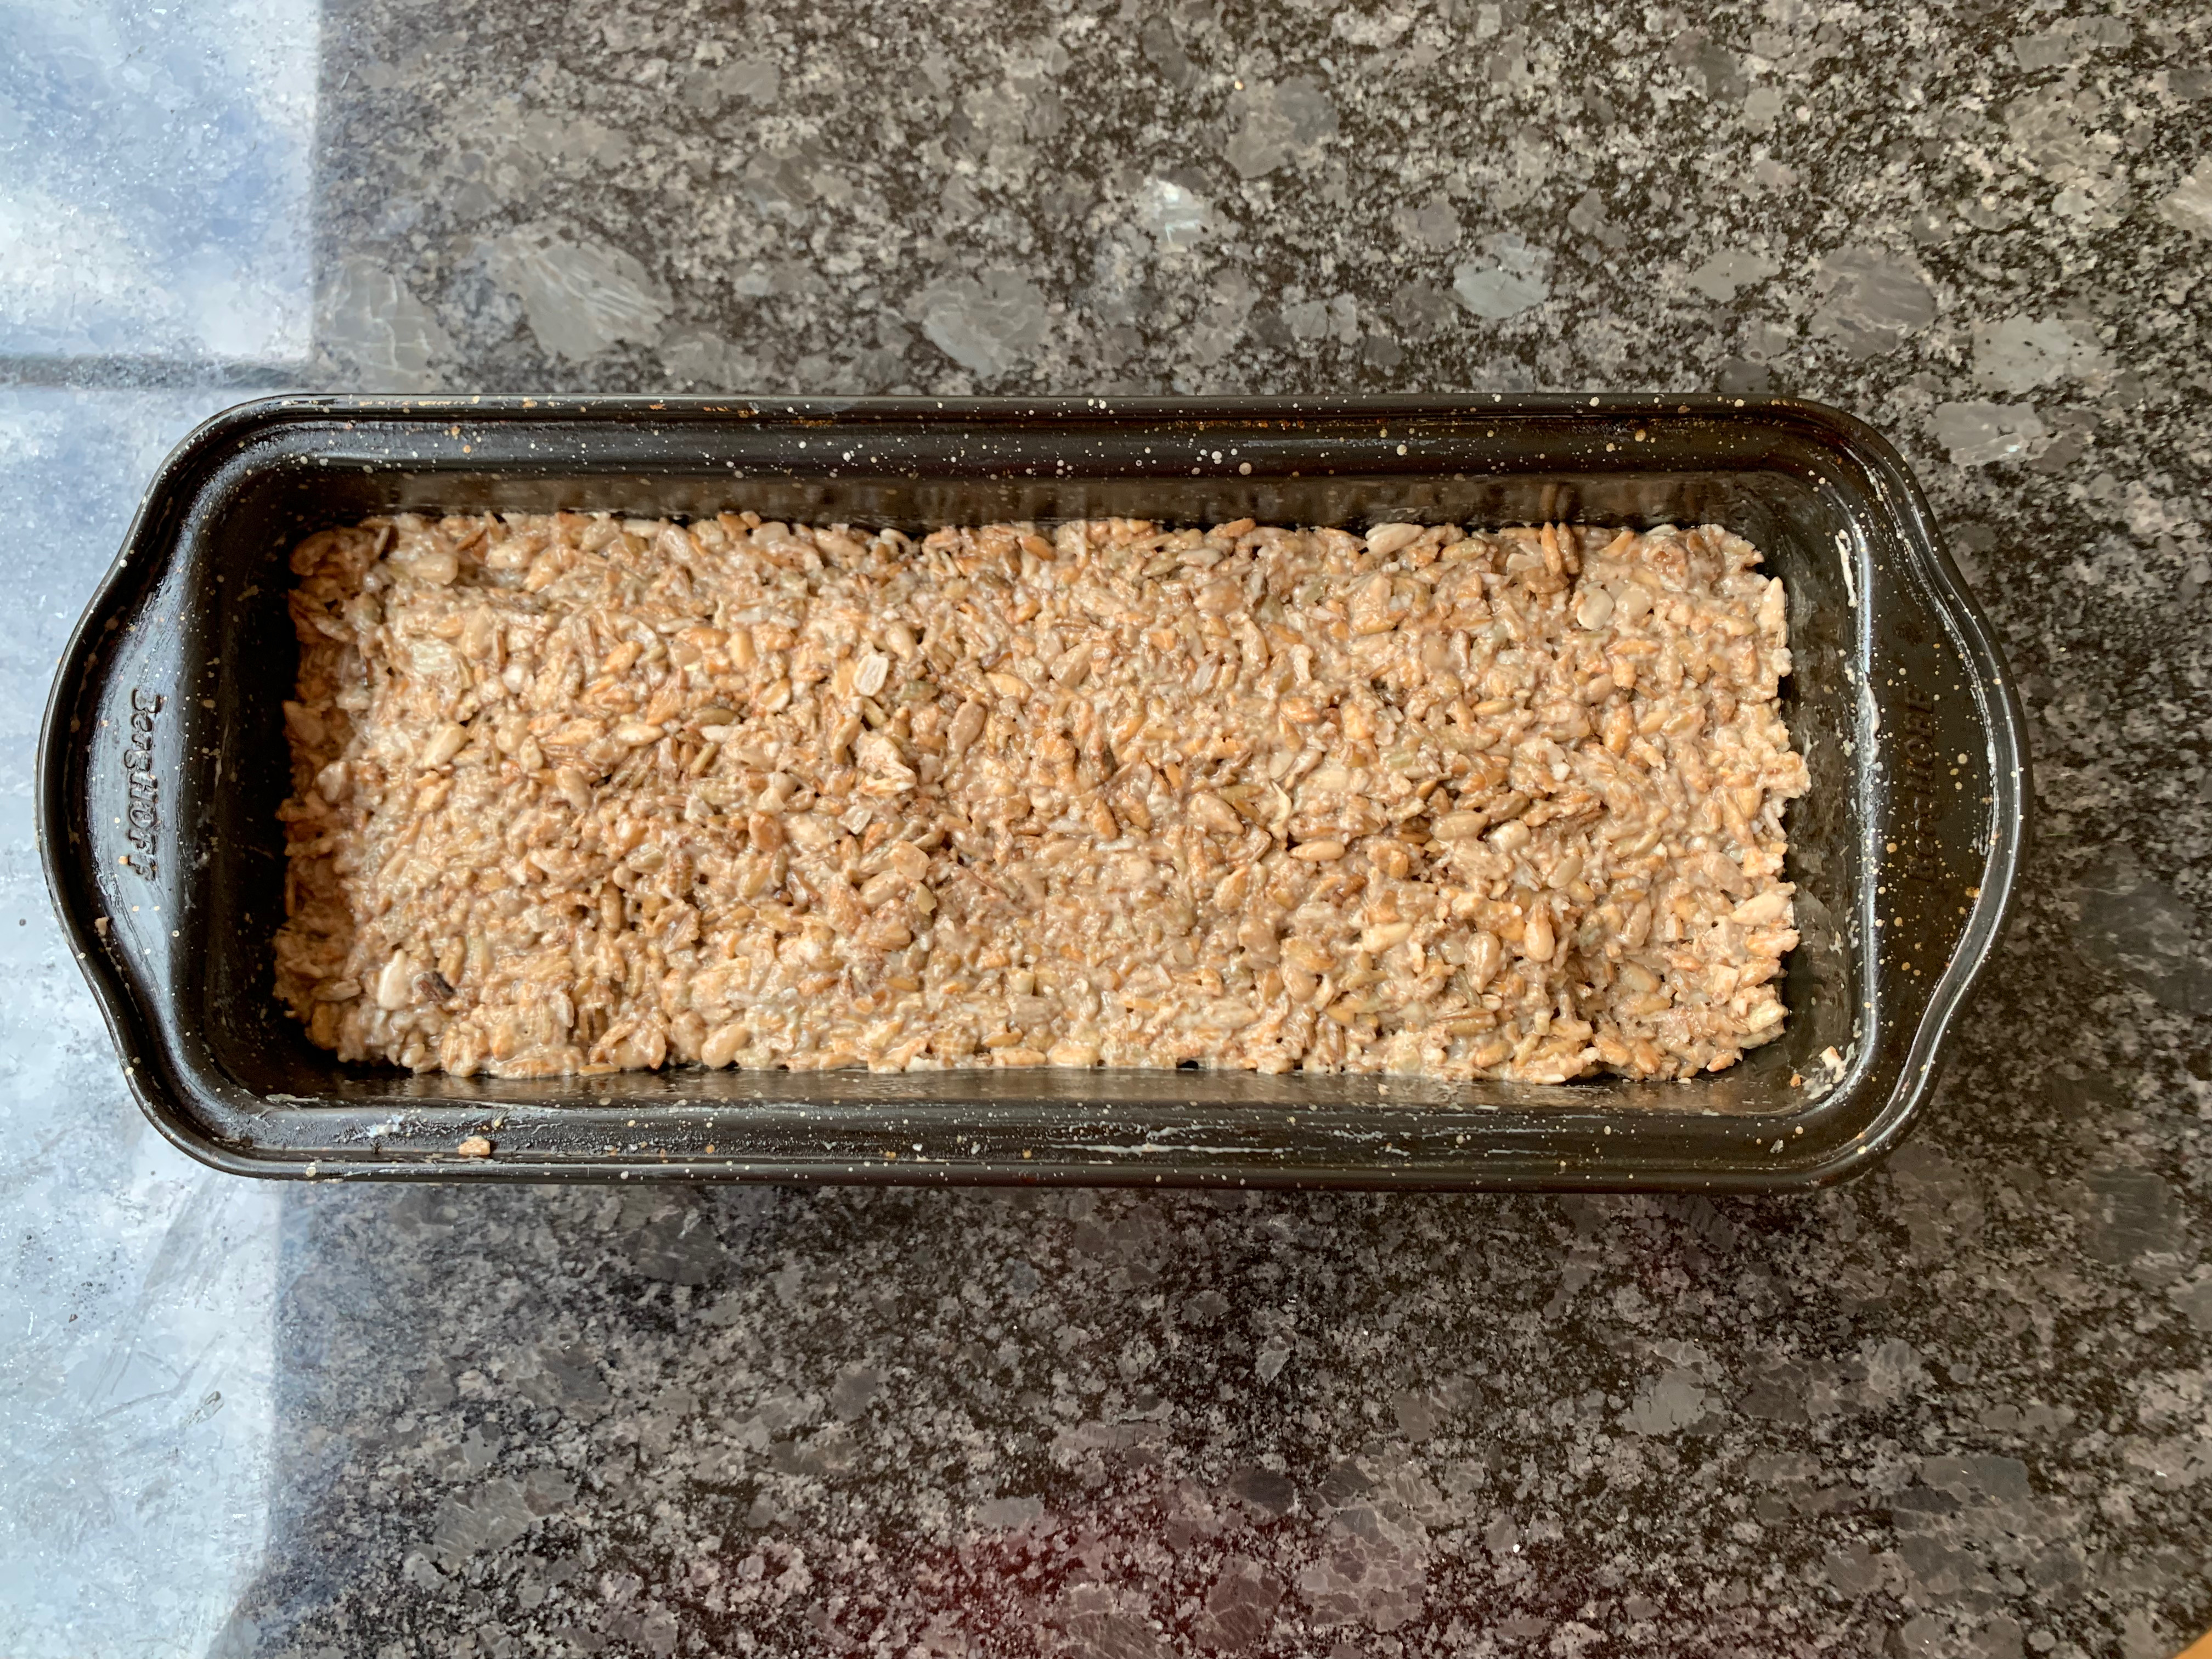
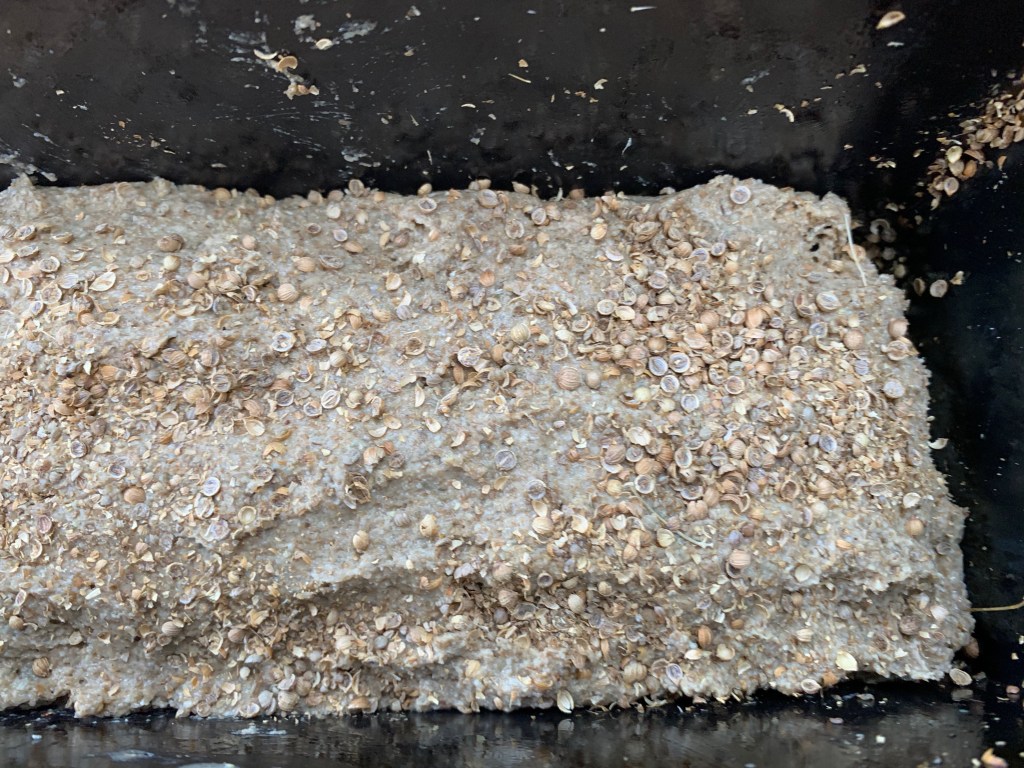
Day 2 – around 11am – shape and second rise
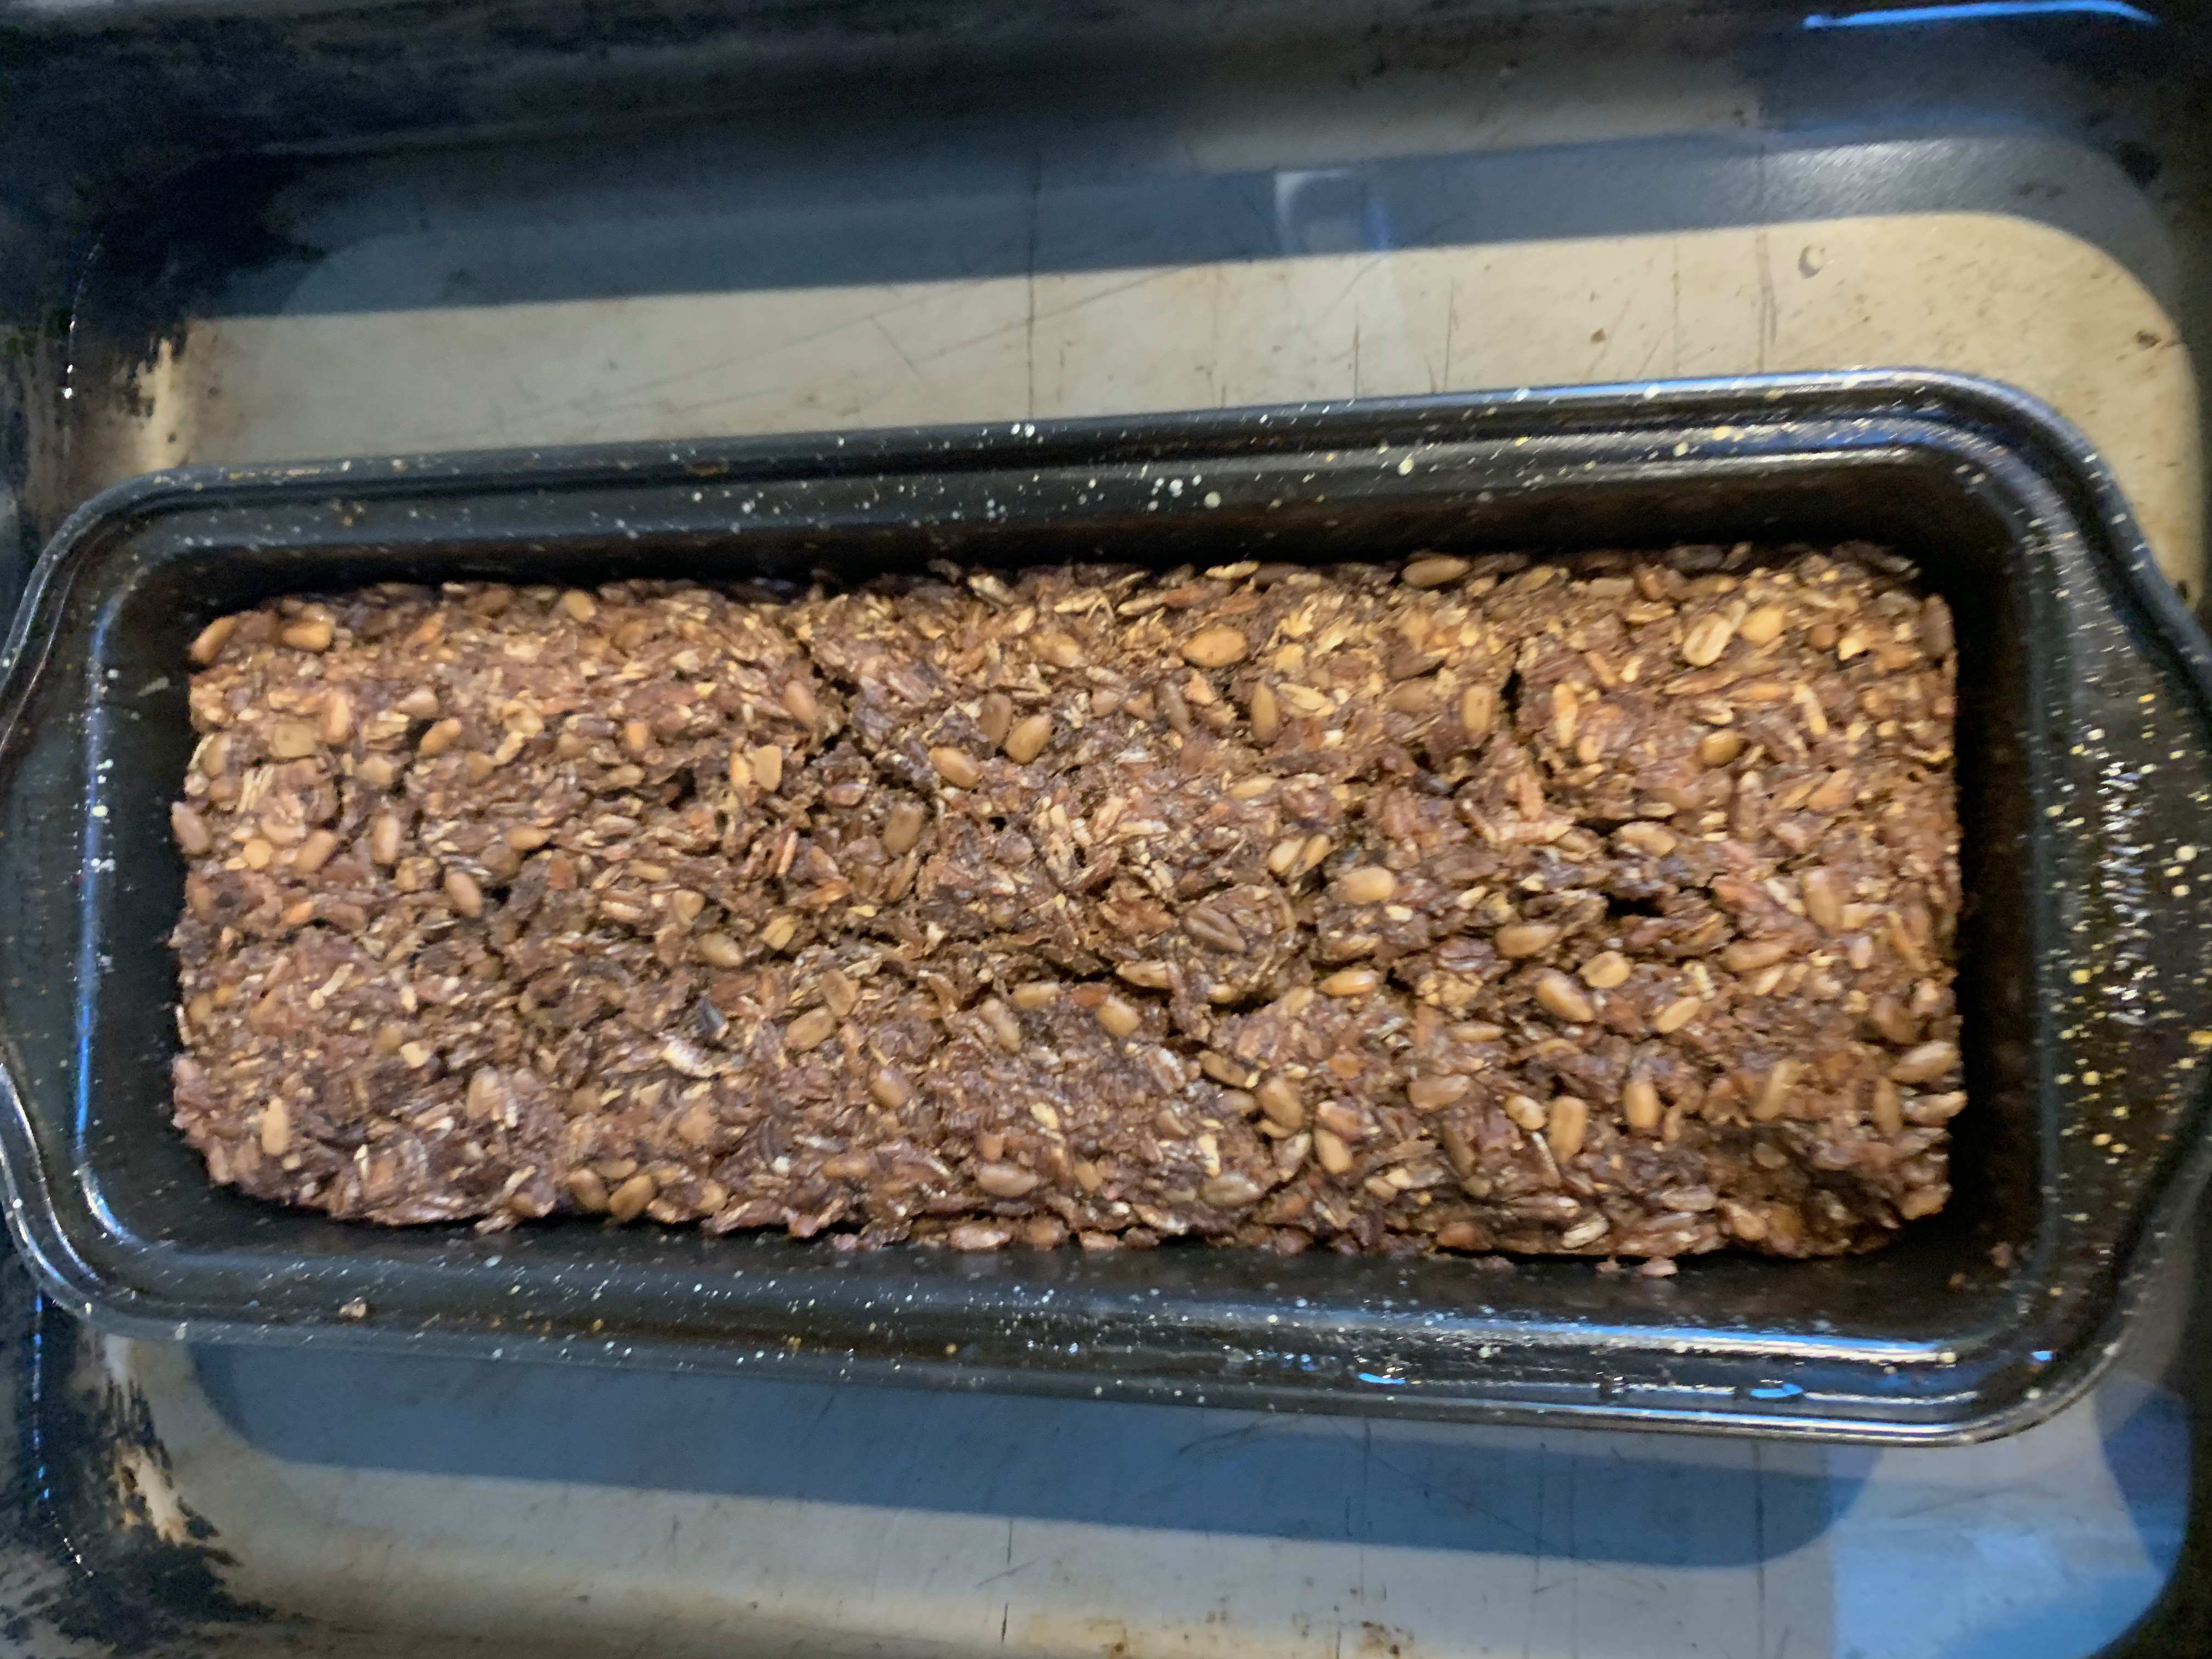
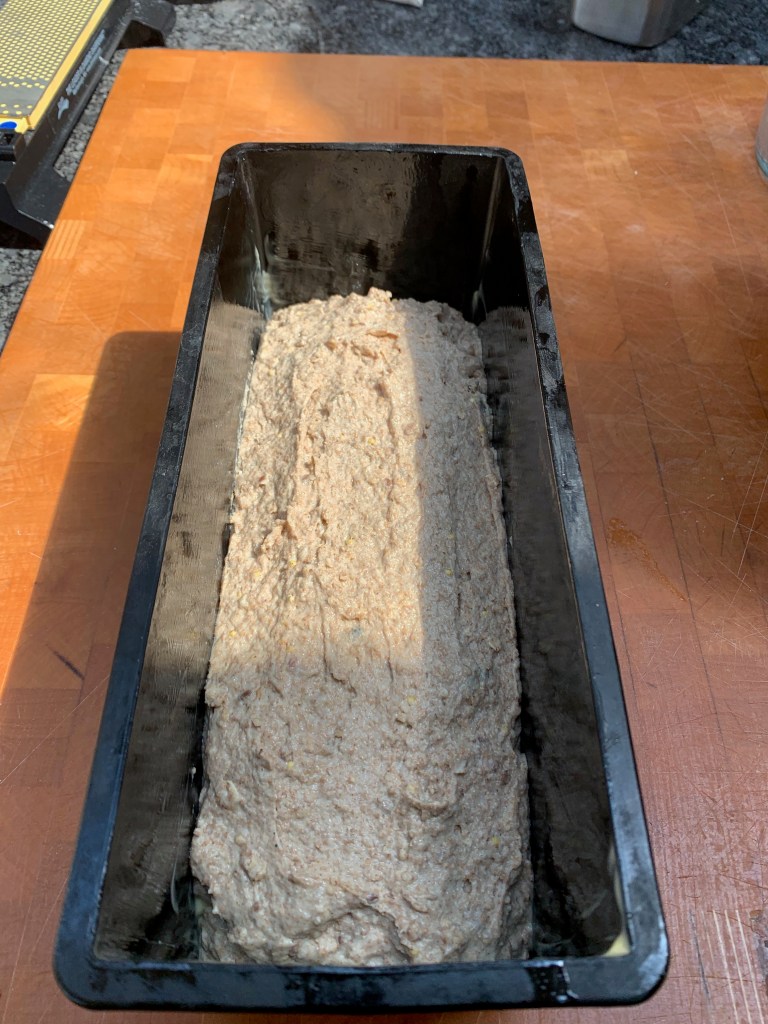
- 15g butter
- Melt the butter and brush your baking tin with it.
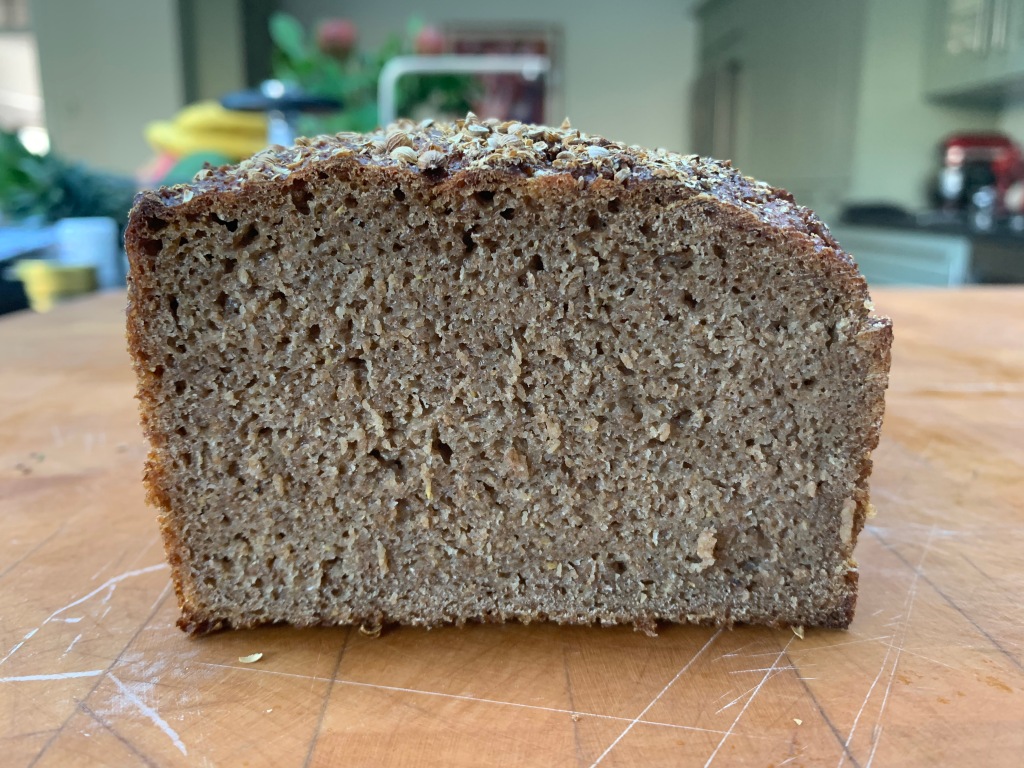
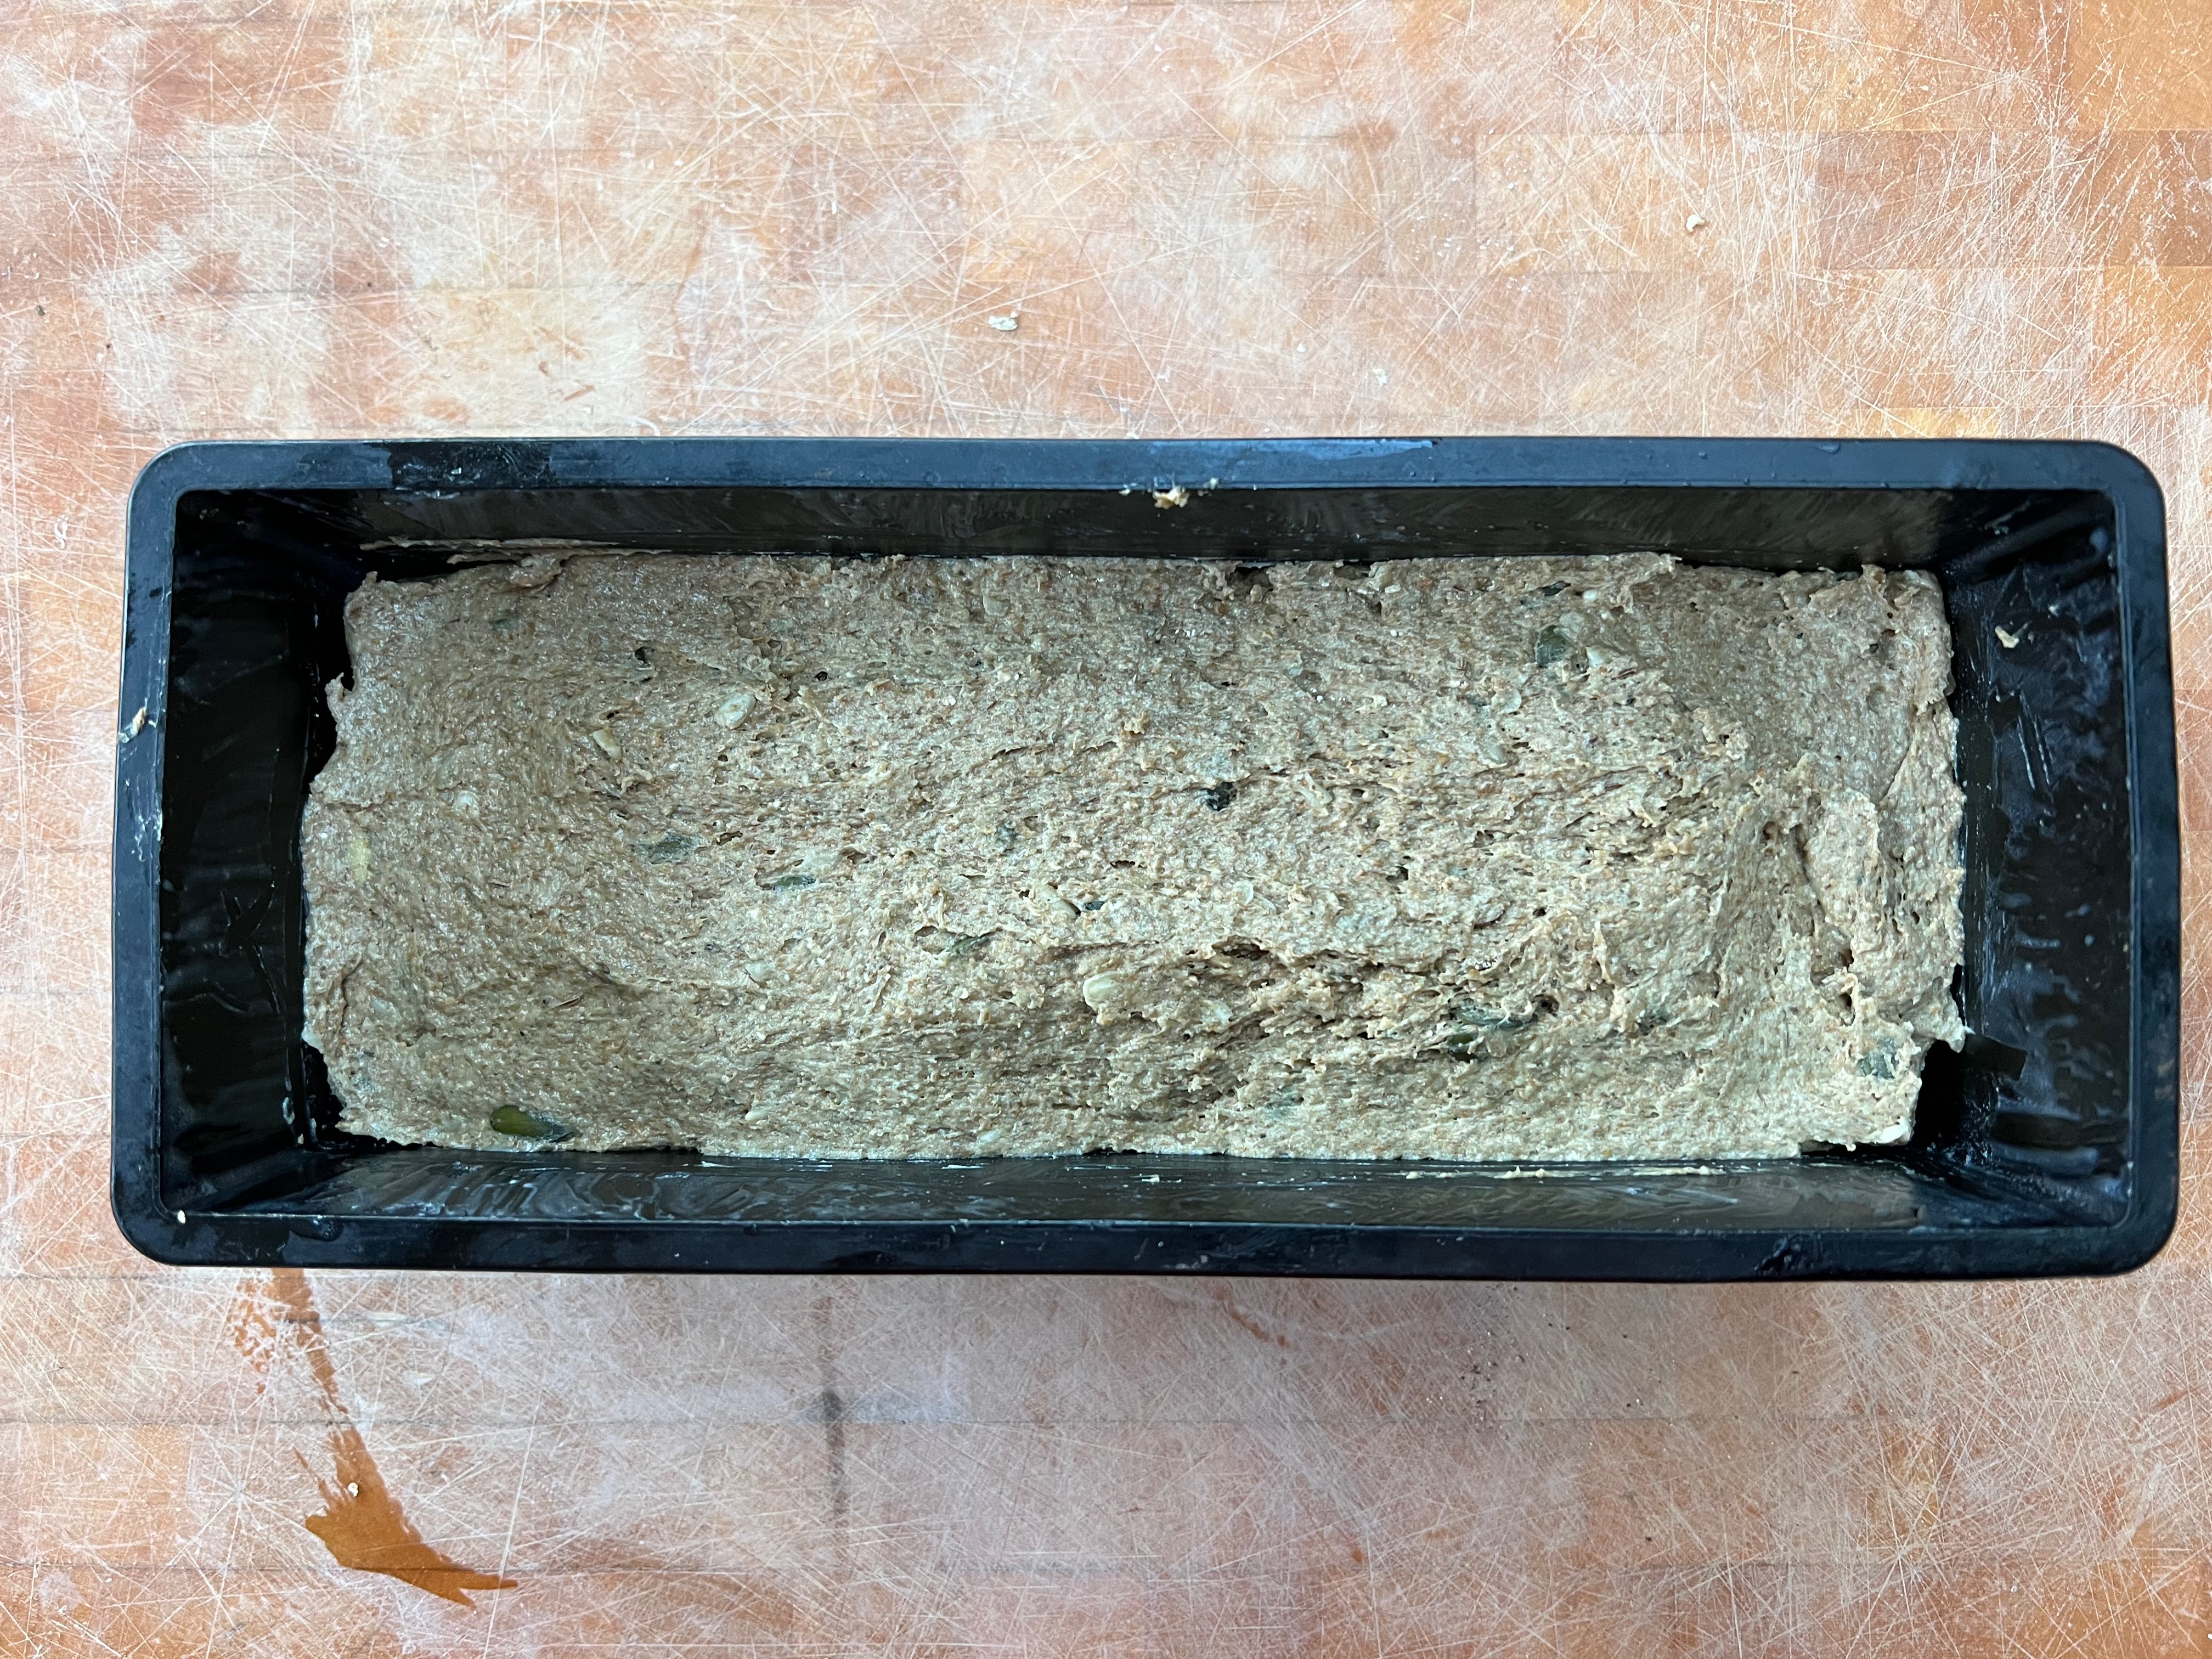
- Press the dough into the pan, getting it fully into the corners and making as even a shape as you can. Don’t worry about maintaining gluten structure: the preponderance of dark rye flour means there won’t be much.
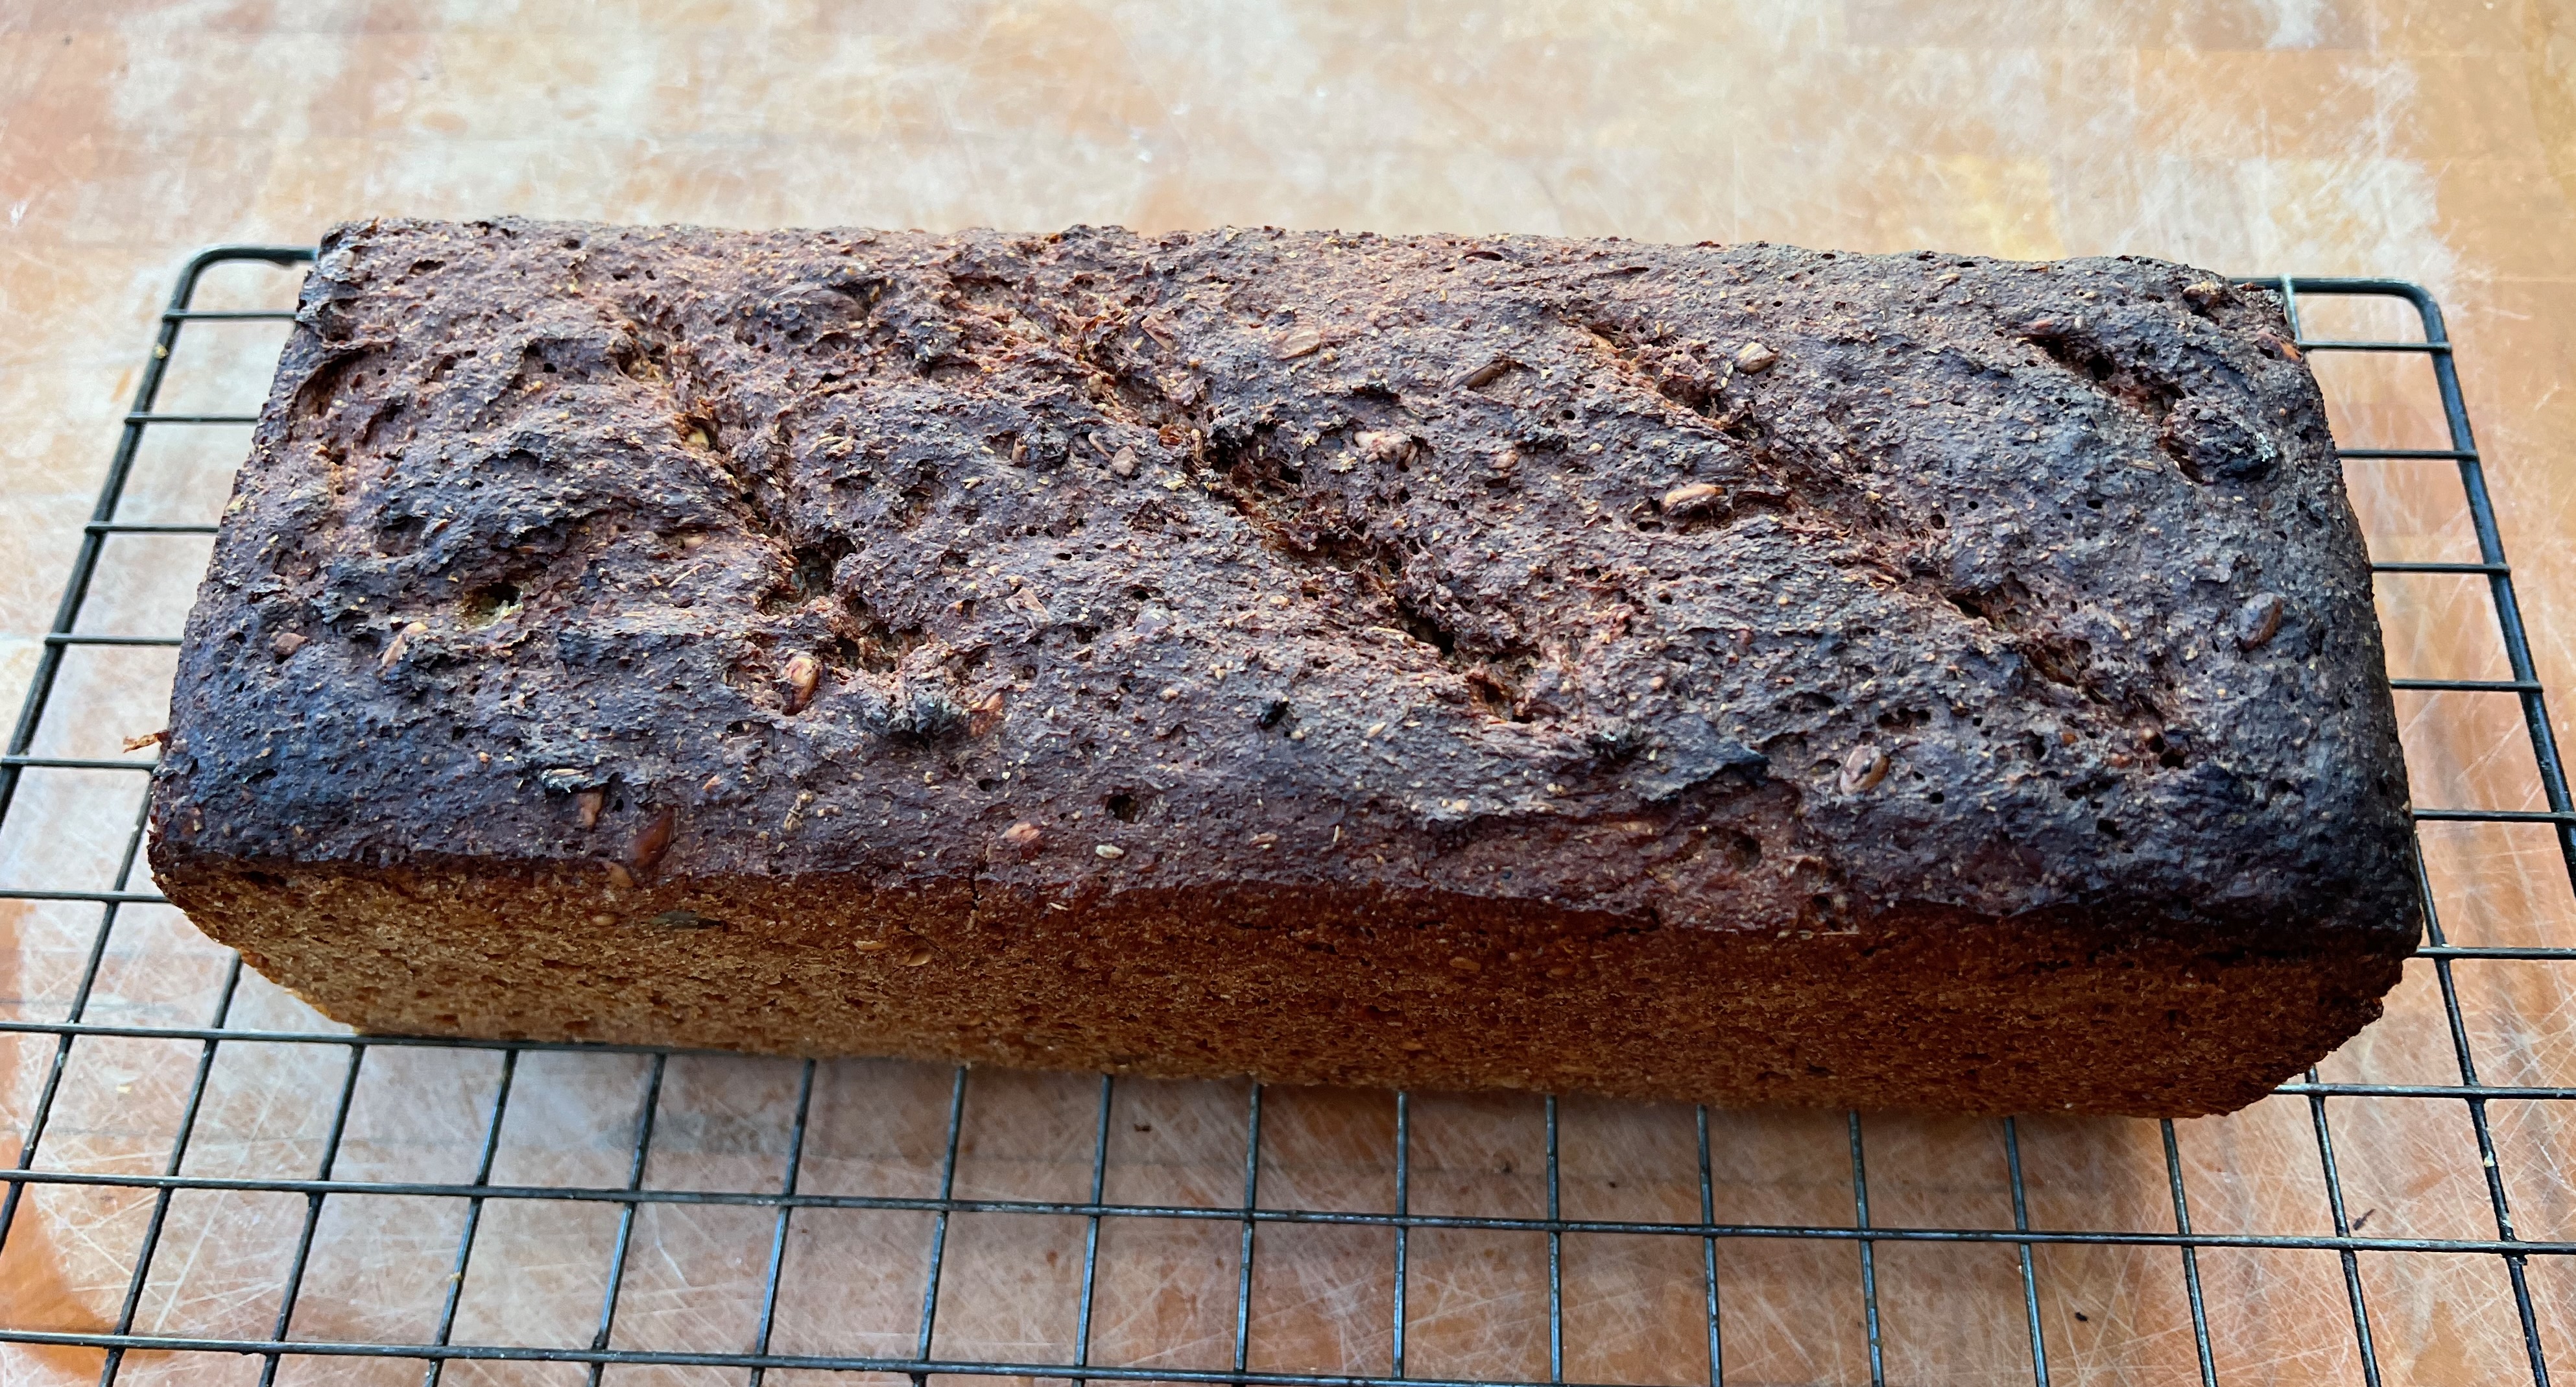
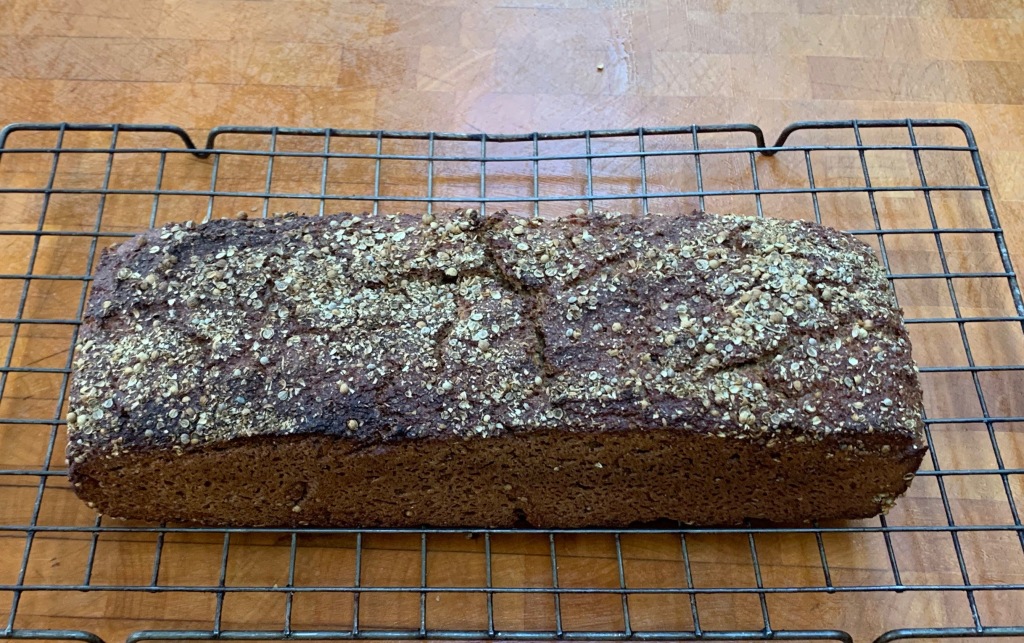
- Leave to rise until the bread is nearly level with the top of the tin. This took another two hours, but in all honesty, the time is completely variable (disclaimer: I should have left mine about half an hour longer than I did for the loaf photographed here). You just have to be patient and keep watching the bread at regular intervals.

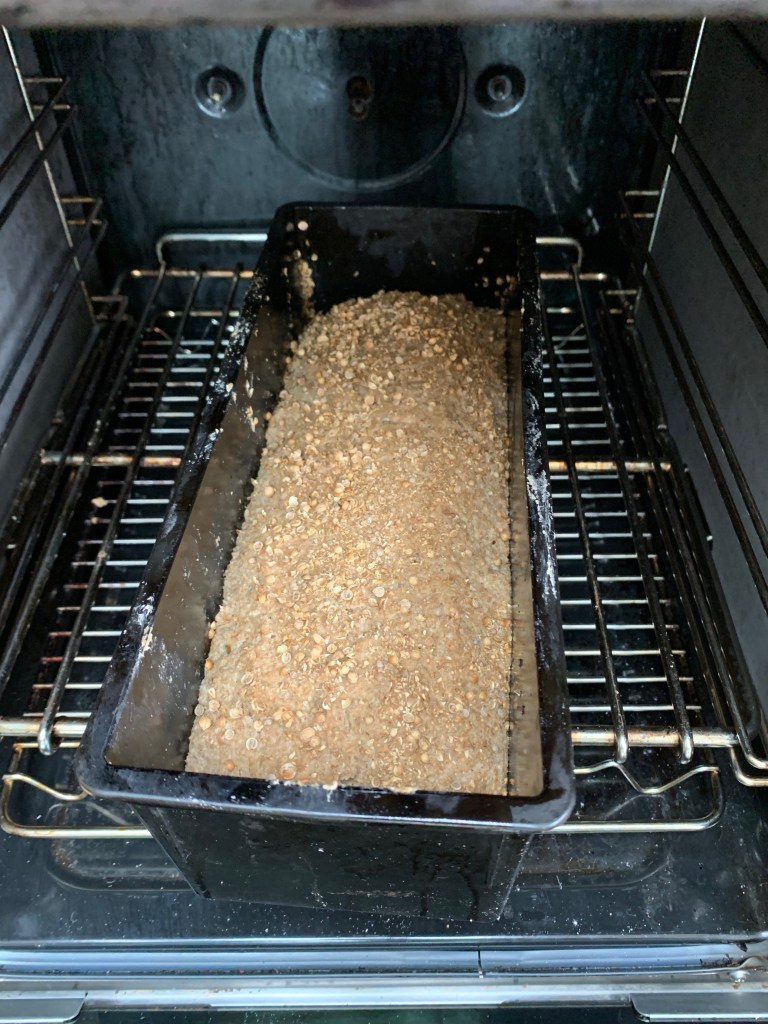
Day 2 – around 2pm – bake and glaze
- 8g potato starch
- 30ml water (this is a guess – Georg doesn’t specify)
- Around half an hour before you think your loaf will be fully risen, preheat your oven to 250℃ fan.
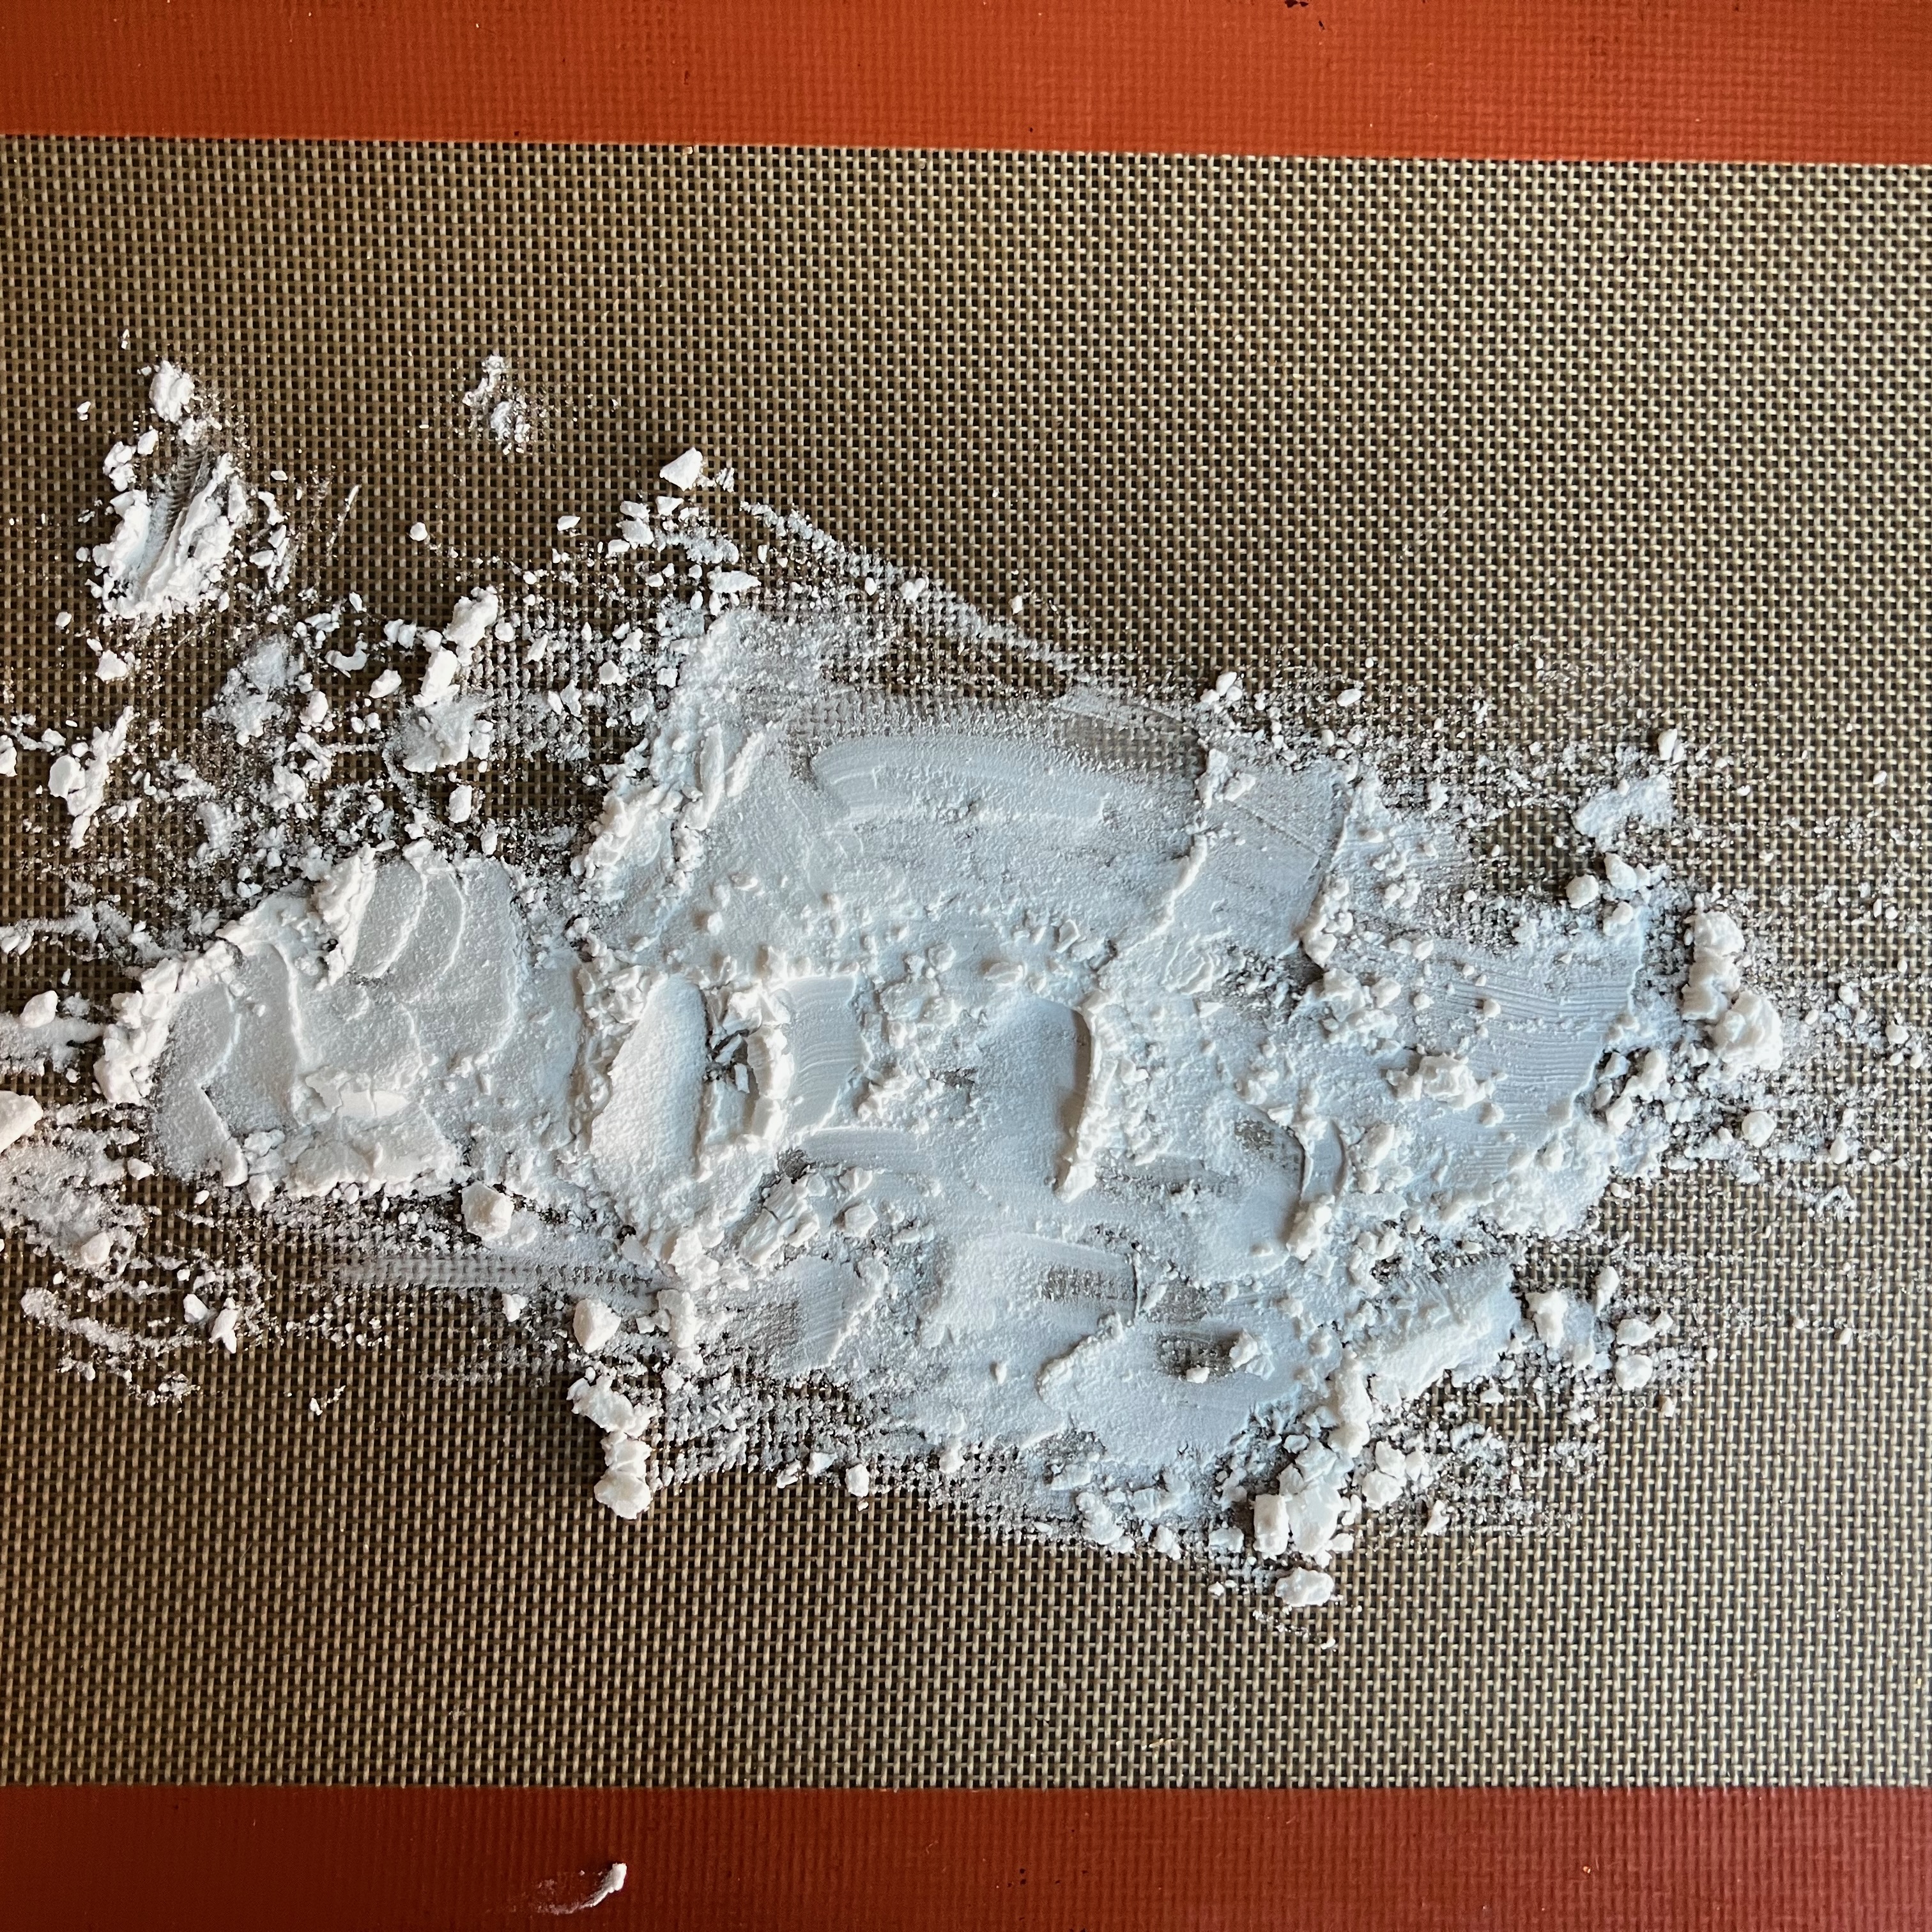
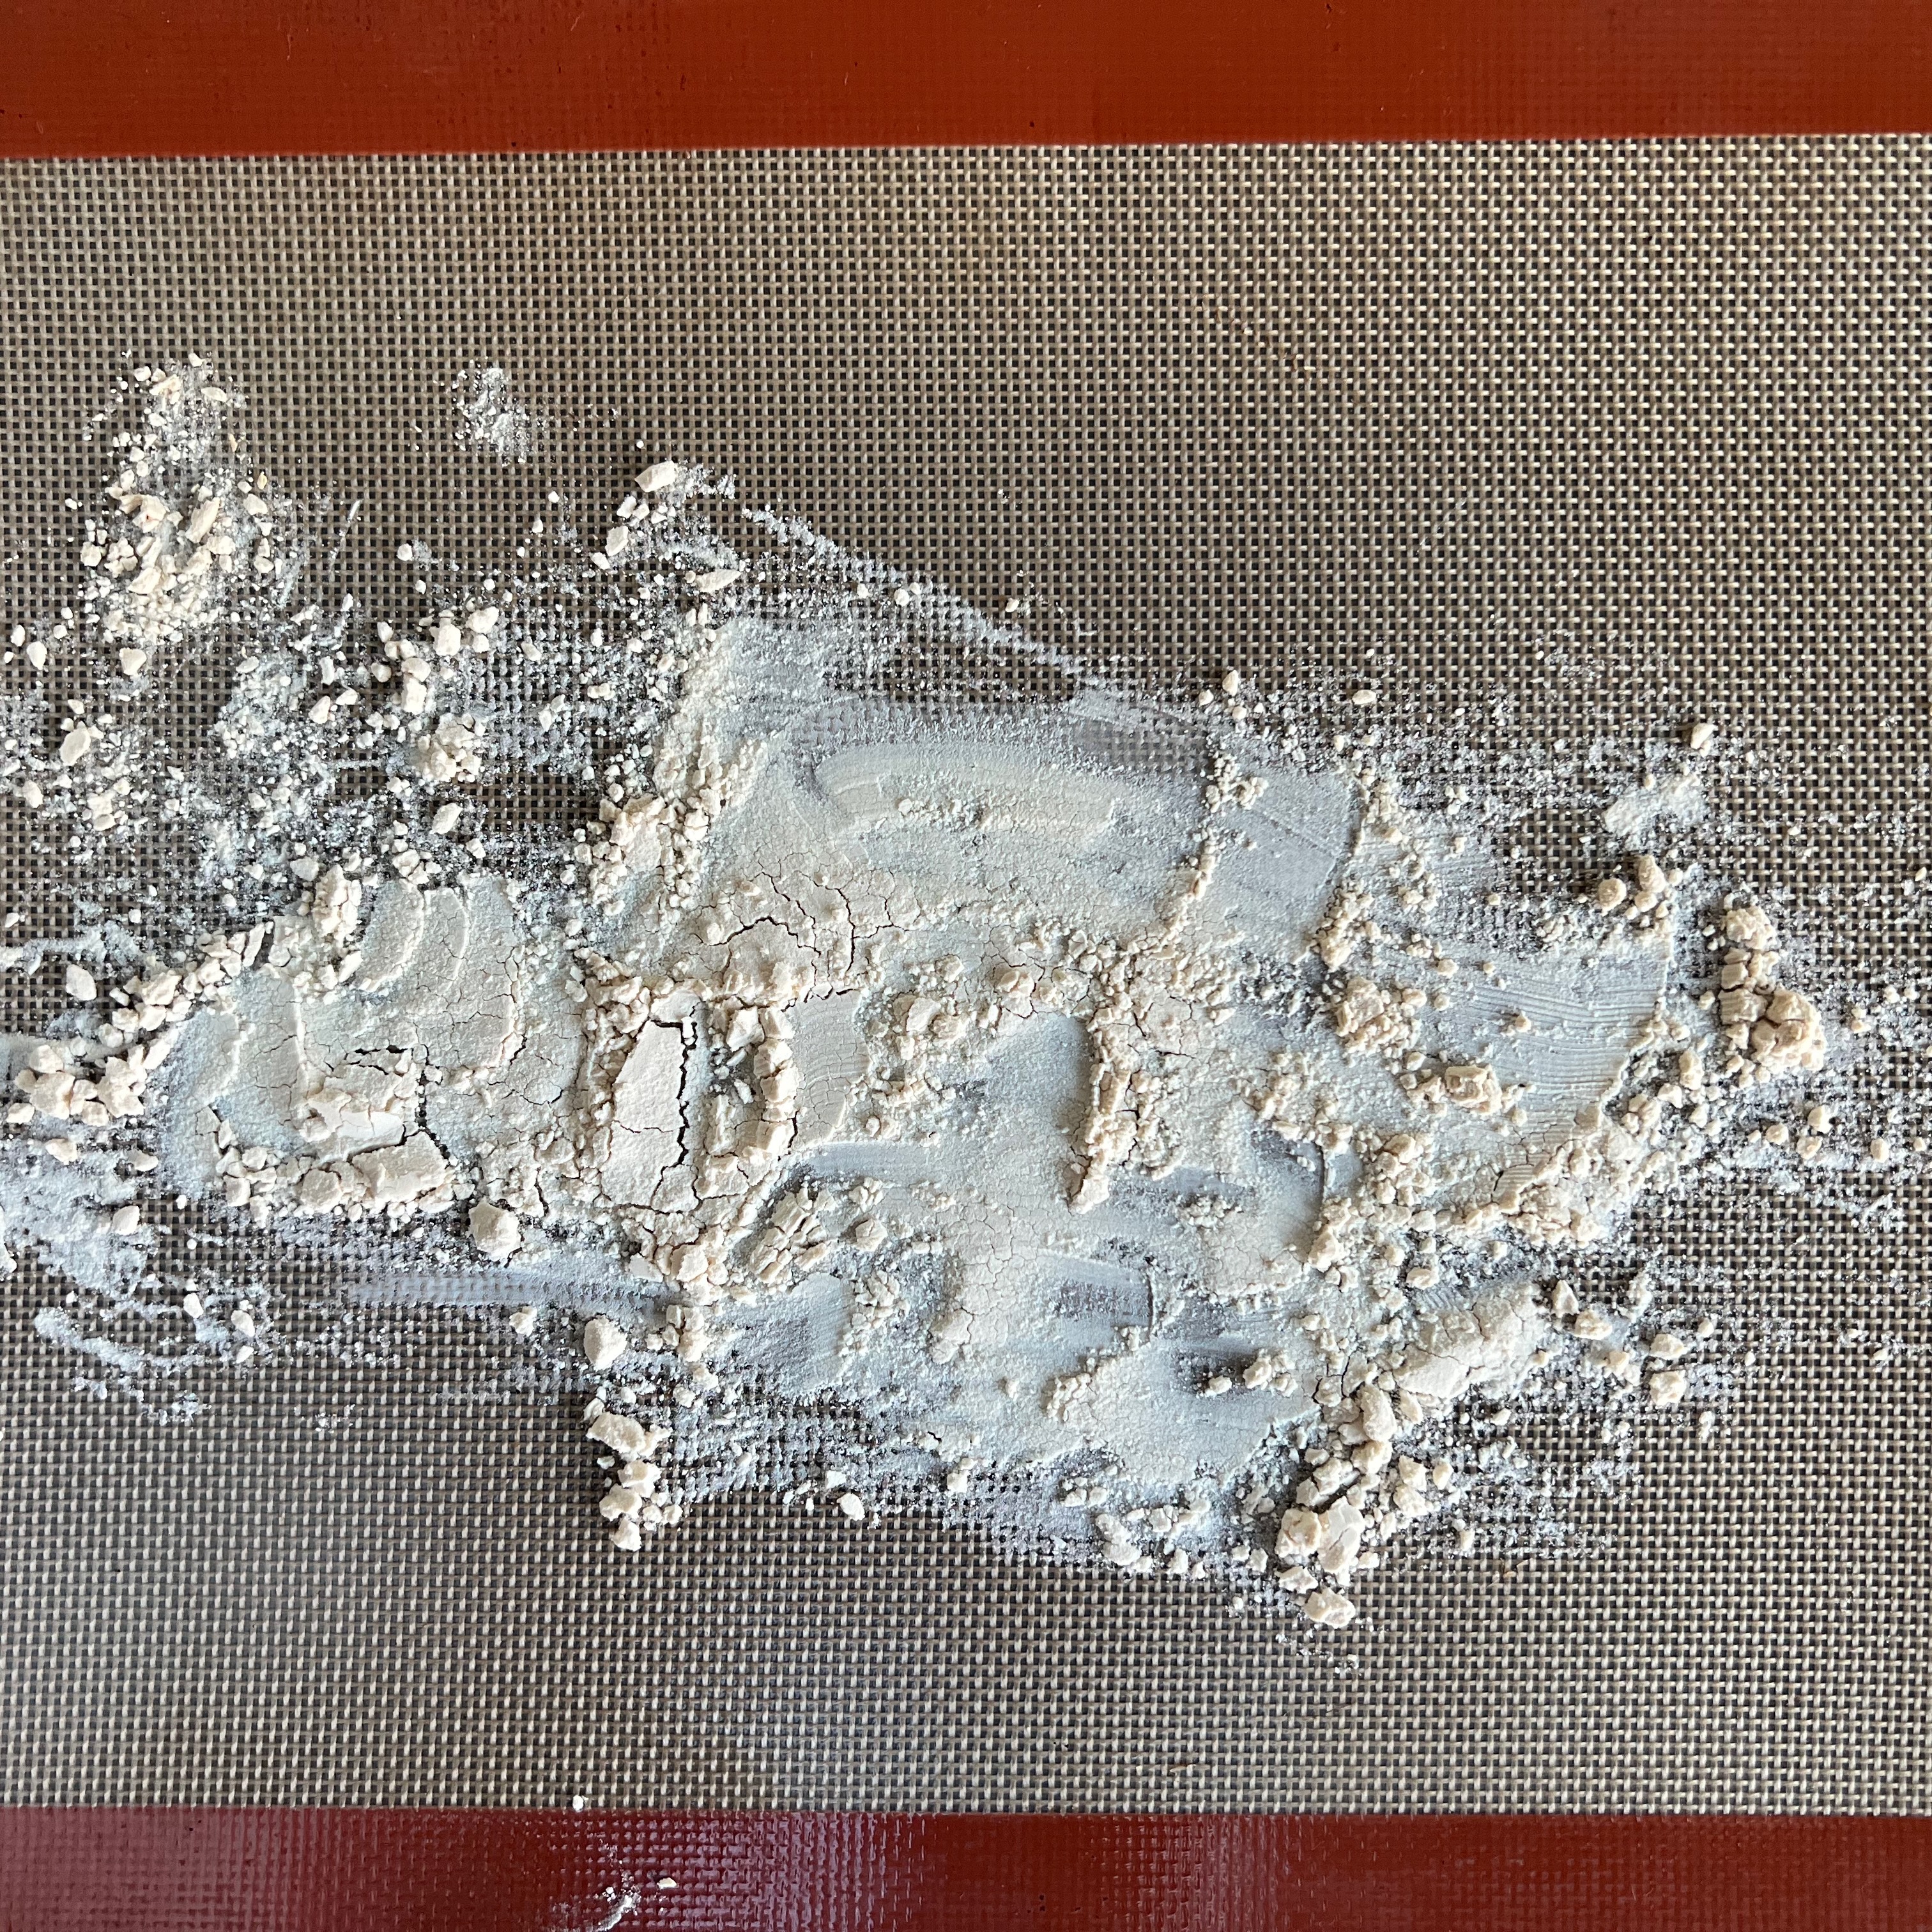
- Spread the potato starch thinly over a Silpat sheet or sheet of baking paper over a baking tray. When the oven is up to temperature, put it in the oven and roast until golden (this took me around 15 minutes). Remove from the oven and leave to cool.
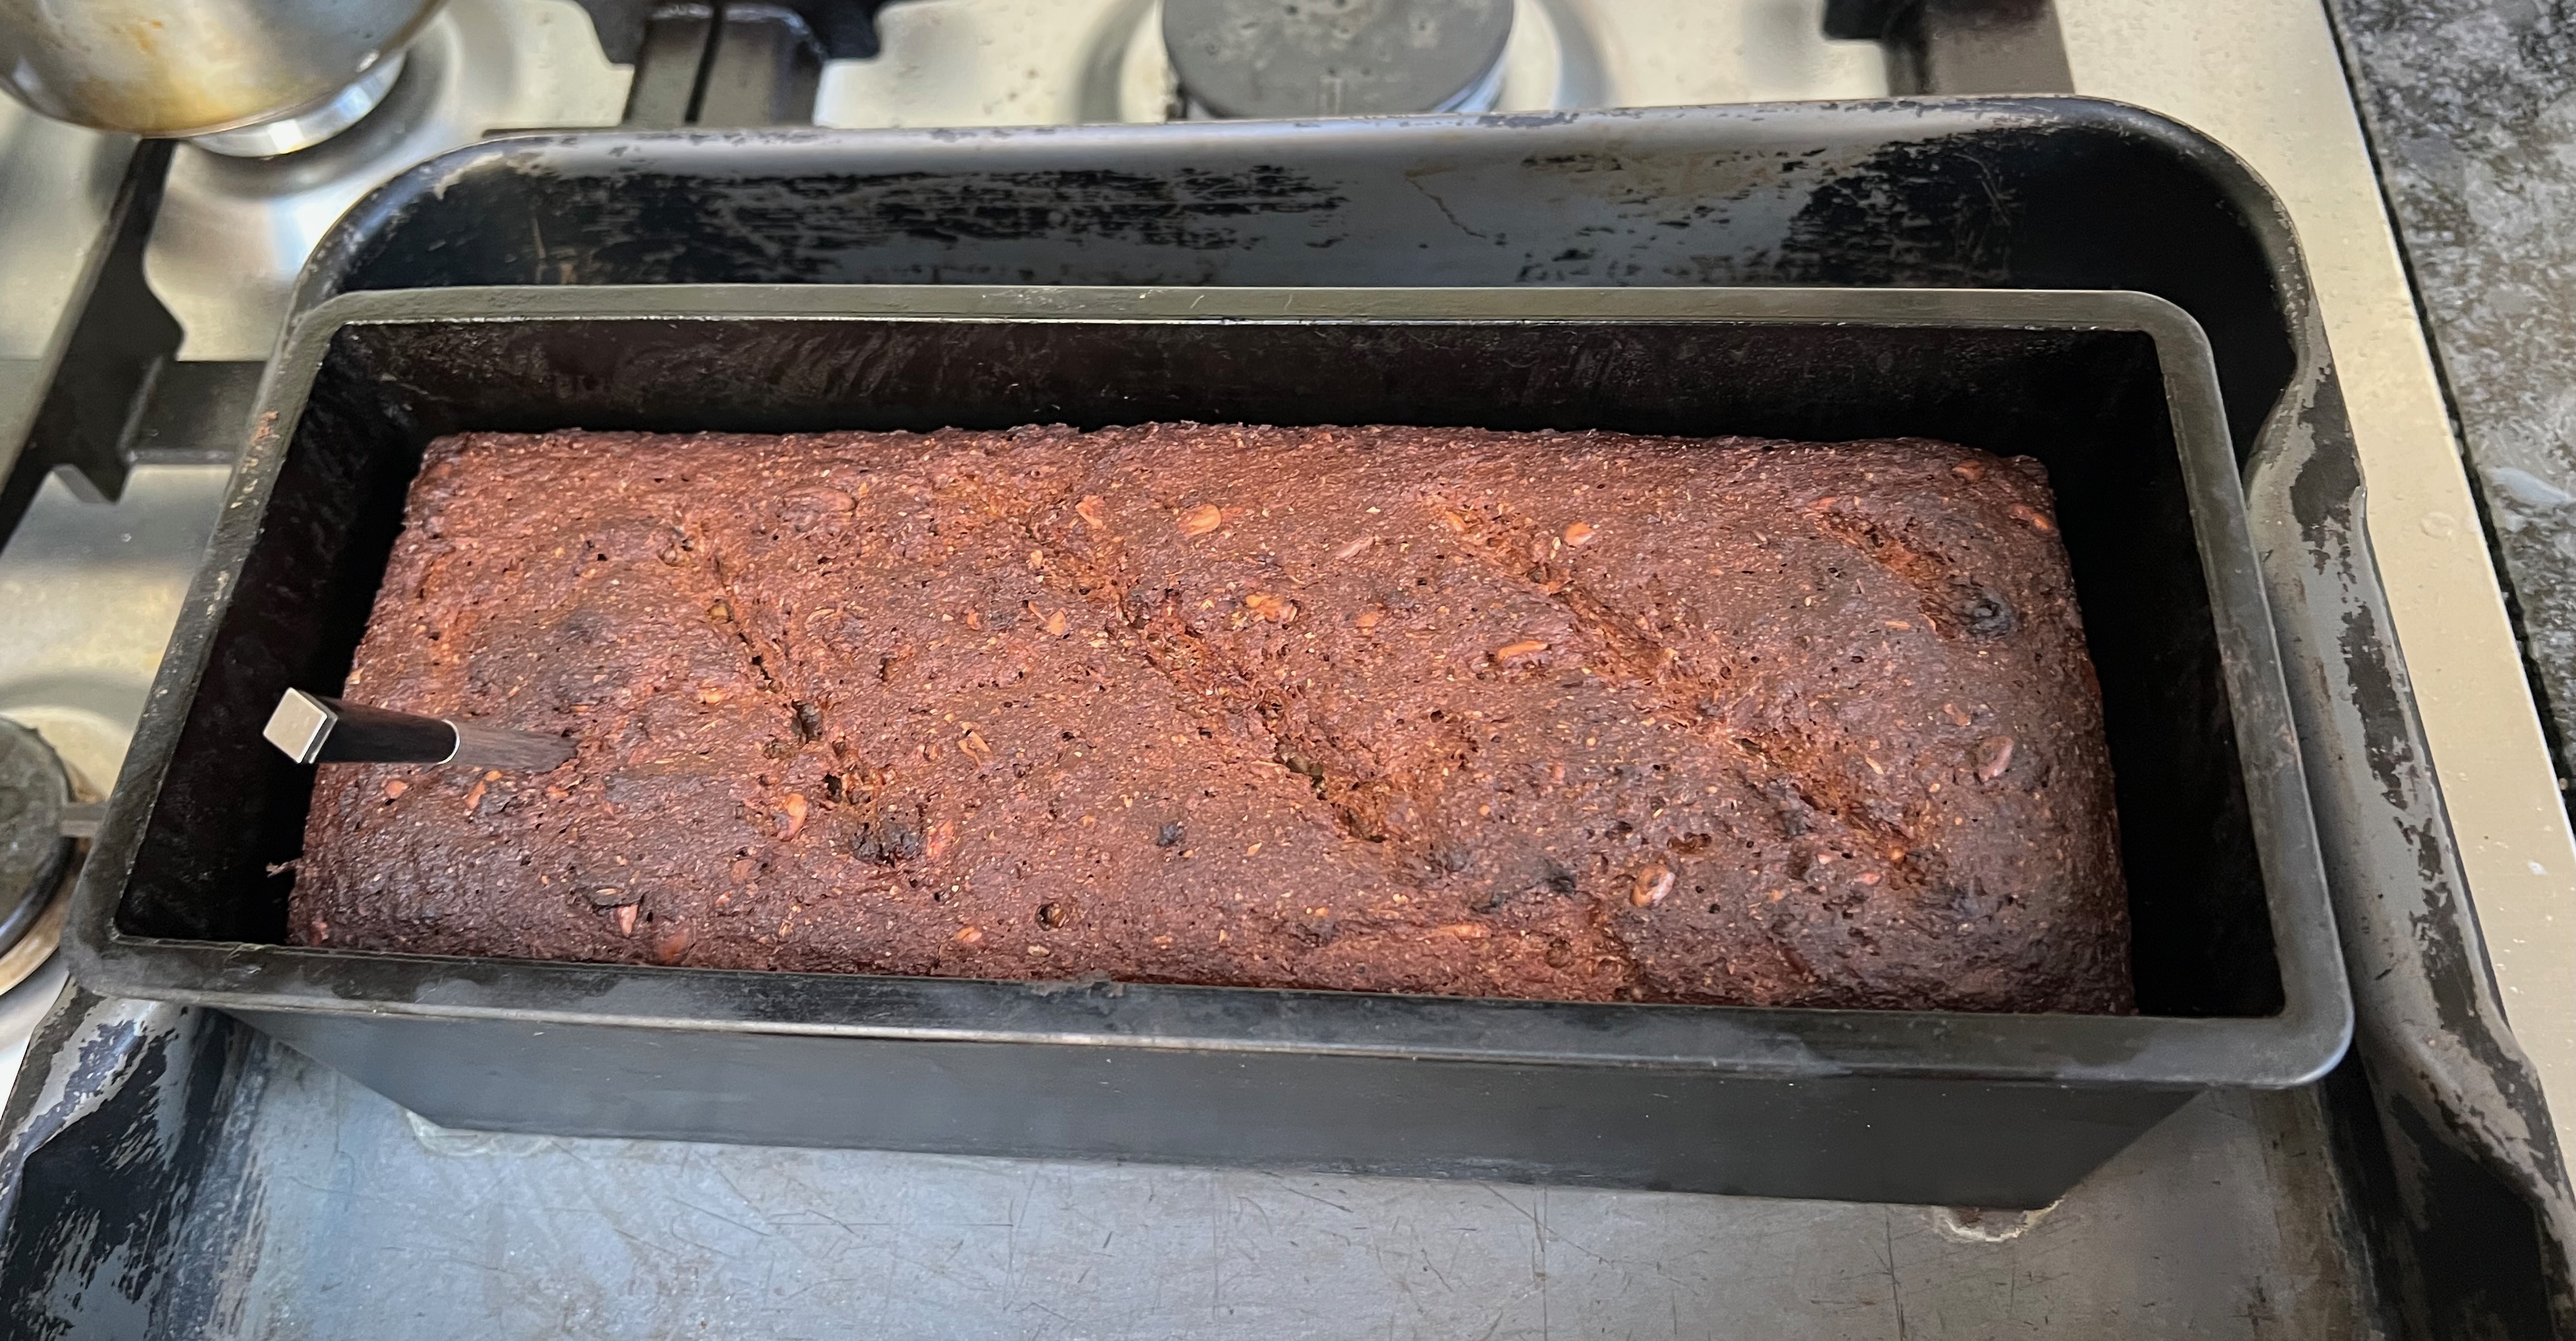
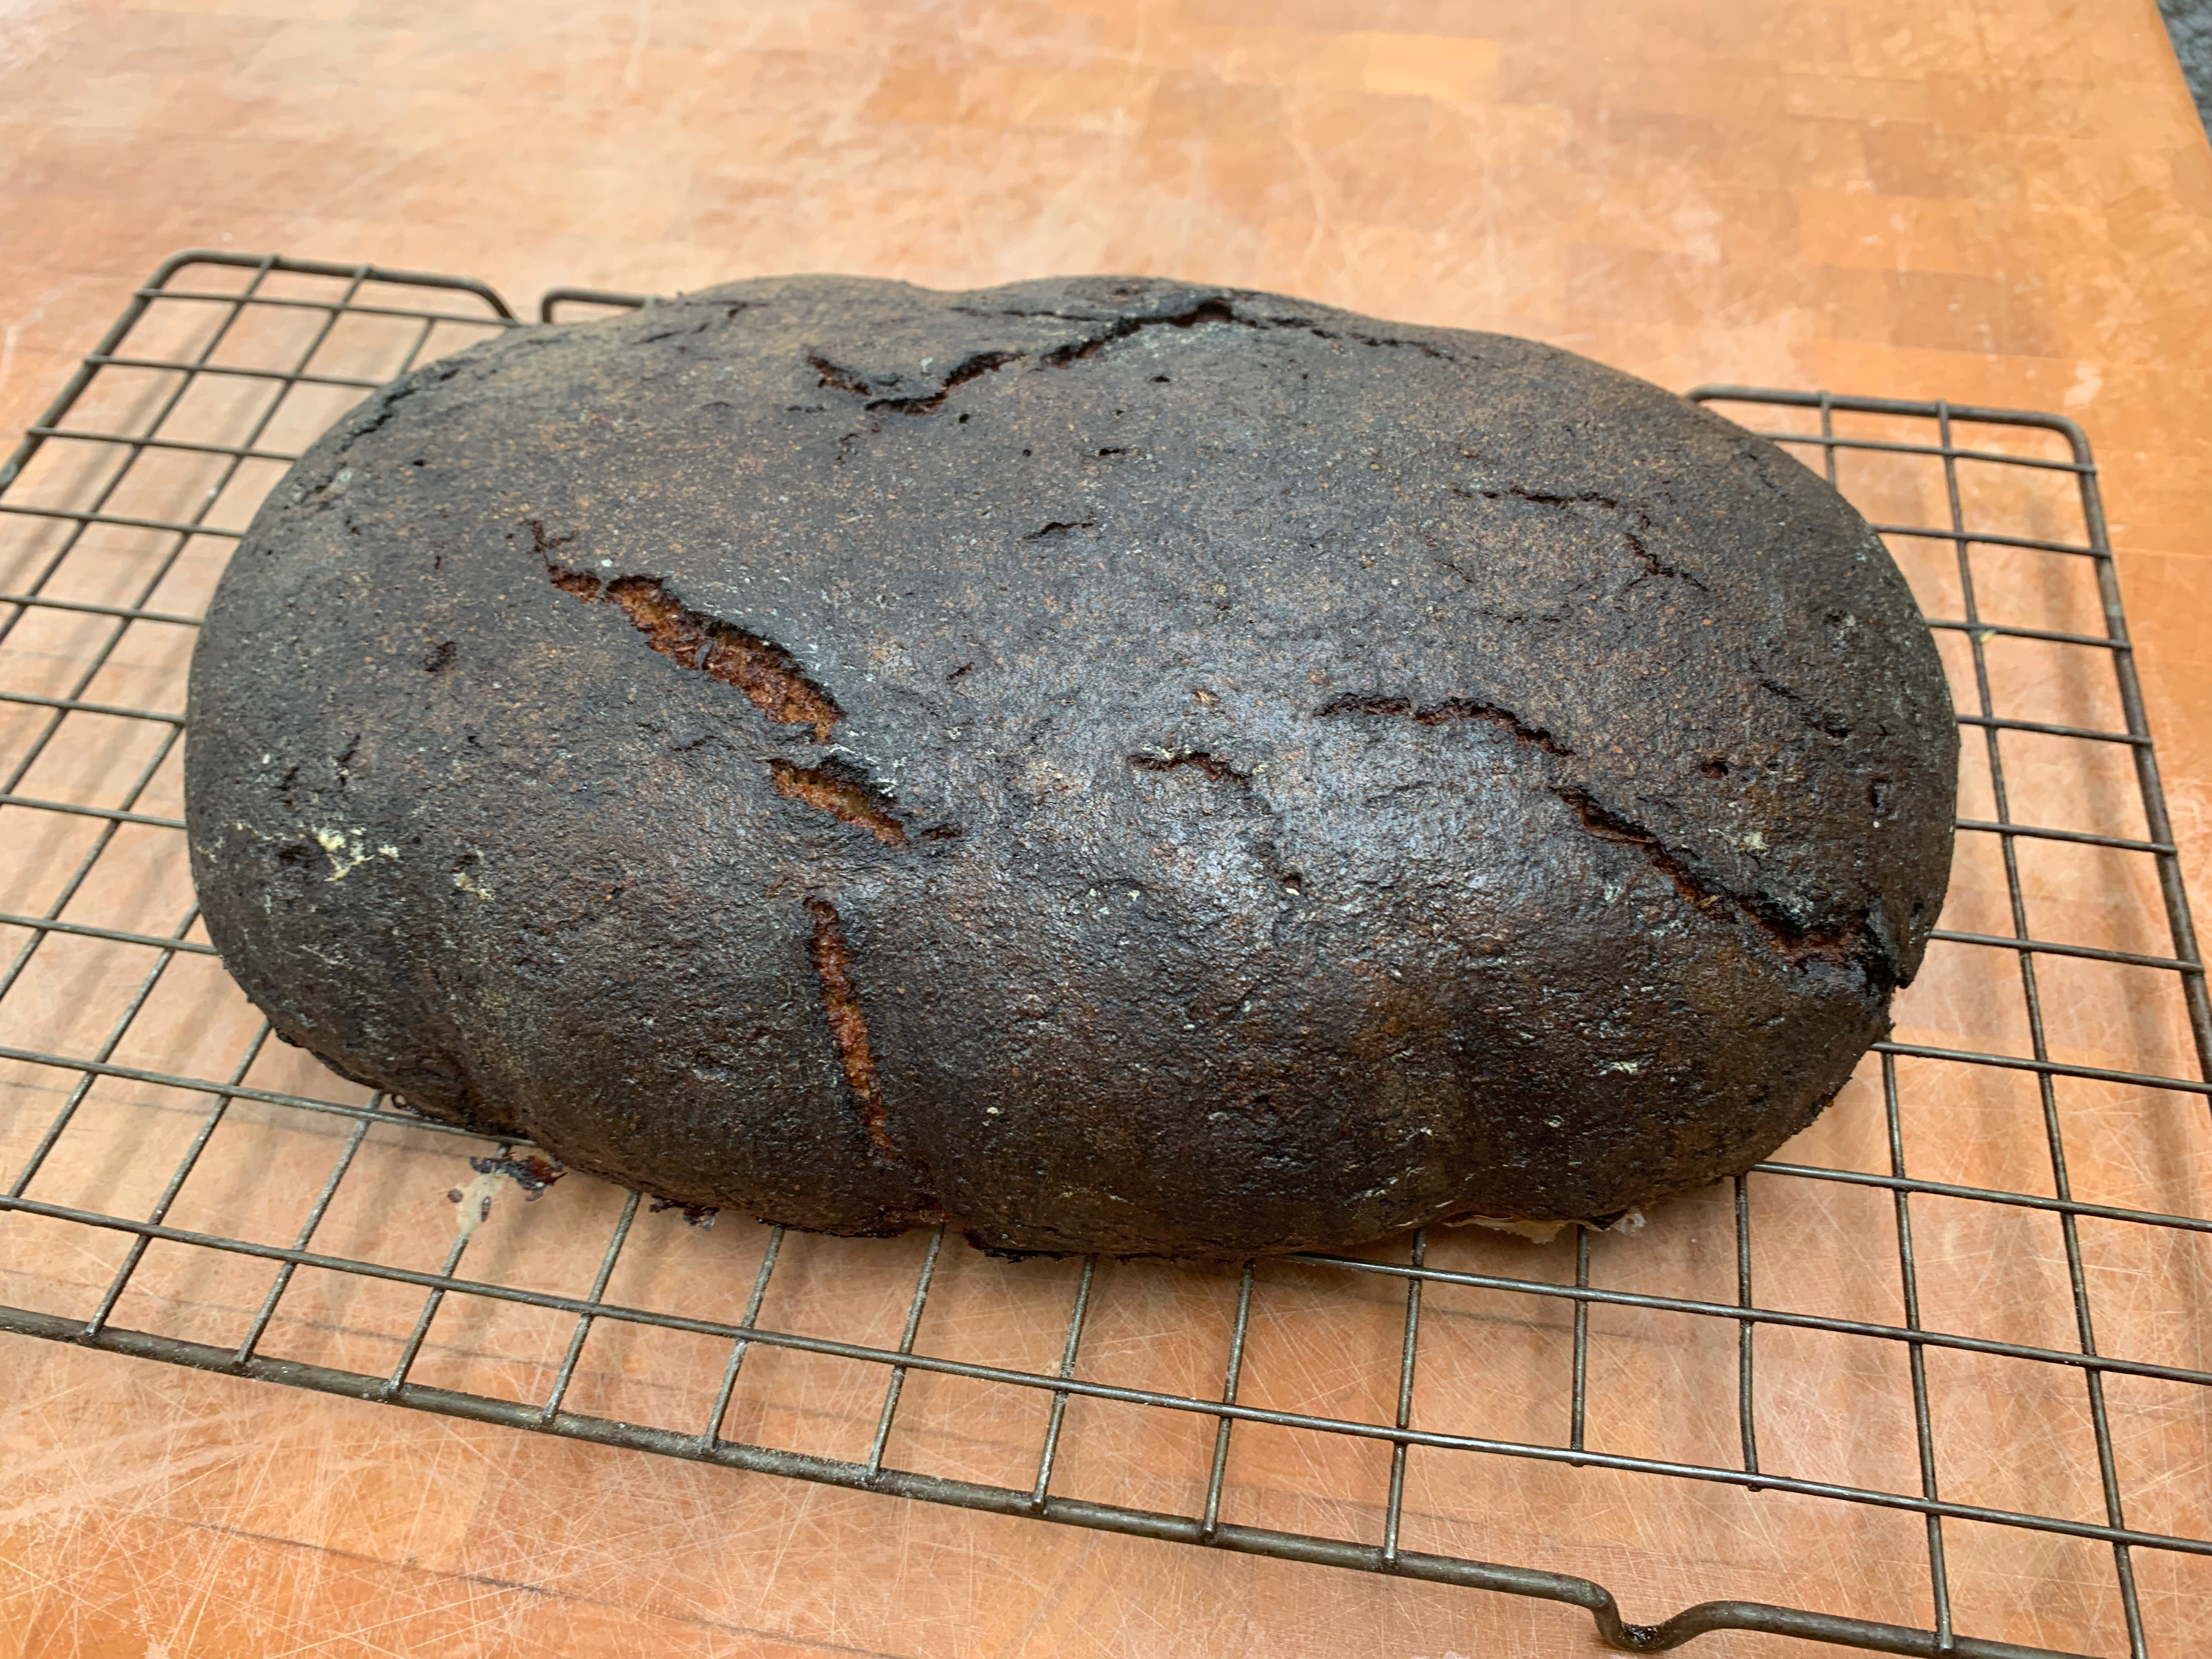
- When your loaf is risen to your satisfaction, score the top and brush it with a little water. If you have a thermometer probe that you can use in the oven, stick it into the loaf.
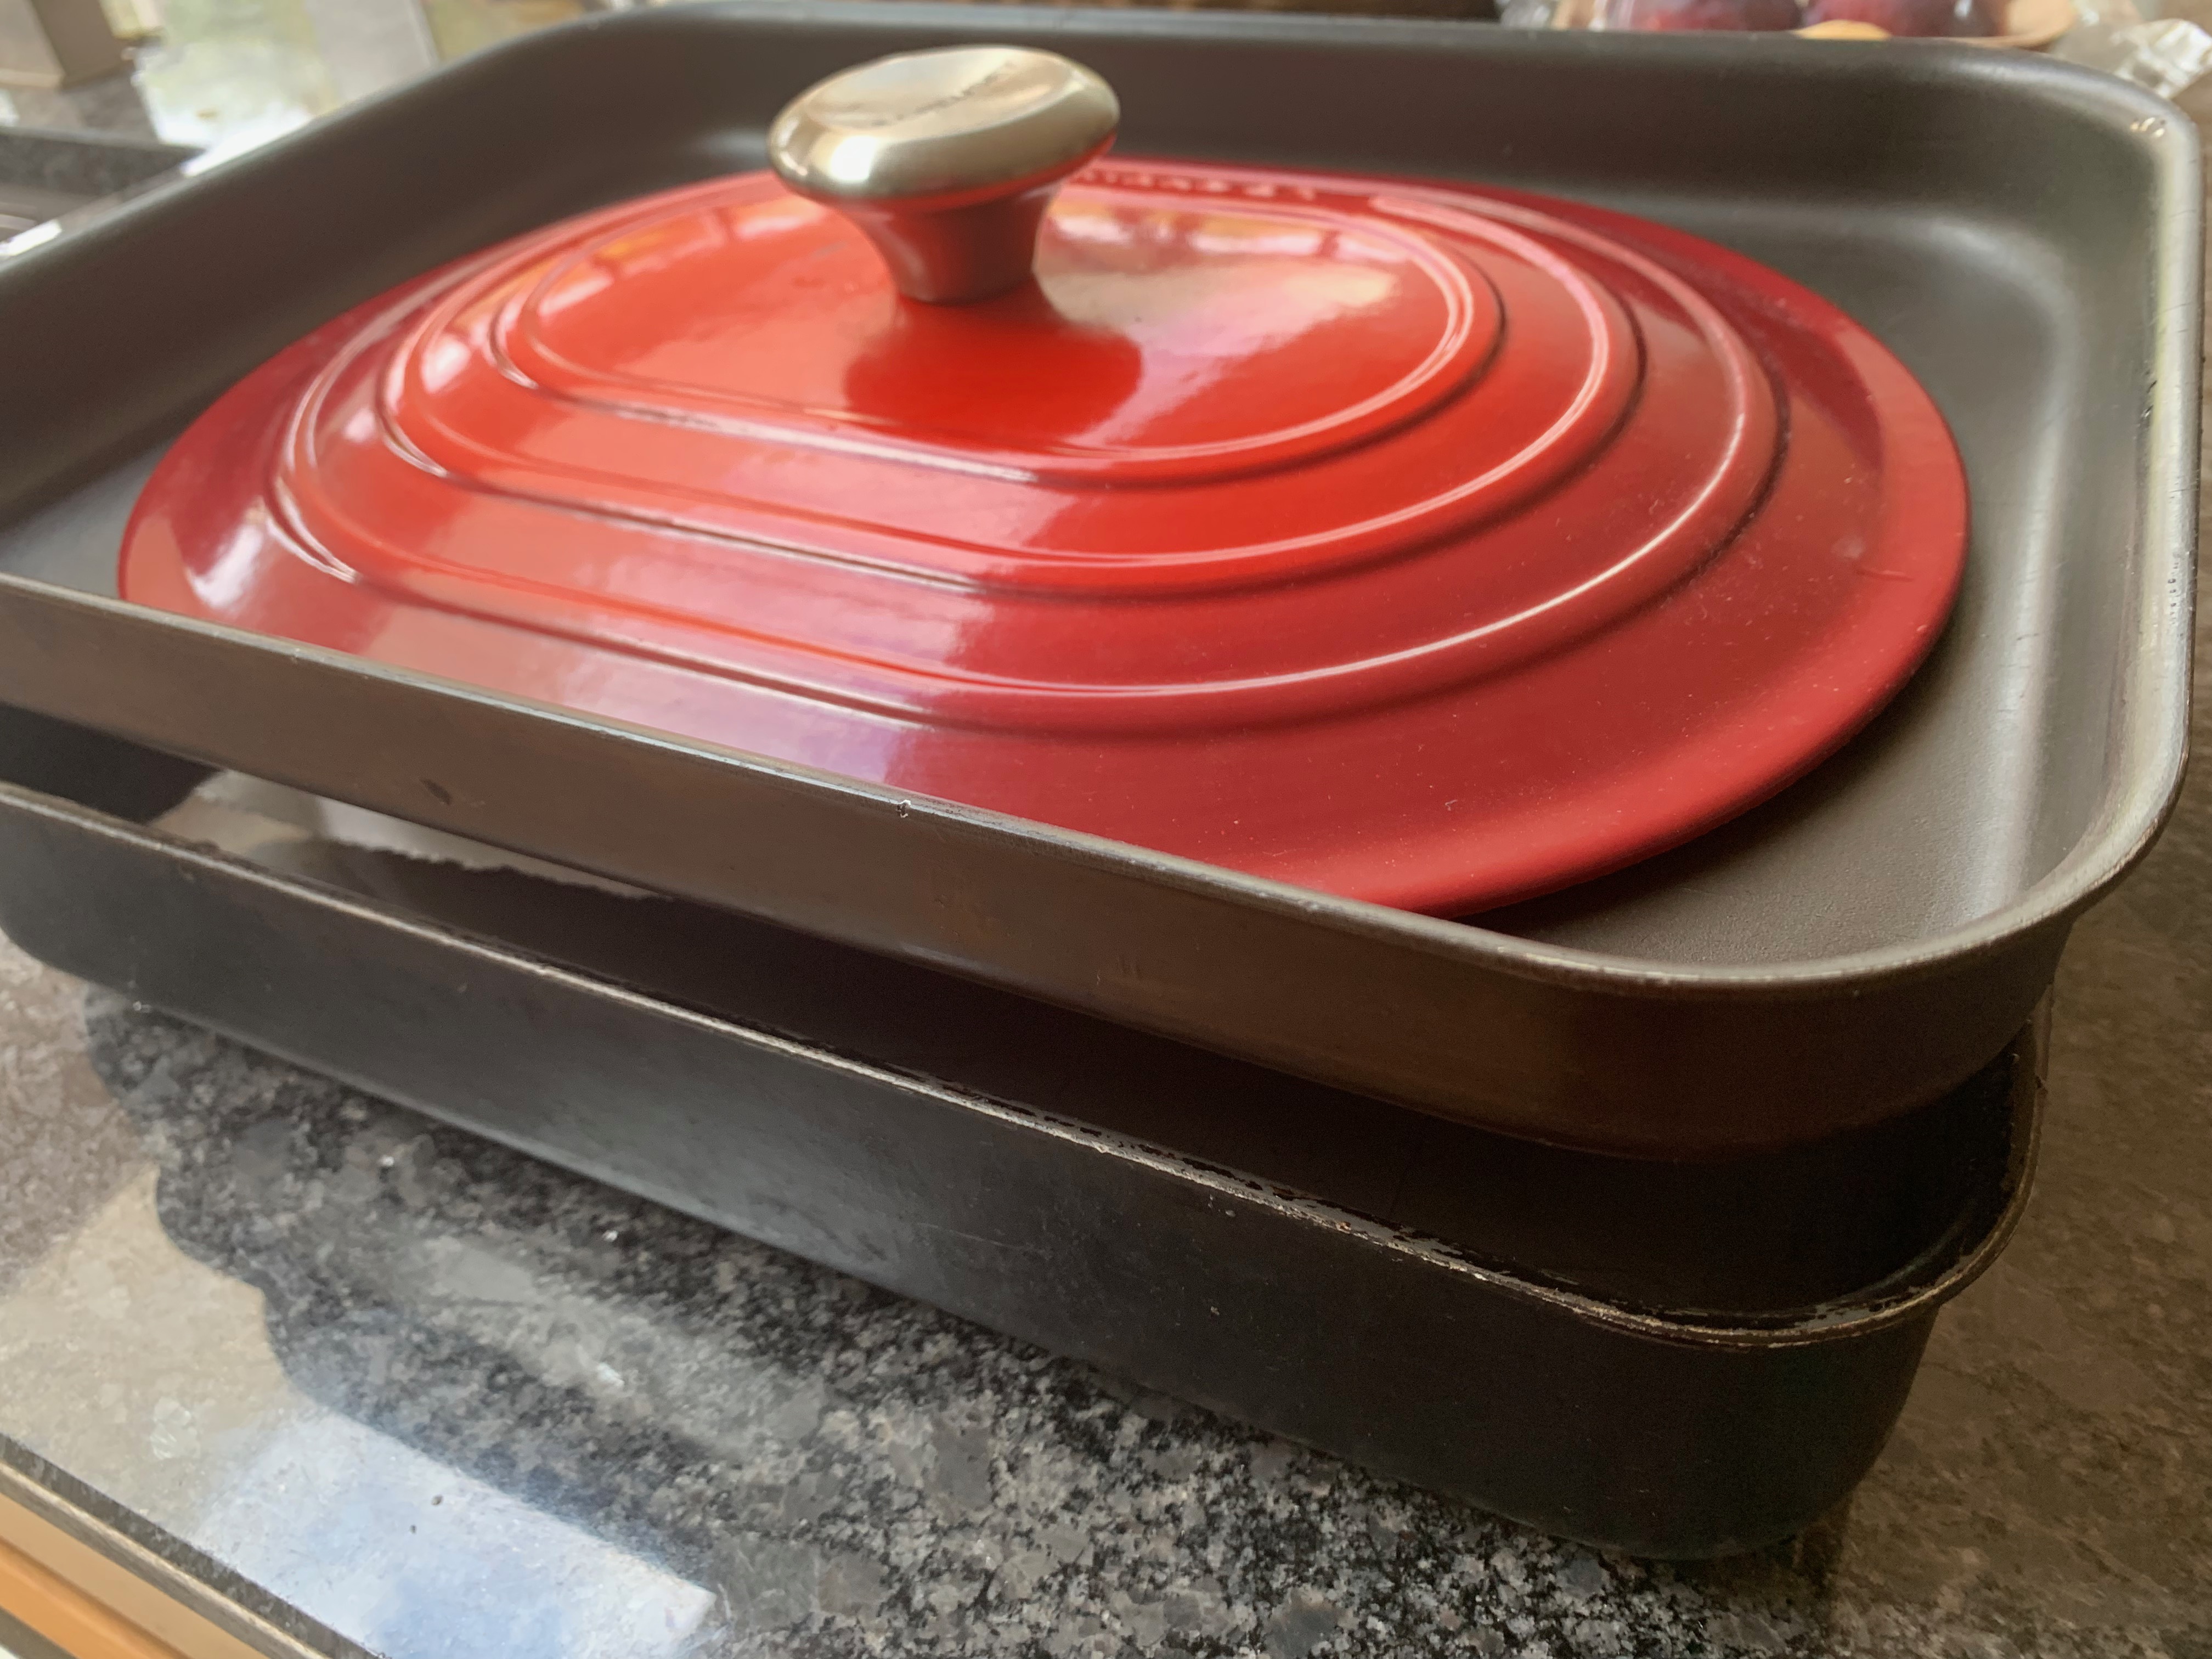
- Put the tin into a larger roasting pan with some water and put the whole assembly into the oven.
- After 10 minutes, turn the oven temperature down to 180℃ fan and open the oven briefly to let off the steam.
- Bake until the internal temperature reaches 98℃ (this took me around 50 minutes).
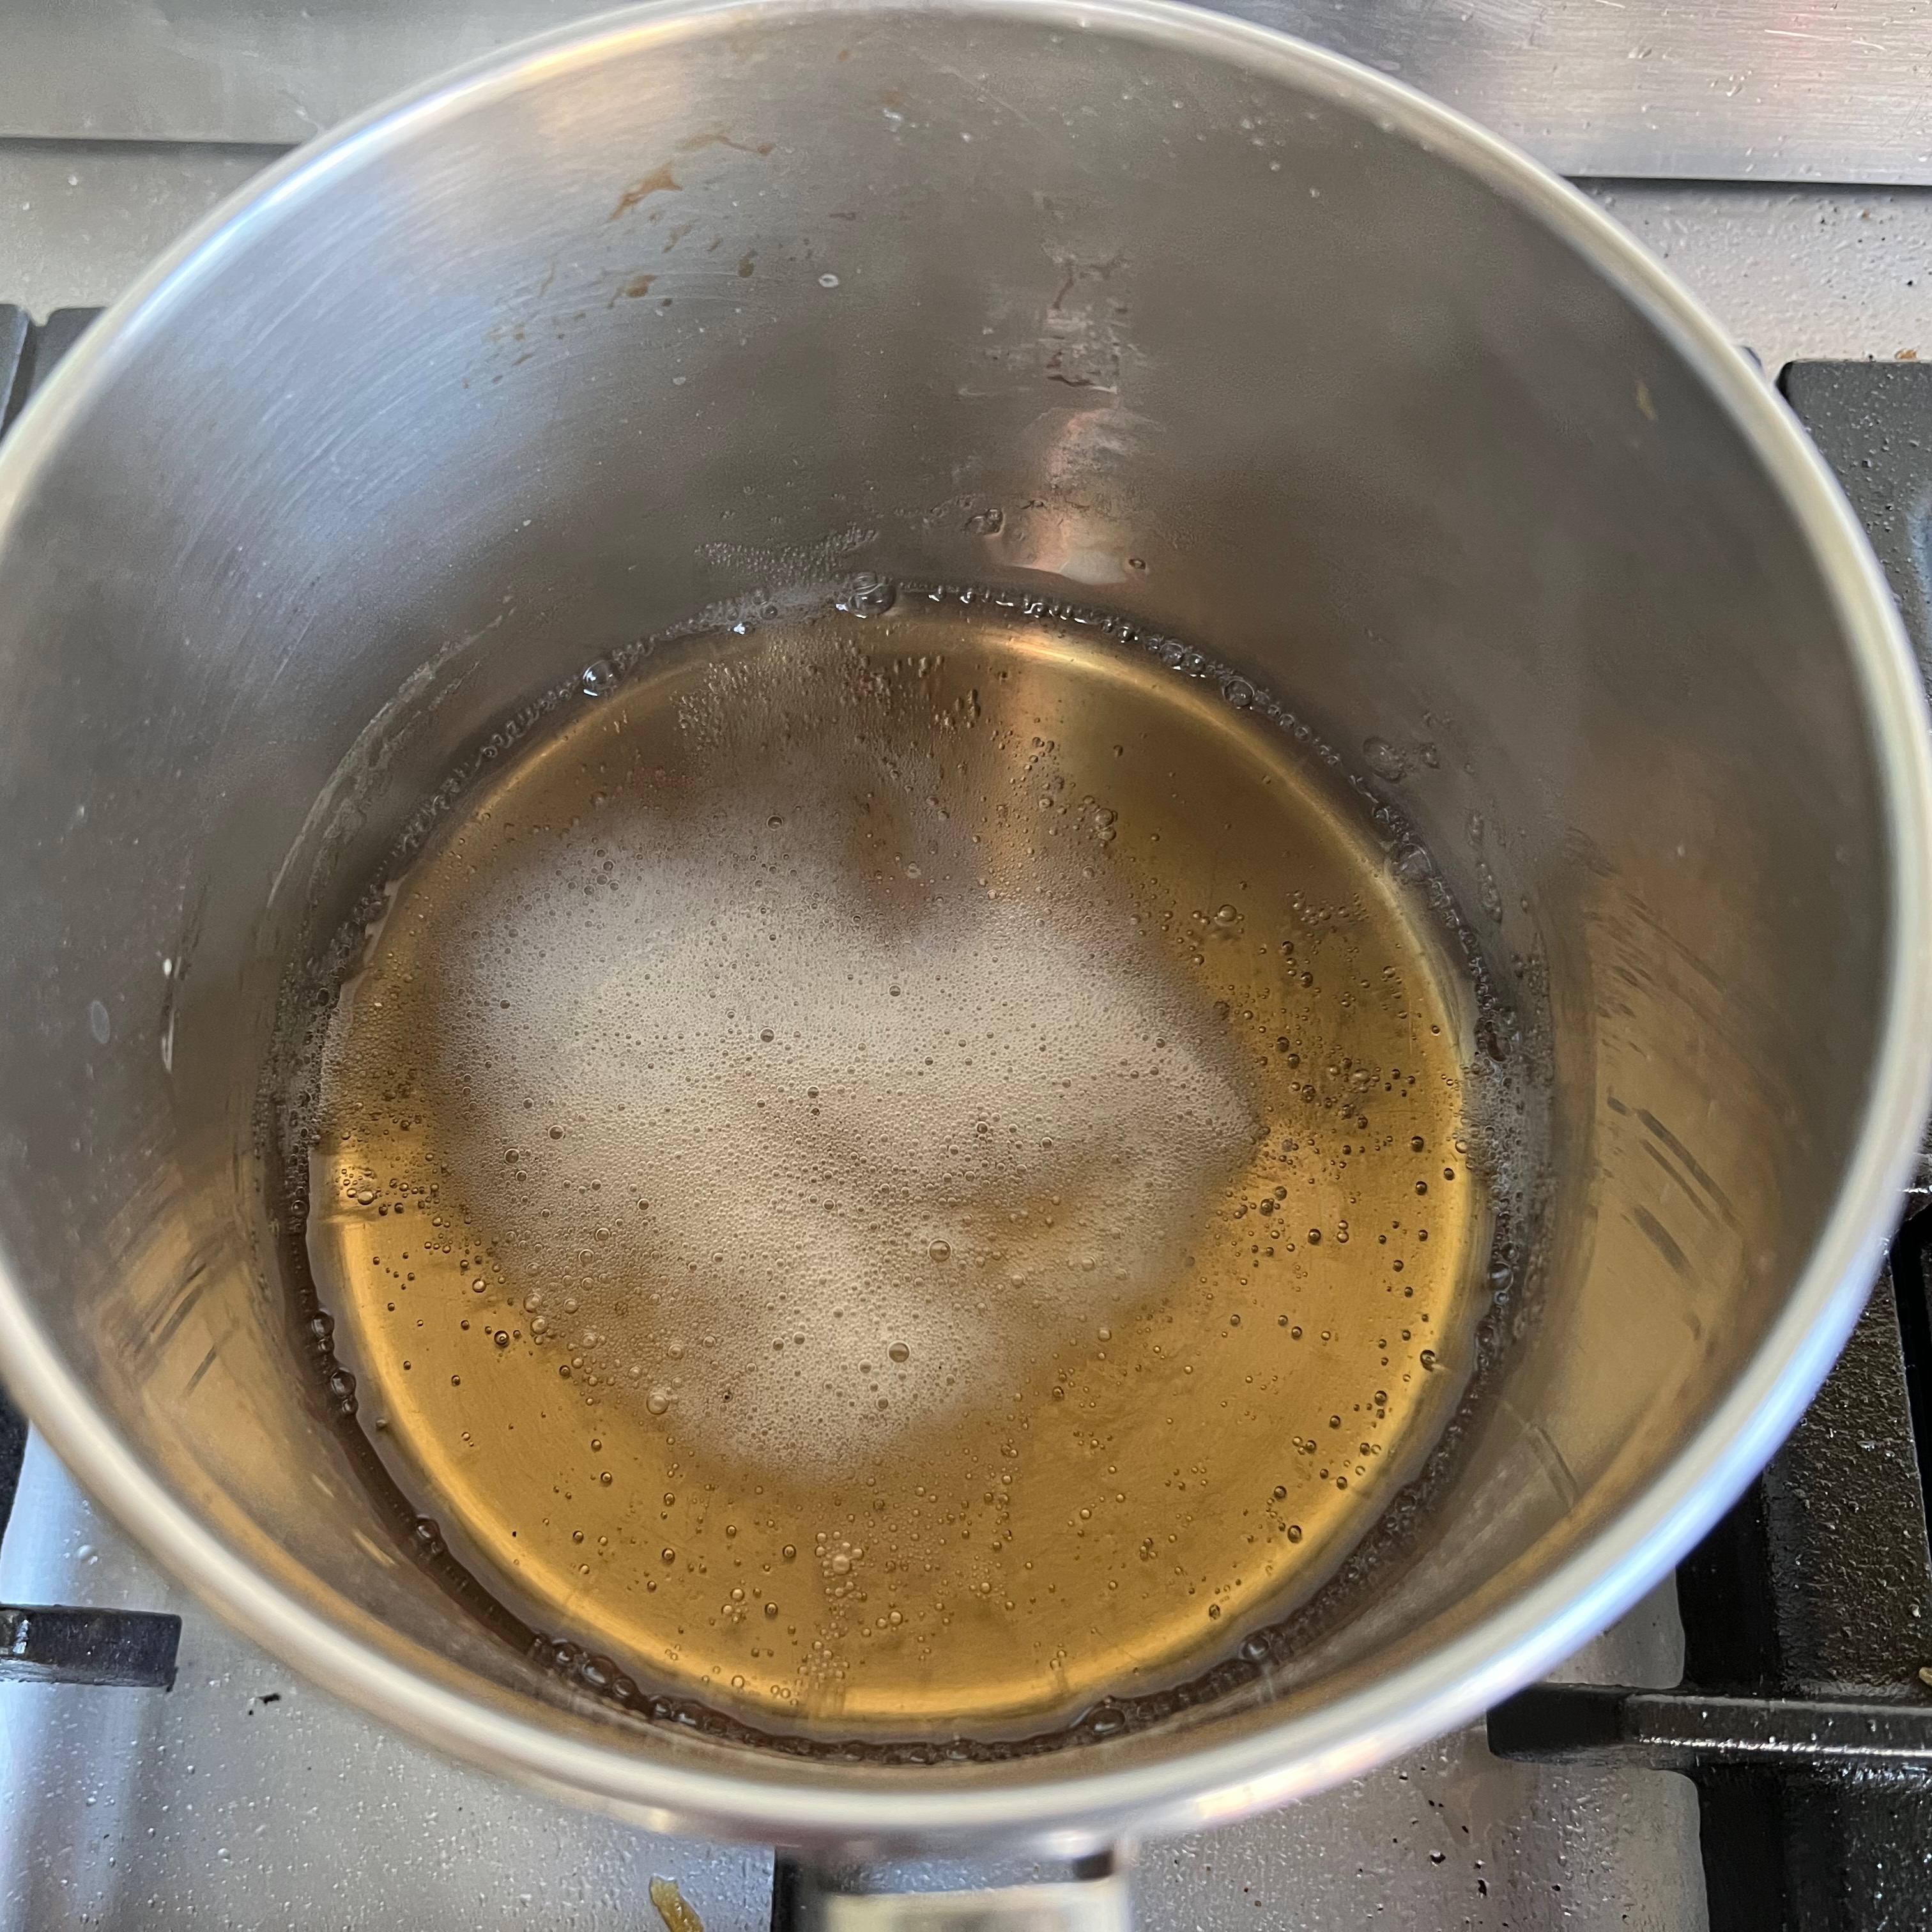
- Around 10 minutes before the end of the baking time, put the roasted potato starch and the water into a saucepan, bring to the boil and simmer for five minutes or so. Take off the heat.
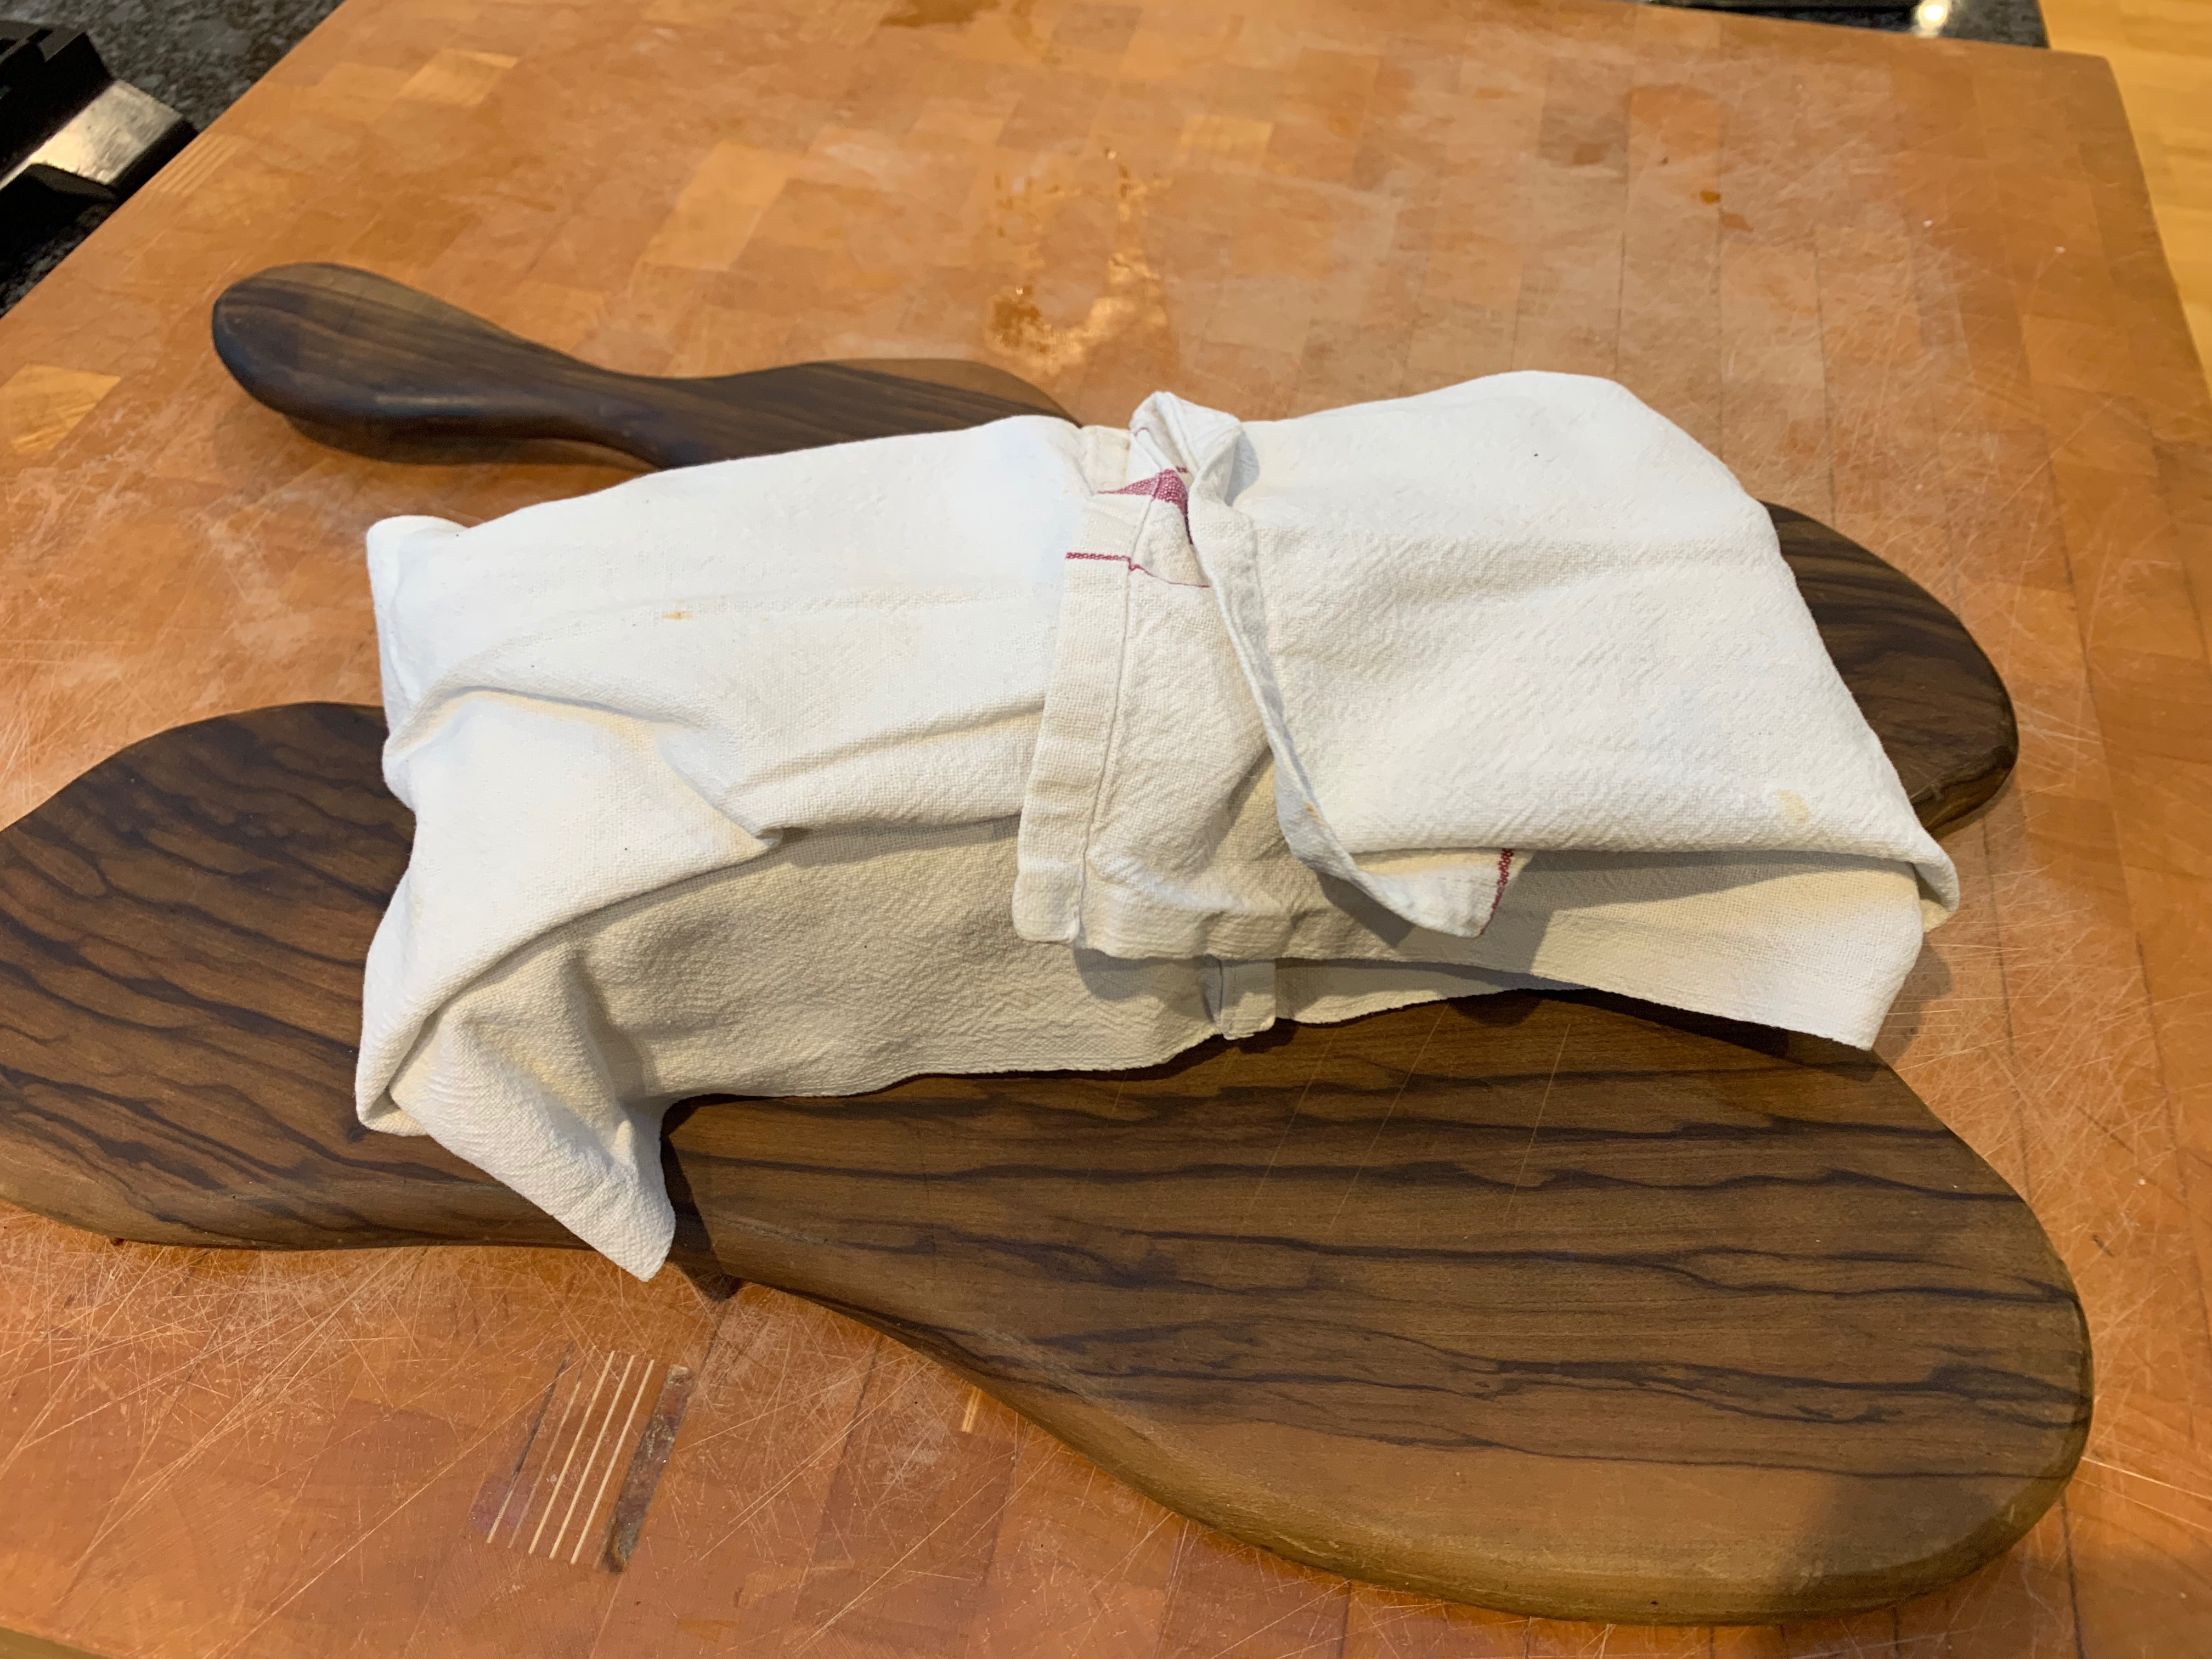
- Remove from the oven and place on a wire rack. Brush it all over with the potato starch and water mixture.
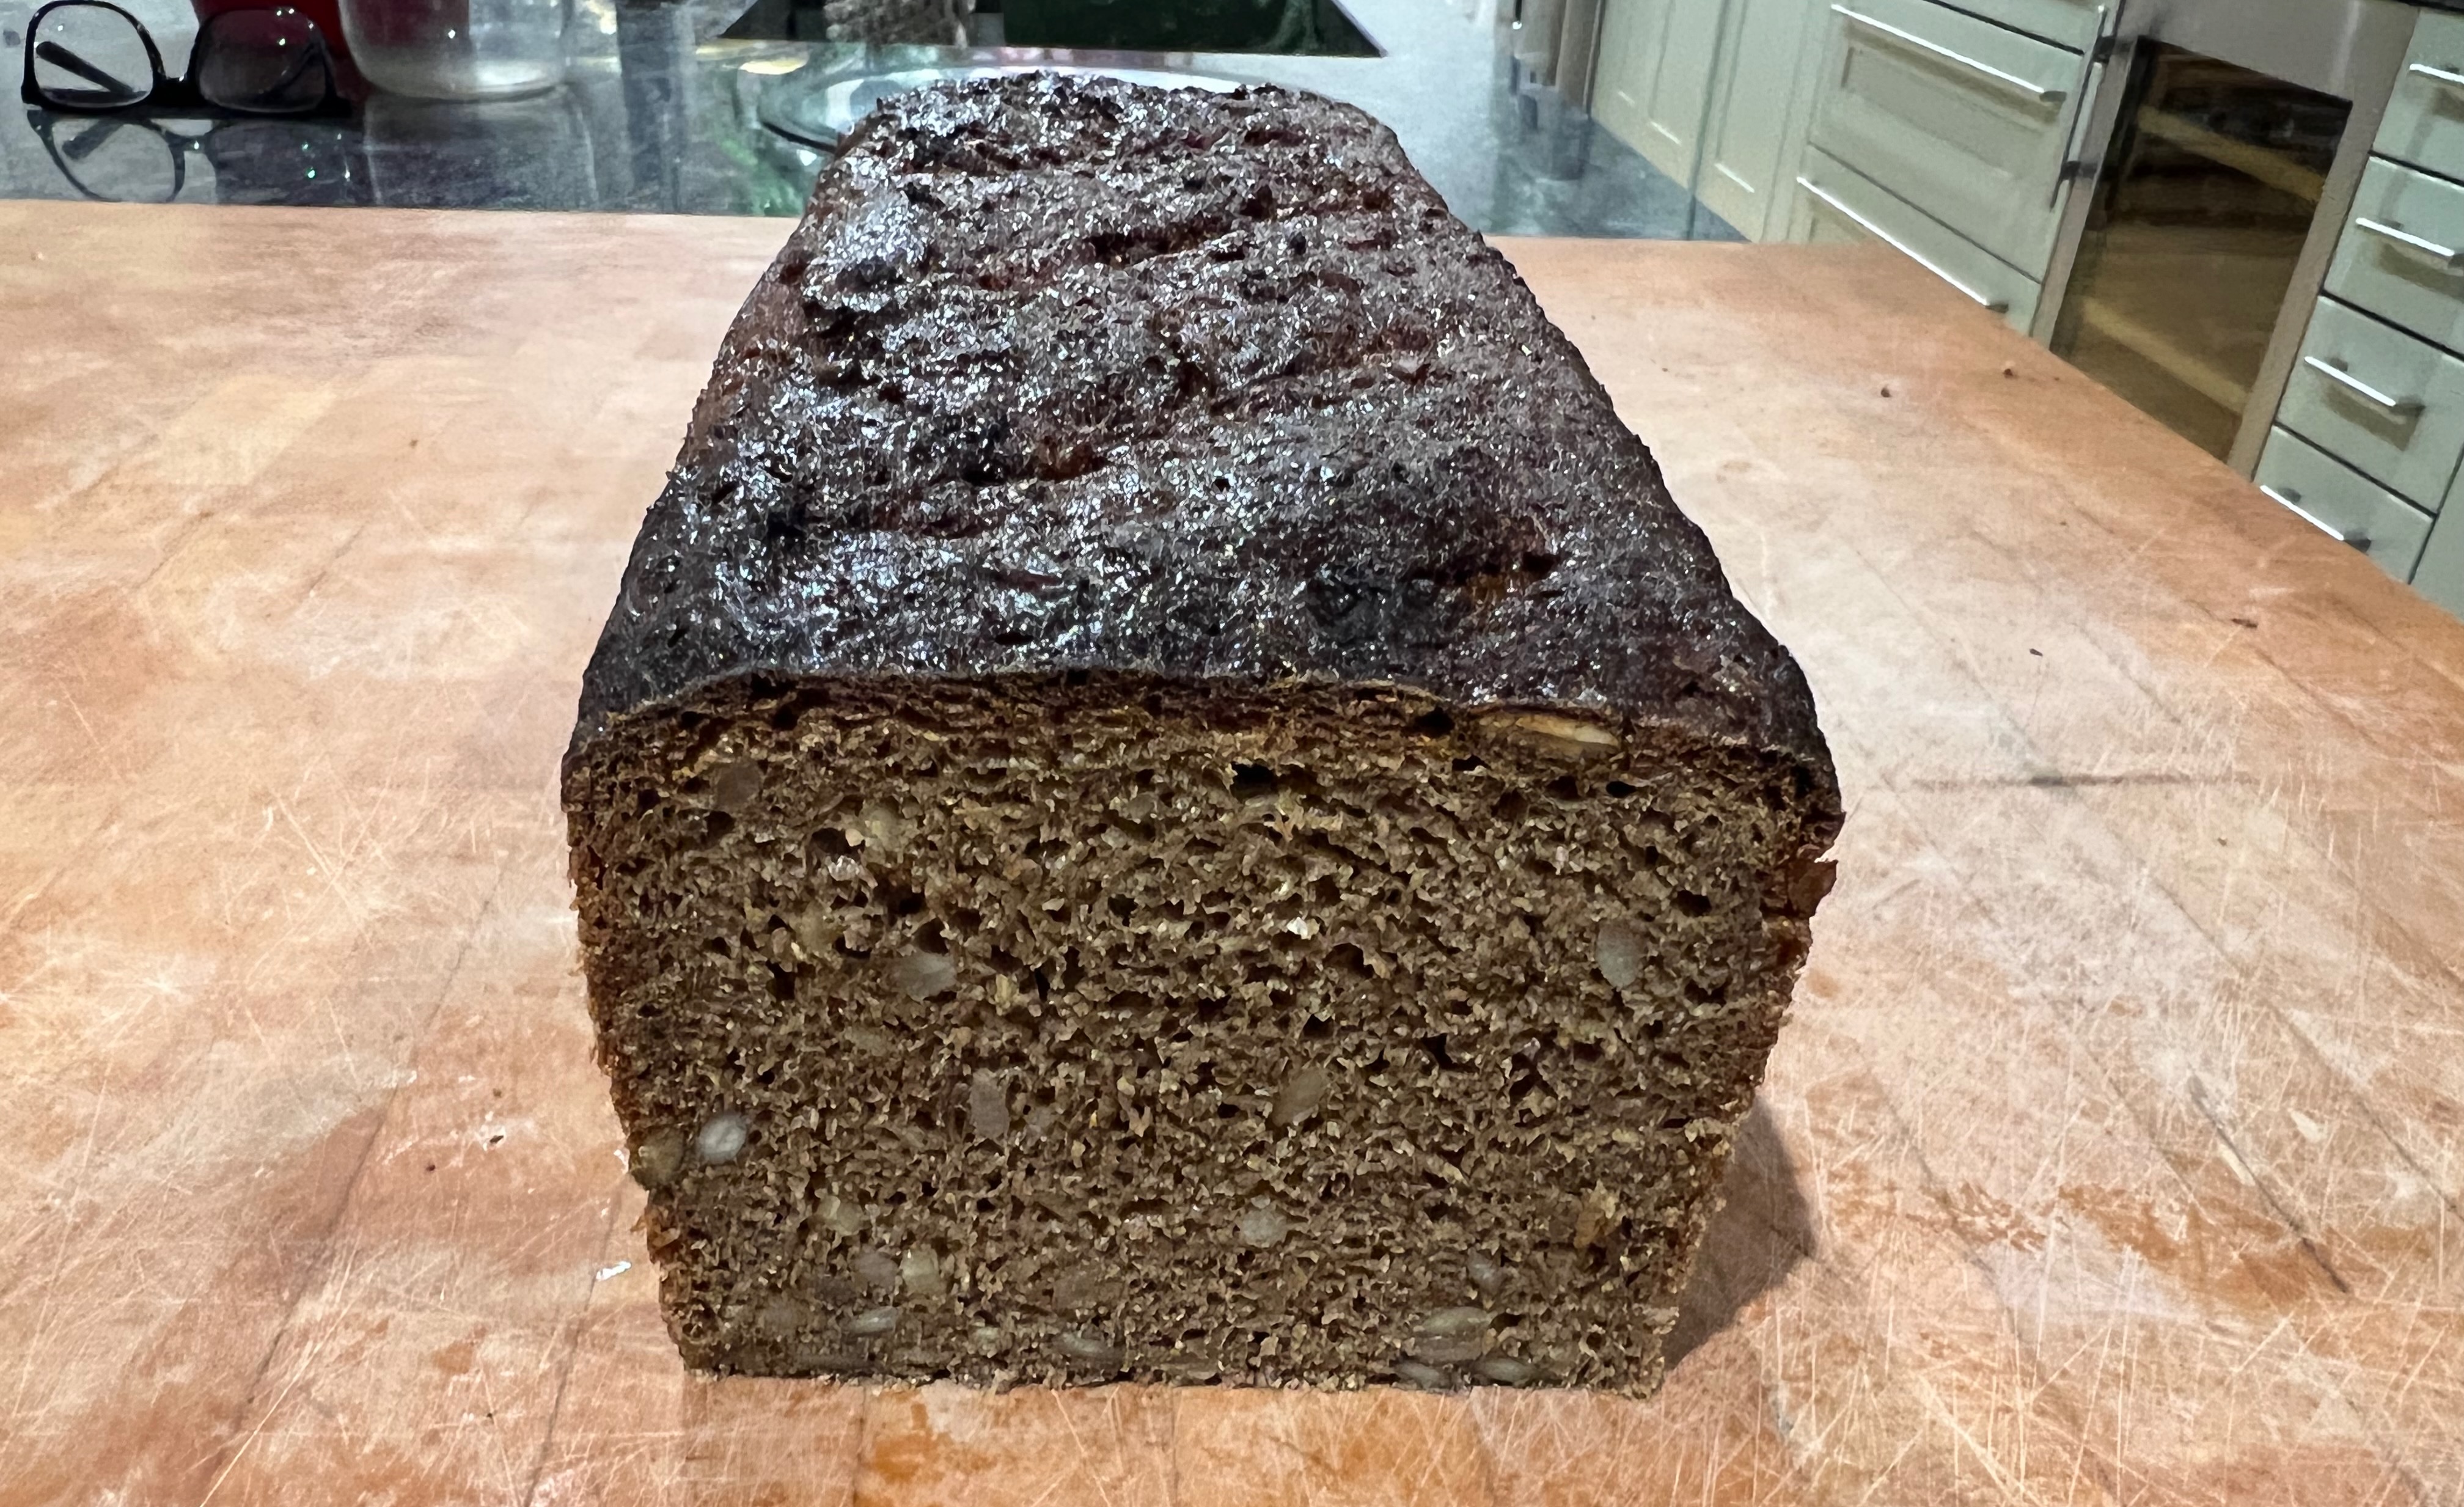
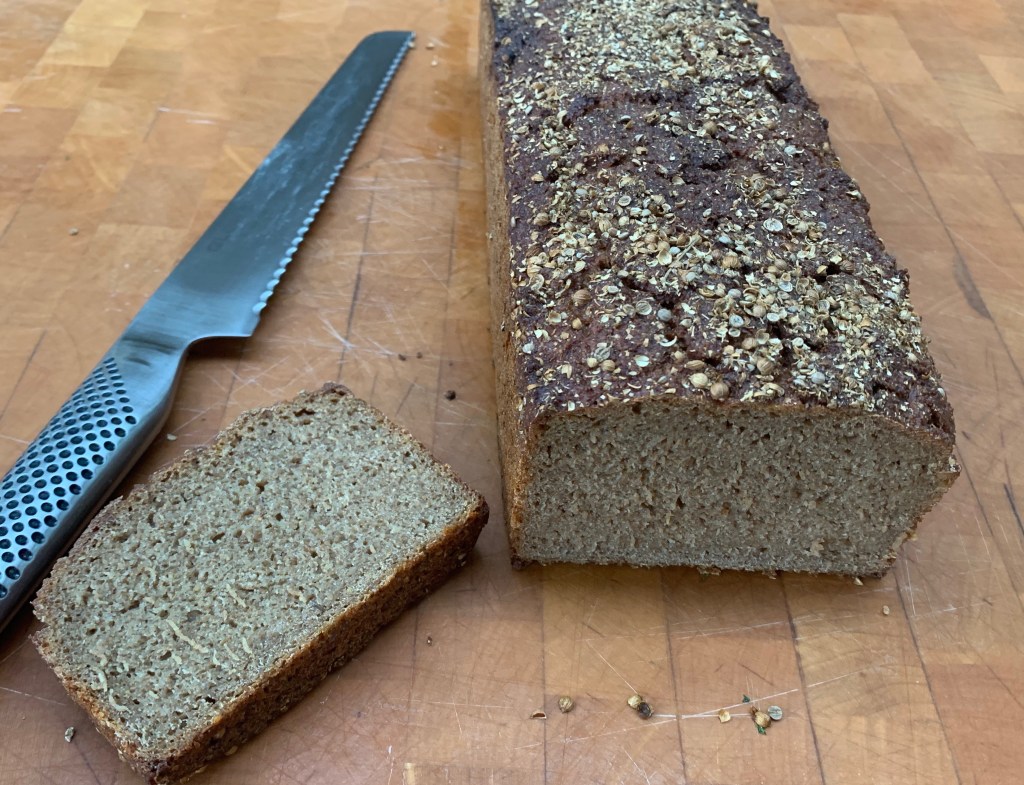
- And here’s the hard part: leave the bread to rest for 24 hours before eating!