When people think about Paris, the top things they think about are the landmarks (the Eiffel Tower, the Arc de Triomphe and so on), the great public buildings (the Louvre, the Opera), and the cafés and restaurants. But there’s one aspect of Paris that isn’t necessarily on everyone’s list: the place is a baker’s paradise.
We’re currently on a two-month stay in Paris. Rather than being in a standard tourist area, the apartment we’ve rented is somewhat north-east of the city centre in Belleville, made famous by Sylvain Chaumet’s wonderful animated film Belleville Rendezvous (aka The Triplets of Belleville). It’s an ethnically mixed residential area, with a large population of North African origin as well as a lot of Chinese and Vietnamese mixing with the white population. Our apartment is on the Rue du Faubourg du Temple between Belleville and République metro stations. In the course of that one kilometre stretch, without going into the side streets, I counted fourteen bakeries of different kinds. Most of them are places I’d be more than happy to patronise near my home; the best are utterly outstanding.
Here’s a little guided tour – in no particular order (and not geographically).
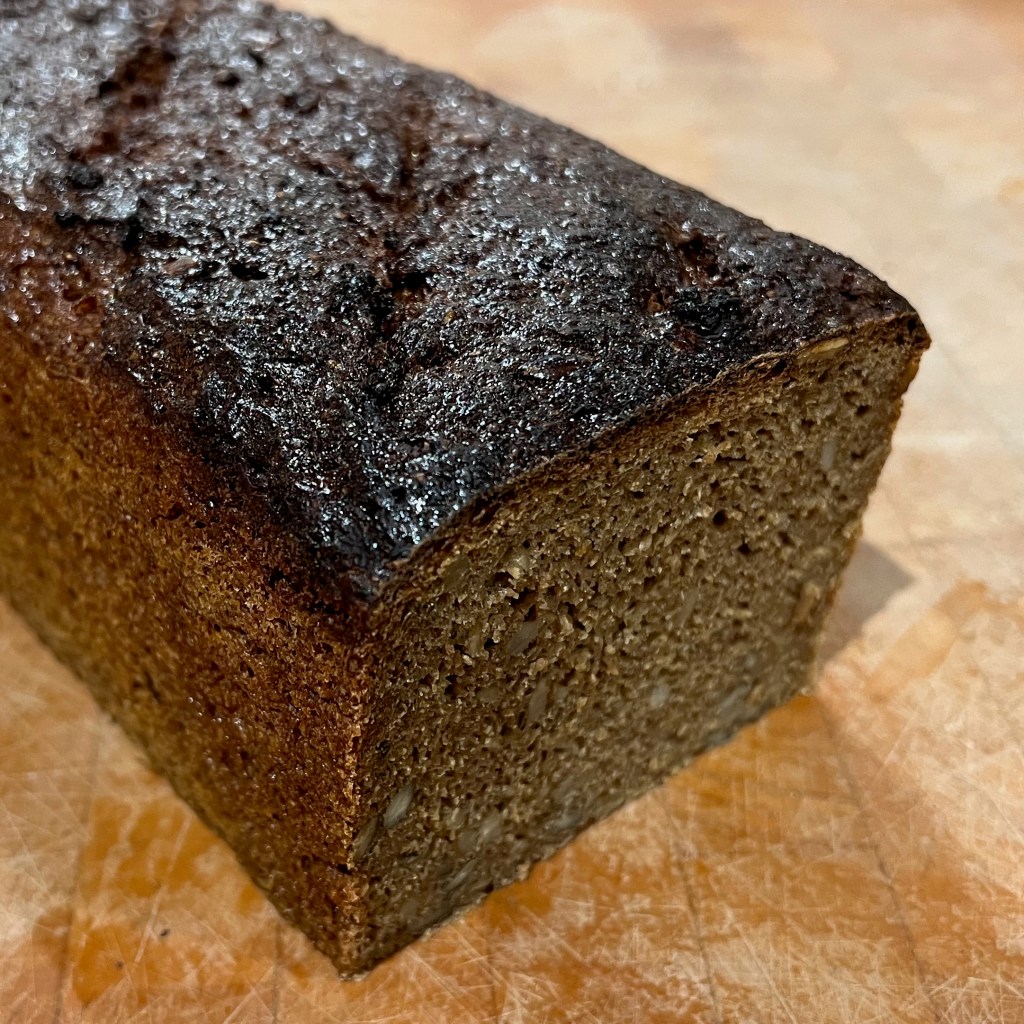
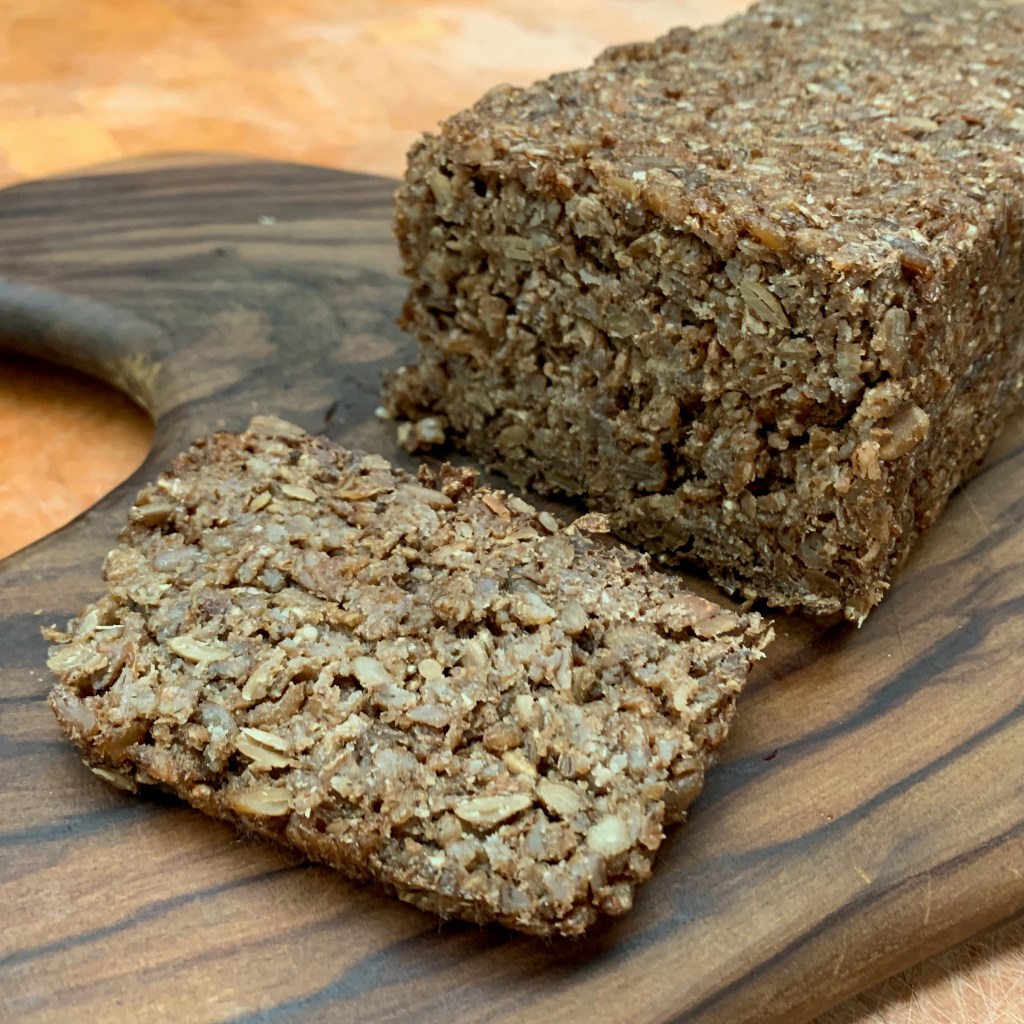
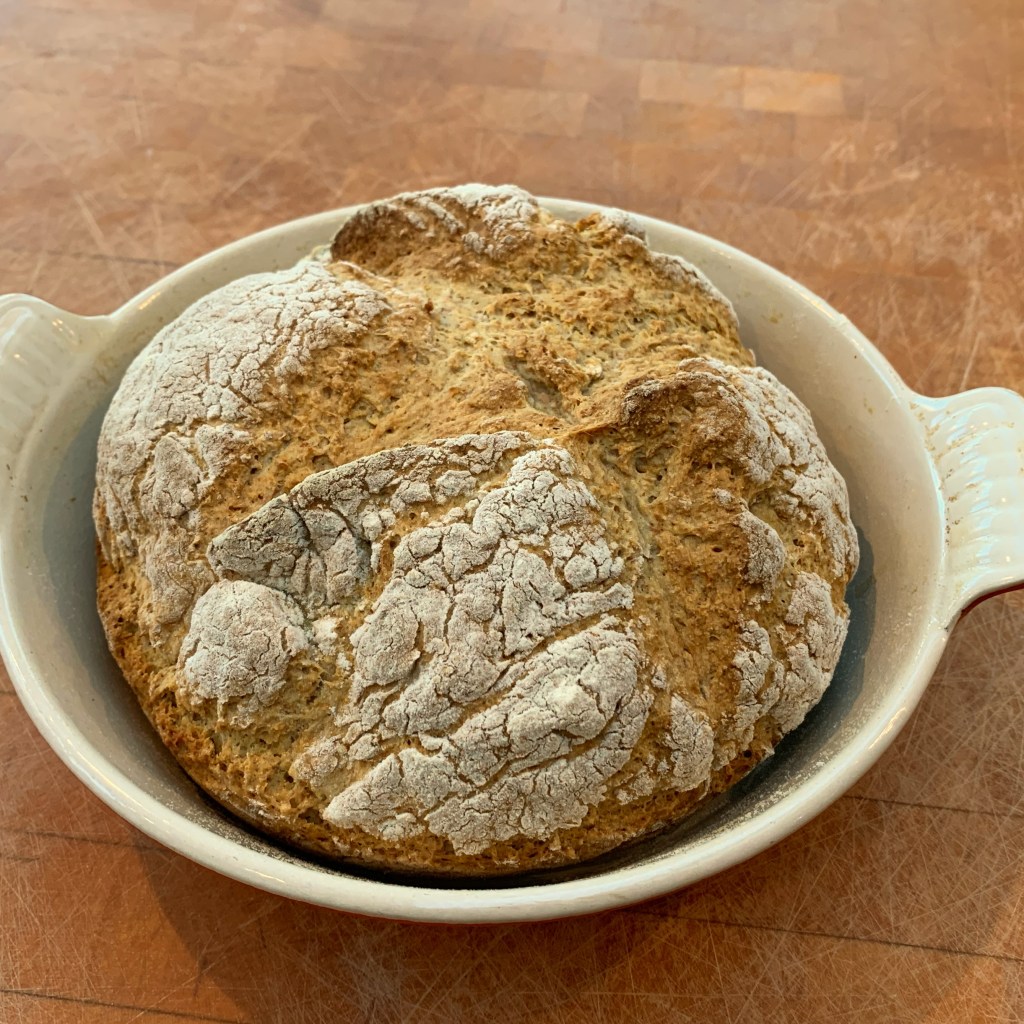
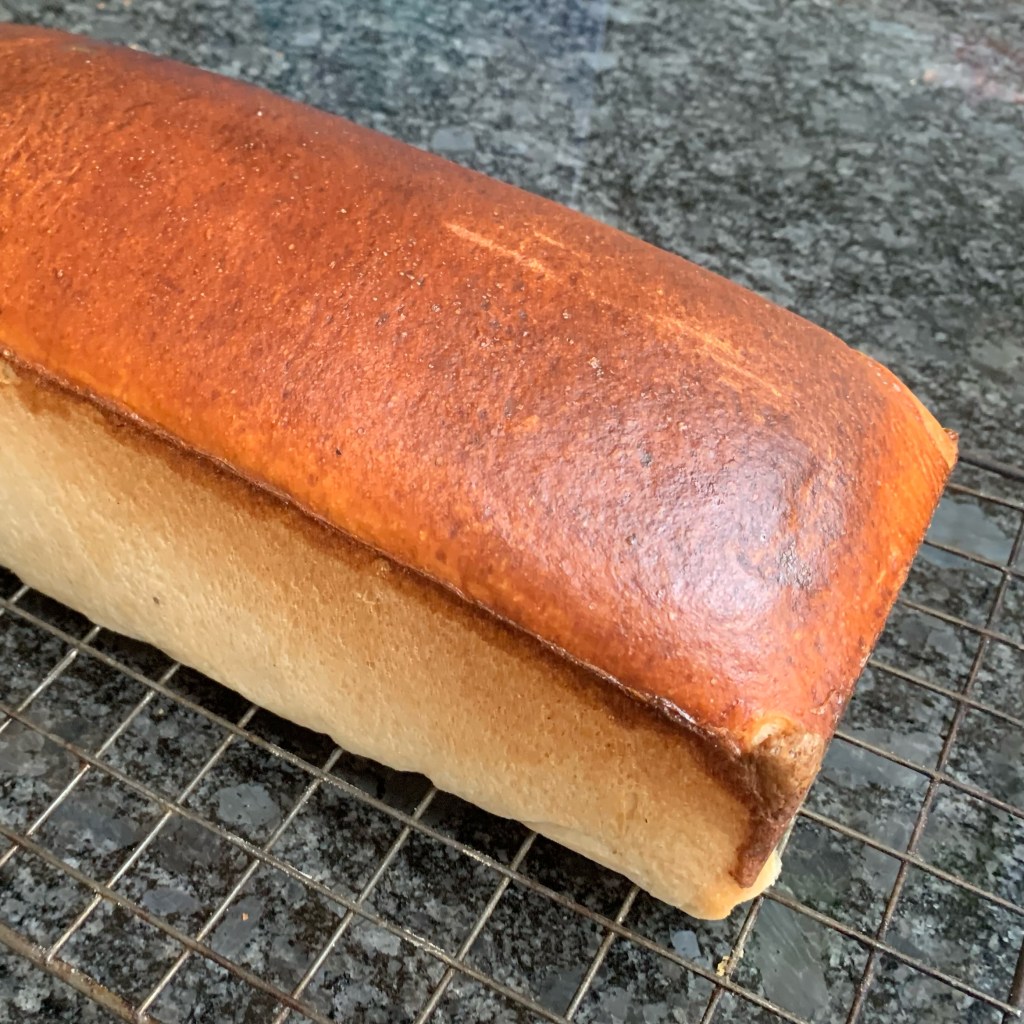
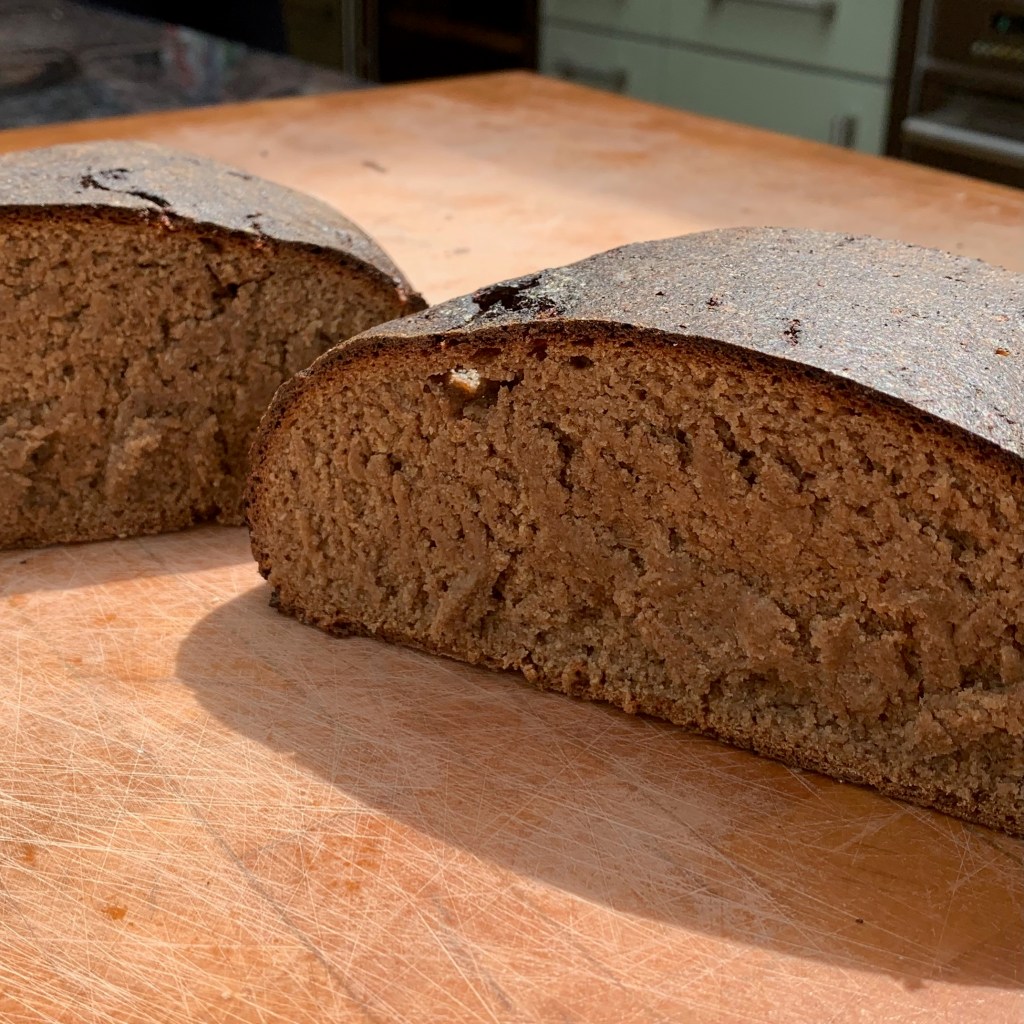
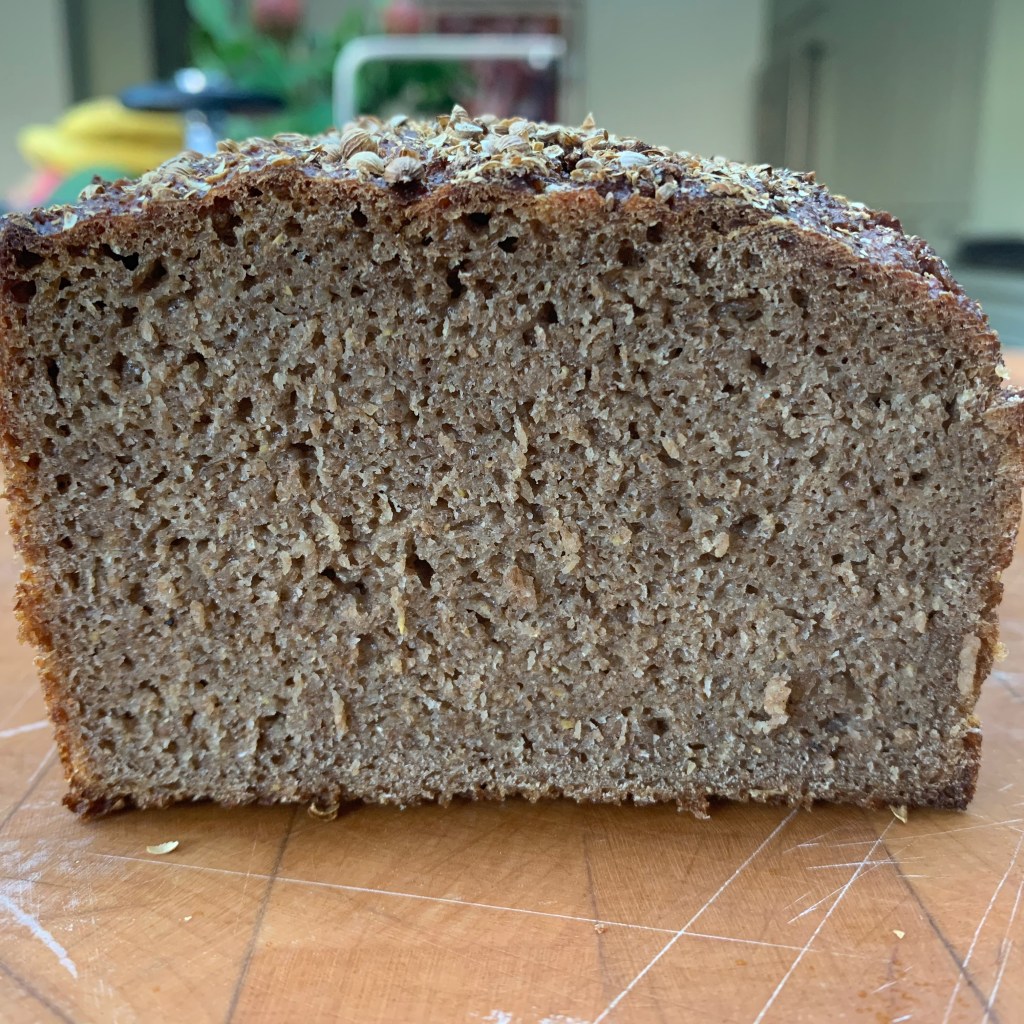
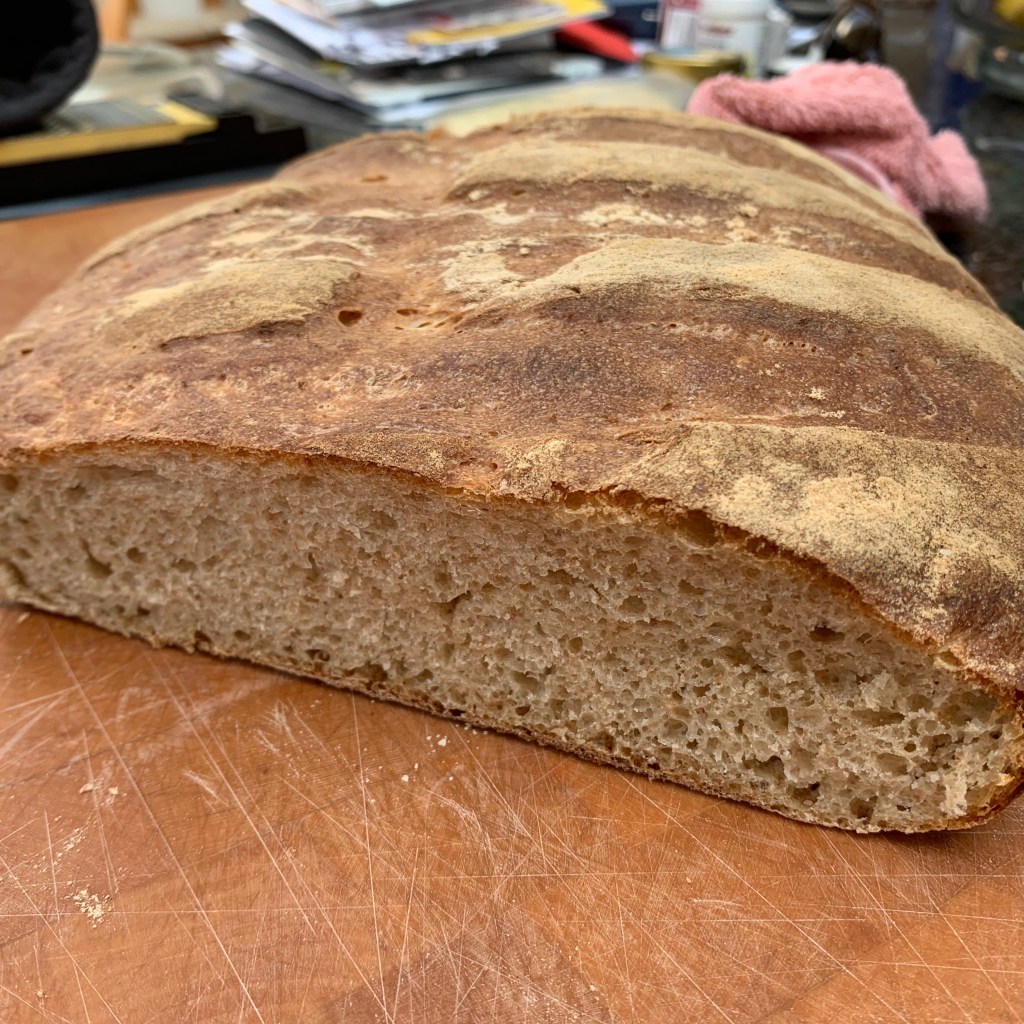
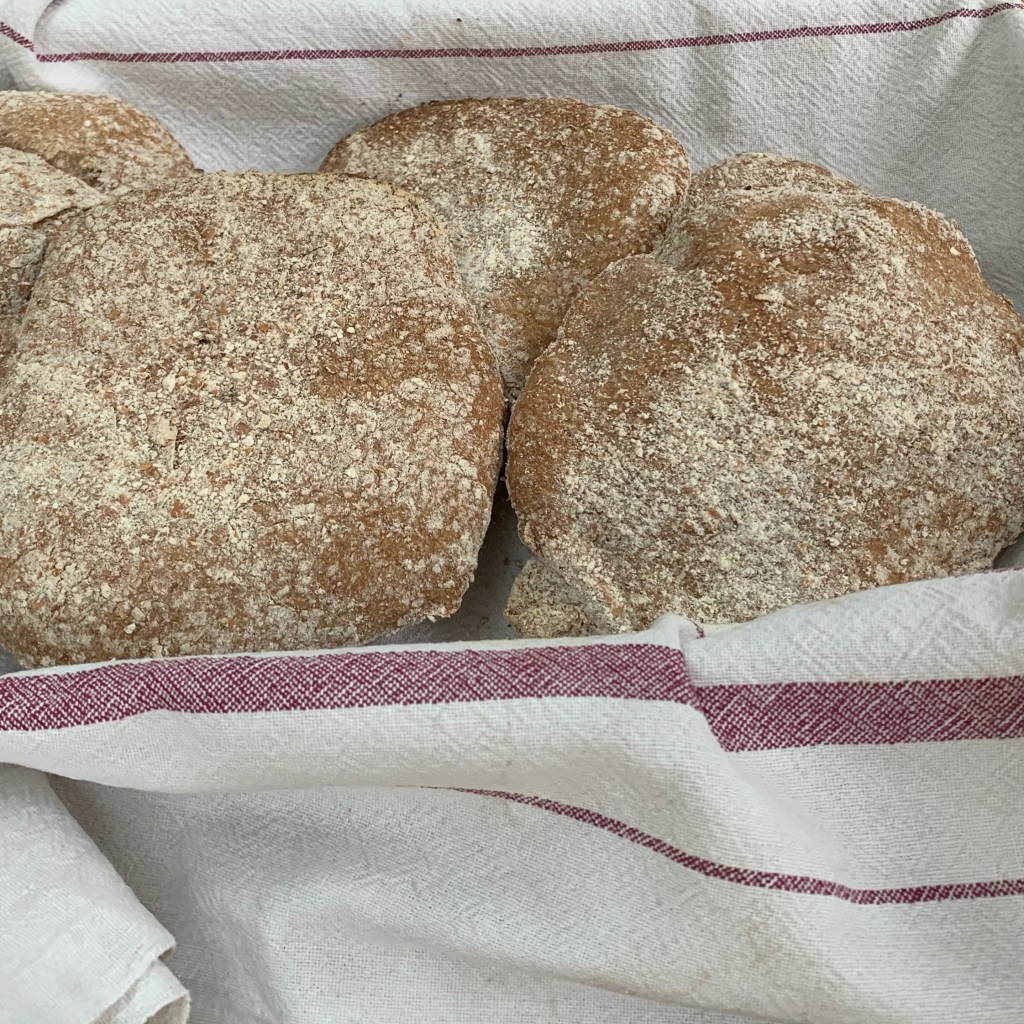
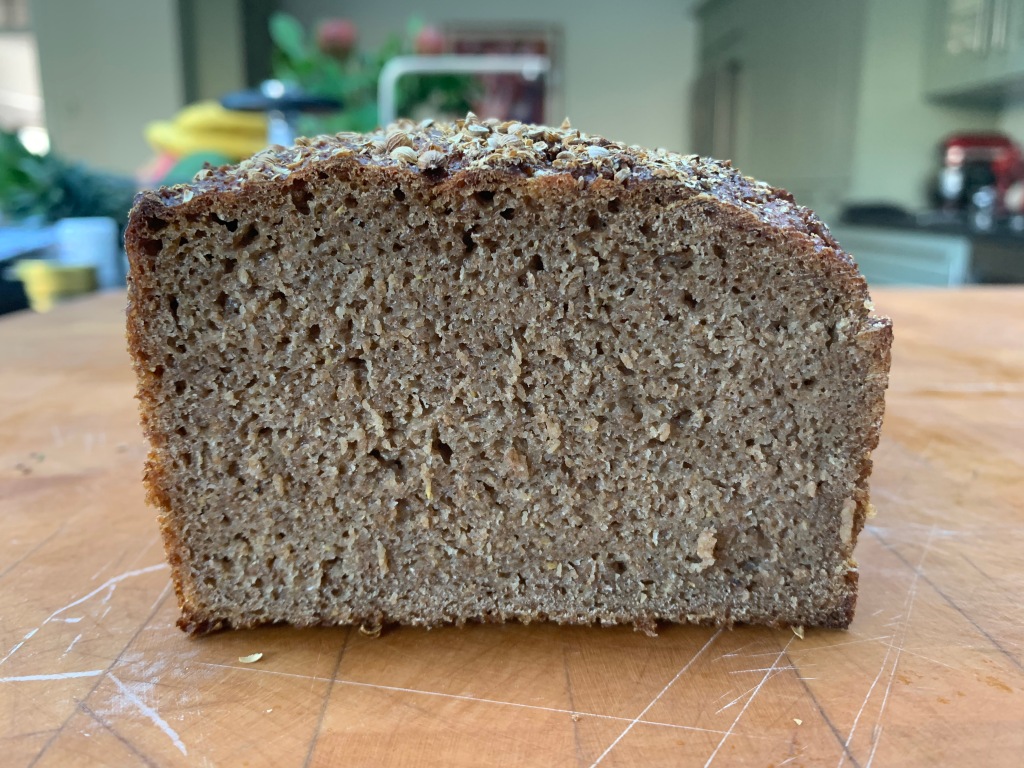
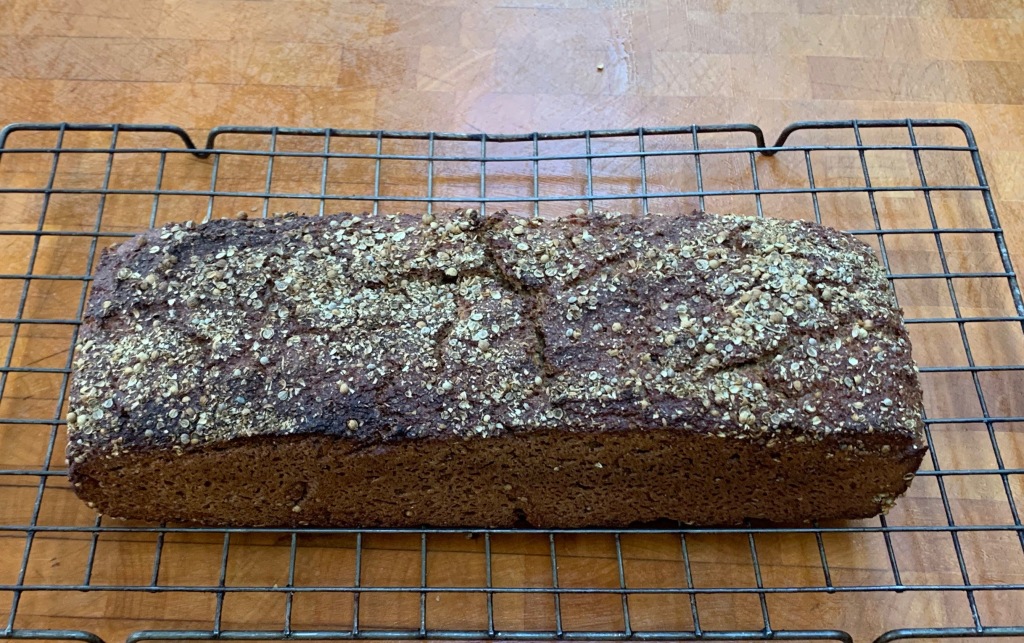
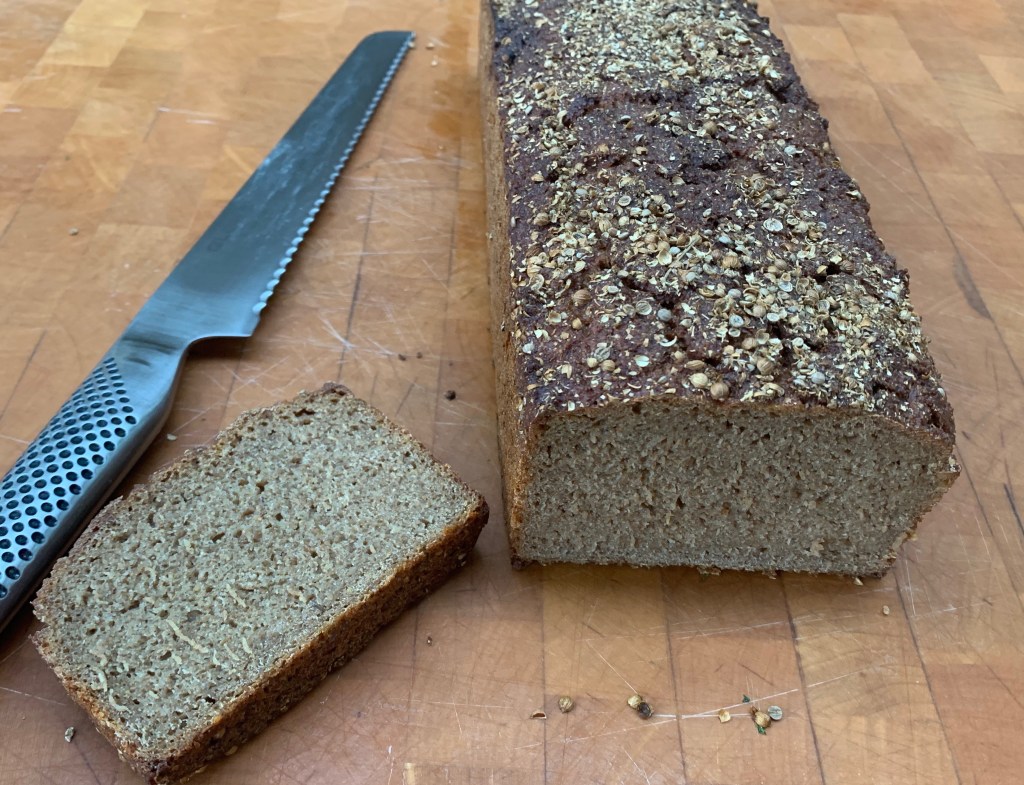
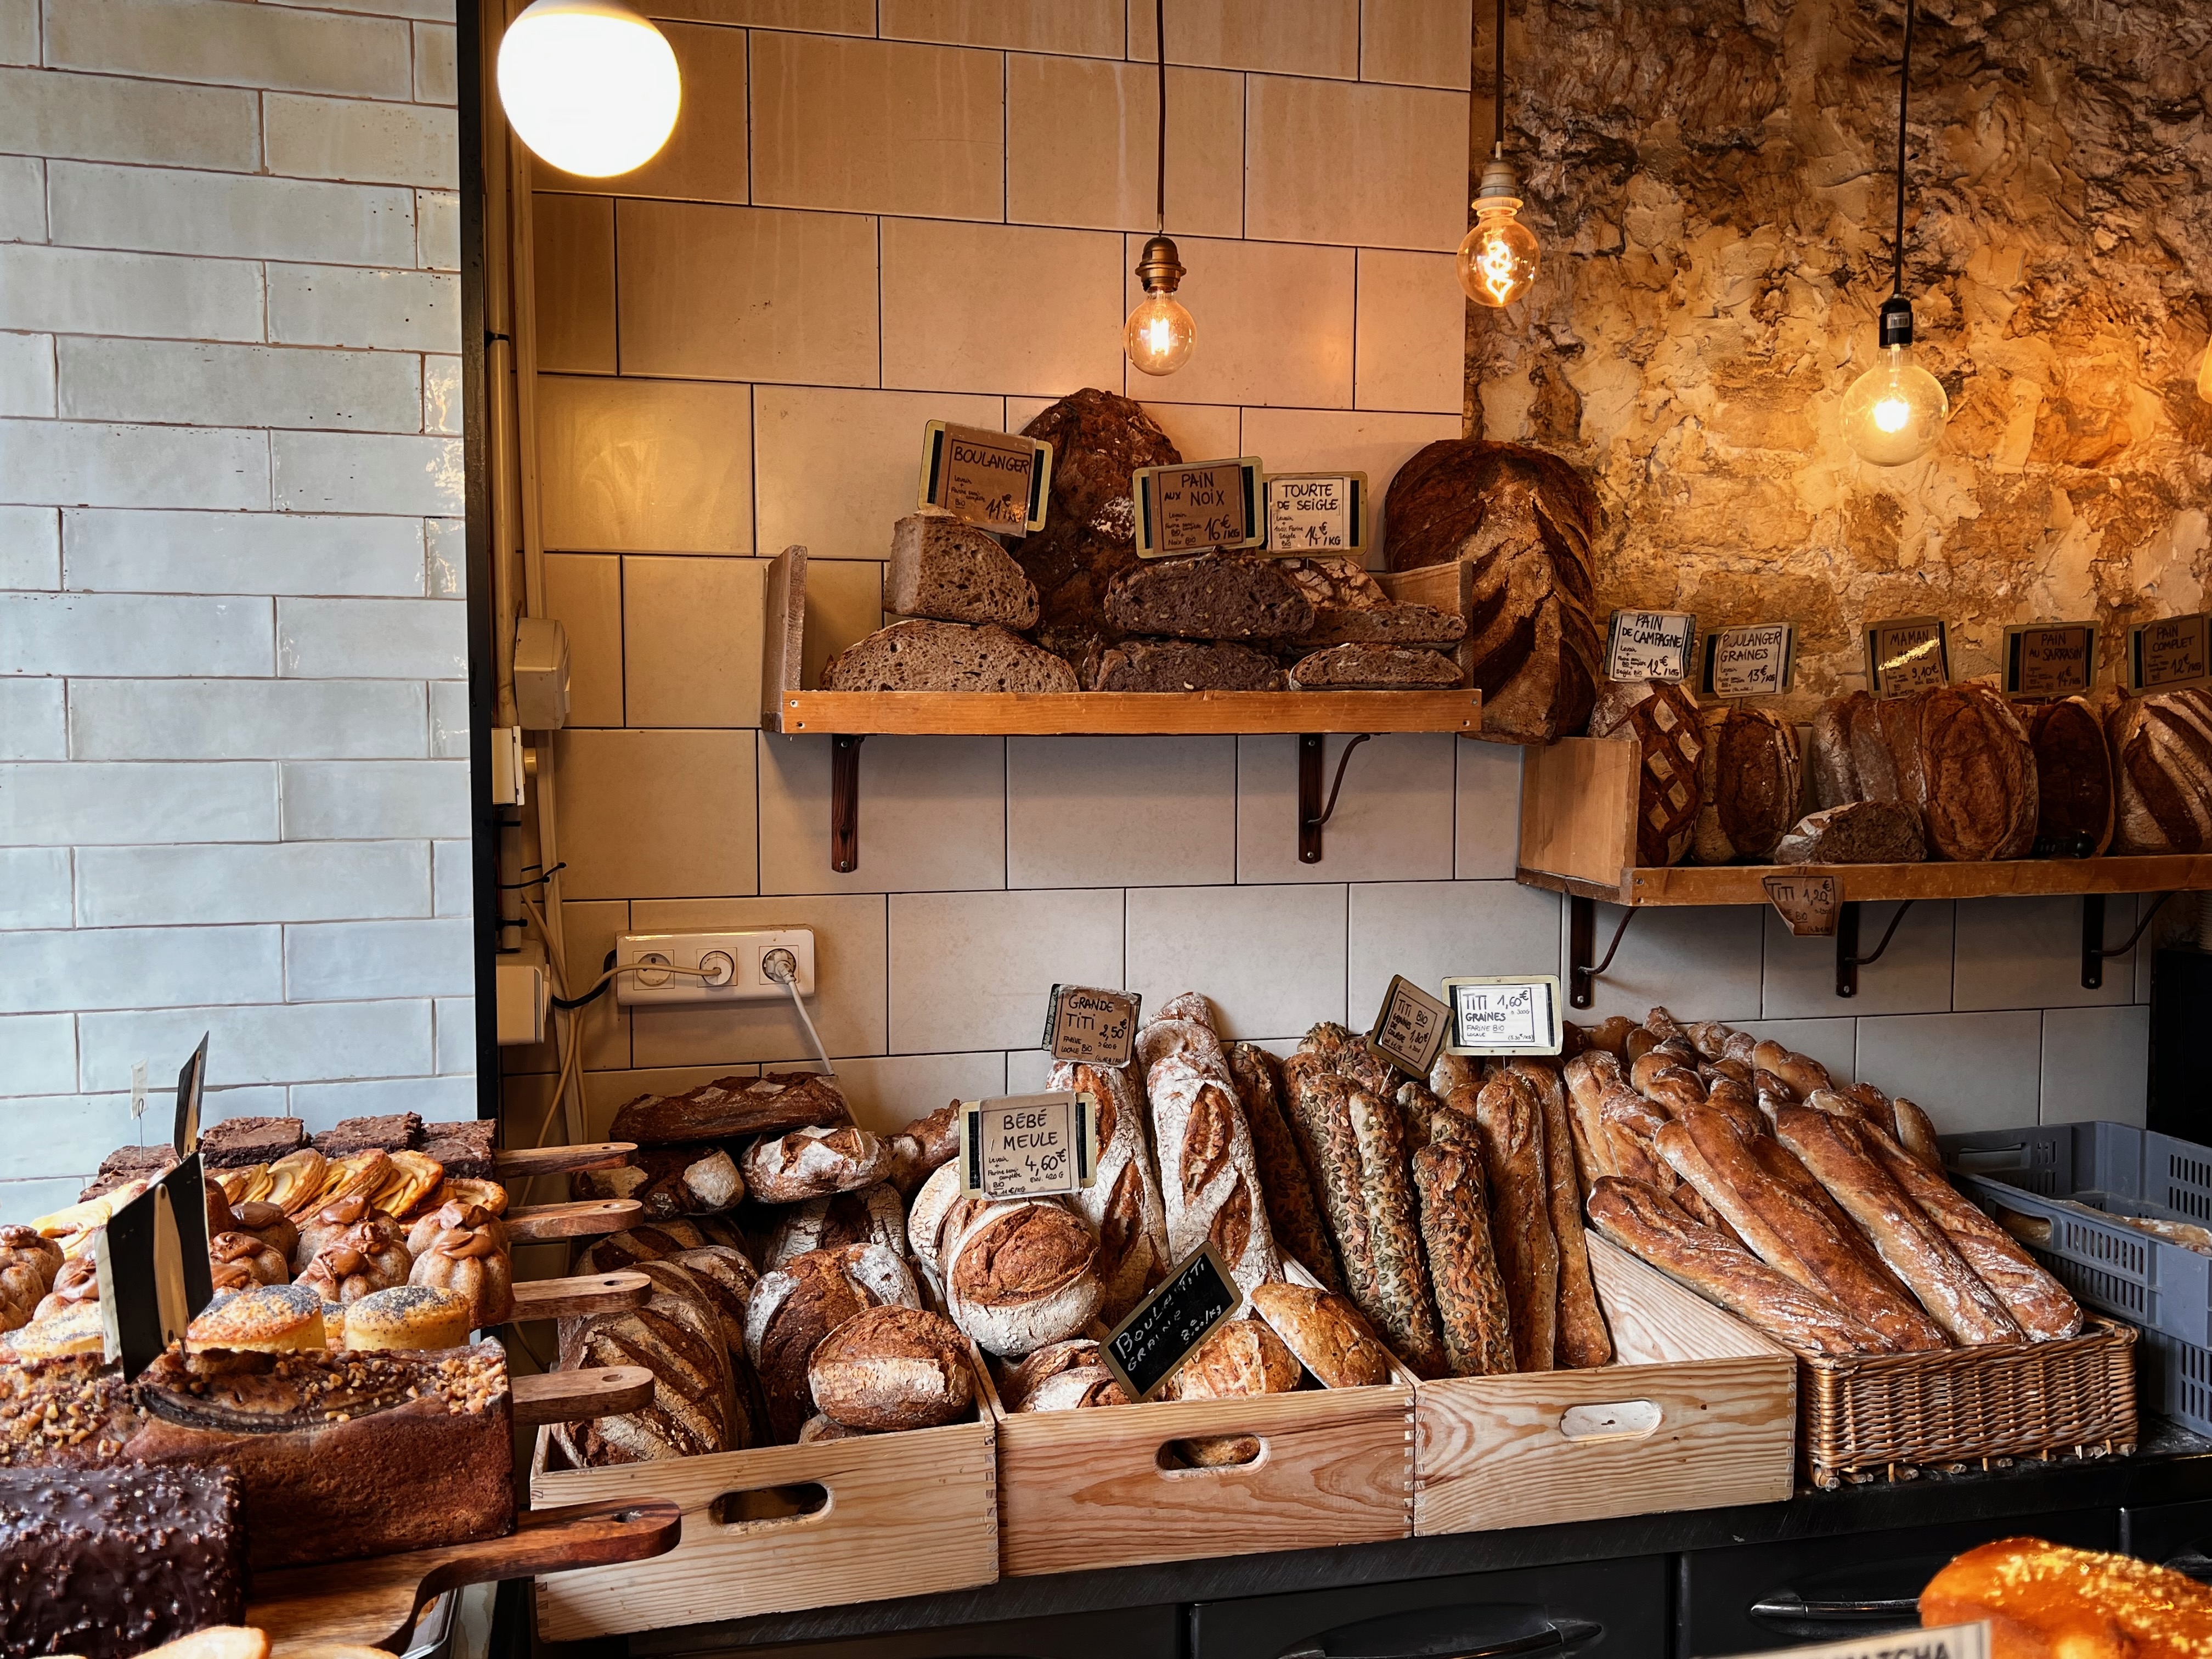
The most outstanding bread so far came from next to Goncourt metro: the Urban Bakery Goncourt, a branch of a small chain, with ten shops across Paris, which descibes itself as a “Boulangerie Engagée”. They do a wide selection of breads with different grains – rye and buckwheat as well as standard wheat – which simply burst with flavour.
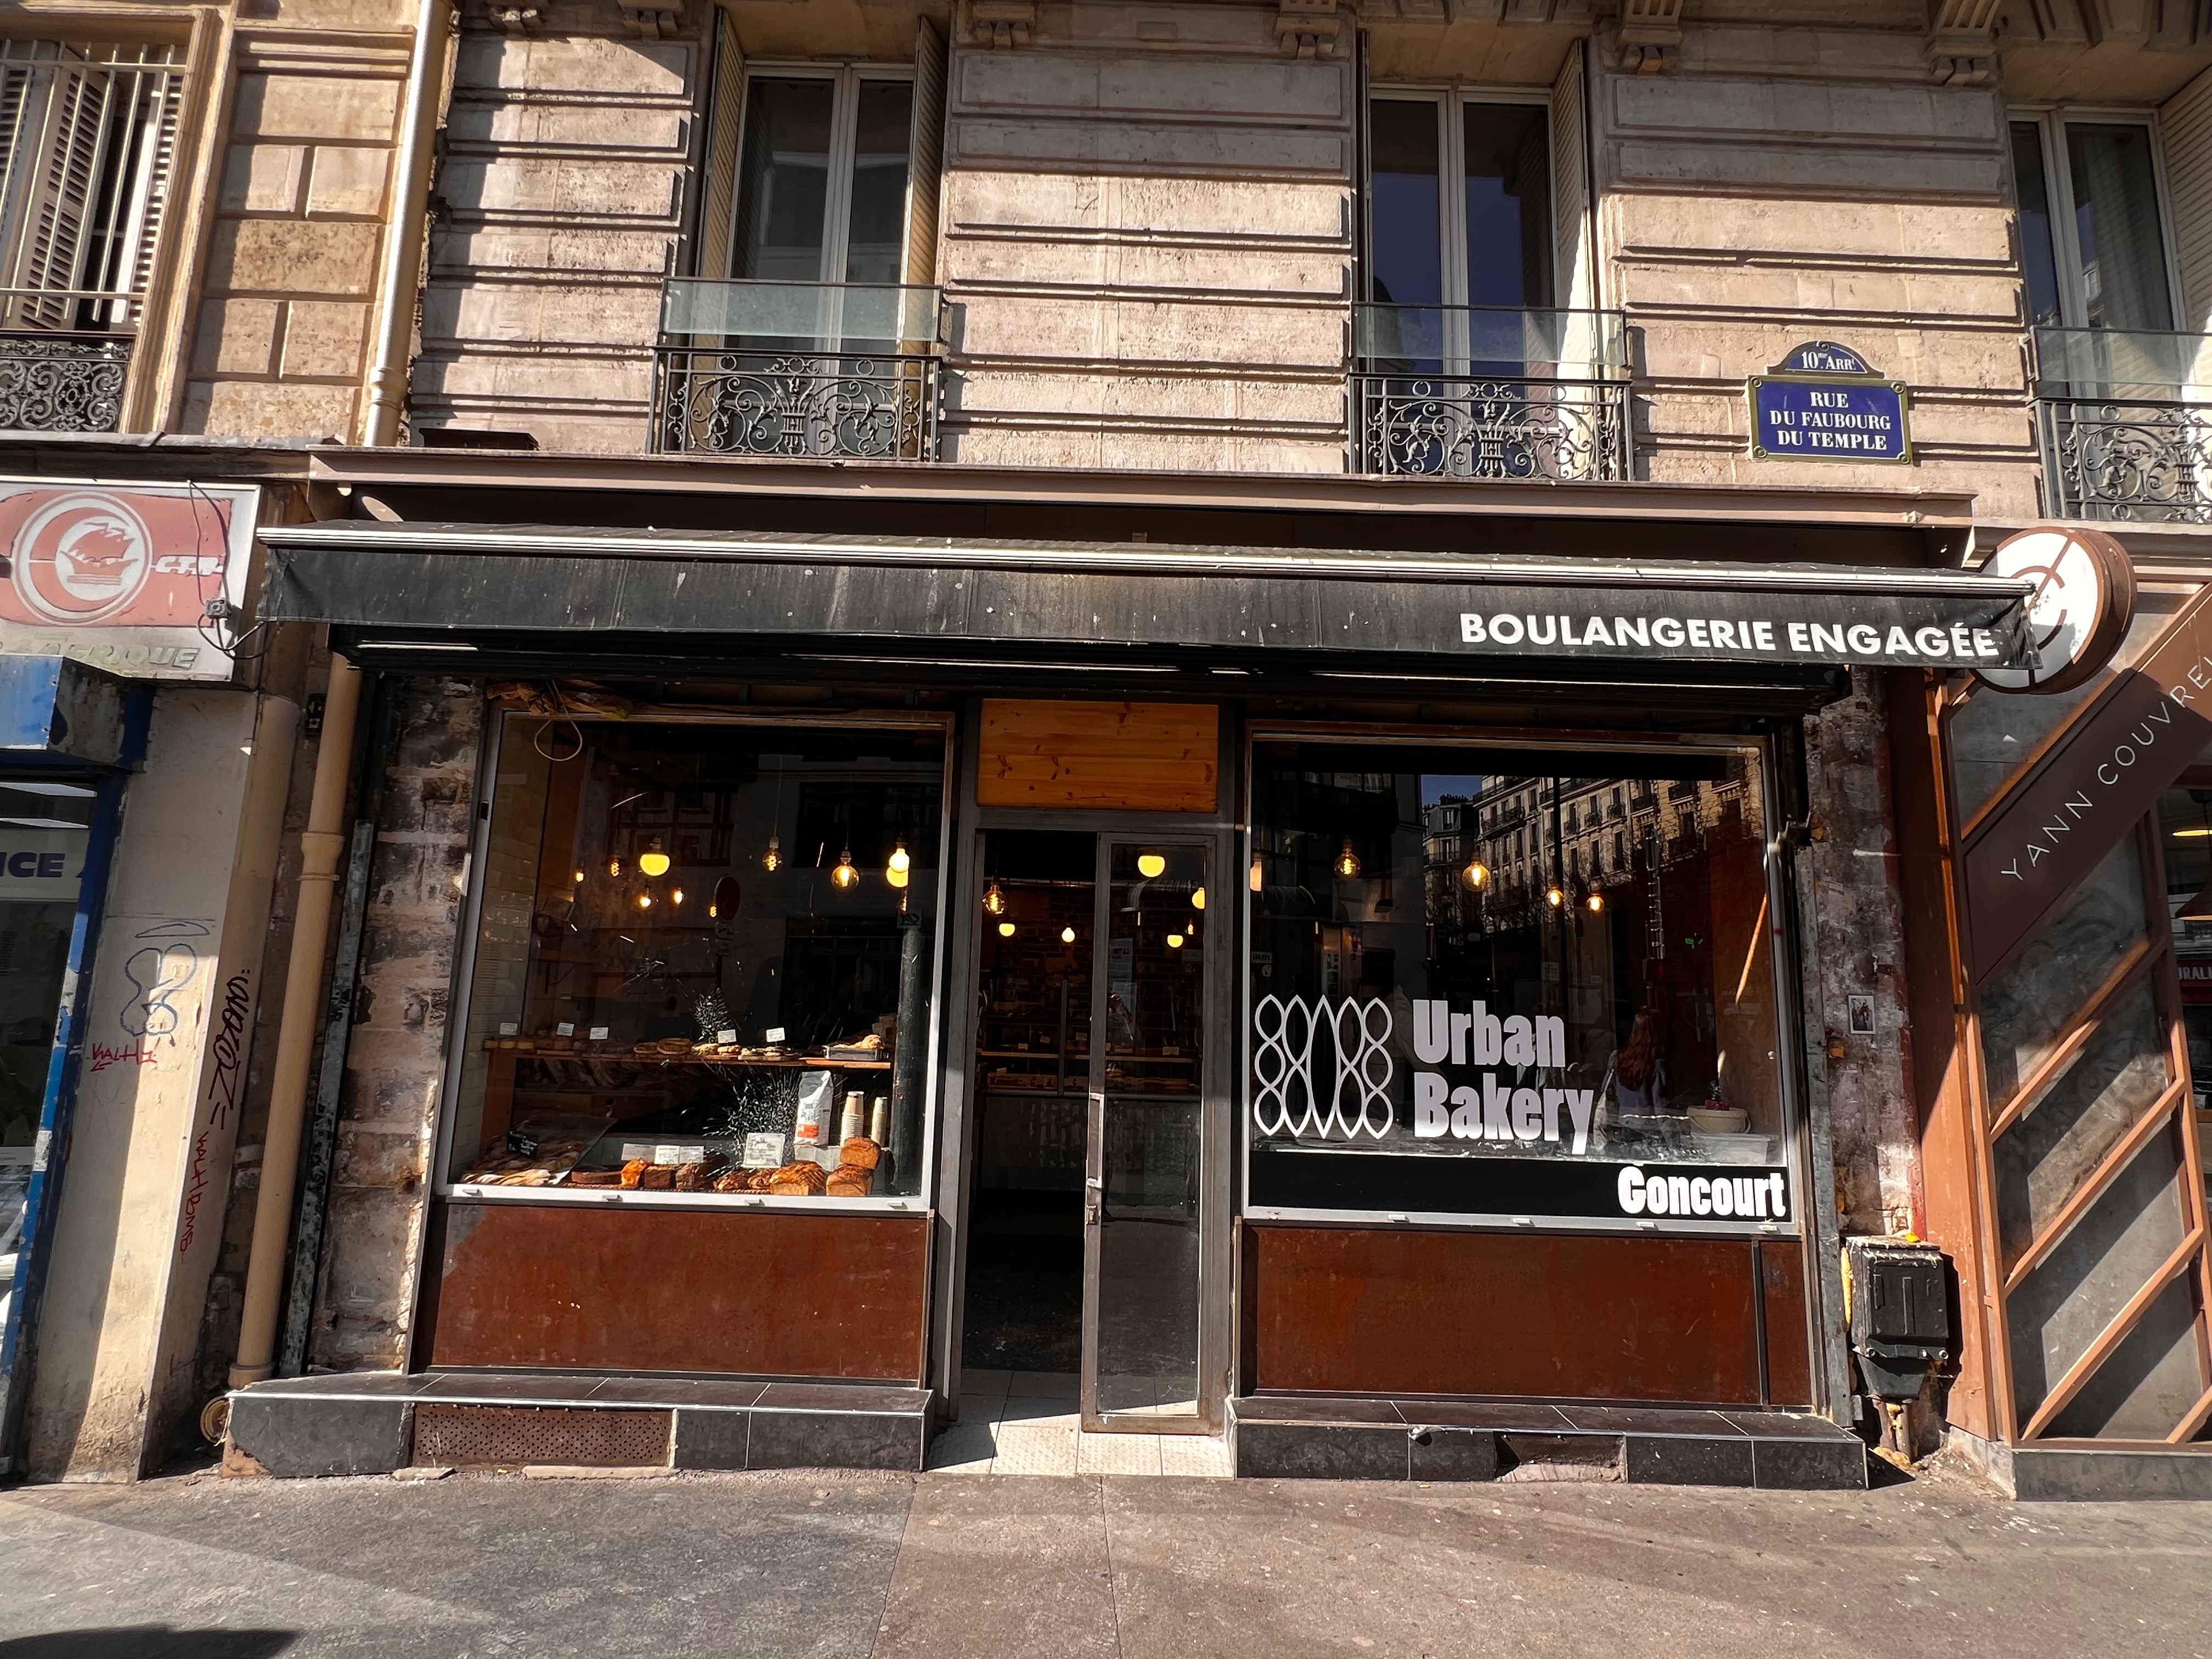
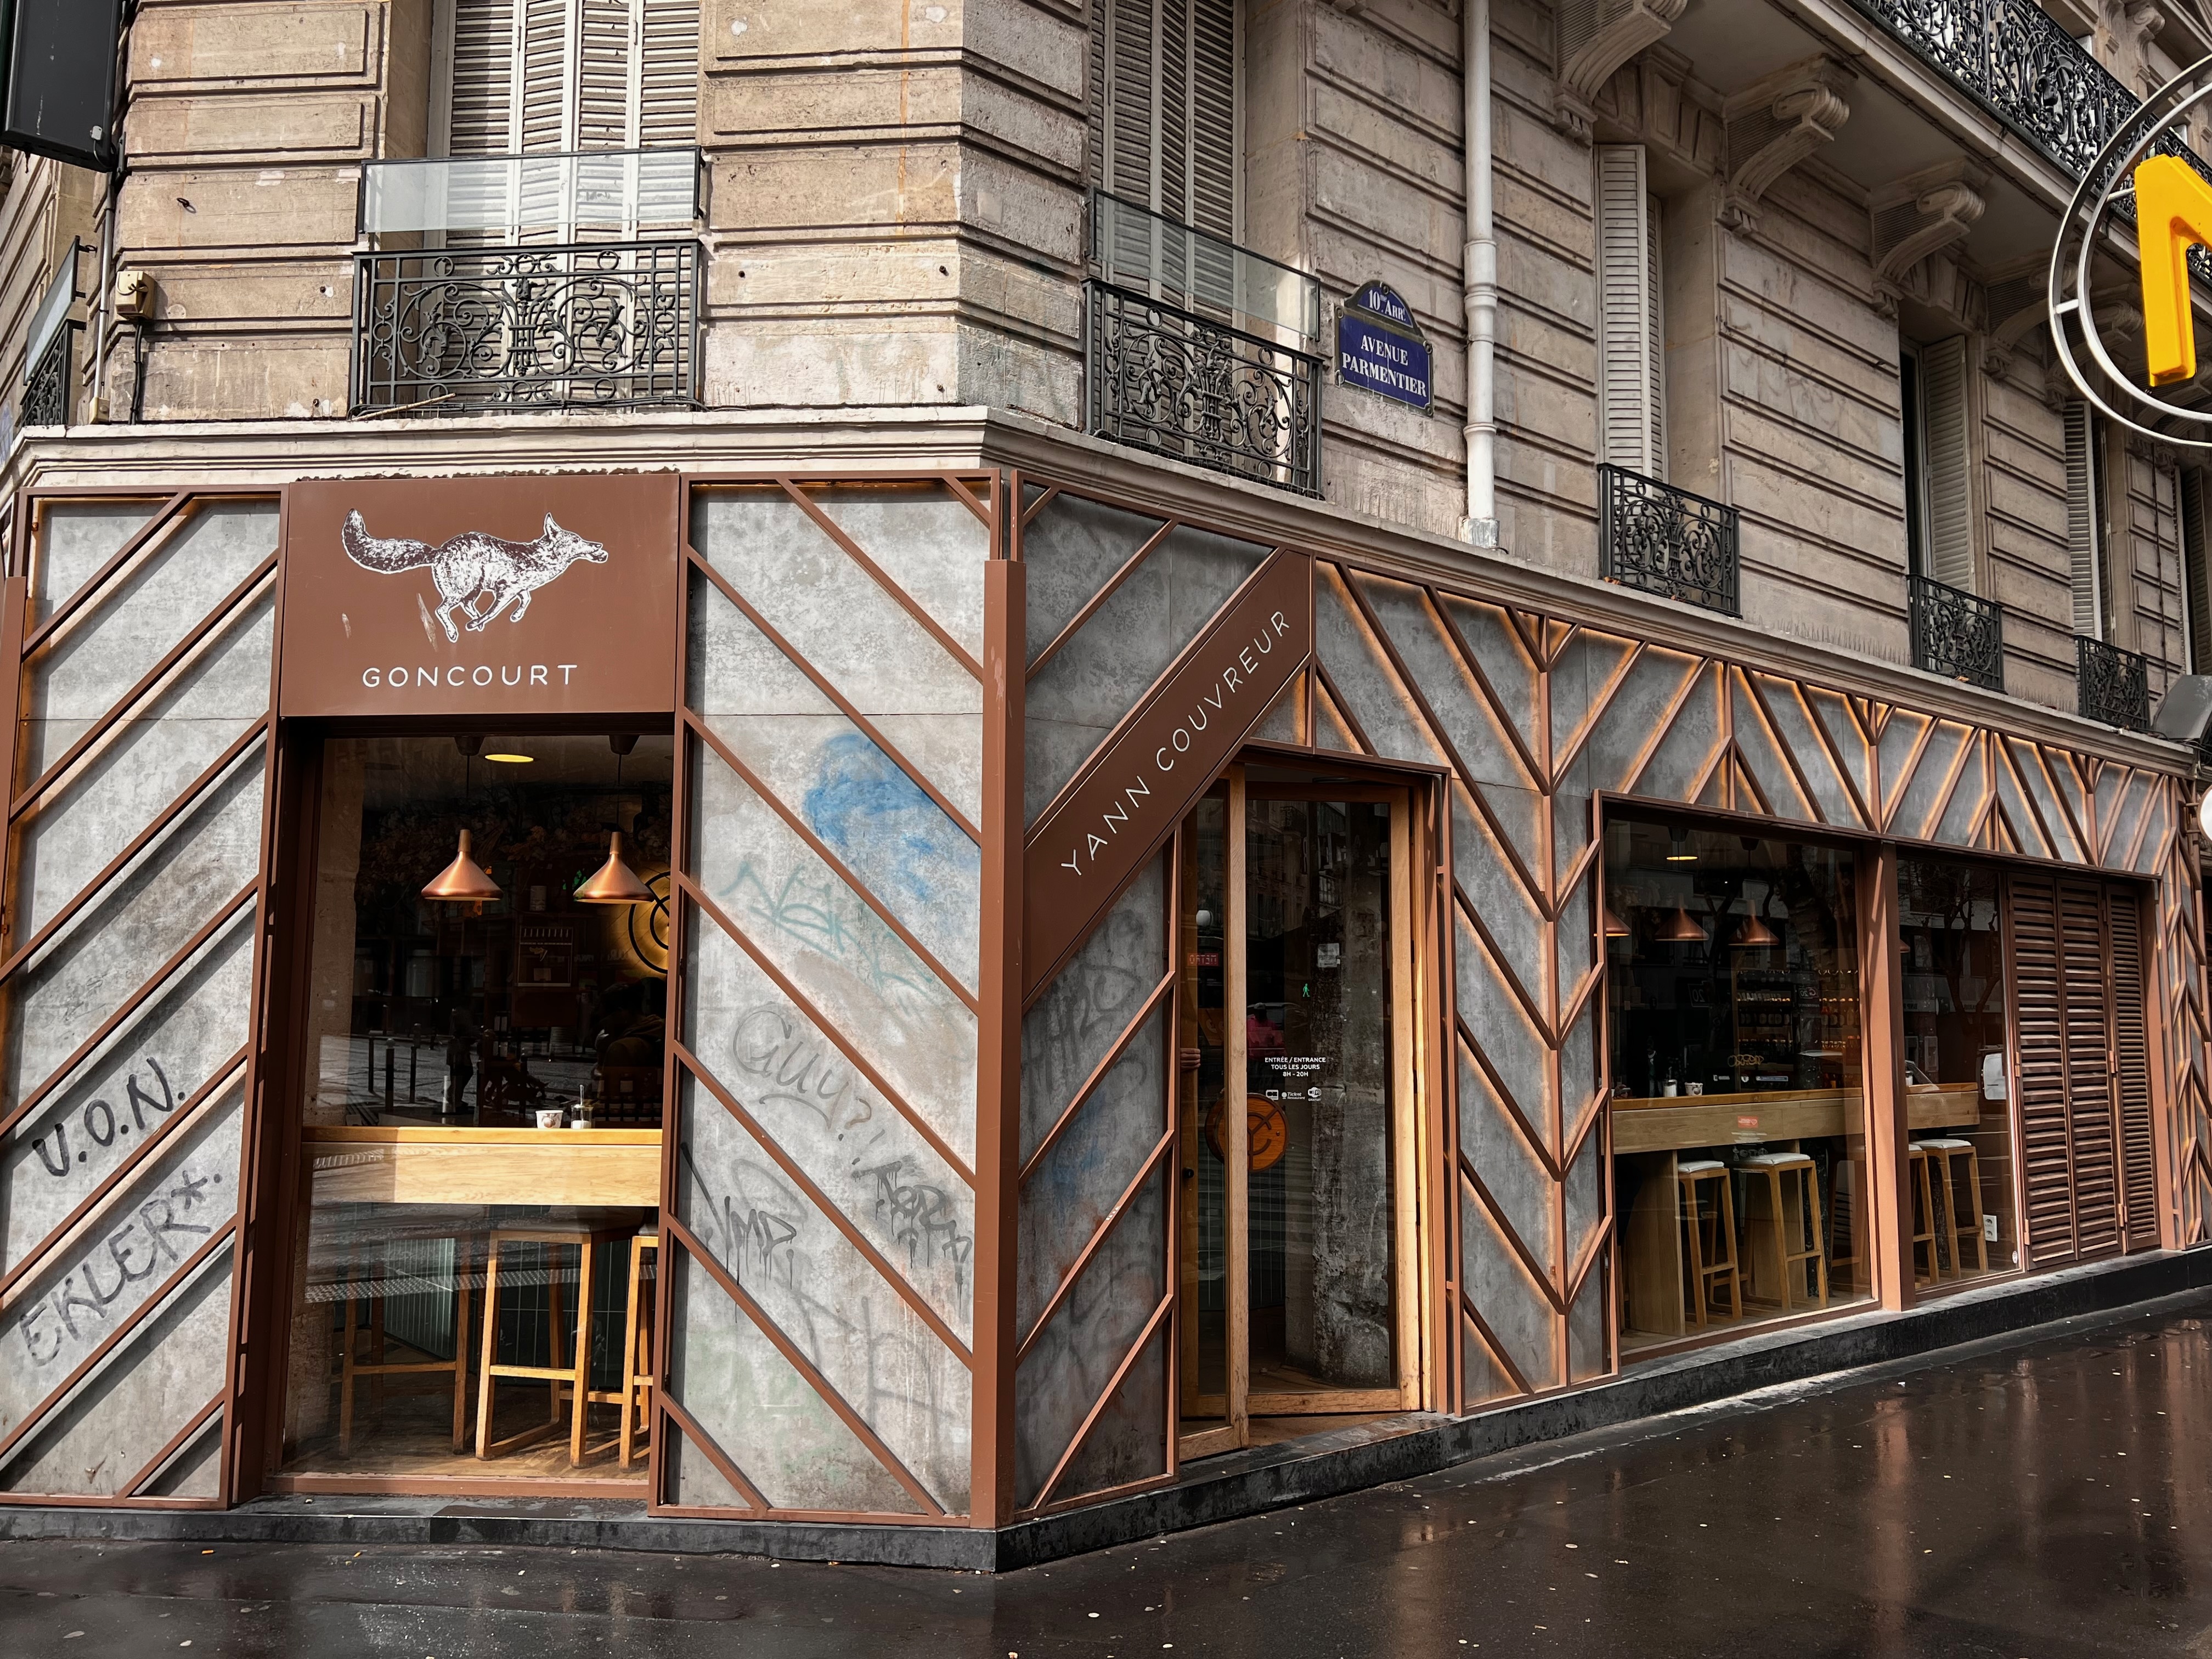
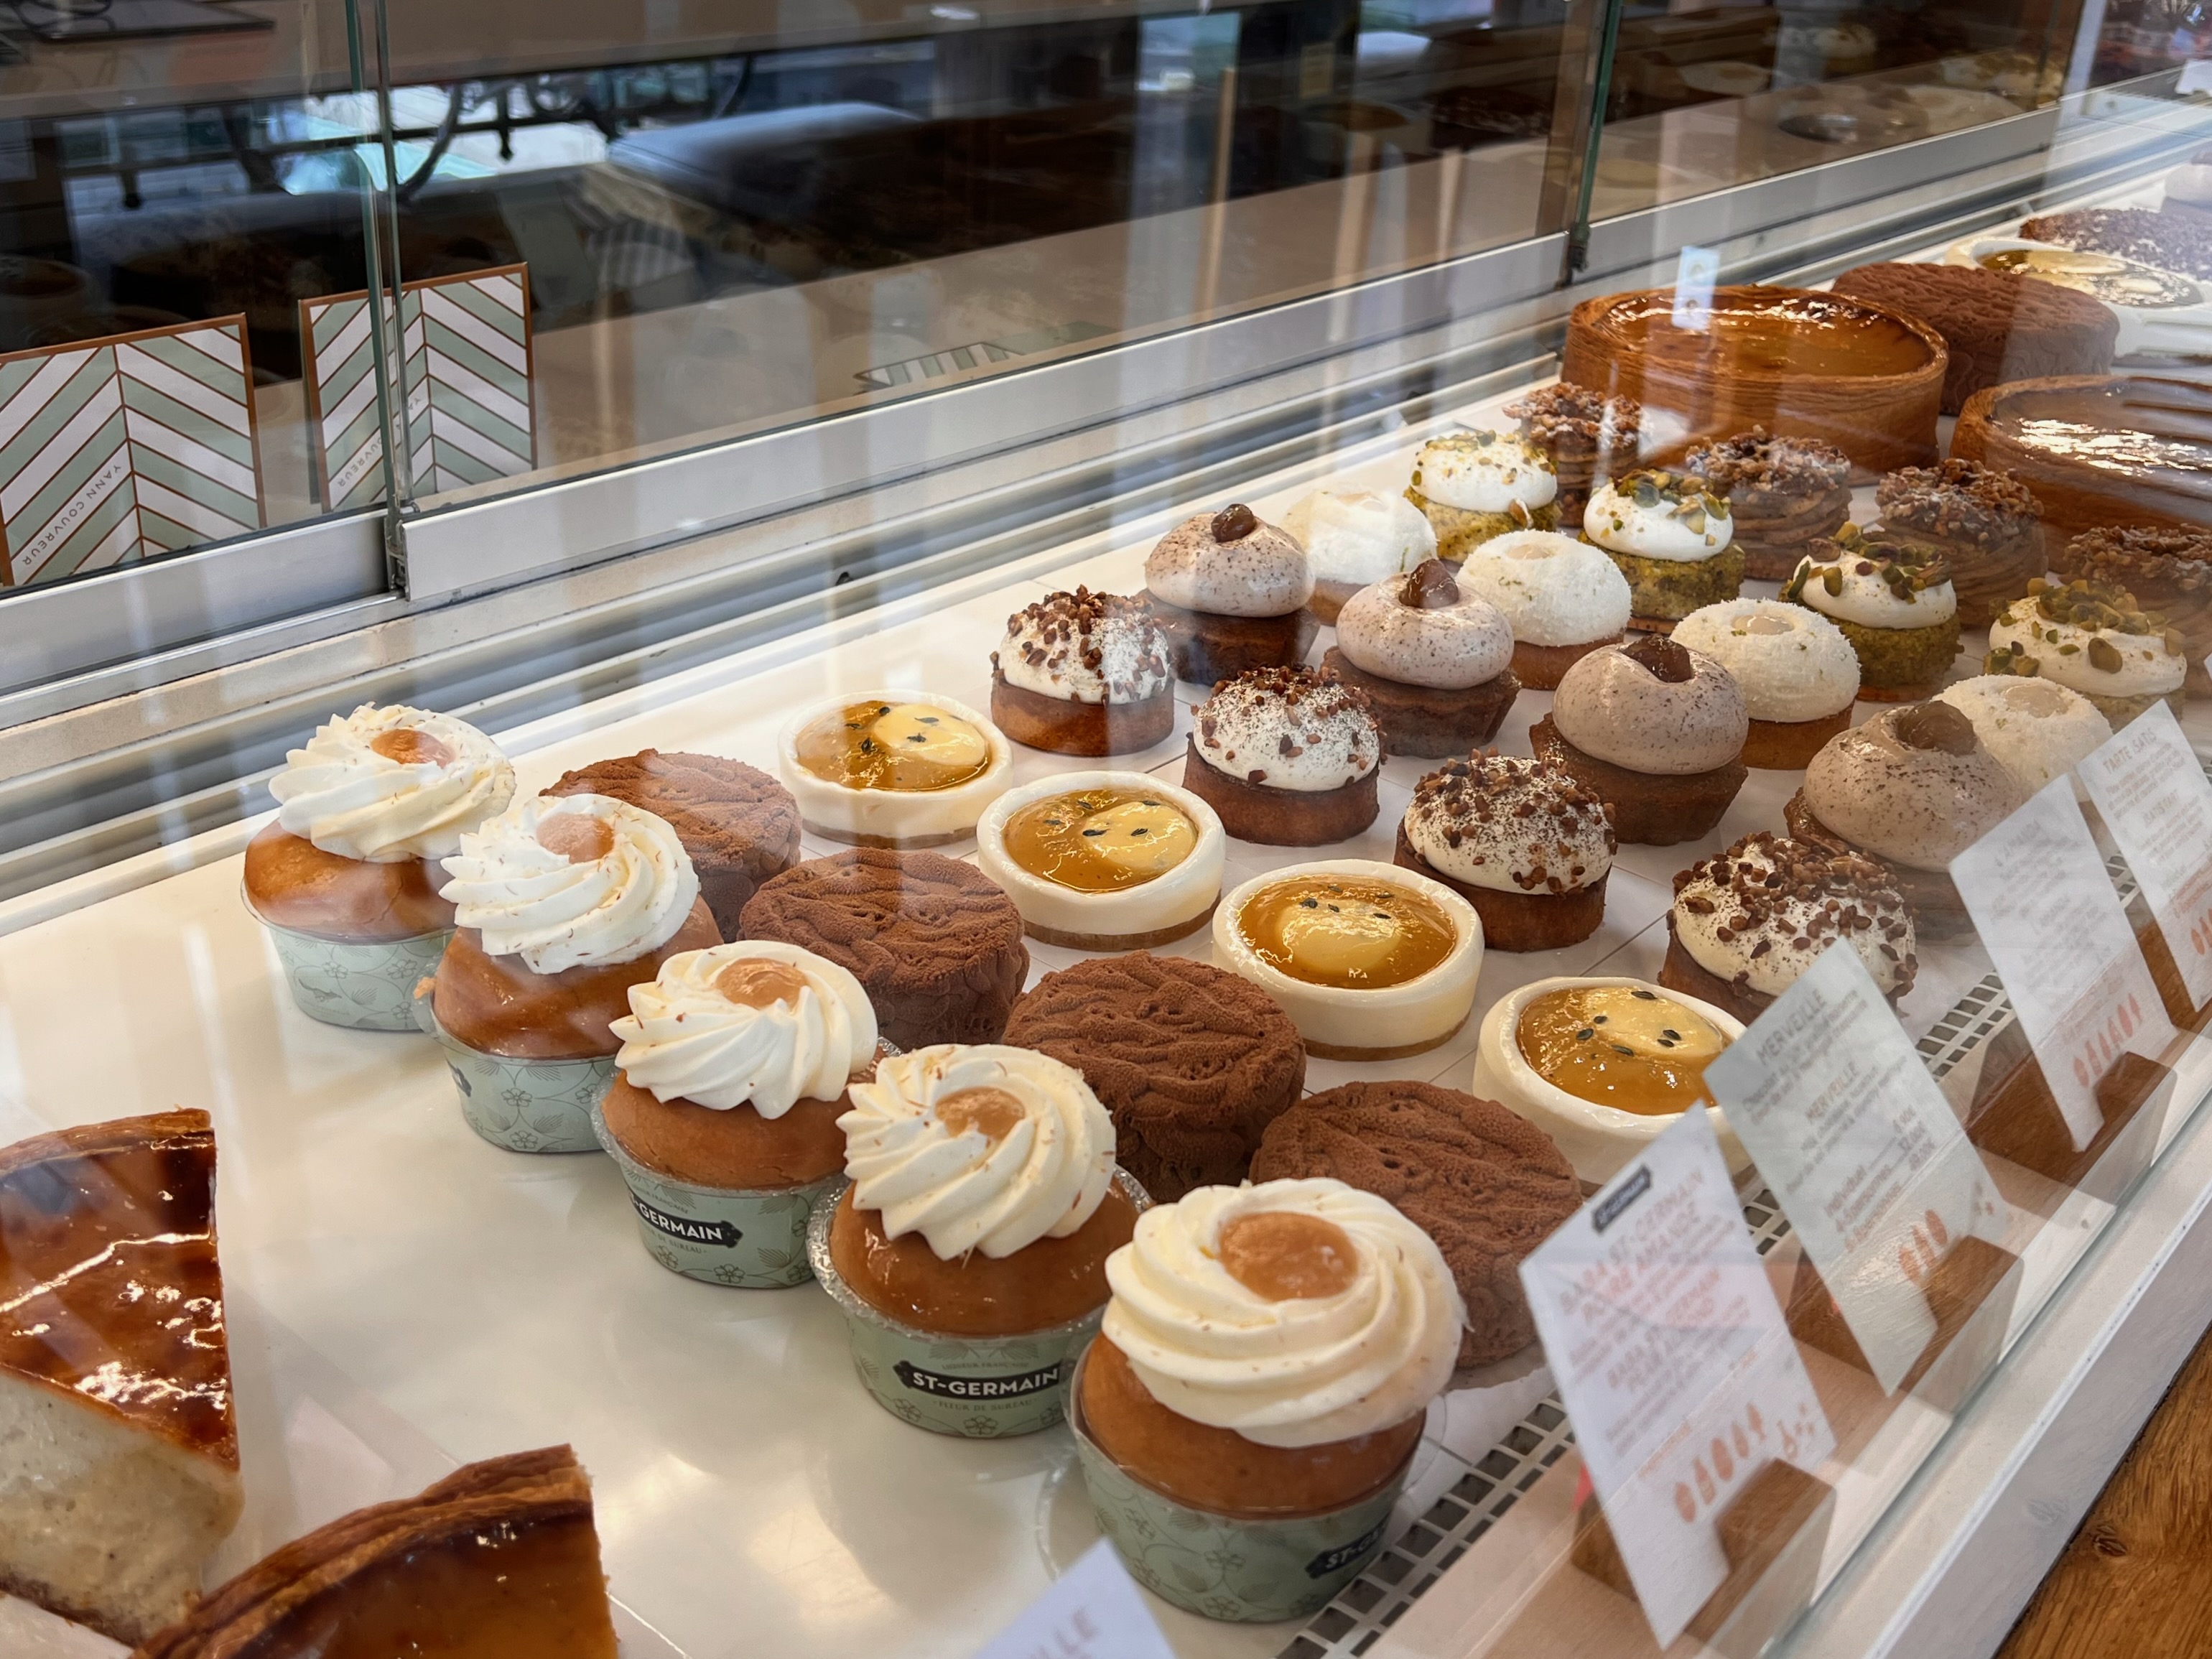
The Urban Bakery does some pâtisserie, though bread is clearly its main focus. However, it’s next door to Yann Couvreur, which doesn’t do bread but does uber-posh, innovative pâtisserie (at eye-watering prices, one has to admit). Couvreur is a famous pastry chef who also has branches in the Marais and in the main Galeries Lafayette, plus a café in town.
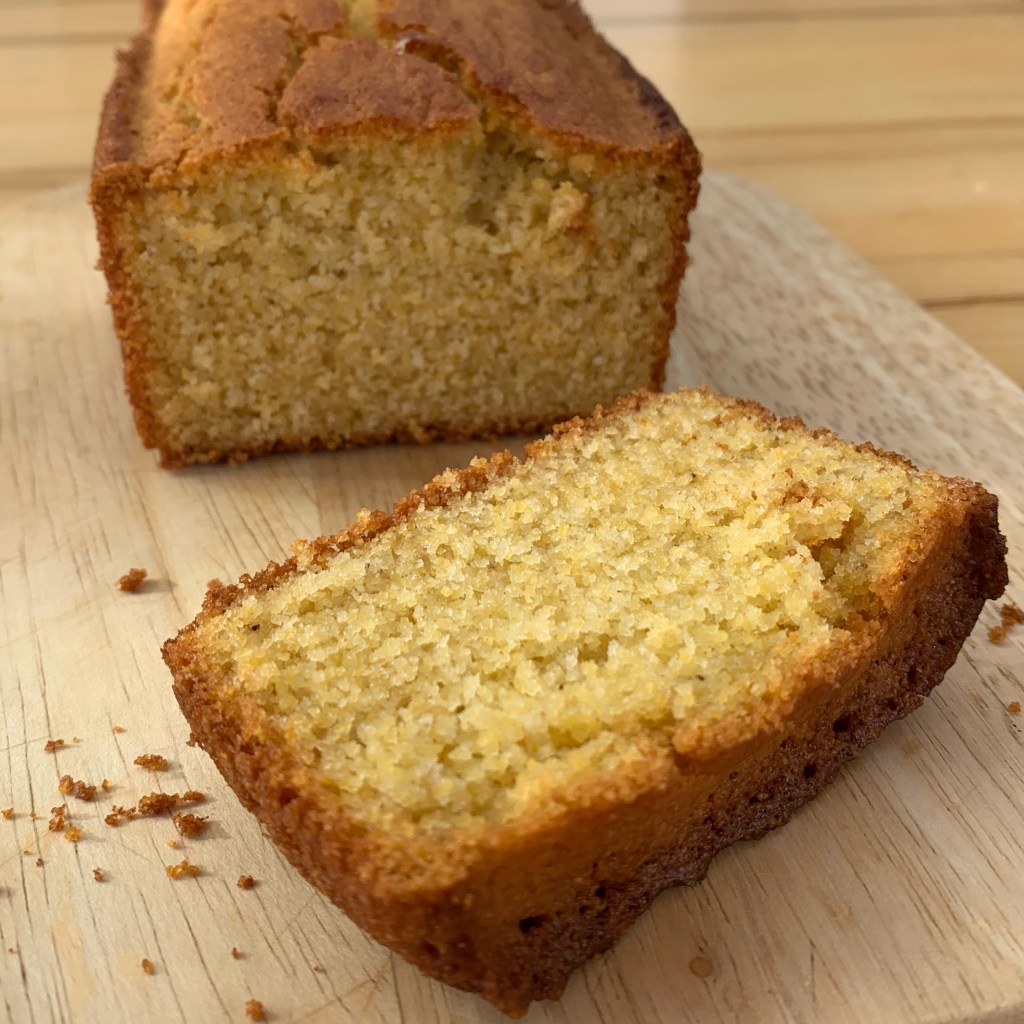
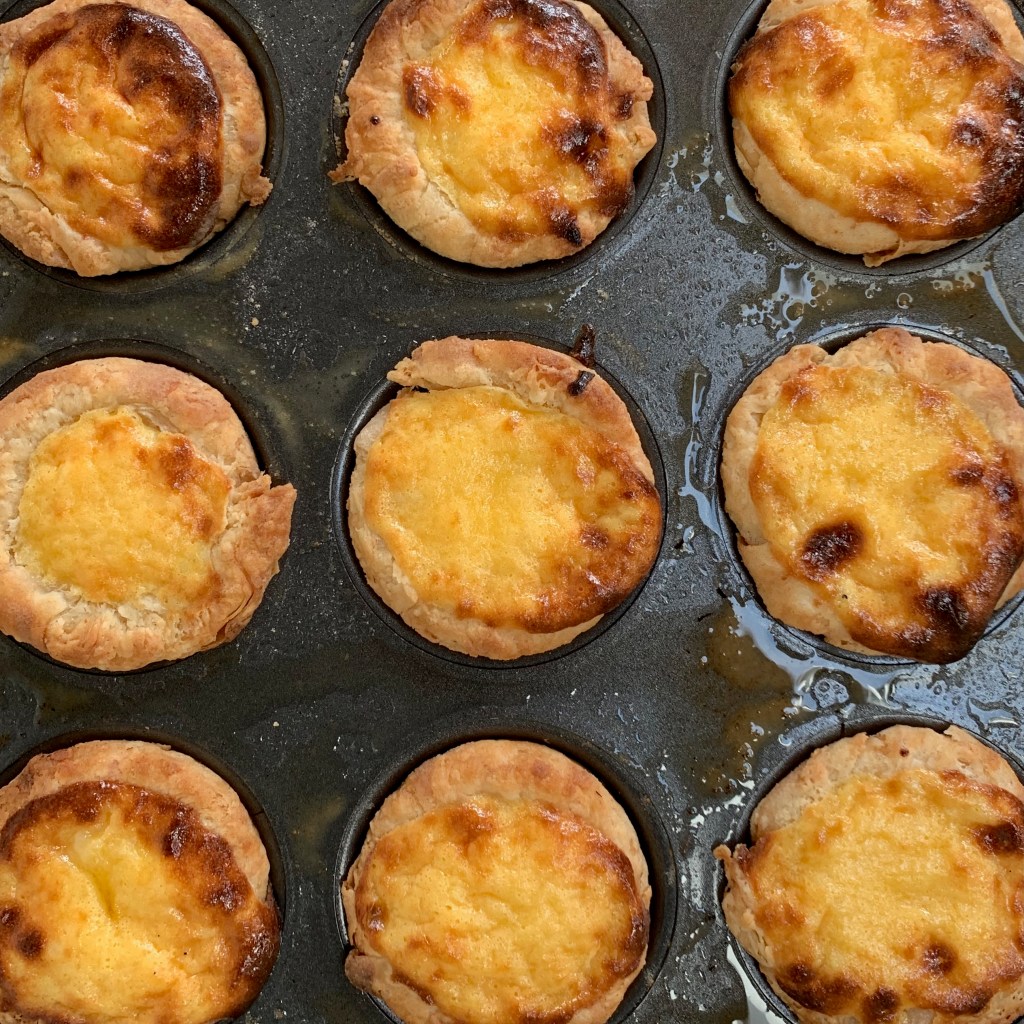
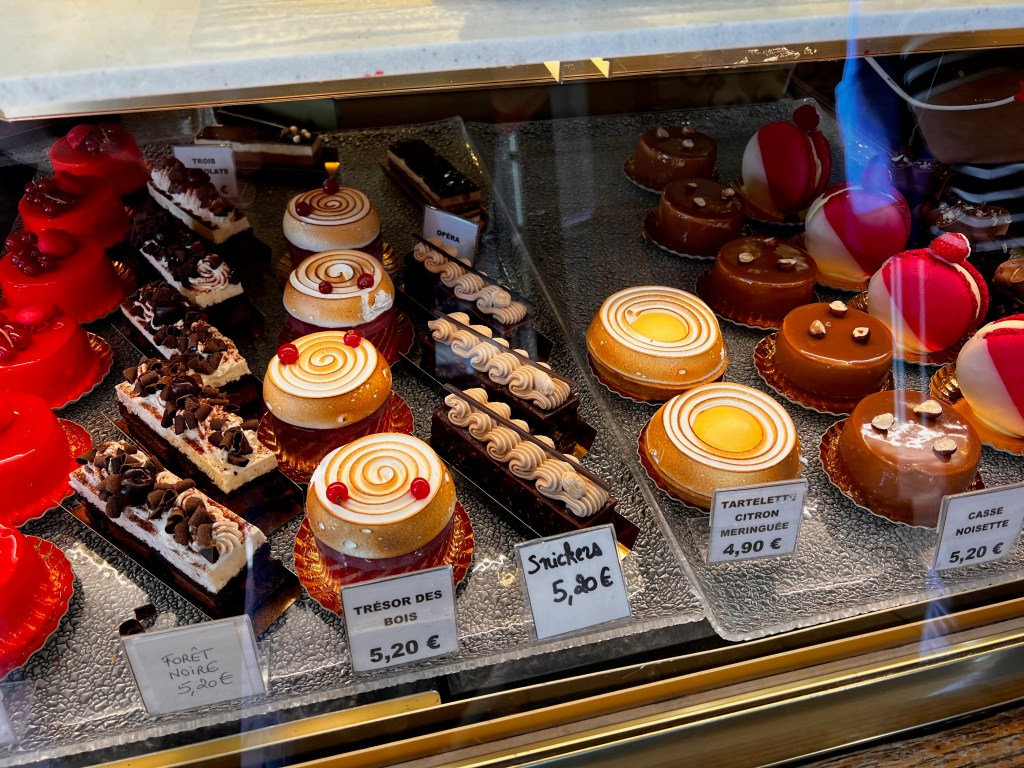
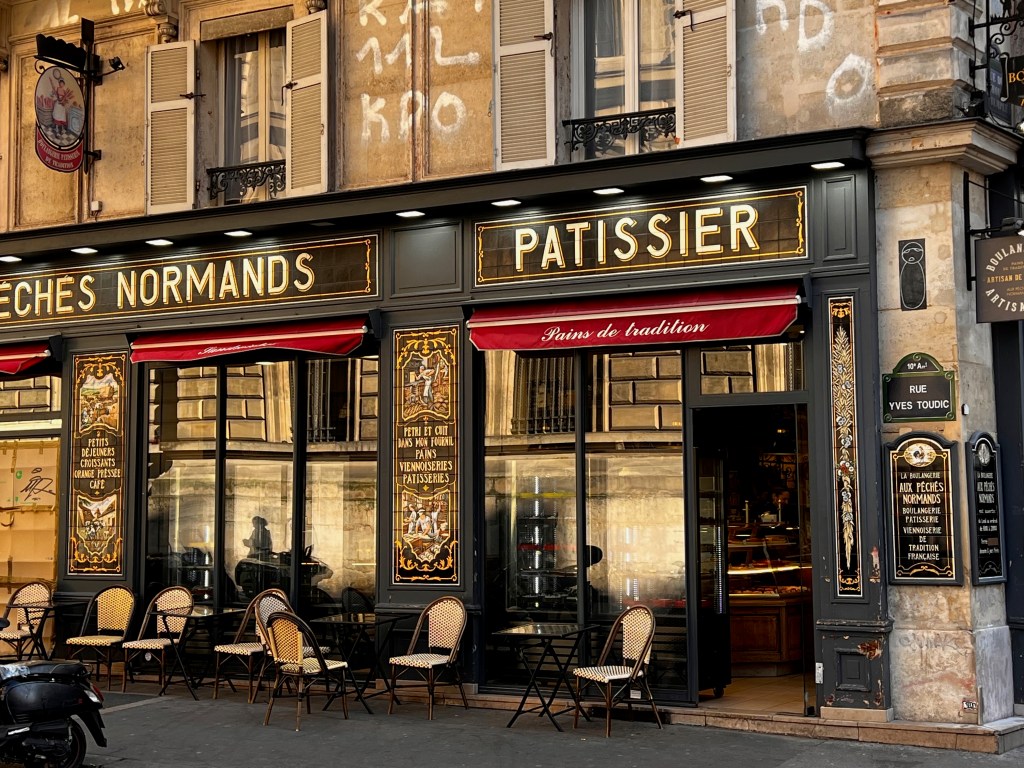
Nearer to République, Aux Péchés Normands does great bread and fabulous croissants and pastries, if perhaps not quite up to the refined levels above. But I can attest that their lemon meringue tartlets are a thing of beauty.
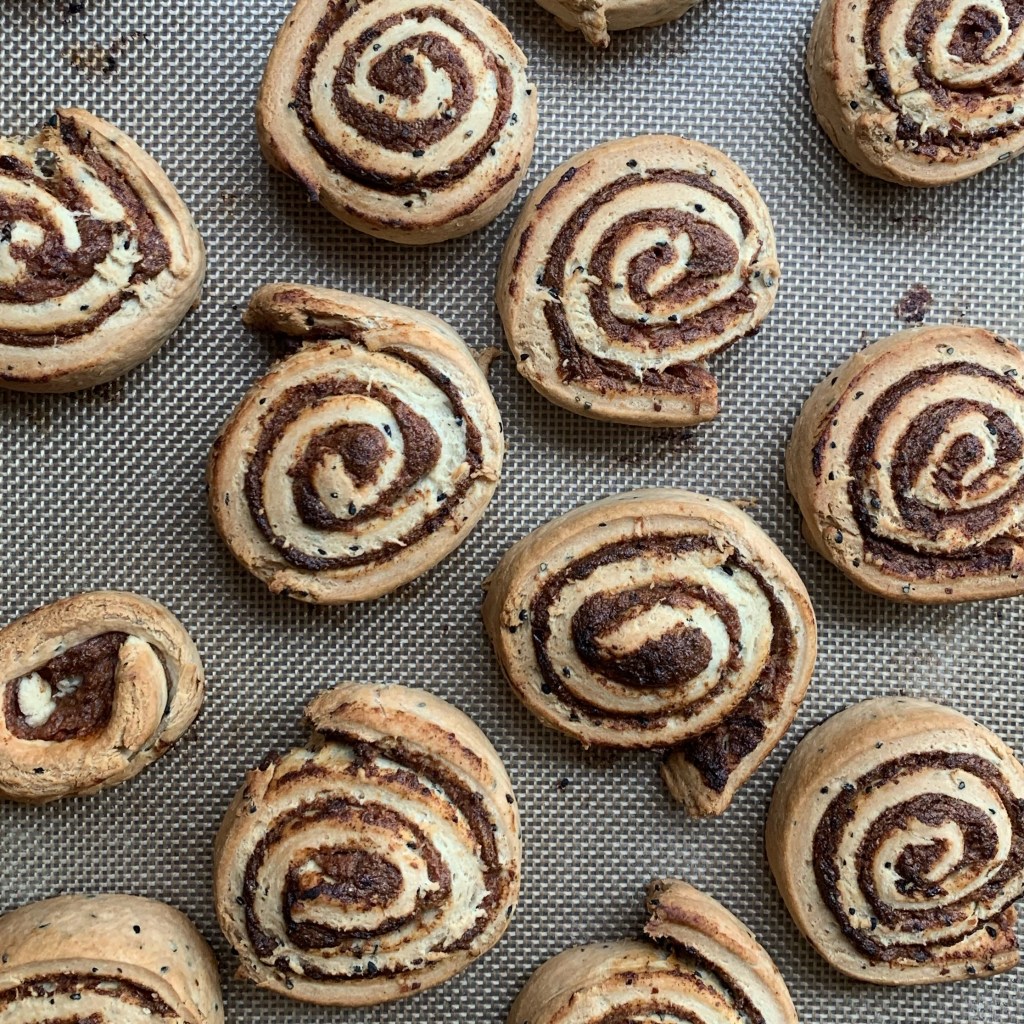
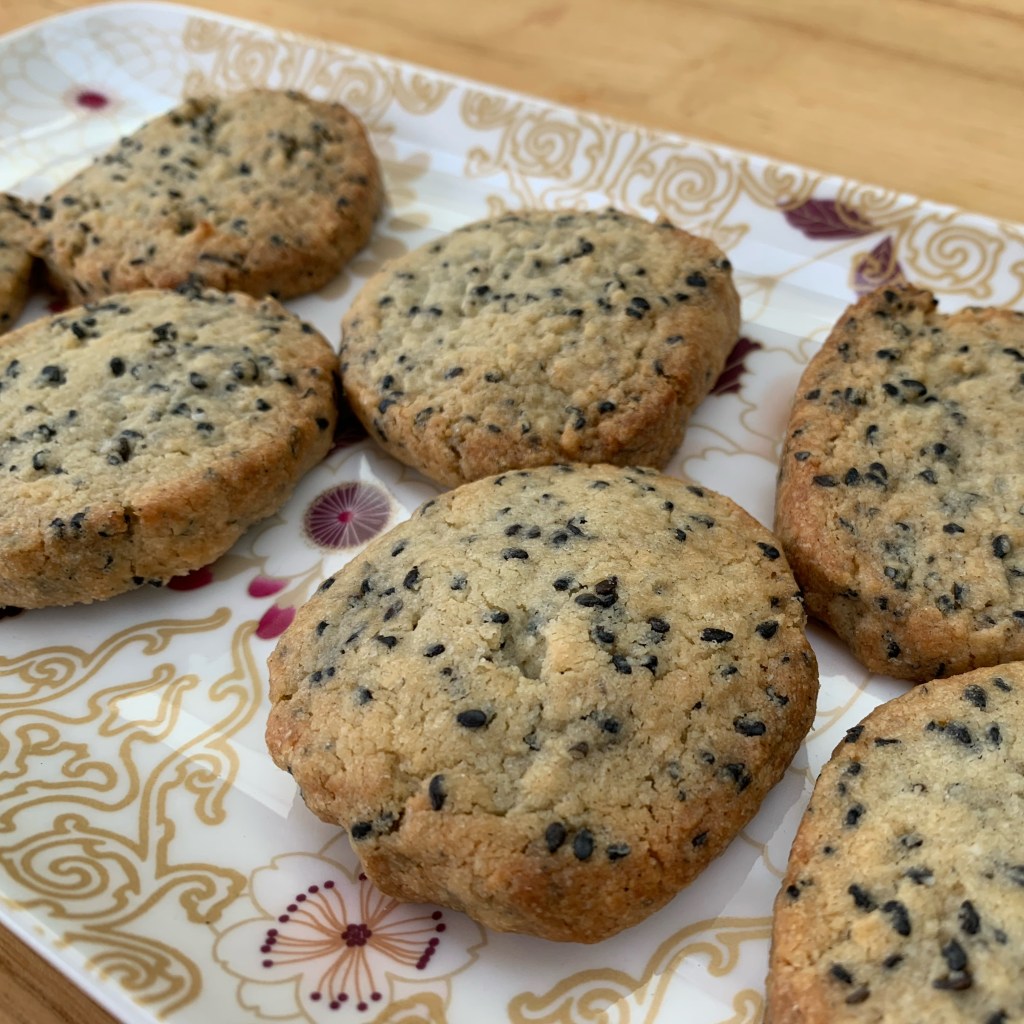
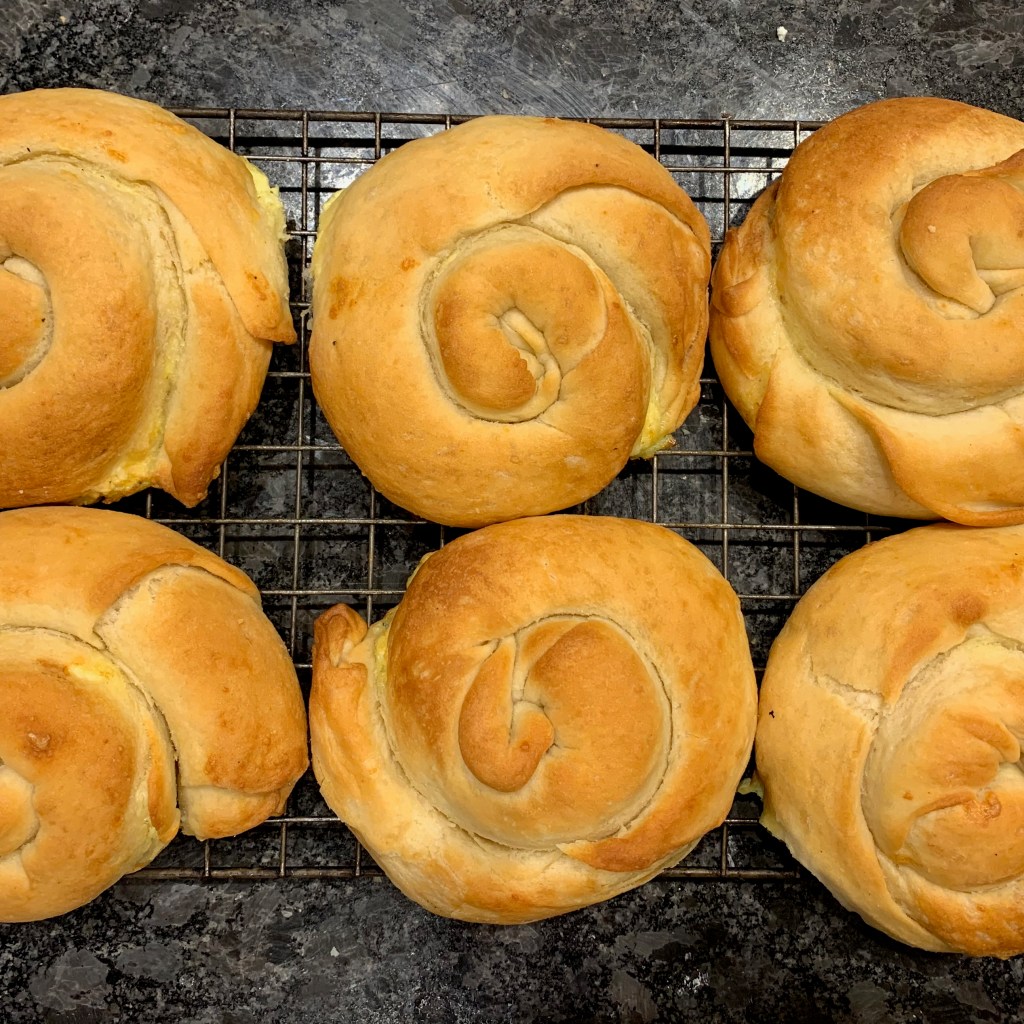
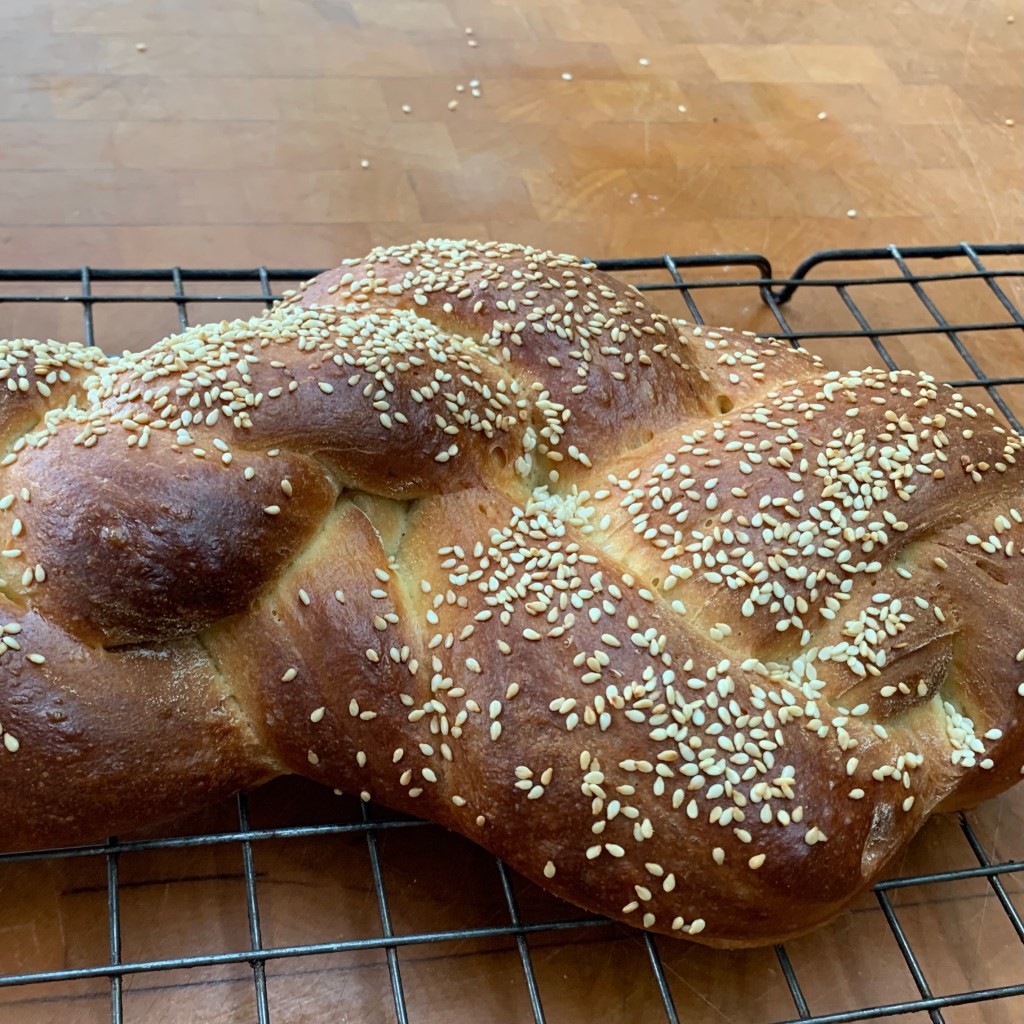
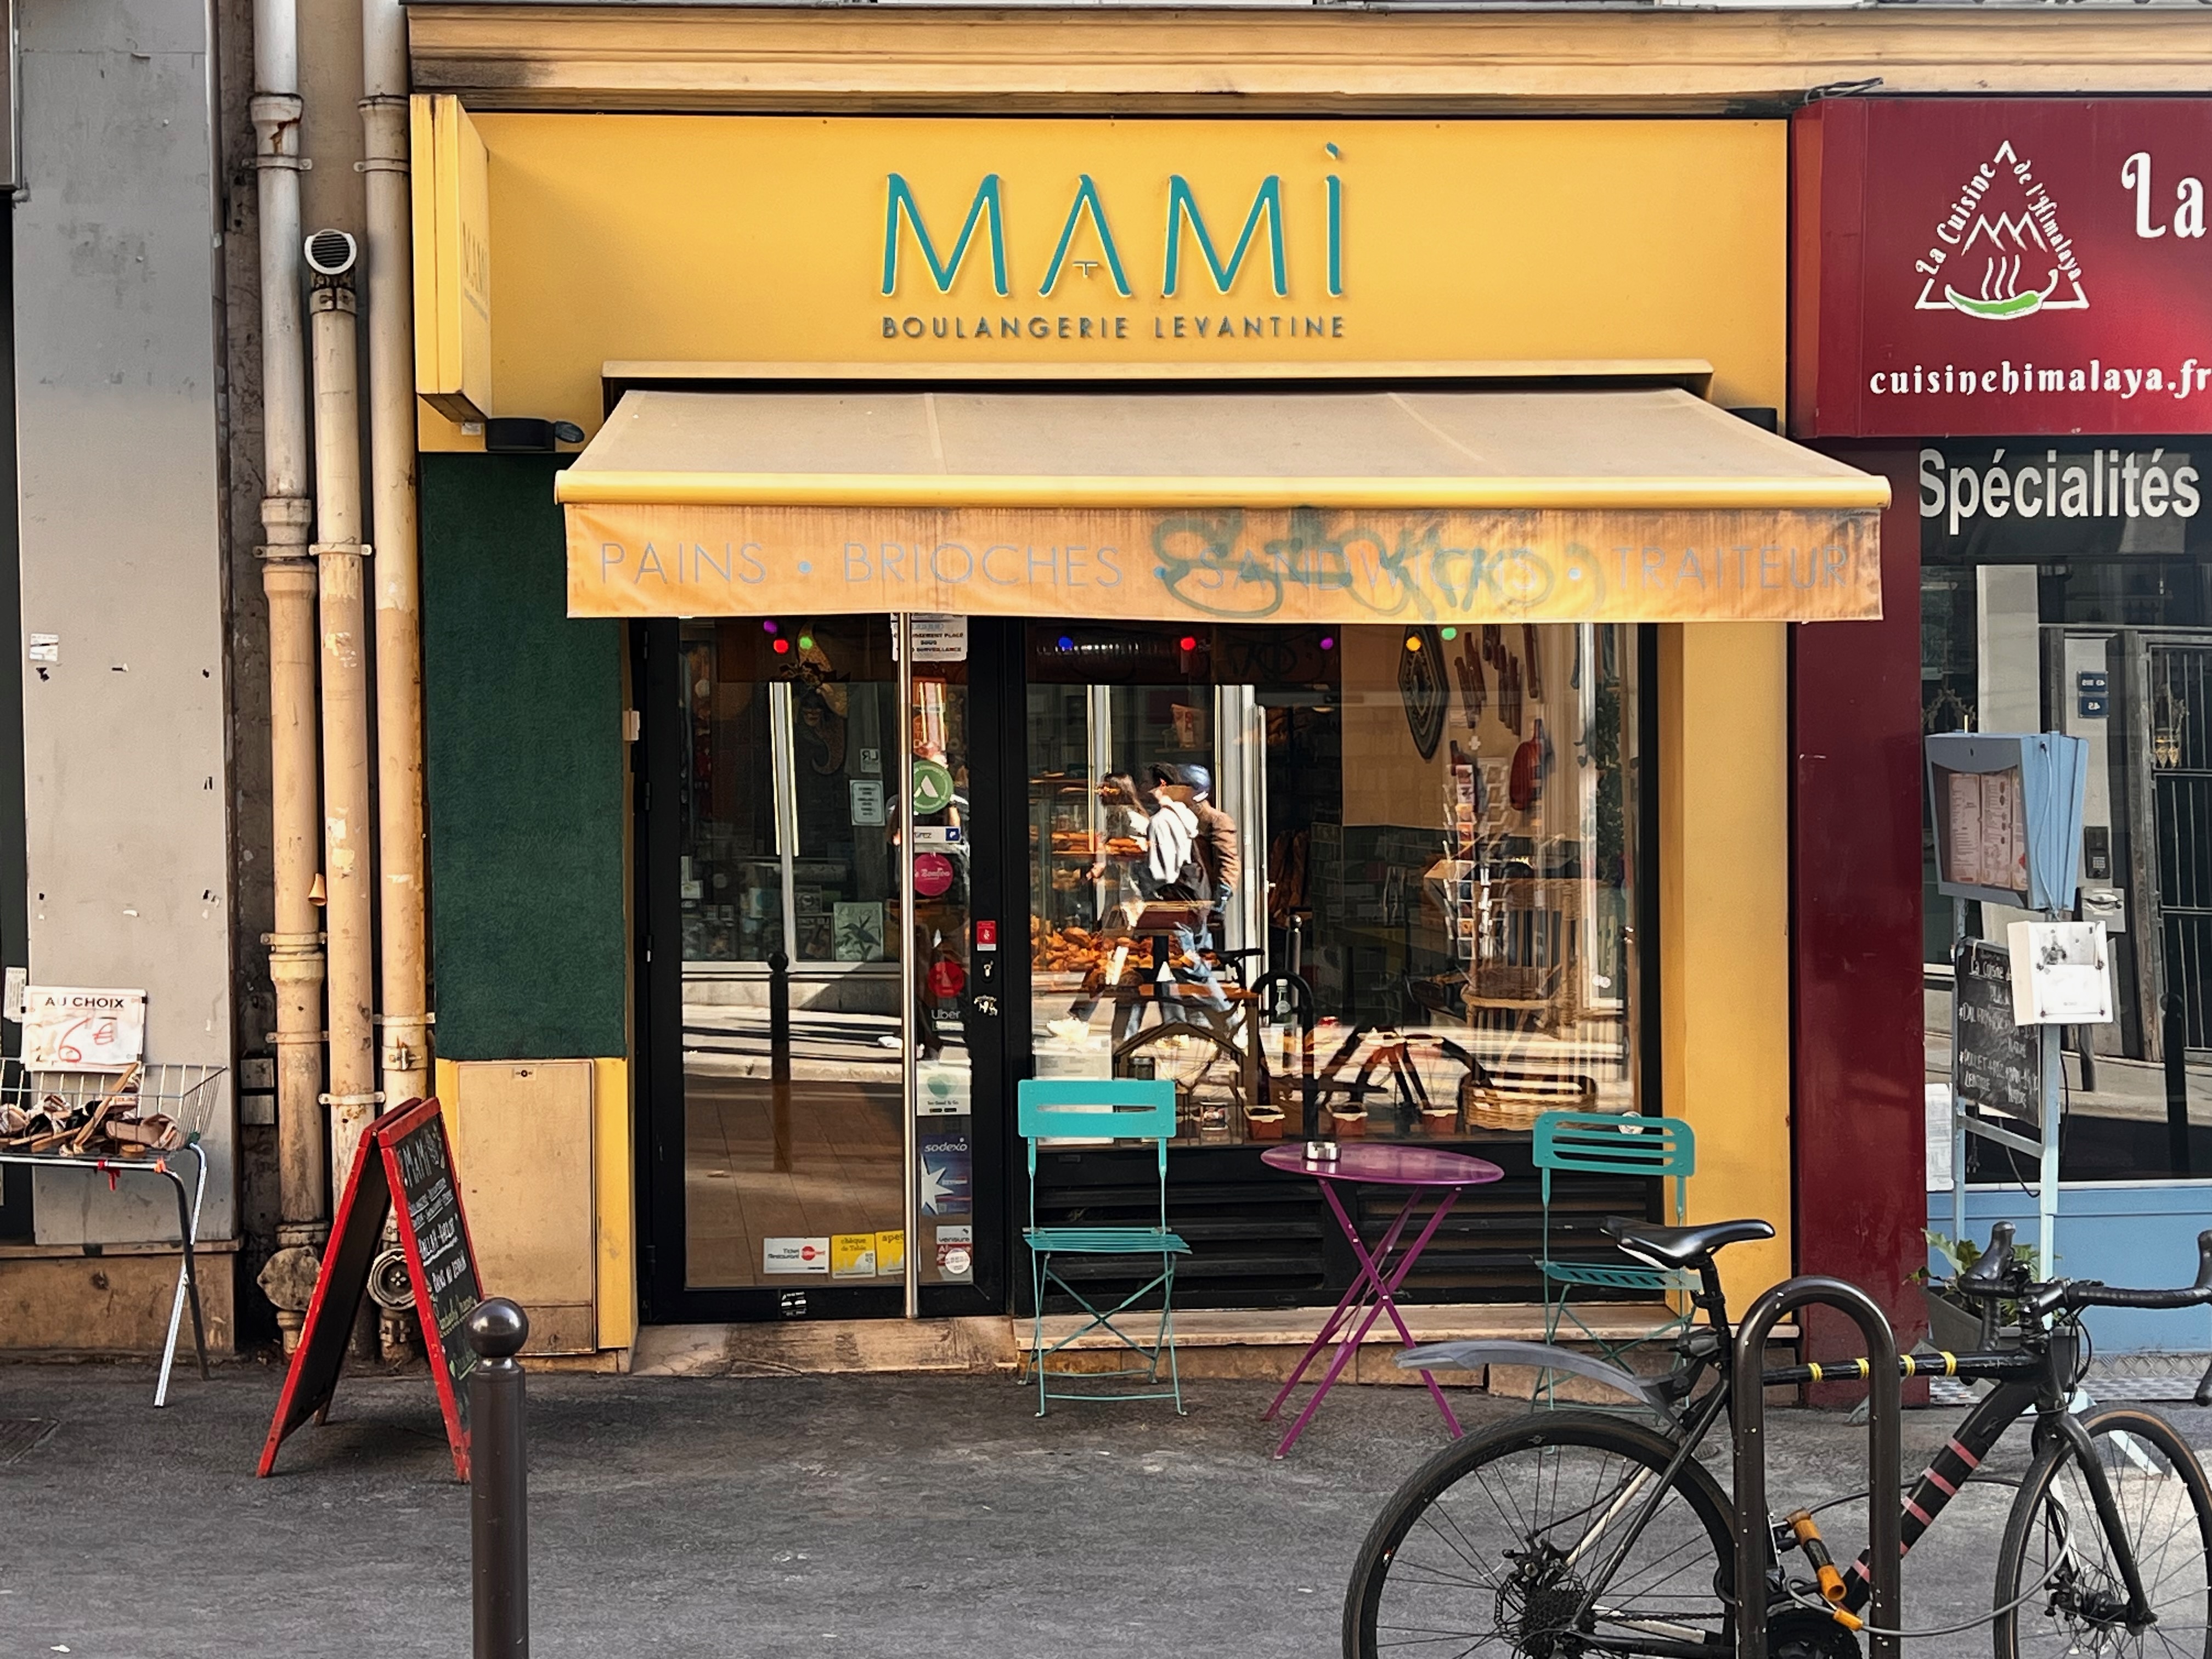
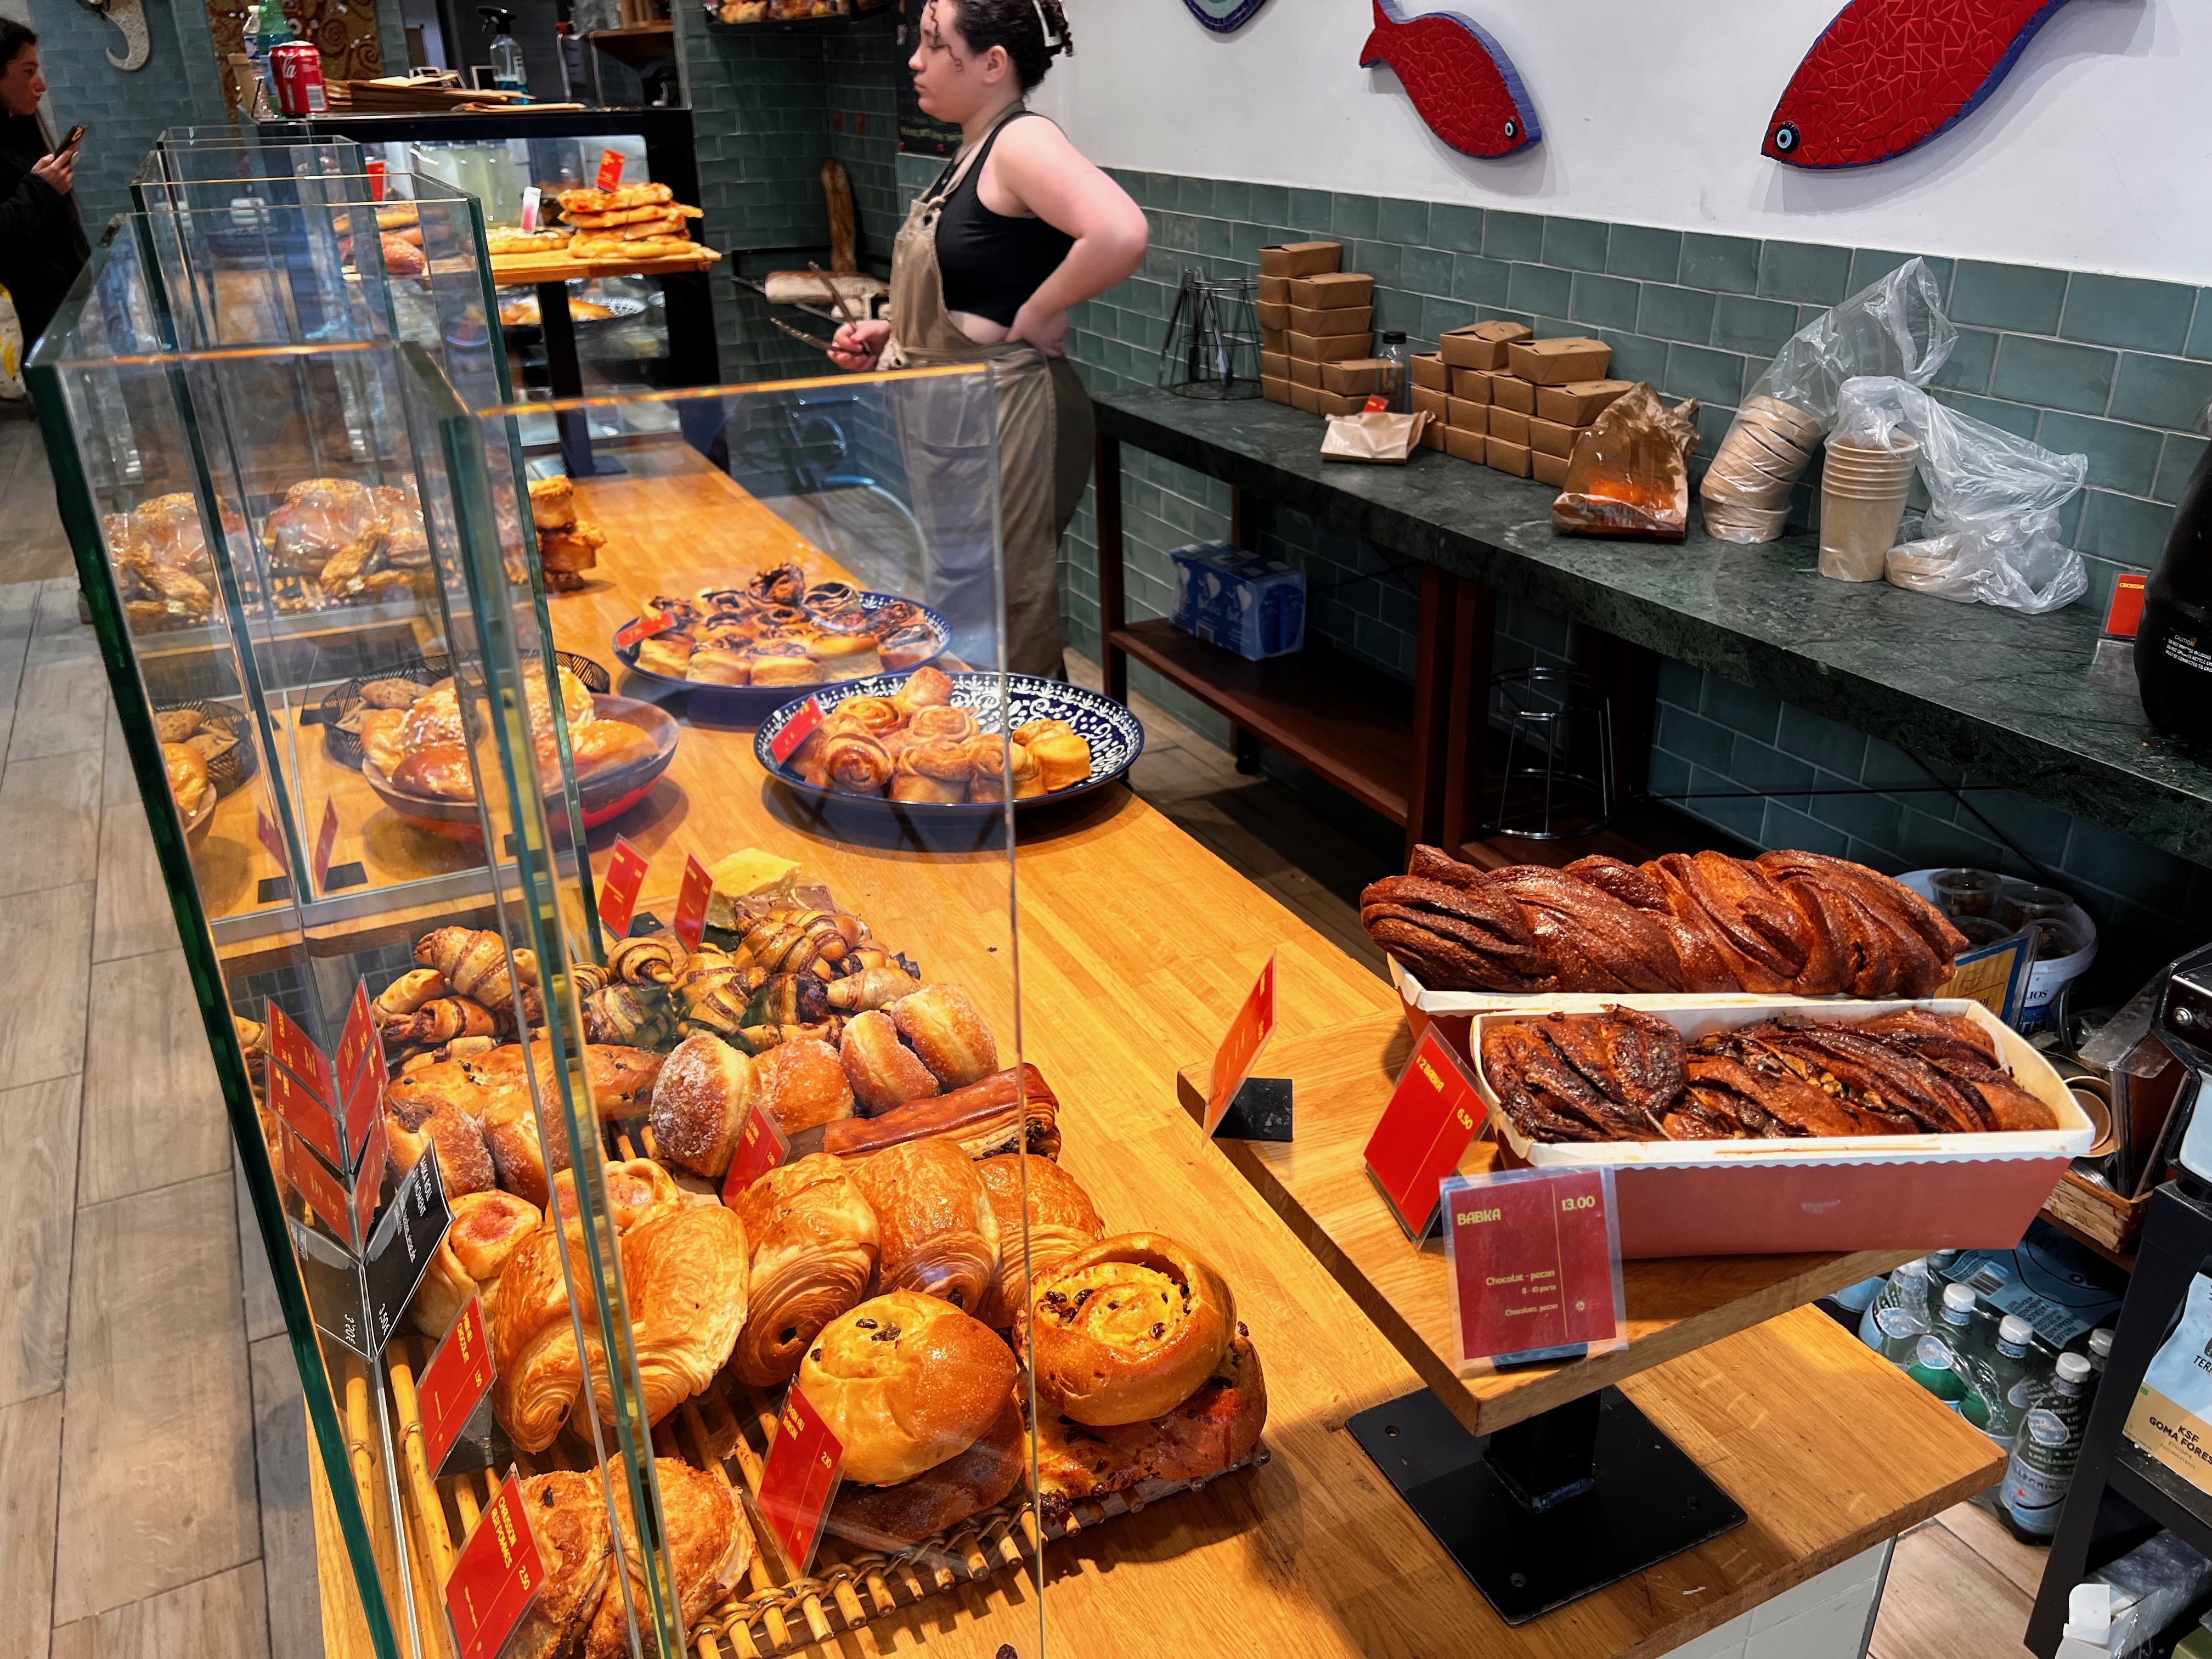
The really unexpected one was Mami, which describes itself as a “Boulangerie Levantine”. Taking its inspiration from all things Jewish and Middle Eastern, it has mouth-watering Babkas and a variety of Challahs, including a Za’atar-flavoured Challah, which is something I’ve never seen before but is quite delicious.
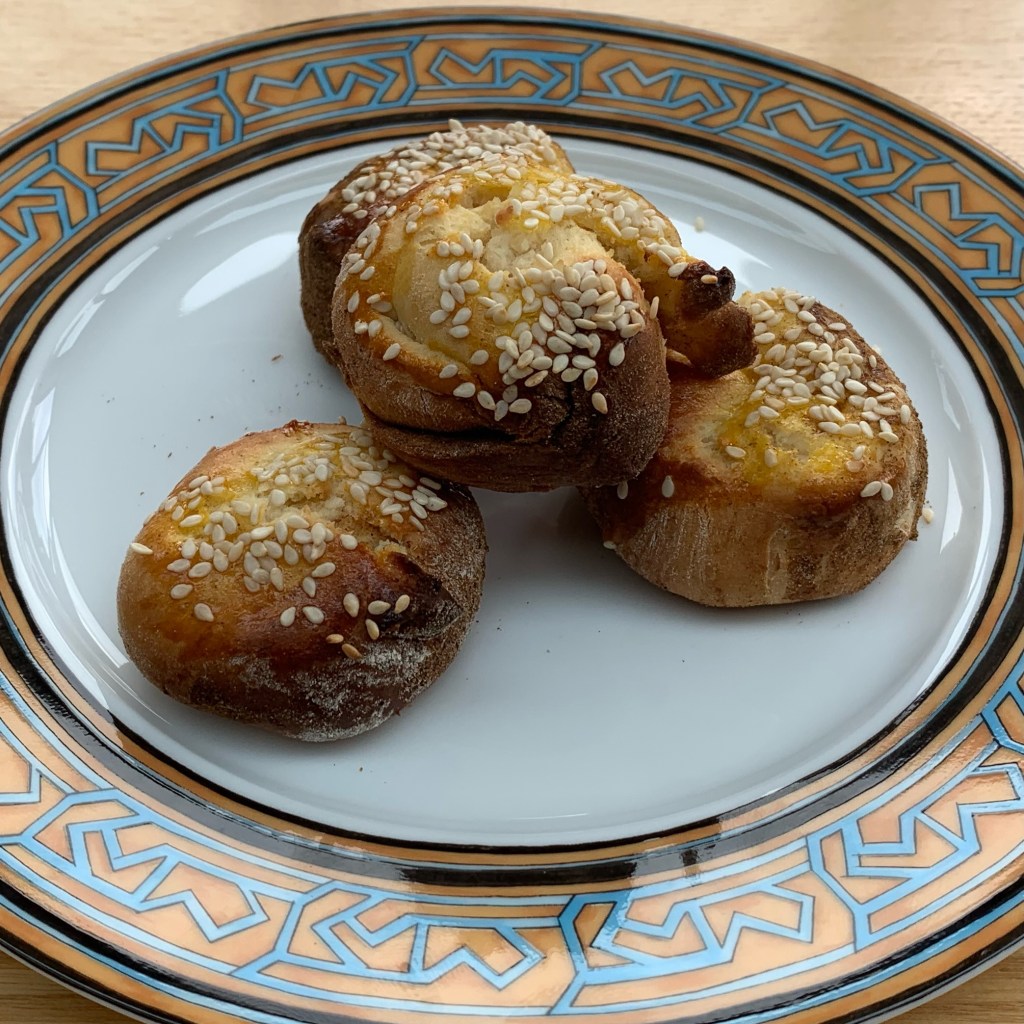
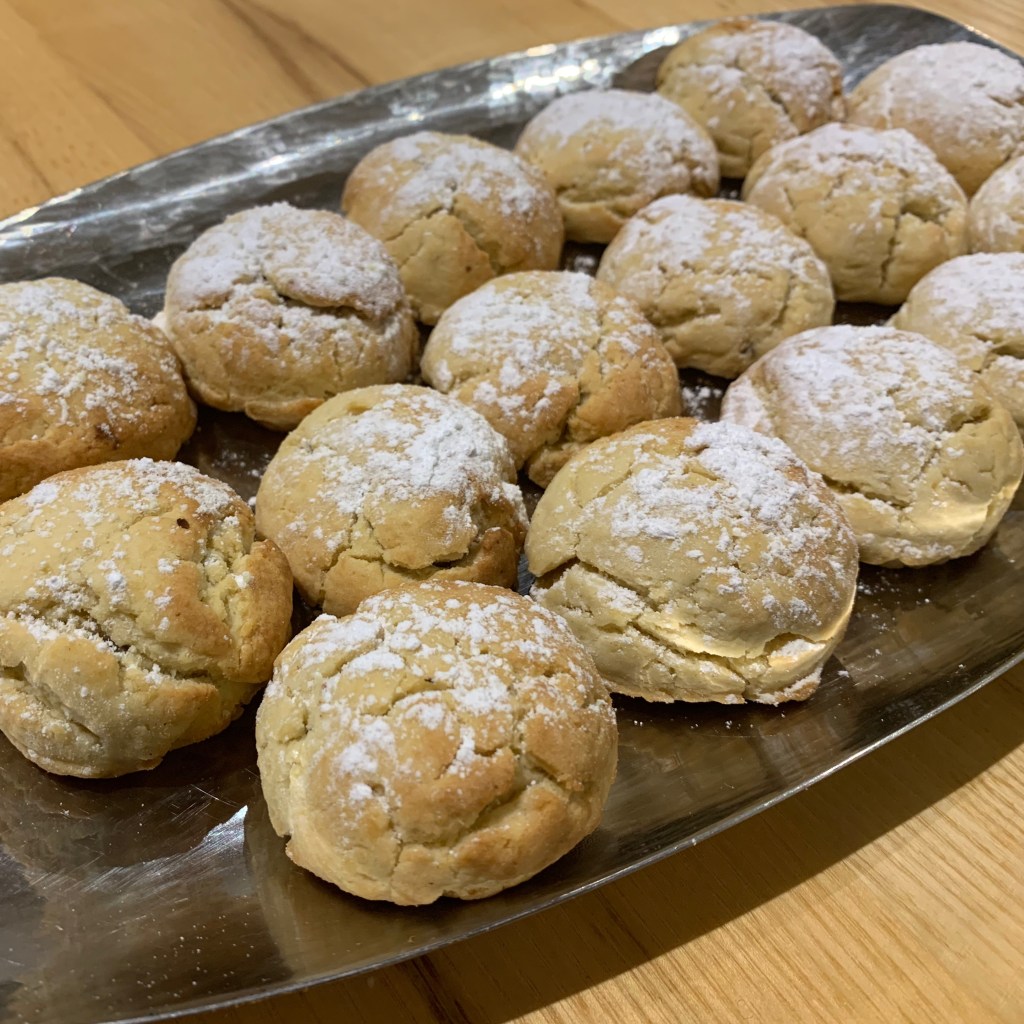
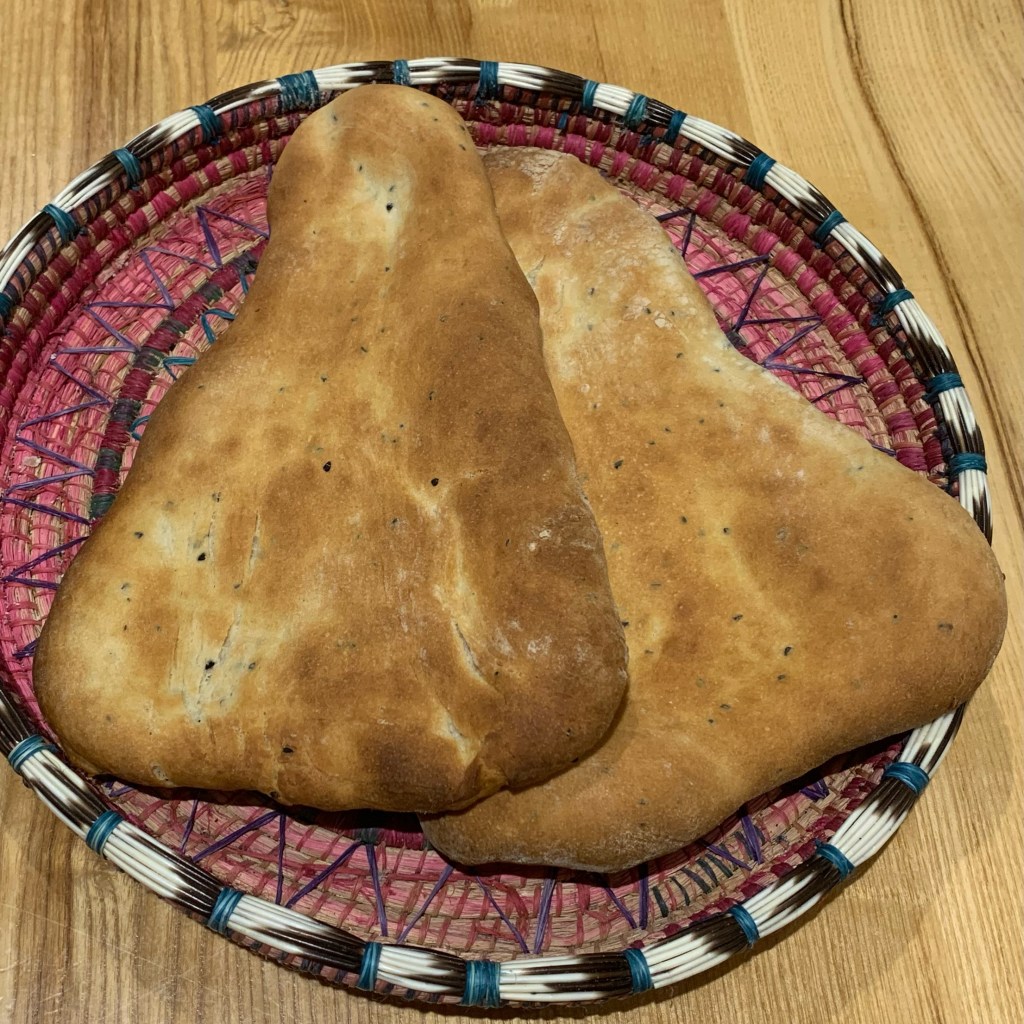
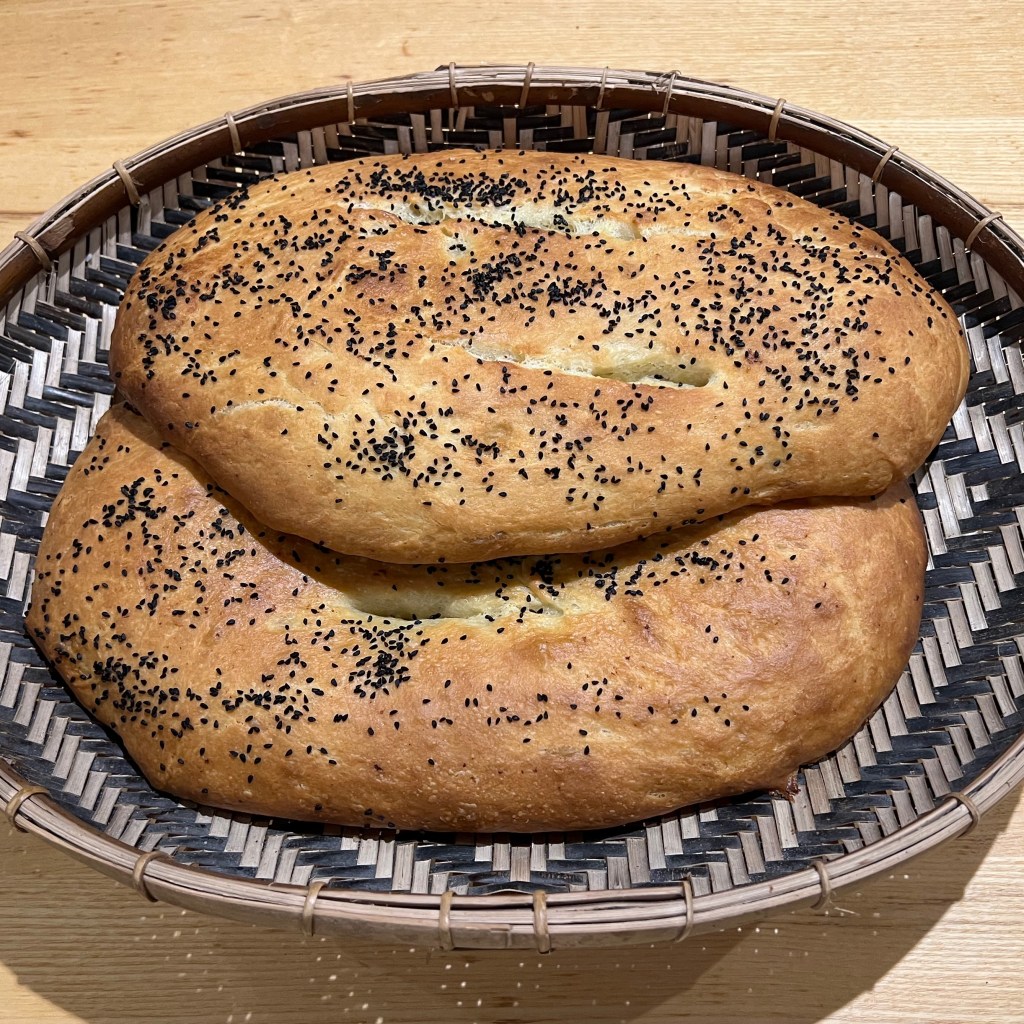
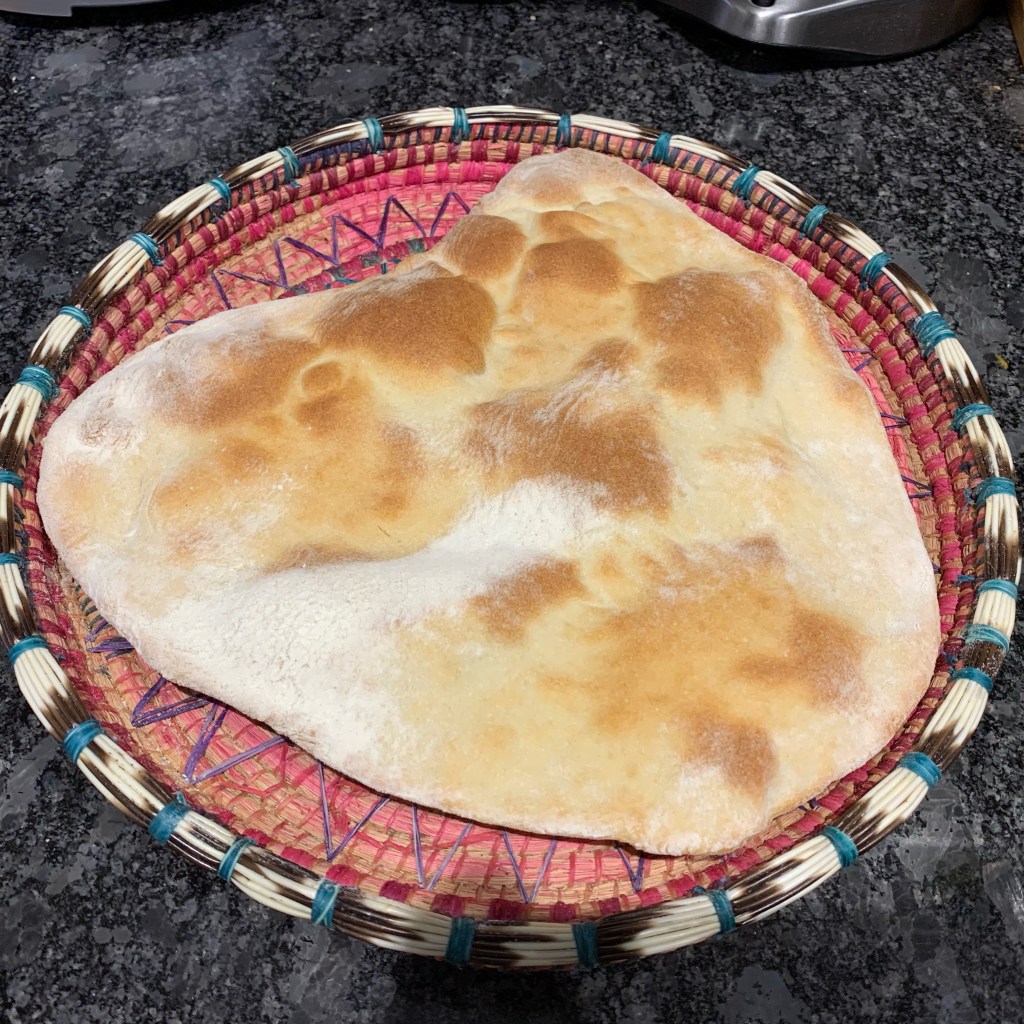
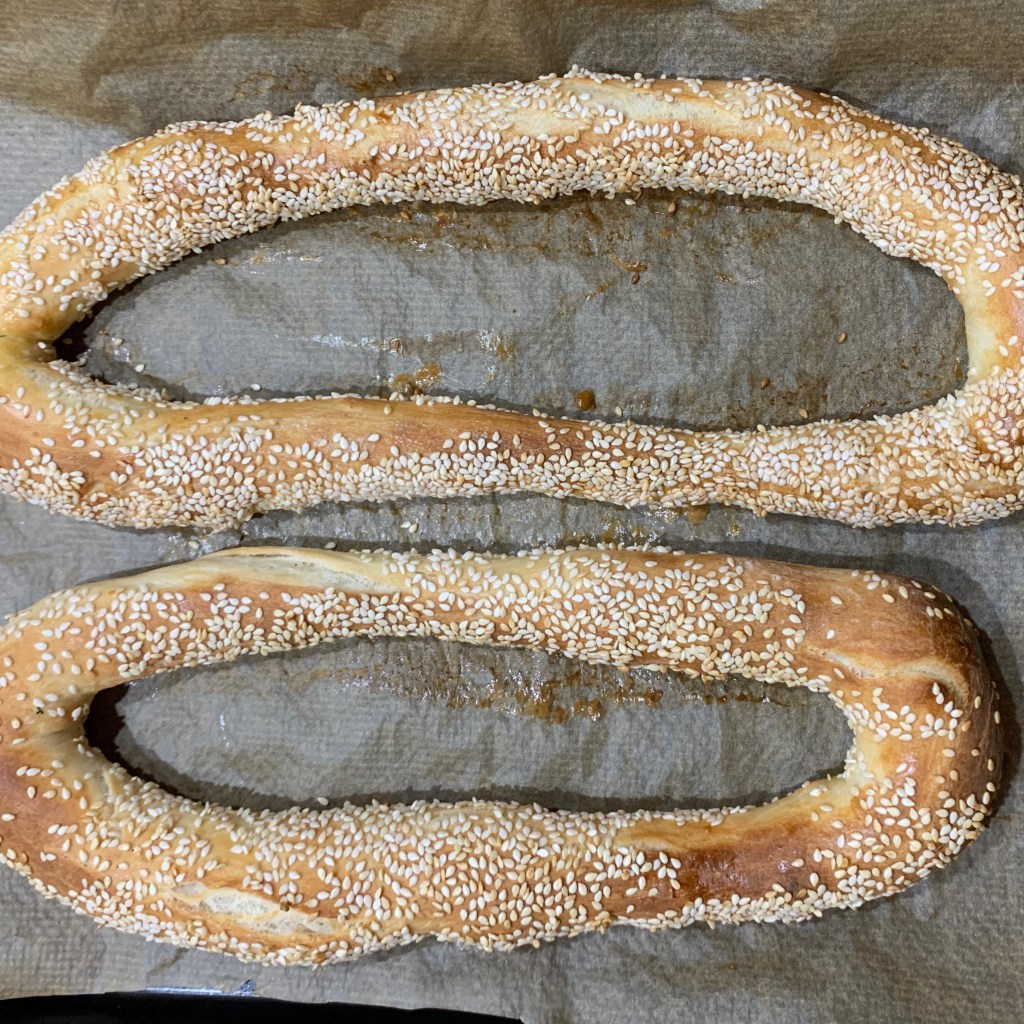
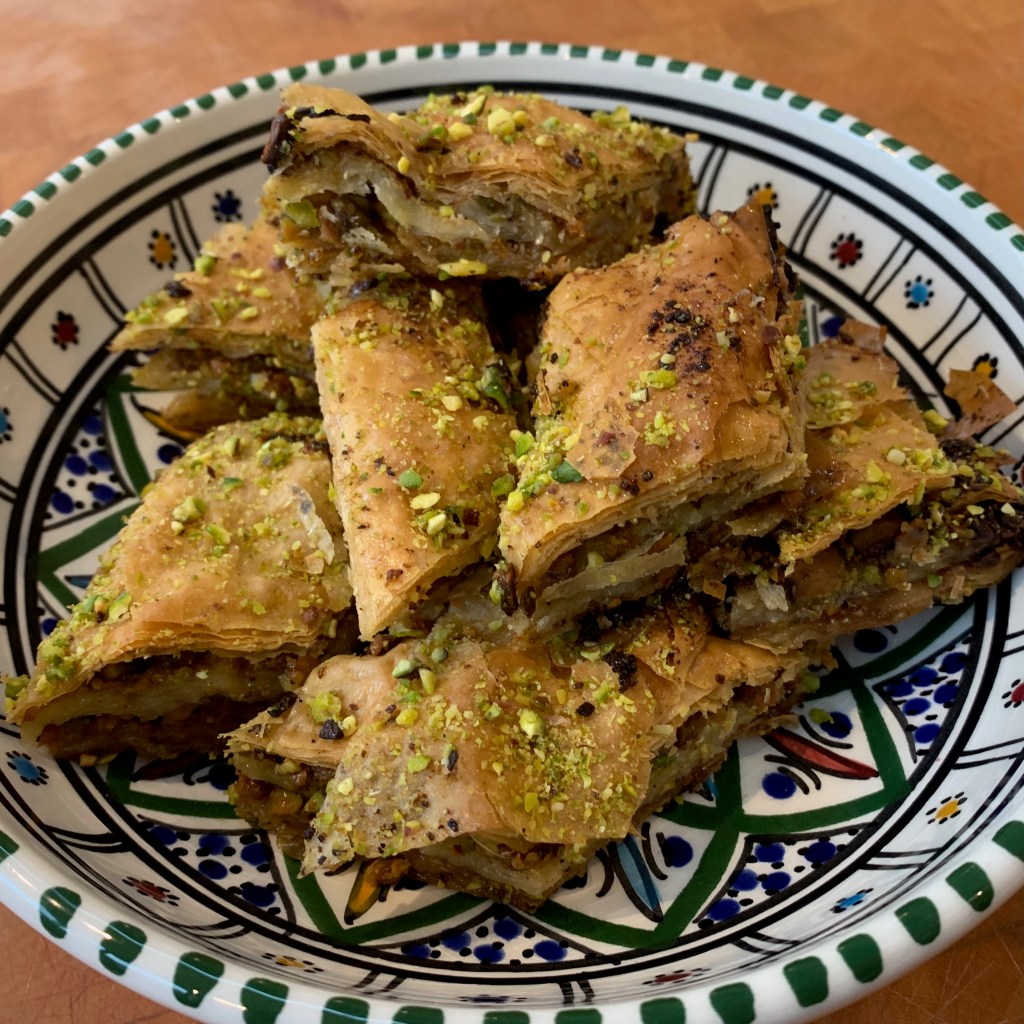
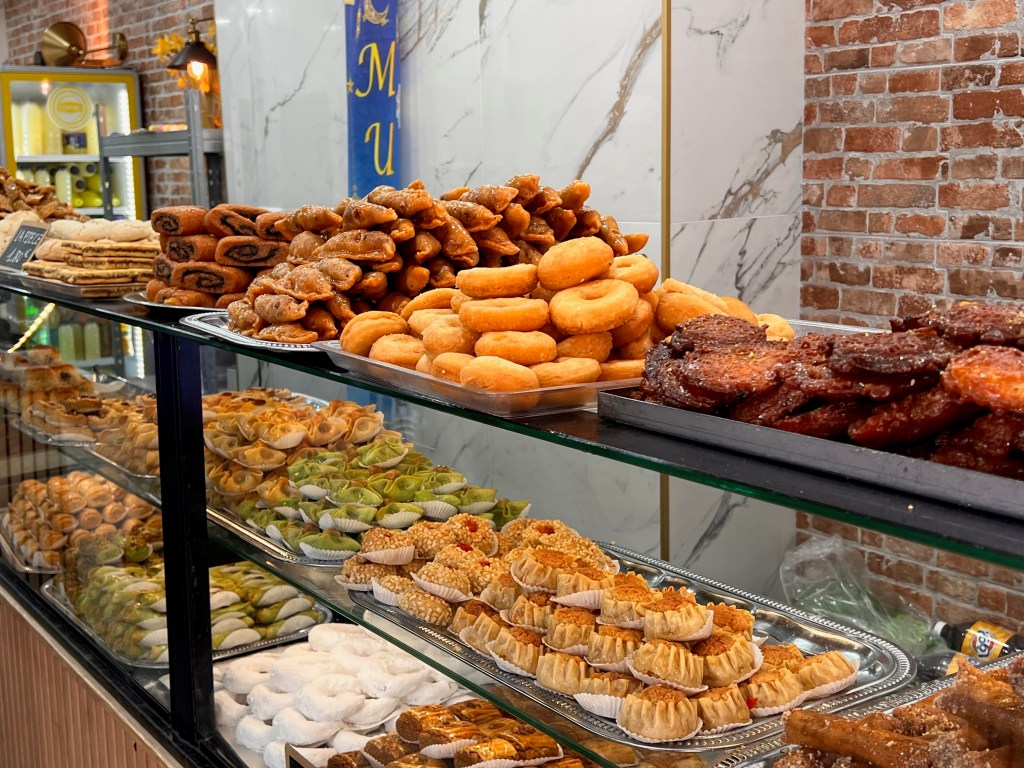
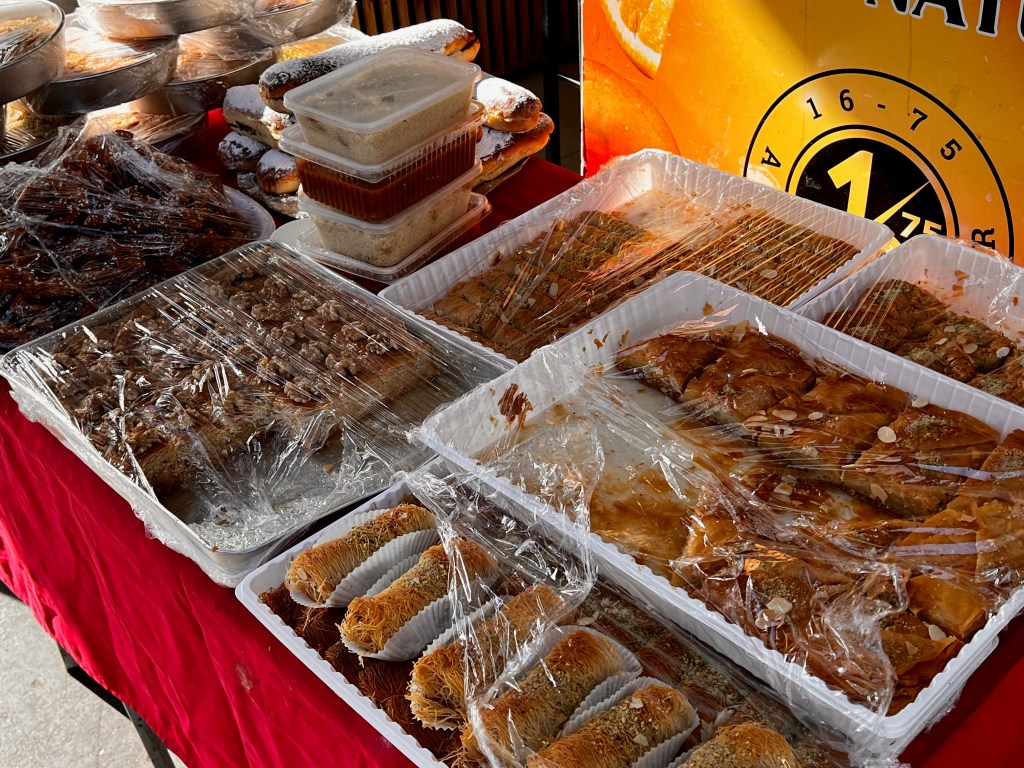
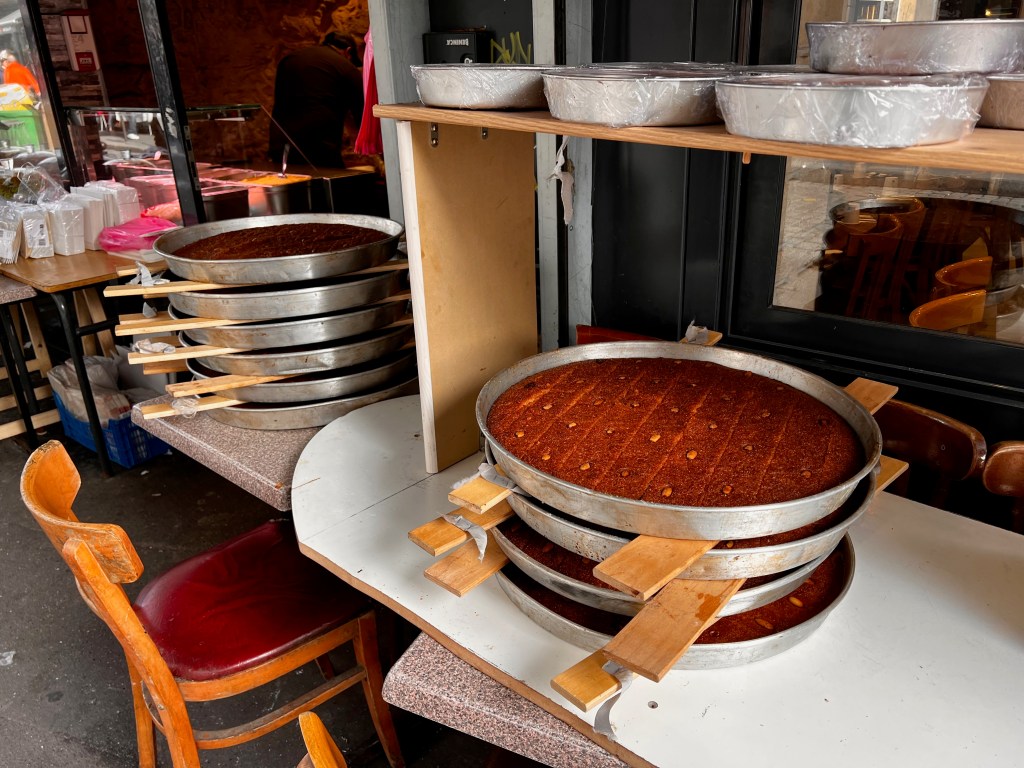
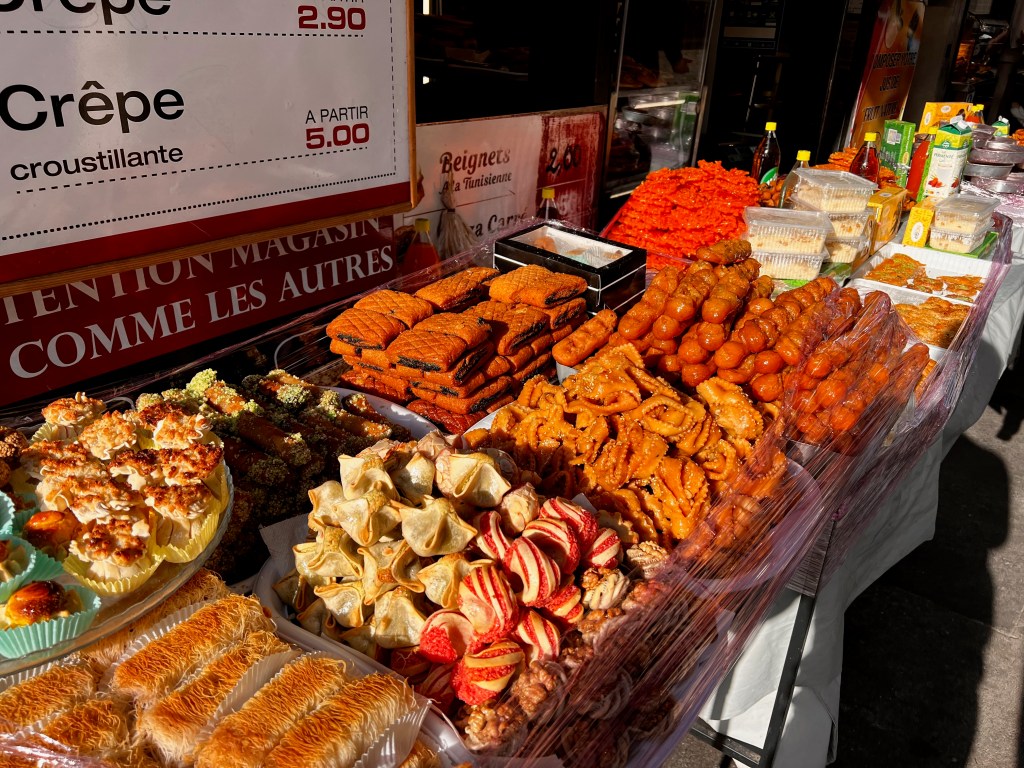
The area has many North African inhabitants (particularly Tunisians, it seems to me), resulting in the presence of many shops specialising in Arab and Maghrebi breads, sweets and pastries. It’s Ramadan at the moment, so every evening, there are vast arrays of goodies stacked on trestle tables outside the shops, which wolfed down when the fast ends at sunset (to be fair, they also seem pretty busy through the day from both Muslim and non-Muslim shoppers). The one that seems permanently rammed is called Bennah – I took photos of three others and I probably missed a few.


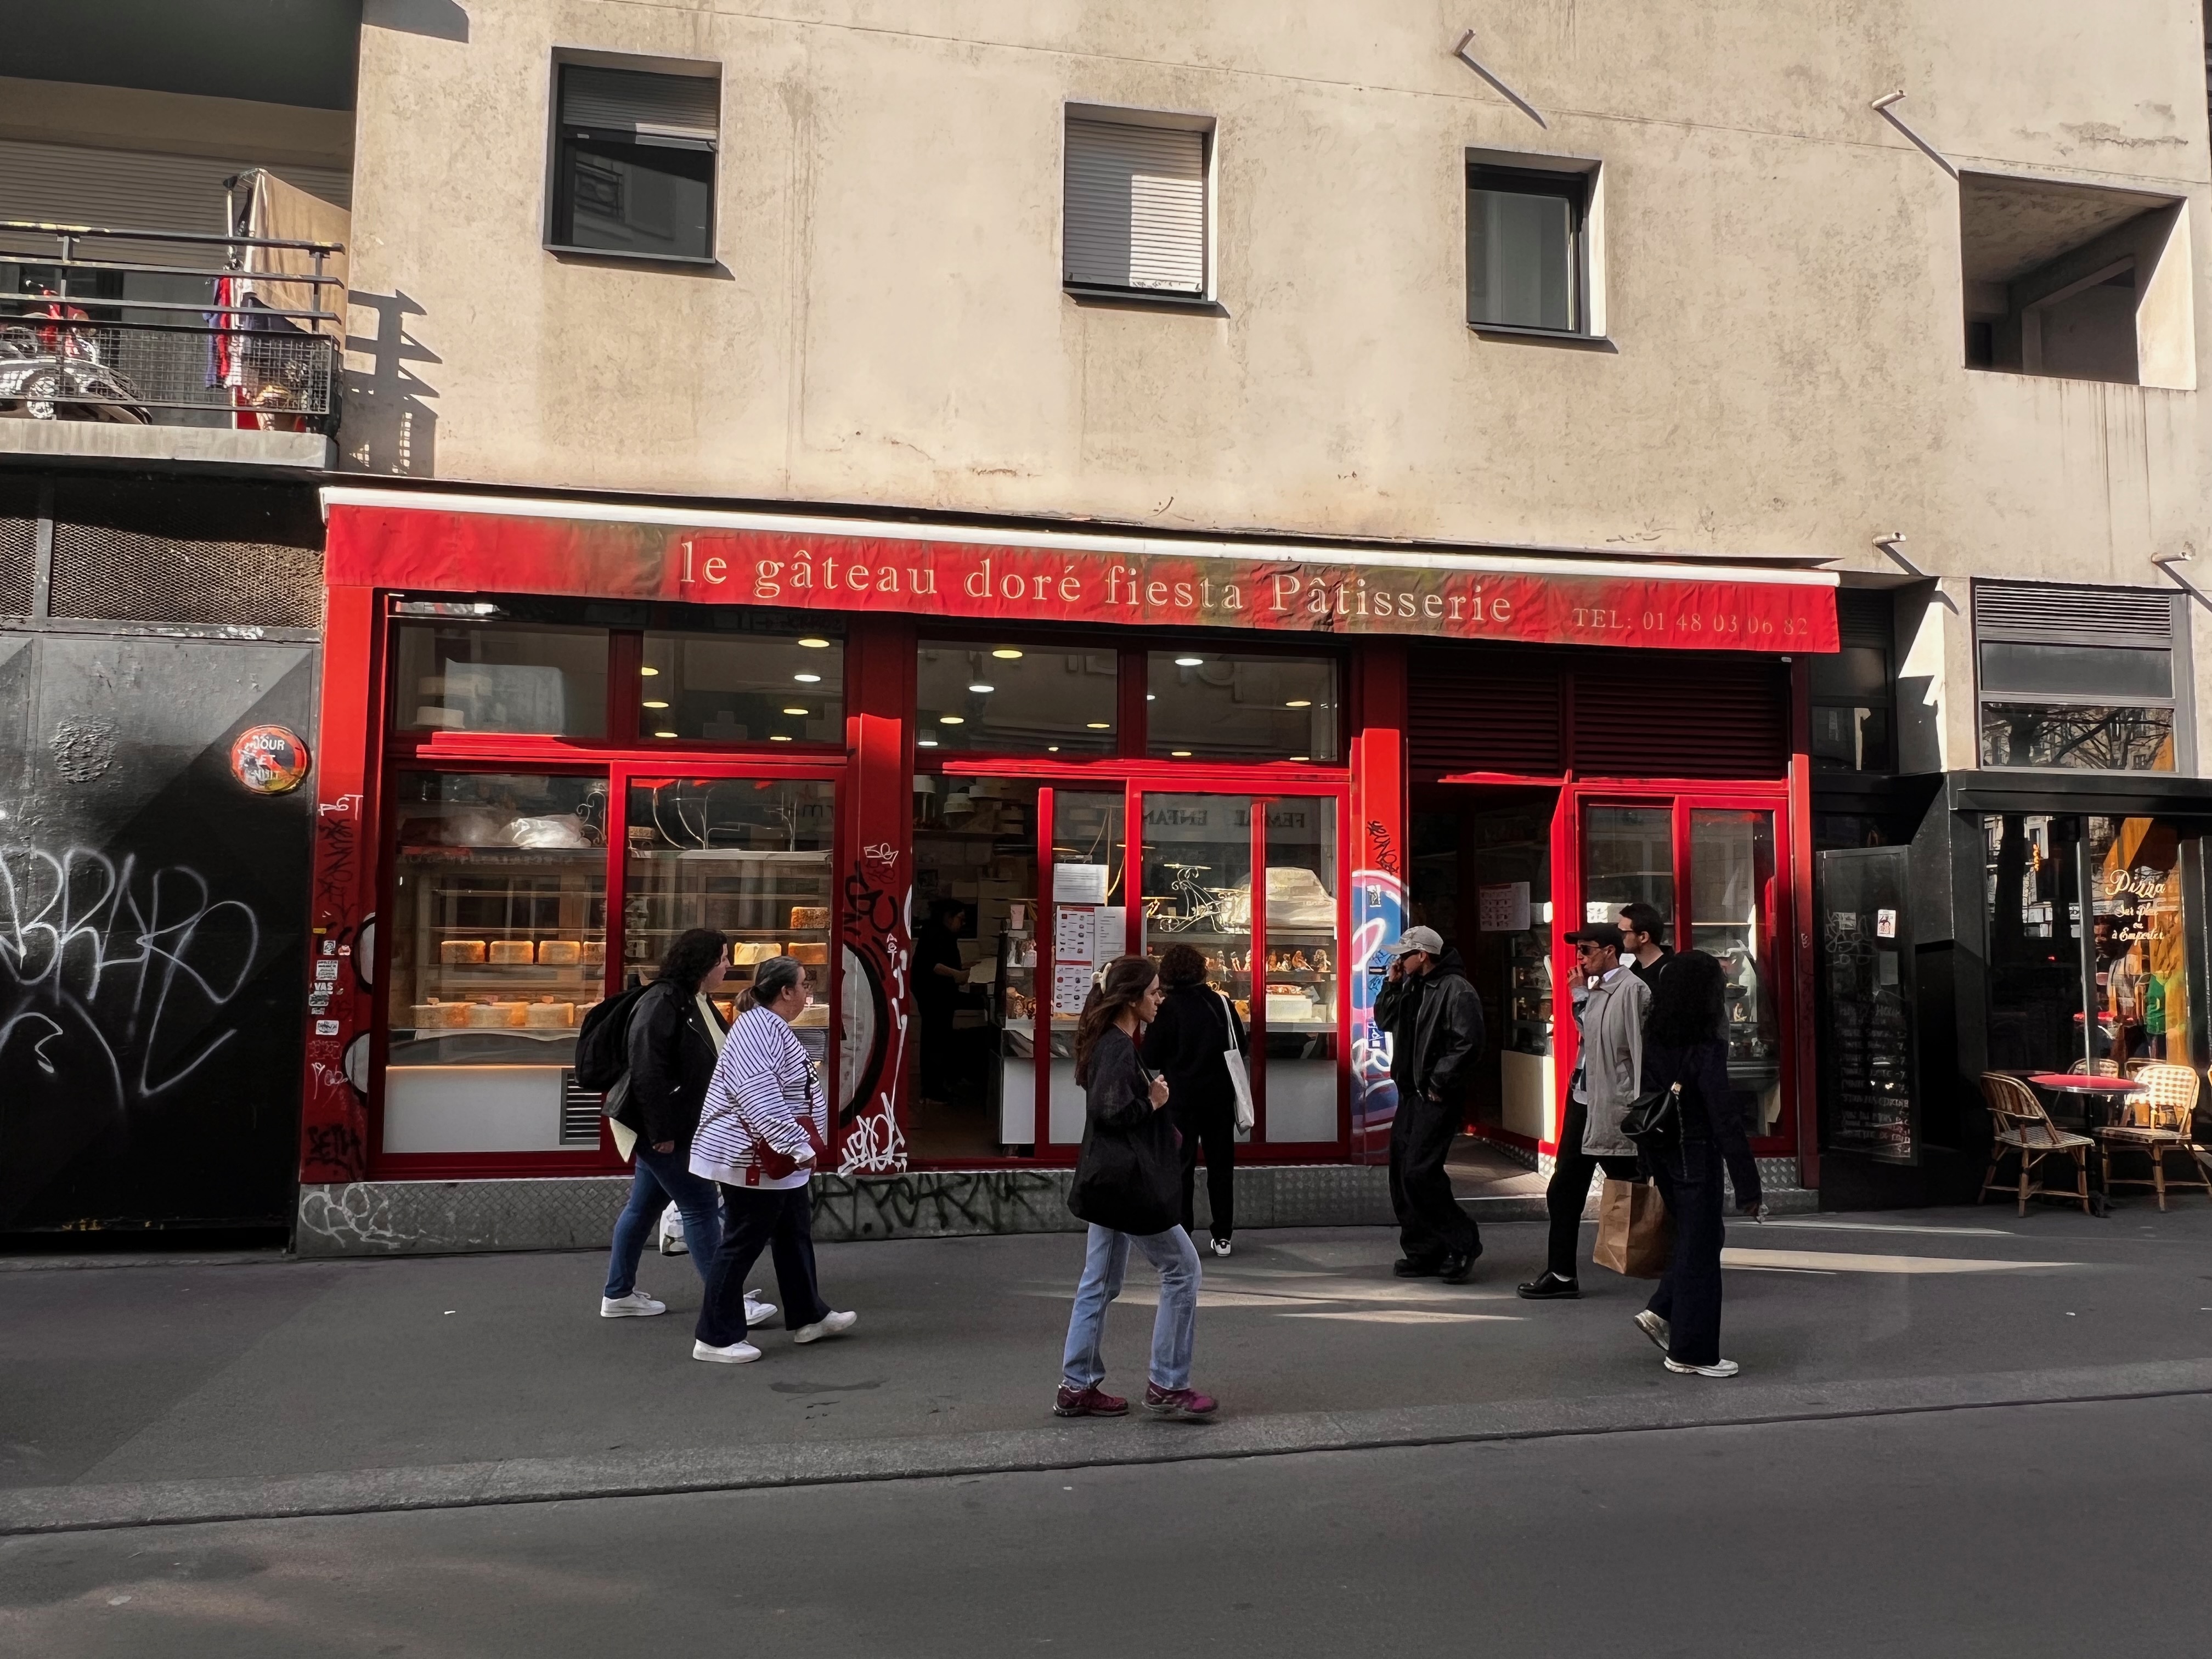
For something completely different, there’s Le gâteau doré fiesta Pâtisserie. It’s a cake shop which sells large cakes for birthdays and other events, apparently in large volumes. Its unusual feature, however, which has led me to dub it the “pornographic cake shop” is the array of scantily-clad plastic women in the window, waiting to adorn the birthday cake of your fantasies. (To be fair, there are also more conventional figures of brides and grooms, furry animals, national flags and so on).

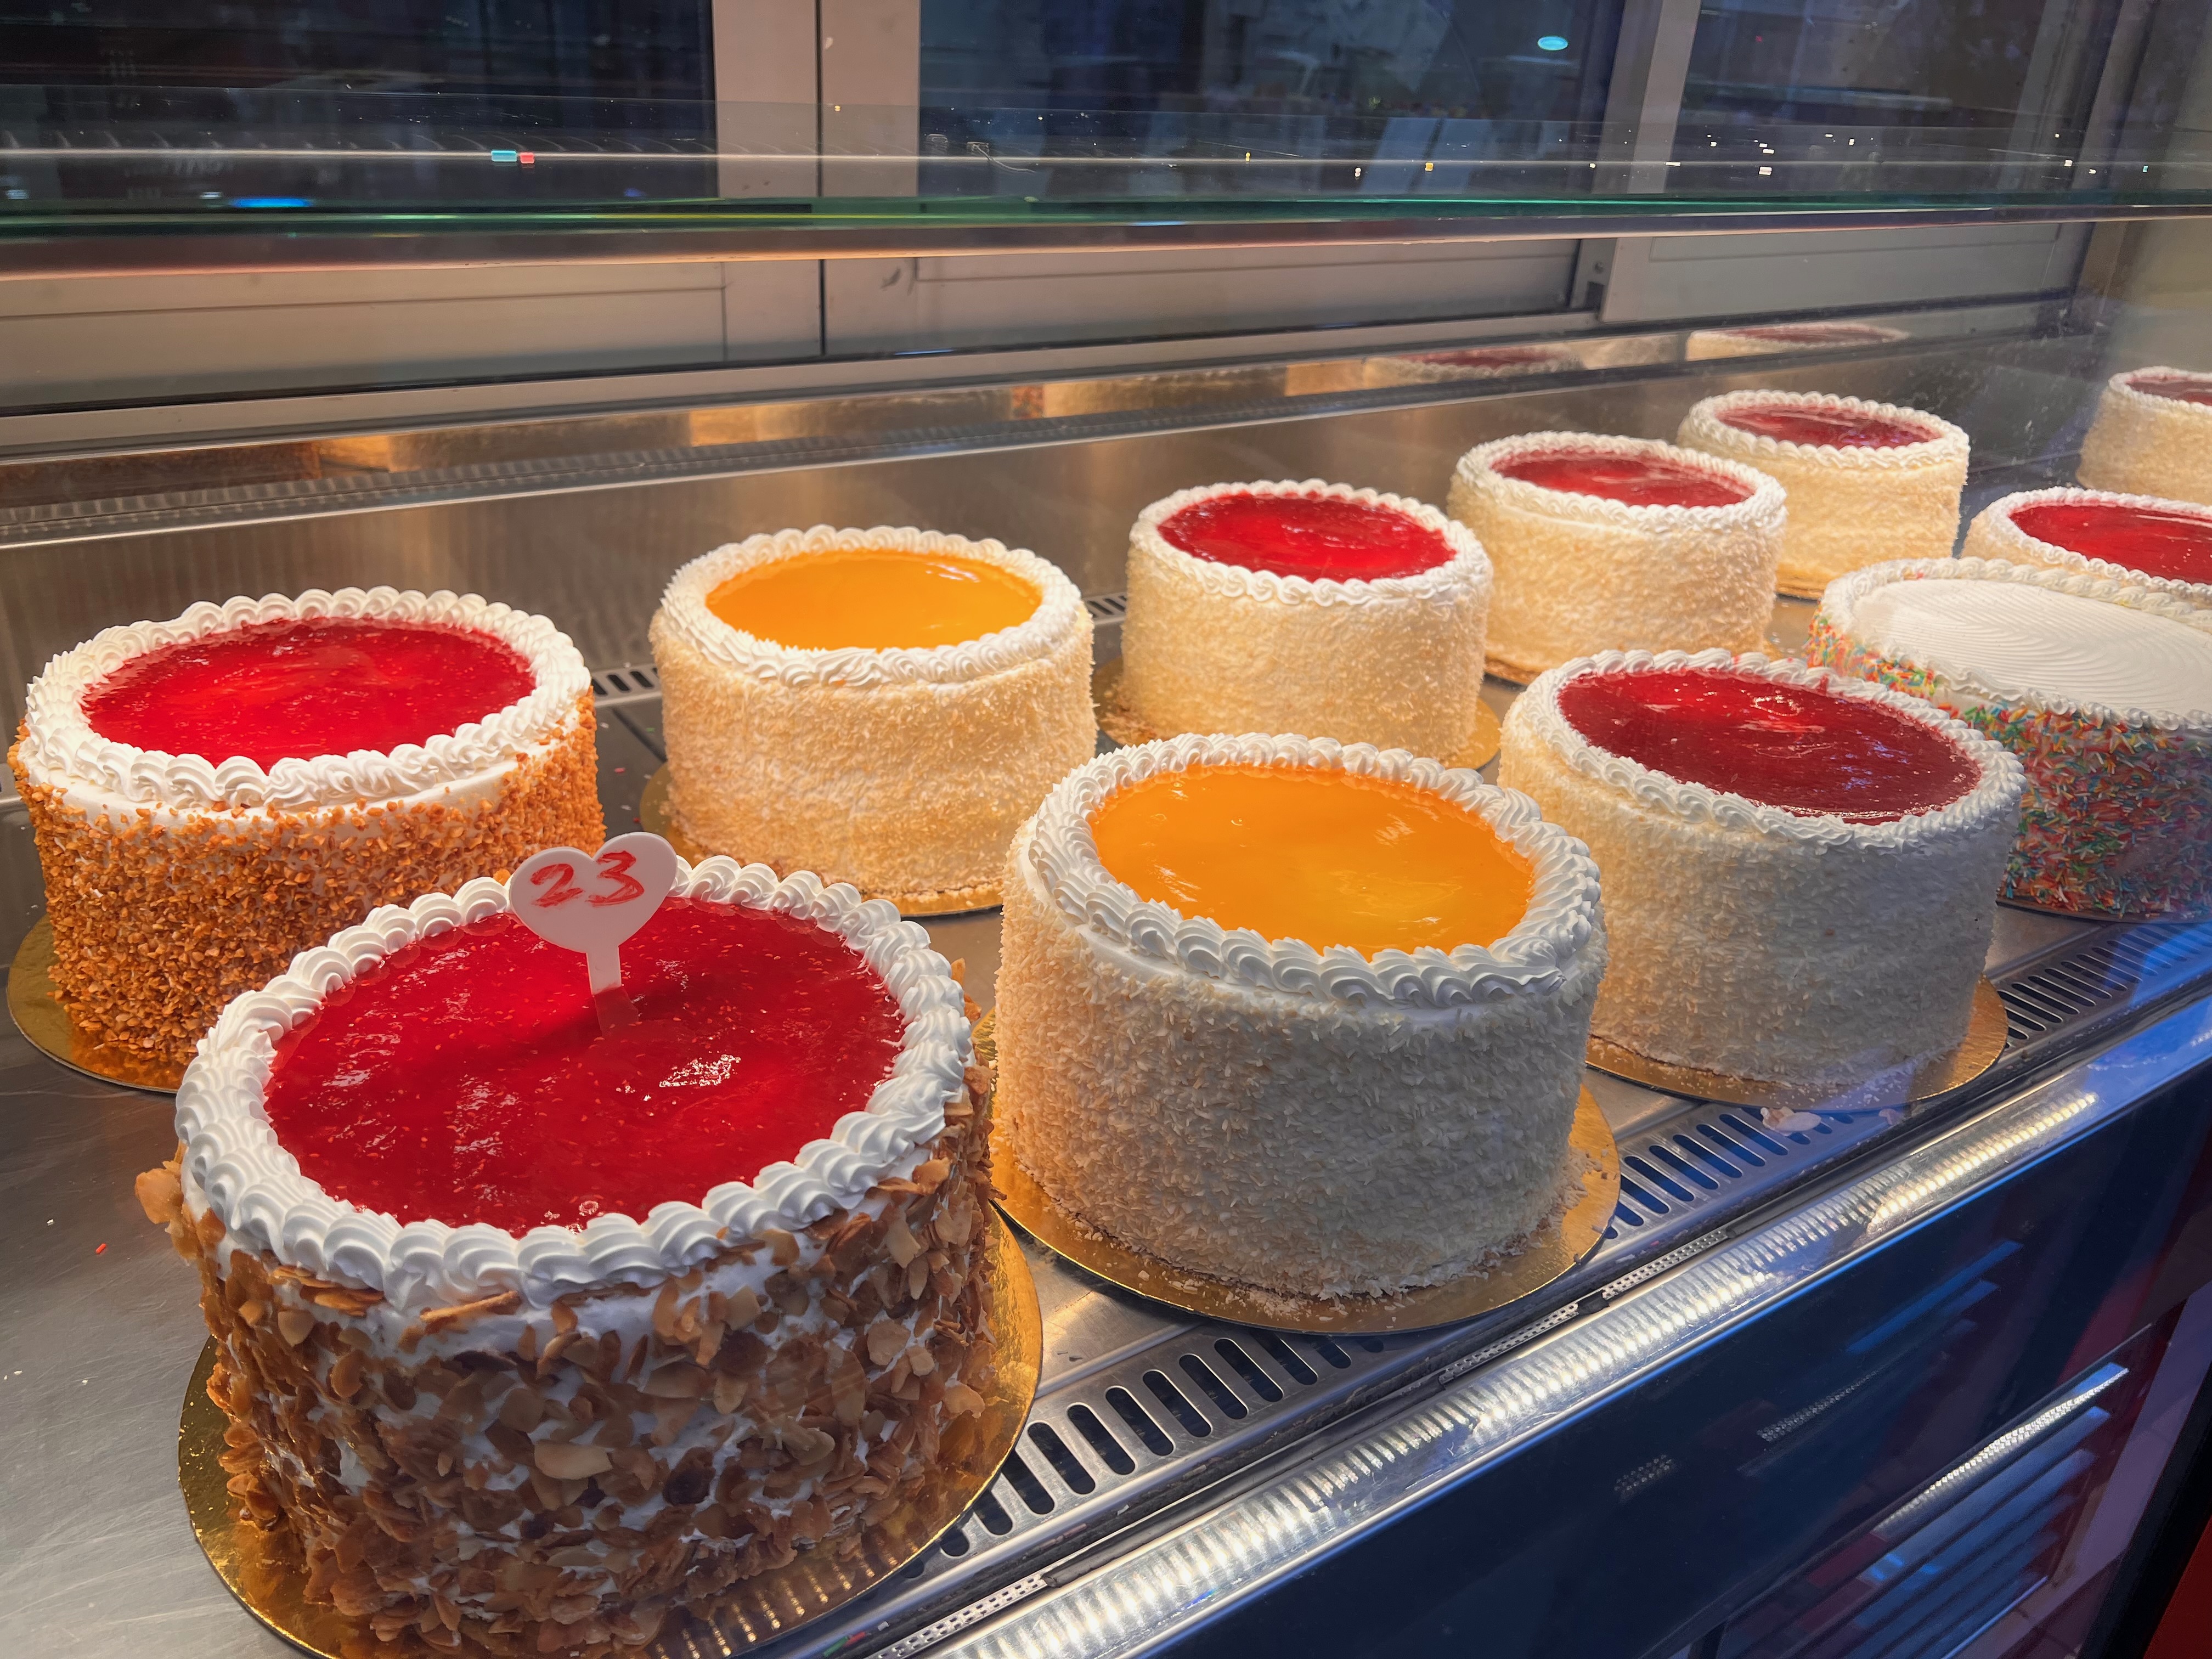
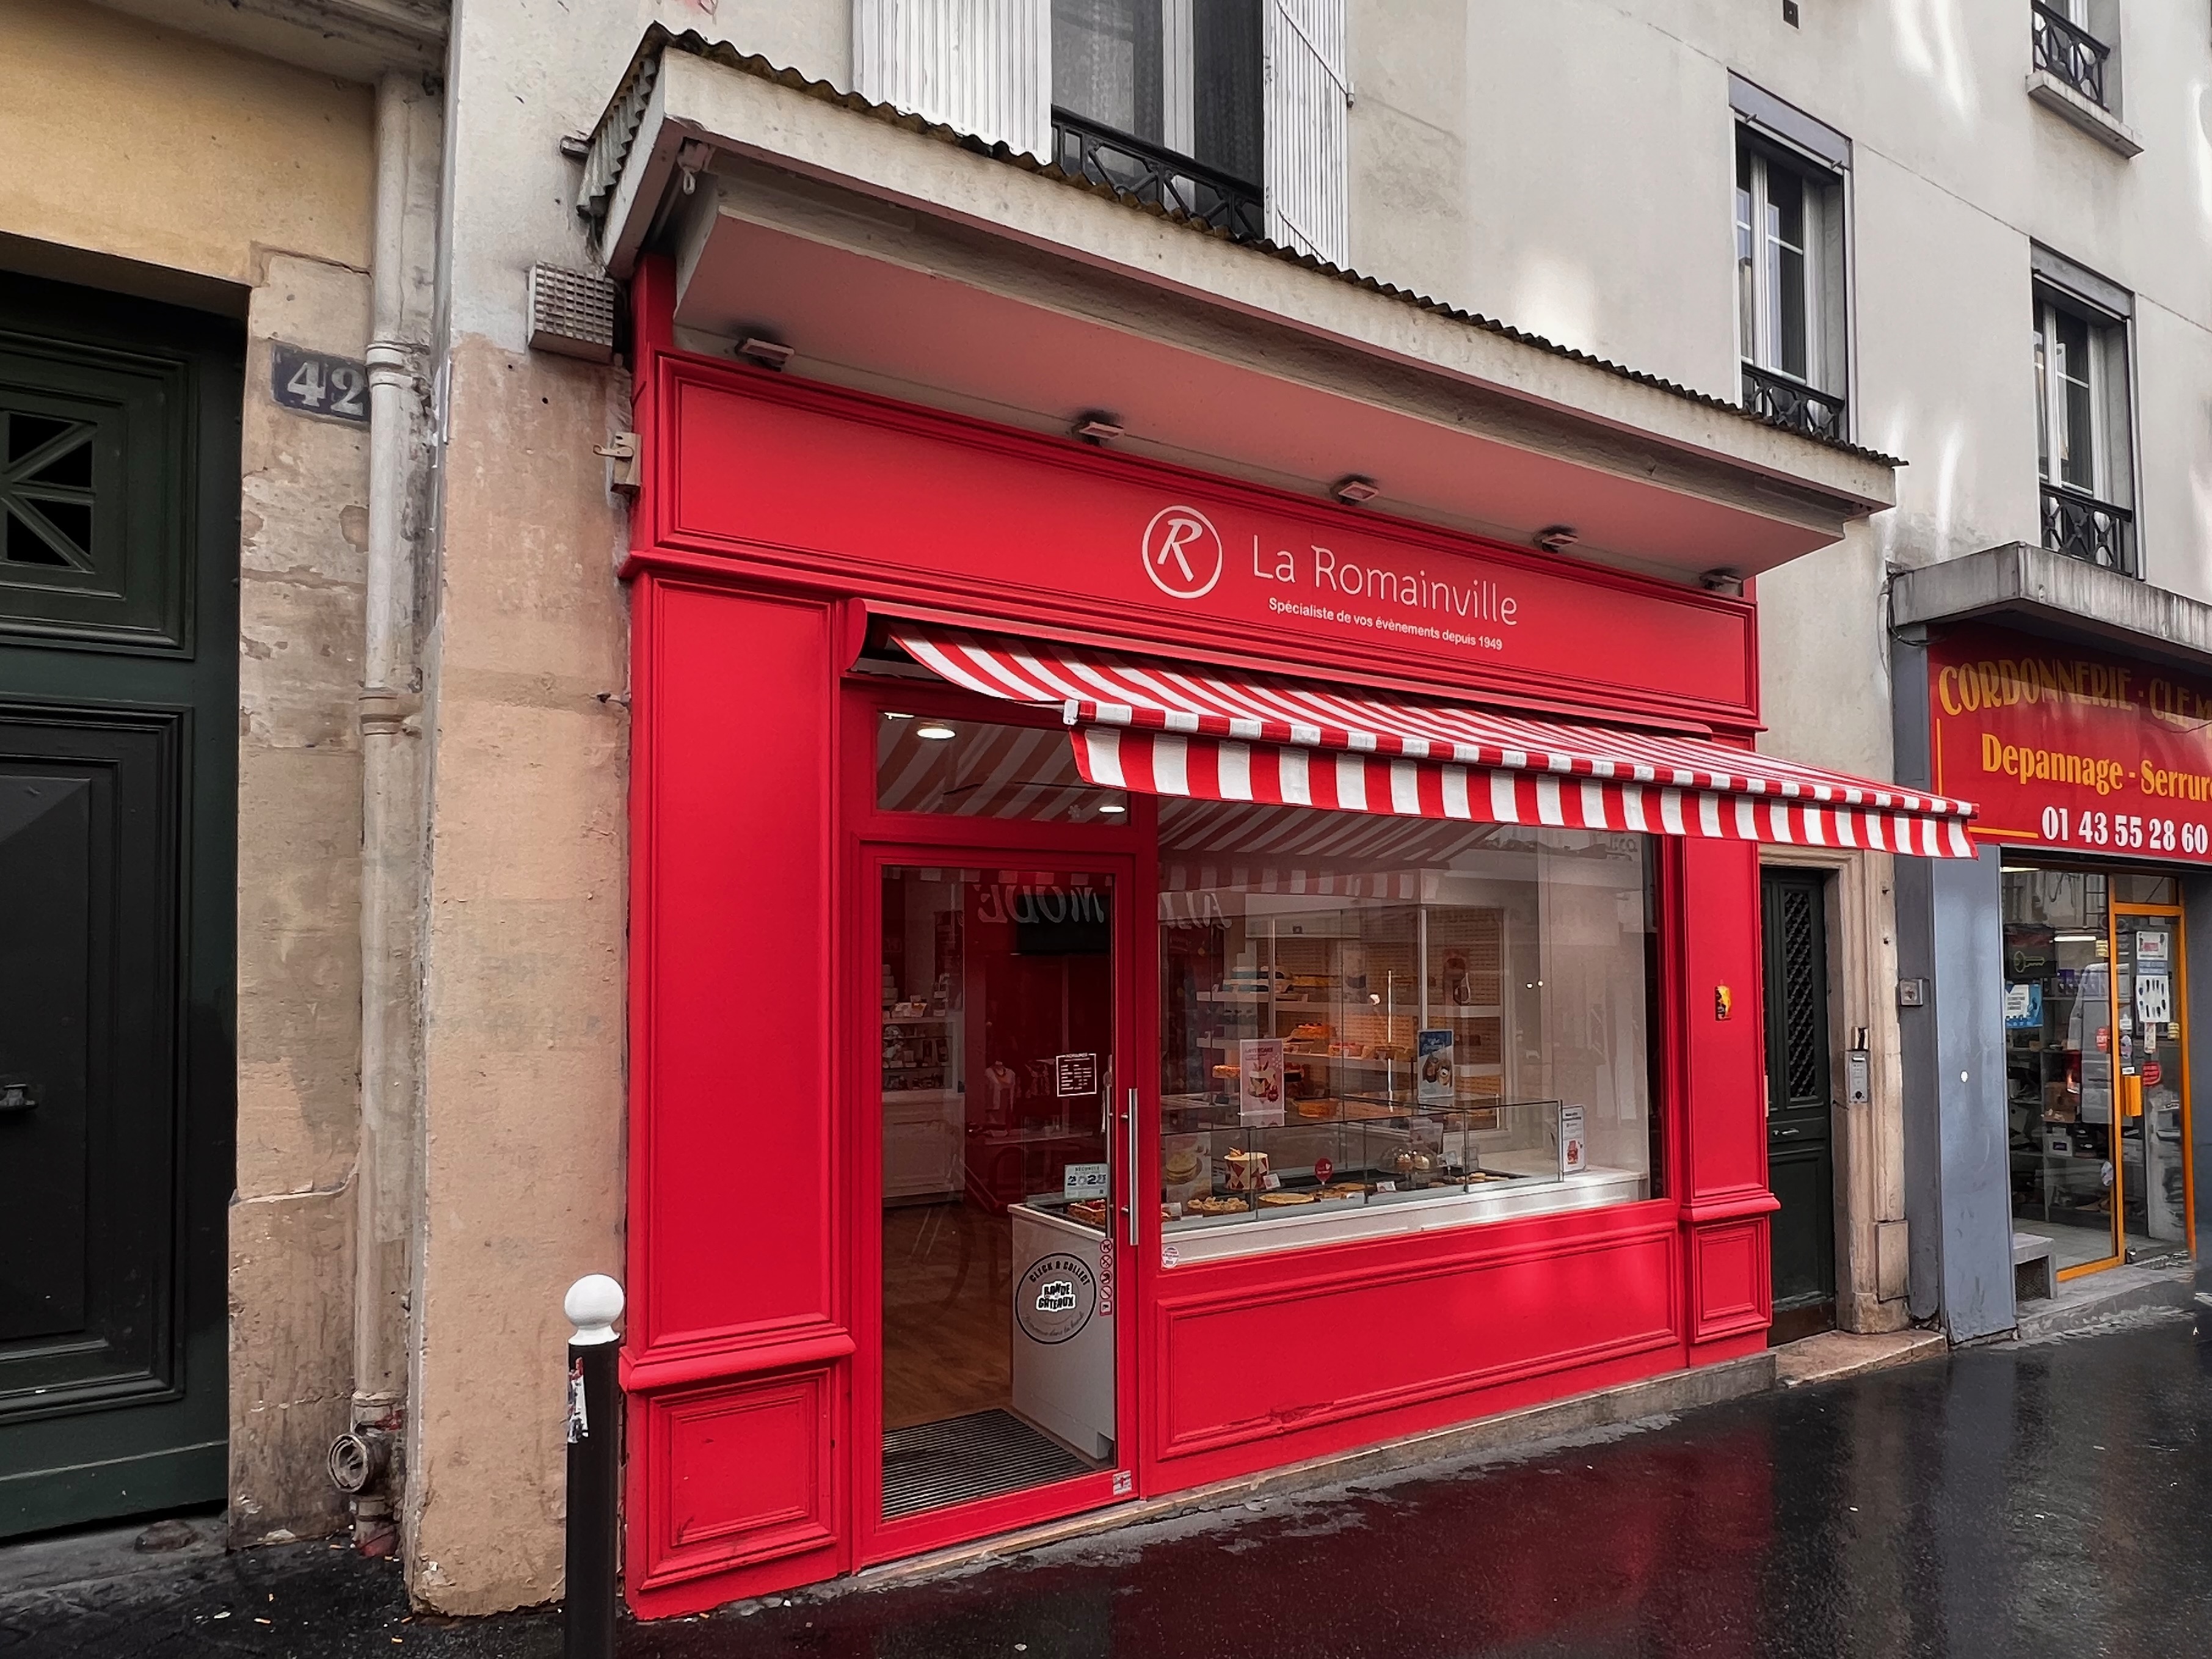
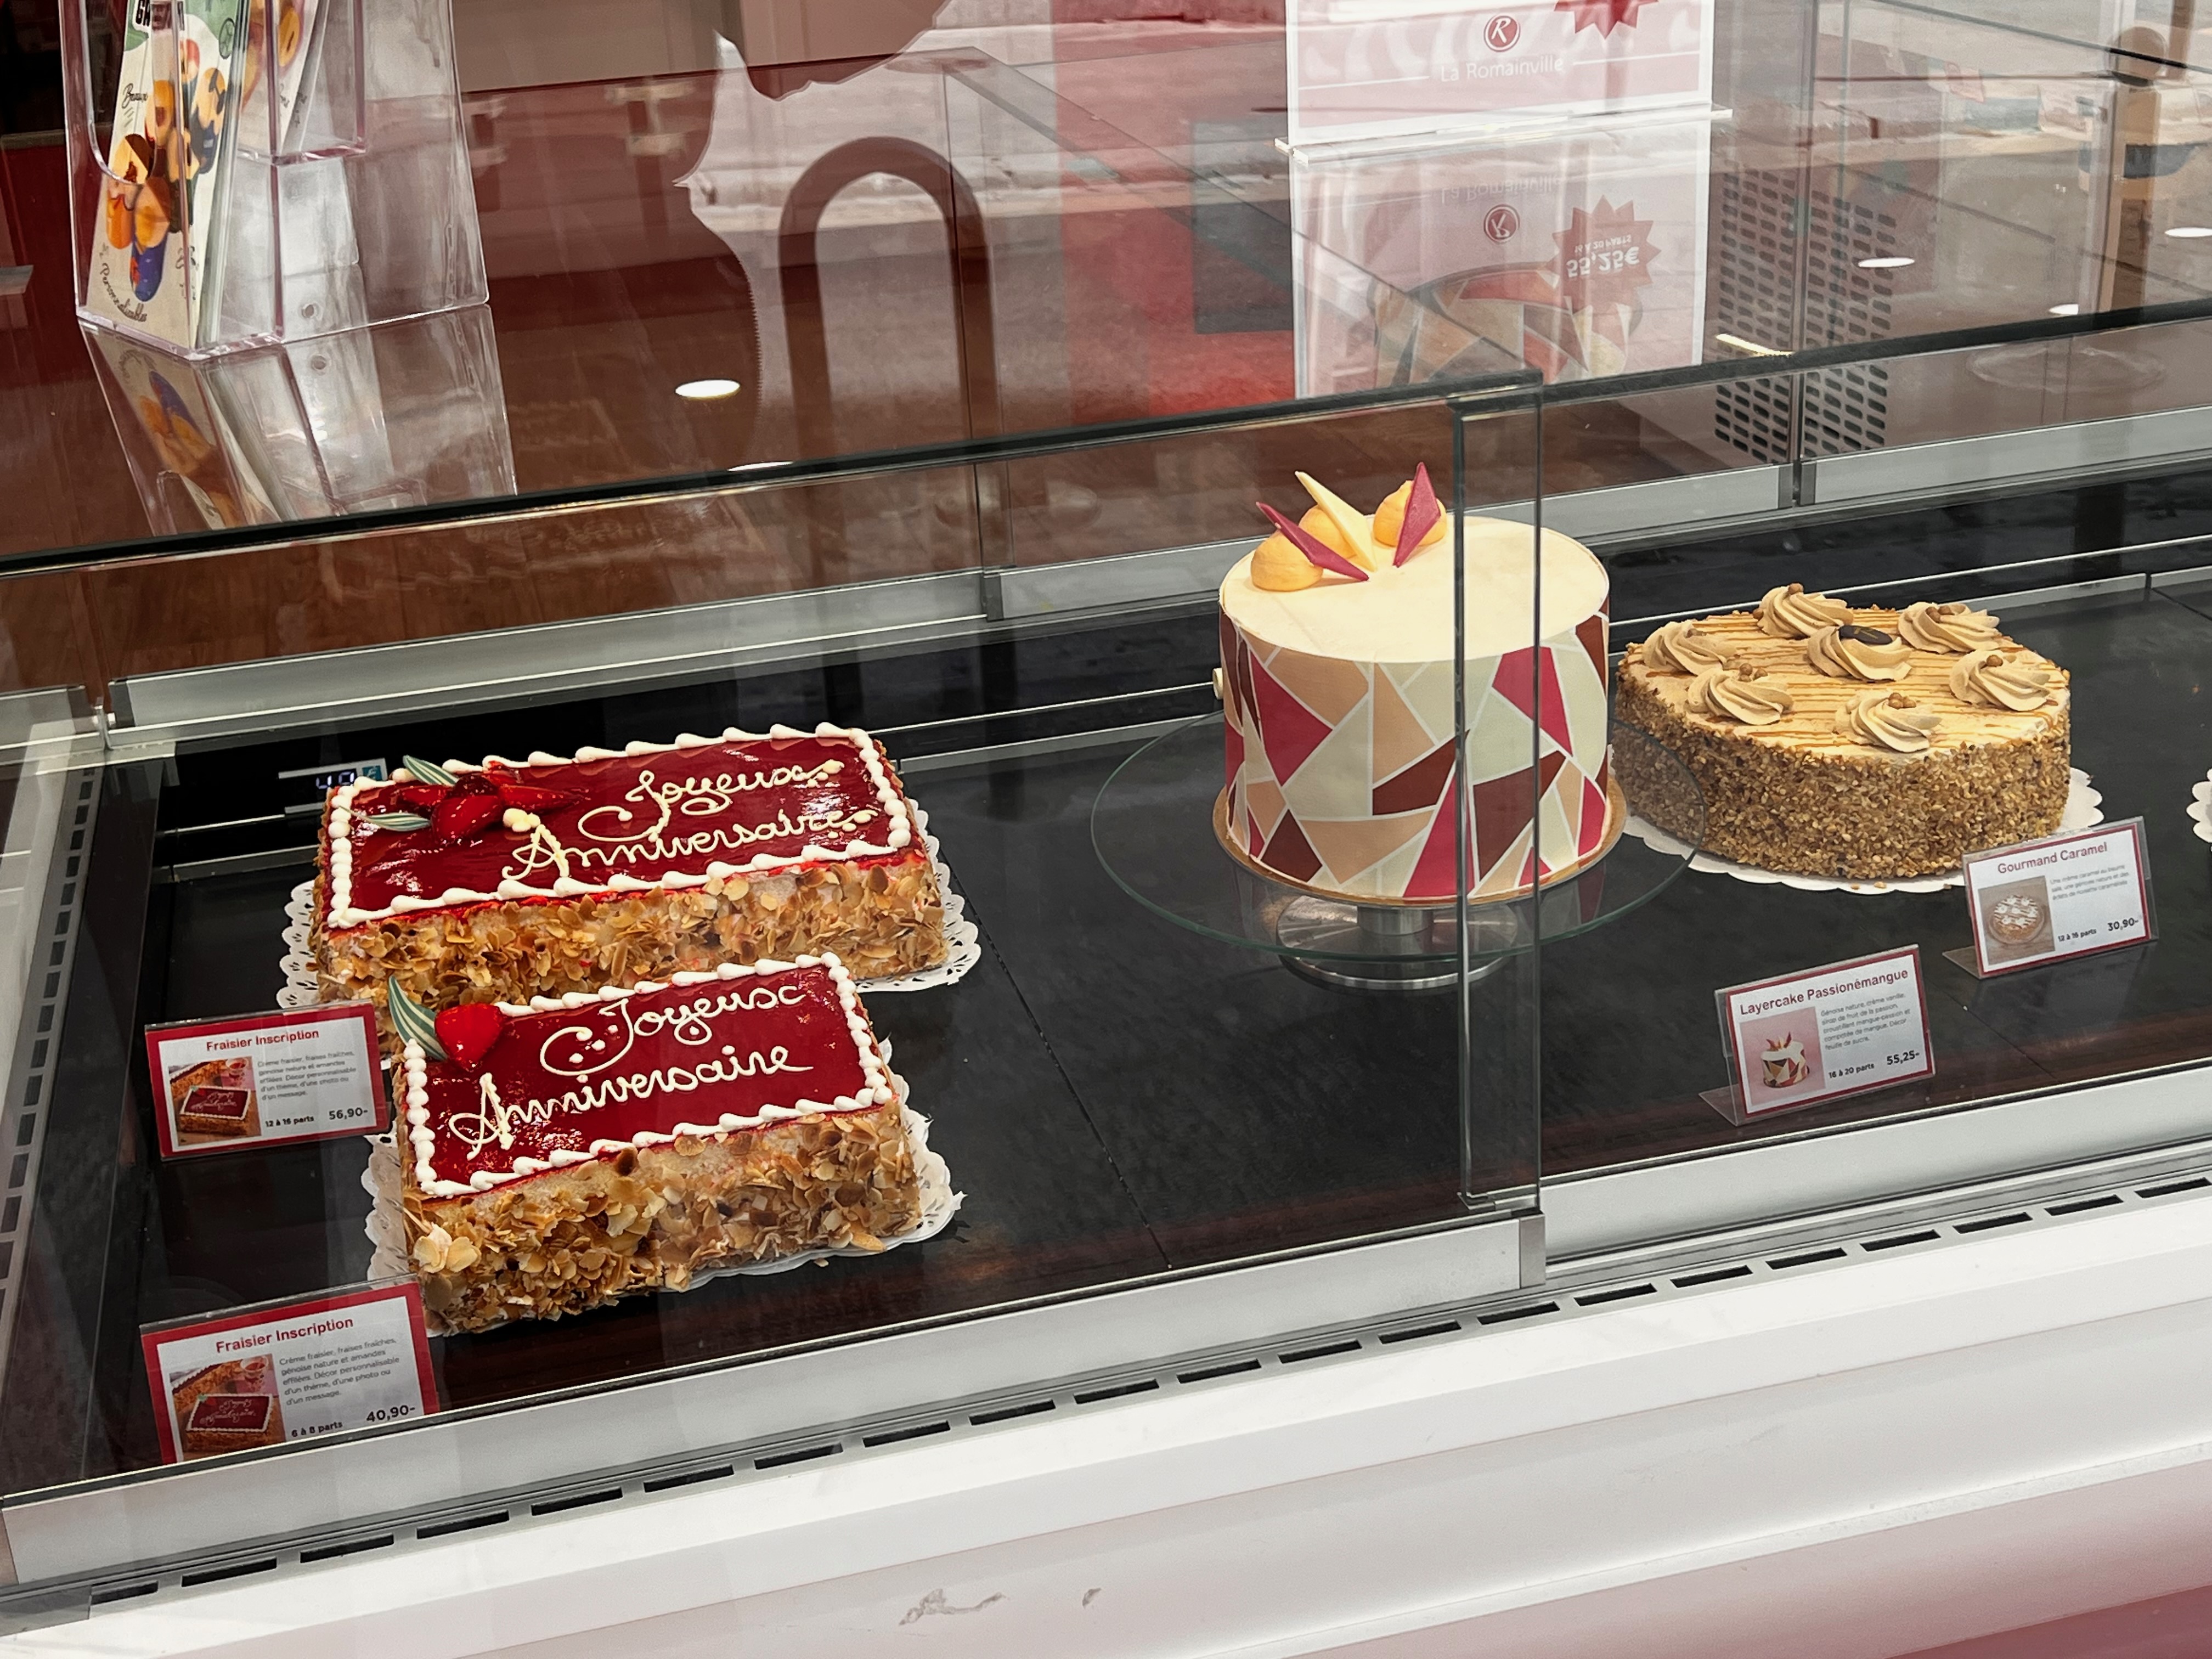
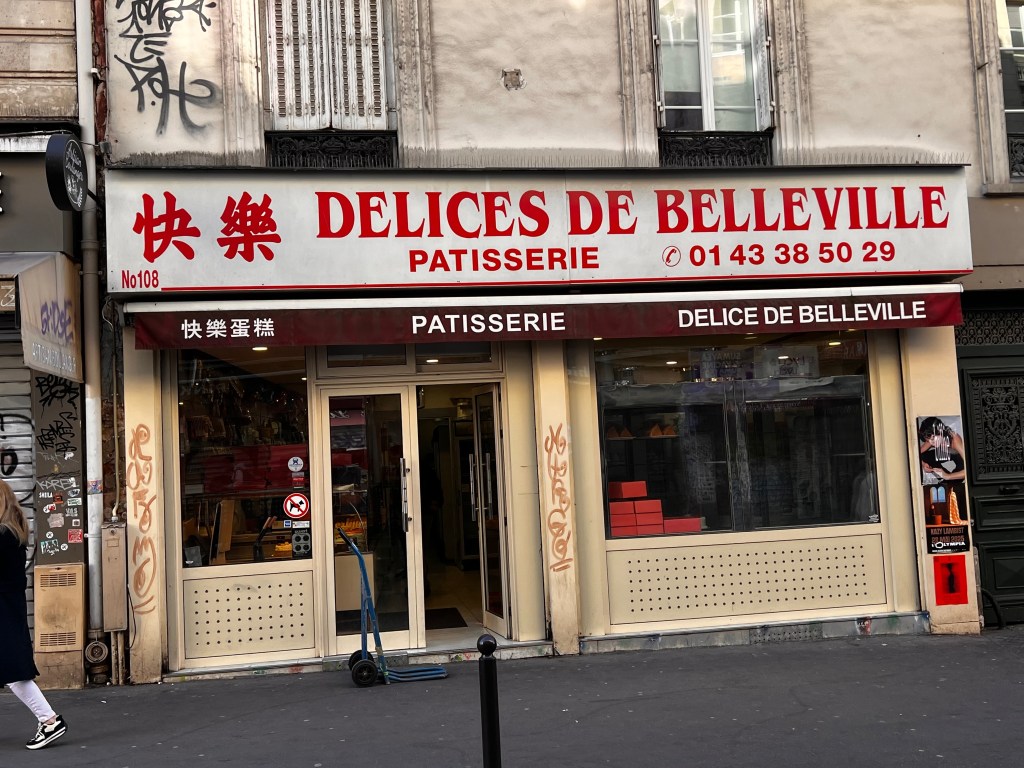
On the other side of the road from Le gáteau doré is a more demure looking (and possibly more upmarket) shop specialising in cakes for events, the Pâtisserie La Romainville. Another cake shop – the one nearest us, Délices de Belleville – is also labelled with the Chinese characters for “happy cake”.
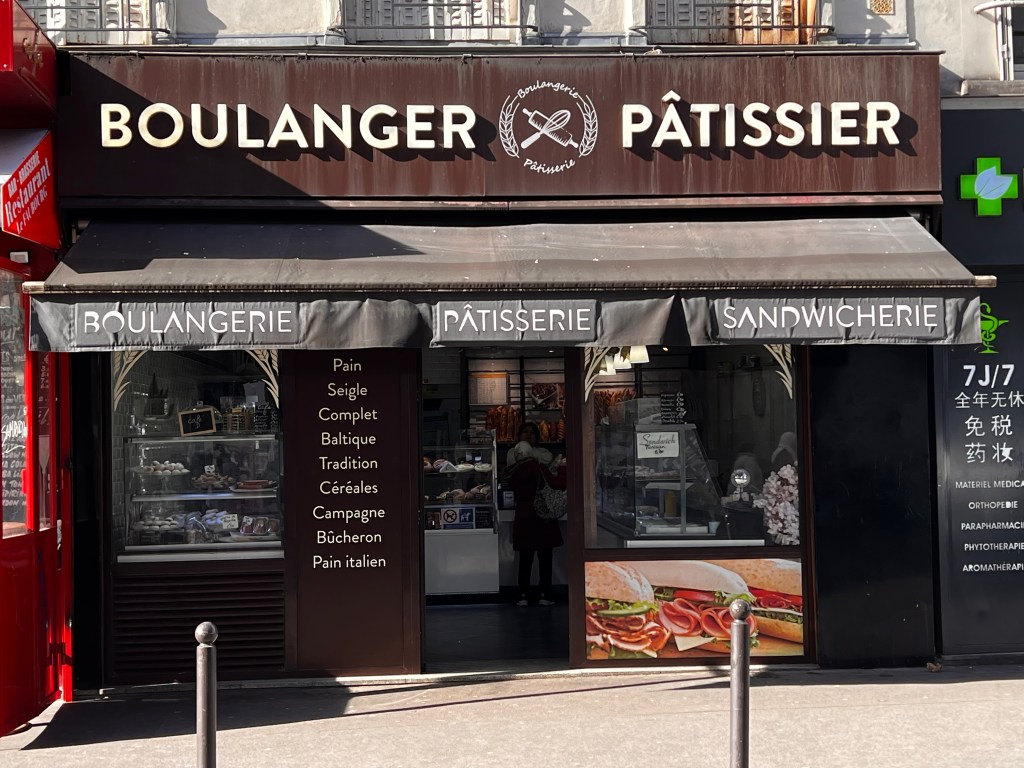
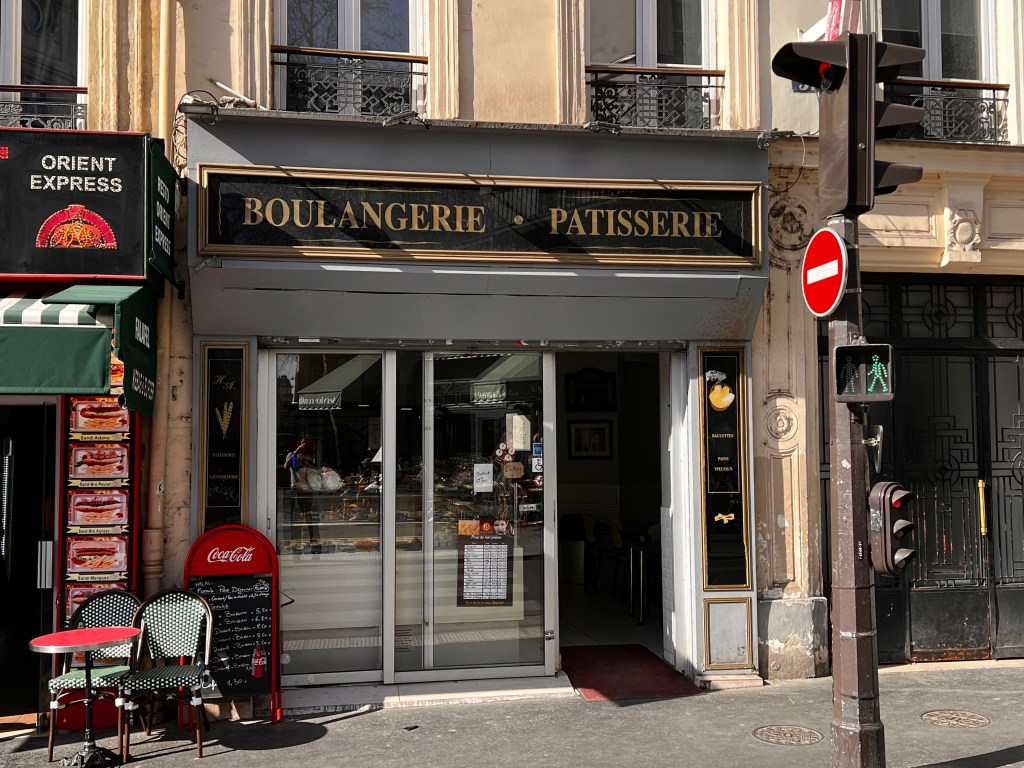
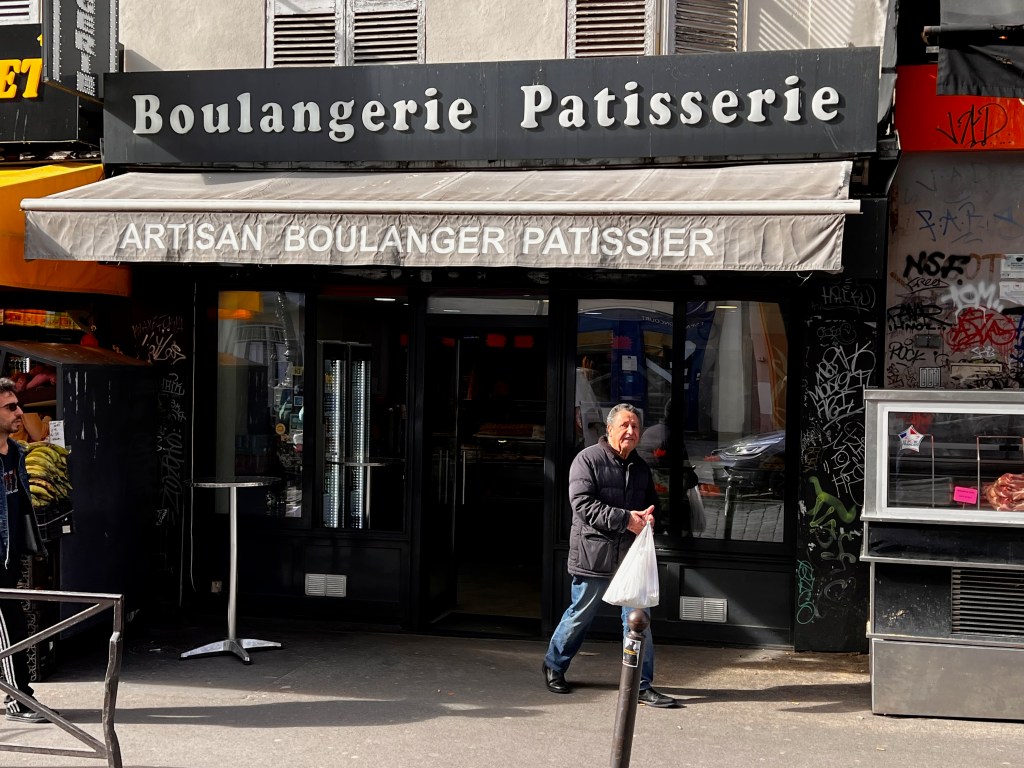
And there is no shortage of standard boulangerie-pâtisseries, the sort that will sell your morning baguettes and croissants as well as a variety of other stuff. Several of these don’t even have a brand name attached and are just labelled Boulangerie Pâtisserie or Artisan Boulanger Pâtissier or similar.
And that’s not counting the several supermarkets along the way that will sell you bread, croissants and cakes. I don’t think I’ve ever seen a place where you can’t walk for 50 metres without running into a bakery, and I’ve certainly never lived in one. And I love it.