For my 80th and final bake, it’s time to come back to my home in London (which is very lovely, if a somewhat humbler edifice than the Reform Club, Phileas Fogg’s final destination).
This sourdough recipe is the one that I’ve been making, in variations, almost every week since October 2019. I’ve made breads with more intense flavours (Estonian black bread and its Russian cousin Borodinsky bread are probably my favourites) and I’ve made breads with more wonderful texture (Persian Nân Barbari is the clear winner here). But this recipe fits into my working life with no fuss, particularly now that I have a high number of days working from home: the elapsed time is long, but the amount of actual work (including washing up effort, which seems to get forgotten in most cookbooks) has been pared down to the minimum. And it produces a healthy bread which is packed with flavour and which I’m happy to eat week after week.
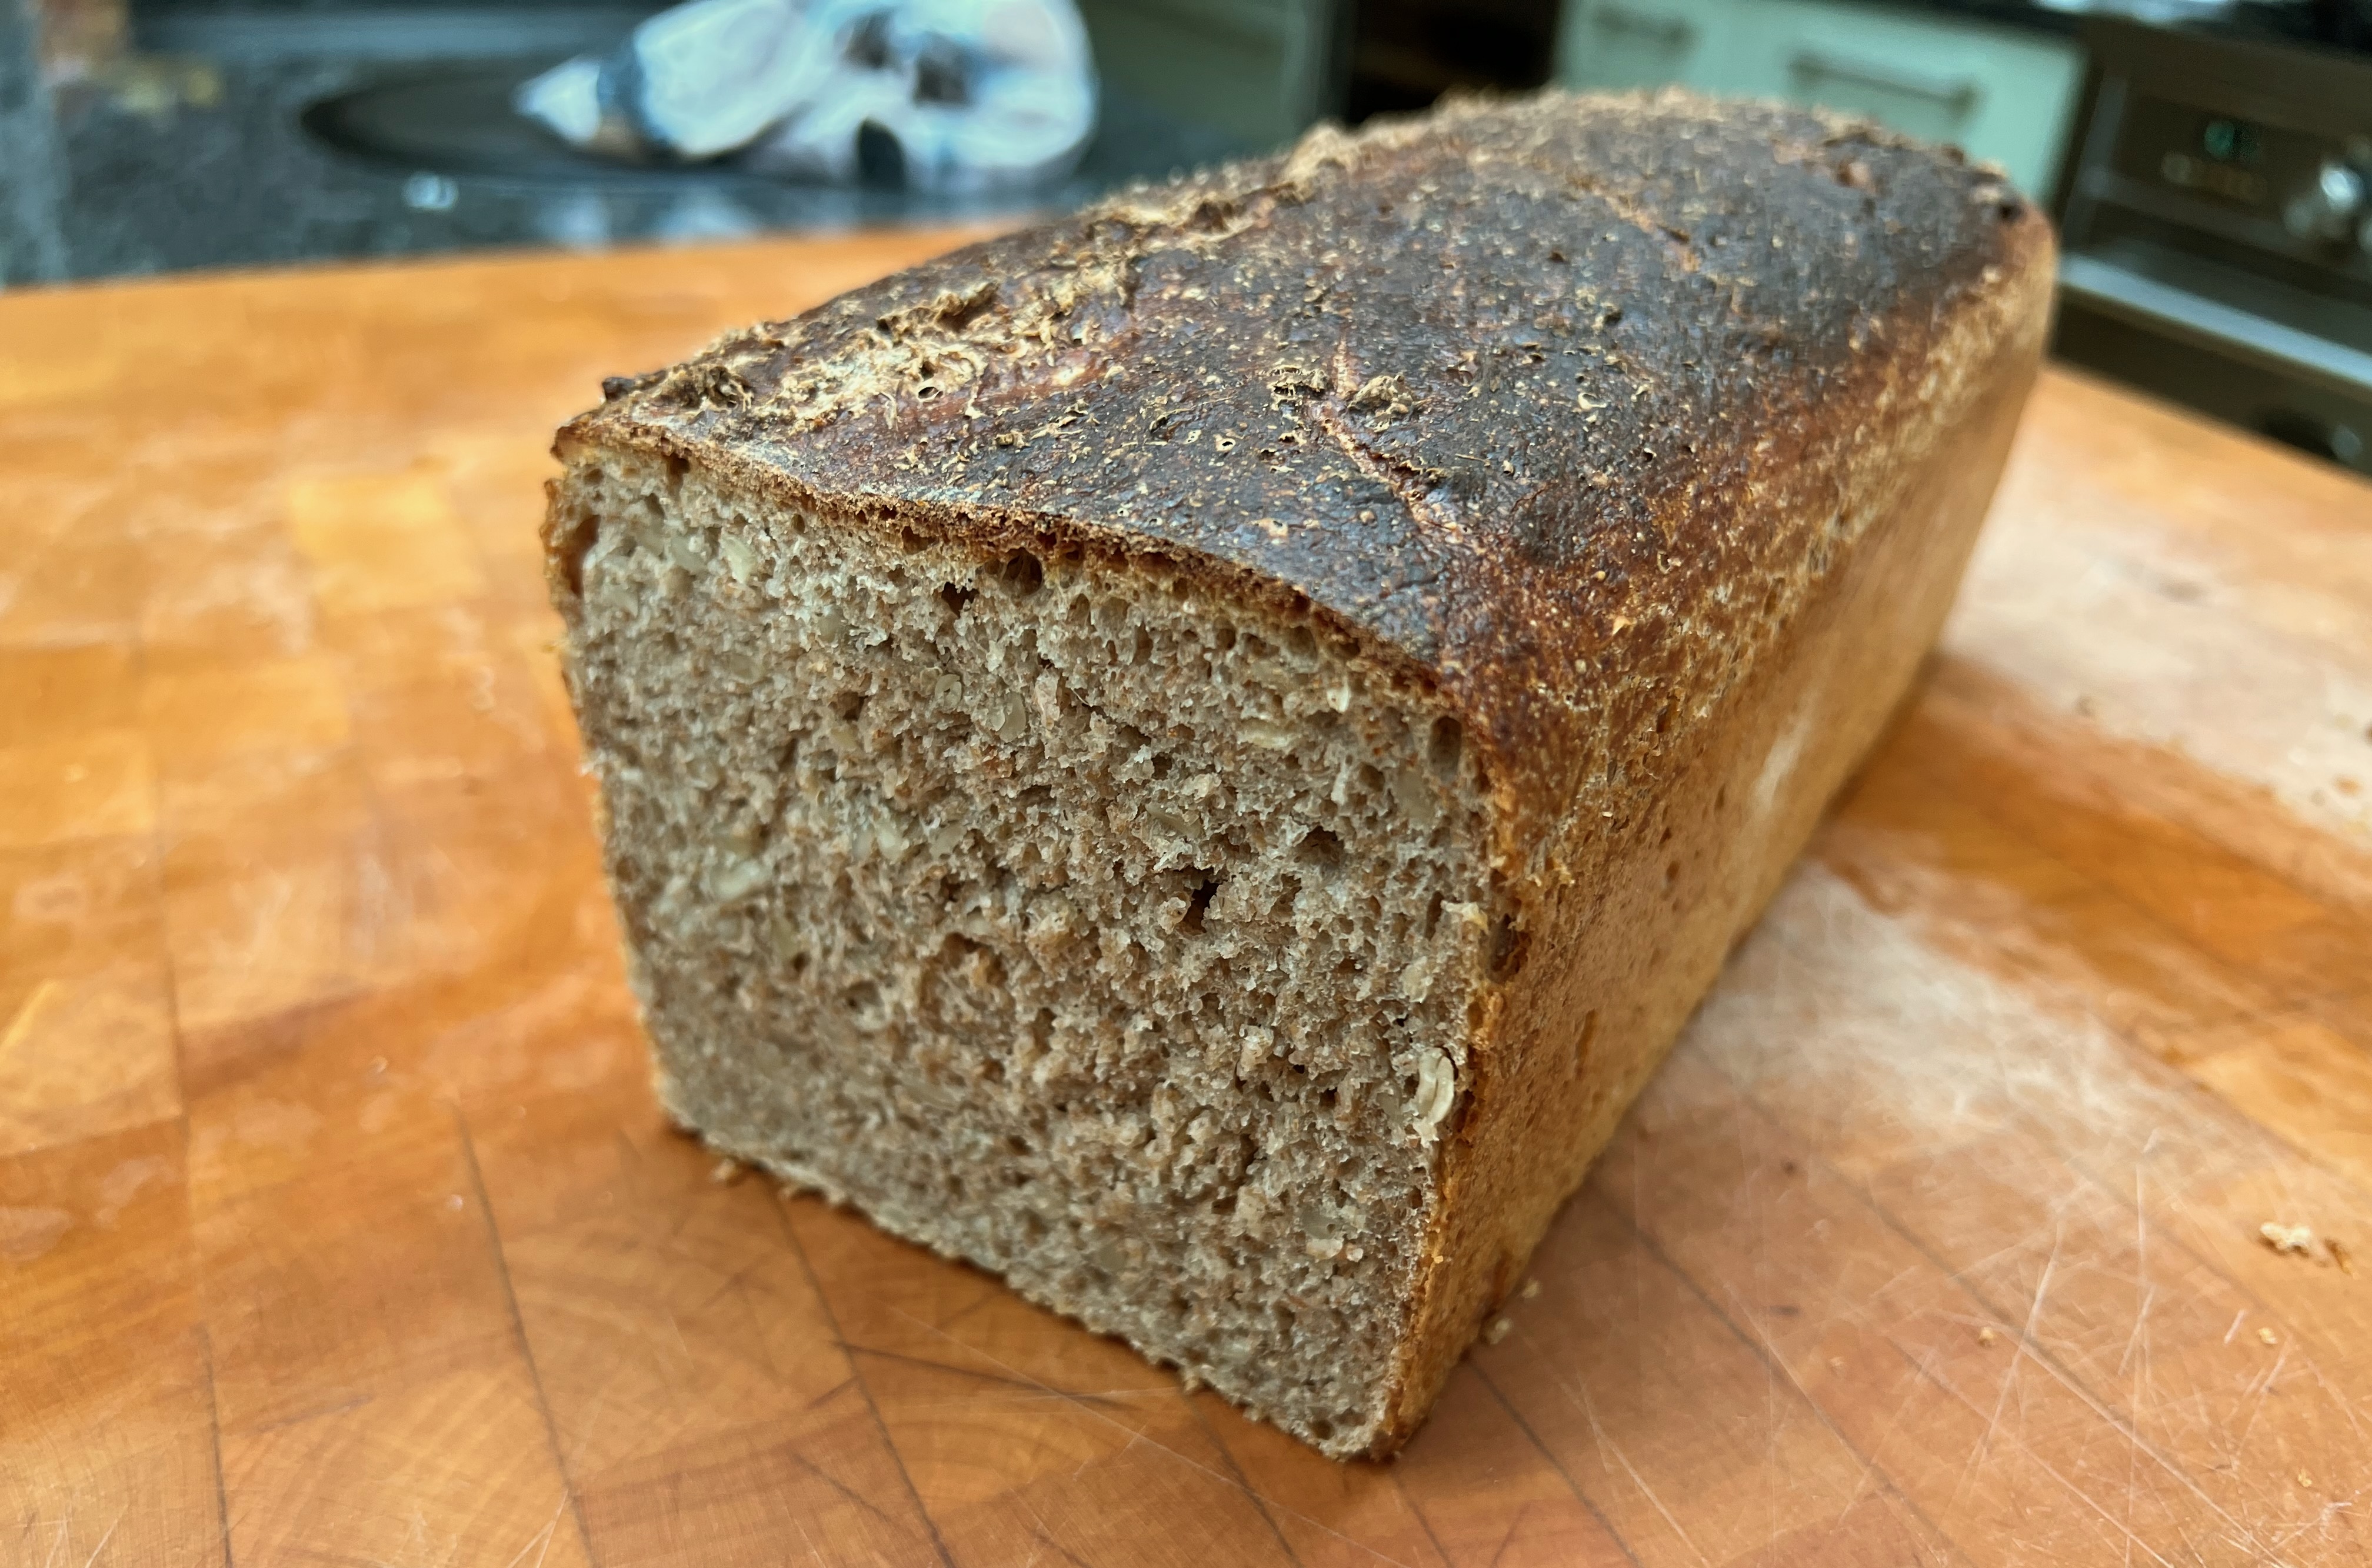
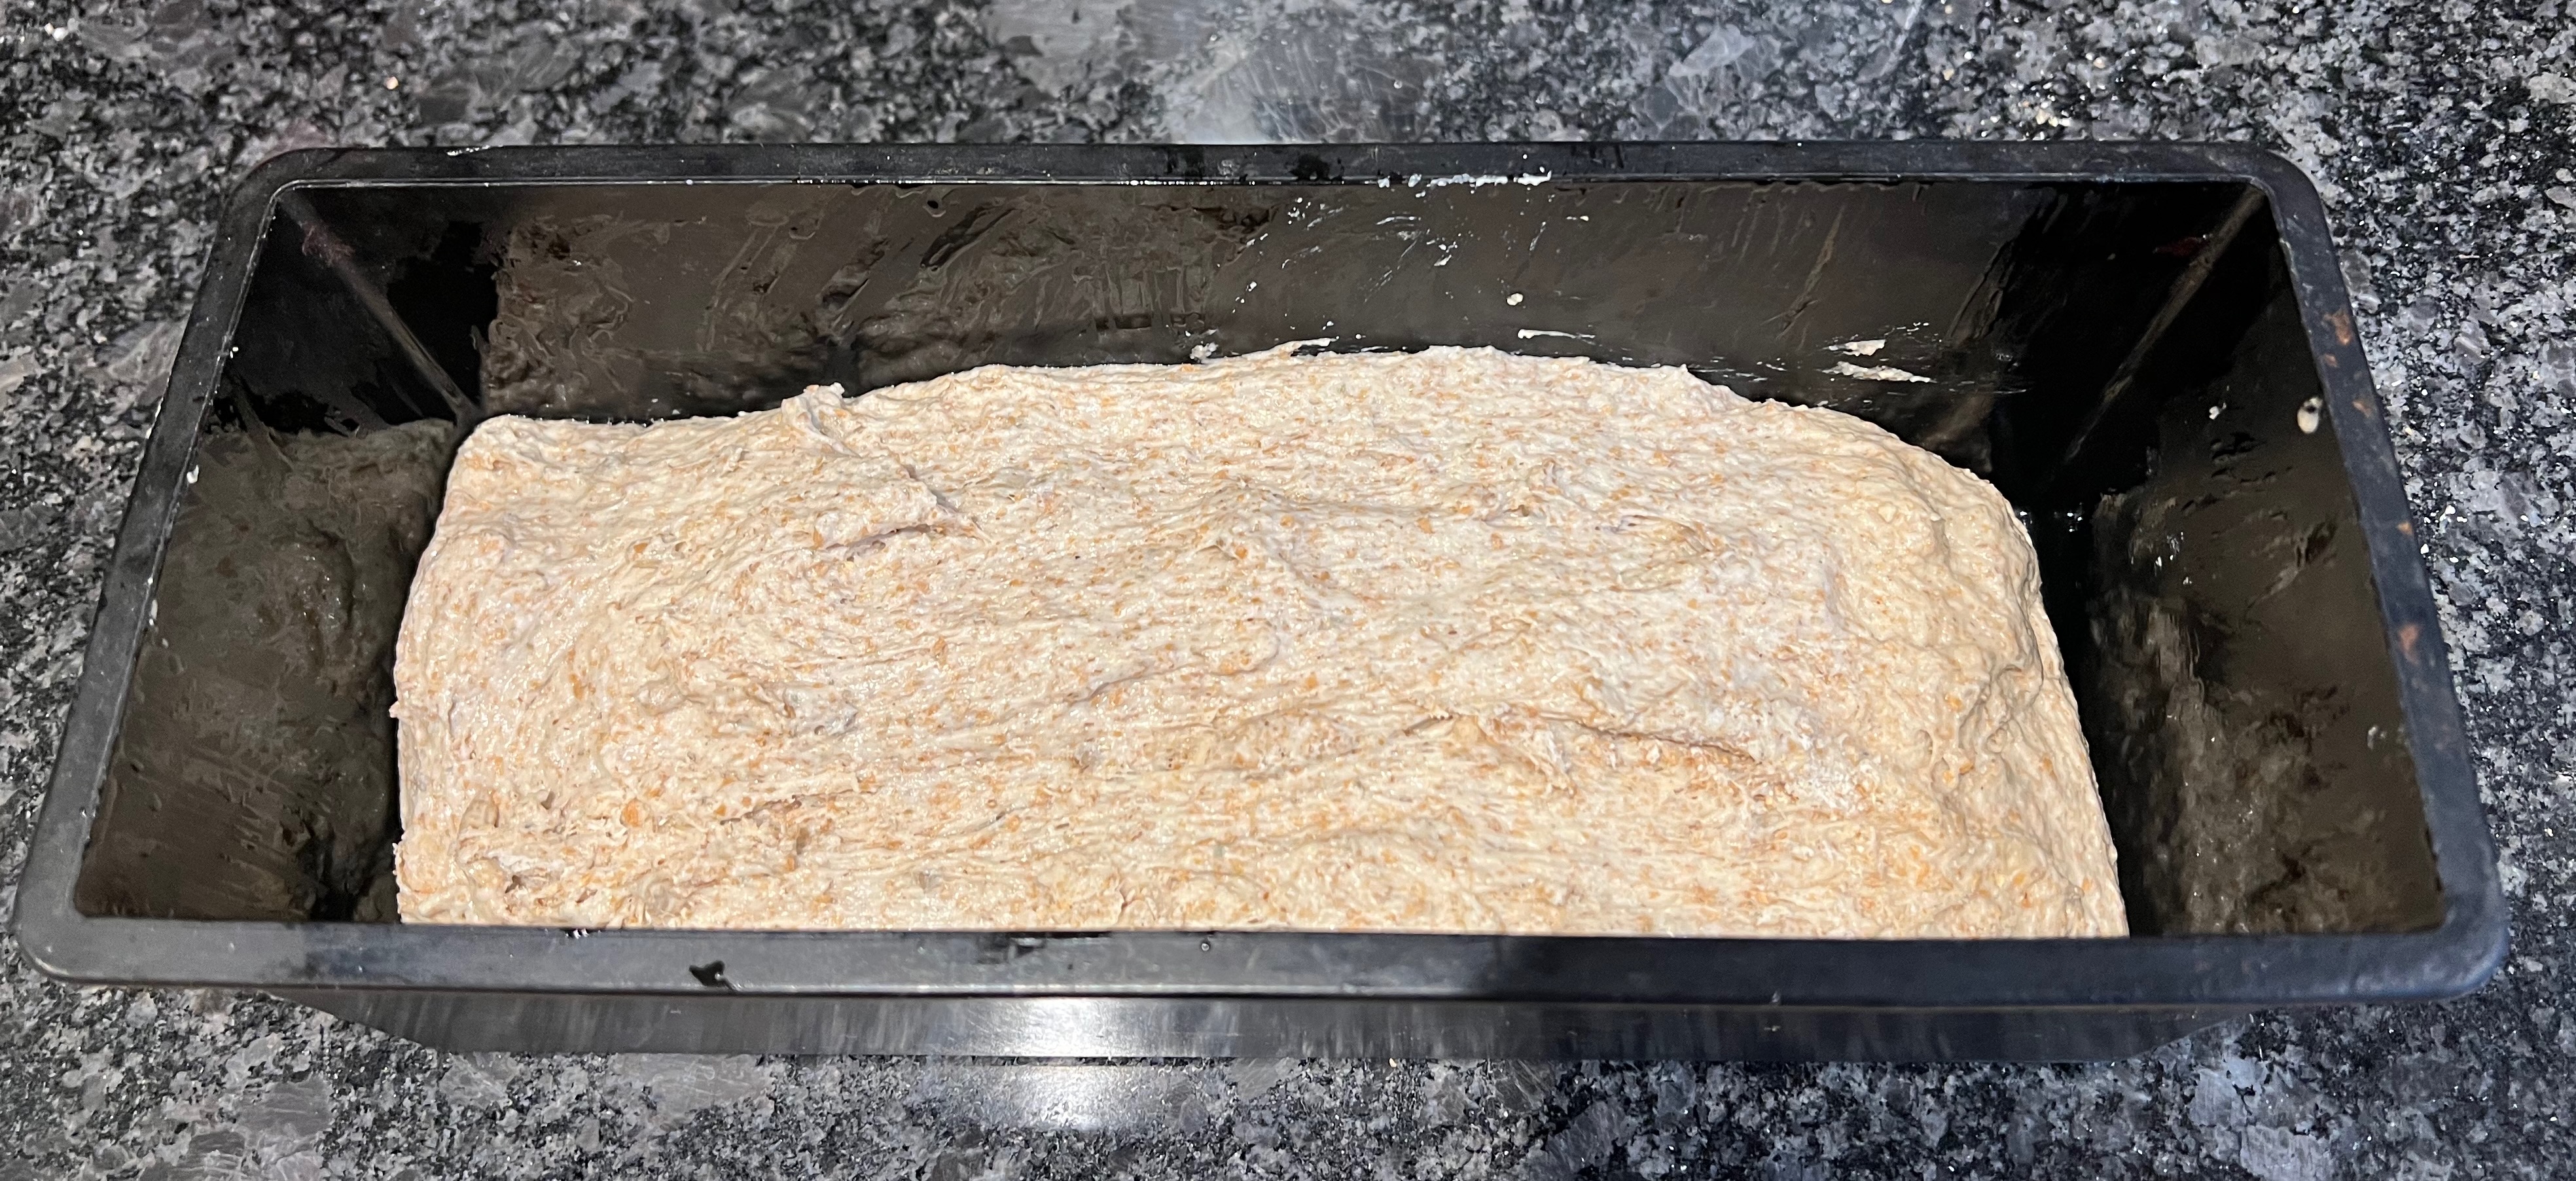
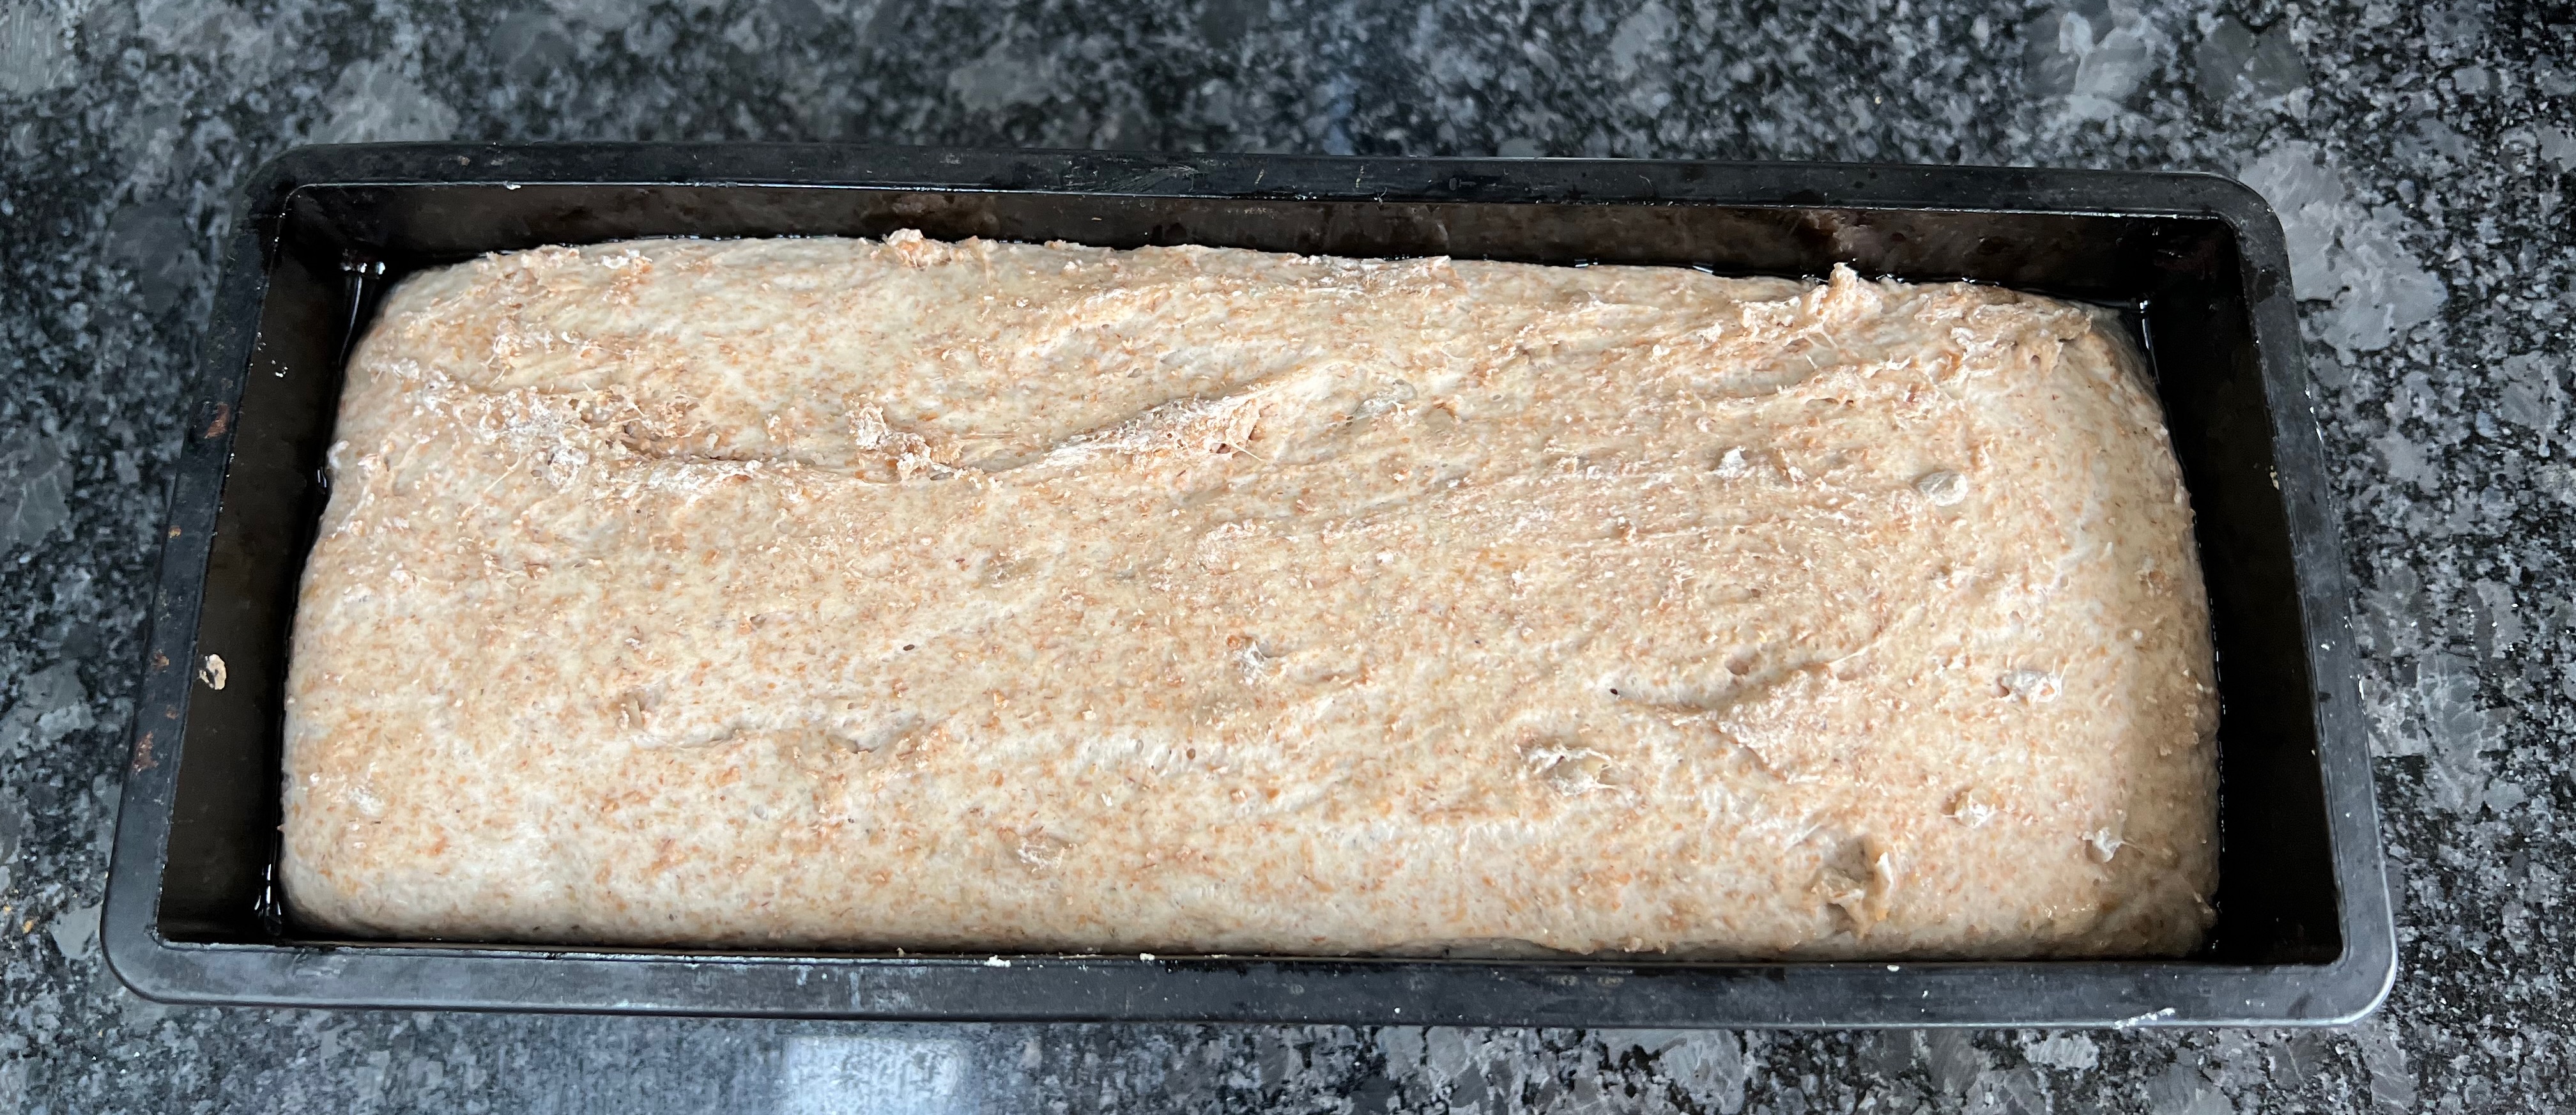
There are several variations possible. The flour mixture in this post is 50/50 strong white/wholemeal spelt, but you can vary the flavour by replacing the spelt by either dark or light rye or wholemeal wheat. Or you can go 60/40 for a less dense, more pillowy result. Or you can increase the amount of seven seed mix, or ditch it altogether and/or replace it with 20-30g of caraway seeds (whose flavour is very much a traditional accompaniment to light rye). In the loaf tin version pictured here, I had run out of seven seed mix so I used sunflower seeds only.
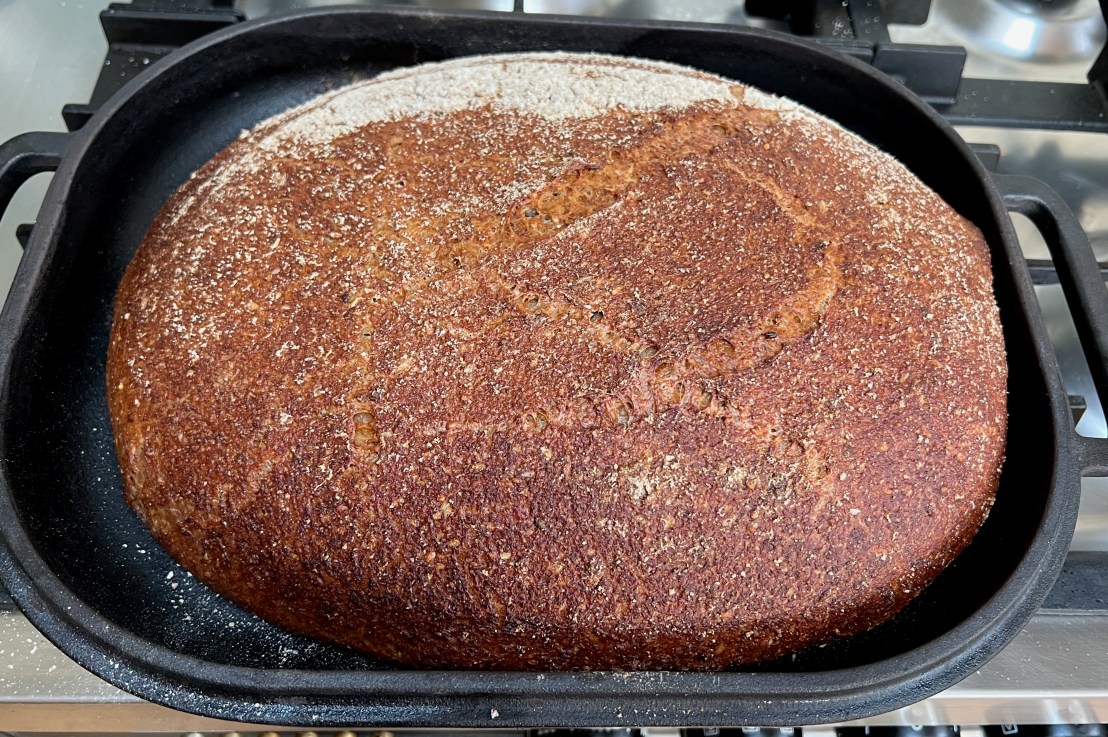
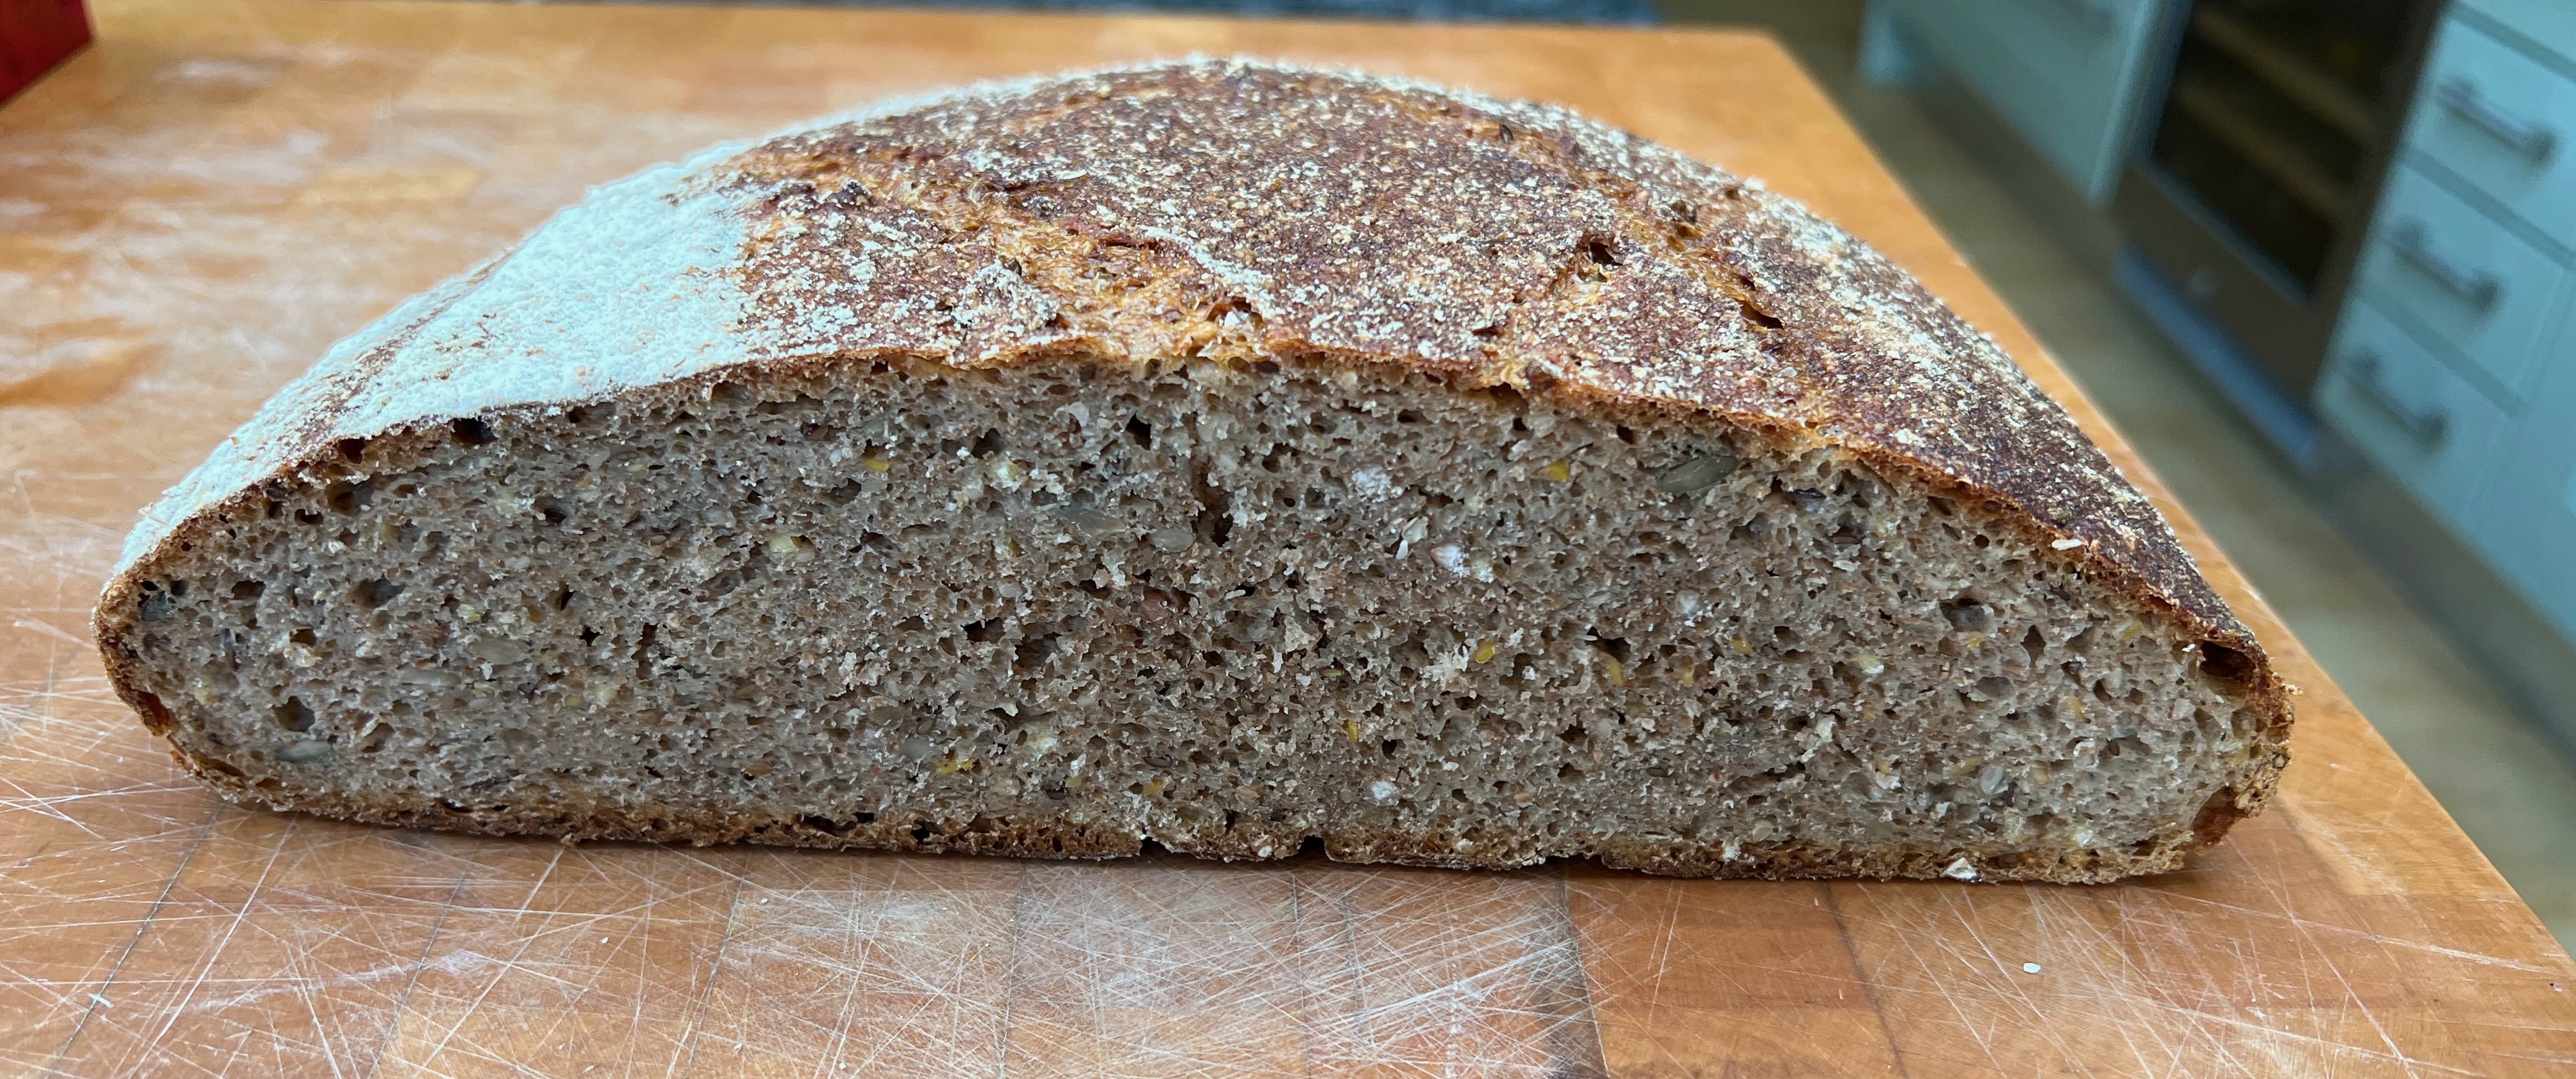
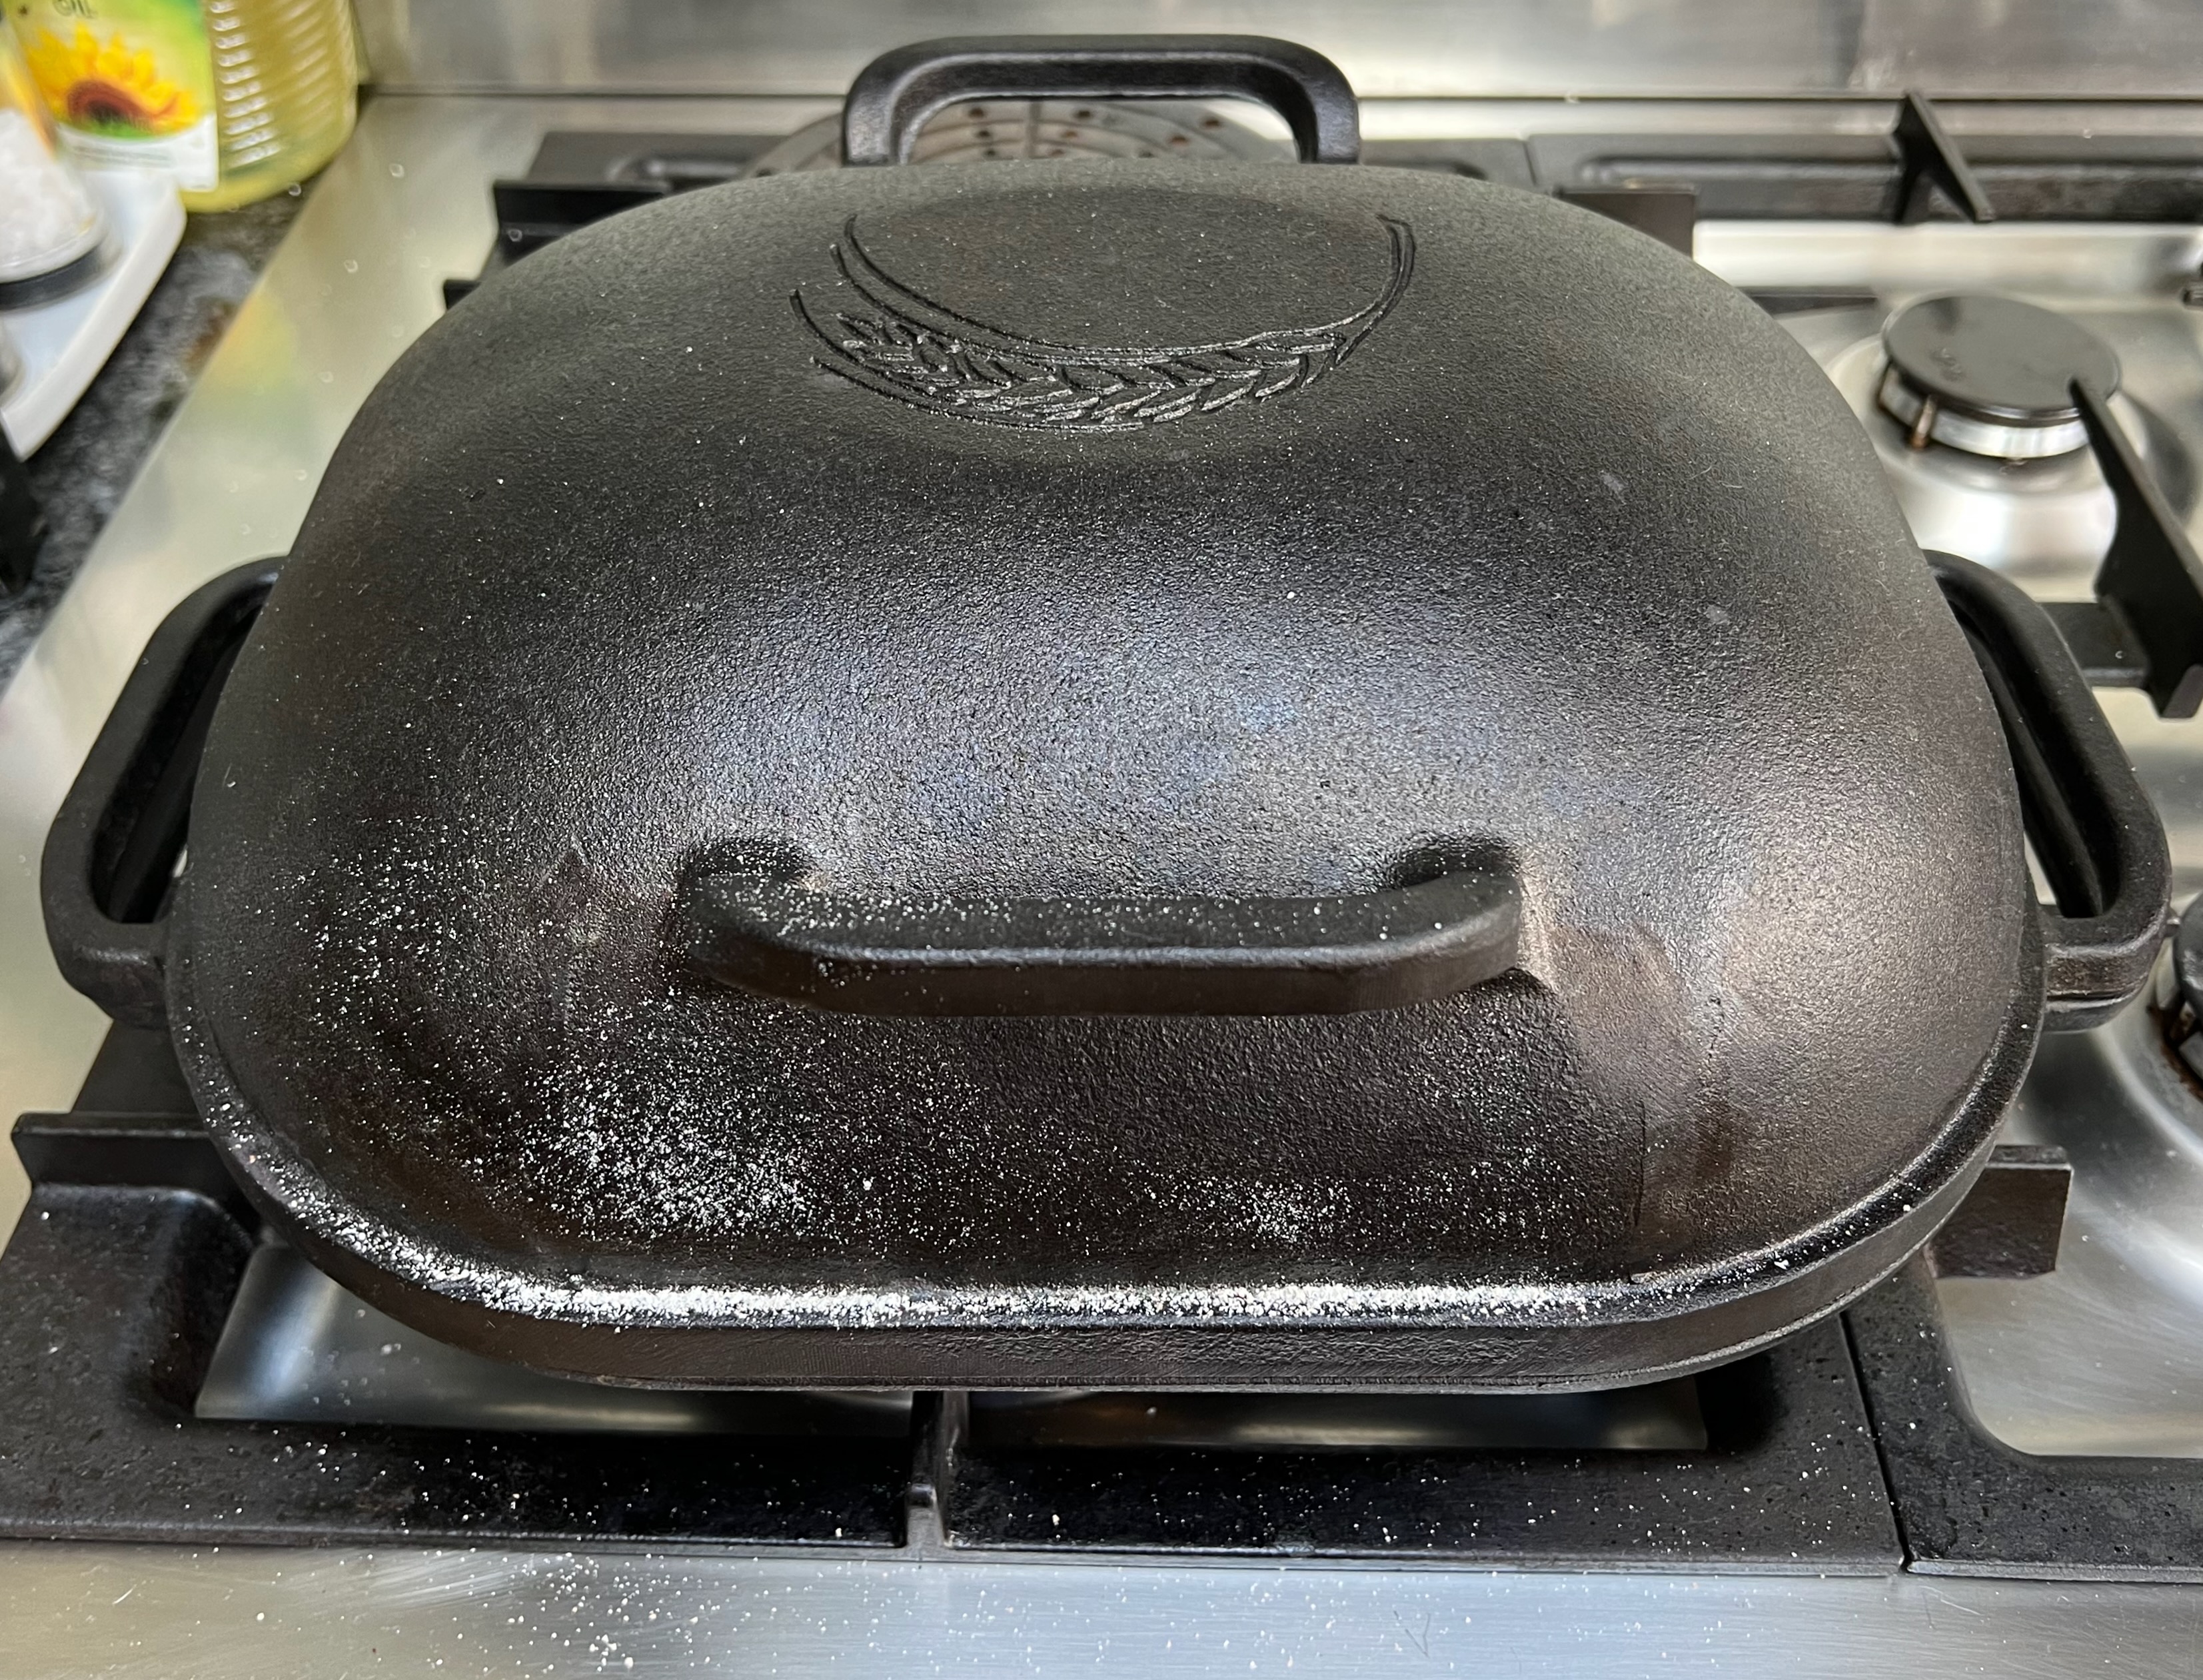
In terms of process, I have two variants. Most often, I use a two stage prove: the second rise is done in a cloth-lined basket after which I bake a free standing loaf in a cast iron Dutch oven made by US company Challenger. But if I’m in a hurry, I’ll just pour the kneaded dough into a greased baking tin, leave it to rise once and then bake.
I adjust timings to suit the day’s schedule by choosing the temperature for the rises: fridge (around 3℃), room temperature (my kitchen is usually around 20℃) or “a warm place” (near my boiler, around 30℃). The fastest option is to heat an oven to 50℃ then turn it off, because you don’t want the yeast getting above 45℃.
Here are three typical timings: choose your favourite or make up your own. I deliberately haven’t put in numbers of hours because they’re incredibly variable; you just have to wait until it looks right.
- Start the sponge first thing in the morning, make the dough at lunchtime and let it rise in a warm place ready to be baked after work.
- Start the sponge at lunchtime, make the dough in the evening and leave it in the refrigerator overnight. Take it out and leave it at room temperature or in a warm place, ready to be baked in time for lunch.
- Start the sponge in the evening, make the dough first thing in the morning, letting it rise in a warm place through the morning ready to be baked around lunchtime.
You can use any starter you like. Mine started life in October 2018 as a wheat-based starter, but after the first couple of months, I started refreshing it only with dark rye (which apparently makes for a less fussy starter). The method came from Andrew Whitley’s “Bread Matters”.
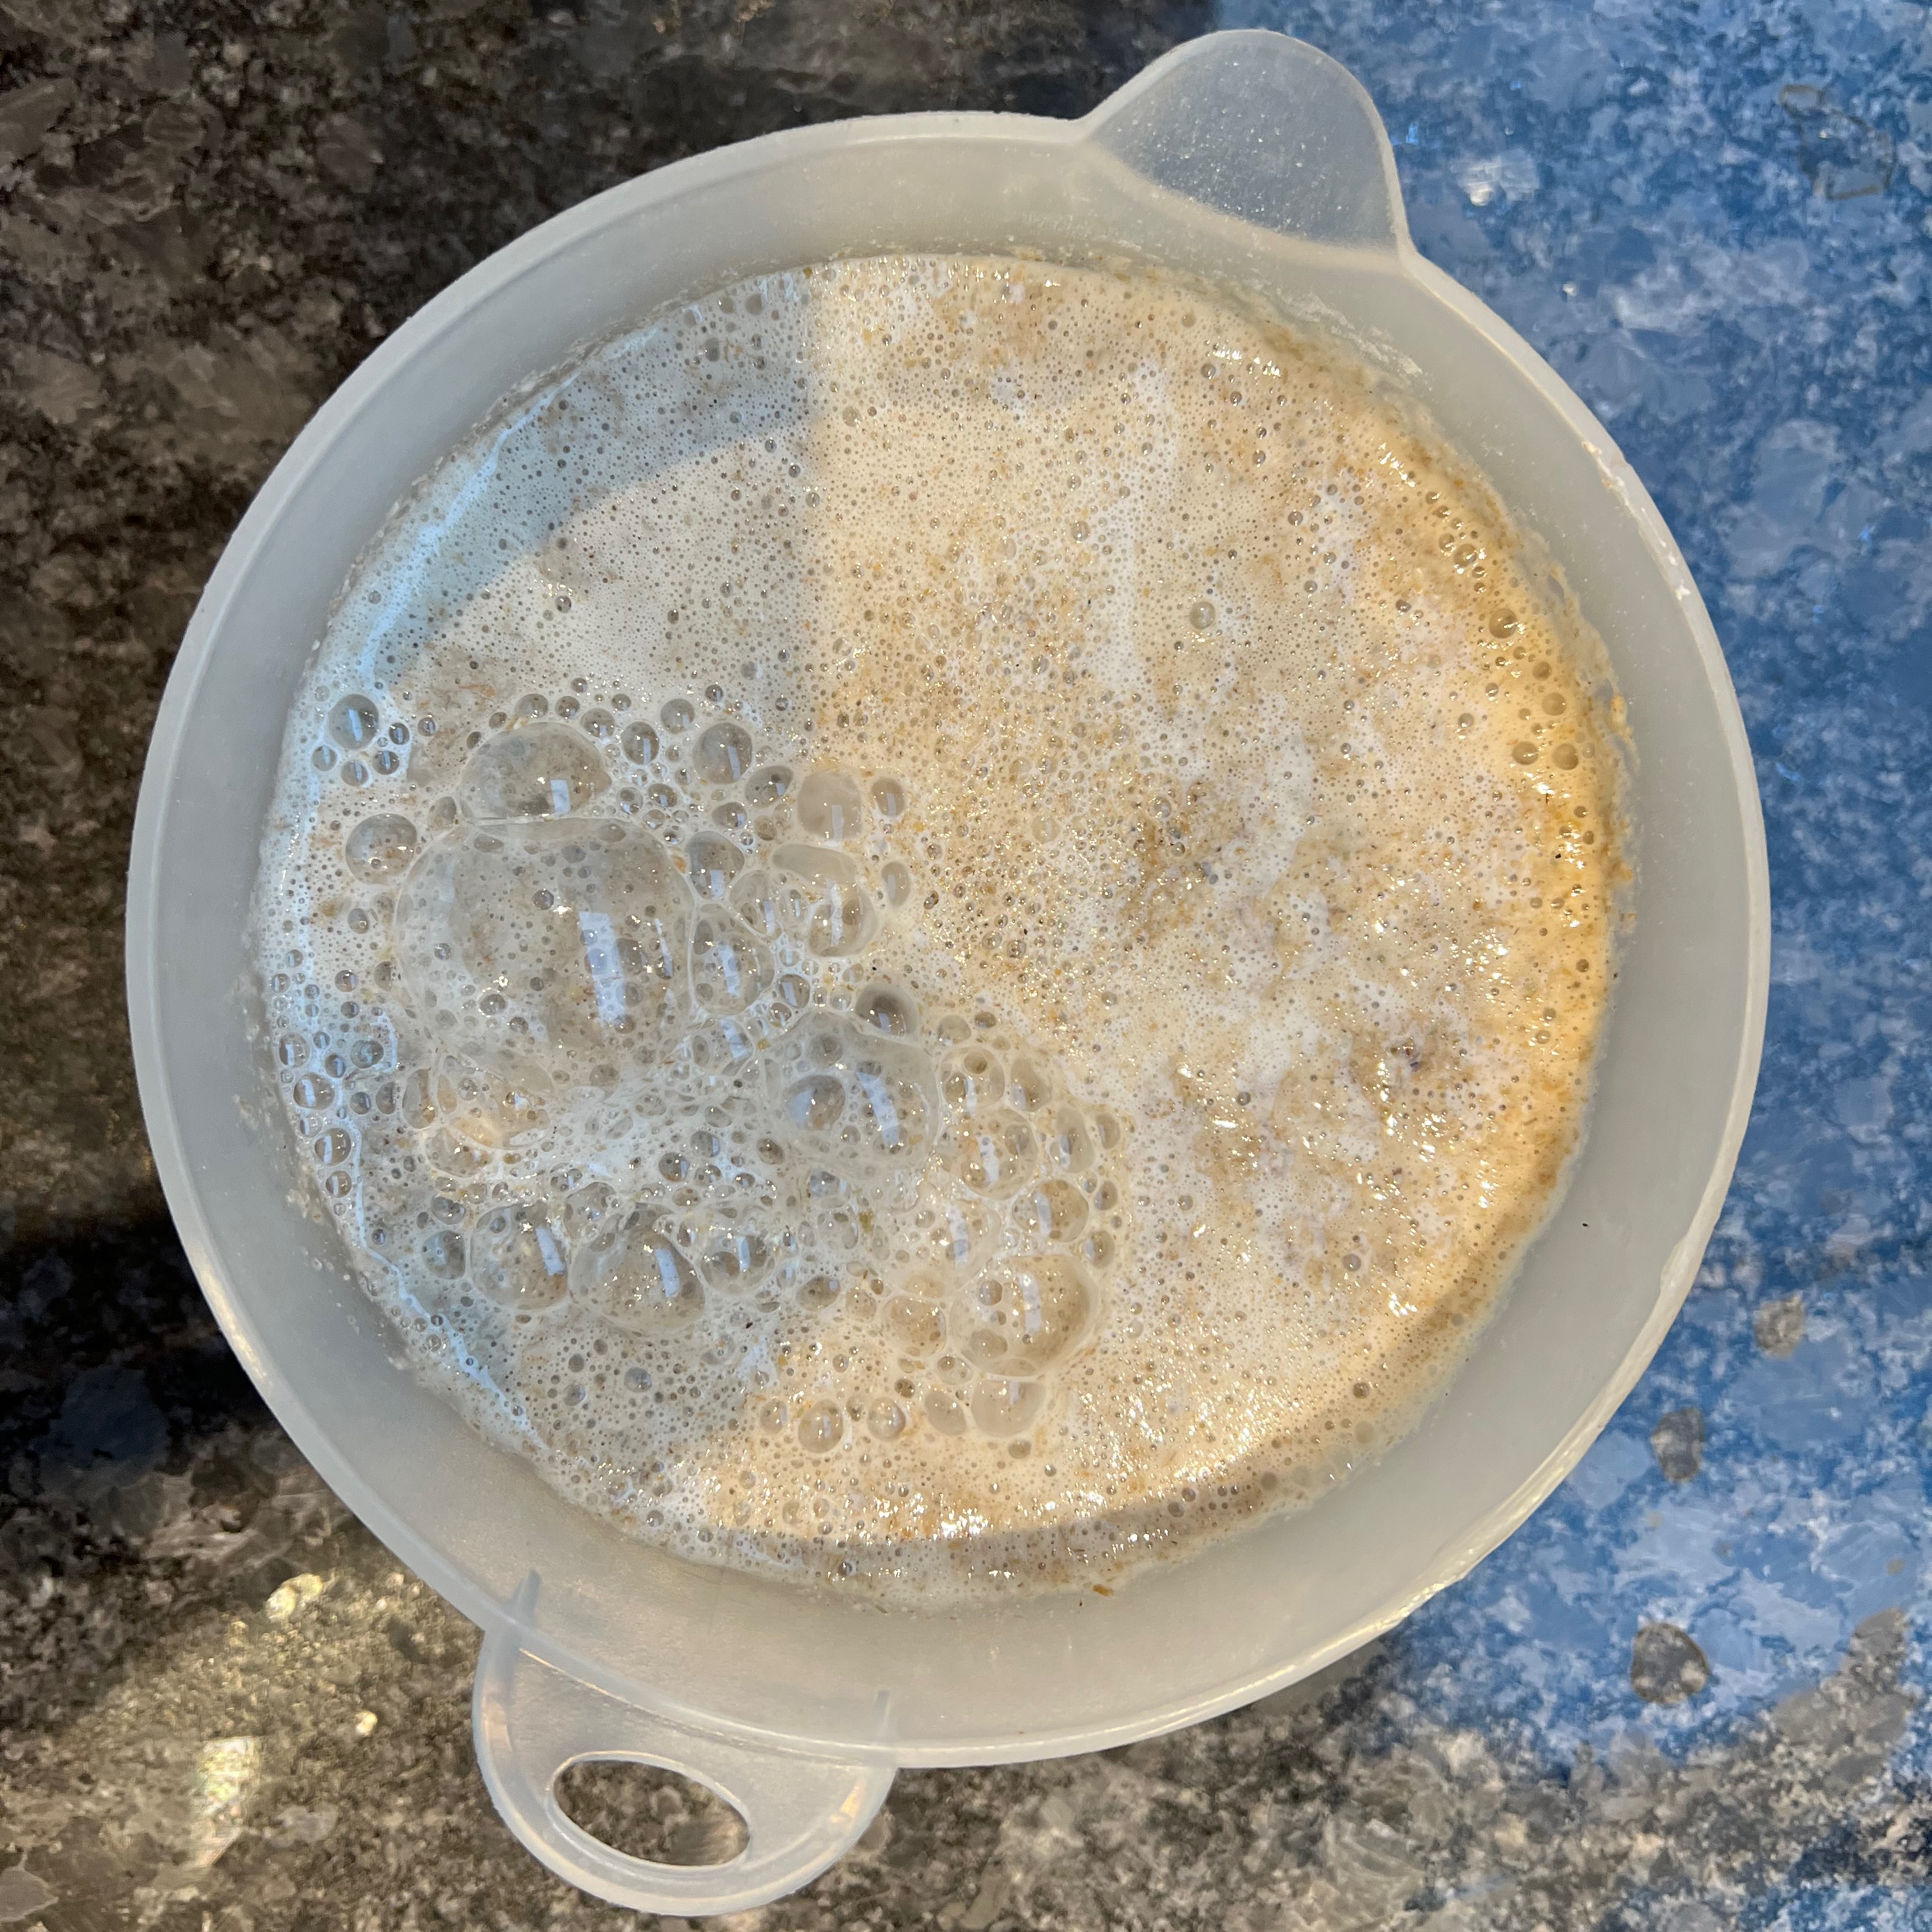
The sponge
This is the initial mixture used to give the yeast in the sourdough starter the chance to multiply. It seems to go many names as well as “sponge”: Andrew Whitley calls it a “production sourdough”; I’ve also seen “pre-ferment”, “bulk ferment” or just plain “ferment”. A thicker version appears to be called a “biga”.
- 90g sourdough starter
- 90g dark rye flour
- 180ml water
- If a layer of clear liquid has separated from your sourdough starter, mix it in thoroughly (some books advise you to discard this: I’ve never needed to).
- Mix thoroughly the starter, dark rye flour and water in a bowl. Leave to ferment at room temperature for several hours or overnight.
And don’t forget to refresh your starter:
- 30g dark rye flour
- 60 ml water
- Adding the flour and water to your starter, mix thoroughly, cover and replace in the refrigerator.
Making the dough
- 350g Wholemeal spelt flour
- 350g Strong white bread flour
- 15g salt
- 100g Seven seed bread mix (like this one, or your favourite other mixture of seeds)
- 360ml warm water (warm but not hot to the touch, around 30-35℃)
- Put the flours, salt and seeds into the bowl of a stand mixer and stir until reasonably evenly mixed.
- Add the water to your sponge and mix.
- Add the wet mixture to the dry mixture. With a spoon, mix enough to ensure that you don’t have tons of dry flour at the bottom of the bowl where the mixer might not pick it up.
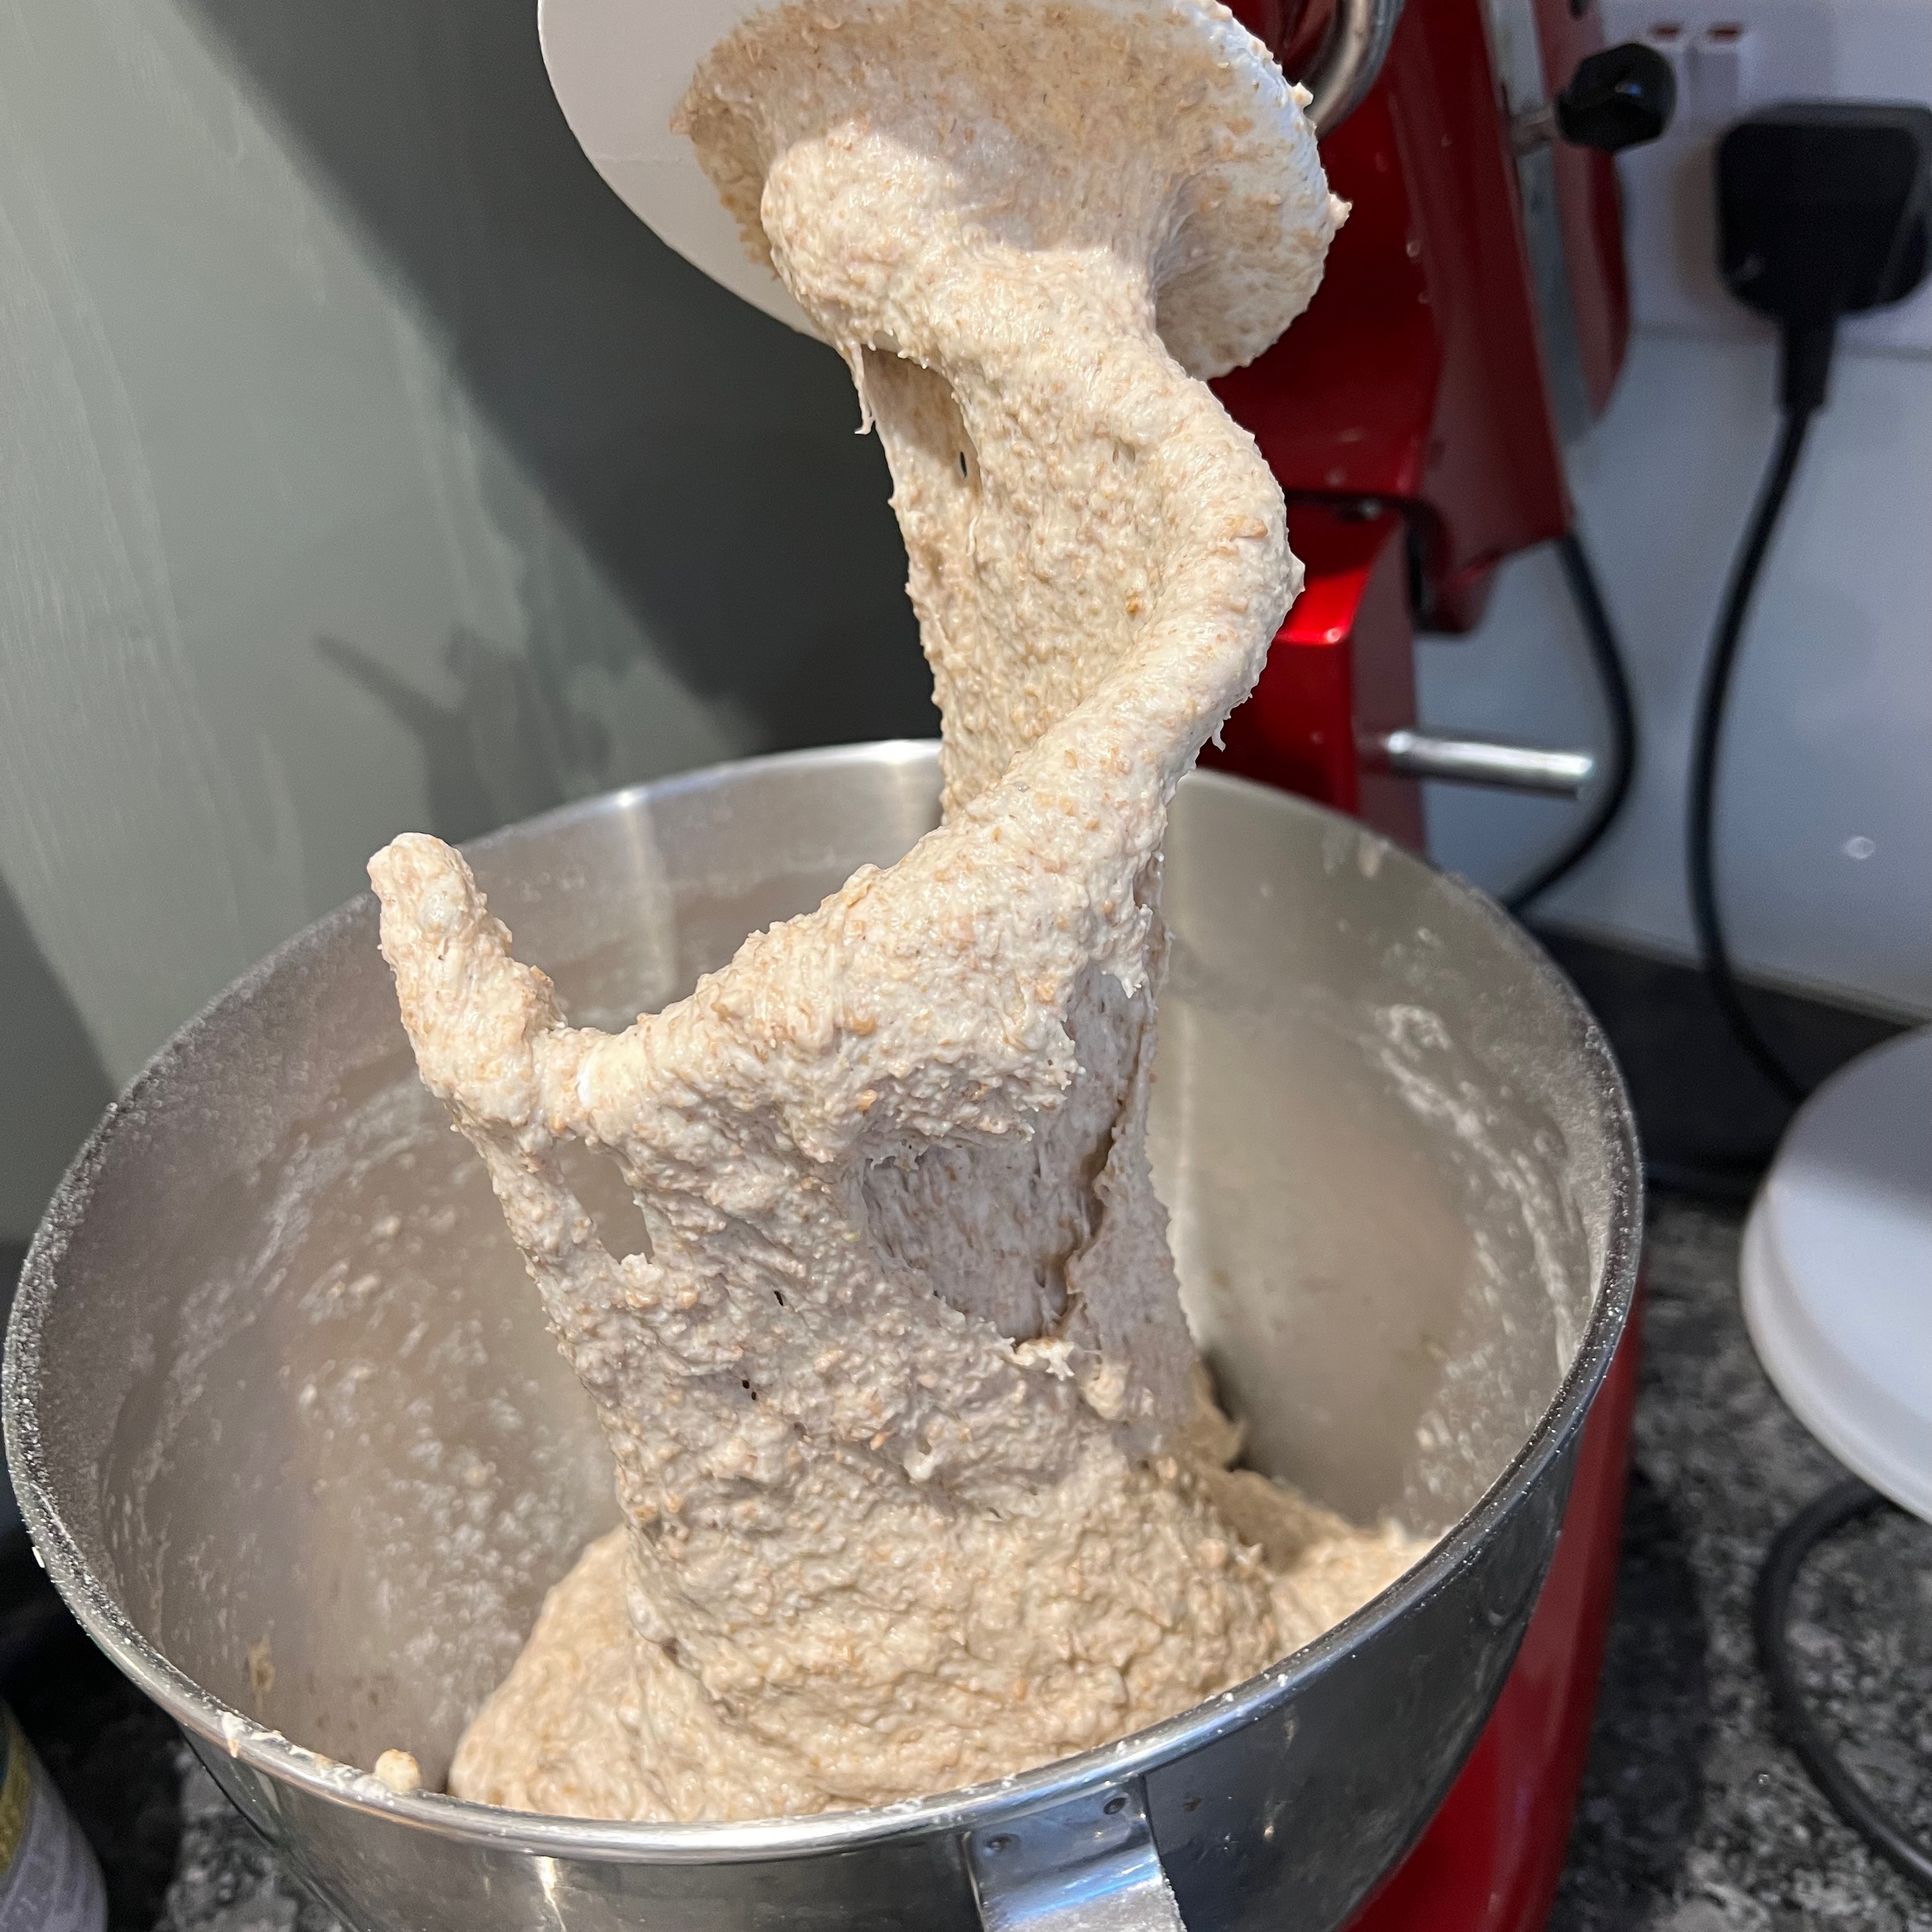
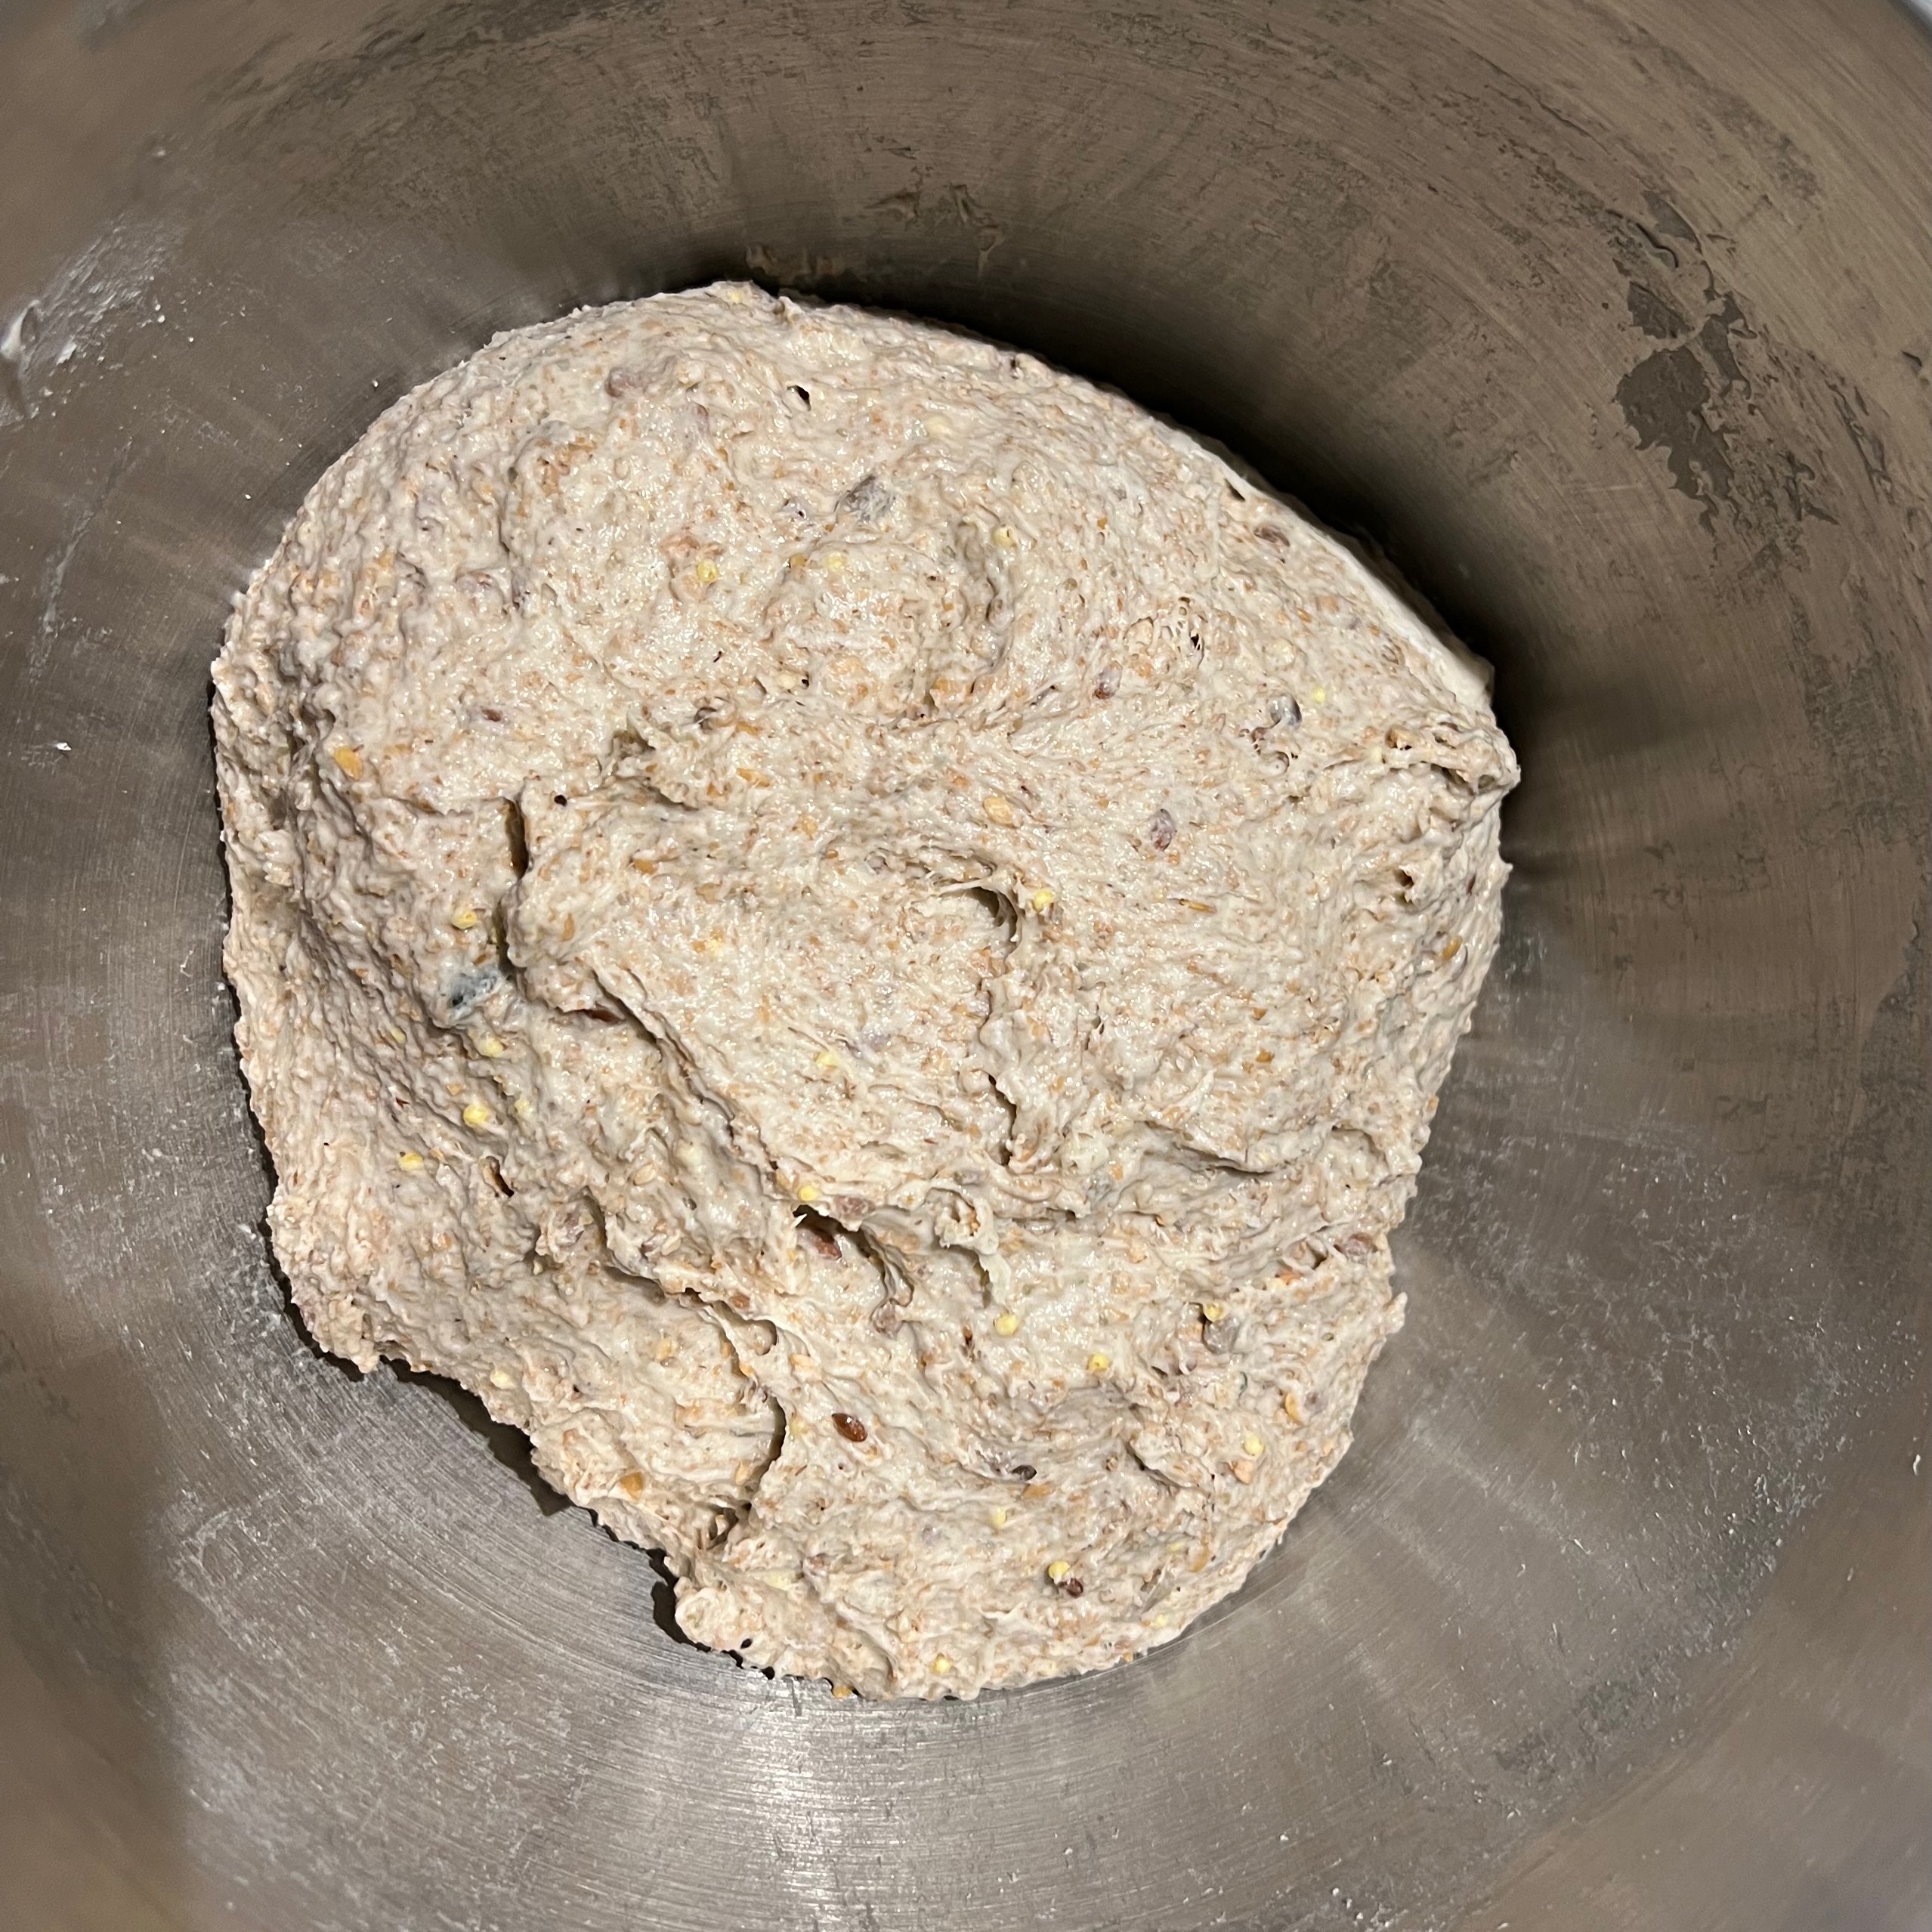
- With the dough hook, knead for around 7 minutes: the dough should be very elastic and stretchy. Go for up to 10 minutes if you’re feeling uncertain.
- Scrape down the sides of the bowl and make sure the dough is in a nice ball.
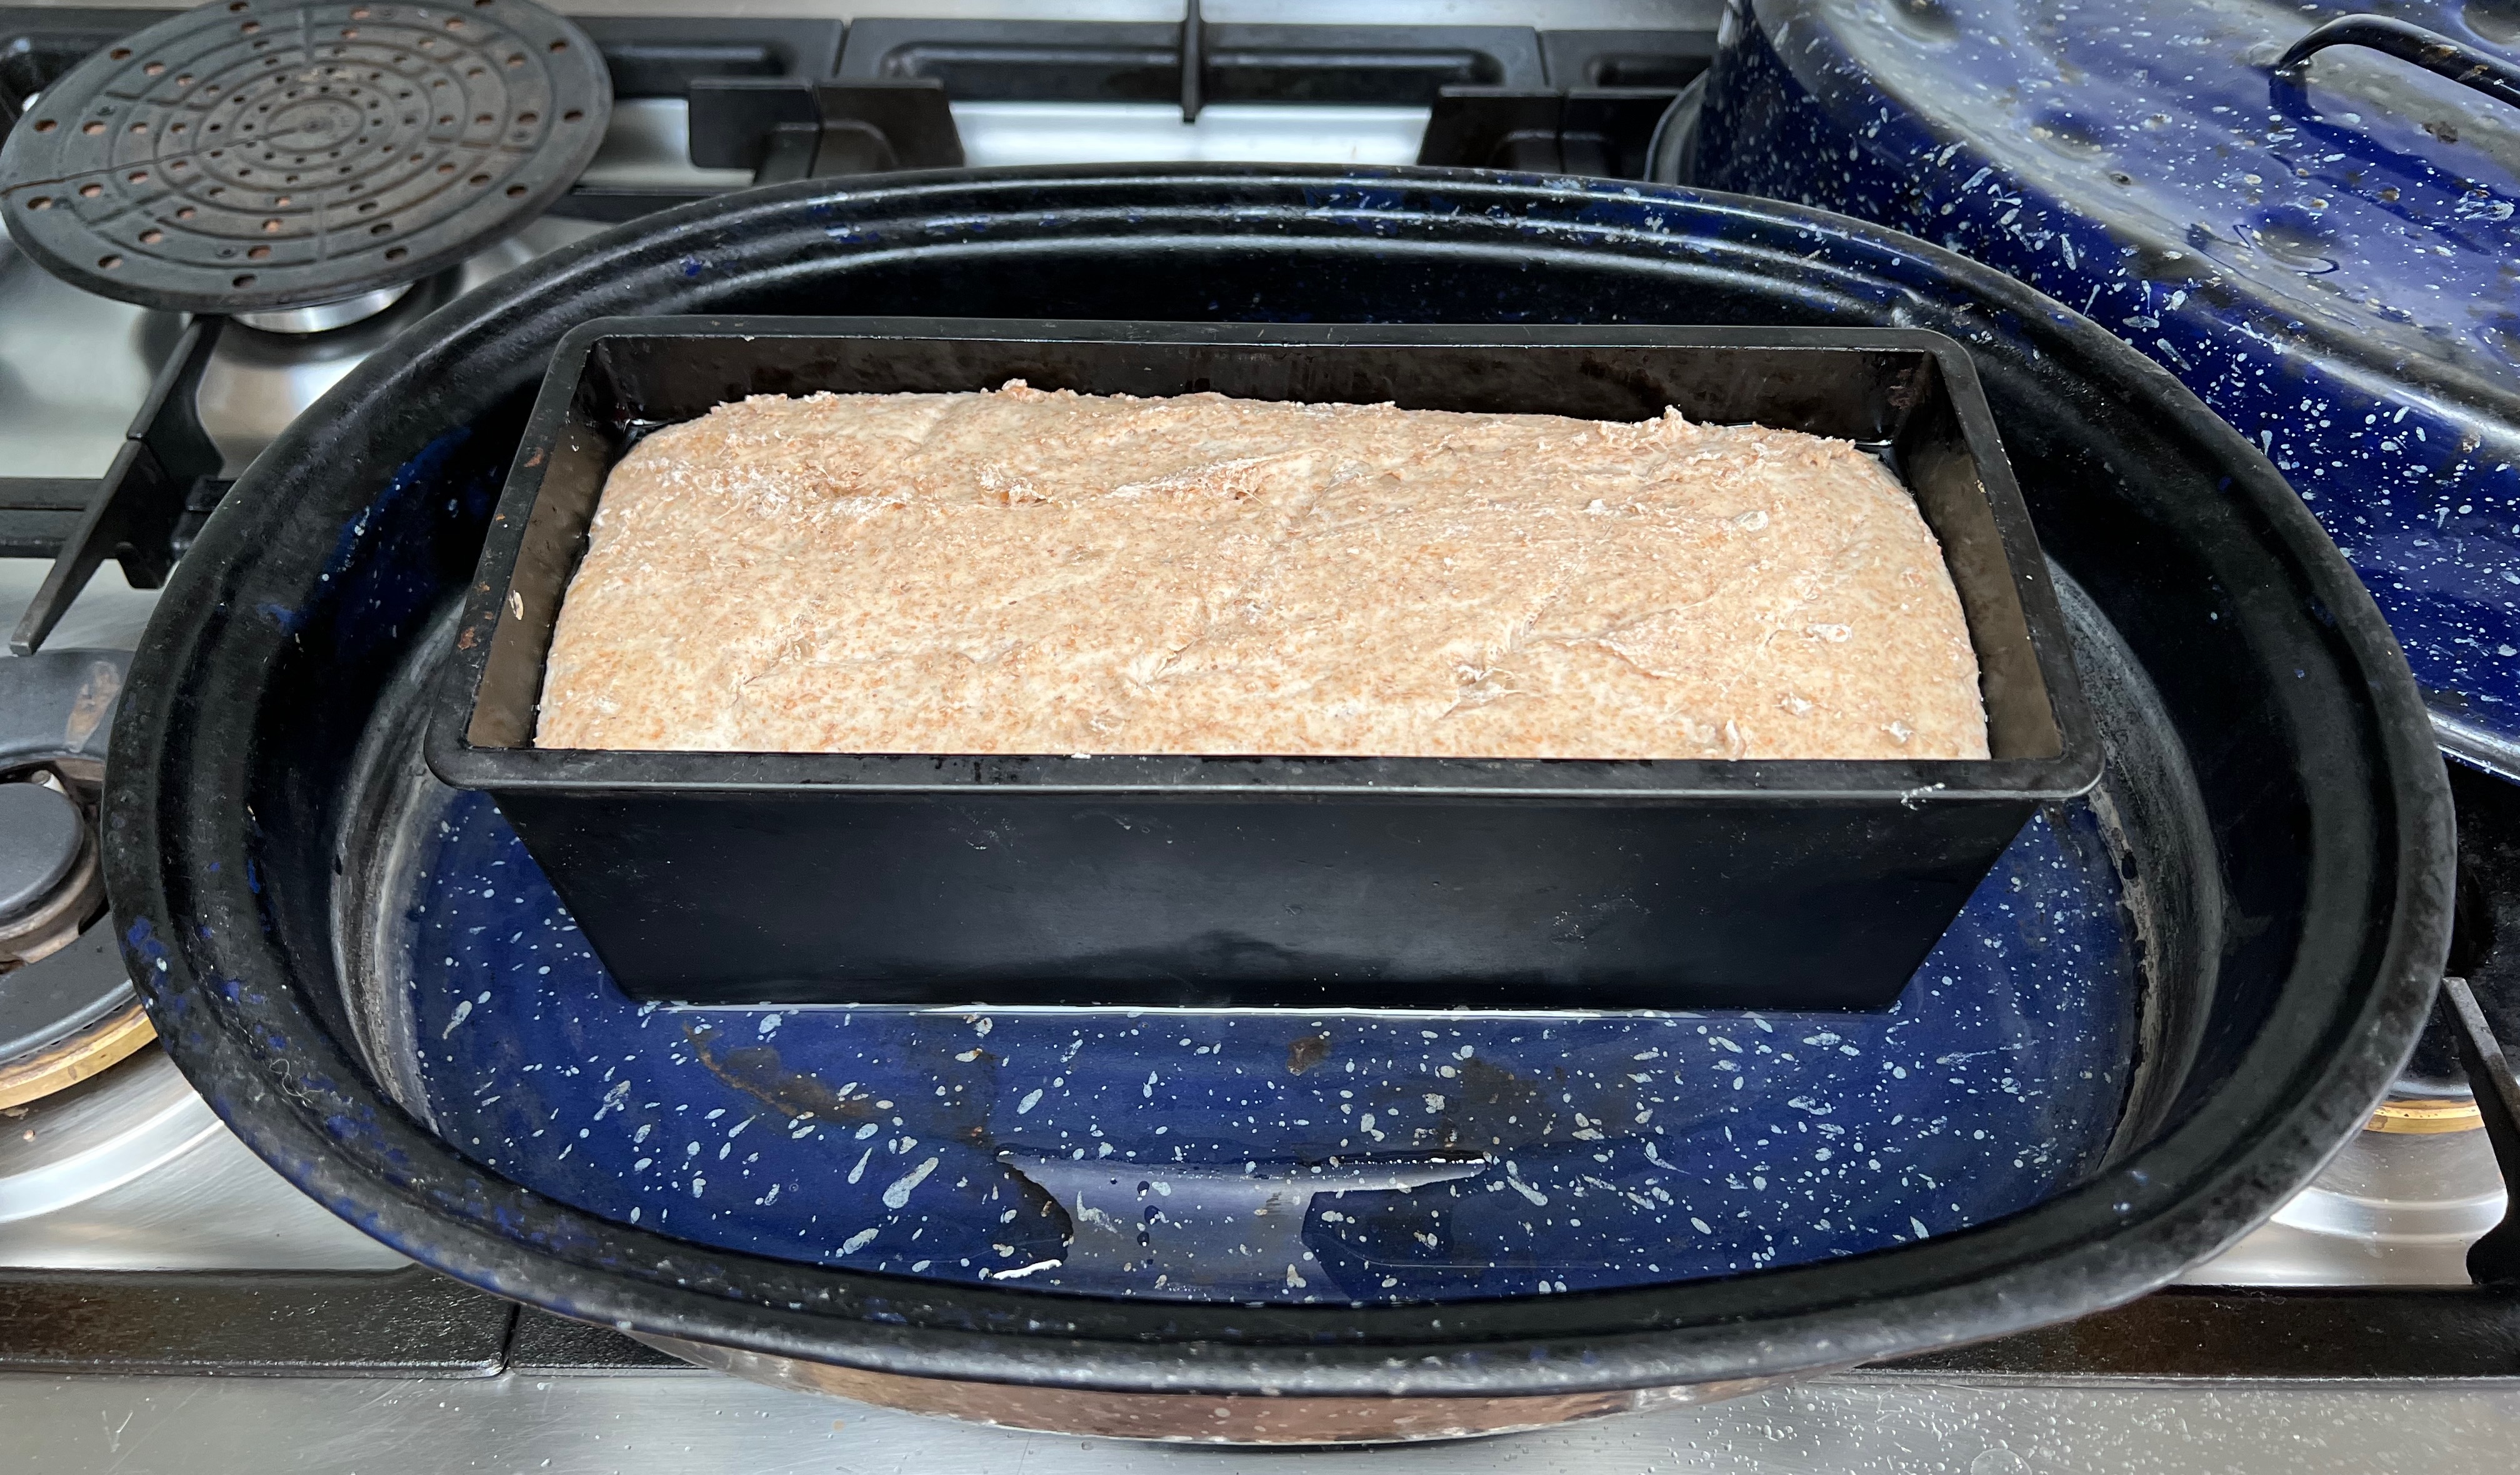
Preparing – tin version
- Brush oil over the bottom and sides of your bread tin.
- Transfer the dough into the bread tin, push it out to the sides and shape it into a loaf.
- Cover the tin with its lid or cling film (or non-single-use alternative) and leave the loaf to rise until it reaches the level of the tin.
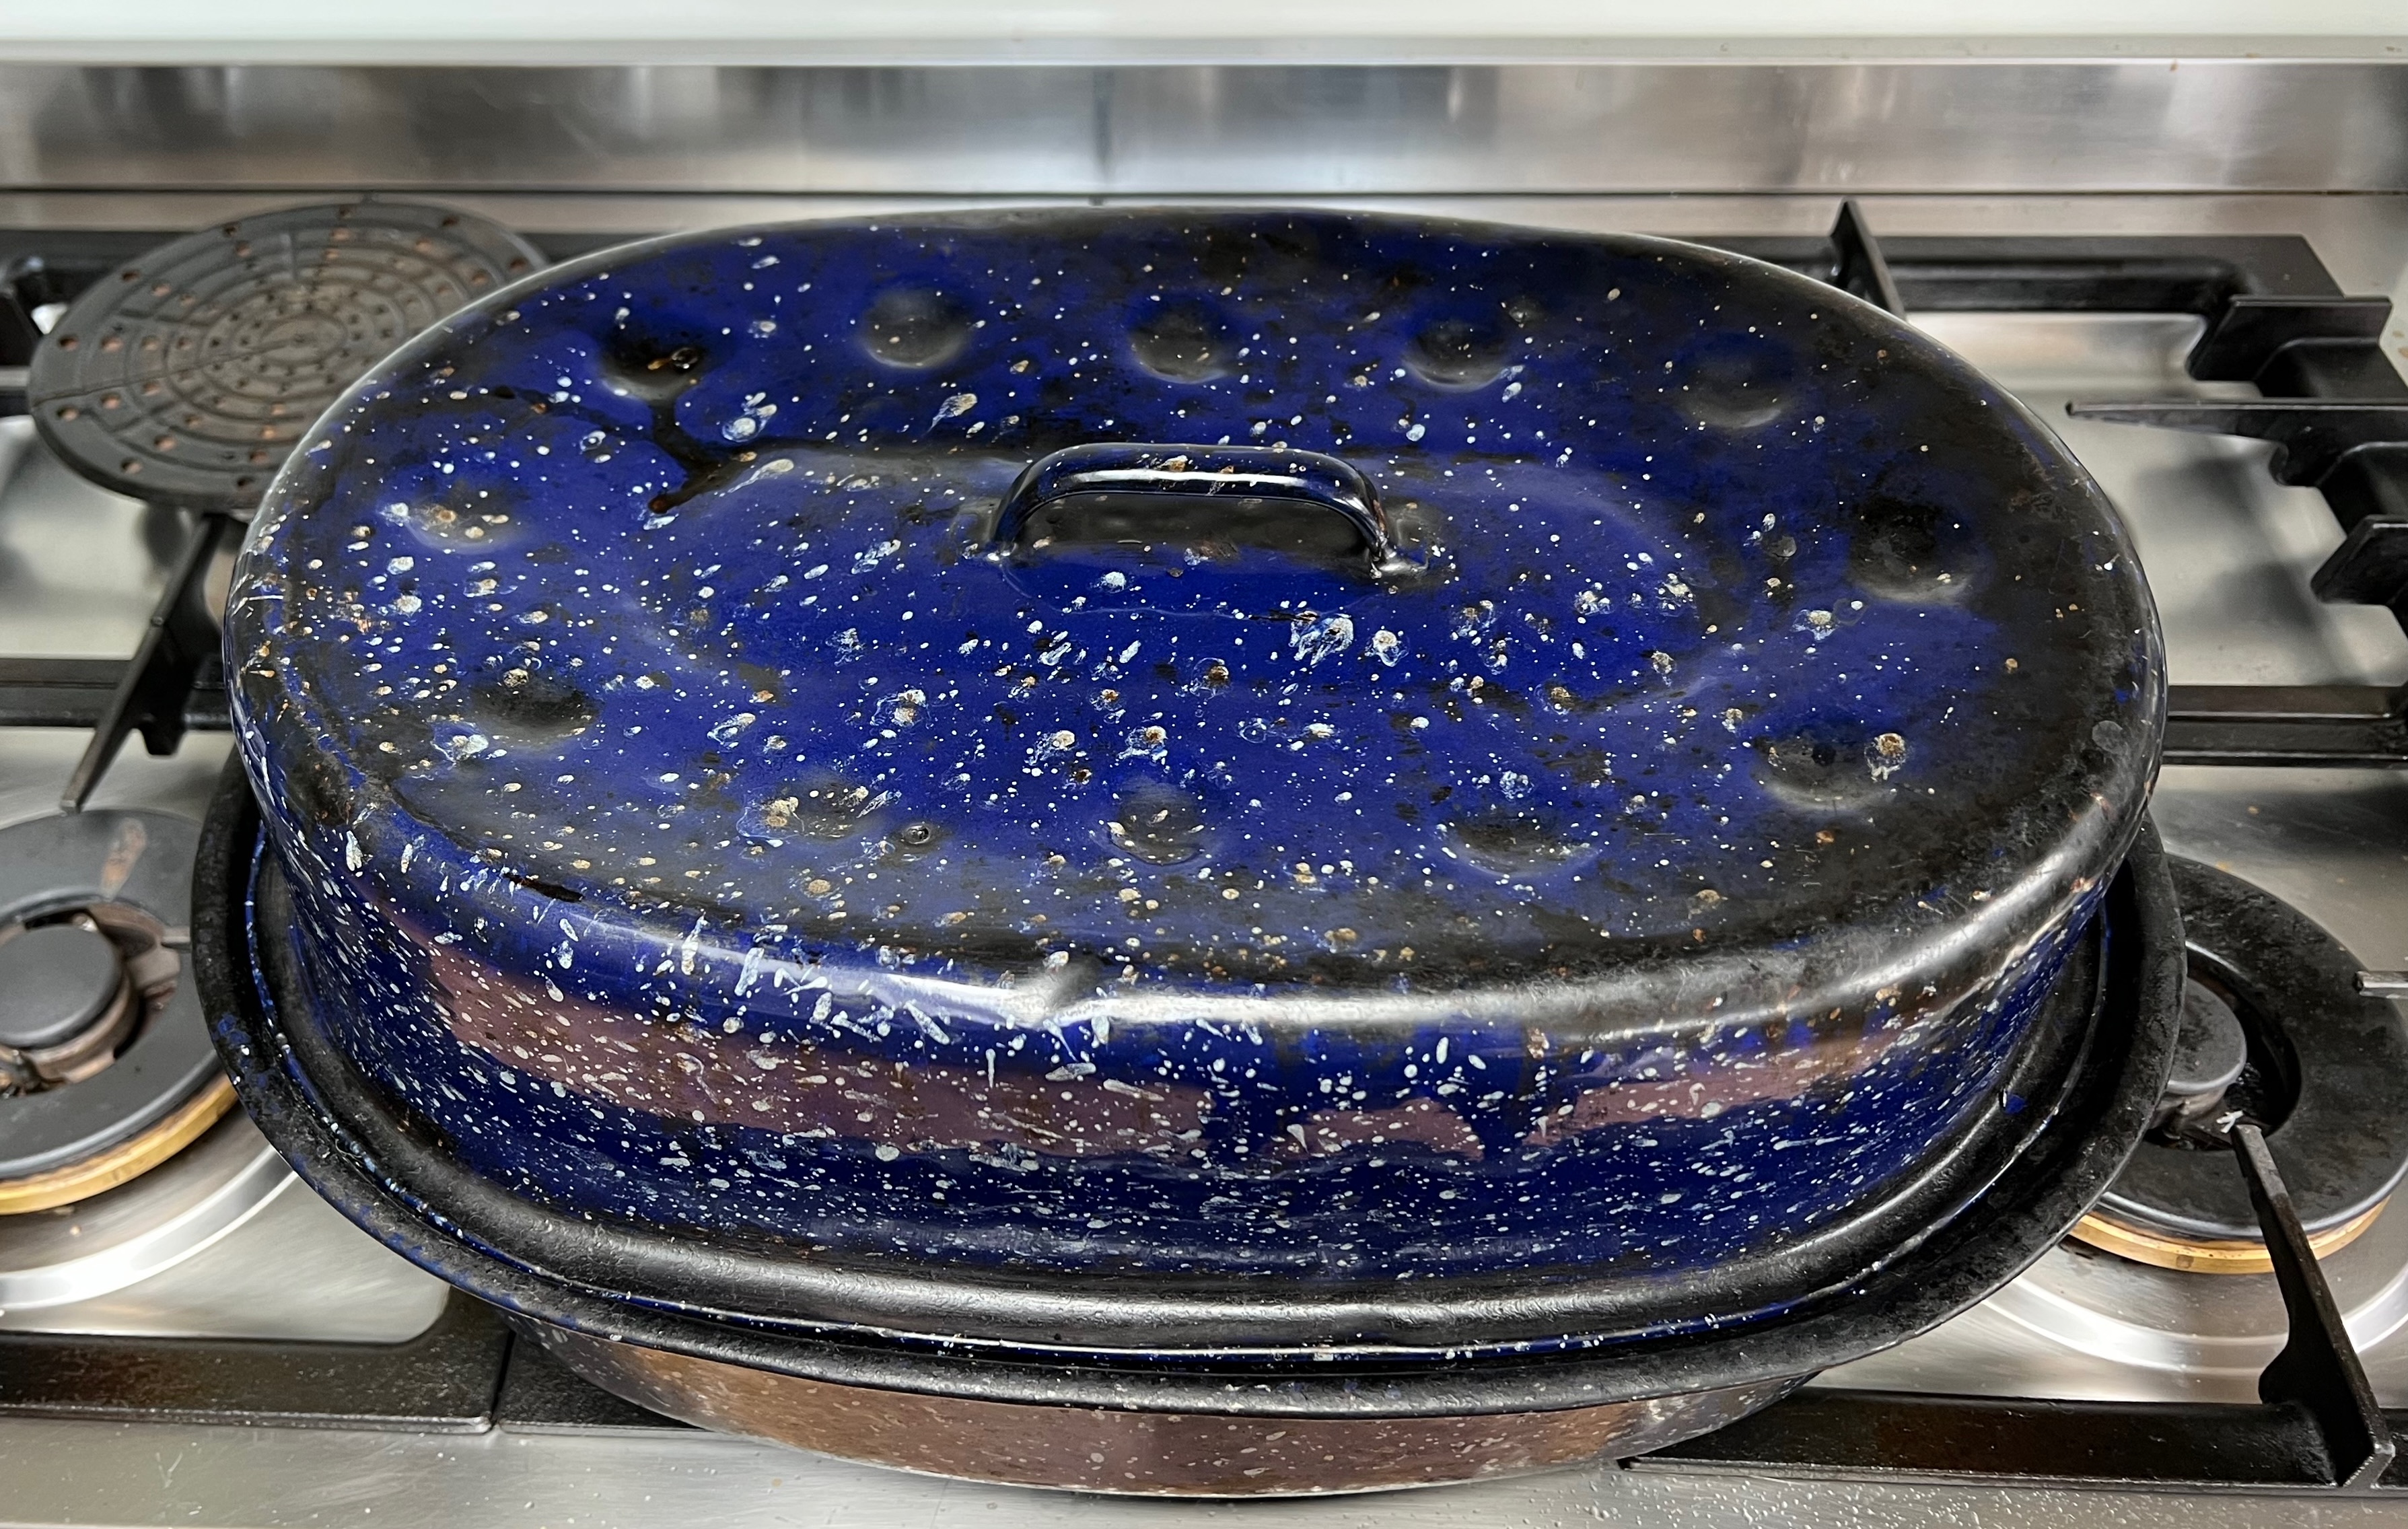
For baking, I’ve assumed here that you have a casserole or covered roasting pan big enough to enclose your bread tin and be used as a Dutch oven. If you don’t, forget anything about making steam and simply cover your bread tin with its lid (if it has one) or with foil.
Preparing – free standing version
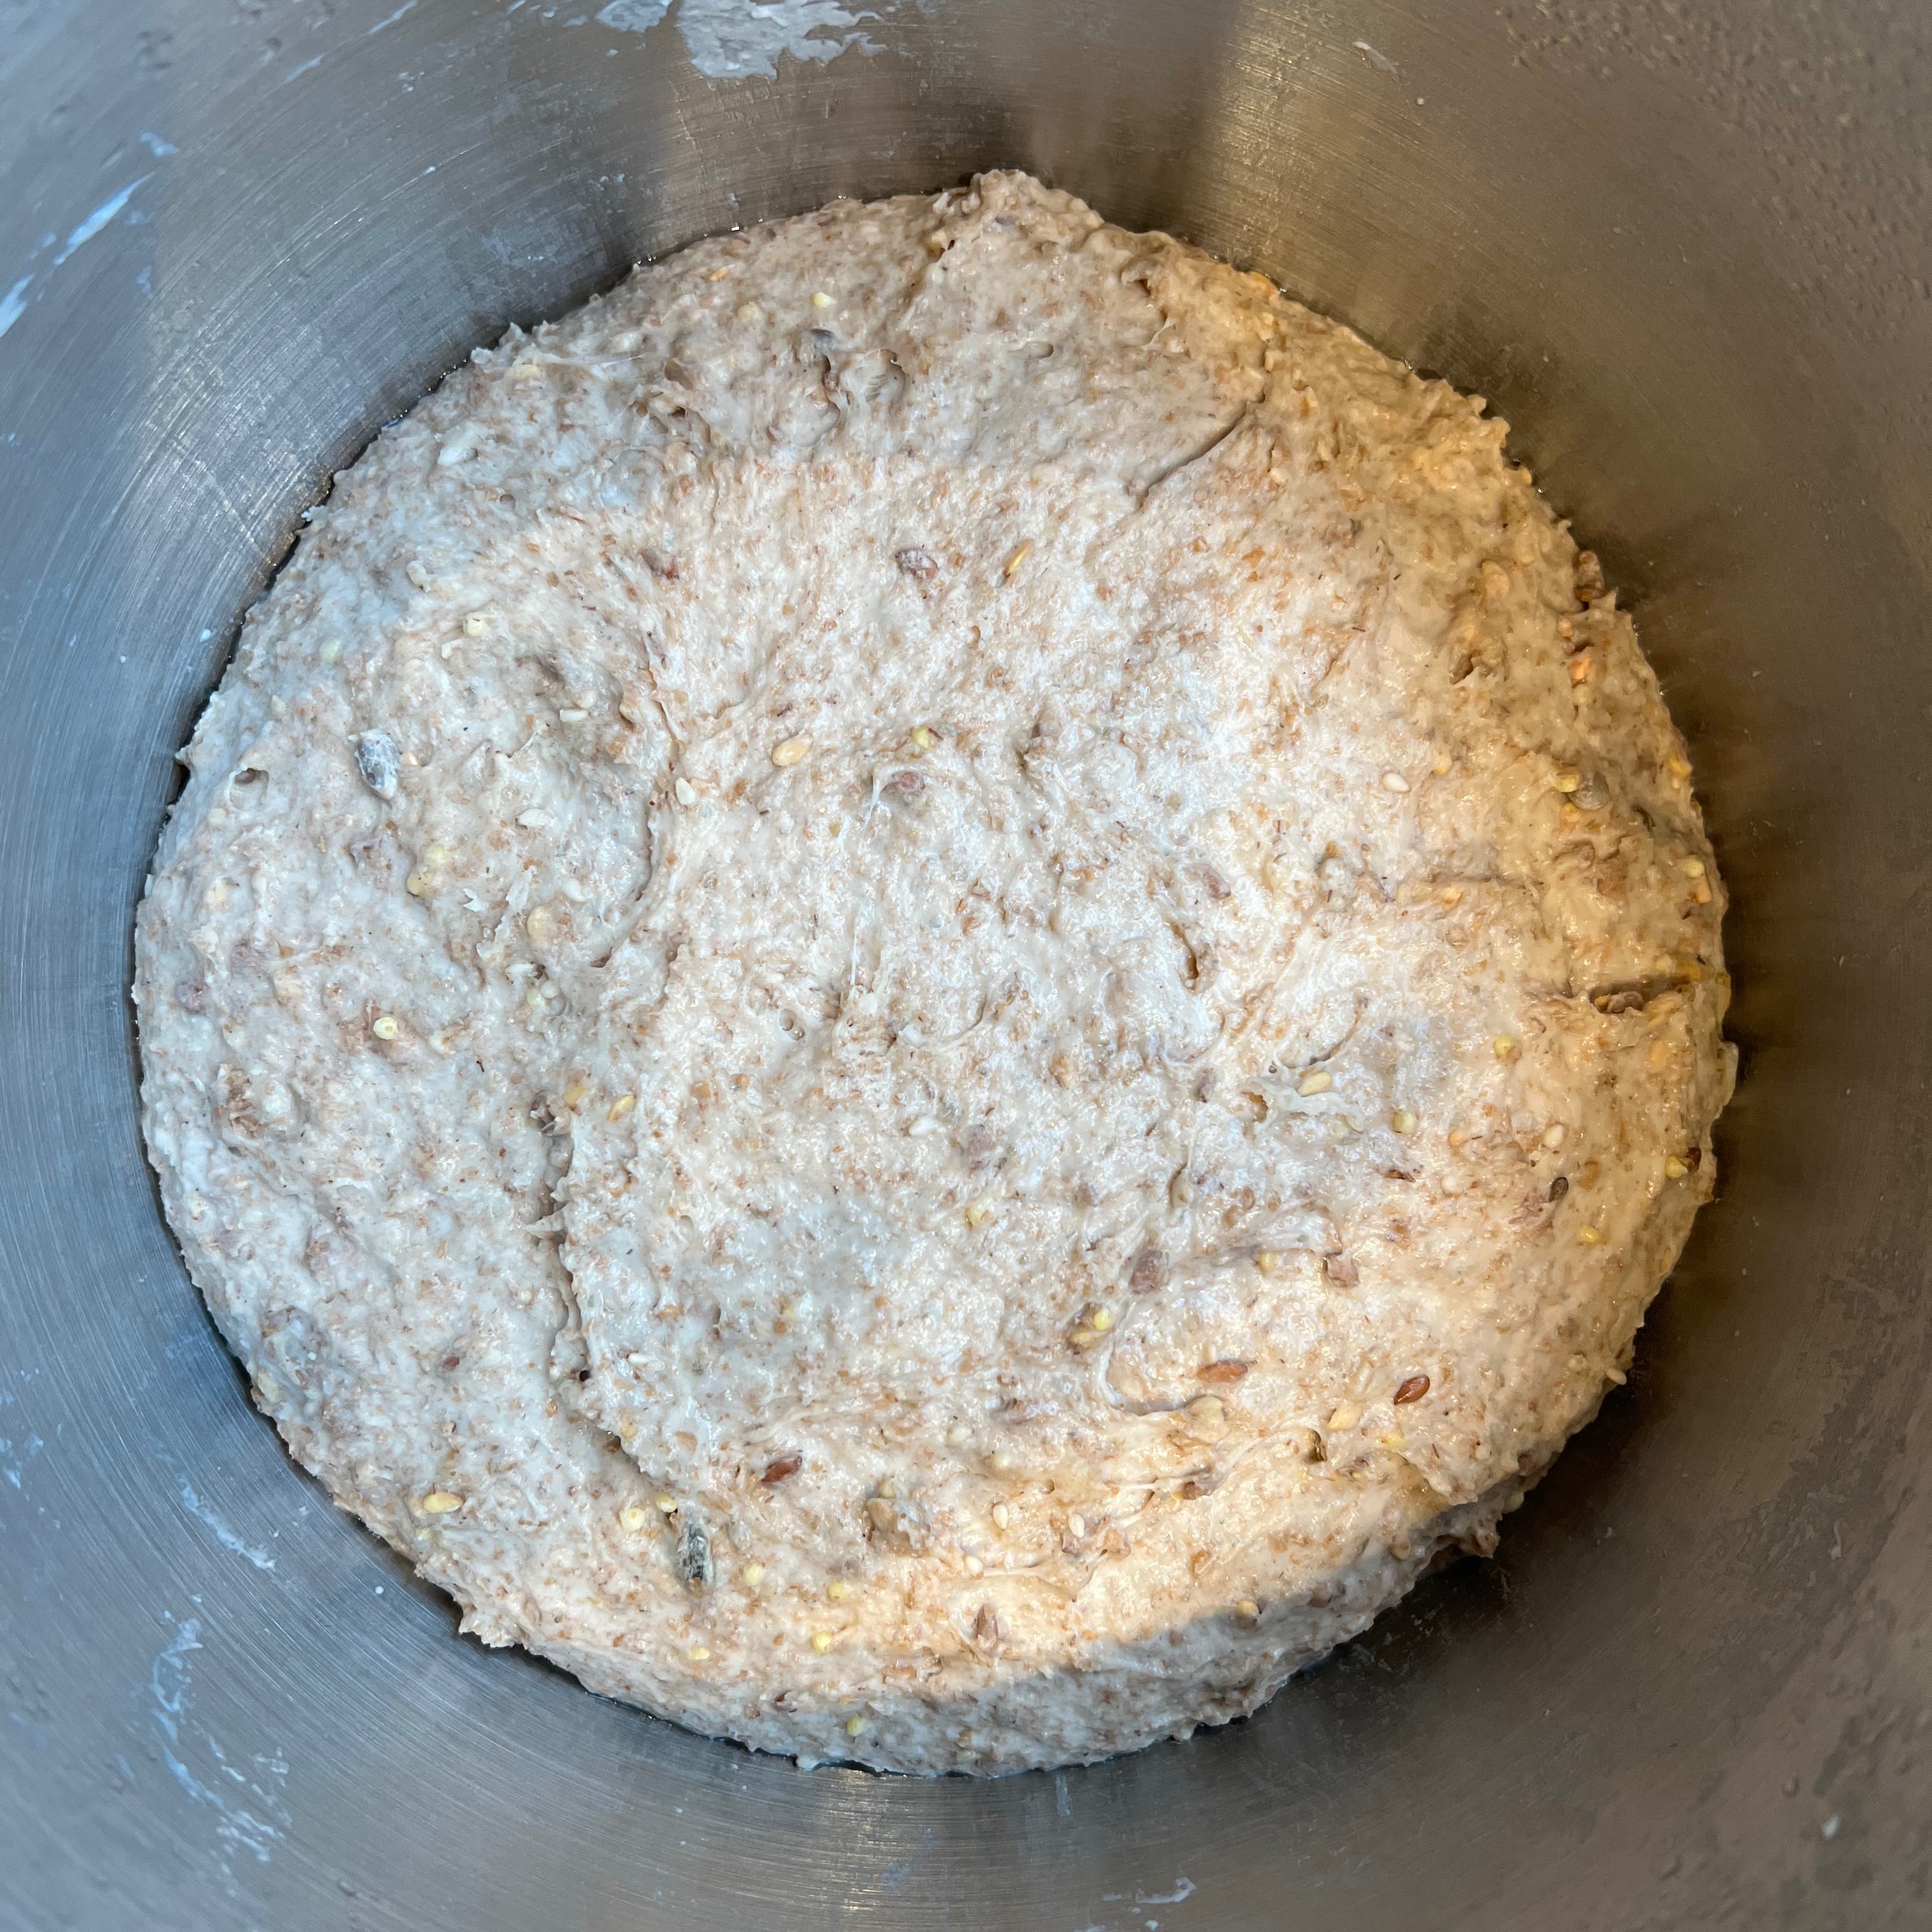
- Cover the bowl with cling film (or non-single-use alternative) and leave for several hours until approximately doubled in size.
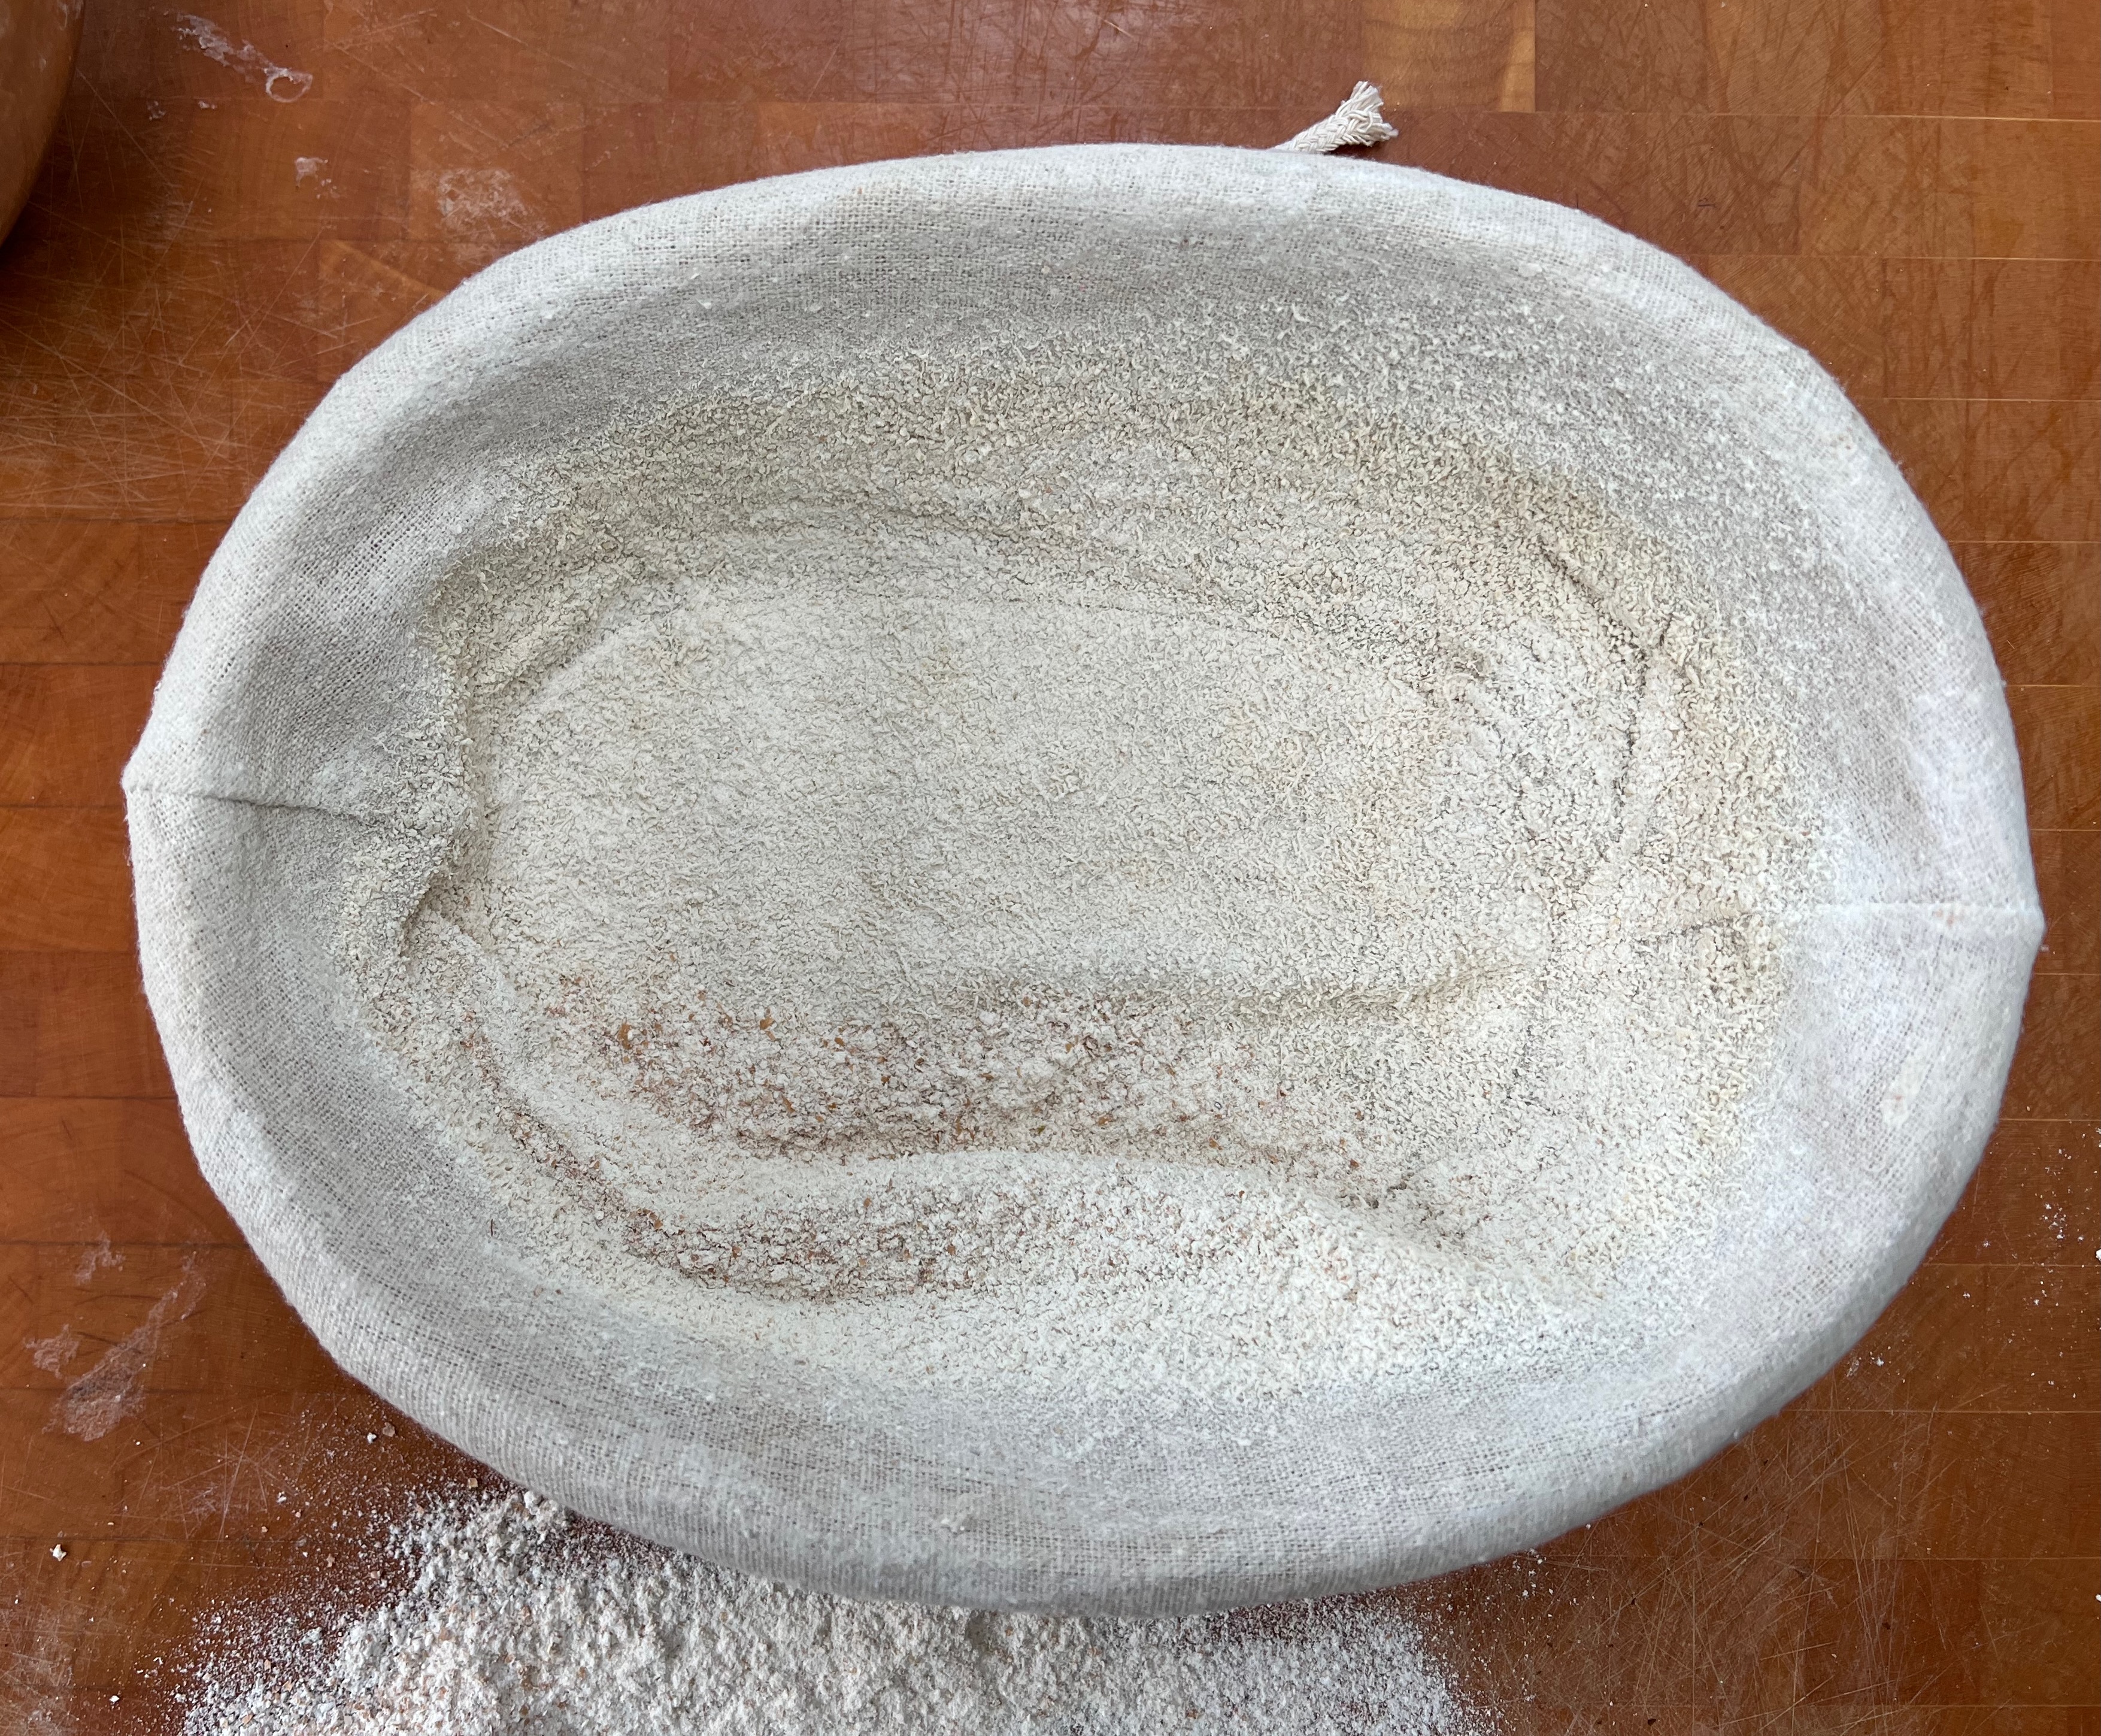
- Pour some flour (I use the spelt flour, but it doesn’t really matter) into the bottom of your linen-lined proving basket and shake it out over a board. Put some more flour onto the board.
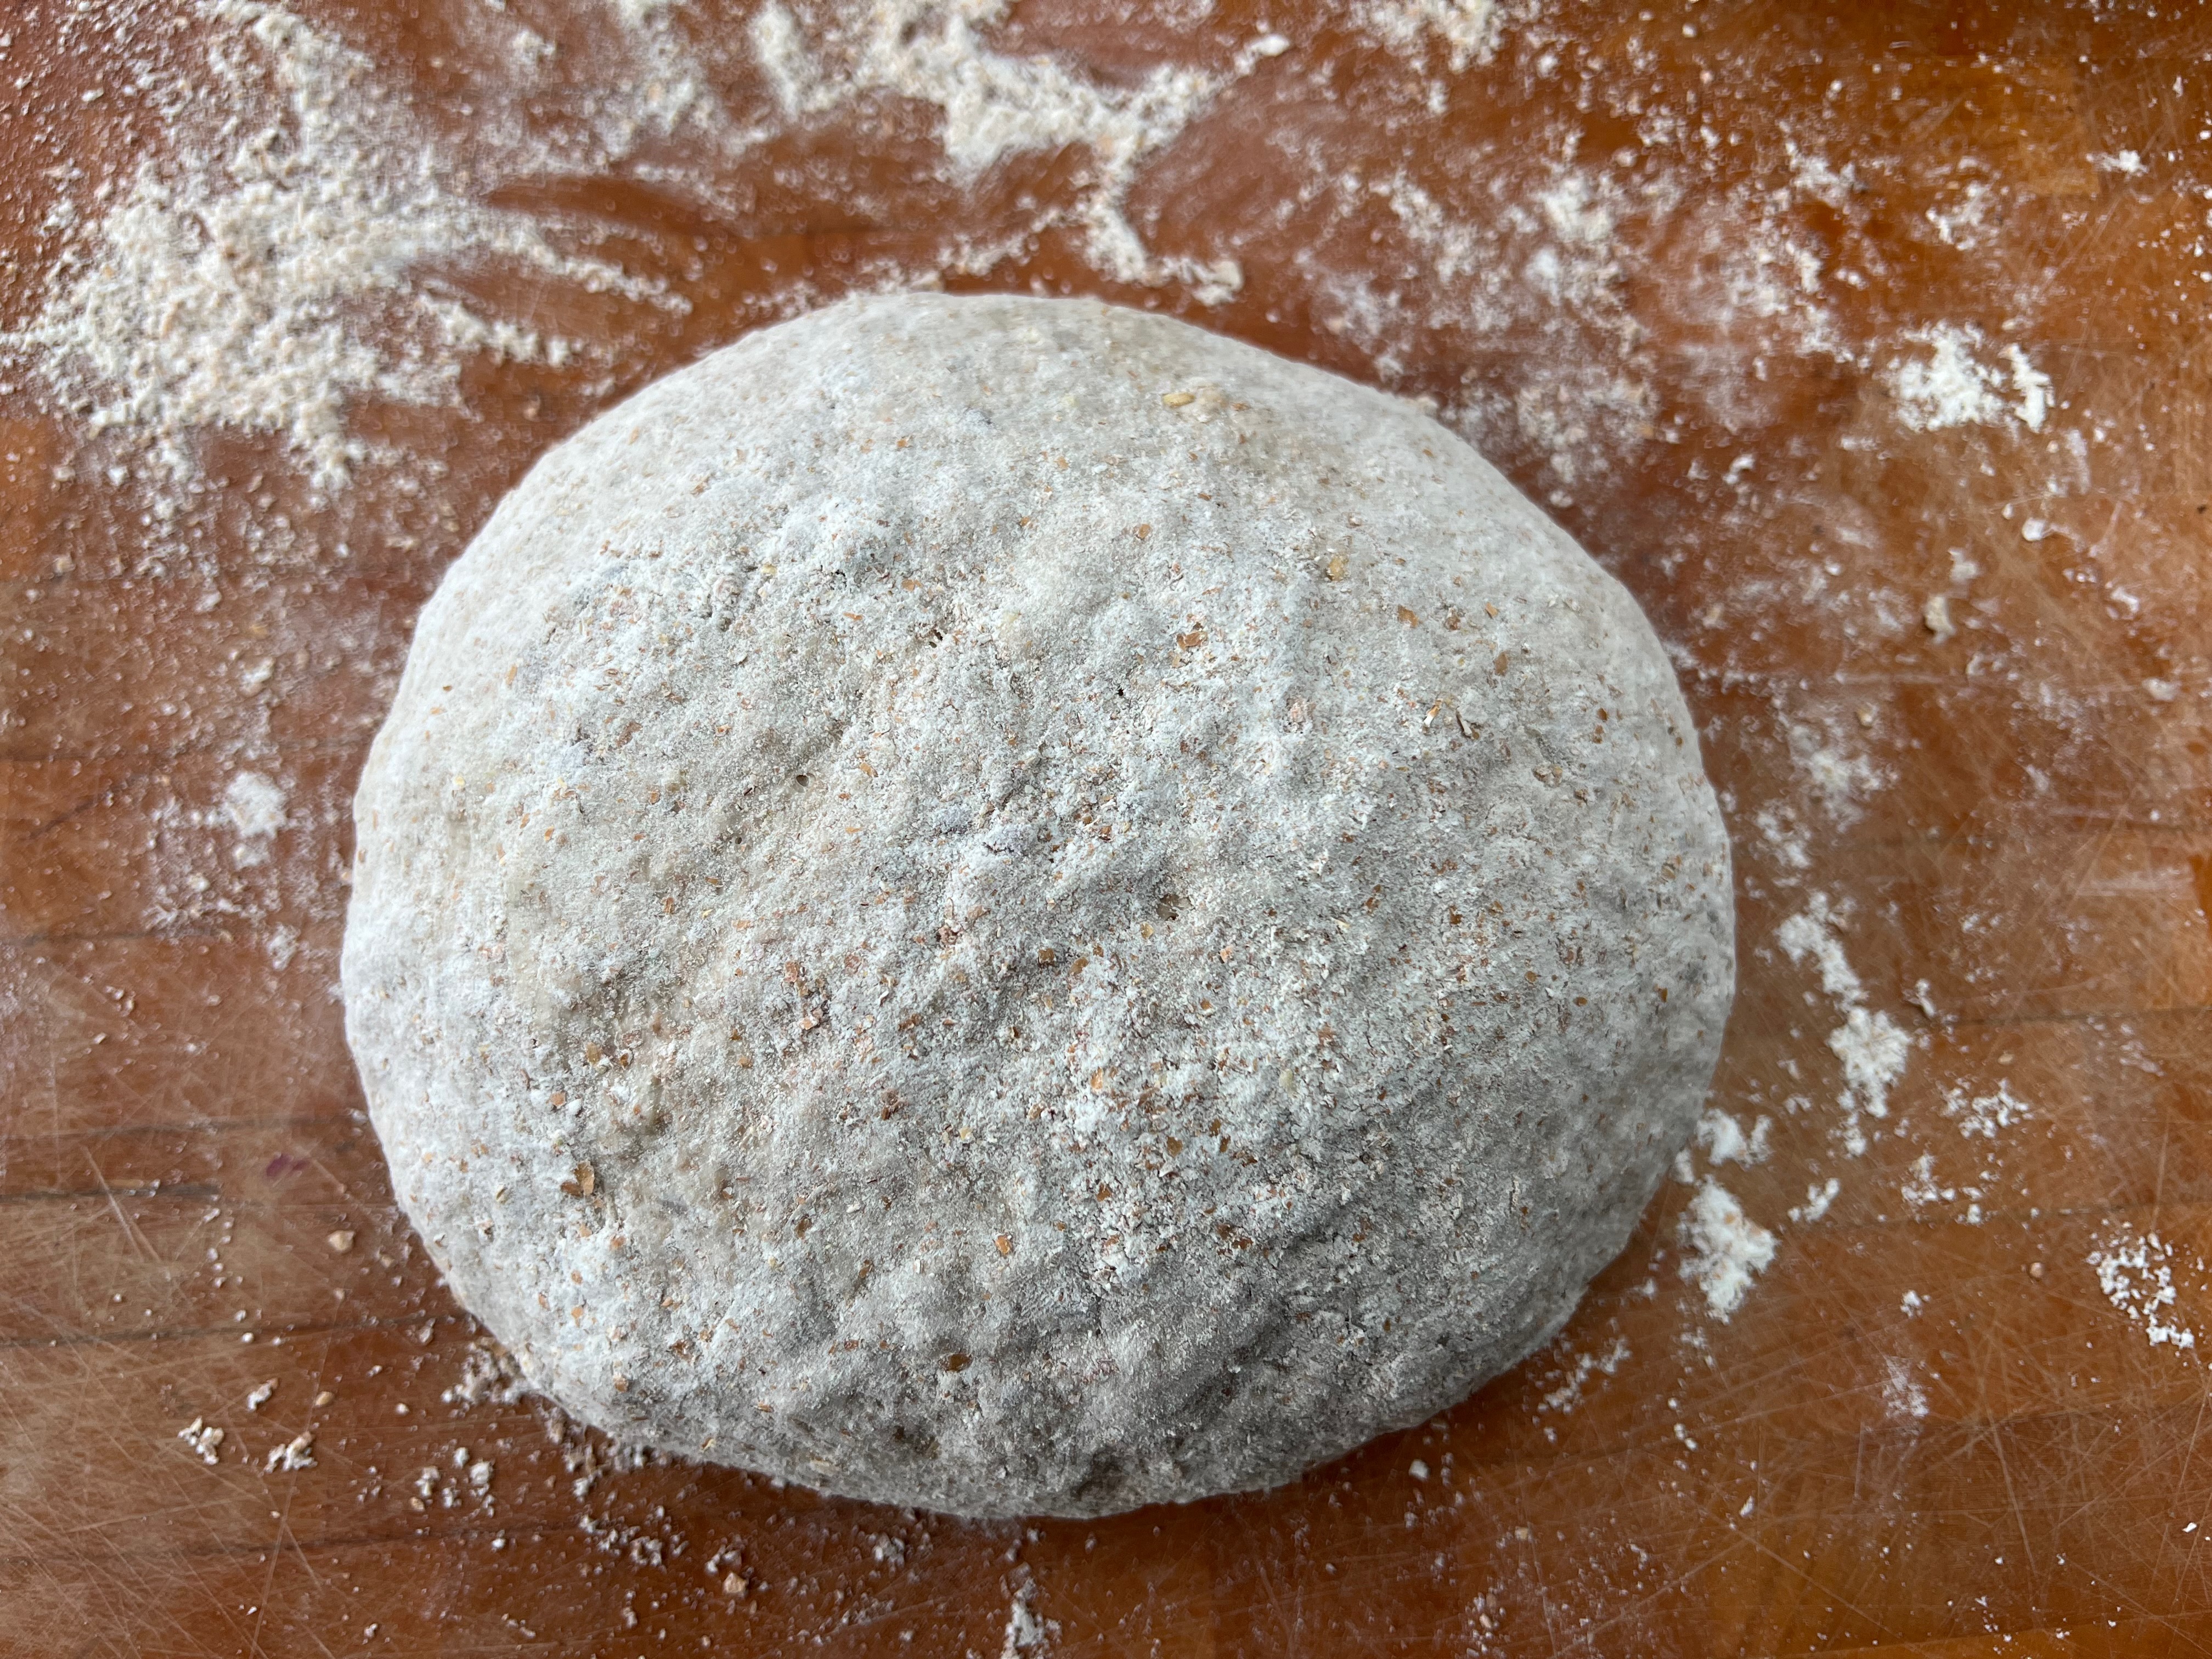
- Transfer the dough from the mixer bowl onto the board. Flour your hands and work the dough into a loaf shape: you’ll probably need a metal scraper to scrape some of the dough off the board when it sticks.
- Repeatedly stretch the top of your loaf, tucking the dough under. This will help get a well formed crust. You’re trying to end up with the smallest possible “key” – the gap at the bottom where all the folds have come together.
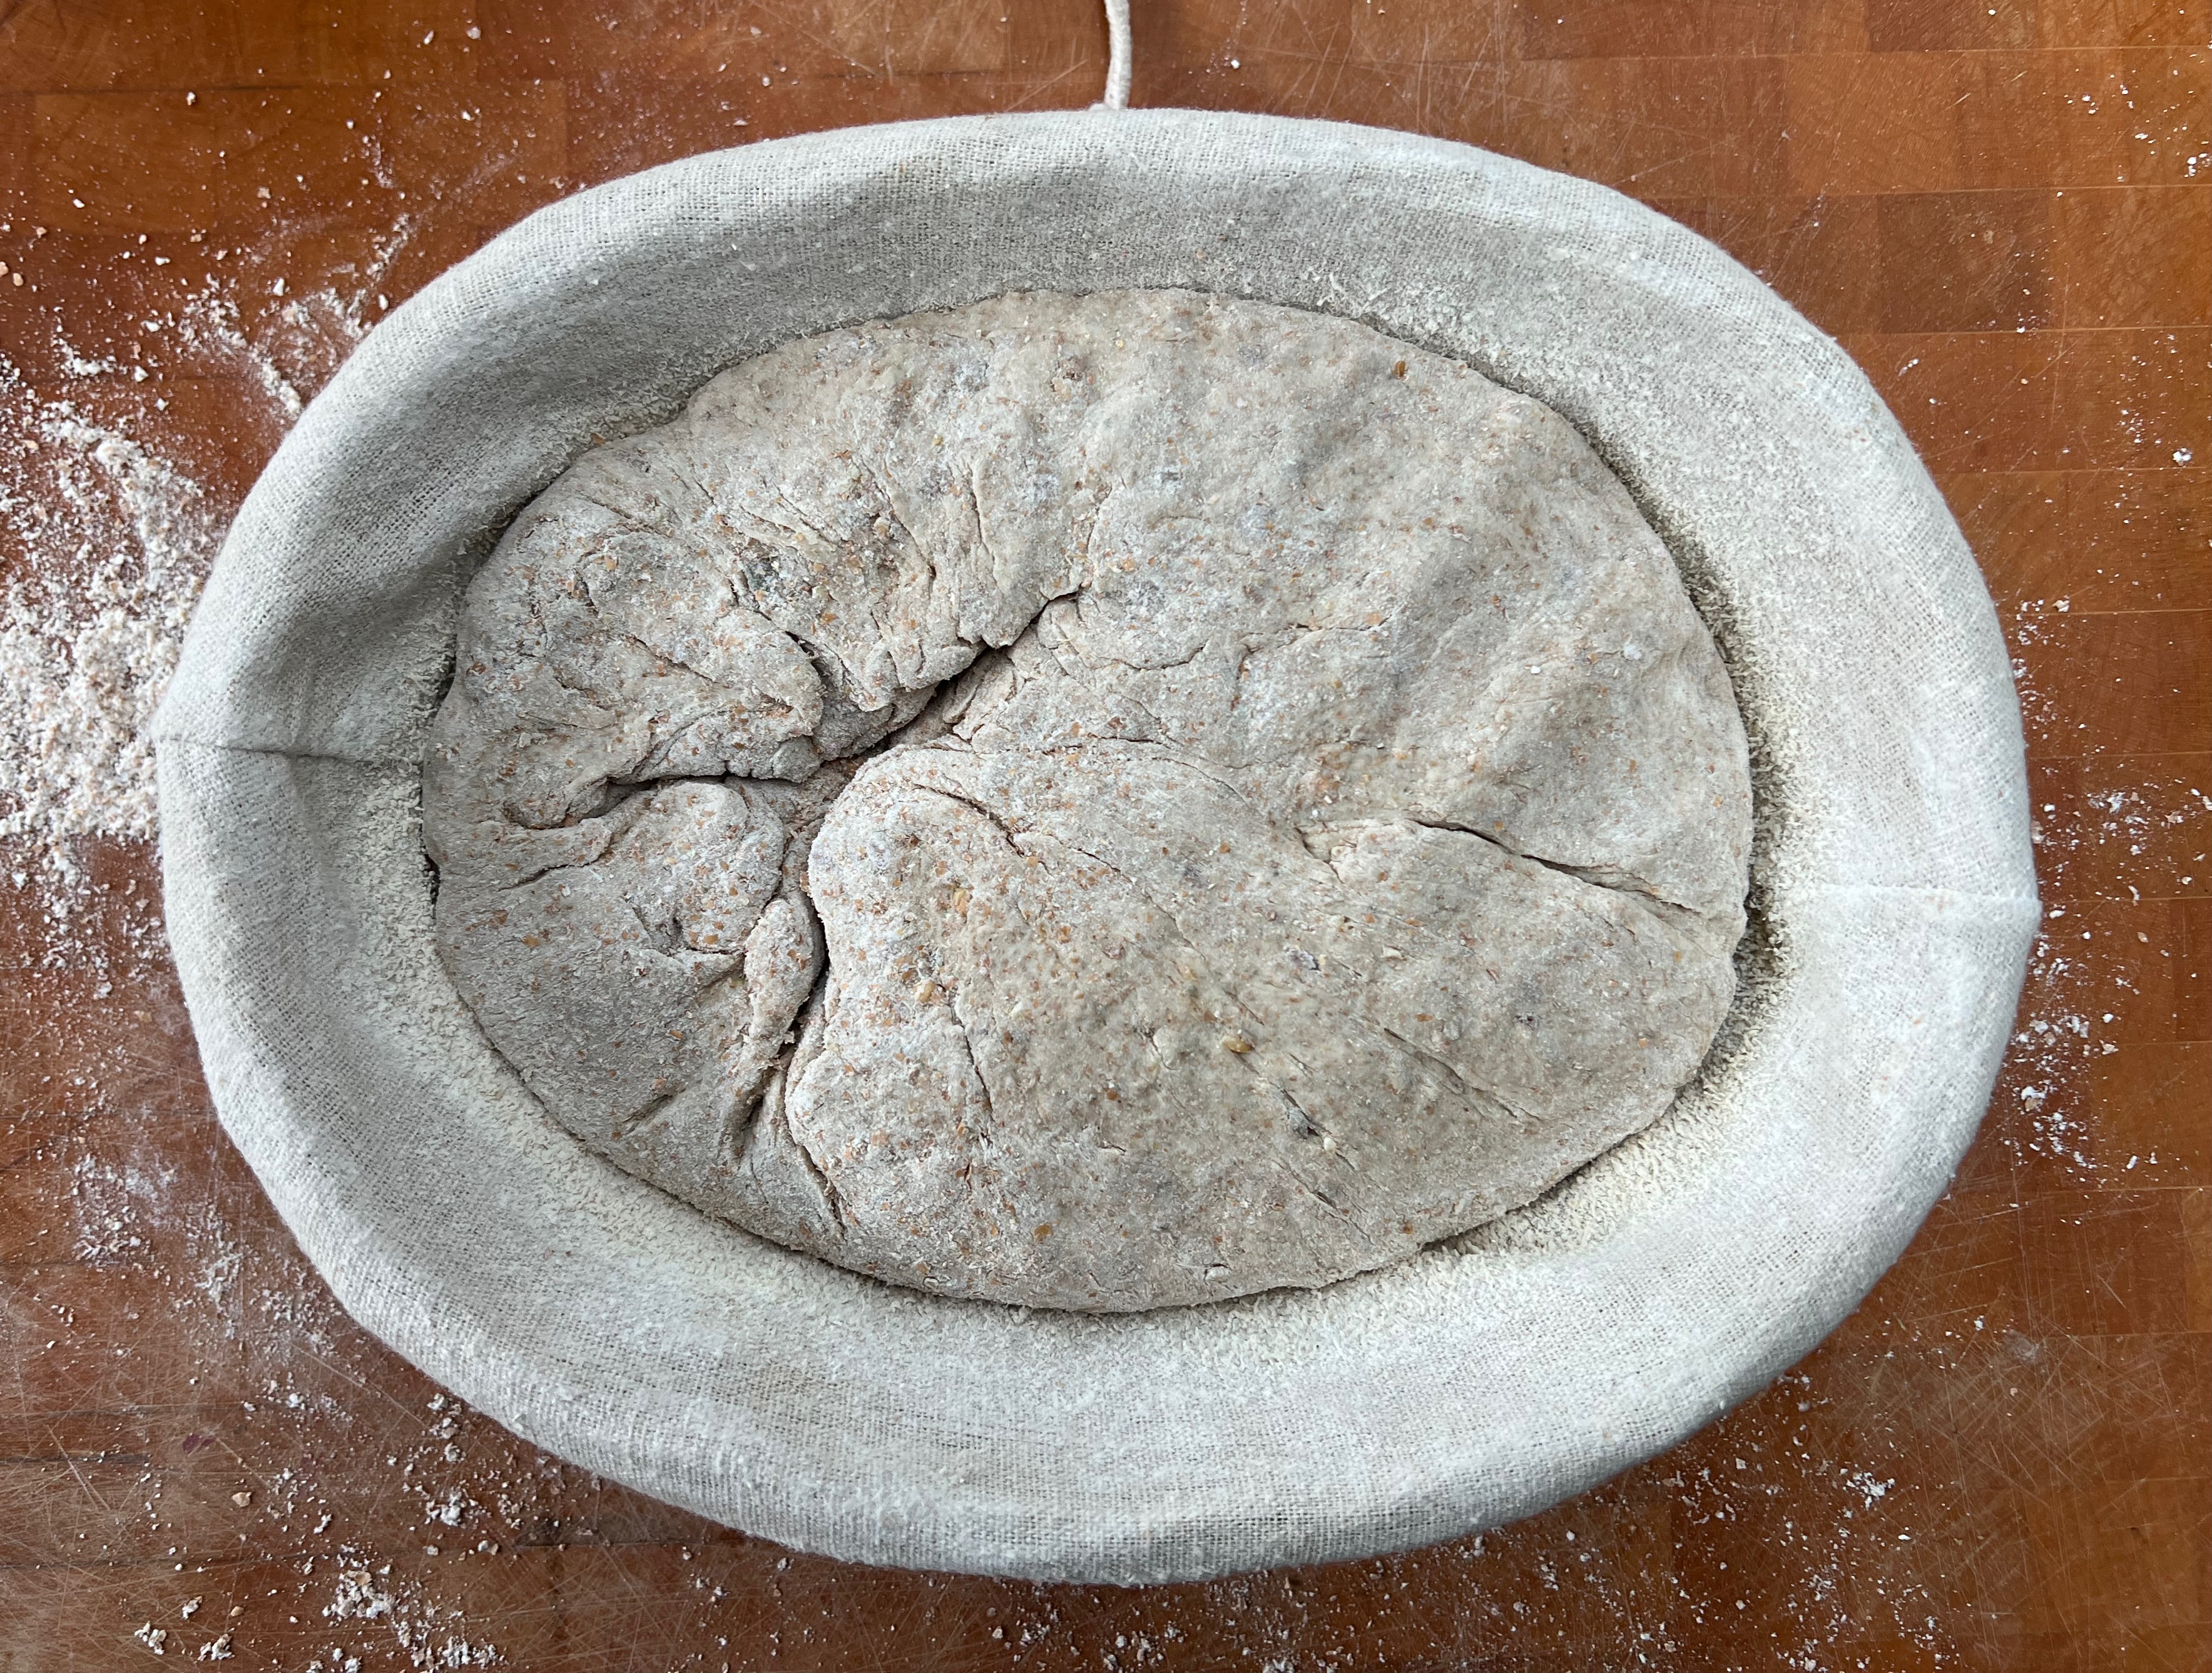
- Put the loaf into your basket, smooth side down and cover with a tea towel. Leave to rise until it is close to the top of the basket.

Baking
- Half an hour or so before the loaf has risen, start to preheat your oven on the fan setting if there is one, with your Dutch oven in it if you’re using one. You want it to reach 250℃ by the time you start baking.
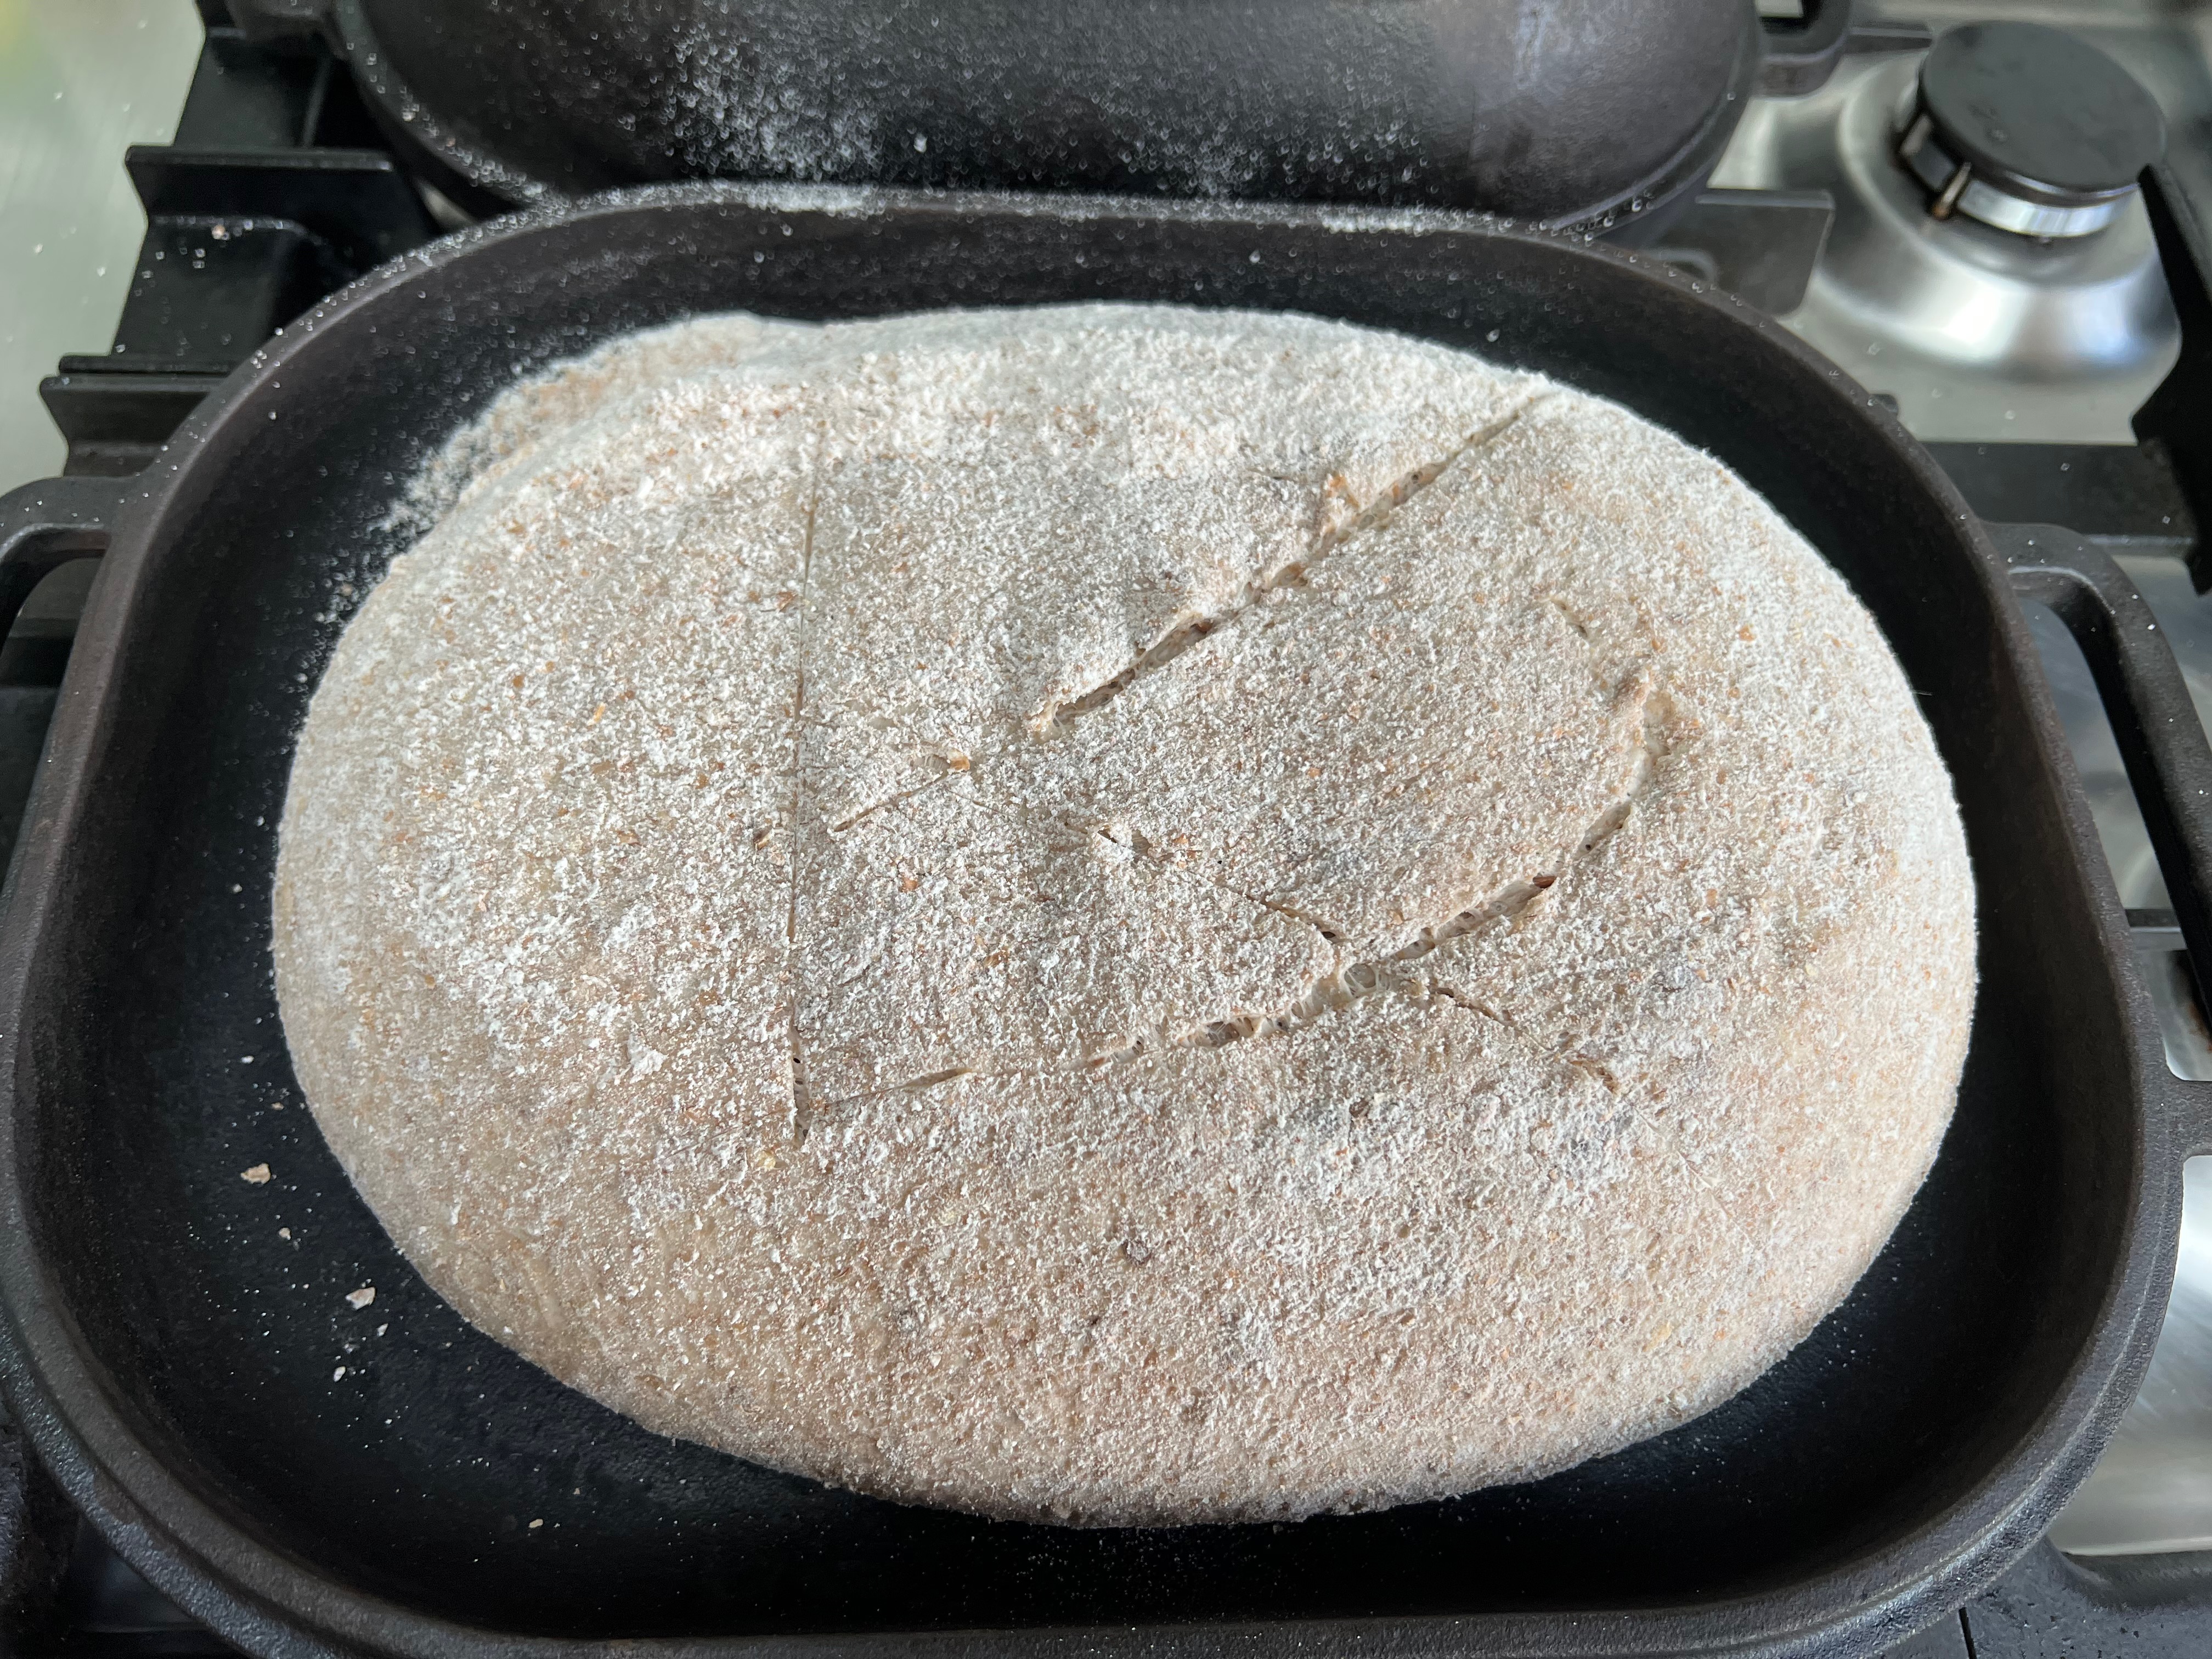
- Score a few gashes into your loaf, in whatever pattern you like (I use two or three crossways gashes when using a tin, or I do a kind of signature for the free standing loaf, along the lines of the stylised “P” that Poilâne use).
- Now work quickly: remove the tea towel (or cover of your tin), open the oven, remove the cover of your Dutch oven (if you’re using one), place your loaf in it, throw a few ice cubes around the side of your loaf (if using a tin, you can just use water) and cover. Close the oven and reduce the temperature to 225℃.
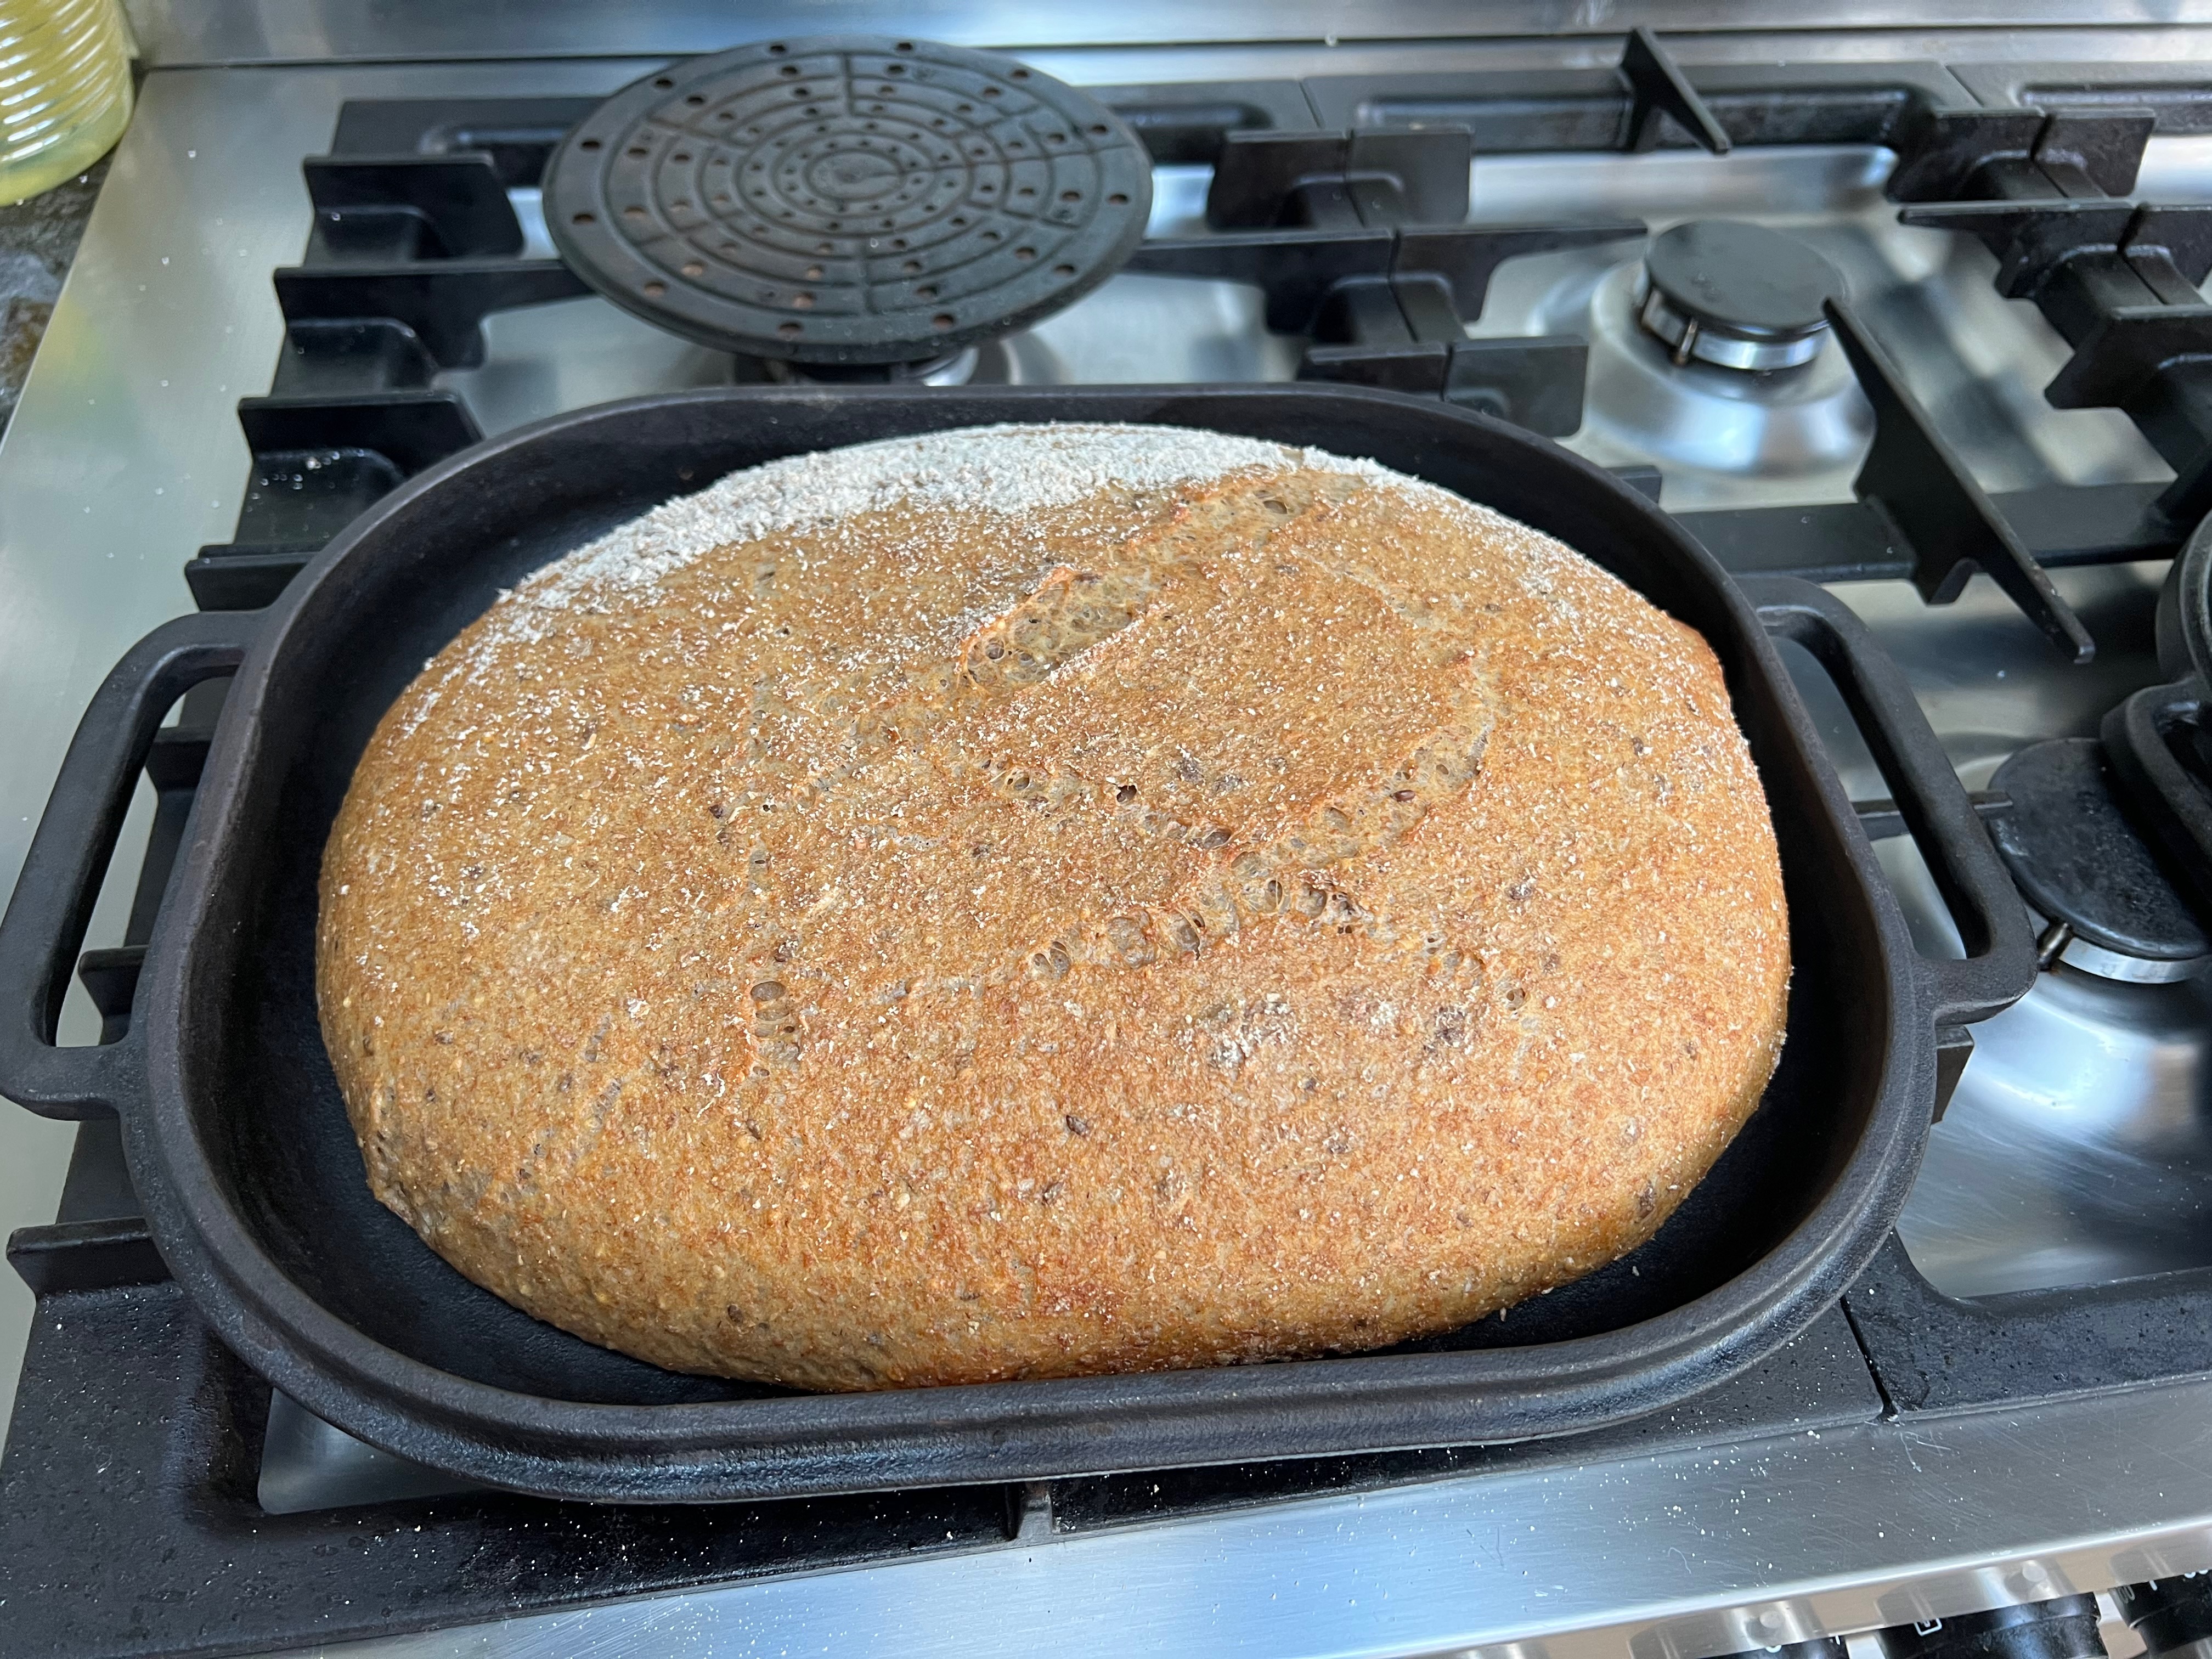
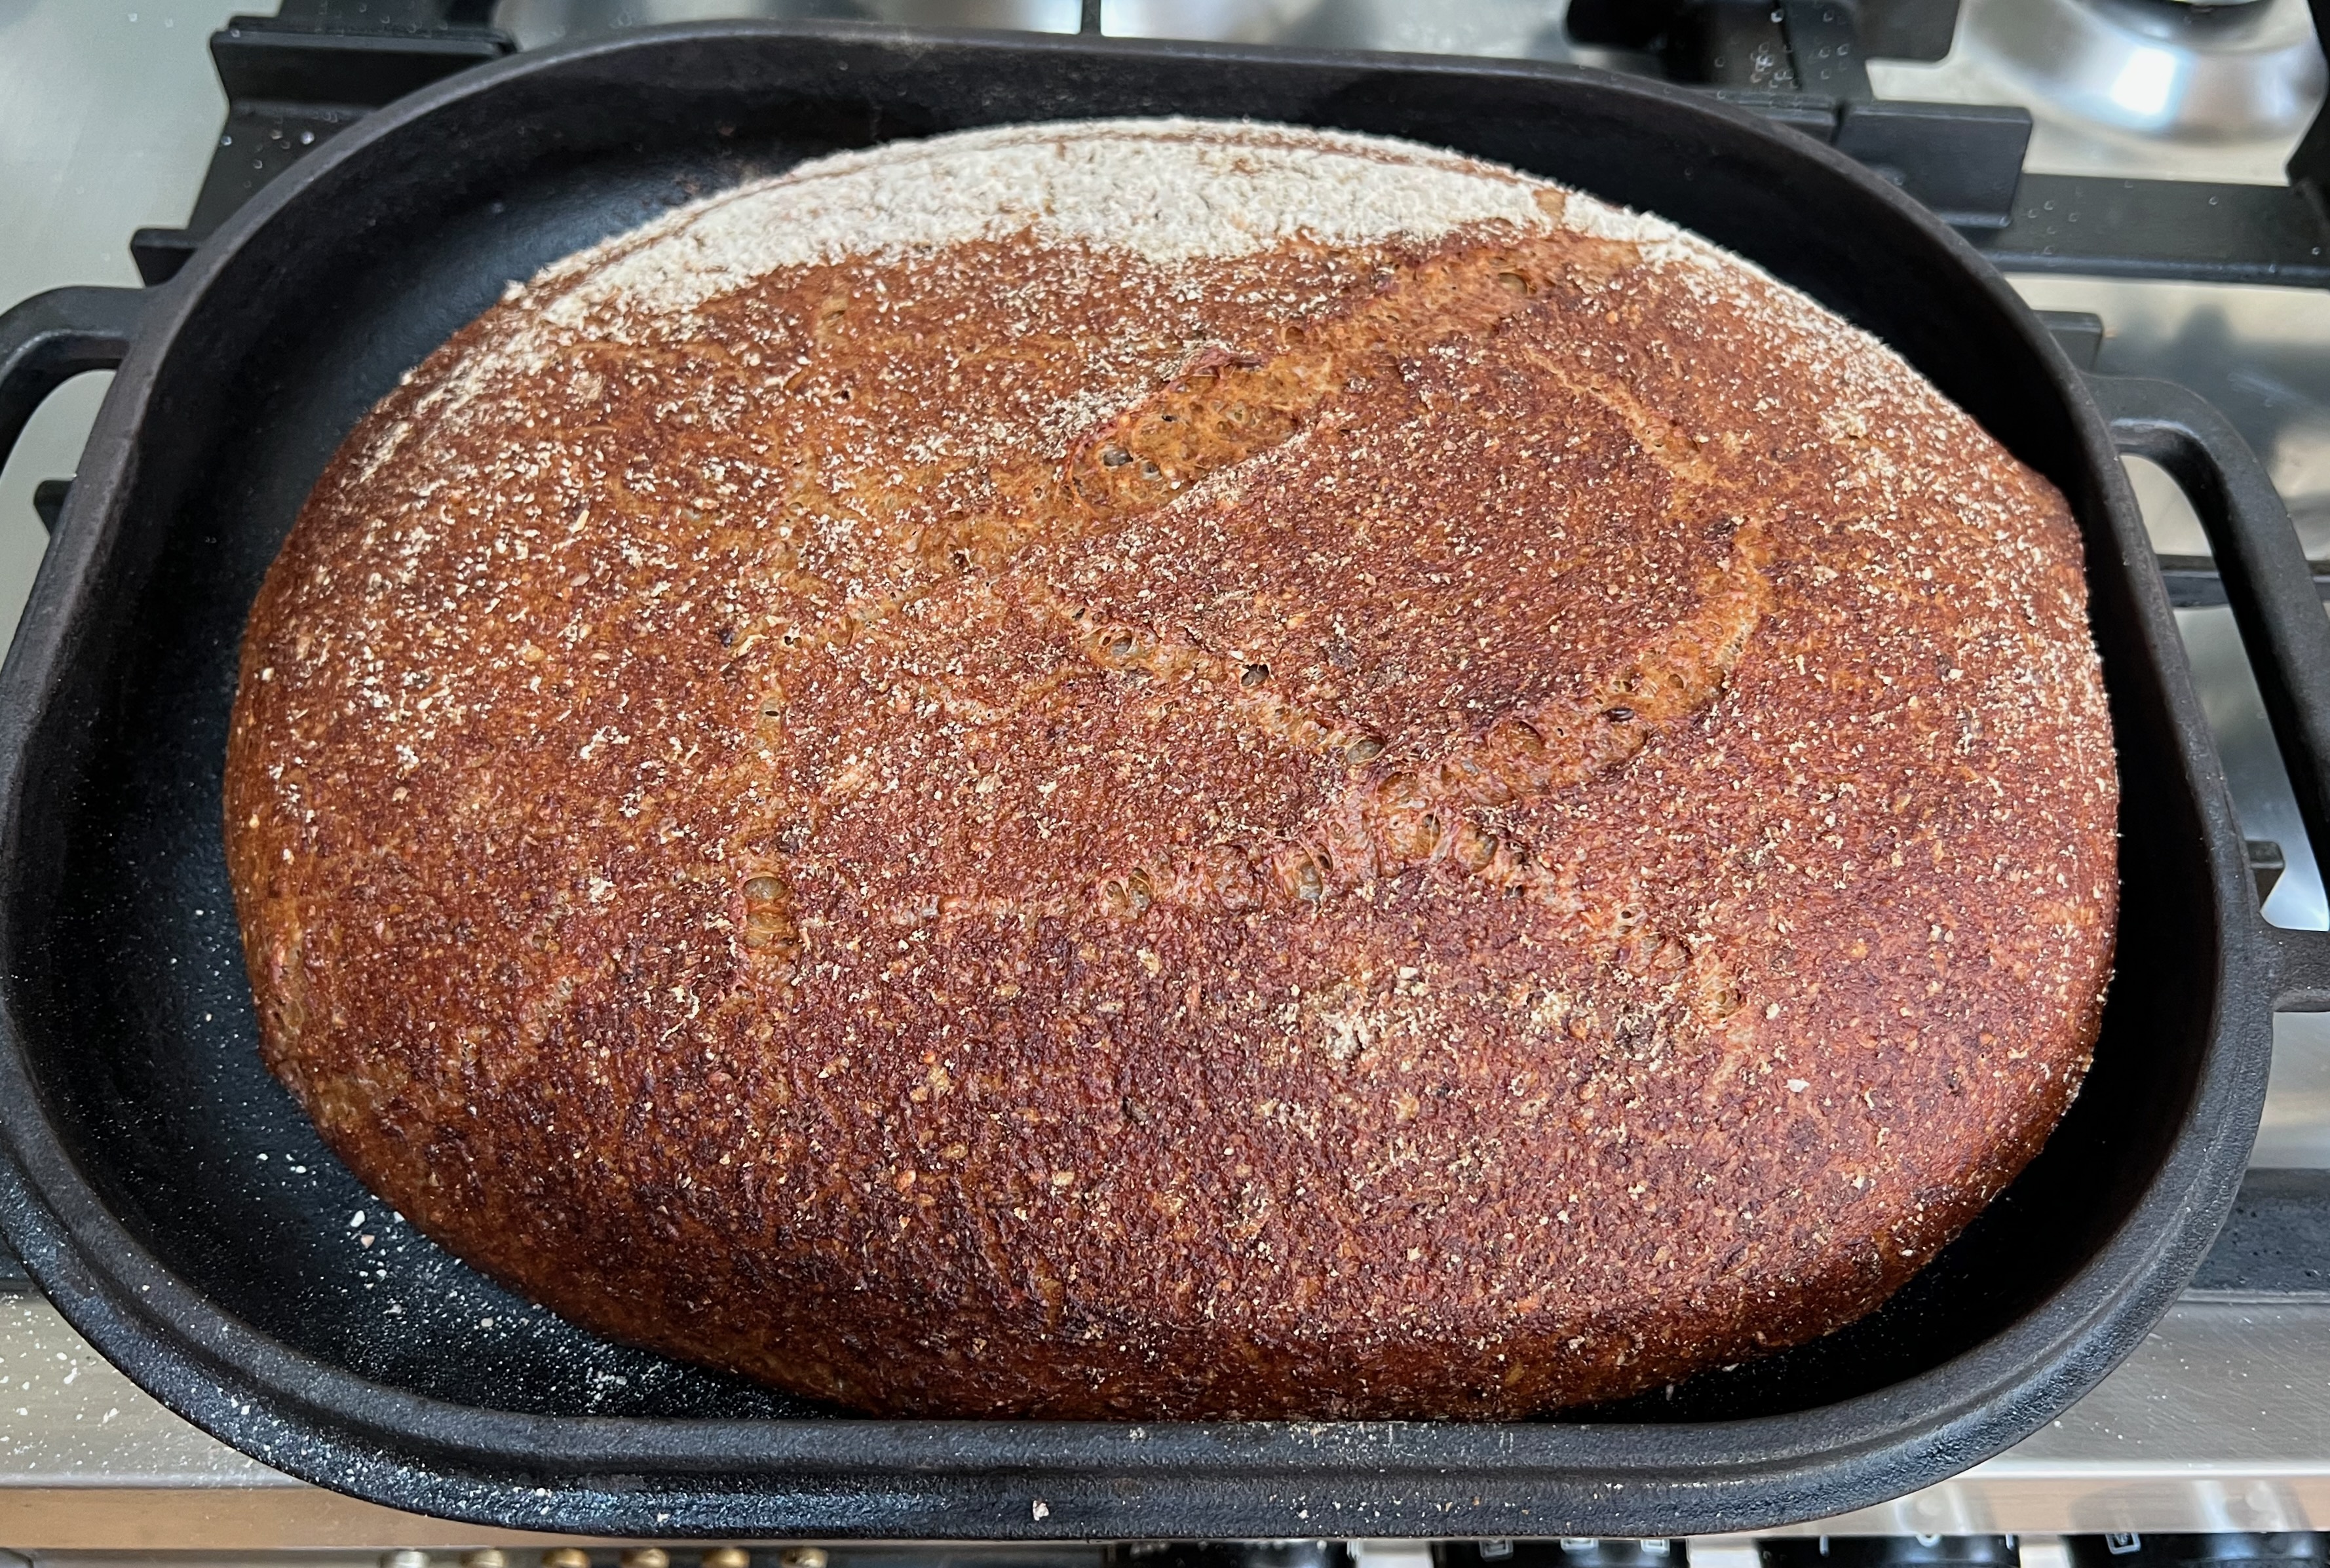
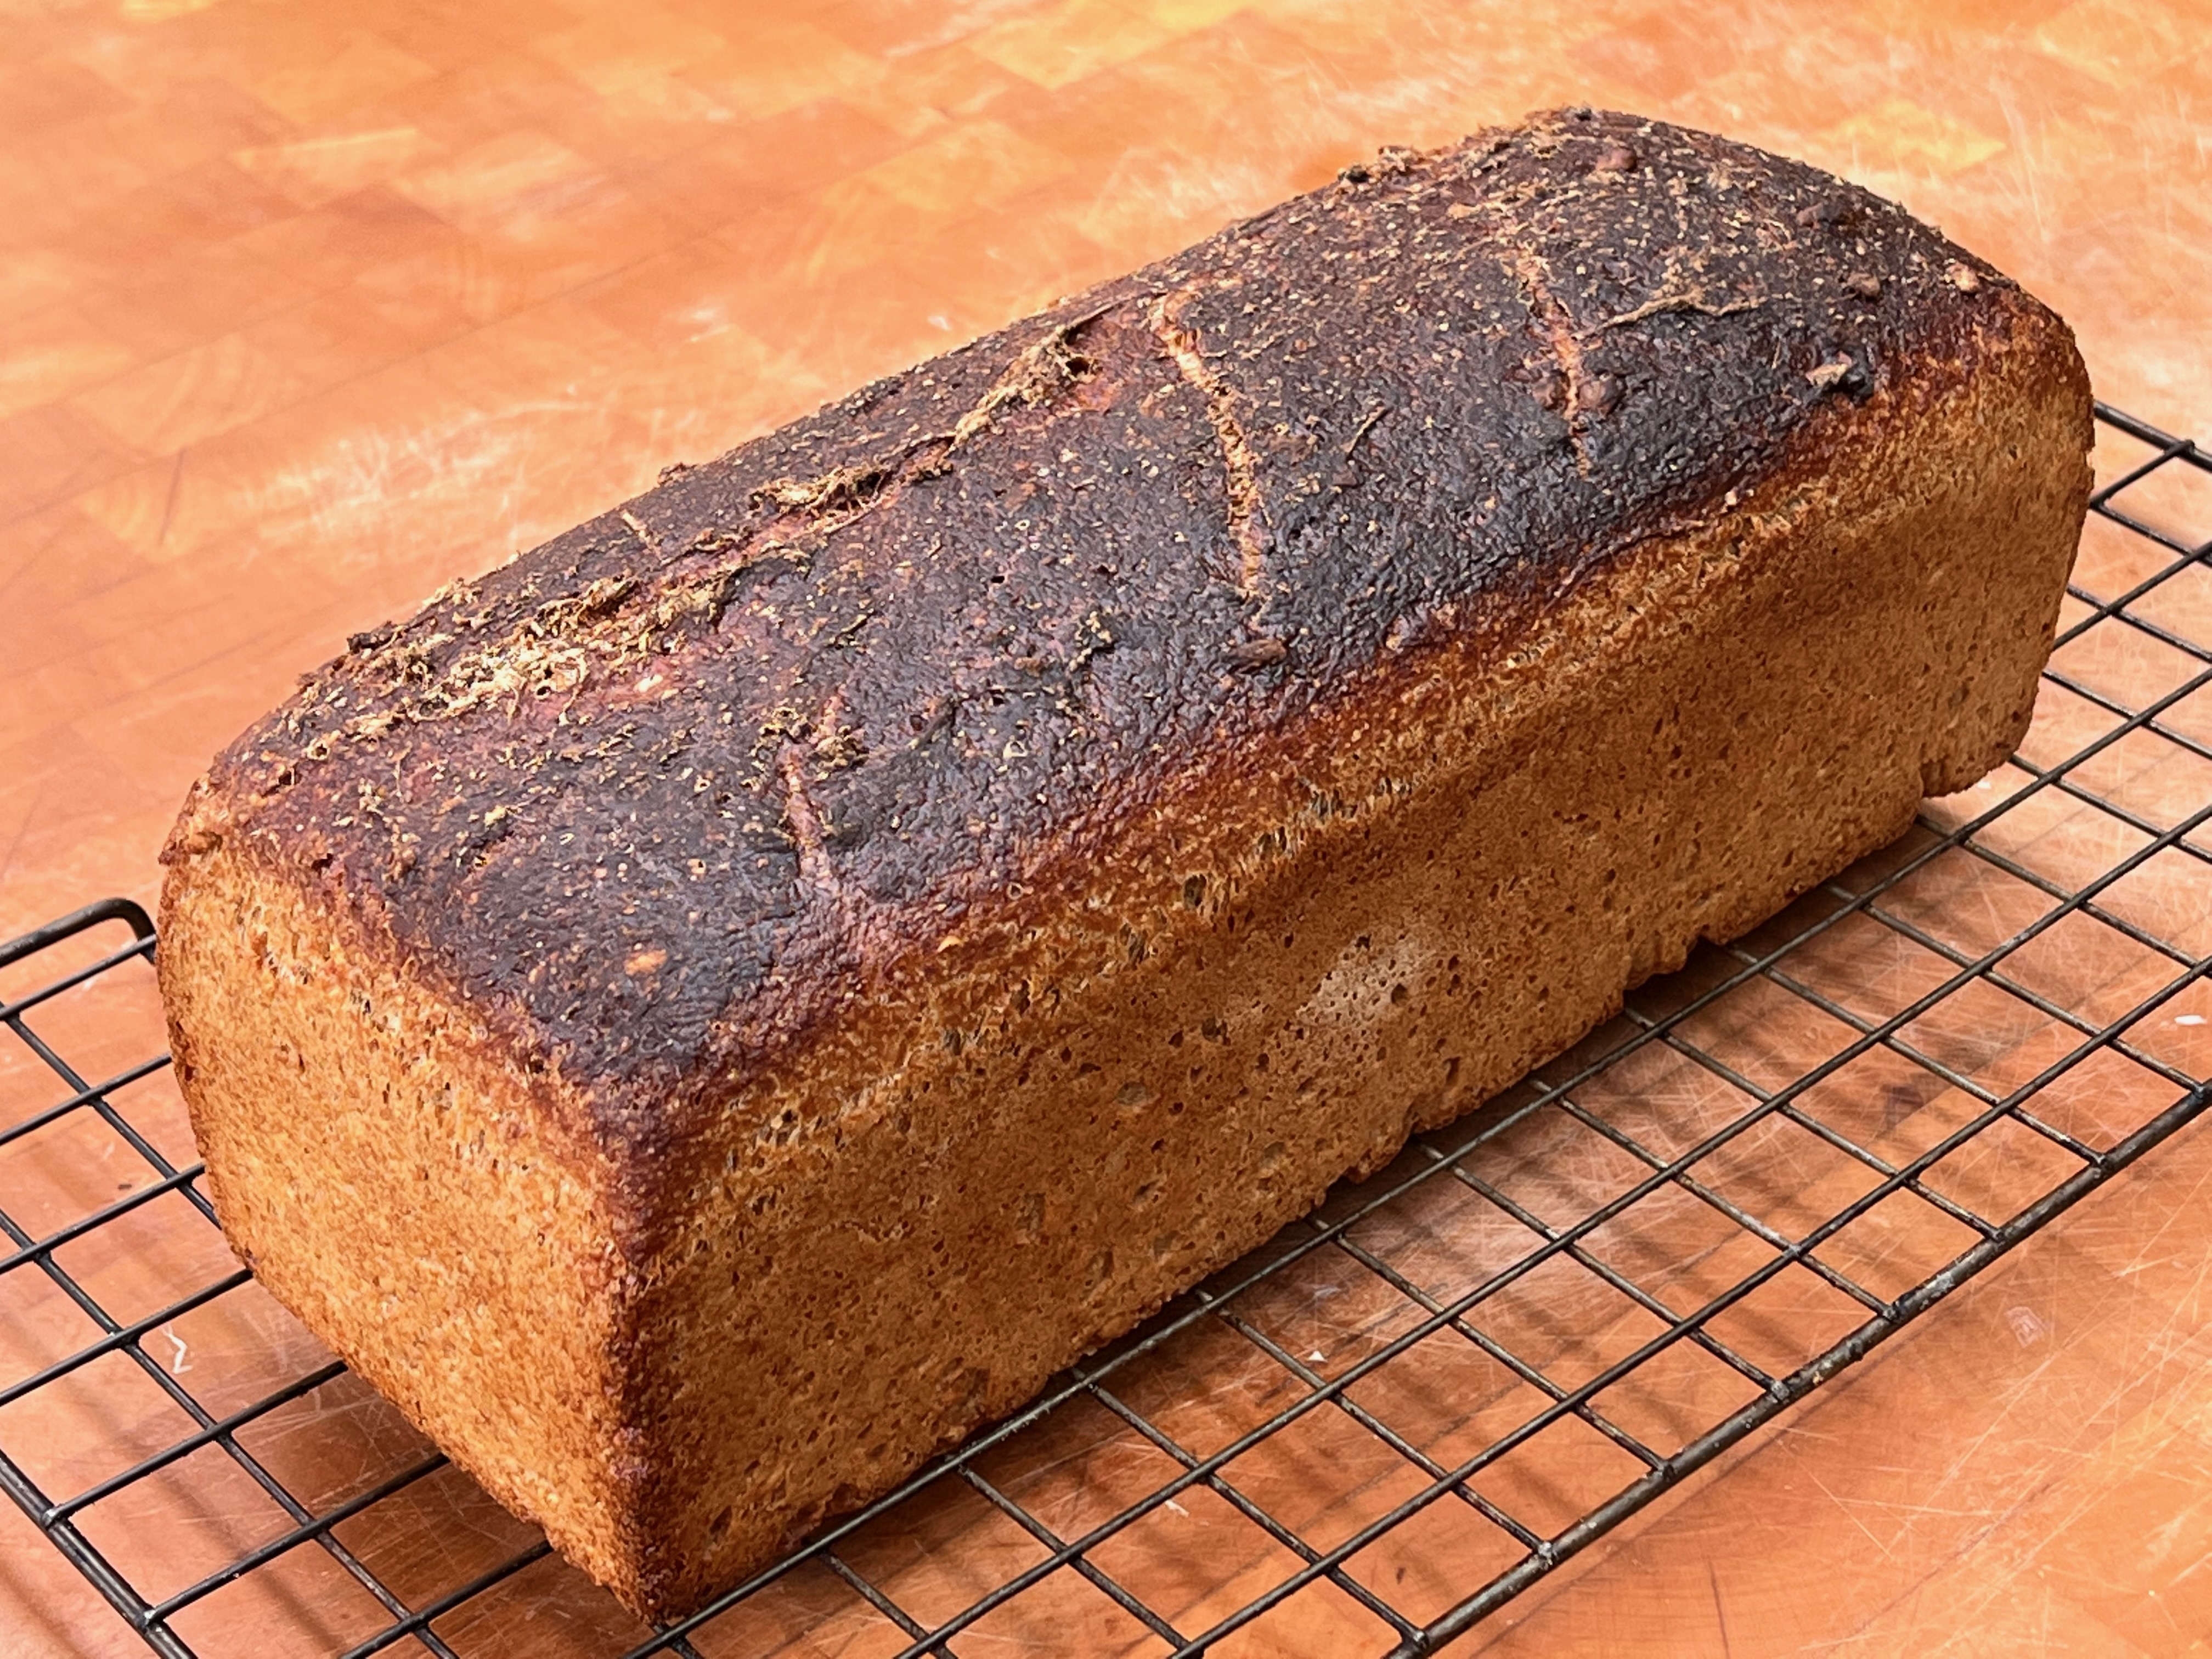
- After 30 minutes, open the oven door, uncover your loaf and close the oven door again. Continue baking for around 20 minutes. By the end of this, the top of your loaf should be medium-to-deep brown and the internal temperature should be around 98℃.
- Leave to cool on a rack for at least an hour before cutting and eating.
- Half an hour or so before the loaf has risen, start to preheat your oven on the fan setting if there is one, with your Dutch oven in it if you’re using one. You want it to reach 250℃ by the time you start baking.
- Score a few gashes into your loaf, in whatever pattern you like (I use two or three crossways gashes when using a tin, or I do a kind of signature for the free standing loaf, along the lines of the stylised “P” that Poilâne use).
- Now work quickly: remove the tea towel (or cover of your tin), open the oven, remove the cover of your Dutch oven (if you’re using one), place your loaf in it, throw a few ice cubes around the side of your loaf (if using a tin, you can just use water) and cover. Close the oven and reduce the temperature to 225℃.
- After 30 minutes, open the oven door, uncover your loaf and close the oven door again. Continue baking for around 20 minutes. By the end of this, the top of your loaf should be medium-to-deep brown and the internal temperature should be around 98℃.
- Leave to cool on a rack for at least an hour before cutting and eating.
So that’s it! We’ve baked round the world, from the great cities of our planet – Paris, New York, Vienna – to the middle of nowhere in Pitcairn Island. We’ve made breads, cakes, biscuits, pastries, savoury dishes and a few random things that don’t fit into any category. We’ve done some super-easy bakes (soda bread) and some very challenging ones (chocolate eclairs, pannetone). Being diabetic, which means I shouldn’t really have been doing this blog at all, I’ve erred on the less sweet side, but there are a few very sweet dishes indeed. It’s been a grand ride and I’ve learned masses.
There will be one more post in this series, namely a recipe index. But otherwise, it’s goodbye, and time for me to revert this blog to its original intention of being about all my obsessions – travel, software, business, politics and anything else. If you’re interested, stay with me!
