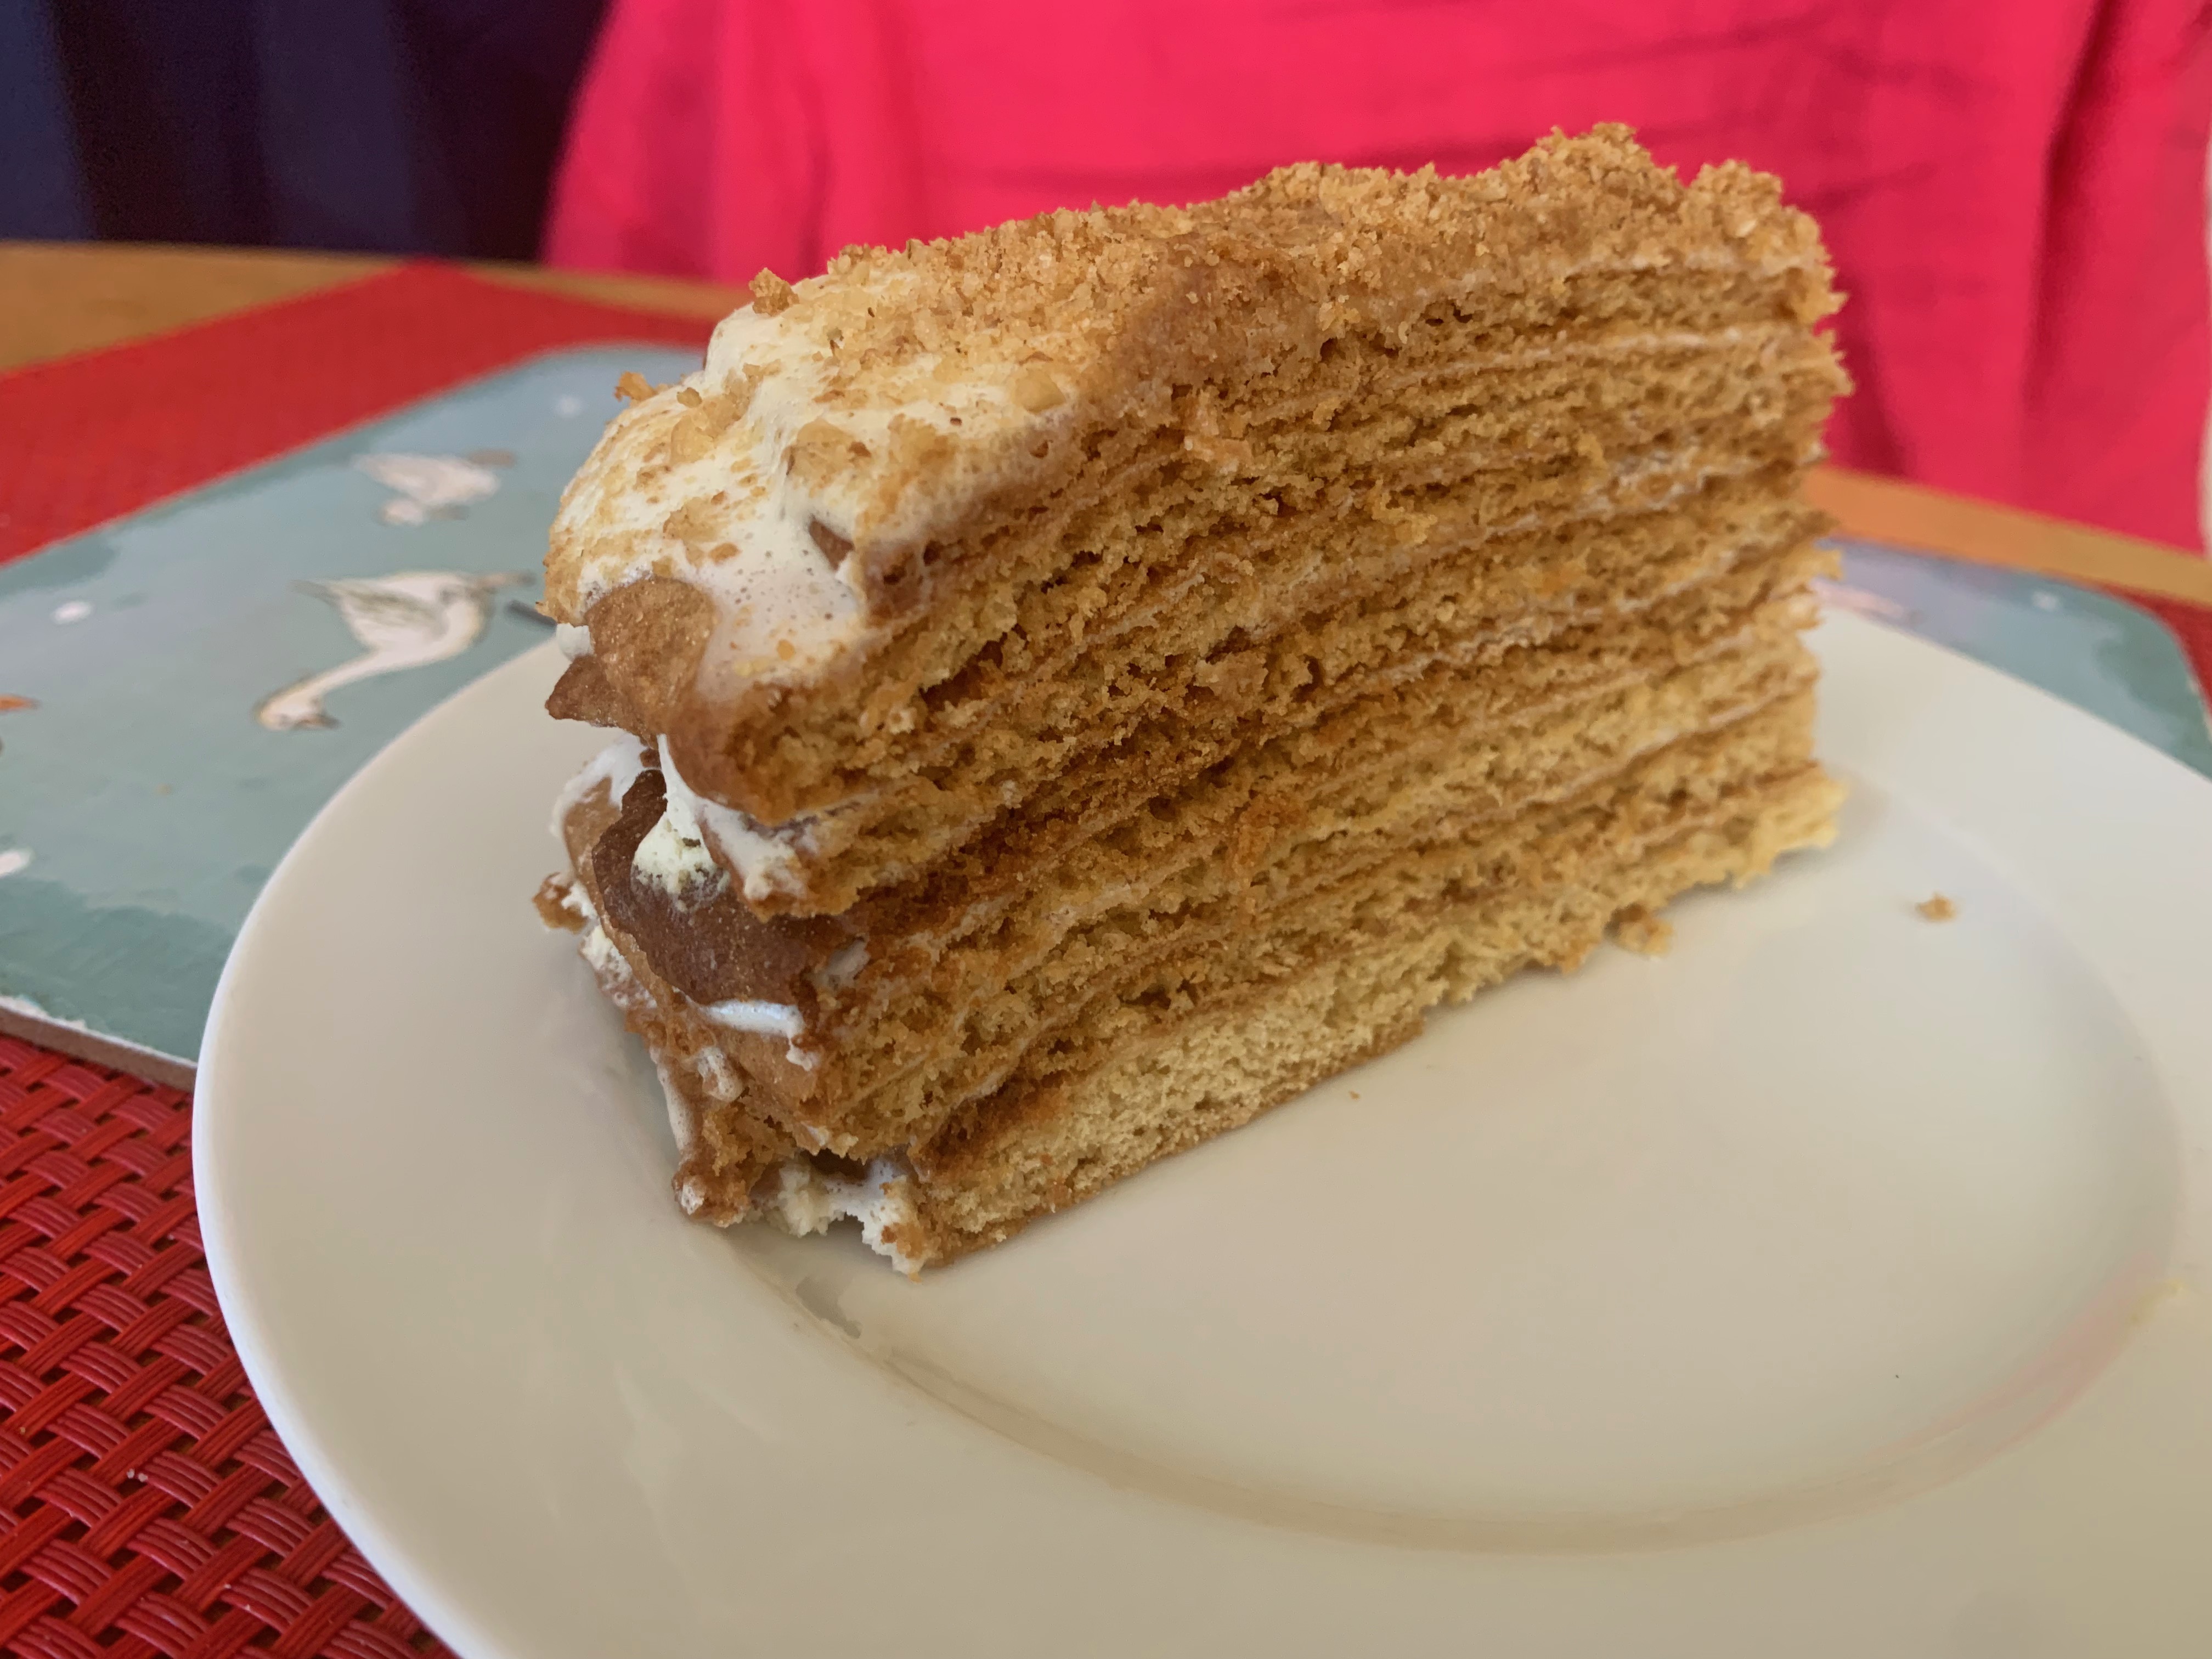
Many countries have their own versions of a cake made of a large number of very thin layers: the Hungarian Dobos torte is probably the most famous, the Czechs have Marlenka (originally from Armenia), the Croatians have Mađarica, there are various Asian versions like the Indonesian kek lapis. The Ukranians go for a multilayered honey cake called Medovik (which is originally Russian and popular in much of Eastern Europe).
Medovik consists of alternating layers of cake and a cream filling. Recipes for the cake are fairly consistent: they come out closer to a biscuit or pastry than to a normal sponge cake. Recipes for the filling vary more: the base ingredient can be sour cream or whipped ordinary cream or an egg custard.
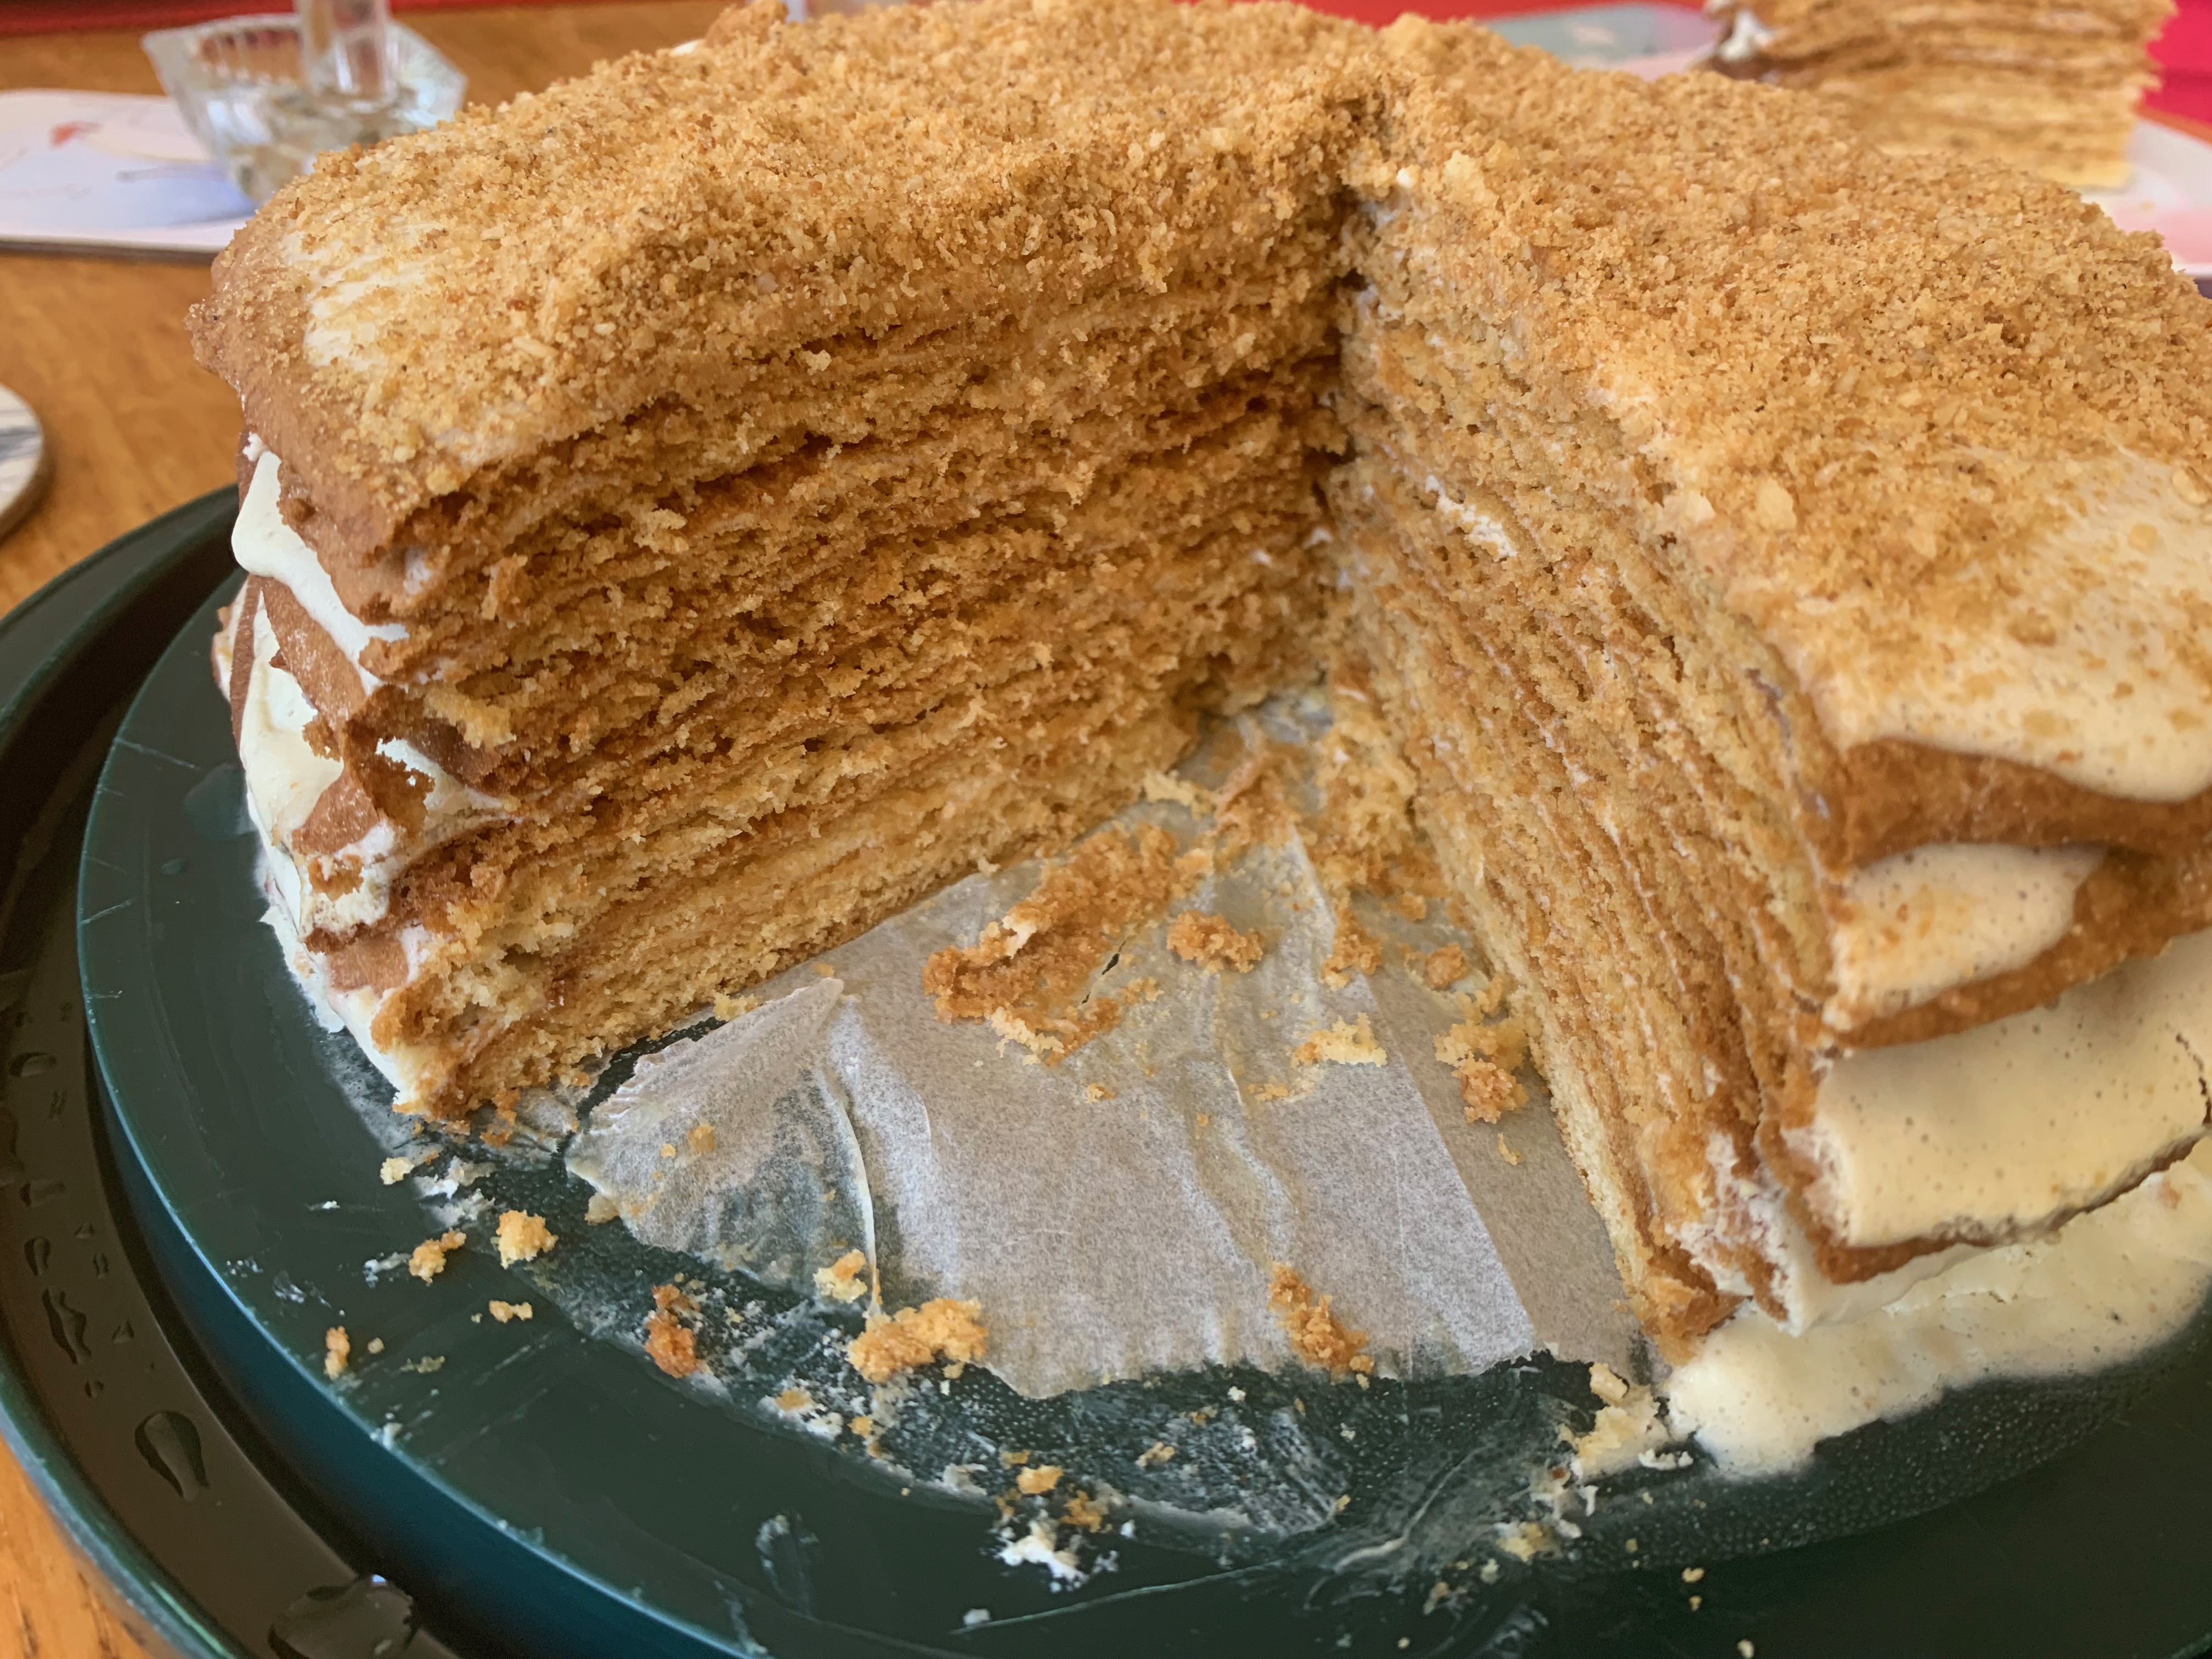
There are two keys to Medovik, one of which is easy and one of which is decidedly not so. The easy part is to remember, when you’ve made your layers, to give the cake a long time in the refrigerator during which each wet cream layer soaks into the relatively hard biscuit layer below it, which is what results in a delightfully spongy feel to the whole assembly. The hard part is rolling the cake dough out as thinly and evenly as possible. You need to keep your rolling pin constantly floured to stop it lifting the dough, you need a careful touch to maintain evenness and you need to do your best to create a circle rather than the heart shape that I always end up with when I’m not concentrating. Picking up a finished circle is an impossibility, so I rolled my dough directly onto a silicone sheet: I suspect that it might be easier if I put a layer of cling film on top before rolling, but I didn’t try this.
I used the batter and the basic technique from a recipe on Ukrainian website ukrainefood.info, and used a simple sour cream and condensed milk filling as recommended by Smitten Kitchen (which may or may not change the cake’s name to smetannik – “sour cream cake” rather than “honey cake”).
Most of the recipes I’ve seen expect you to frost the sides of the cake in order to produce a beautiful round cylinder. I can’t see the point of doing this, so I made less filling and just put it between layers and on the top of the whole cake. I still had plenty to spare.
The cake layers
- 60g honey
- 50g butter
- 200g sugar
- 2 eggs
- 350g flour, plus plenty more for rolling
- 1 tbsp bicarbonate of soda
- Vanilla essence to taste
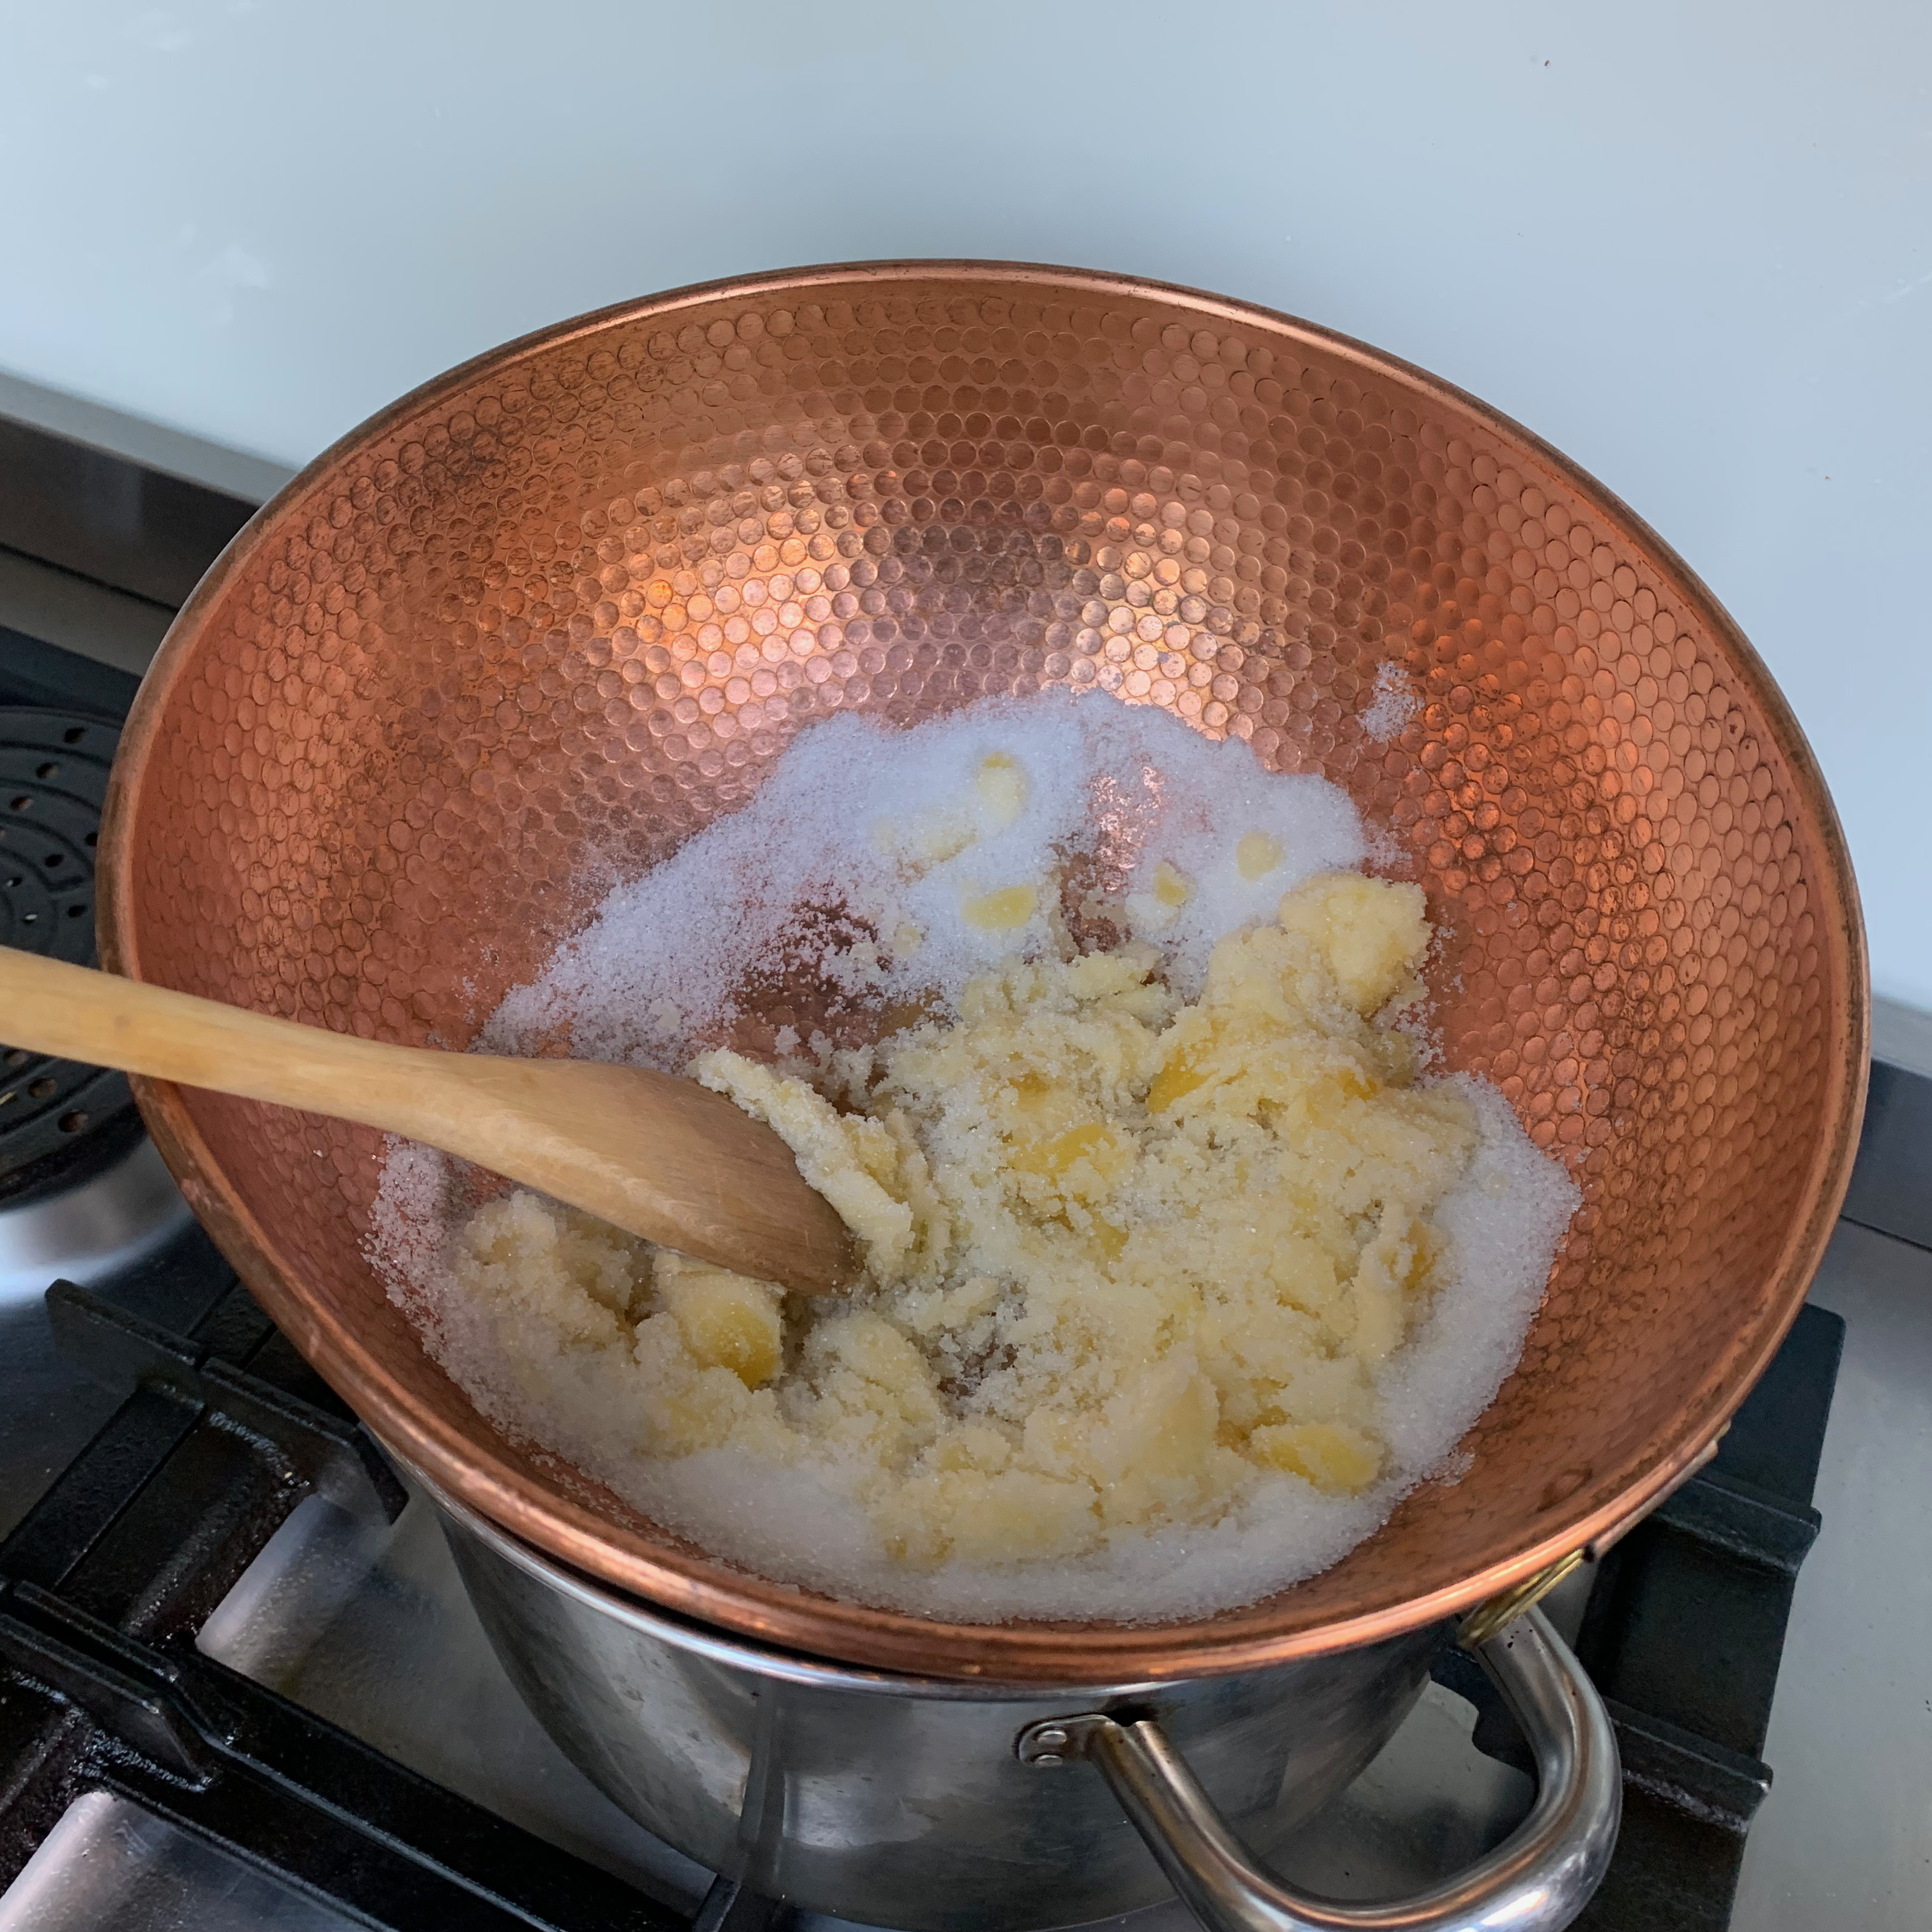
- Improvise a double boiler by using a metal bowl over a pan of boiling water.
- Put the honey, butter and sugar into the double boiler. Cook it until smooth, stirring continuously.
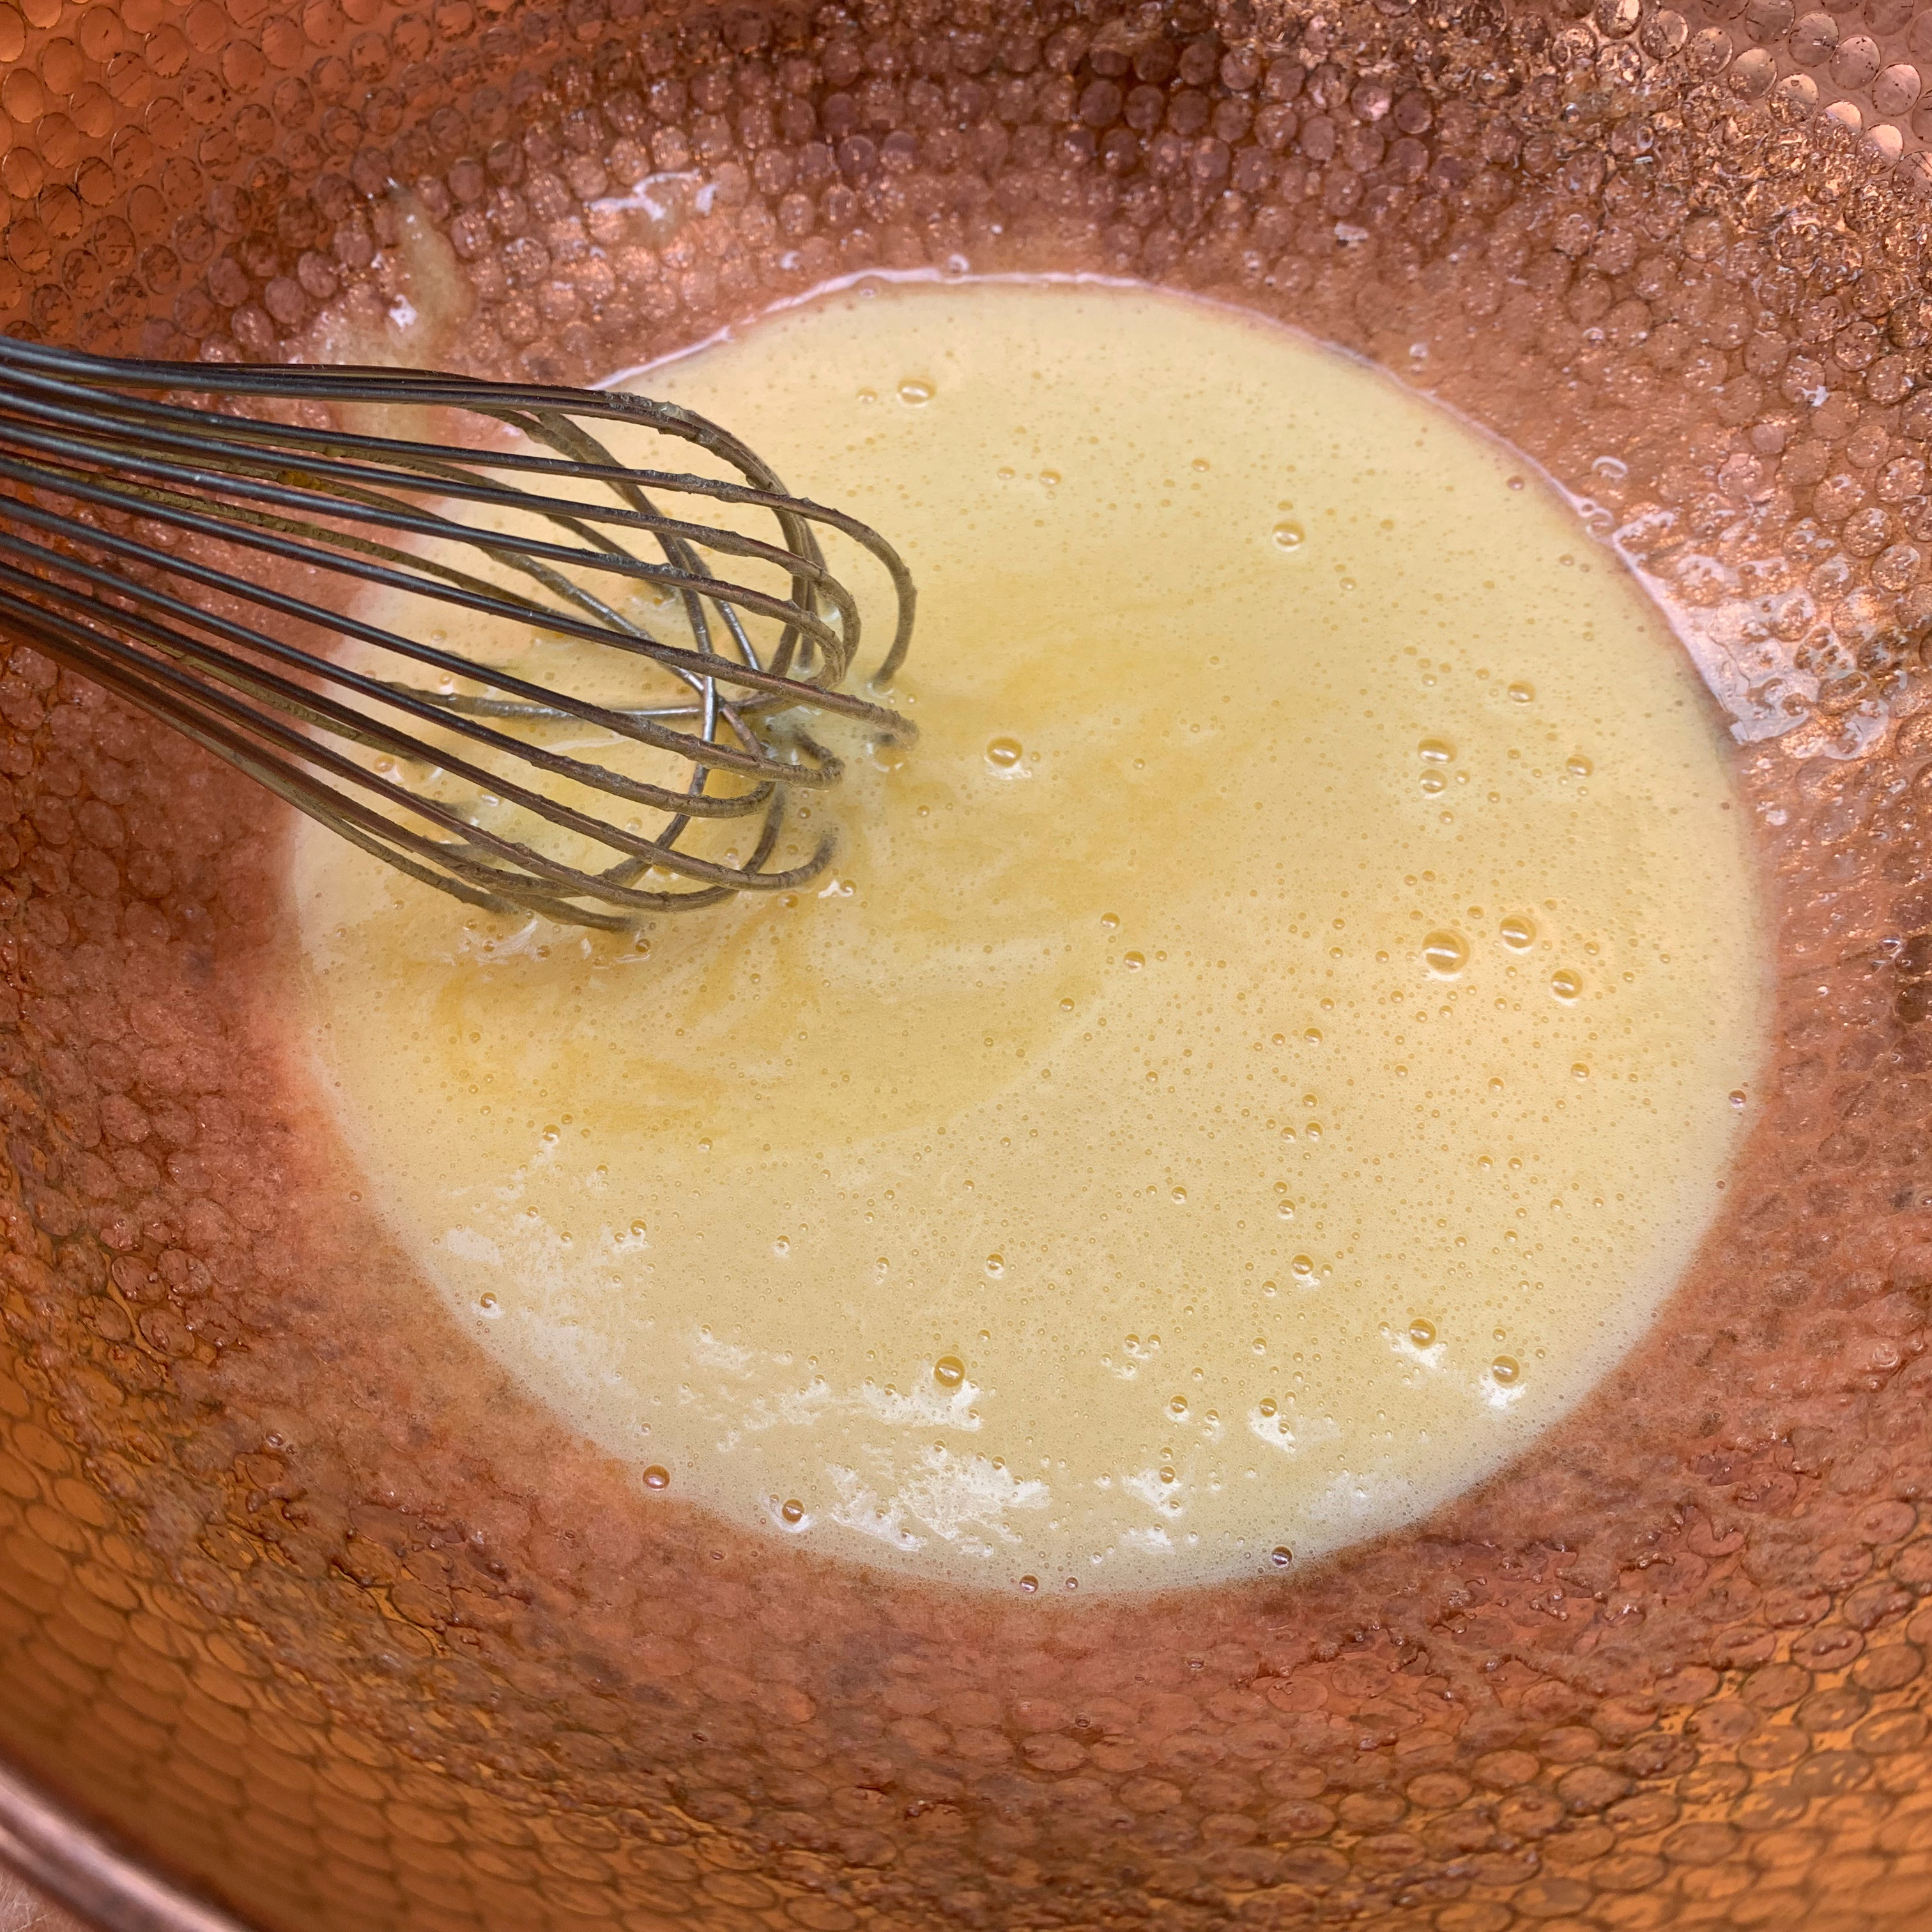
- Add the bicarbonate of soda and vanilla, and cook for another minute.
- Remove from the heat and leave to cool for around 4 minutes. You are about to add eggs and you don’t want them to be scrambled.
- Beat two eggs in a jug with a spout. Add the beaten egg very slowly to the mixture, continuing to beat as you go.
- Add the flour and stir until mixed thoroughly.
- Preheat oven to 200℃ fan.
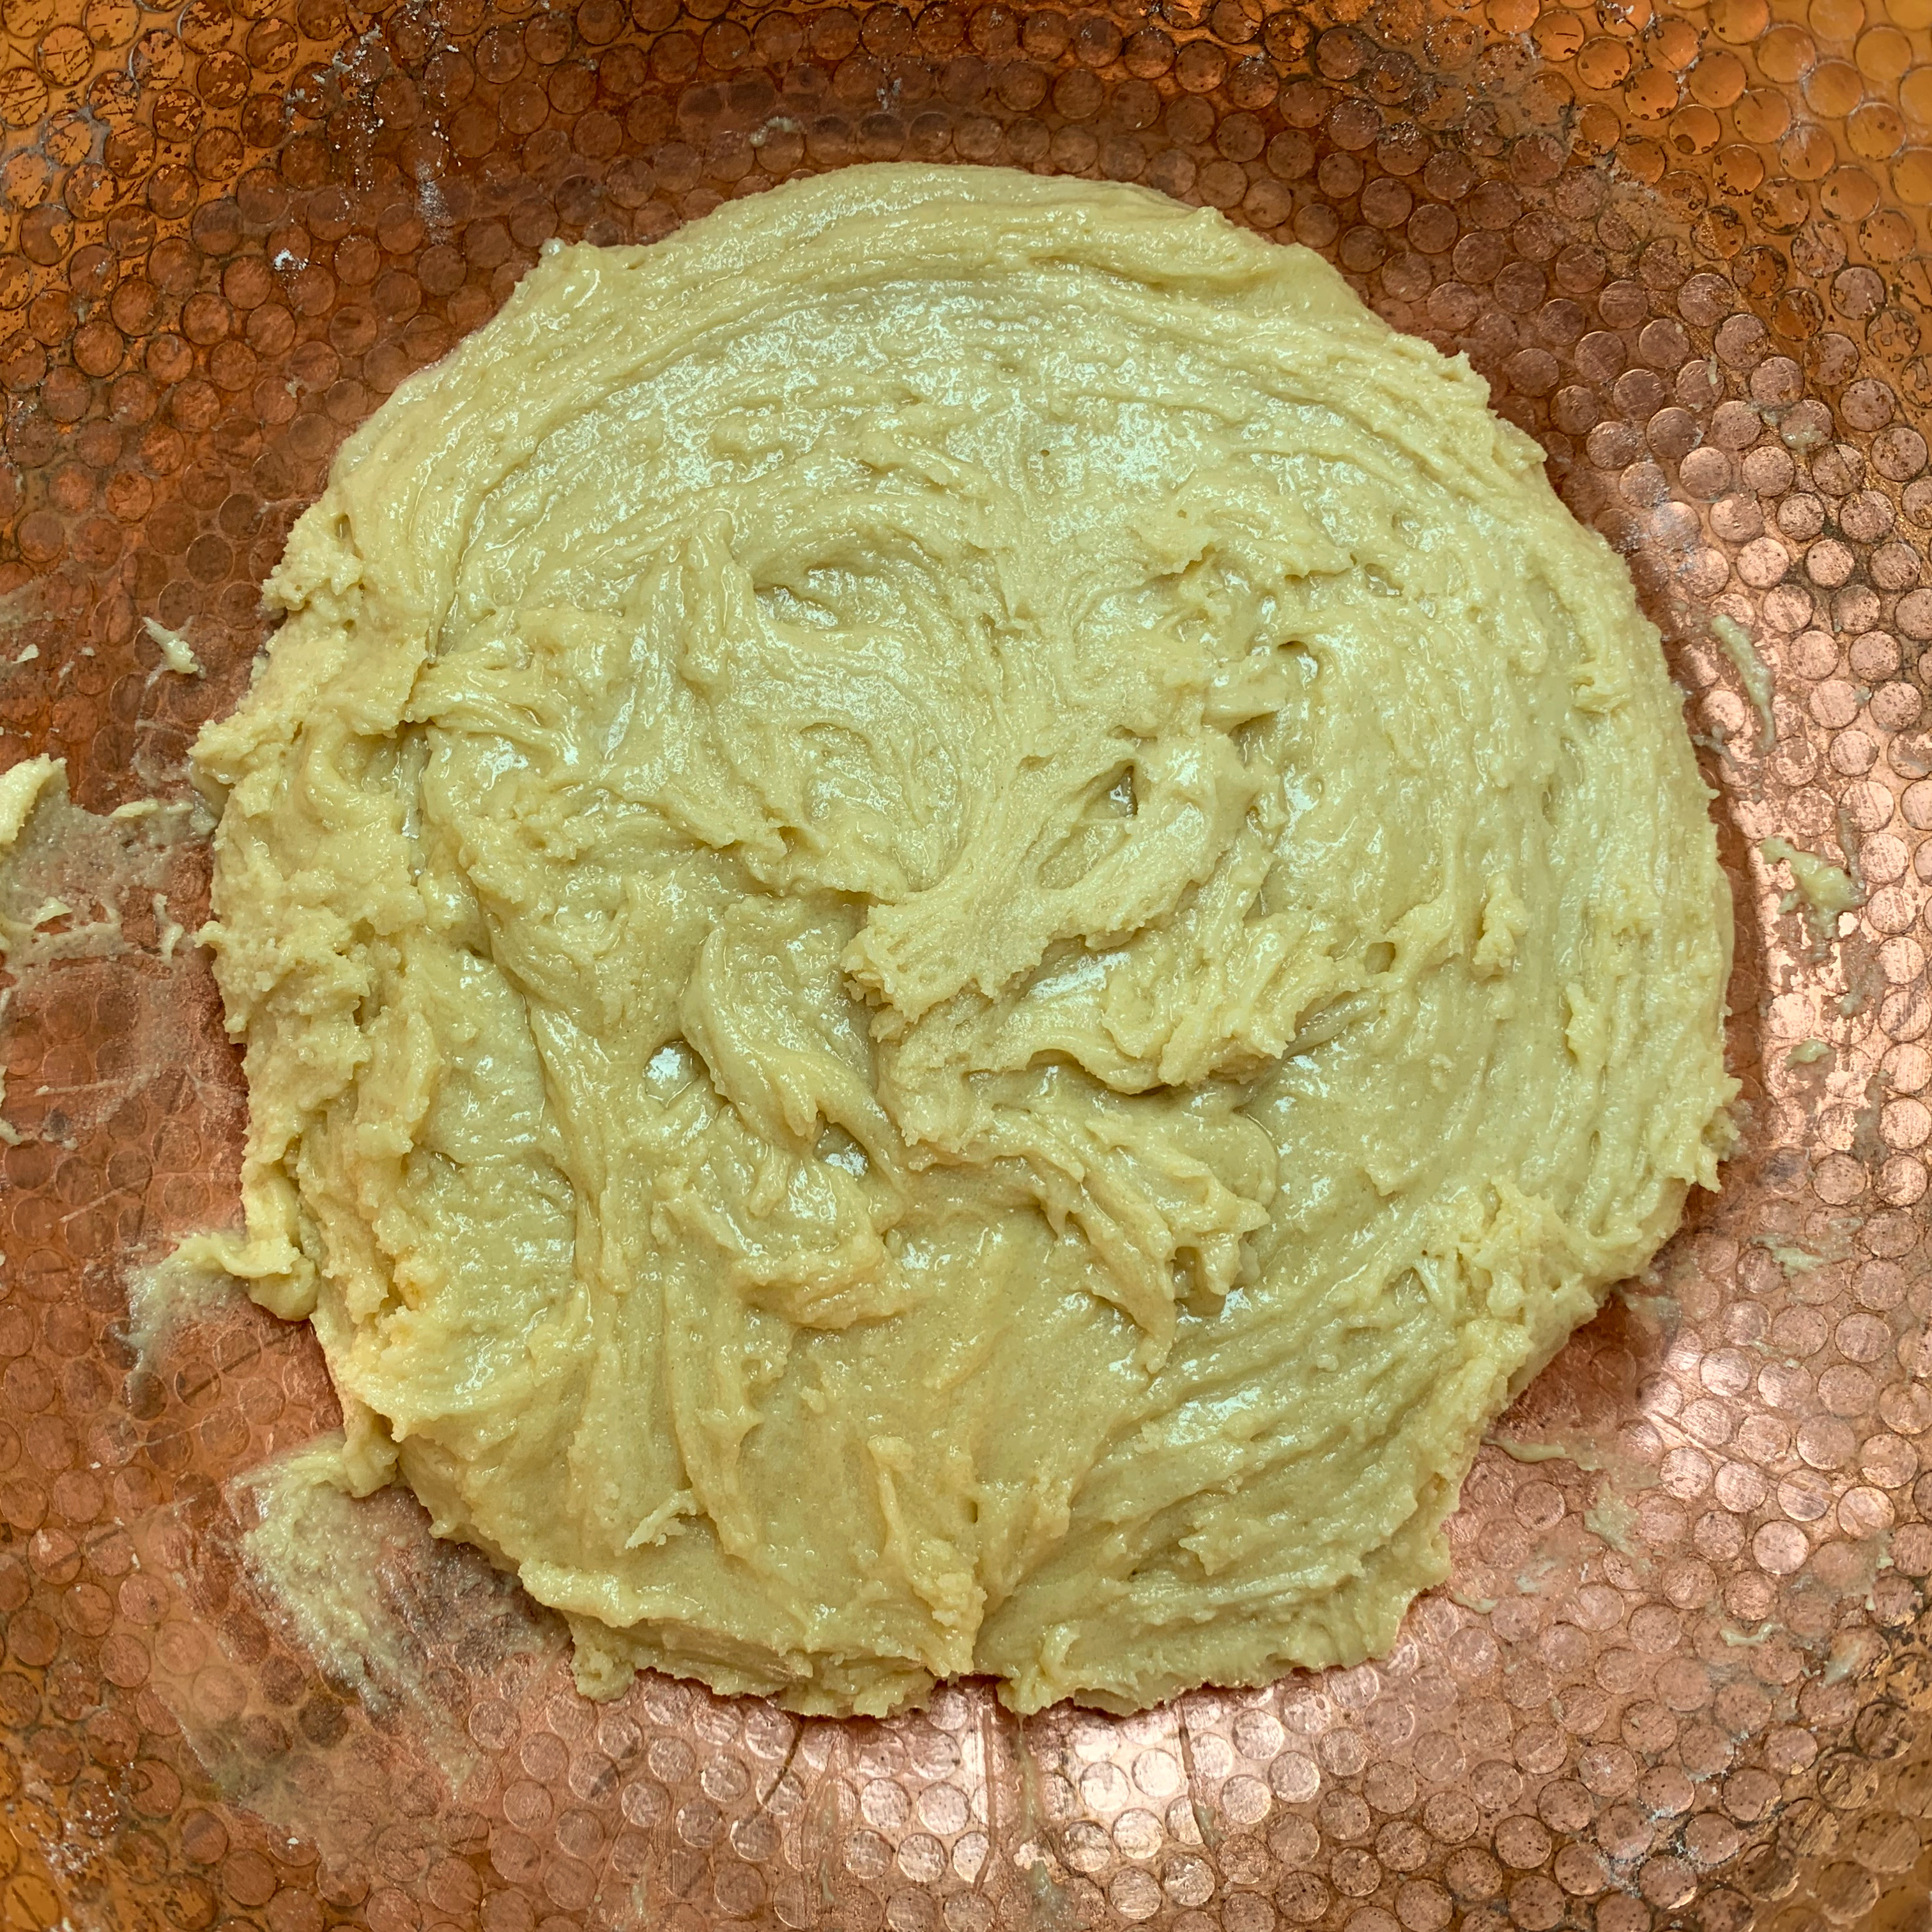
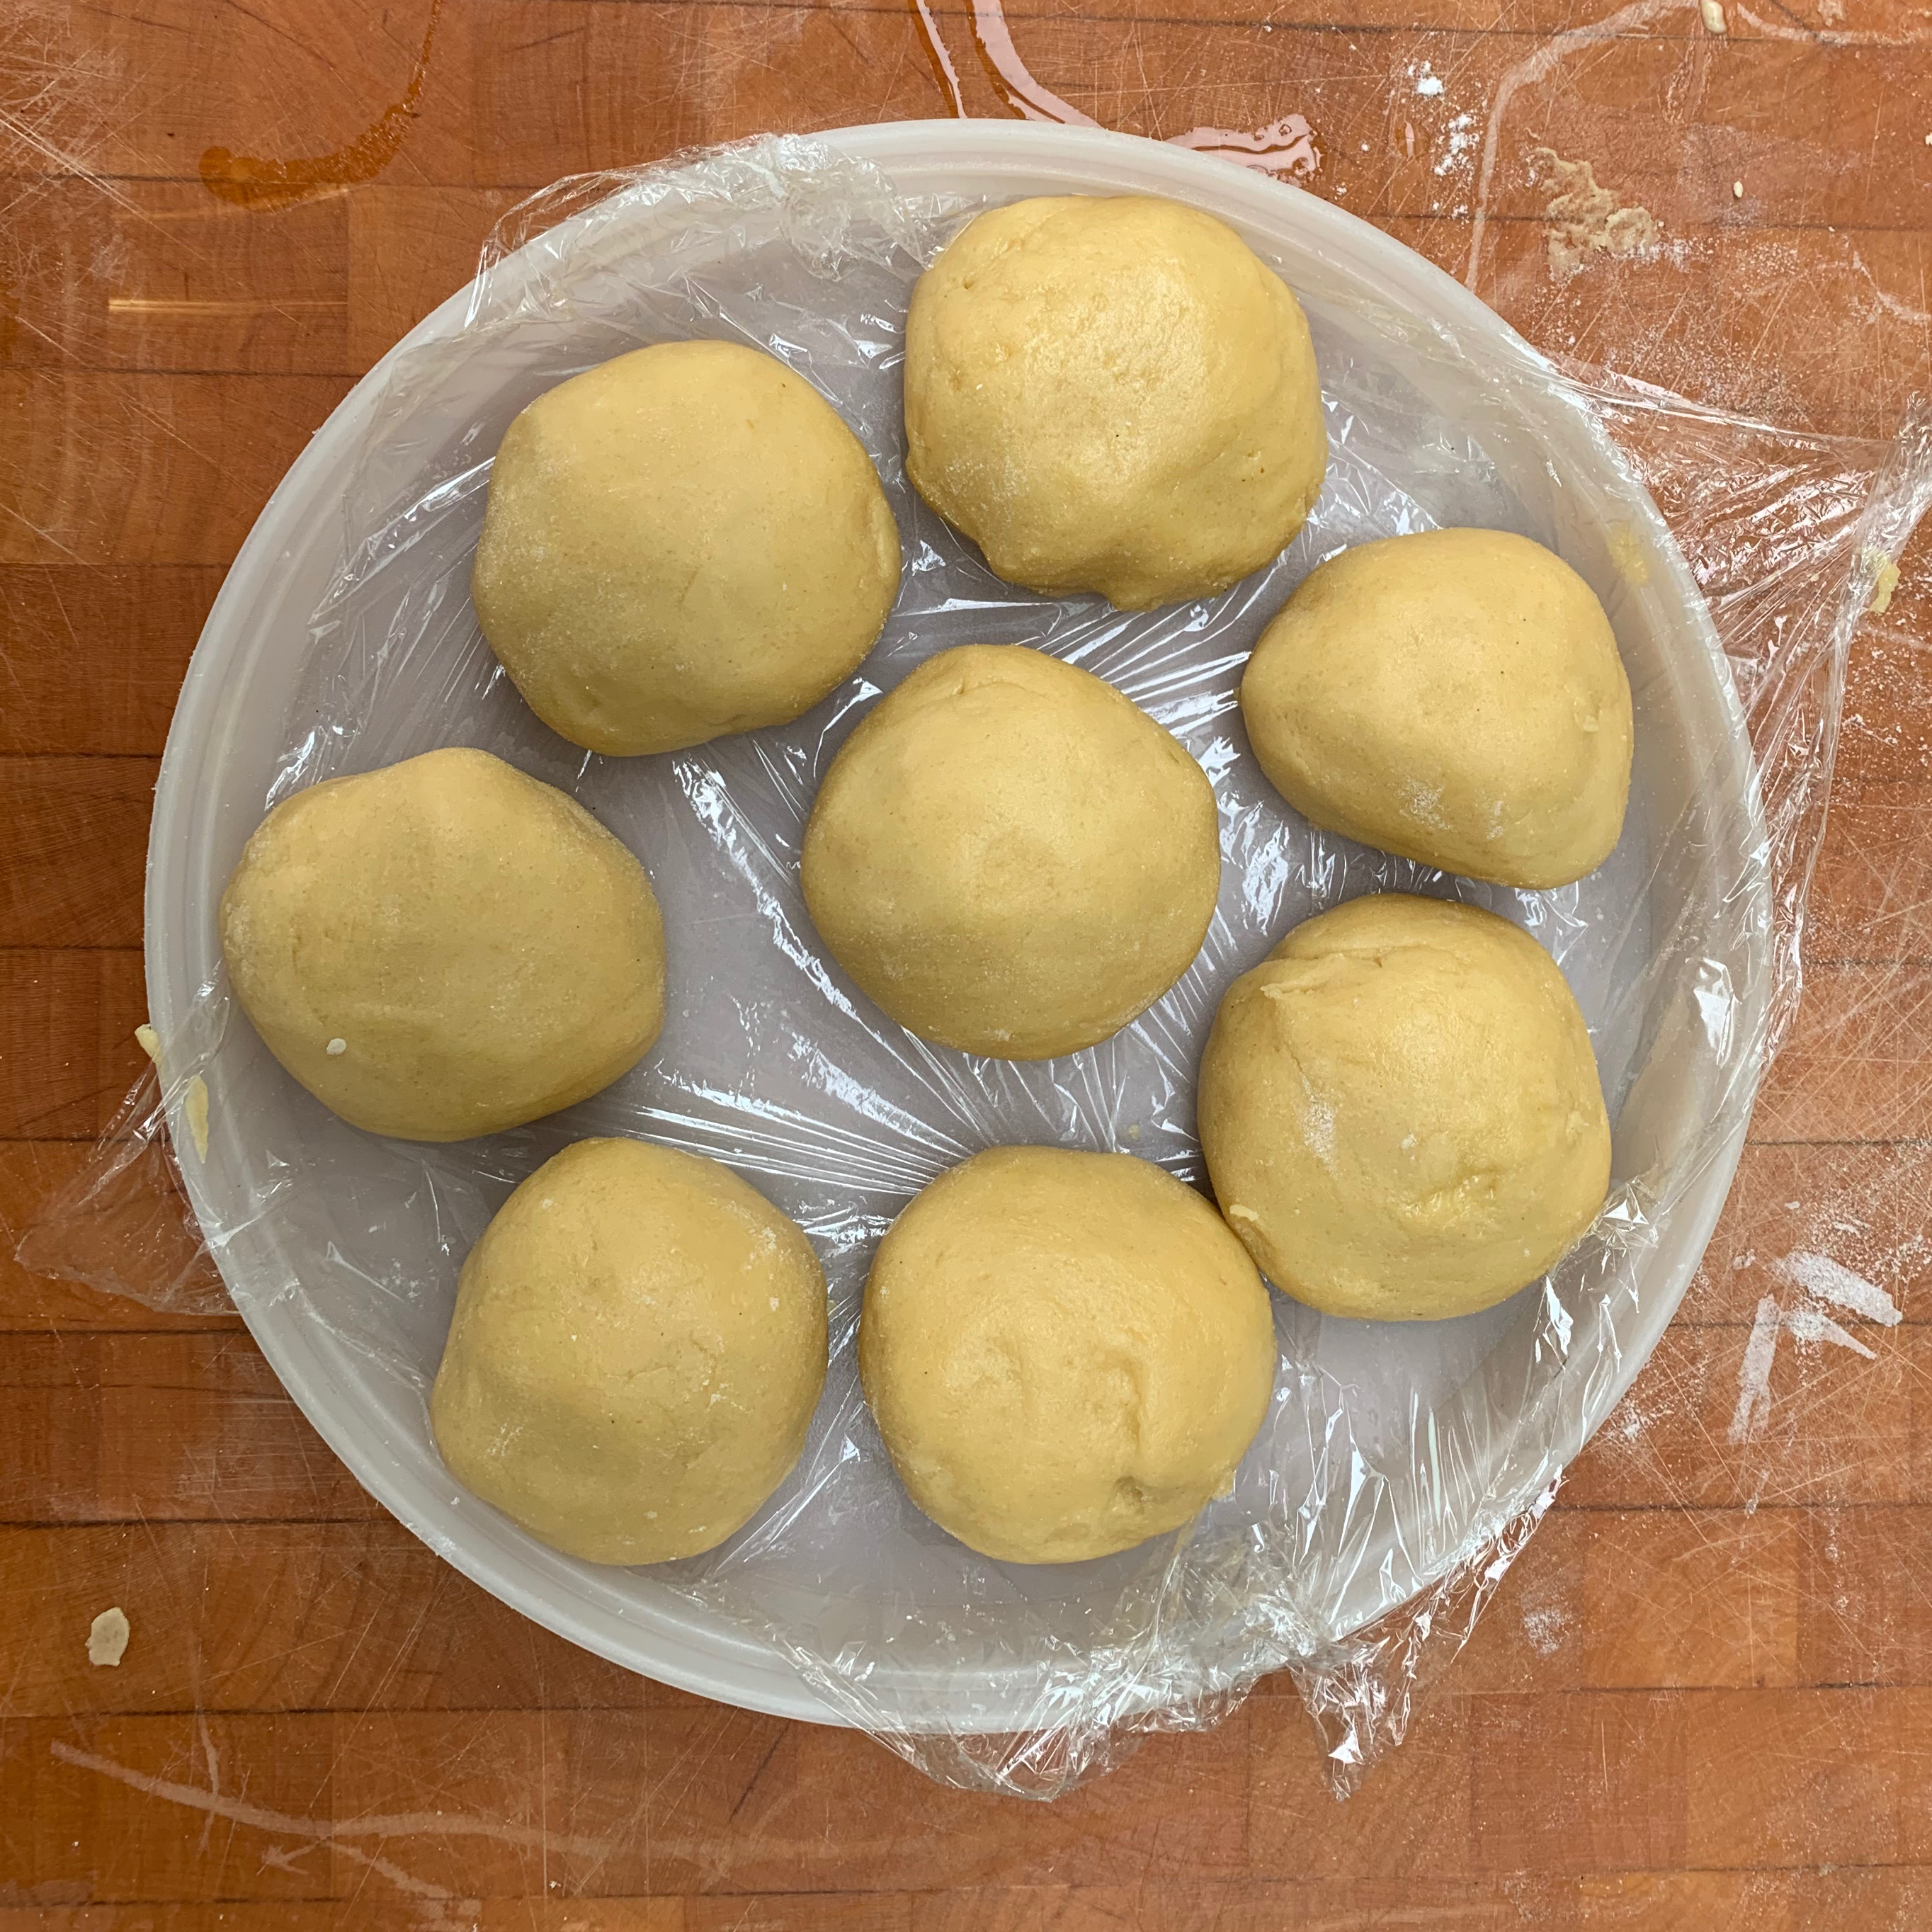
- Form the dough into a ball, wrap with cling film, and place in a freezer for around 15 minutes.
- Remove the dough from the freezer, cut into 8 equal pieces (make the weights as even as you can, they should be around 90g each). Form each piece into a ball, cover with cling film and replace in the freezer for another 5-10 minutes.
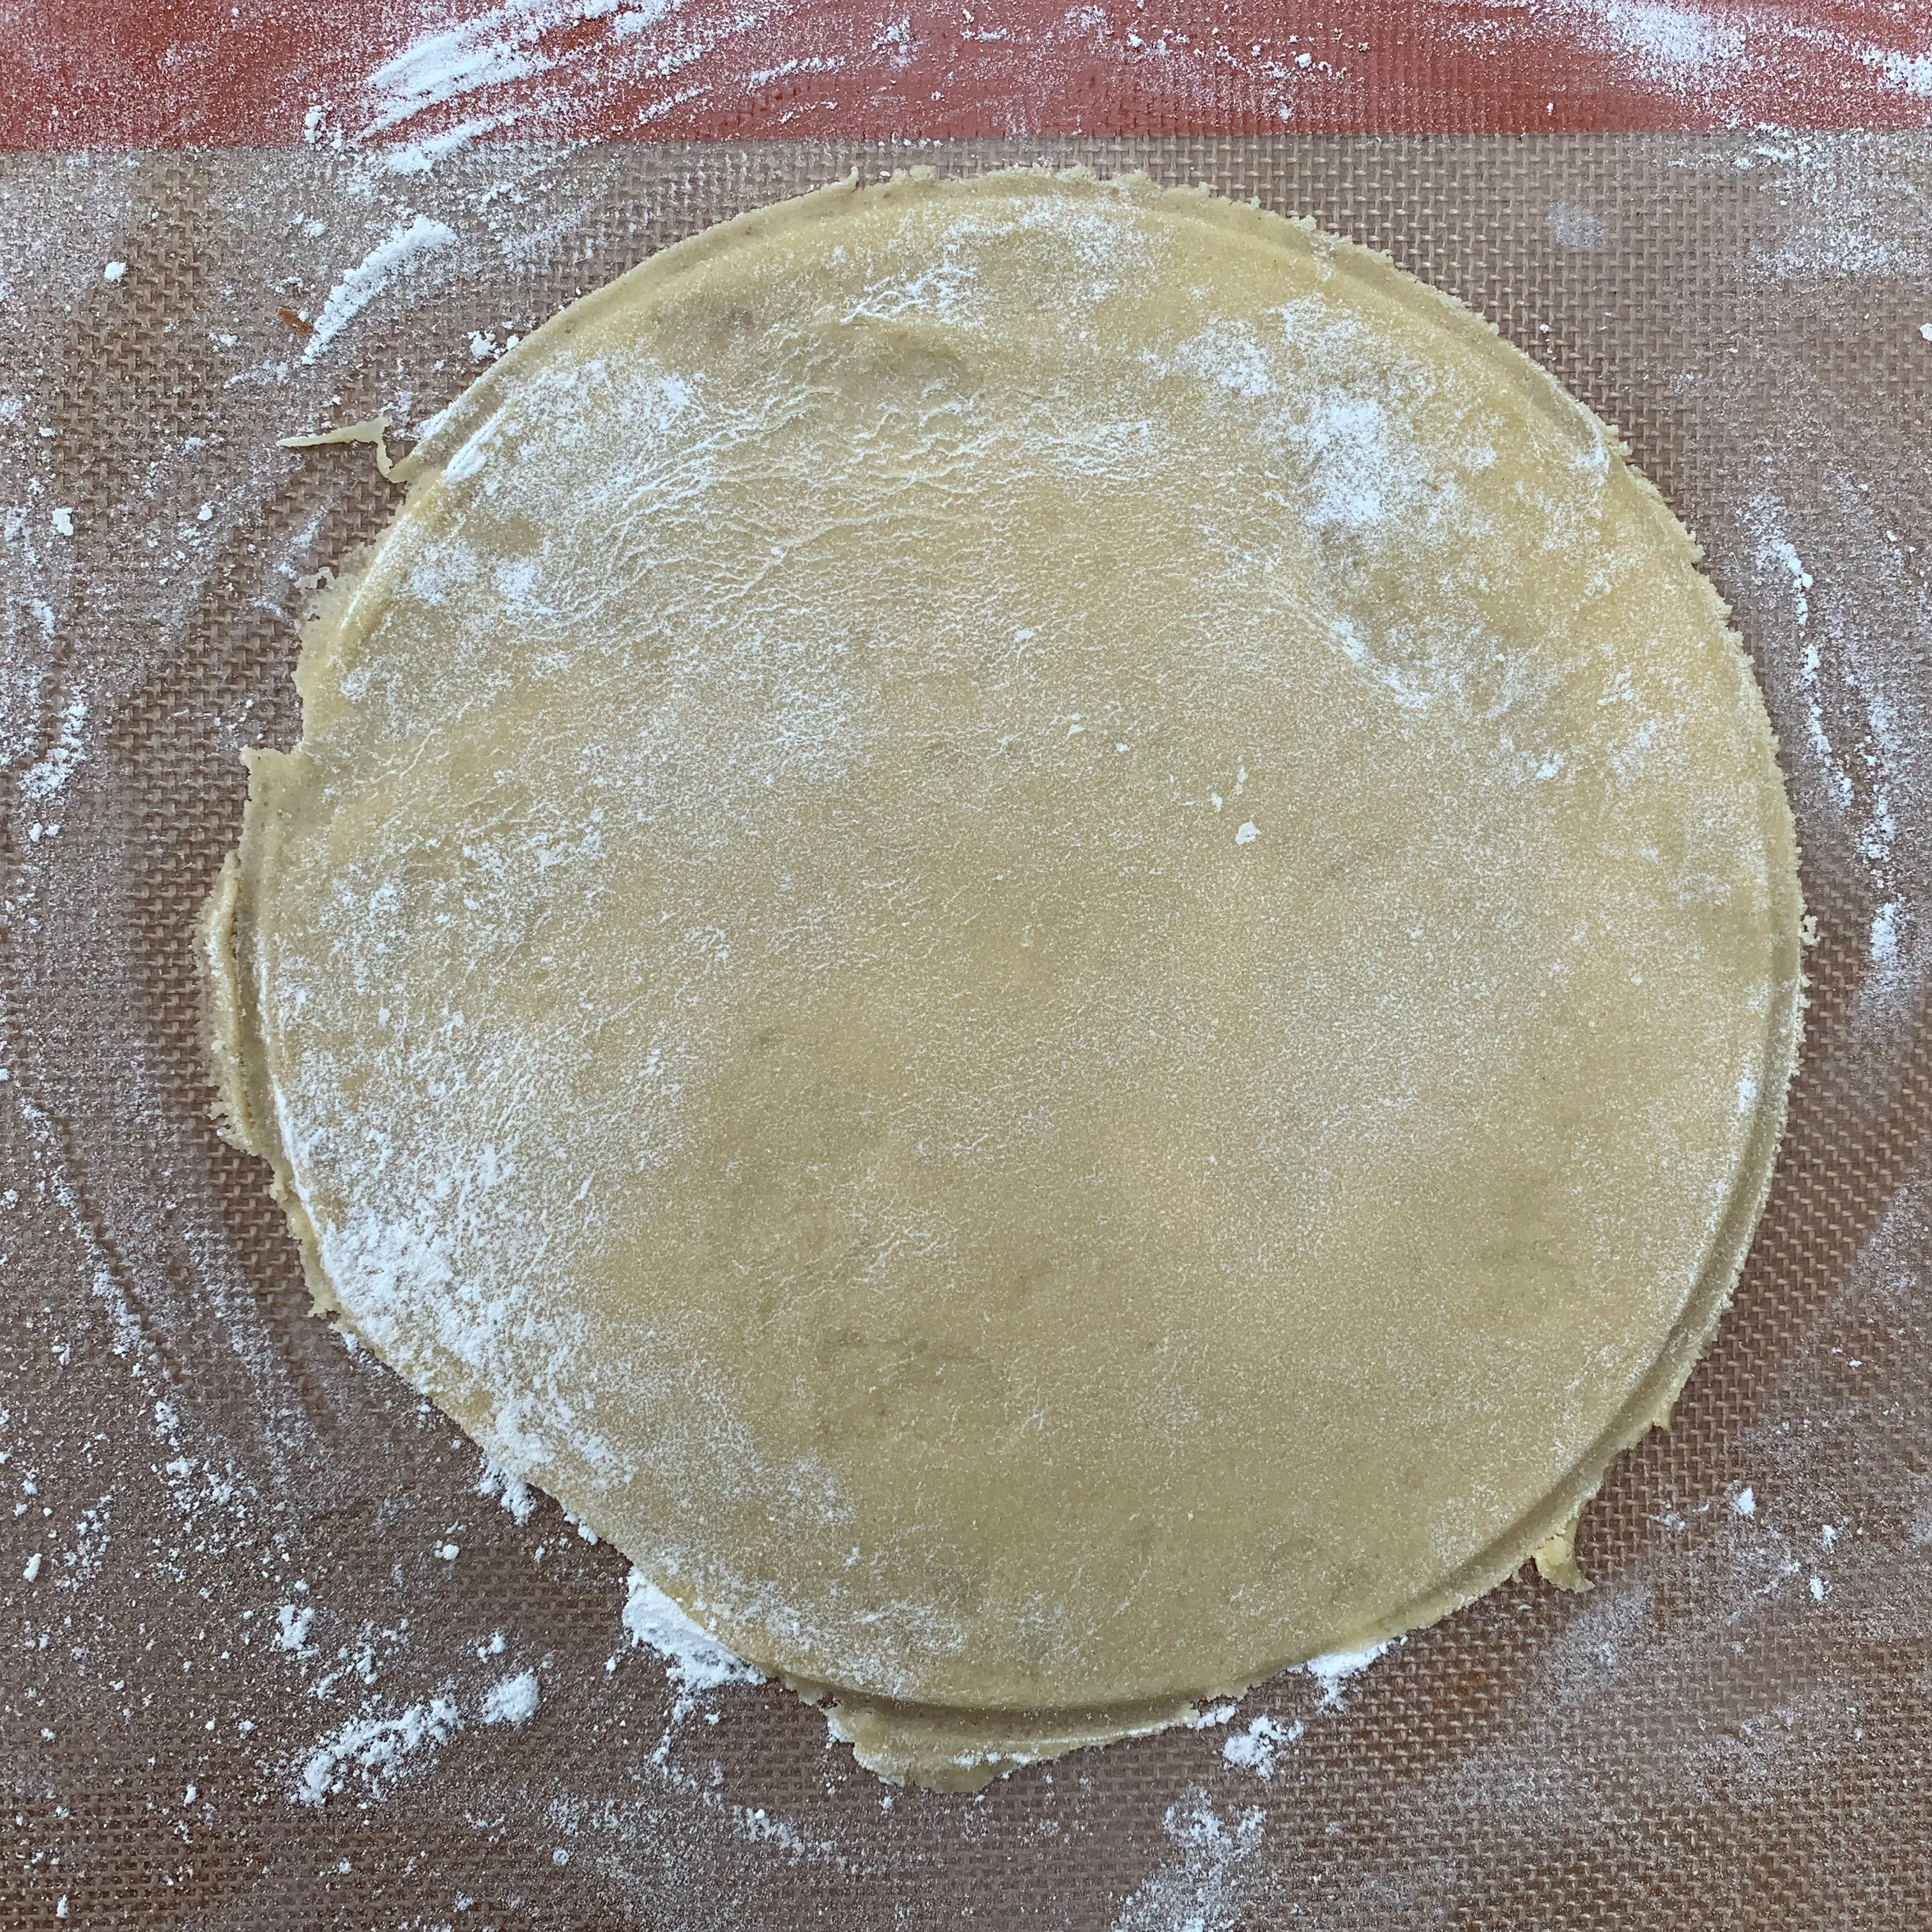
- Have a pile of flour ready to flour your rolling pin.
- Remove the dough from the freezer. Place a ball of dough out on a silicone baking sheet and roll it out until it is larger than a 20cm circle. The dough will be very thin, so you really need to take care that the rolling process doesn’t cause it to tear – although you can patch it and re-roll if you have to.
- Cut out the circle and set aside the offcuts from around the edge (the best way of doing this is to use the base of a springform tin as a template).
- If you have two silicone sheets, do another one.
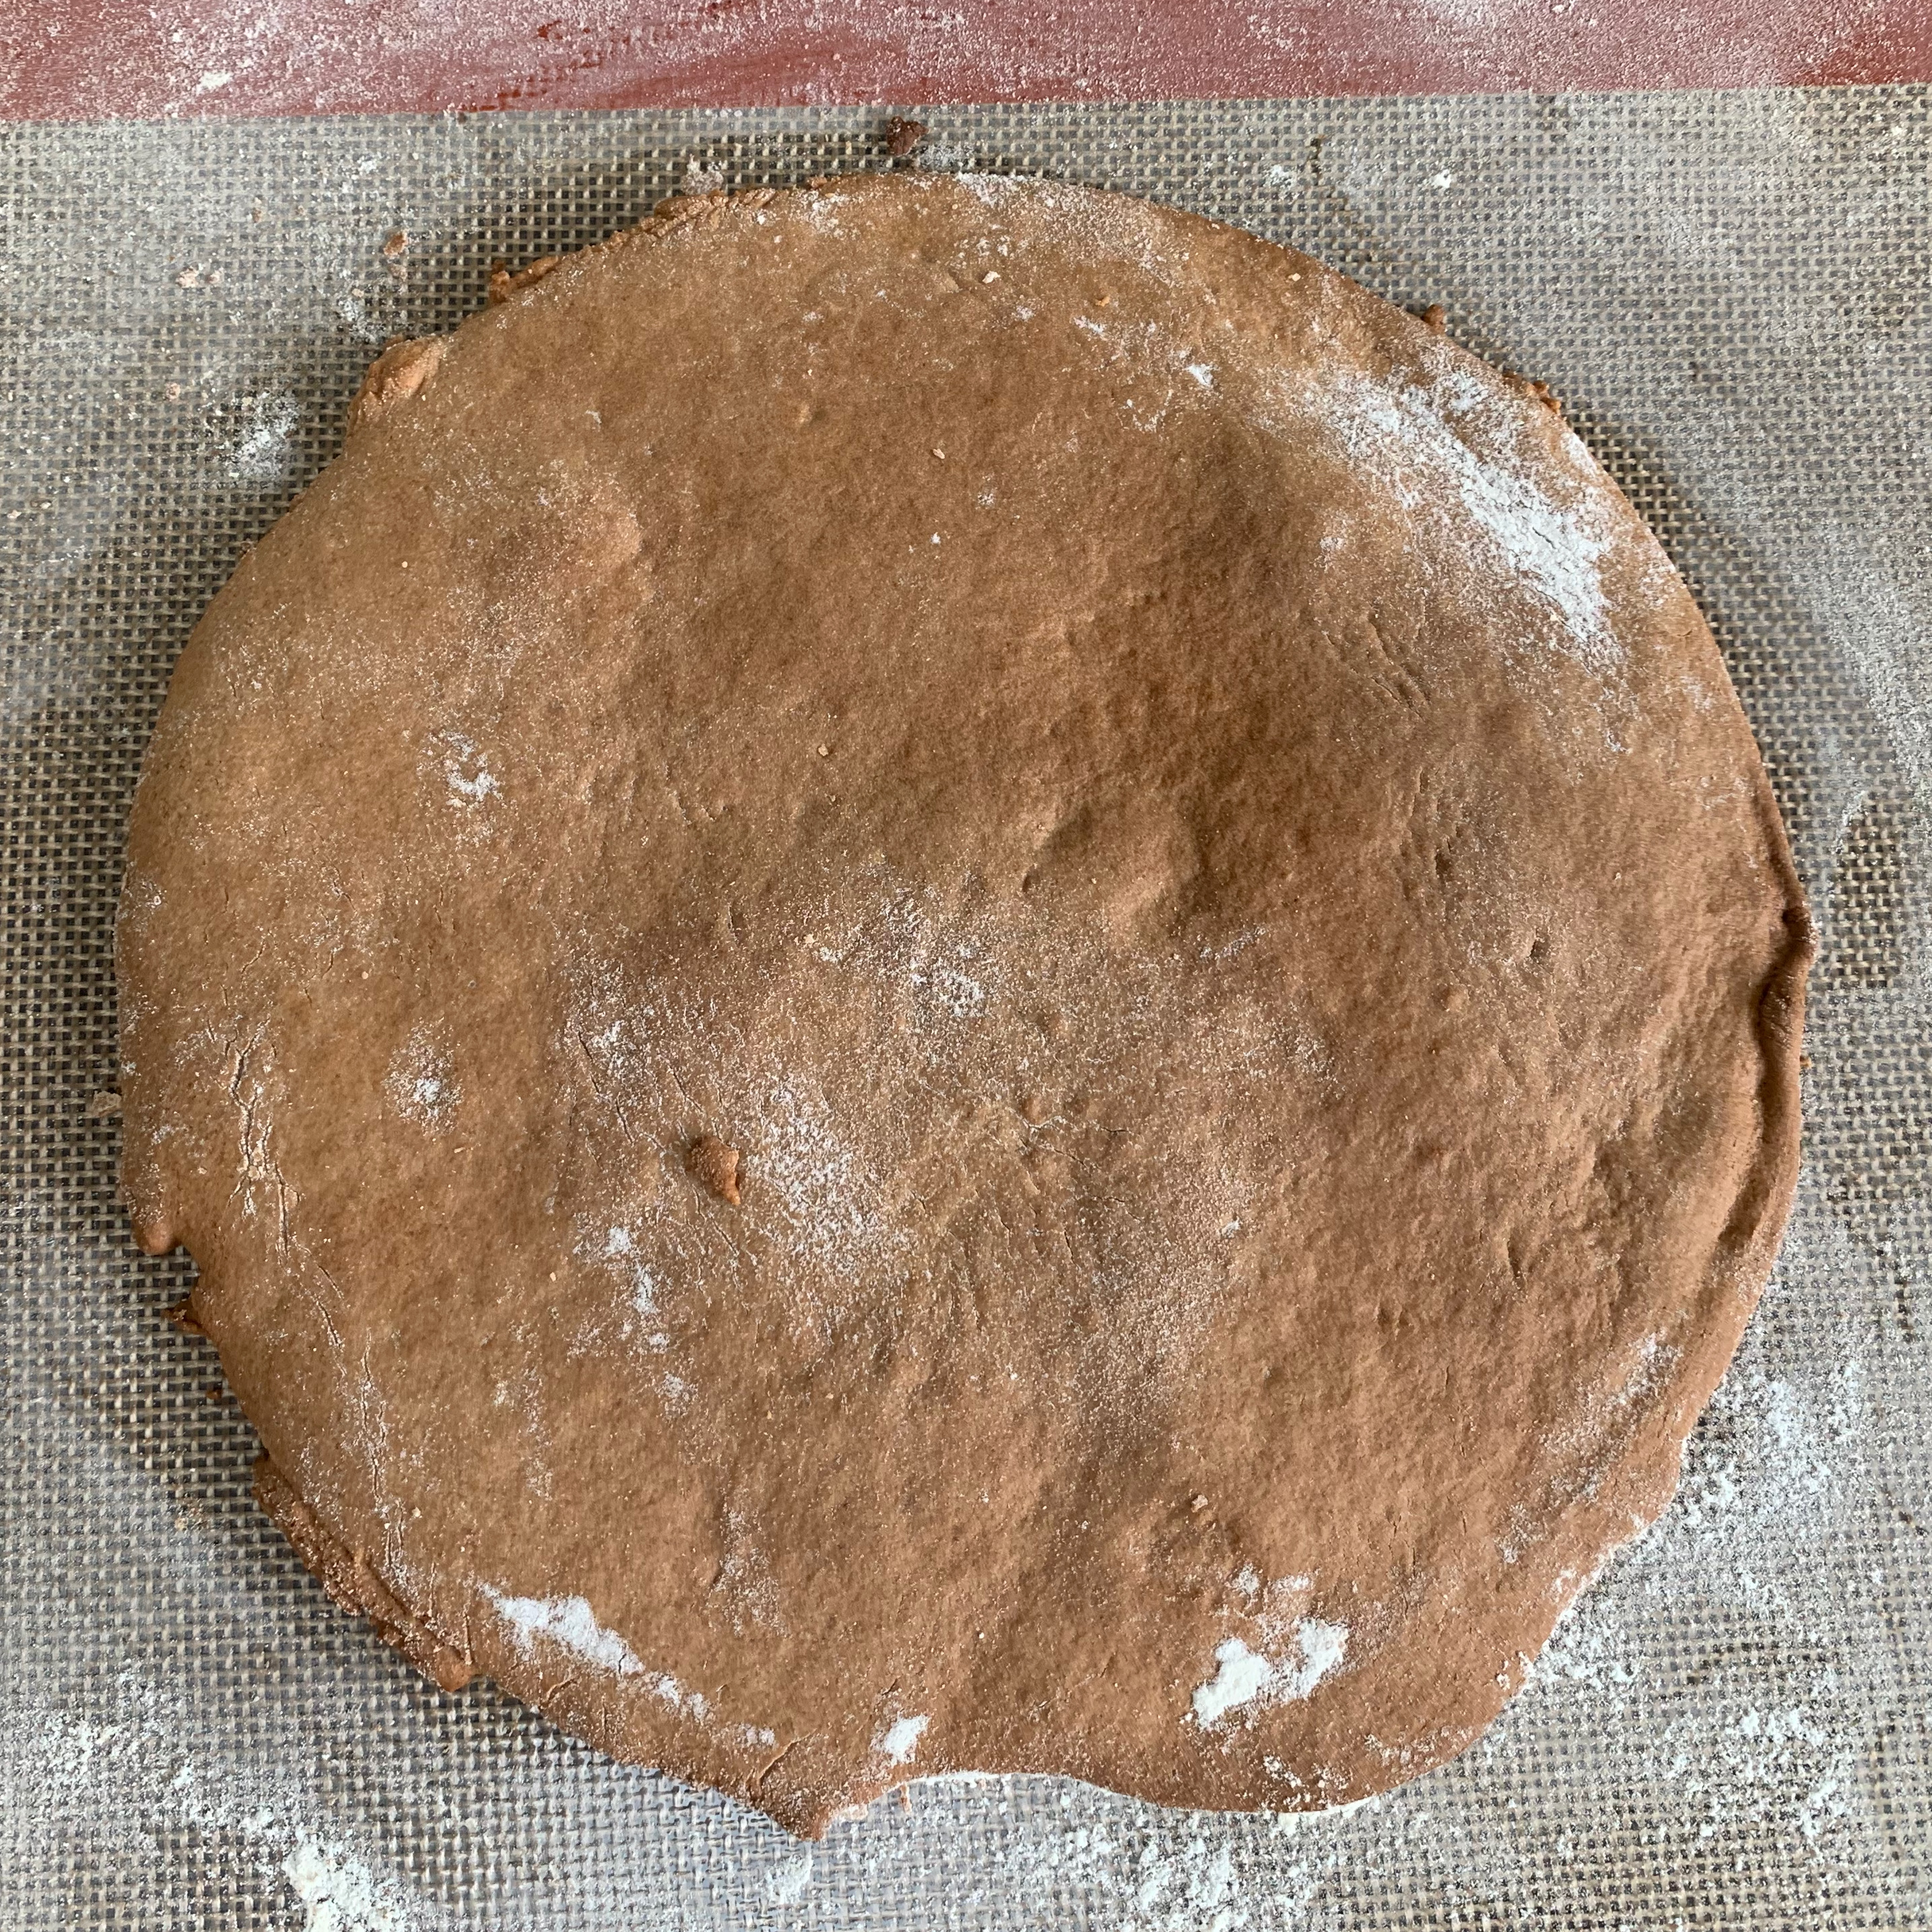
- Place the sheet(s) in your oven and bake for around 5 minutes until golden.
- Cool on a rack. When sufficiently cool, place in a pile.
- Repeat until all 8 sheets are done. Roll out the offcuts of pastry and bake them alongside your last cake layer (or couple of cake layers, if you have a lot). You may want to put the unused balls of dough back in the freezer occasionally to keep them cool during the process.
The filling
- 600ml sour cream
- 400g condensed milk
- Whisk the sour cream and condensed milk together until smooth.
Final assembly
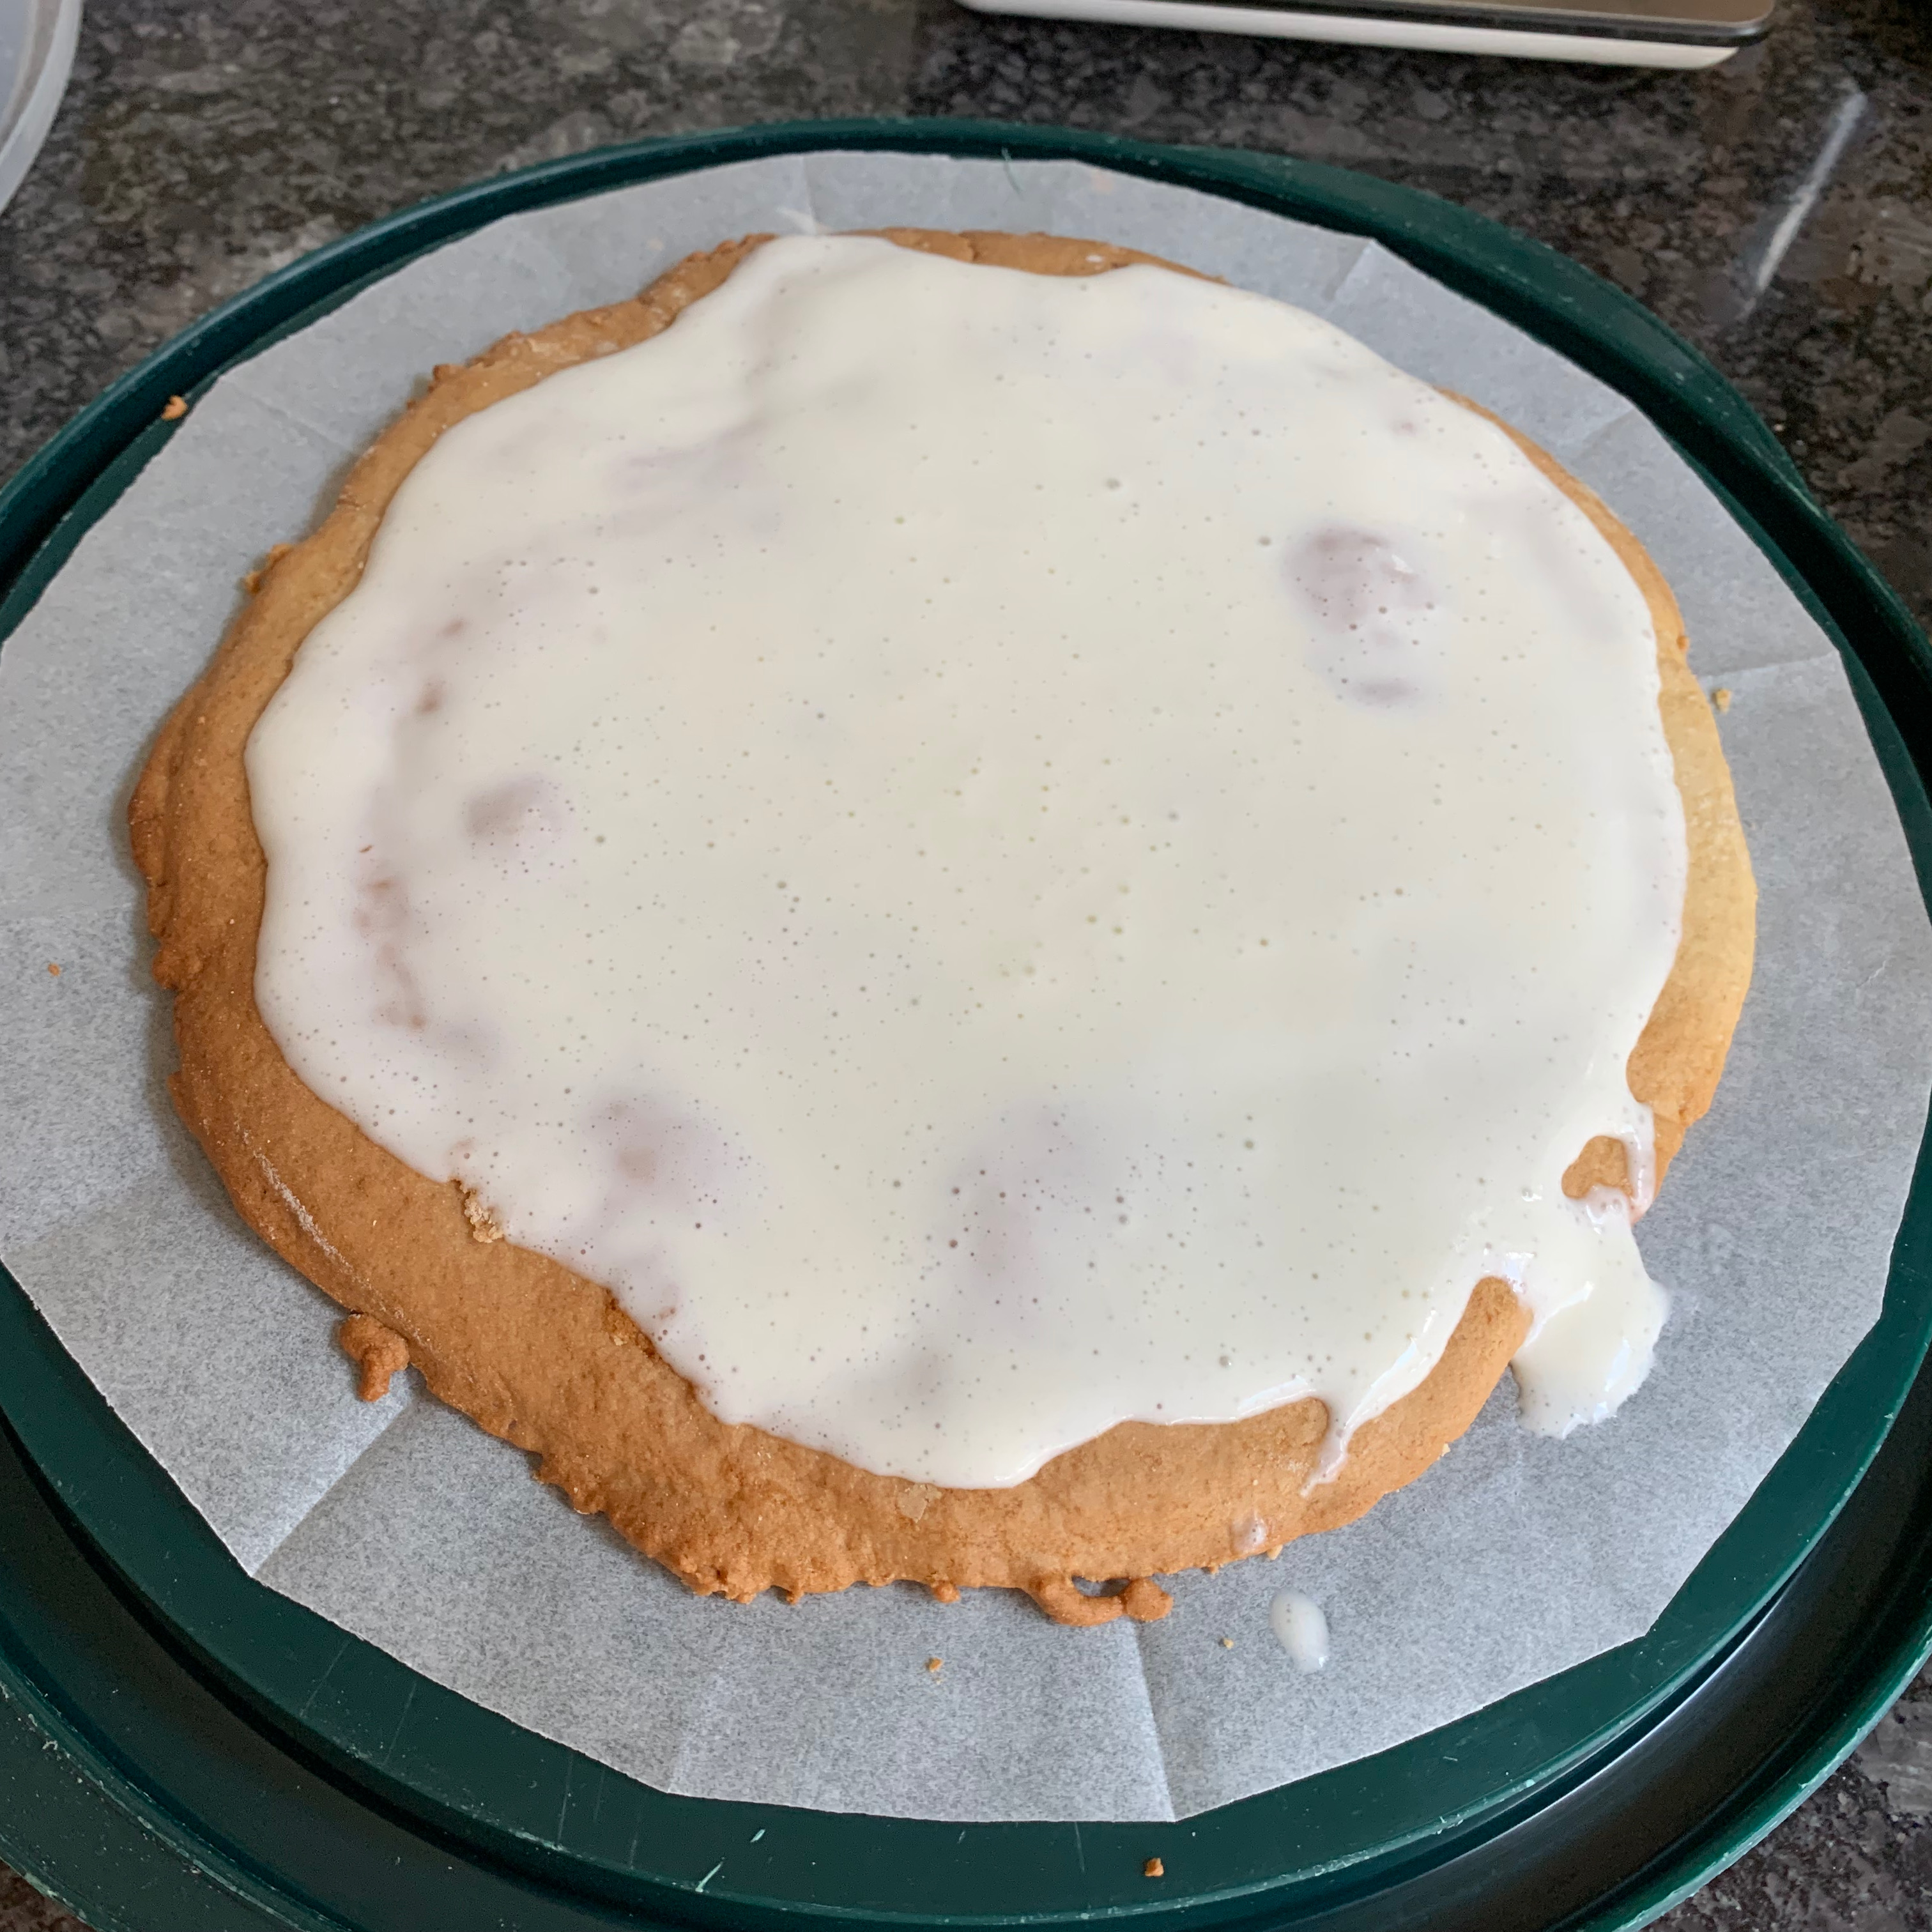
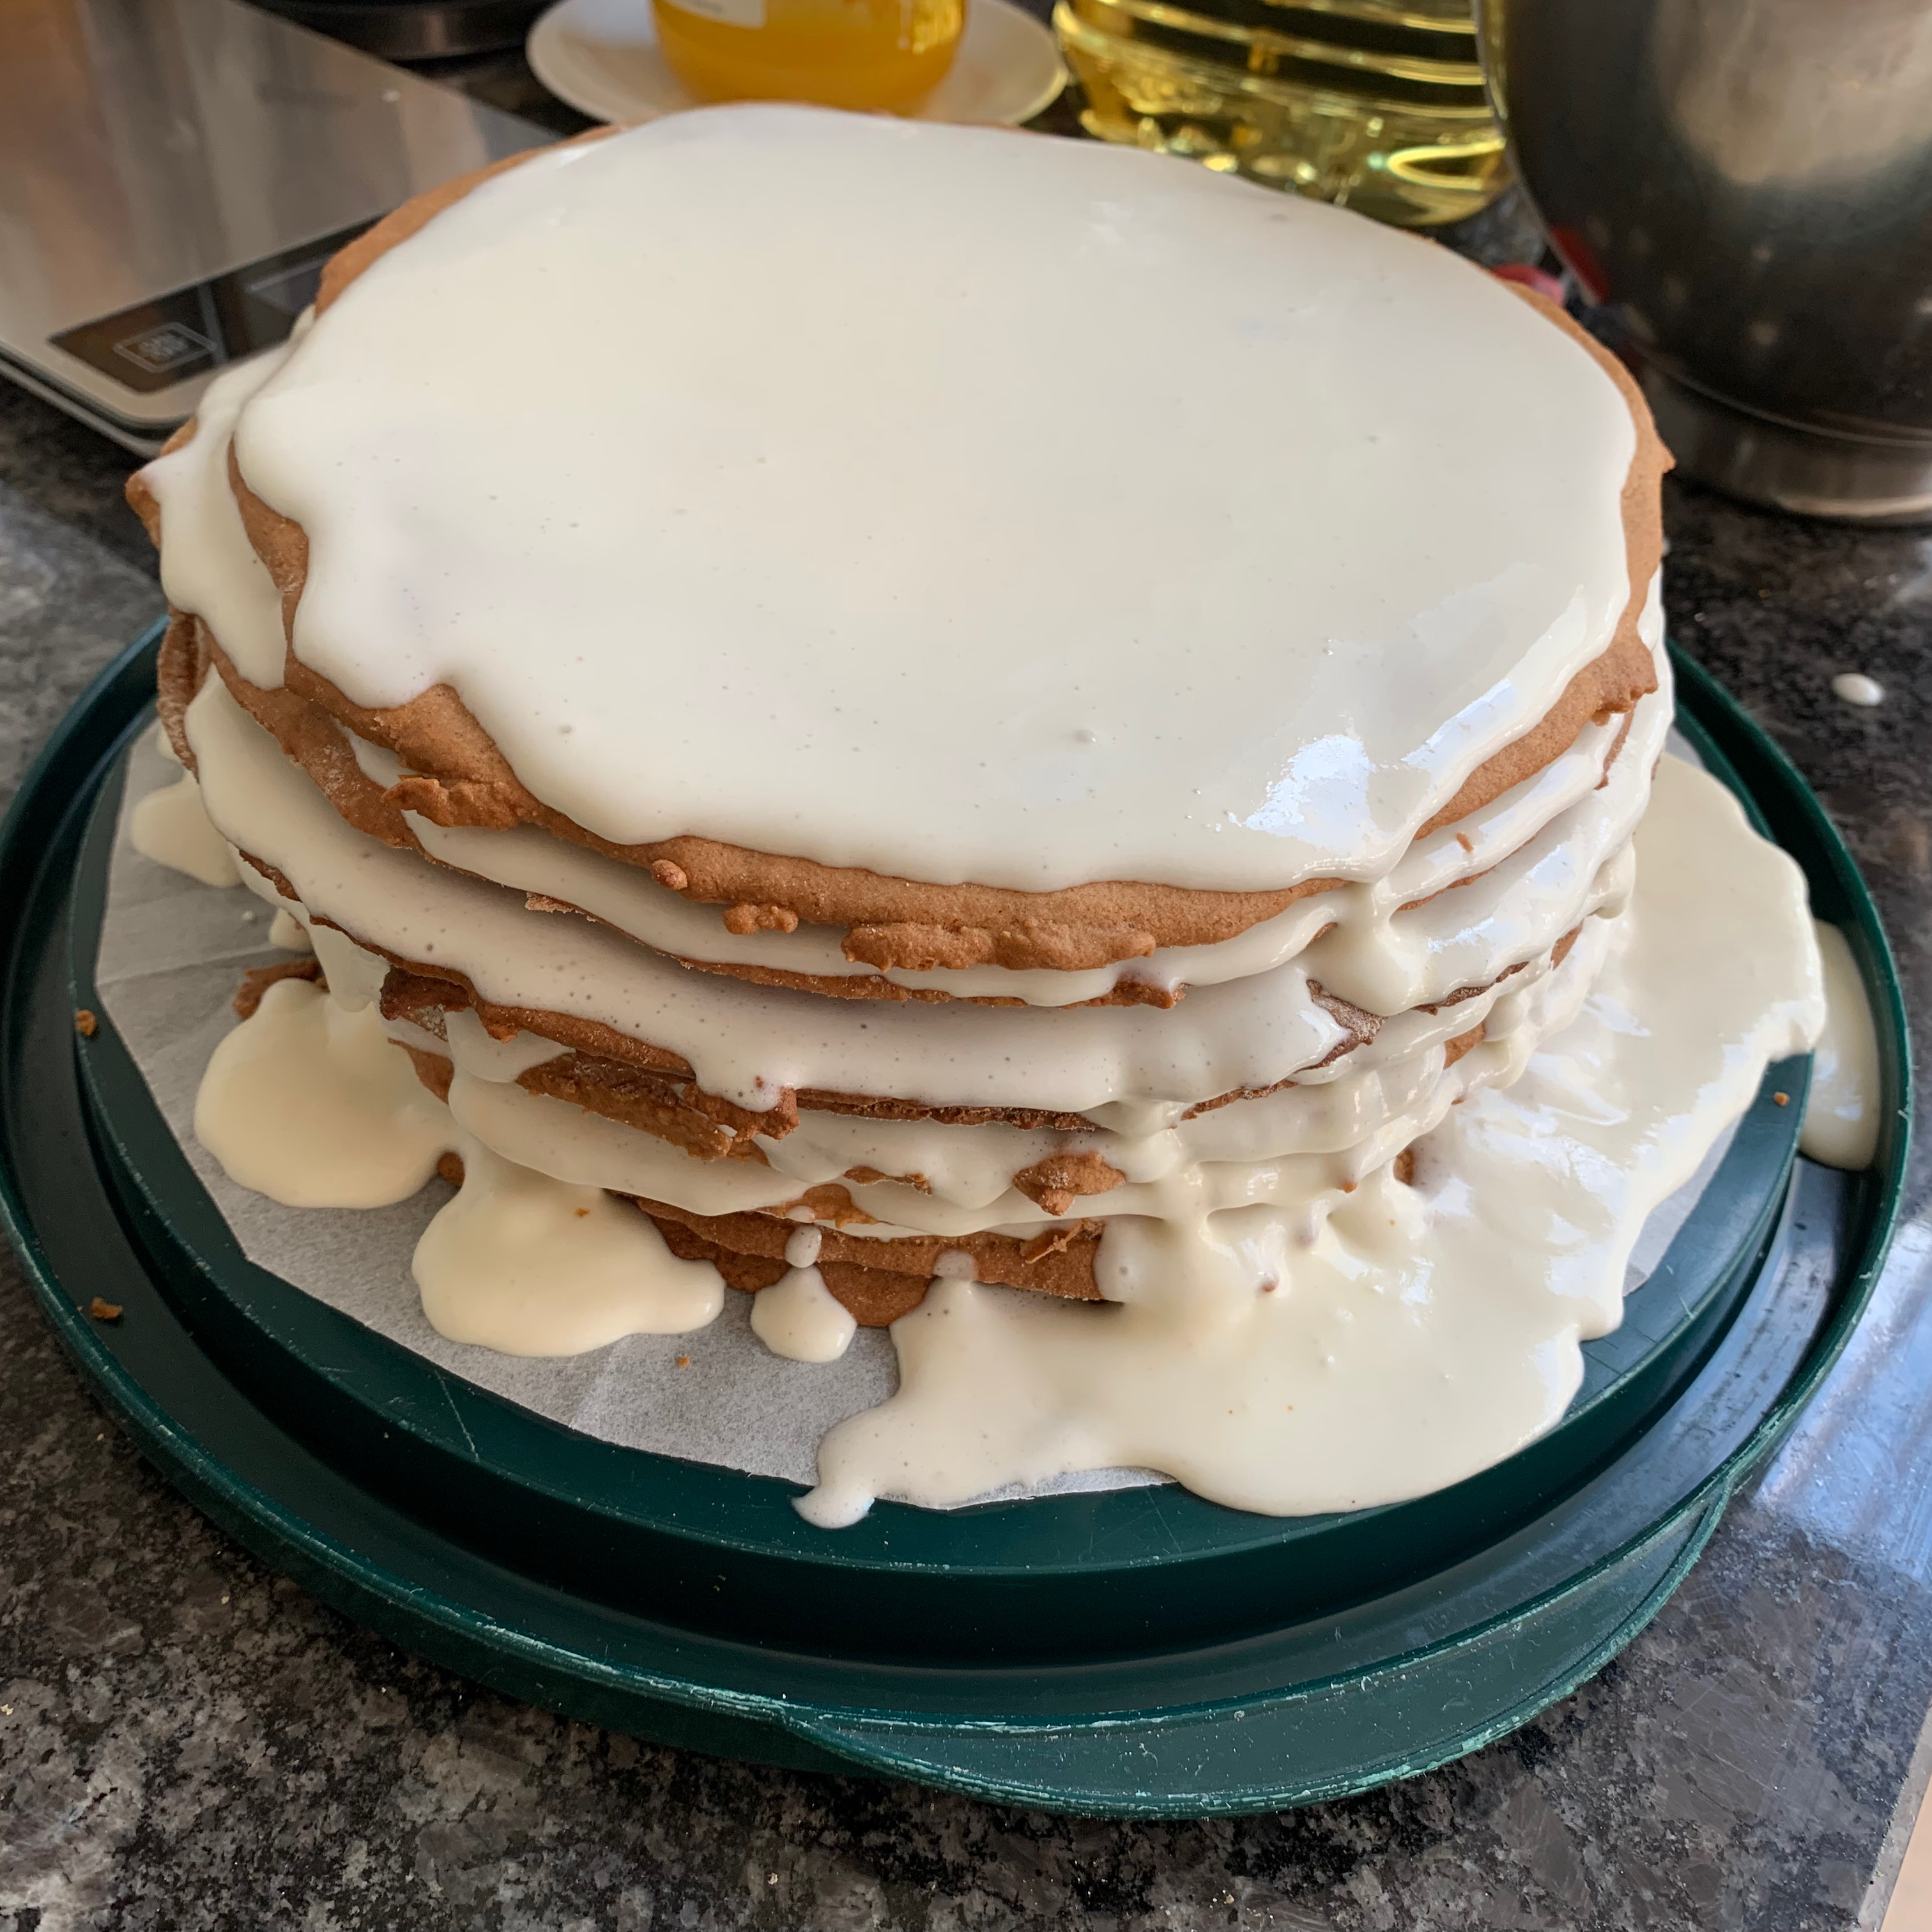
- Cut a circle of baking paper somewhat larger than your cake – perhaps 24cm in diameter. Place it on your cake plate, and dab a small amount of filling in the middle.
- Place a cake layer in the middle, then spread it thoroughly with frosting. This will dribble down the sides – that’s why you made the paper larger than the cake.
- Repeat until all the layers are done.
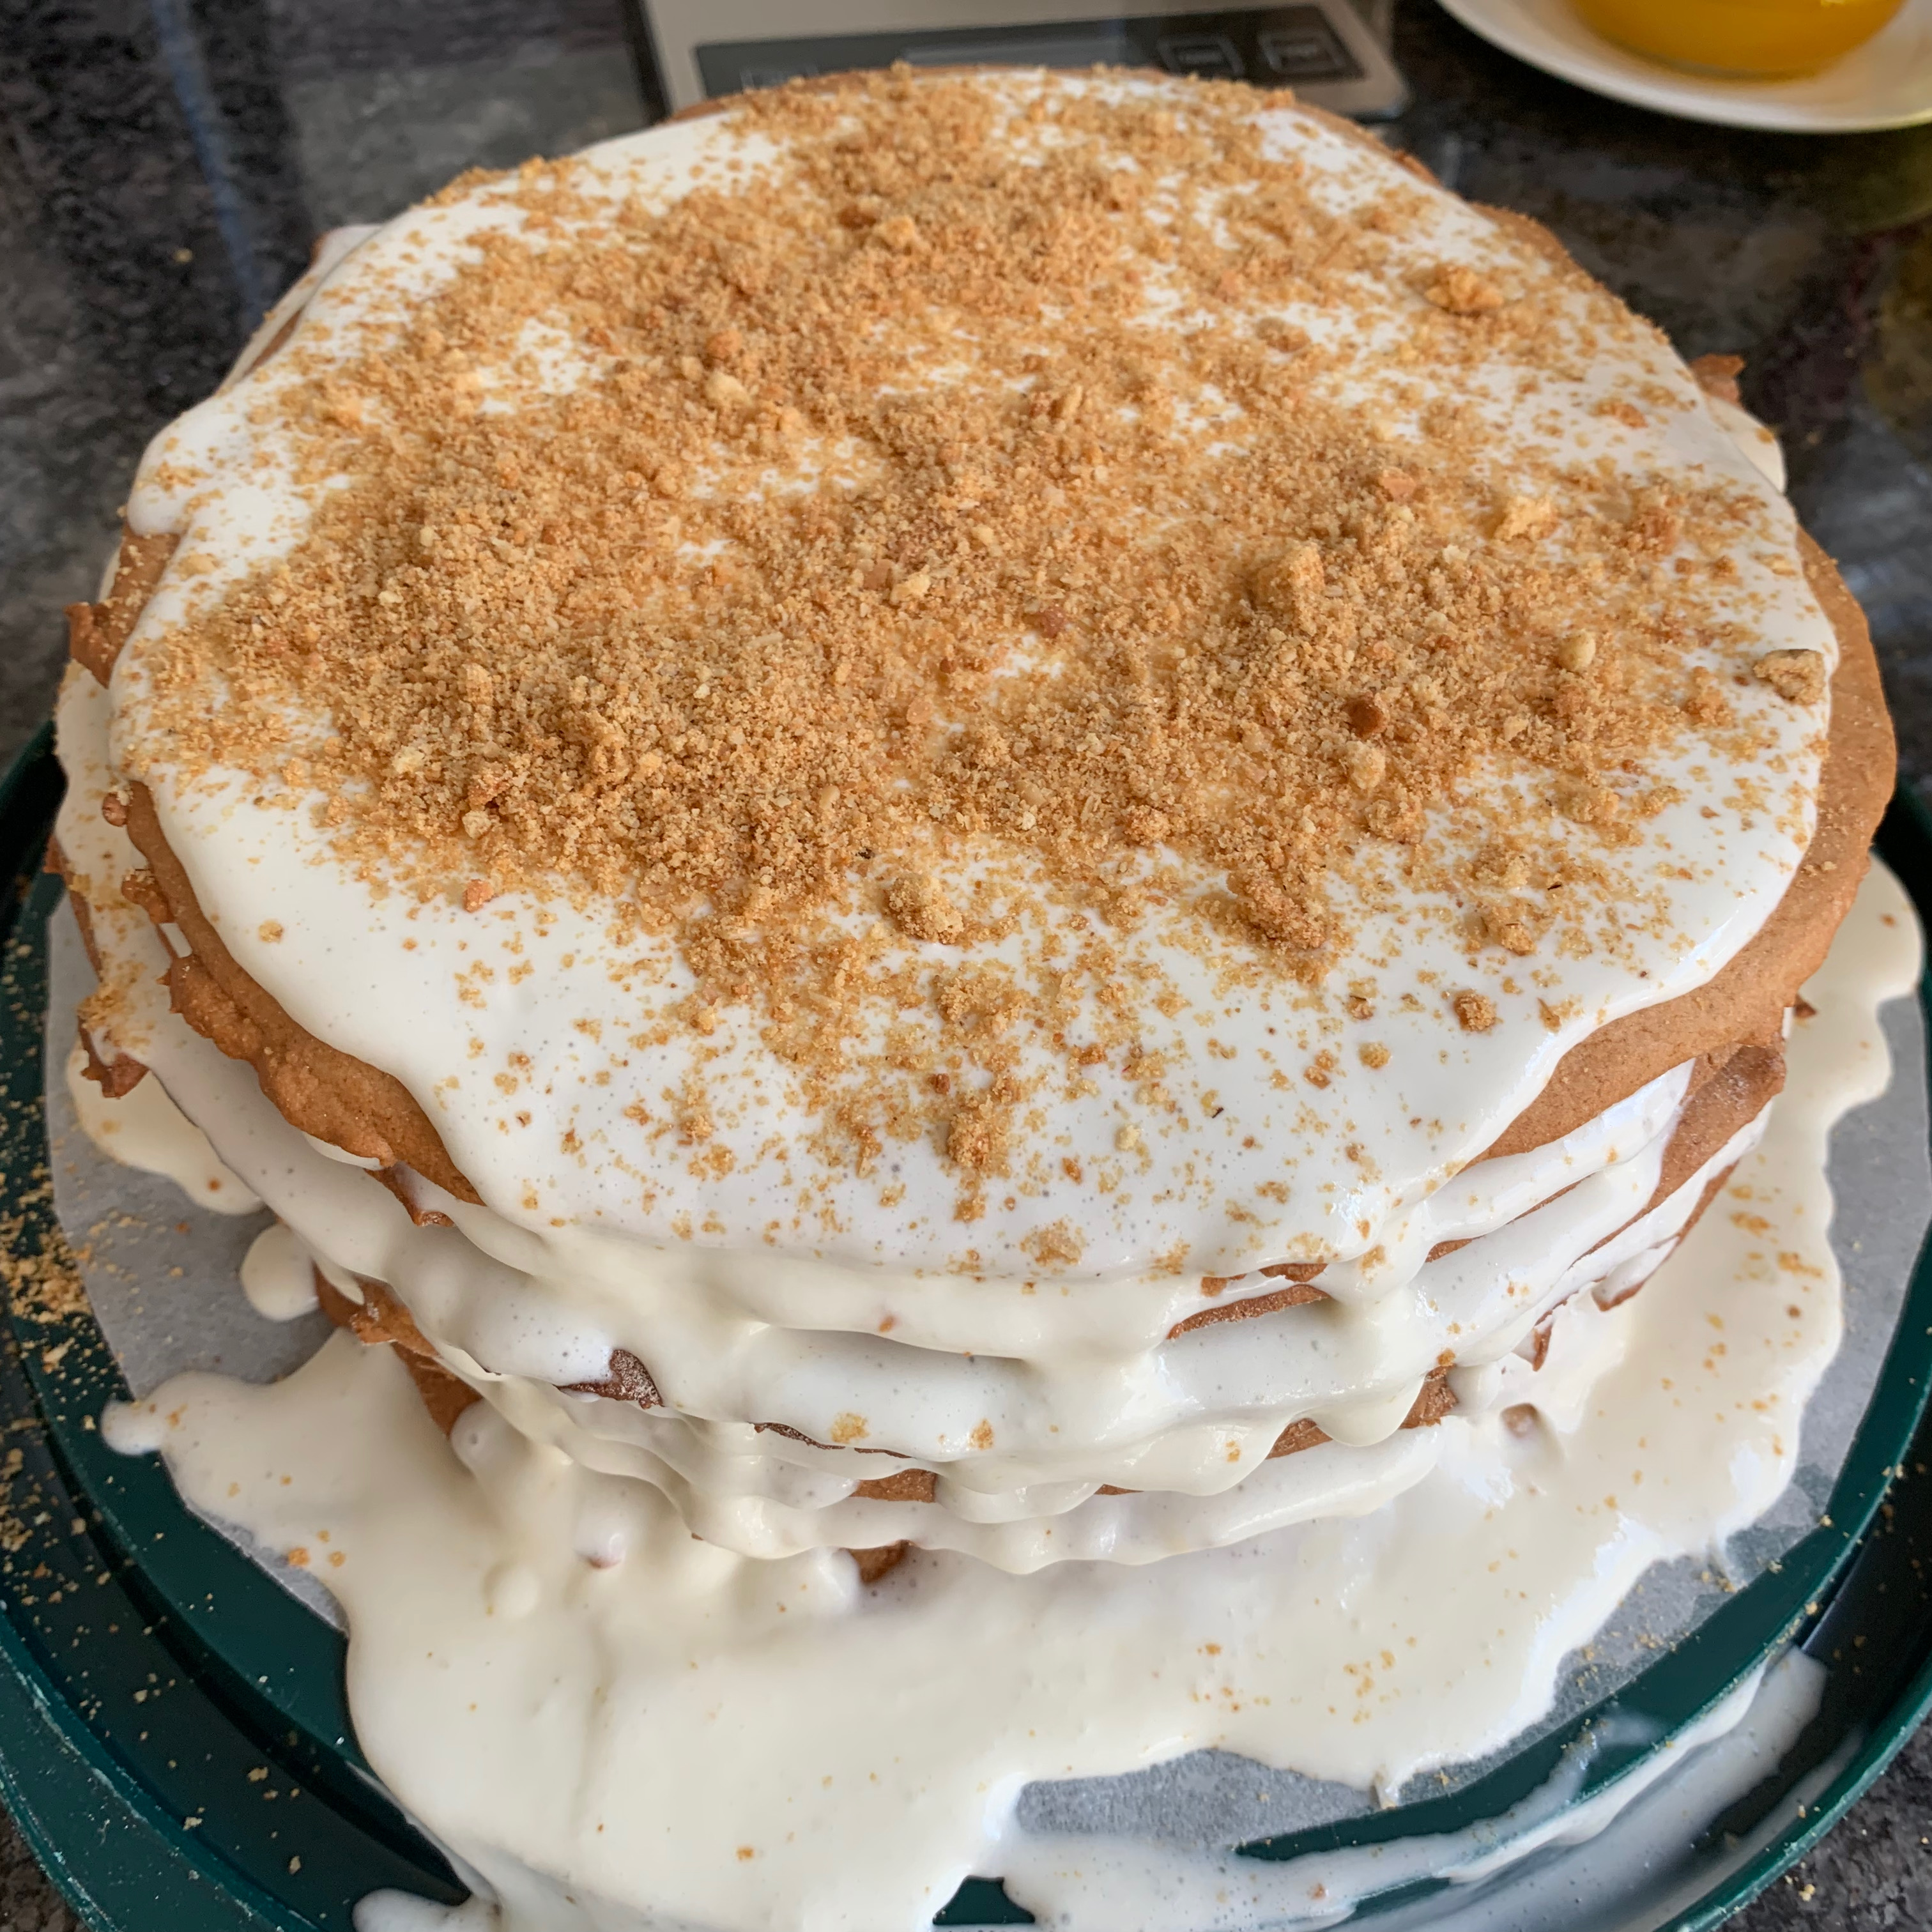
- Blitz the offcut pastry to crumbs (I didn’t have enough, so I supplemented mine with ordinary biscuits). Scatter crumbs over the top of the cake.
- Cover (I have a plastic cake plate with a matching cylindrical cover, which was ideal) and leave in the refrigerator overnight.
- Around 30 minutes before serving, take the cake out of the refrigerator and tidy up the edges, cutting the baking paper to the size of the cake and removing the surplus frosting which has dribbled down.
- Serve with coffee. OK, the coffee isn’t technically essential, just highly desirable.