Austrians don’t necessarily like to think too hard about how close they became to being a Turkish province and quite how much they have to thank the Poles that this didn’t happen. In 1683, the Turks neared the city gates, to be defeated in the Battle of Vienna when the forces of the Holy Roman Empire were joined by the Polish army of King John III Sobieski.
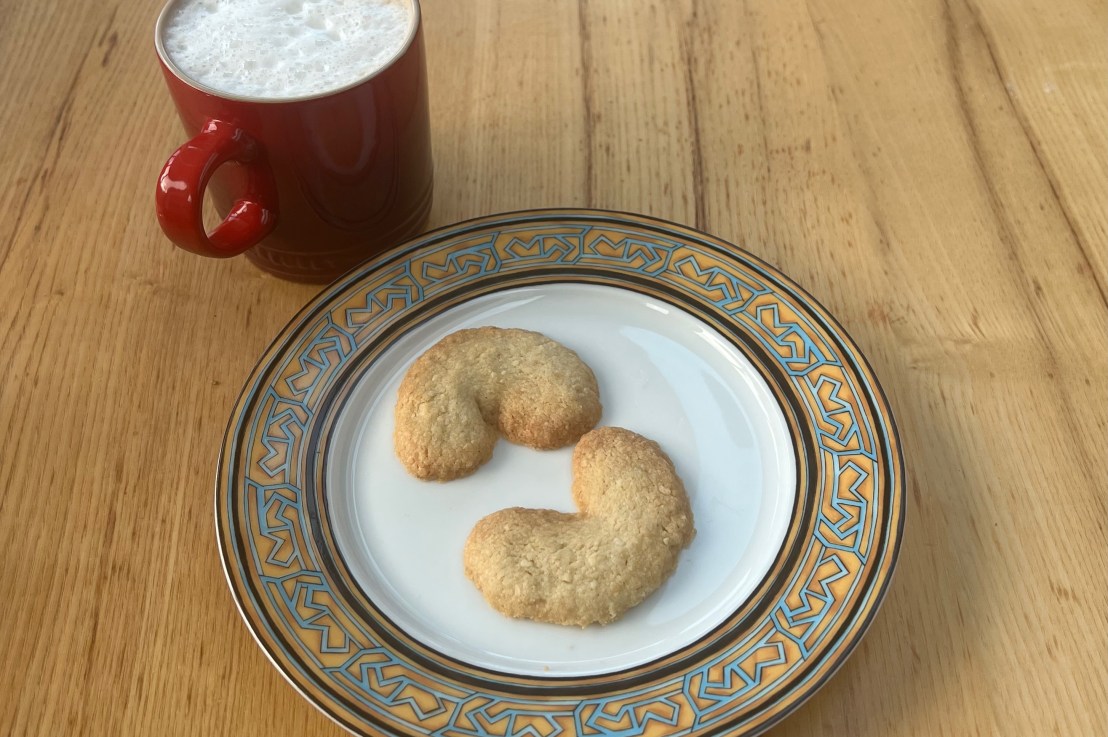
For some reason, however, the crescent moon of the Turkish flag lives on in Austrian culture in the shape of Vanillekipferl (vanilla crescents): delectable, crumbly nut-flavoured biscuits that are particularly popular as a Christmas treat. They’ve spread from their origins in Vienna all over Germanic countries and many Eastern European ones, including (of course) Poland.
My wife has Austrian blood in her if you go back a century or so and this recipe came down from one of her relatives. It’s similar to many Austrian recipes today. There are choices to be made: this uses almonds, but walnuts are a popular choice and you also see hazelnuts. Some recipes have a slightly higher ratio of flour to everything else, and some add an egg to the dough to bind it, giving you a slightly richer and considerably less crumbly result with greater structural integrity.
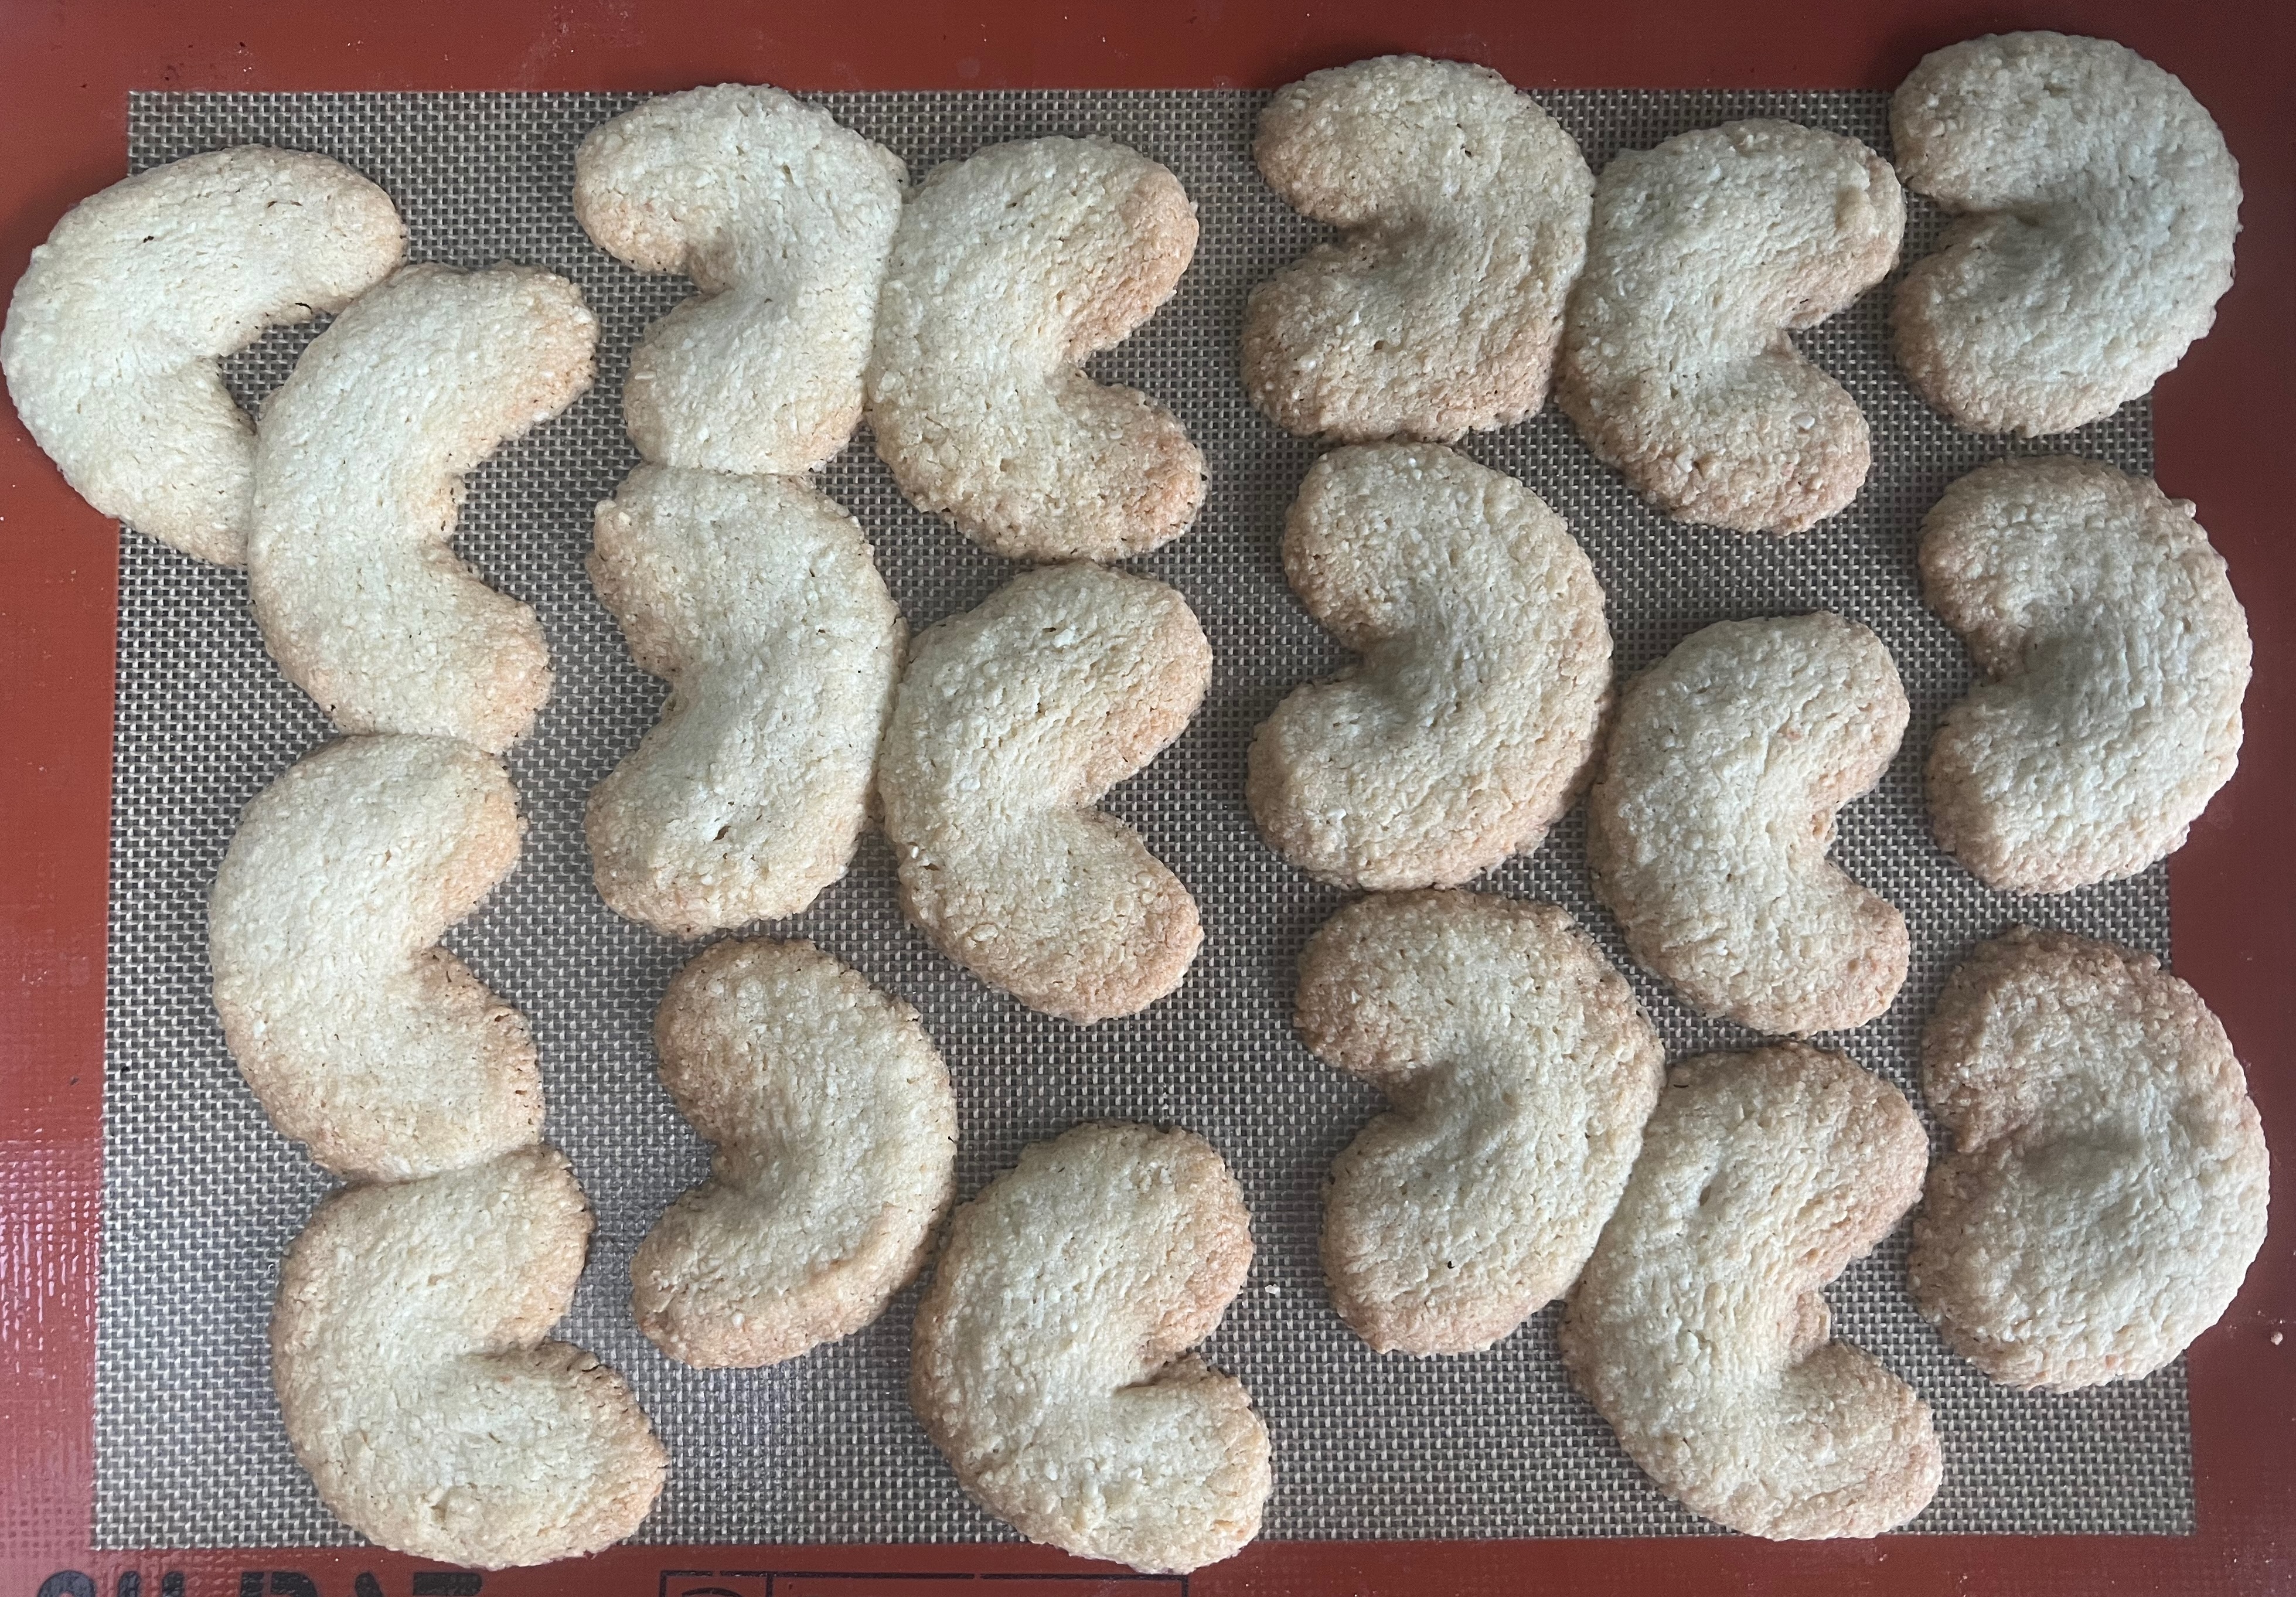
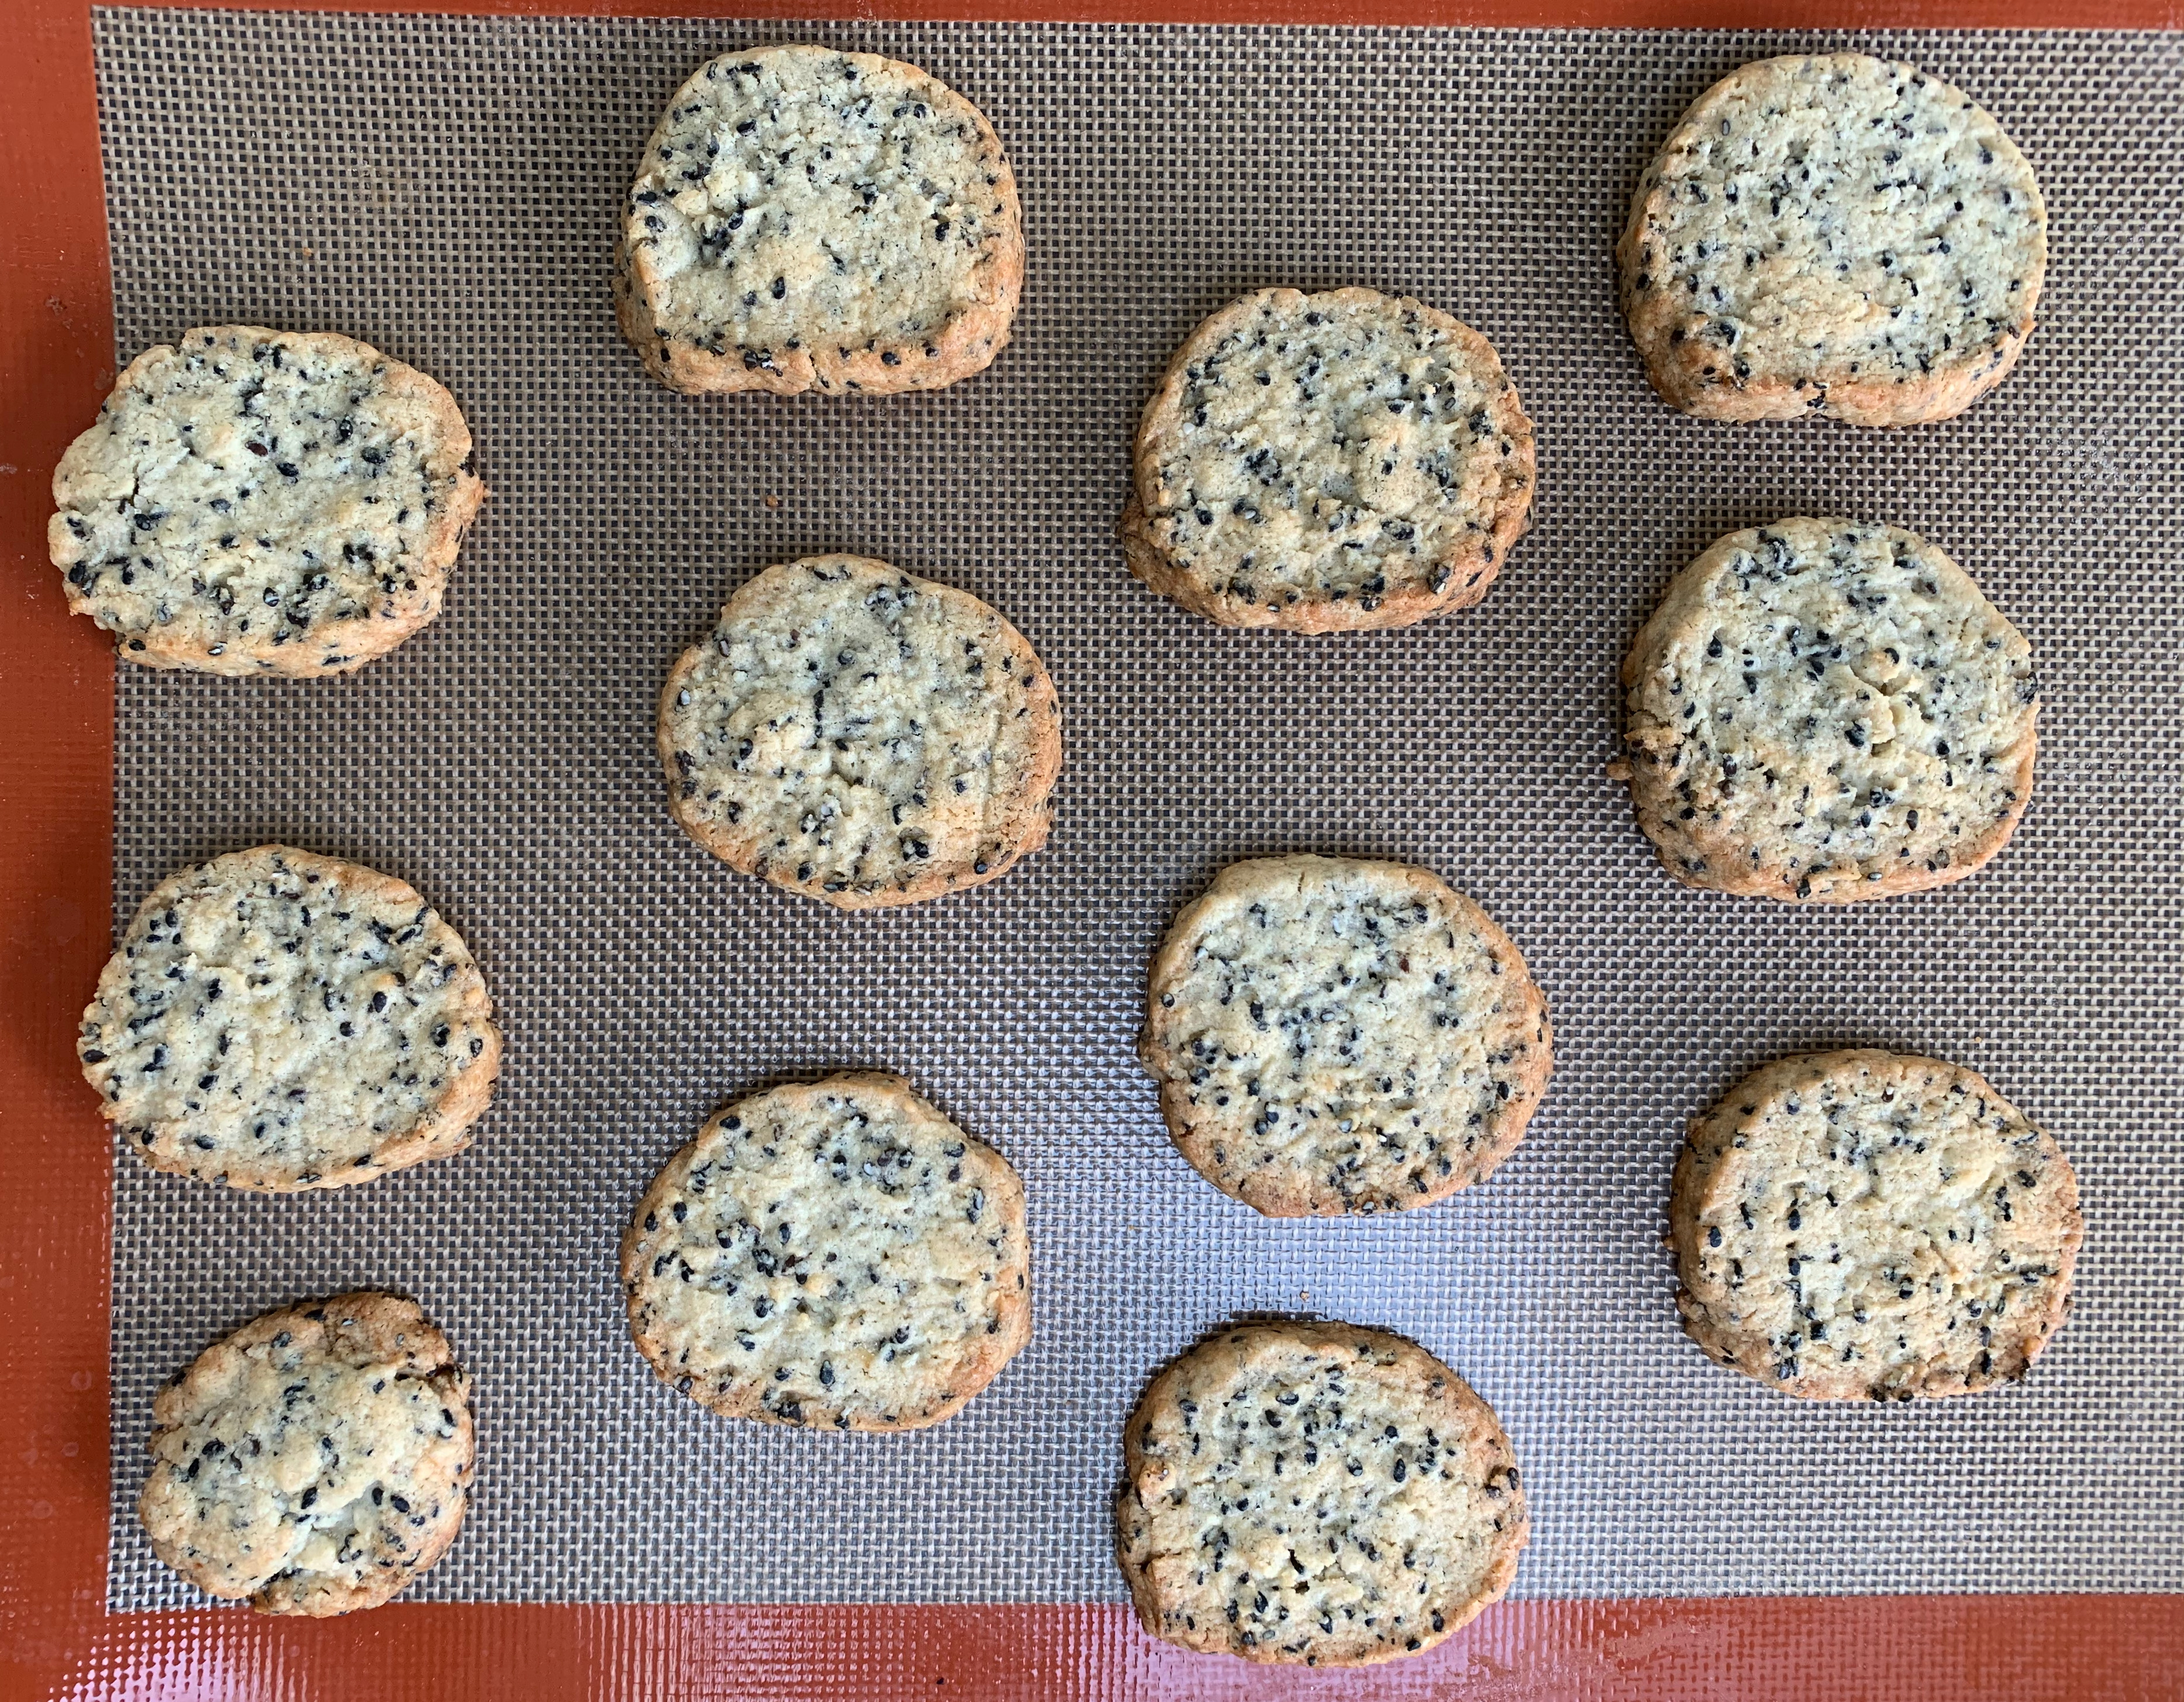
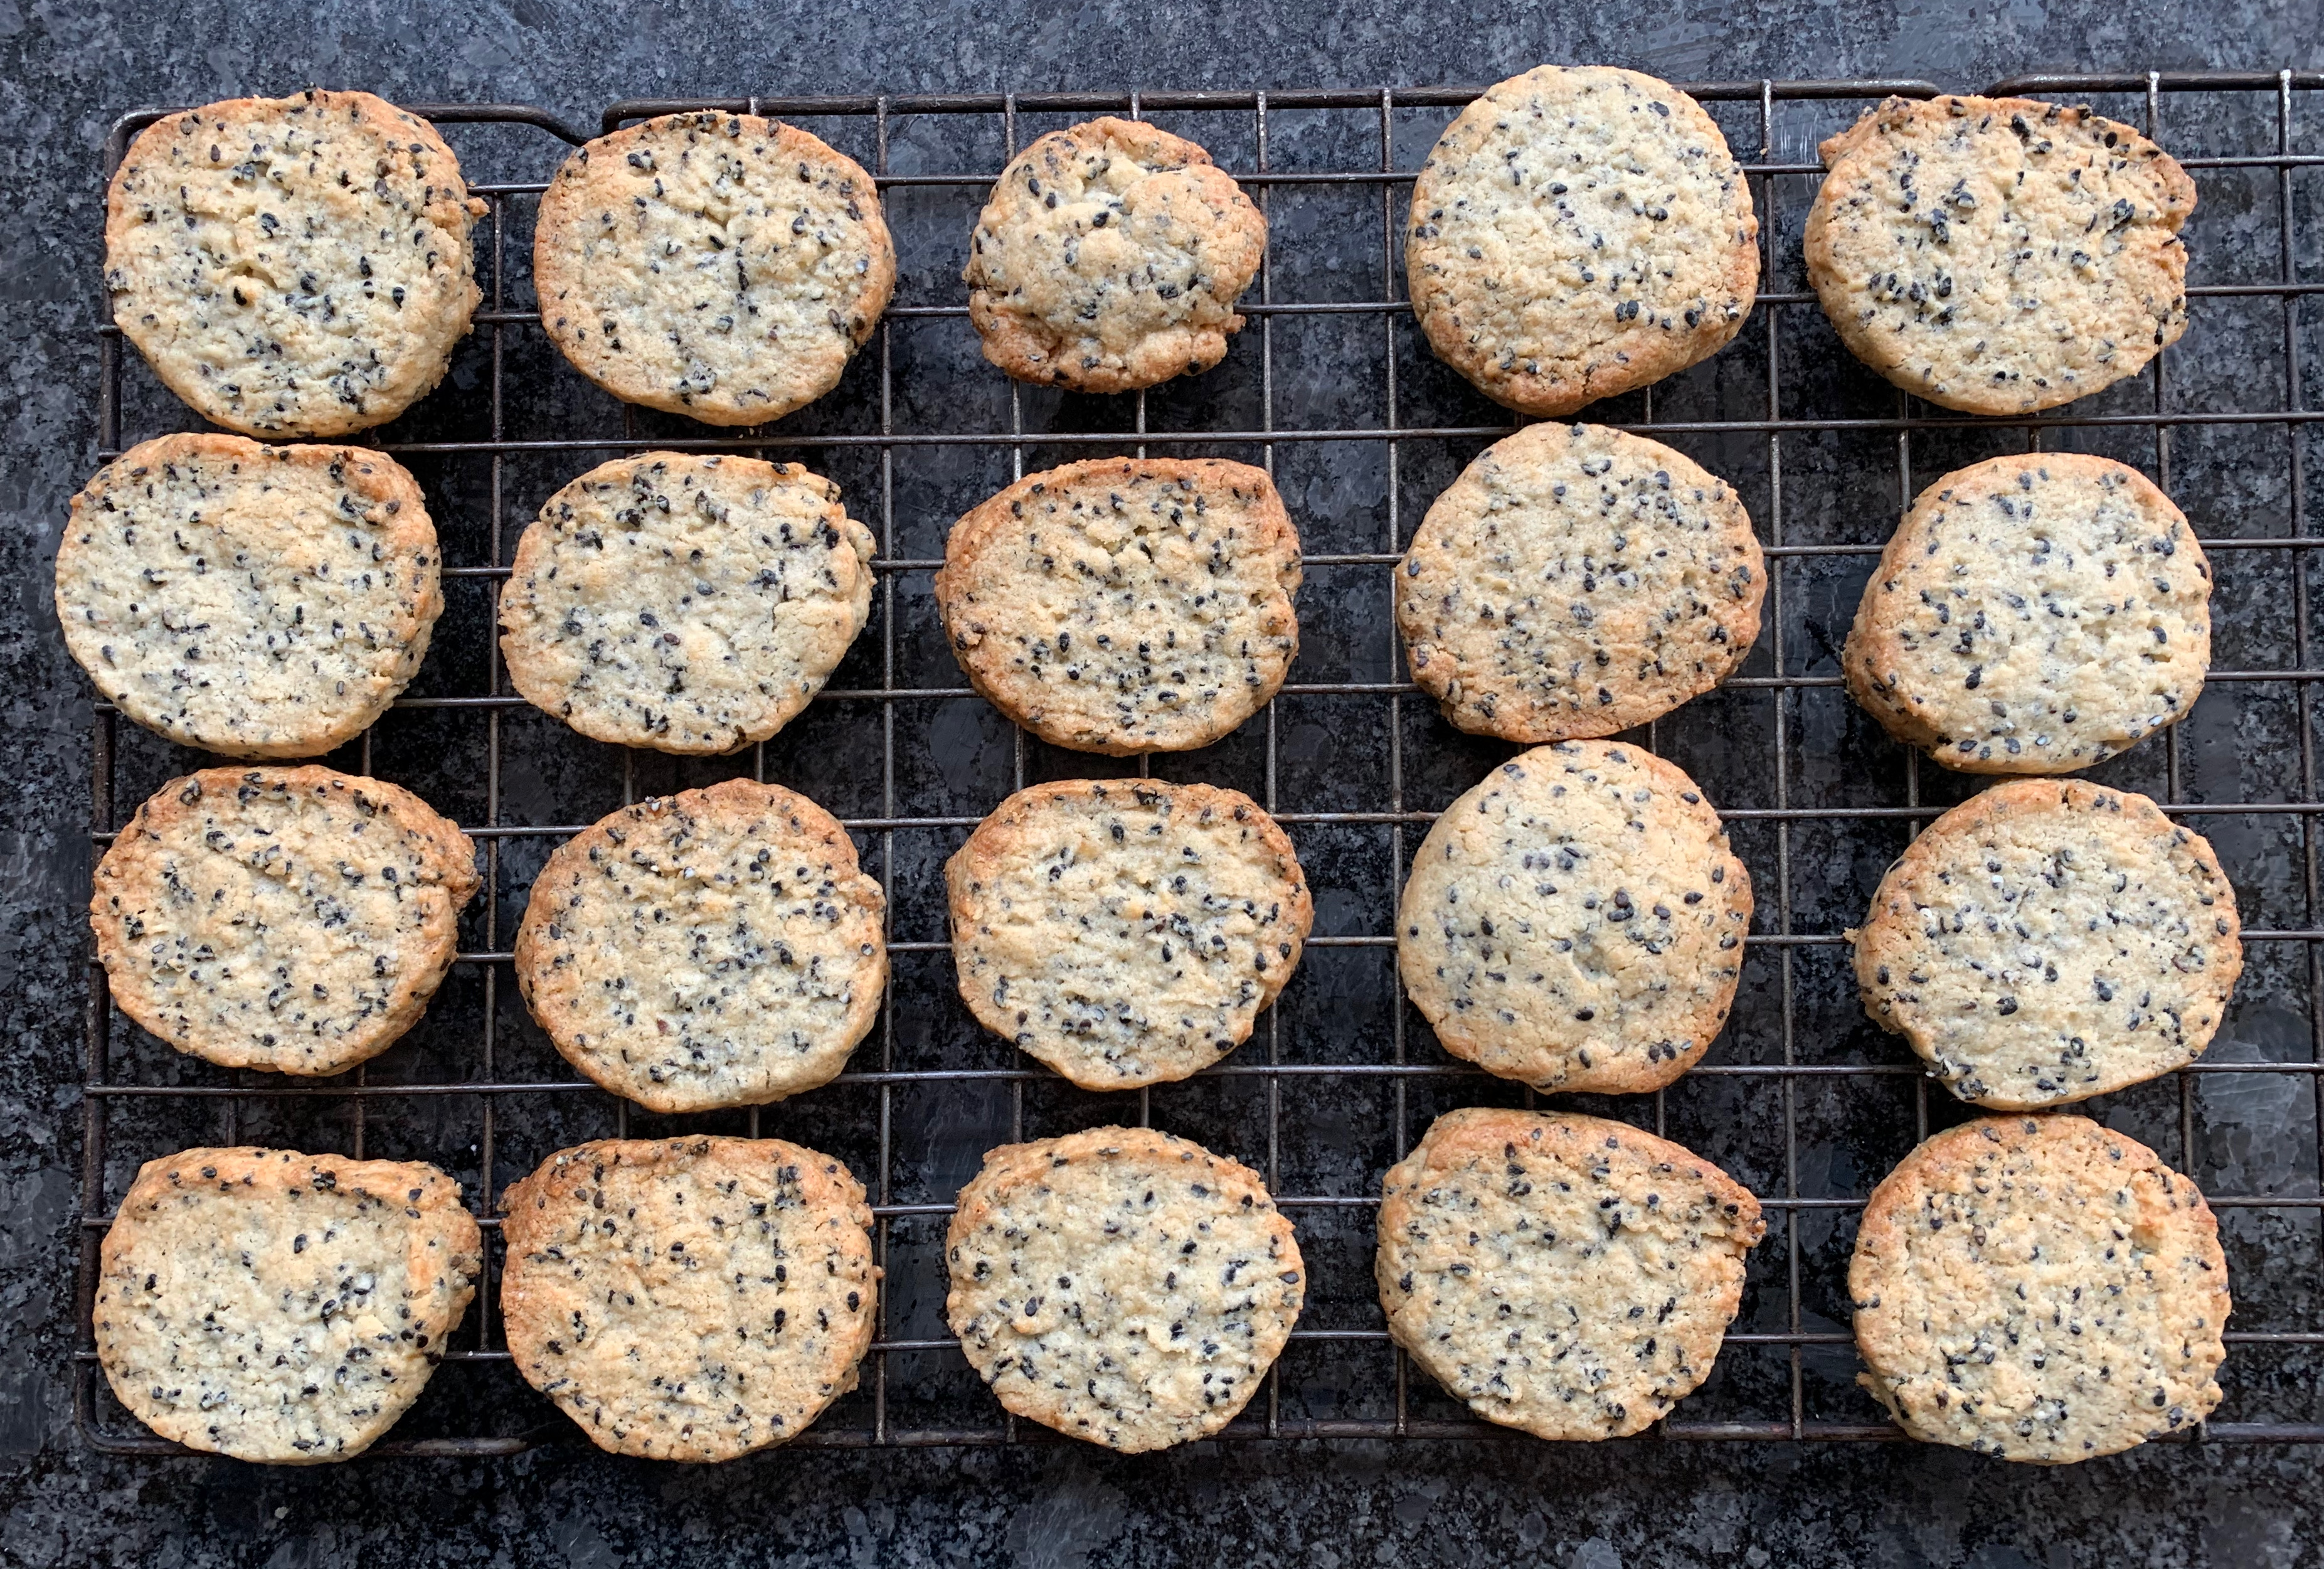
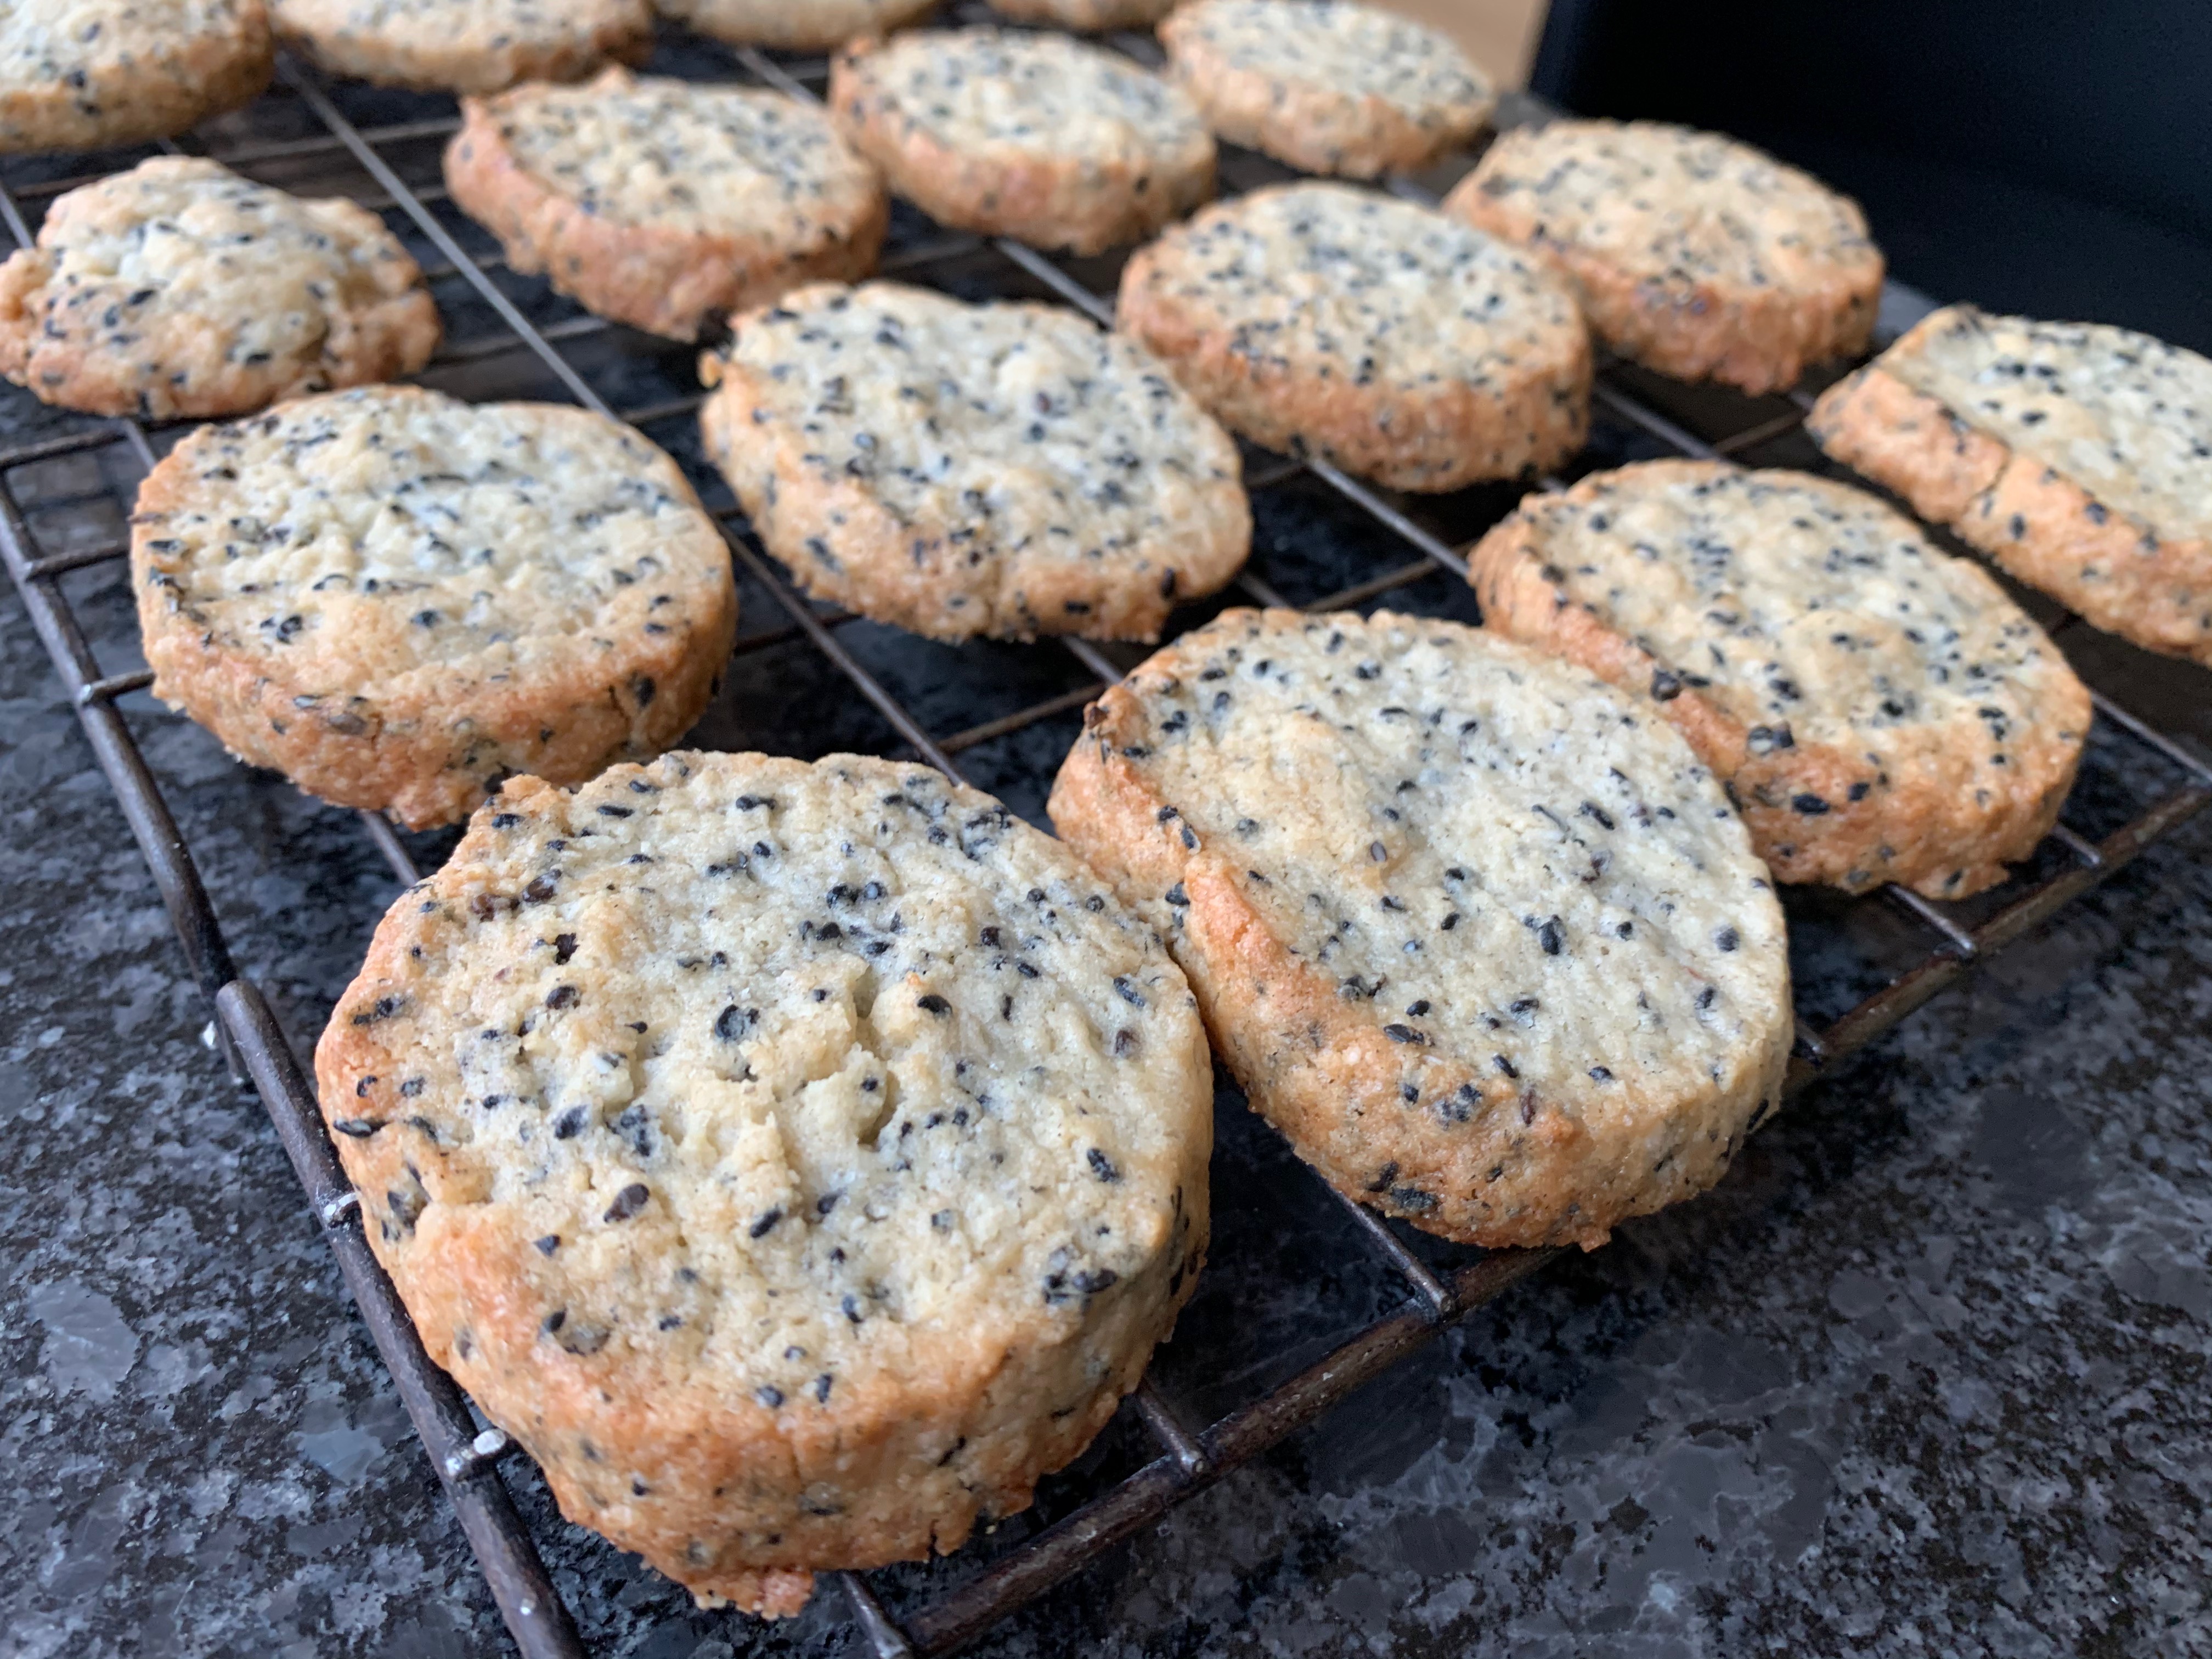
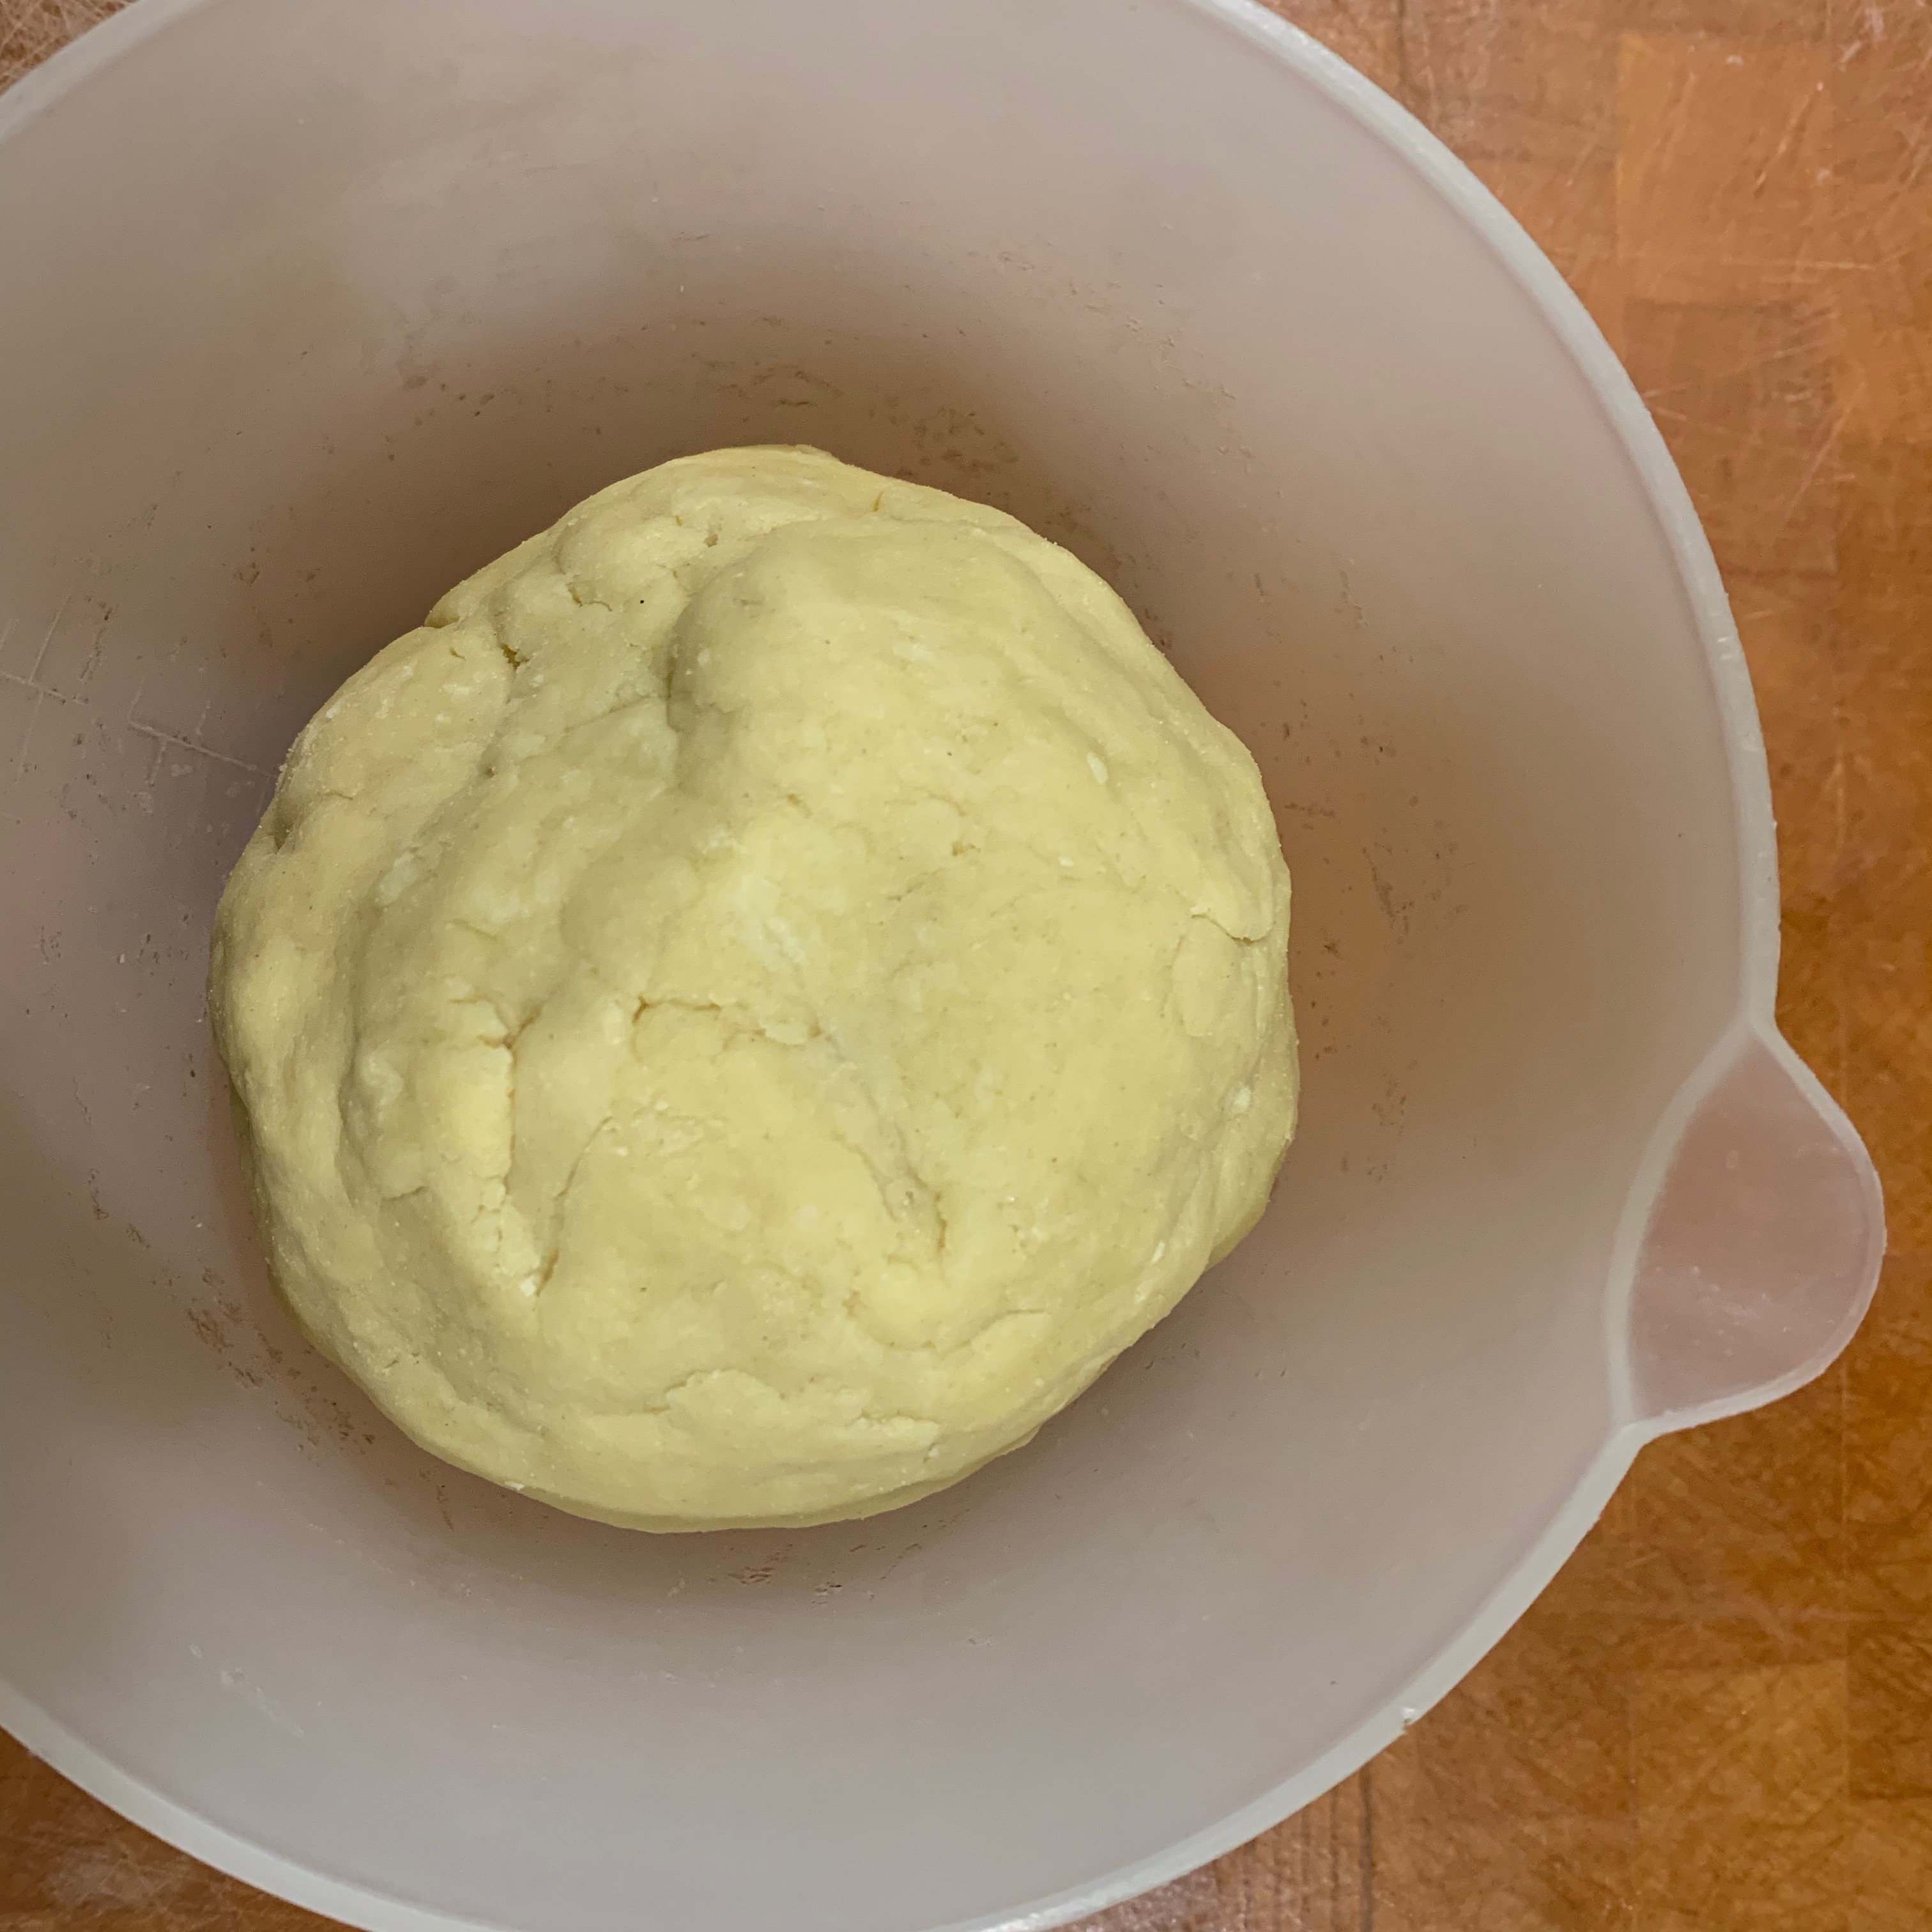
This looks like a straightforward recipe but it’s trickier than many biscuit/cookie recipes because it’s easy to get the texture wrong. Undergrind your nuts and you’ll get a grainy, rather lumpen biscuit which tastes fine but just doesn’t feel right. Overprocess or overwork the dough – especially if your hands are too warm – and the butter will come out and you lose the flavour. But if you get this right, Vanillekipferl have a crumbly butteriness that makes them a rare treat.
The quantities here give you 300g of dough which will yield 15-20 Vanillekipferl. It scales really easily – just multiply by as much as you want. But be aware that a standard size baking tray won’t take many more than 20, because they spread.
The ground almond mixture
You don’t have to make grind your own almonds: you can just buy a pack of ground almonds and add sugar. But doing your own with good quality almonds will result in a better tasting biscuit.
I keep a jar of vanilla sugar, which is simply a jar of caster sugar with a couple of vanilla pods in it which has been left in the cupboard more or less indefinitely. Again, you don’t have to do this: you can either rely on adding more vanilla essence or buy a packet of pre-made vanilla sugar (which is what most Austrian recipes suggest).
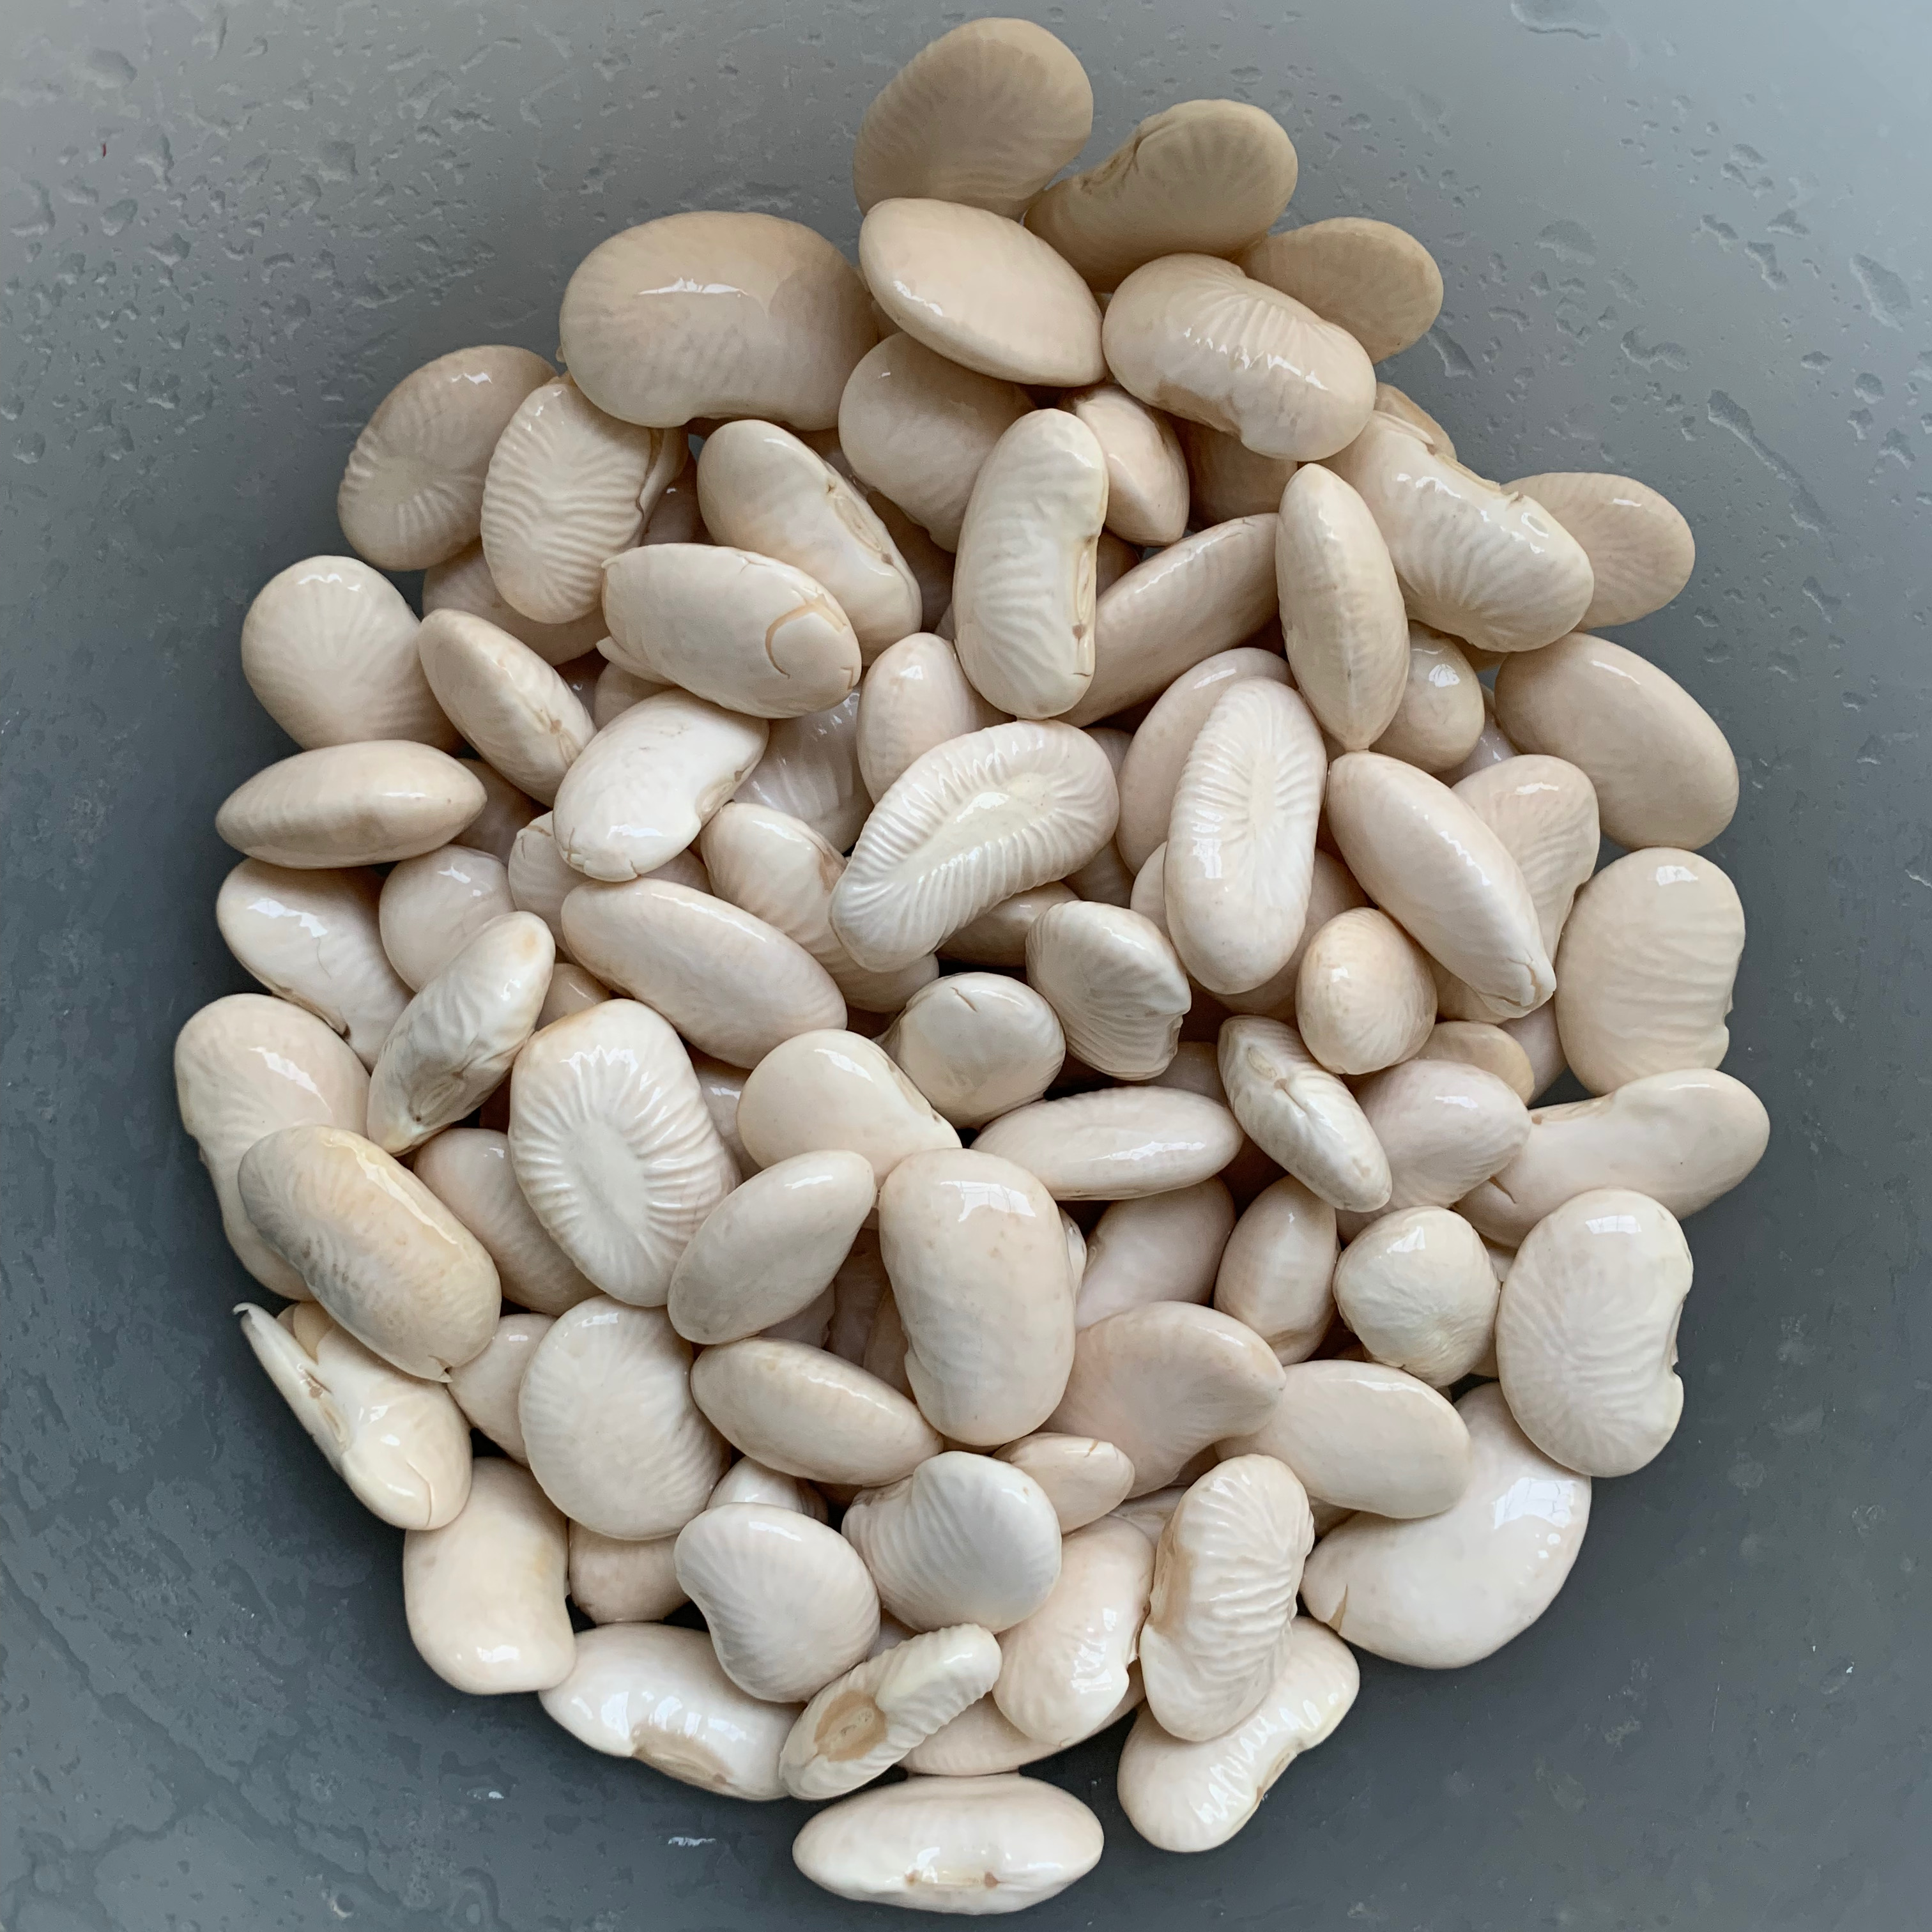
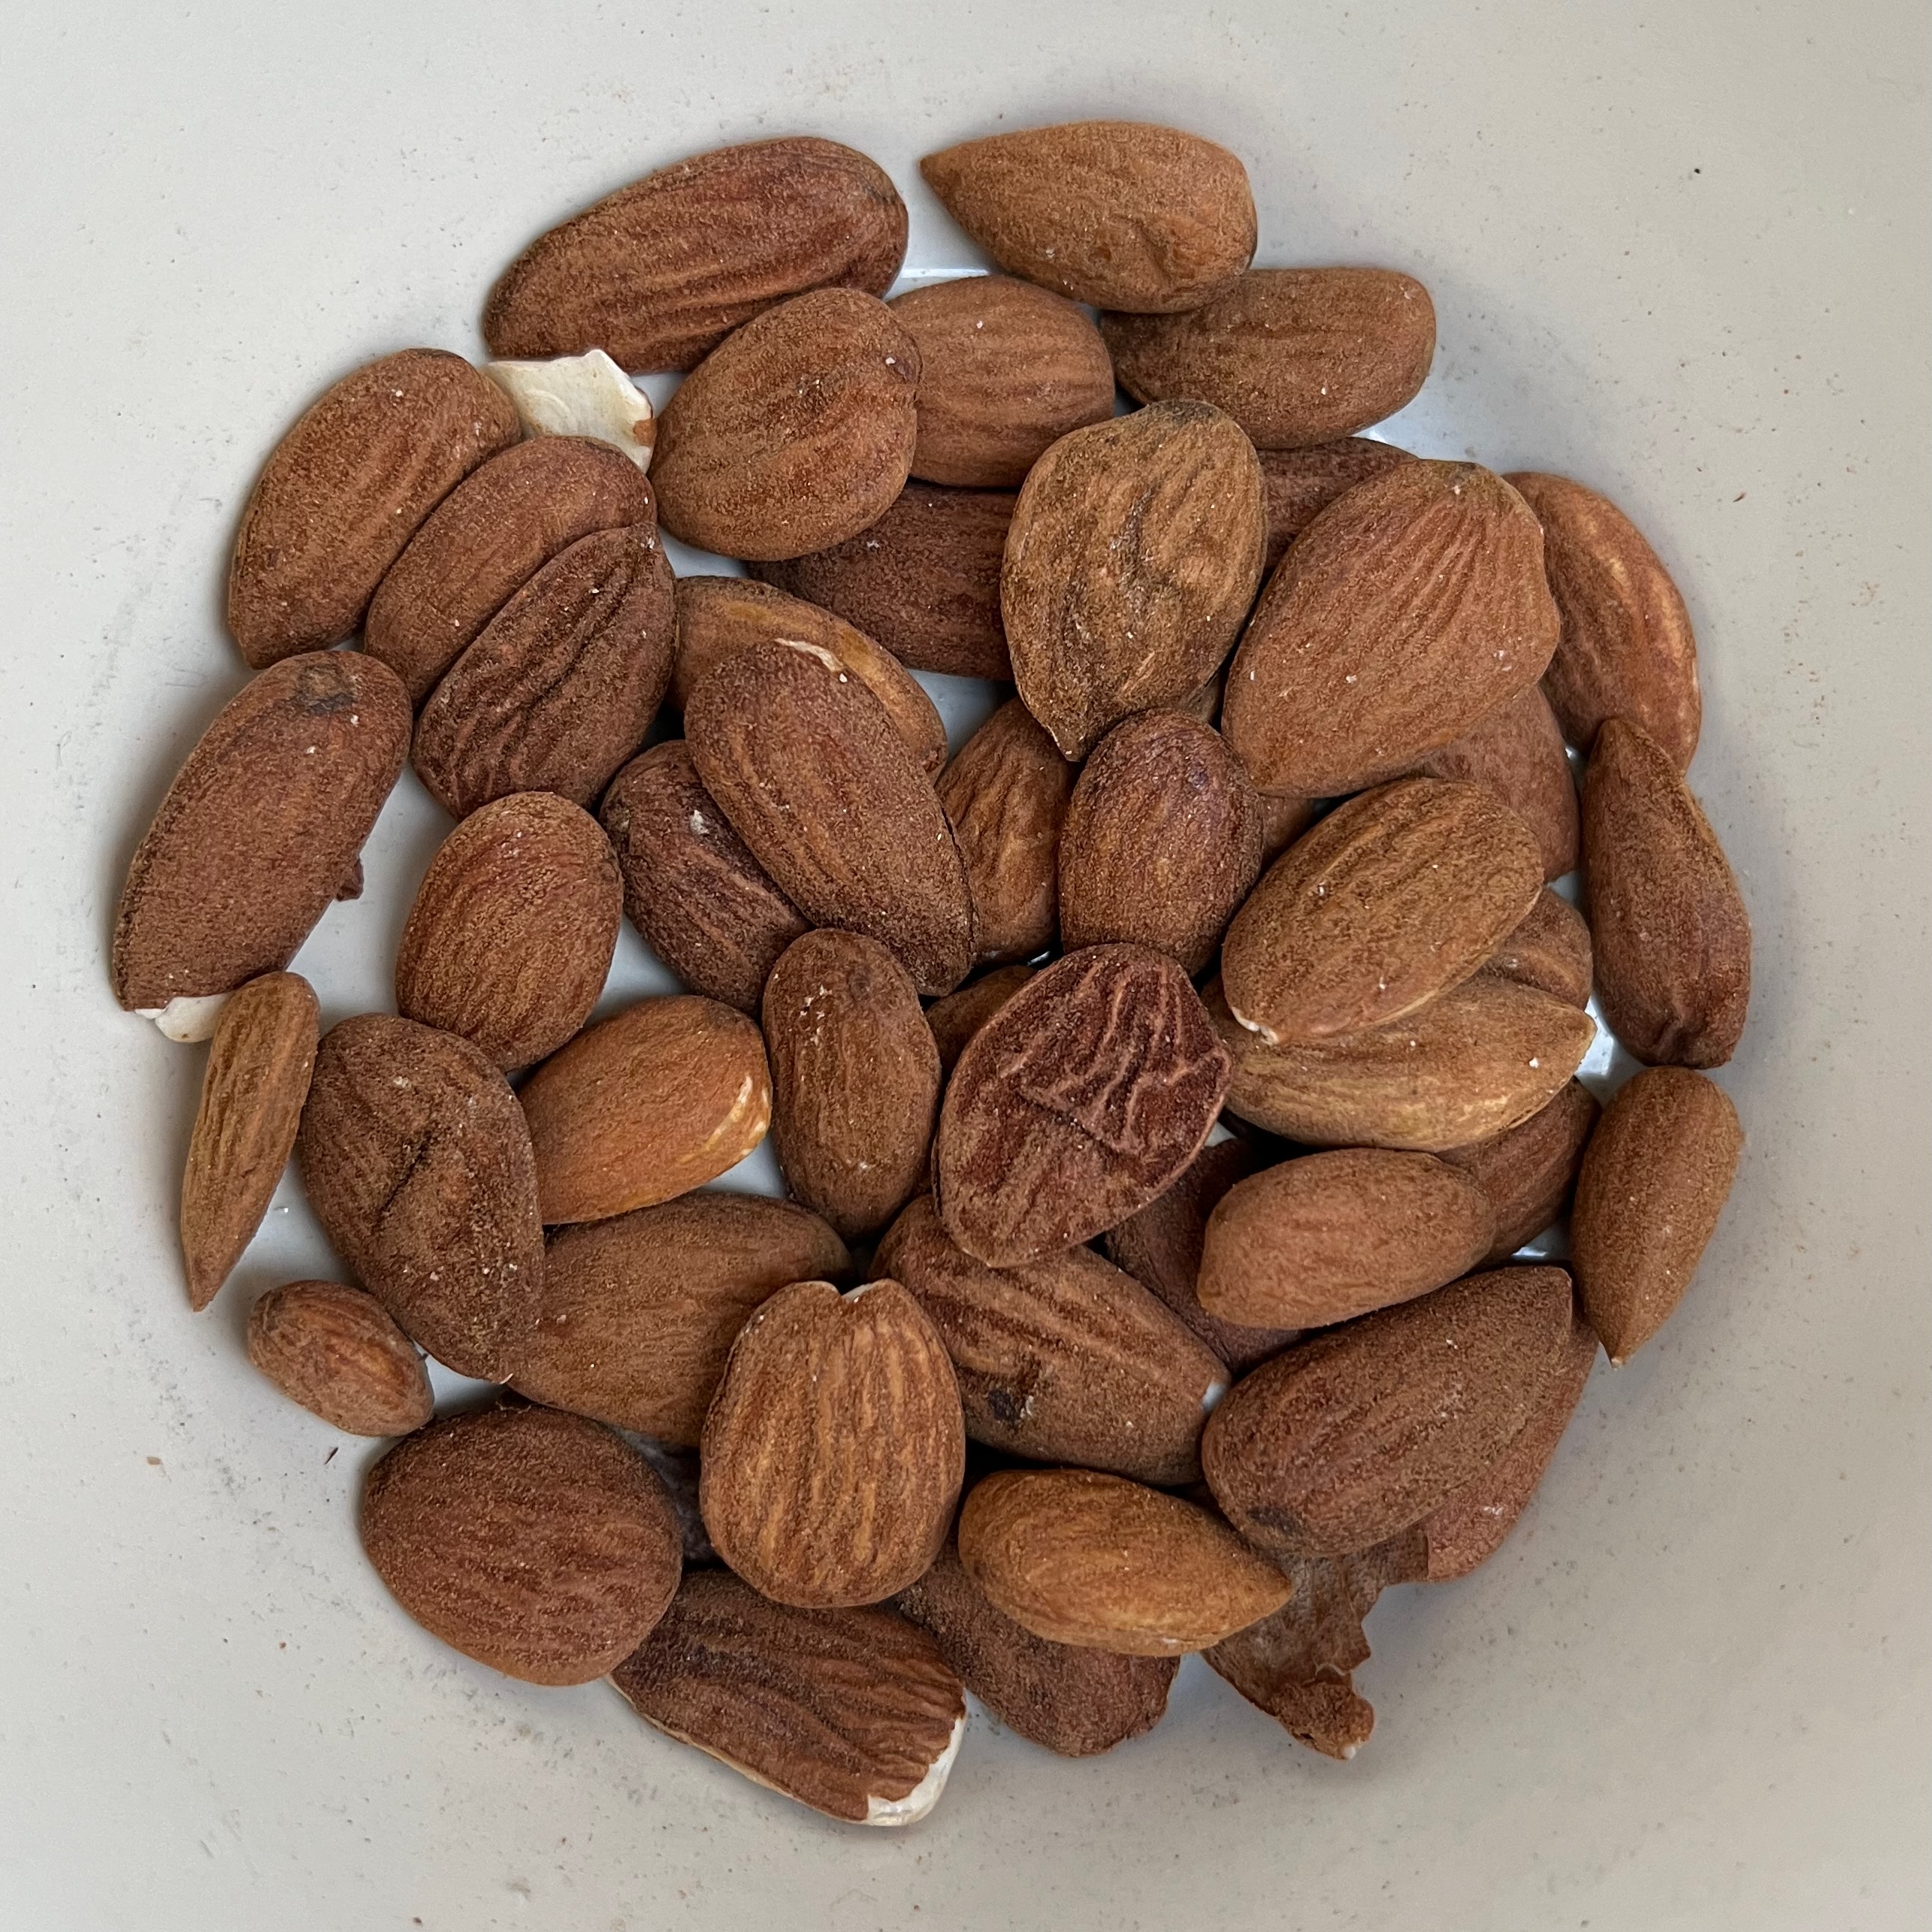
- 50g almonds in their shells
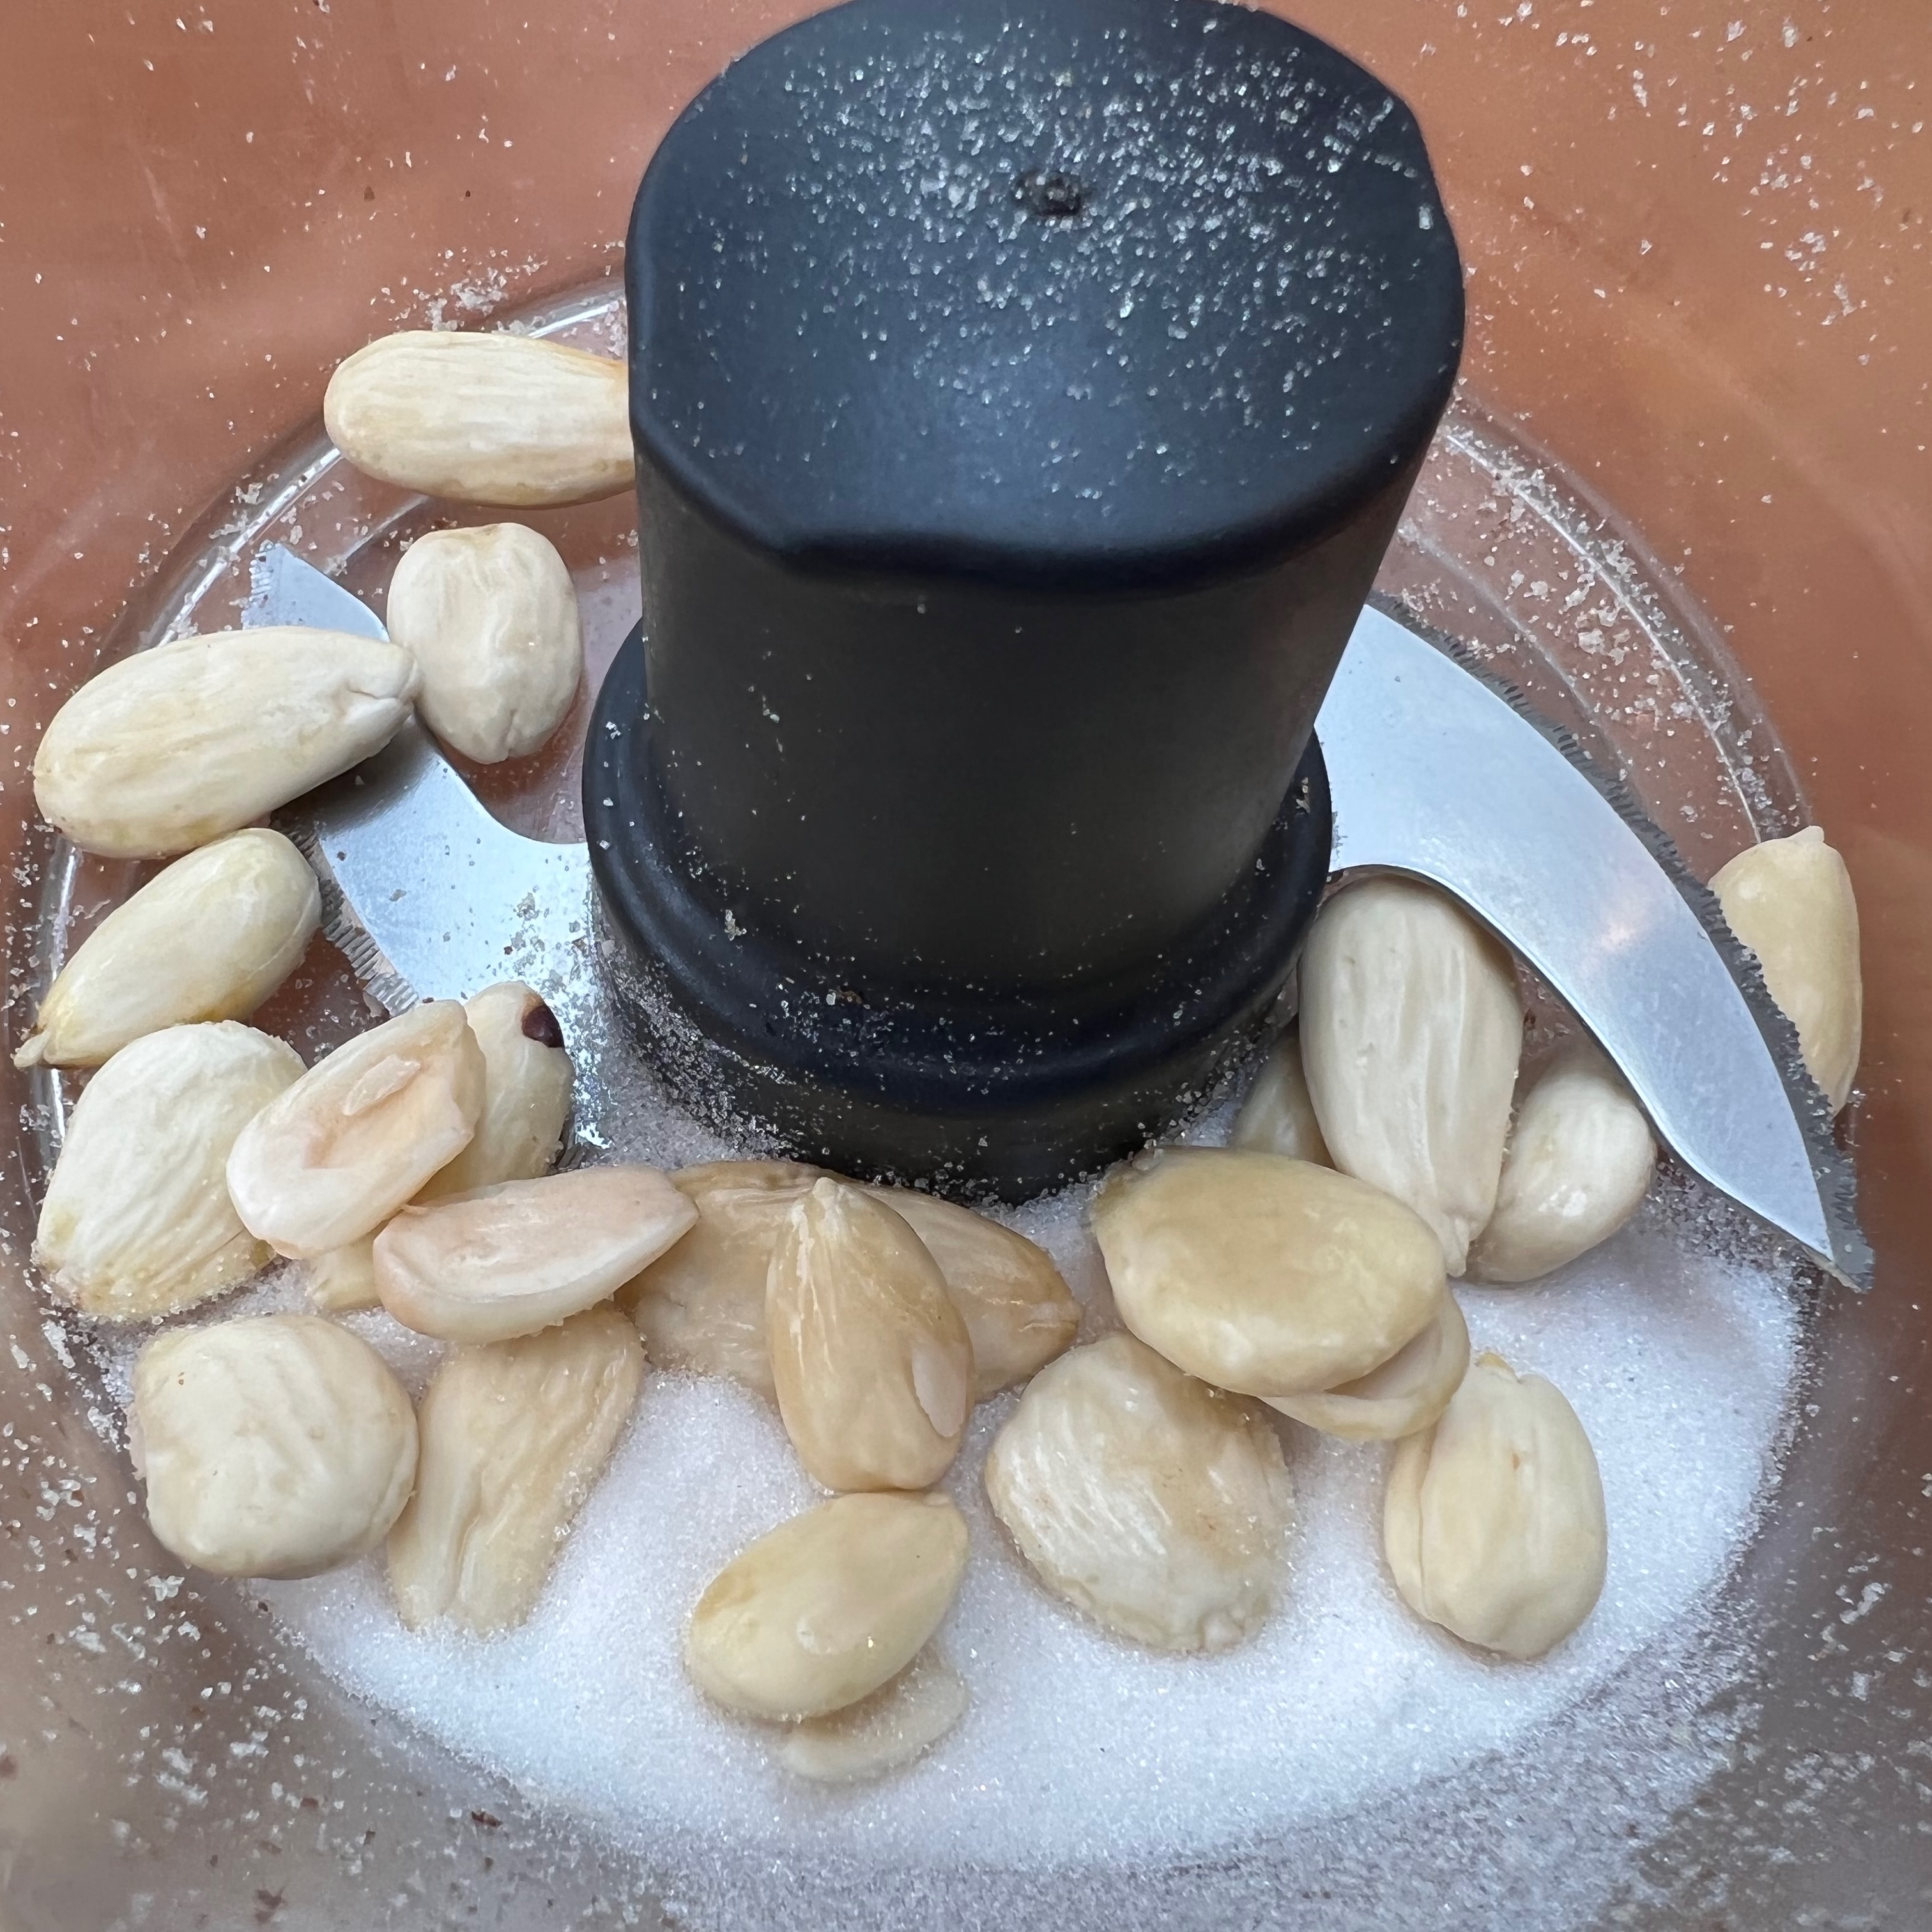
- 50g caster sugar (vanilla sugar if you have it)
- Put the almonds into a bowl and cover with boiling water.
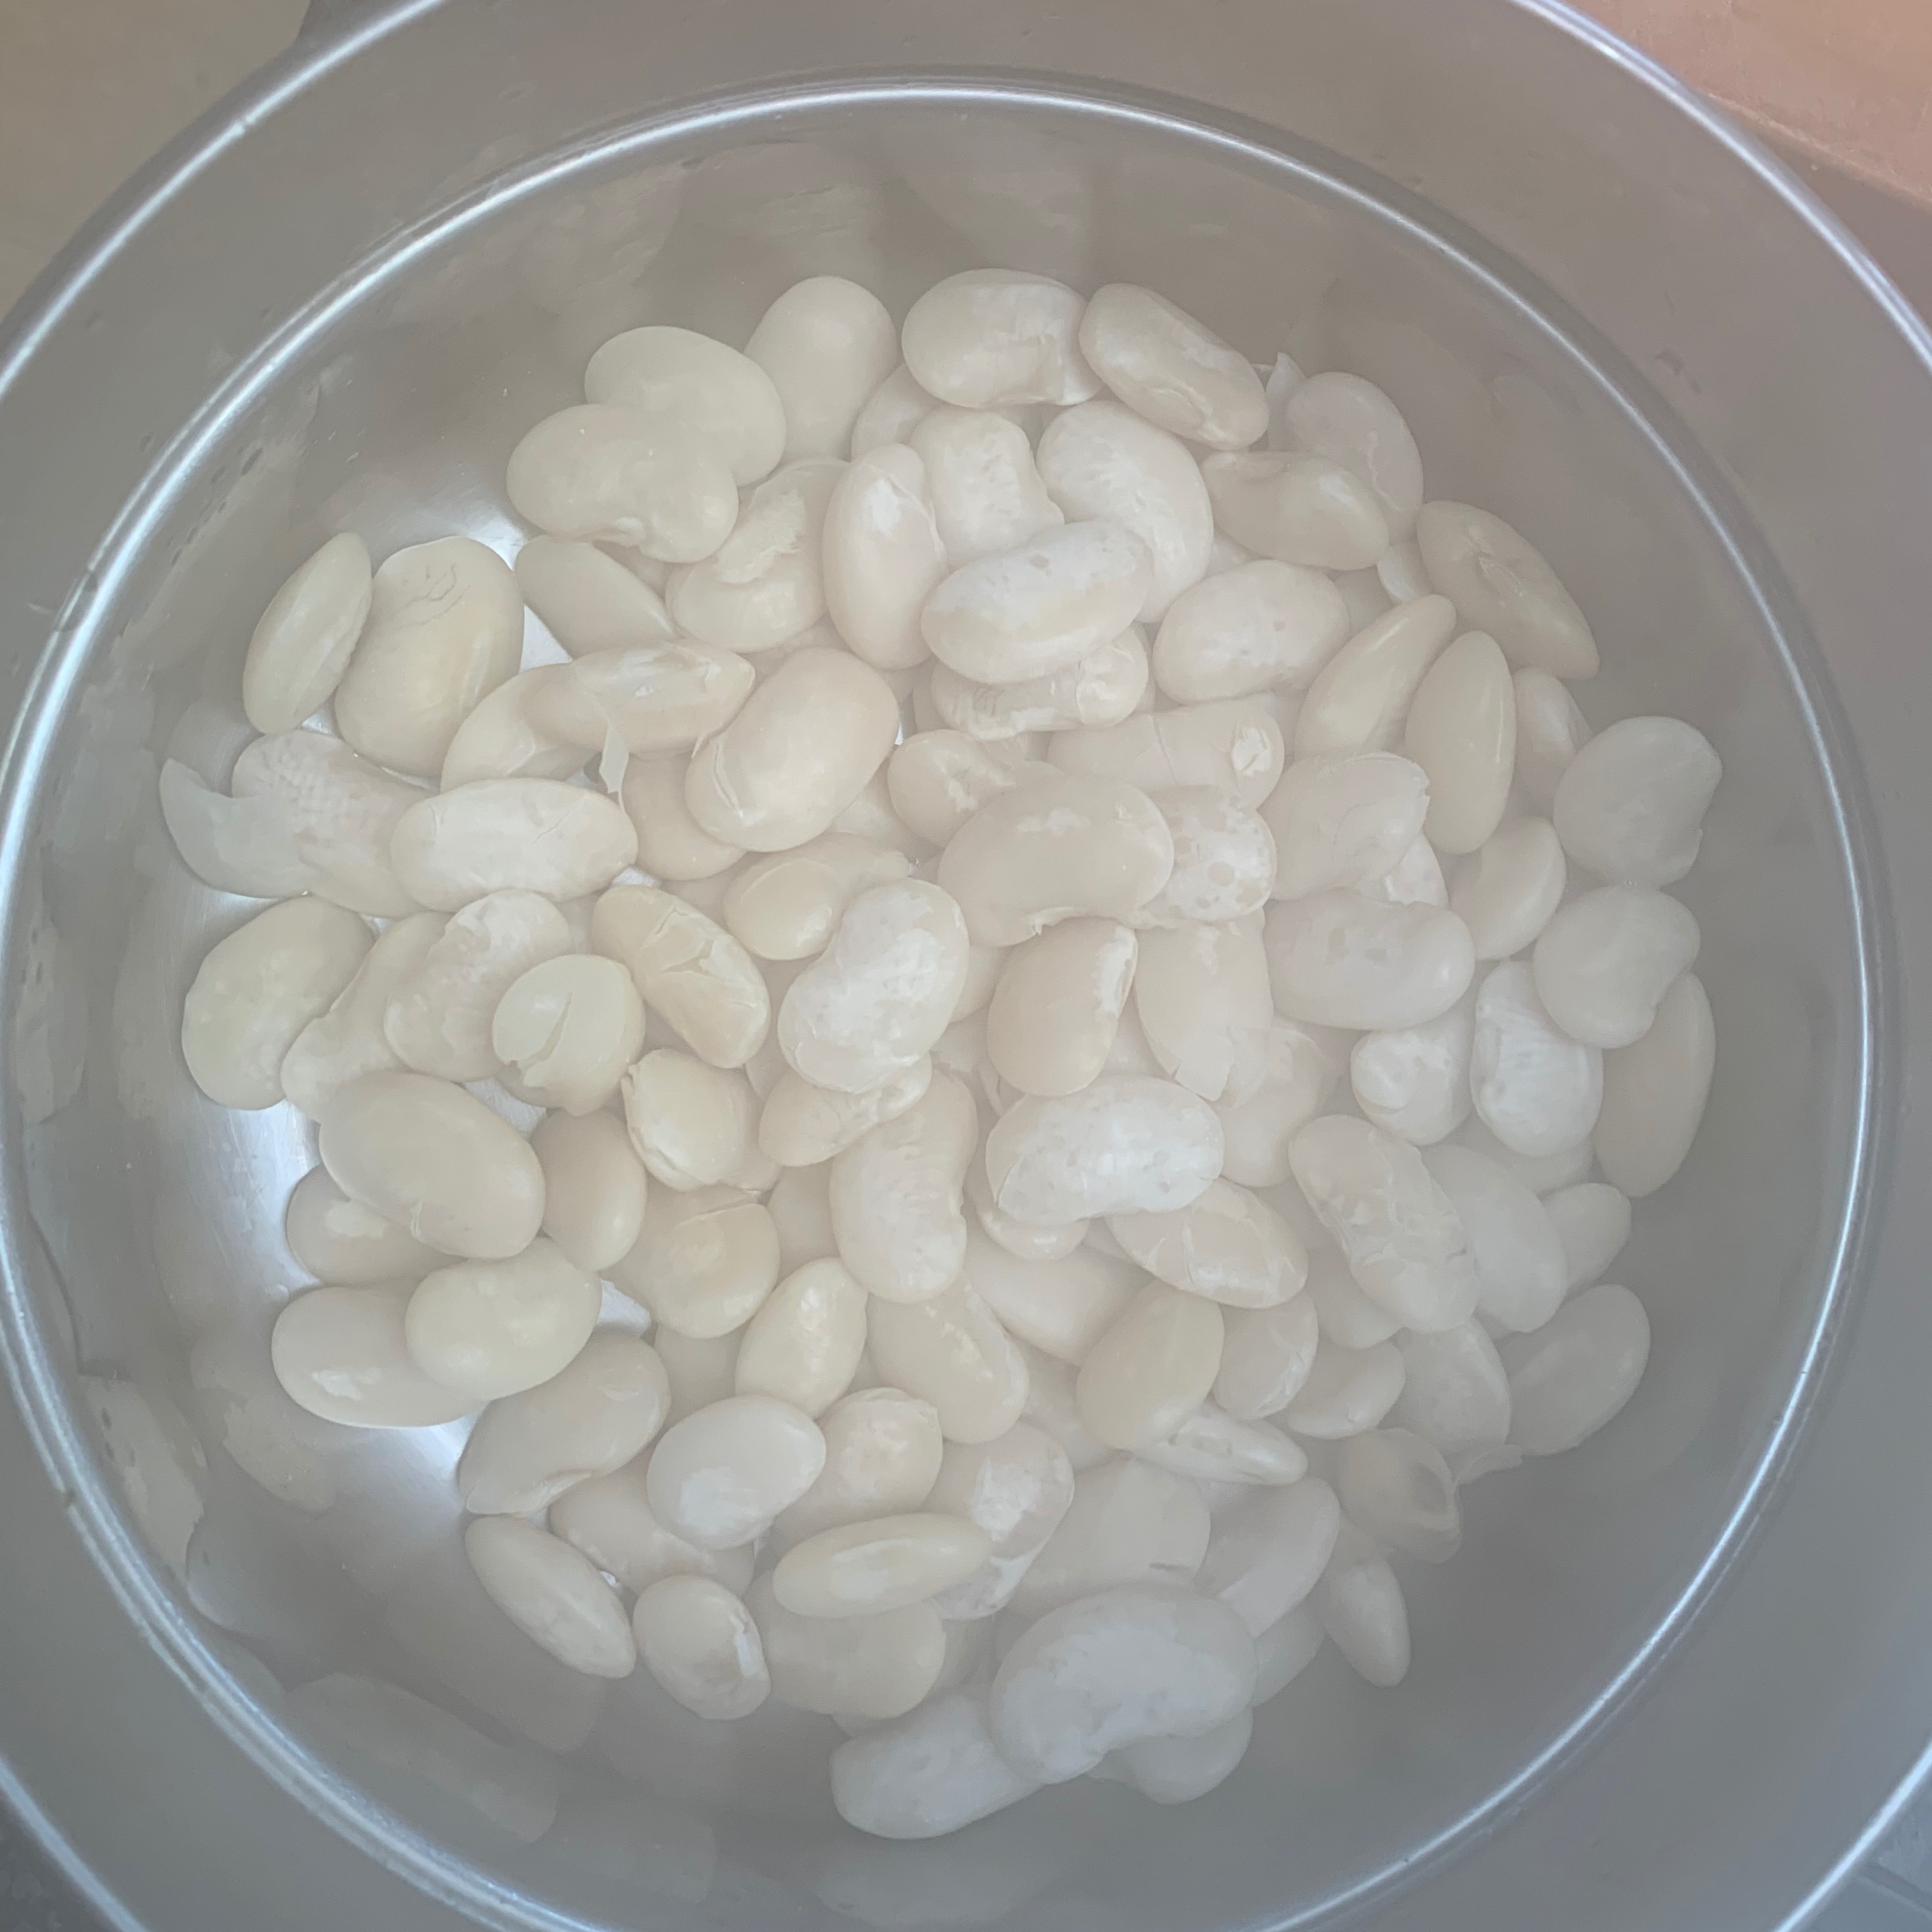
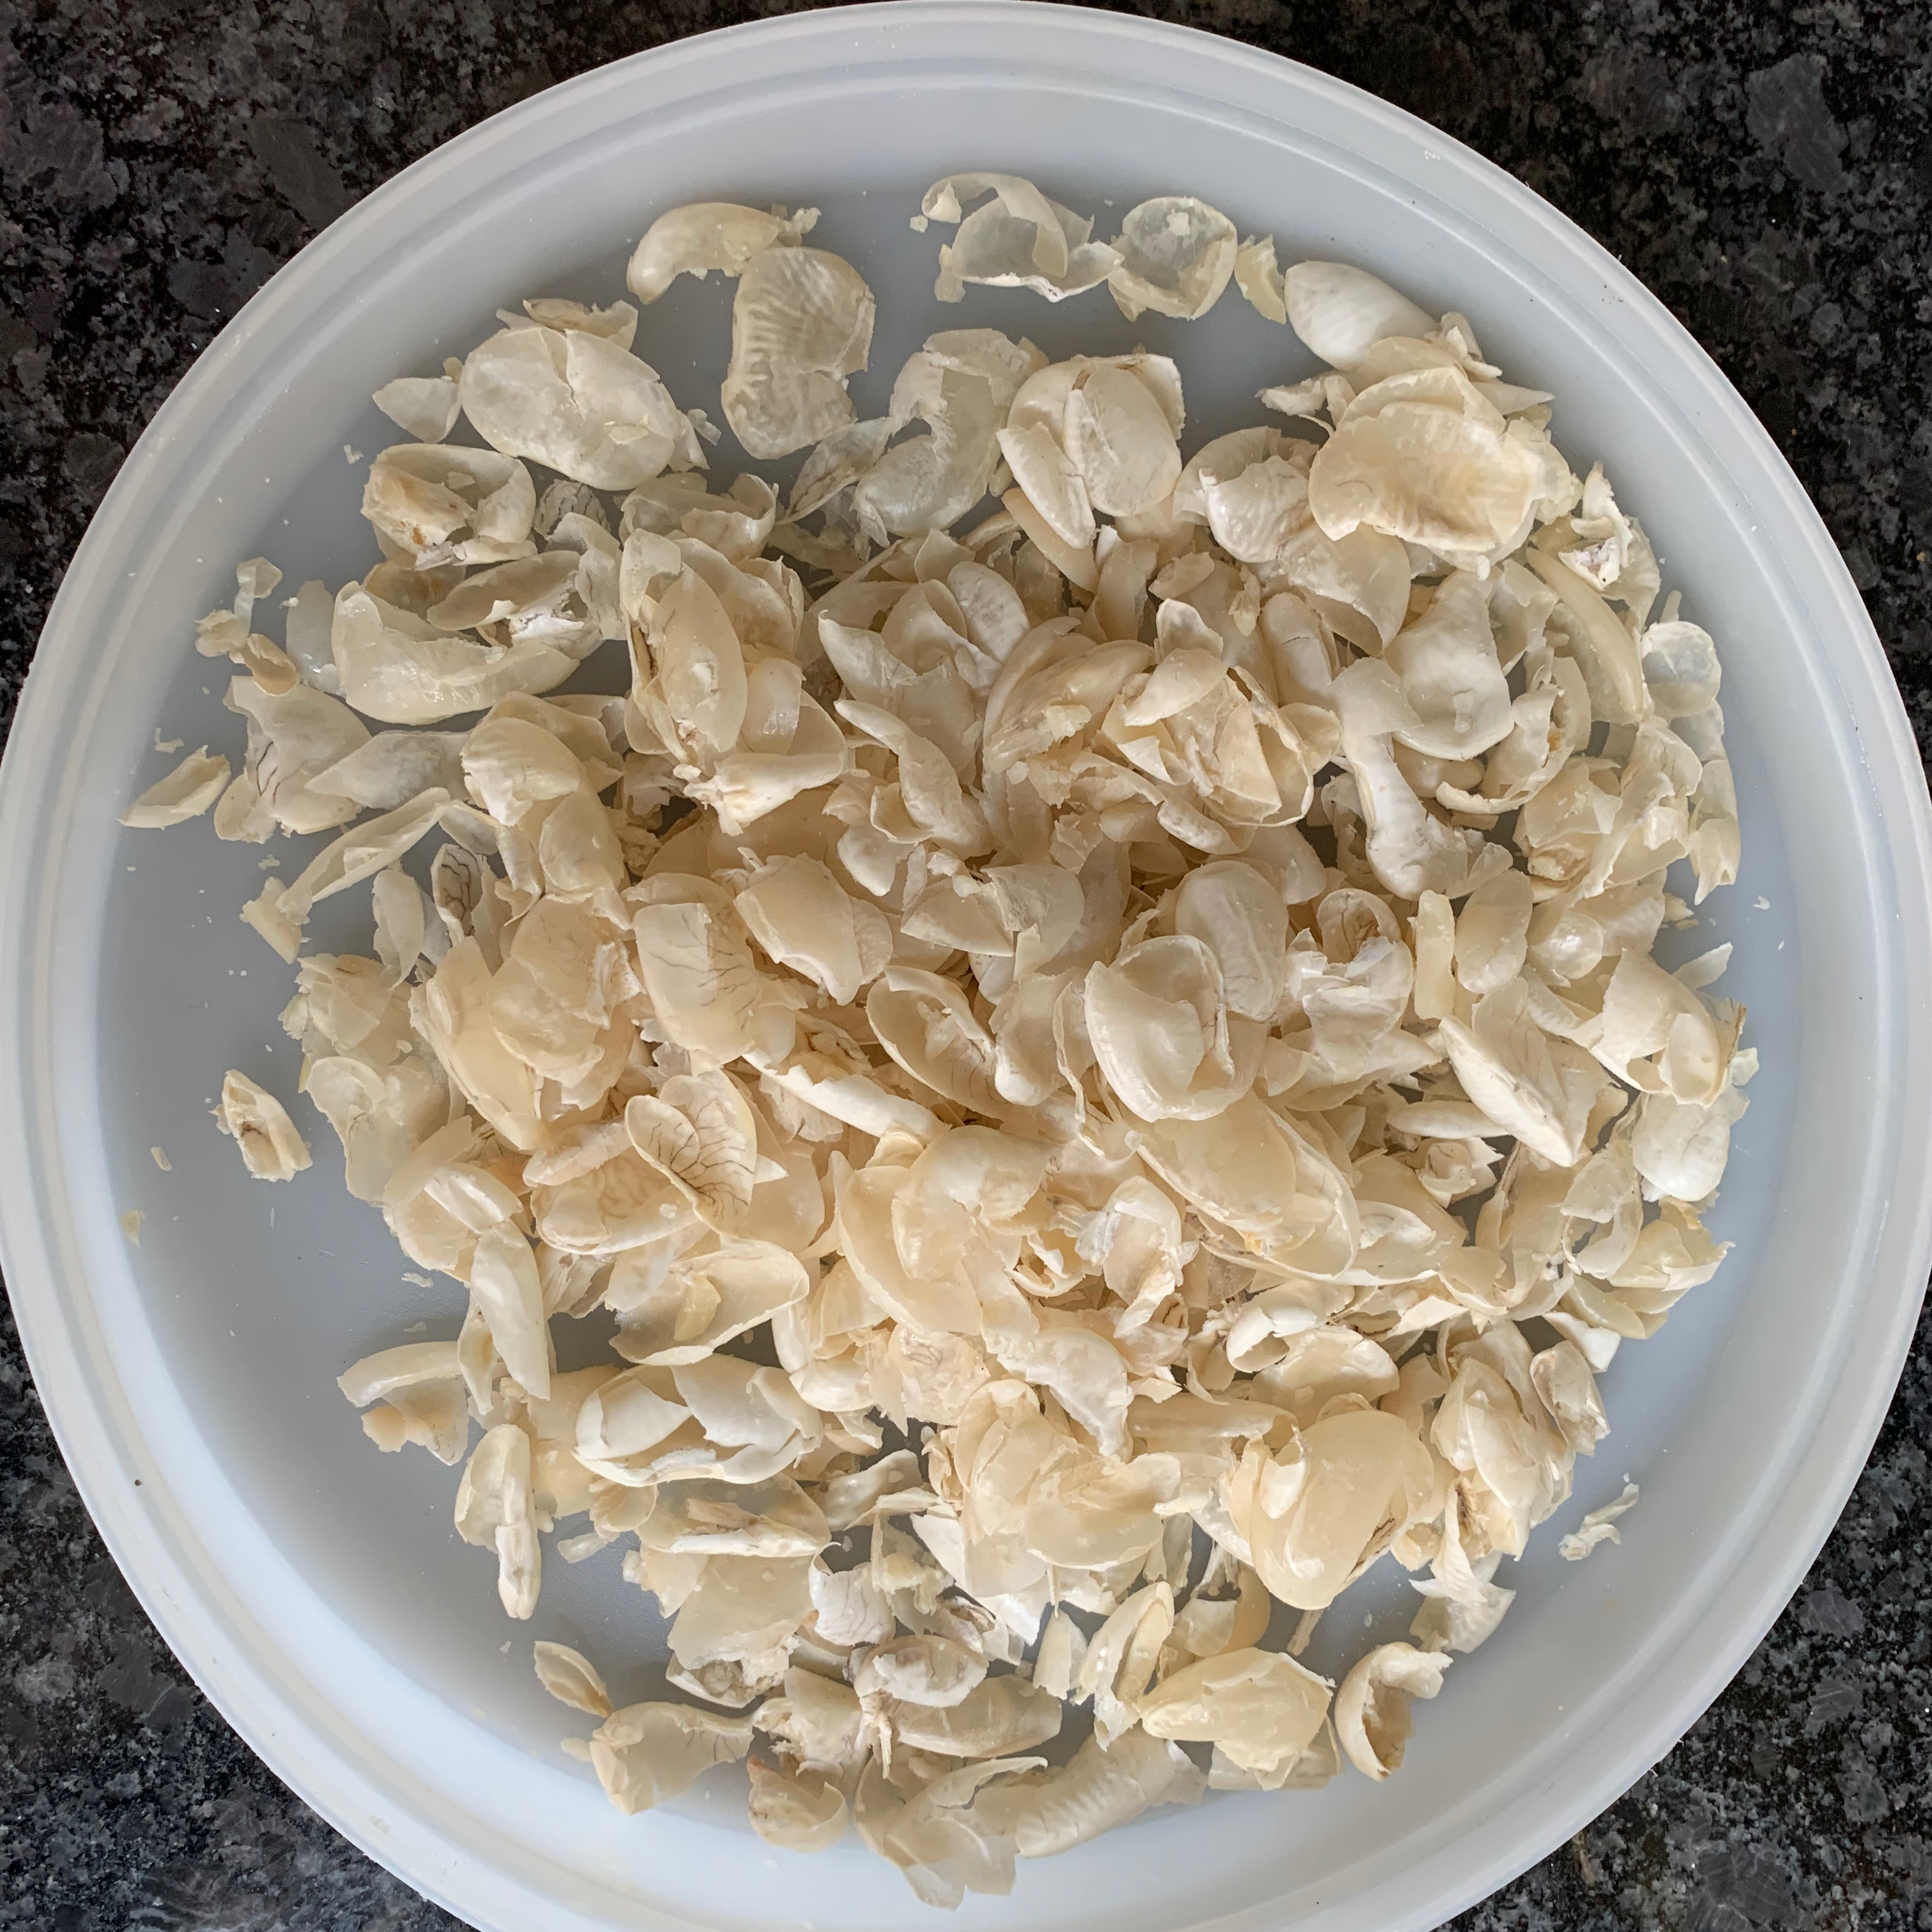
- Wait around 15 minutes, then discard the water and pop each almond out of its skin. When you’ve finished, pat the almonds dry with a tea towel or kitchen roll and discard the skins.
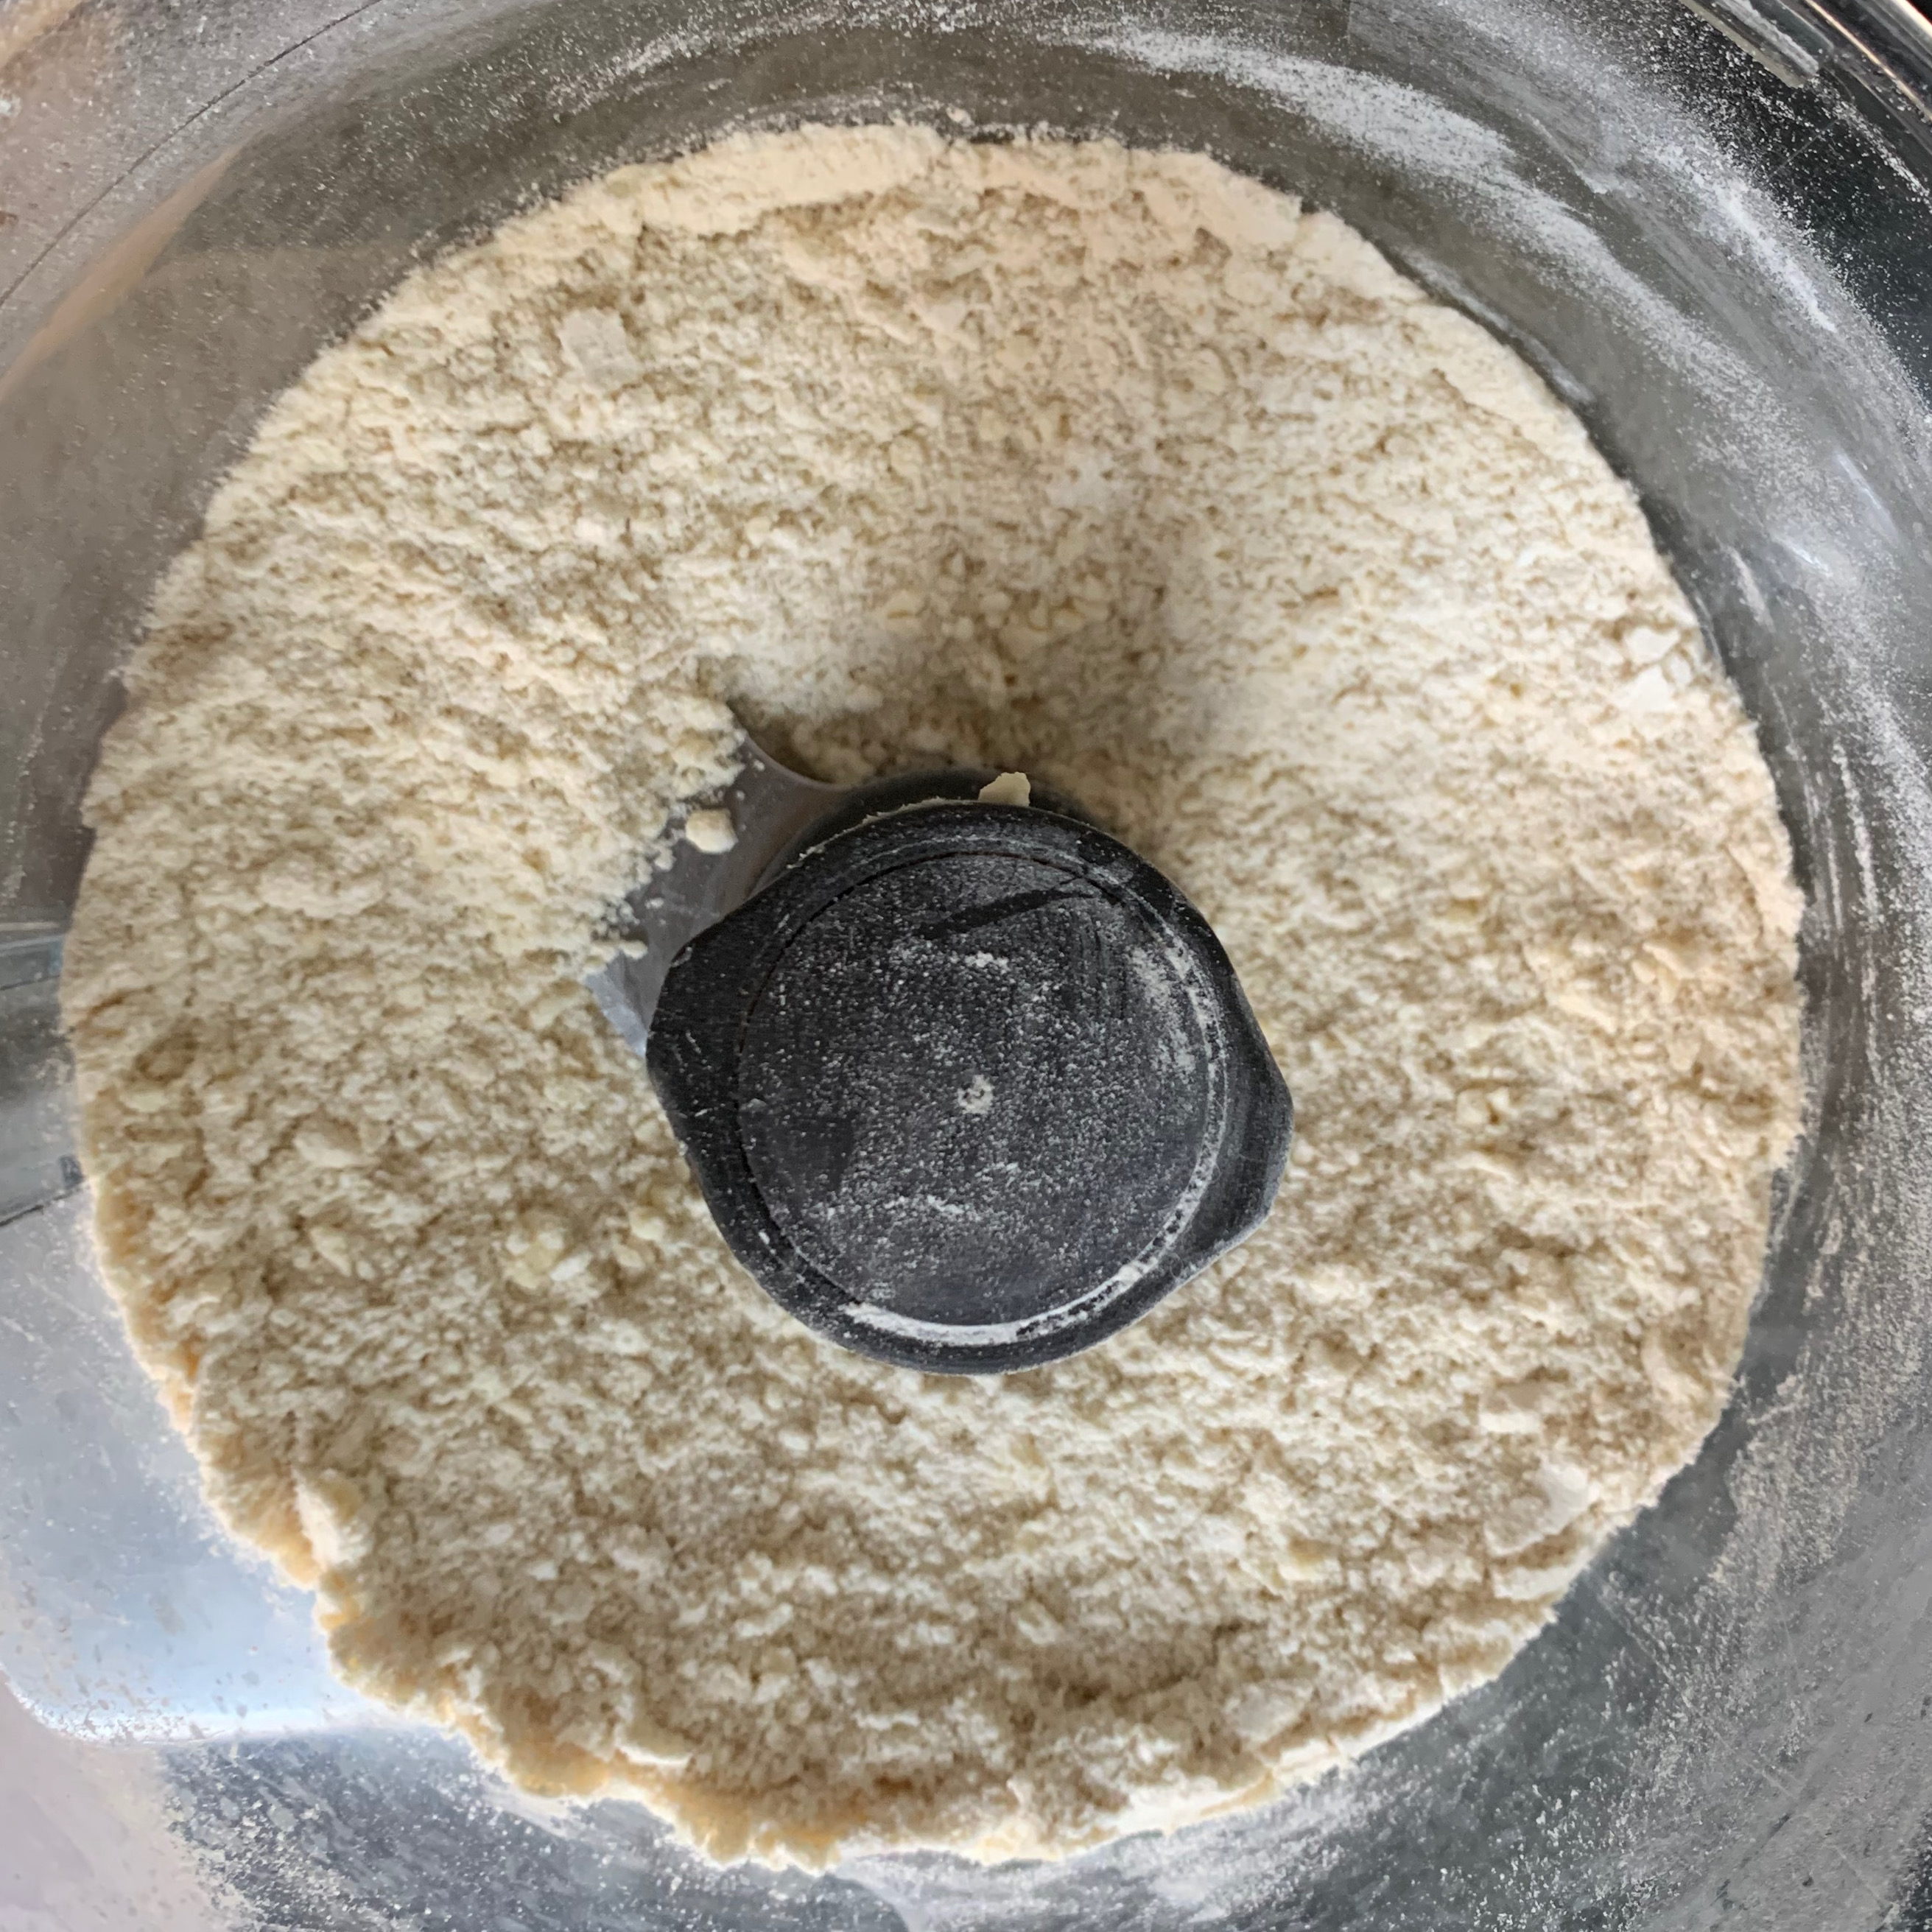
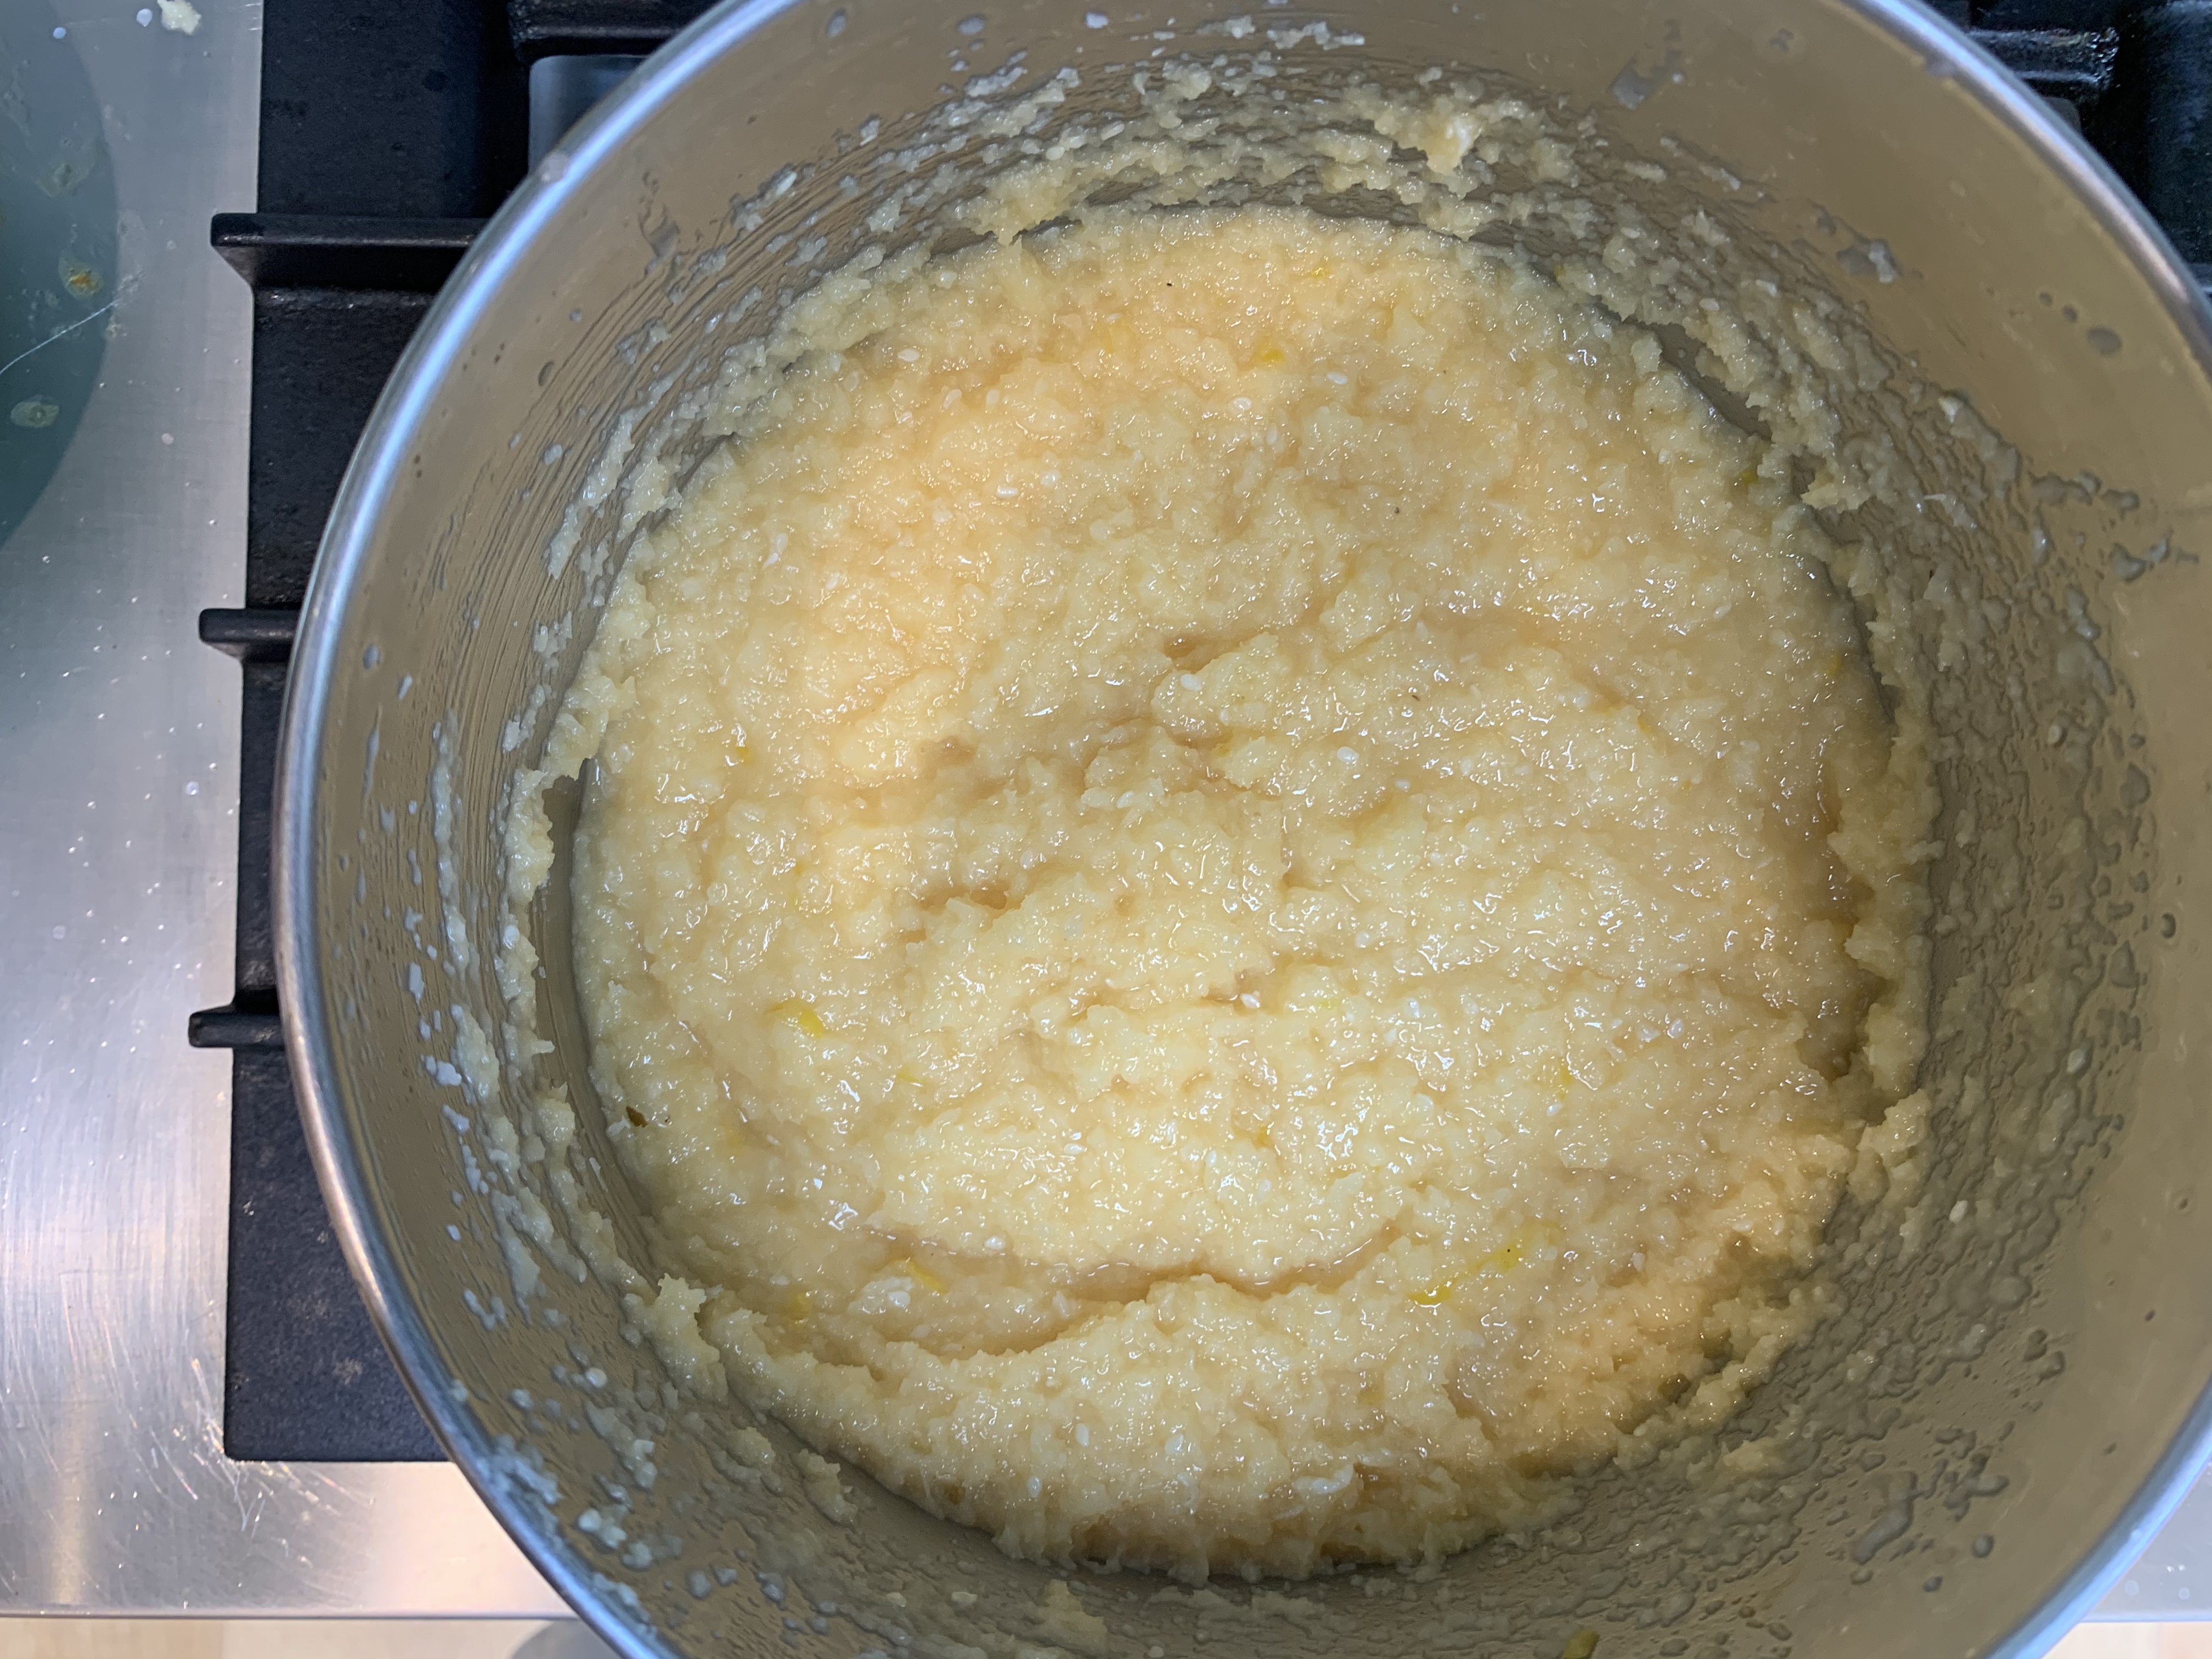
- Put the almonds and sugar into the bowl of a food processor and process until the almonds have been ground very fine. This should take around 1-2 minutes. Leave them in the bowl – you’ll be adding the other ingredients shortly.
Making the Kipferl
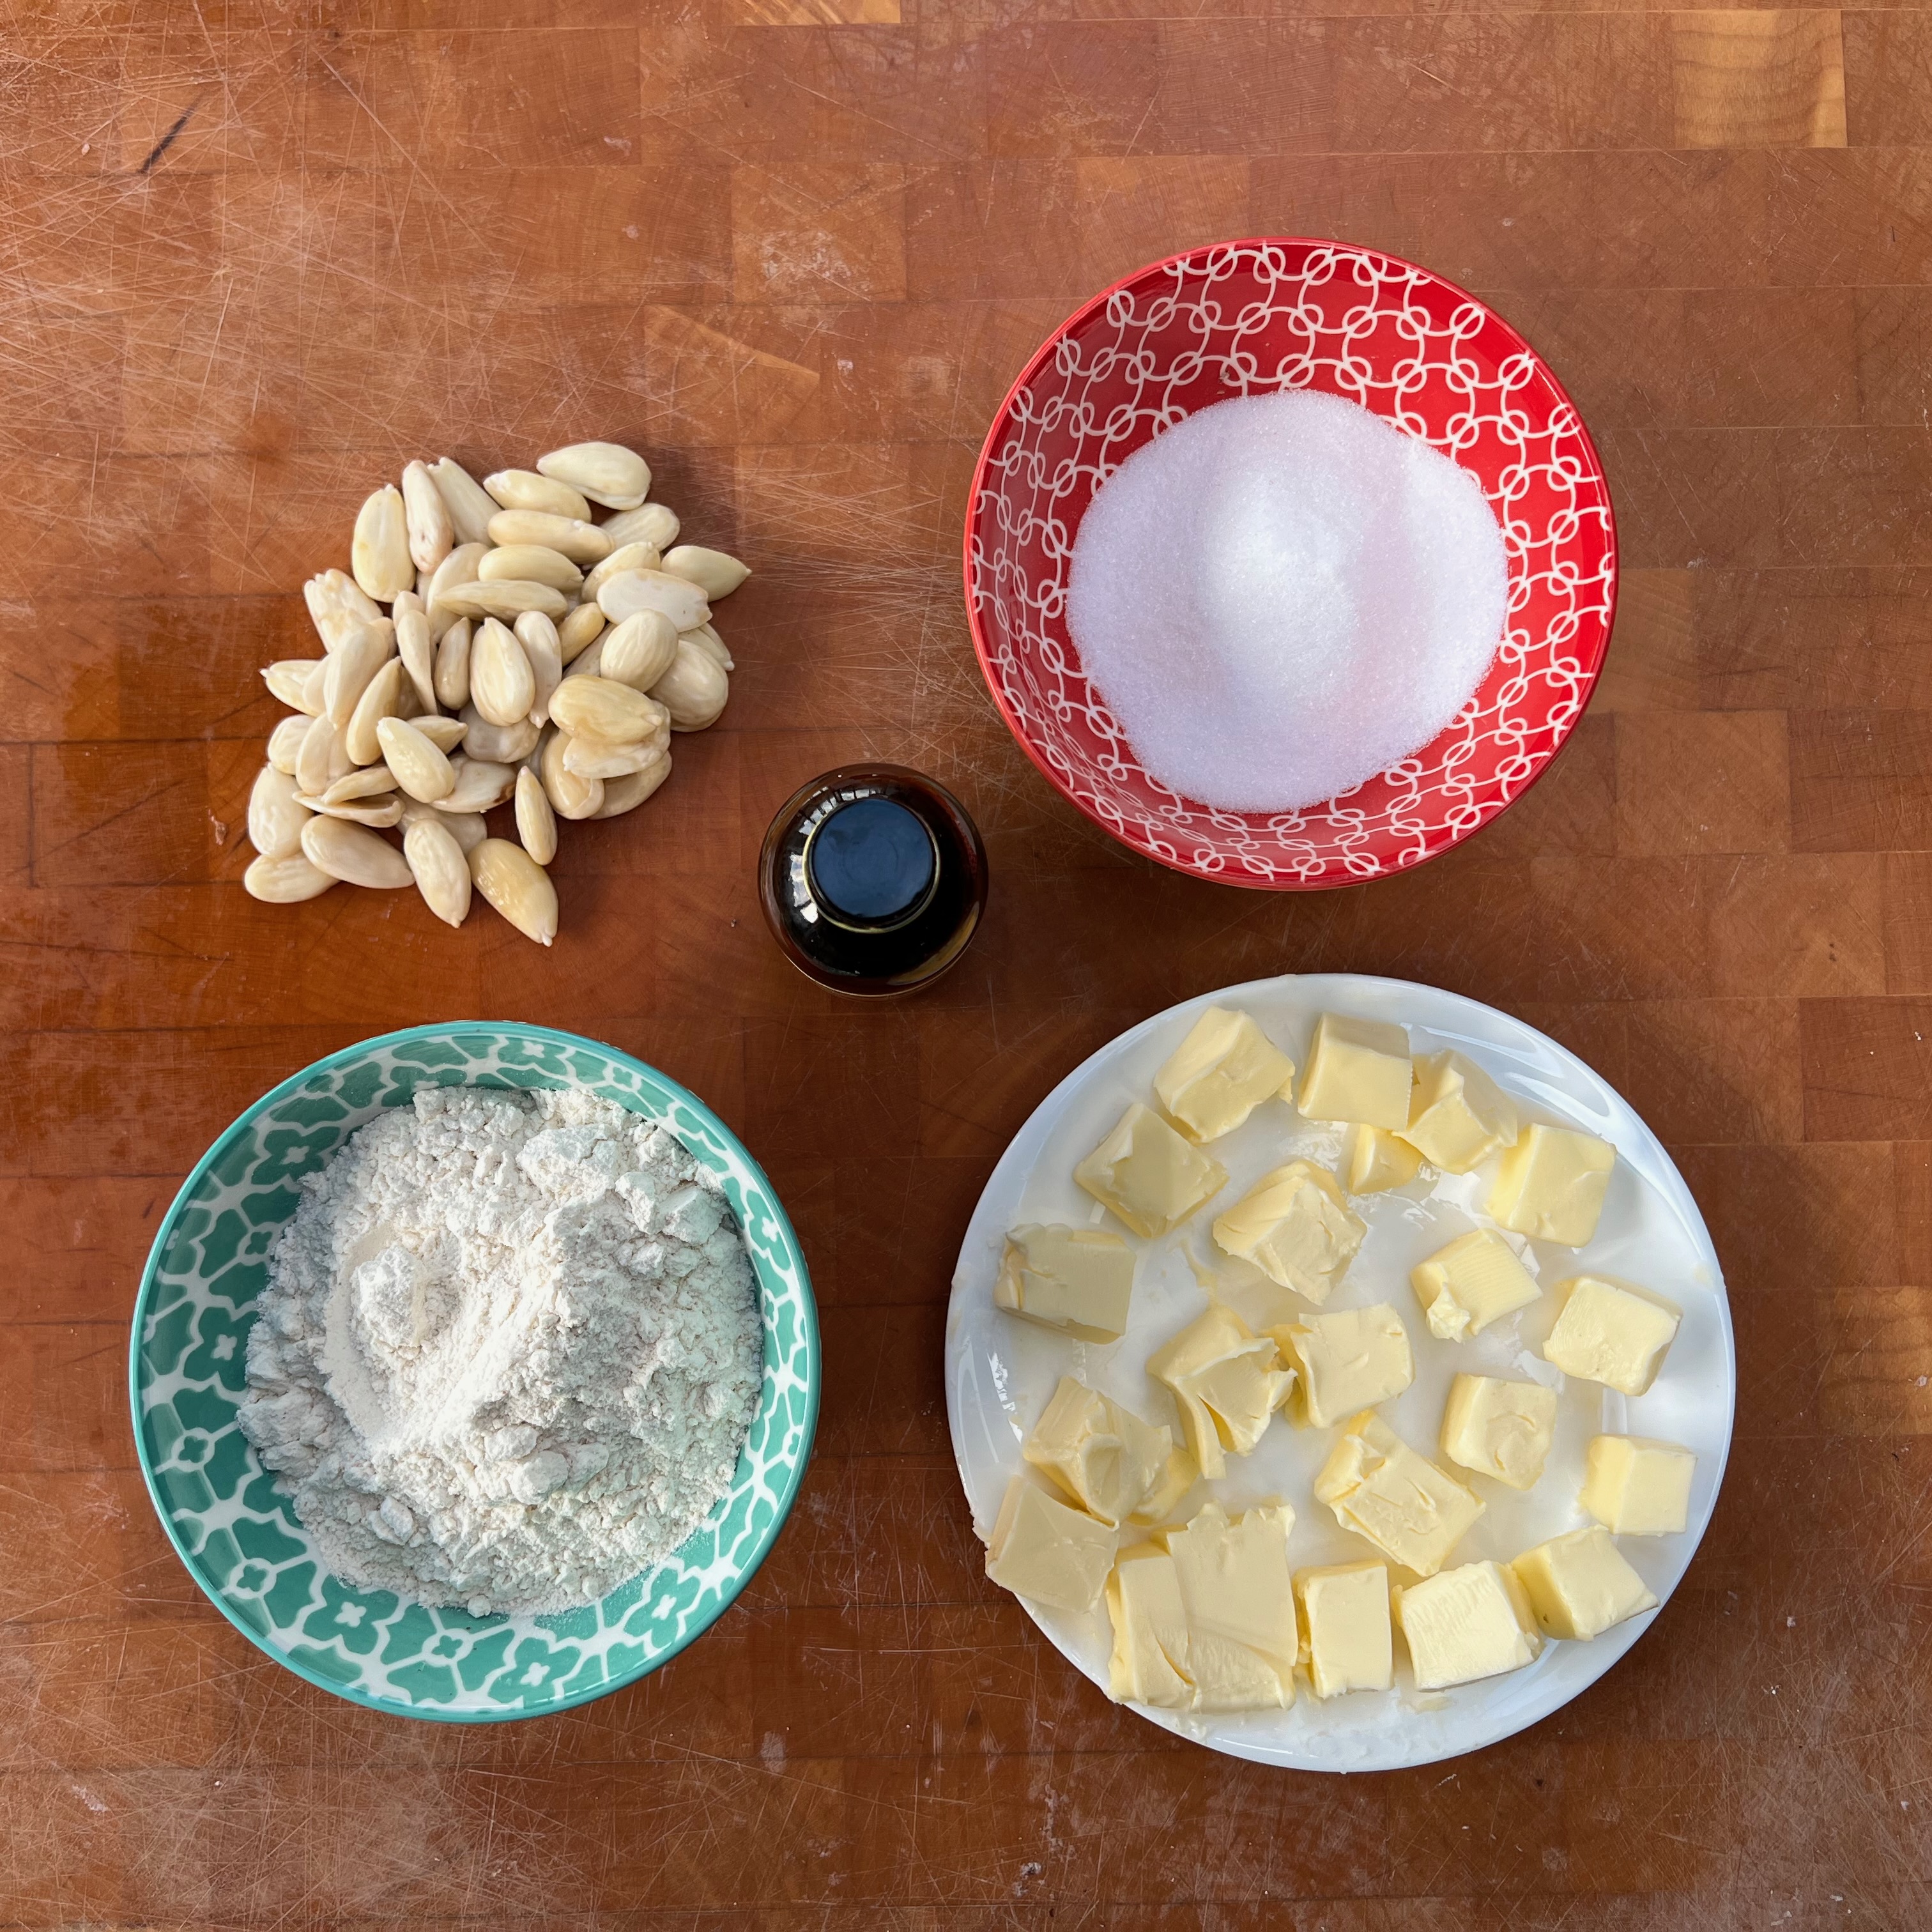
- 100g butter
- 100g plain flour
- Pinch of salt (⅛ tsp is plenty)
- Vanilla essence to taste – but be generous
- Preheat oven to 160℃ fan.
- Line a baking tray with a Silpat sheet, or baking paper if you don’t have one.
- Cut the butter into cubes (between 5-10mm).
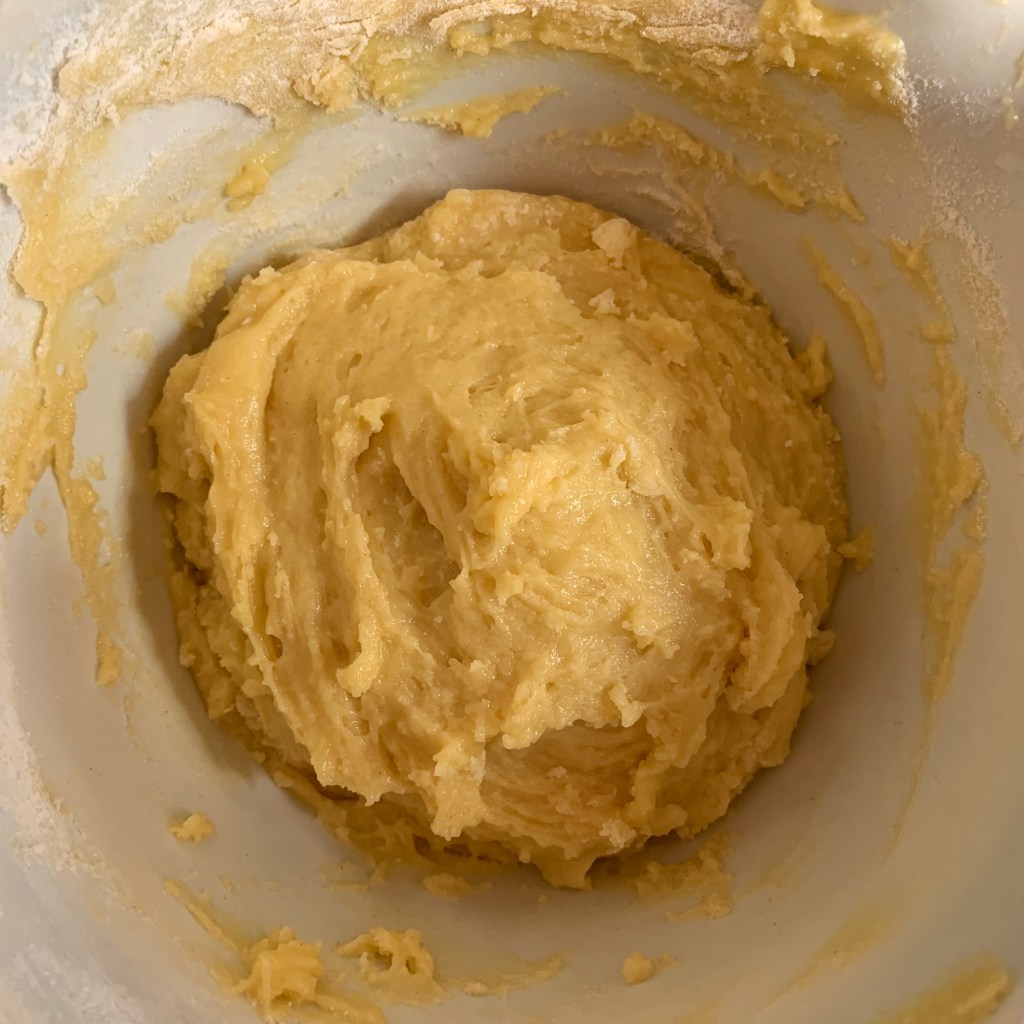
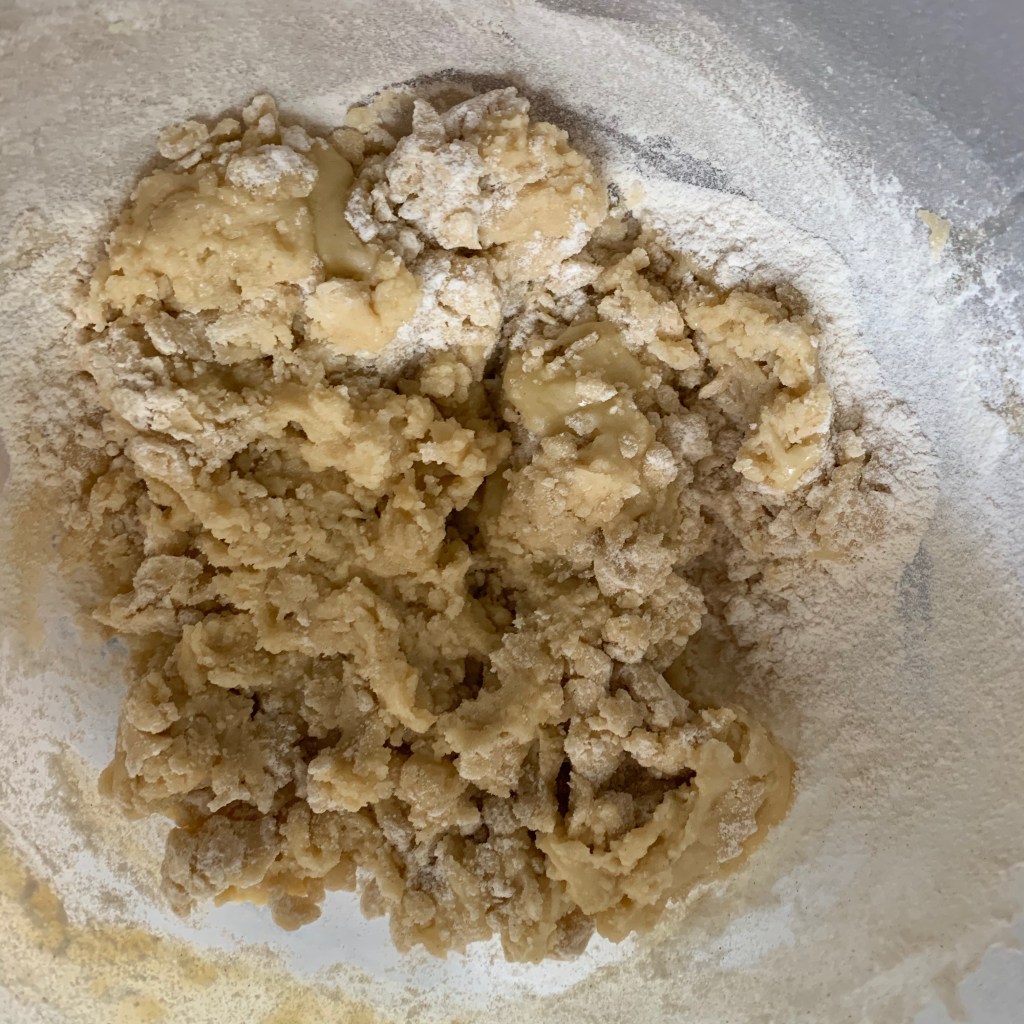
- Add the butter, flour and vanilla essence to your food processor bowl with the almonds and sugar.
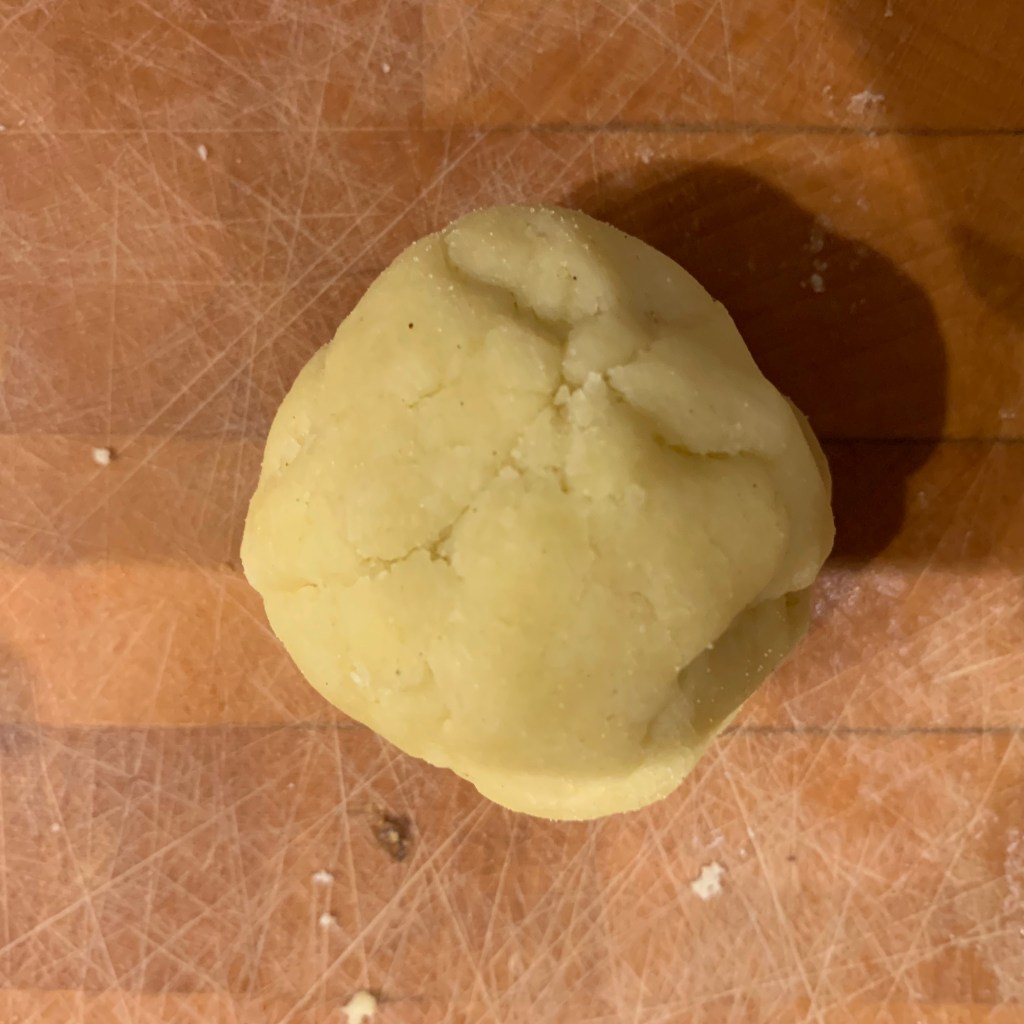
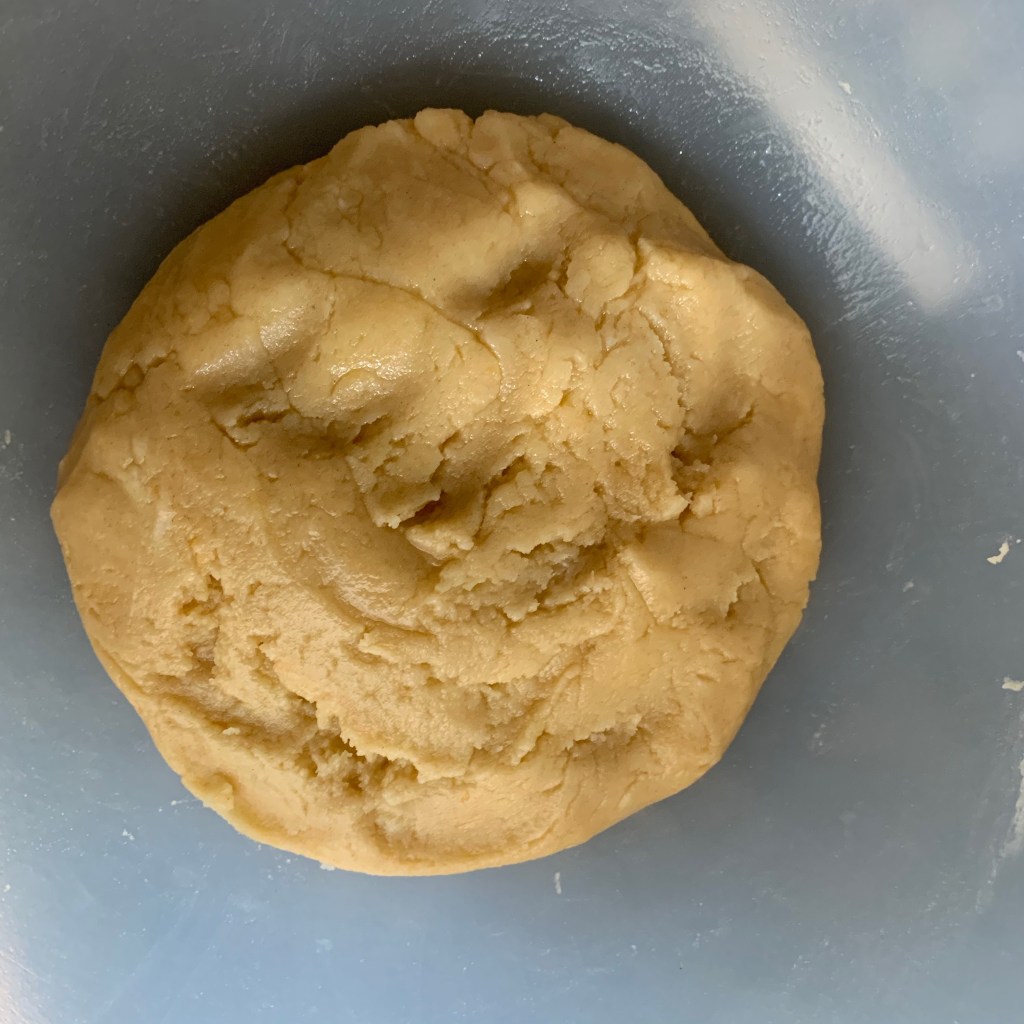
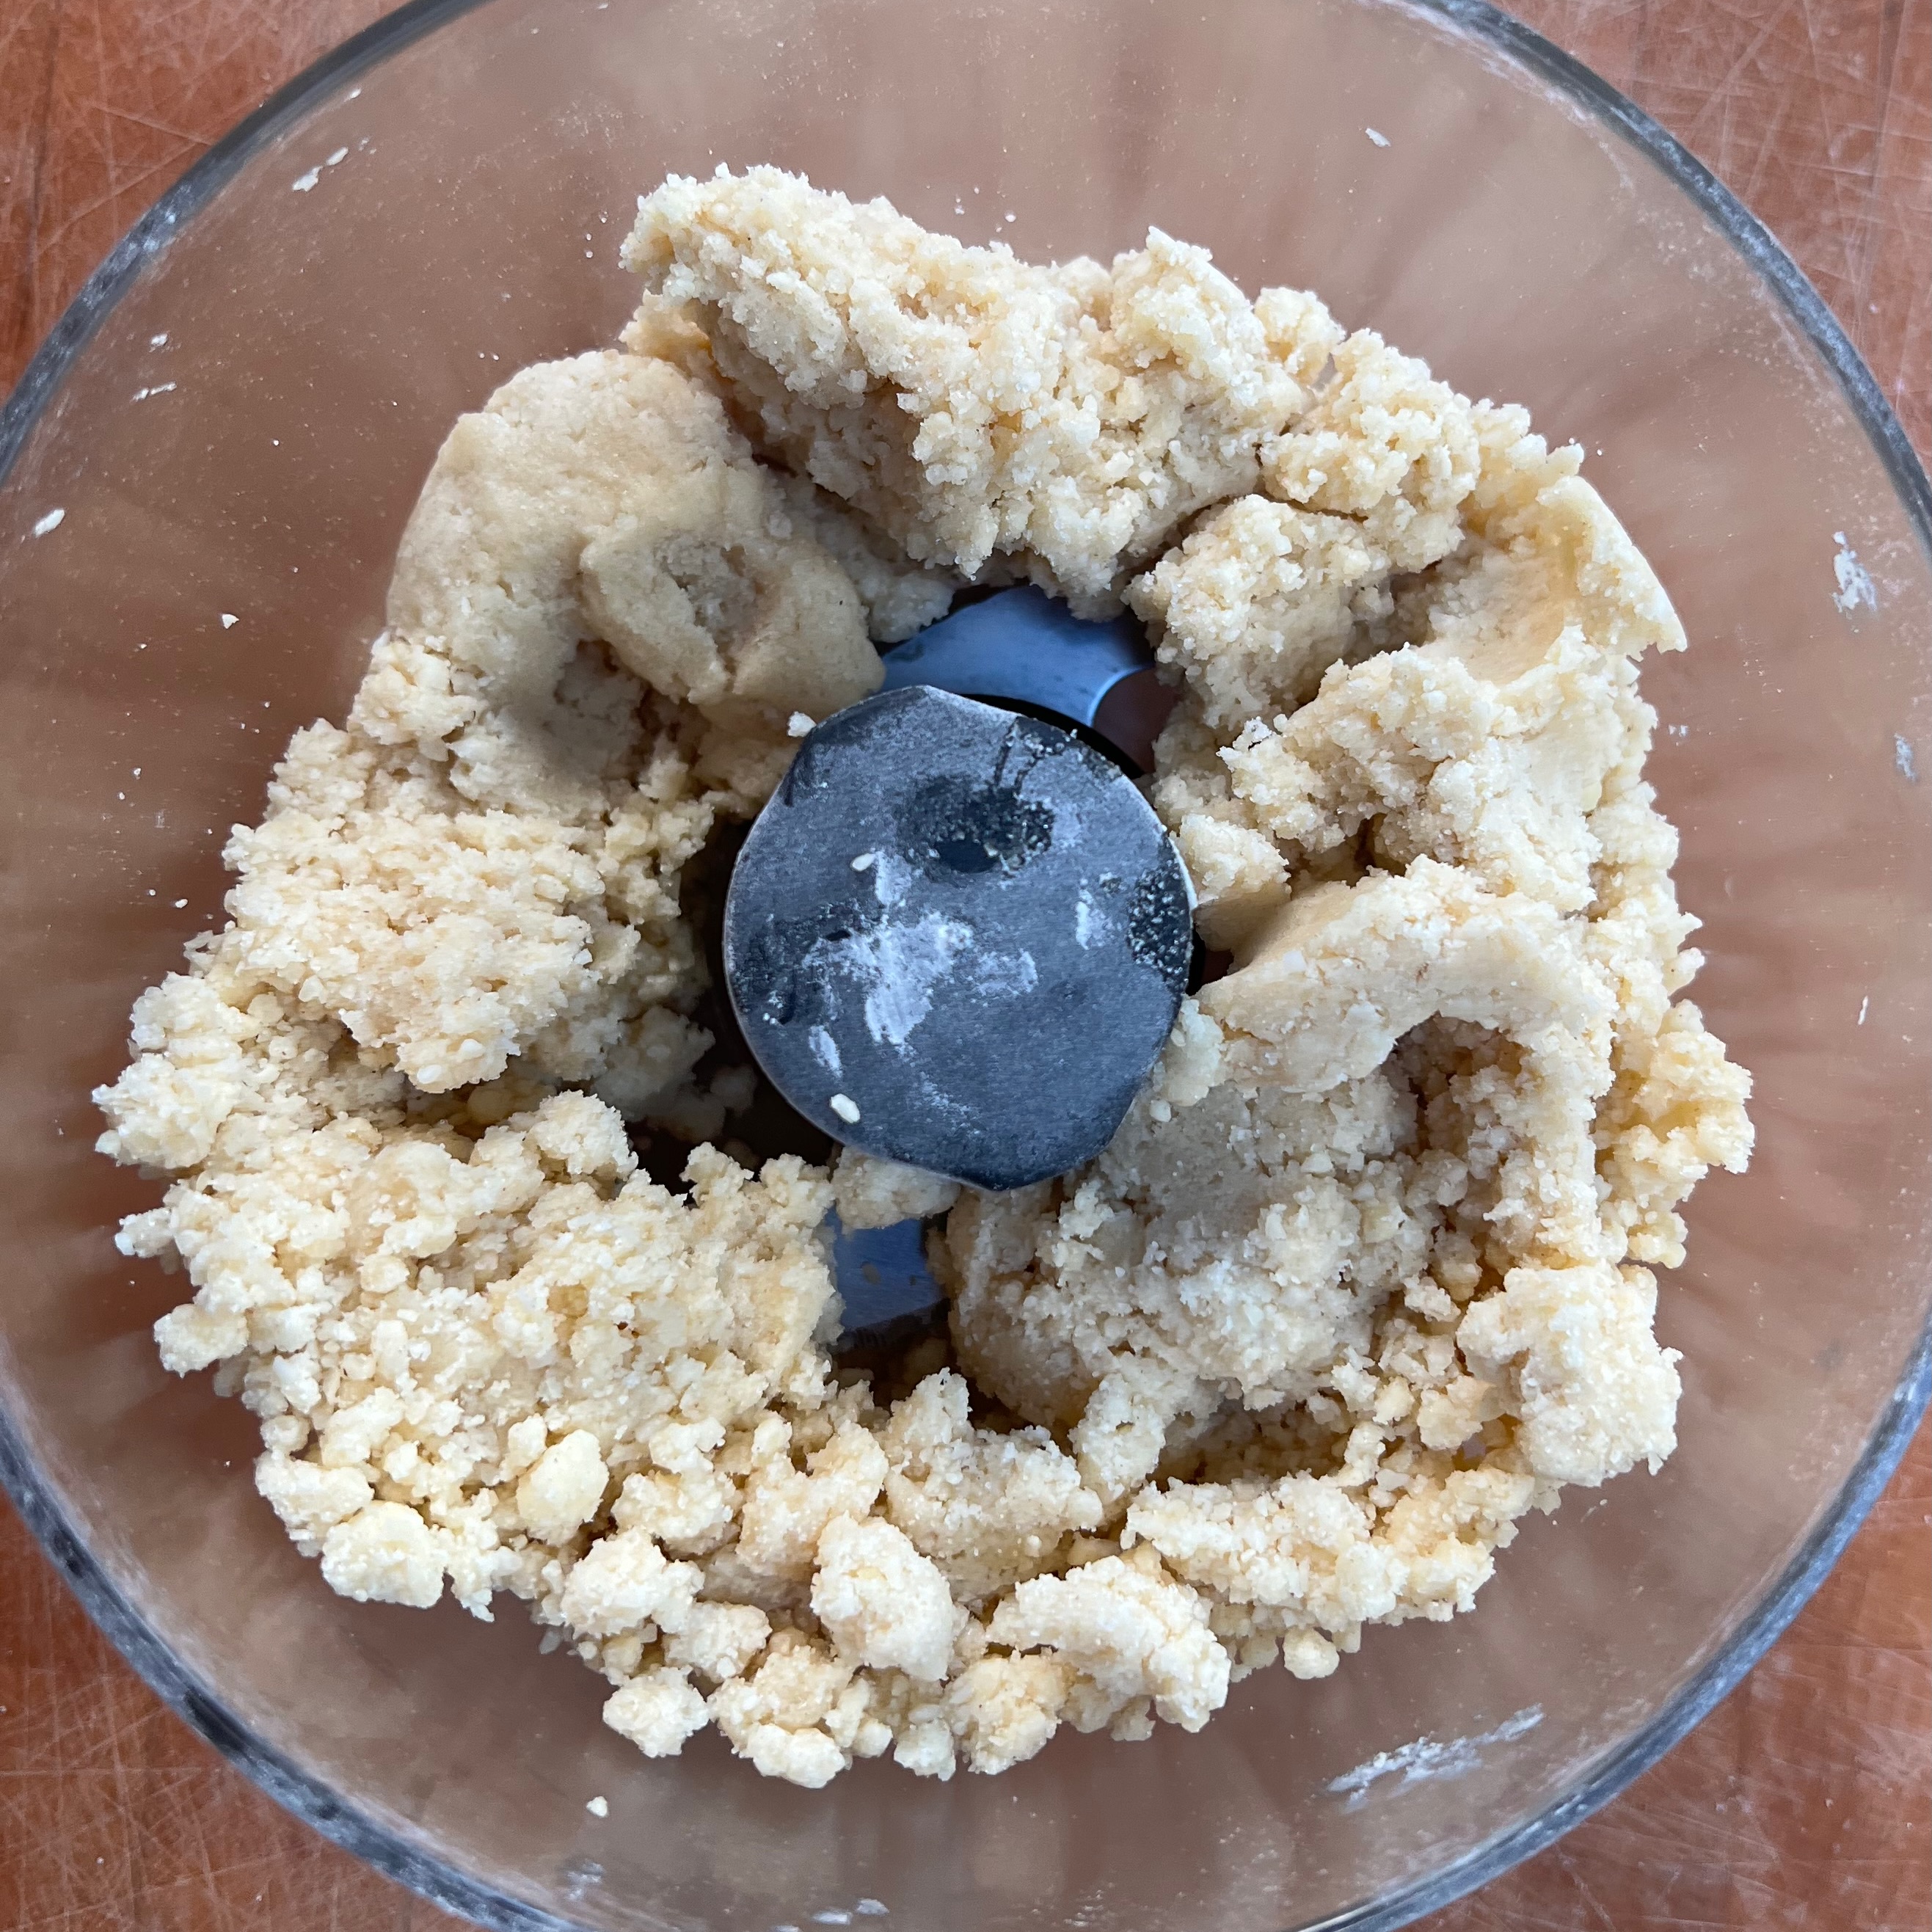
- Process the mixture until it comes together into a smooth dough.
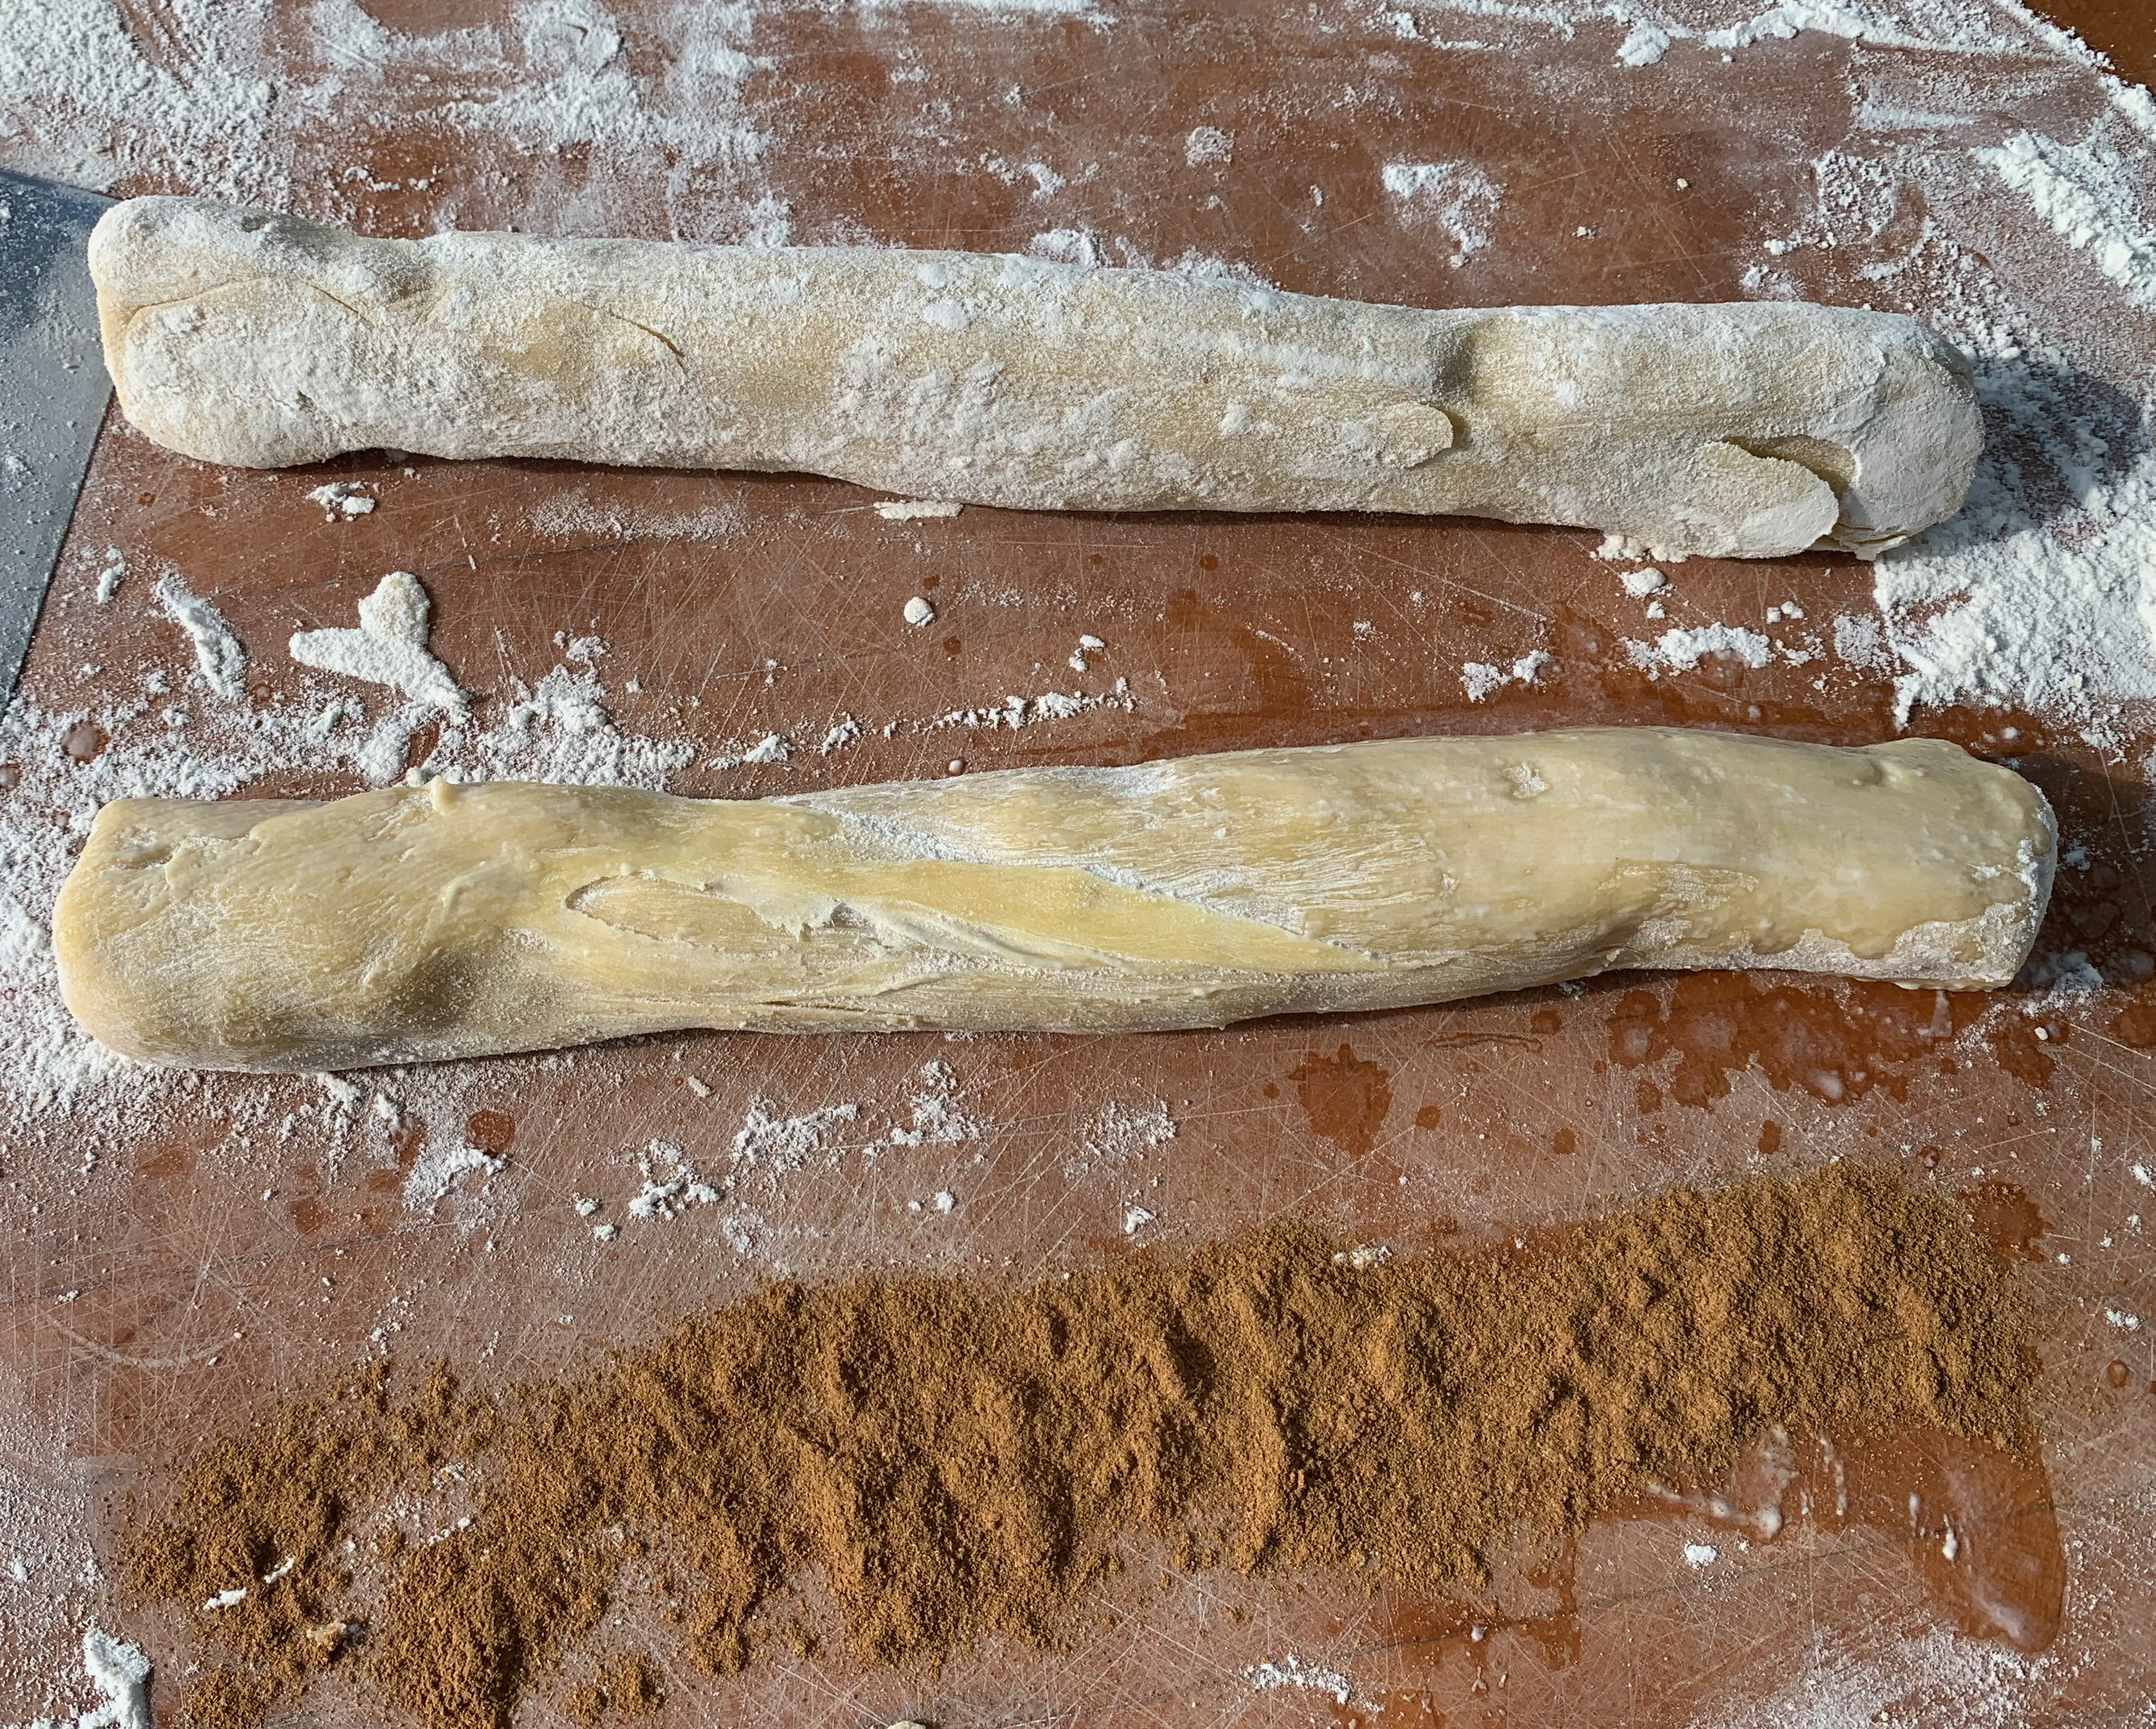
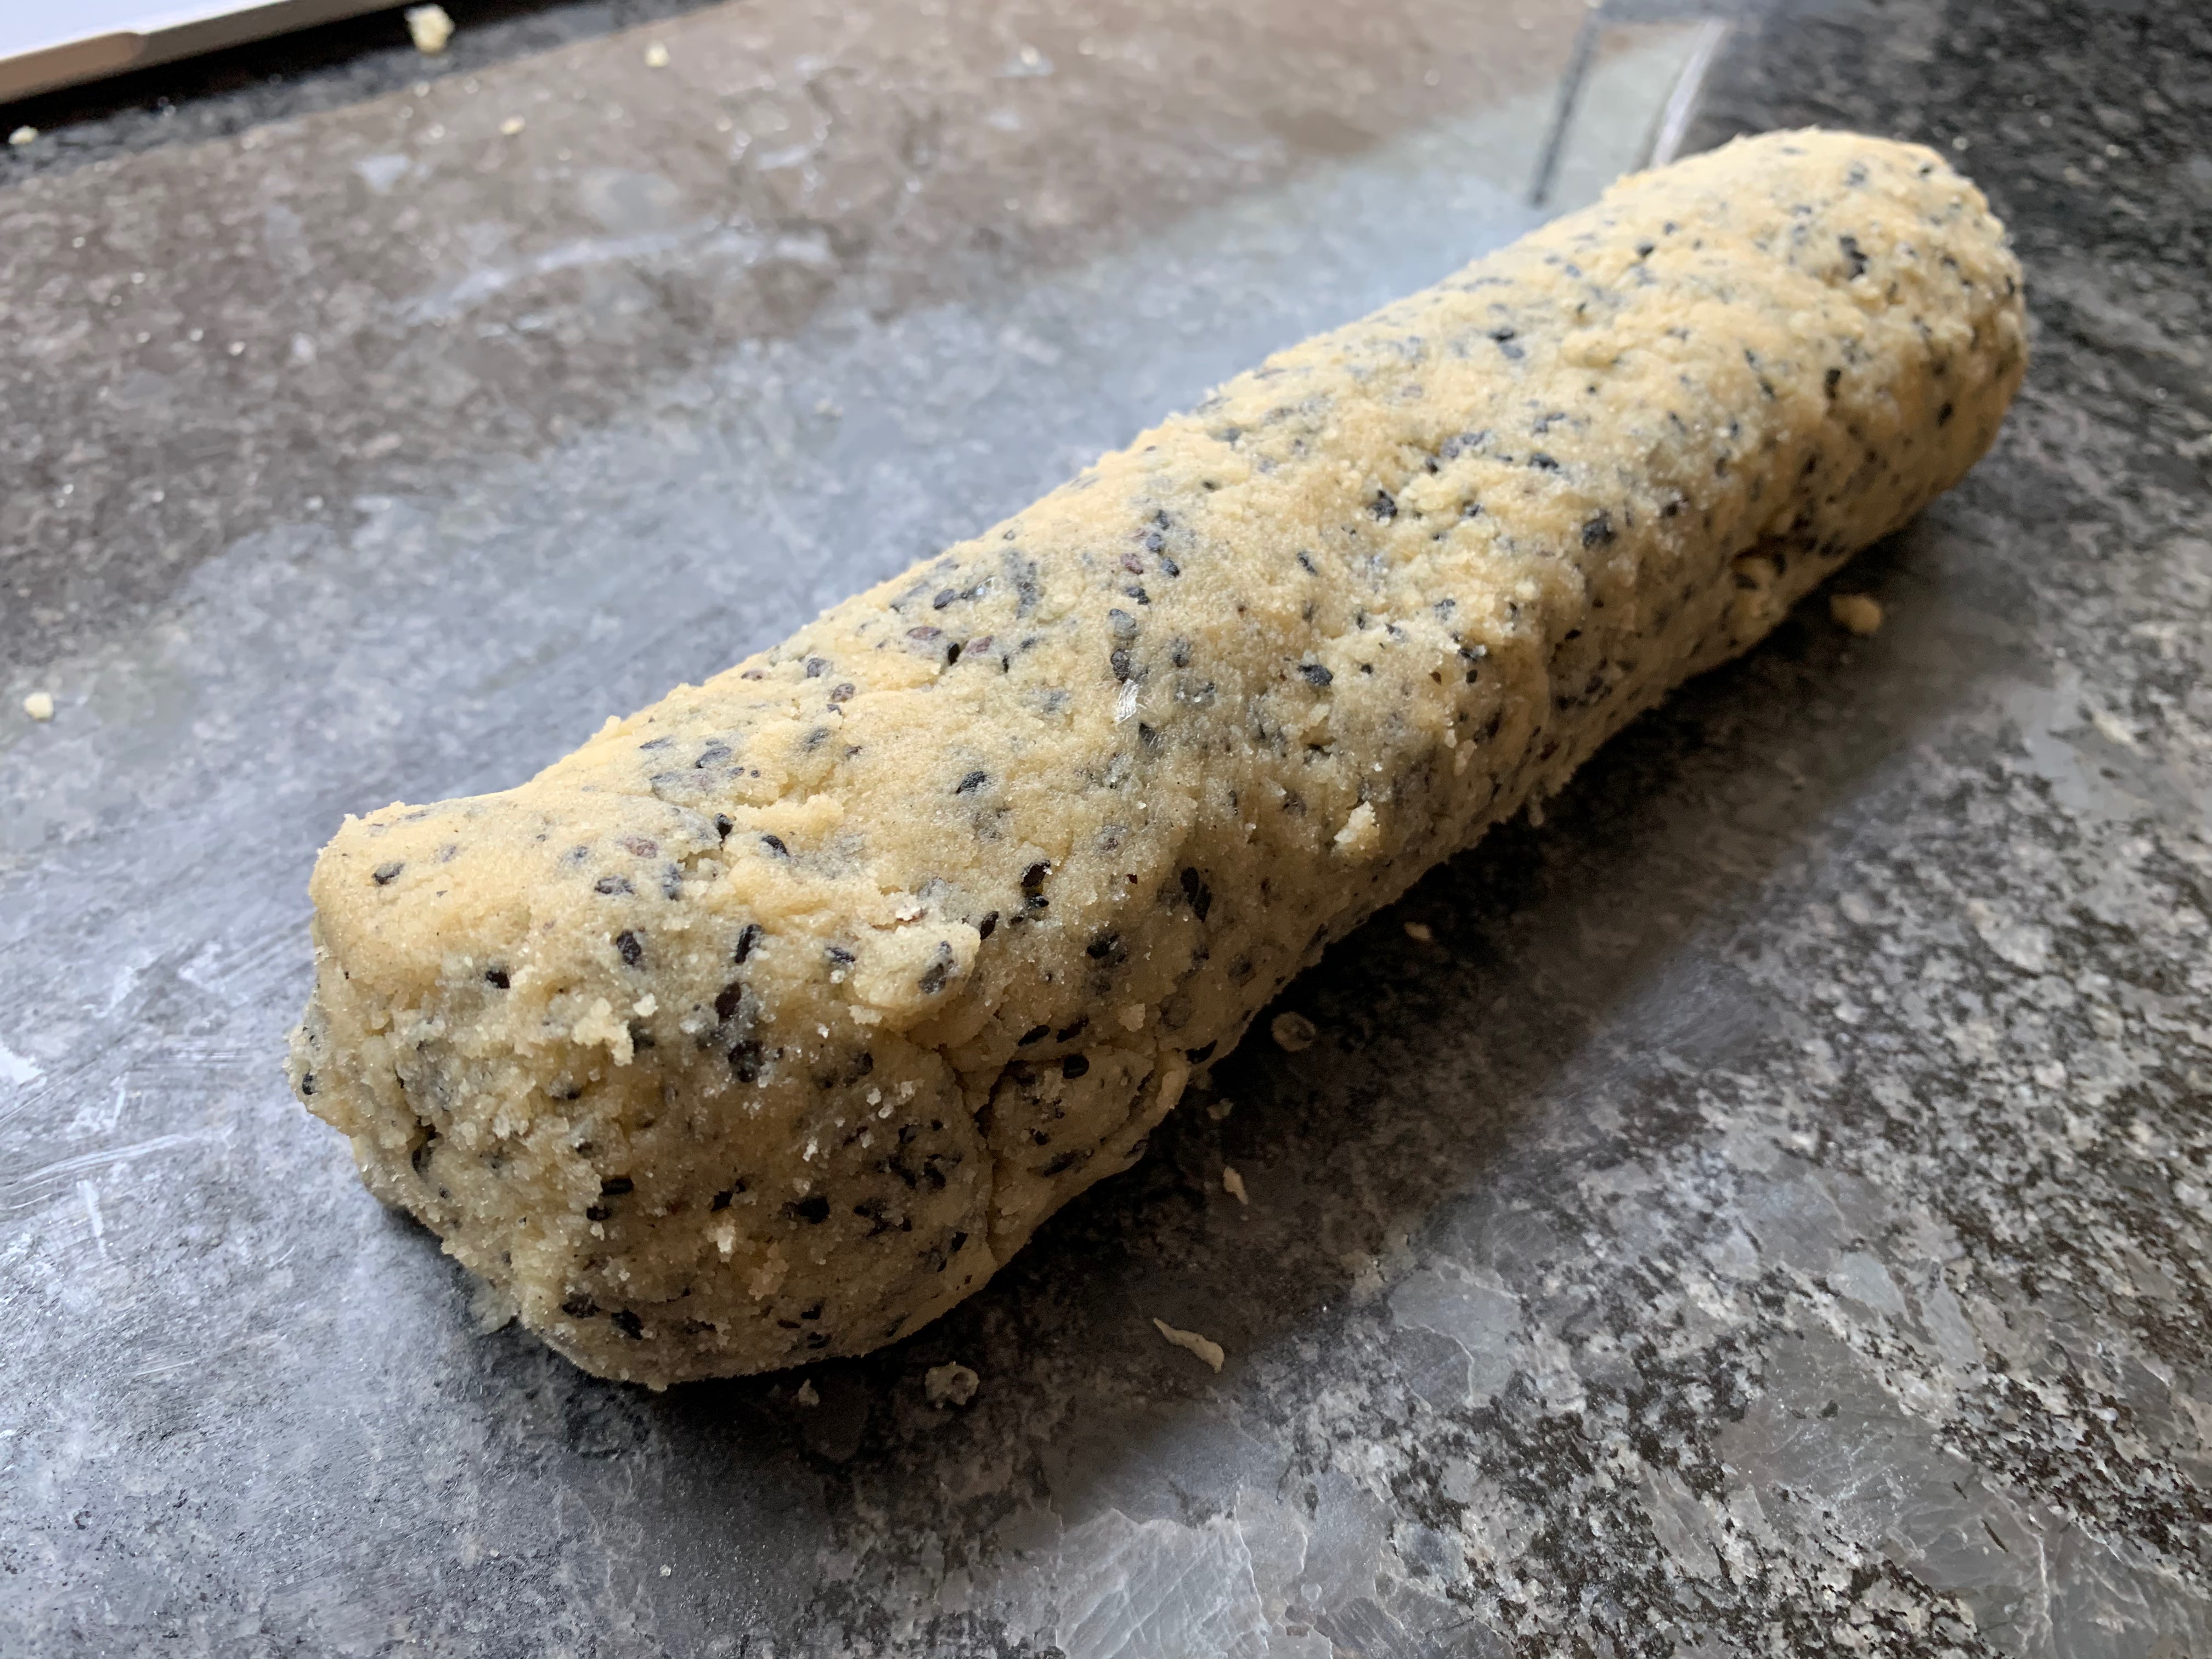
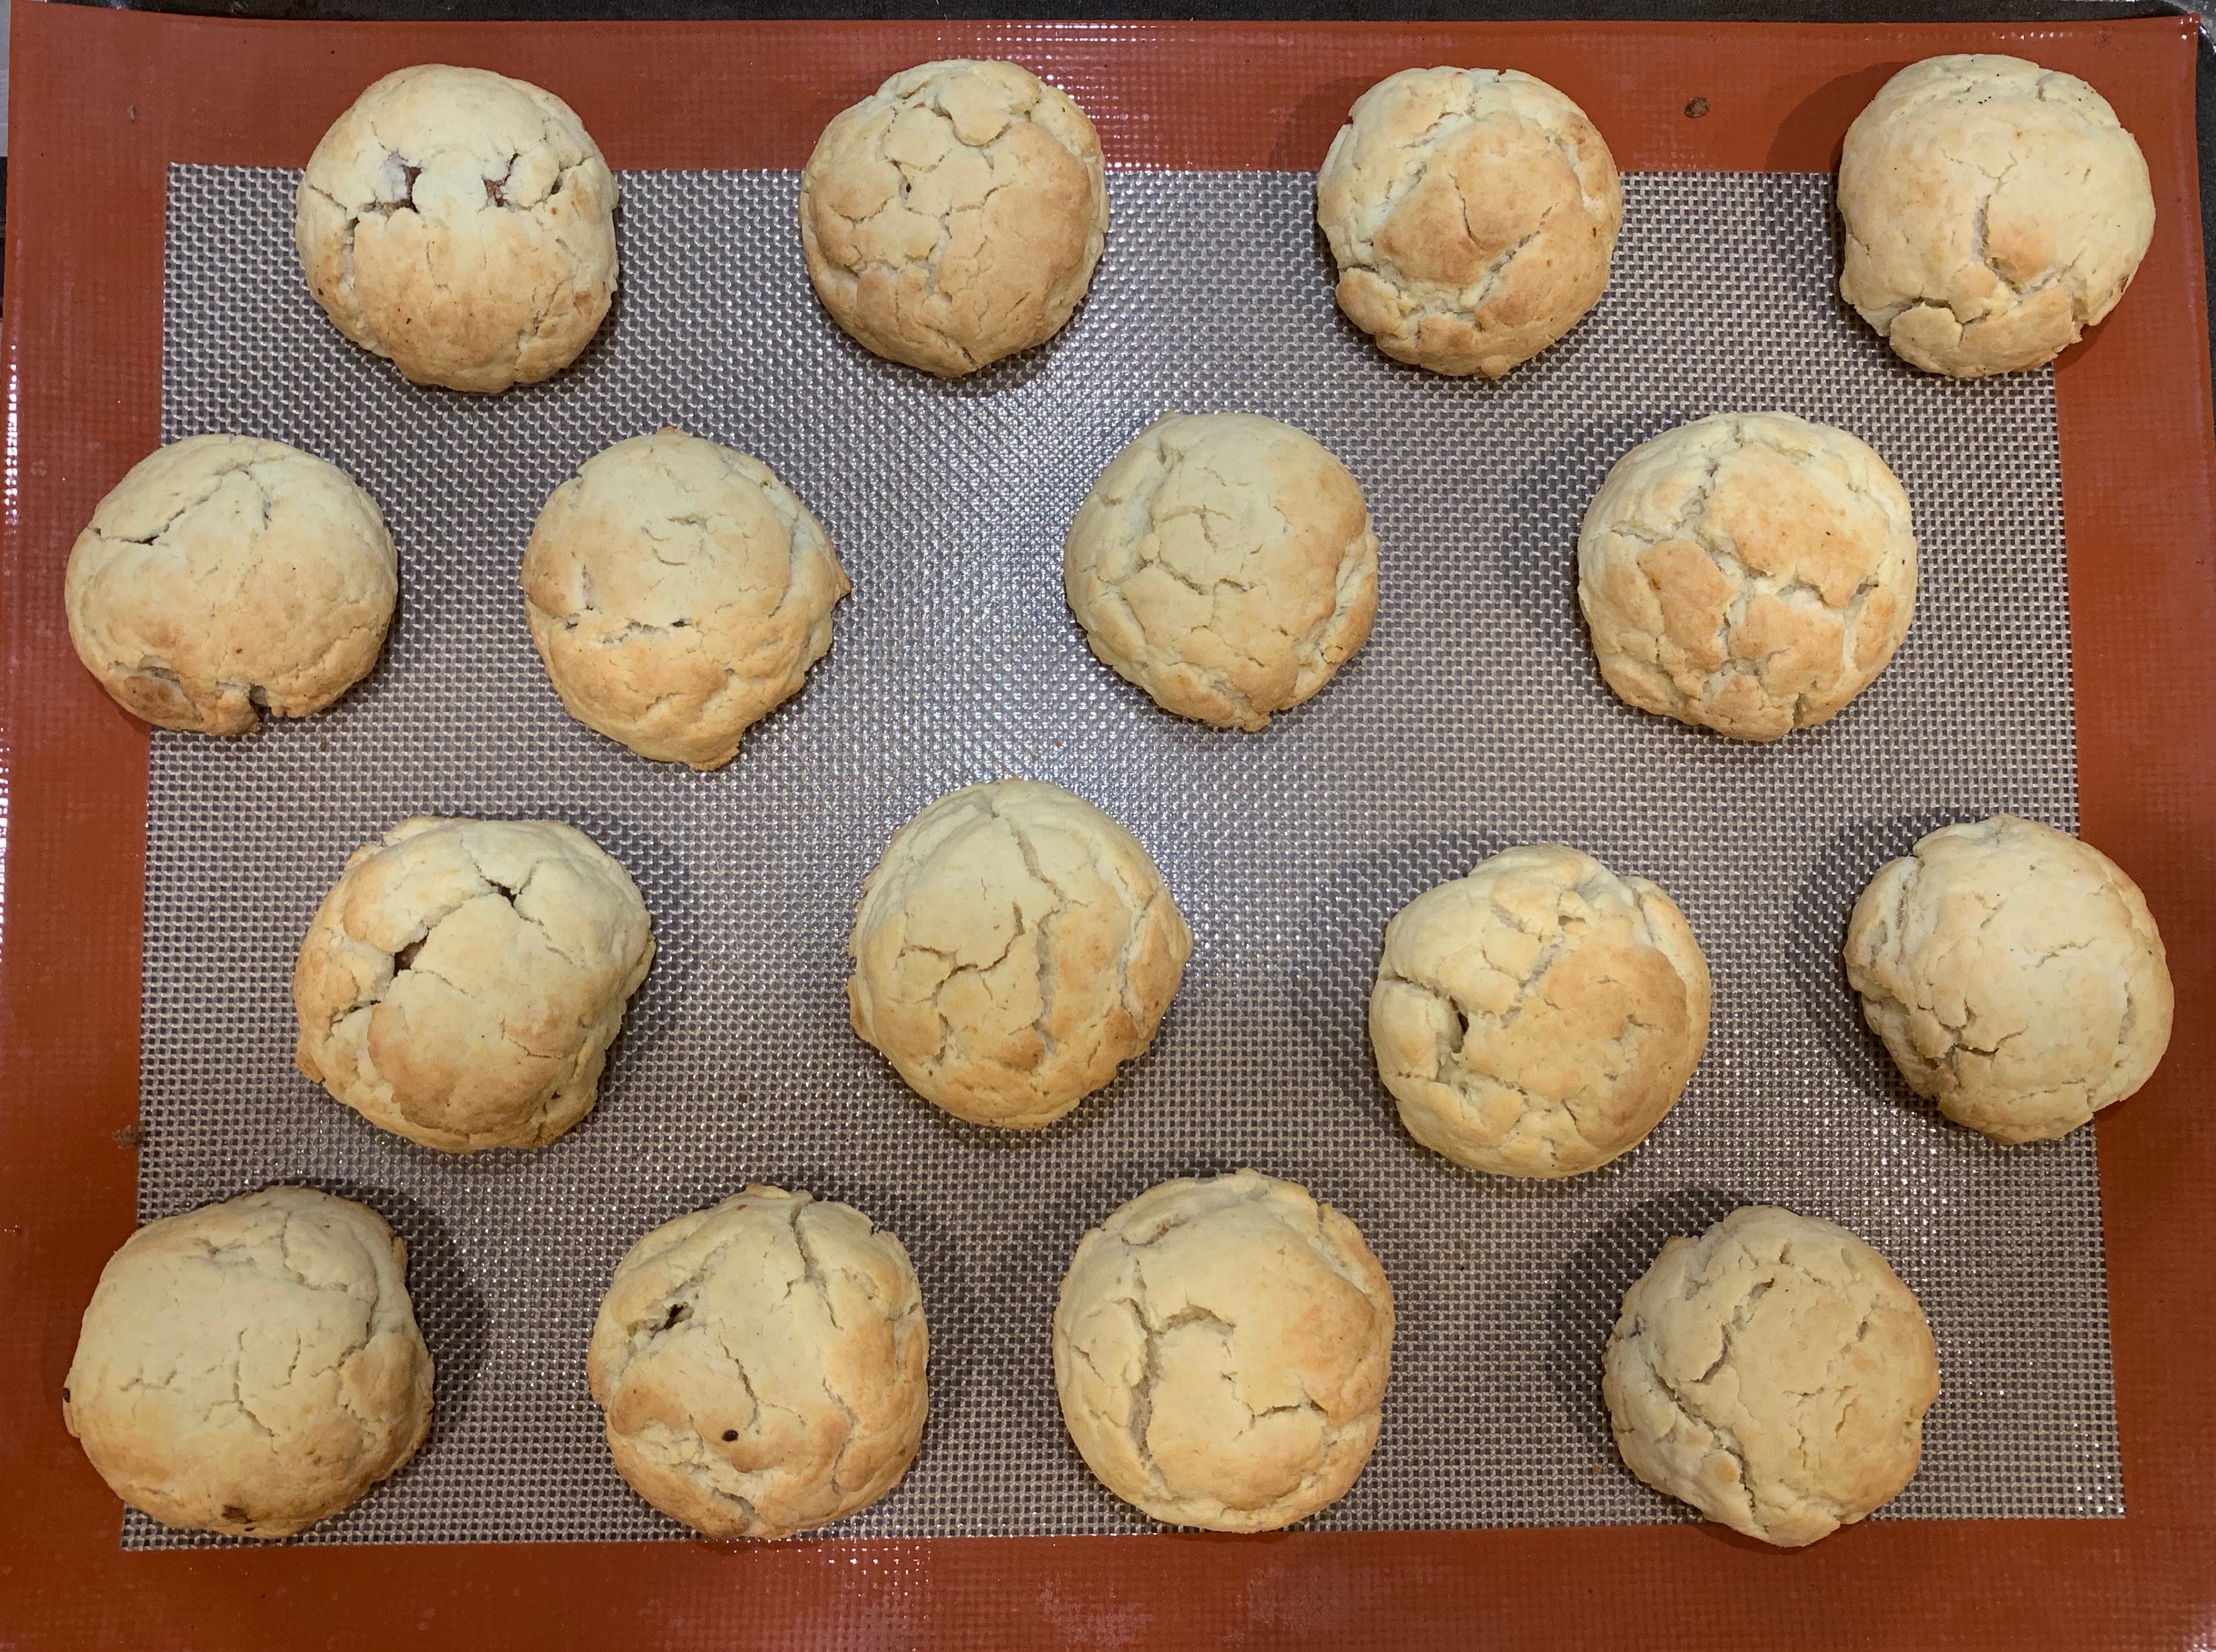
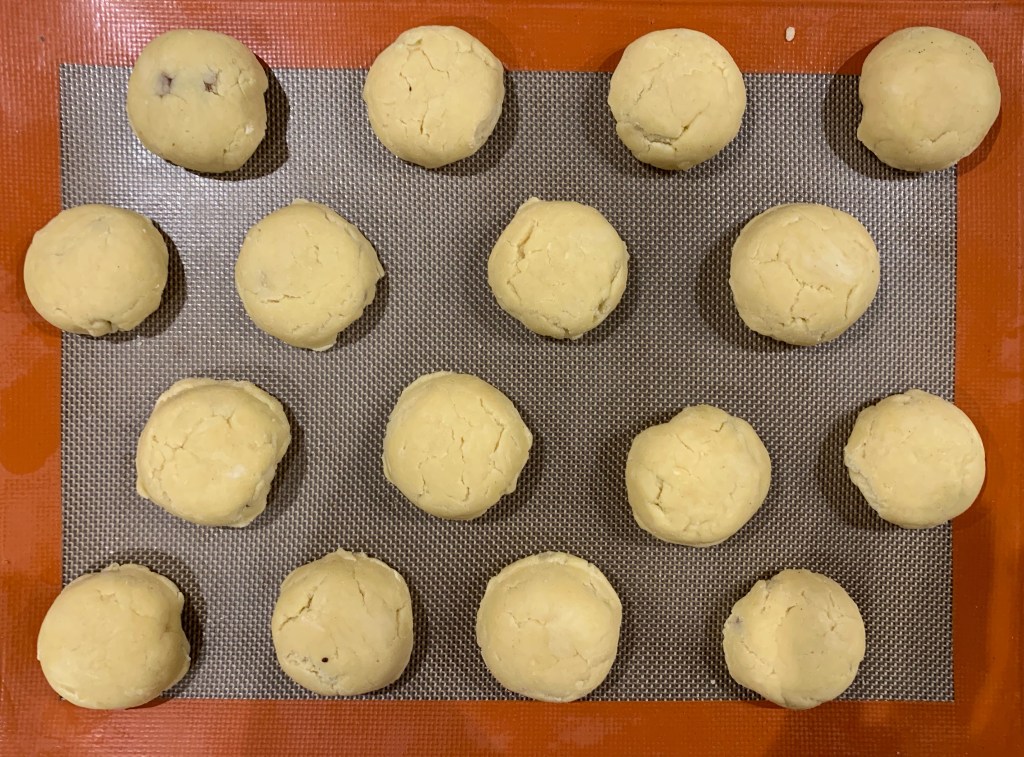
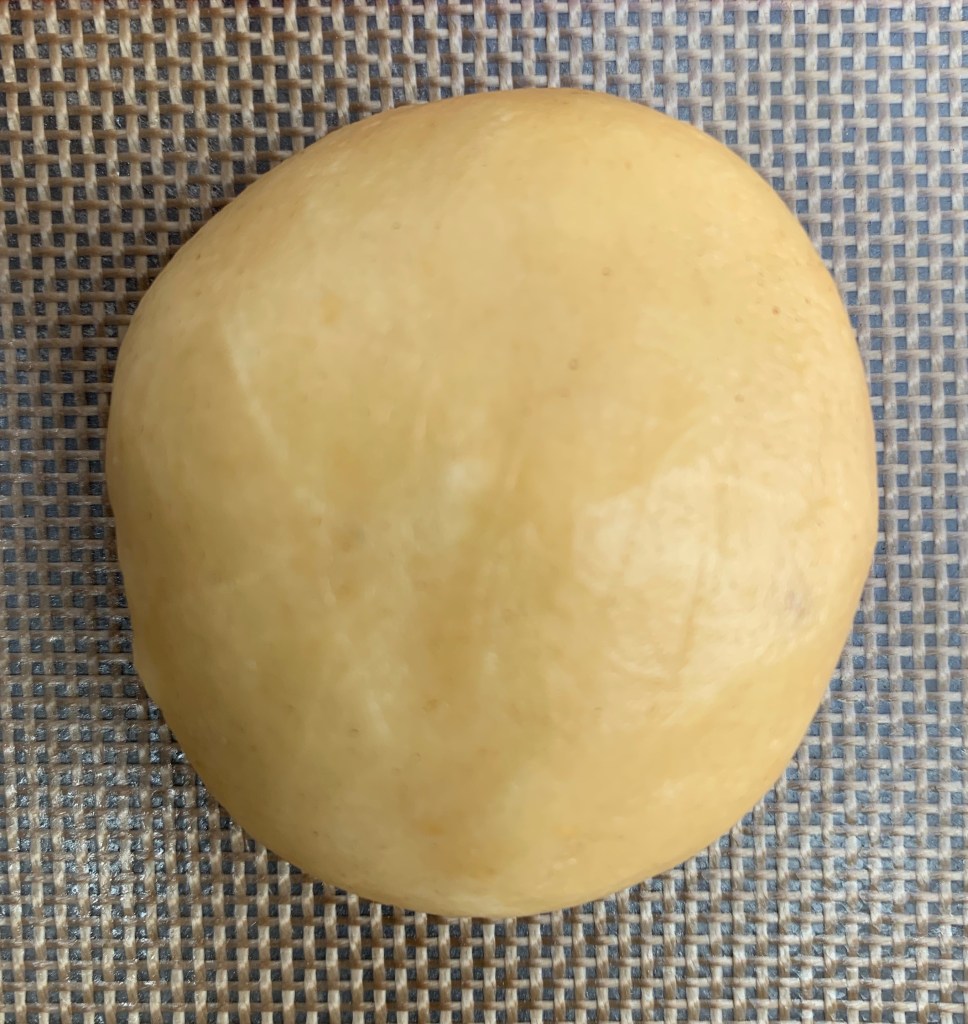
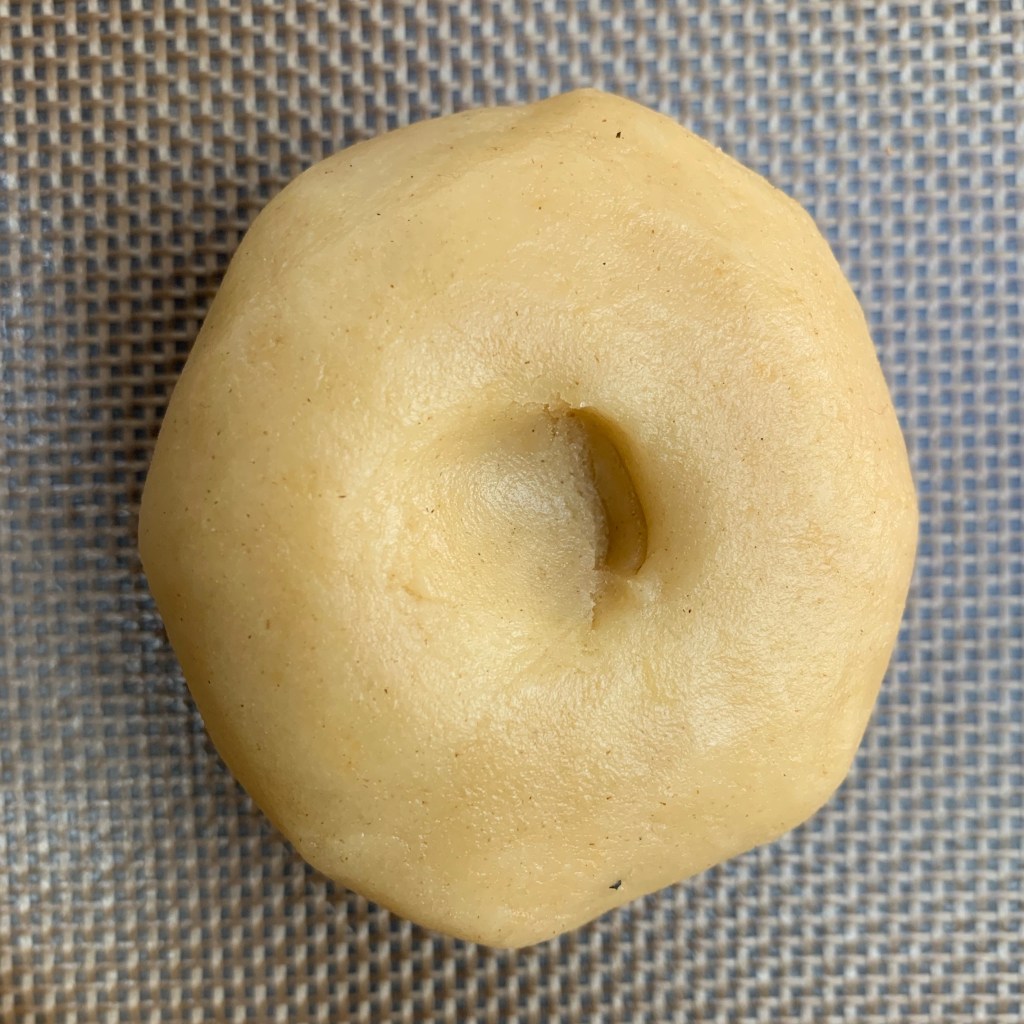
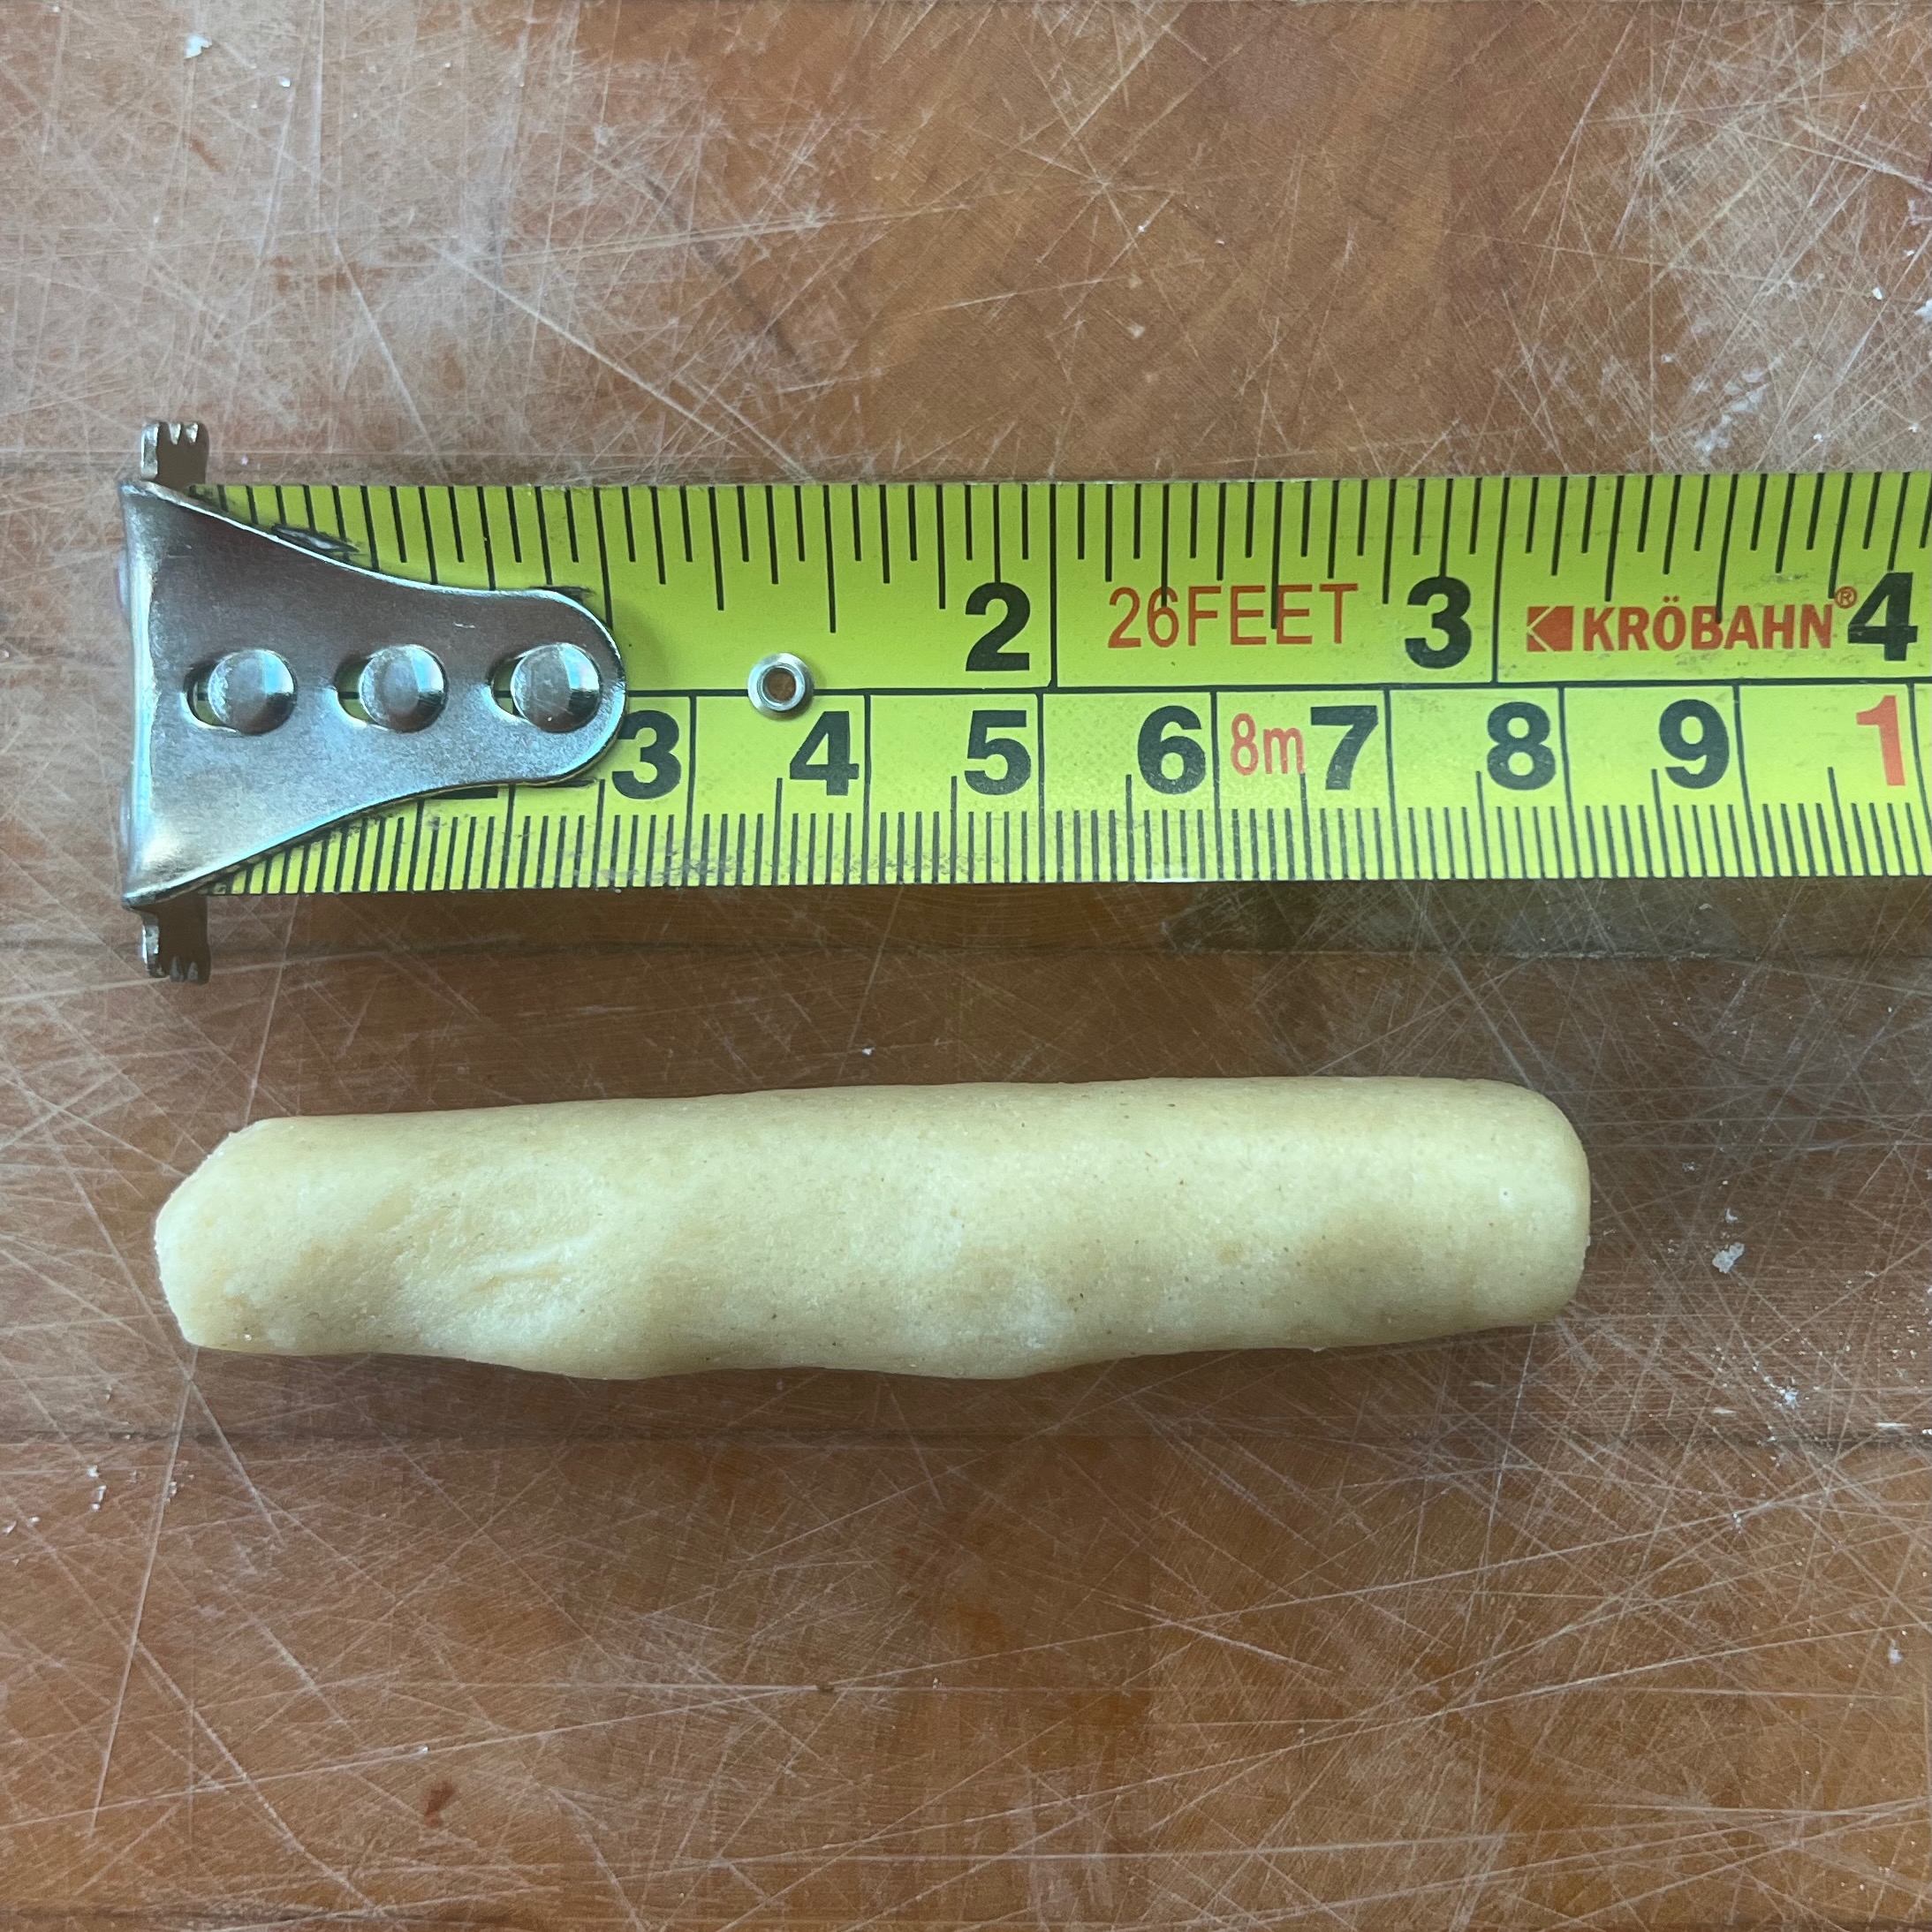
- Take a small ball of dough, around 15-20g, compress it in your hands and roll it into a cigar shape around 8 cm long.
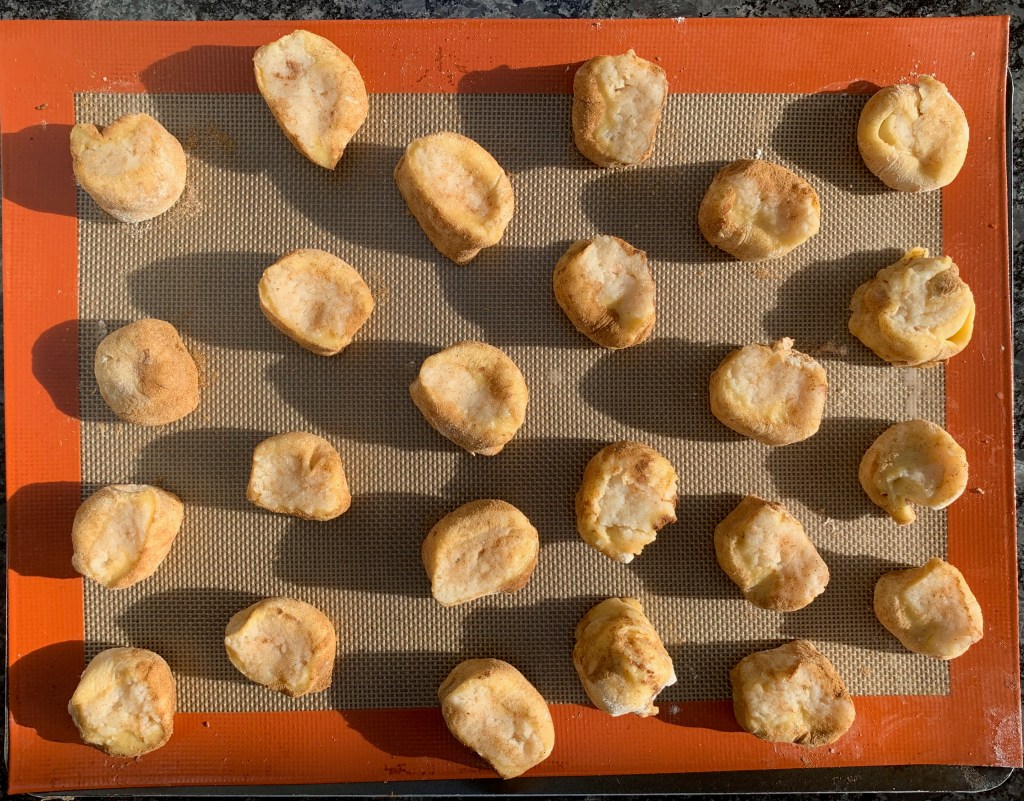
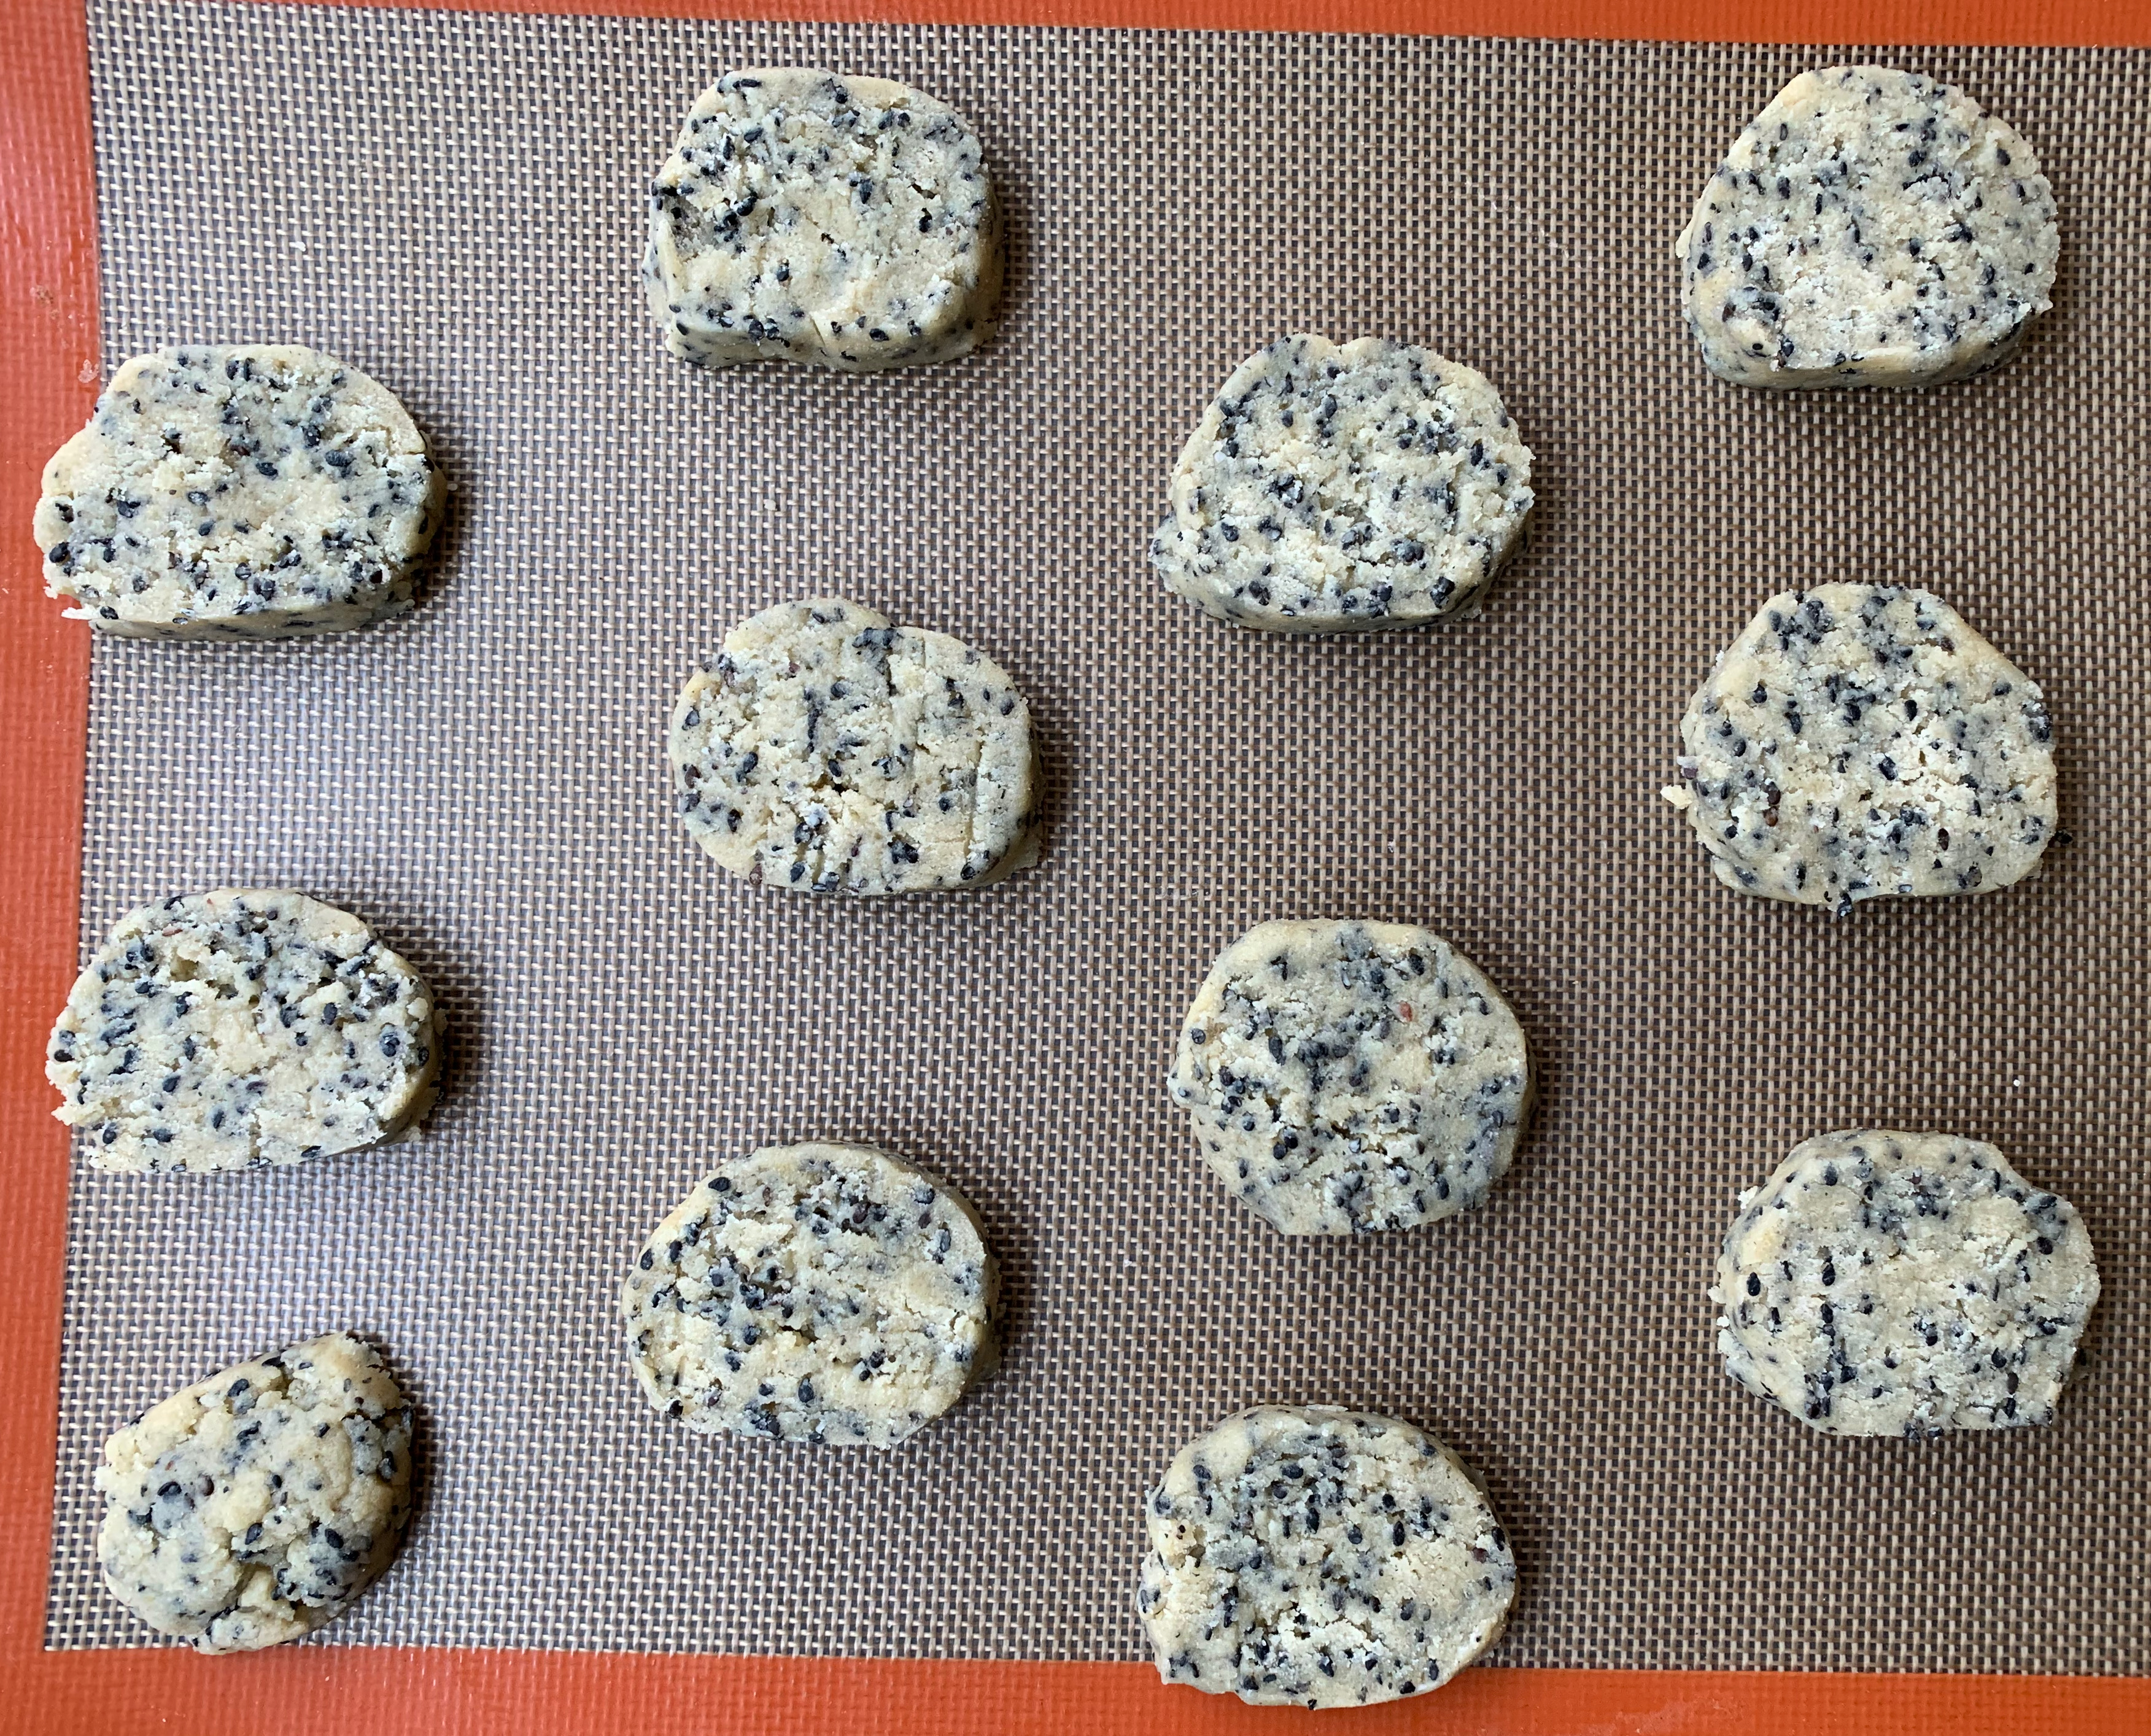
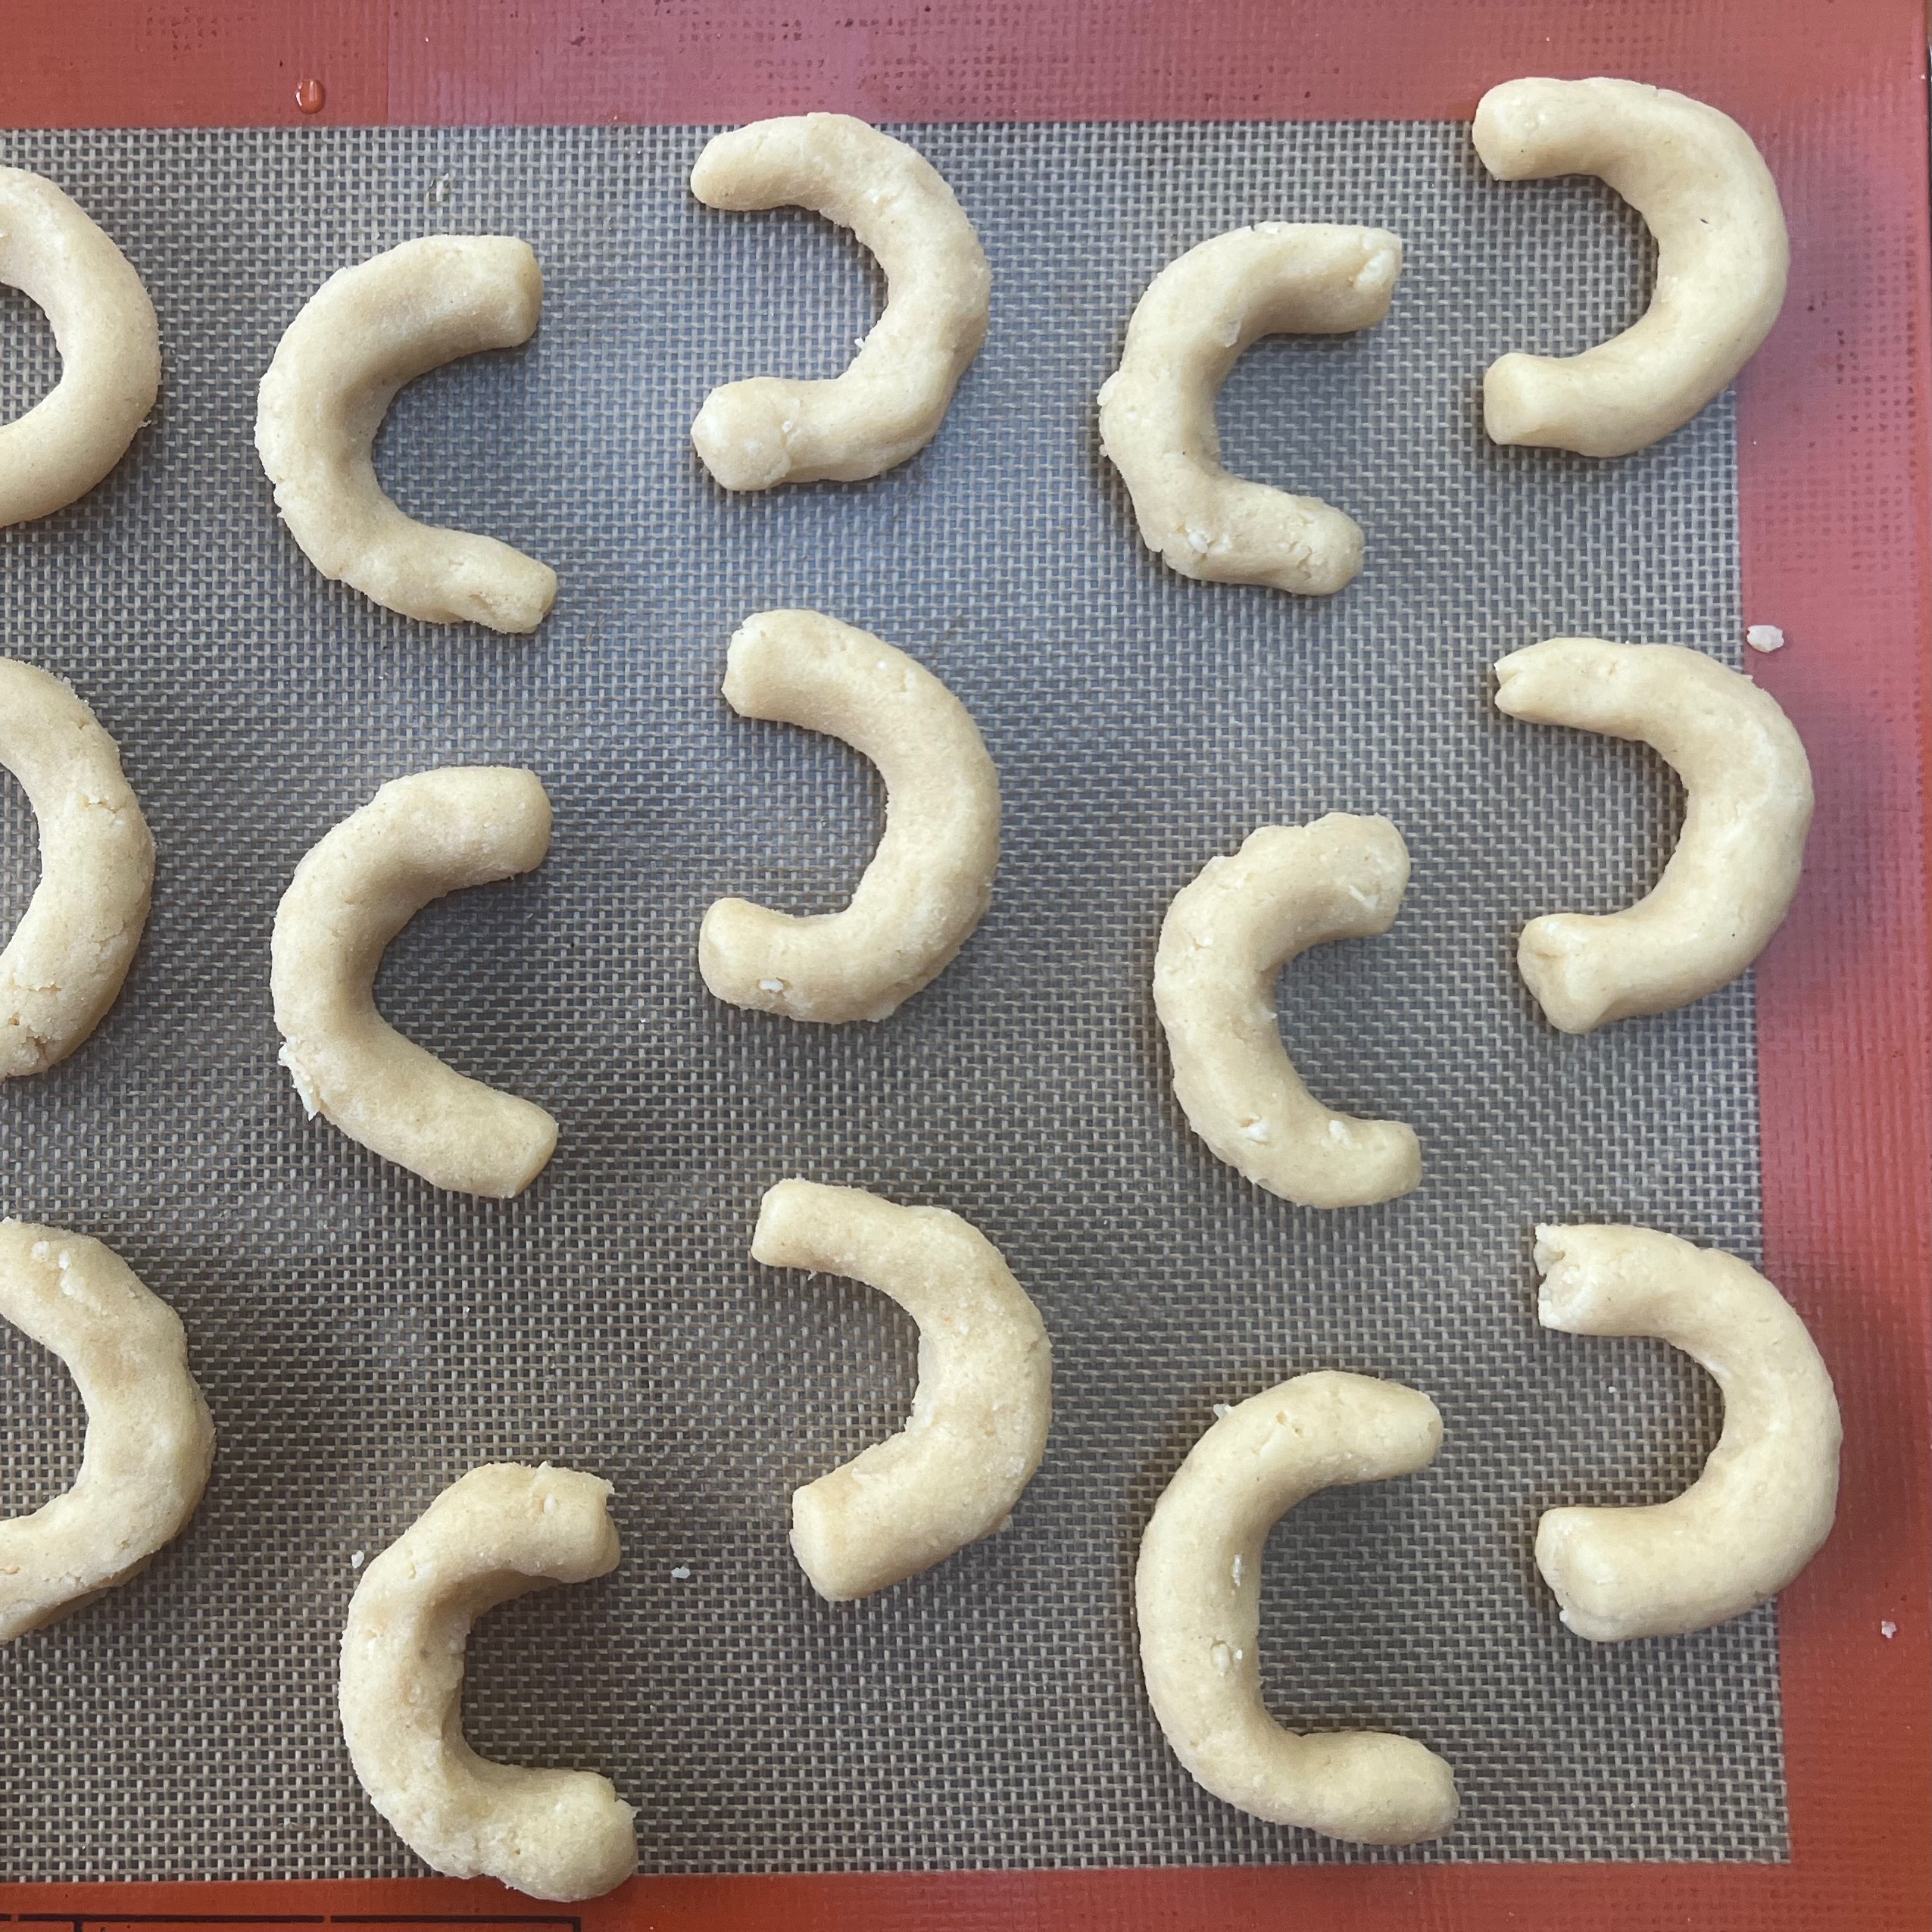
- Form the dough into a crescent and place it onto your baking sheet. Make sure to keep at least a couple of centimetres between each crescent, because the Kipferl will spread in the oven more than you expect.
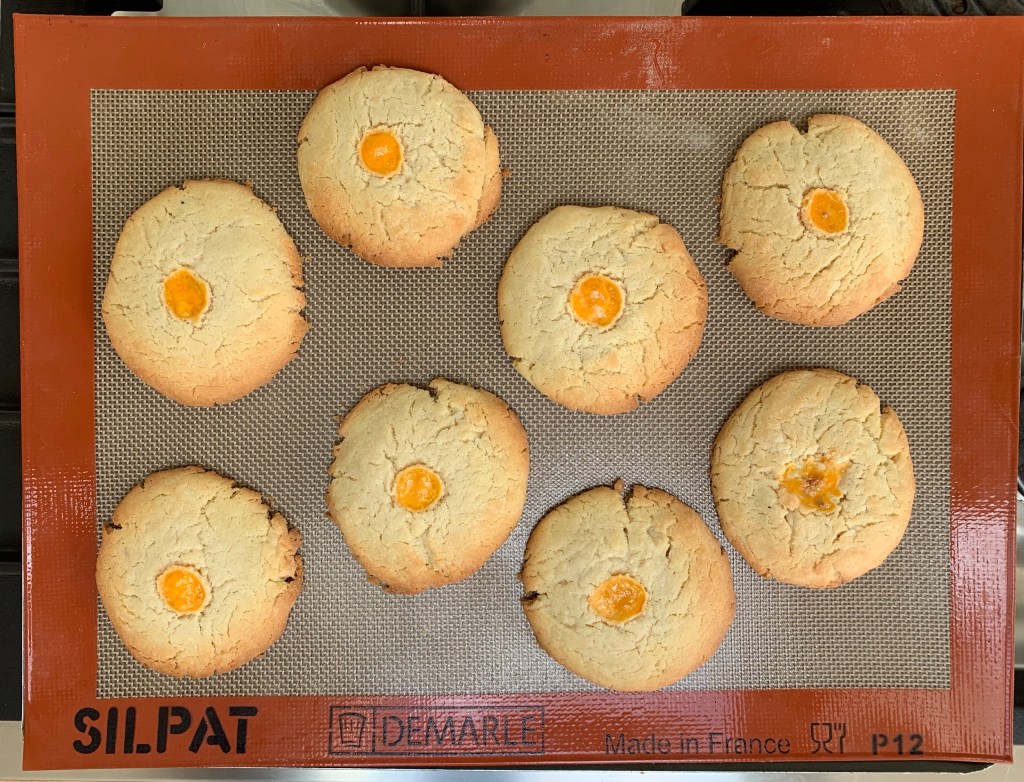
- Repeat for the other Kipferl and bake until just beginning to go golden – this will take around 16-18 minutes. You want them fairly pale for the best flavour.
- Remove from the oven, slide your Silpat sheet off the baking tray and leave to cool. Handle with care because the Kipferl are quite fragile.
- If any of the Kipferl have merged together when they spread, separate them gently with a knife and serve.
I stop here, because the Vanillekipferl are plenty sweet enough for me already. But Austrian recipes now dust theKkipferl with icing sugar in one or both of the following stages:
- Immediately after taking out of the oven. In this case, the icing sugar will be absorbed into the Kipferl.
- After the Kipferl have been cooled. In this case, the icing will stay as a pretty powdery dusting on the top.
It would, of course, be close to criminal to miss out on having these with good coffee…