Cocadas are everywhere throughout the Spanish and Portuguese-speaking world. They’re the bake is for coconut lovers: there’s nothing I’ve ever mode which has a higher percentage of pure coconut.
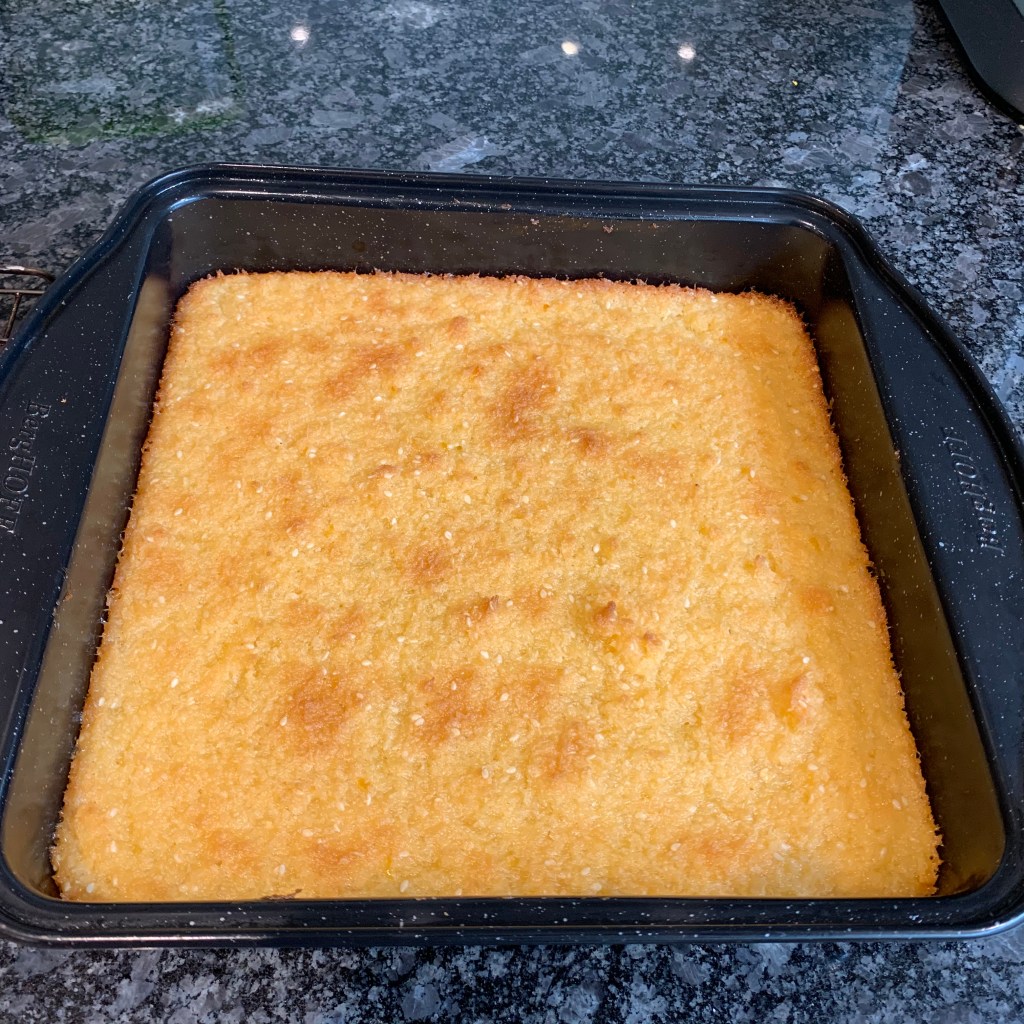
In most places, cocadas show up as balls or swirls (they’re often translated as “coconut cookies” or “coconut macaroons”). In Bolivia, they make them as “bar cookies”, which I take to mean baked in a tray and cut into squares, somewhat like brownies.
Western recipes tend to use sweetened condensed milk: I’ve started with a recipe from “Bolivia bella” in which you make your own condensed milk by starting with coconut milk and sugar. The original then adds freshly grated coconut, but I didn’t have any, so I’ve put in desiccated coconut at the beginning of the process to allow it to rehydrate while the coconut milk is condensing. I’ve also considerably reduced the proportion of sugar to coconut – you can increase it to 200g if you prefer a sweeter end product.
400ml coconut milk
150g desiccated coconut
150g sugar
3 egg yolks (mine clocked in at around 54g)
10g sesame seeds
25g butter
grated rind of 1 lemon (around 2g)
Heat oven to 160℃ fan
Line a baking tin with parchment: I used a 23cm x 23cm tin
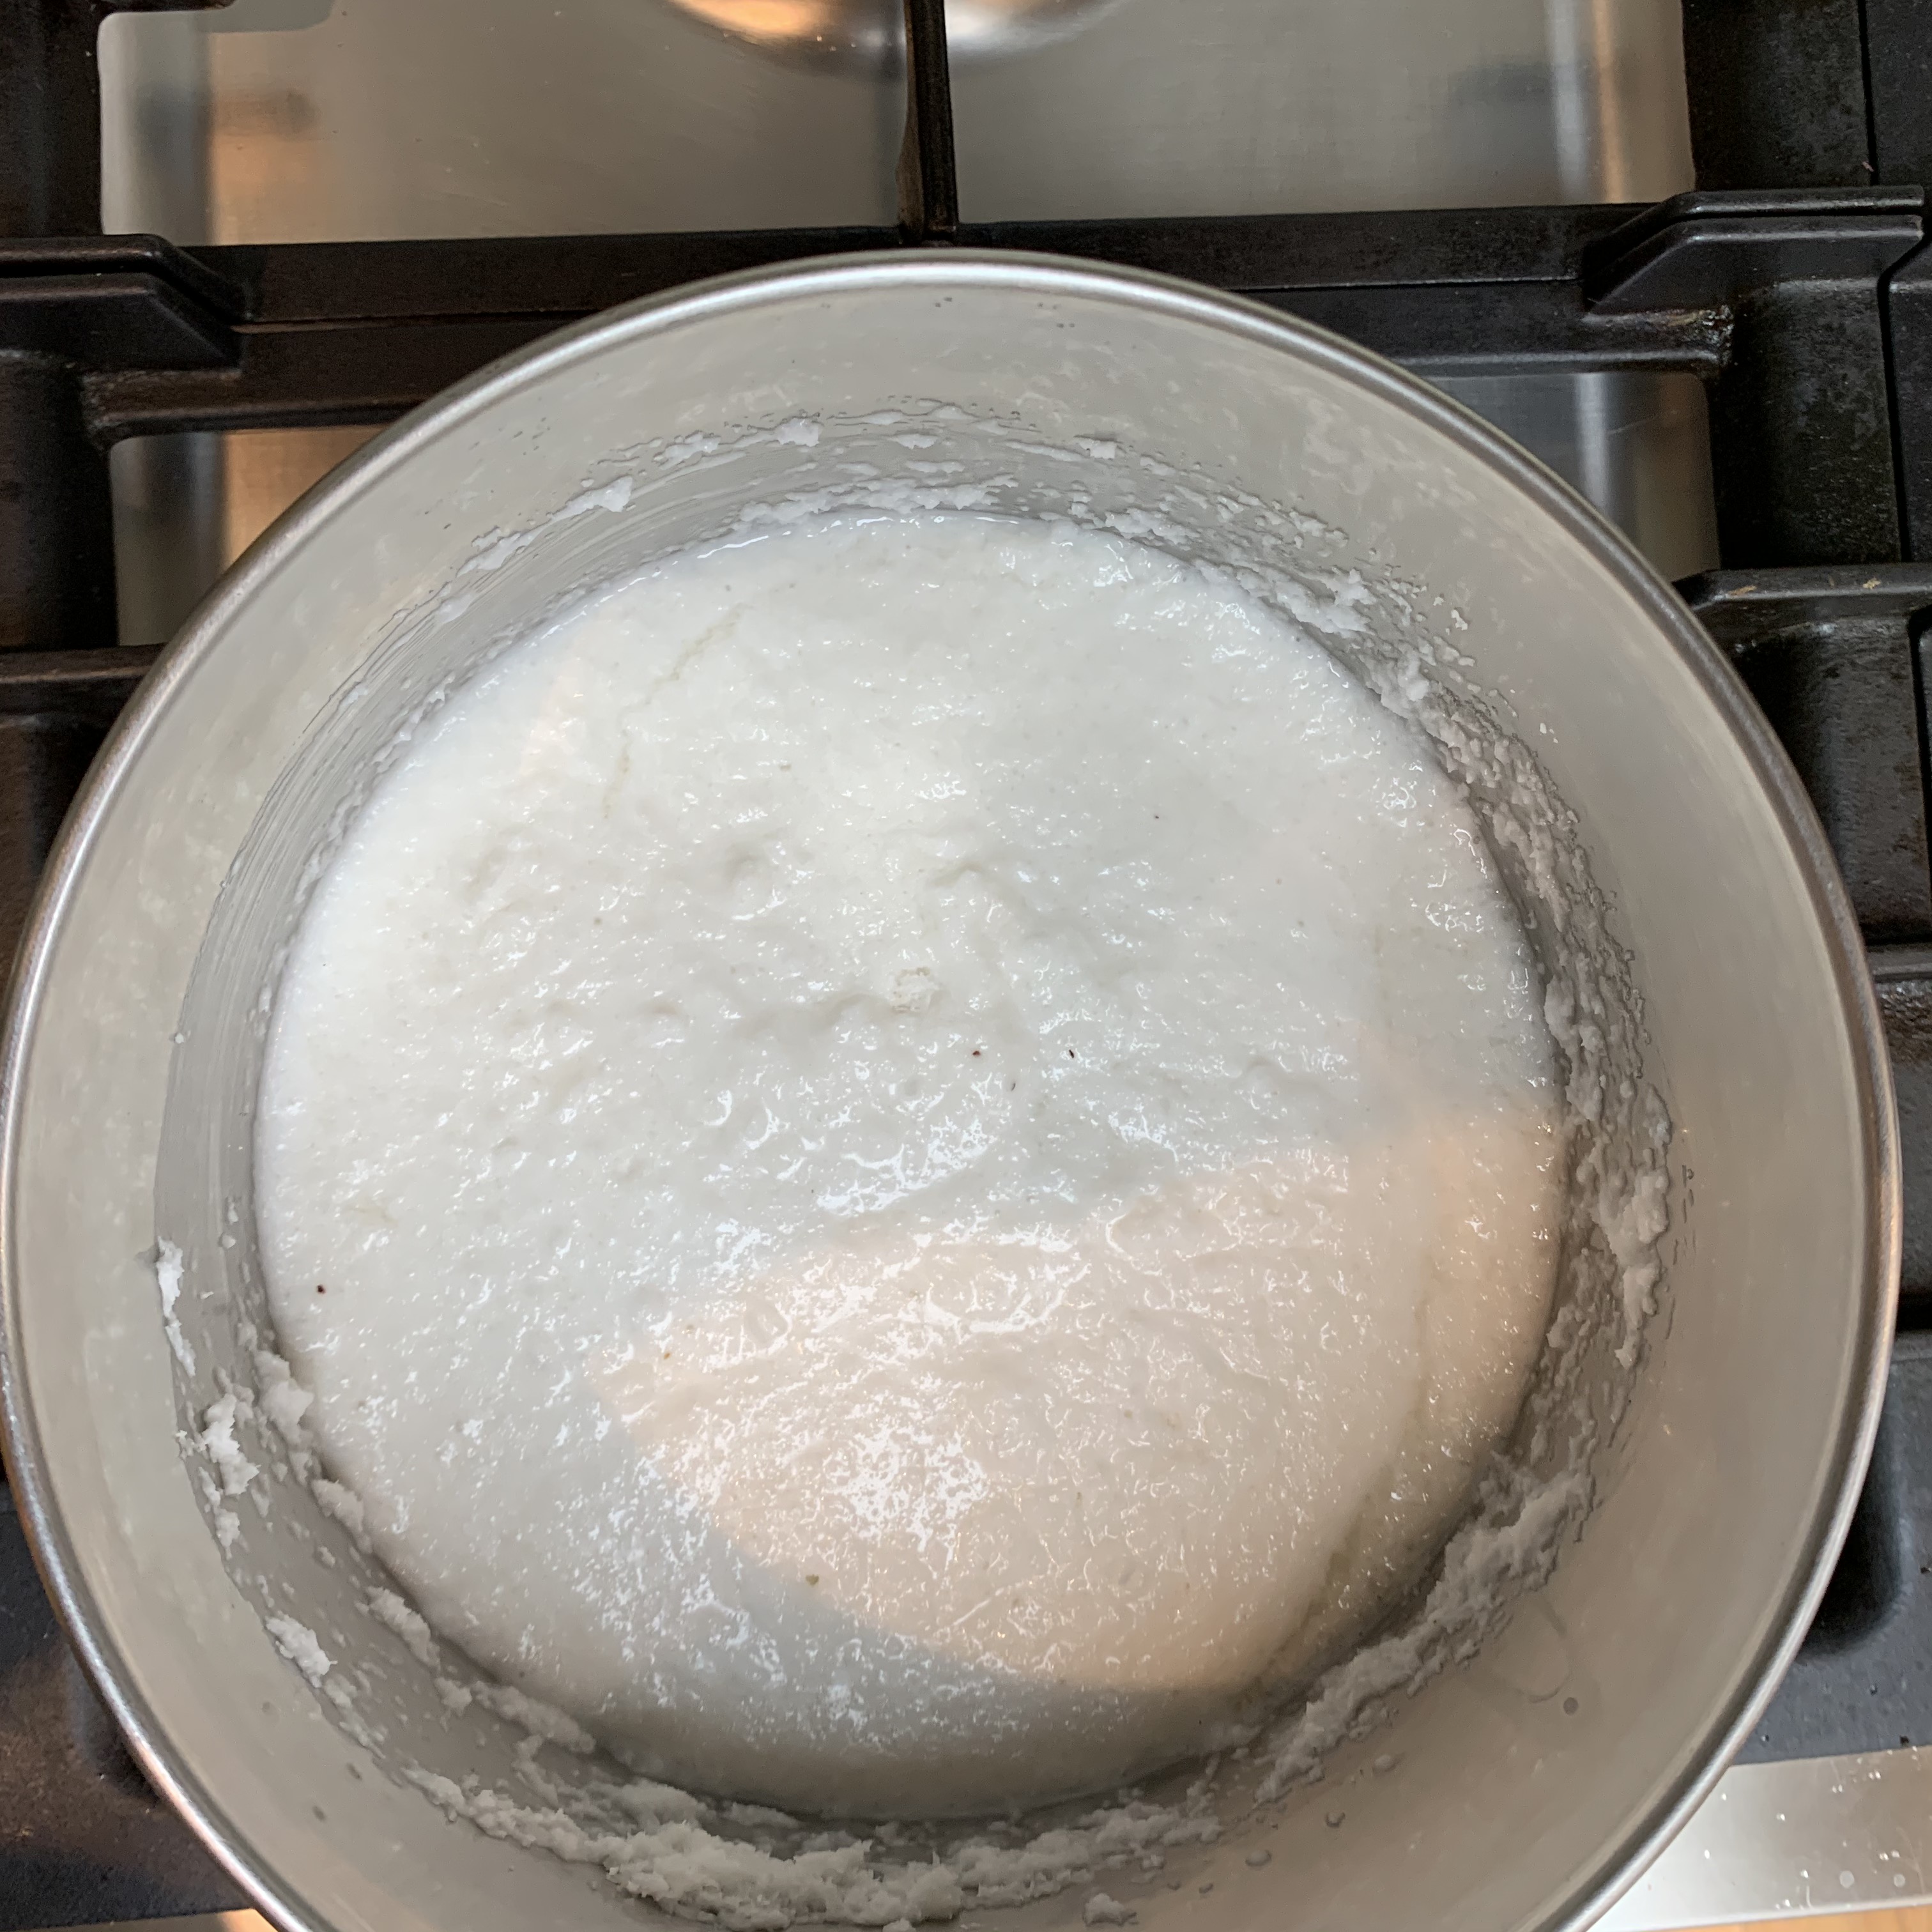
Mix the coconut milk, the desiccated coconut and the sugar into a saucepan.
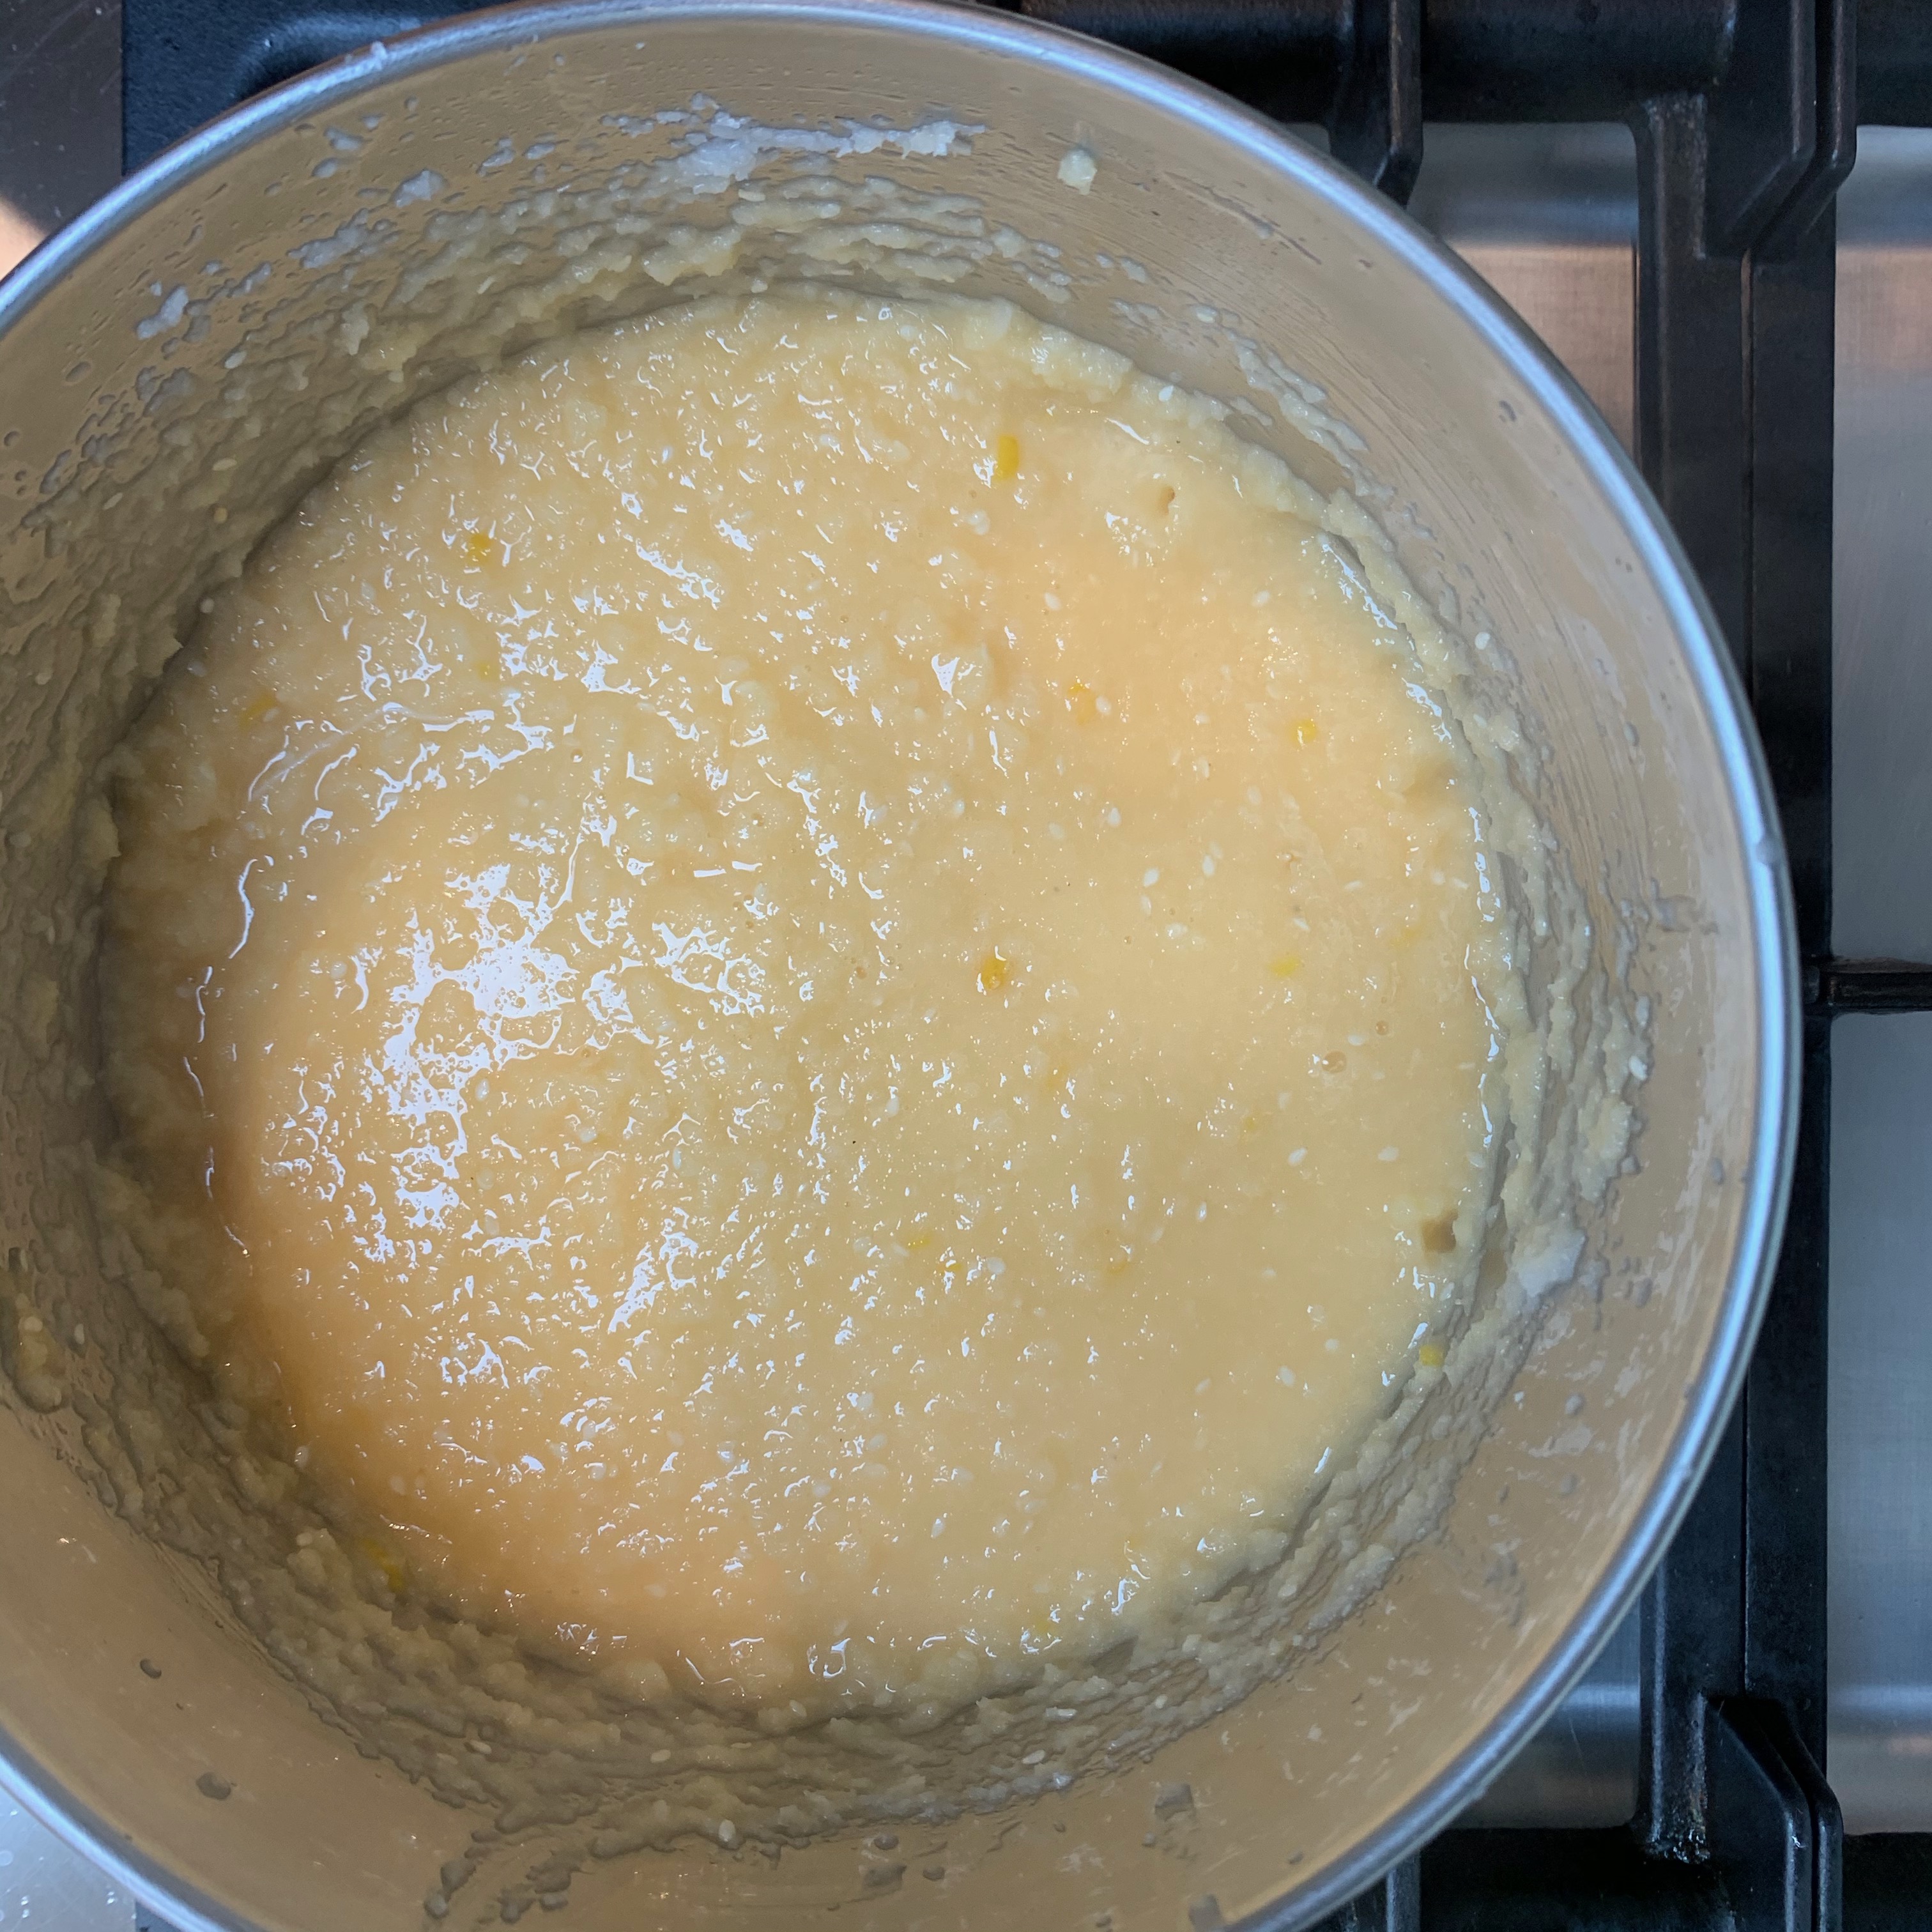
Bring to the boil and simmer gently, stirring frequently, until thickened to a paste. Take it off the heat and stir in the sesame seeds, butter and lemon rind – mix until the butter is melted and combined. Leave to cool for a couple of minutes more: you don’t want to scramble the eggs in the next step.
Beat the egg yolks thoroughly, then add them to the mix and blend them in quickly
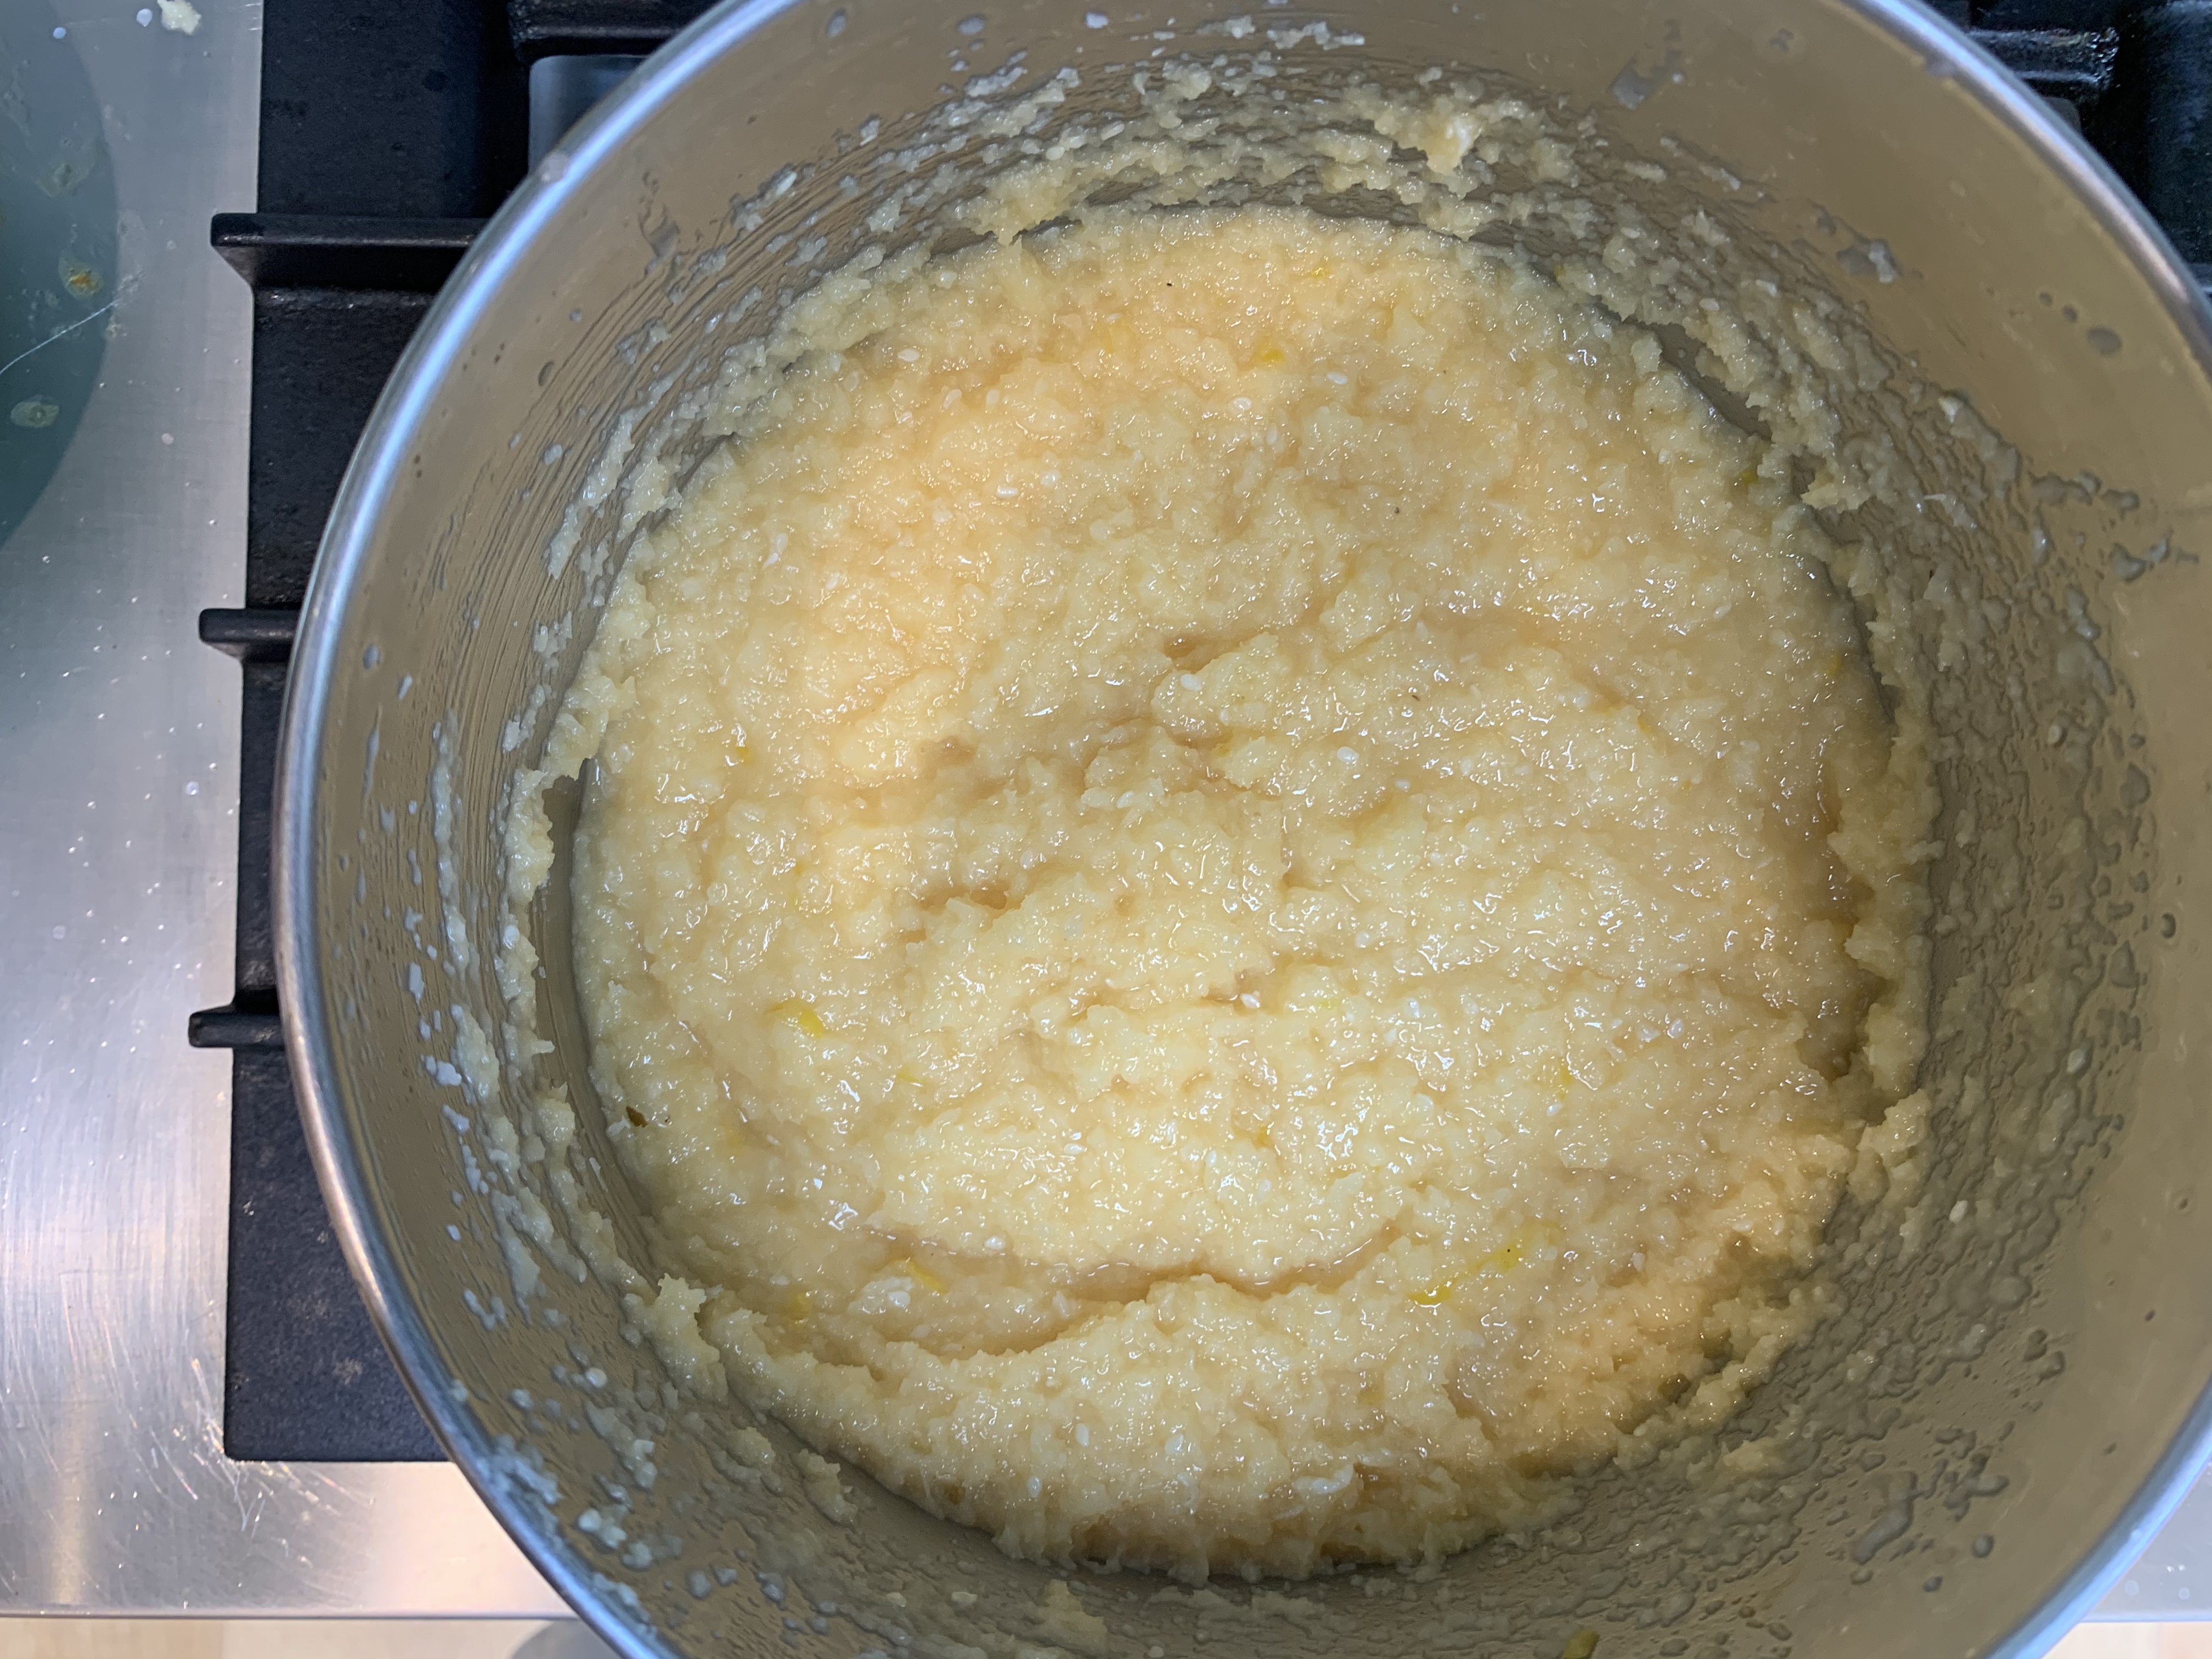
Return the saucepan to a low heat and cook for a few minutes longer until the mixture is very thick.
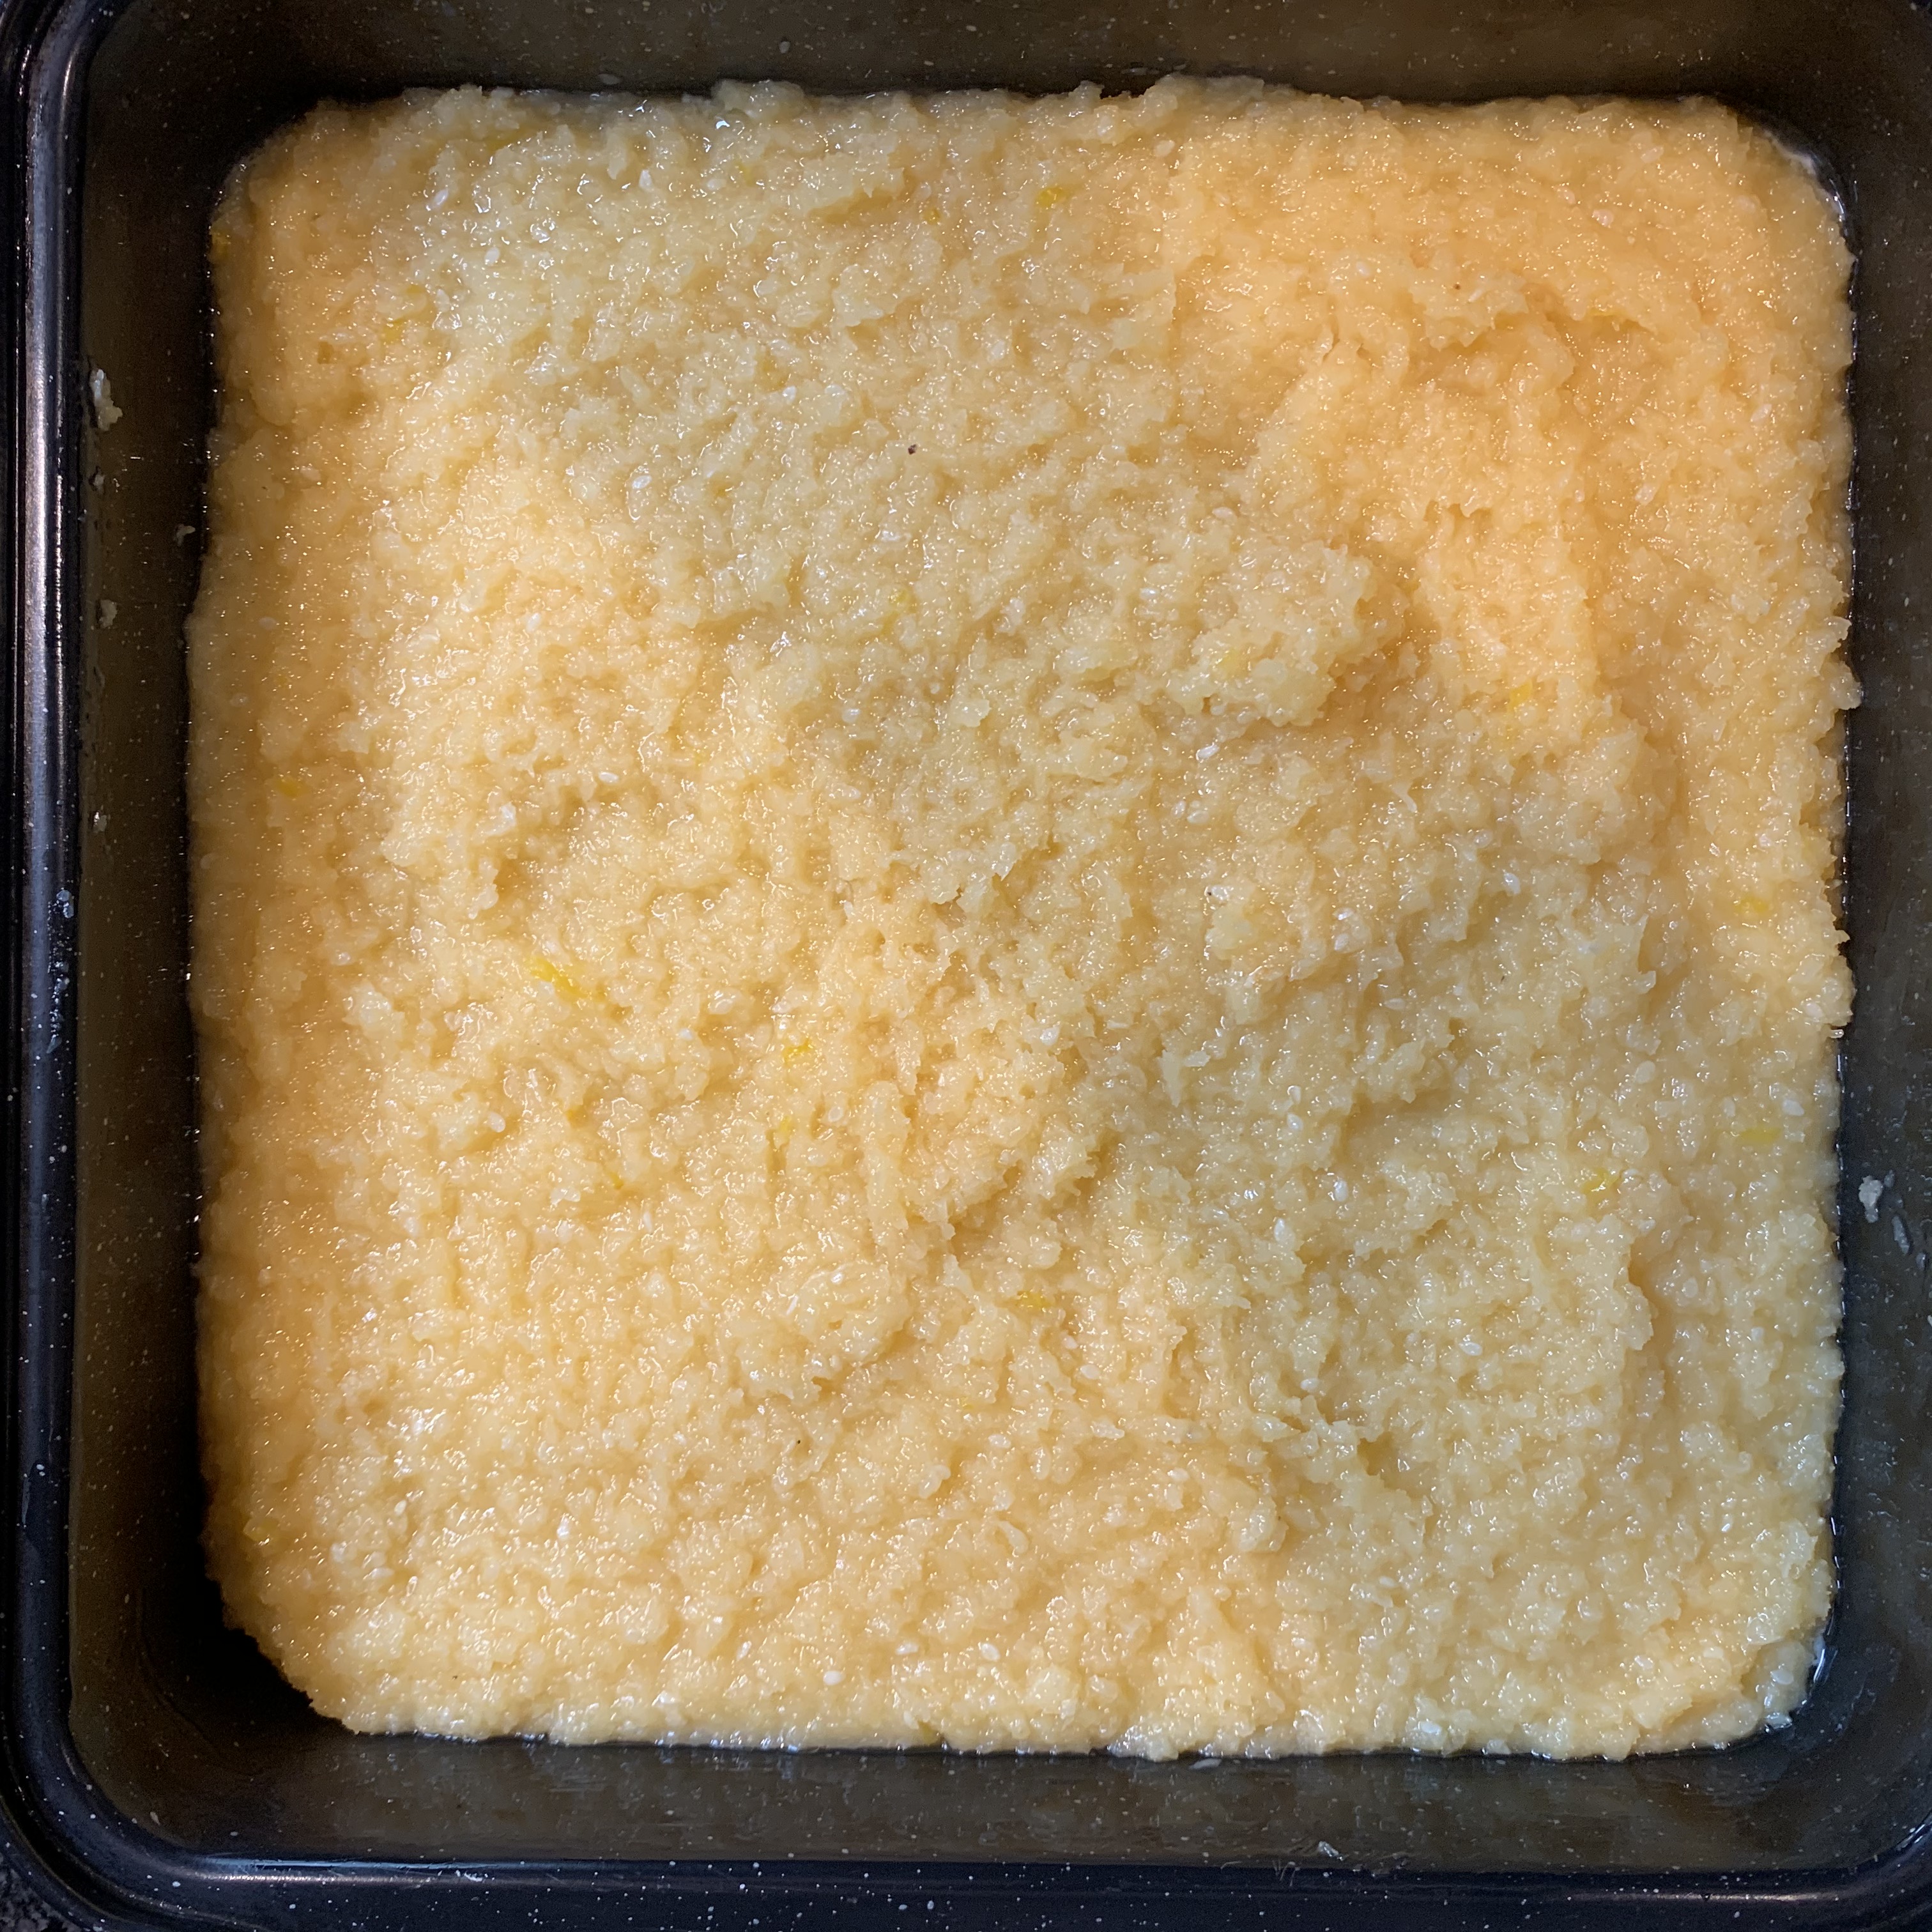
Remove from the heat and spread the batter evenly into your tin.
Bake for 30-40 minutes until firm to hard. Use a longer time for a crisp biscuit, a shorter time for a softer brownie-like consistency.
Leave to cool in the tin. You’ll struggle to extract it when it’s still warm.
Remove the whole thing from the tin and cut into squares or rectangles.
Confession time on the photos: I got the baking temperature/time badly wrong on my first attempt and then inexplicably used the wrong baking pan on the second. So my final cocadas are too thin and unevenly baked. But they still taste great…
It’s time for this series to make its first foray into Africa: I’m going to start in Nigeria with “Agege bread”, named after the suburb of Lagos from which it came. It’s a bread with a story and I’ll retell the basics, with the help of this great video by “For Africans By Africans”.
Bread wasn’t native to Nigeria until the later part of the 19th century, when it started to be brought in by immigrants from the Caribbean. In 1913, Jamaican-born Amos Shackleford arrived in Lagos and set up a bakery business which thrived to the point where he was considered “the bread king of Nigeria”: his “Shackleford bread” would arrive in Agege by bus until services were disrupted in the wake of independence in 1960. A local by the name of Alhaji Ayokunnu set up his own bakery and gave his product the name “Agege bread”. Subsequently, an enterprising community leader negotiated with the suburban railway for trains to stop in Agege, which became the means by which Ayokunnu’s bread colonised the city and won a place in Nigerian hearts.
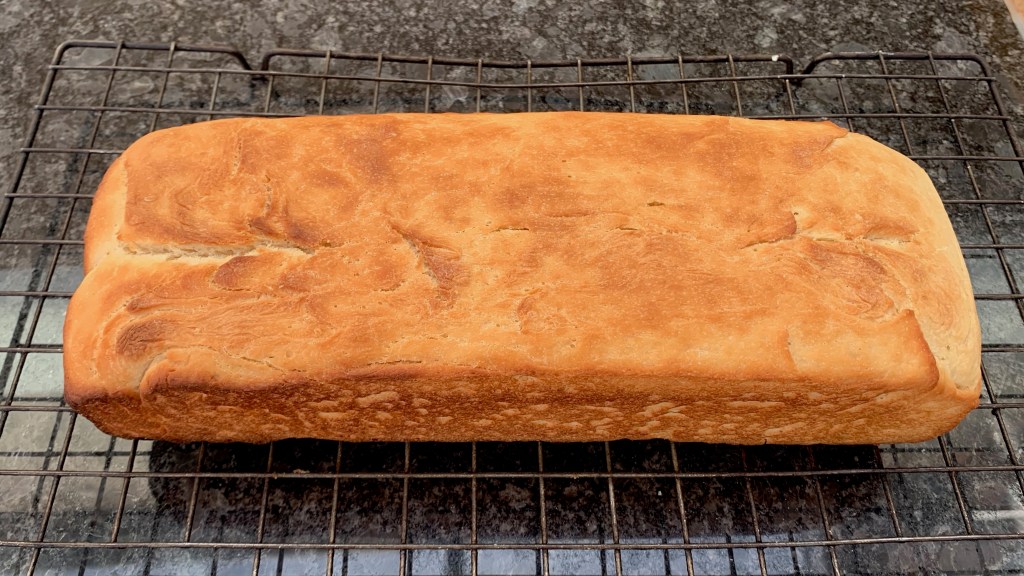
It’s a slightly sweet white loaf, usually oblong and baked in a tin, whose defining characteristic is that it’s fabulously soft and fluffy. It also keeps well, which is not an insignificant feature in Lagos’s warm, humid climate. A big part of this comes from the kneading process which uses a machine called a “dough brake”, introduced by Shackleford, which looks rather like a washing mangle or a giant pasta machine: the dough is repeatedly squeezed between a pair of rollers.
A bad episode happened in the 1980s, when President Babangida banned imported wheat. At the time, home grown Nigerian wheat was of lower quality, so bakers started using “improvers” to artificially boost the softness and fluffiness of their product. At least one of these, potassium bromate, has since been found to be carcinogenic and has been banned; other alternatives remain.
I don’t want to use improvers, but I do want to get to something like the approved fluffiness, so I’m going to follow the lead of Nigerian cook Nky-Lily Lete and use the Scandinavian “scalded flour” method – if you want to see why this works, take a look at this post on Bread Maiden, which also describes a newer method invented in Taiwan called Tangzhong.
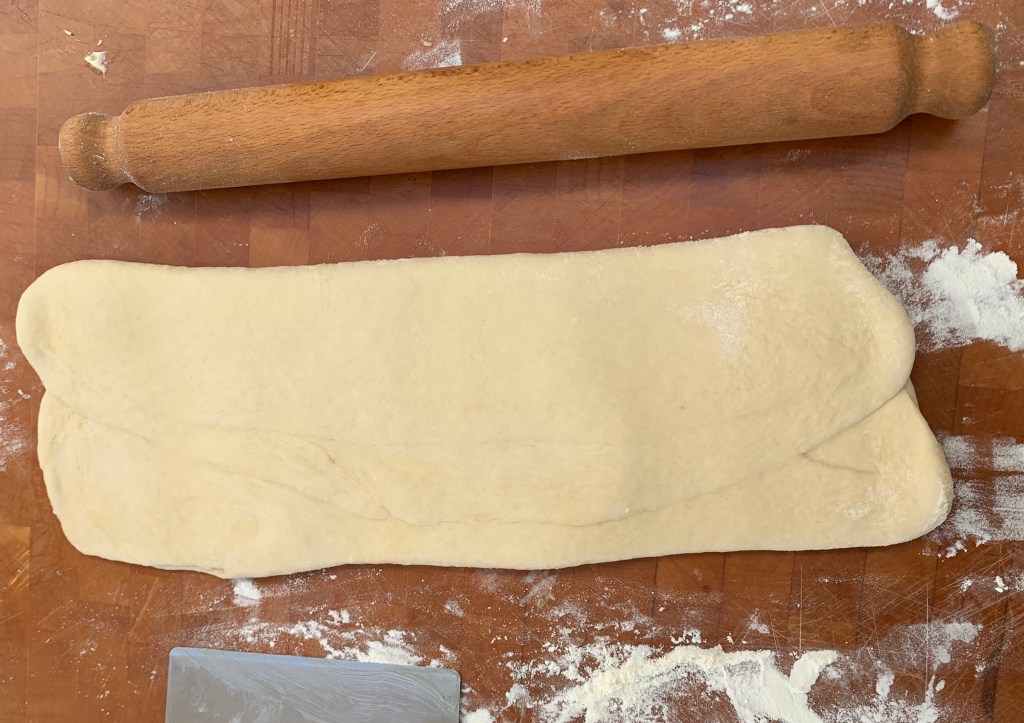
Since I don’t have access to a dough brake, I’ve simulated the effect by repeatedly rolling the dough with a rolling pin and reforming it. To speed things up, I’ve done some kneading in advance with the dough hook of my stand mixer: if you don’t have one, you’ll need to spend longer on the kneading process.
500g strong white flour, plus more for kneading
200ml boiling water
5g yeast
50g sugar
80g warm water
40g milk
50g butter
35og flour
1tsp salt
Mix the boiling water with the 100g of the flour. Cover the bowl and set aside to cool, for at least one hour (you can do this overnight if you want)
In a bowl, mix the warm water, milk, sugar and yeast. Leave for 10 minutes or so until frothy.
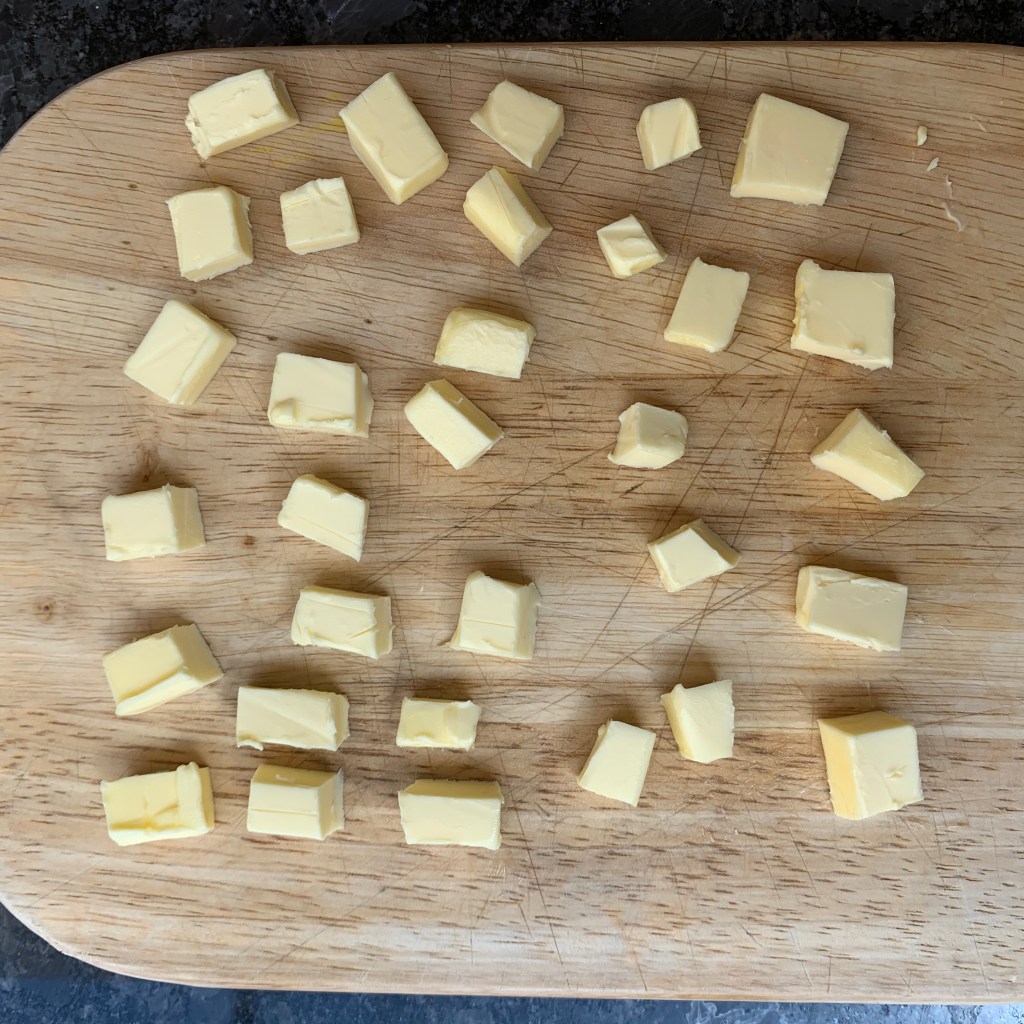
Soften the butter (my preferred method is to chop it into small pieces and set it aside at room temperature while you do everything else.
In the bowl of a stand mixer, mix the remaining flour with the salt.
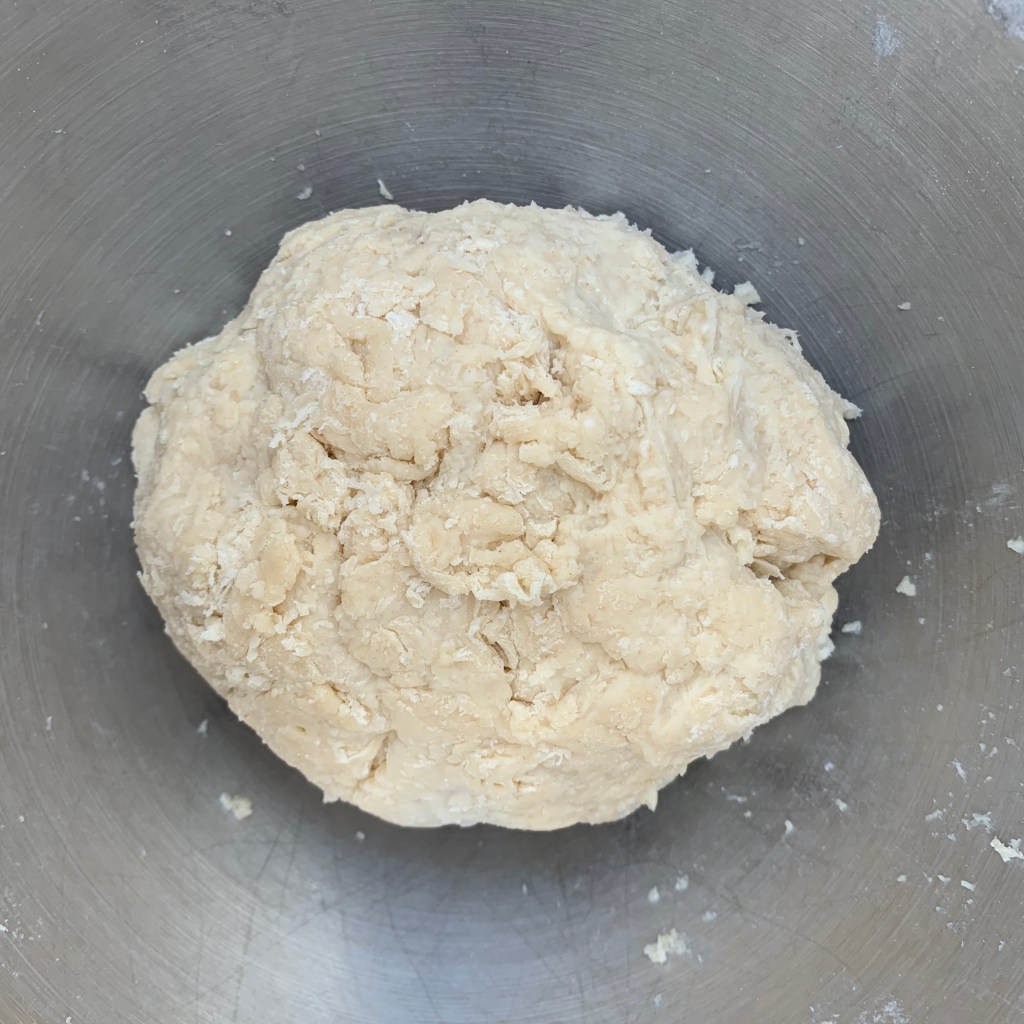
Add the scalded flour and the wet mixture to the dry mixture and mix thoroughly (either with your hands or with the paddle attachment). Leave for 10 minutes.
Add the butter, mix it in and then mix with the dough hook for around 5 minutes
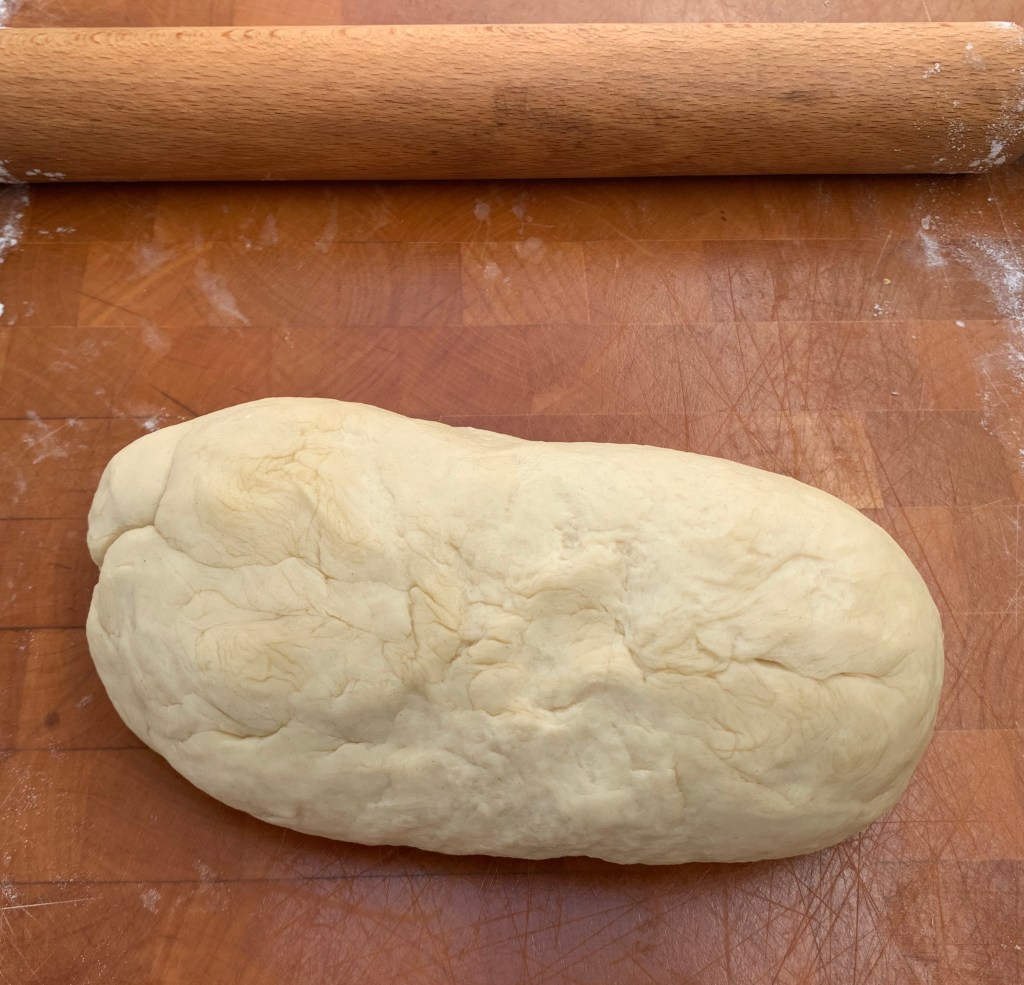
On a floured board, roll out your loaf, then fold it up, picking up as little flour as you can manage. Roll it out again and repeat until the dough is very elastic.
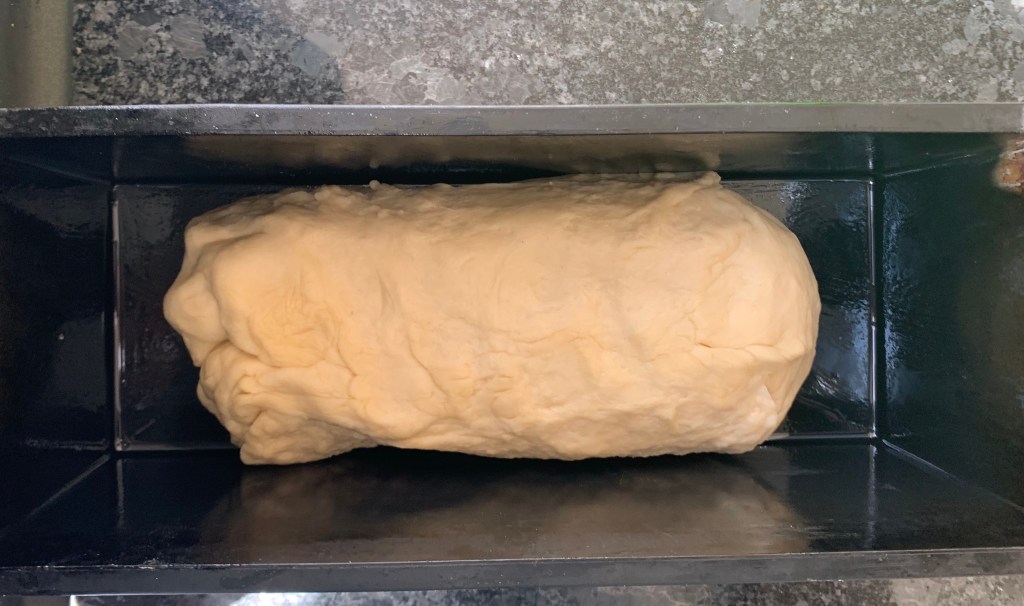
Shape the dough into an oblong and put it in a baking tin. Cover and leave until well risen – depending on your kitchen temperature, this could take anything from one to four hours.
Preheat oven to its hottest setting – mine was 250℃ non-fan.
Bake, covered, for around 20 minutes. The bread should come out soft, risen and not dried out.
It’s best to at least try this bread when it’s fresh out of the oven, even if you’re keeping most of it for later!
Note that I haven’t bothered with a knock-back and second rise: they don’t appear to do this in the Agege factories. But there’s nothing stopping you from doing this if you want.
Slight caveat on the photos here: the quantities in this recipe turned out to be too large for my smaller bread tin and rather too small for the larger one. The resulting bread should really be square in cross-section: to achieve that with the tin you can see, I’d really need to add 50% onto all the quantities here.
Carrying on from last week-end’s public holiday theme: July 11th in Belgium is the day when the Flemish community celebrates the 1302 Battle of the Golden Spurs, in which Flanders rebels routed the forces of King Philip IV of France. To this day, the Walloons and the Flemish don’t agree about much, but at least one thing unites them: a taste for the spiced shortbread biscuits they call speculoos. Traditionally, they’re baked for St Nicholas Day (on December 6th in Belgium), but I’d run out of biscuits and I didn’t feel like waiting…
As with many baking recipes that go back a long way, there are lots of variations. Speculoos recipes vary widely in ratio of the main ingredients (flour / sugar / butter). They vote for water, milk or an egg to stop the mix crumbling. Everyone agrees on using brown sugar (cassonade in French), but there’s lots of choice as to which sub-variety. For the spicing, everyone agrees on cinnamon, but there’s lots of choice as to what else to use: I opted for nutmeg and ginger; additions/alternatives include cloves, allspice, cardamom, star anise and even white pepper. My quantities of spice are on the low side compared to many, so feel free to play around with the quantities here until you have something that’s exactly to your taste. This really looks like a recipe that defies conventional wisdom about all baking needing to be super-accurate.
Ingredients for around 30-36 small biscuits
125g butter
250g flour
180g brown sugar (I used a mix of muscovado and soft brown)
50g ground almonds
½ tsp baking powder
pinch of salt
½ tsp cinnamon
¼ tsp ground ginger
¼ tsp nutmeg
1 egg
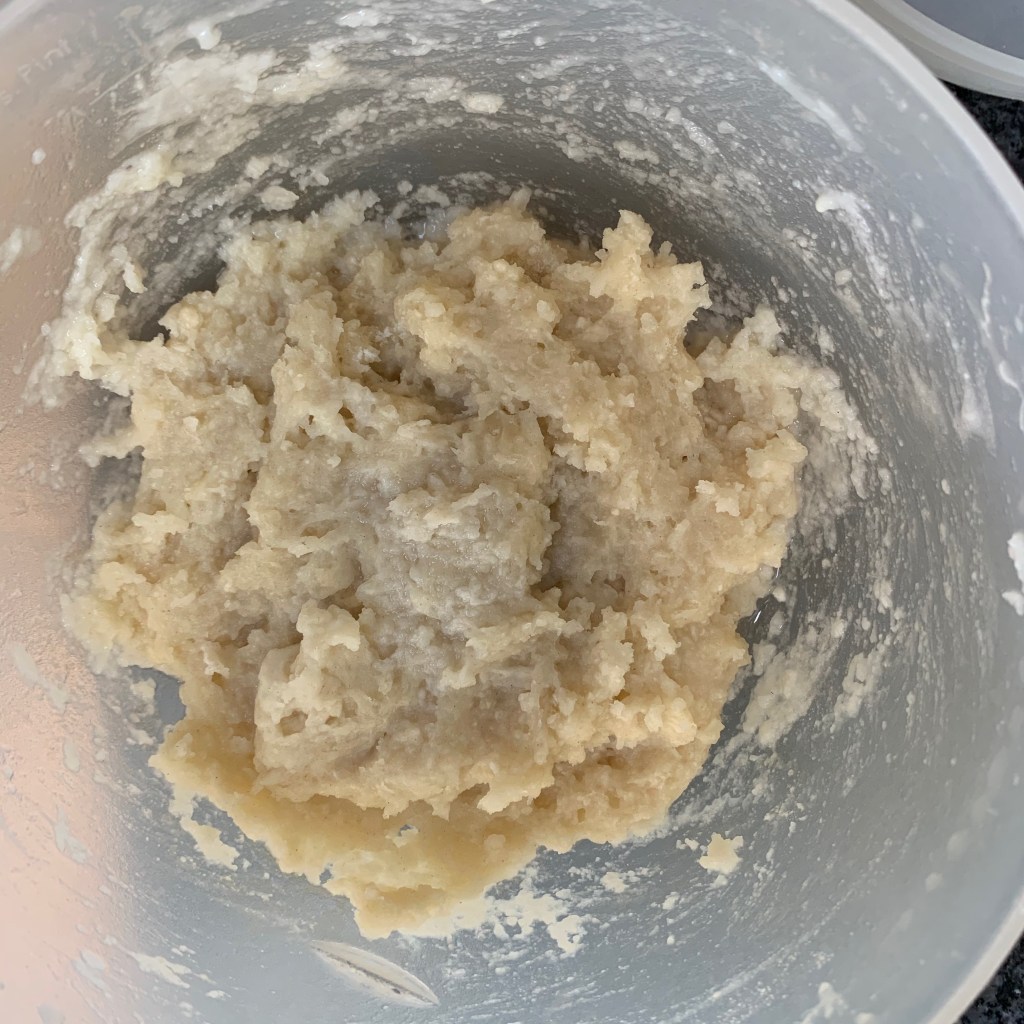
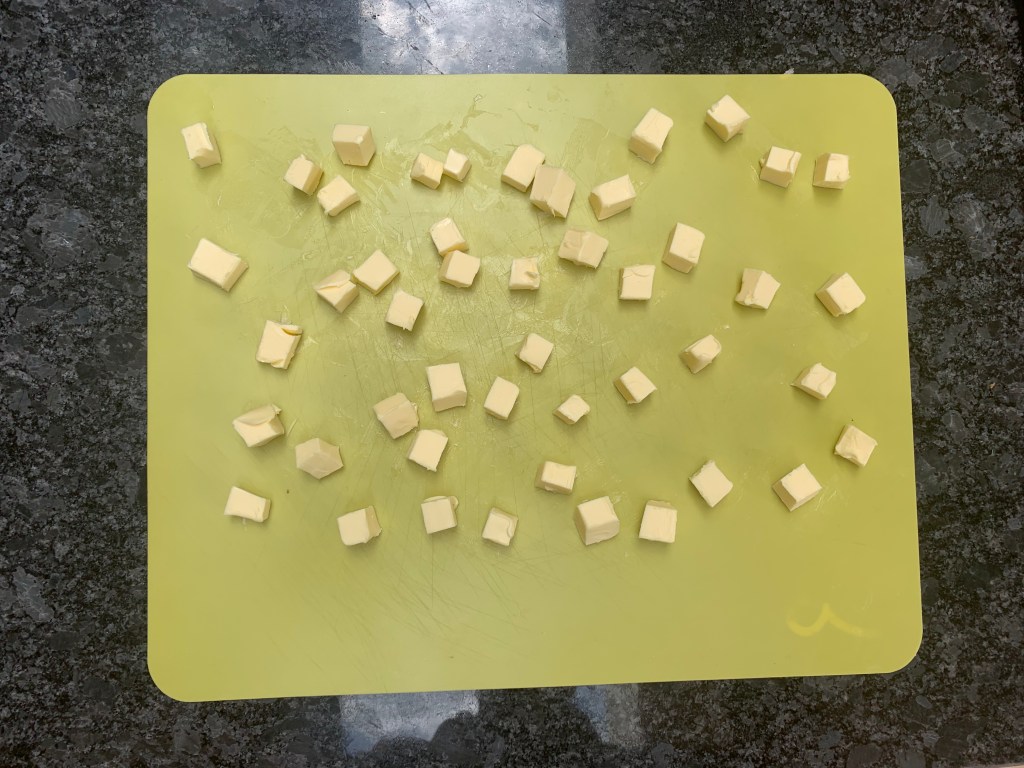
Softening butter
Dry mix
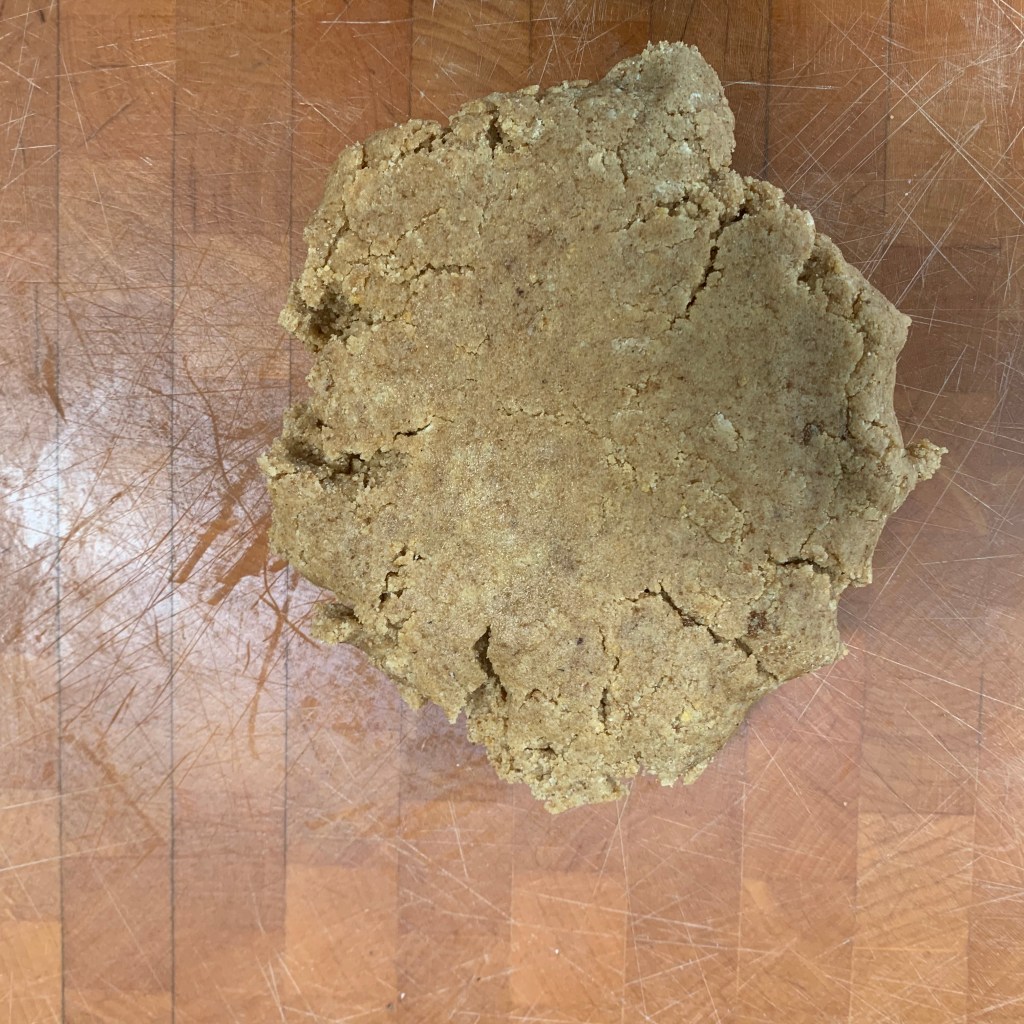
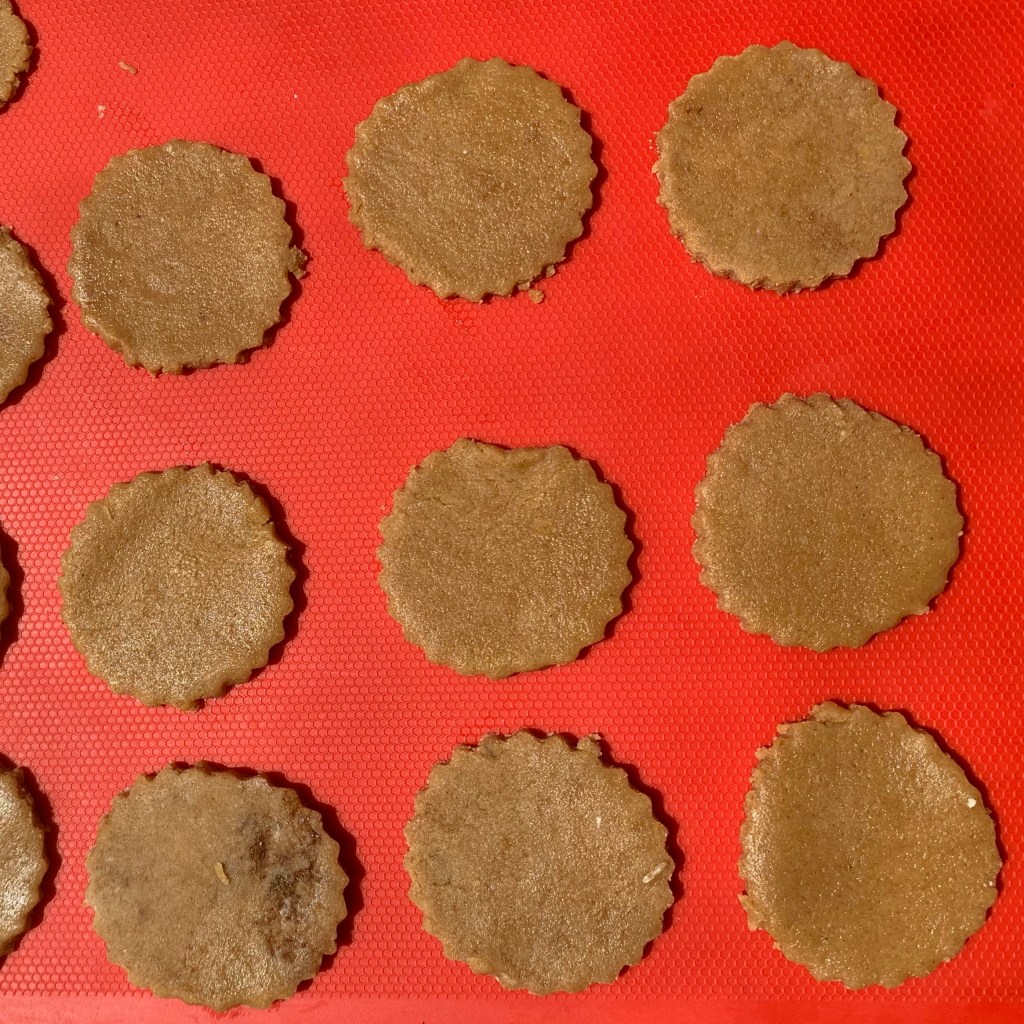
Dough before rolling
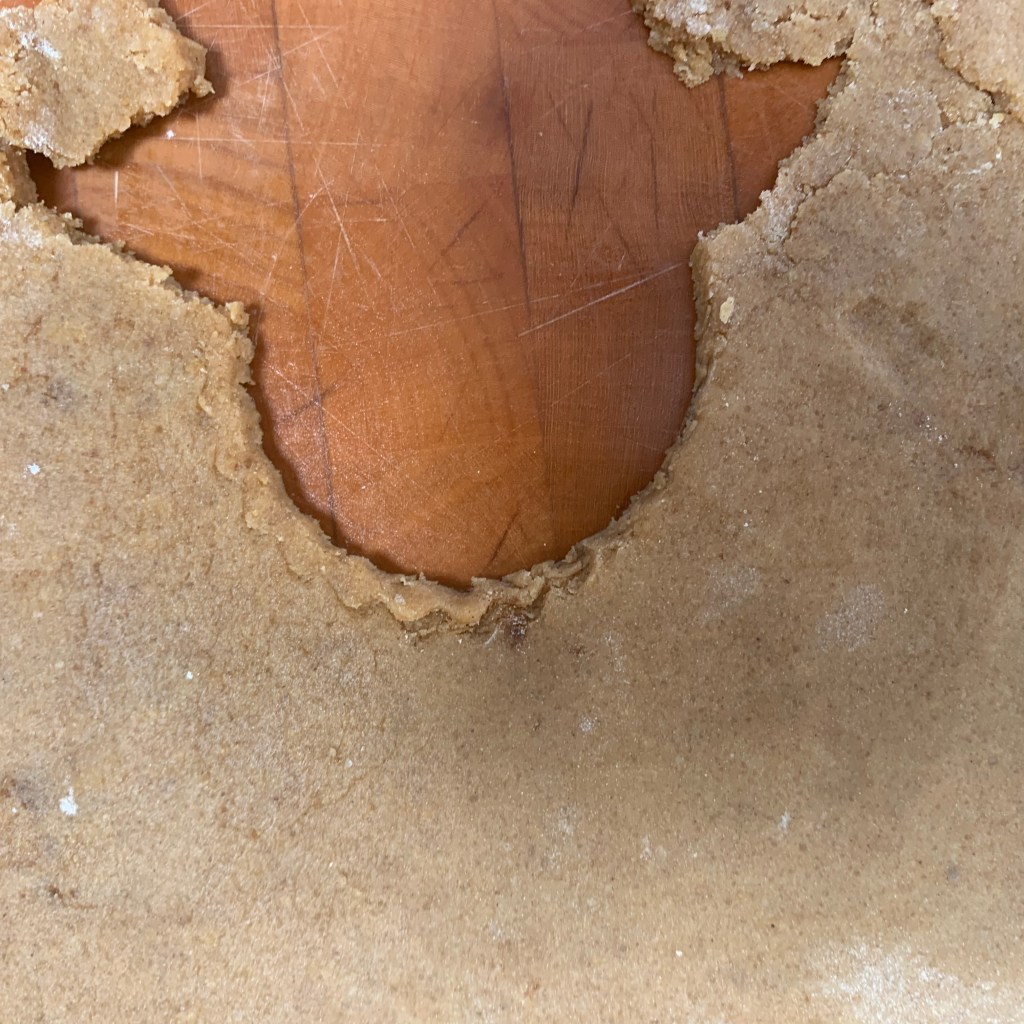
Rolled dough
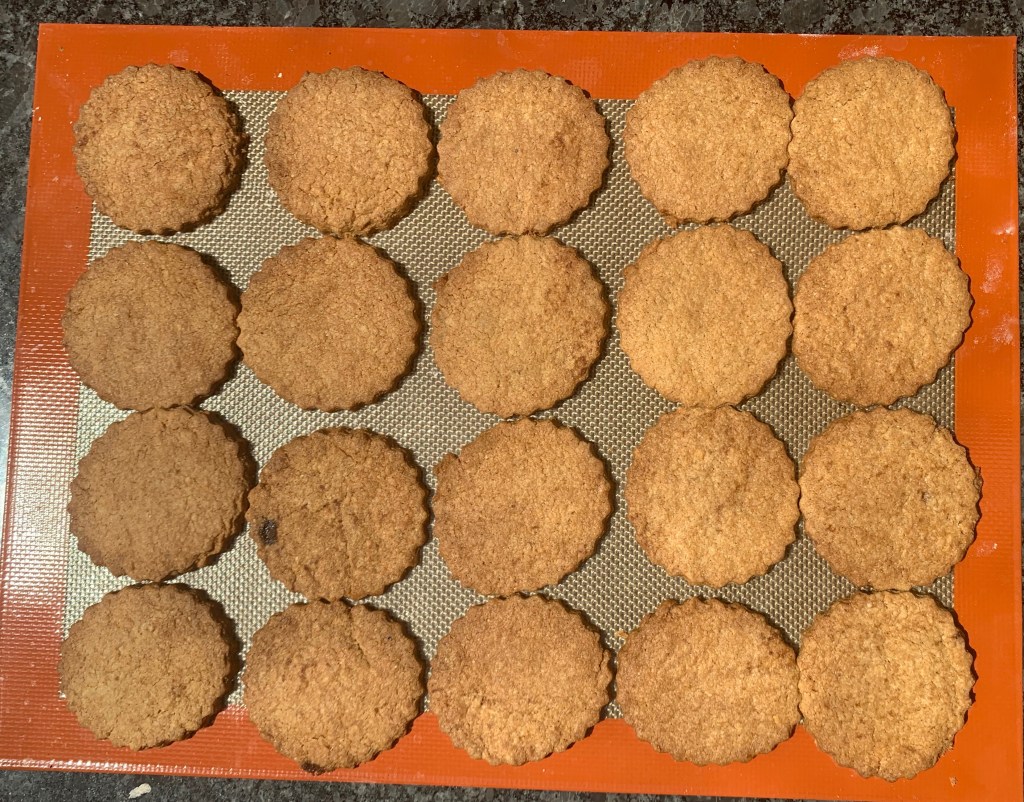
Into the oven
Second batch
Method
Preheat oven to 175℃ fan
Soften the butter (if it’s straight from the fridge, chop into small cubes, around 1cm, and leave it while you do everything else).
Mix the flour, sugar, ground almonds, salt and baking powder in a bowl (if you have a stand mixer, you can weigh everything straight into its bowl). Stir everything until all the ingredients are evenly distributed – try to ensure that you’ve got rid of any clumps of sugar.
Add the butter and egg and combine until you have a smooth, even dough – either with the stand mixer or manually with a wooden spoon.
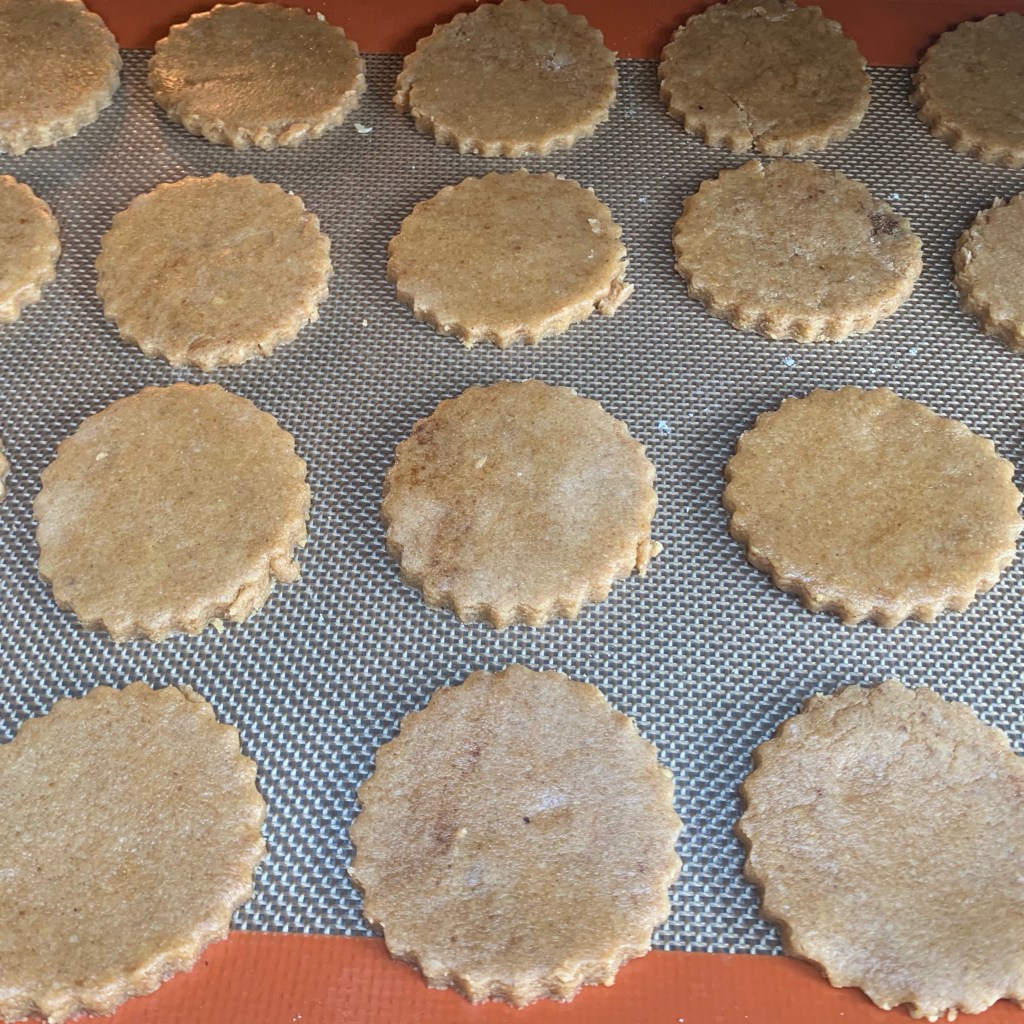
Roll the dough out on a flat surface to a thickness of around 5-7 mm. Try to get it pretty even, because you want your biscuits to be all baked at the same time.
Cut out biscuits with your favourite cookie cutter(s) or cooke mould. If you have young children, you’ll probably want animal shapes, hearts or whatever: my kids are grown up and I couldn’t find any in the house other than a fairly standard circle.
Place on a baking tray lined with a Silpat or silicone baking sheet (if you have one) or baking parchment. You’ll probably need to do two trays worth: this makes around 30-36 biscuits.
Bake for around 15 minutes.
The biscuits cool fine without taking them off the Silpat sheet, but if you’re using anything else, you probably want to turn them over after 10 minutes because the bottoms can get soggy.
Out of the oven (using Silpat sheet)
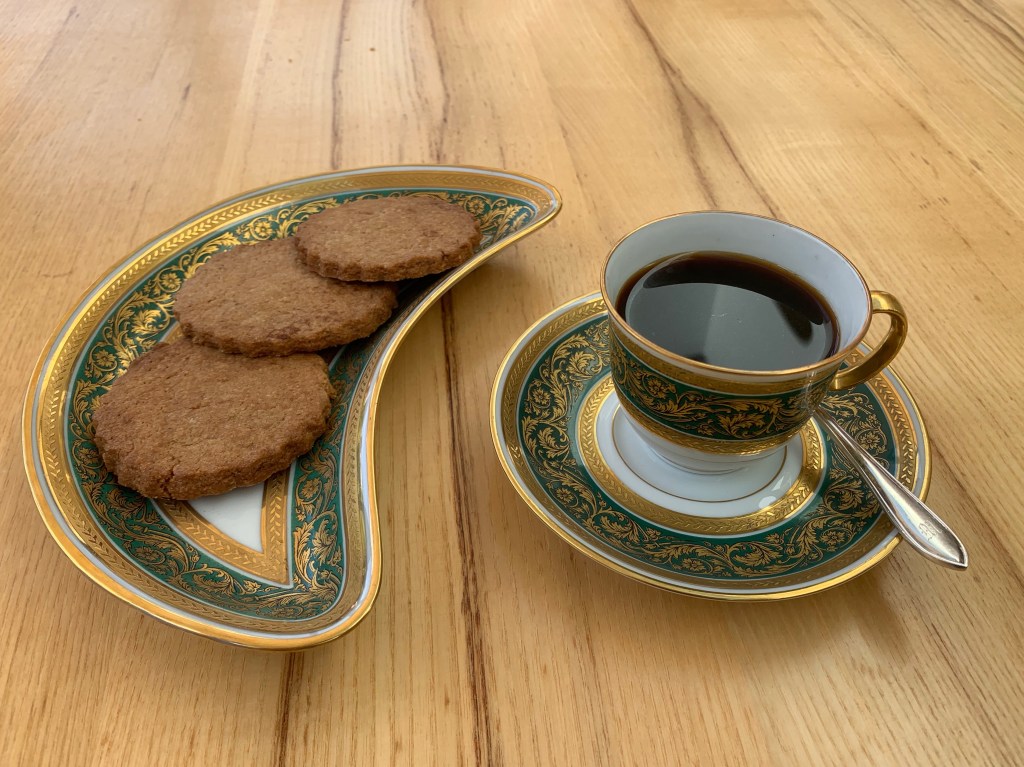
Enjoy! Speculoos are the ultimate biscuit to accompany a coffee; they can also be crumbled to make an excellent topping for a fruit-and-cream type of dessert.
It’s been a strange Fourth of July this year: the poison of the Trump era has made it harder than ever to summon positive feelings for the United States. Still, I’ll use the occasion to celebrate happy days in the past and hope for happier ones in the future, with some close family members and numerous friends in the USA firmly in mind.
I lived in California for a couple of years in the early 1980s and one of my fondest memories is of whiling away hours at Printers Inc., a bookshop-plus-café that was a kind of prototype Borders. Long before Starbucks had started to expand outside Seattle, Printers Inc. served really good coffee and superb brownies and carrot cake. Cake lovers would invariably spot some book they liked, while those in search of a book, with equal inevitability, would be entrapped by the aroma of fresh coffee and cake.
Sadly, I never did get the recipe for the best carrot cake I ever had, baked by Gigi Ellis, the wife of my boss at Fairchild, and I lost touch with Frank and Gigi decades ago. So this recipe, which is close to the Printers Inc. version, comes from the cookbook I bought at the time, a model of Californian eclecticism entitled San Francisco à la Carte. I’ve turned everything metric, because I just don’t see how you can bake accurately using measuring cups, or indeed why you would want to when digital scales are cheap, accurate and generate less washing up.
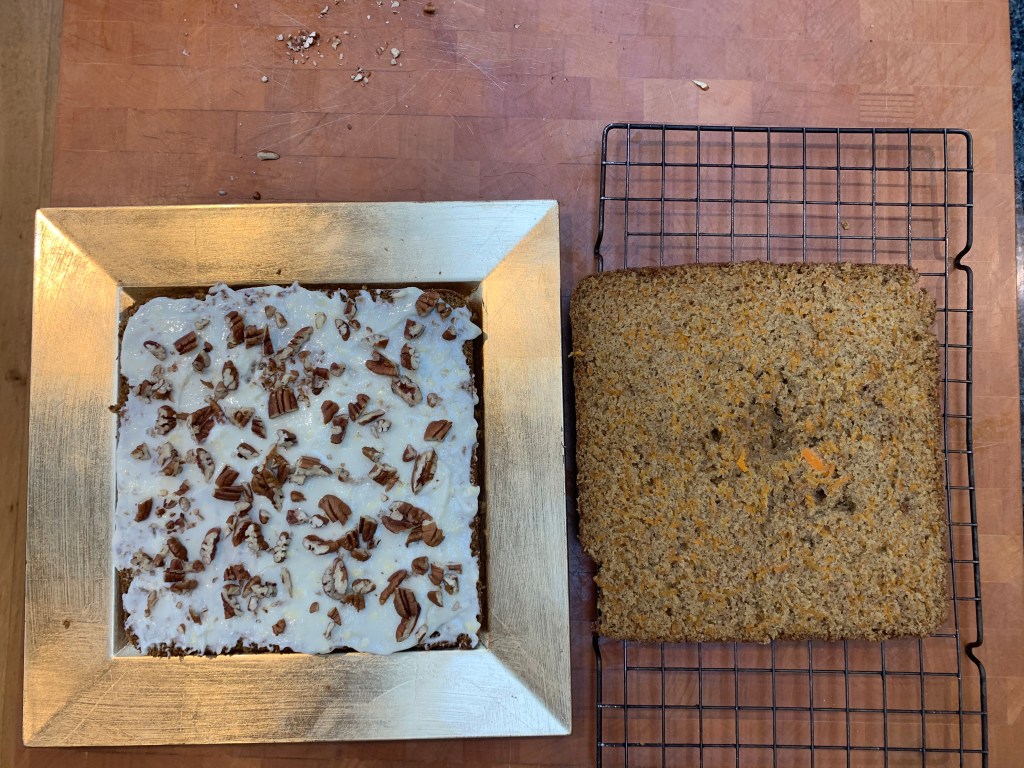
The quantities here will work for a single cake in a 23cm x 23cm square tin. That will do for 16 small portions (or 8 very generous portions, or whatever you pick in between). If you prefer, you can use more than one tin, which avoids the tricky process of slicing the cake in half, at the price of leaving you with an internal crust that you don’t really want.
Make the cake:
250g carrots (weight after peeling)
250g plain flour
300g sugar
10g baking soda
4g salt
3g cinnamon
3 eggs
150g corn oil
Preheat oven to 175℃.
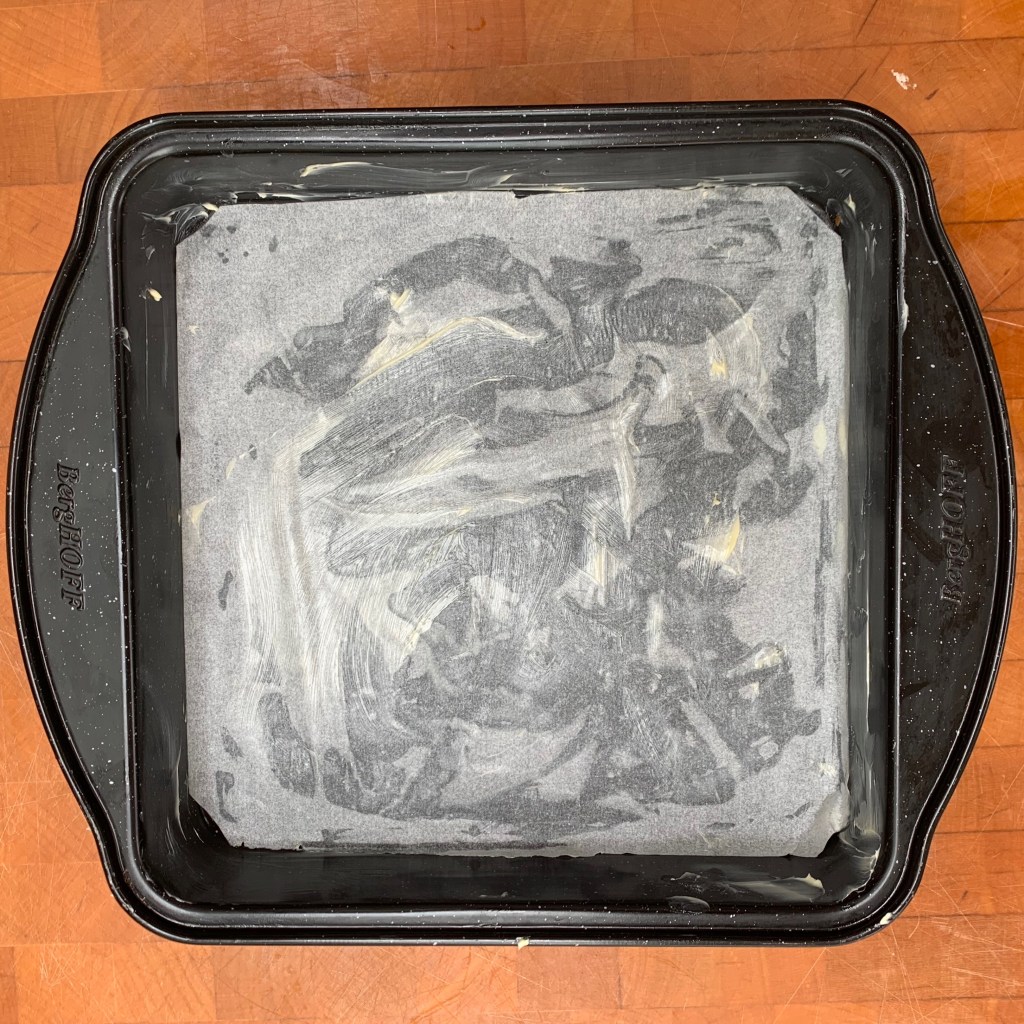
Grease the bottom of your cake tin, line it with baking paper, then grease the bottom and sides.
Mix together the flour, sugar, baking soda, salt and cinnamon. There’s no need to sift the flour.
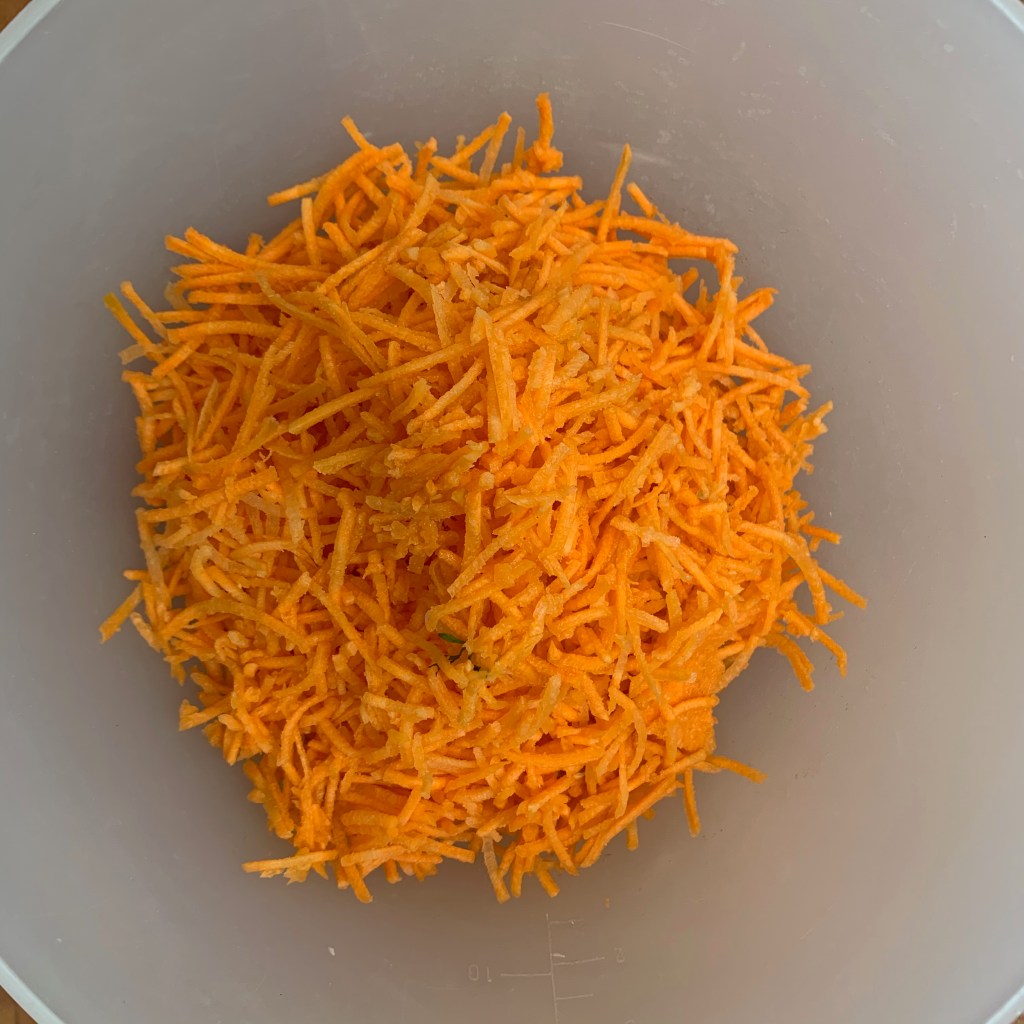
Peel and grate the carrots.
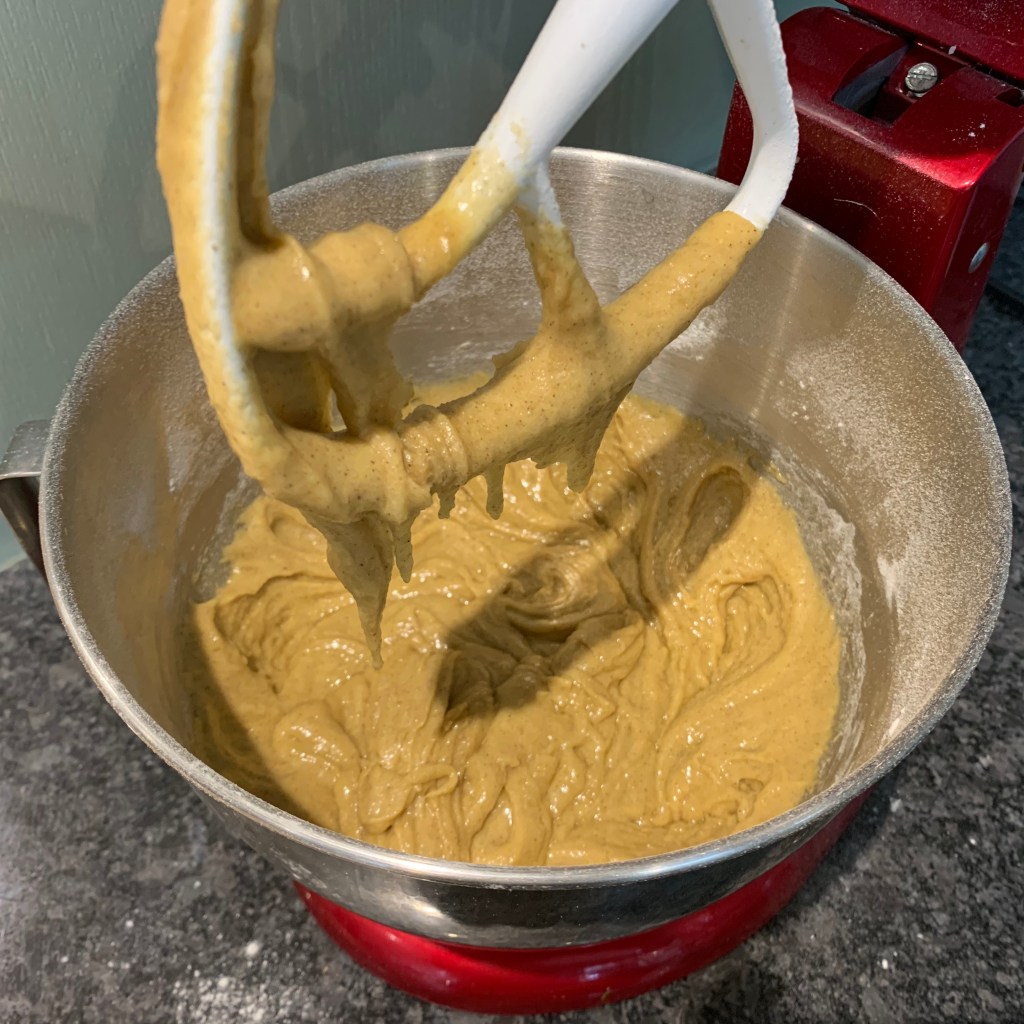
Beat the eggs (I use a stand mixer). Add the oil and beat until the eggs and oil have combined into a smooth mixture.
Add the flour mixture to the egg and oil mixture and beat until smoothly combined.
Add the carrots and stir until they’re evenly distributed.
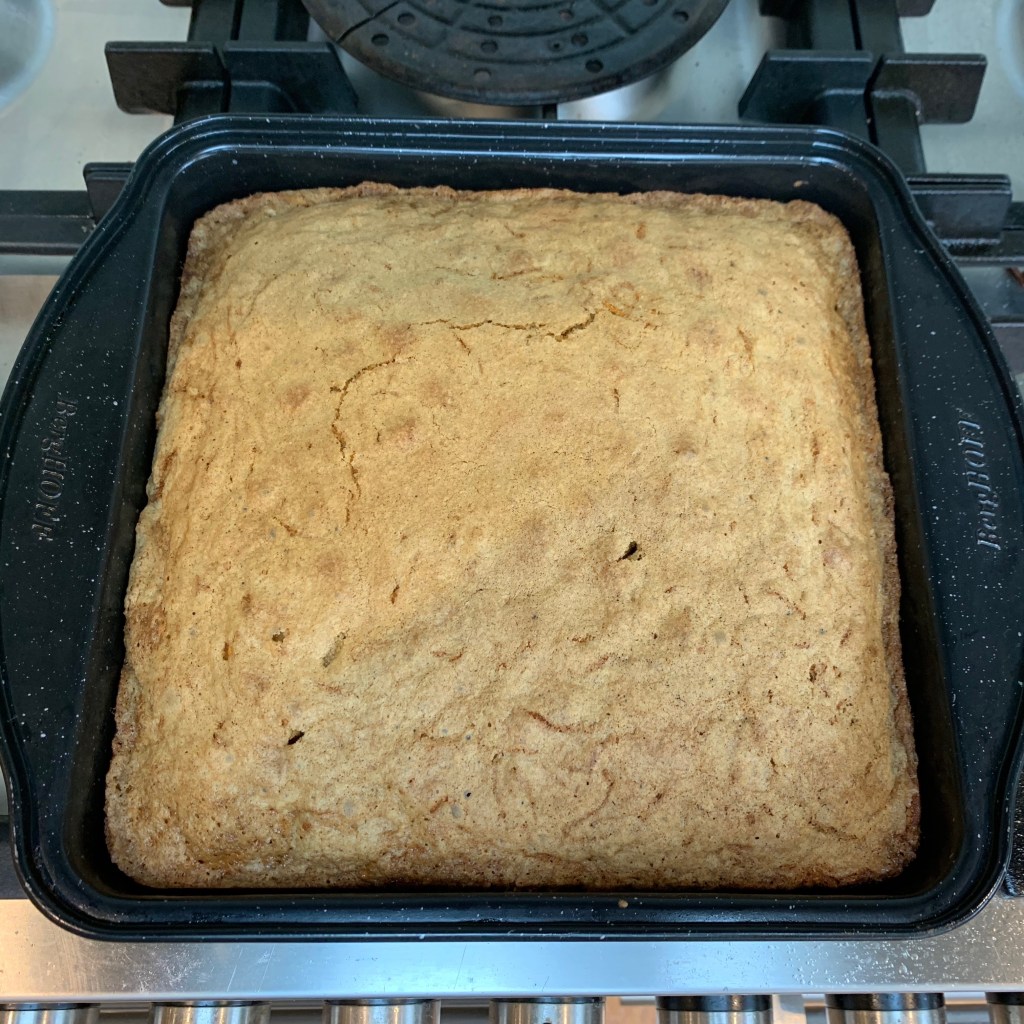
Pour the whole mixture into your baking tin, ensuring that you spread it evenly including the corners.
Bake for 30 minutes – use the usual skewer test to ensure that it’s done. I’m always surprised by the way the cake can be really raw at 25 minutes and just fine at 30. By the way, some people like their carrot cake sticky: if you’re one of them, make sure the skewer *does* come out with some mixture sticking to it.
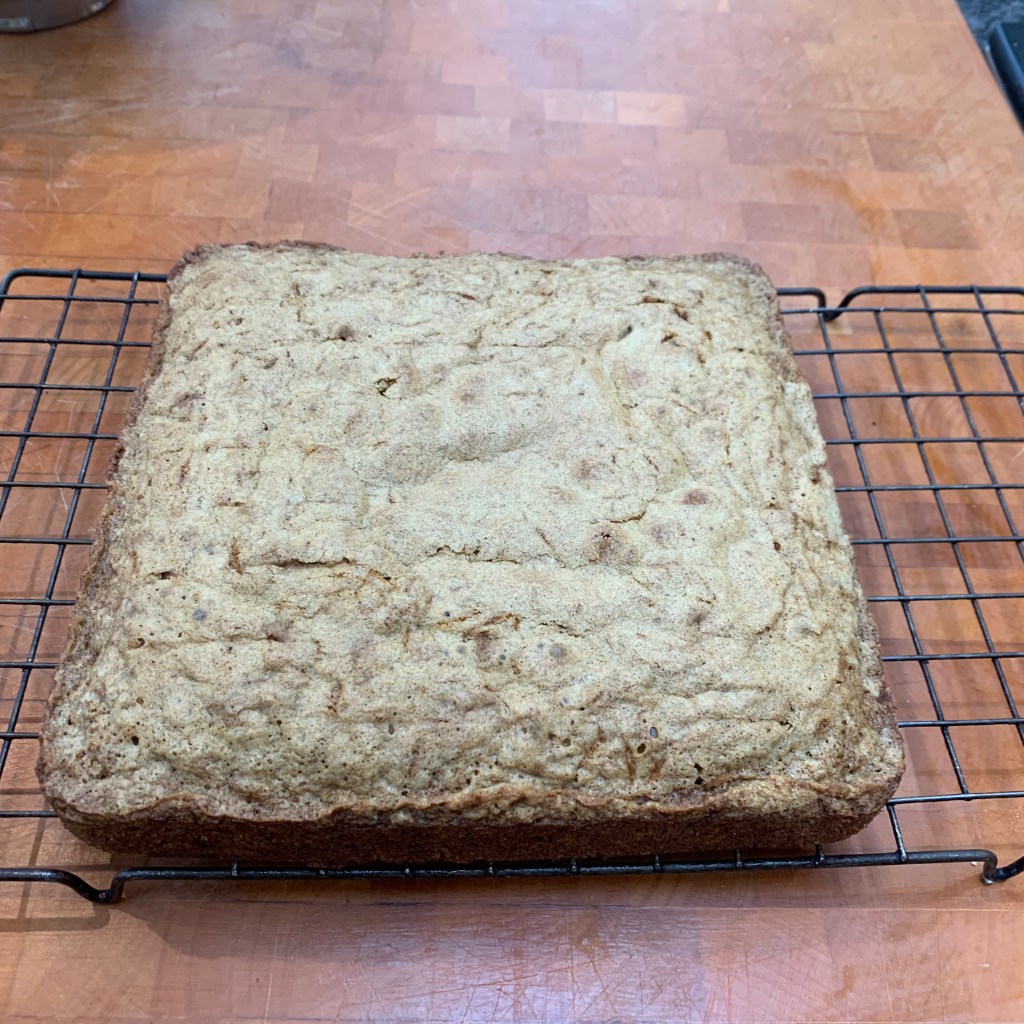
Cool in the baking tin for 5-10 minutes and then on a wire rack.
Make the frosting:
200g cream cheese
50g butter
150g icing sugar
Vanilla essence to taste (optional)
Beat these together thoroughly until very smooth.
Cover and leave in the refrigerator: especially if it’s summer, the frosting will be very runny and you want it to hold its shape when you spread it.
Assemble the cake:
90g pecan halves
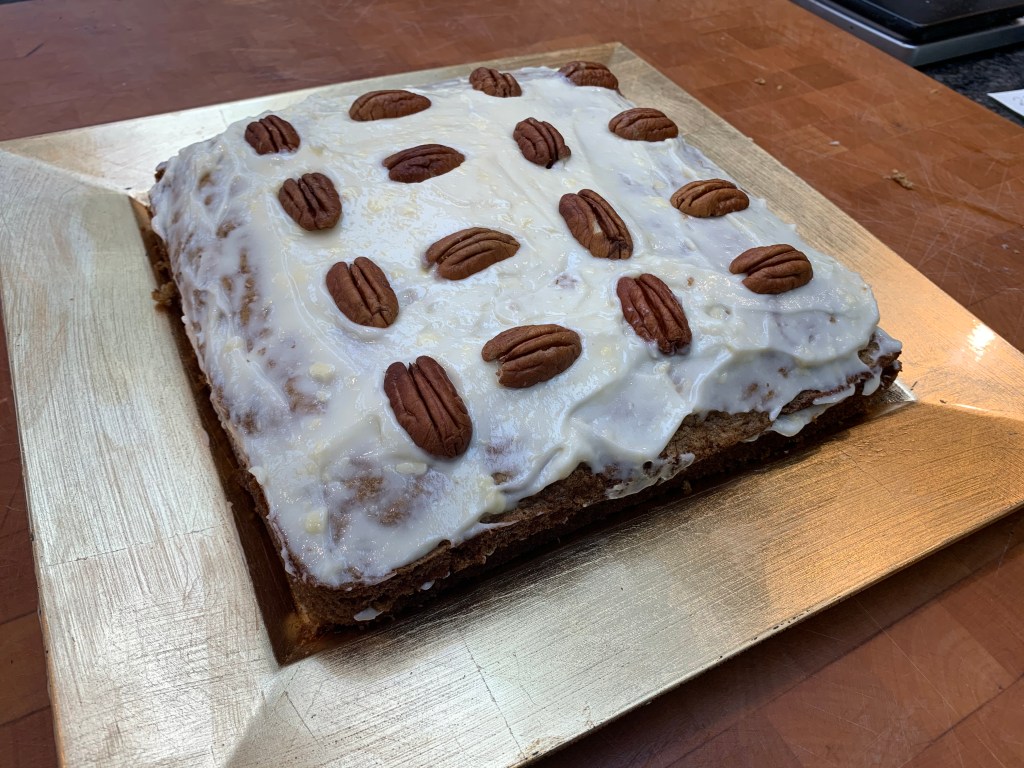
Reserve 16 of the best pecan halves for decoration (this will use around 40g). Chop the remainder into small pieces.
Transfer the cake from the wire rack to whatever you’re going to serve the cake on: cake plate, board, tray or whatever.
With a long knife, slice the cake horizontally into two approximately equal parts. Take the top half off and set aside – I do this by sliding a plastic chopping mat between the two halves, sandwiching the top half between the mat and a wire rack and lifting it off.
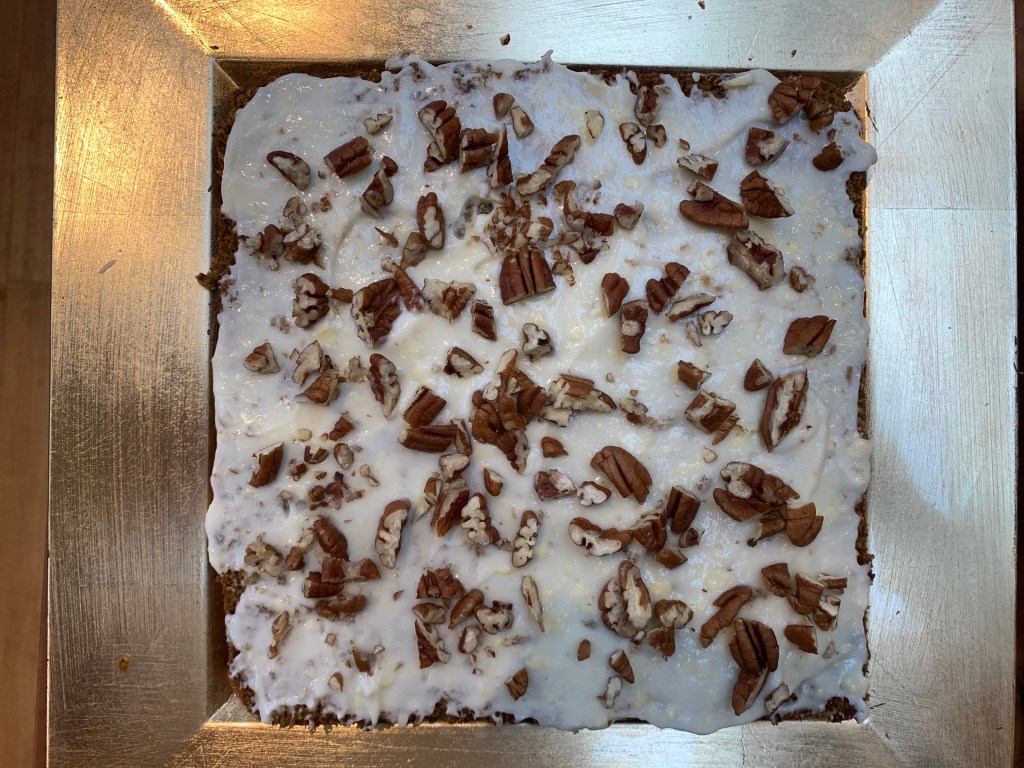
Spread half the frosting over the bottom half. Scatter the chopped walnut pieces evenly across the cake.
Put the top half of the cake back into place.
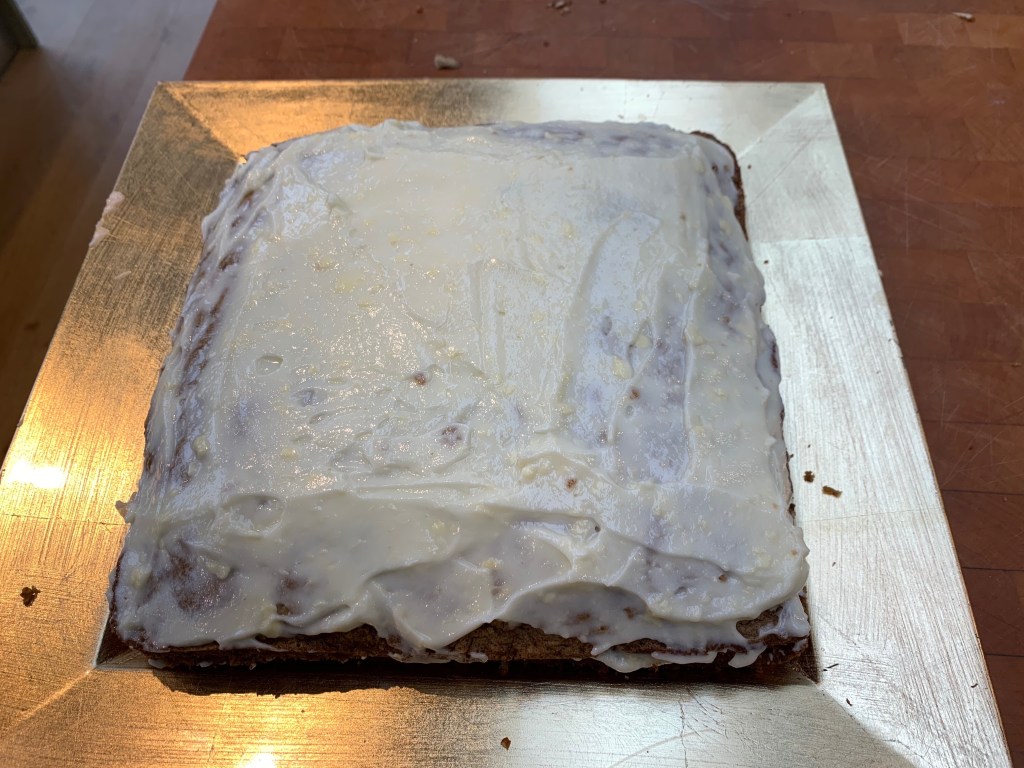
Spread the remaining half of the frosting over the cake and decorate with remaining pecan halves, in whatever pattern takes your fancy.
It’s probably a good idea to chill the cake at this point, because the frosting really is quite liquid. Take it out of the refrigerator half an hour or so before serving.
The core of every Jewish family is the Friday night dinner which greets the Sabbath. Even an unbeliever like me is deeply moved by ritual of the blessings over candles, bread and wine that bring my family together with each other and with our culture. And there’s only one bread for this: the plaited, egg-enriched, slightly sweetened white loaf called challah (or cholla, depending on your favourite transliteration of the Hebrew חַלָּה). Jewish children are addicted to the stuff from an early age and not just for its ritual significance: good challah combines tastiness and pillowy soft texture in a way that’s hard to beat. Beware, though: a lot of bakeries sell challah that looks the part with its perfect plaiting, but is dry or tasteless or both. Which is a good reason for making your own.
For the purposes of this series, challah counts as the entry for Israel. In truth, however, it’s spread throughout the world and you can’t help noticing that similar breads are baked all over Europe from Germany eastwards by Jews and gentiles alike.
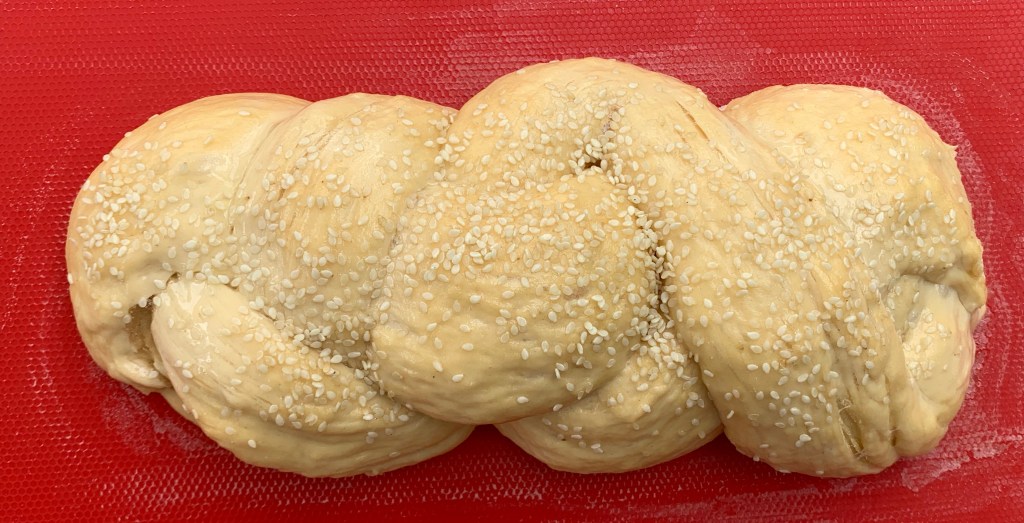
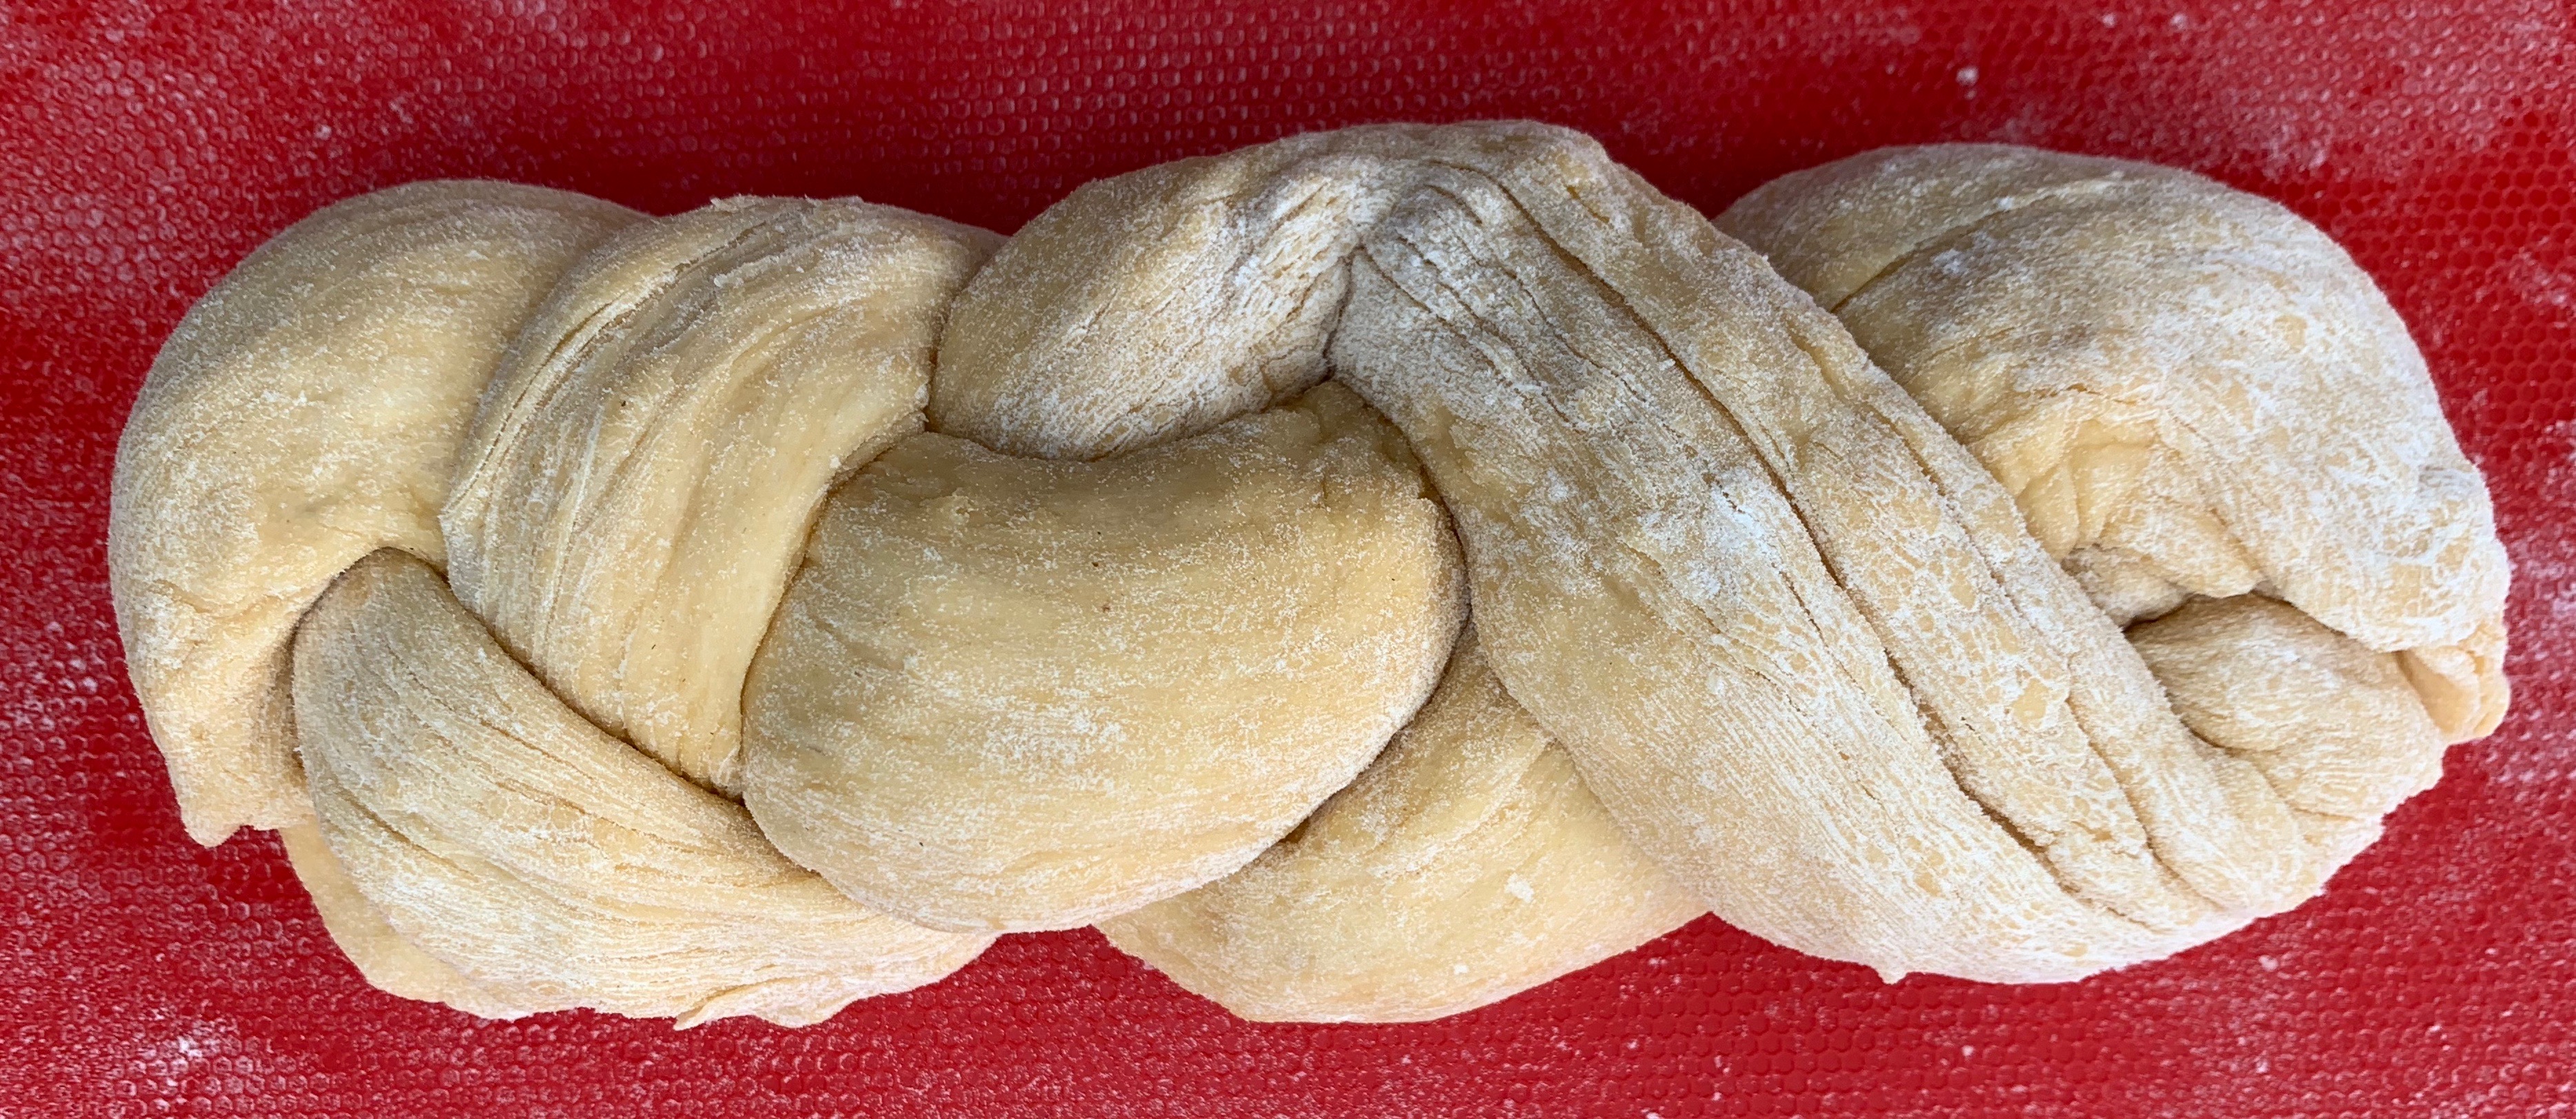
Three strand challah after second rise, ready for baking
There are many ways of braiding your challah and at some point, you need to decide on how many strands you’re going to use: I recommend that you start with 3, but you can go for anything from 2 to 9. You’ve almost certainly spotted from the photographs that I’m fairly rubbish at this part of the puzzle, so I’m not even going to attempt to do a better of job of showing you how than this Czech YouTube video, which shows you how to do all of them. However, my challah is reliably soft and tastes reliably good, so I’ll stand by the virtues of my recipe, which is based on the one in Emmanuel Hadjiandreou’s excellent book How To Make Bread. Hadjiandreou is decidedly non-Jewish, but who’s asking? His recipe has worked better for me than the ones from many synagogue websites.
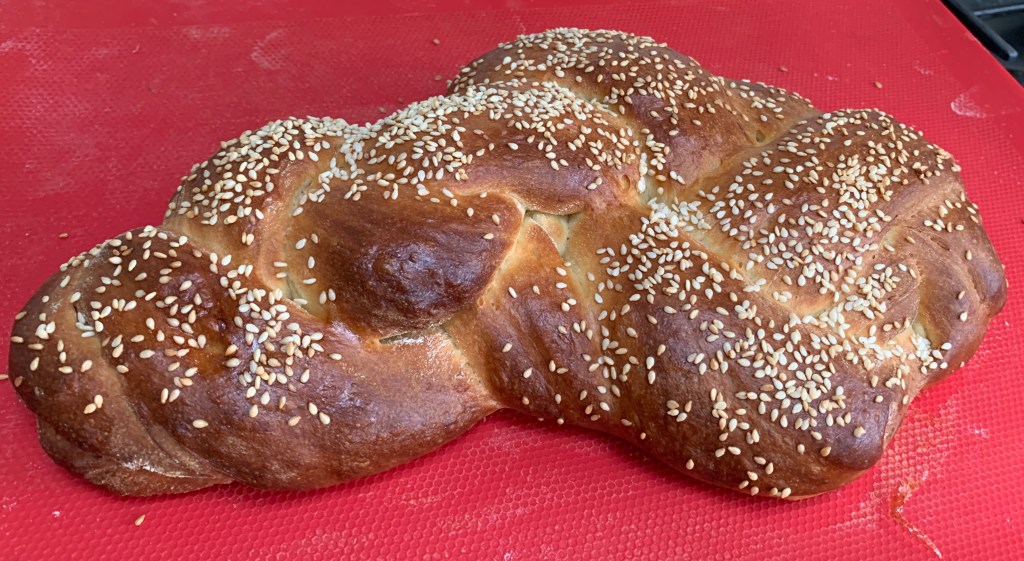
Four strand Challah after baking
This makes a single small loaf. It takes several hours from start to finish, but that’s mostly waiting time: the amount of actual work isn’t too horrific.
250g Strong while flour
4g tsp salt
15g sugar
3g dried yeast
80ml warm water (around 40℃)
2 eggs
20g sunflower oil
Poppy seeds or sesame seeds for dusting the top
Ideally, you want a silicone baking sheet to put over your baking tray (better still if you have the Silpat silicone/fibreglass type, which I don’t). But otherwise, baking parchment will do.
Preheat your oven to 50℃
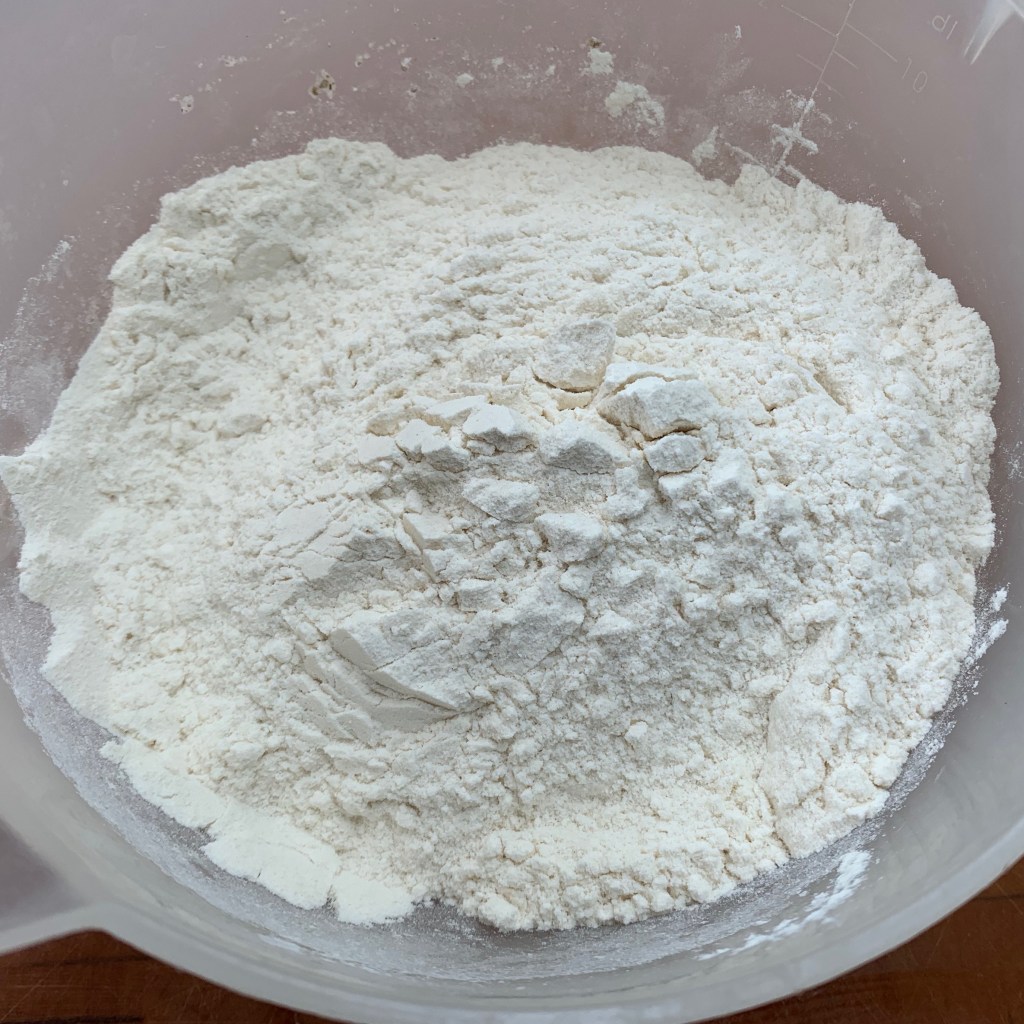
Weigh out and mix the flour, salt and sugar in a bowl
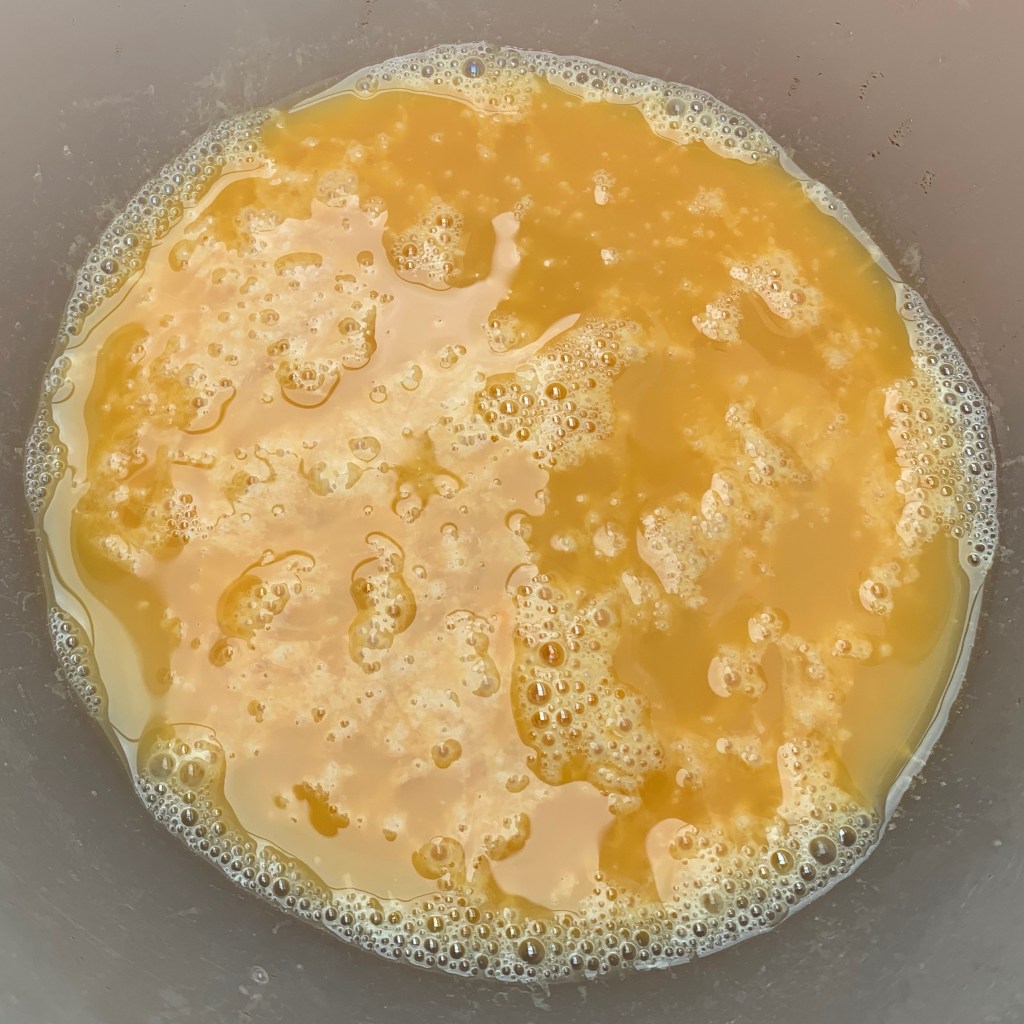
Weigh out and mix the warm water and yeast in another bowl
Separate one egg and set aside the white in a bowl; mix the yolk with the whole of the second egg, beat lightly and add to the water/yeast mix
Pour the dry mix into the wet mix and combine until it’s beginning to feel like dough. It will probably still be a bit gritty
Add the oil and mix until you have a smooth dough
You could at this point proceed directly to kneading. But you’ll save yourself time and elbow grease by leaving the dough for 10 minutes (a process called autolysis), giving it a quick fold or two and then repeating this a couple of times
Knead the dough on a lightly floured surface. You’ll only need a bit of flour on your hands and on the surface – don’t be tempted to flood the dough with raw flour at this stage. Keep kneading until the dough is elastic and springs back when tugged or prodded.
Turn your oven off. Put your ball of dough back into the bowl, cover it and leave it to rise in your turned off oven. You’ll probably want it to rise for a couple of hours: you have to judge this by eye and experience.
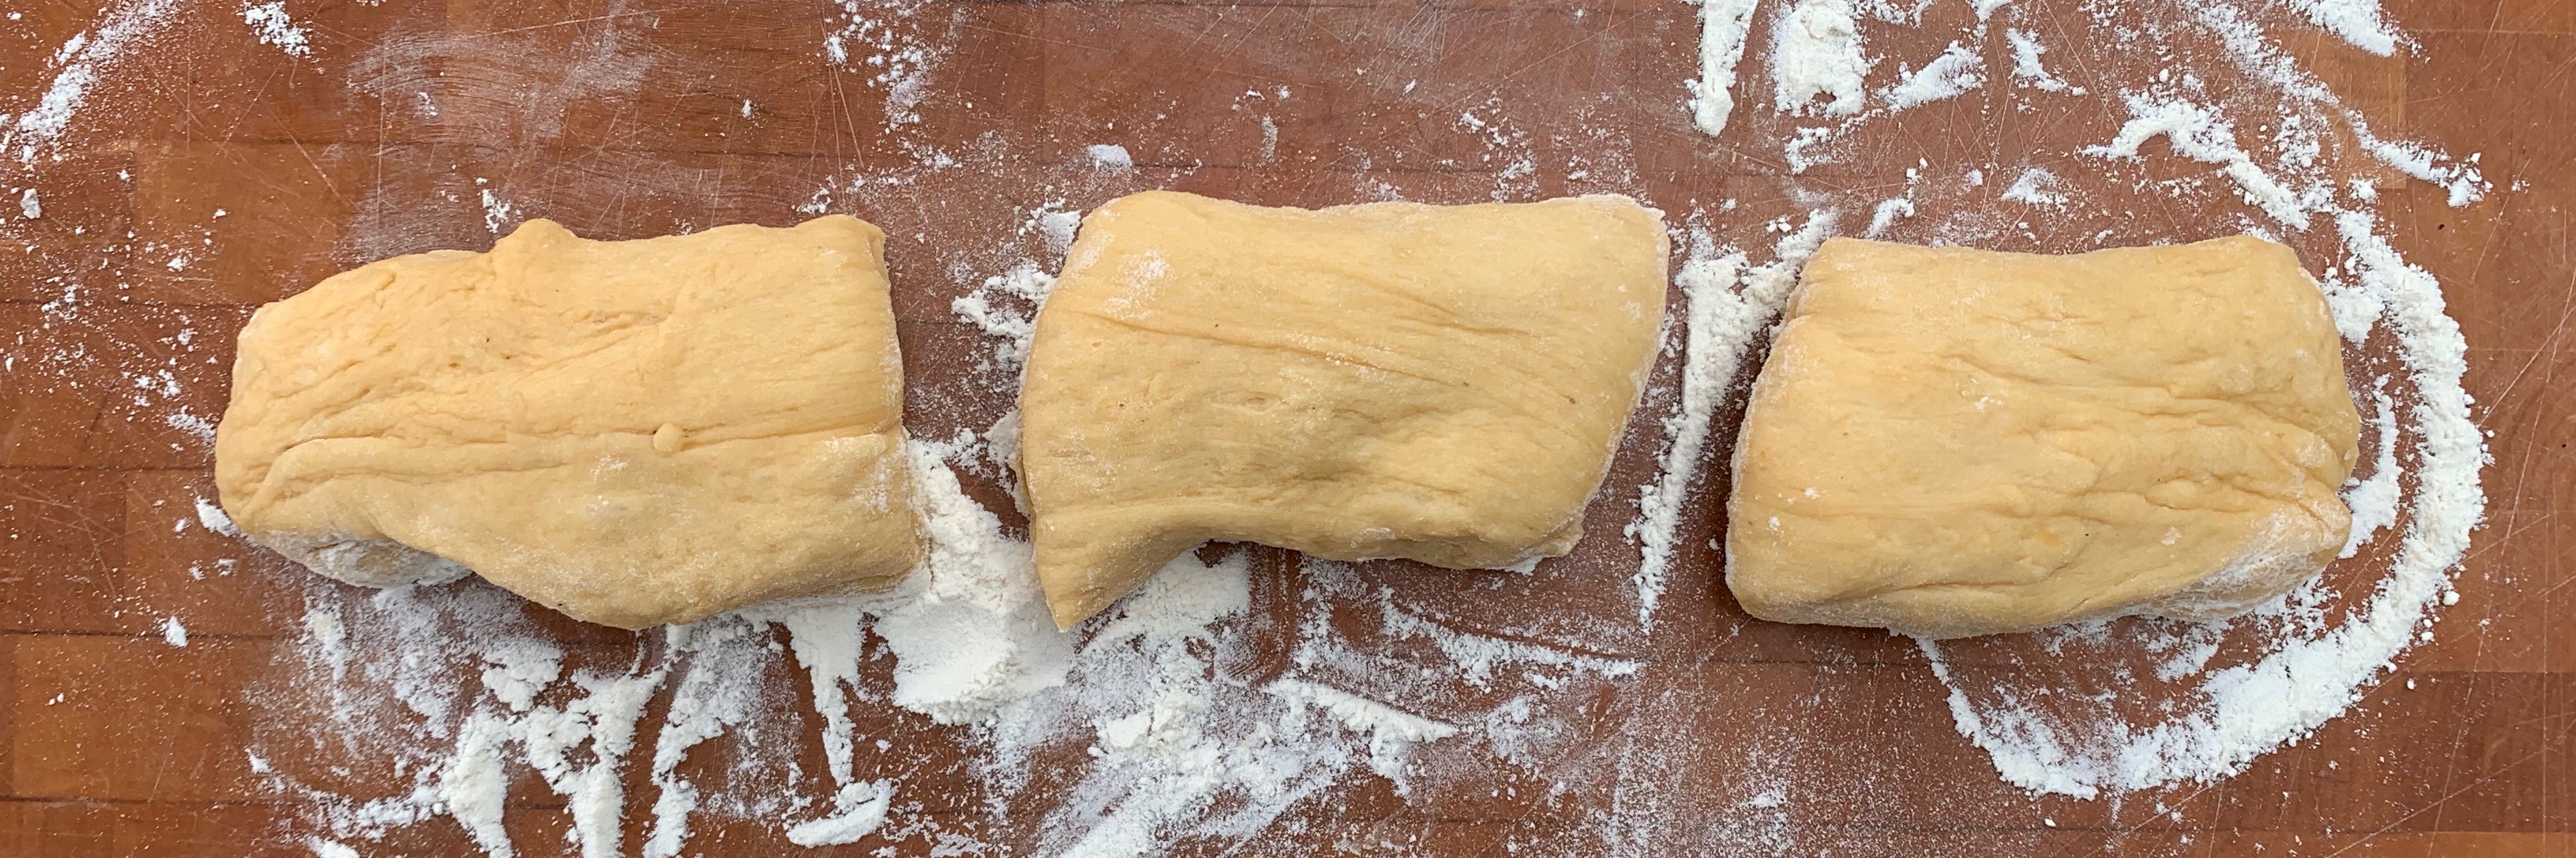
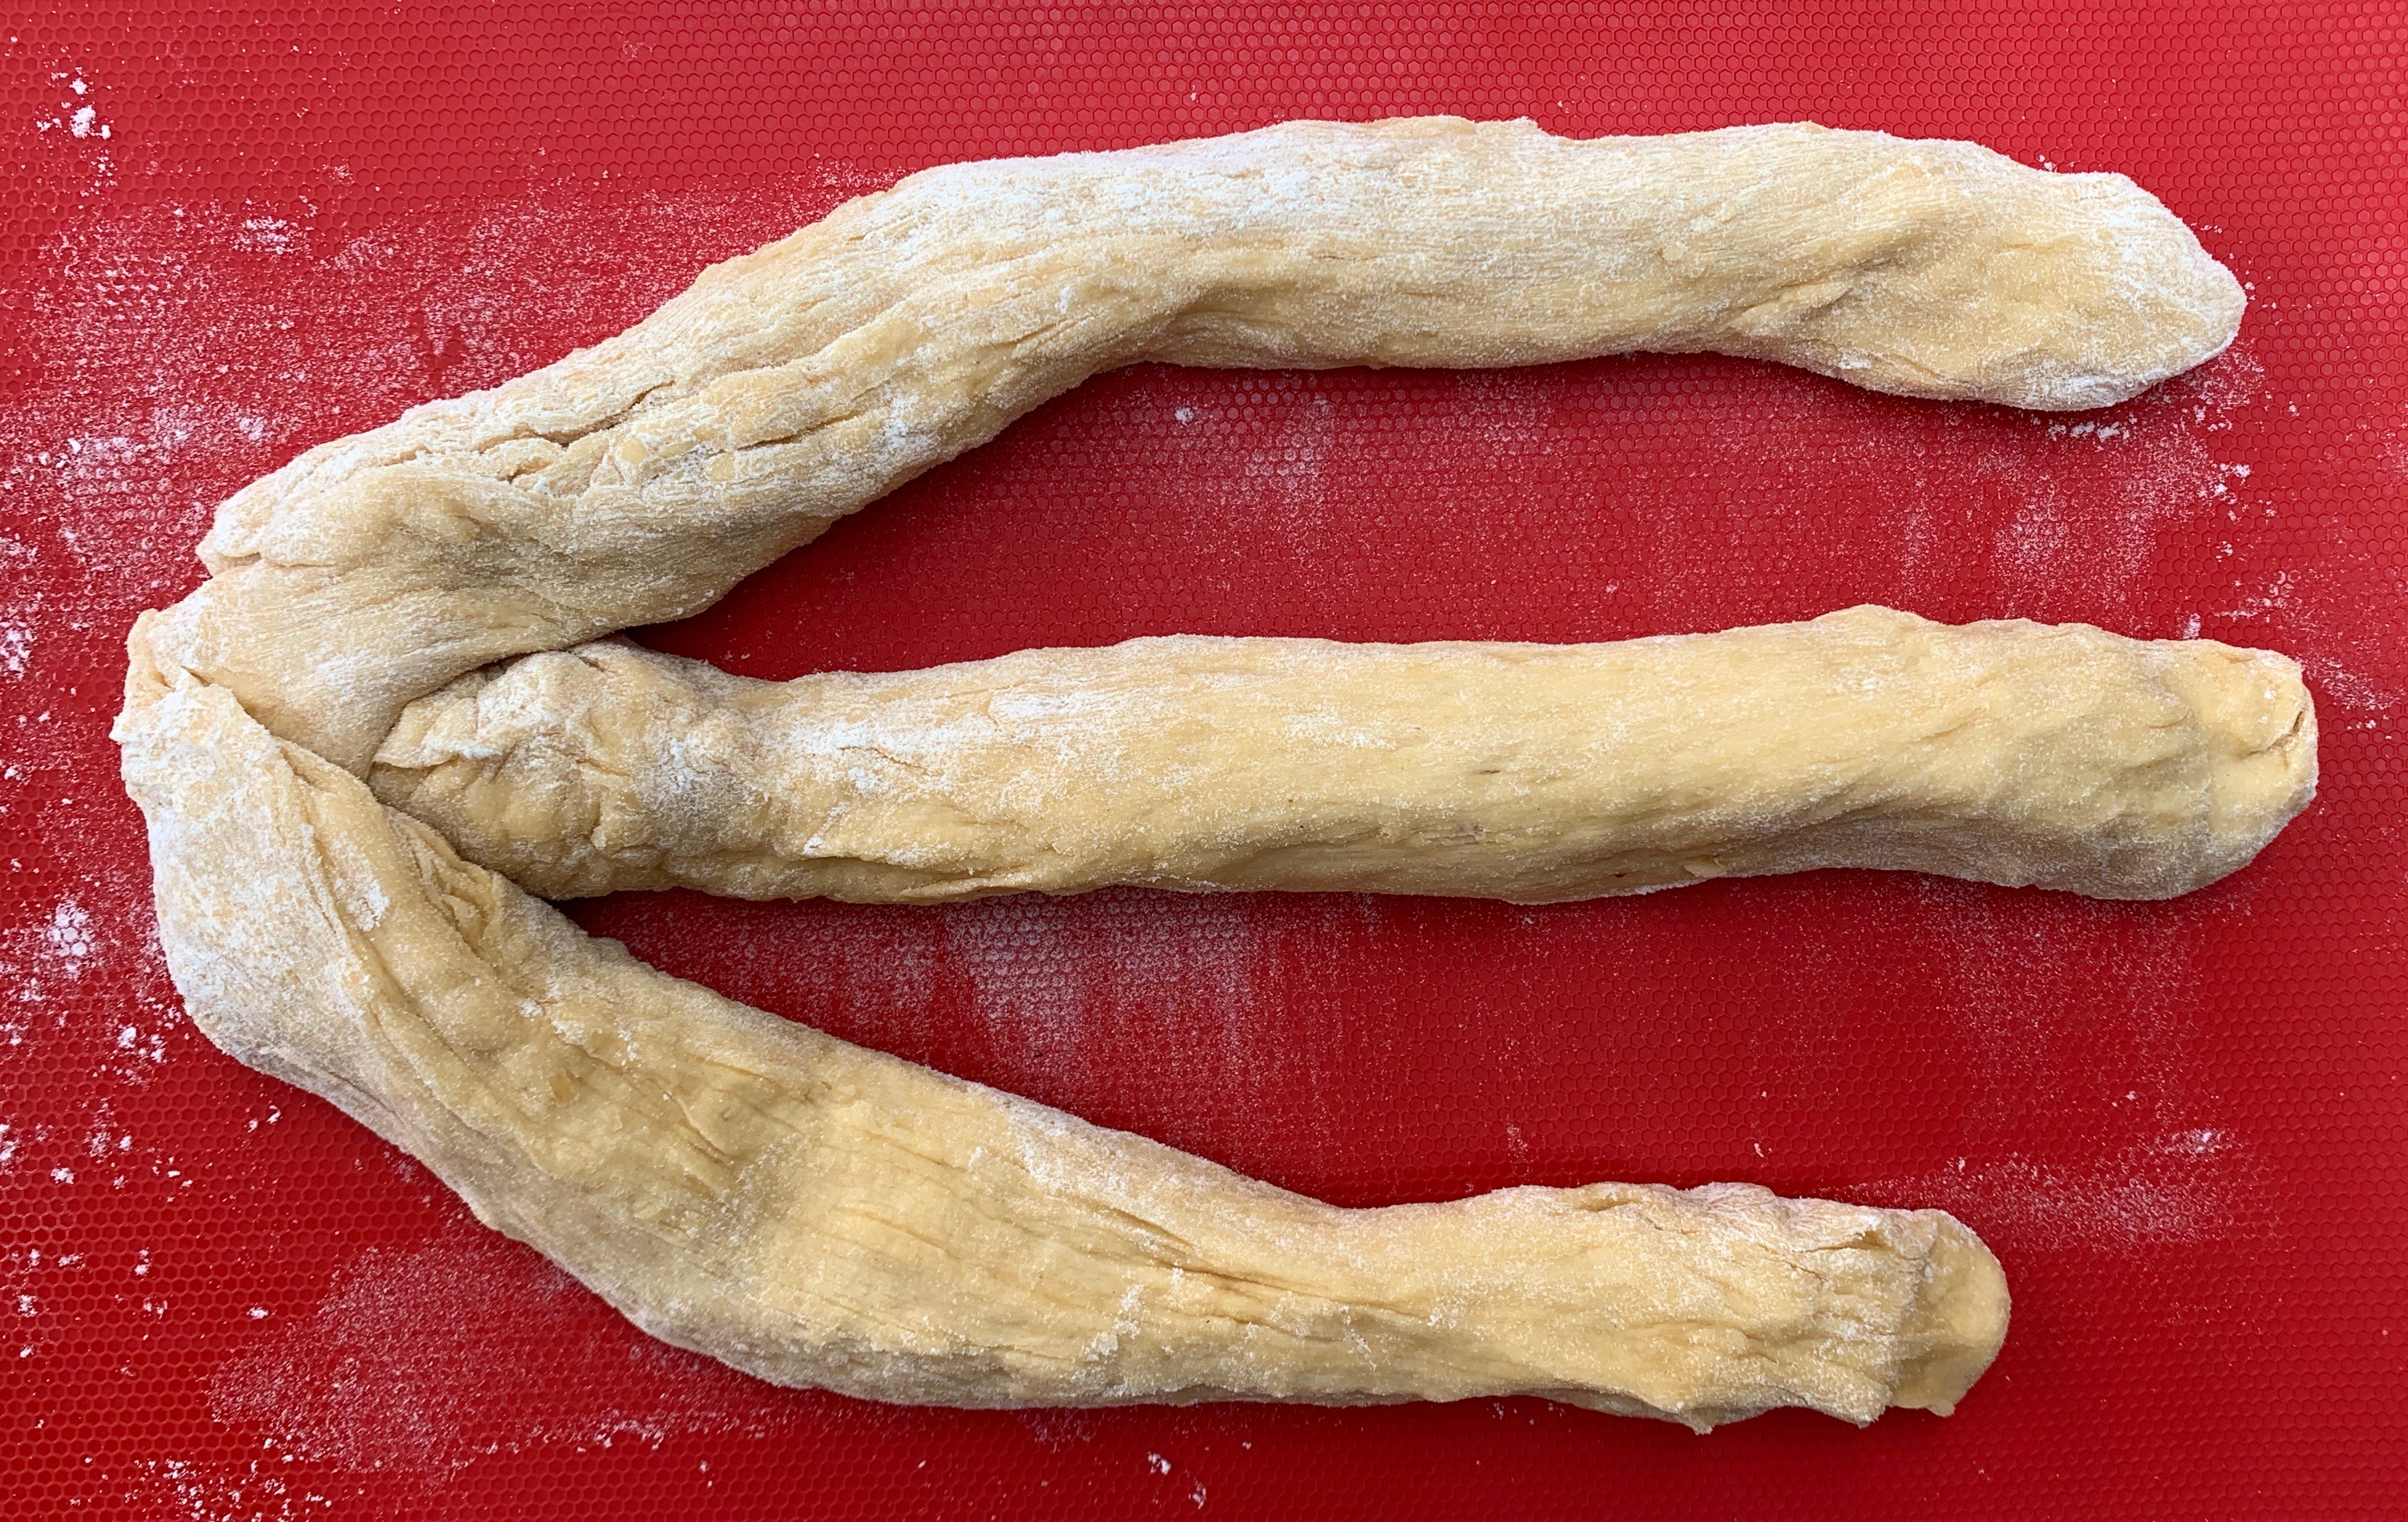
Punch the dough down, transfer it to a lightly floured surface, divide it into equal parts: as many as you have chosen for your braid. Roll each part into a sausage, stretched out as long as you can reasonably make it while keeping all your strands the same length.
Braid the dough as per the instructions in the video – either on your board or, preferably, directly onto the baking sheet.
Transfer the baking sheet onto your tray (or, if you didn’t have a baking sheet, transfer the braided loaf to your lined tray). Brush the loaf with some of the egg white that you reserved in step 4, and sprinkle a generous helping of sesame or poppy seeds over the top.
Cover the challah with an inverted bowl or domed lid that’s large enough so that the challah won’t touch it when it expands. Now leave it in a warm place until it is well risen: this can be anything from 30 minutes to a couple of hours depending on the ambient temperature and on how strong your yeast was in the first place.
Make sure you turn your oven to 200℃ fan in plenty of time: the oven could easily take 15-20 minutes to come to temperature and you don’t want your challah sagging horribly while you’re waiting for it.
Bake the challah for around 20 minutes. The crust should be a medium to dark golden brown and if you stick a skewer into the bottom, there should be no sign of stickiness upon removal.
Leave the challah to cool on a rack.
Notes:
For step 9, various authorities on bread-making say that you will get a better flavour by using a much slower rise at much lower temperature: perhaps 8 hours at a room temperature of 20℃ or so, or even longer in the fridge. I’ve never tried.
For step 13, if you have two ovens, you can use the same trick as step 9: preheat one oven to 50℃, then turn it off and use it as a proving drawer. Then use the other oven for the actual bake. If you only have one oven, you can’t really do this: if you have a boiler cupboard or airing cupboard that’s warmer than your kitchen, you can use it. Otherwise, you’ll just have to do the second rise at room temperature and be patient.
Some recipes recommend that you preheat the oven to 250℃ and then turn it down as soon as you’ve put the bread in. This gets a slightly better crust, but runs the risk of you forgetting to turn the oven down, something that’s now happened to me sufficiently often that I don’t go for this any more.
The usual in-process shots:
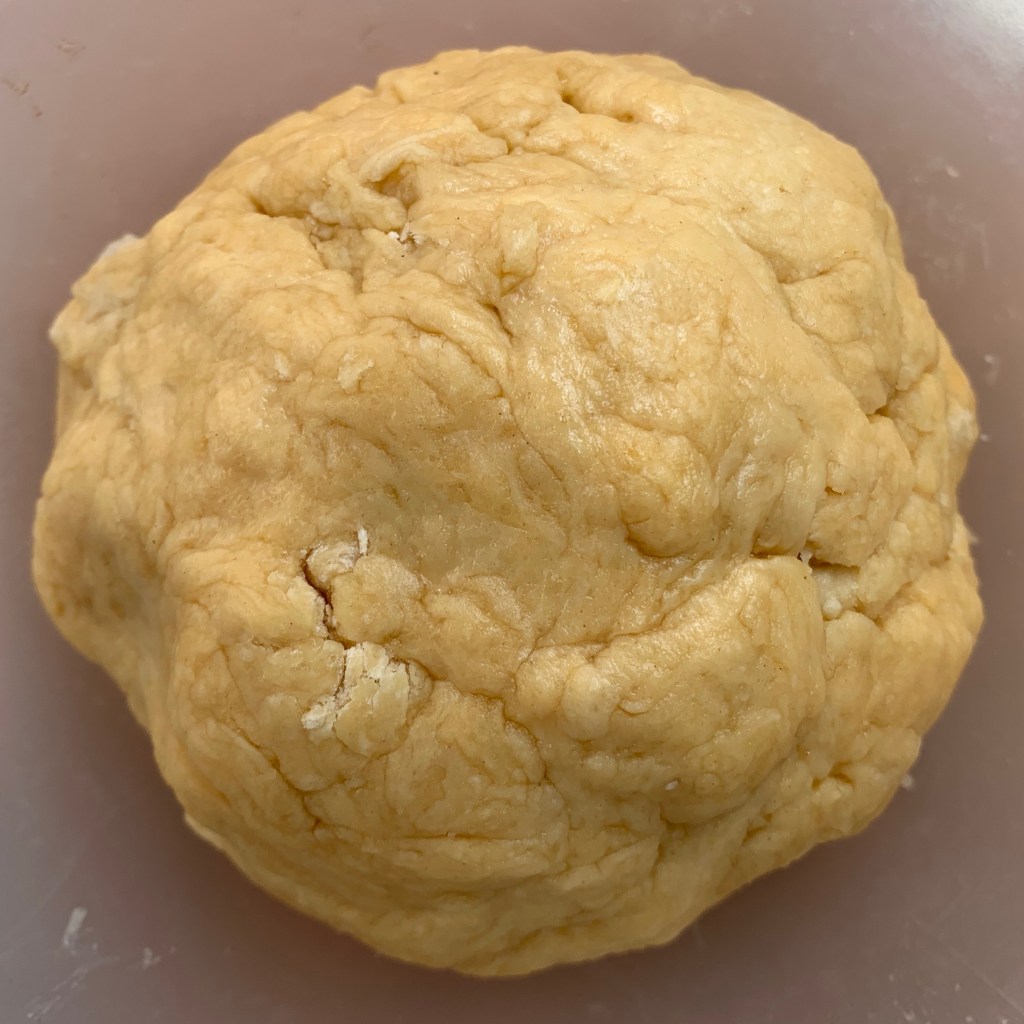
Dry mix
Wet mix
The mixed dough
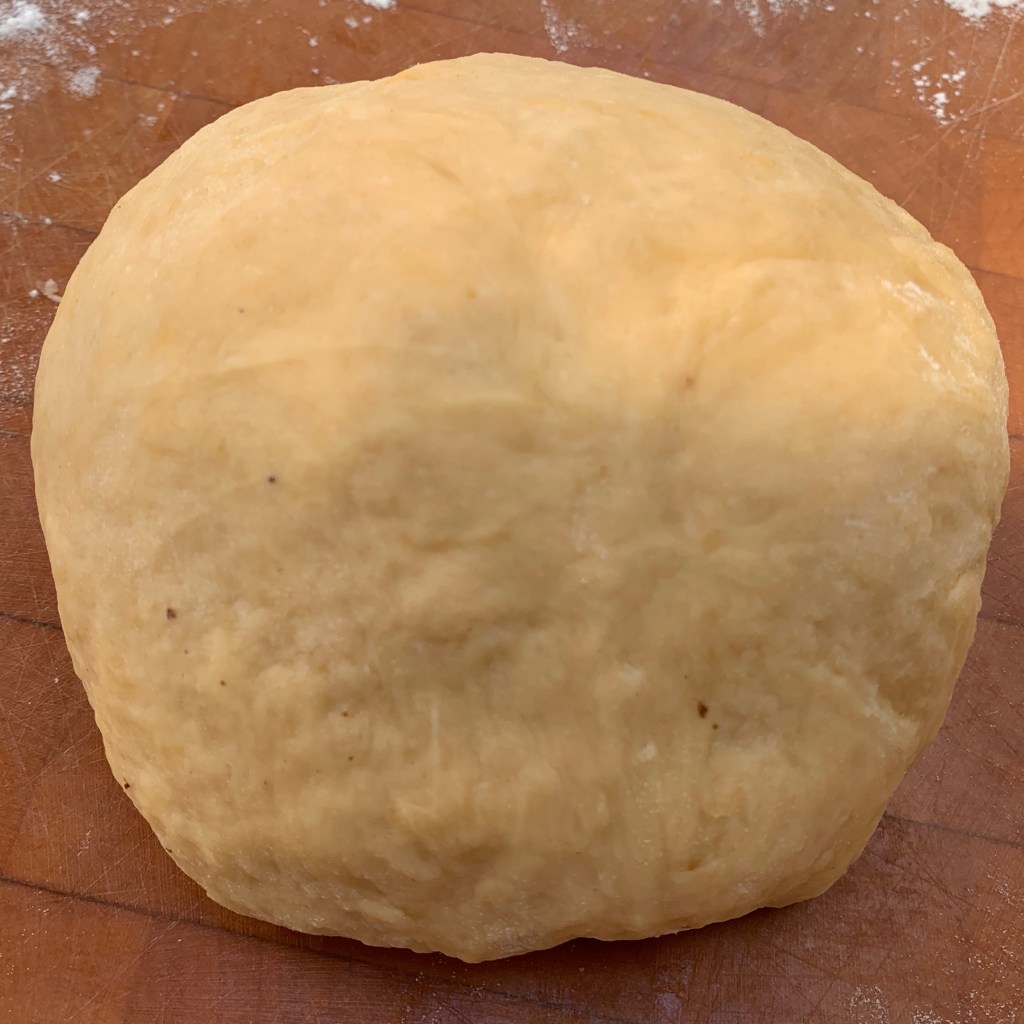
After kneading
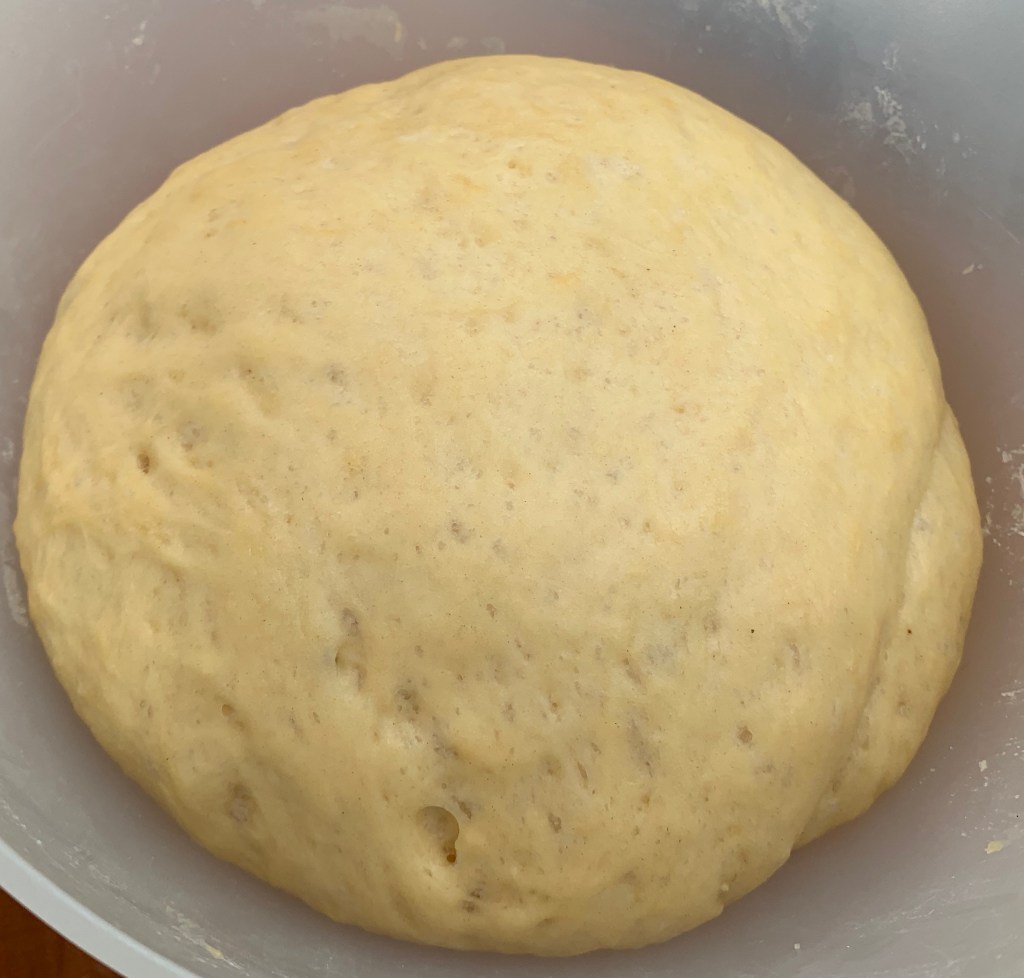
After first rise
And here’s a quick look at the braiding process. But truly, use someone else’s!