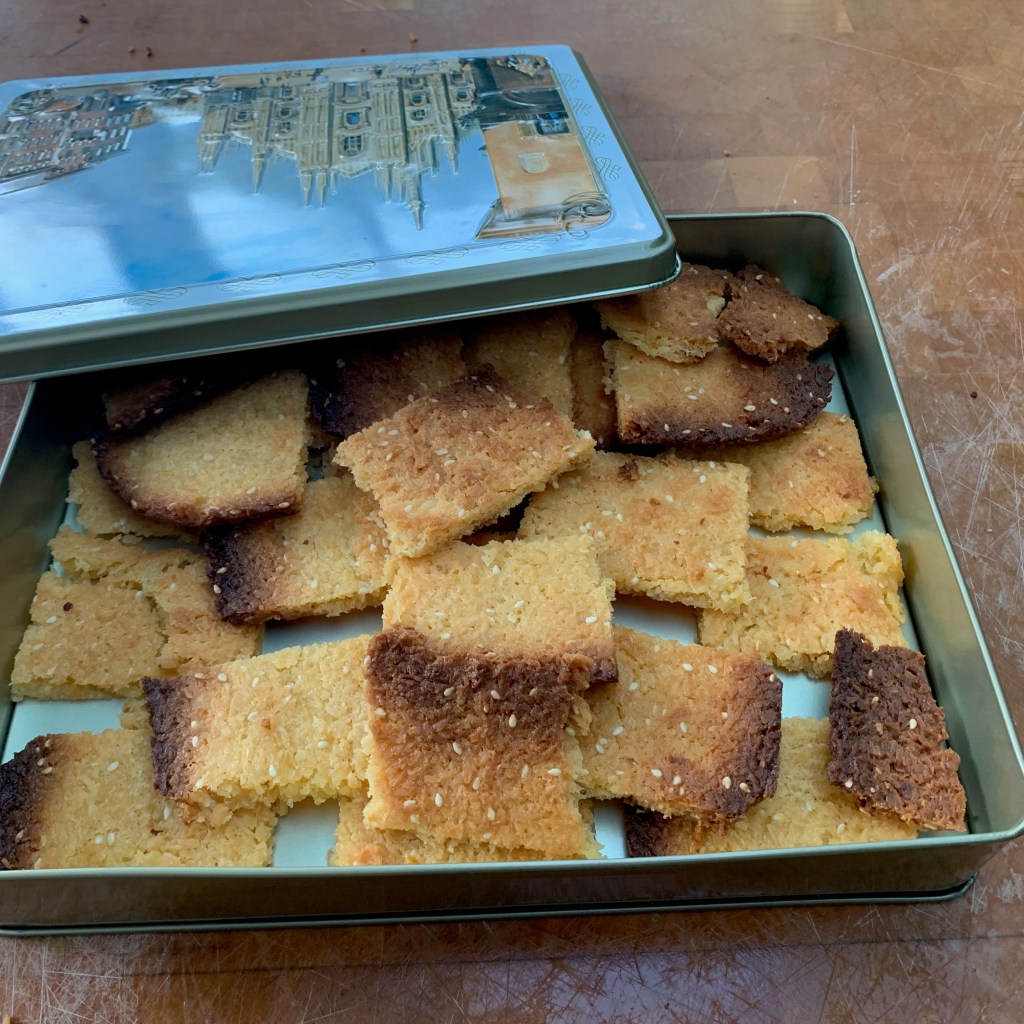
OK, so there are a few dubious categorisations here to make the images line up. But I’ve done my best.
Biscuits (aka cookies)


Breads (loaves)


Breads – sweet

Cakes
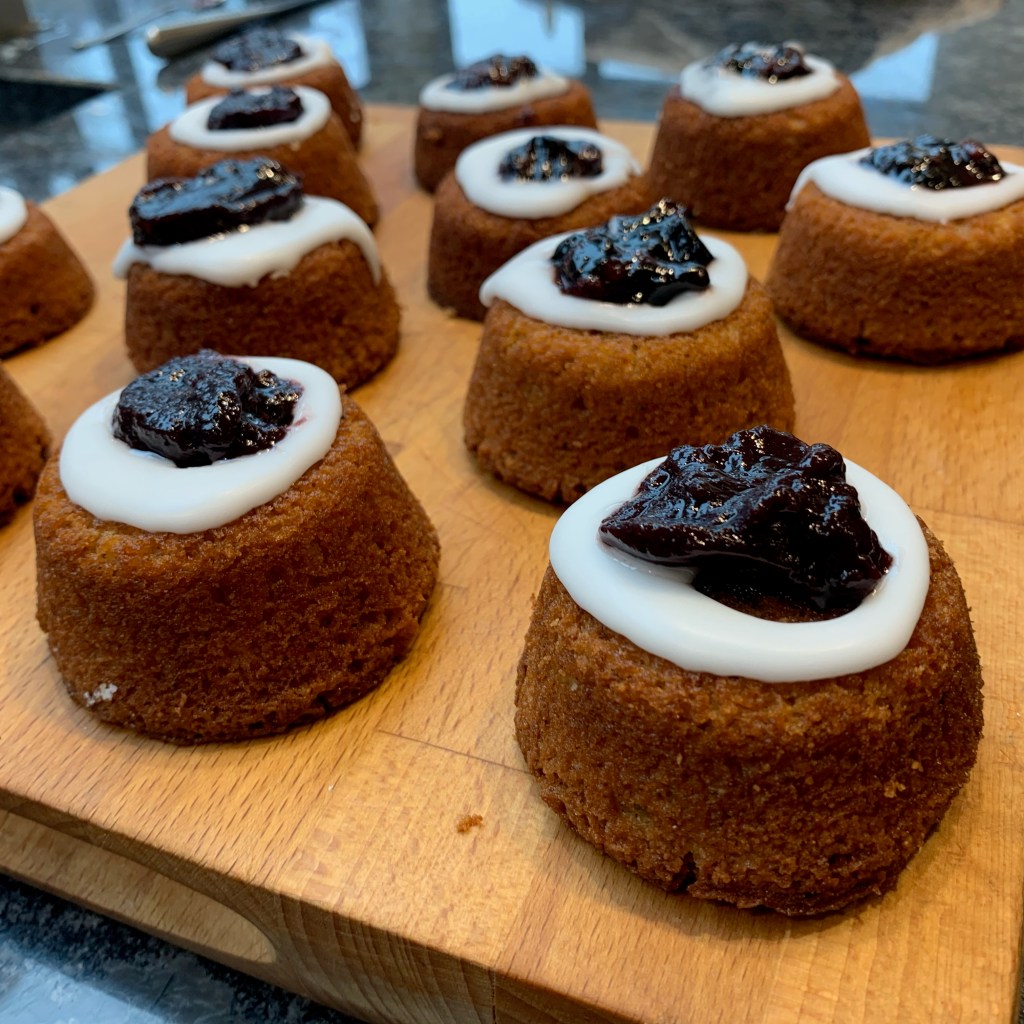
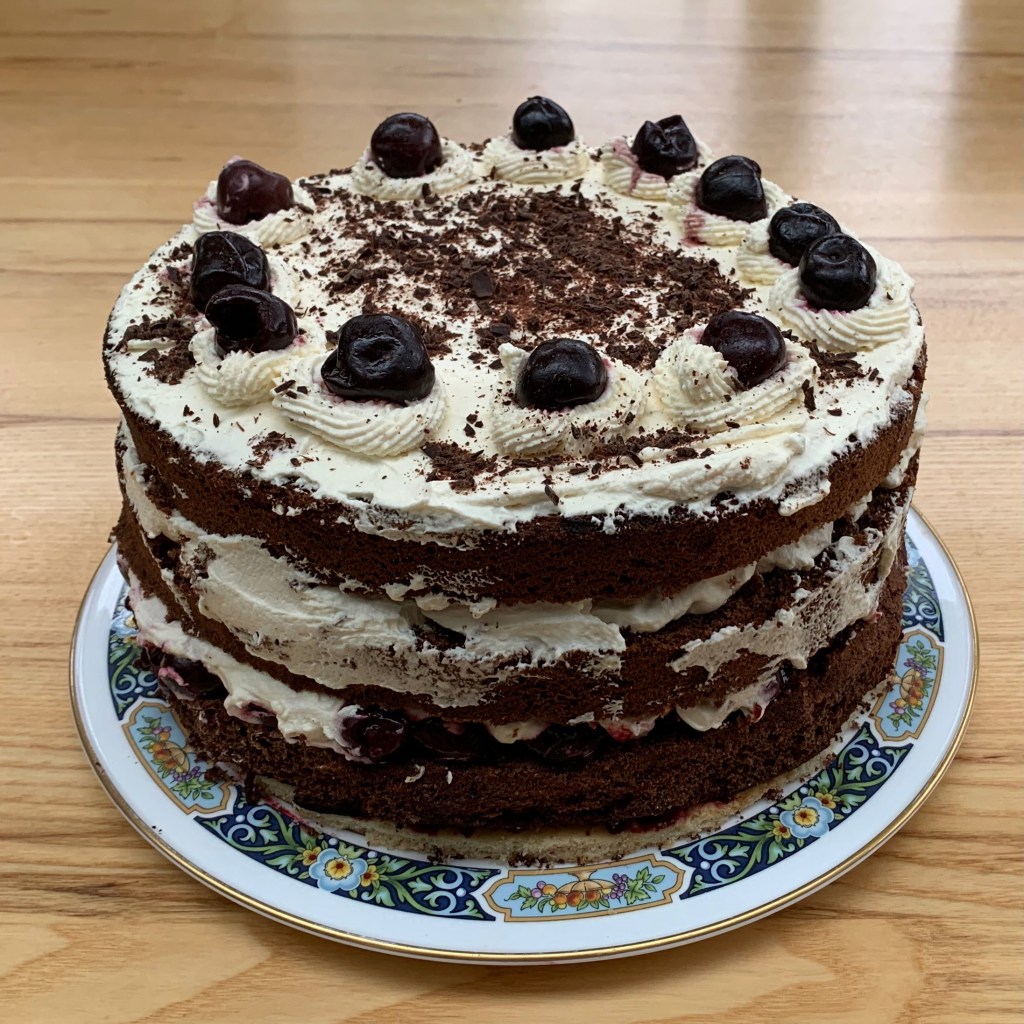
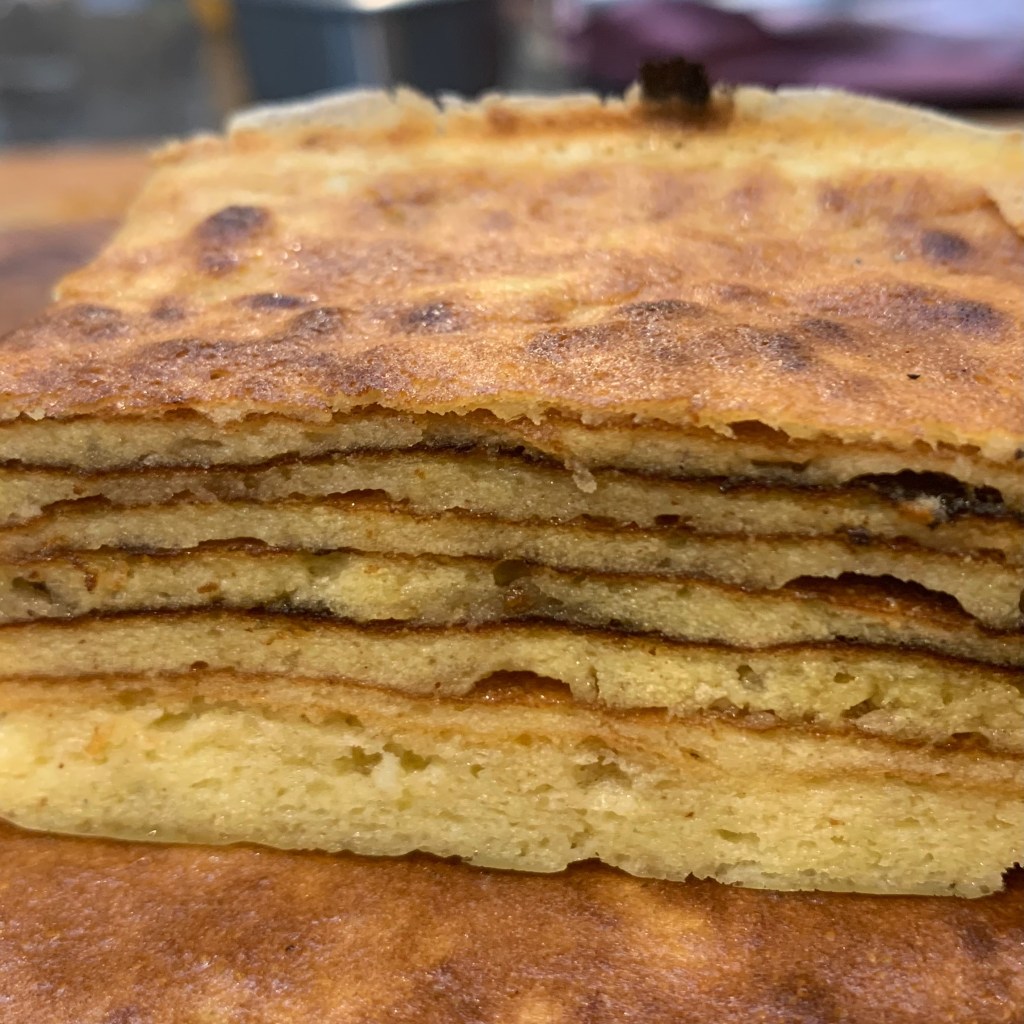

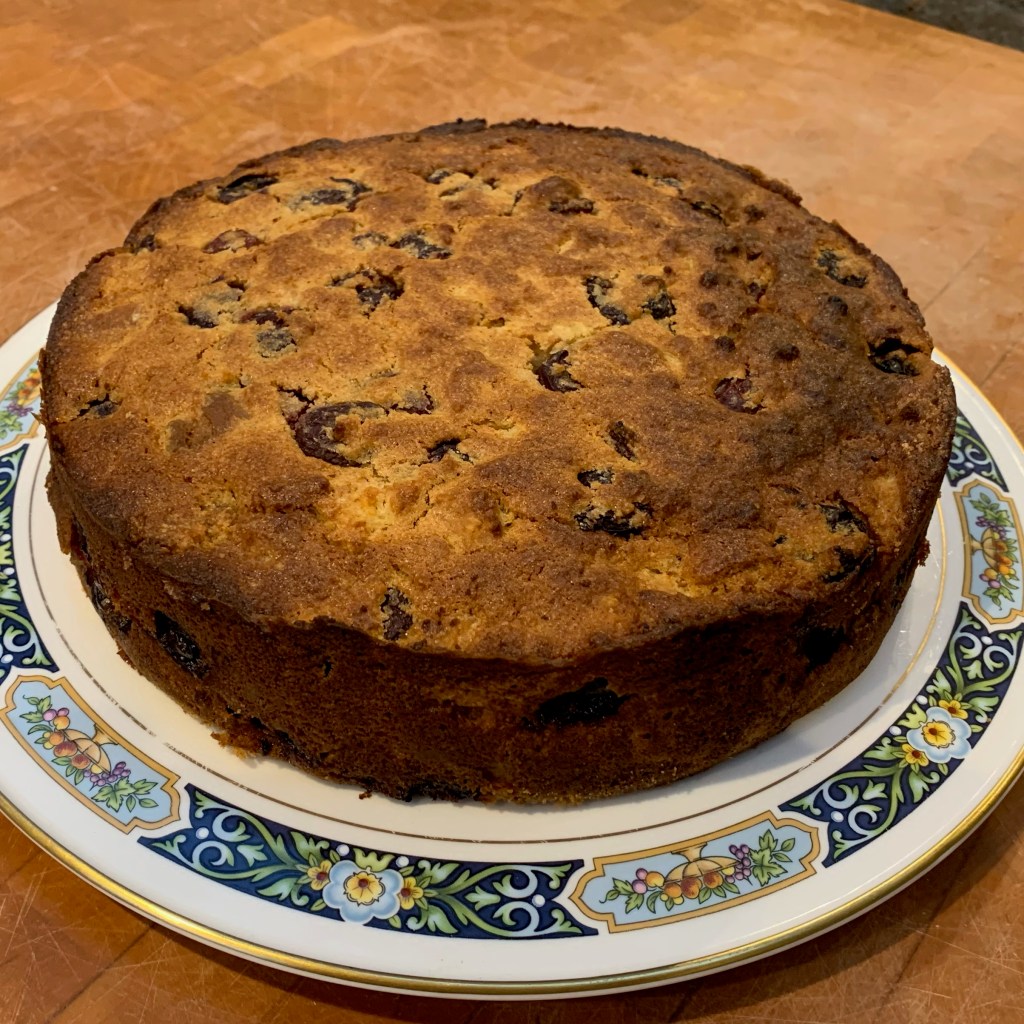
Flatbreads
Pastries – sweet
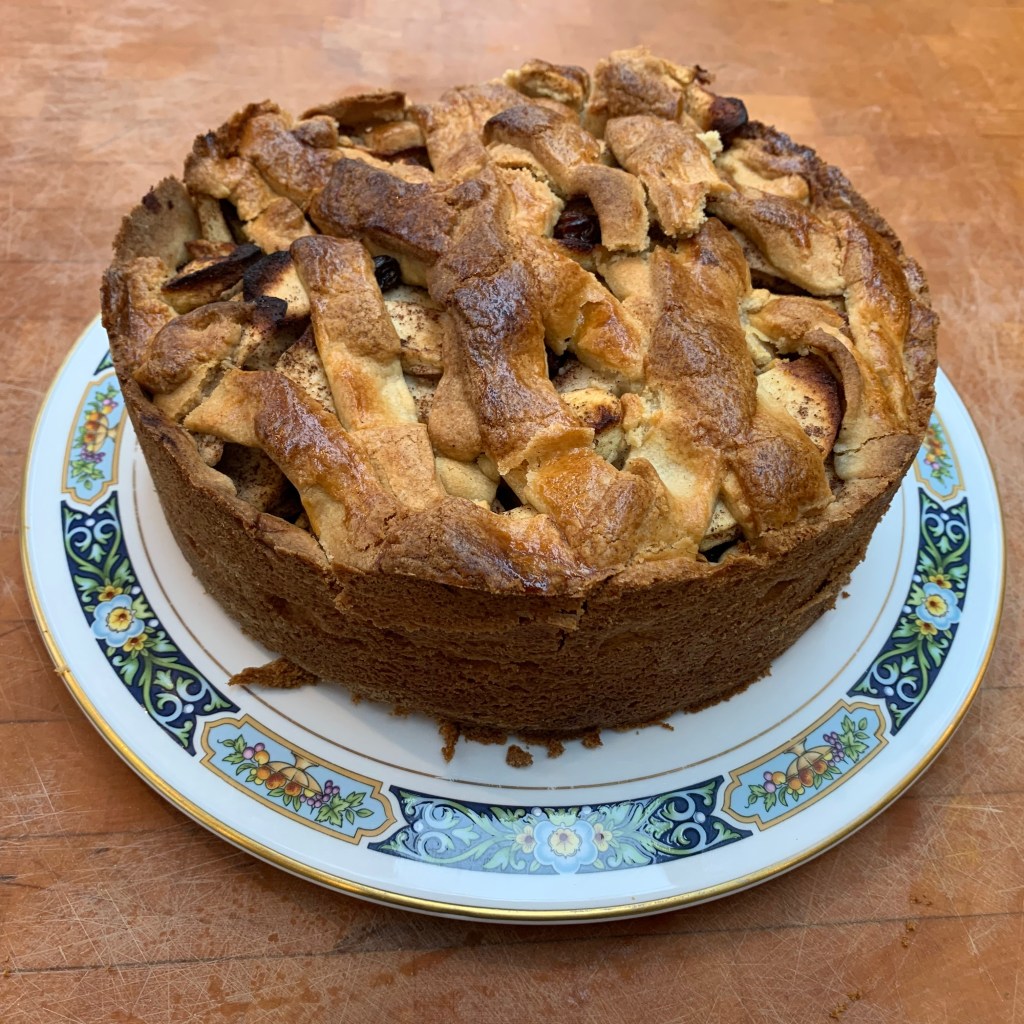
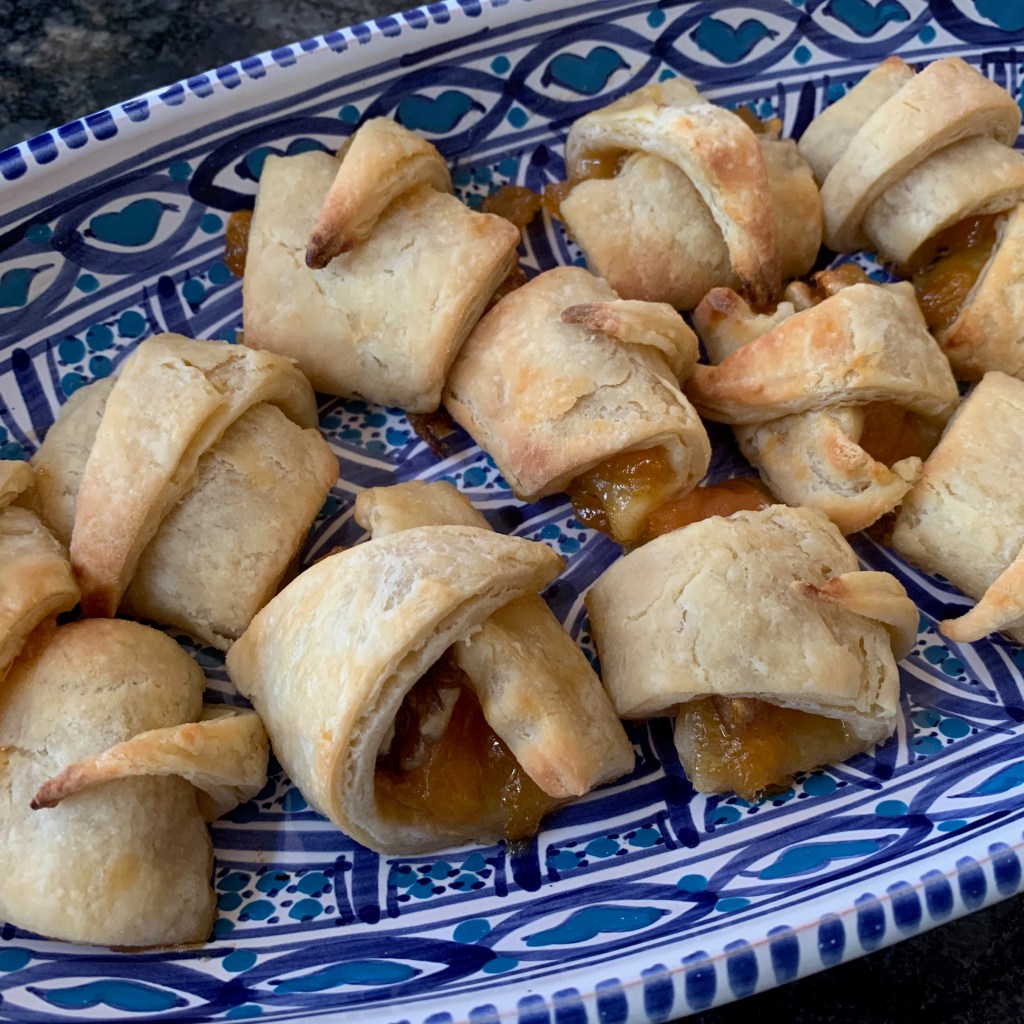
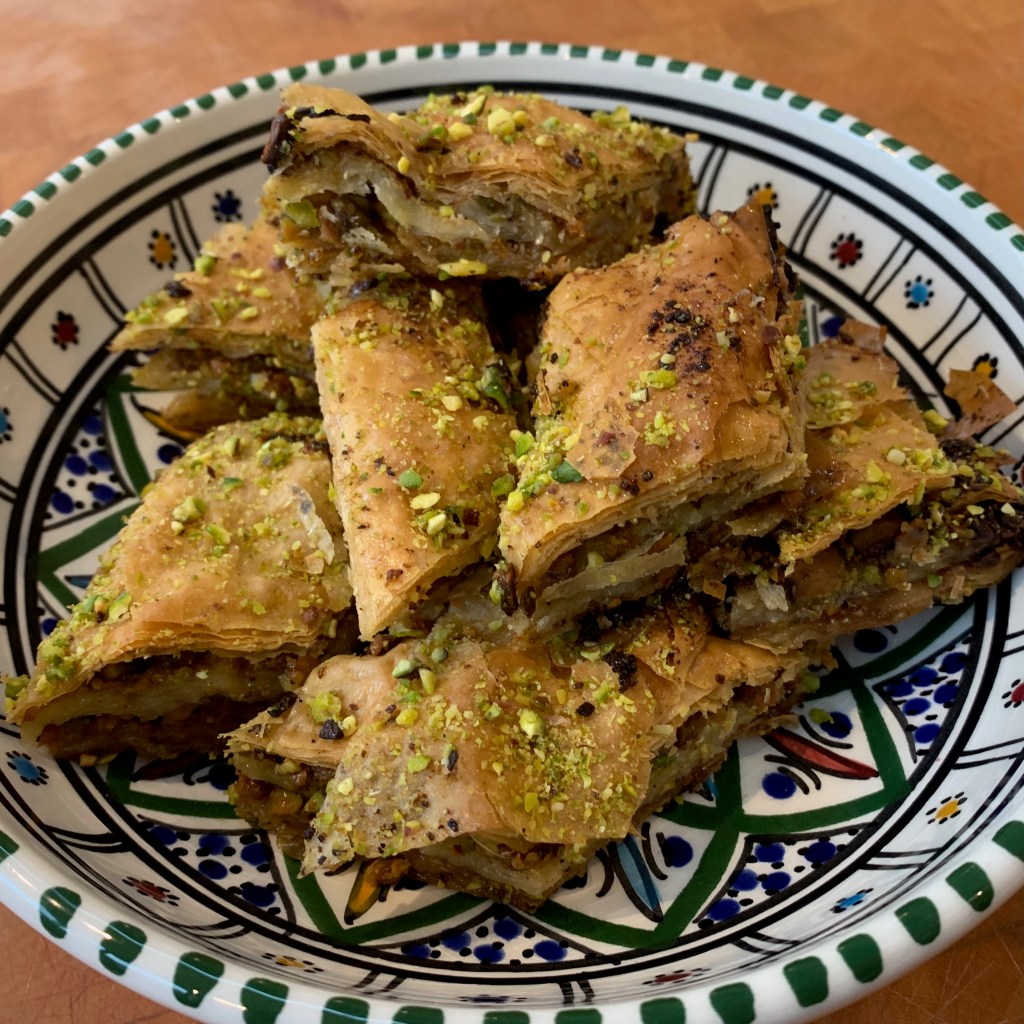
Savoury dishes
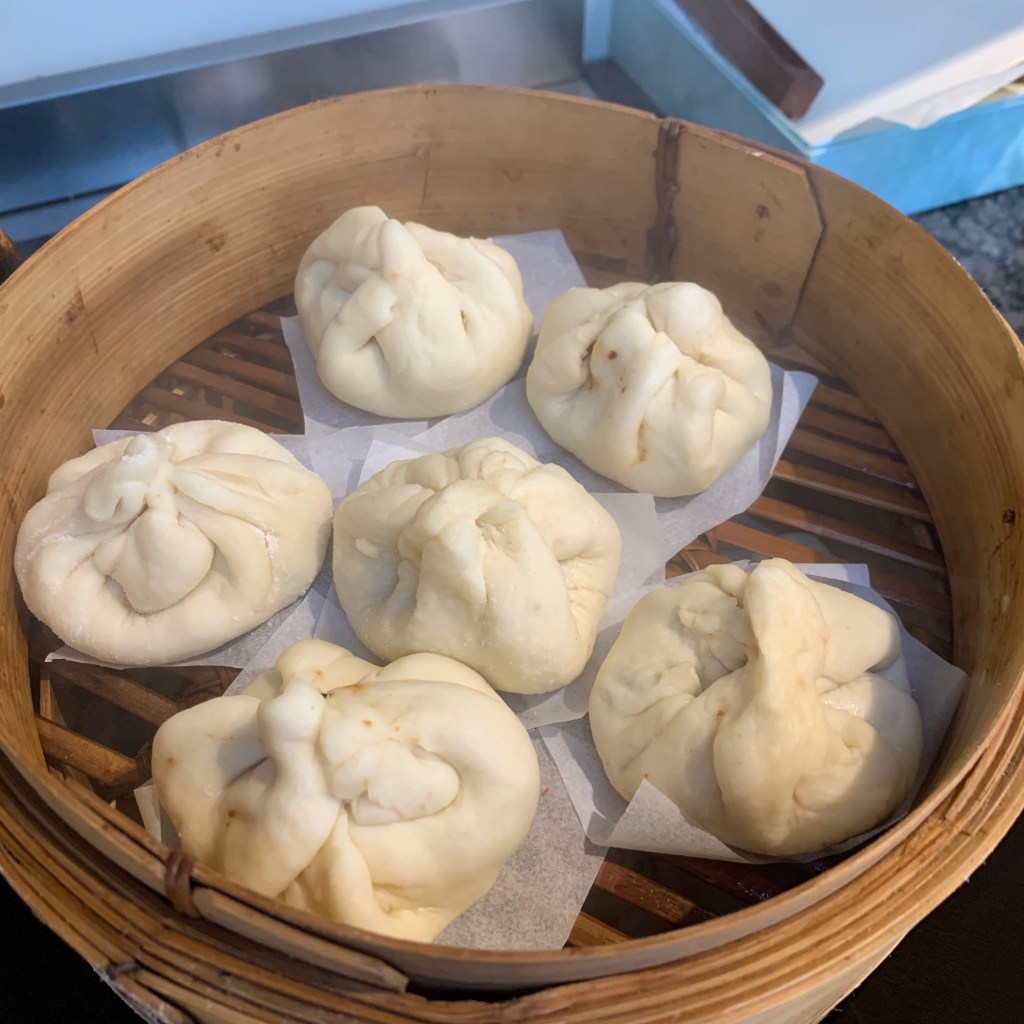
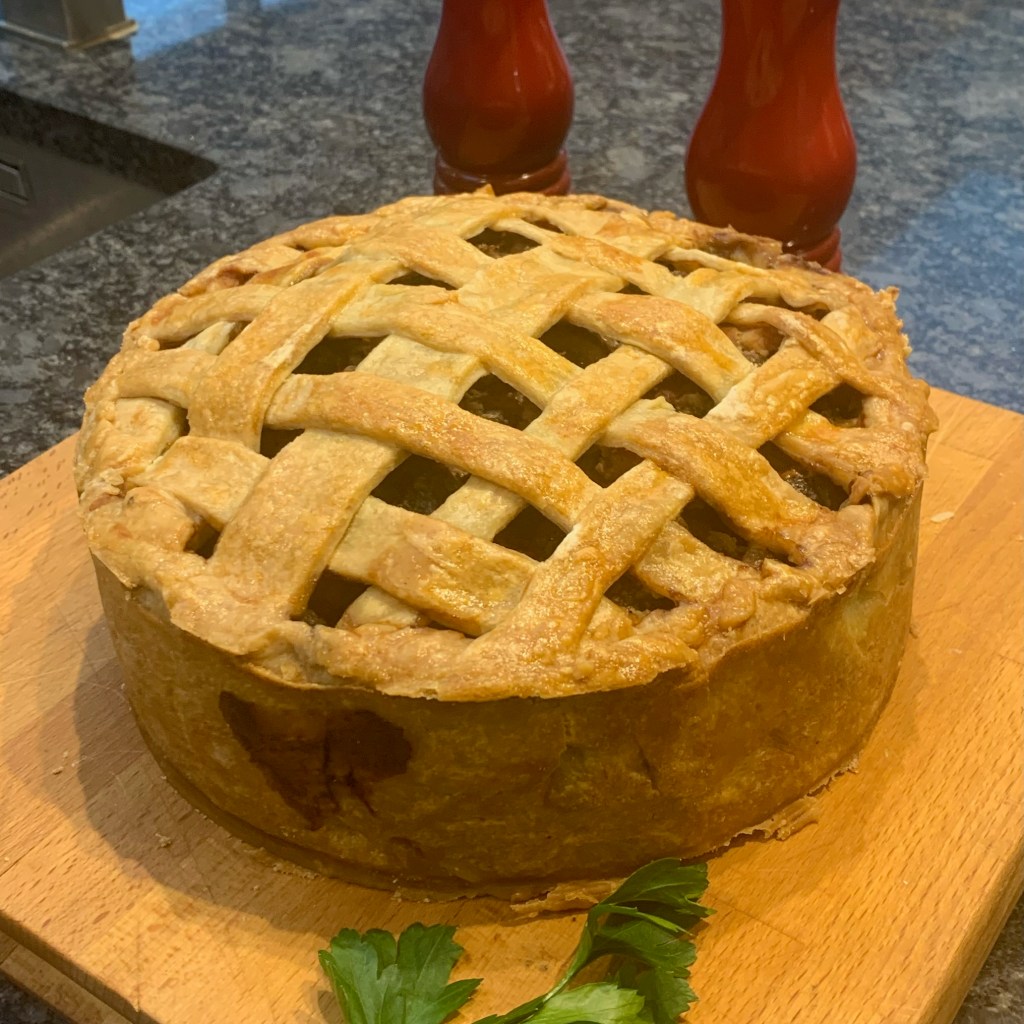


Other

David's blog for everything. Except classical music.
Tag: Bread making
OK, so there are a few dubious categorisations here to make the images line up. But I’ve done my best.
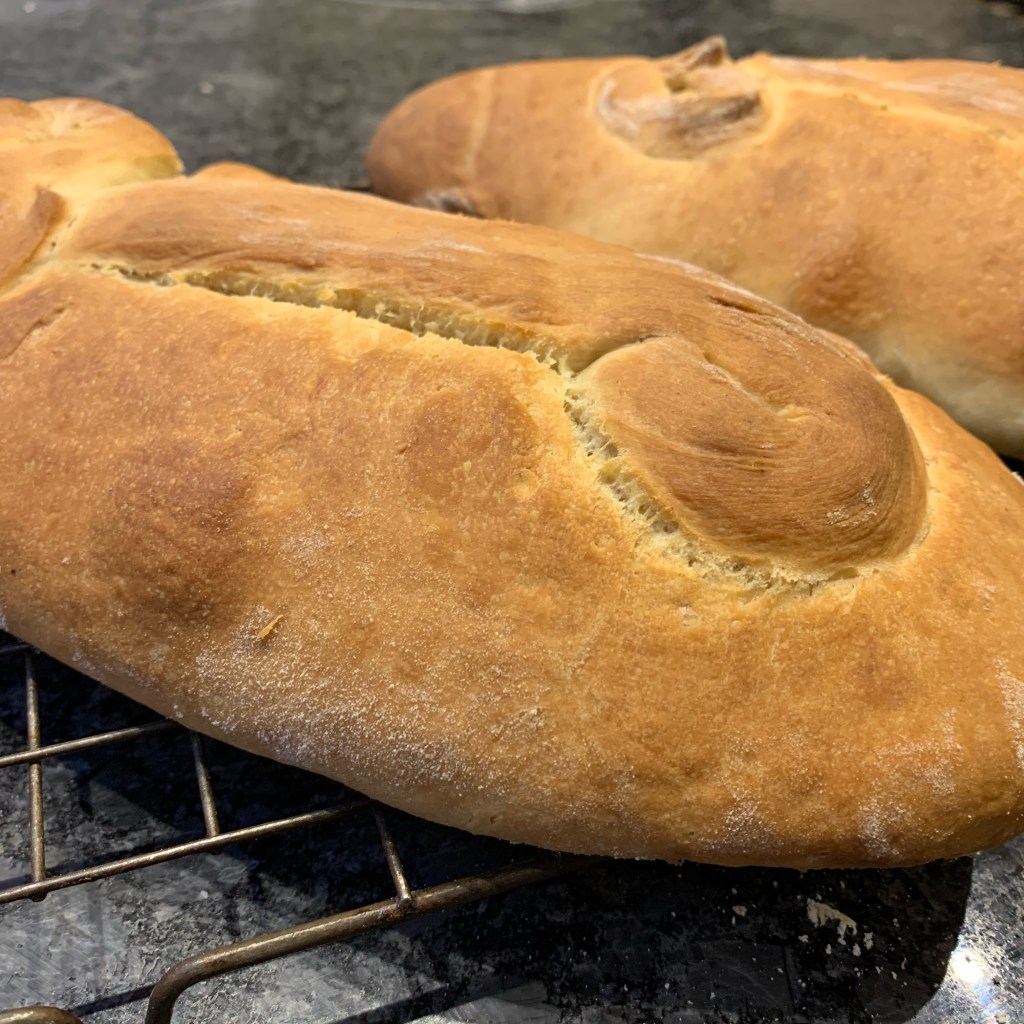
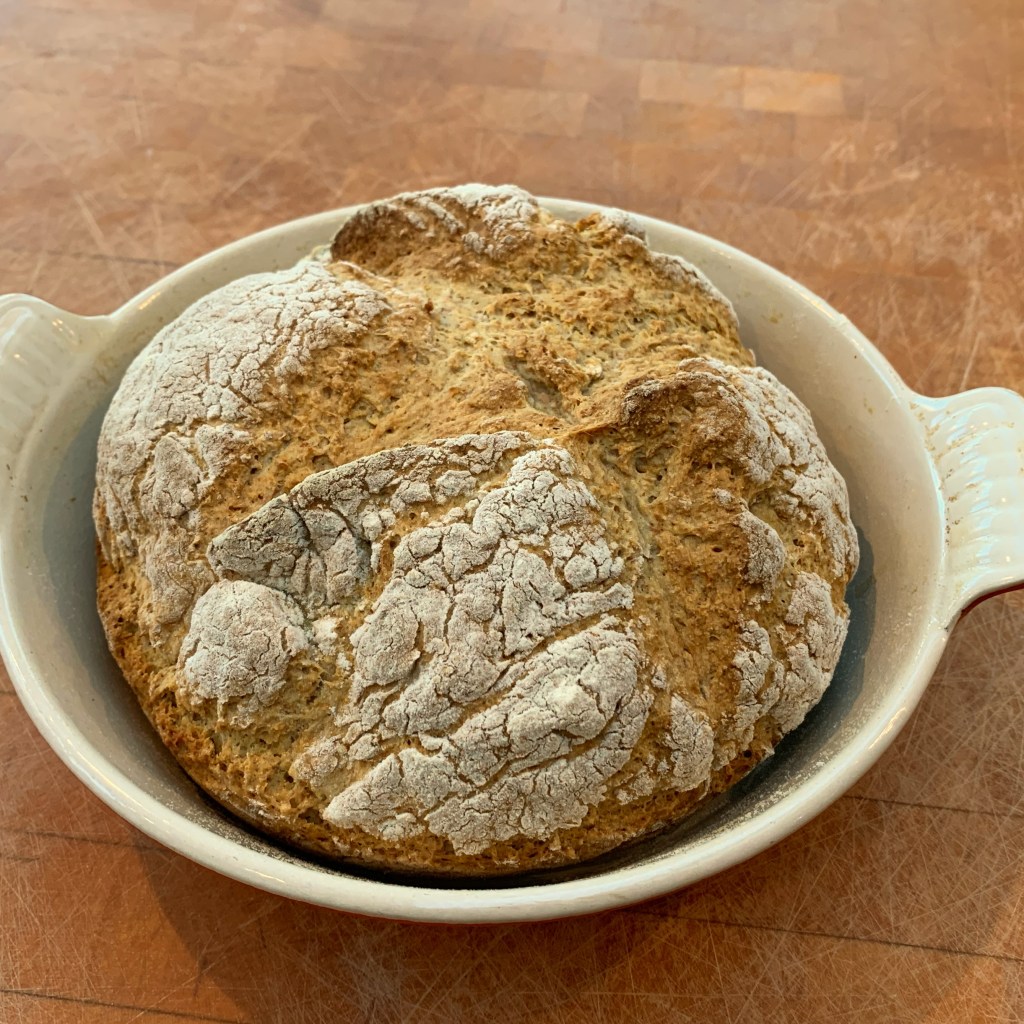
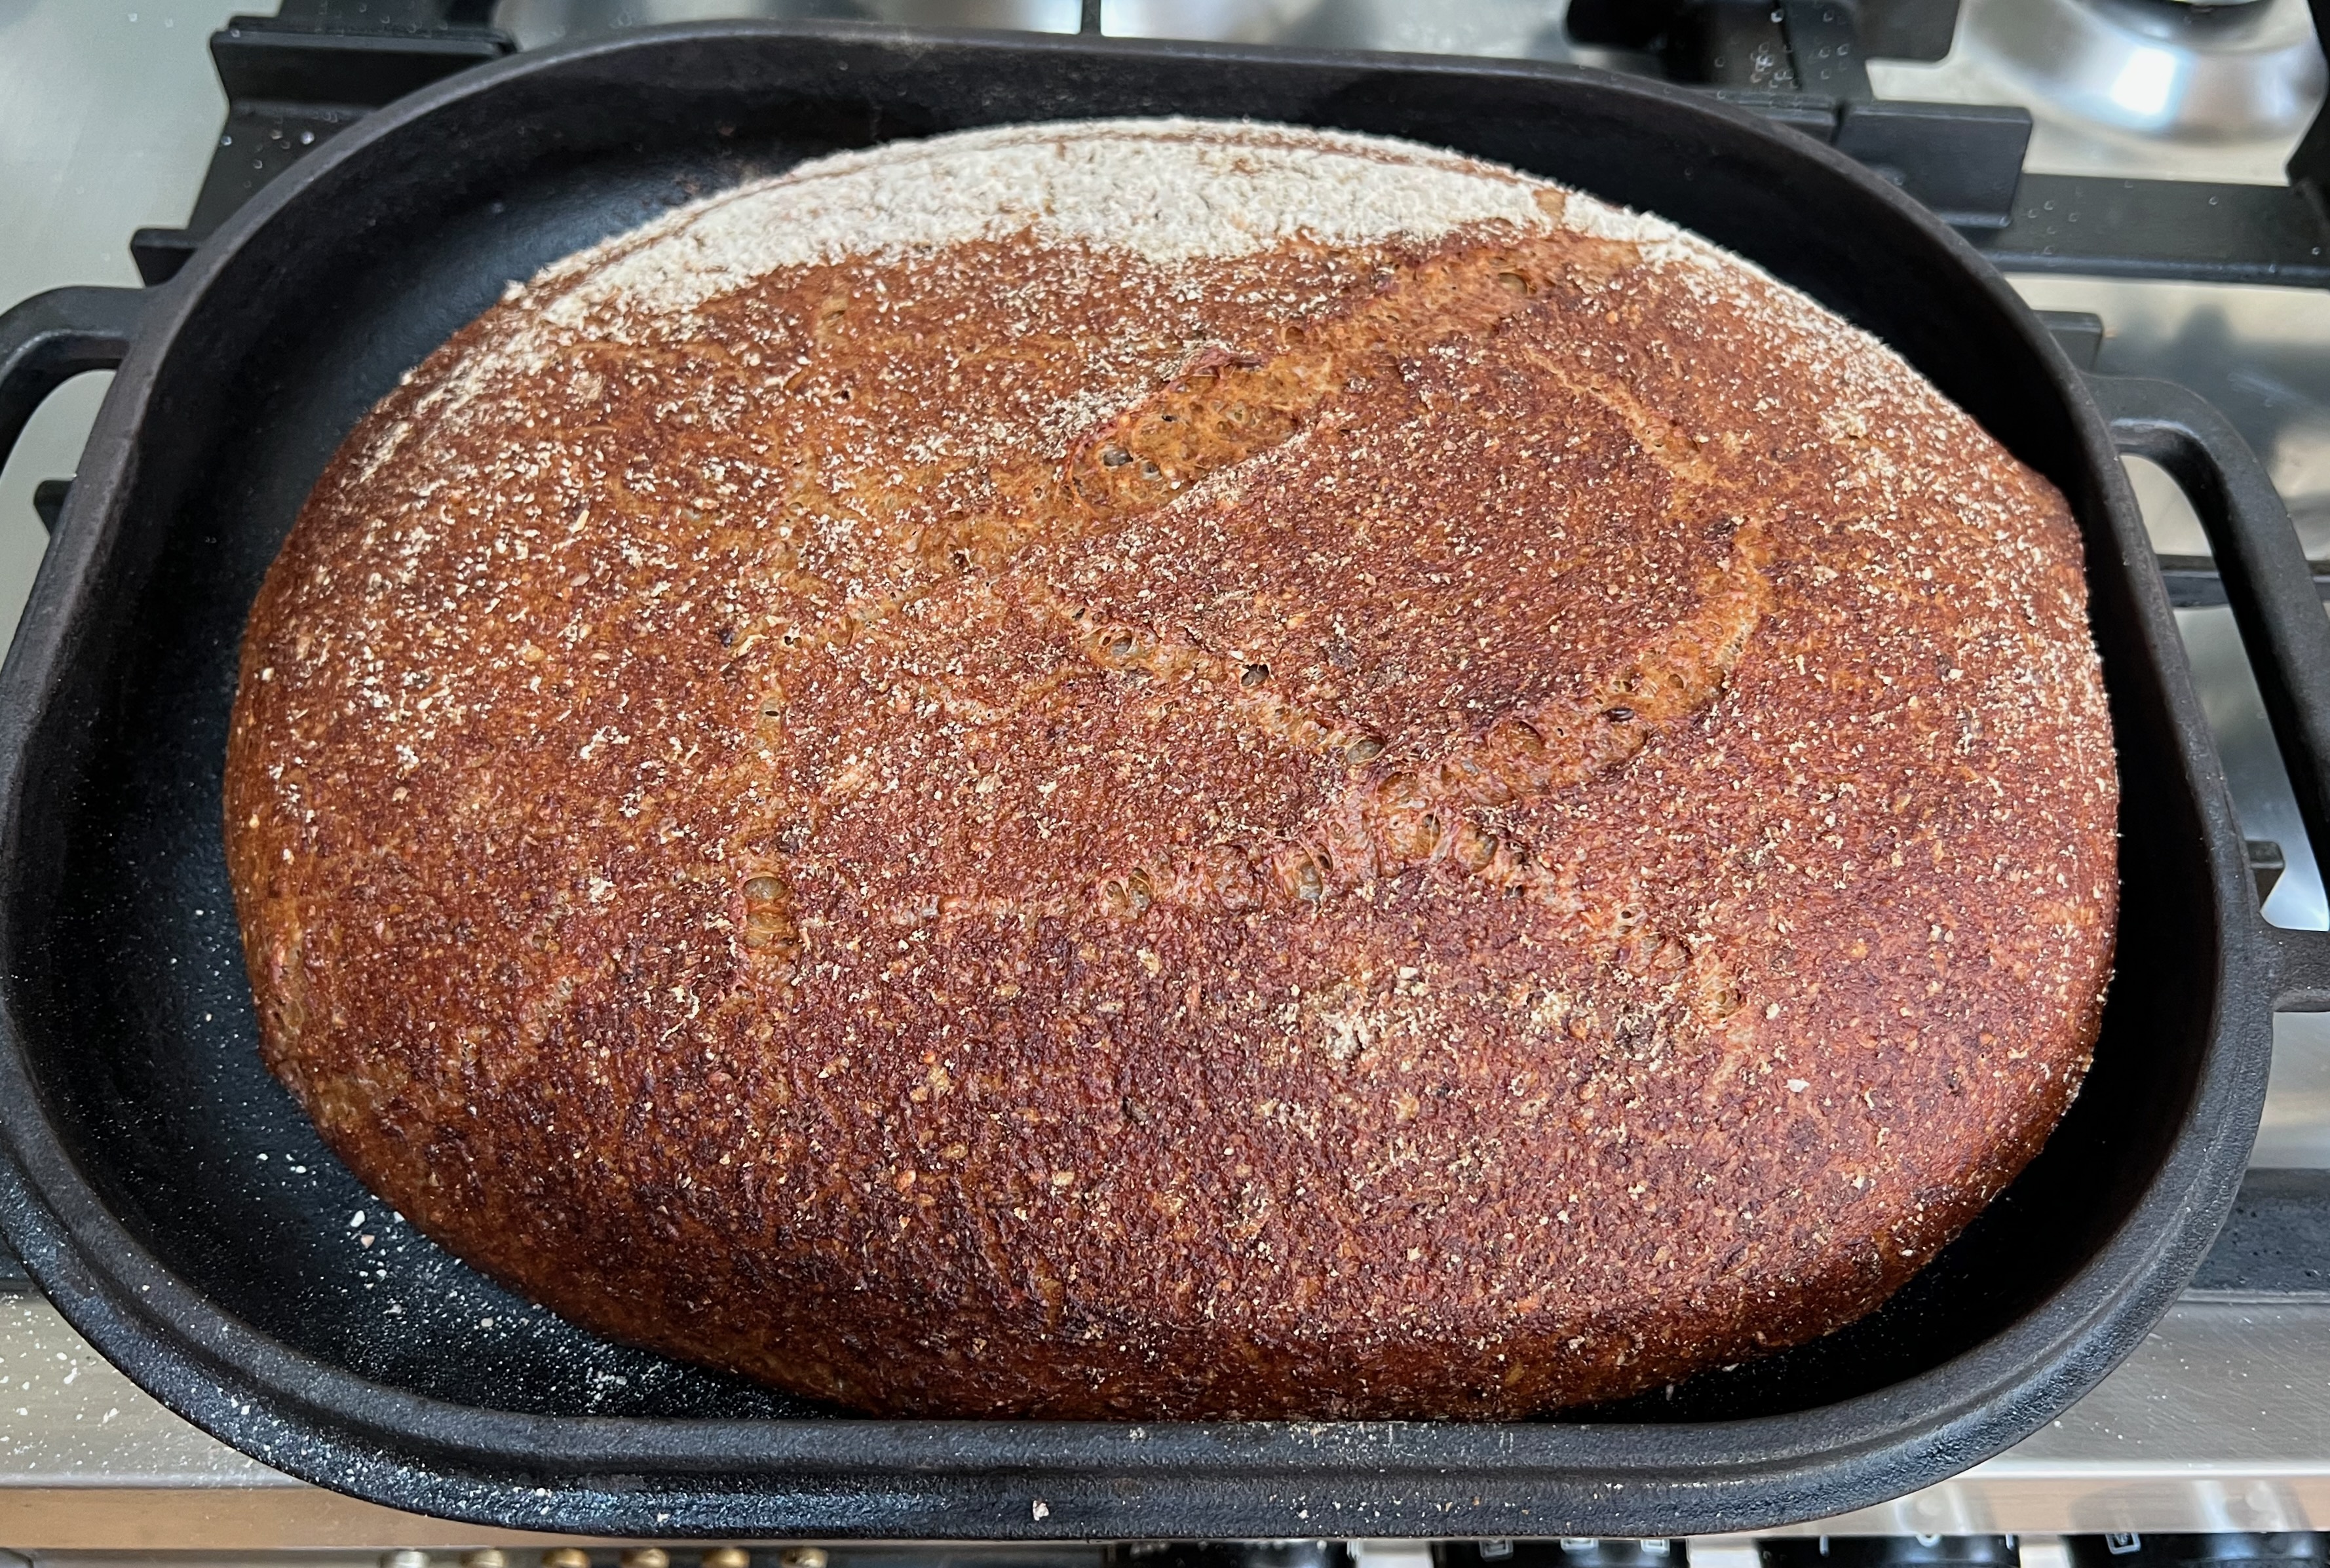
For my 80th and final bake, it’s time to come back to my home in London (which is very lovely, if a somewhat humbler edifice than the Reform Club, Phileas Fogg’s final destination).
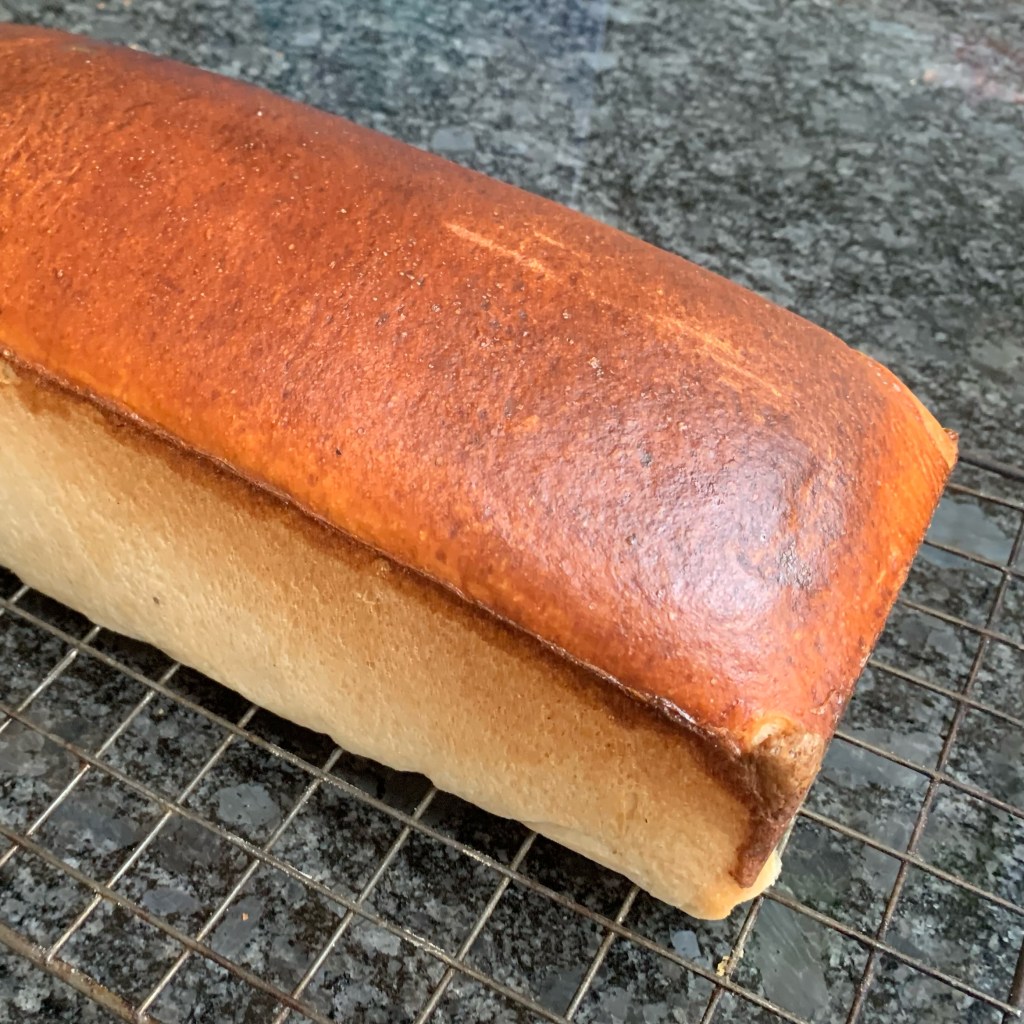
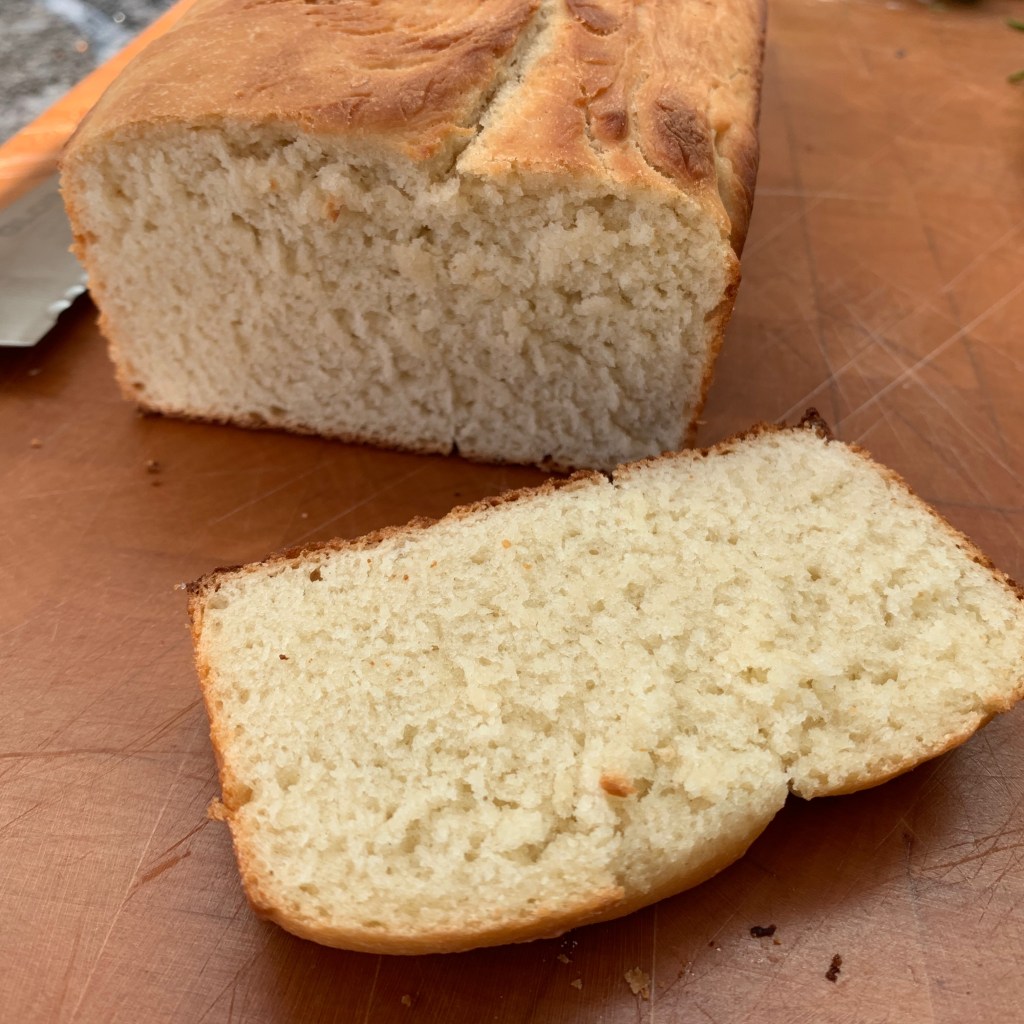
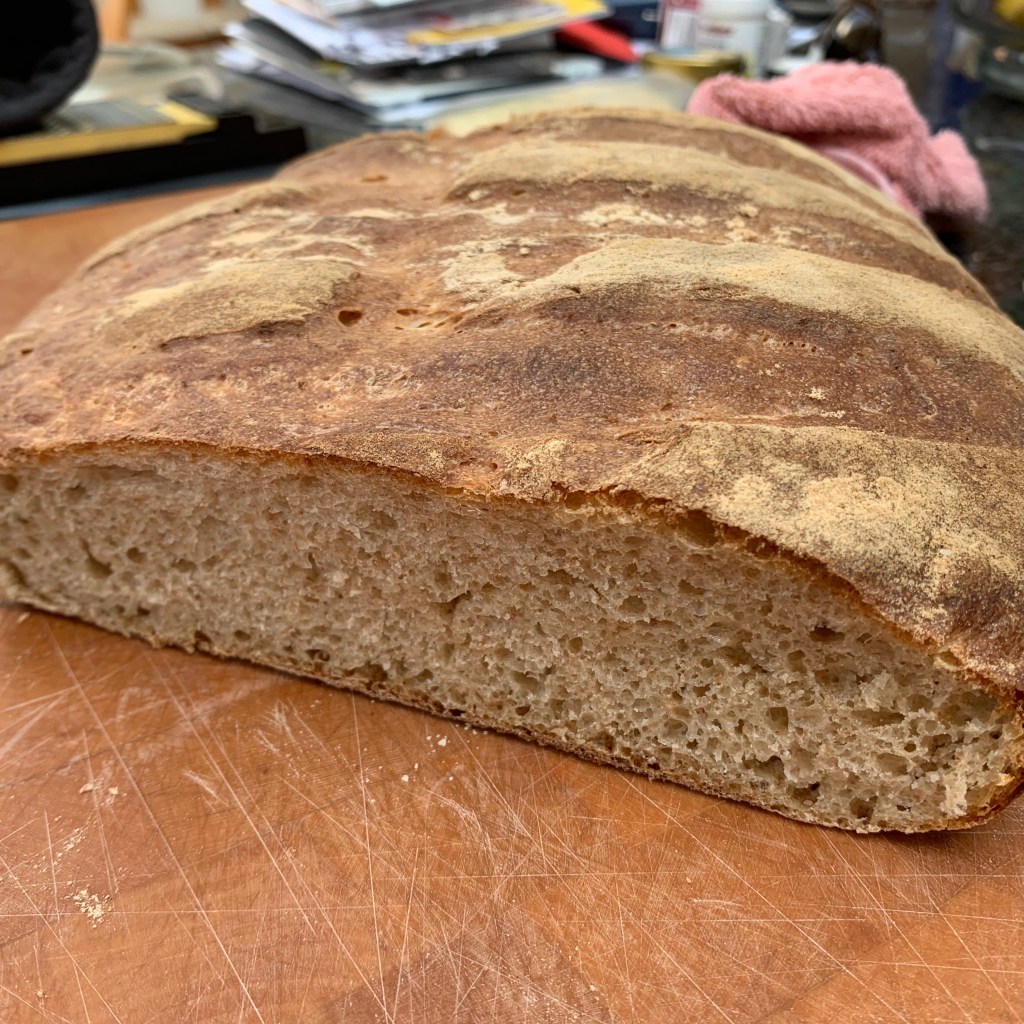
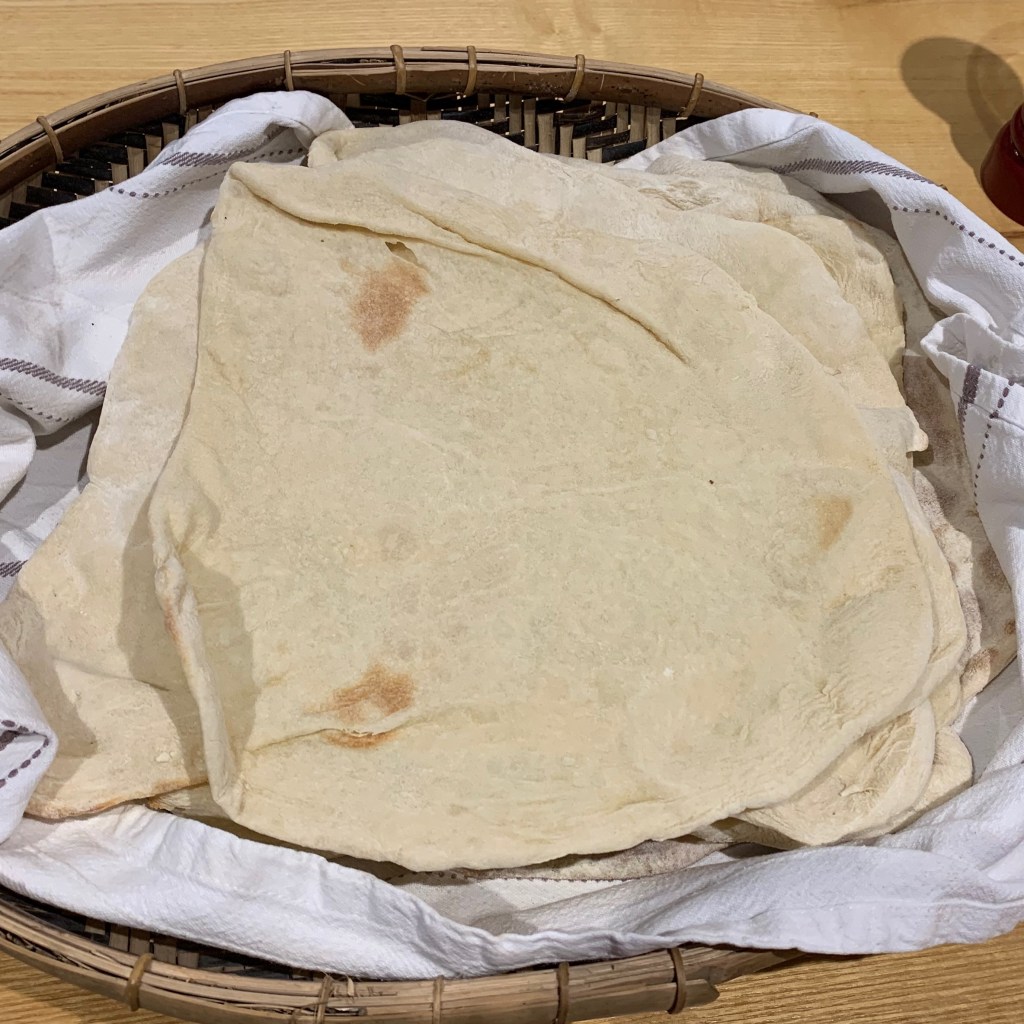
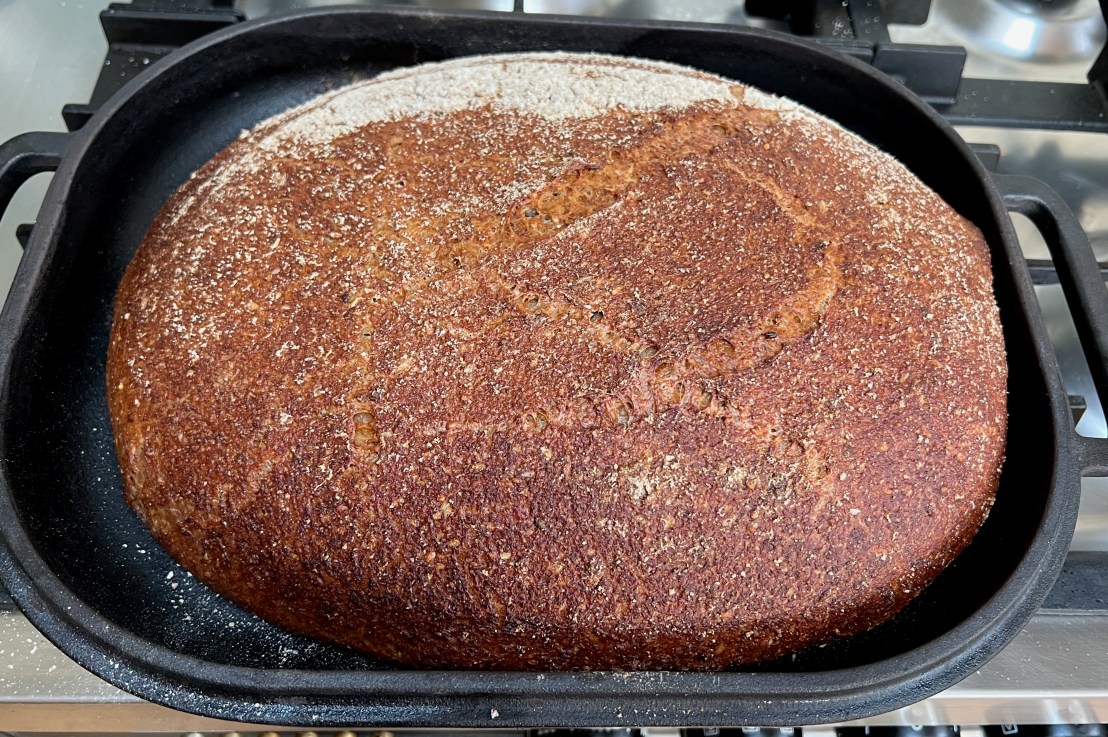
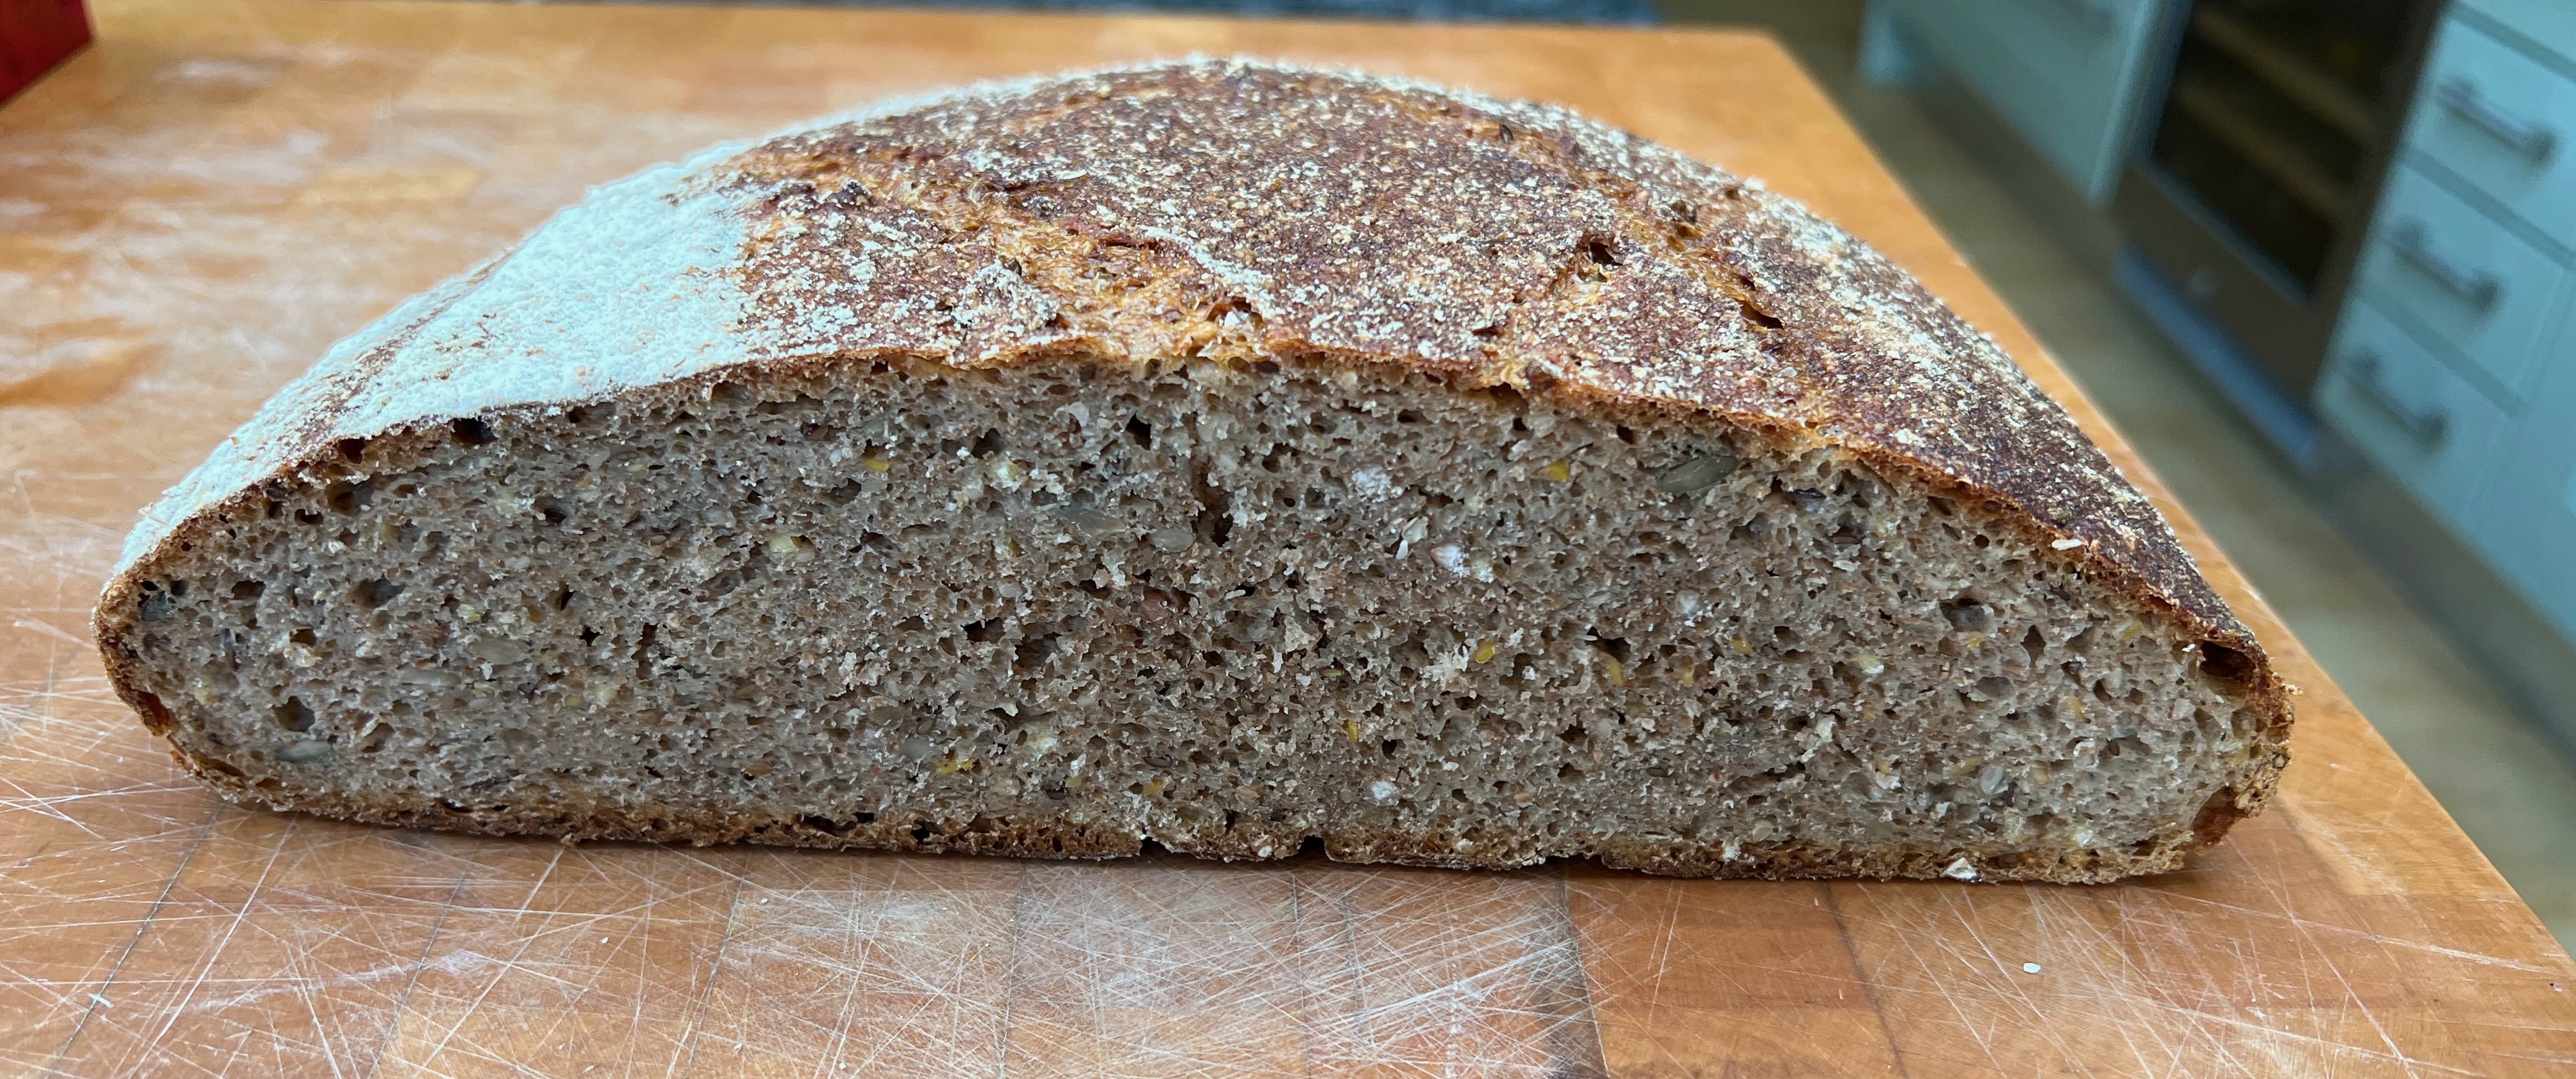
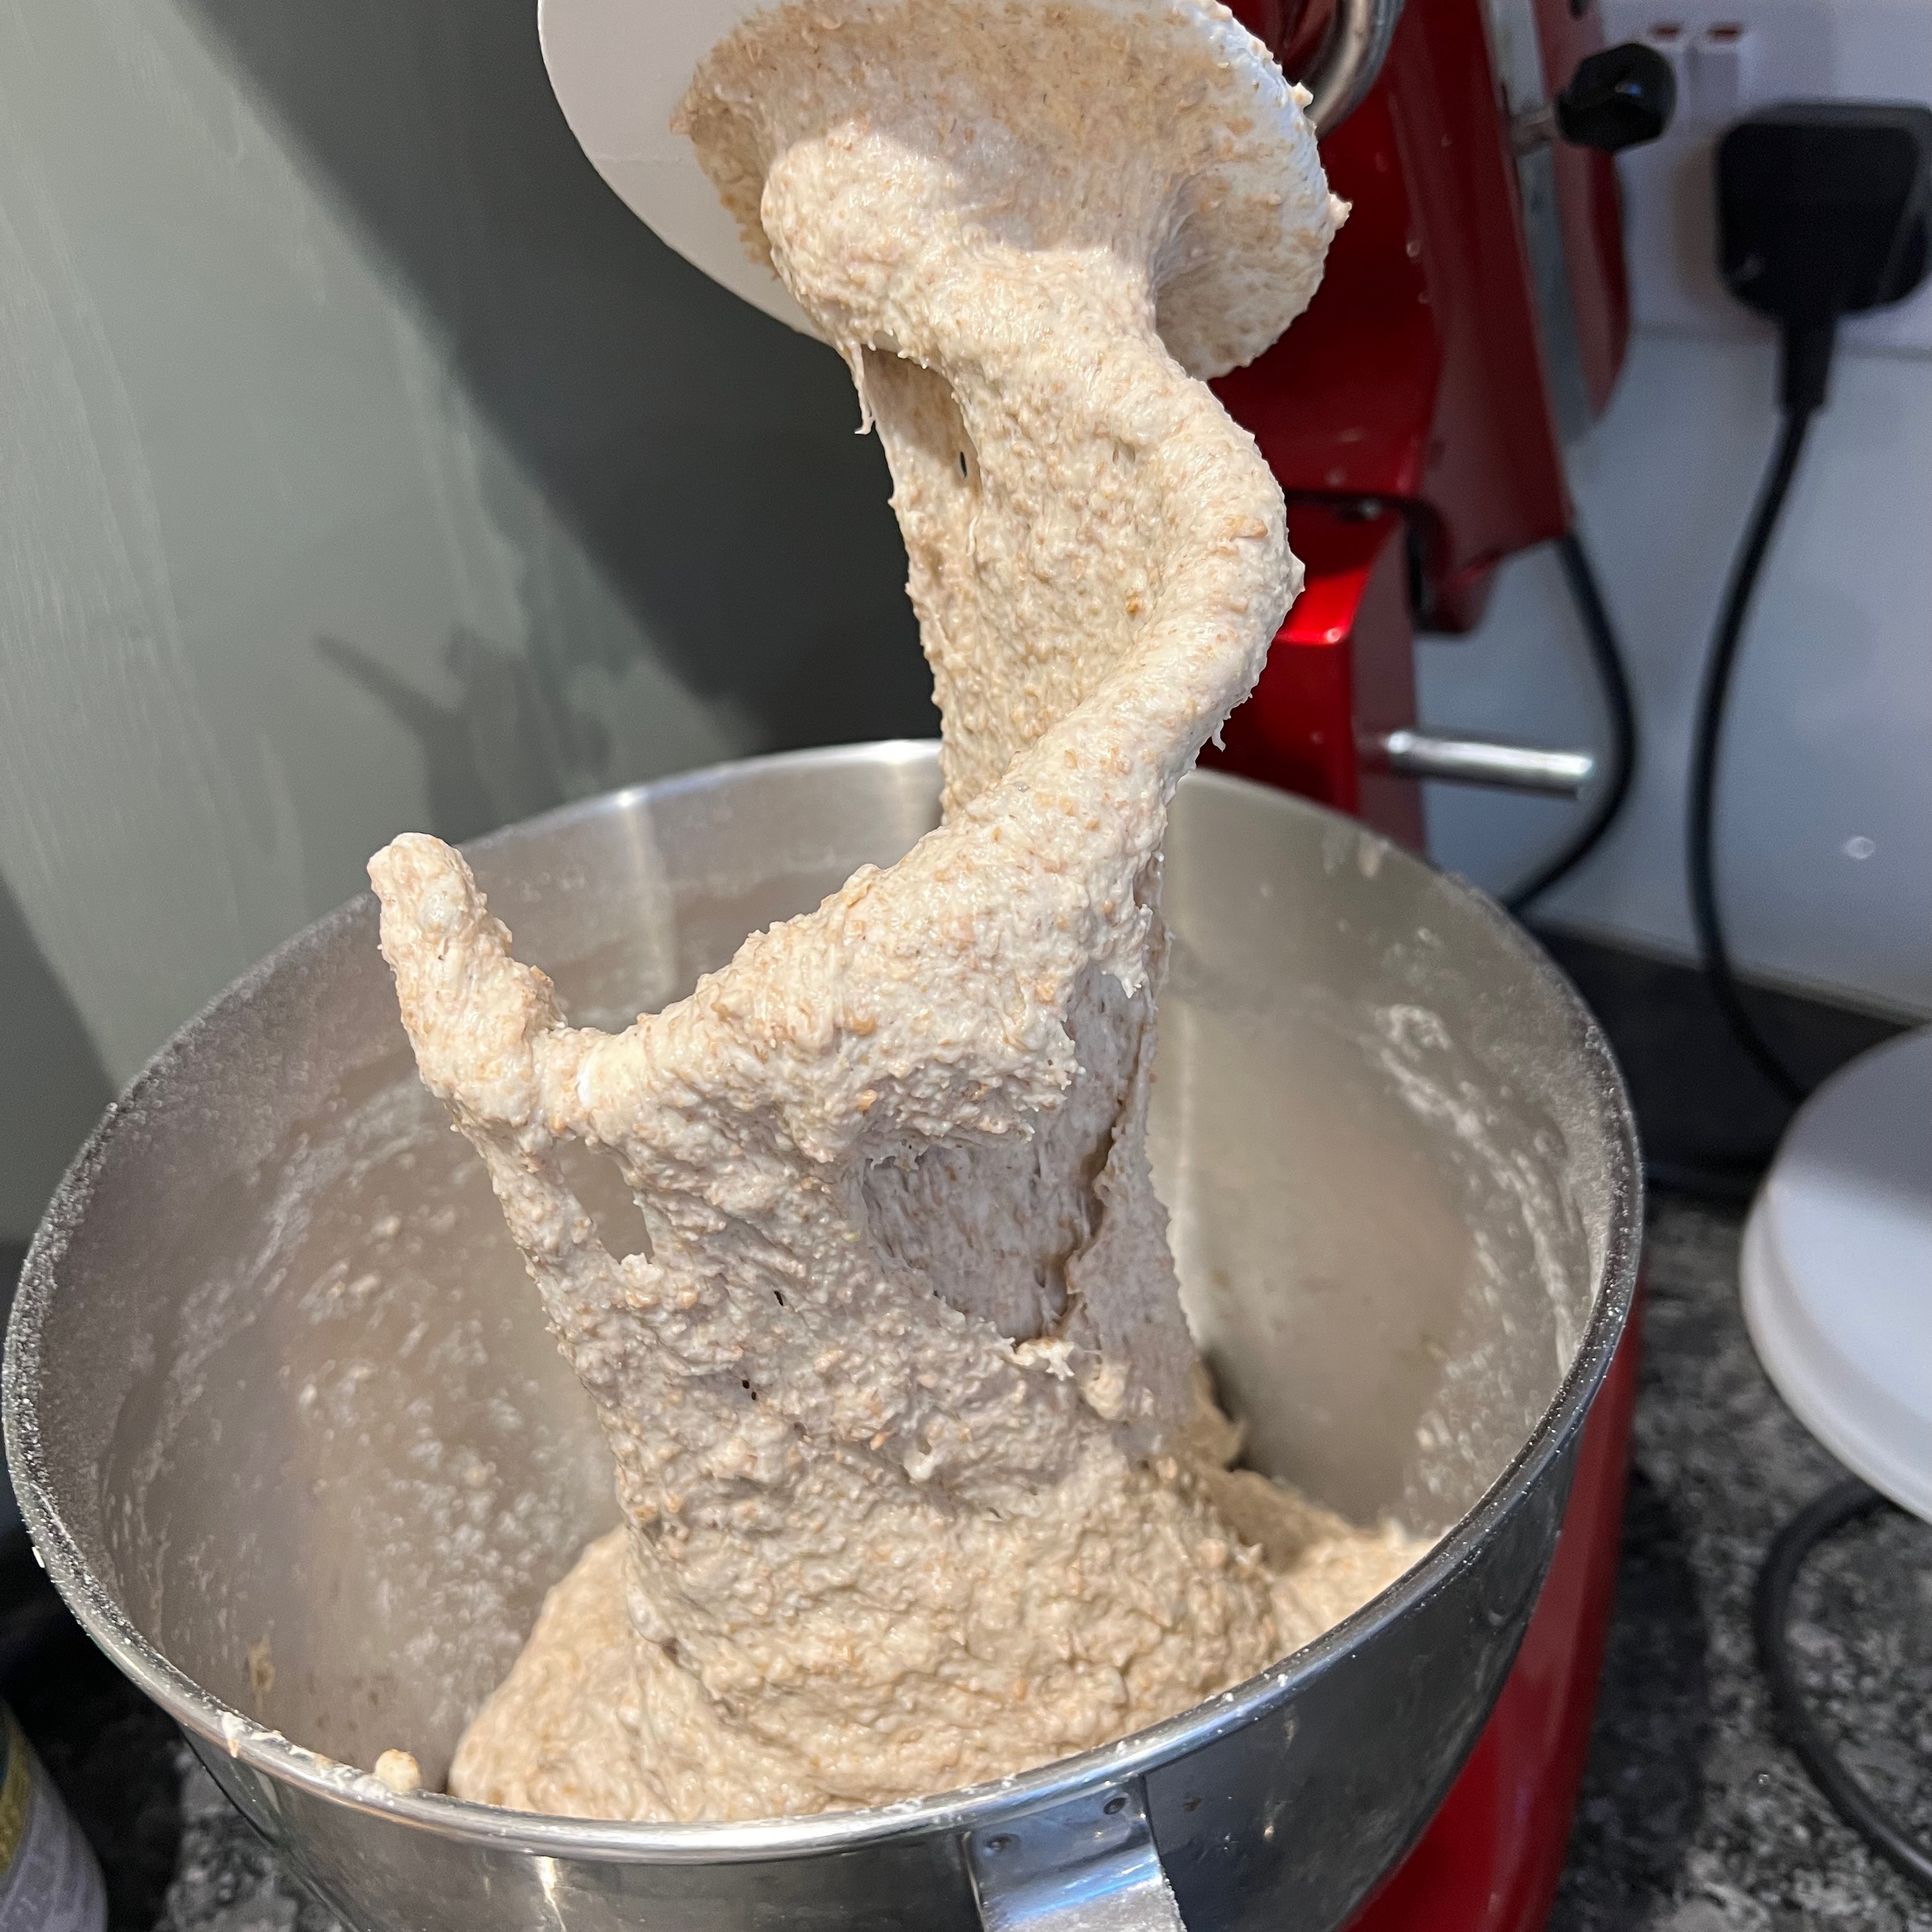
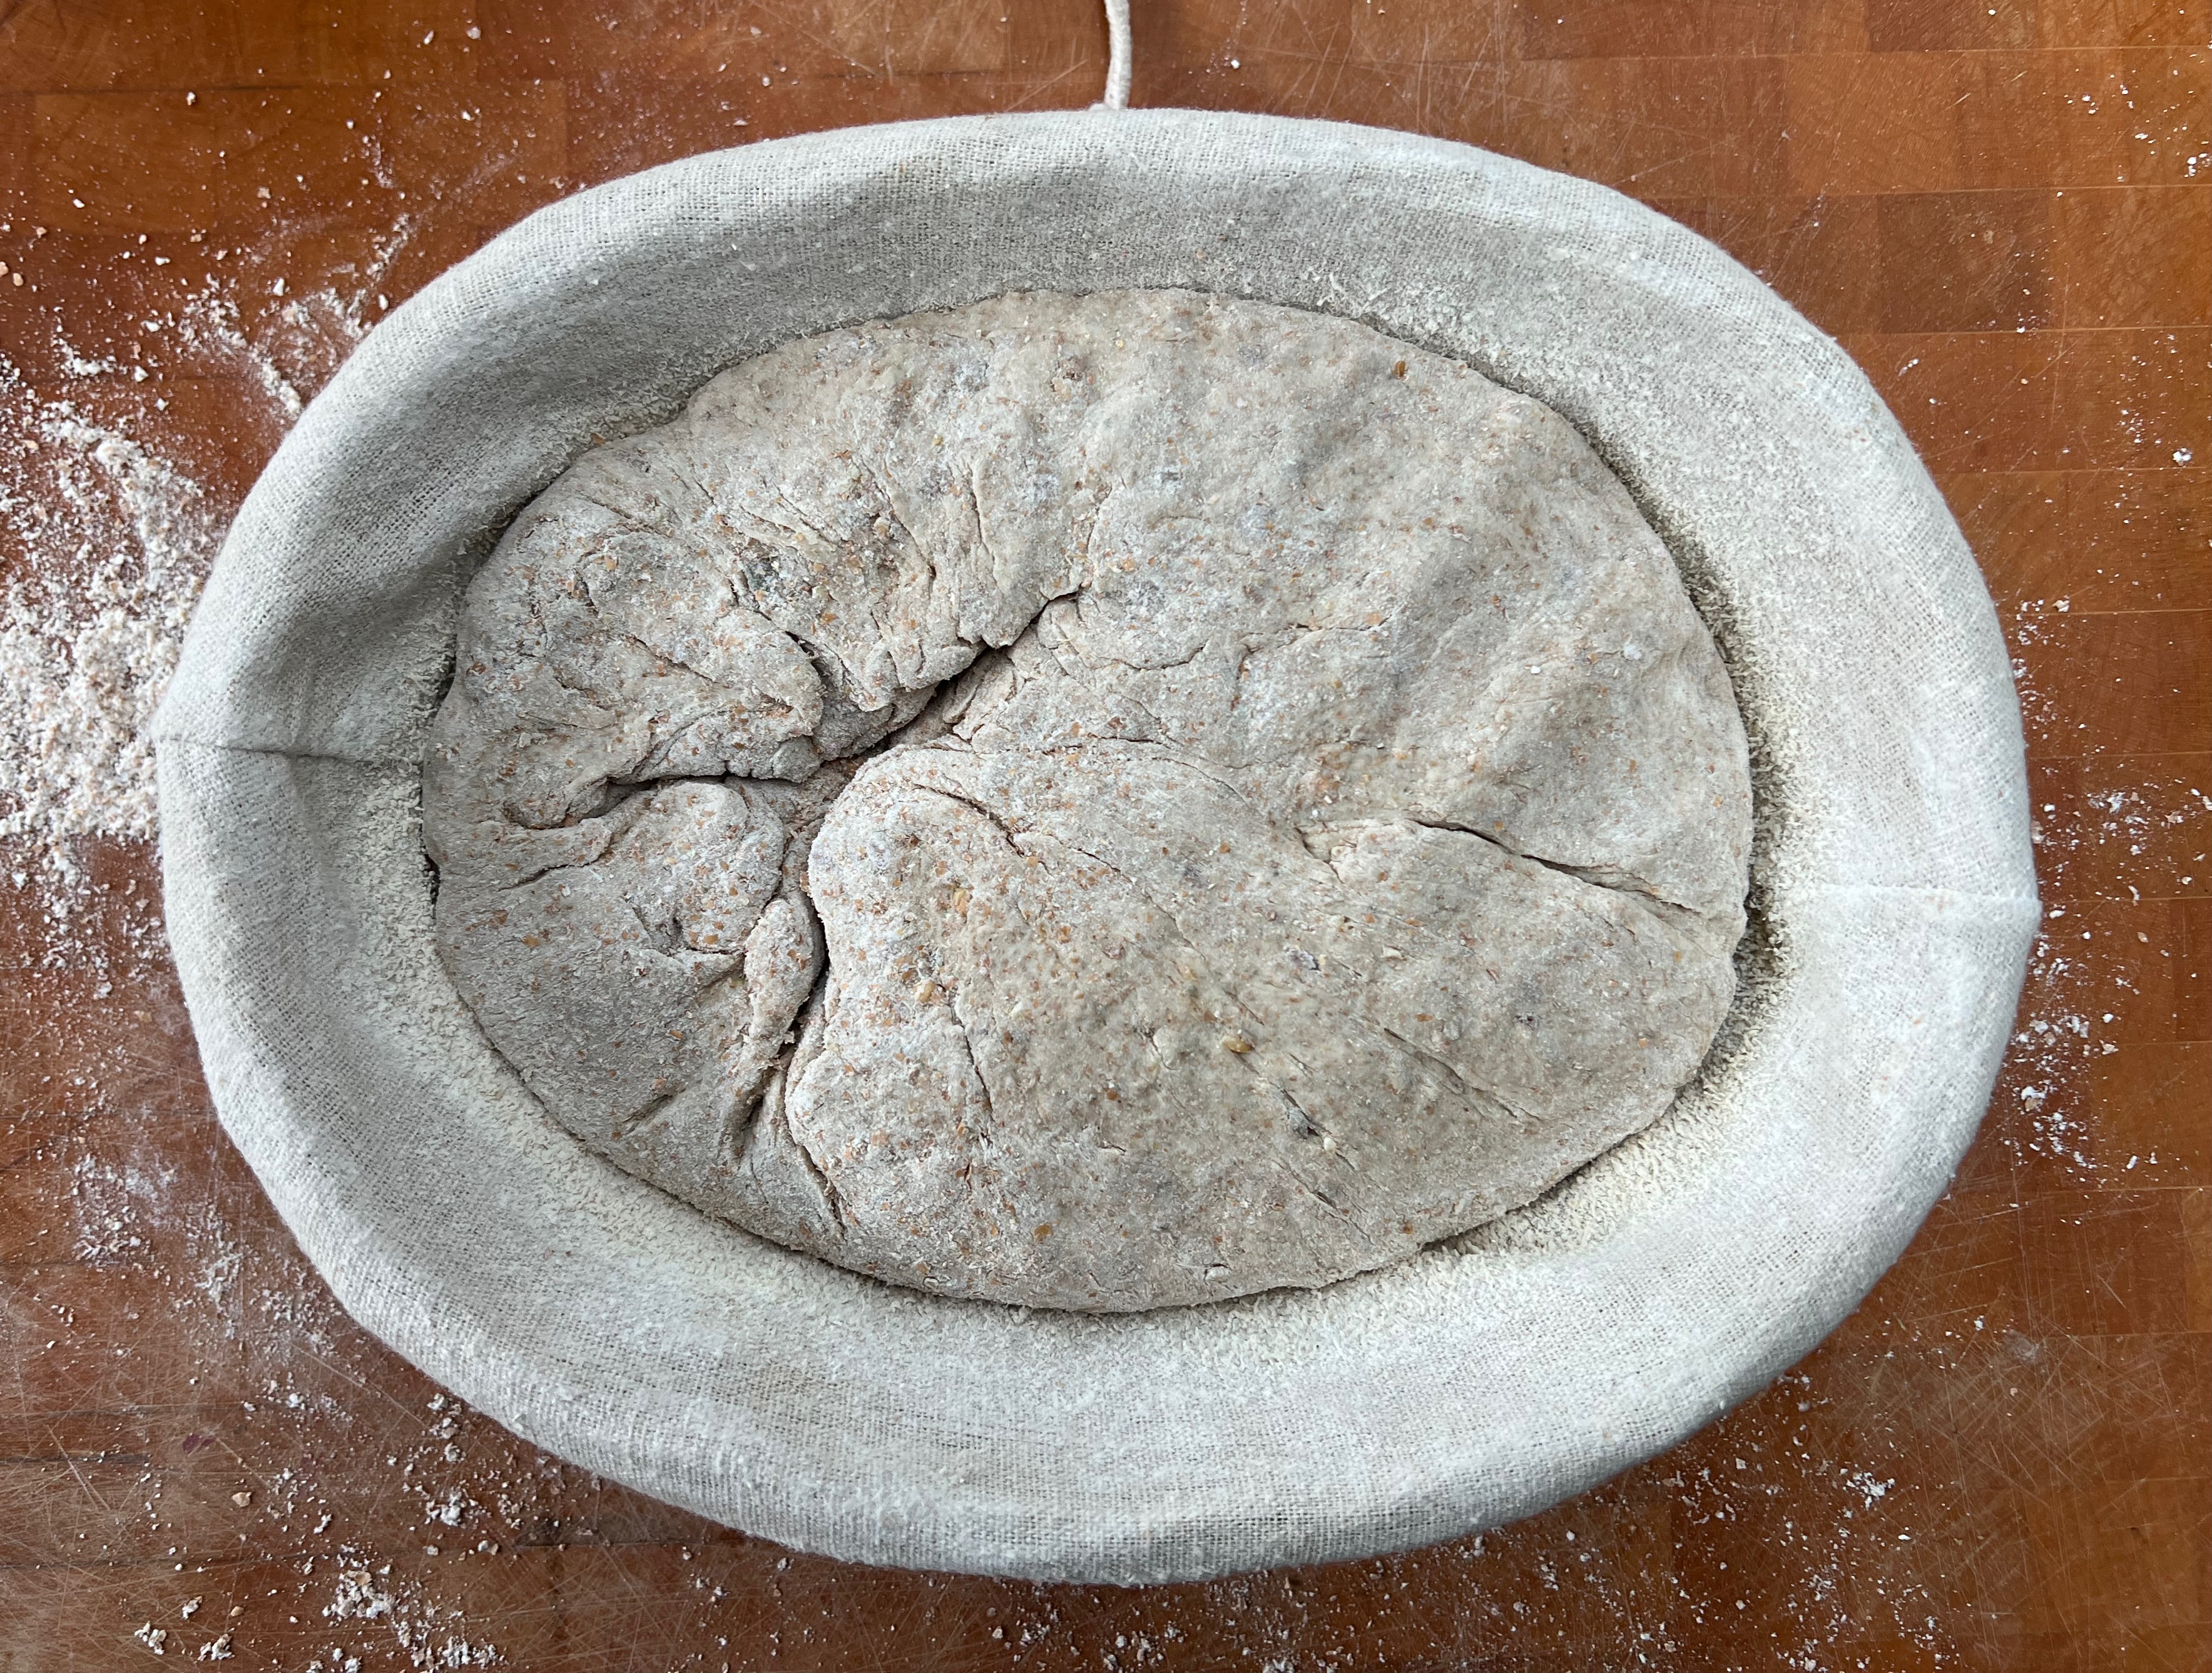
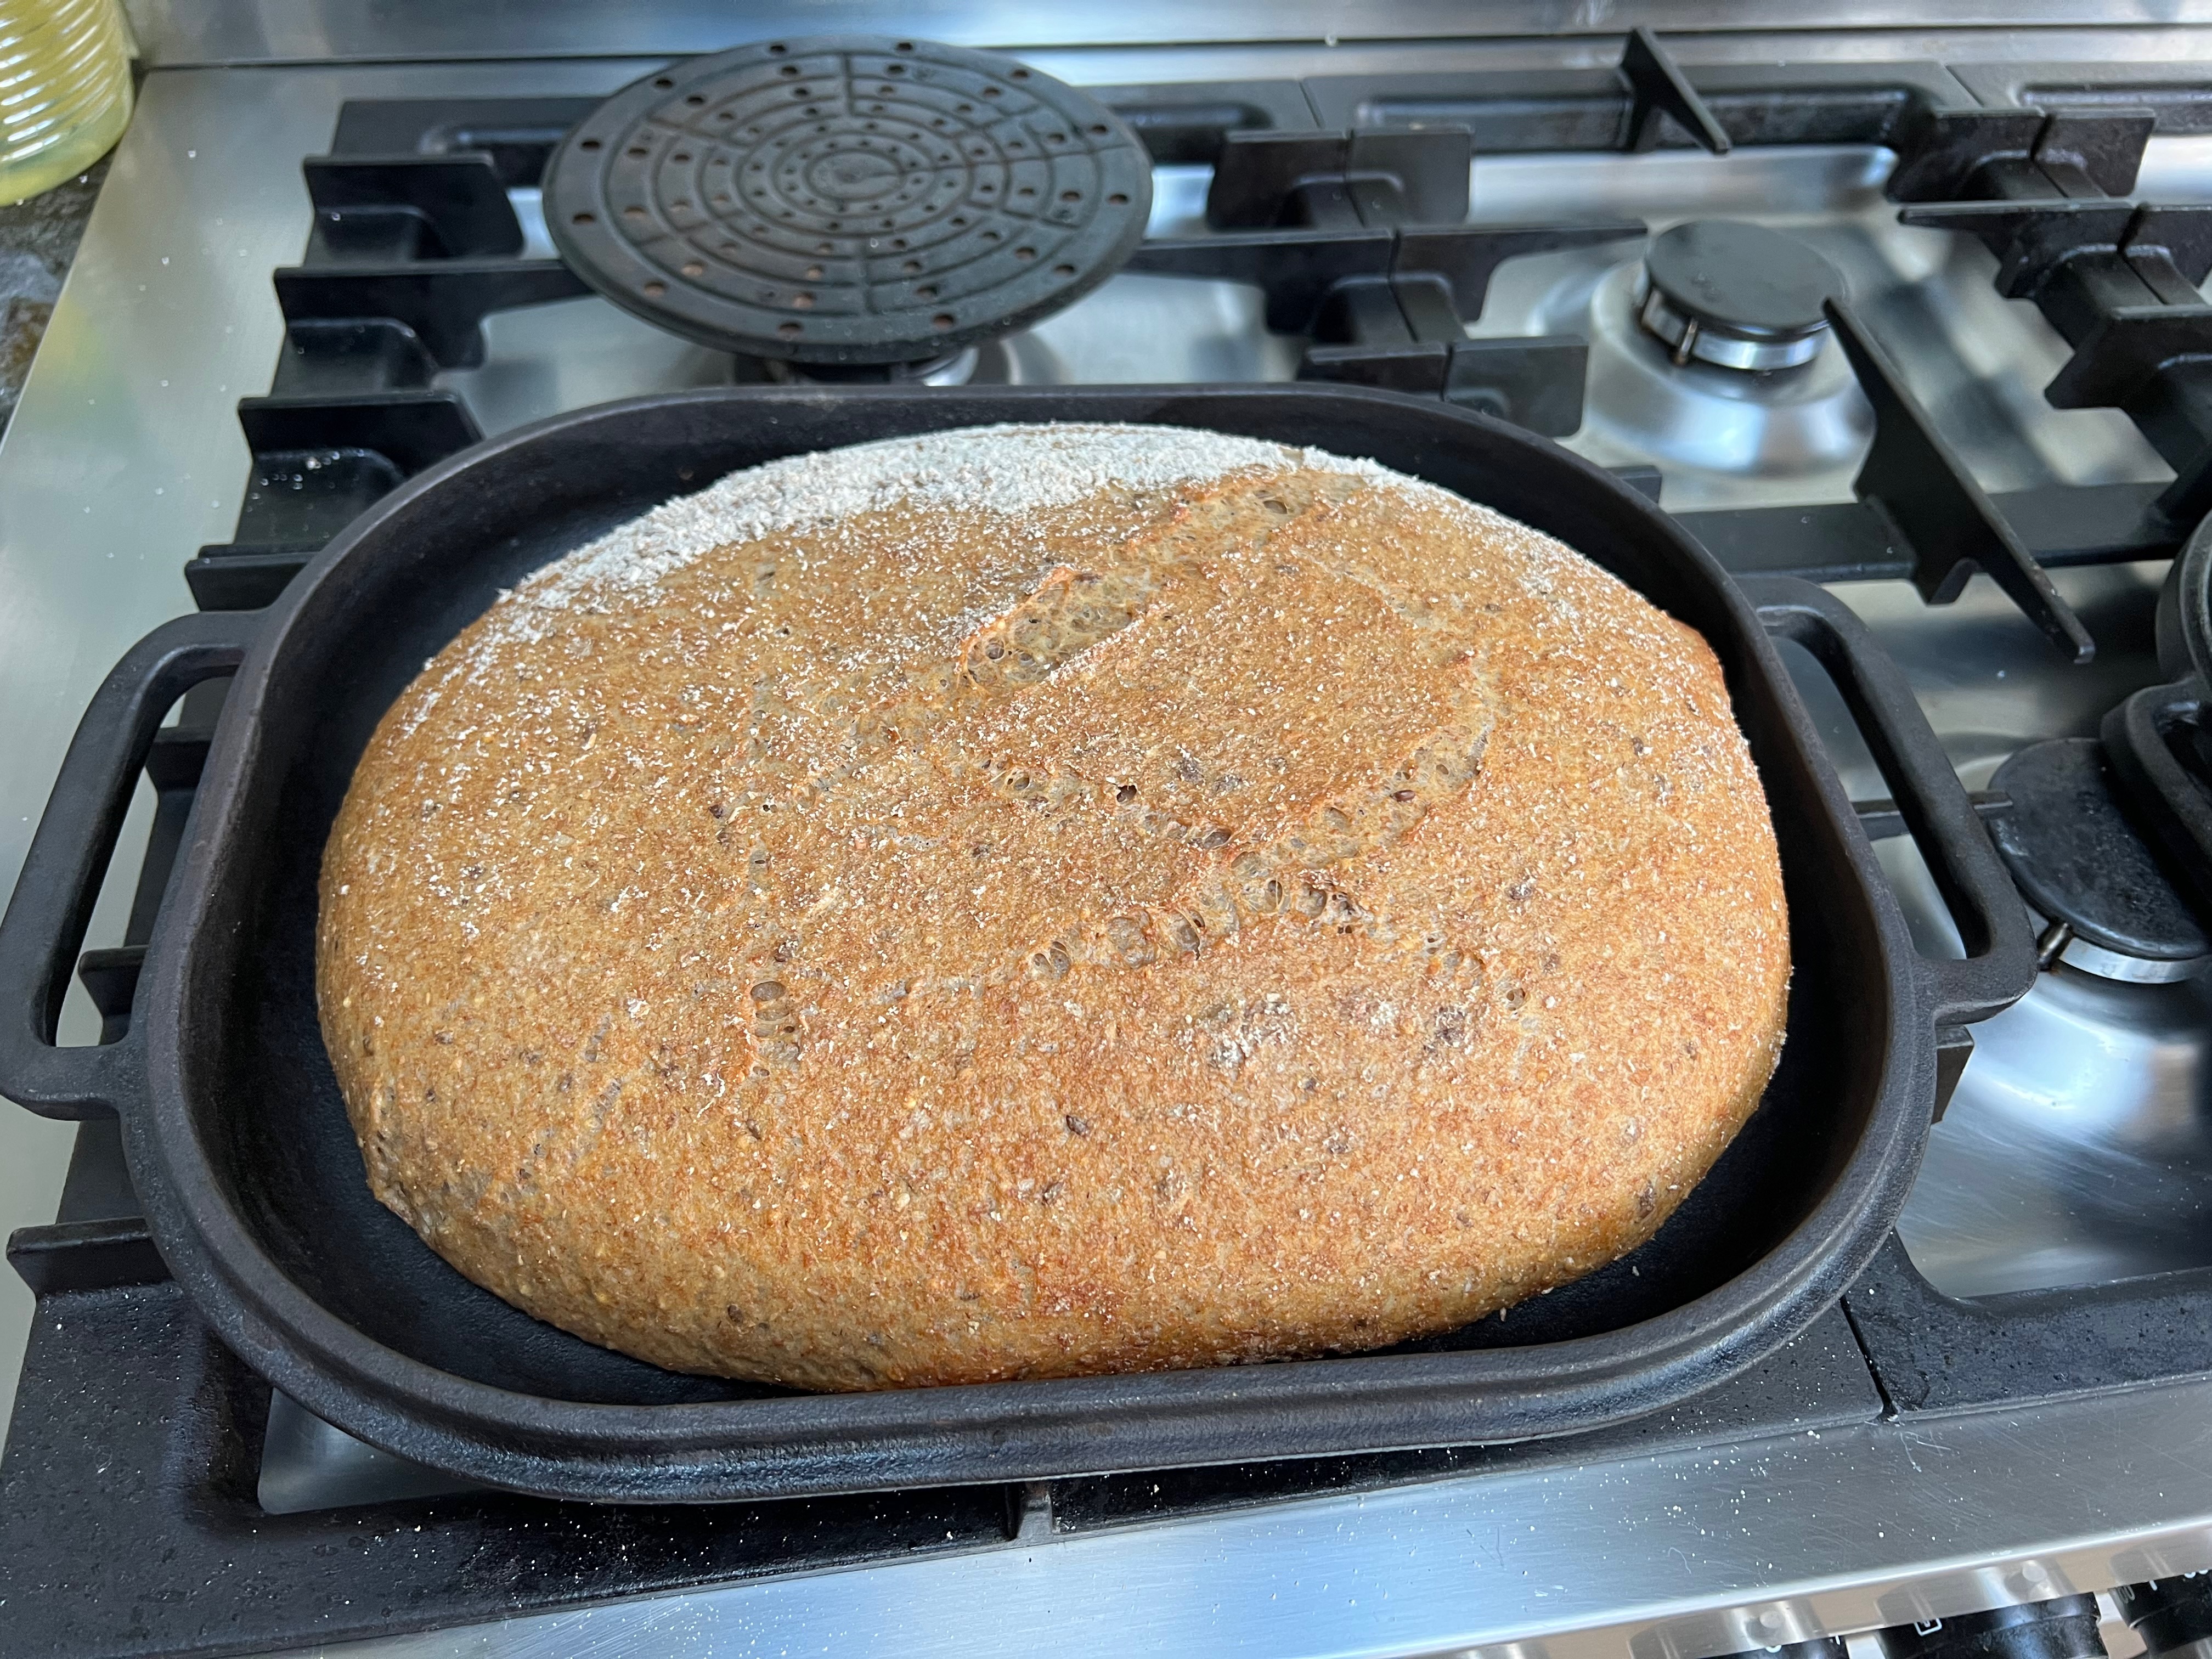
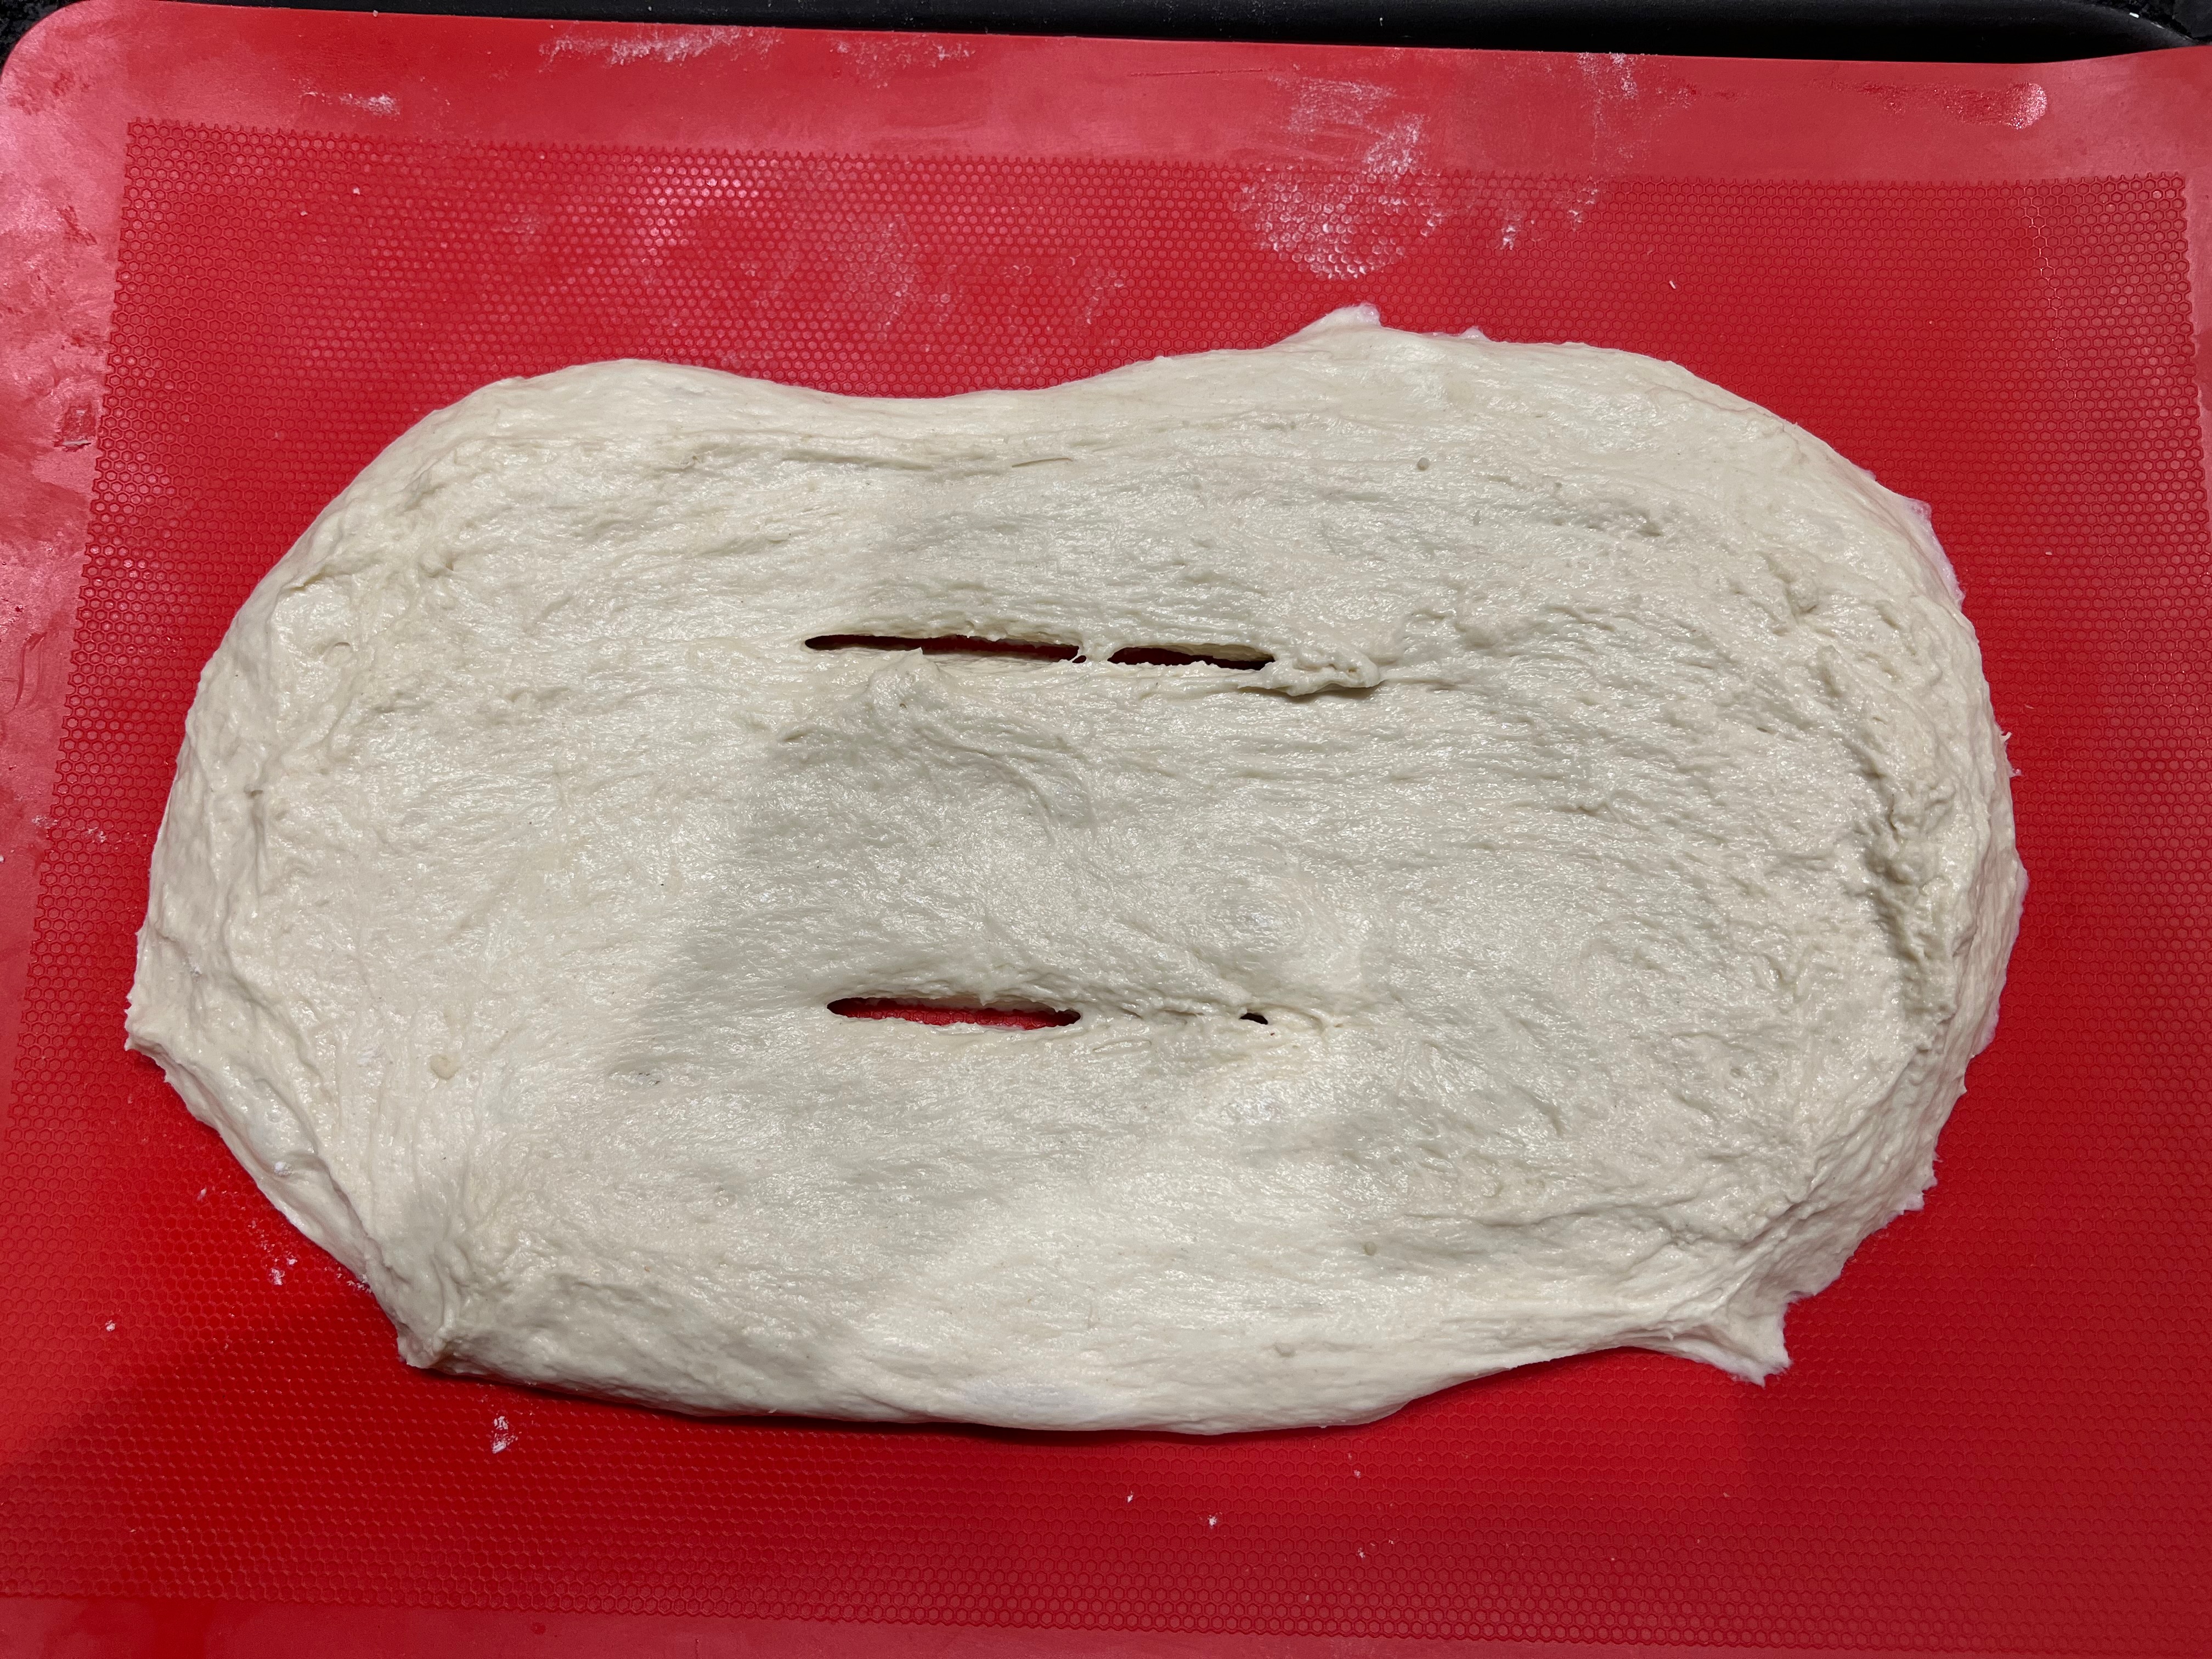
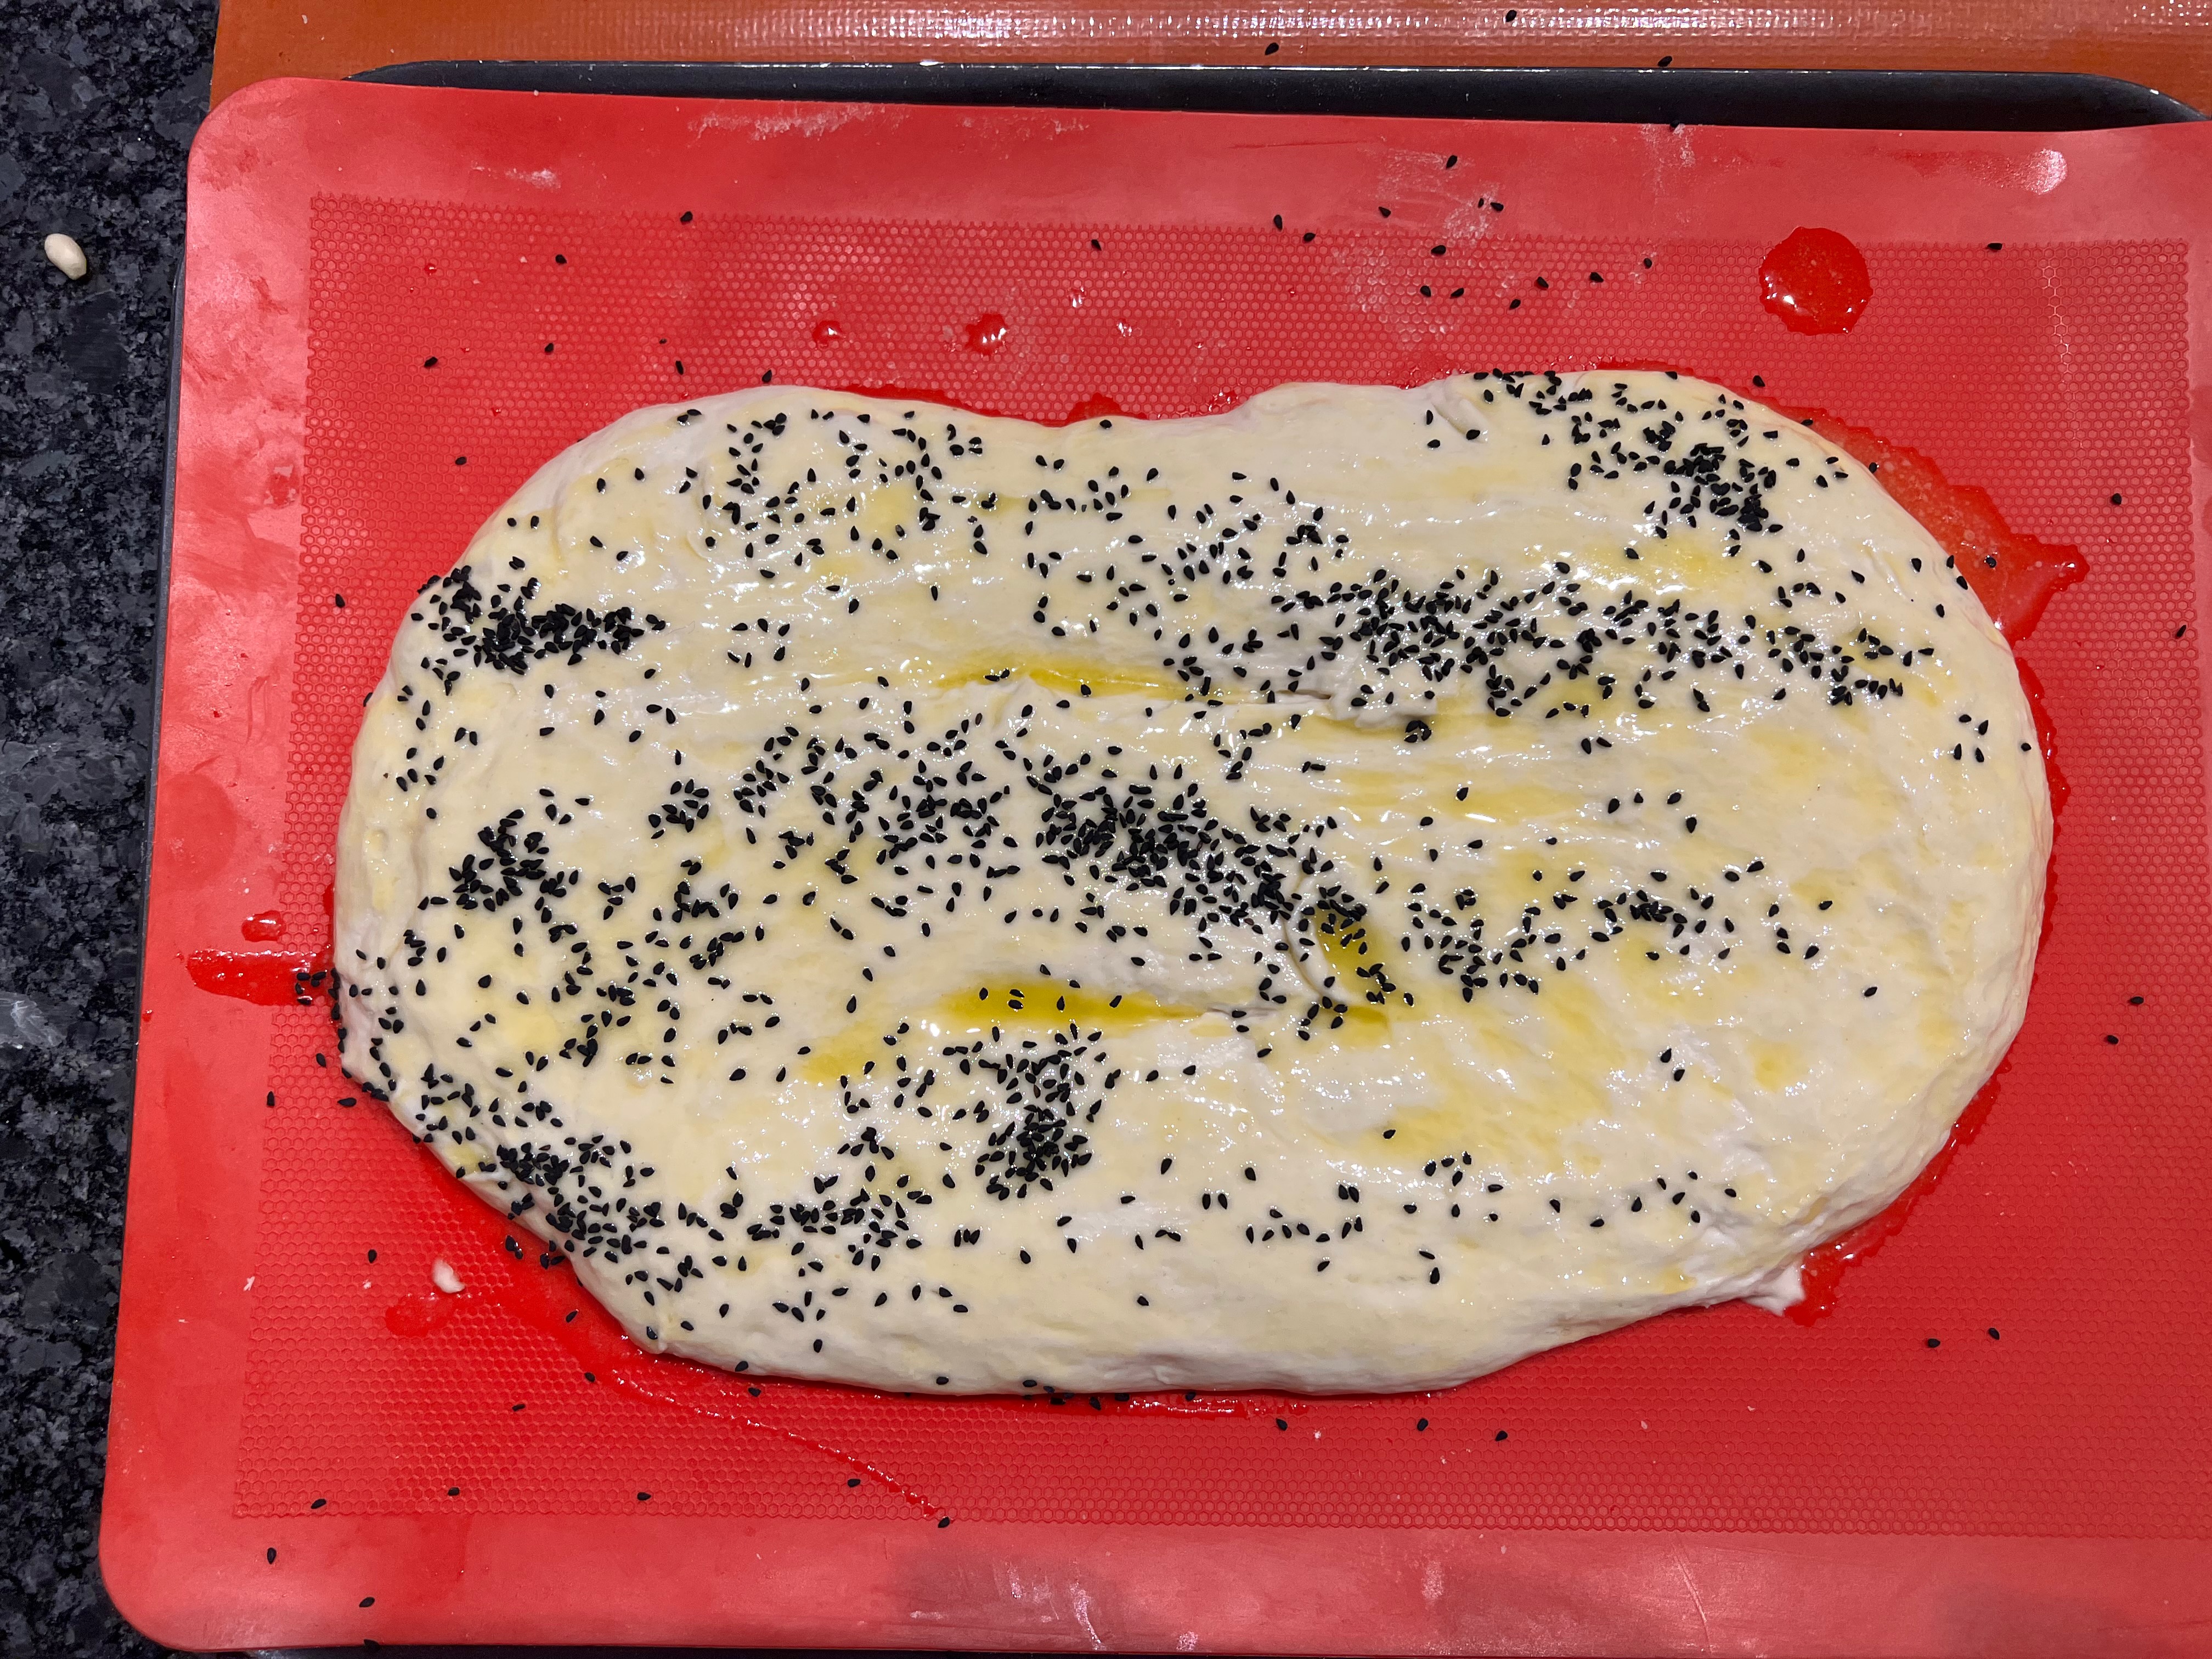
This sourdough recipe is the one that I’ve been making, in variations, almost every week since October 2019. I’ve made breads with more intense flavours (Estonian black bread and its Russian cousin Borodinsky bread are probably my favourites) and I’ve made breads with more wonderful texture (Persian Nân Barbari is the clear winner here). But this recipe fits into my working life with no fuss, particularly now that I have a high number of days working from home: the elapsed time is long, but the amount of actual work (including washing up effort, which seems to get forgotten in most cookbooks) has been pared down to the minimum. And it produces a healthy bread which is packed with flavour and which I’m happy to eat week after week.
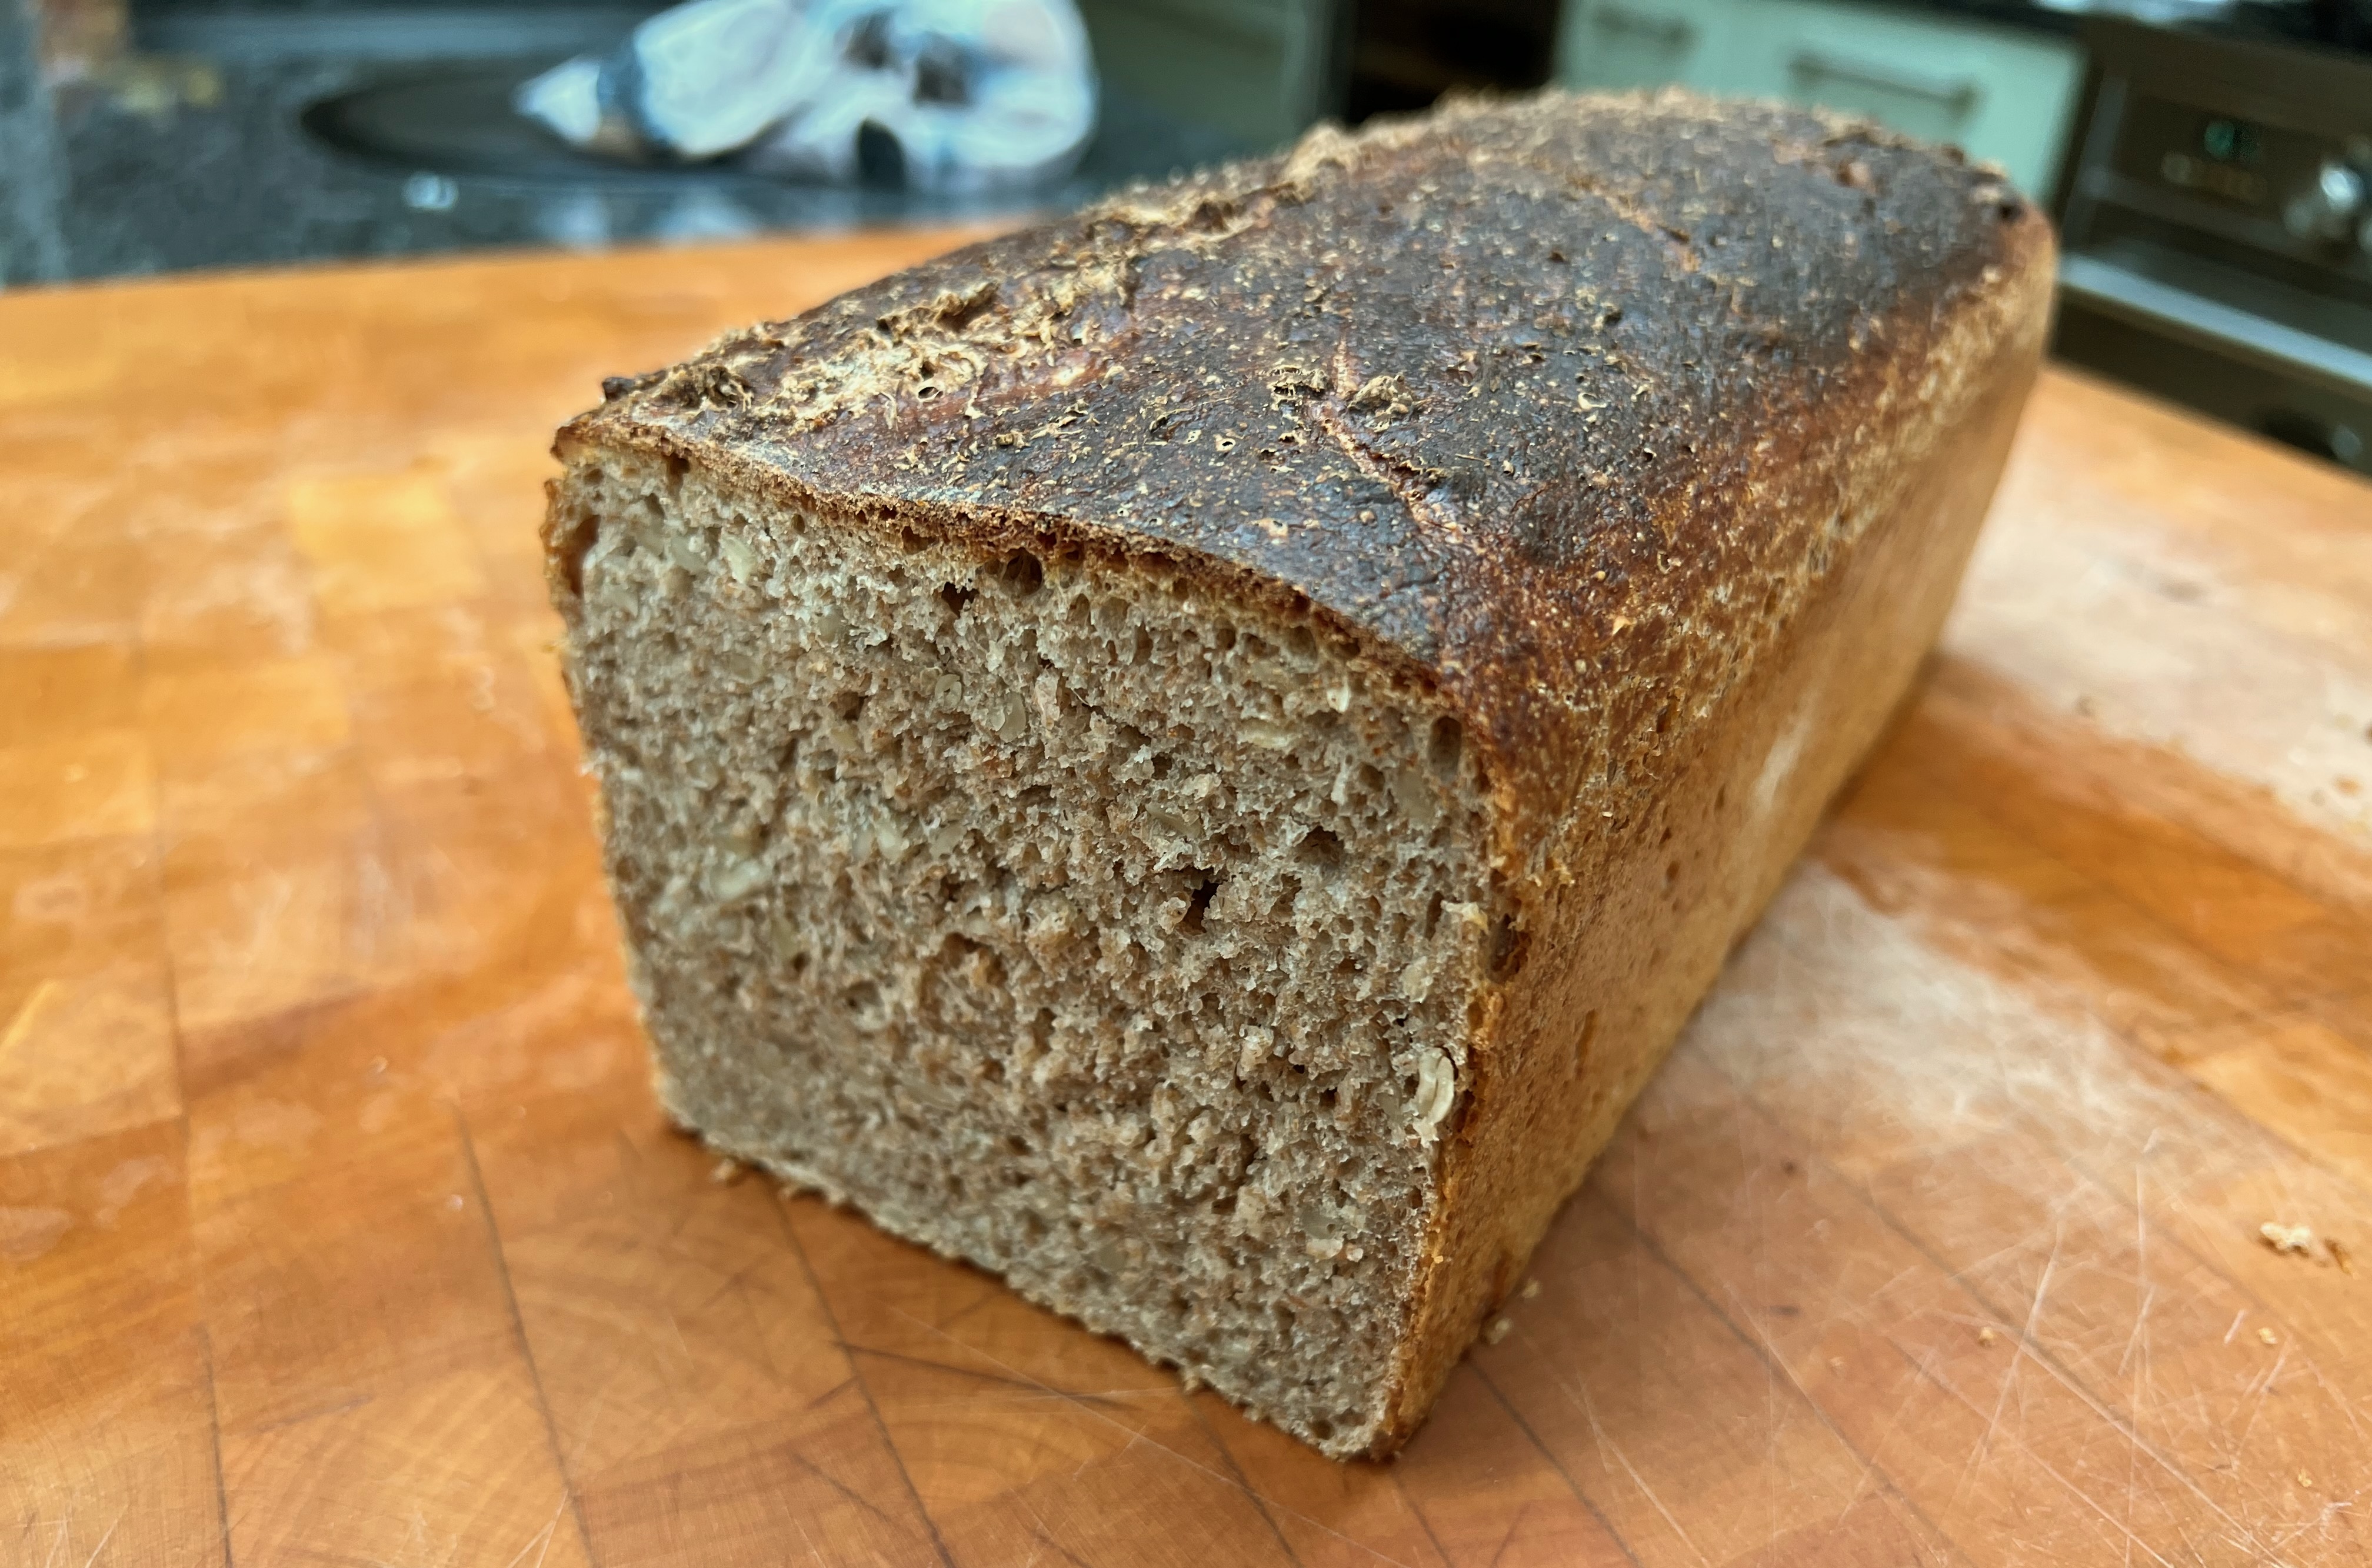
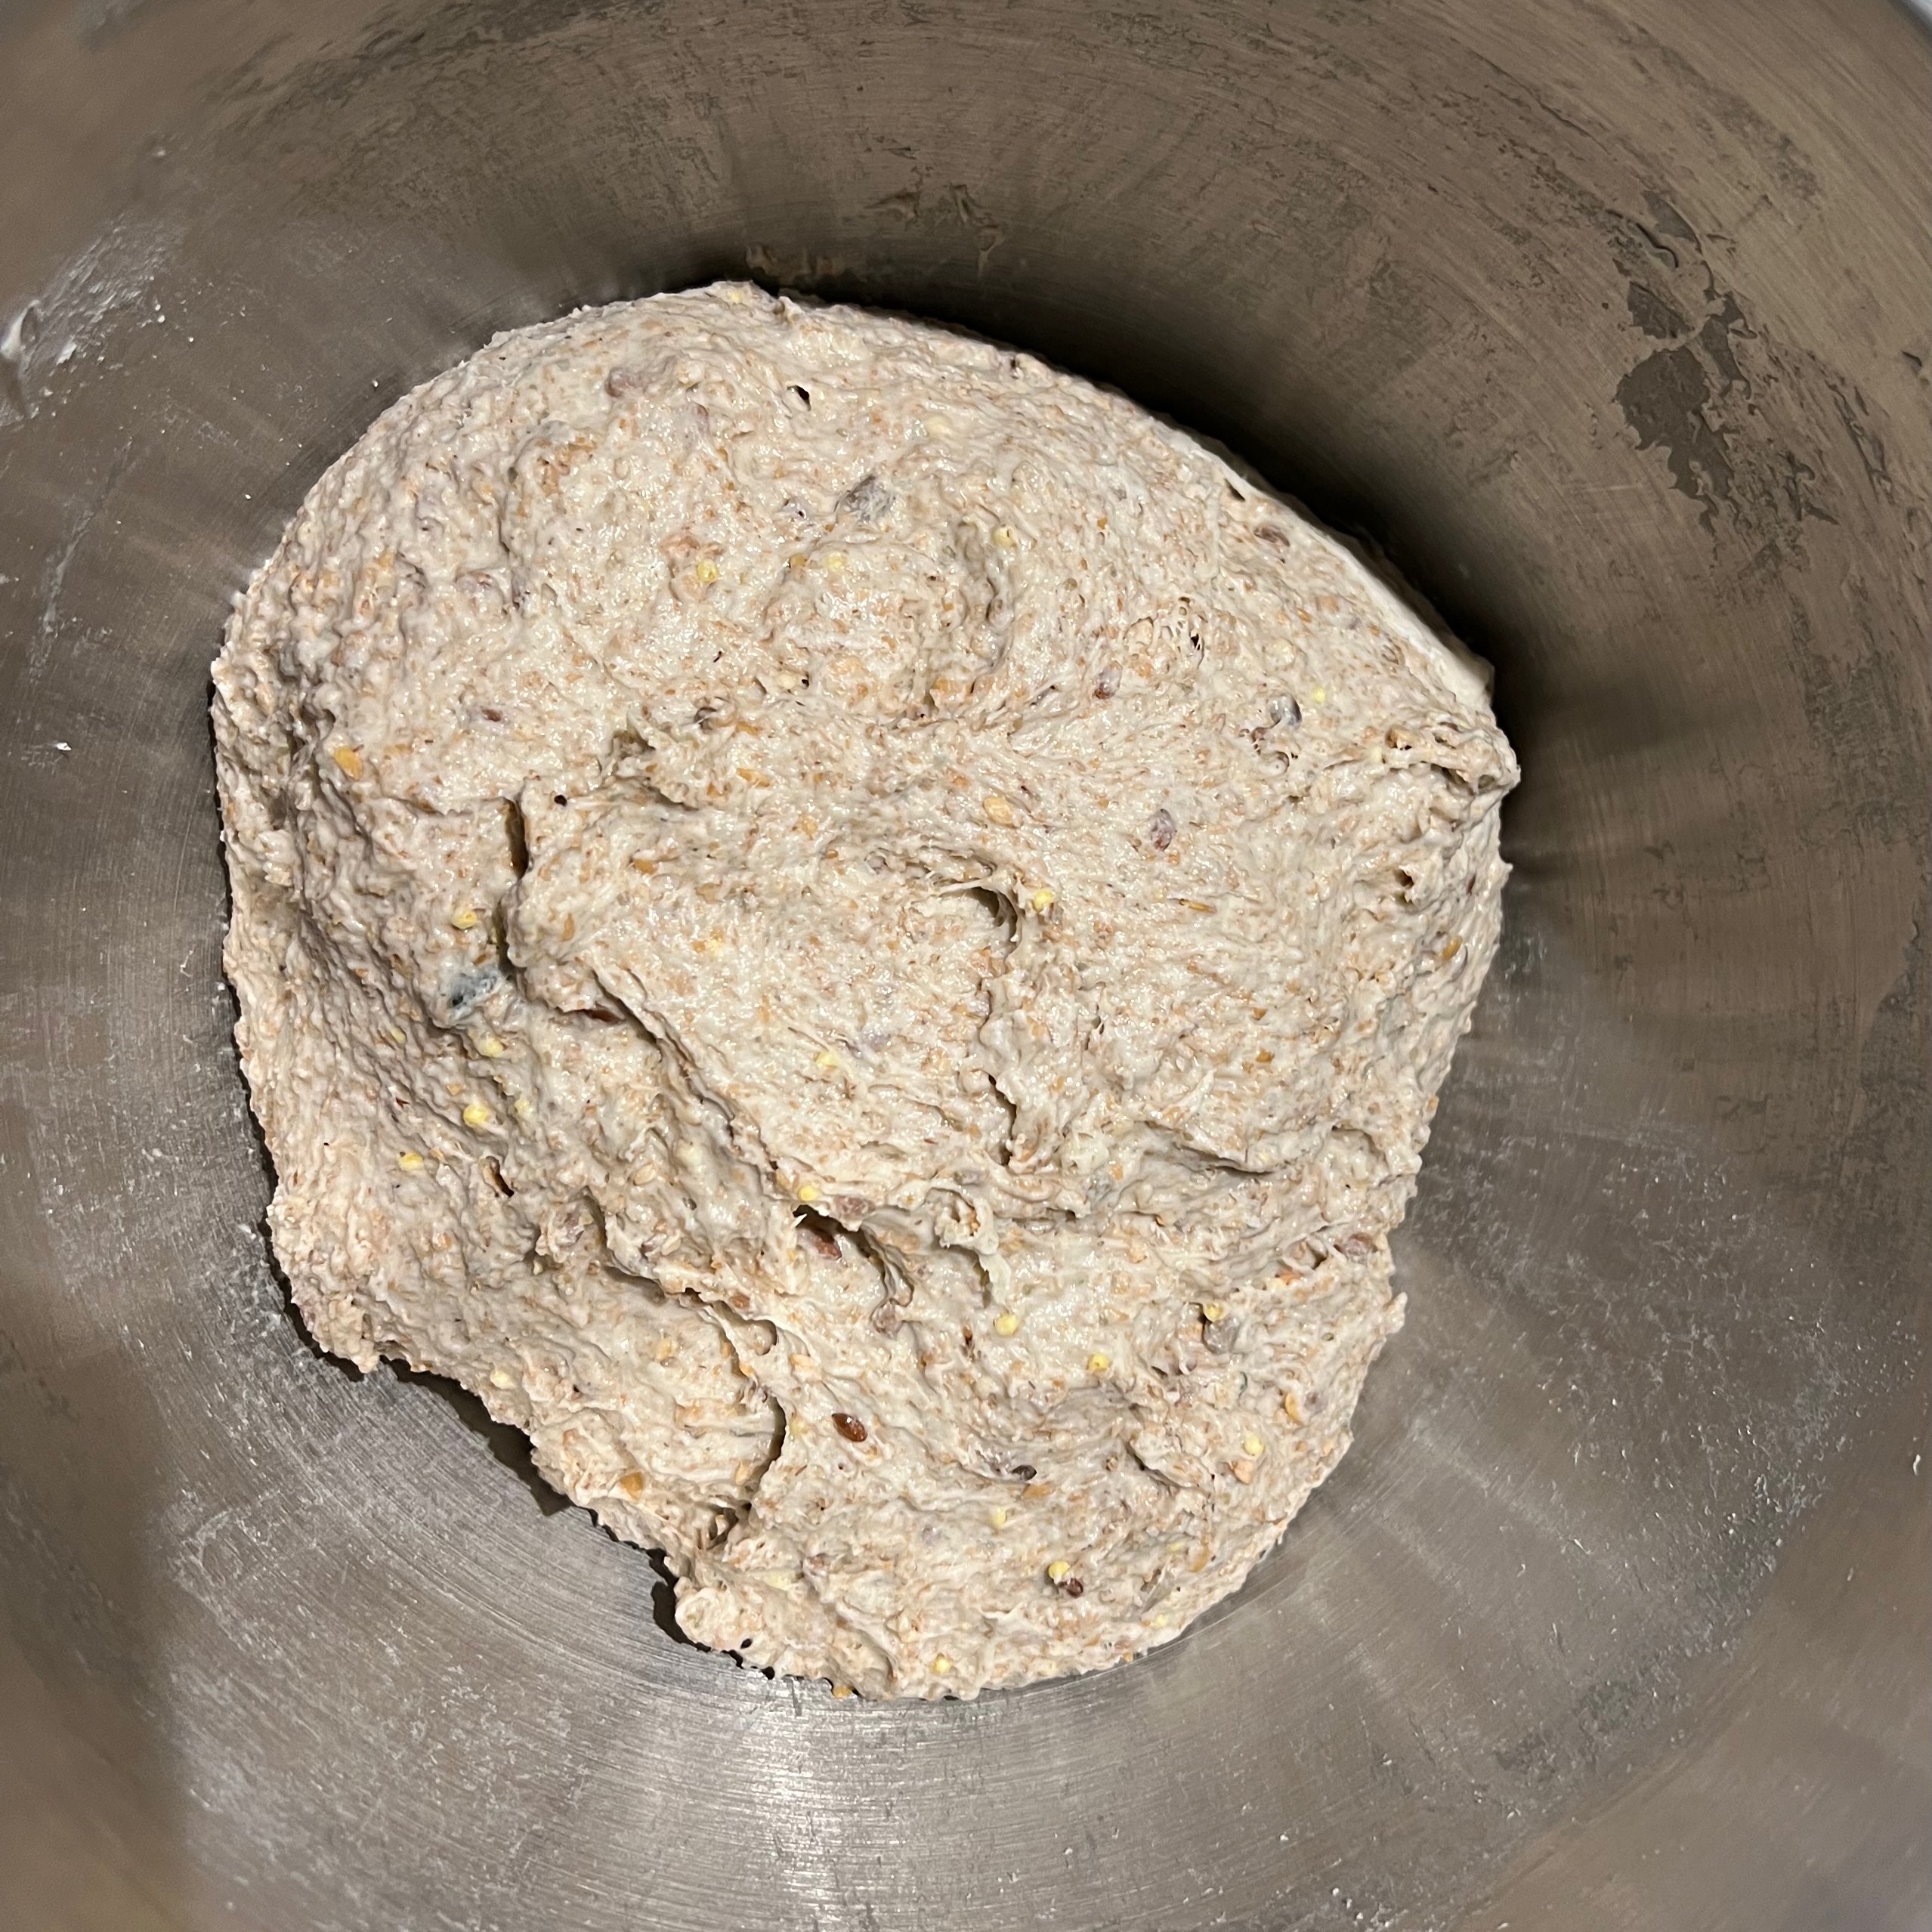
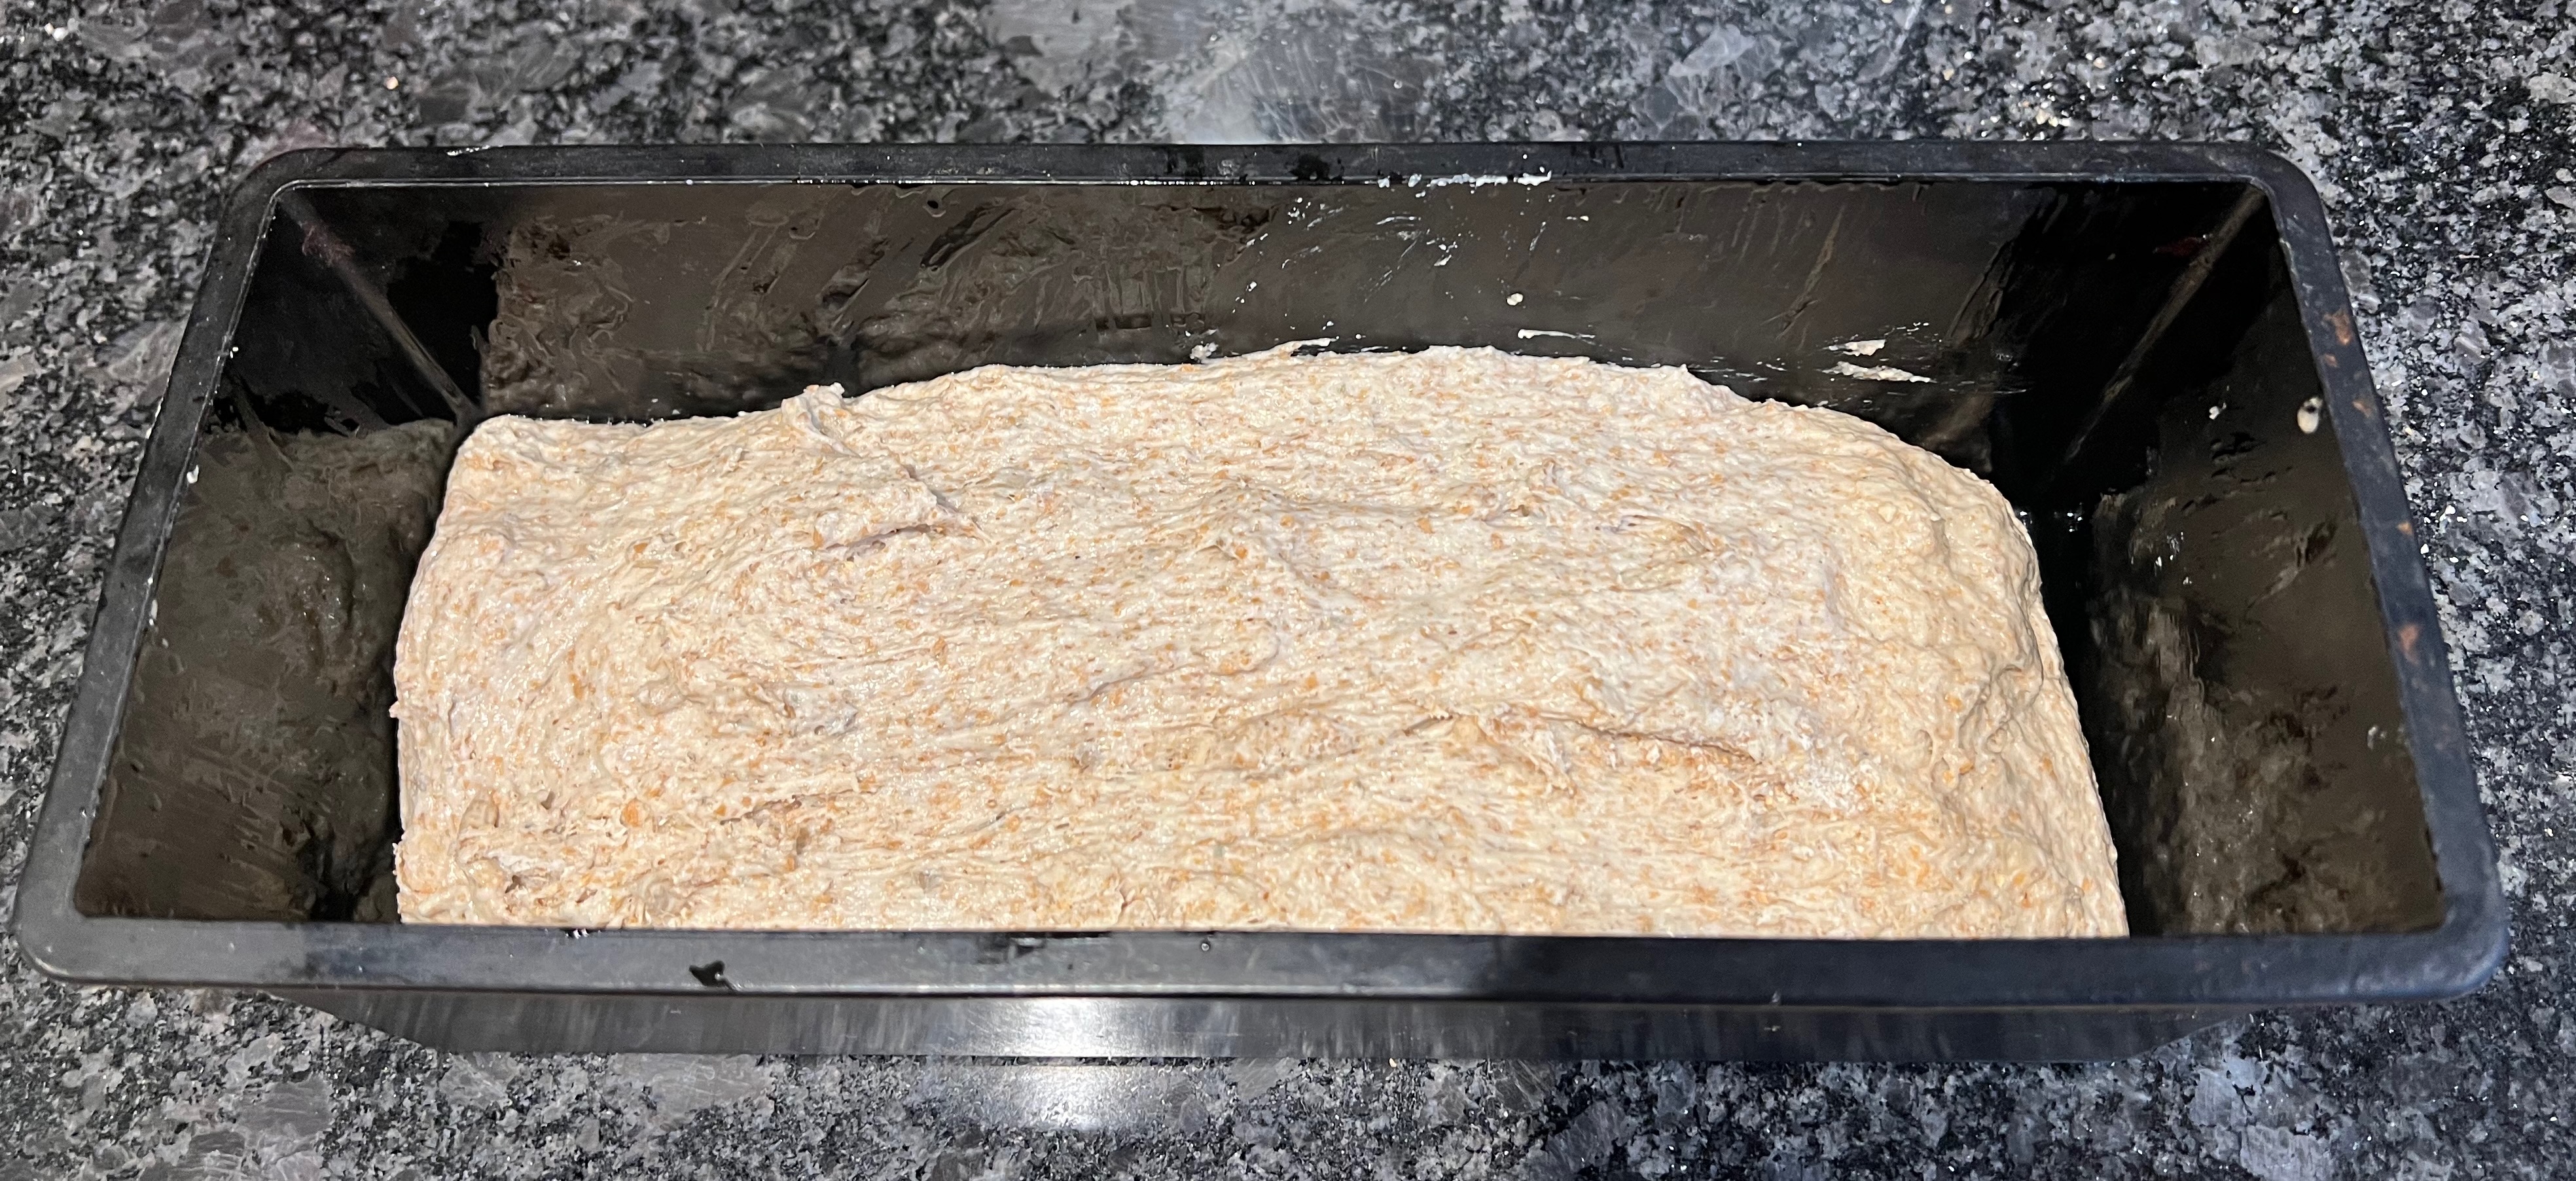
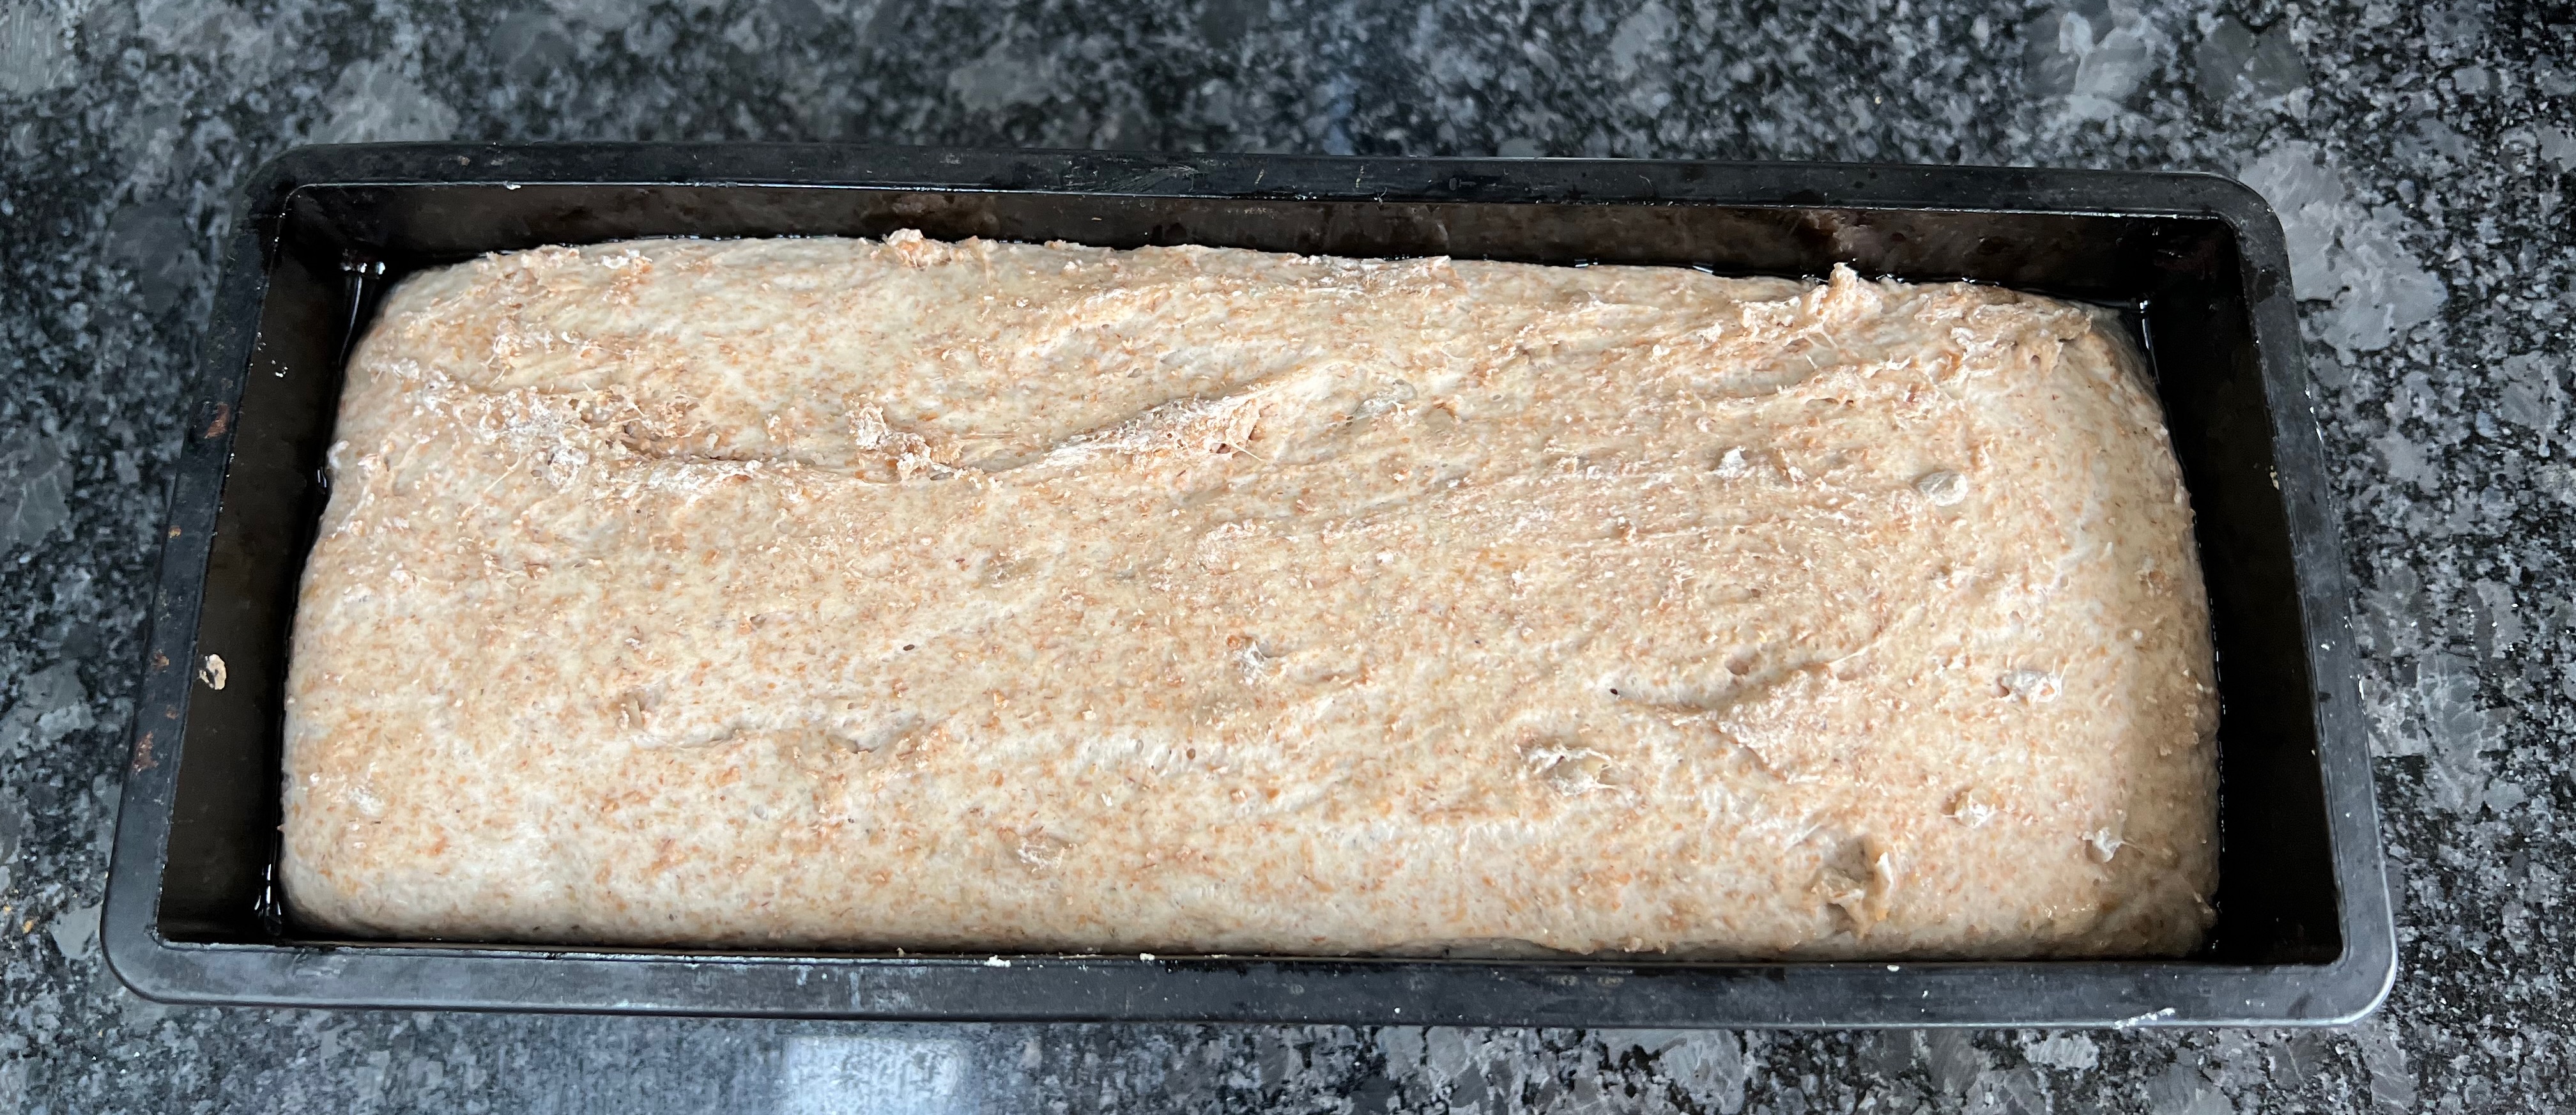
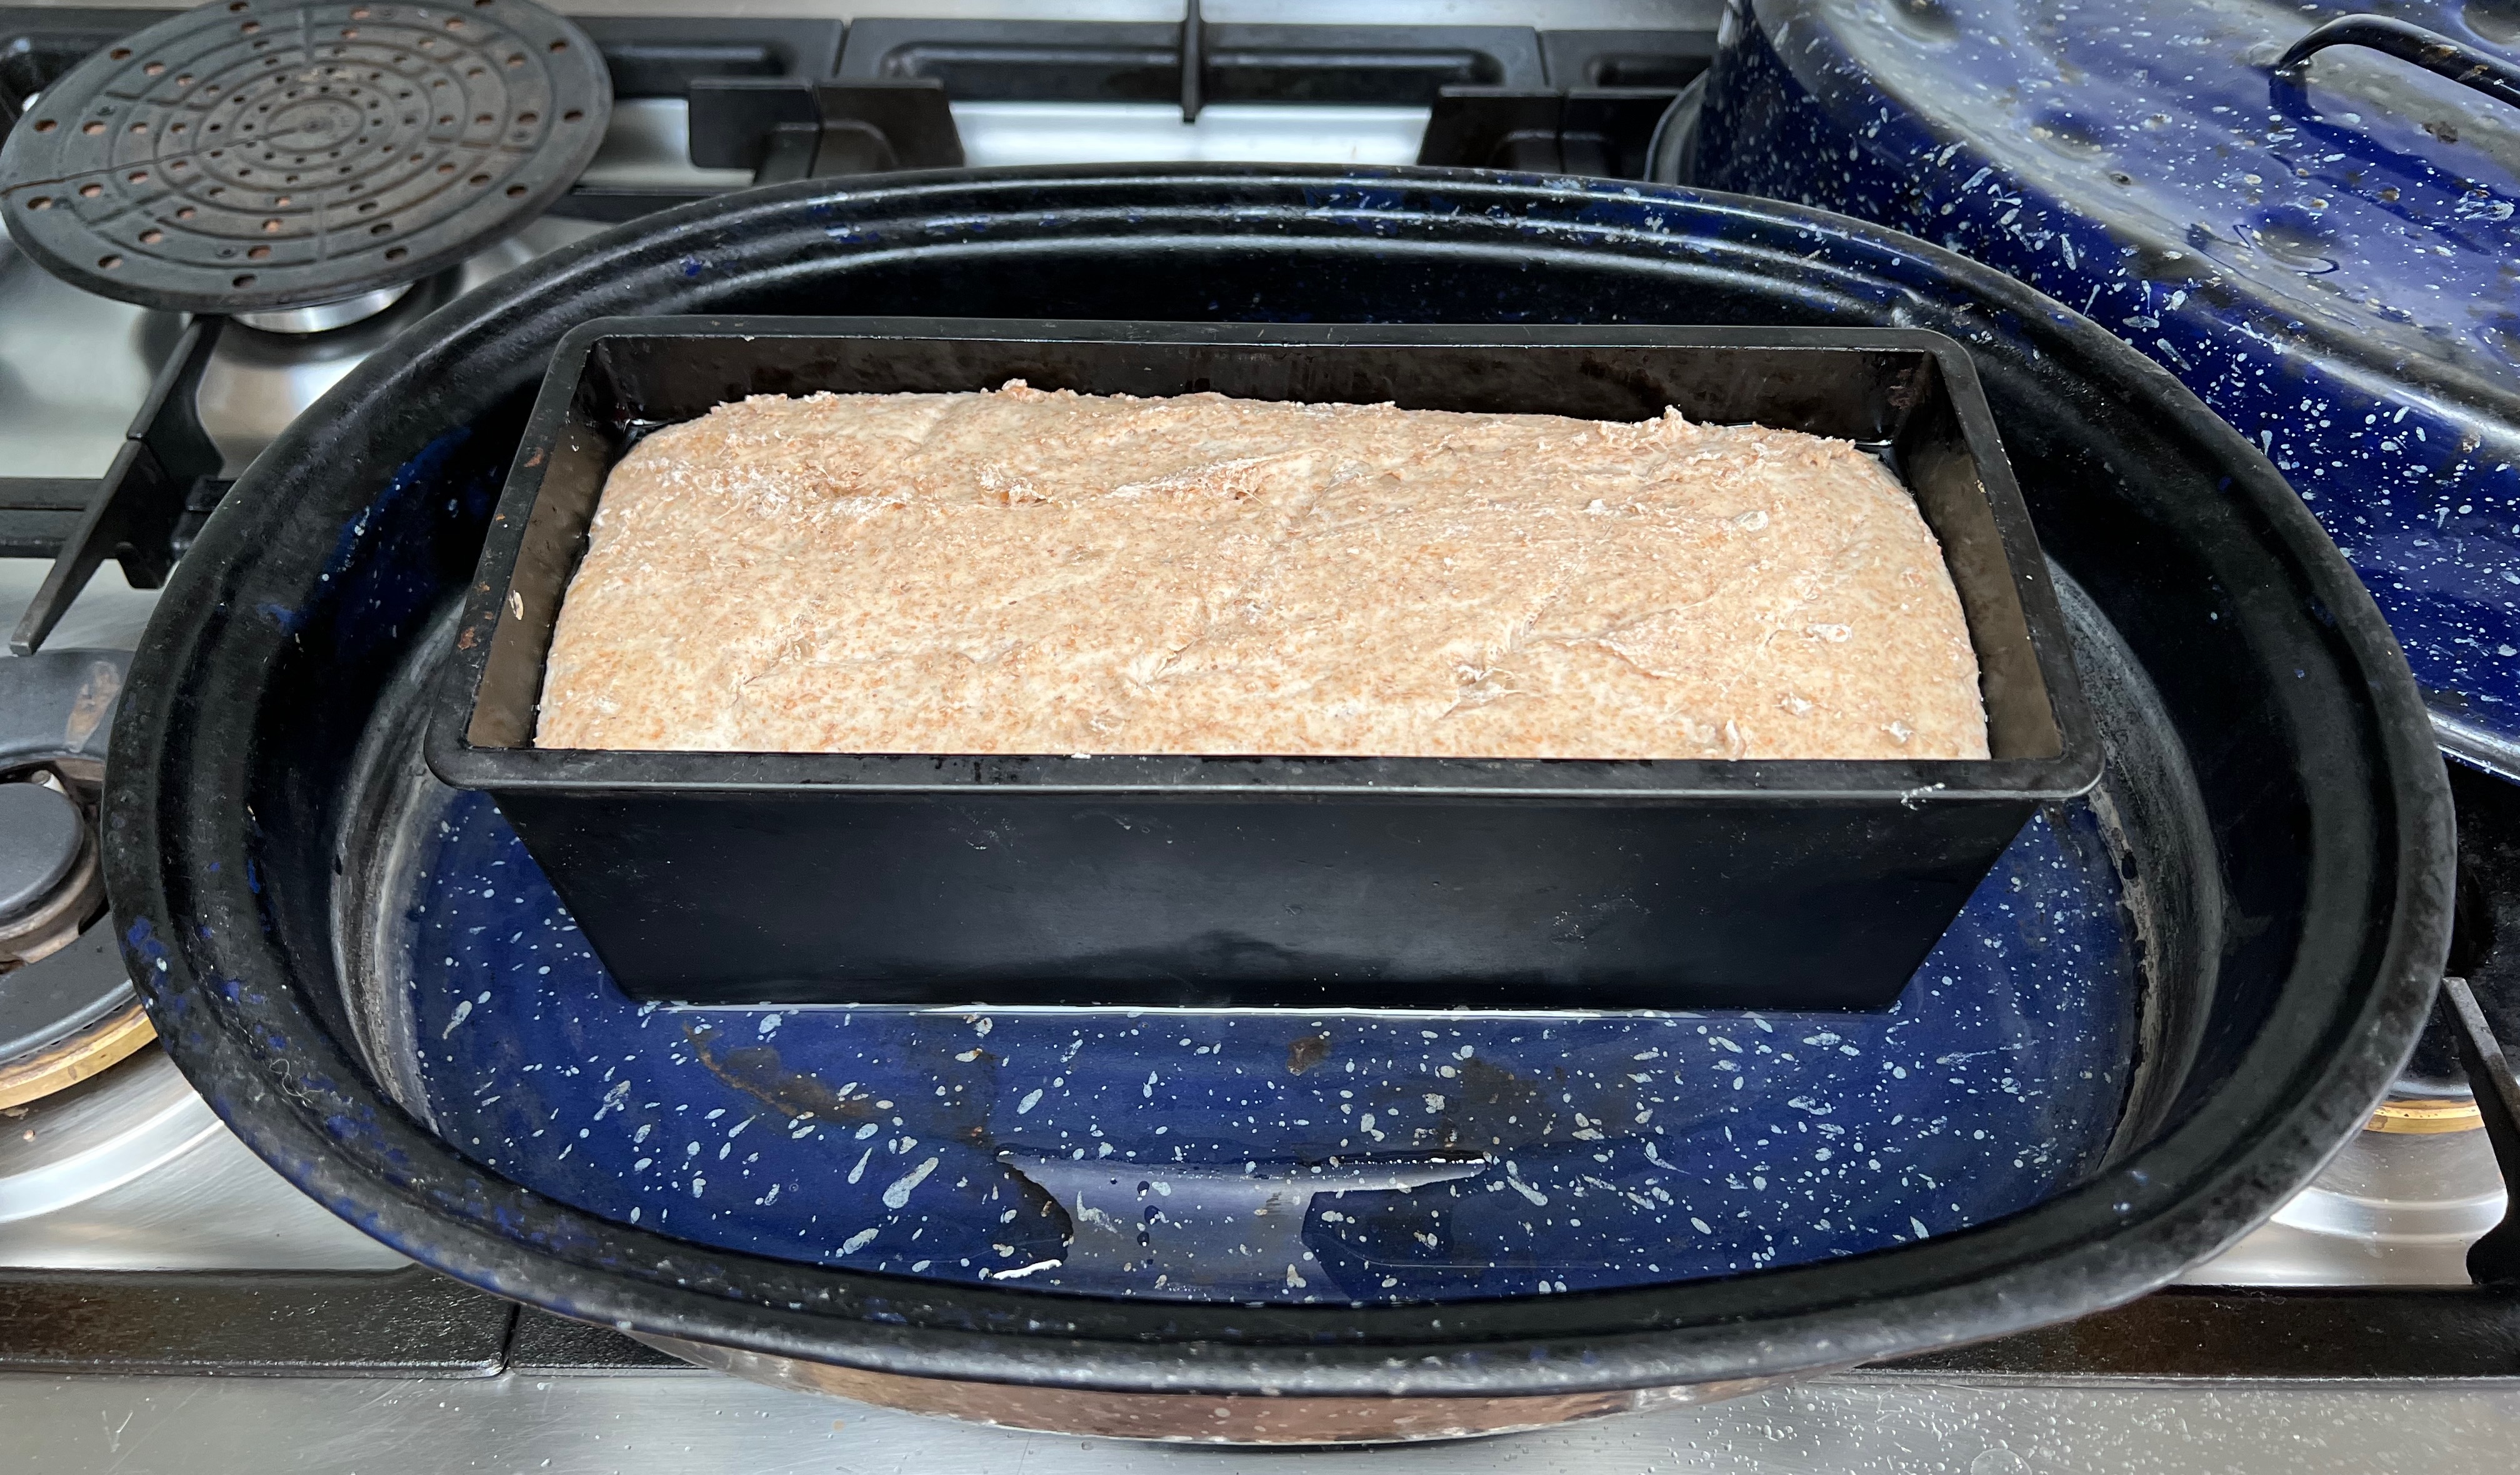
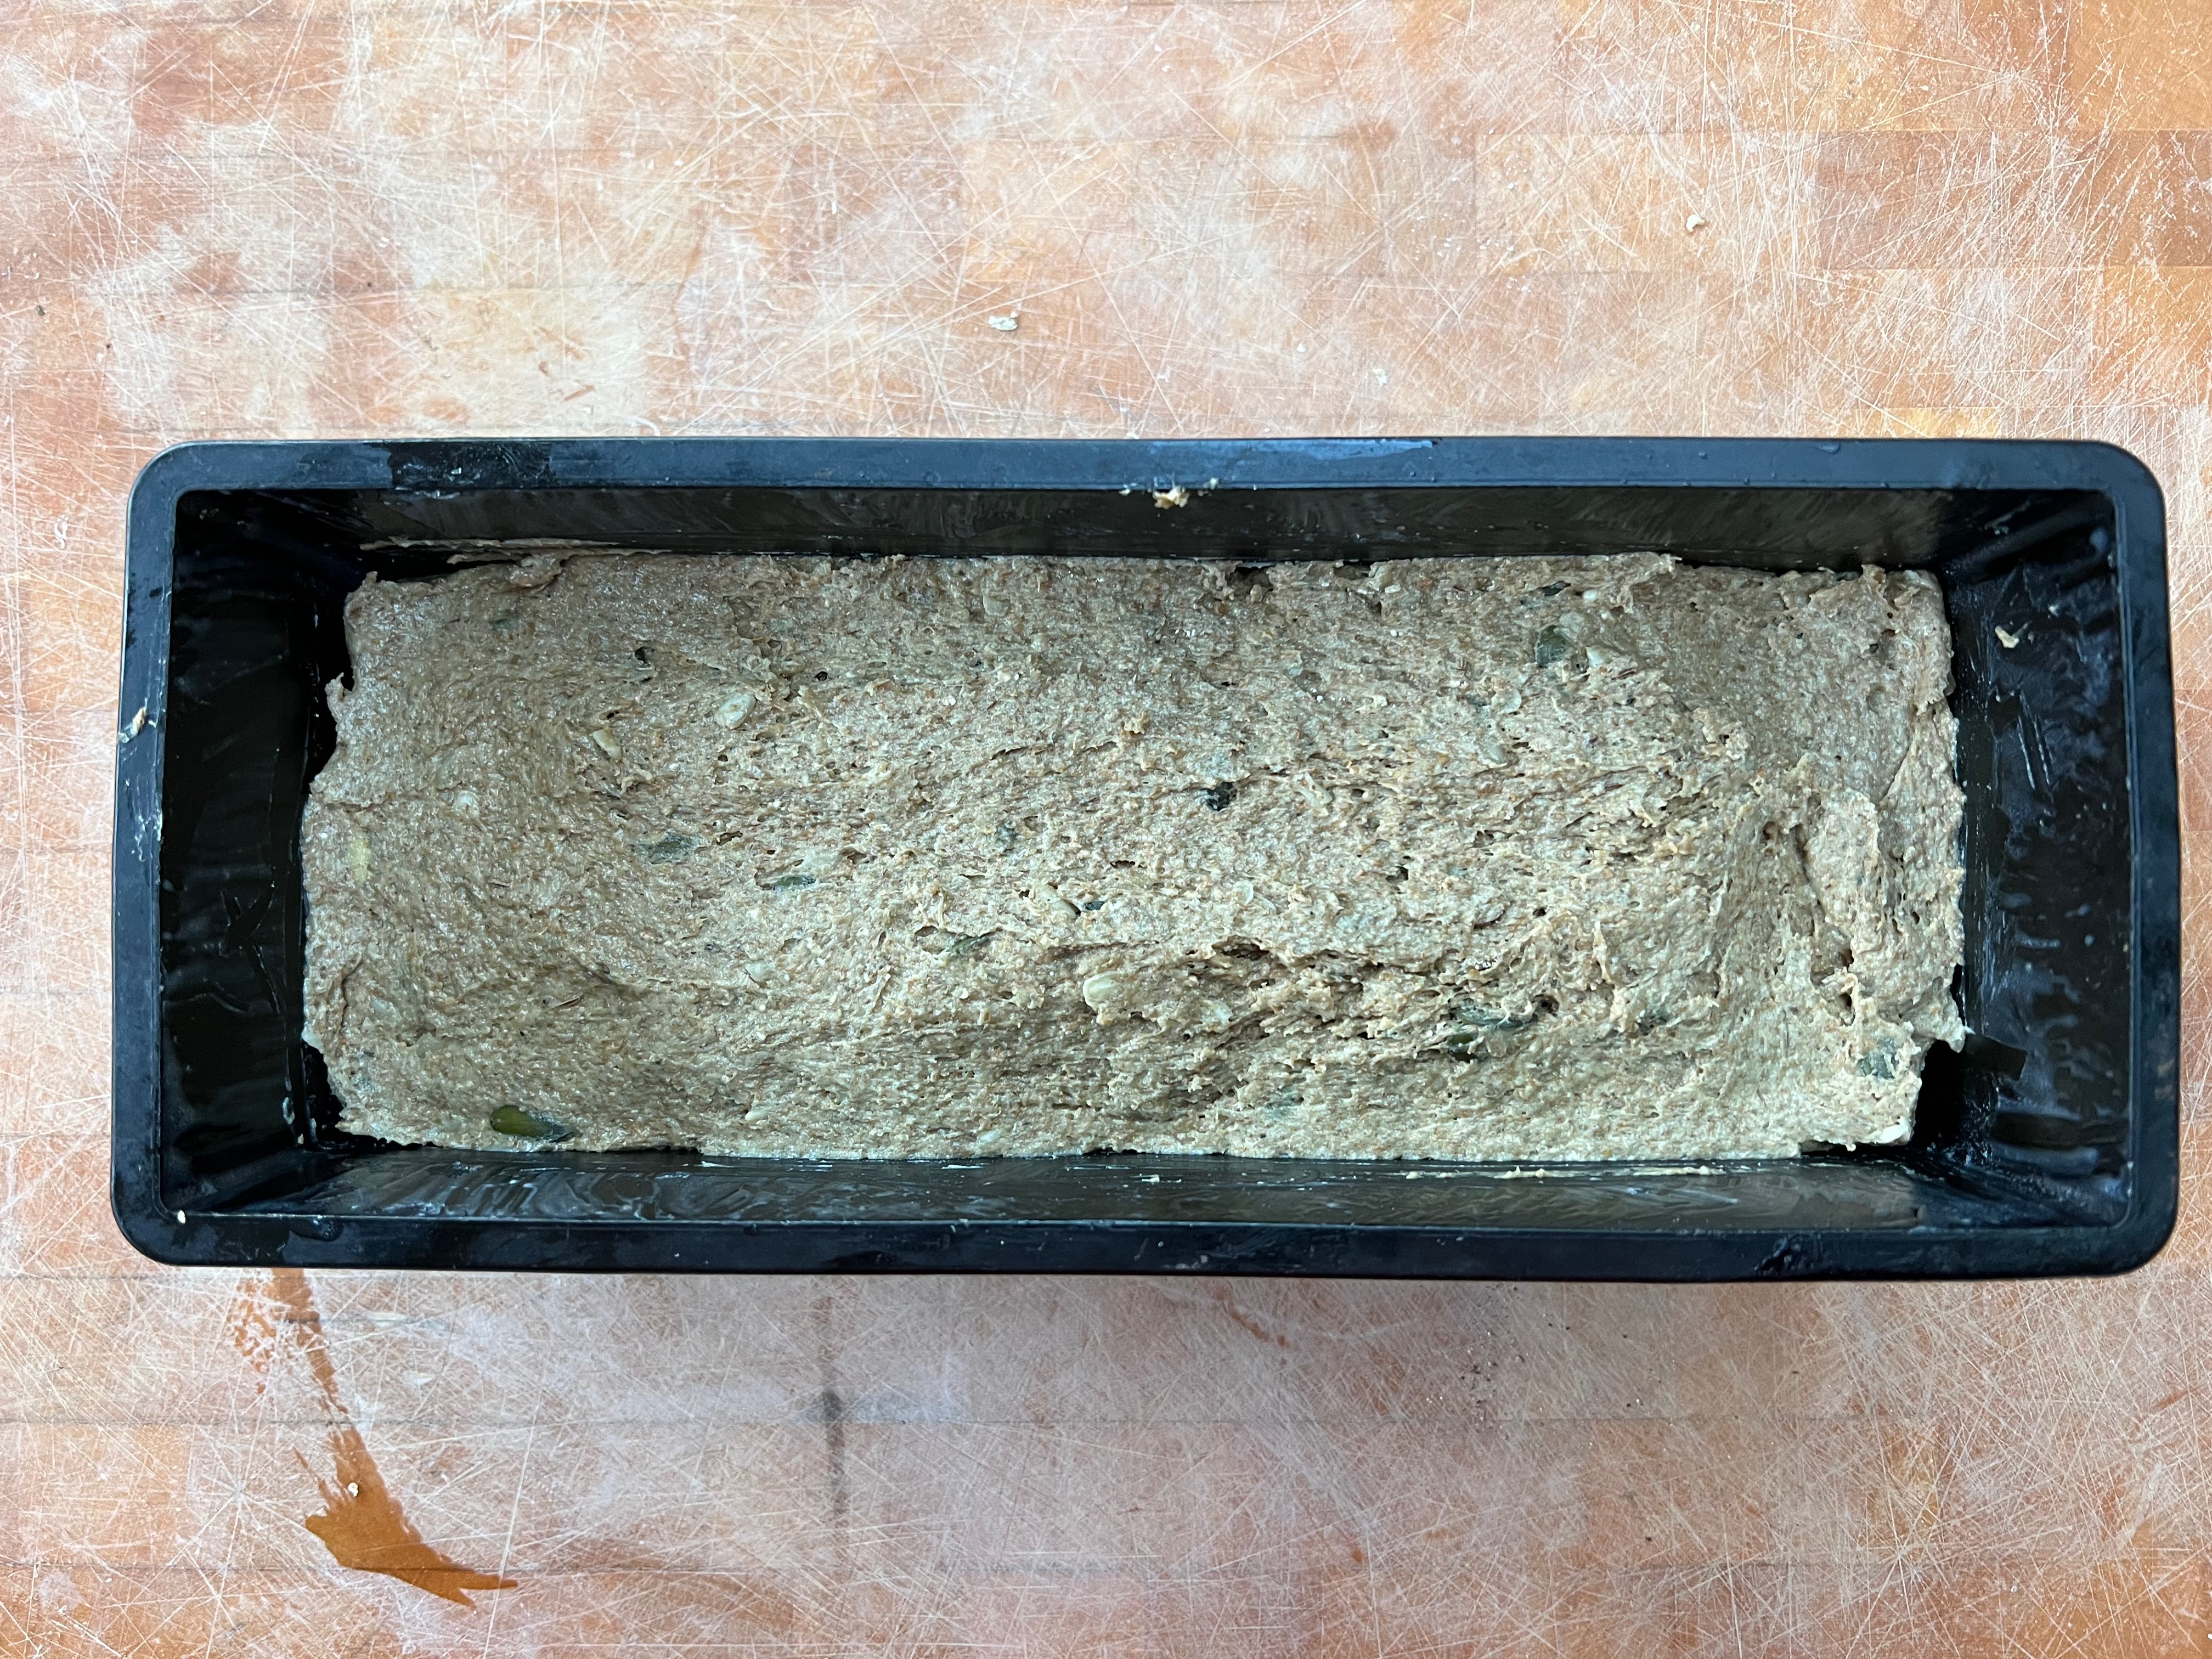
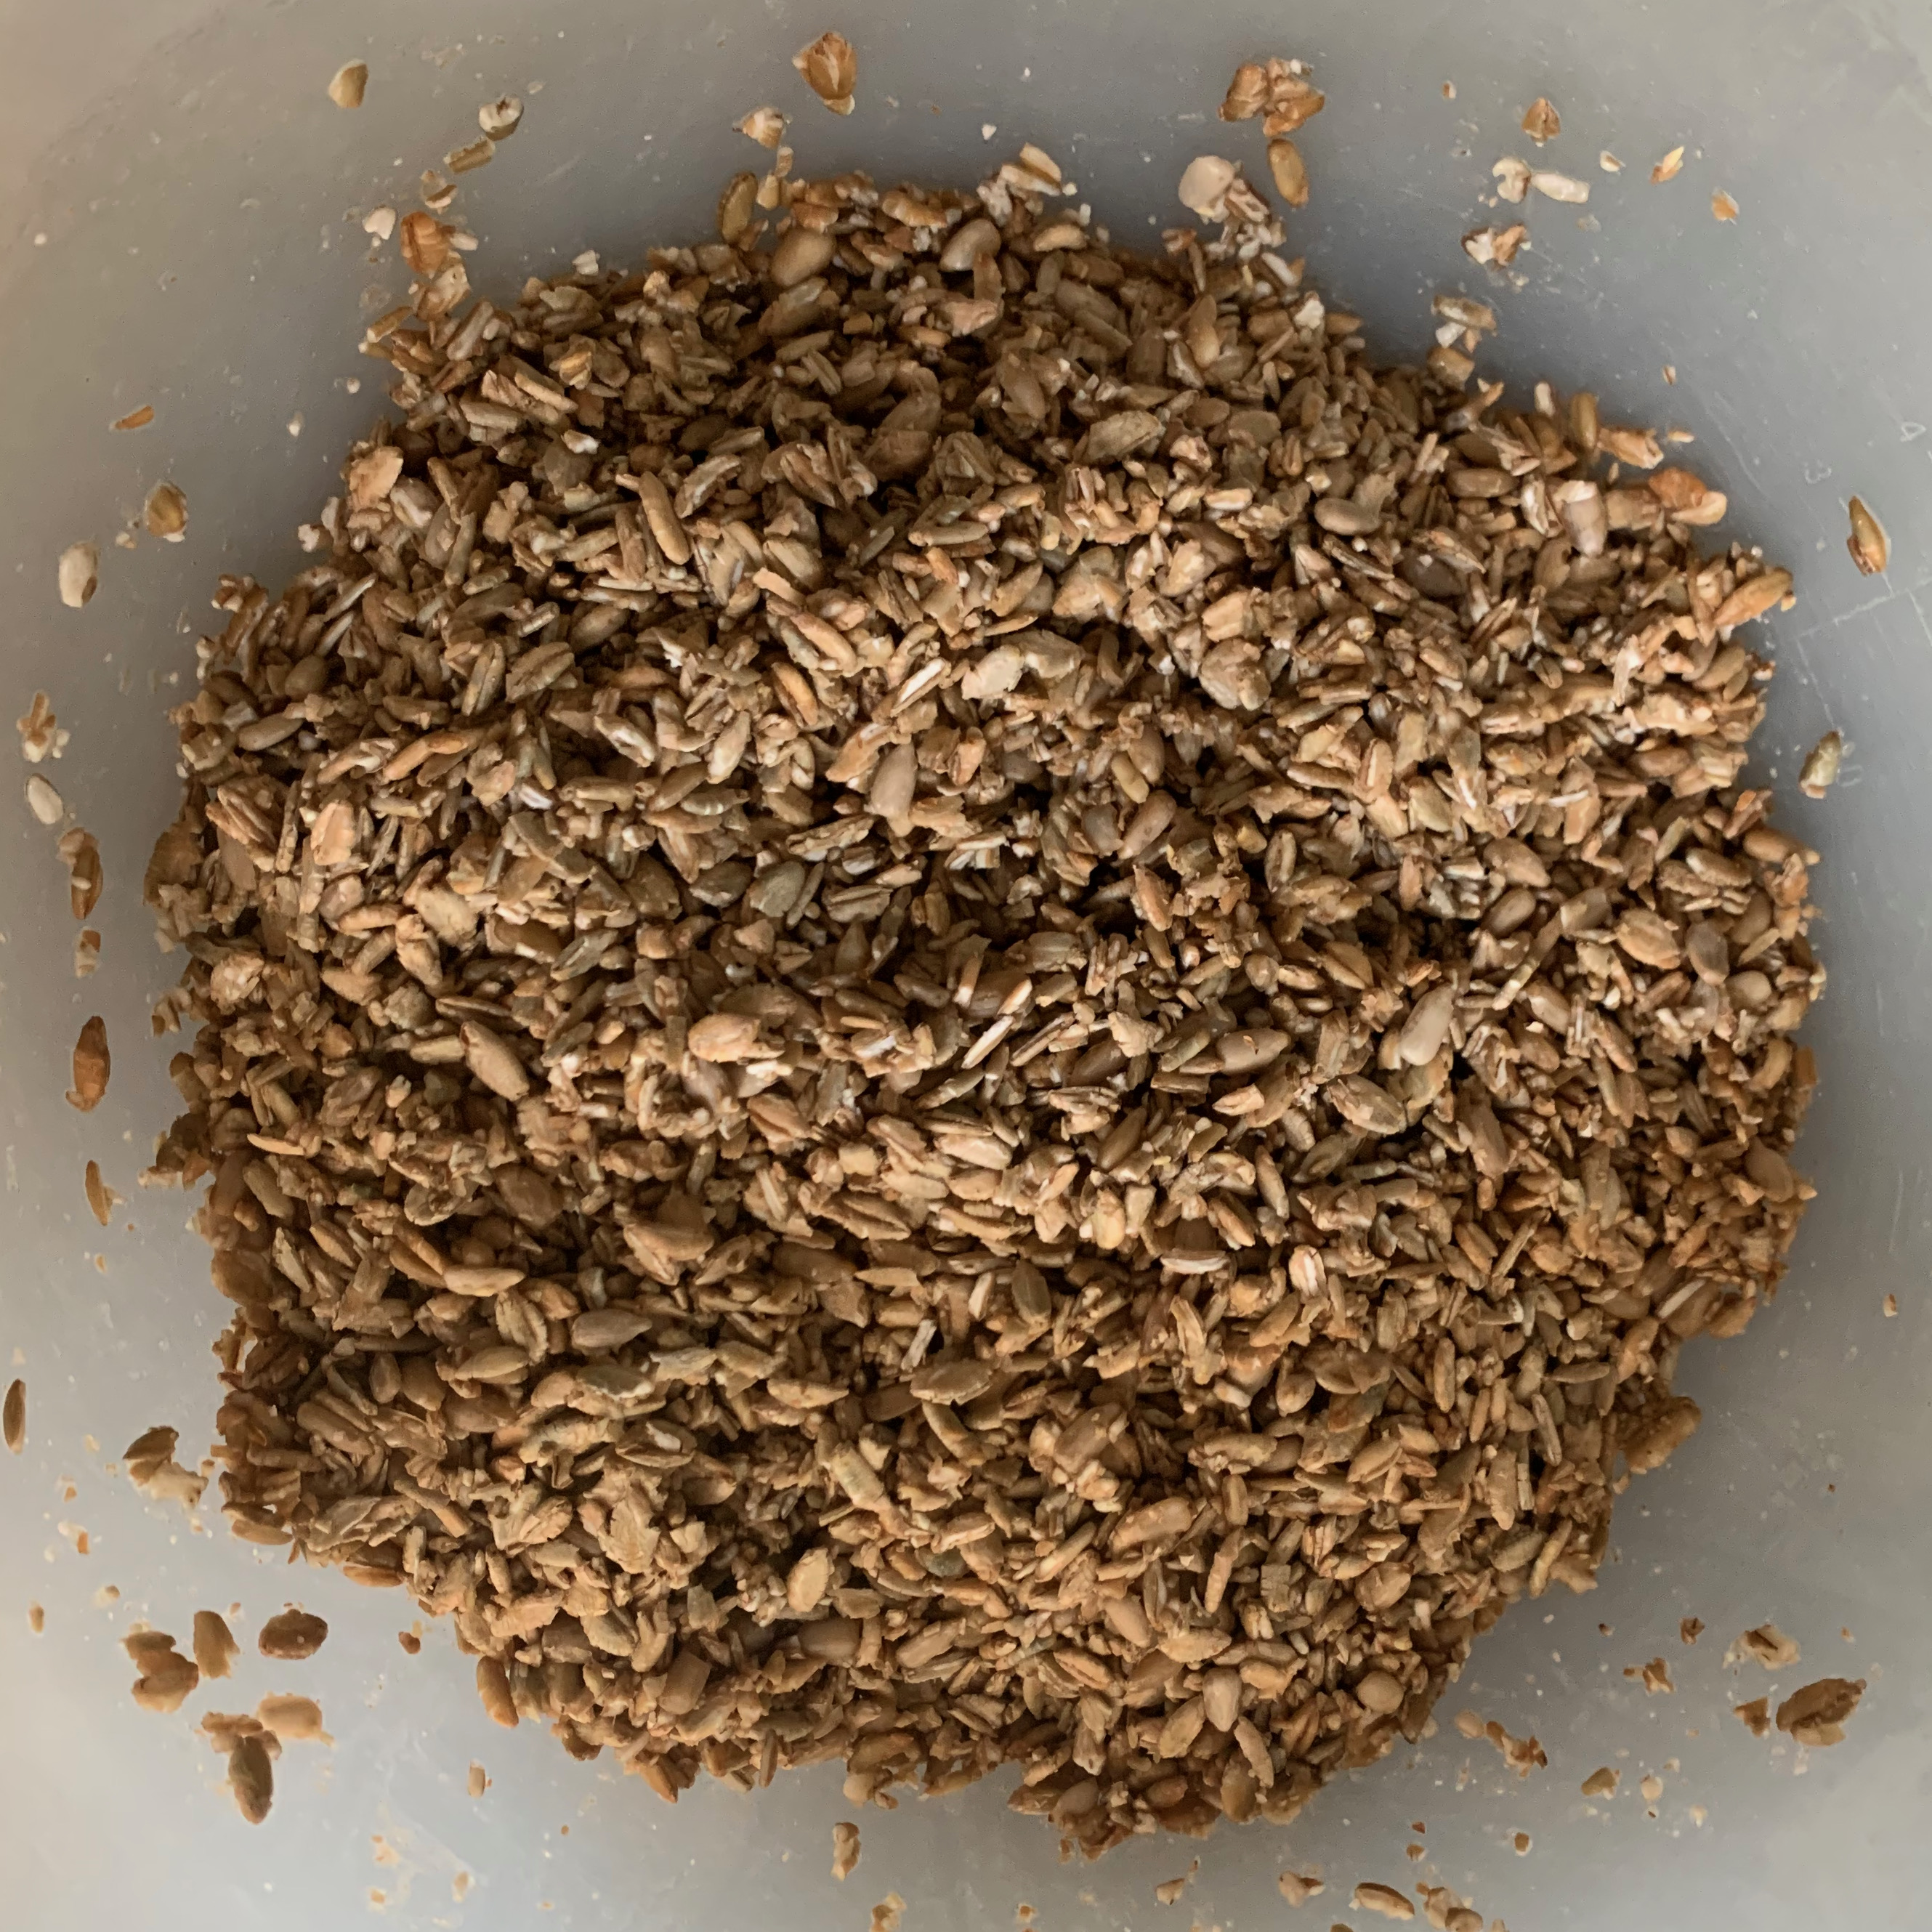
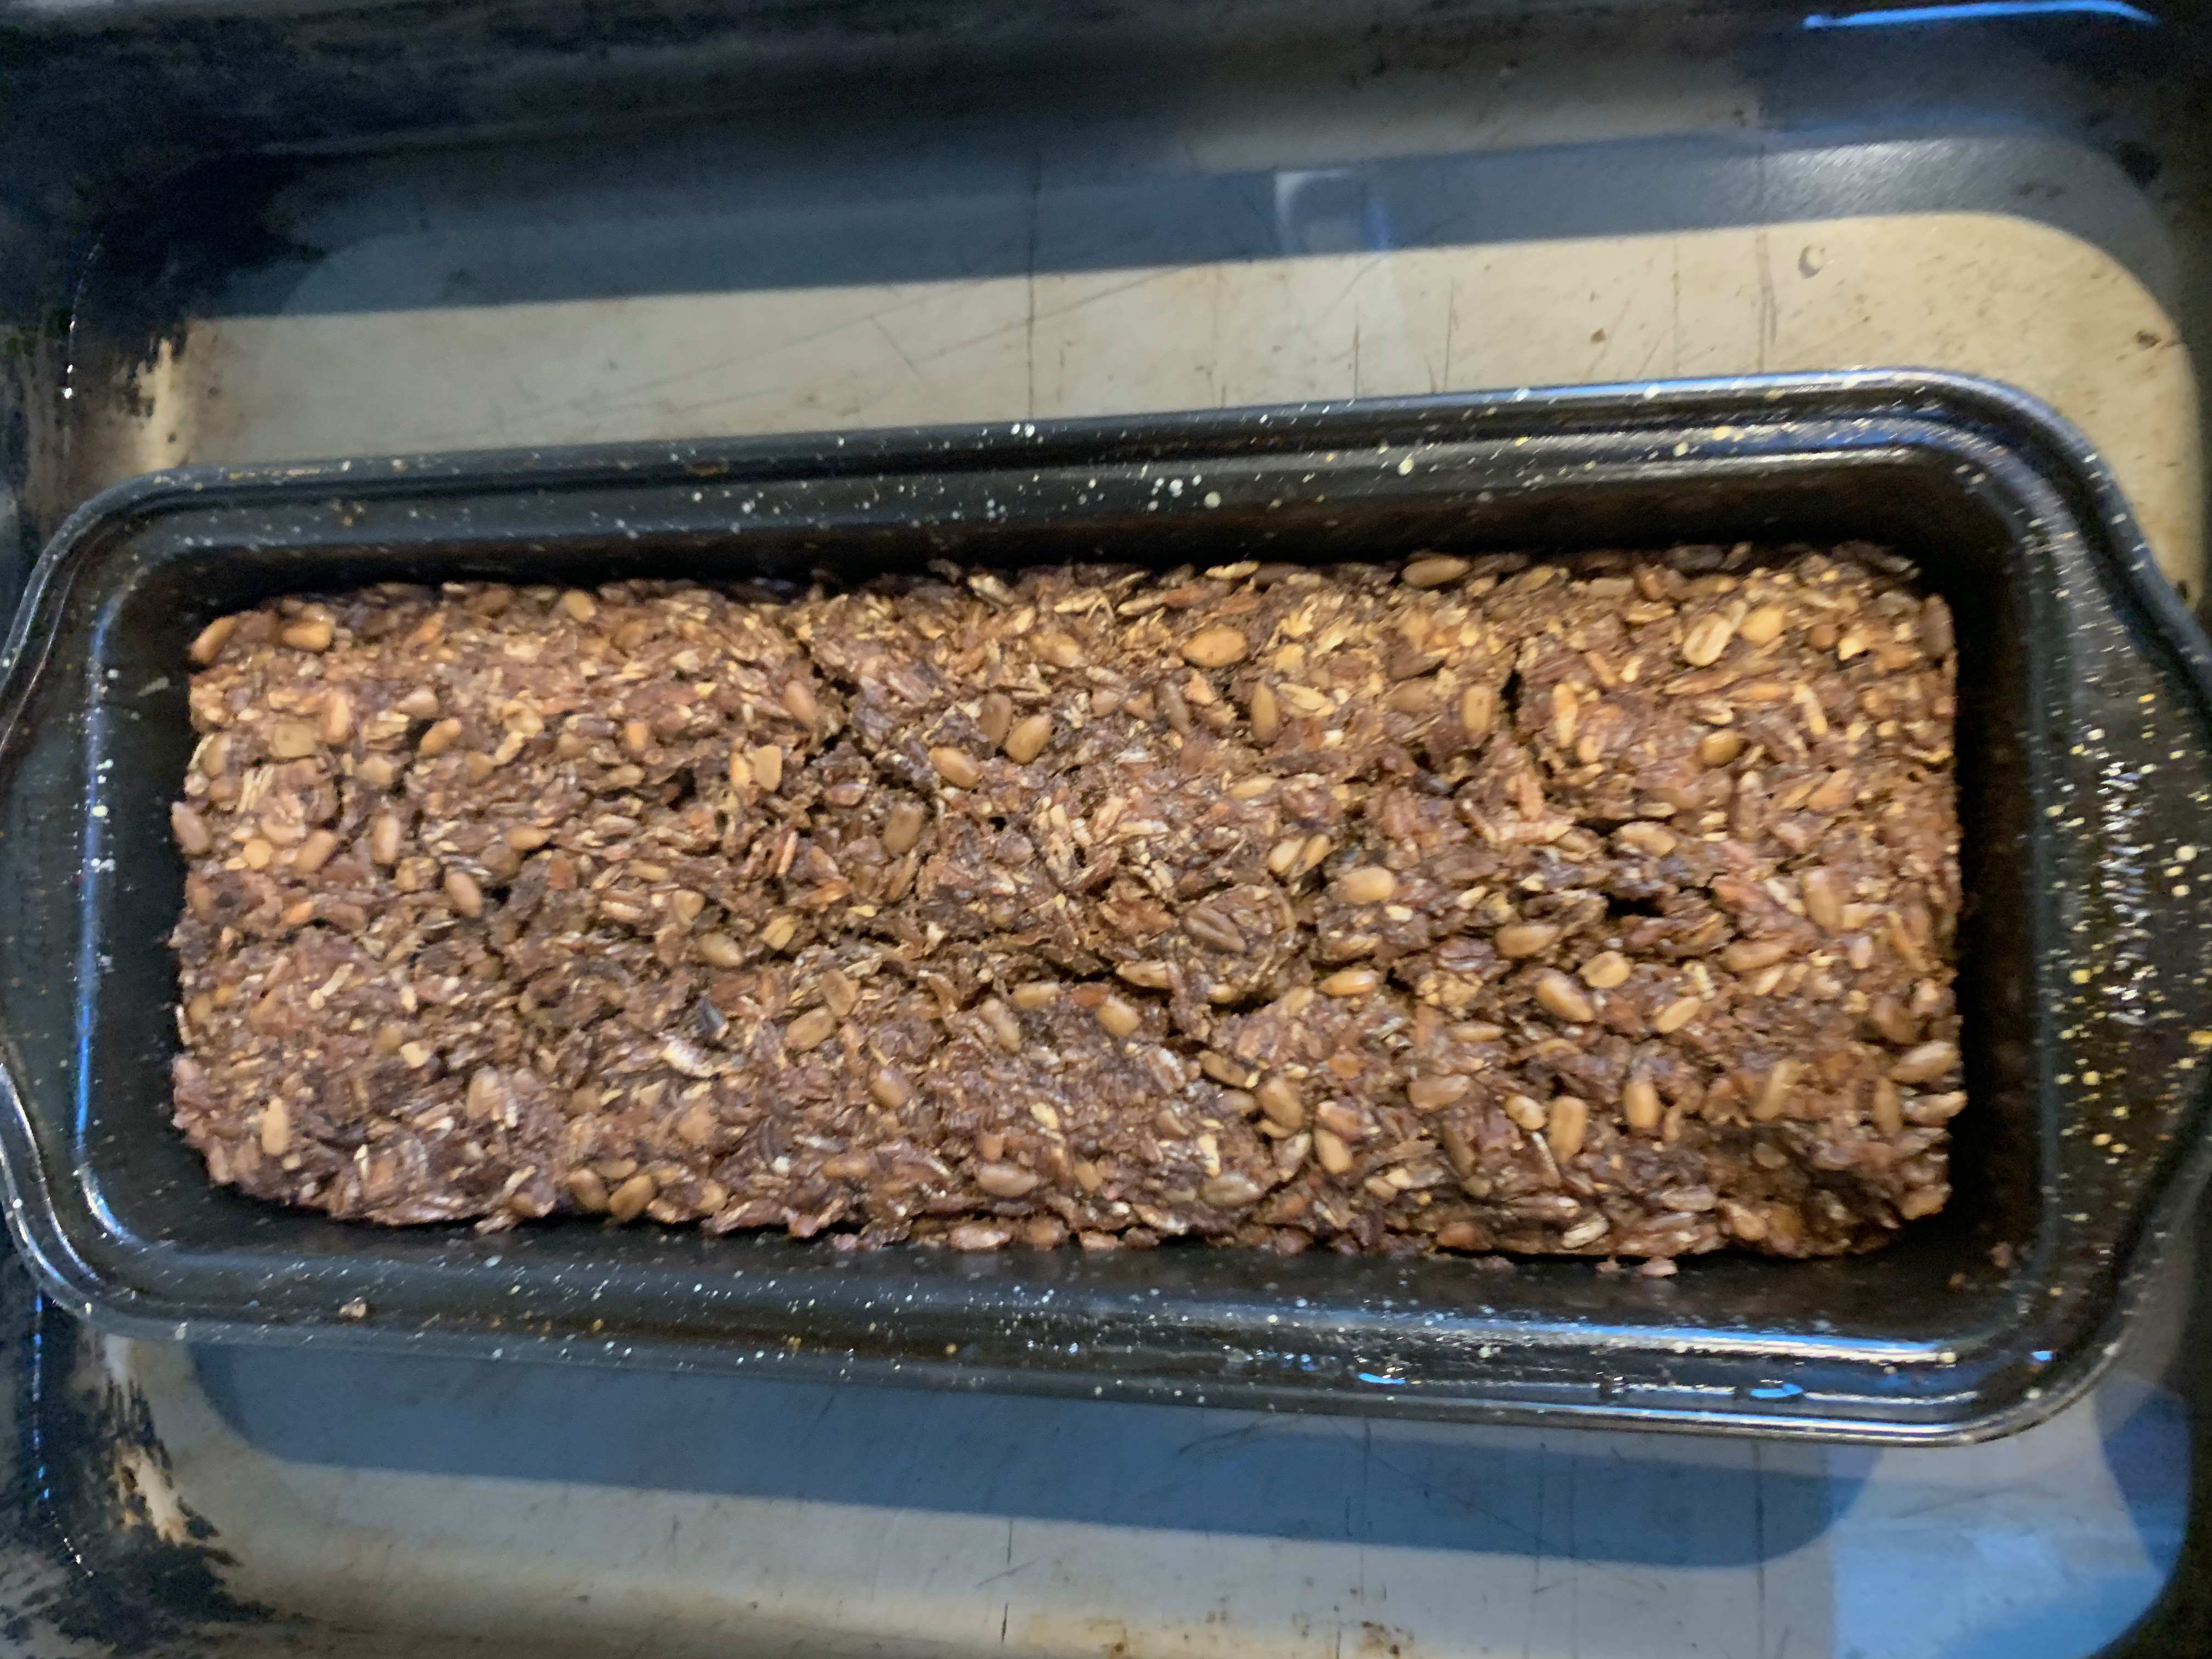
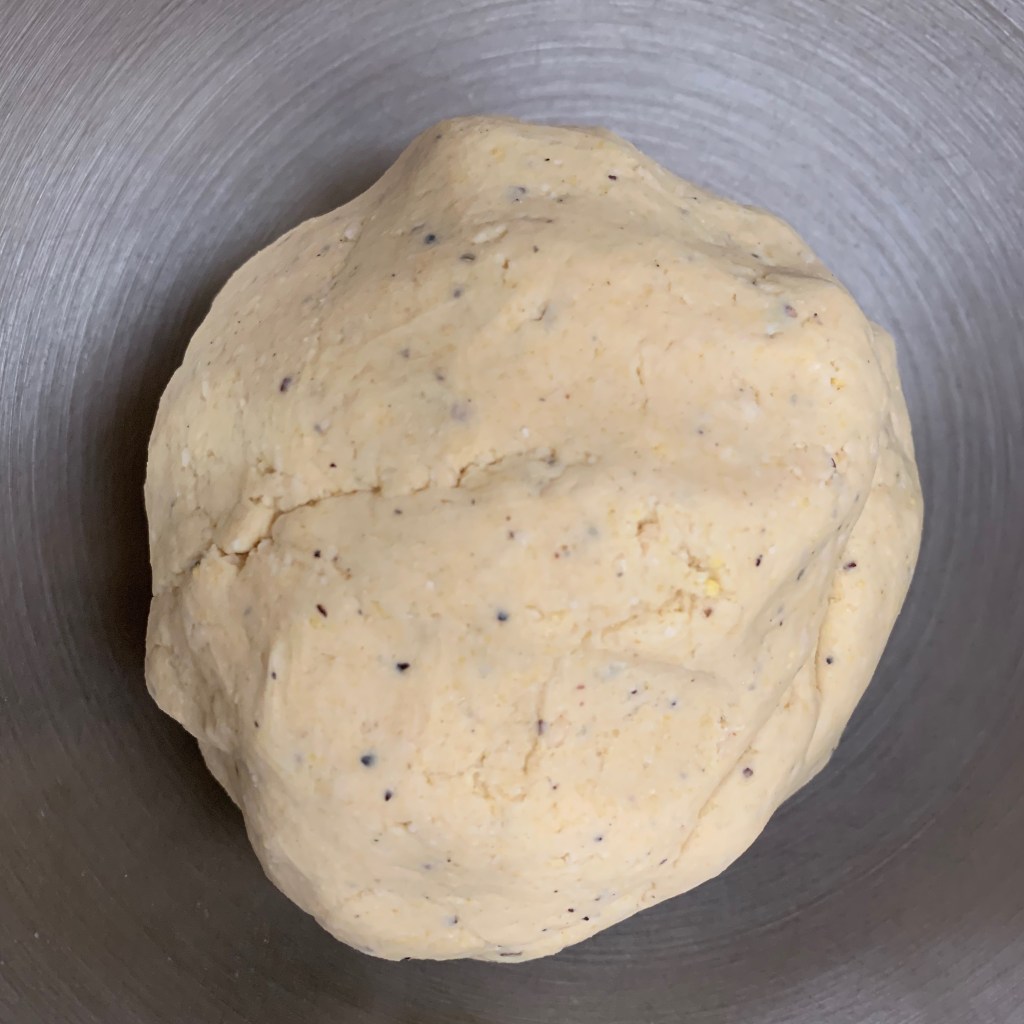
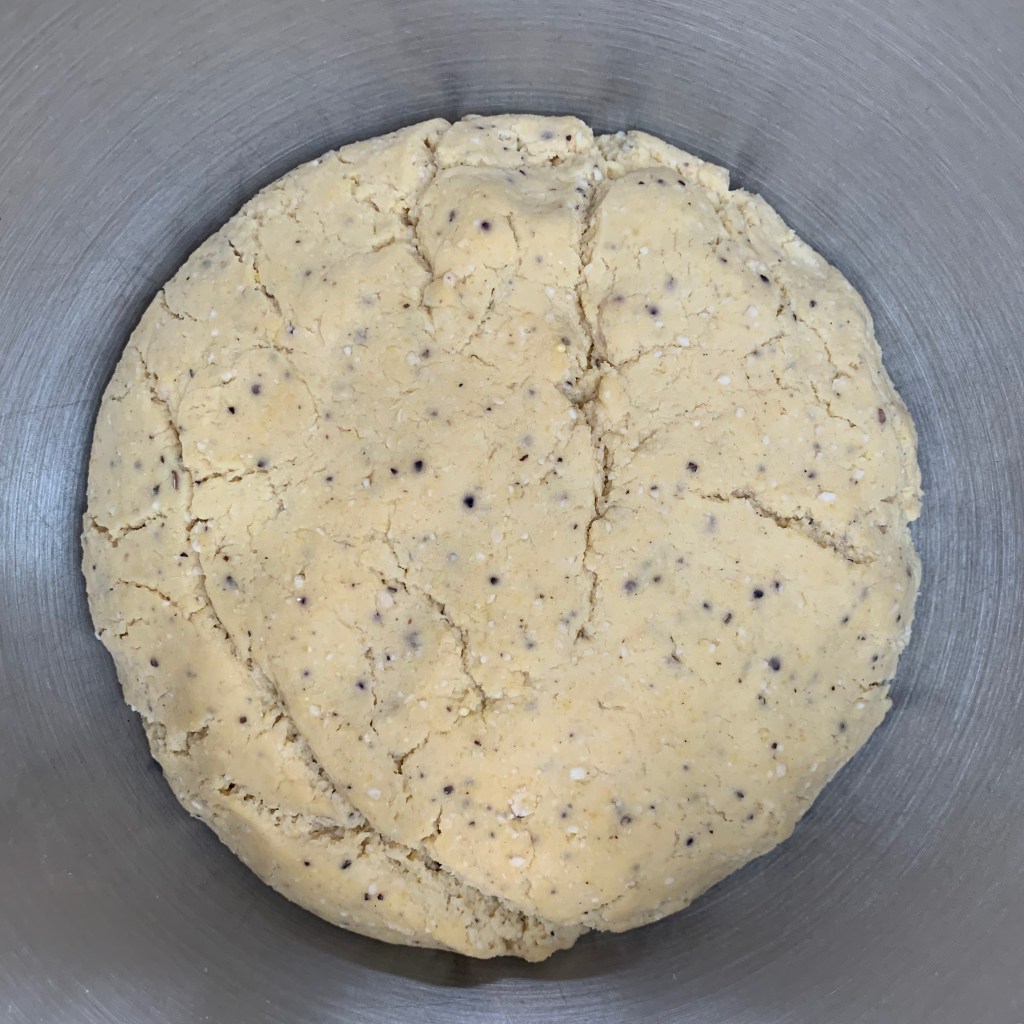
There are several variations possible. The flour mixture in this post is 50/50 strong white/wholemeal spelt, but you can vary the flavour by replacing the spelt by either dark or light rye or wholemeal wheat. Or you can go 60/40 for a less dense, more pillowy result. Or you can increase the amount of seven seed mix, or ditch it altogether and/or replace it with 20-30g of caraway seeds (whose flavour is very much a traditional accompaniment to light rye). In the loaf tin version pictured here, I had run out of seven seed mix so I used sunflower seeds only.
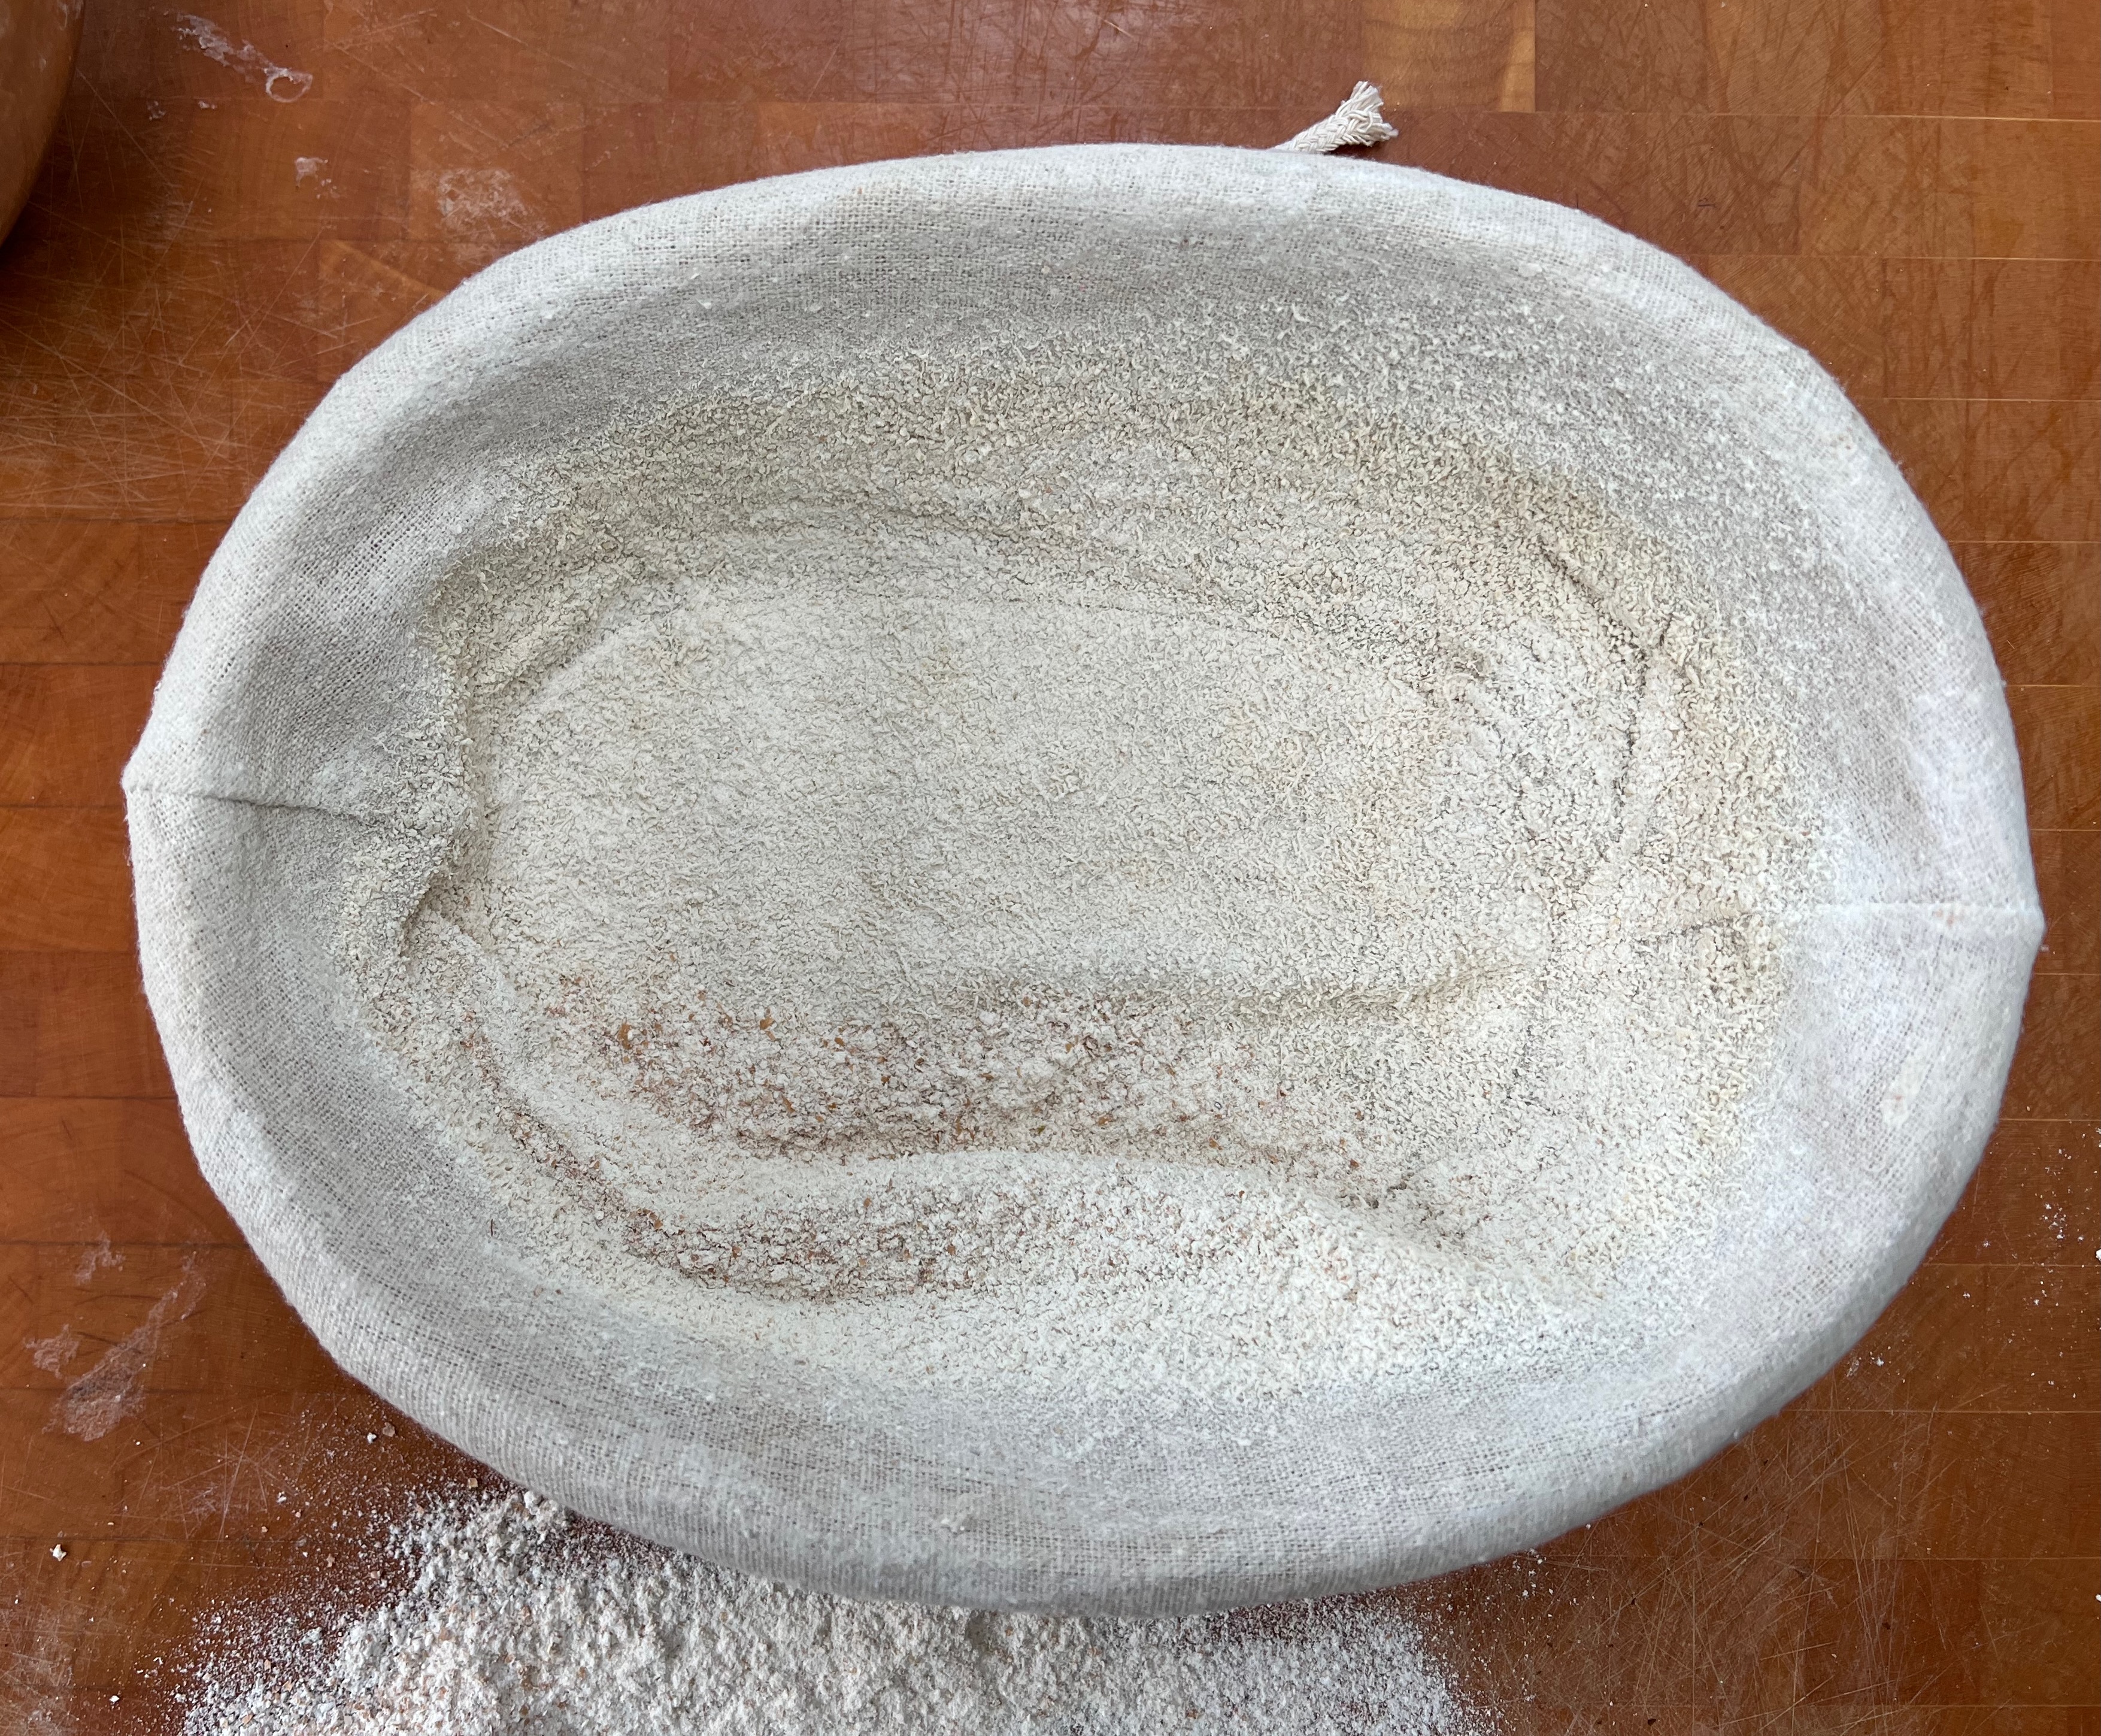
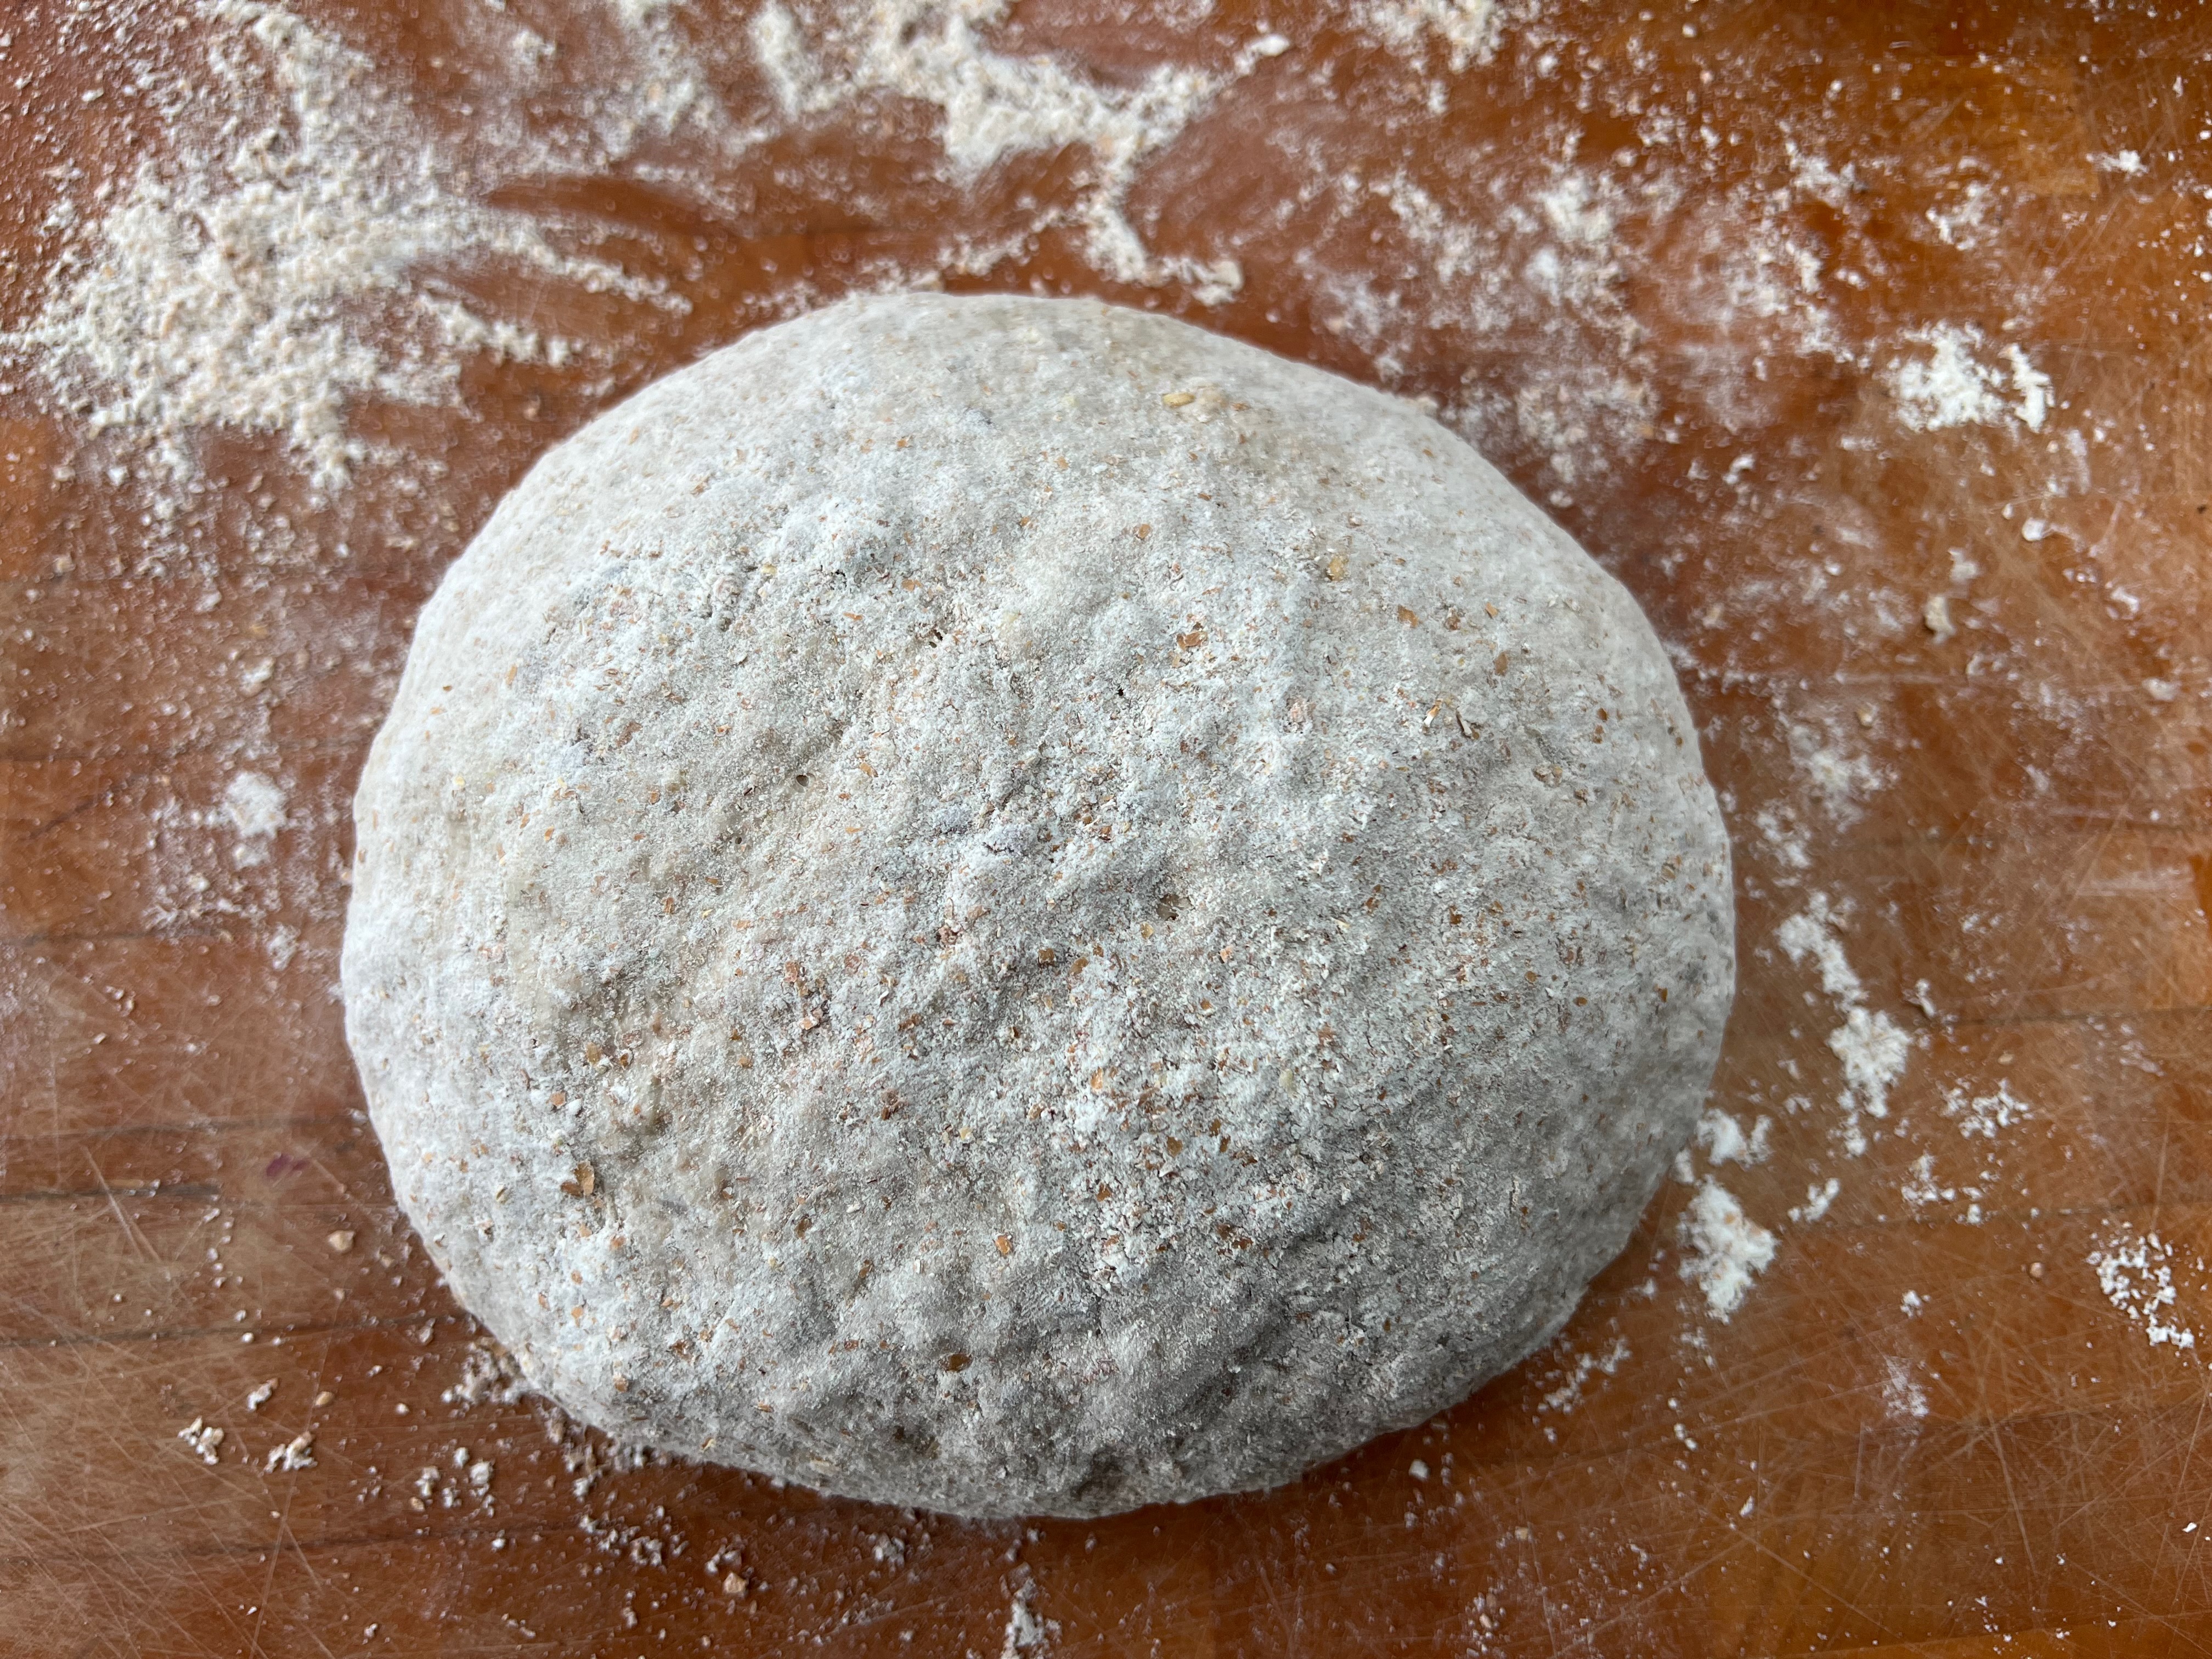
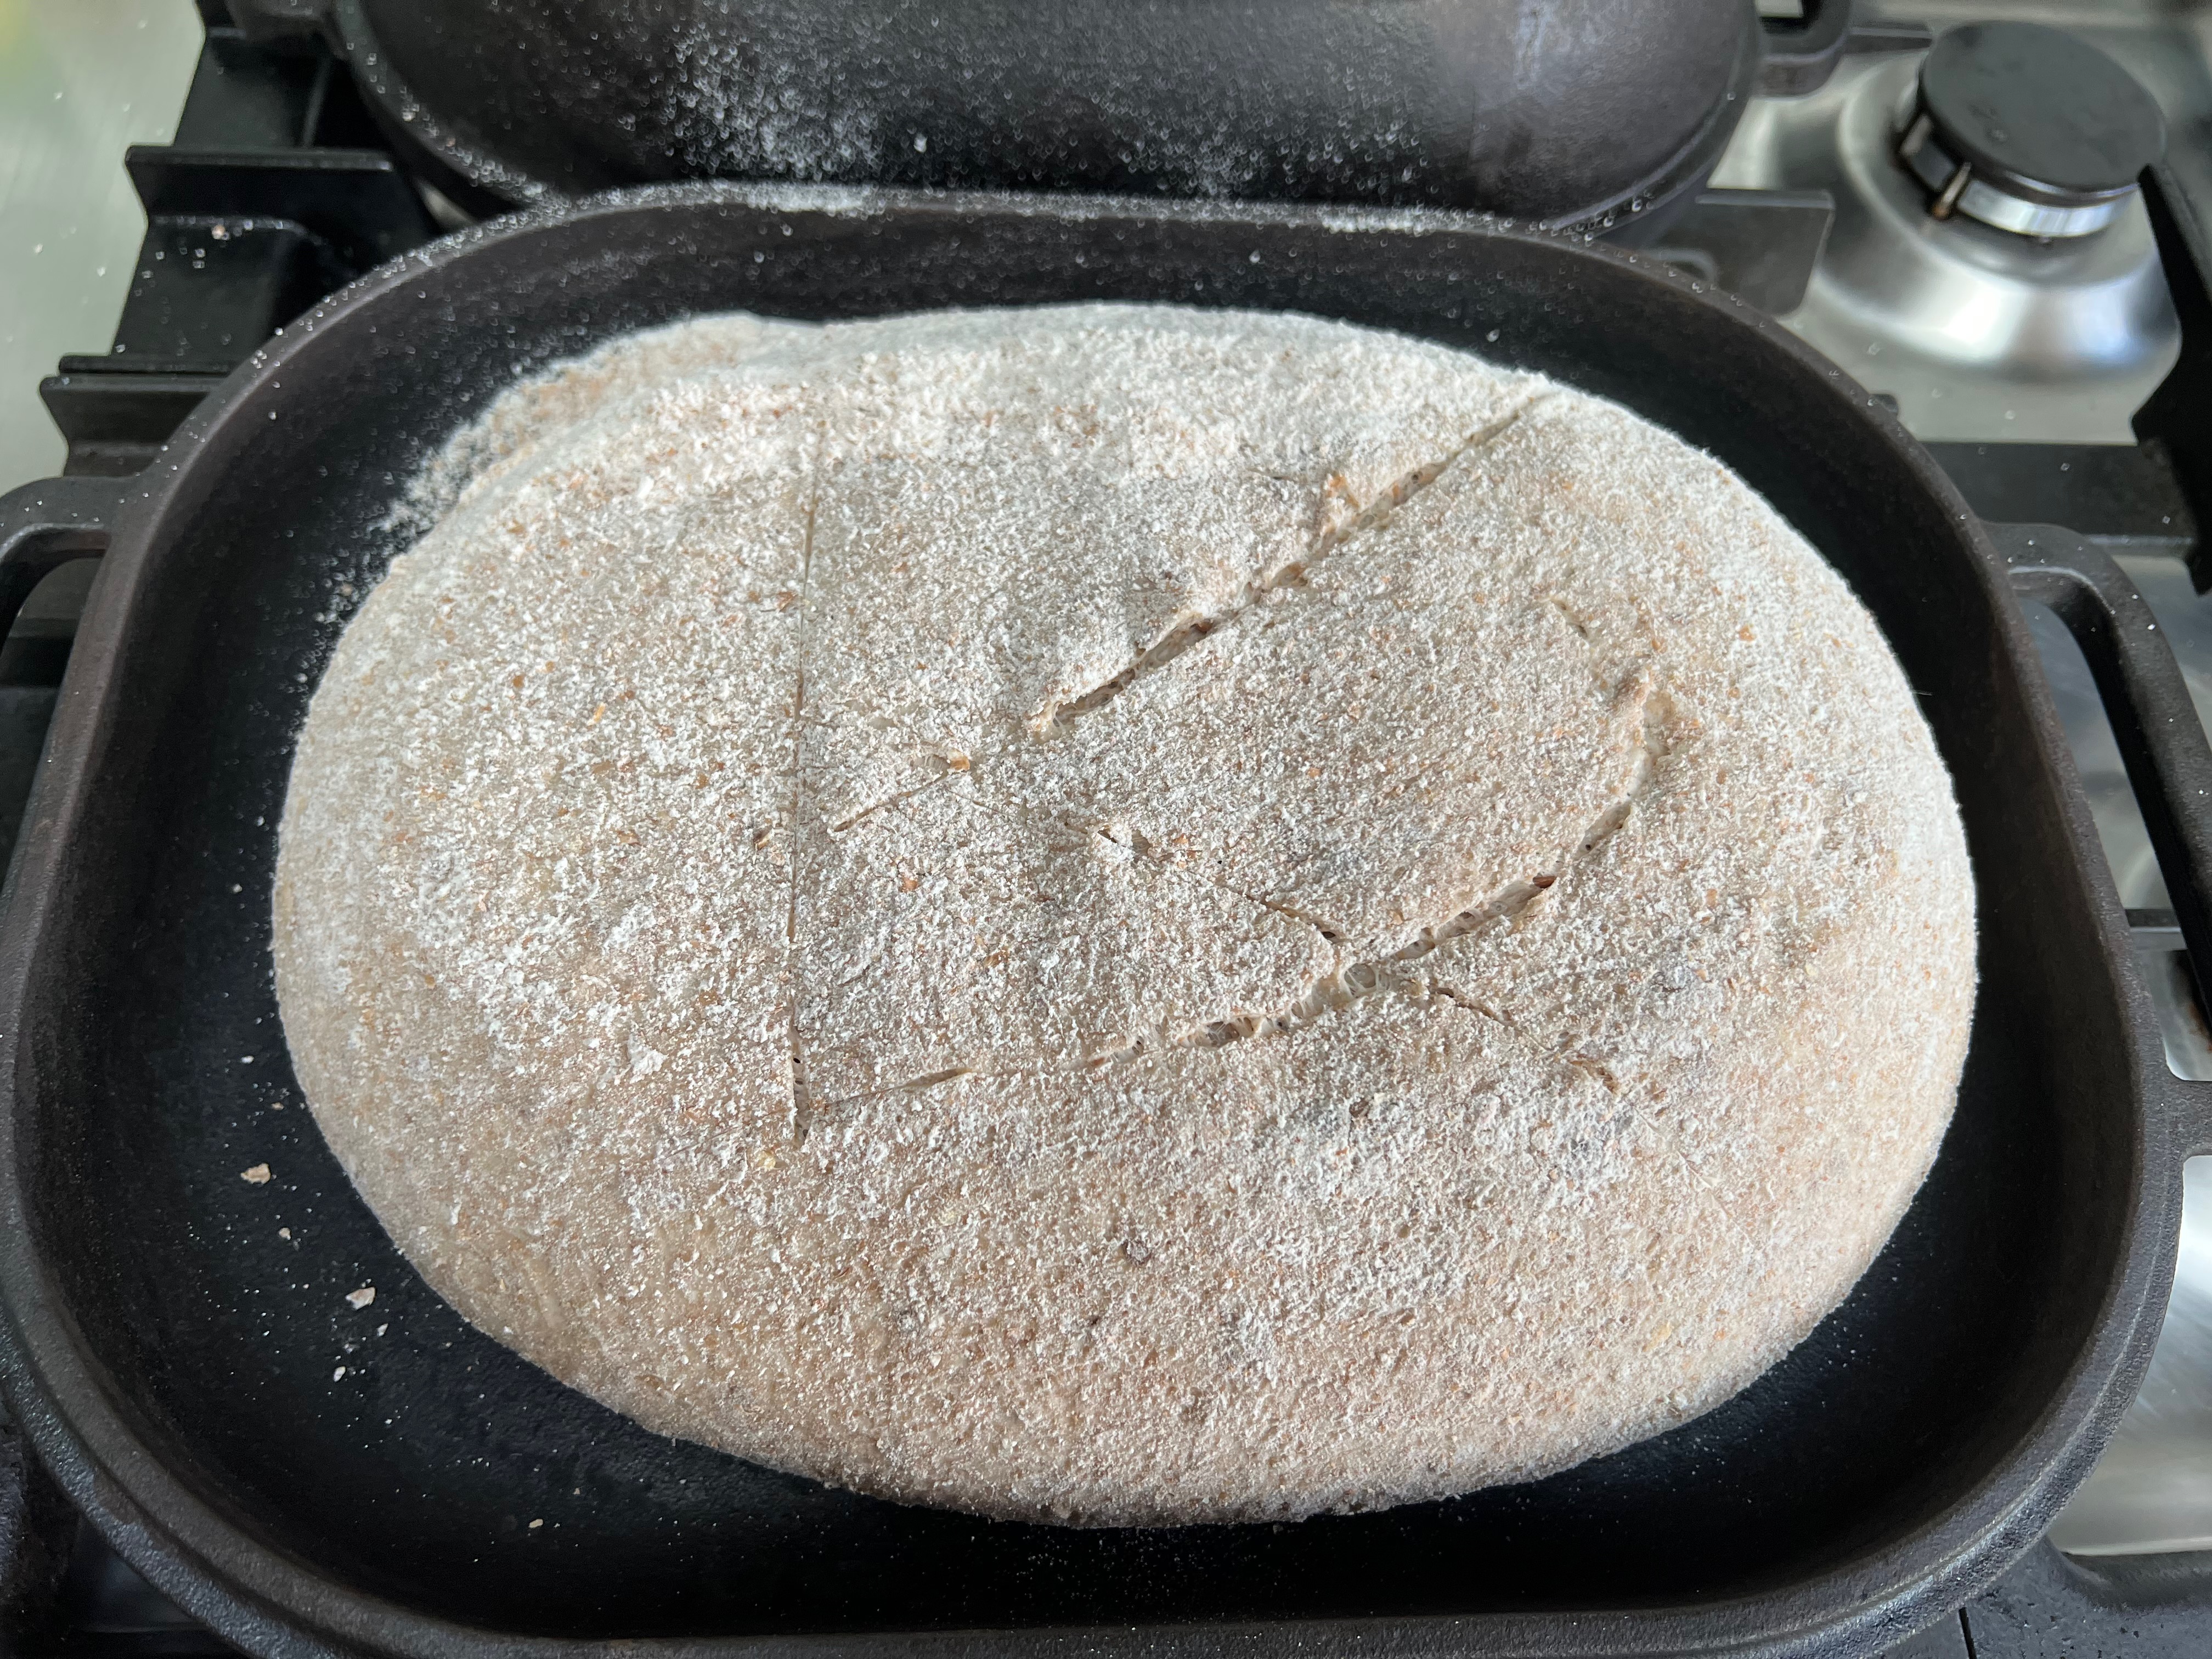
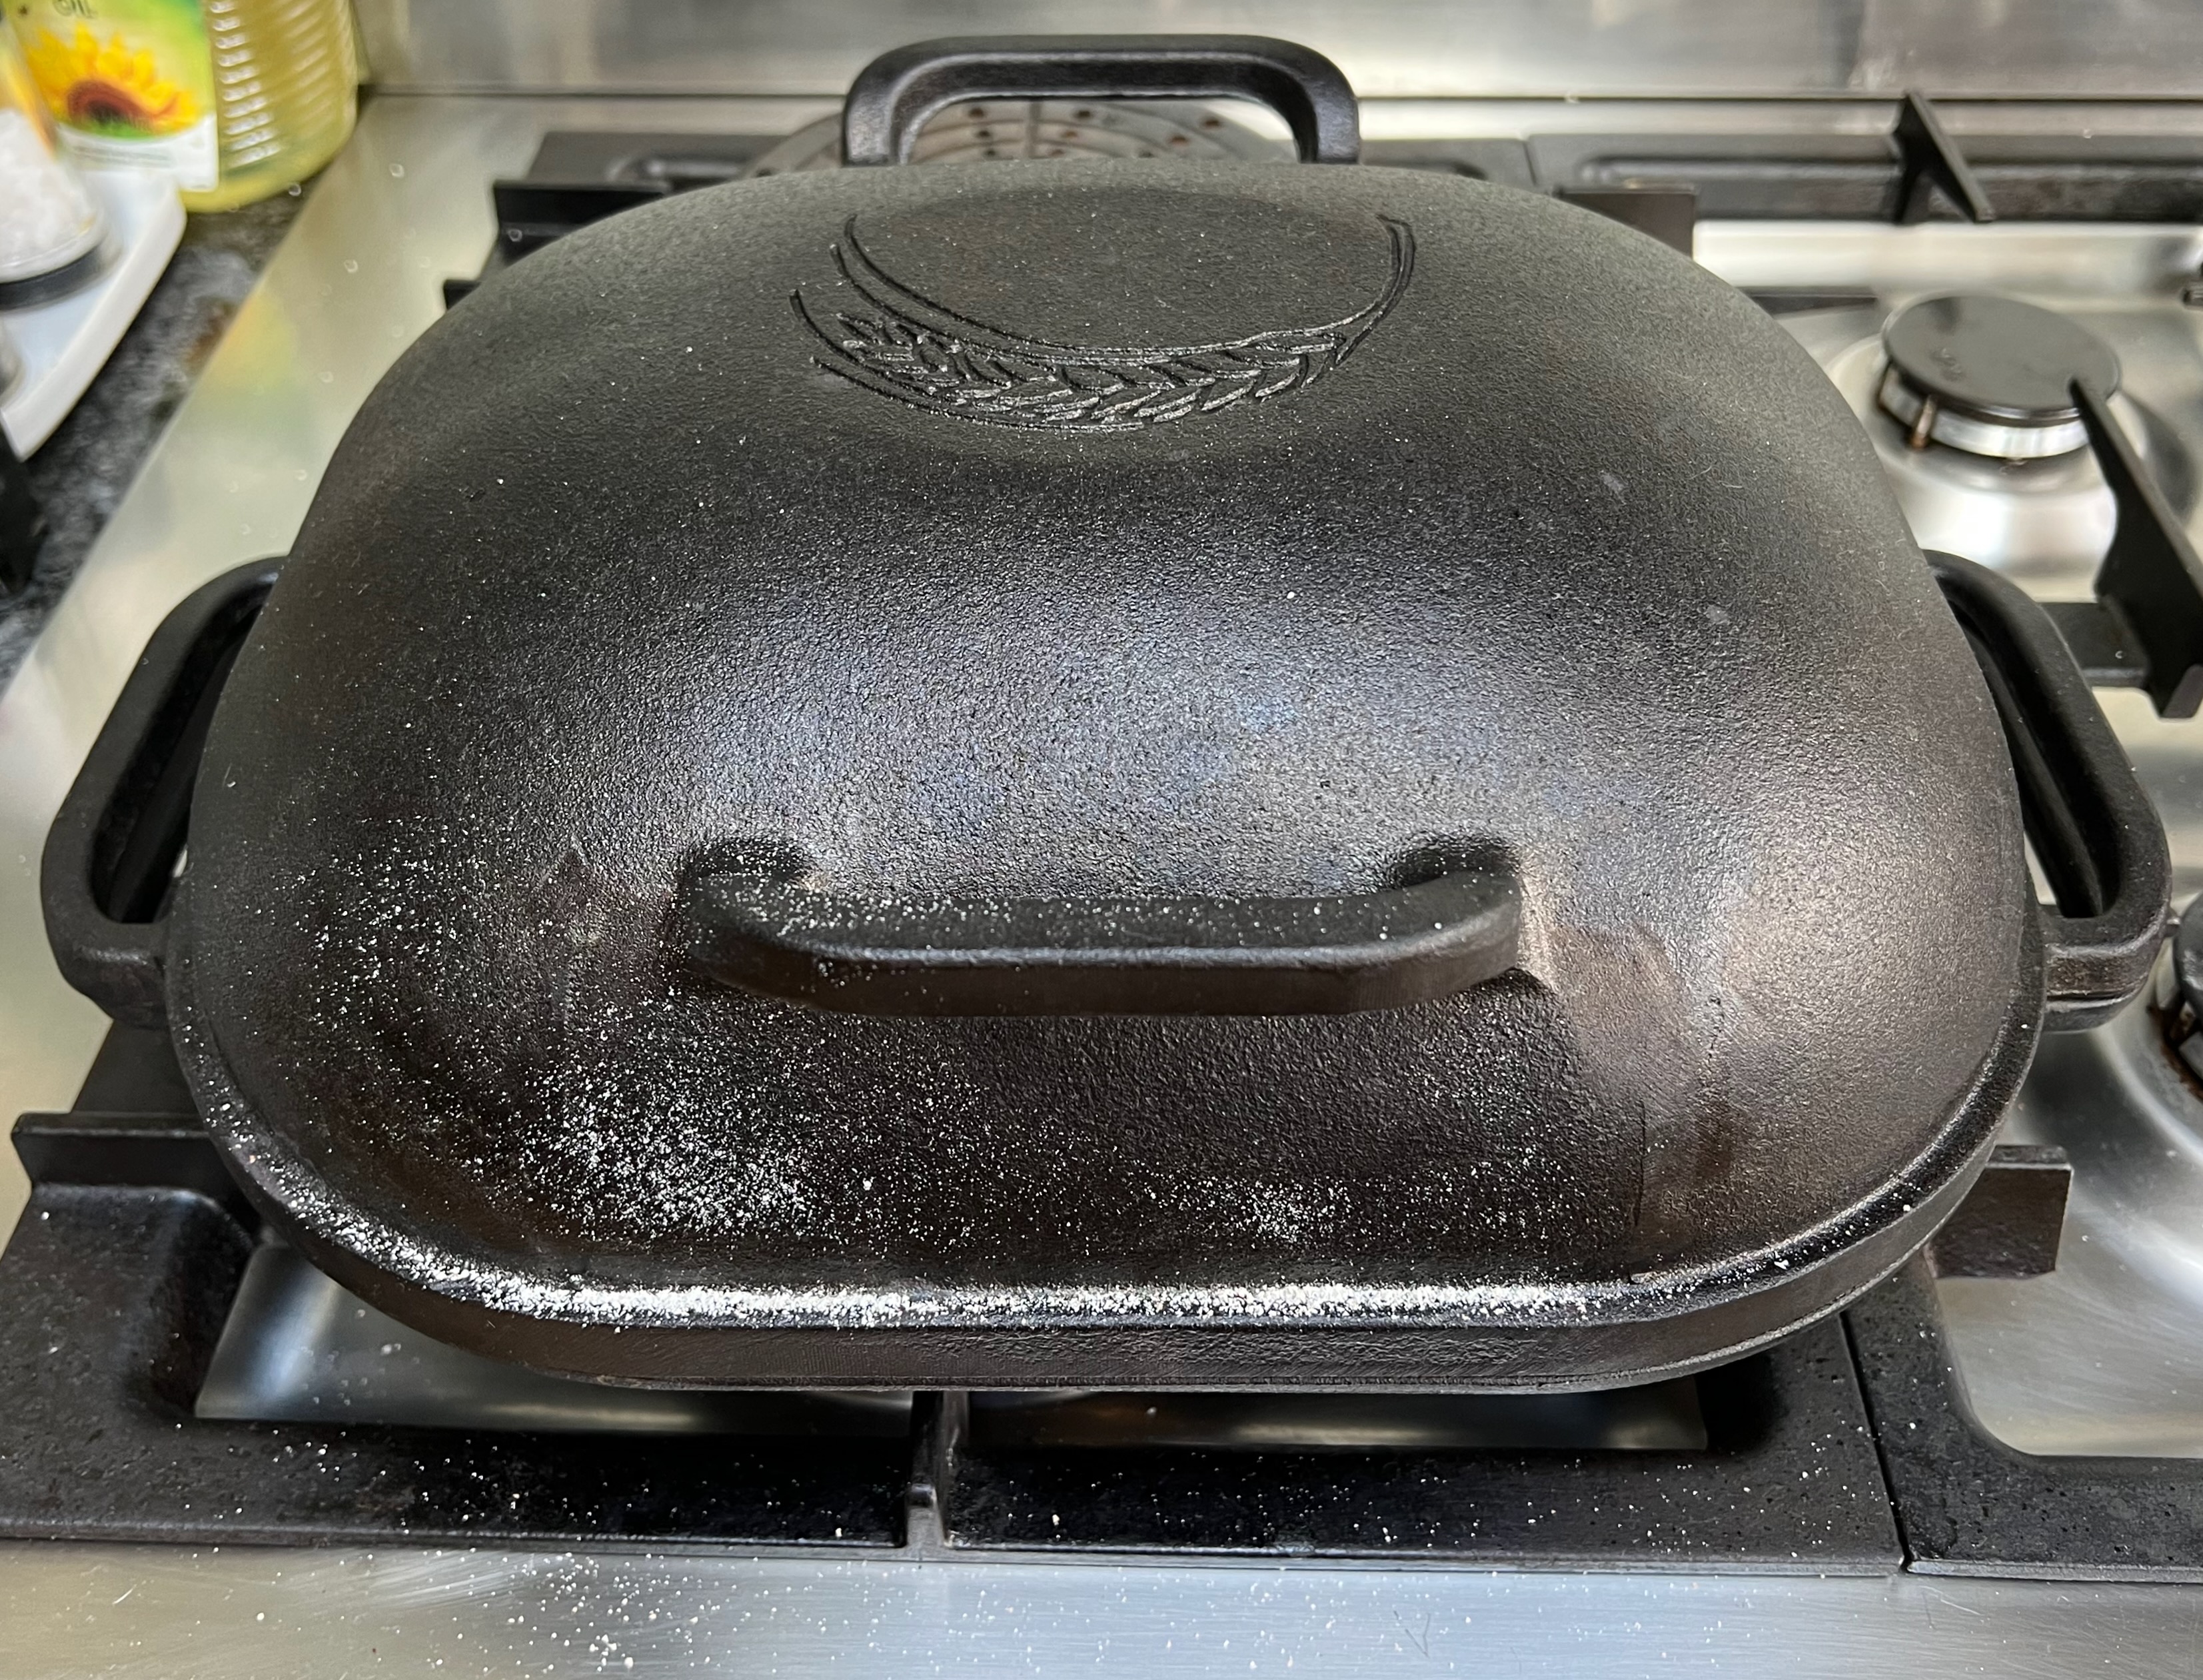
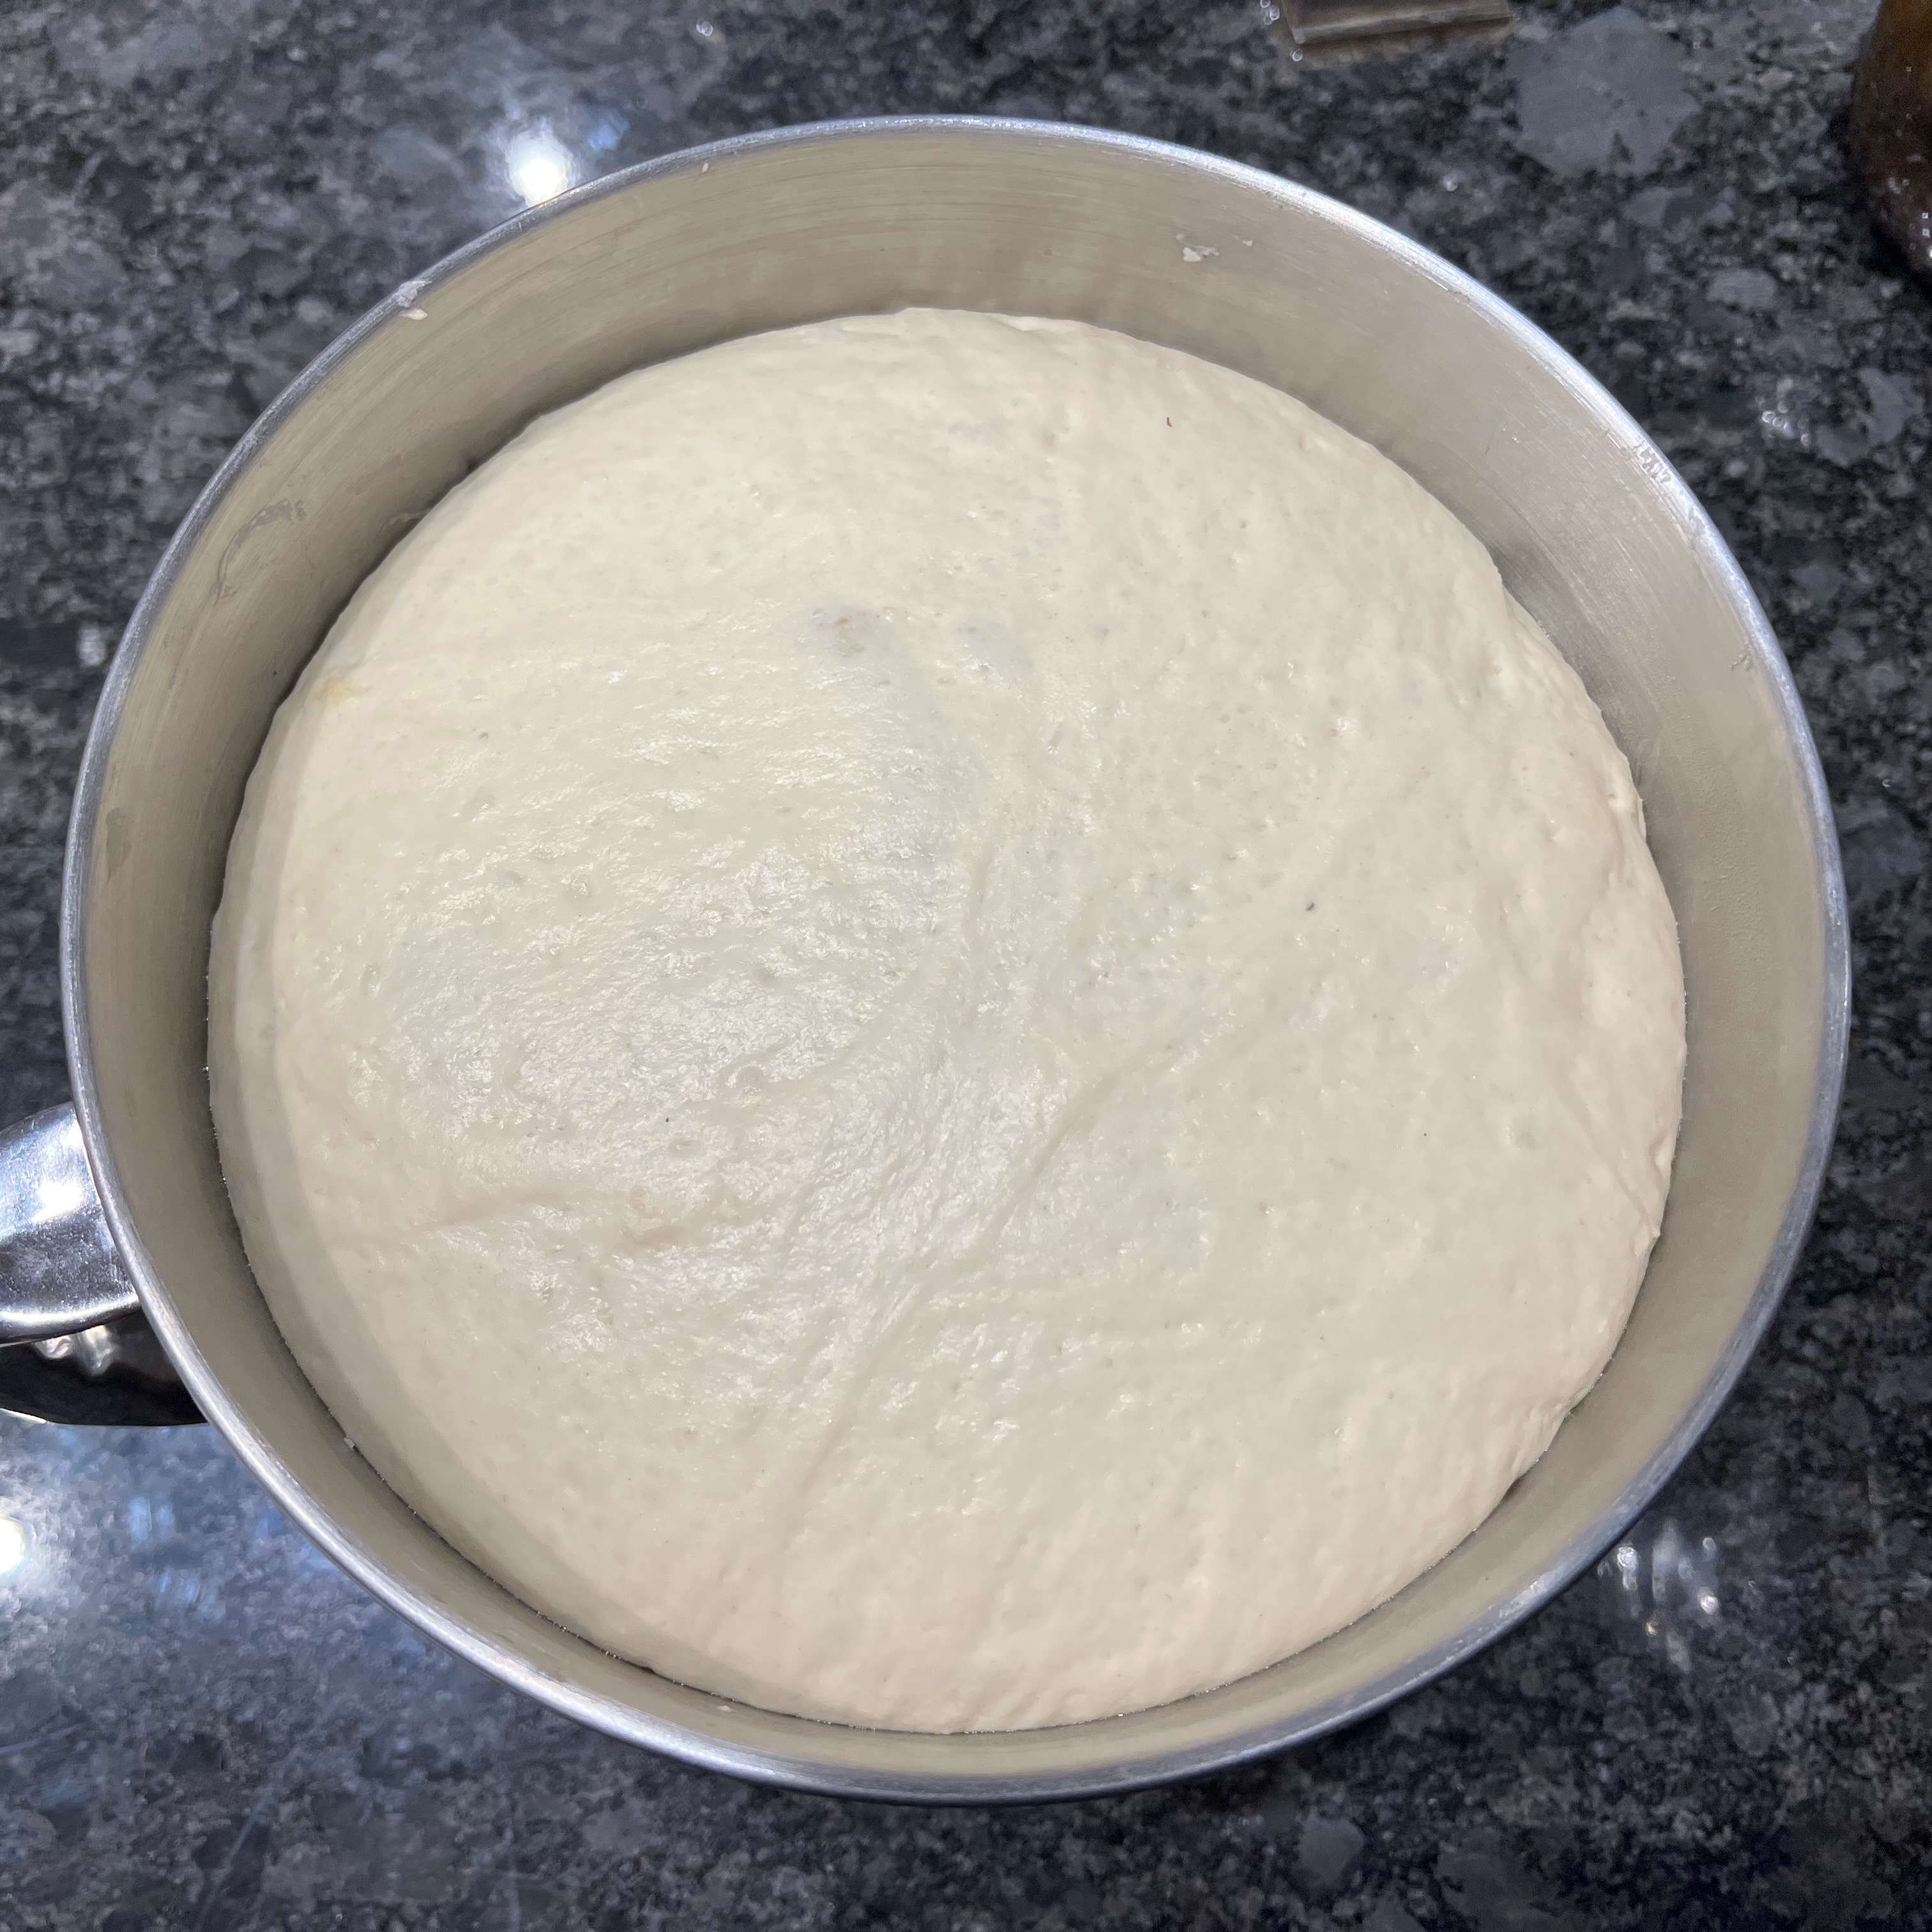
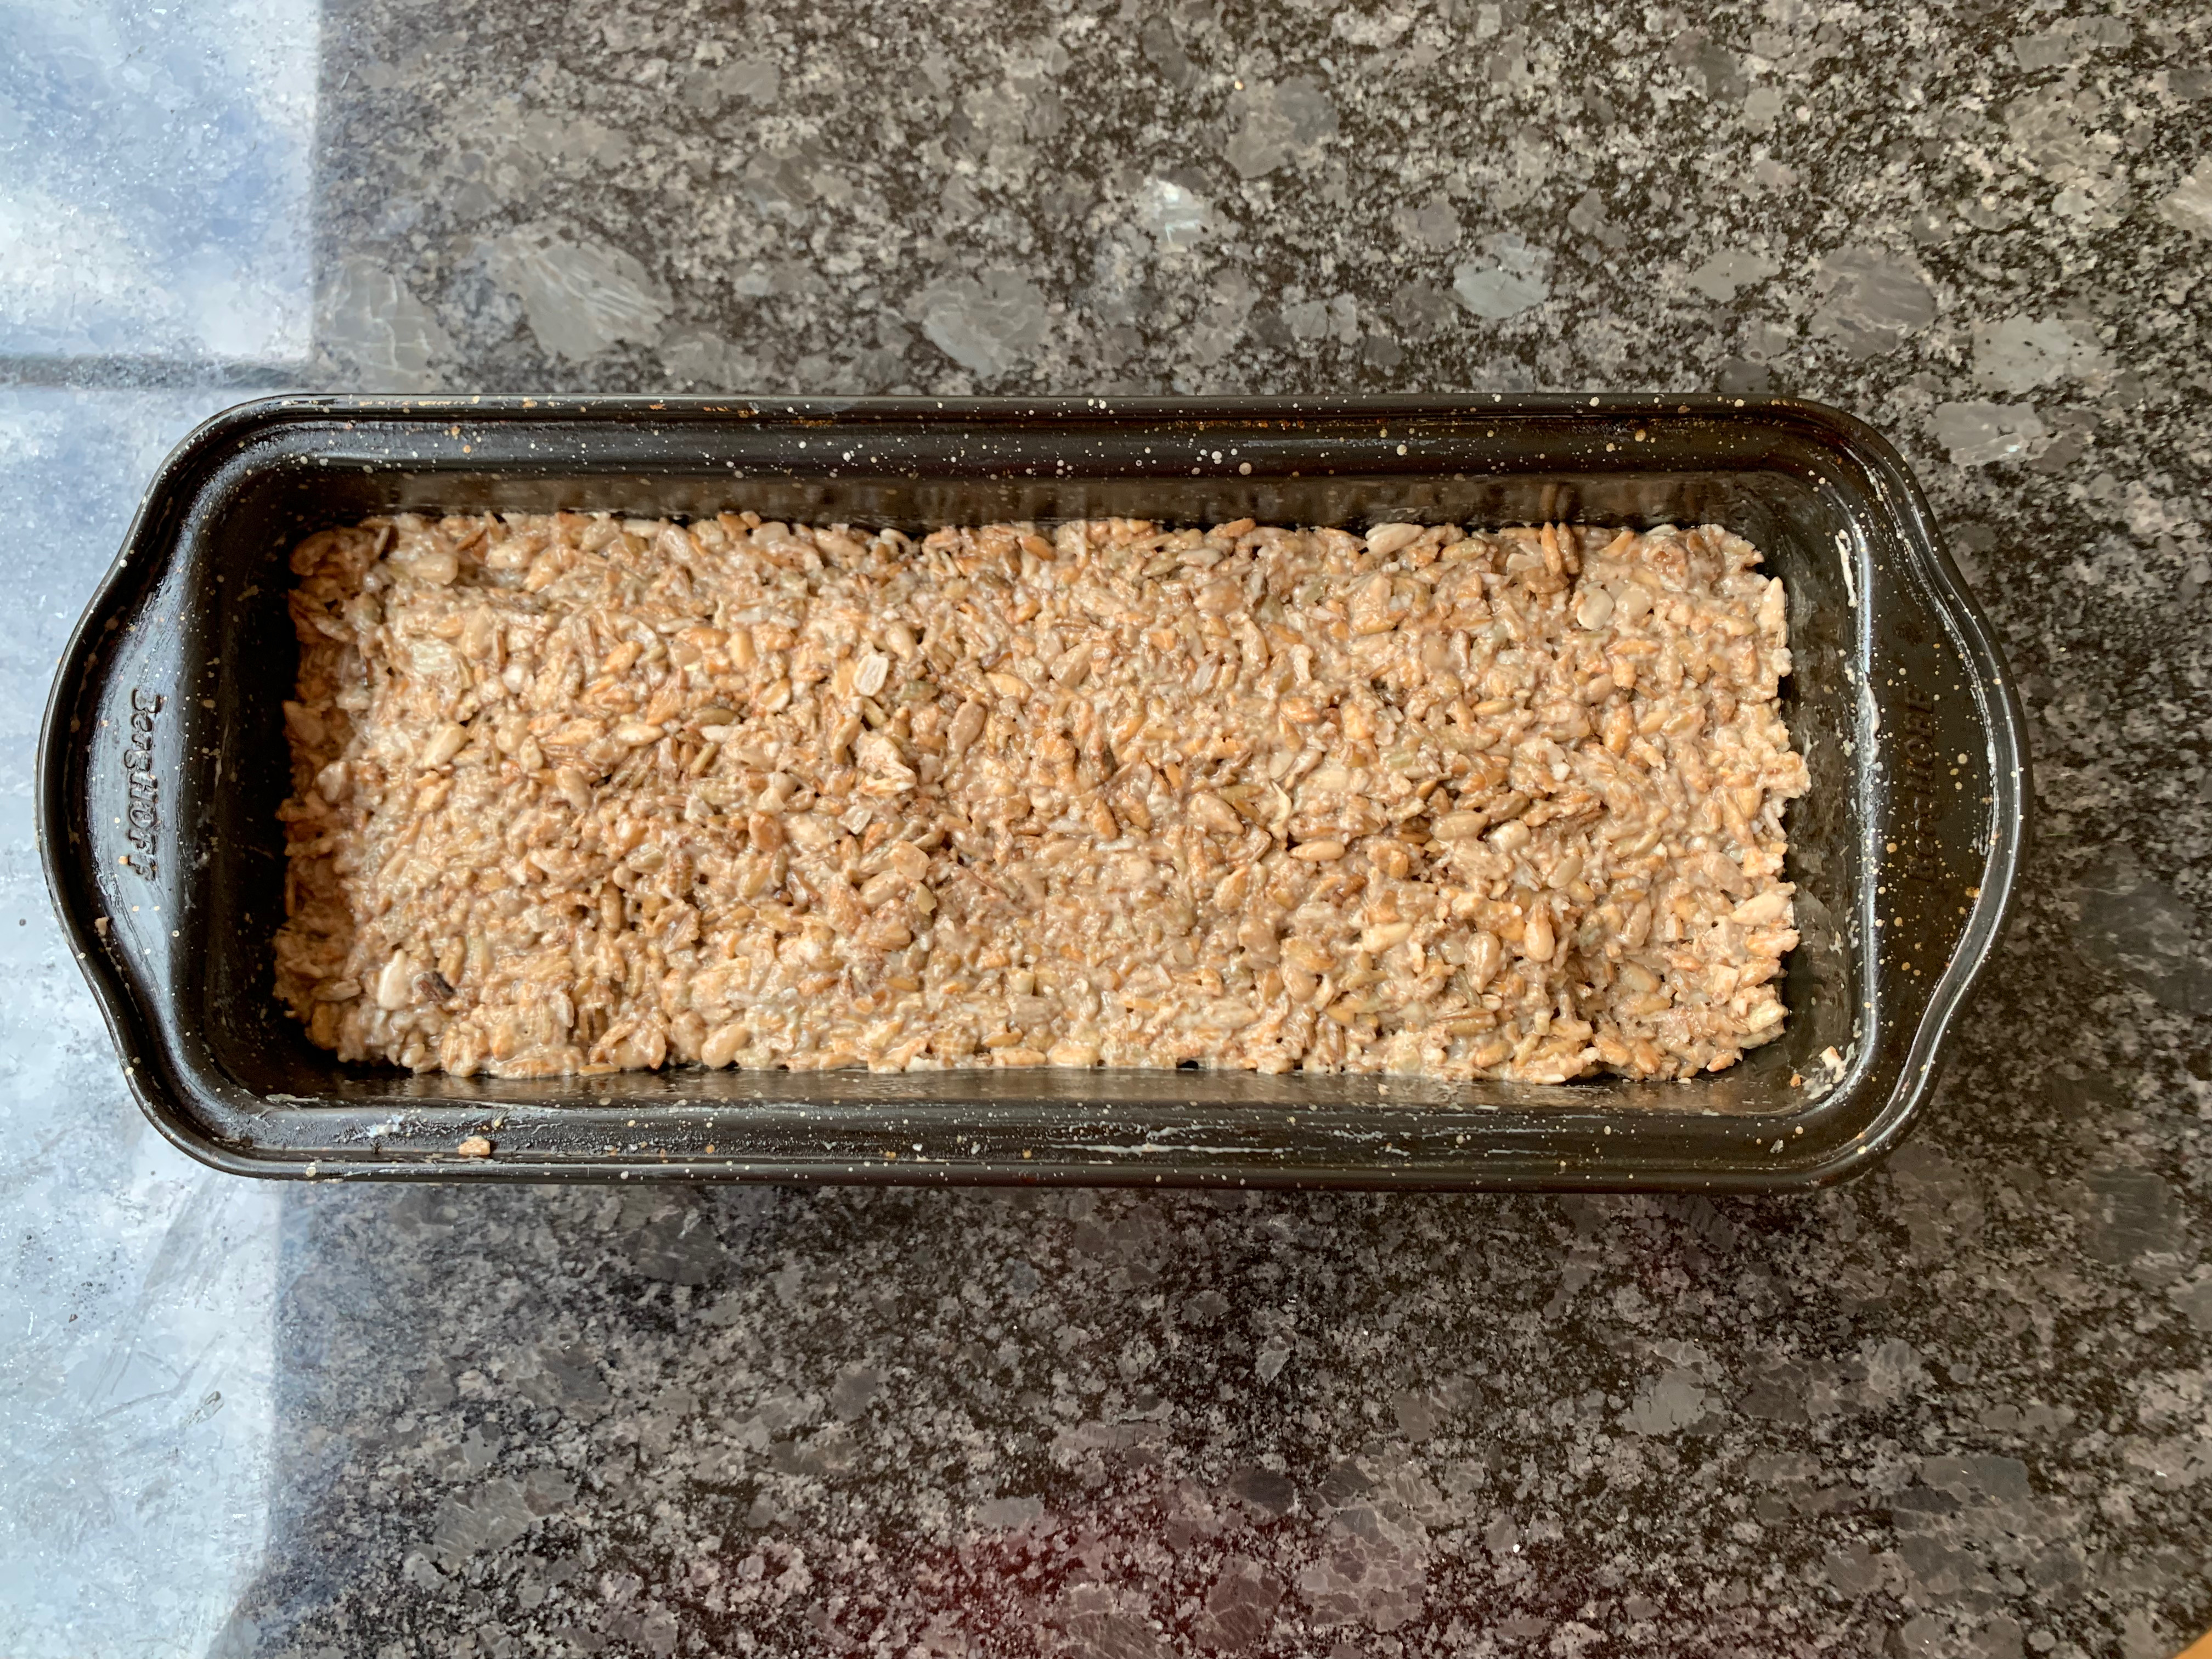
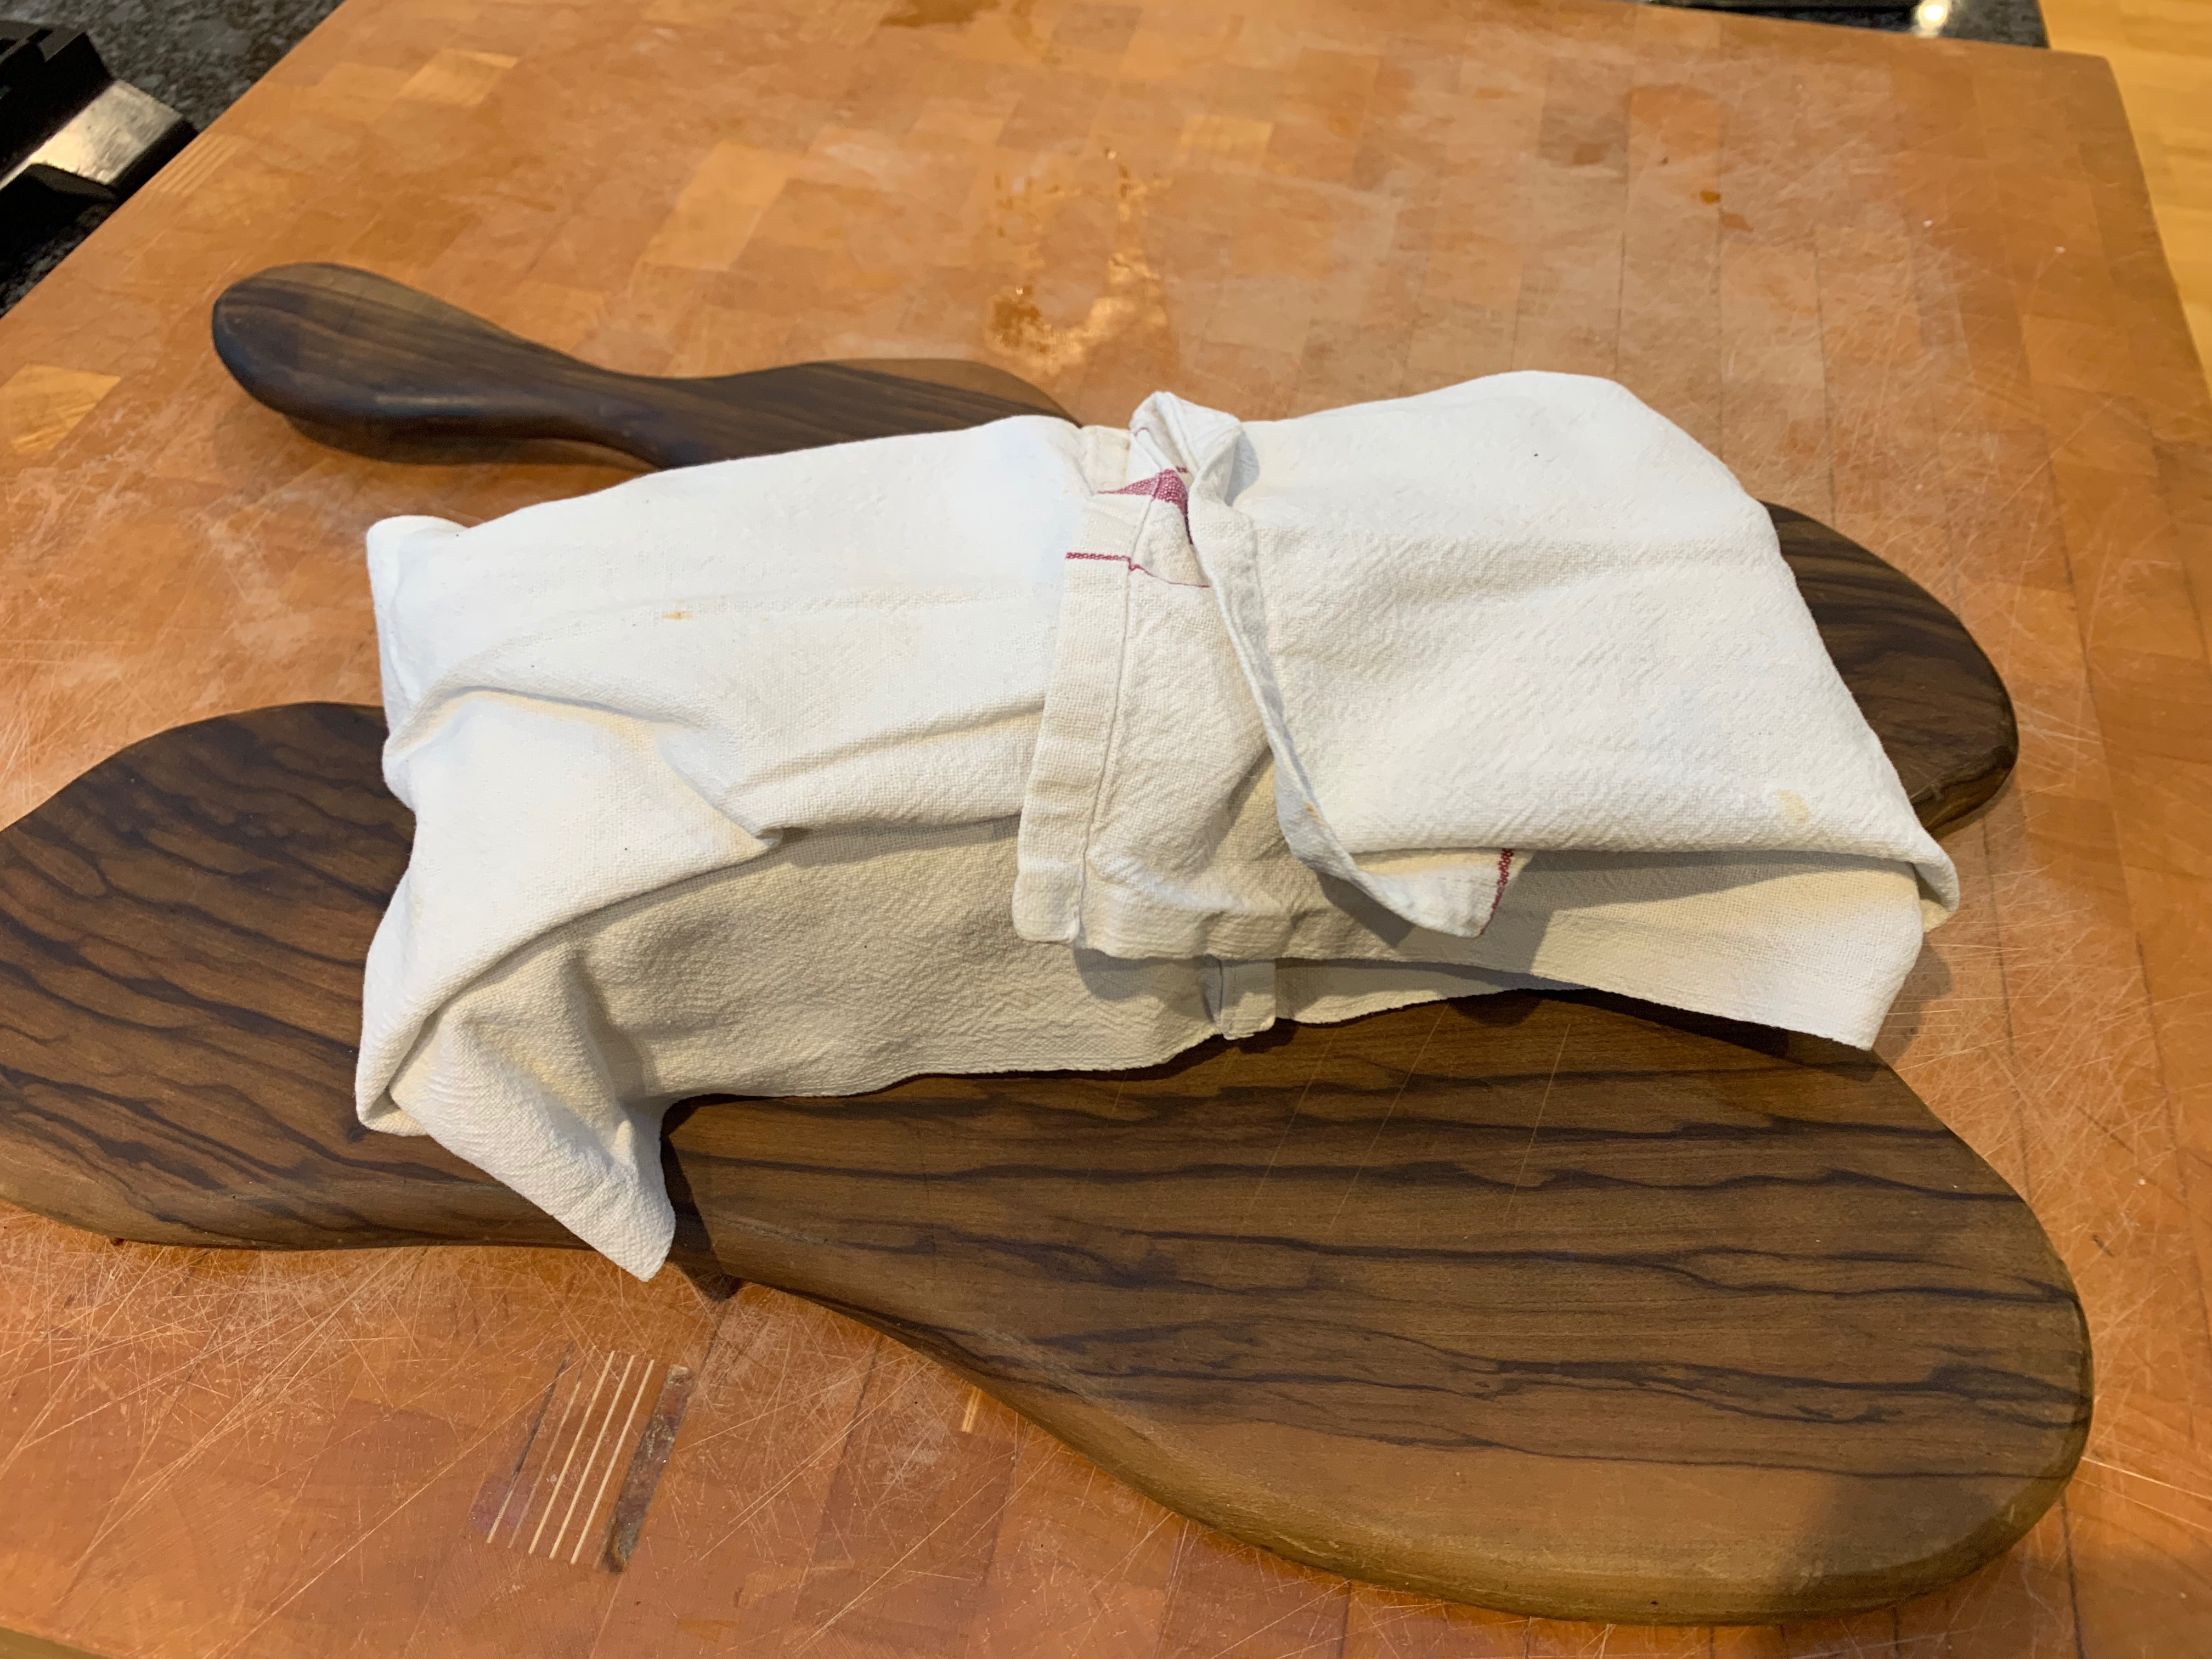
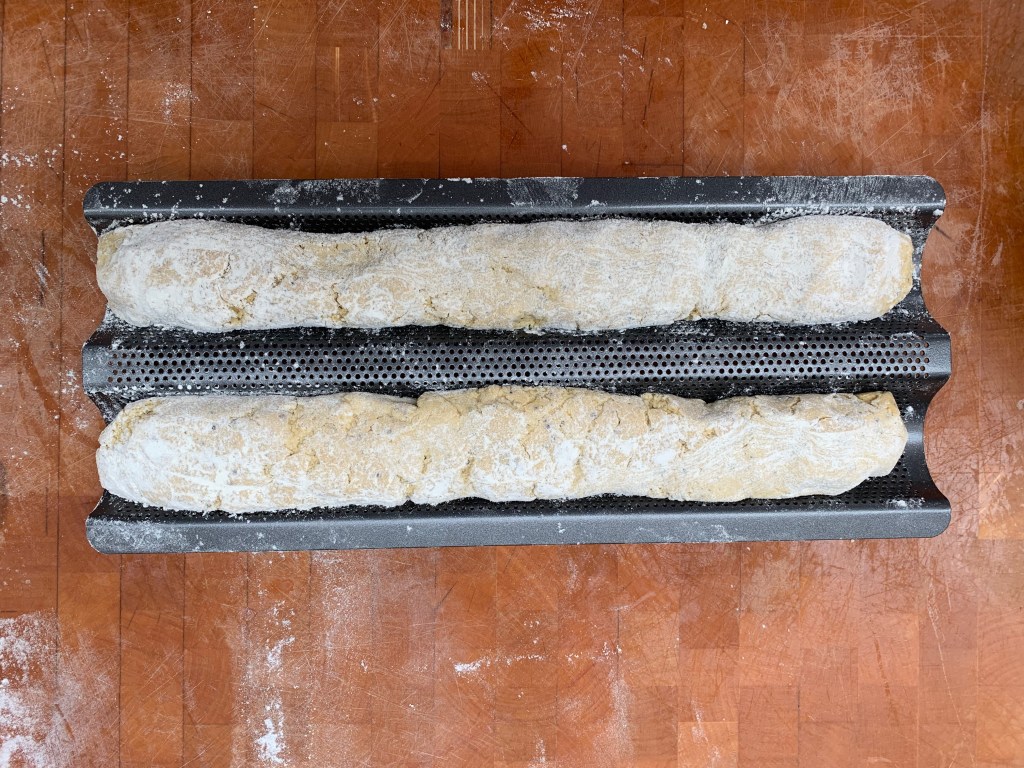
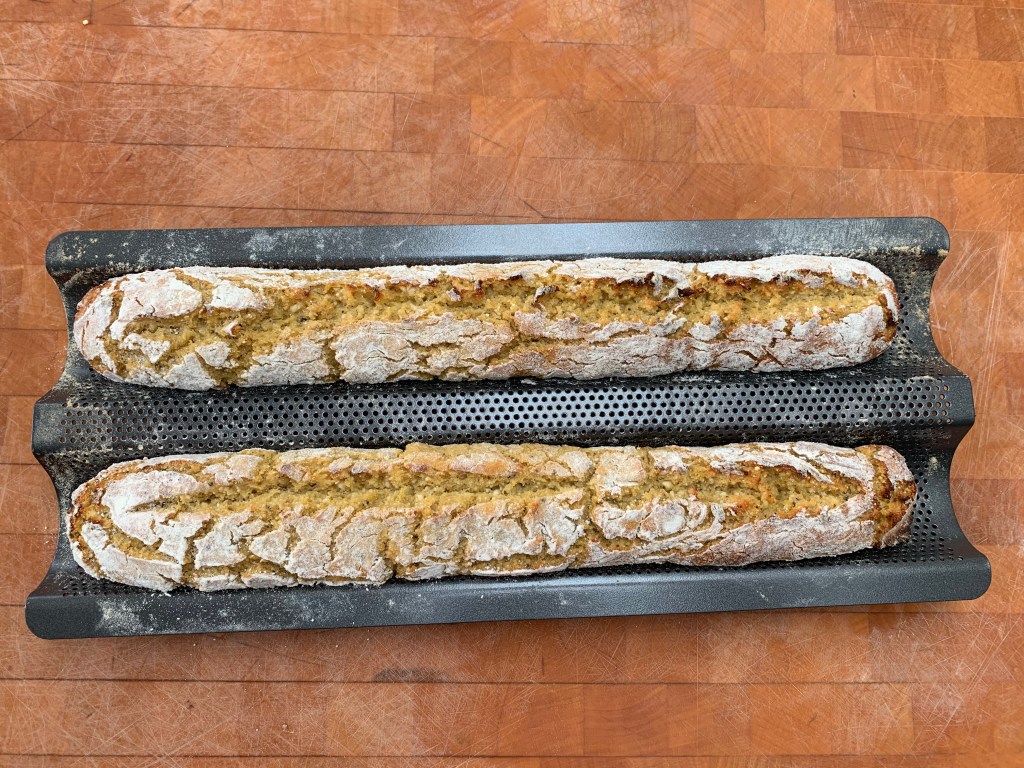
In terms of process, I have two variants. Most often, I use a two stage prove: the second rise is done in a cloth-lined basket after which I bake a free standing loaf in a cast iron Dutch oven made by US company Challenger. But if I’m in a hurry, I’ll just pour the kneaded dough into a greased baking tin, leave it to rise once and then bake.
I adjust timings to suit the day’s schedule by choosing the temperature for the rises: fridge (around 3℃), room temperature (my kitchen is usually around 20℃) or “a warm place” (near my boiler, around 30℃). The fastest option is to heat an oven to 50℃ then turn it off, because you don’t want the yeast getting above 45℃.
Here are three typical timings: choose your favourite or make up your own. I deliberately haven’t put in numbers of hours because they’re incredibly variable; you just have to wait until it looks right.
You can use any starter you like. Mine started life in October 2018 as a wheat-based starter, but after the first couple of months, I started refreshing it only with dark rye (which apparently makes for a less fussy starter). The method came from Andrew Whitley’s “Bread Matters”.
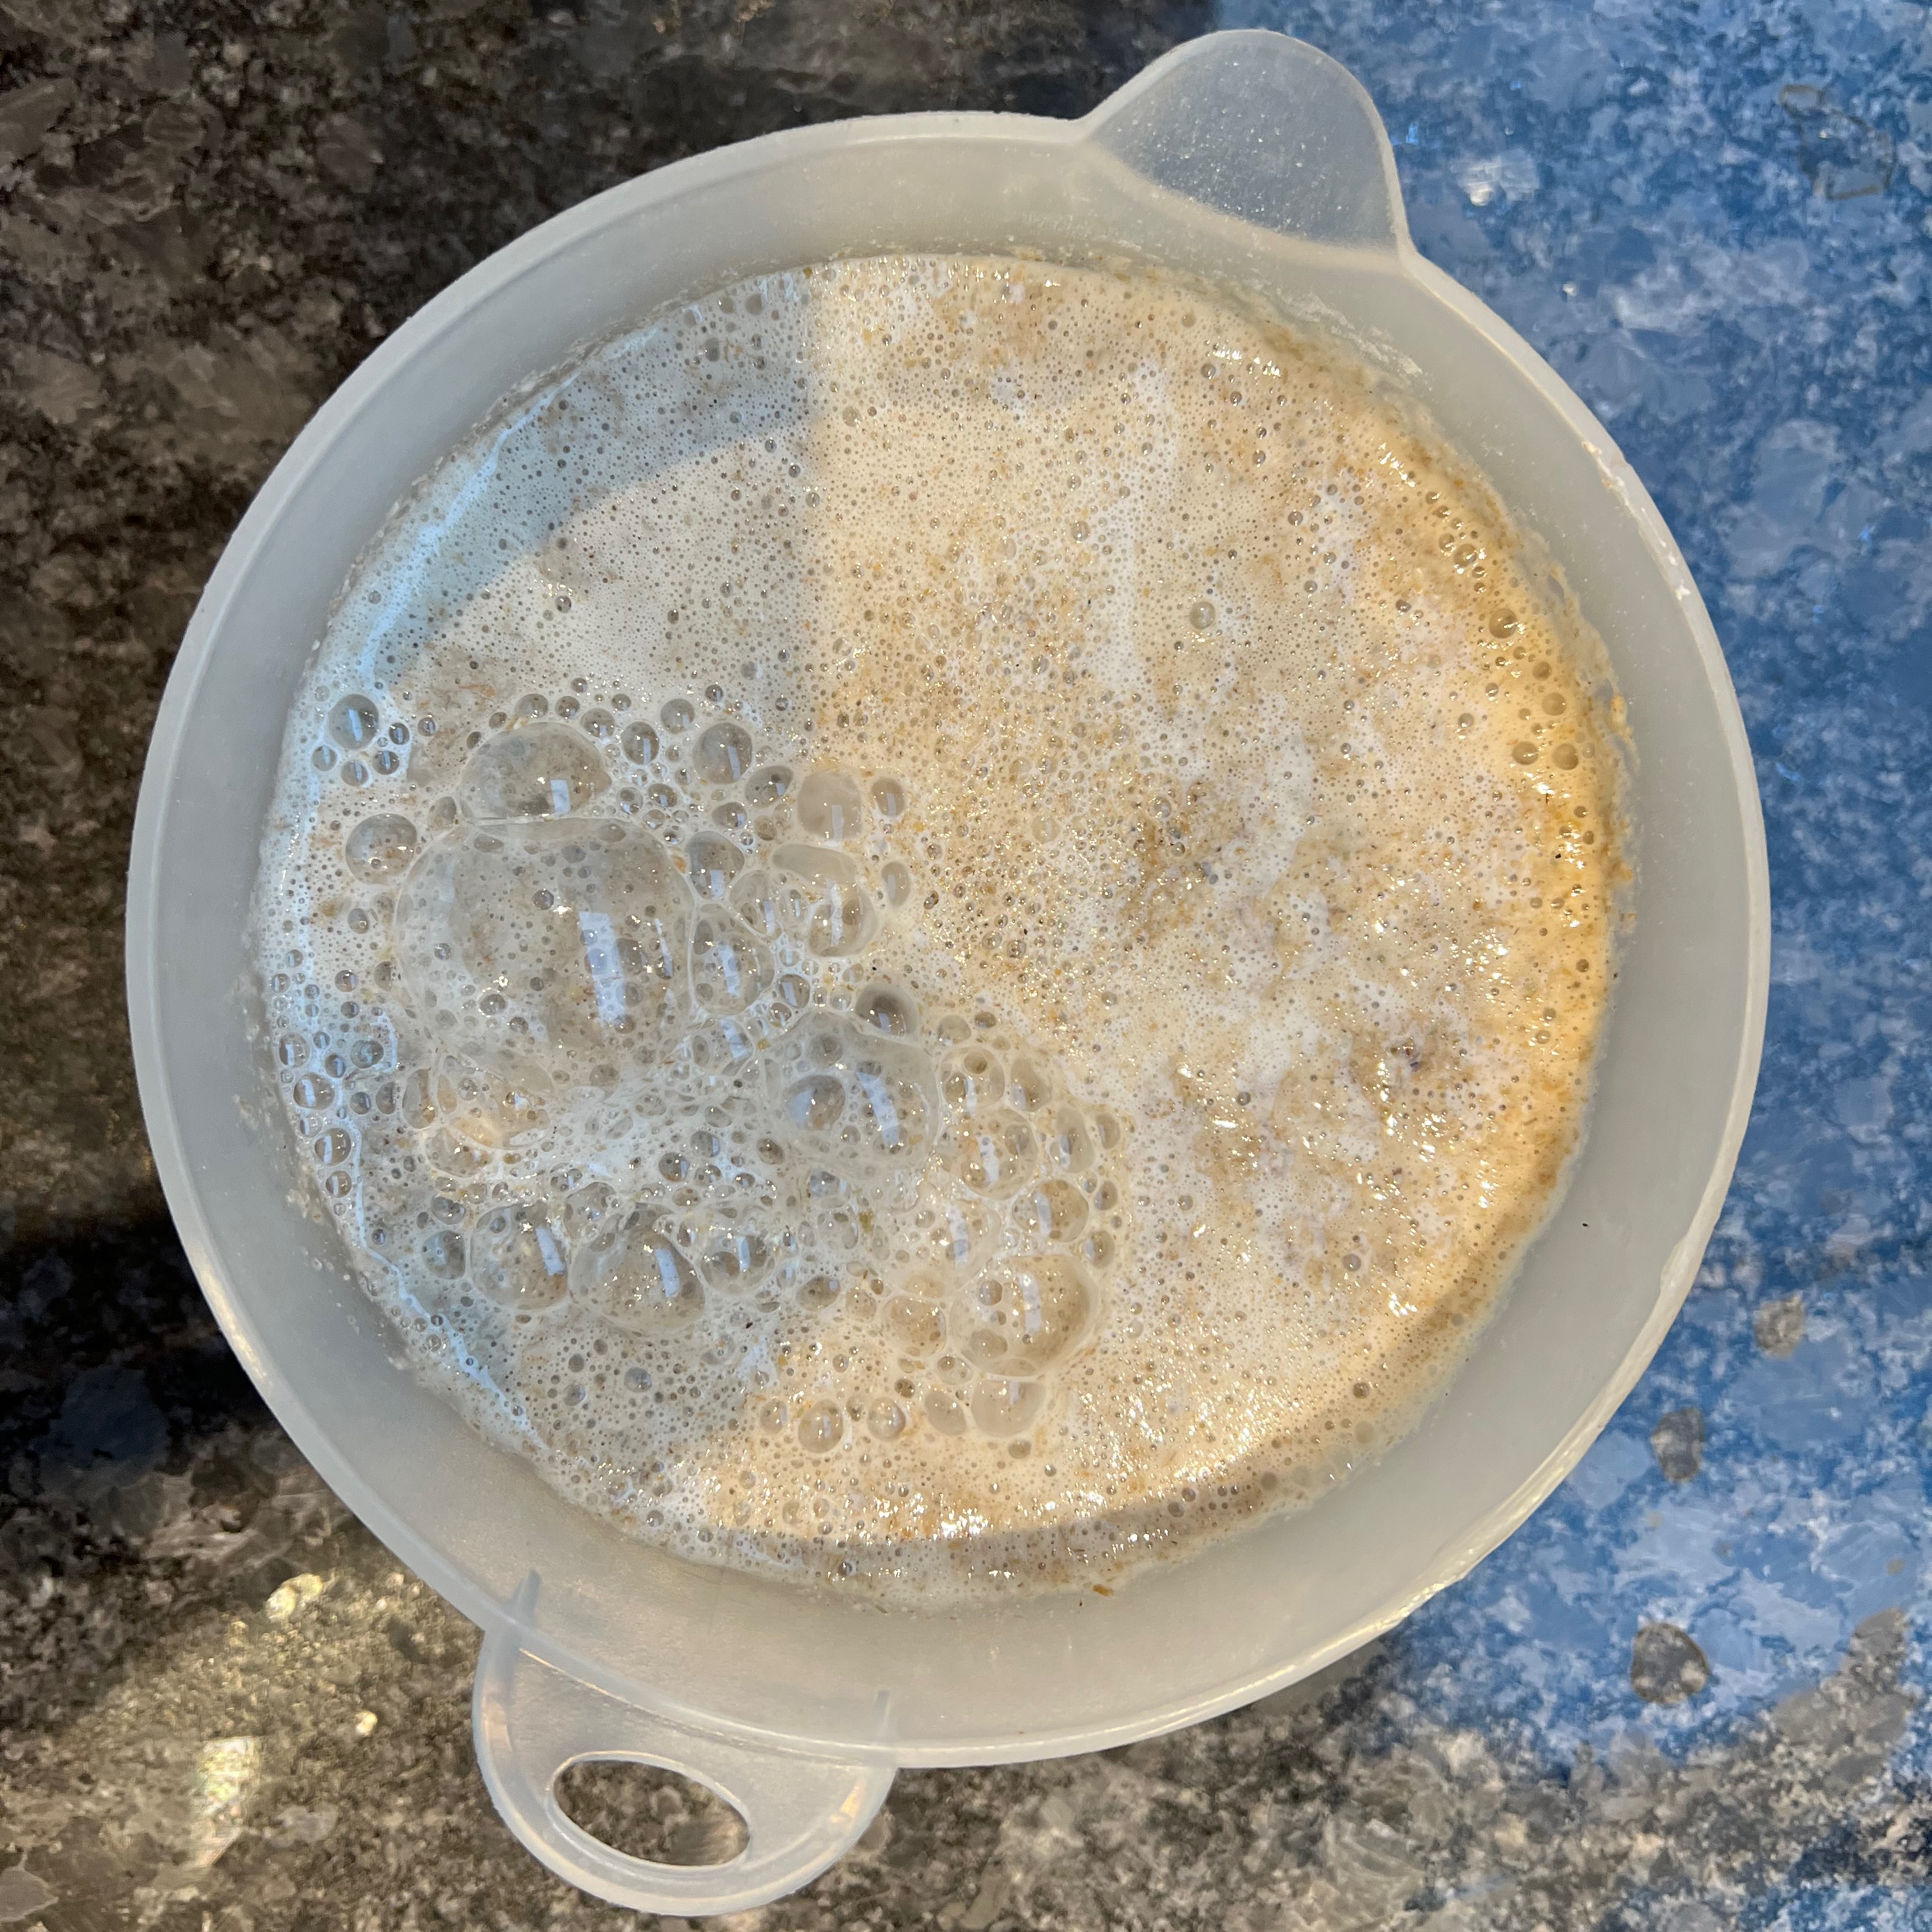
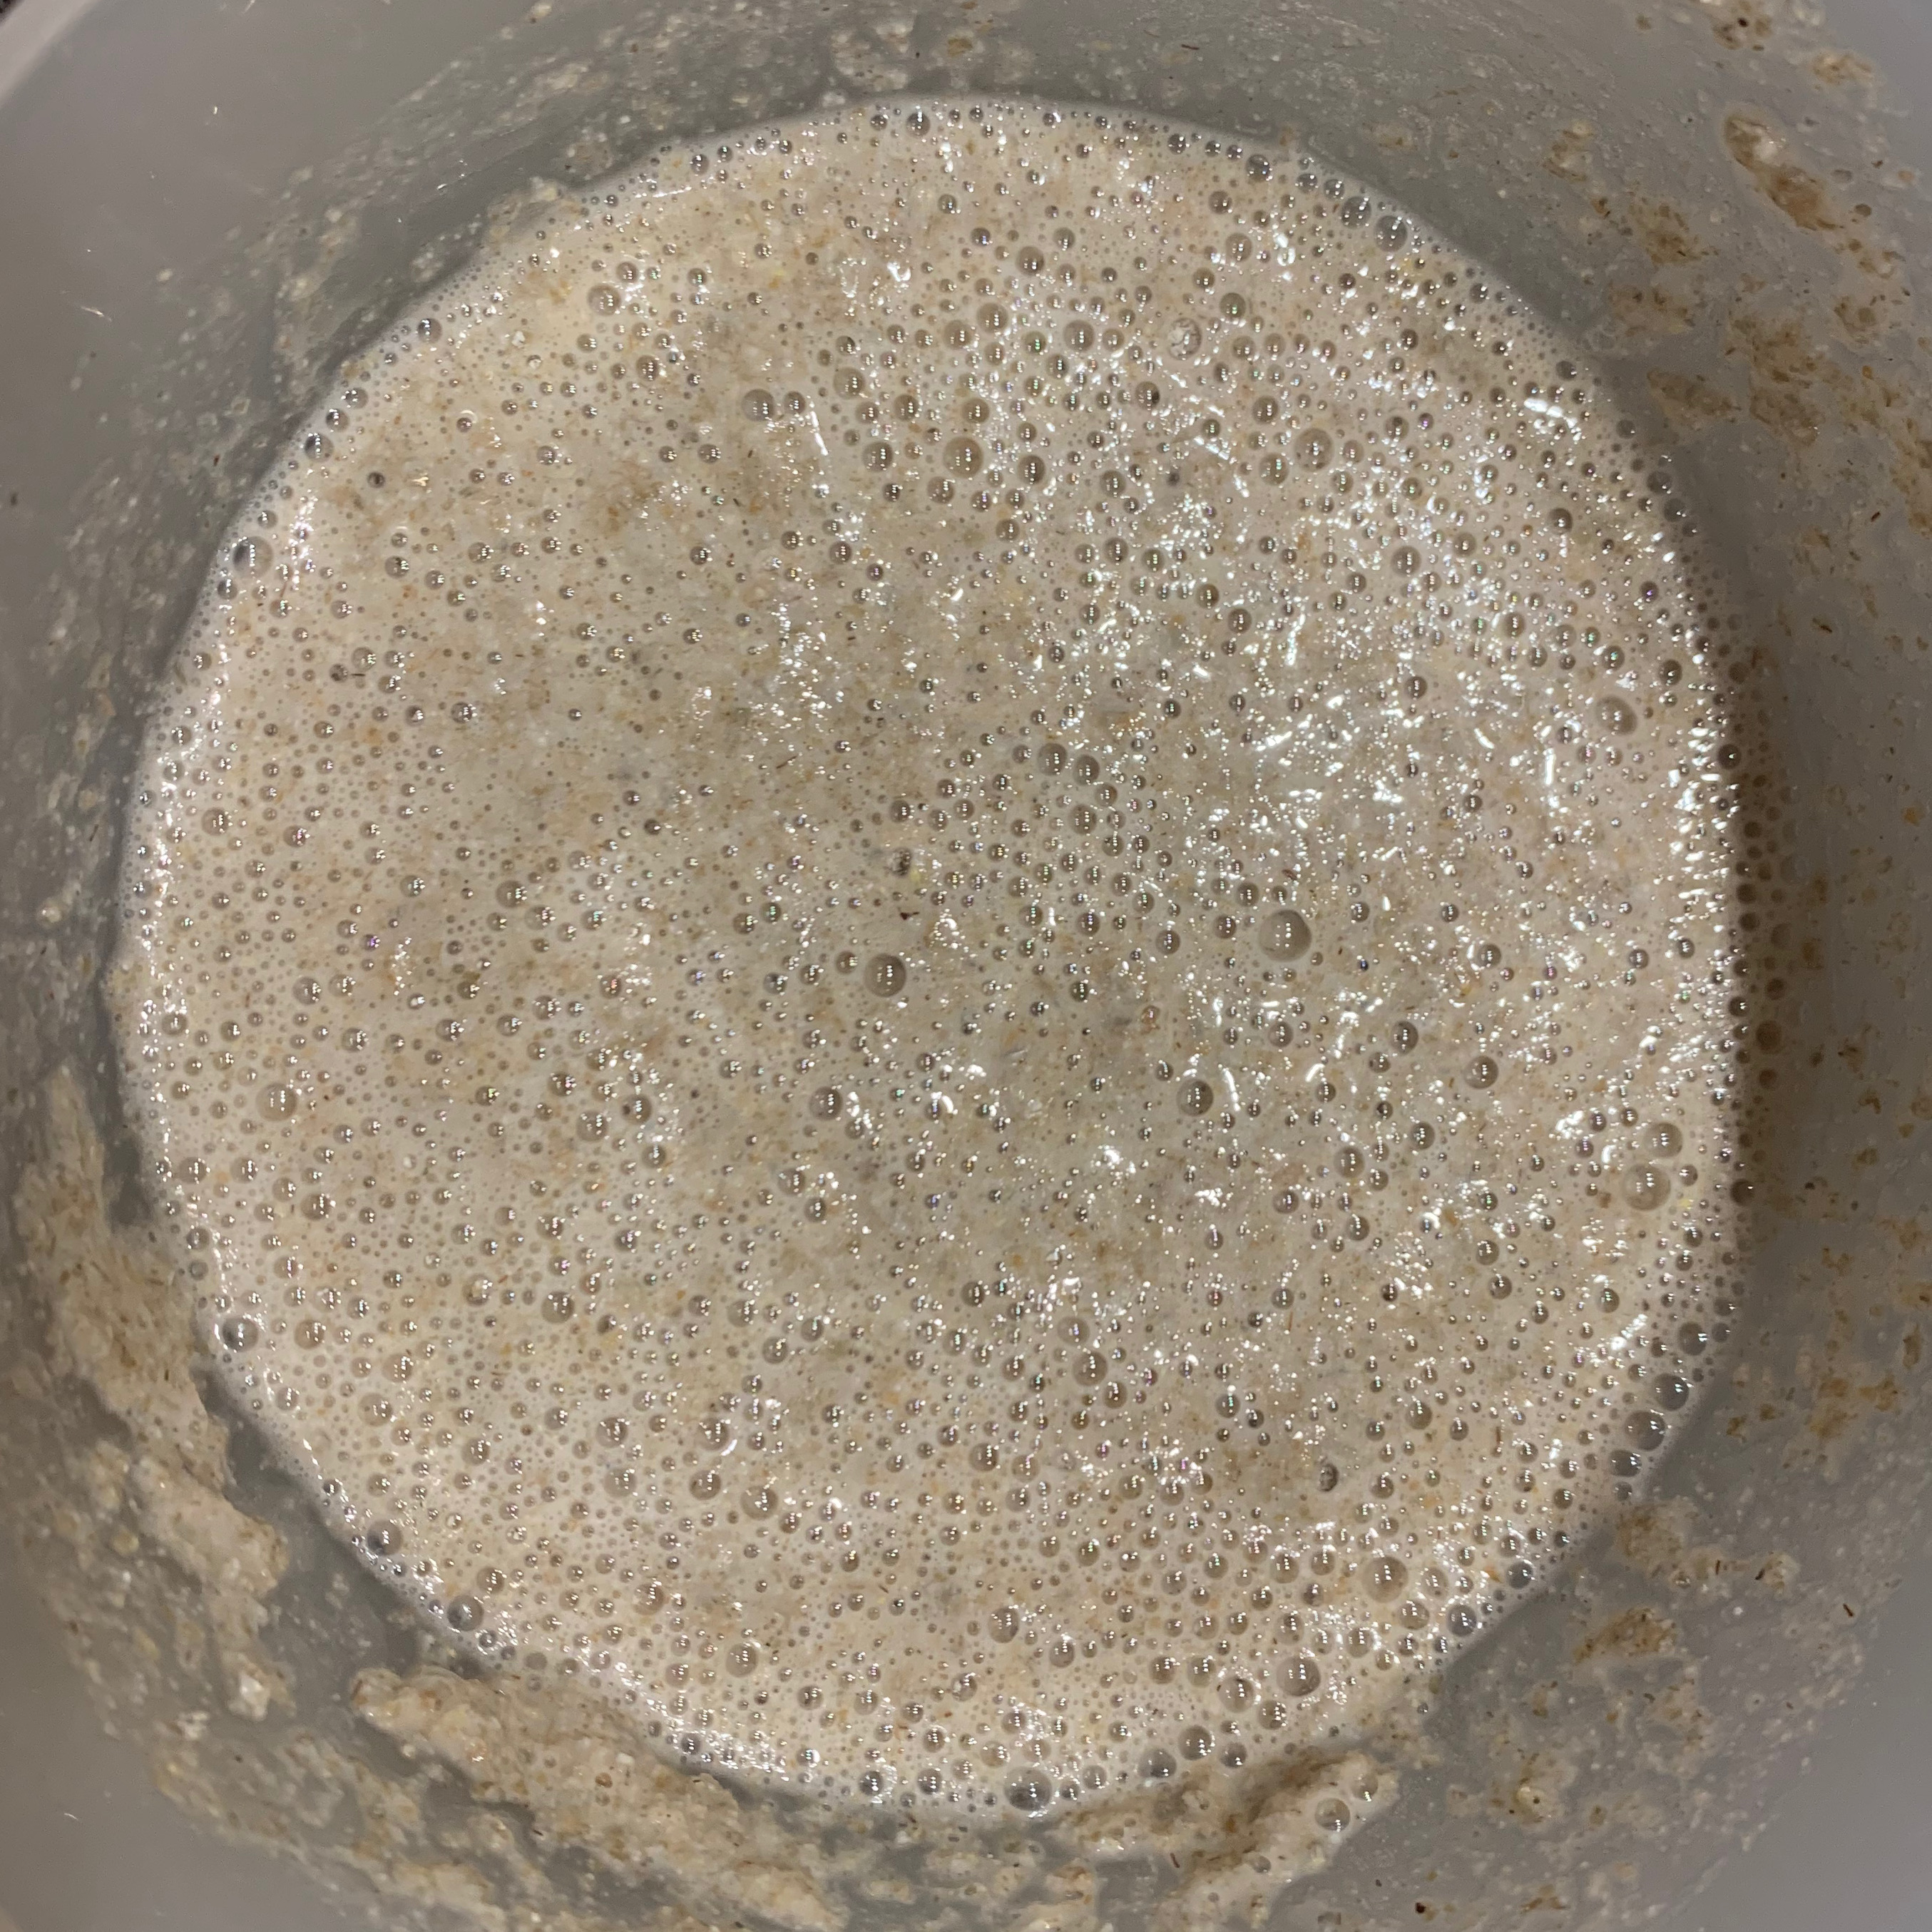
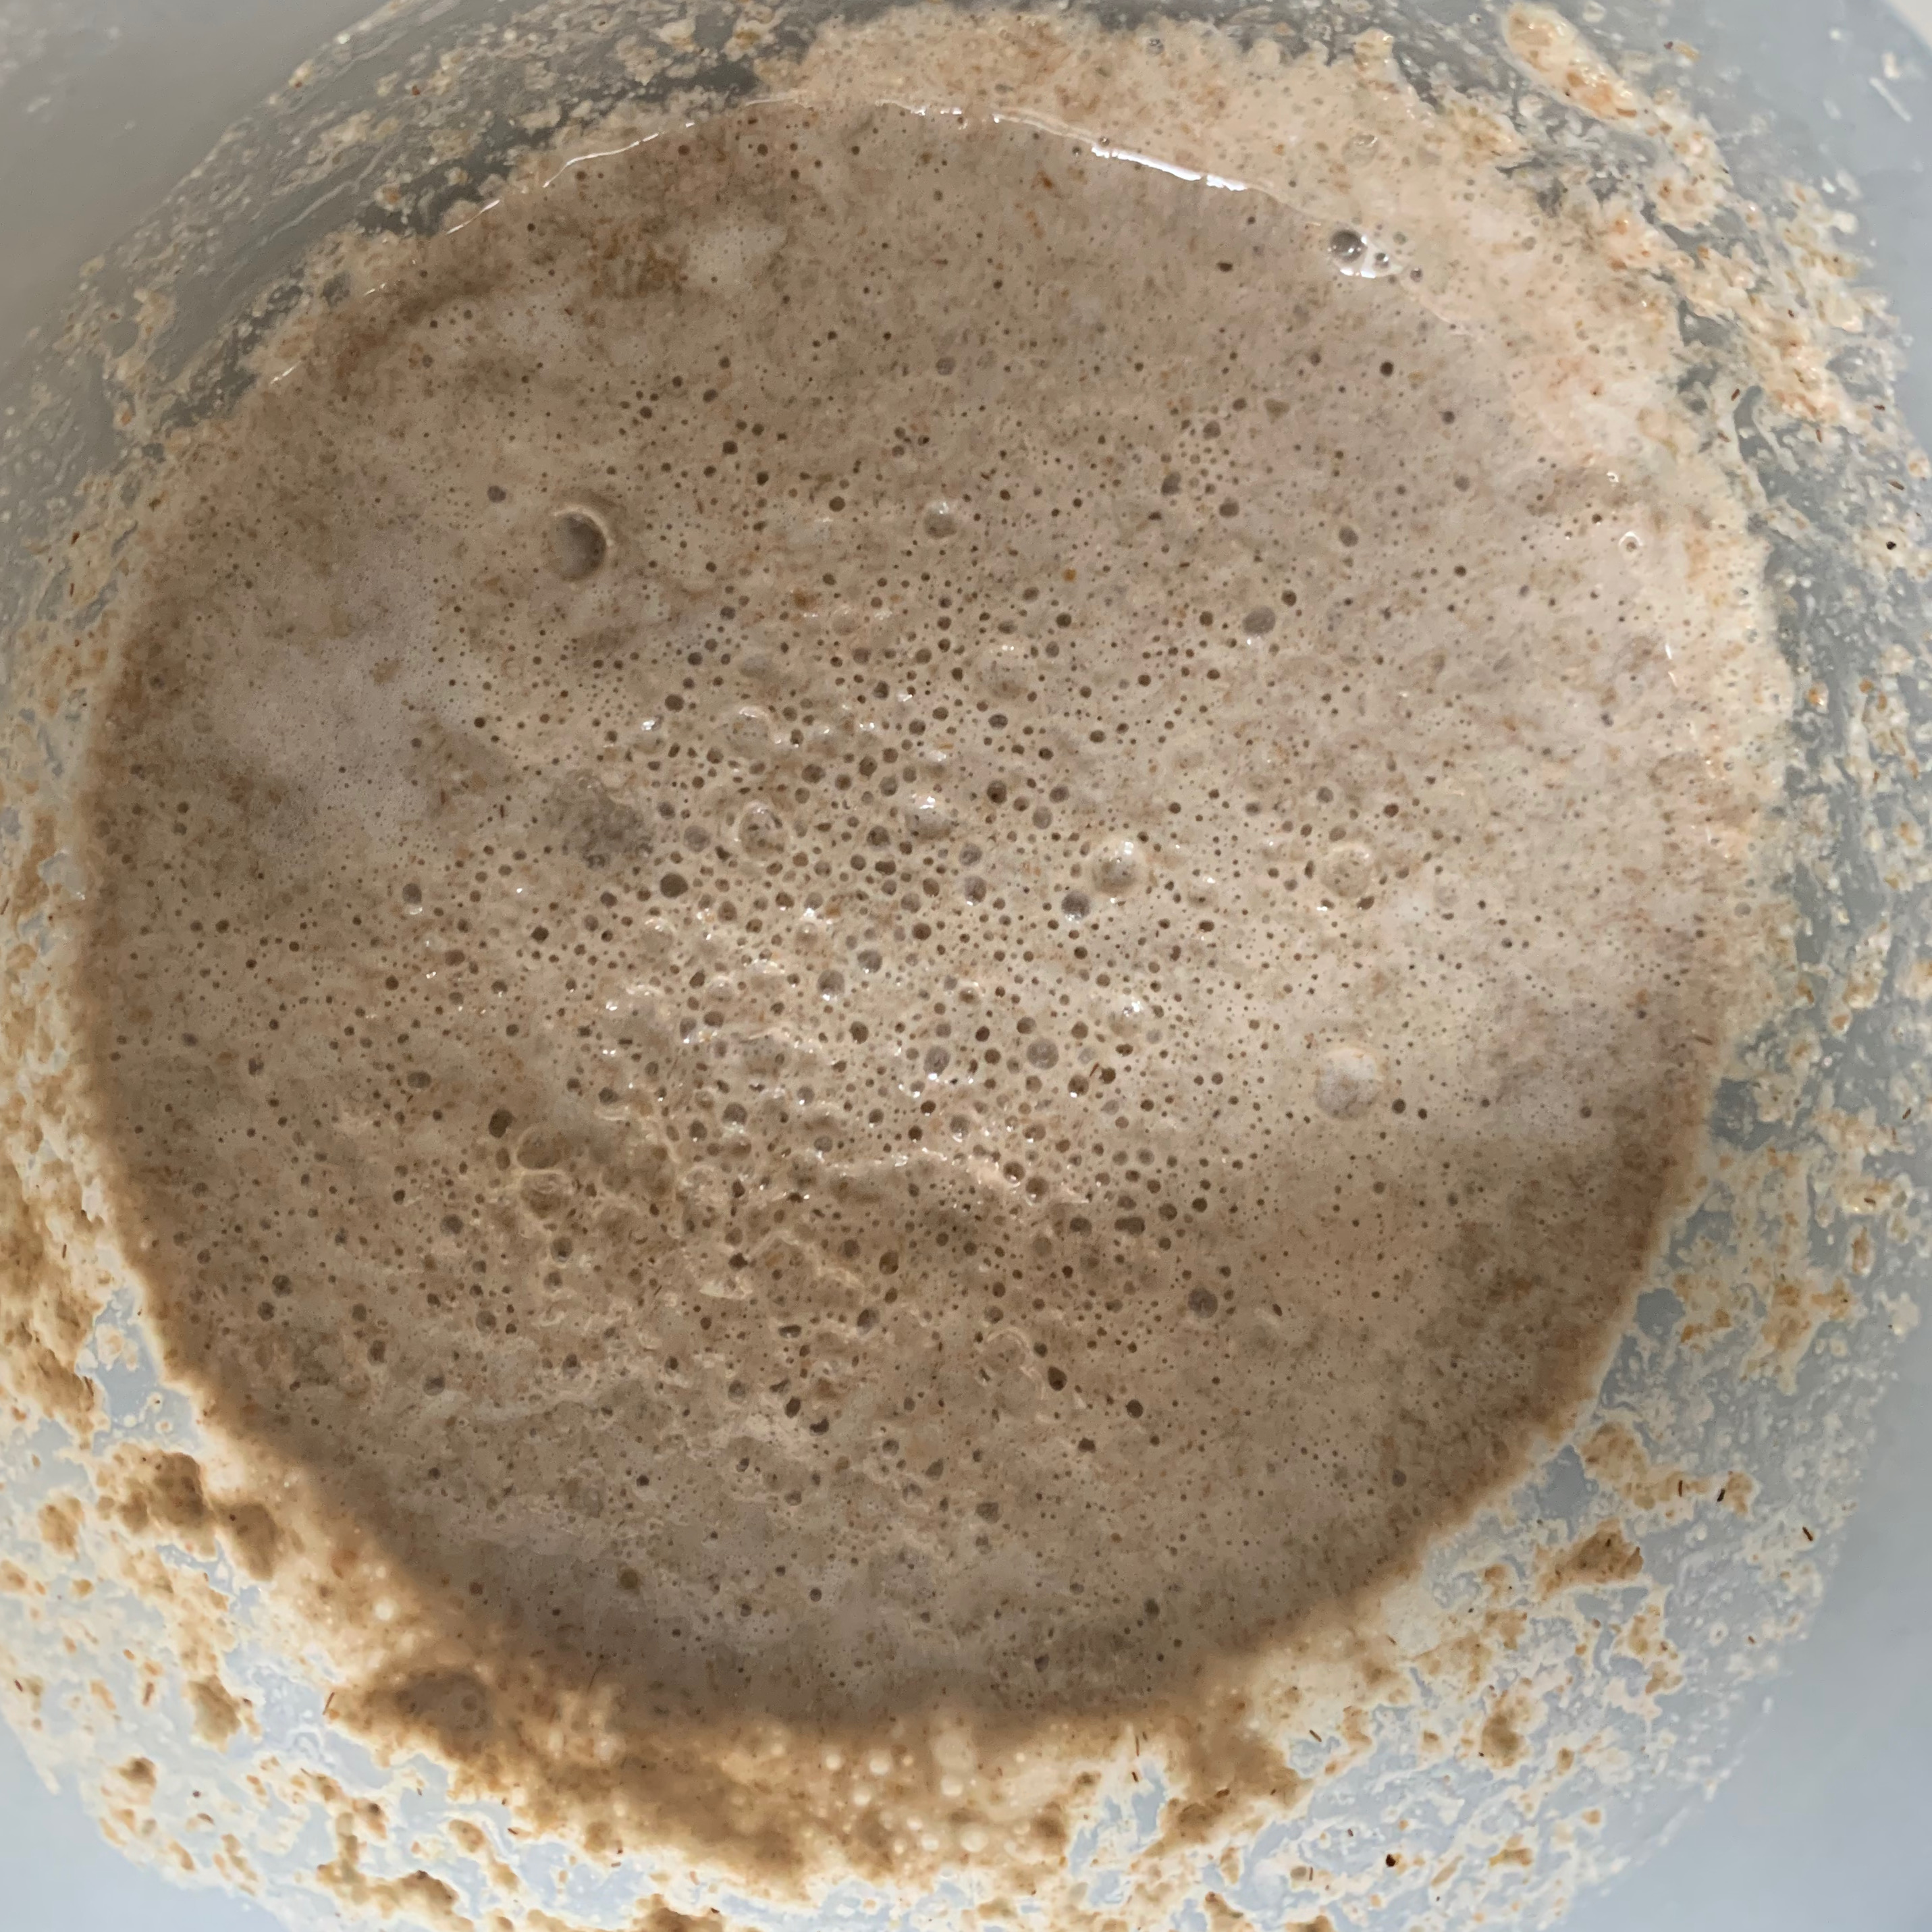
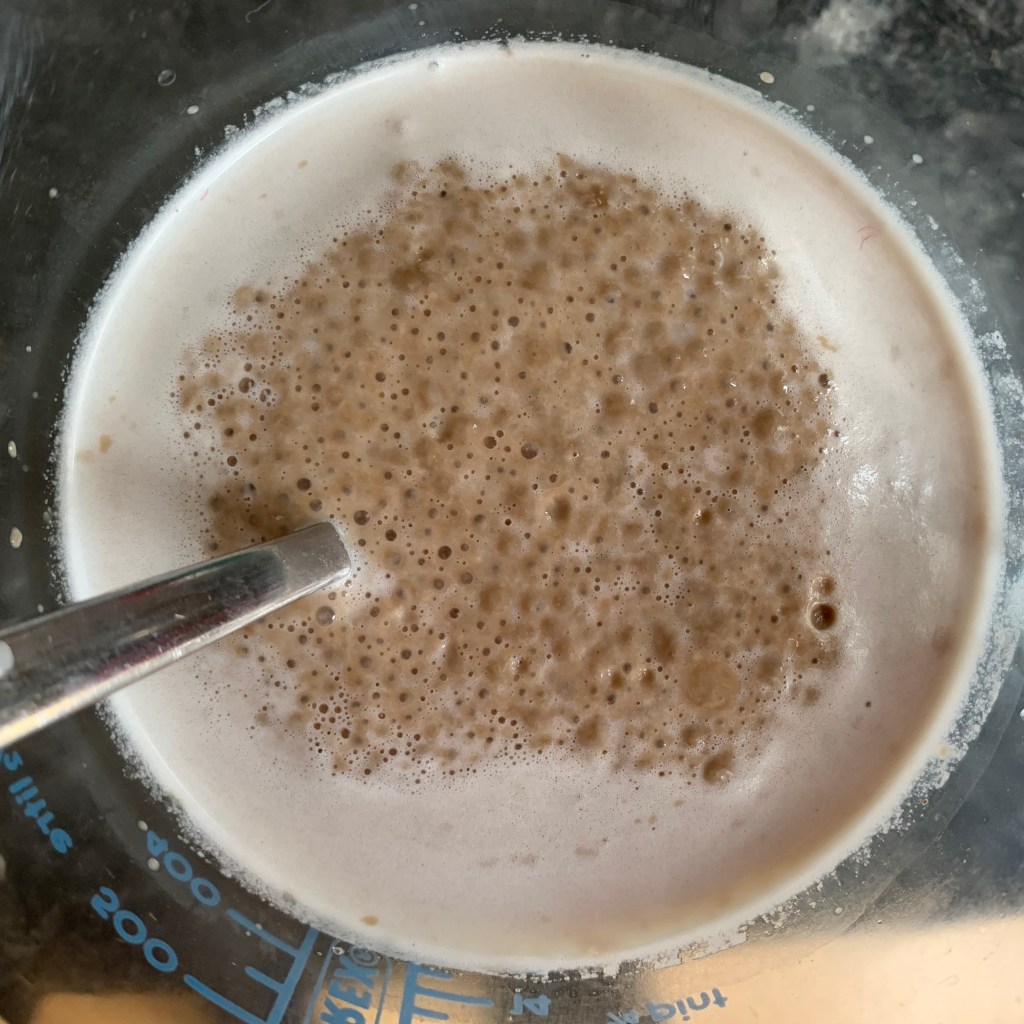
The sponge
This is the initial mixture used to give the yeast in the sourdough starter the chance to multiply. It seems to go many names as well as “sponge”: Andrew Whitley calls it a “production sourdough”; I’ve also seen “pre-ferment”, “bulk ferment” or just plain “ferment”. A thicker version appears to be called a “biga”.
And don’t forget to refresh your starter:
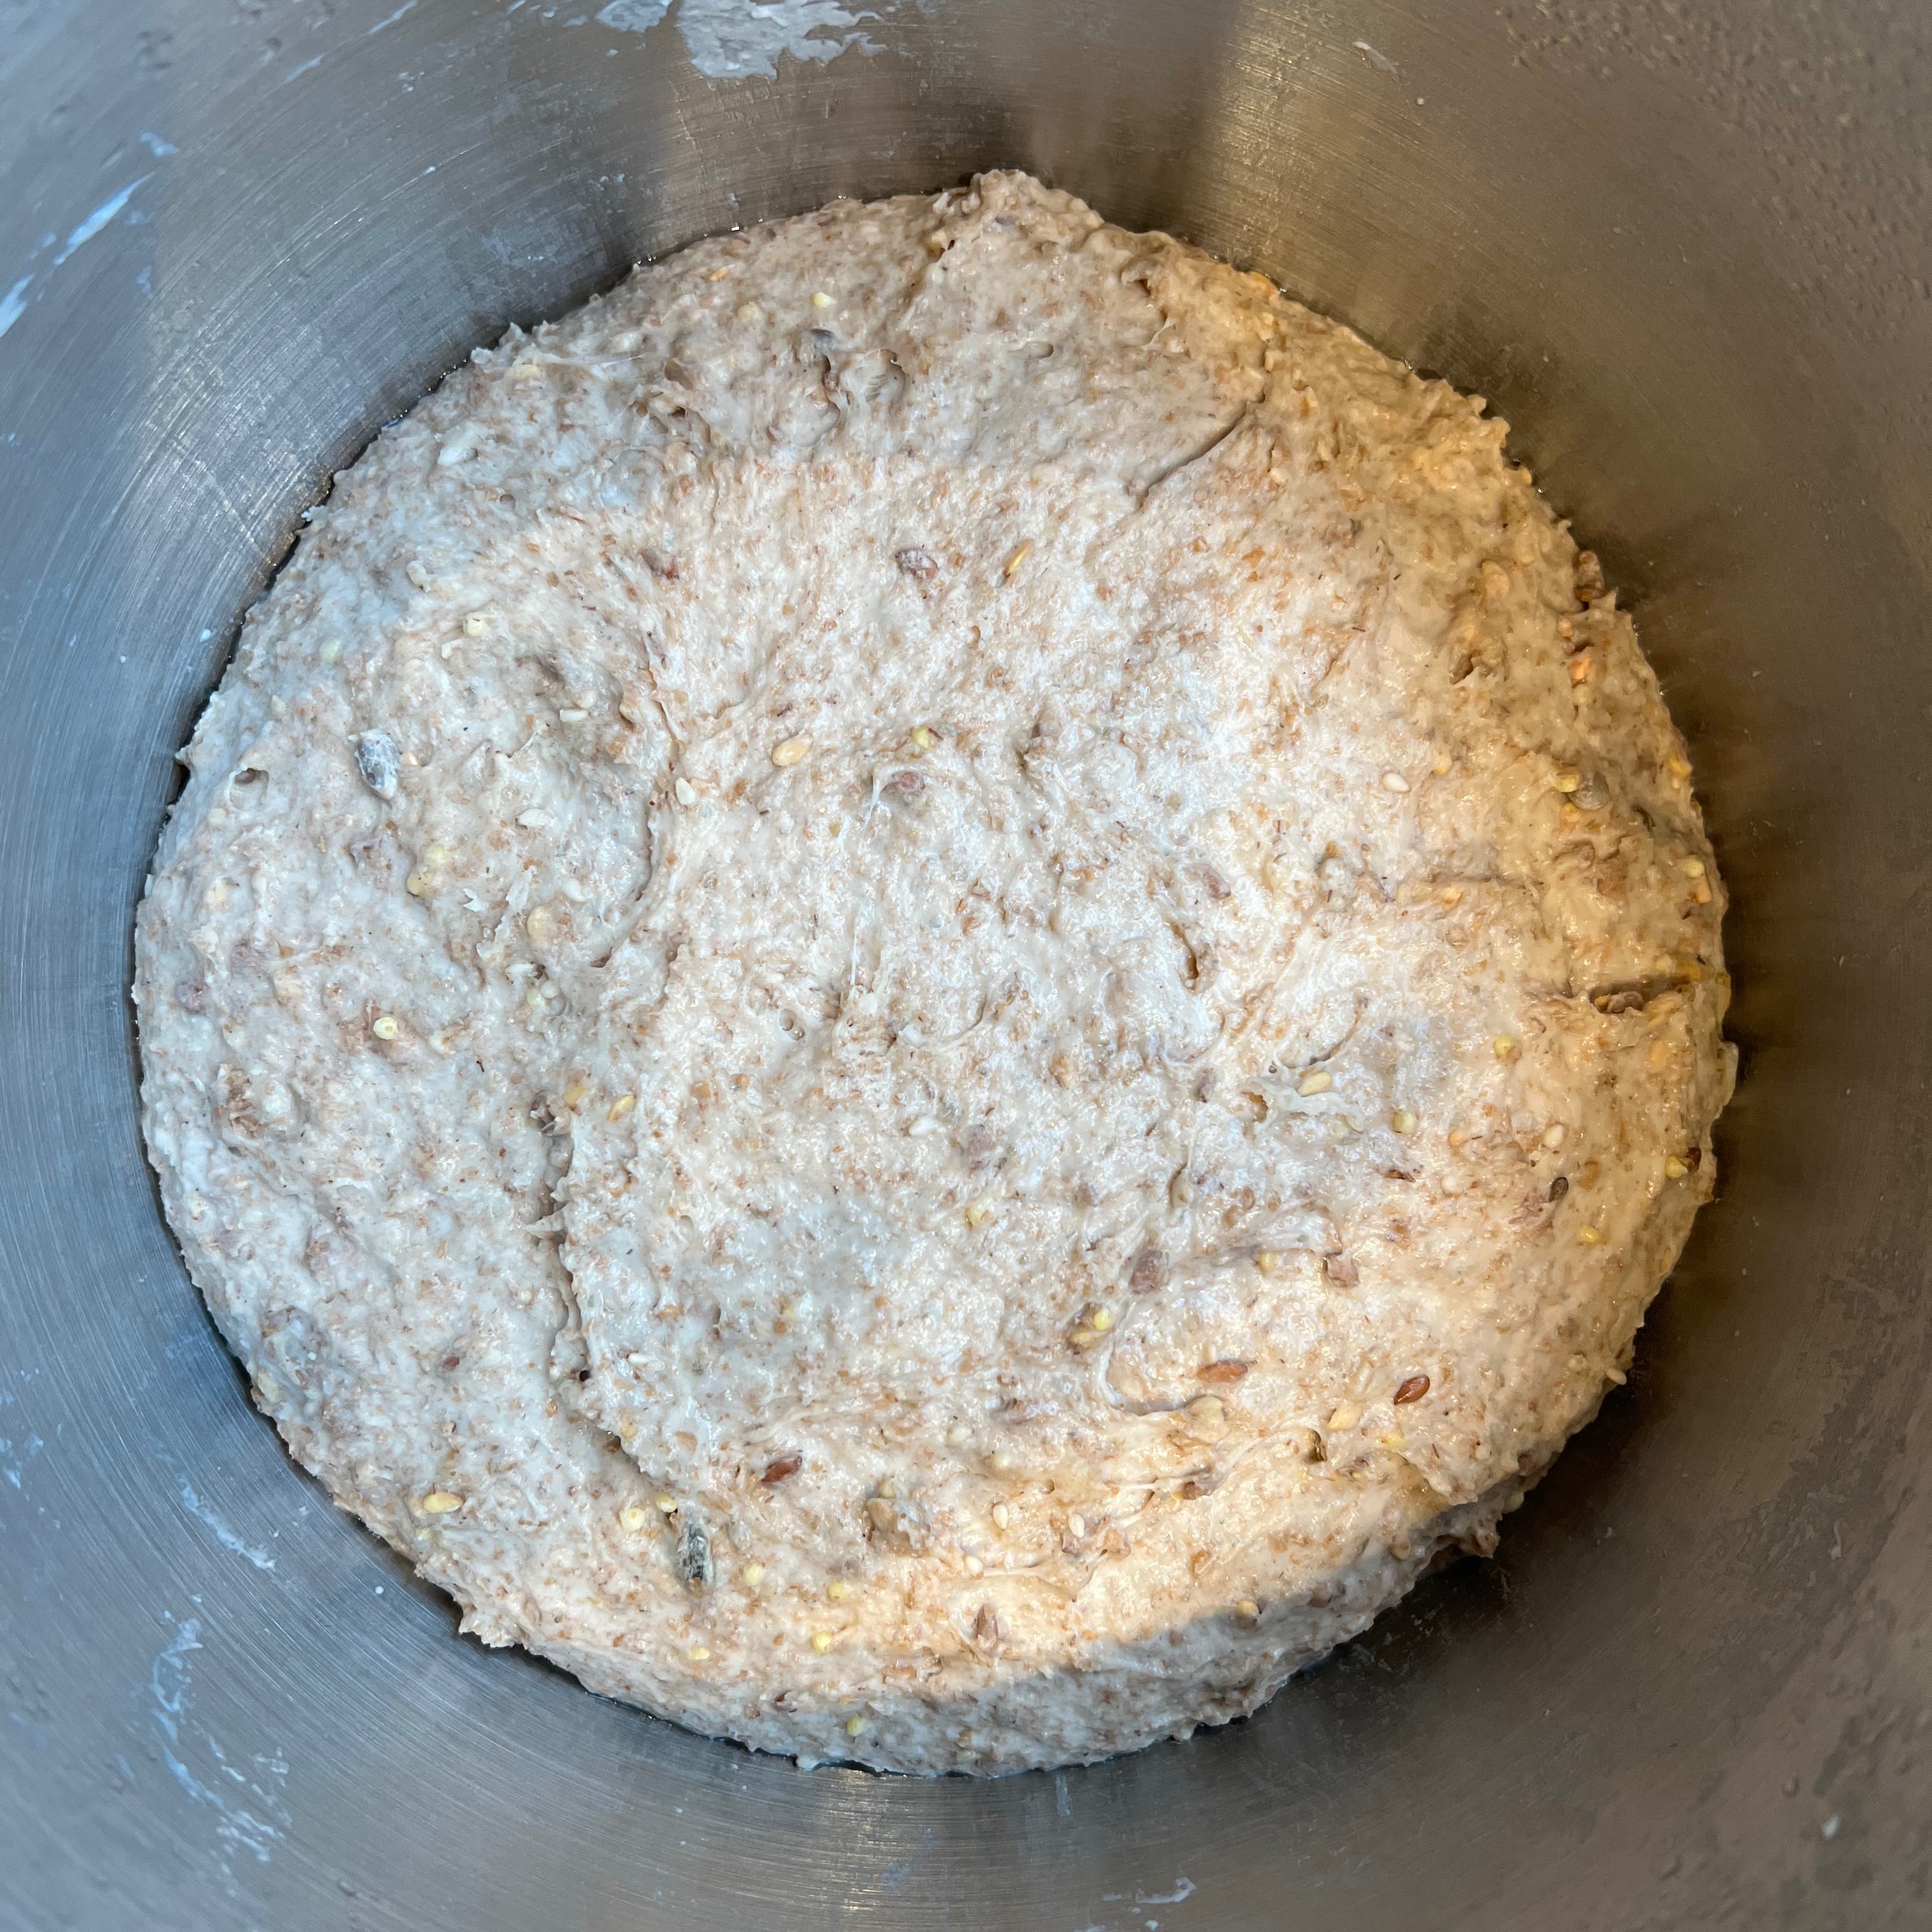
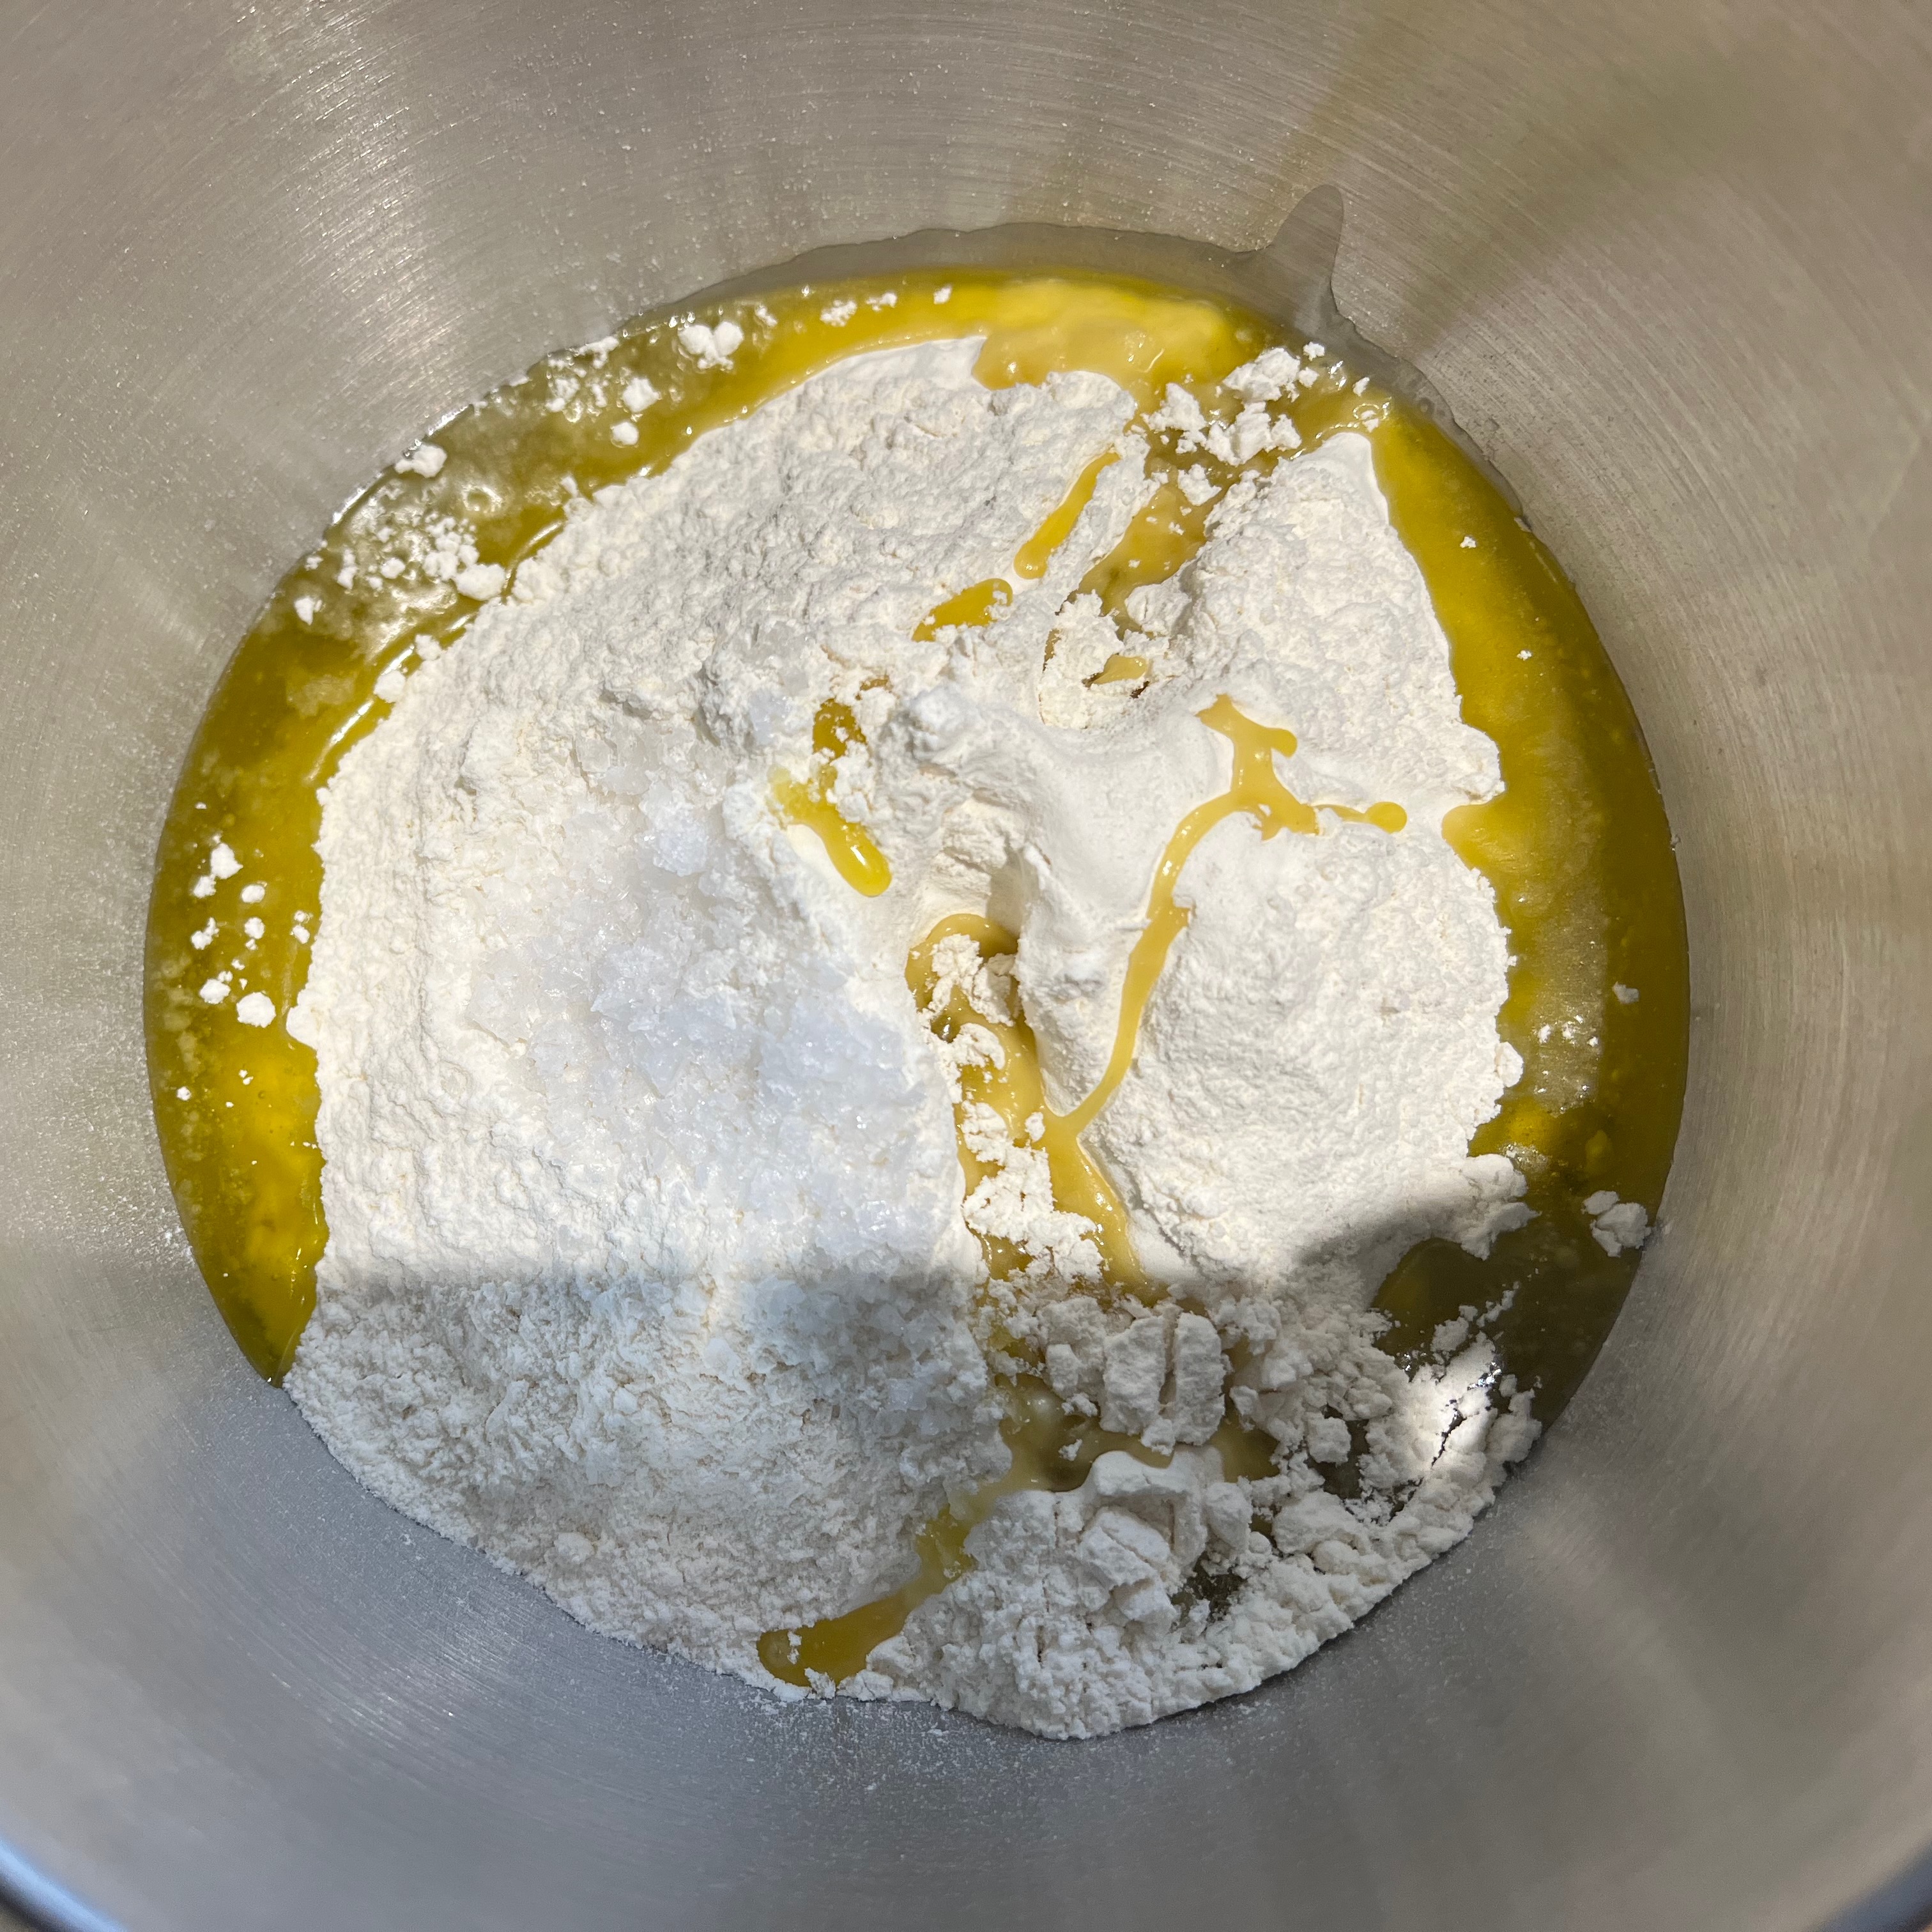
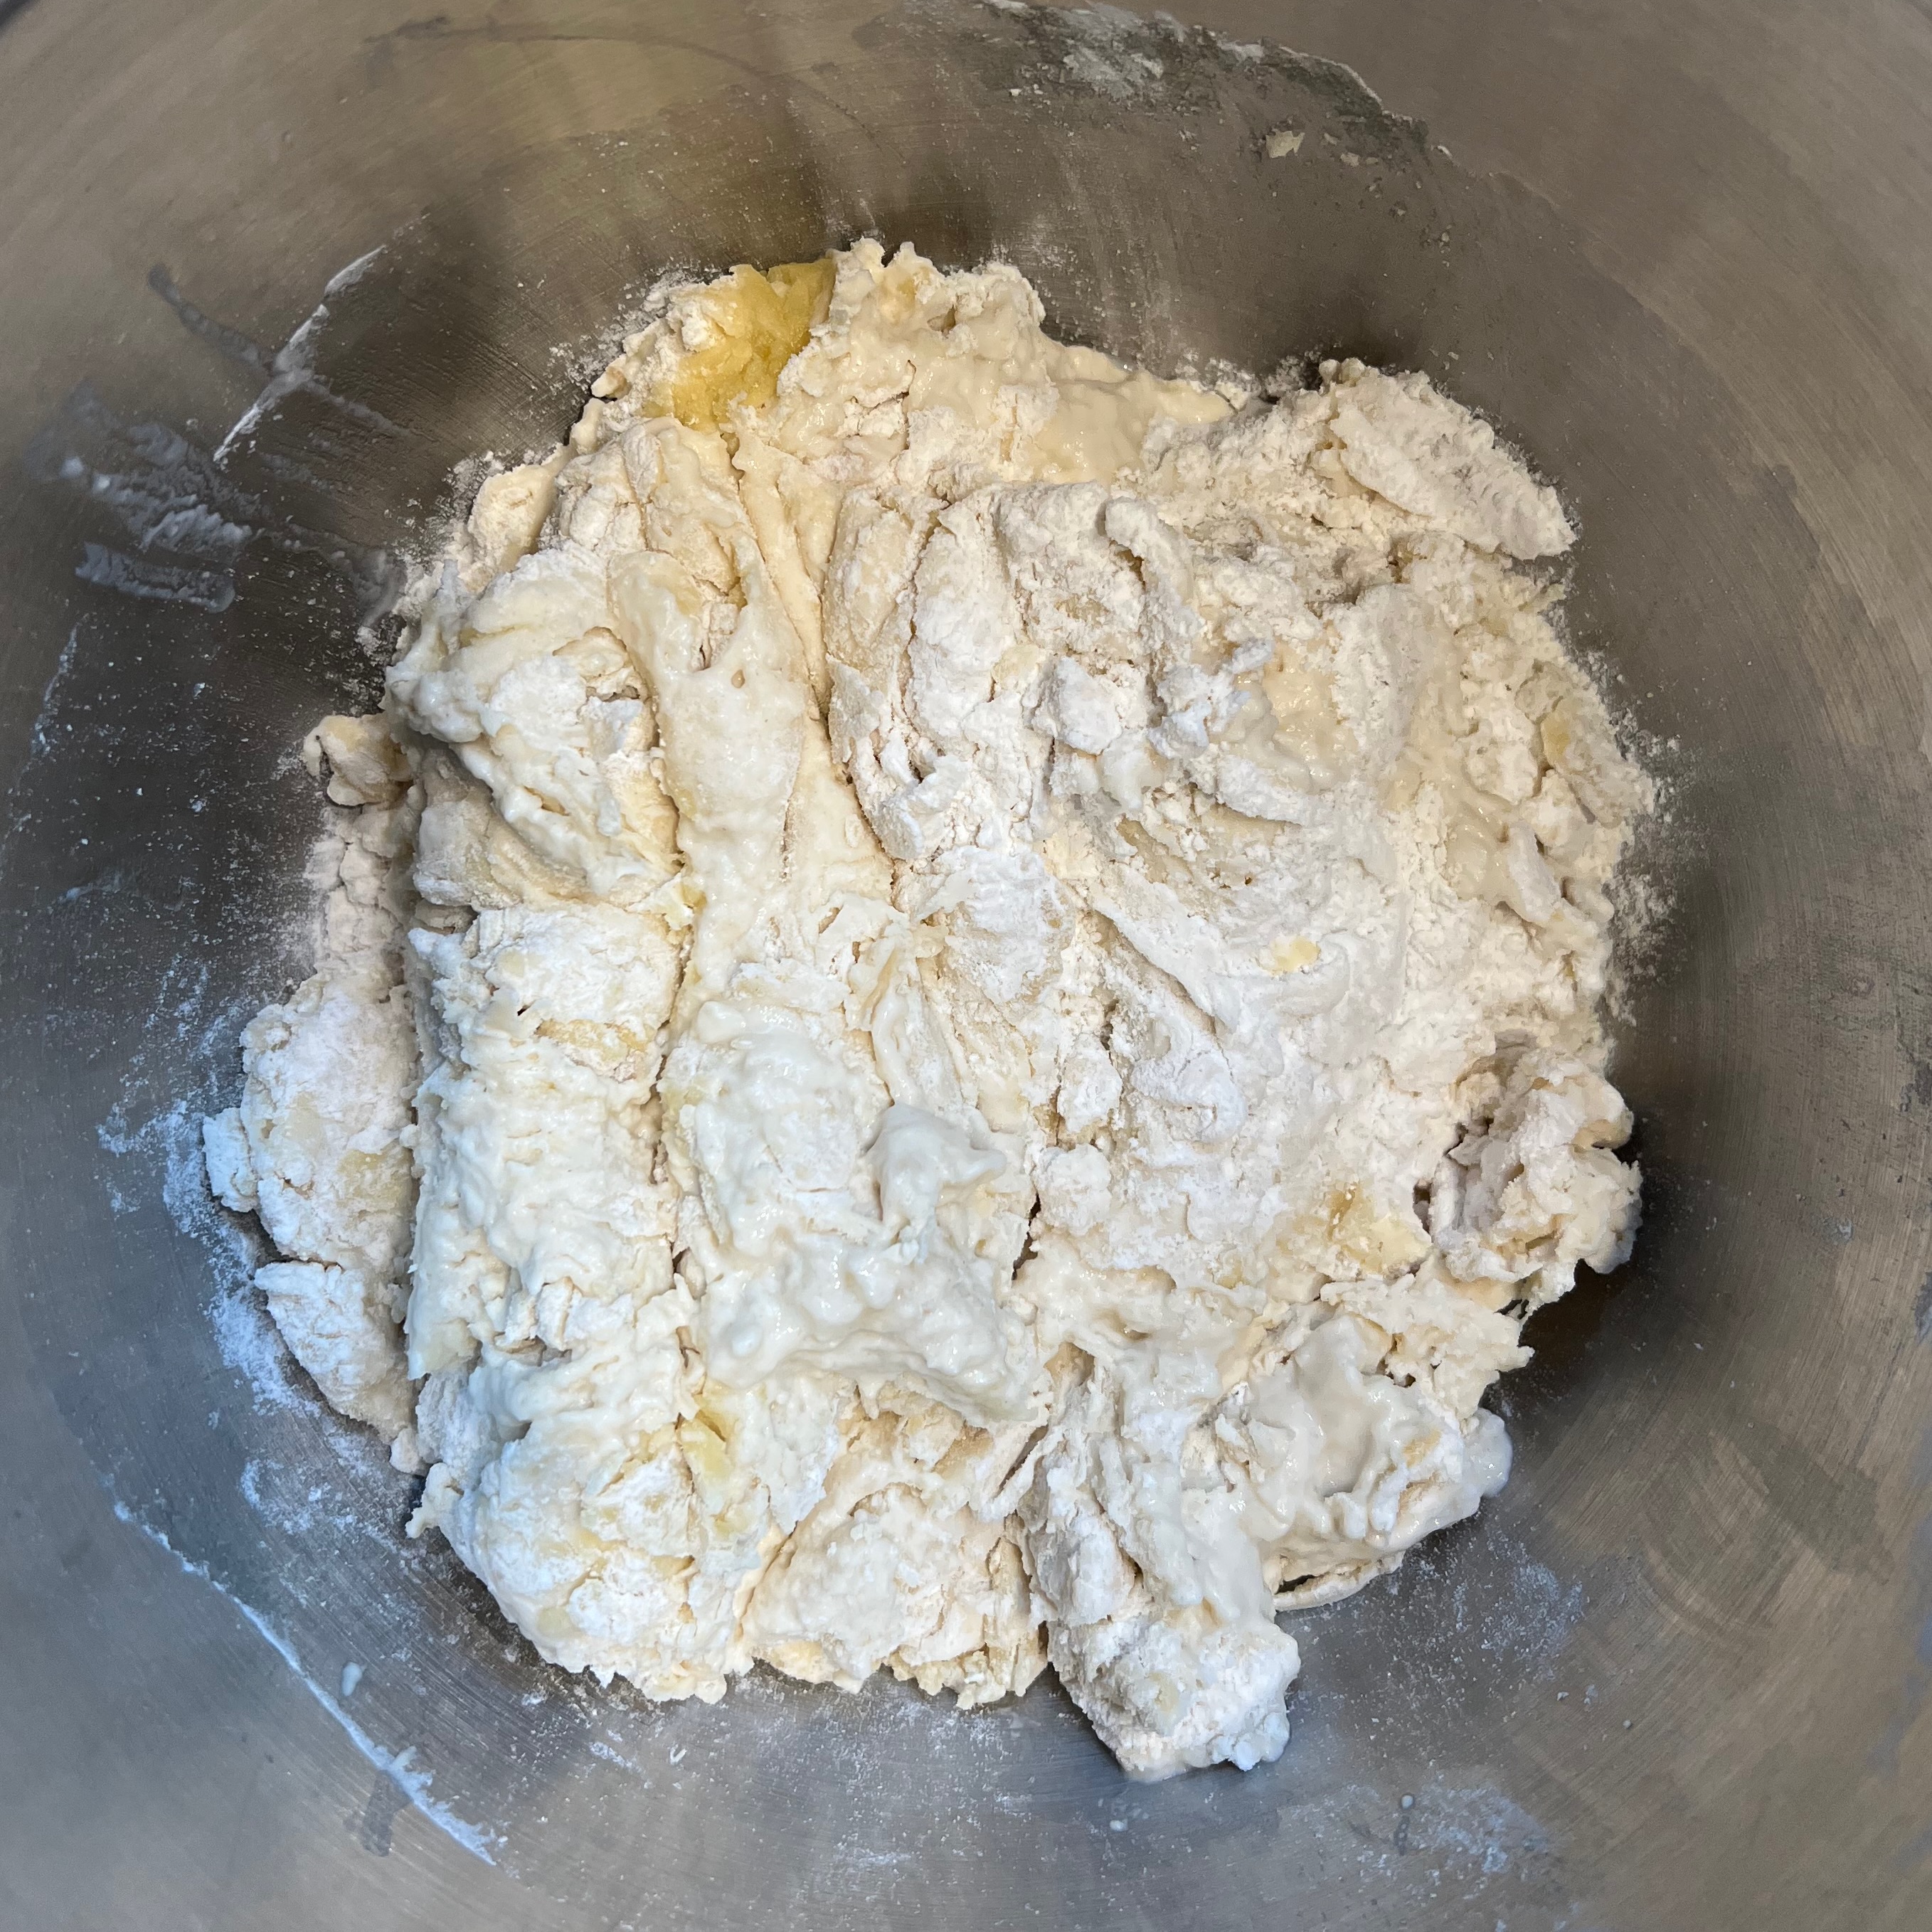
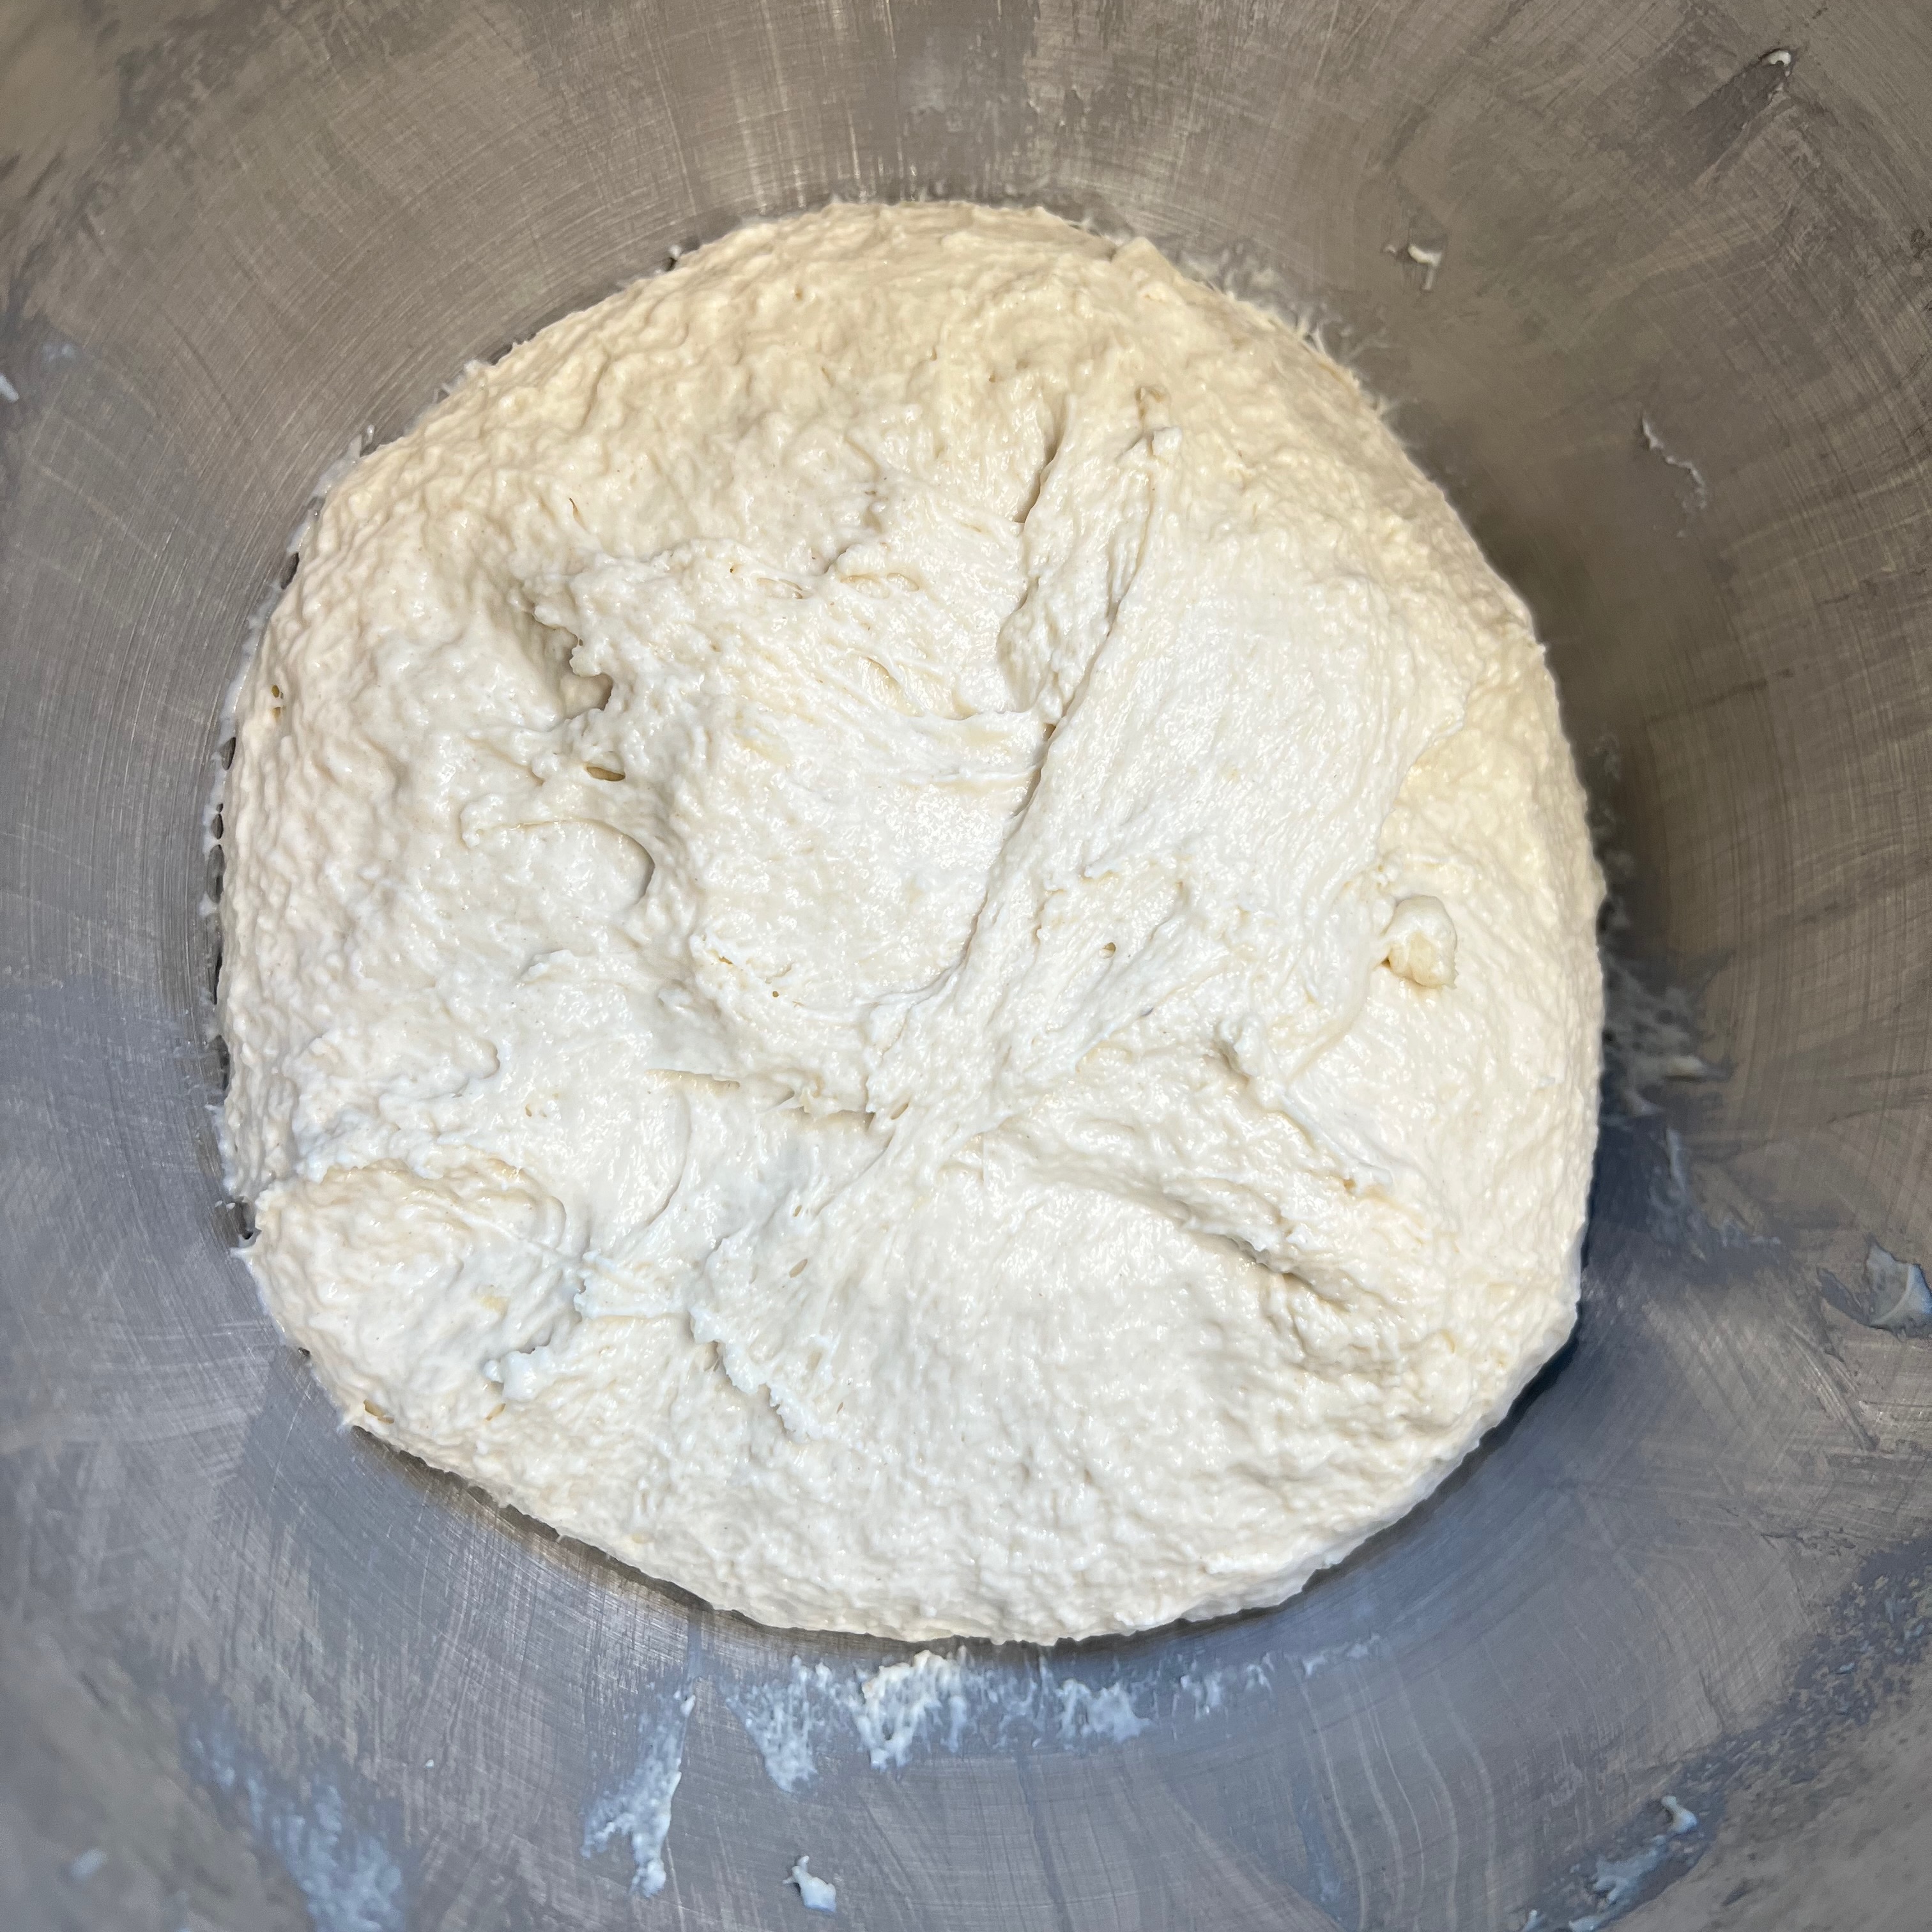
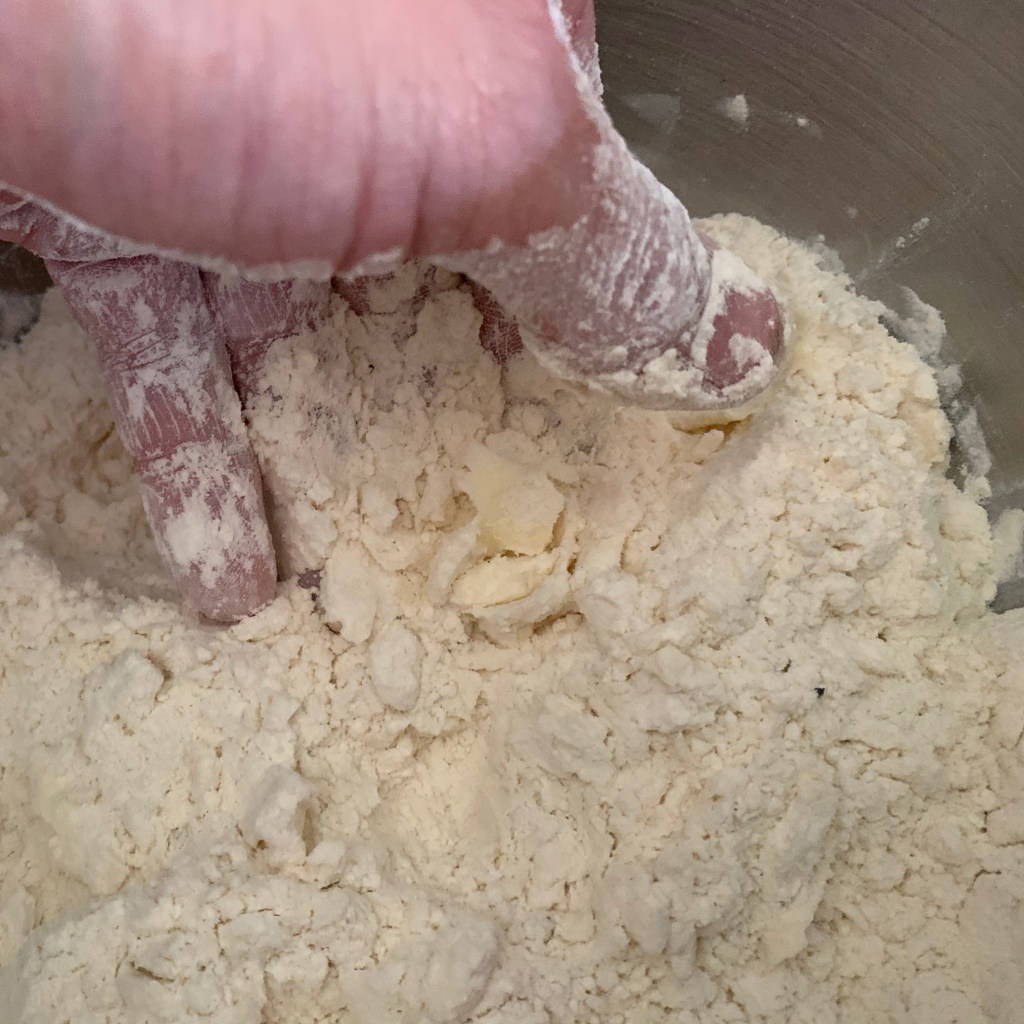
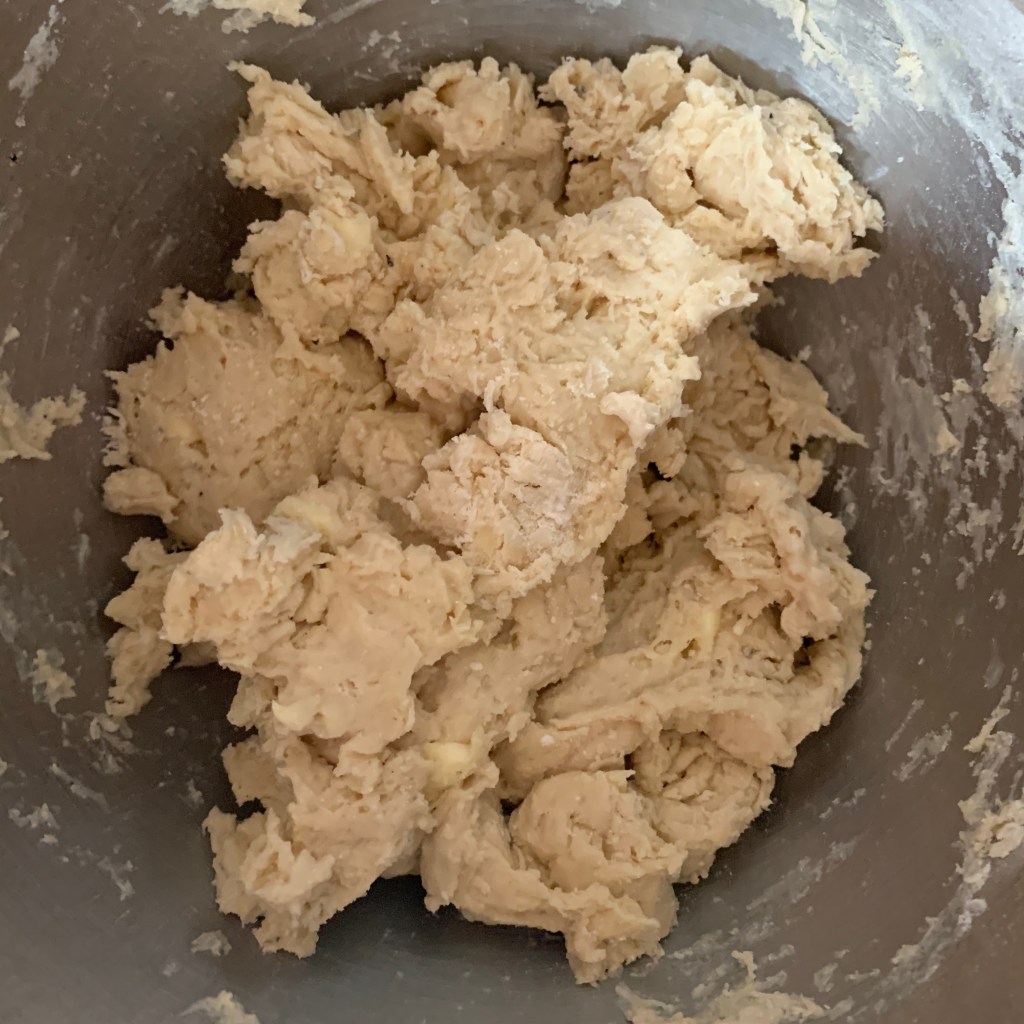
Making the dough
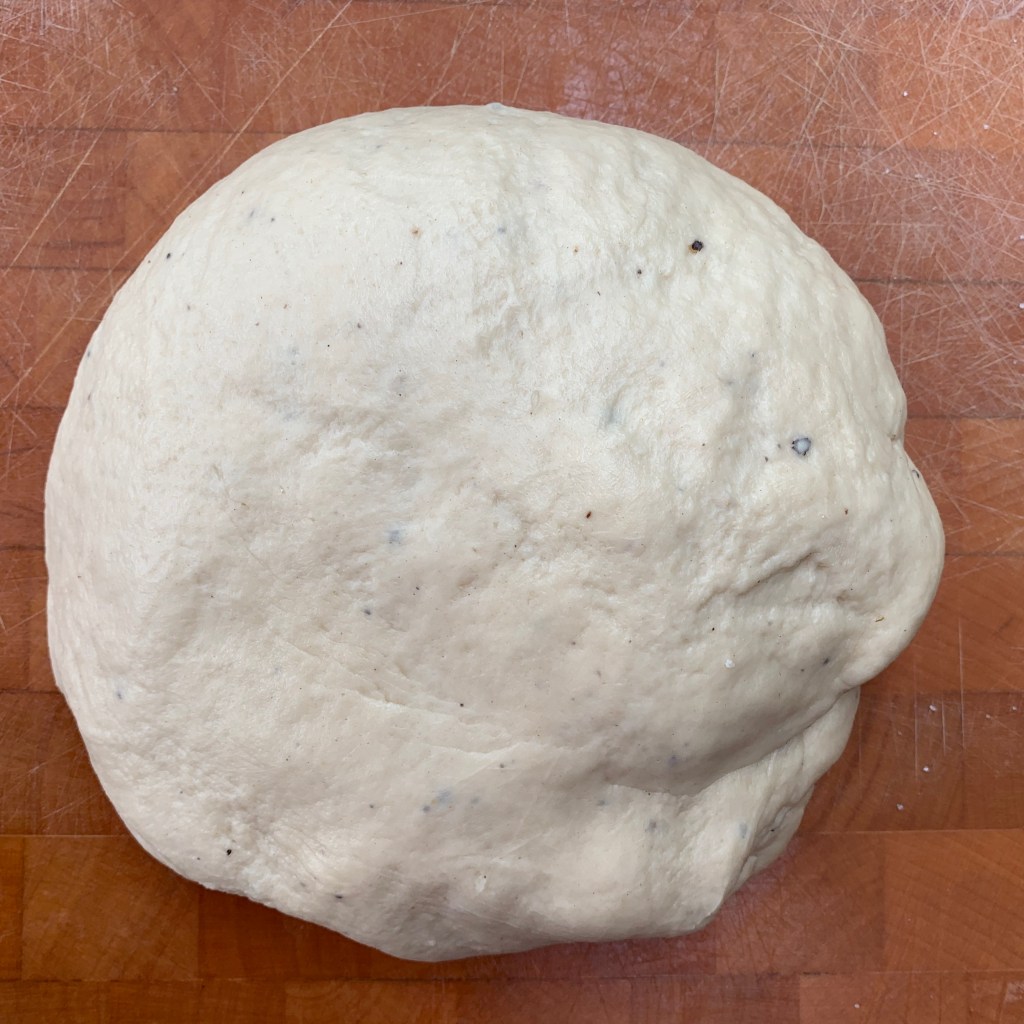
Preparing – tin version
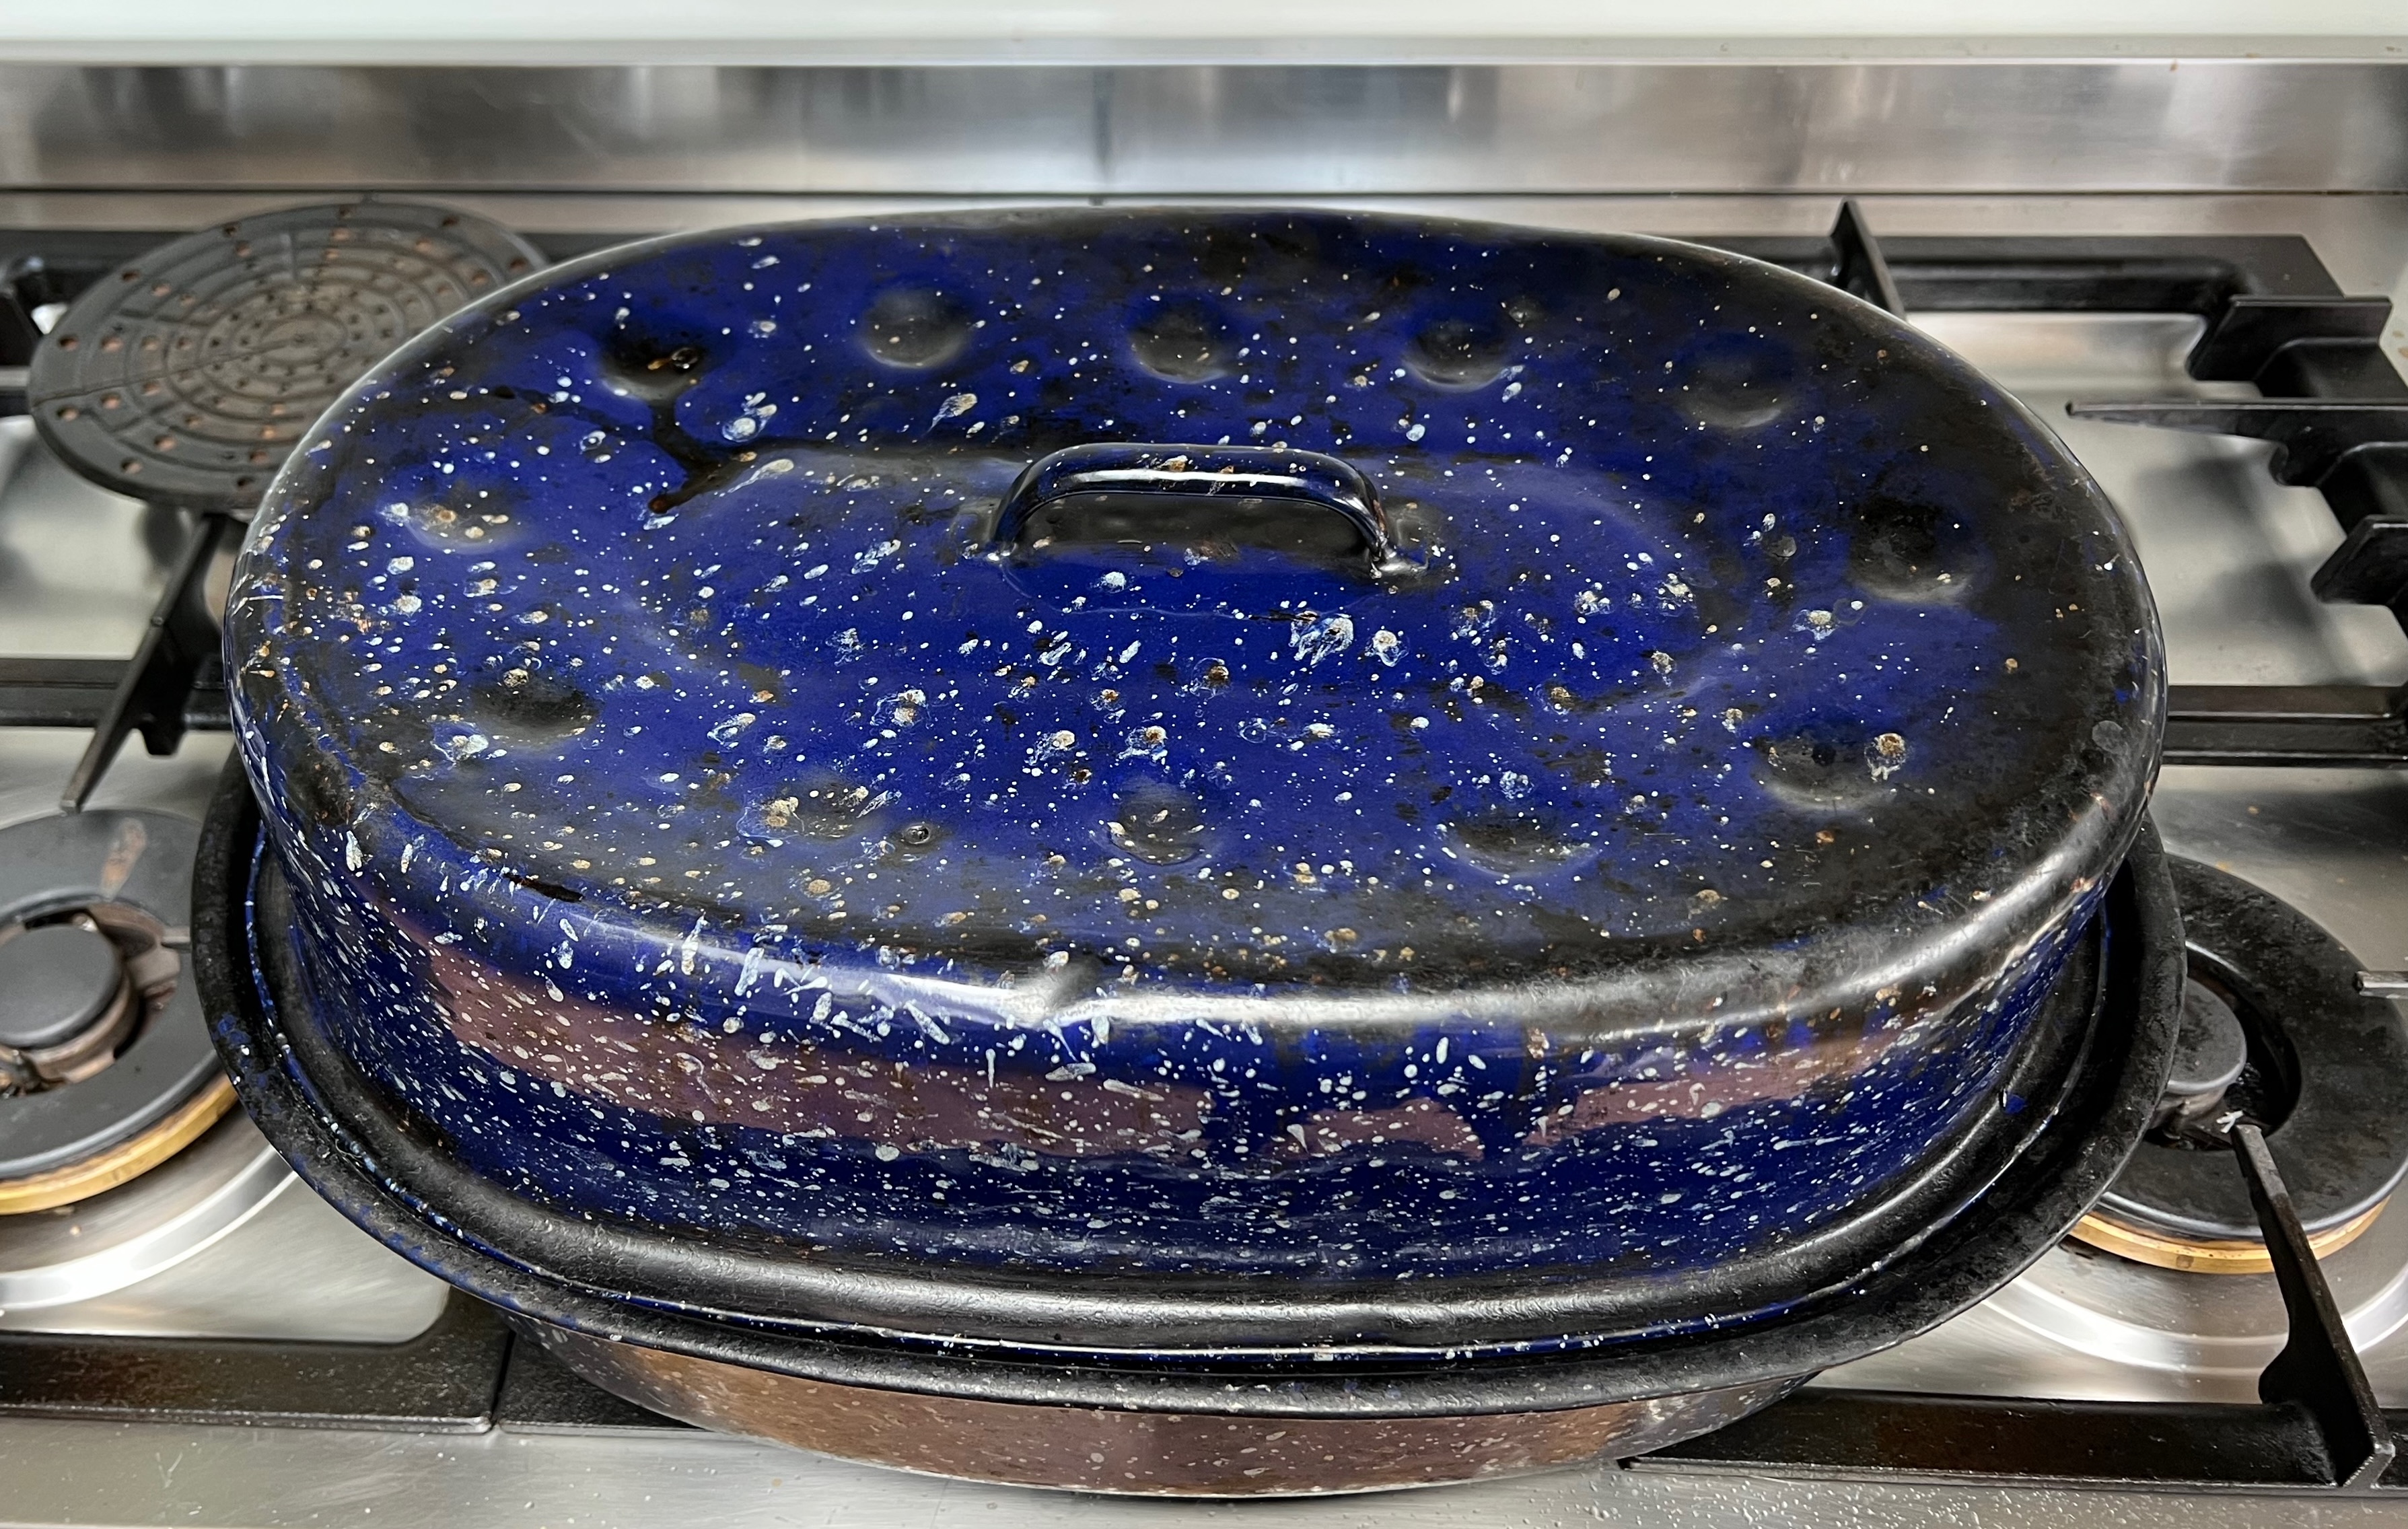
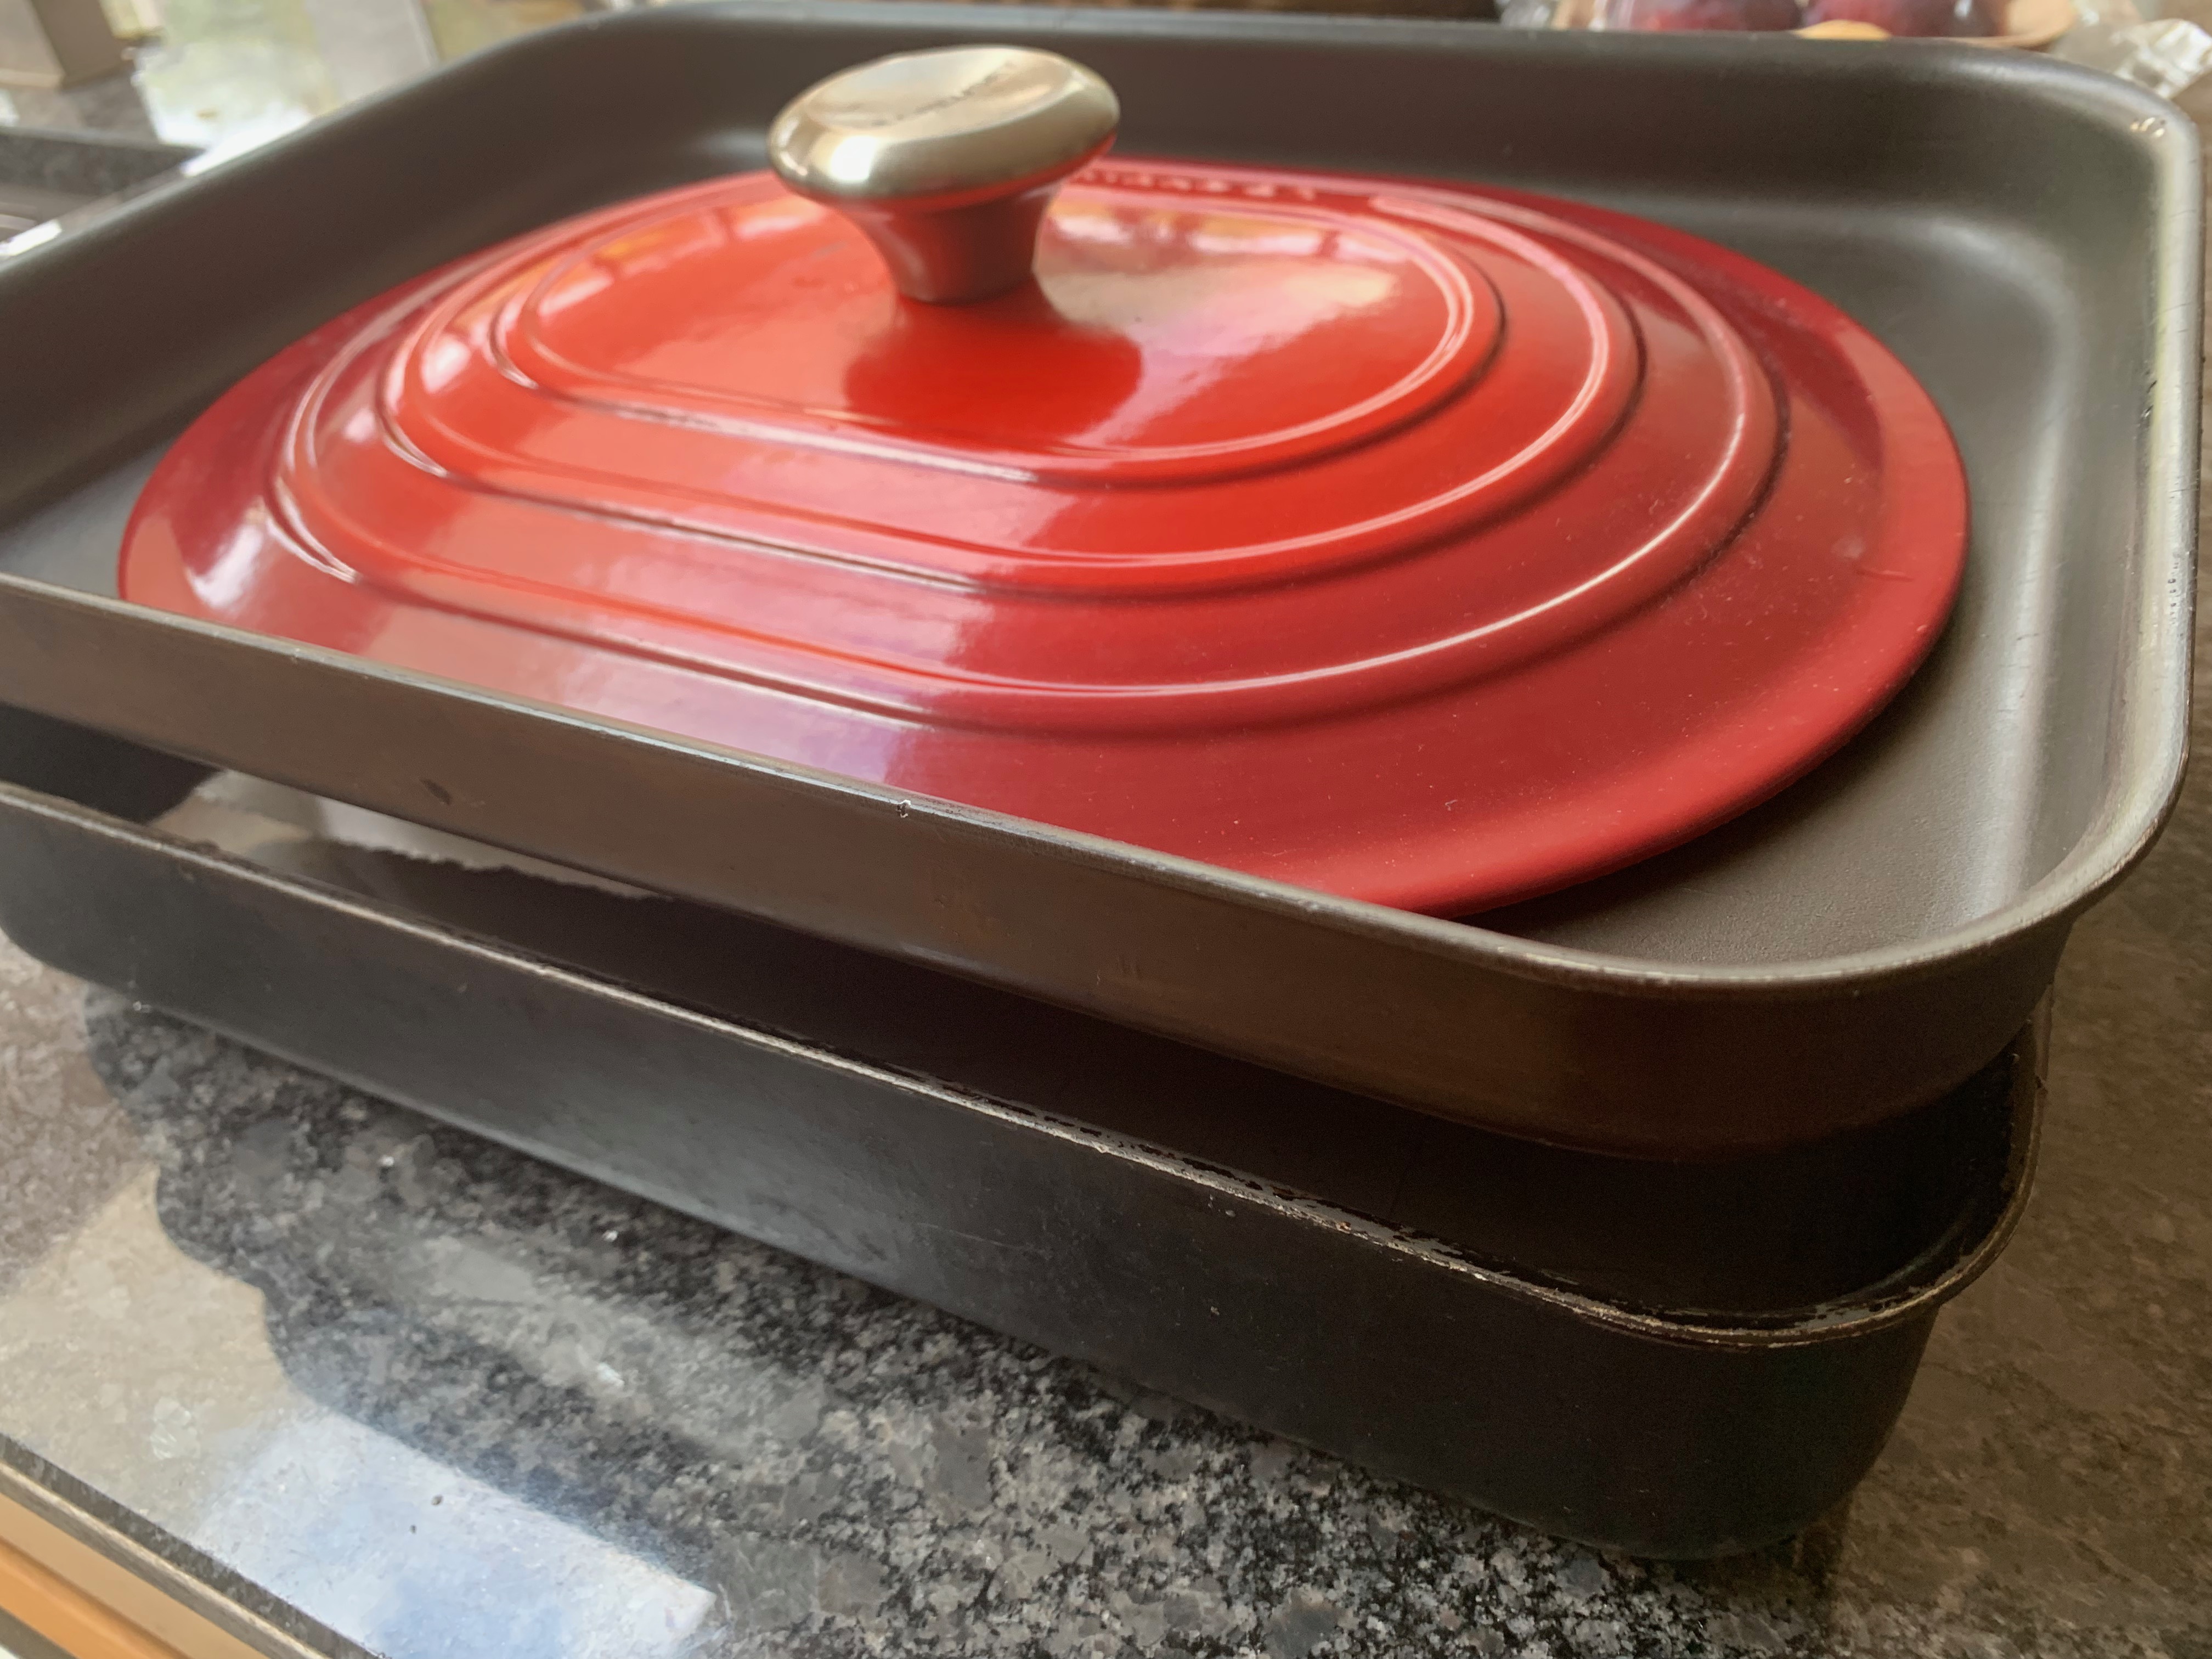
For baking, I’ve assumed here that you have a casserole or covered roasting pan big enough to enclose your bread tin and be used as a Dutch oven. If you don’t, forget anything about making steam and simply cover your bread tin with its lid (if it has one) or with foil.
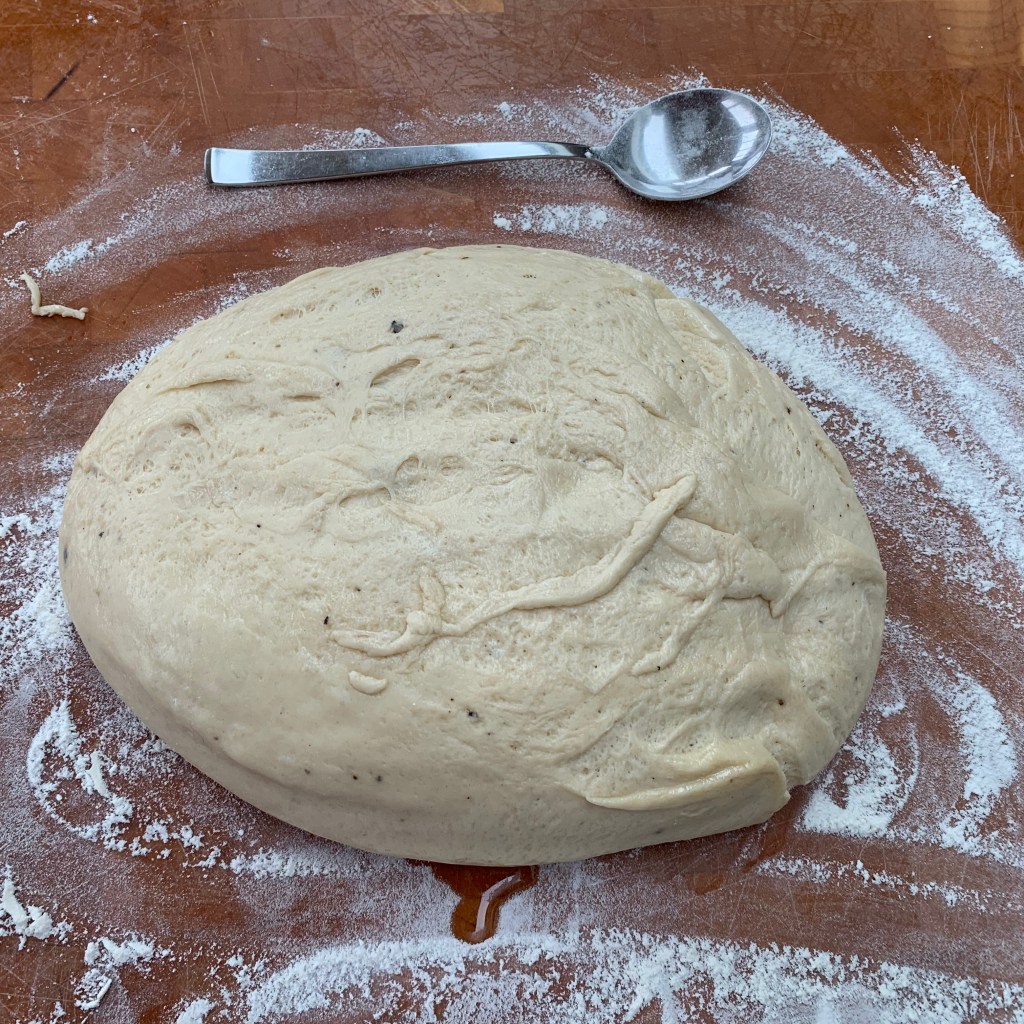
Preparing – free standing version

Baking
So that’s it! We’ve baked round the world, from the great cities of our planet – Paris, New York, Vienna – to the middle of nowhere in Pitcairn Island. We’ve made breads, cakes, biscuits, pastries, savoury dishes and a few random things that don’t fit into any category. We’ve done some super-easy bakes (soda bread) and some very challenging ones (chocolate eclairs, pannetone). Being diabetic, which means I shouldn’t really have been doing this blog at all, I’ve erred on the less sweet side, but there are a few very sweet dishes indeed. It’s been a grand ride and I’ve learned masses.
There will be one more post in this series, namely a recipe index. But otherwise, it’s goodbye, and time for me to revert this blog to its original intention of being about all my obsessions – travel, software, business, politics and anything else. If you’re interested, stay with me!

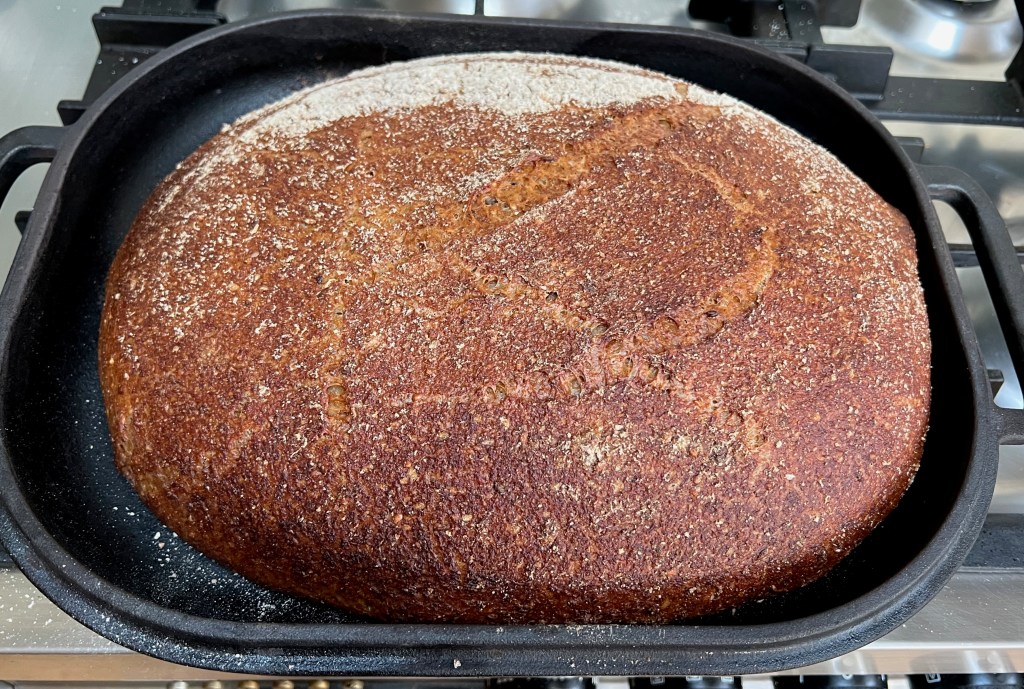
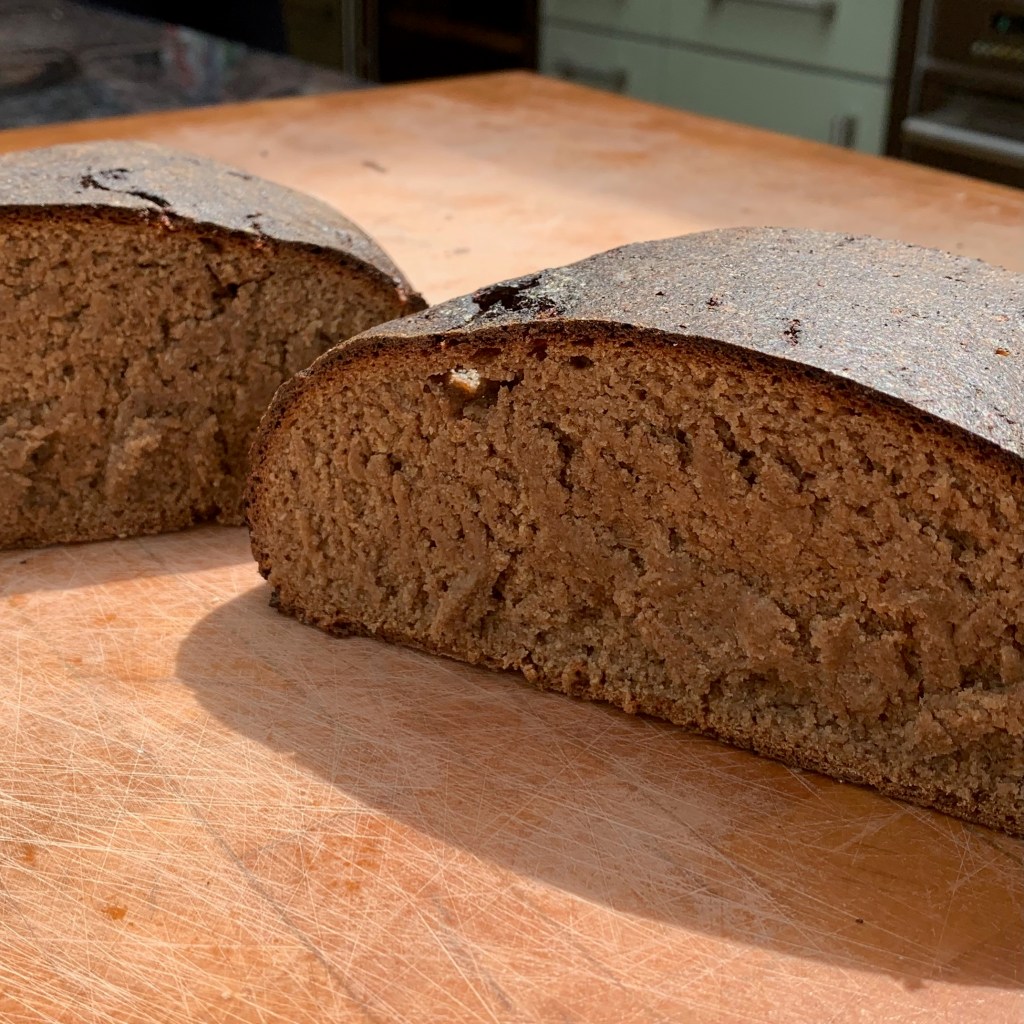
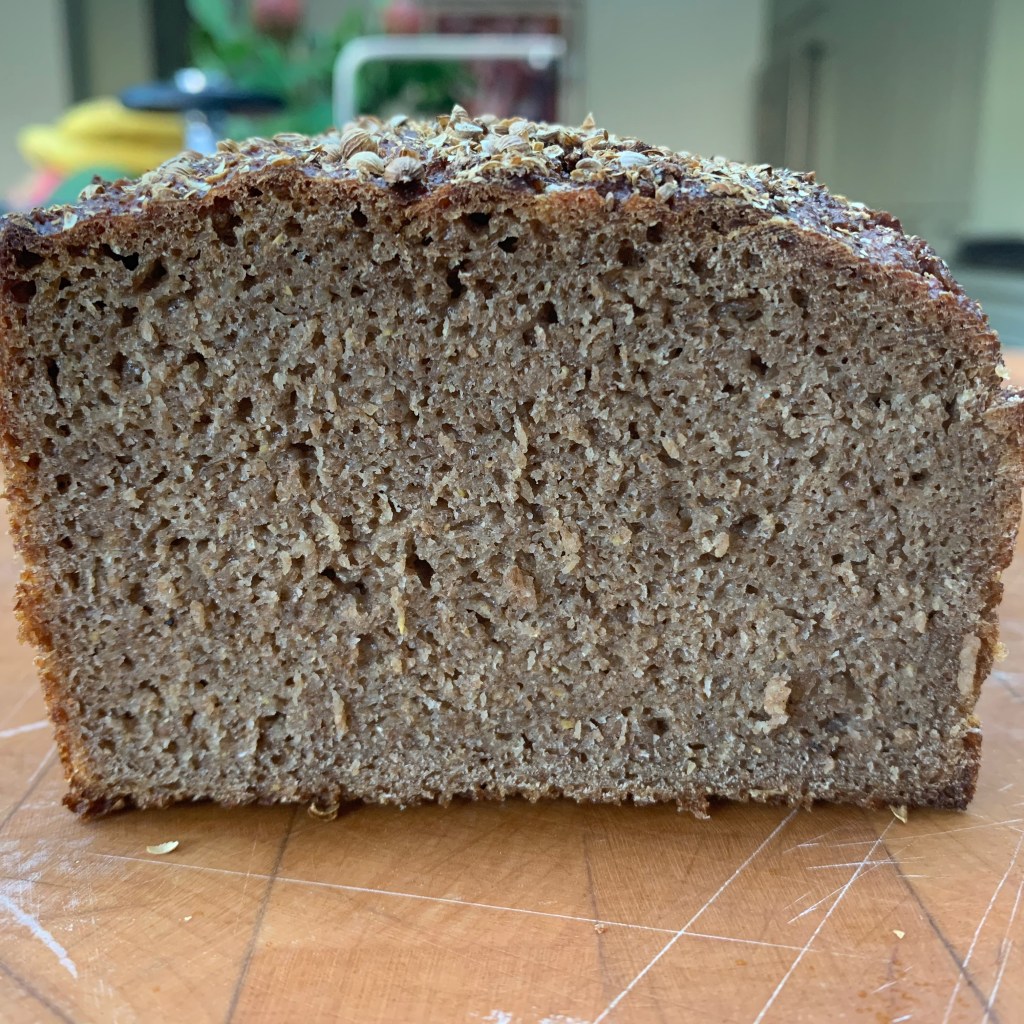
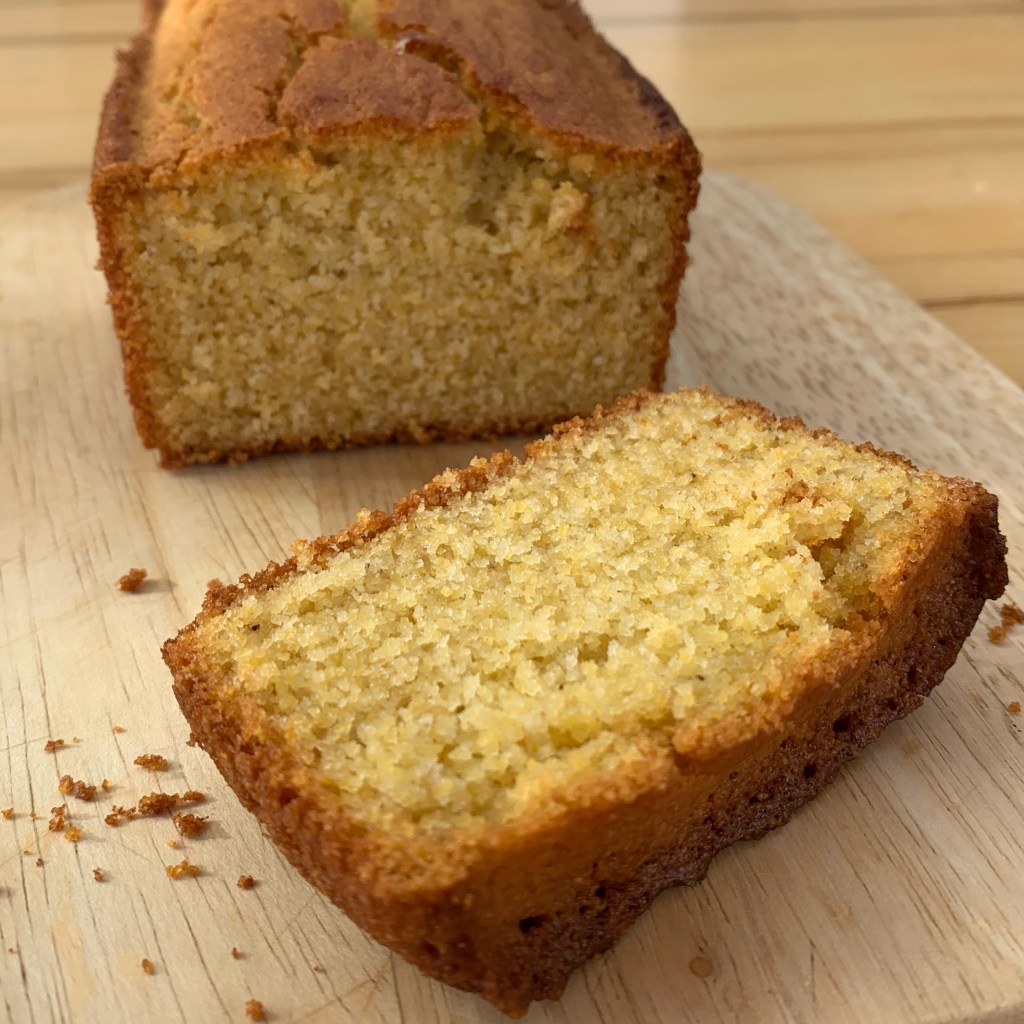
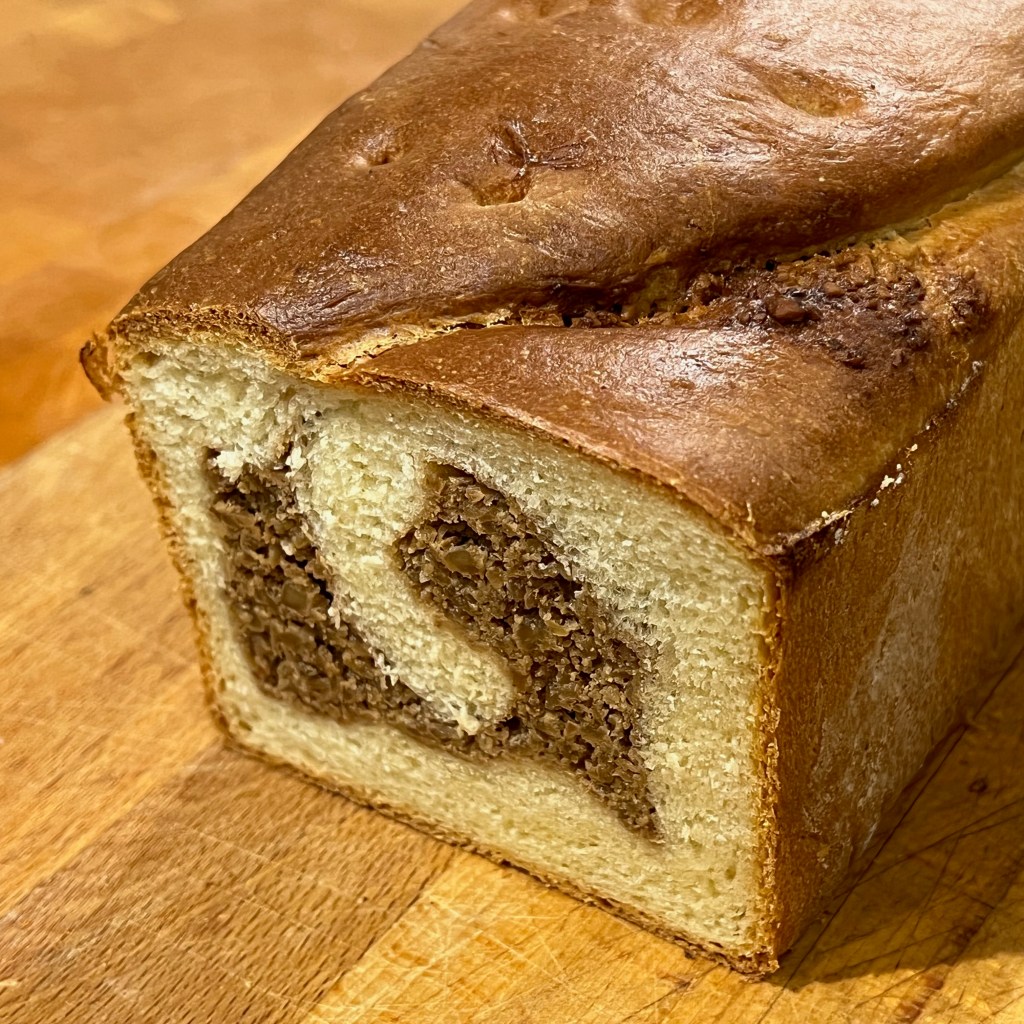
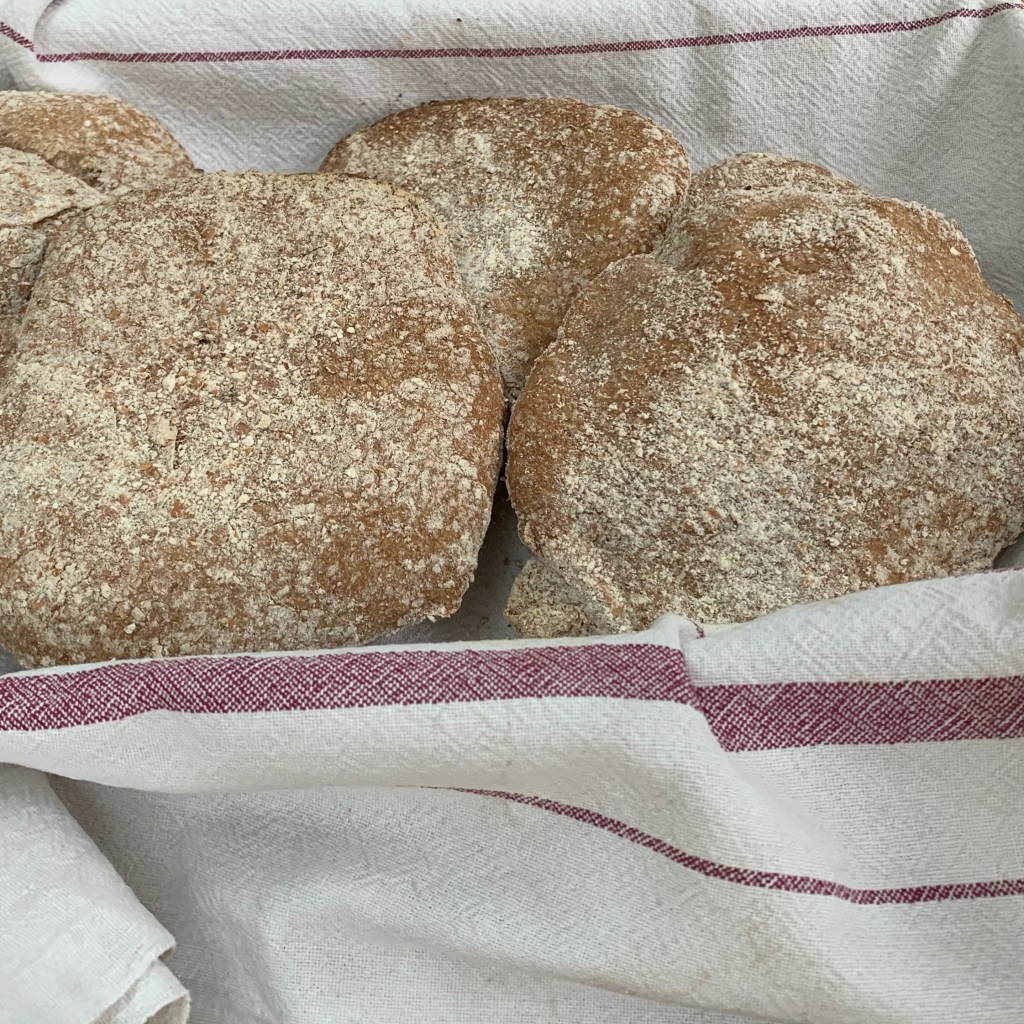
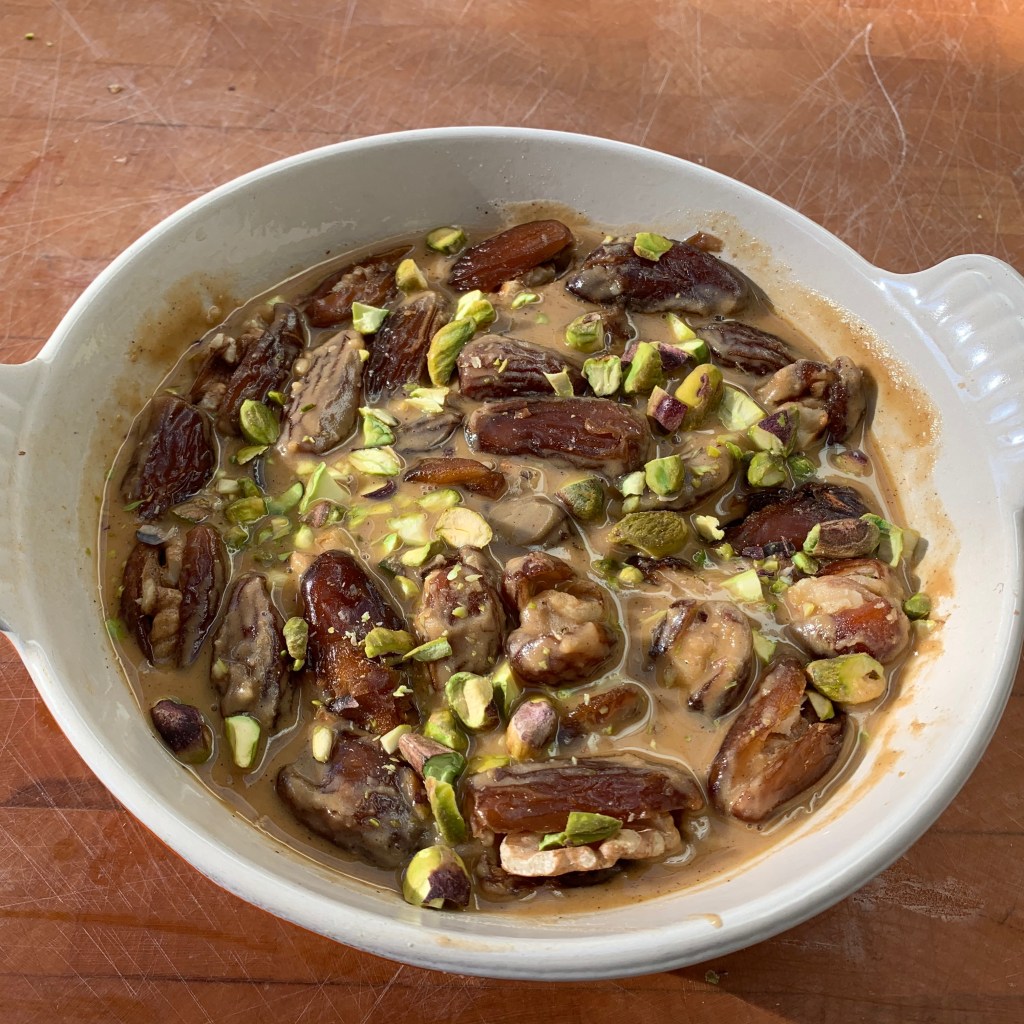
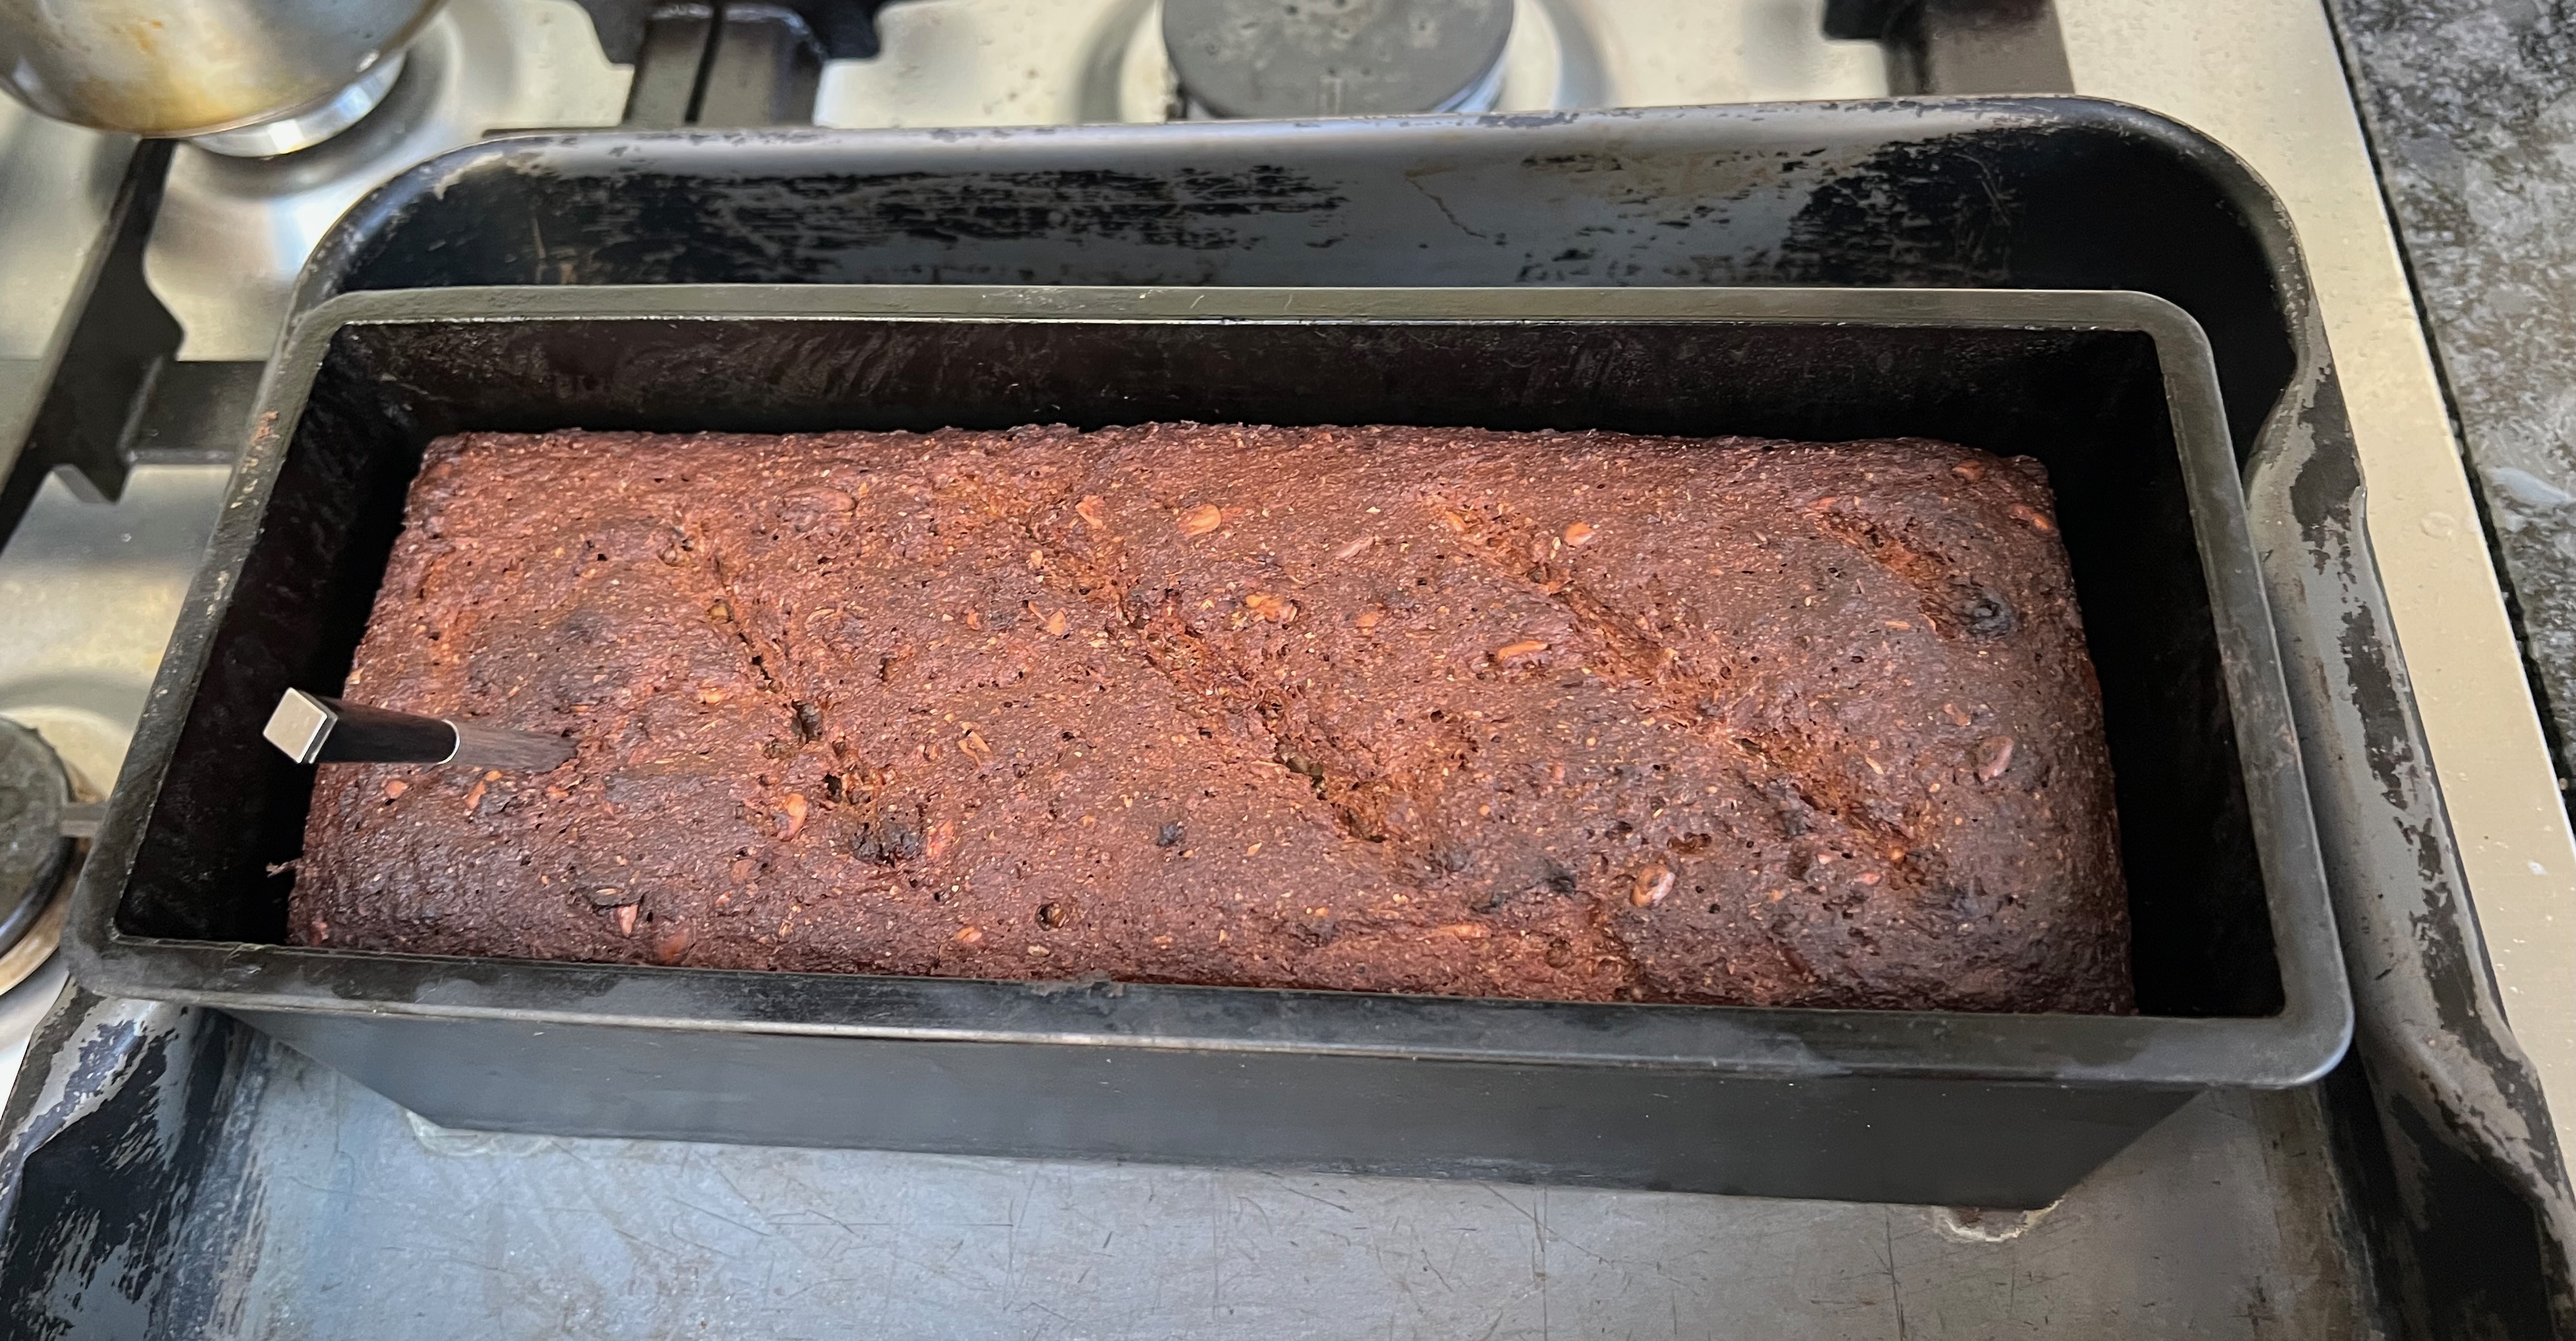
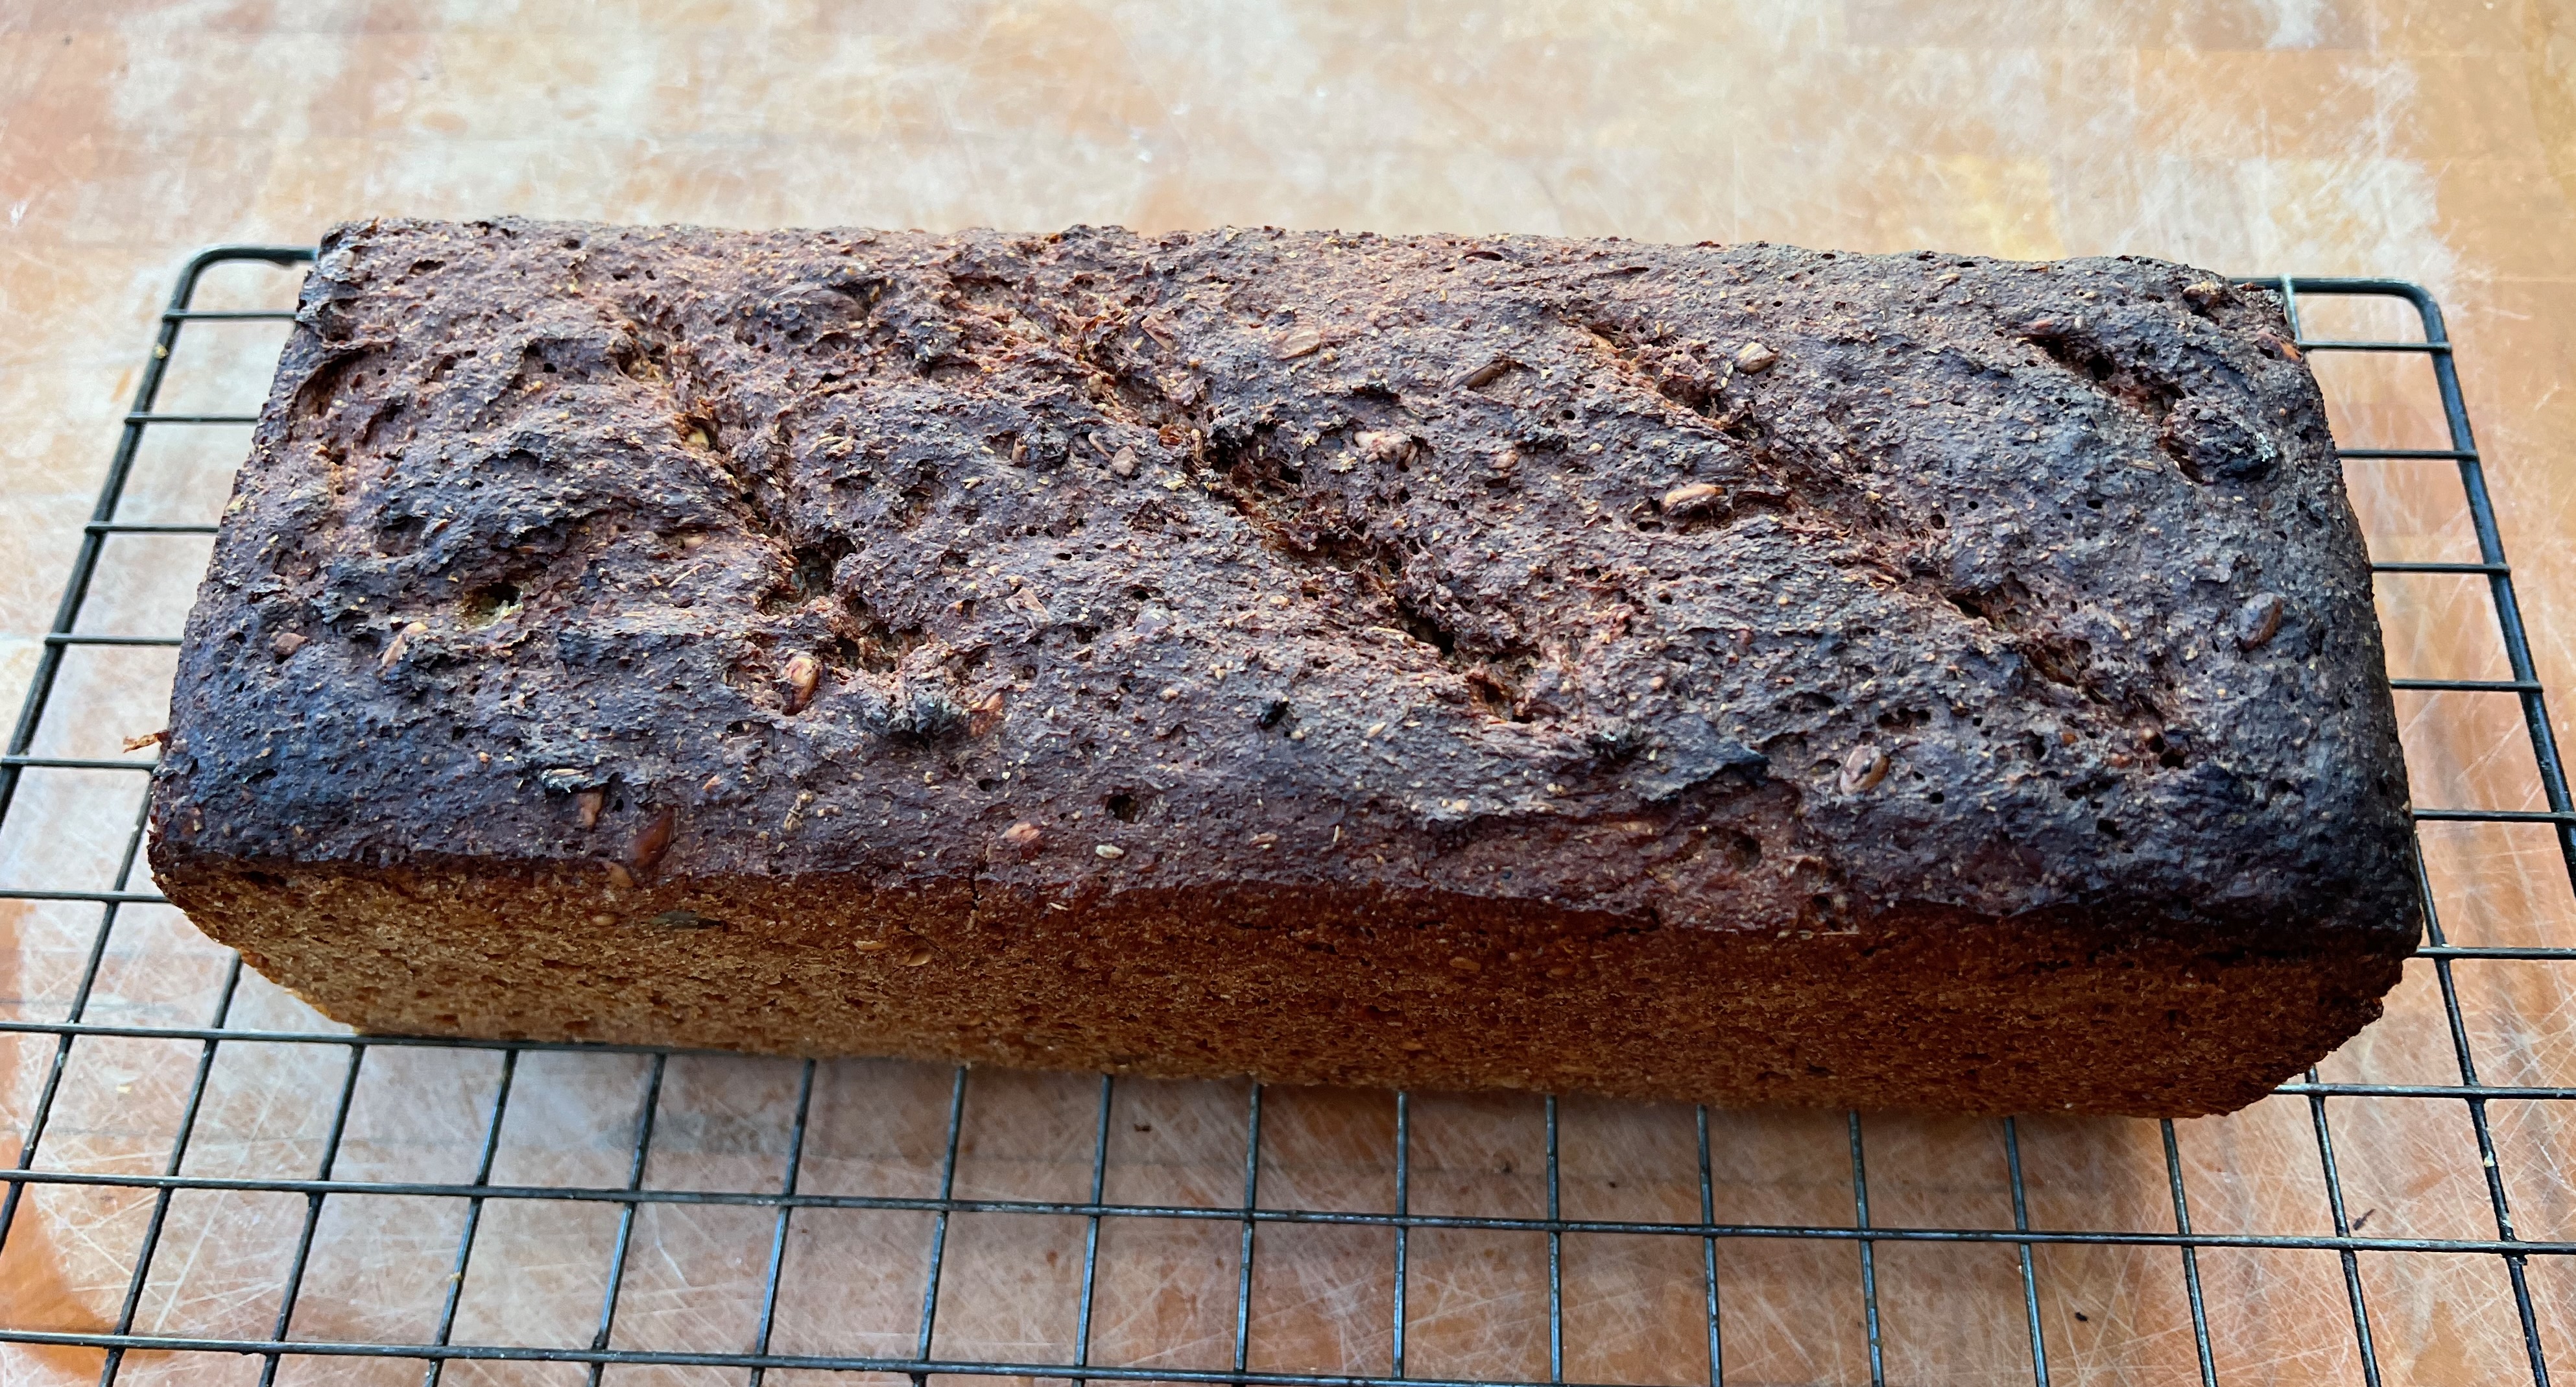
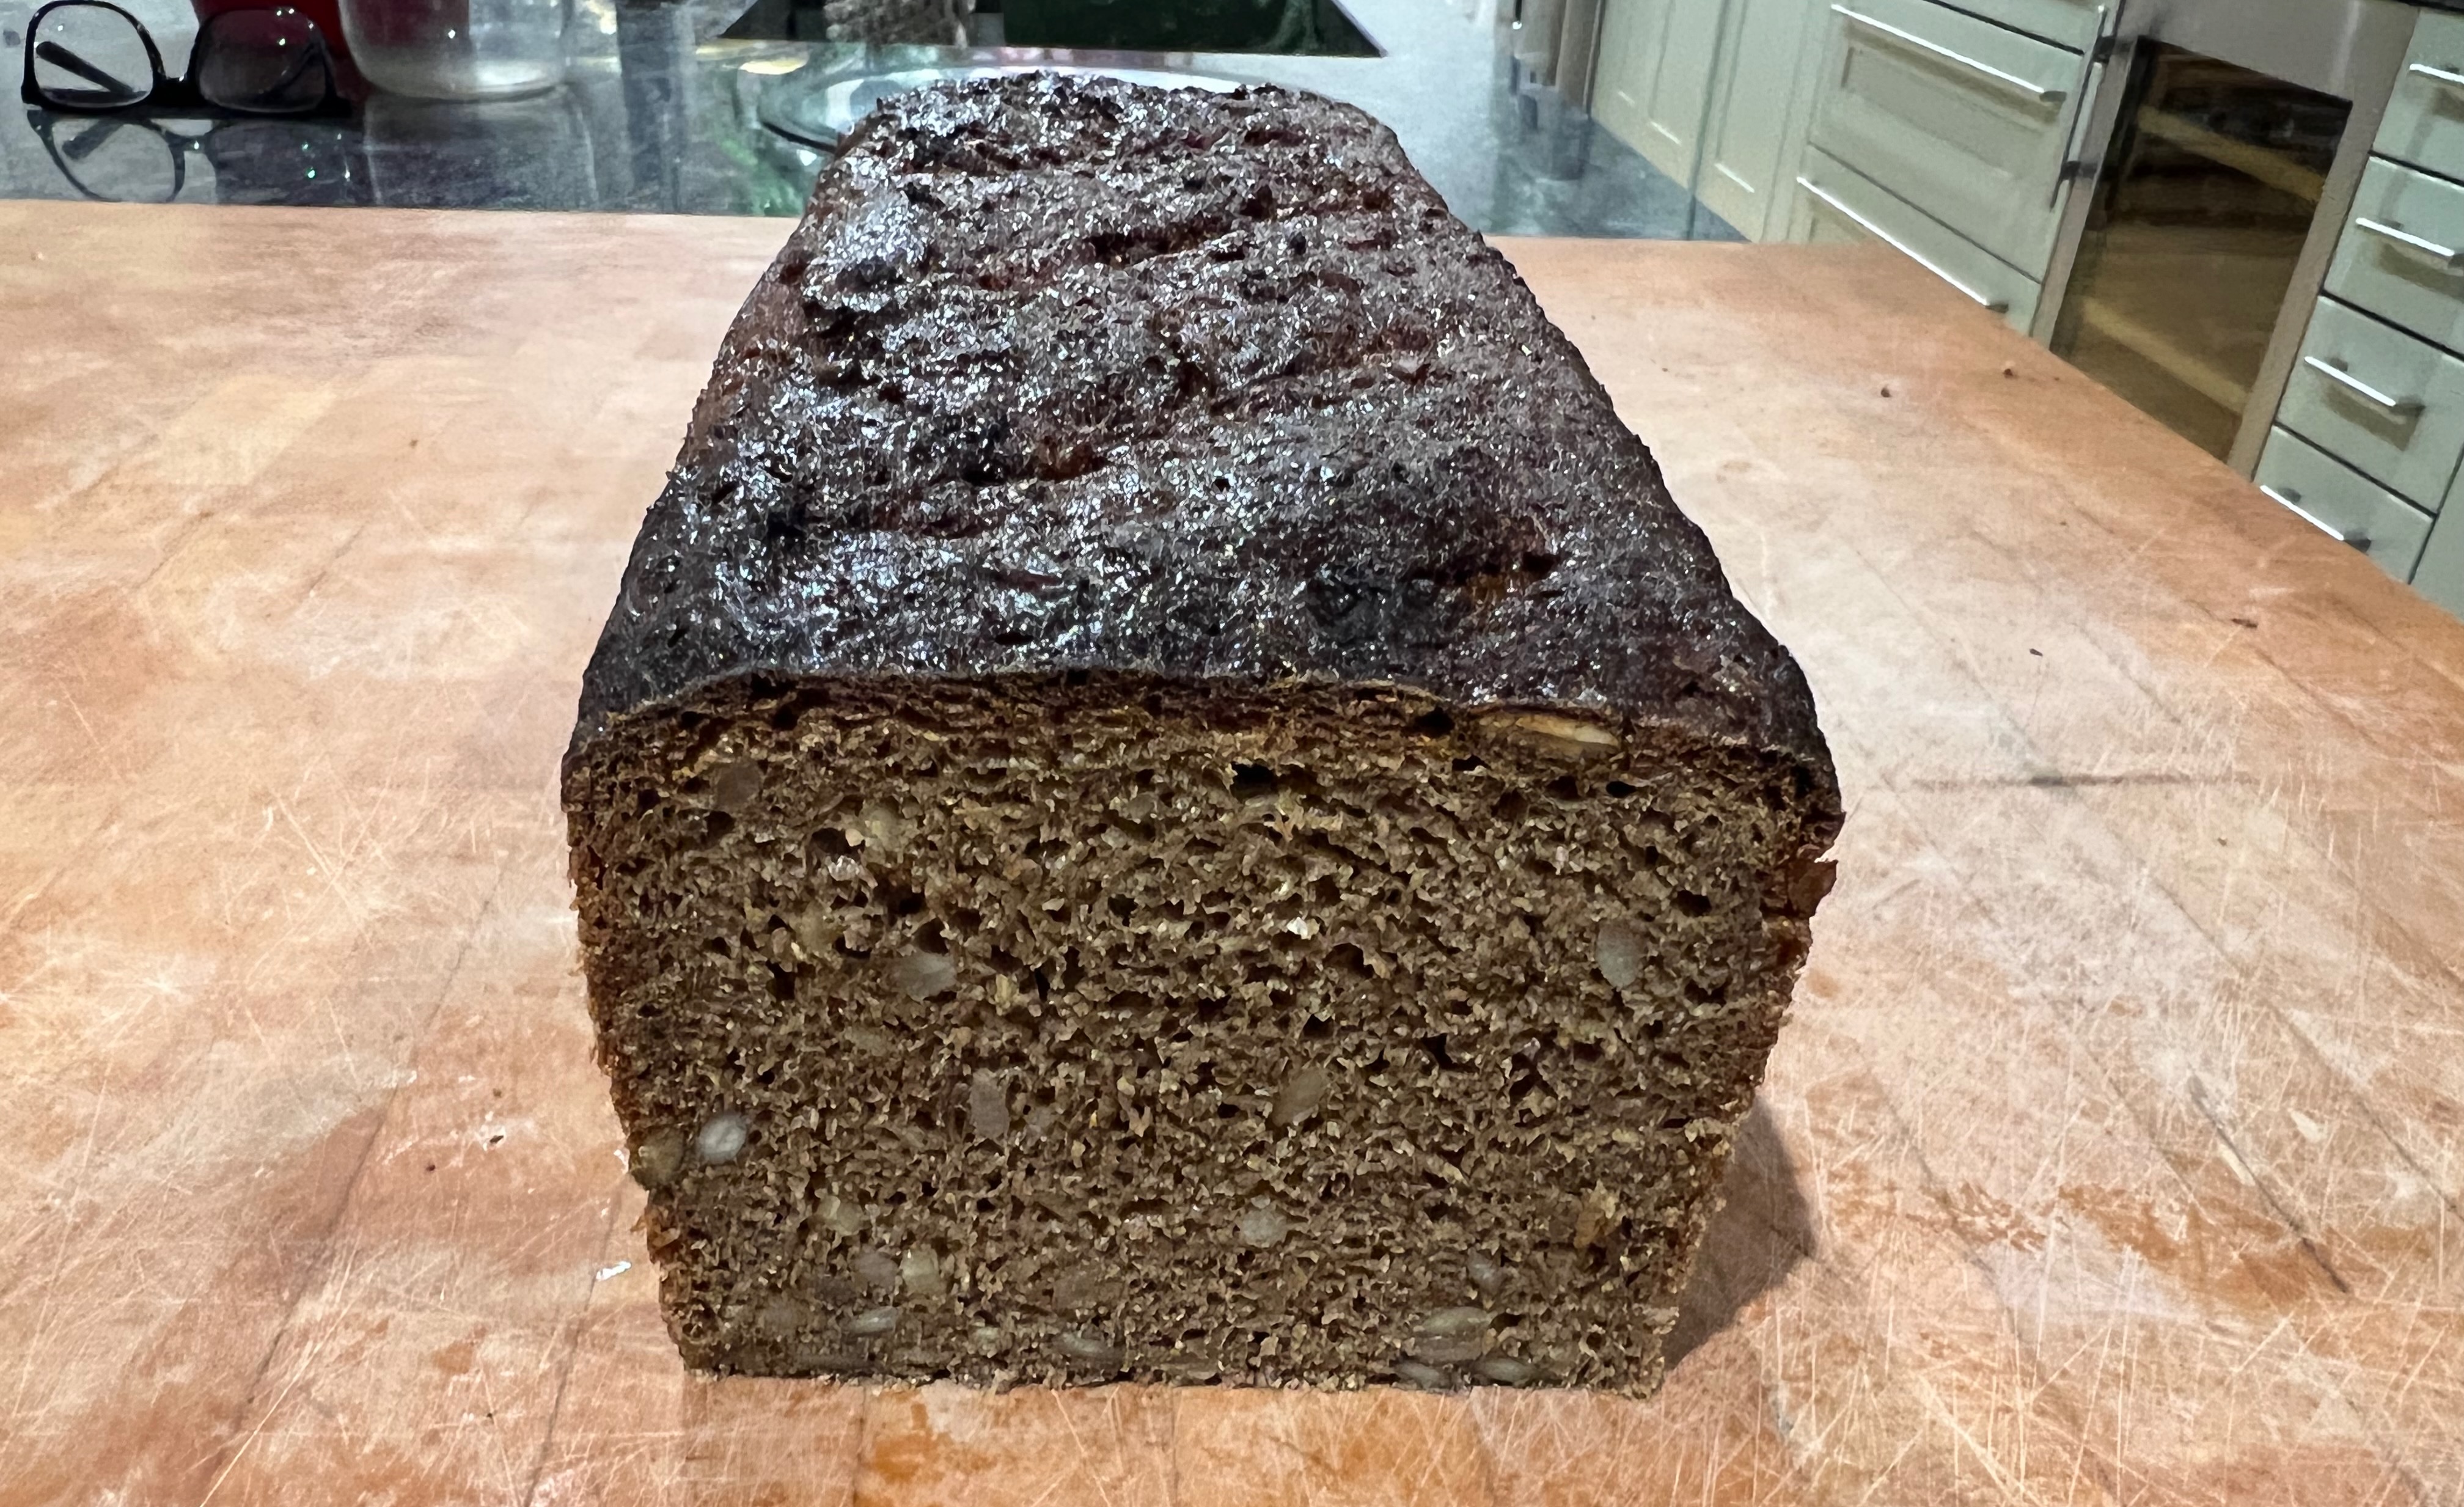
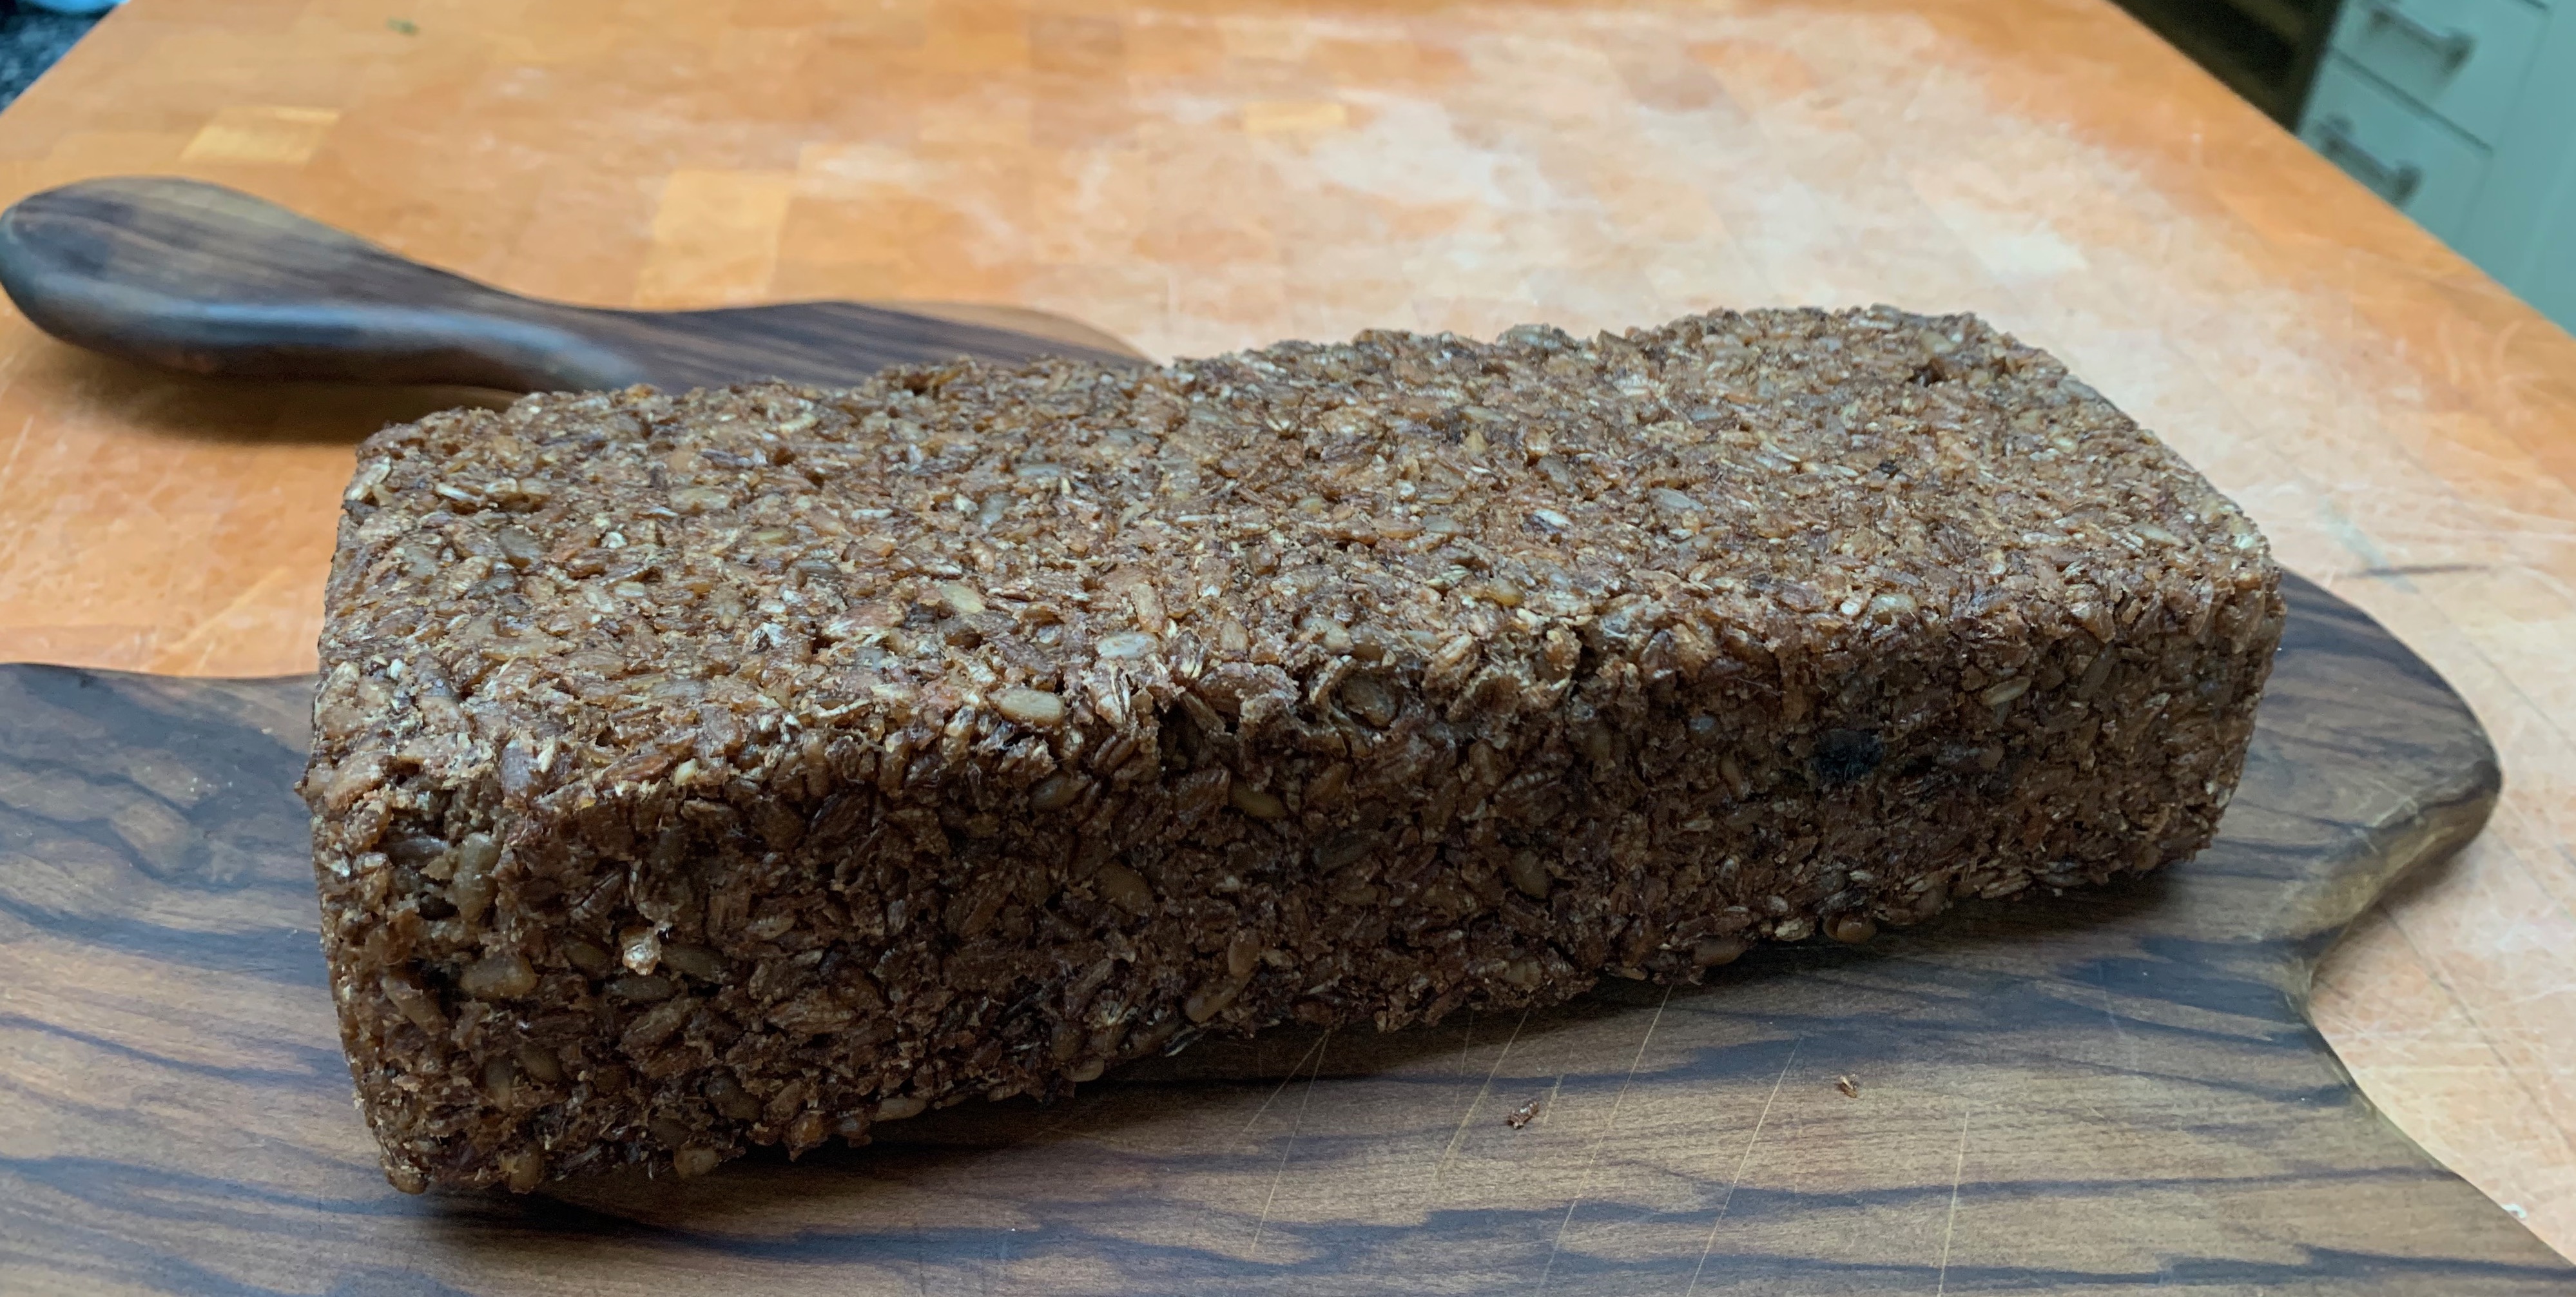
There have been several dark rye breads in this series, but after a recent visit to Estonia, I felt compelled to make the Estonian version, known simply as “Leib” (bread) or, if you’re feeling loquacious, “Must Leib” (black bread). It’s a soft, earthy and aromatic loaf that immediately hit the top of family favourites of any bread that I’ve made, displacing its Russian cousin Borodinsky bread; it also seems to keep particularly well. You need a couple of days elapsed time and it’s fairly hard work compared to many breads, not least because the dough is very sticky so you spend masses of time on washing up, but it was well worth the trouble and it’s definitely going to become a regular.
As ever, recipes vary: the common theme is the use of dark rye, caraway seeds and various other seeds (pumpkin and sunflower here; I’m sure others are possible), as well as the use of a fairly long fermentation time. I’ve started with a post on Deutsche Welle from their EU correspondent Georg Matthes, taking down the quantities around 20% to suit the size of my bread tin and changing a couple of ingredients to the ones readily available to me. By the way, my bread tin measures around 29cm x 11cm x 10cm, so around 3 litres, probably not far off an American 10 x 5 inch loaf pan.
Georg is surprisingly precise about fermentation time and temperature – 17 hours at 24℃ – which is fine if you are a professional baker with access to a temperature controlled environment but sounds scary to us amateurs. I have the choice of room temperature (around 20℃ in winter) or the cupboard containing my boiler (more like 30℃), so I ended up doing a kind of mix and match. It worked fine, so I suspect that things really aren’t all that sensitive.
I’ve given you the timings and sizes that I used successfully. Obviously, adapt as needed to your schedule, kitchen and available equipment.
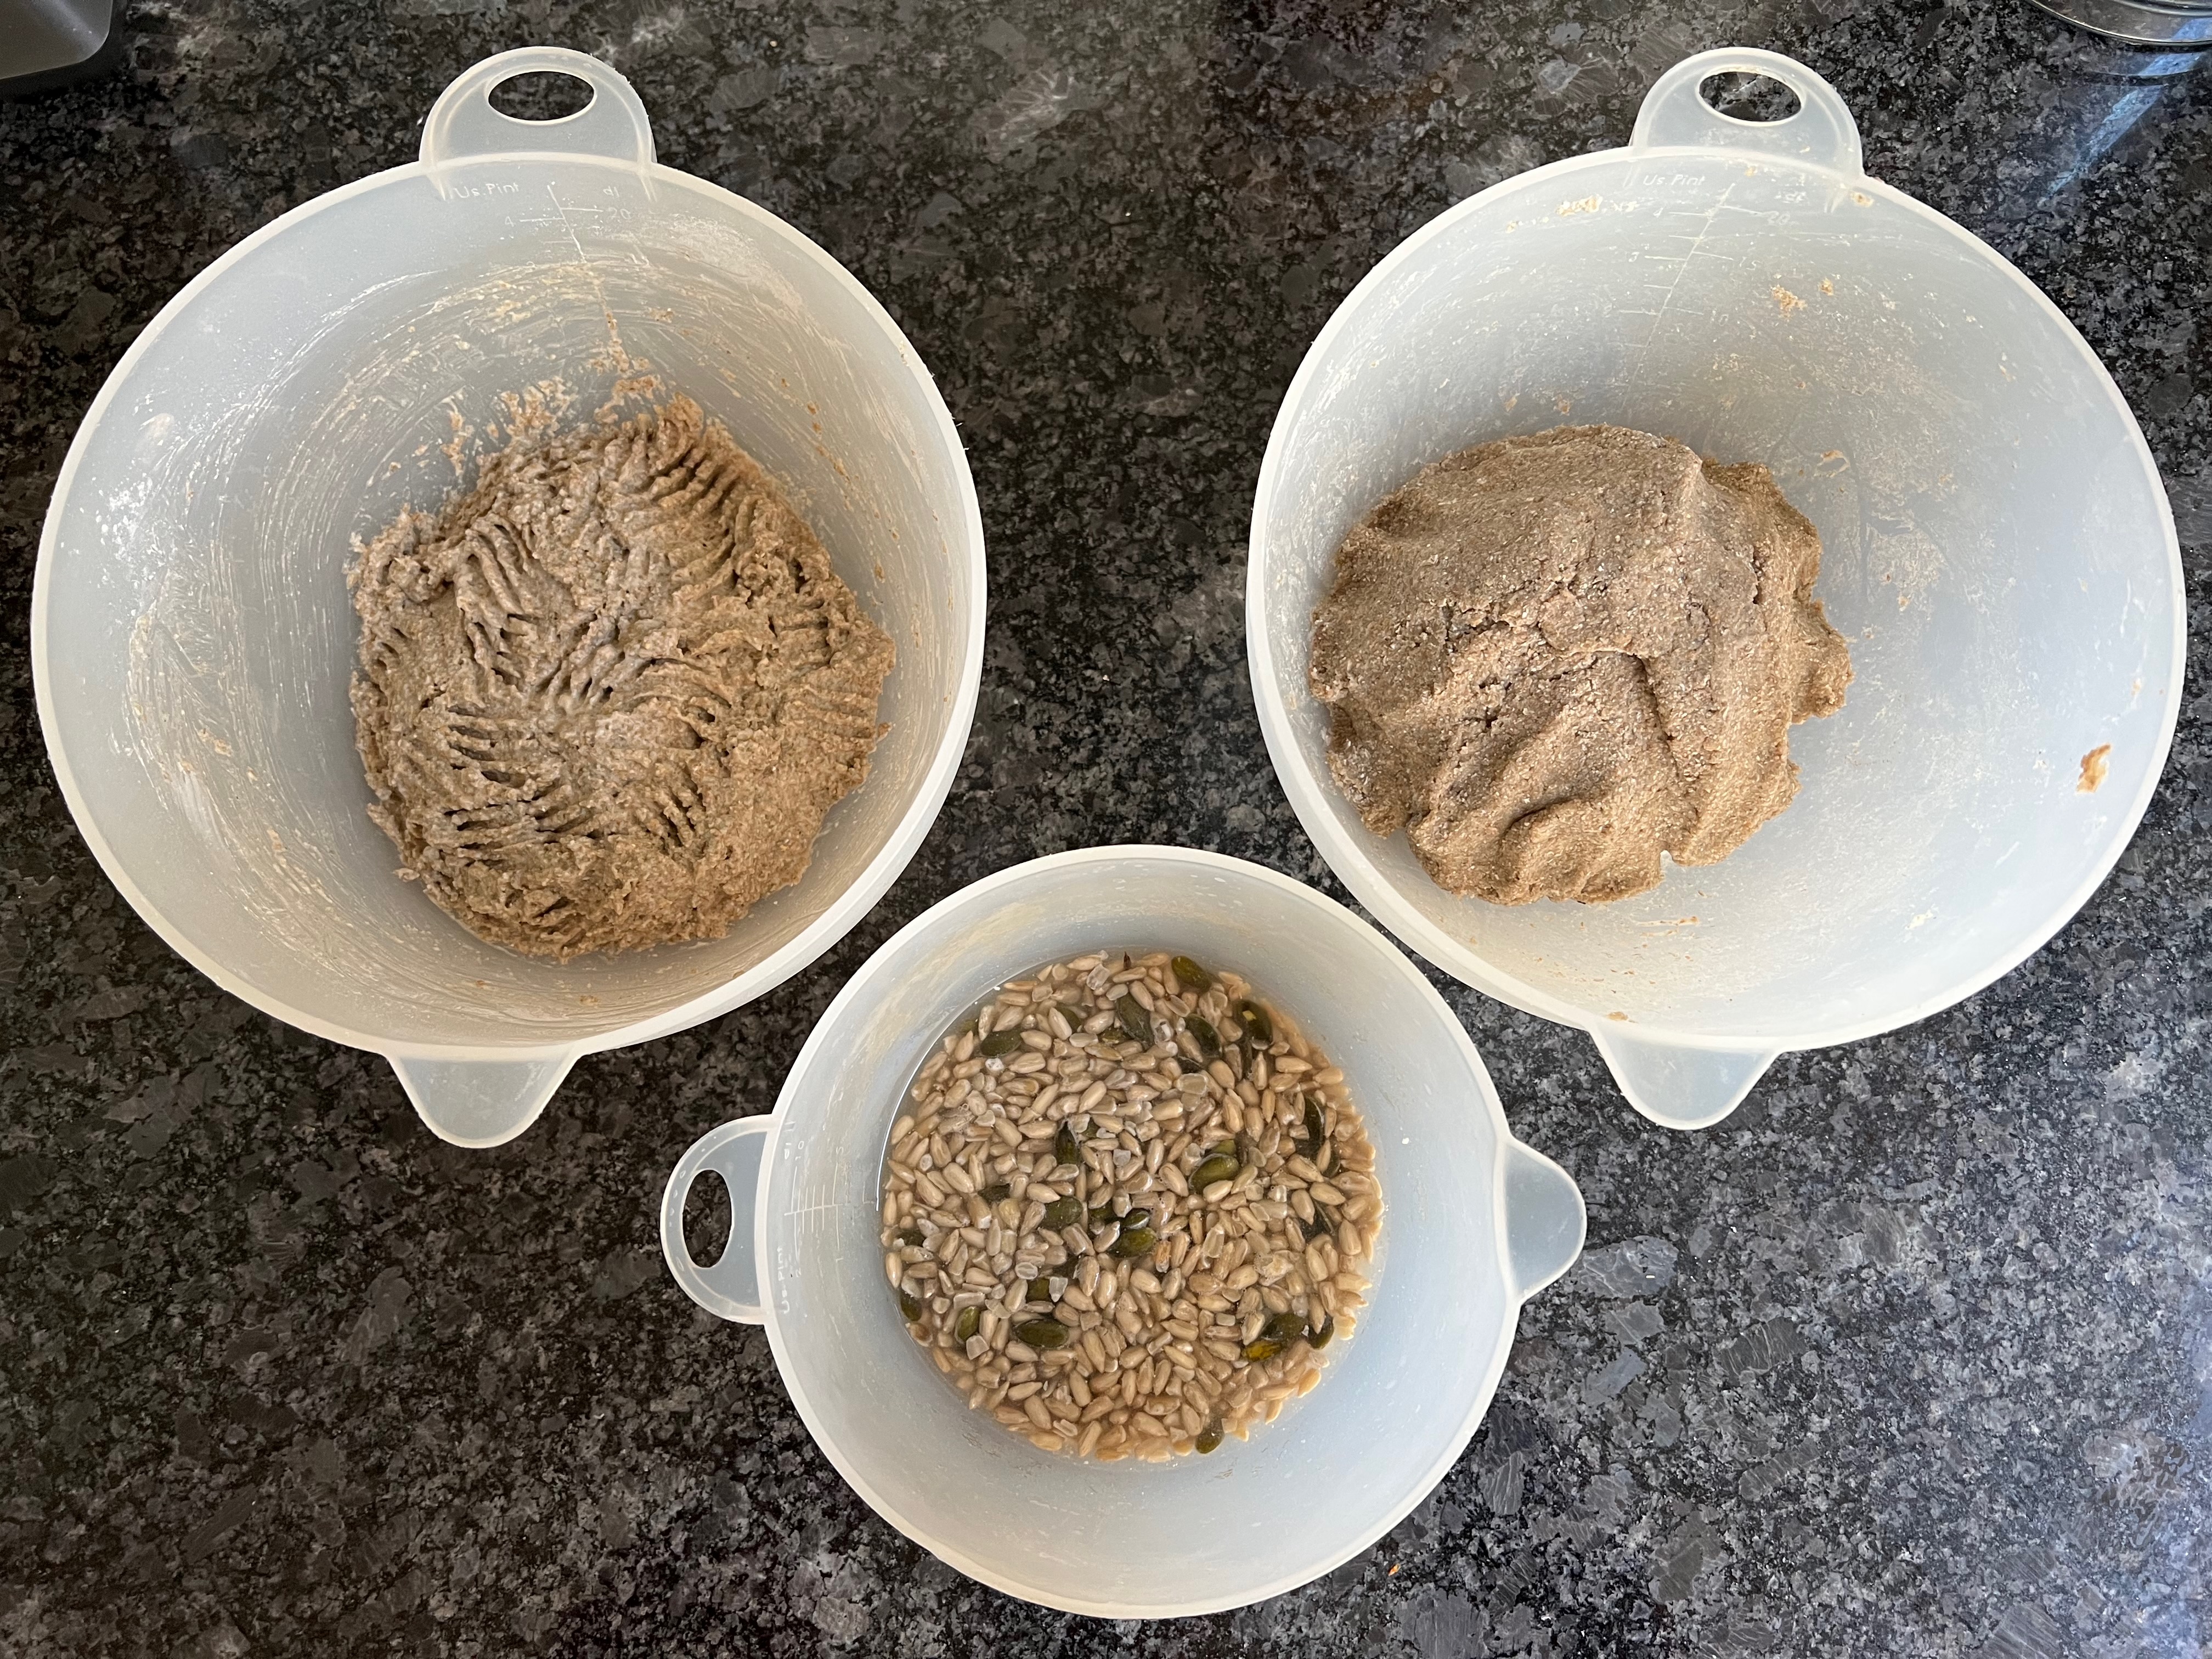
Day 1 – around noon
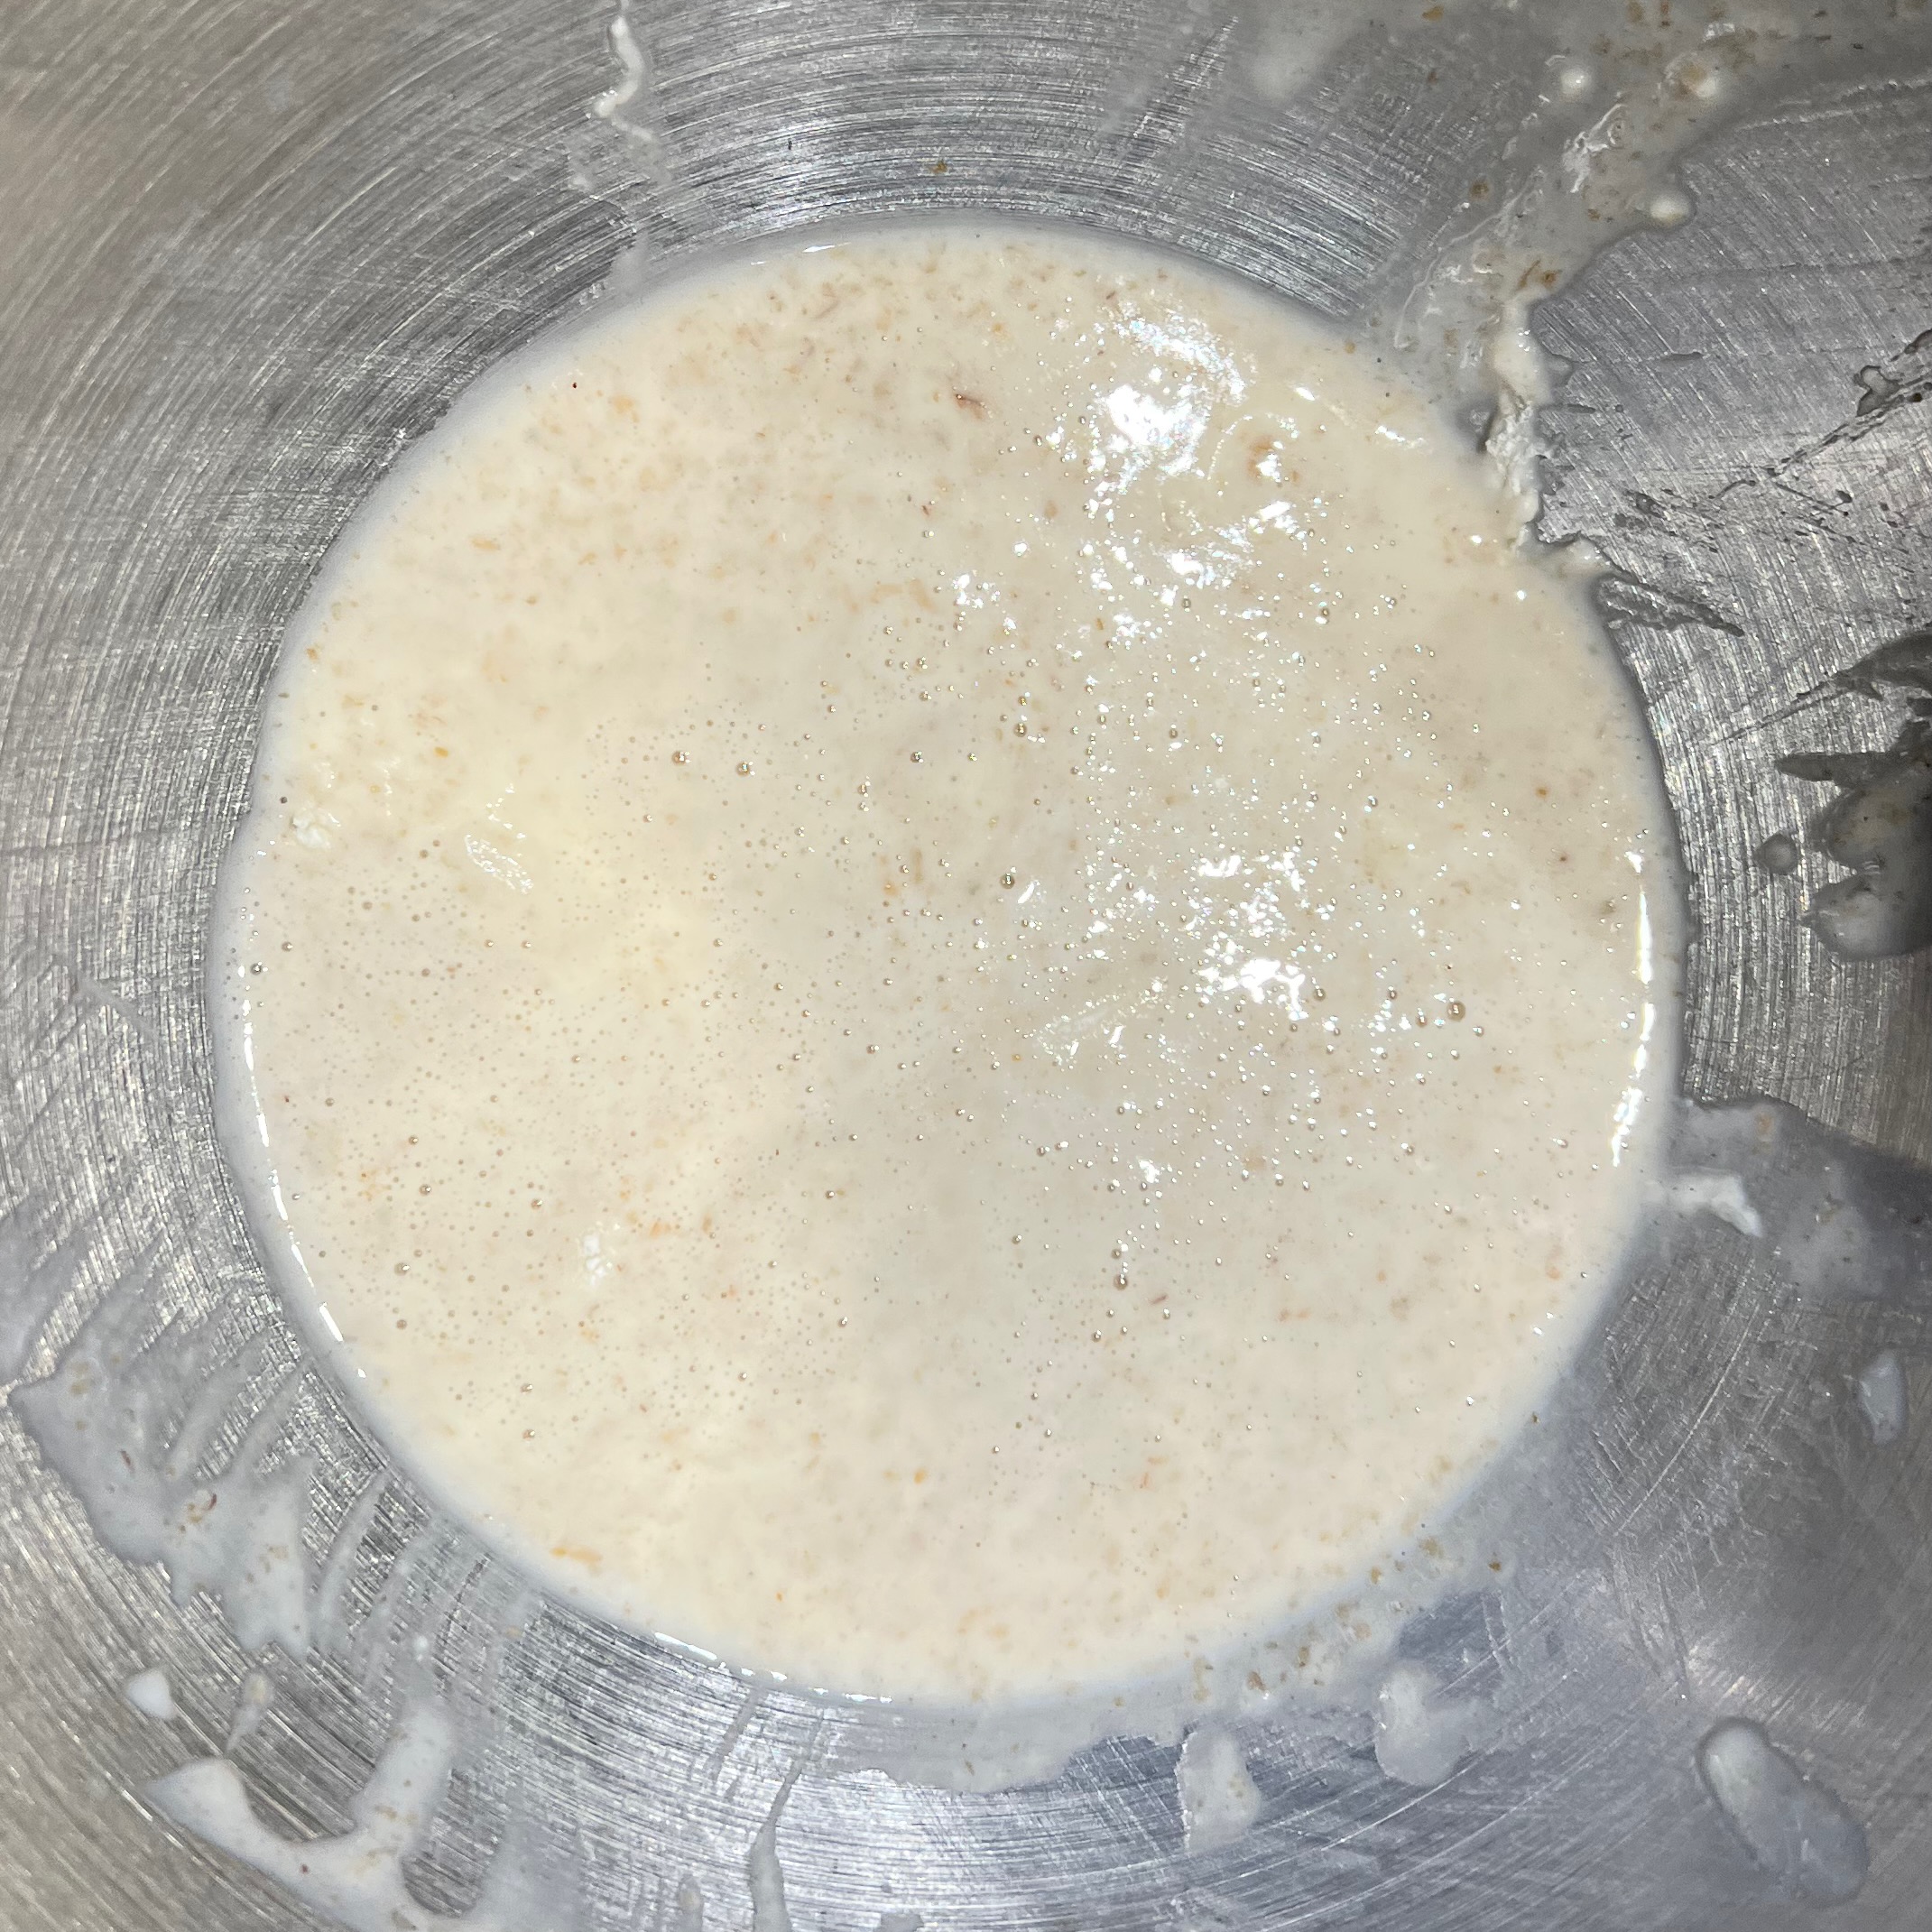
You’ll start by making three separate mixtures and leaving them to ferment. In each case, combine all the ingredients in a bowl, mix thoroughly, cover and leave.
Sourdough
Plain dough
Seed mix
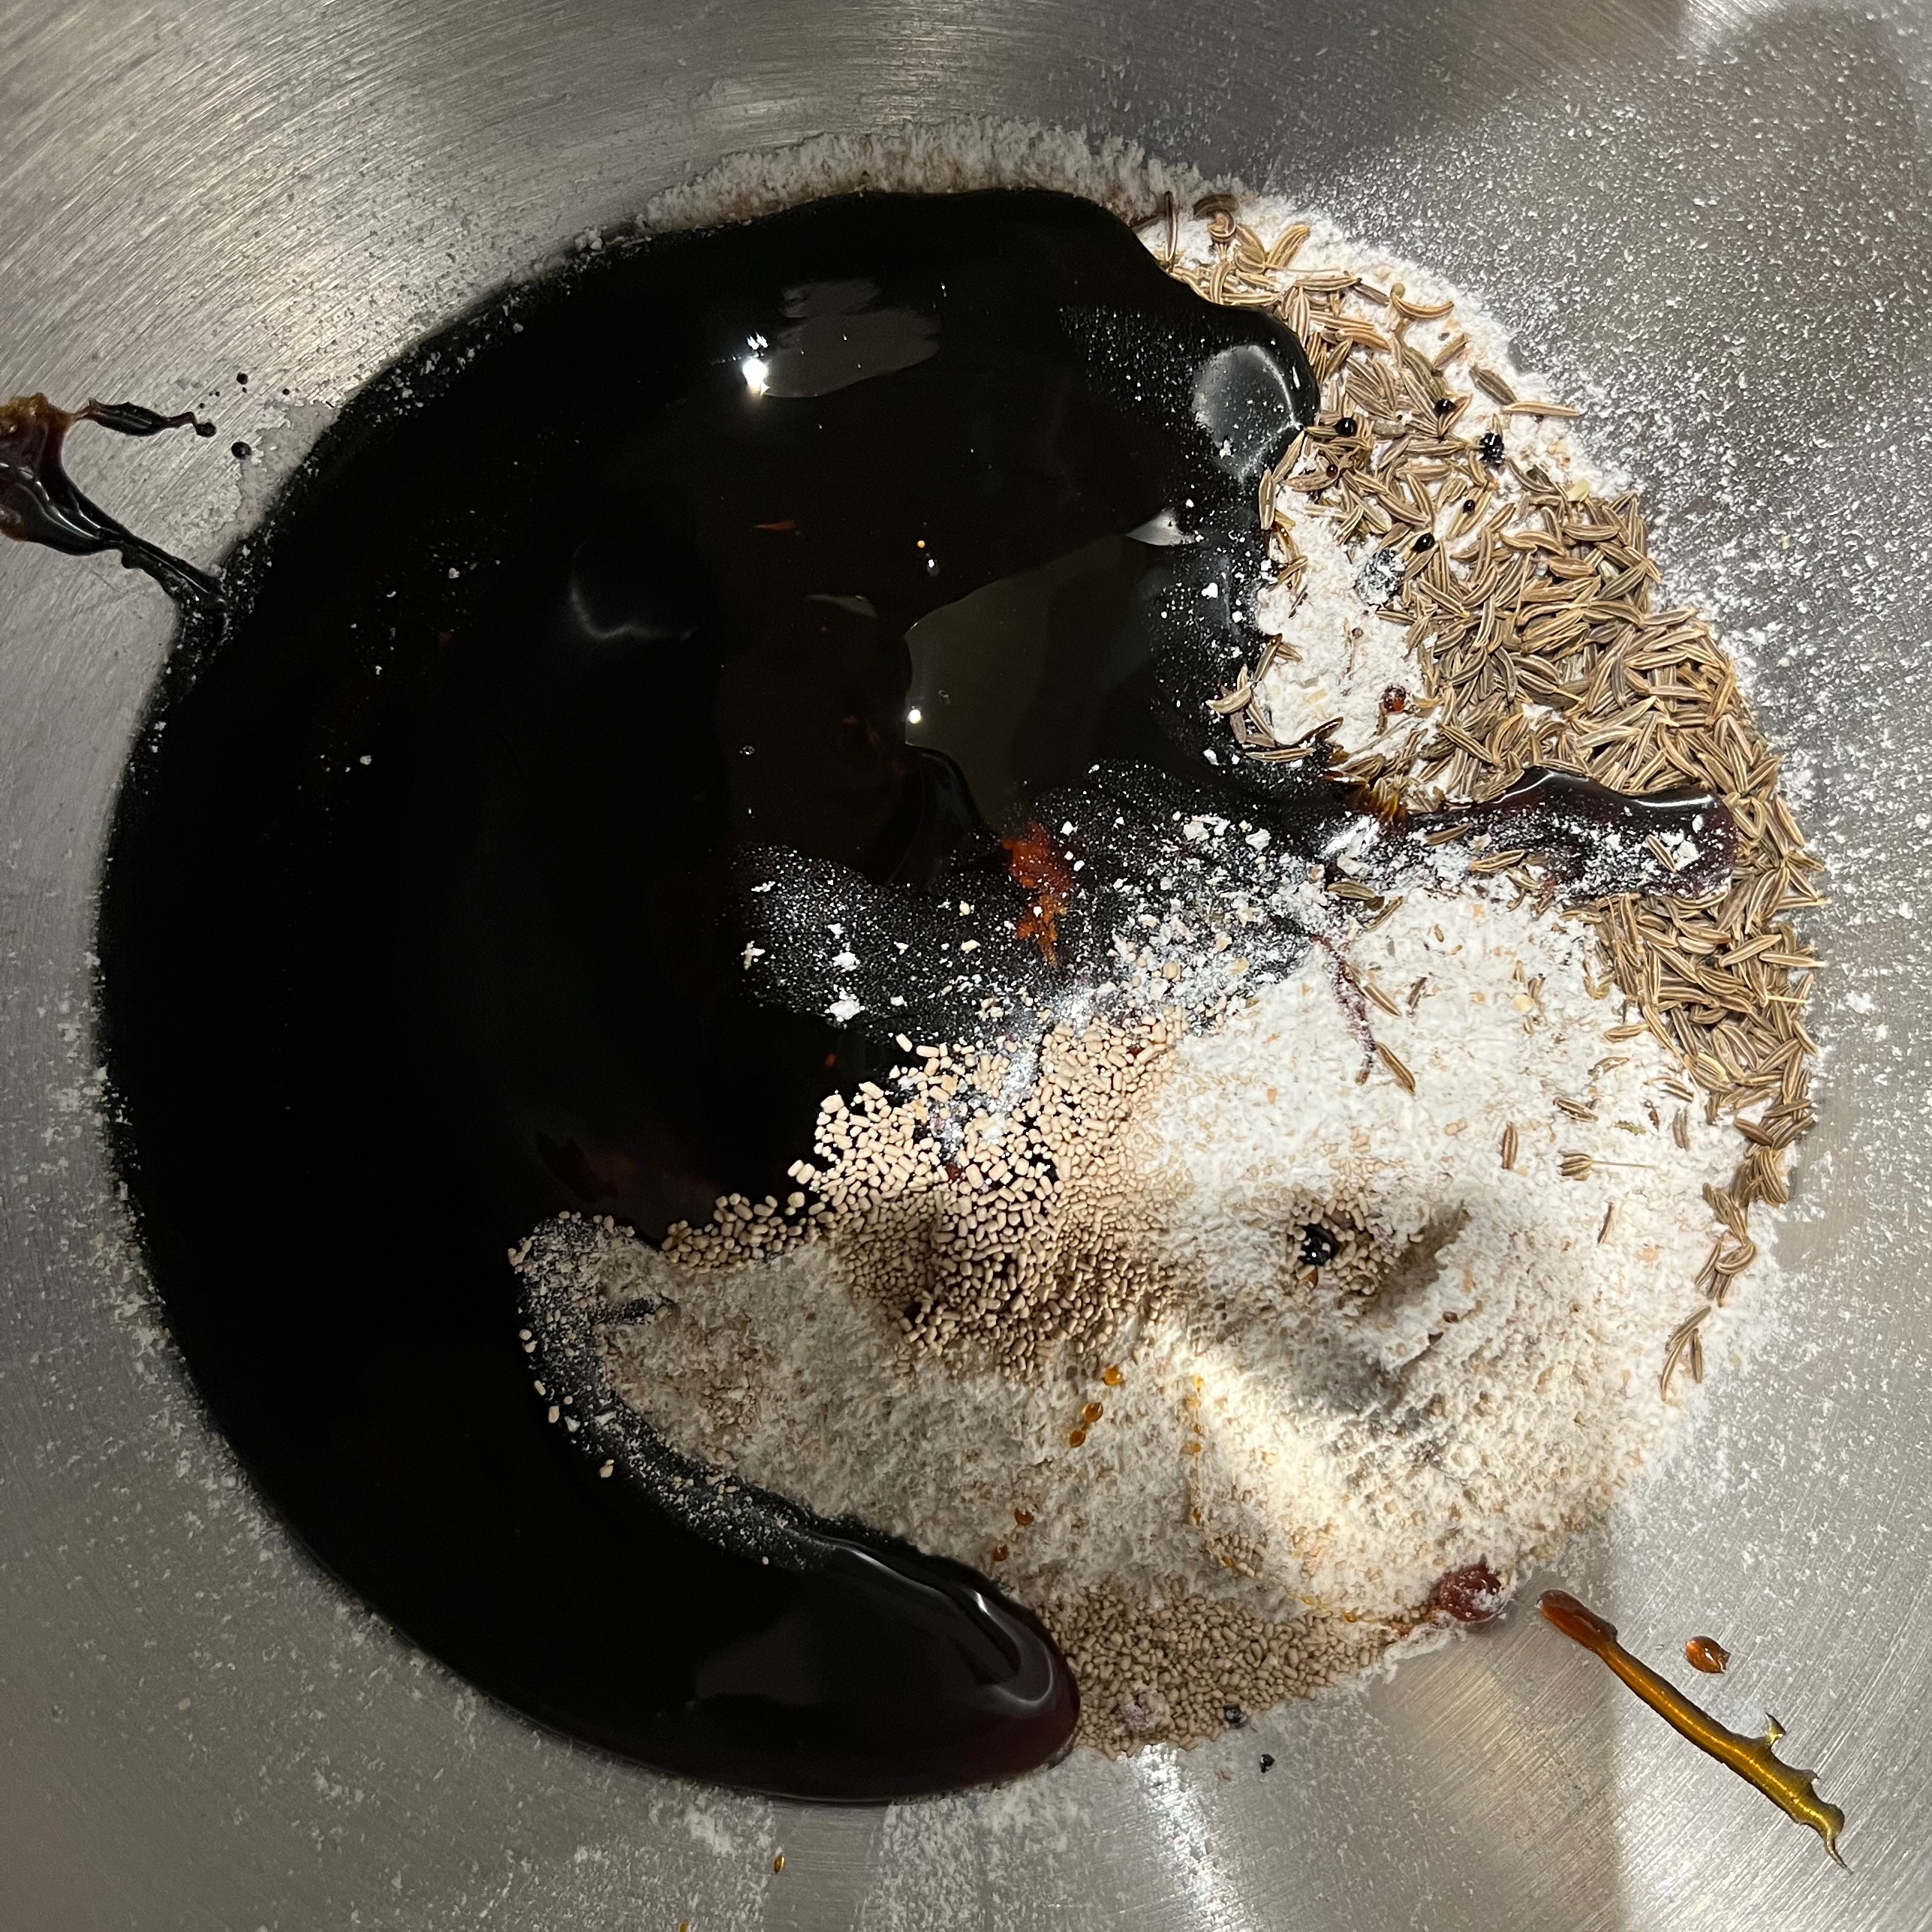
Day 2 – around 9am – mix and first rise
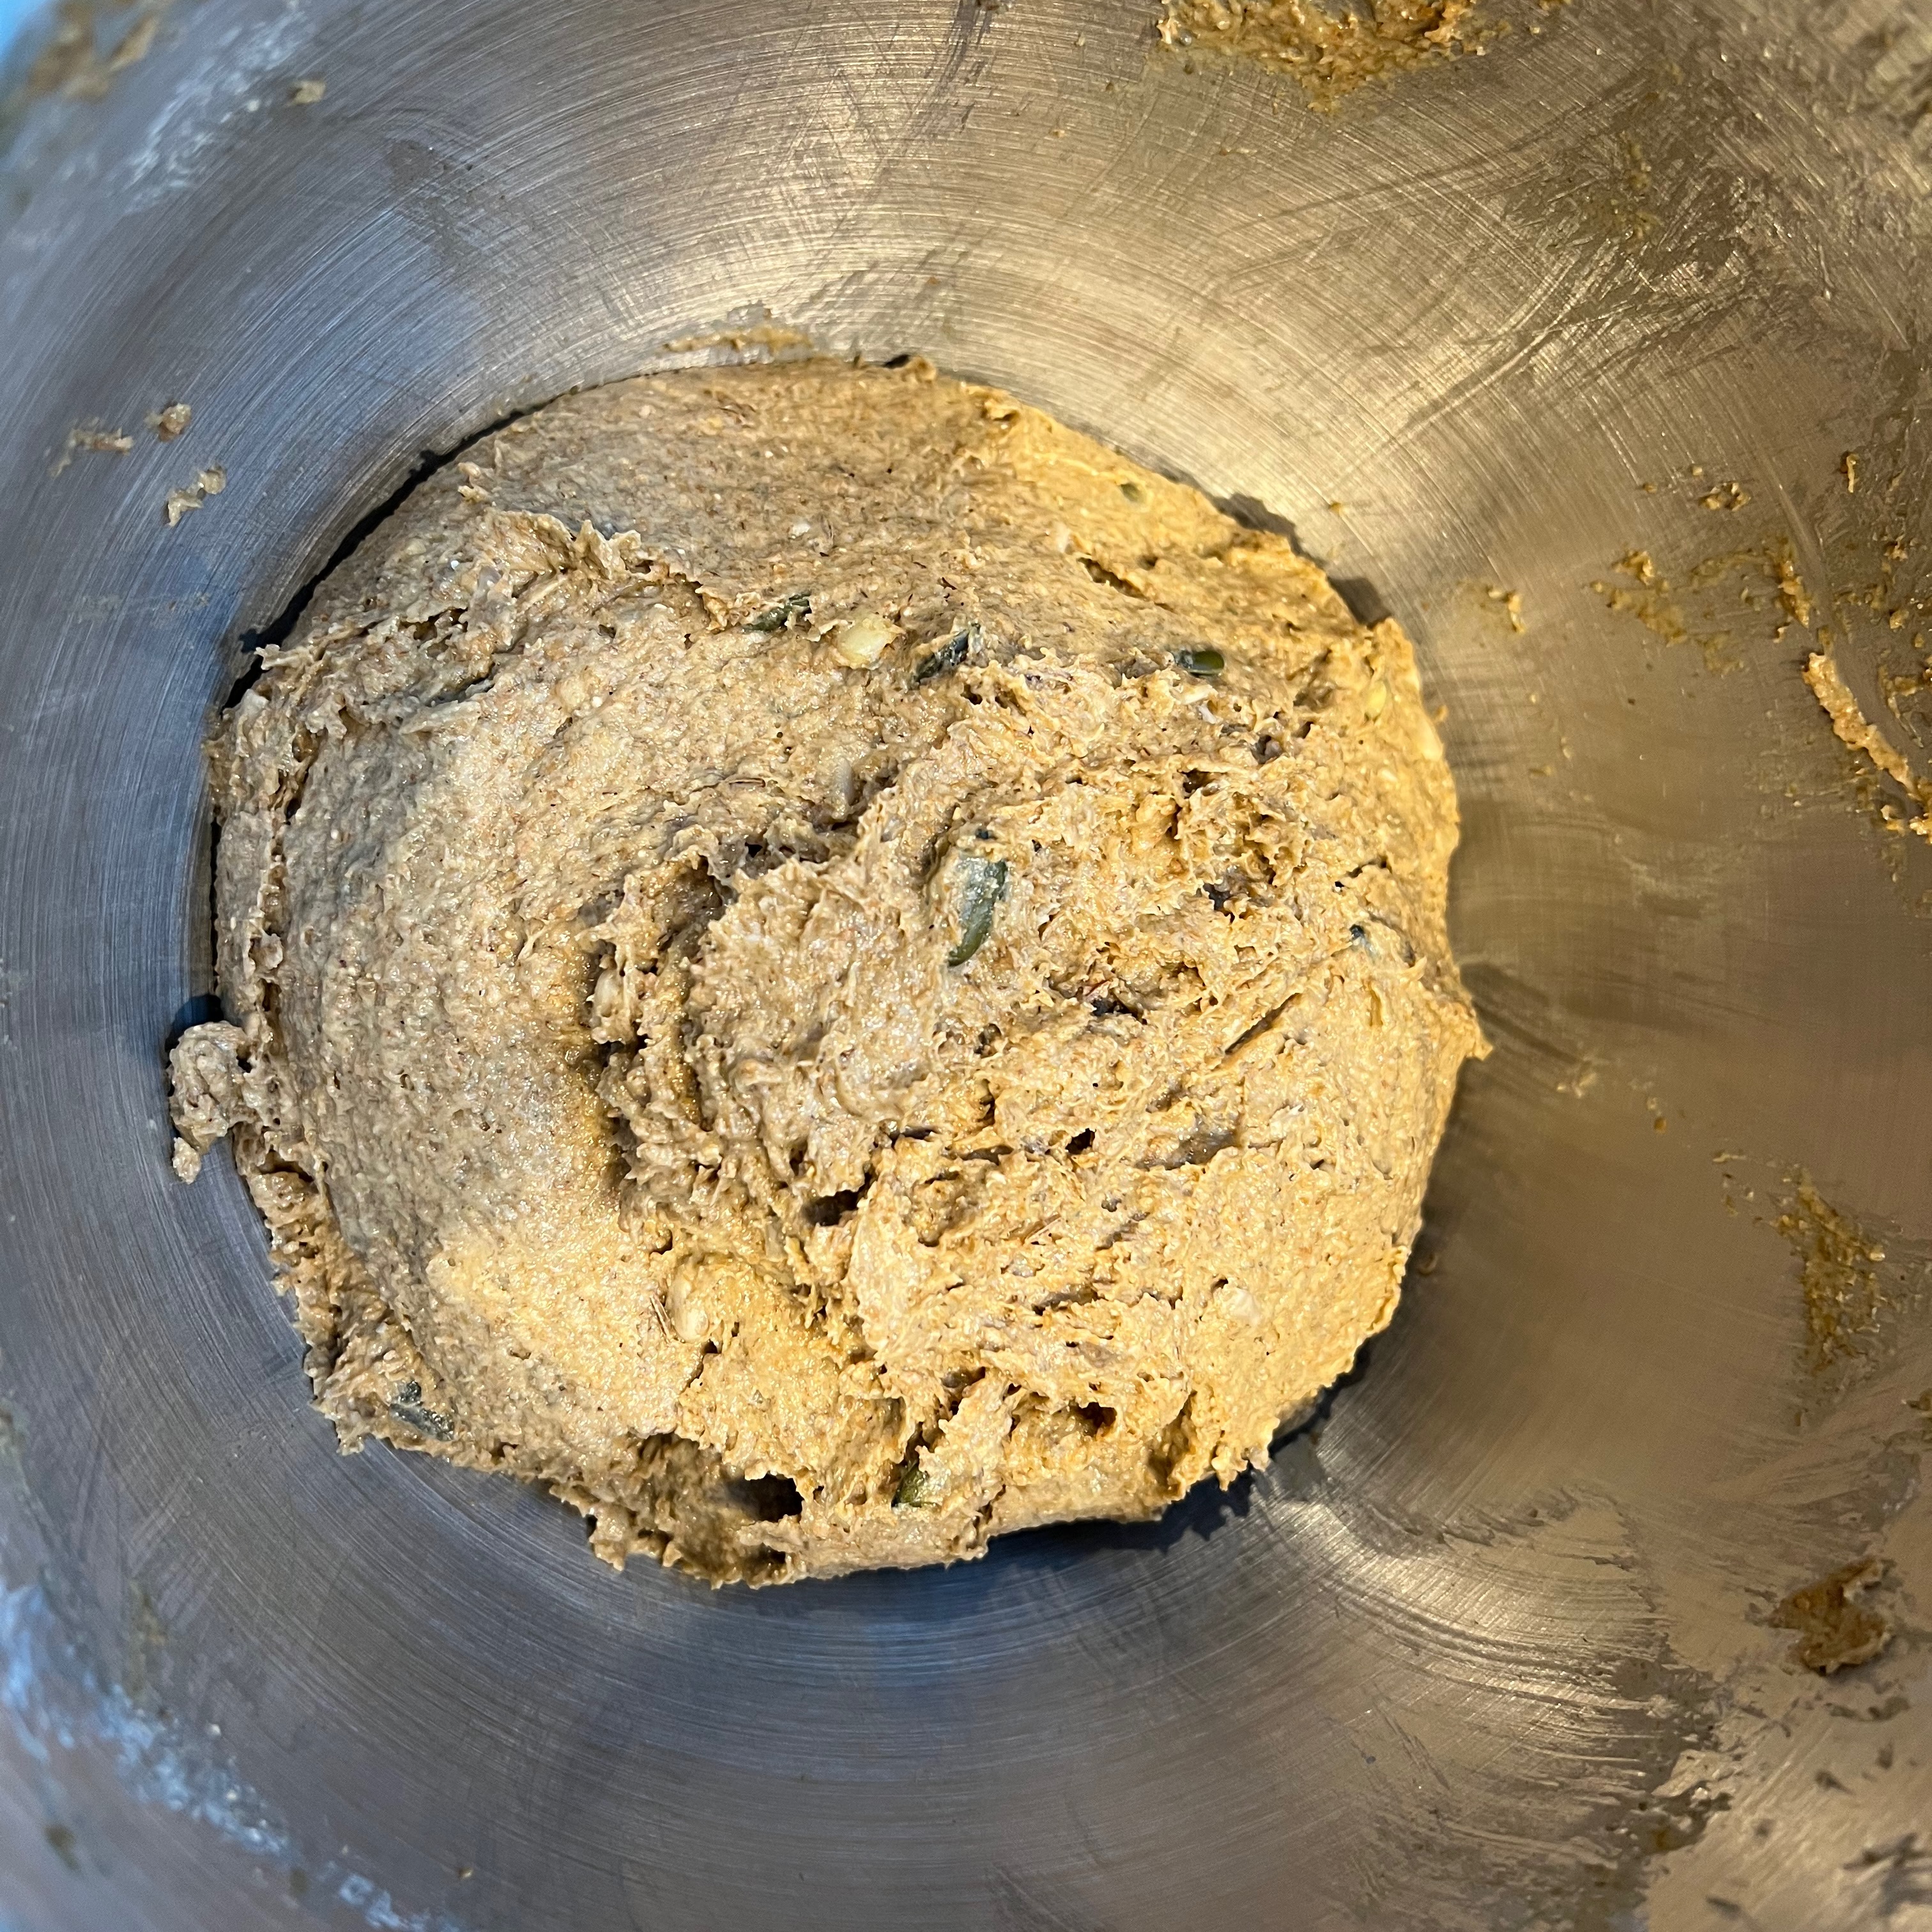
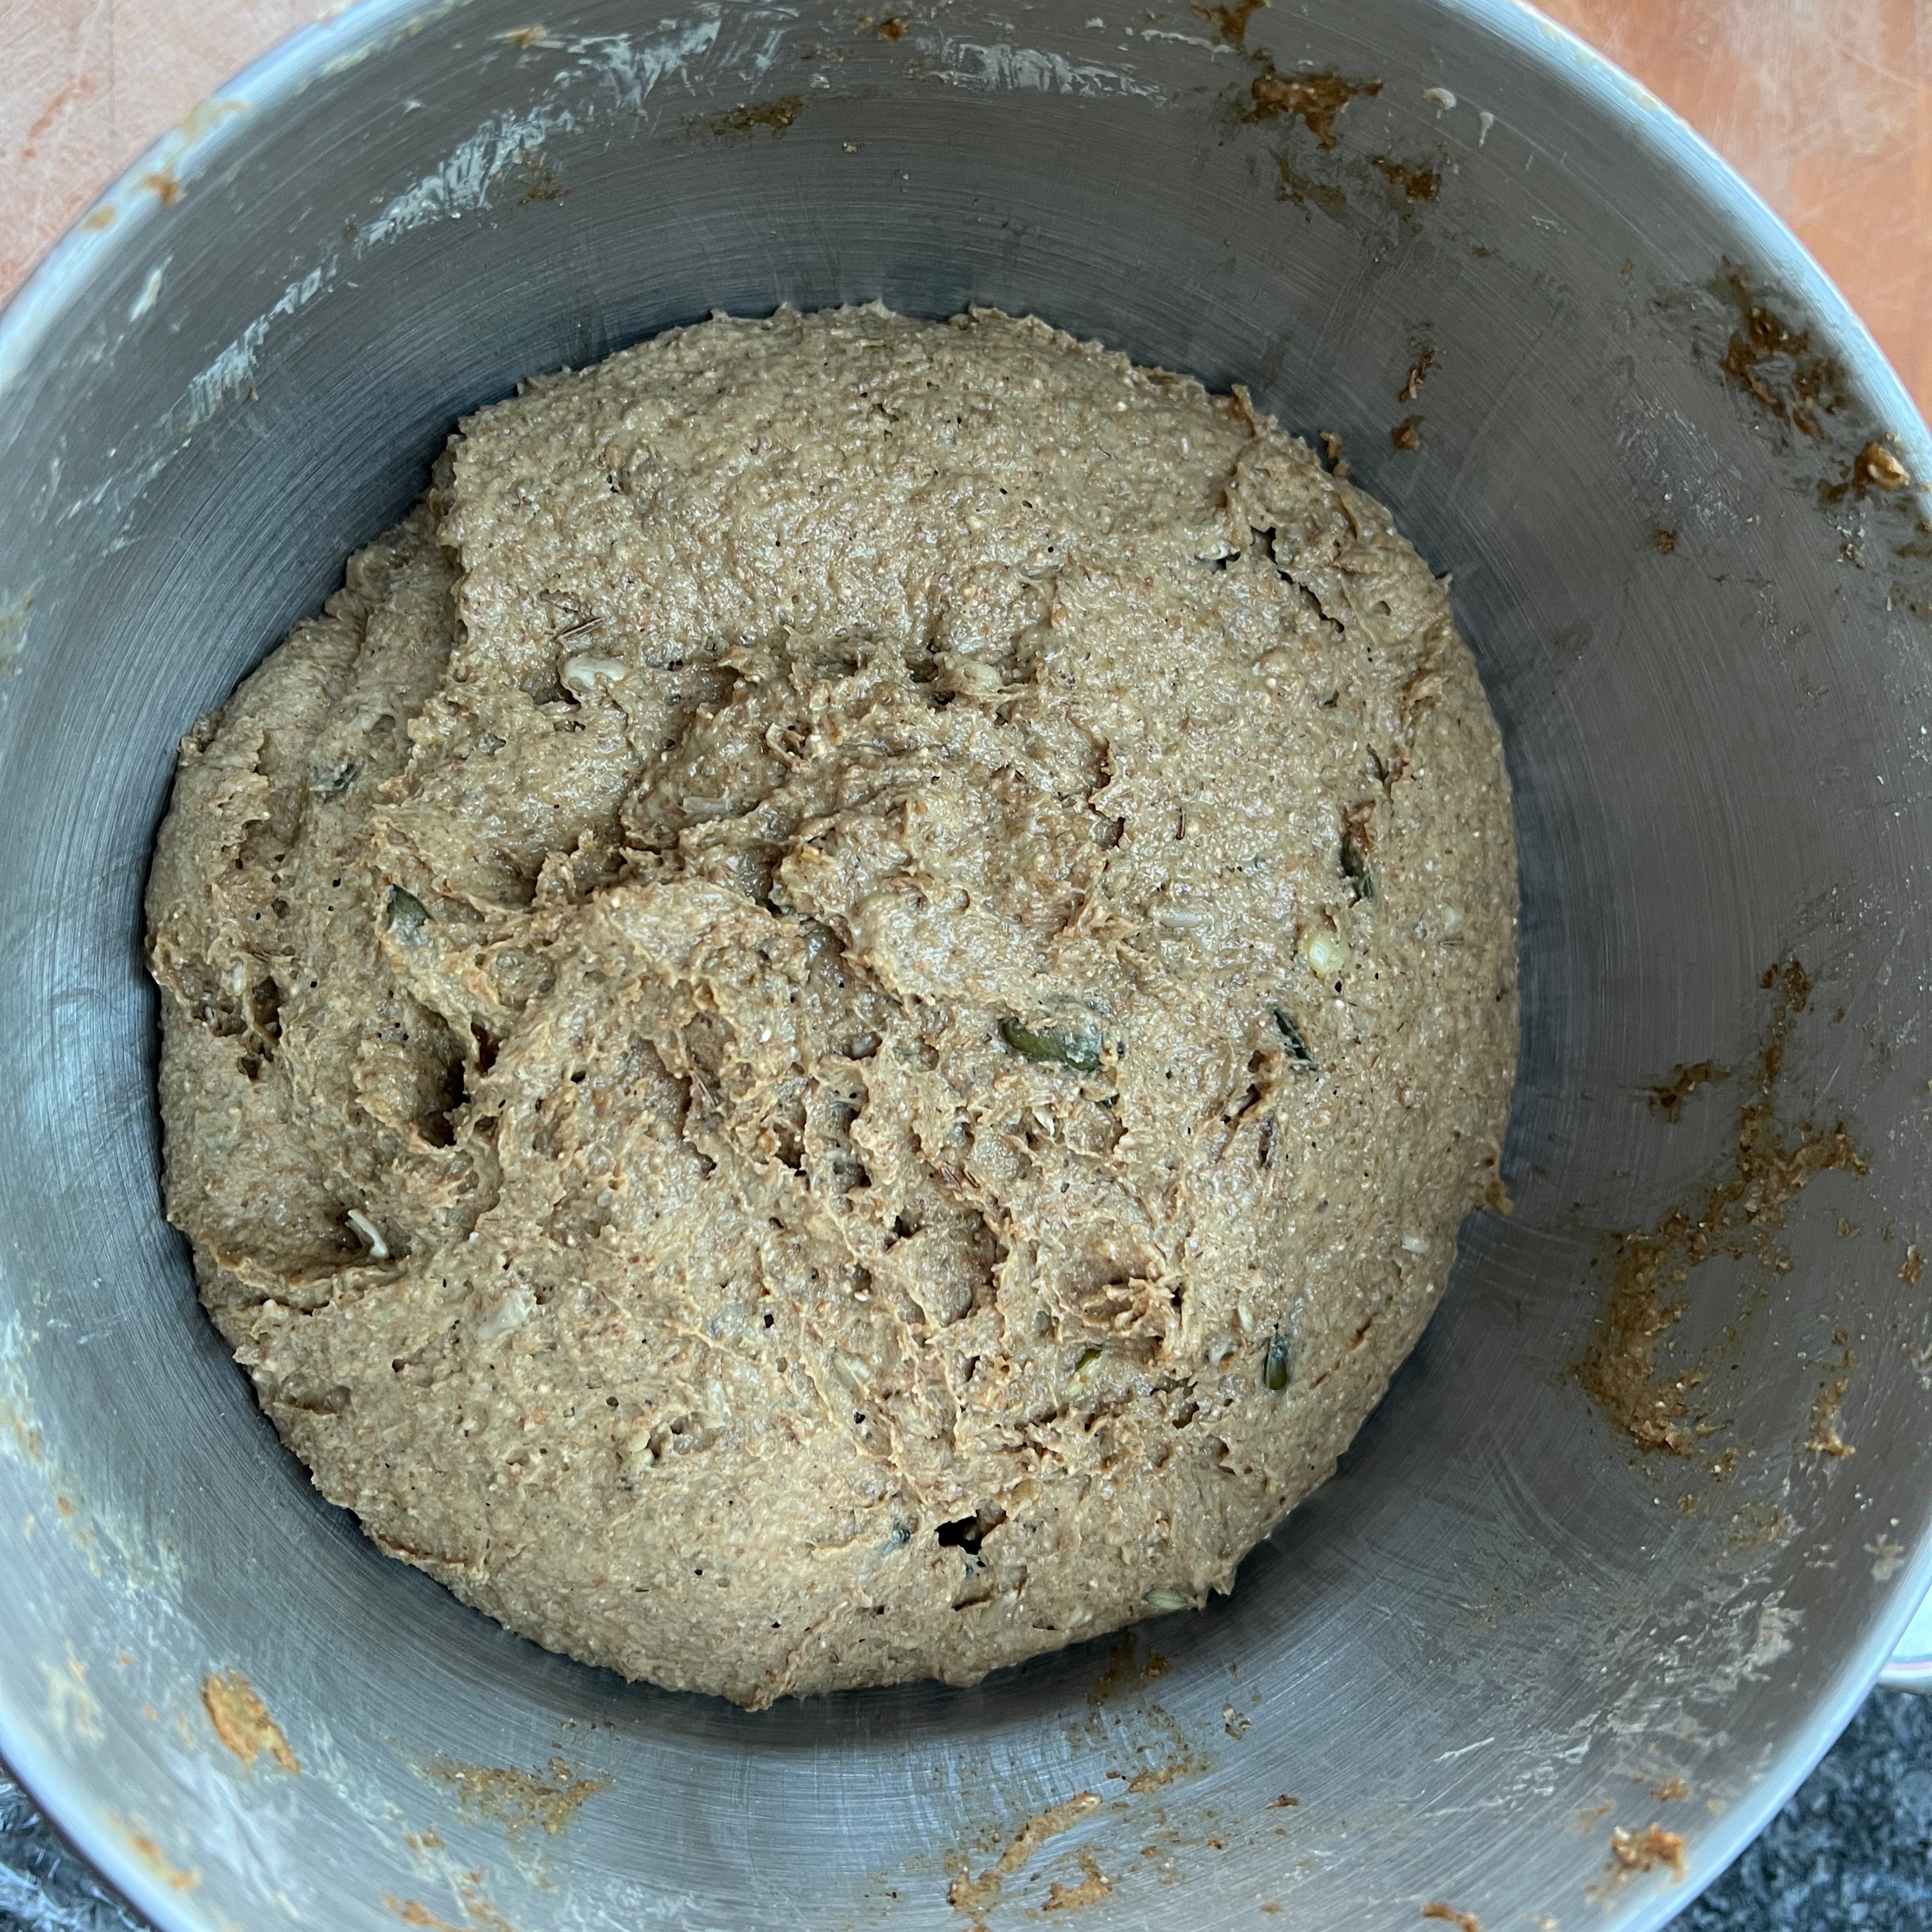
Day 2 – around 11am – shape and second rise

Day 2 – around 2pm – bake and glaze


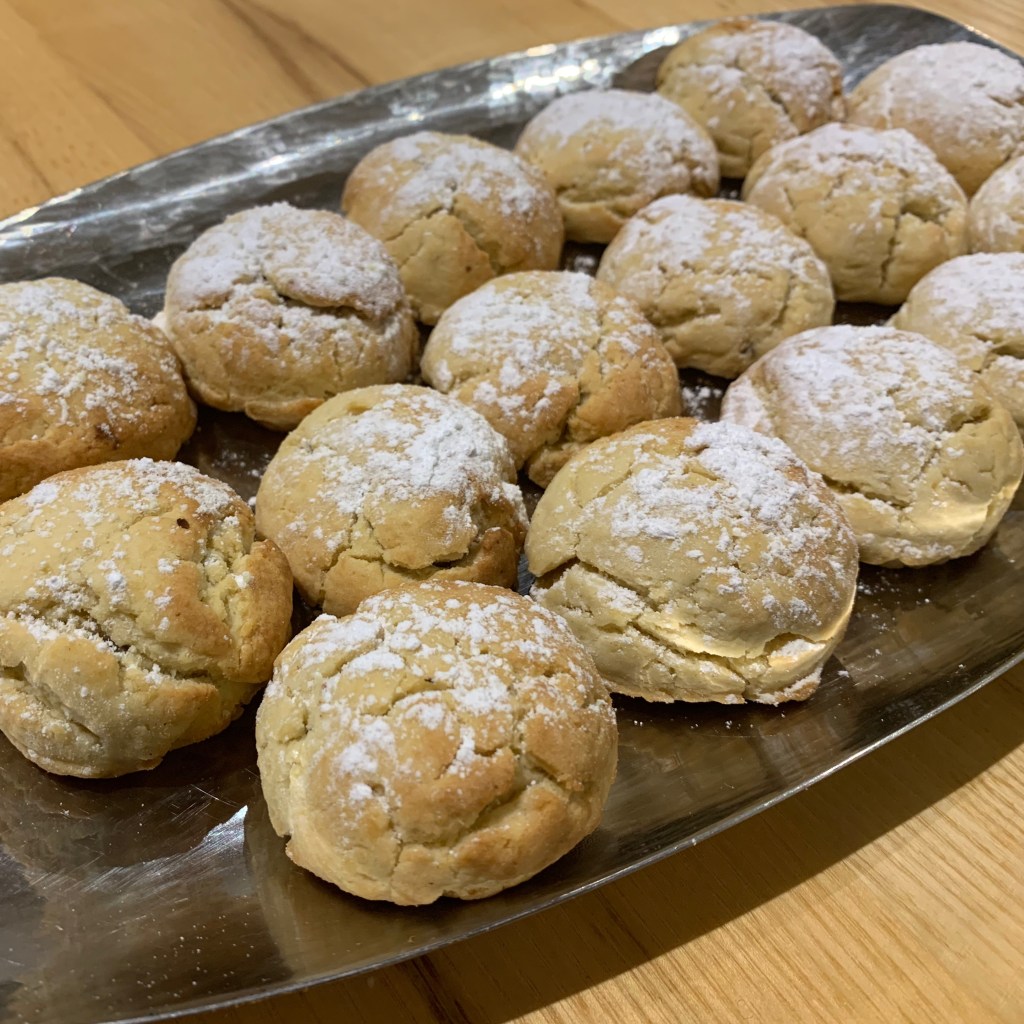
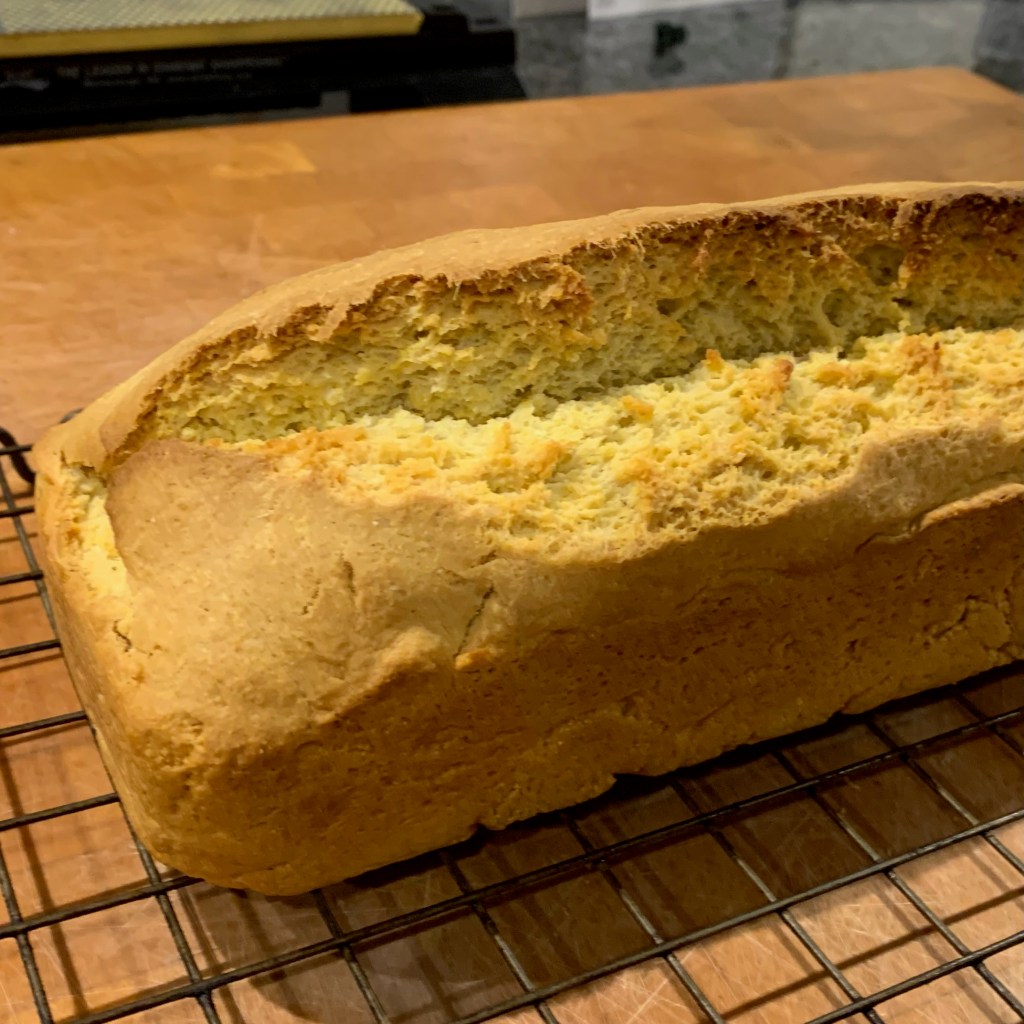
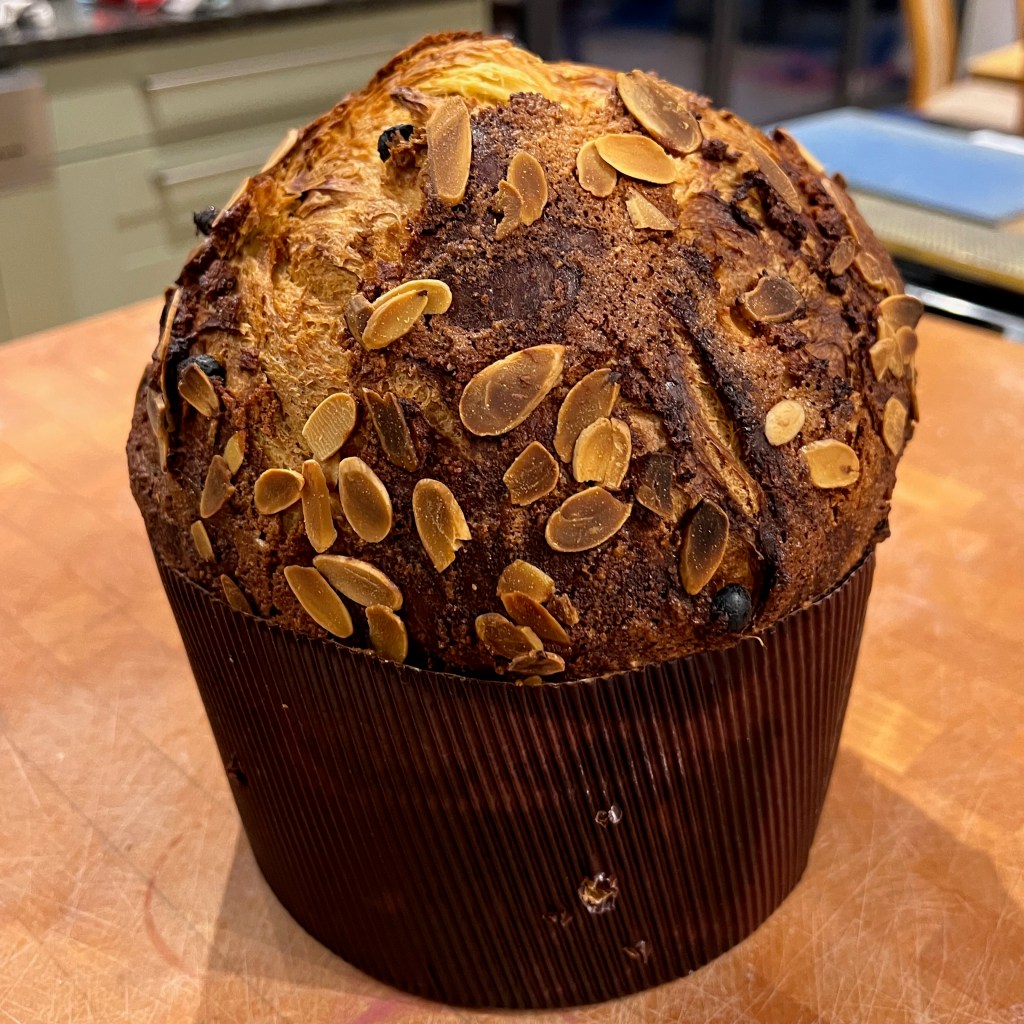
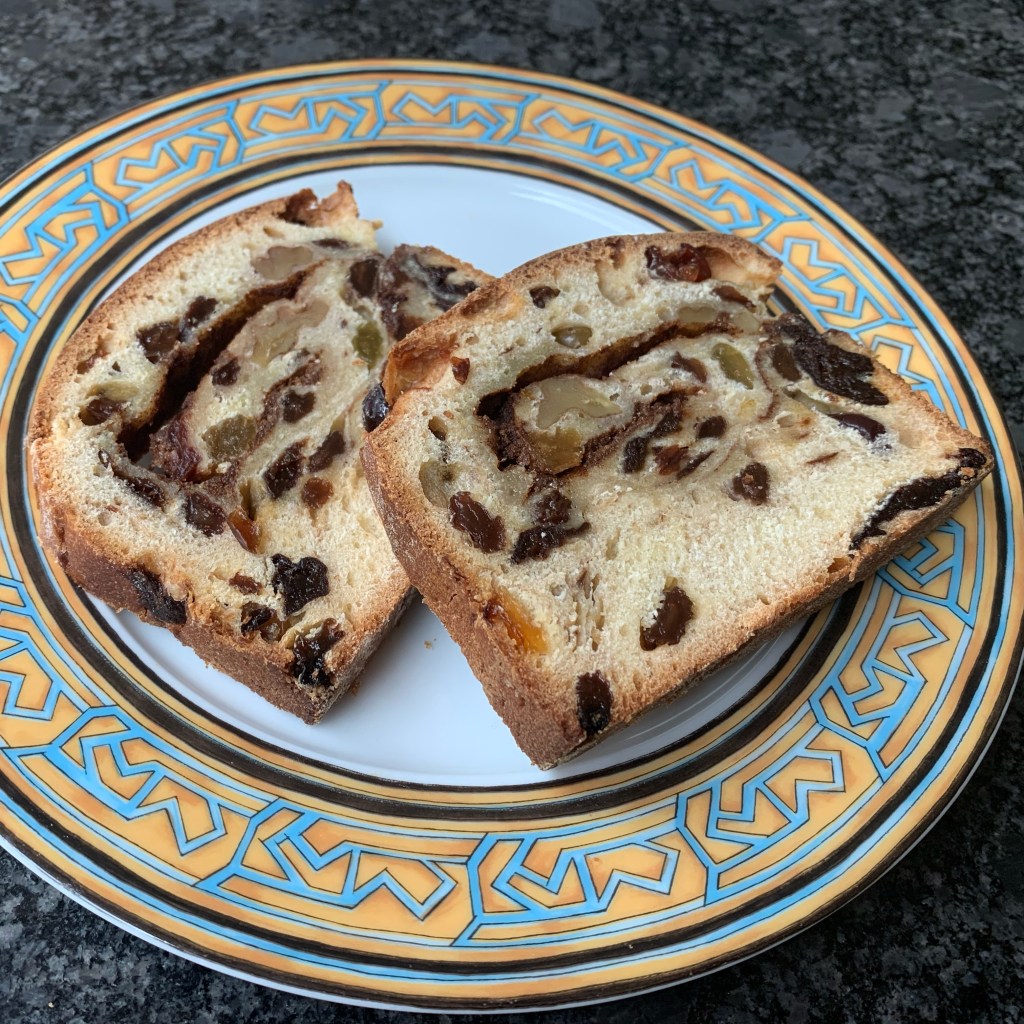
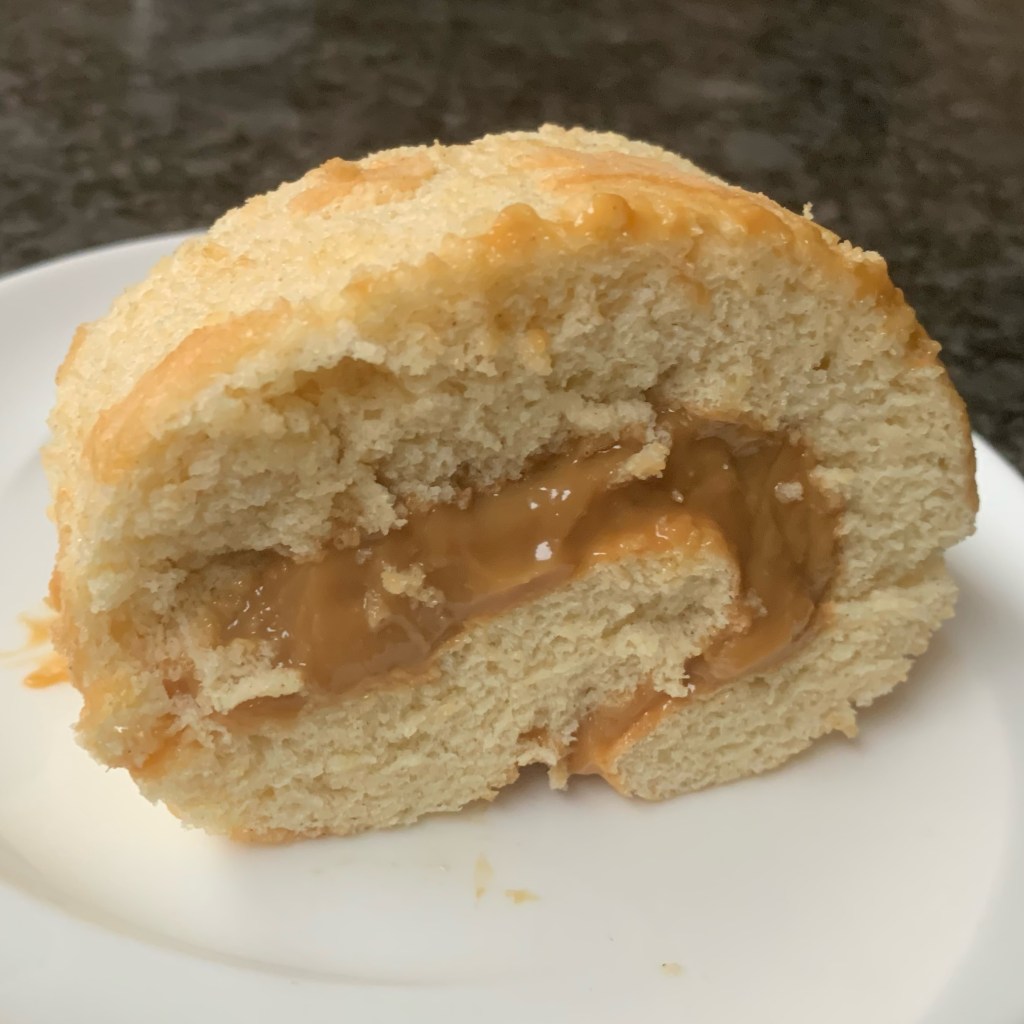
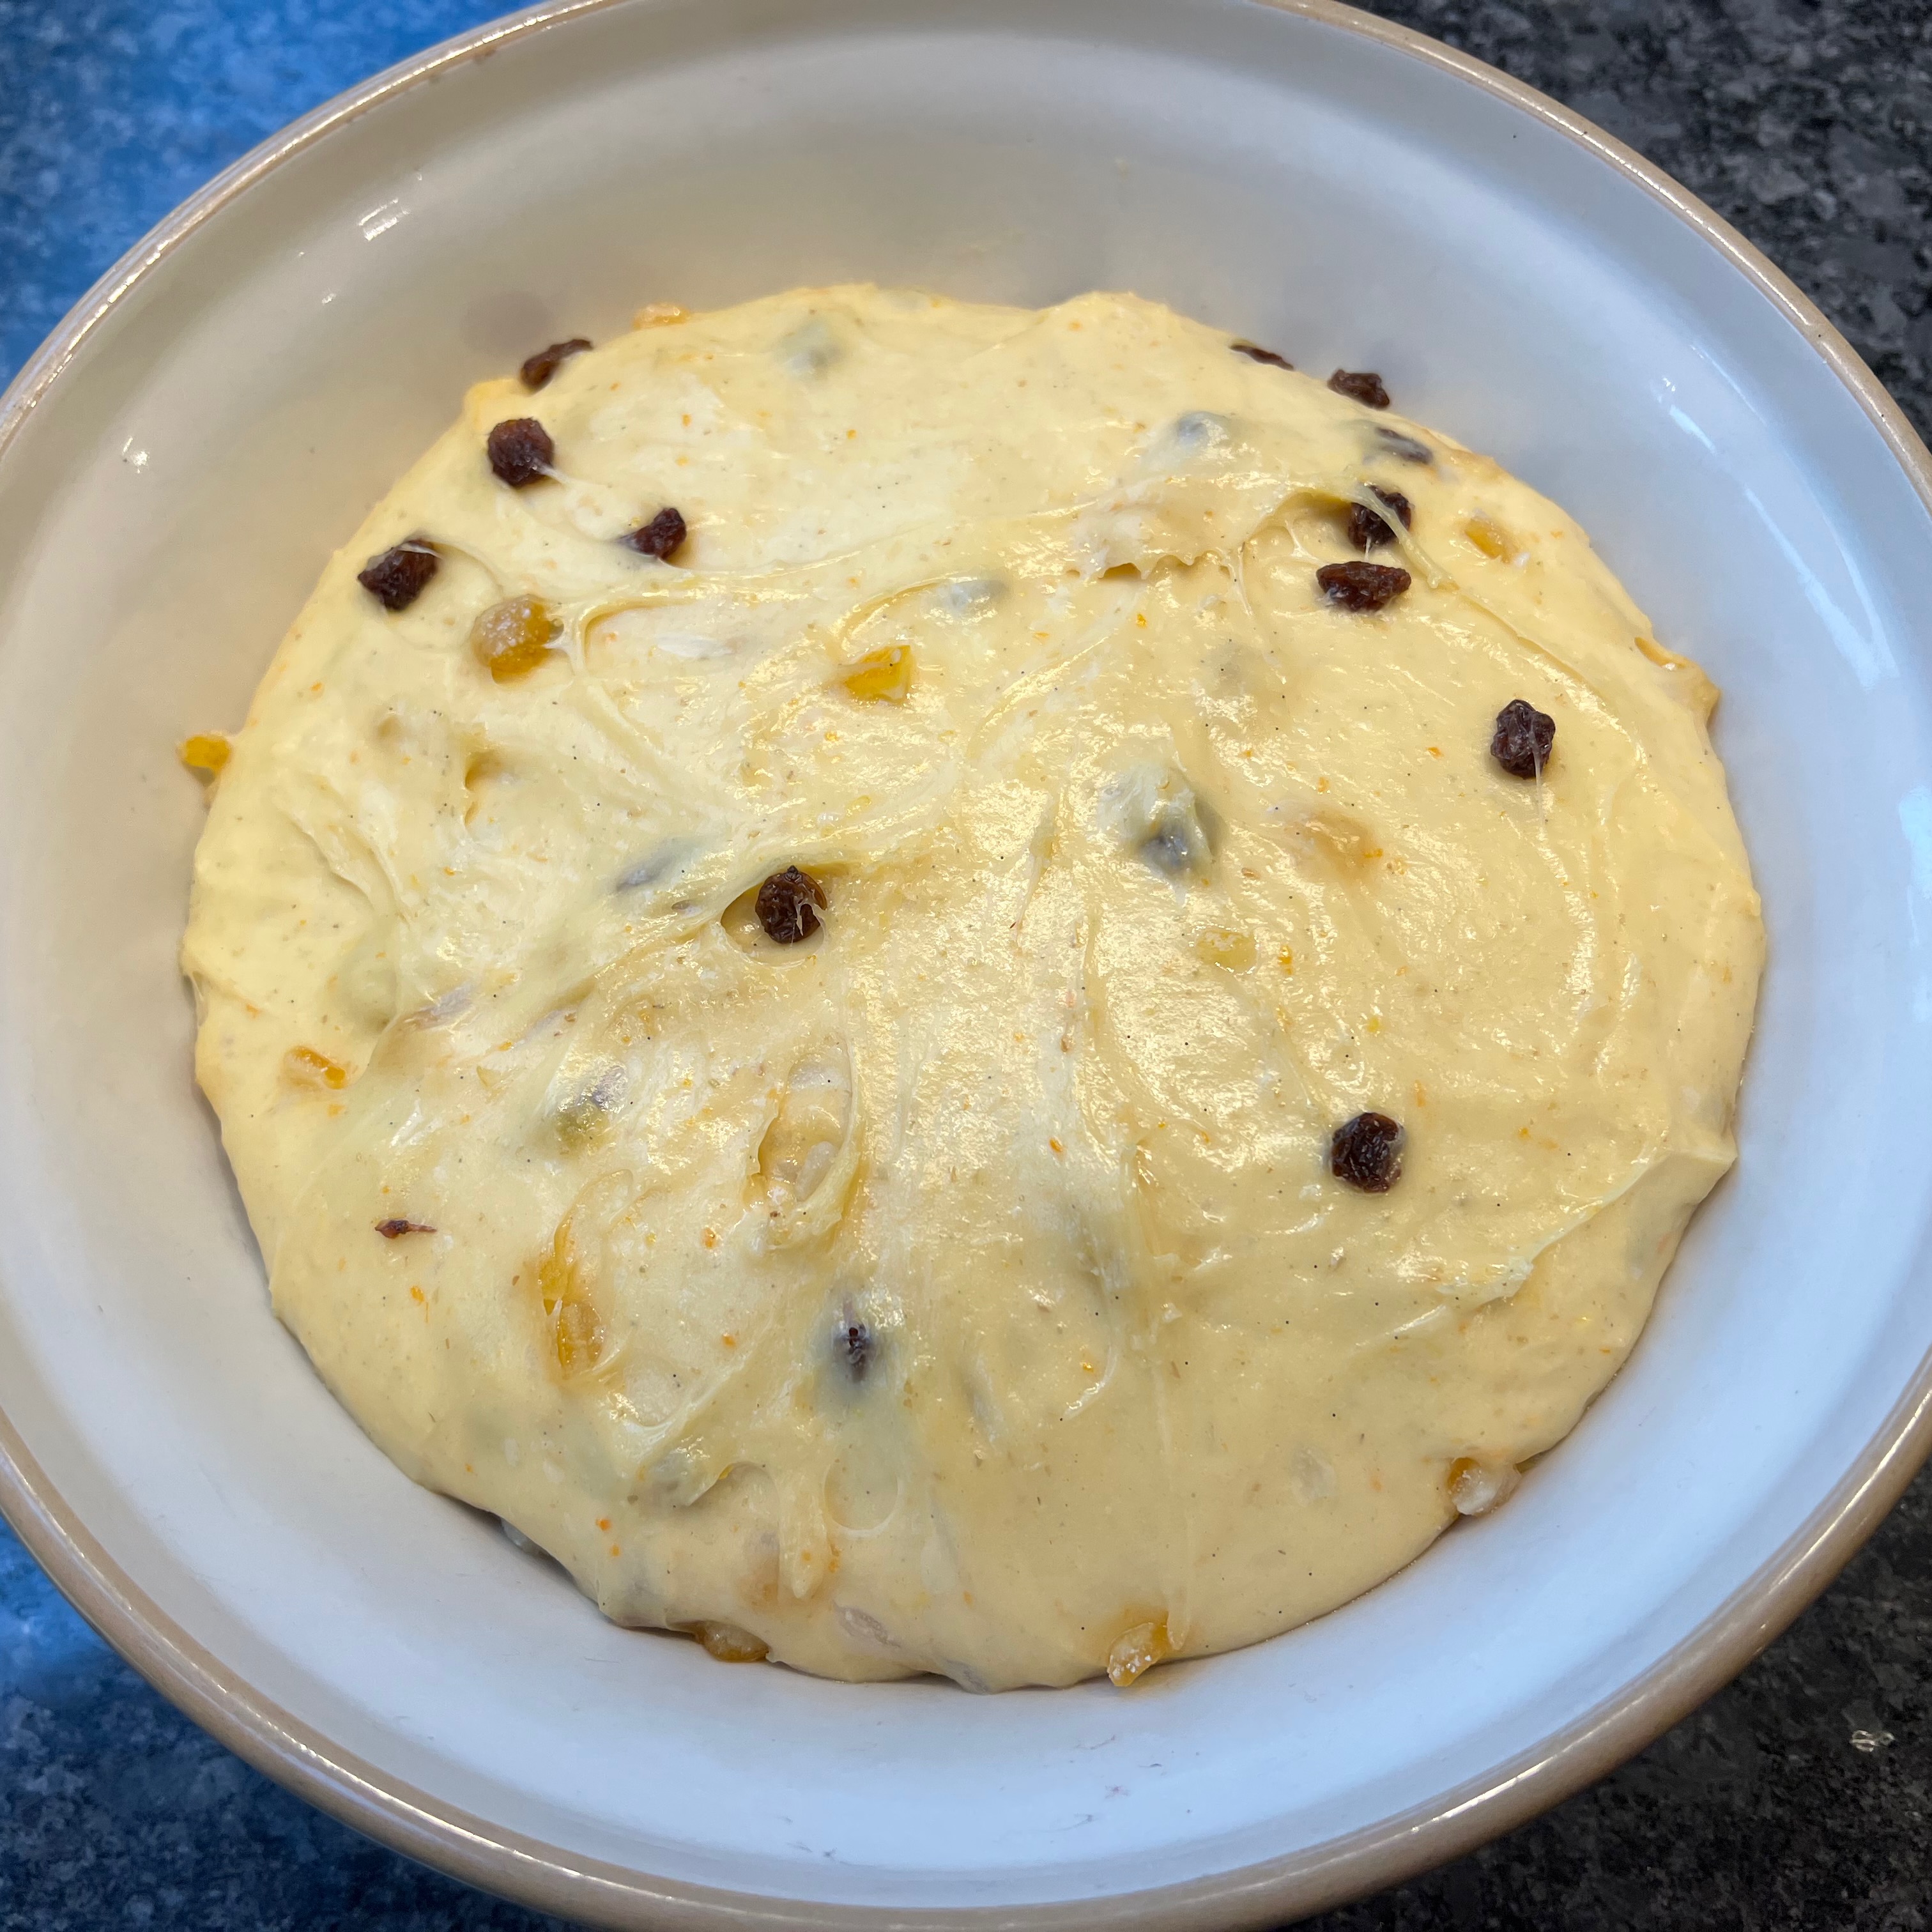
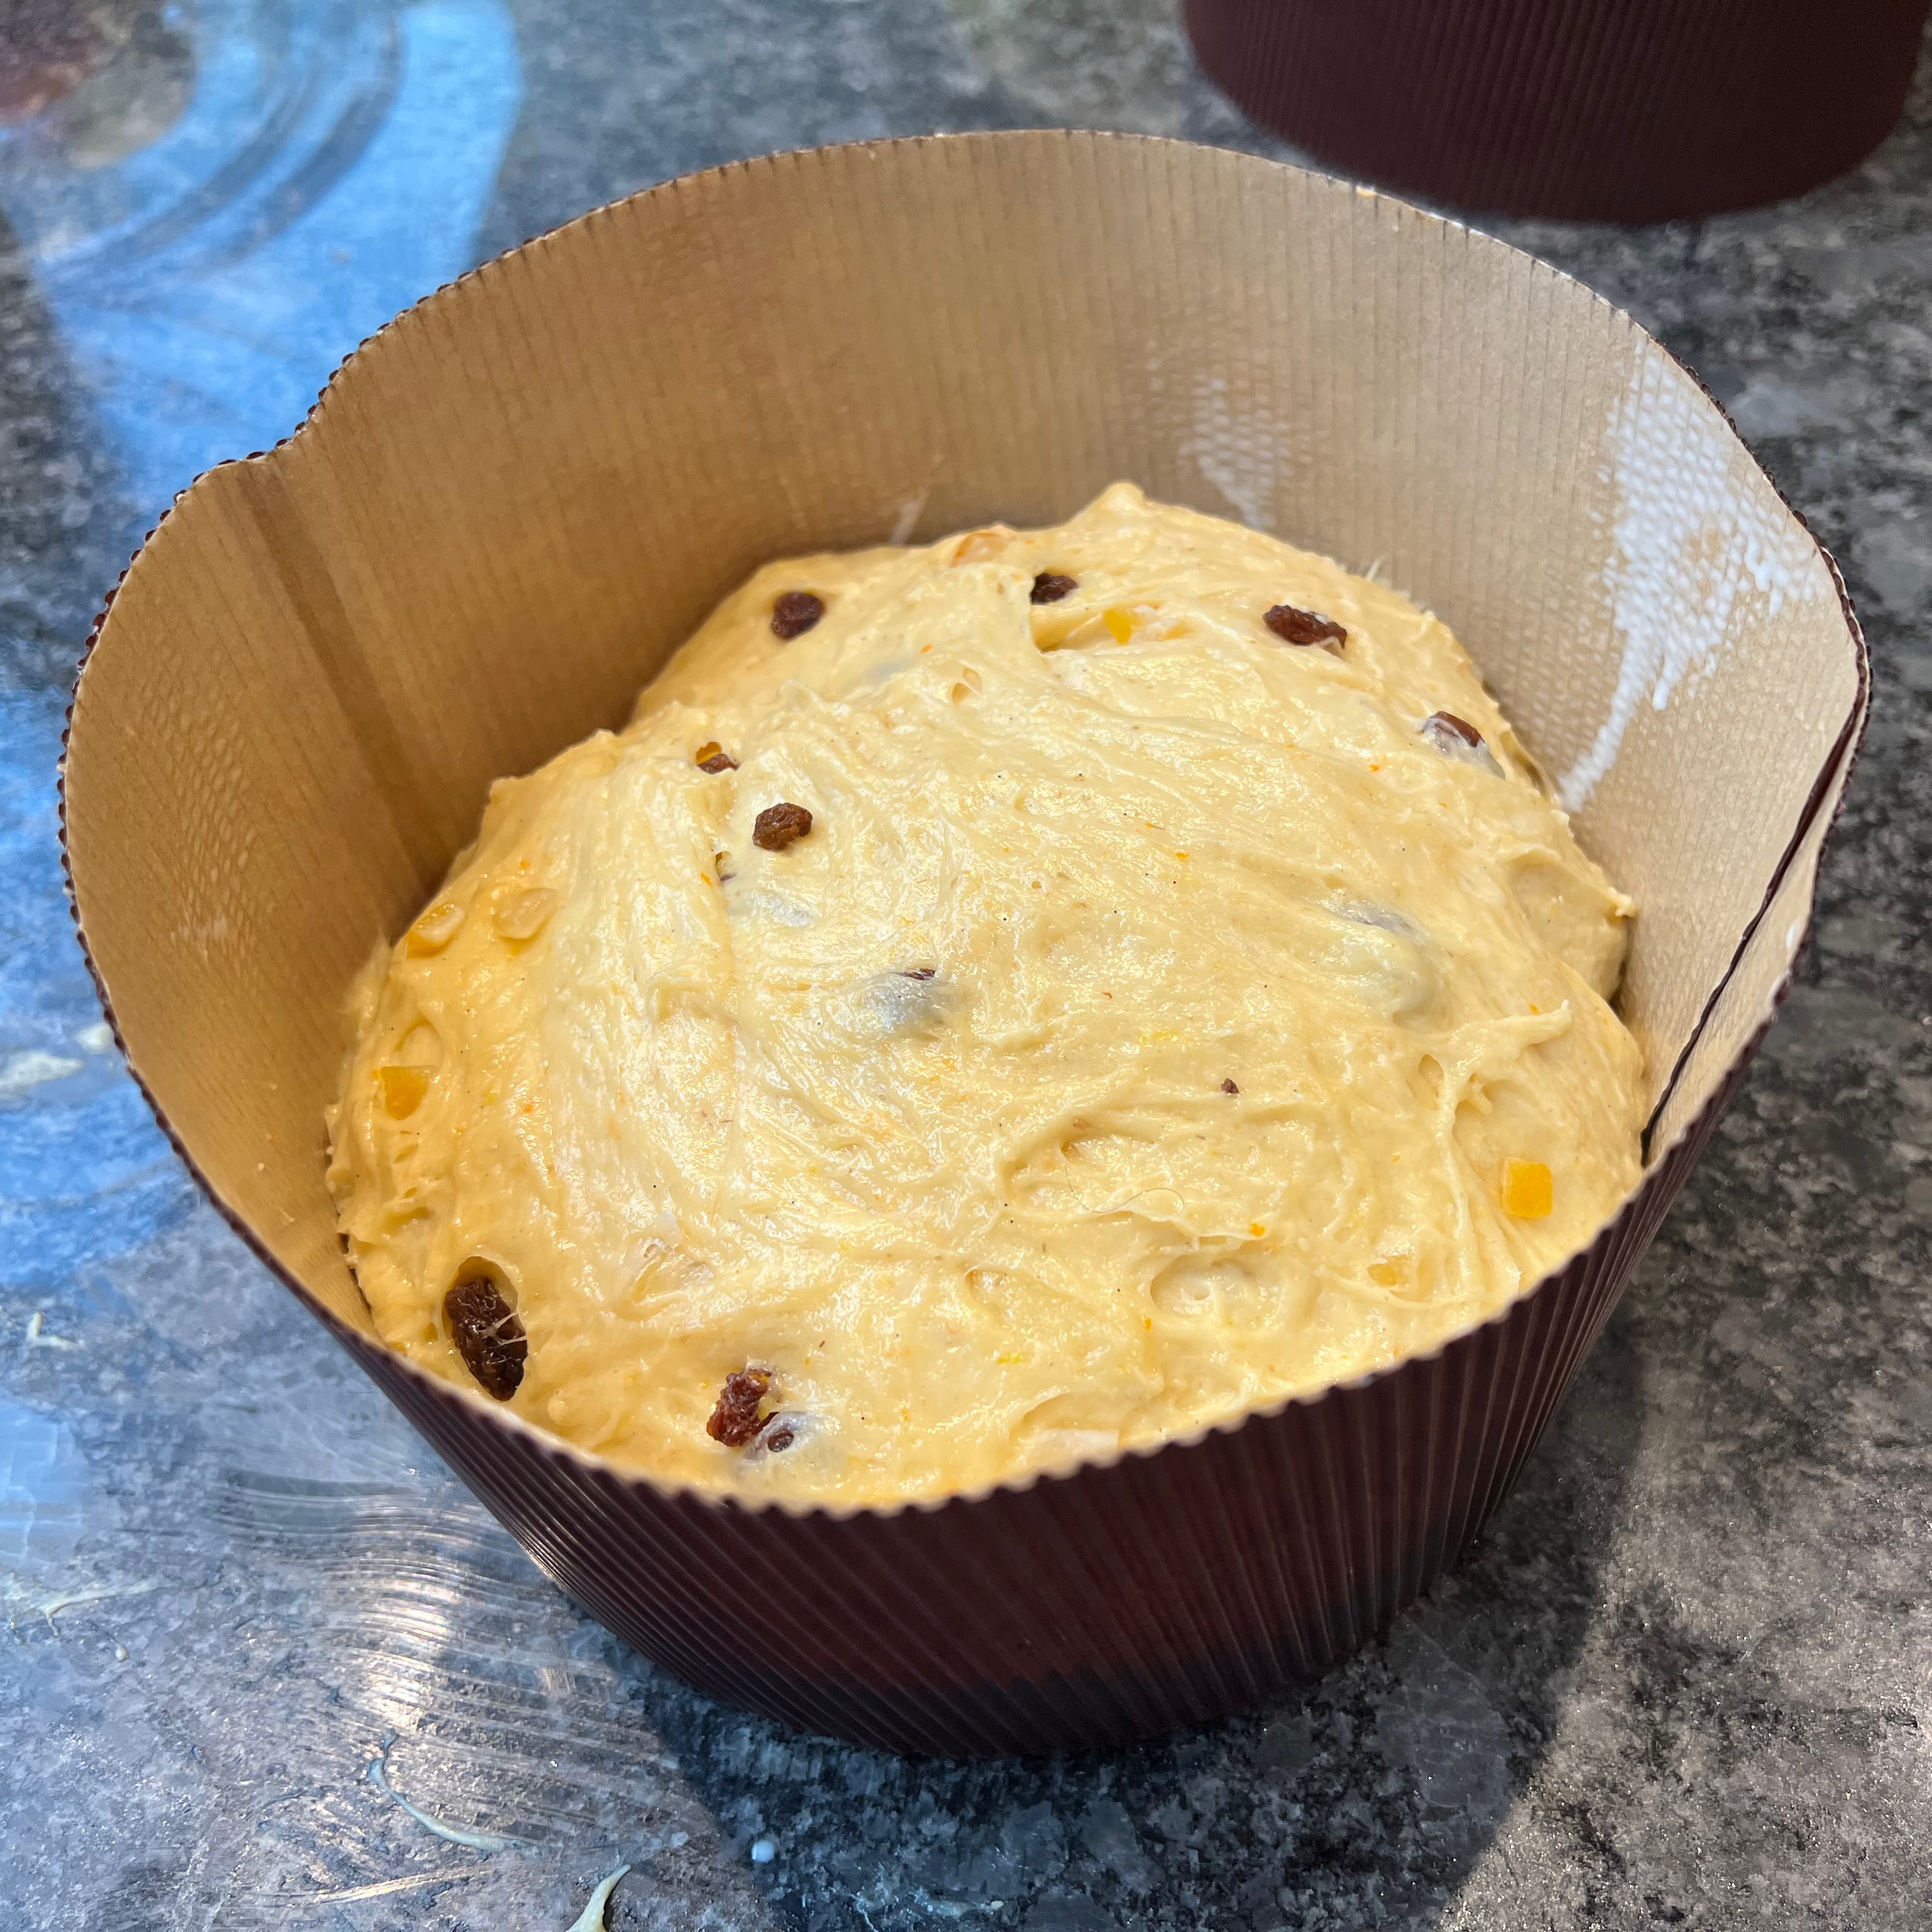
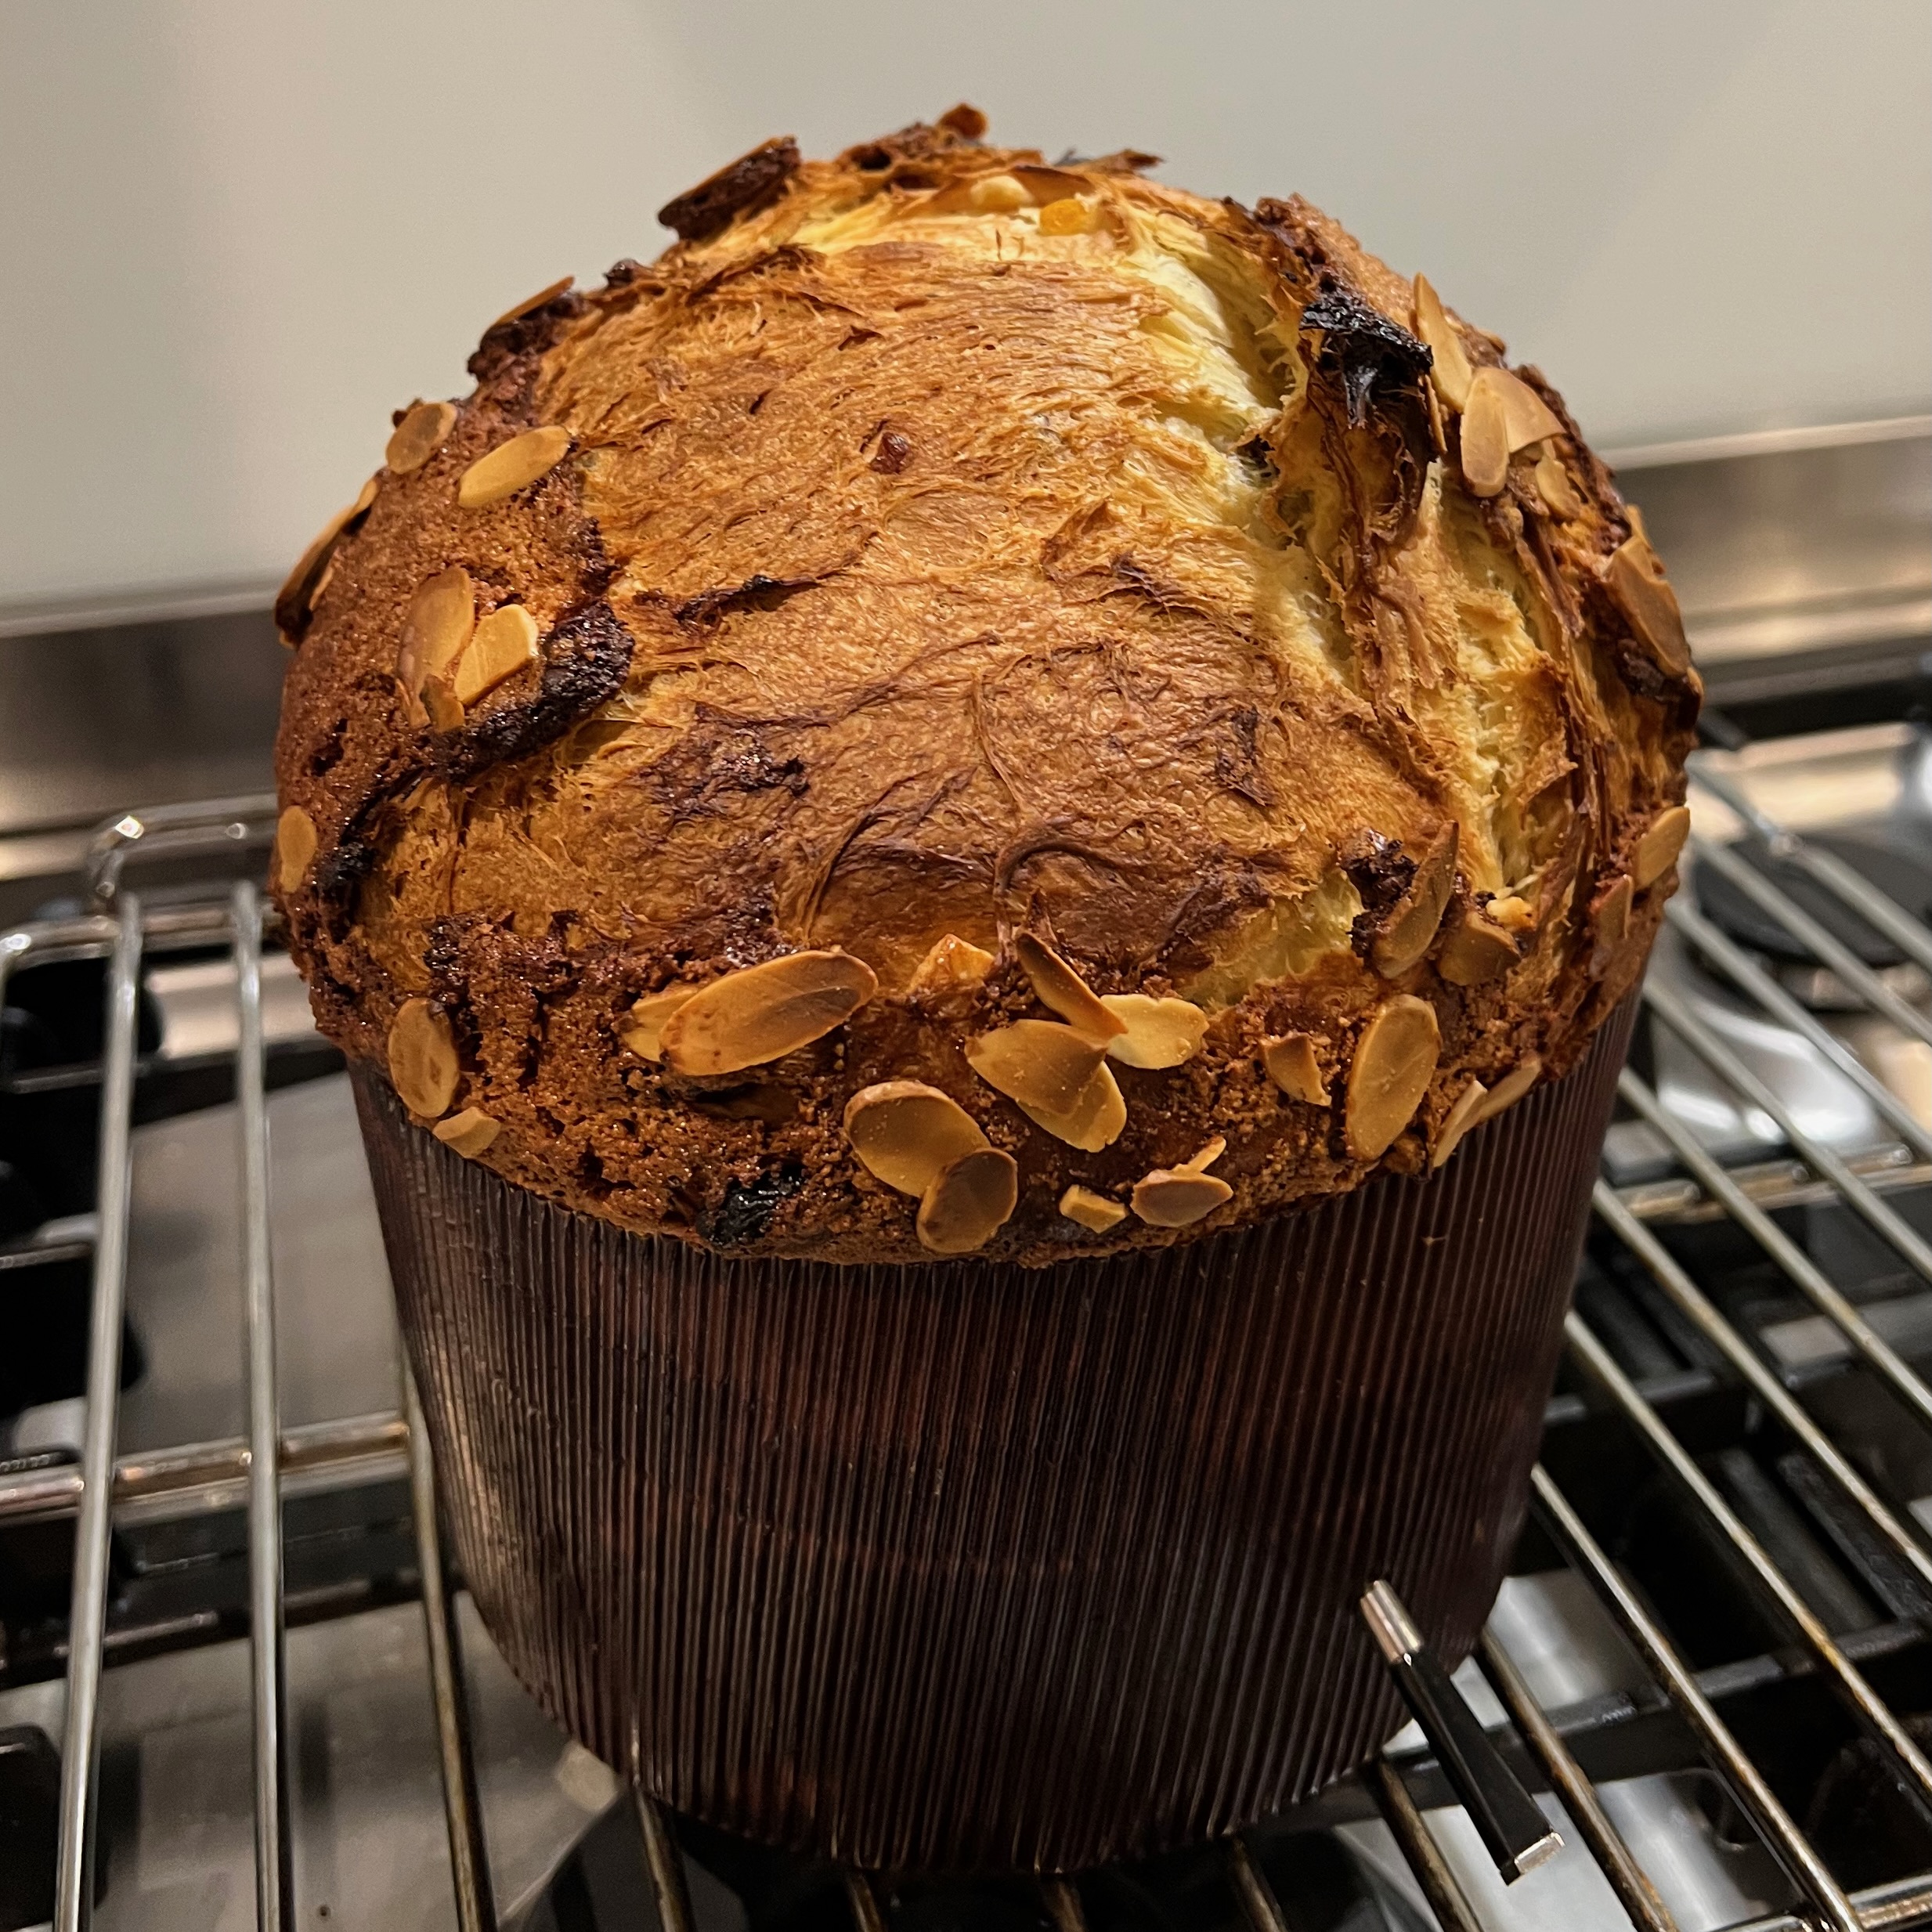
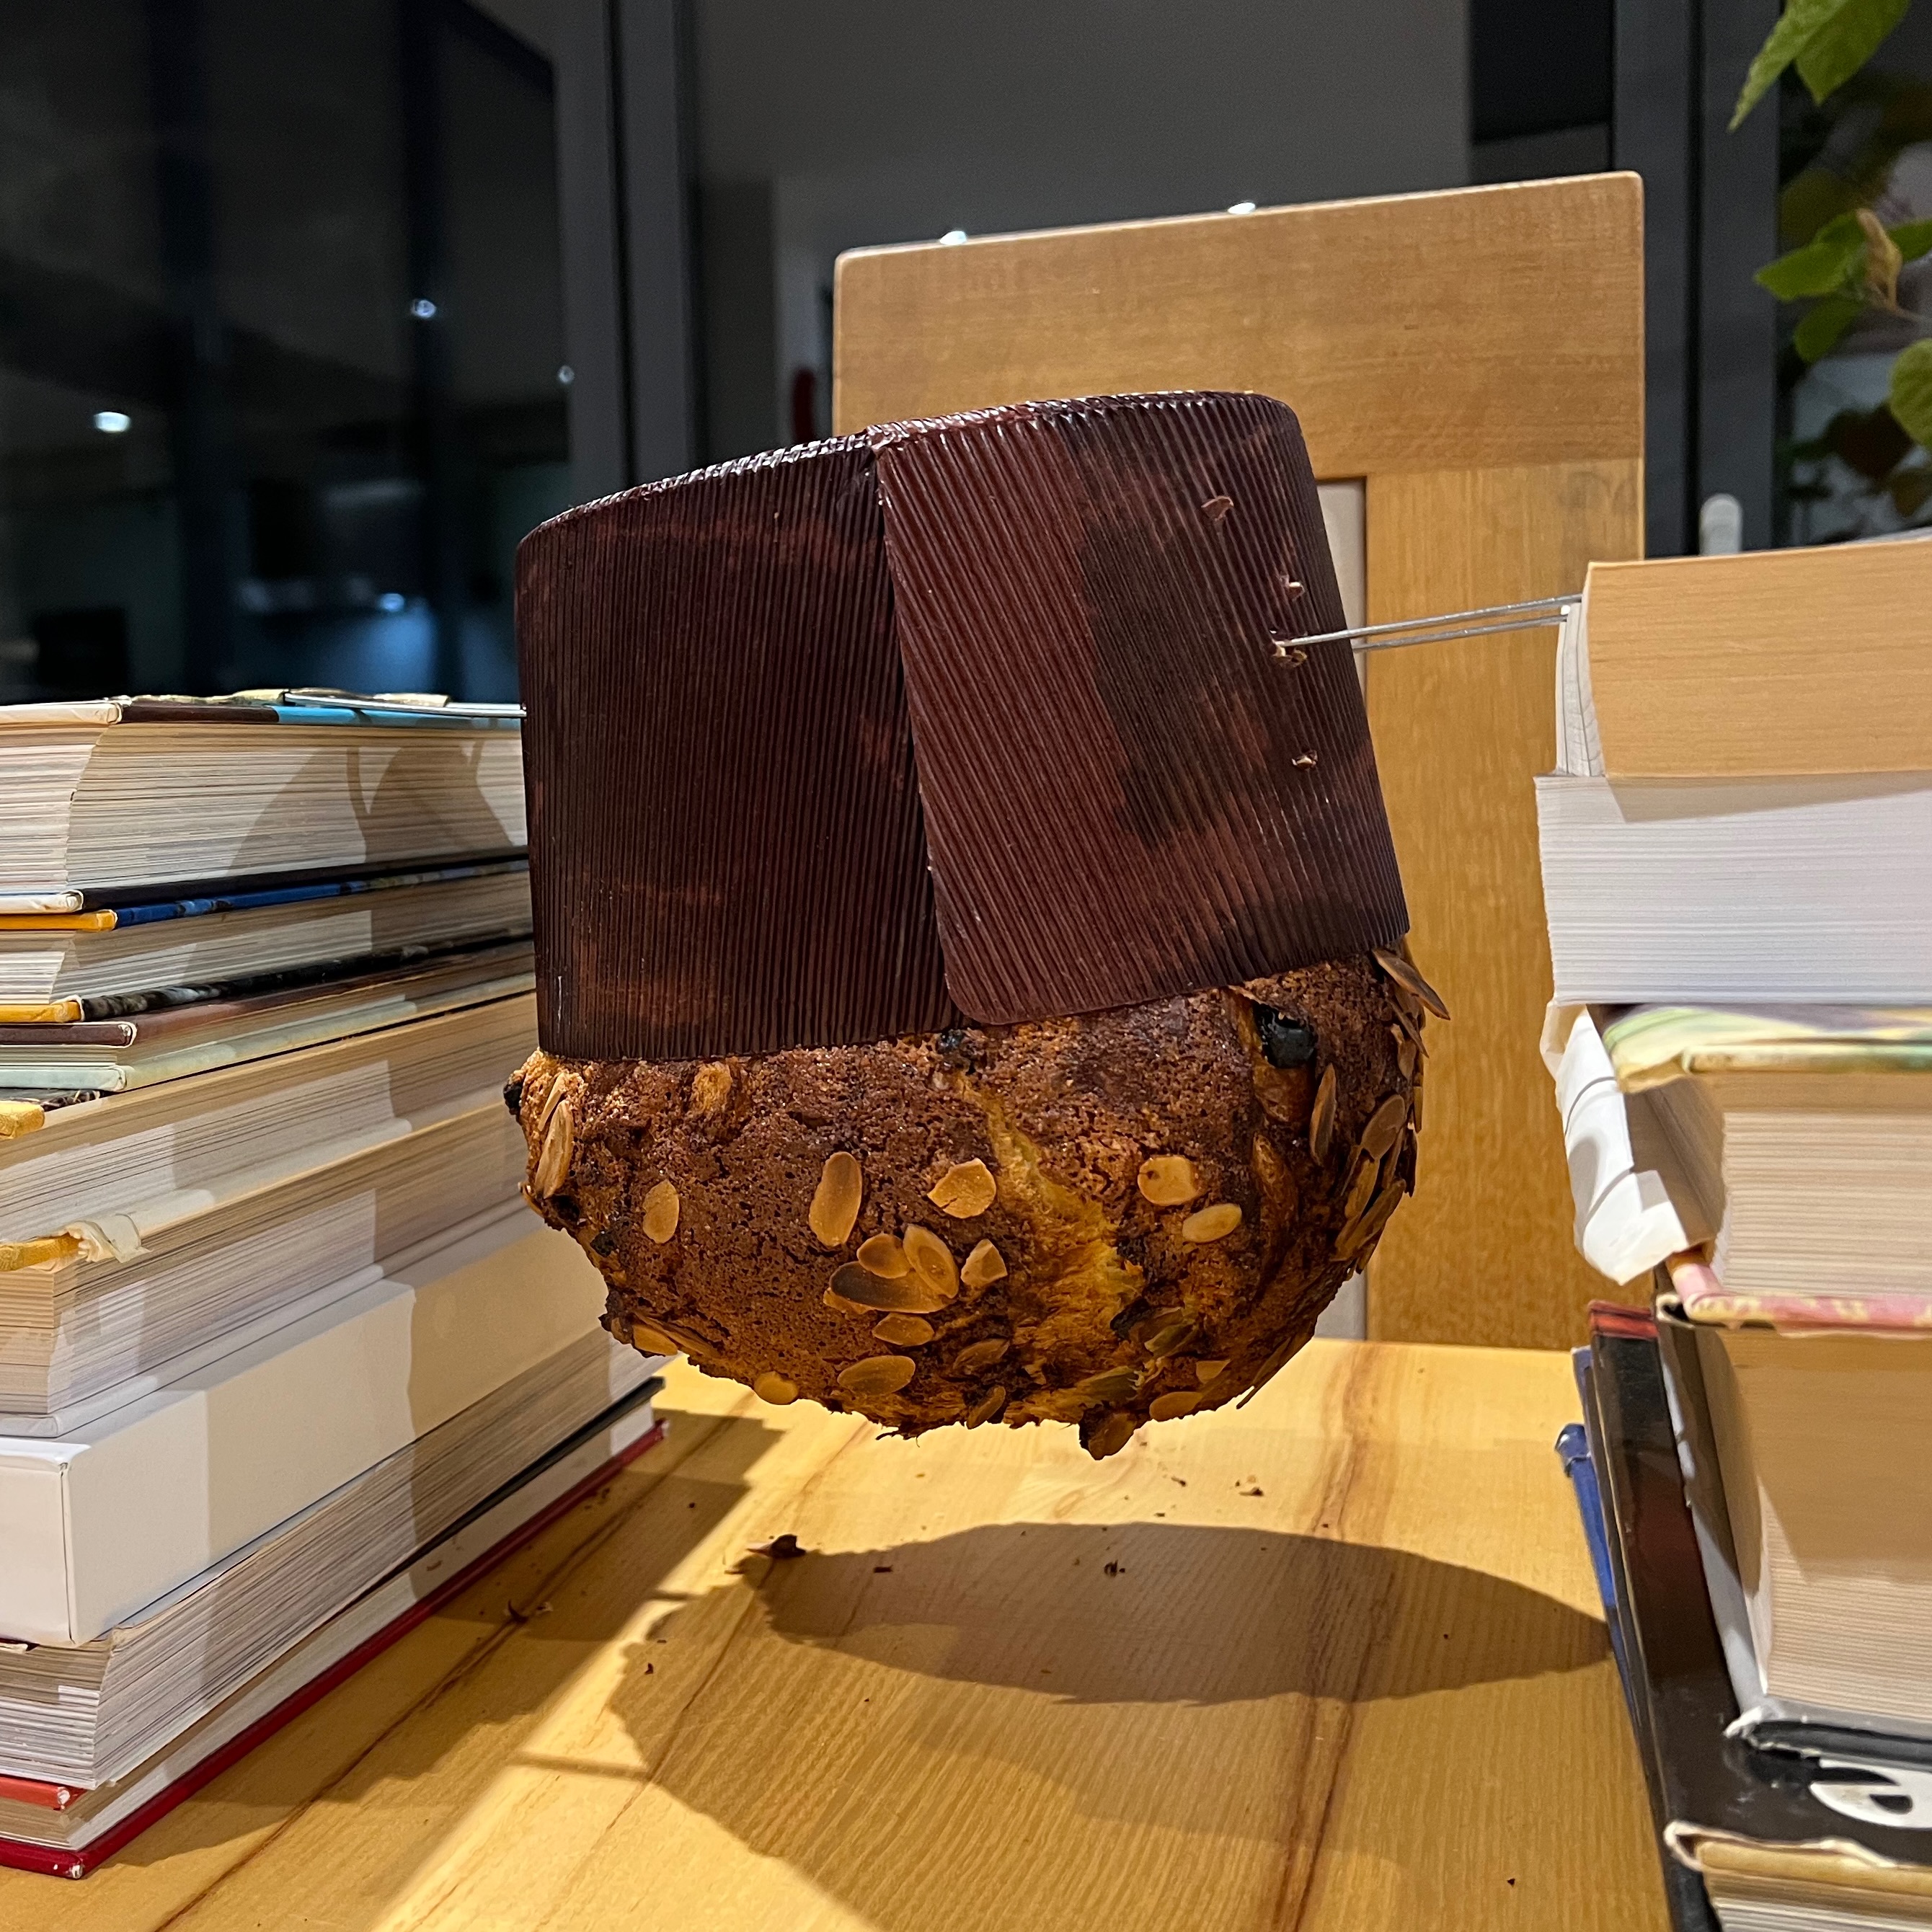
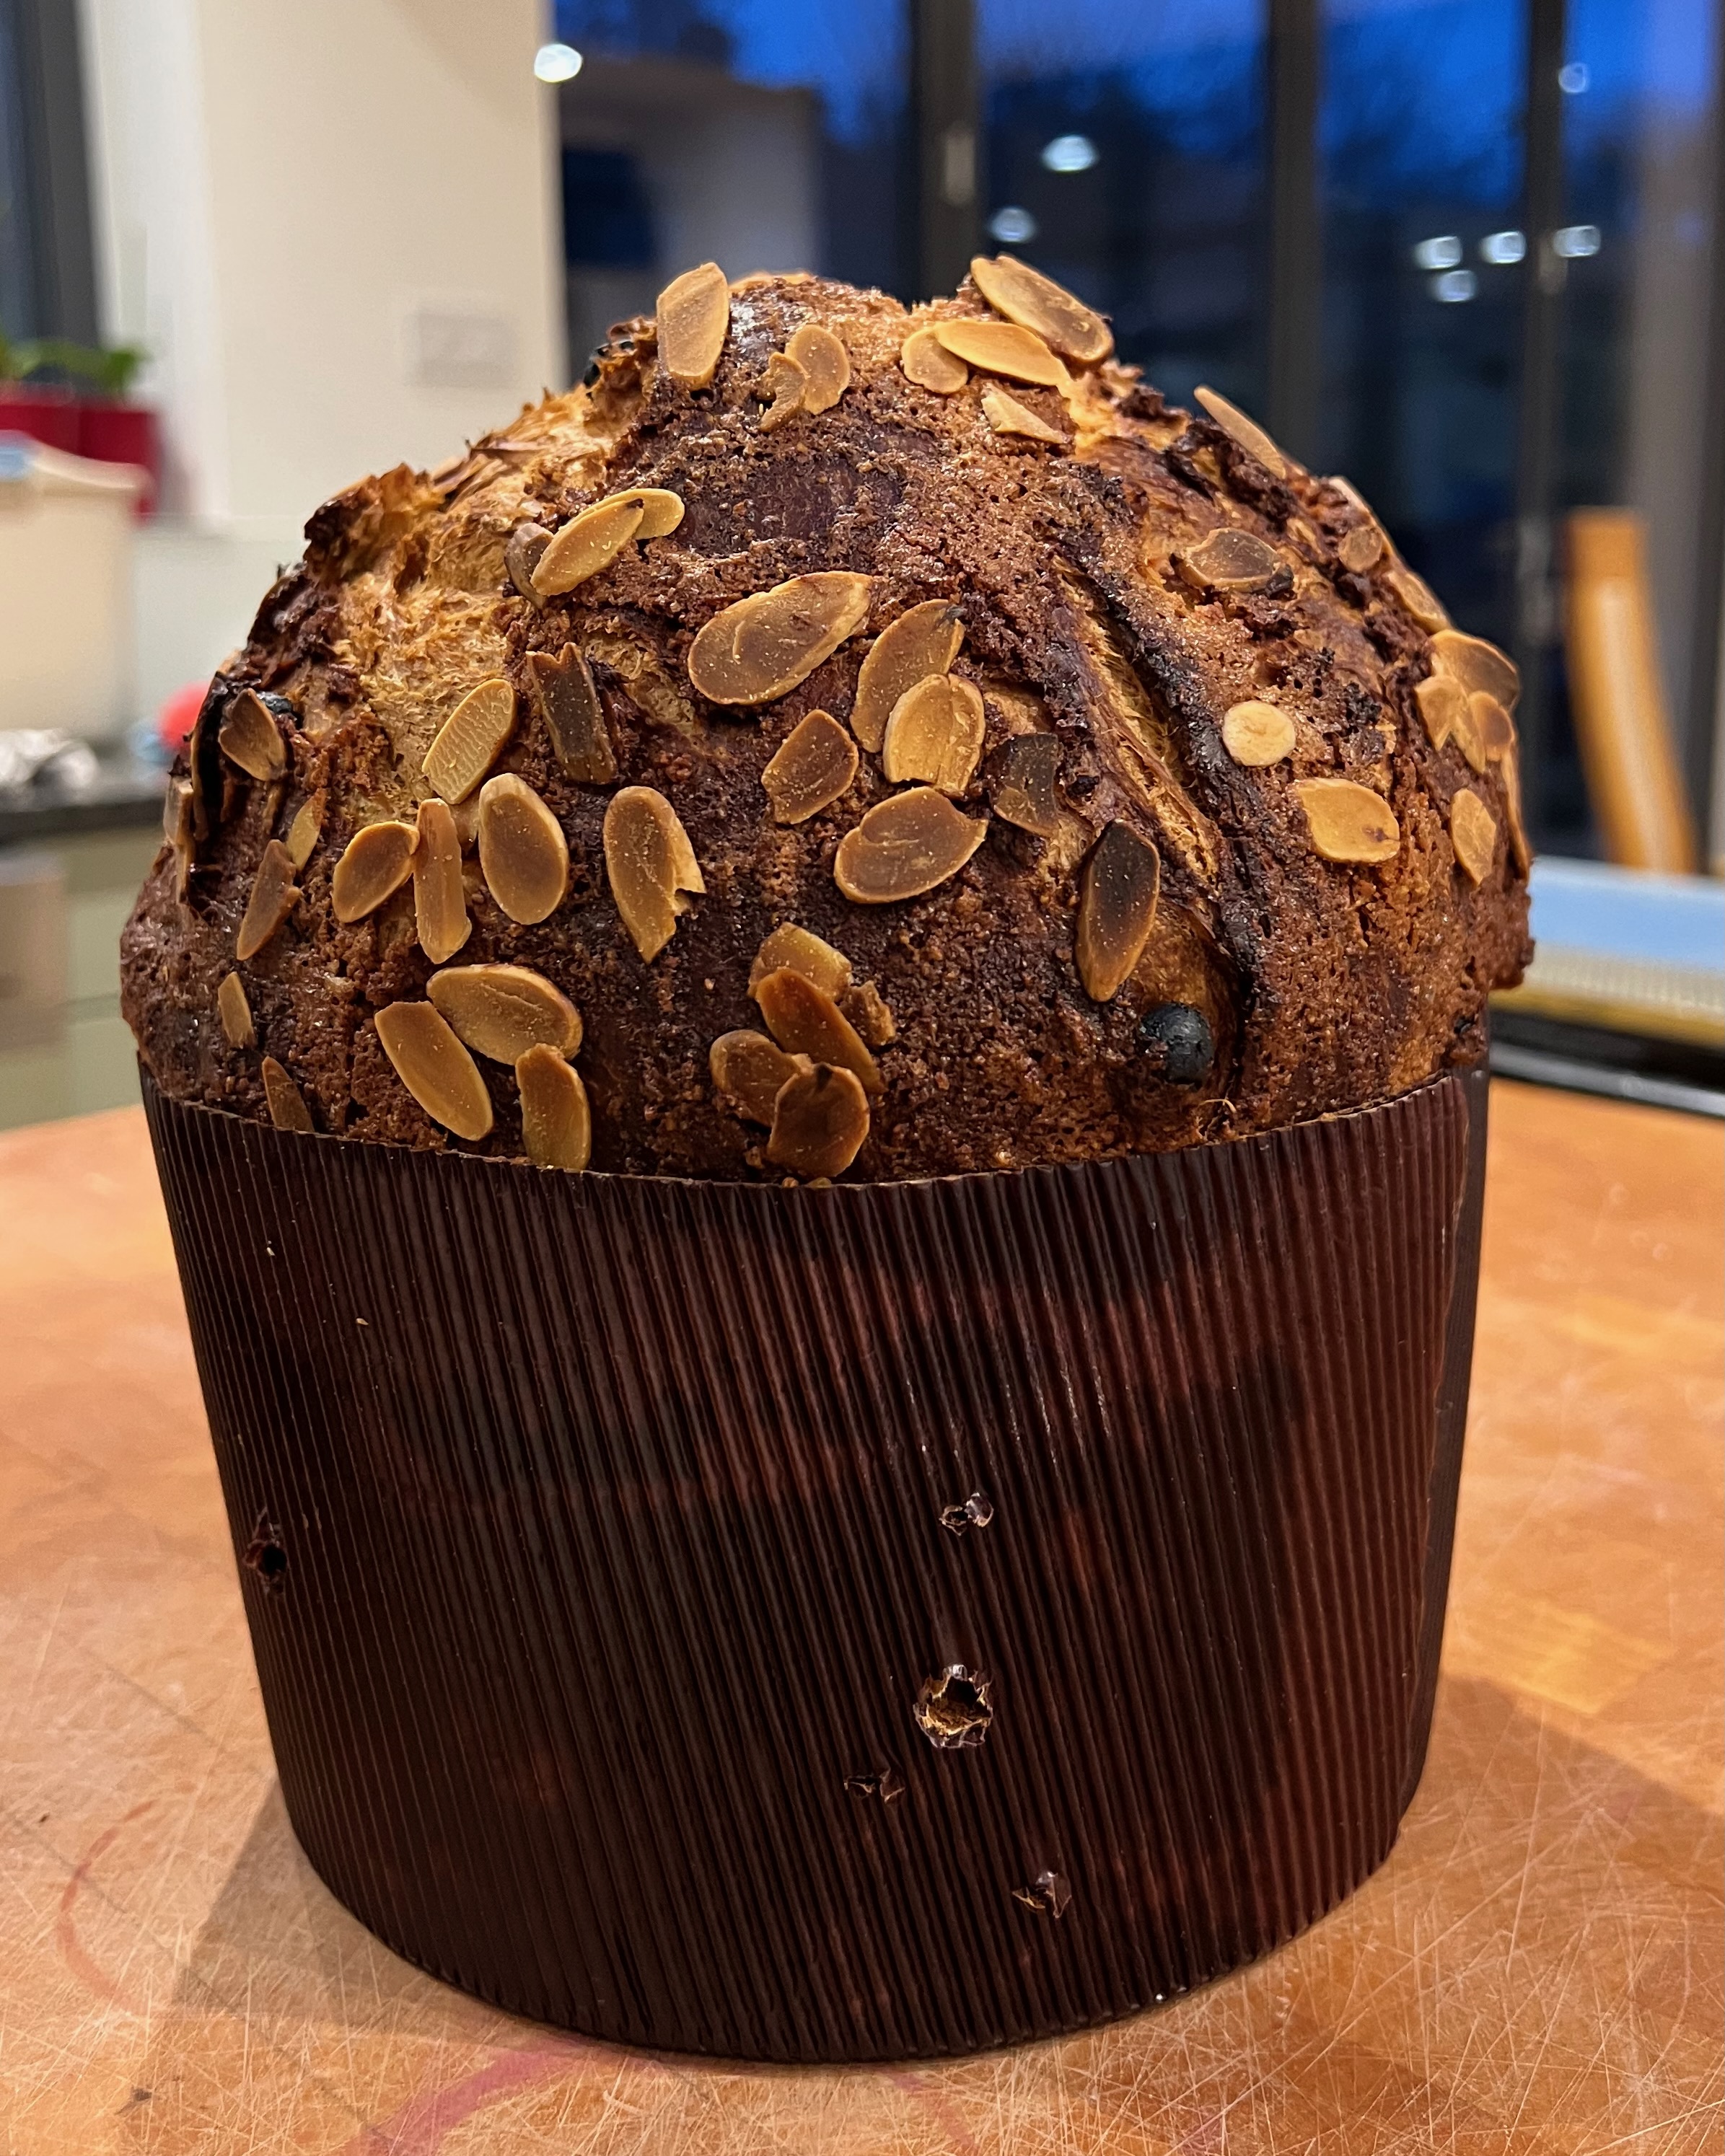
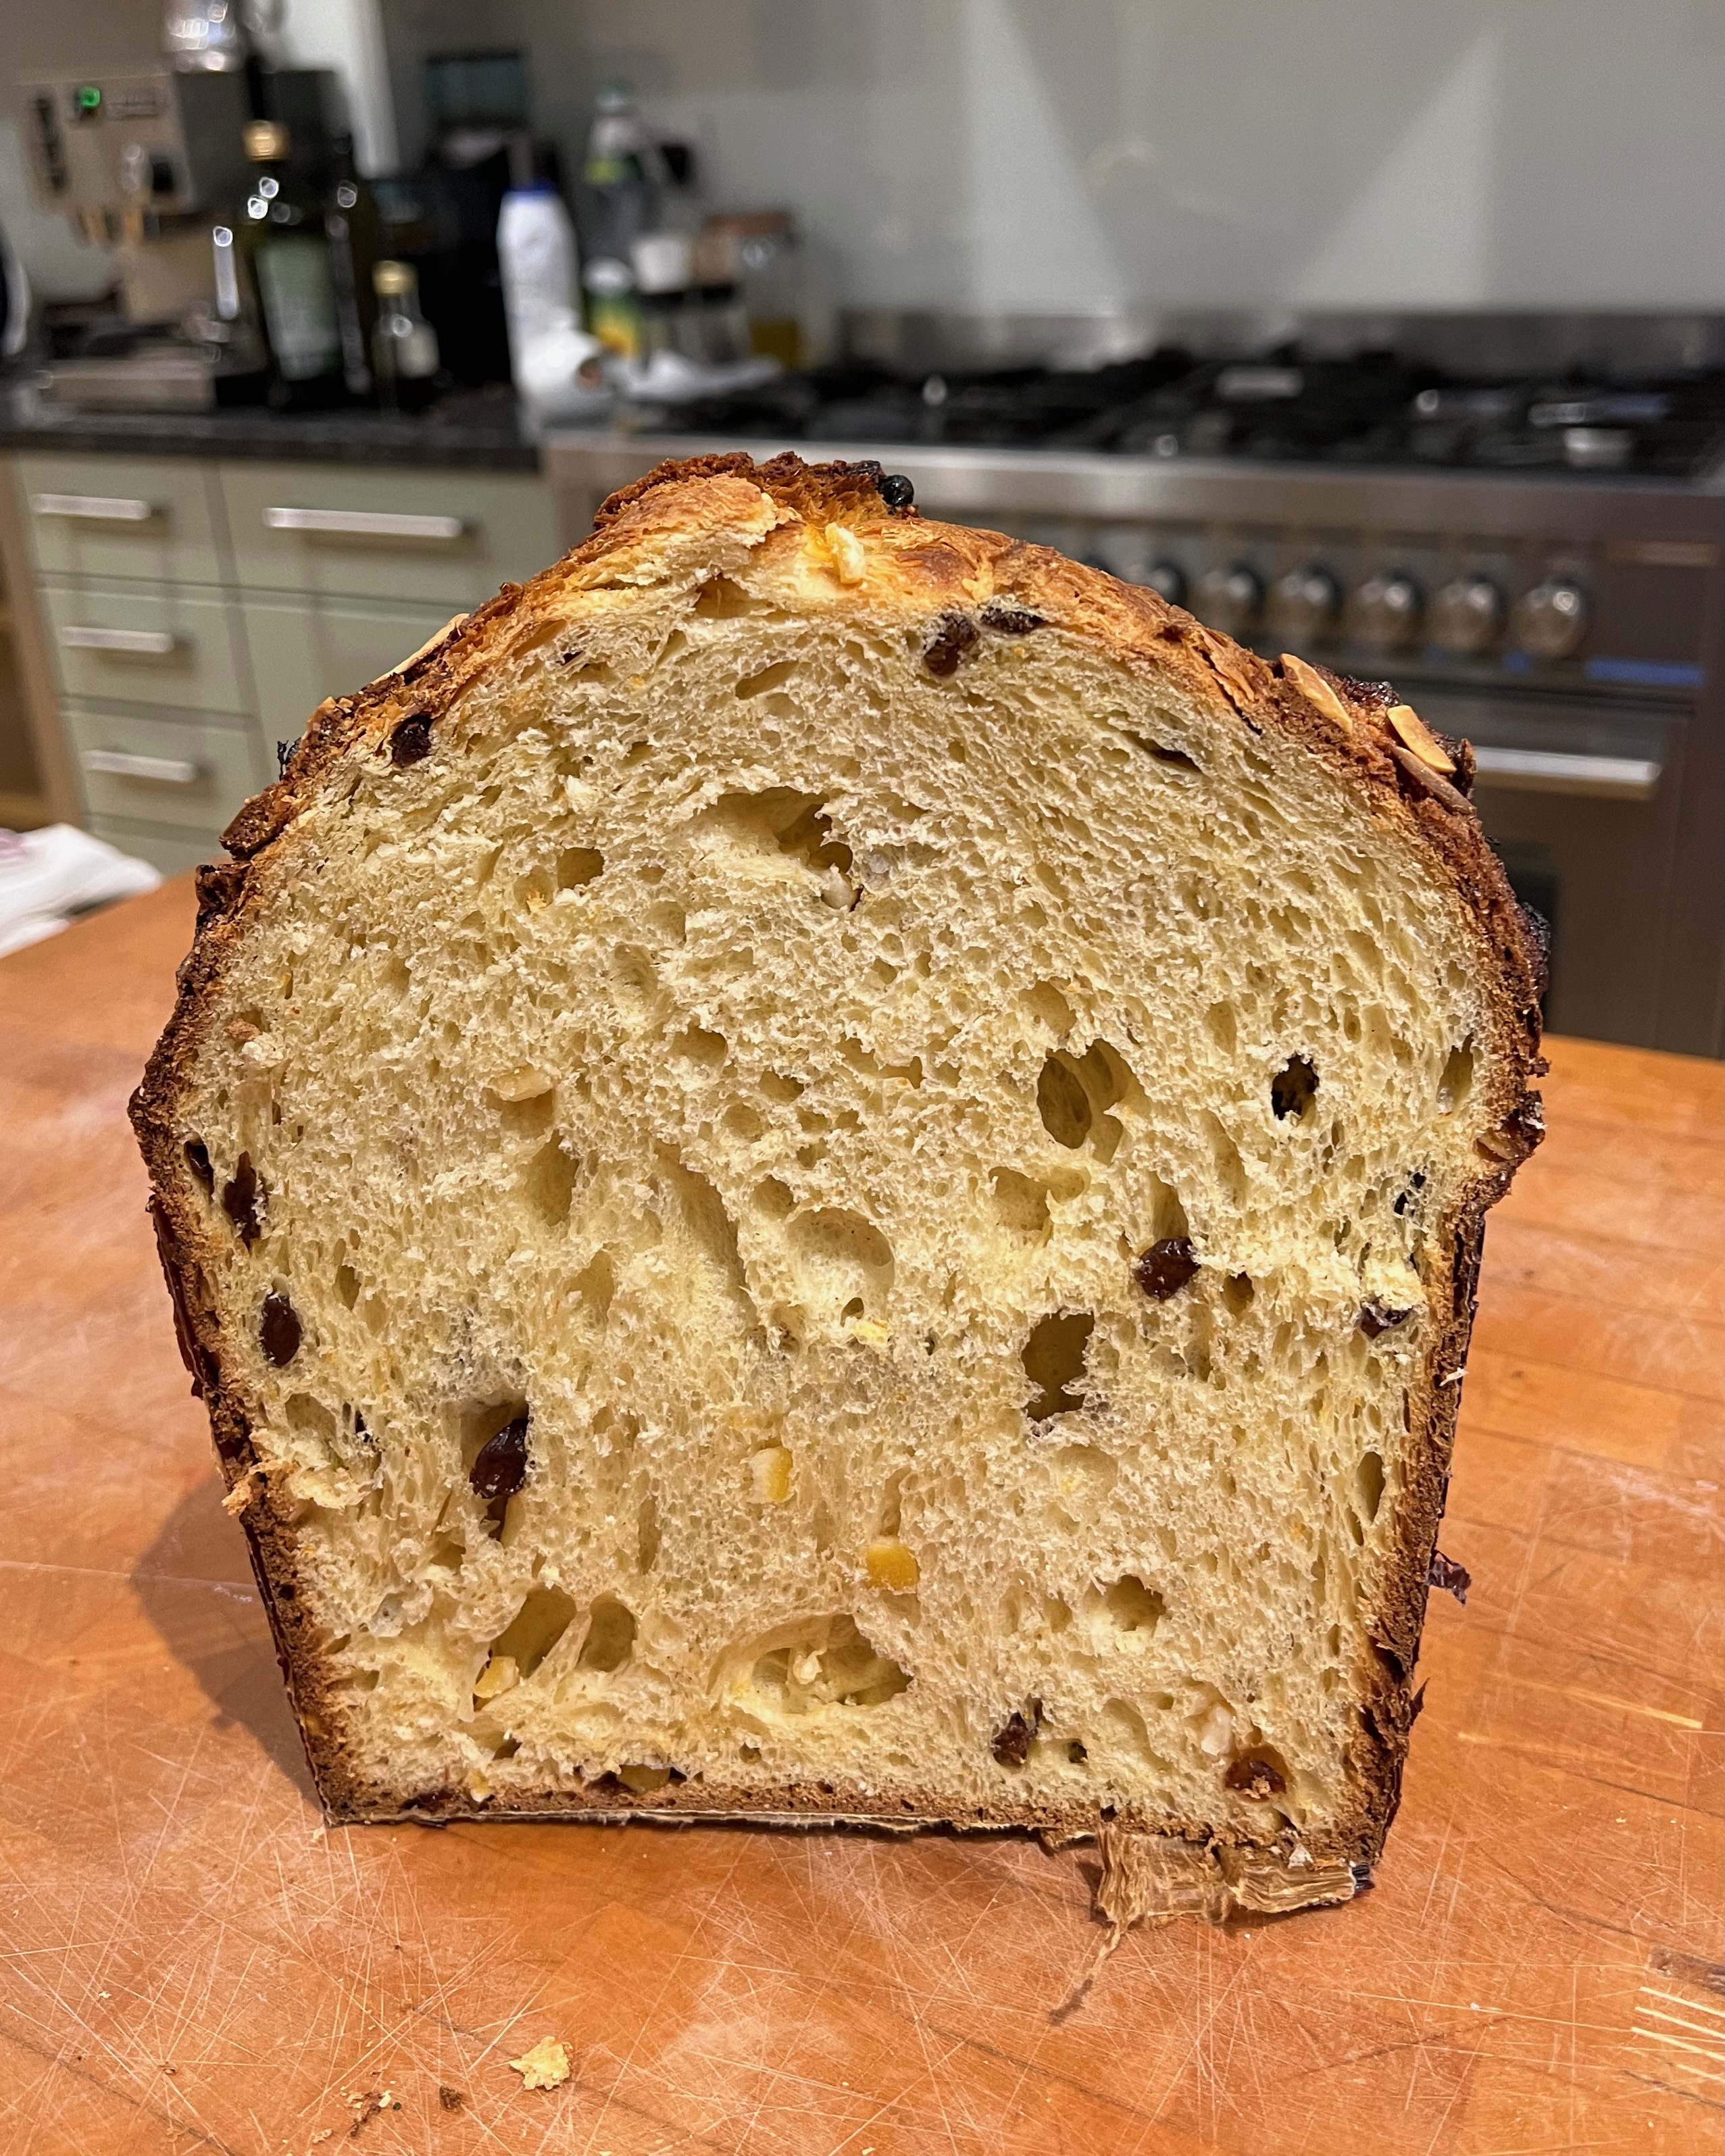
Christmas food in Italy is a whole lot more varied than in England, with all manner of different meats, fish, pasta dishes, cakes and biscuits (mercifully, the Italians don’t share our obsession with roast turkey). But there’s one thing that you’ll see at Christmas all over Italy: the cylindrical, sweetened, enriched bread called “Panettone” – the “big loaf”. Whenever I’ve been to a café in Italy at Christmas time, usually in or near Milan, the base of modern, industrial scale panettone manufacture and said to be its city of origin, piles of panettone pieces have been arrayed on the bar for everyone to nibble with their coffee. The aroma of citrus and vanilla in a bread of extreme fluffiness is unbeatable.
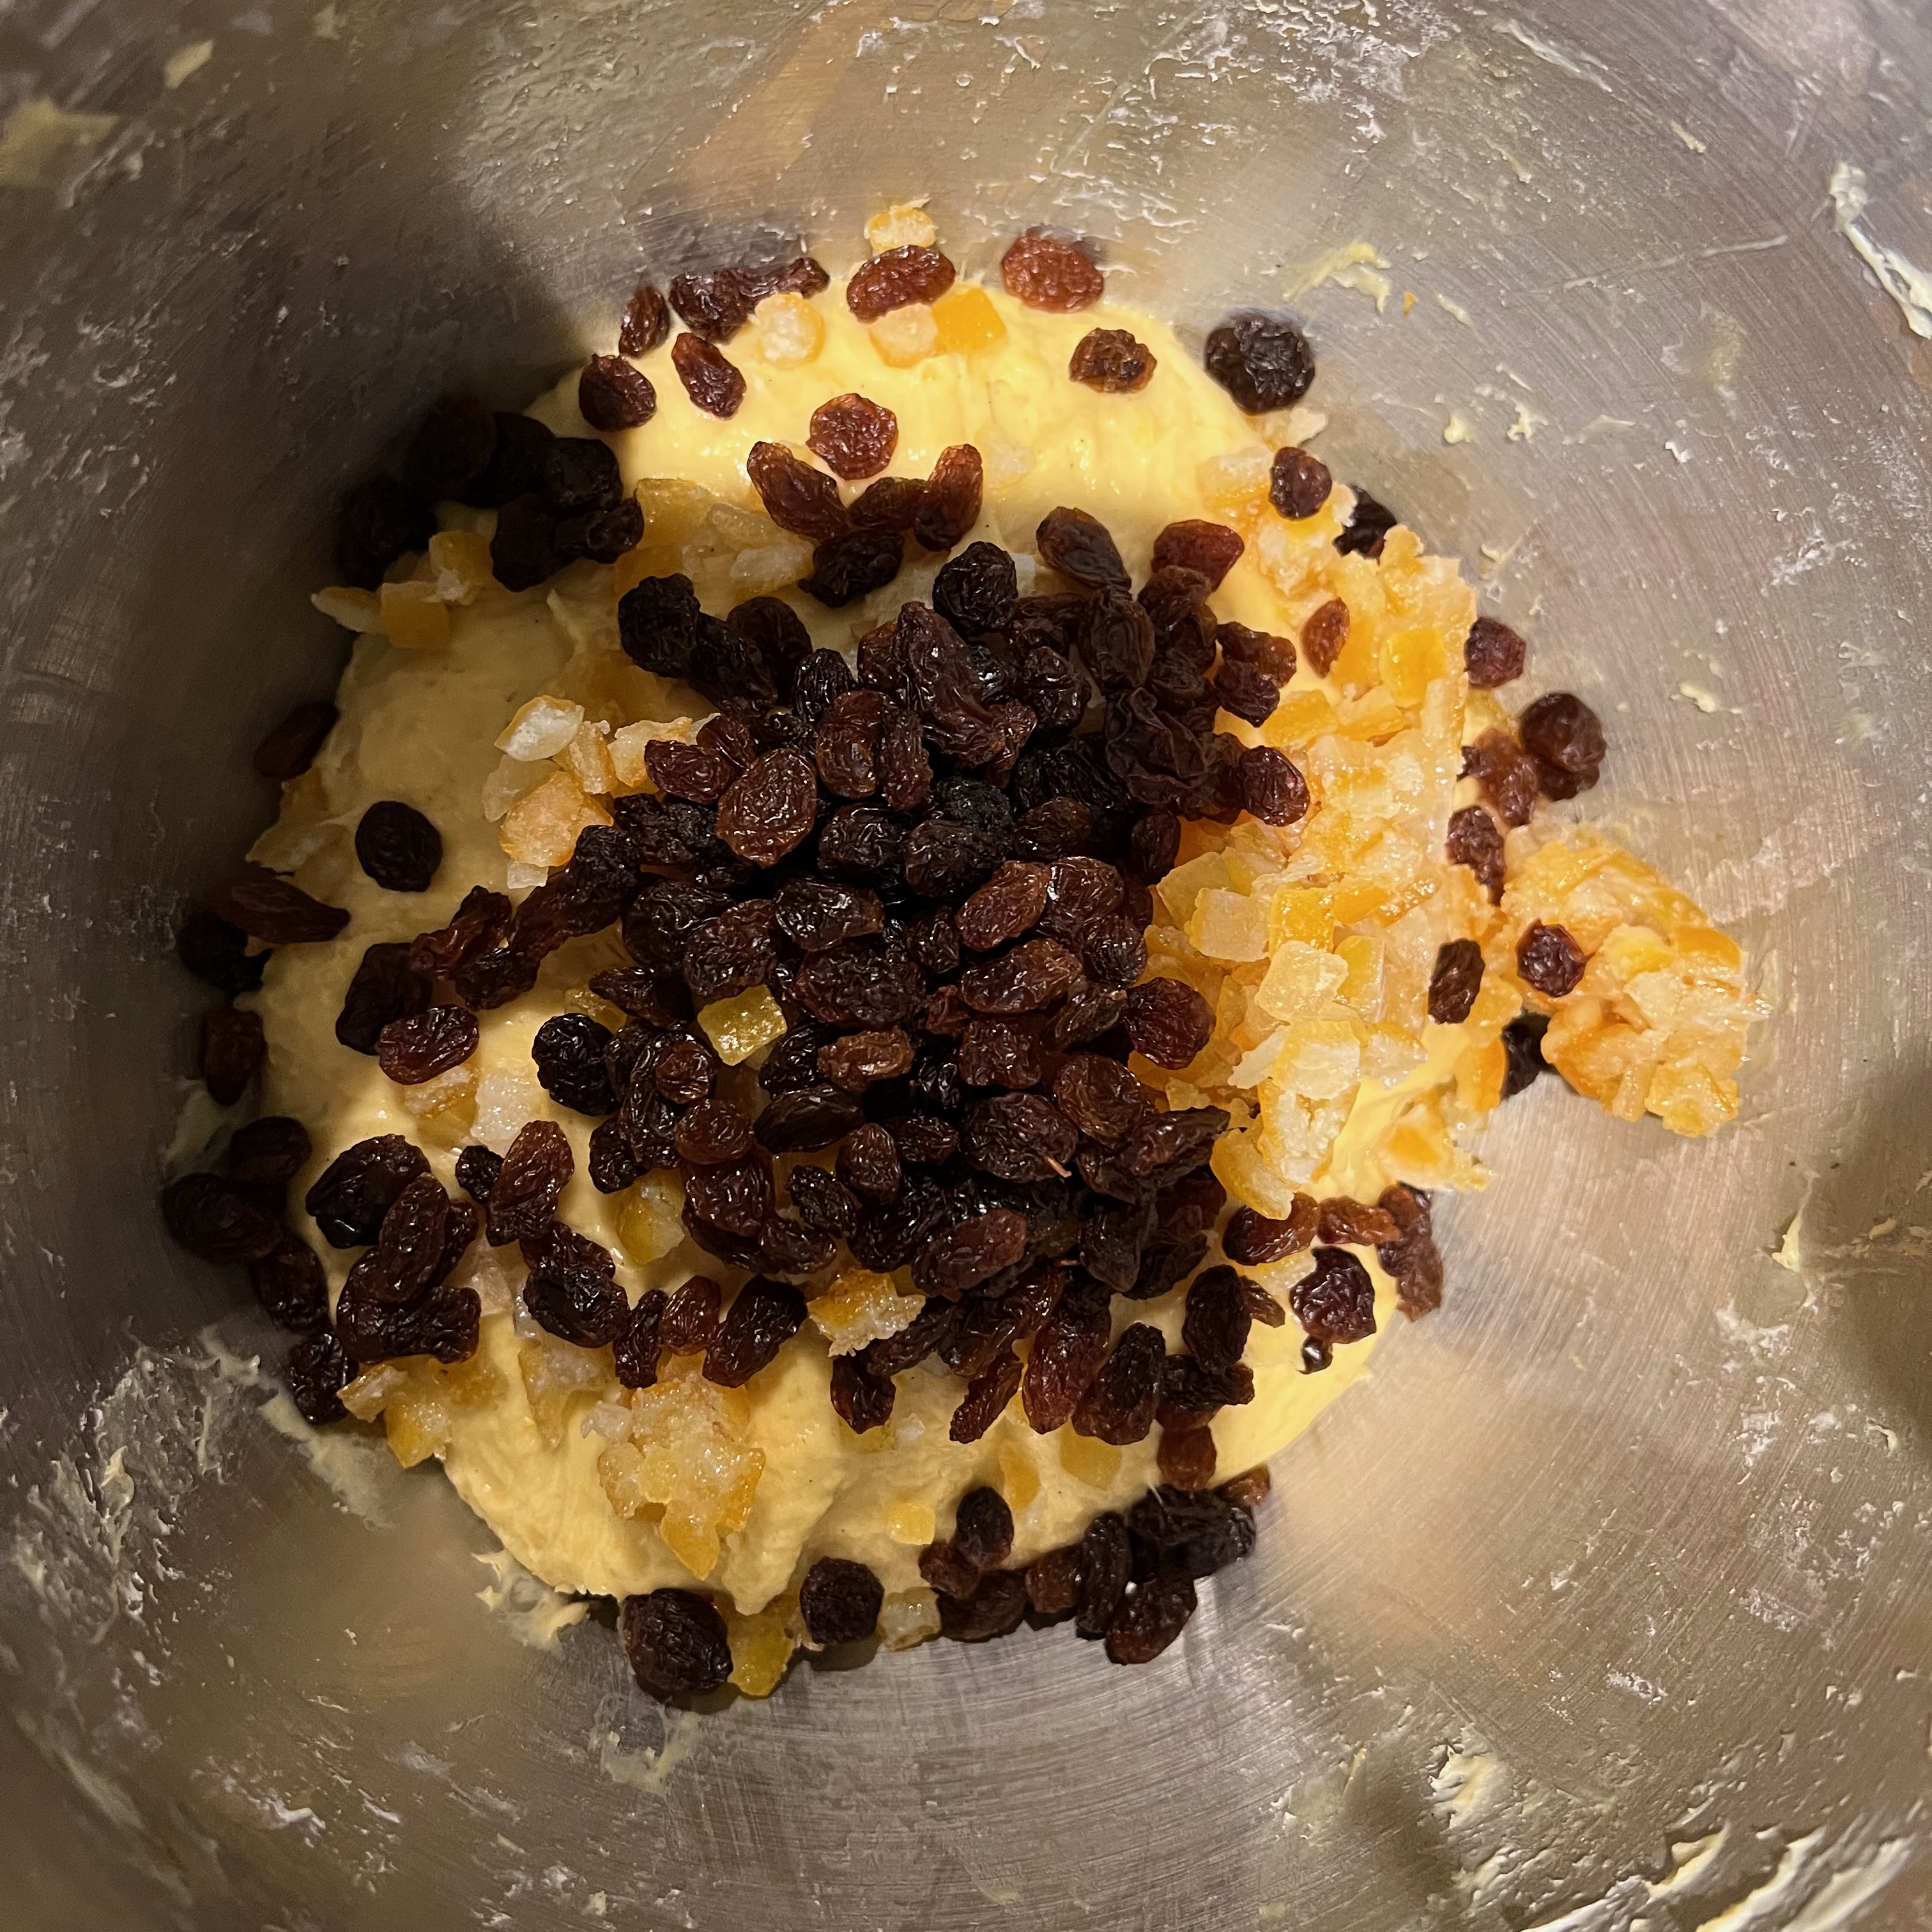
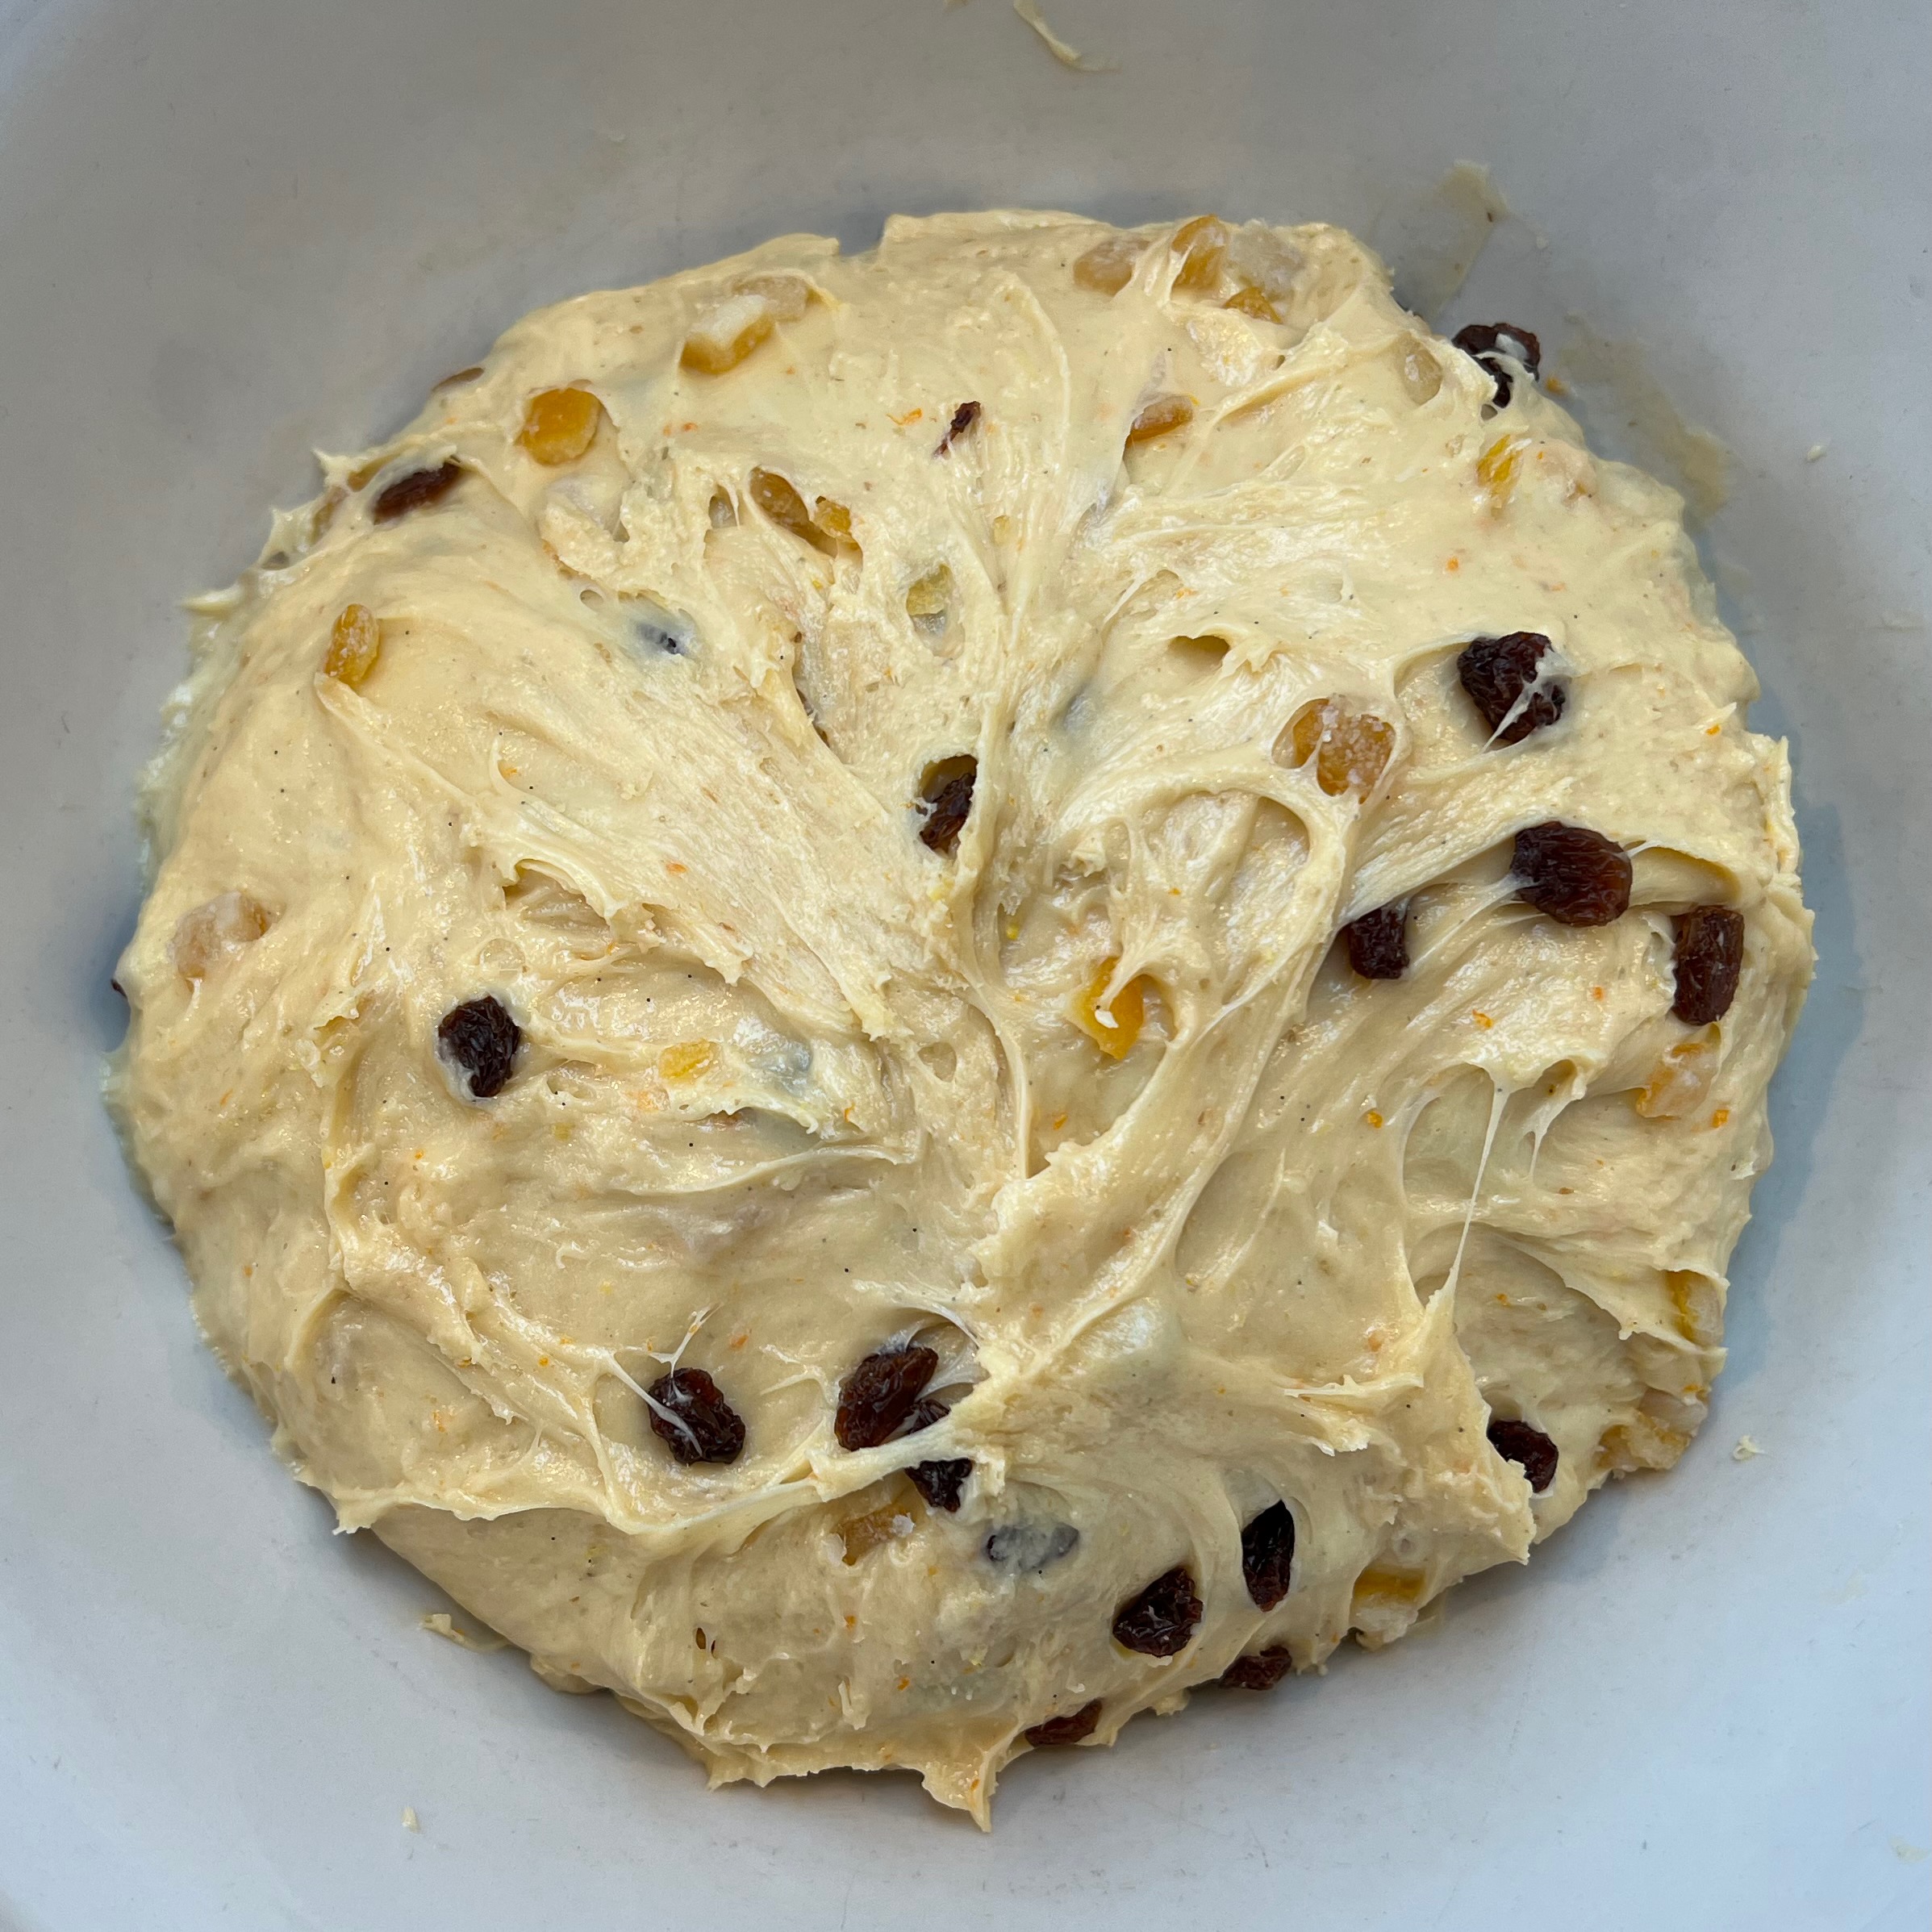
There are zillions of recipes, from the traditional candied fruit to those with more outlandish fillings: chocolate, hazelnut puree, tangerine paste, marrons glacés and so on. But there are a few things that distinguish a panettone from other breads/cakes of its type:
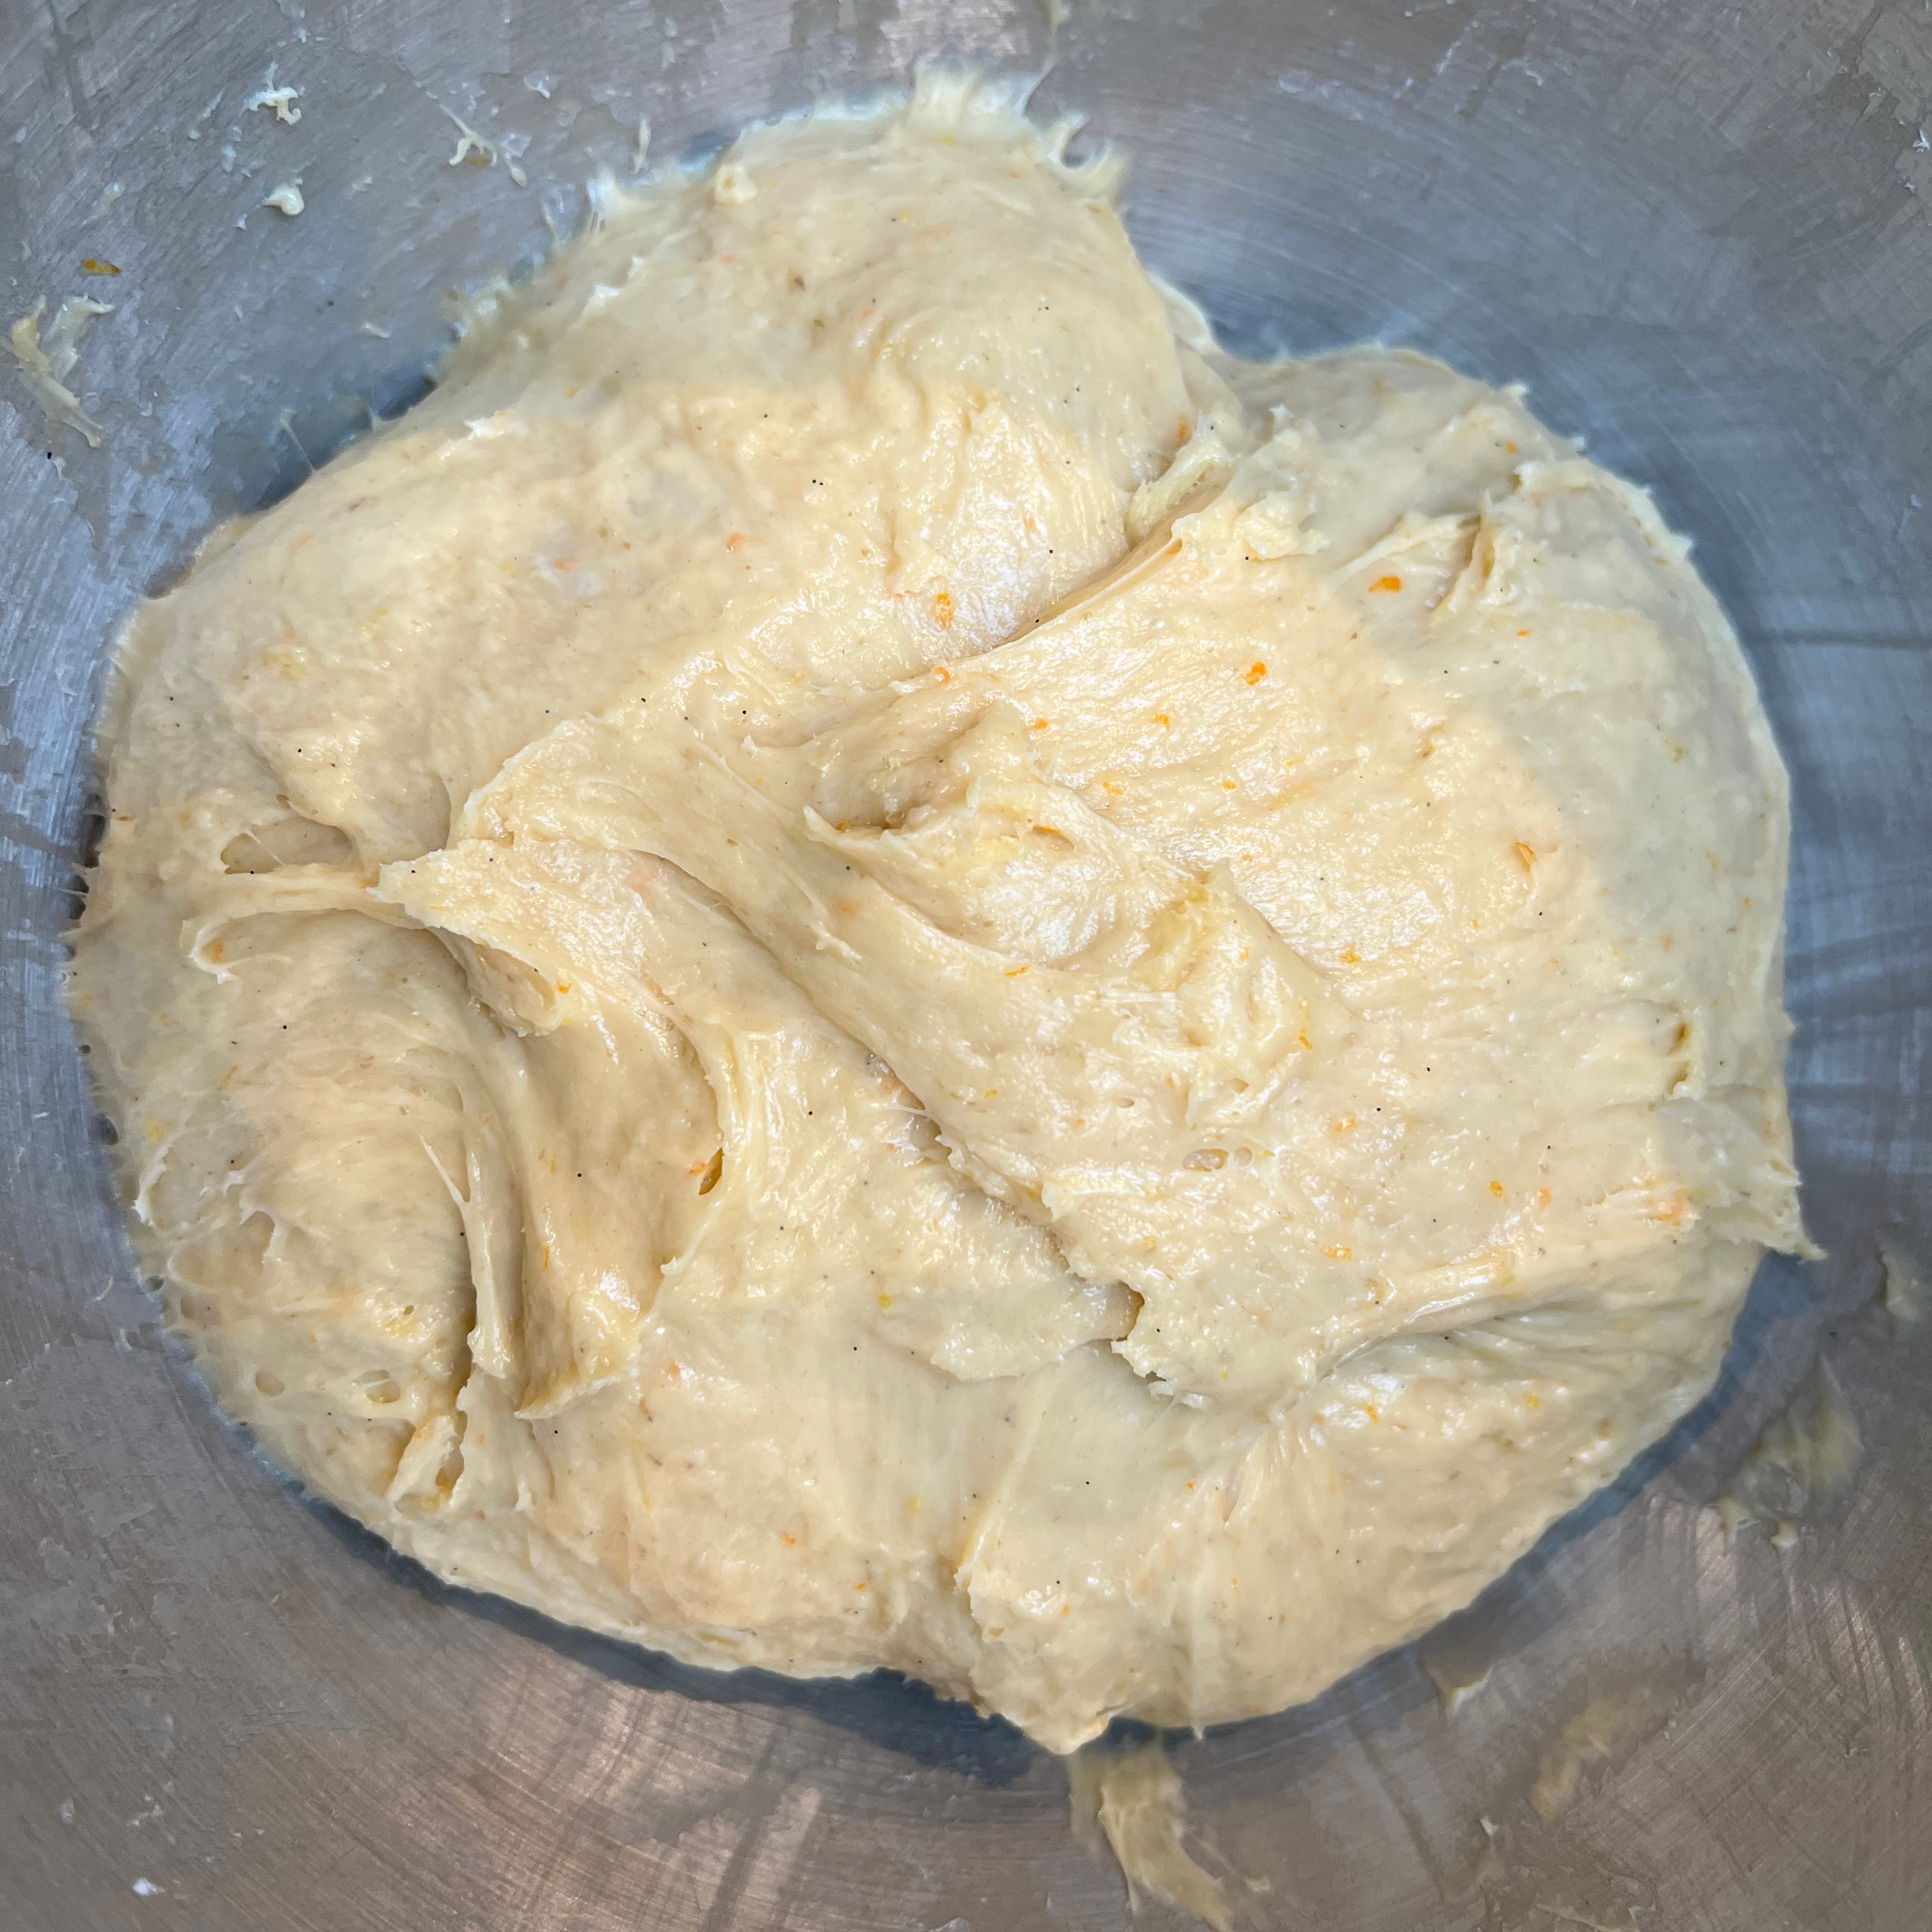
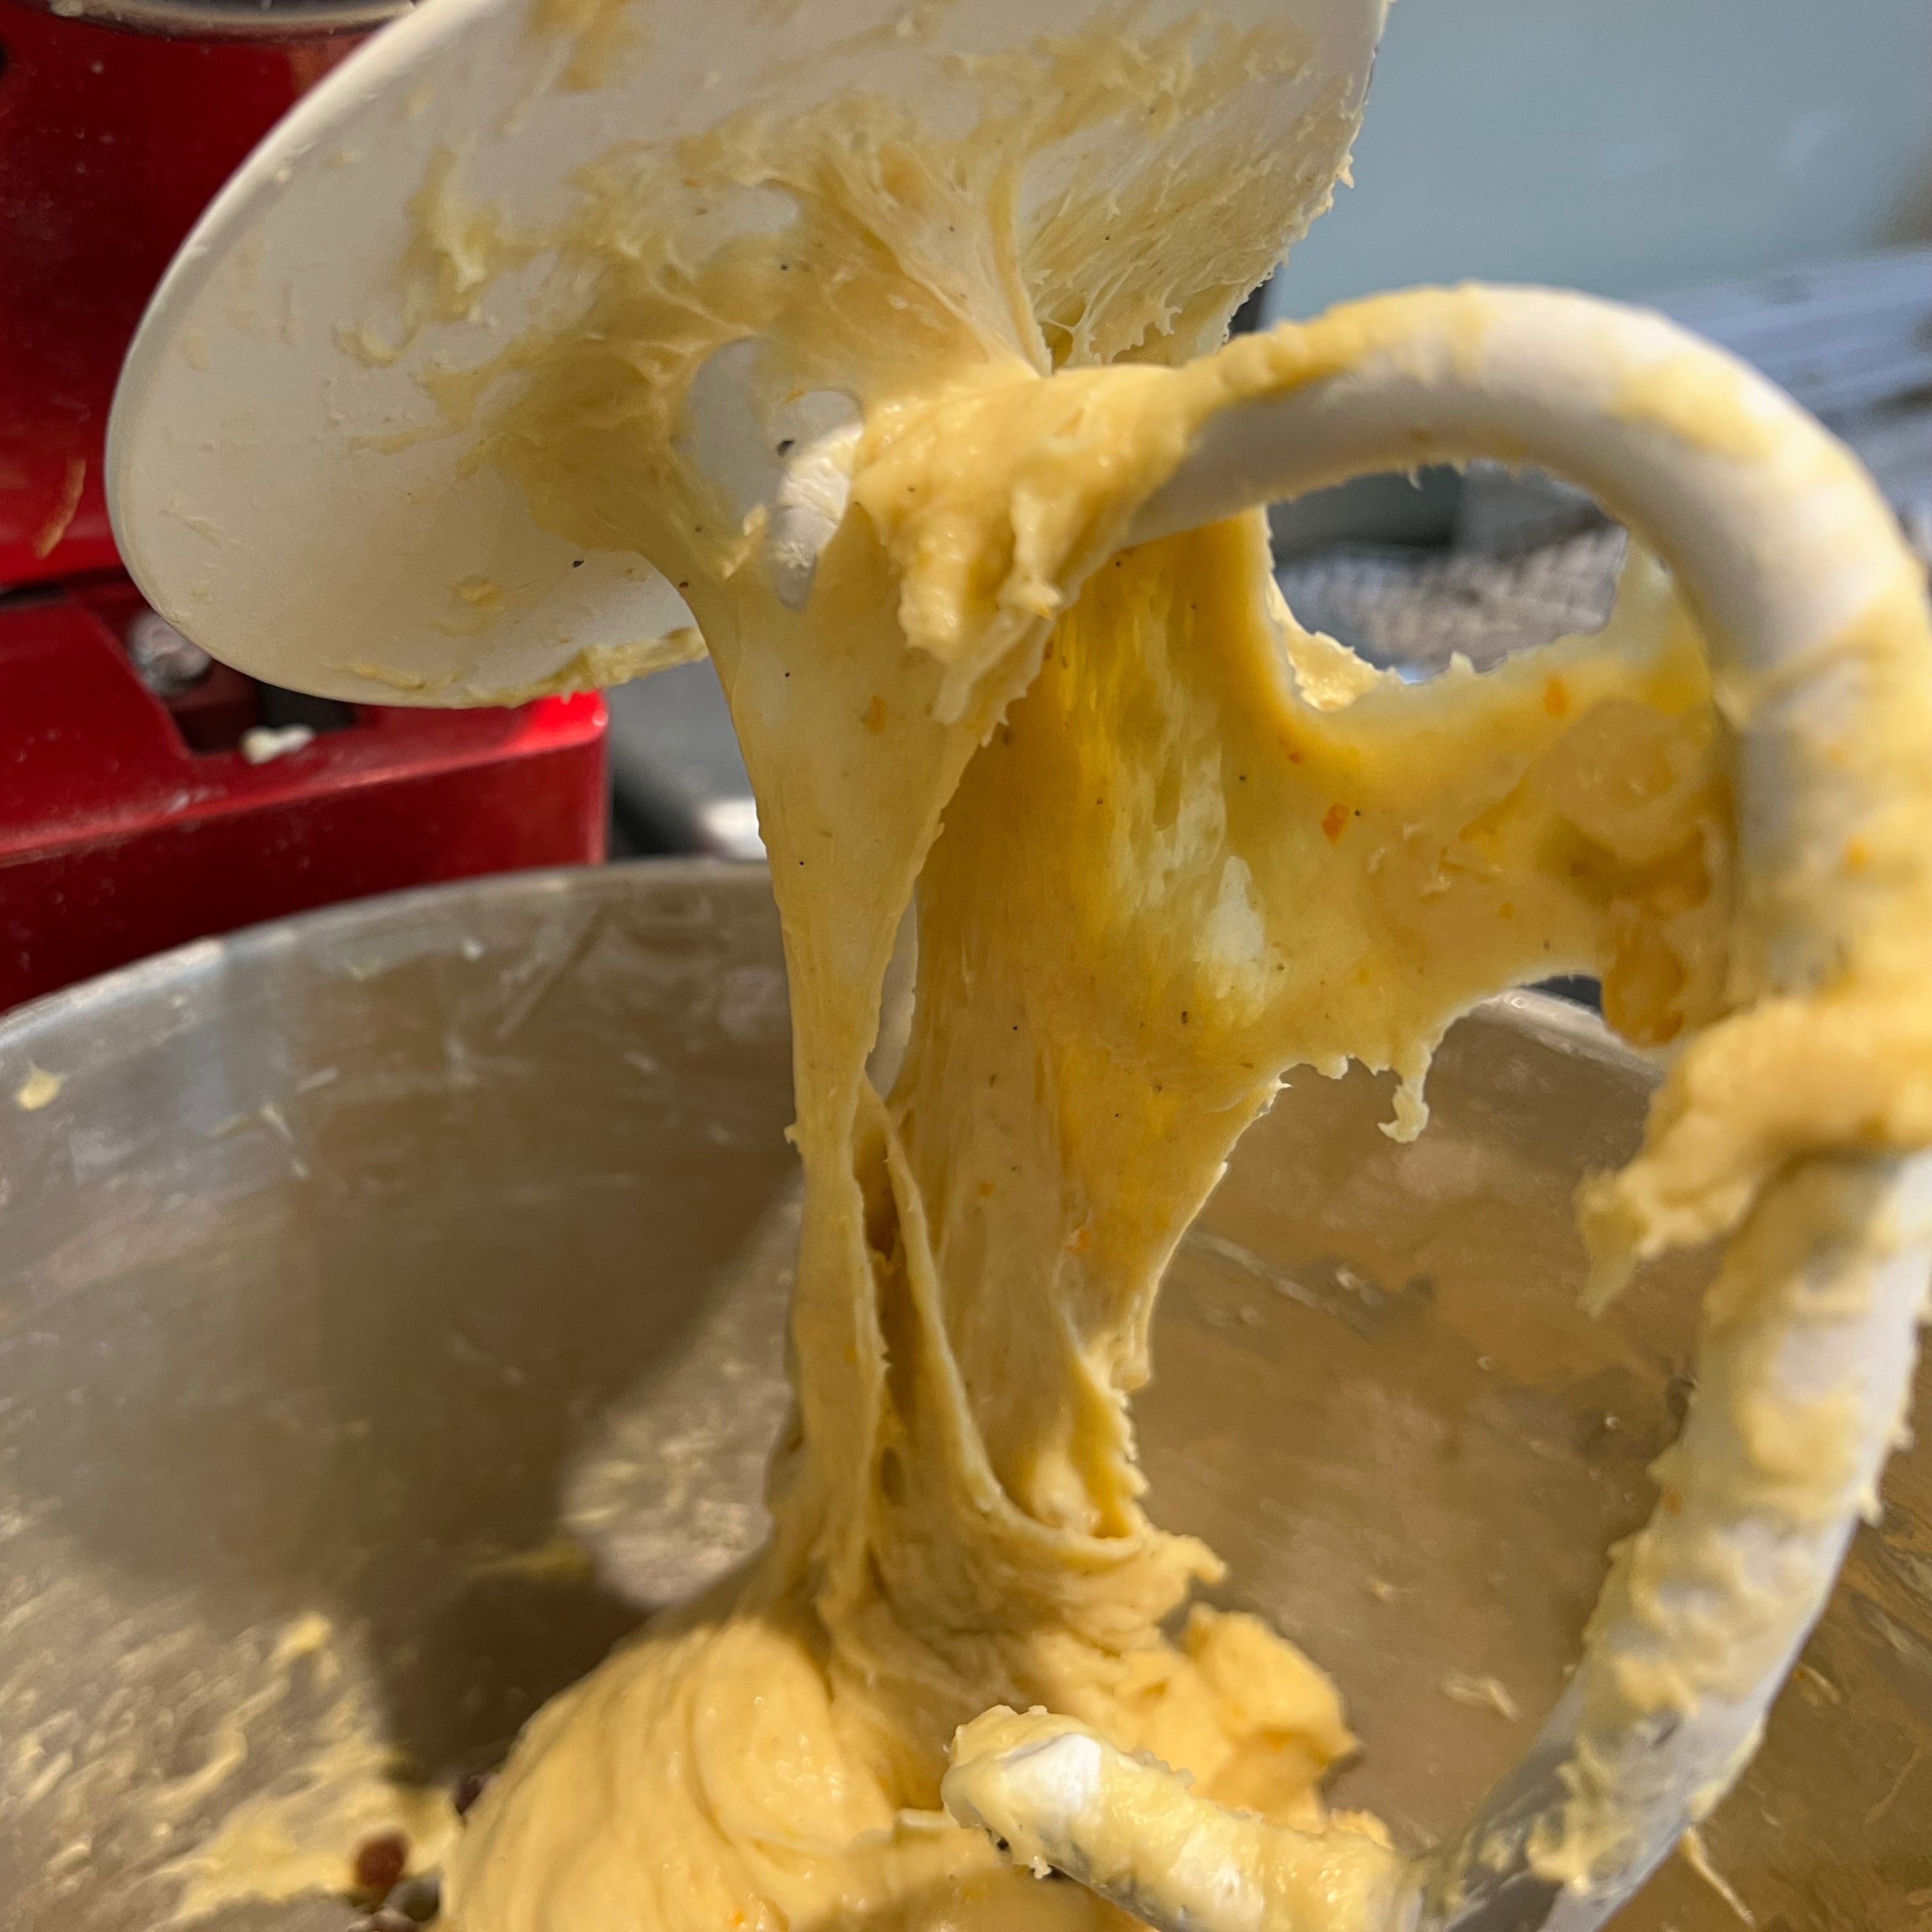
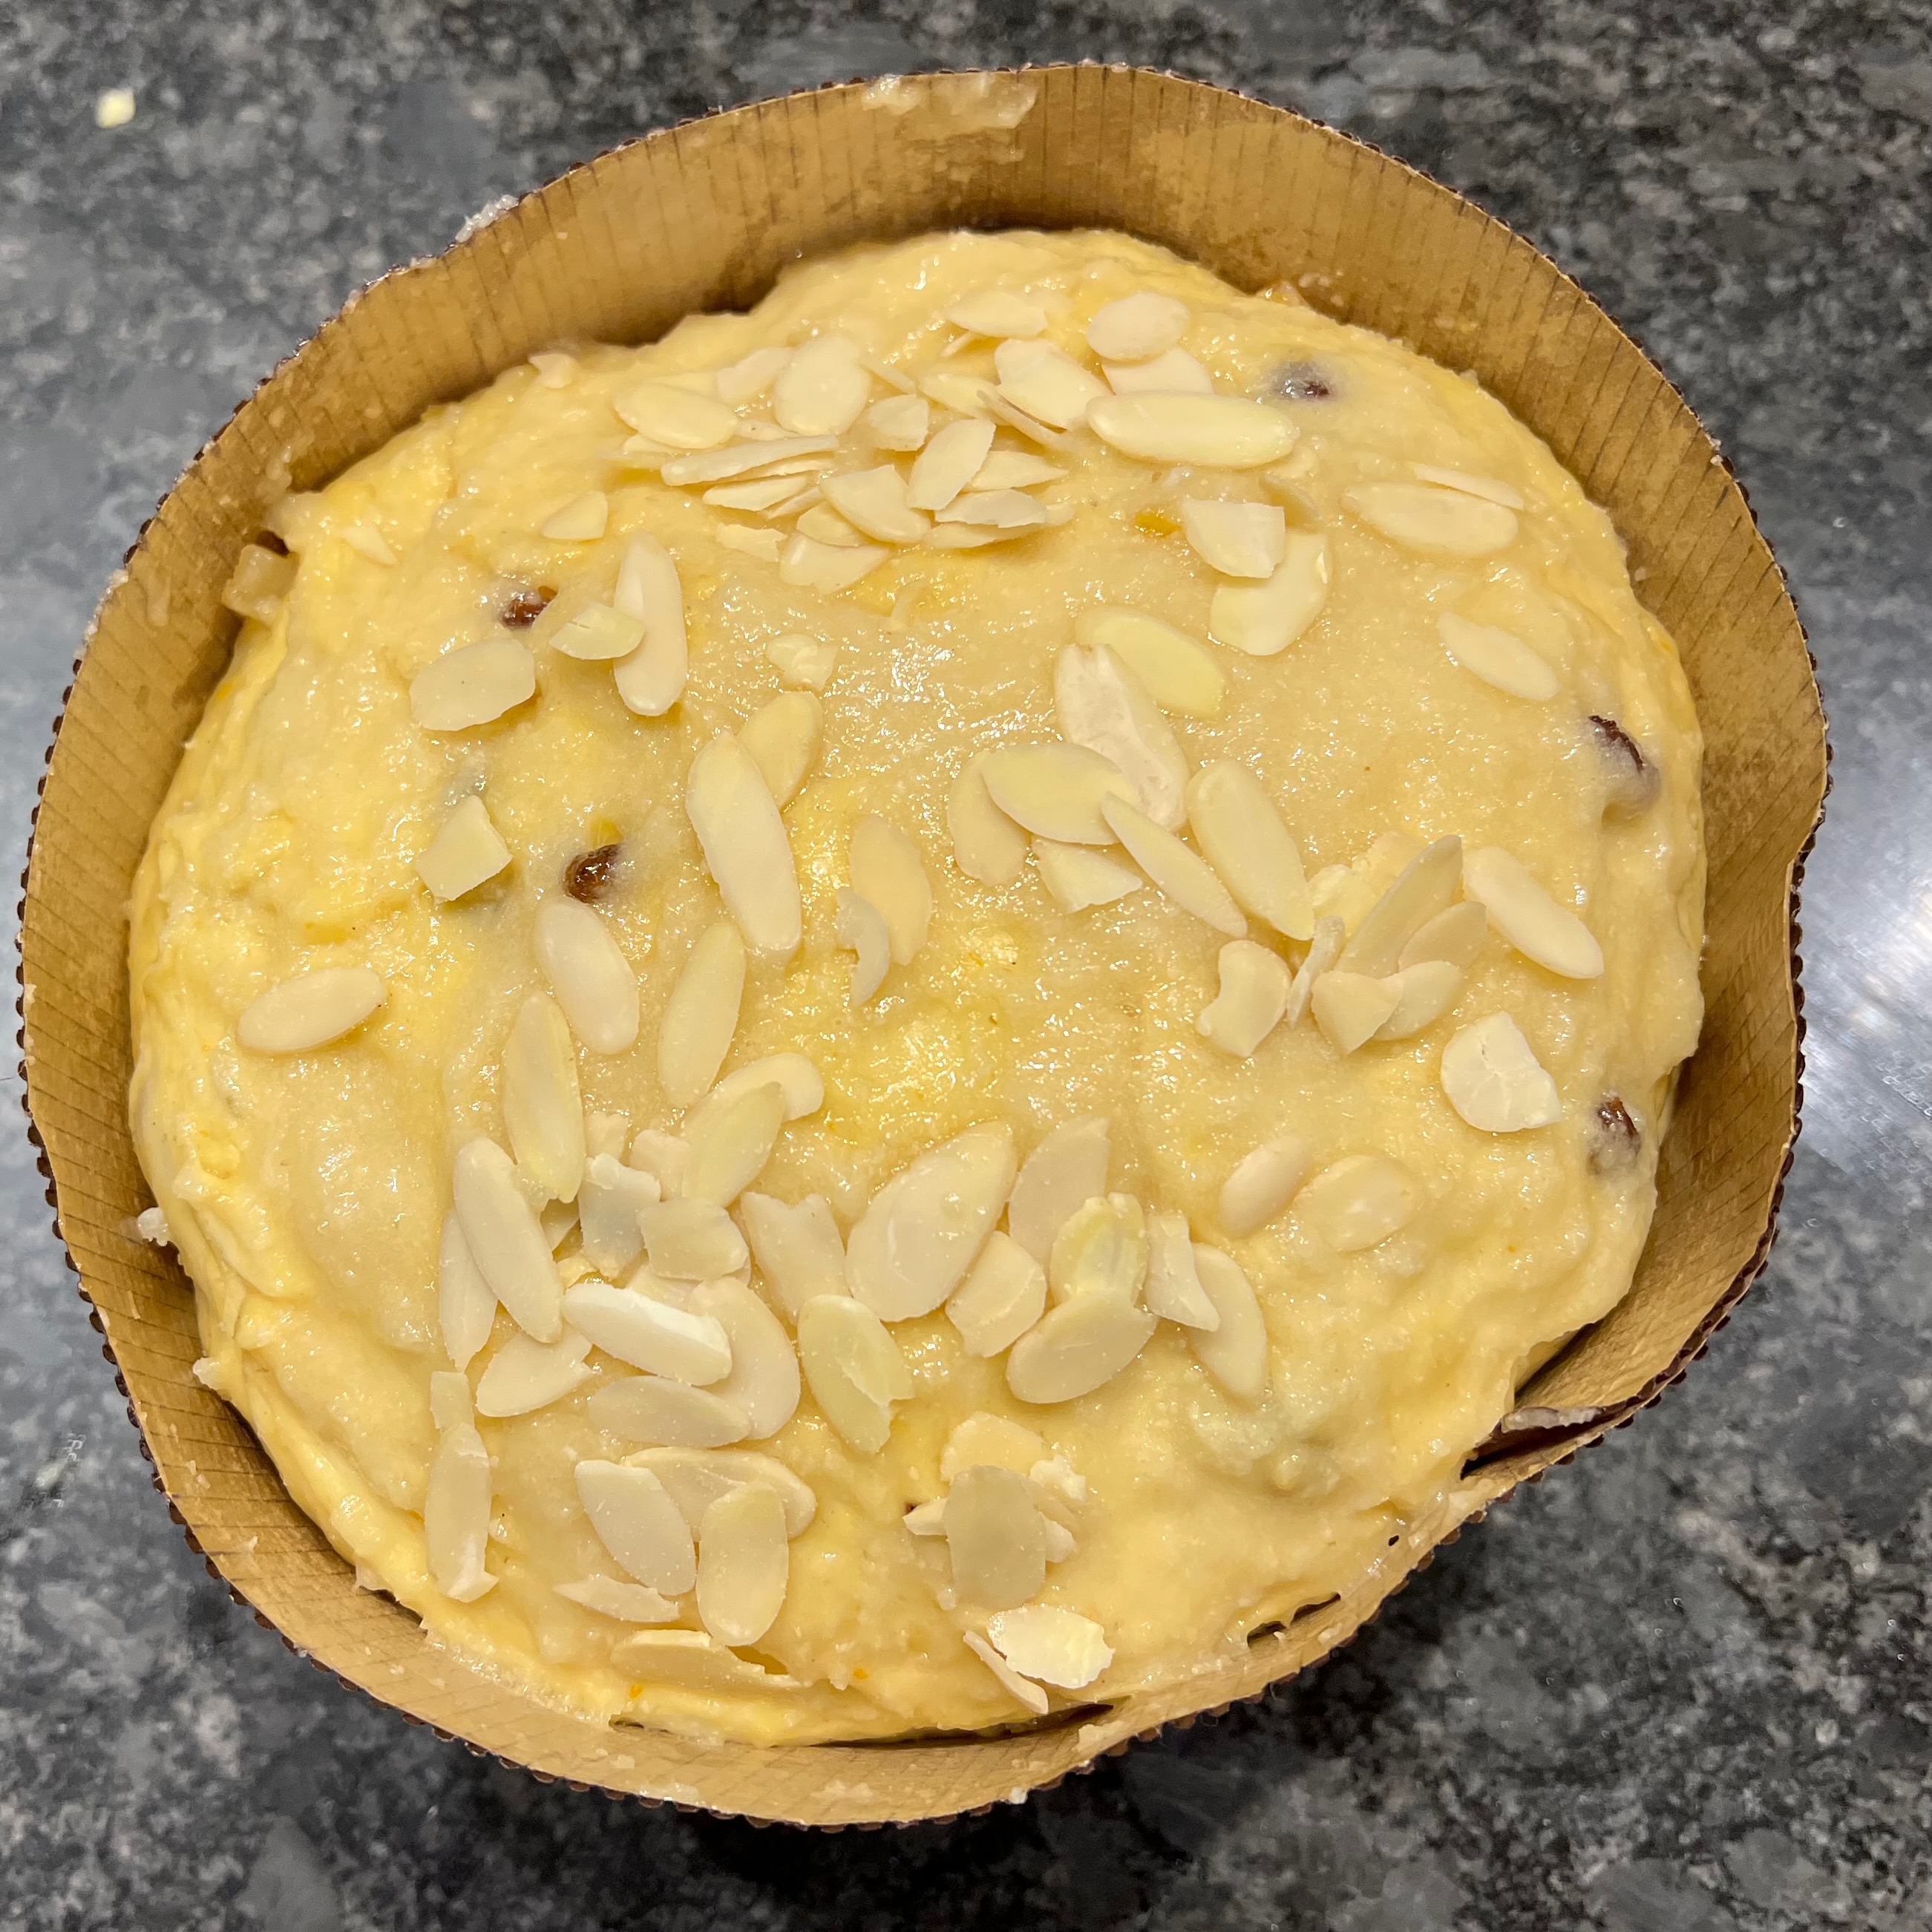
Making panettone turns out to be something of a project: it’s going to take you most of a day as an absolute minimum, with some recipes calling for multiple resting and proving stages taking several days, in order to develop the flavour to its maximum. I went for an intermediate, starting with a sourdough “sponge” at 6pm on day 1 and getting the panettone out of the oven around 24 hours later, to be cooled and ready for breakfast the next morning.
I ended up taking bits and pieces from several different recipes: Giallo Zaferrano, Great Italian Chefs, BBC Good Food. But rather than slavishly following a set of quantities and times, I relied more on getting the dough to look right at each stage, with my main reference being this video from chefsteps.com. You’ll see from the photos that my texture came out perfectly – I couldn’t have asked for better. However, my flavours beed adjusting for next time: I used a bit too much salt and not enough sugar and I was definitely too conservative about how much candied fruit to add. I’ve adjusted the quantities below to what I think I should have used (and will try for next Christmas).
Confession time: I was going by look and feel and not measuring all the quantities as accurately as usual. So if you’re going to try this, use your judgment.
Day 1, around 6pm: the sourdough sponge, part 1

Day 2, around 8am: the sourdough sponge, part 2
Day 2 mid-morning: make the dough
Day 2 mid-afternoon – stretch and fold
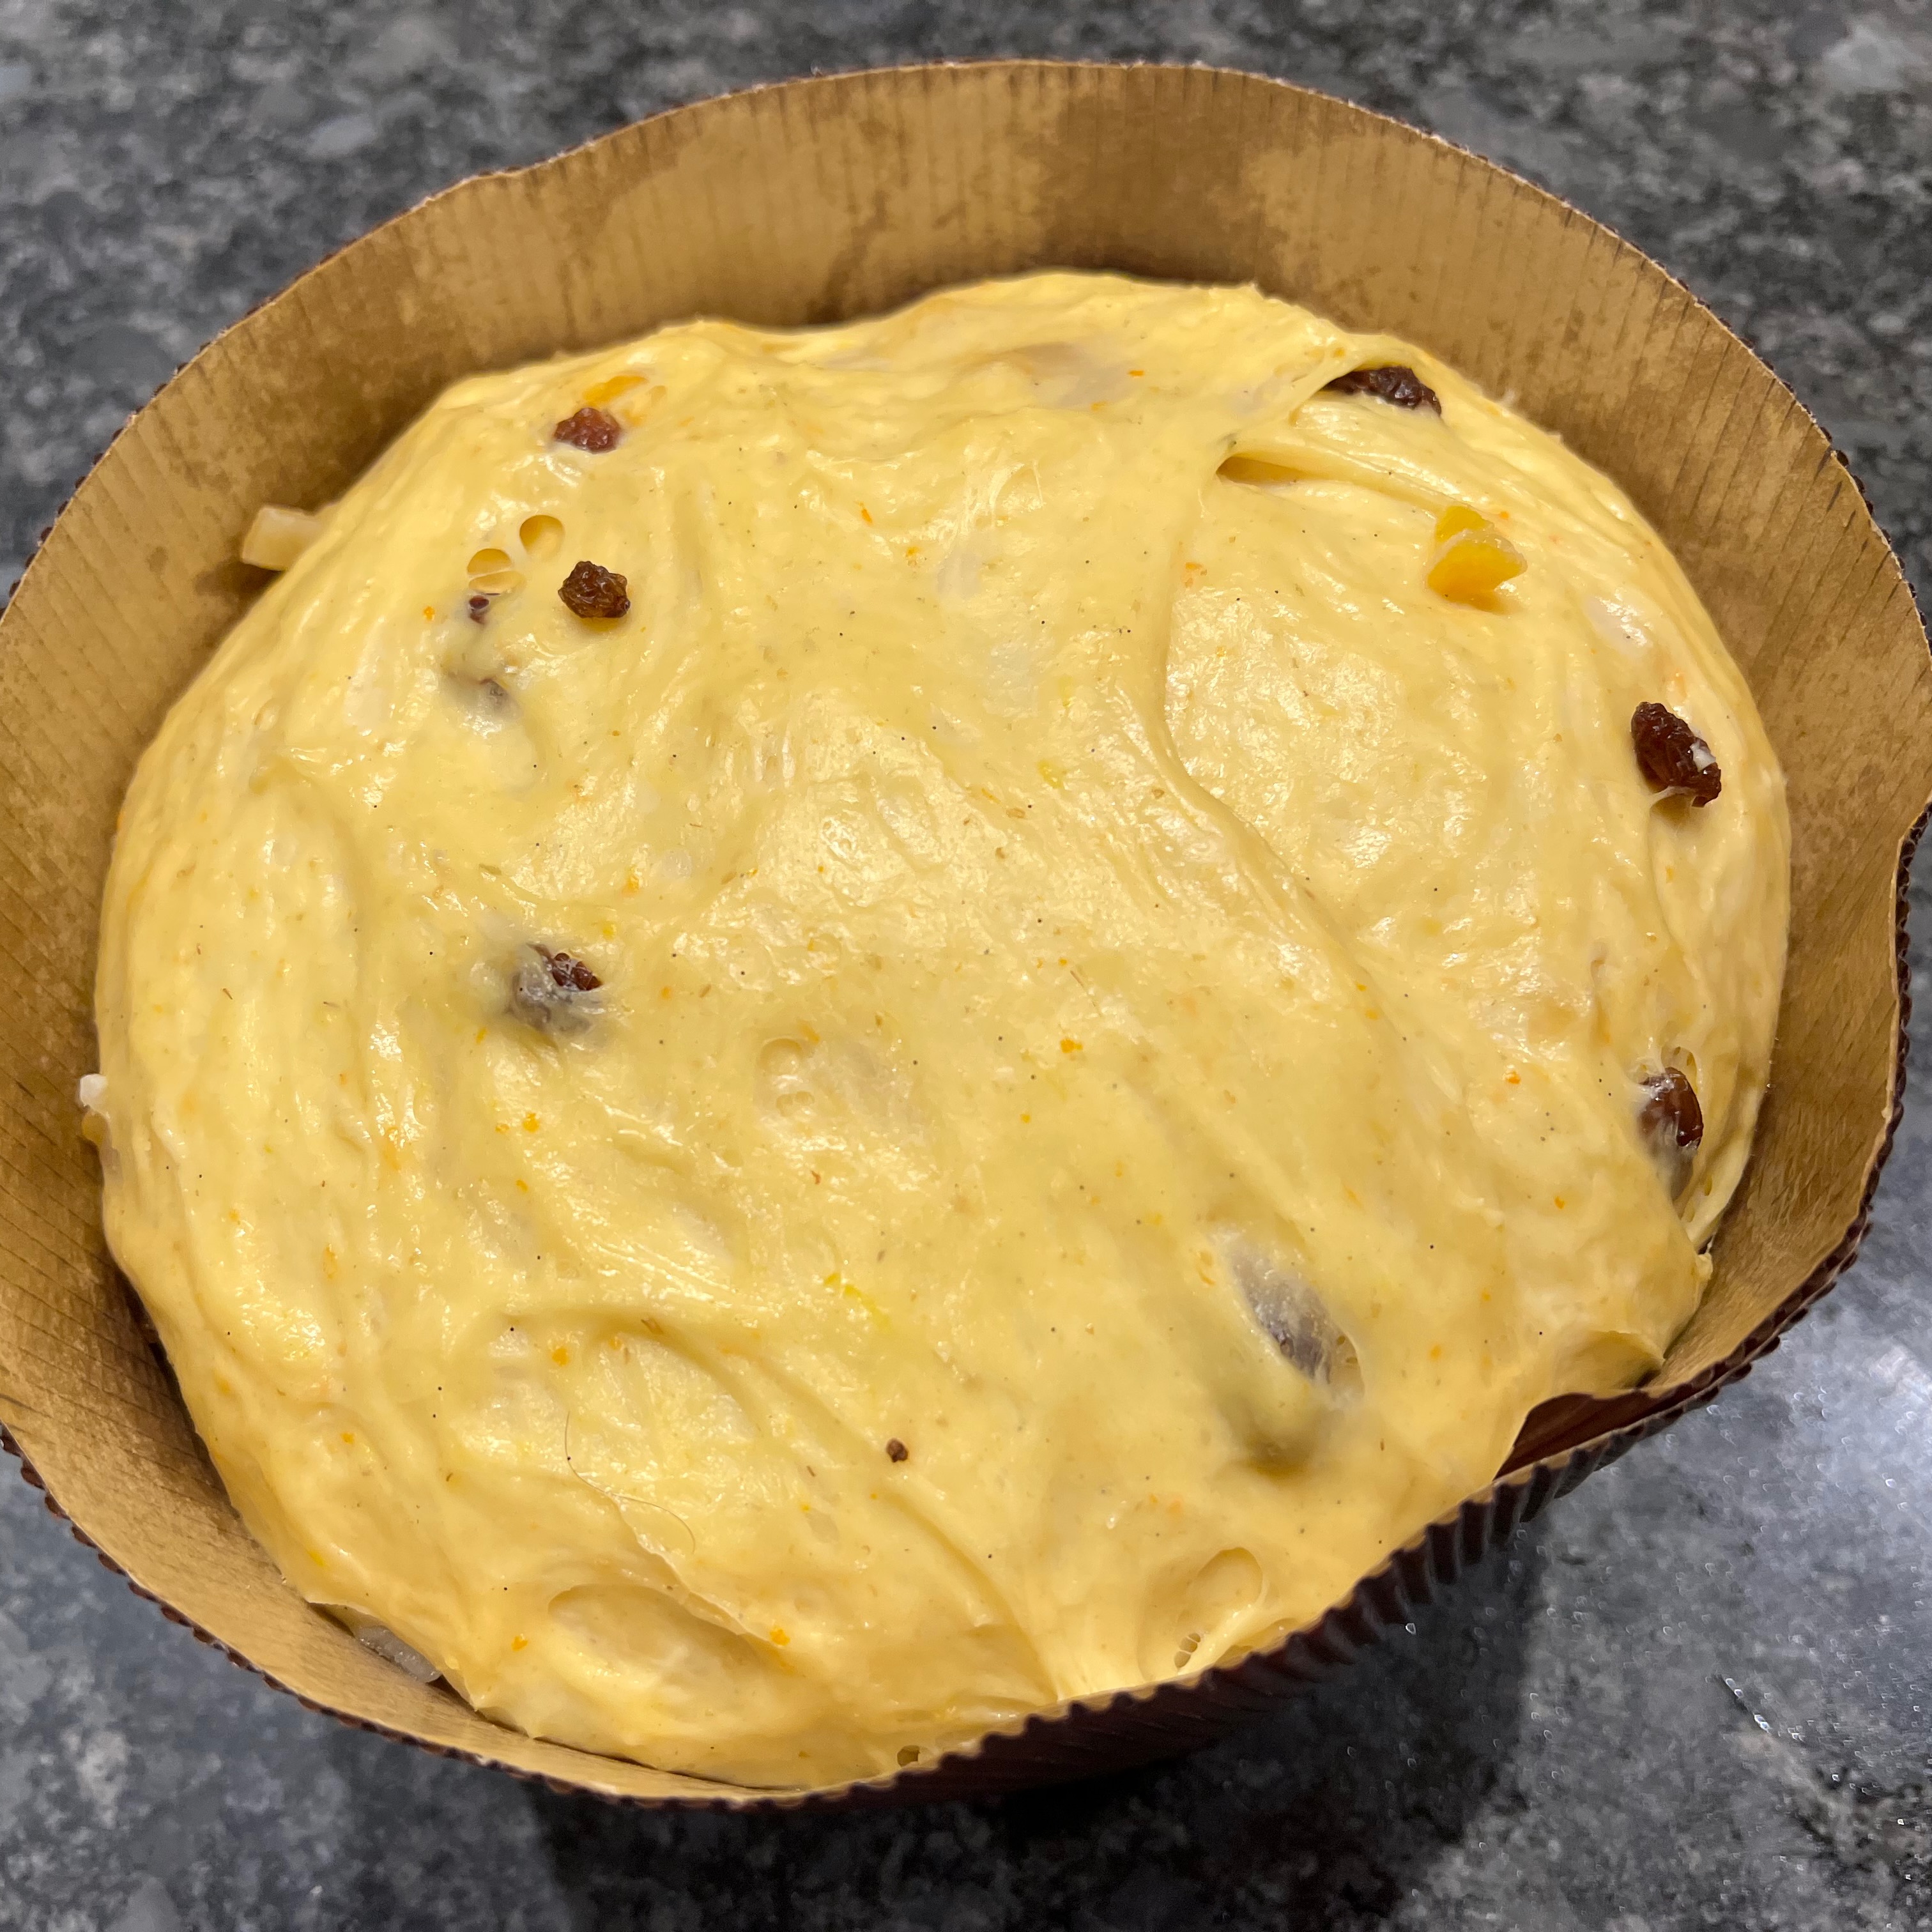
Day 2 early evening: glaze and bake
If you get this far and have a lovely dome reminiscent of the cupola of the cathedral in Milan, bravo!

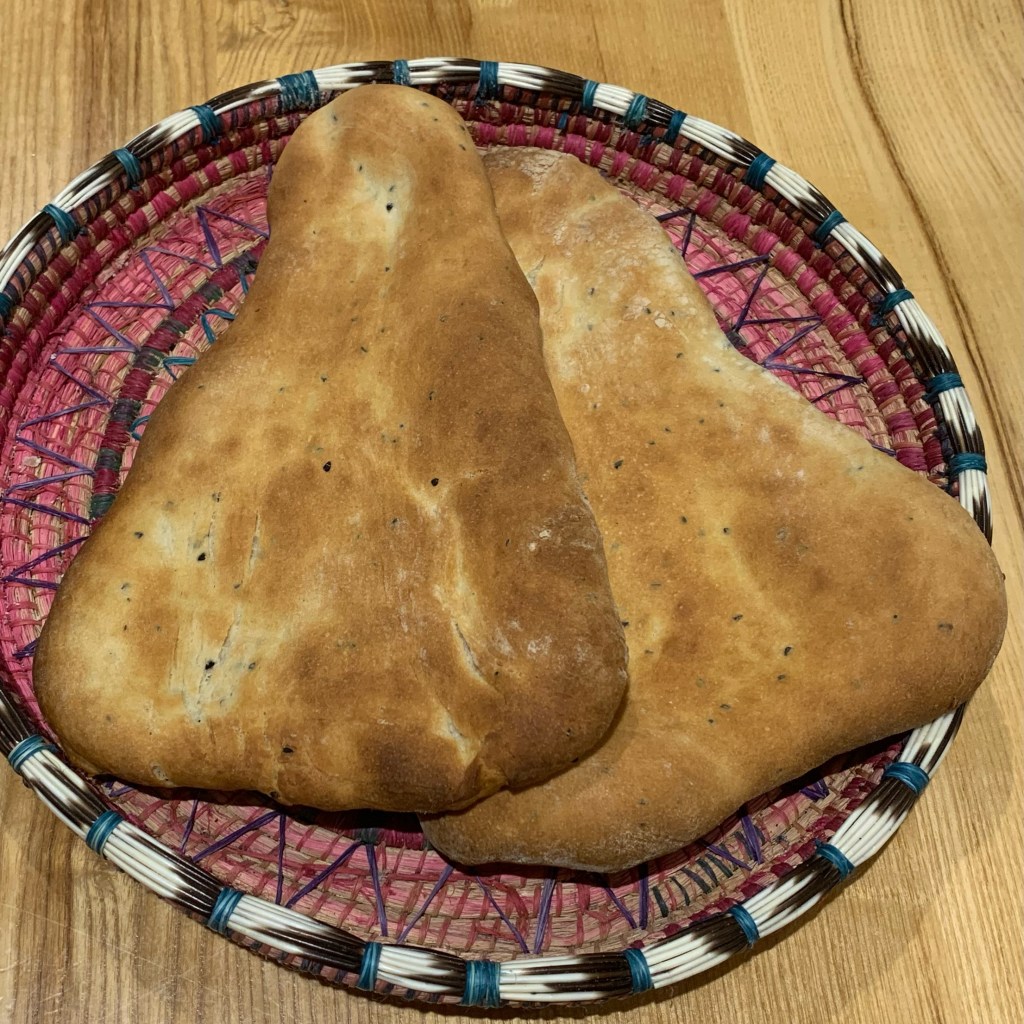
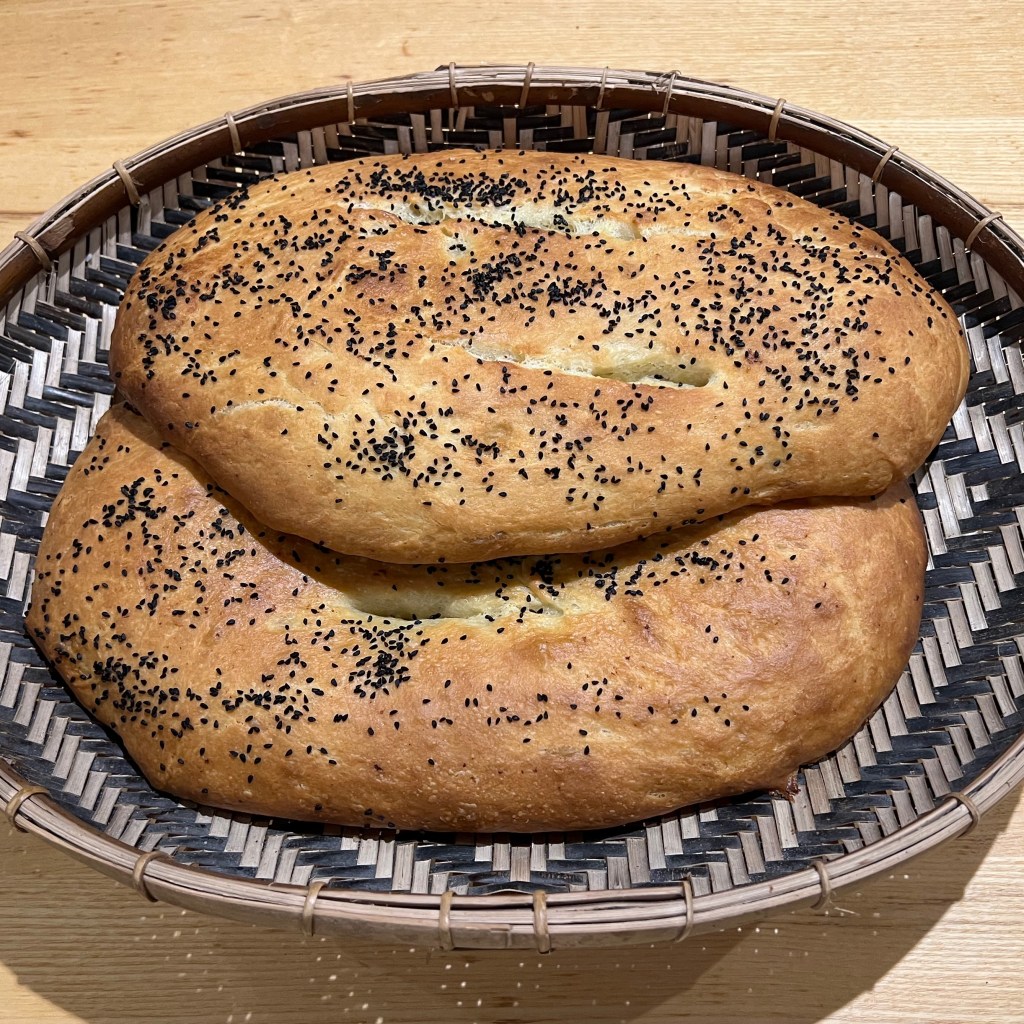
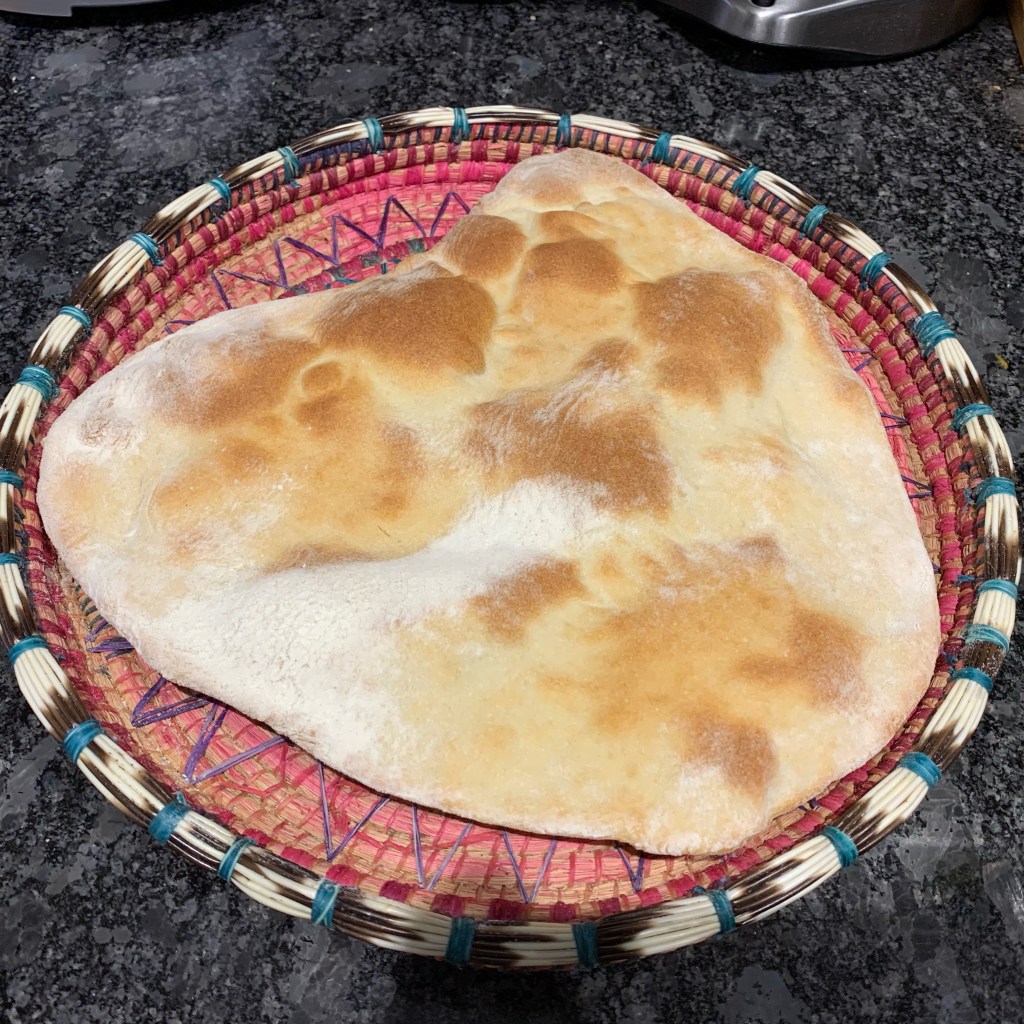
There have been many types of flatbread in this series. Persian flatbread – nân barbari – is my favourite, by a long way: its pillowy texture and crisp top are a winner. The recipe I’ve used is adapted from Sabrina Ghayour’s warmly recommended Persiana; it’s slightly westernised in that I don’t think they use melted butter for the top in Iran and I’ve westernised it further in that suspect that a self-respecting Iranian baker wouldn’t use a stand mixer either. But these are details: this is reliably the best flatbread I know and it works with just about any Middle Eastern dishes, not just Persian ones.
This recipe makes two flatbreads, which feeds around 10-12 people as part of a buffet including one other starch like rice or couscous. The multiple kneading and resting process described here results reliably in a fabulously stretchy dough; you could try taking shortcuts on it but it’s always worked so well for me that I try not to.
The ideal timing is for the bread to come out of the oven so that you can cool it to around 10 minutes before taking it to the table. Most of us don’t actually manage this and it doesn’t really matter.

We’re now into the last ten bakes in this series, and I’m going to stop insisting on a different country for each bake: rather, I’m going to revisit some of the countries we’ve already looked at where we’ve missed recipes that seem so important that it seem crazy to leave them out just because I’ve included another bake from that country. Phileas Fogg might object.
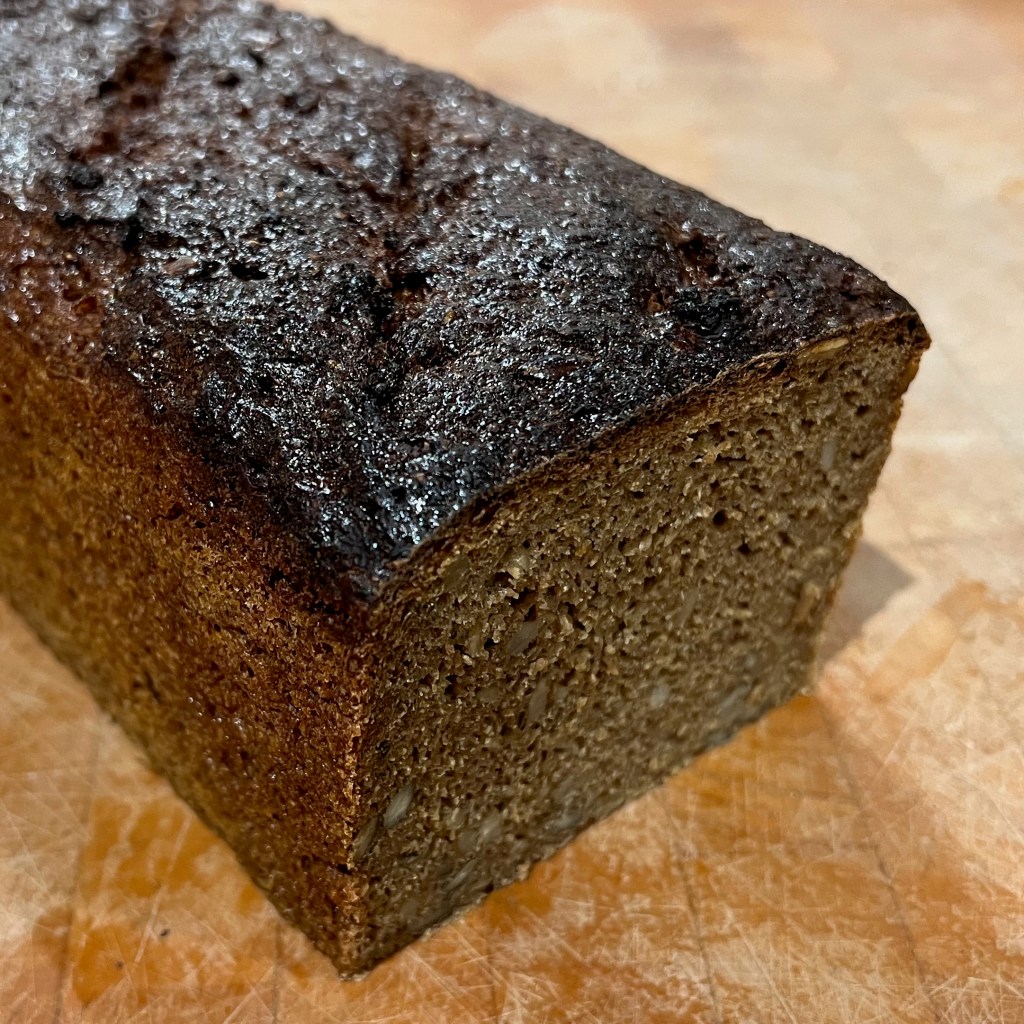
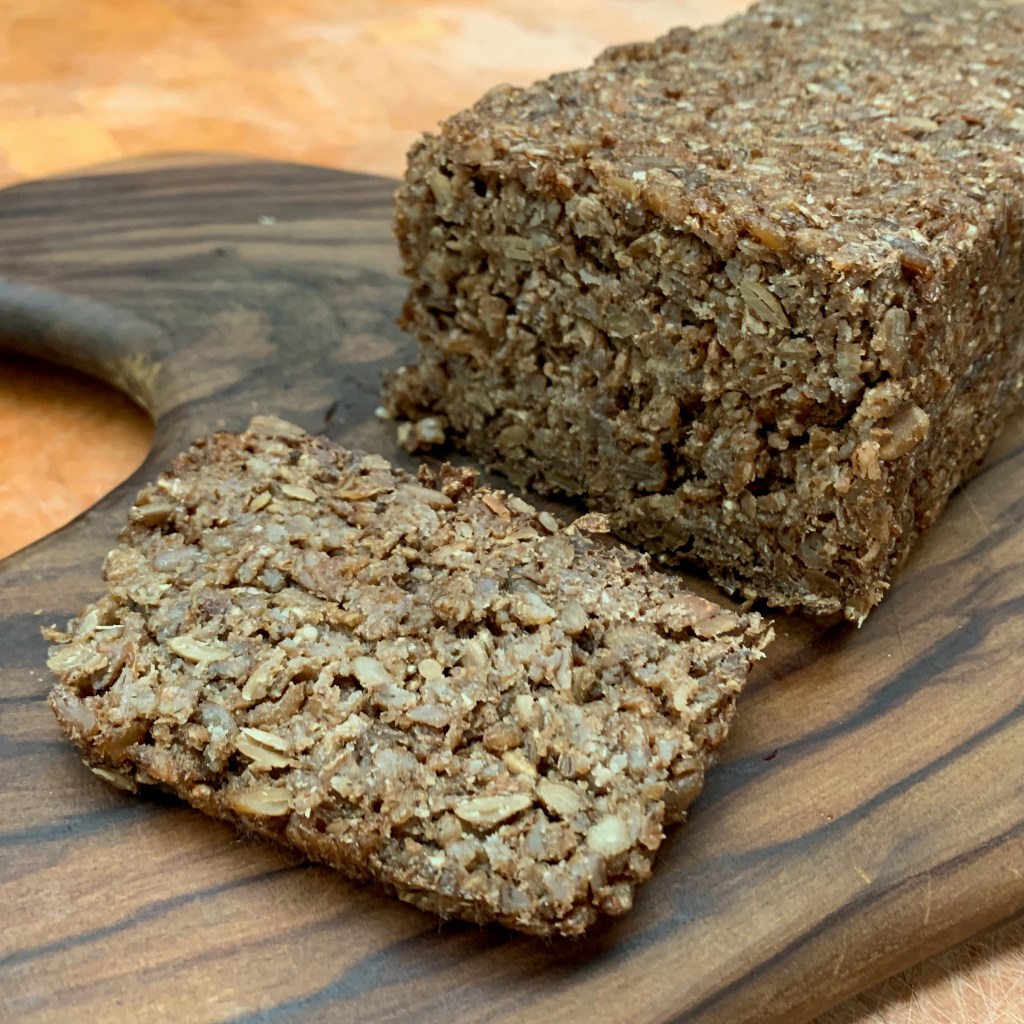
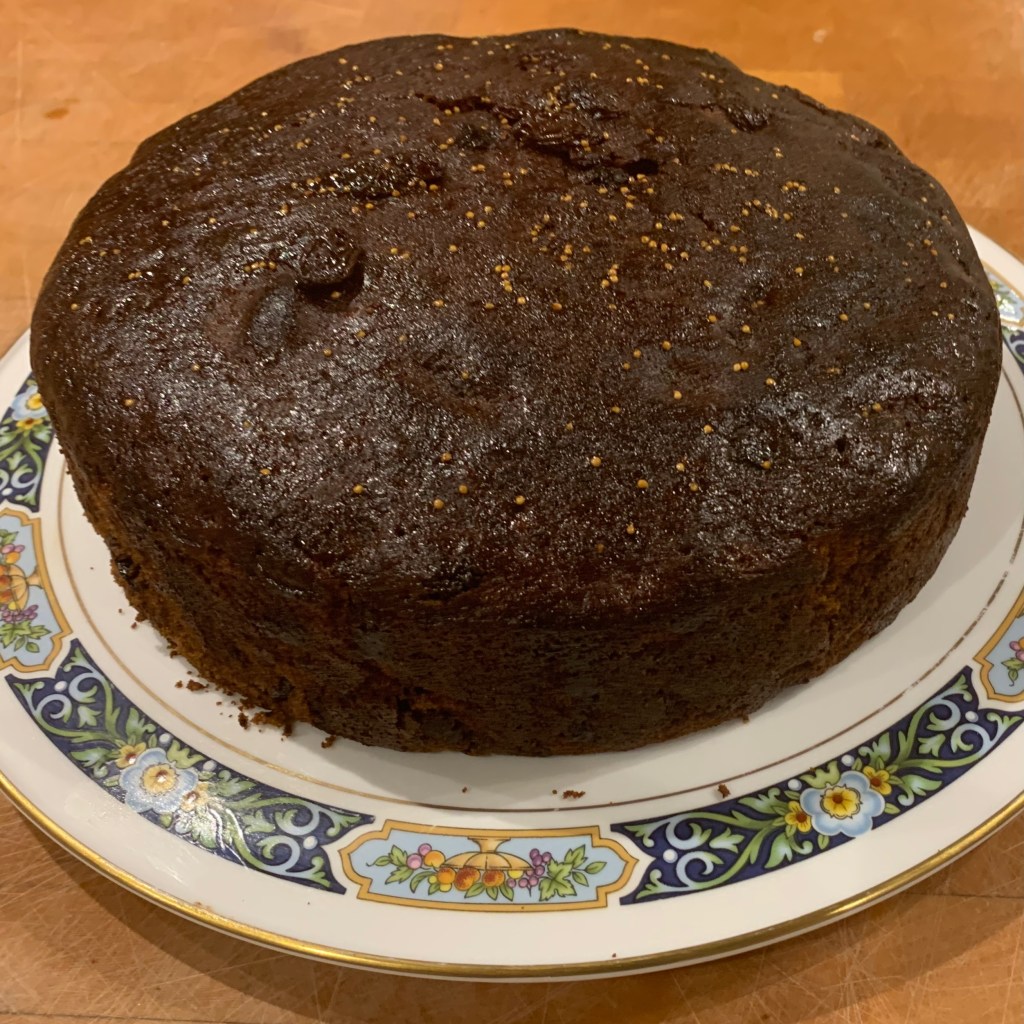
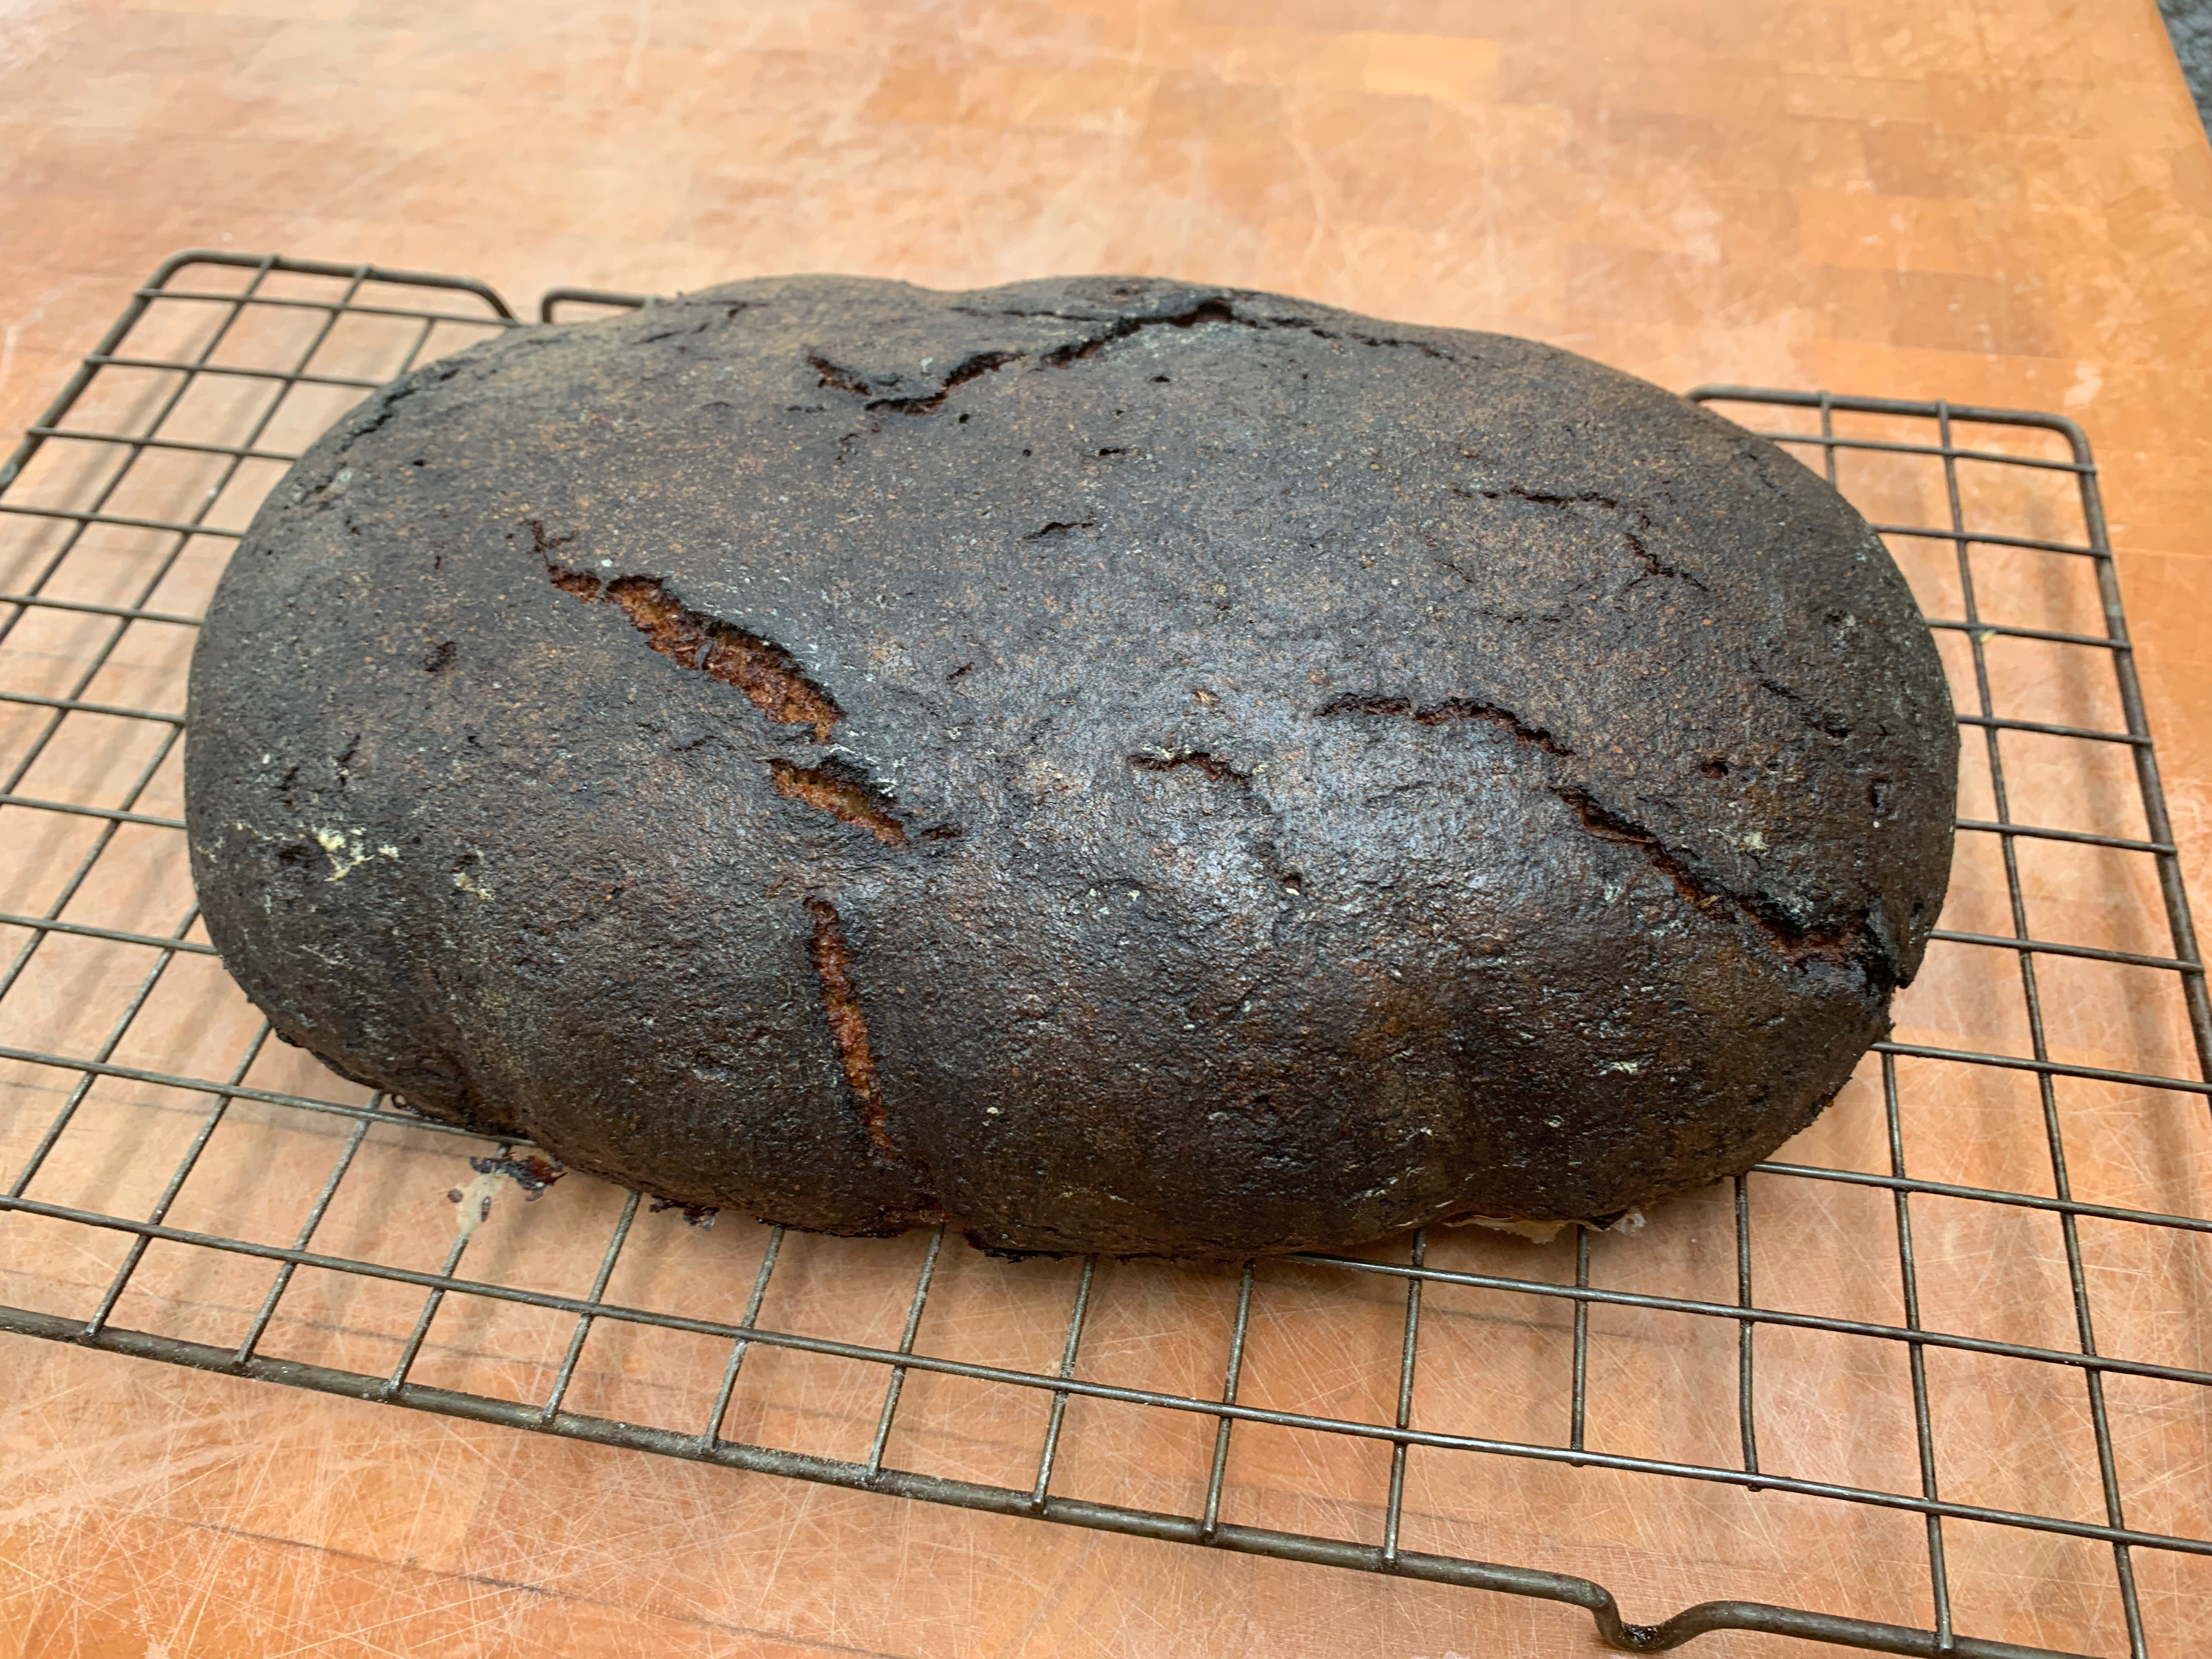
I’m going to start with Germany and the darkest, blackest rye bread called Pumpernickel, and more particularly with the original version from Westphalia (“Westfälischer Pumpernickel” in German), which has a baking time of 24 hours, the longest of any bread I know. The idea is that the very slow, low temperature bake imparts a particular colour and flavour to the bread in a way that you just don’t get by adding colouring agents, even natural ones like malt extract or molasses. The resulting bread, sliced thinly, is the best thing in the world to accompany dishes like smoked salmon or gravadlax.
The long baking time makes this version impractical for many commercial bakeries, so many other processes get used, usually going for a higher temperature, shorter bake, and often adding some plain wheat flour to the rye in order to get some gluten structure. The version I’ve done is certainly tricky to handle – I haven’t got it 100% right on this first try (I’ll explain what needs to be done differently) but I think this is going to be a bread that I revisit many times.
I went for an amalgam of various German recipes (most notably this one) and the instructions in Andrew Whitley’s Bread Matters.
The first key to pumpernickel is the use very coarse, dark rye flour. This is something you can’t necessarily get in the shops, so I’ve started with rye flakes and run them through the food processor. I did this fairly lightly, resulting in a loaf with a very grainy structure that the Germans would call “Vollkornbrot”. I love it – you may wish to grind down the rye flakes or grains rather more than I did. I also added some sunflower seeds, which one sees in several German recipes.
You’ll need a sourdough starter, home made or bought. My regular sourdough starter is made purely with dark rye flour: I use 90g at a time and replenish with 30g flour and 60g water. You will probably have your own version.
This isn’t a labour-intensive bake, but it takes a long time: you need to start around three days before you intend to eat the bread.
Day 1: production sourdough mix and main seed mix


Day 2 – get the bread into the oven
Day 3 – bread out of oven

Day 4

To borrow Mr. Spock’s apocryphal turn of phrase: it’s baguette, Jim, but not as we know it. Tapalapa, from the Gambia, is shaped like baguette, but there the resemblance ends: where the centre of a baguette is soft, aerated and, let’s admit it, relatively tasteless (the flavour is all in the crust), tapalapa is a heavier bread with a dense crumb and a strong, distinctive taste…
…which means, dear reader, that this is a bread that splits the crowds. One of my family members loved it and one hated it. I’m in the middle: I really enjoyed tapalapa when eaten with the right things (hummous was ideal) but there a lot of European foods I wouldn’t eat it with – don’t under any circumstances try it for teatime bread and jam.
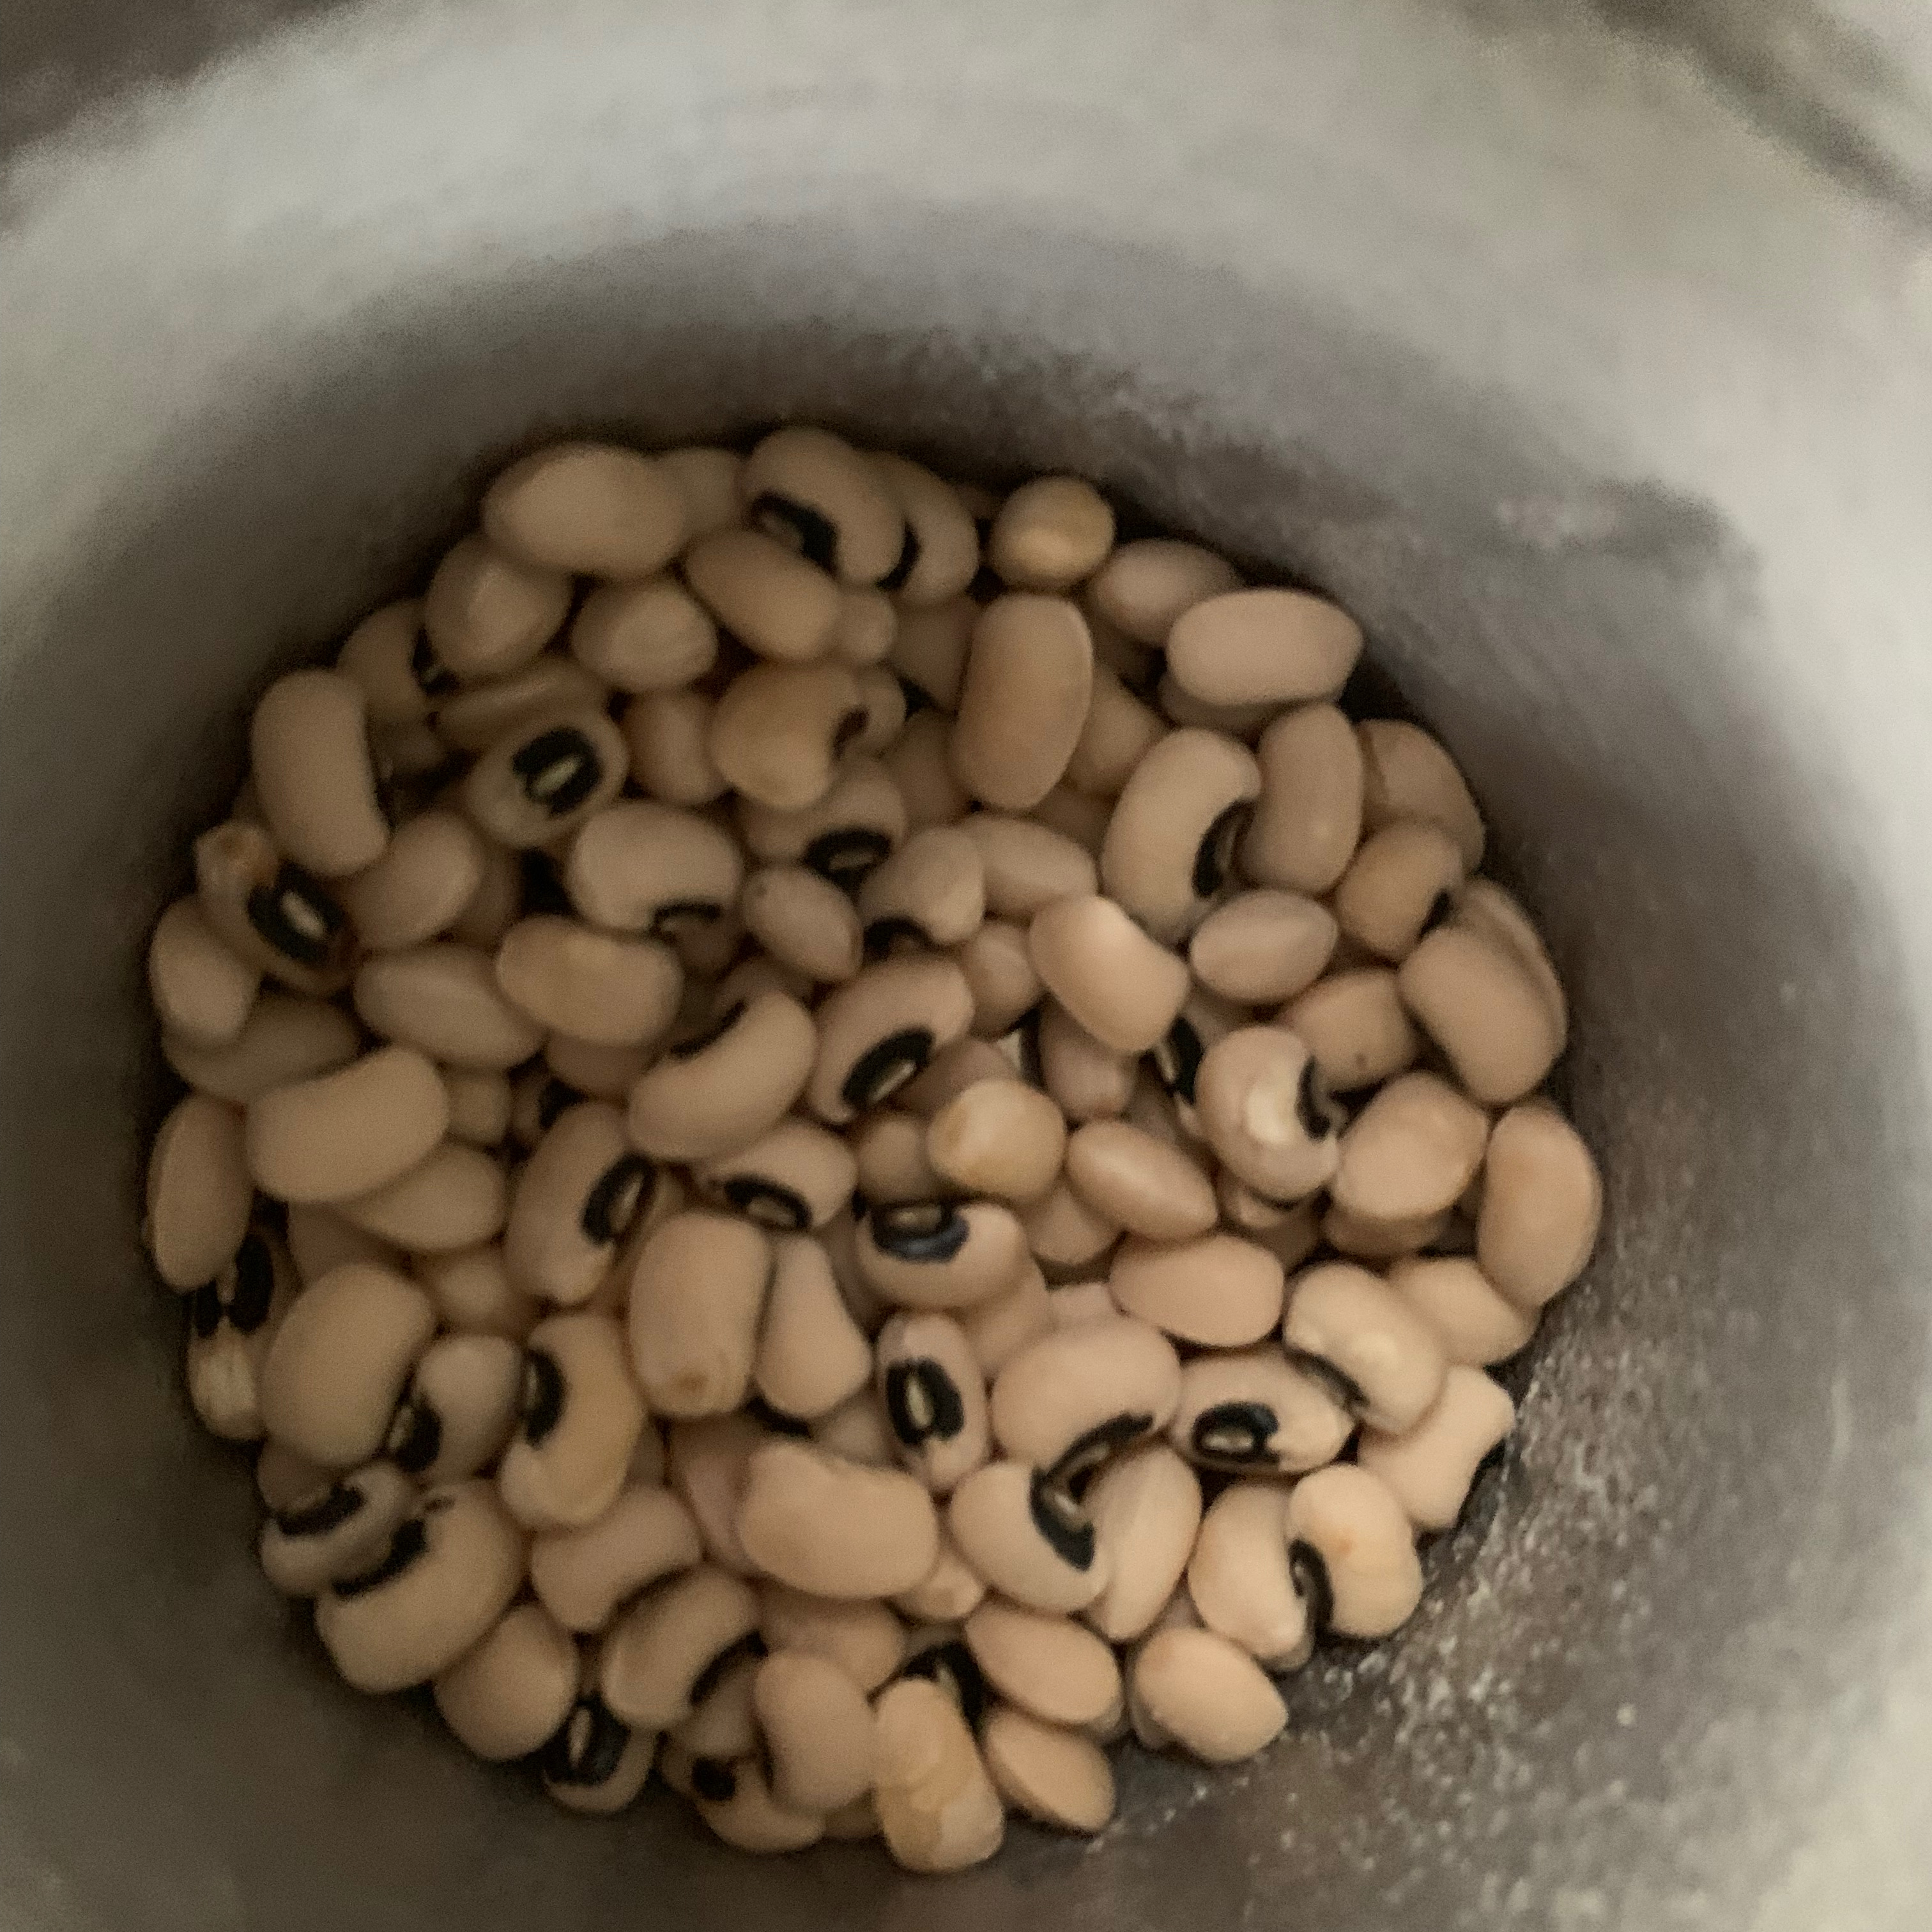
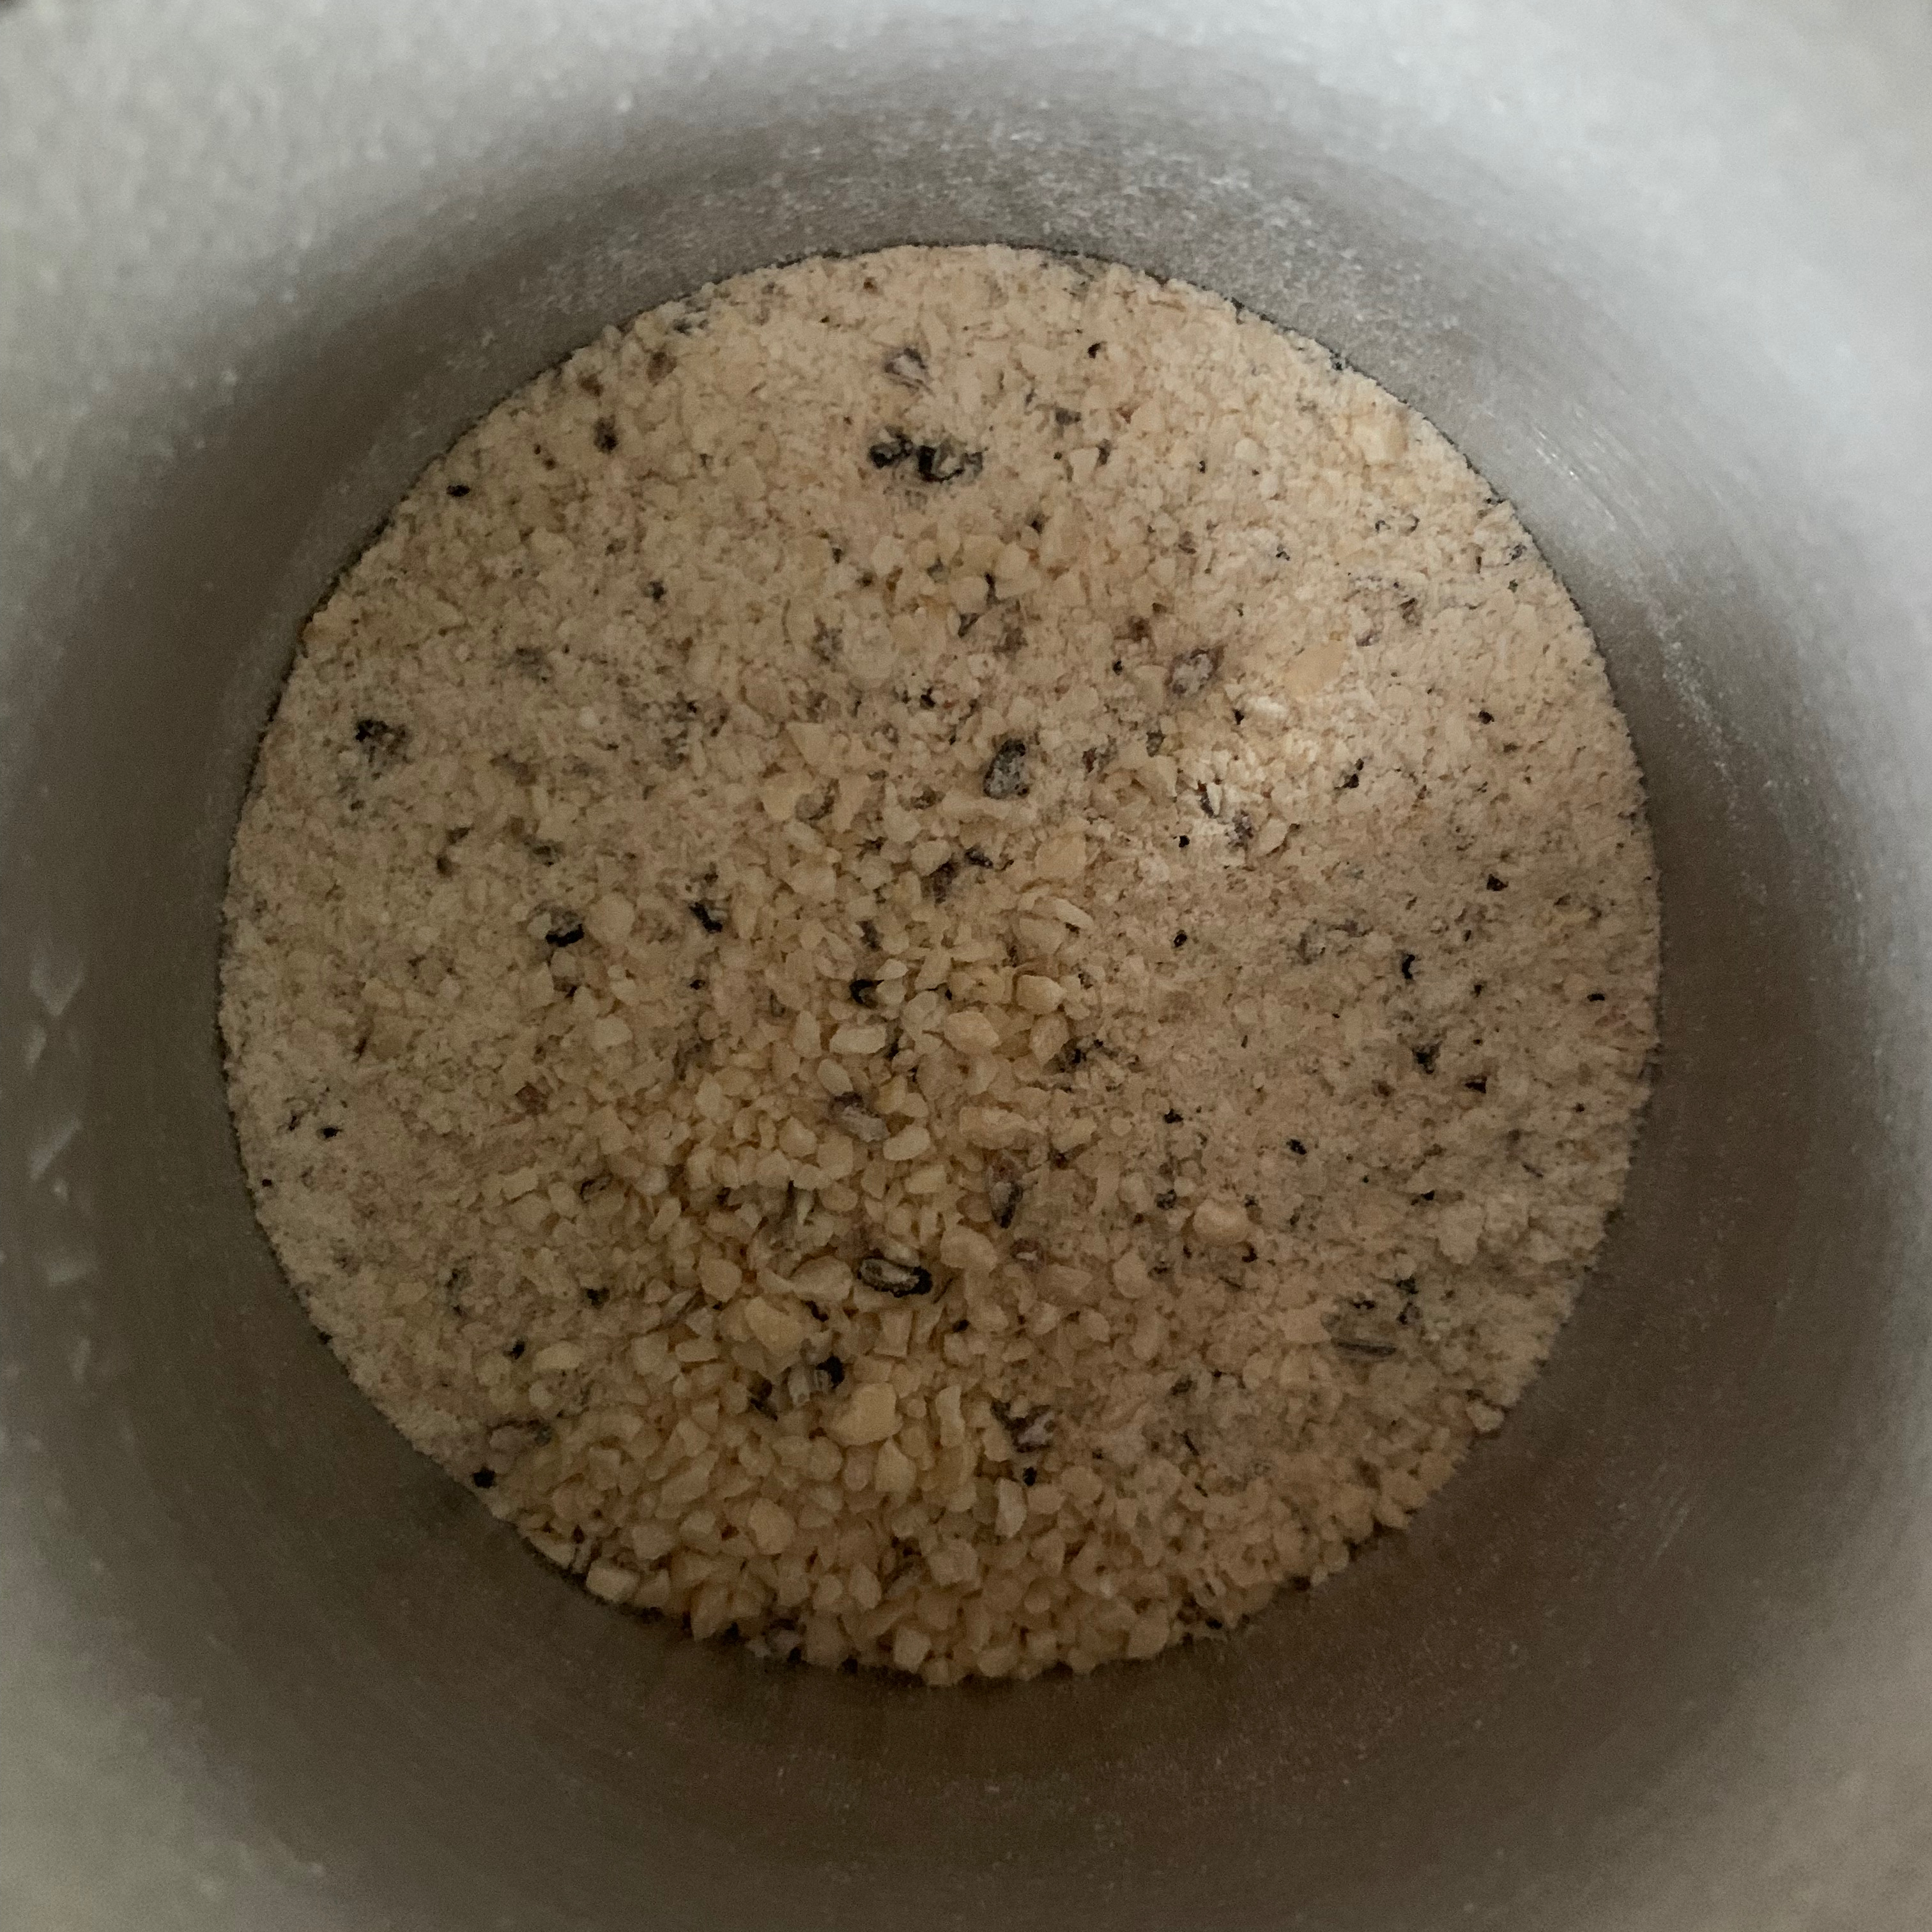
What makes tapalapa special is the combination of flours: a mixture of wheat flour, millet flour, cornflour and what’s called “cowpea flour” (in the UK, this translates as ground black-eyed beans). I used a recipe from the ever-reliable 196flavors.com – with the proviso that with my particular dried yeast on a decidedly chilly English summer’s day, the rise times were many times as long as Mike suggests in the recipe.
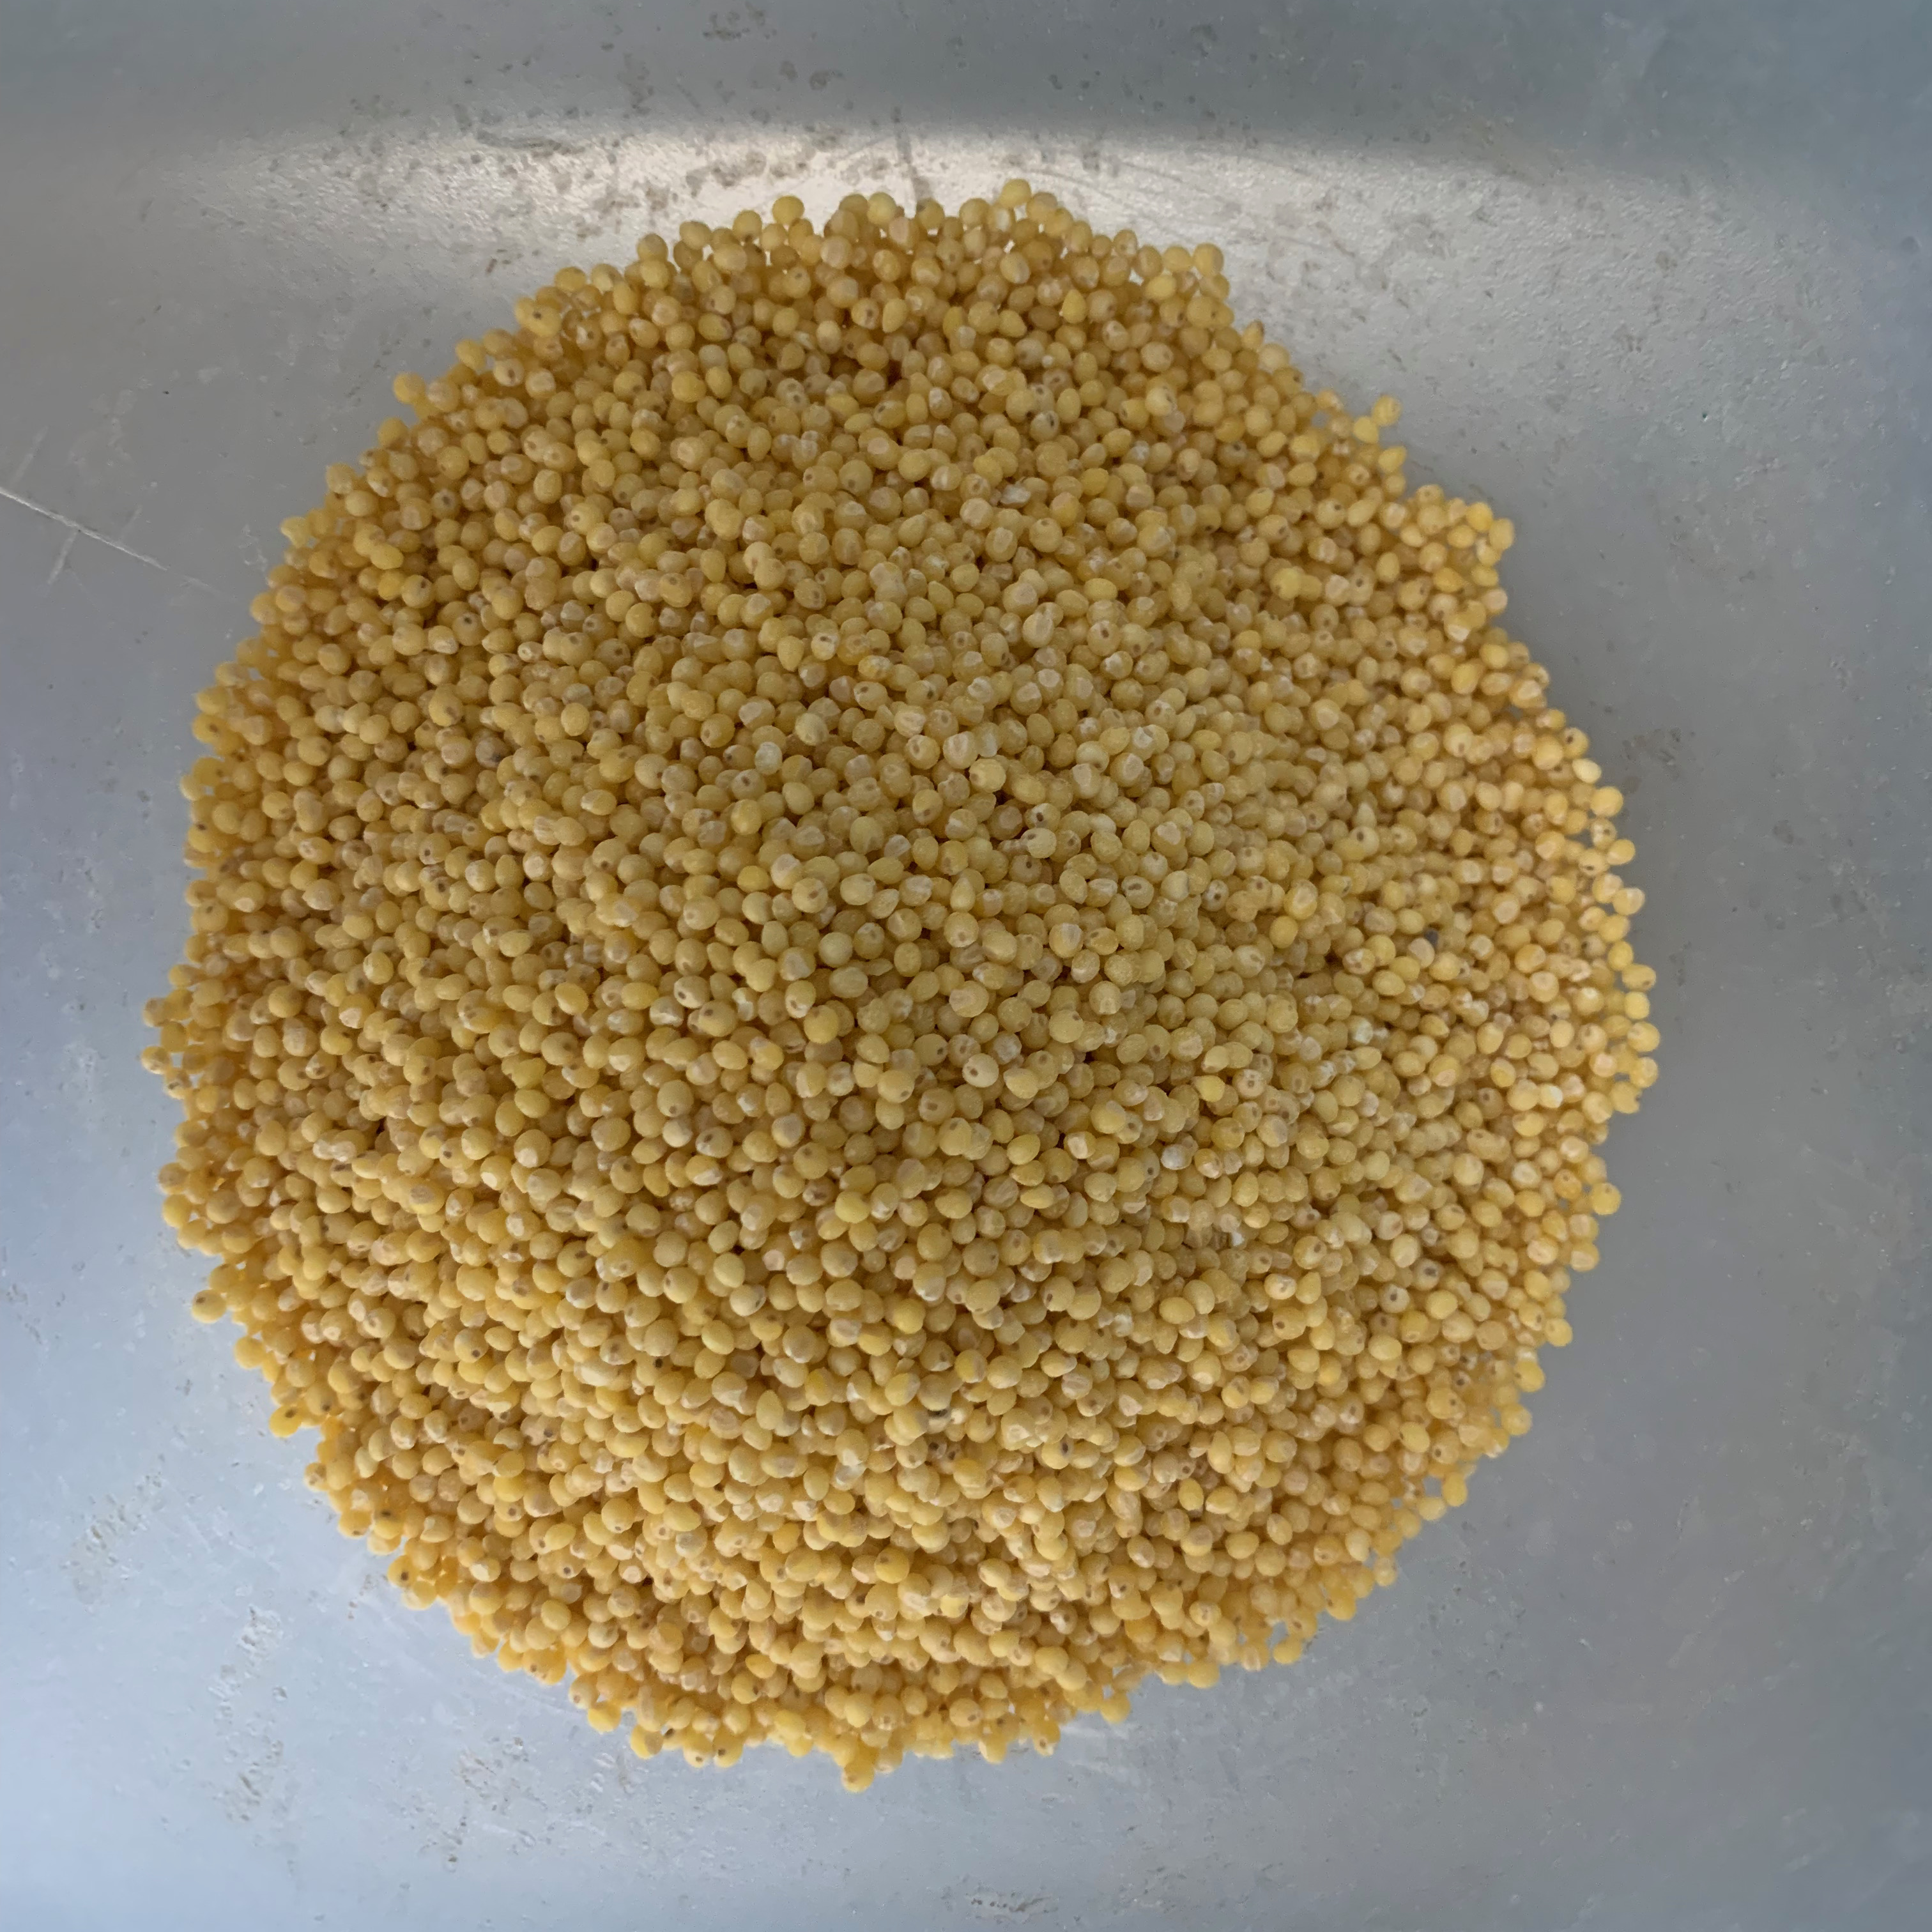
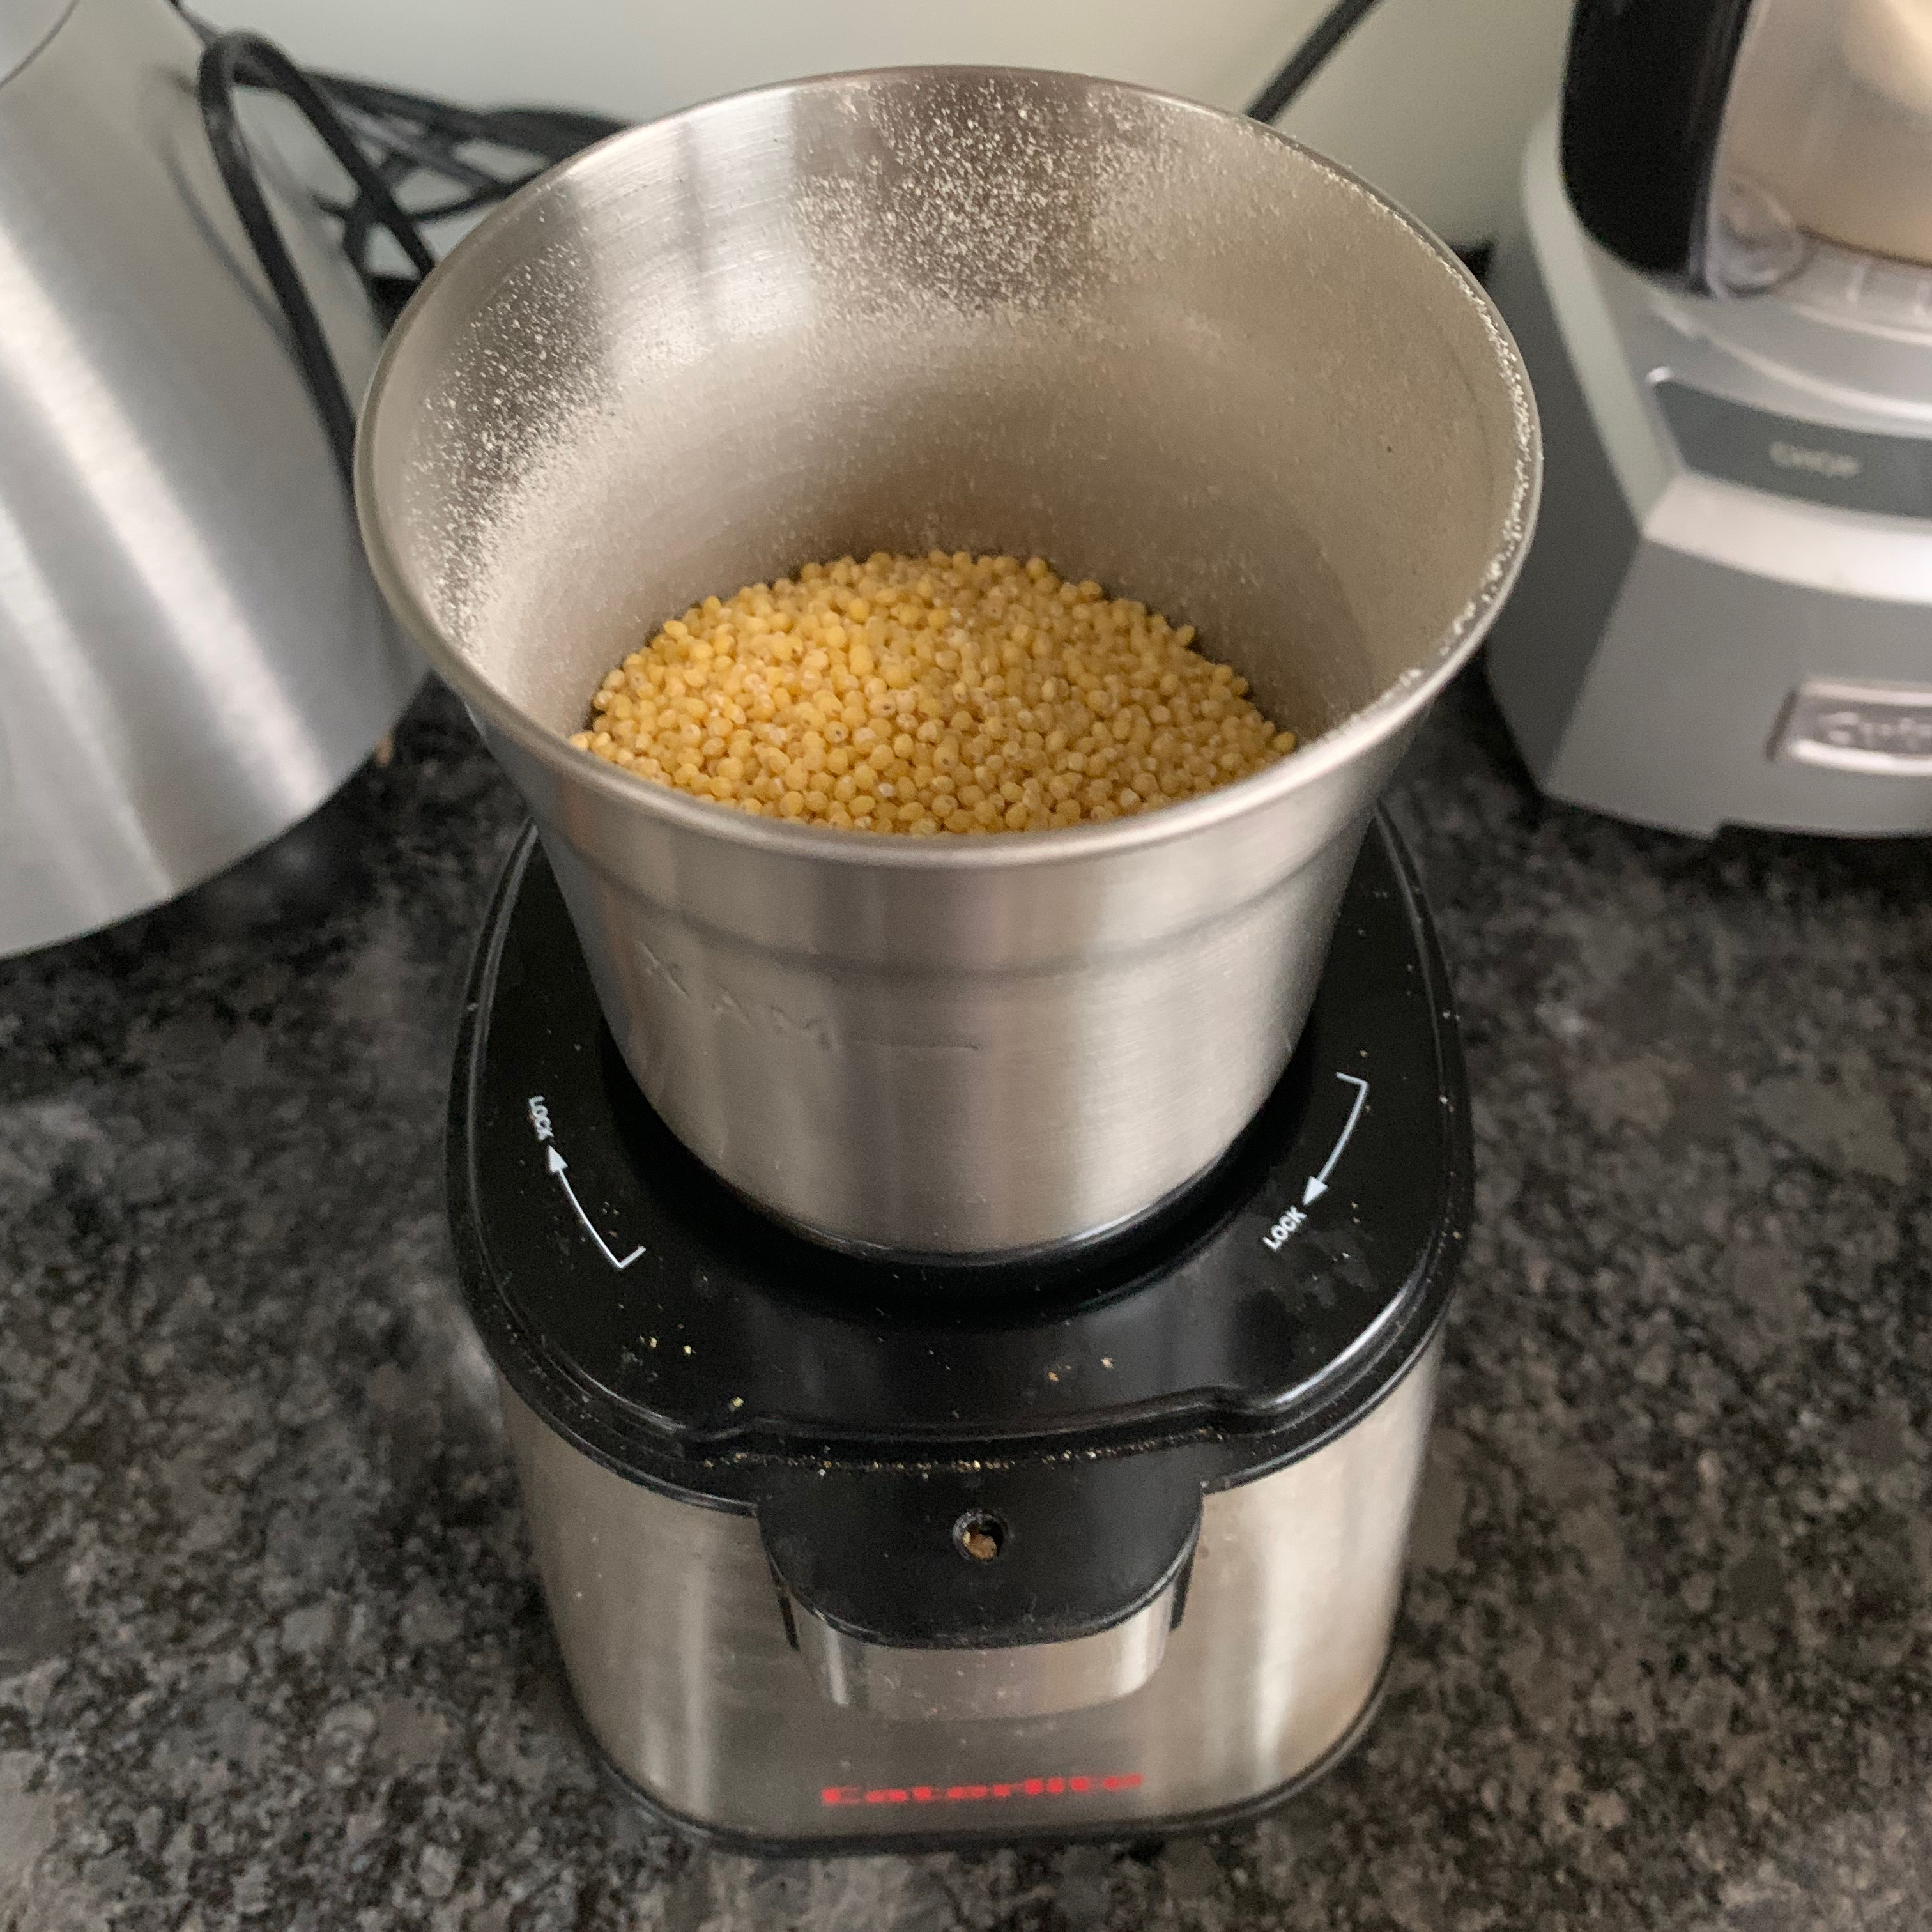
Millet flour and cowpea flour are hard to find in the UK, but it’s easy enough to get millet and black-eyed peas: a coffee grinder turns them into flour with no difficulty.
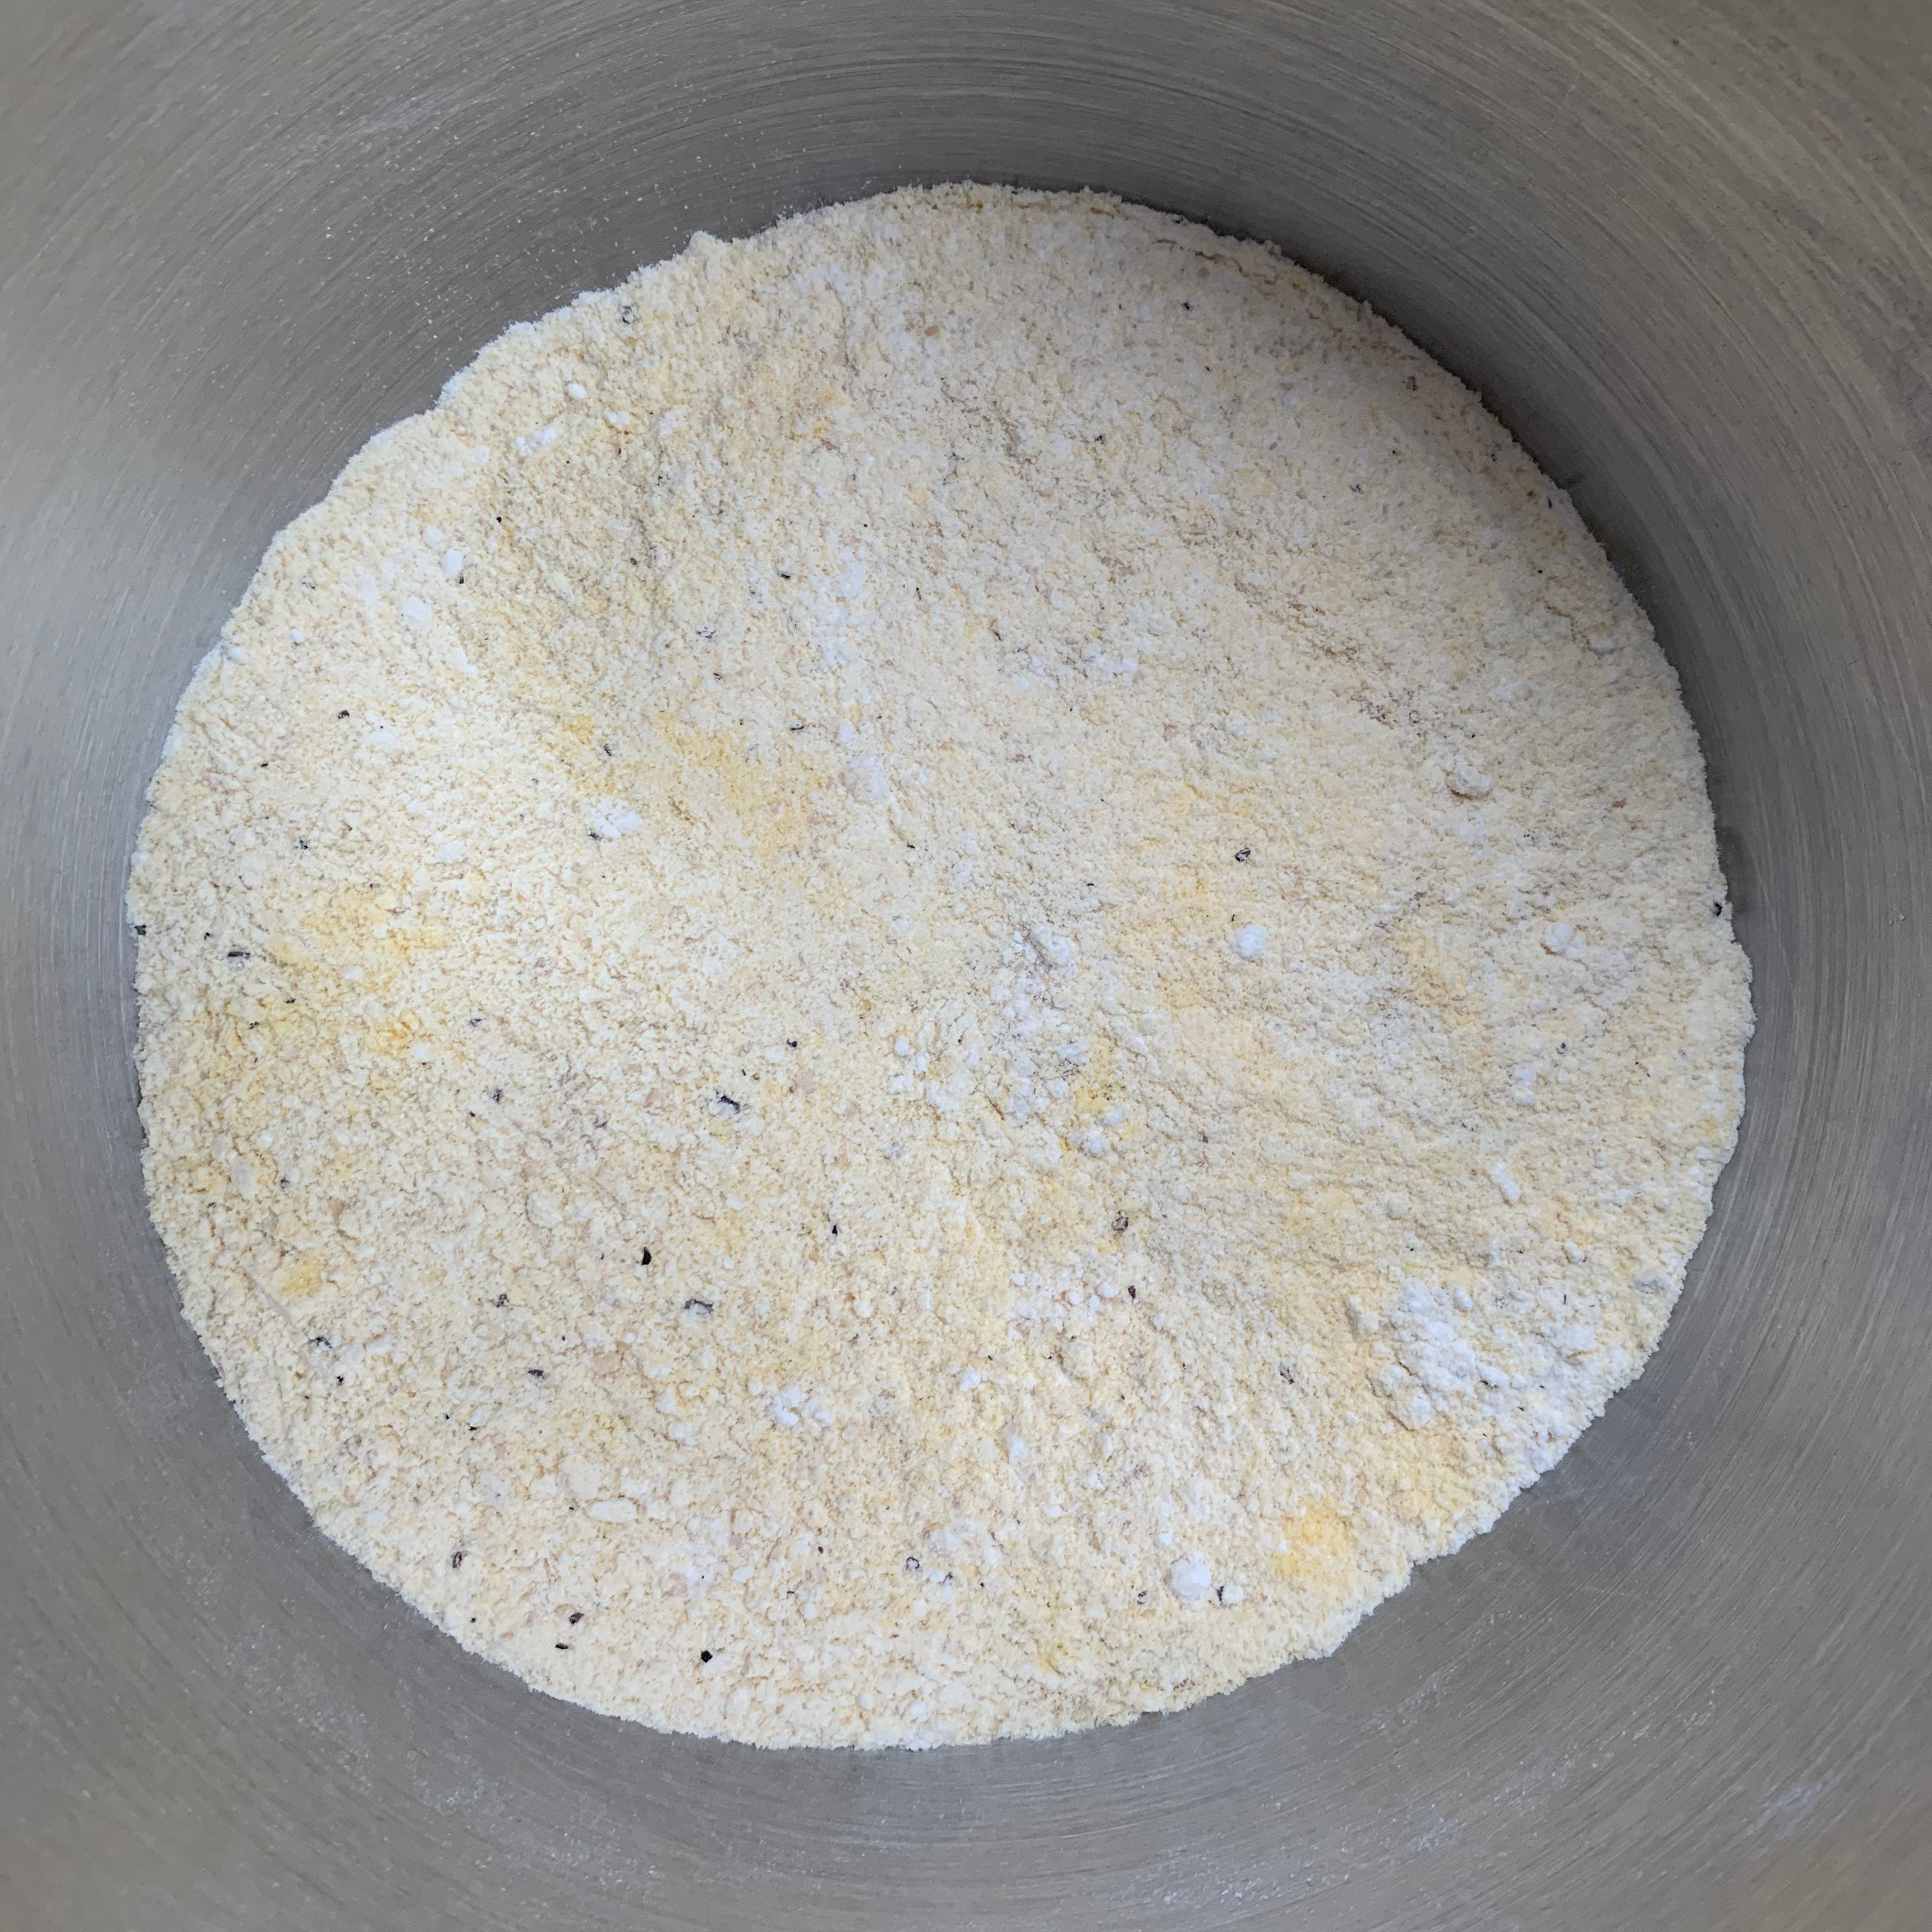
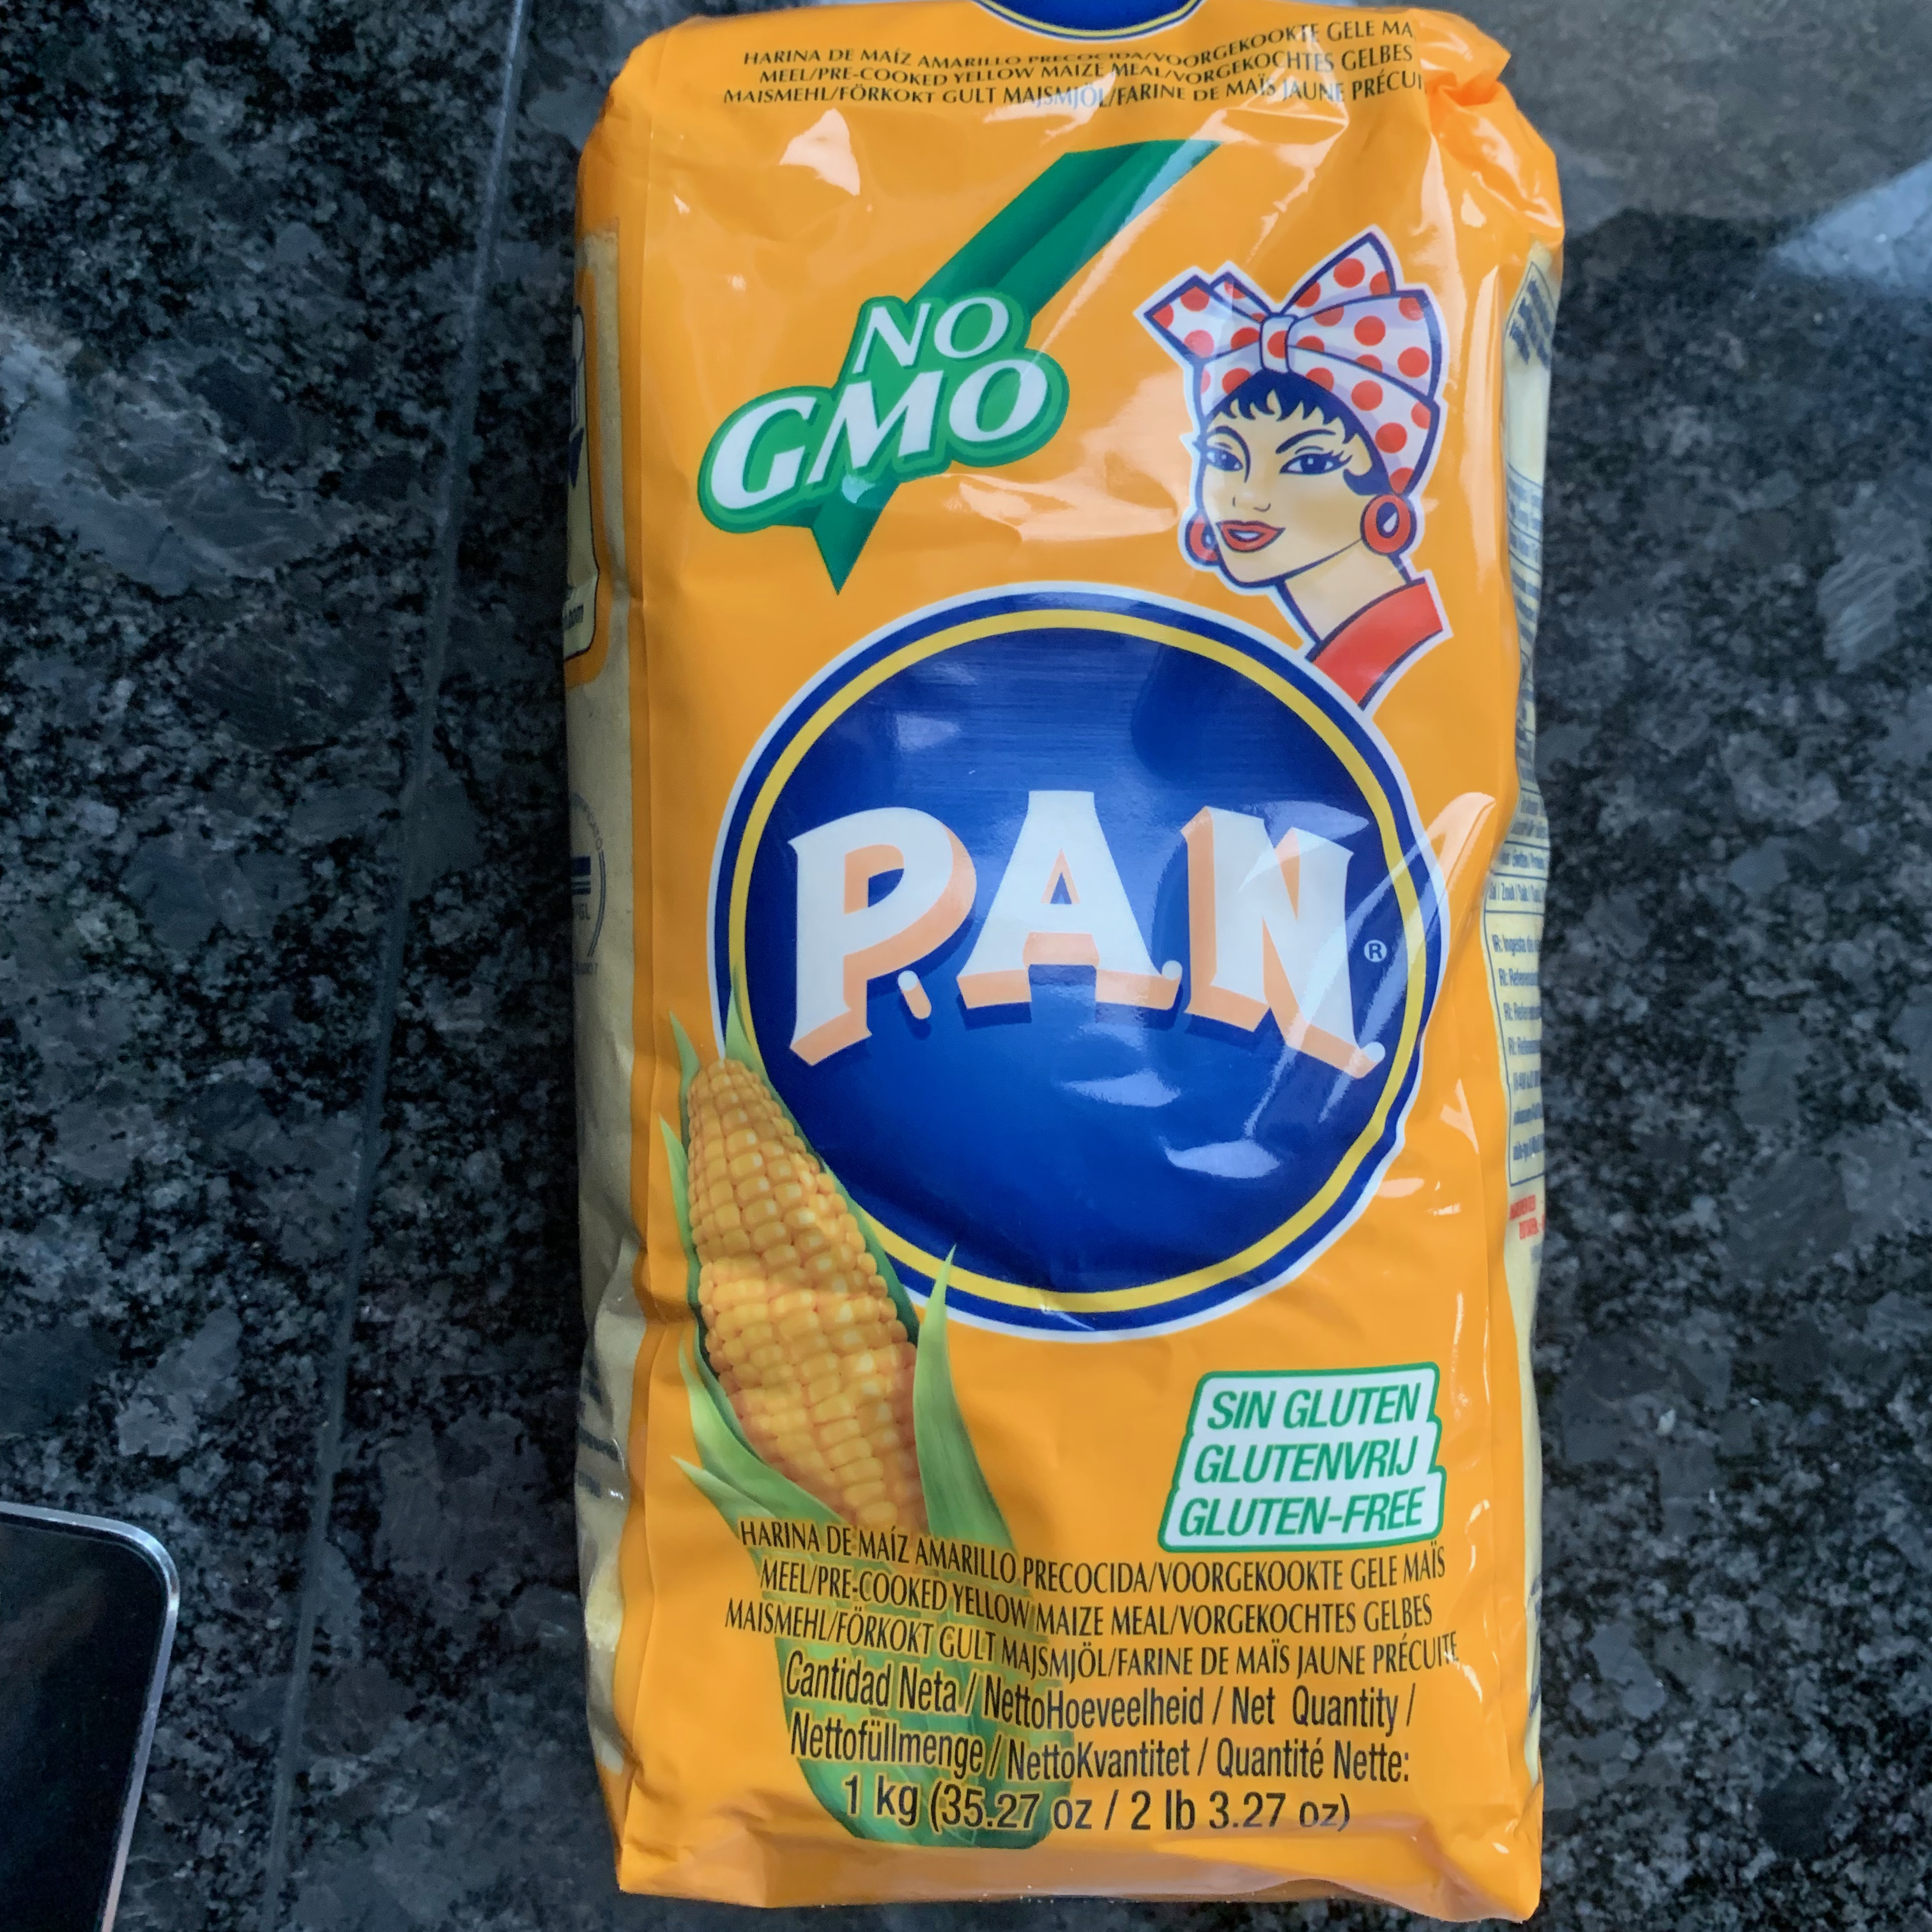
Yellow cornflour is available from specialist Mexican grocers. I’m going to guess that standard cornflour would have been fine.

You will find good rye bread everywhere around the Baltic Sea, but in Latvia, rye bread is virtually a national symbol, with a thousand stories surrounding it. There are many different types, but I’ve chosen one that packs a huge punch of flavour – Latgalian Rye Bread (Latgaliešu Maize). The starting recipe comes from Stanley Ginsberg, who styles himself “The Rye Baker” – his website is a real baker’s treasure trove, with rye bread recipes from all over Europe. His books sound great also.
Warning: this bread is something of a project. There are multiple steps lasting three days, and it’s fiddly as regards temperature control. There’s a Russian language Youtube video (remember, Latvia has a large Russian-speaking population) which is very similar and reminds you on several occasions that you shouldn’t attempt this if you’re a beginner. The techniques, using various scalds and pre-doughs, are similar to the full Russian recipe for Borodinsky (as opposed to the simplified version I did early on in this blog series). Because of the sheer complexity, I’m not sure that it’s a bread I’m going to be making again and again – but for a treat, it’s fantastic.
The point of the recipe is to encourage lots of fermentation and the creation of various sugars, acids and lactobacilli which impart the amazing depth of flavour. Interestingly, this multi-stage process isn’t the only possible method: other methods start with Bulgarian Yoghurt or kefir and I came across one blog post from an agritourism trip to Latvia which describes a traditional baker who left out much of the complexity but went for five days of fermentation in a bucket!
So here goes, largely paraphrasing Stanley Ginsberg and substituting ingredients when I couldn’t get his exact suggestions. I’ve given the exact times I used: obviously, you can shift them around to suit your own day and anyway, I’m sure the timings are by no means precise.
Day 1, around 9pm – “The scald”
Day 1, around 9pm – “The sponge”
Day 2, around 1pm
Day 2, around 9pm
Day 3, around 9am
Final bake and glaze

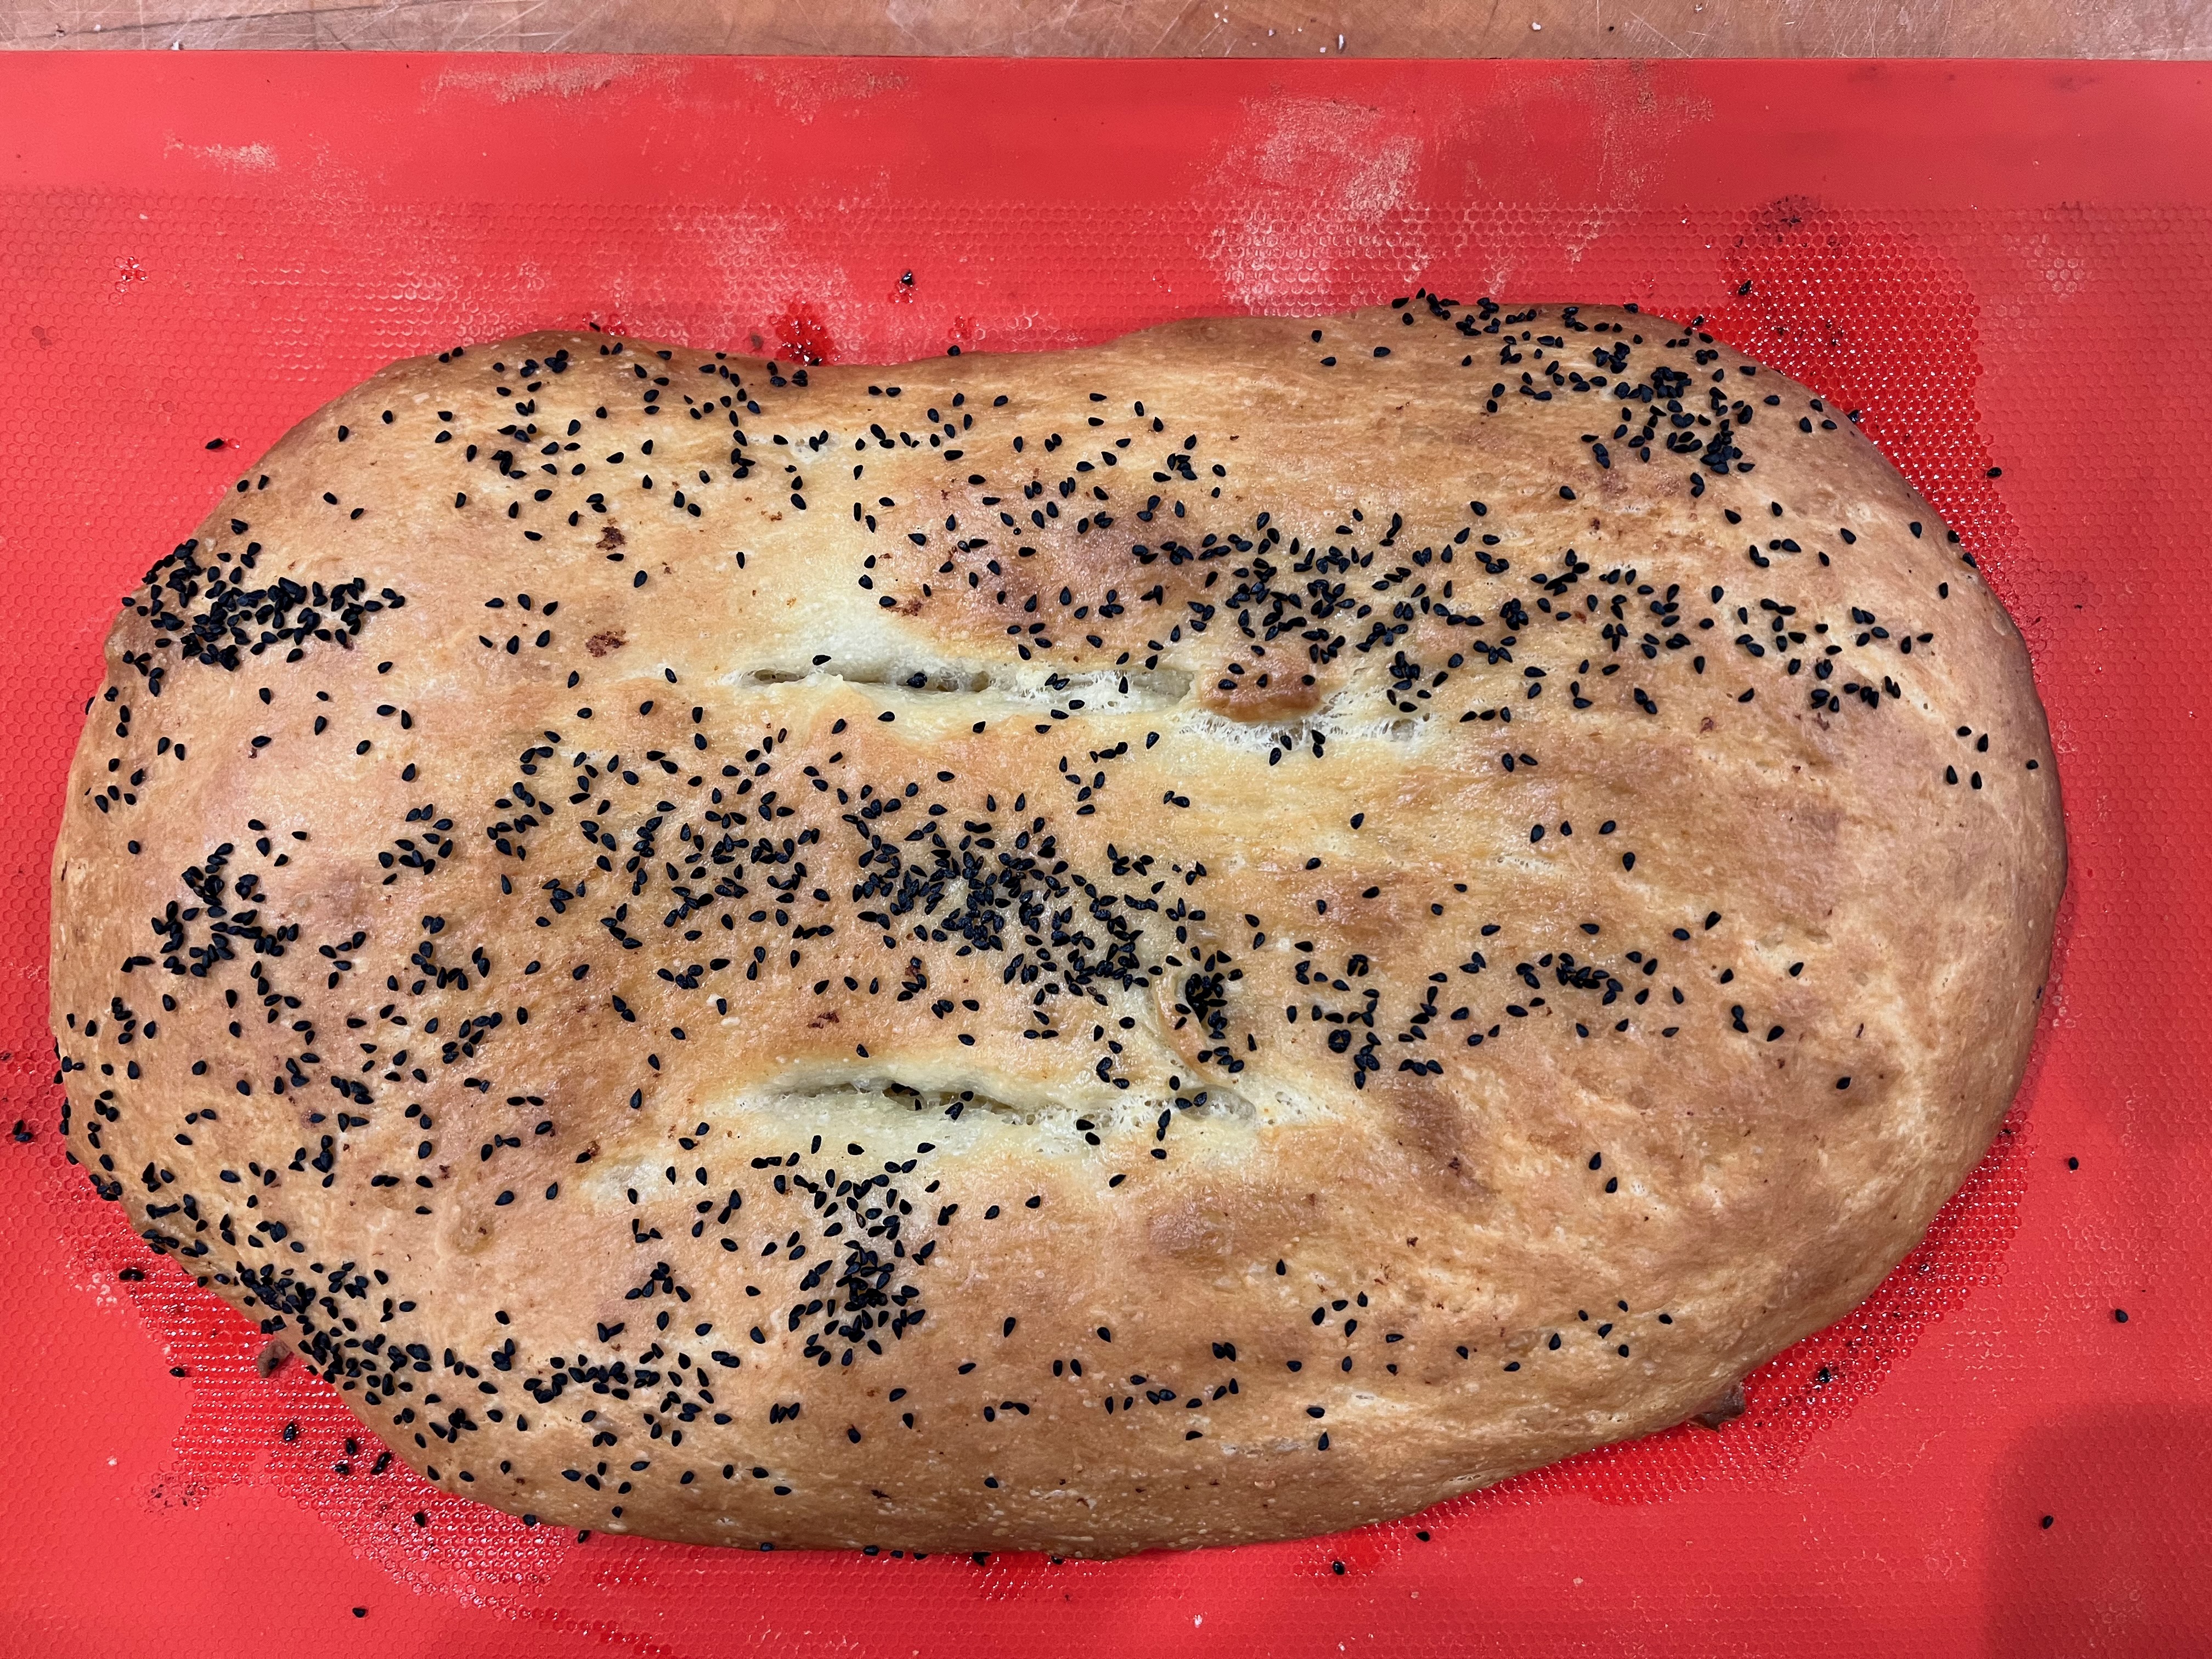
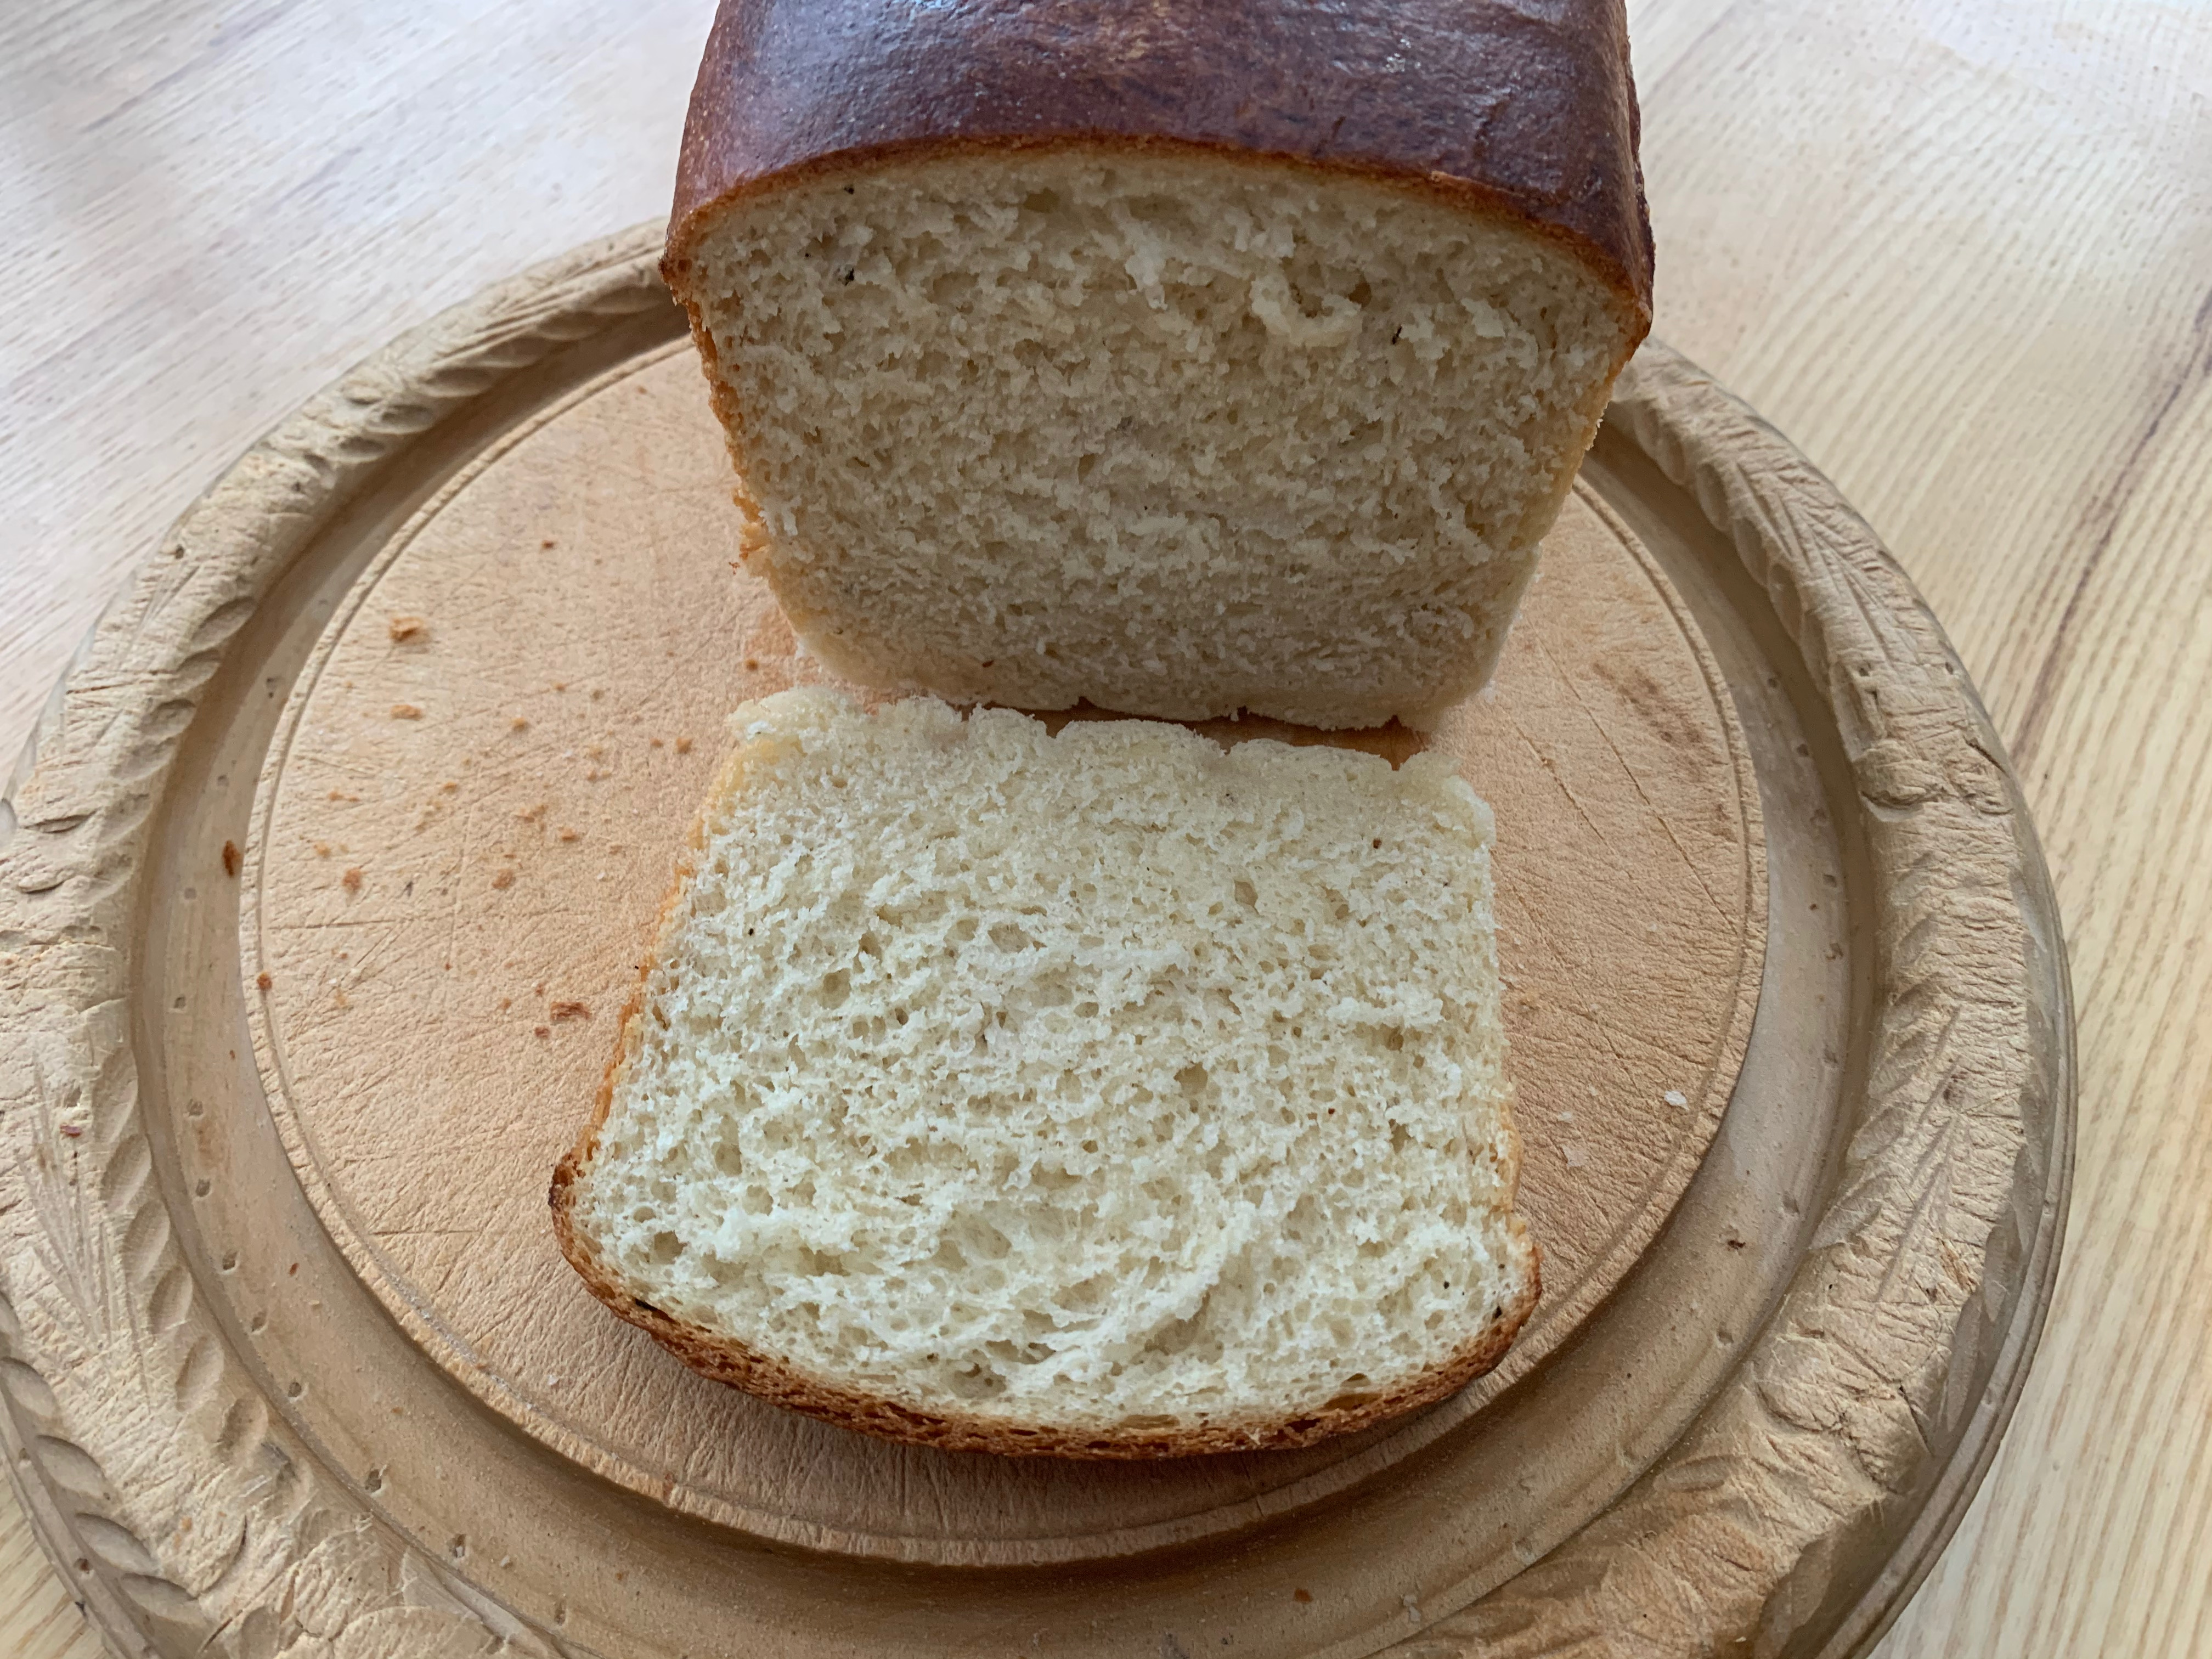
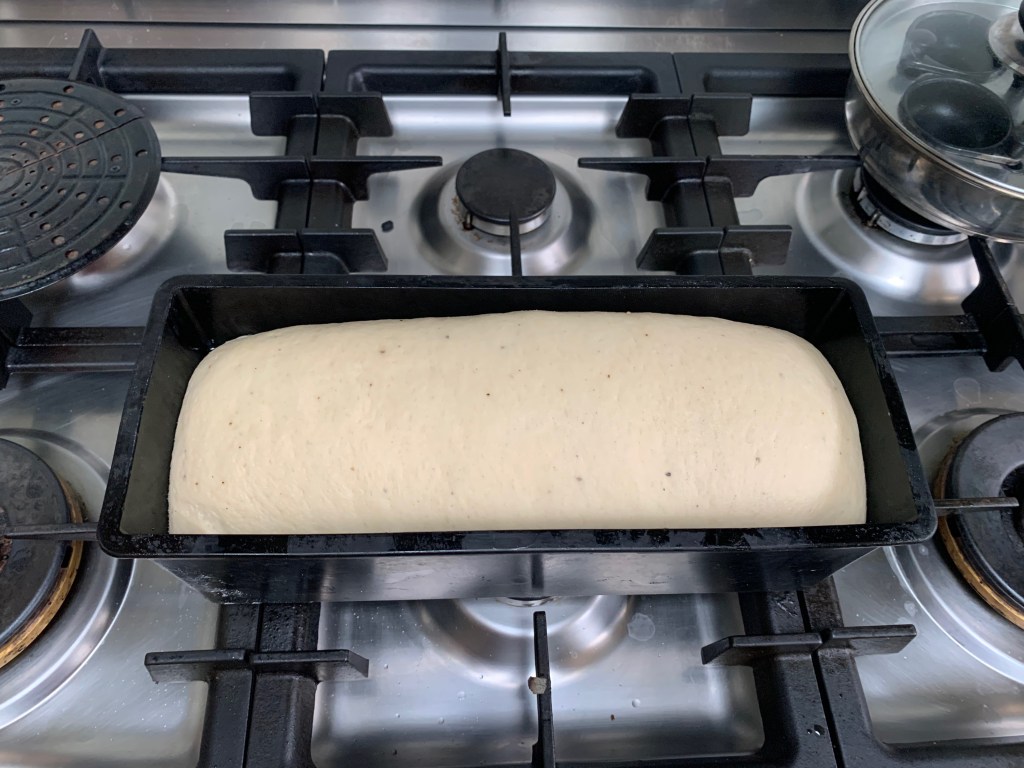
Jamaicans swear by Hard dough (or Hardo) bread as being the perfect base for all manner of snacks and sandwiches: avocado, salt fish, whatever. Hardo bread is generally made in an oblong tin (aka a Pullman tin); it should be pillowy soft and airy, but with a dense enough texture to stop your sandwich filling leaking through. It may look on the surface like a simple enough white bread, but it takes a level of skill and care to get that perfect texture.
If I do a bit of extrapolation, the history goes like this: French bakers take pain de mie to the Far East, where it’s taken up by Chinese bakers, who then migrate to the Caribbean. From there, West Indian workers take it to Africa, where something very similar turns up in Nigeria in the shape of Agege bread.
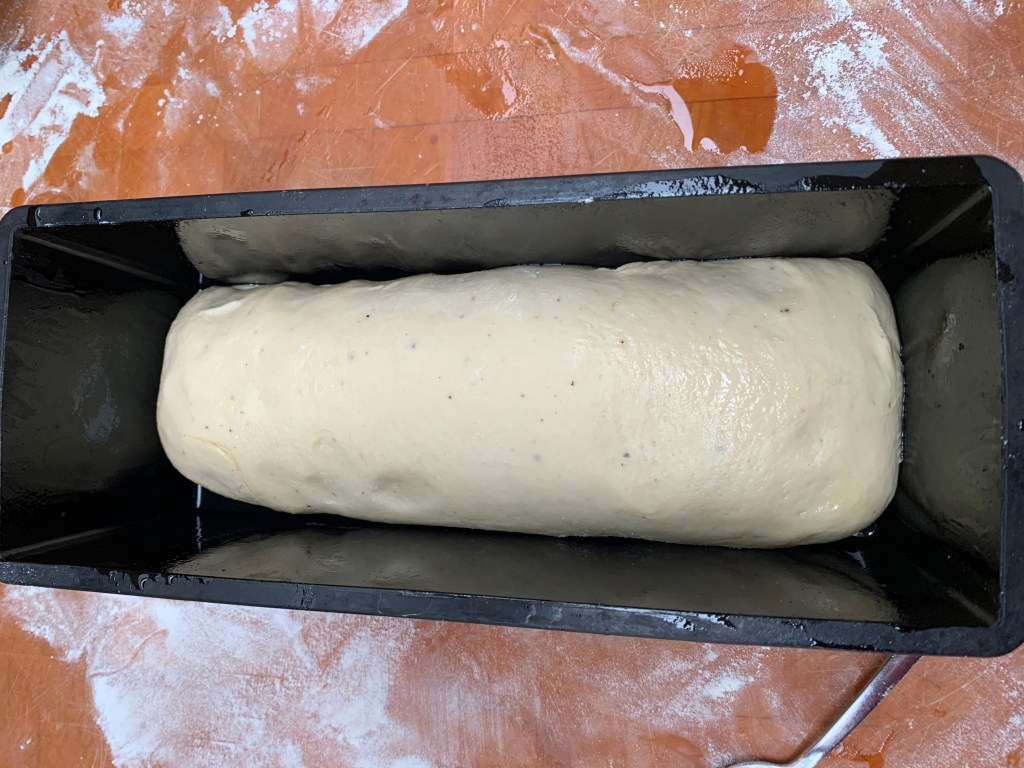
Like Agege bread, commercial hardo bread is often made using a dough brake – a set of rollers through which the dough is forced as part of the kneading and forming process. Following this video from Keshia Sakaria, I’ve approximated to the dough brake by rolling the dough out with a rolling pin in between its first and second rises.
It’s fair to say that there’s less than general agreement on the recipe. Most recipes call for white bread flour, but all-purpose and wholemeal flour get used. Some recipes use butter; others insist that vegetable shortening is the only way to go. Some use milk, others don’t. Wikipedia quotes authoritative references stating that hardo bread is usually brushed with sugared water before baking, but I haven’t seen any current Caribbean recipes that do this. And proportions are highly variable – I’ve gone for the less sweet end of the scale.
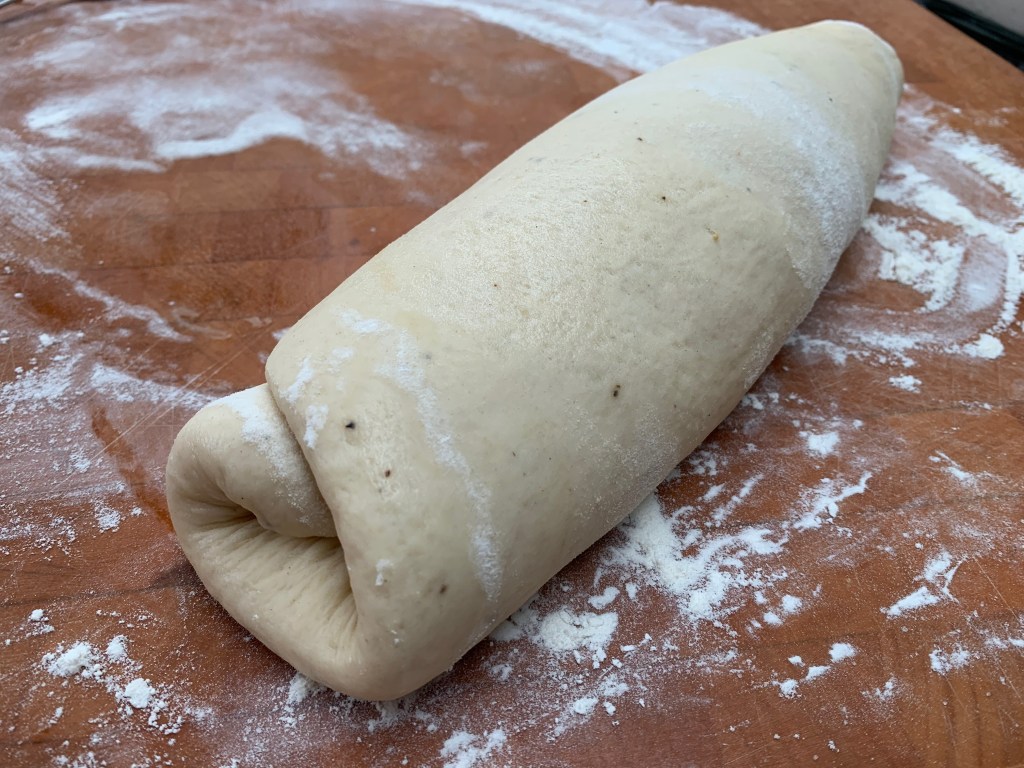
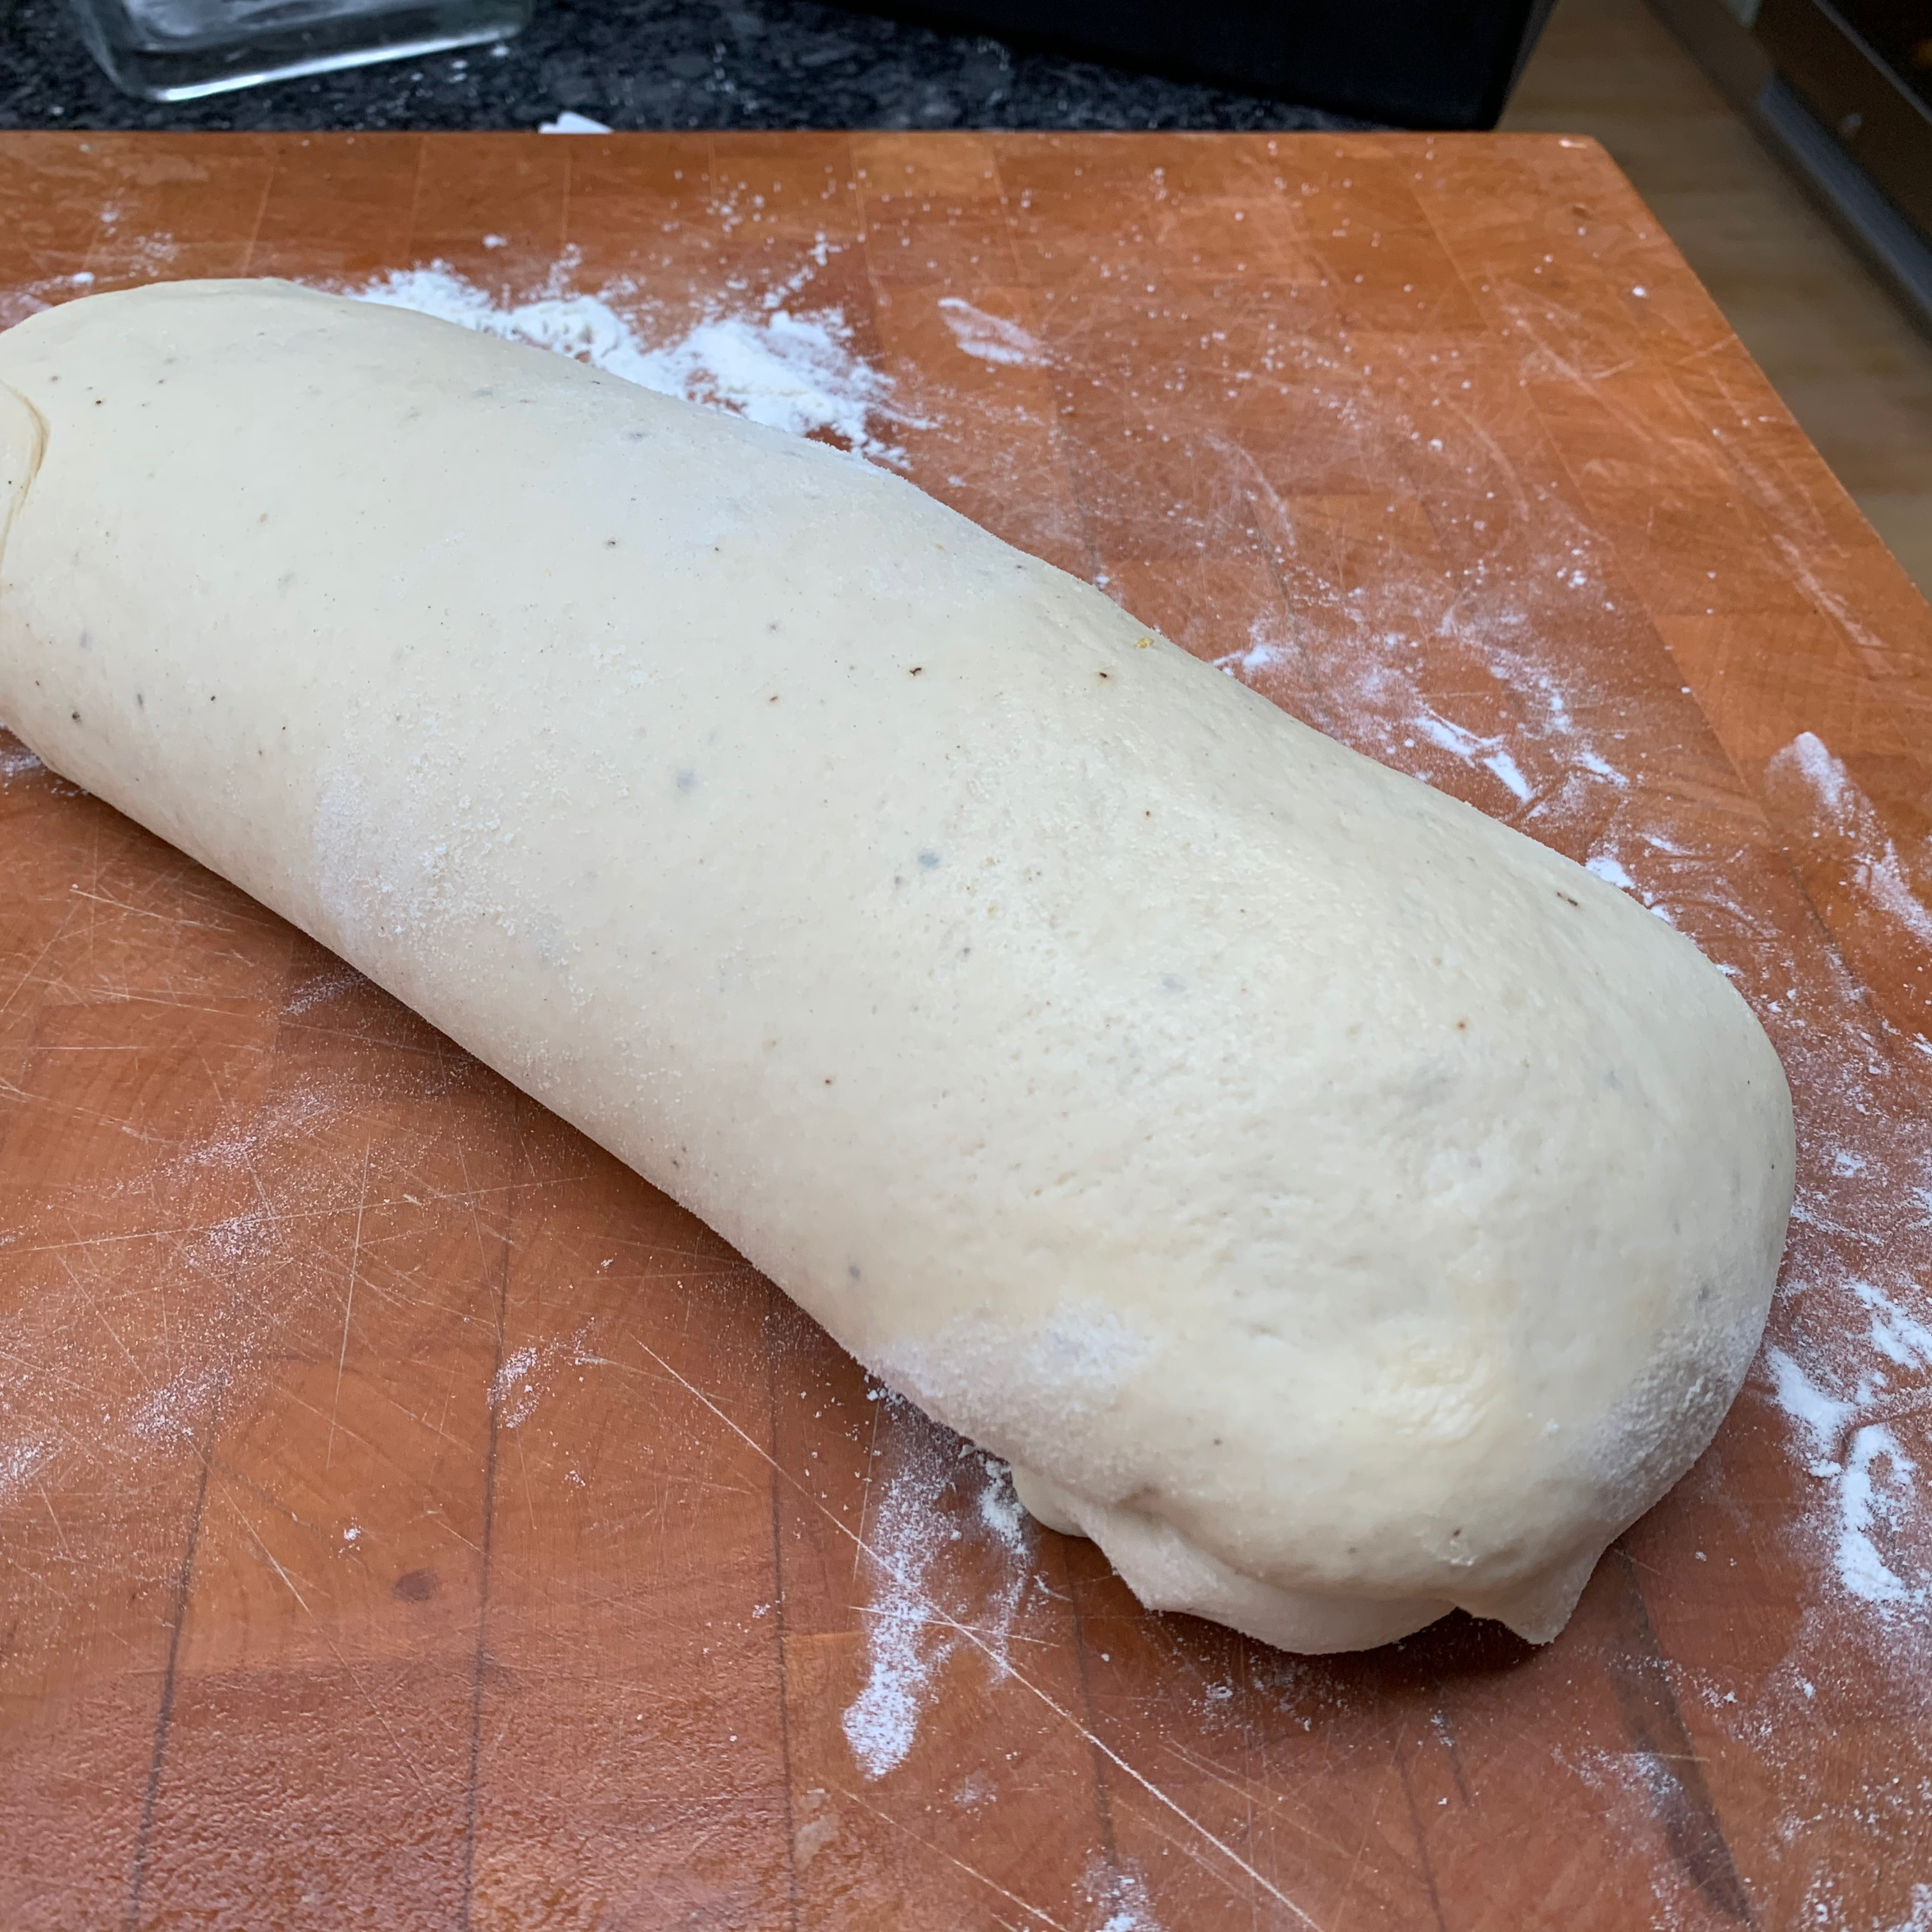
I’ve sized my recipe for my 30cm x 10cm x 10cm loaf tin, gone for strong white bread flour to try to get the springiest texture, and used butter and milk. I’ve also added a generous grind of black pepper for flavouring – a trick from Apollonia Poilâne’s pain de mie, which probably isn’t in any way authentic but which I’m confident Jamaicans would approve of.

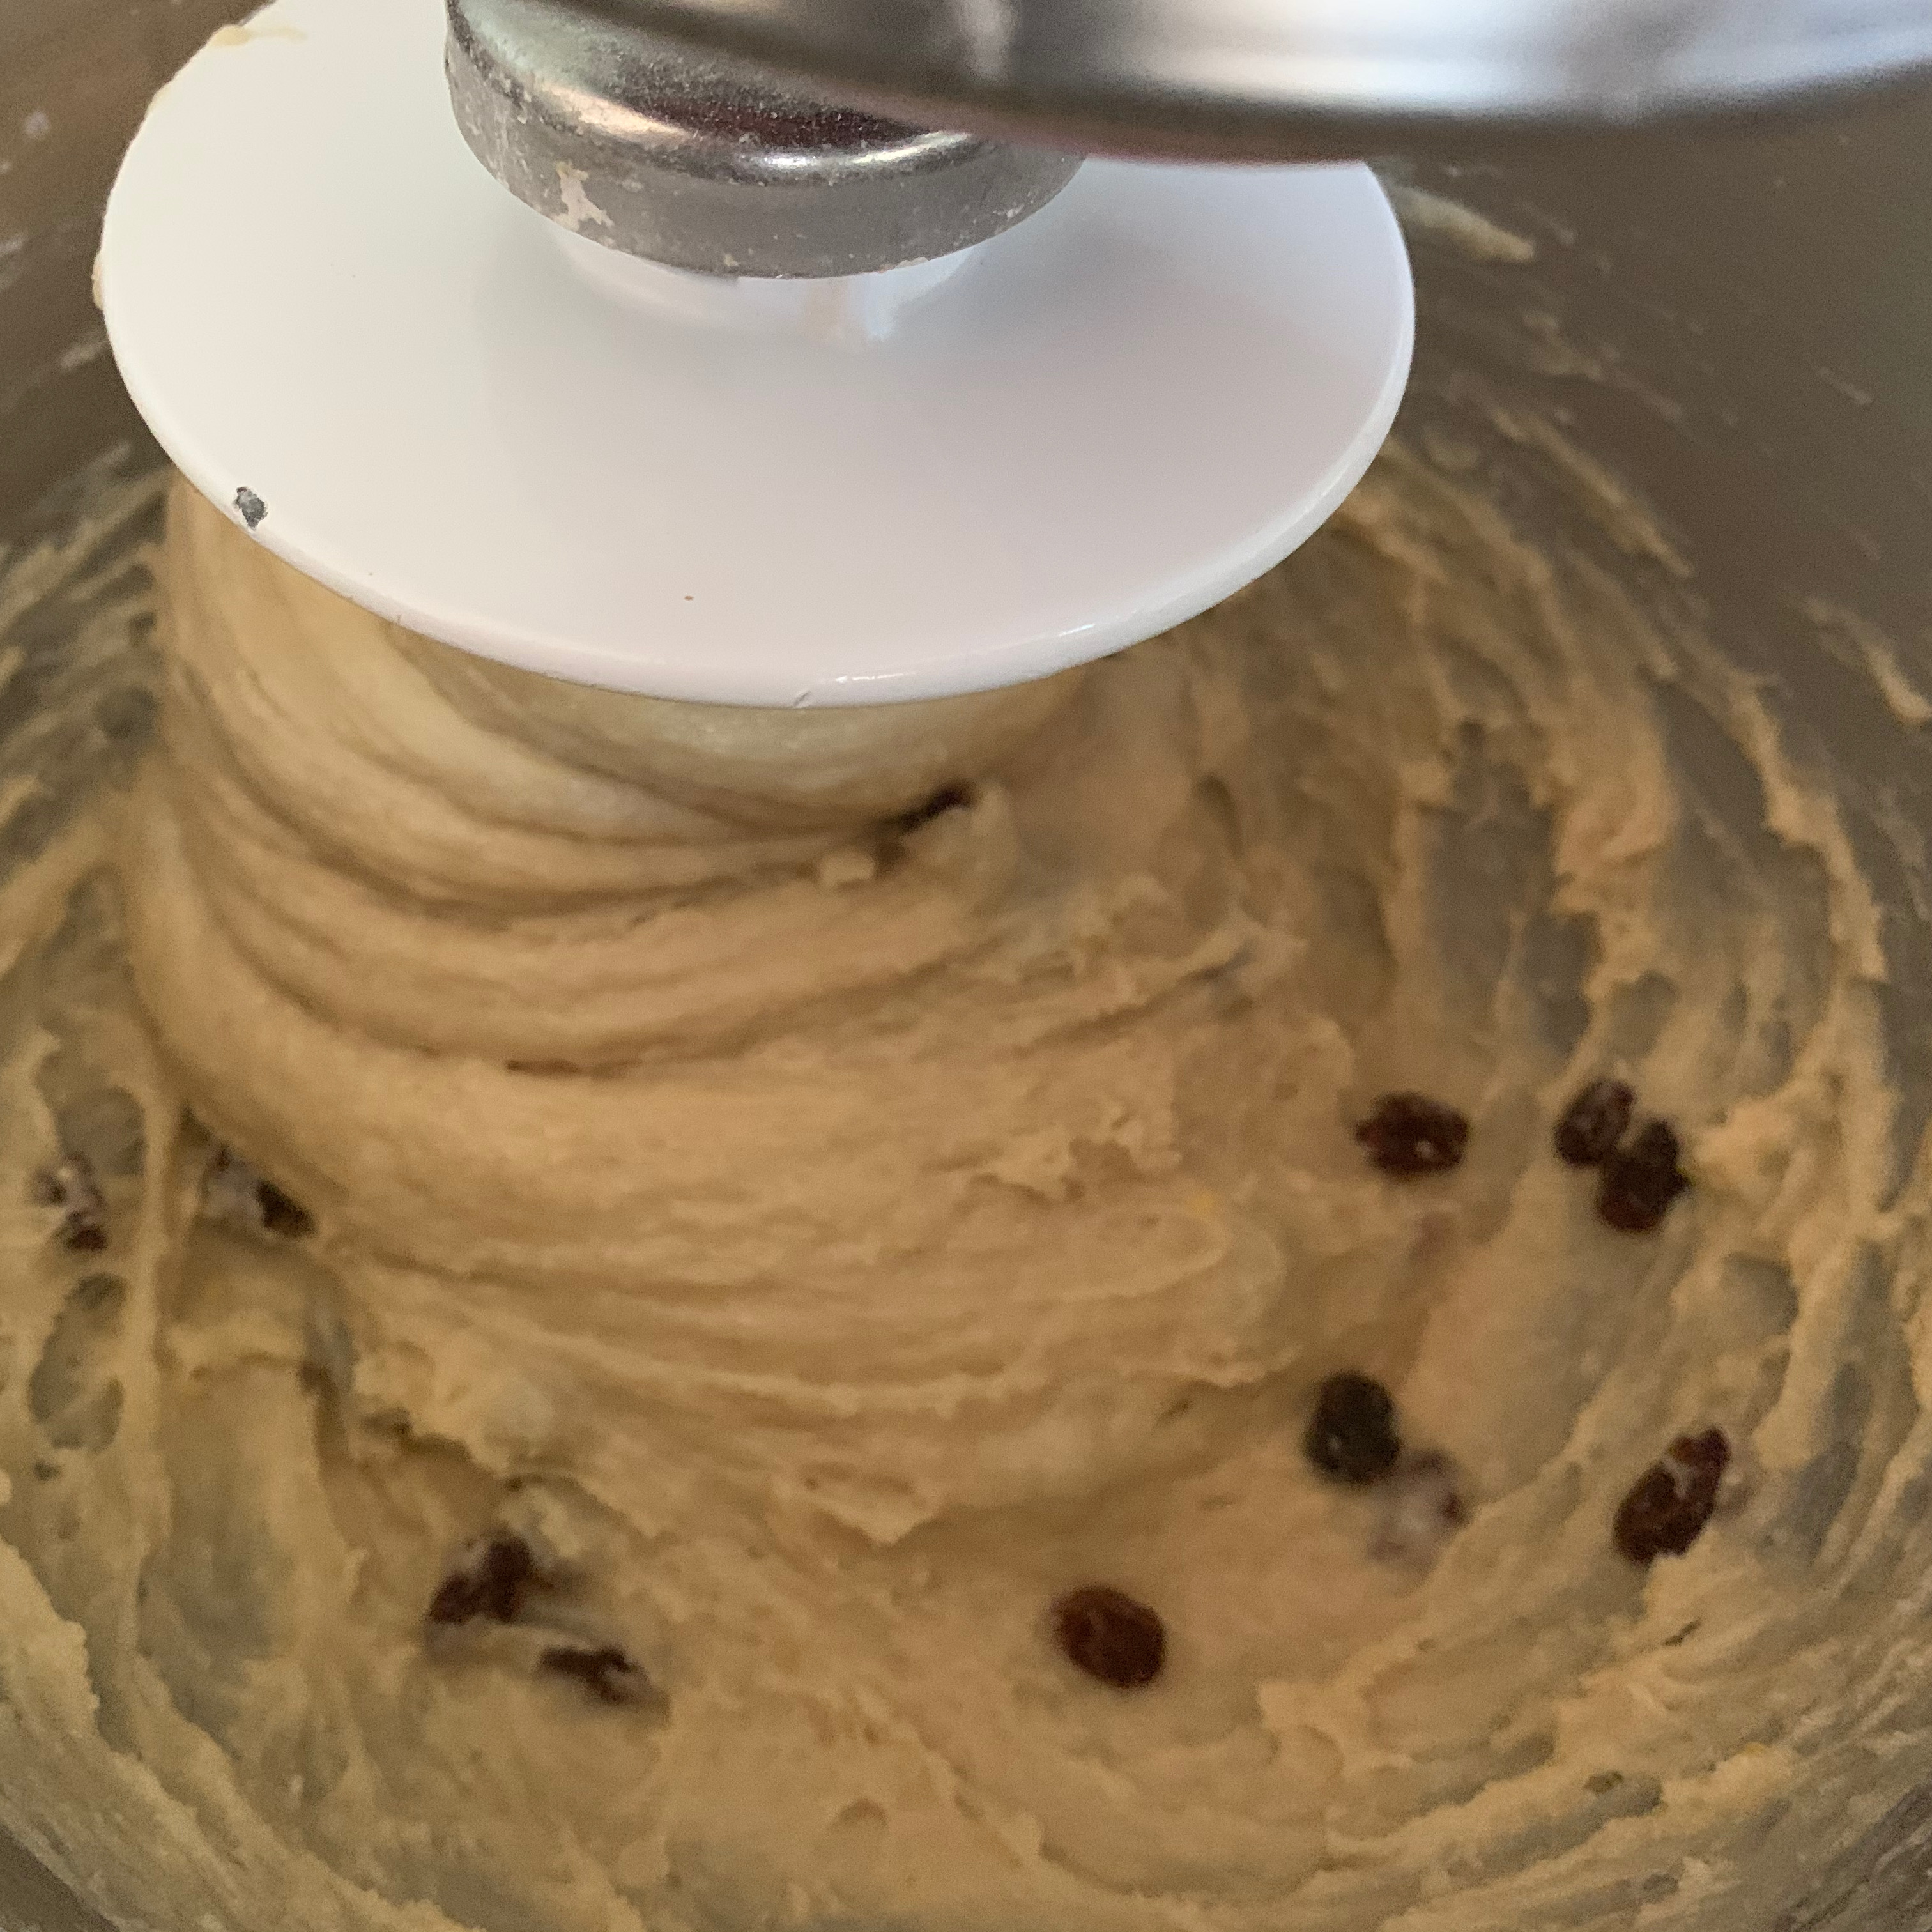
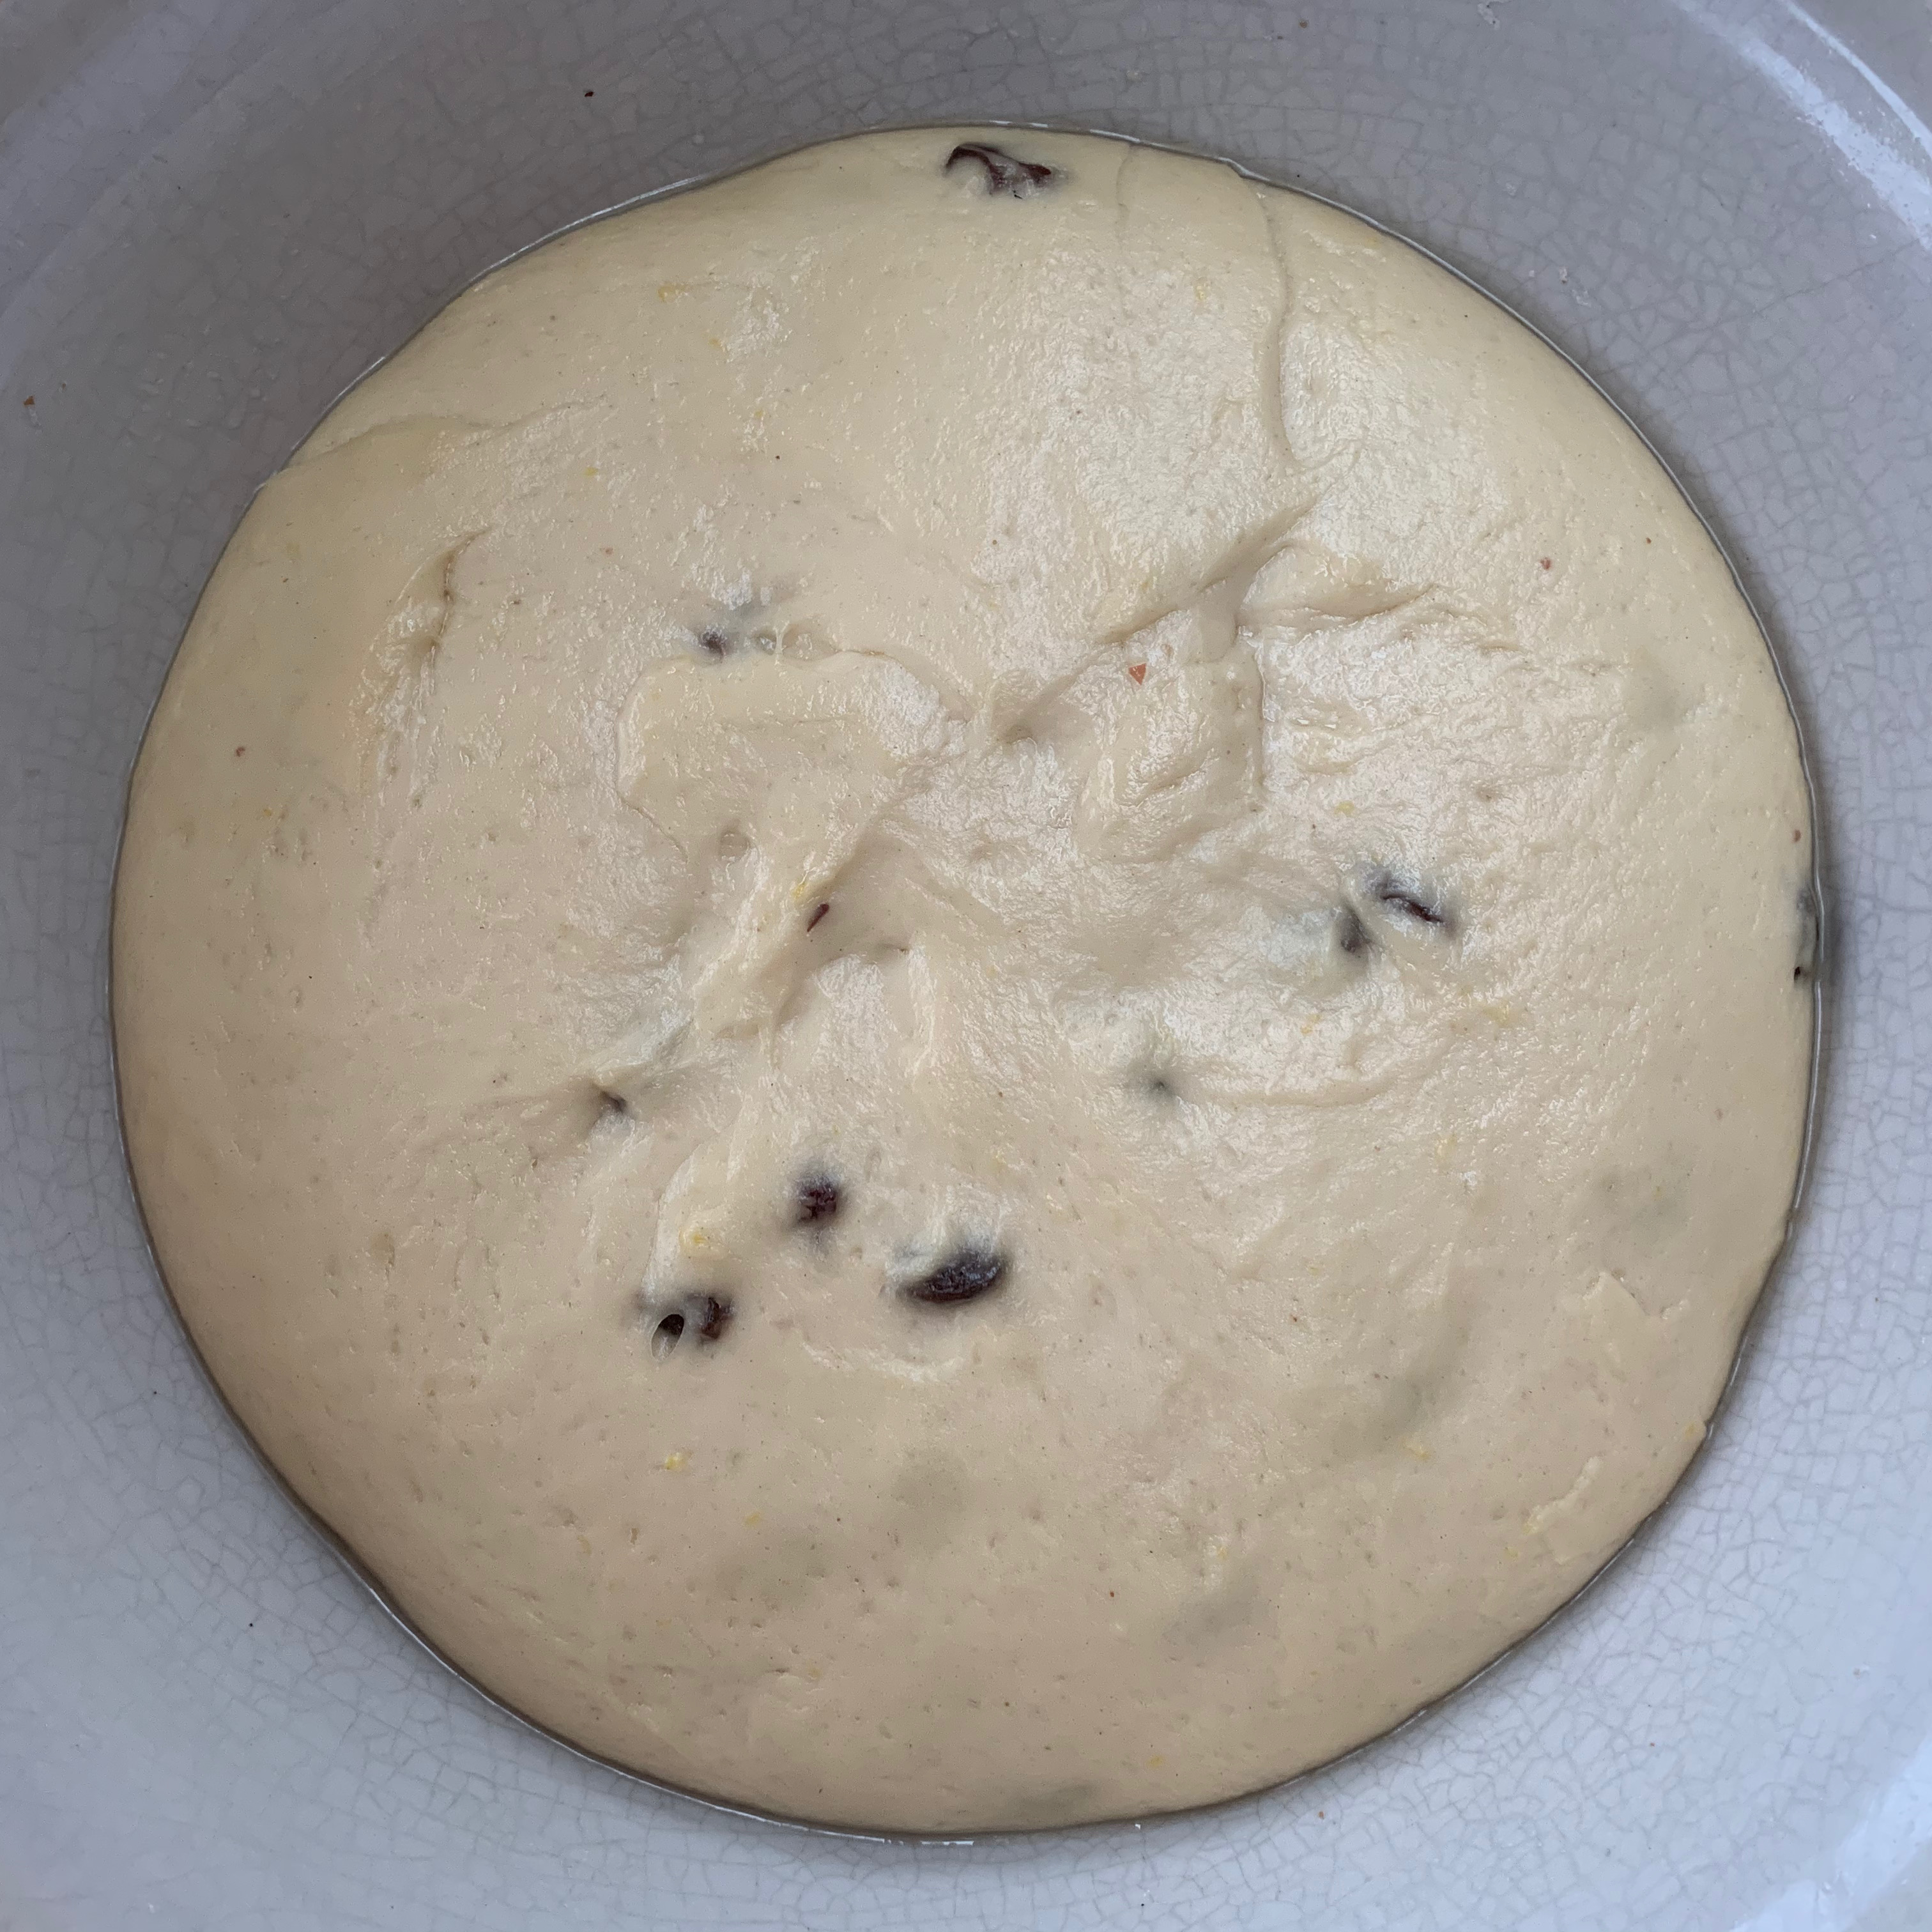
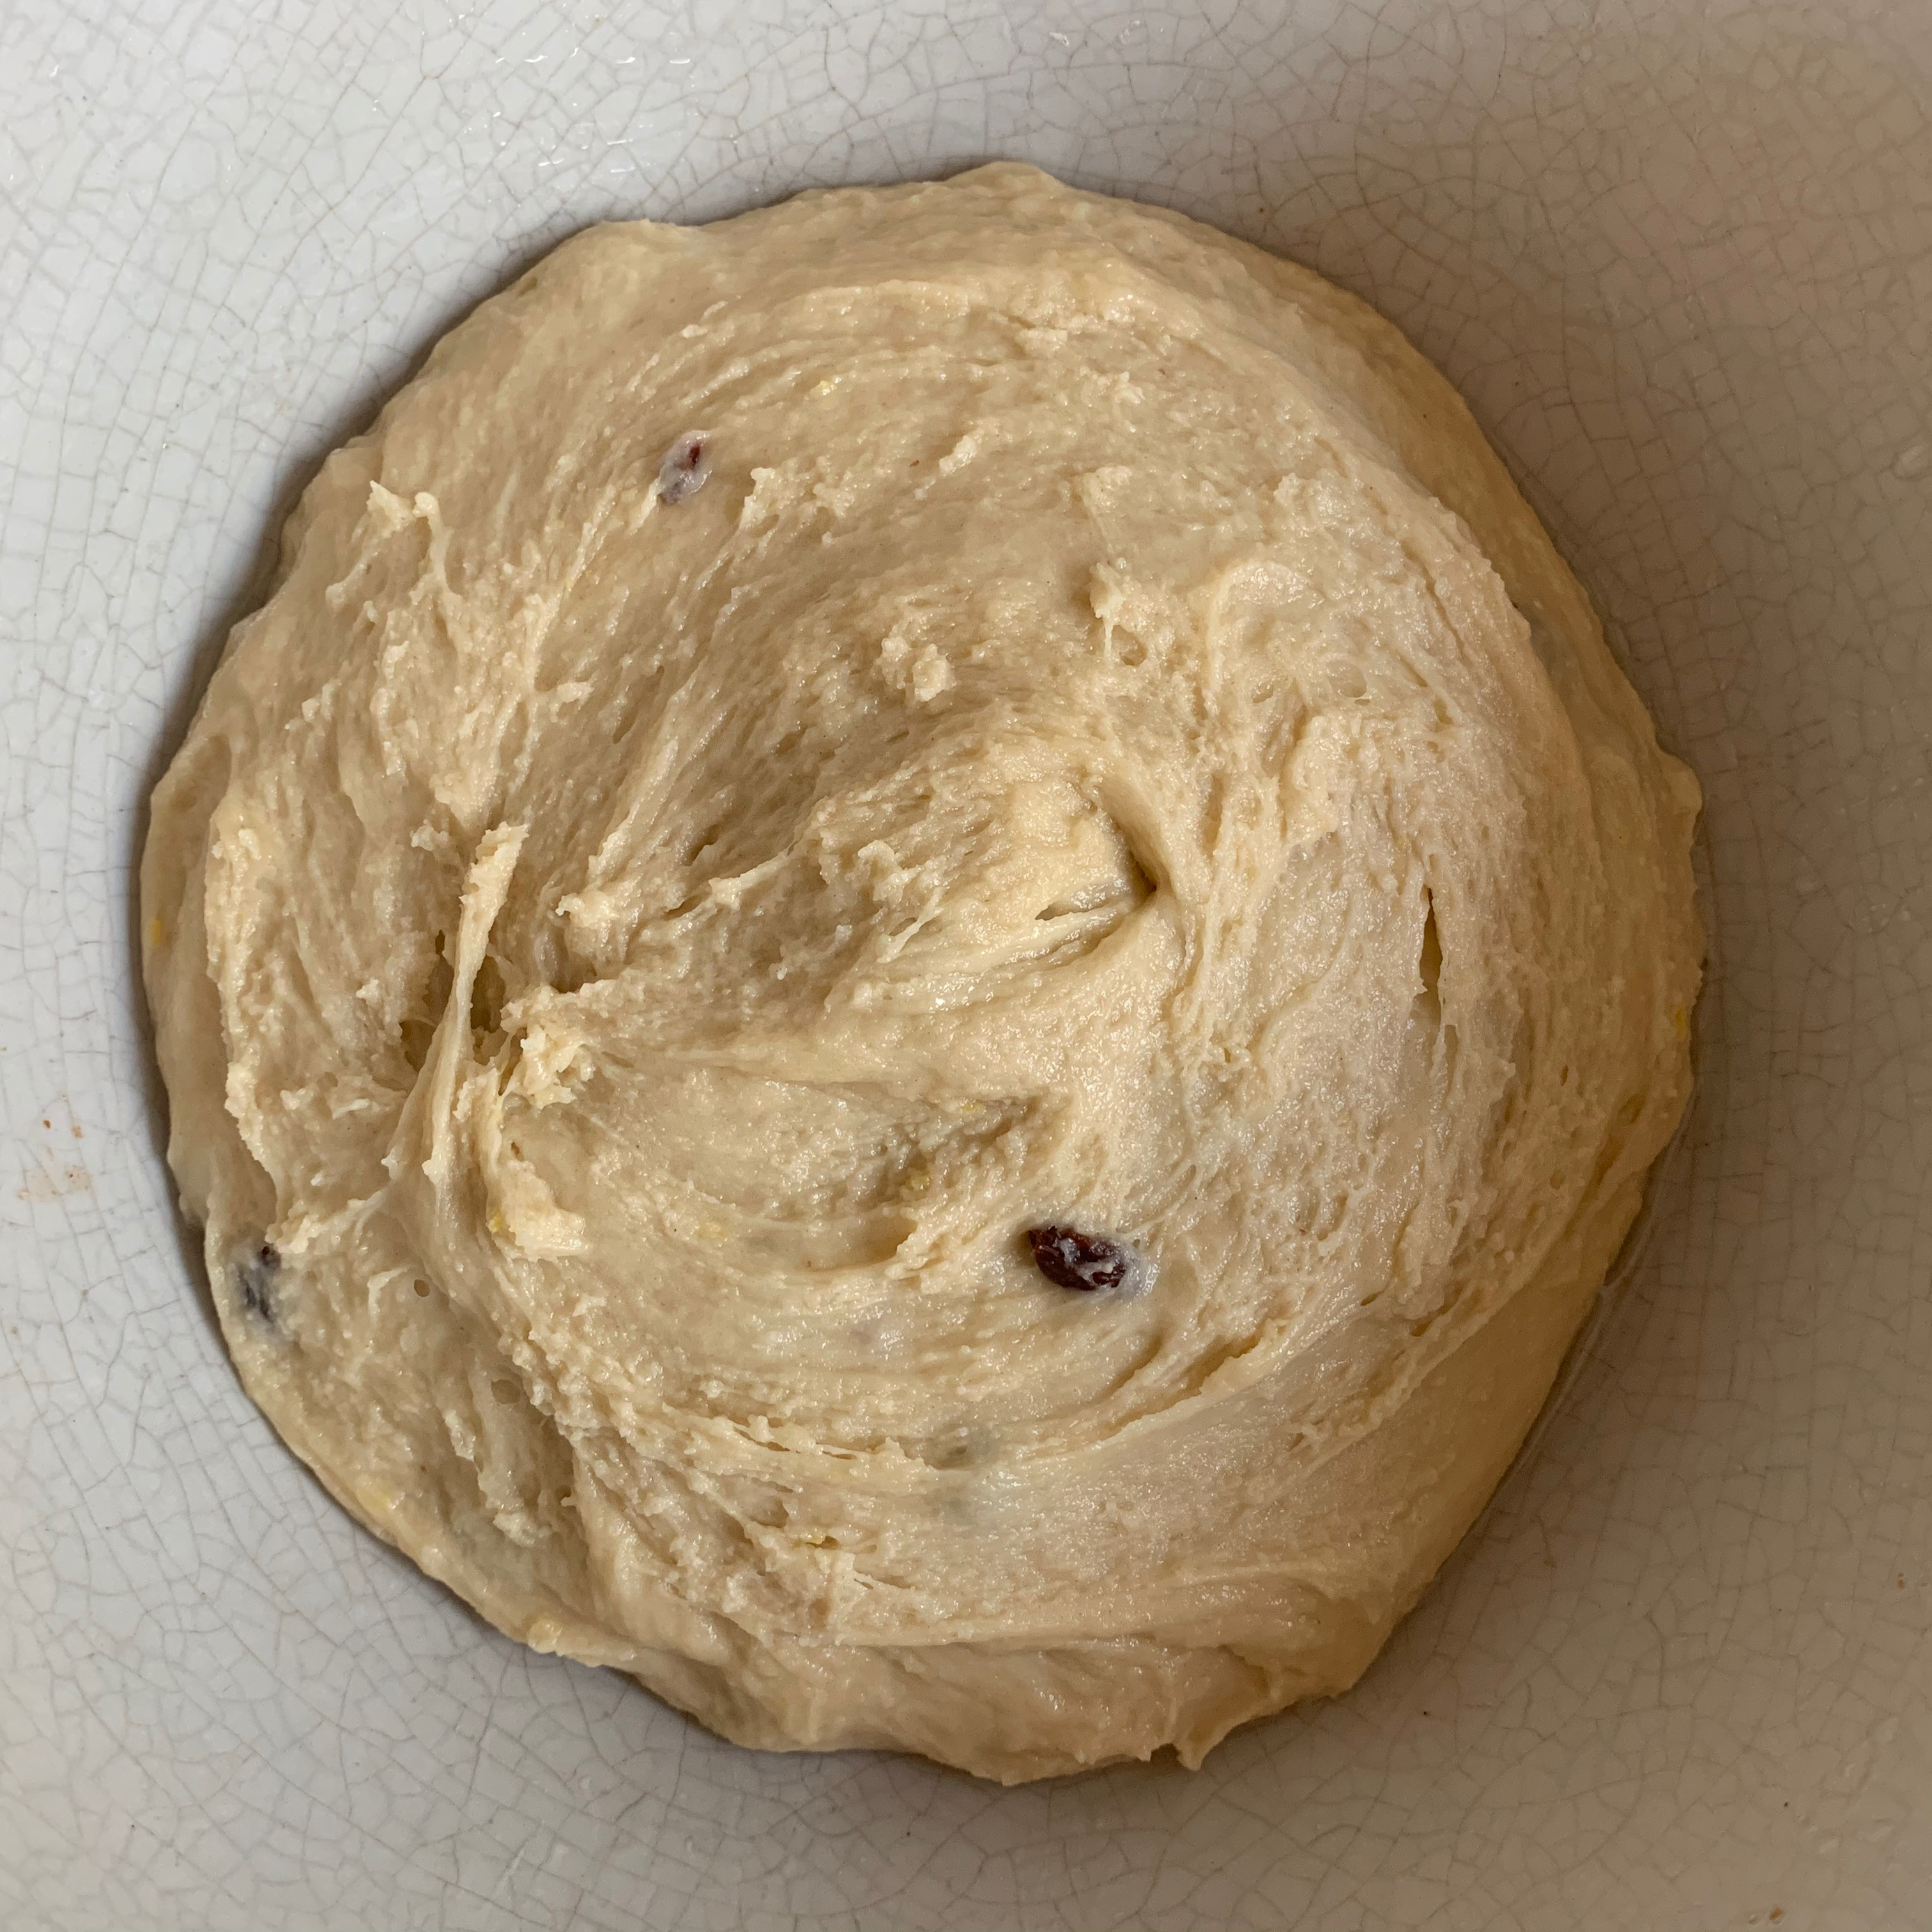
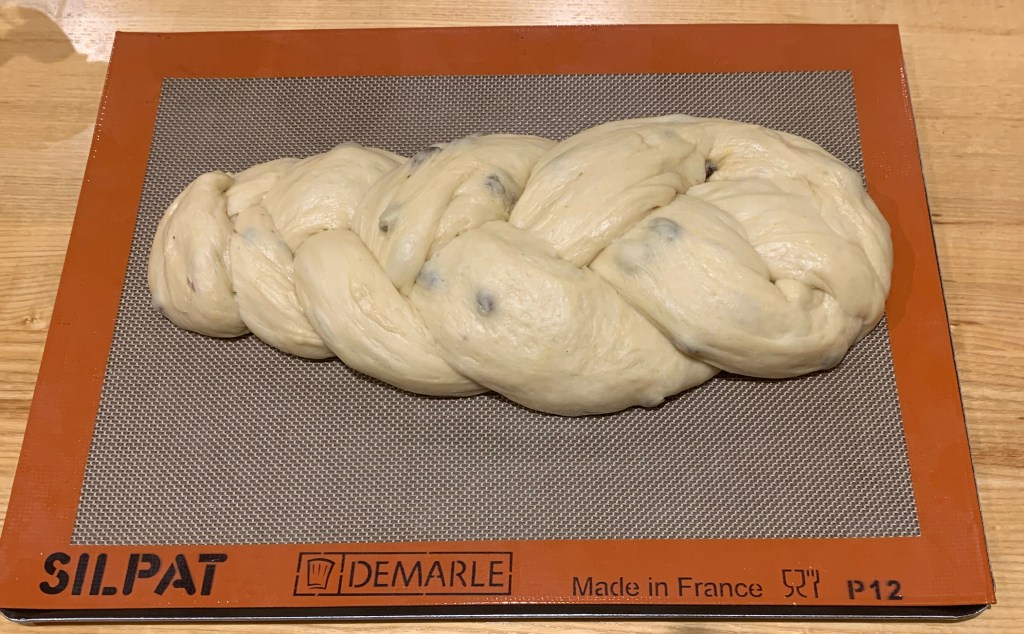
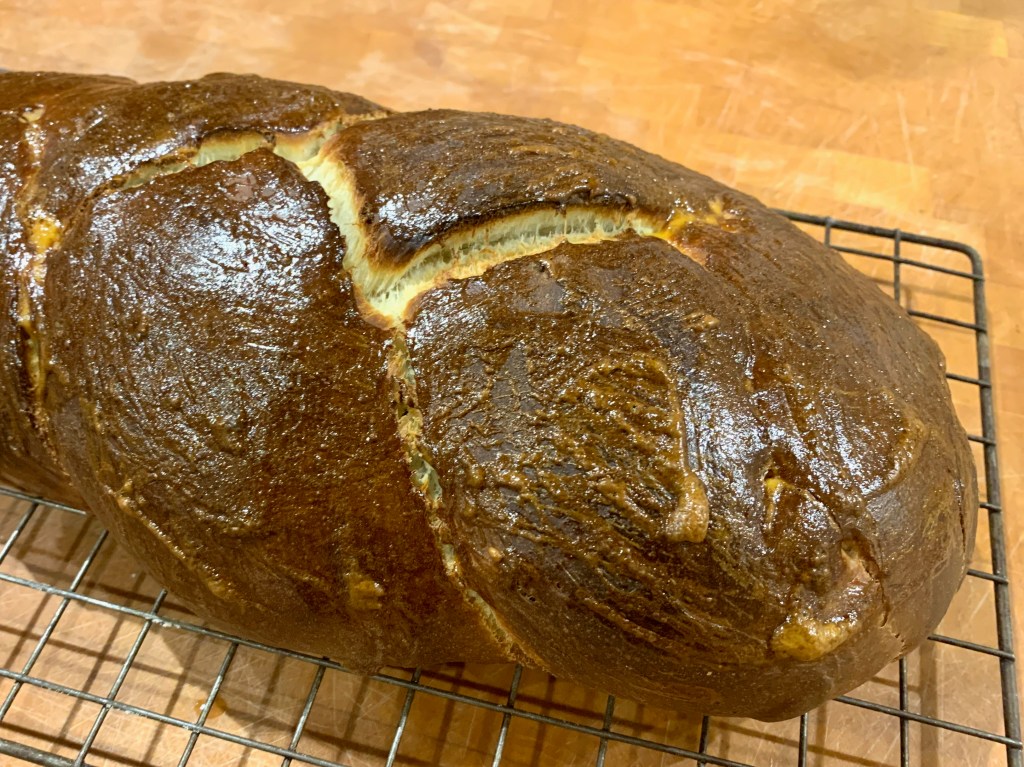
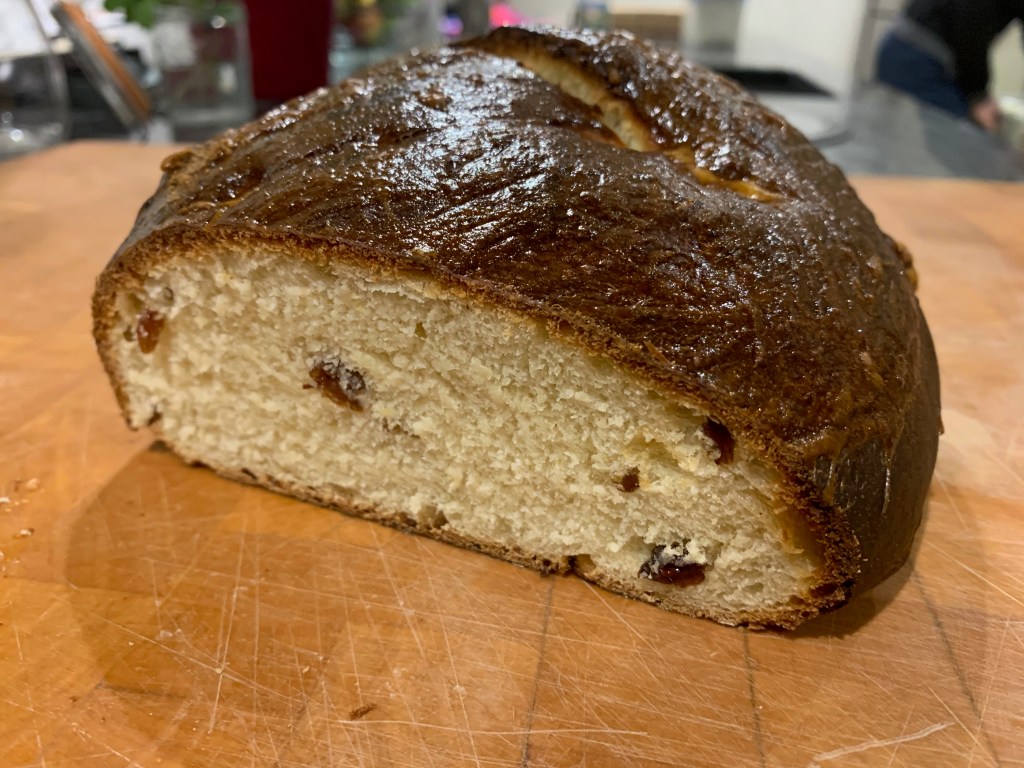
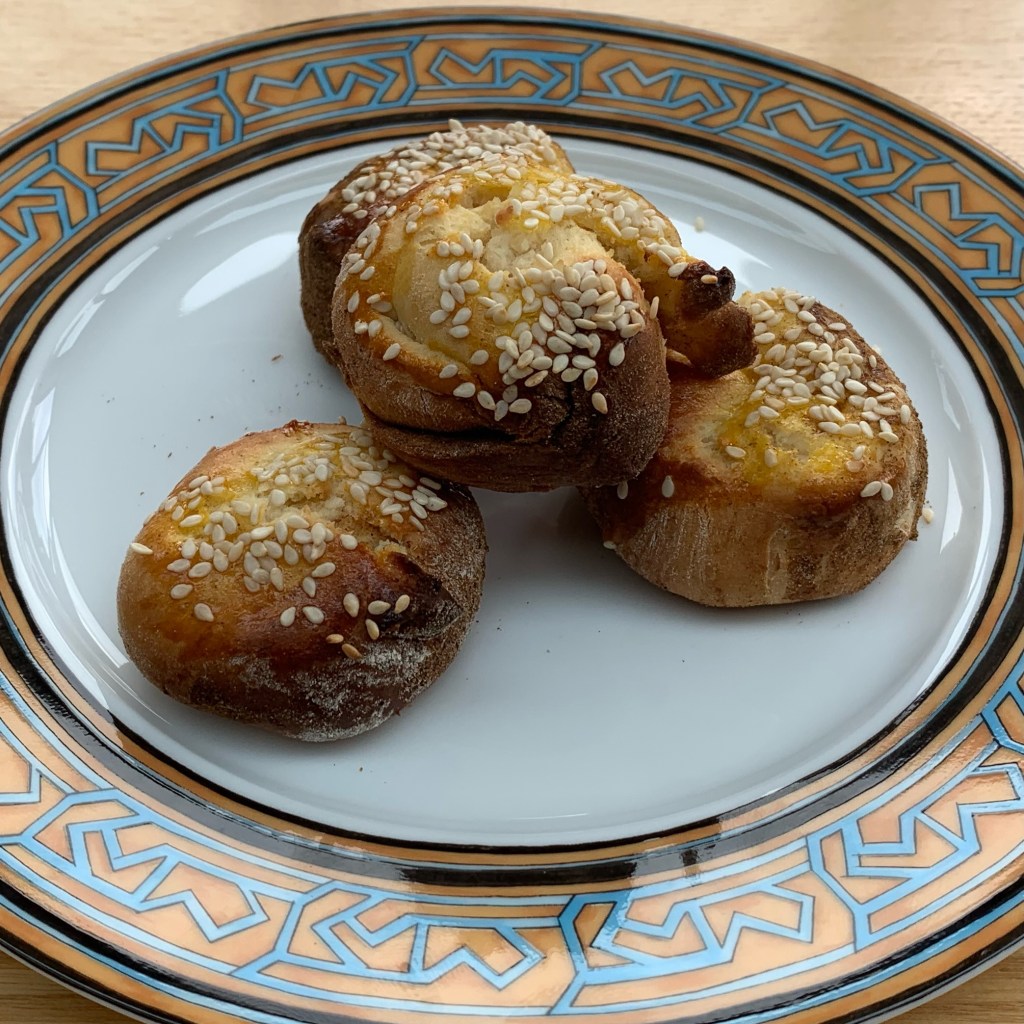
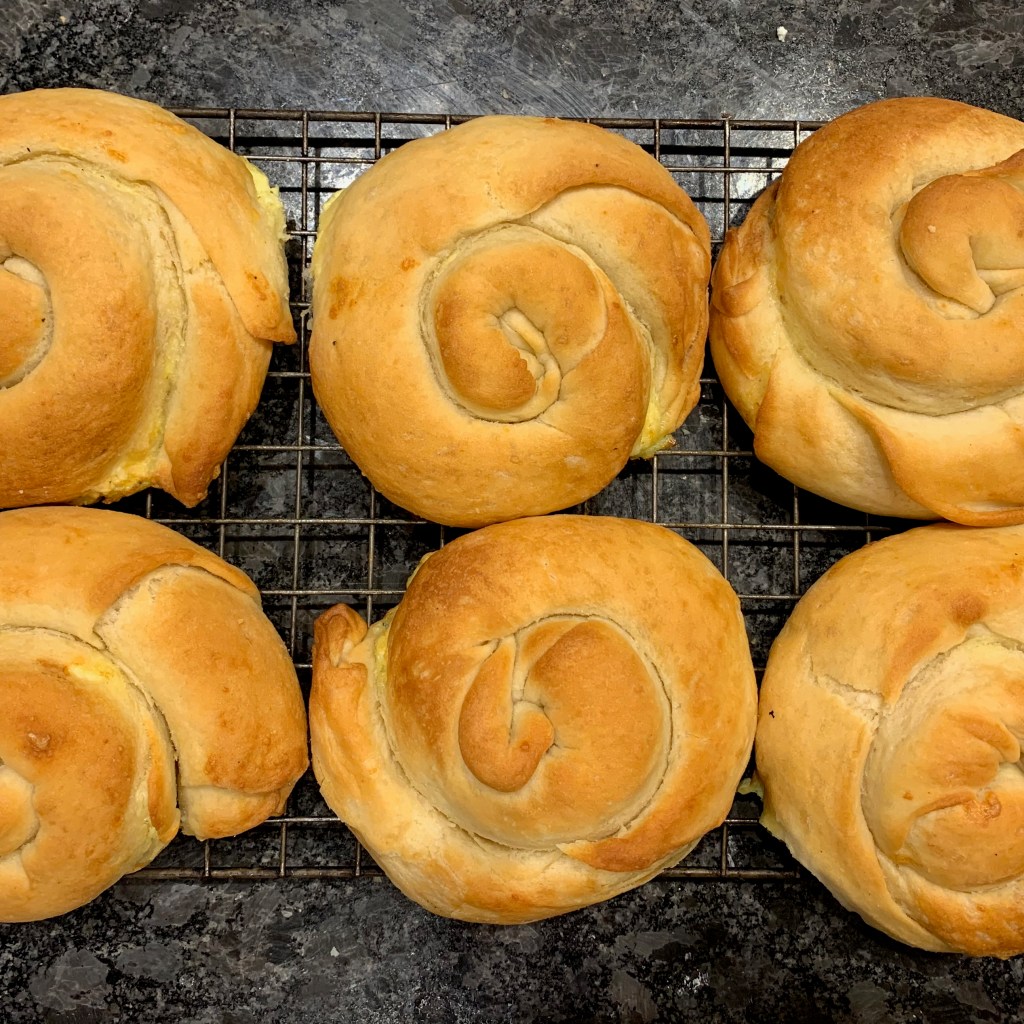
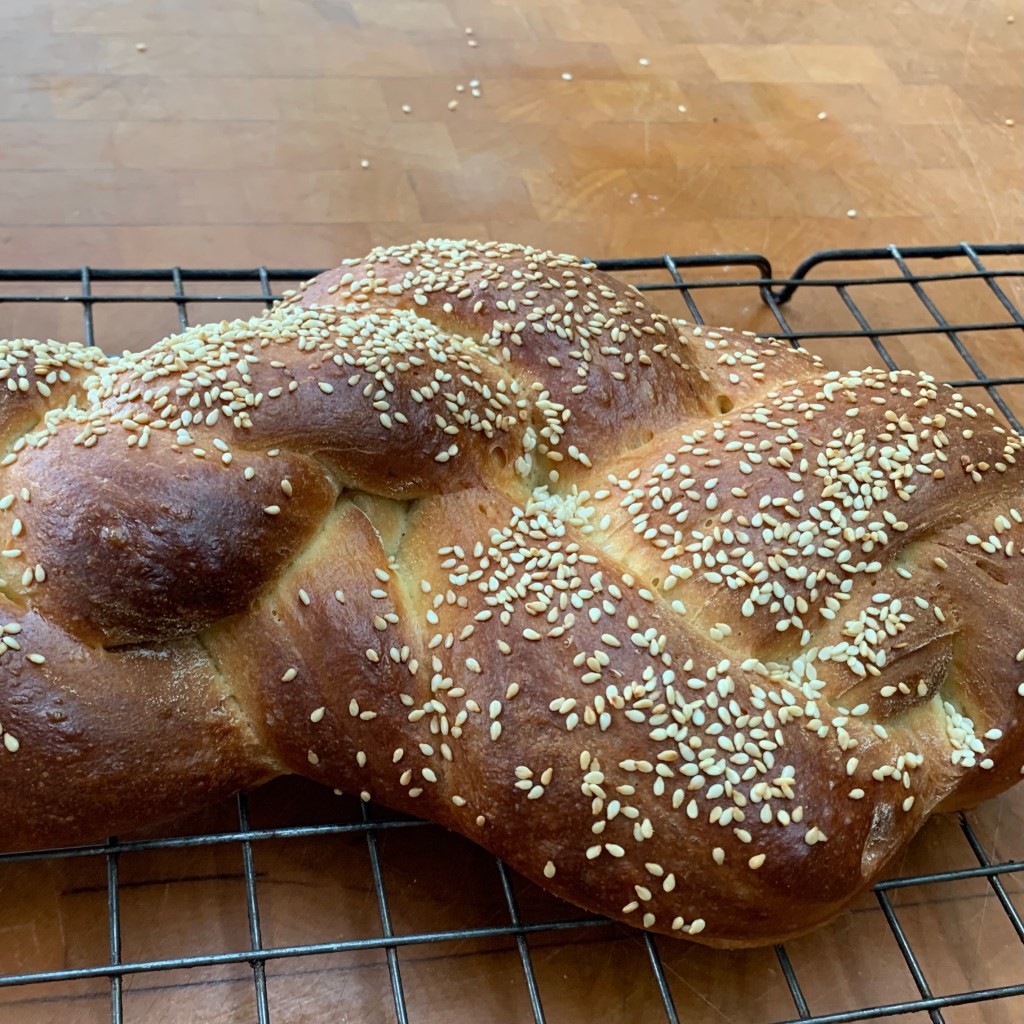
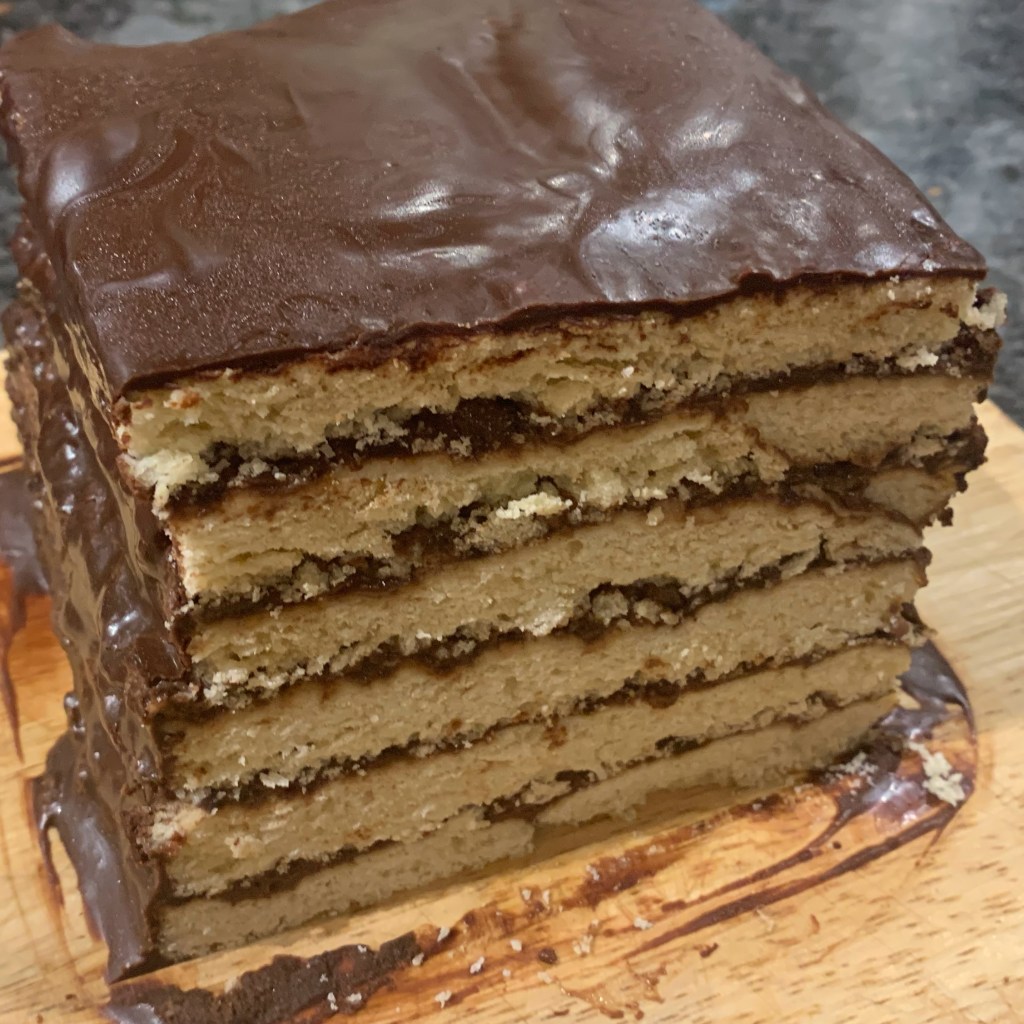
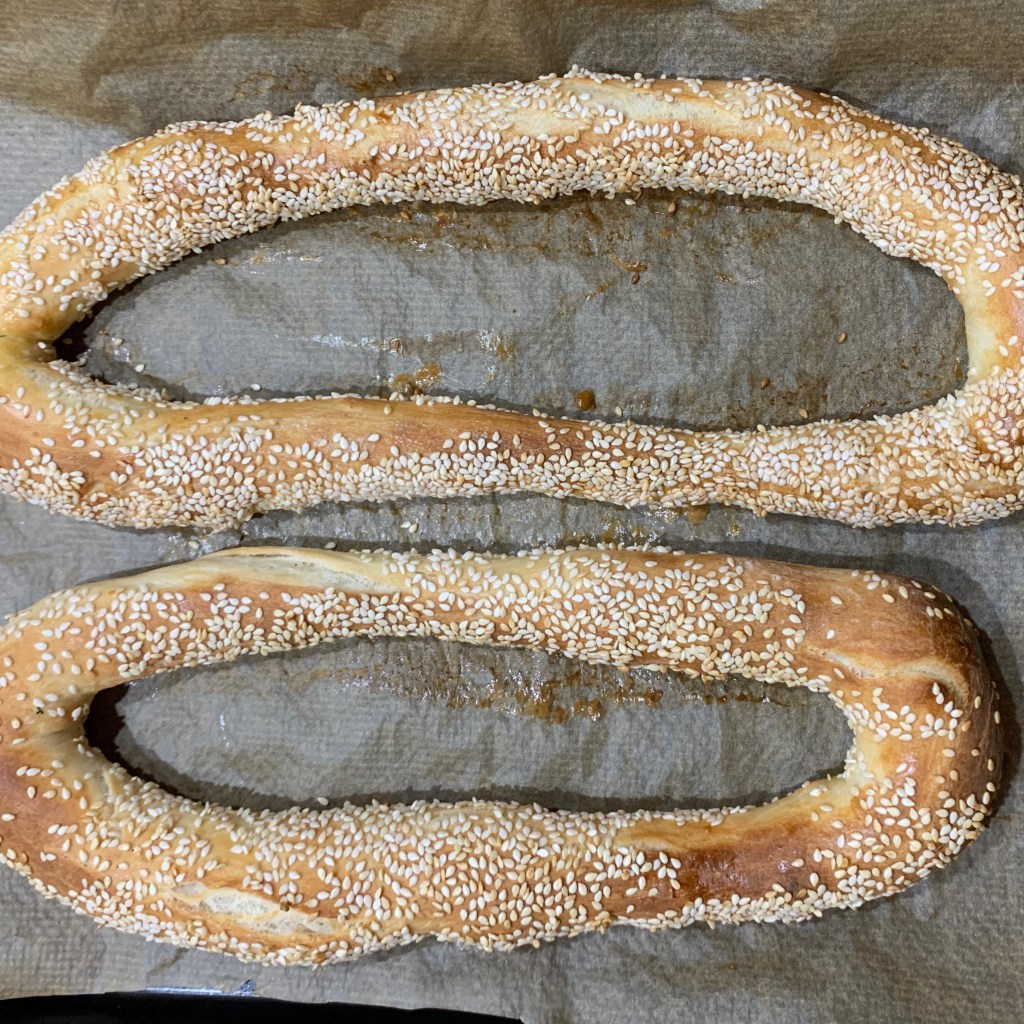
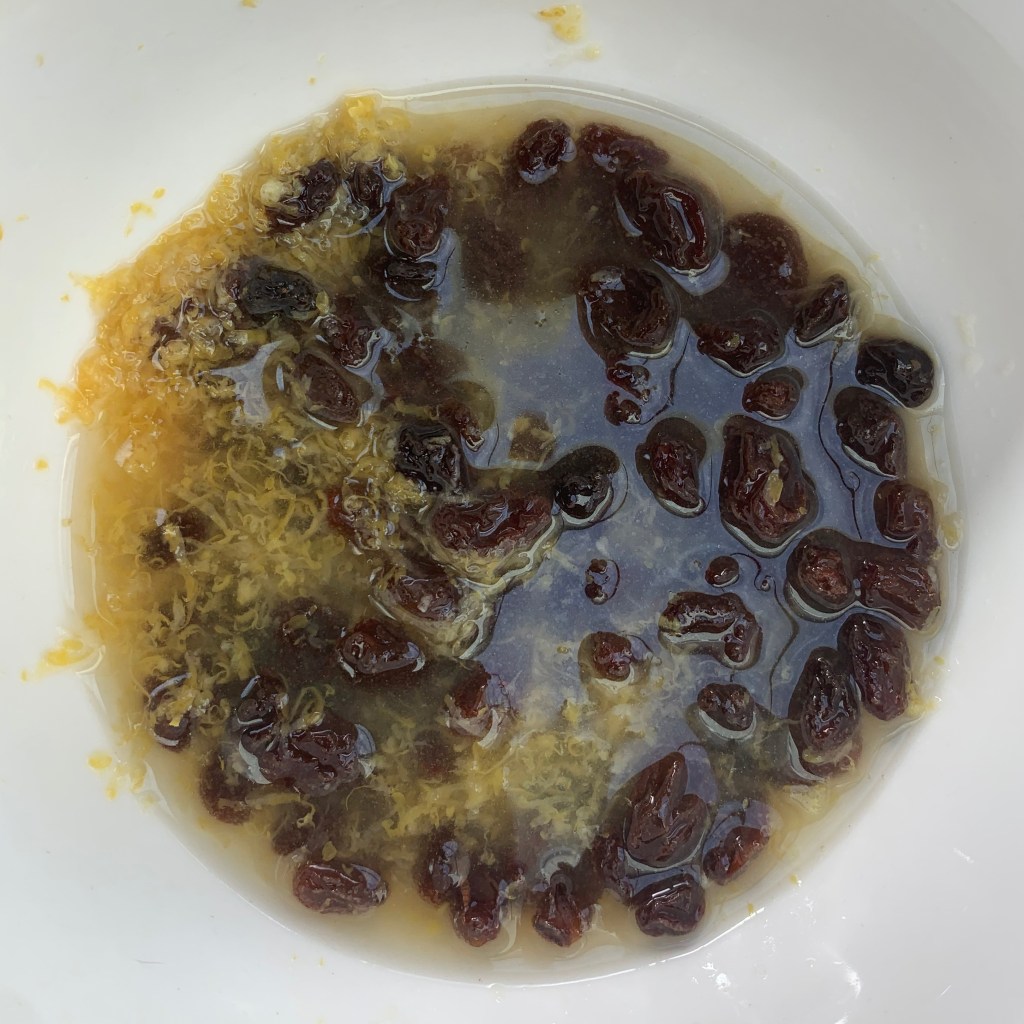
Most Christian countries have some form of enriched bread that they bake for Easter: there’s the Greek Tsoureki, Italian Pane di Pasqua, German Osterbrot, Russian Kulich, English Hot Cross Buns, Paraguayan Chipa – there are dozens more. Since it’s coming up to Easter and I needed a country that I haven’t yet visited on this round the world trip, I’ve gone for Kozunak, the version that’s popular in Bulgaria (and, indeed, in Romania, Serbia and other Balkan countries.
This is a braided loaf, not so far off a Jewish Challah, but sweeter and with the addition of lemon and rum-soaked raisins. It’s not massively difficult in essence, but set aside a good amount of time for the three rises that will be needed. I’ve started with a recipe from The Spruce Eats (another of Barbara Rolek’s), halved the quantities as best I could, and broken the recipe up into several stages so that it’s easier to see which ingredients you need for which stage.
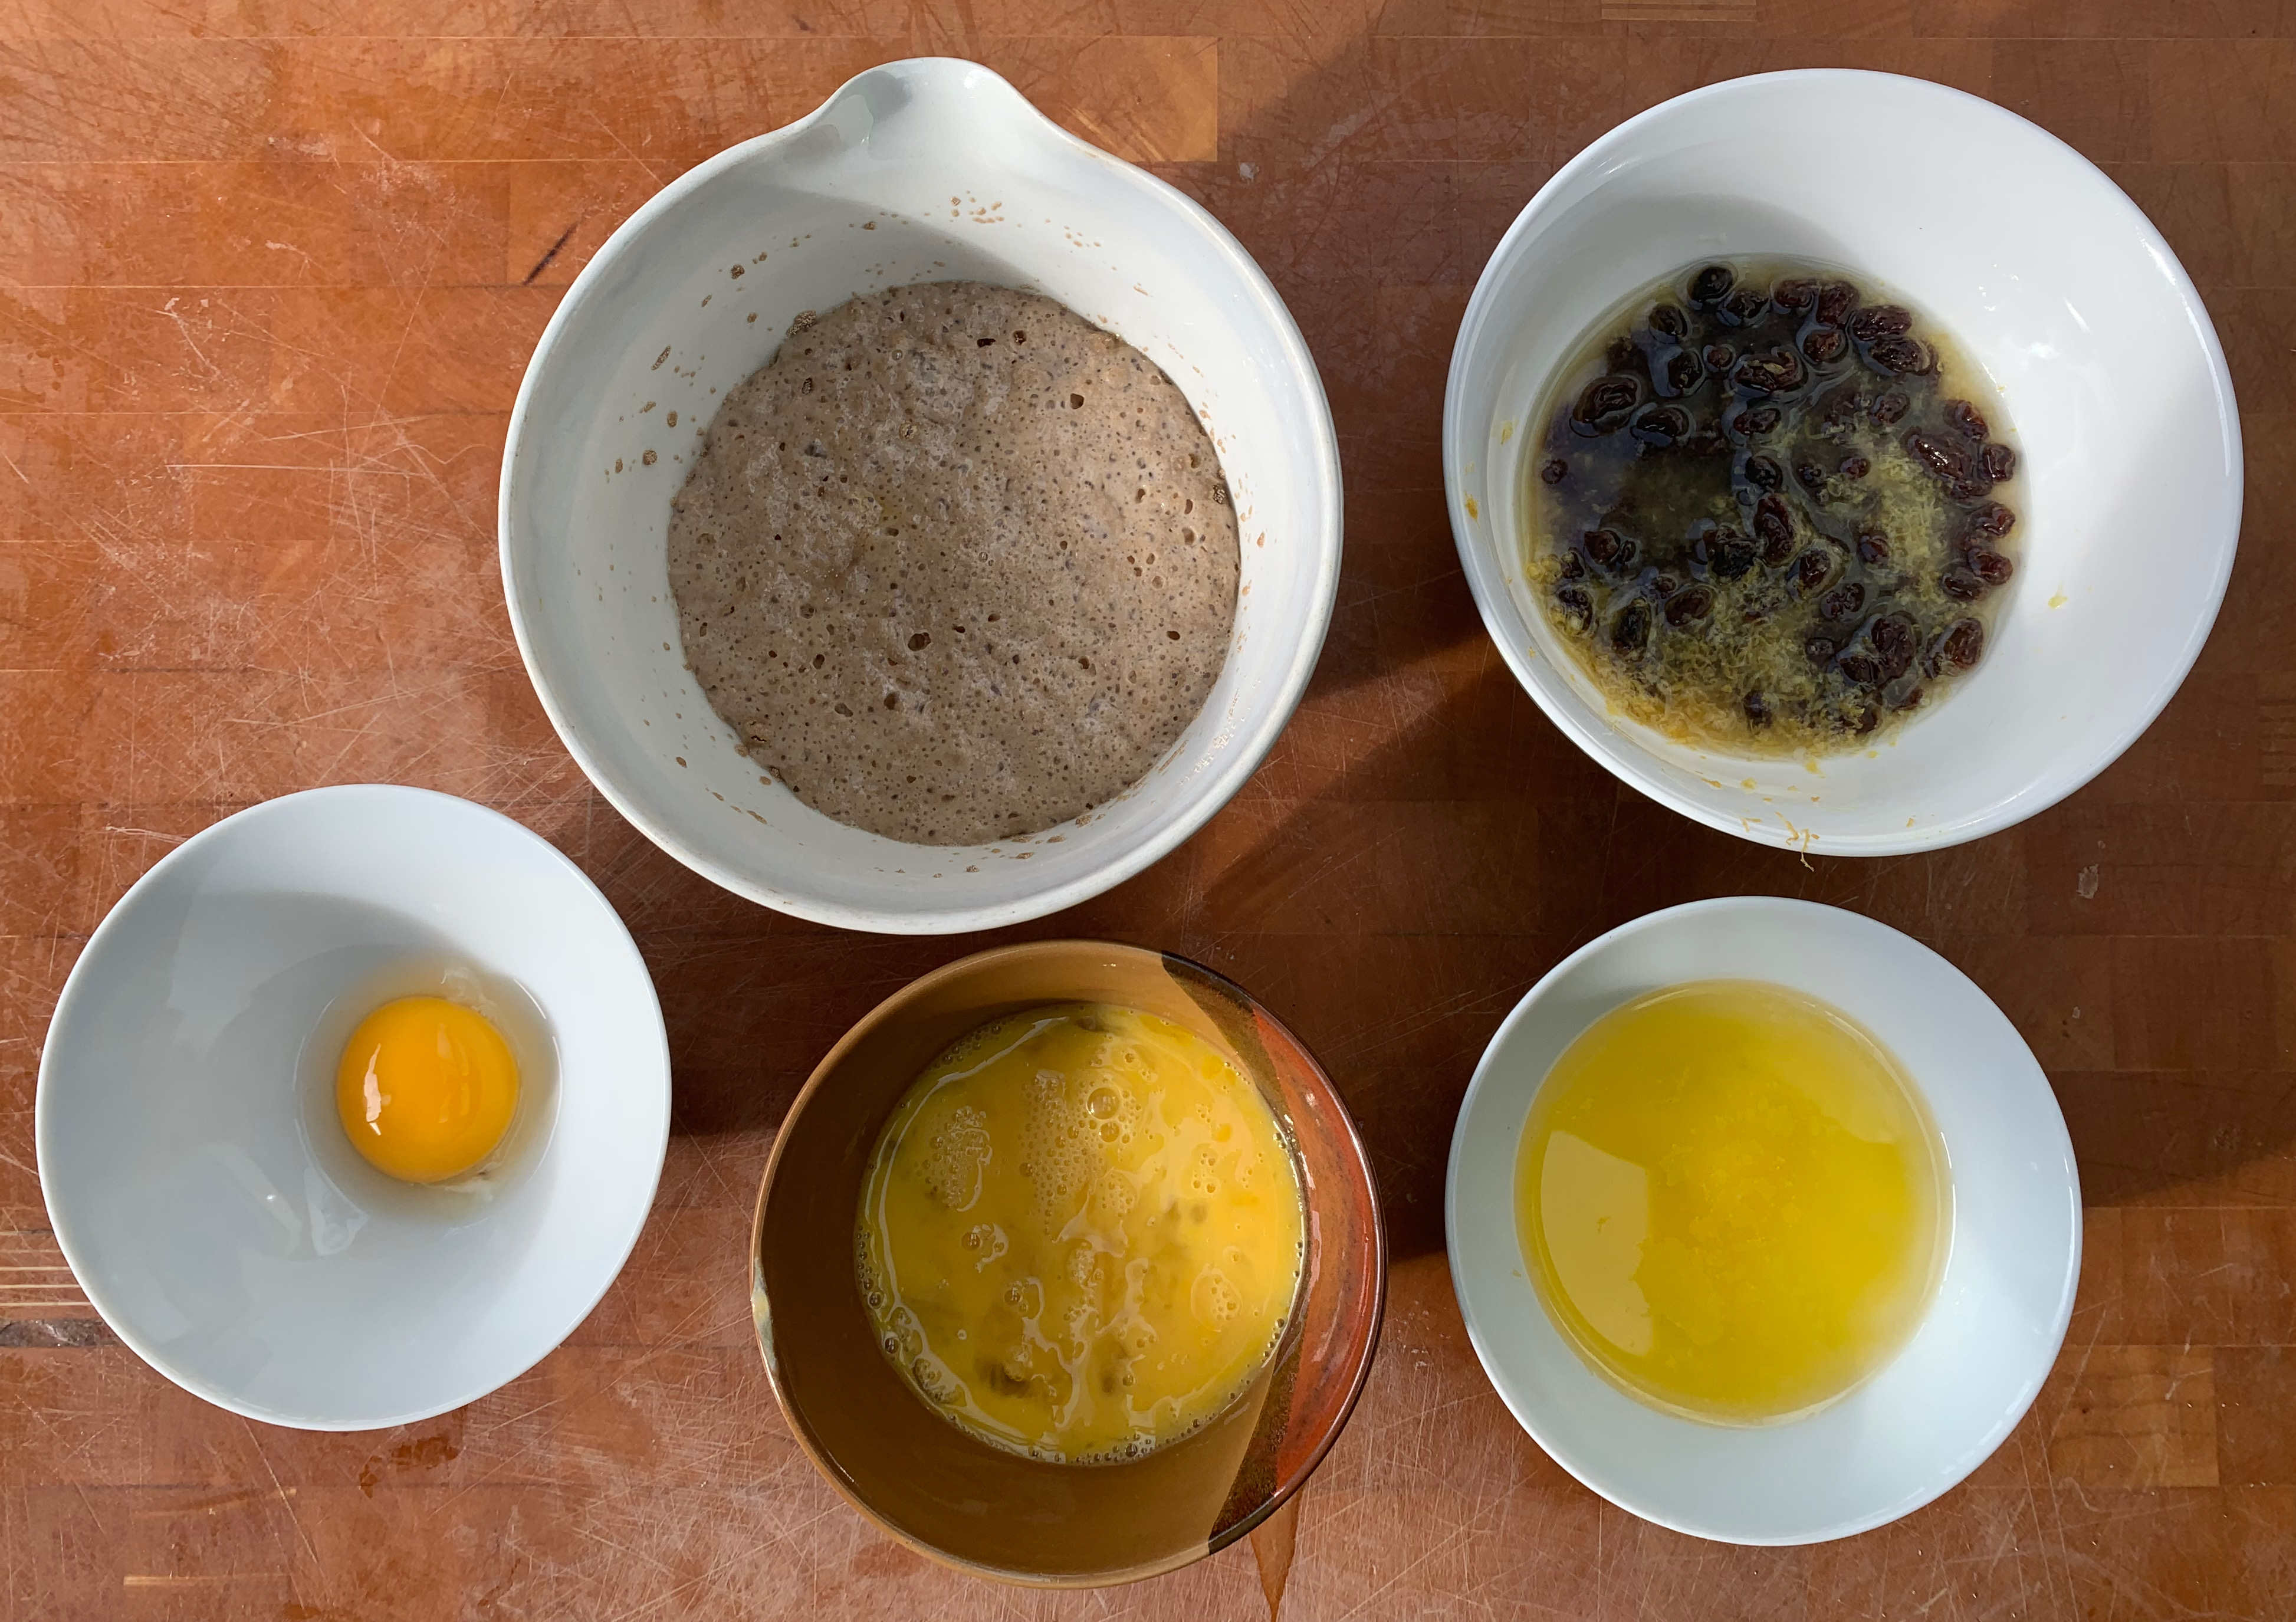
My one moan about this recipe is that it uses heroic numbers of small bowls. If you hate washing up, this probably isn’t one for you, or you might want to reshuffle the exact order of the processes a bit.
The raisins
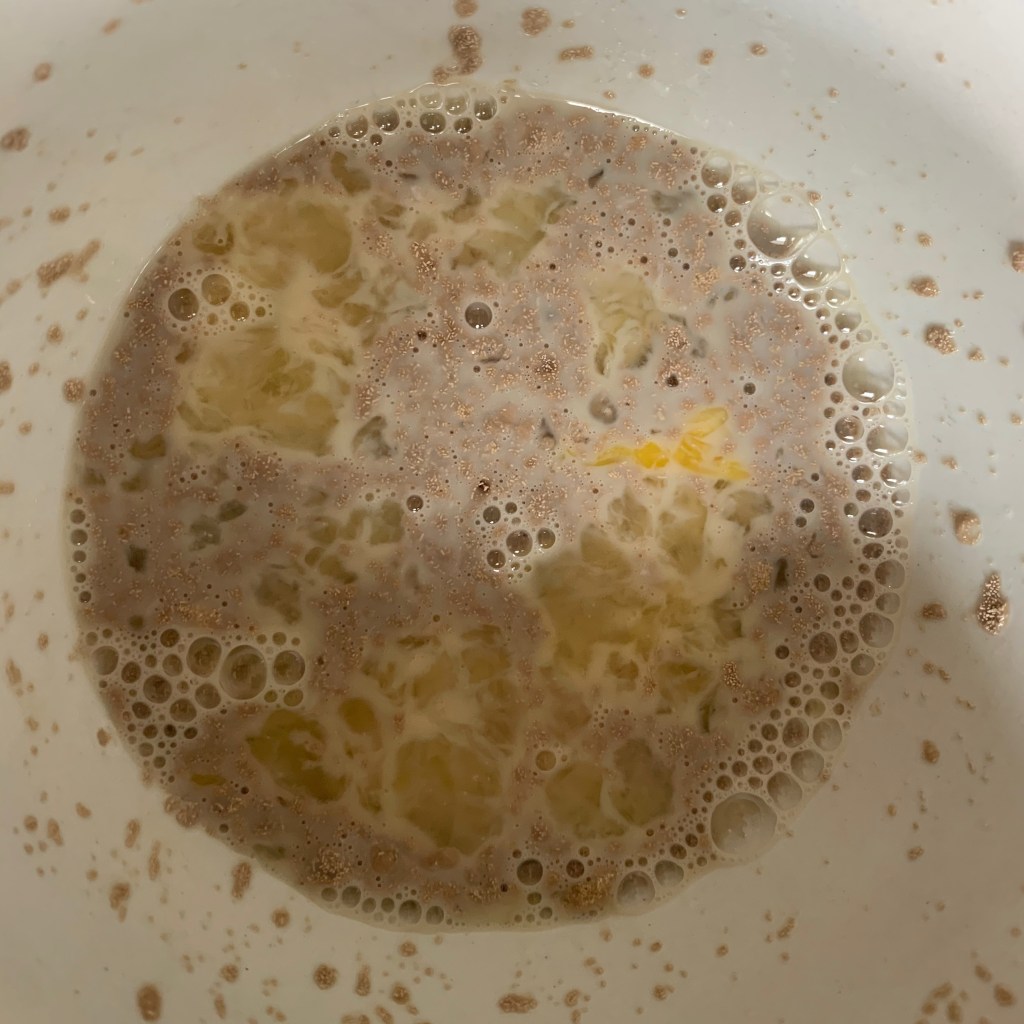
Yeast mix
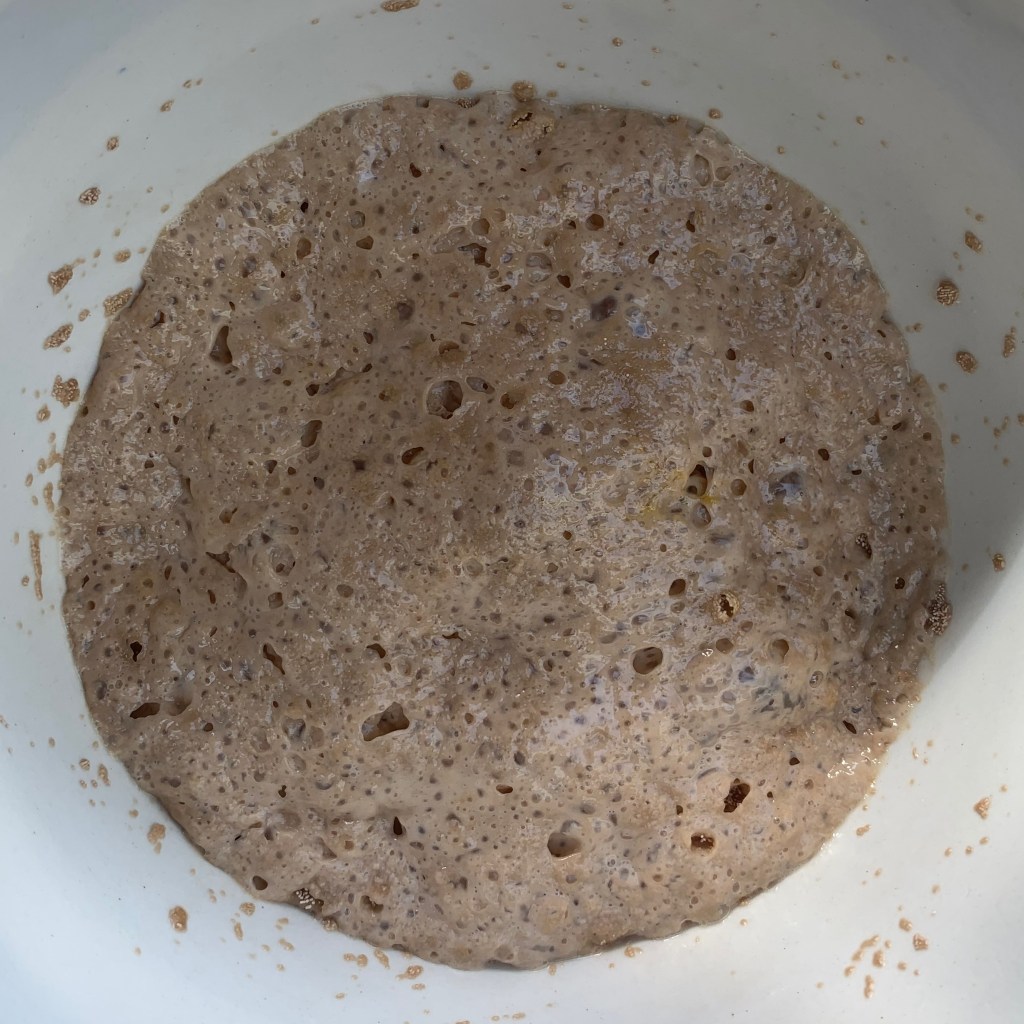
The dough and final baking