The word “Naan” isn’t really Indian at all, nor is it particularly specific: it’s actually just the Persian word for “bread”. However, speak to any English patron of Indian restaurants and of the many wonderful breads that Indians make, naan is the one that stands out. It’s one of the simplest of their breads but one of the trickiest to get absolutely right, pillowy soft and puffy on the inside, with the thinnest of crisp outsides, and the traditional teardrop shape. When you do get it right, it’s a magical accompaniment to curries and lentil dishes.
Since there are a growing number of flatbreads in this journey, it’s worth talking about the differences between them. The first obvious thing is the choice of flour: wholemeal for aish baladi, strong white bread flour for most of the others. Next, there’s the thickness: paper thin for lavash, a centimetre or so for aish baladi or naan, deeper for focaccia. Then there’s the flavour profile: focaccia laden with olive oil and herbs, naan most likely to be flavoured with ghee and nigella seeds. There are other choices to be made, like whether to add dairy products to your dough and whether to use oil (or butter or ghee), but these often vary as much in different recipes for what’s notionally the same bread as they do between nationalities.
As a Western home cook, your inevitable problem with naan is the absence of a tandoor with its intense heat and stone sides. For most of these breads, my recommendation is now the same: put the oven on its hottest setting and use a pizza stone if you have one. If you don’t, use a heavy metal frying pan that you can put in the oven (no plastic handles). Using a frying pan will give you the “slightly scorched in patches” effect that you often get in restaurants.
The Guardian’s Felicity Cloake usually does a great job of trying out many different recipes, so I’ve gone with her ingredient list, matched to my normal flatbread-making drill.
The quantities here made four good sized naans.
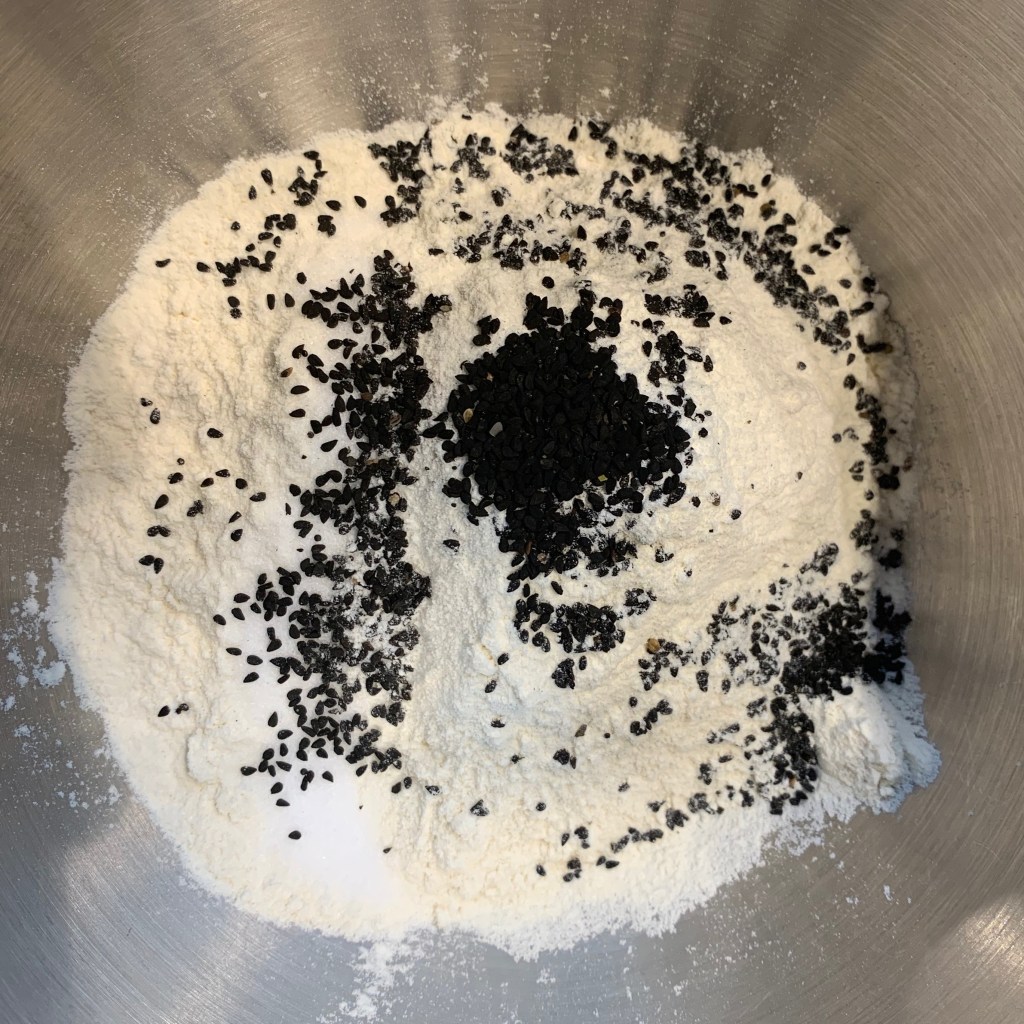
Dry mix
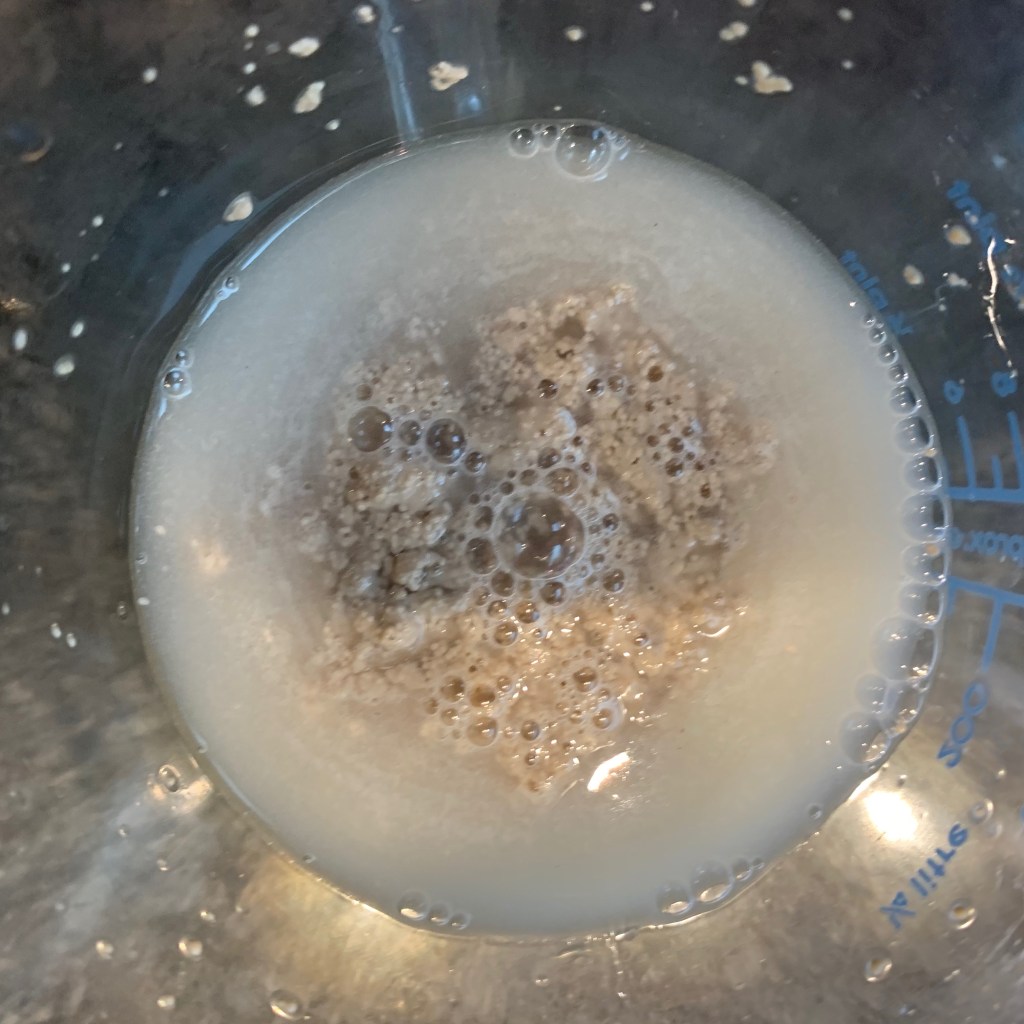
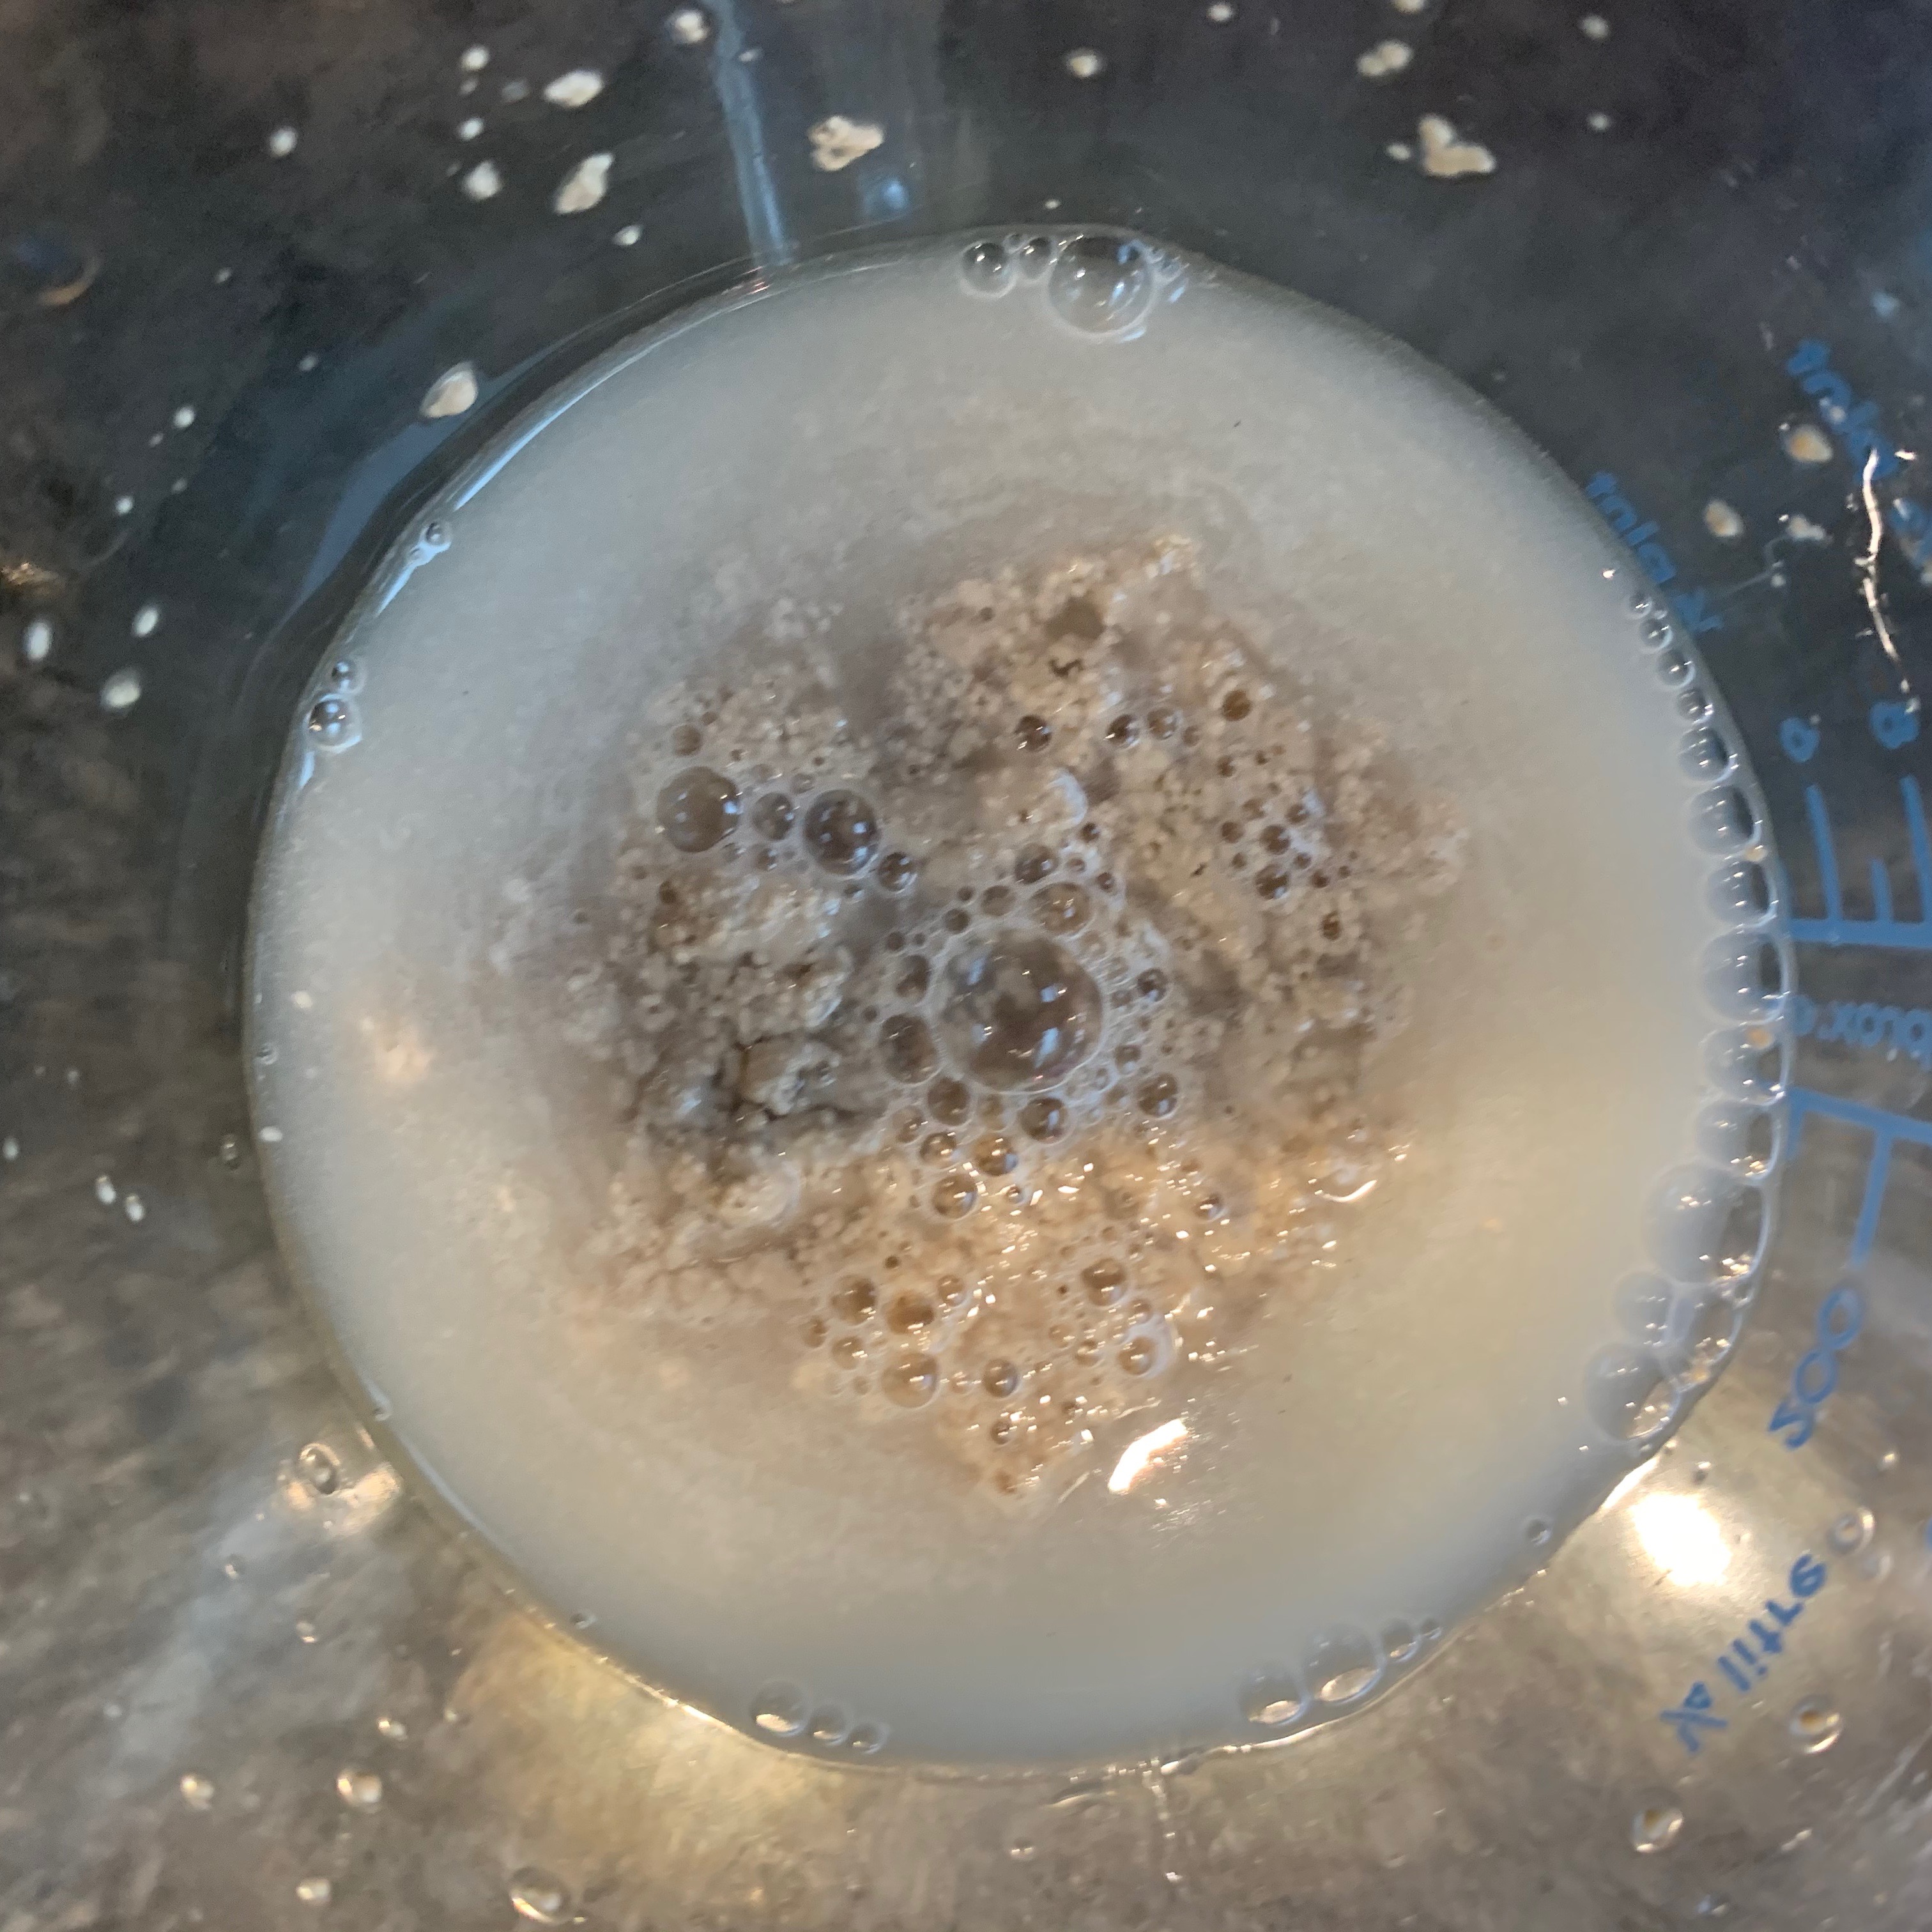
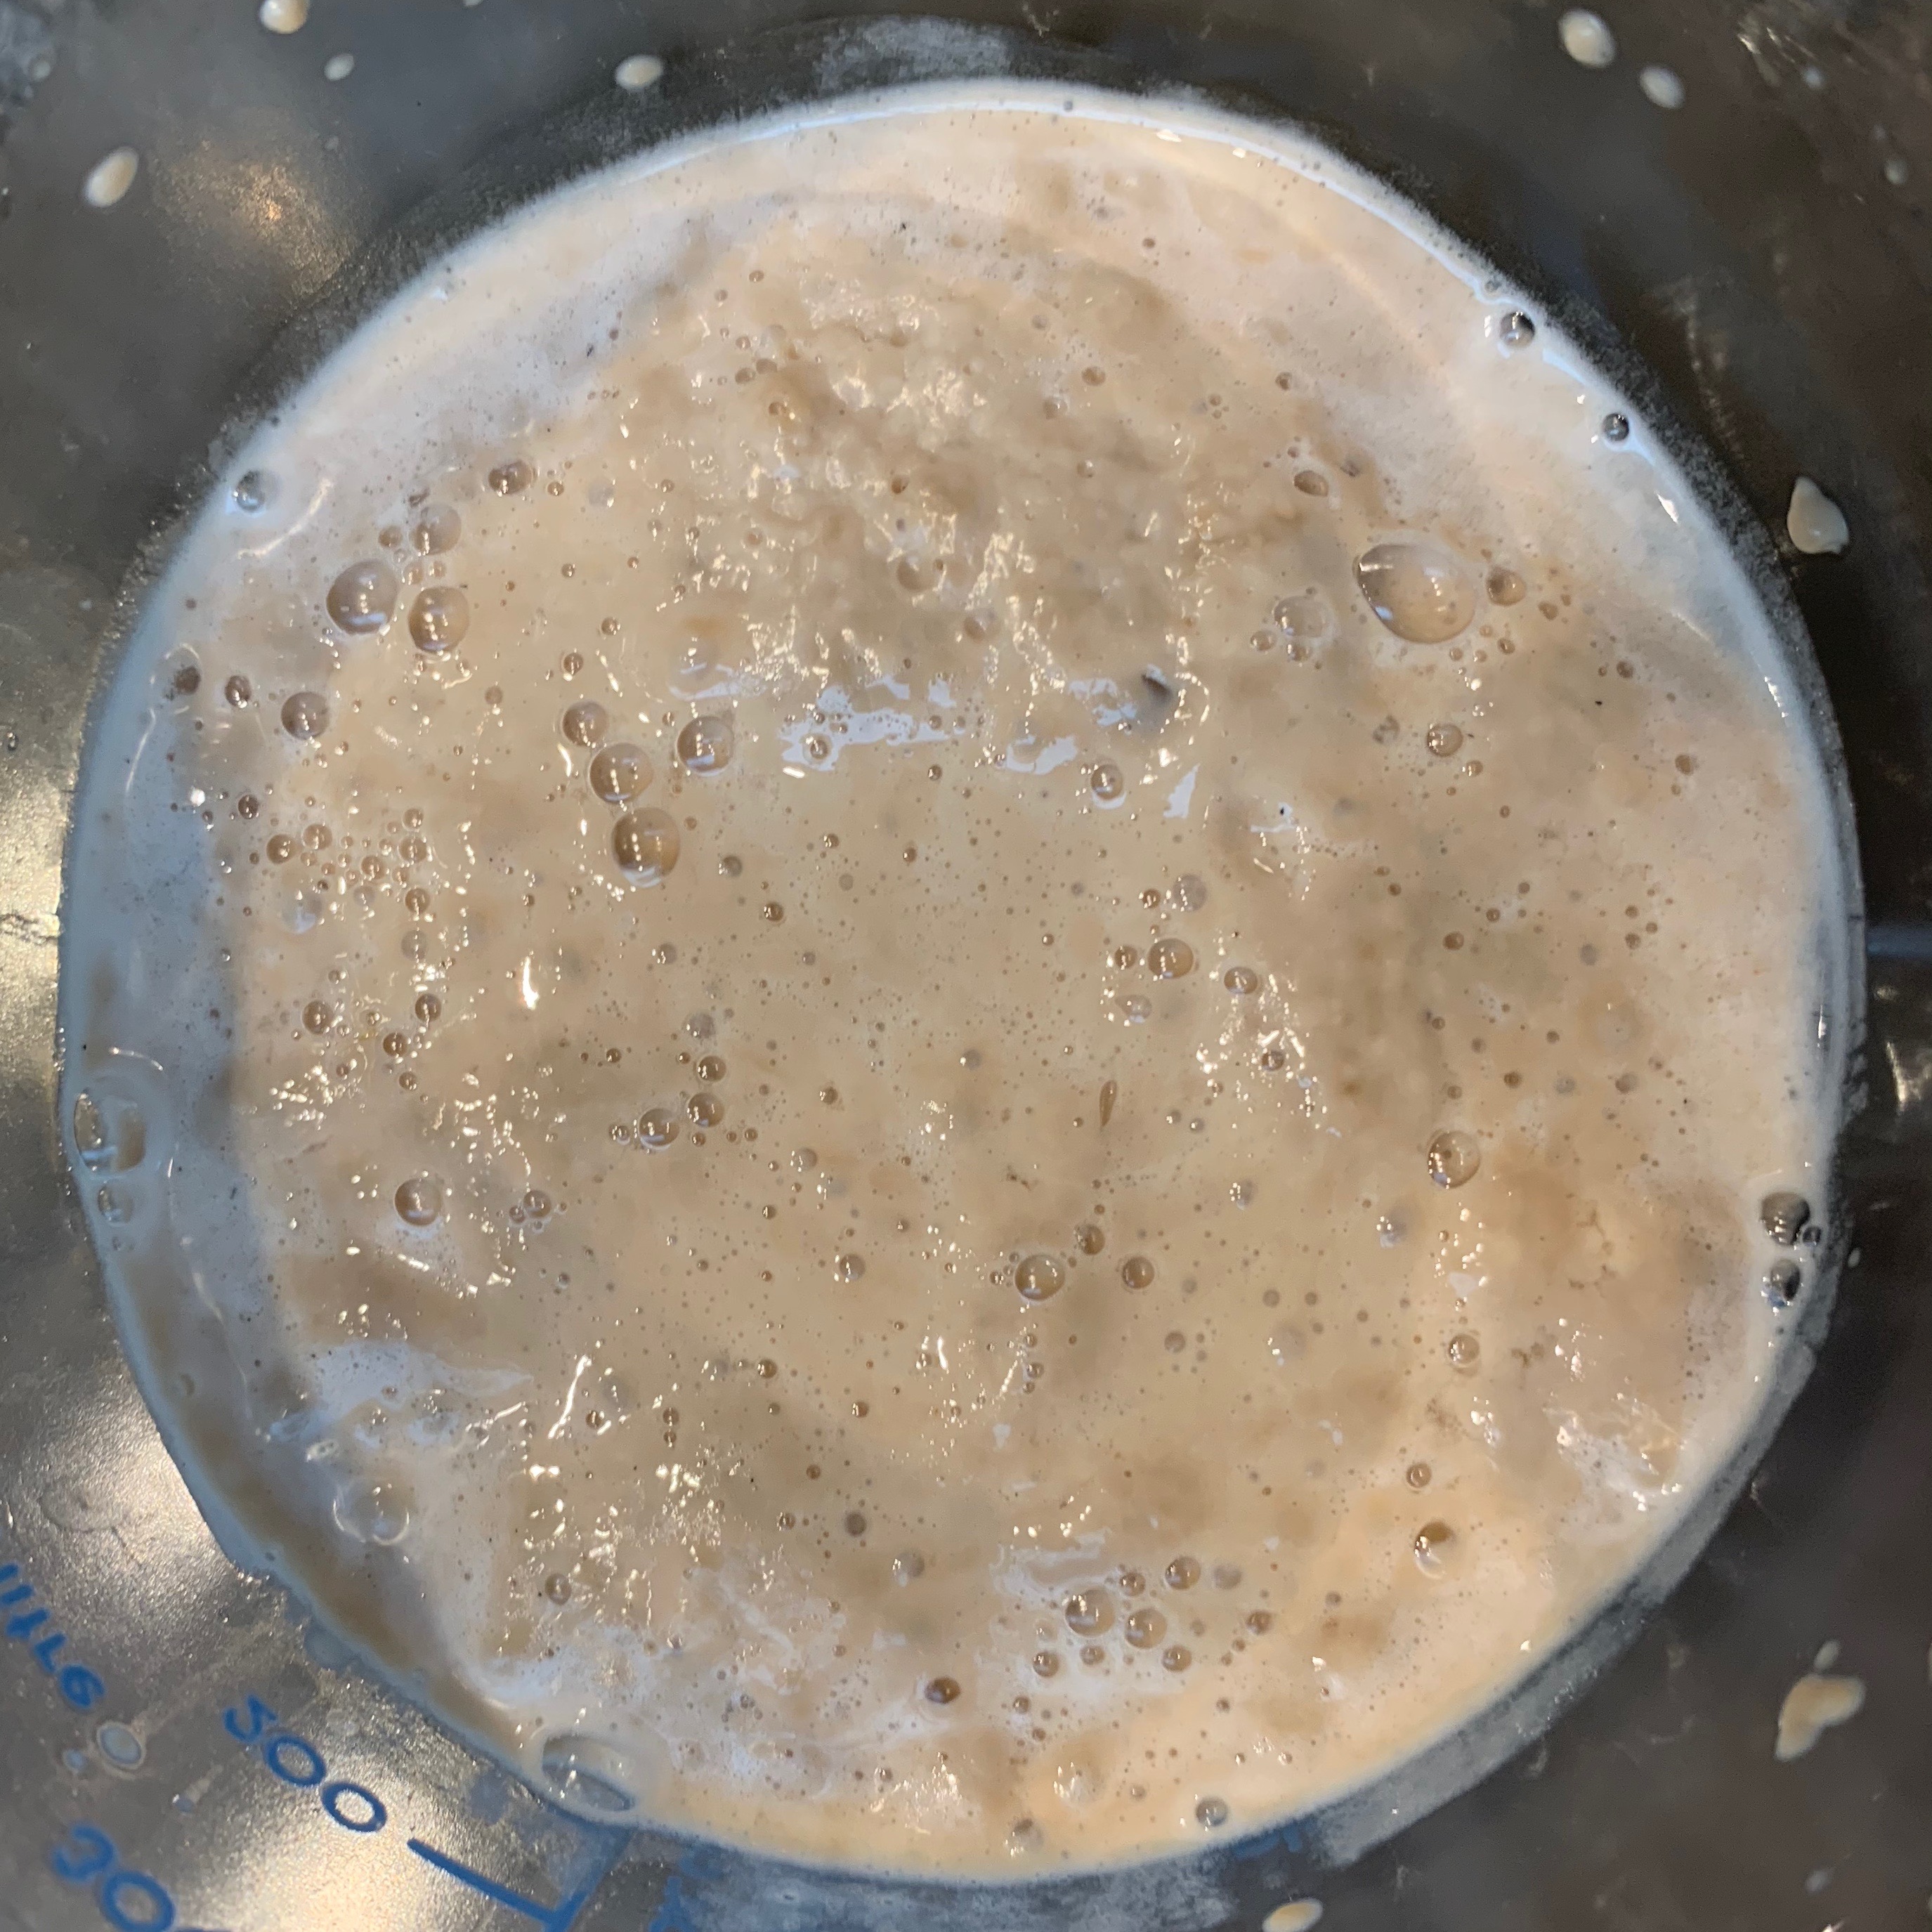
Frothed yeast wet mix
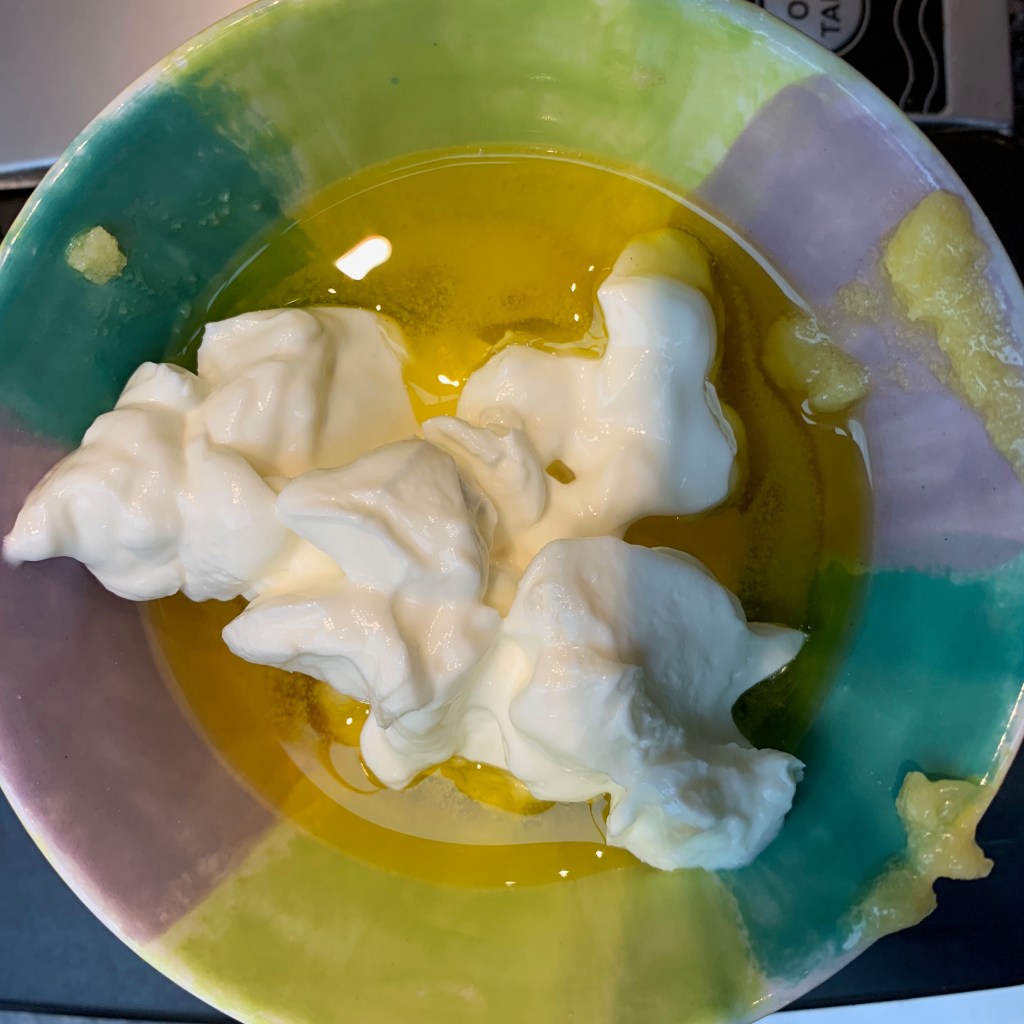
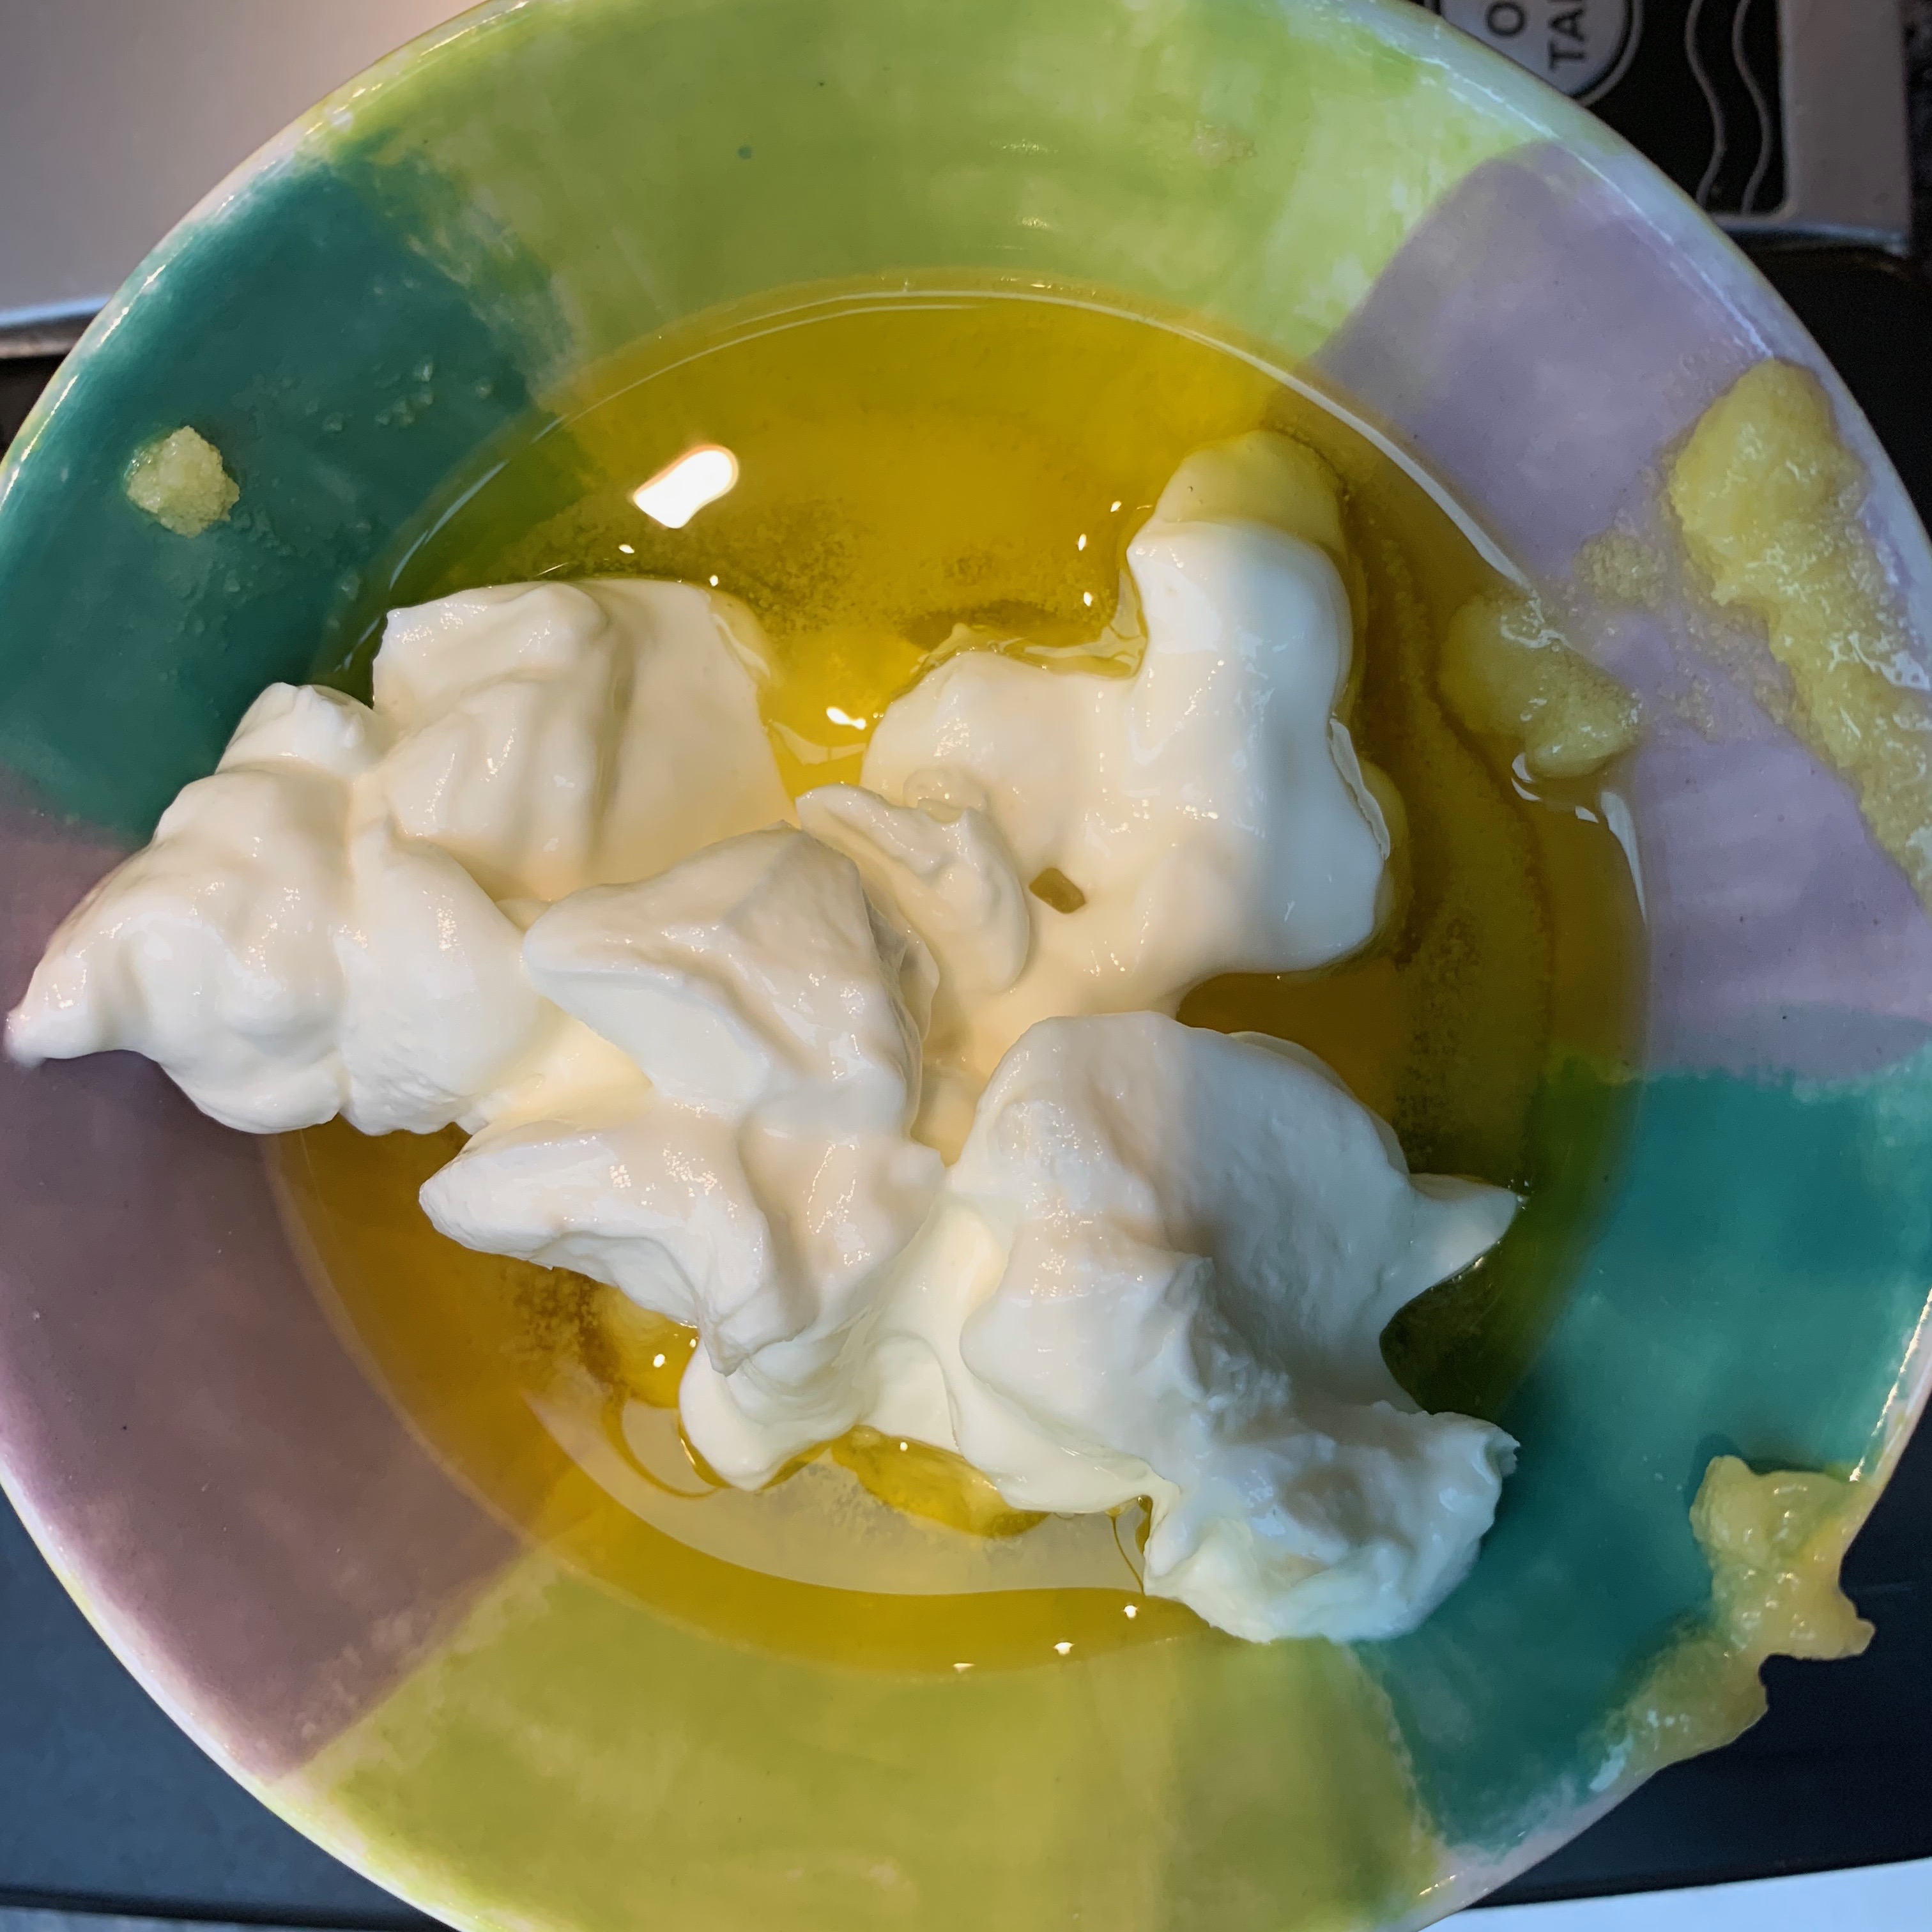
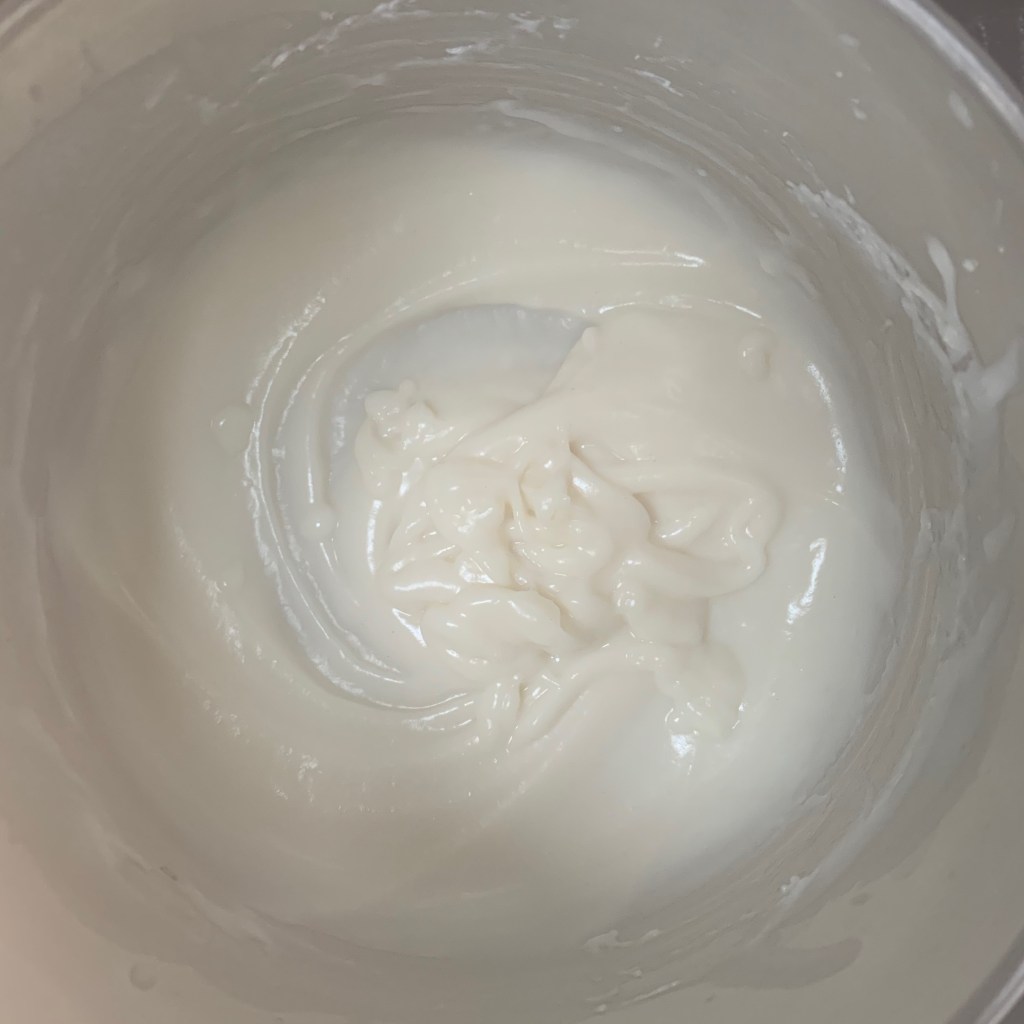
Ghee and yoghurt
300g strong white bread flour
8g salt
5g nigella seeds (kaloonji)
150ml tepid water
6g sugar
7g dried yeast
100g yoghurt
40g ghee (or melted butter)
Mix the flour, salt and nigella seeds
Mix the water, sugar and yeast; leave for a few minutes until frothy
Add the yoghurt and melted ghee to your wet mixture and mix evenly
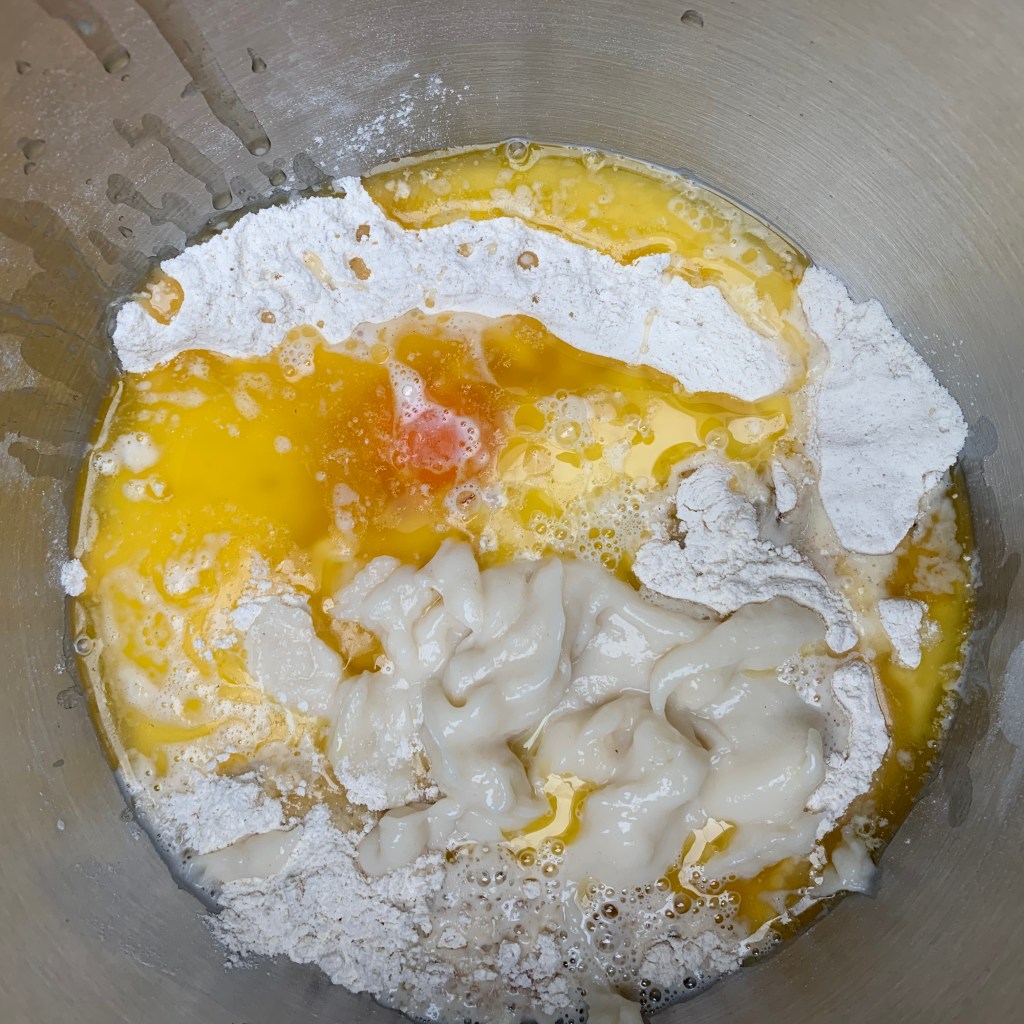
Add the wet mix to the dry mix and combine to form a smooth dough
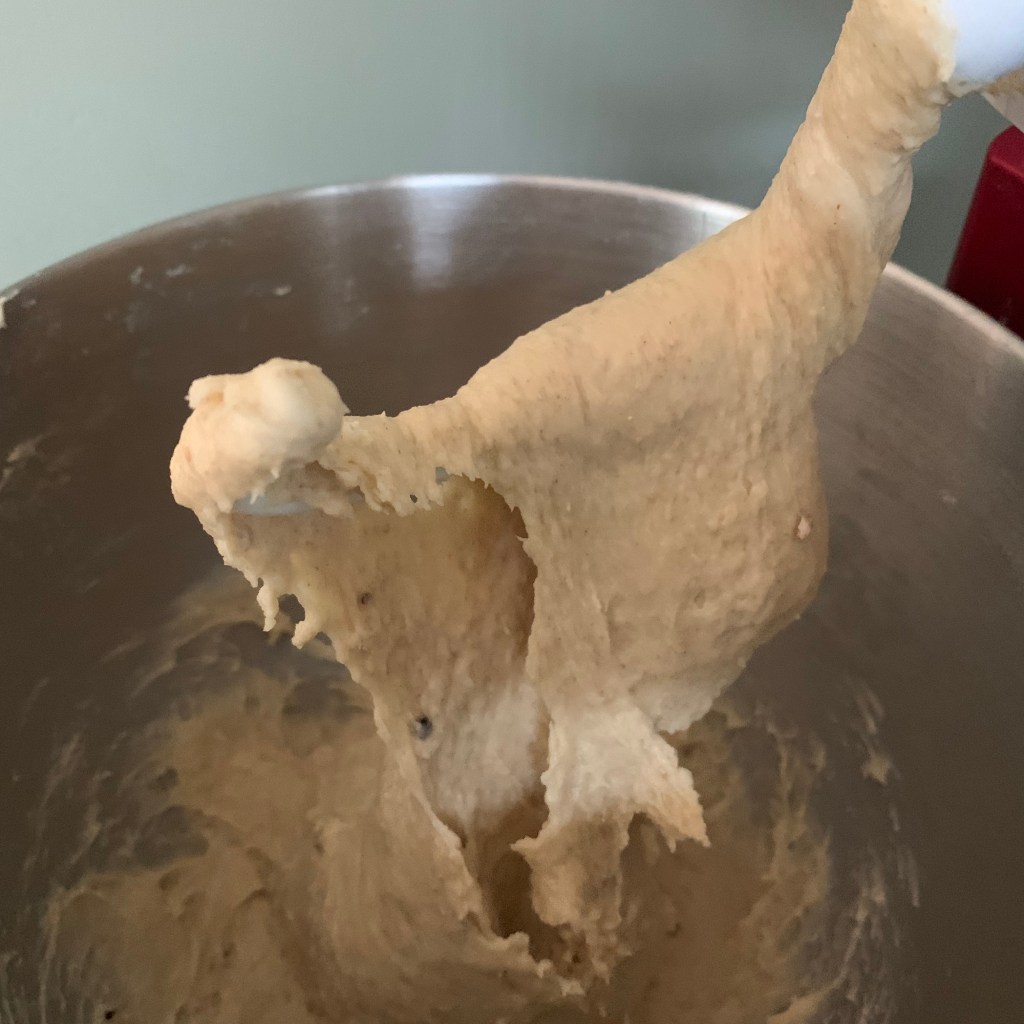
Using the dough hook of your stand mixer, knead for 3-4 minutes
Leave to rest for 15 minutes
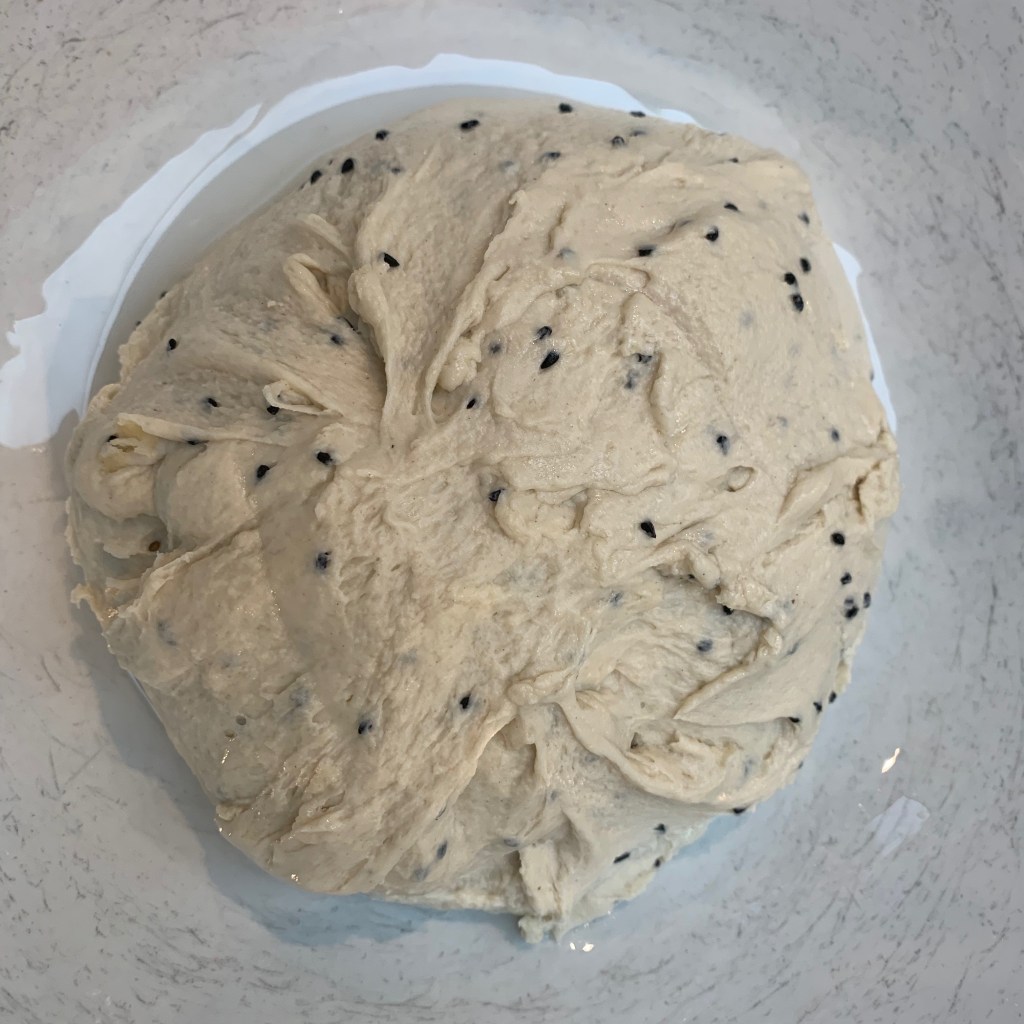
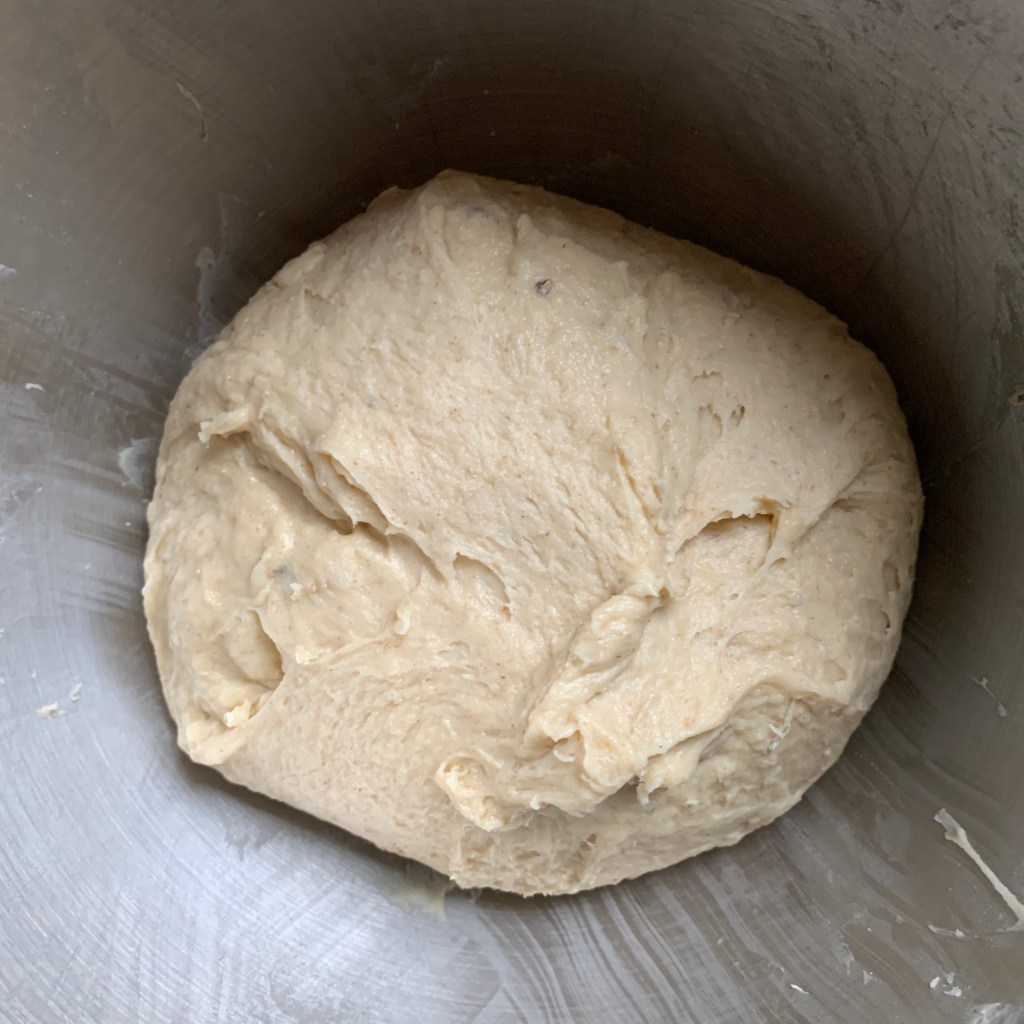
Knead for another 2 minutes, then transfer to a lightly oiled bowl, cover with a tea towel and leave to rise. Depending on the strength of your yeast and the temperature of your kitchen, this should take between one and two hours.
Put your pizza stone into the oven and preheat to 250℃.
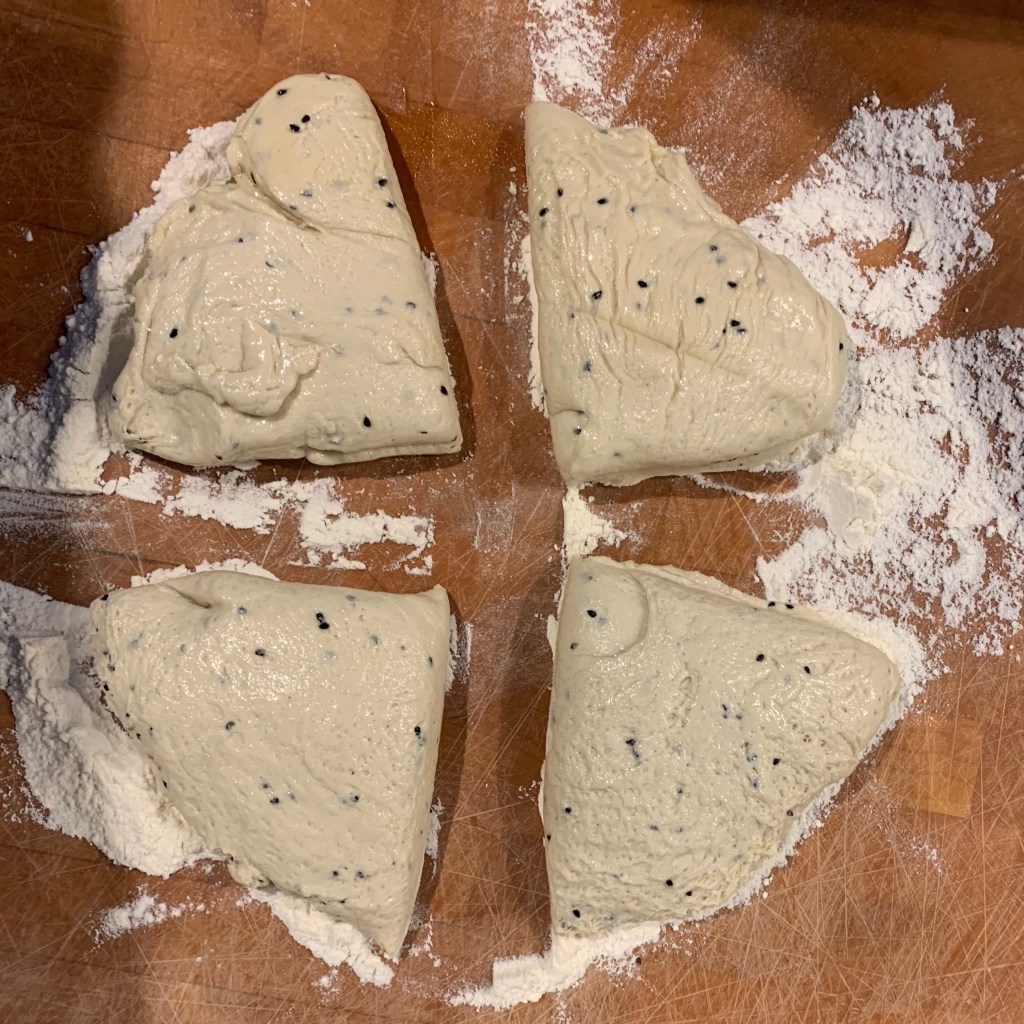
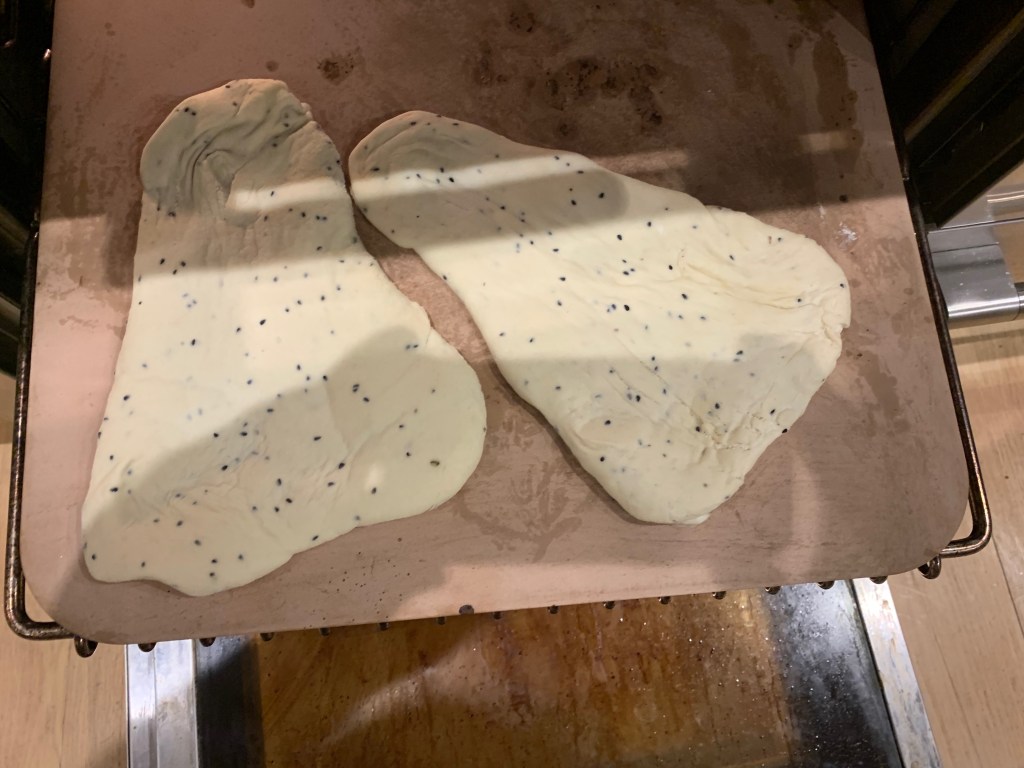
On a lightly floured board, knock back your dough and divide it into four.
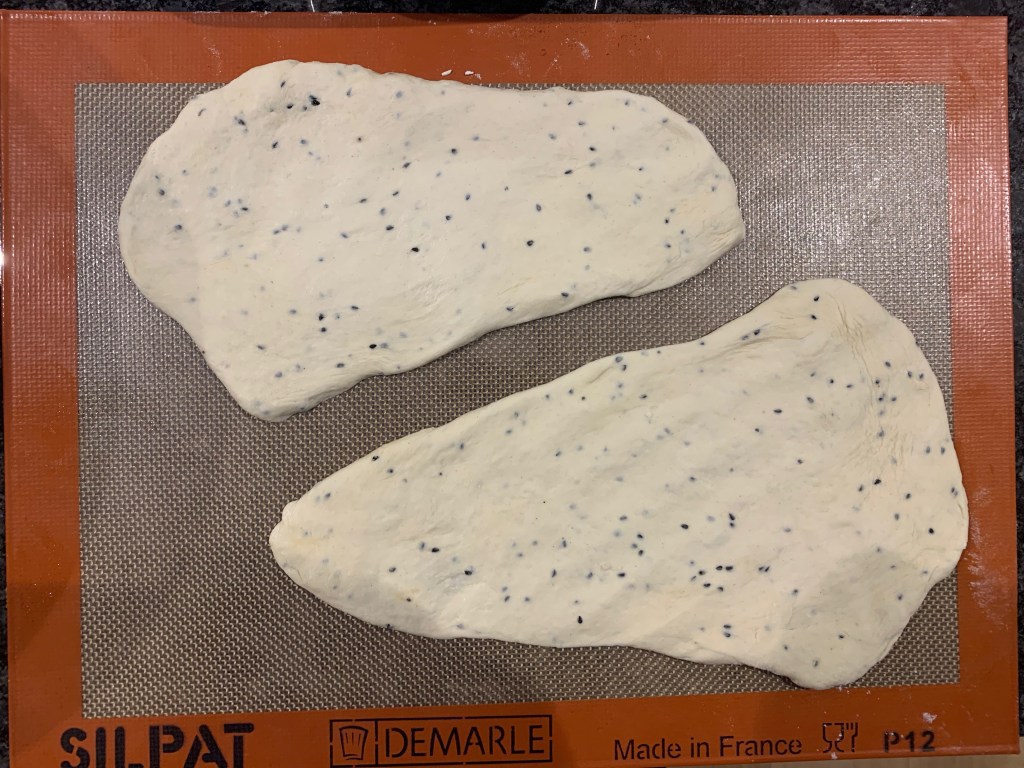
Using a couple of baking sheets, form each of the four pieces of dough into the classic teardrop shape.
Cover with tea towels and leave to prove for another 45 minutes to 1 hour.
Brush with melted ghee (I forgot to do this for the photos) and bake for around 10 minutes
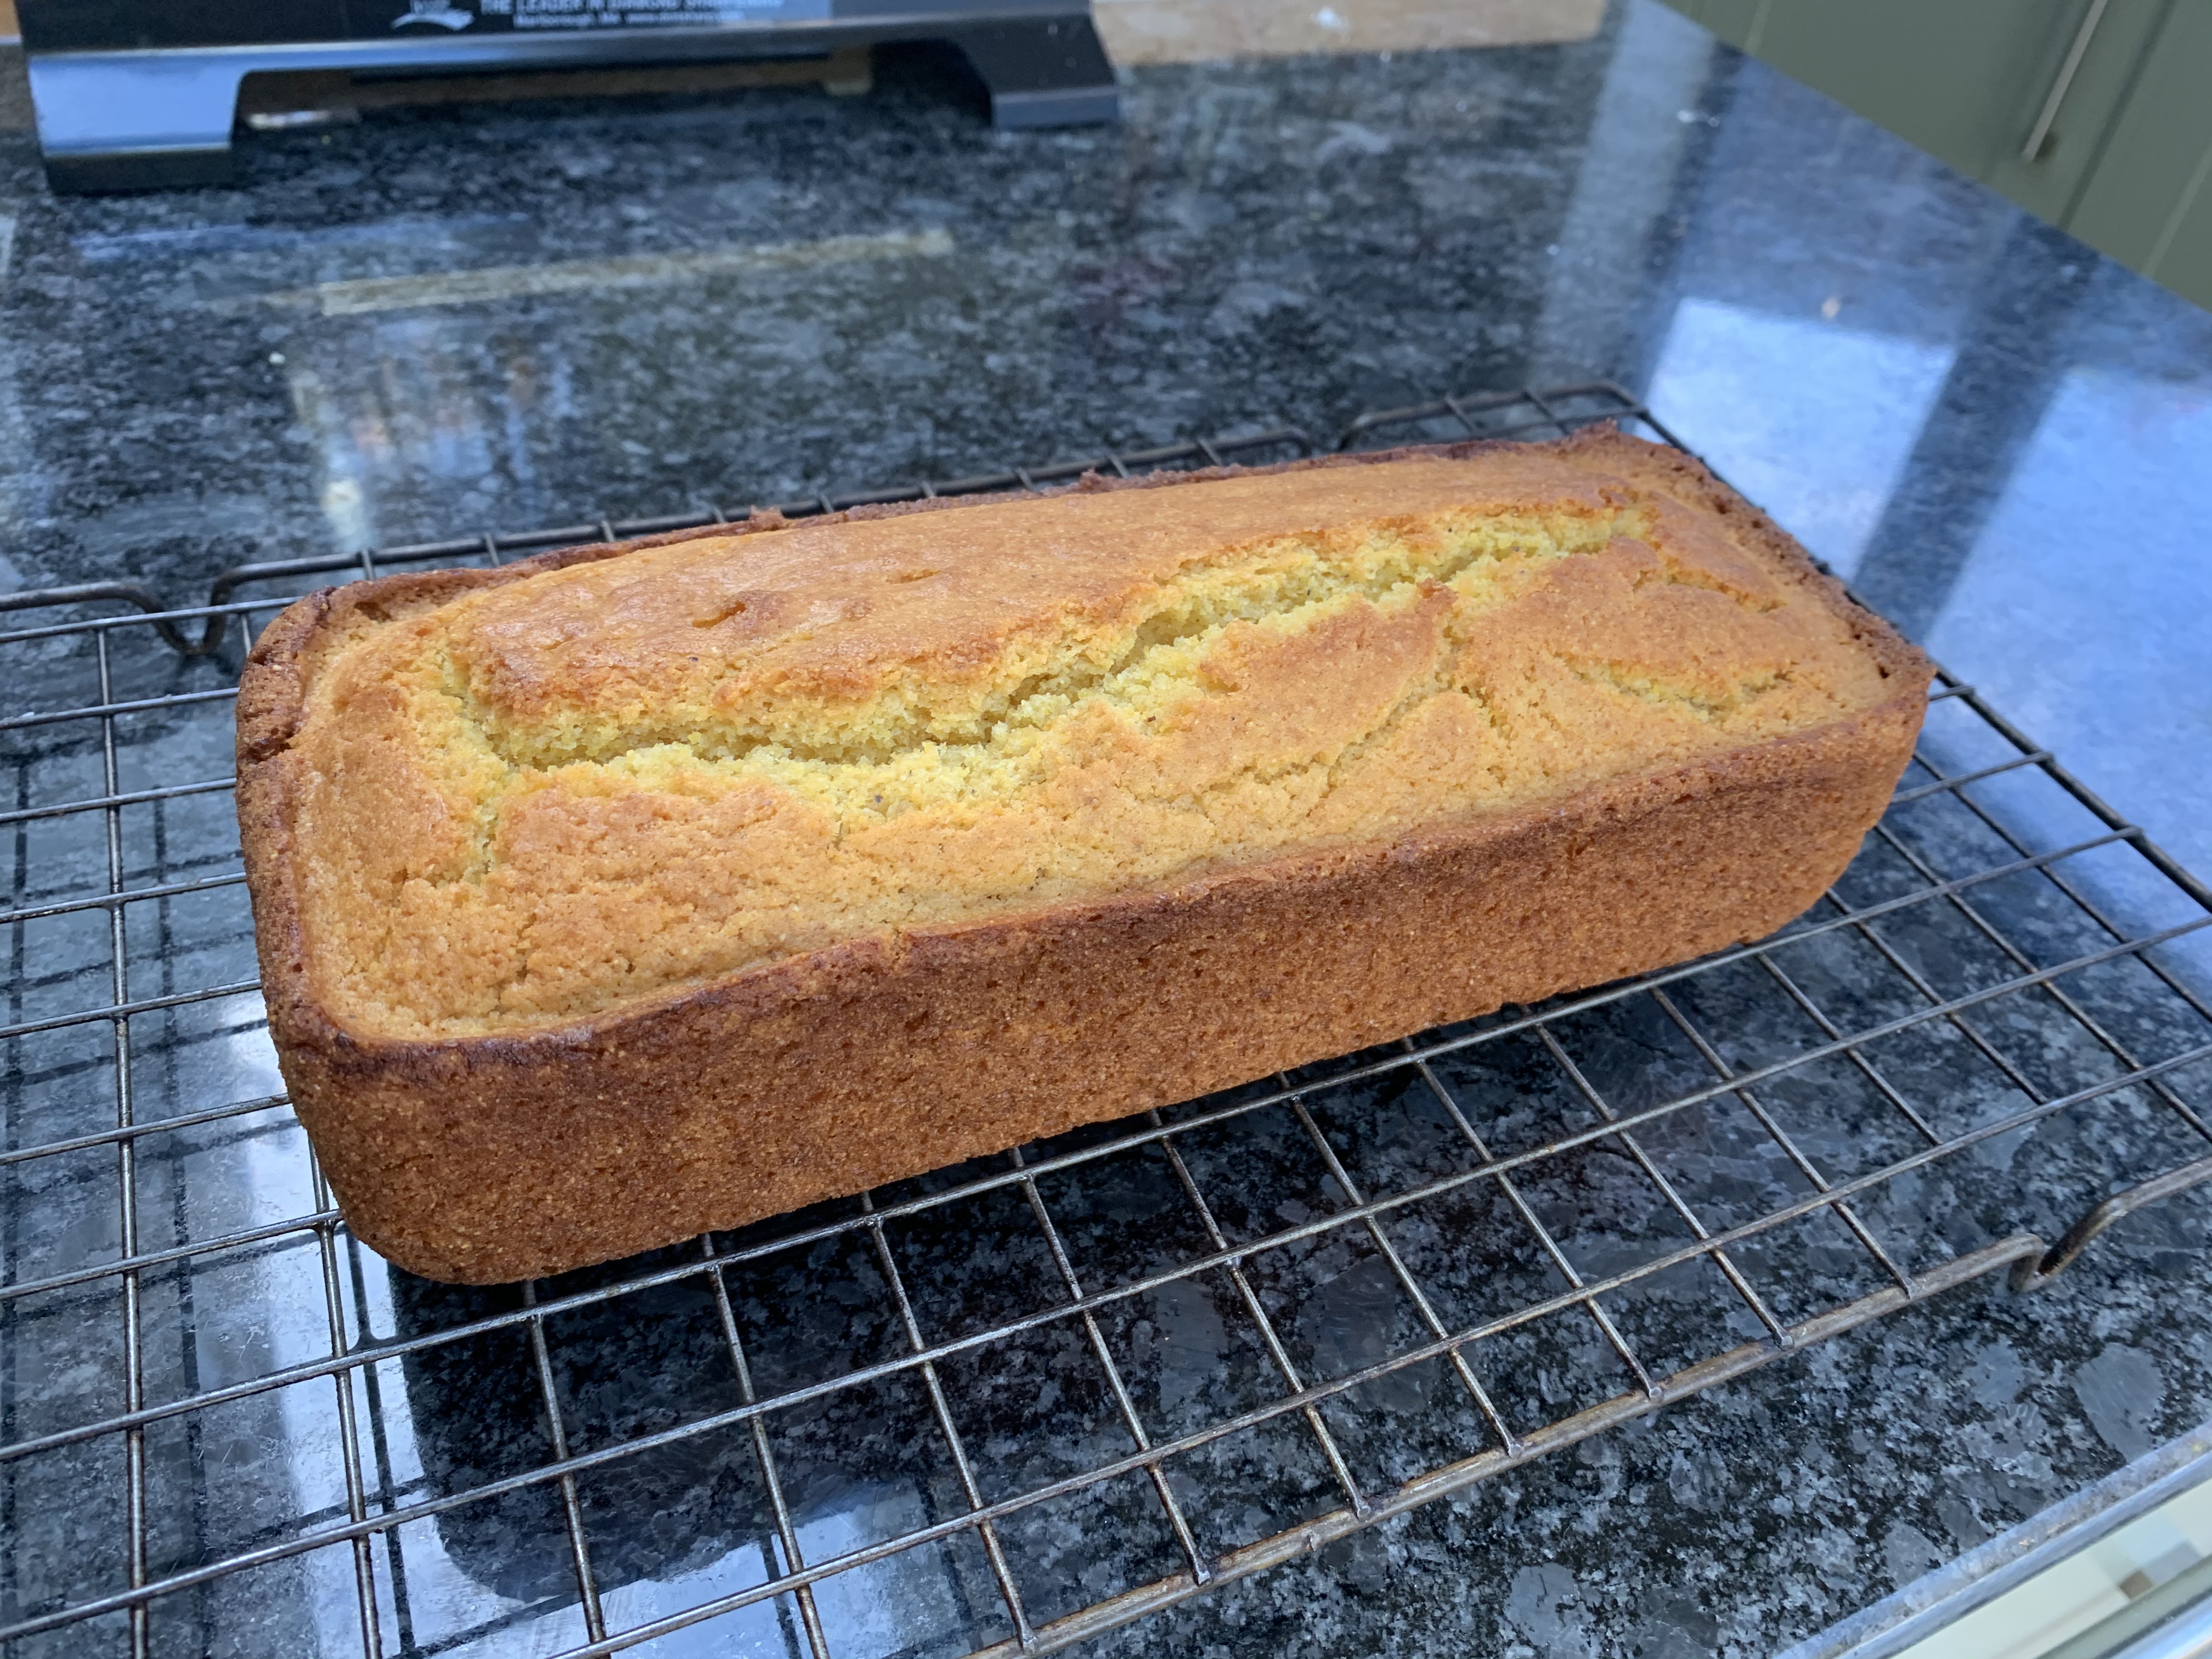
Chimodho is cornbread from Zimbabwe, where it also goes under the name of Mupotohayi. Many countries have their own versions of cornbread, sometimes several versions each; this is the first one I’ve made and I can’t vouch for it being dramatically different from a cornbread that you might get in the US, Italy or anywhere else. I can’t even vouch for it being the one and only Zimbabwean version: according to Zimbabwean blogger Princess Tafadzwa, “Chimodho” means pretty much any homemade bread without a recipe. But I will vouch for it being one of the nicest quick bakes on this blog so far: soft, flavourful and impossibly moreish. It’s the perfect accompaniment to an autumnal soup.
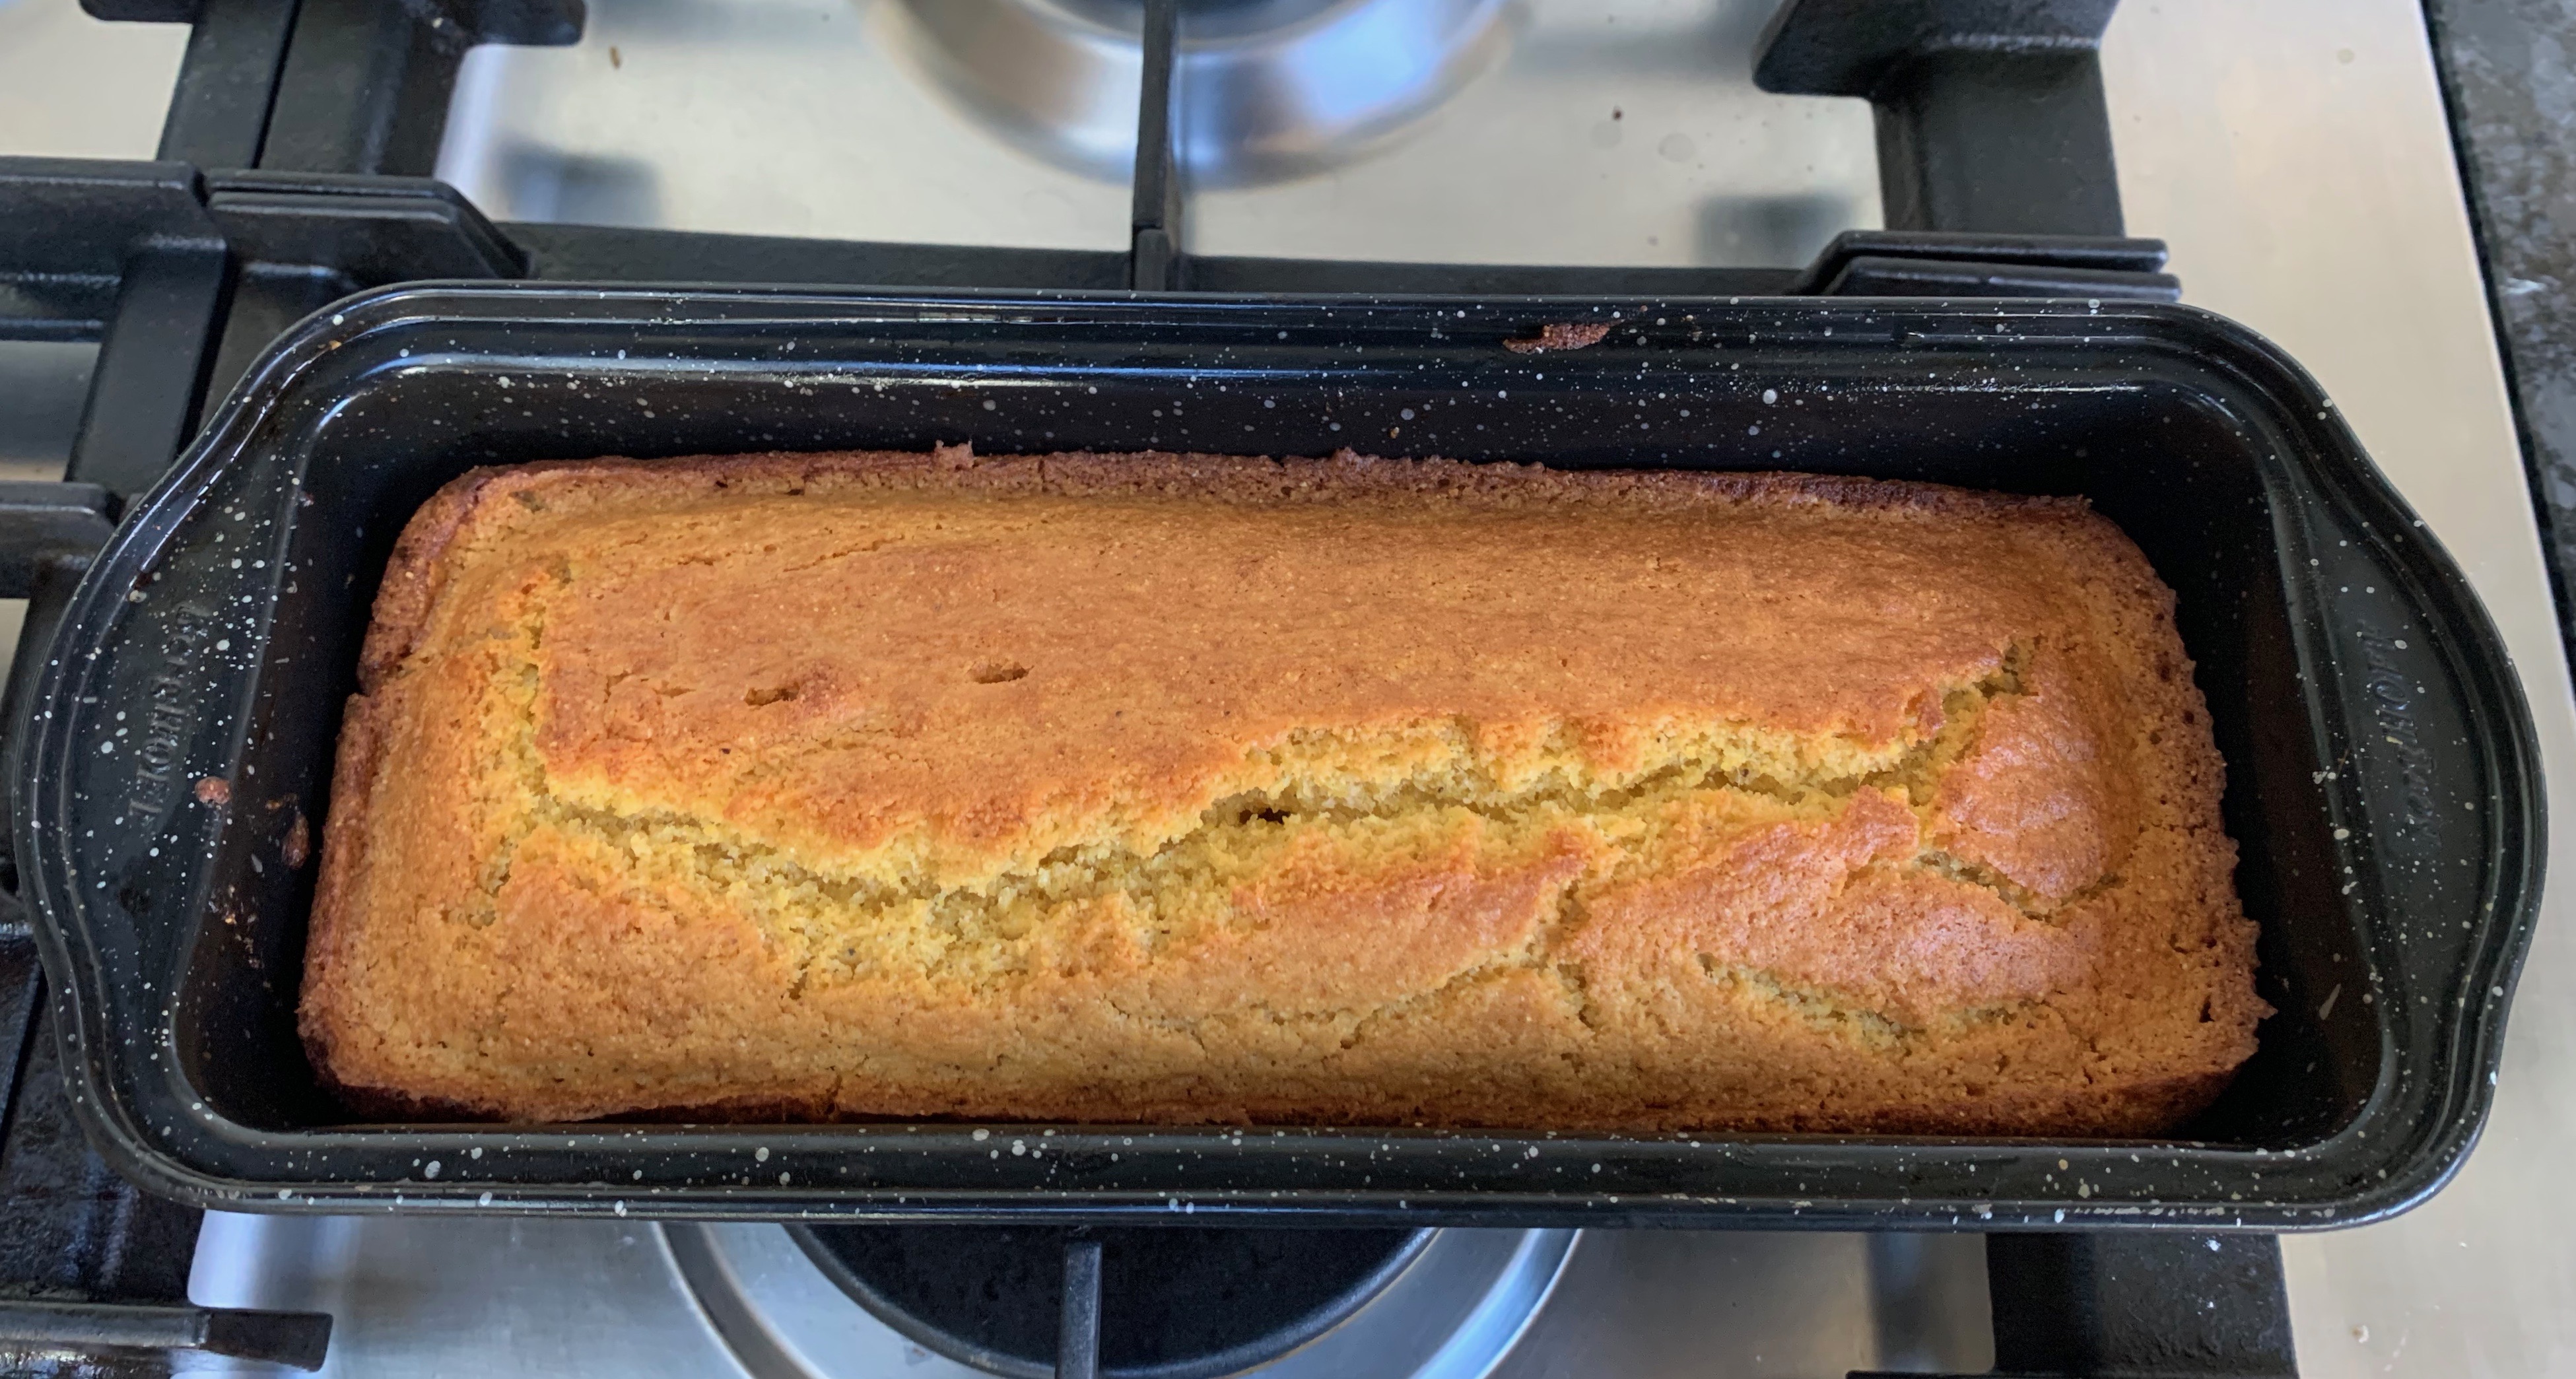
I started from a recipe on zimbokitchen.com, which I used pretty much intact apart from halving the sugar content. I’m glad to have done so, since the result was in no way lacking in sweetness, but your taste may differ. I also might try making this as muffins next time rather than as a single loaf, because the crust really is sensationally good.
250ml buttermilk
90ml sunflower oil
1 egg
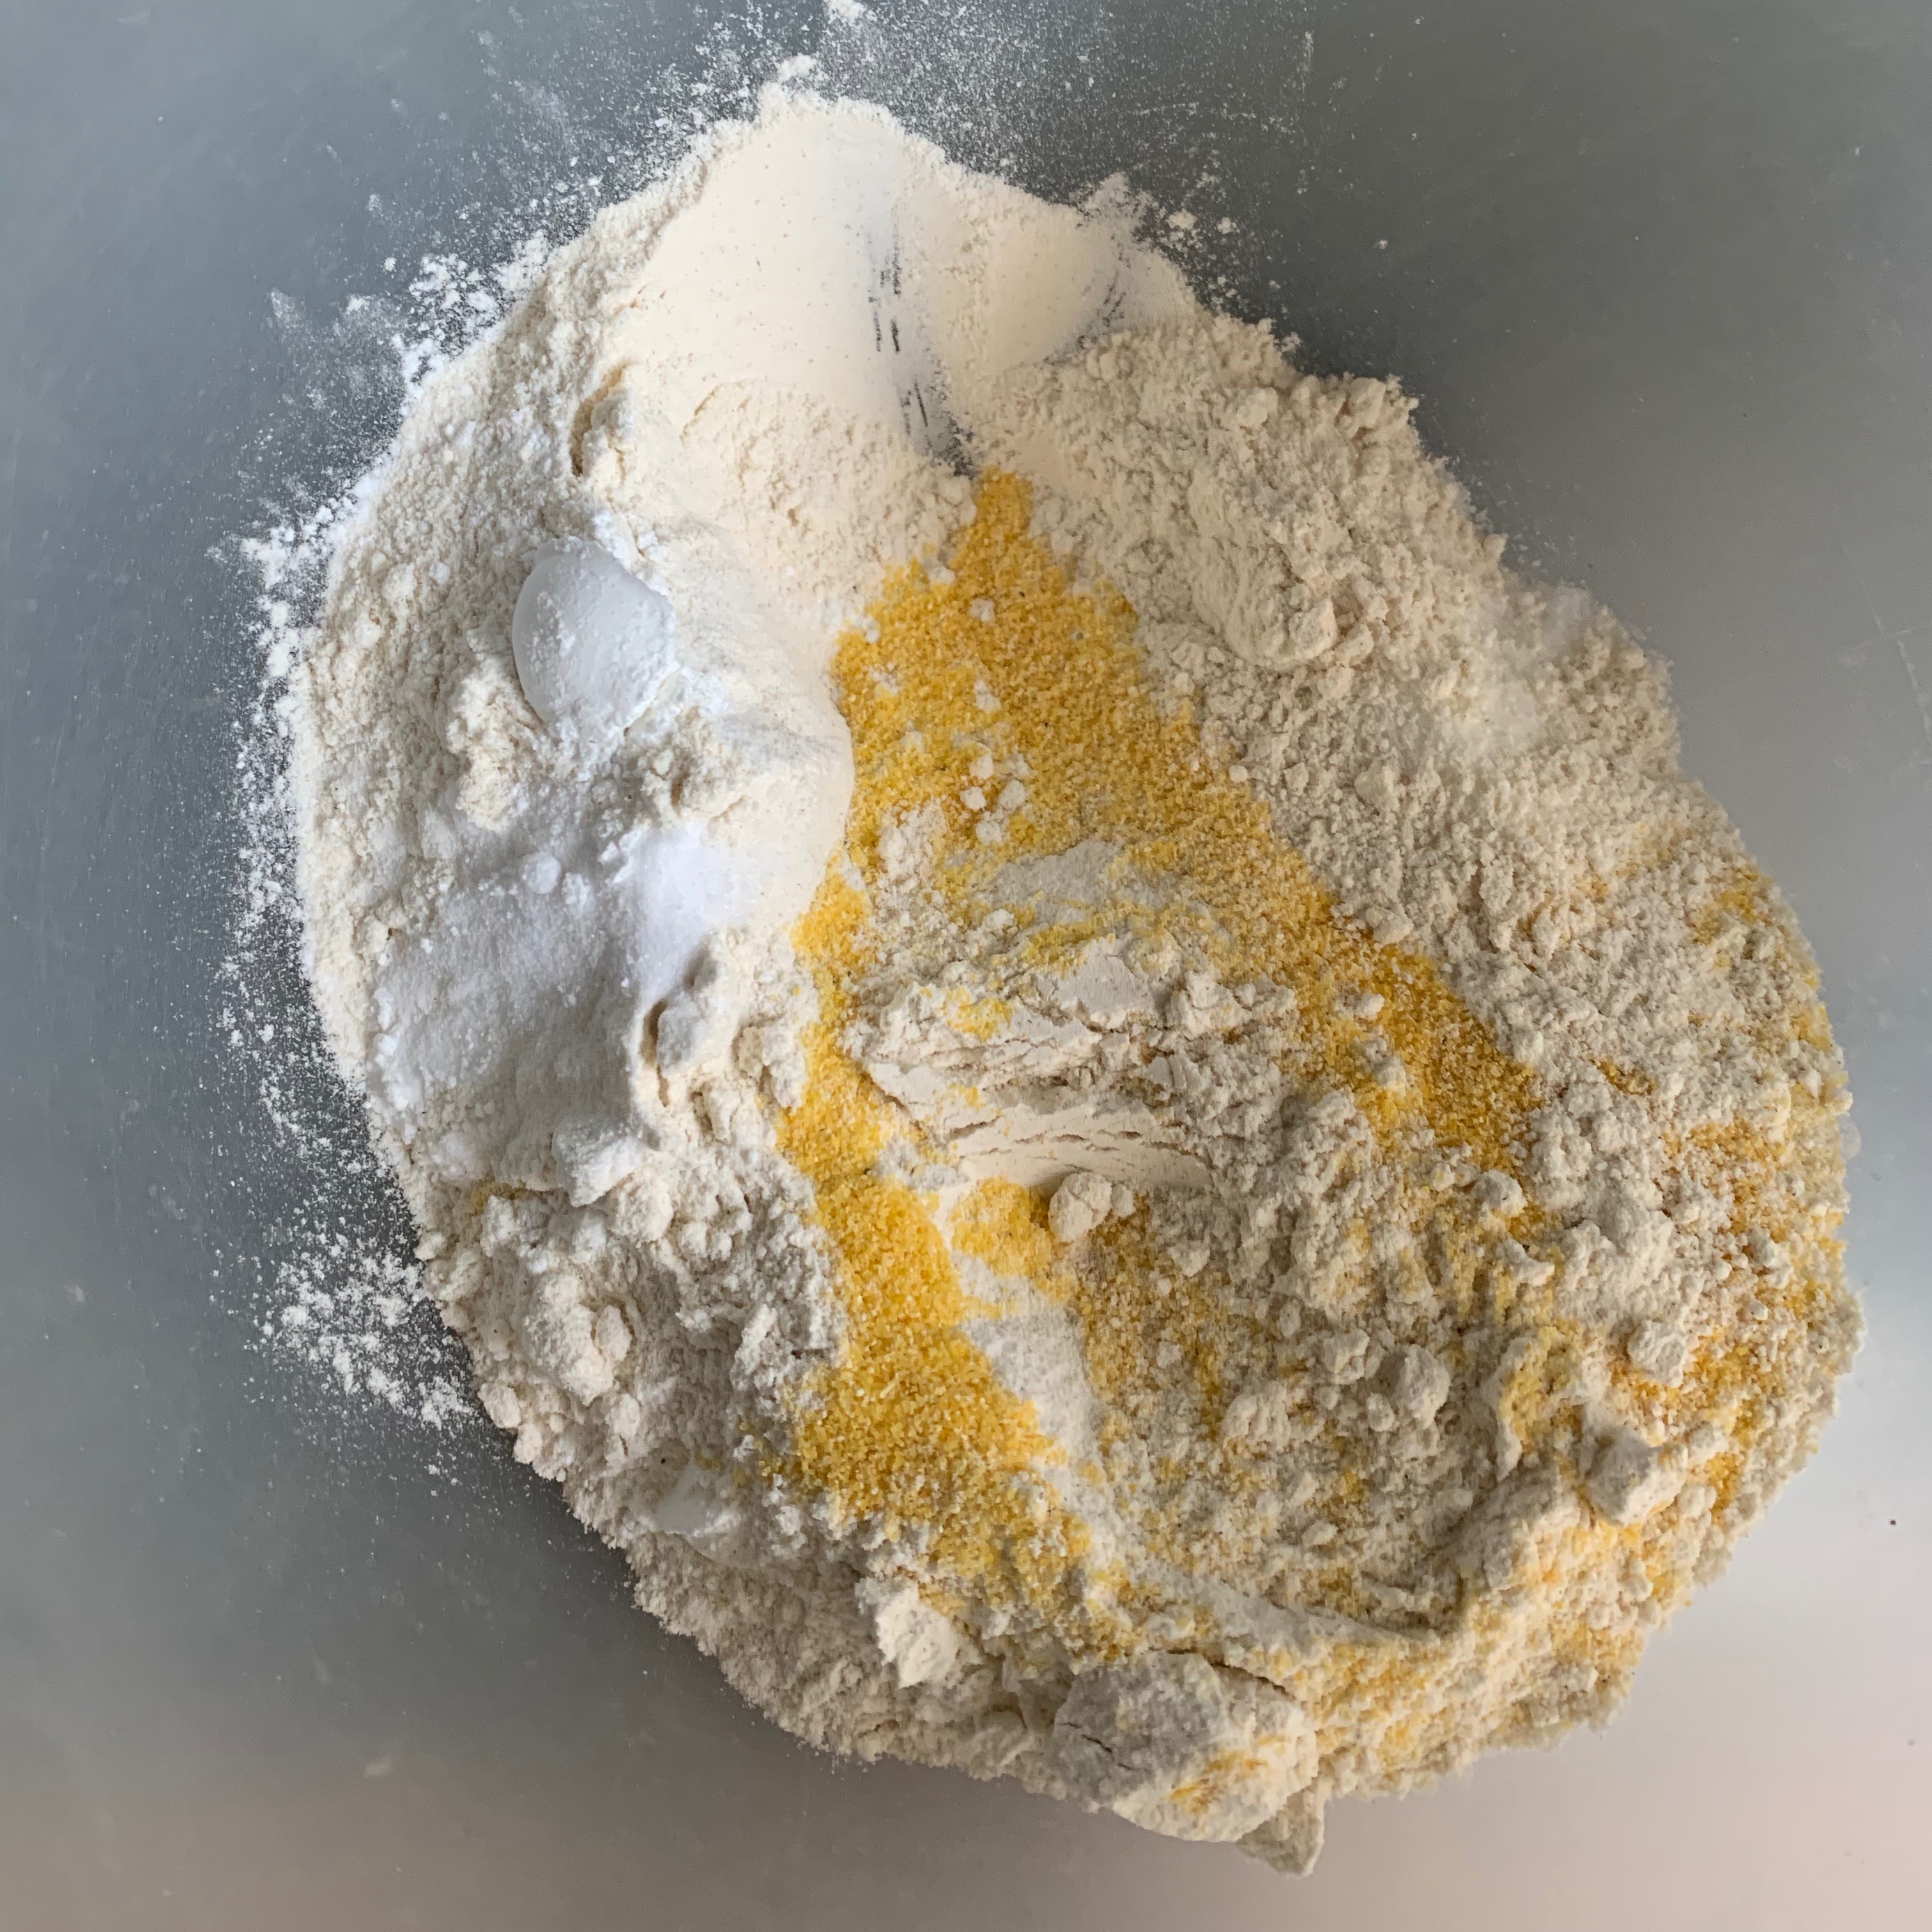
180g coarse cornmeal
170g plain flour
50g sugar
6g (1 tsp) salt
3g (½ tsp) baking soda
4g (1 tsp) baking powder
Preheat oven to 175℃ fan.
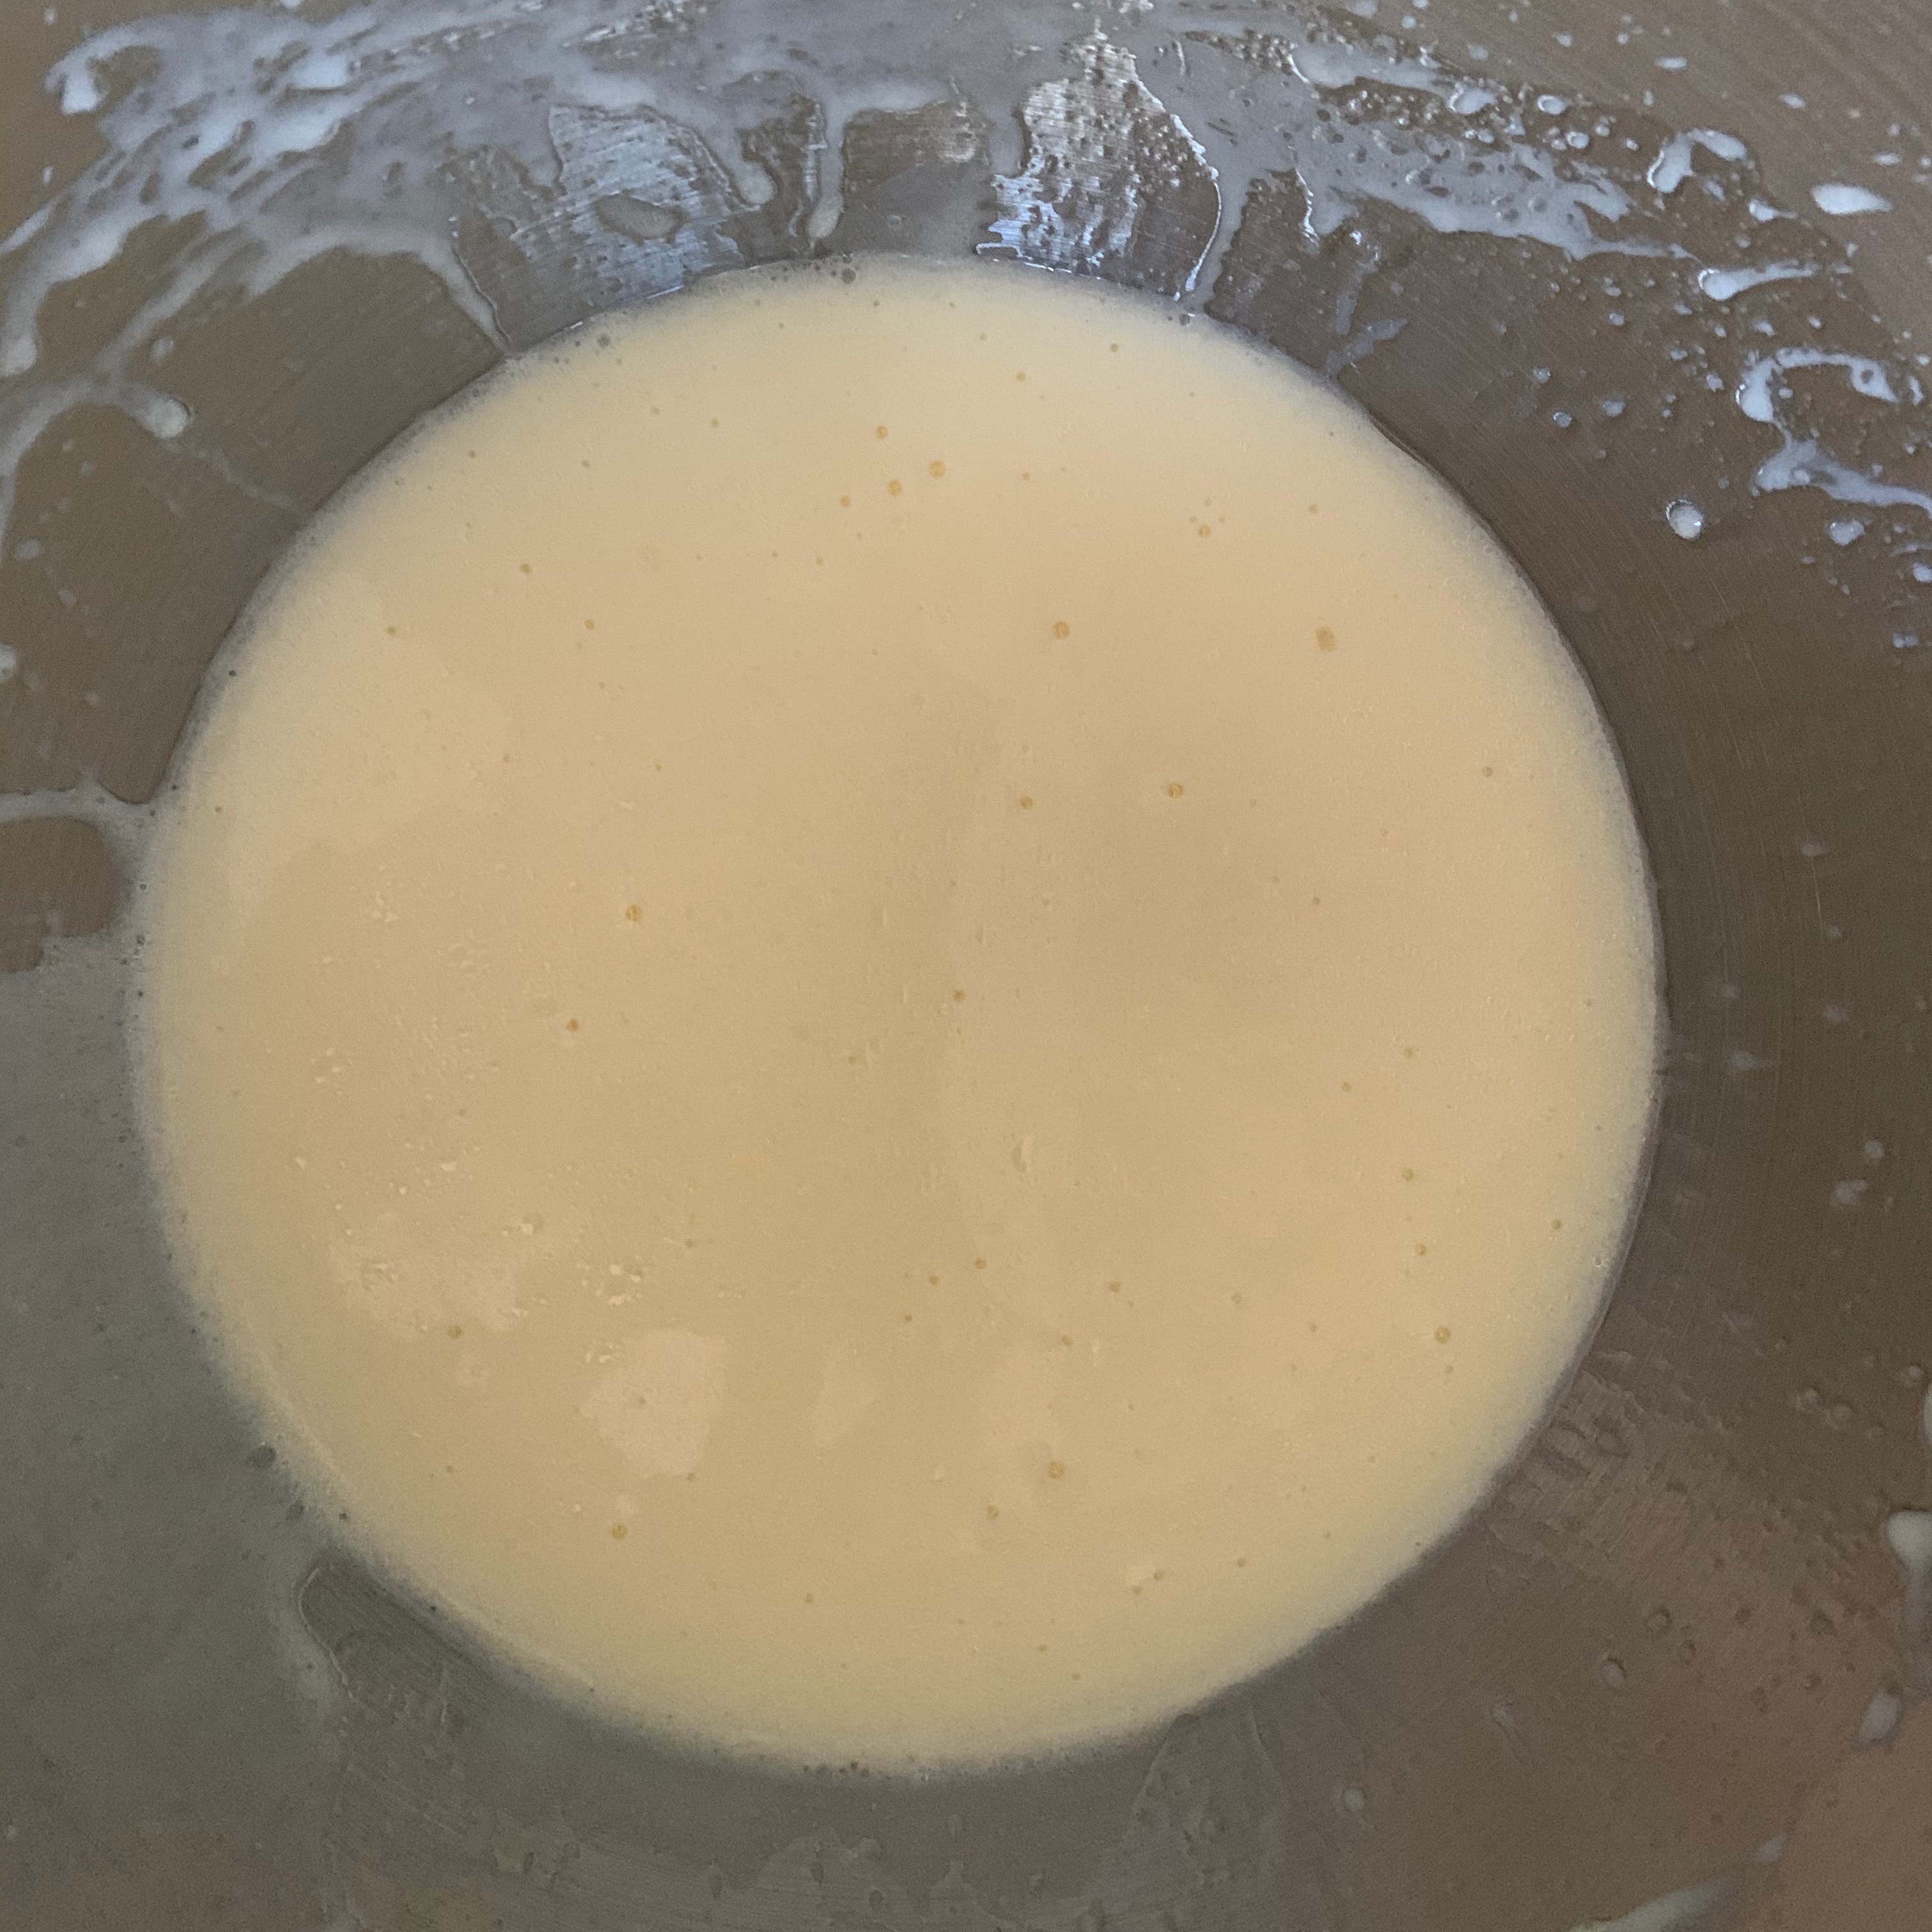
Put the buttermilk, oil and egg into the bowl of your stand mixer; beat with the egg beater until very smooth.
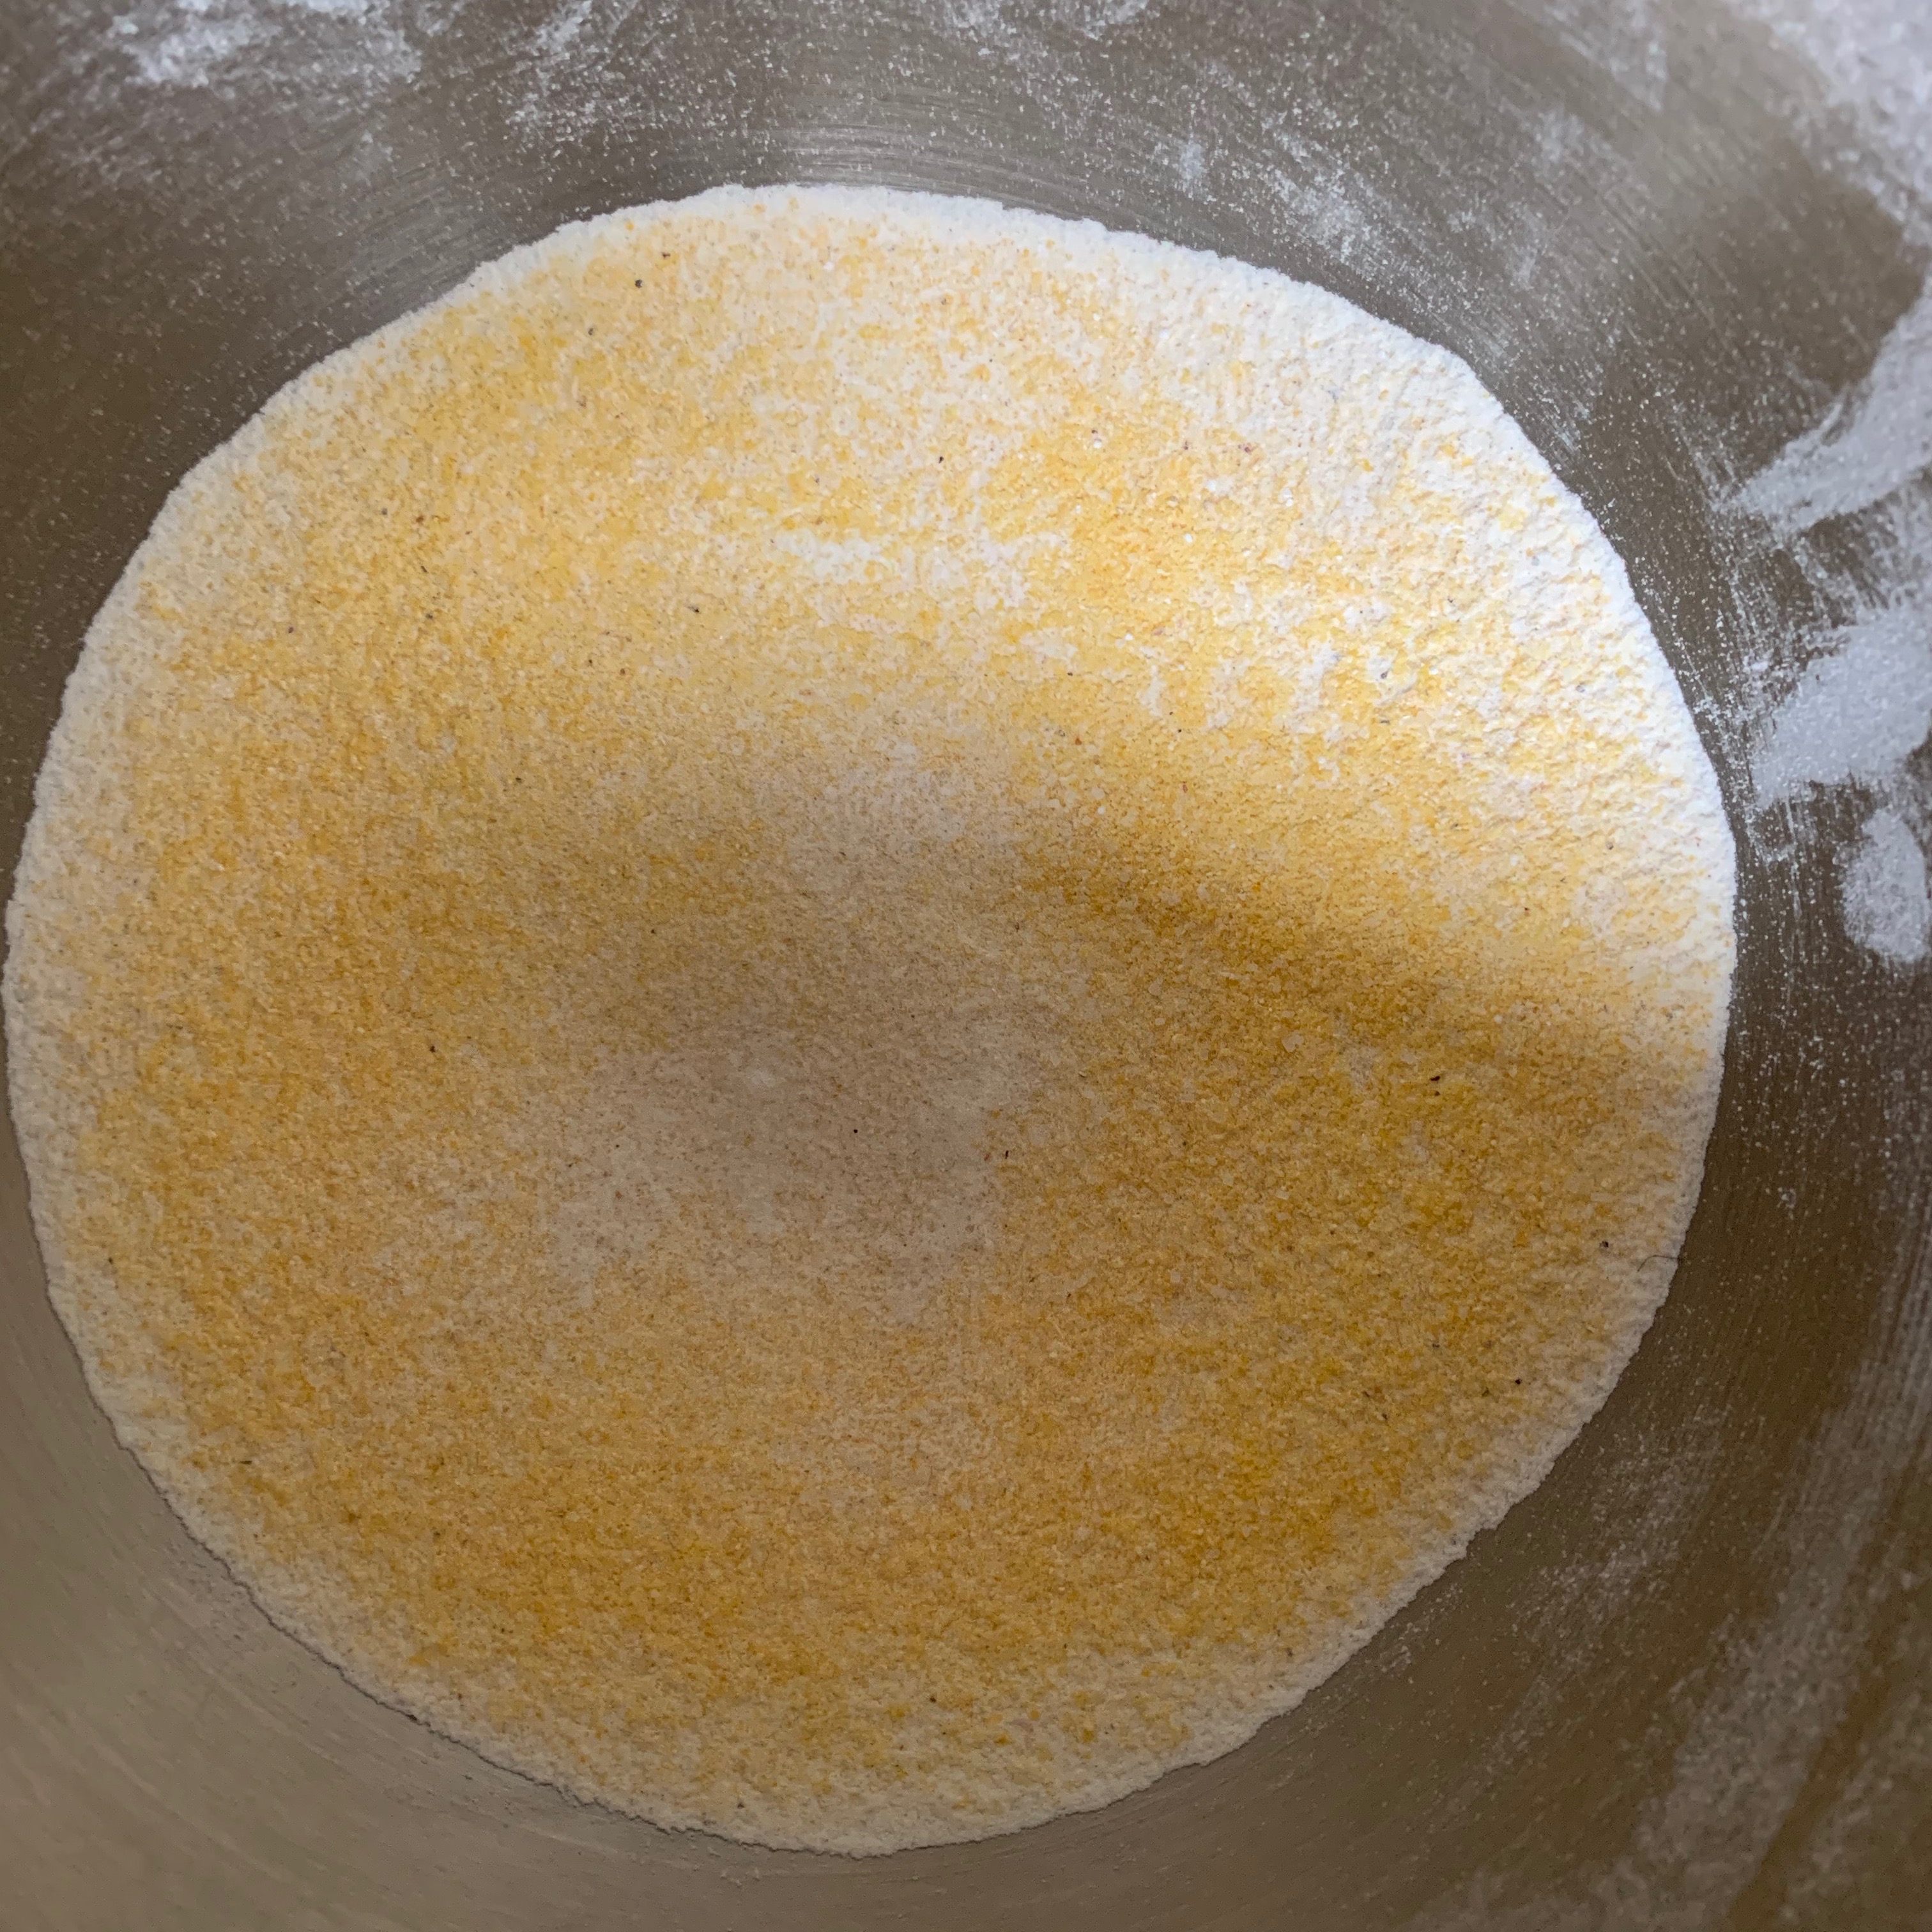
Mix cornmeal, plain flour, sugar, salt, baking soda and baking powder evenly in a bowl, then sift them into a different bowl. Make sure that the mix is very even.
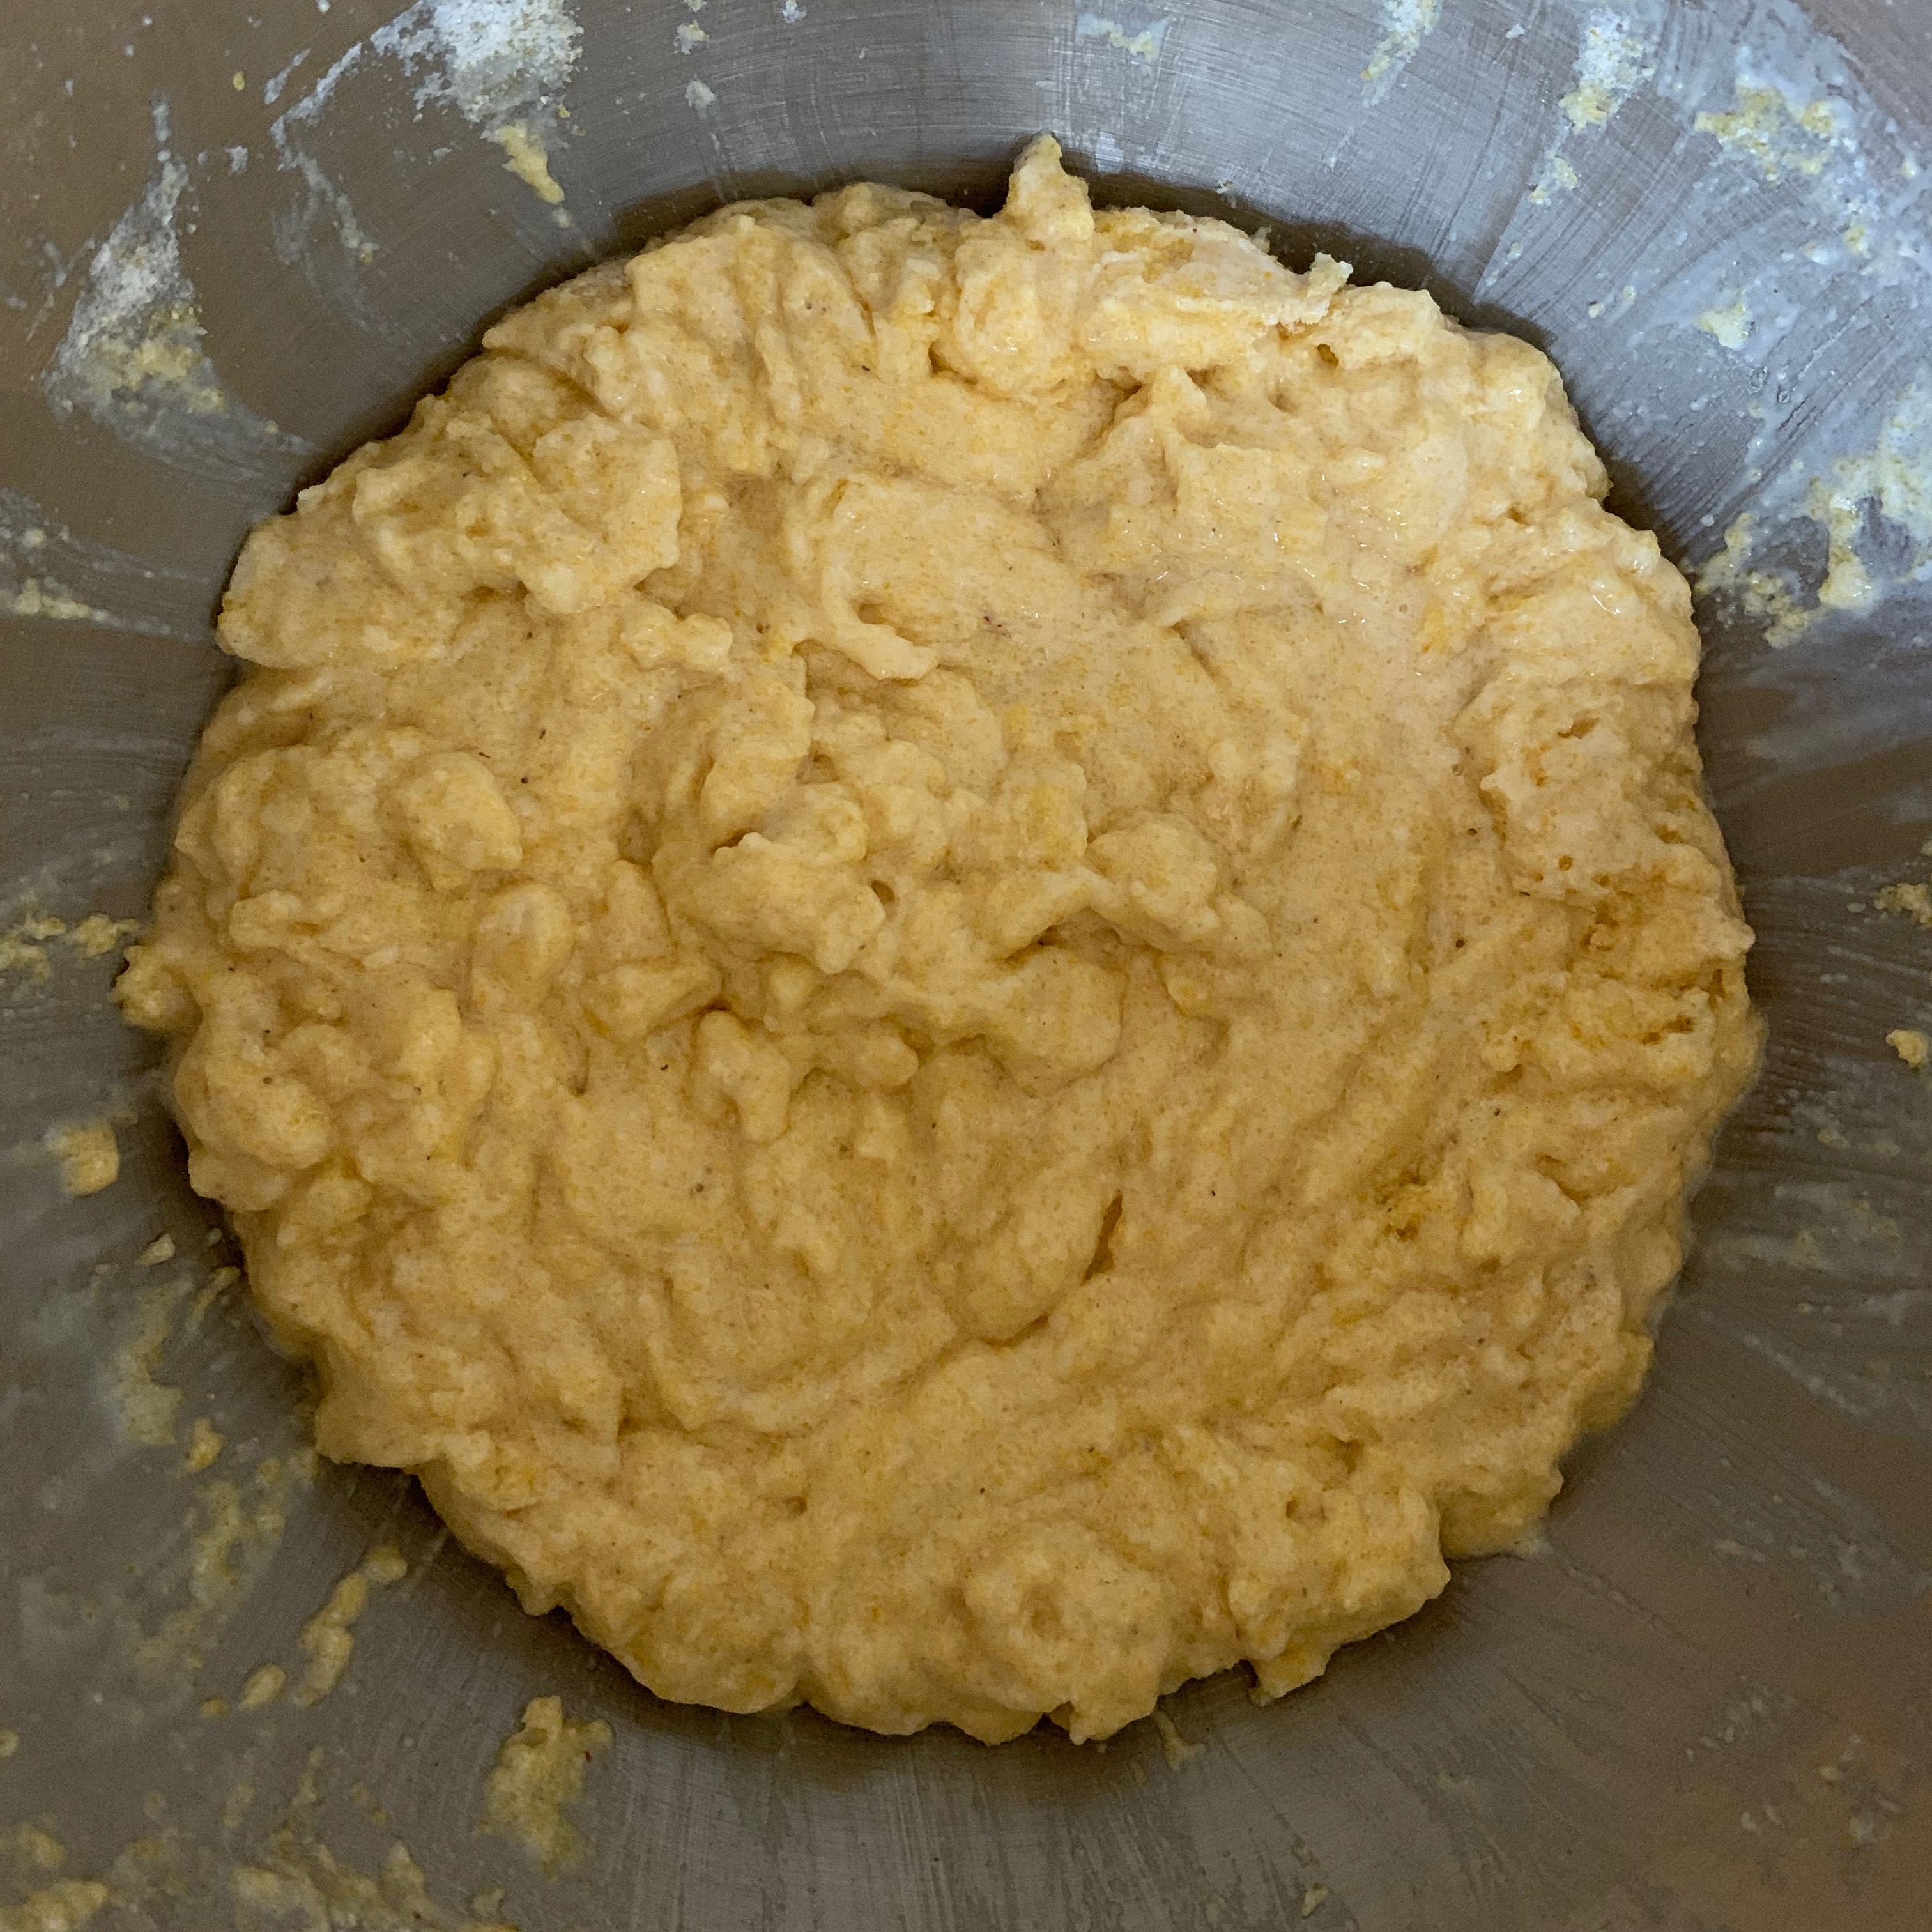
Add the dry mix to the wet mix, then mix thoroughly with the ordinary paddle of your stand mixer until you have a smooth dough, which will be fairly wet. Leave for five minutes or so.
In the meantime, grease a baking tin with butter.
Pour the mixture into the baking tin and smooth it out to an even shape.
Bake for 40-45 minutes, until a skewer inserted into the bread comes out clean.
The Germans are fantastic bakers. I could have chosen from dozens of breads and pastries: pumpernickel, pretzels, seed-filled Vollkornbrot, melt-in-mouth Franzbrötchen and so many more. But I’m a child of the 1960s and I couldn’t resist the German cake of my childhood: the over-the-top architectural construction of chocolate cake, cherries and whipped cream that is the Schwarzwälder Kirschtorte – the Black Forest gâteau.
You need to be careful on this one: most English and American recipes are very sweet. The German recipes have better flavour balance, but do tend to be unbelievably heavy on the cream – I’ve seen recipes specifying over 1 kg of cream for a cake not much bigger than the one I’ve made here. The nice people at Gästehaus Reger, in the heart of the Black Forest, have posted an English language version of their recipe, so I’ve used that as my starting point (dramatically reducing the cream content). By the way, according to Wikipedia, Black Forest gâteau doesn’t actually come from the Black Forest (it was created by a confectioner near Bonn), but they seem to have embraced it with enthusiasm.
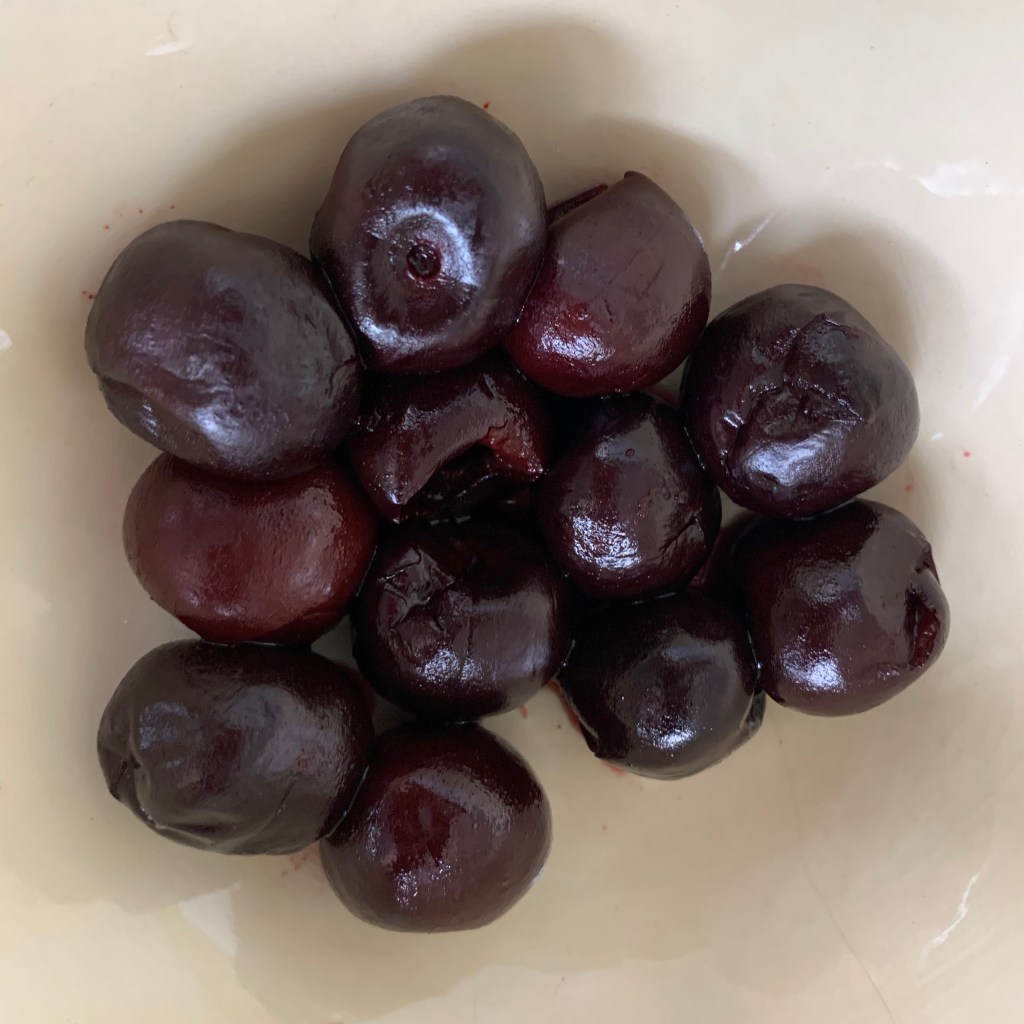
German recipes specify jars of sour cherries. Being unable to get these, I substituted frozen black cherries, adding lemon juice to give a sour edge. It’s not perfect, but it worked. I was also short of kirsch – the cherry-based firewater that is the key ingredient of authentic Schwarzwälder Kirschtorte, so I had to substitute some blackcurrant schnapps, left over from a trip to Sweden, which gives a similar flavour. I suggest that you don’t go for the cherry brandy that features in many recipes, because it has a very different flavour, stronger and sweeter.
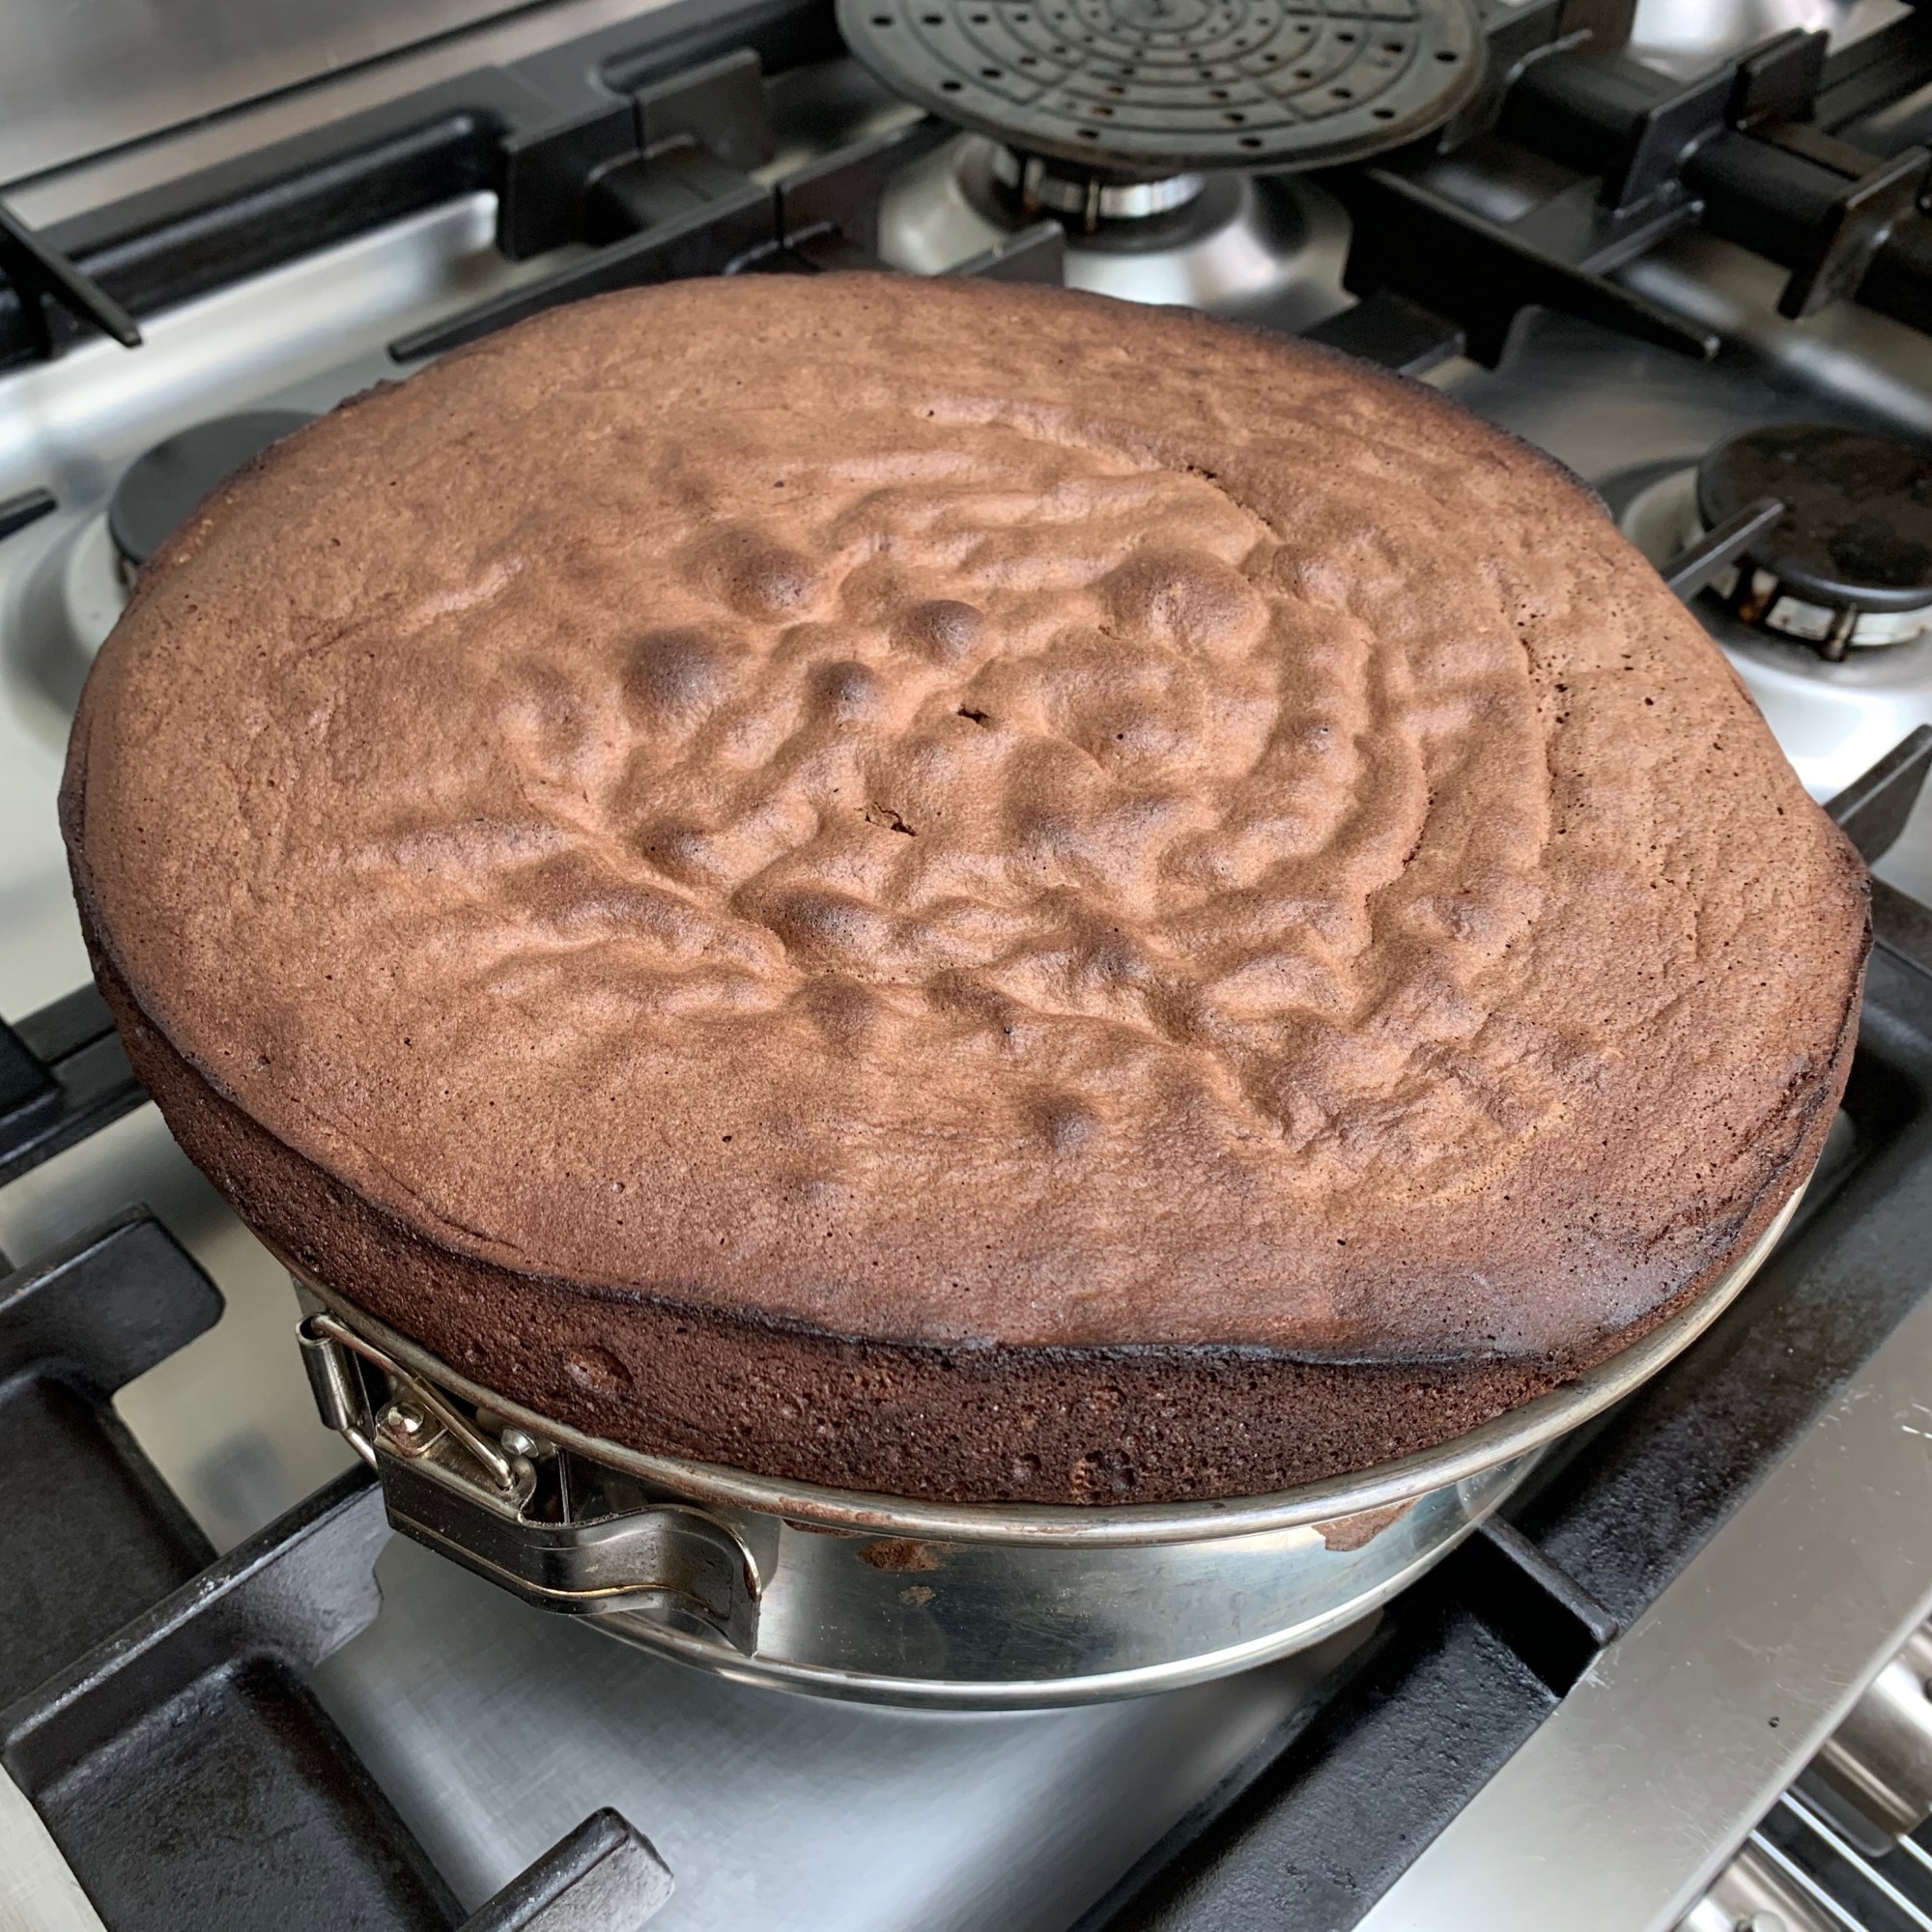
The next problem to solve is your choice of cake tin. Ideally, you want to follow the Germans and use a single tin, slicing the cake into three layers after baking, because you don’t want lots of crusts. However, the cake extremely light and airy due to its mixture of both sabayon and meringue: my 23cm springform tin is about 6cm high and the cake overflowed it by some margin. This required me to trim some rather misshapen excess: use a deep tin if you have one.
This is a fairly complex and time consuming recipe, with two different baked layers and three fillings/drizzles. You will also use and wash up more bowls than you can possibly imagine. But none of this is unduly difficult.
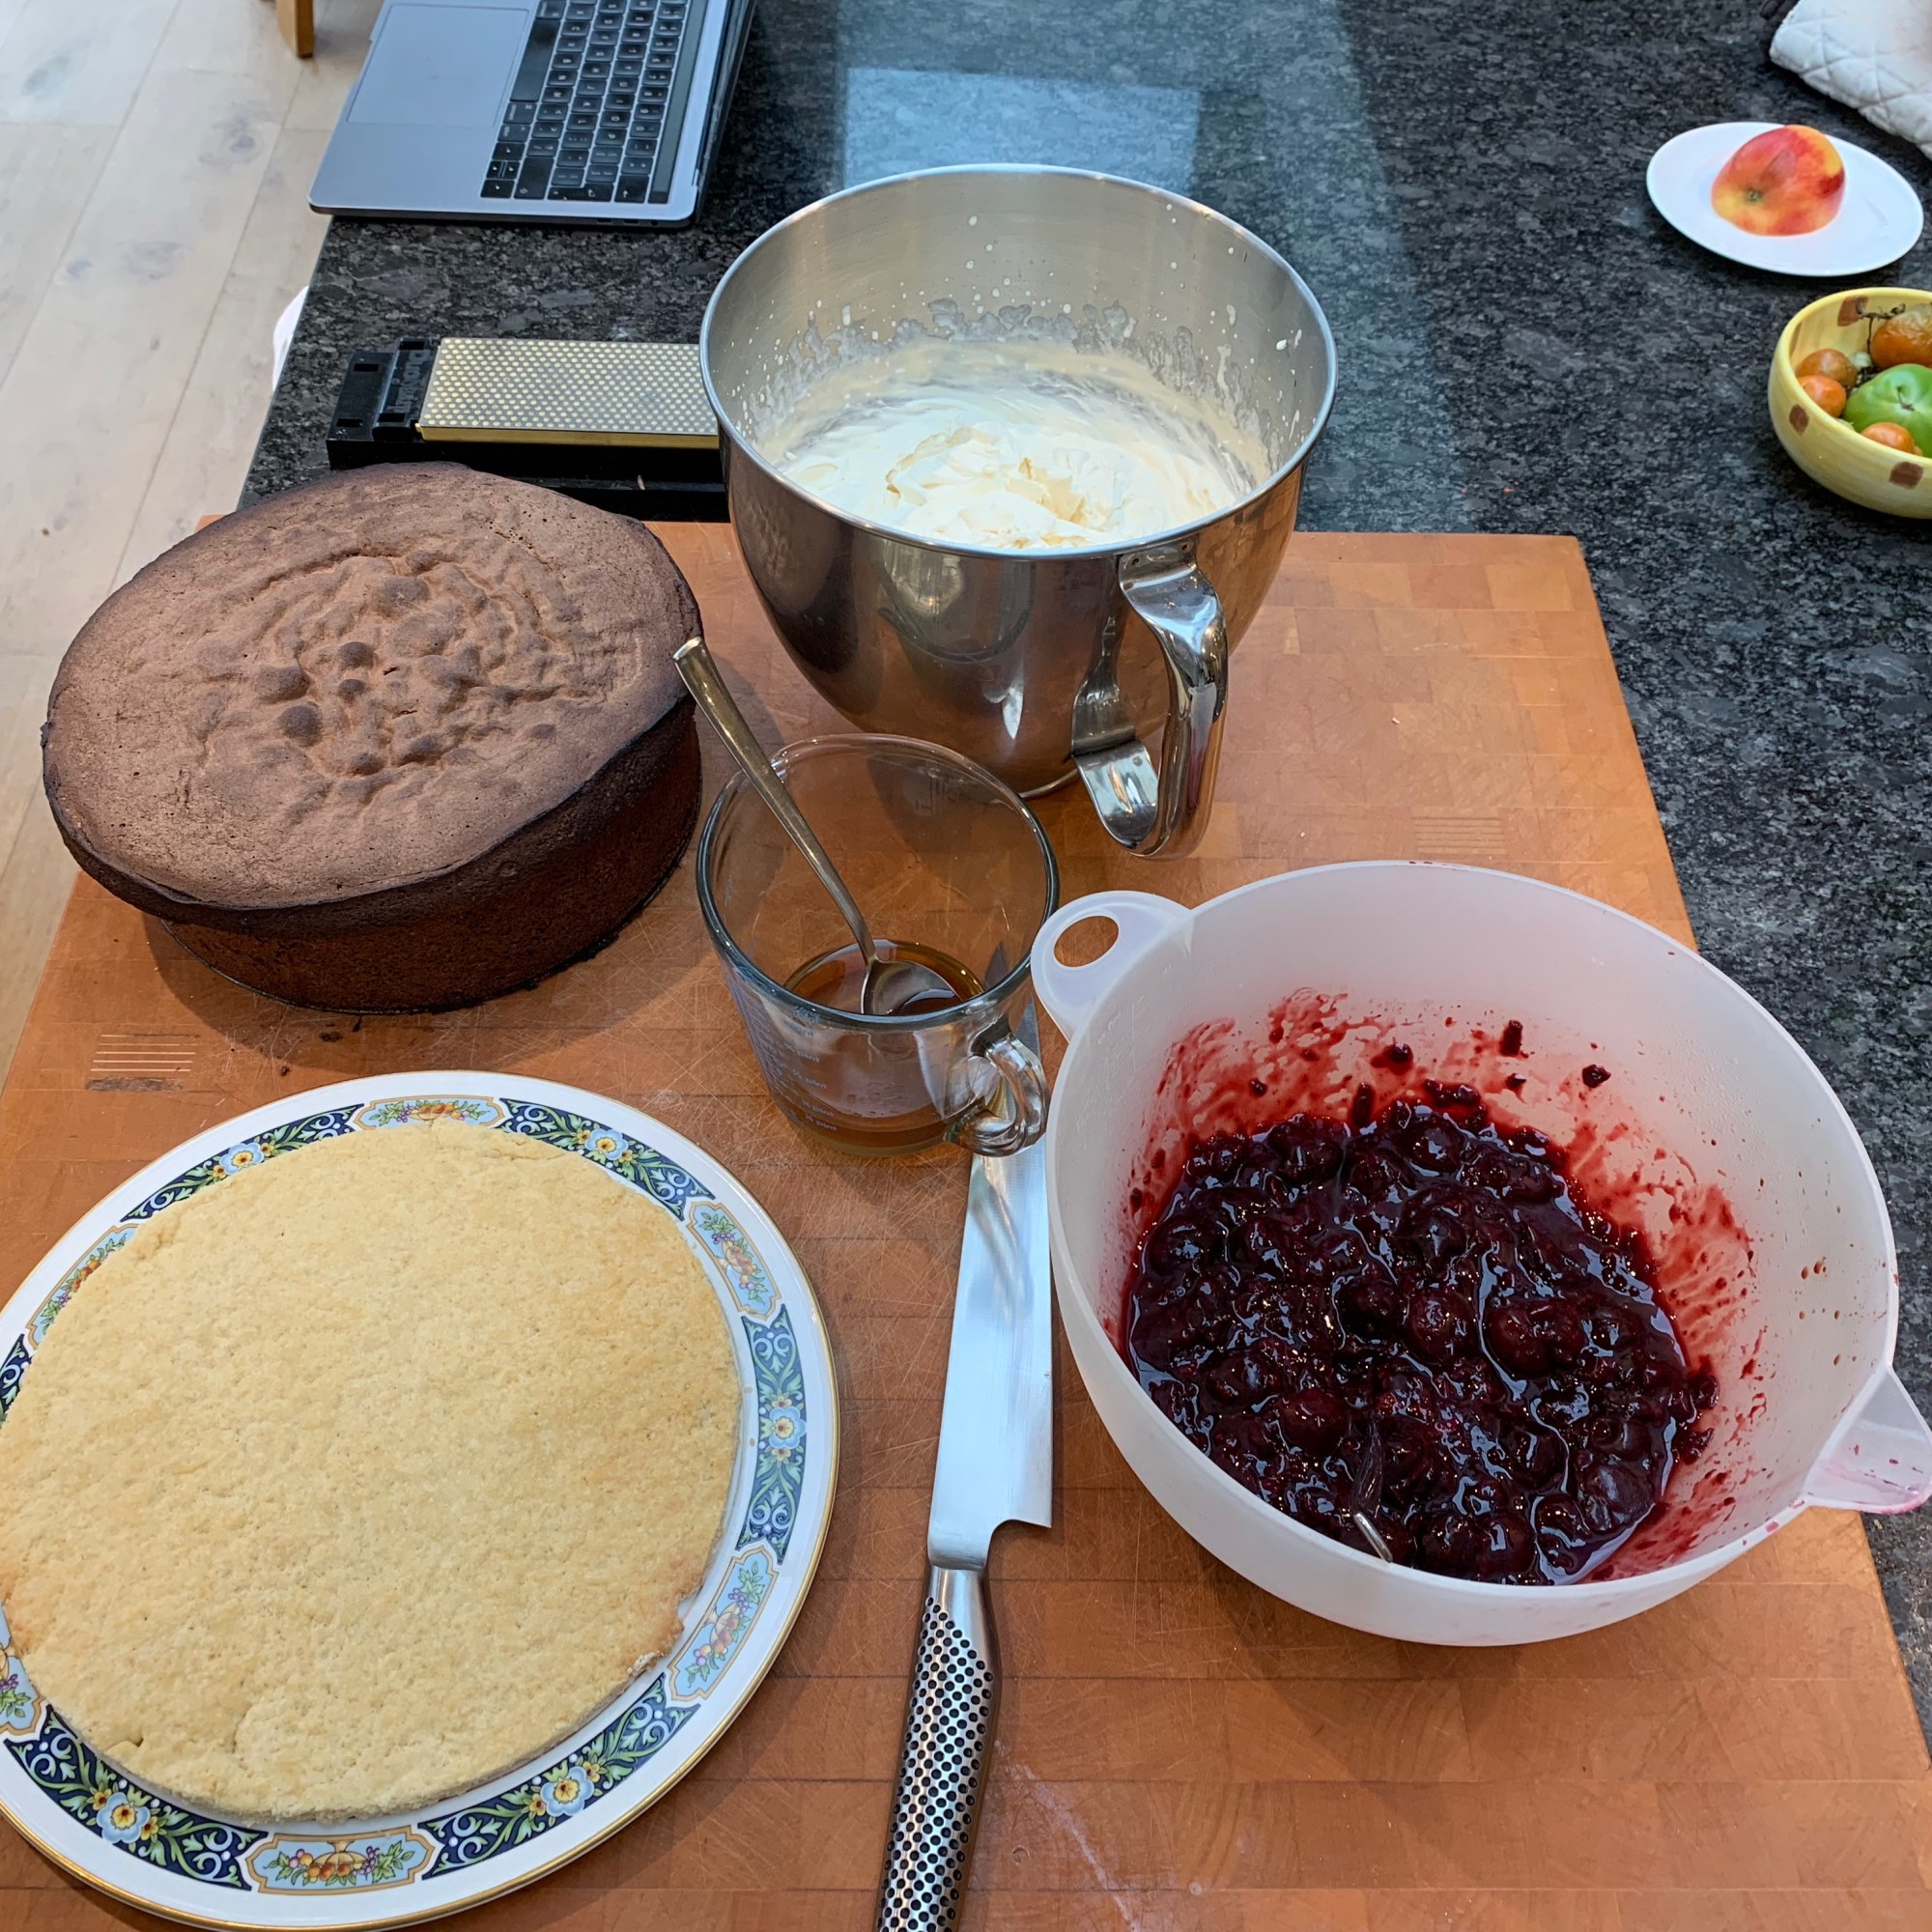
You need to make the base, the cake and the cherry filling far enough in advance that they’re completely cool. The rest is best done at the last minute.
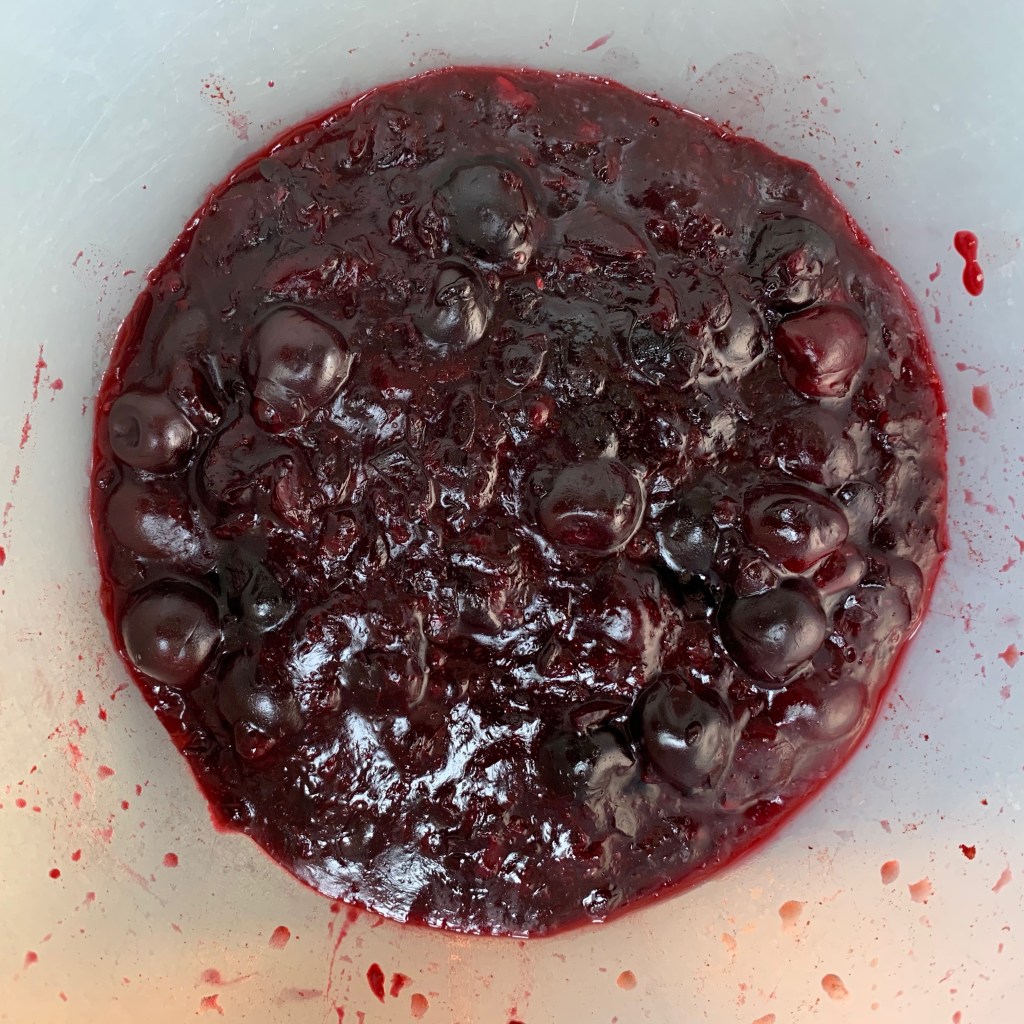
The cherry filling
If you can get jars of sour cherries, use 500g of those and 250g of the juice from the jar in place of the frozen cherries and lemon juice listed below. Also omit the blitzing of cherries and add 30g sugar.
750g frozen pitted cherries
Juice of 1 lemon
25g cornflour
Defrost the cherries. (That’s why I’ve shown this step first – you may want to make your cake layers while this is happening).
Reserve 12 of the best looking cherries – you will use them later for decoration.
Blitz half of the remaining cherries to a coarse puree.
Put the puree and any juice into a saucepan with the cornflour, stir thoroughly and warm gently until thickened.
Add the remaining cherries and bring to the boil.
Remove from heat and refrigerate.
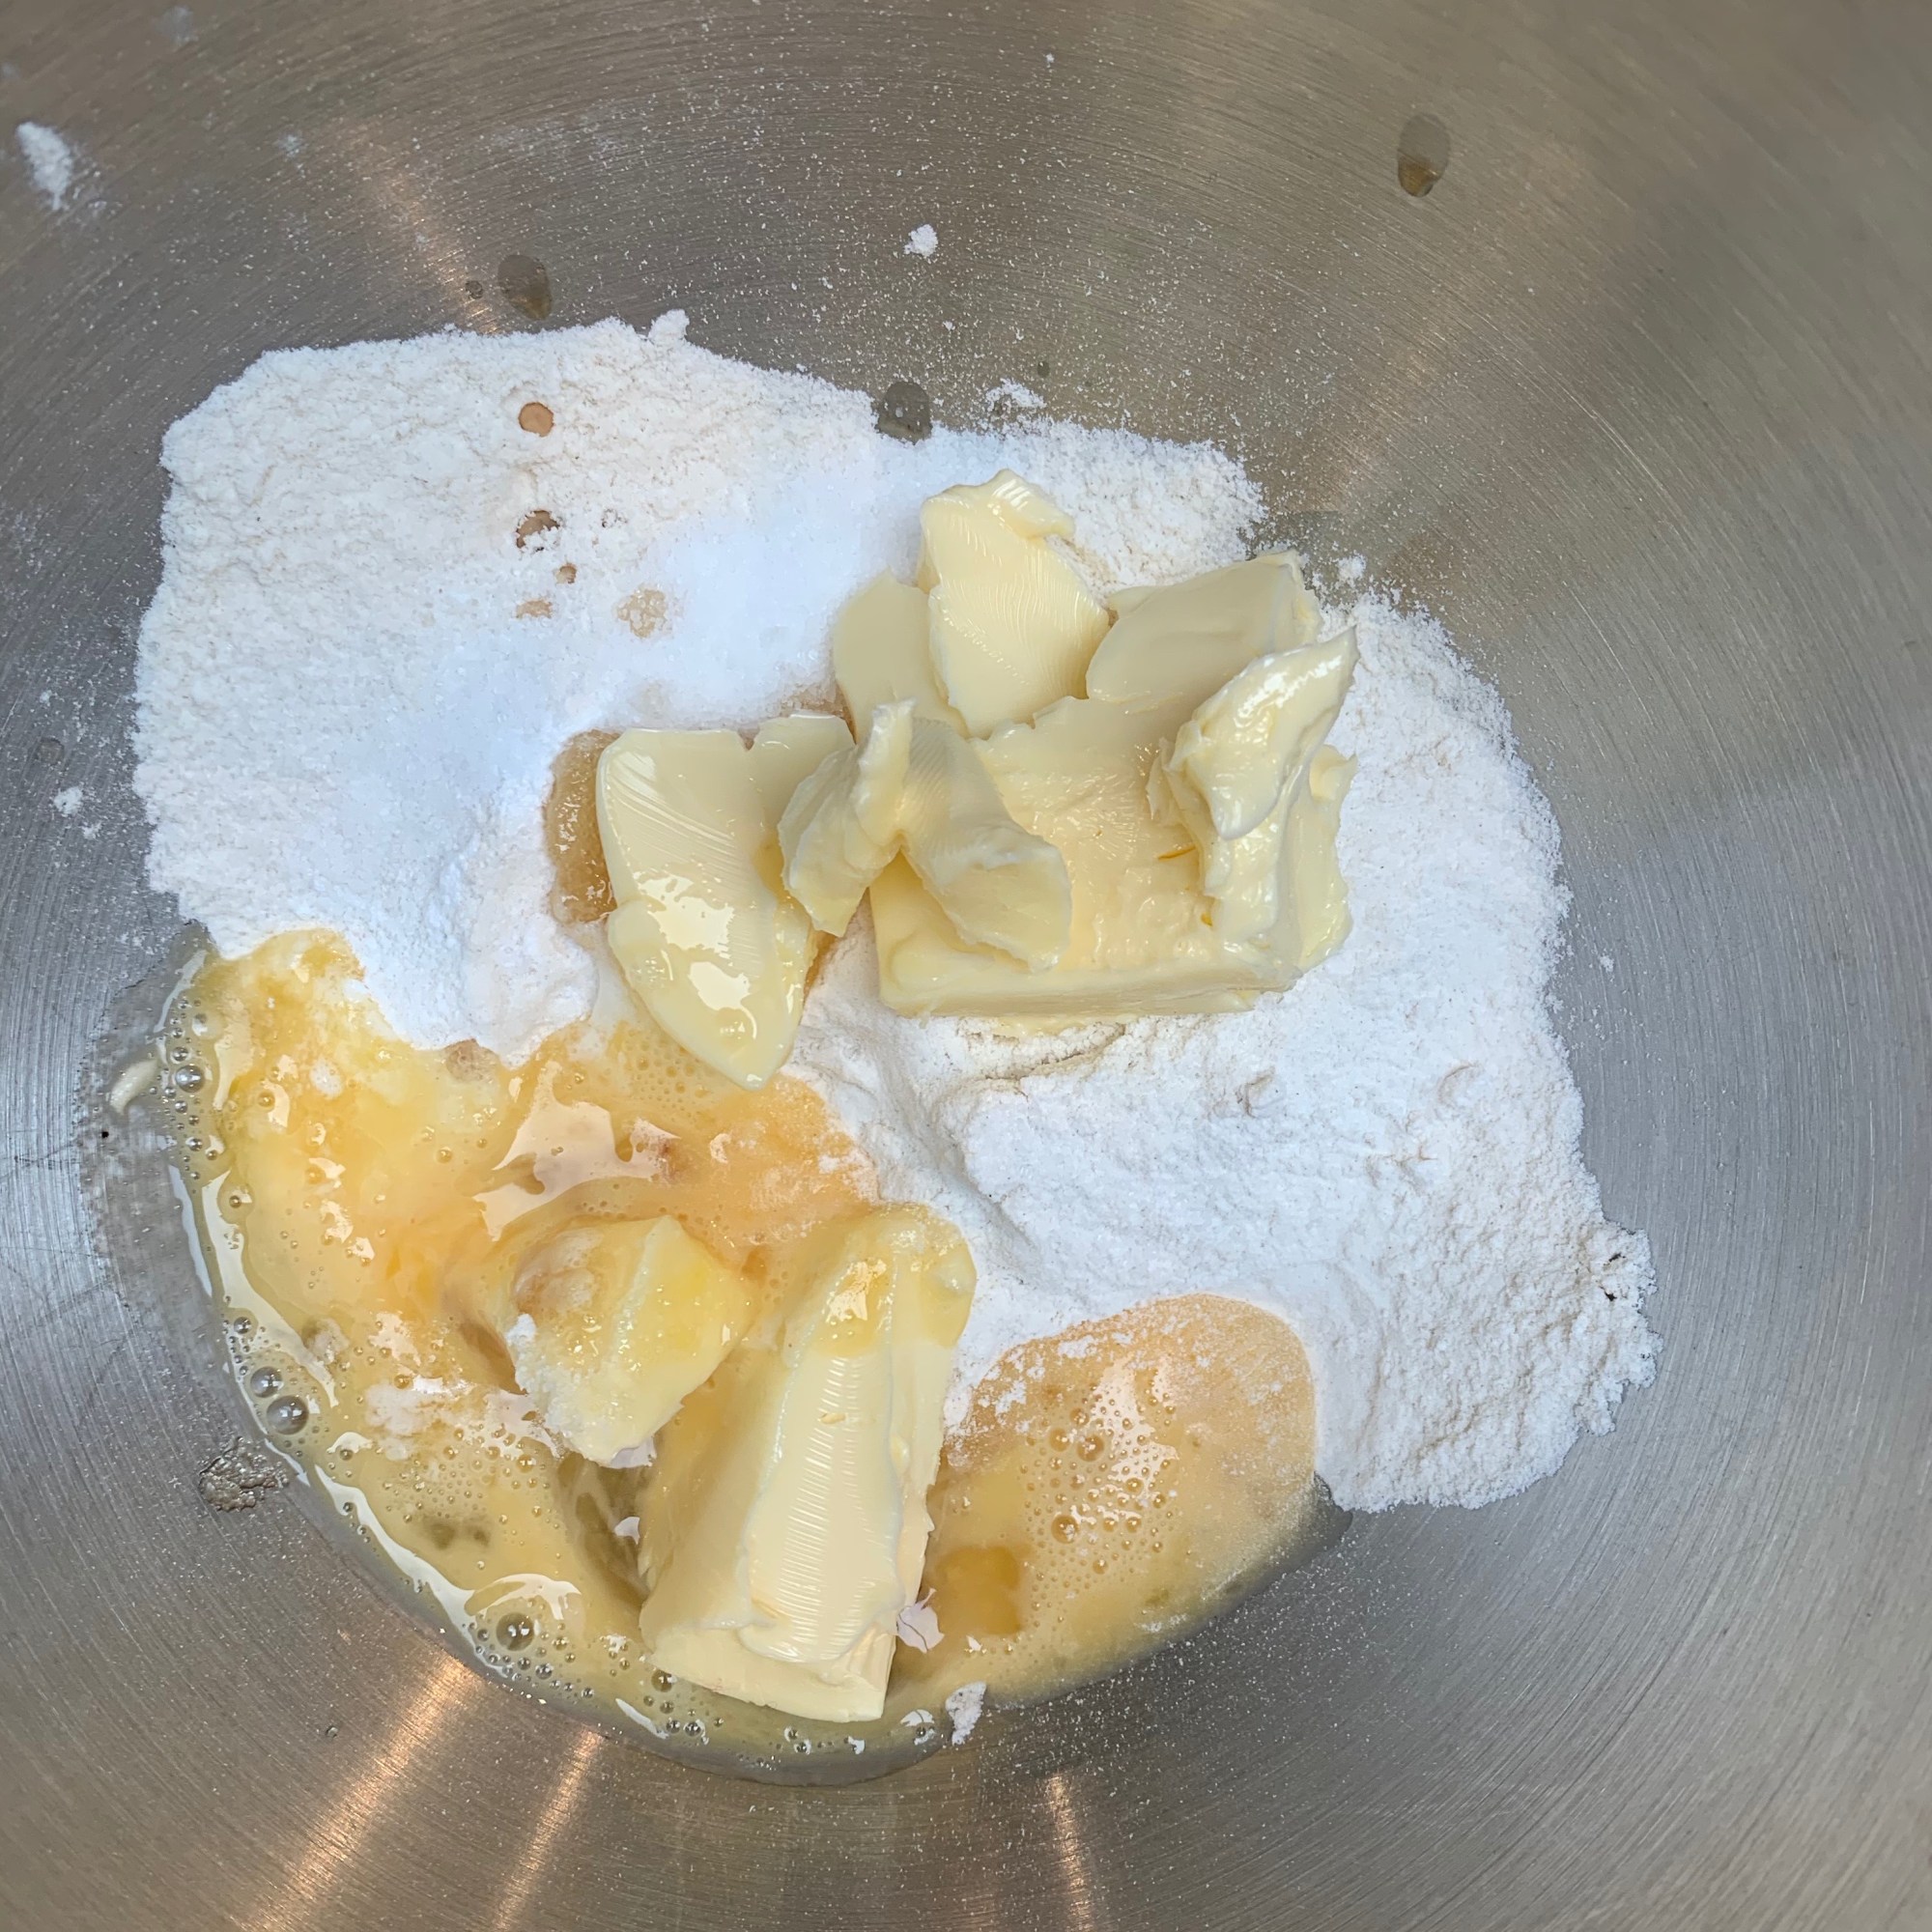
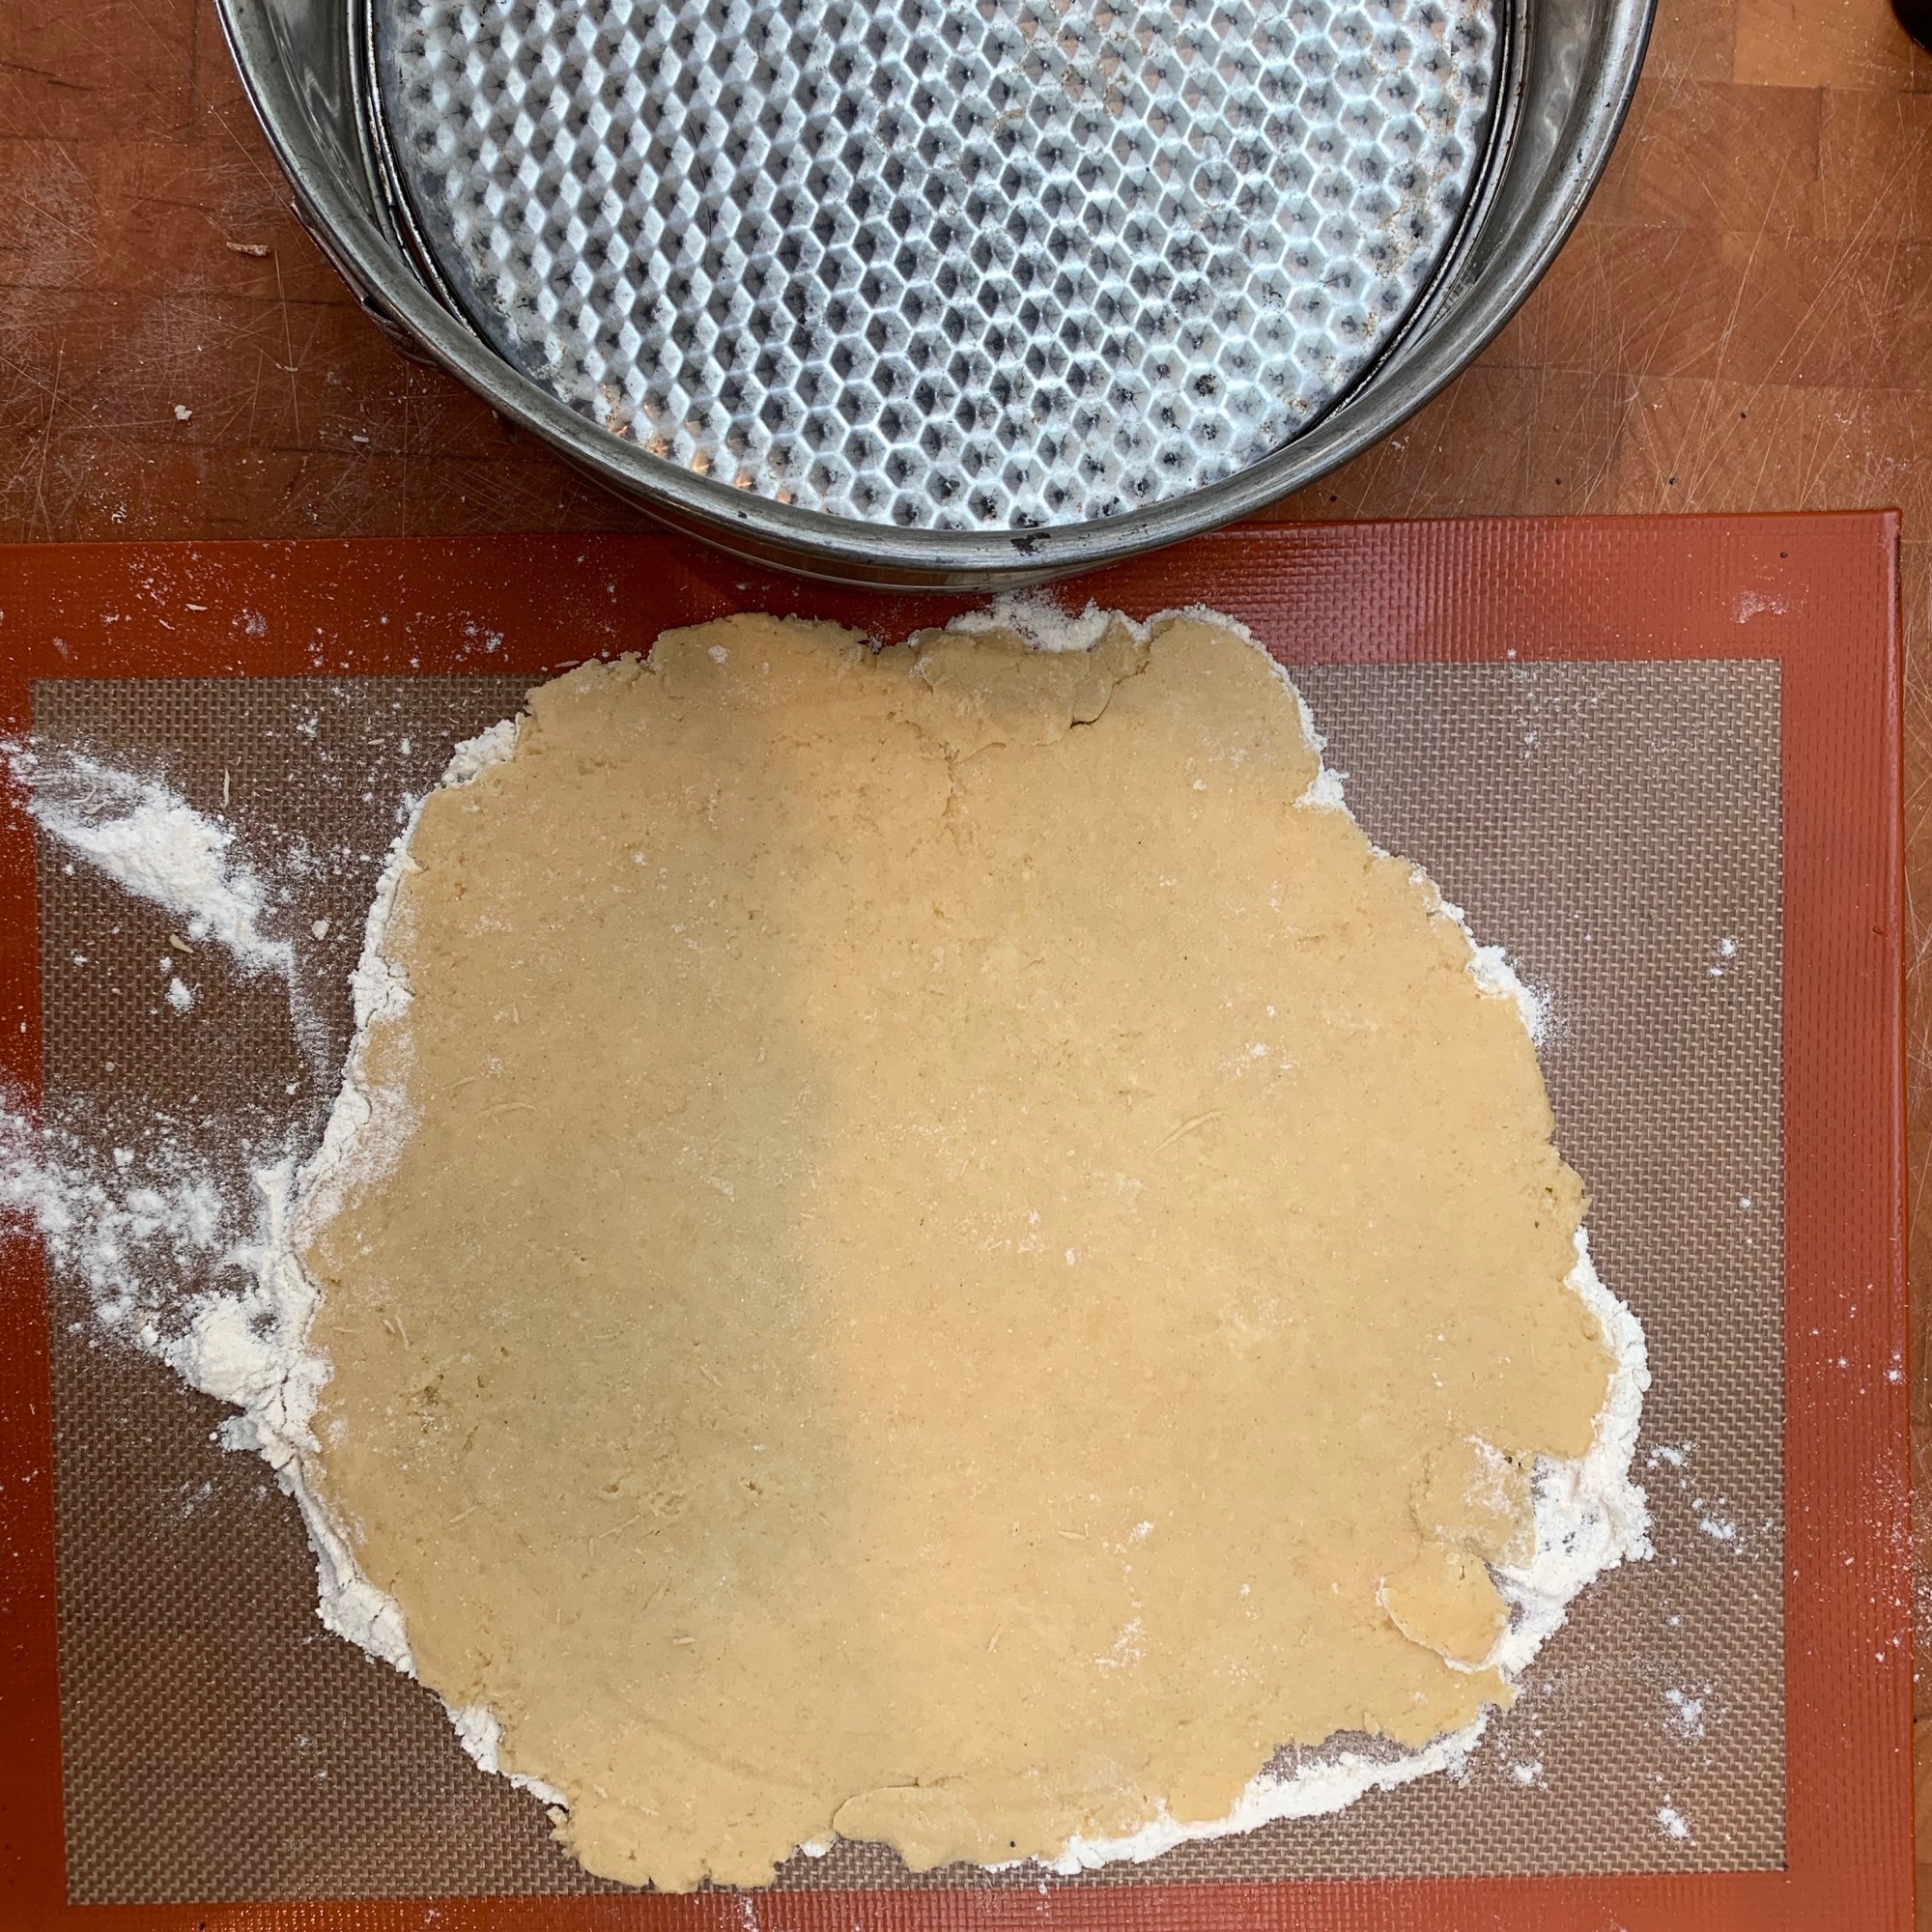
The shortcrust base
This is optional (several recipes don’t include one) but it gives a nice contrast of texture and makes the cake easier to handle.
120g plain flour
3g (around ½ tsp) baking powder
25g sugar
vanilla essence to taste (around 1 tsp)
1 small egg
60g butter, softened
Preheat oven to 180℃ fan
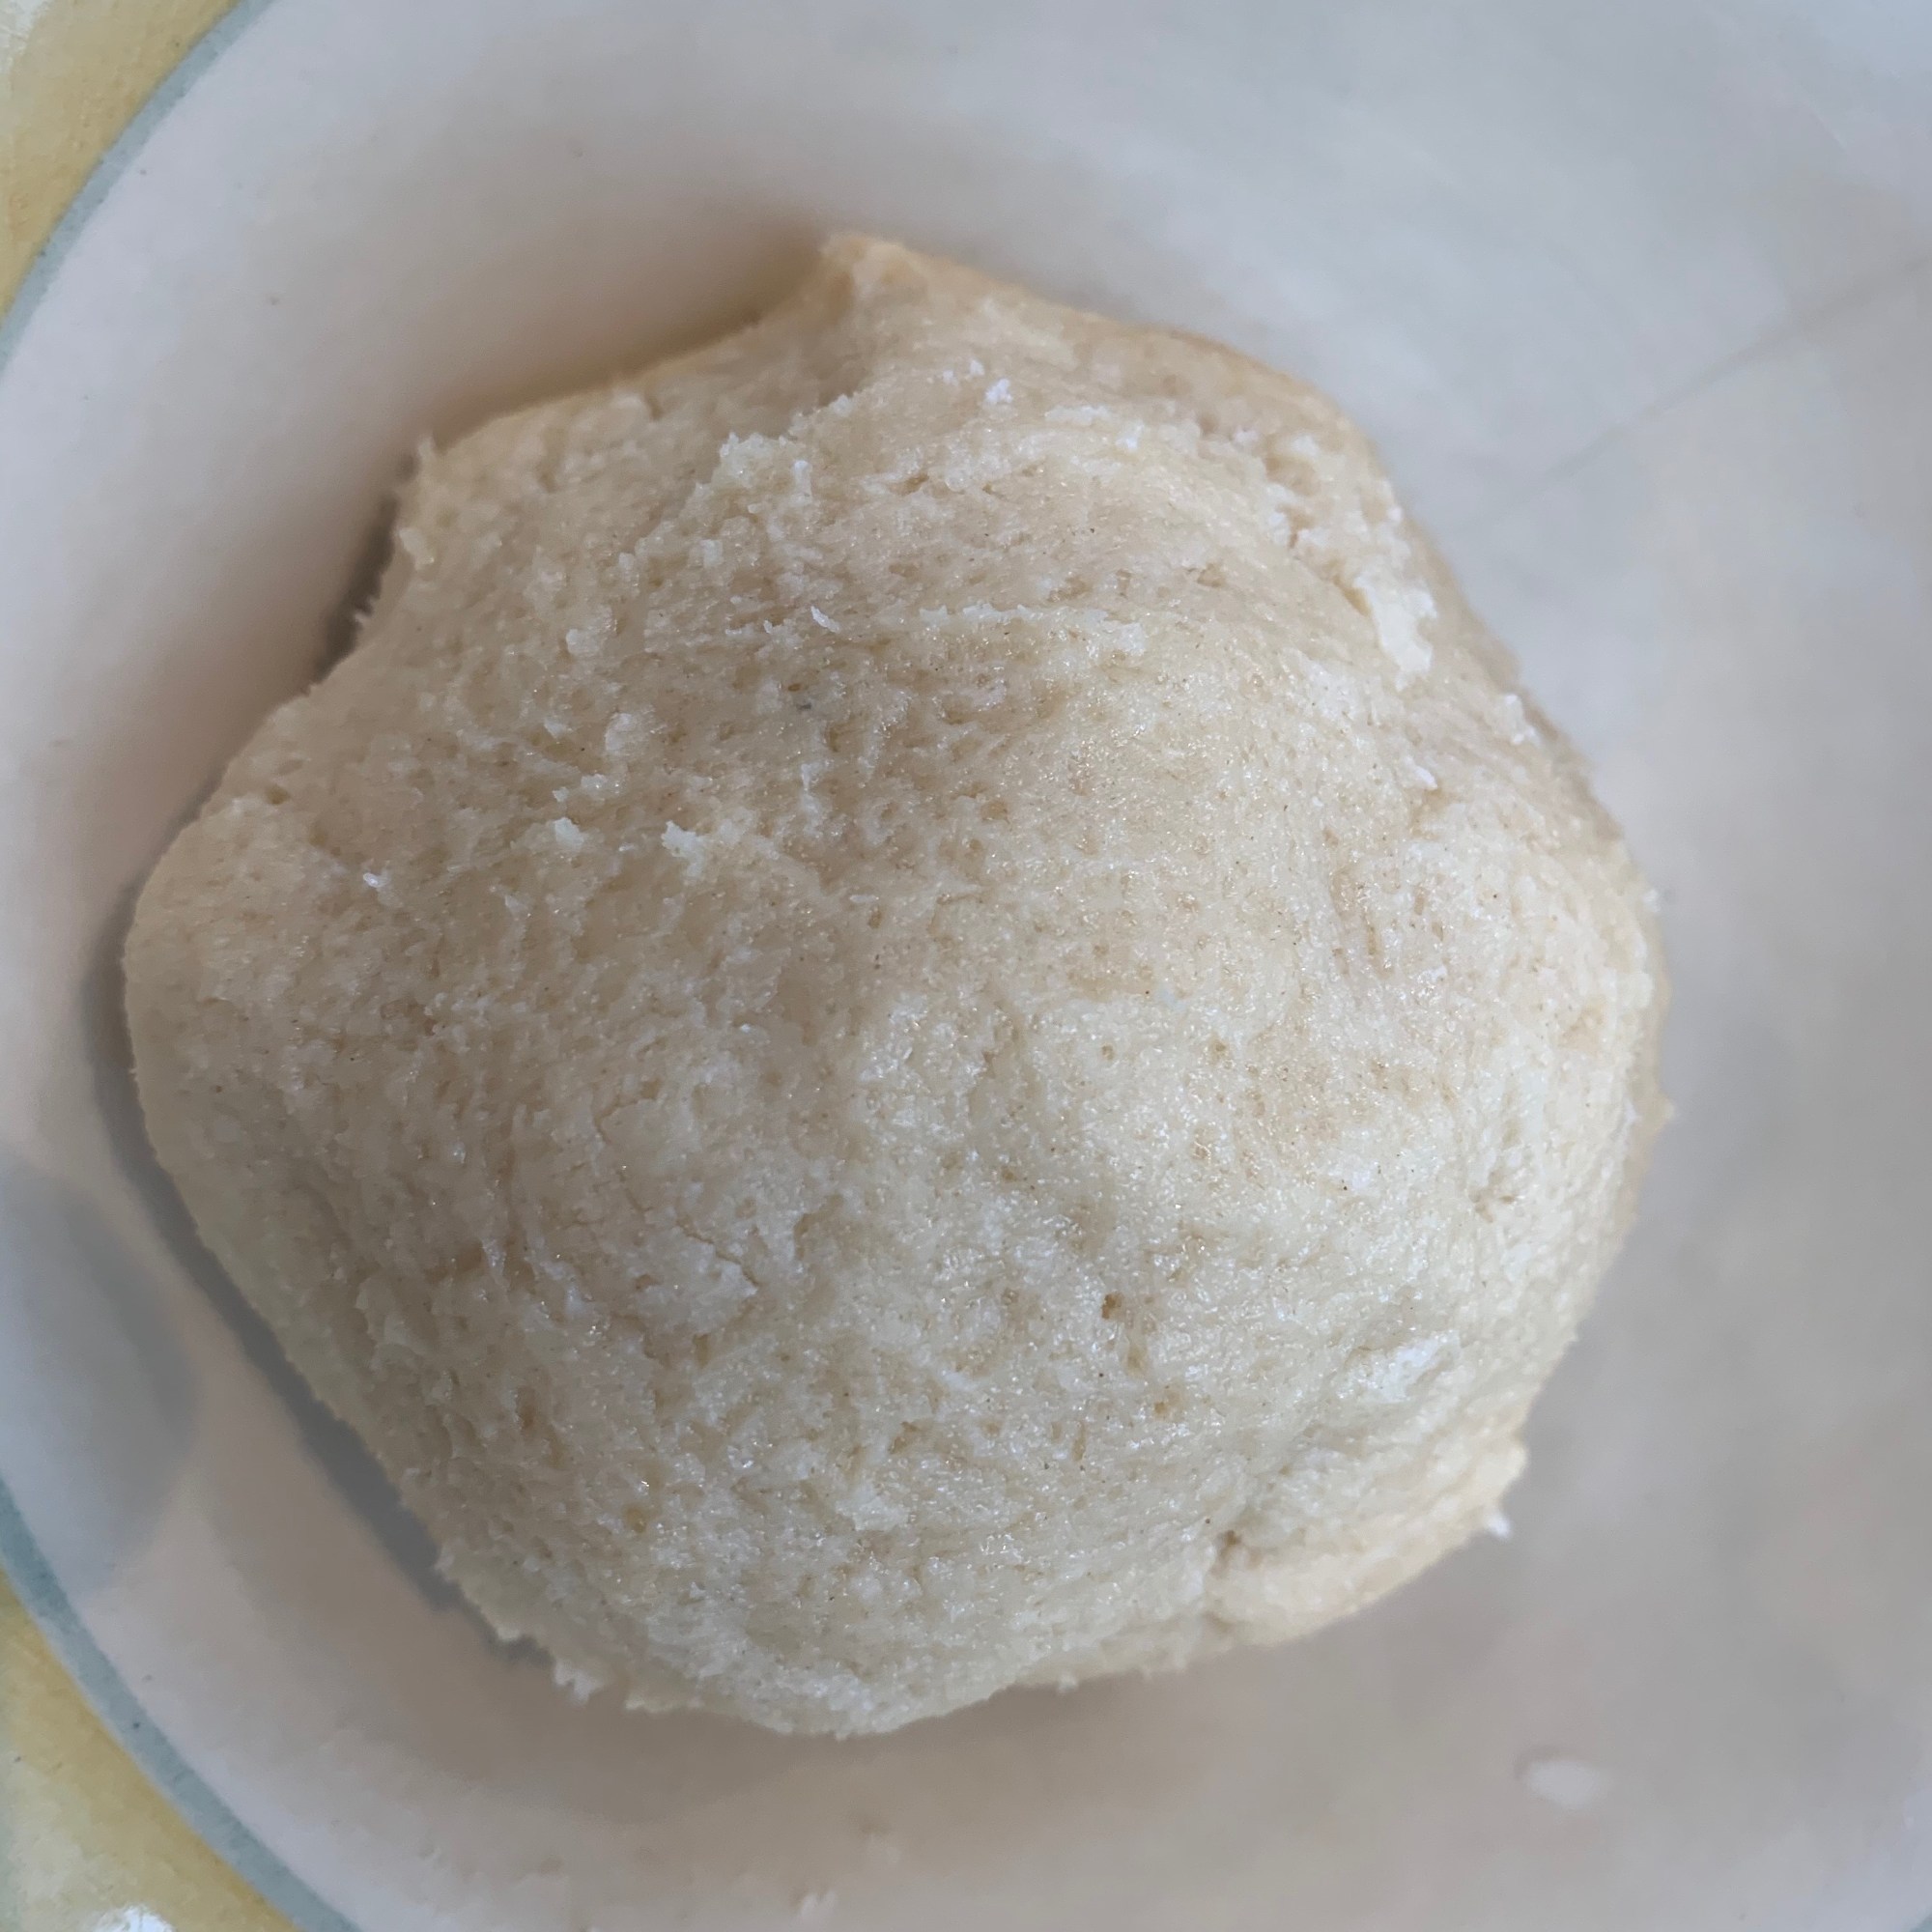
Mix all ingredients together. Cover and refrigerate for around 30 minutes.
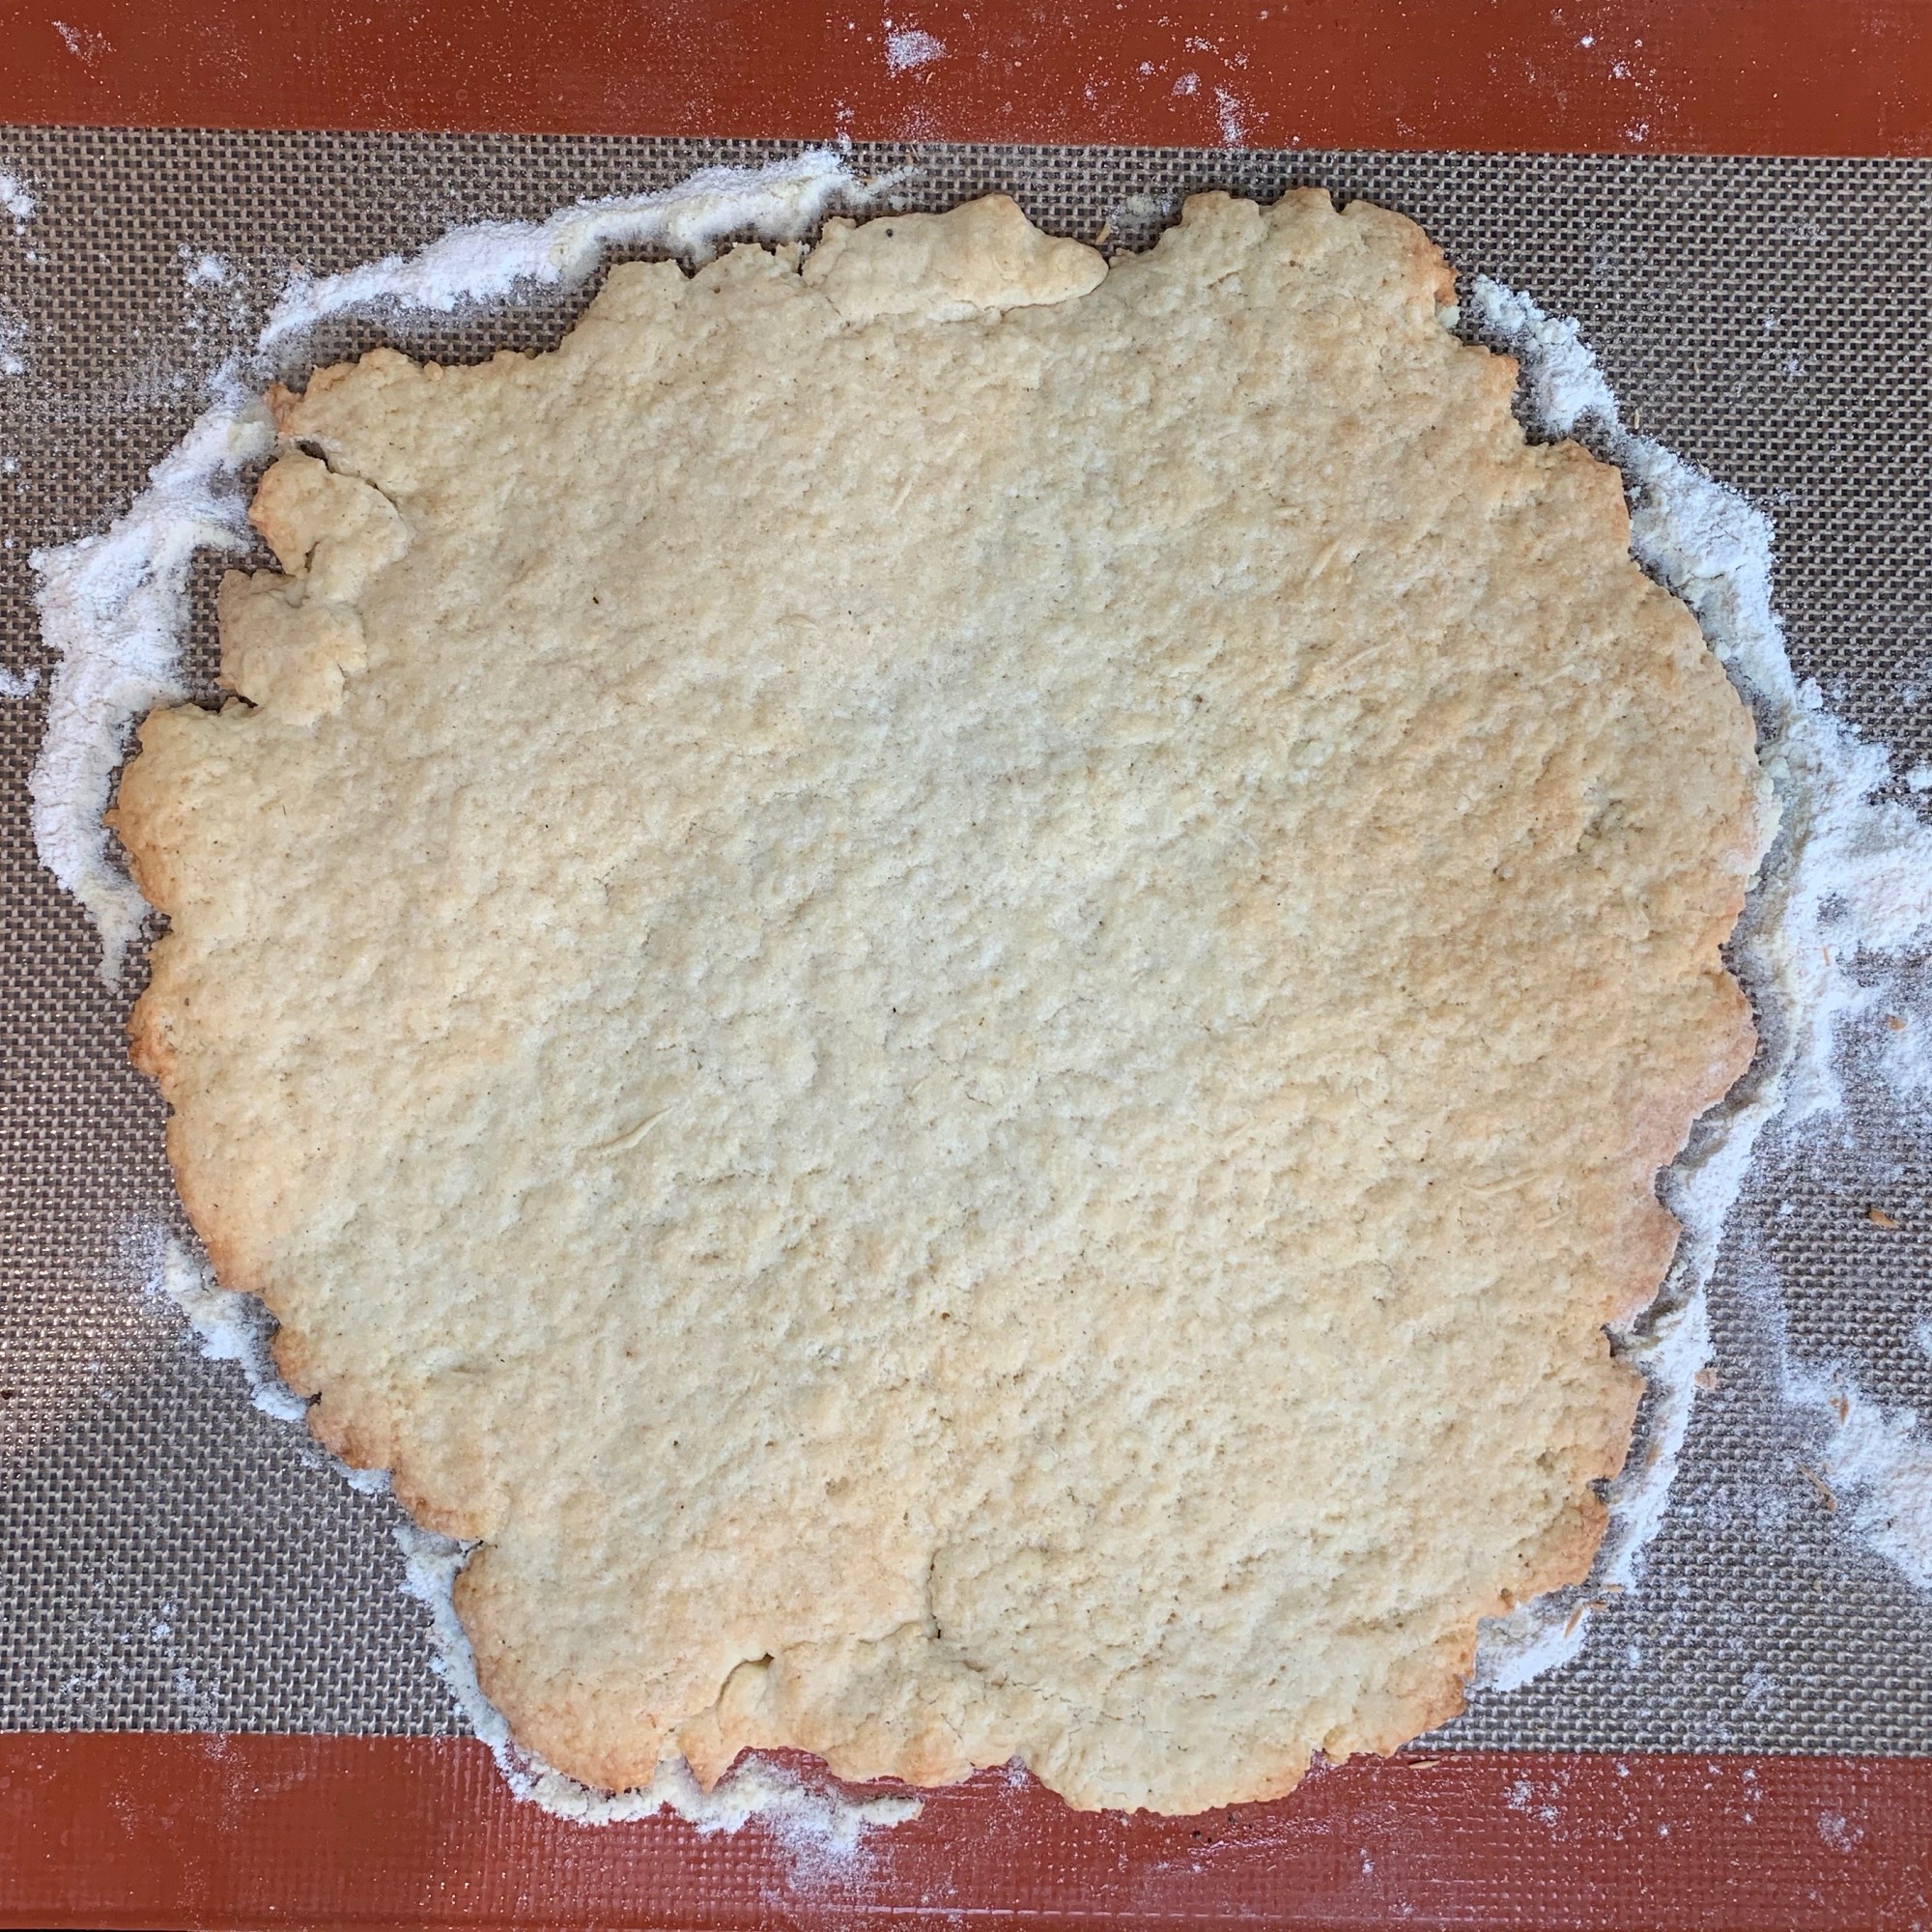
Roll out on a baking sheet to a size slightly larger than your cake tin.
Bake for around 10 minutes
Leave to cool
The chocolate cake
150g plain flour
60g cornflour
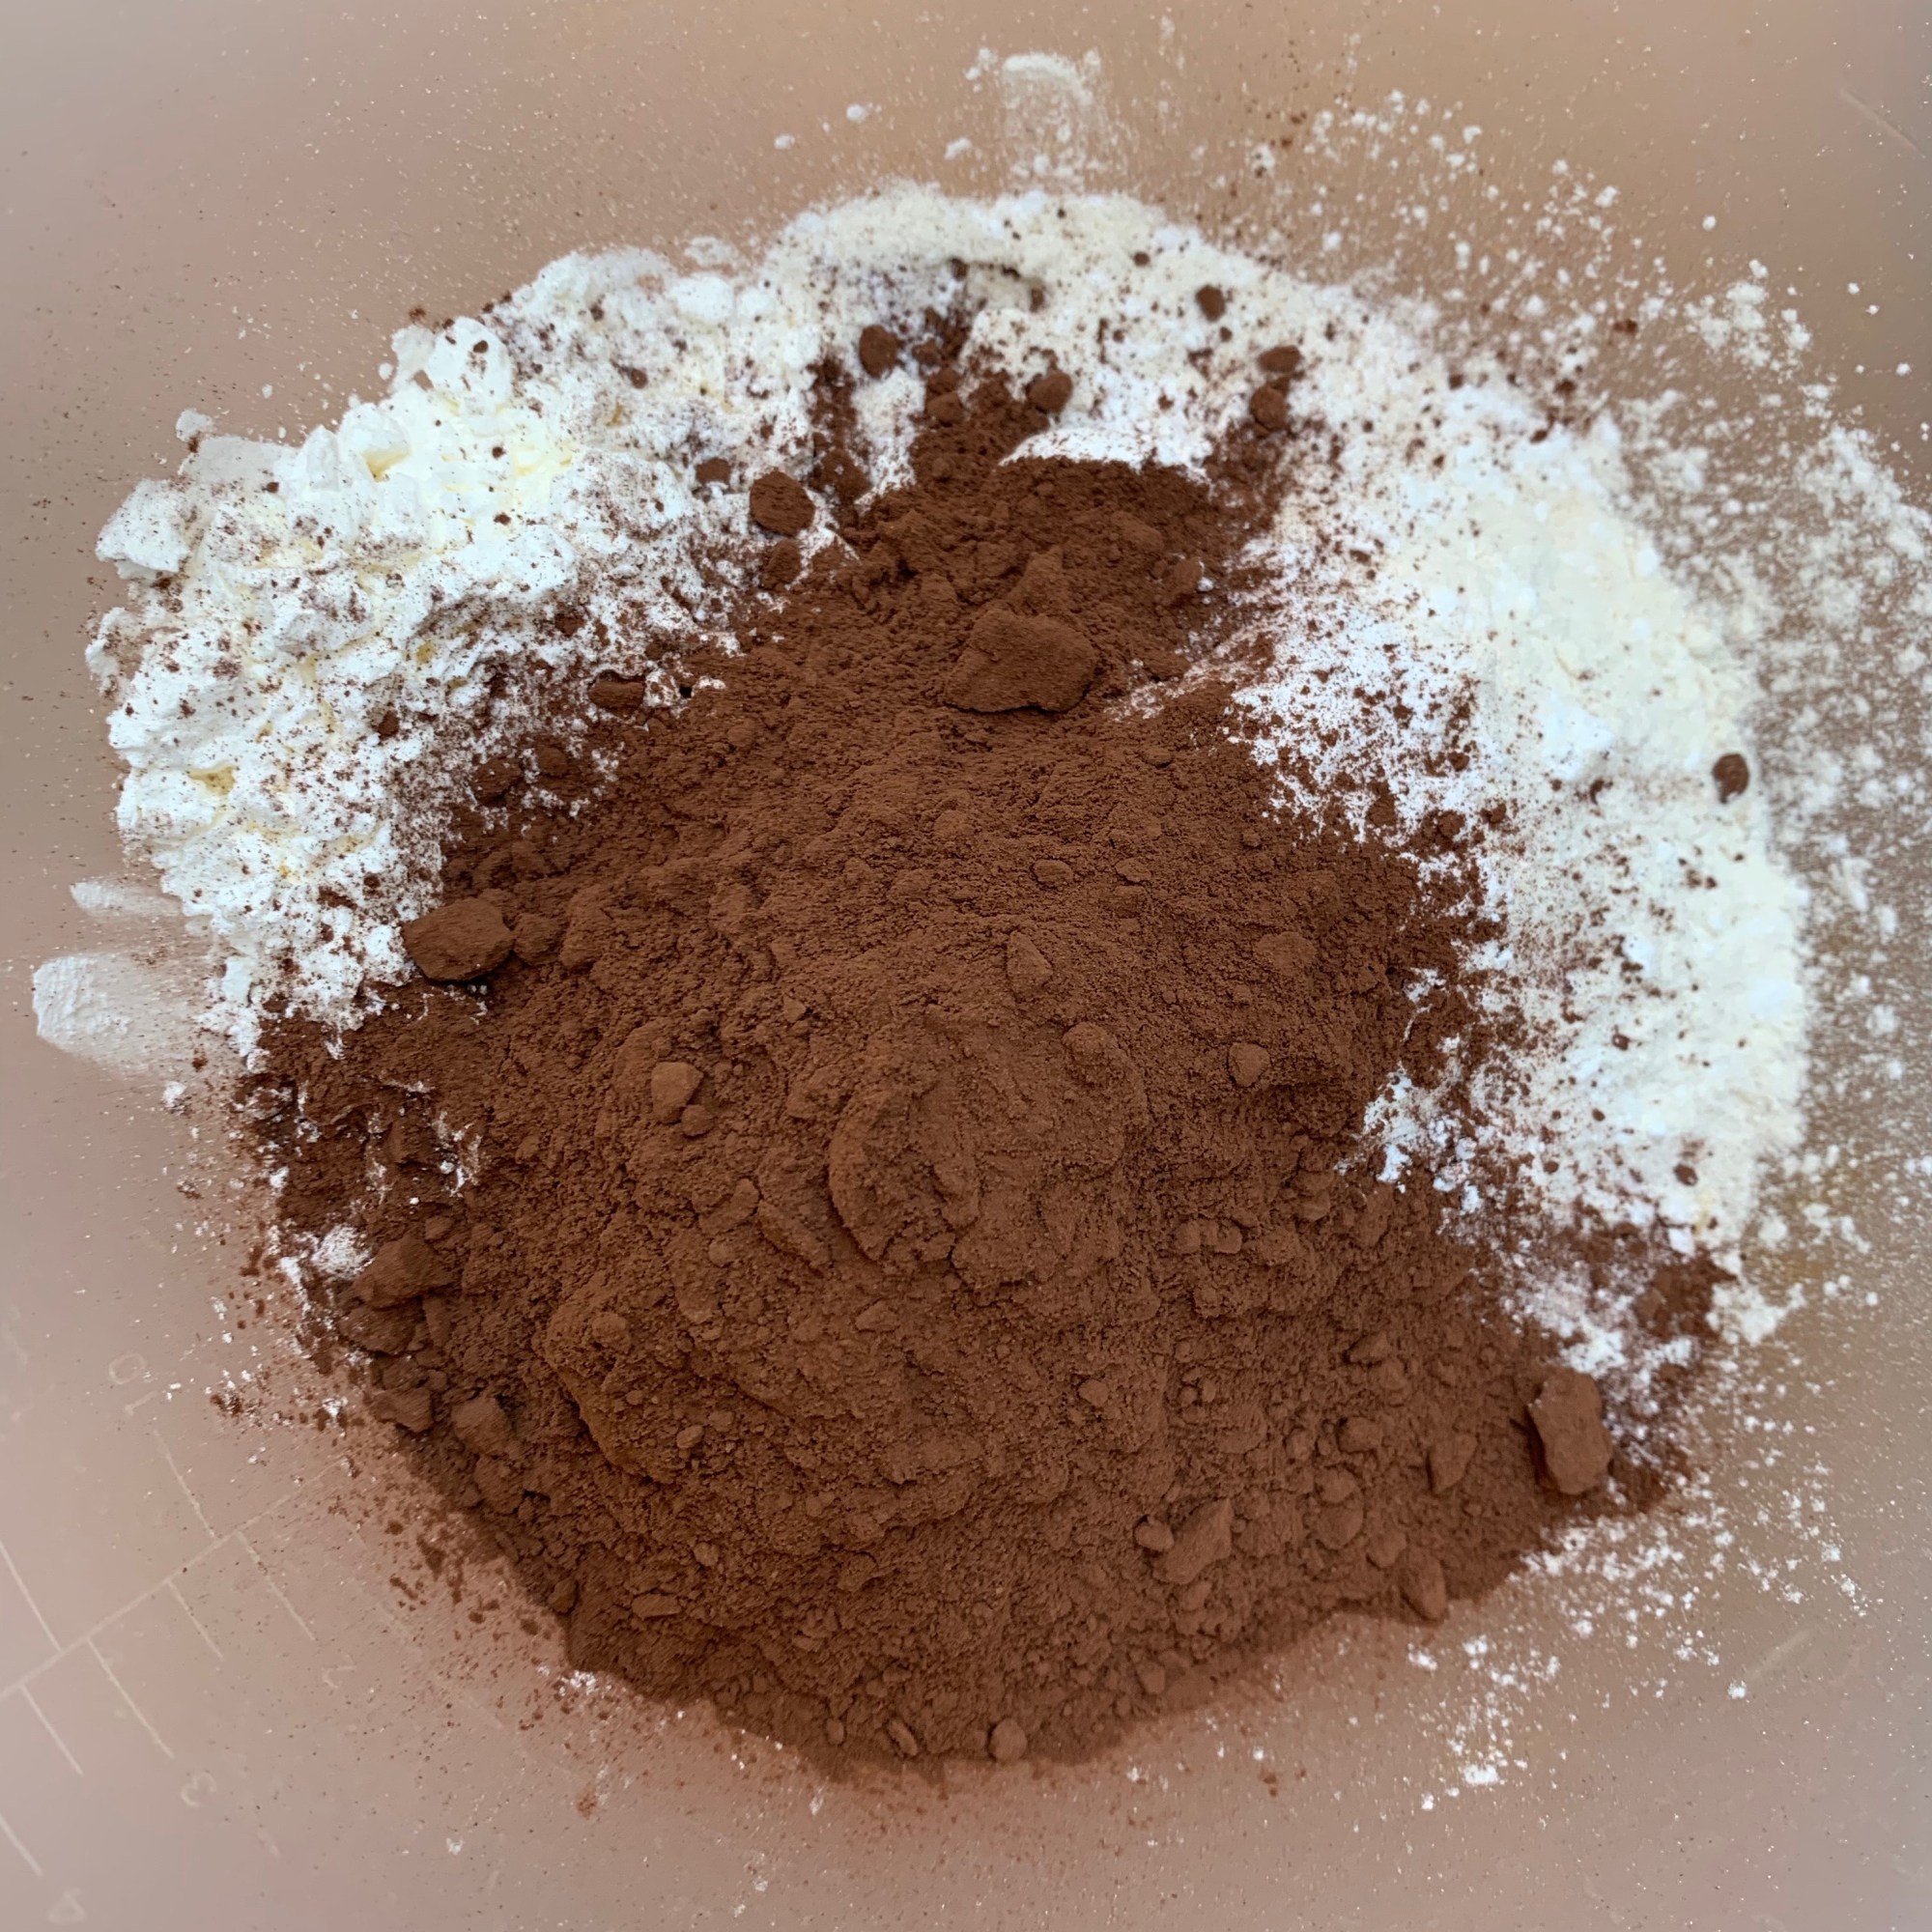
50g cocoa powder
10g baking powder – around 2 tsp
6 eggs
200g caster sugar
Vanilla essence to taste – around 1 tsp
Grease your cake tin
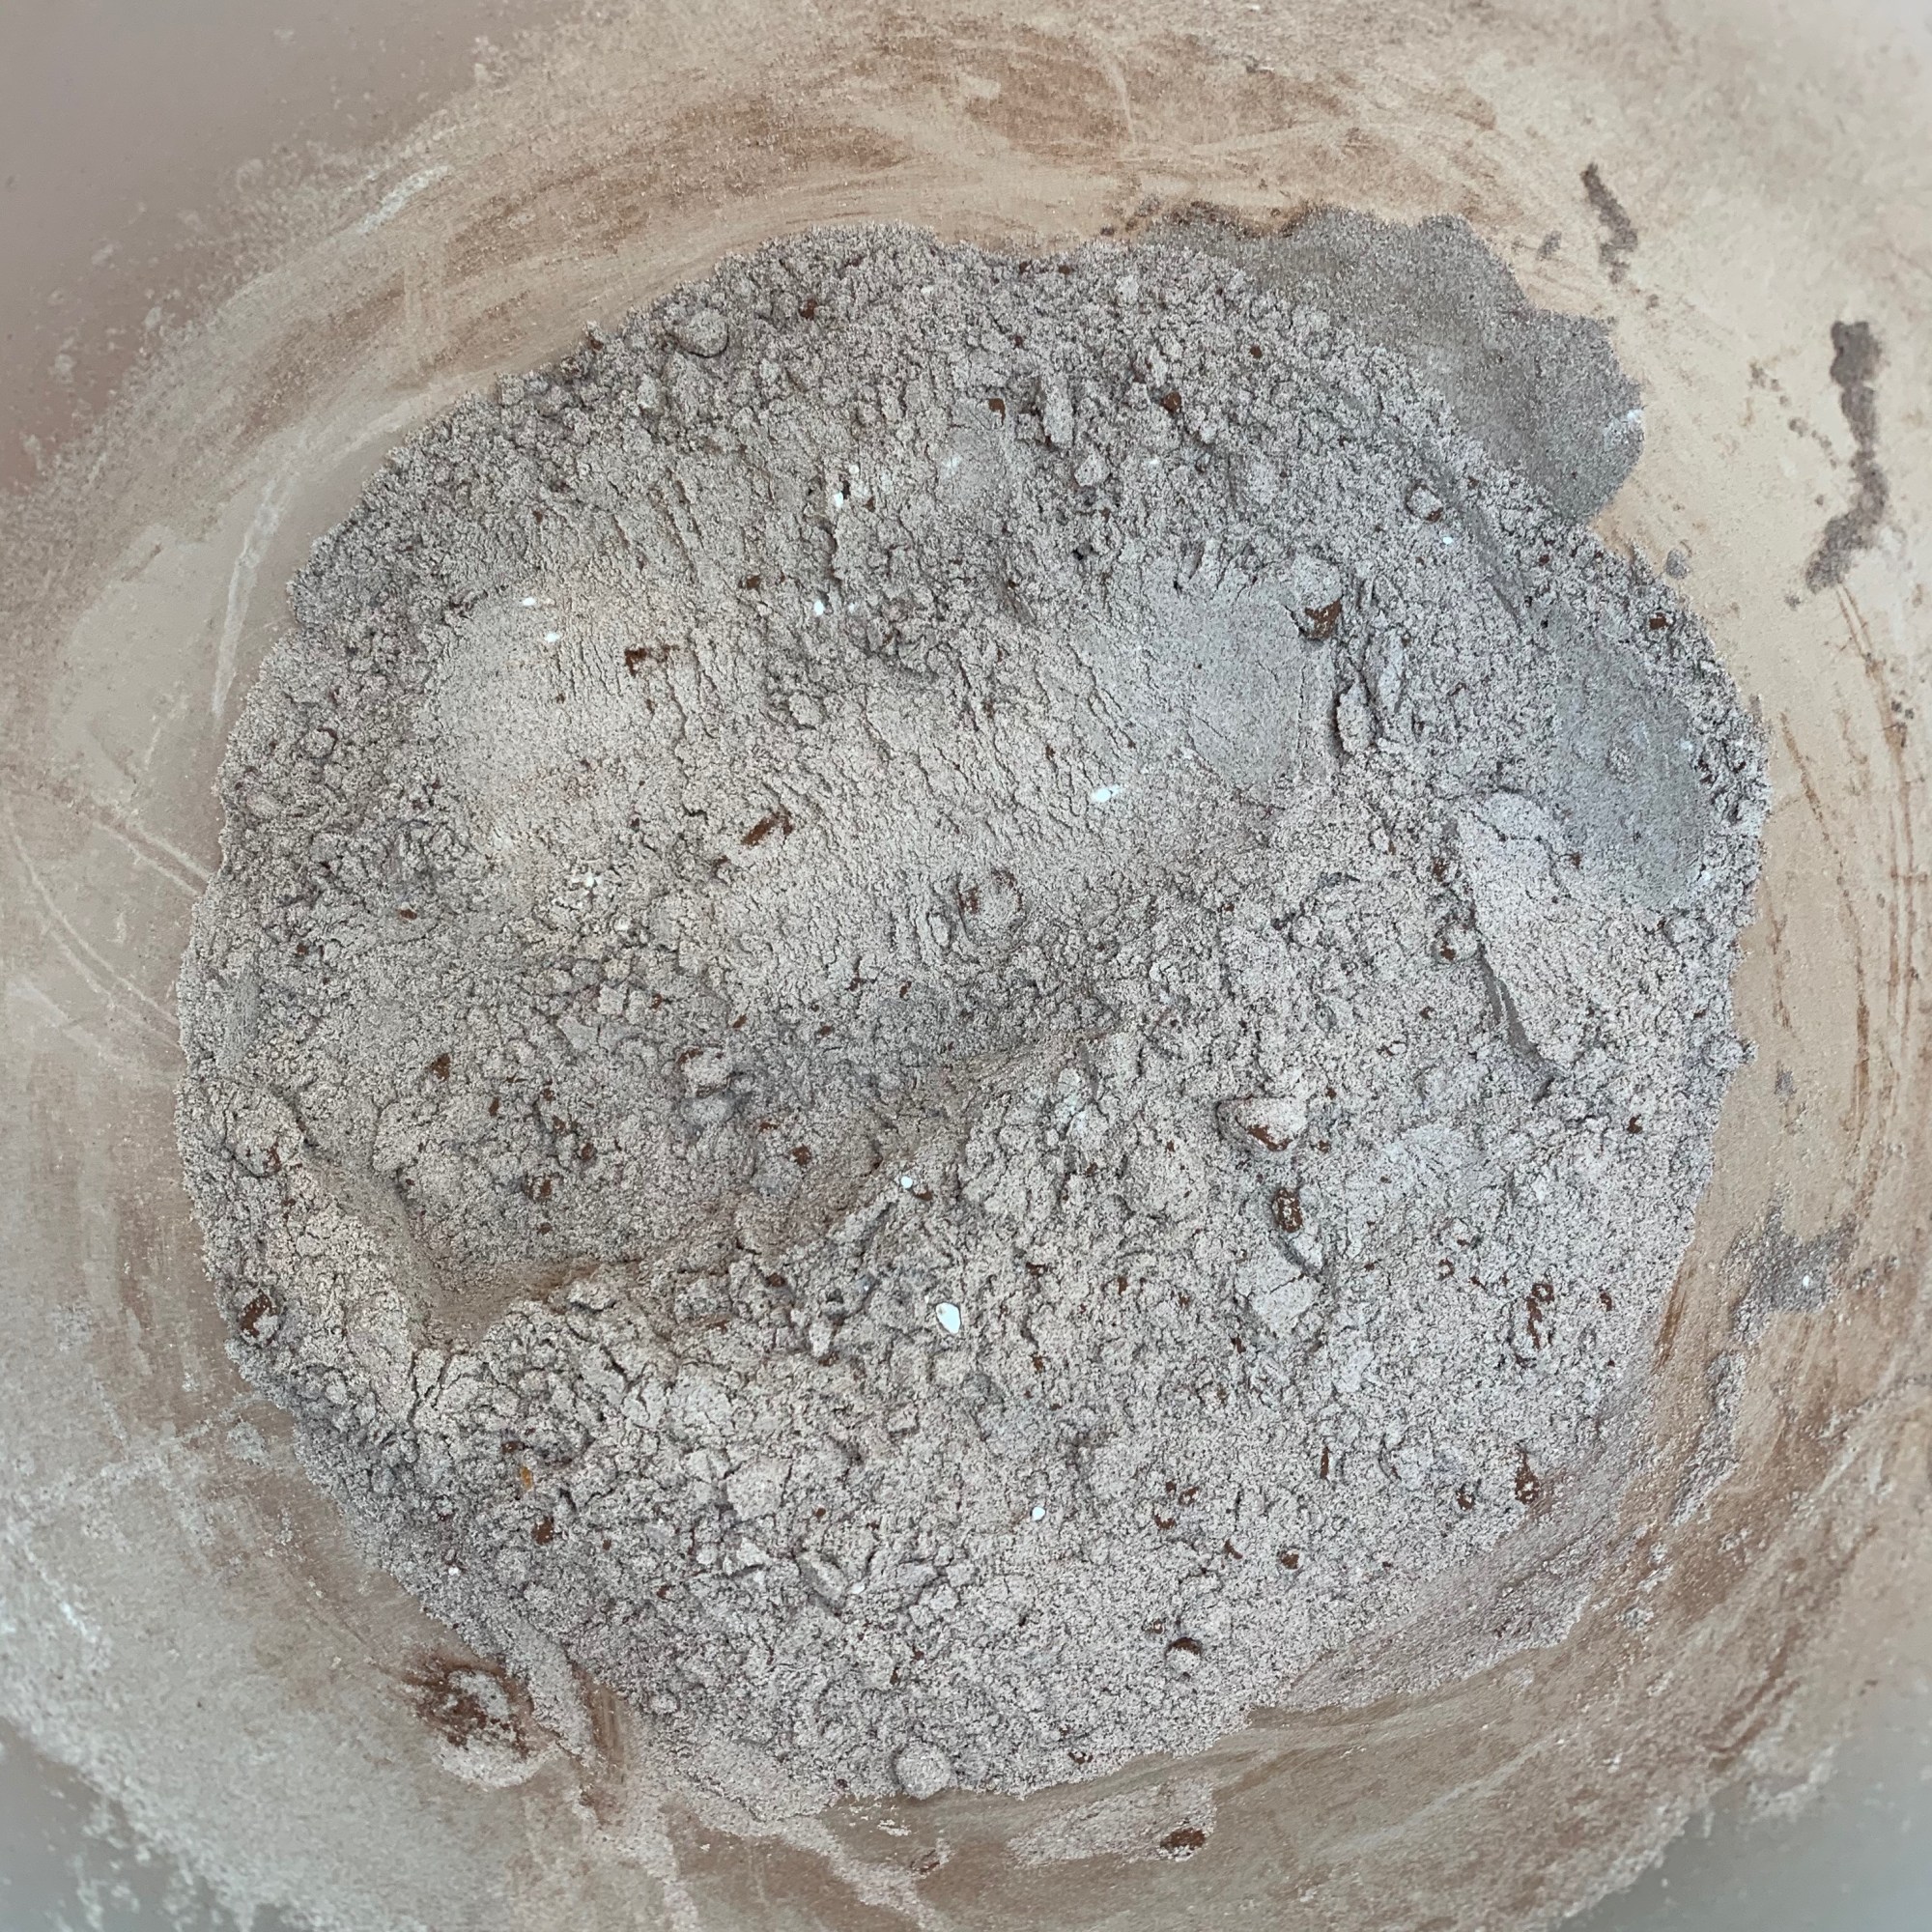
Sift the flour, cornflour, cocoa powder and baking powder into a bowl and combine evenly
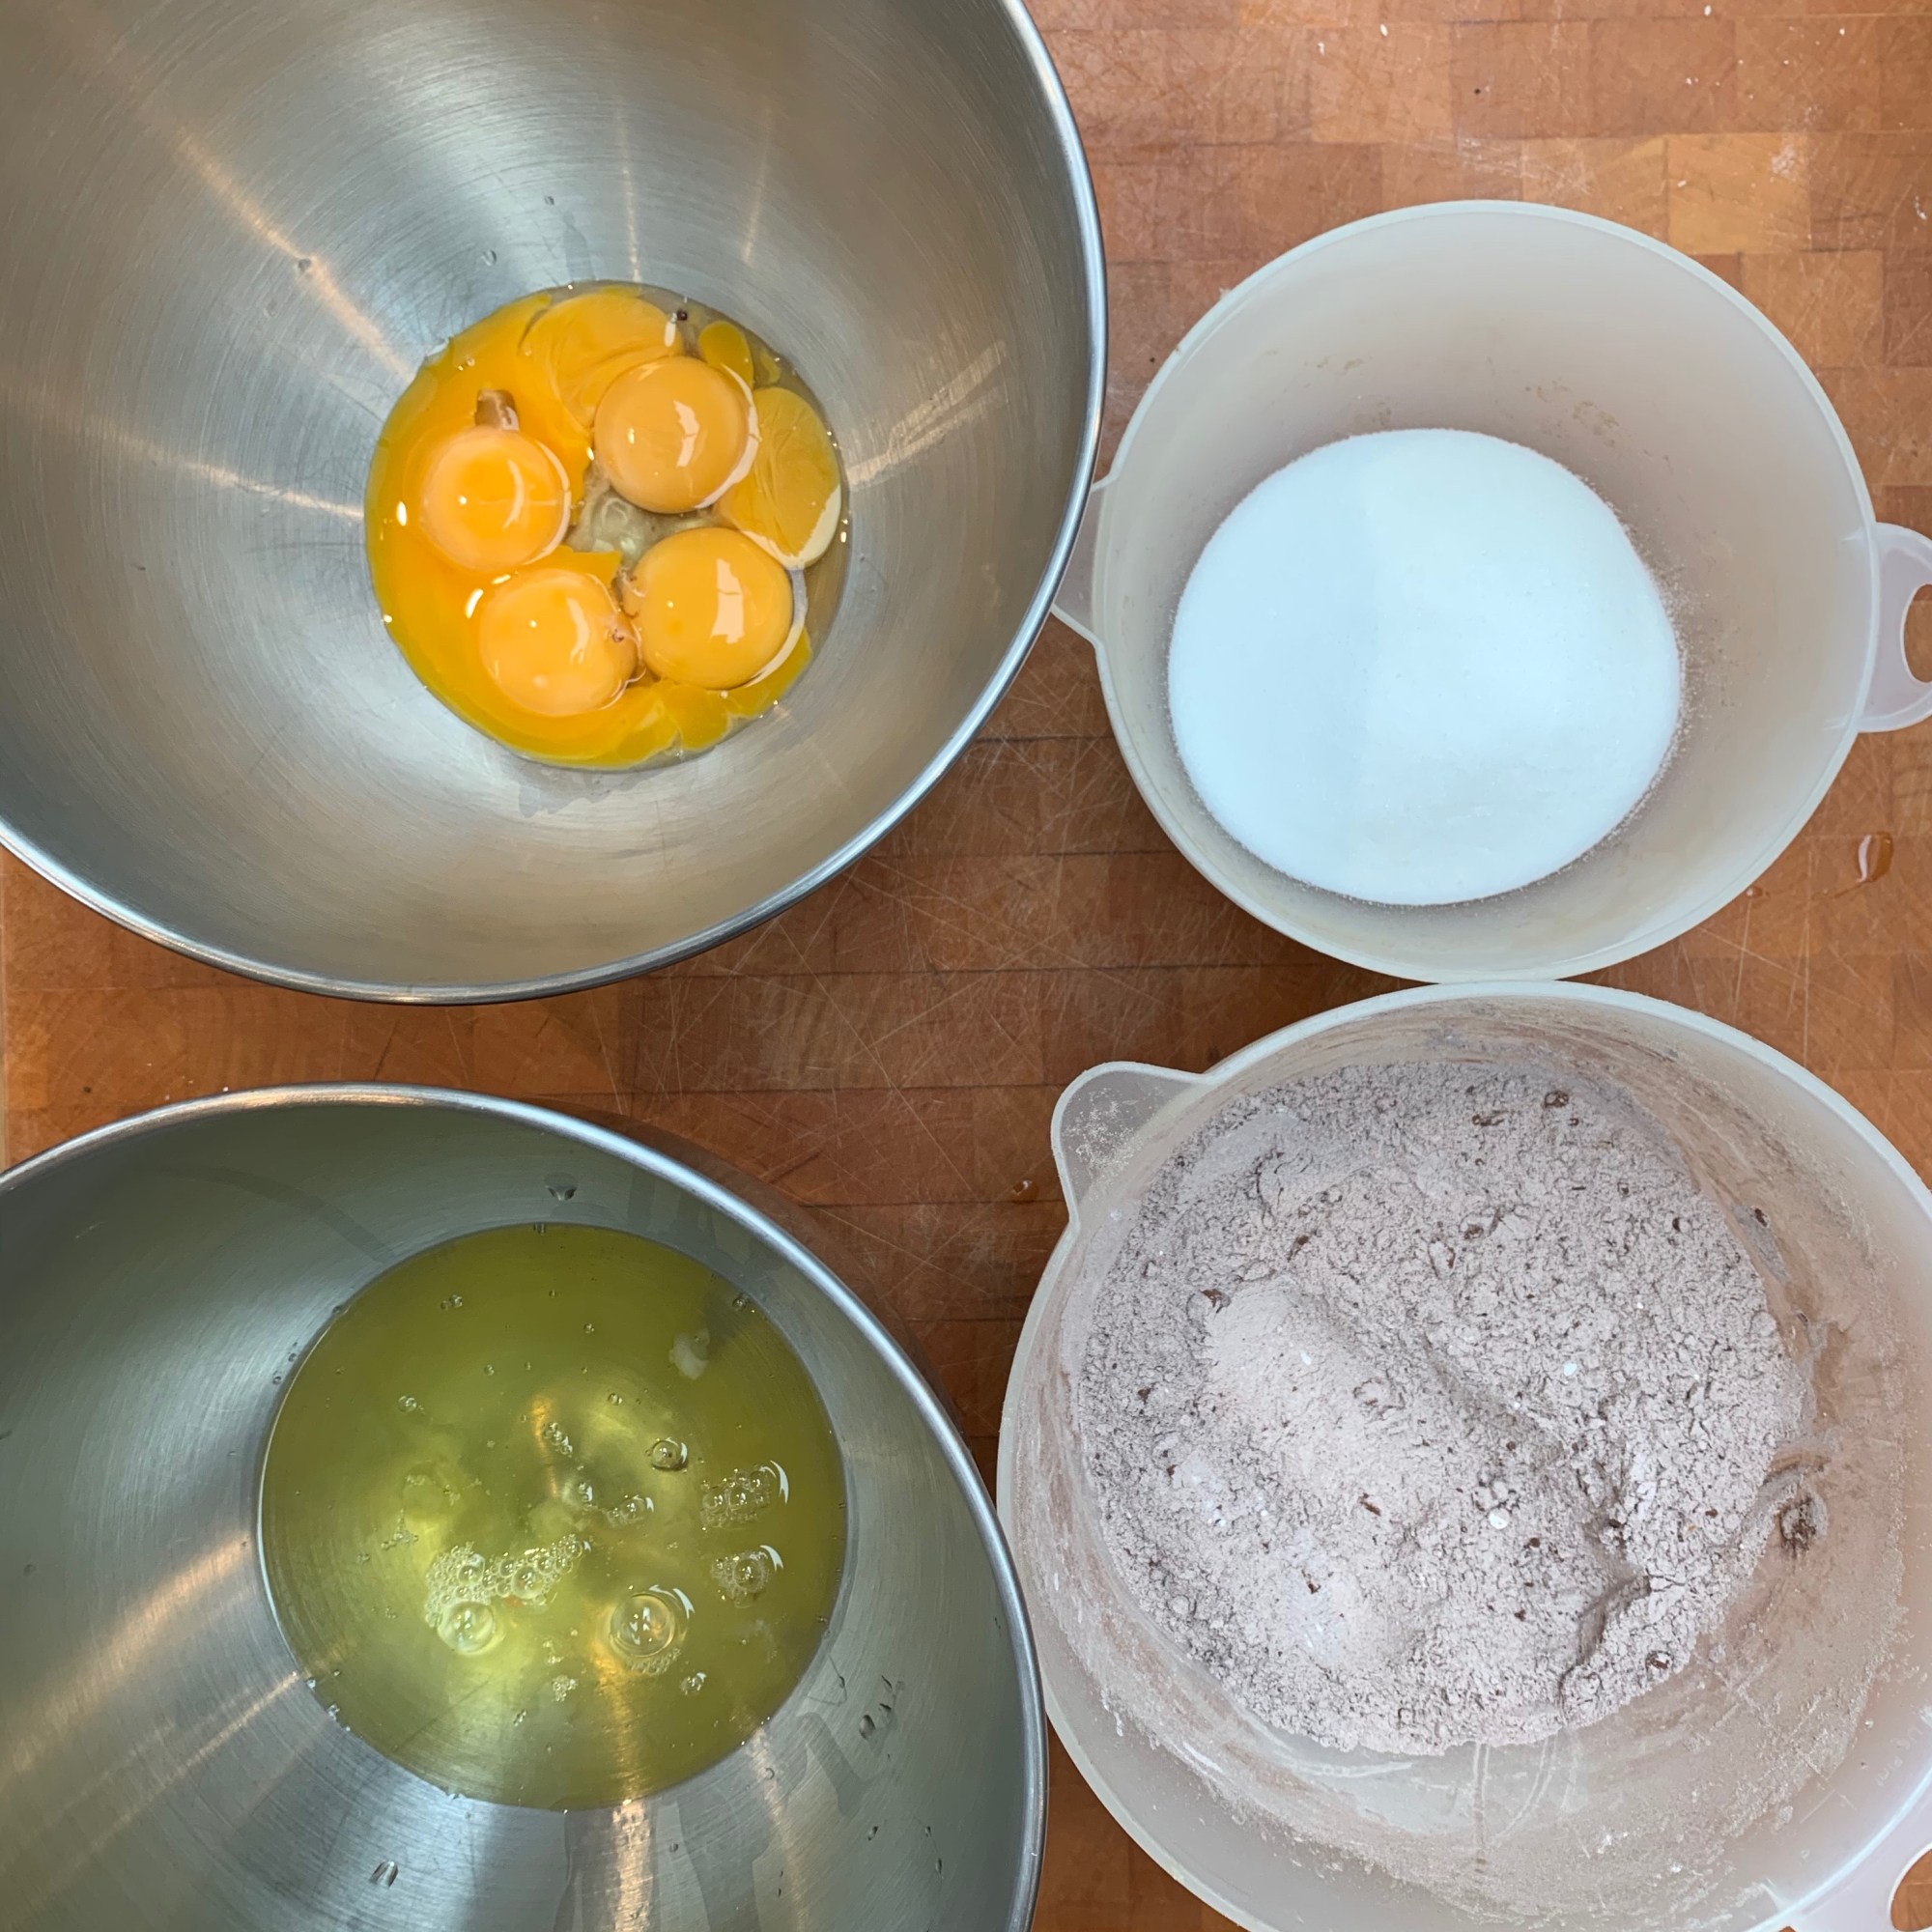
Separate the eggs
Add around 50 ml of warm water to the egg yolks and beat at your mixer’s highest speed for around three minutes, until you have a creamy sabayon-like texture. Add 130g of the sugar and beat for another three minutes.
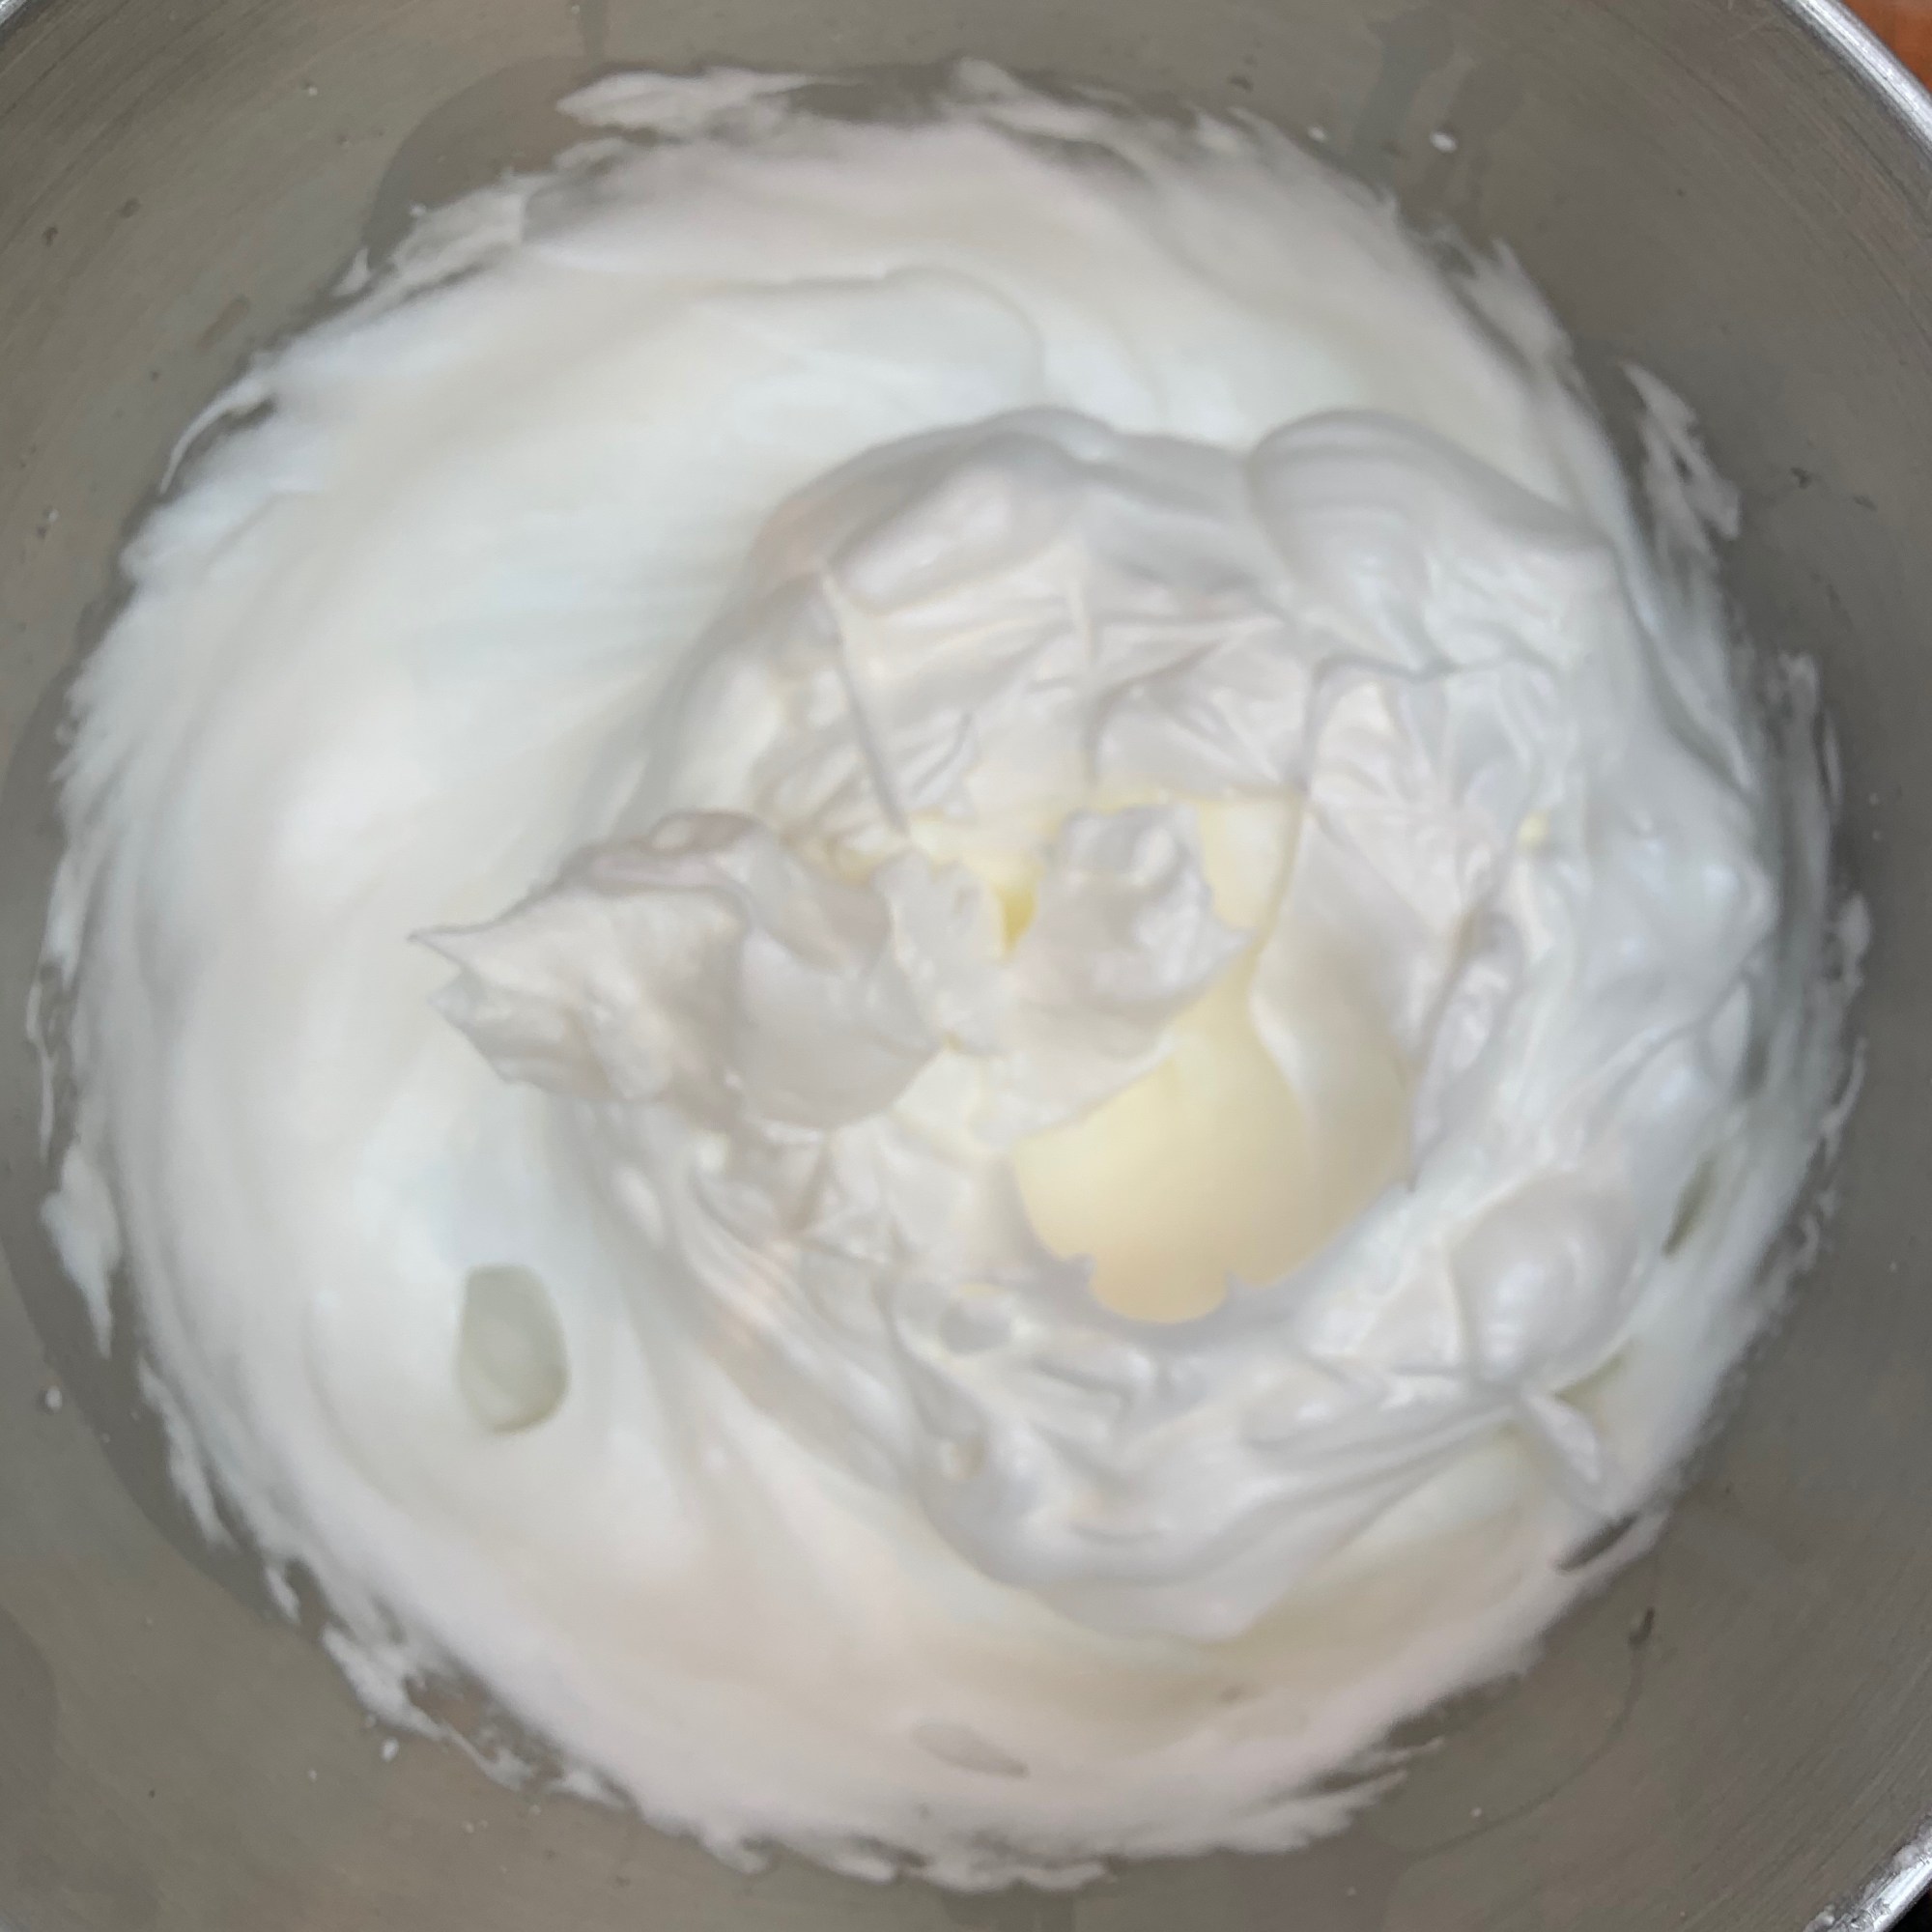
Beat the egg whites until soft peaks form, then add the remaining sugar, then beat until you have a stiff meringue.
Combine the sabayon, the meringue and the flour mix and blend thoroughly. Mix it as a gently as you can (avoiding losing the air that you’ve just beaten into the eggs) but enough to be sure that you haven’t left any clumps of unblended flour.
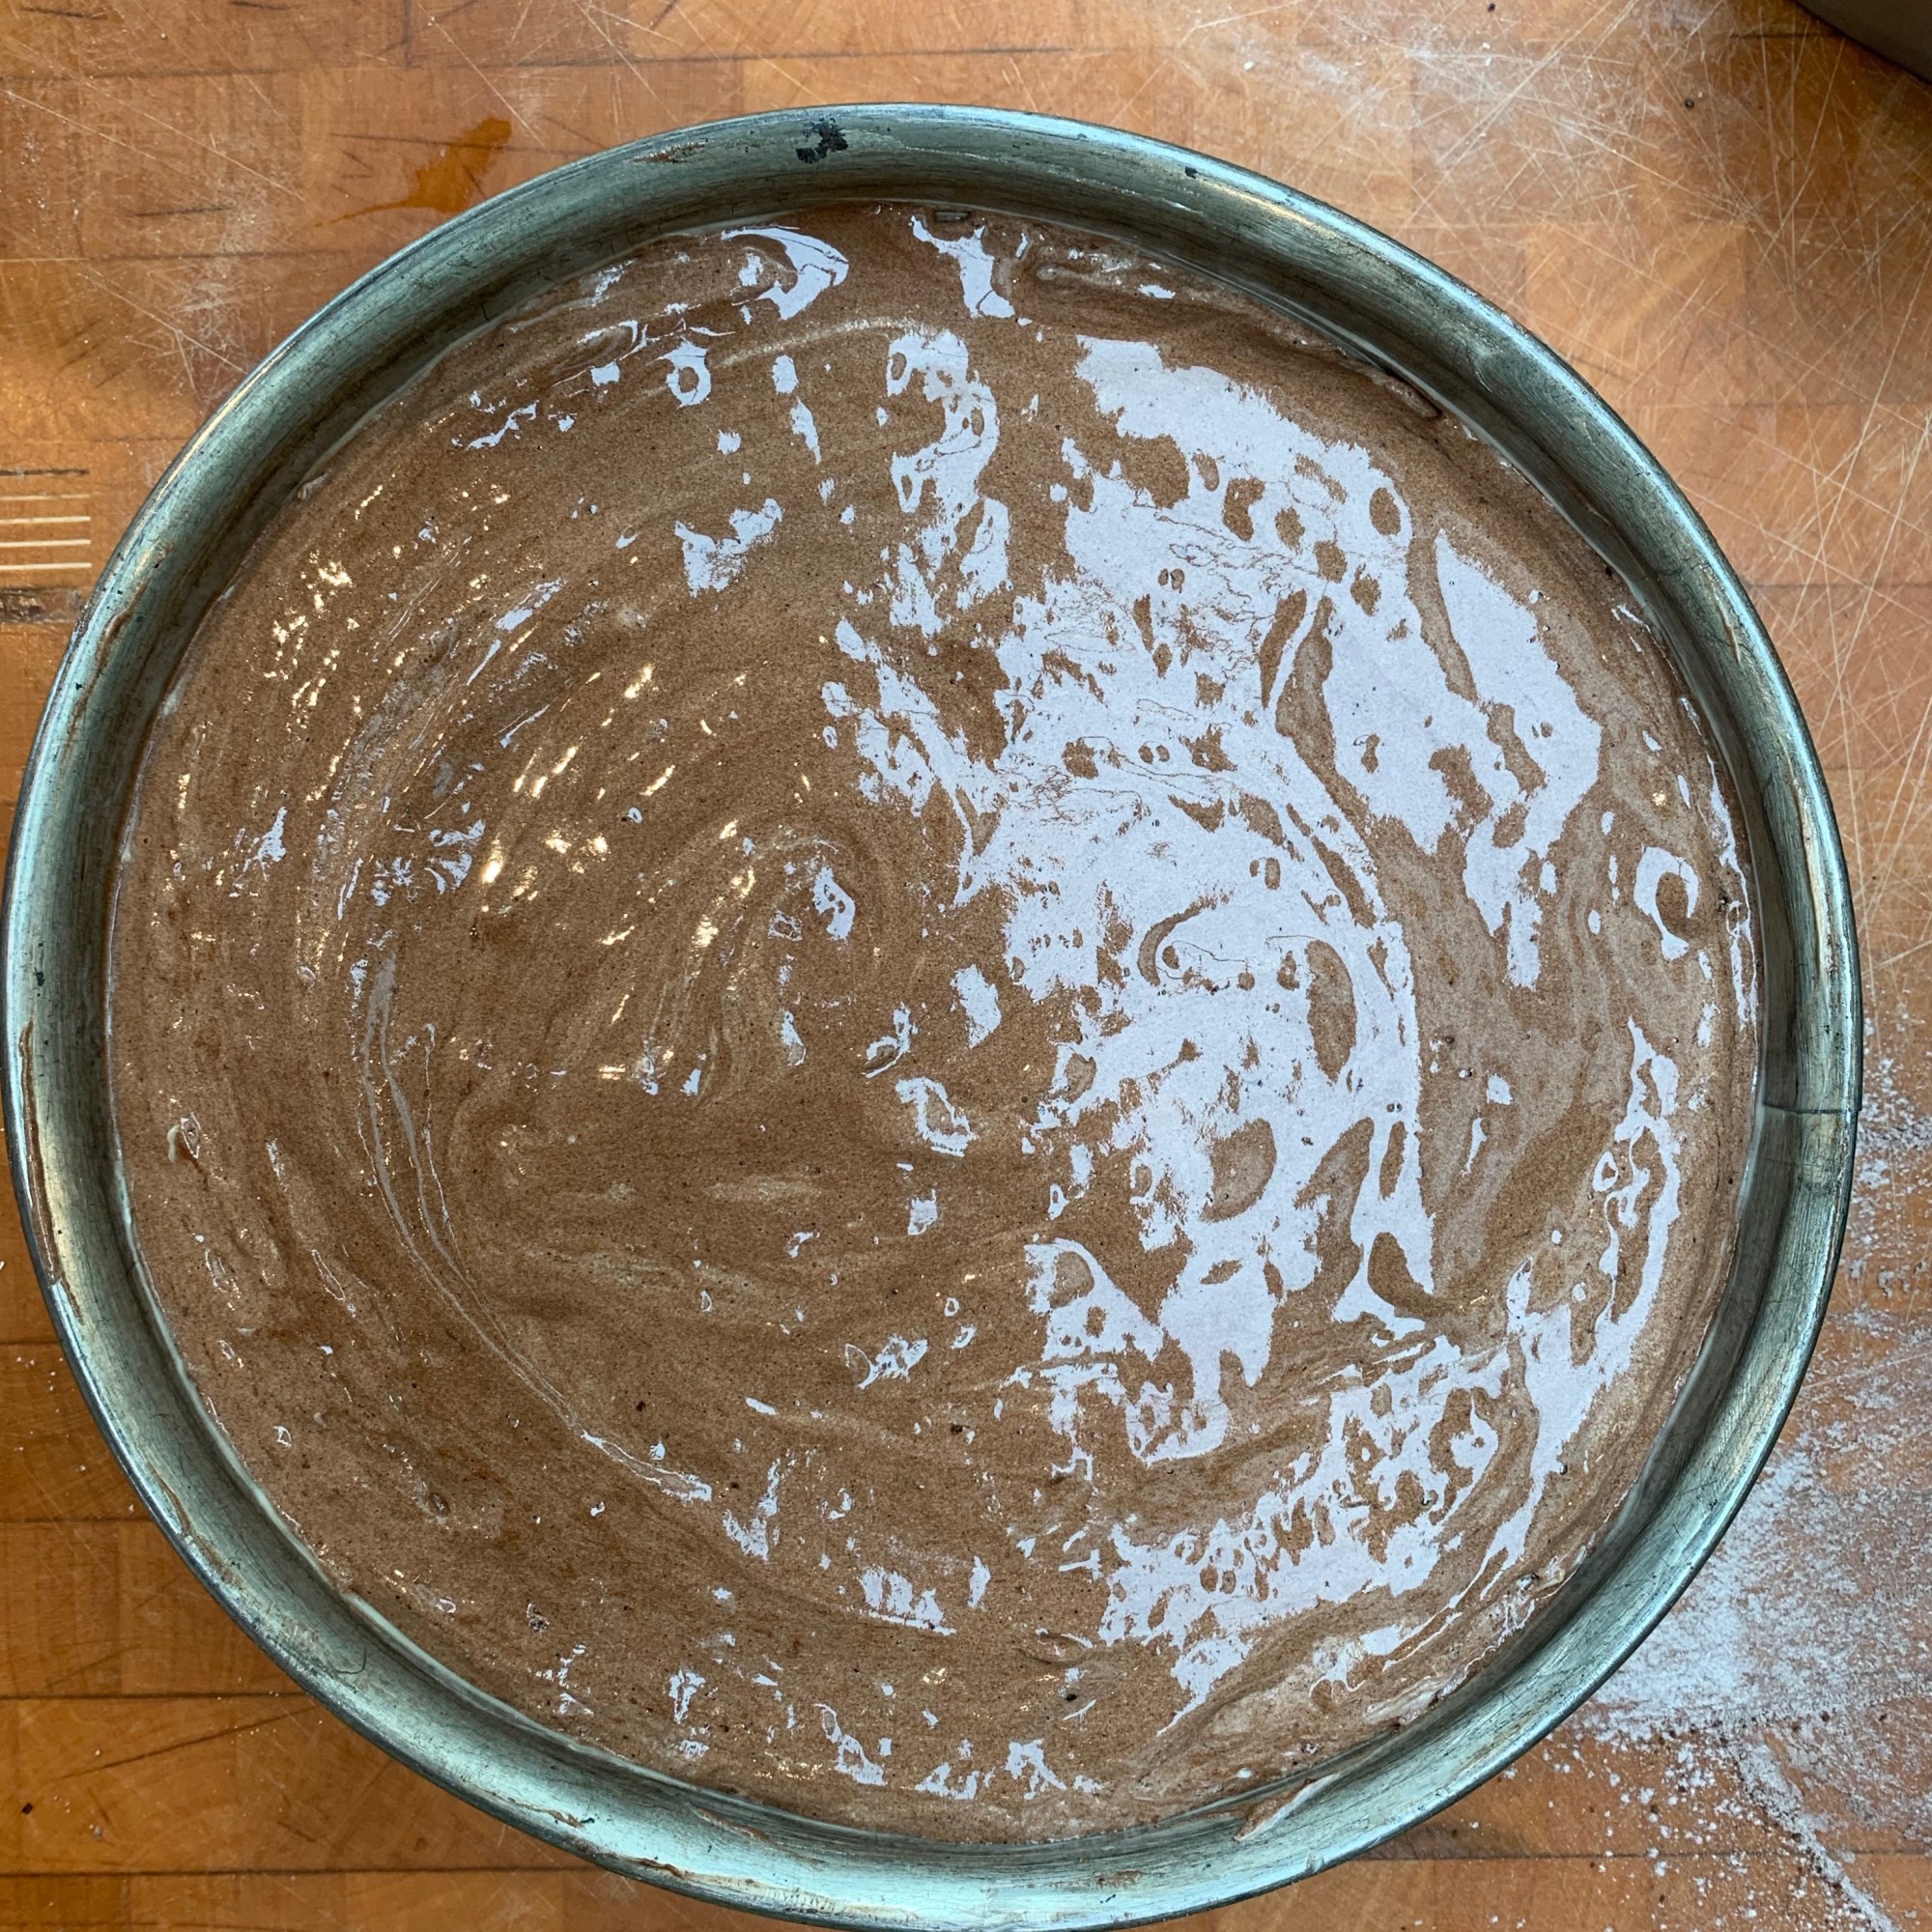
Pour the cake into your tin, smooth it off so you have a flat top, then bake for around 40 minutes. The cake is ready when a skewer comes out clean.
Remove from the springform tin and leave to cool.
The whipped cream filling
600 g double cream
60 g sugar
Vanilla essence to taste (around 1 tsp)
60 ml kirsch
Whip the cream for a minute or so.
Add sugar, vanilla essence and kirsch.
Whip the mixture until stiff.
Final assembly
150ml kirsch
20g sugar
20g dark chocolate for grating (the amount is very approximate)
Add 75 ml kirsch to the cherry filling and mix thoroughly
Add 75 ml kirsch to 75 ml water and 20g caster sugar and mix thoroughly
If the cake is heavily domed (mine wasn’t), trim off the domed crust.
Turn the cake over so the crust side is down.
If your cake overspilled the edges of your tin, trim it so that you have a cylinder.
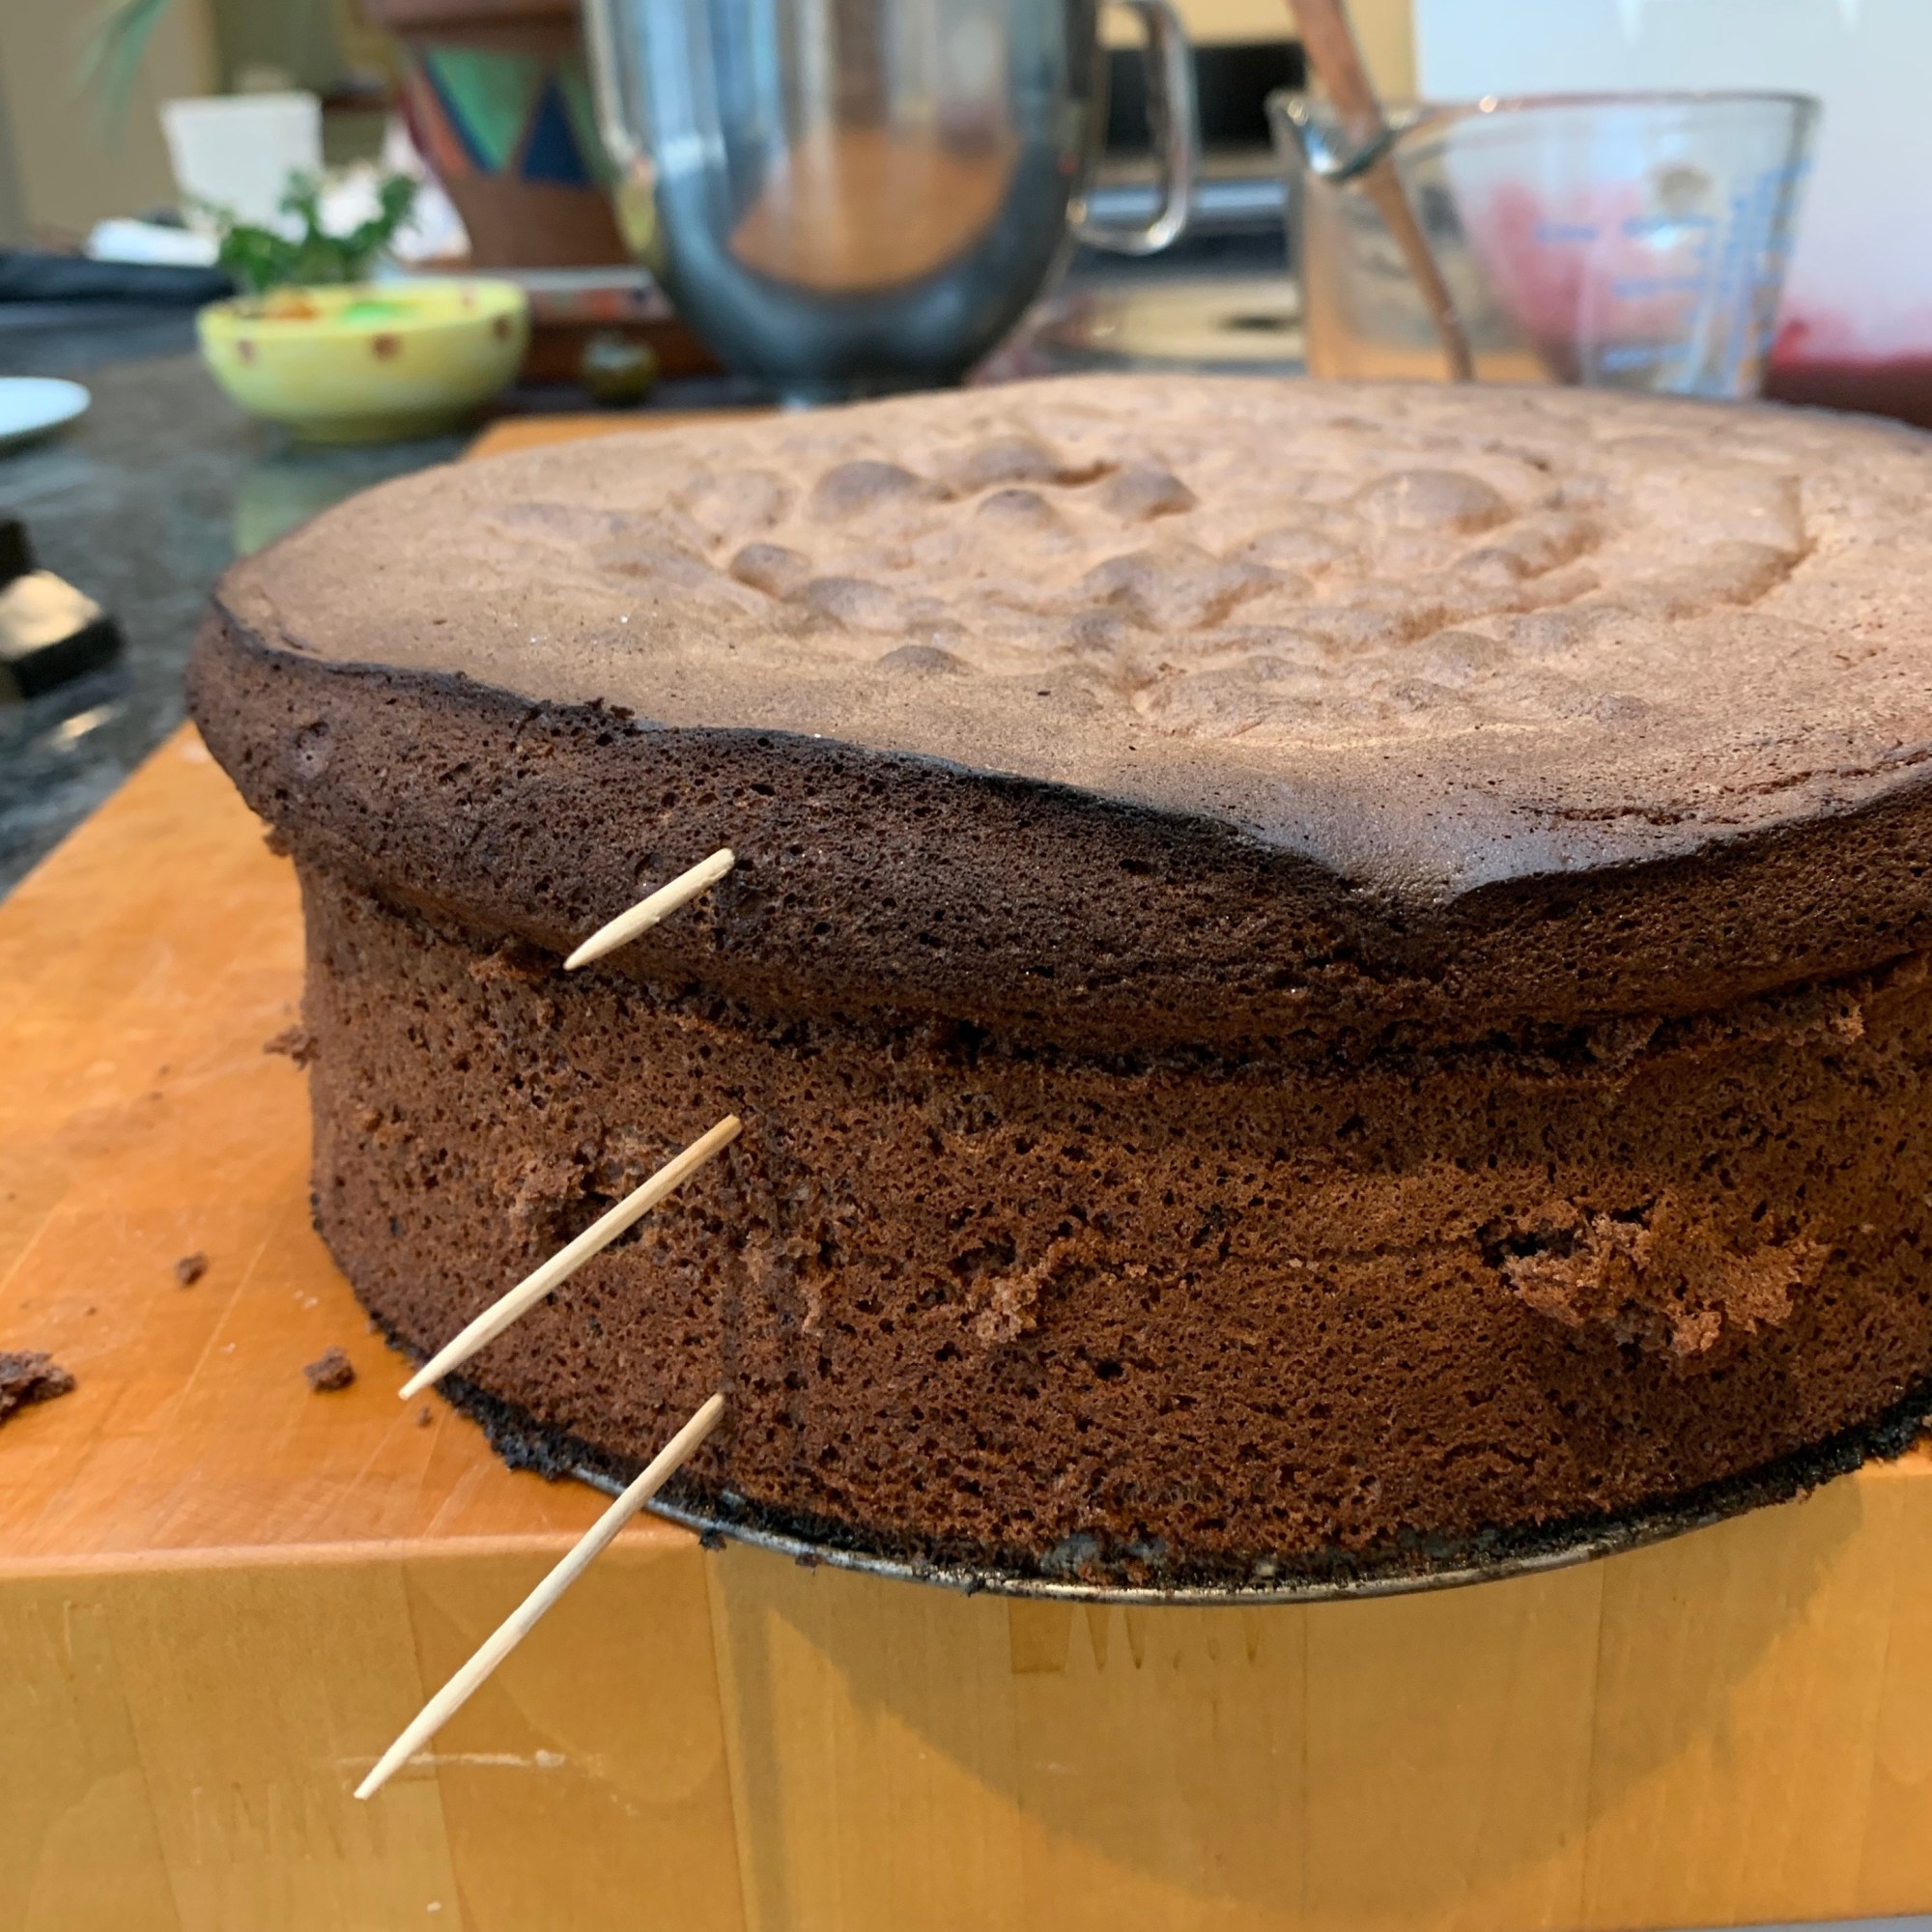
Slice the chocolate cake into three slices horizontally. It’s helpful to mark the slices with a toothpick in each one, immediately above each other: this will help you re-assemble the cake into exactly the right place.
Move the slices next to each other and drizzle them with the kirsch/water/sugar mix.
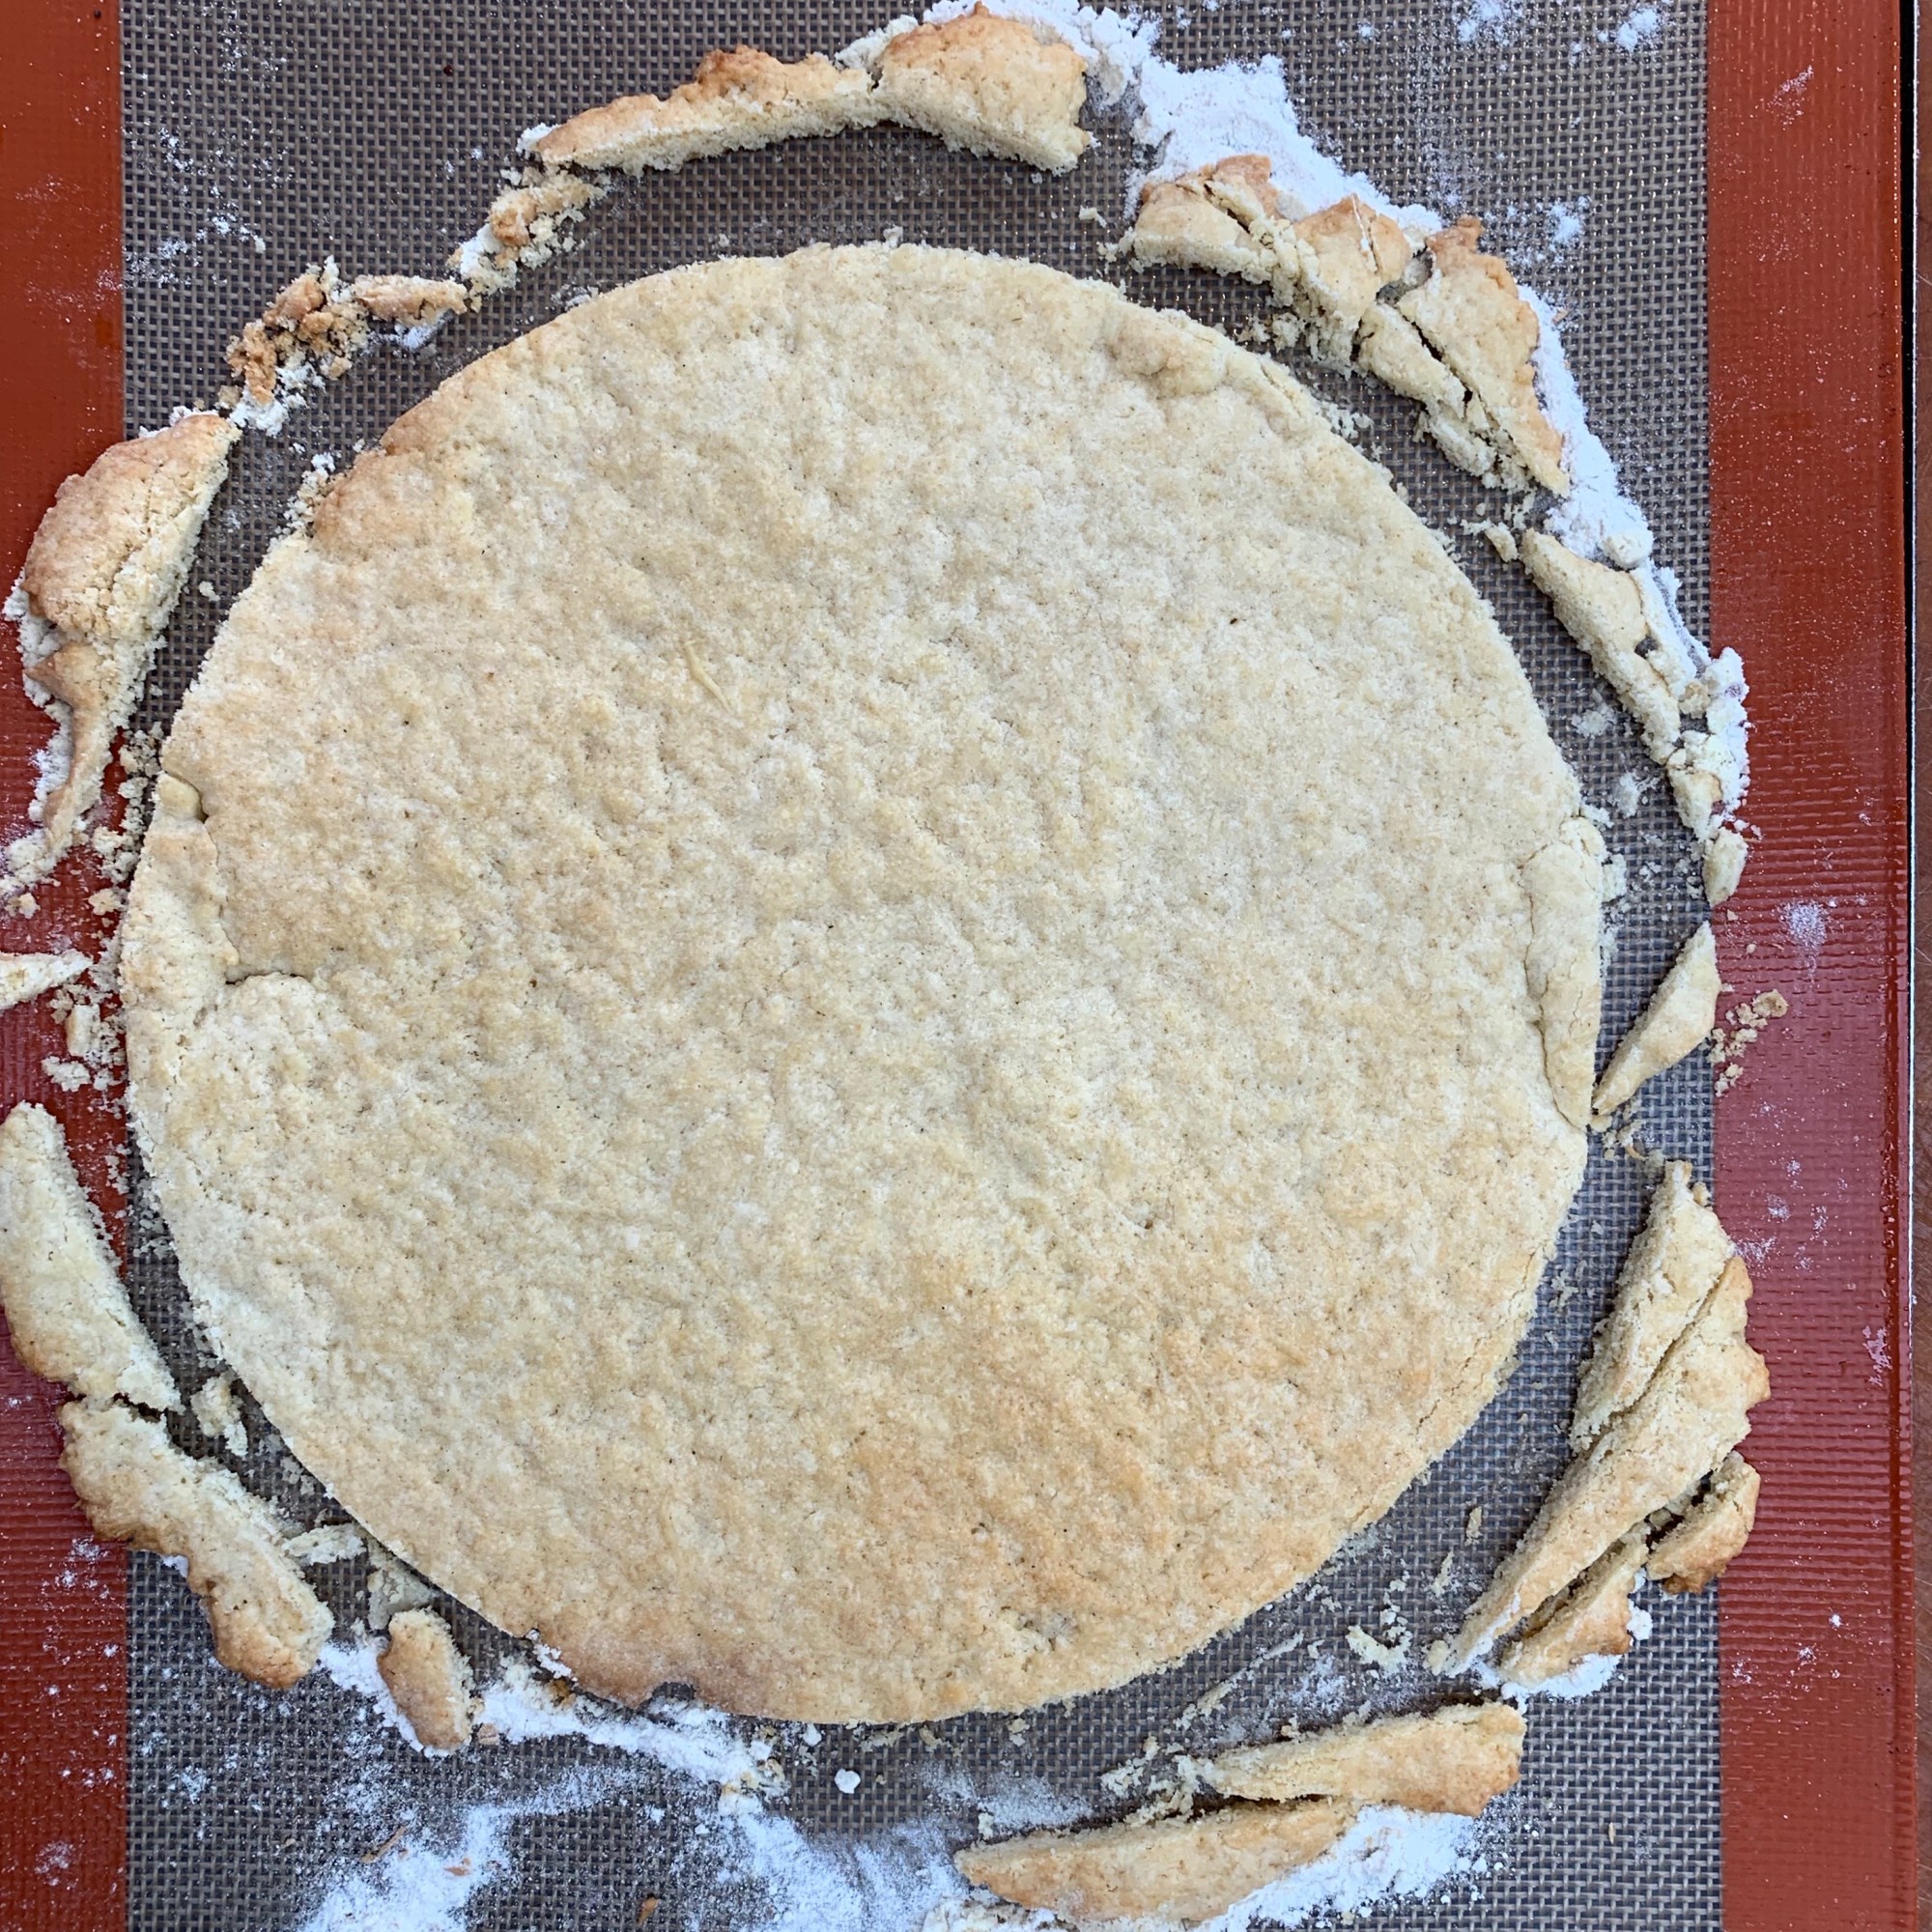
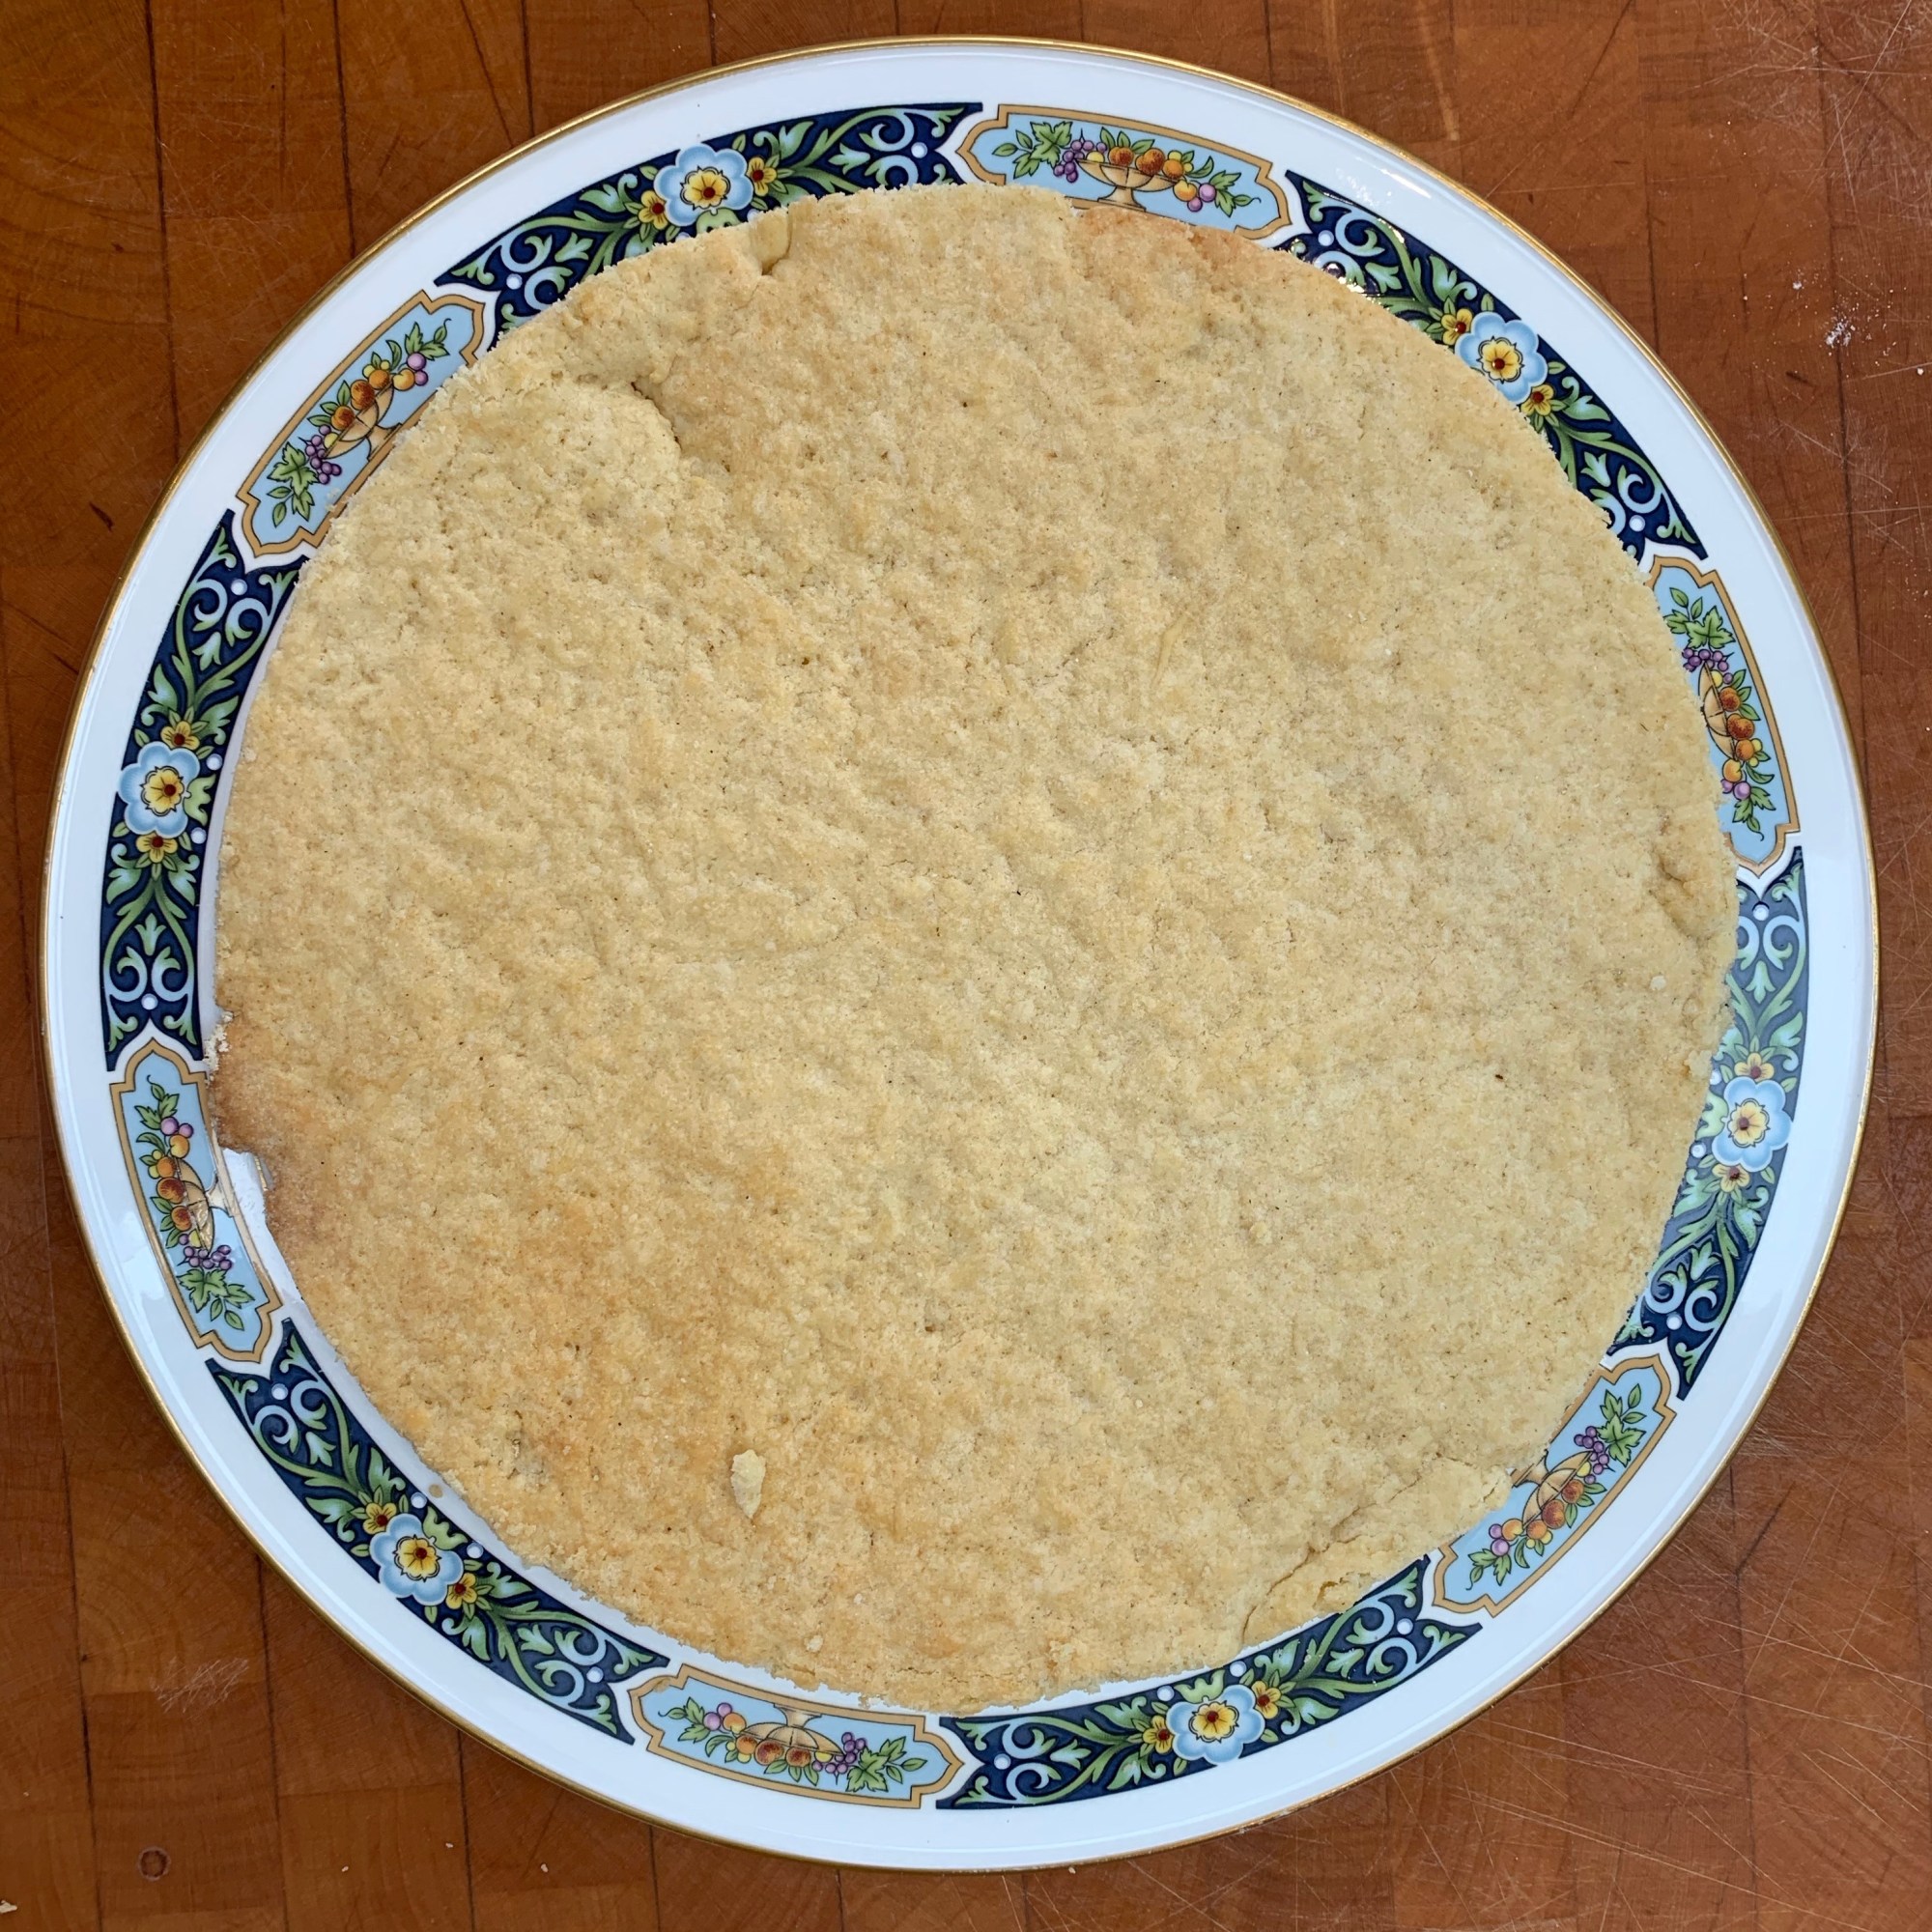
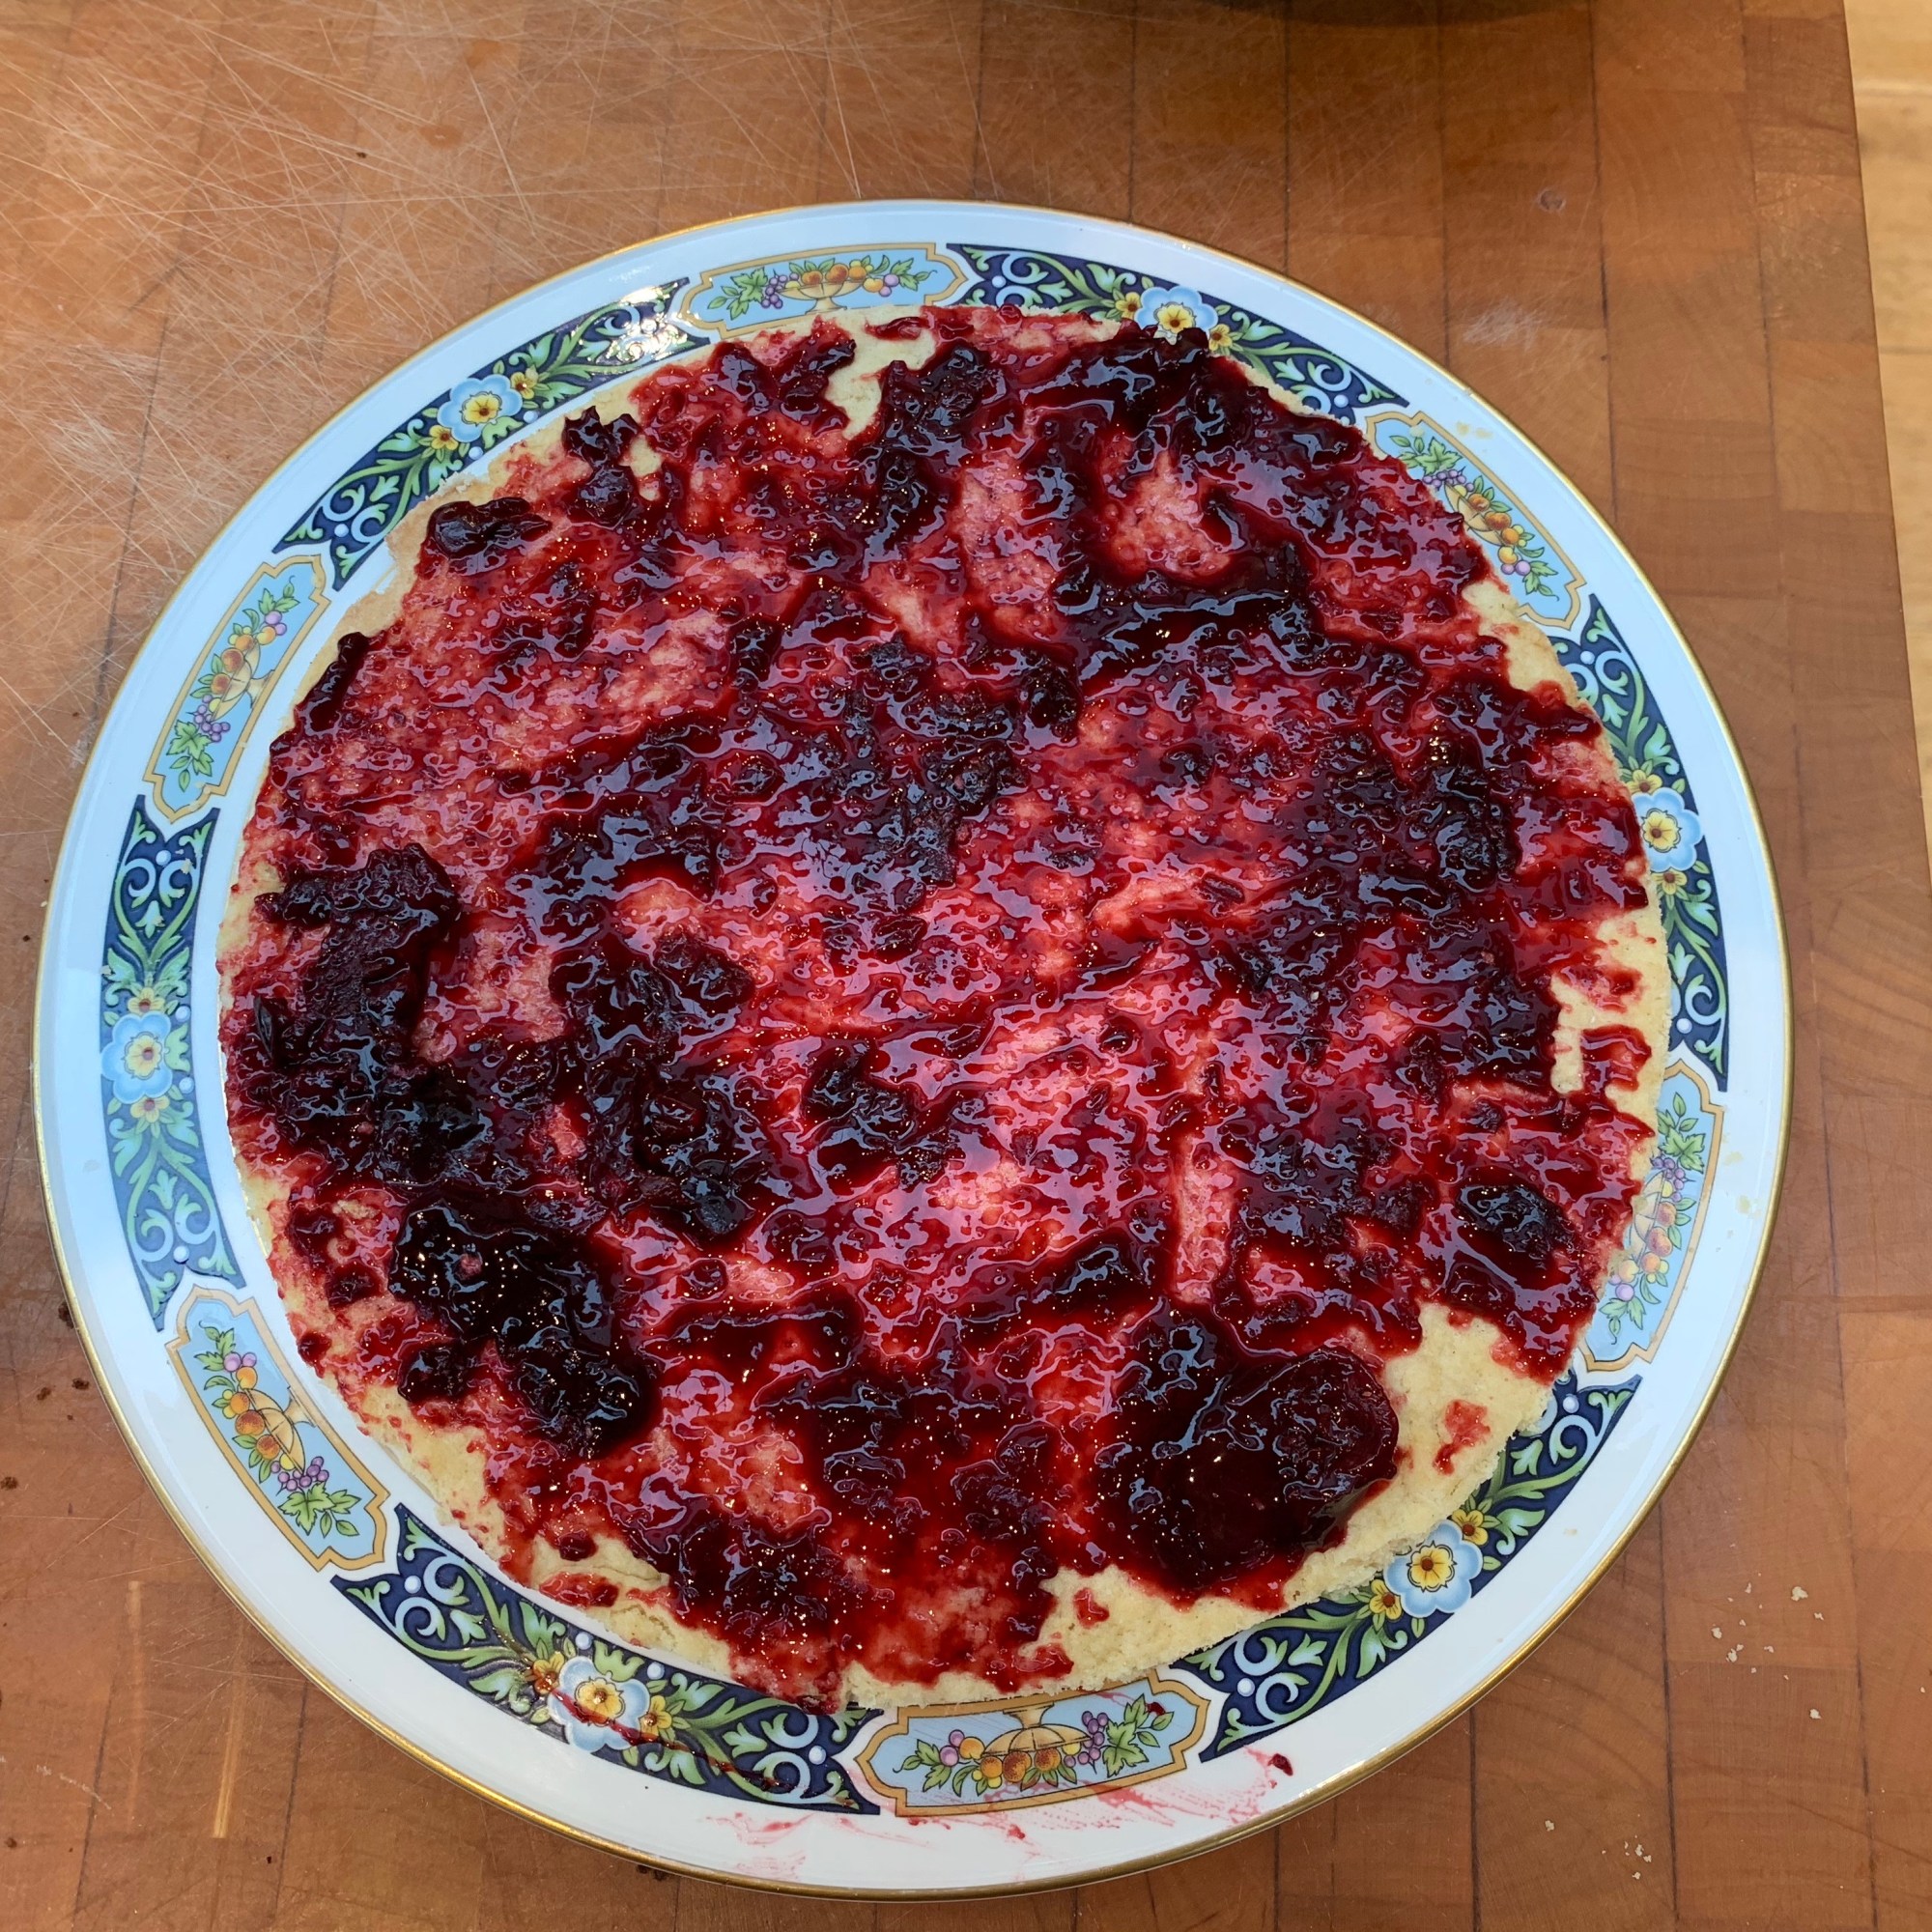
Trim the shortcrust base to a circle the same size as your cake.
Spread some cherry filling over the base – remove any whole cherries so that you’re just spreading the jam.
Place a layer of cake onto the base (start with the one that was the topmost layer while baking).
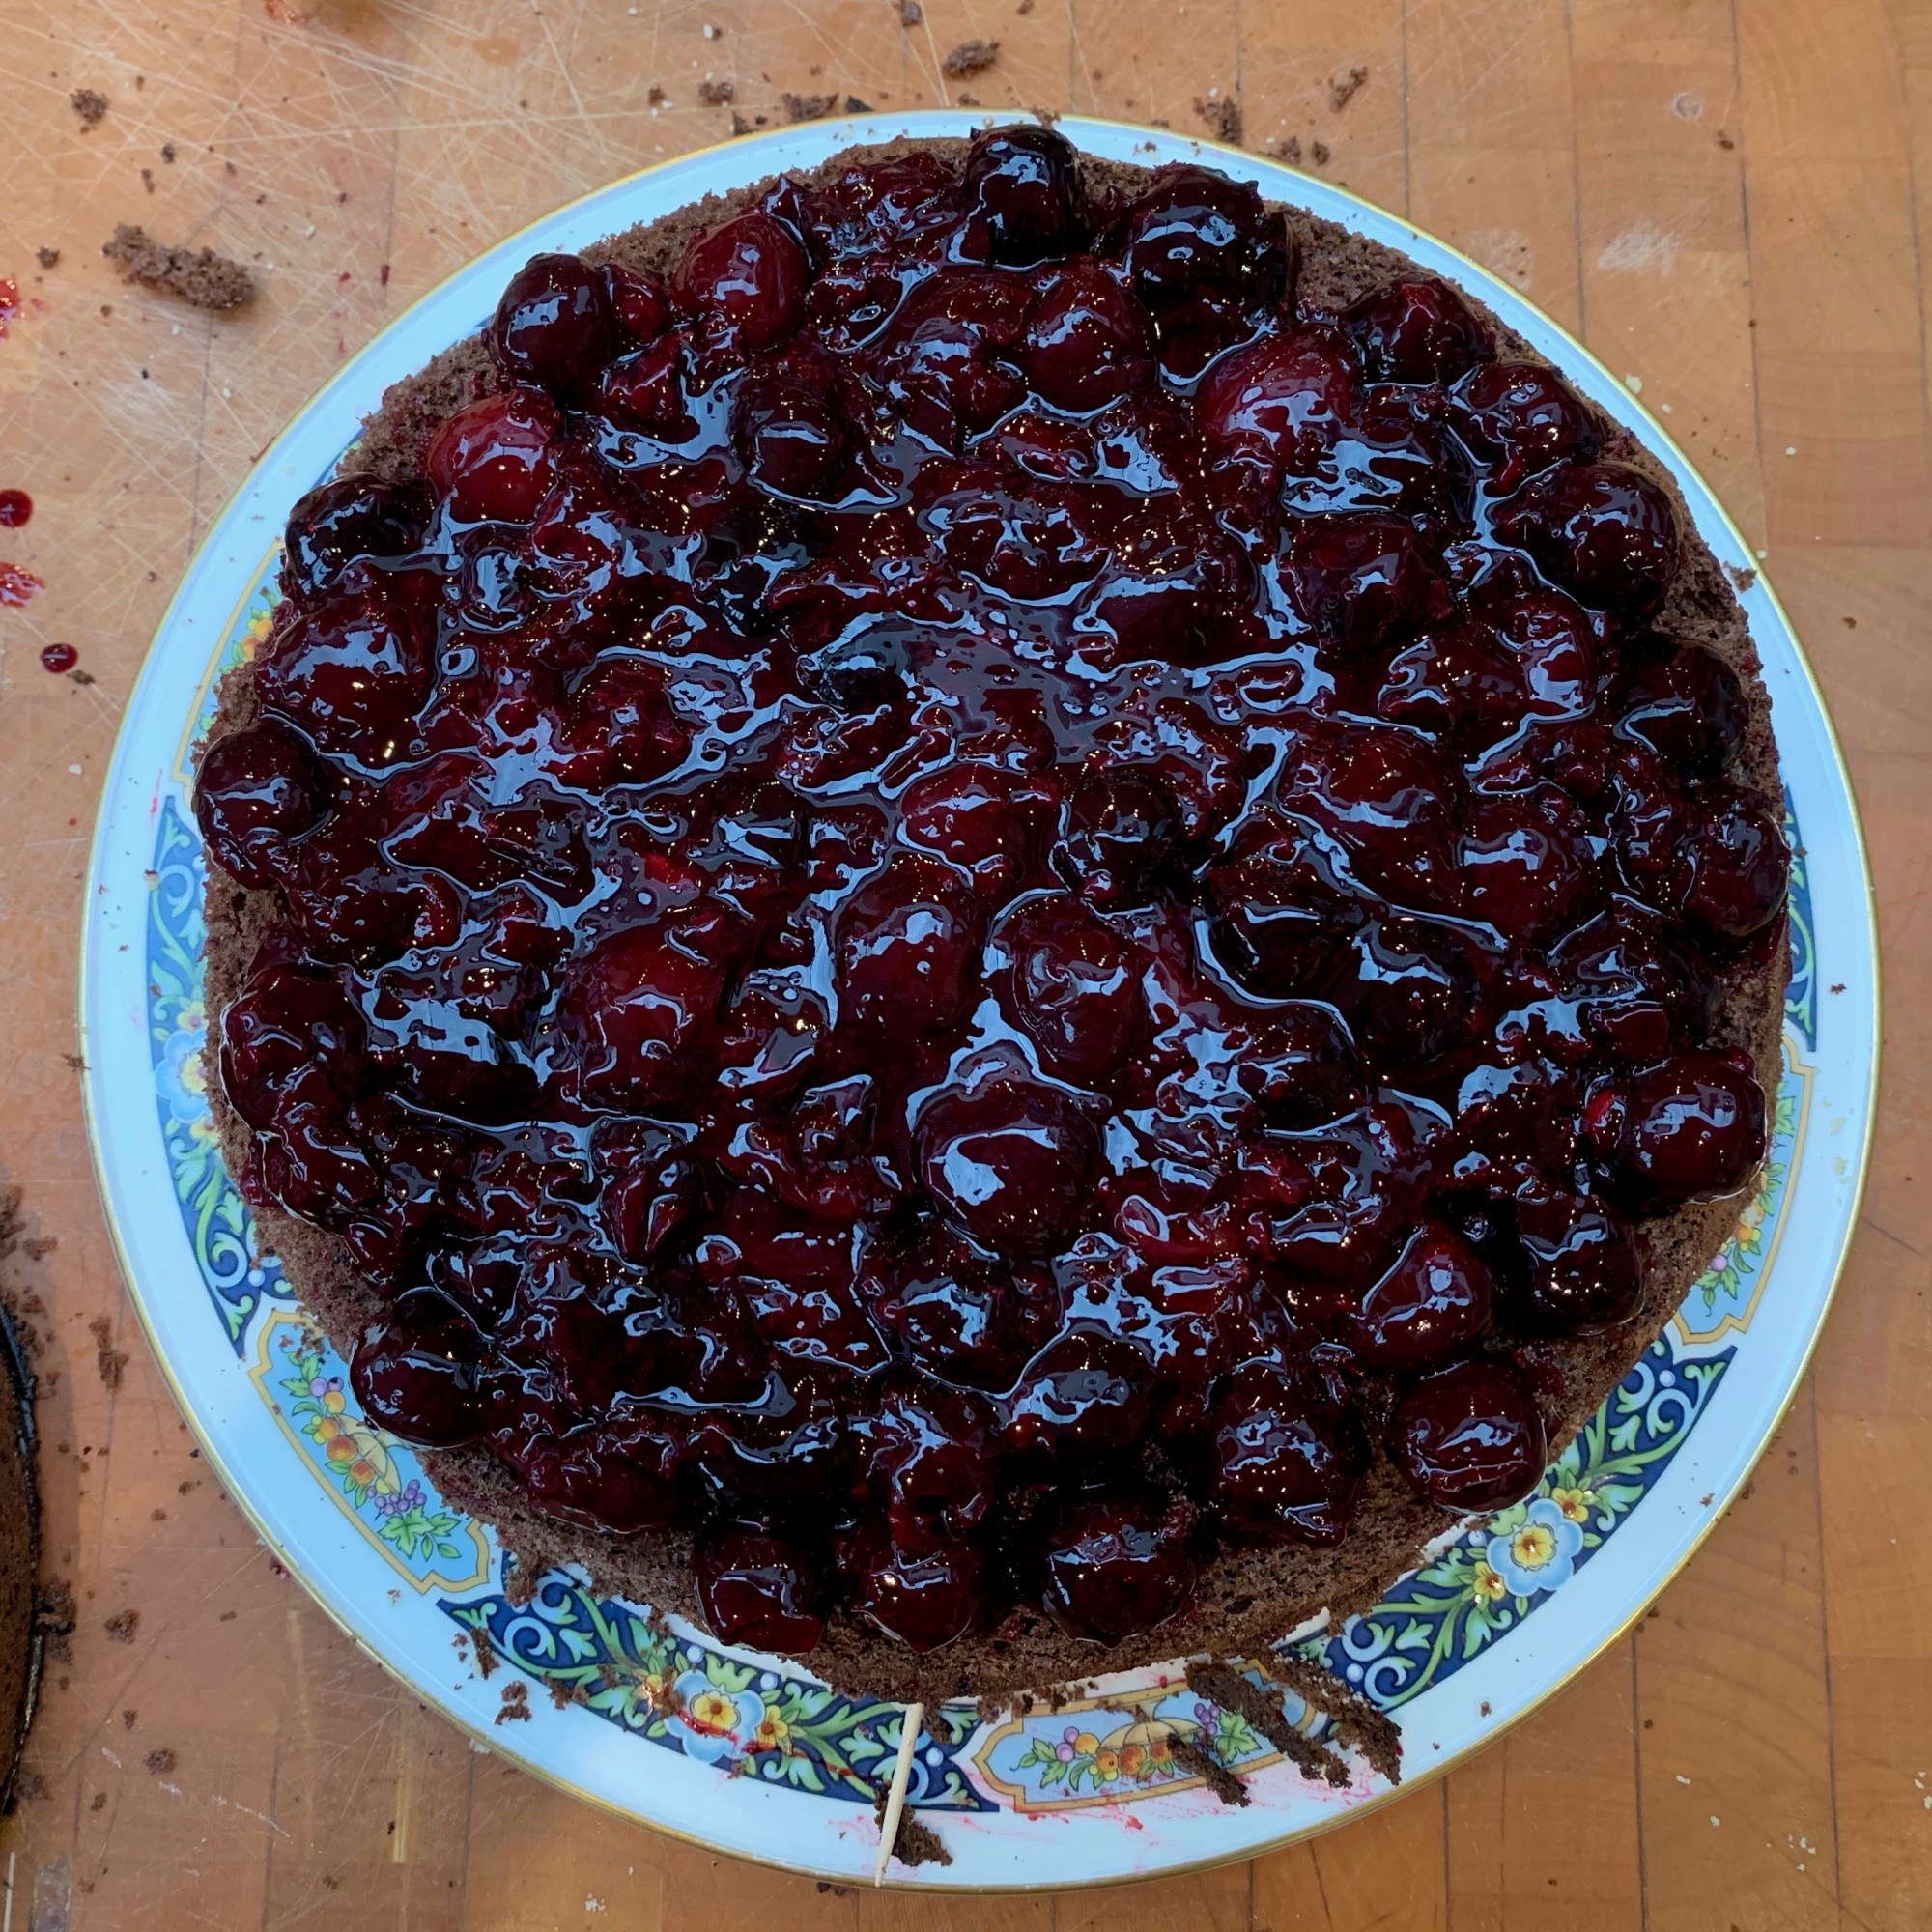
Spread the rest of the cherry filling evenly over the cake. Make sure you get to the edges.
Reserve around 80g of the whipped cream for decoration: you’ll want to put it into a piping bag with a star nozzle.
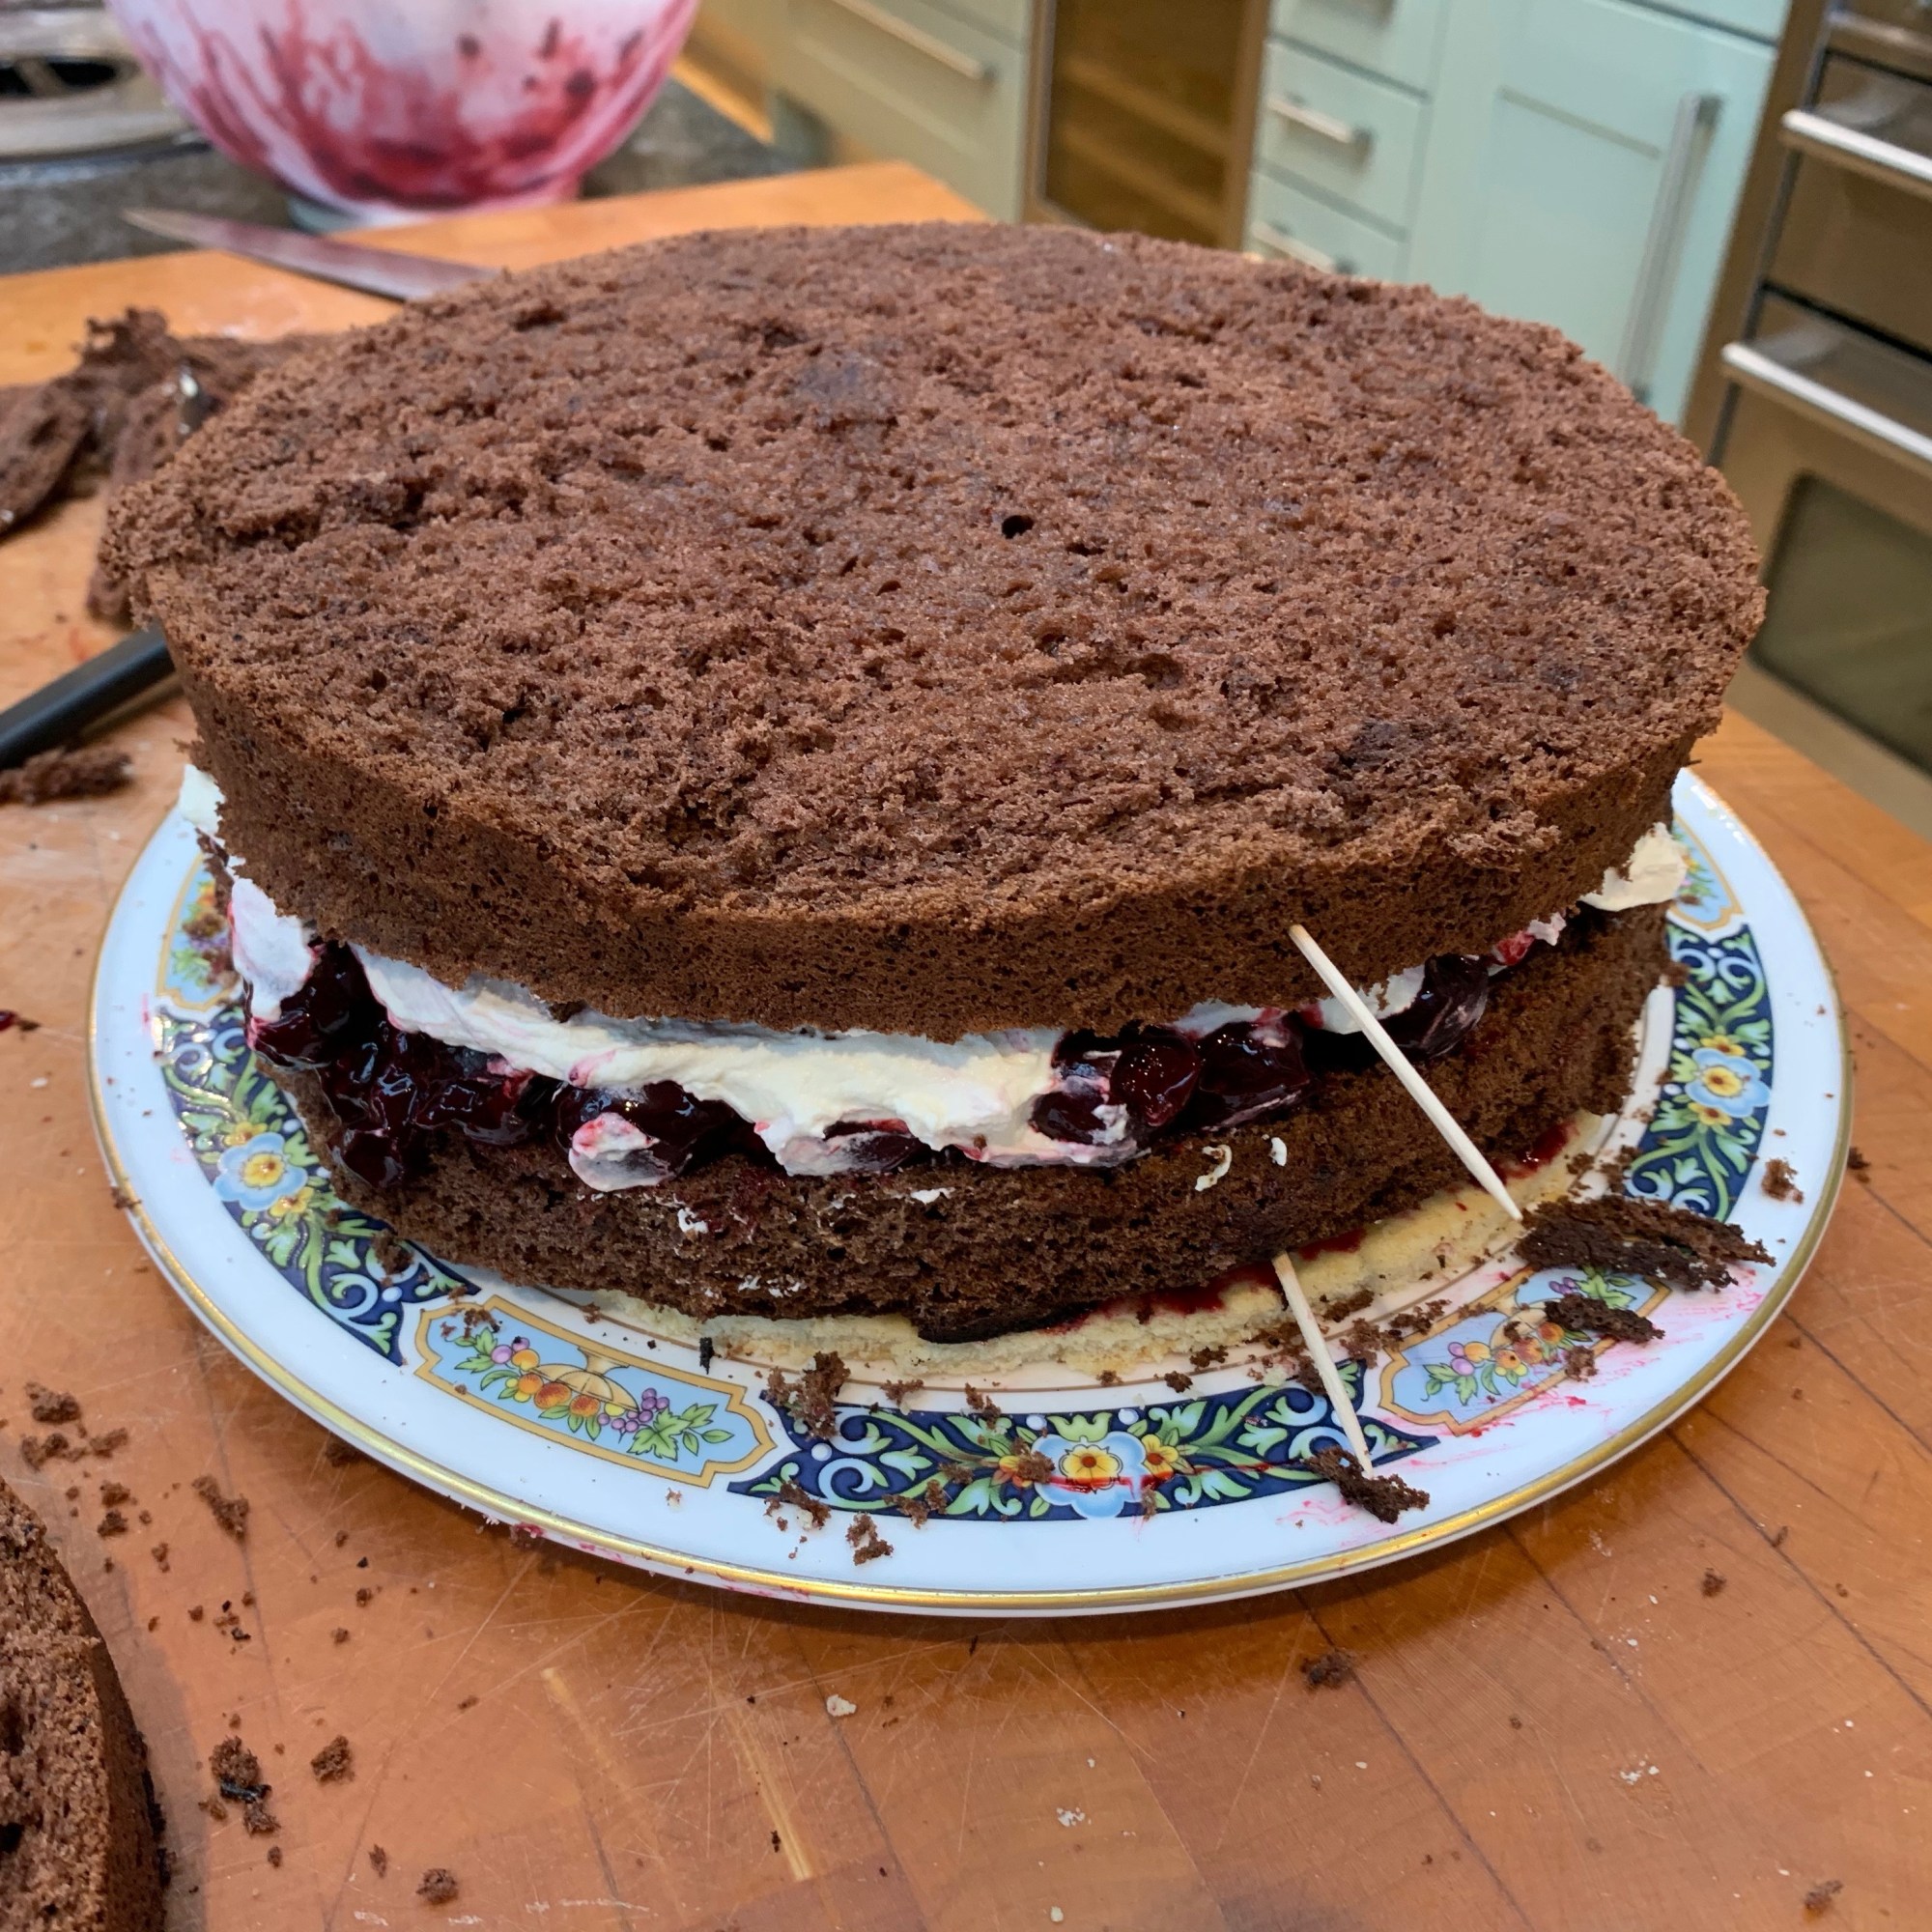
Spread ⅓ of the remaining whipped cream over the cherry filling. Make sure you get to the edges.
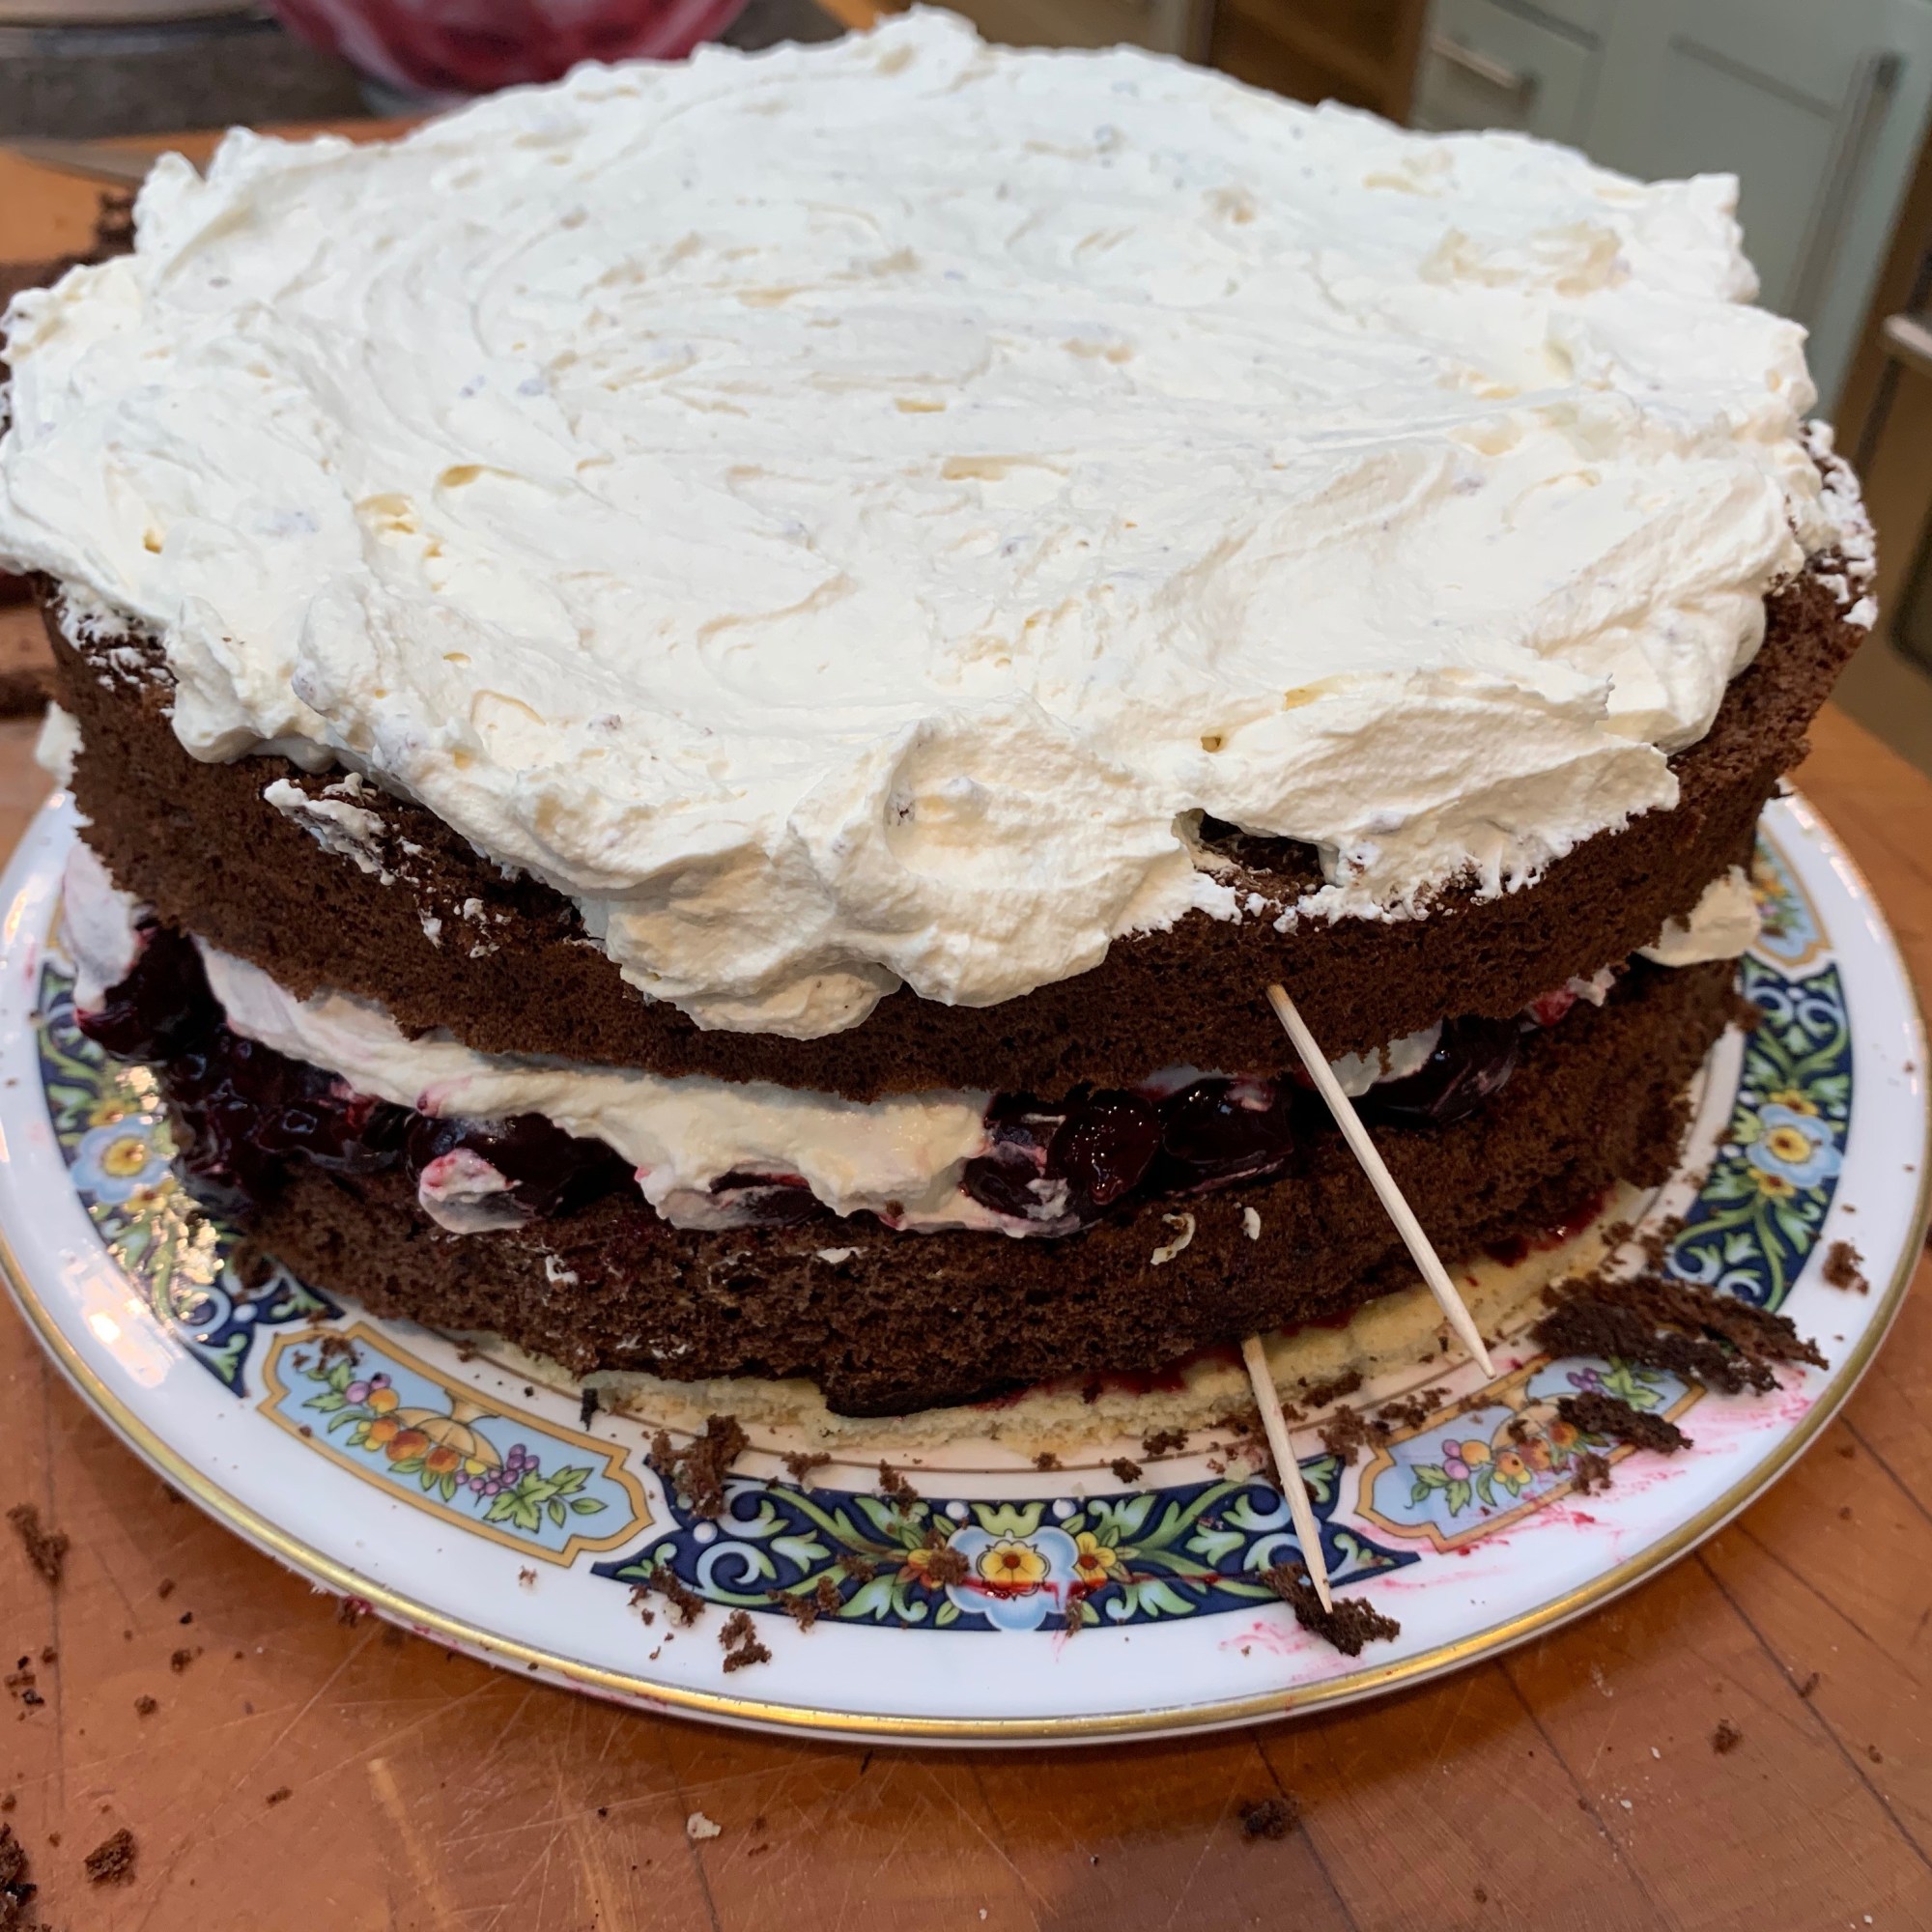
Place the remaining two layers of cake on top, using the toothpicks to orient you as to exactly where to put them. After each layer, spread another third of the whipped cream: the top layer should be very even. (At this point, the Germans would also spread cream over the sides to form a perfect white cylinder. But that’s too much cream for me.)
Grate the chocolate into shavings with a grater of vegetable peeler, and sprinkle the shavings over the cake. If you’ve put cream over the sides, also dust the sides with grated chocolate.
Pipe twelve small doughnuts of cream in a circle close to the edge of the cake. Into each doughnut, place a cherry.
You’re done! It was complicated and it was a long haul, but you’ve created a real spectacular, which is light as a feather and tastes fantastic.
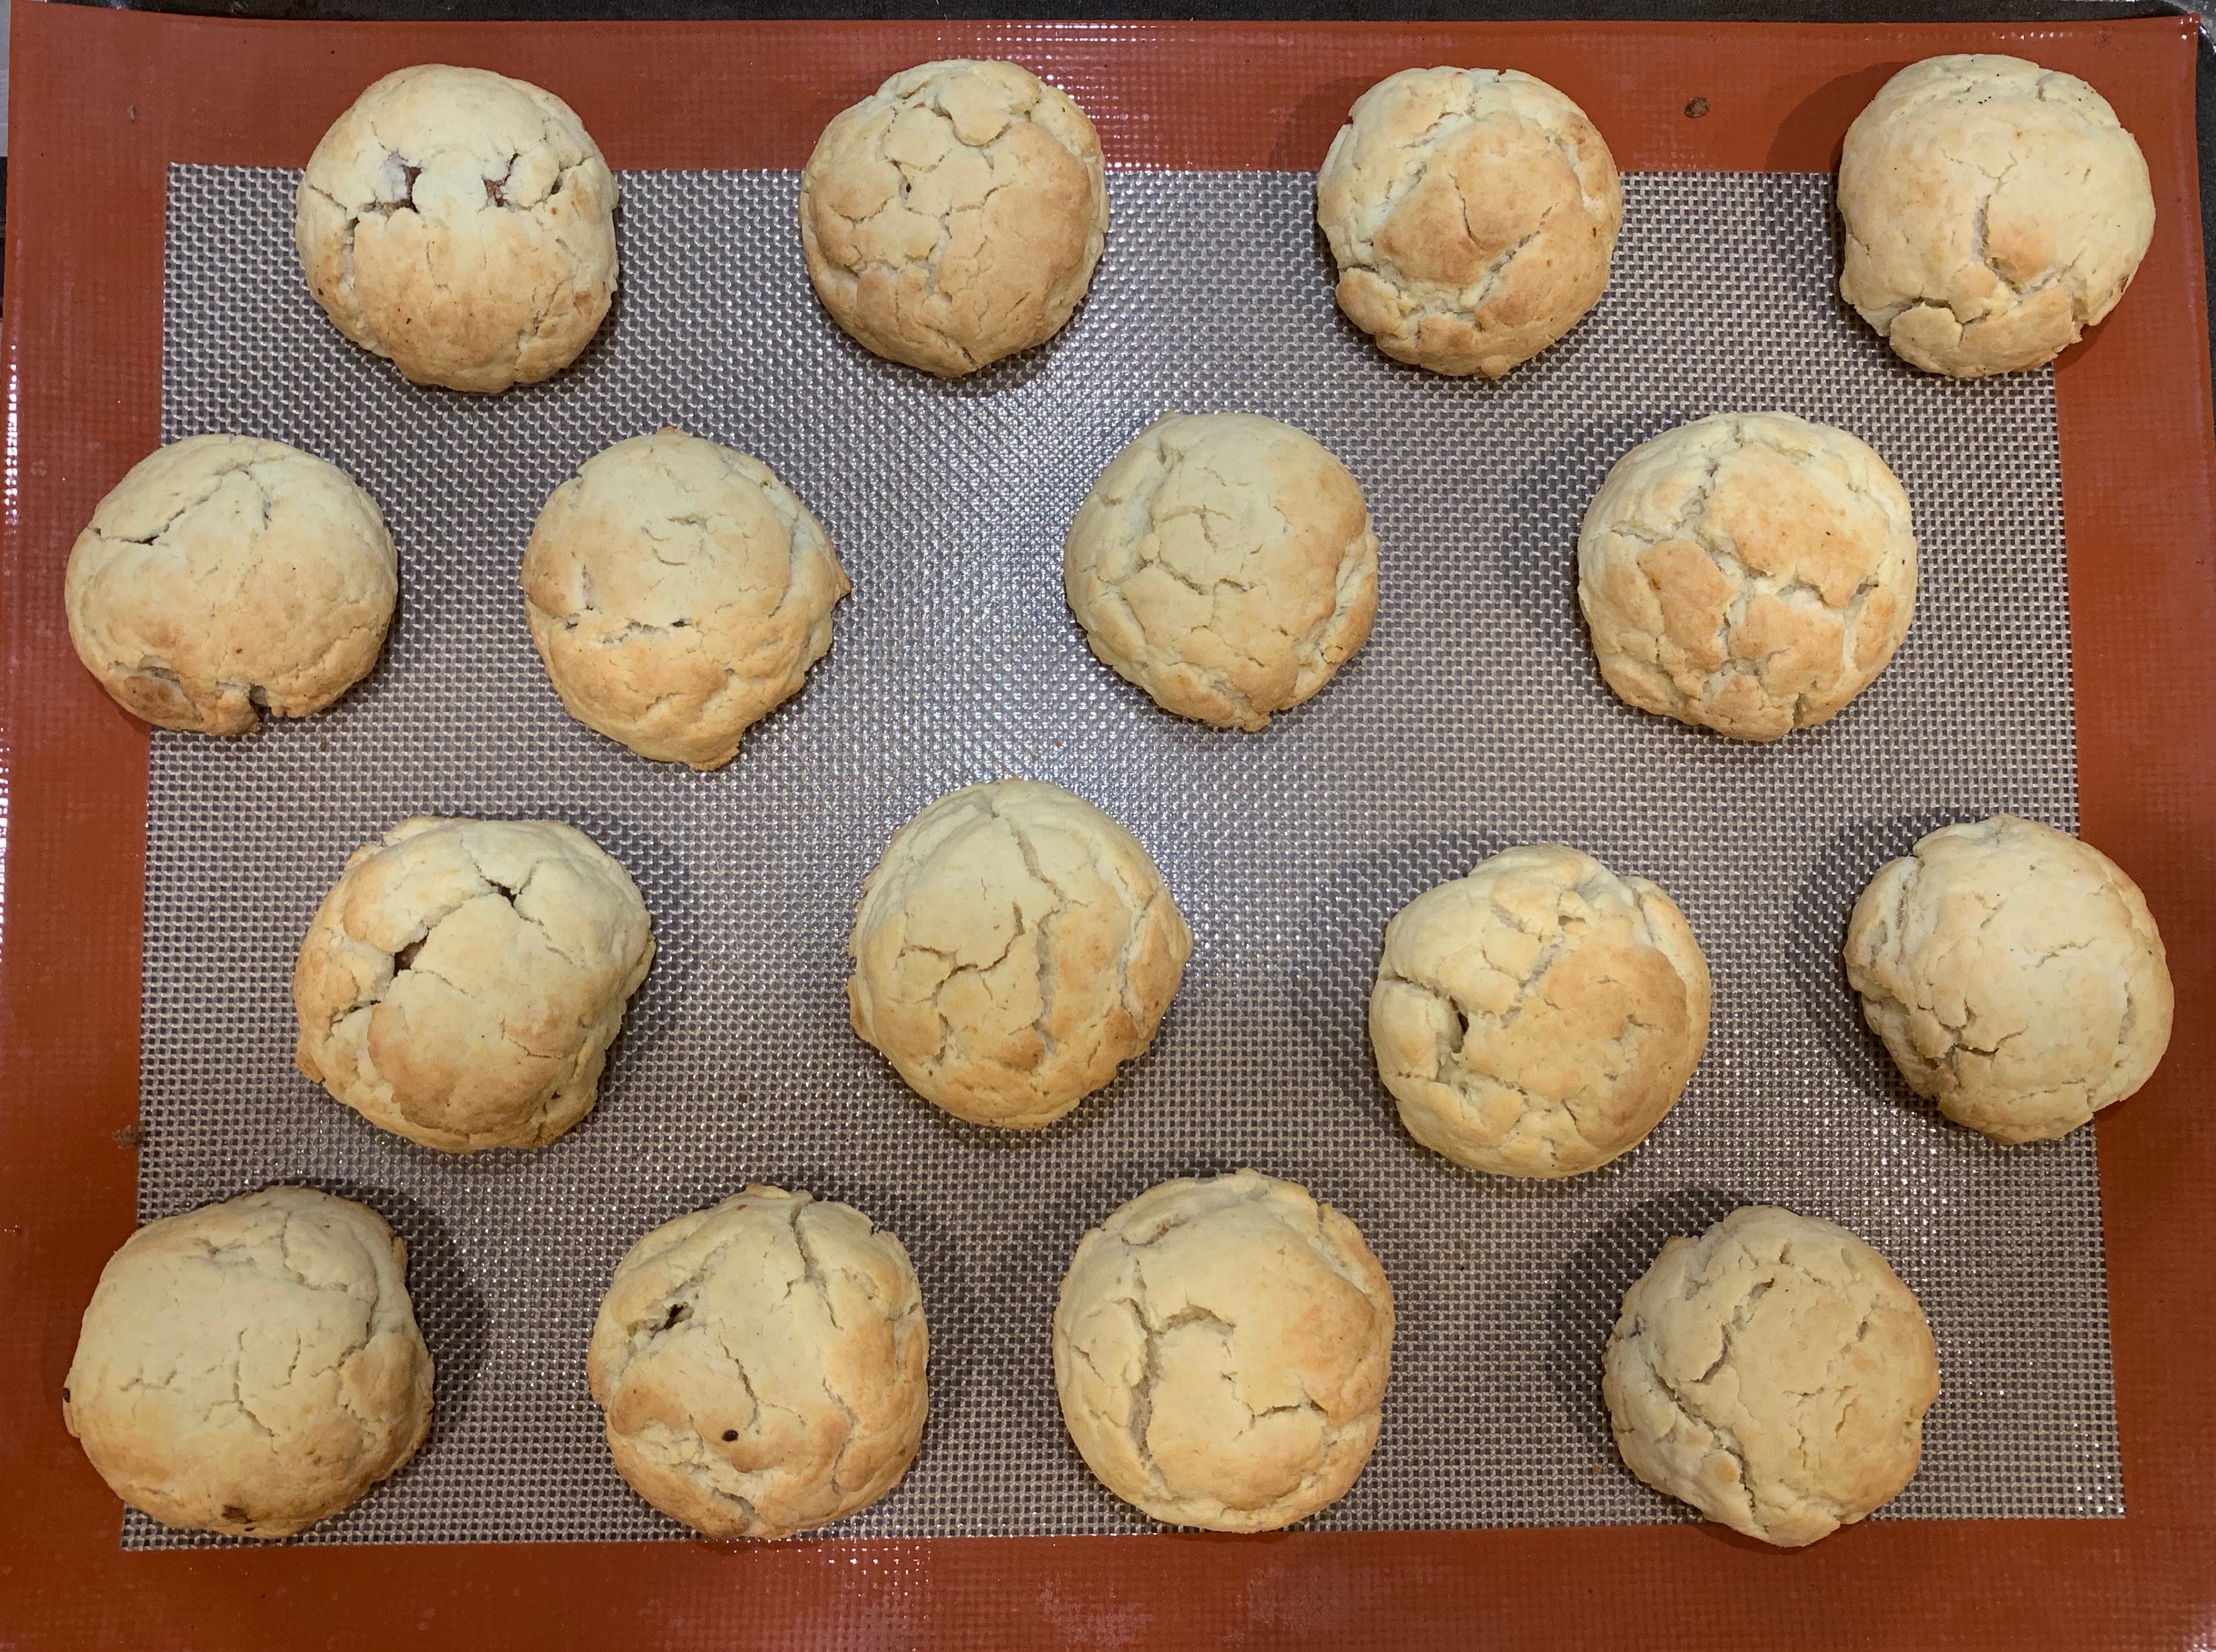
The biscuit tin (Americans: read “cookie jar”) was empty. So it was time to head back to the Middle East to refill it, in the shape of ma’amoul, filled cookies made from a shortbread dough rich in semolina. The filling is usually made of dates and/or nuts (usually pistachios, almonds or walnuts): for this first attempt, I used a date and walnut mix.
I’ve gone for a very simple, easy version of ma’amoul, using baking powder rather than yeast and eschewing any overnight resting. Even allowing for an hour’s resting, this takes not much over 90 minutes start to finish. The result was a crumbly, tasty biscuit that wasn’t excessively sweet and that I would definitely make again.
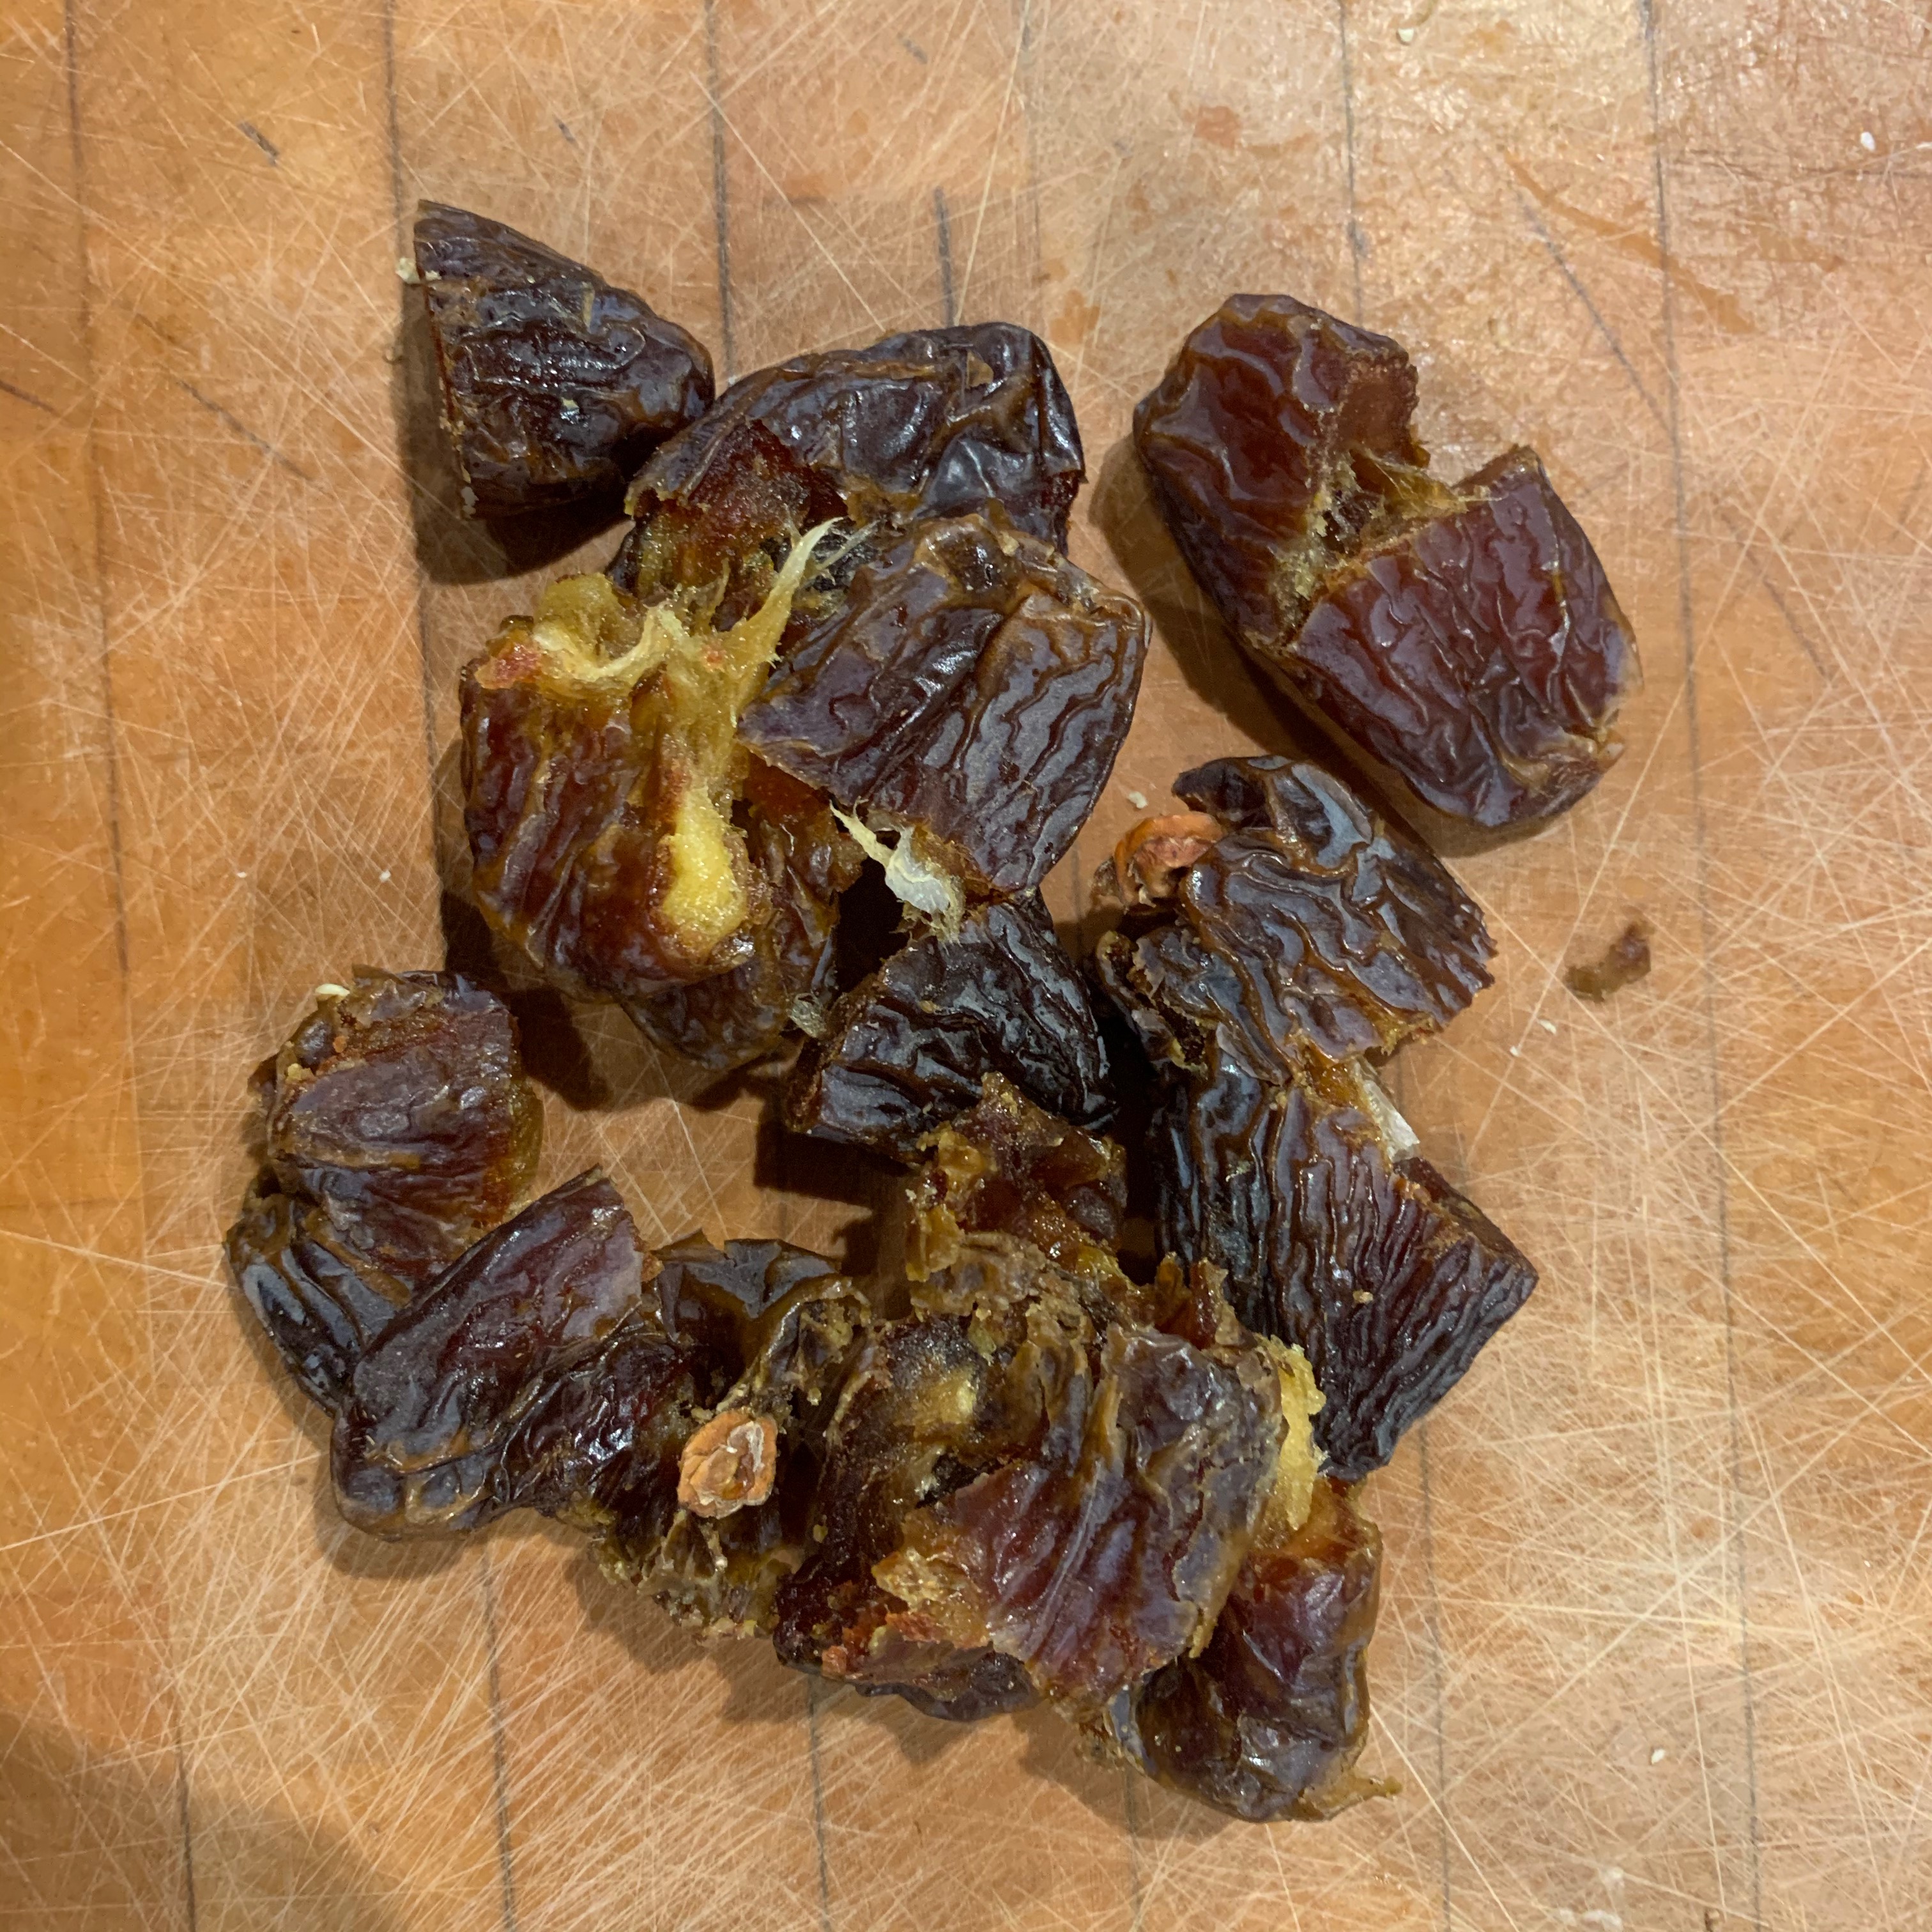
I used good quality soft medjool dates, which are easy to purée to paste with good consistency; various Middle East recipes consider that making your own date paste is tedious, preferring commercially made product.
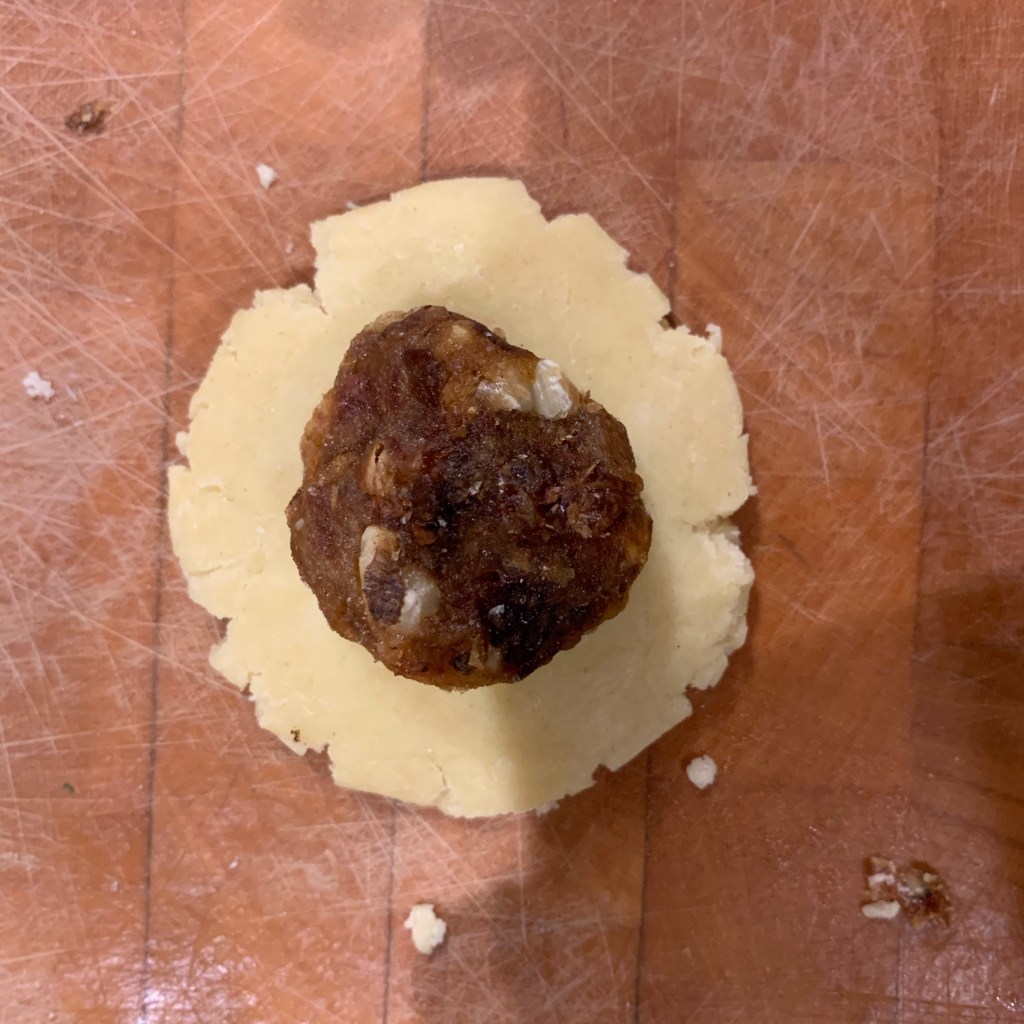
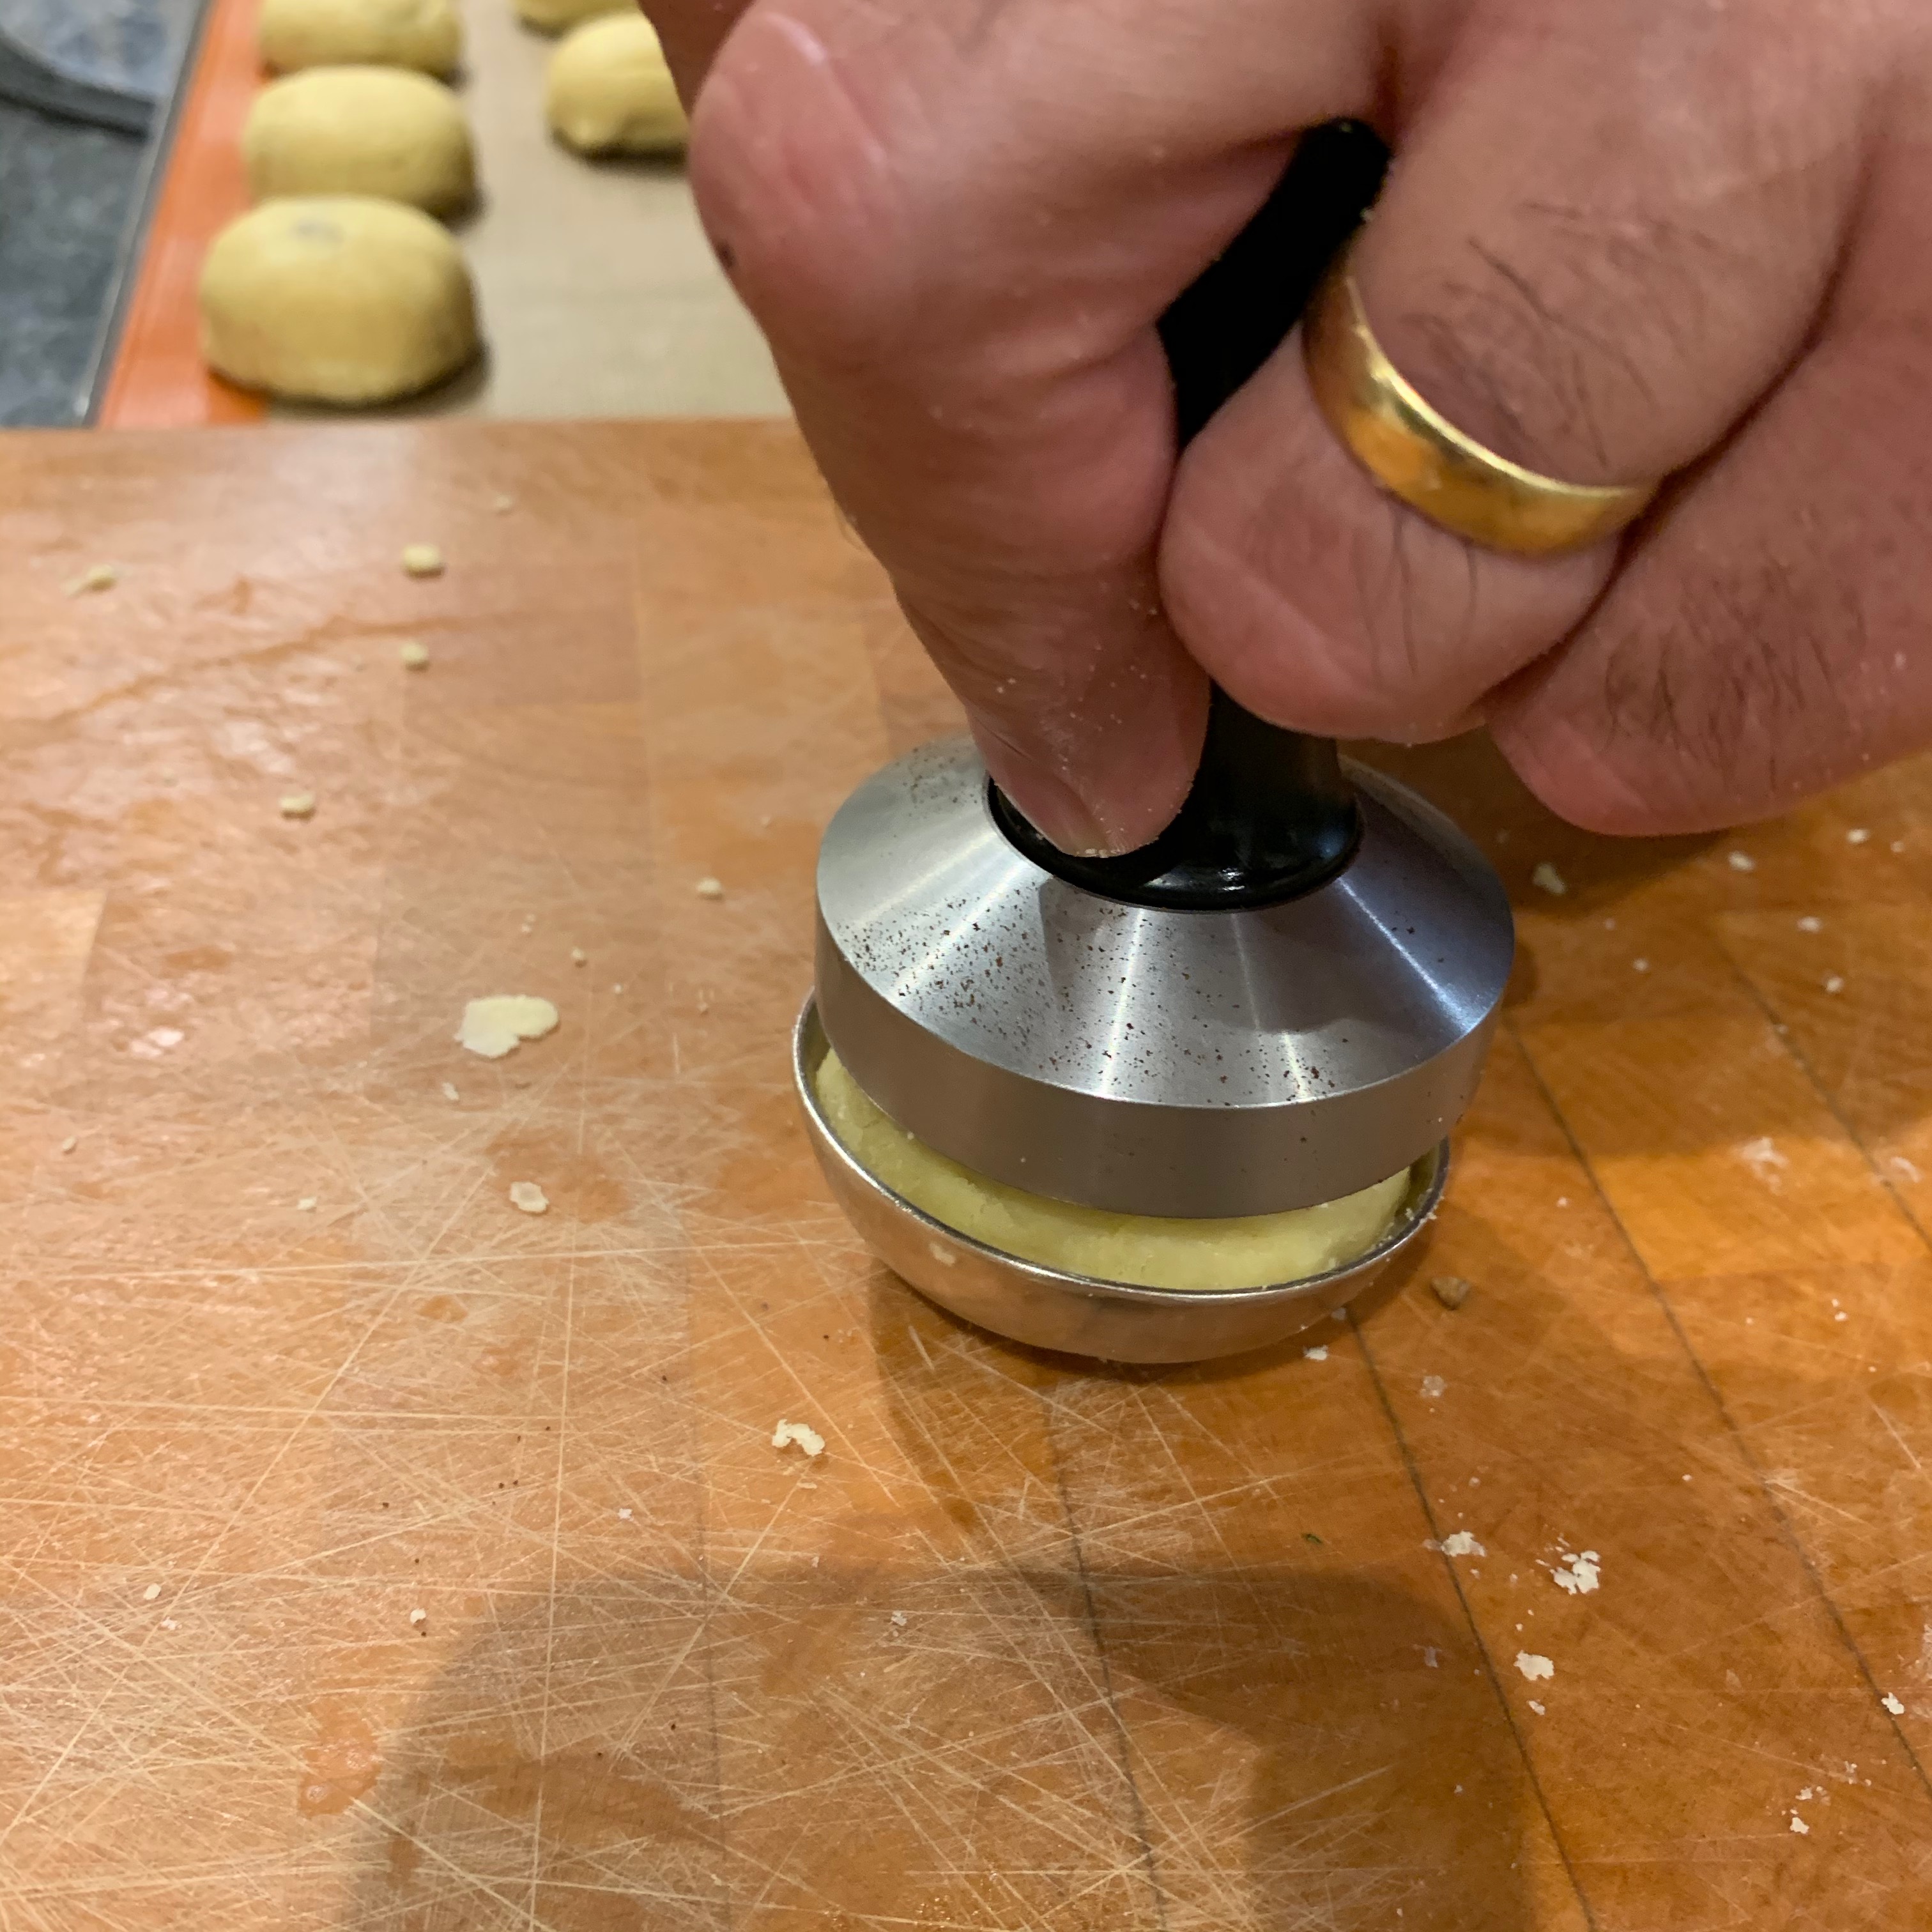
Once ma’amoul have been filled and formed into their balls, they are often pressed into a patterned wooden mould, because (a) it makes them look pretty and (b) if you’re making more than one different filling, you can use a different pattern for each one. Strangely enough, I don’t own a ma’amoul mould, and if I bought the approved piece of specialist equipment for every item I fancy baking, my house would be filled several times over with baking junk, so I improvised the desired dome shape using a gravy ladle and a coffee tamper. It’s not like I expect everyone to have a gravy ladle, but you get the idea. If you’re doing more than one filling but you don’t have multiple moulds, you can try doing your own decorating by punching indents with a fork or skewer.
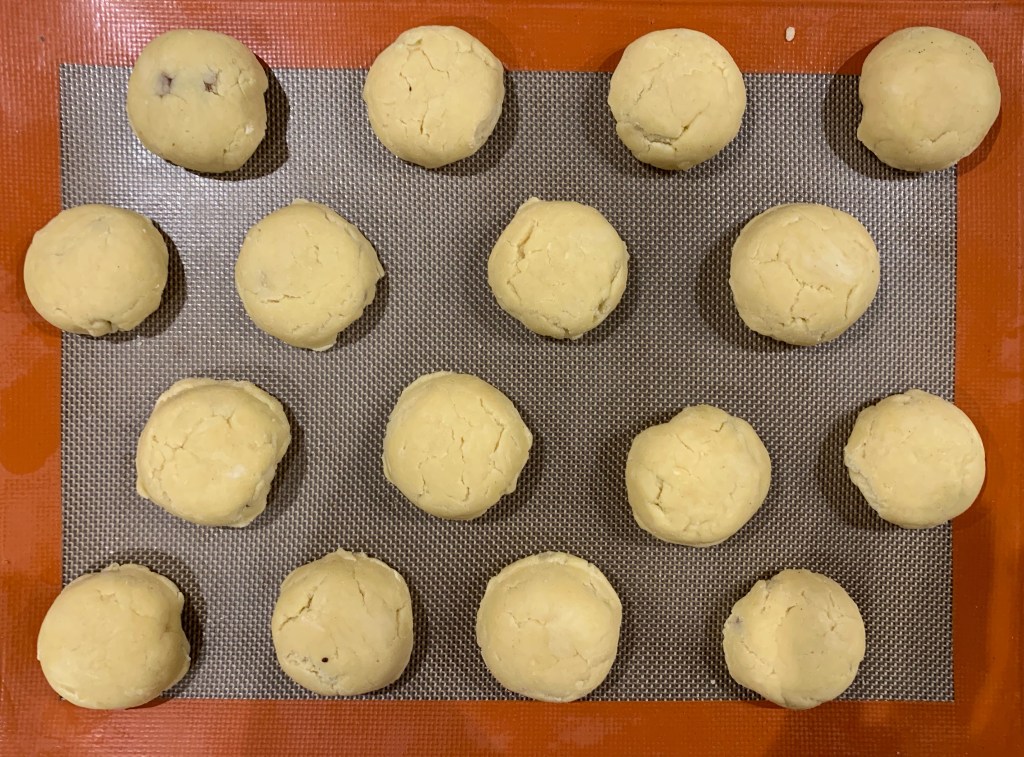
This recipe made 16 generously sized ma’amoul. Photo warning: these are more cracked and crumbly than I’d like. I should have added a bit more water to the dough.
The dough
110 g butter
40g icing sugar
240g semolina flour
160g plain flour
4g baking powder
30g milk
30g orange blossom or rose water
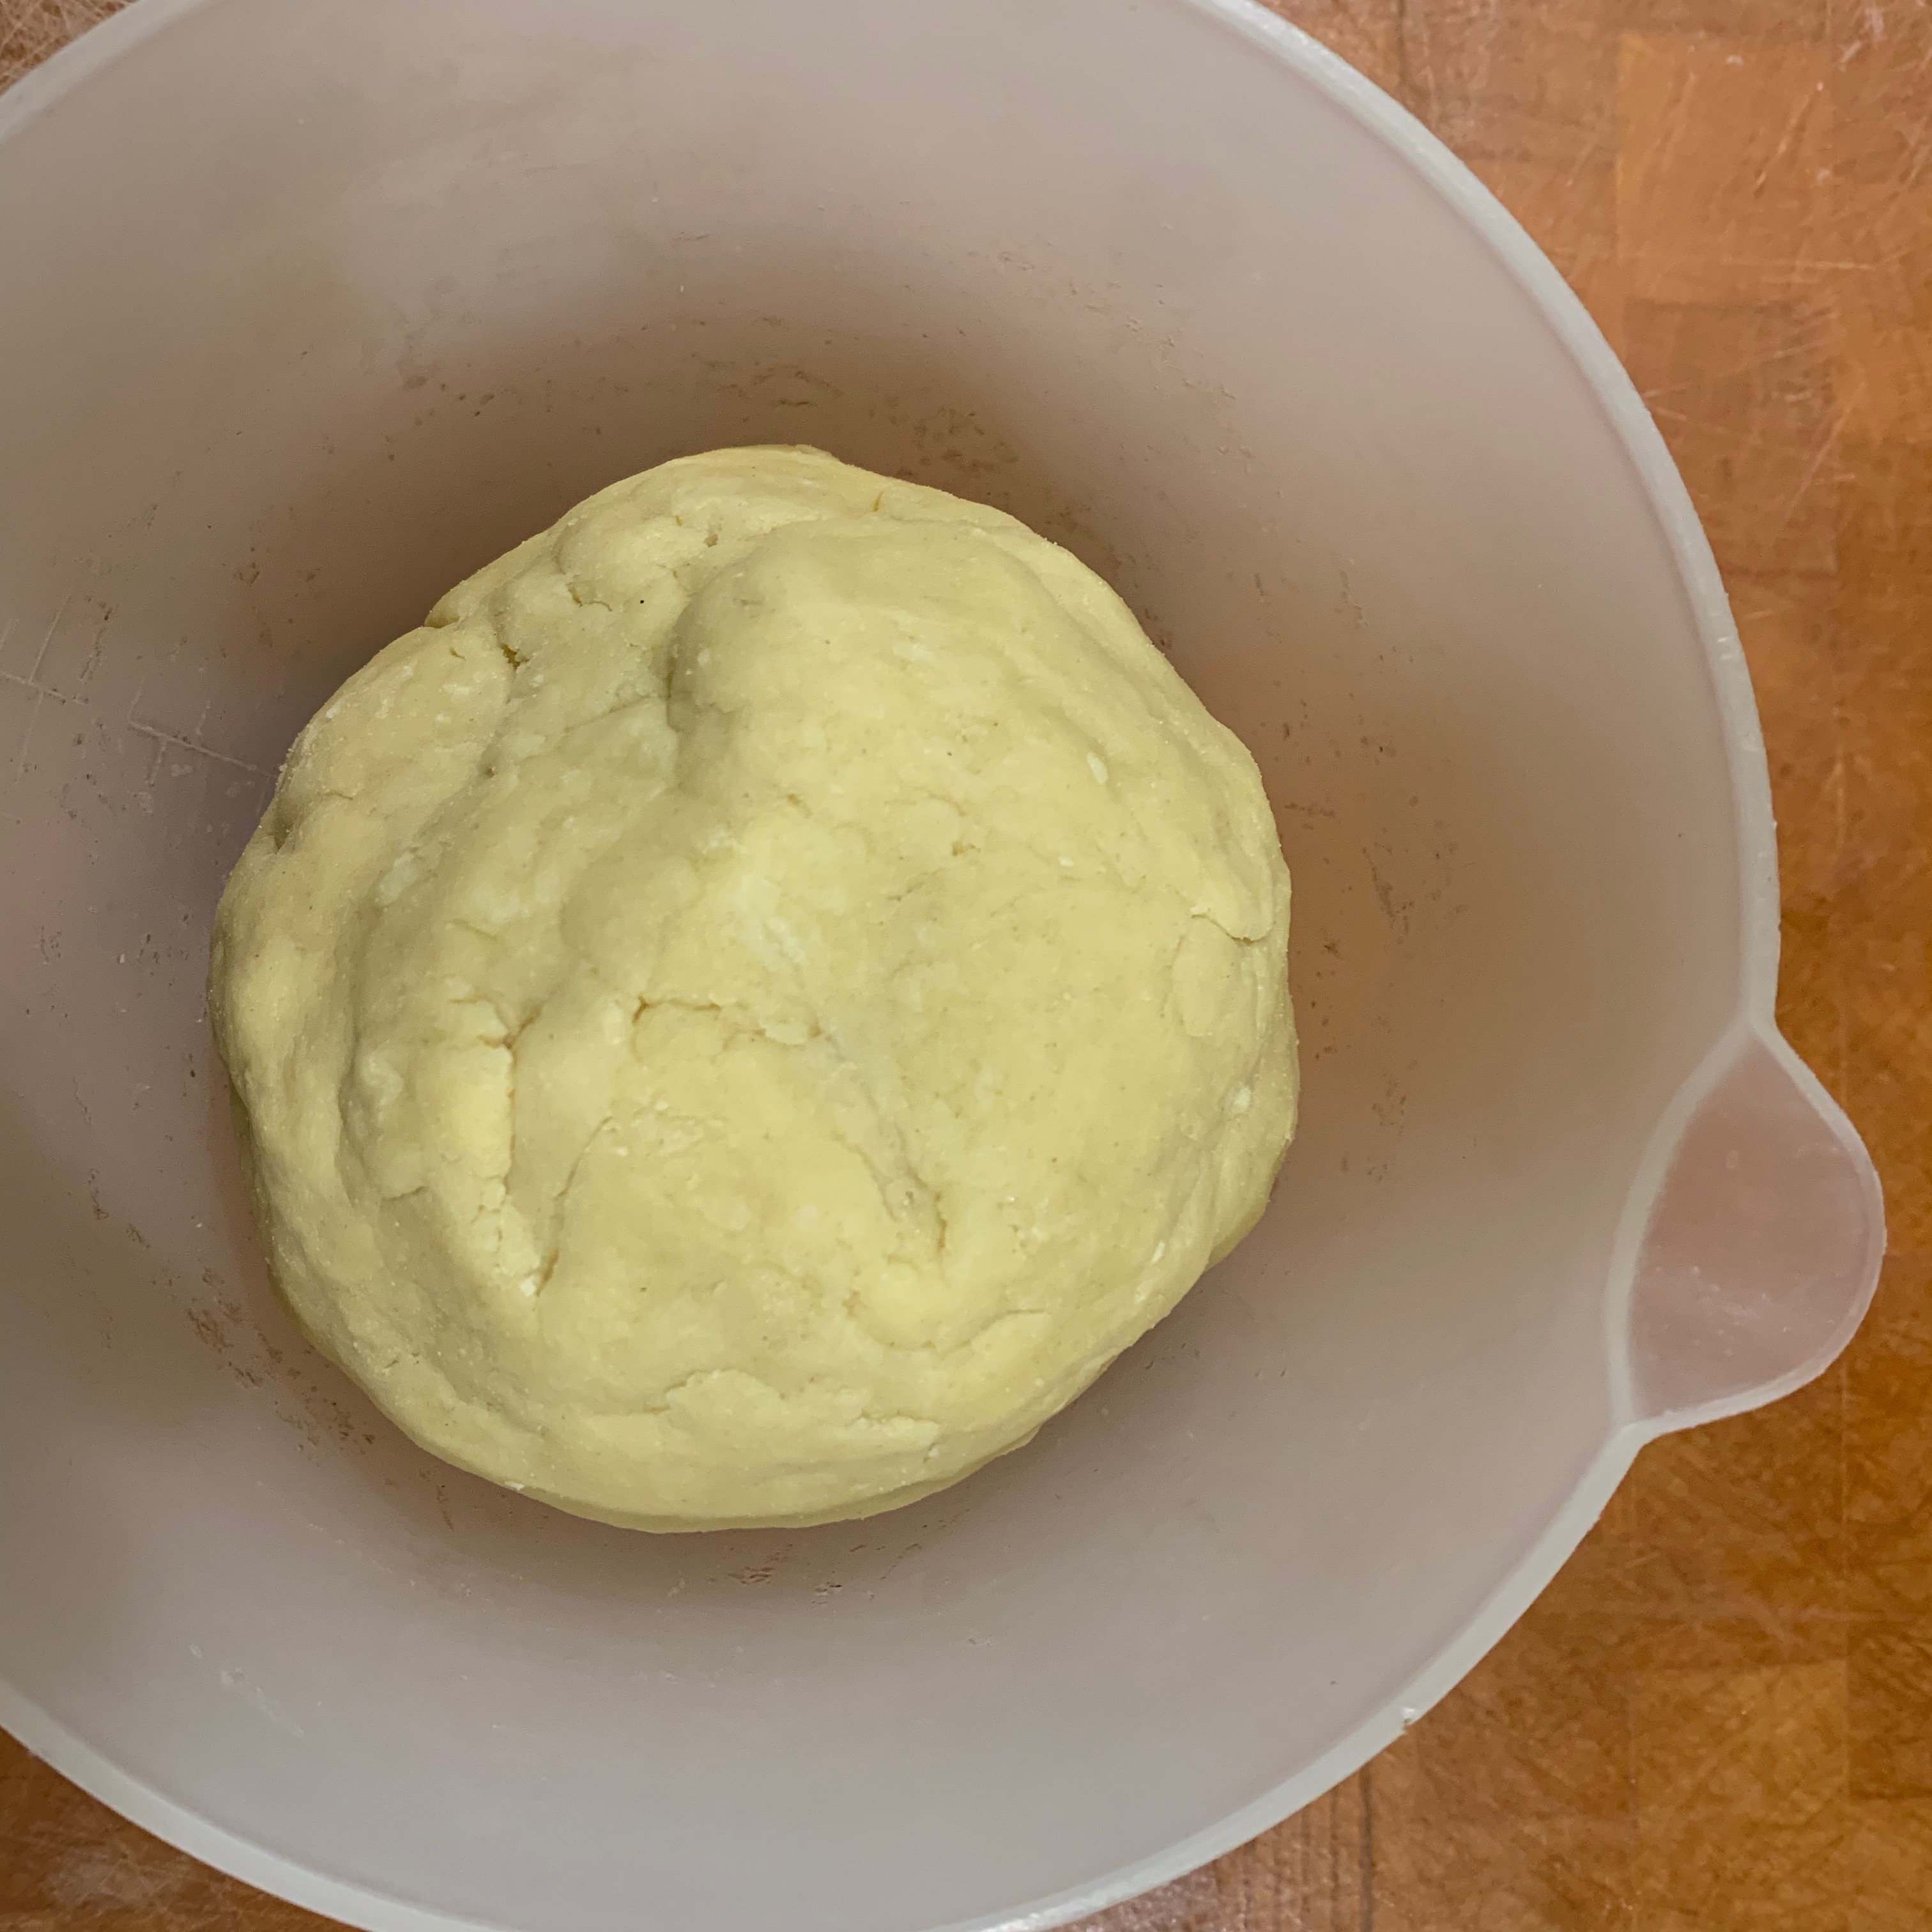
Pour everything into the bowl of your stand mixer and mix the whole lot for one or two minutes until thoroughly smoothly combined. The dough should be wet enough to be able to pick up stray bits of flour from the side of the bowl, but no more than that. If it’s sticky, add a bit more flour. If it’s really crumbly, add a bit more milk.
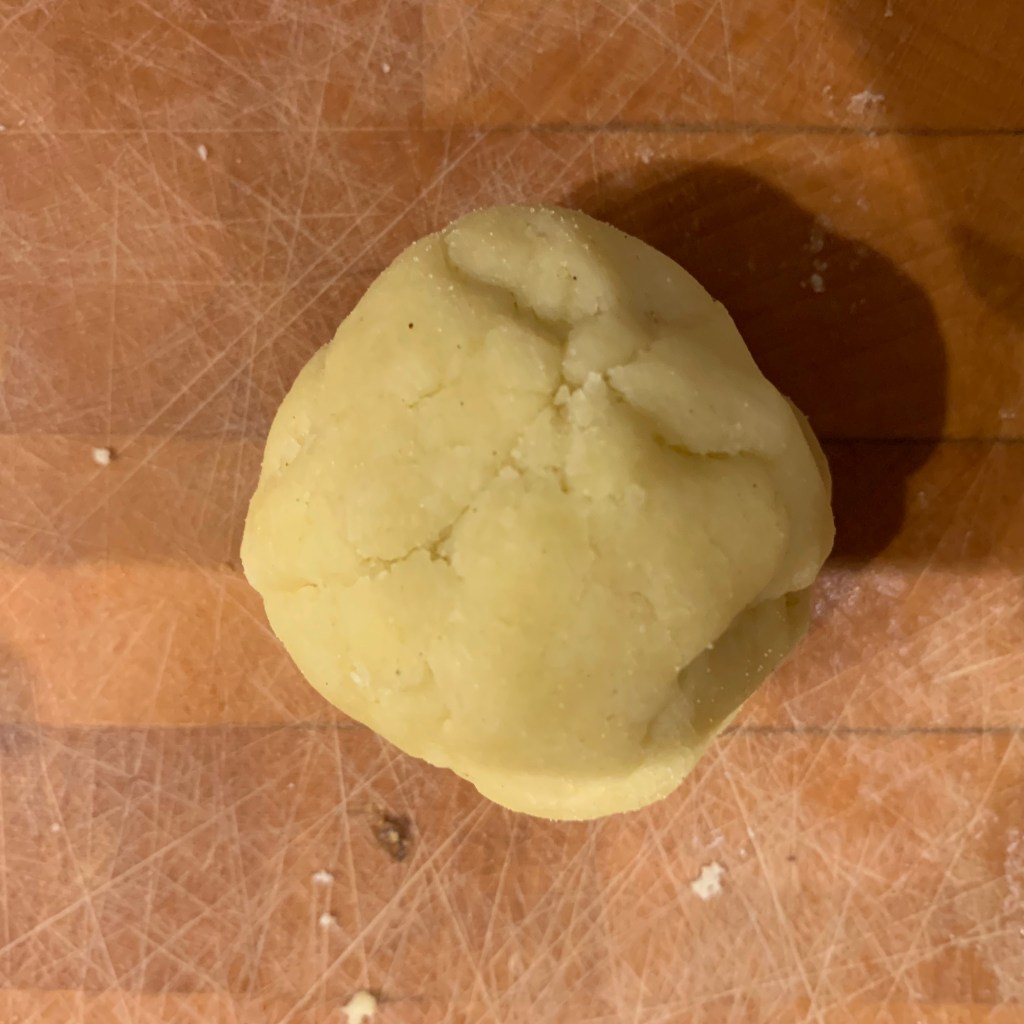
Form the dough into a ball, and leave to stand at room temperature for around an hour.
Filling and baking
The quantities given are what I made as shown in the photos. The next time I make ma’amoul, I’m planning to use 200g dates and no walnuts – I’m not convinced they complement each other and I’d prefer a bit more filling. I would do a walnut filling as an alternative, chopping some 100g of walnuts very finely, adding a couple of teaspoons of syrup and making them into a paste.
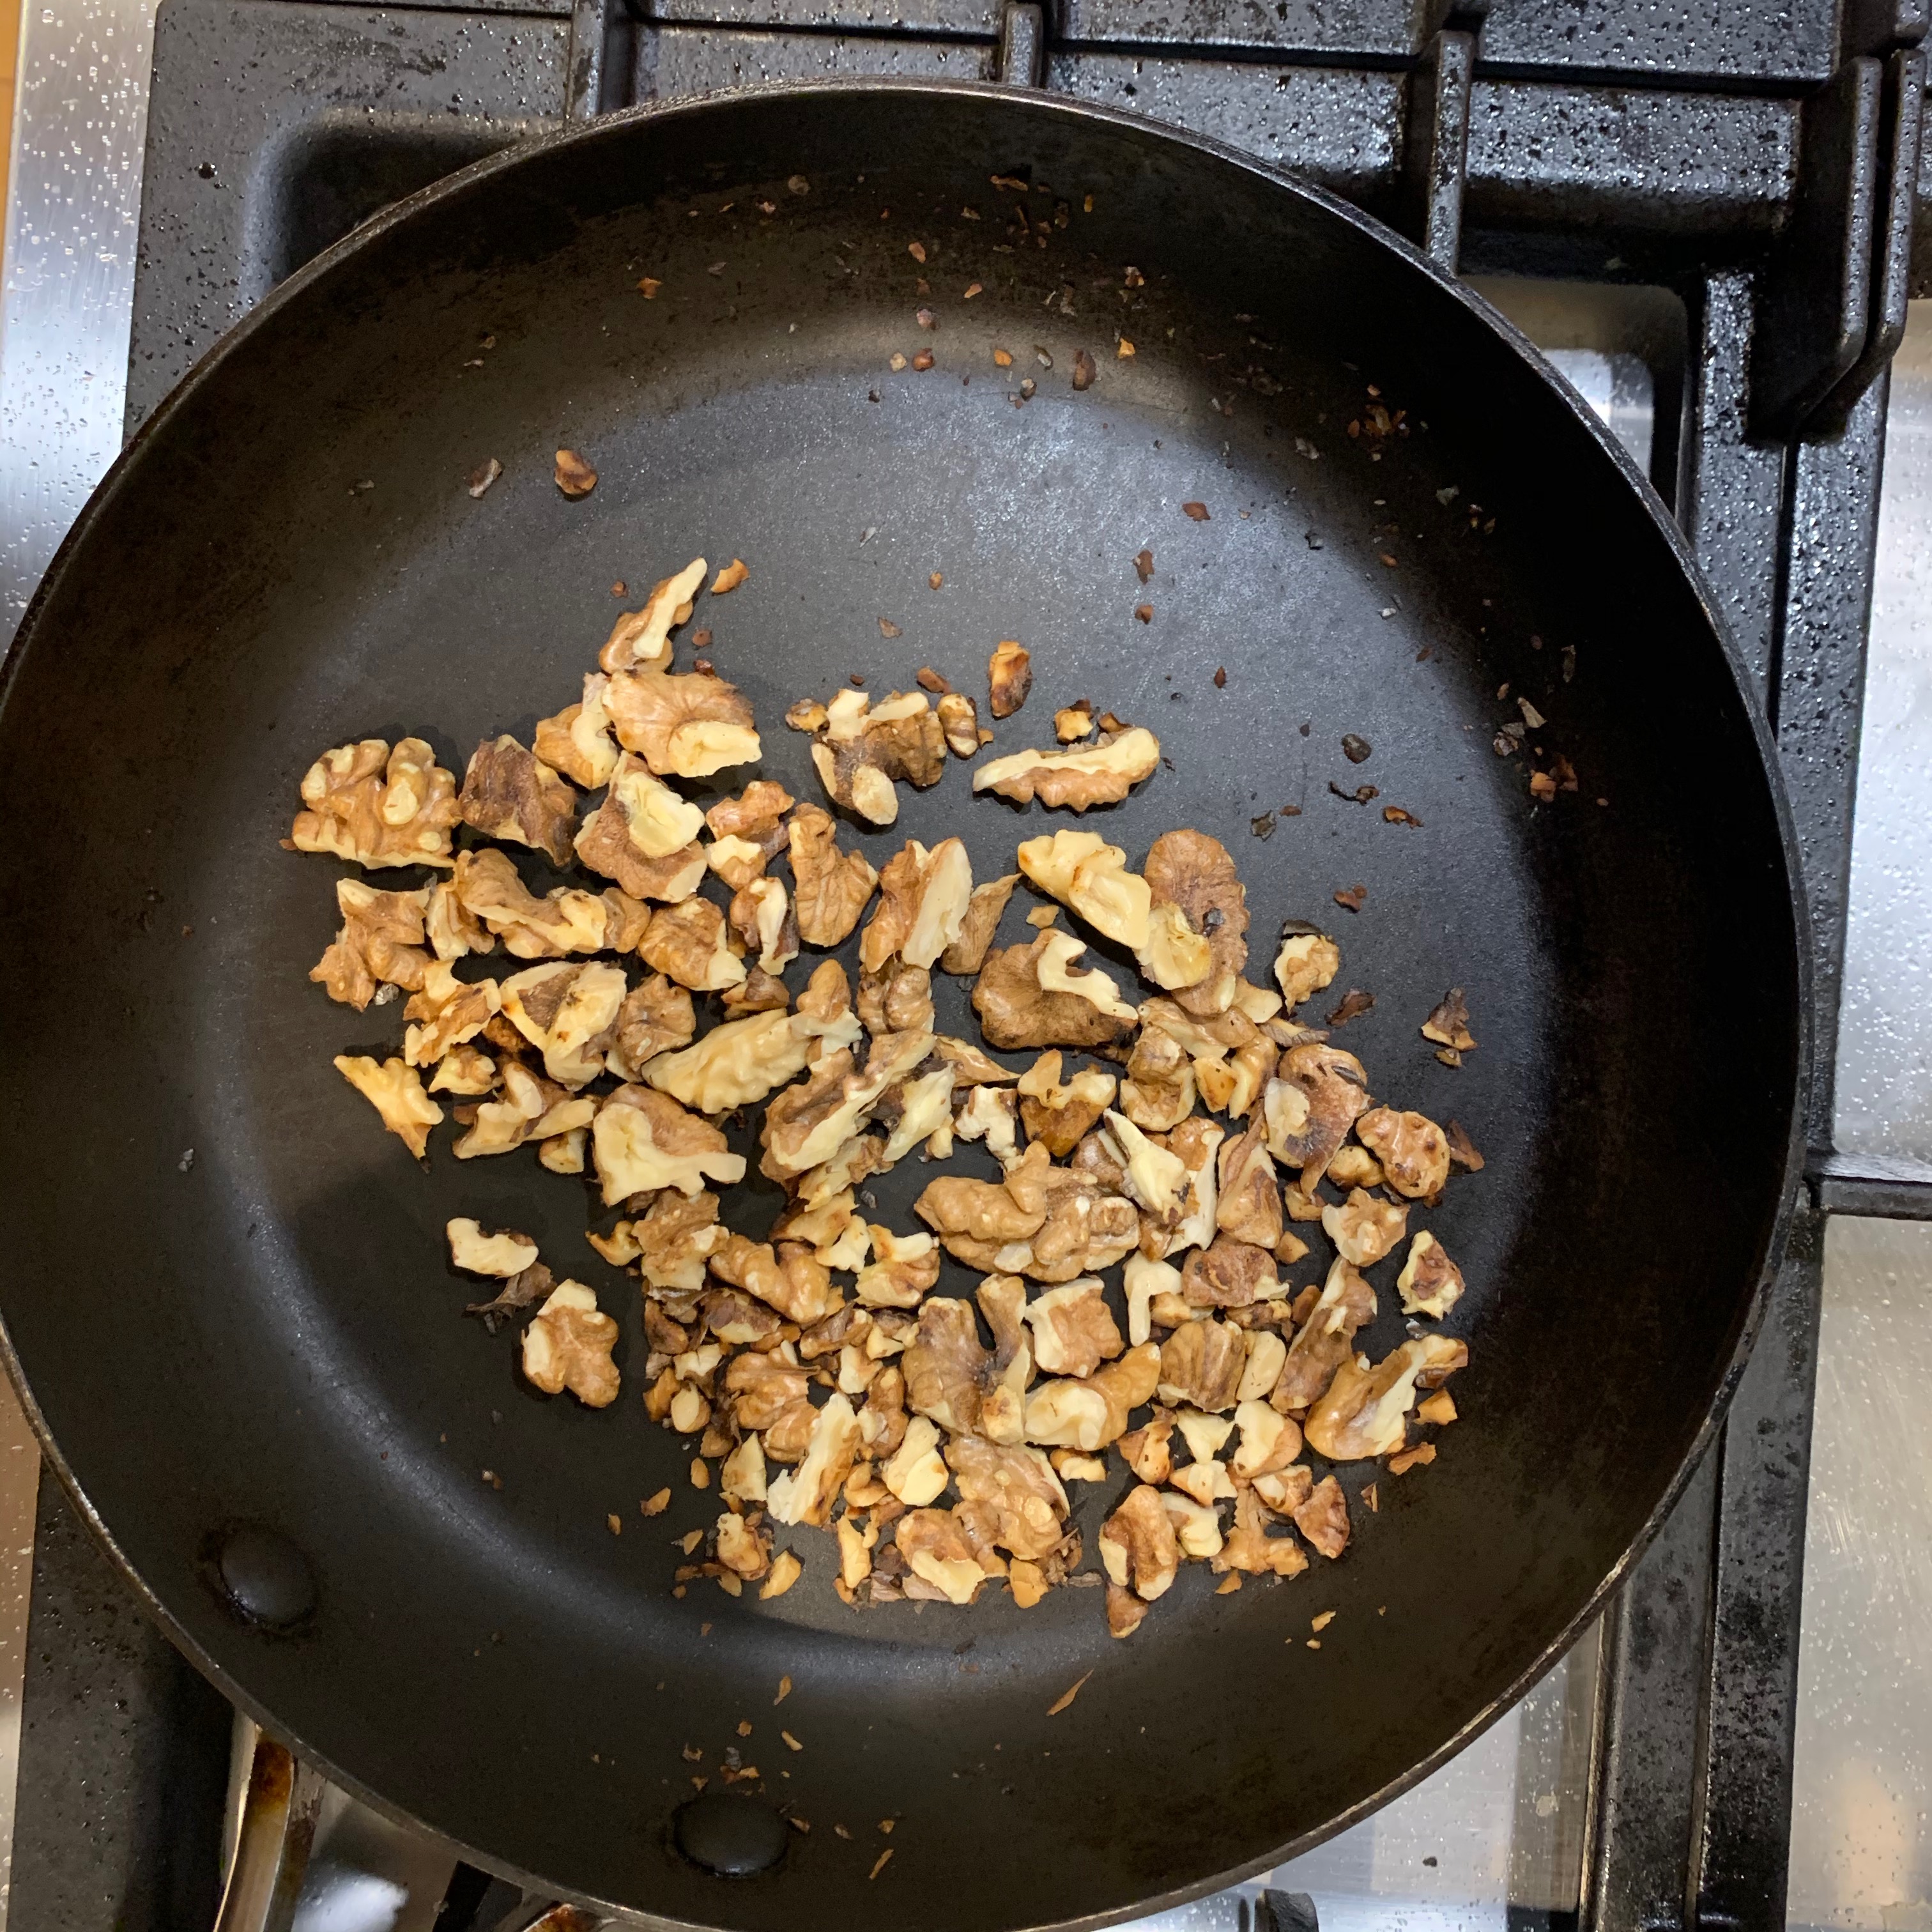
40g walnuts
125g medjool or other soft dates
Icing sugar for dusting
Preheat oven to 180℃ fan
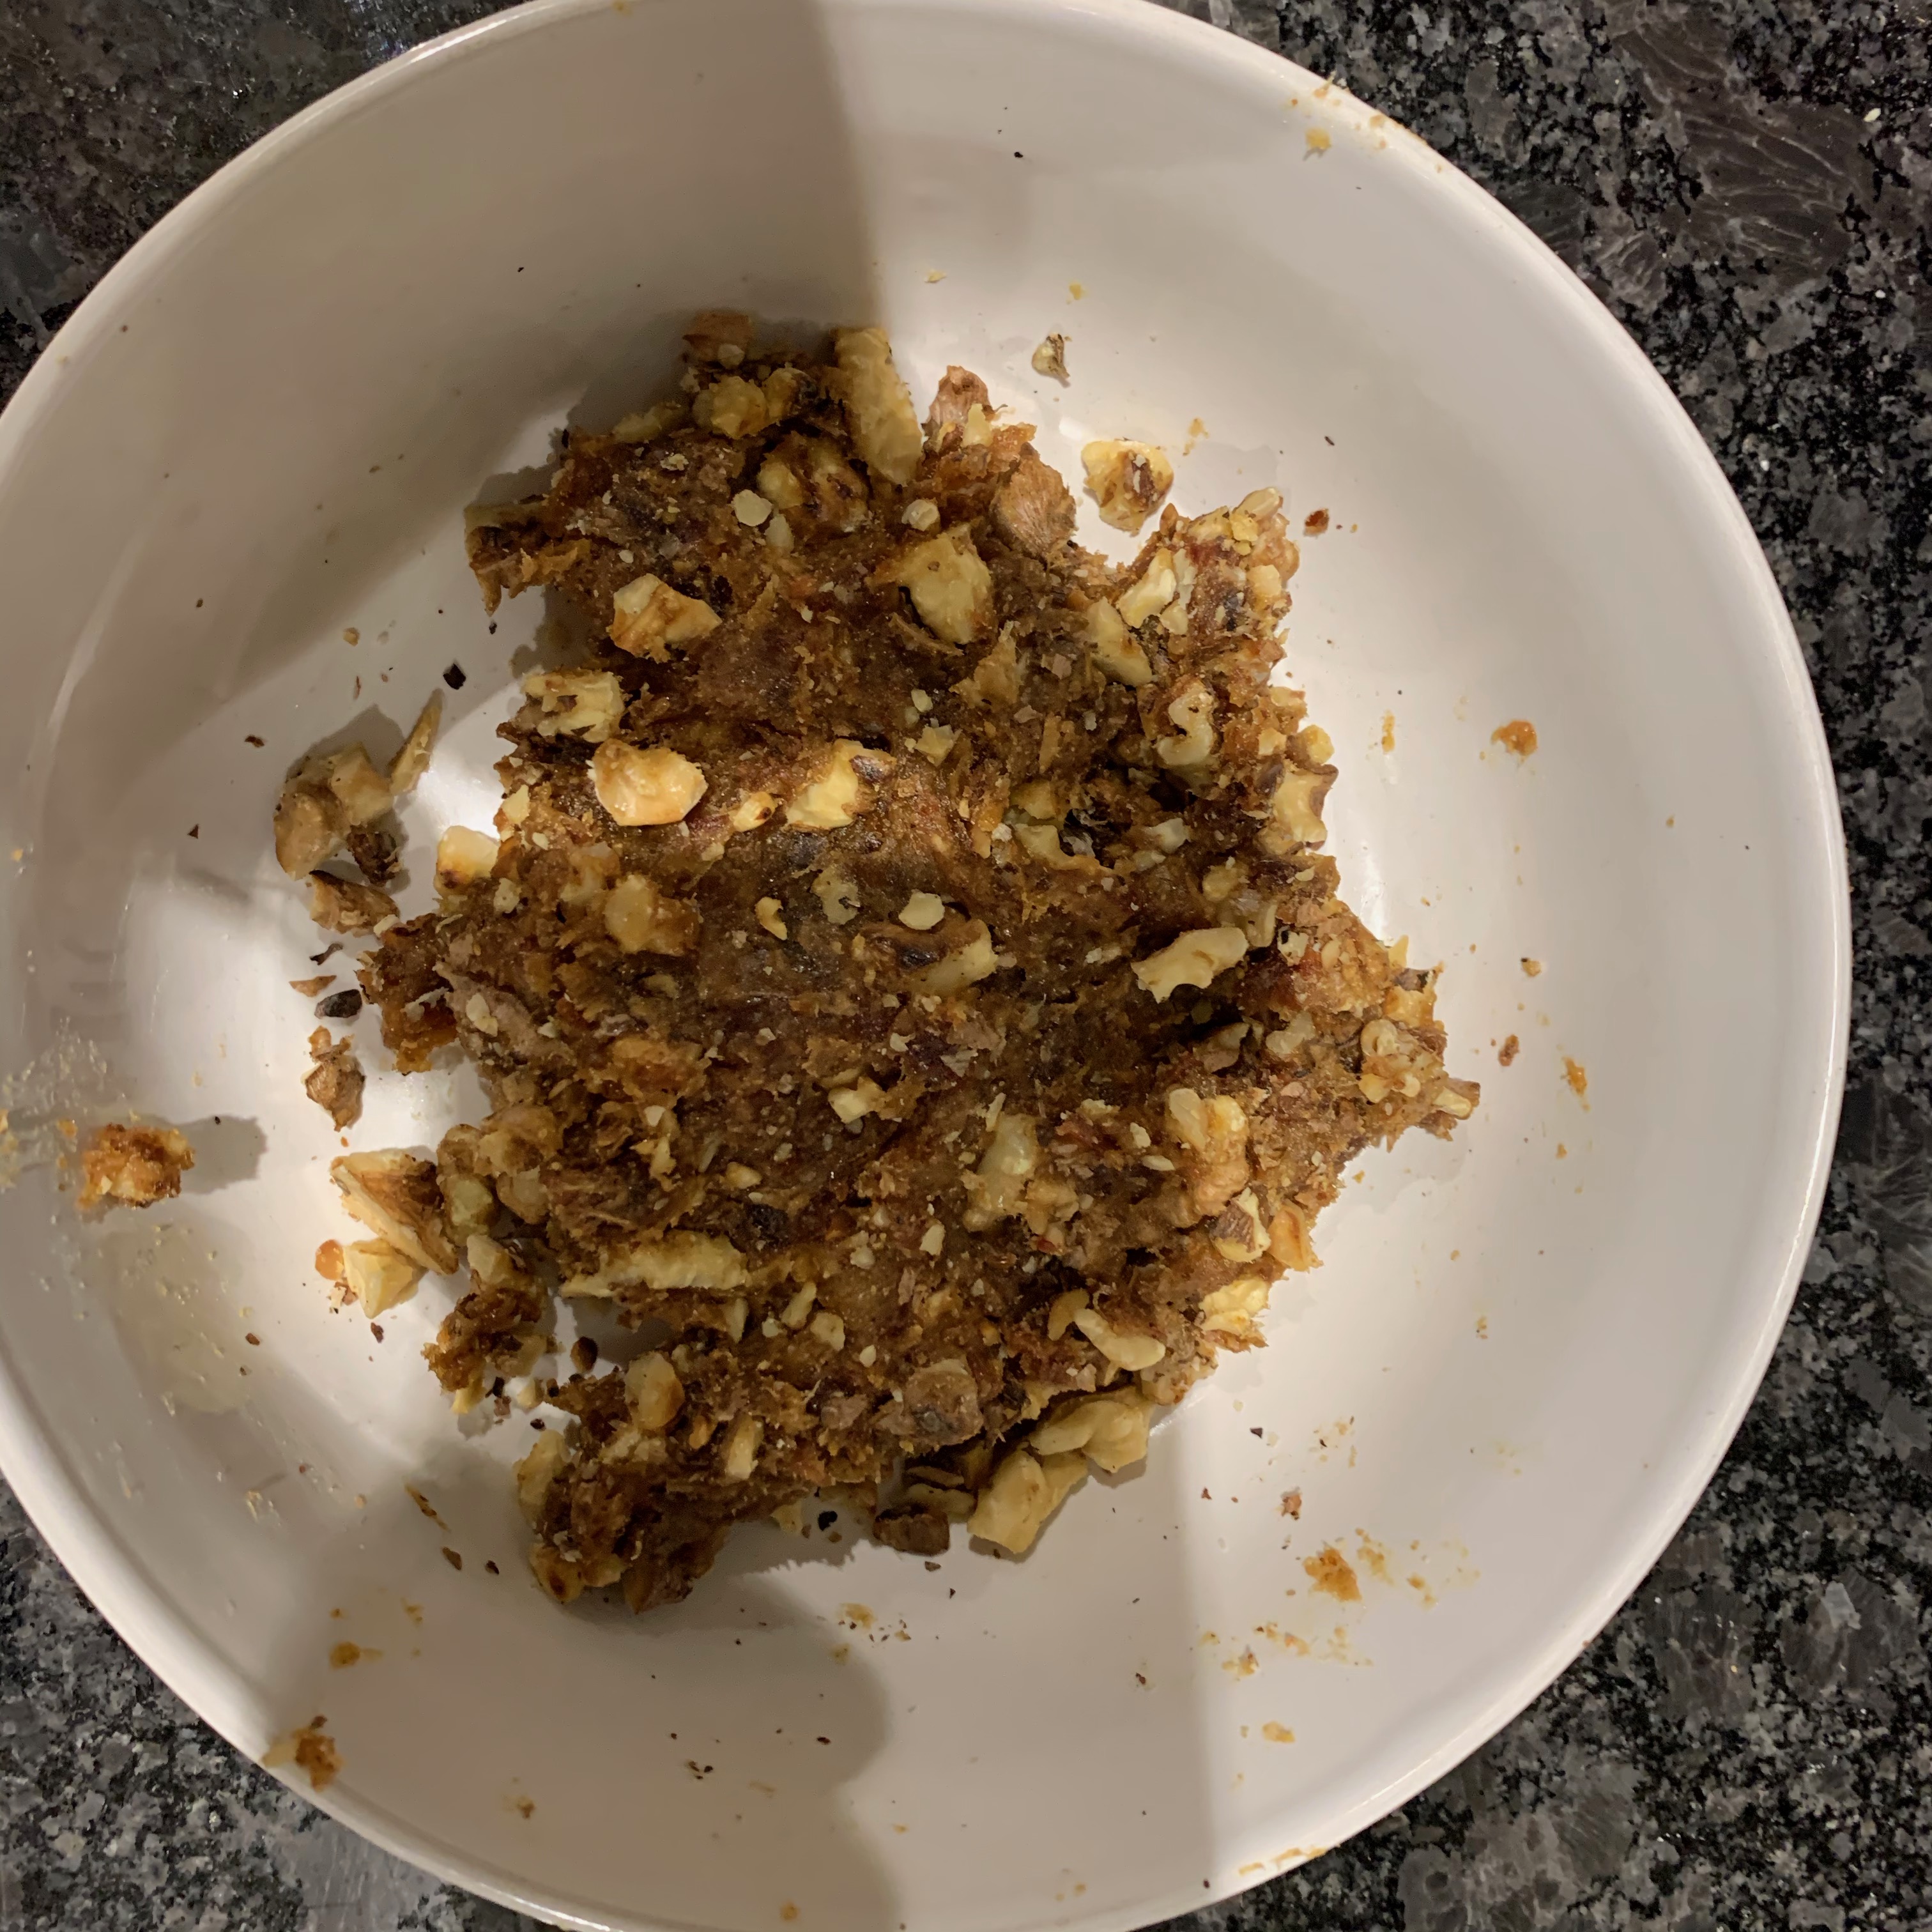
Chop the walnuts coarsely and toast them in a dry pan for a minute or two until fragrant.
If your dates aren’t pitted, take the stones out now.
Blitz the dates to a soft puree. Add a tiny amount of water if you need to, or more if your dates were quite hard. You could add sugar syrup rather than water if you want a sweeter filling.
Have a 40x30cm baking sheet ready.
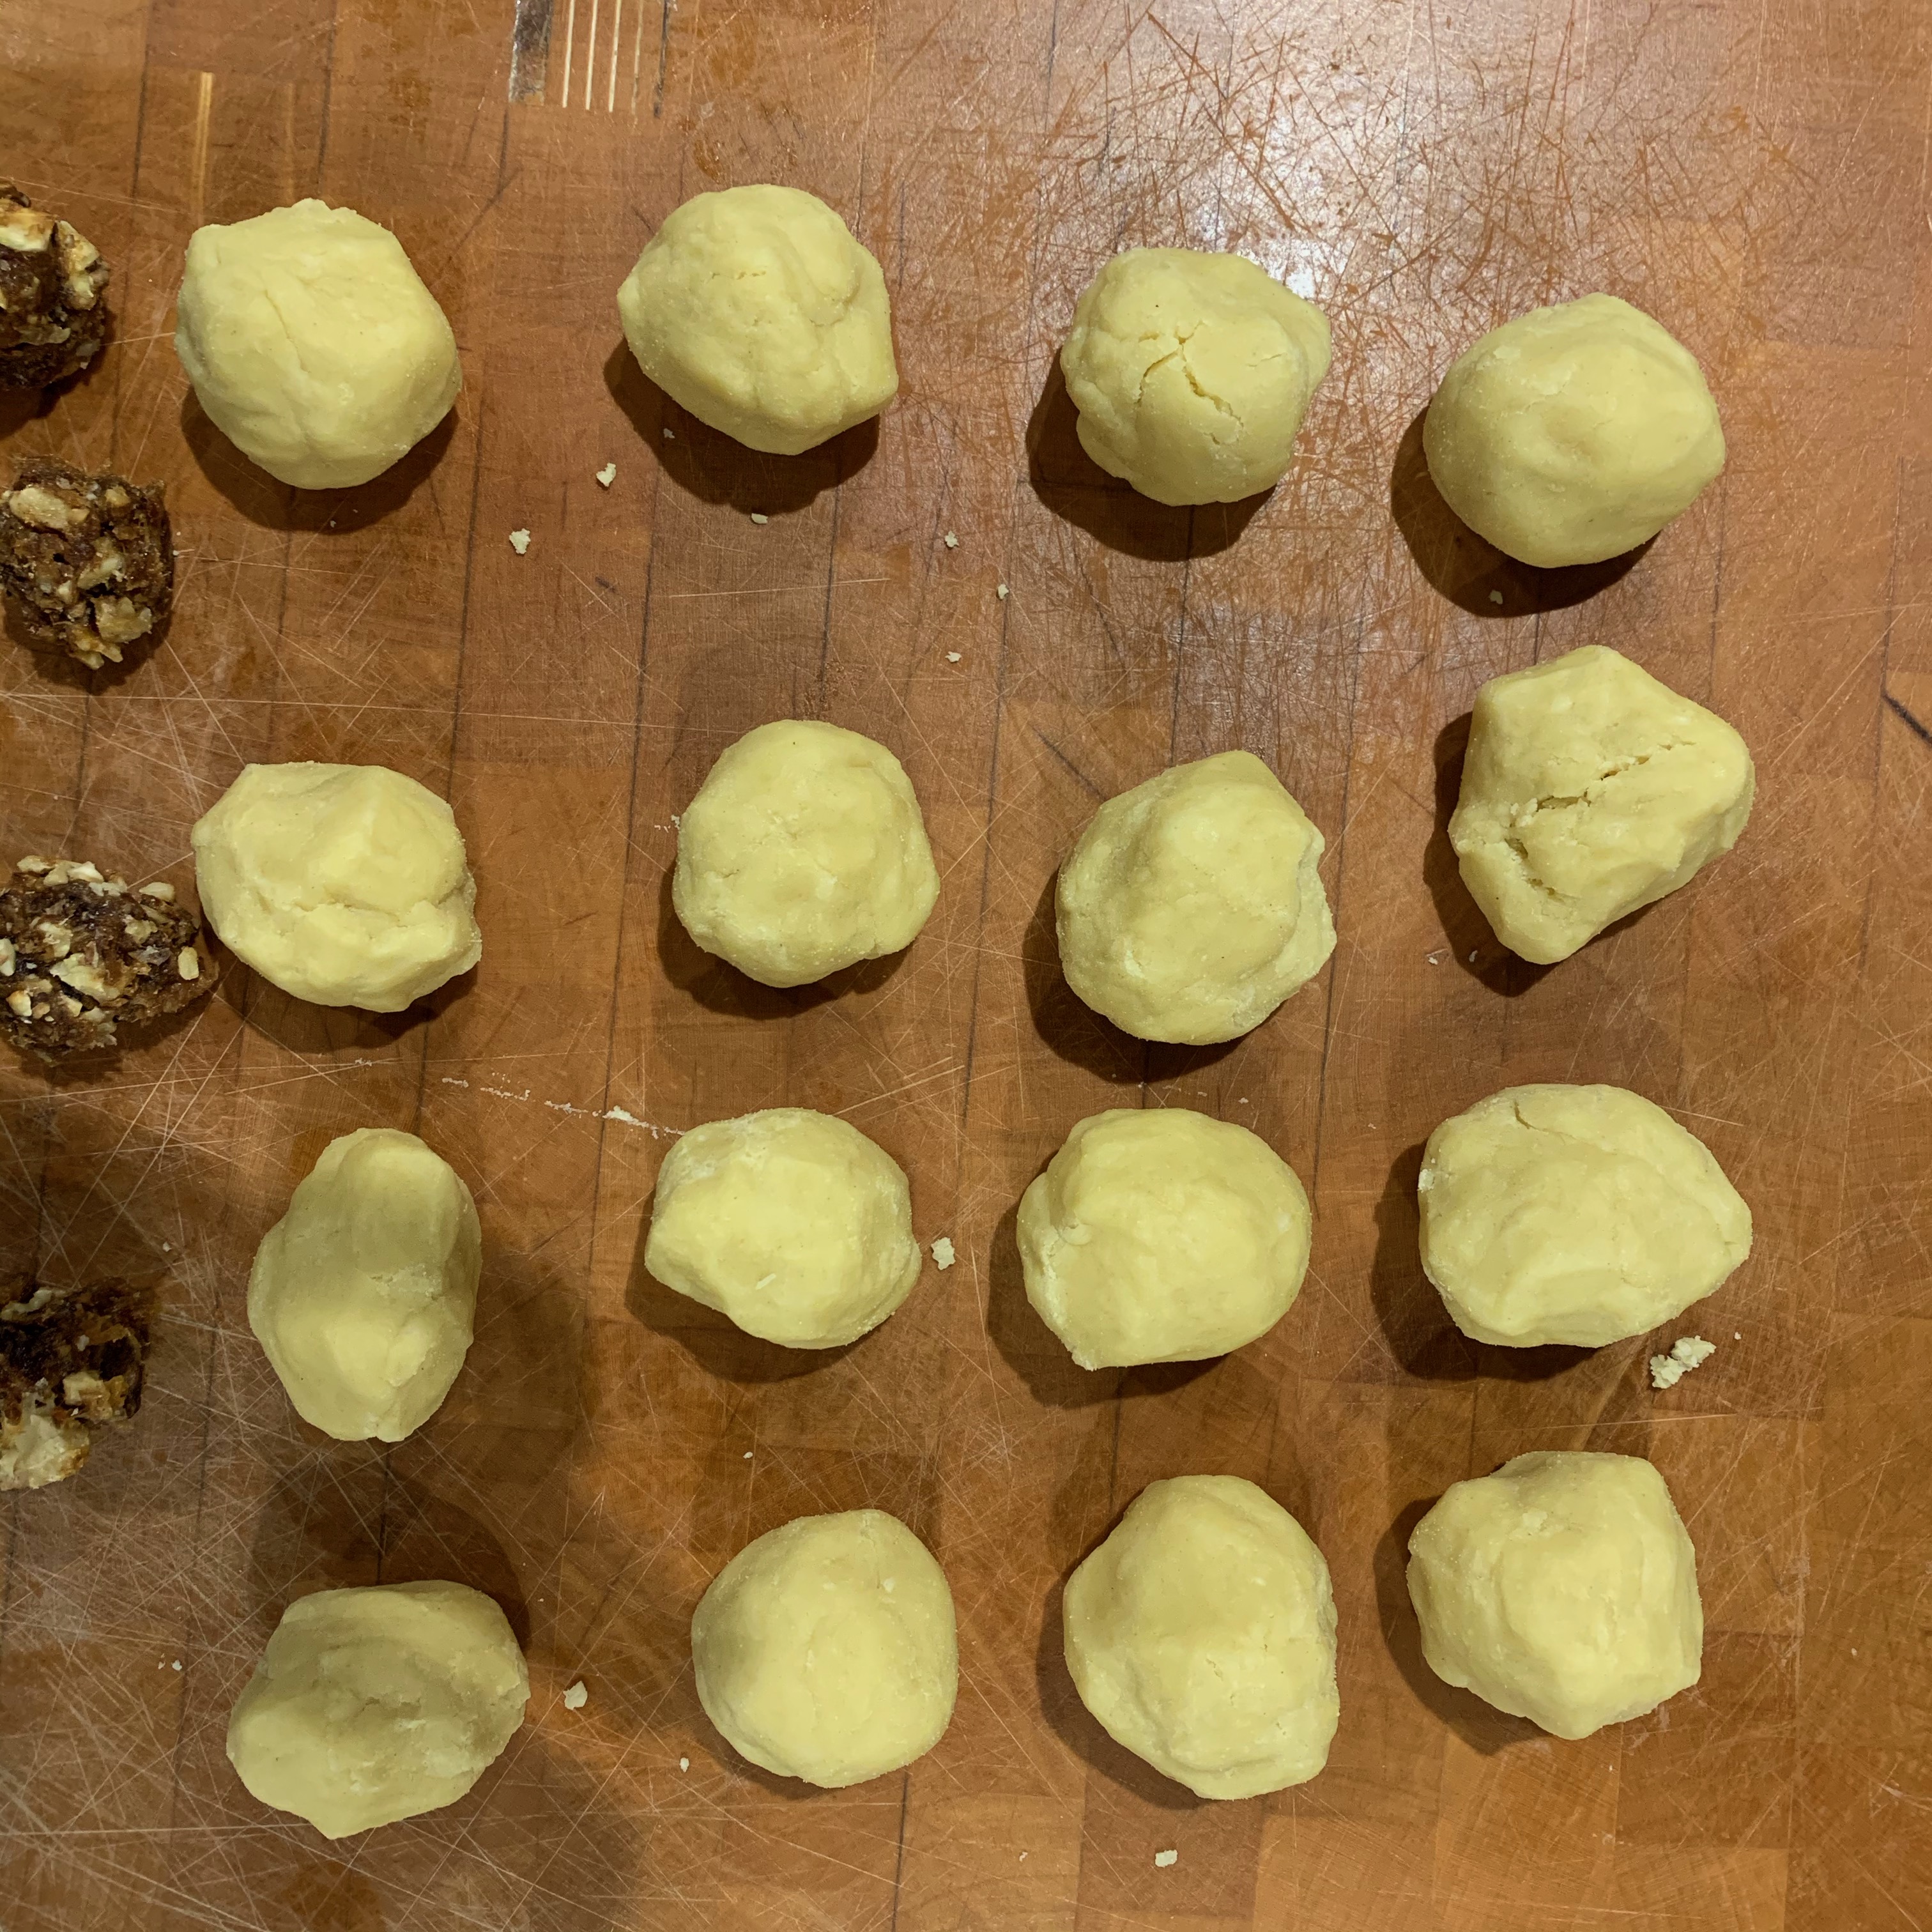
Divide your dough into 16 parts, form each part into a ball
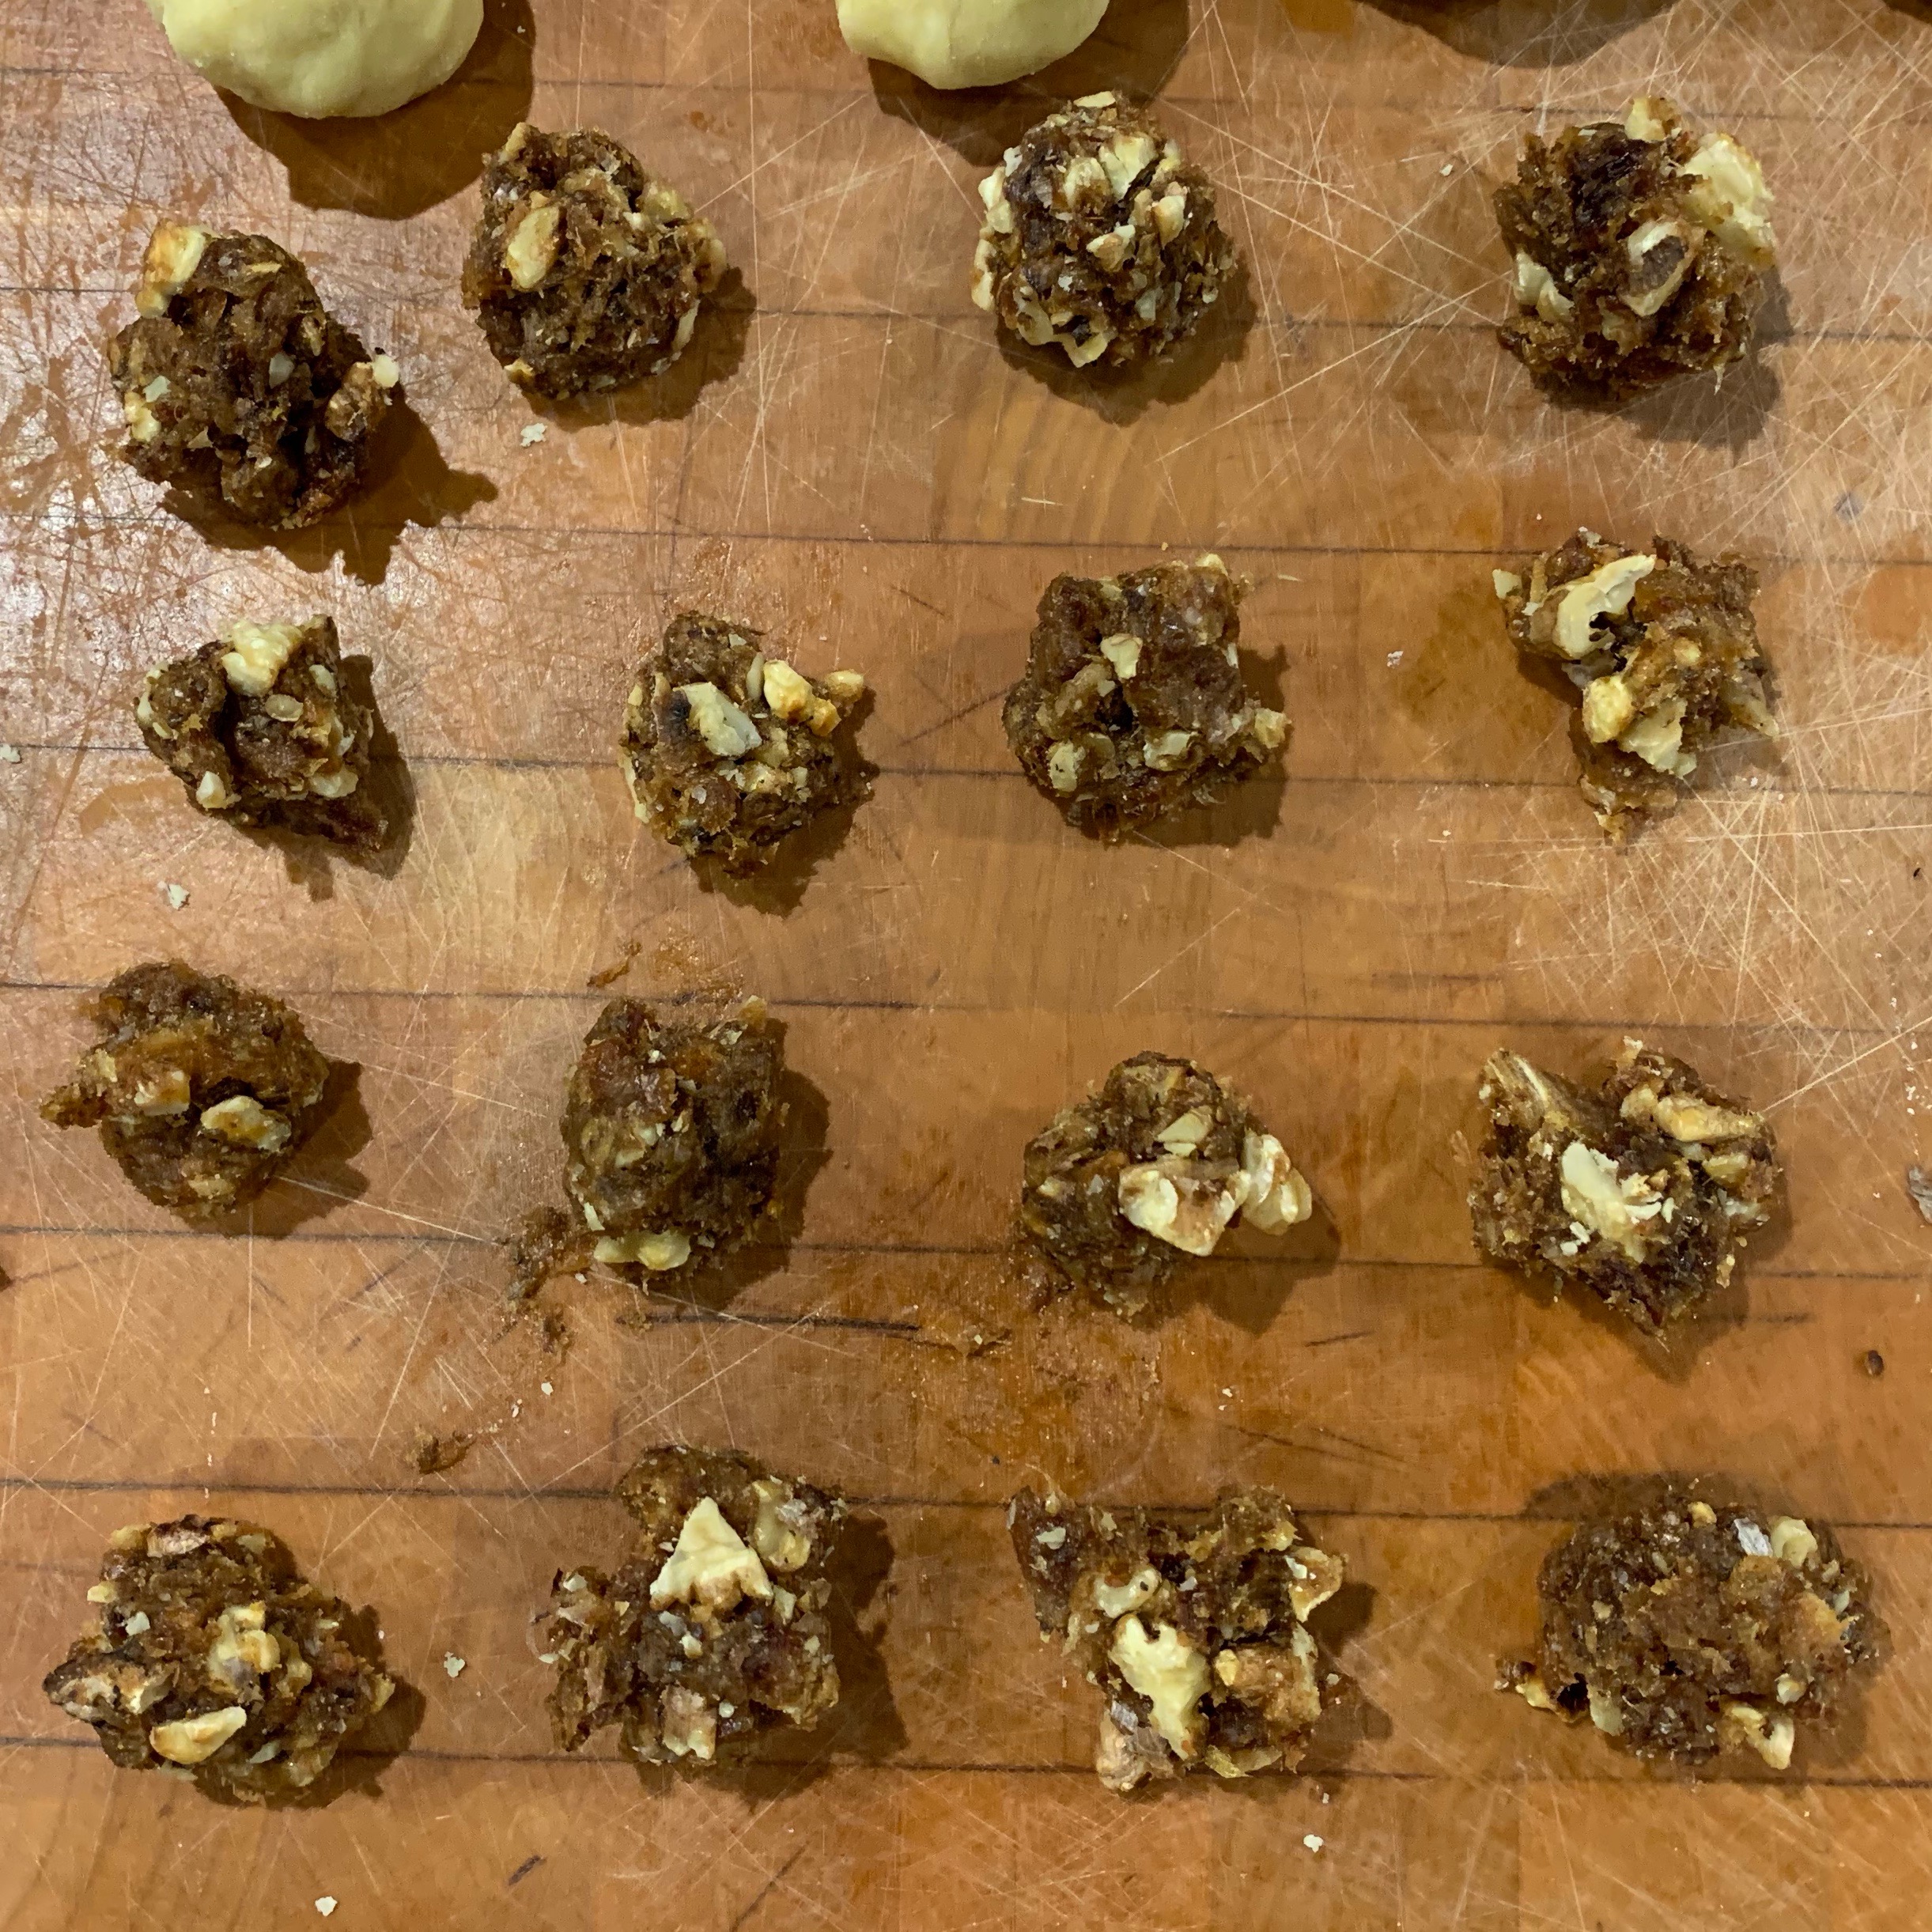
Divide your filling into 16 parts, form each part into a ball
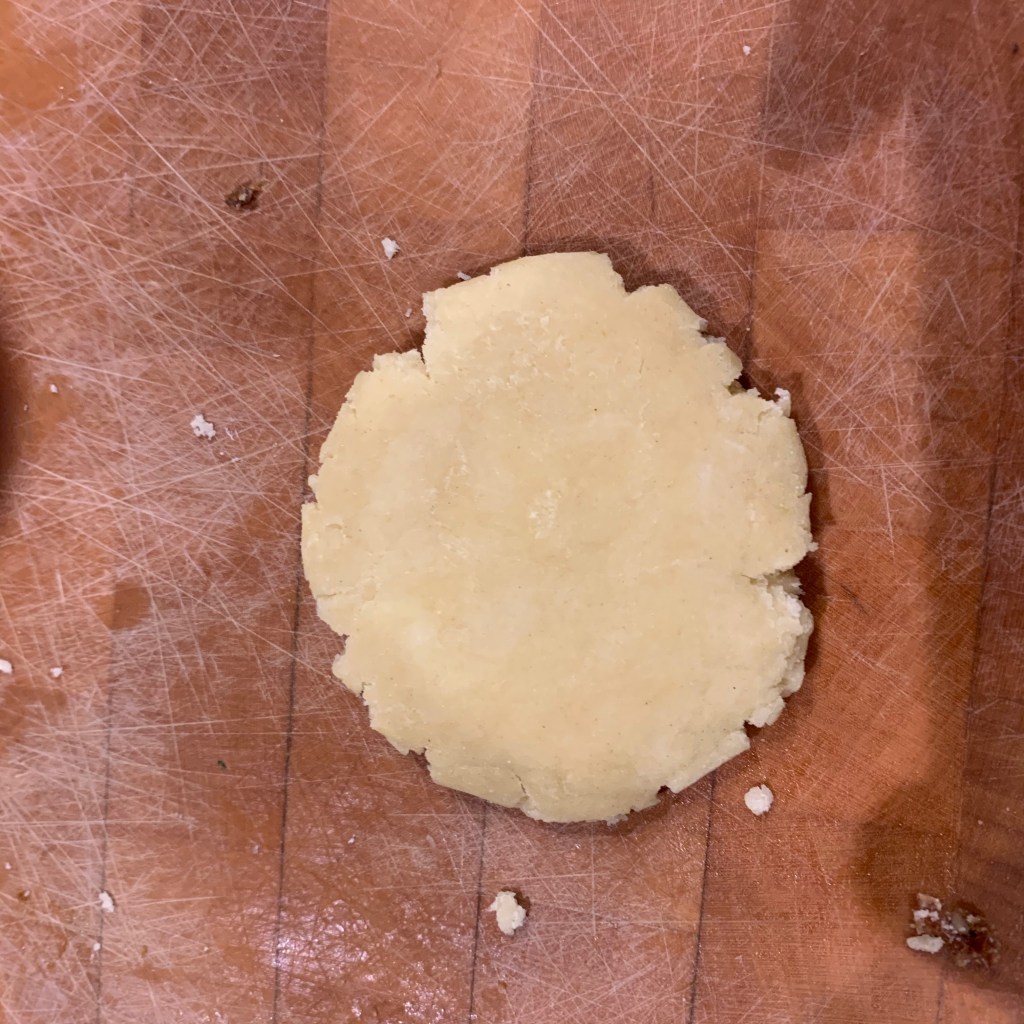
Roll out a ball of dough flat and wide enough that you’ll be able to wrap it round your ball of filling
Place a ball of filling in the middle of your dough, then stretch it over to cover.
Press the whole ball into your mould (or, in my case, gravy ladle)
Take the cookie out of the mould and place on your baking sheet
When you’ve done all 16 ma’amoul, put the baking sheet into the oven and bake them for 15 minutes. They should be a pale brown colour: don’t bake them as far as the more usual “golden brown”.
On removal from the oven, dust with icing sugar to taste.
In Sweden, October 4th is Kanelbullens dag, which makes the humble cinnamon bun the only baked item I know to have an officially sanctioned holiday. To be fair, it’s not the most long-standing of national holidays, having been dreamed up in 1999 by the Swedish Home Baking Council. But this year, as it happens, it coincided with a cold and rainy Sunday morning here in London, so no possibility of my usual tennis game. How better to spend the morning than with a bit of traditional baking?
The basics of the cinnamon bun are straightforward enough: make a slightly sweetened bread-like dough enriched with butter, milk and (in many recipes) egg, let it rise, roll it flat and spread with a butter/sugar/cinnamon filling. At this point, you have two choices: for the traditional cinnamon roll, you roll it into a sausage; for the cinnamon twist or knot (kanelknutar), you start with a book fold and do a tricky looking twisting trick. I went for the simple roll.
Just about anywhere in Sweden, the buns would be garnished with the little white sugar nibs known as “pearl sugar”, and in many places, it would be brushed with a syrup glaze after baking. My sweet tooth isn’t what it was, so I’ve omitted both of these. For added puffiness, however, I’ve followed an American blog called “True North Kitchen” and used an Asian pre-dough technique called Tangzhong, which helps to keep the buns stay soft for several days after baking.
The Tangzhong (or “water roux”)
75 ml milk
75 ml water
30g strong white flour
Whisk the ingredients together in a saucepan, getting as many lumps out as you can
Heat over medium heat until the mixture thickens, whisking frequently. Make sure you get rid of lumps as they appear.
Keep heating for a couple more minutes – there shouldn’t be any taste of raw flour left – and then remove from the heat and set aside.
The dough
75g butter
8g yeast
30g sugar
6g salt
400g flour
Ground cardamom to taste (I started with whole pods and shelled and ground my own in a pestle and mortar, which yielded about 1g, which was fine)
125ml milk
1 egg
Melt the butter and leave to cool
In the bowl of your stand mixer, evenly mix the yeast, sugar, salt, flour and cardamom
Warm the milk to lukewarm (around 40℃)
Add the milk, egg, melted butter and tangzhong to the dry mix. Stir until combined into a smooth dough (either with a wooden spoon or the standard paddle of your mixer.
Knead for around 5 minutes with the dough hook.
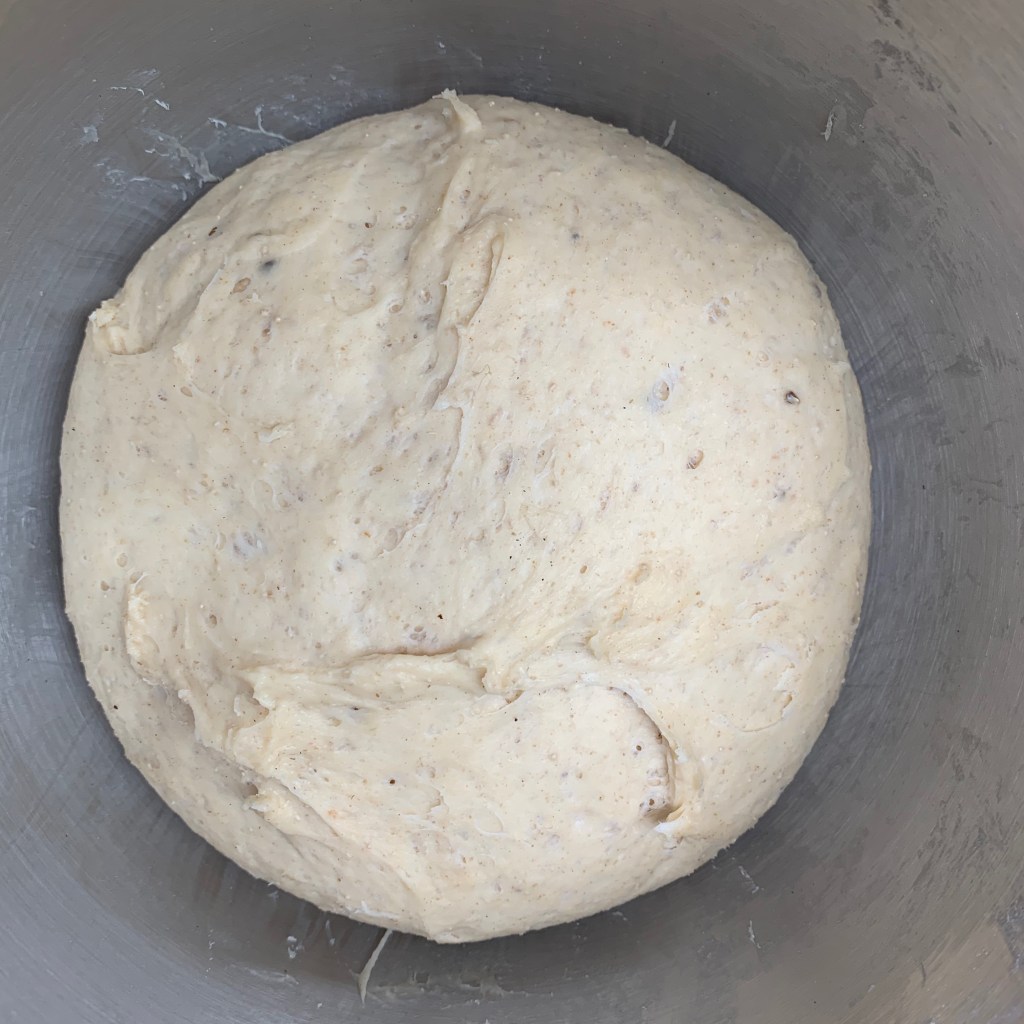
Leave to rise until you have a light, puffy dough: this took a couple of hours in a not particularly warm autumn kitchen, but will vary according to the temperature of your kitchen
Ingredients
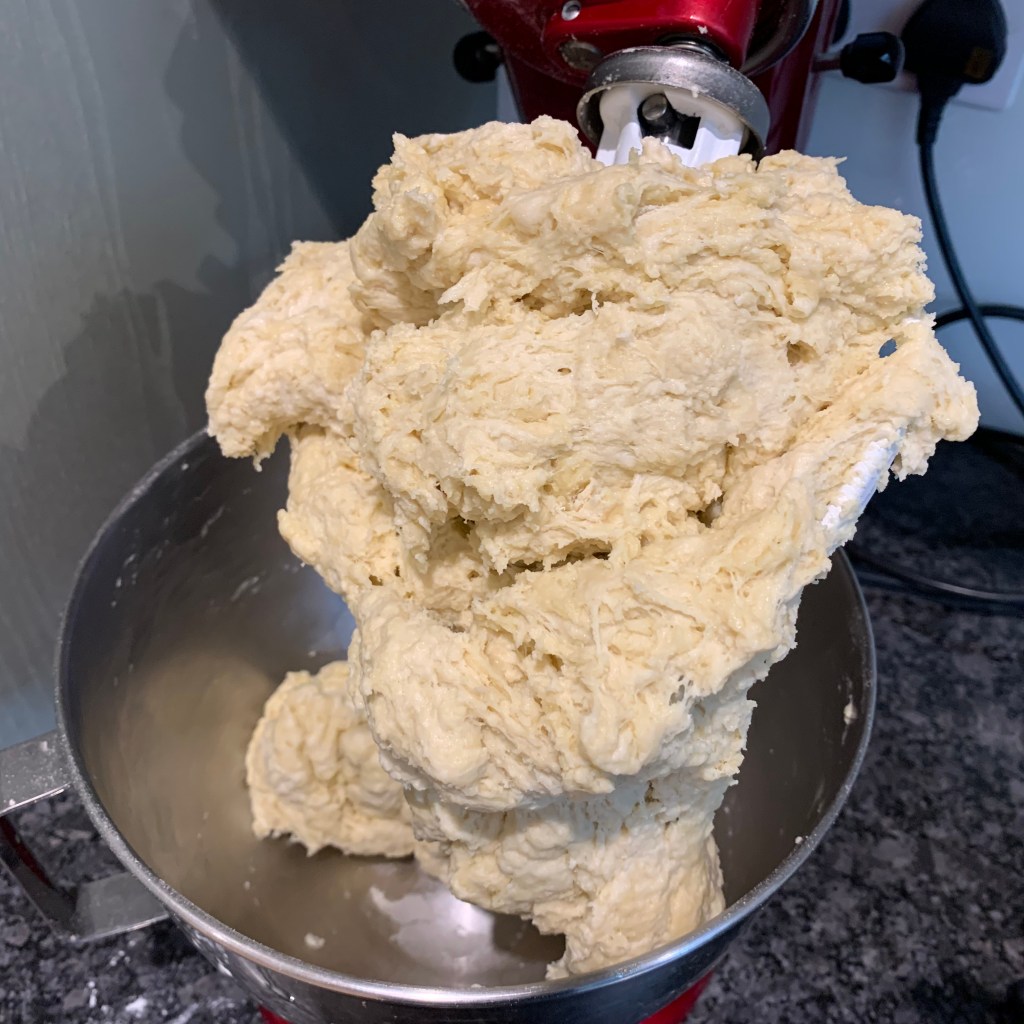
After first kneading
Before rise
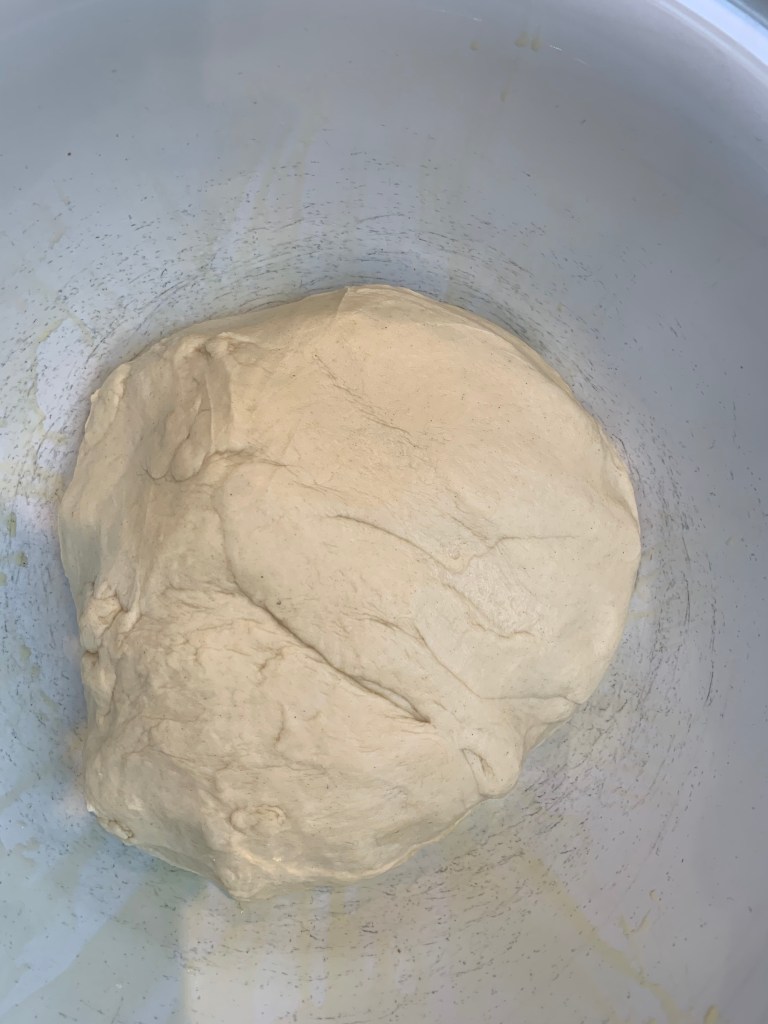
After rise. The flecks are the cardamom seeds
The filling
Preheat the oven to 225℃
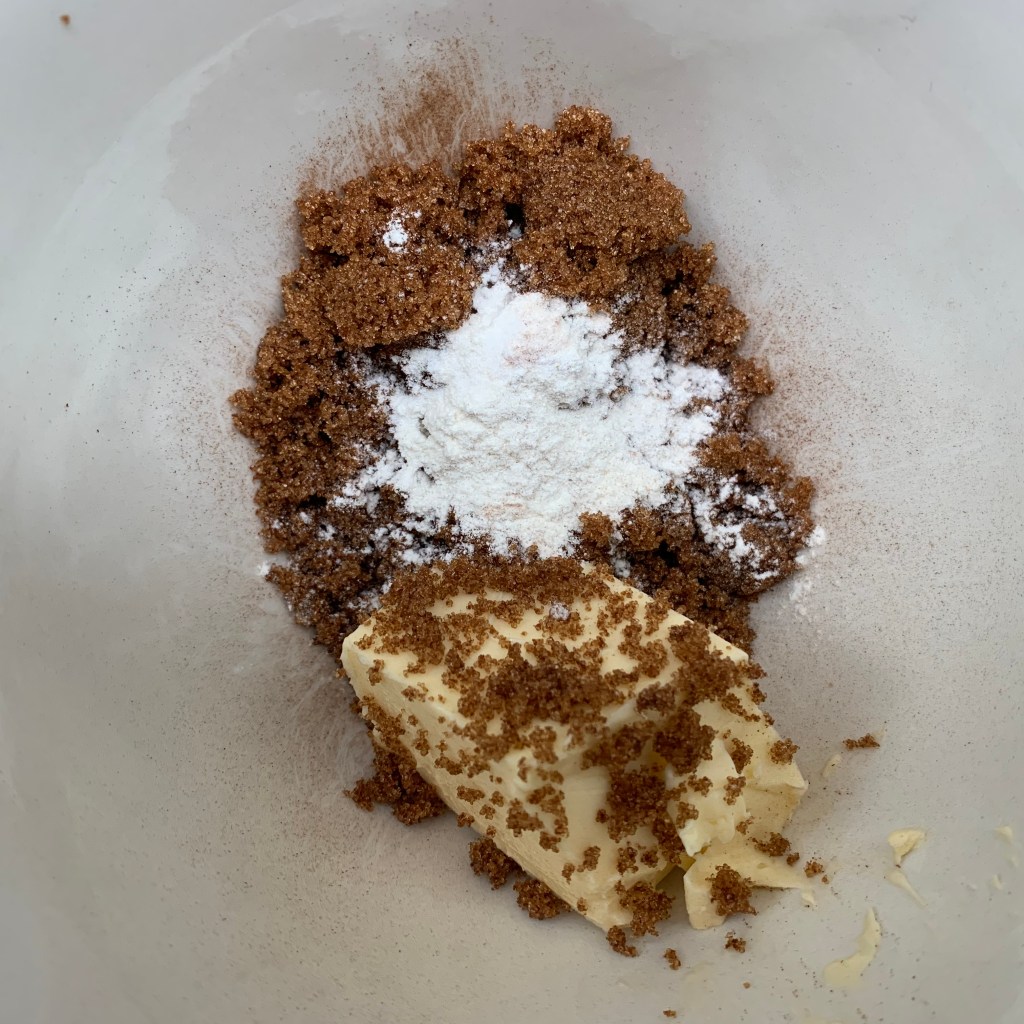
75g butter, softened
75g brown sugar
4g flour
5g cinnamon
pinch of salt
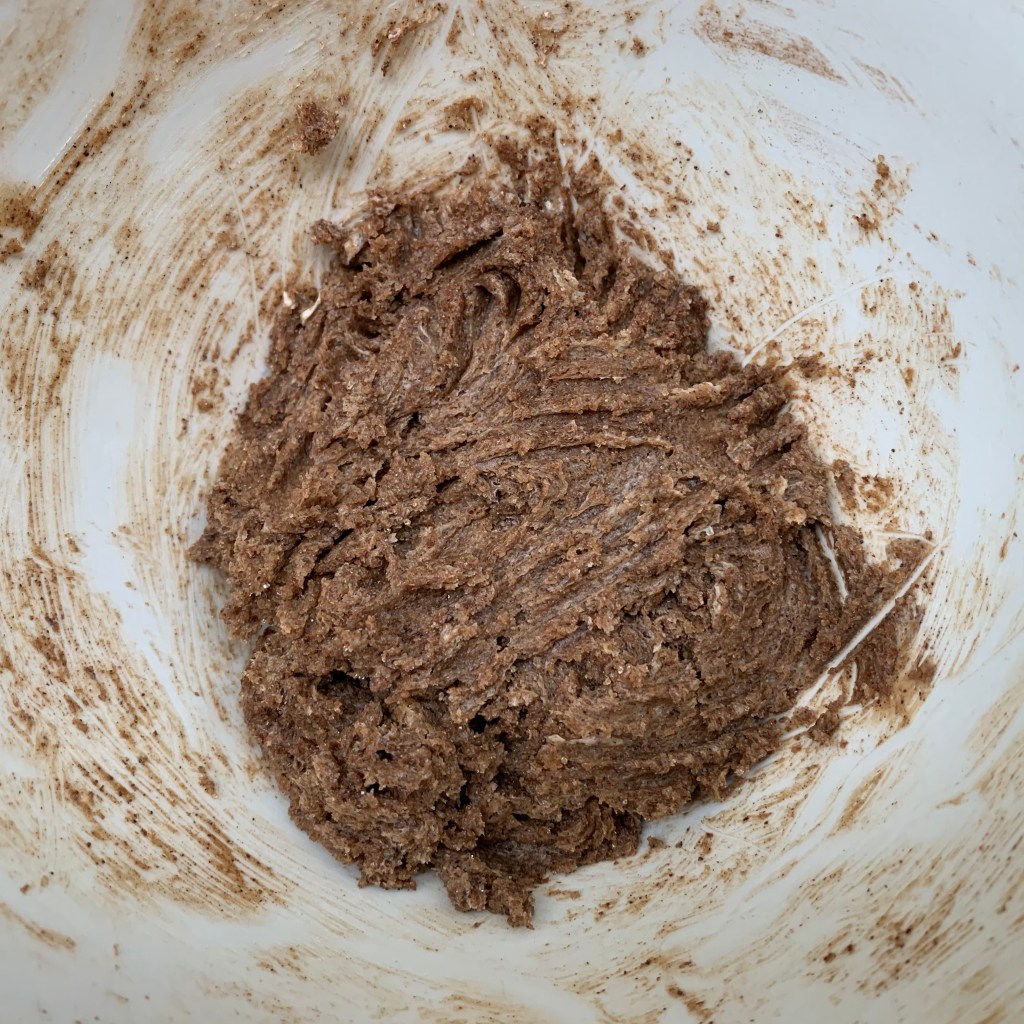
Combine all the ingredients and stir until you have a smooth, even dark brown paste.
Make sure it’s soft enough to spread thinly and easily: 30 seconds in the microwave is a good way of doing this. There’s no point in tearing your dough because you had lumps in the filling.
Final assembly
1 egg
1 teaspoon of milk
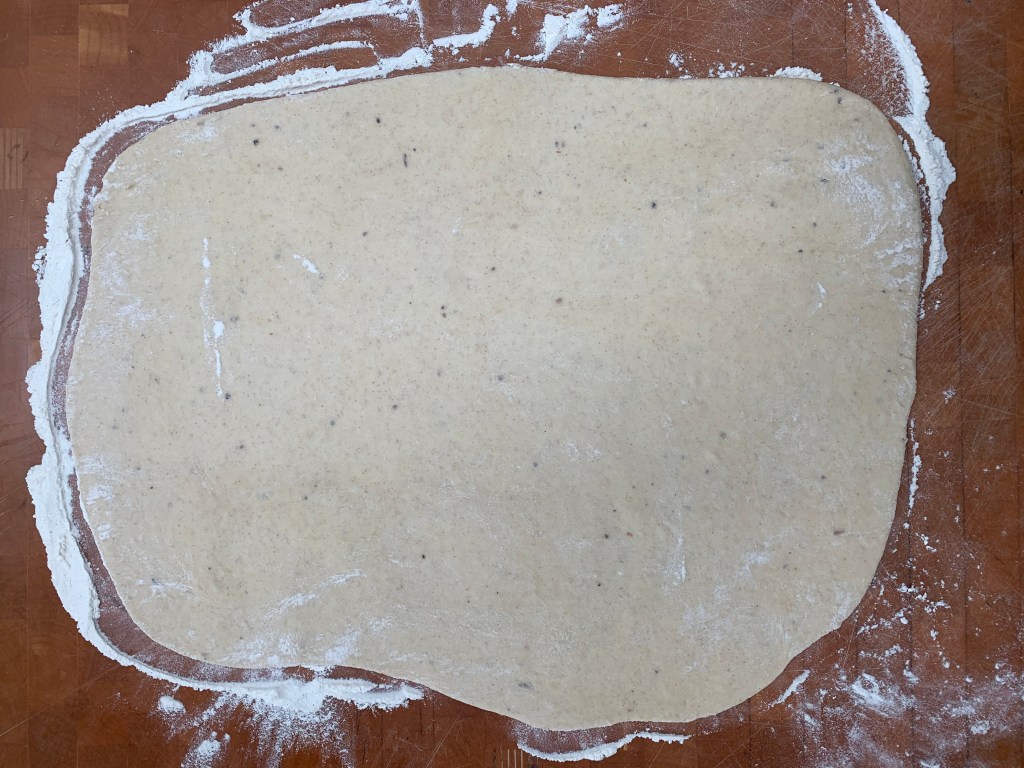
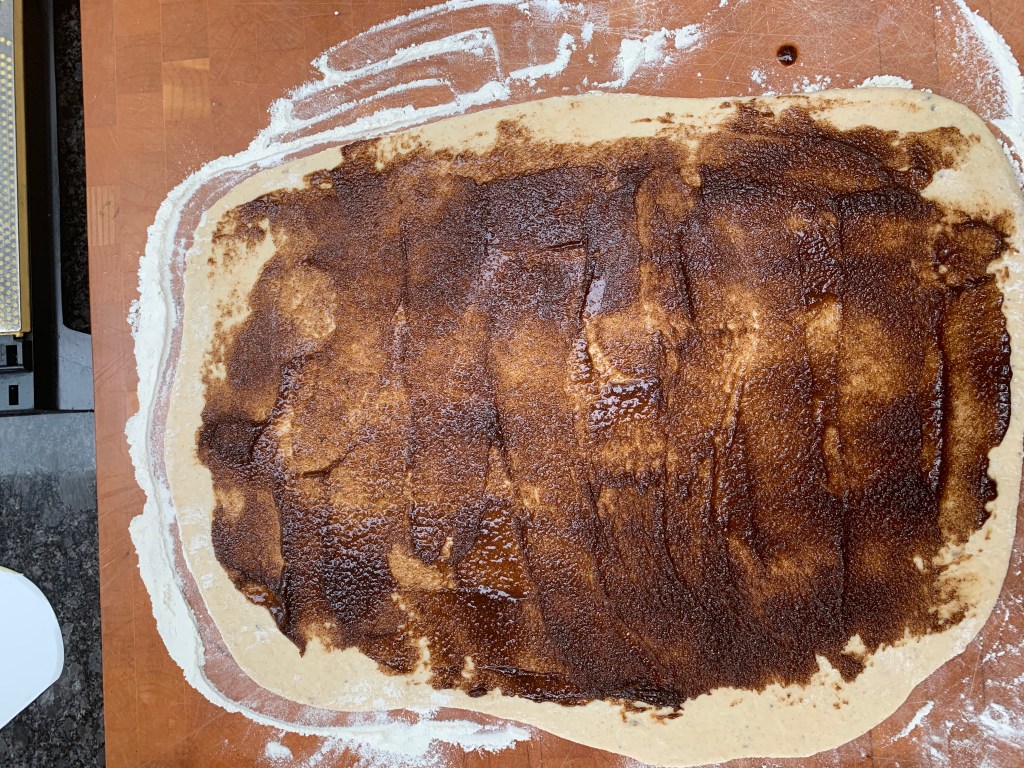
Roll out the dough on a lightly floured board until you have a thin rectangle around 50cm x 40cm – try and be as accurately rectangular as you can manage, otherwise (as you’ll see from my photos) the two buns at the end will be rather conical and rather shorter of filling.
Make an egg wash by whisking the egg and milk together until smooth
Slice the dough into sixteen even slices.
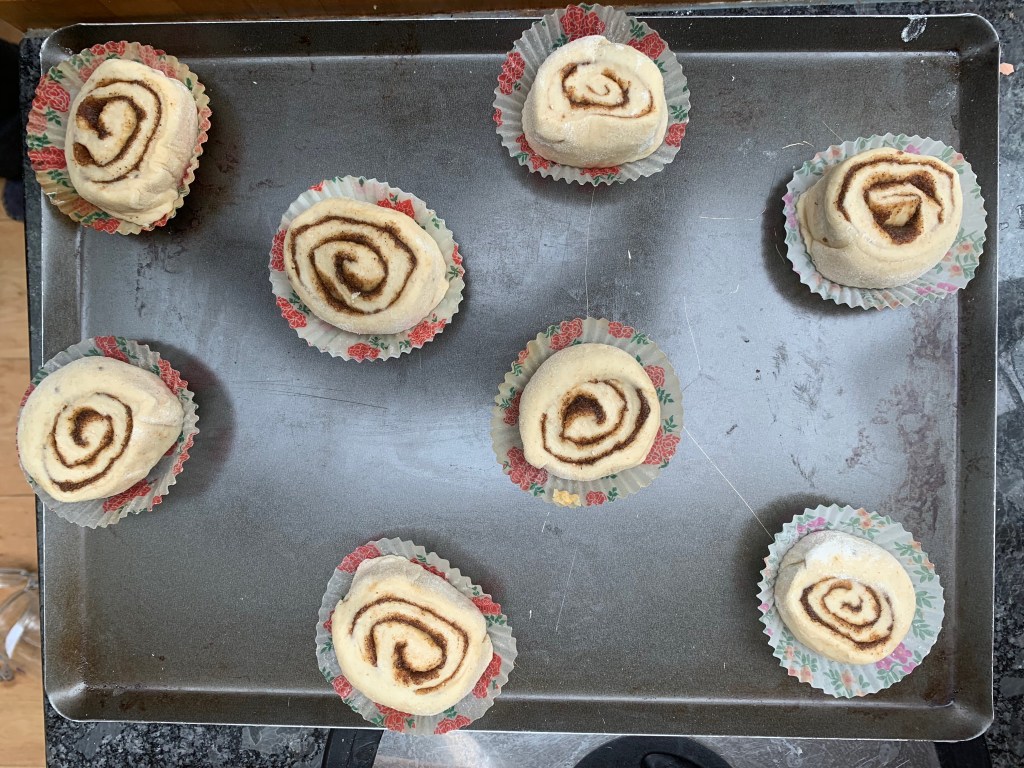
Prepare two baking trays and array eight buns on each one. If you have paper bun cases, use them: they help the buns keep their shape. If not, make sure the trays are properly greased.
Brush some egg wash over each bun
Bake the buns until golden brown: this should take around 8-10 minutes; if you did both trays at the same time in the oven, the bottom tray will need a couple of minutes longer.
Cool on a wire rack.
Dough rolled out
Filling spread
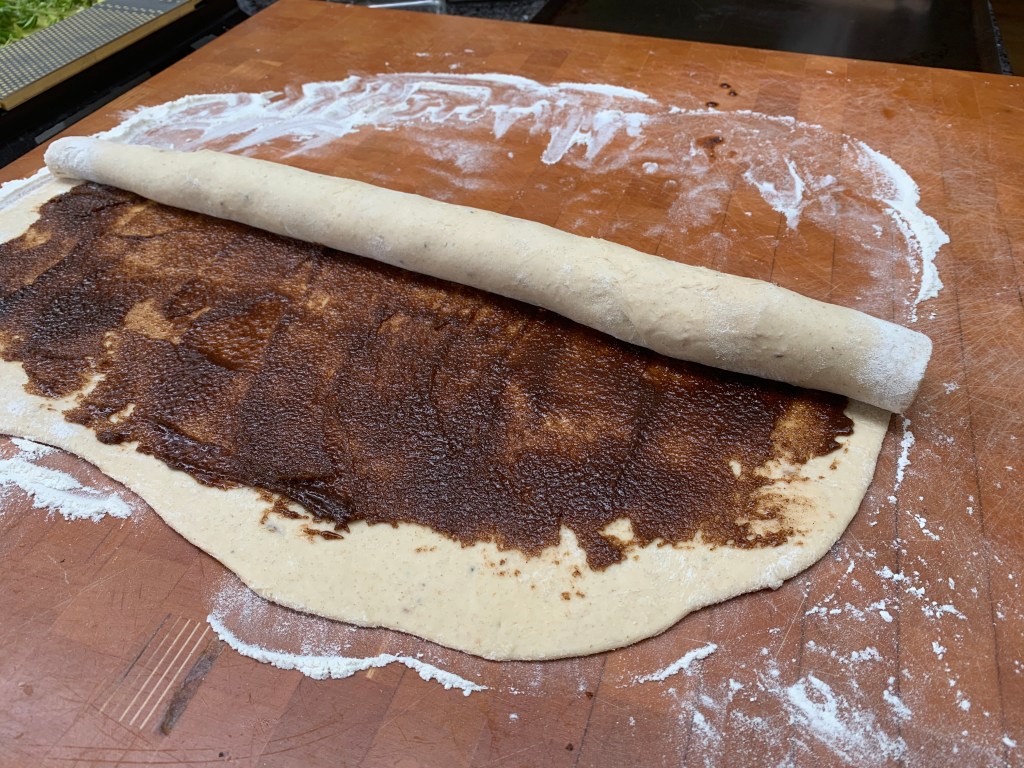
Rolling it up
Note the space left between buns: they will expand.
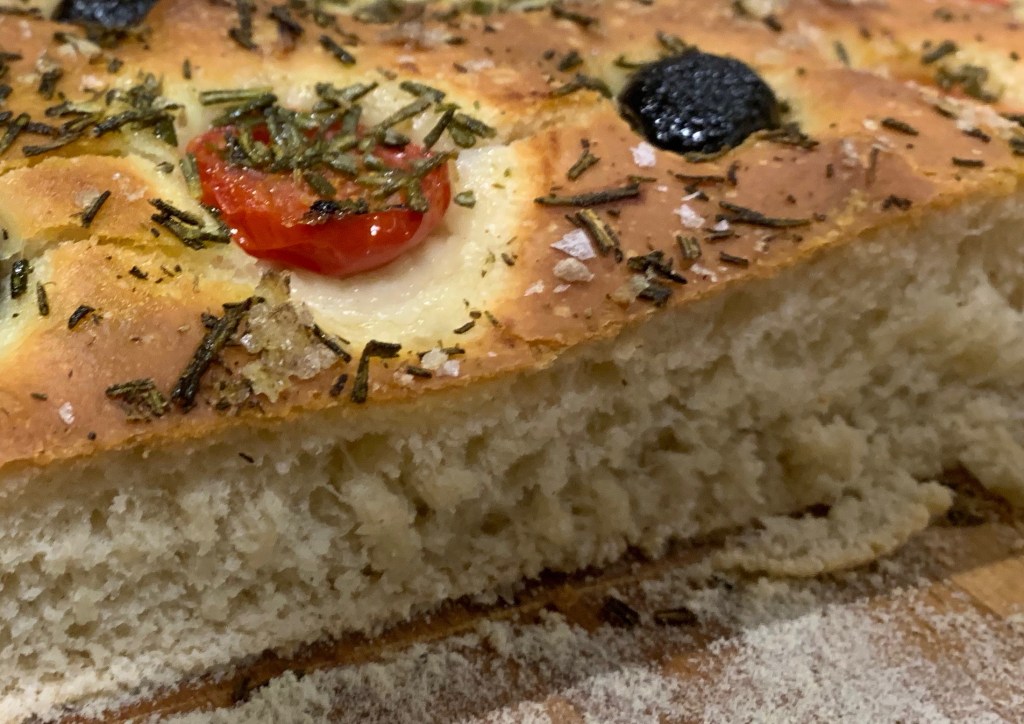
With apologies to ciabatta-lovers, focaccia is the Italian bread par excellence. Its pillowy, soft texture, coupled with a crisp outside, a slight crunch of salt flakes and the aroma of olive oil simply can’t be beaten.
My focaccia recipe is, to be honest, a bit of a mongrel. Prior to this strange year, I was visiting Italy around twice a year, but the best focaccia I have ever had was not made by an Italian but by an Indian chef at a hotel in the mountains of Oman who swore by a triple proving. The softest, most pillowy dough – my ideal focaccia consistency – comes from the kneading method in the Persian flatbread recipe in Sabrina Ghayour’s Persiana. I’ve gone for Giorgio Locatelli’s recommendation for flour (from his Made in Italy, via Felicity Cloake’s round-up recipe in her excellent “The perfect xyz” series in The Guardian), and done toppings as suggested by Italian-American Maurizio, aka The Perfect Loaf. Personally, I think the results are well worth the extra effort, but there are certainly shortcuts available if you’re pushed for time.
Two important variables are the salt and oil content. I eat a fairly low salt diet and the amount in here is about the maximum I can take. For some, even this will be too much; for others, this won’t be nearly enough compared to the salt hit they expect from a focaccia. My focaccia is also relatively low in oil: you may prefer to drizzle on a lot more than me. You’re just going to have to experiment until you get these to your taste.
Also, I’ve opted for a 40cm x 30cm tray, which gives a flattish focaccia with a relatively short, hot baking time. A variation would be to use a smaller, higher-sided tin and a lower temperature (say 200℃) for a loaf with a higher ratio of inside softness to outside crust.
400ml warm water (around 40℃)
20g sugar
8g dried yeast
375g strong white bread flour
375g OO flour
10g salt
100ml olive oil, plus 30ml for the drizzle
A tablespoon or so semolina flour (optional)
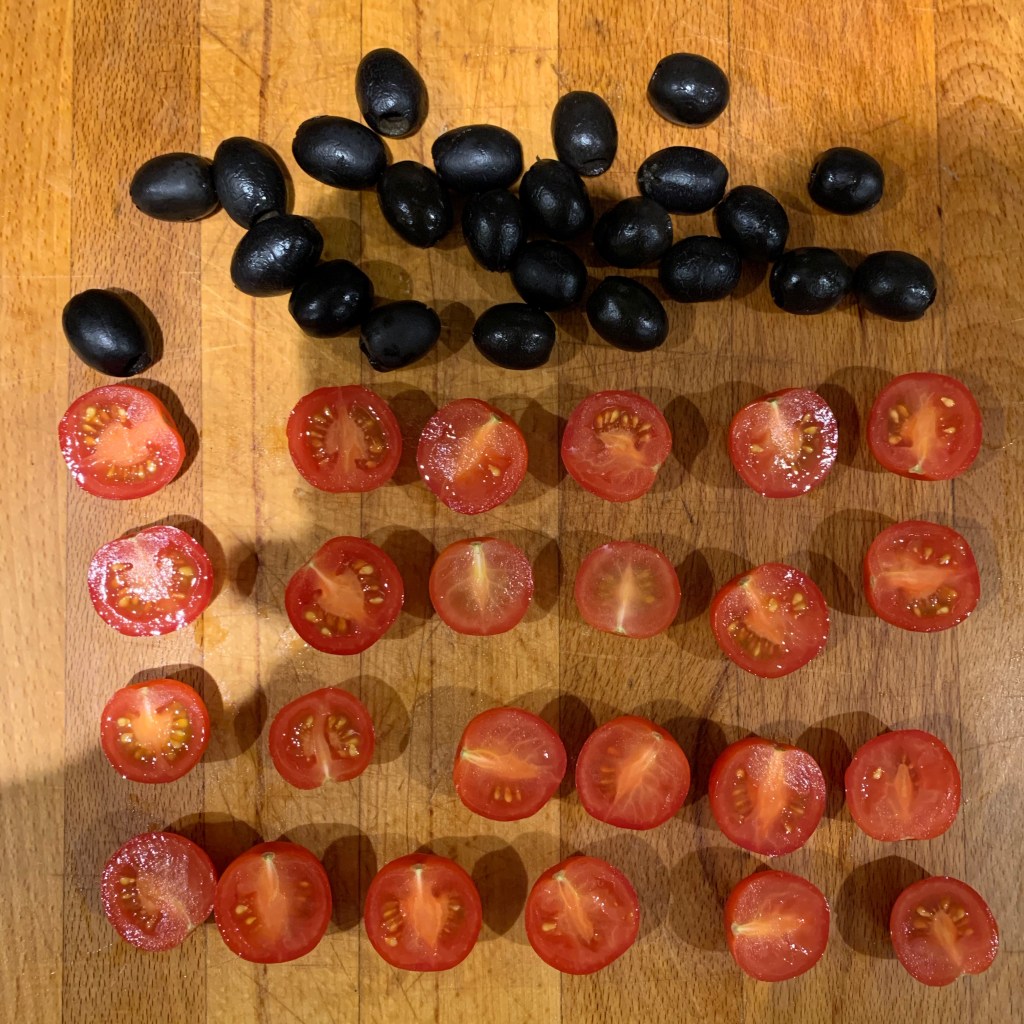
12 cherry tomatoes
24 black olives, pitted
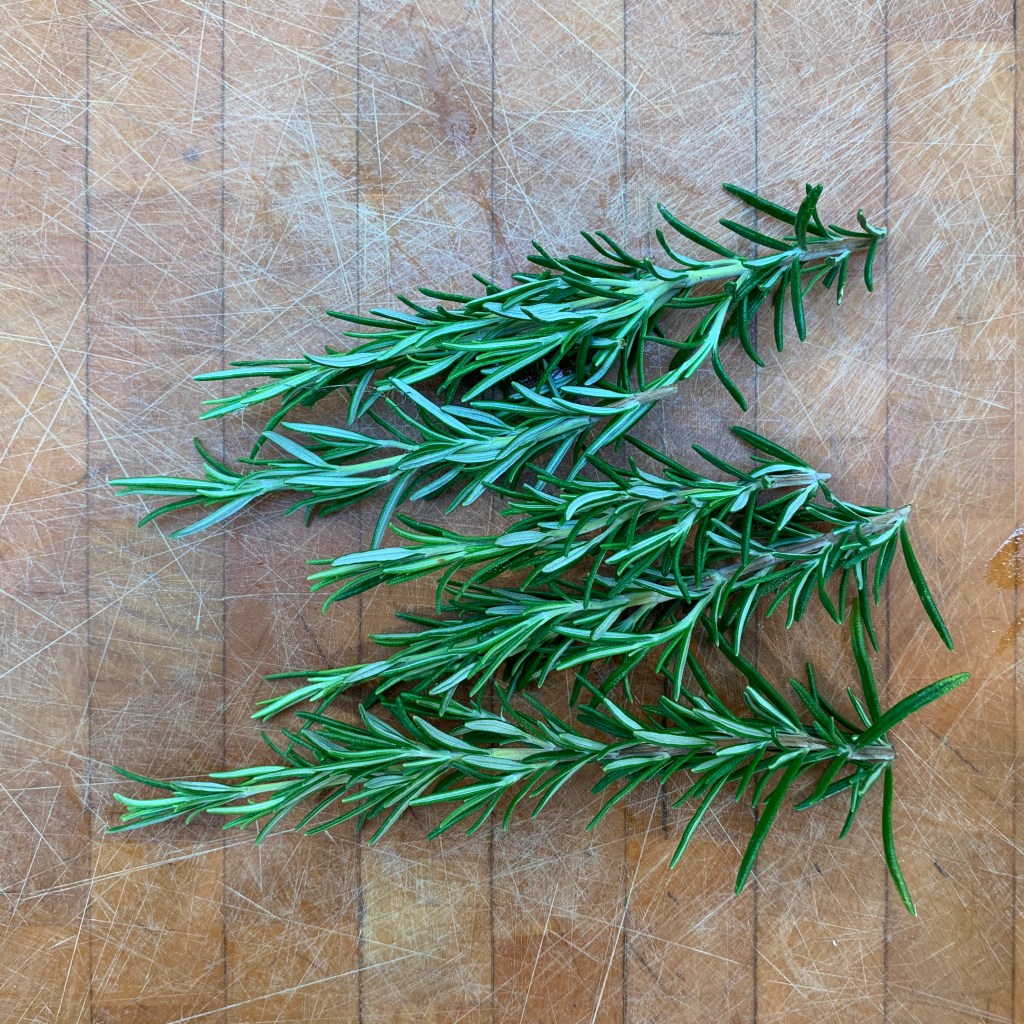
Half a dozen sprigs of rosemary
20ml cold water
10g sea salt flakes
My choice of toppings – you can use many other things!
There are some options as to how to prepare baking trays. You’re trying to get high heat onto the base of your focaccia as soon as you can, so Cloake suggests that you preheat a pizza stone in your oven and “transfer” the focaccia to it. That’s all very well, but it’s difficult to transfer a large rectangle of dough while keeping its shape, without the toppings falling off. I opted for a metal baking tray placed onto the stone: metal is a good conductor and this did the job just fine. An alternative is to lay out your focaccia on baking parchment: if you don’t have a pizza stone, you’ll want to preheat the metal tray and then move your dough to the heated tray while still on its parchment base.
As ever, rising times depend completely on the temperature in your kitchen, and the alternatives should be obvious if you don’t have a stand mixer.
Combine water, sugar and yeast; leave for a few minutes until frothy
In the bowl of your stand mixer, combine the flours and salt and stir until mixed evenly
Add the wet mix and 100ml olive oil to the dry mix
With the standard paddle, mix for a minute or so until you have a smooth dough: you should find that it comes away cleanly from the sides of bowl
Switch to the dough hook and knead for 5 minutes
Leave to stand for 10 minutes, then knead for another 2 minutes. Repeat this.
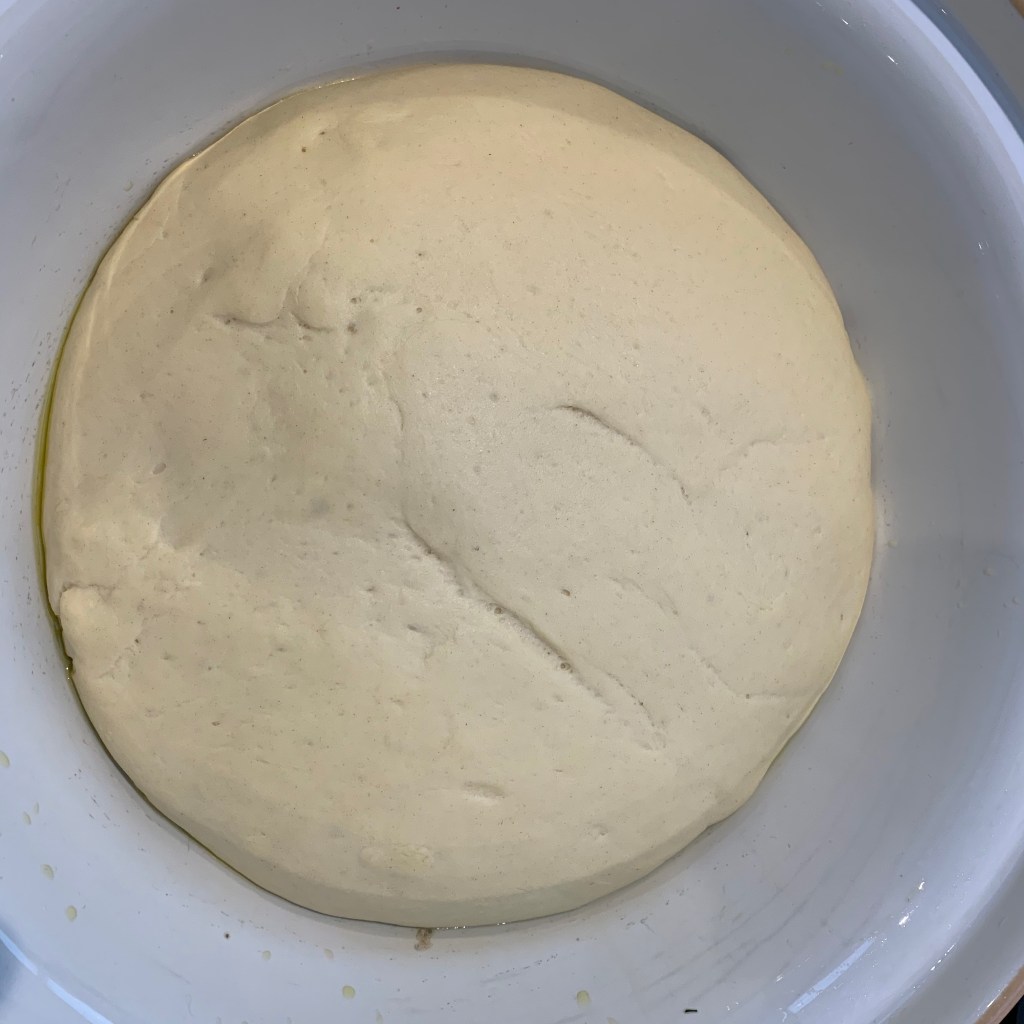
Brush a little olive oil over the surface of a large bowl, transfer your ball of dough to it, cover and leave to rise for around 60-90 minutes.
If you’re using baking parchment, line your baking tray with it. Optionally, dust a tablespoon or two of semolina flour over this.
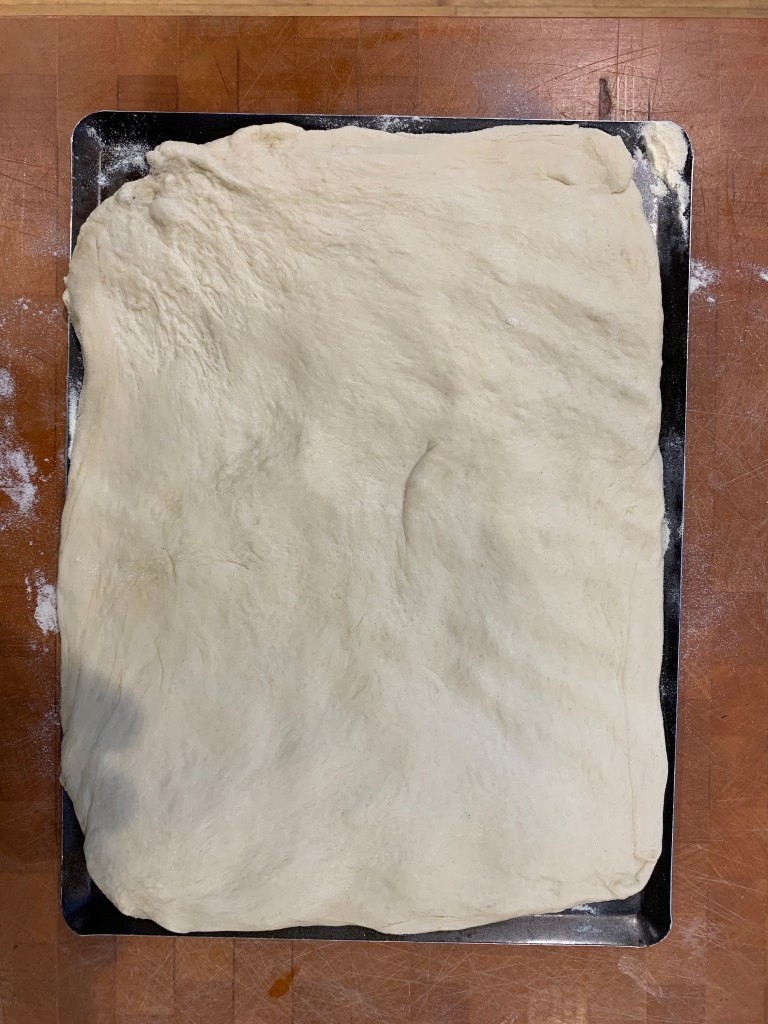
Knock back the dough and shape it into a rectangle covering the whole tray, Make it as even as you can: you’ll get some resistance, but you can pull it around with little danger of tearing.
Cover with a tea towel and leave to rise for another 45 minutes or so.
If using a pizza stone, put it into your oven now. Otherwise, slide the parchment sheet off your baking tray and put the tray into the oven.
Preheat oven to 250℃ fan (or as near as you can get).
Leave the dough for its second rise, around 45-60 minutes.
Meanwhile, prepare your toppings: chop of blitz the rosemary very fine, halve the cherry tomatoes. If your olives came in brine, wash them thoroughly to remove the salt.
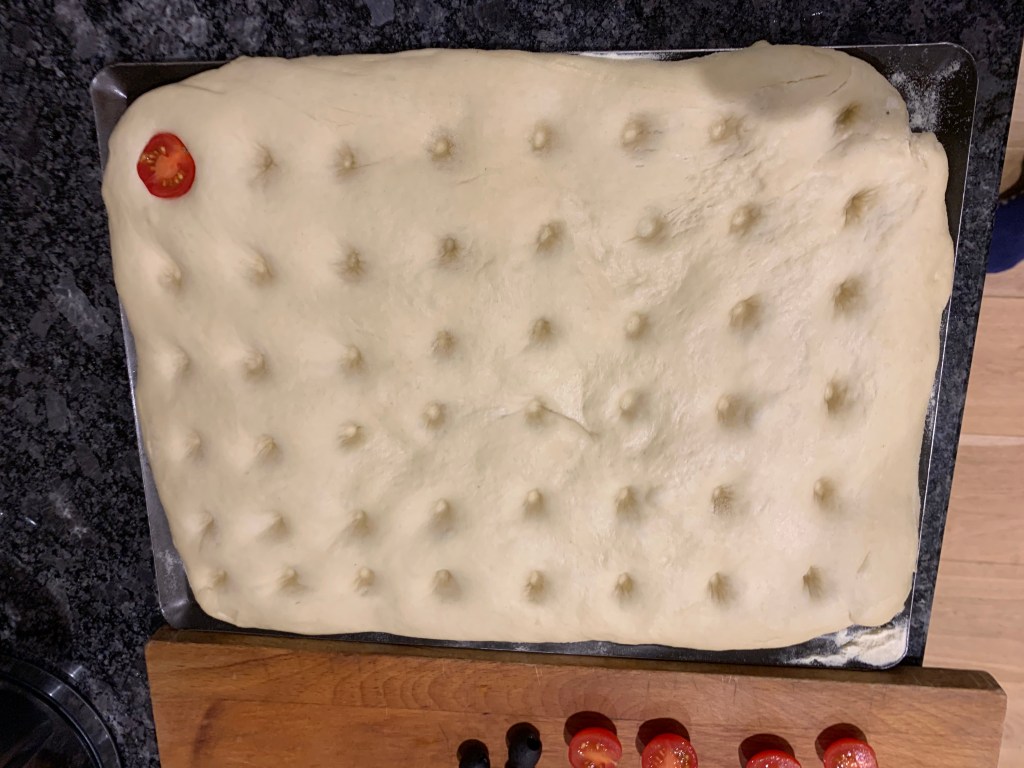
Uncover the dough and with a finger, press a pattern of 6 x 8 indentations into it with a finger, going deep. Press the cherry tomato halves and the olives into the indentations in a chequerboard pattern (that’s why I’ve been fussy about the numbers). Sprinkle the rosemary evenly over the top.
Cover with a tea towel again and leave for another 30-45 minutes.
Prepare a mixture of 30ml olive oil and 20ml water, whisking with a fork until emulsified. Spread this evenly over the focaccia.
Sprinkle the sea salt flakes evenly over.
Now work quickly: open the oven, take out the stone or tray, transfer your focaccia to it, replace it in the oven and close. Now reduce the oven temperature to 225℃.
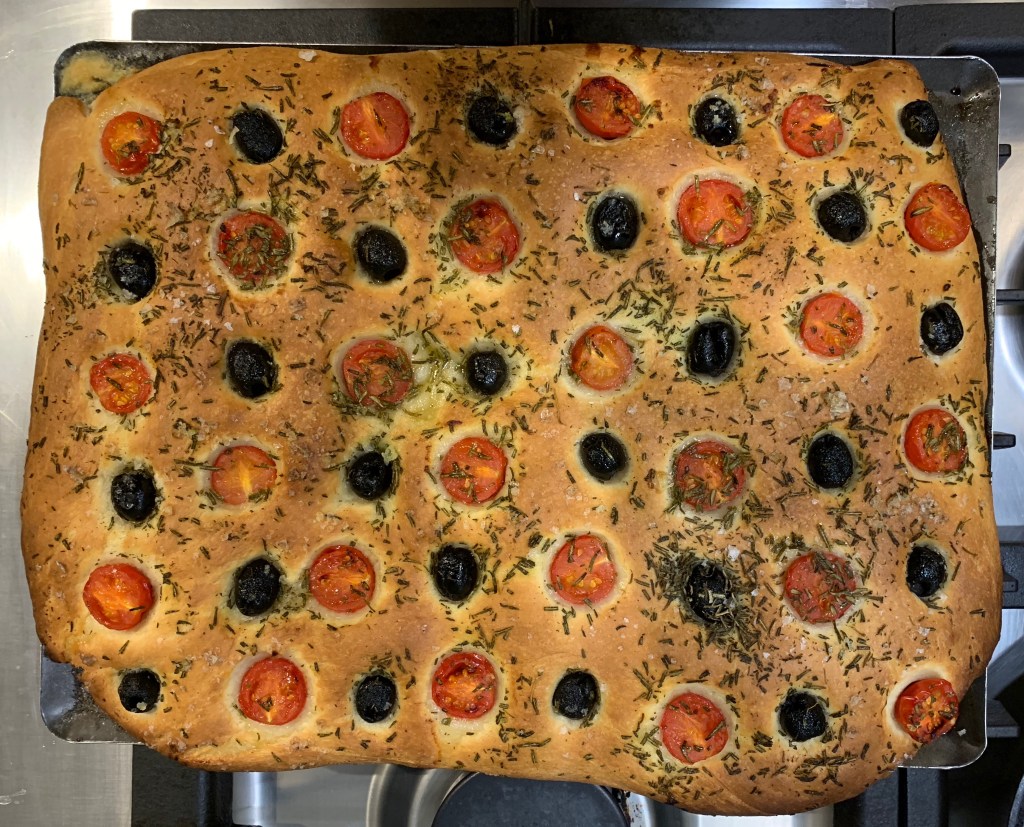
Bake for around 20-25 minutes until golden brown.
Remove from the oven, slide the focaccia onto whatever board or tray you’re going to serve it on, and leave to cool for a few minutes before eating. This may be the hardest thing in the recipe, but you don’t want to burn your mouth!