So we all know what Danish pastry is, don’t we?
Well, possibly not. If your idea of “a Danish” is the syrup-coated sugar hit provided with overbrewed coffee in the average American conference room (I have scars from my corporate days), you will either love or hate the idea of the real thing: a delightfully flaky treat which is far lighter and has far more flavour and less sugar than you’re used to.
Anyway, Danish pastry isn’t really Danish, or at least not in origin. It was first made in Denmark by Austrian bakers (possibly as a result of a bakery strike in 1850), and the Danes call it Wienerbrød (“Vienna bread”), in exactly the same way as the French refer to croissants and their many relatives as “viennoiserie”.
Wienerbrød comes in many shapes and sizes, the most common being called a Kringle, and with many fillings. They all have a common base of yeasted multilayer pastry, made by the usual puff pastry method of repeated folding and rolling. The slight twist is that many Danish recipes don’t use pure butter in between layers of dough, preferring a butter/flour (or sometimes butter/sugar or butter/marzipan) mixture which they call a “remonce” filling. Remonce can be flavoured in all sorts of ways (I’ve used cinnamon) and the pastry as a whole can be filled with all sorts of things – I’ve chosen blueberry and walnut.
Translation can be confusing: Kringle is the Danish word for a pretzel shape, but I’ve seen lots of Kringle recipes suggesting that you use a simple rectangle or a braid. I wasn’t feeling confident about doing complicated curves in puff pastry, so I went for one each of the simple rectangle and the braid.
The basic dough recipe comes from scandikitchen.co.uk – I’ve gone slightly less rich.
The remonce filling
- 250g butter, softened
- 10g ground cinnamon
- 25g flour
- Thoroughly mix the butter, cinnamon and flour. You can use your hands, a wooden spoon, a mixer or any implement you like, but make sure the butter doesn’t melt.
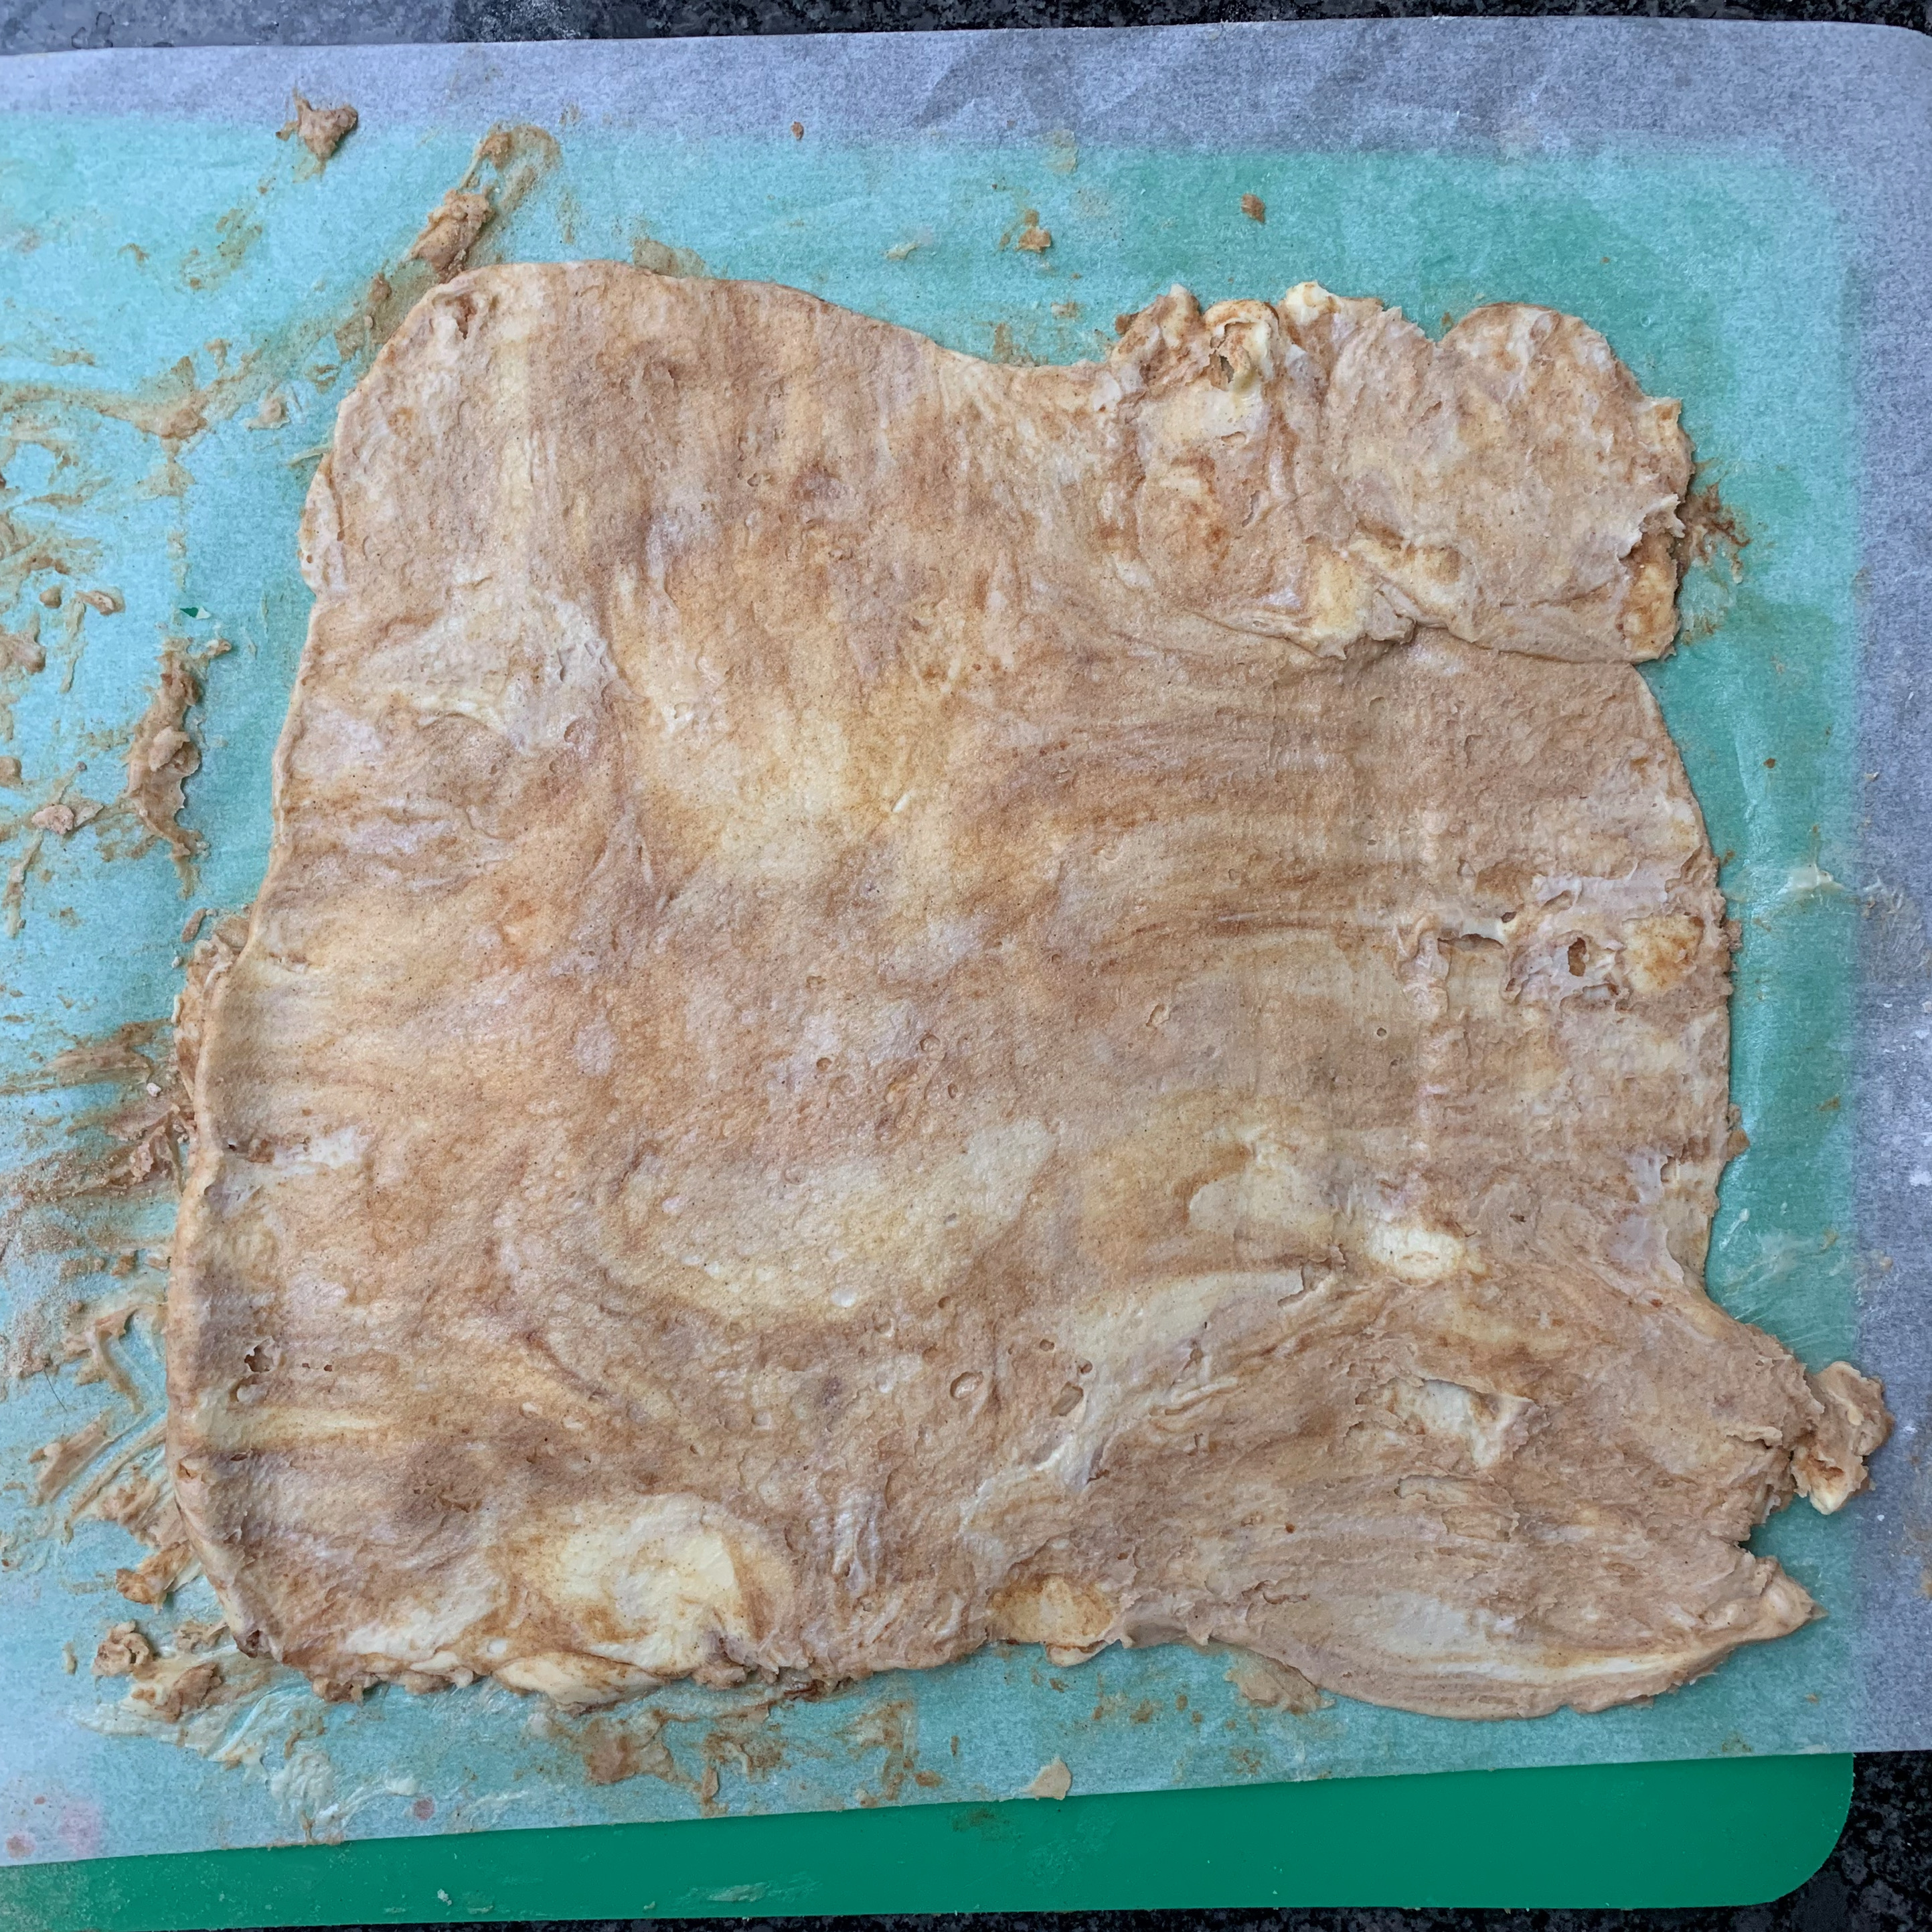
- On a large piece of baking paper (or possibly a sheet of cling film over a tray), spread out the remonce into a thin square, around 25cm x 25cm.
- Cover the square with another layer of baking paper or cling film and refrigerate until needed.
The dough
- 150ml milk
- 10g dried yeast
- 50g sugar
- 50g butter, softened
- 350g strong white bread flour plus at least 50g for rolling
- 8g salt
- 1 egg
- Warm the milk to tepid, around 35-40℃. Add the yeast, stir and wait 10-15 minutes for it to become frothy.
- Weigh out your flour and mix in the salt.
- Pour the milk/yeast mixture, the sugar and butter into the bowl of your stand mixer and mix briefly on high speed until well combined and you’ve got rid of most of the lumps of butter.
- Add around half the flour and mix, then the egg and mix, then the remaining flour.
- Switch to the dough hook and knead for 5 minutes.
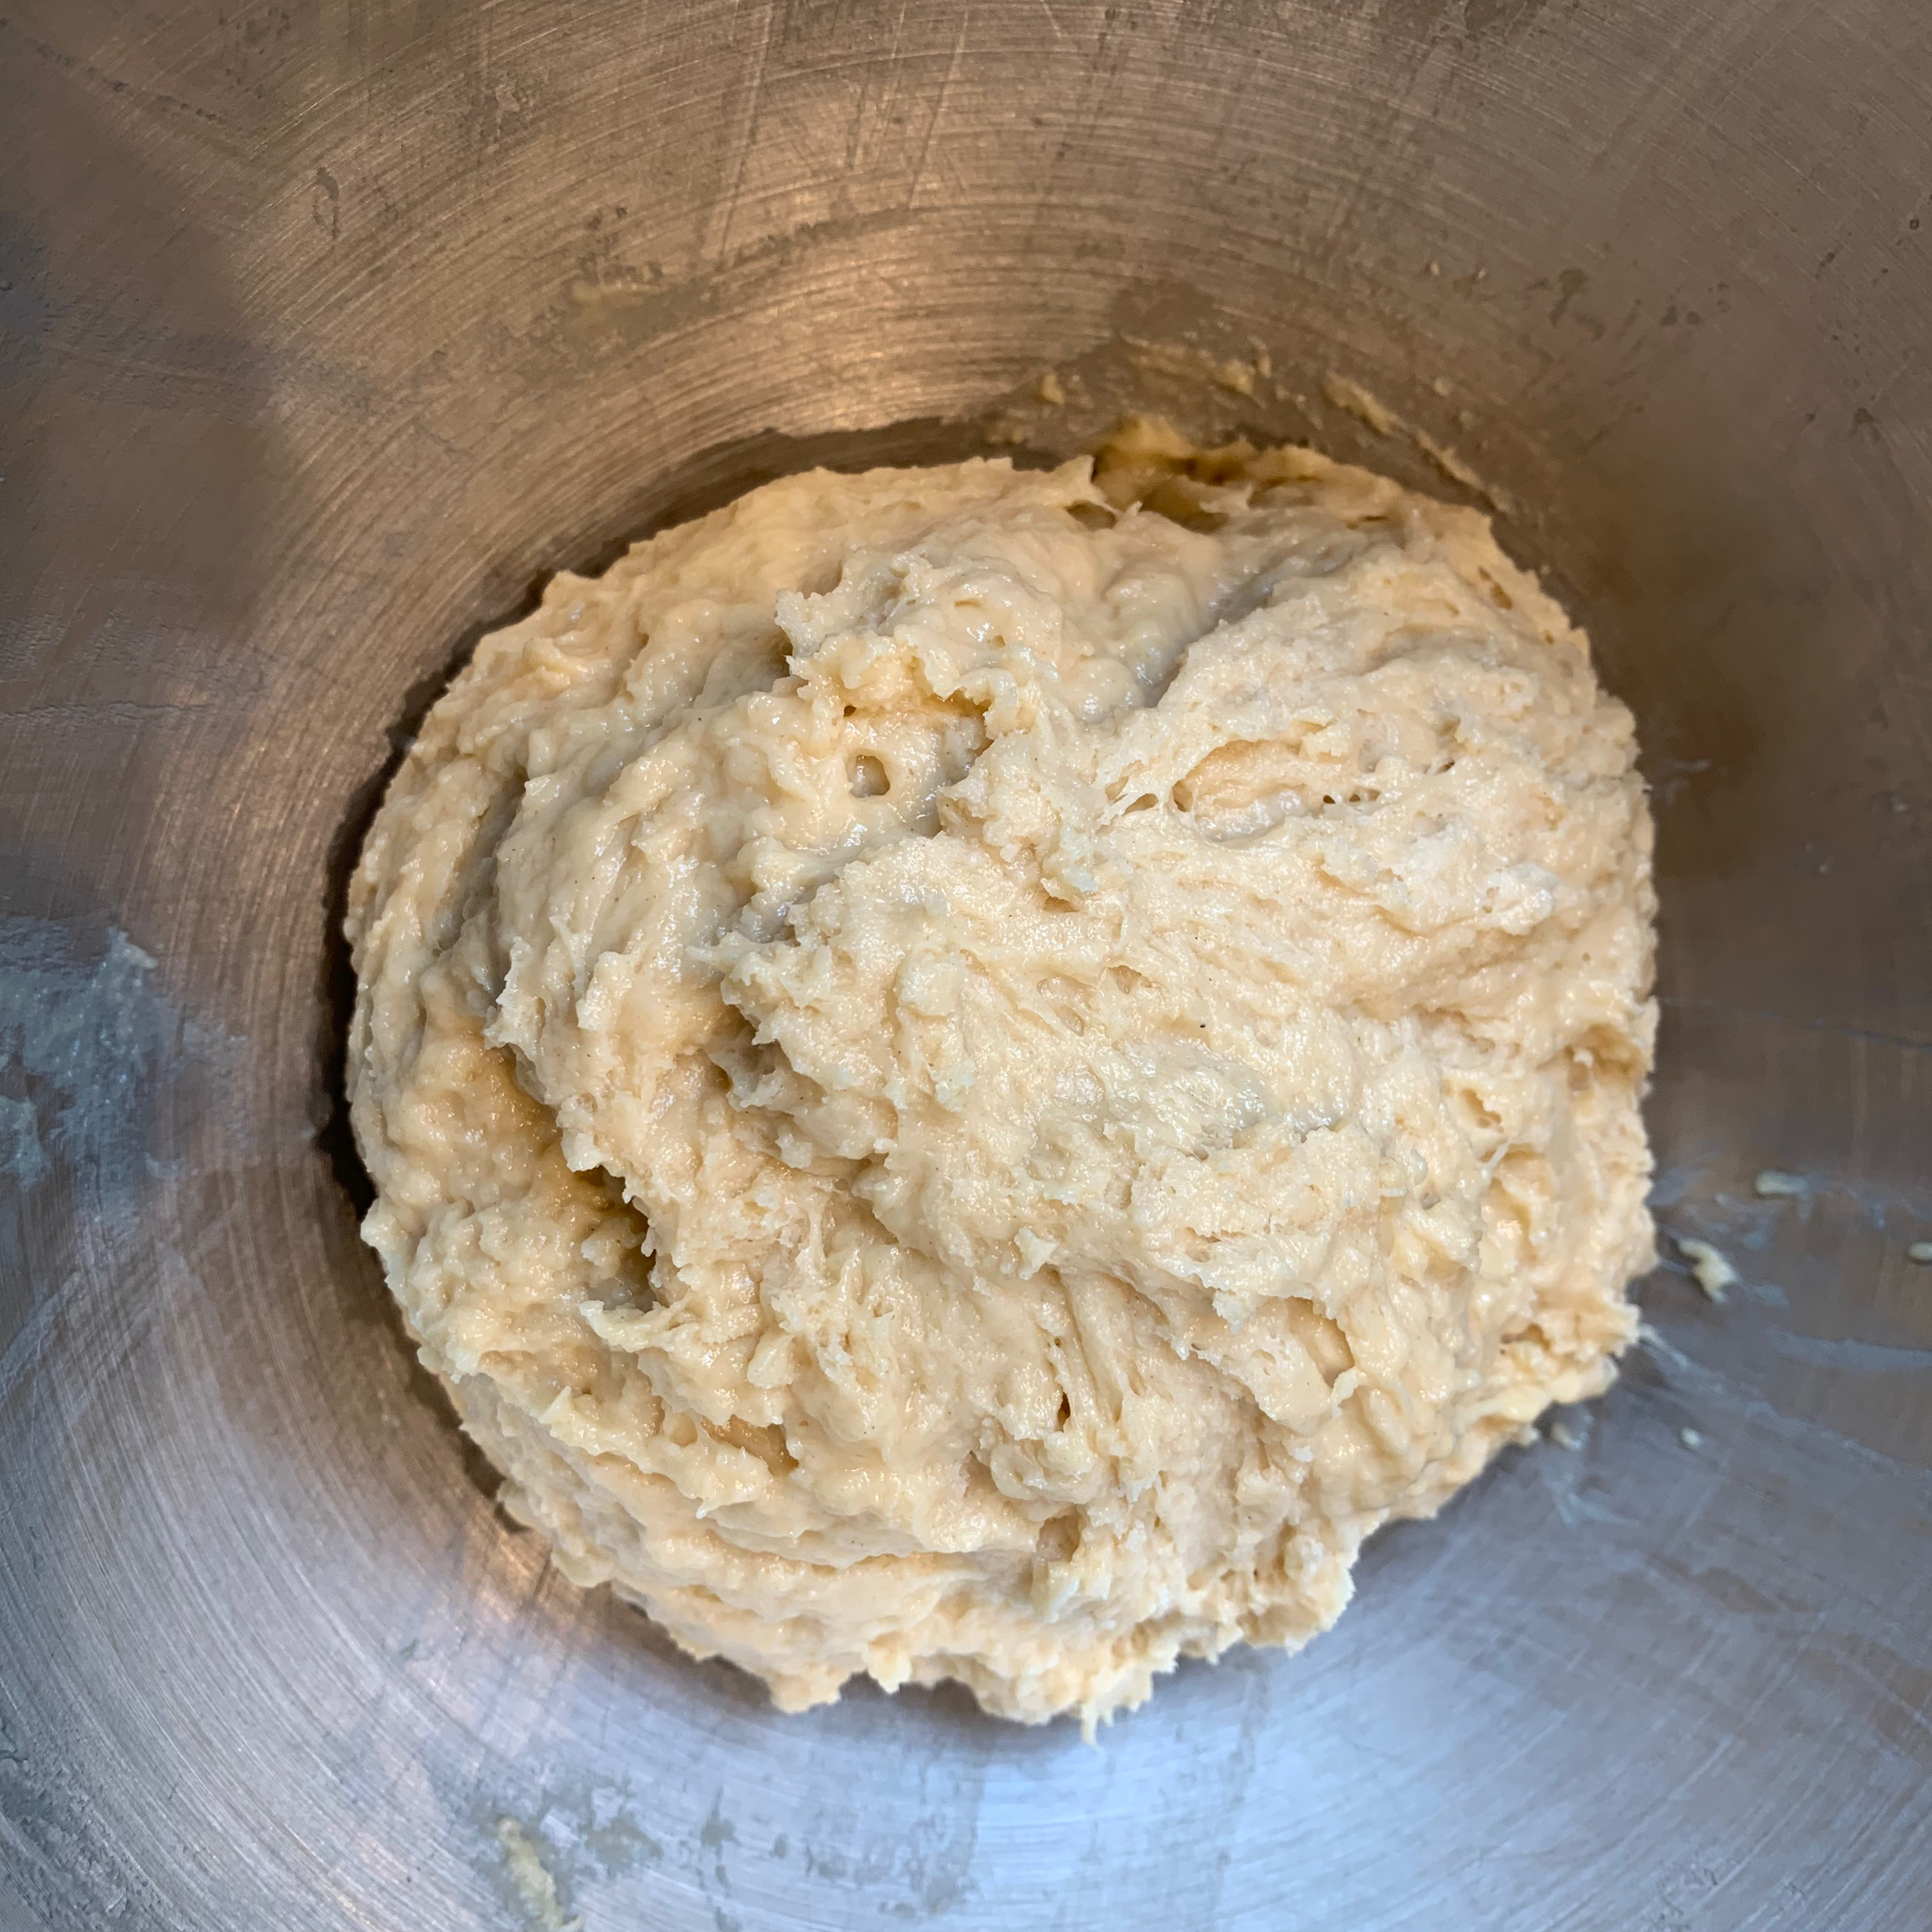
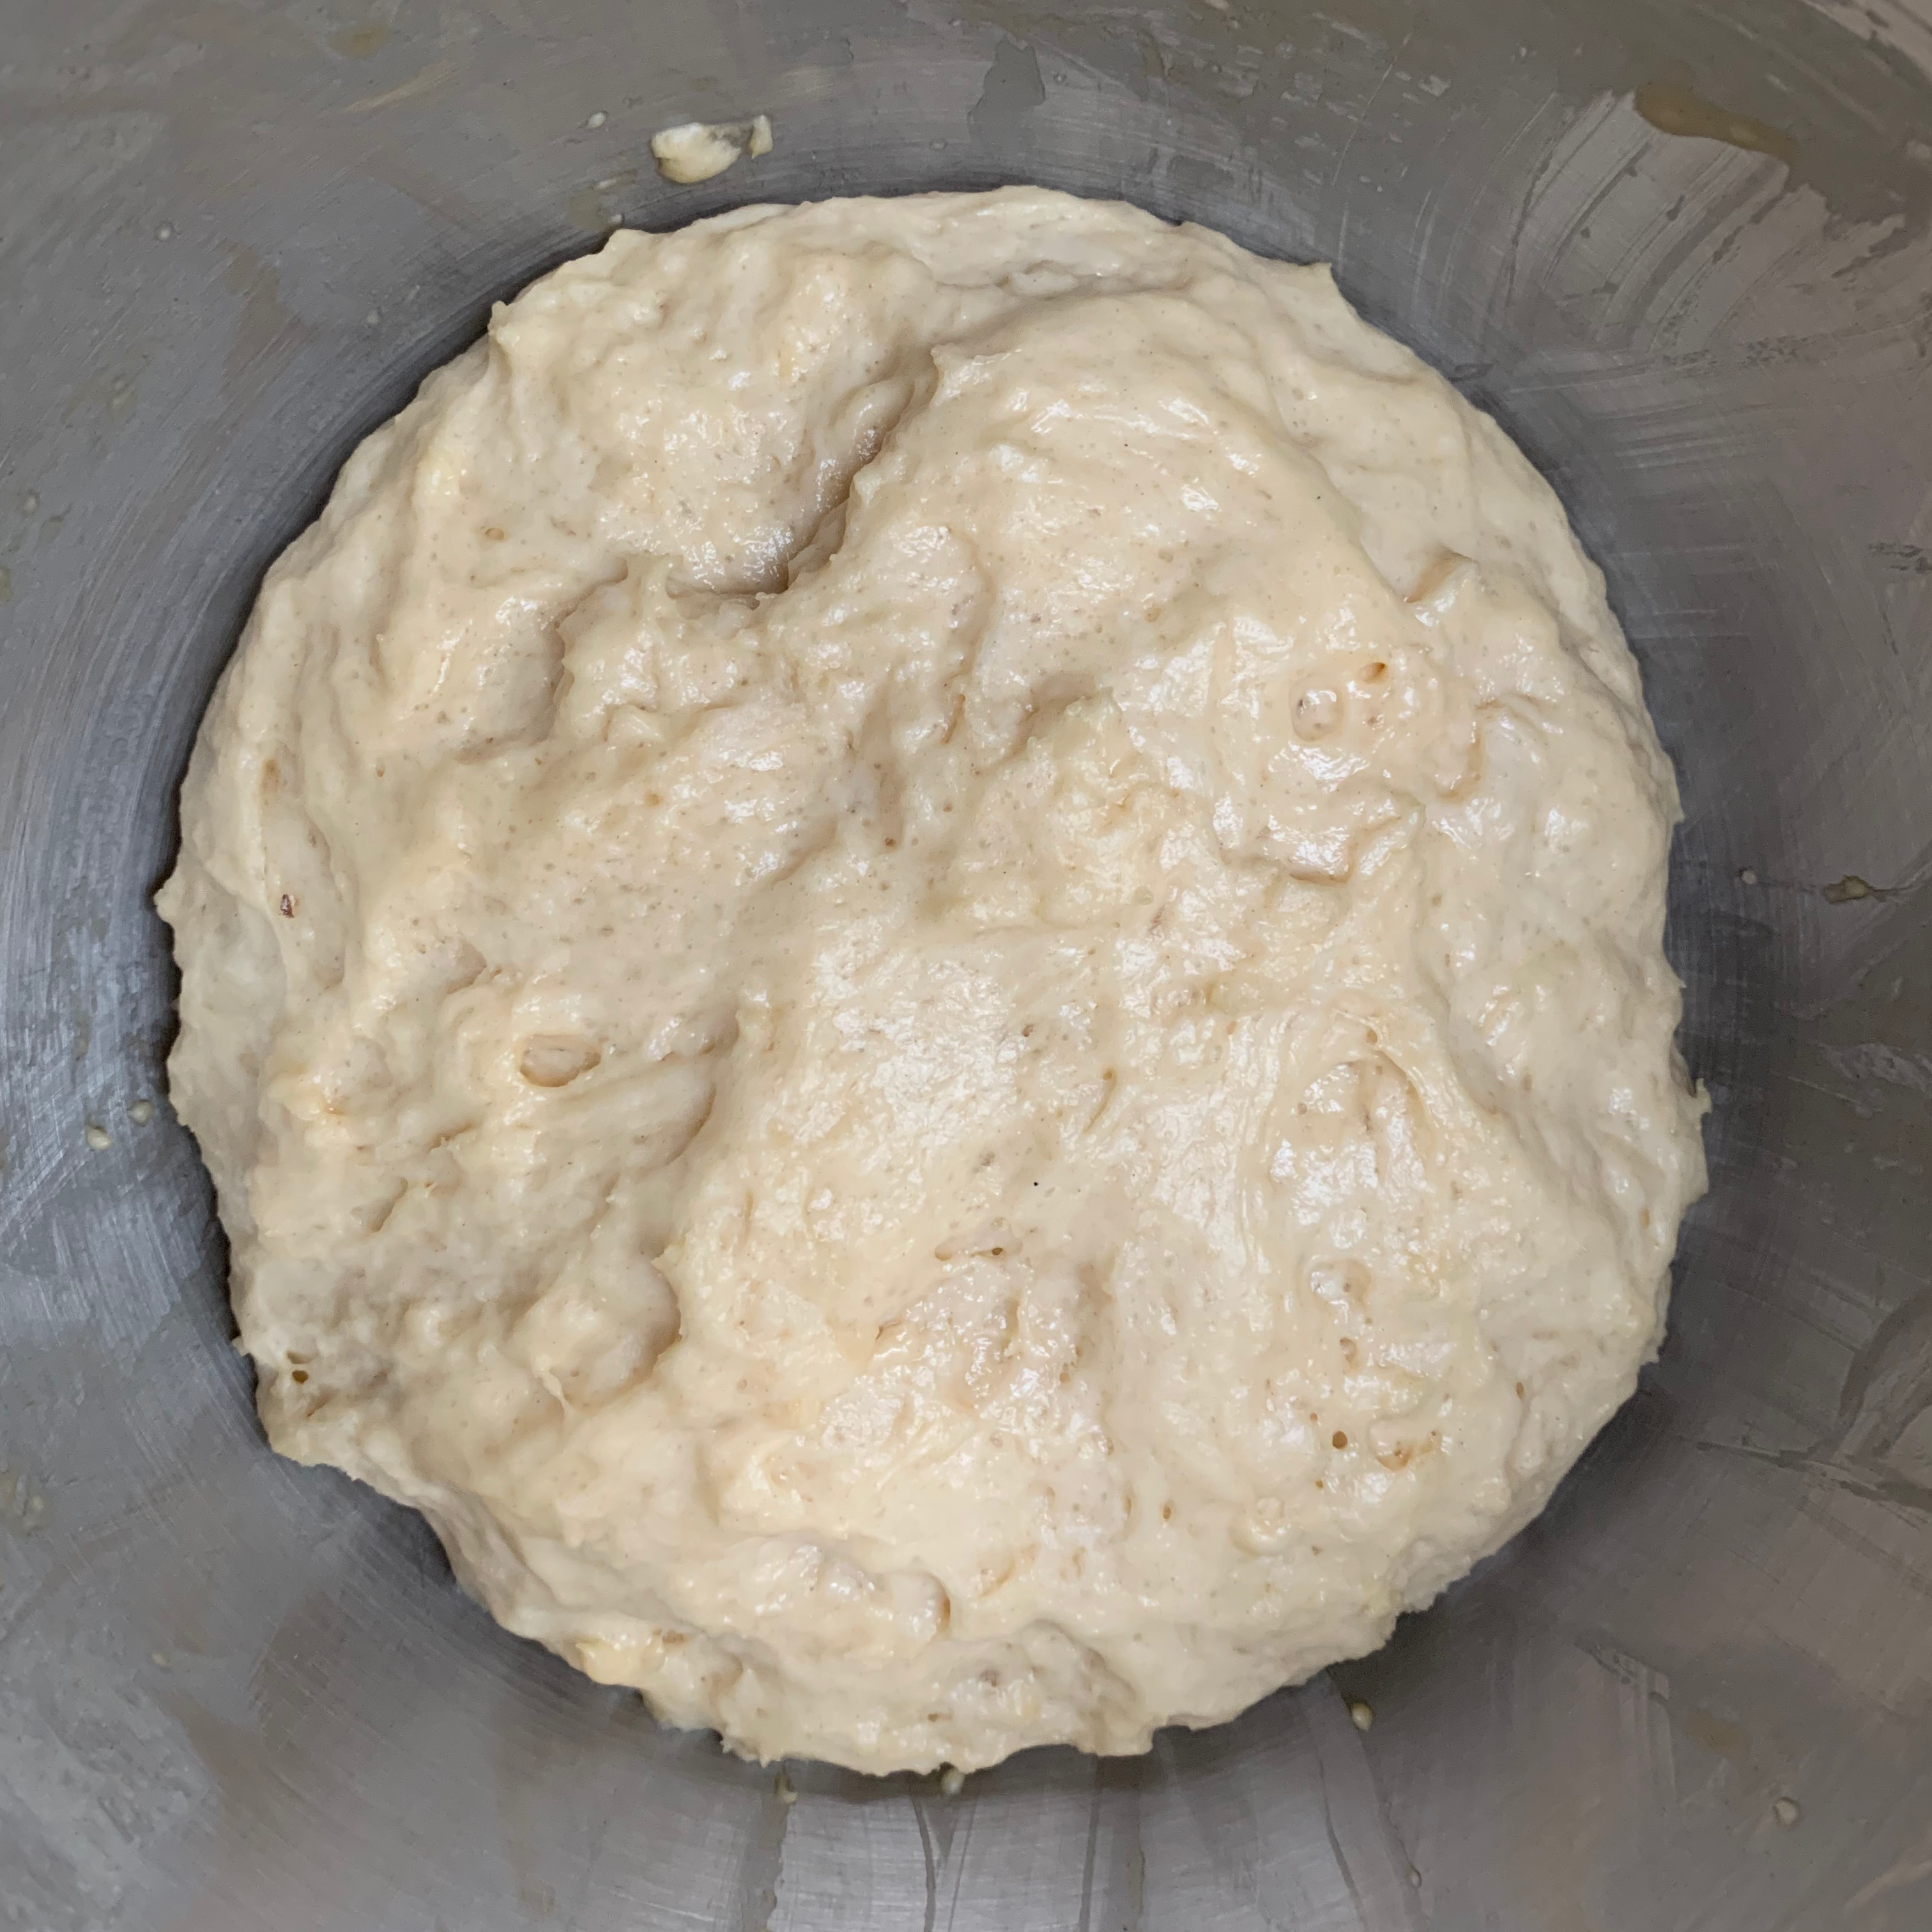
- Cover and leave to rise until doubled in size and nicely springy – 1-2 hours depending on the usual bread-making factors like your kitchen temperature and the quality of the yeast.
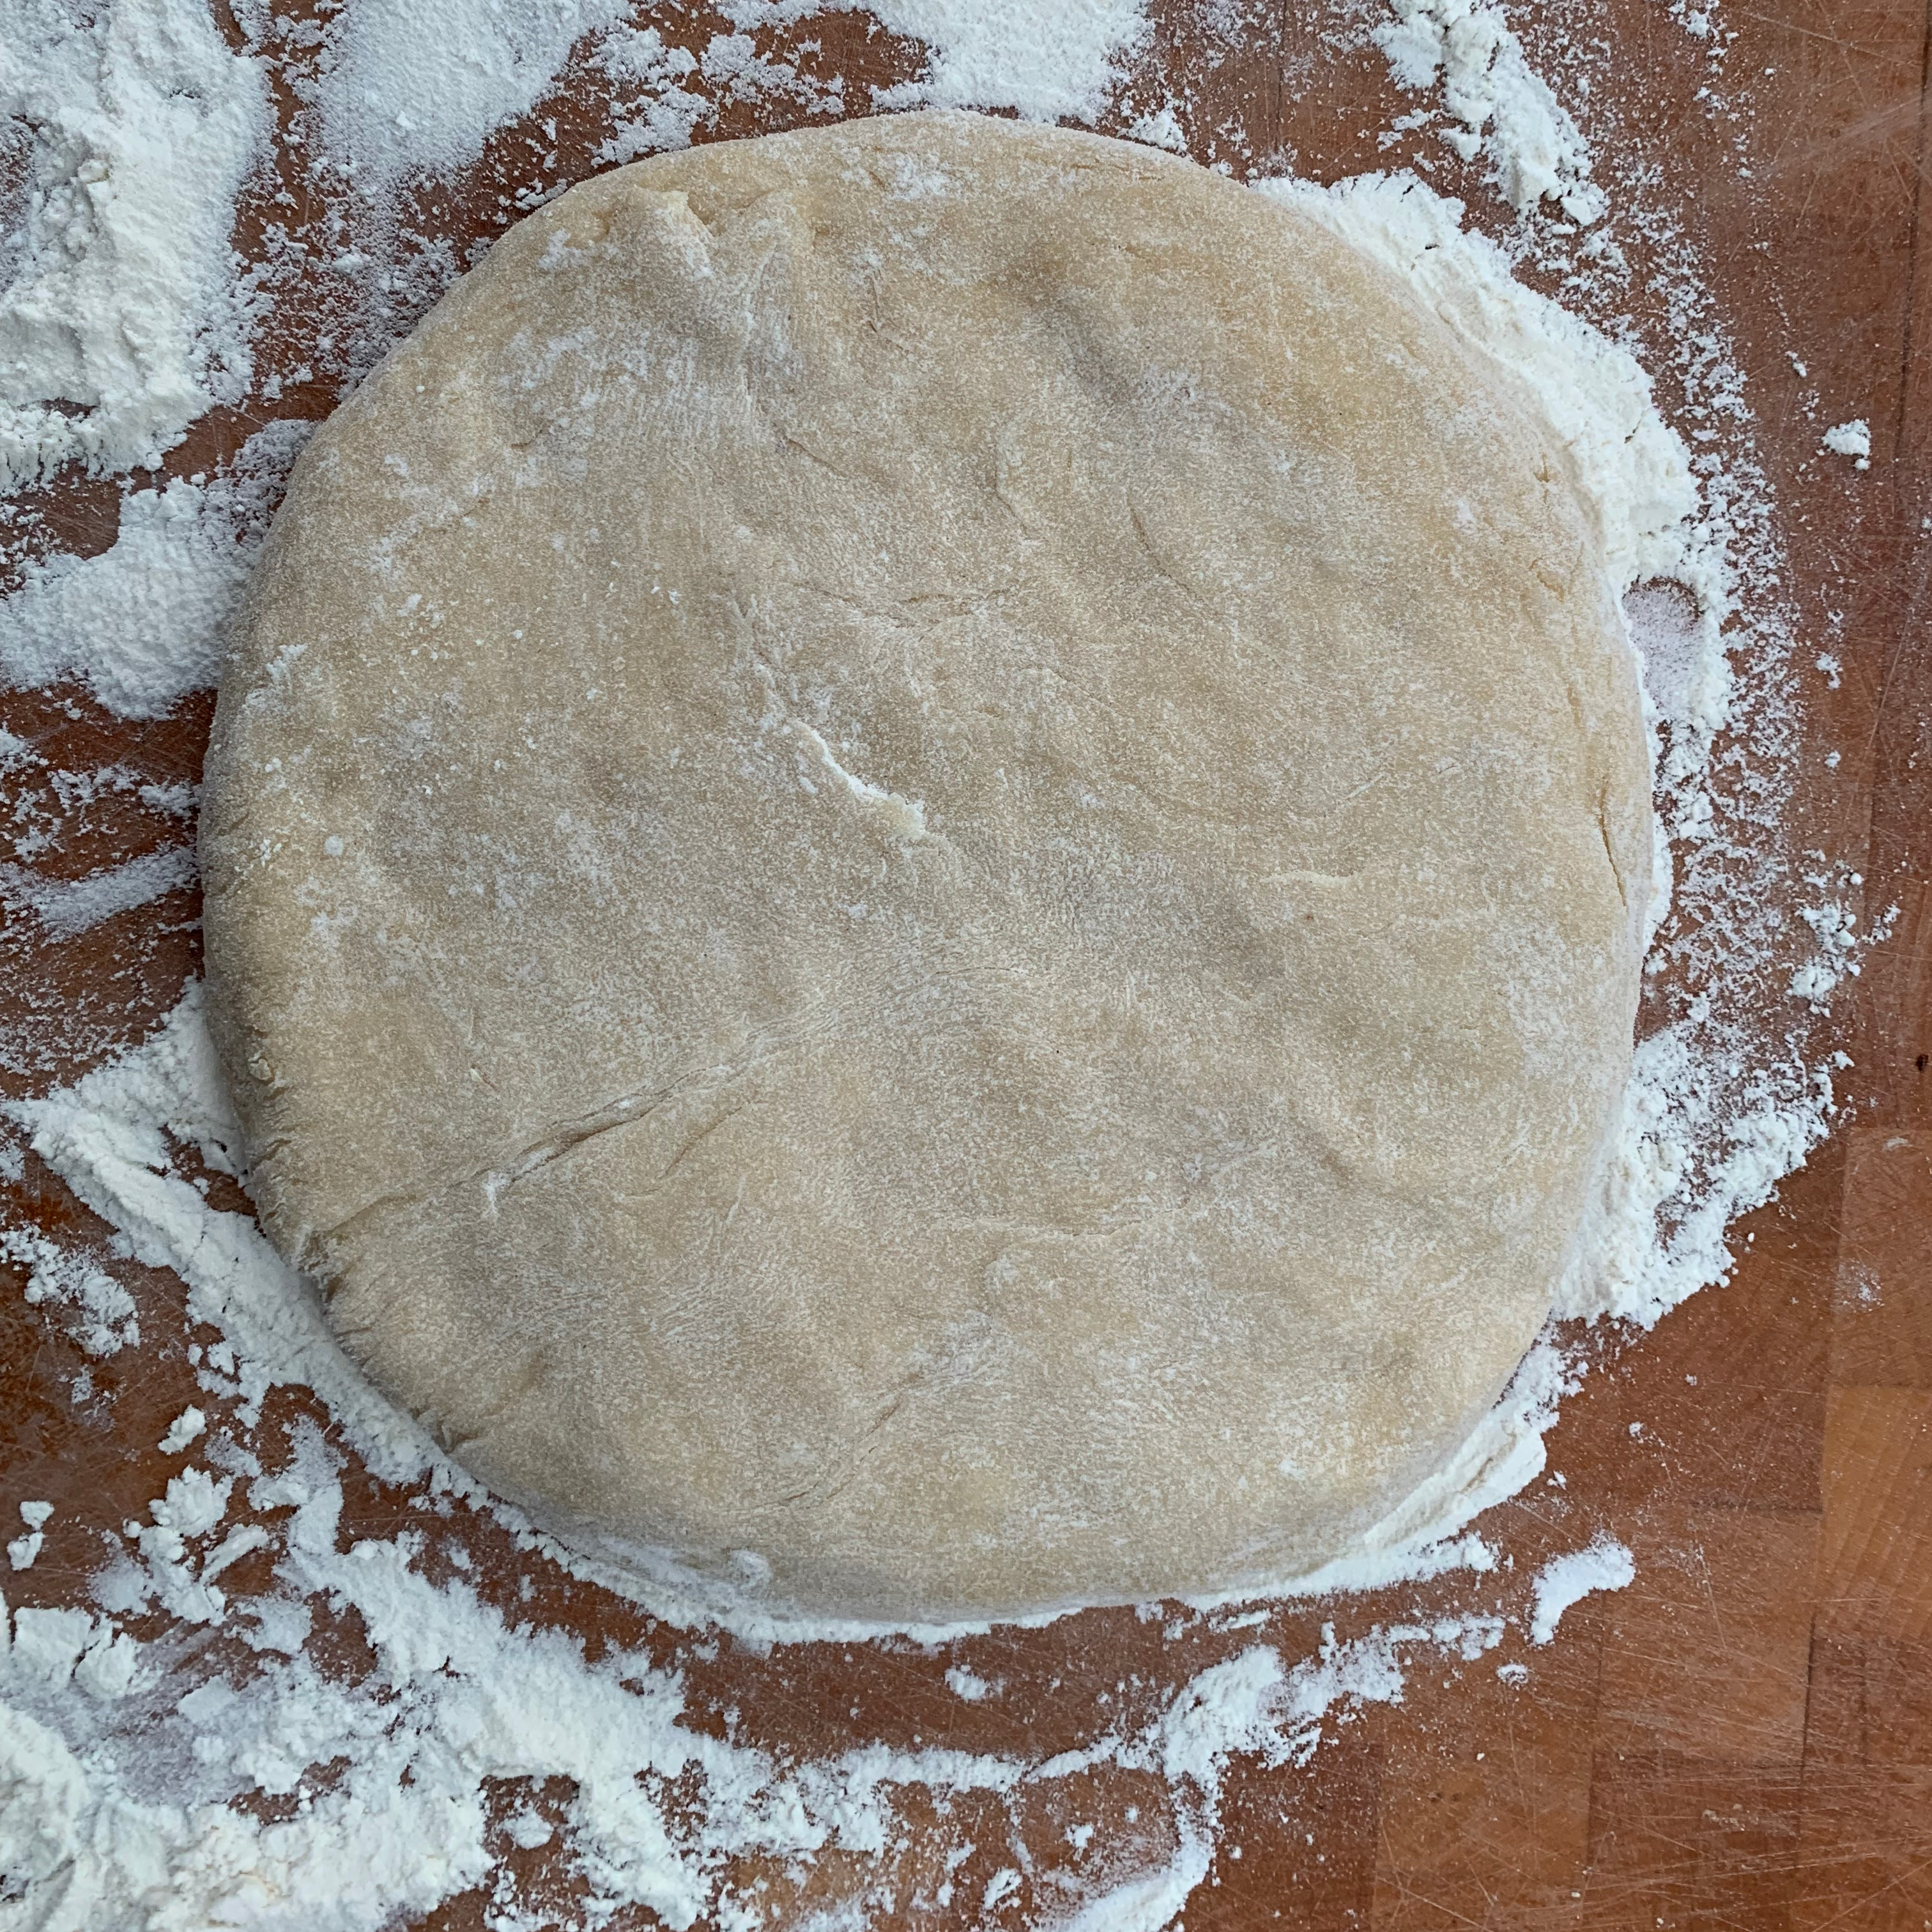
- Flour your hands and a board; take the dough out of its bowl, knock it back and form it into a flattened ball.
The filling
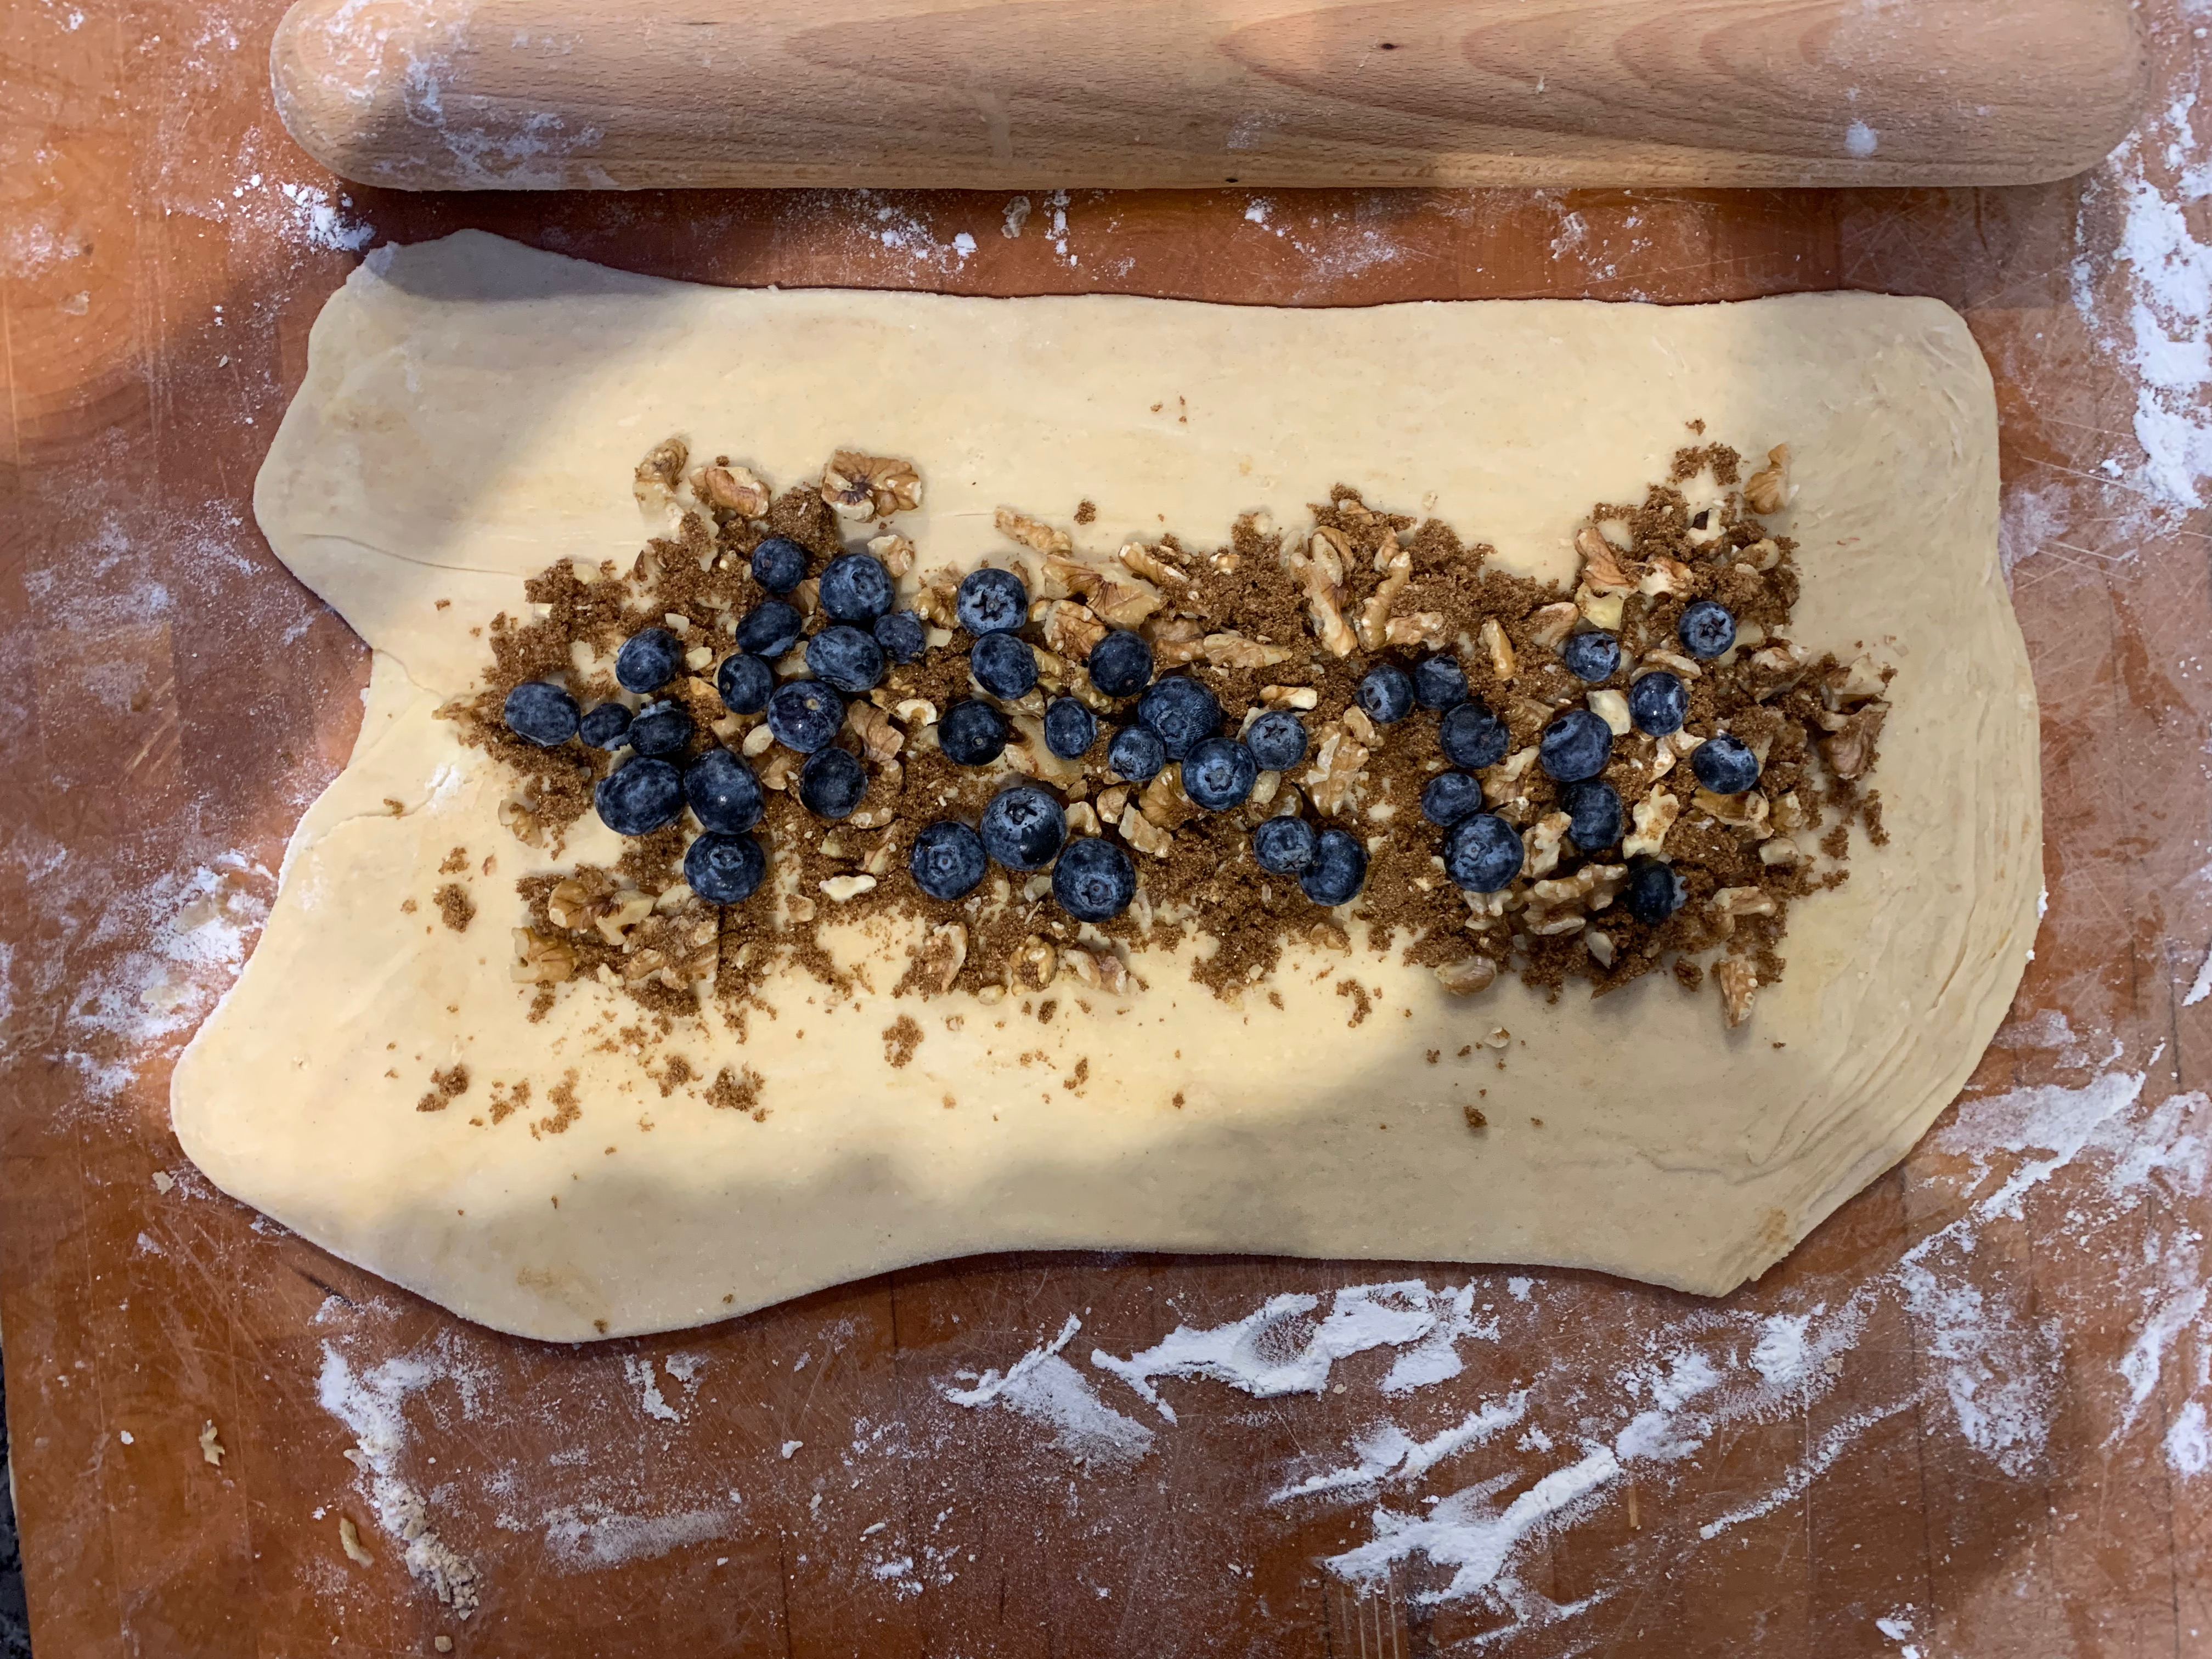
- 80g walnuts
- 80g dark brown sugar
- Chop the walnuts finely (but not to a powder, you want some texture).
- Add the sugar and mix thoroughly.
Making the layers, and final assembly
- 60-80g blueberries
- 1 egg
- 10ml or so milk
- 60-80g blueberries
- 1 egg
- 10ml or so milk
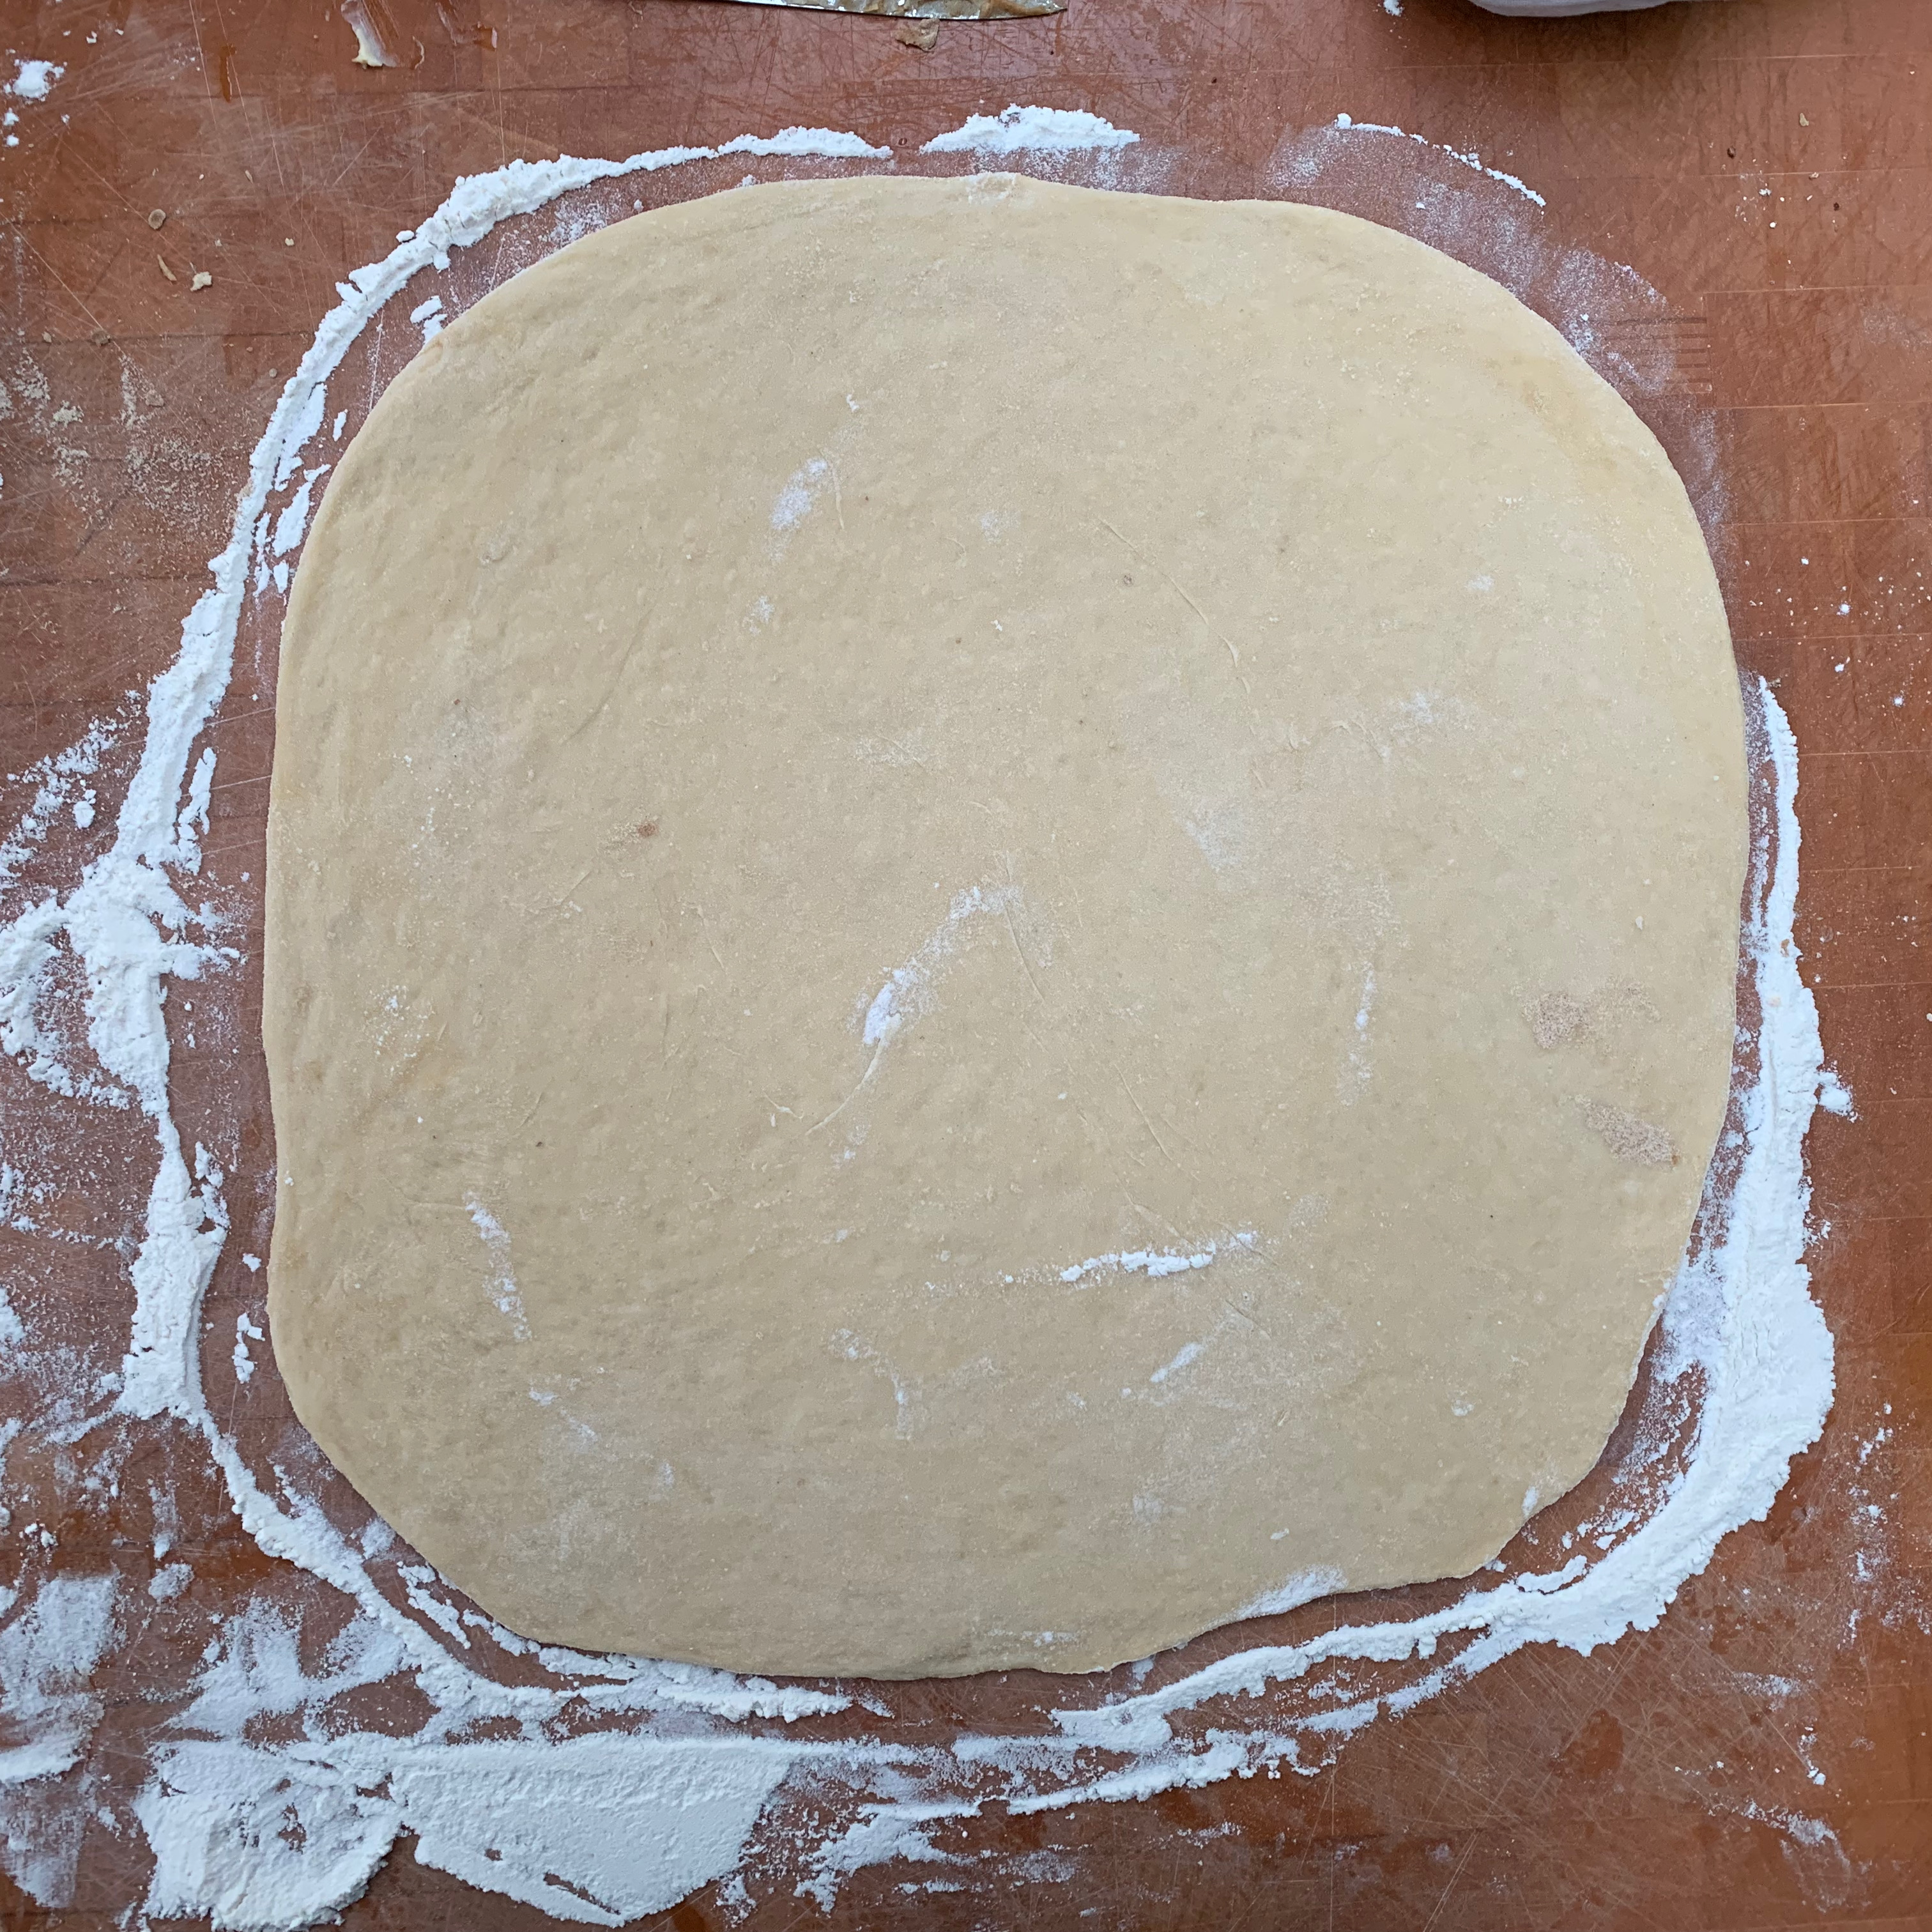
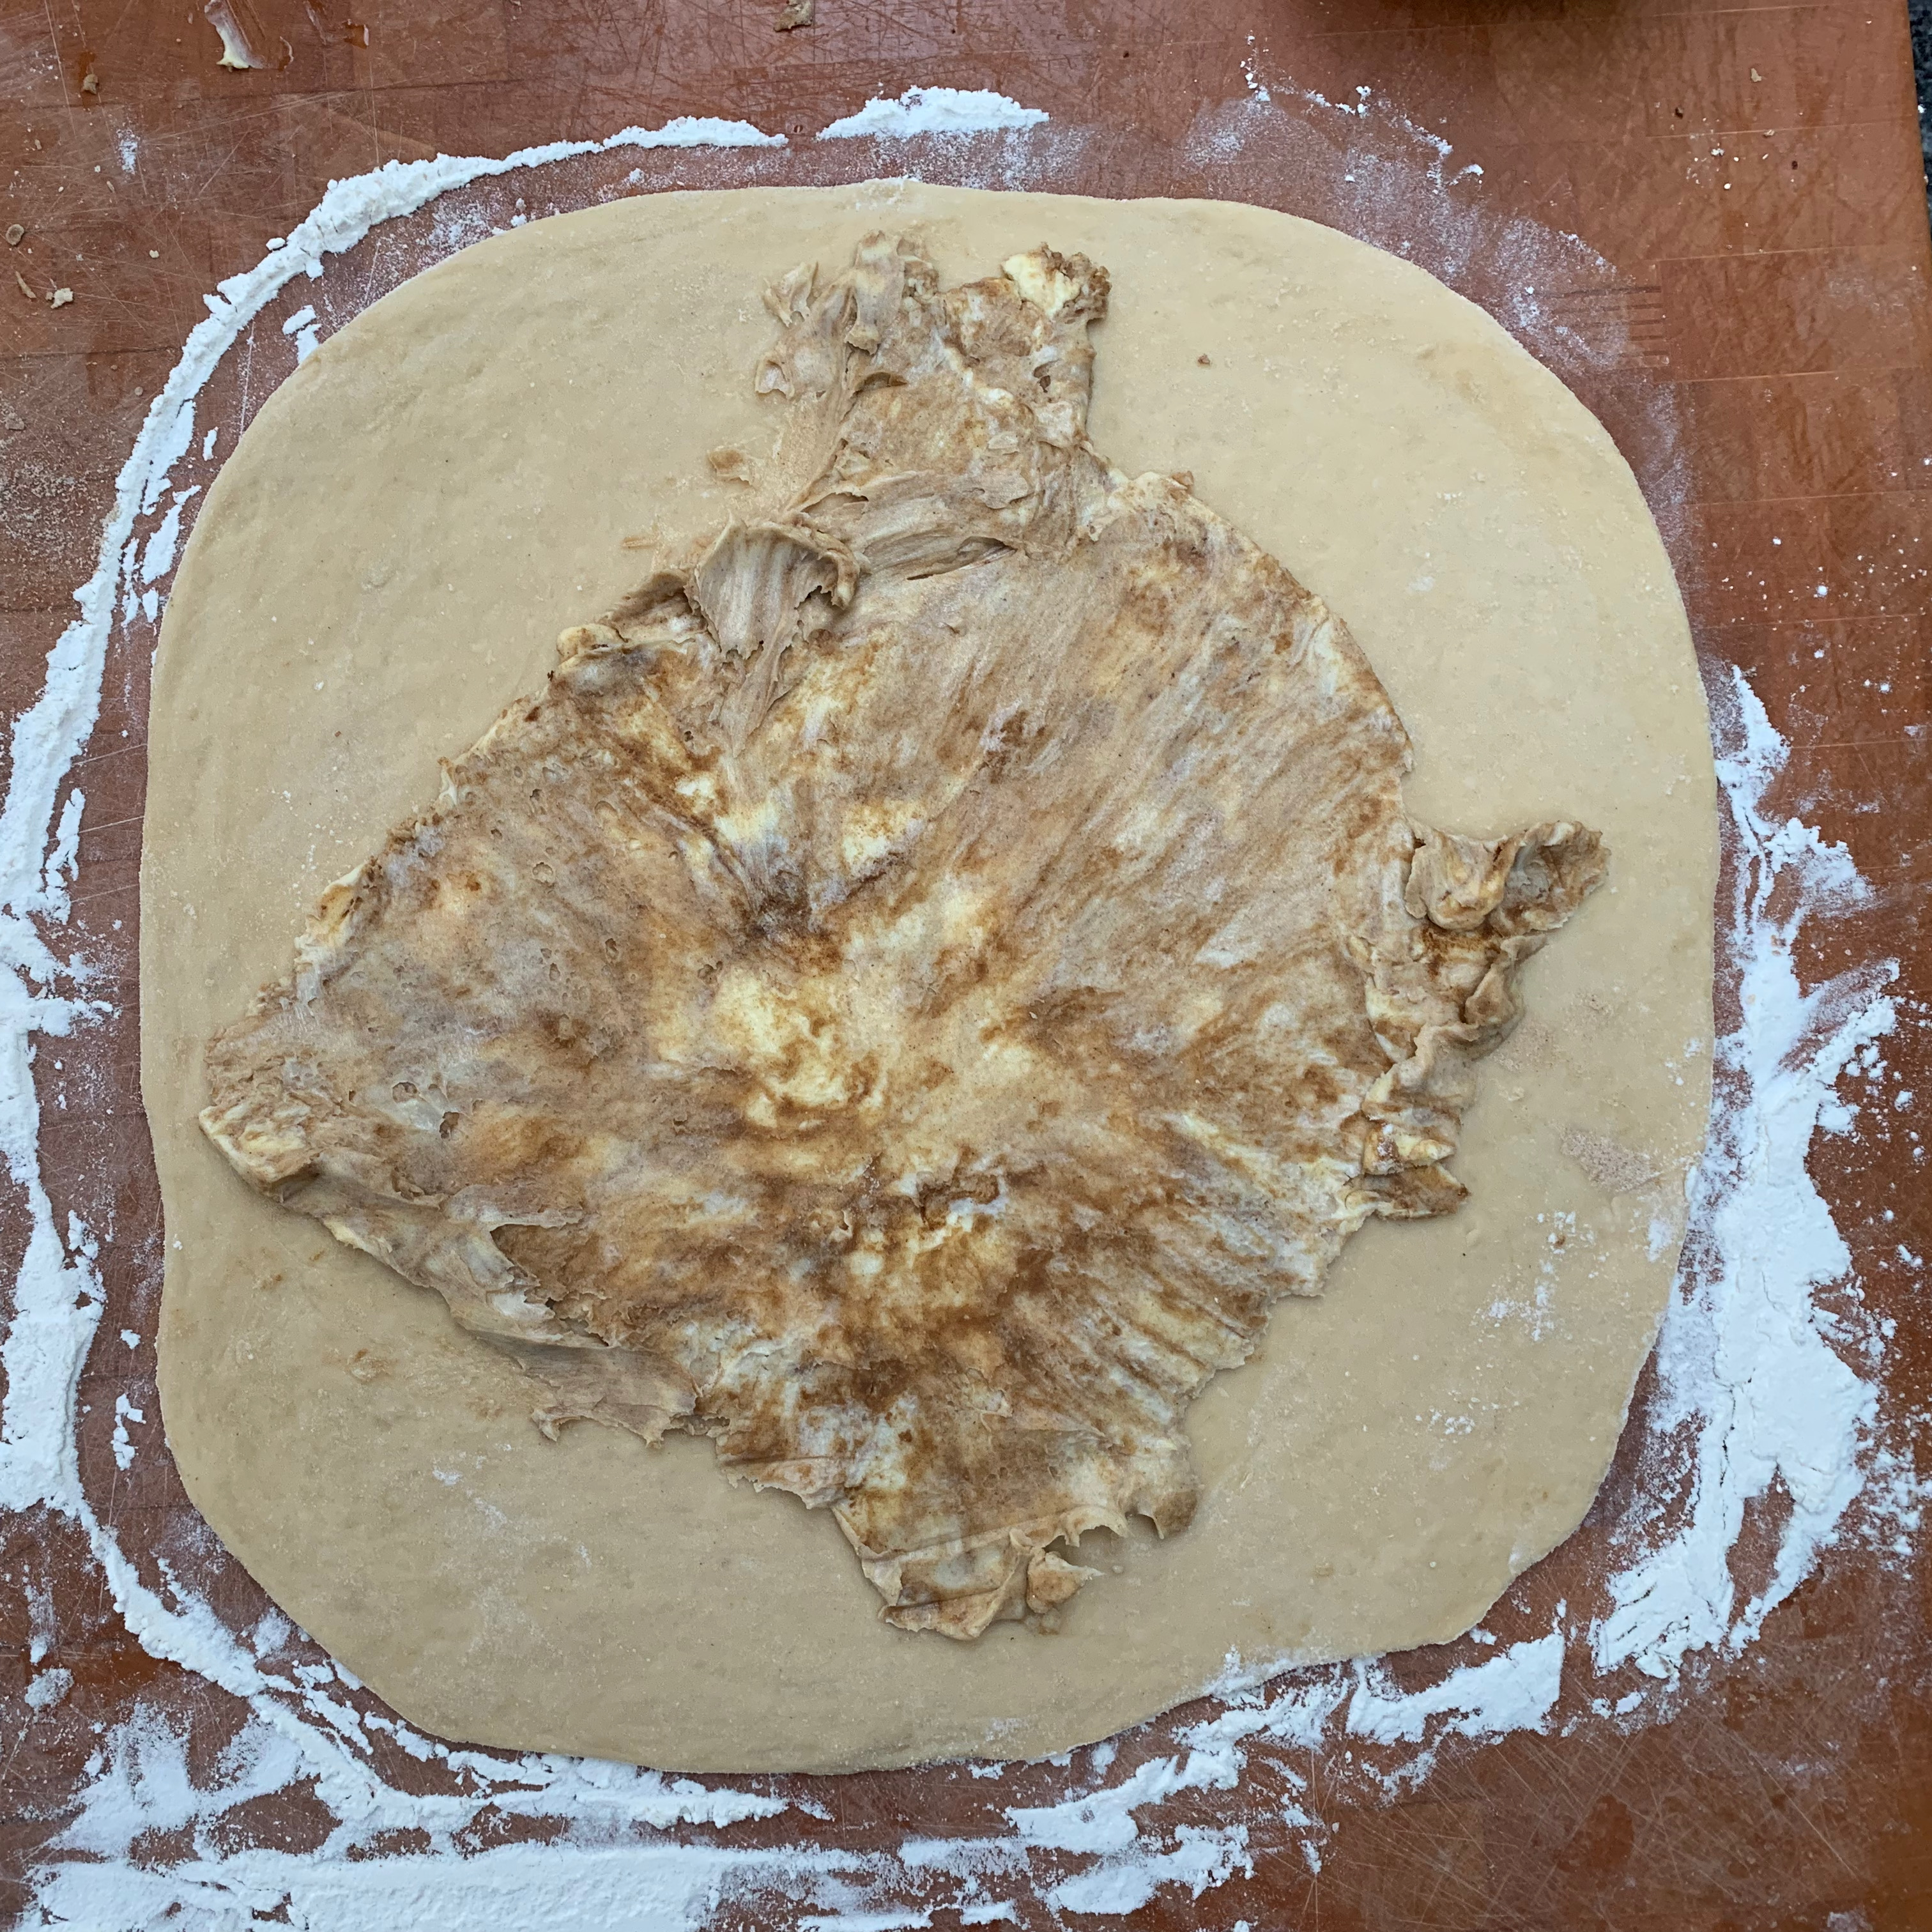
- Roll the dough into a large square, around 35cm x 35cm
- Peel one lot of cling film/baking paper from the remonce.
- Place the square of remonce into the middle of the square of dough, positioning it diagonally so that the corners of the filling are a few centimetres inside the edges of the dough.
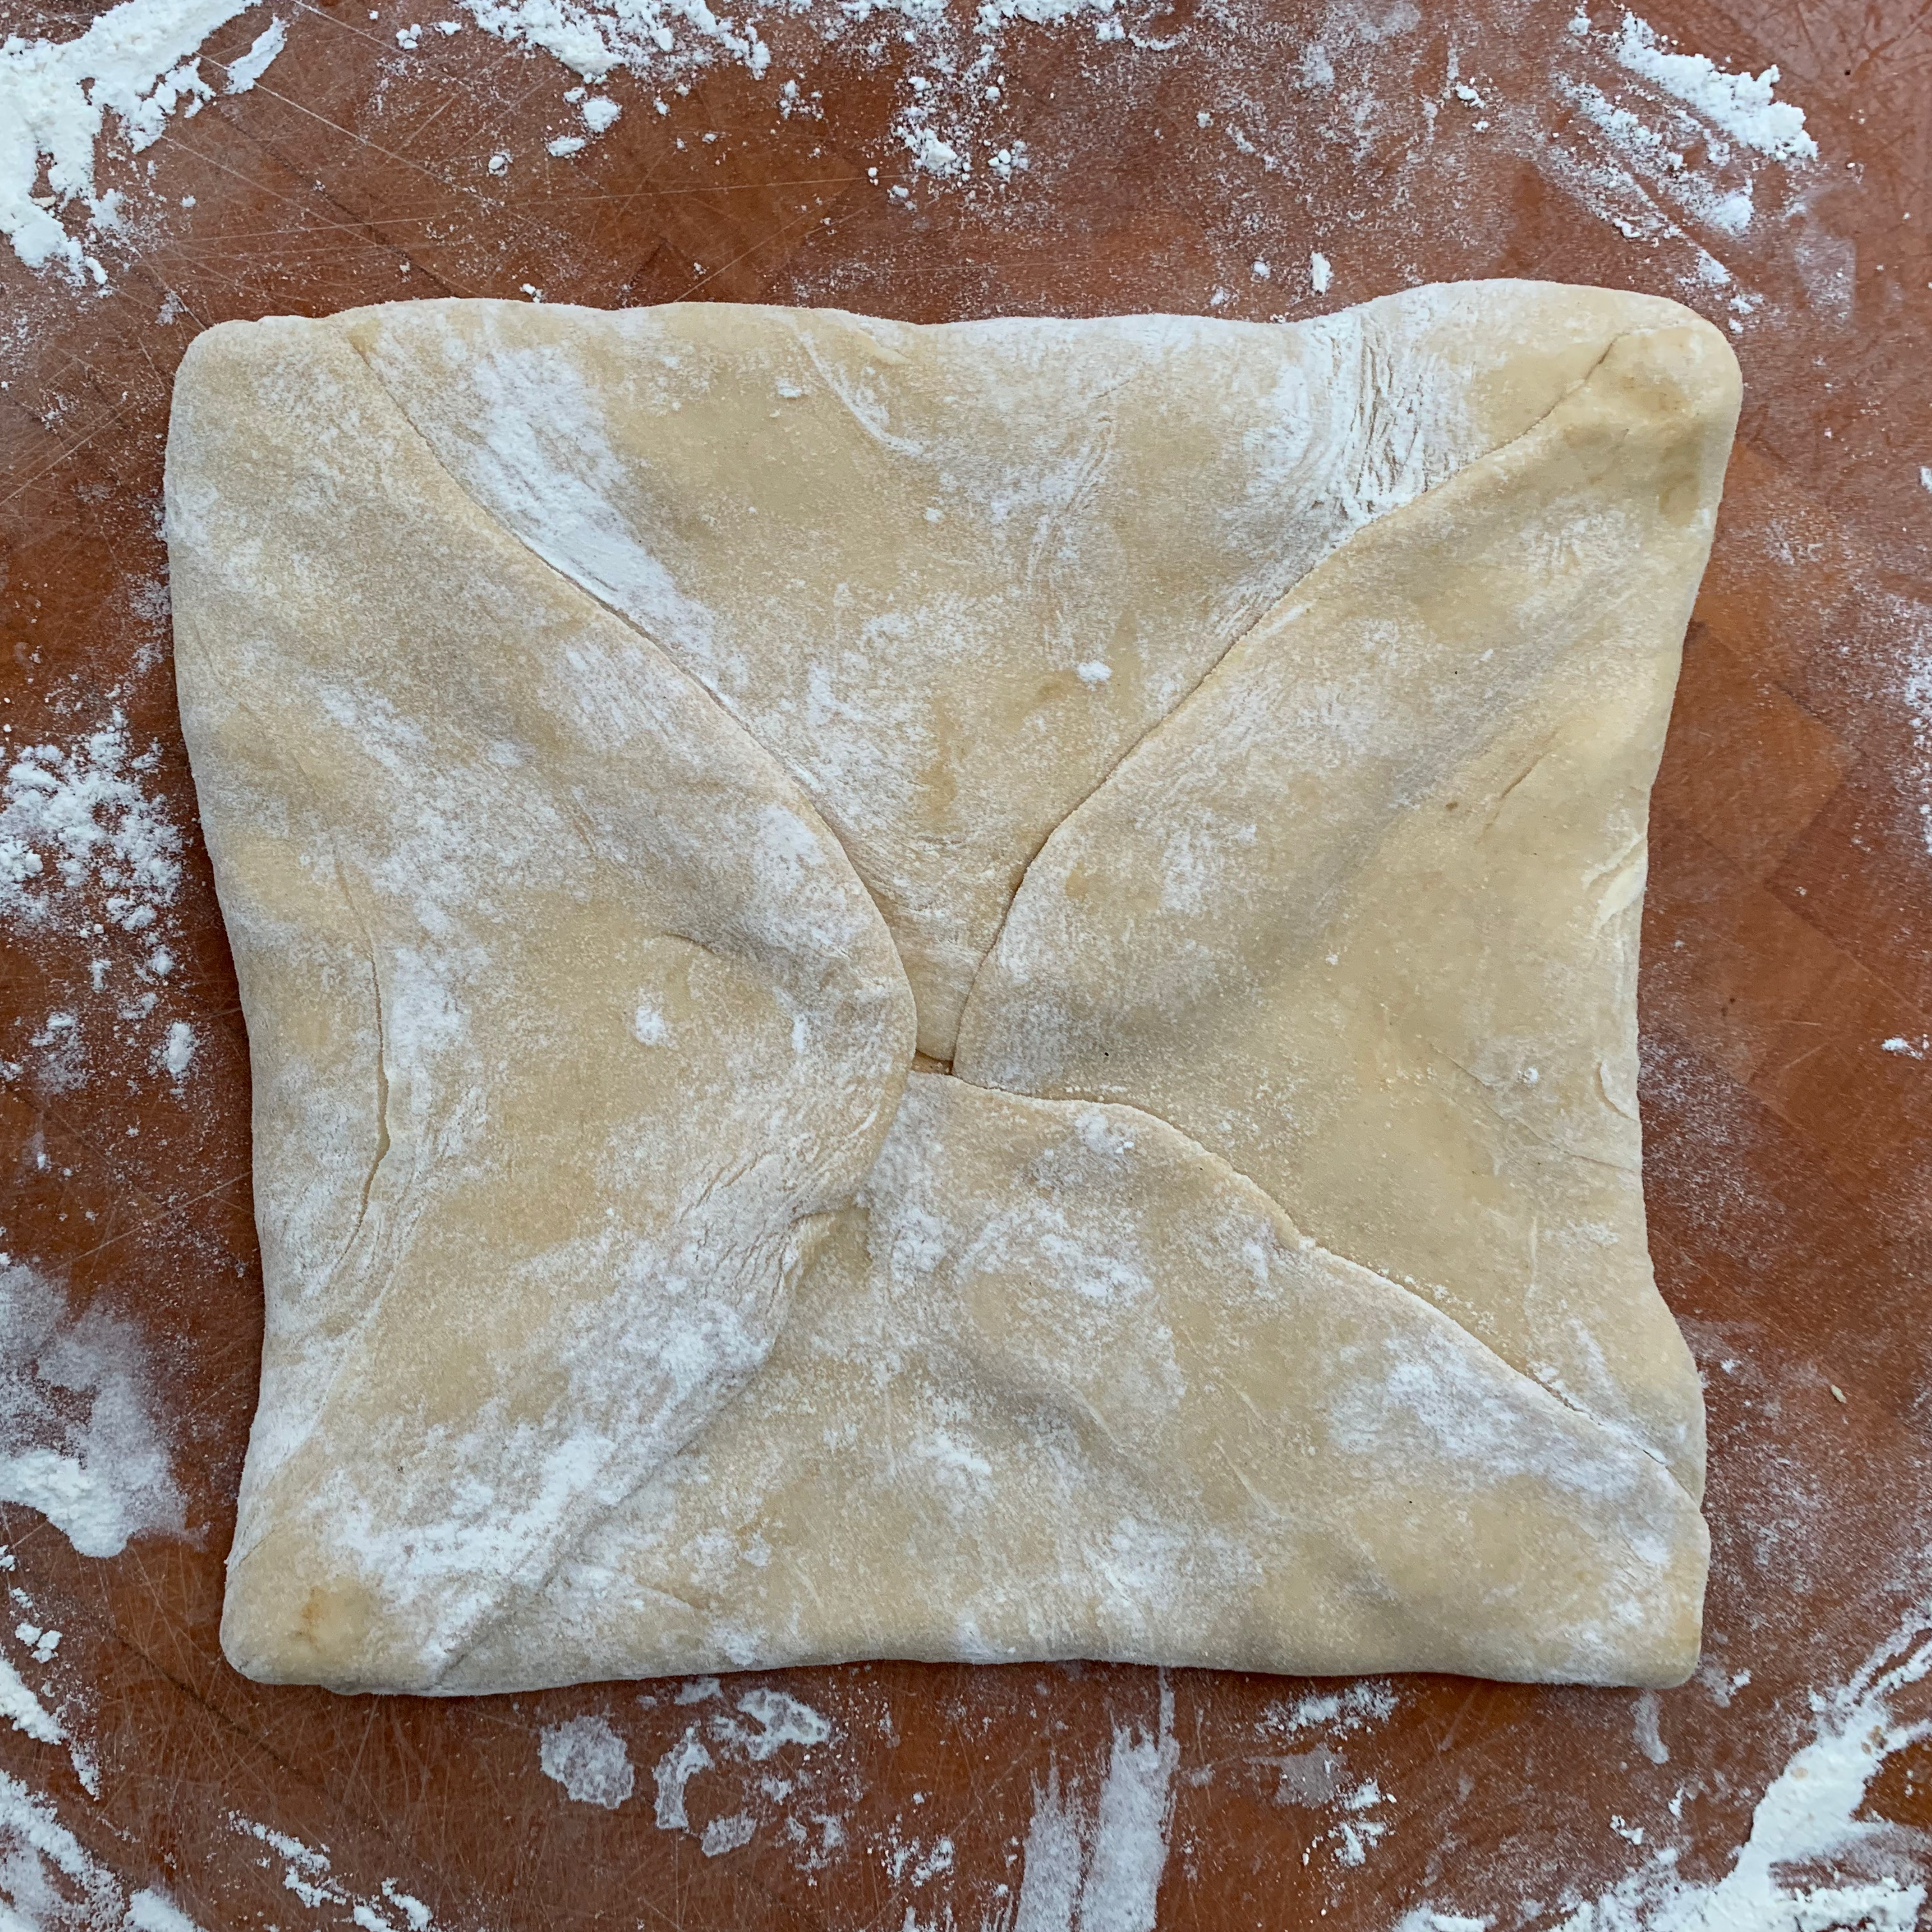
- Pick up each corner of the dough and fold it inwards, envelope style. When you’re done, there should be no filling visible.
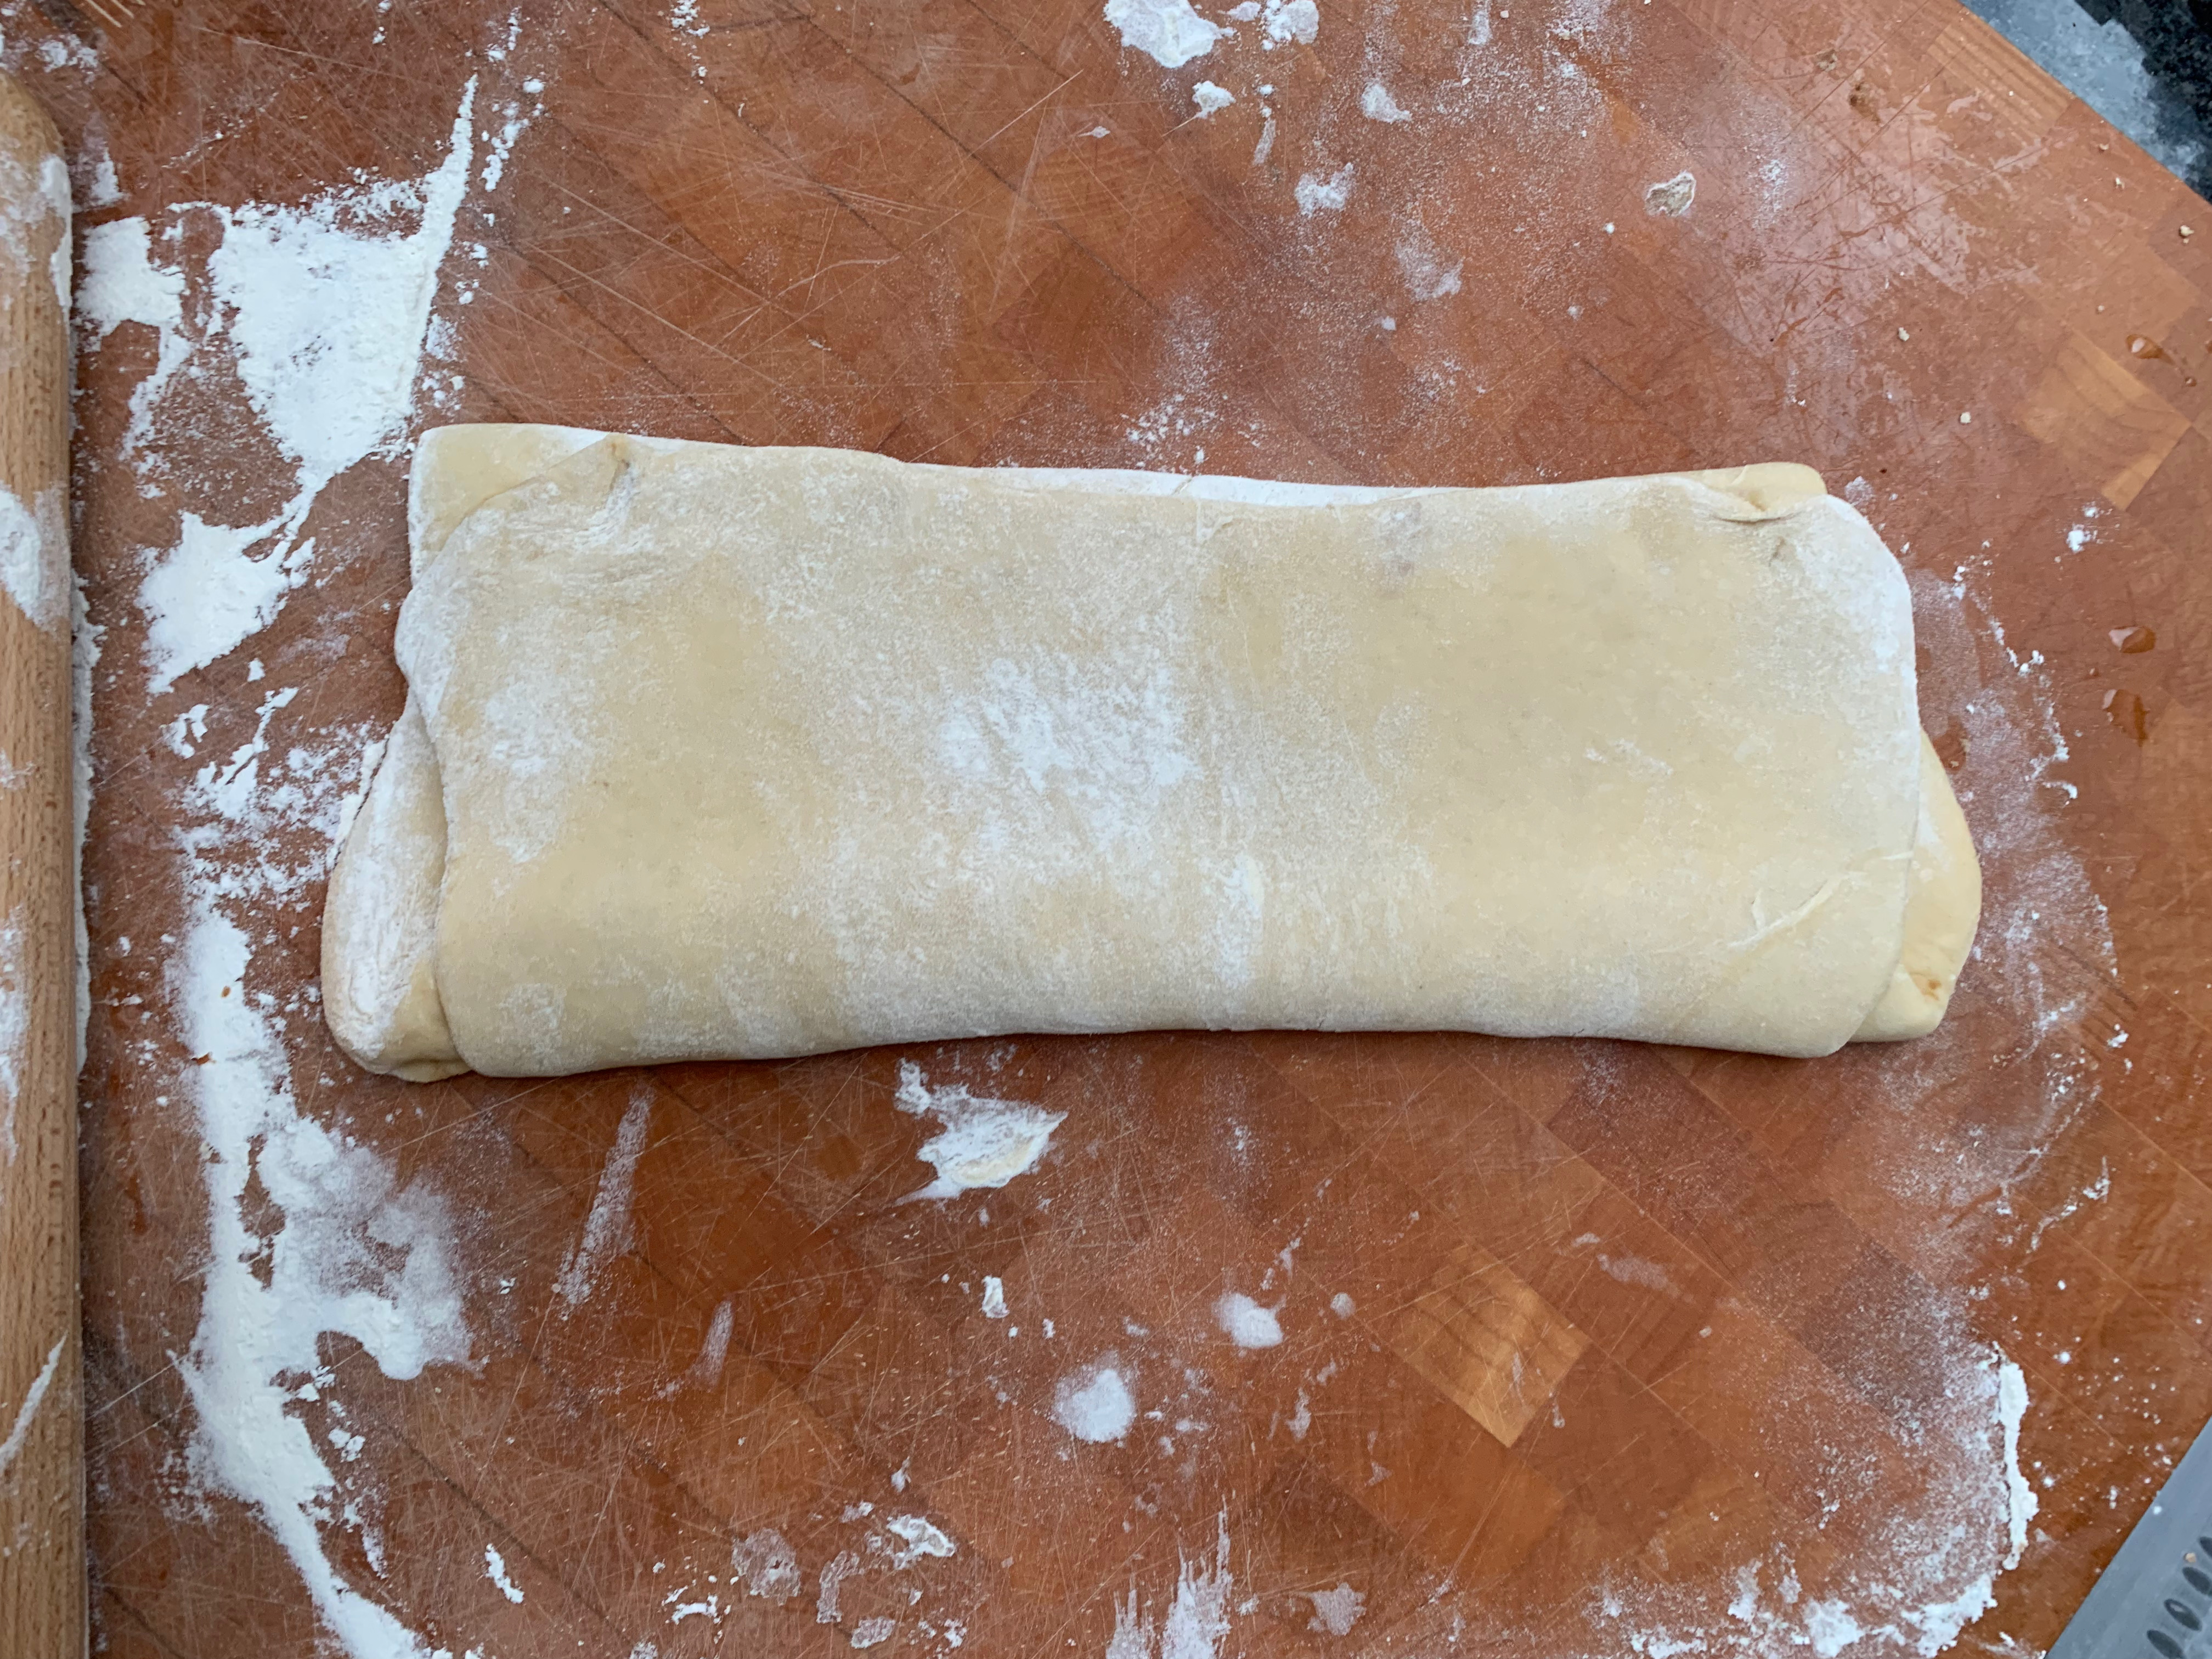
- Roll the whole thing out into a rectangle, perhaps 30cm x 40cm.
- Fold the rectangle along its long side into three and refrigerate.
- After 15 minutes, flour the board again and roll out your pastry back into a 30cm x 40cm square. Fold the new rectangle along its long side into three and refrigerate again.
- You’ll want to turn your oven on around now – I went for 200℃ fan.
- Repeat this: you now have 27 layers of remonce in your dough. If you’ve done your job right, none of it will have leaked out.
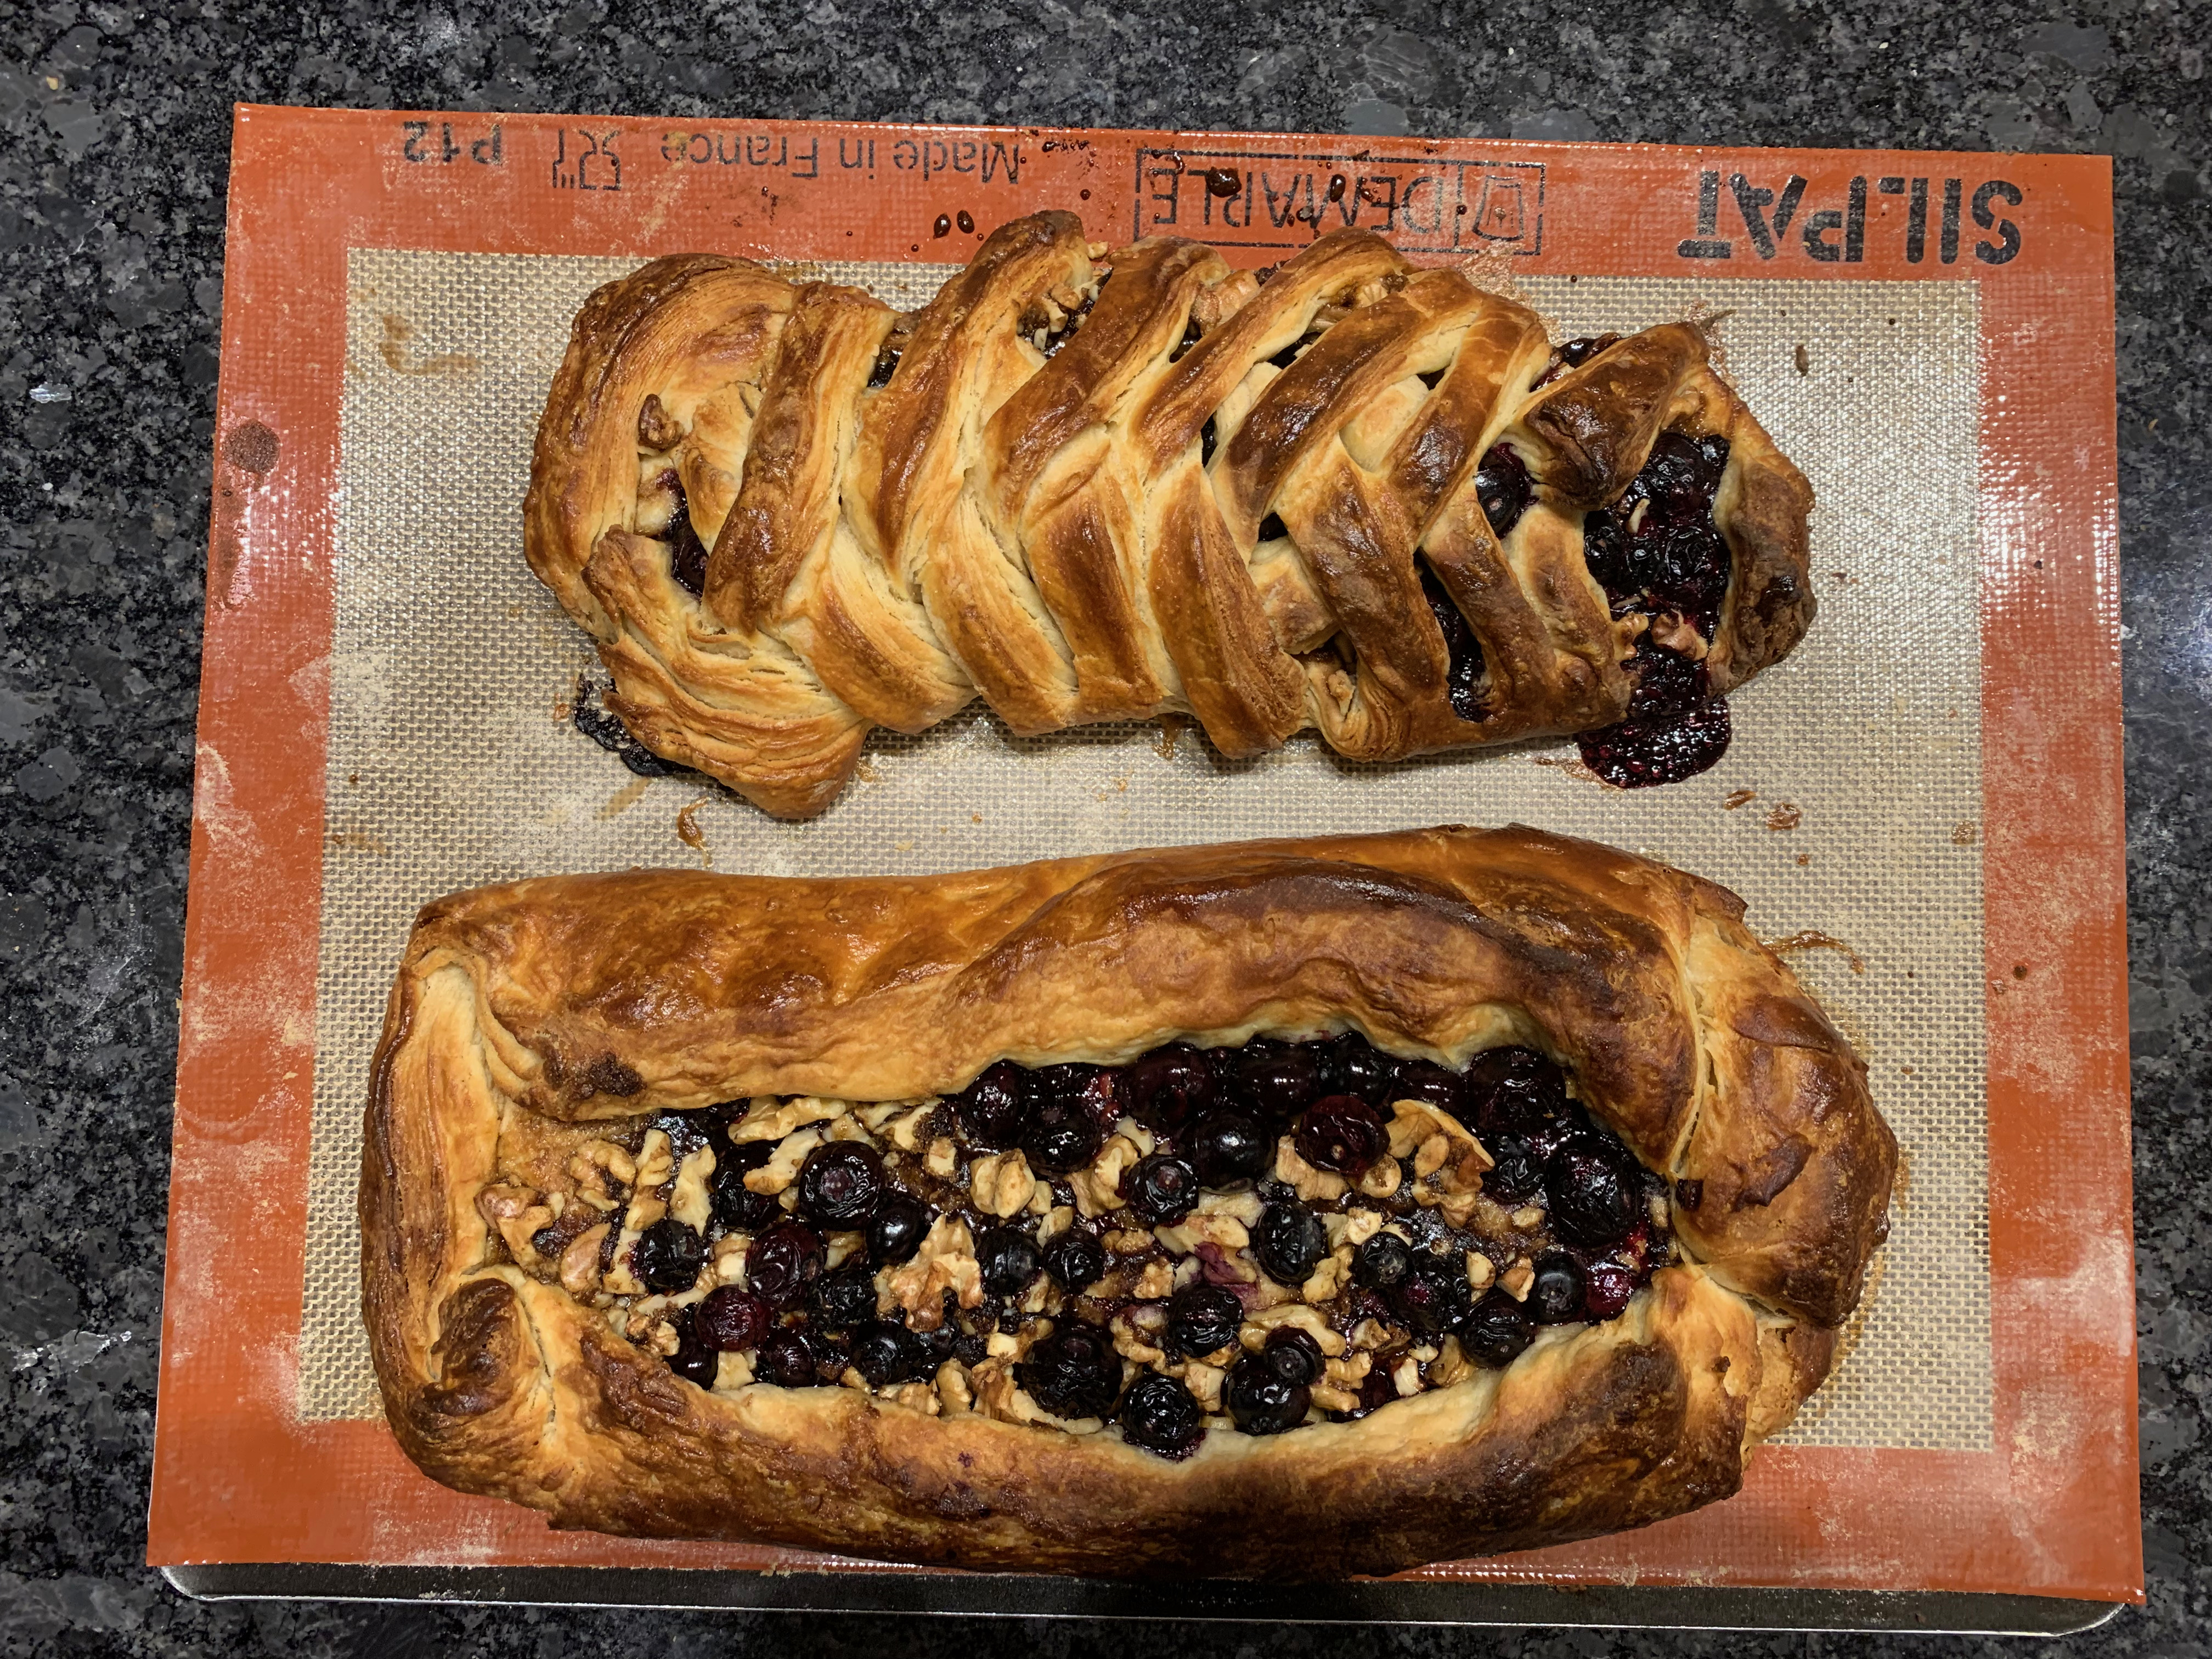
- After your third 15 minute spell in the fridge, roll out your dough for the last time. Cut the dough into two, around 30cm x 20cm each.
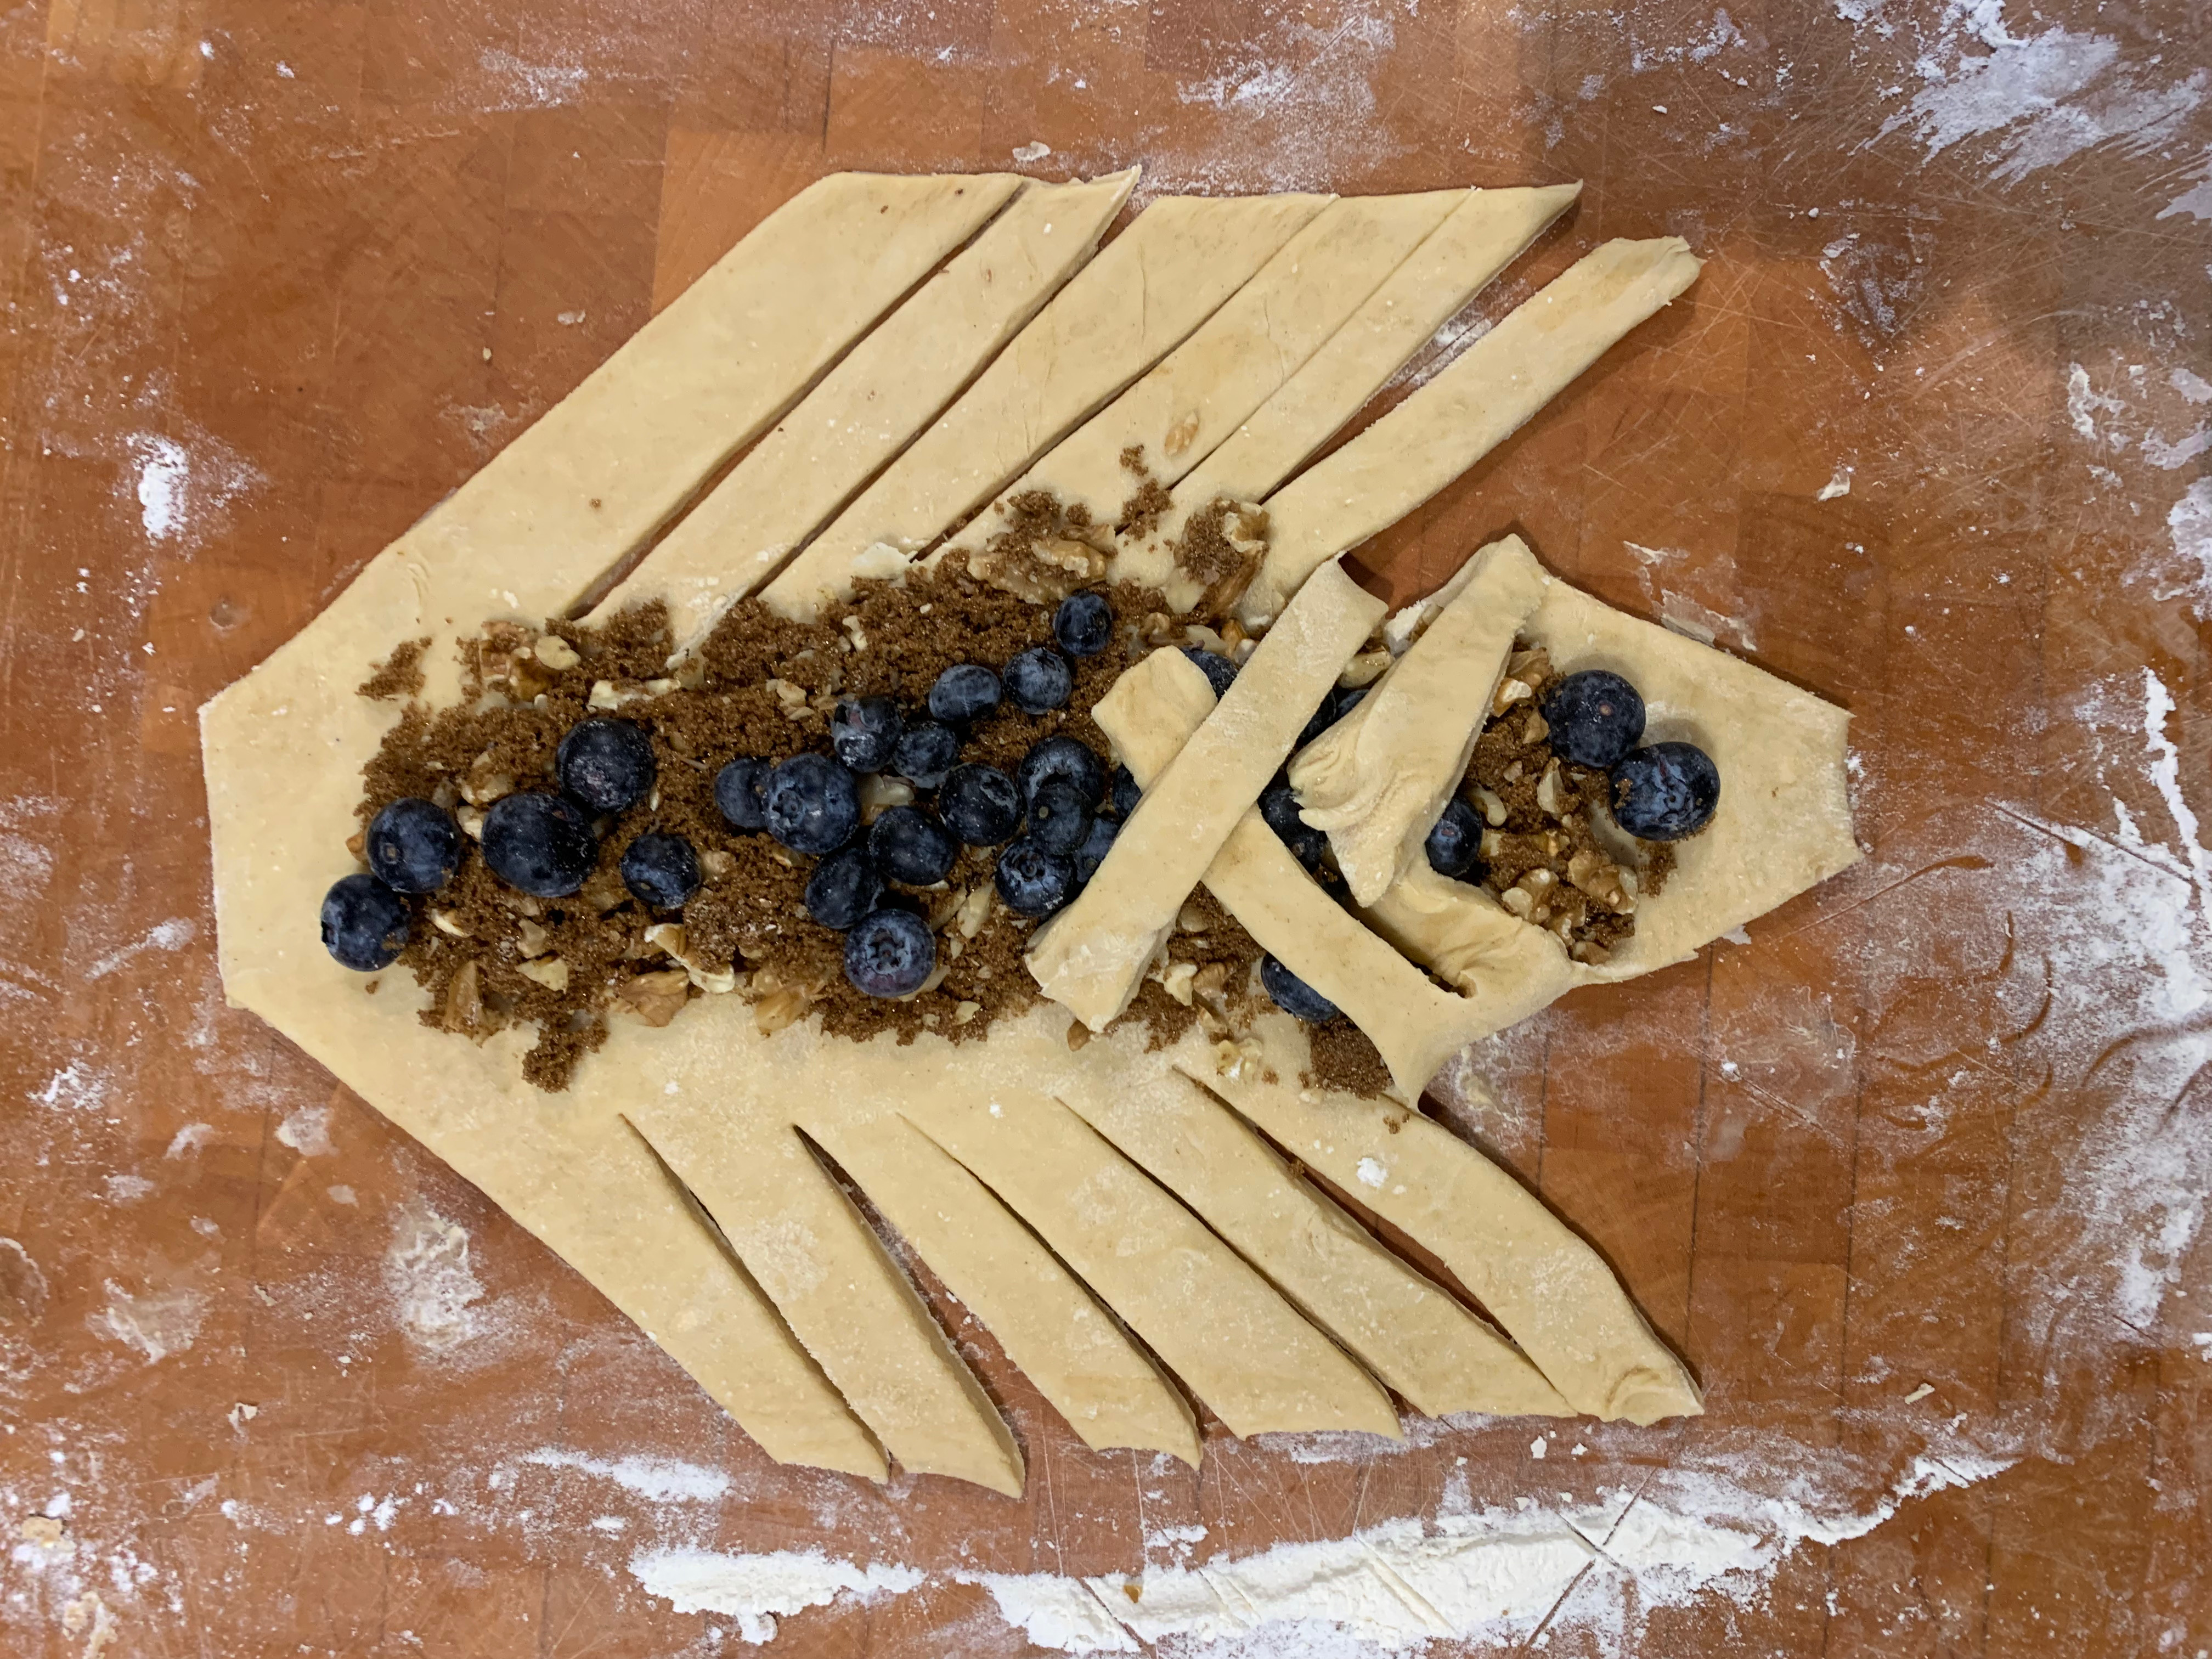
- For the rectangle, spoon out the filling into the middle of the rectangle, leaving a gap of around 4cm all the way around the edge. Sprinkle blueberries over the filling.
- Now fold the sides in, leaving a narrow gap in the middle (a few mm). Transfer to a baking tray, preferably one lined with a Silpat sheet.
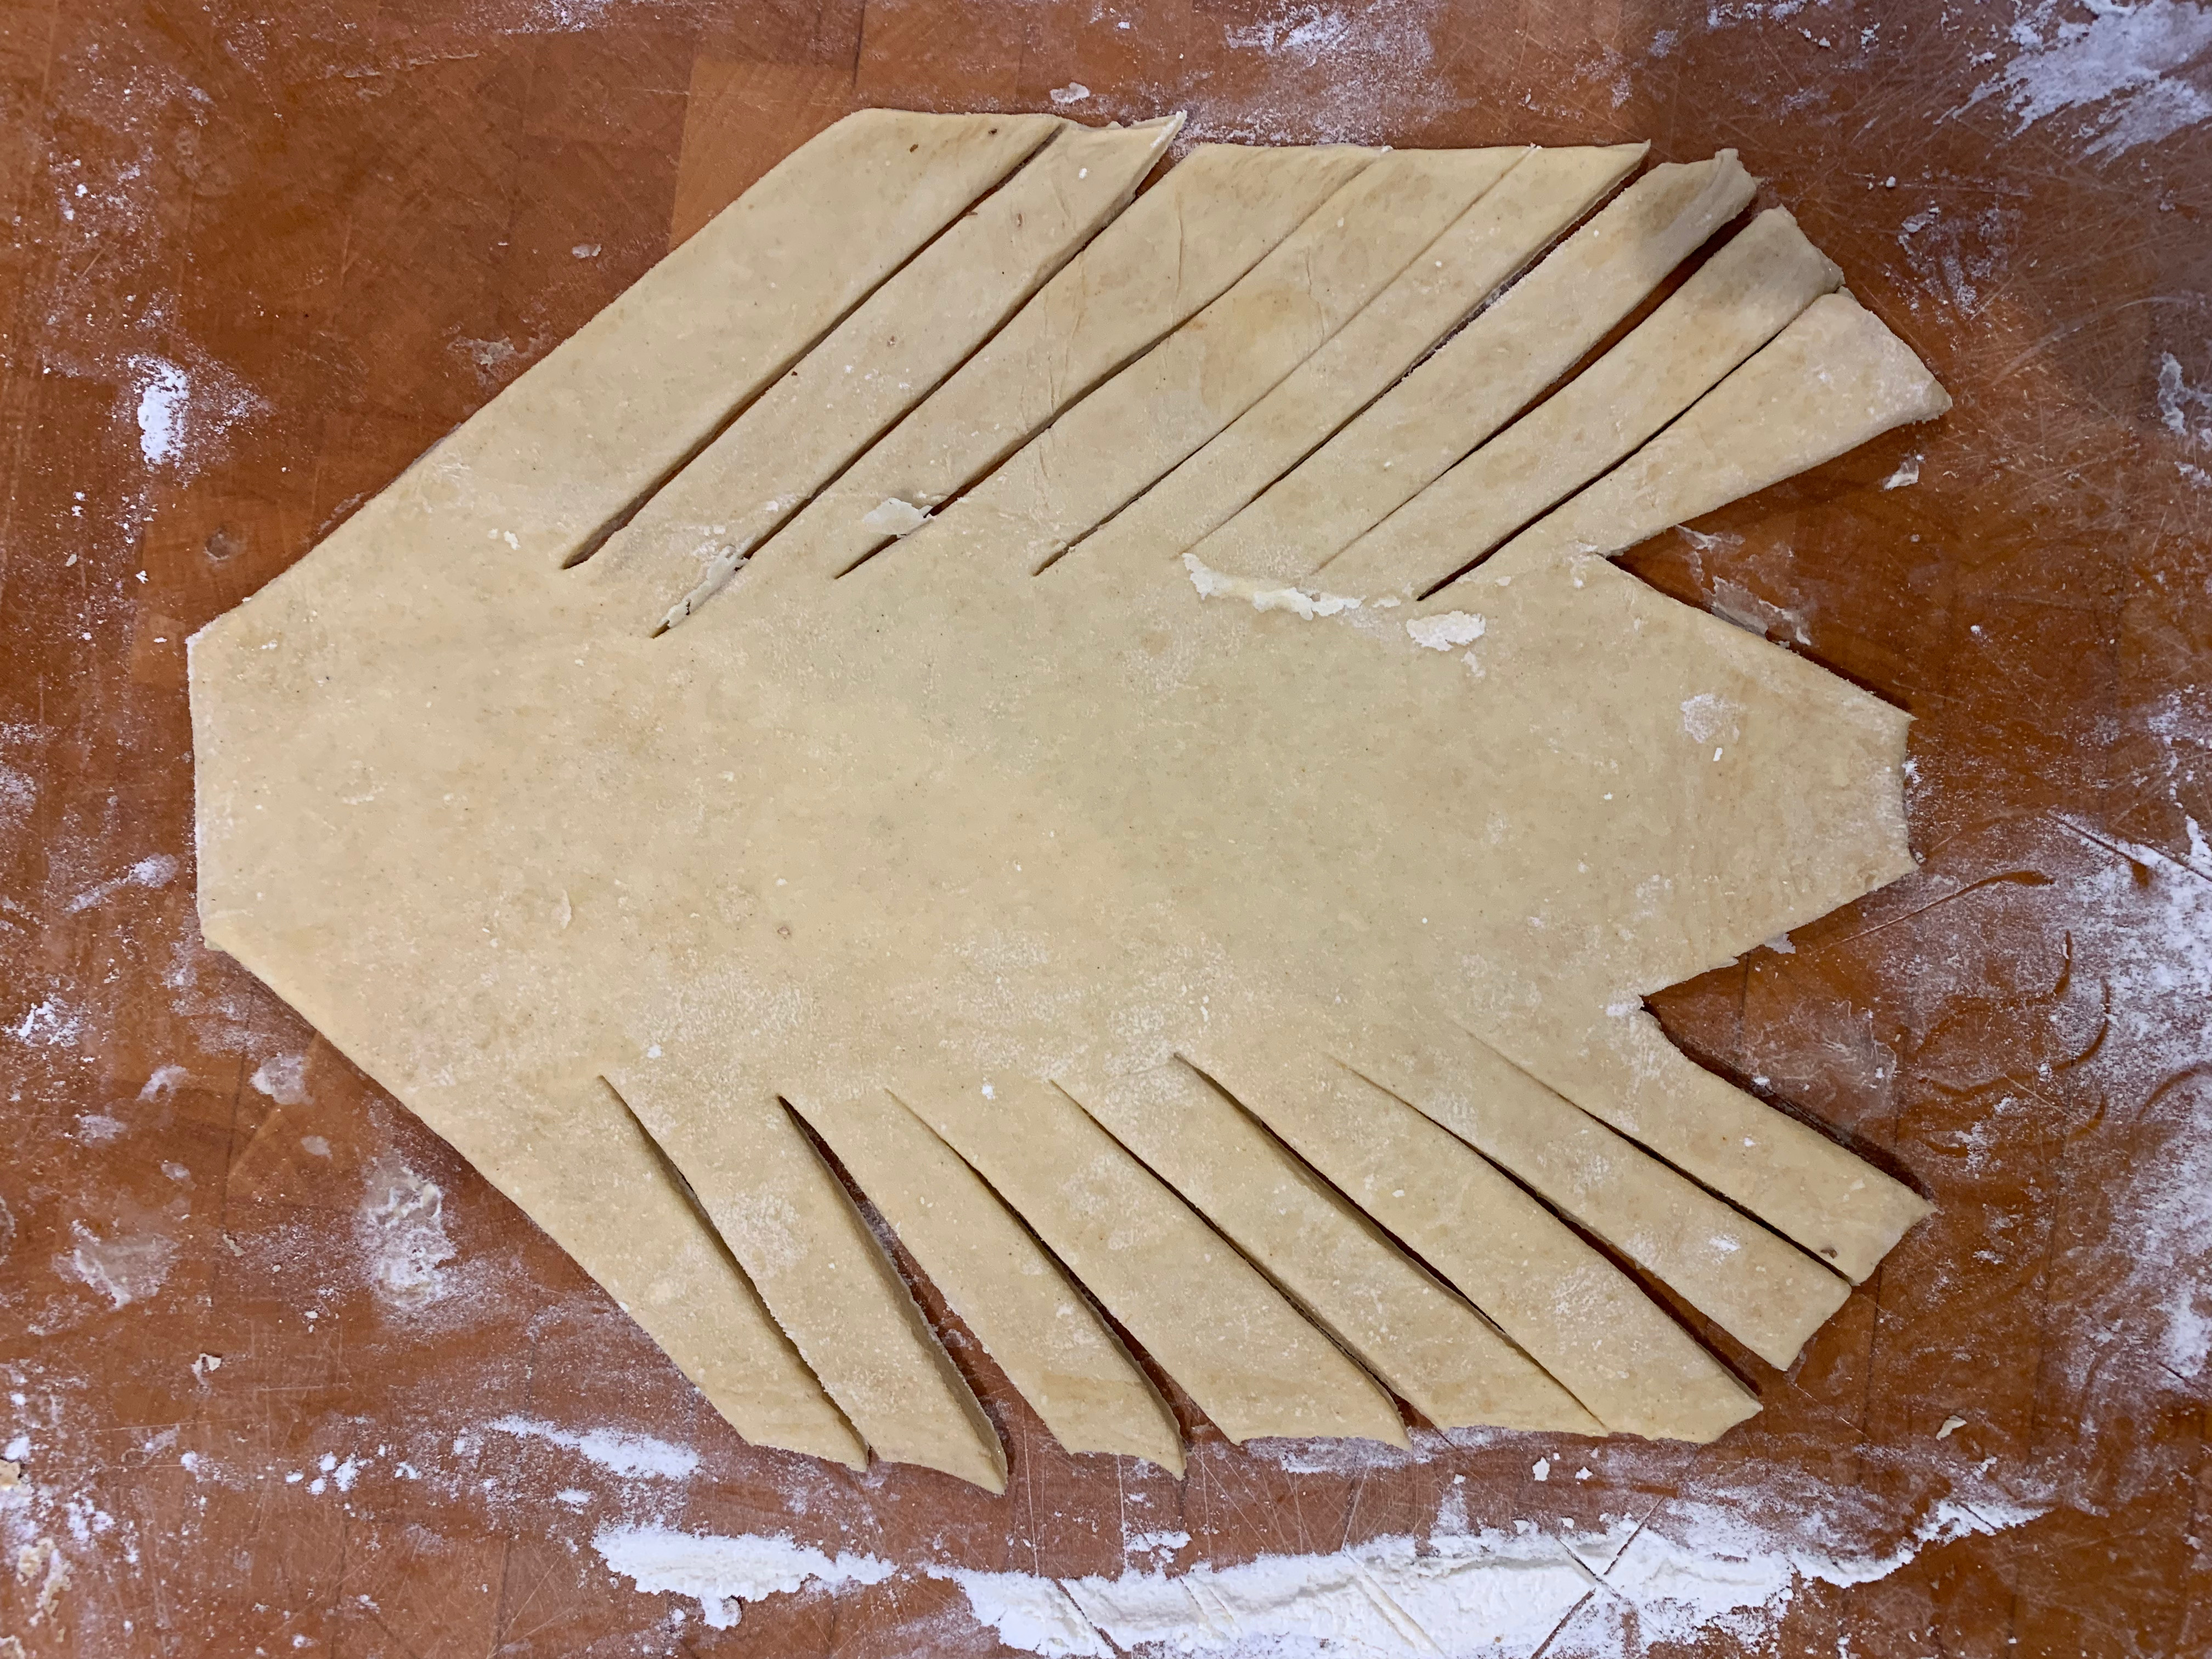
- For the braided version, trim the pastry to the shape shown in the photo, and cut through the pastry so that you have around 8 separate tabs on each side. Place the rest of the filling and the blueberries in the central area.
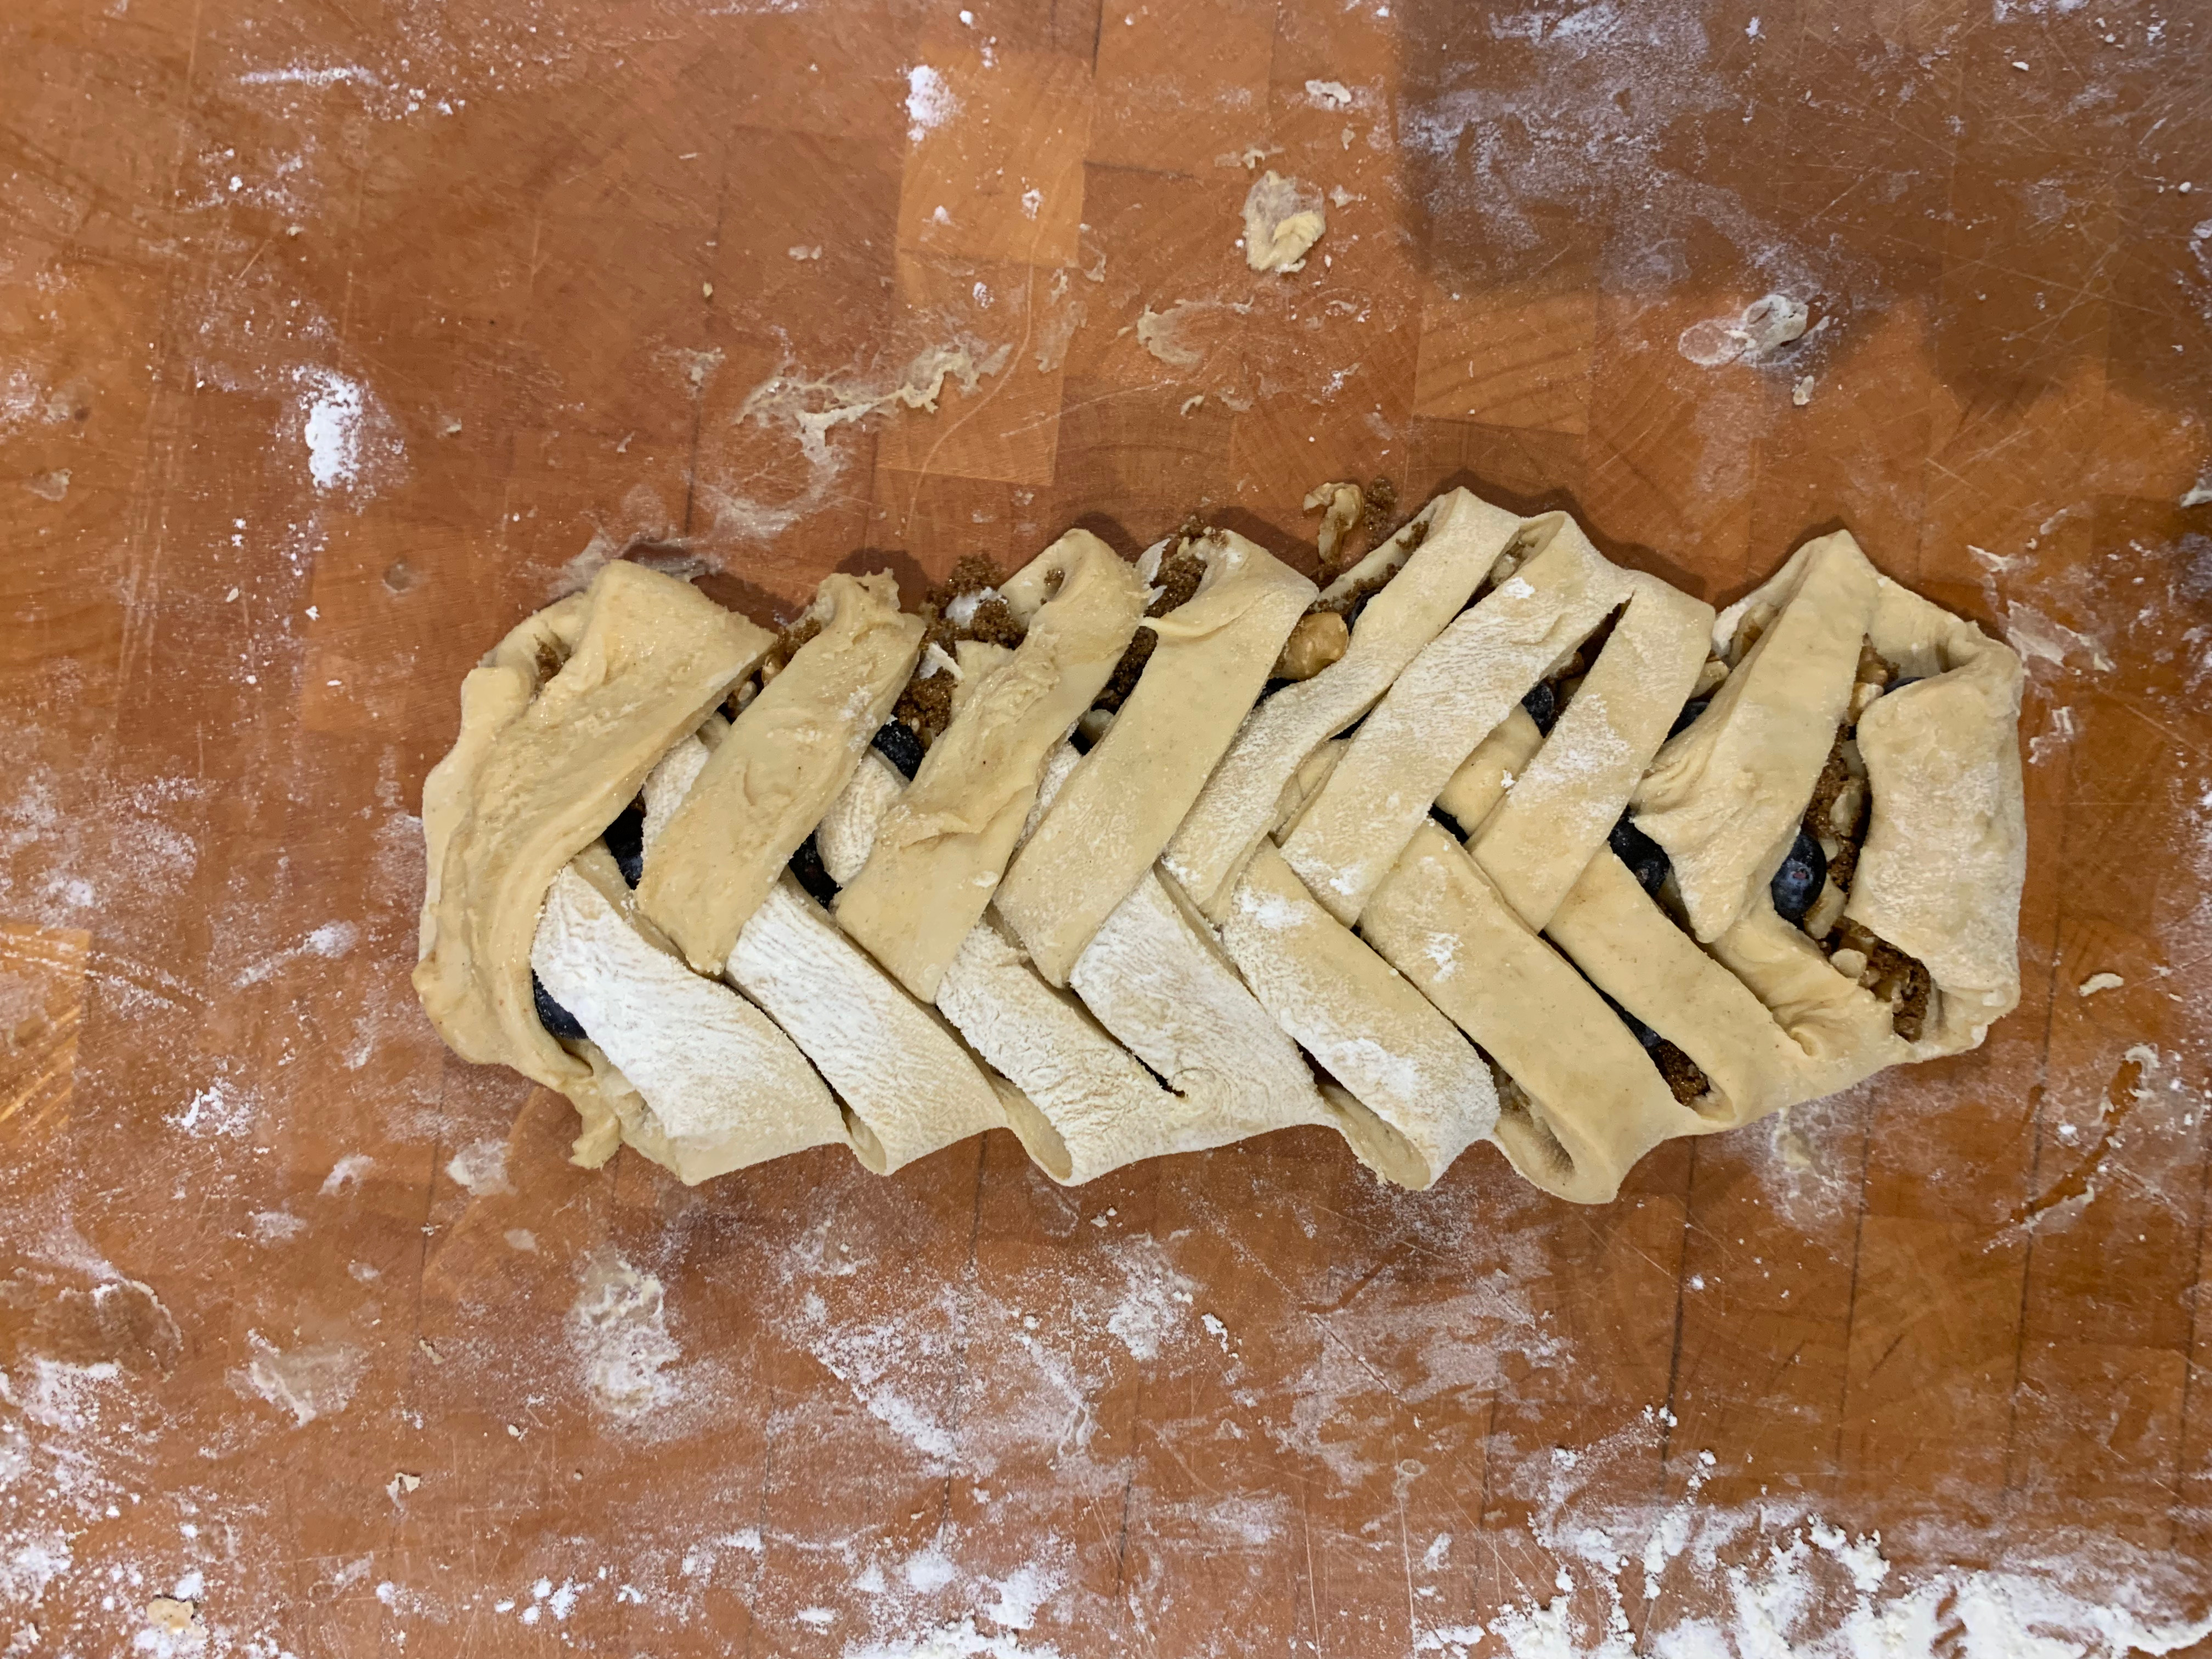
- Fold in each tab, alternating sides so that you form the braid pattern. Tuck in the ends and transfer to your baking tray.
- Beat the egg and mix with the milk to form an egg wash: brush the pastries with the egg wash.
- Bake until deep golden in colour – perhaps 20-30 minutes.