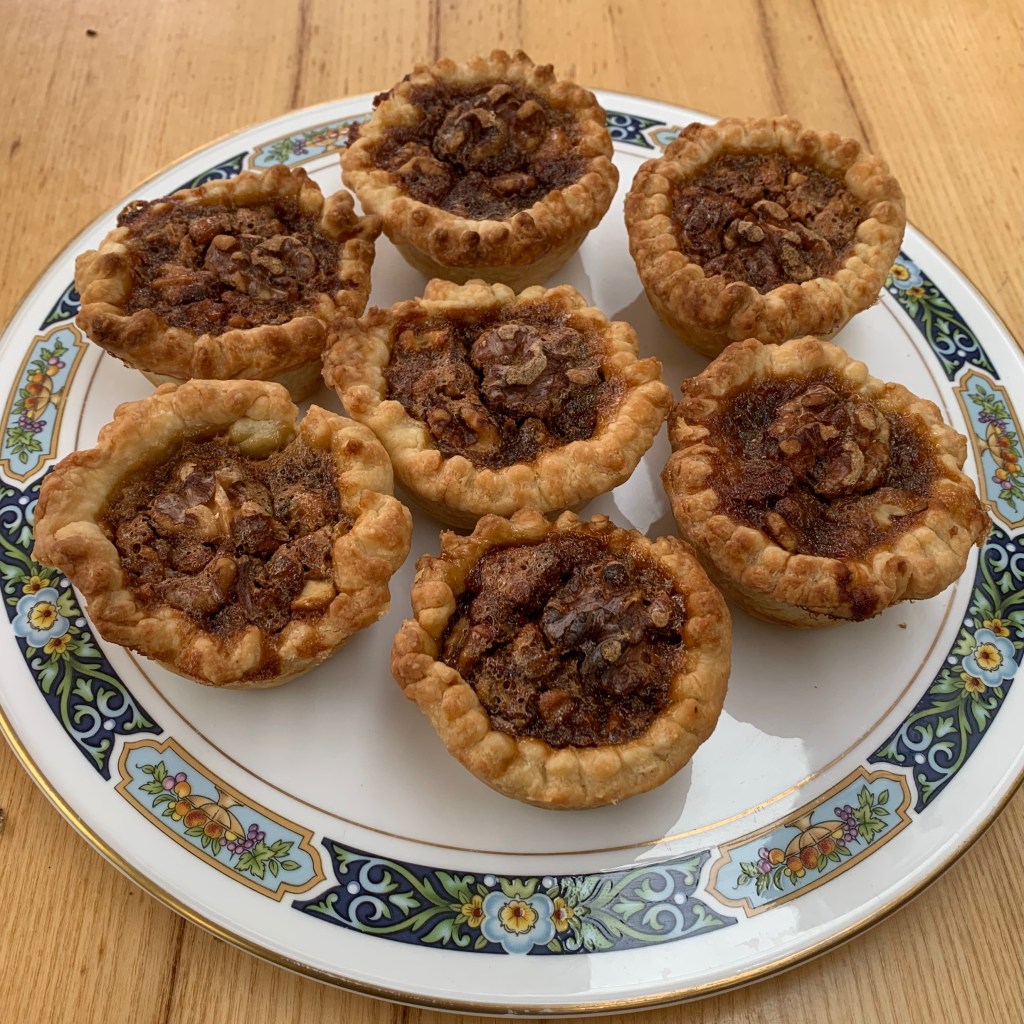
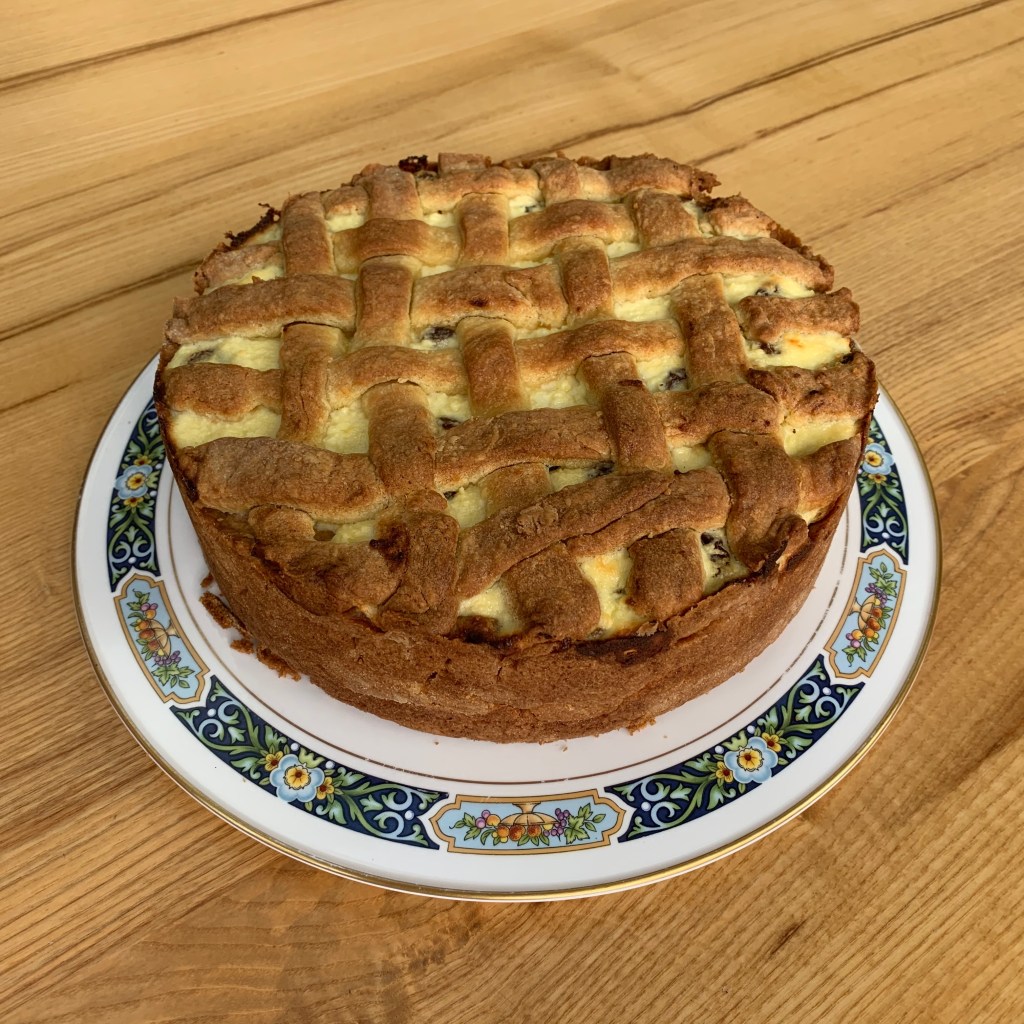
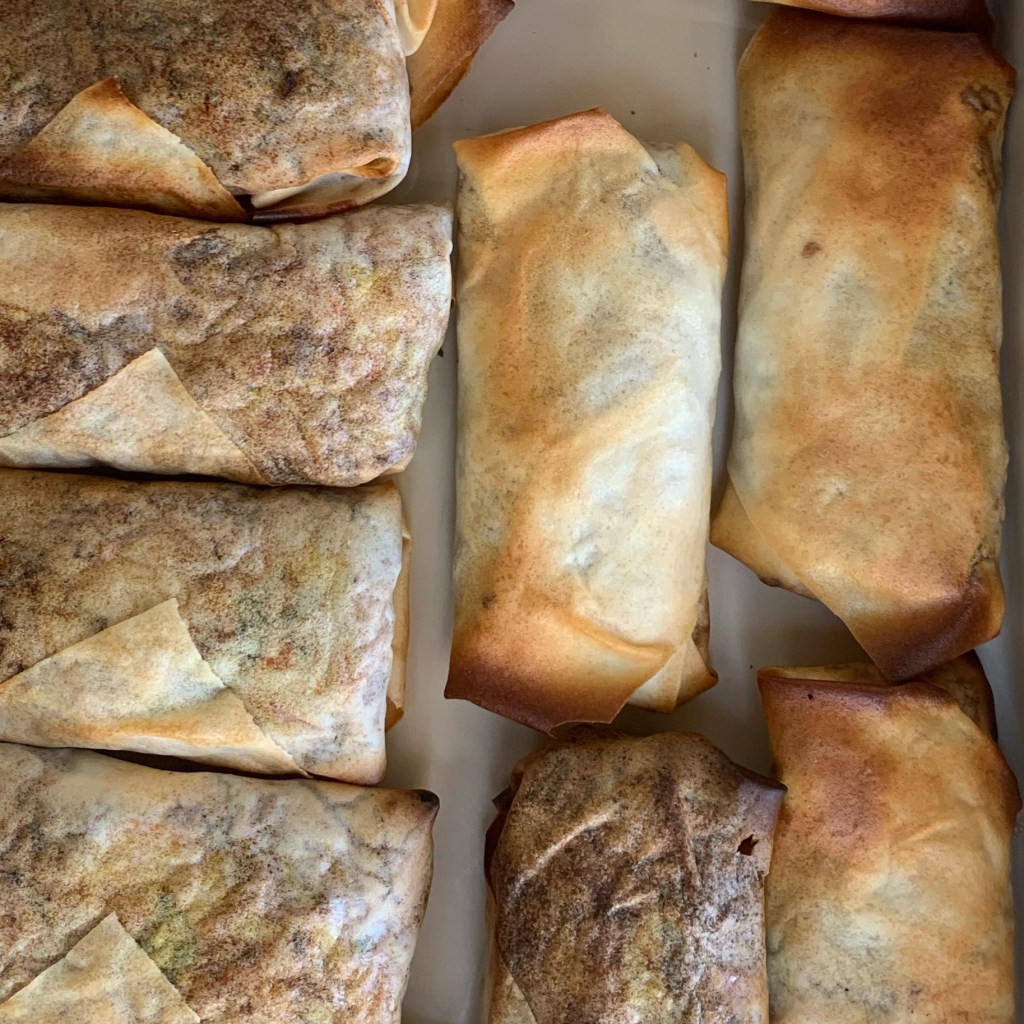
OK, so there are a few dubious categorisations here to make the images line up. But I’ve done my best.
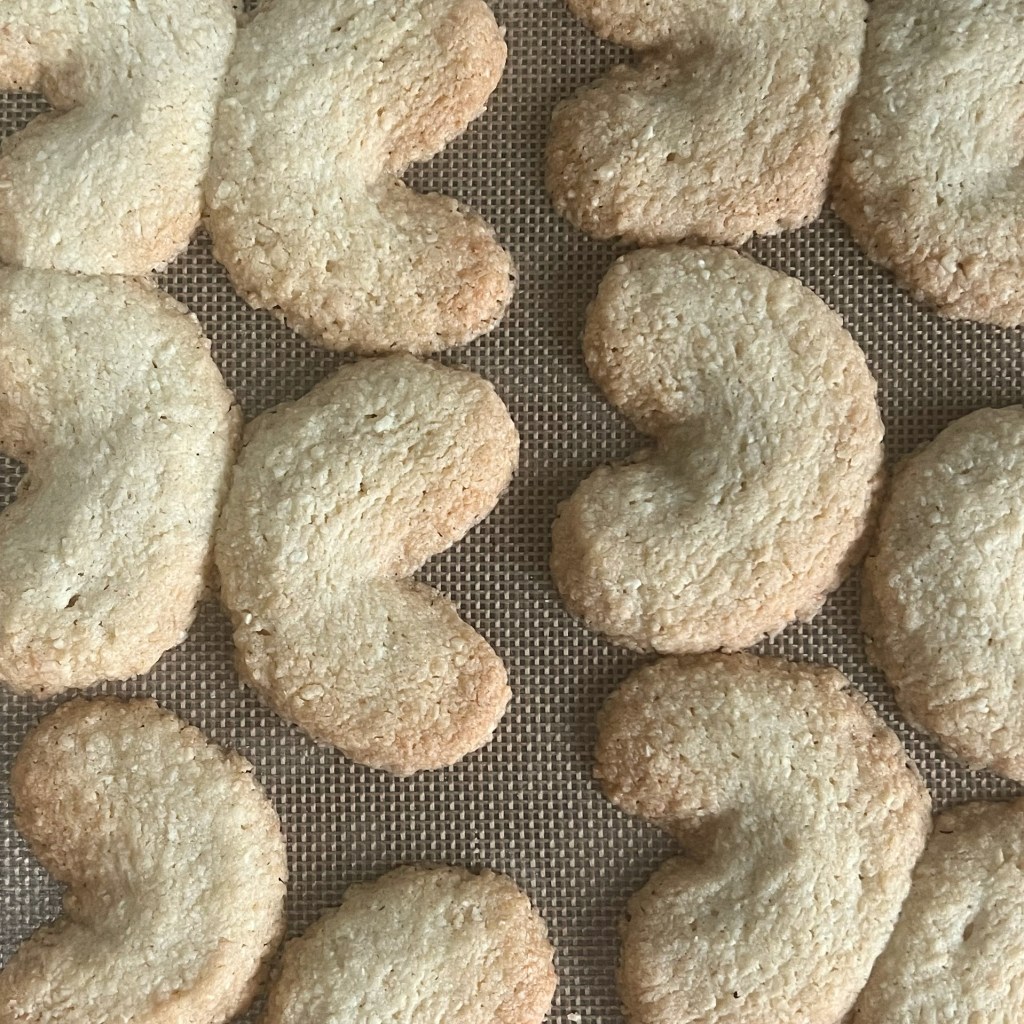
Biscuits (aka cookies)


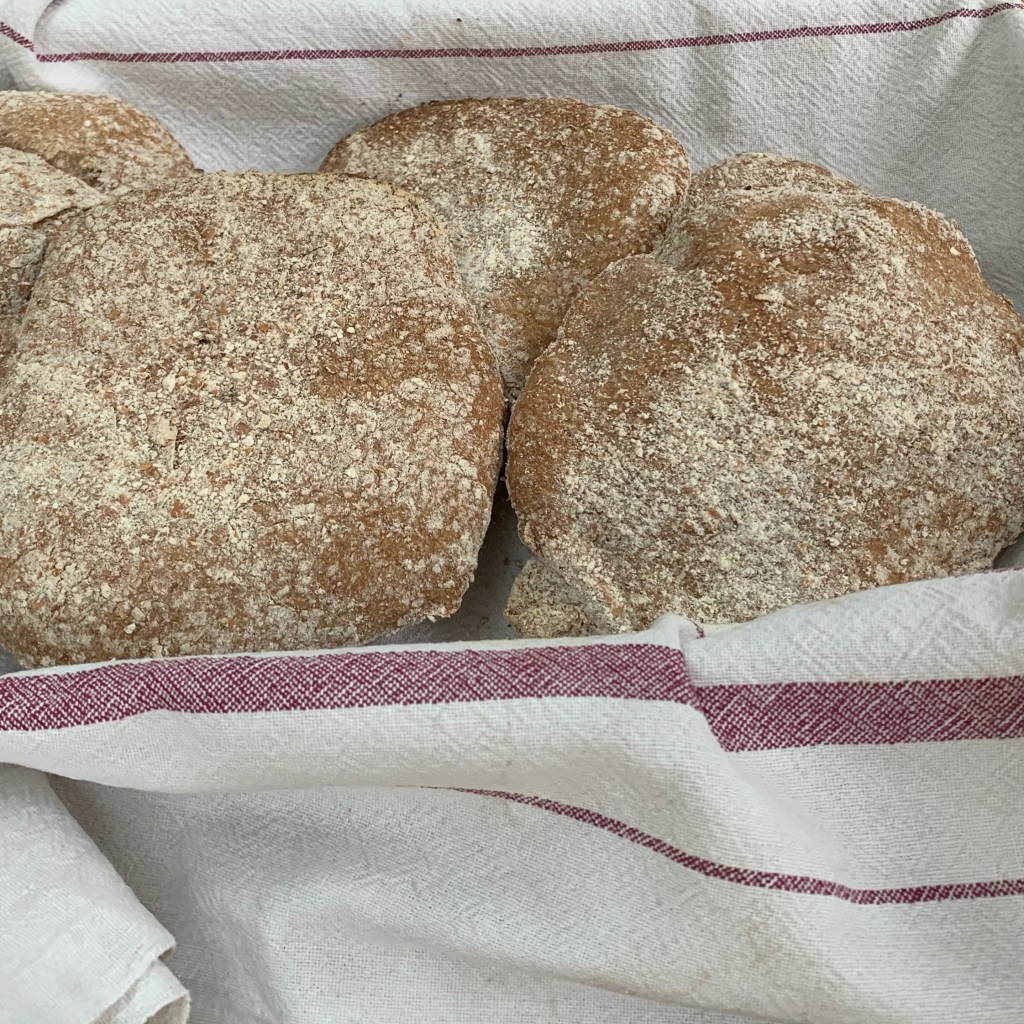
Breads (loaves)


Breads – sweet

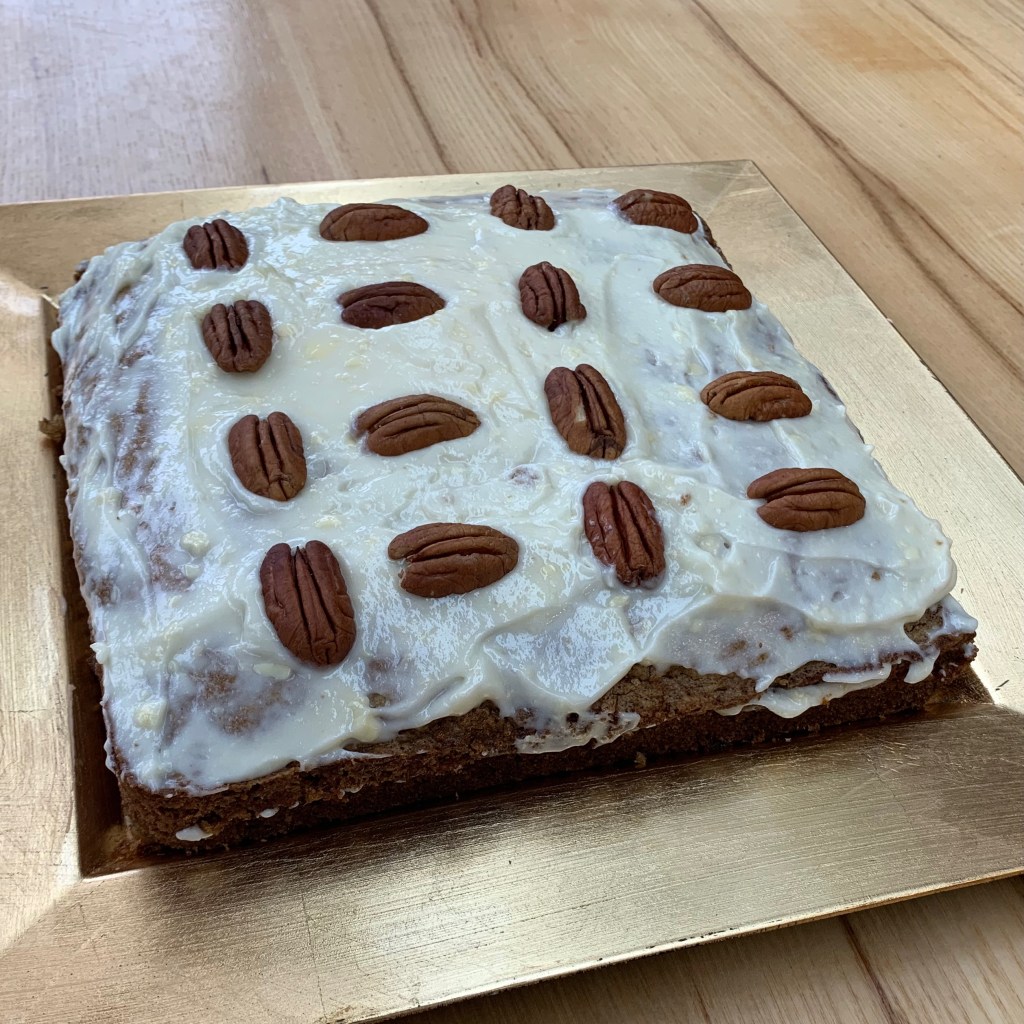
Cakes

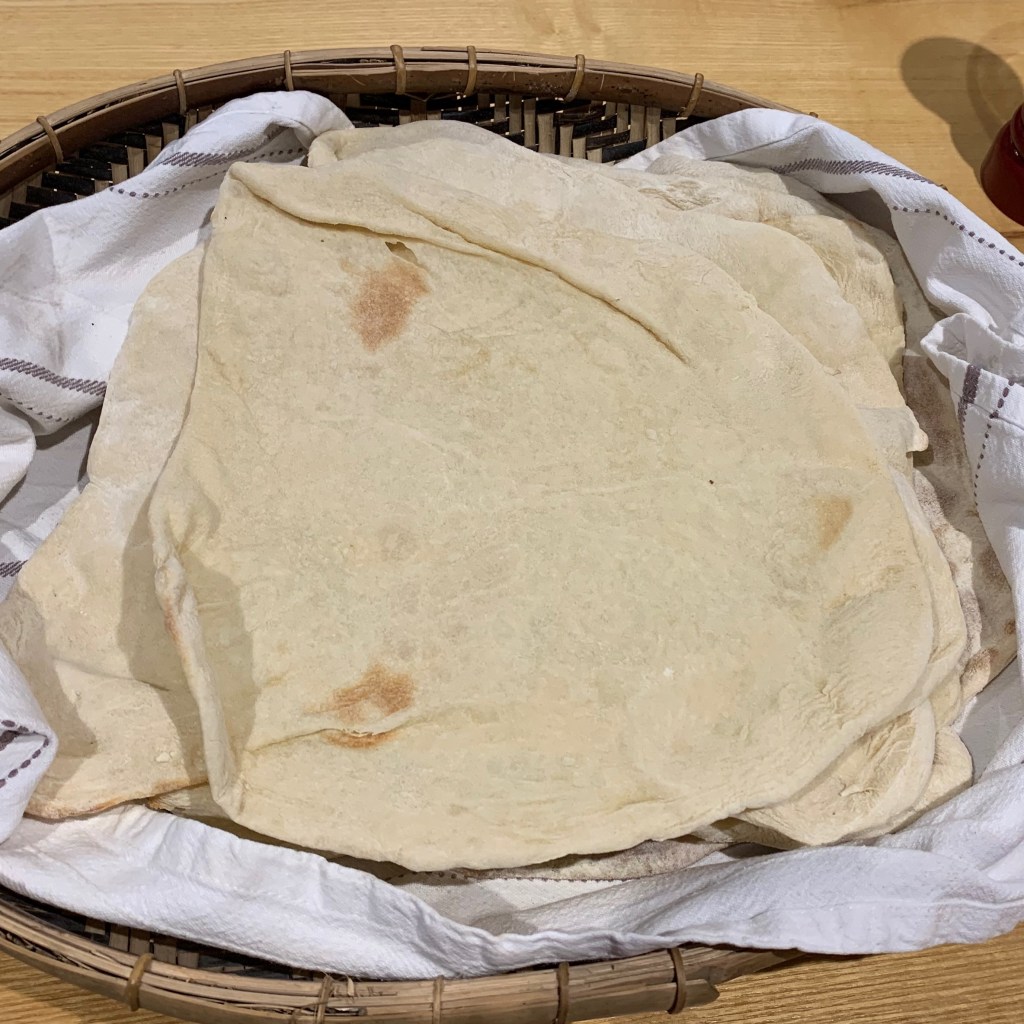
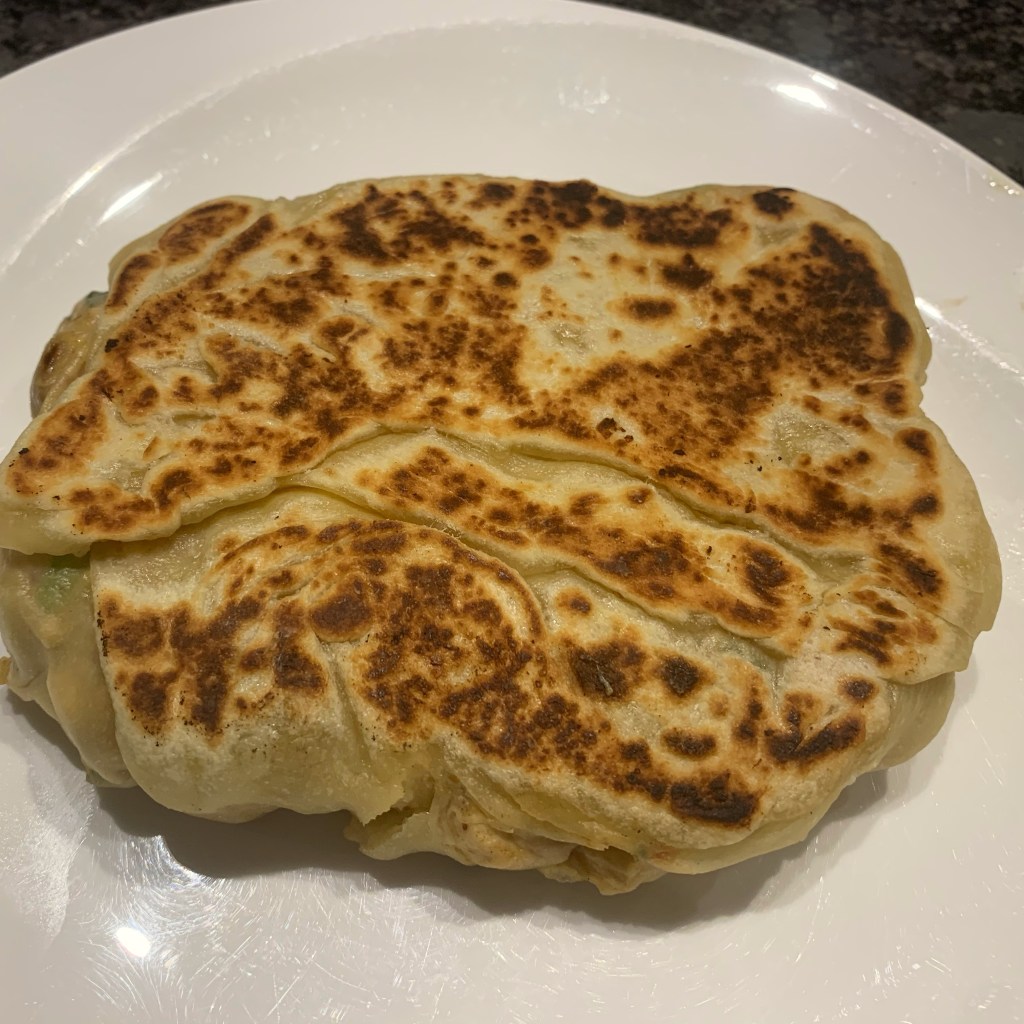
Flatbreads
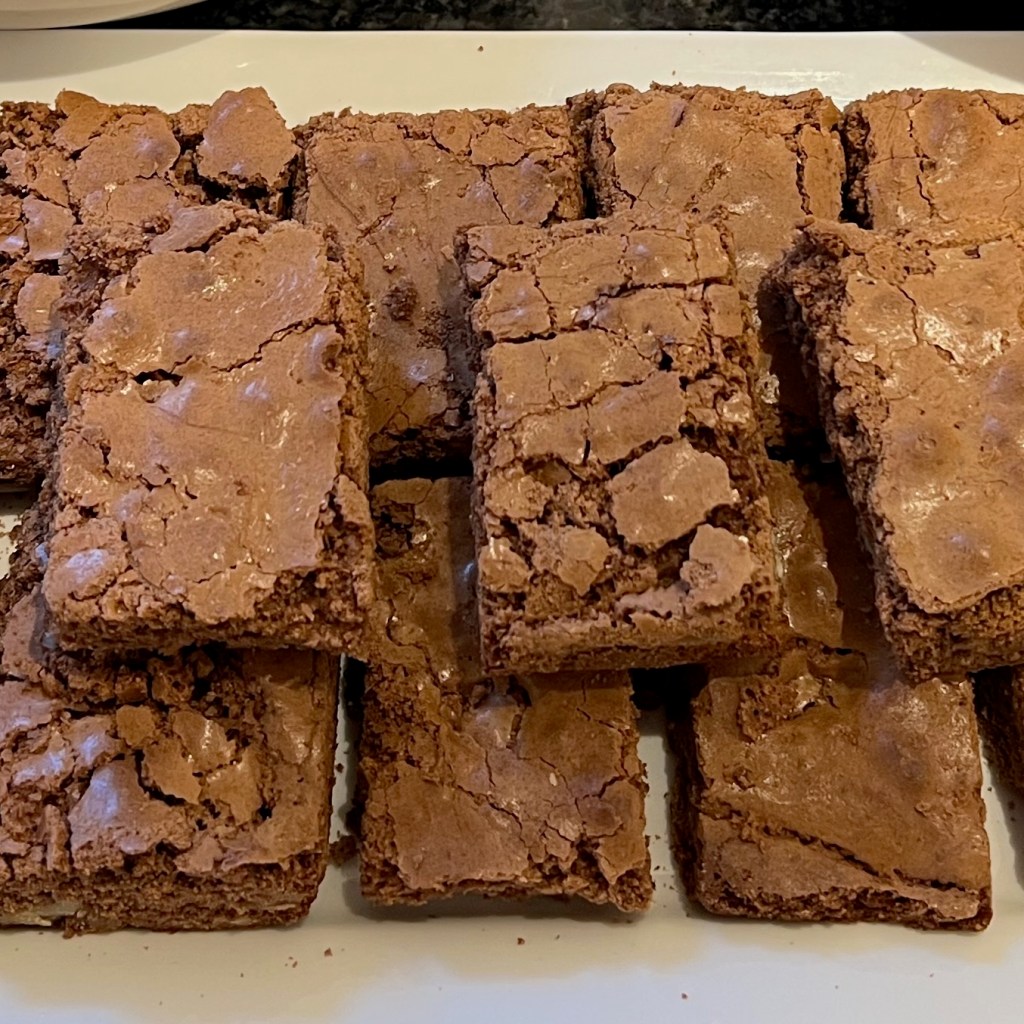
Pastries – sweet
Savoury dishes


Other

David's blog for everything. Except classical music.
Month: February 2022
OK, so there are a few dubious categorisations here to make the images line up. But I’ve done my best.
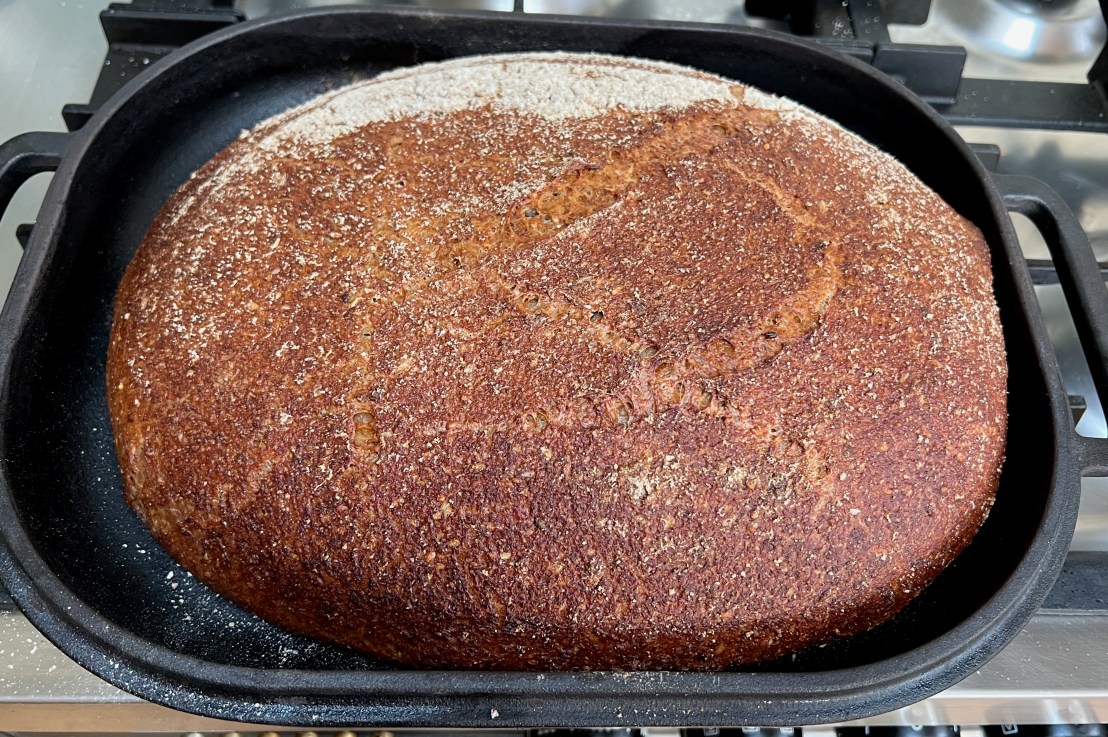
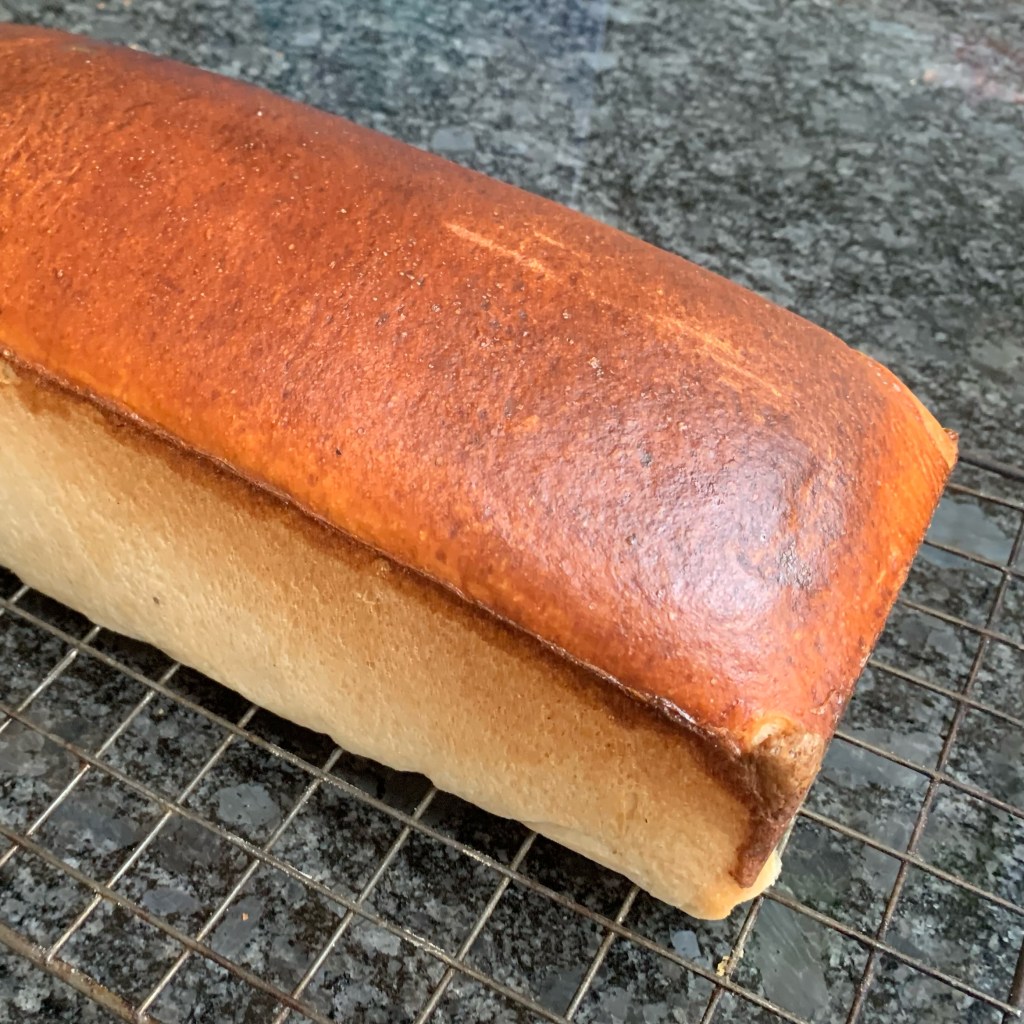
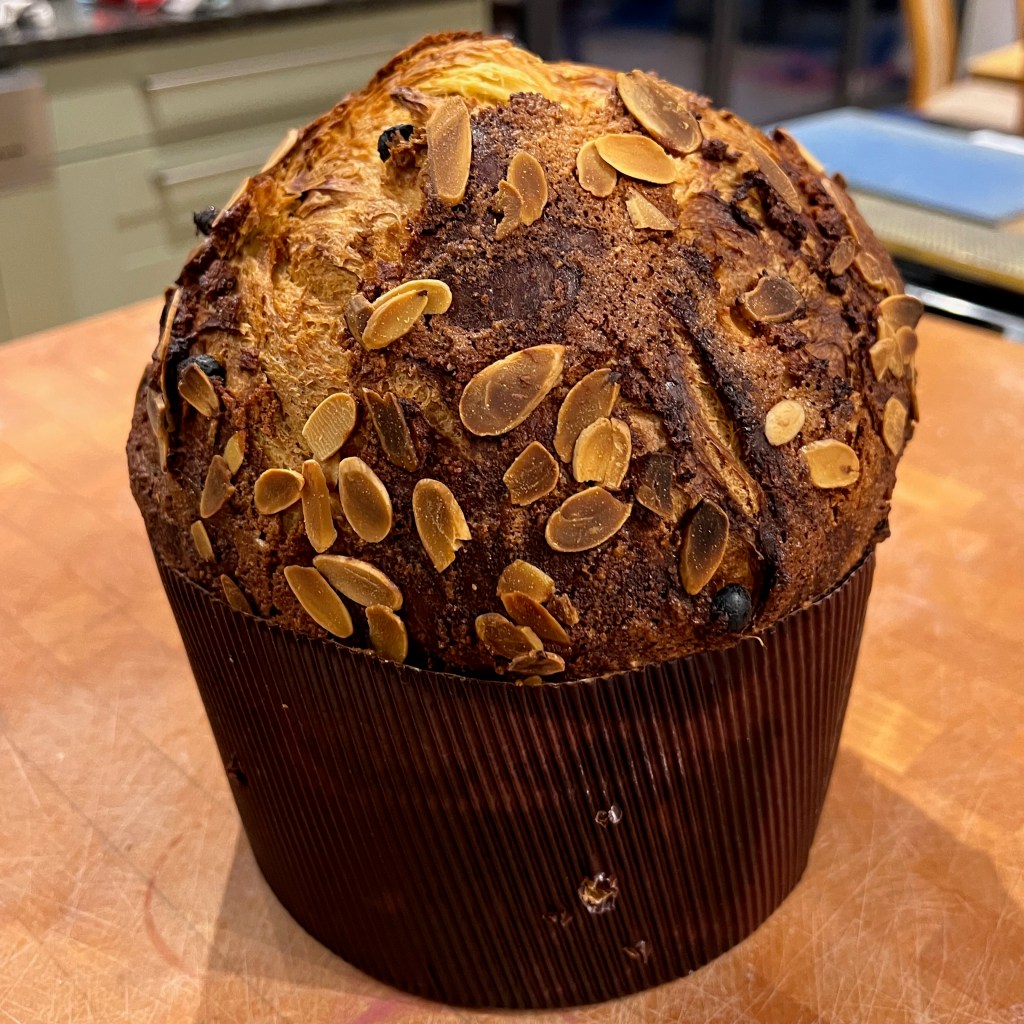
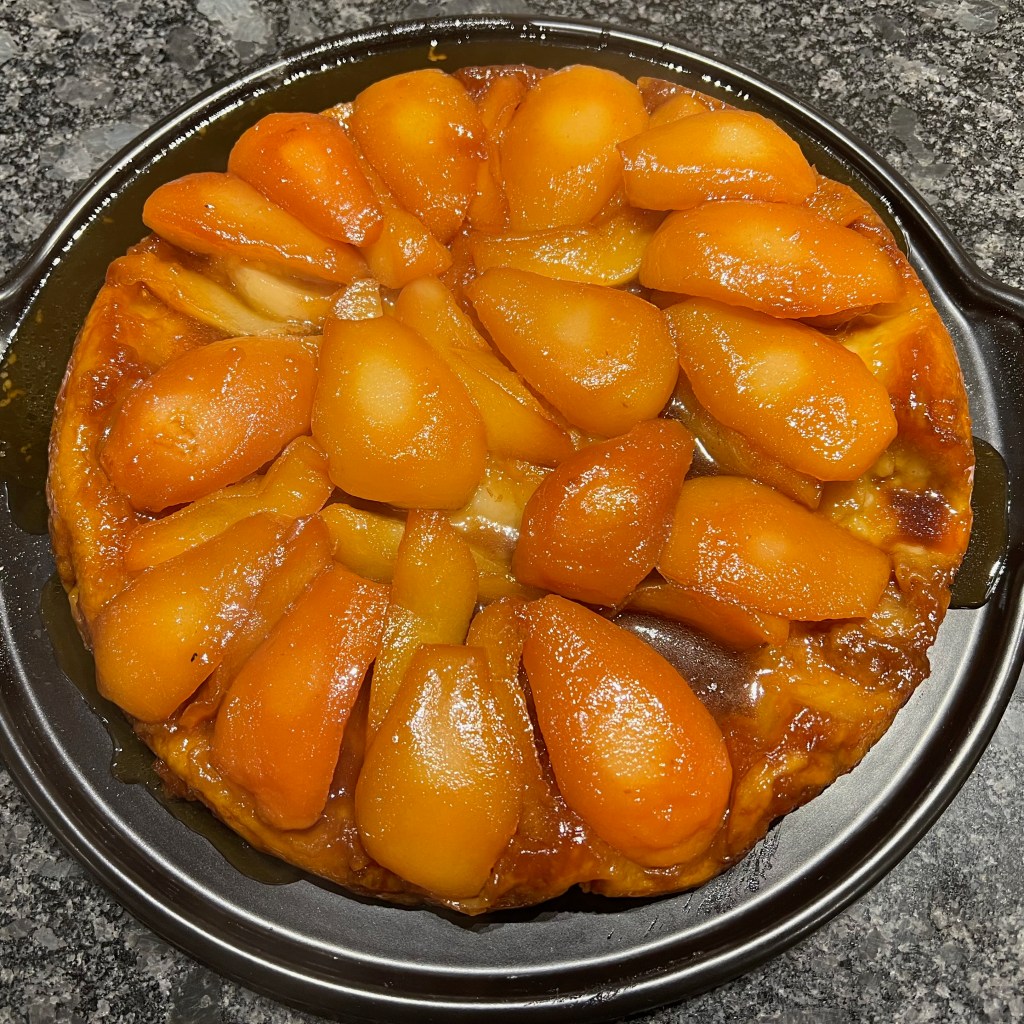
For my 80th and final bake, it’s time to come back to my home in London (which is very lovely, if a somewhat humbler edifice than the Reform Club, Phileas Fogg’s final destination).
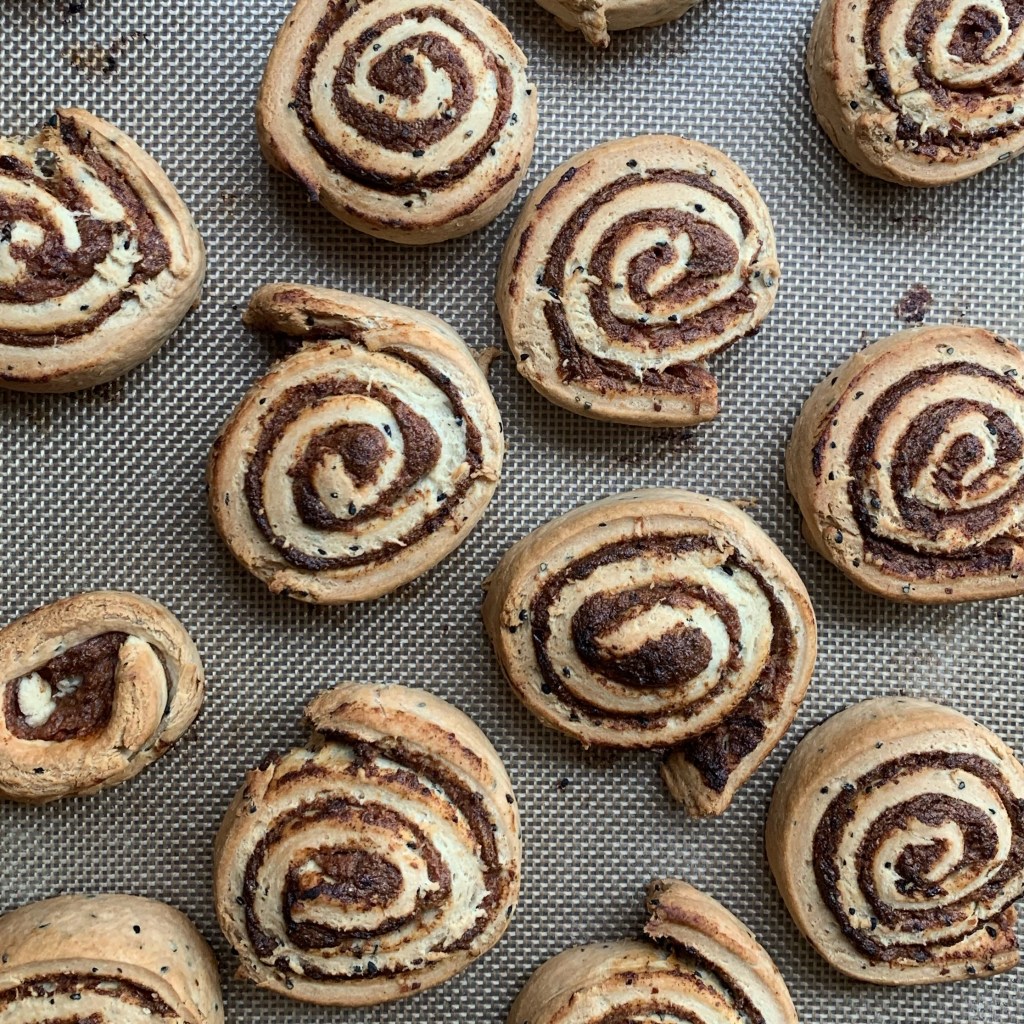
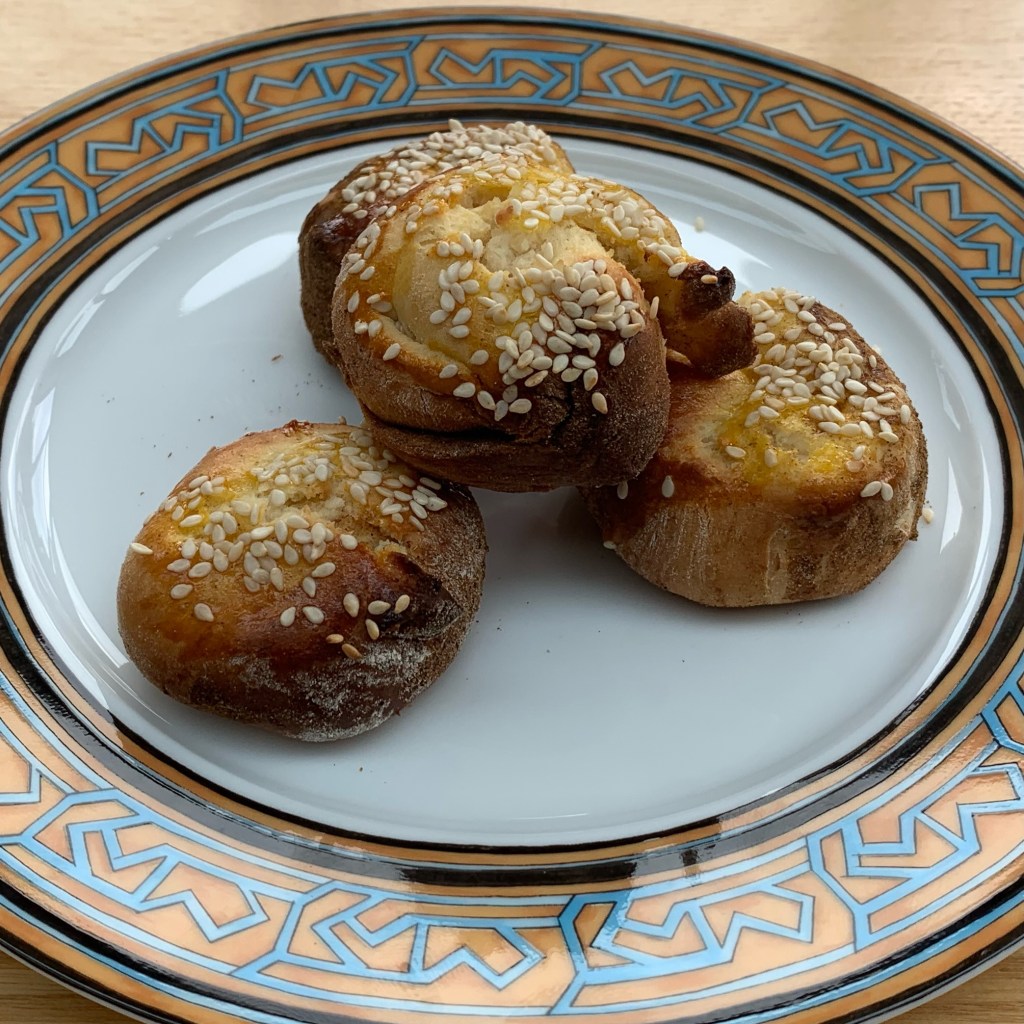
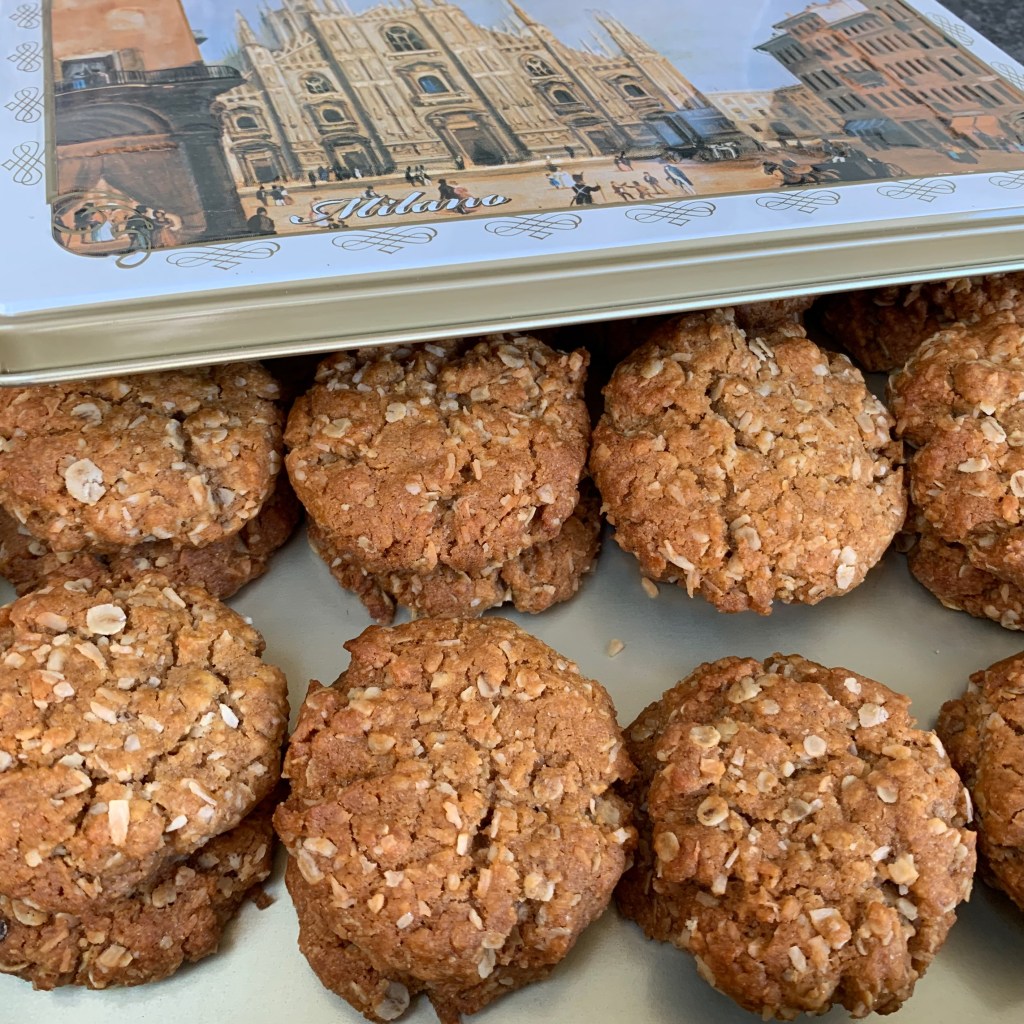
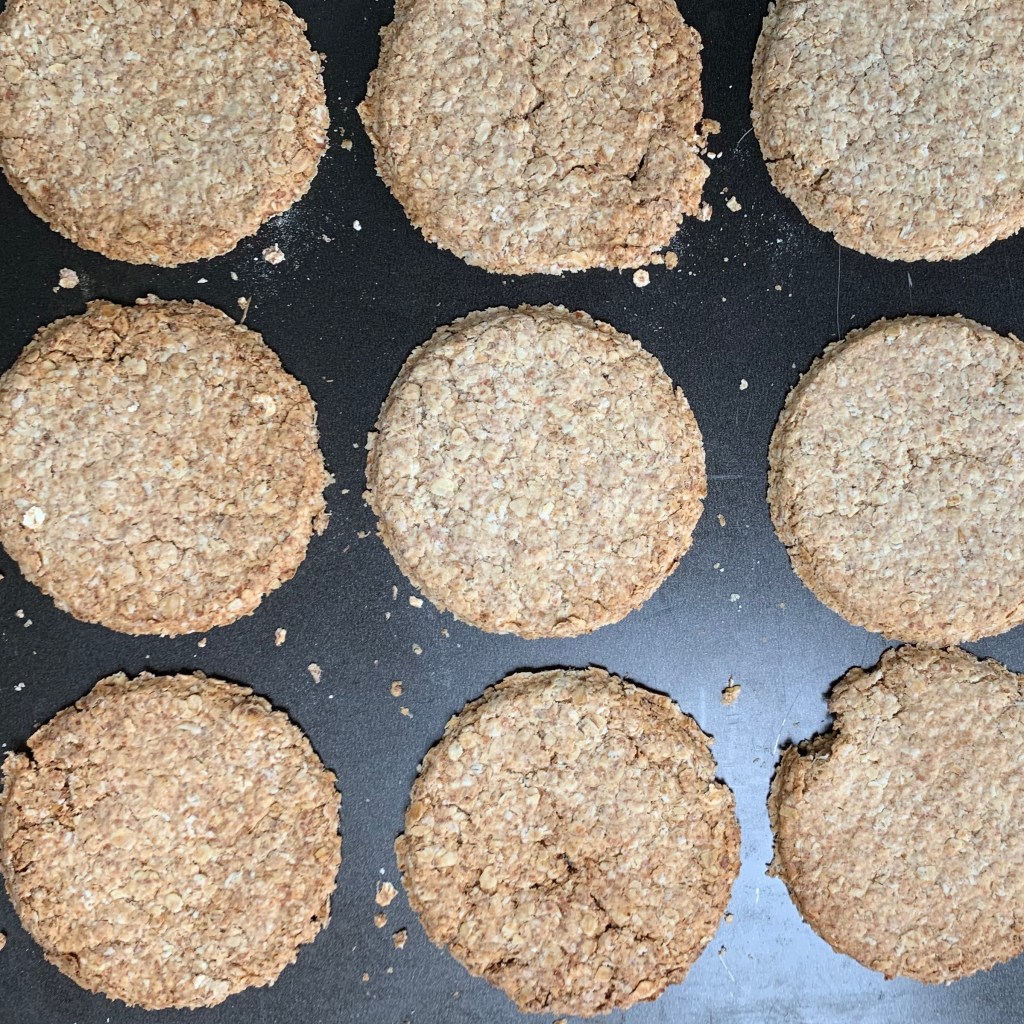
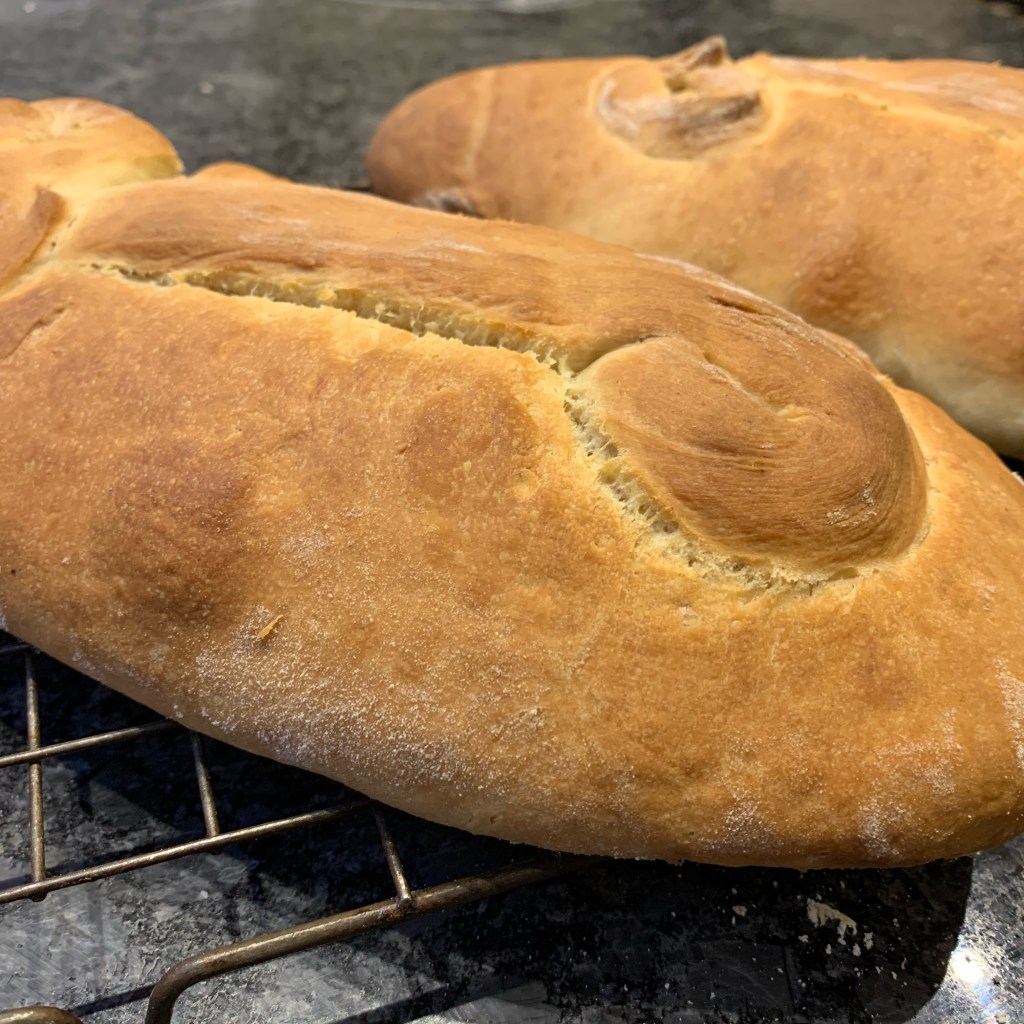
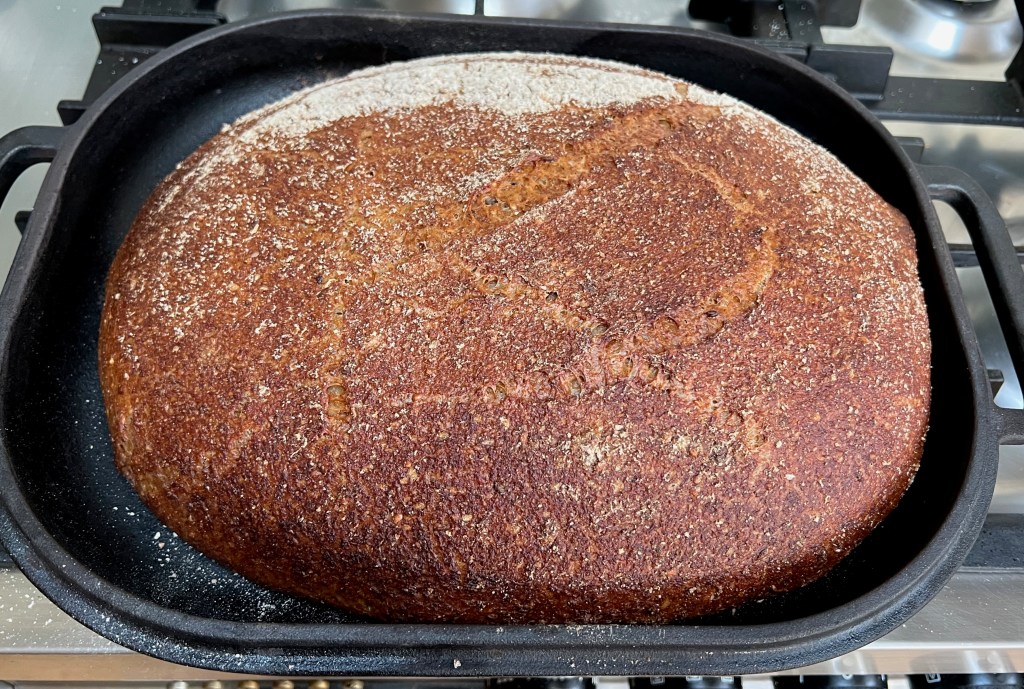
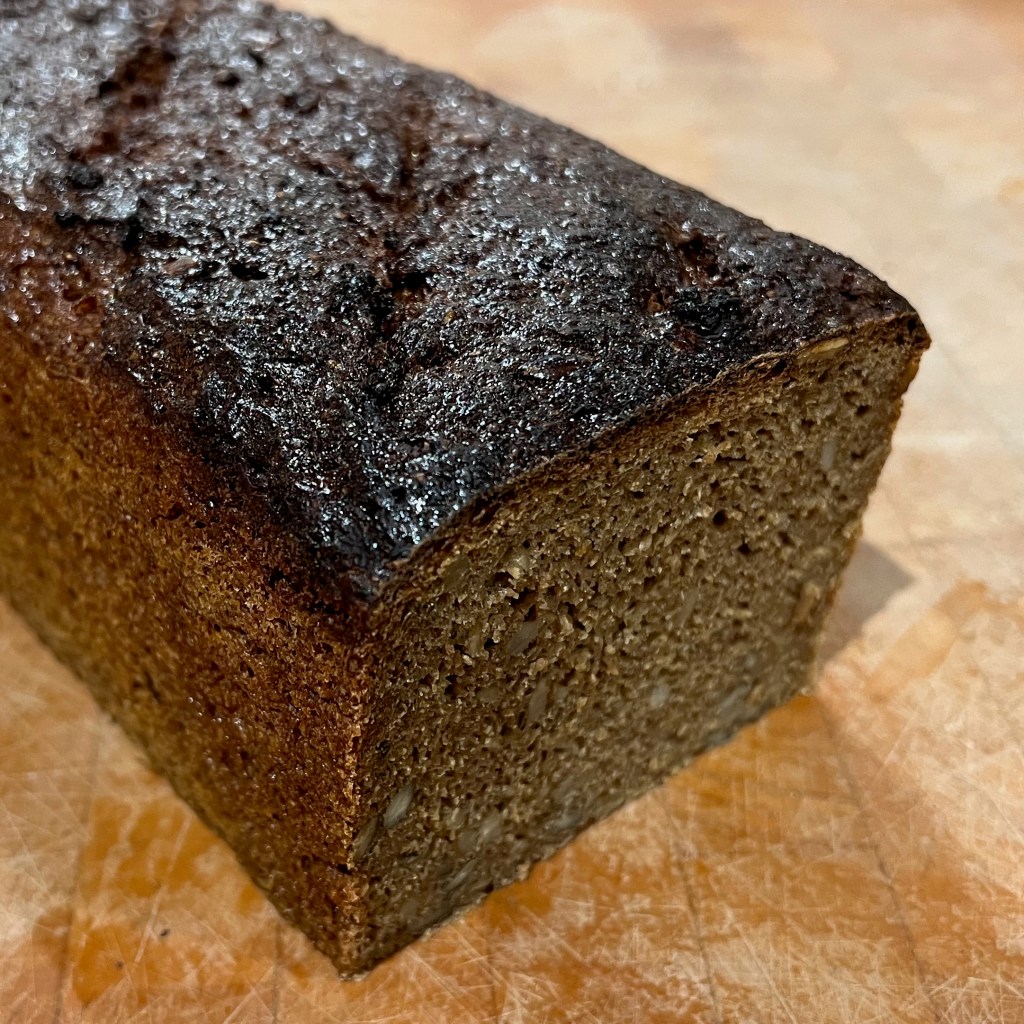
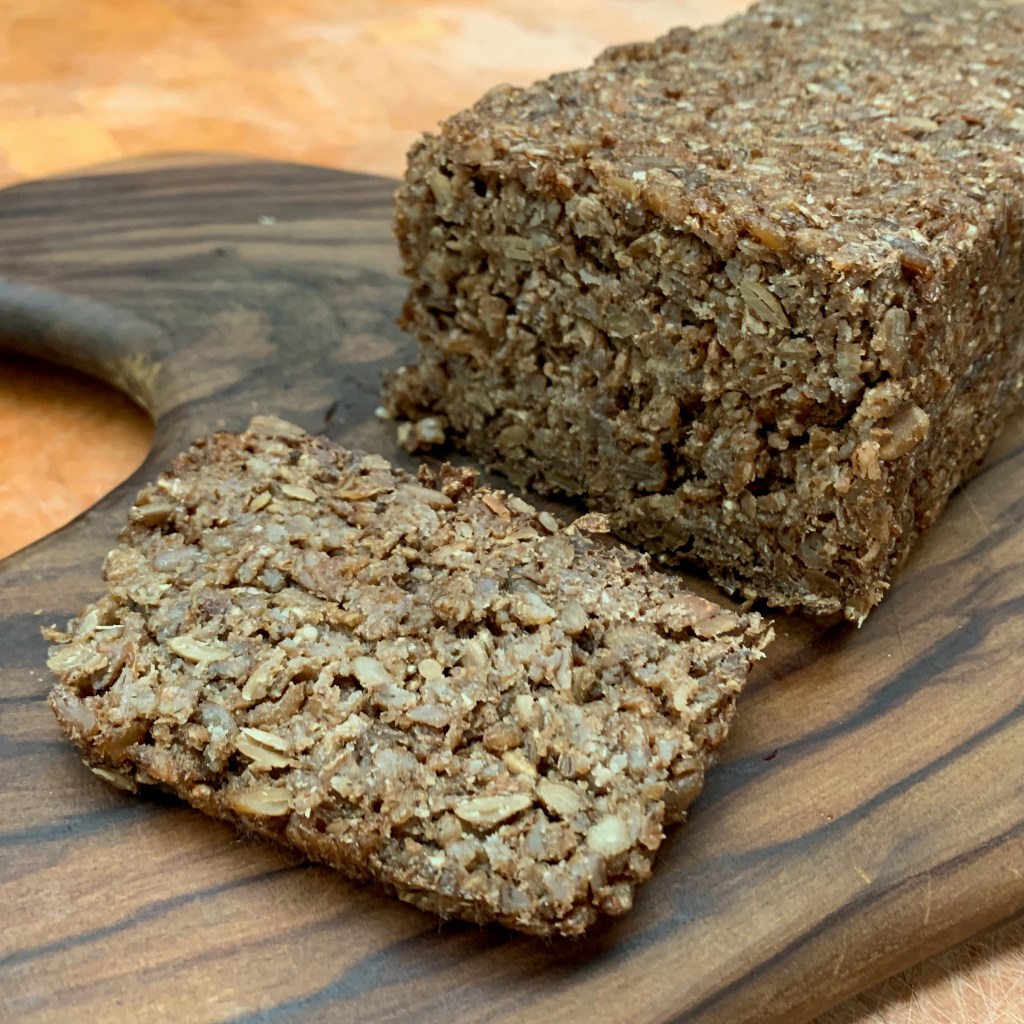
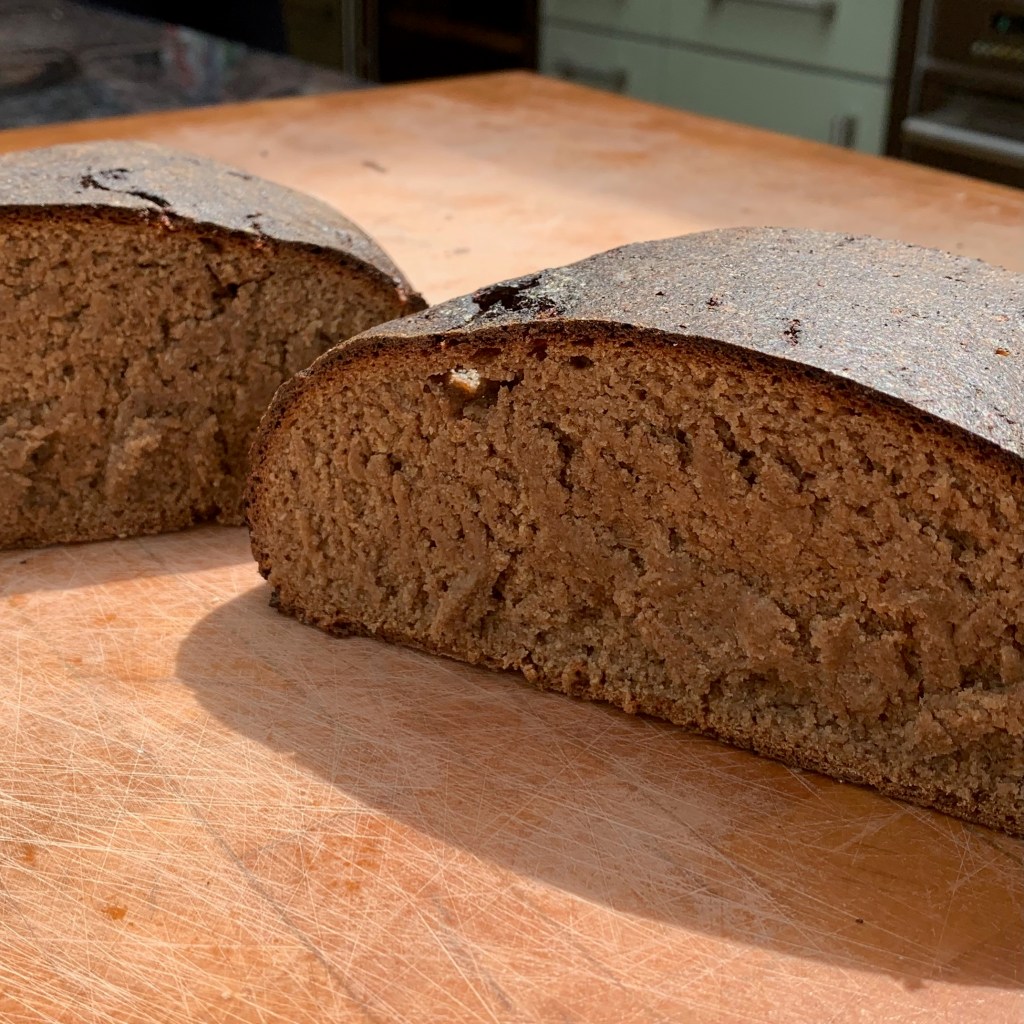
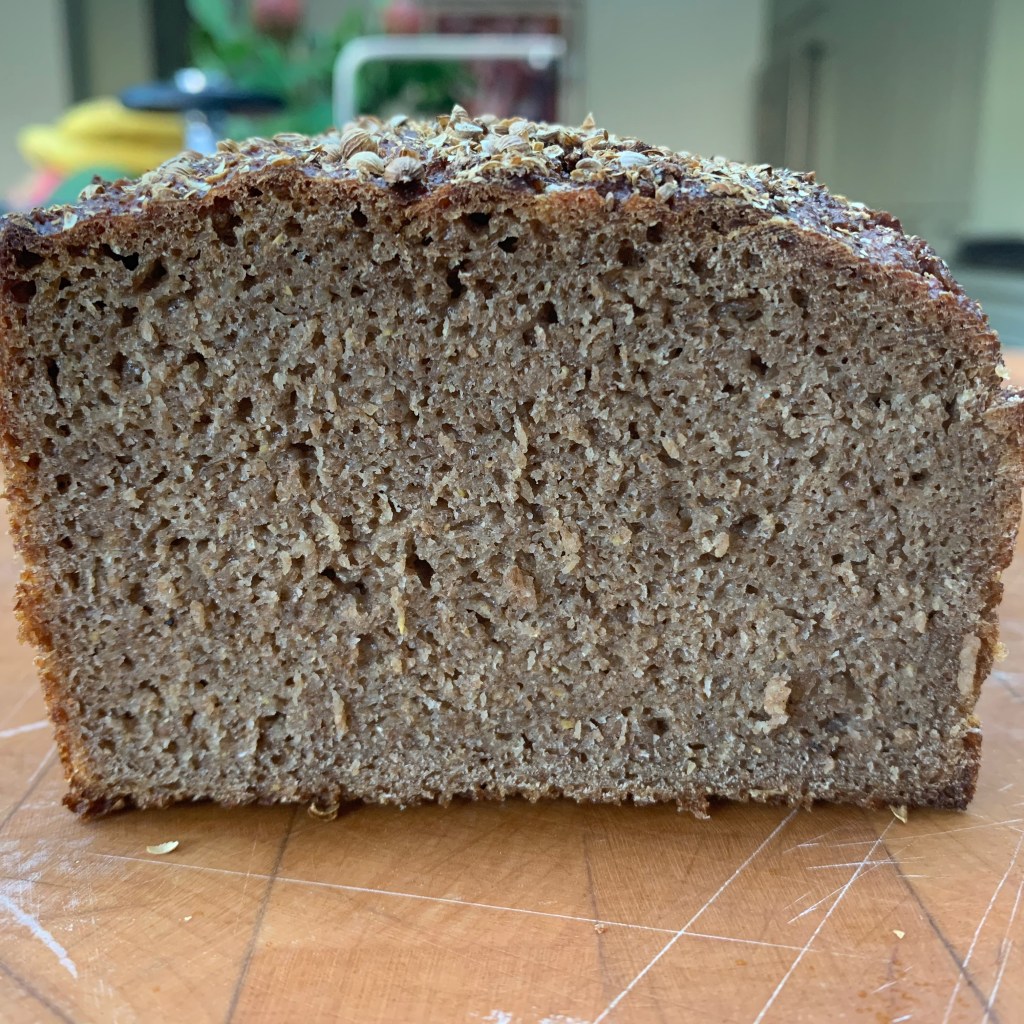
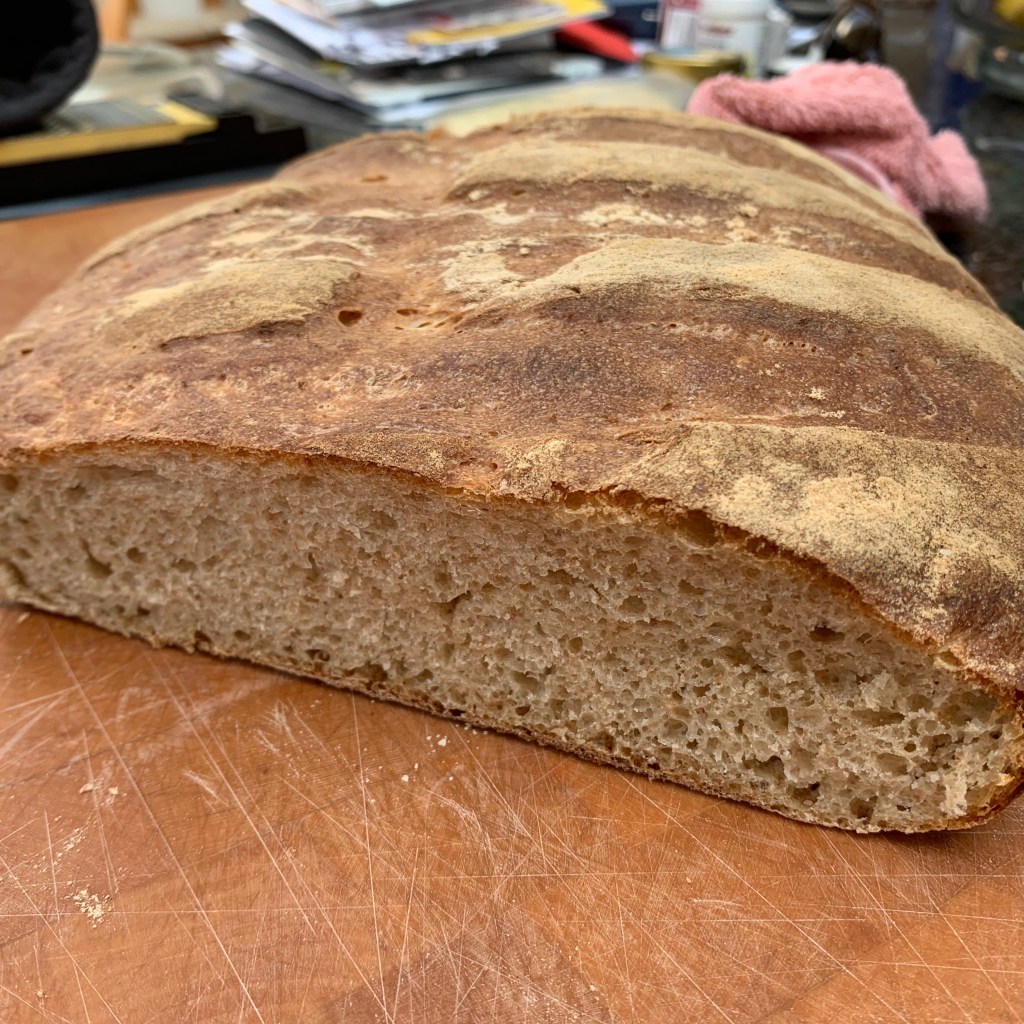
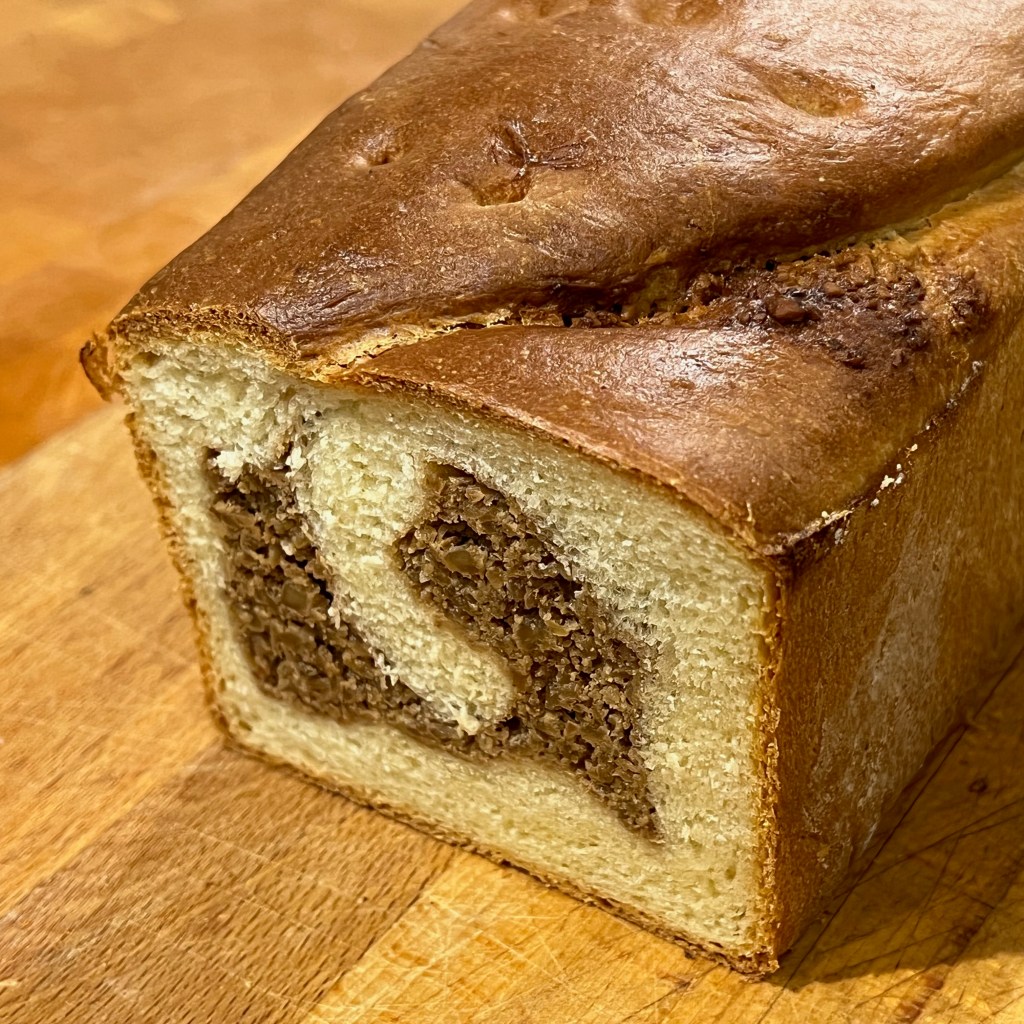
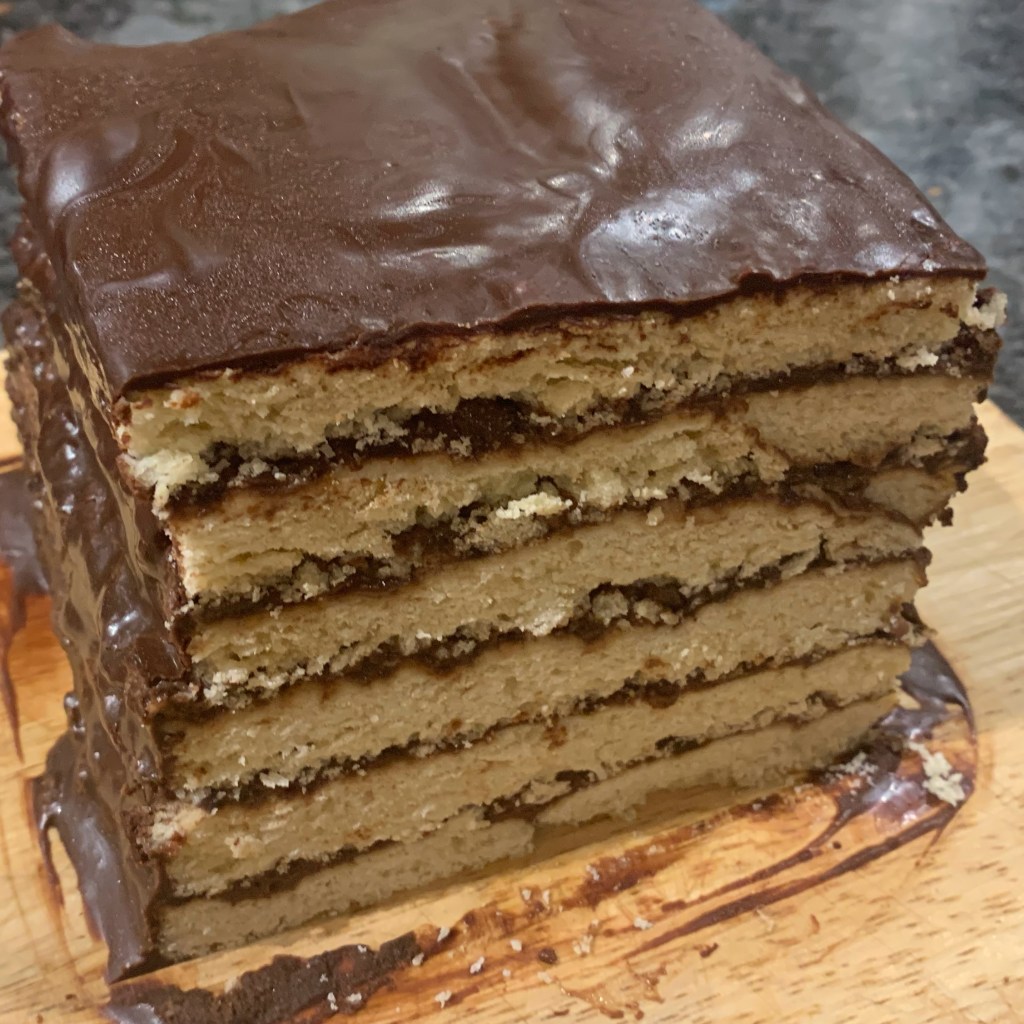
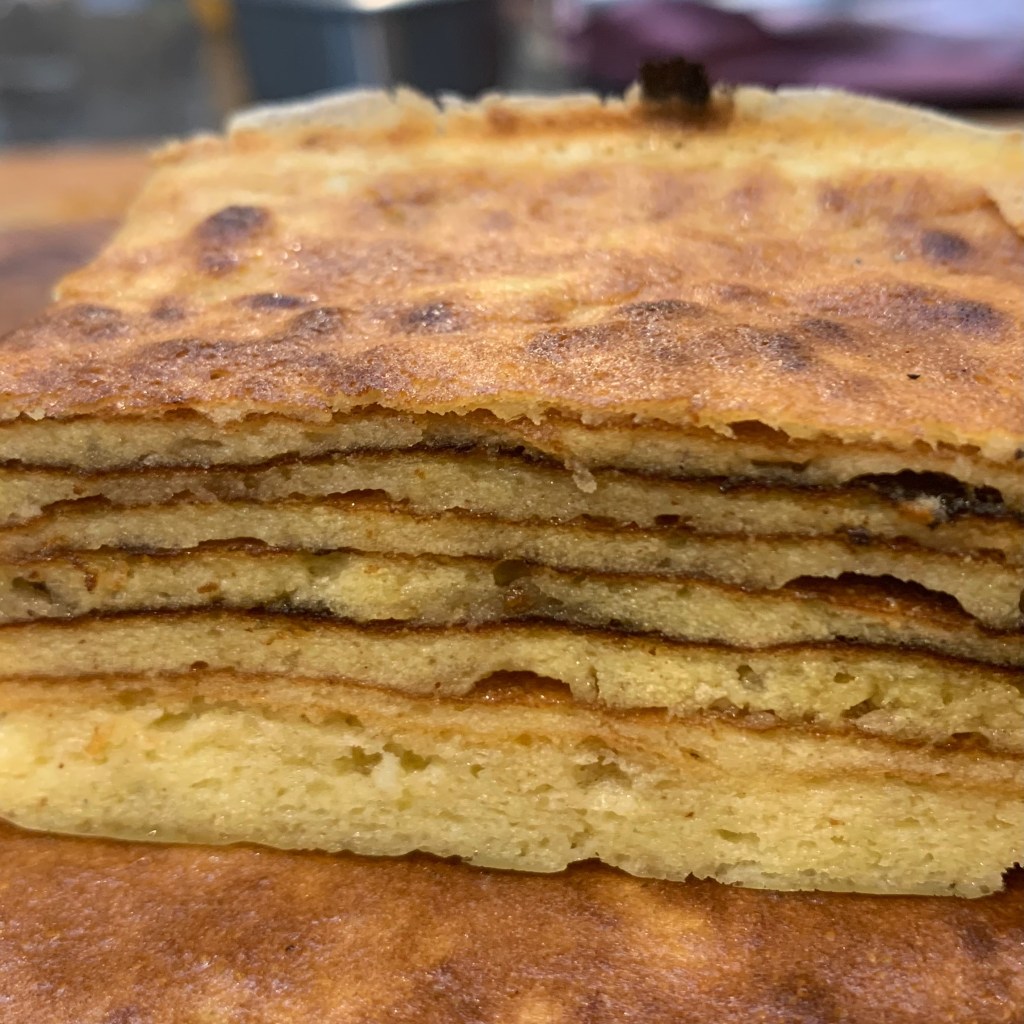
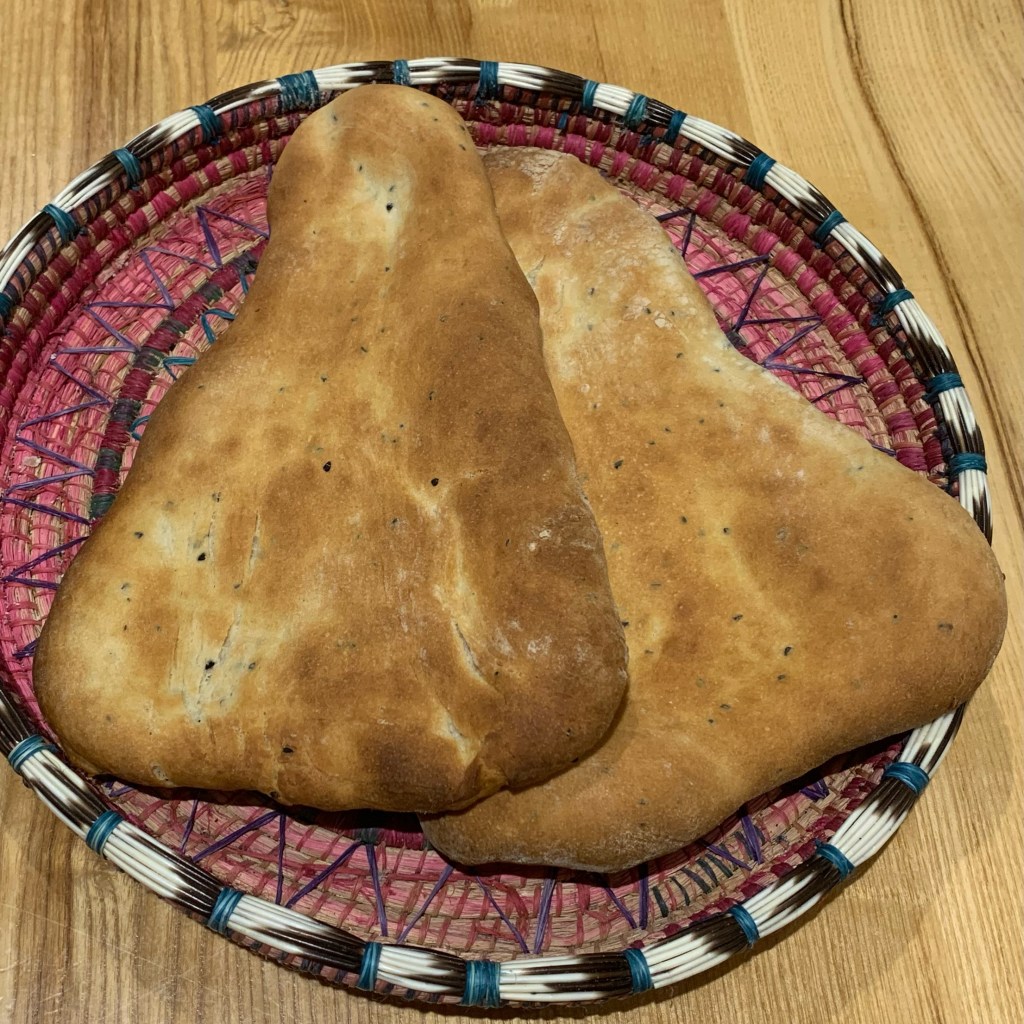
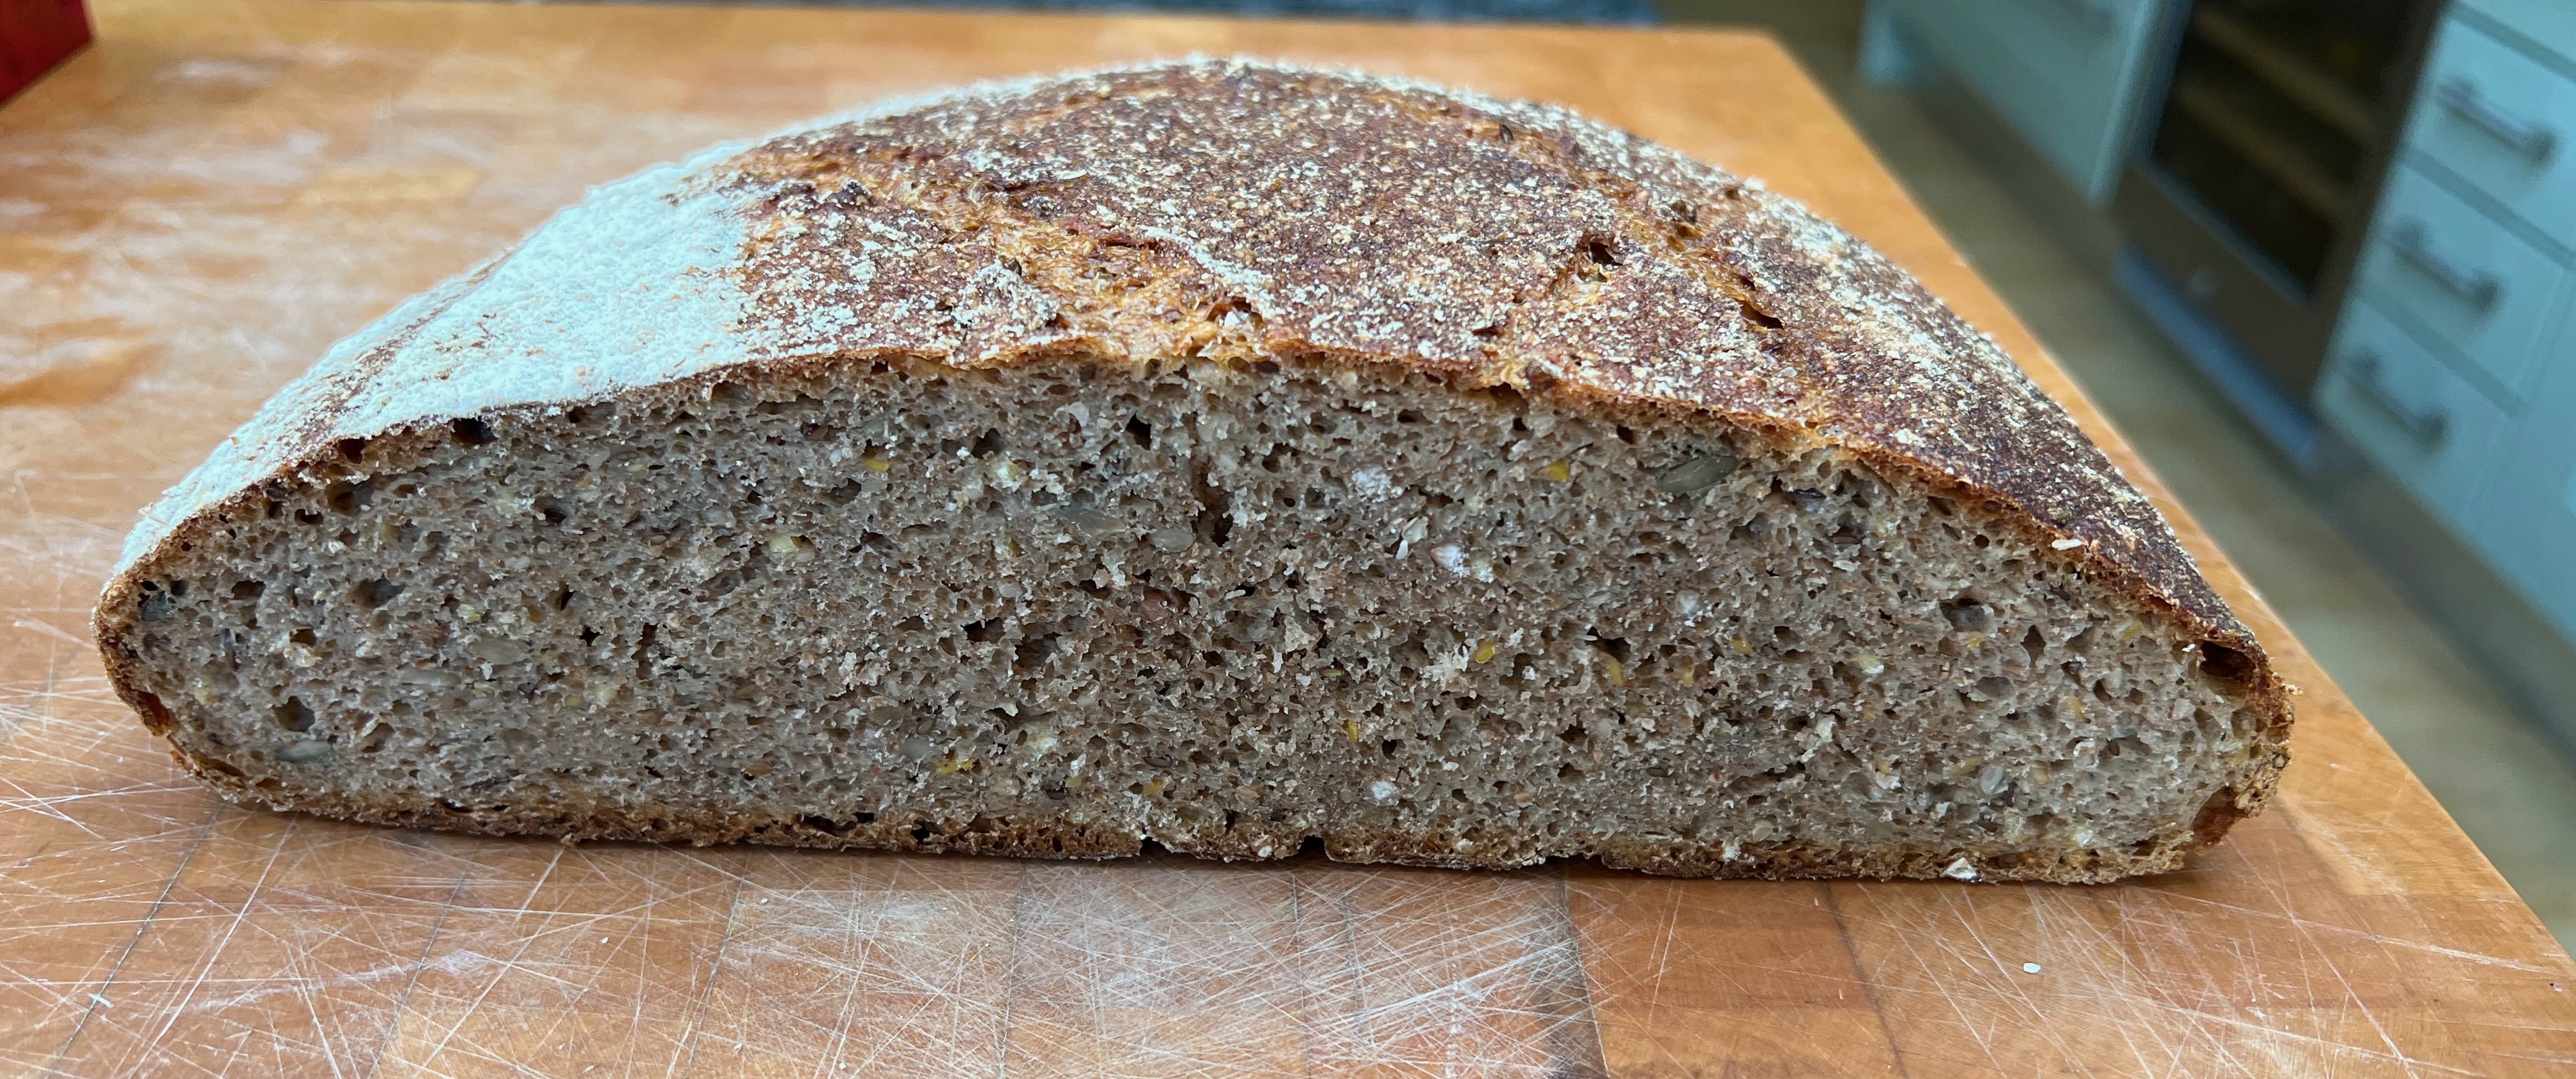
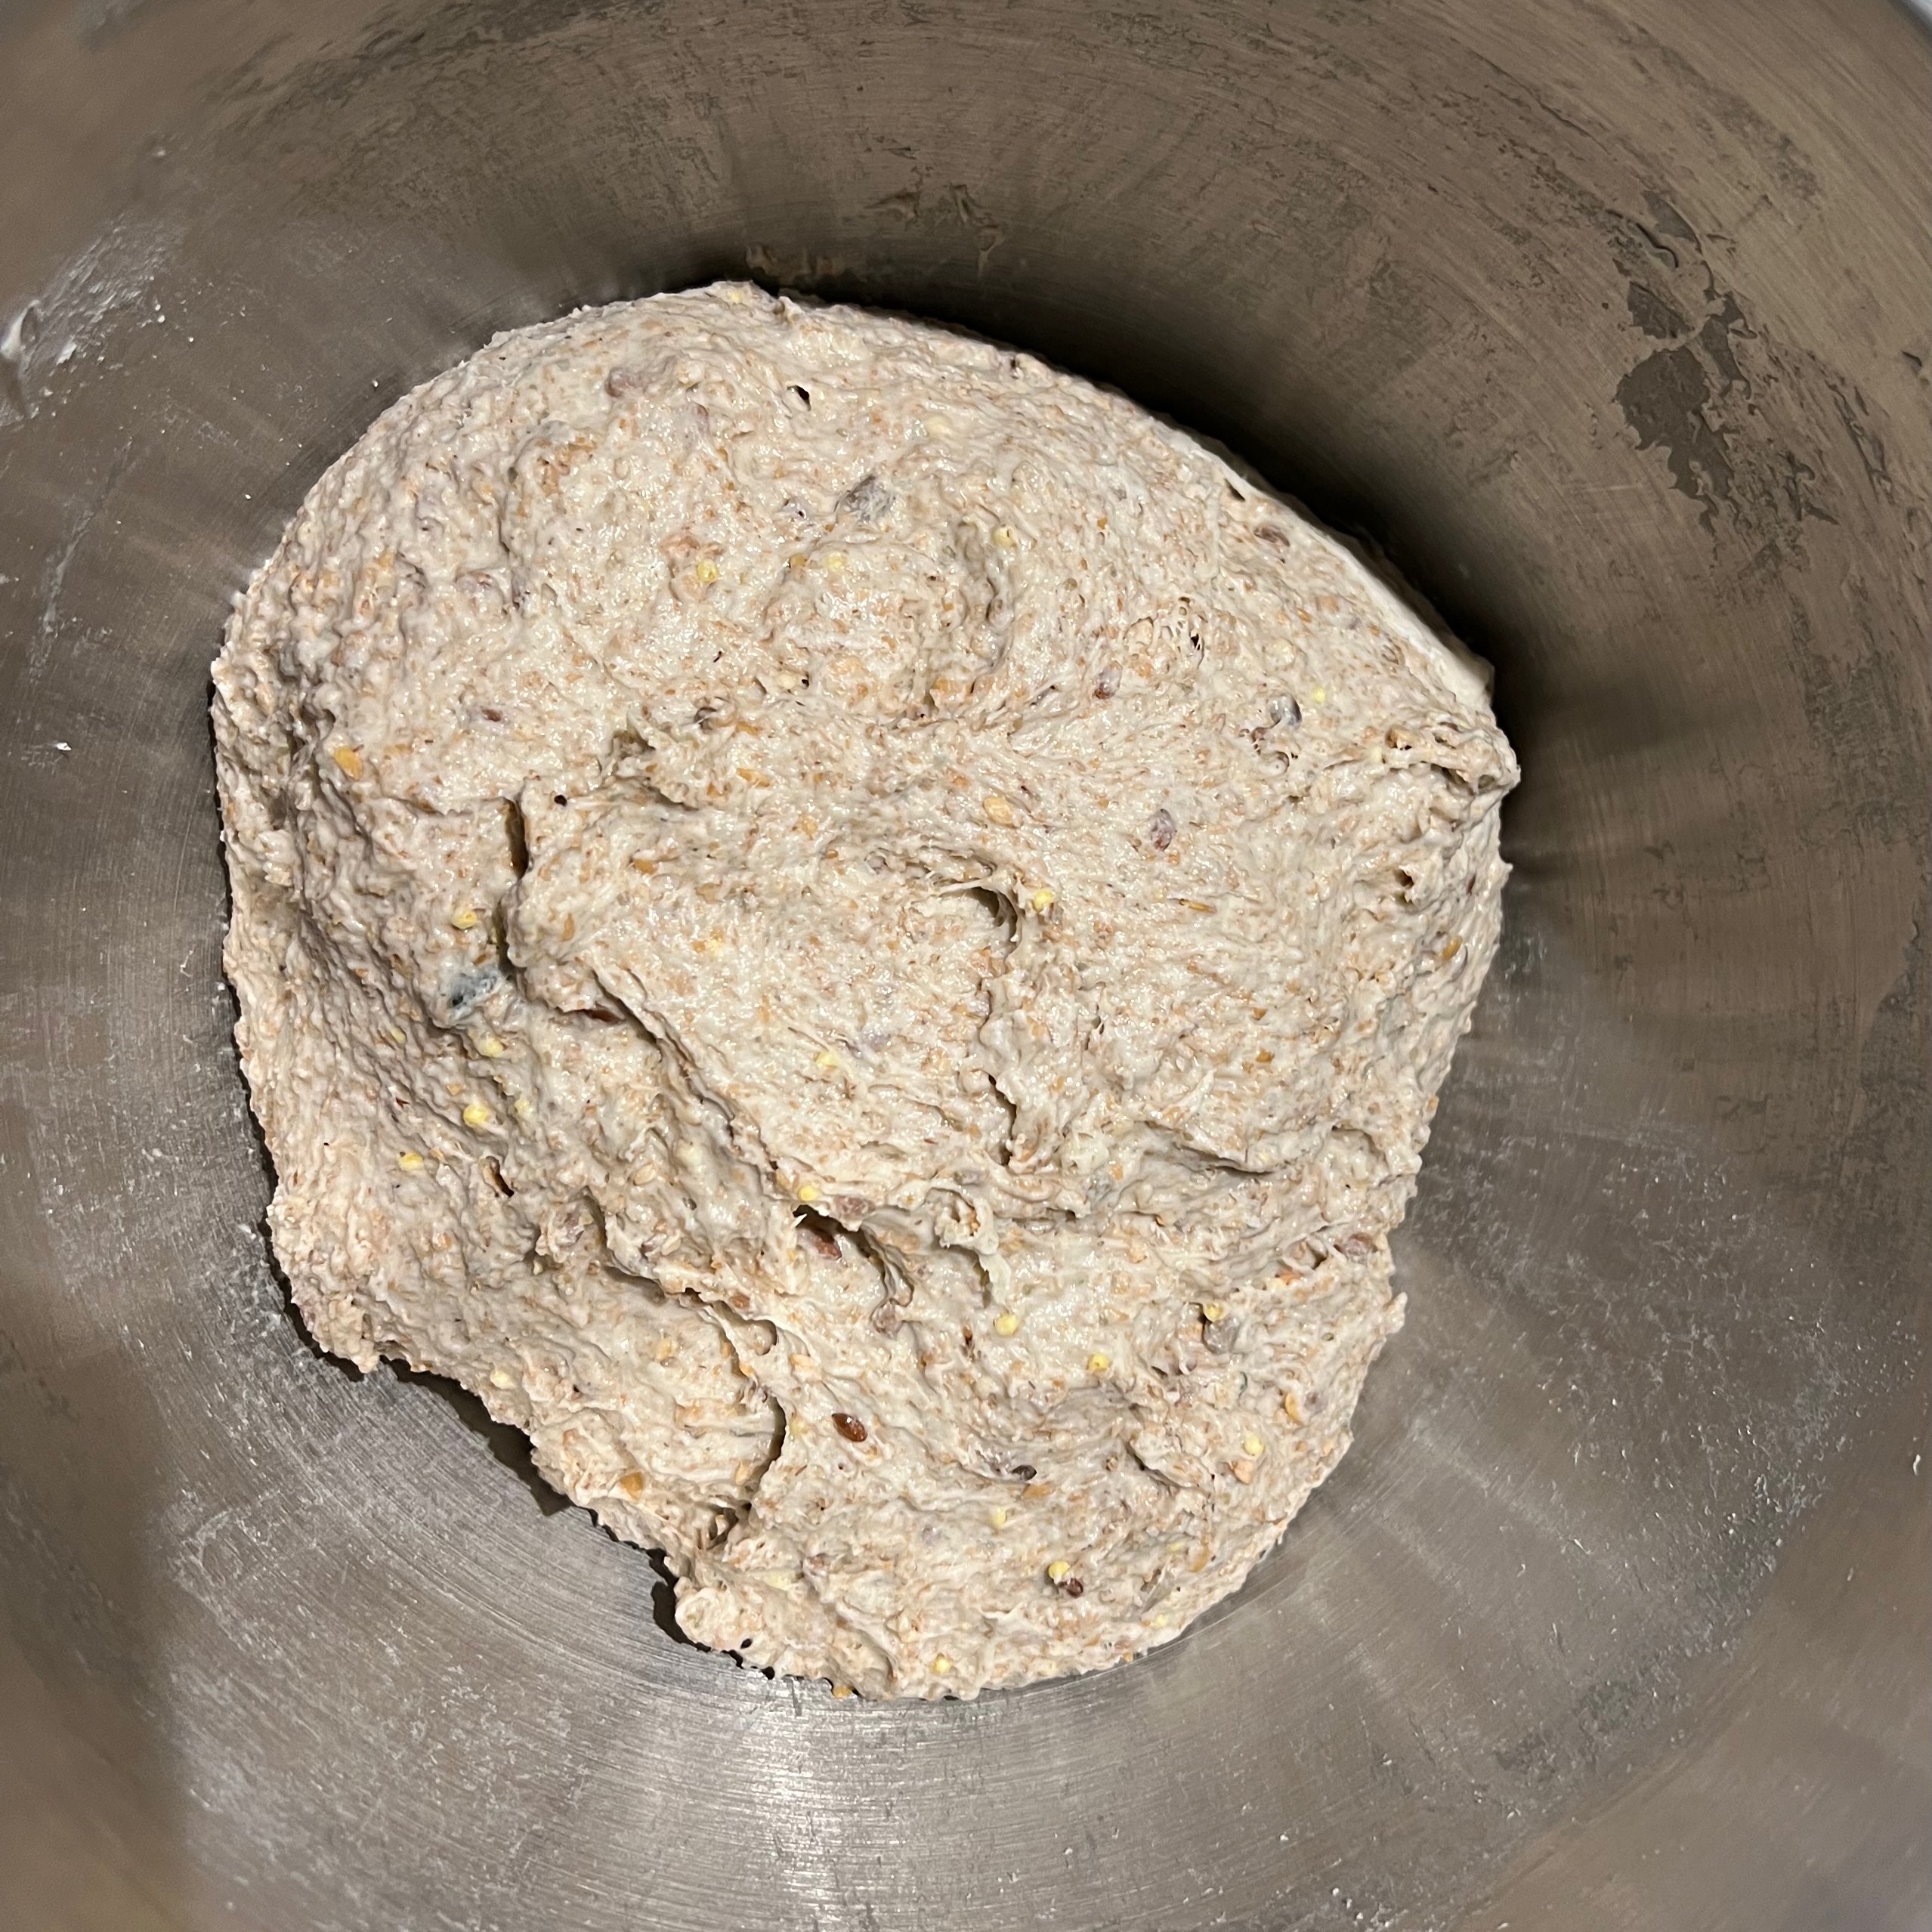
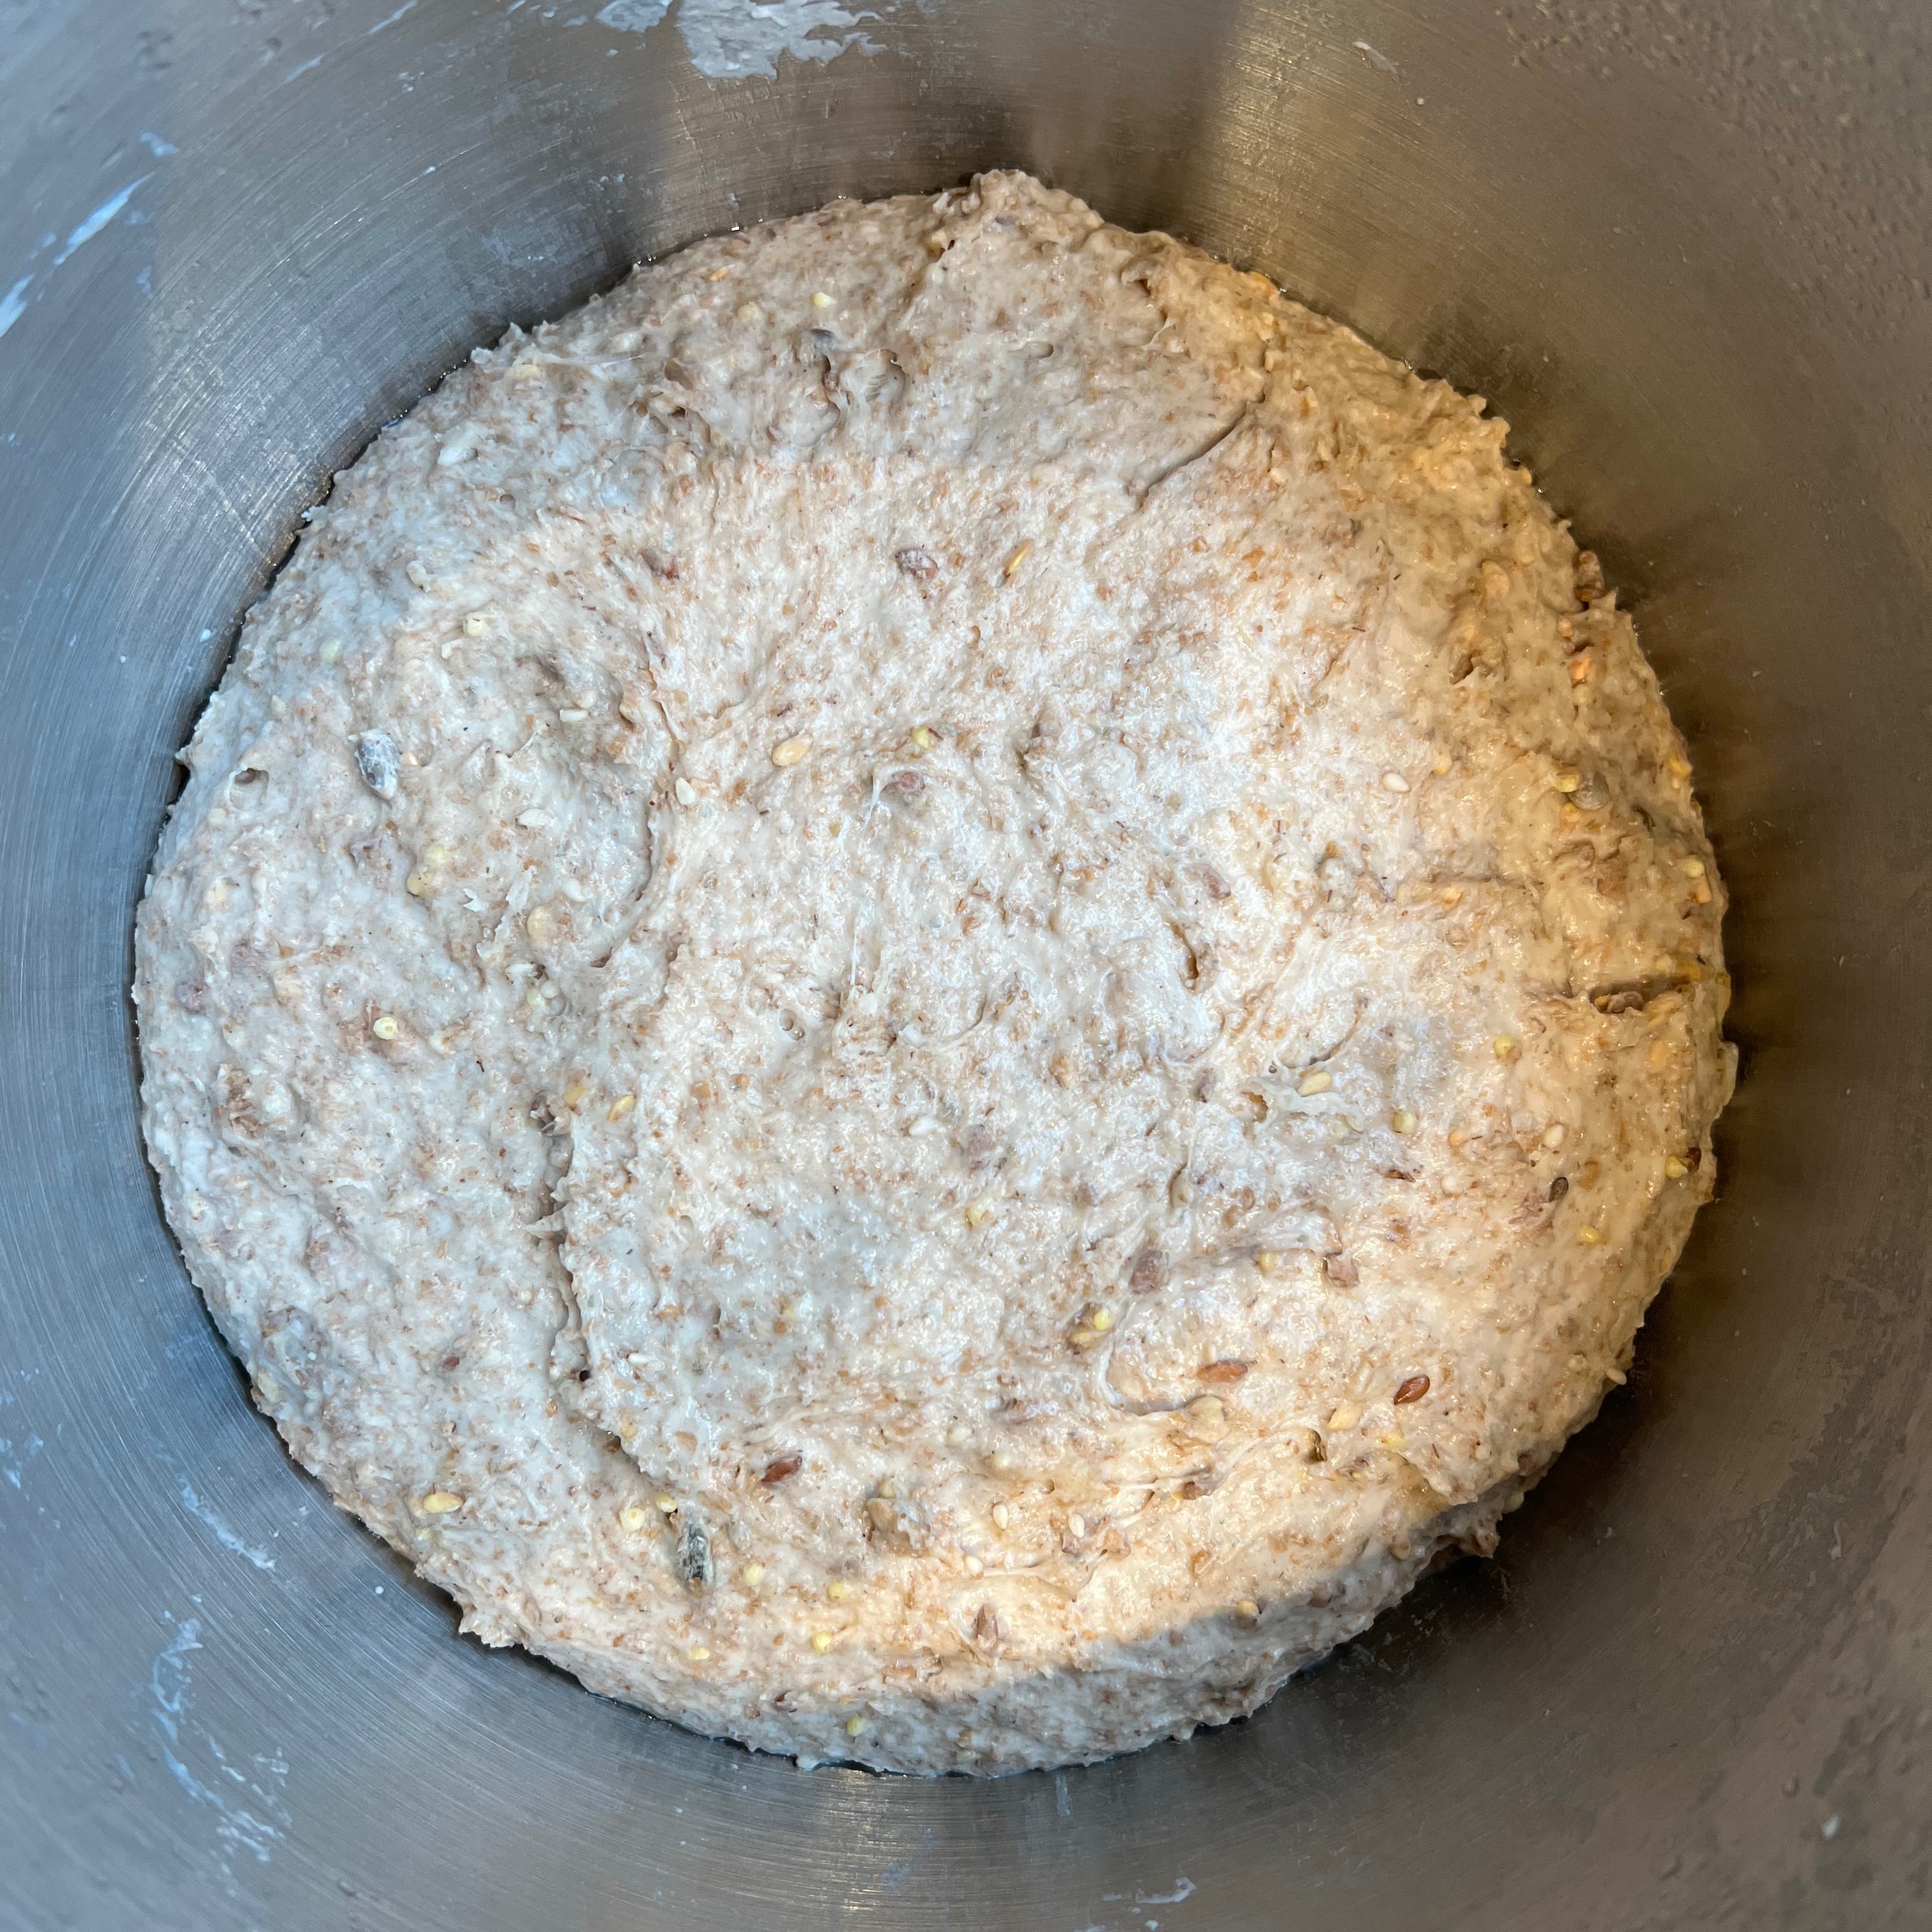
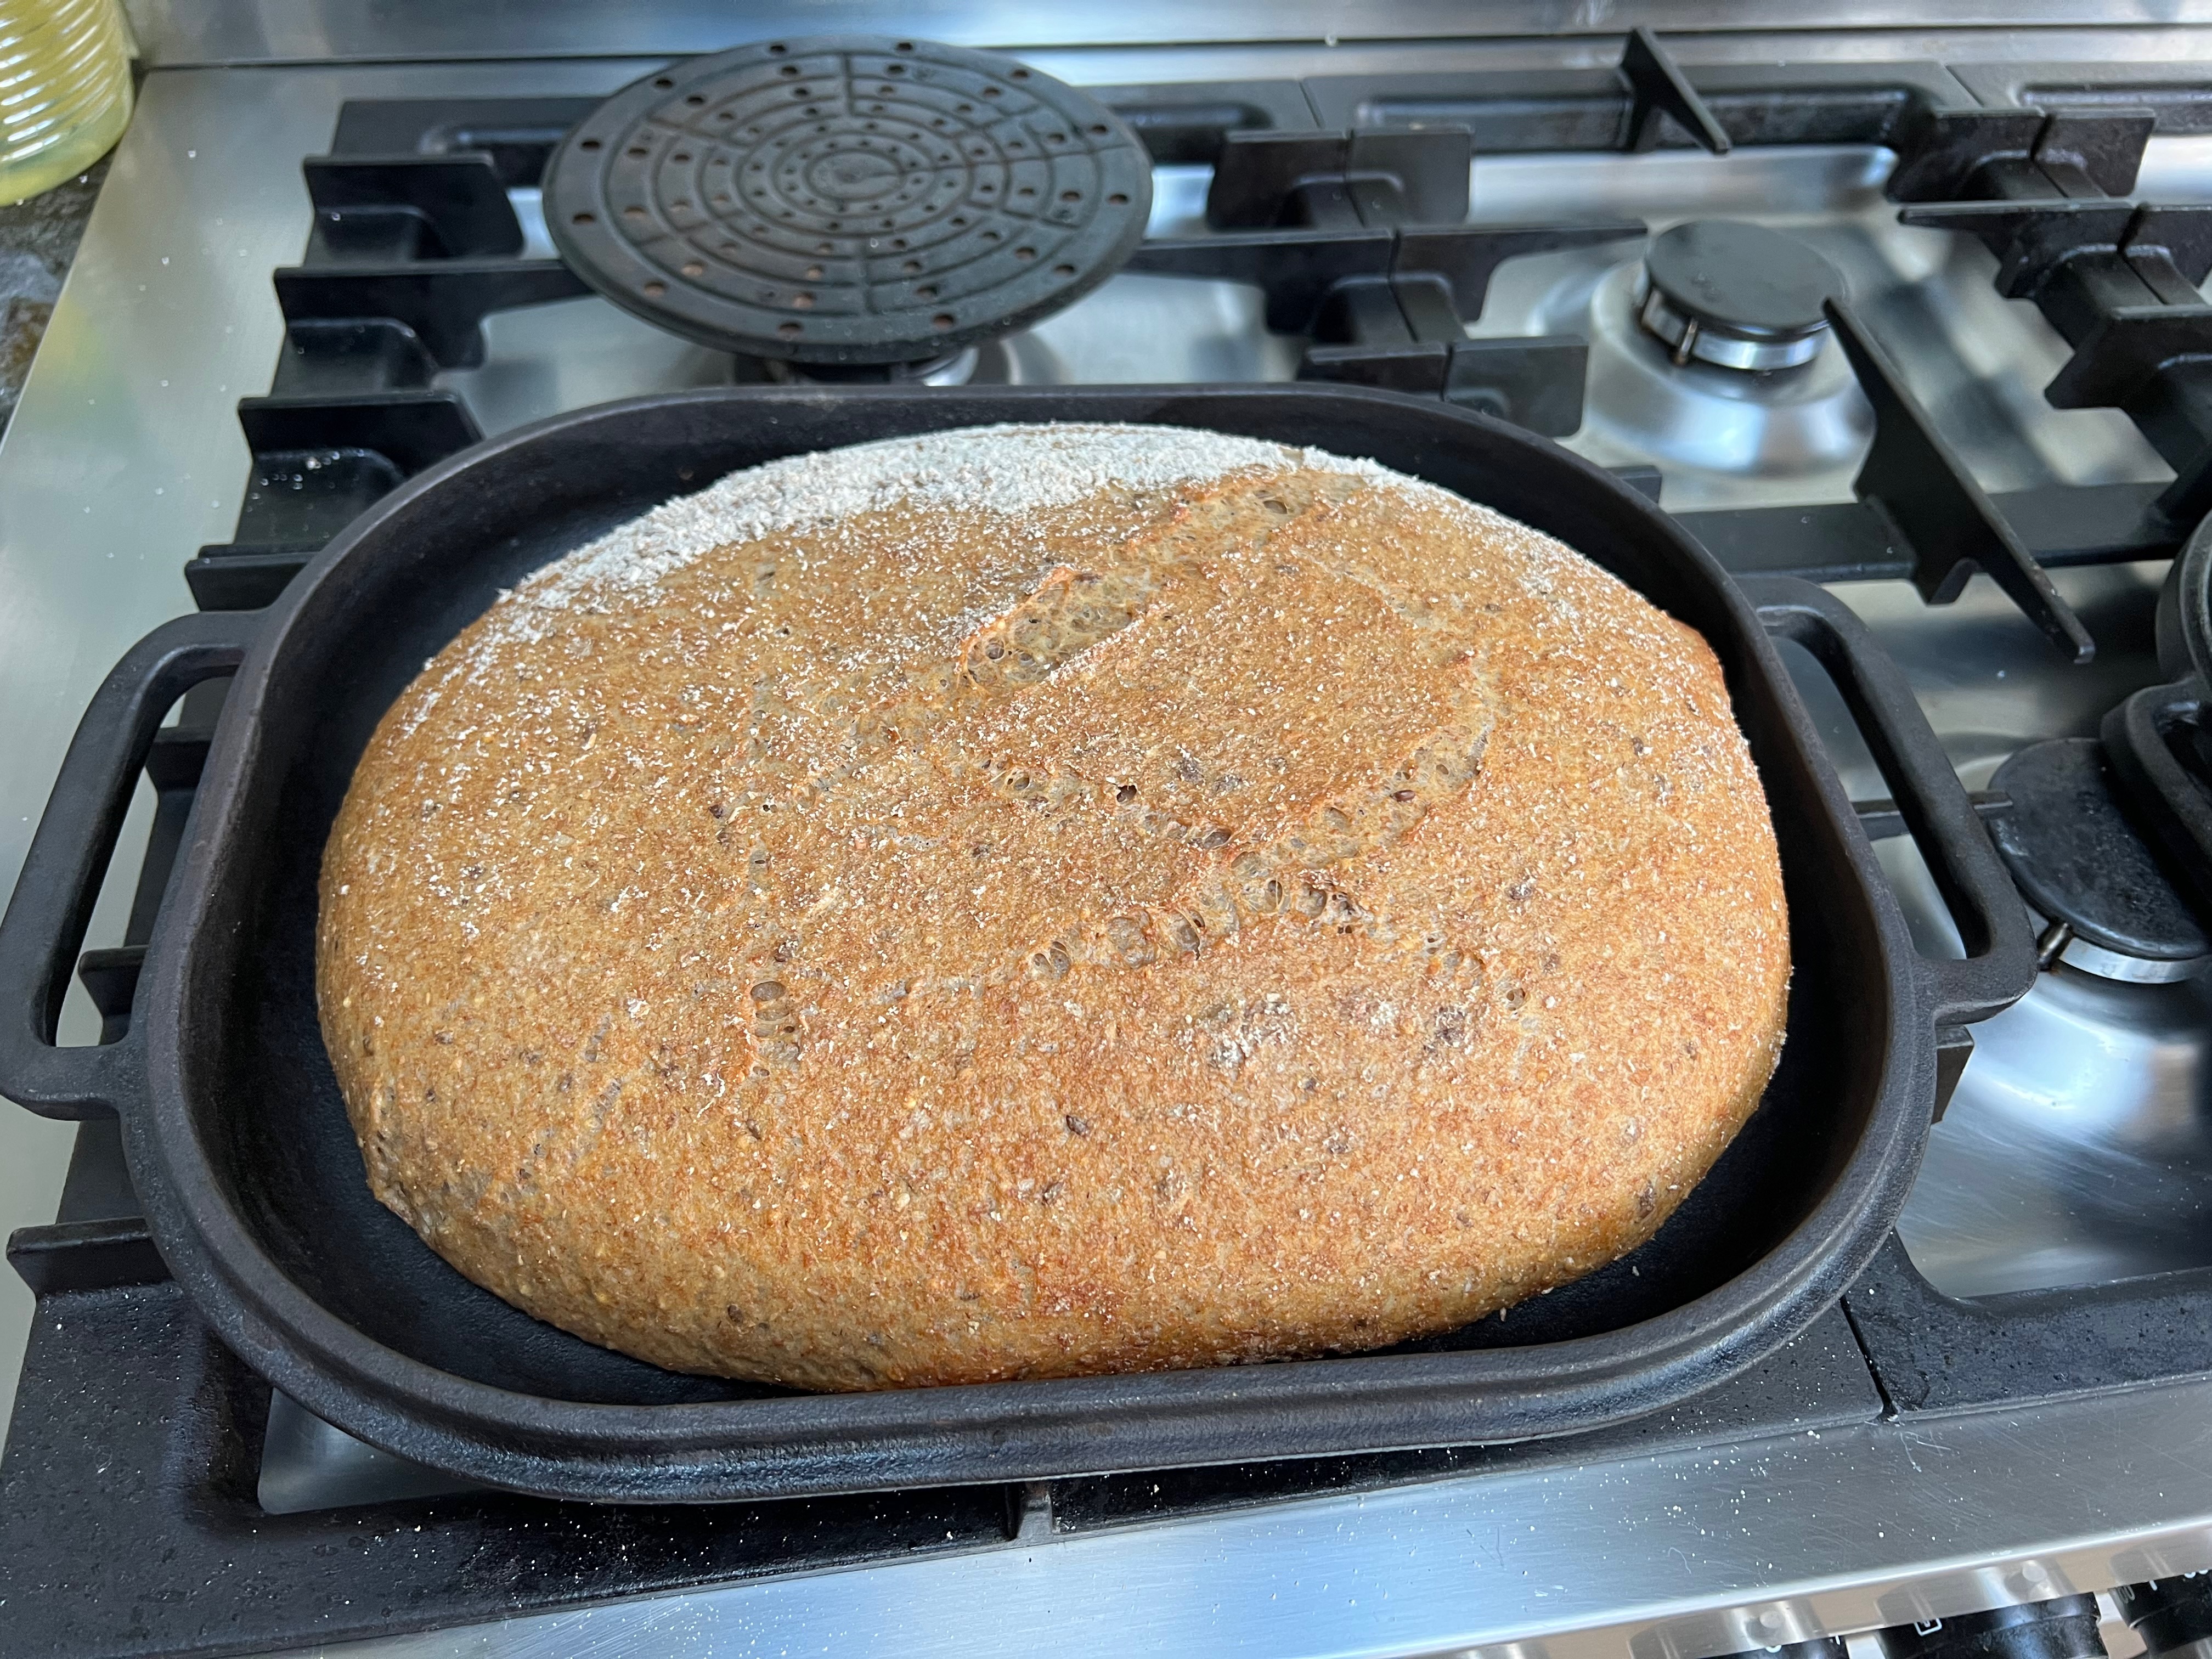
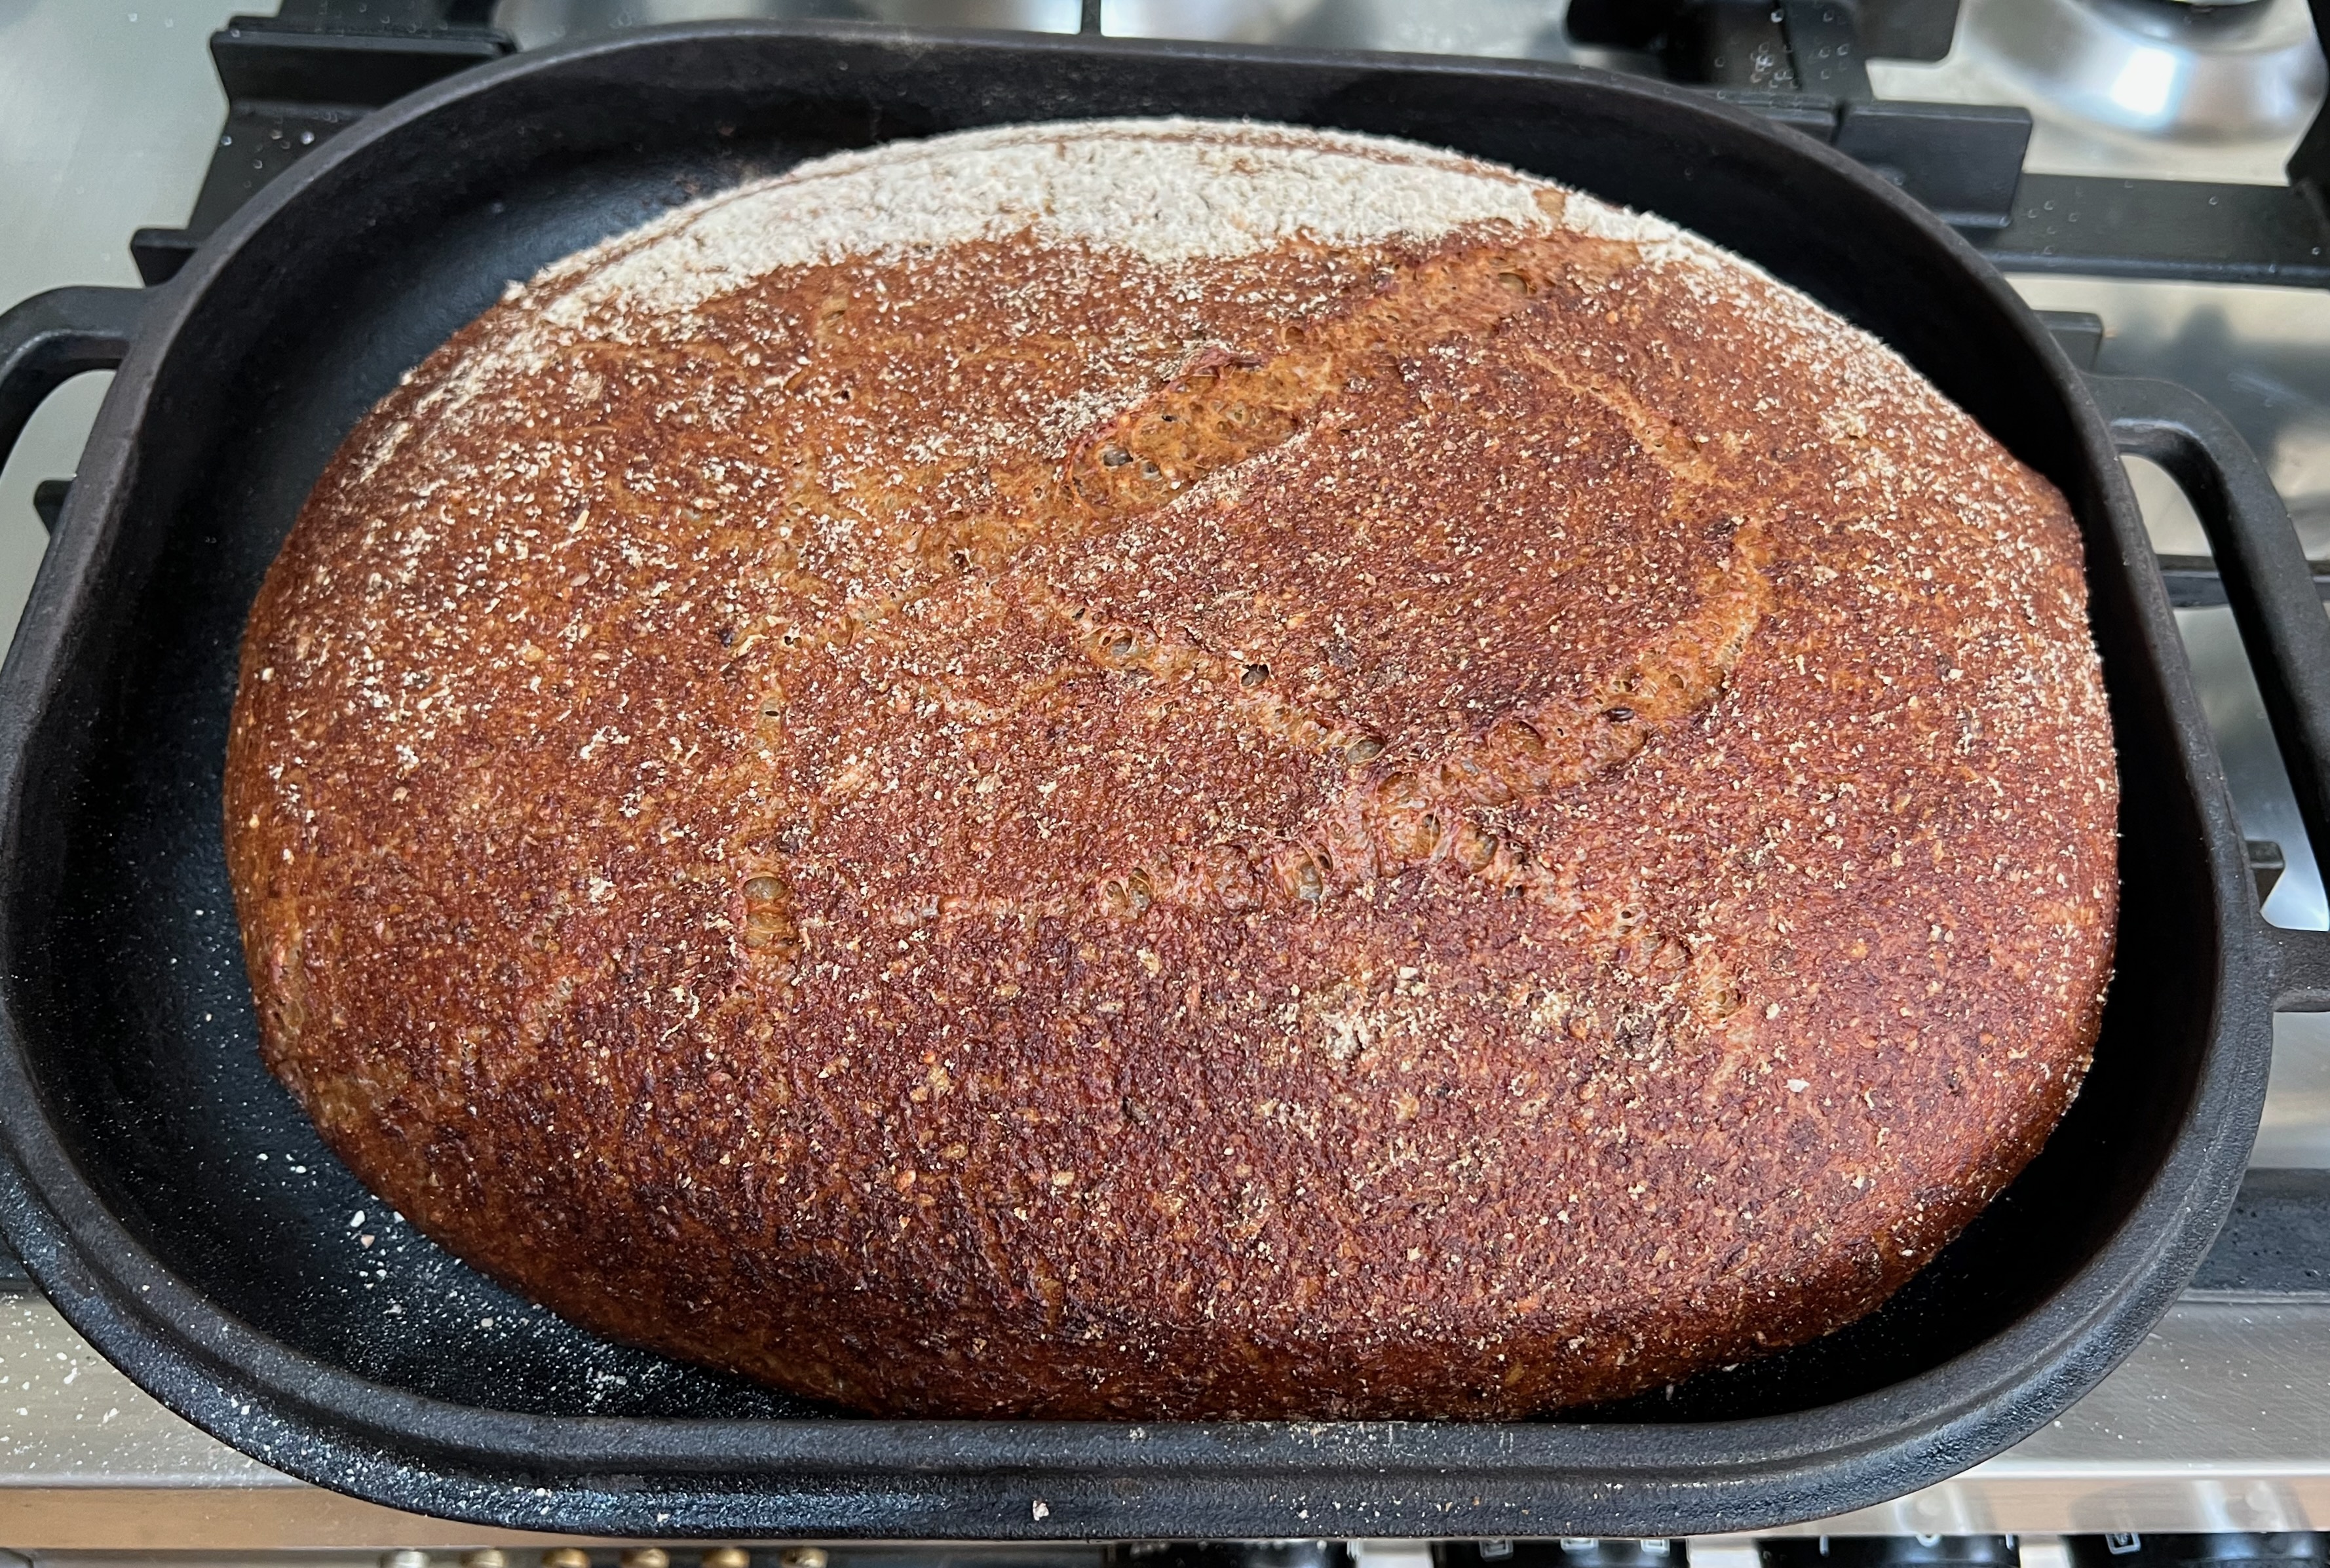
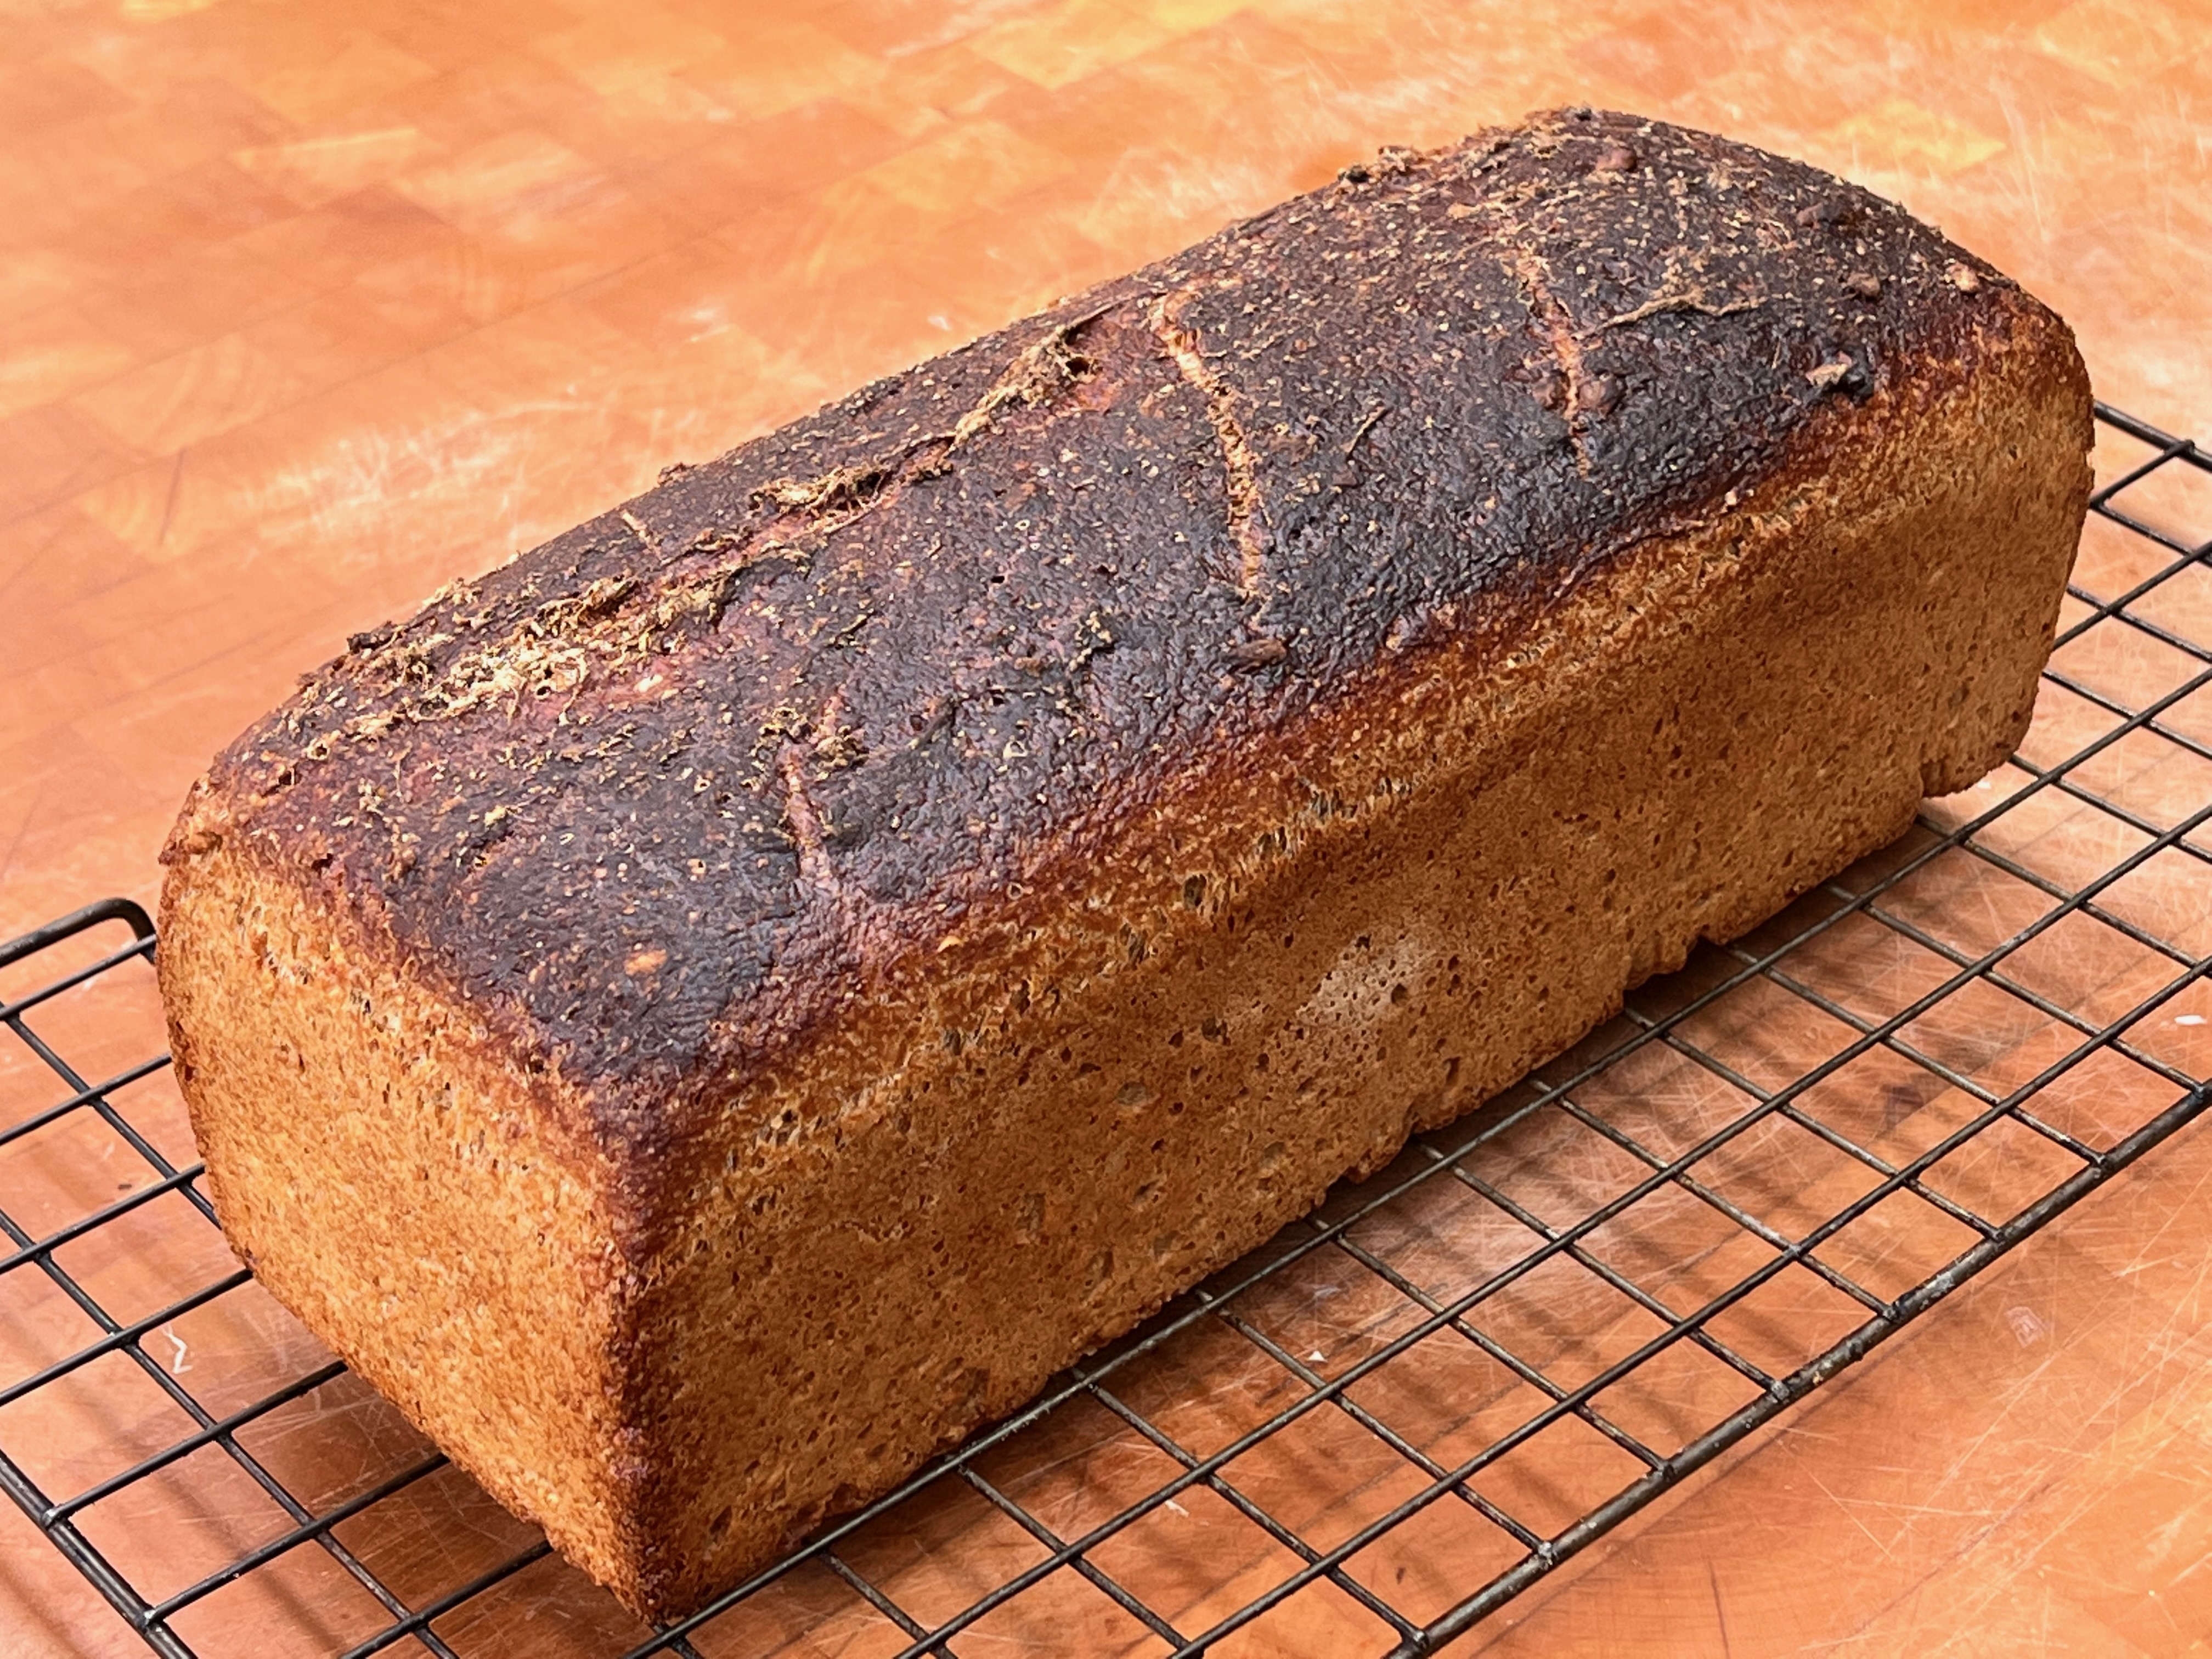
This sourdough recipe is the one that I’ve been making, in variations, almost every week since October 2019. I’ve made breads with more intense flavours (Estonian black bread and its Russian cousin Borodinsky bread are probably my favourites) and I’ve made breads with more wonderful texture (Persian Nân Barbari is the clear winner here). But this recipe fits into my working life with no fuss, particularly now that I have a high number of days working from home: the elapsed time is long, but the amount of actual work (including washing up effort, which seems to get forgotten in most cookbooks) has been pared down to the minimum. And it produces a healthy bread which is packed with flavour and which I’m happy to eat week after week.
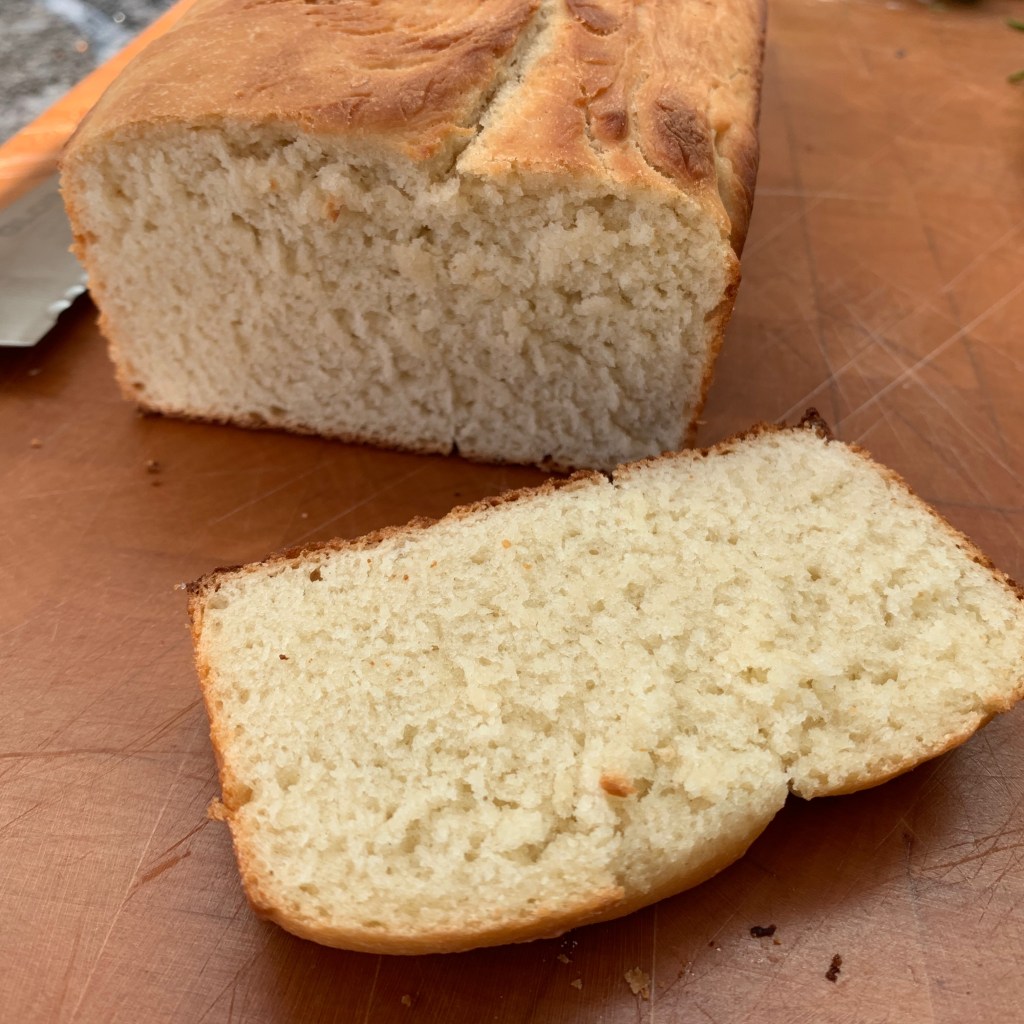
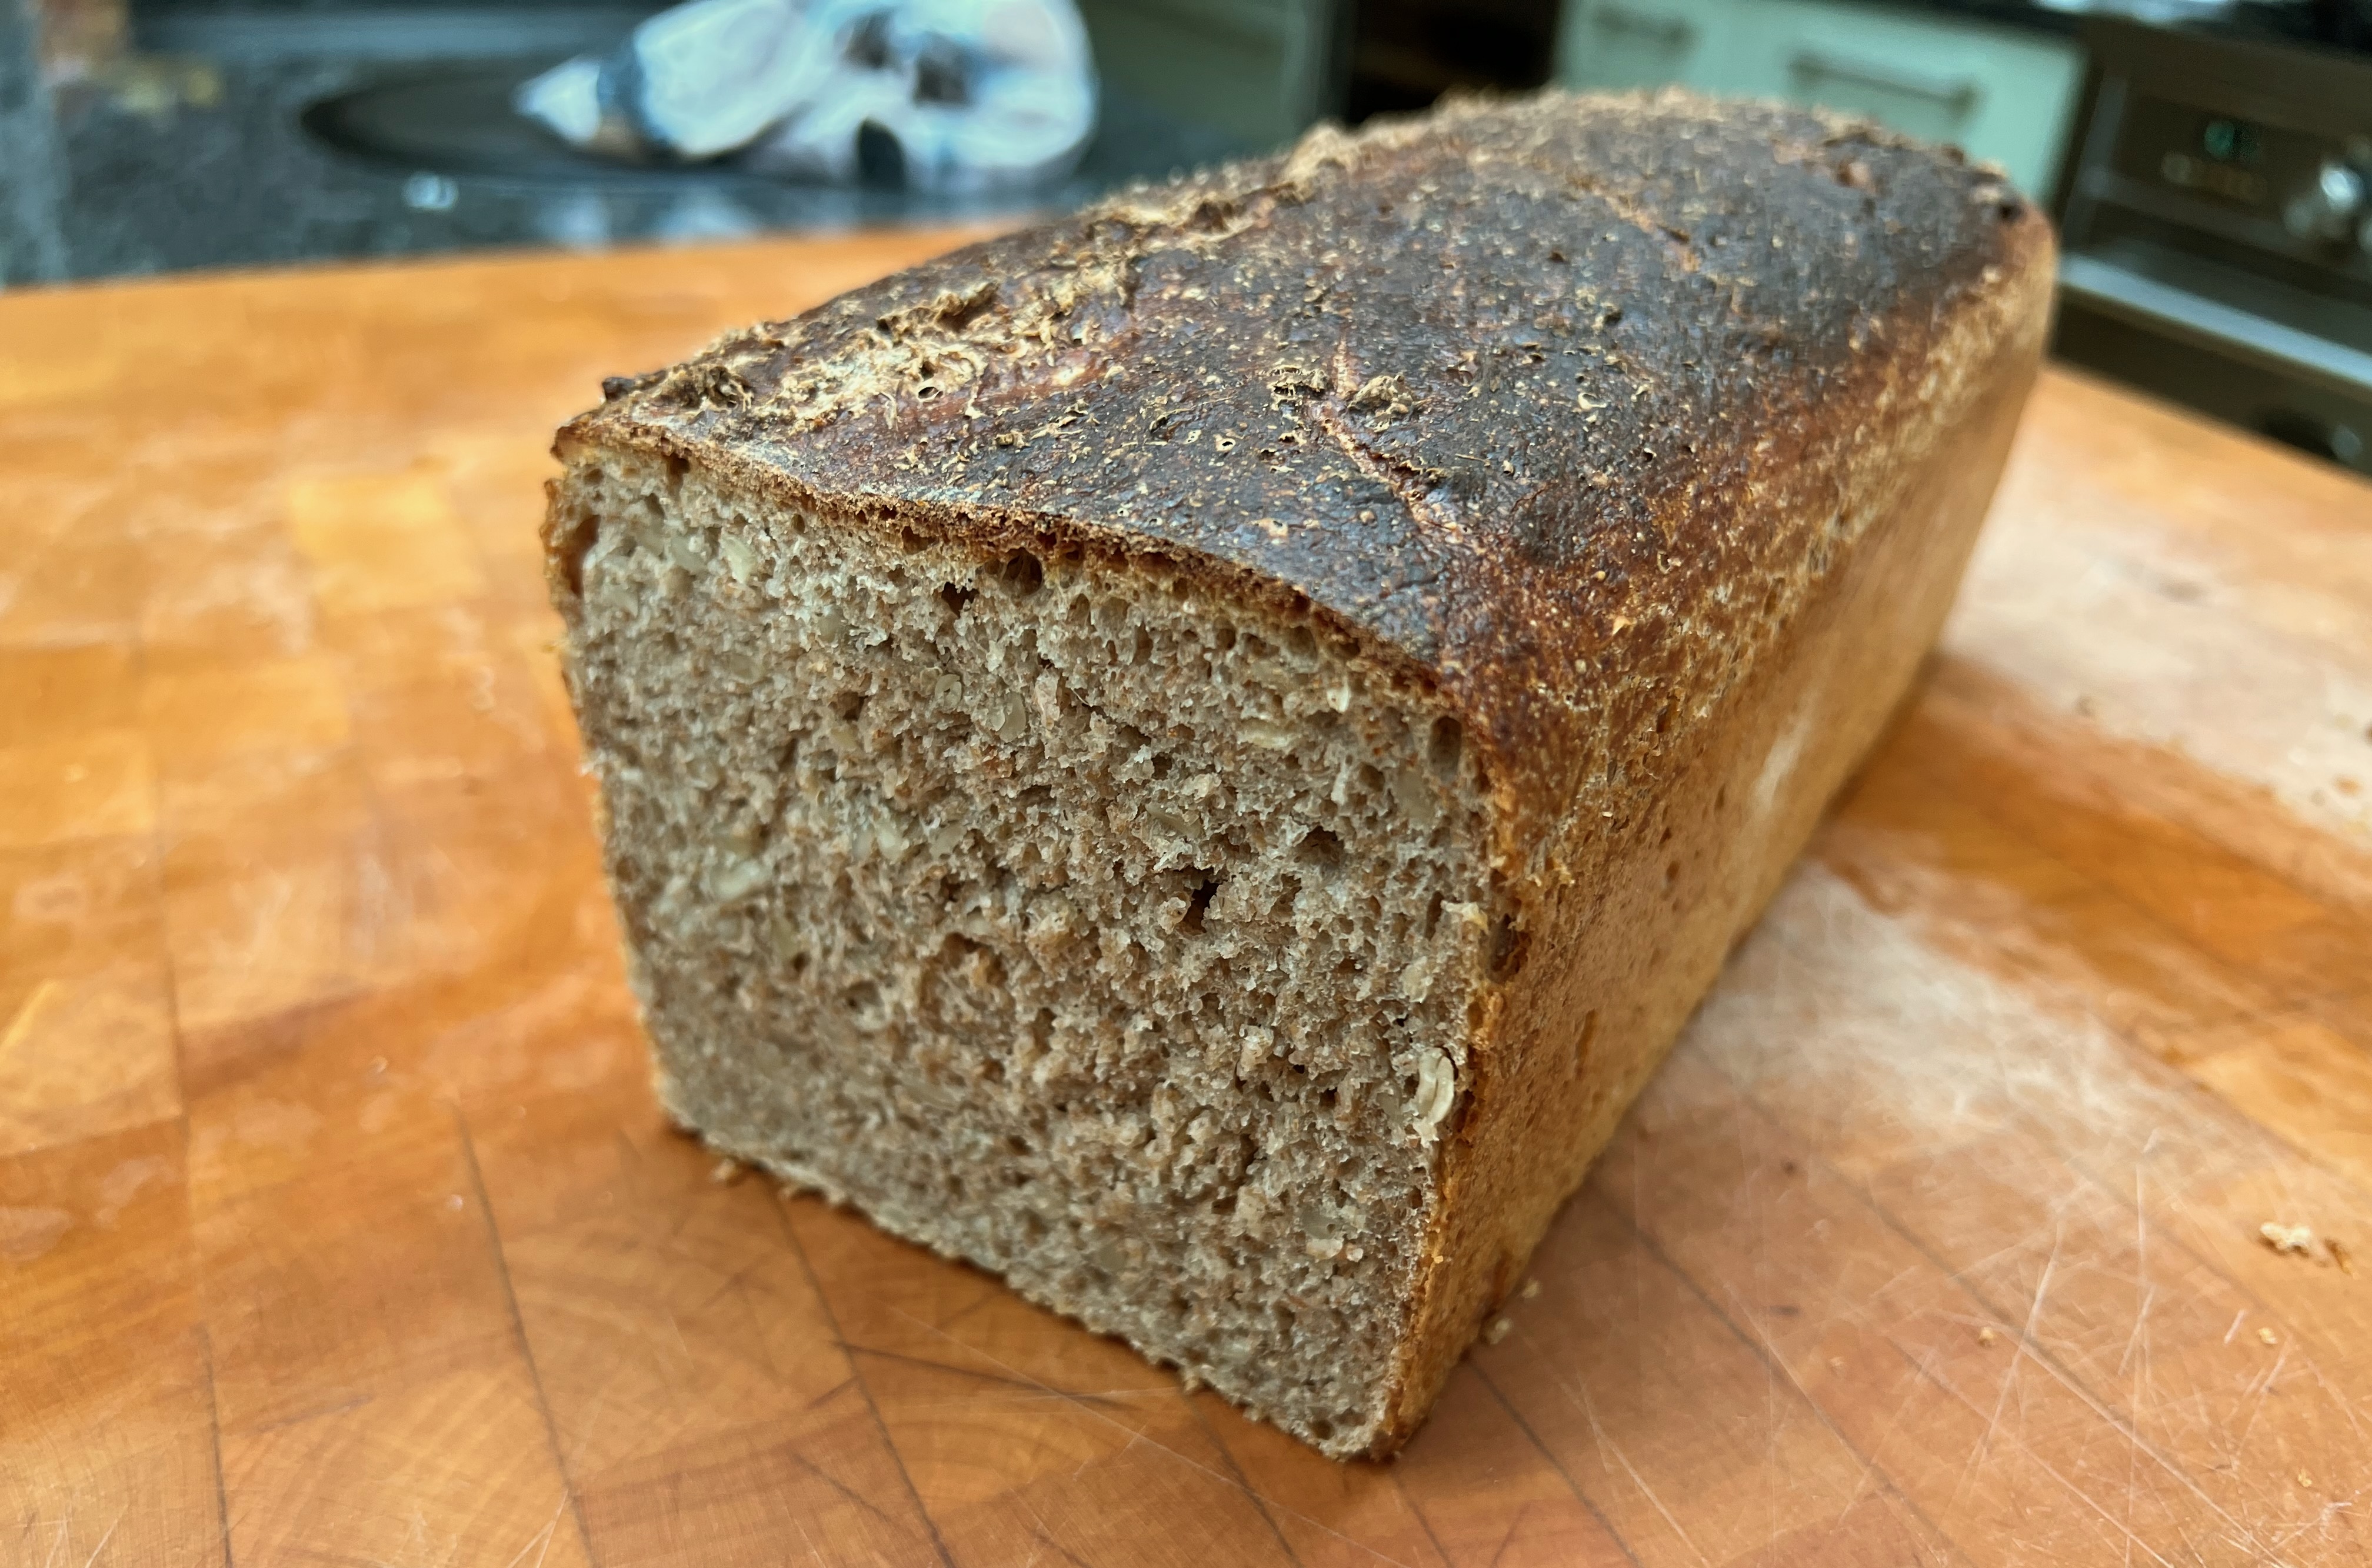
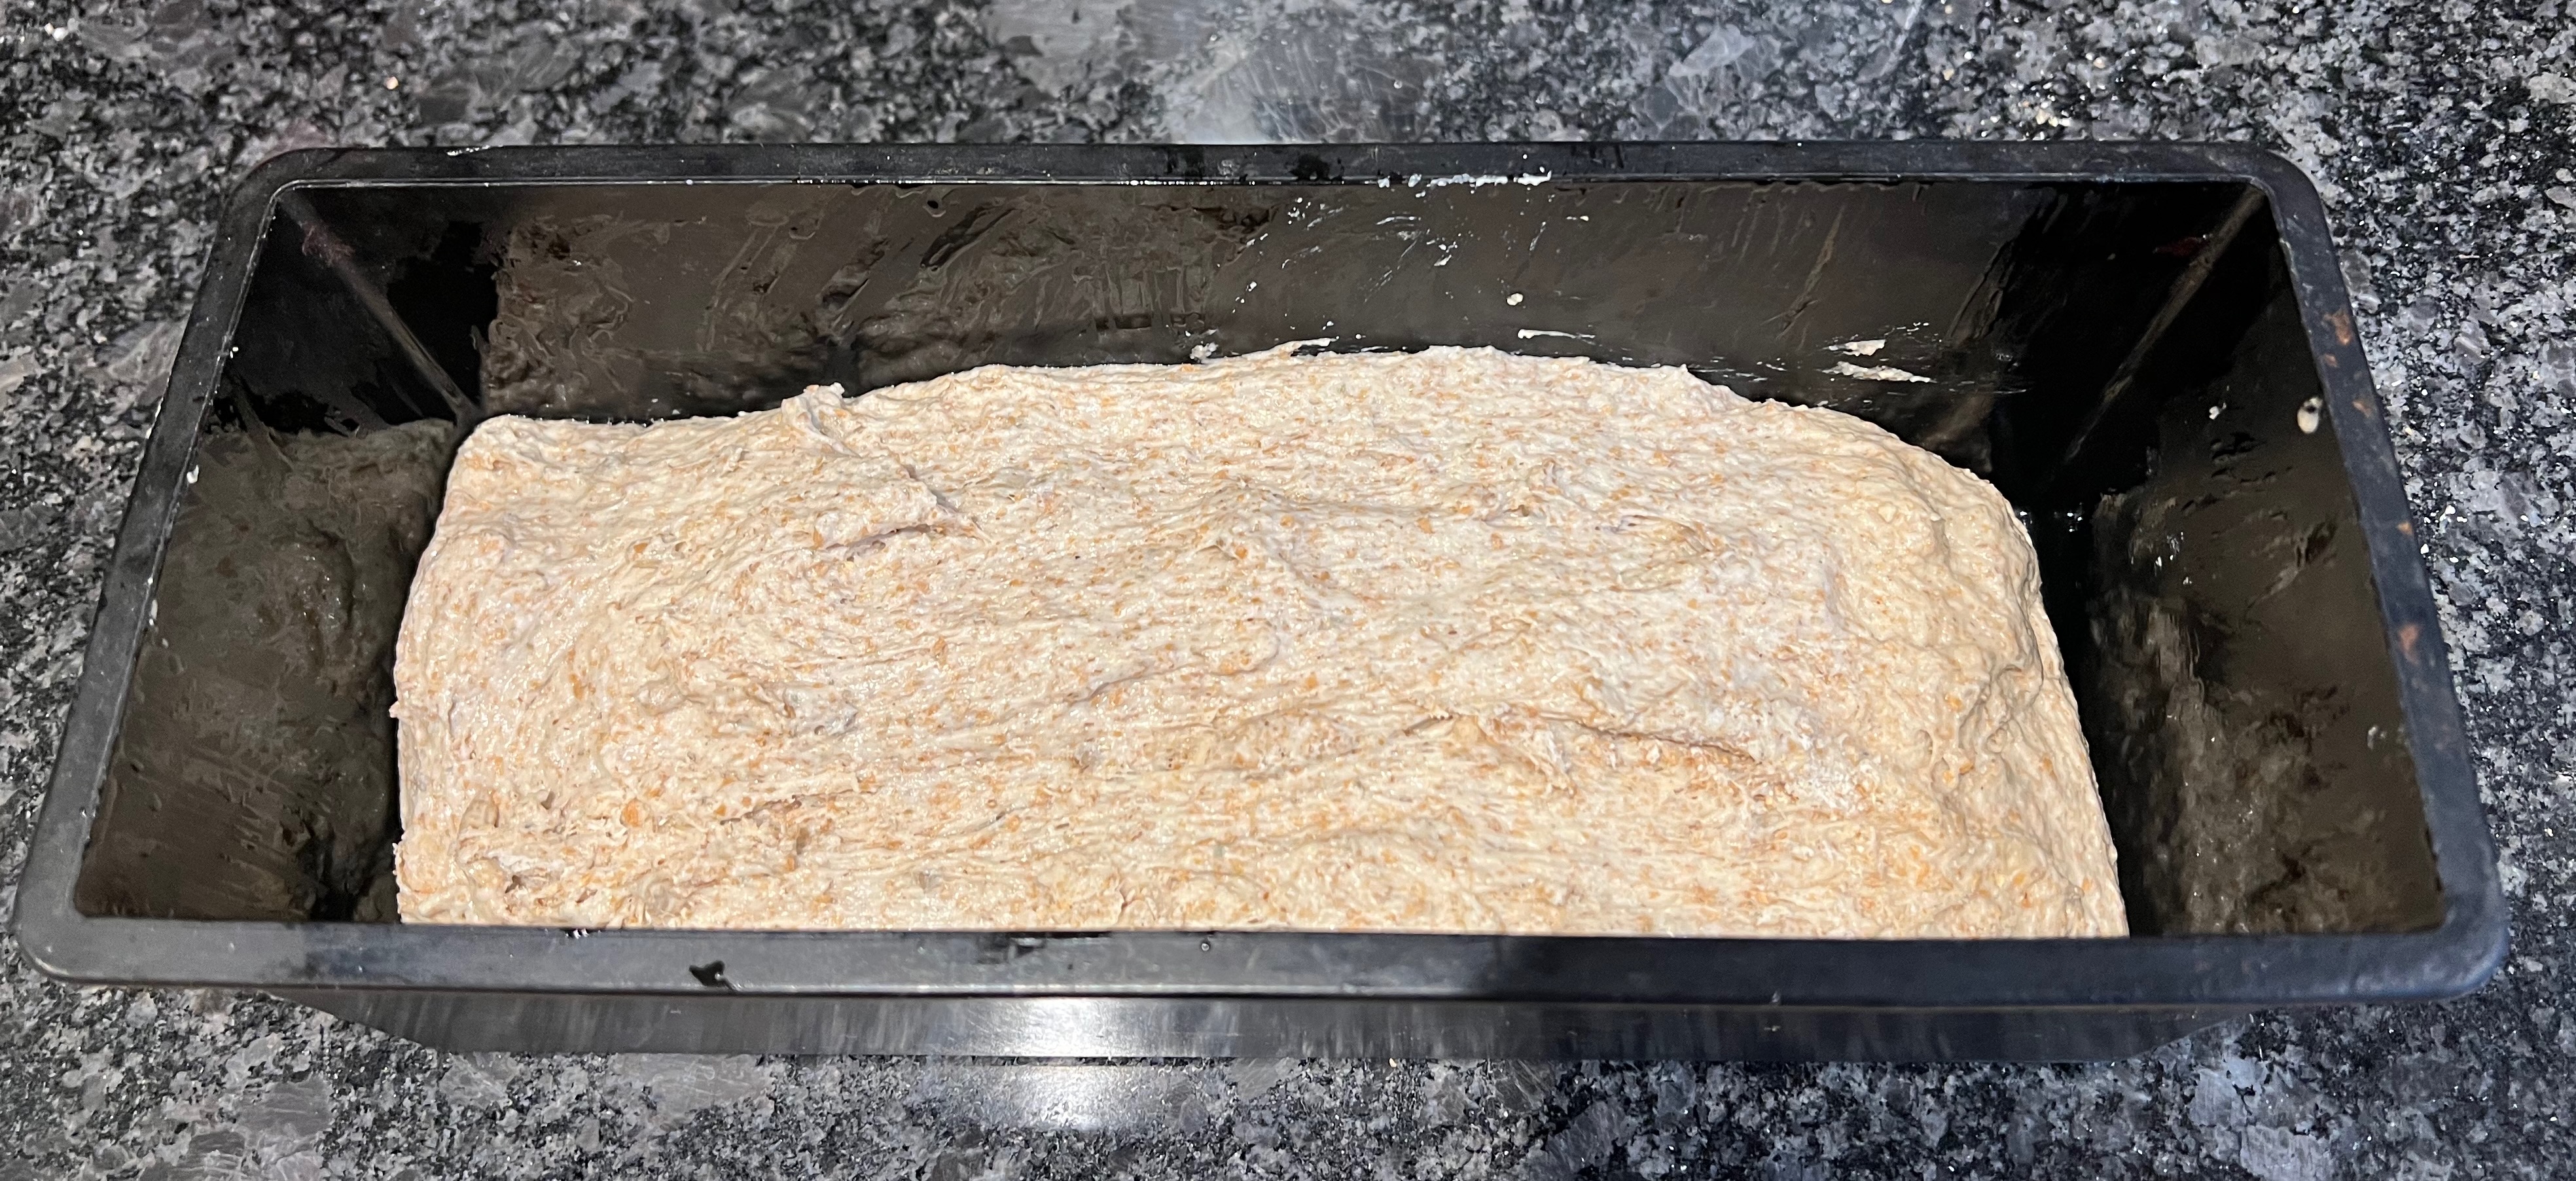
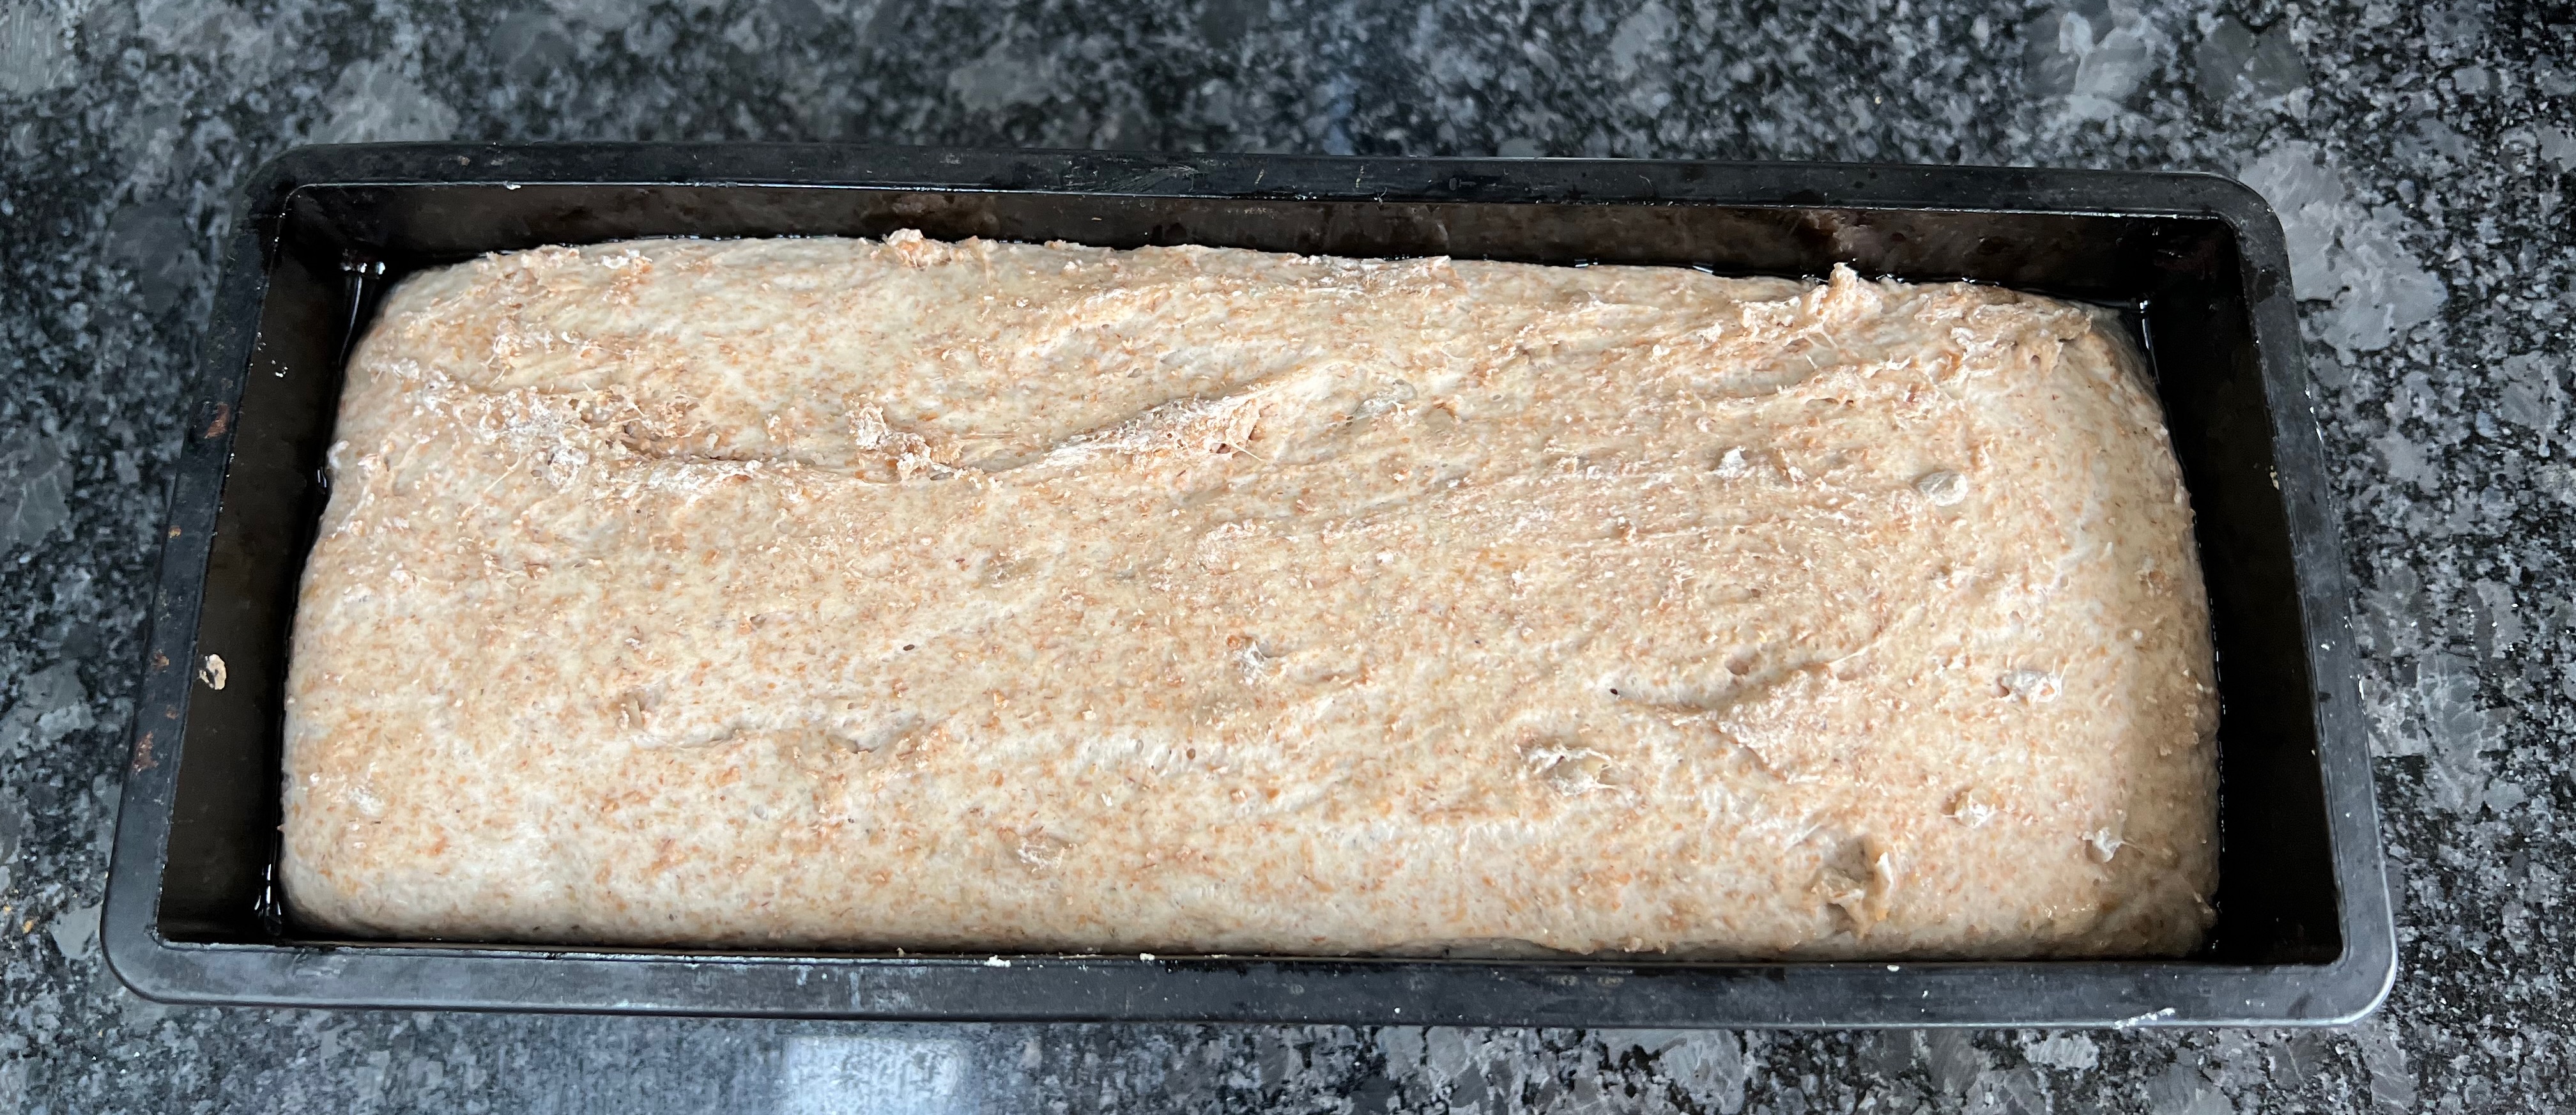
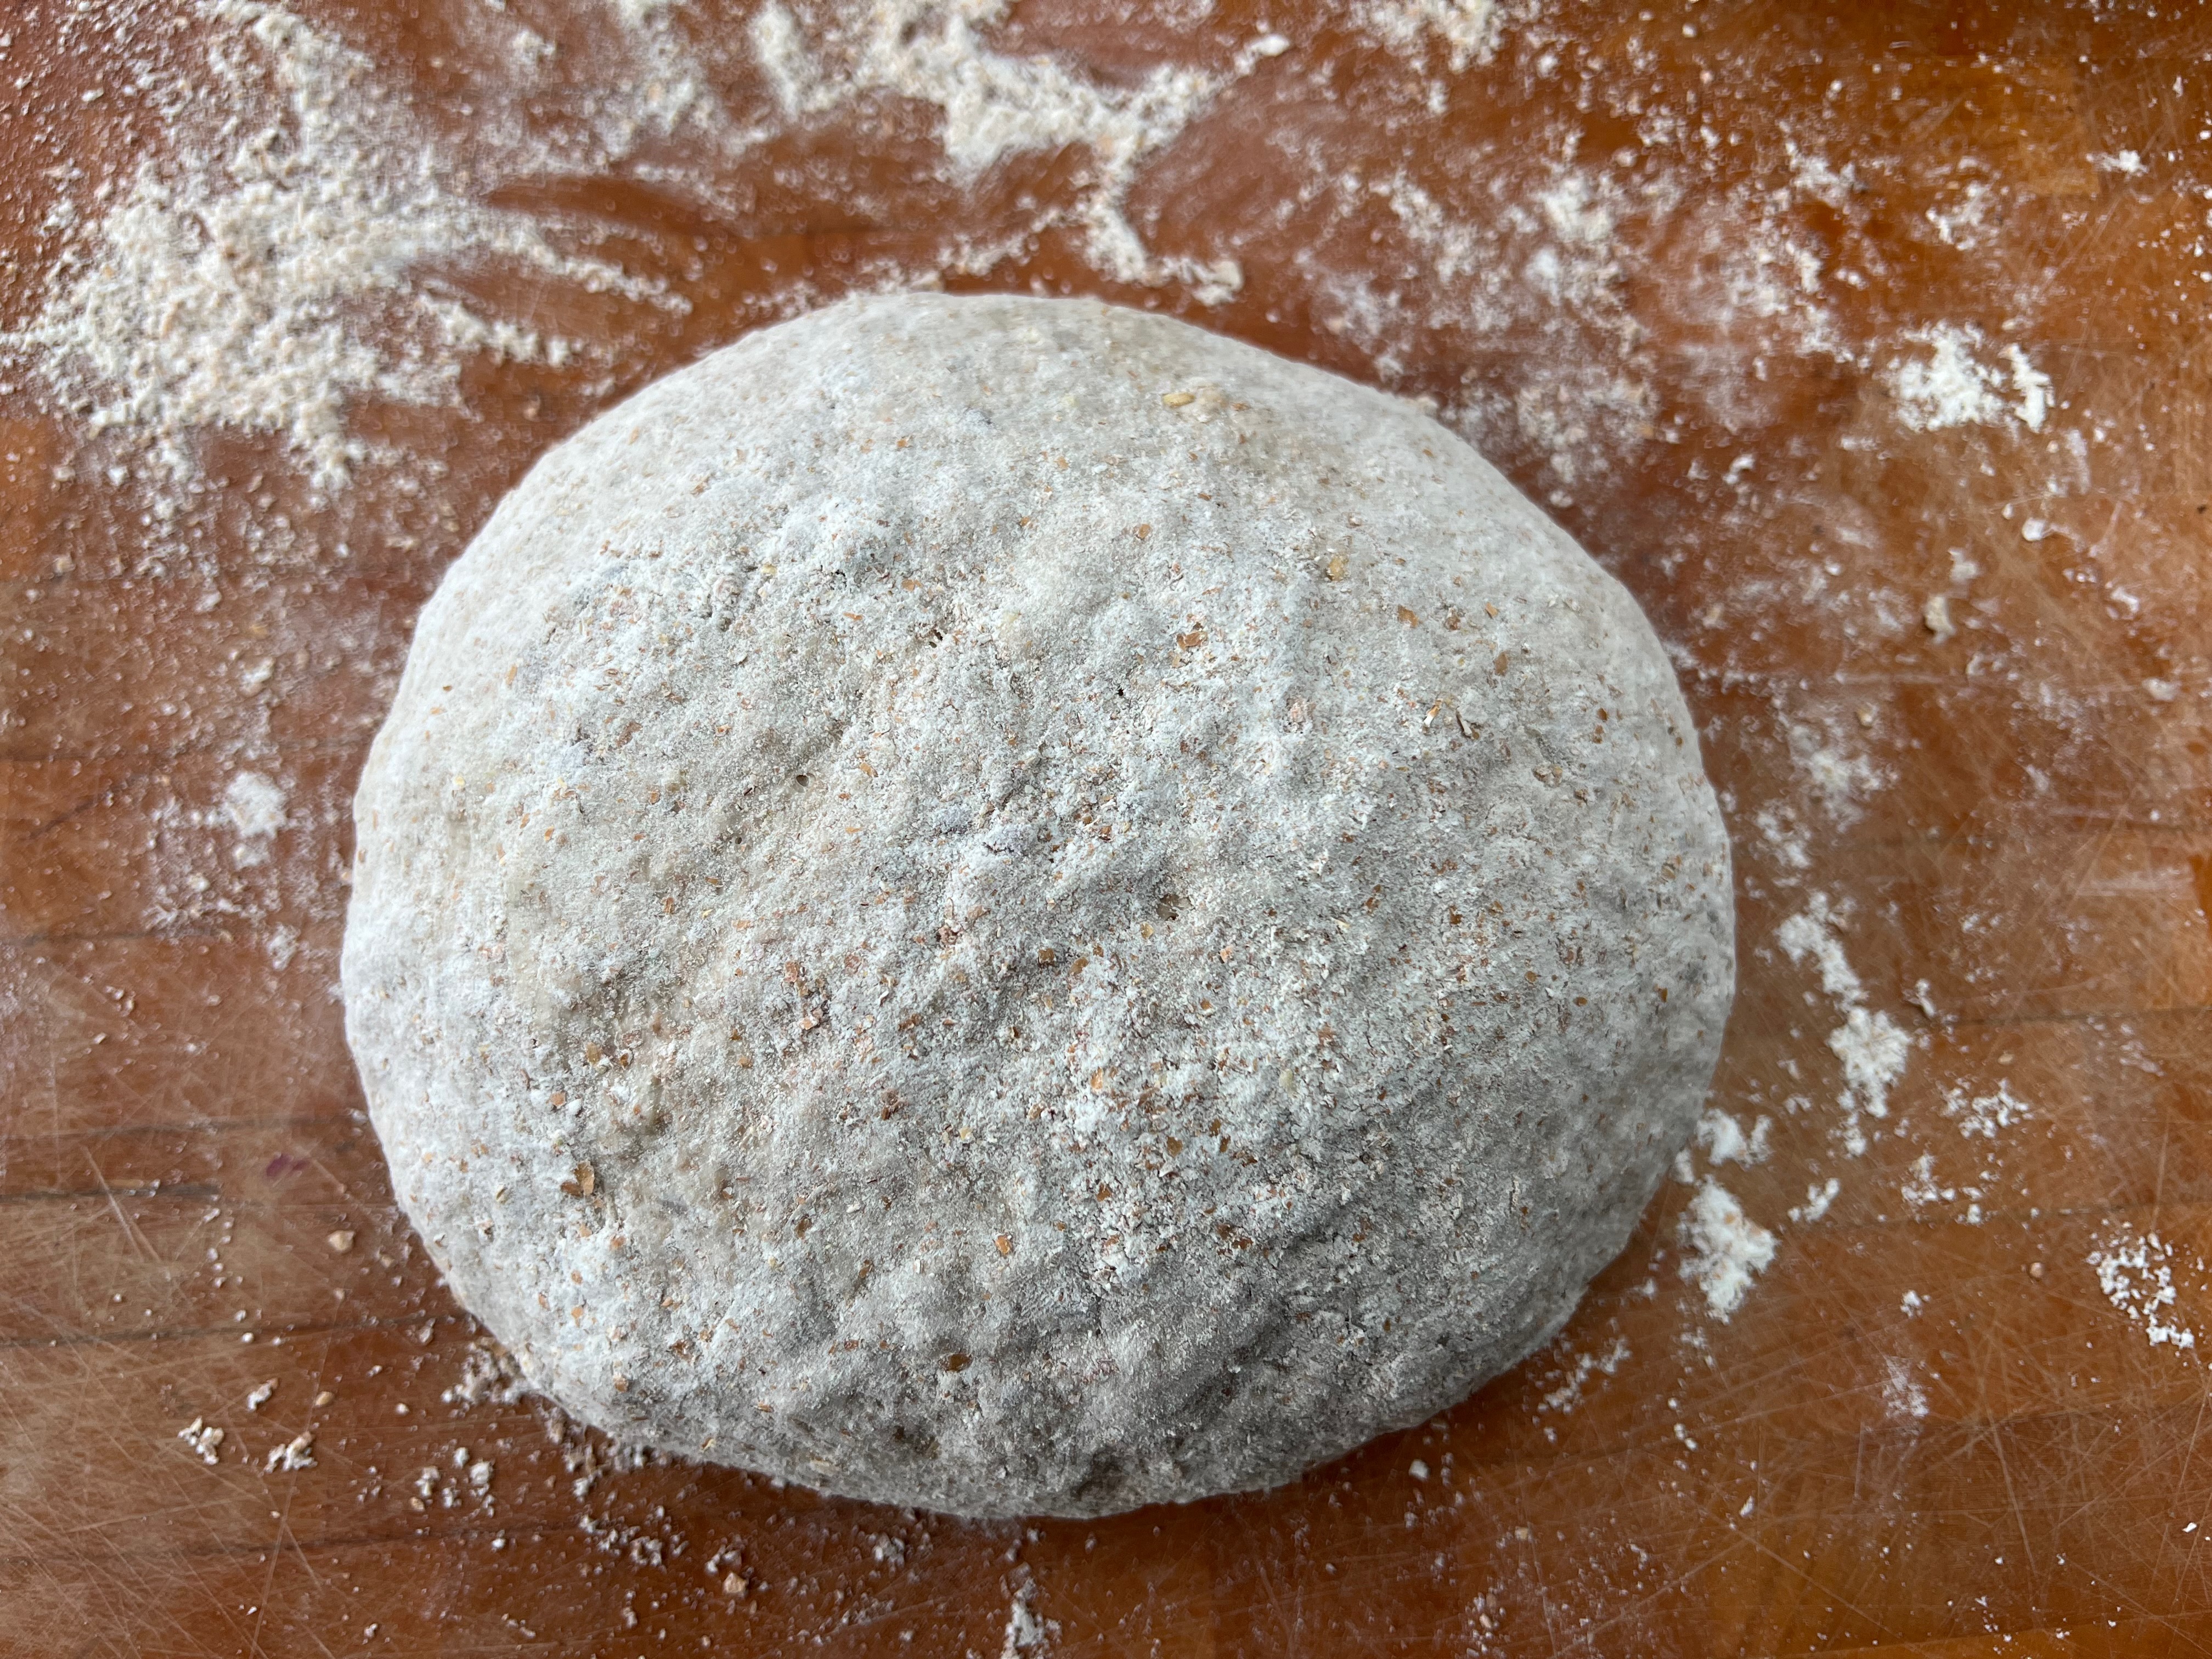
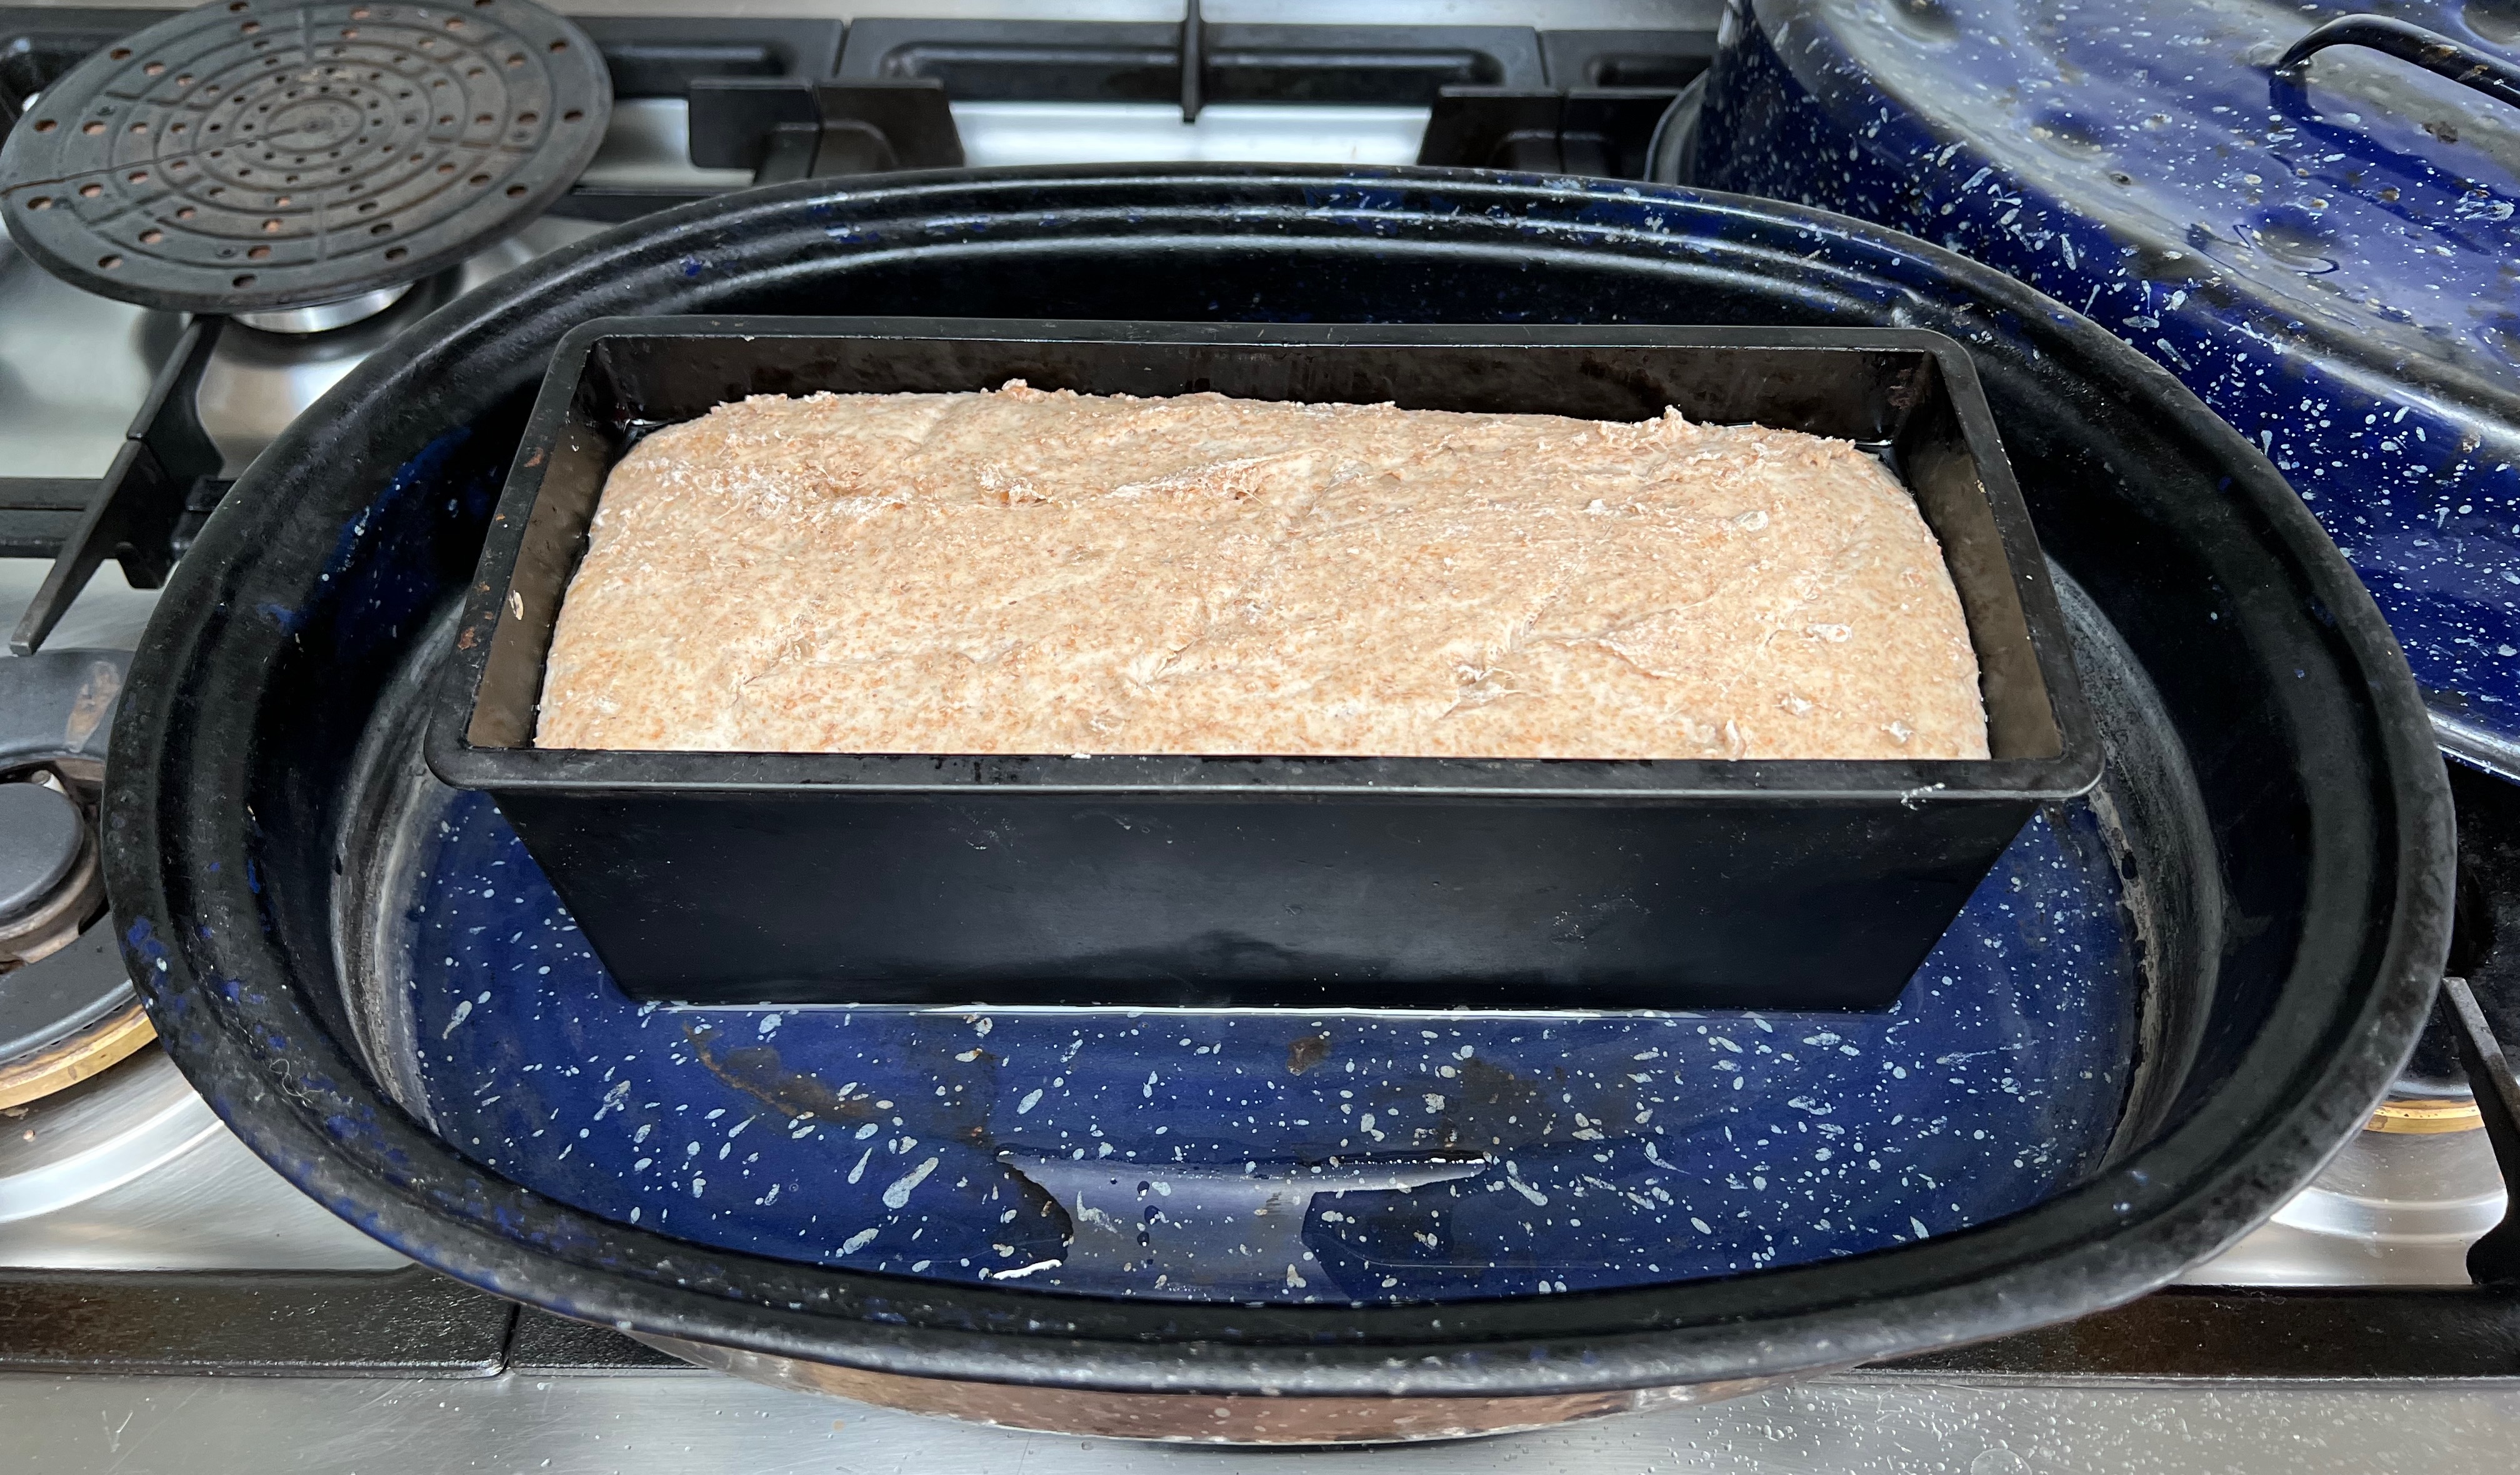
There are several variations possible. The flour mixture in this post is 50/50 strong white/wholemeal spelt, but you can vary the flavour by replacing the spelt by either dark or light rye or wholemeal wheat. Or you can go 60/40 for a less dense, more pillowy result. Or you can increase the amount of seven seed mix, or ditch it altogether and/or replace it with 20-30g of caraway seeds (whose flavour is very much a traditional accompaniment to light rye). In the loaf tin version pictured here, I had run out of seven seed mix so I used sunflower seeds only.
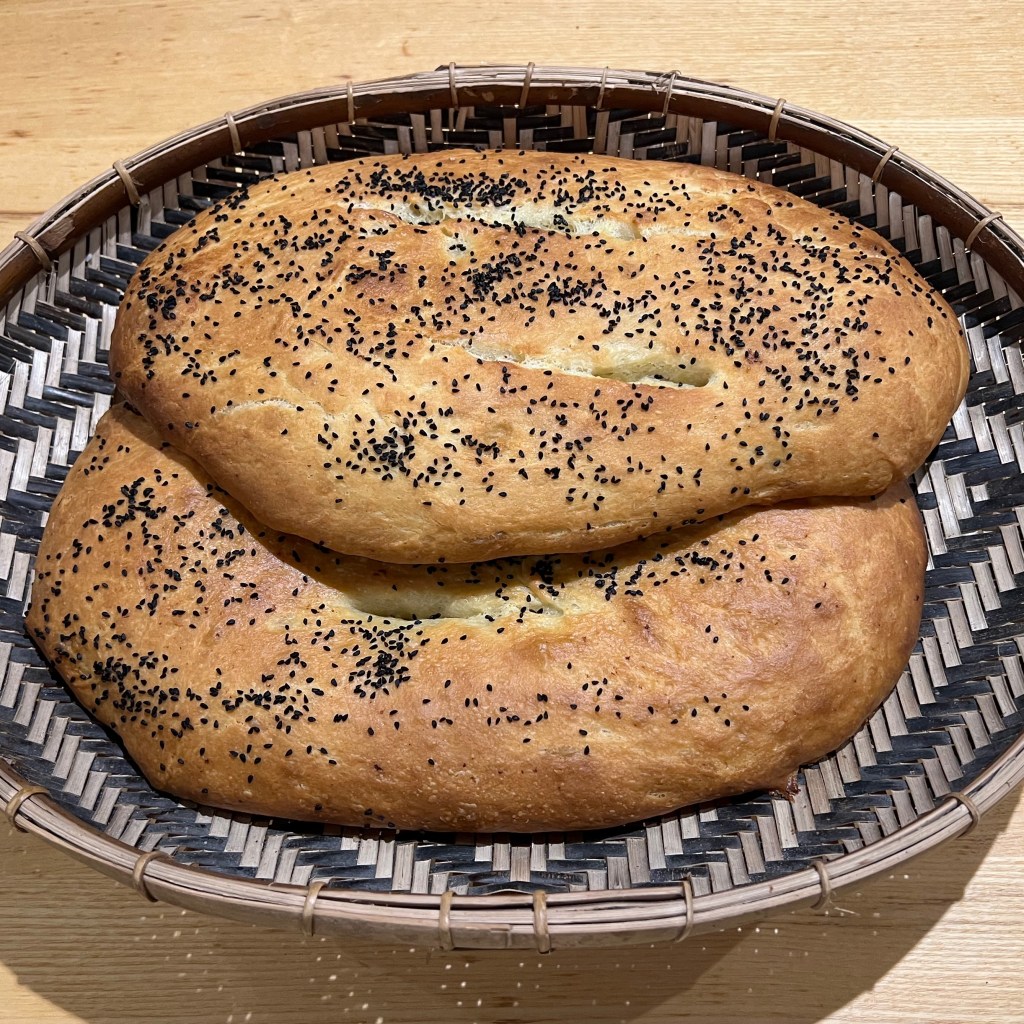
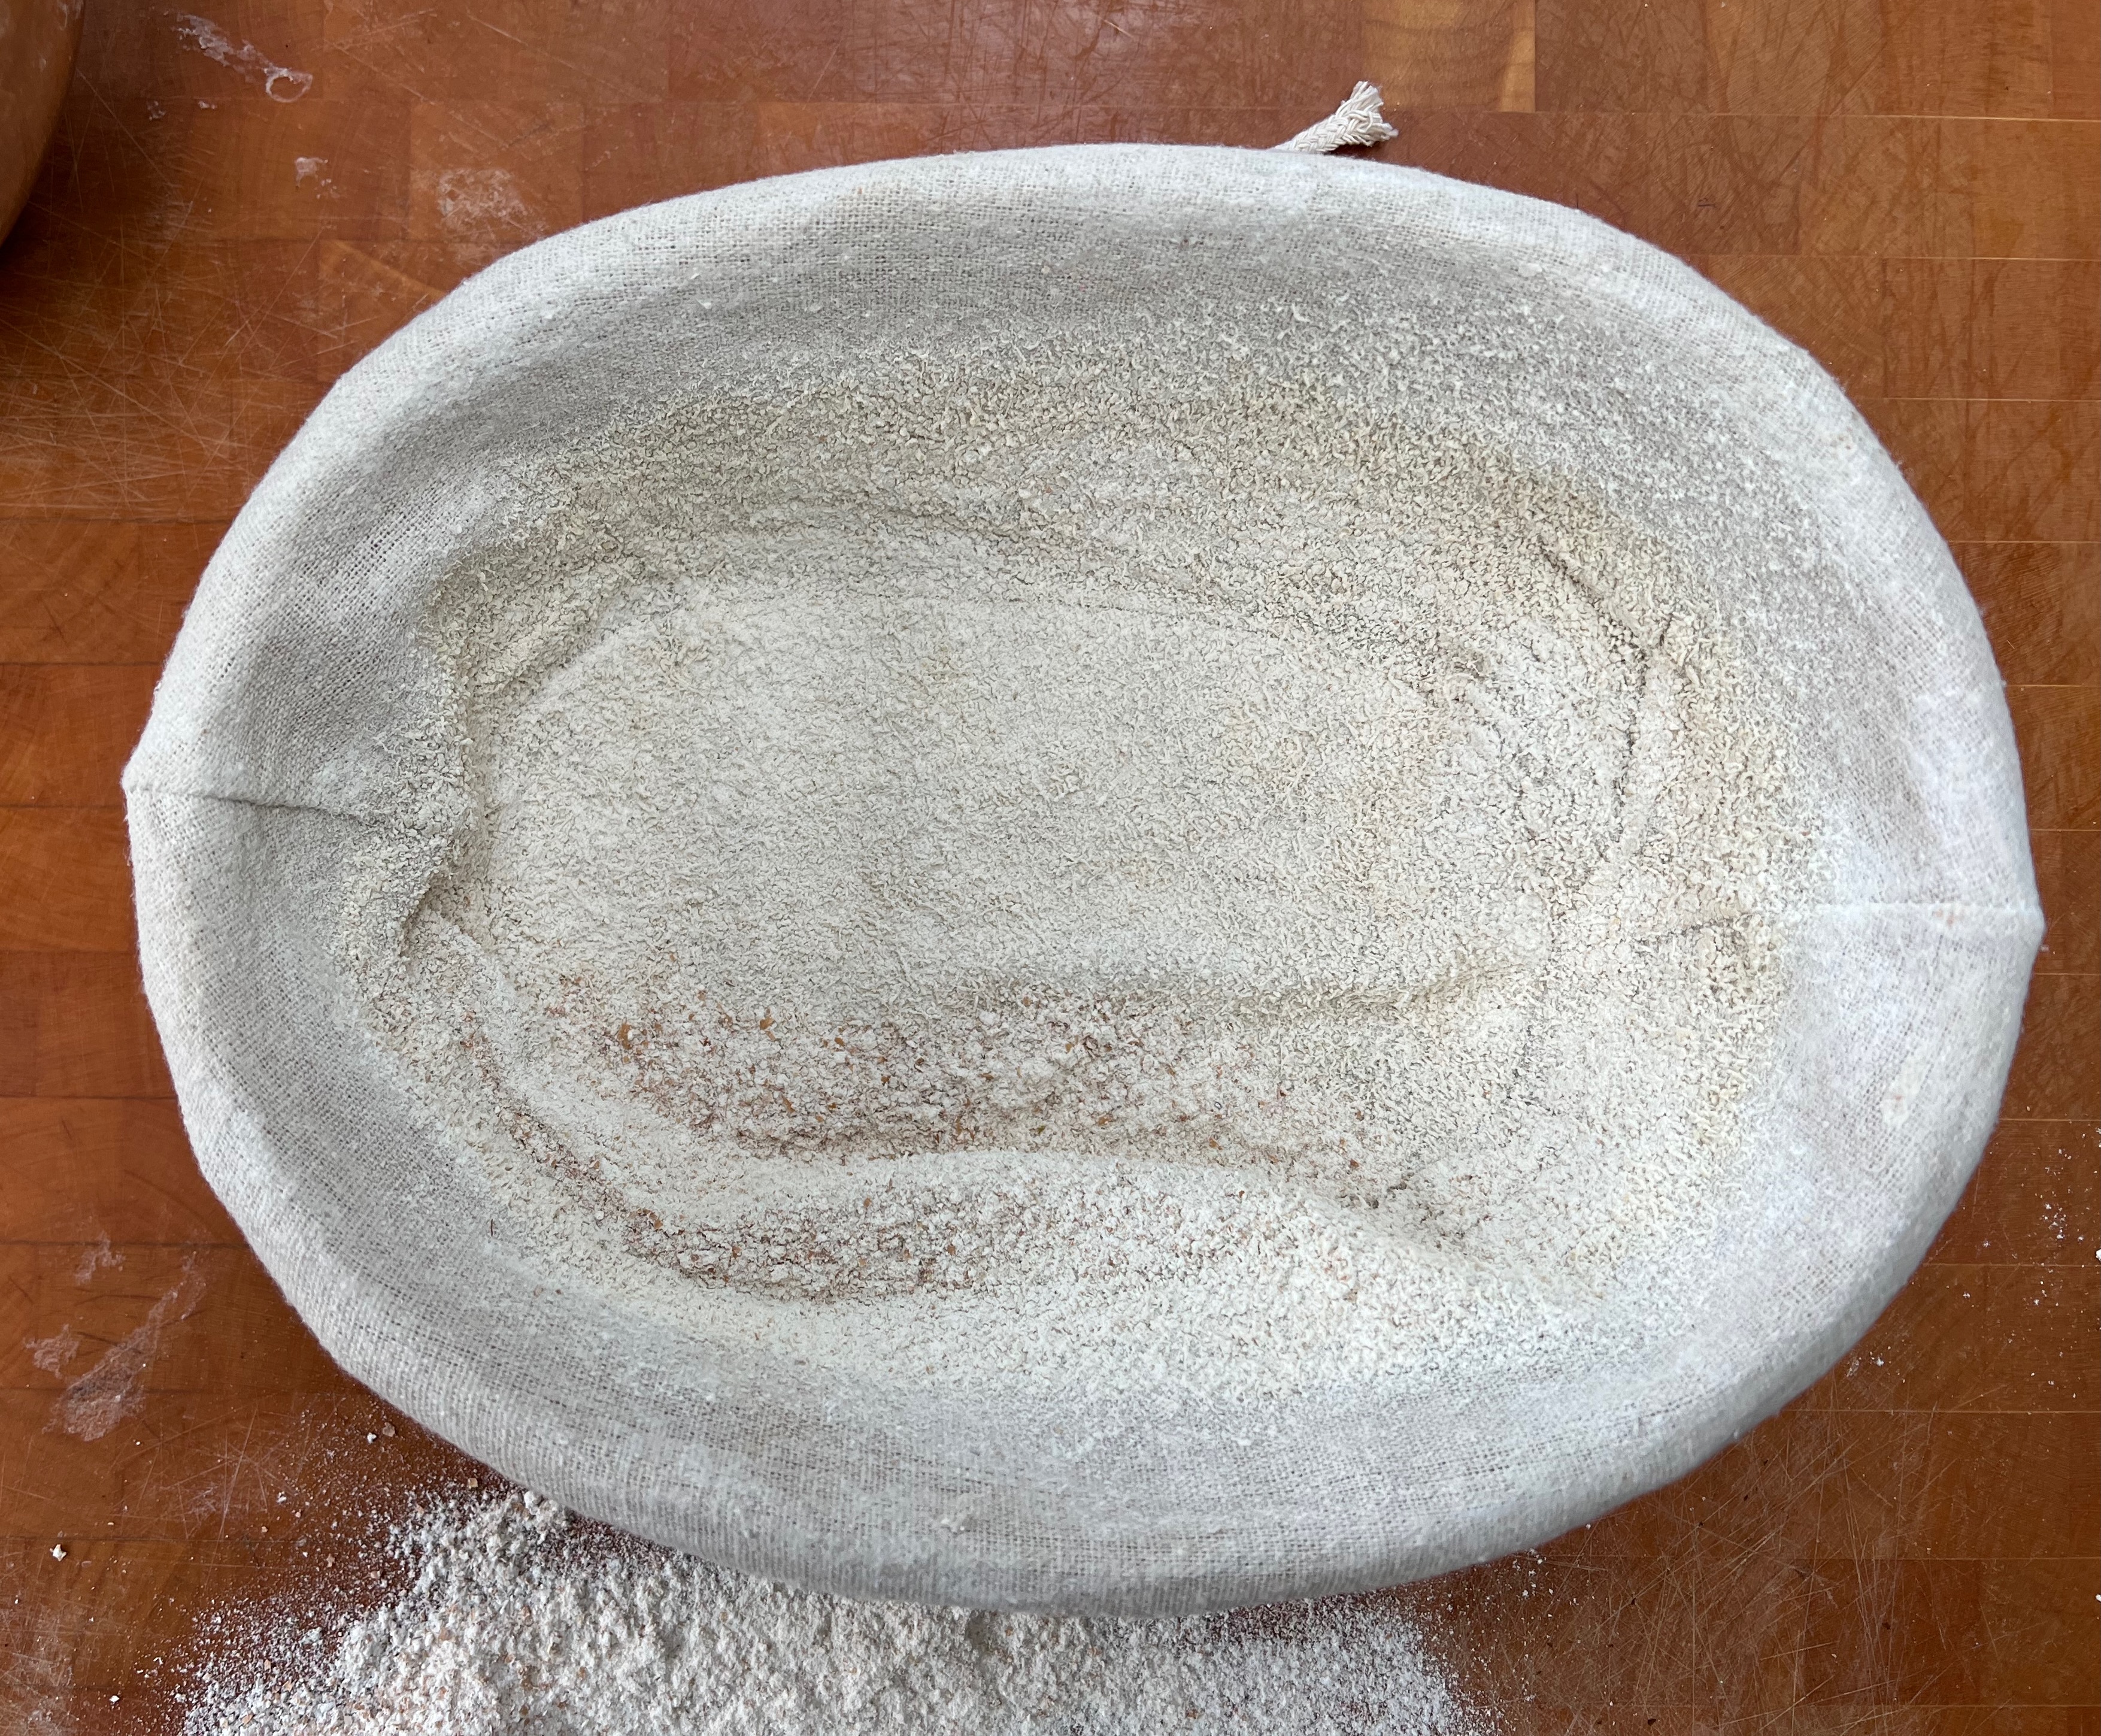
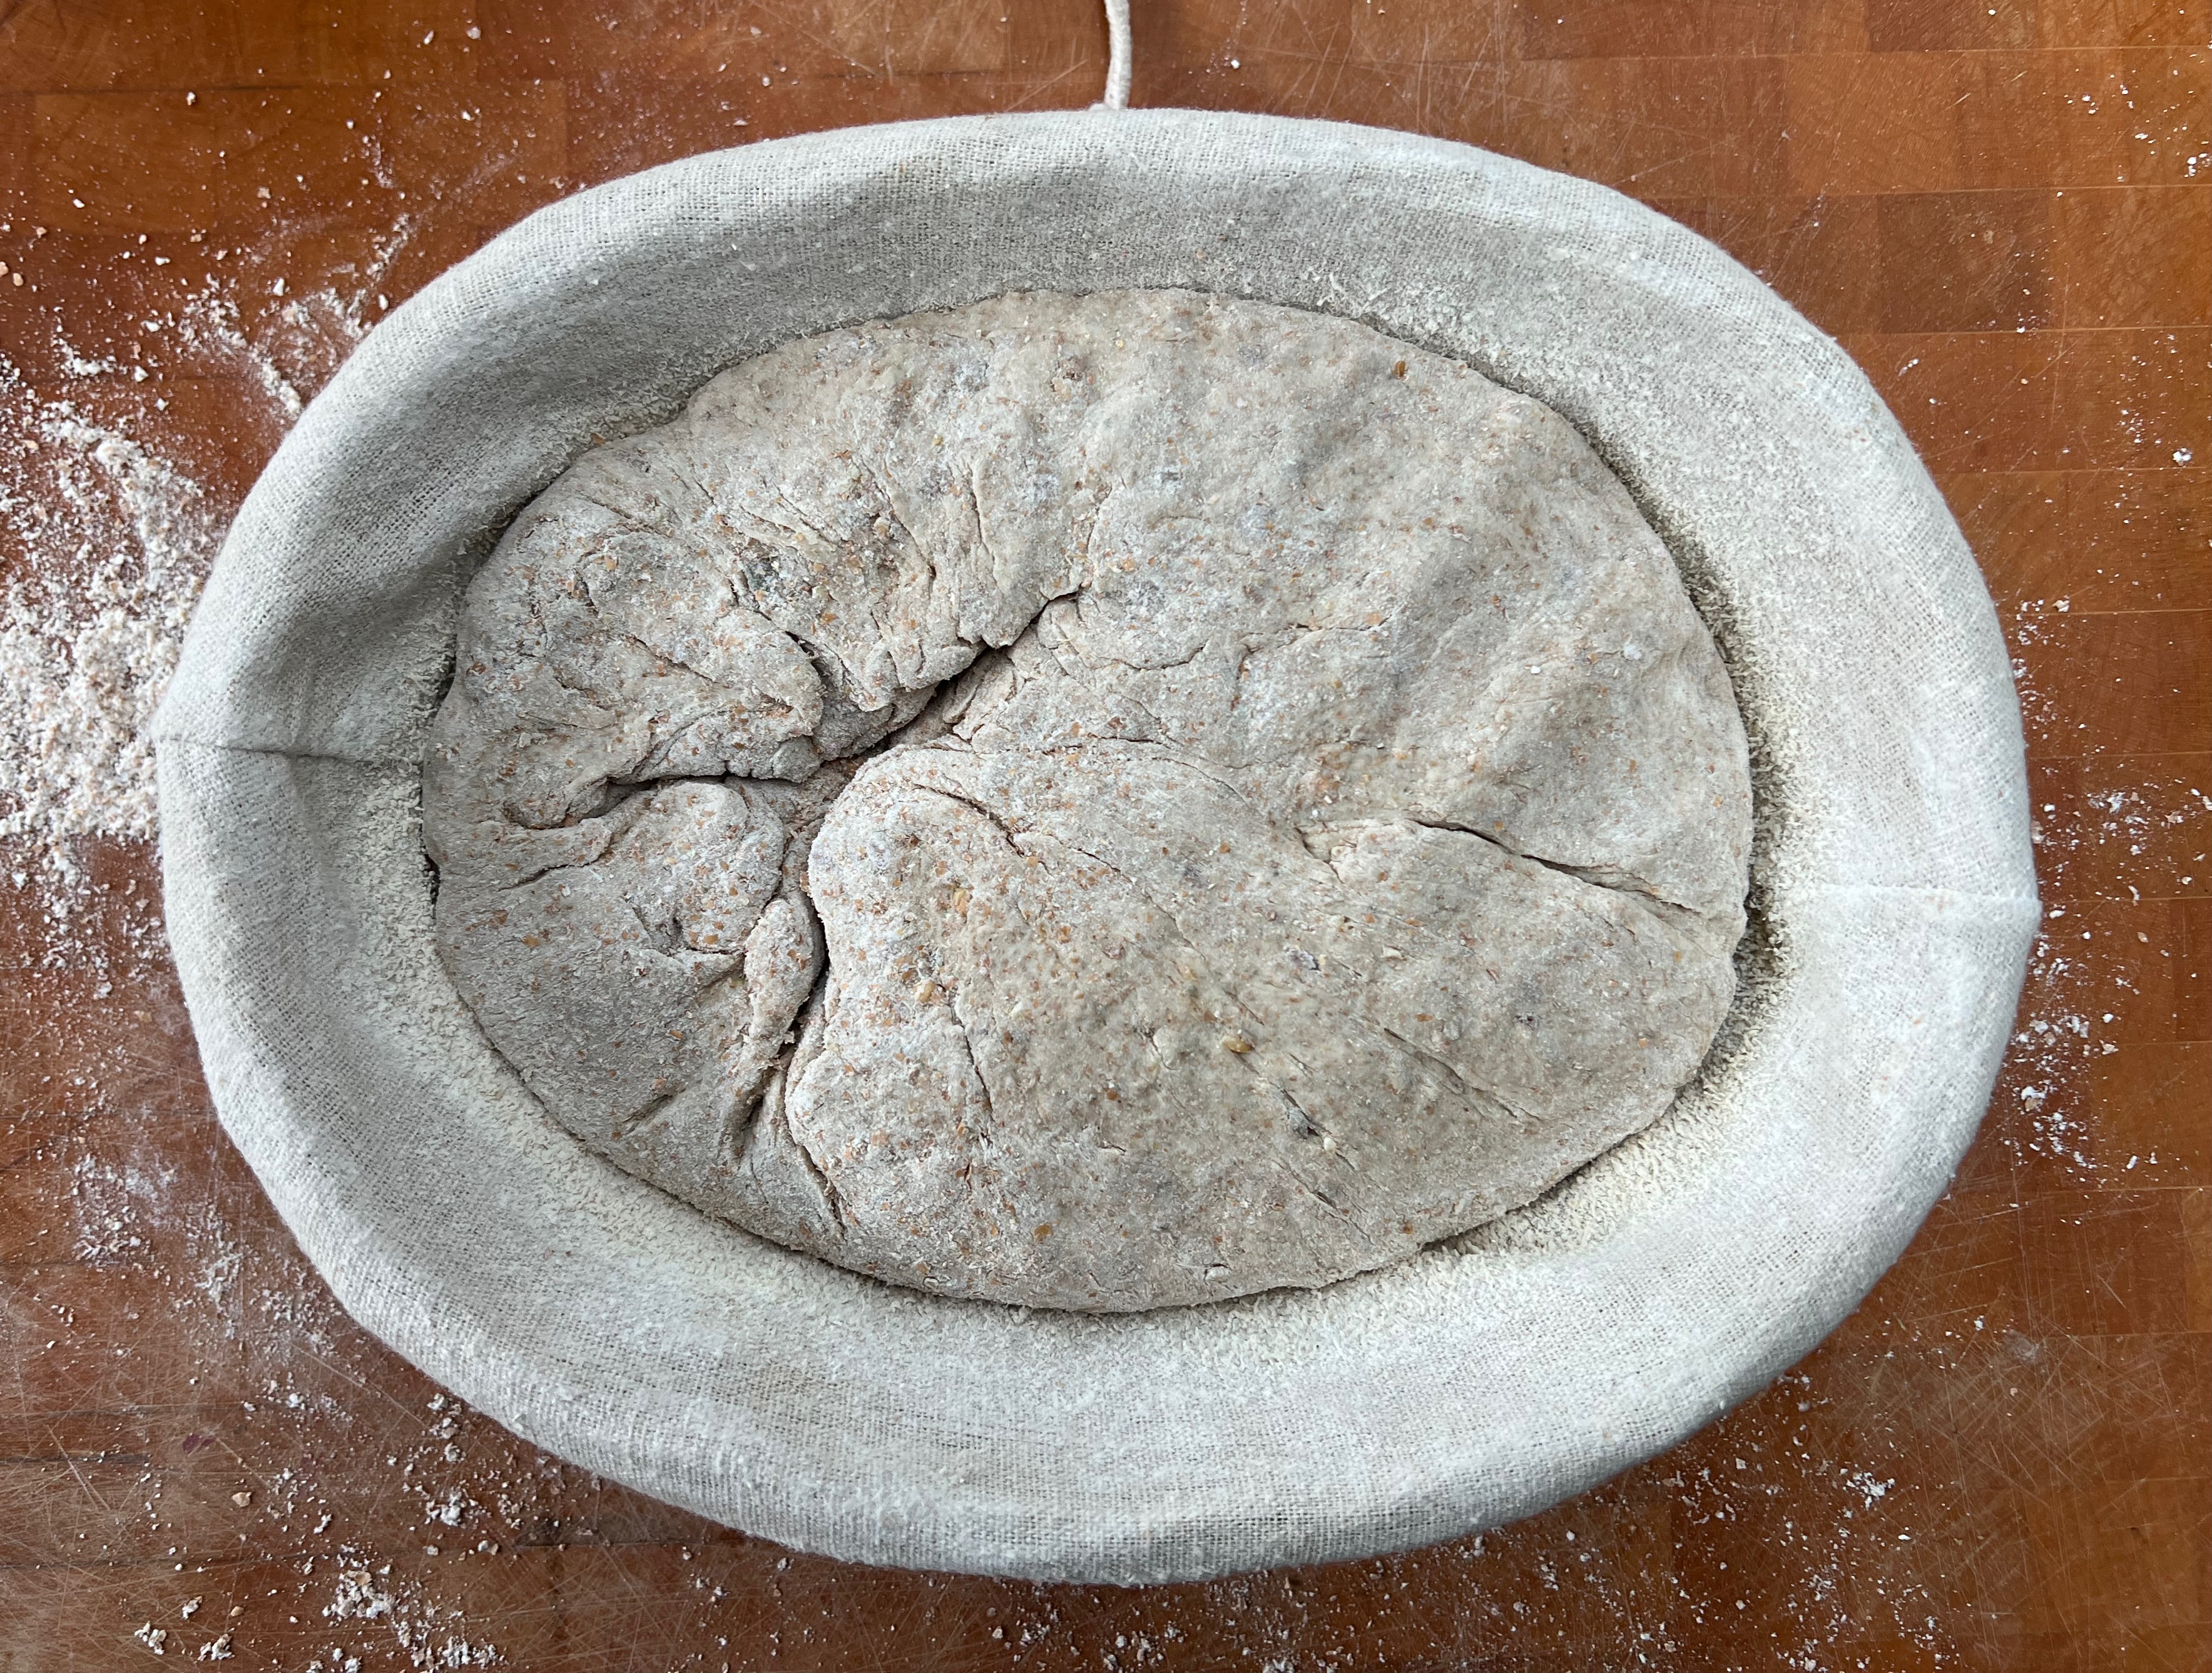
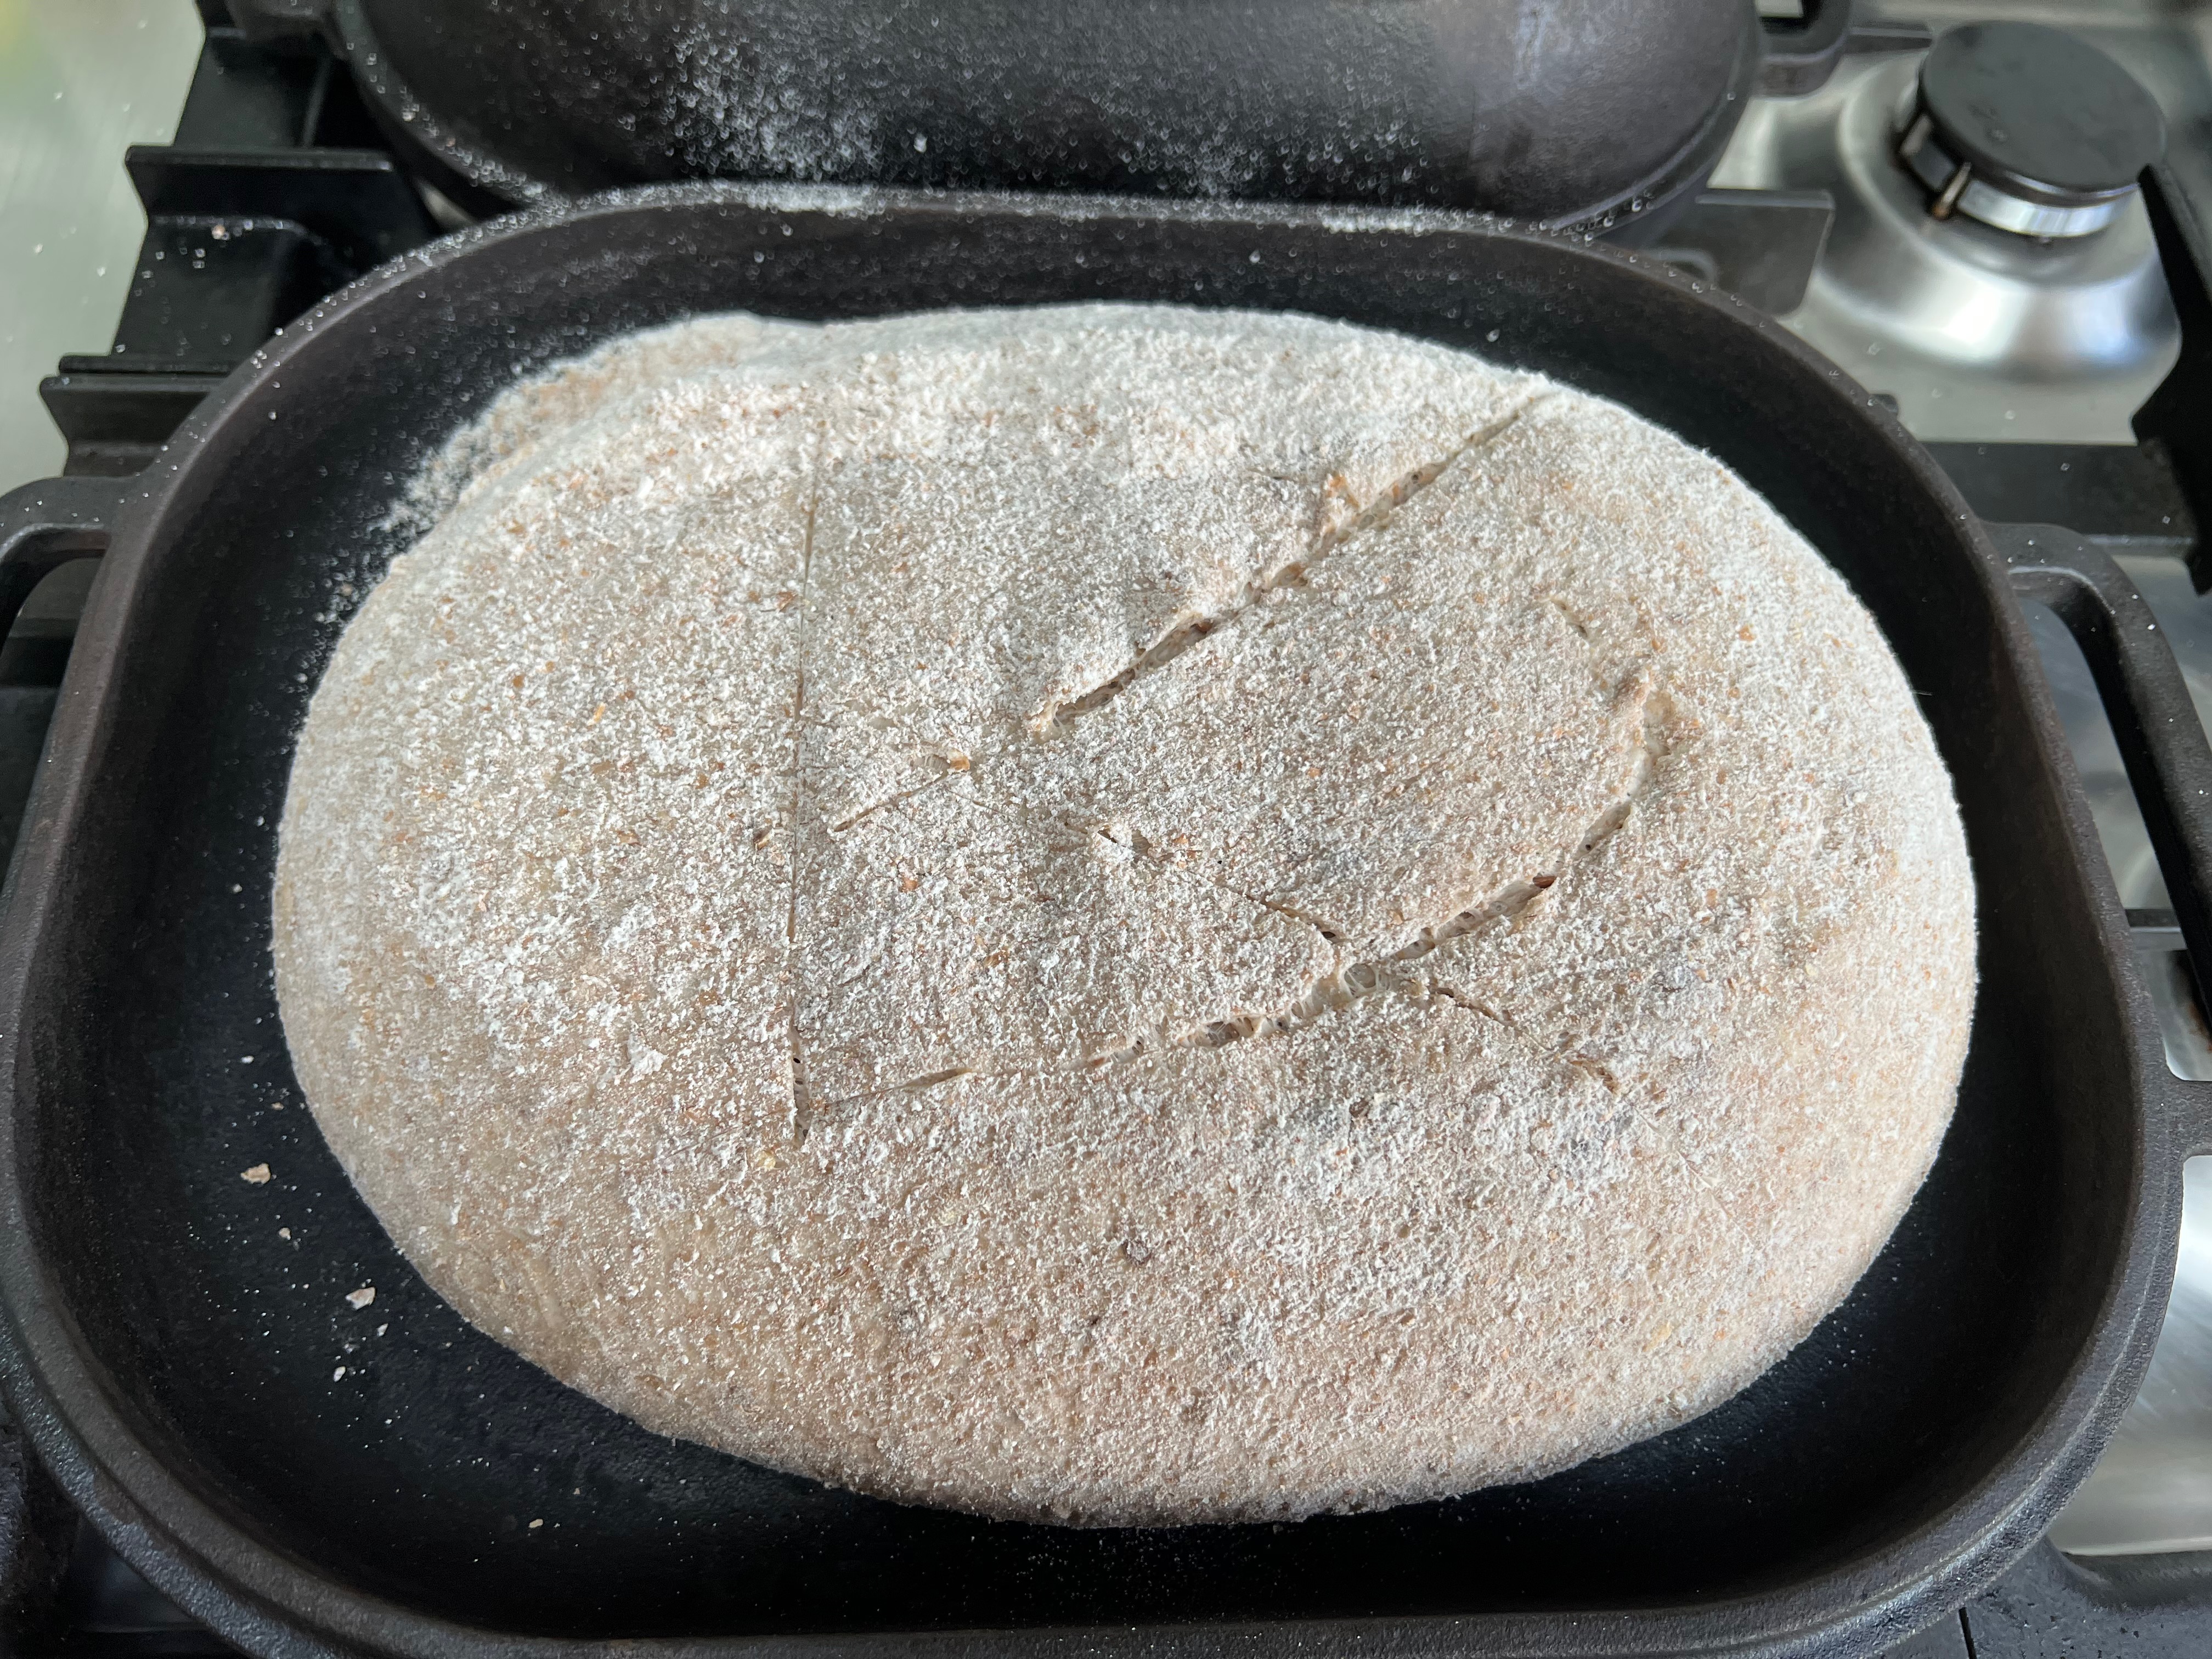
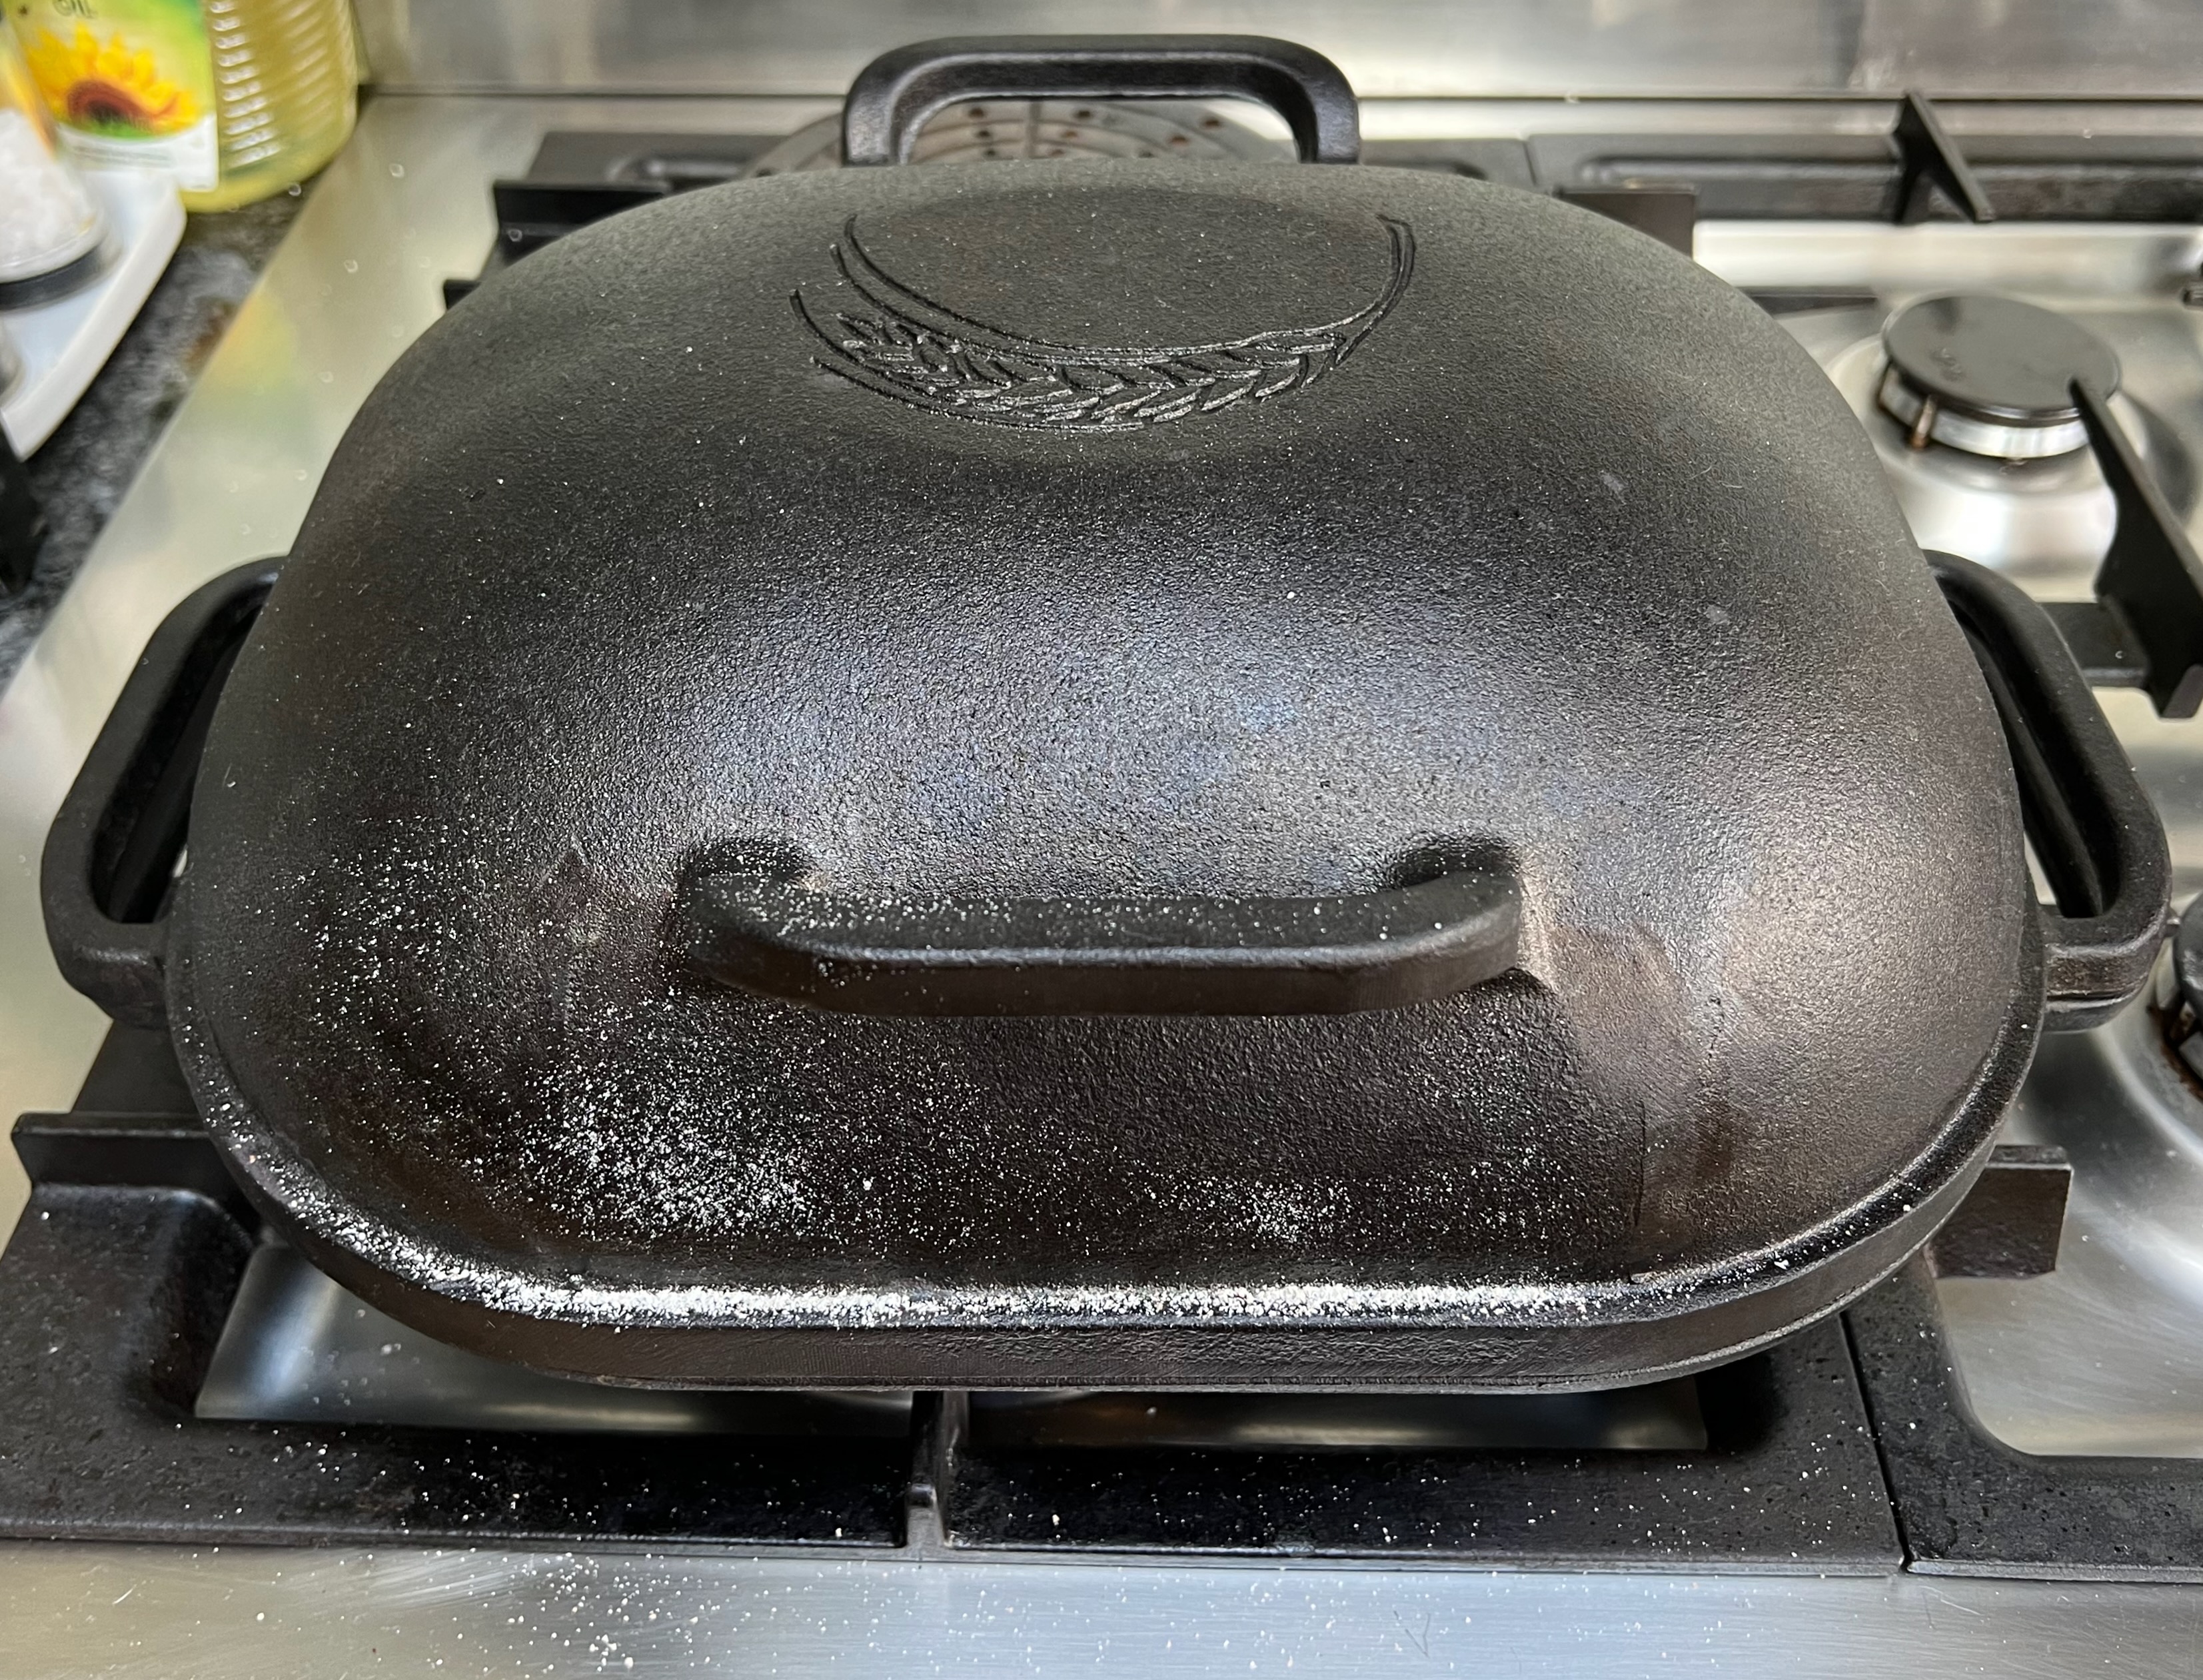
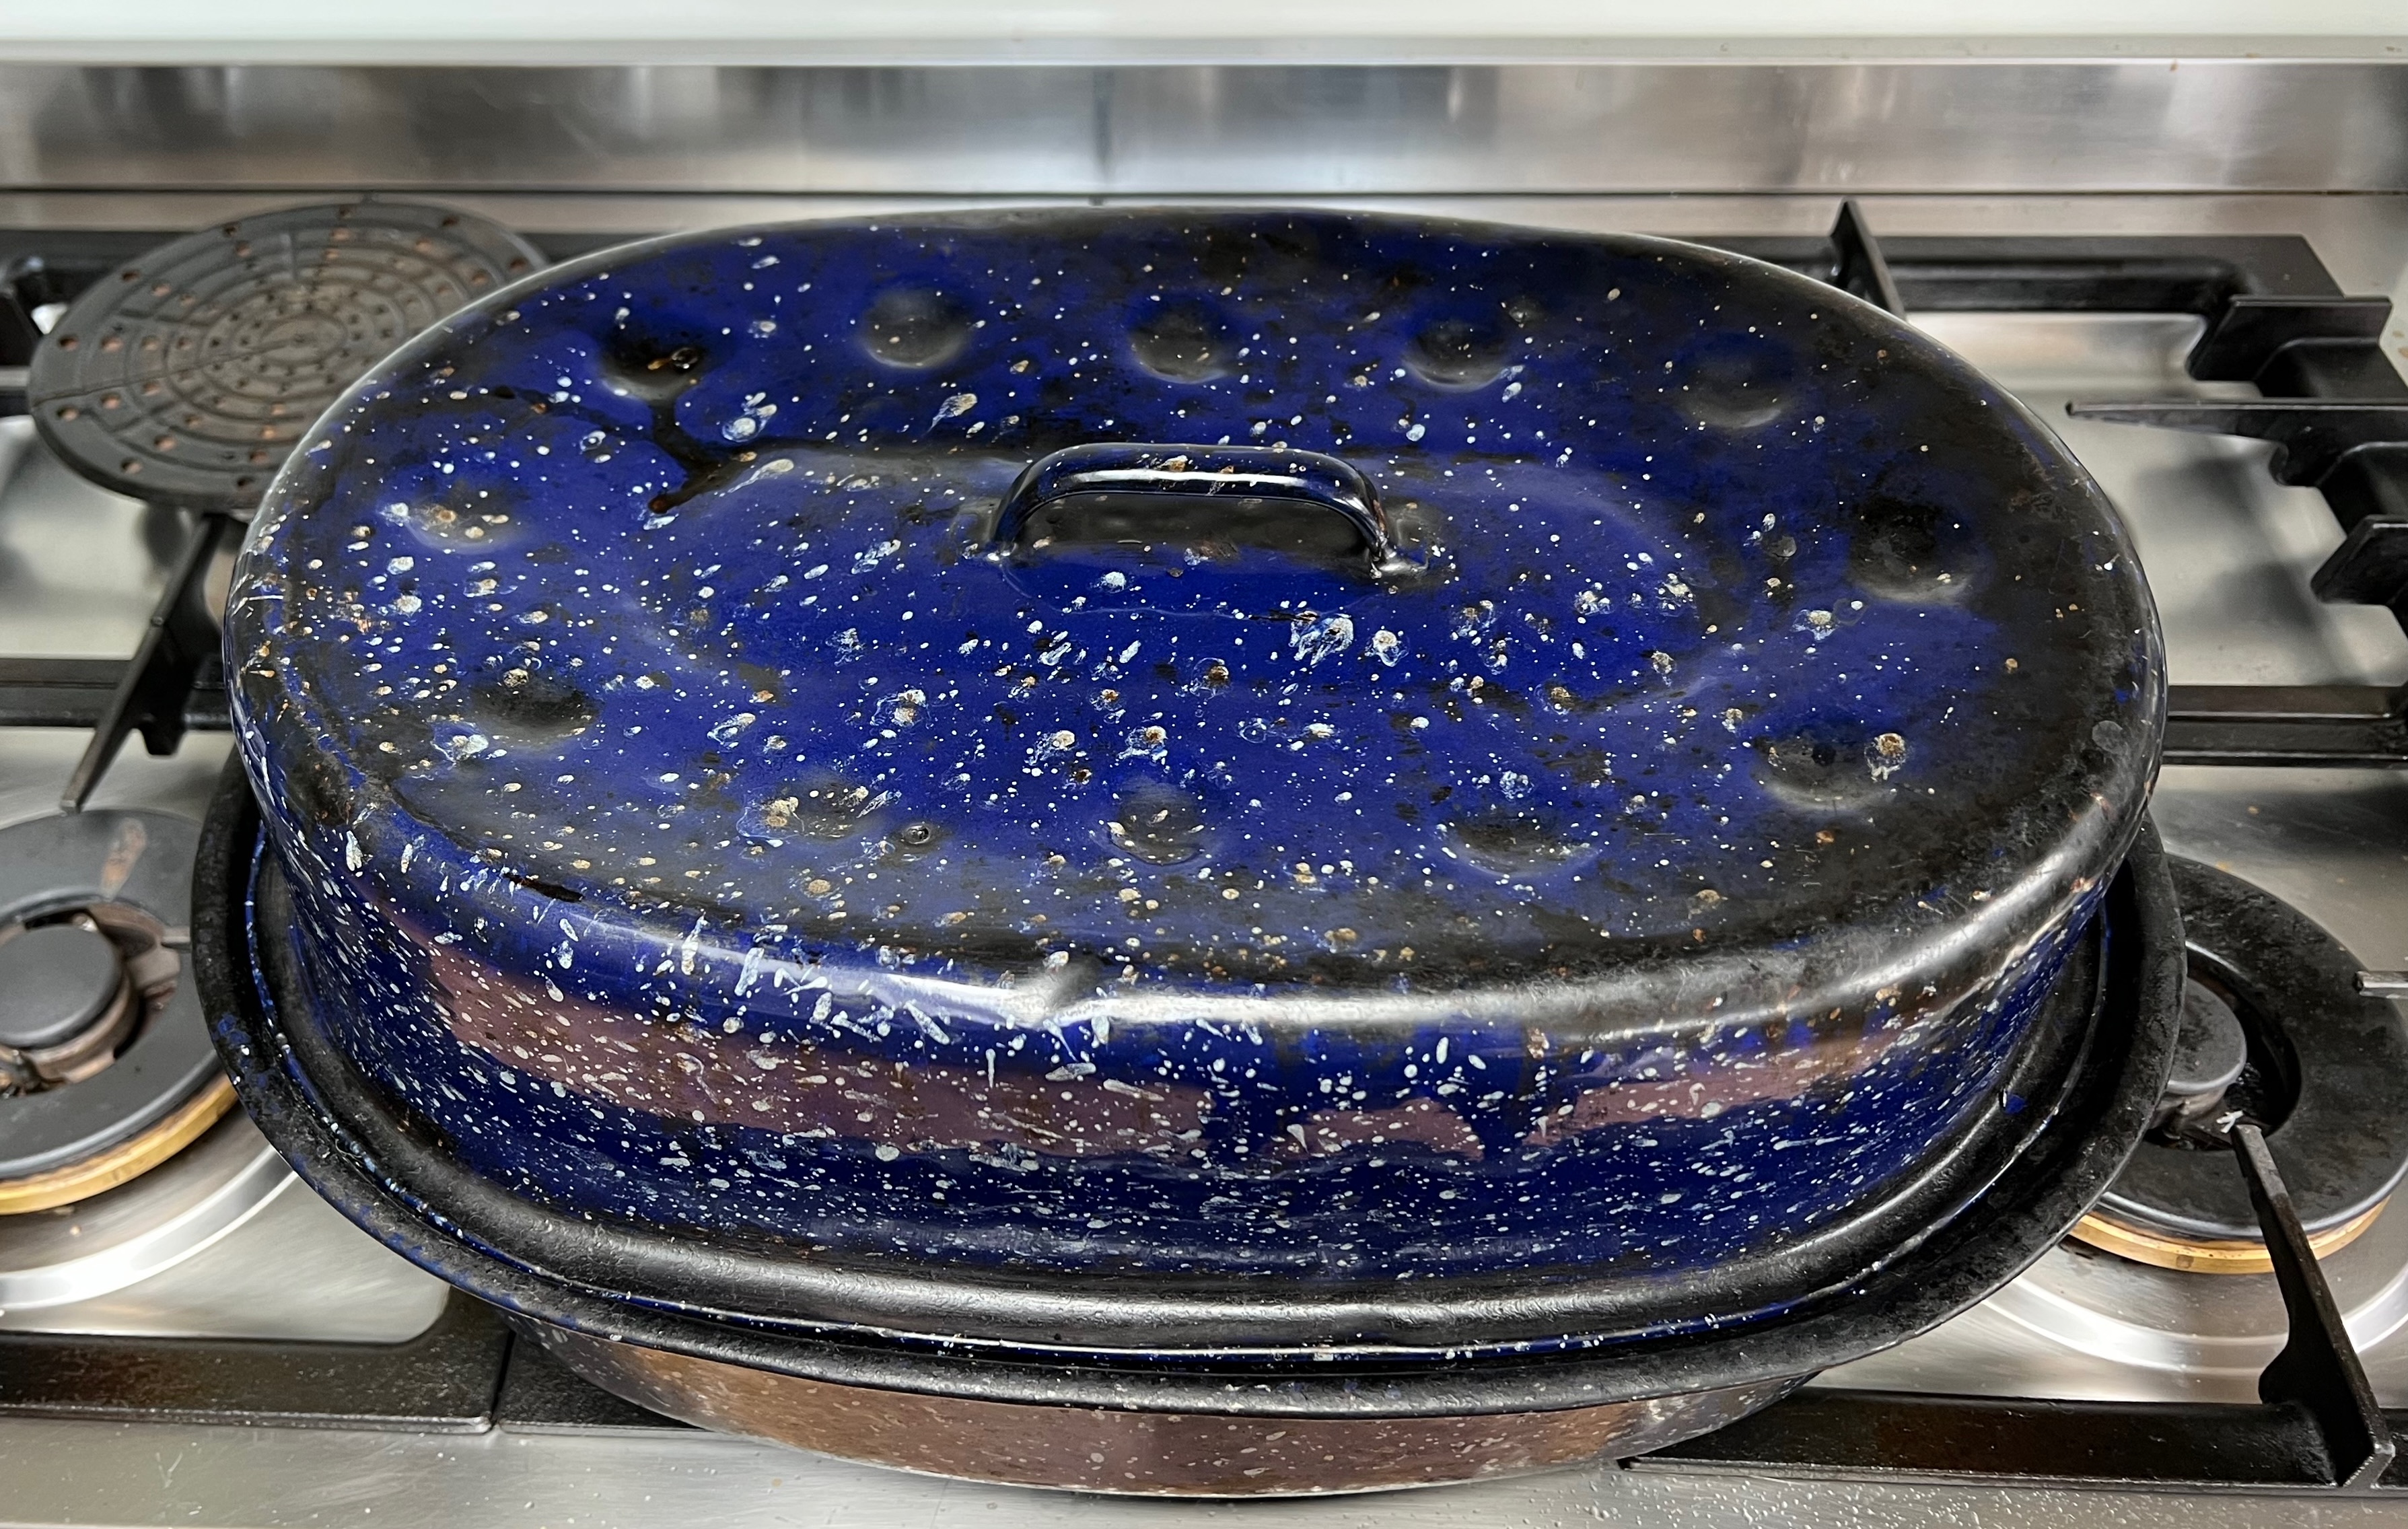
In terms of process, I have two variants. Most often, I use a two stage prove: the second rise is done in a cloth-lined basket after which I bake a free standing loaf in a cast iron Dutch oven made by US company Challenger. But if I’m in a hurry, I’ll just pour the kneaded dough into a greased baking tin, leave it to rise once and then bake.
I adjust timings to suit the day’s schedule by choosing the temperature for the rises: fridge (around 3℃), room temperature (my kitchen is usually around 20℃) or “a warm place” (near my boiler, around 30℃). The fastest option is to heat an oven to 50℃ then turn it off, because you don’t want the yeast getting above 45℃.
Here are three typical timings: choose your favourite or make up your own. I deliberately haven’t put in numbers of hours because they’re incredibly variable; you just have to wait until it looks right.
You can use any starter you like. Mine started life in October 2018 as a wheat-based starter, but after the first couple of months, I started refreshing it only with dark rye (which apparently makes for a less fussy starter). The method came from Andrew Whitley’s “Bread Matters”.
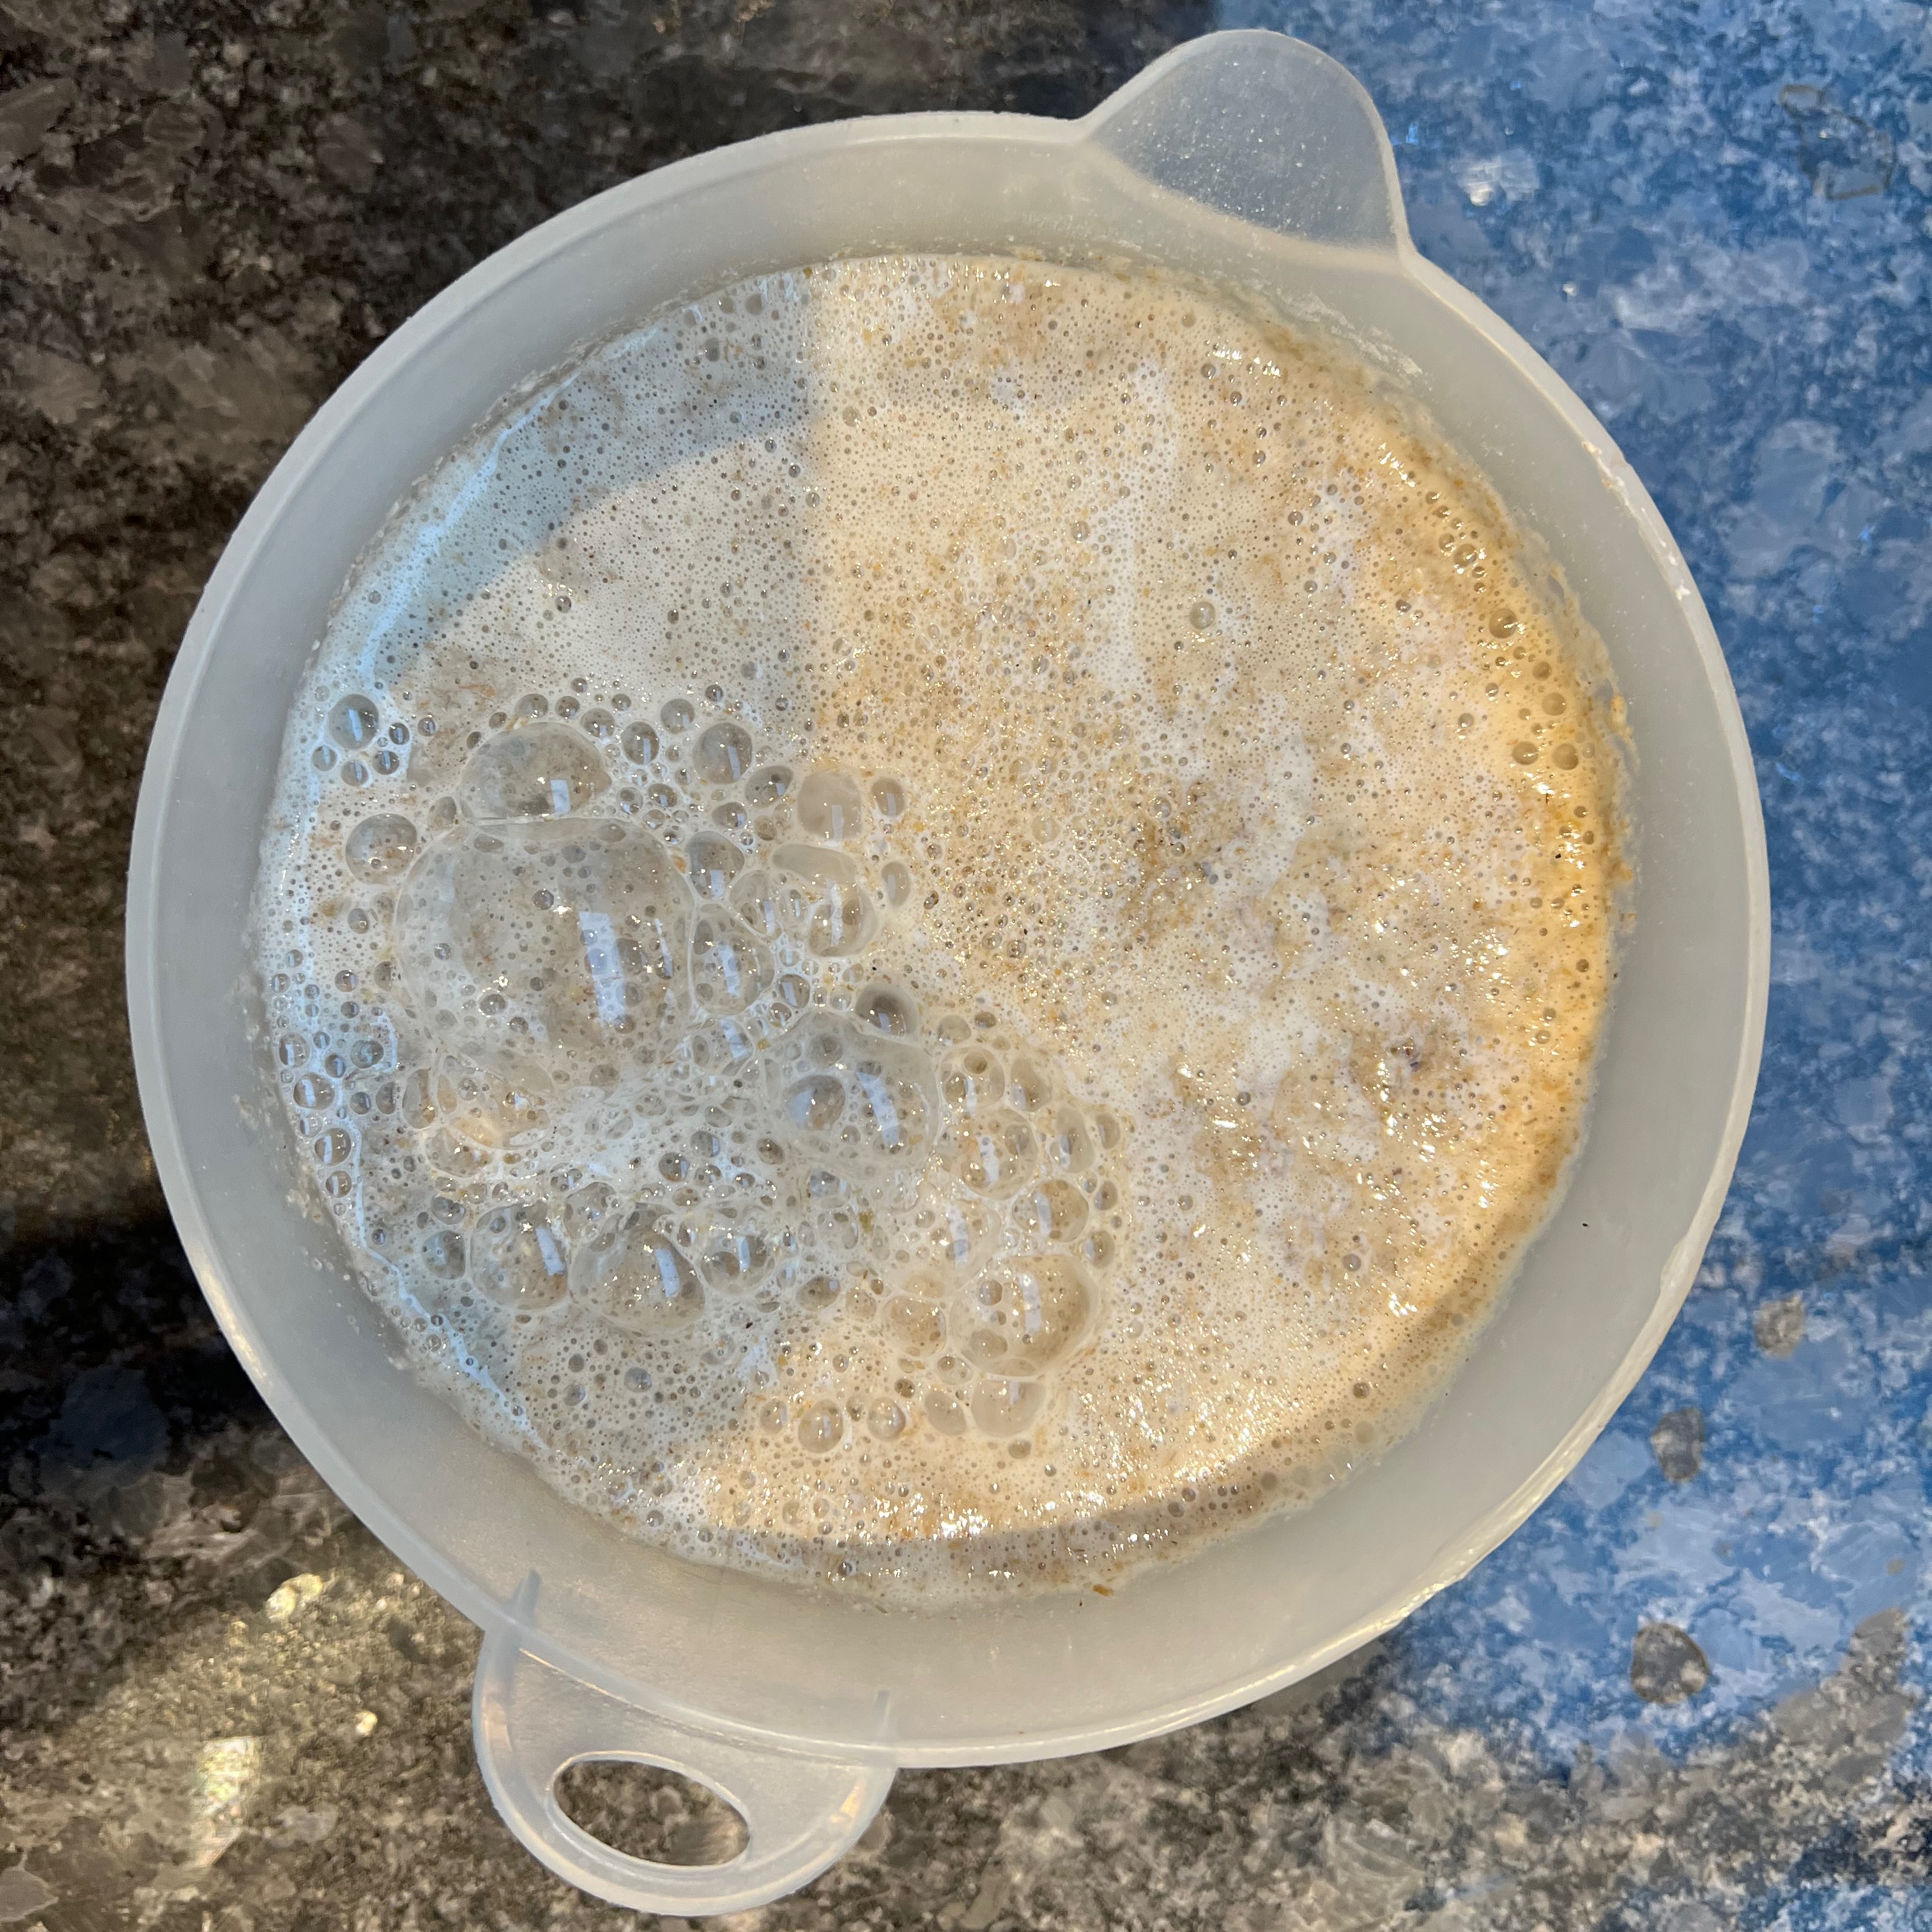
The sponge
This is the initial mixture used to give the yeast in the sourdough starter the chance to multiply. It seems to go many names as well as “sponge”: Andrew Whitley calls it a “production sourdough”; I’ve also seen “pre-ferment”, “bulk ferment” or just plain “ferment”. A thicker version appears to be called a “biga”.
And don’t forget to refresh your starter:
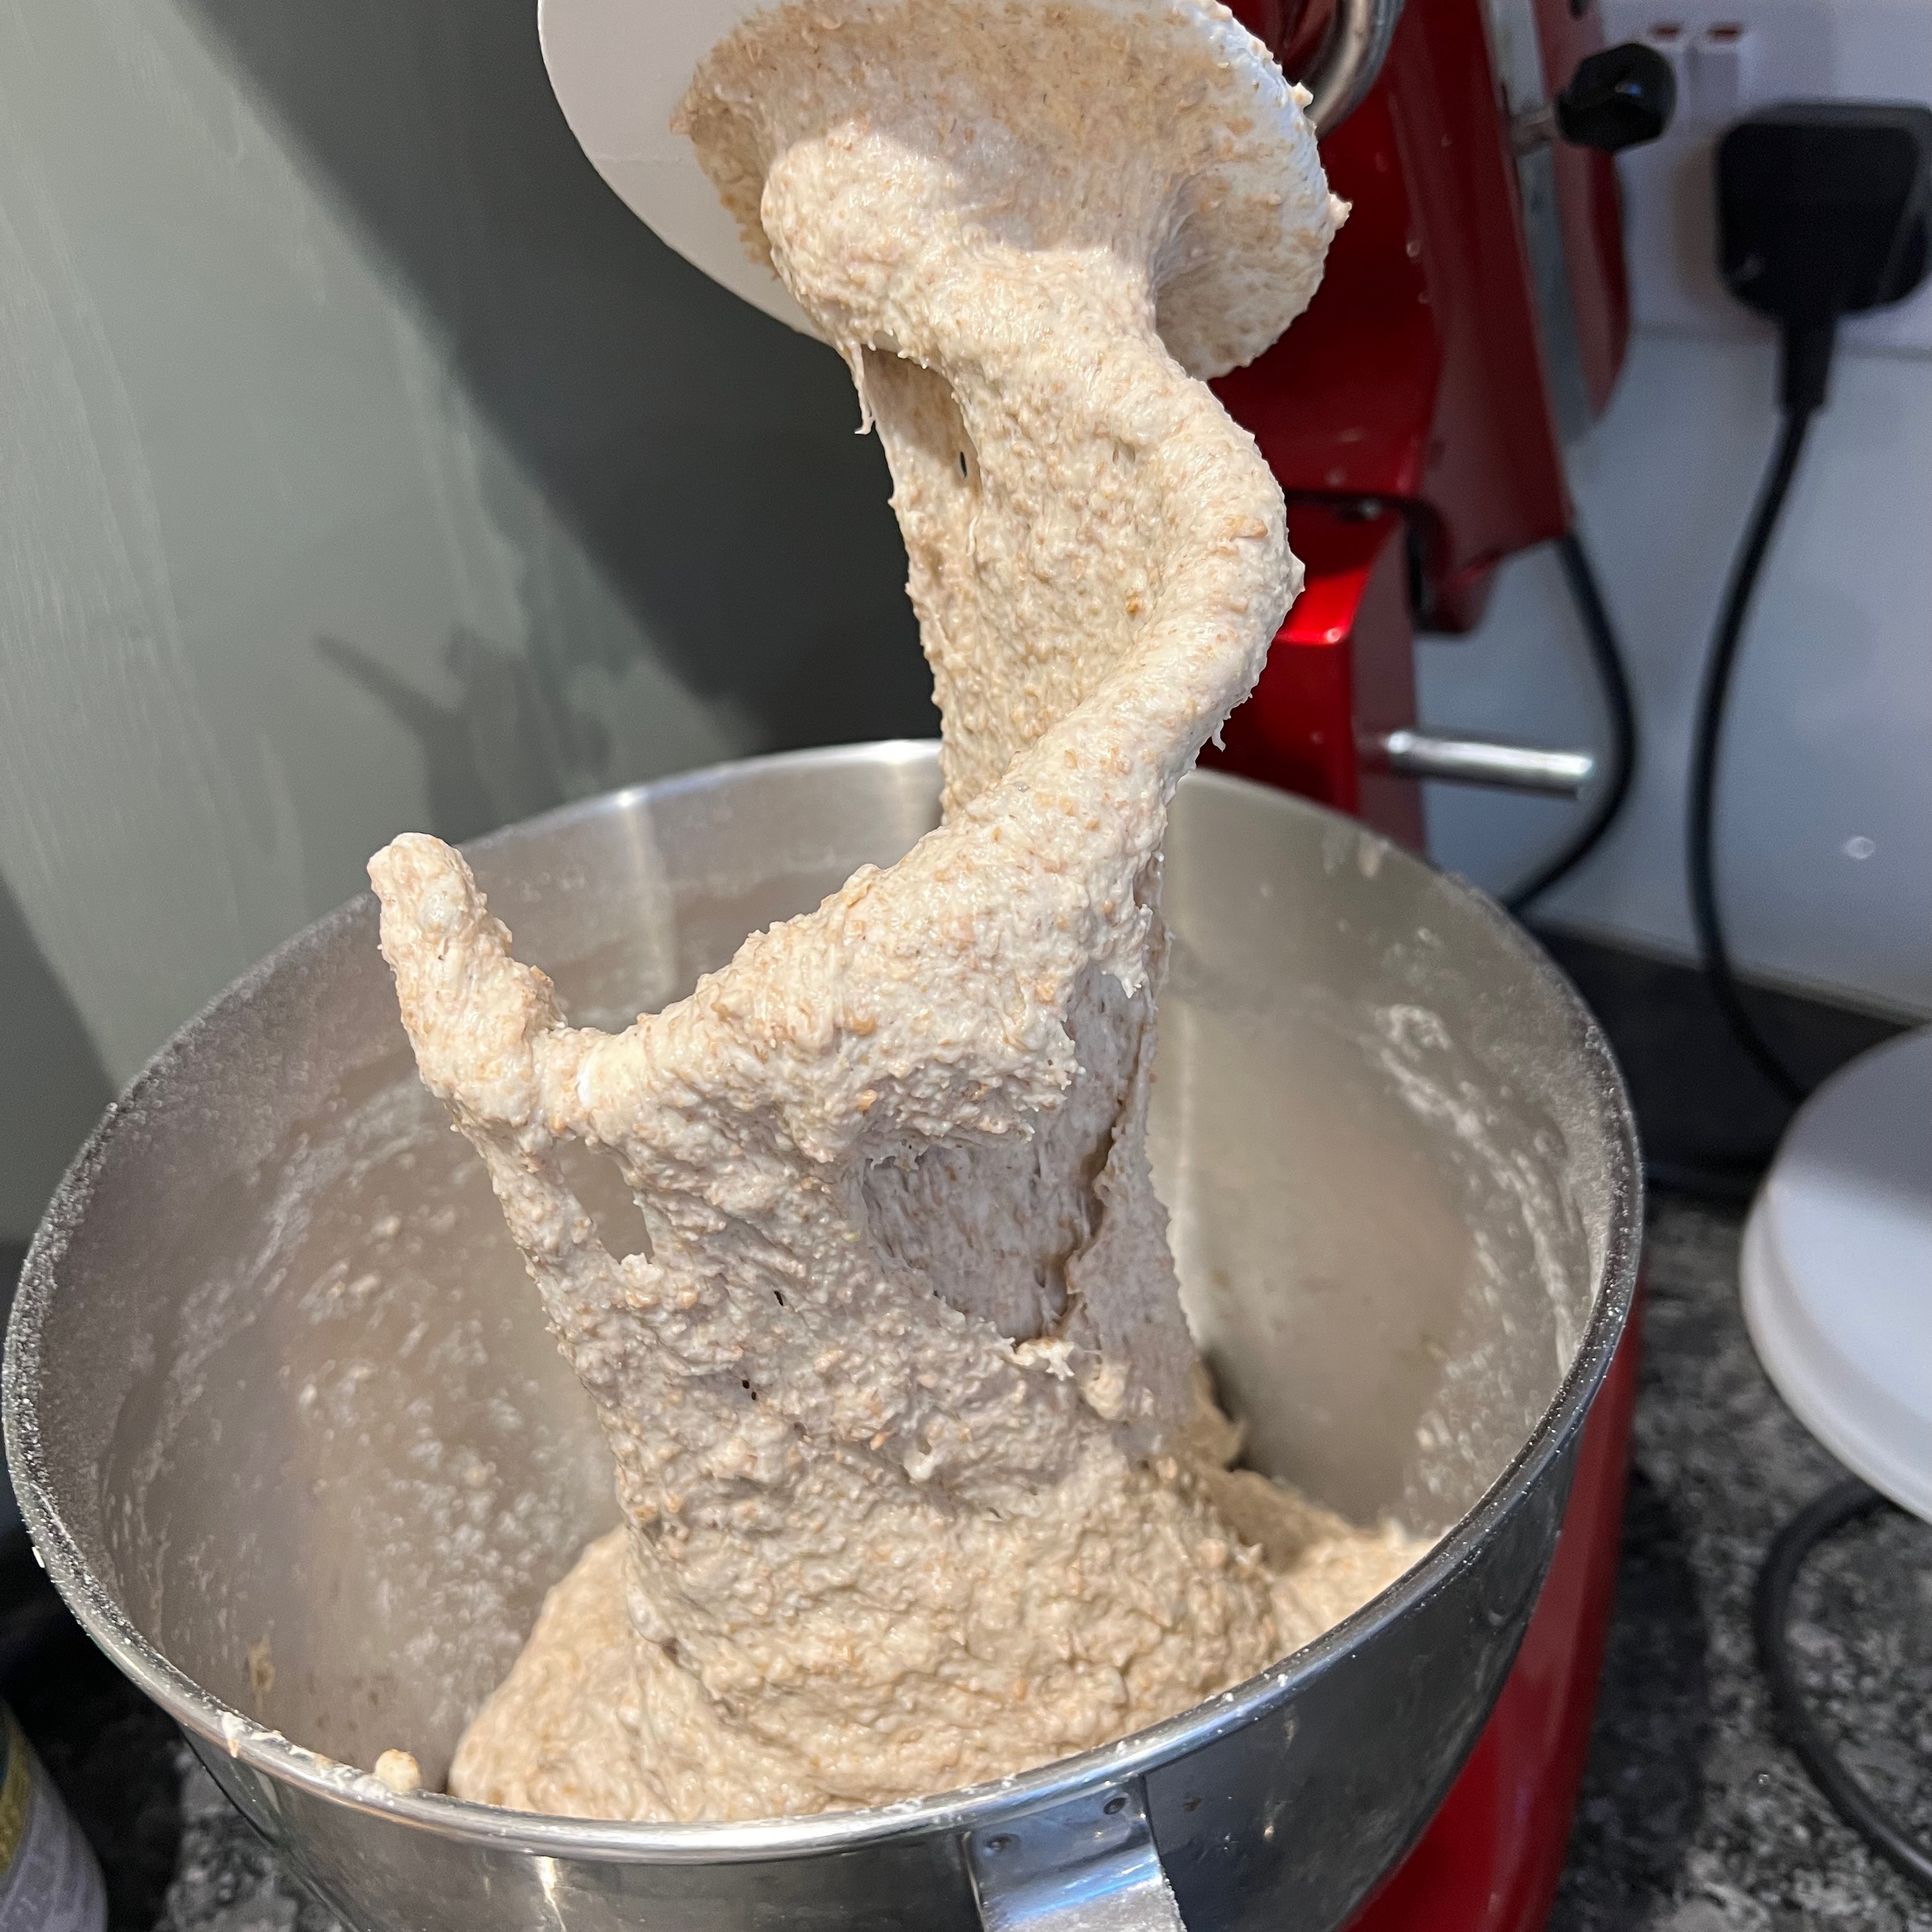
Making the dough
Preparing – tin version
For baking, I’ve assumed here that you have a casserole or covered roasting pan big enough to enclose your bread tin and be used as a Dutch oven. If you don’t, forget anything about making steam and simply cover your bread tin with its lid (if it has one) or with foil.
Preparing – free standing version

Baking
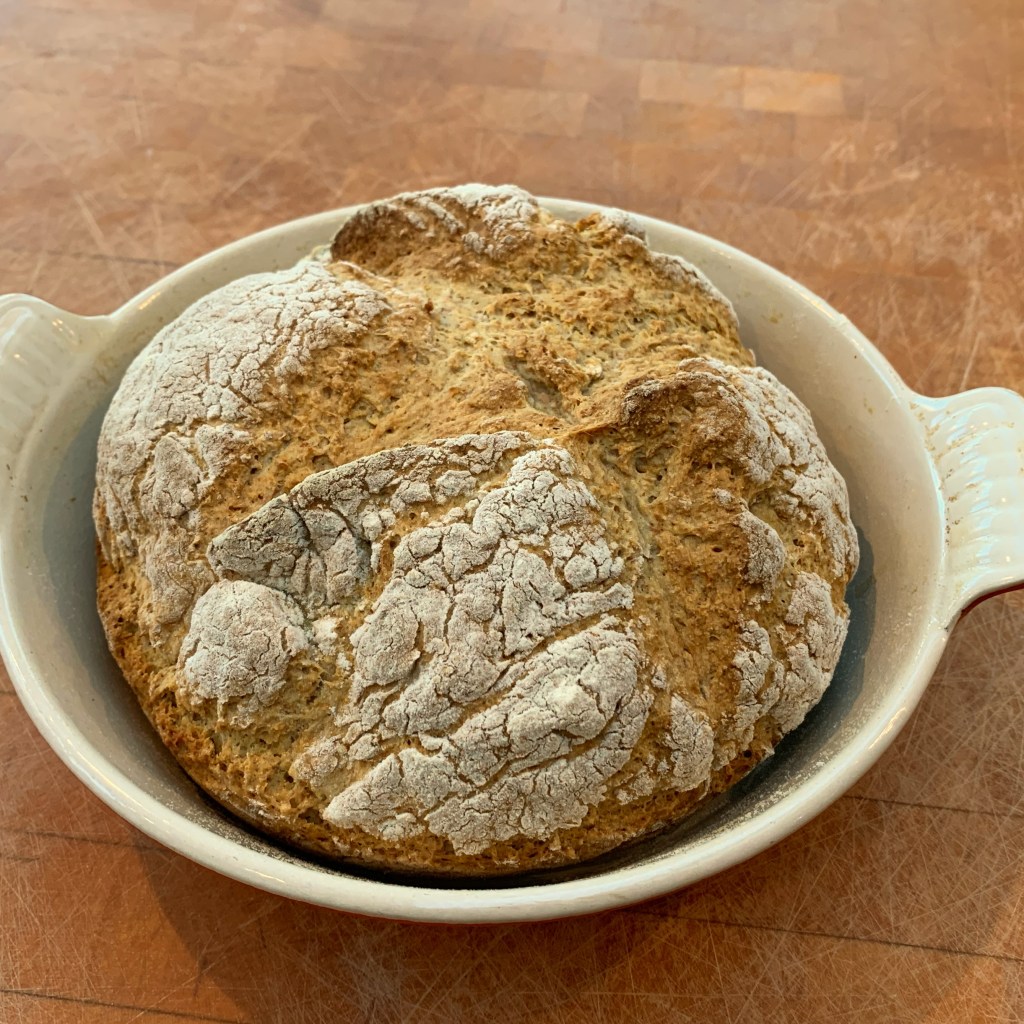
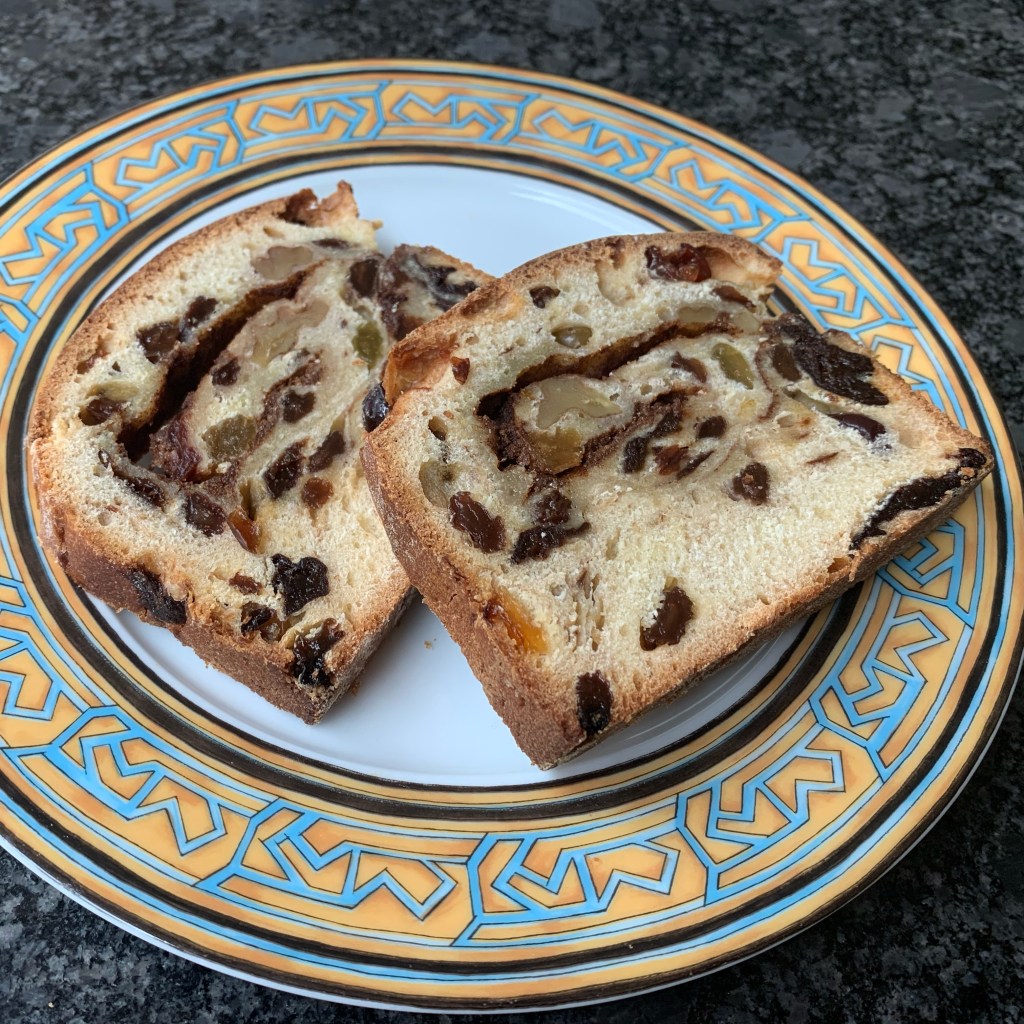
So that’s it! We’ve baked round the world, from the great cities of our planet – Paris, New York, Vienna – to the middle of nowhere in Pitcairn Island. We’ve made breads, cakes, biscuits, pastries, savoury dishes and a few random things that don’t fit into any category. We’ve done some super-easy bakes (soda bread) and some very challenging ones (chocolate eclairs, pannetone). Being diabetic, which means I shouldn’t really have been doing this blog at all, I’ve erred on the less sweet side, but there are a few very sweet dishes indeed. It’s been a grand ride and I’ve learned masses.
There will be one more post in this series, namely a recipe index. But otherwise, it’s goodbye, and time for me to revert this blog to its original intention of being about all my obsessions – travel, software, business, politics and anything else. If you’re interested, stay with me!
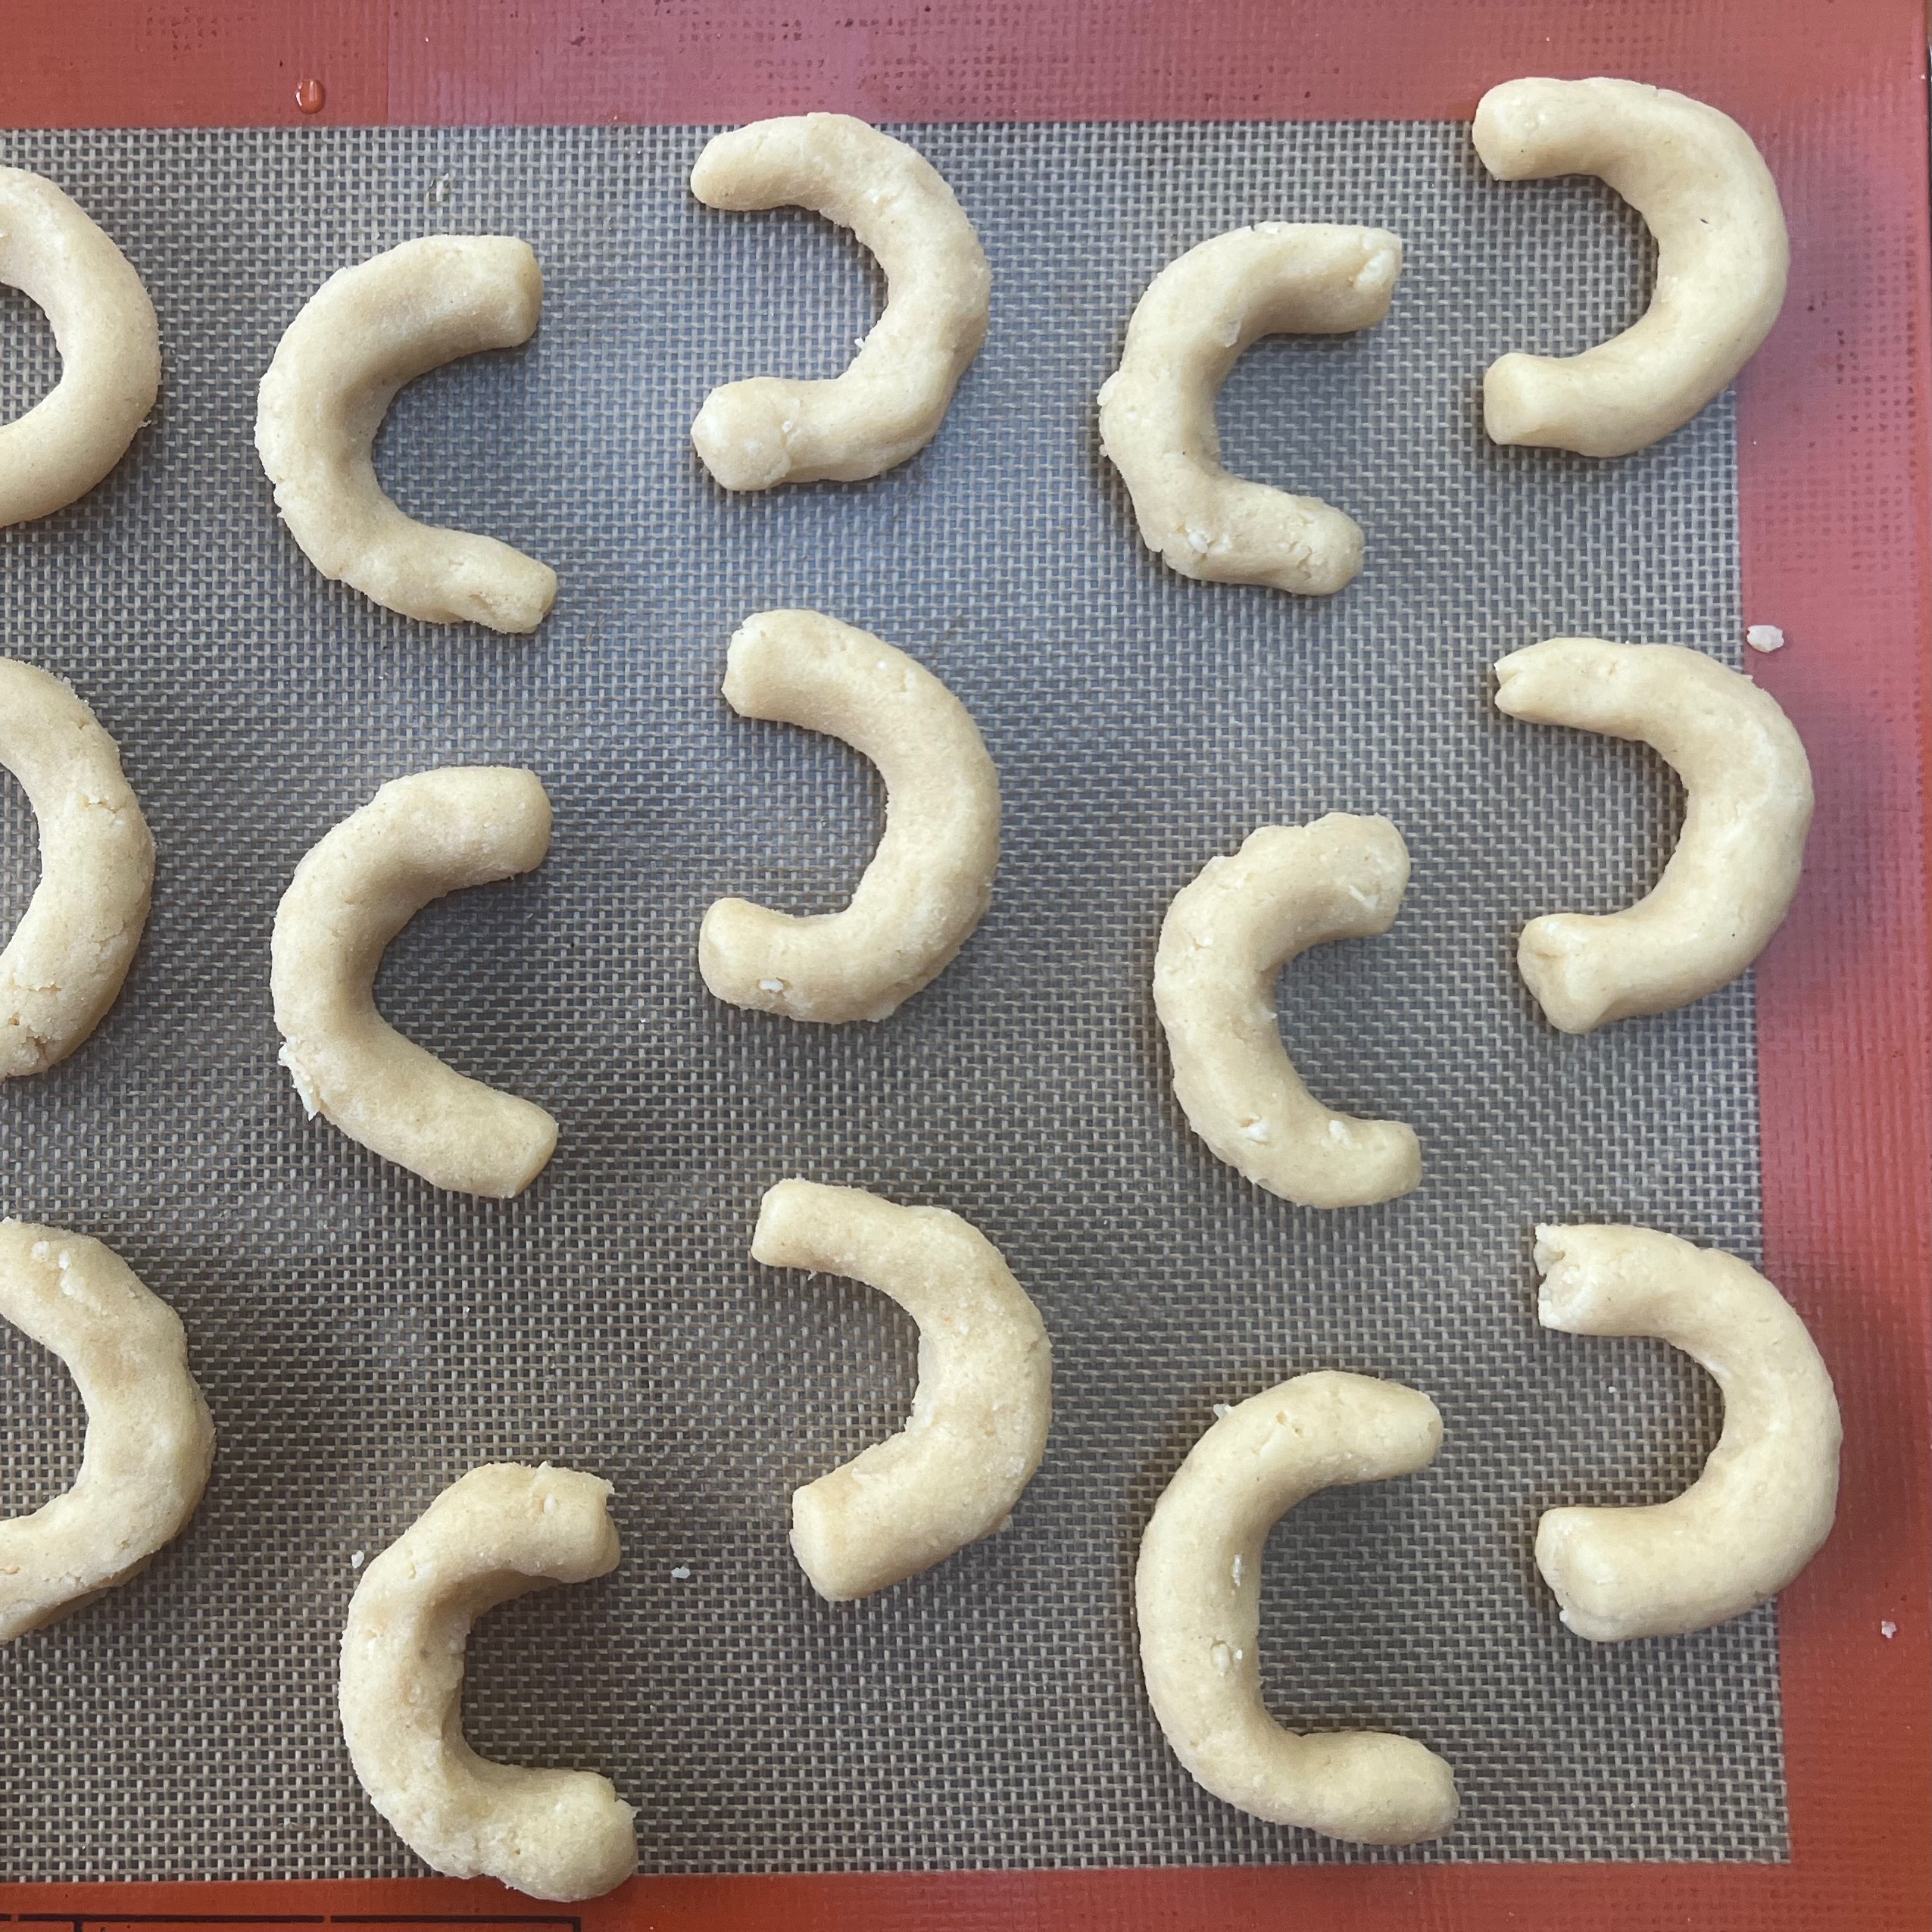
Austrians don’t necessarily like to think too hard about how close they became to being a Turkish province and quite how much they have to thank the Poles that this didn’t happen. In 1683, the Turks neared the city gates, to be defeated in the Battle of Vienna when the forces of the Holy Roman Empire were joined by the Polish army of King John III Sobieski.
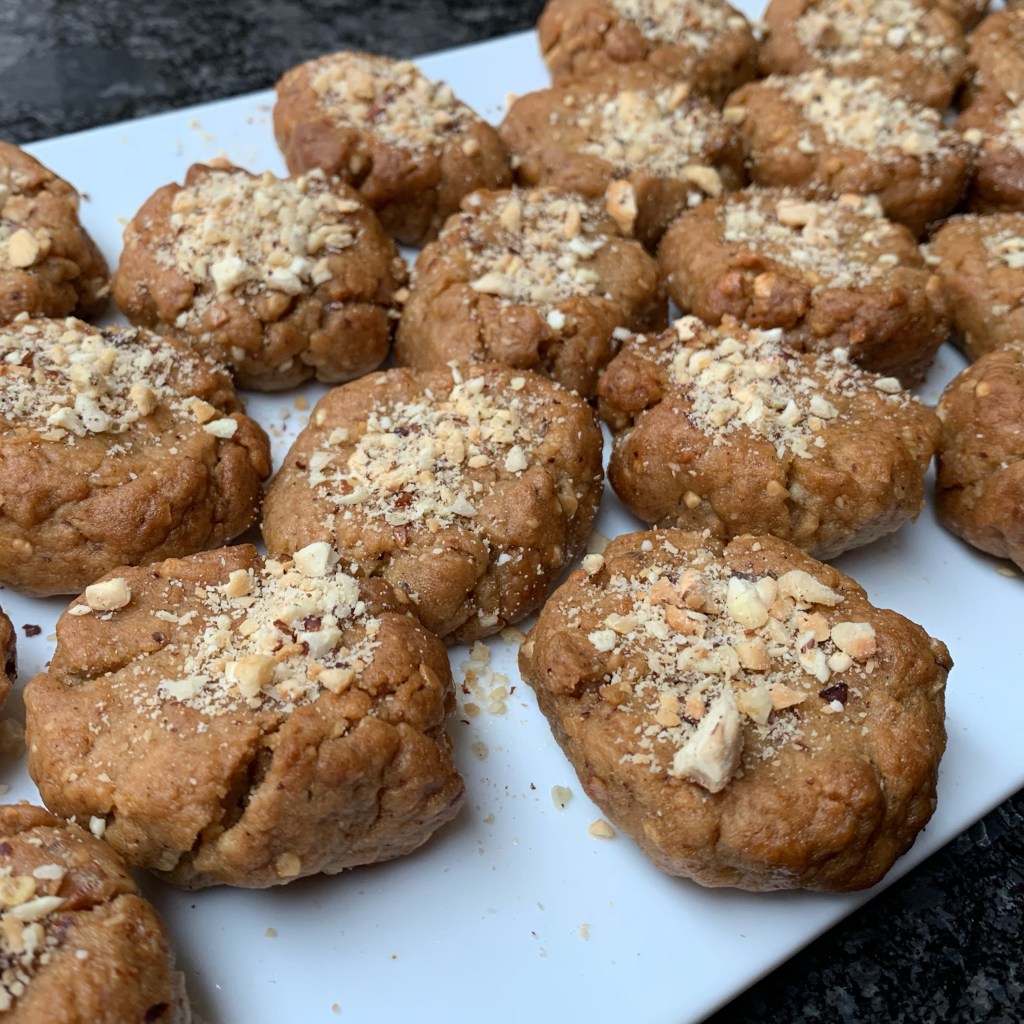
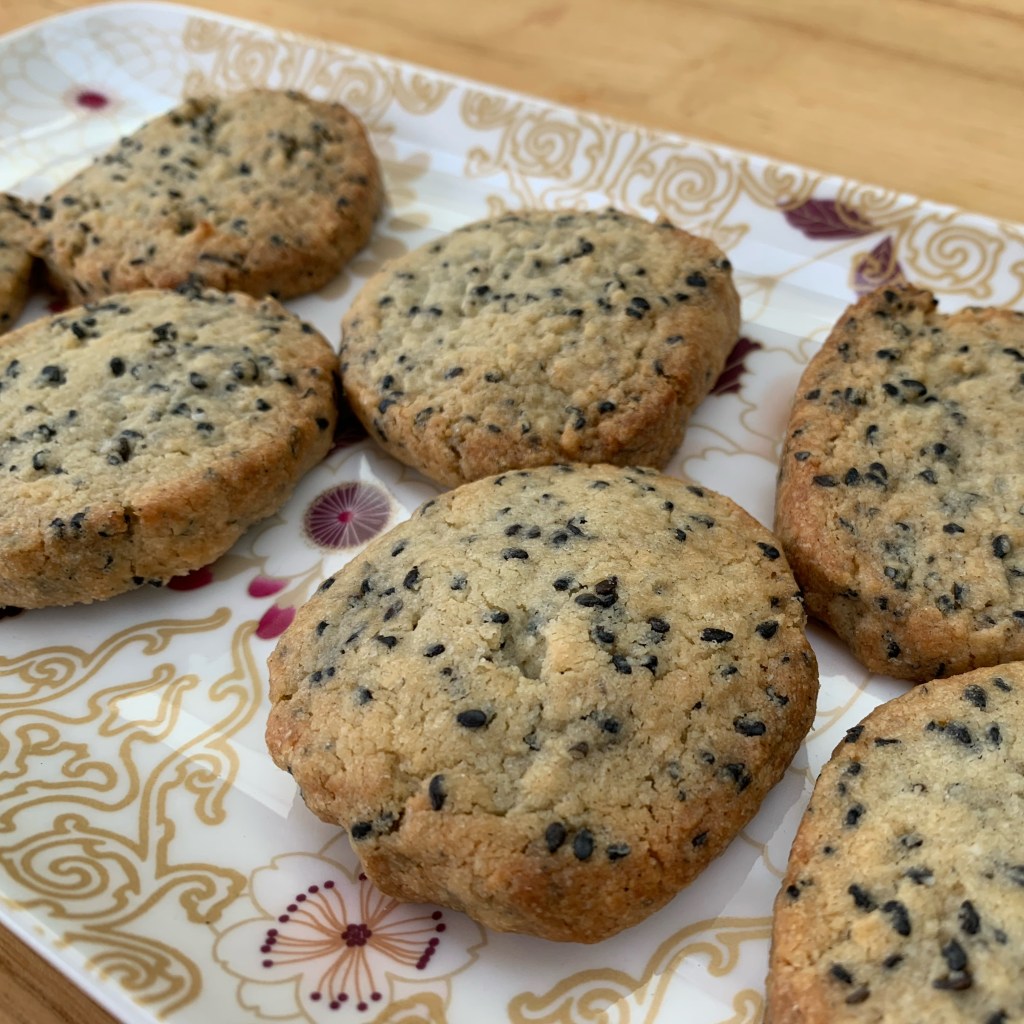
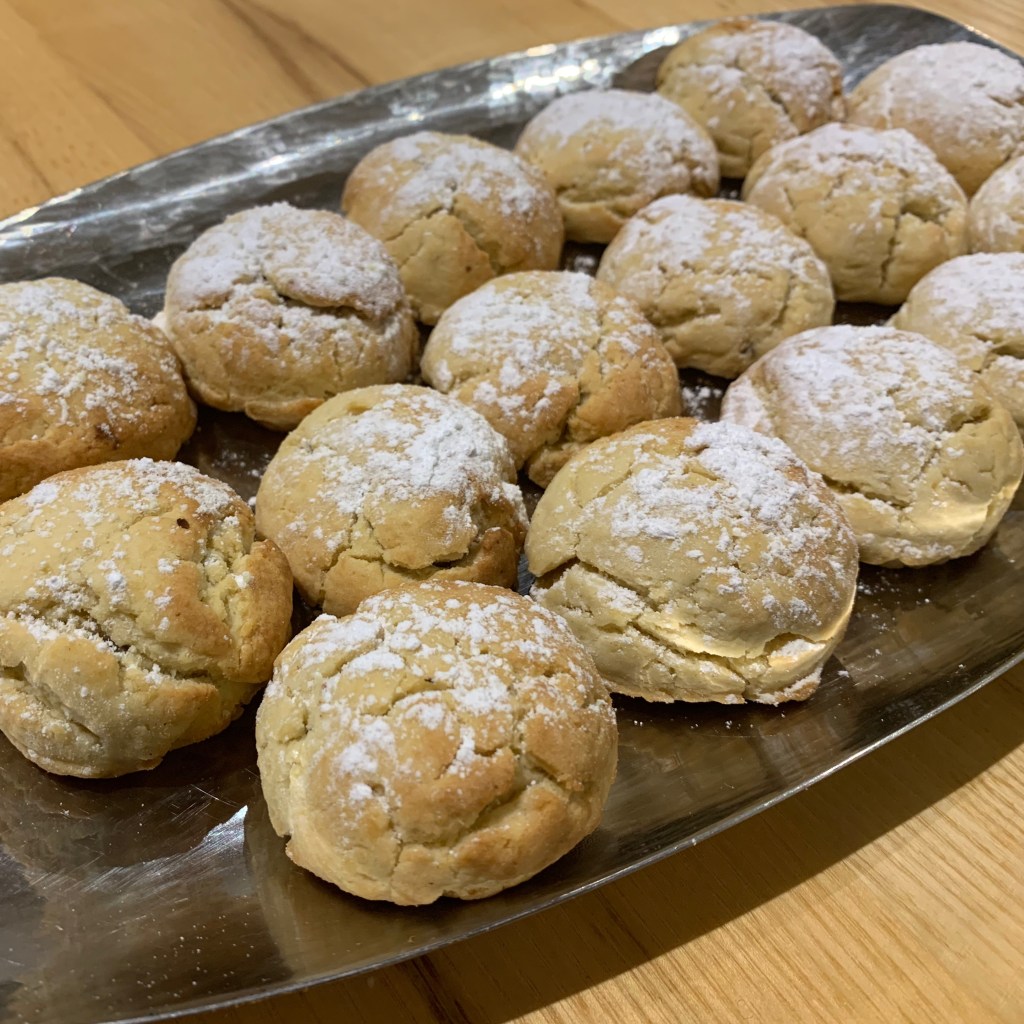
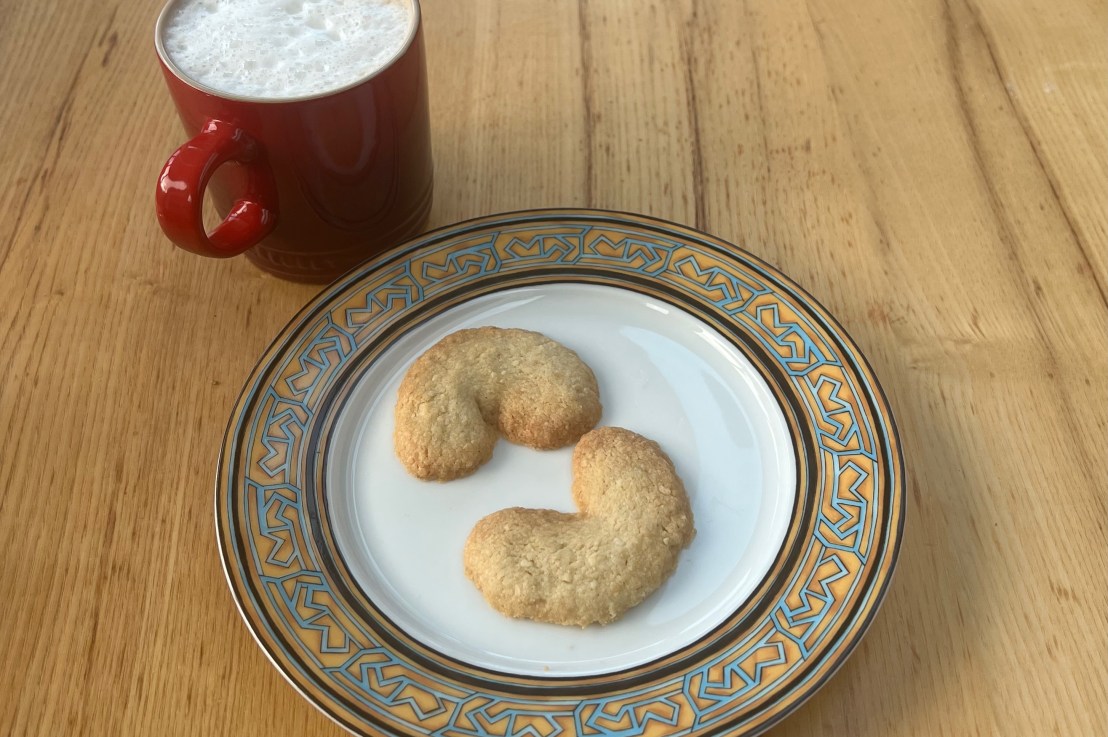
For some reason, however, the crescent moon of the Turkish flag lives on in Austrian culture in the shape of Vanillekipferl (vanilla crescents): delectable, crumbly nut-flavoured biscuits that are particularly popular as a Christmas treat. They’ve spread from their origins in Vienna all over Germanic countries and many Eastern European ones, including (of course) Poland.
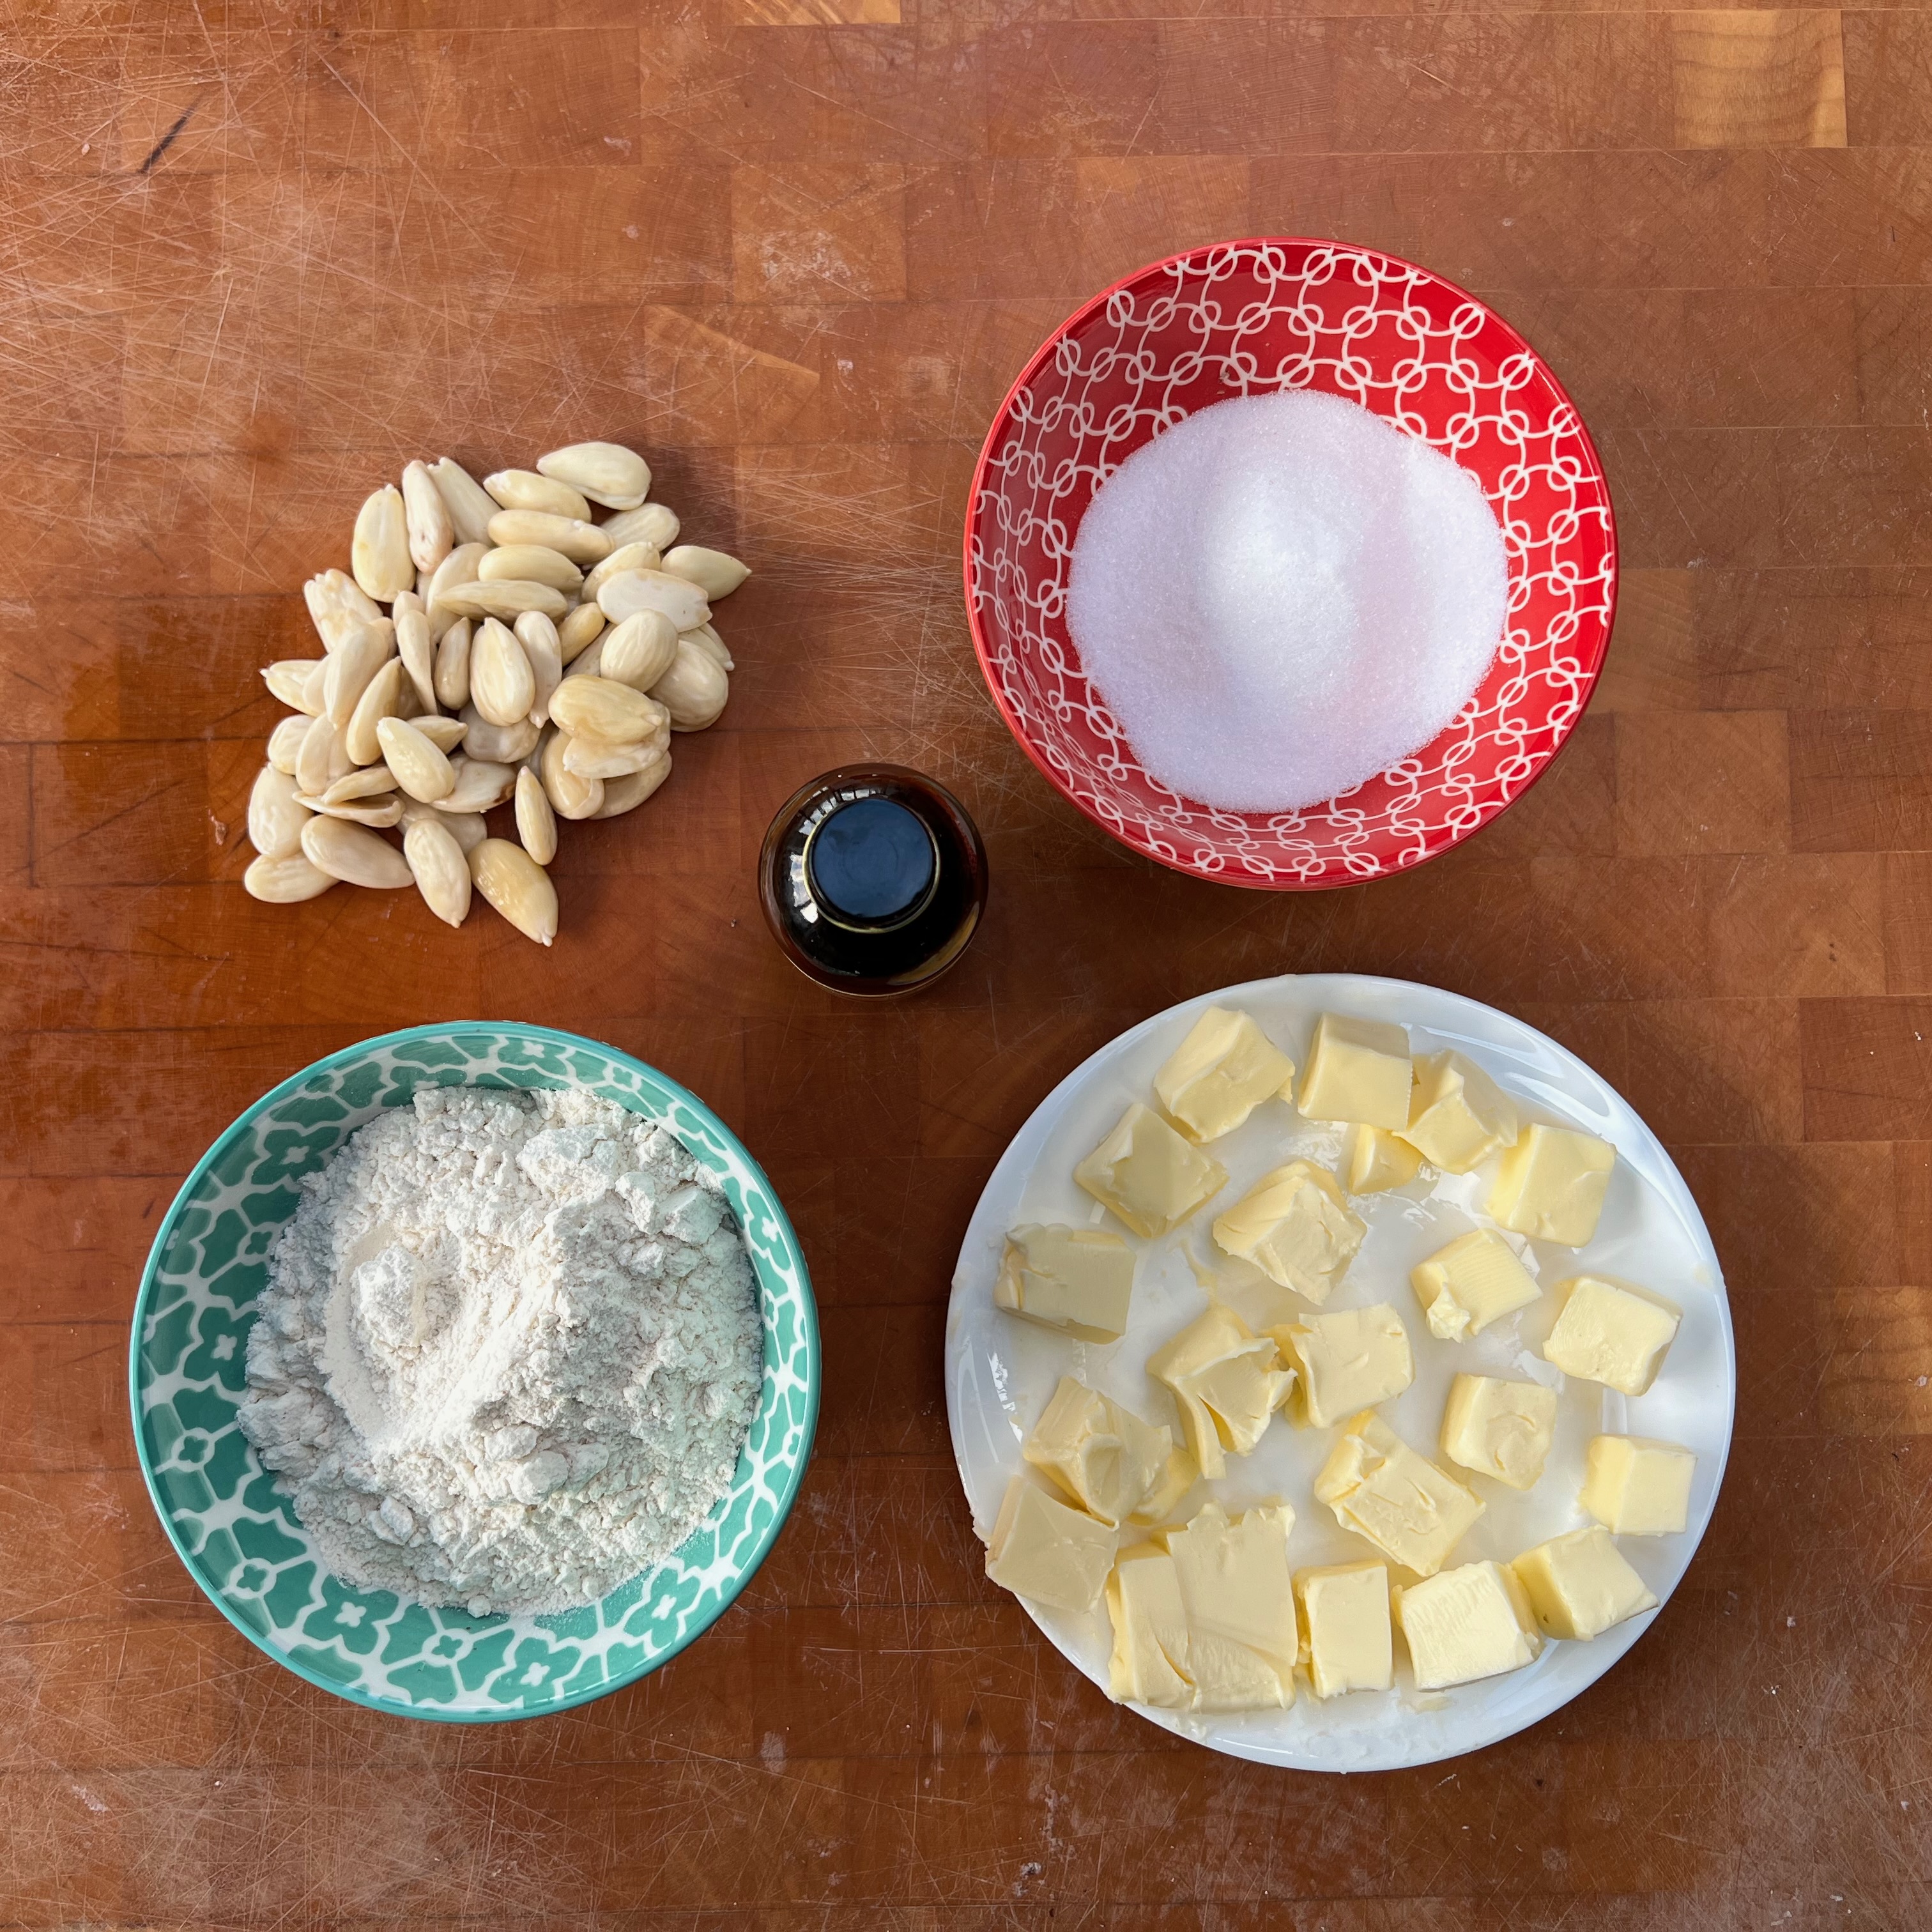
My wife has Austrian blood in her if you go back a century or so and this recipe came down from one of her relatives. It’s similar to many Austrian recipes today. There are choices to be made: this uses almonds, but walnuts are a popular choice and you also see hazelnuts. Some recipes have a slightly higher ratio of flour to everything else, and some add an egg to the dough to bind it, giving you a slightly richer and considerably less crumbly result with greater structural integrity.
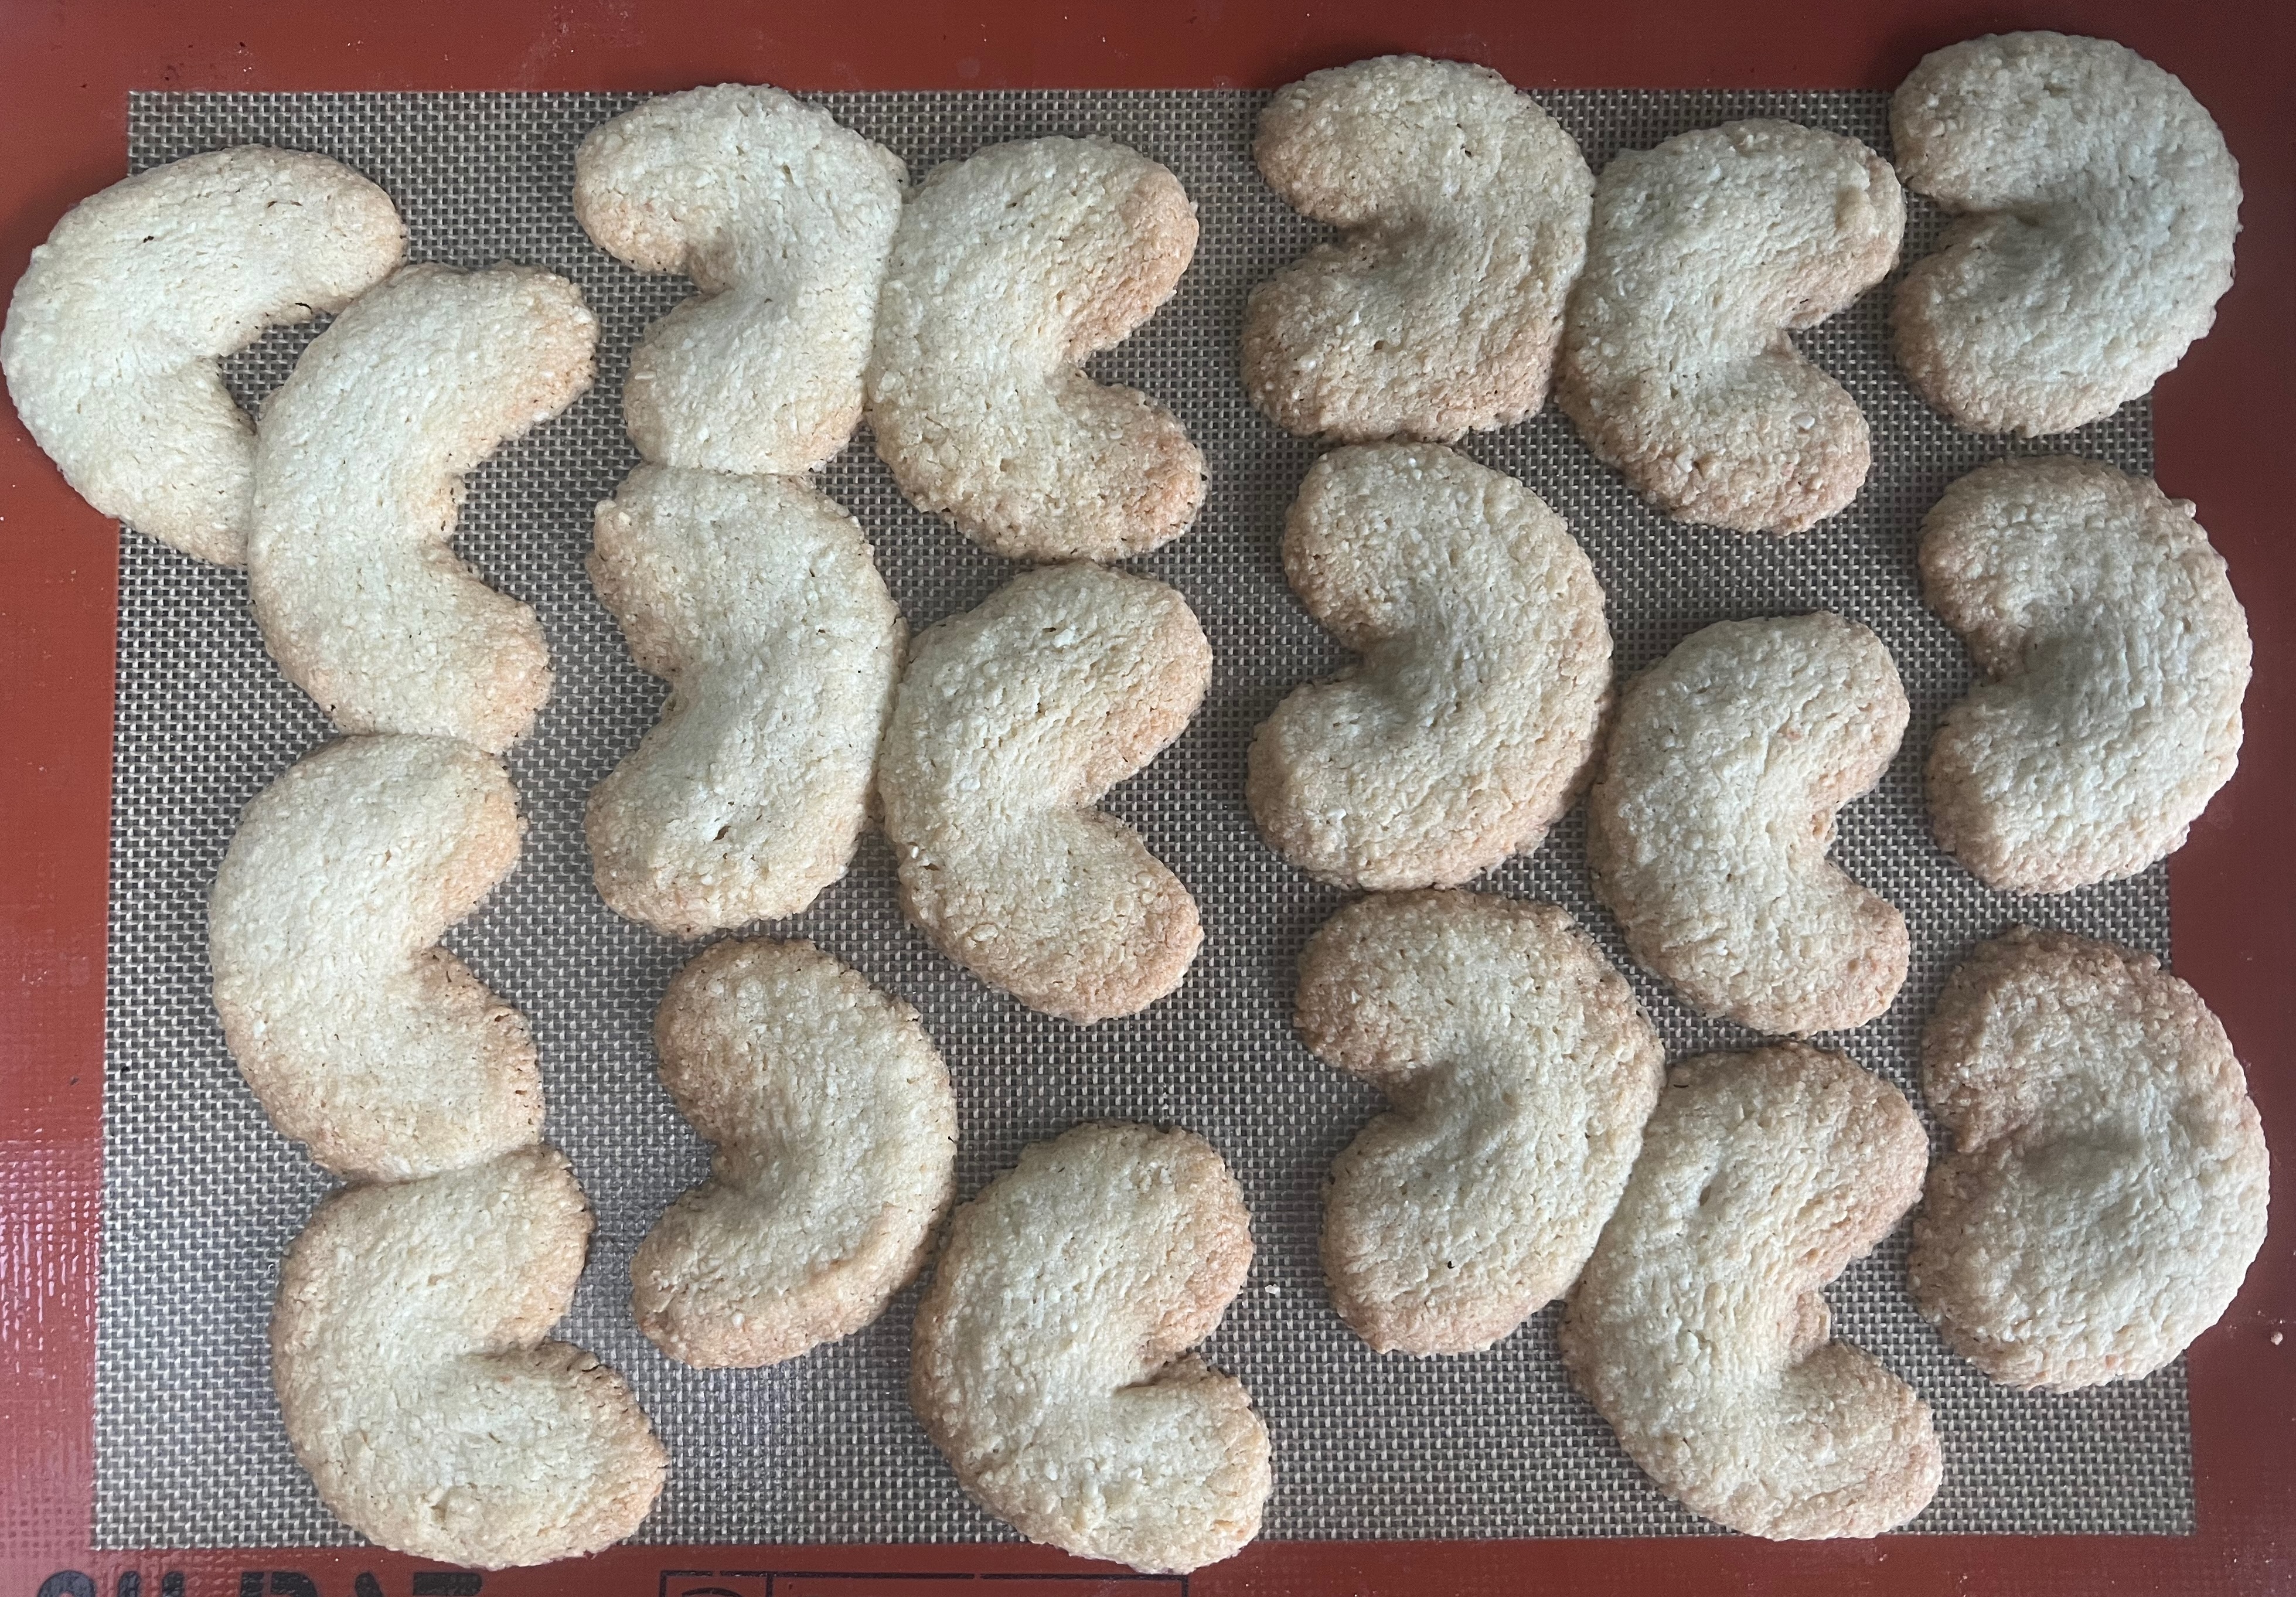
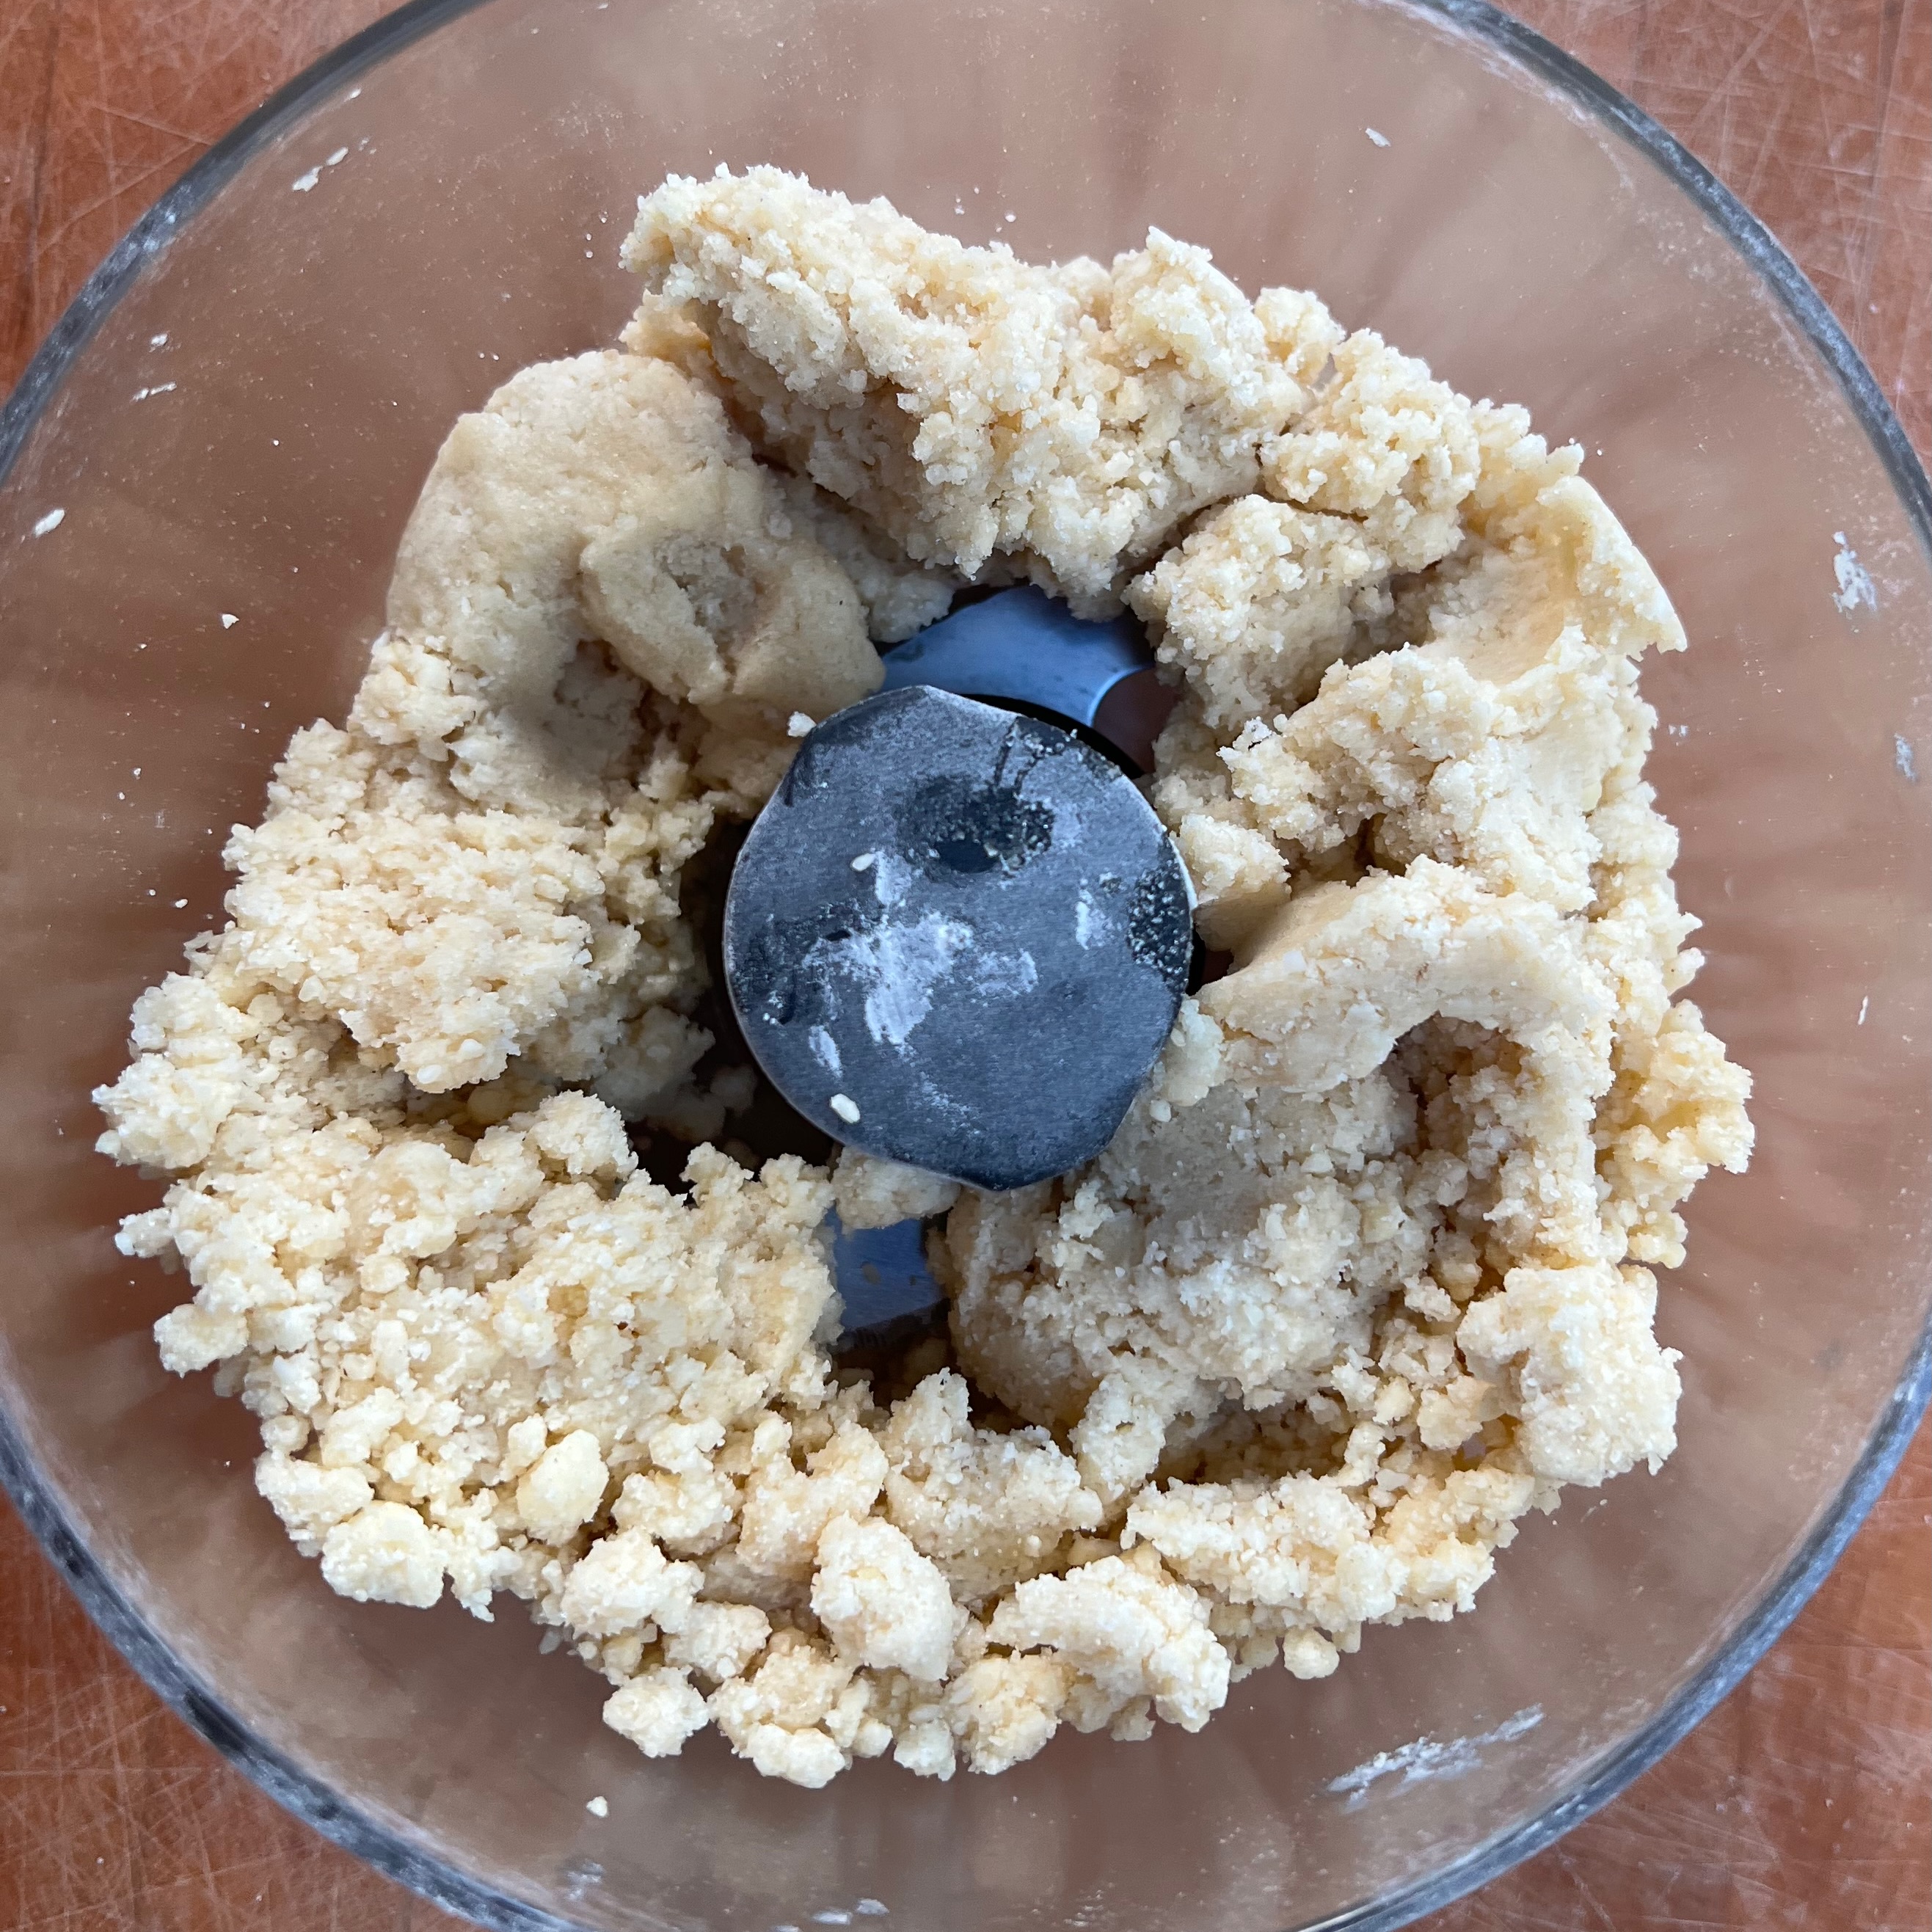
This looks like a straightforward recipe but it’s trickier than many biscuit/cookie recipes because it’s easy to get the texture wrong. Undergrind your nuts and you’ll get a grainy, rather lumpen biscuit which tastes fine but just doesn’t feel right. Overprocess or overwork the dough – especially if your hands are too warm – and the butter will come out and you lose the flavour. But if you get this right, Vanillekipferl have a crumbly butteriness that makes them a rare treat.
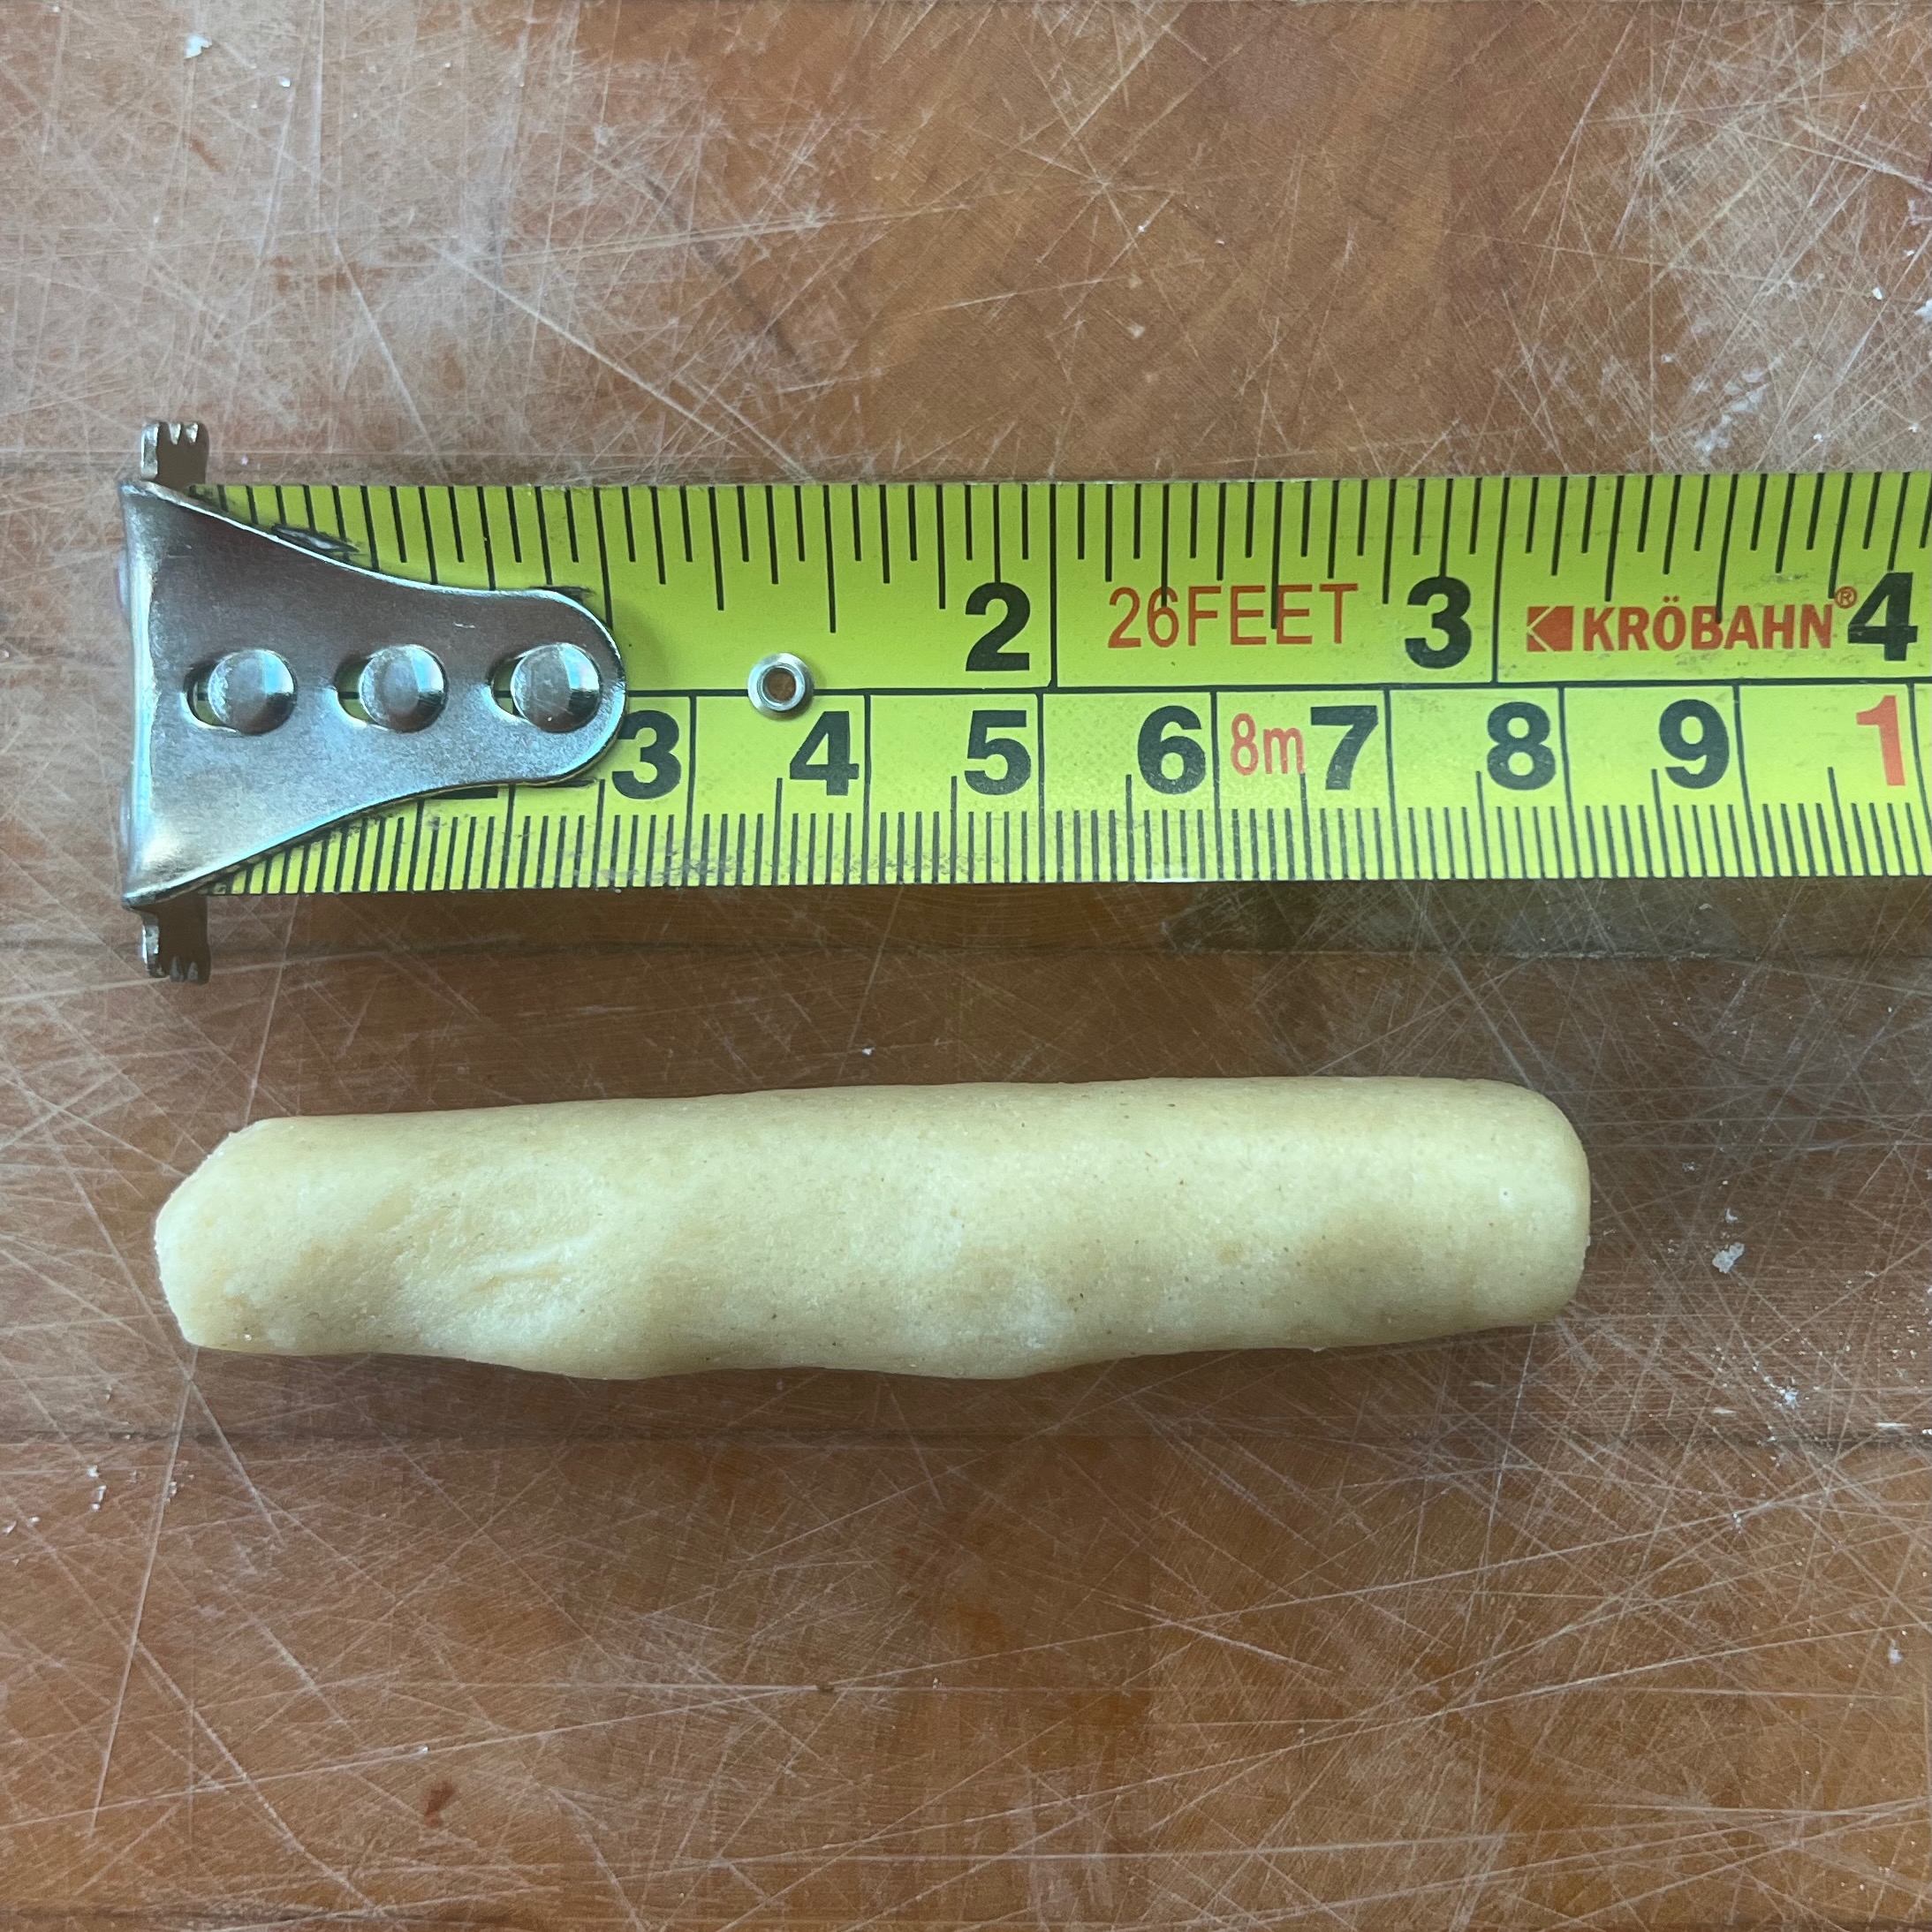
The quantities here give you 300g of dough which will yield 15-20 Vanillekipferl. It scales really easily – just multiply by as much as you want. But be aware that a standard size baking tray won’t take many more than 20, because they spread.
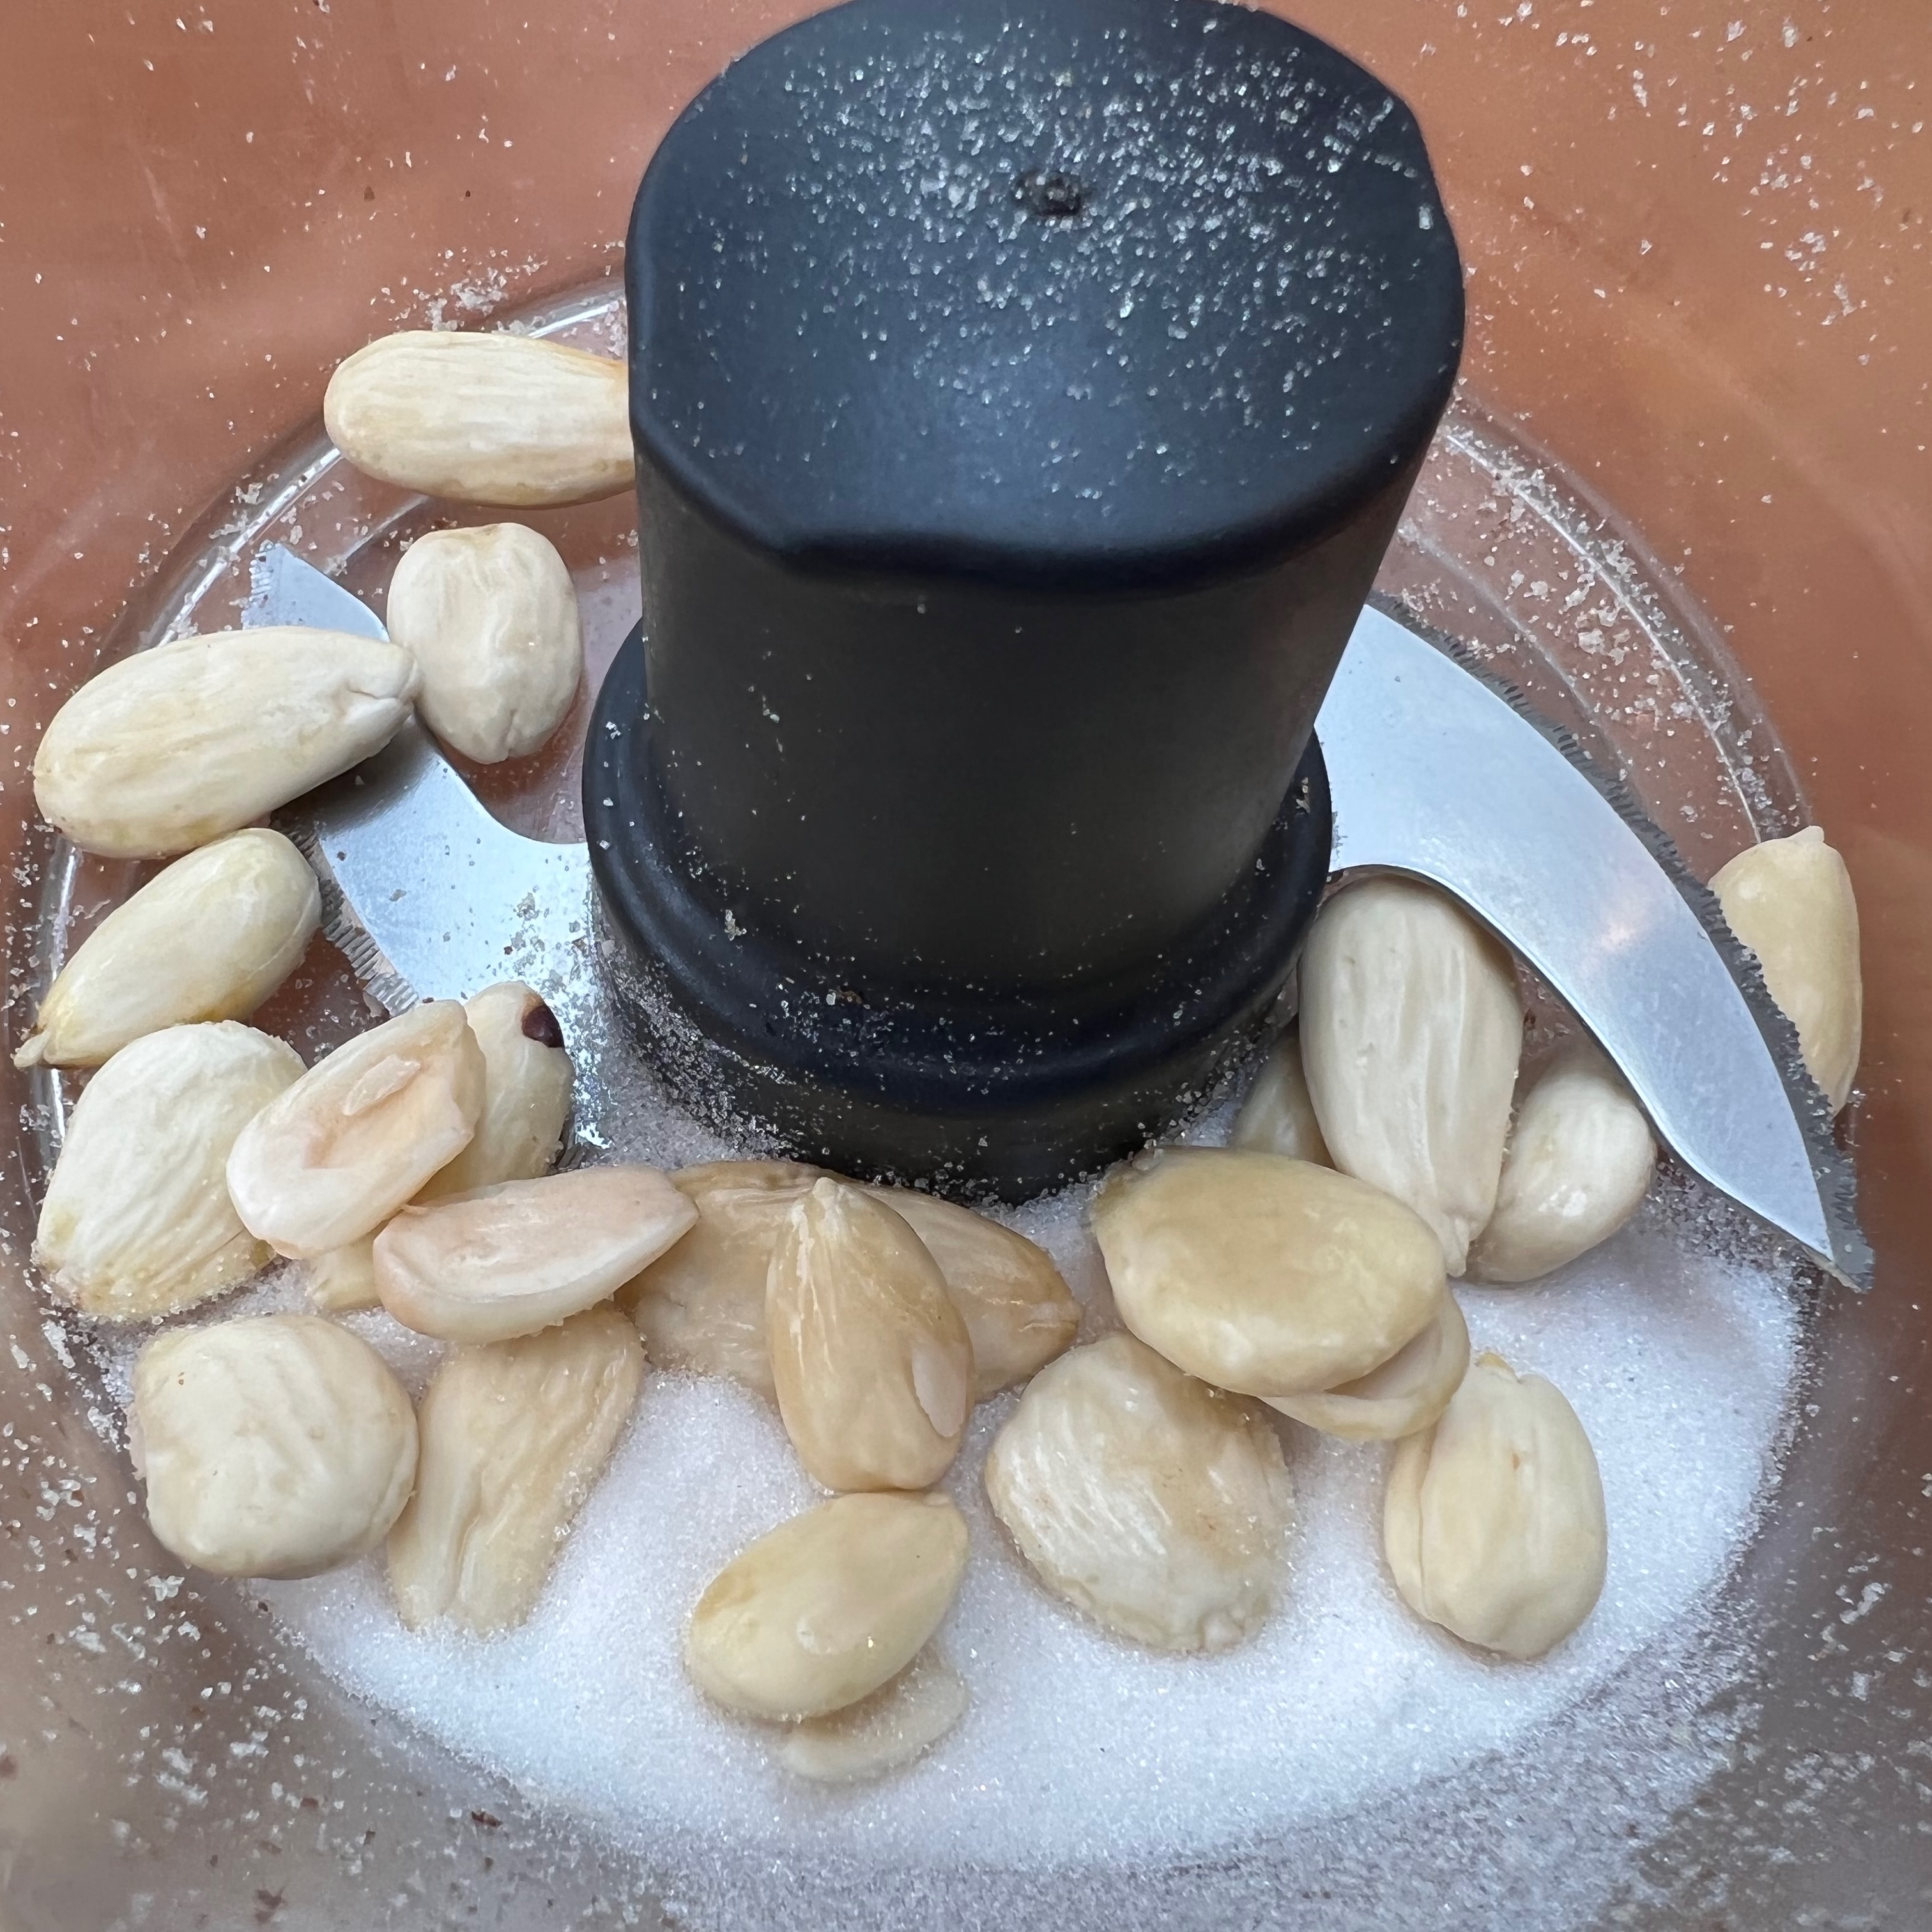
The ground almond mixture
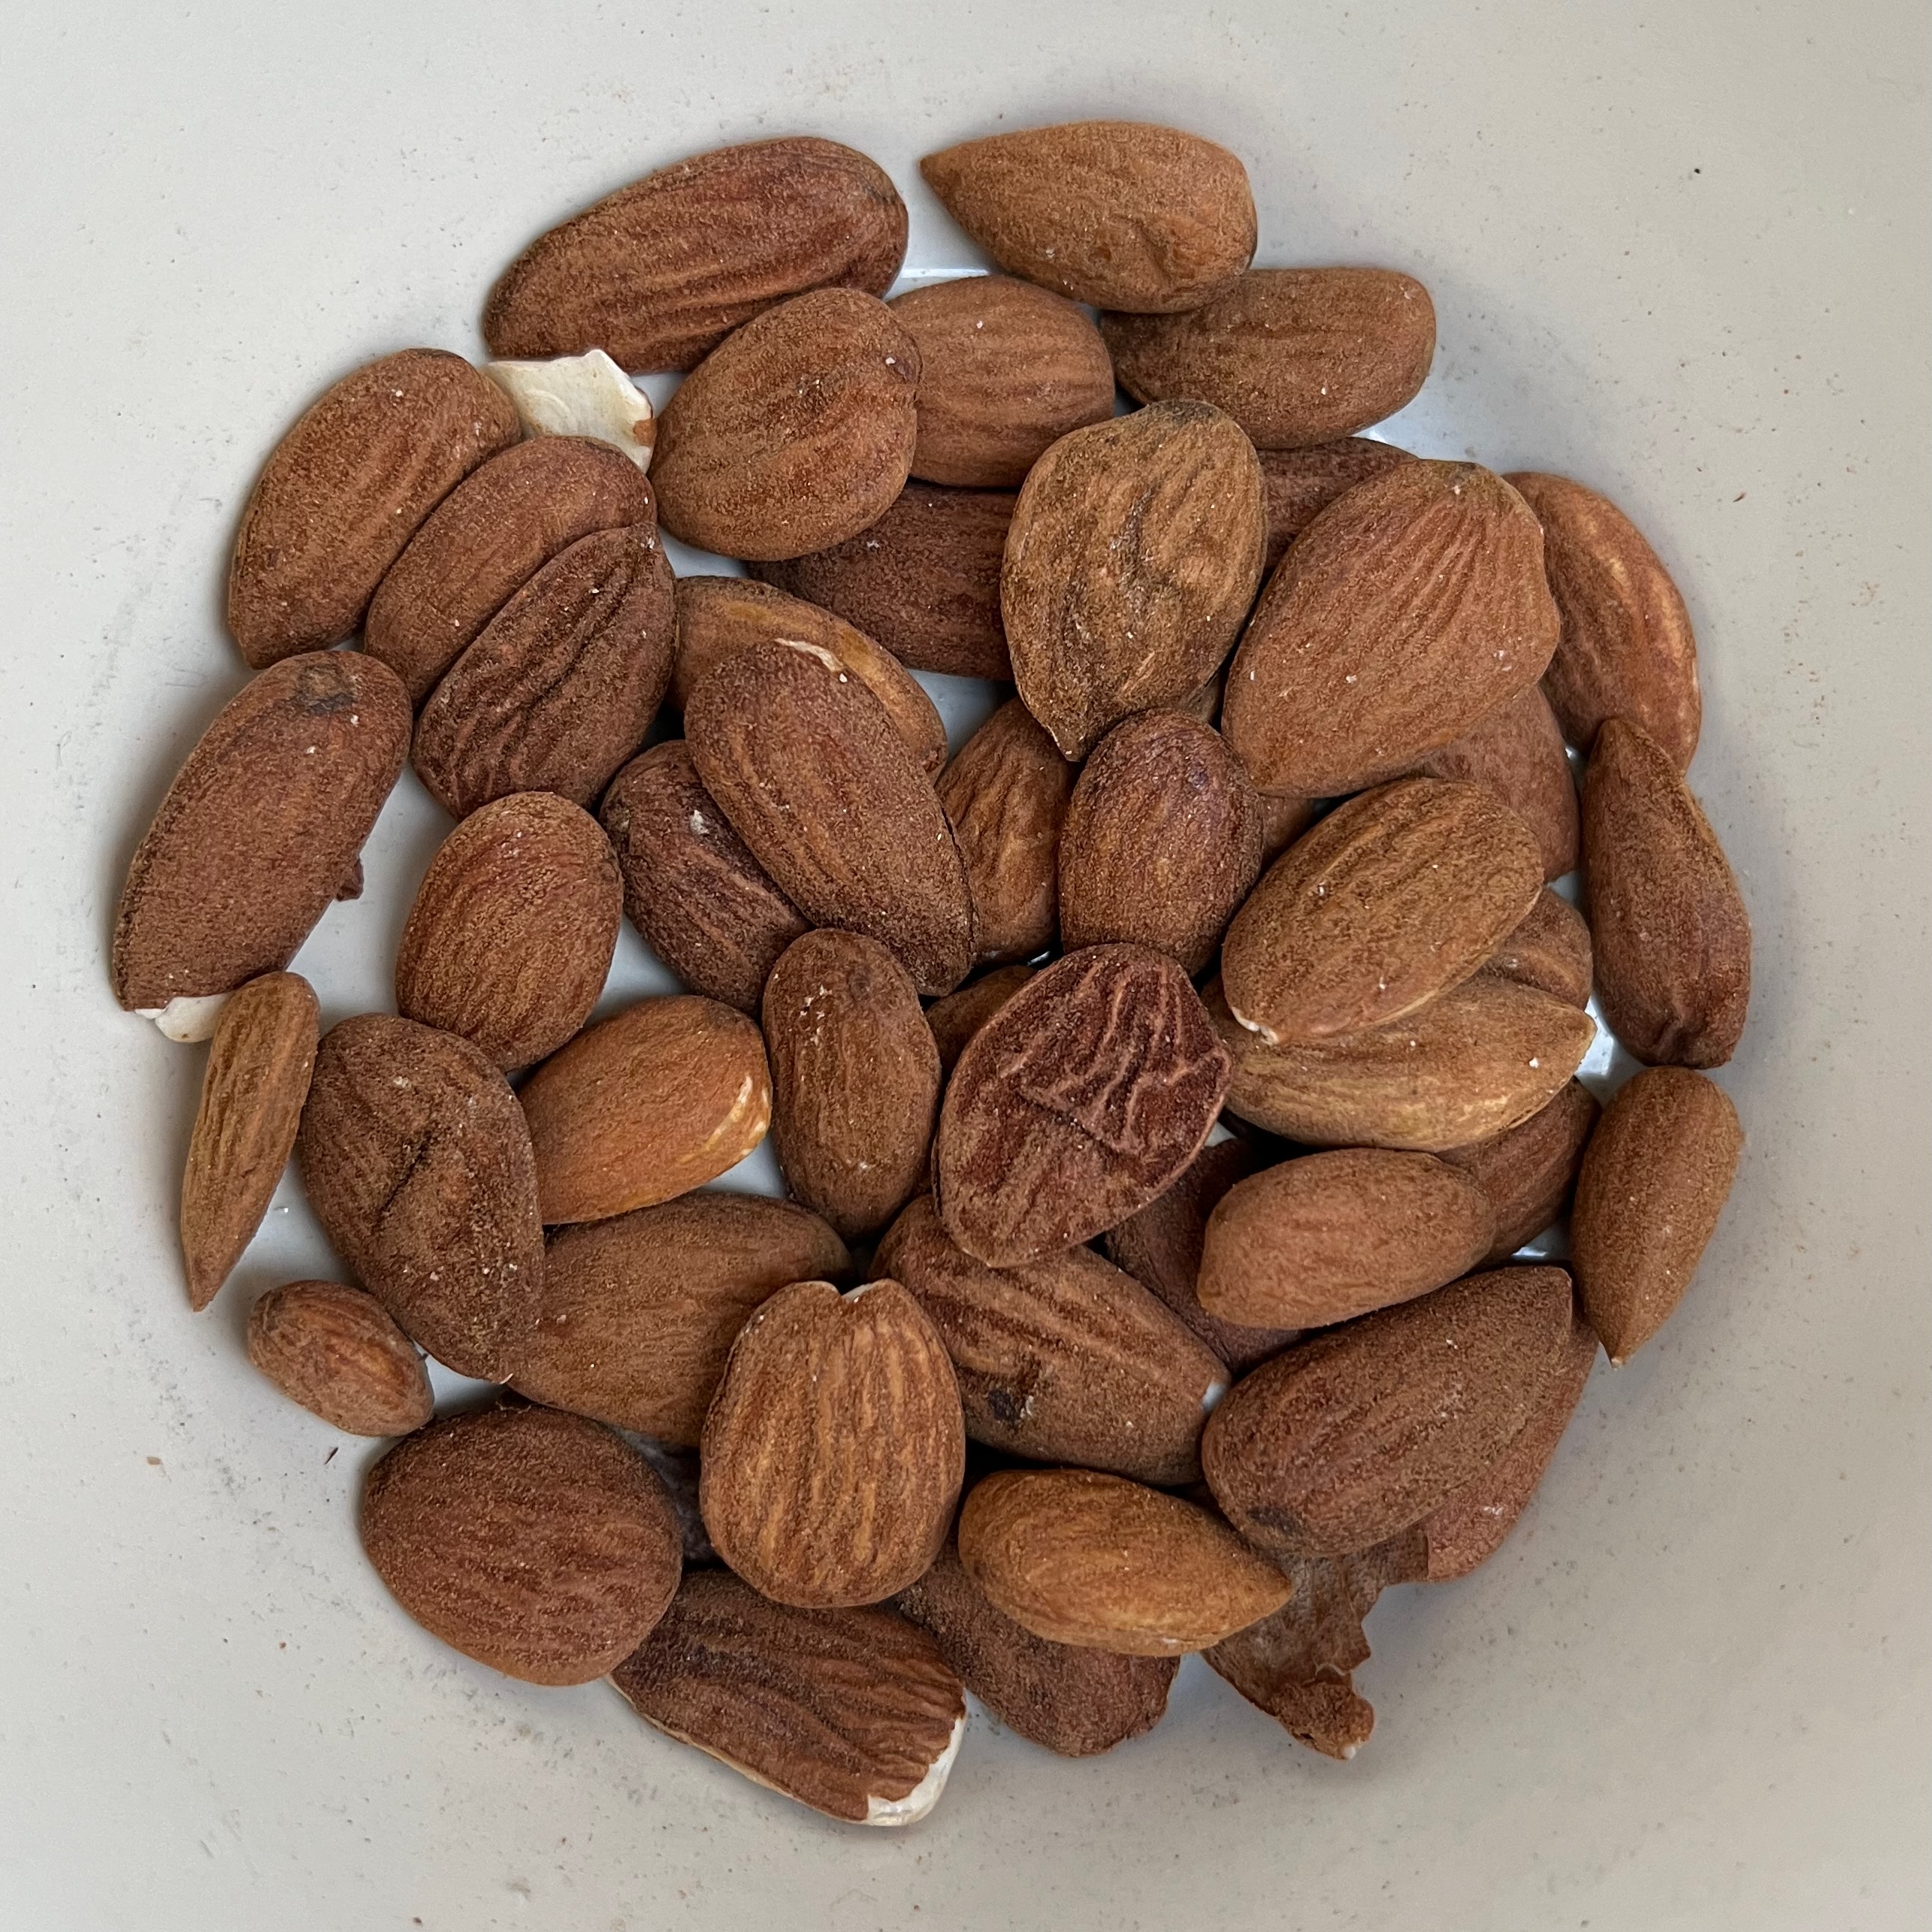
You don’t have to make grind your own almonds: you can just buy a pack of ground almonds and add sugar. But doing your own with good quality almonds will result in a better tasting biscuit.
I keep a jar of vanilla sugar, which is simply a jar of caster sugar with a couple of vanilla pods in it which has been left in the cupboard more or less indefinitely. Again, you don’t have to do this: you can either rely on adding more vanilla essence or buy a packet of pre-made vanilla sugar (which is what most Austrian recipes suggest).
Making the Kipferl
I stop here, because the Vanillekipferl are plenty sweet enough for me already. But Austrian recipes now dust theKkipferl with icing sugar in one or both of the following stages:
It would, of course, be close to criminal to miss out on having these with good coffee…

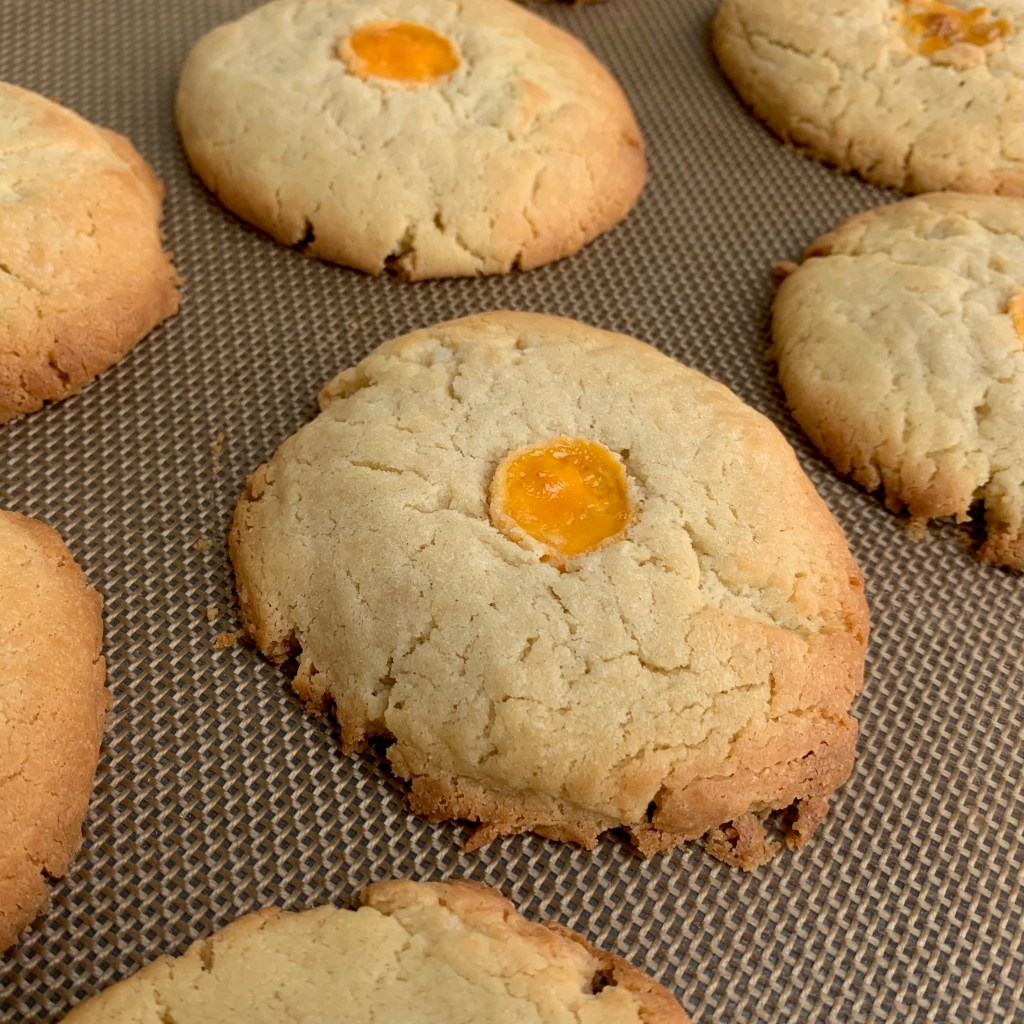
It’s Seville orange season, which means it’s marmalade-making time. I’ve been doing this almost every year for as long as I can remember now, using the recipe passed down through the generations of the family of my late and much loved stepfather, so this is officially “Henderson marmalade”. Or it should possibly be “WSF marmalade”, since John would sign his cards to my brothers and me as “WSF” (for “wicked step father”, which was the polar opposite of reality).
This isn’t precisely the recipe handed down to me, for two reasons: firstly, the original recipe had some tweaking of quantities as you go, which adds washing up and which I don’t think is necessary, and secondly for the more prosaic reason that this is in metric and the numbers have been tweaked for my current kitchen equipment. But the results are pretty faithful to the original.
By the way, it’s worth hunting around for good Seville oranges. I’ve made this with standard supermarket ones for years, but for the last two, I’ve been getting them from our local greengrocer and they’re stunning.
This is sized to just about the maximum that will fit into my preserving pan, which is a 9 litre maslin pan from Lakeland (or 8.5l, depending on which bit of their blurb you read). It only just fits, so you might want to be a fraction more conservative with the amount of water, or go for a larger pan.
Enjoy this critical component of a perfect breakfast. Even though London is packed with high end grocery shops, there’s nothing quite like the home made stuff: I warmly commend it to you.
