The French are fabulous bakers. I could have chosen any of a dozen bakes from France, but this one is the taste of my childhood – my Proustian Madeleine, if you’re of a literary mind. So let’s hear it for the “éclair au chocolat”, which brings back a flood of happy memories of small boy in Parisian patisserie.
There have been some easy bakes in this series of posts: this isn’t one of them. It’s fiddly and requires hand skill as well as pin-sharp attention to quantities and timing. If anyone labels an eclair recipe as “quick and easy”, don’t believe them.
The éclair is a three part dish: a cylindrical choux pastry bun, a crème pâtissière (pastry cream) filling and a ganache or glaze. Each one has its choices: I’m going to write only one recipe, but I’ll give some ideas about the other options. I should also point out that I’m not a master pastry chef: if you are looking for perfect symmetry and an immaculately shiny top, you’ll need to go well beyond my skill level. But I can assure you that these tasted suitably authentic and went down very well with the family…
The crème pâtissière filling
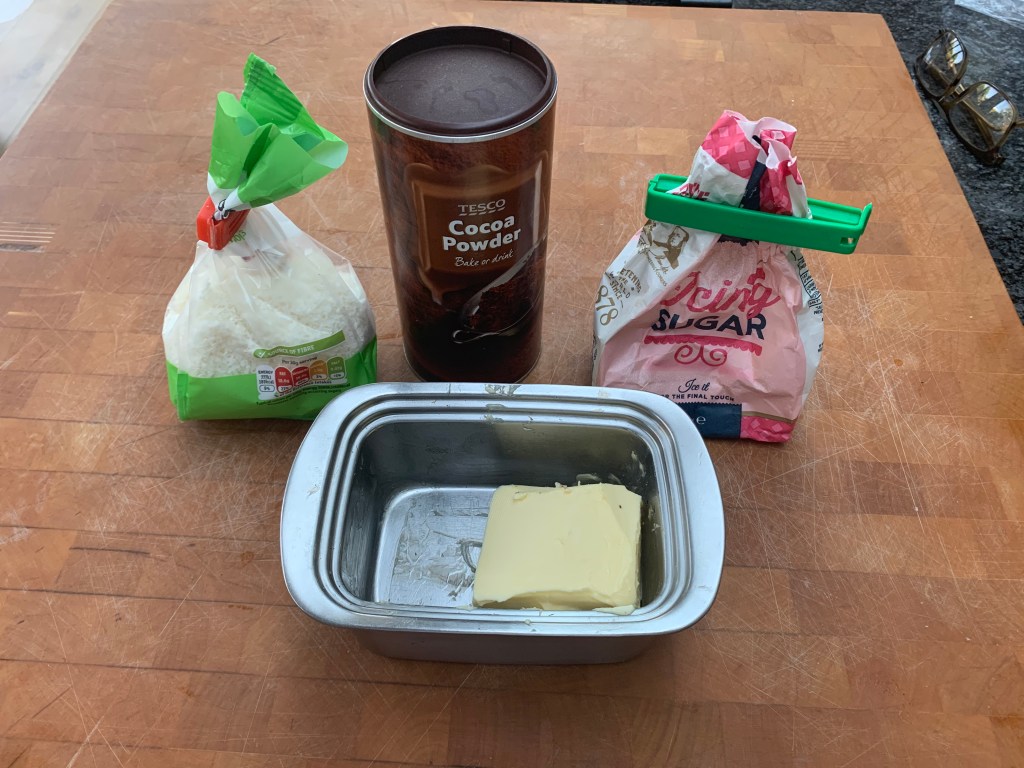
Eclairs in England tend to use whipped cream as a filling. The French don’t do this: the filling is always some variant of crème pâtissière (pastry cream or creme pat in English), either vanilla or chocolate. You can use plain pastry cream or add some Crème Chantilly (sweetened whipped cream), in which case it’s technically called a Crème Diplomate. I went for something in between: a chocolate crème pâtissière, but with double cream mixed in to thin it down to a pipable consistency.
- 3 eggs
- 15g flour
- 5g cornflour
- 5g (1tbs) cocoa powder
- 60g vanilla sugar (or 60g caster sugar plus vanilla essence to taste)
- 25g dark chocolate (I used chocolate with 70% cocoa solids)
- 250 ml milk
- double cream as needed – perhaps 30-50ml
In the methods, I’ve sequenced things to minimise stress rather than overall preparation time. For example, if you were trying to minimise time, you’d probably put the milk on straightaway and then quickly sort out the egg mix while the milk heats up.
- Separate the eggs and put the yolks in a bowl
- If your chocolate came in a bar as opposed to chips, chop it up into small pieces
- Add 45g of the sugar to the eggs and whisk together
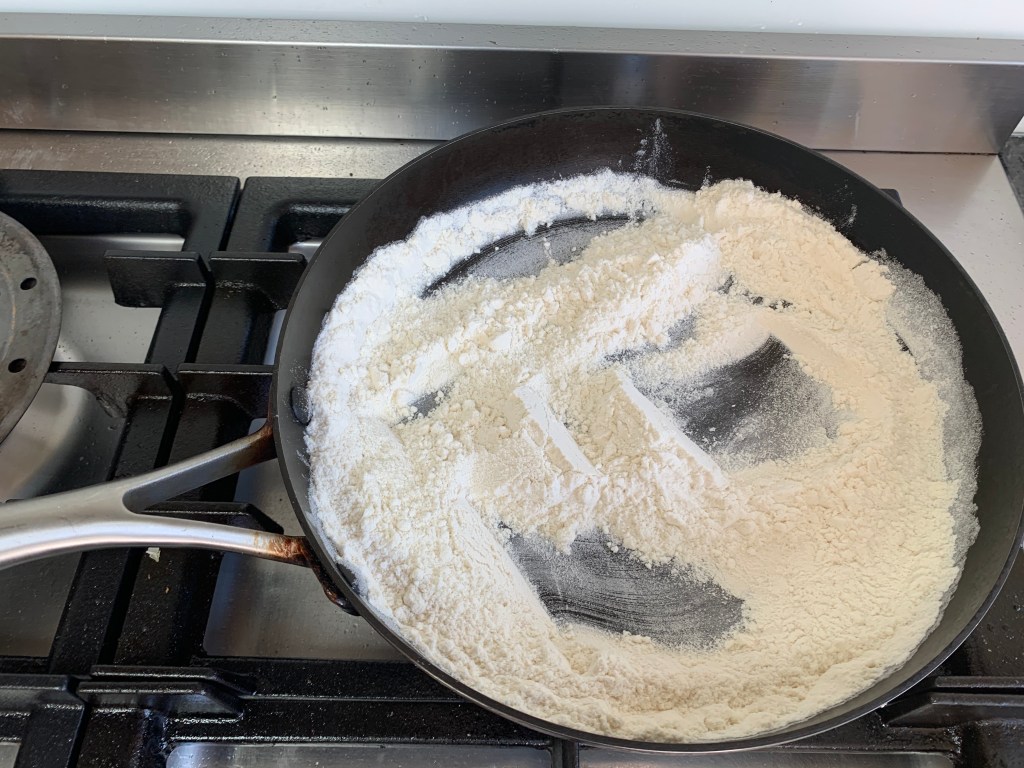
- Add the cornflour, flour and cocoa powder and whisk thoroughly
- Put the milk into a saucepan with the rest of the sugar (and vanilla essence if using) and bring to the boil
- Pour the milk into your egg mixture and whisk together thoroughly
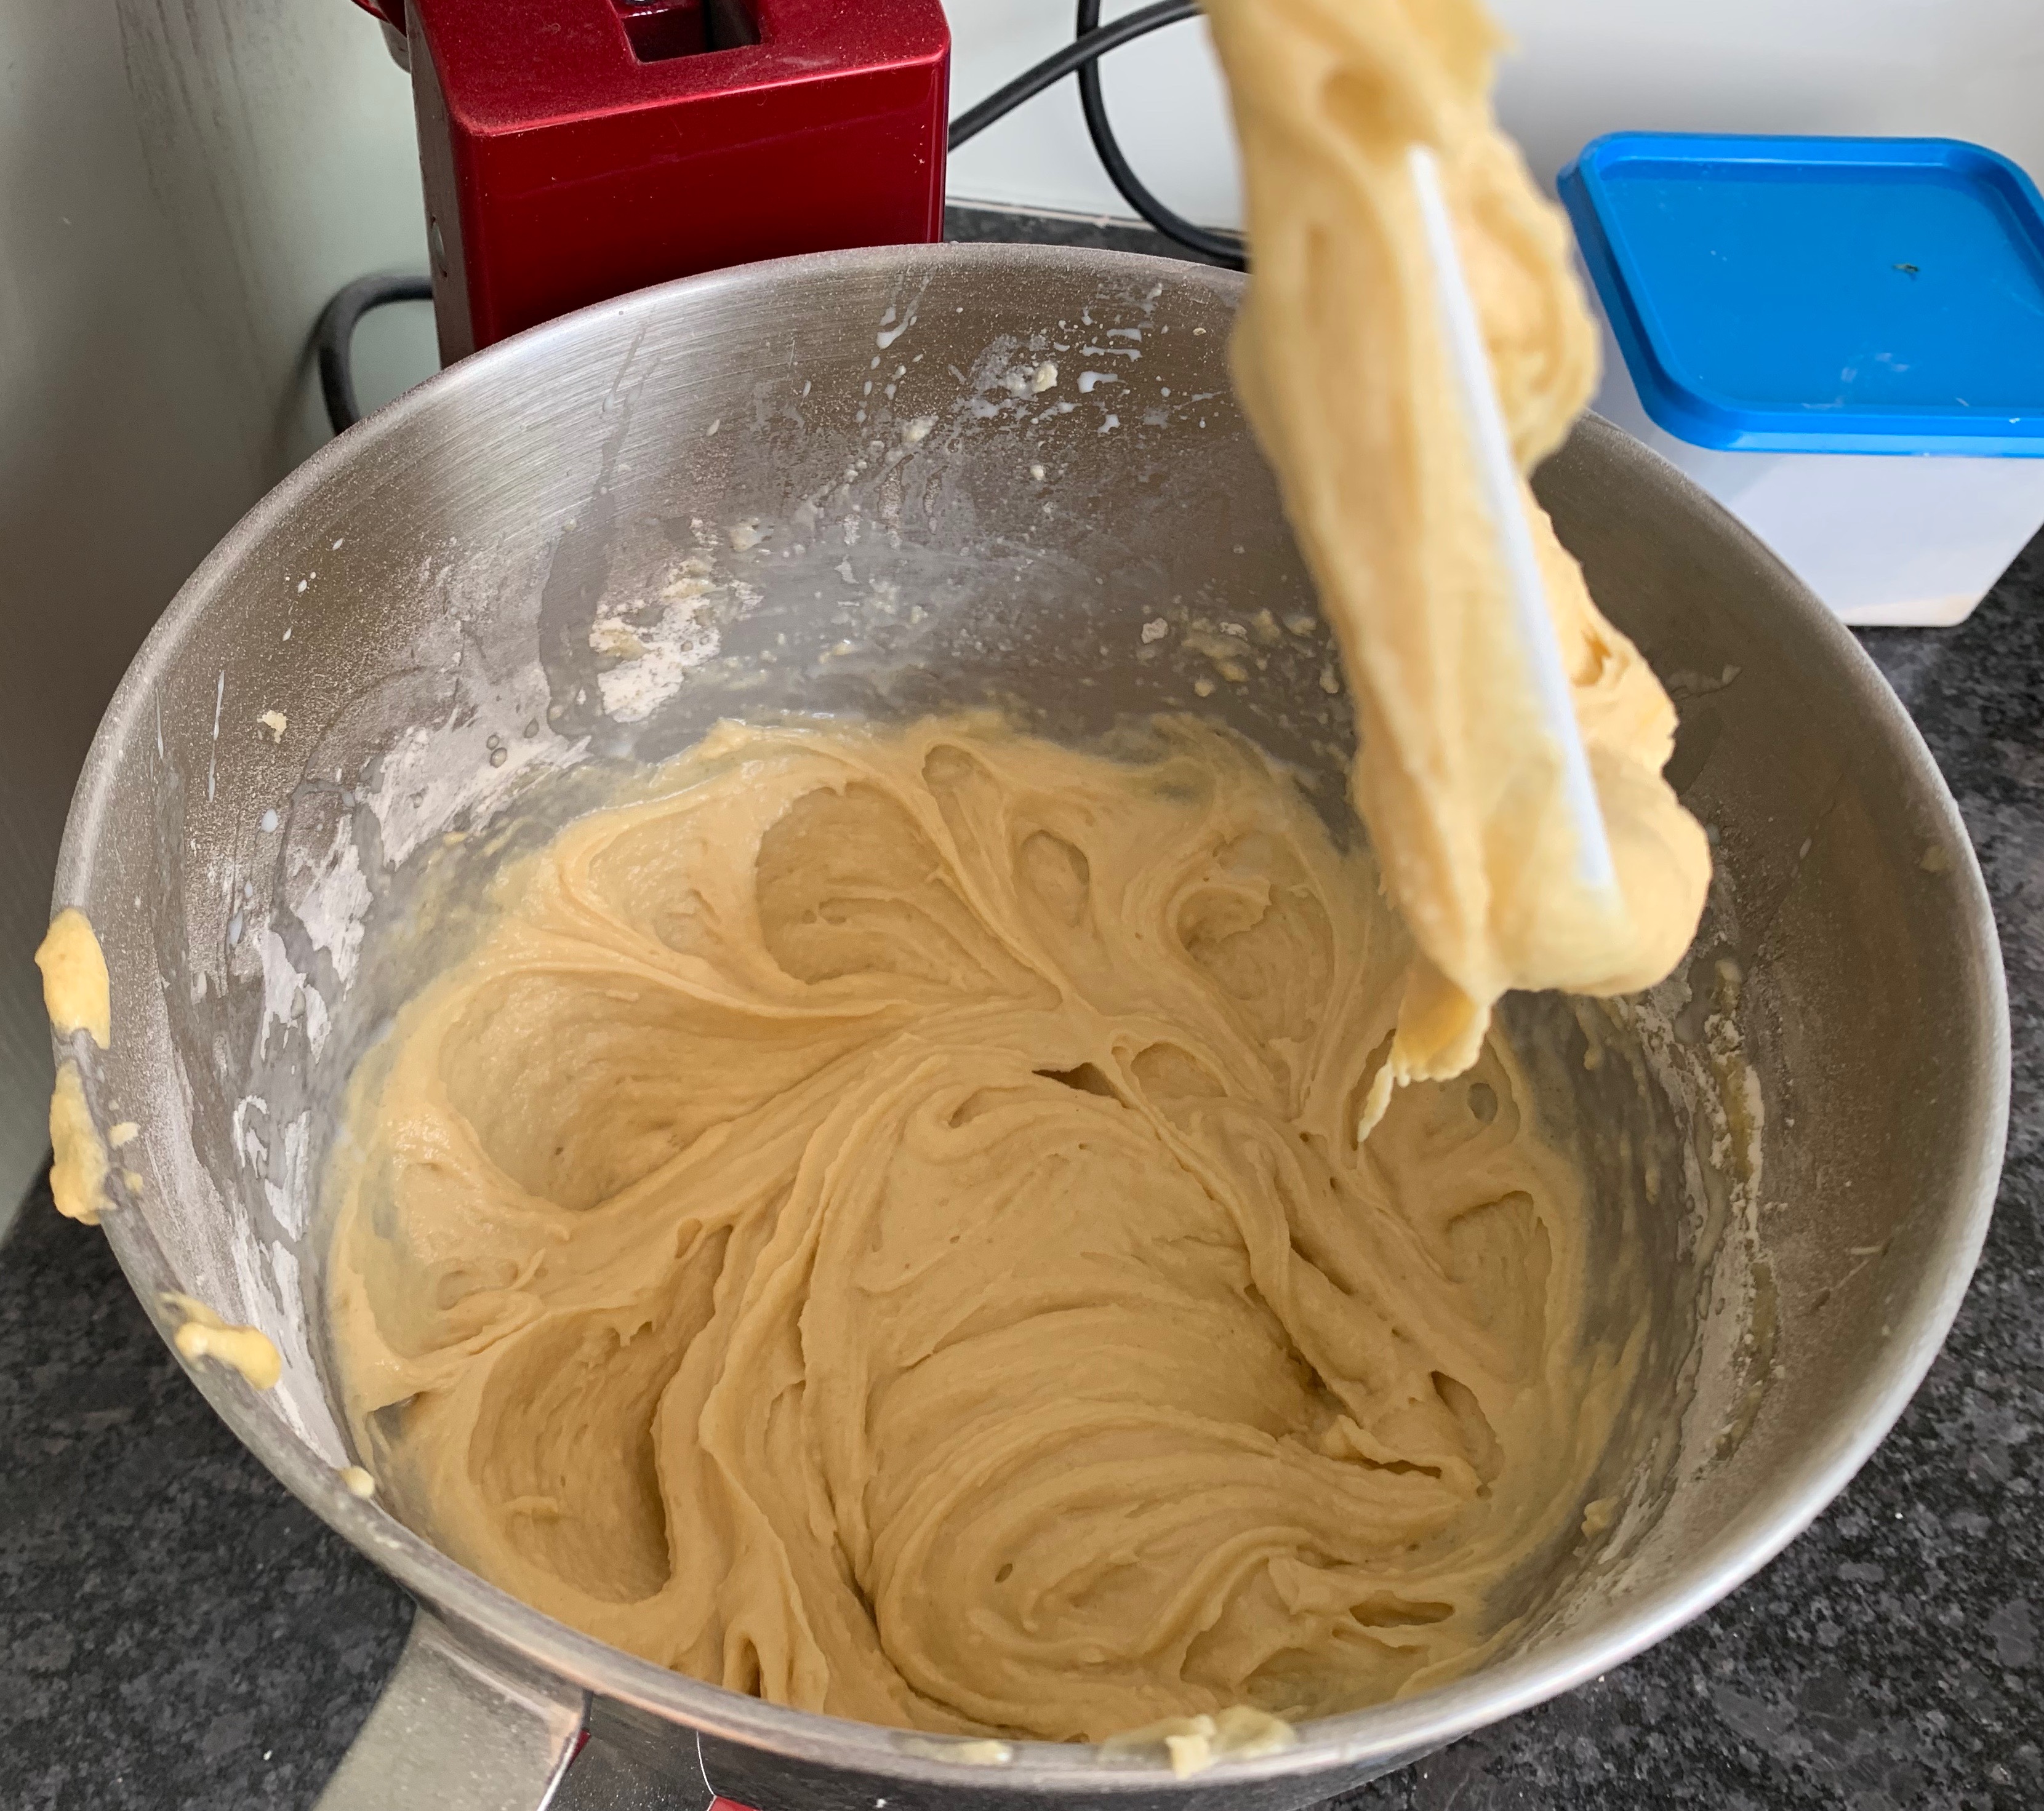
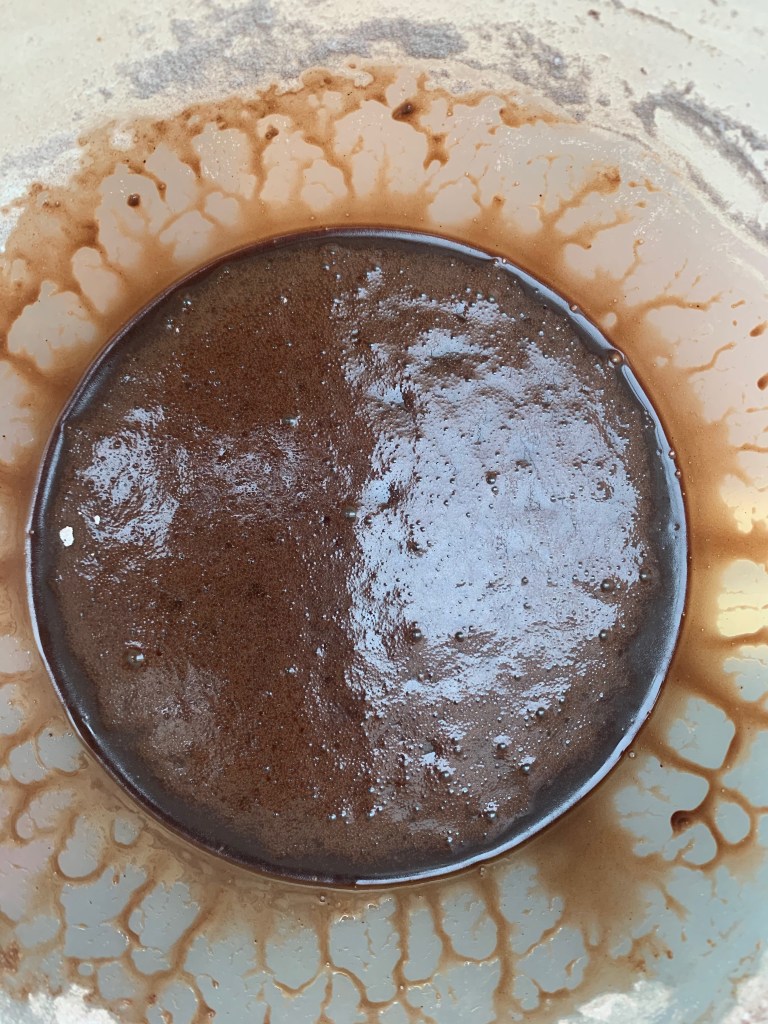
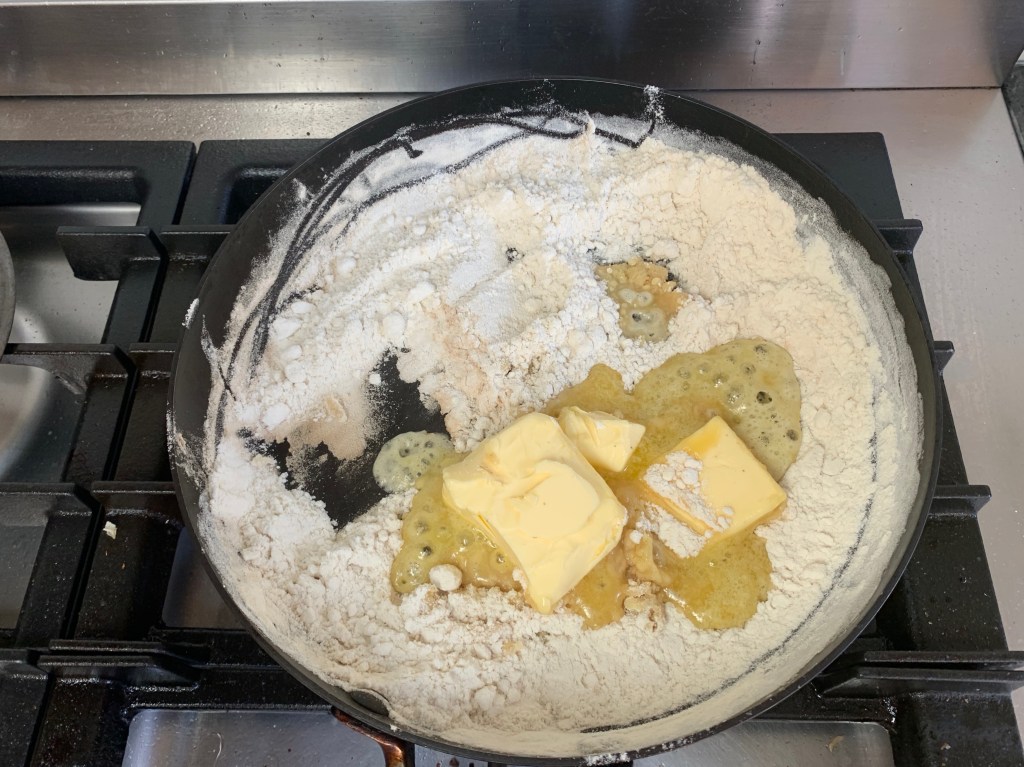
- Return your mixture the saucepan and whisk in the chocolate
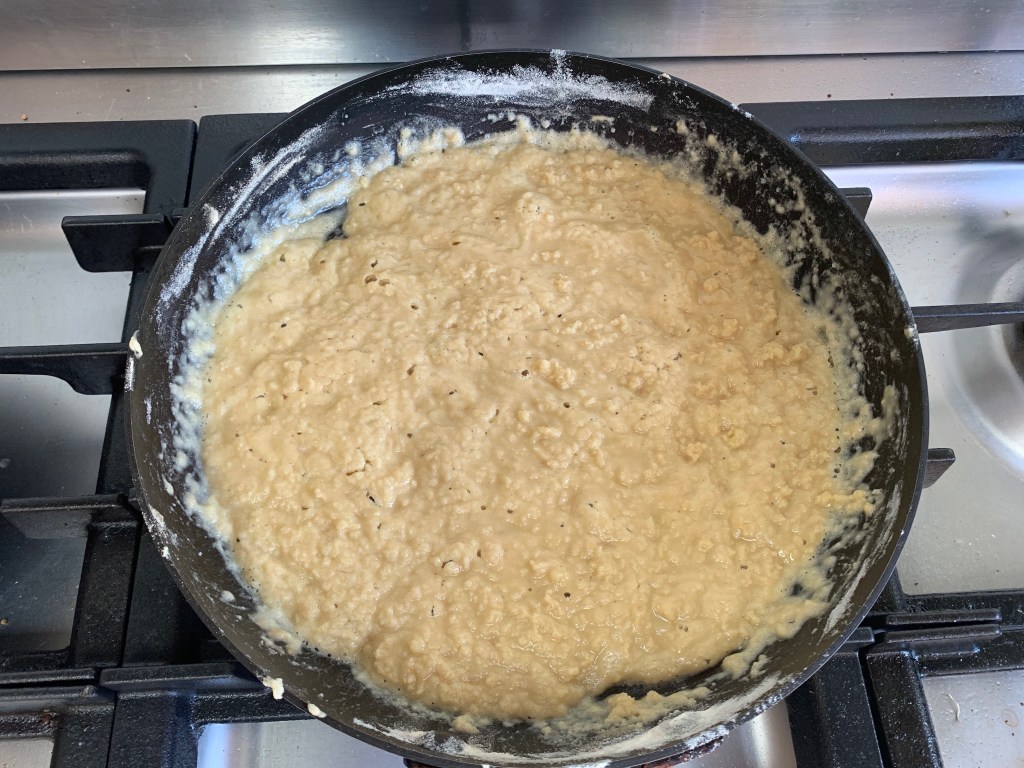
- Cook for a minute or two longer until there is no hint of raw flour taste in the mixture
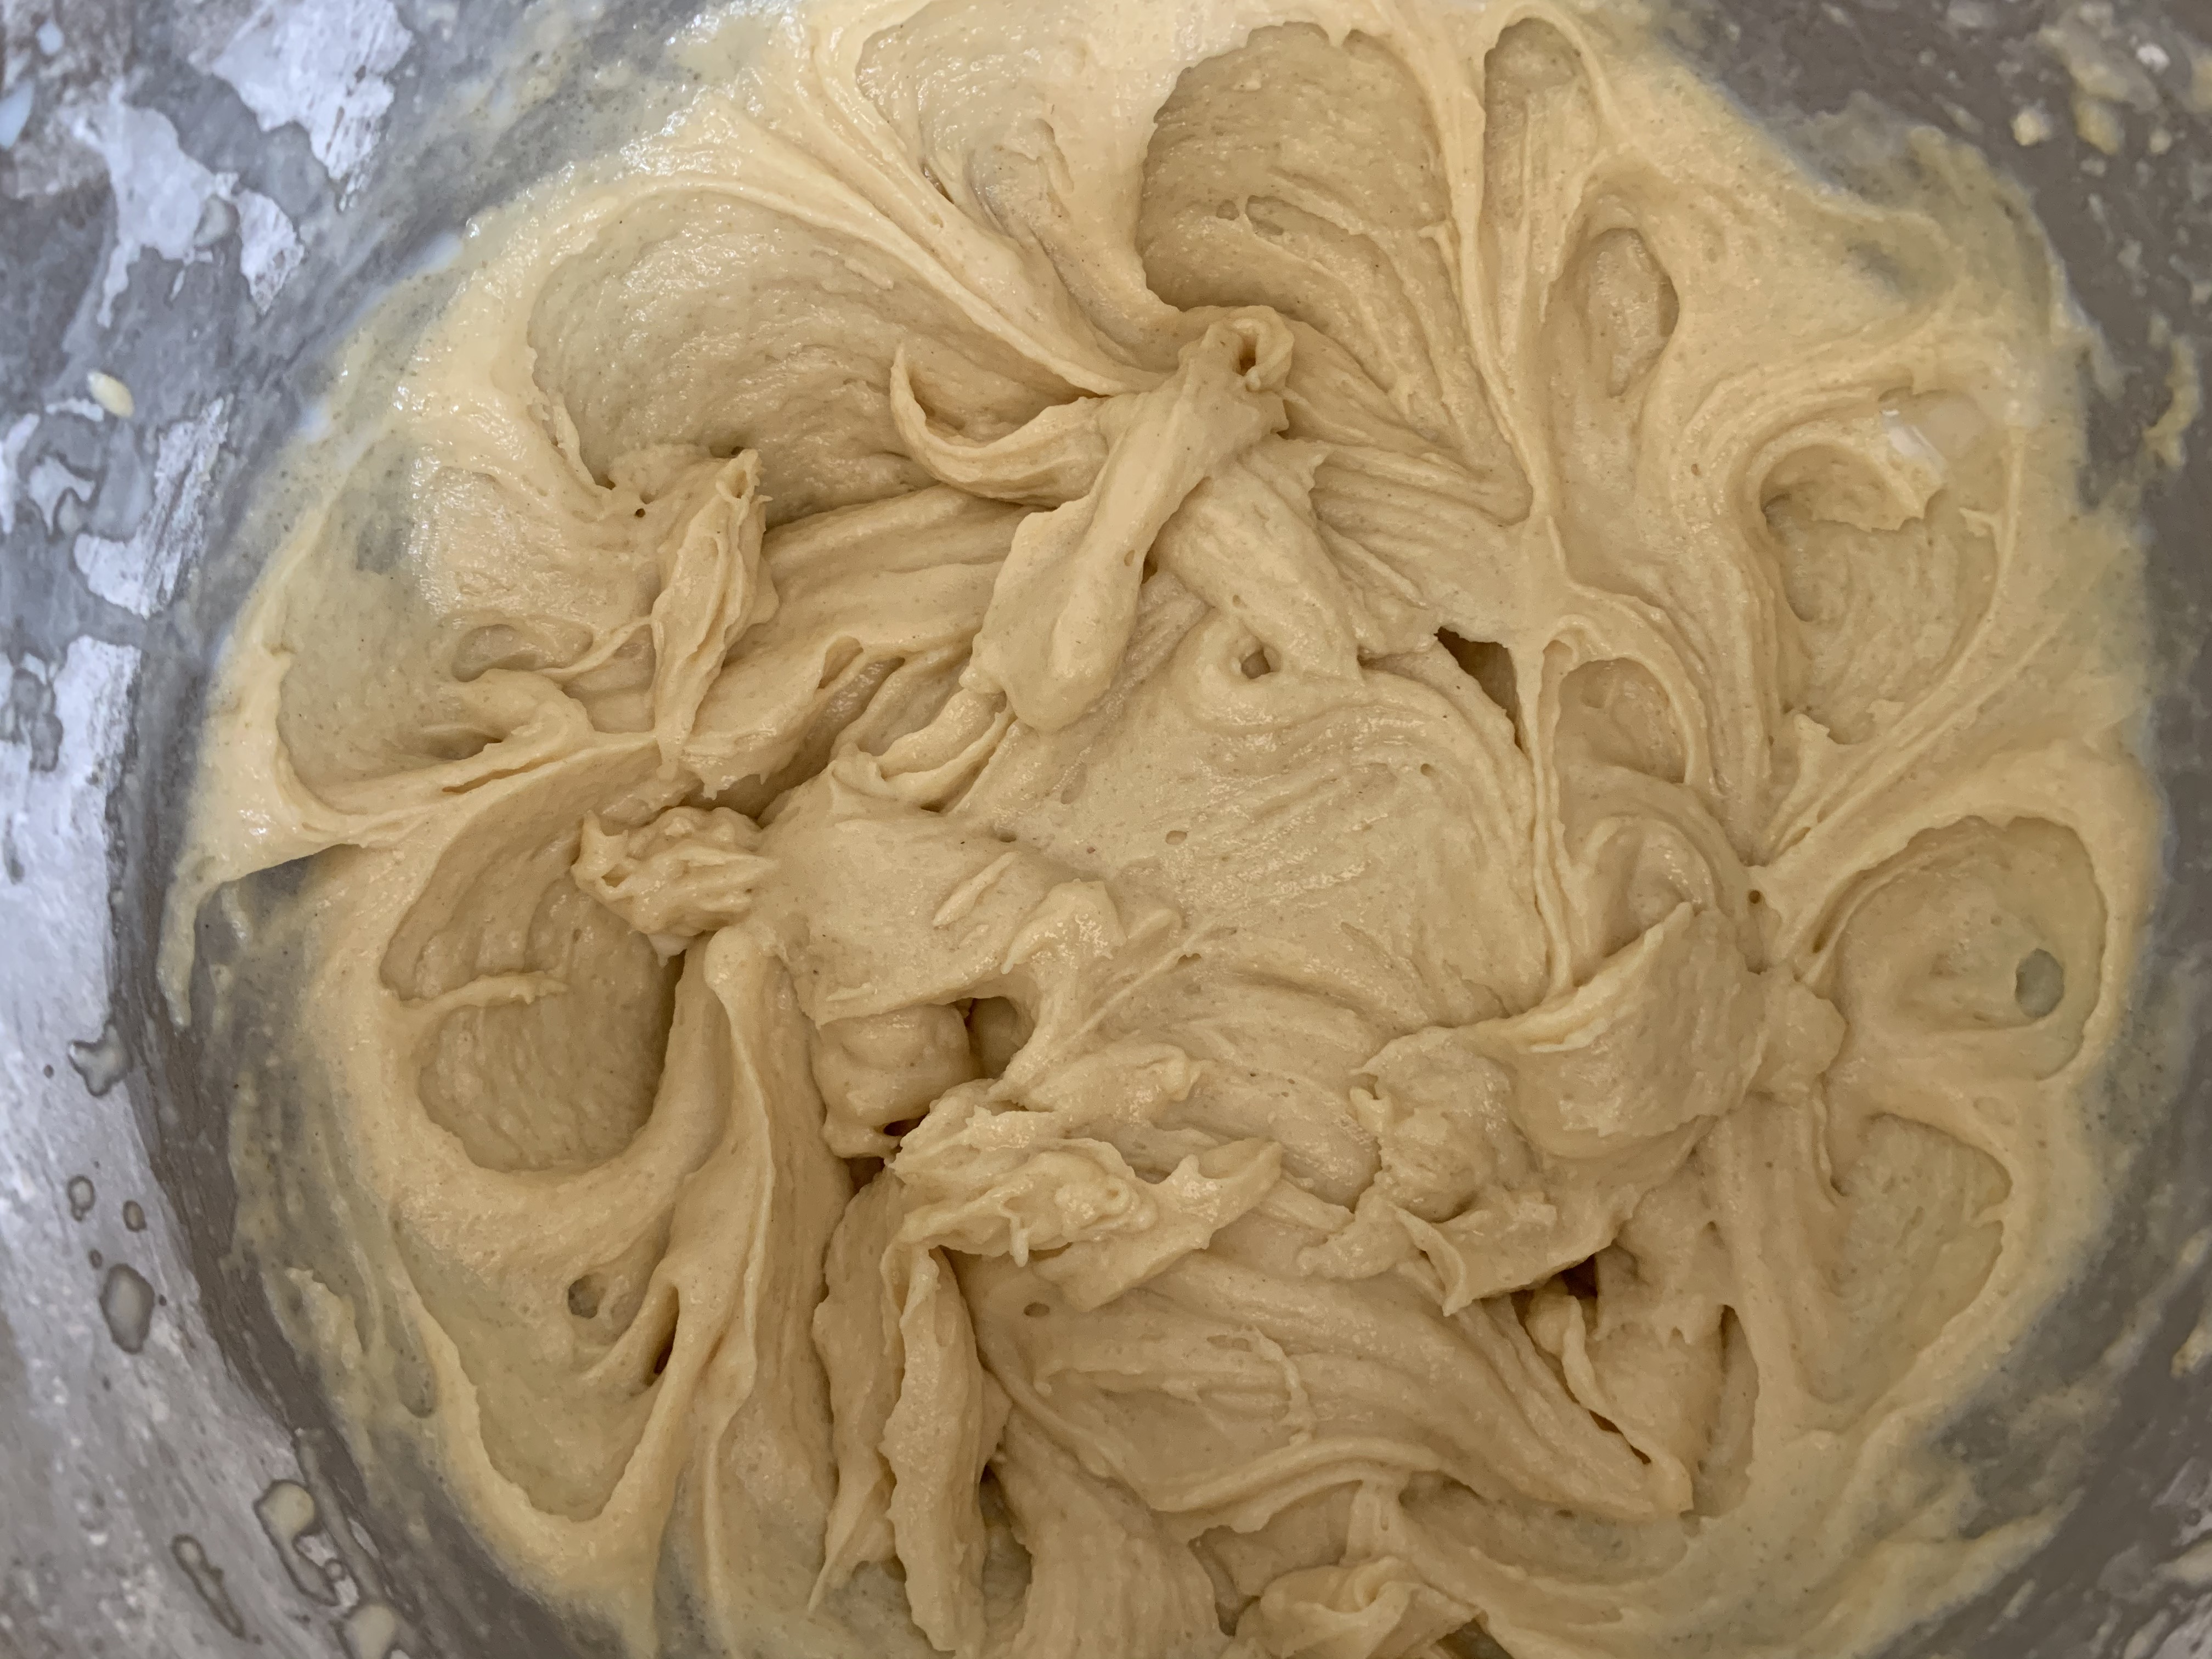
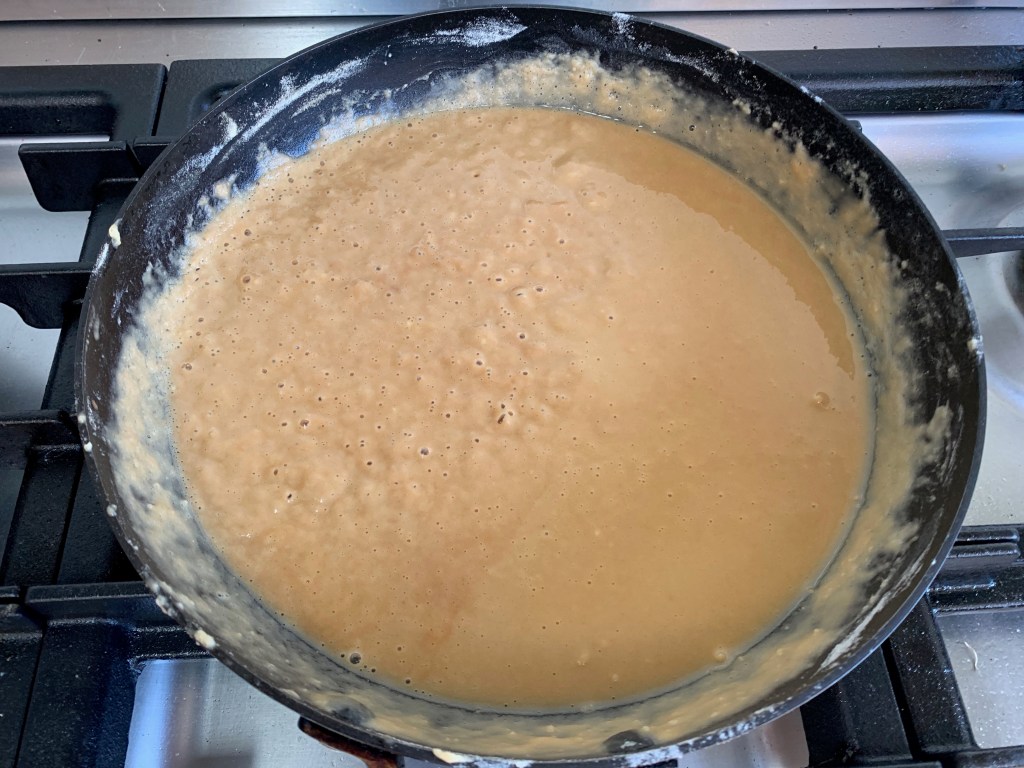
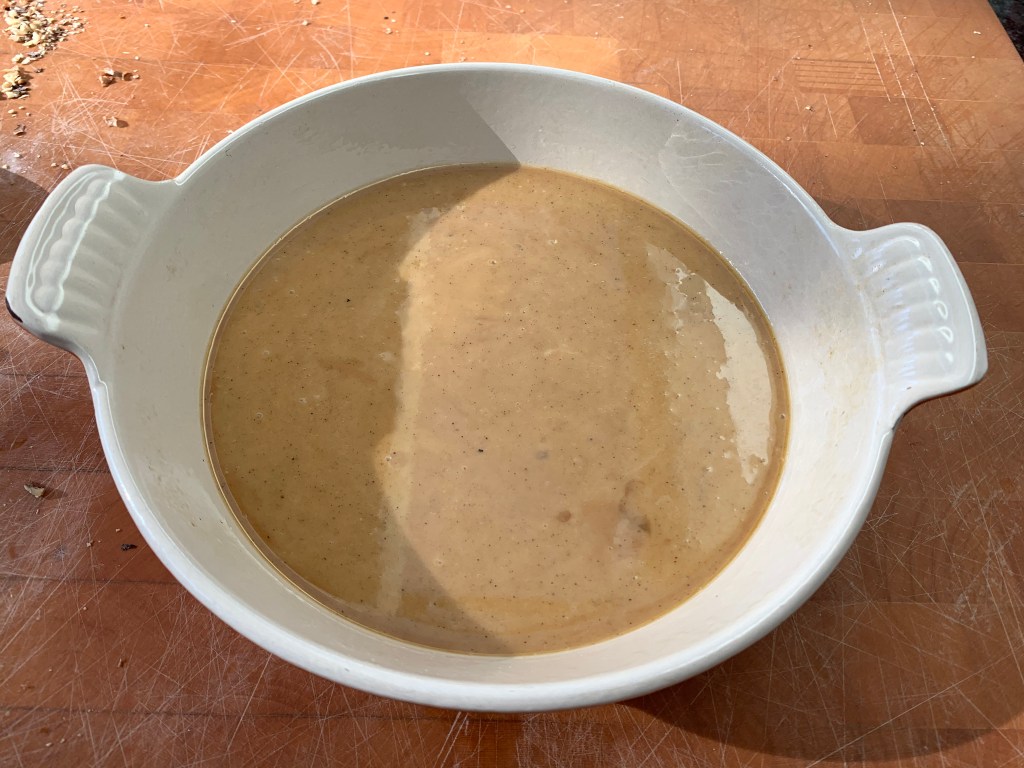
- Decant your mixture into a bowl, dust it with icing sugar to stop a skin forming, cover and leave to cool; refrigerate until thoroughly cold and your eclairs are ready to be filled

Eggs, sugar to start 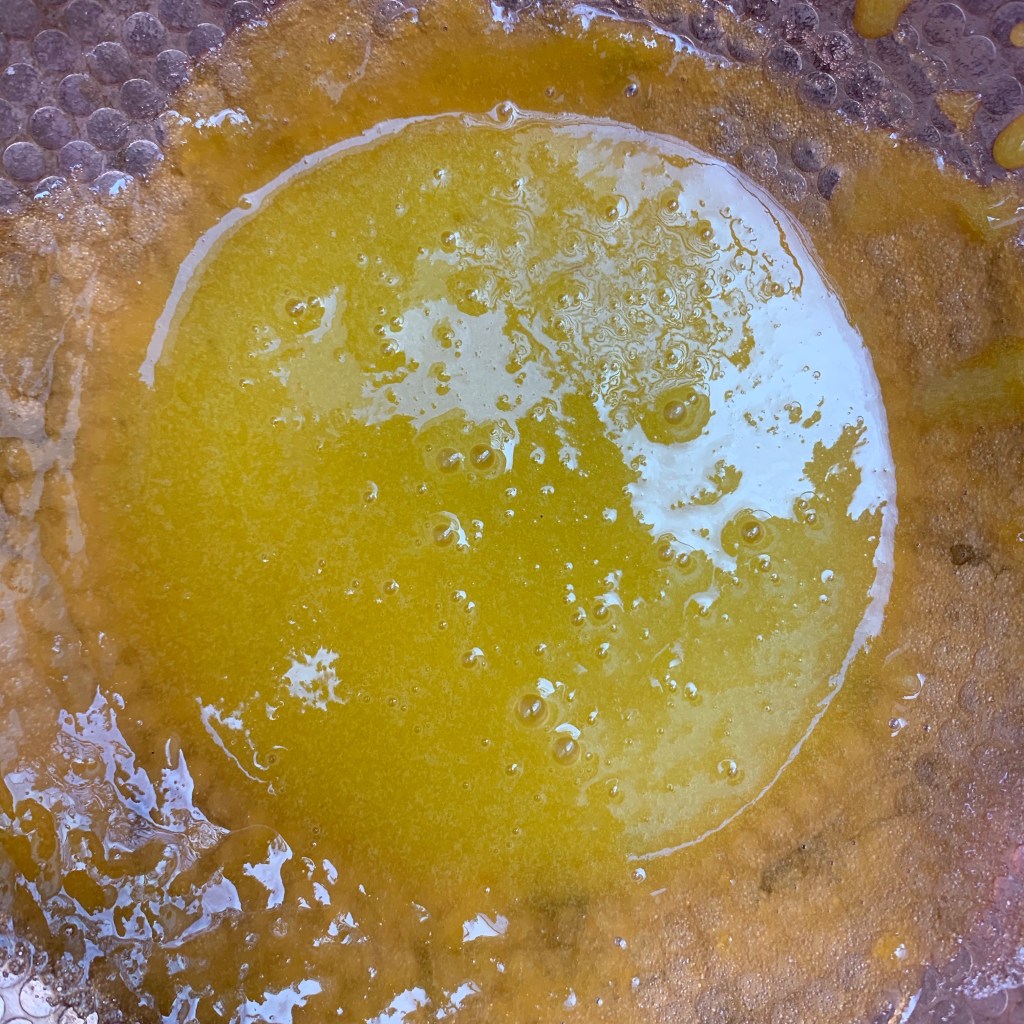
Eggs and sugar mixed 
Flours/cocoa added 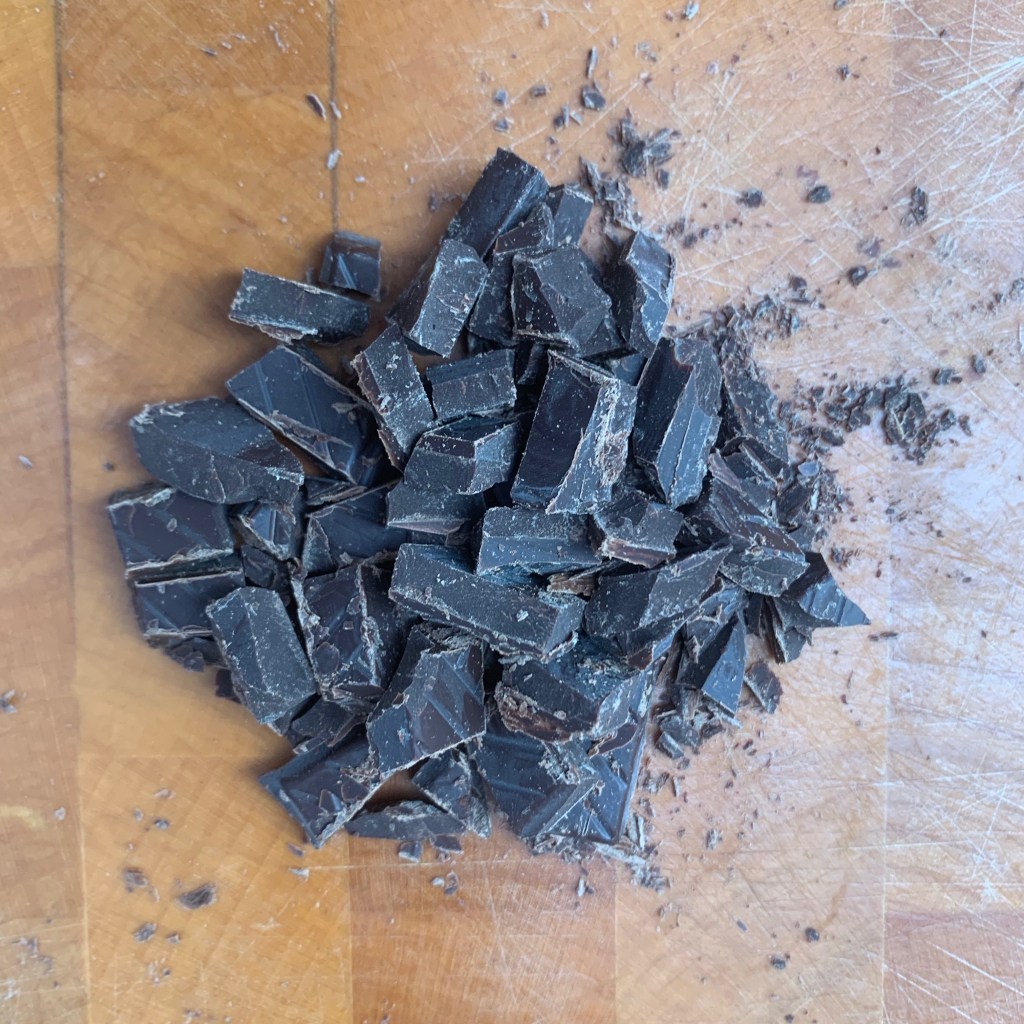
Chopped chocolate 
In the saucepan 
Cooling down
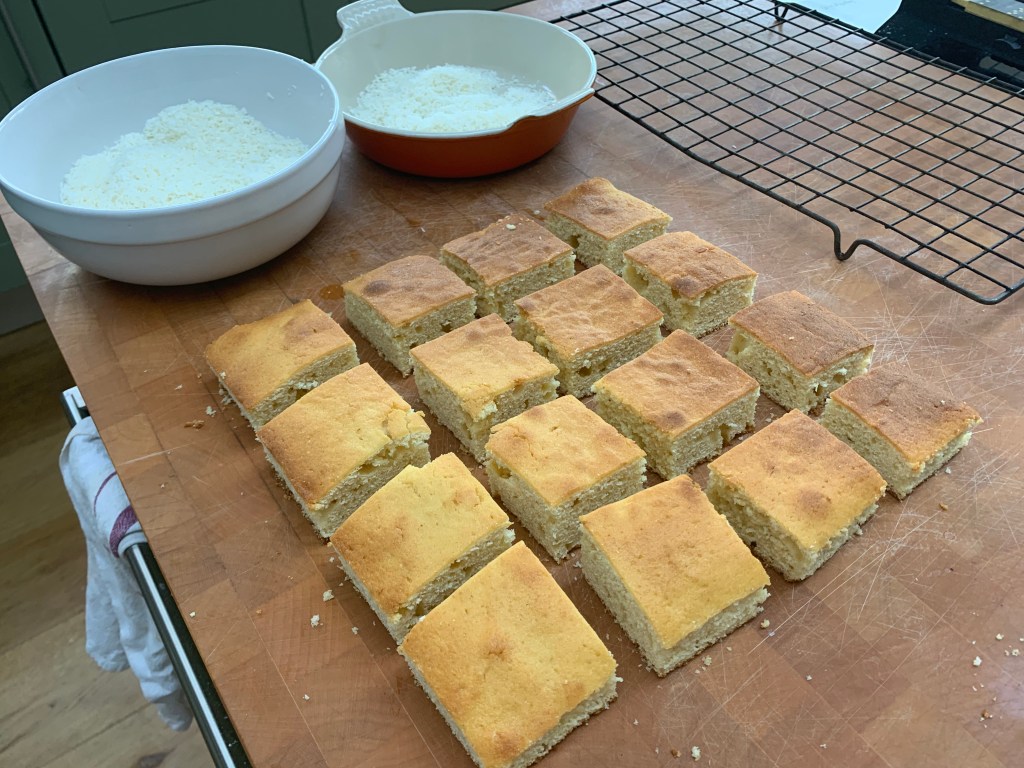
The choux pastry buns
Most choux pastry recipes are pretty similar: mine mainly comes from an old Roux Brothers cookbook and therefore has a level of French authenticity. The real choice you have is how to improve the crust on the top of your eclair: I’ve sprinkled icing sugar on top, but you can use egg wash if you prefer. Some French recipes like this one from Ricardo use a thin layer of a sweet pastry called “craquelin”, which merges into the main eclair, caramelises and forms a characteristic cracked pattern.
- 45g unsalted butter, plus another 5g if your milk is semi-skimmed
- 65ml milk
- 65ml water
- ½ tsp sugar
- 75g flour
- 2 eggs
- icing sugar to dust
- Preheat oven to 190℃ fan.
- Get your baking tray ready: lie a silicone mat over it (if you have one), patterned side up, or a sheet of baking parchment otherwise
- Prepare a piping bag with a 1cm nozzle. A French star nozzle is ideal: this gets you a ridged eclair with more surface area to go crisp. I don’t have one of these, so I went for plain.
- Sift the flour
- Chop the butter into small pieces and put into a saucepan
- Add the milk, water and sugar (you can also add ½ tsp of salt at this stage, which some recipes suggest)
- Bring to the boil and take off the heat
- Immediately add the flour to the mixture in a single go and stir to combine
- When properly mixed, return to the heat and cook for a short while – perhaps a minute or two – until the mixture comes away nicely from the sides of the pan. Take off the heat and leave to cool for a short while
- Whisk in the eggs, one at a time, whisking thoroughly until you have a smooth mix. If the consistency is right, you should be able to pipe the mixture but it should hold its shape when piped. If it’s too stiff, you can add more egg. If it’s too loose, you’re in trouble, so an alternative to the “whisk in eggs one at a time” instruction is to whisk the eggs into a bowl on their own, and then add the egg mix a bit at a time until you are sure the consistency. For me, life was too short and I just added them in.
- Leave to cool for five minutes or so, then fill your piping bag with the mixture
- Pipe your eclairs into tubes of choux pastry around 8cm long – the recipe should get you a dozen of them. Make sure they are properly spaced out from each other: they will grow during baking. You really need to try to get an even cylinder here, which means piping quickly with a constant pressure: this takes practise. On the photos here, you’ll see that I have some way to go…
- Tidy up any stray bits of dough which are sticking out at the ends, doing your best not to destroy the structure of what’s left
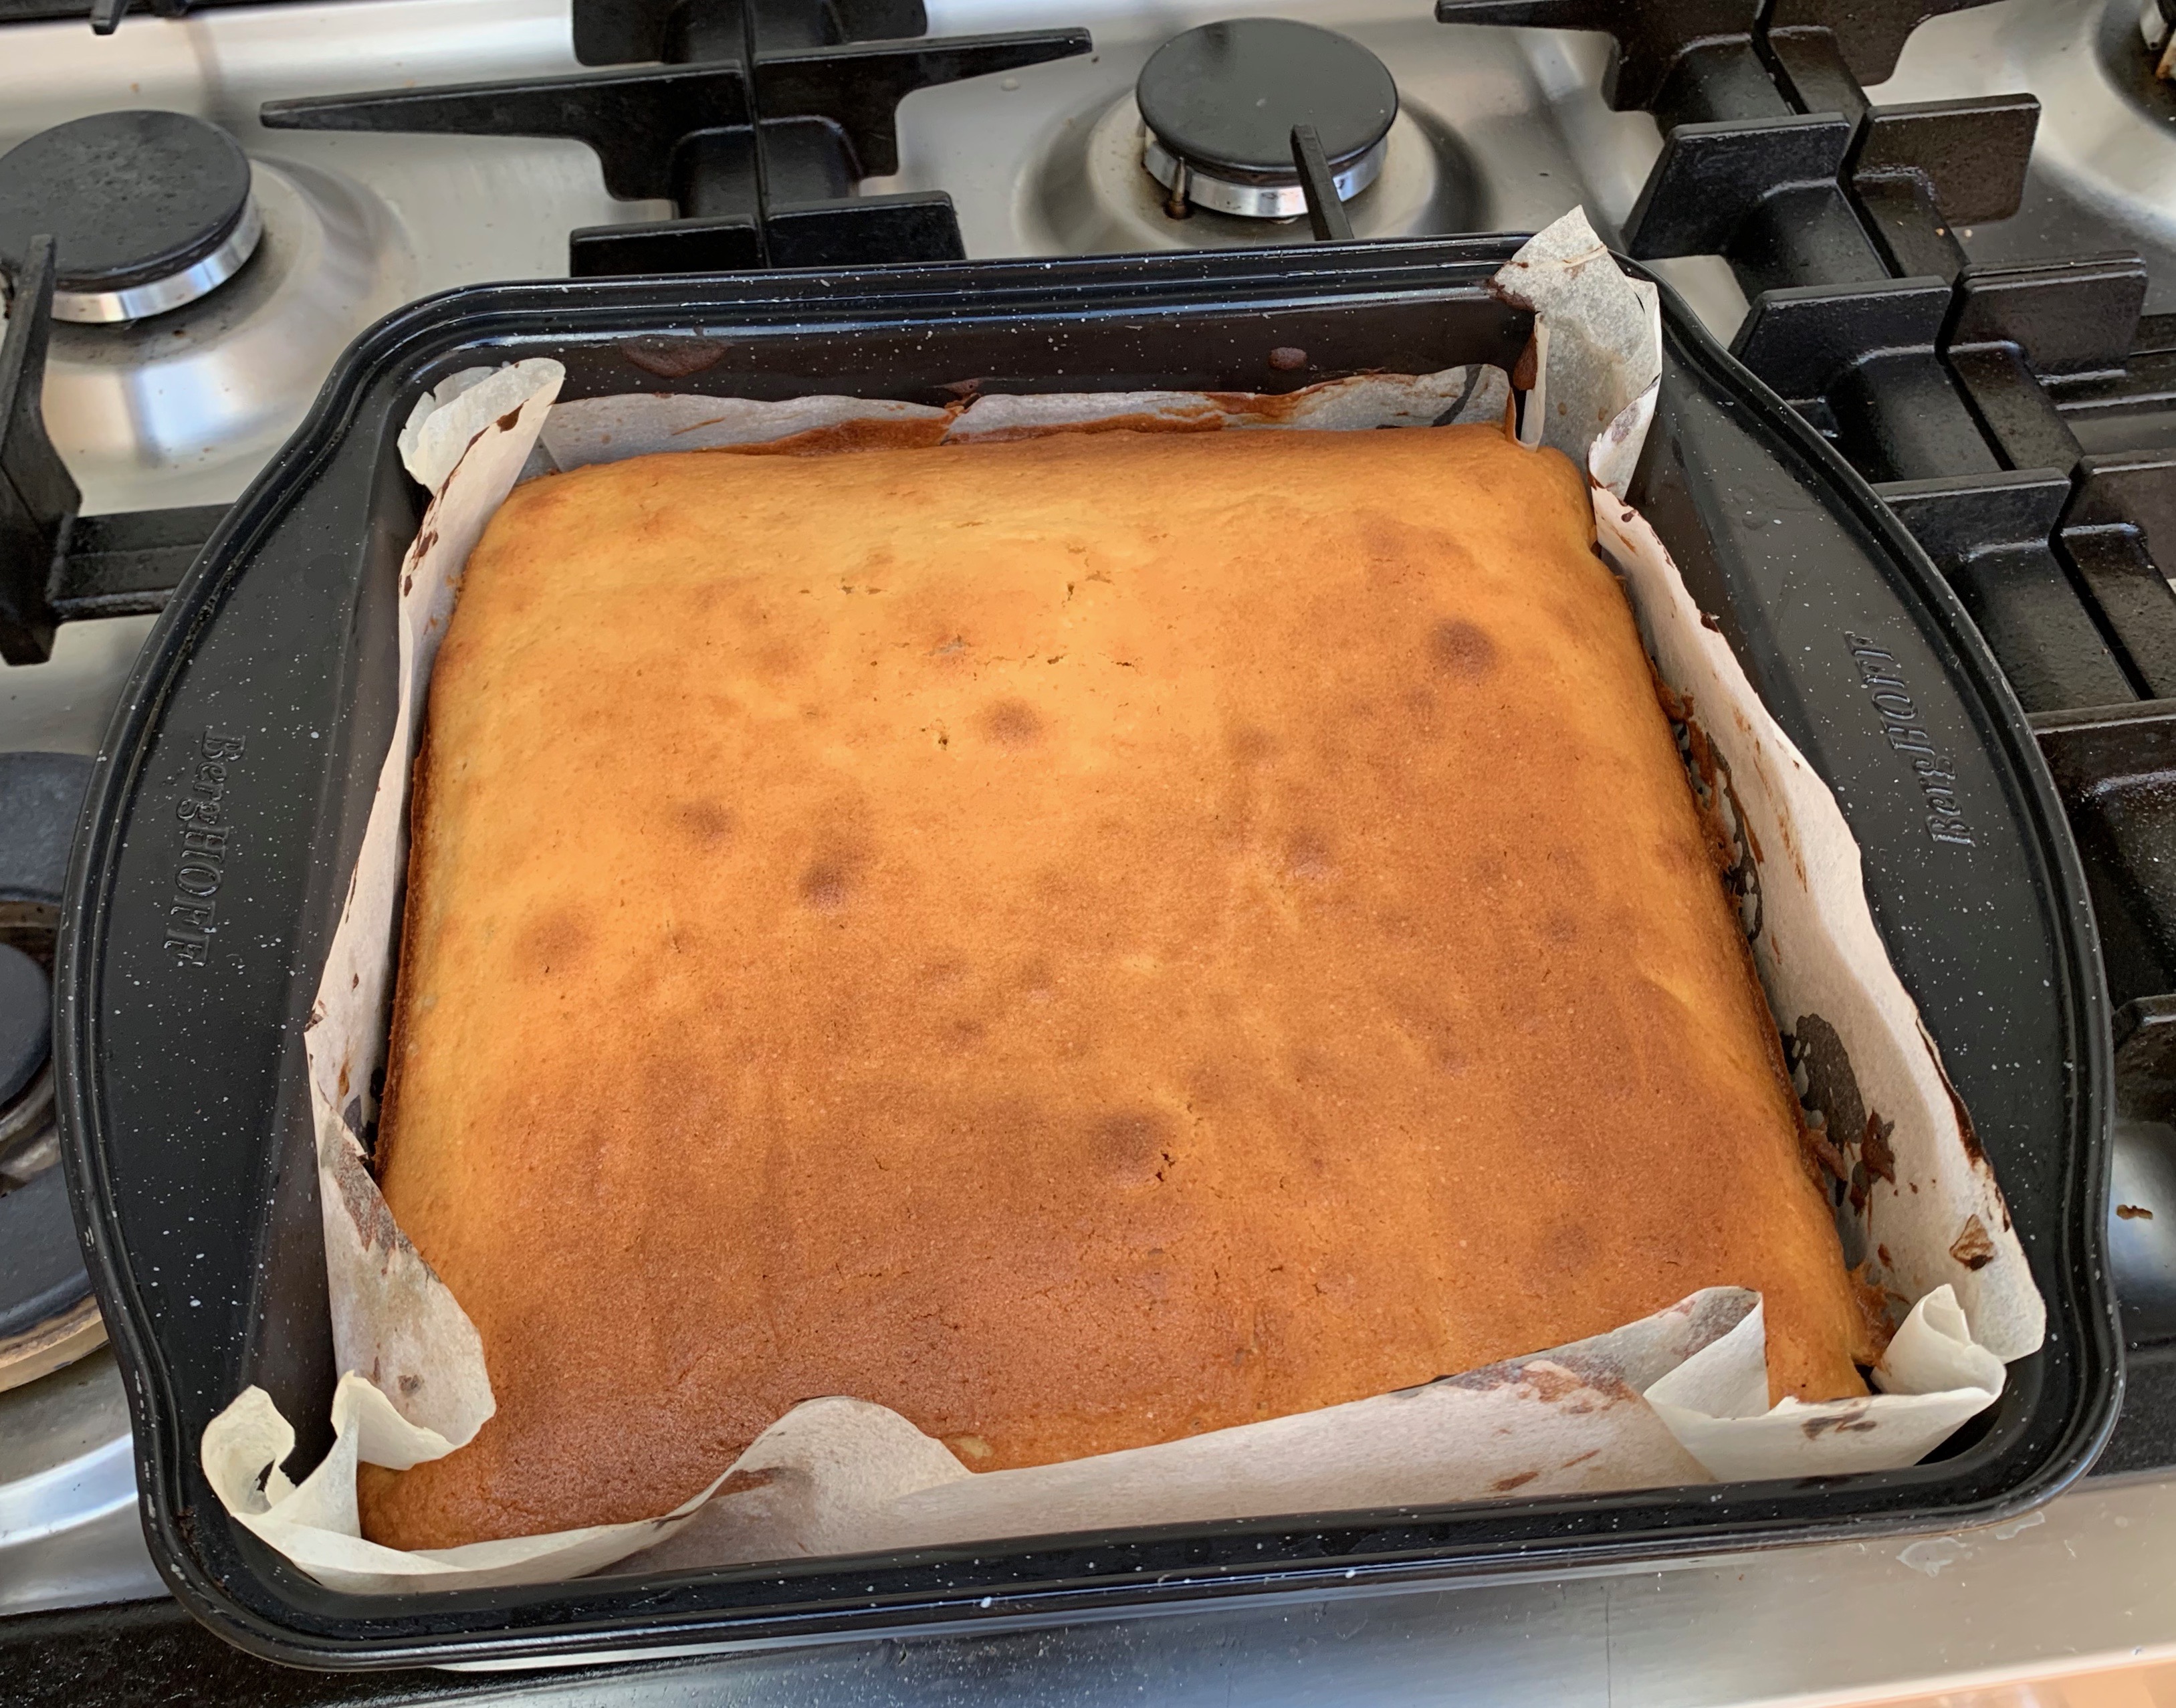
- Bake for 20 minutes without opening the oven door
- Open the oven door to check: close it quickly and then continue baking for however long it needs for your eclairs to go golden brown (probably 5-10 more minutes)
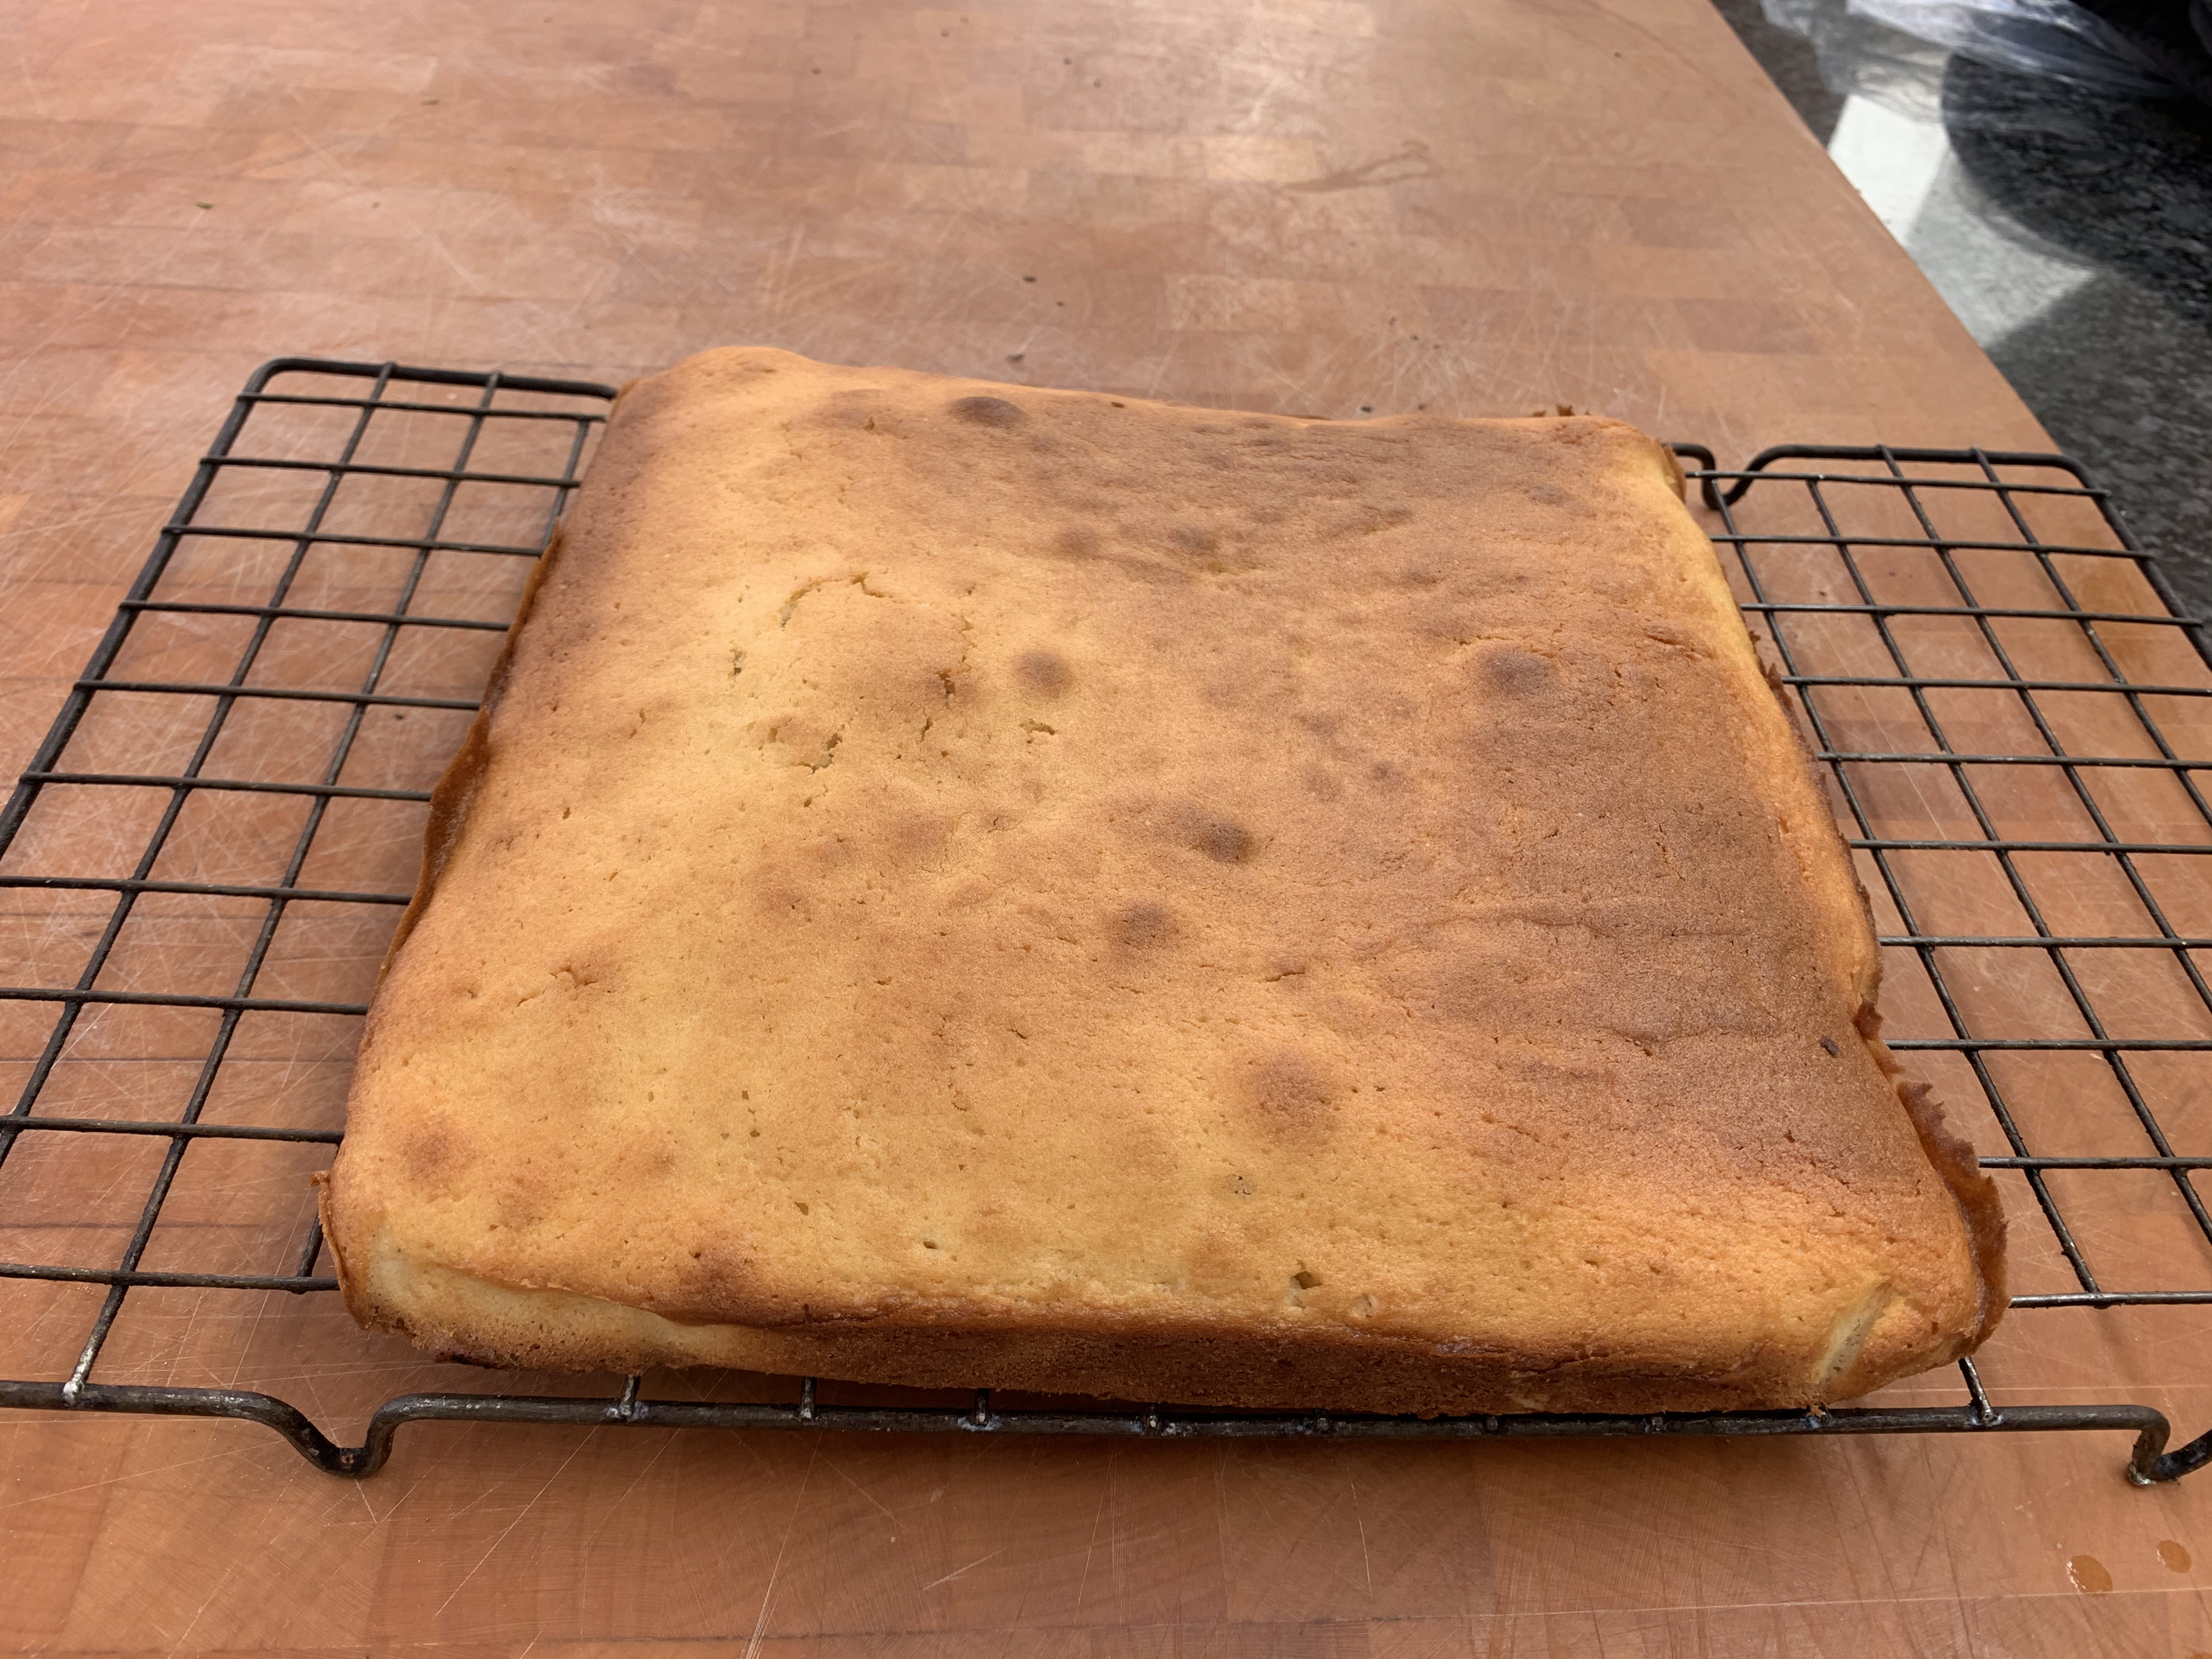
- Remove the eclairs from the oven and leave to cool on a wire rack

Buttter, milk and water 
After stirring in flour 
Ready for piping 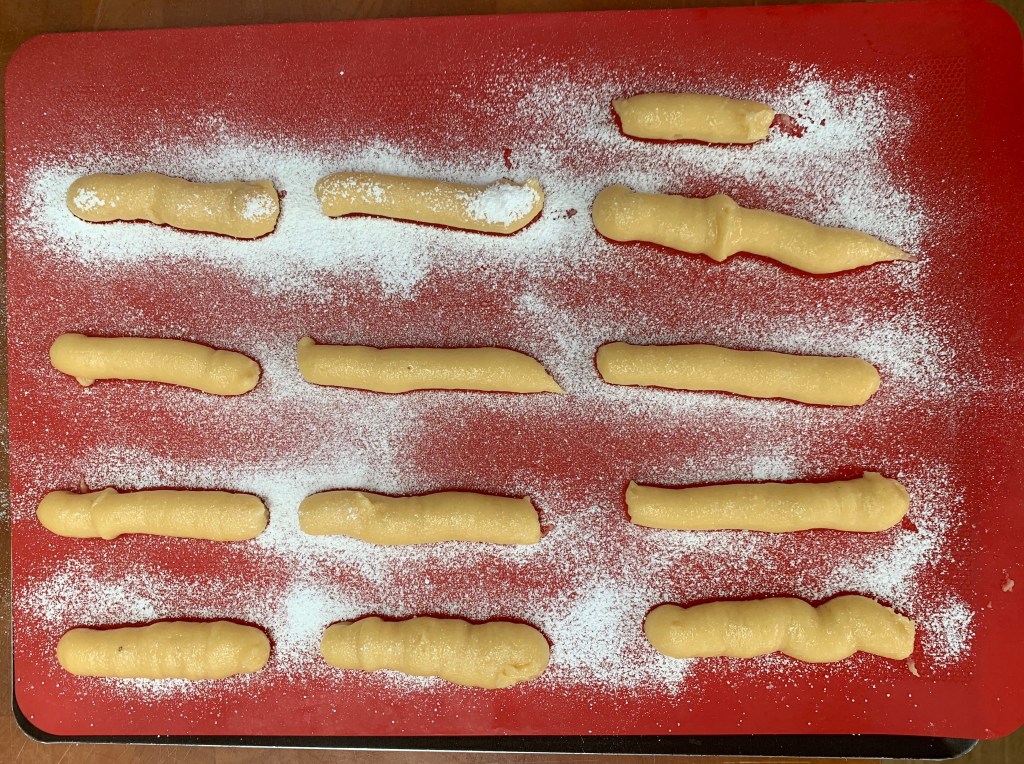
Dubiously shaped… 
Out of the oven 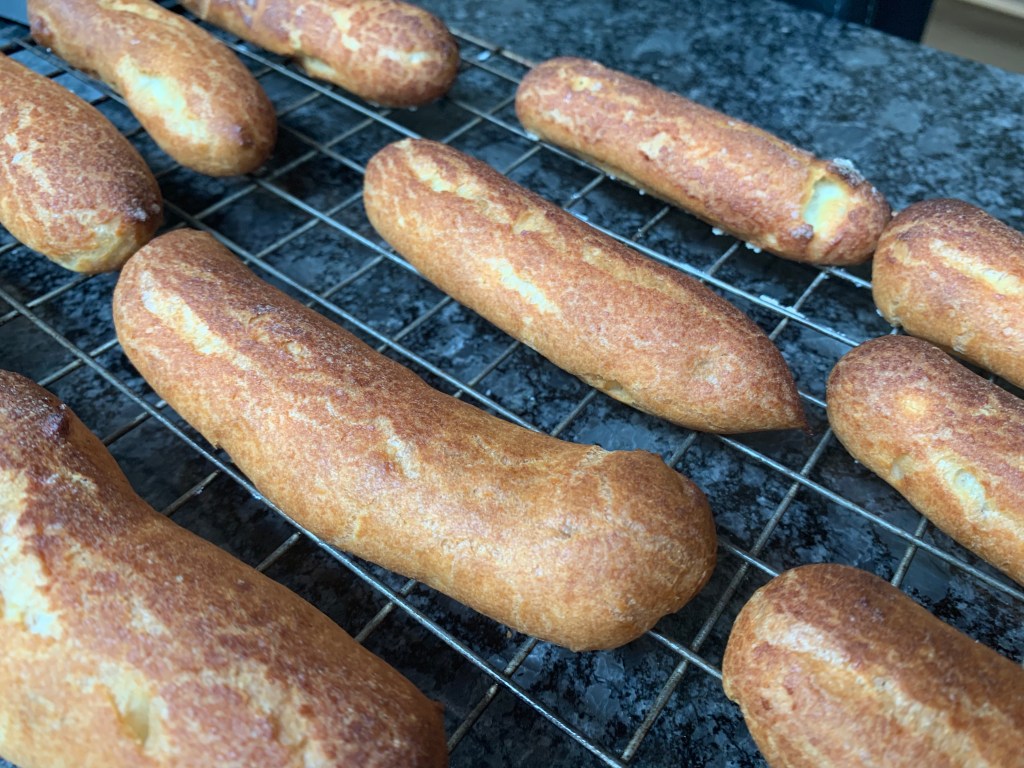
Filling the eclairs
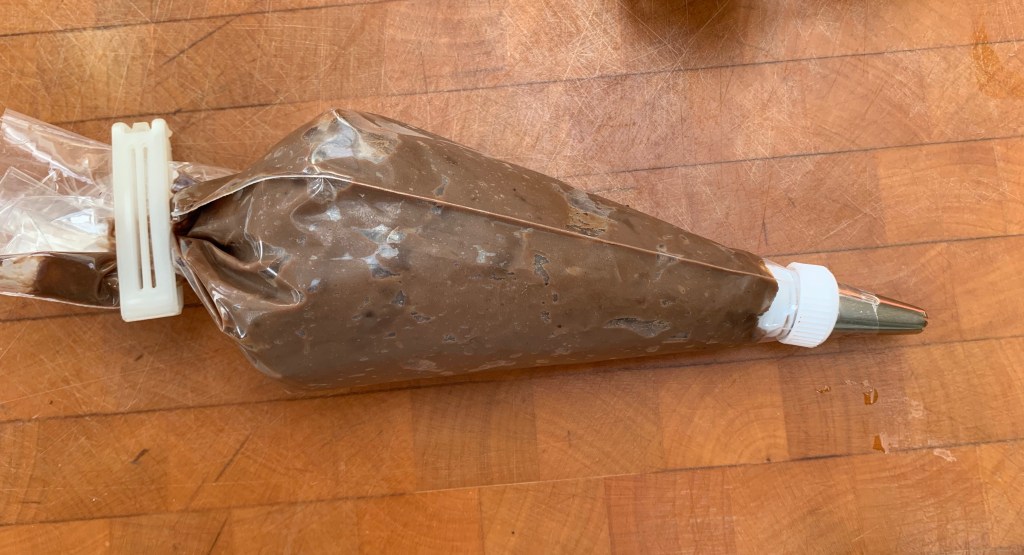
- Take your crème pâtissière out of the fridge. Whisk in enough add double cream until you have a mixture that you can pipe easily: you want it to be rather thinner than toothpaste but not runny
- Transfer the crème pâtissière to a piping bag with a nozzle of around 5mm: the exact dimension doesn’t matter, but piping will be difficult if it’s too small and you’re likely to damage the choux pastry if it’s too wide.
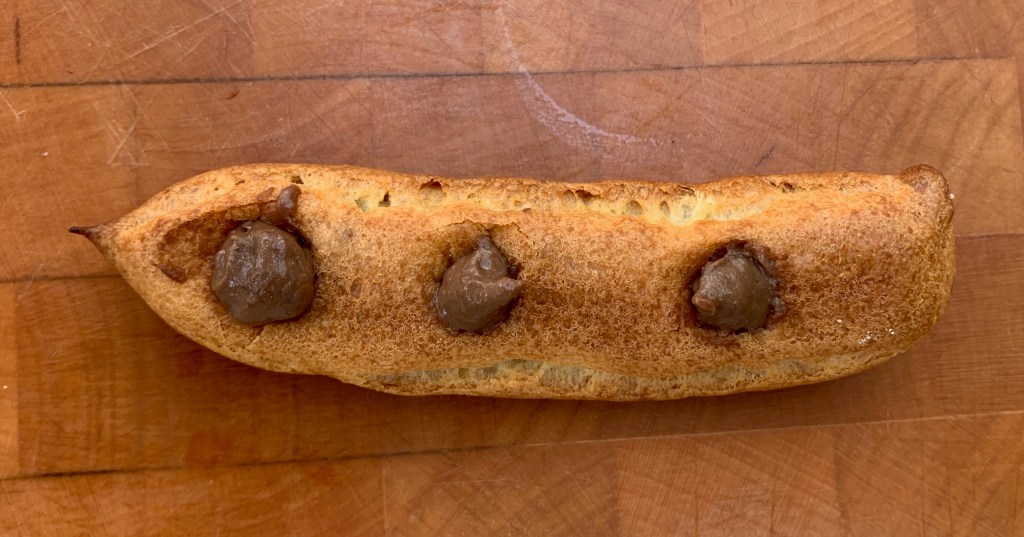
- With your nozzle, make three holes in what is currently the bottom of each eclair, reasonably evenly spaced, piping filling into each until the eclair is full. Wipe off any excess and add it back to bowl – in the quantities in this recipe, you’ll have little or none to spare.
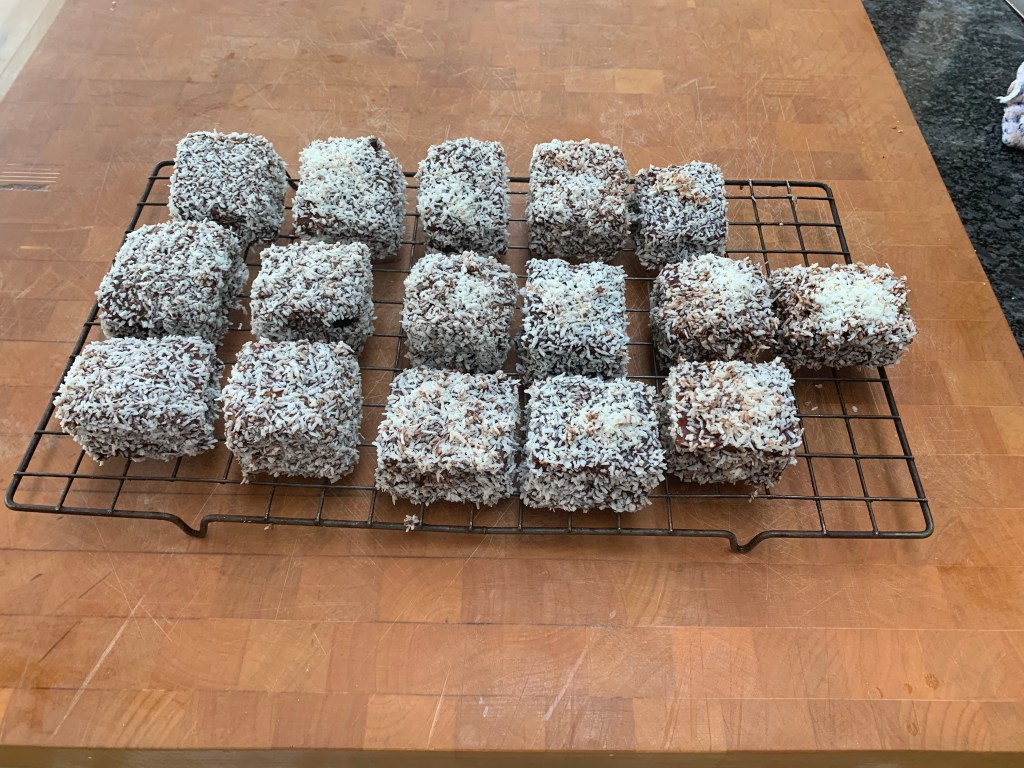
The ganache or glaze
The best tasting and easiest topping, in my view, is a simple chocolate-and-cream ganache and that’s what I’ve gone for here. But if you want that patisserie hard gloss look (or you just want something that doesn’t get quite so dramatically sticky in hot weather), there are plenty of alternatives around, involving icing sugar or glucose syrup (some American recipes specify corn syrup).
- 75g dark chocolate
- 75g double cream
- Melt the chocolate in a double boiler
- Cool slightly
- Whisk in the cream and mix thoroughly
- Leave to cool for 10 minutes or so
- Spread smoothly over the eclairs with a small knife or spatula (spread them over the side with the holes you filled them from)
- Leave to cool for an hour or so
If you have to, refrigerate and keep them for no more than a day or two: you don’t want to leave them for much longer, because the filling soaks into the pastry and it goes soggy. Eclairs don’t freeze, because the pastry cream splits. So really, you’re better off just eating them on the day…

Some notes and tips
Using cornflour guarantees that your pastry cream will thicken, but you risk it setting too thick to be piped easily – which is why I needed to thin it out with cream. If you use just 20g of plain flour rather than the flour/cornflour mix, you’ll need to cook the cream for much longer – perhaps as much as five minutes more – for it to thicken, but you then won’t need the cream afterwards.
Your biggest problem with eclairs is making sure that the buns dry out properly but don’t go rock hard. Of the various ways of preventing this, the one that seems to work best for me is to bake them at a relatively high temperature and have the nerve to bake them for at least 20 minutes before you open the oven to see how they’re doing. When you take them out, transfer them to a wire rack immediately: you don’t want any moisture building up on the base.
Canadian blog “the flavor bender” has an excellent post on how to troubleshoot problems with your eclairs, with a long list of what’s likely to go wrong and what you should do about it. It’s wordy and overly long, but the information is first class. Good luck!