It’s Seville orange season, which means it’s marmalade-making time. I’ve been doing this almost every year for as long as I can remember now, using the recipe passed down through the generations of the family of my late and much loved stepfather, so this is officially “Henderson marmalade”. Or it should possibly be “WSF marmalade”, since John would sign his cards to my brothers and me as “WSF” (for “wicked step father”, which was the polar opposite of reality).
This isn’t precisely the recipe handed down to me, for two reasons: firstly, the original recipe had some tweaking of quantities as you go, which adds washing up and which I don’t think is necessary, and secondly for the more prosaic reason that this is in metric and the numbers have been tweaked for my current kitchen equipment. But the results are pretty faithful to the original.
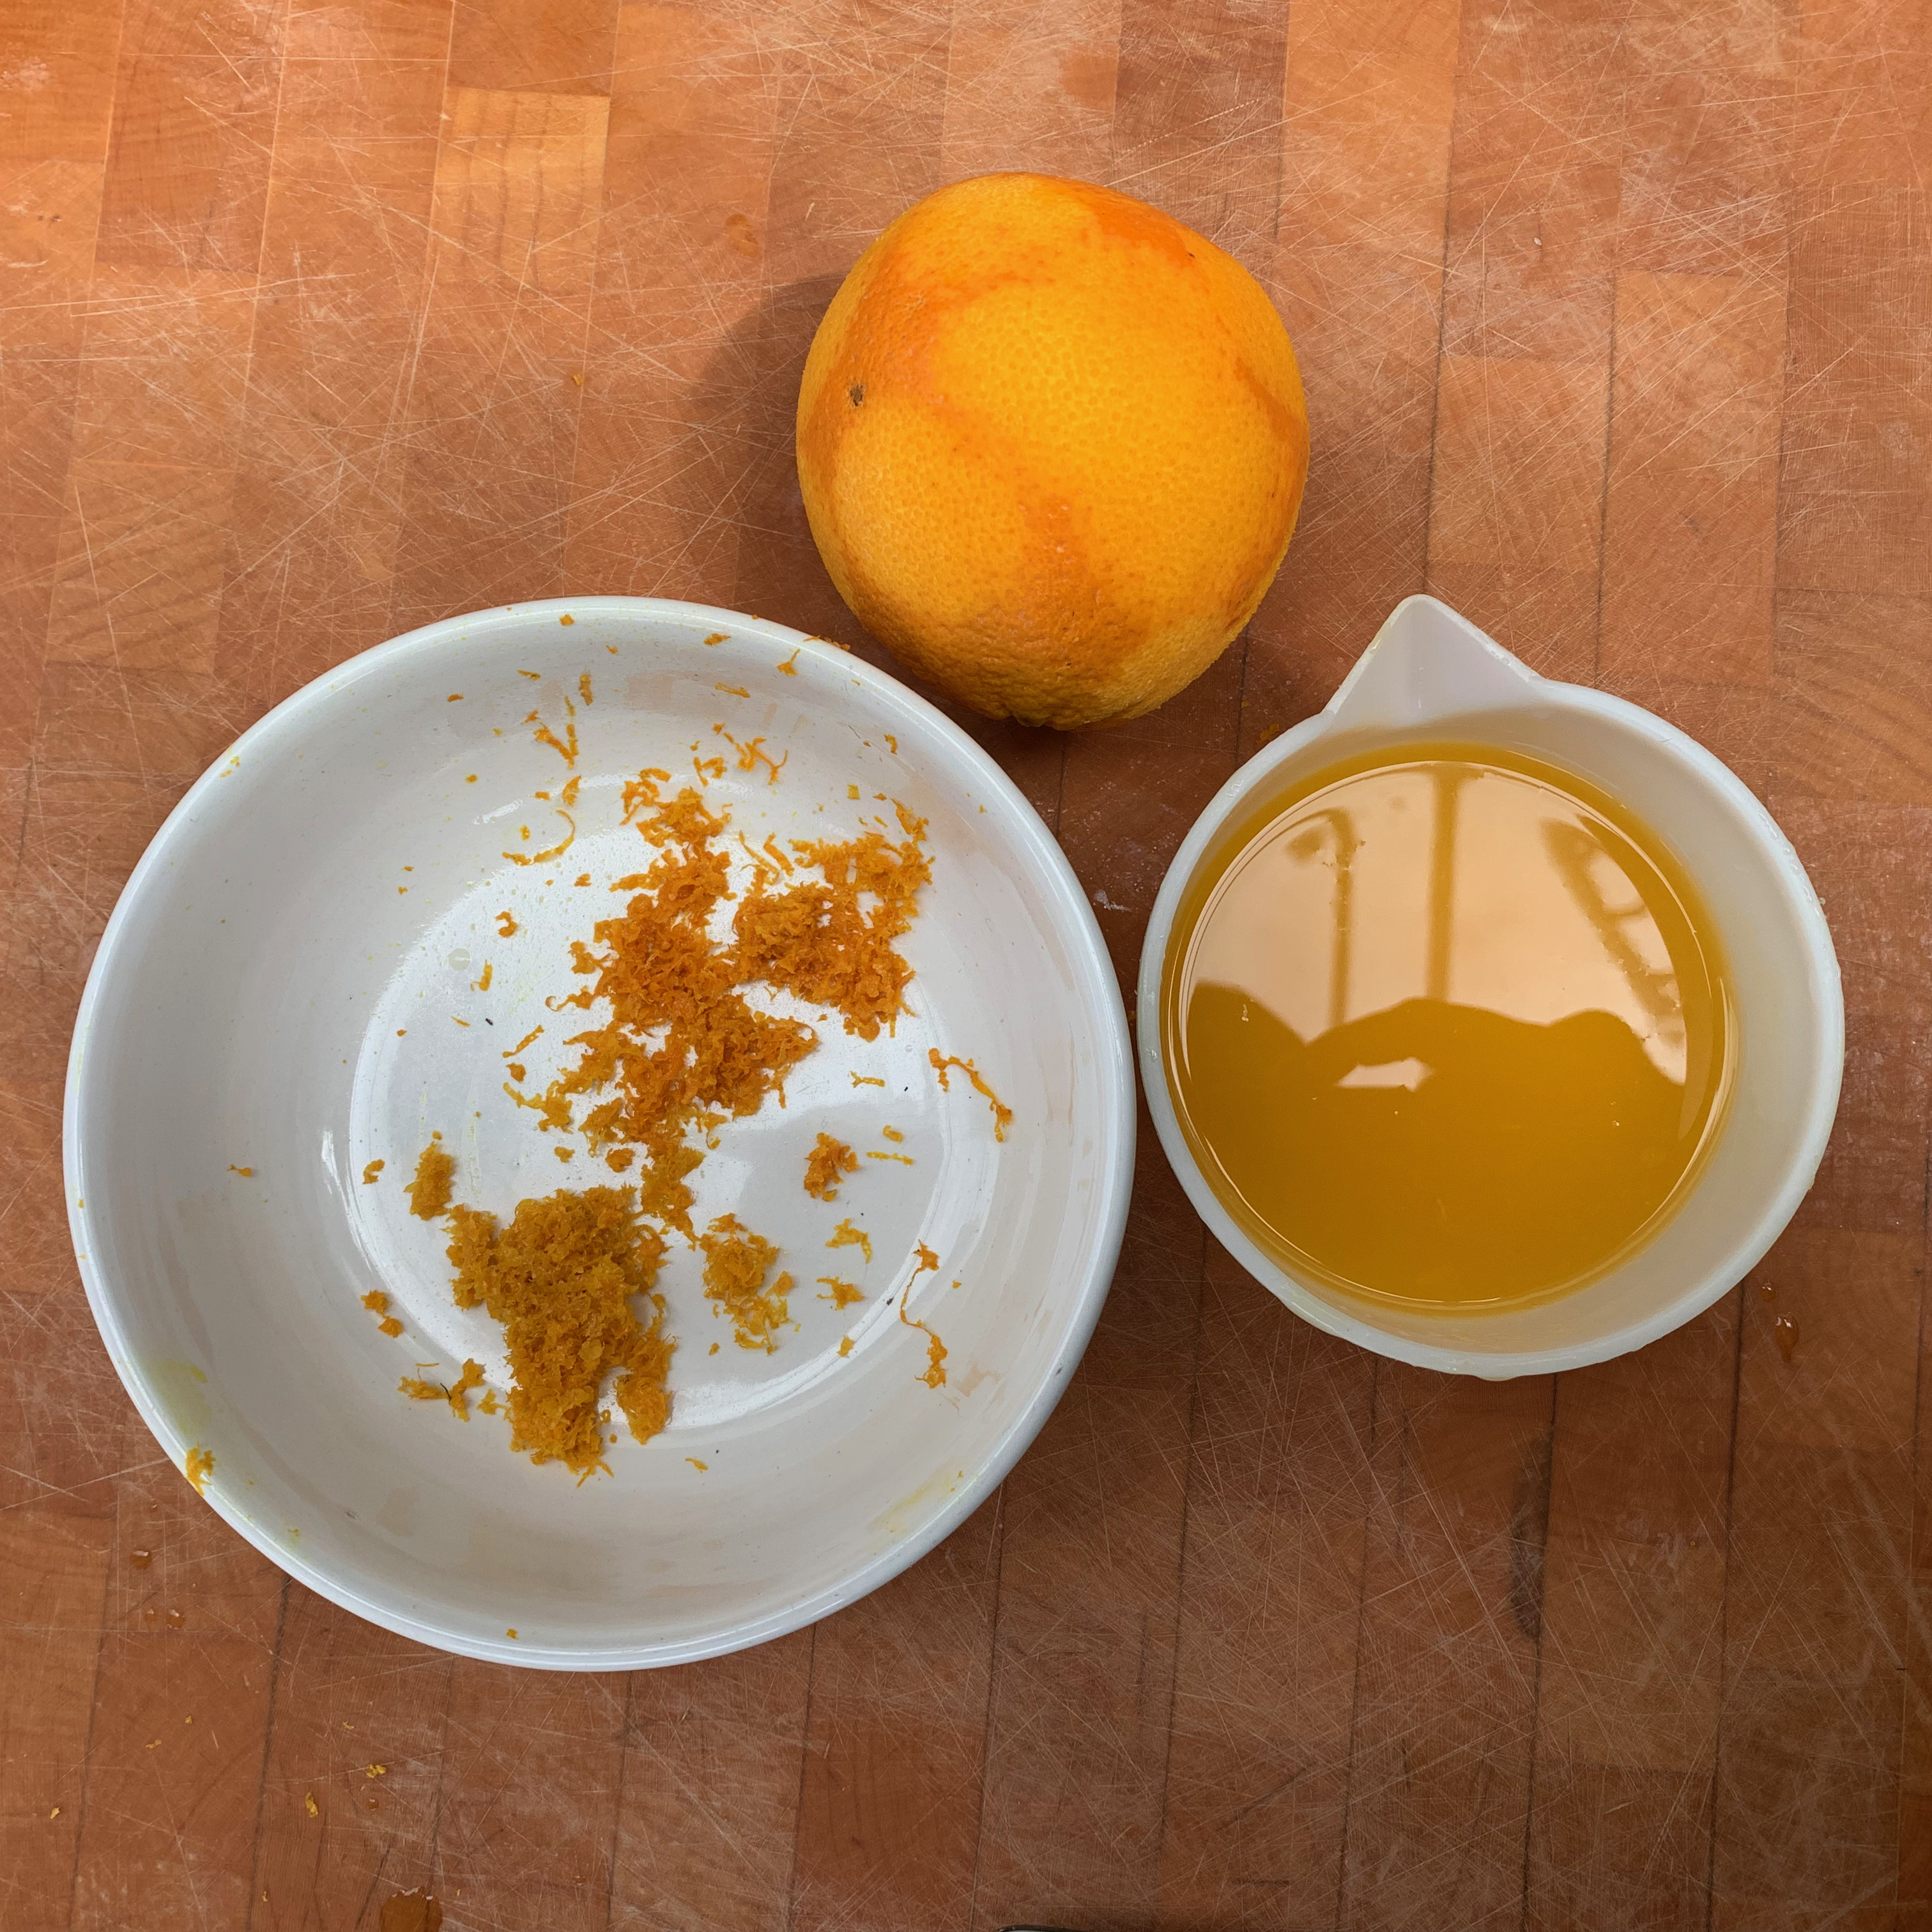
By the way, it’s worth hunting around for good Seville oranges. I’ve made this with standard supermarket ones for years, but for the last two, I’ve been getting them from our local greengrocer and they’re stunning.
This is sized to just about the maximum that will fit into my preserving pan, which is a 9 litre maslin pan from Lakeland (or 8.5l, depending on which bit of their blurb you read). It only just fits, so you might want to be a fraction more conservative with the amount of water, or go for a larger pan.
- 2 kg Seville oranges
- 6 litres water
- 4 kg granulated sugar
- Line a bowl with a muslin or J cloth.
- Peel the oranges with your fingers; slice the peel into very thin strips and put it into the preserving pan.
- Coarsely chop the oranges. Put the pips and any particularly large bits of pith into the bowl. Put the flesh and any juice into the preserving pan.
- Tie up the muslin with string, making a bundle of the pips and pith. Put it into the preserving pan also, along with any juice left in the bowl.
- Add the water, mix, and leave for around 12 hours (I usually do this overnight).
- Now bring the mixture to the boil, uncovered, and leave to simmer for around 60-90 minutes. At the end of this, you should be able to cut the peel easily with a wooden spoon.
- Leave the mixture for another 8 hours, or longer if you like: there’s no harm in leaving it to the following day.
- Add the sugar and bring to the boil, again uncovered. If your mixture is in danger of overflowing the pan (this often happens to me), you may want to take a batch out into a separate saucepan, adding it back when the level has gone down enough that it will fit.
- Sterilise your jars. I do this by putting the jars themselves into a 90℃ oven for an hour or so and the lids into boiling water with a Milton table. But there are other methods: use your favourite.
- Keep boiling until the mixture reaches between 105℃ and 106℃, which is likely to take at least four hours. Make sure that your mixture is well stirred, because if you don’t, you can get a considerable temperature gradient. And be patient: the last couple of degrees take forever. 105℃ will give you a fairly runny marmalade; 106℃ is a stiffer set. Only go hotter if you’re paranoid, or if you like your marmalade dark and bitter, which some people do.
- There are various other setting tests involving pouring a teaspoon of mixture onto a cold plate and seeing if it forms a skin when you draw your finger across it, but honestly: going by temperature works fine.
- Remove the muslin with the pips and pith, and pour the marmalade into jars. For a belt-and-braces on sterilising the lids, turn the jars upside down while they’re cooling: the hot marmalade will make absolutely sure the lids are sterile. It definitely works: I did this for years without bothering with the Milton tablet and never had a problem.
Enjoy this critical component of a perfect breakfast. Even though London is packed with high end grocery shops, there’s nothing quite like the home made stuff: I warmly commend it to you.