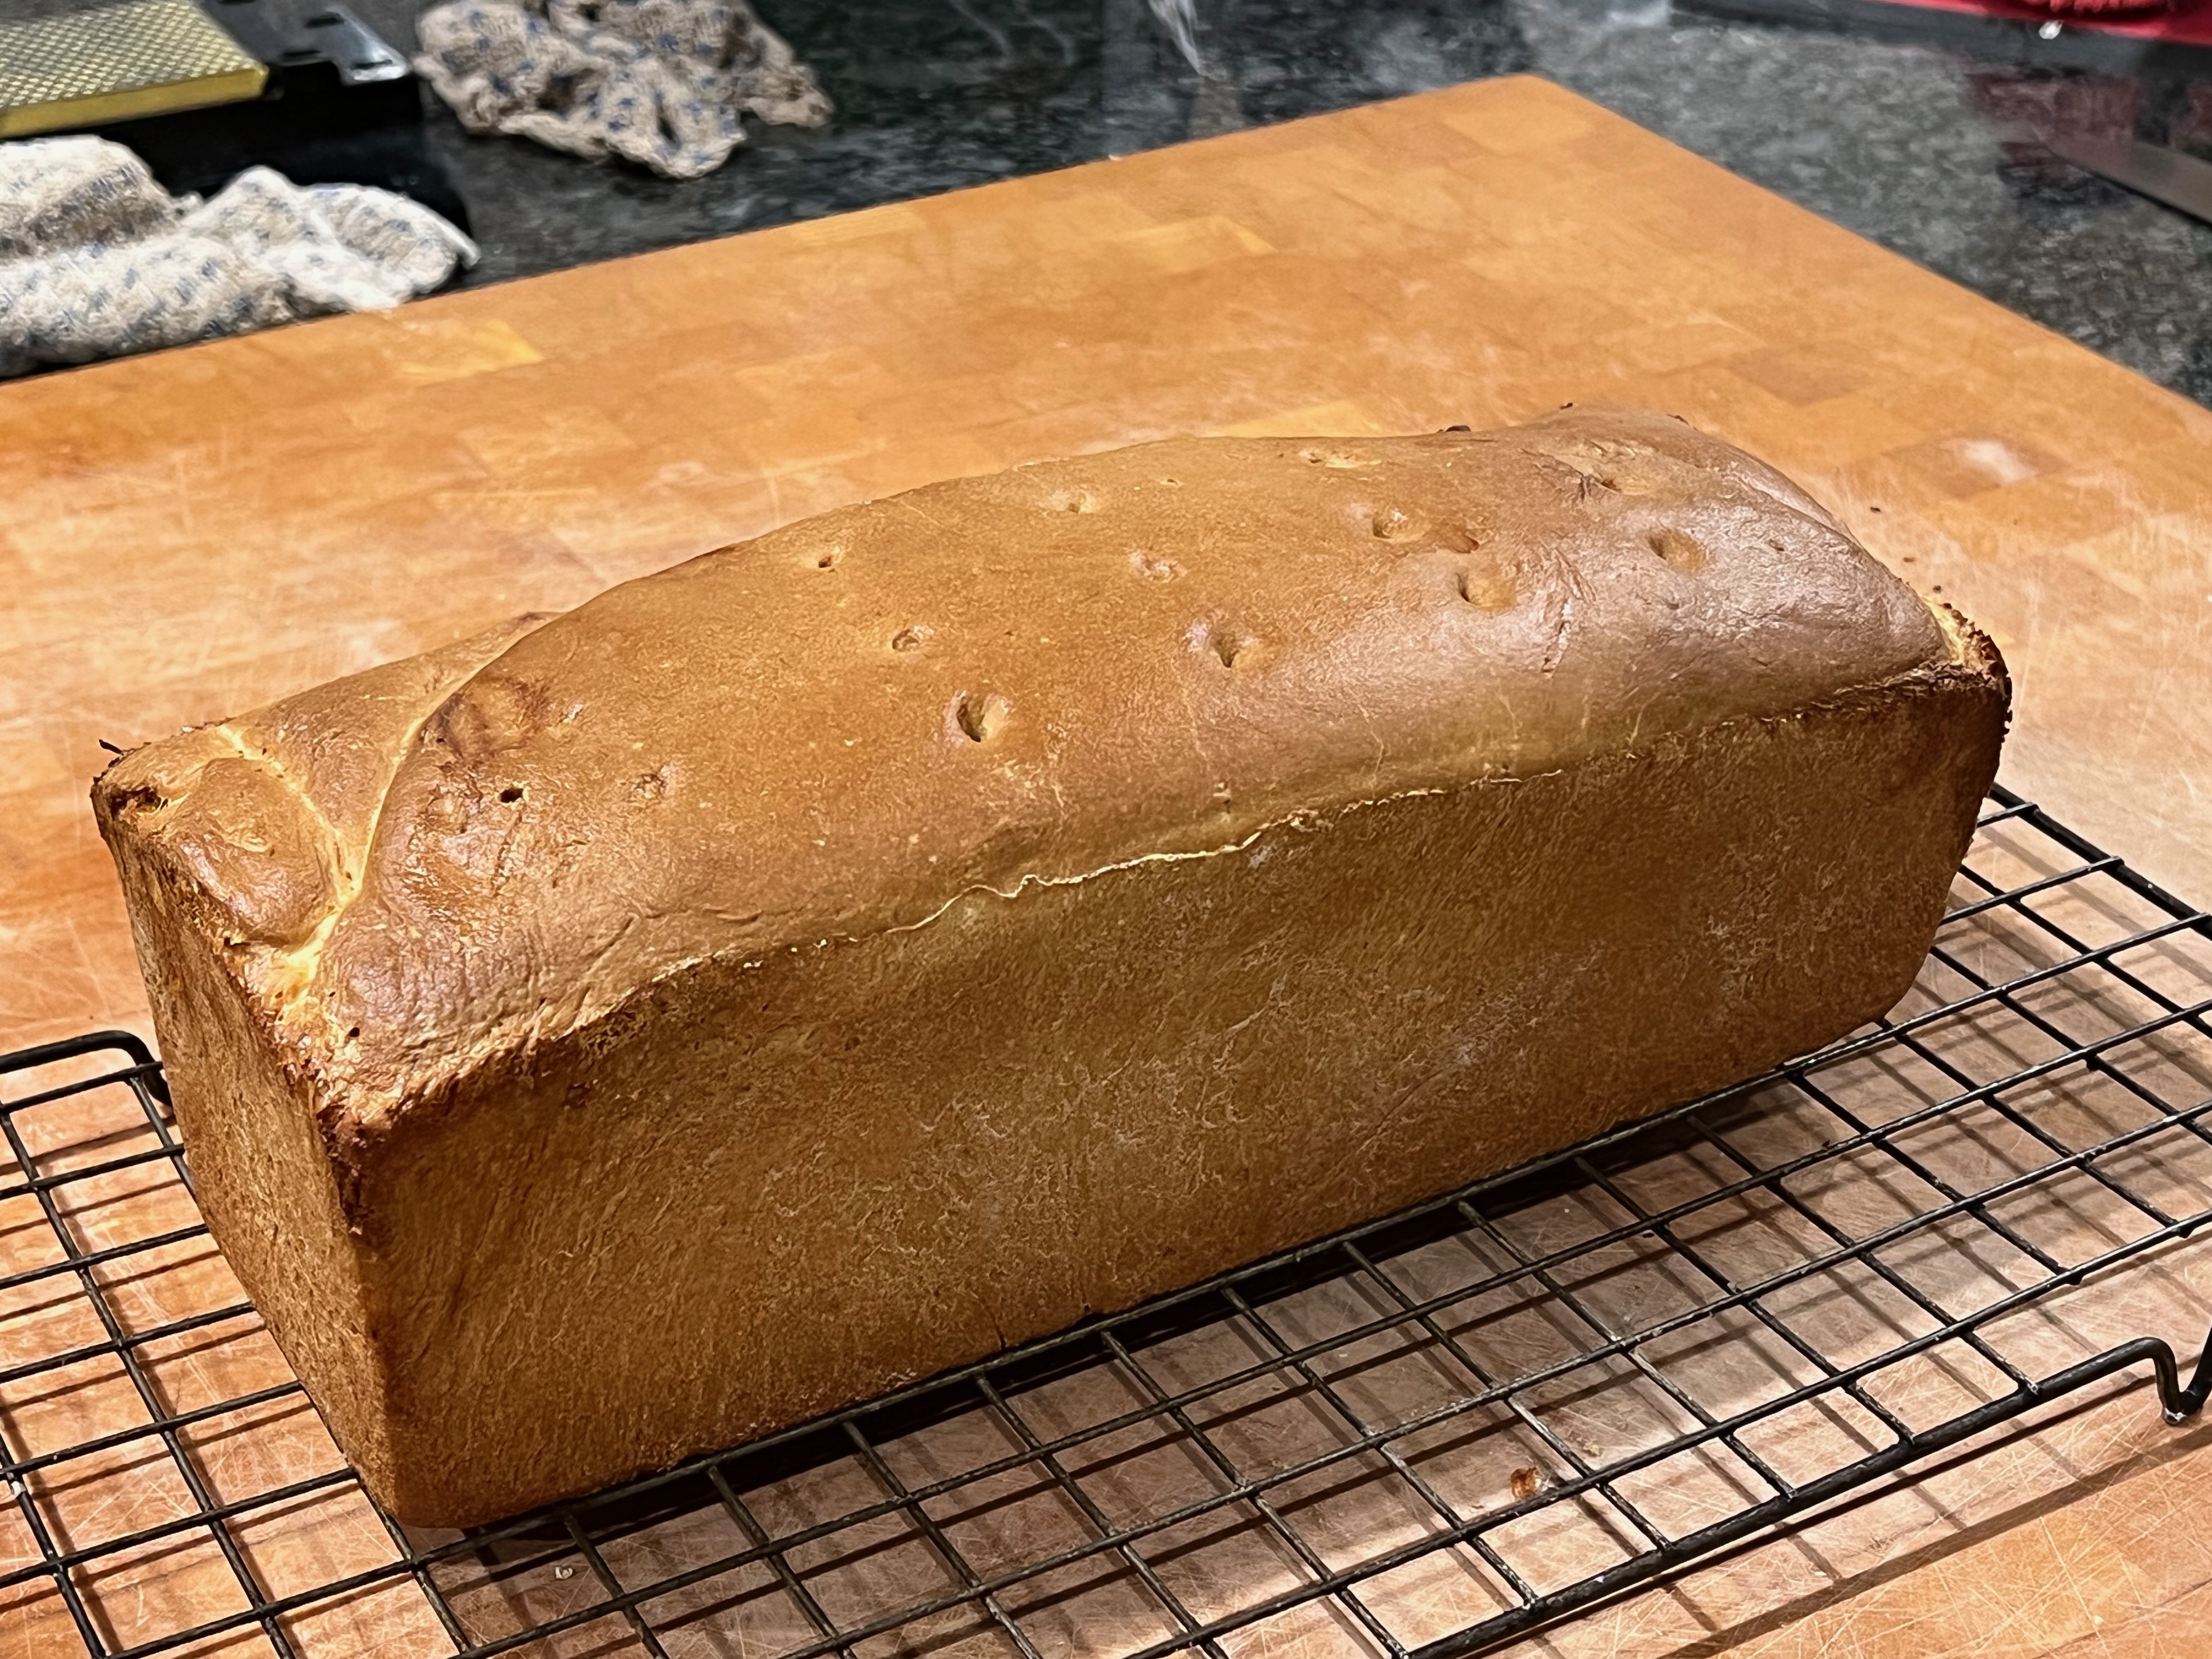
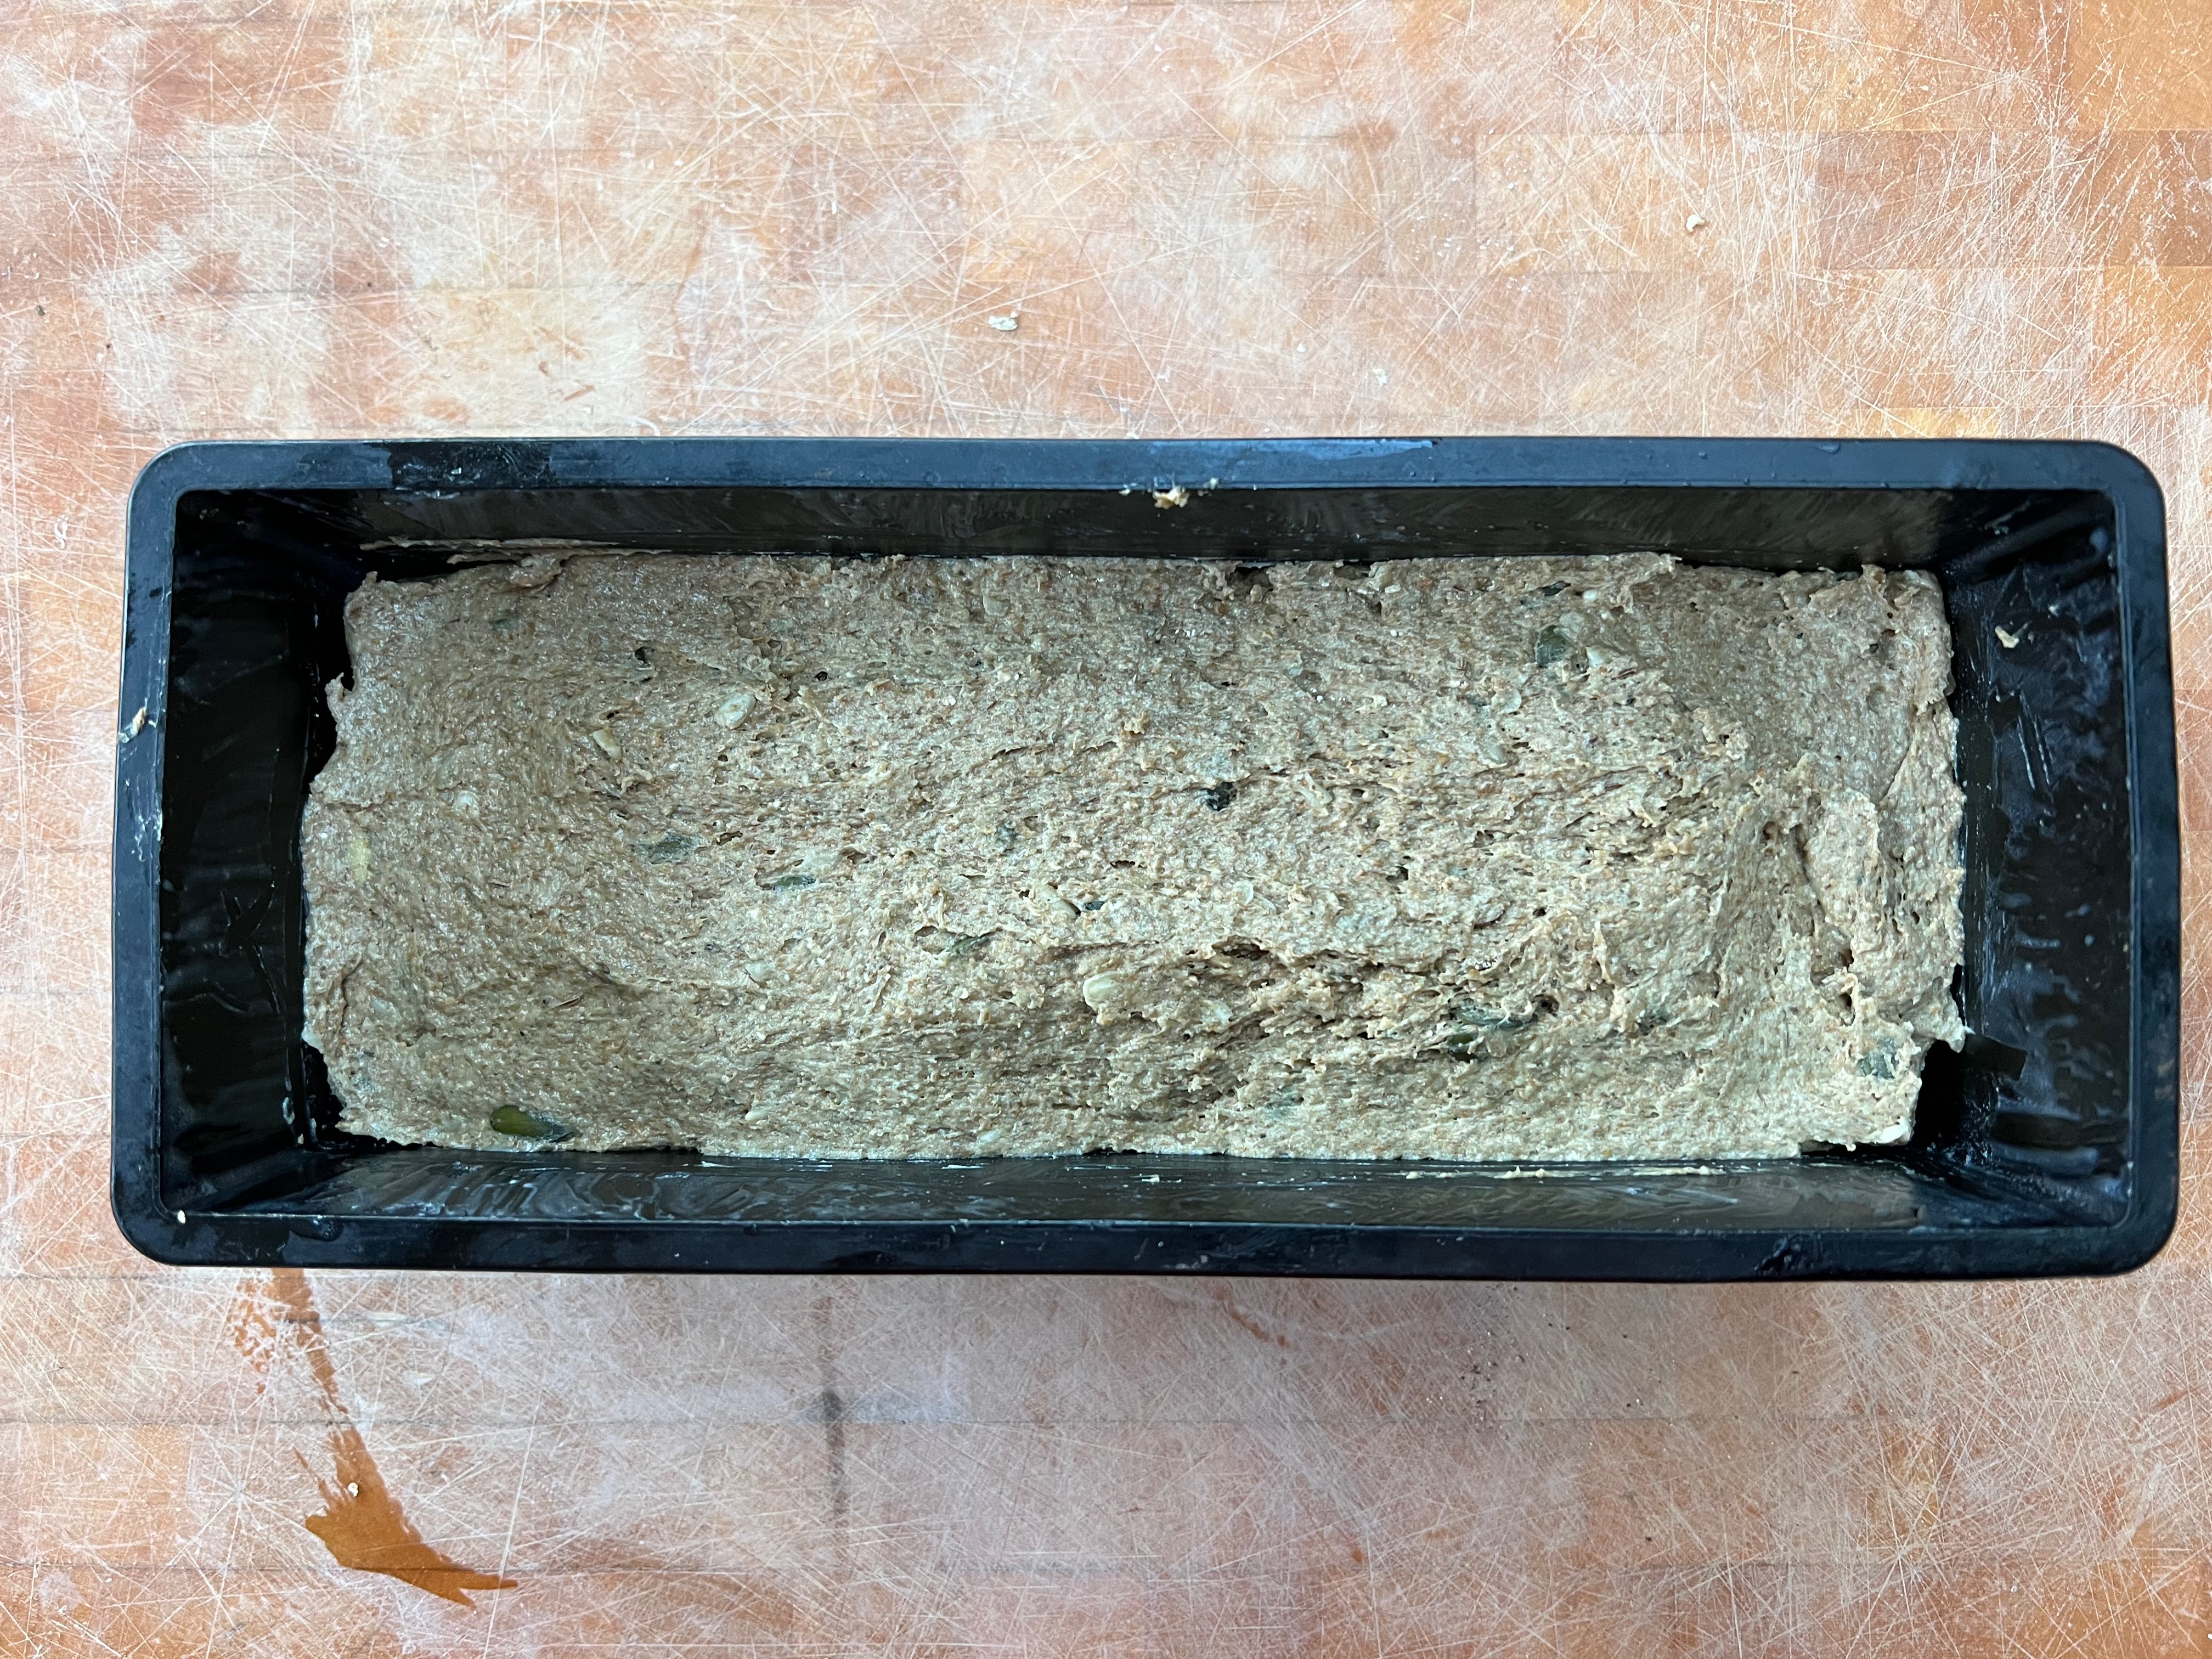
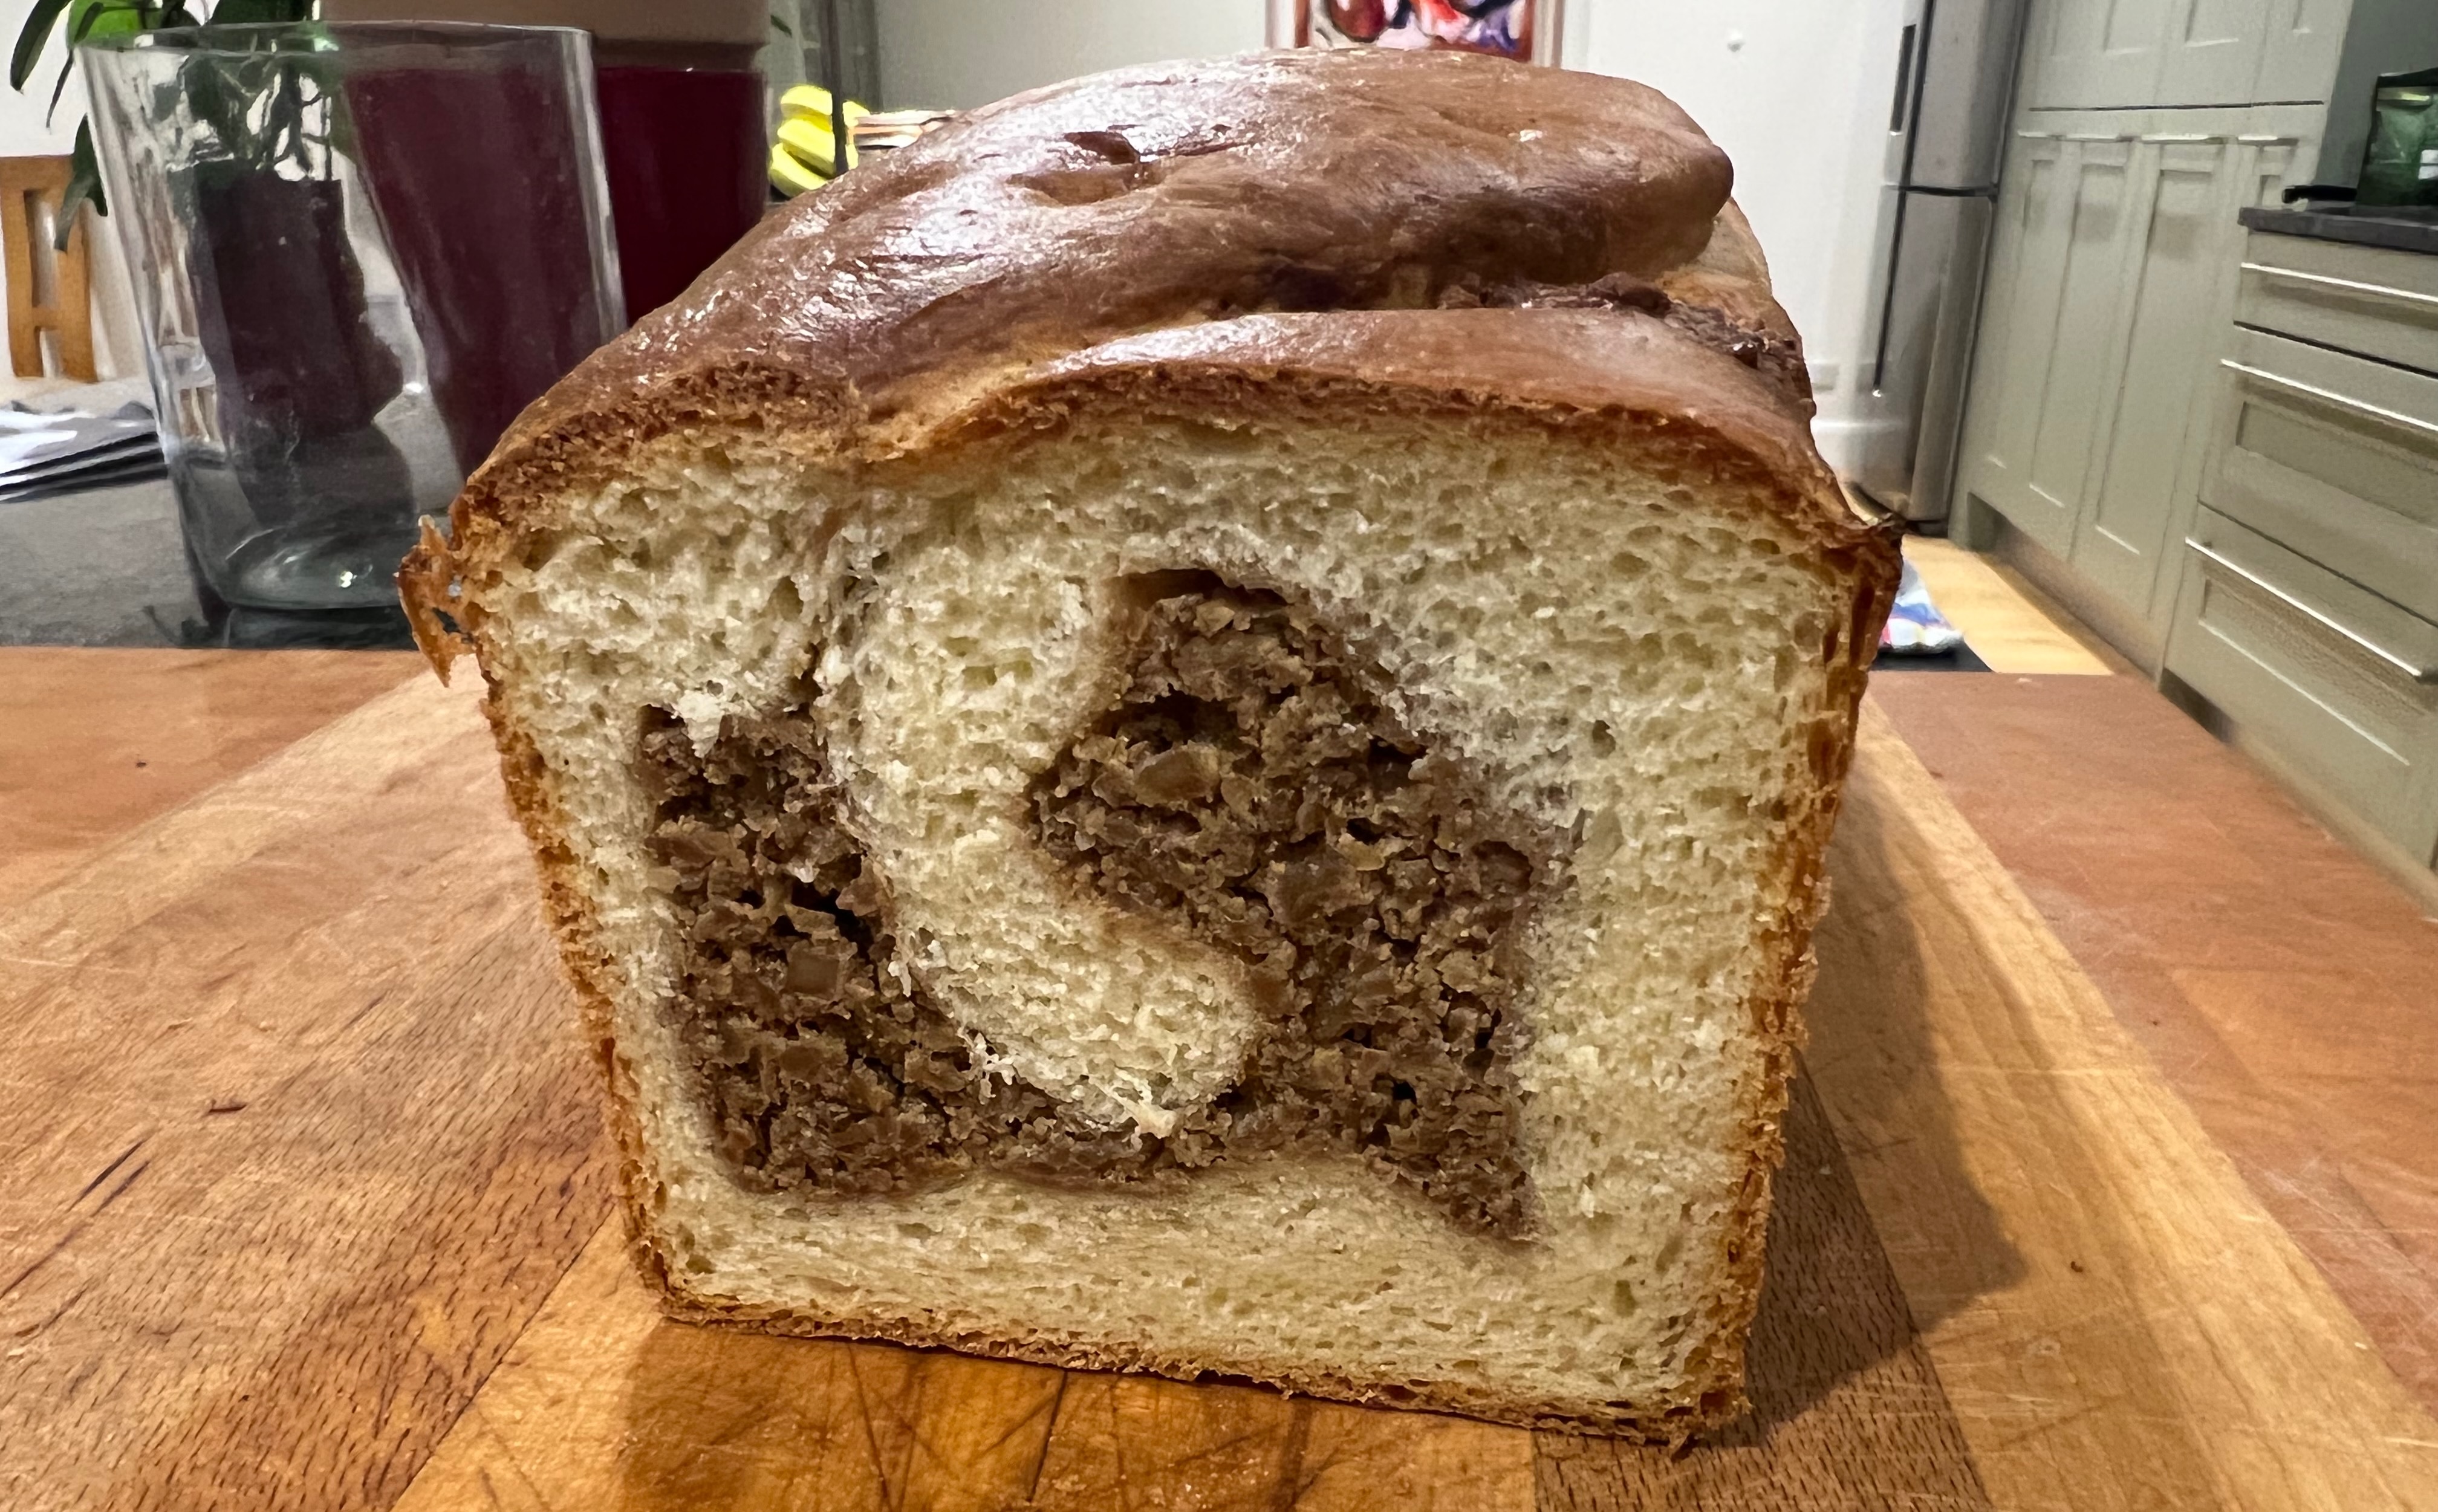
Think of it as the child of a love triangle of brioche, cinnamon bun and baklava, only with a lot less sugar. For Slovenian celebrations – Easter, Christmas, weddings, whatever – the Potica (the “c” is pronounced “ts”) is a favourite baked item. (I’m not really sure whether to call it a bread or a cake). There is even a special mould for it called a Potičnik, which is a relative of the bundt tin more commonly found in the UK or US, but with a different pattern around the top. However, if you don’t own a bundt tin, you can make a perfectly good Potica in a normal loaf tin, as I’ve done here: it just won’t be quite as striking.
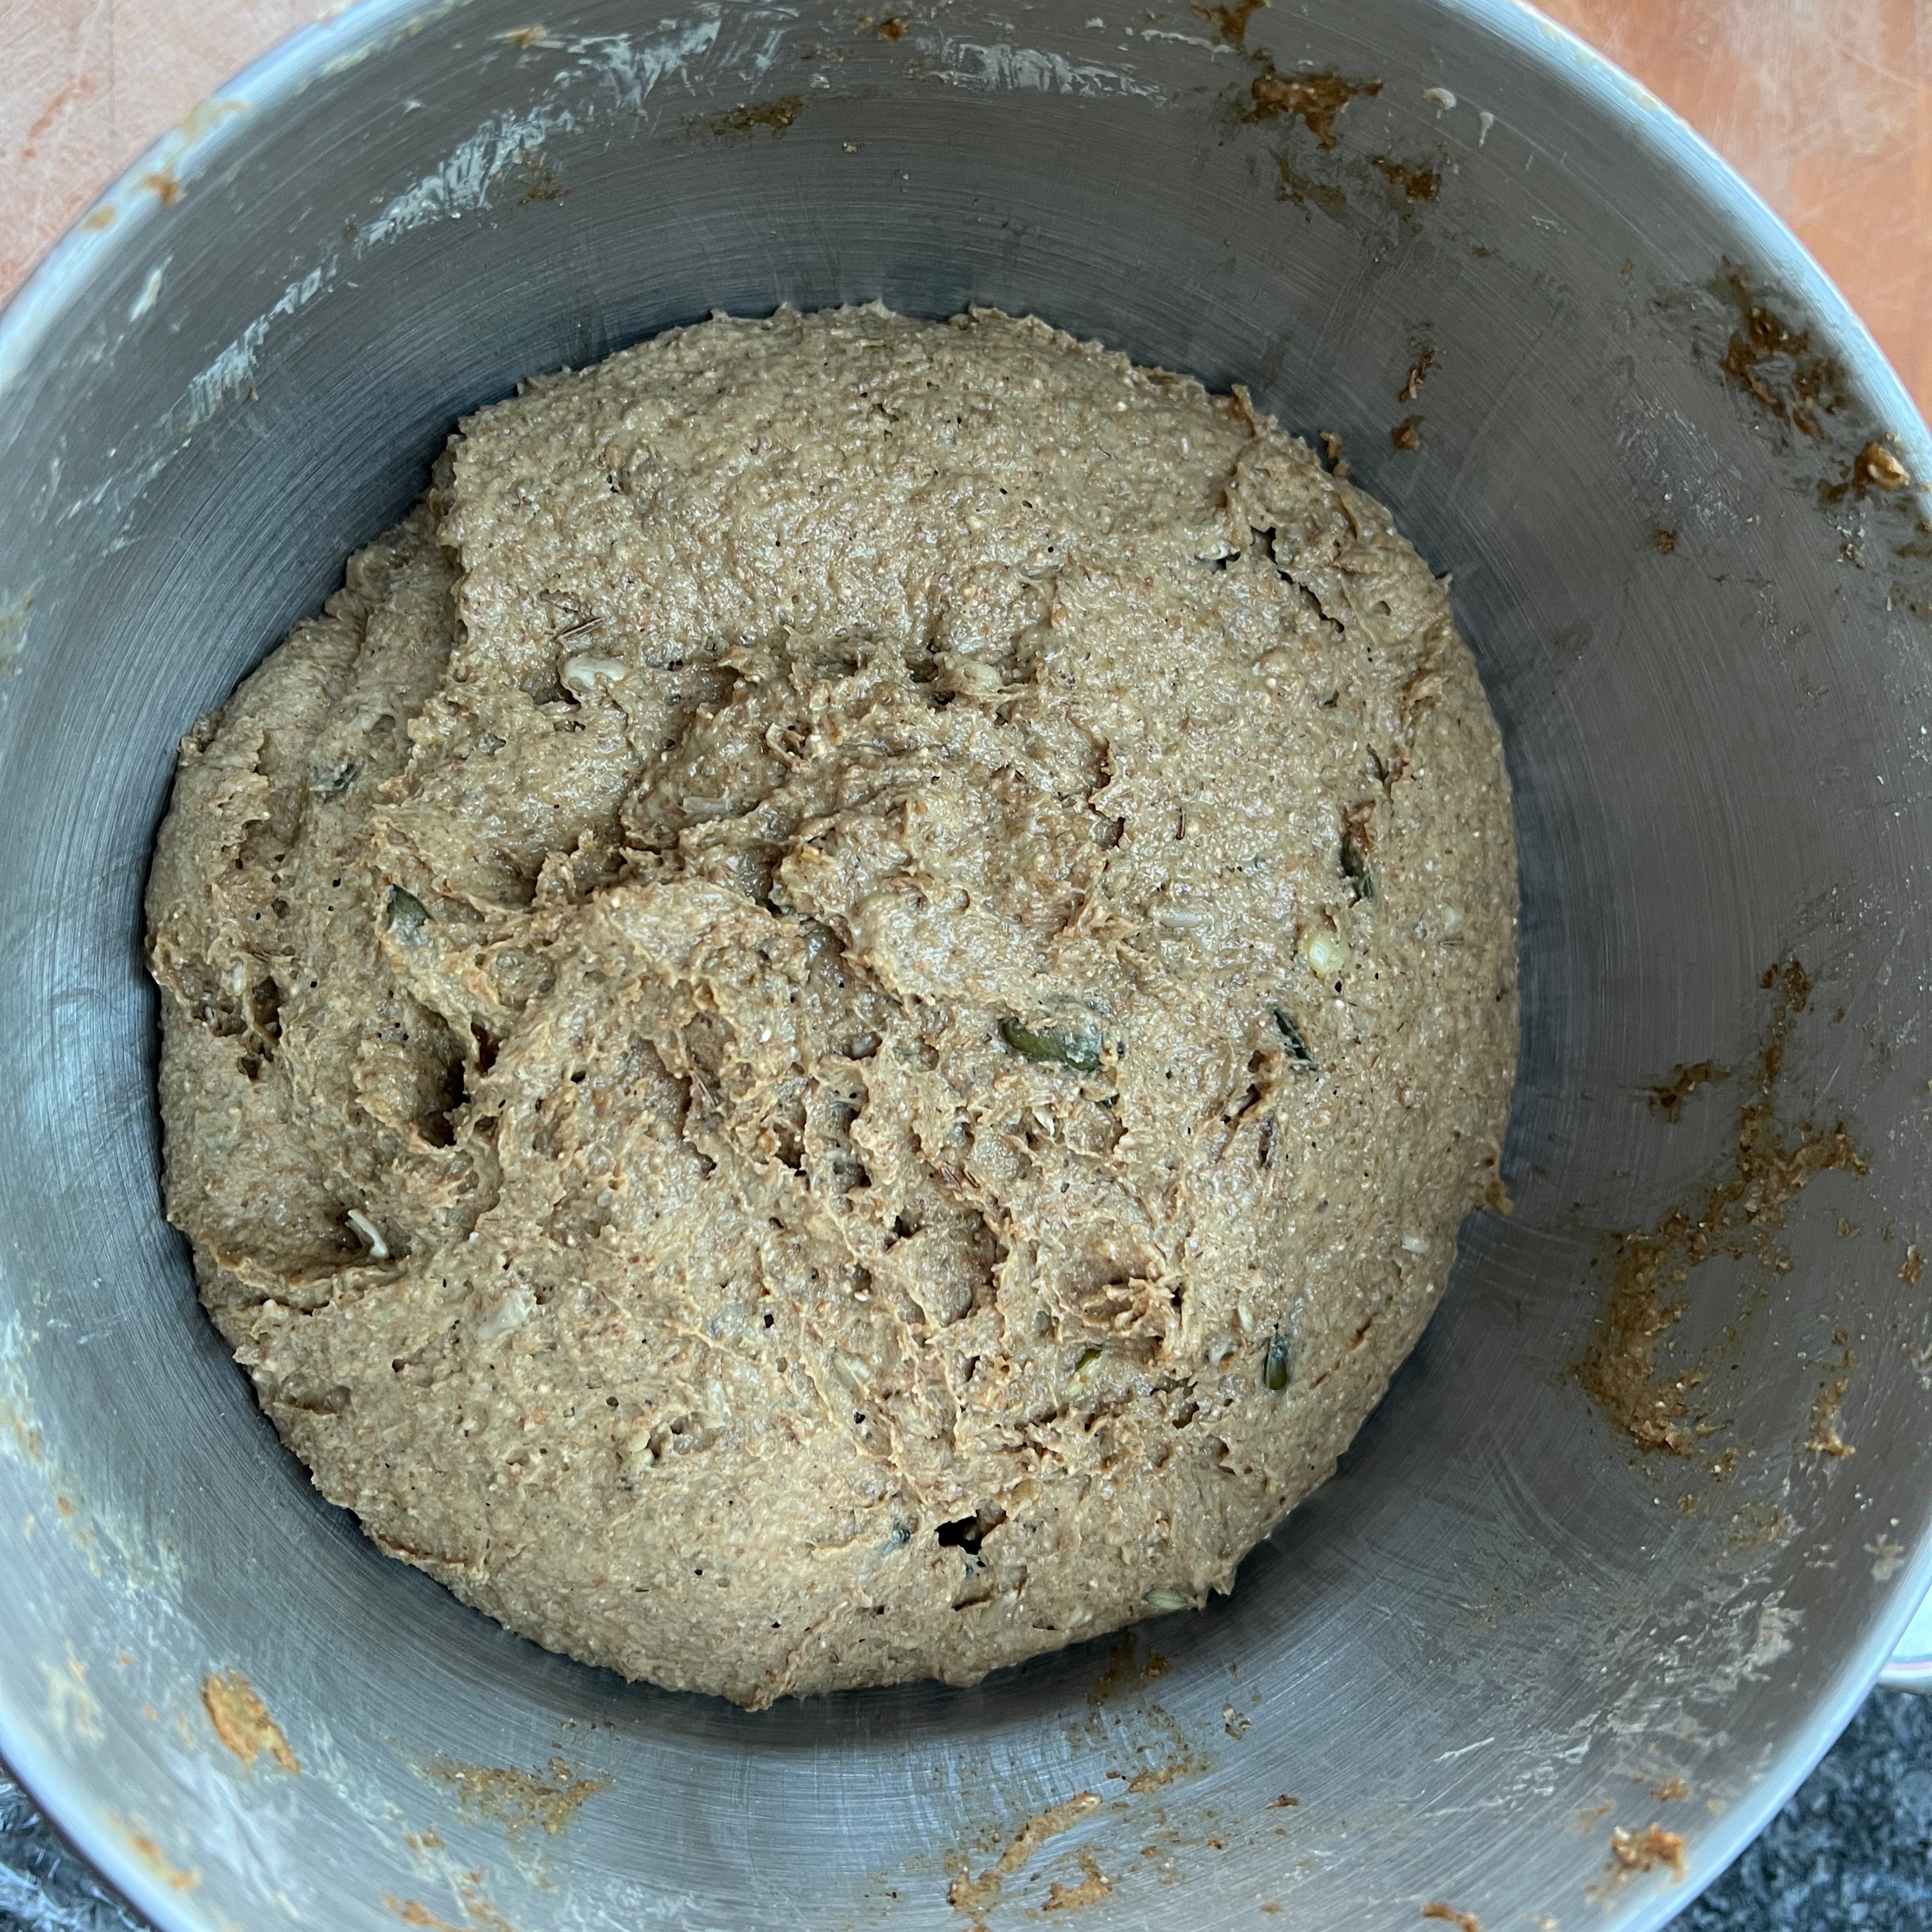
The critical part here is to make a beautifully stretchy dough enriched with eggs, butter and some sugar, although really a lot less than you might expect from similar breads around the world. I’ve started with this recipe from Jernej Kitchen and I’m really impressed: it’s resulted in a truly lovely dough: smooth, elastic, non-greasy and deeply satisfying to work with.
Next, it’s the filling. Staying with Jernej, I’ve gone for walnuts and honey, which is probably the most popular version of Potica: apparently, you can choose any of the usual things that Eastern Europeans like in pastries: poppyseeds are a favourite of mine.
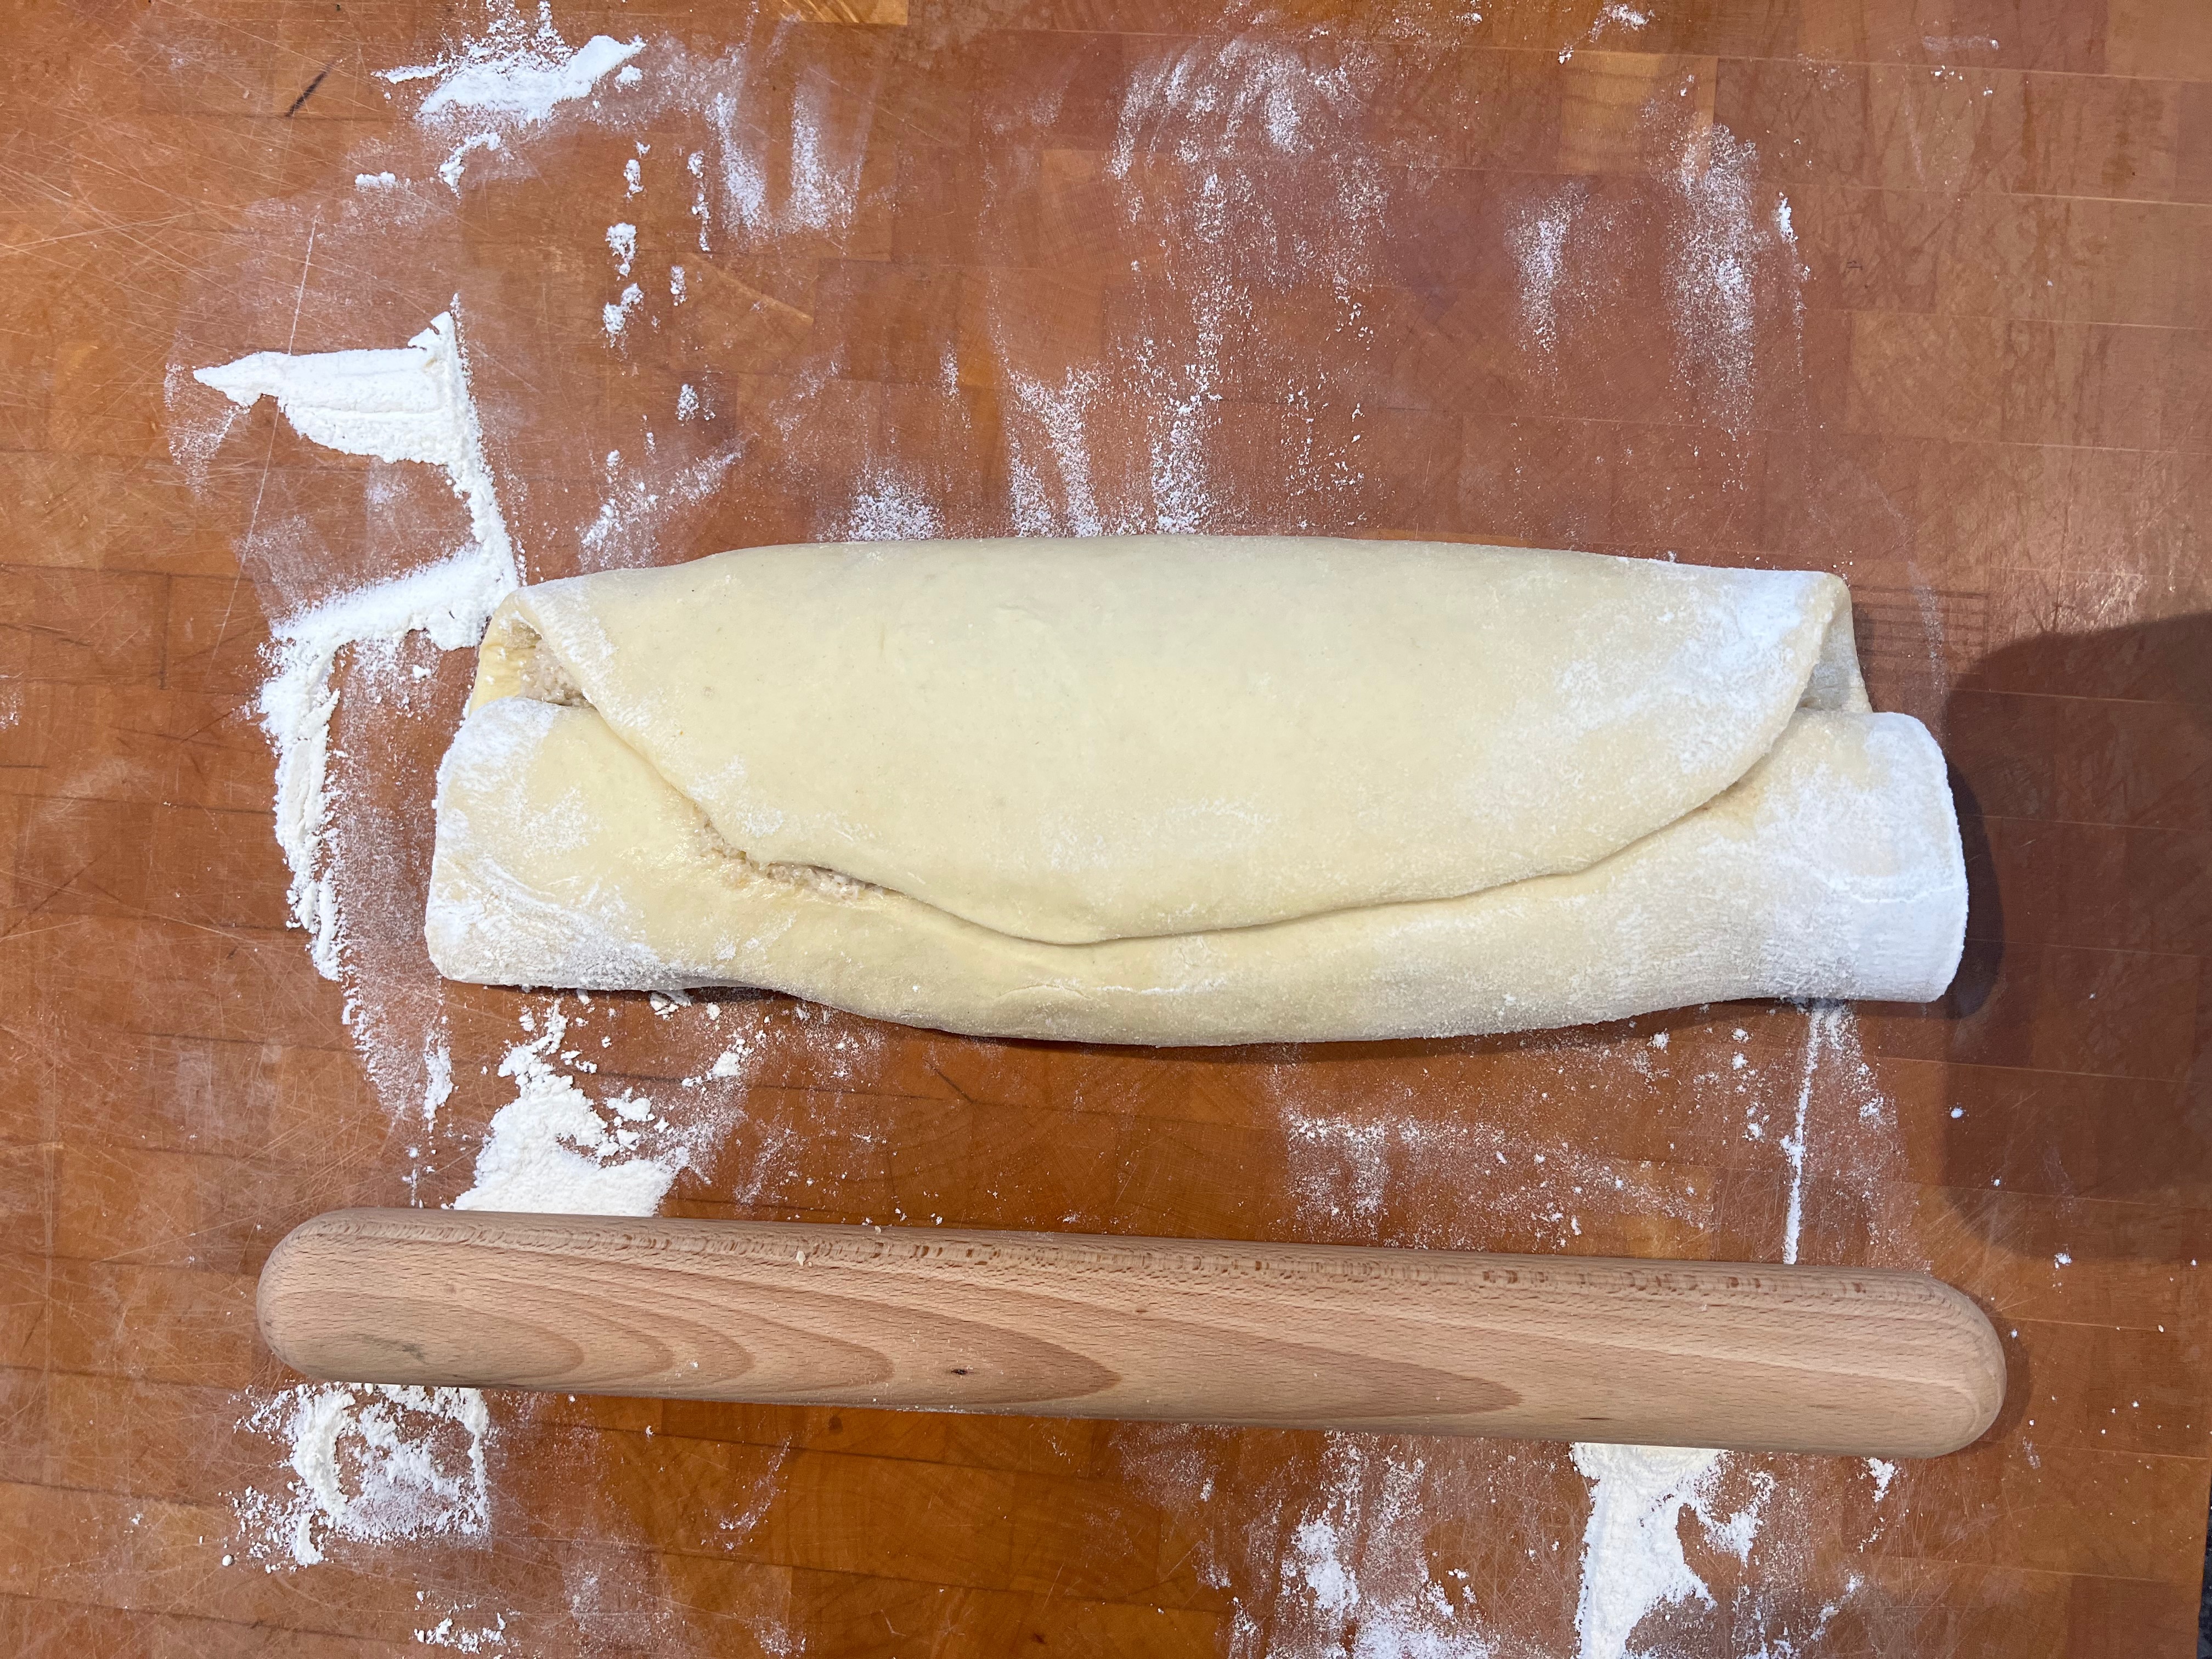
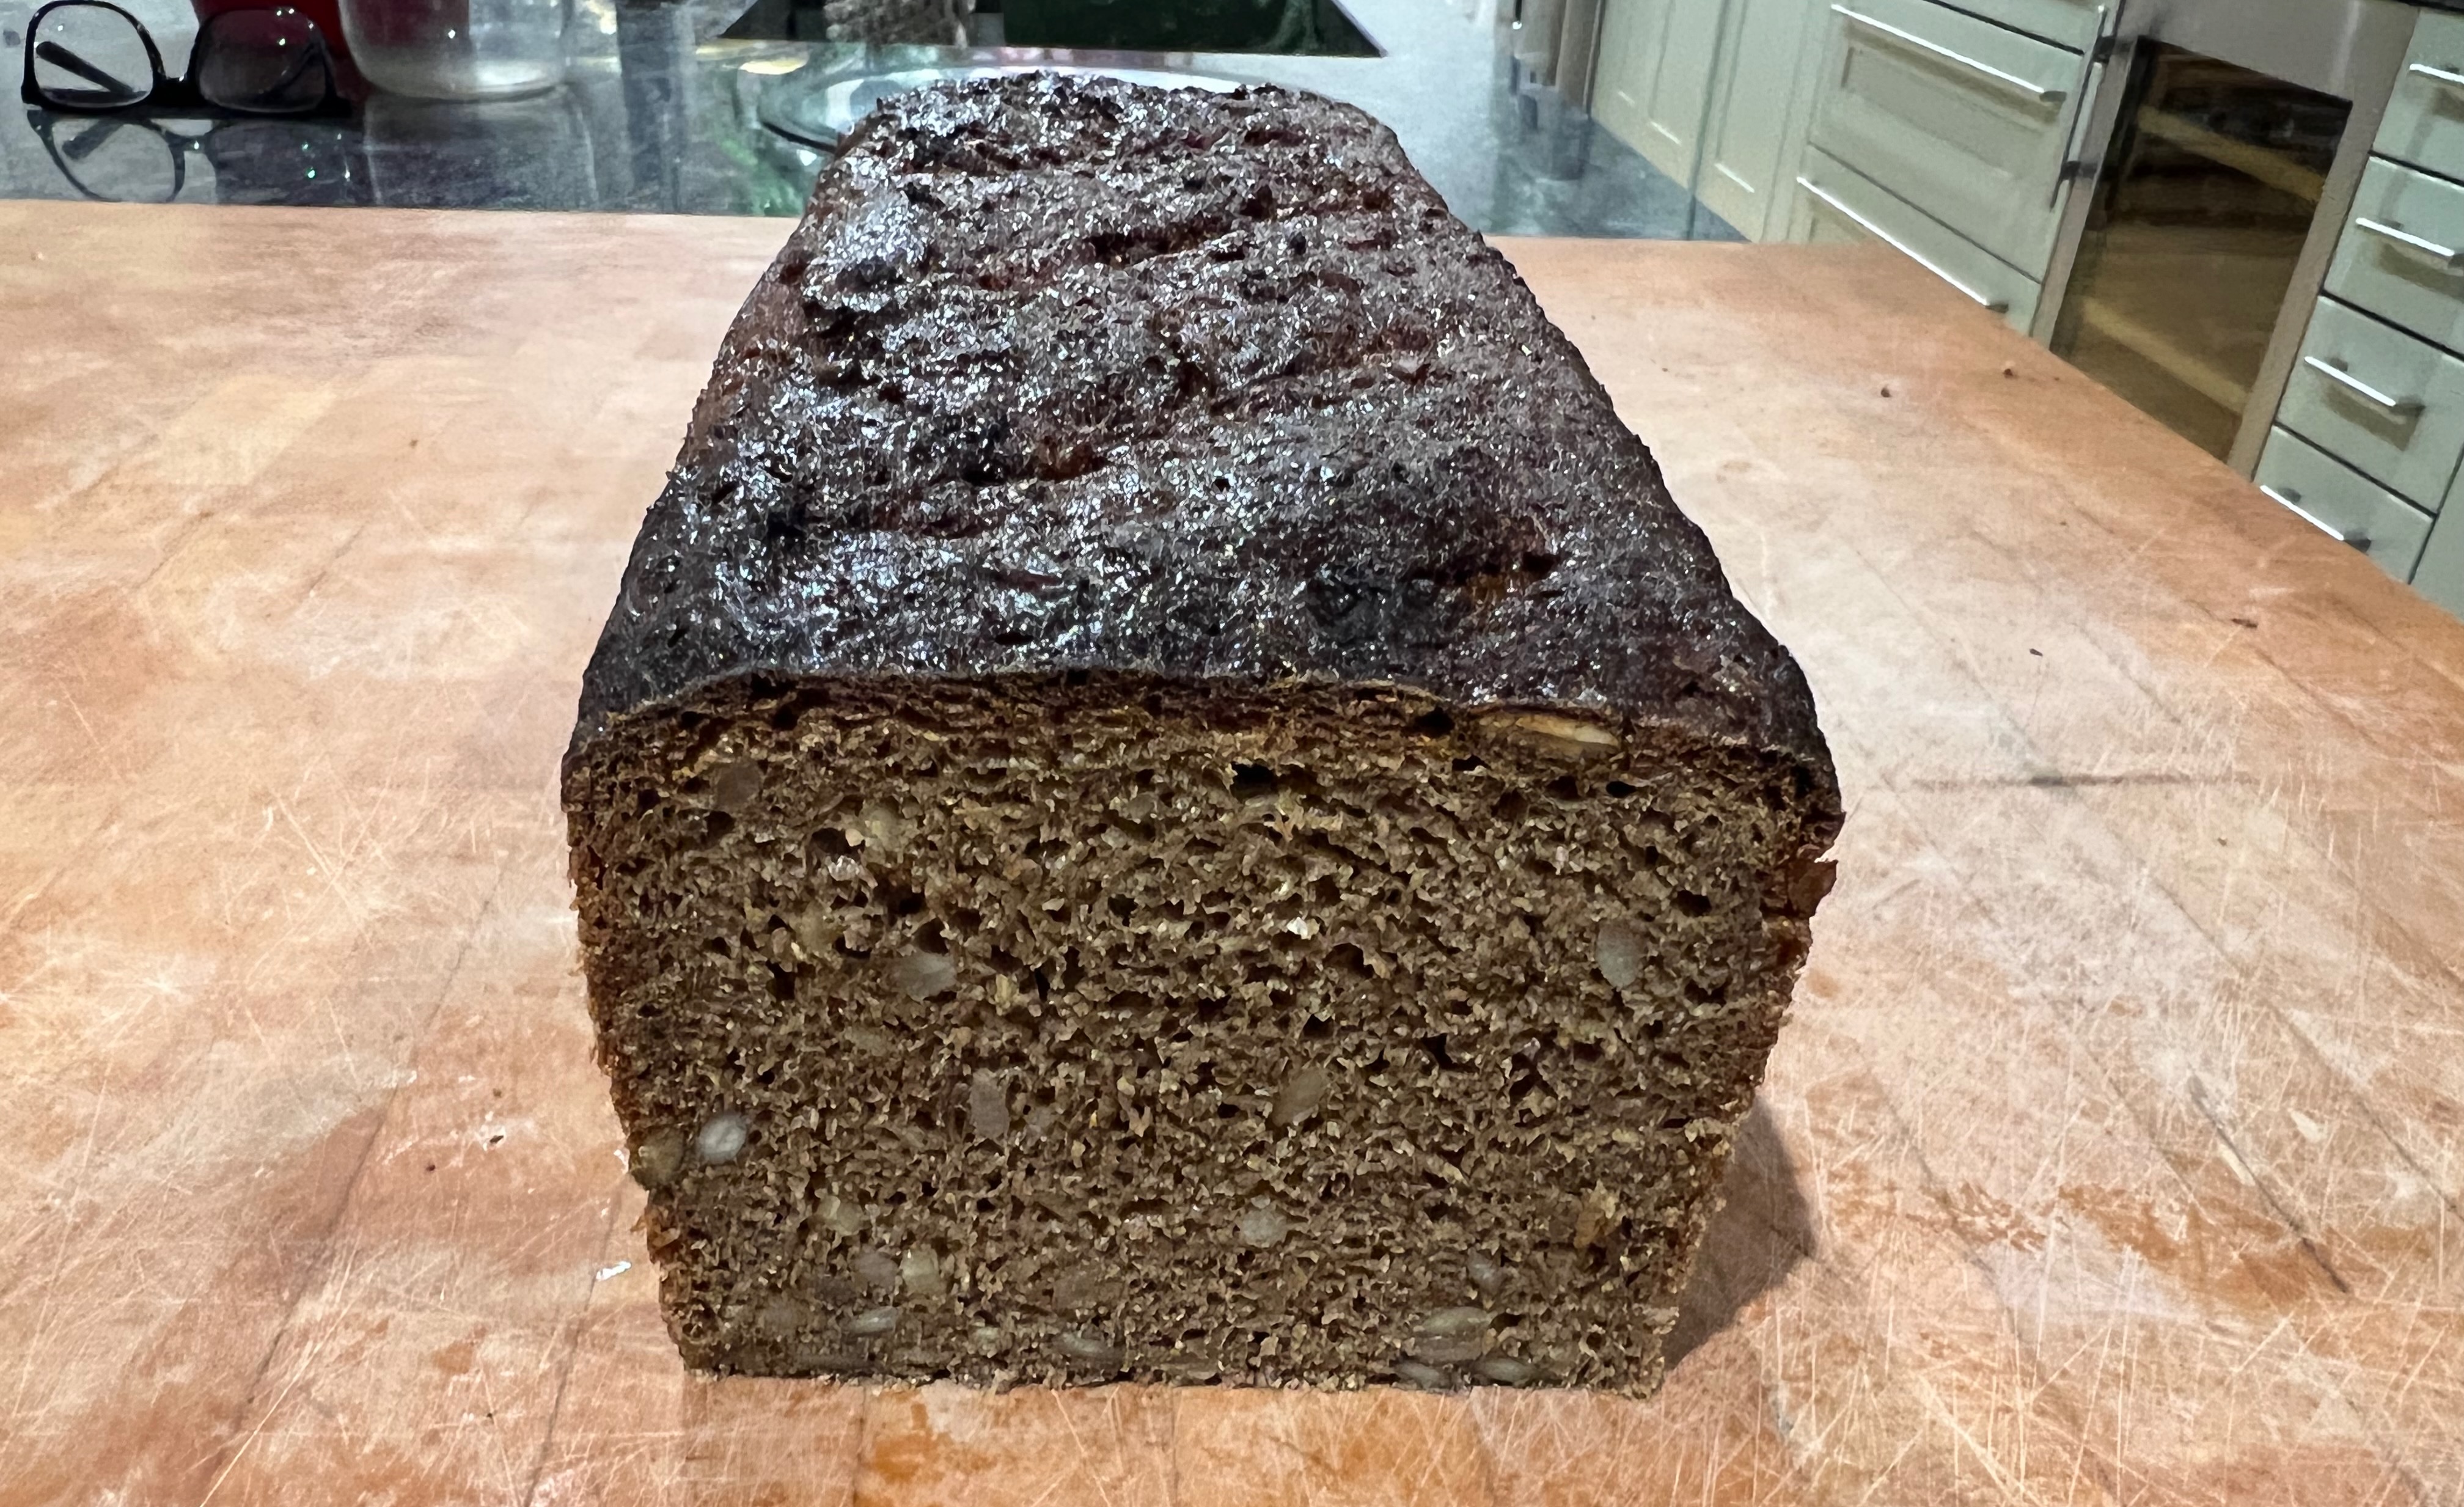
Finally, rolling and baking. Let’s be honest here: looking at the photos, it’s obvious that there aren’t nearly enough turns on my spiral of dough and filling. Partly, that’s the fault of the recipe suggesting that I roll it to 40cm long – I think doubling that would have been good – and partly, I wimped out of how thin the dough was. Next time, I’ll roll out the dough to as close as I can get to the full length of my board and then make strenous efforts to roll the whole thing as tightly as I can.
By the way, proving times are pretty flexible. Jernej gives a couple of options, both of which involve long proves in the fridge; I didn’t have time so I just proved at slightly above room temperature and watched carefully until the dough was risen how I wanted it, which I think worked fine.
The dough
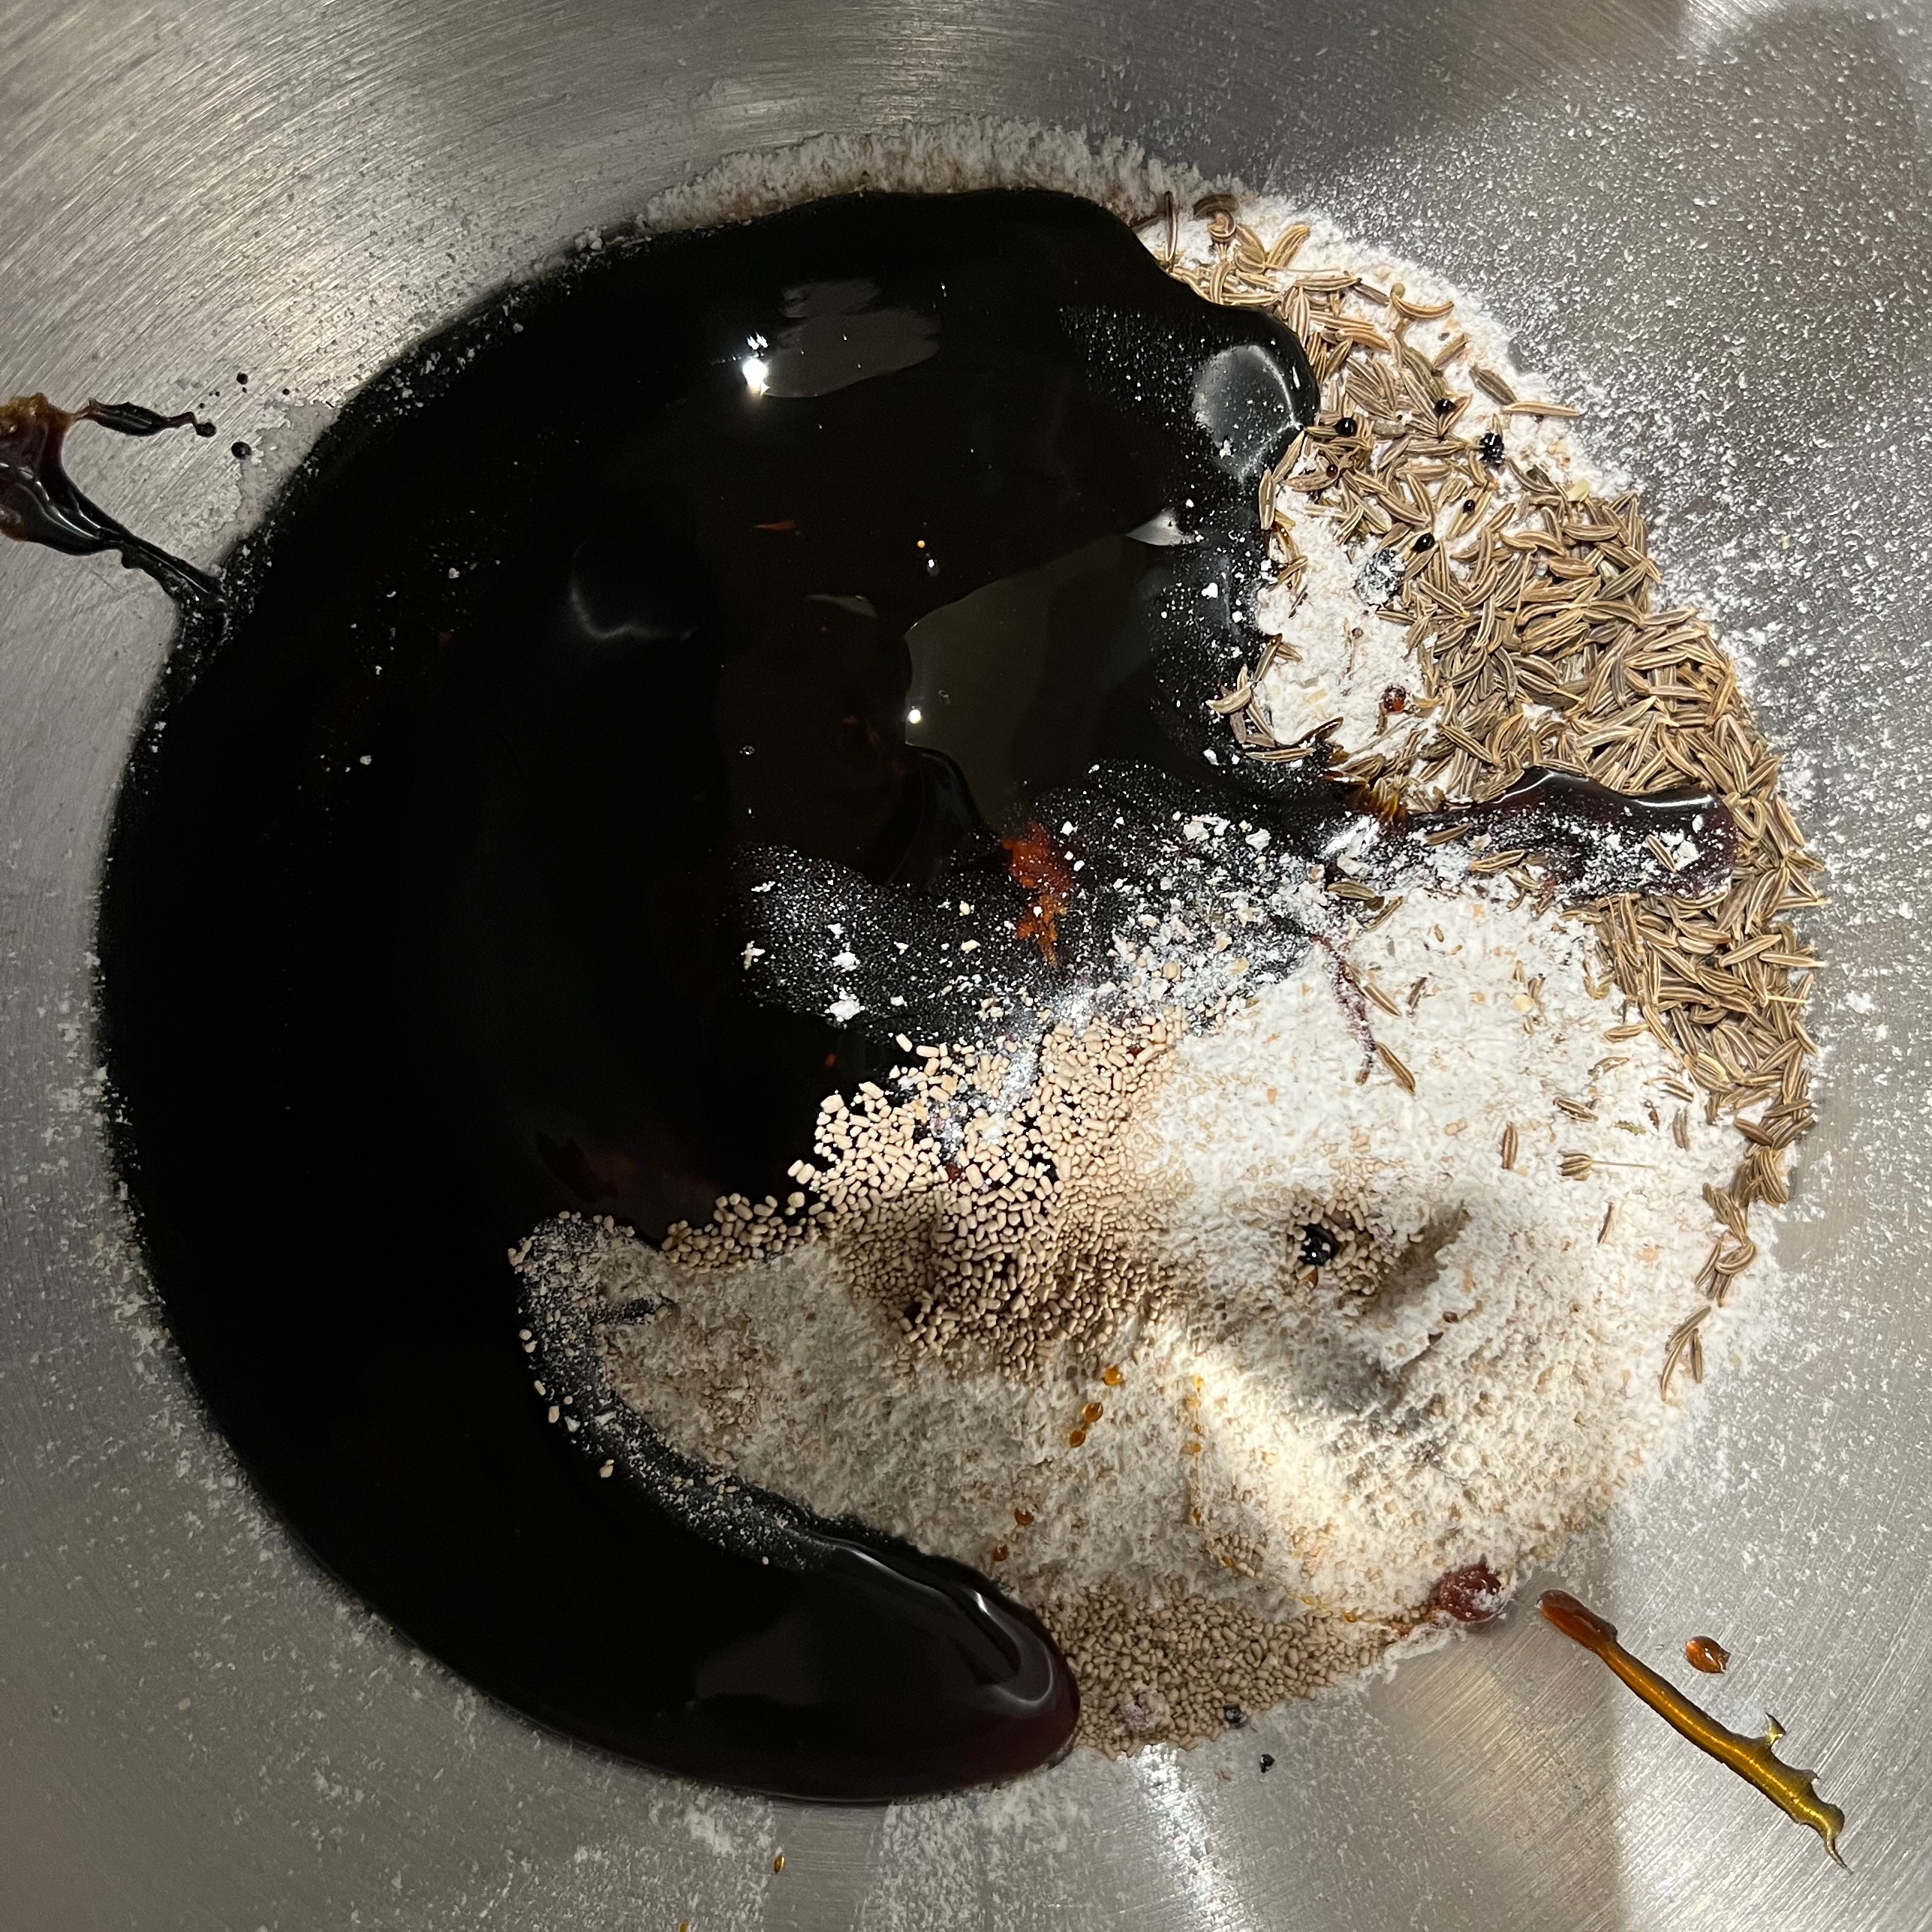
- 5g dried yeast
- 25g sugar
- 270ml milk
- 500g strong white bread flour
- 2 eggs
- 65 g butter
- 8g salt
- Put the milk into a bowl and warm until lukewarm (45s in my 900W microwave got the milk to 34℃).
- Put the yeast, sugar and milk into a bowl and leave until frothy (10 minutes or so)
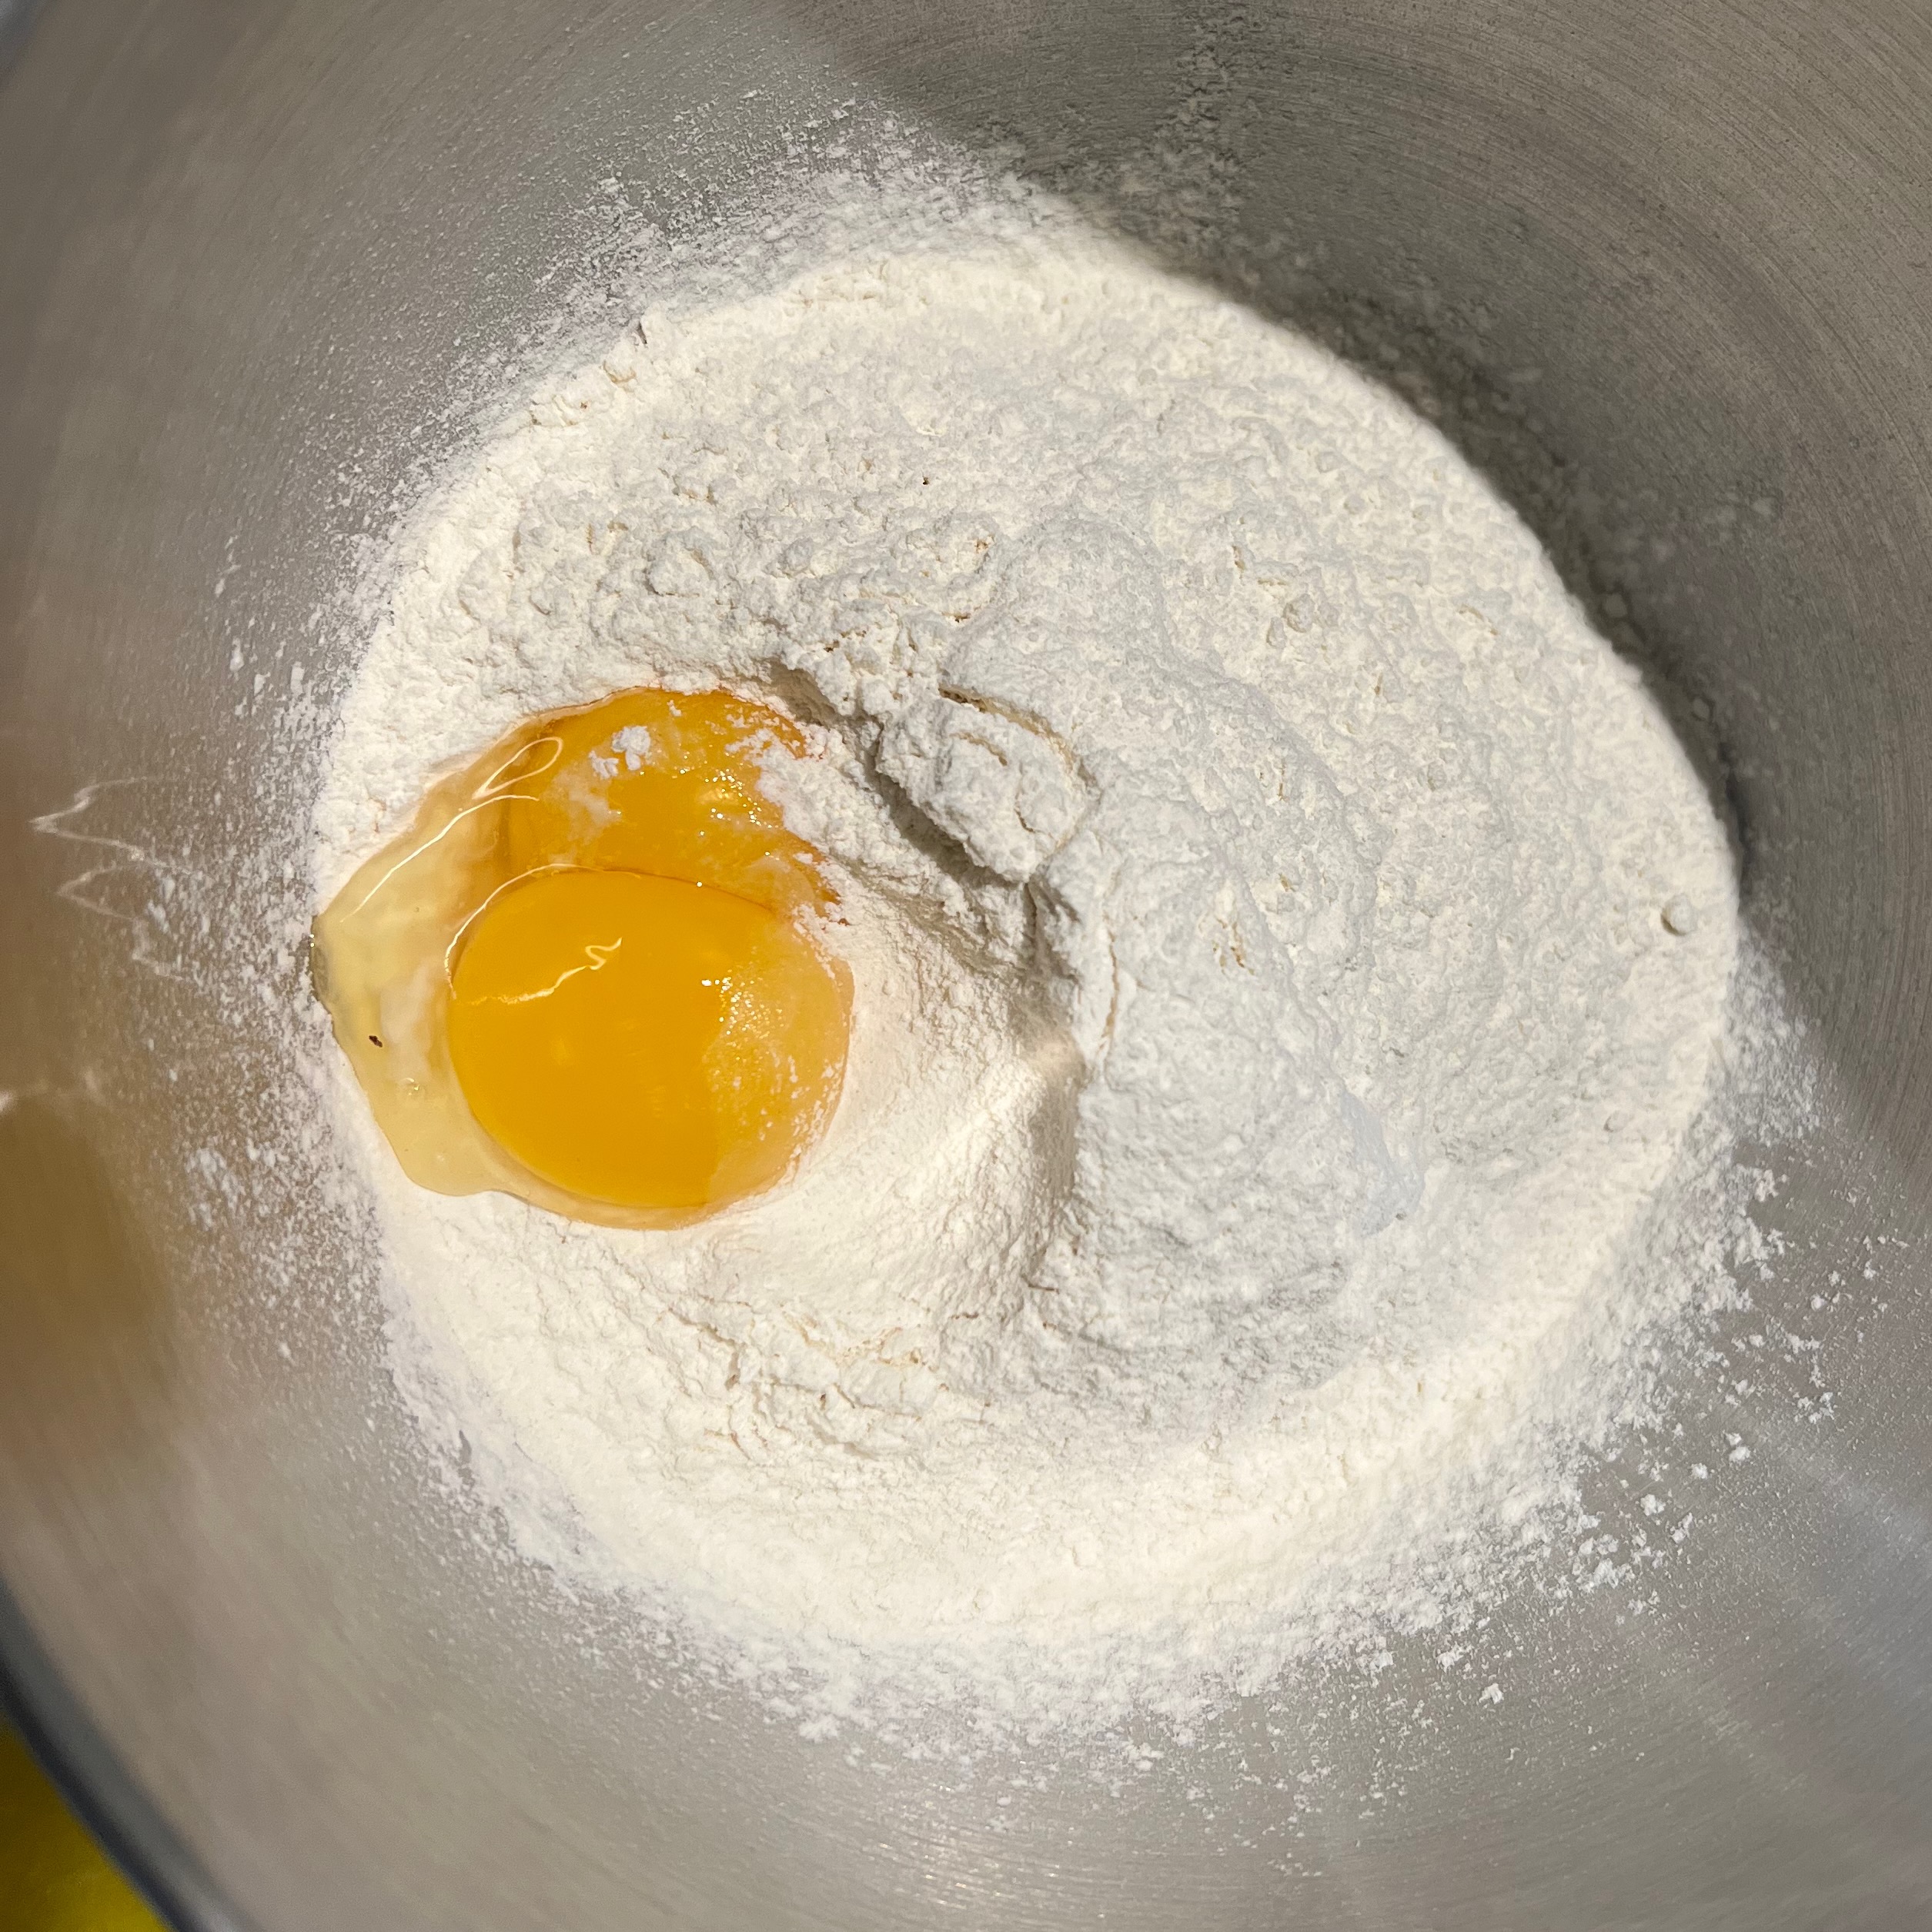
- Put the flour into the bowl of your stand mixer
- Separate the eggs: place the yolks in the bowl with the flour, setting aside the whites, which you’ll use for the filling.
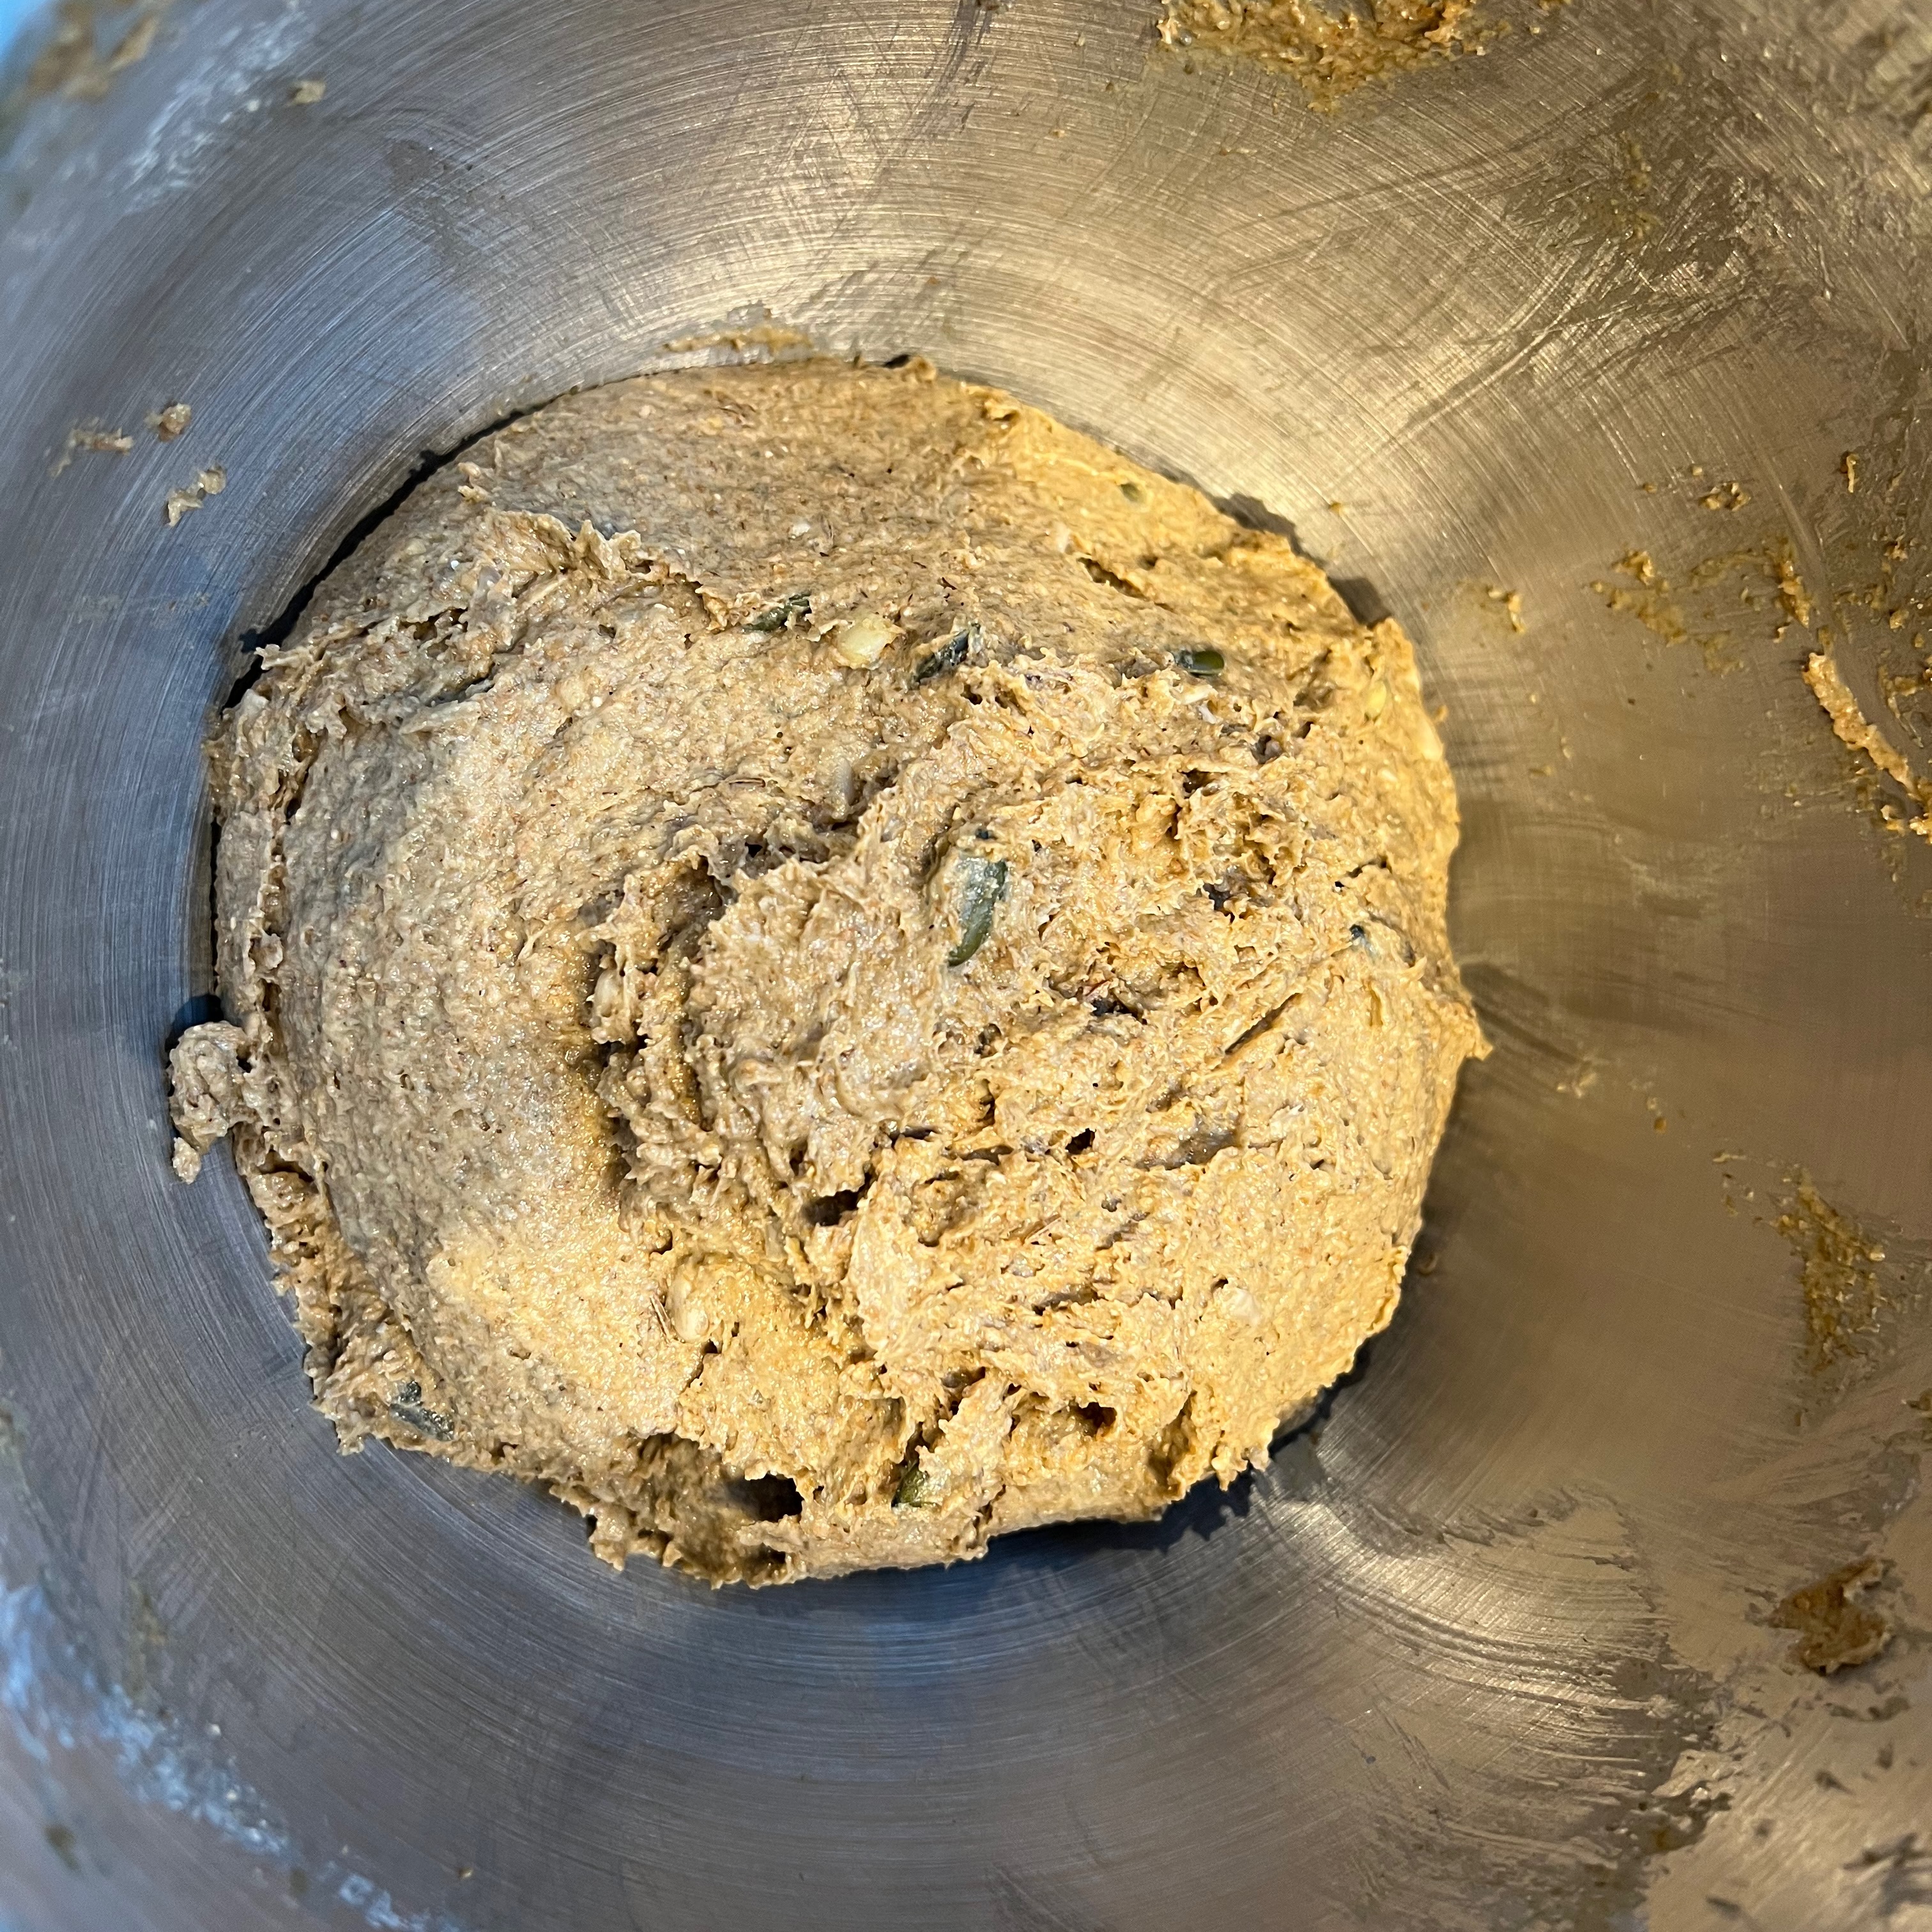
- Add the yeast mix to the bowl and mix with the standard paddle until well combined
- Melt the butter and add it to the bowl with the salt.
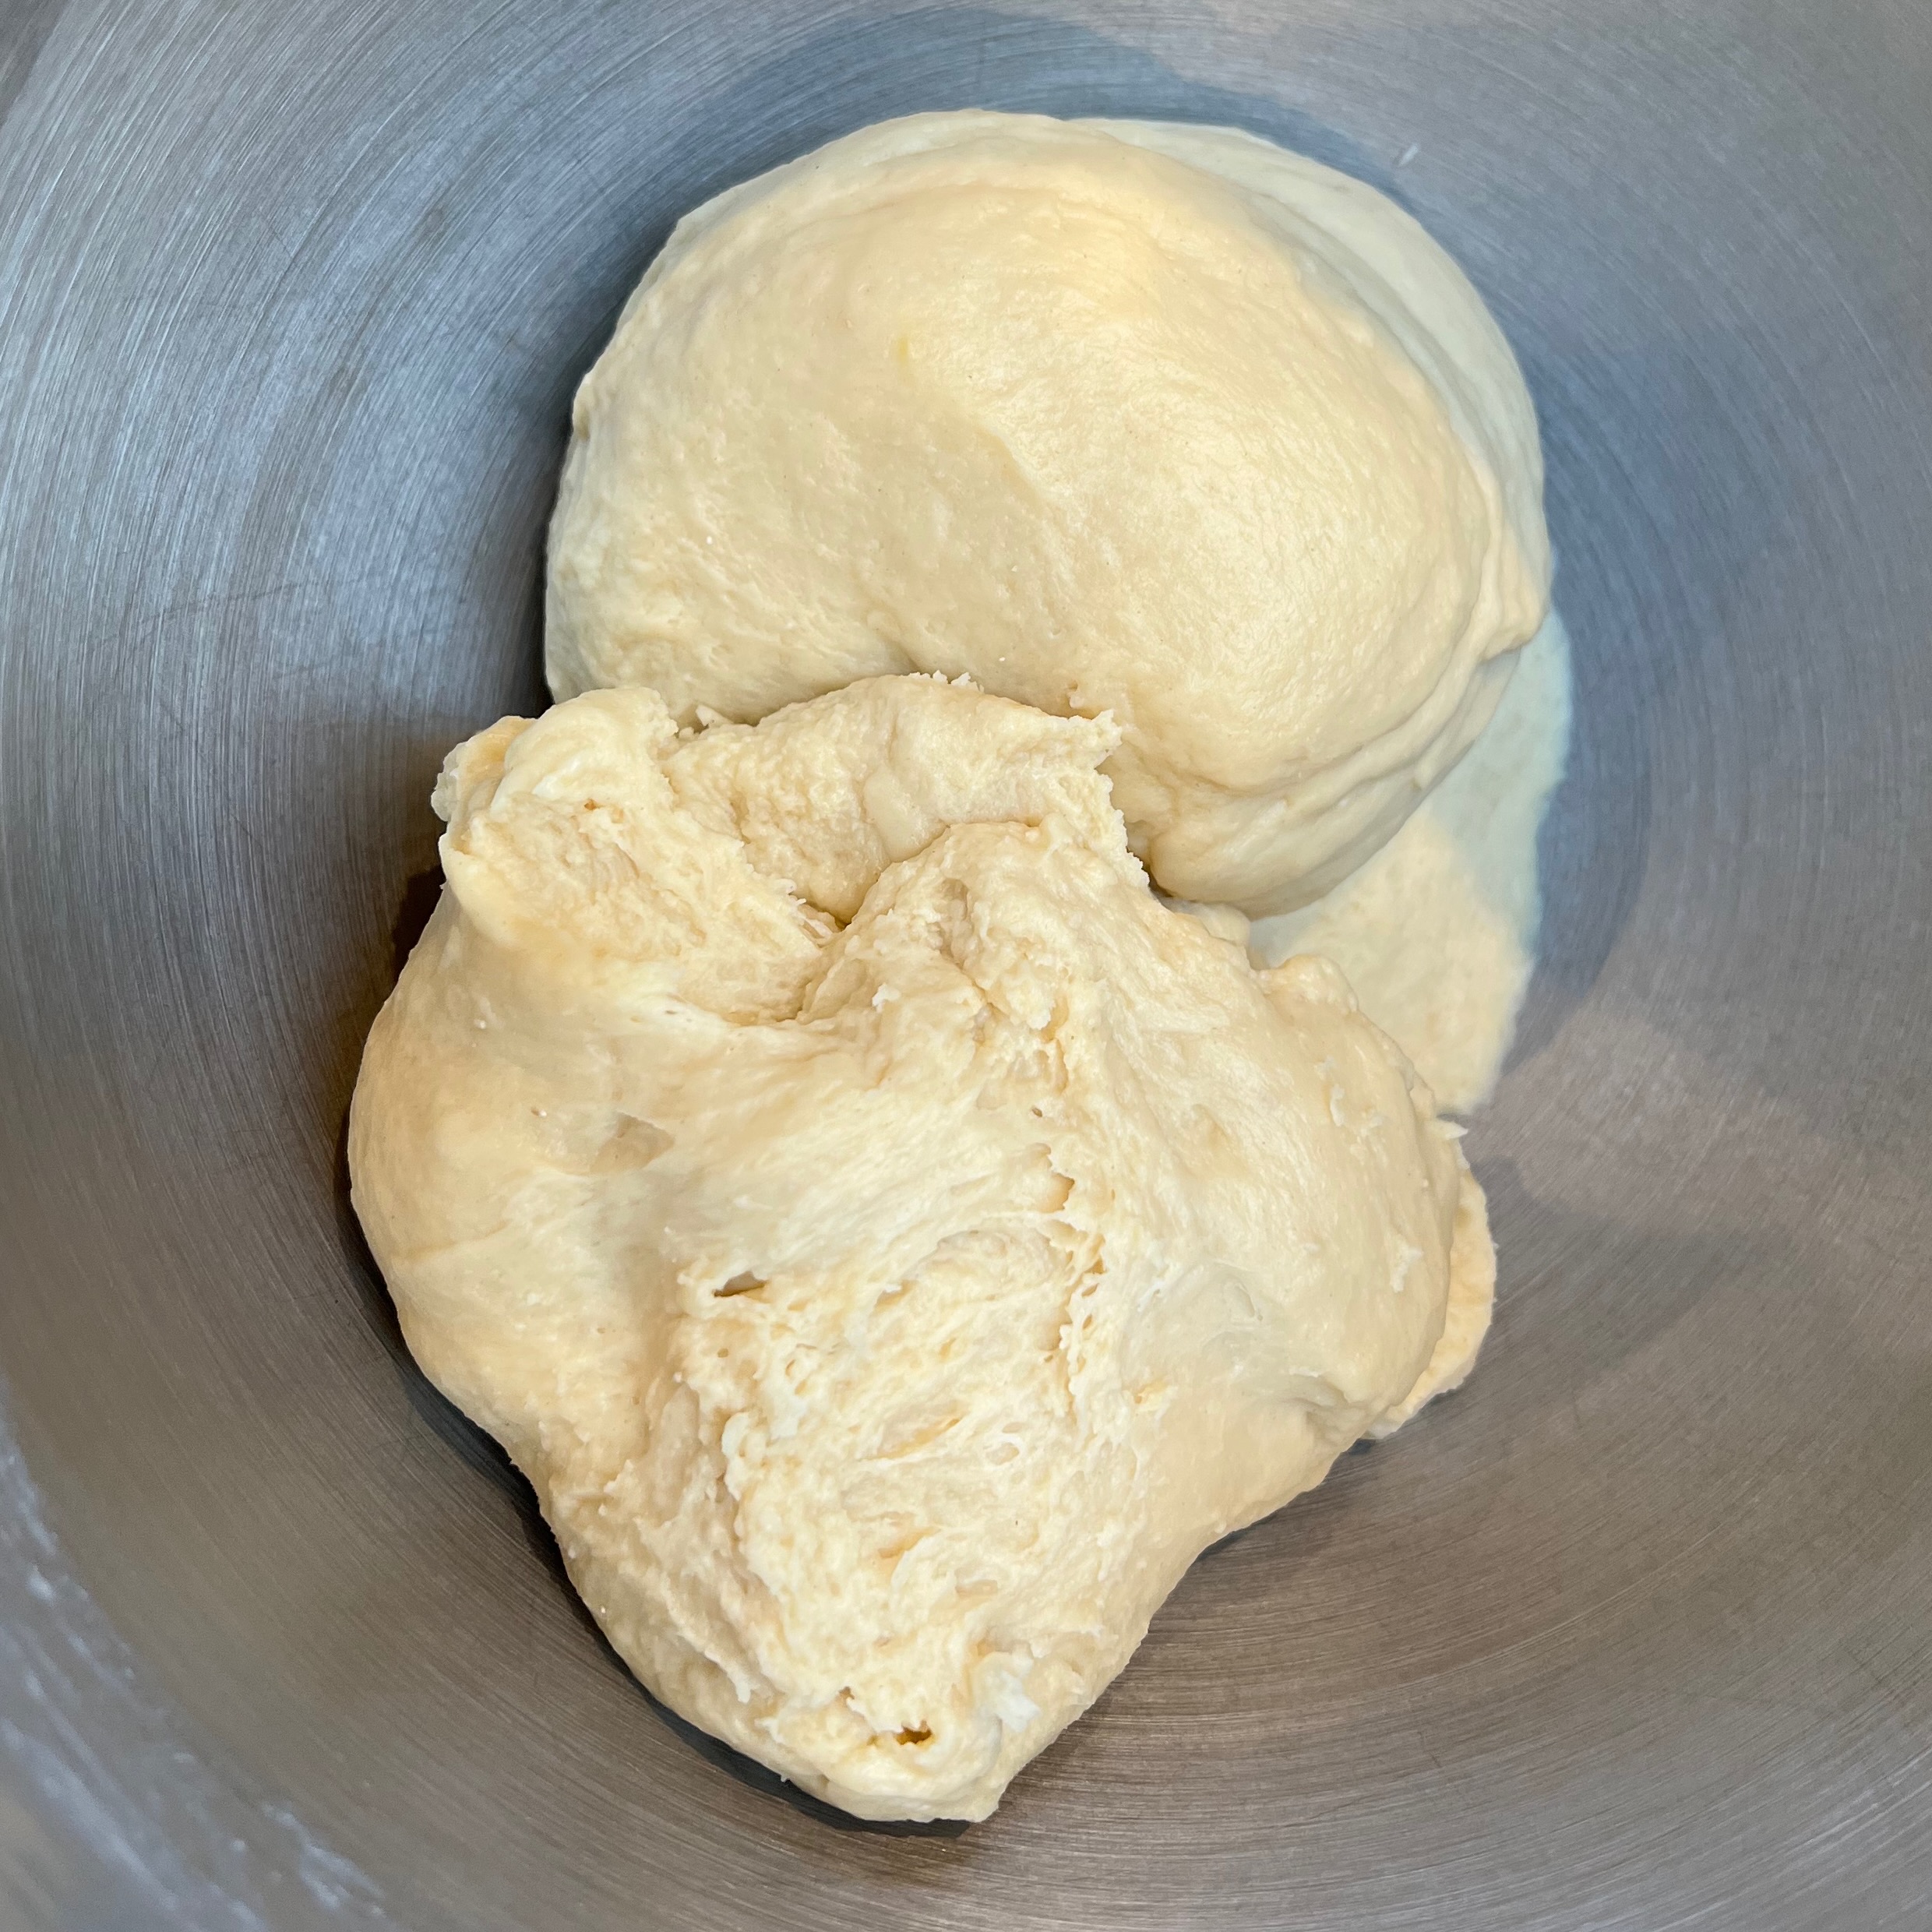
- Switch to the dough hook and knead at low speed until smooth and elastic – around 8-10 minutes.
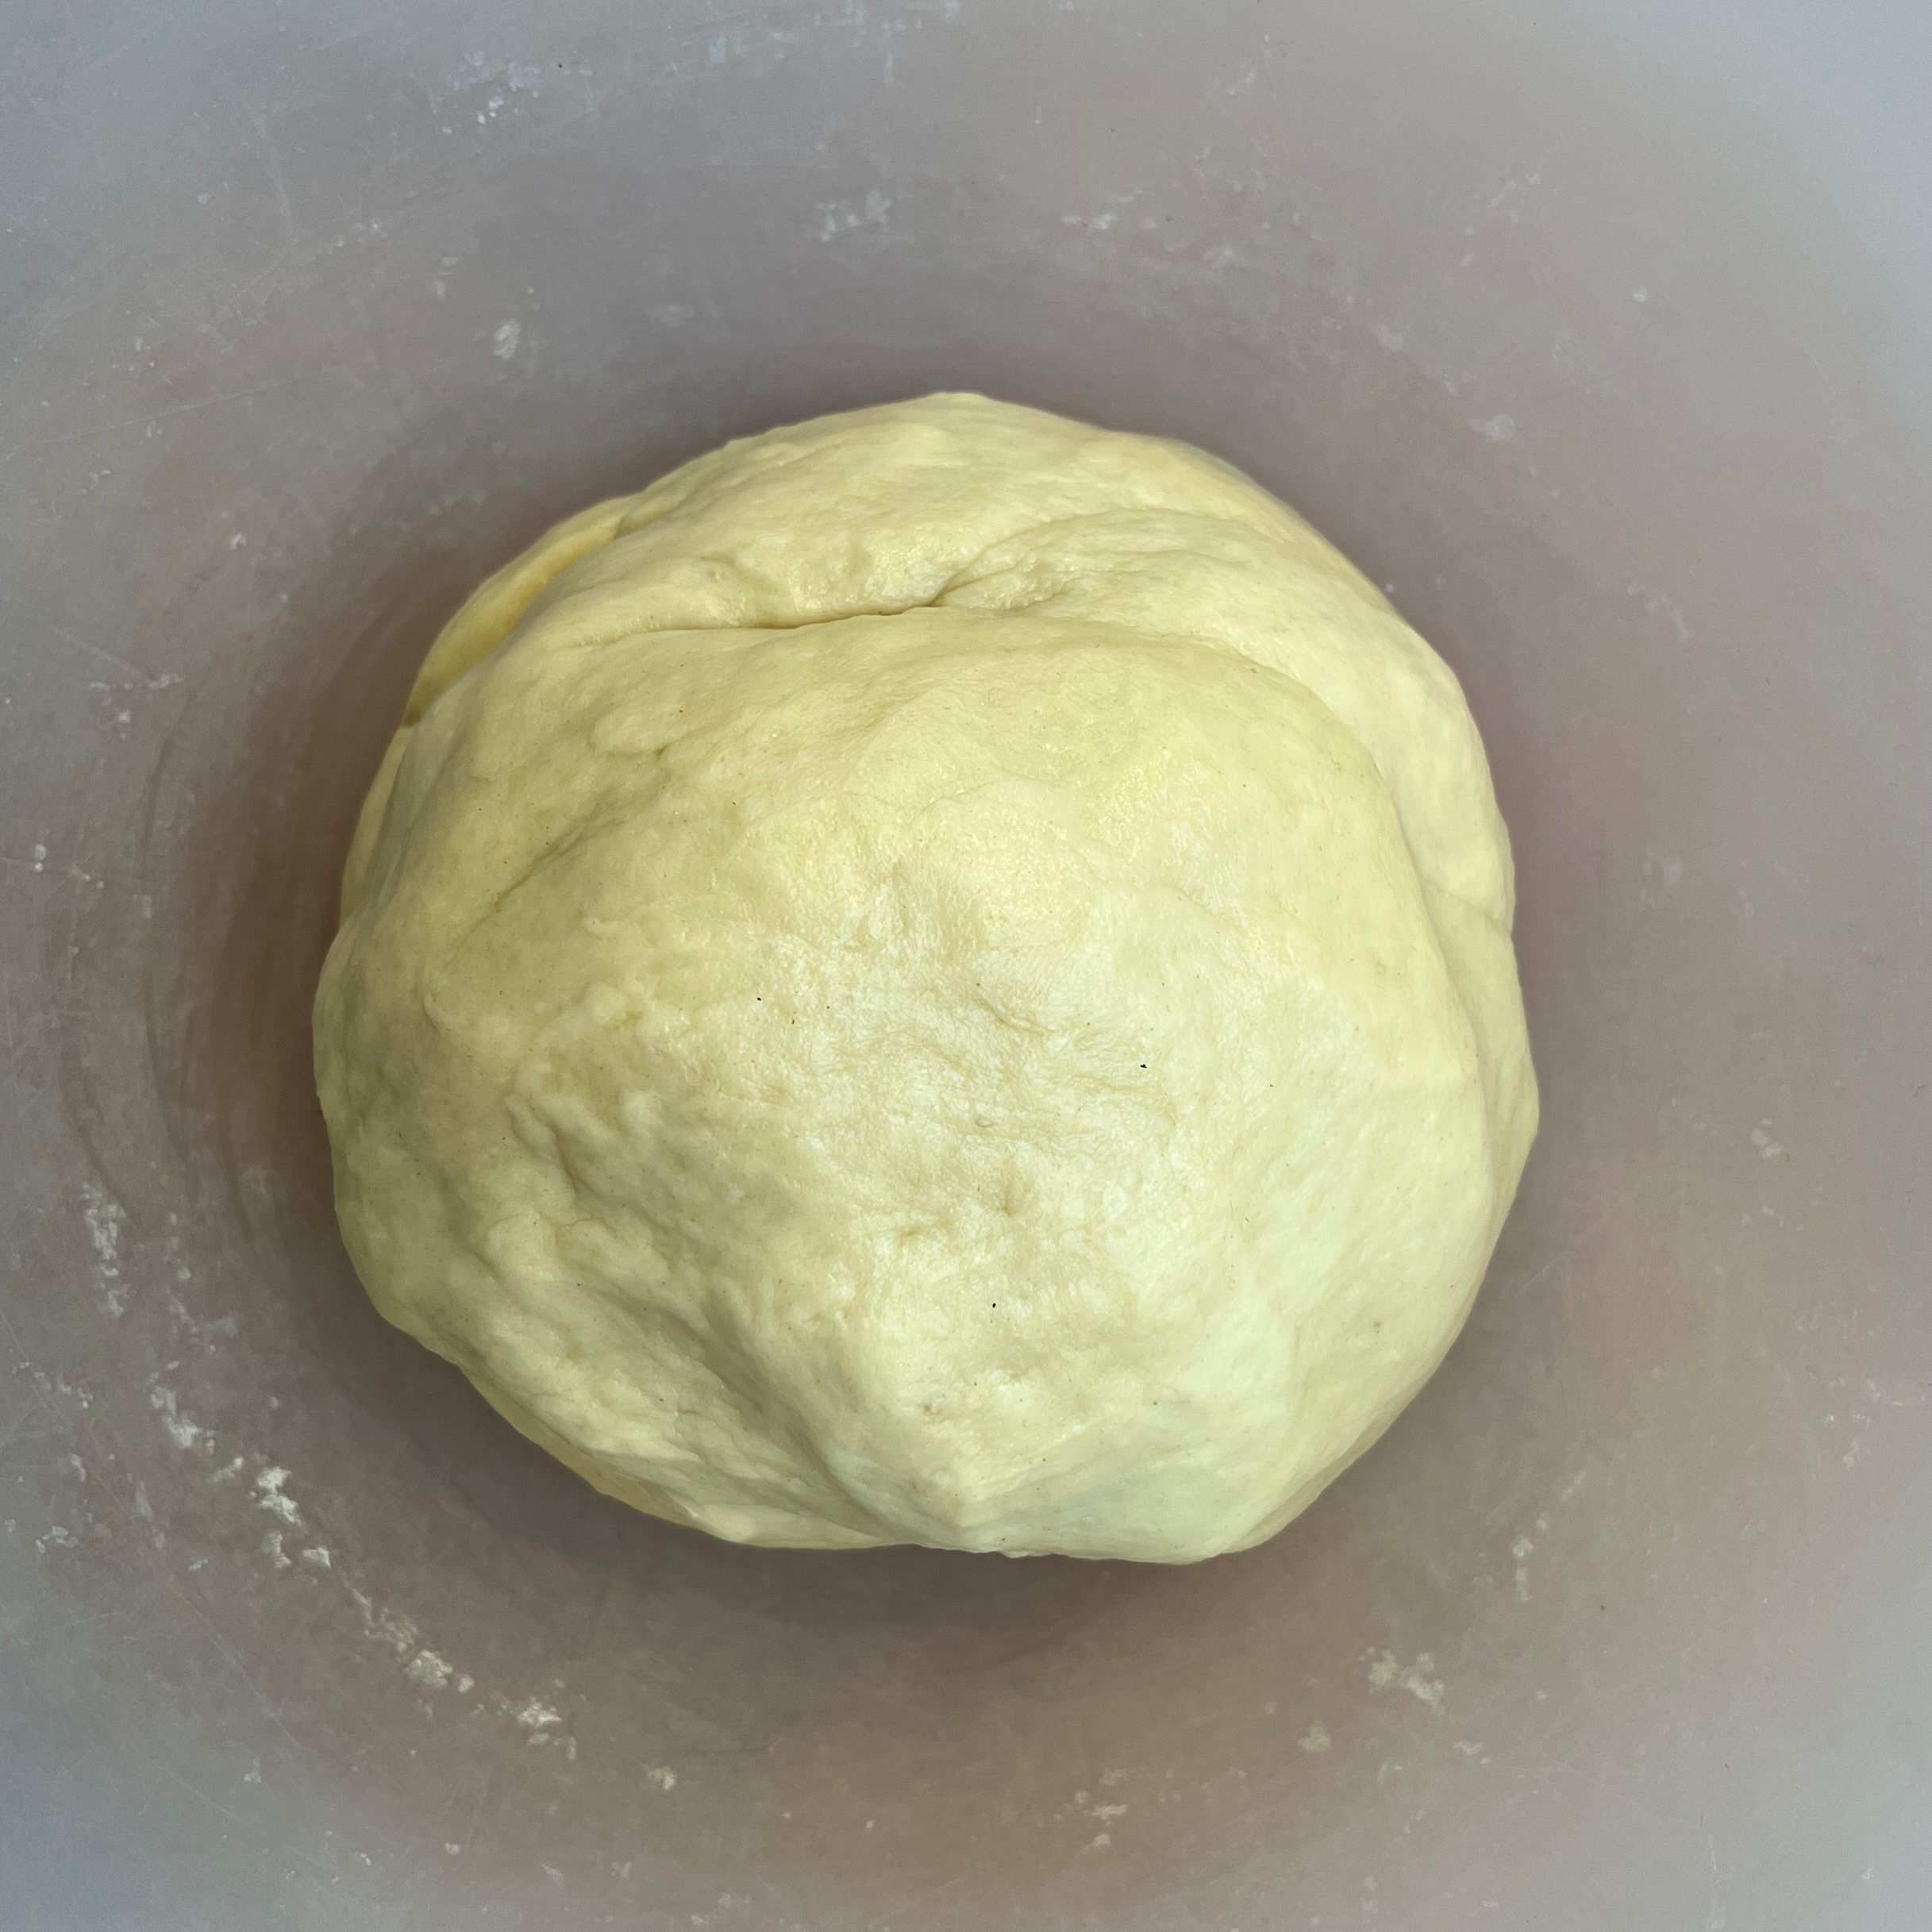
- Form the dough into a ball and place in a bowl and cover.
- Leave until risen to around doubled in size – around 1-2 hours depending on the temperature of your kitchen.
The filling
- 300g walnuts
- 60g honey
- 30g granulated sugar (or caster)
- 100g single cream (Jernej went for 75 g heavy cream – single was what I had)
- 20g butter
- 20ml rum
- ½ tsp ground cinnamon
- Zest of half a lemon
- 2 egg whites reserved from above
- 25g caster sugar
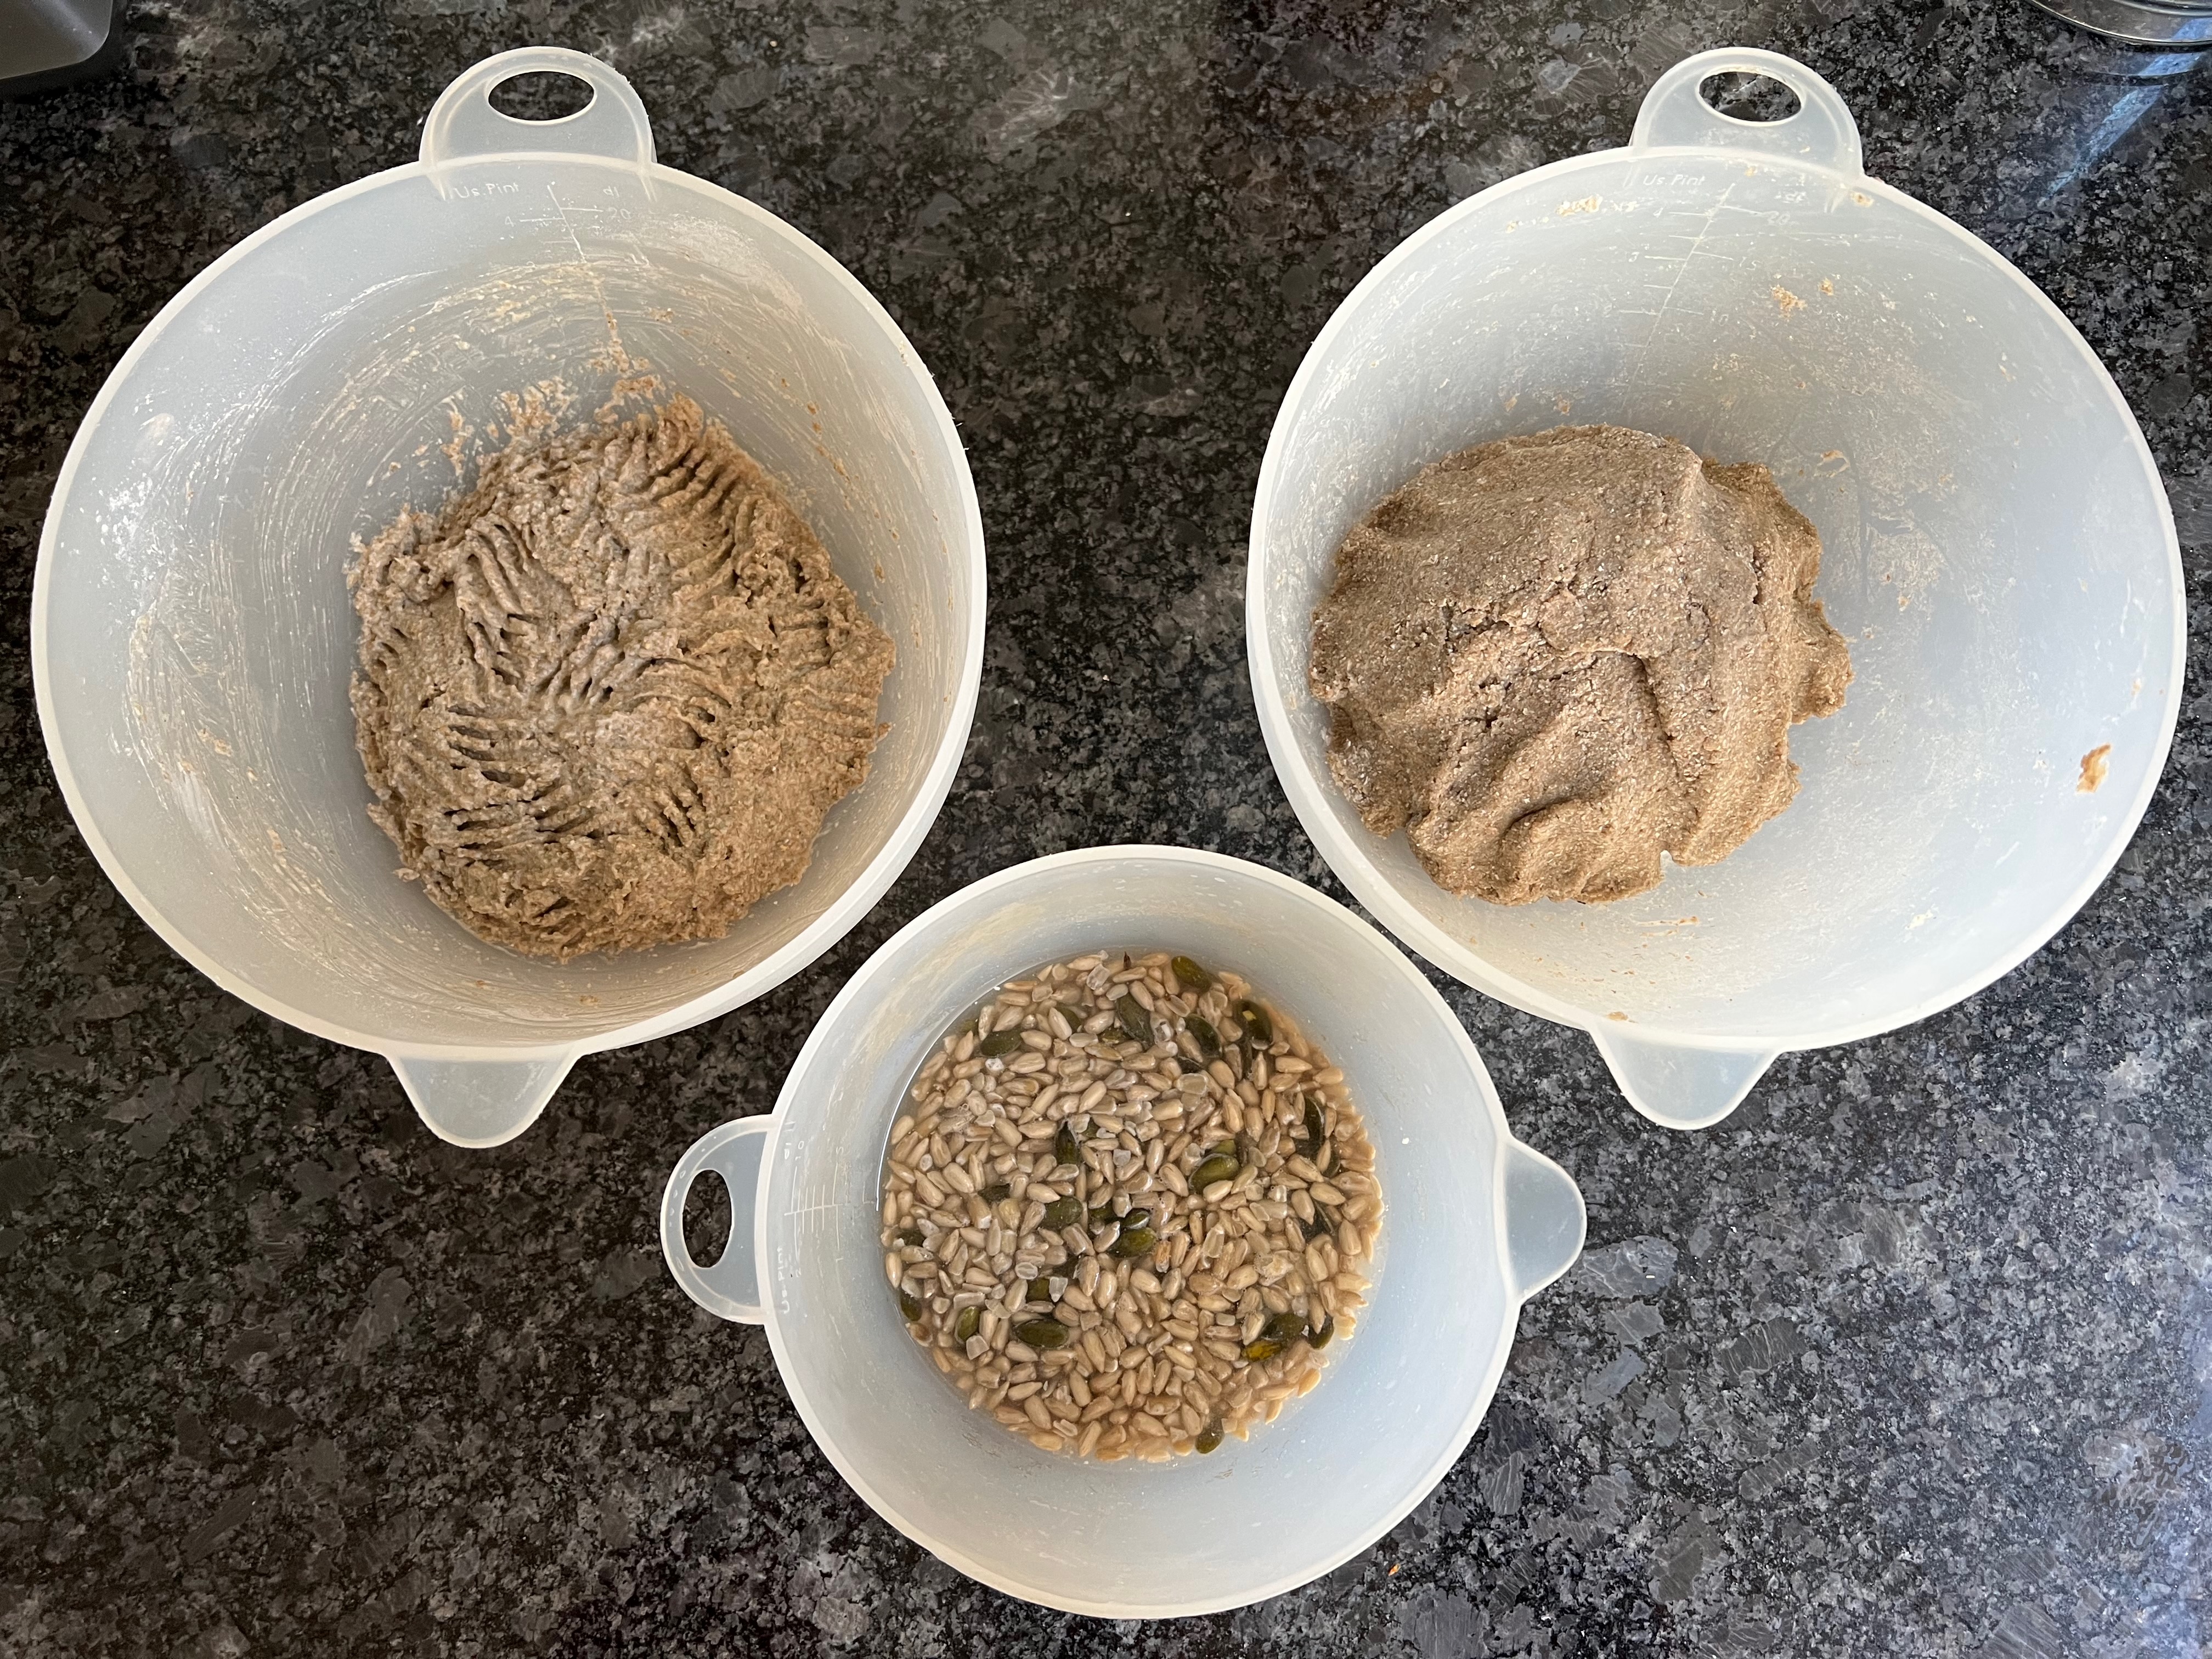
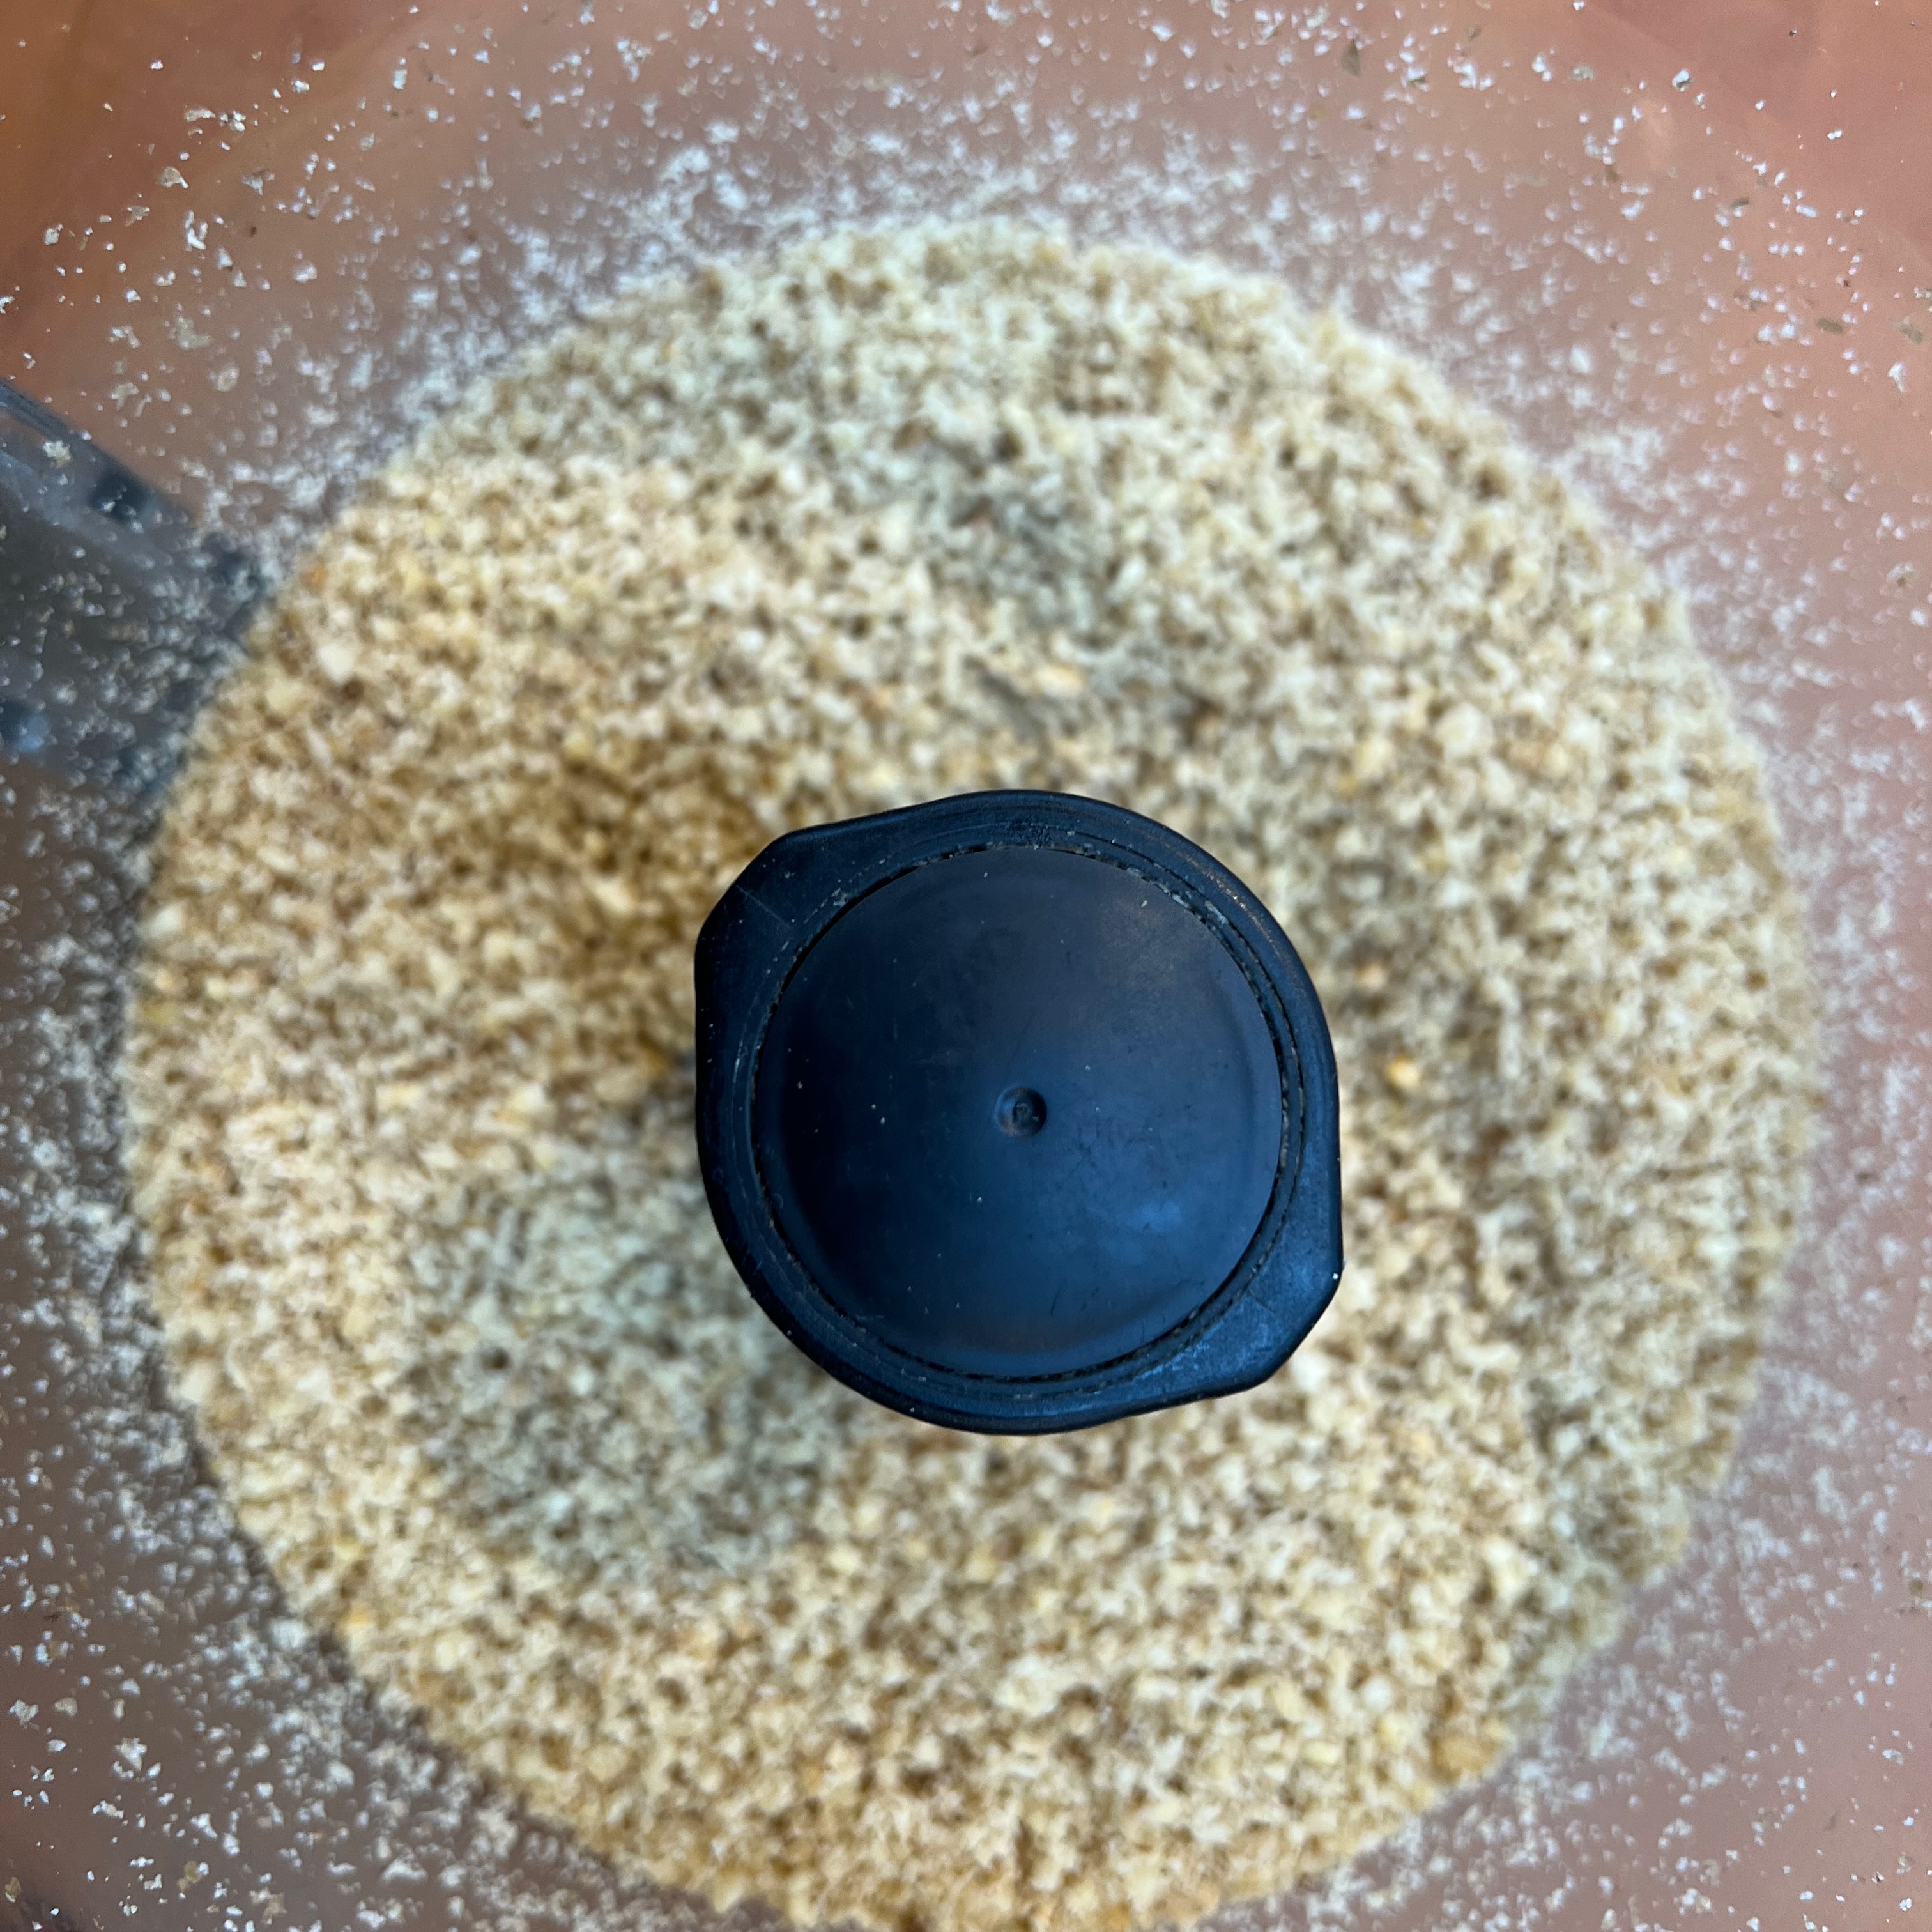
- Put the walnuts into a food processor and grind until fine – but don’t overdo it: you don’t want oil coming out of the walnuts.
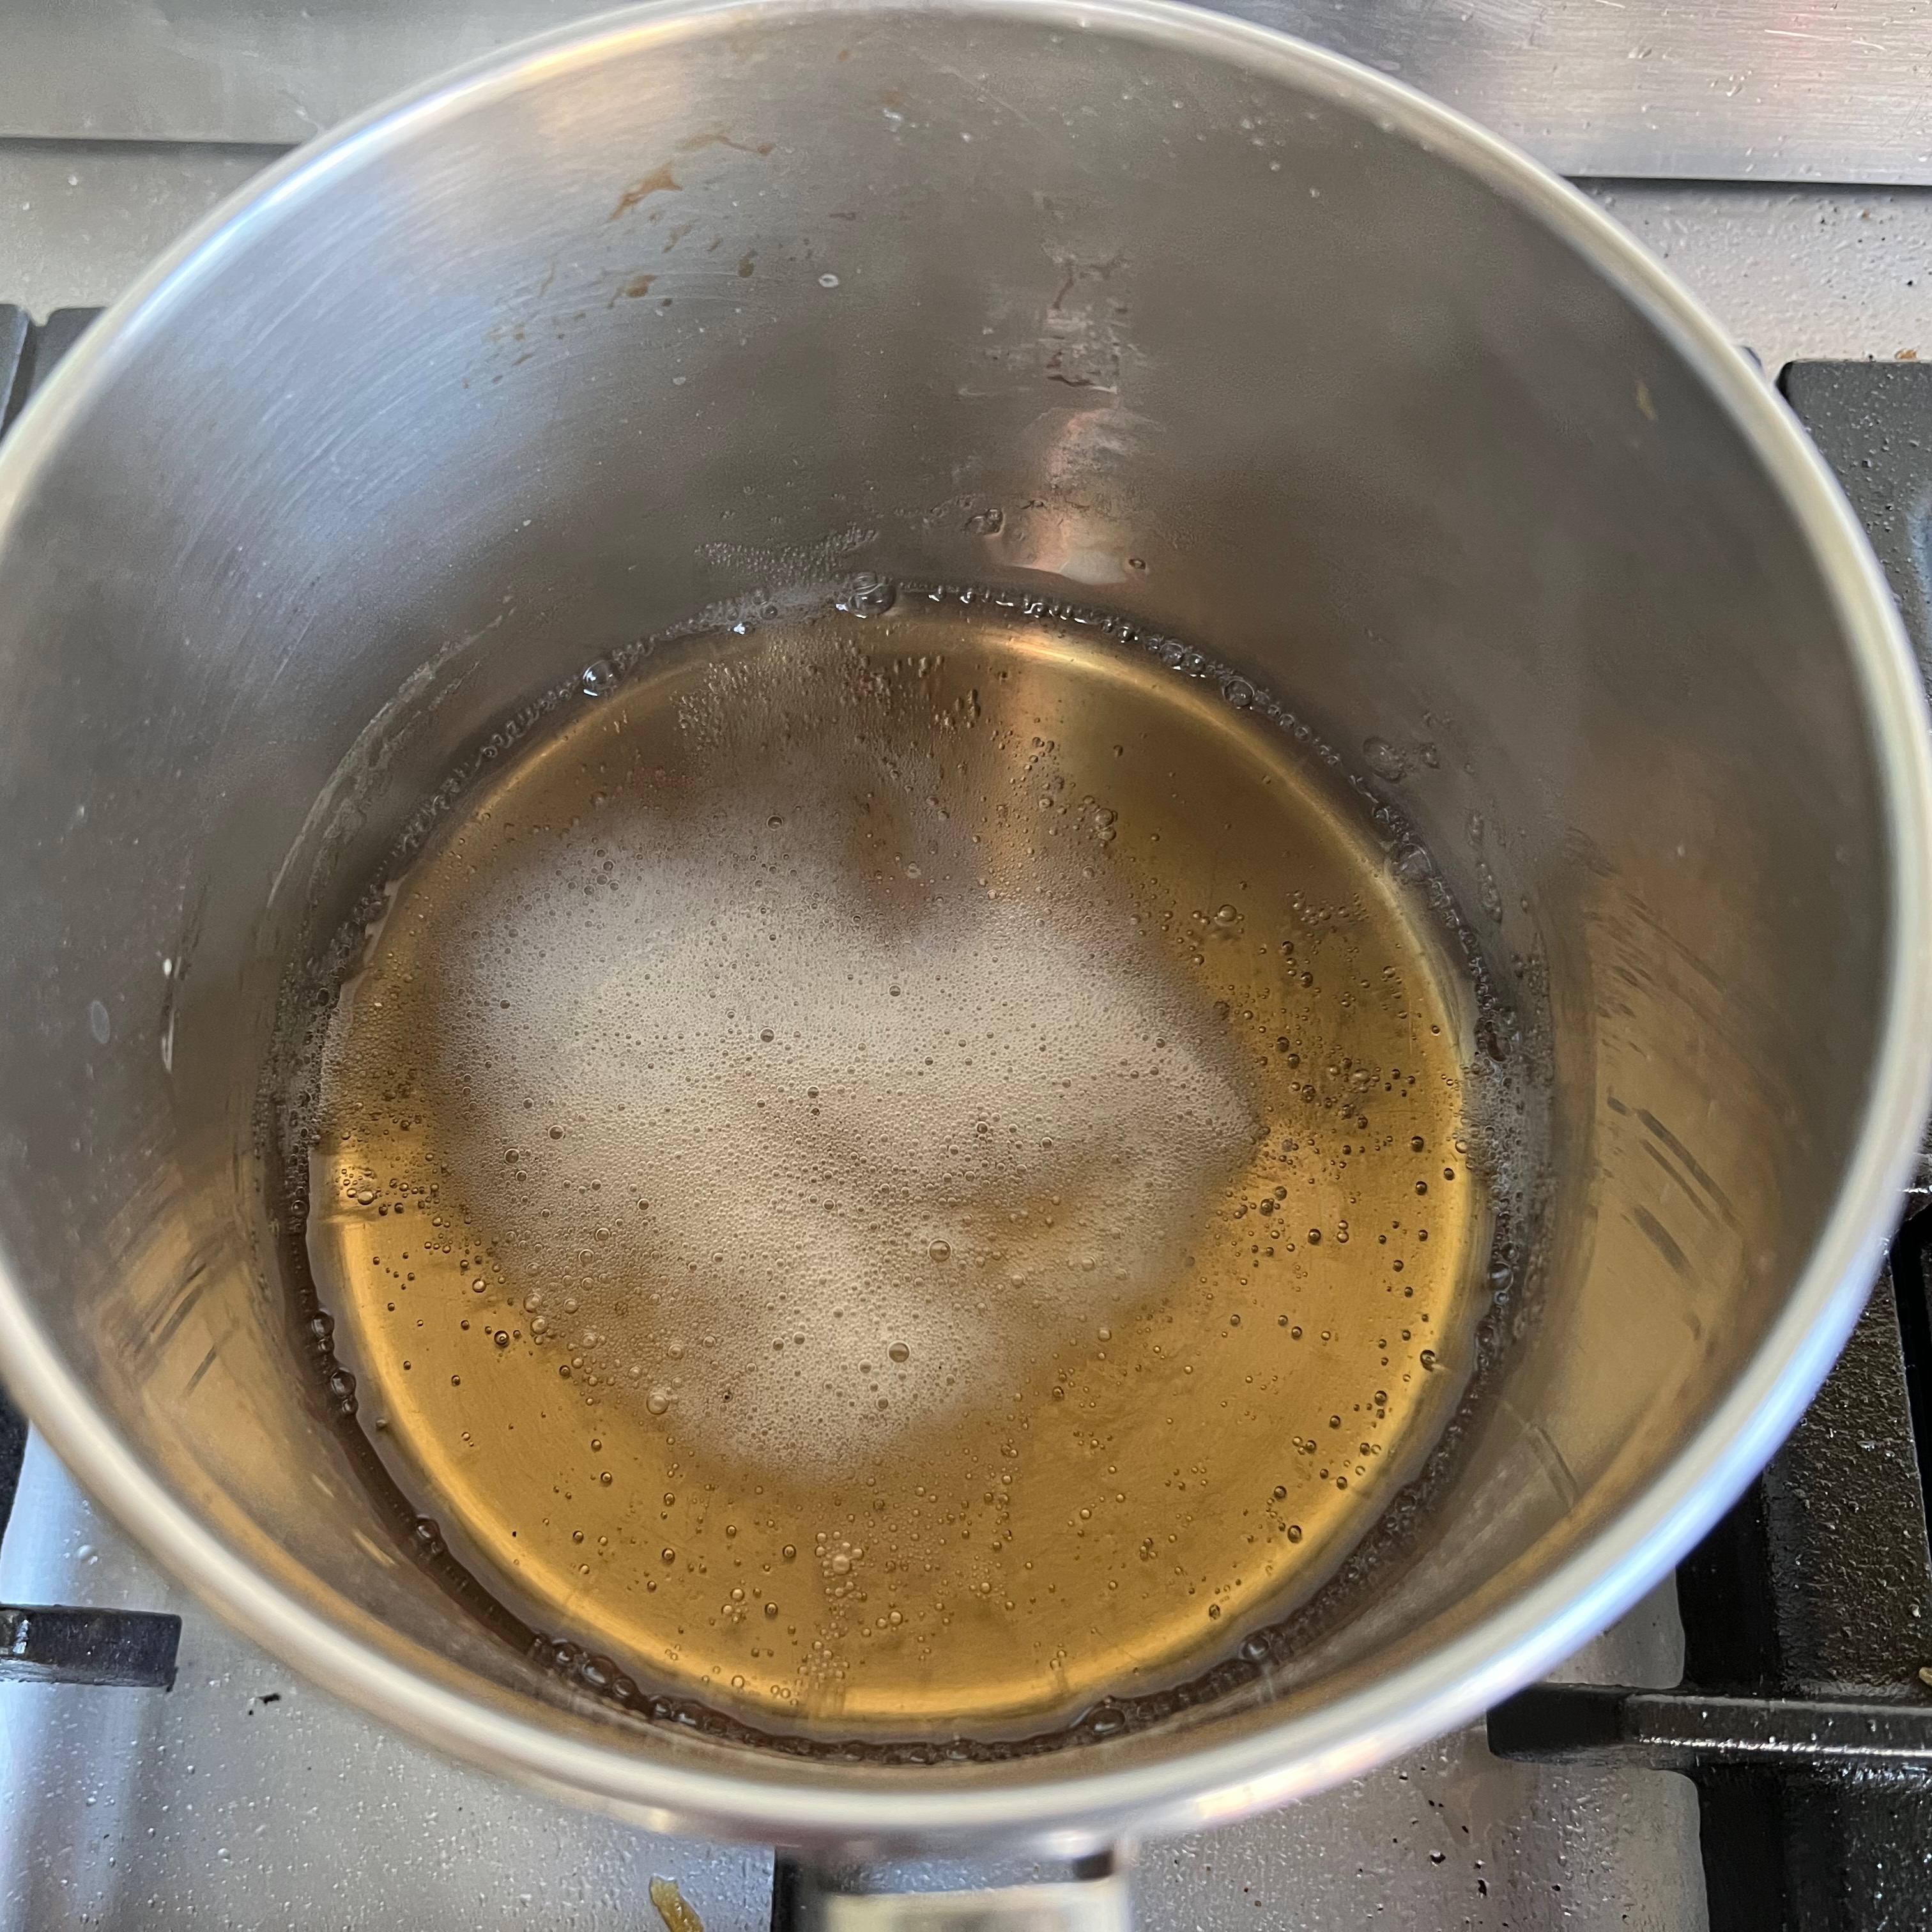
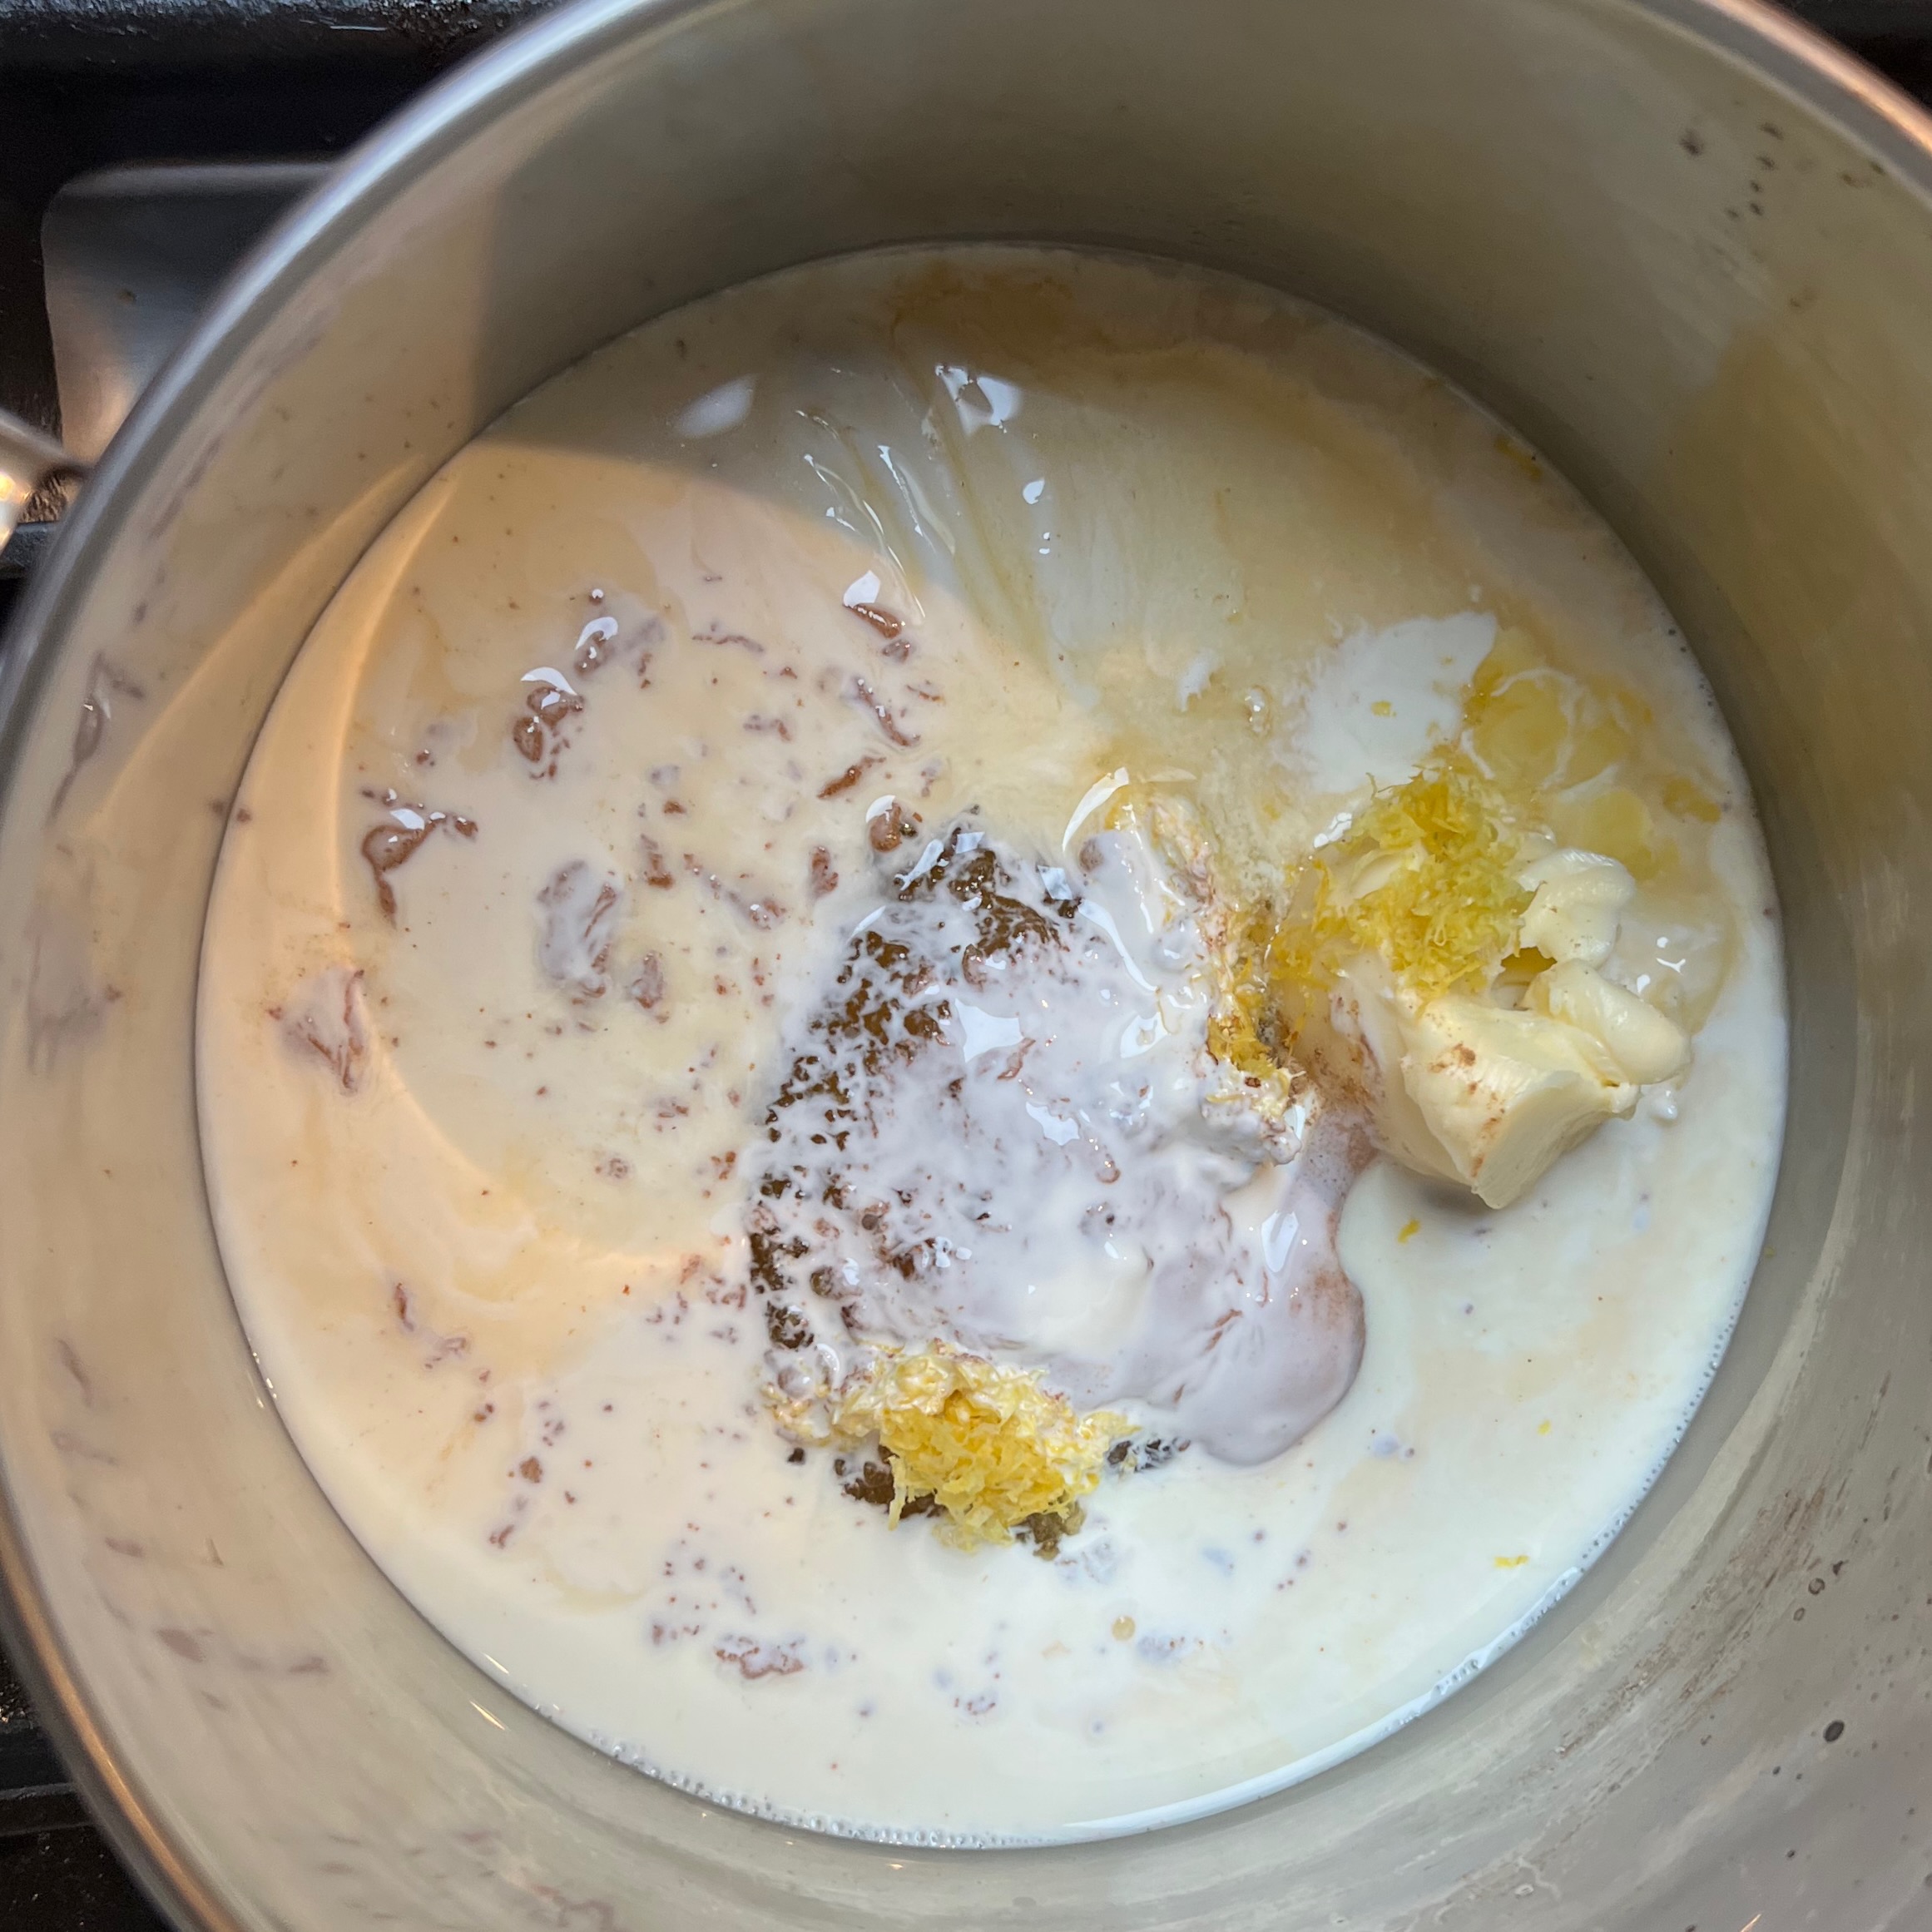
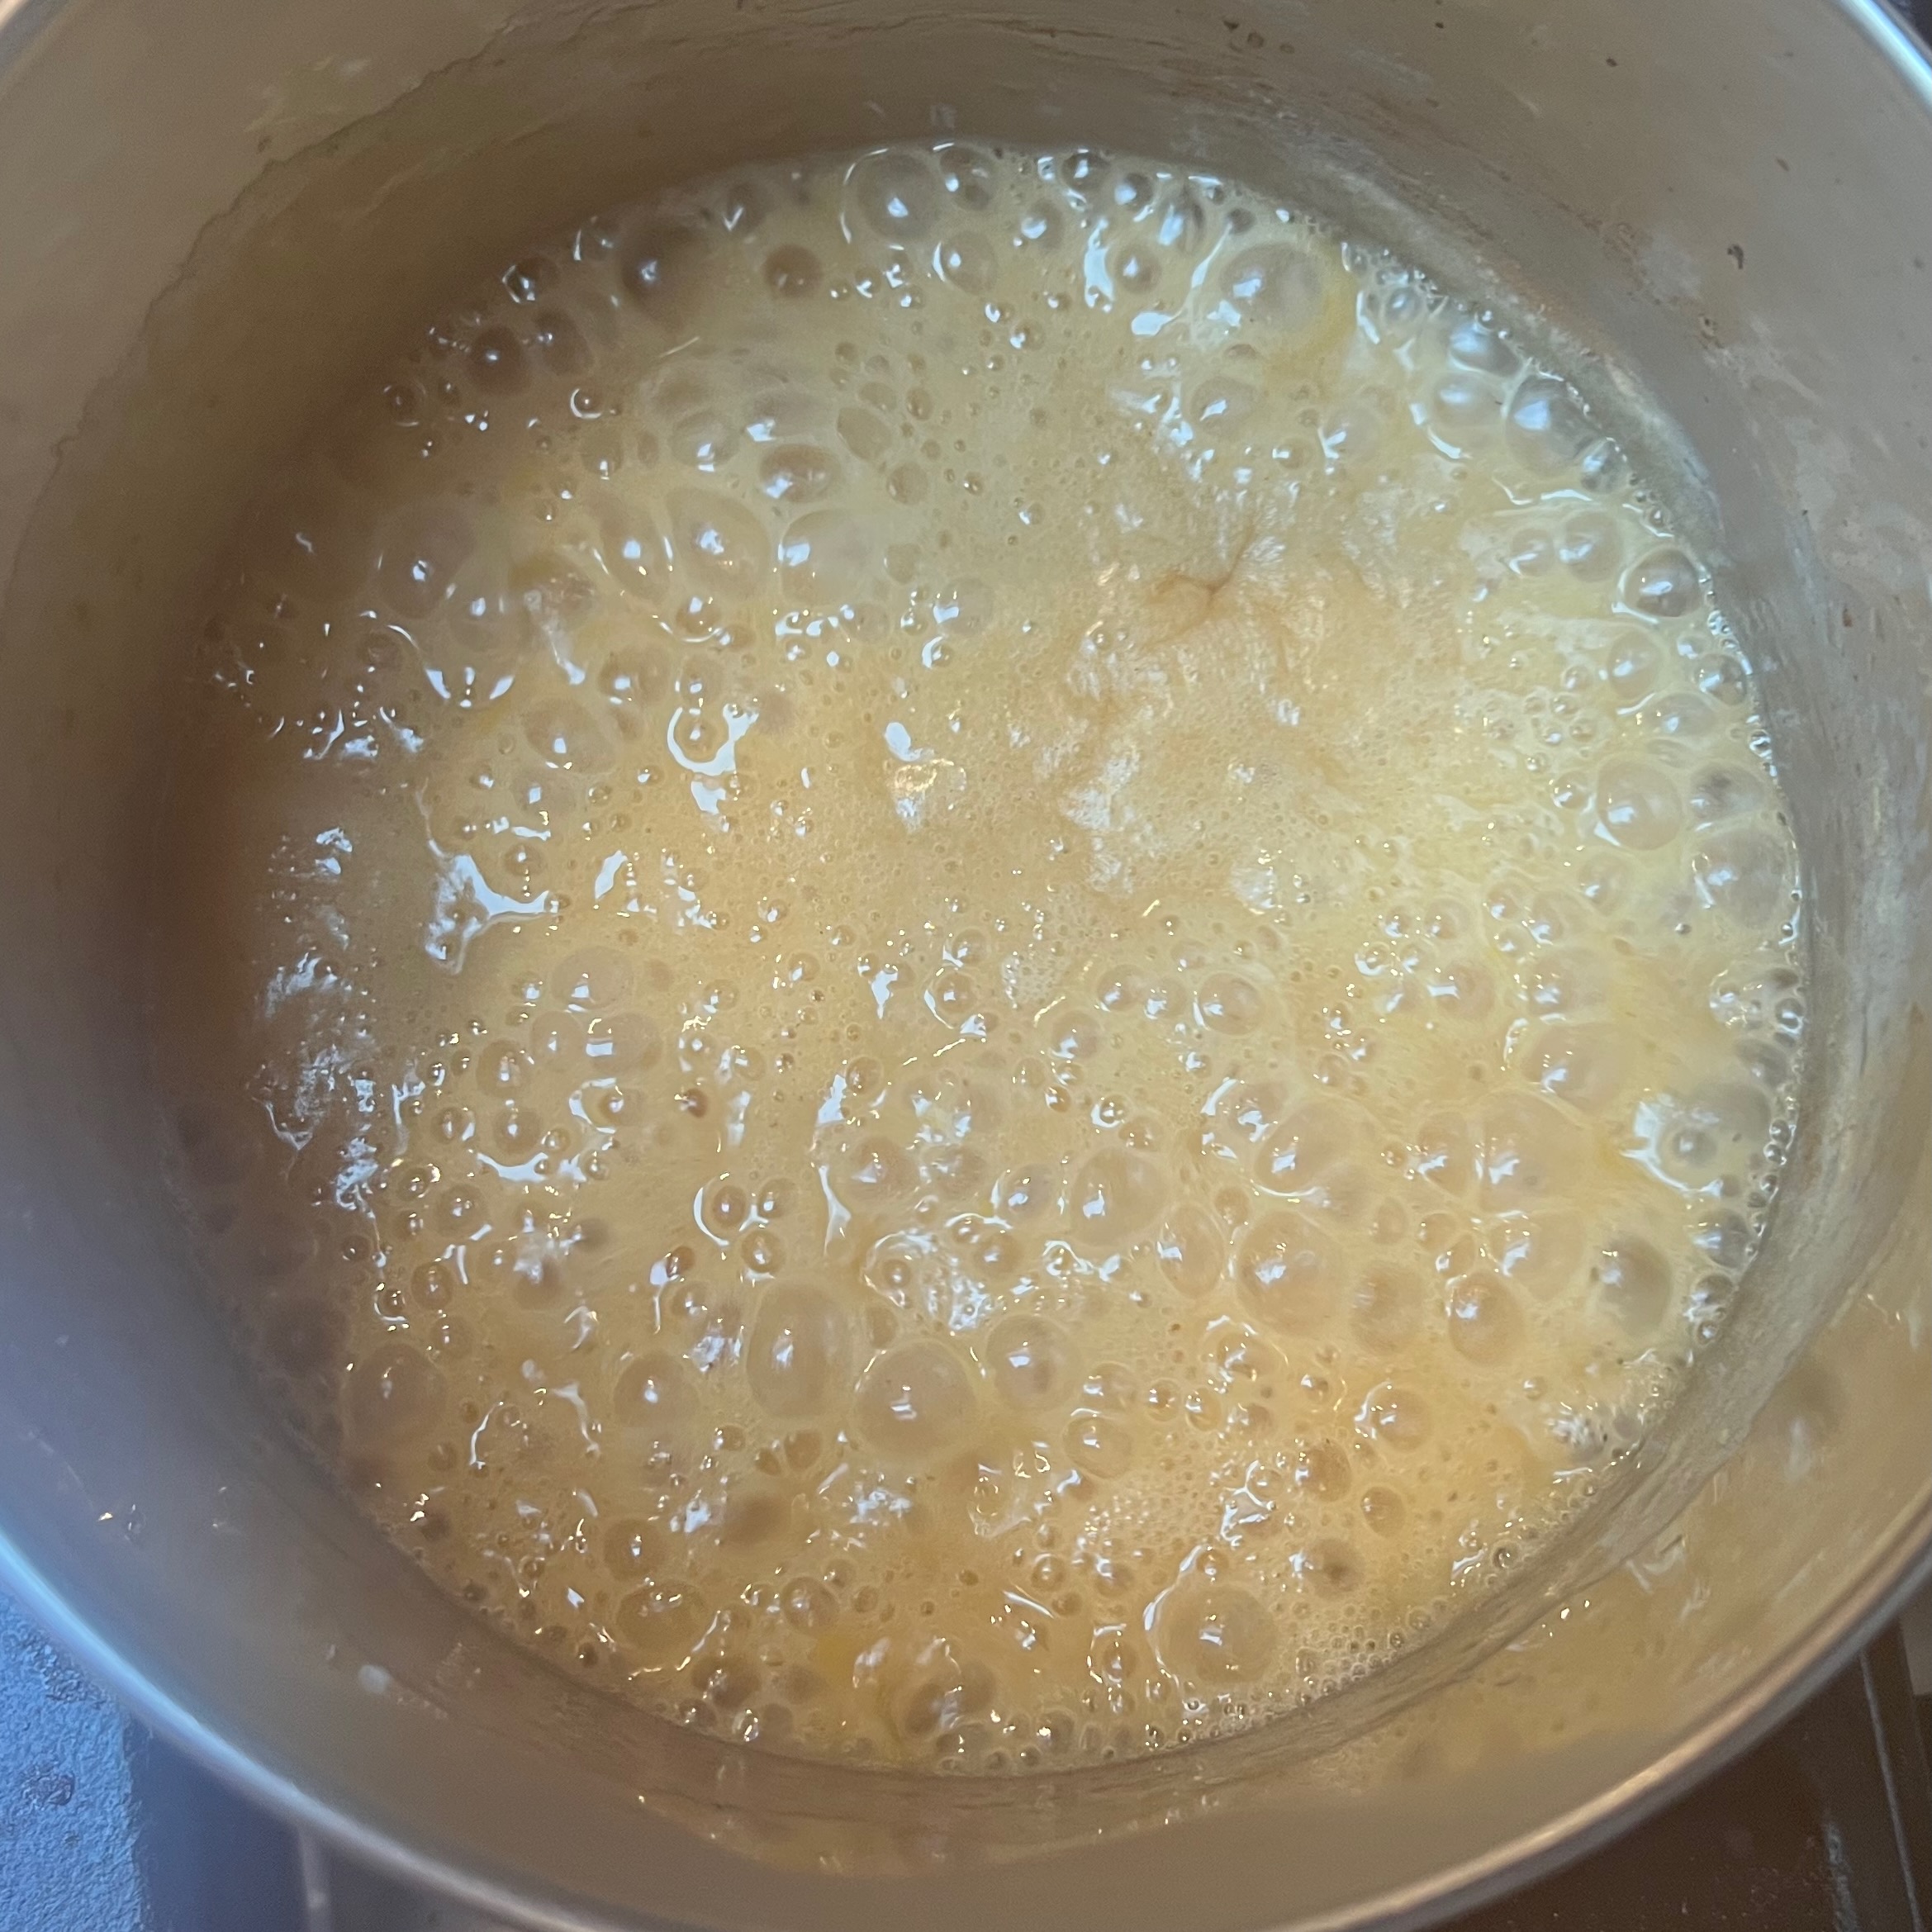
- Put the honey, granulated sugar, cream, butter and rum into a saucepan and bring to the boil; simmer for a minute or so.
- Add the mixture into your bowl with the walnuts, add the cinnamon and lemon zest and stir thoroughly.
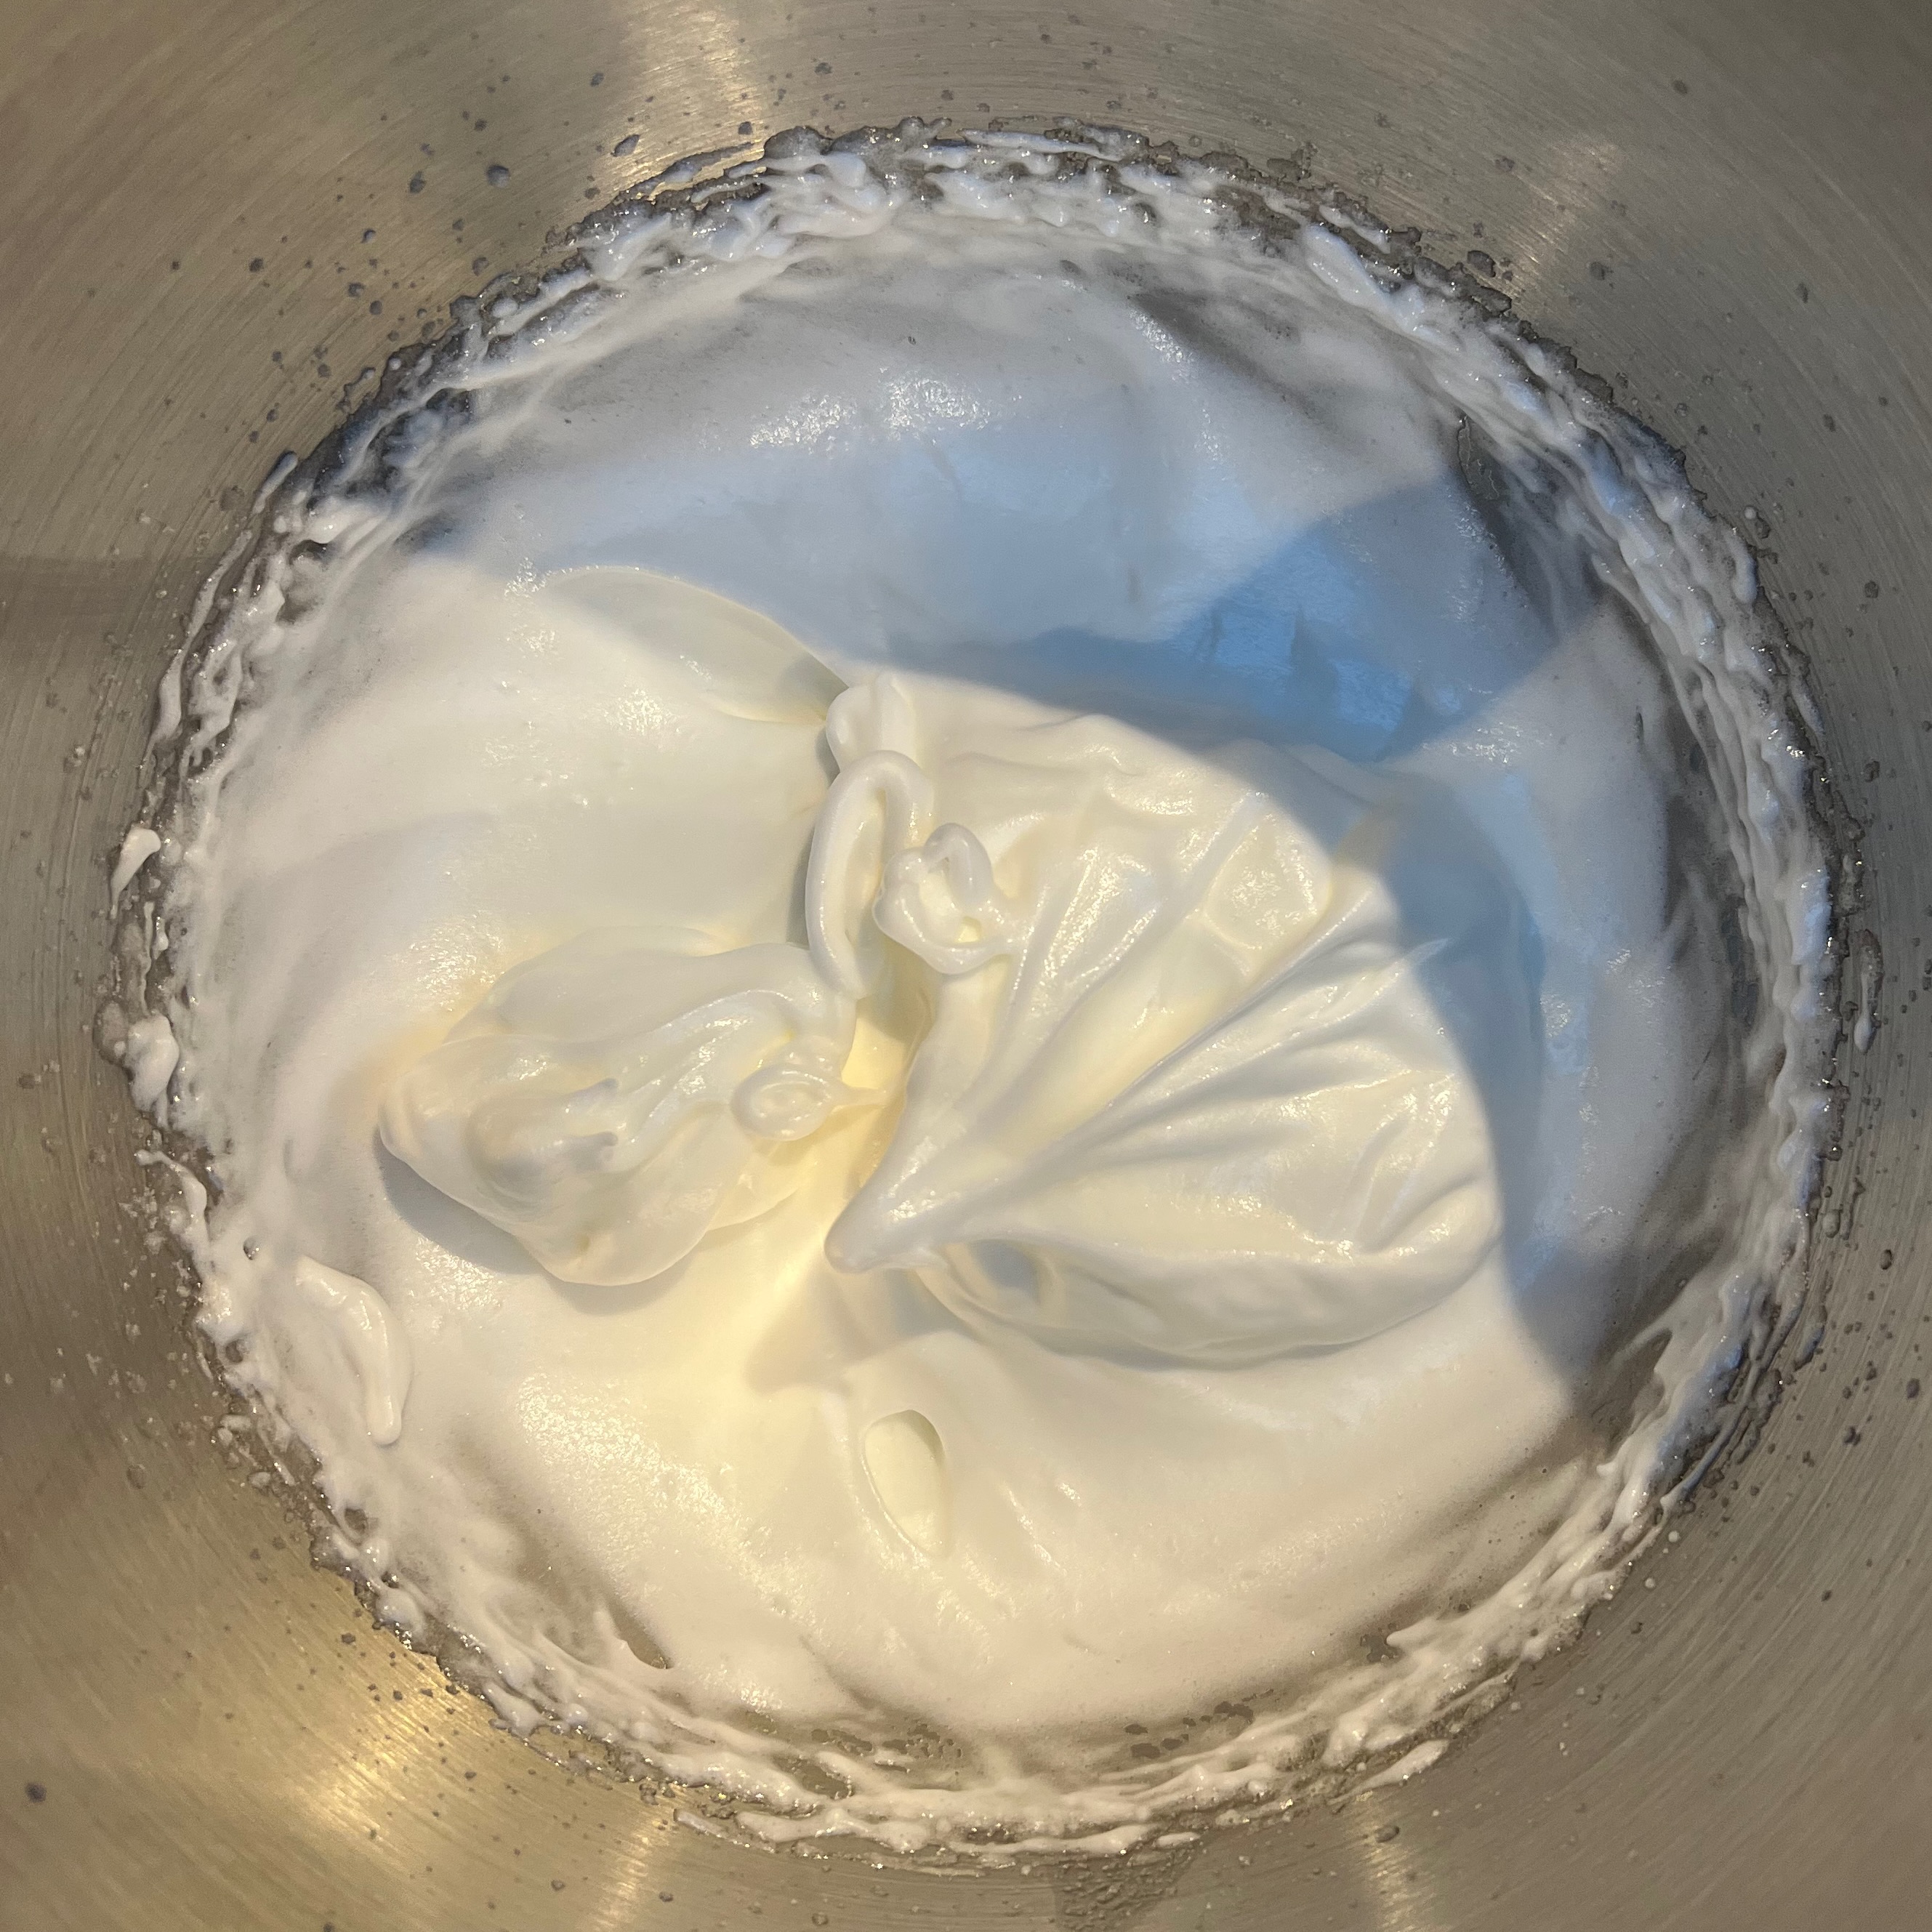
- Wait until around 10 minutes before your dough is sufficiently risen before the next step, which is to make a meringue.
- Beat the egg whites at high speed. Once they are soft and beginning to fluff, add the sugar gradually as you beat.
- Continue beating at high speed until you have a stiff meringue.
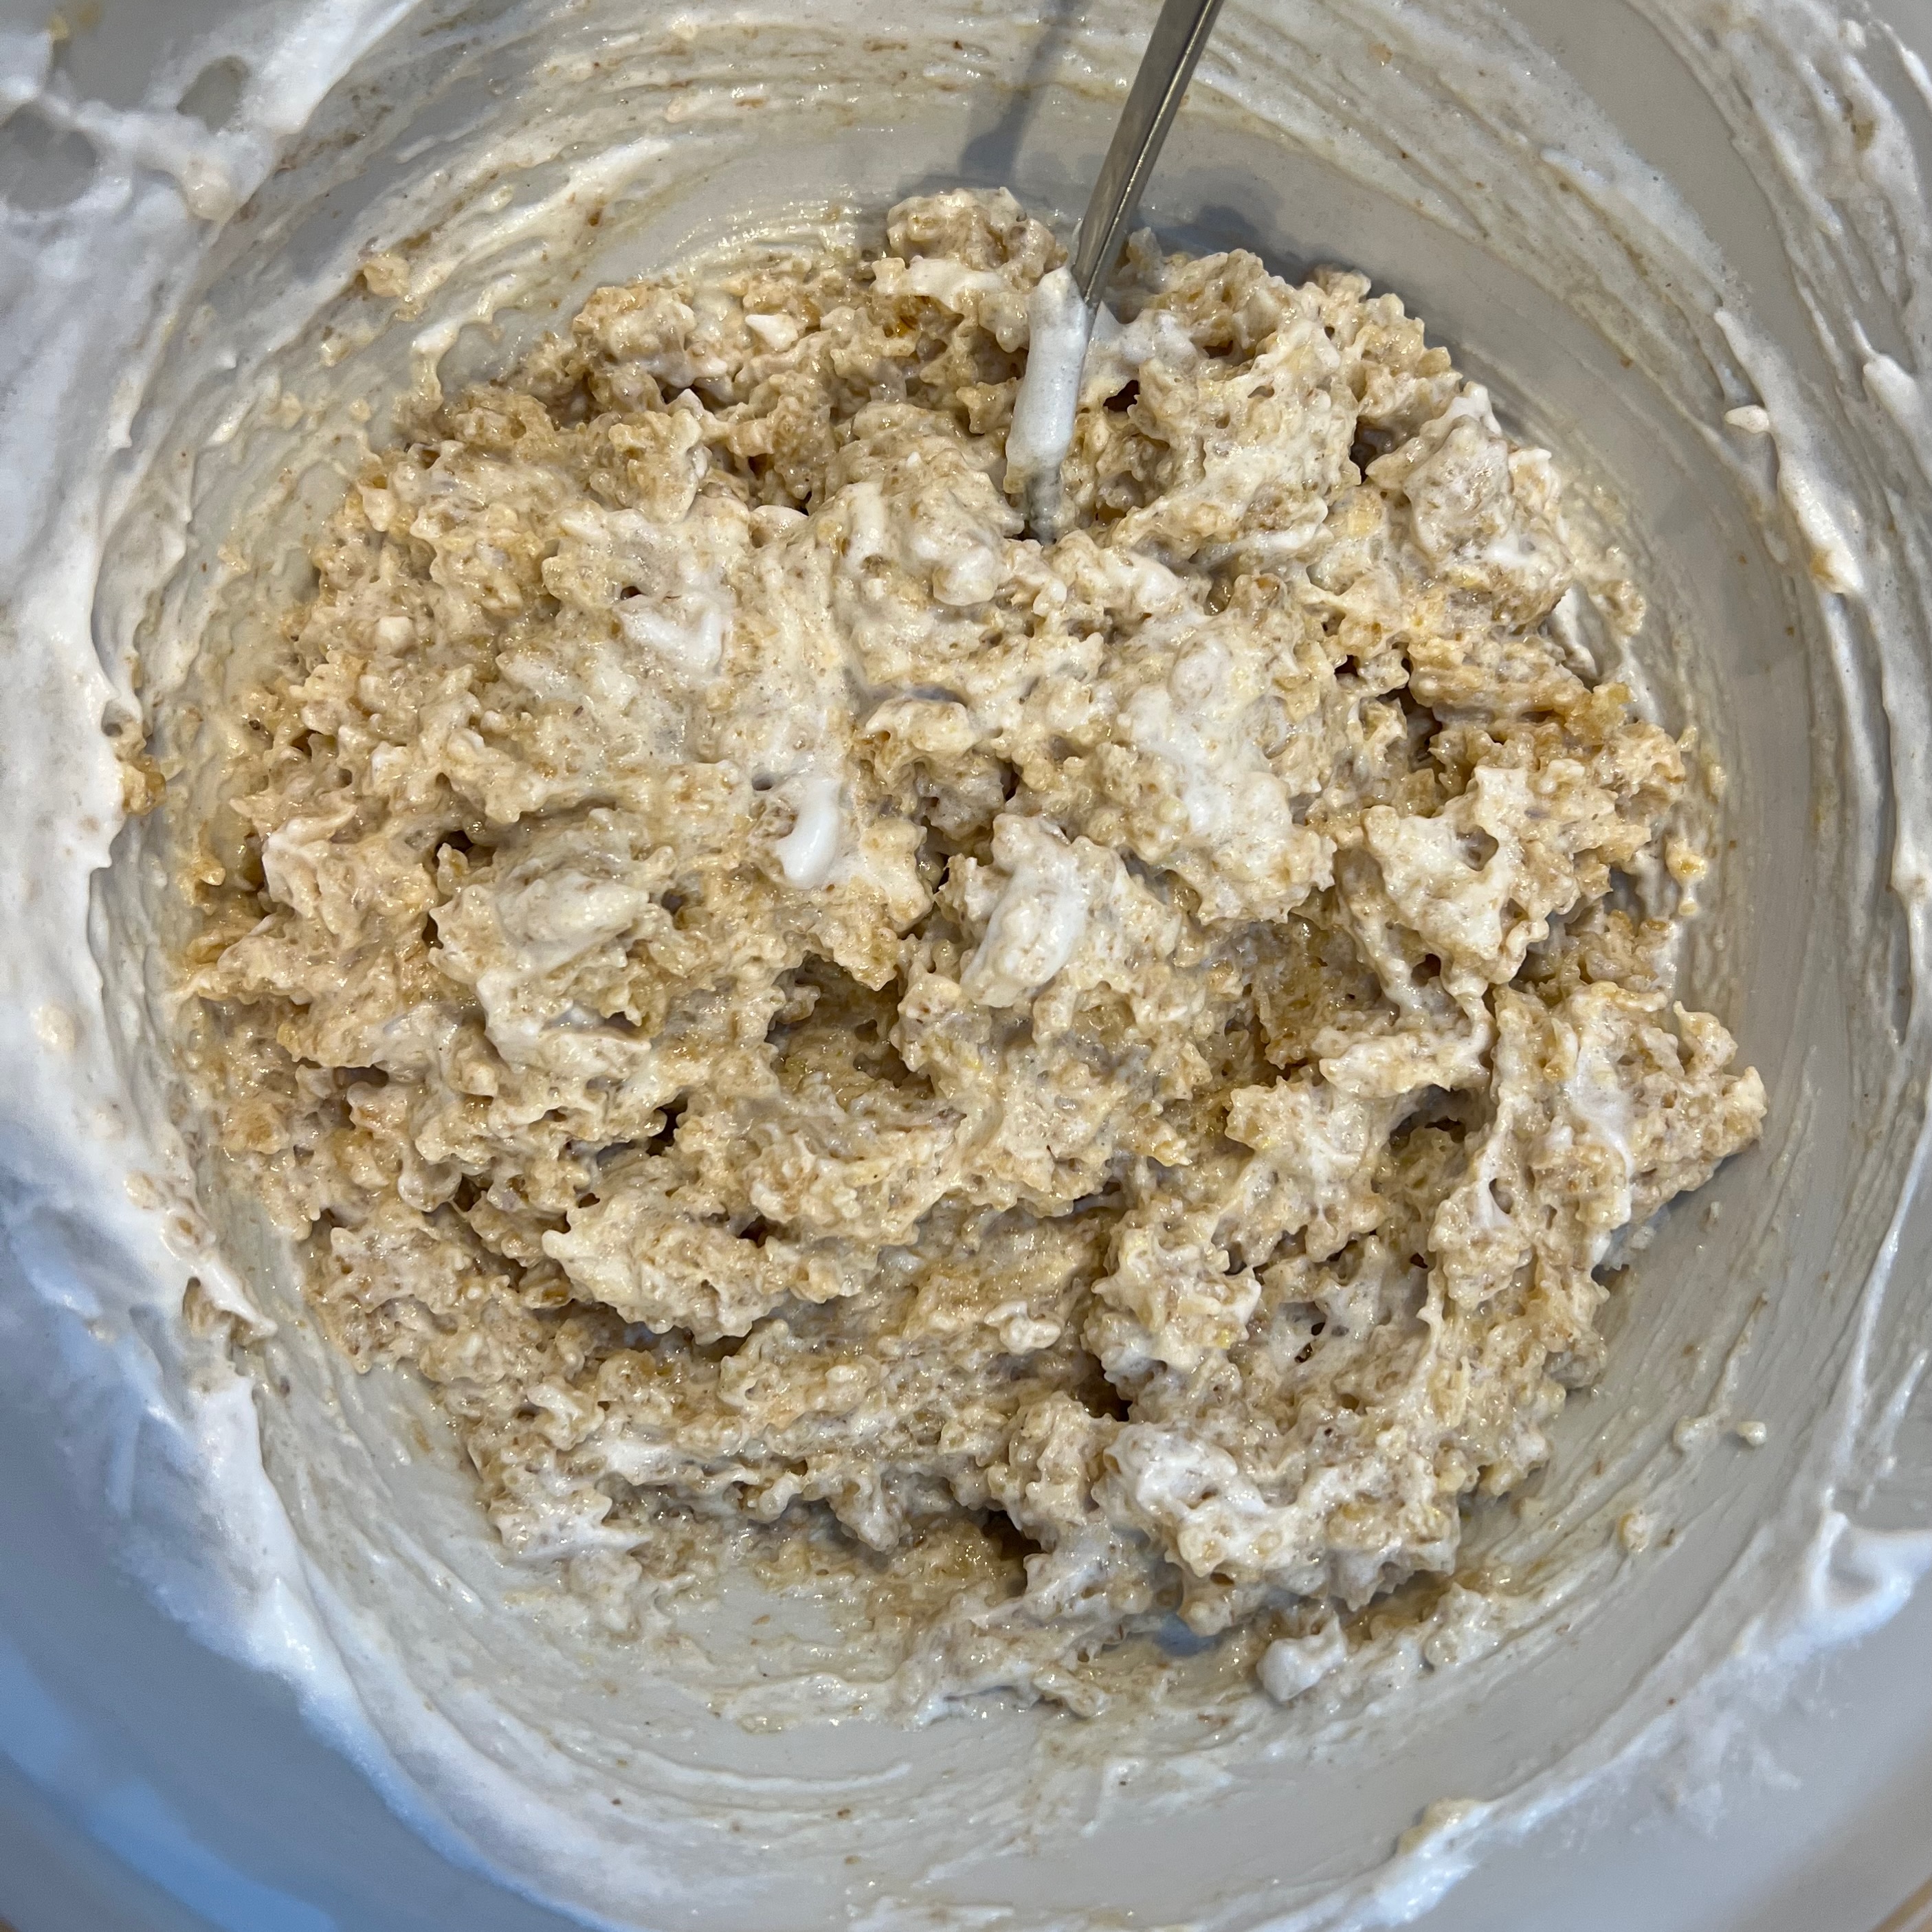
- Fold the meringue into the walnut mixture until smoothly combined.

Putting it together
- A little milk for brushing
- Preheat oven to 165℃ fan.
- Grease your baking tin – a bundt tin if you have one, or a loaf pan if you don’t.
- Flour your board.
- Roll out the dough into a rectangle. The width should be the length of your loaf tin, or around twice the width of your bundt tin. The length should be as long as you can reasonably make it without tearing the dough.
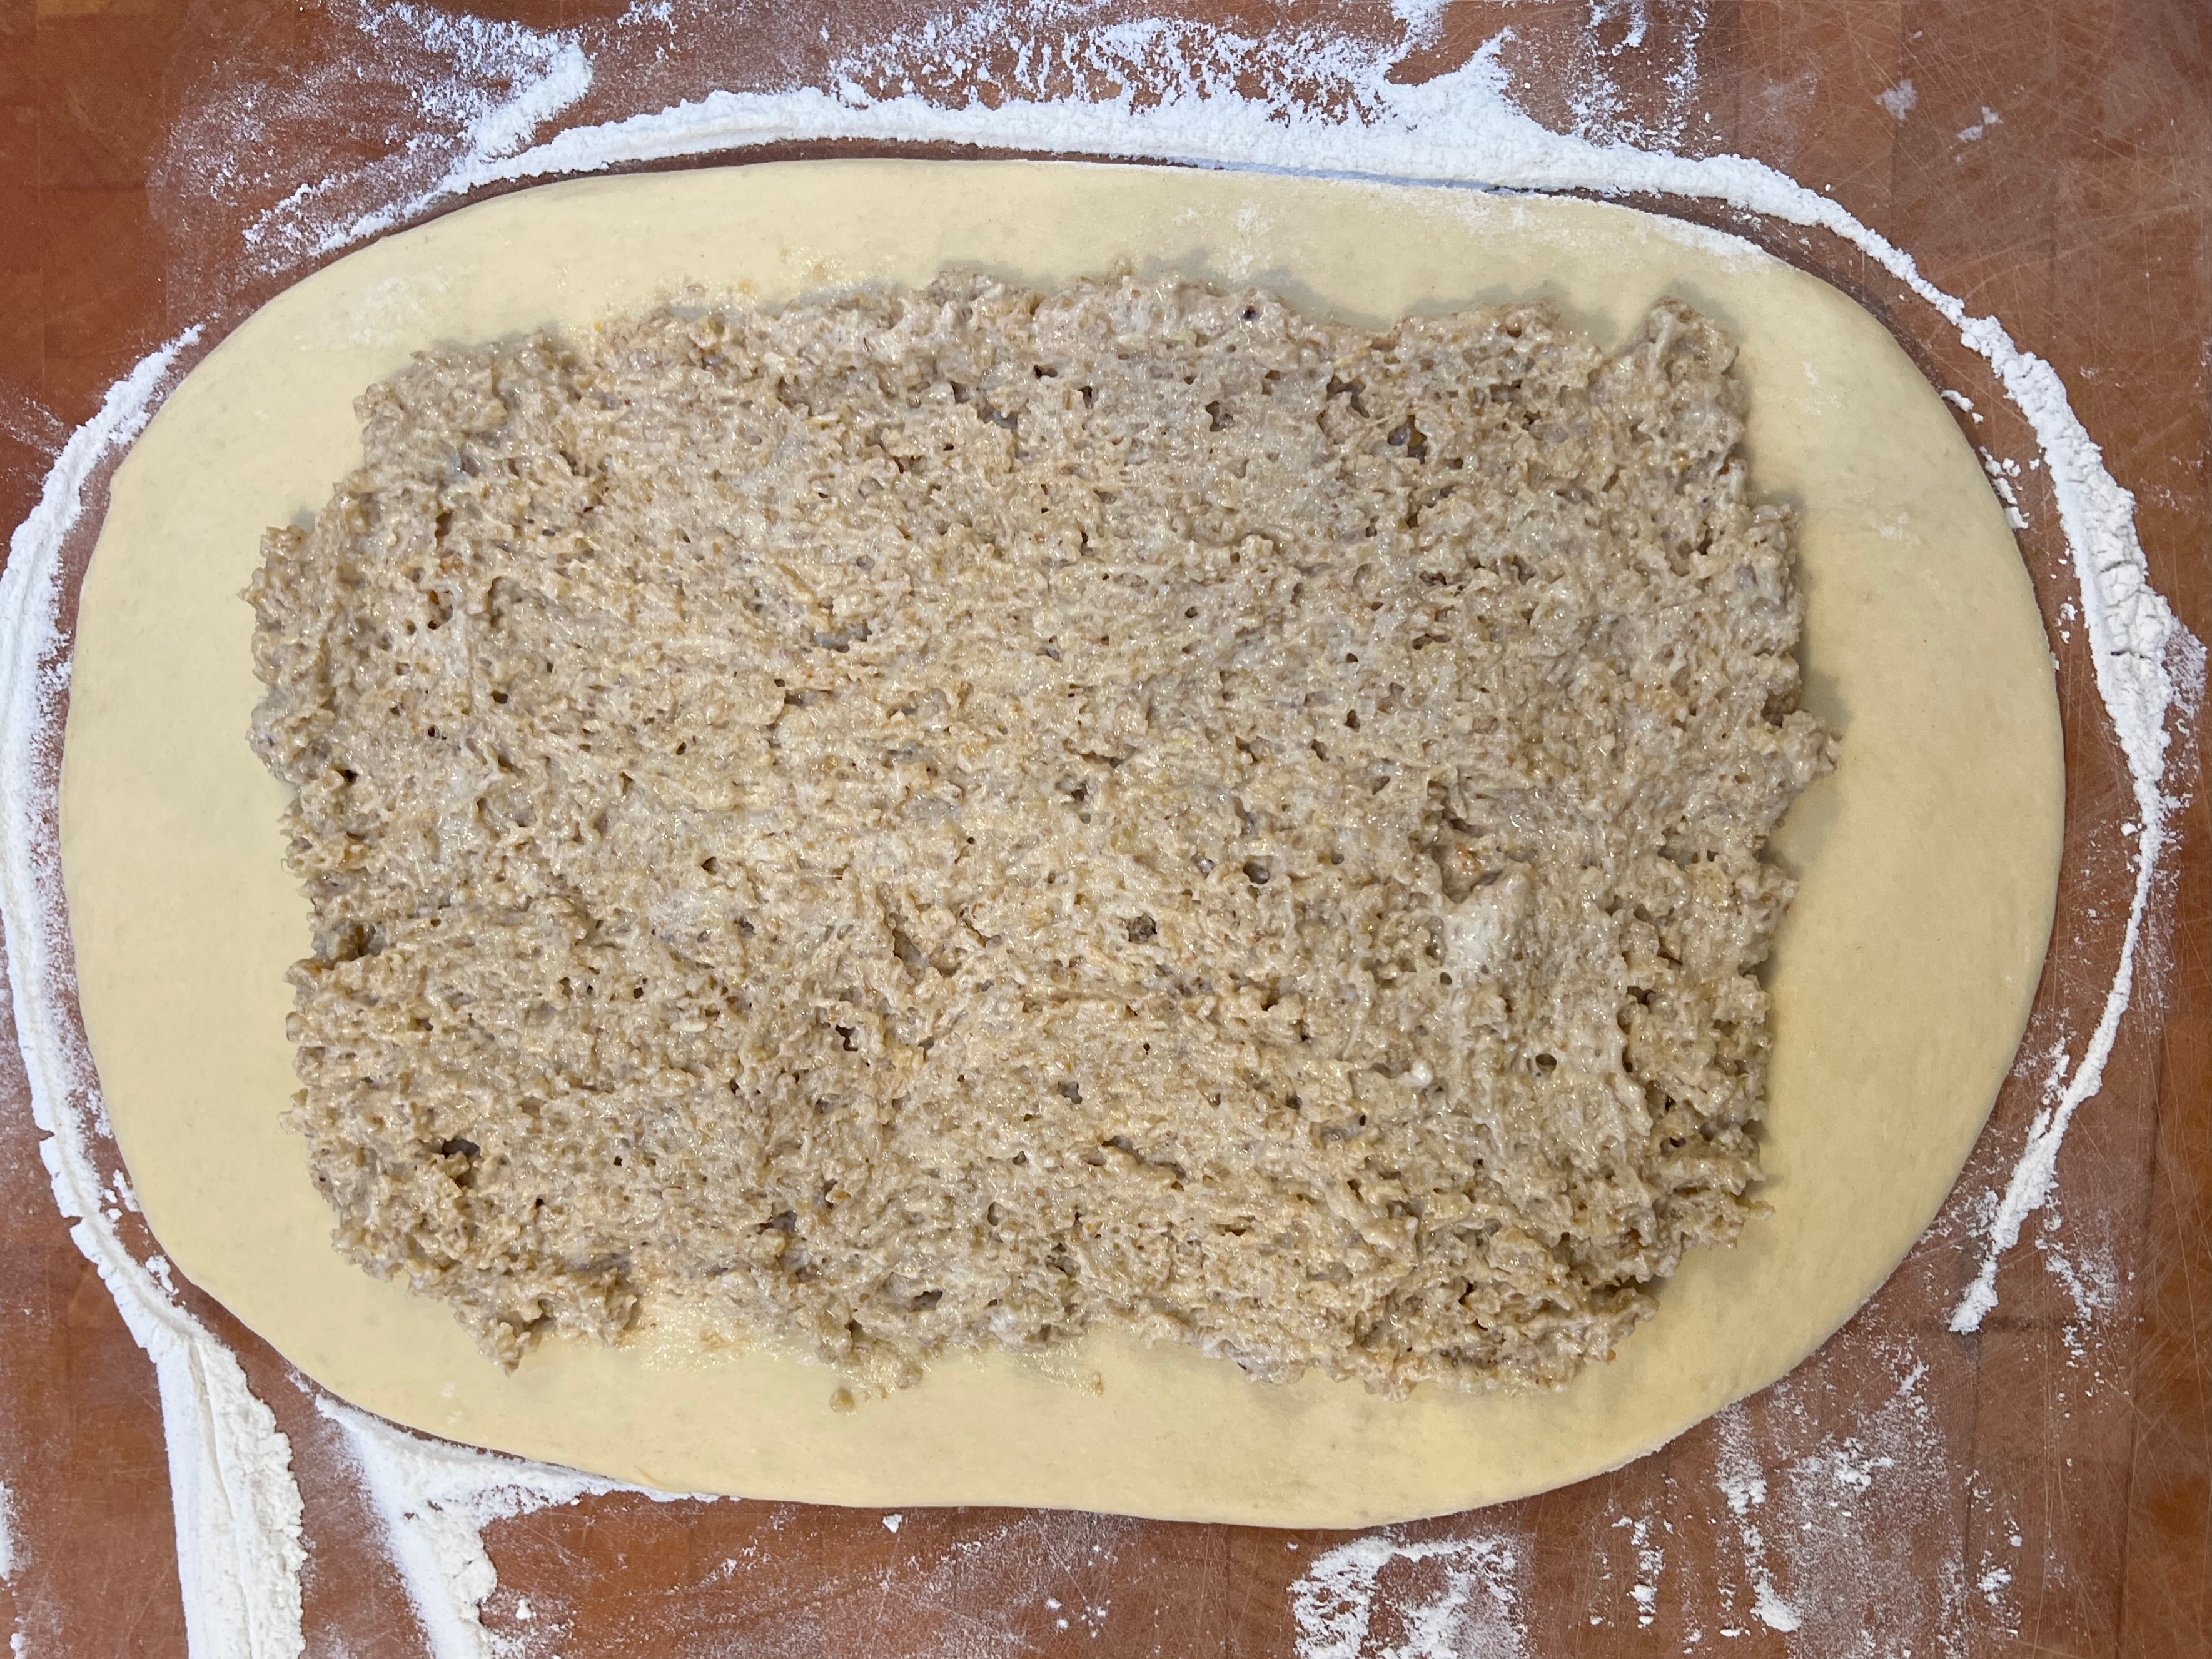
- Spread the filling over the dough, leaving around 3-5cm around the edge.
- Roll the dough up into a spiral, as tightly as possible: the more turns the better. Pinch the ends to stop the filling leaking out.
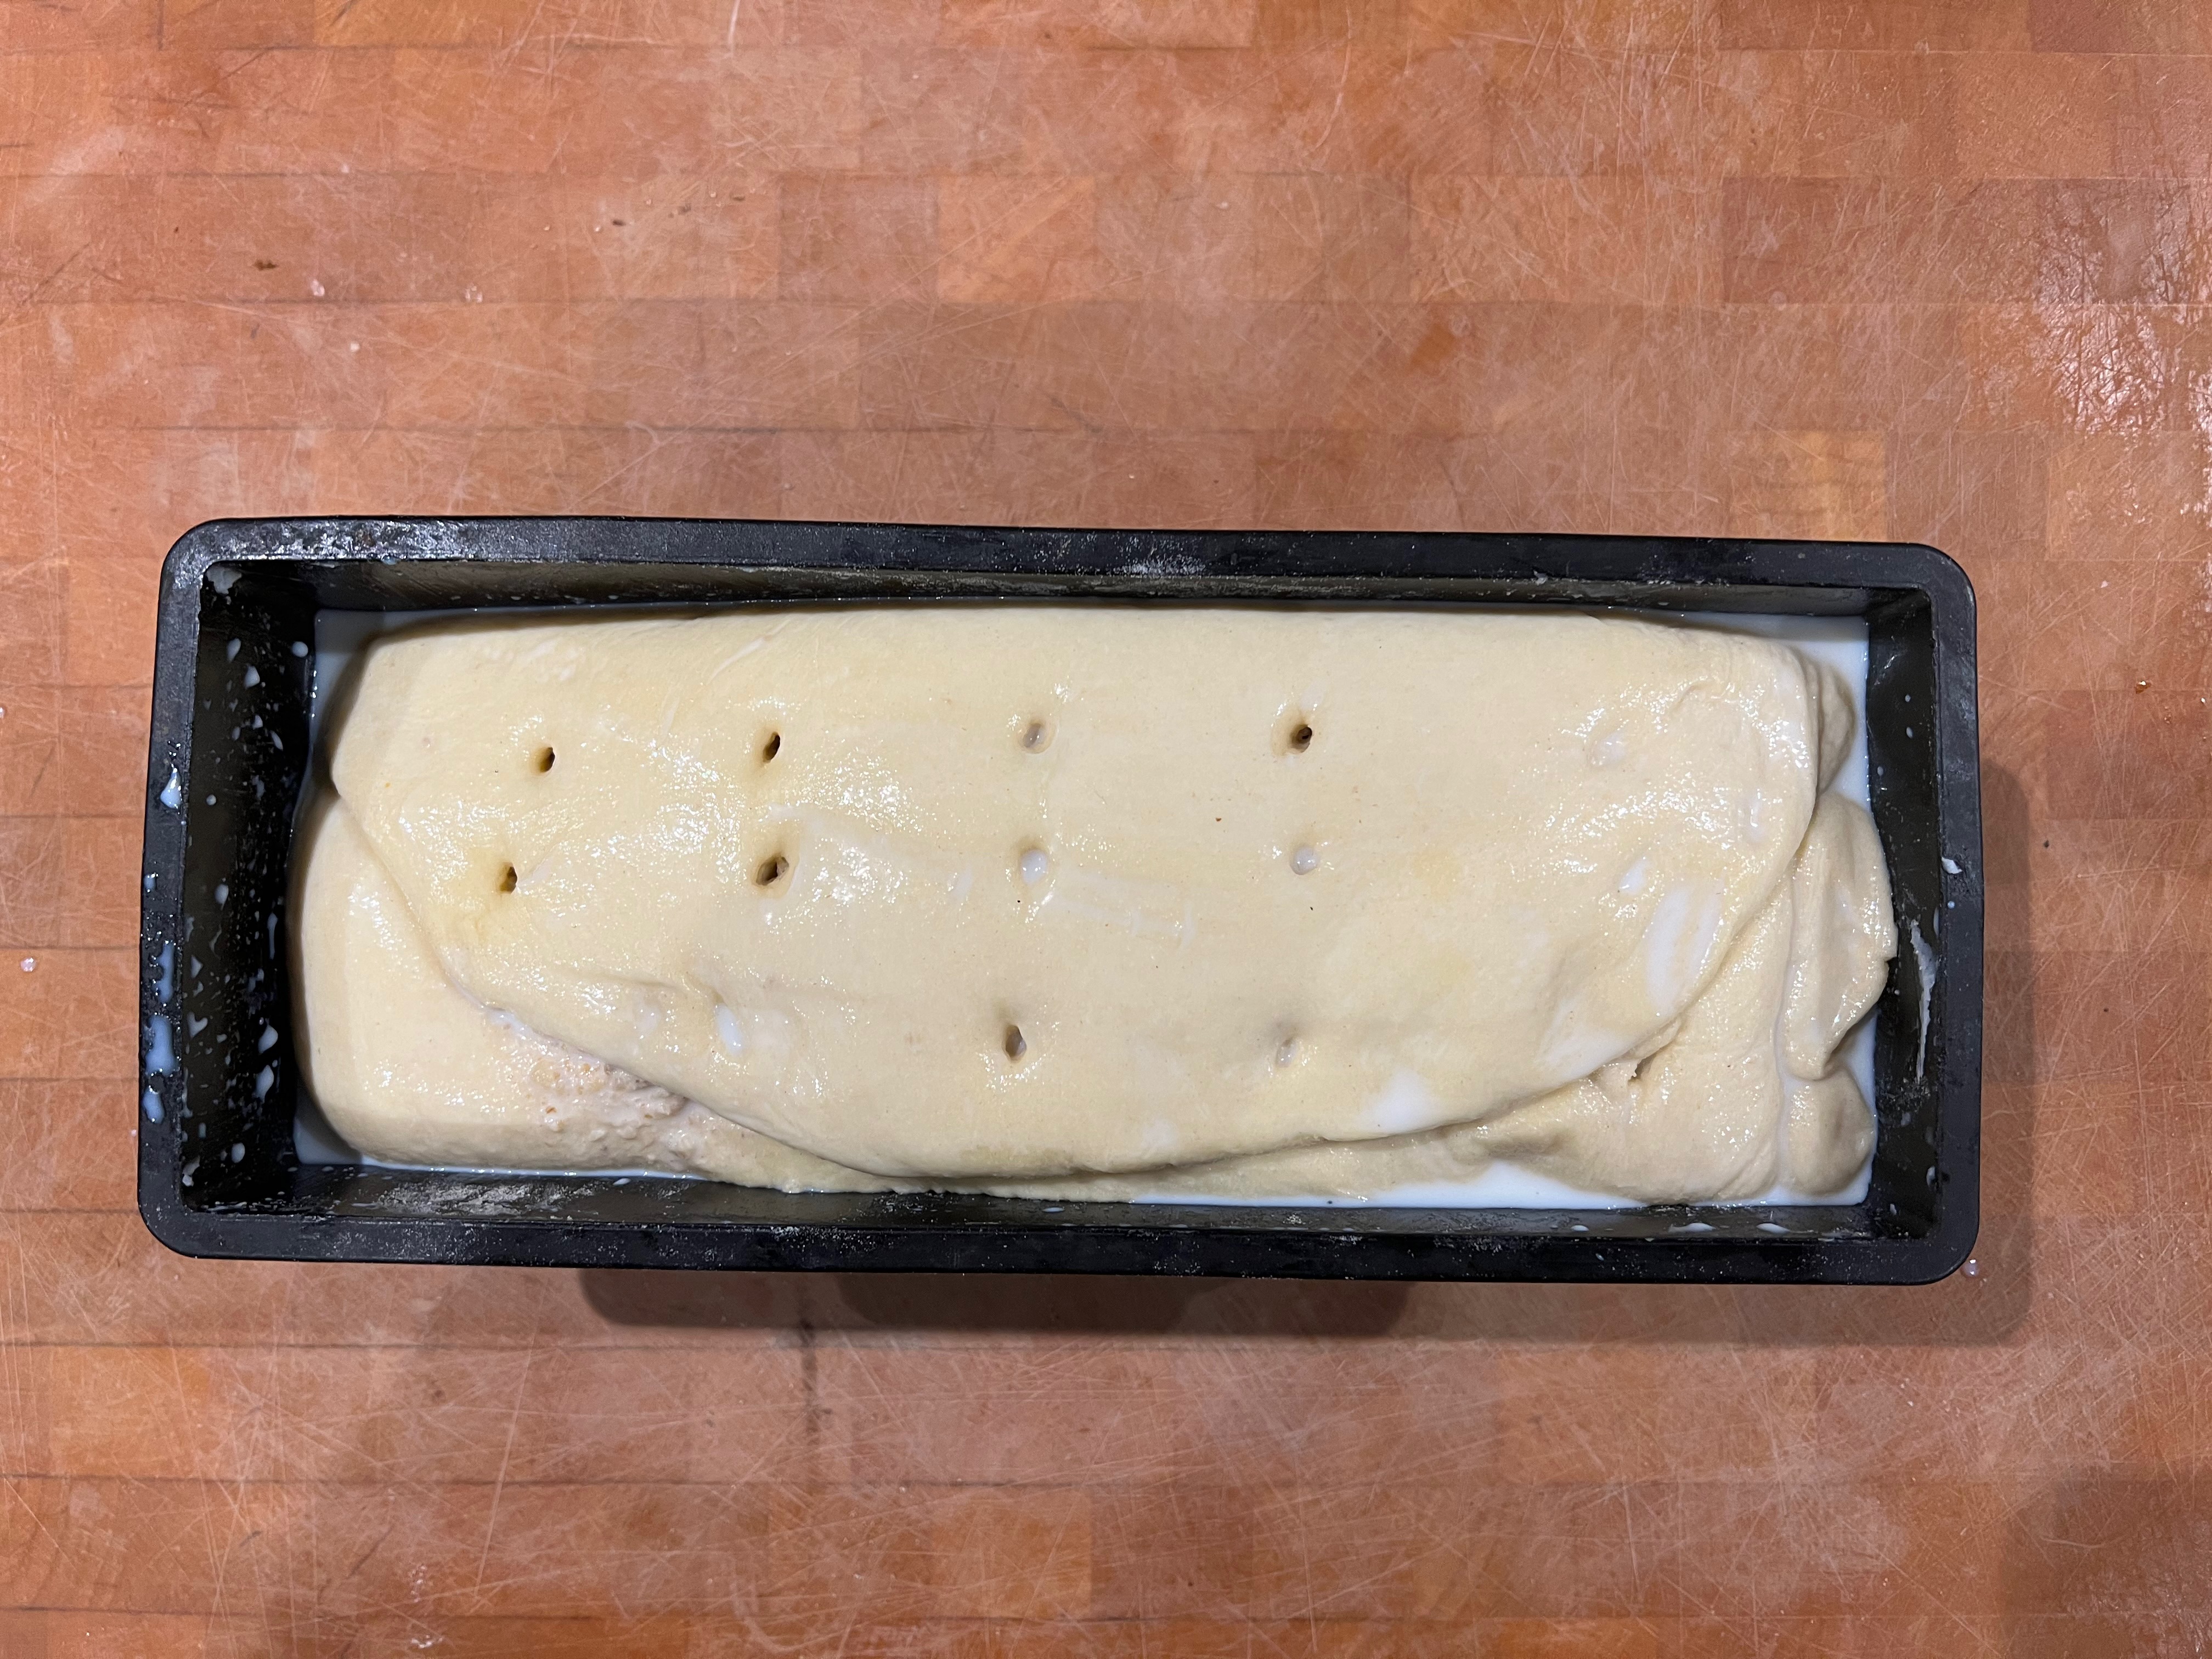
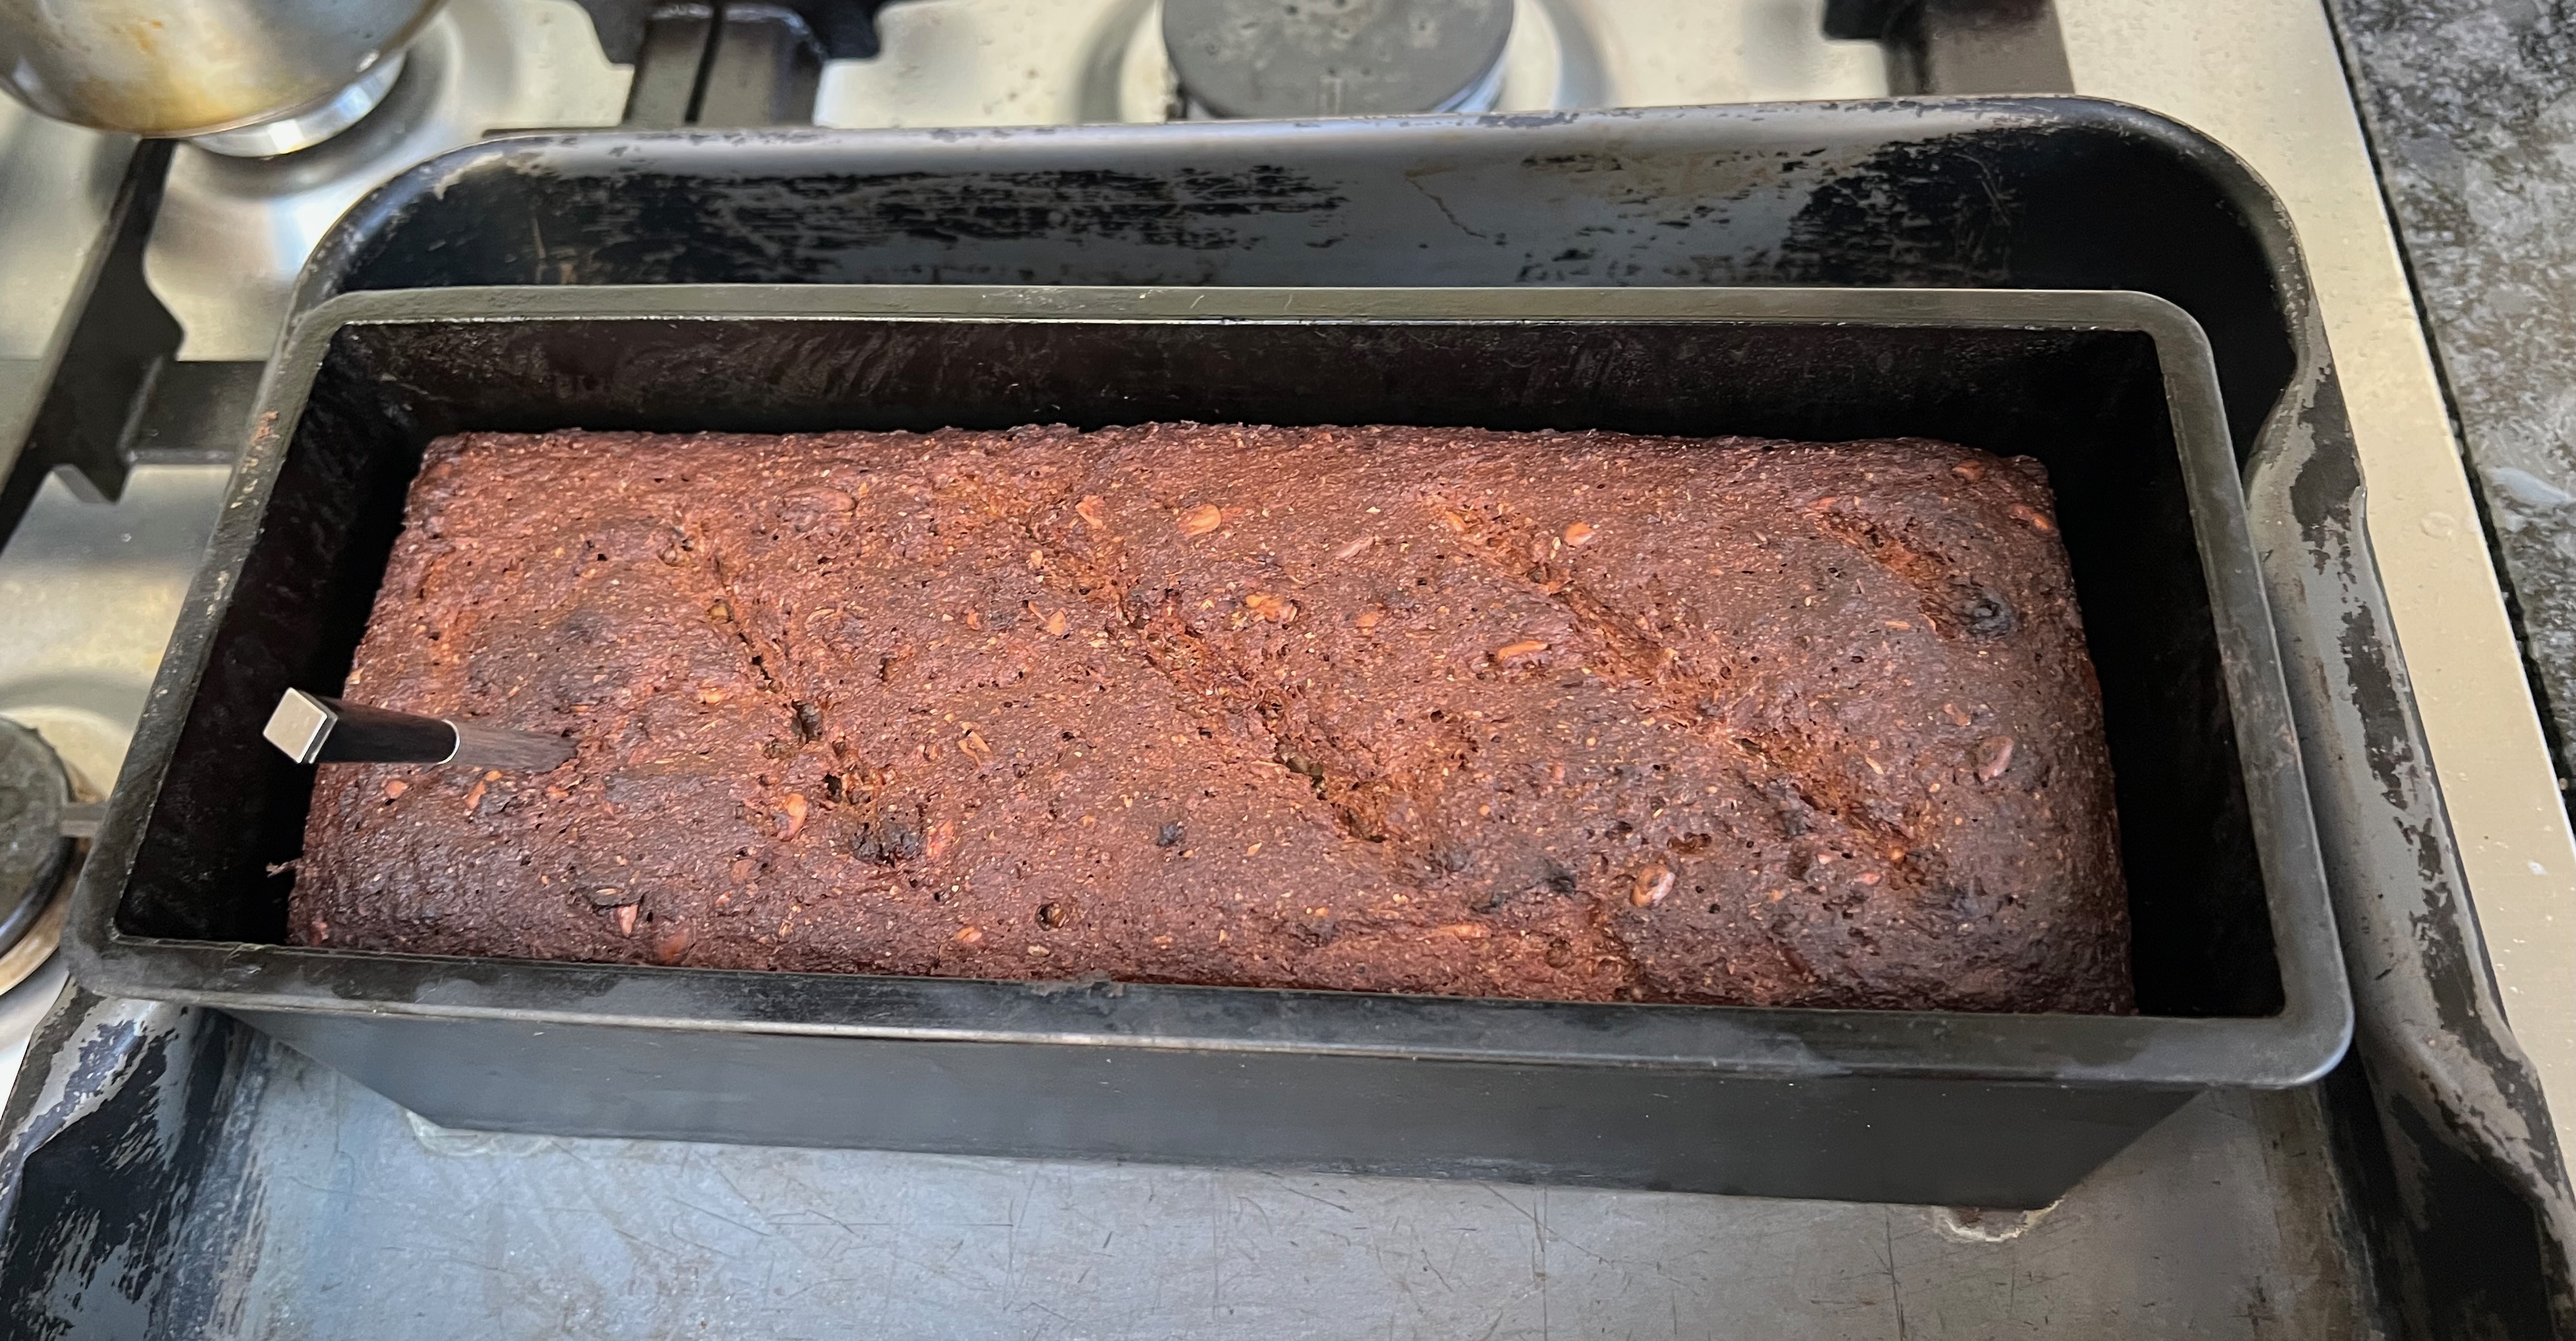
- Transfer the dough to your tin, seam side up.
- Cover and leave to rise until most of the way to the top of the tin. This took me 2 hours: it will take you more or less, depending mainly on the ambient temperature. Jernej suggests overnight in the fridge.
- Poke holes in the dough with a skewer to allow moisture from the filling to escape with lower risk of the layers separating; I probably poked a dozen holes in total.
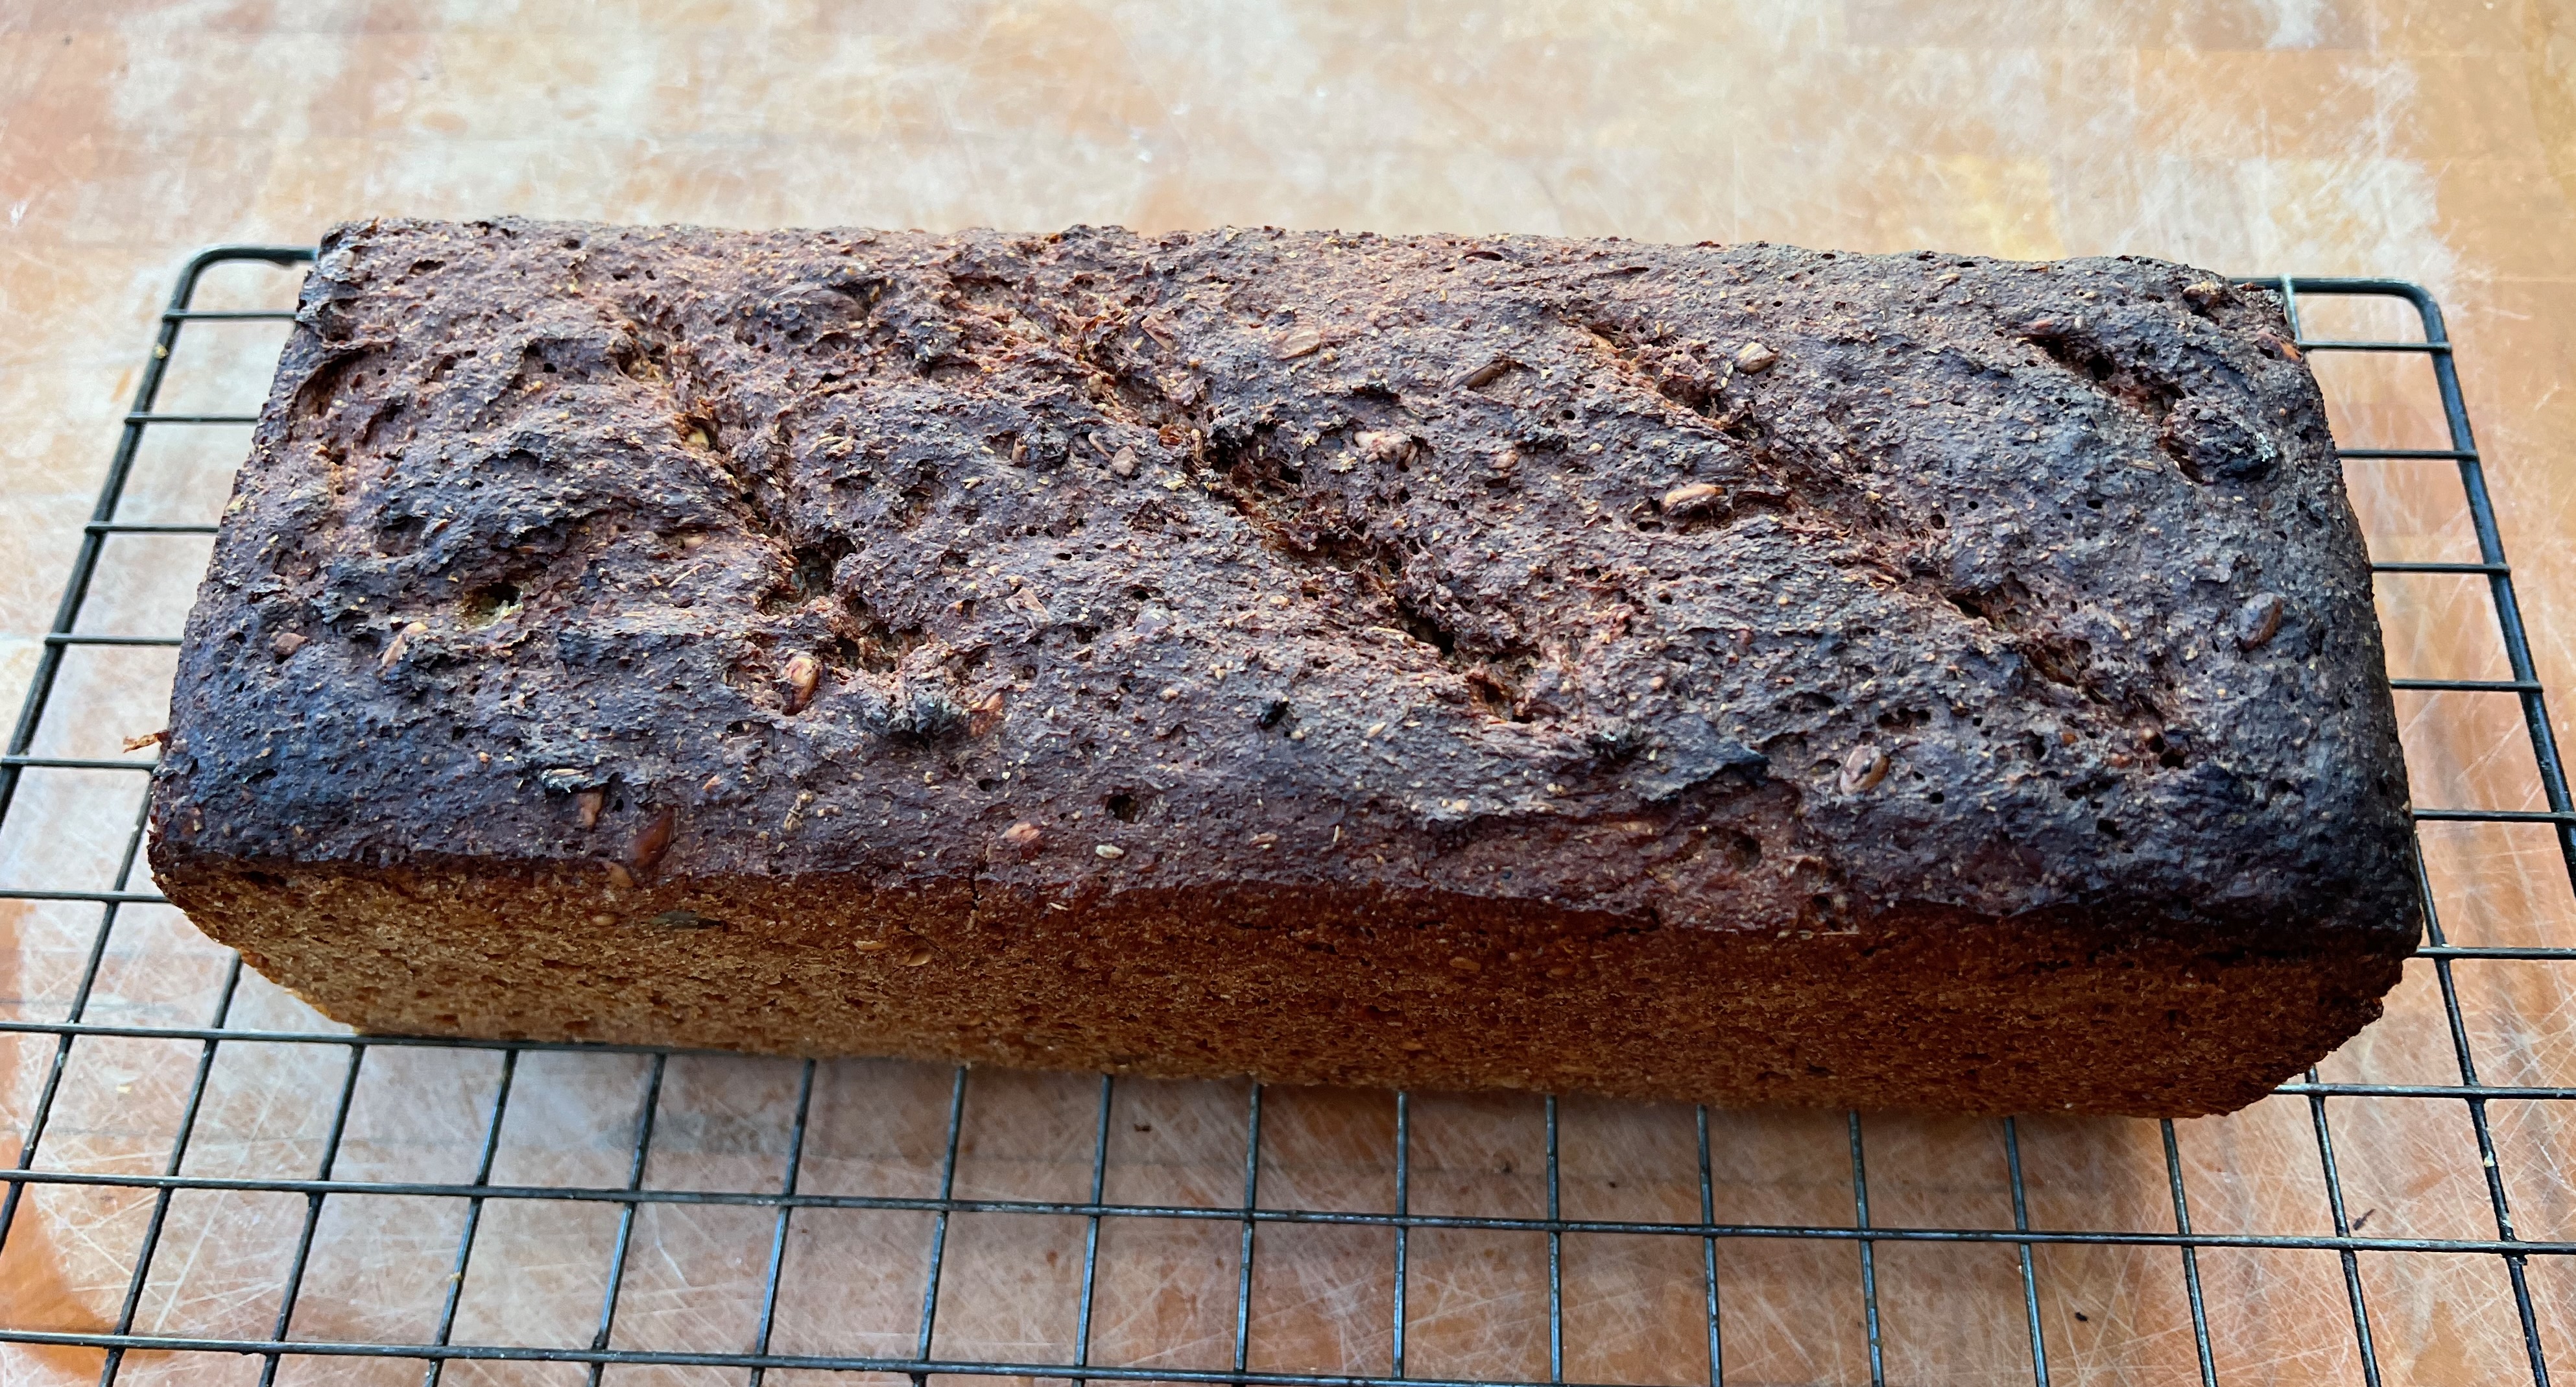
- Brush with milk.
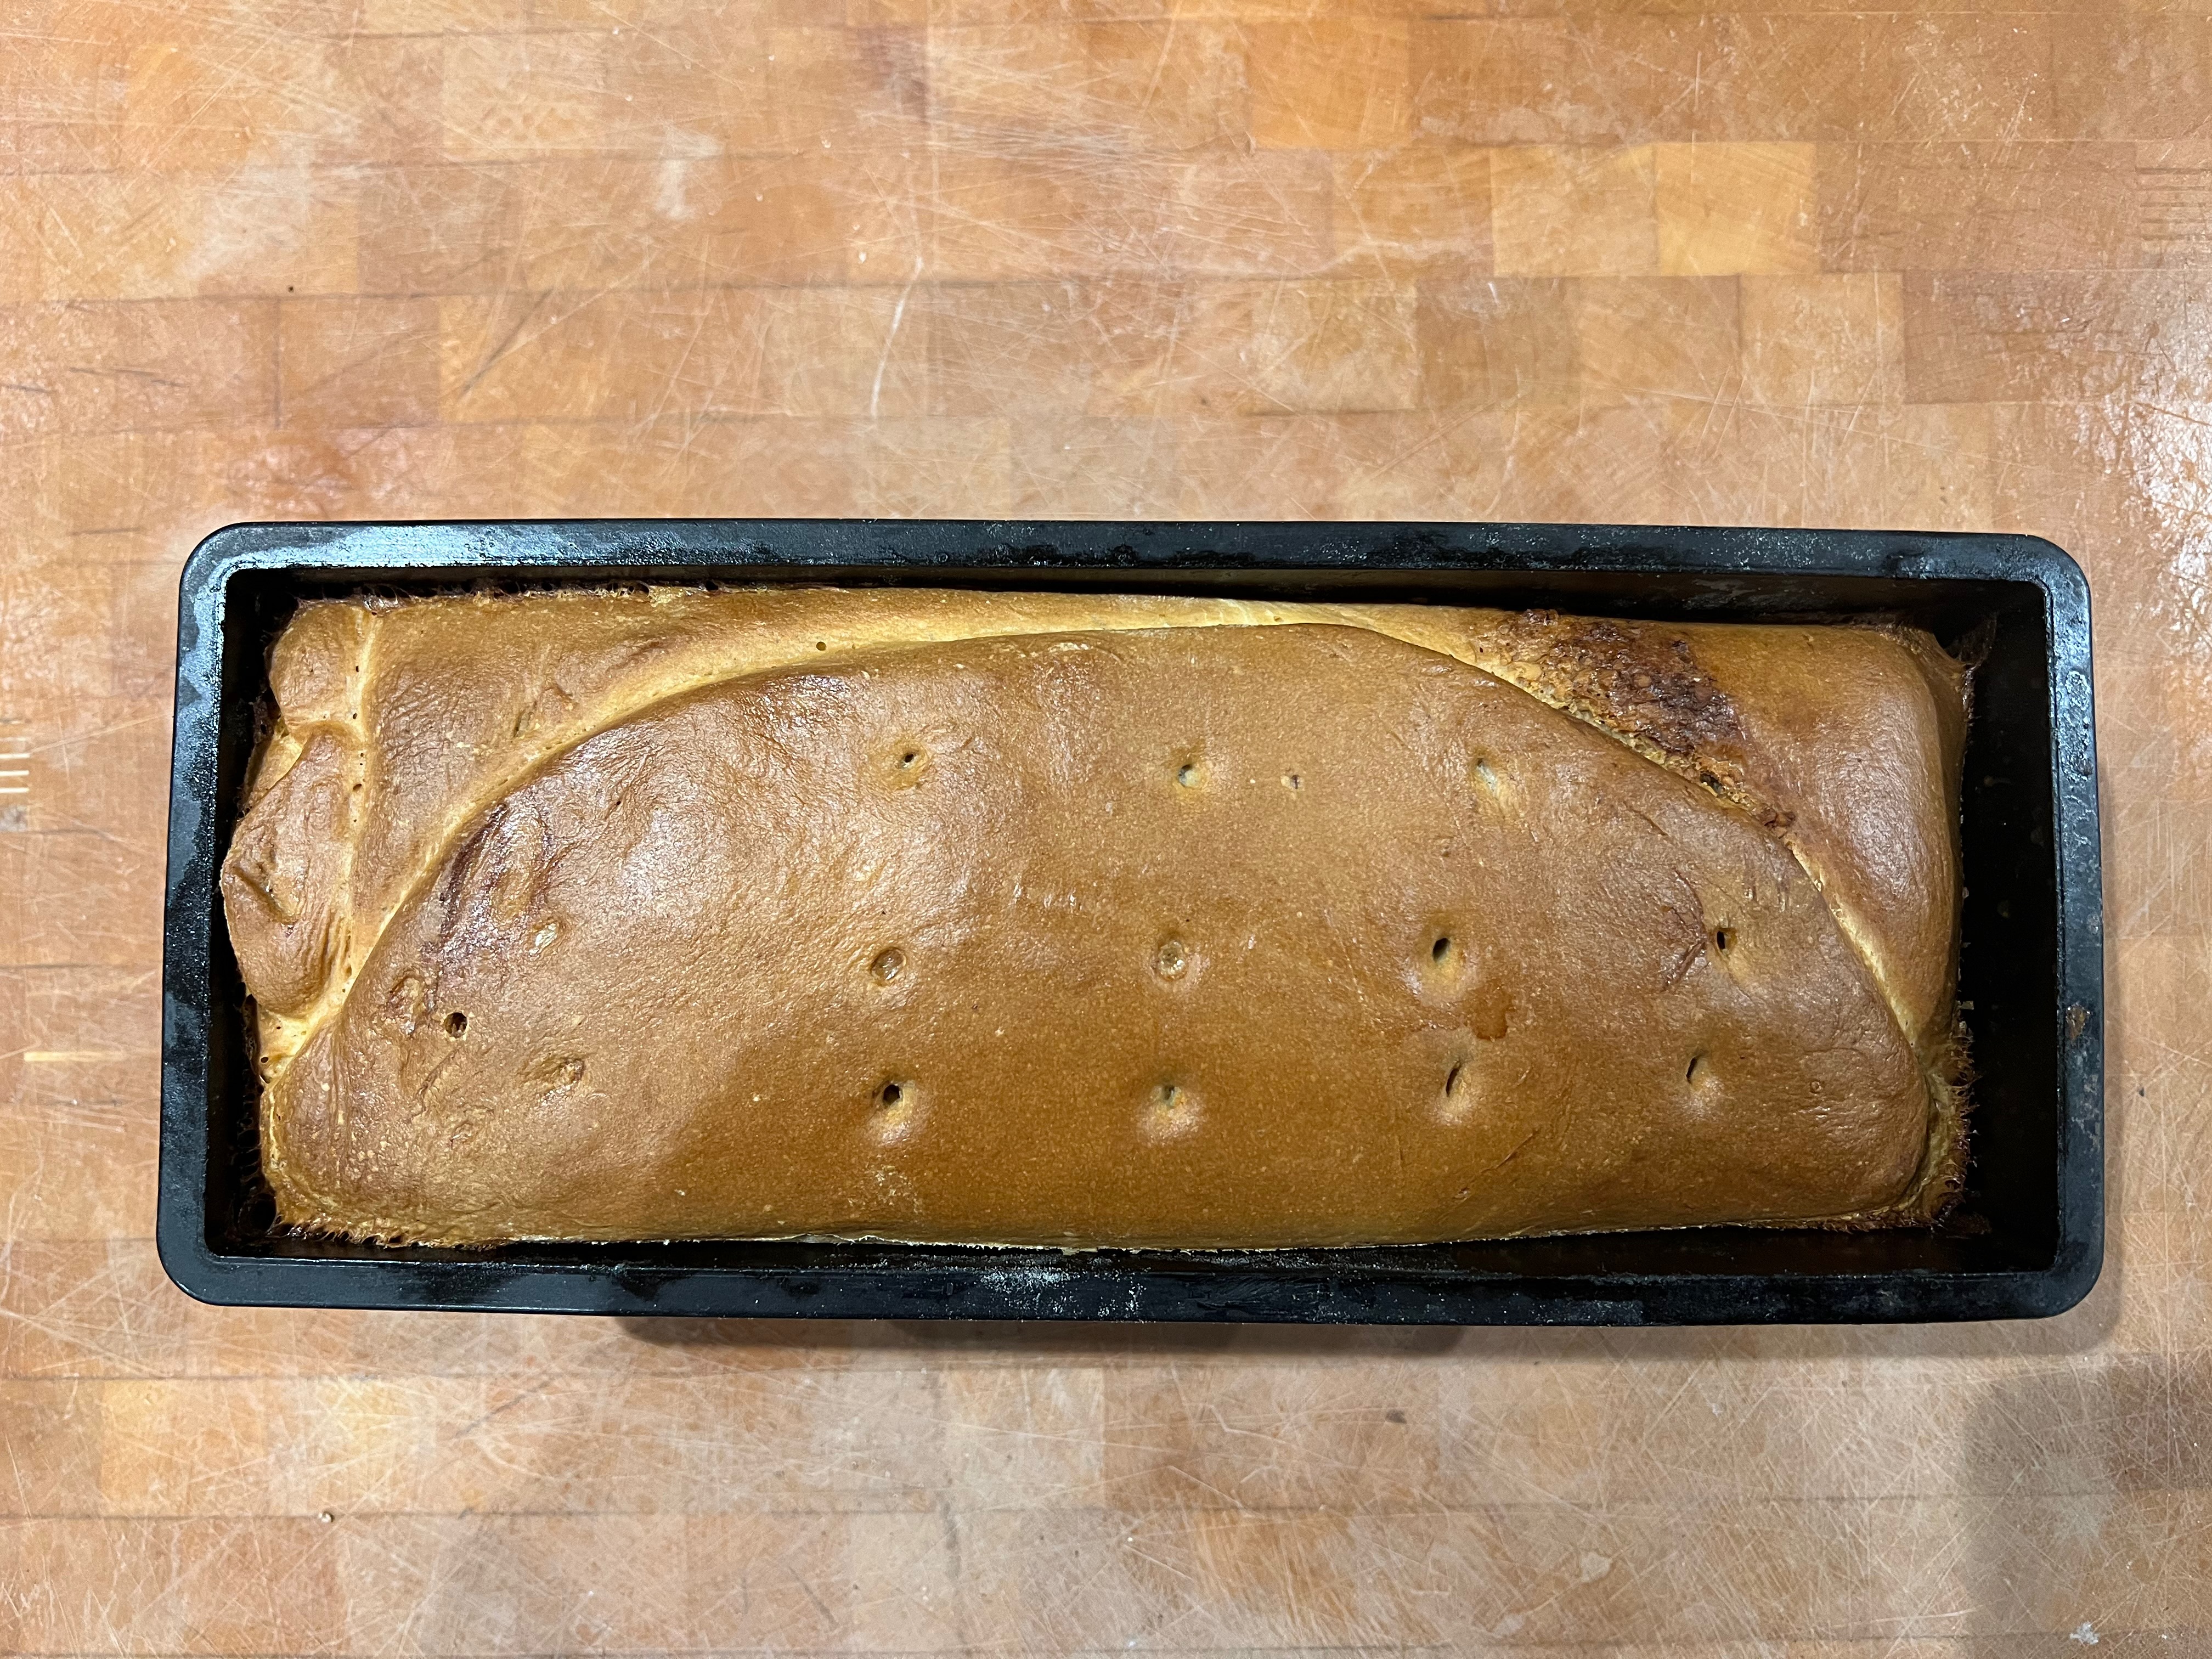
- Bake for 45 min; then reduce the heat to 140℃ and bake until a deep gold colour – around 20 minutes more.
- Remove from the oven, cool for a couple of minutes, then remove the loaf from the pan and leave to cool.