Month: April 2020

Around the world in 80 bakes, no.7: Fatayer from Syria

For this post, we’re travelling to the Middle East – or, more accurately, to refugees from the Middle East. It turns out that when you’ve been exiled from your war-ravaged home, the one thing they can’t take from you is your food memories. Food writers Itab Azzam and Dina Mousawi have done the rounds of Syrians in exile and produced a lovely book called “Syria – recipes from home”: this recipe comes from the Shatila refugee camp in Beirut – yes, that Shatila, the site of the appalling massacre in 1982.

Out of the oven…

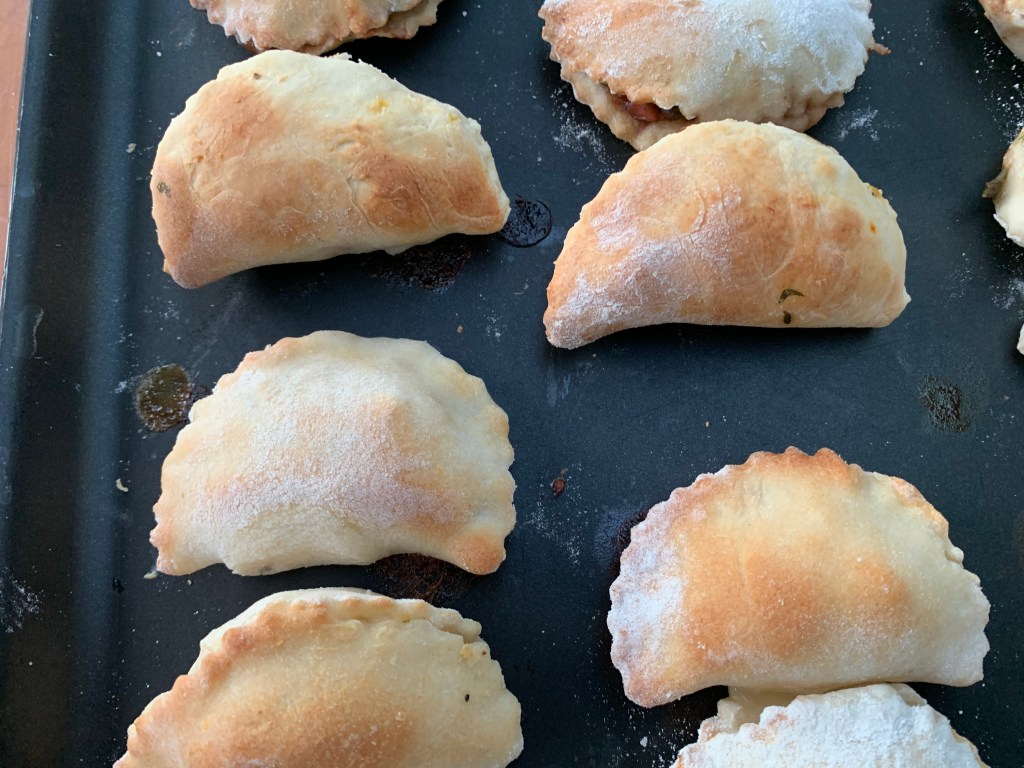
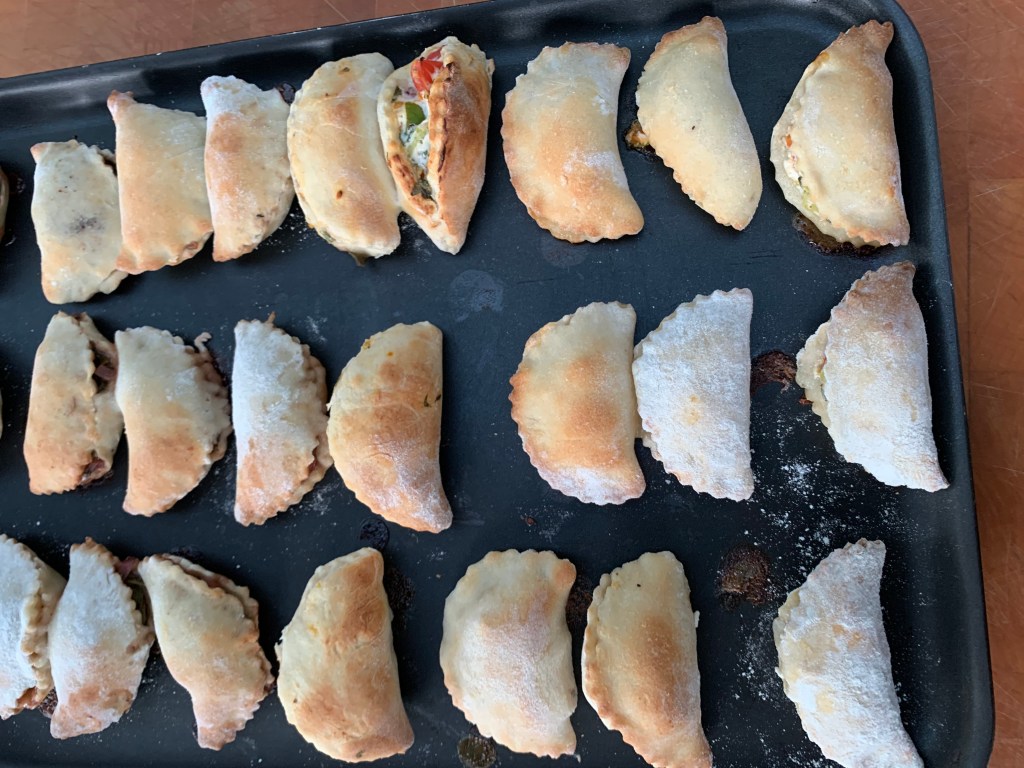
The recipe is for “fatayer”, which are small pasties made of yeasted dough which is rolled thinly and then shaped and pinched around a filling of your choice. There seem to be two popular shapes: I went for a simple half-moon, which gets you something like a miniature version of an Italian calzone. You’ll also see lots of images of fatayer where a hexagon of dough has been folded into a characteristic triangular pyramid: this looks complicated, so I thought I’d leave it for a second time round.

A bit of reading shows that you can fill your fatayer with pretty much anything: I tried two of the three fillings that Itab and Dina list in the recipe: a spinach-based one and a labneh-and-cherry-tomato one. 

If you can imagine miniature folded pizzas filled with your favourite yummy Middle Eastern flavours, piping hot out of the oven, you’ve pretty much got it. What’s not to like?

In what follows, by the way, the recipe in the book has been tweaked mildly to adjust seasoning, follow my usual baking drills, etc.

First, make your dough

  • 200ml milk
  • 300g plain flour, plus some for rolling
  • ½ tsp dried yeast
  • ½ tsp sugar
  • ½ tsp salt
  • 2 tbs sunflower oil (or any other fairly neutral oil)

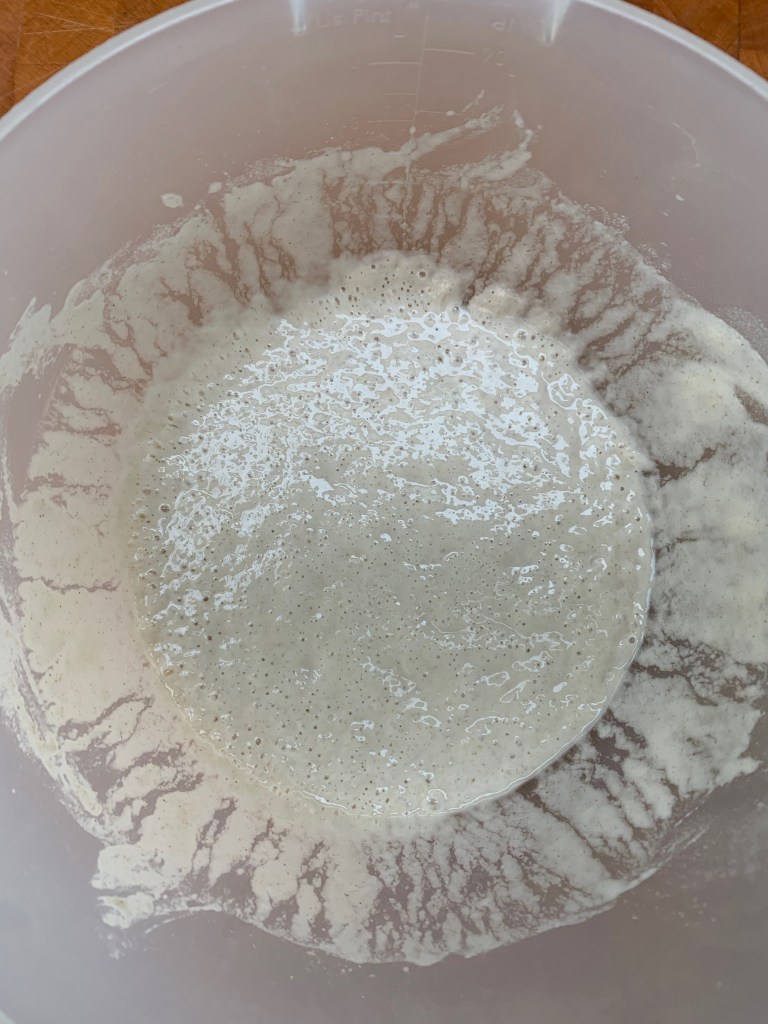
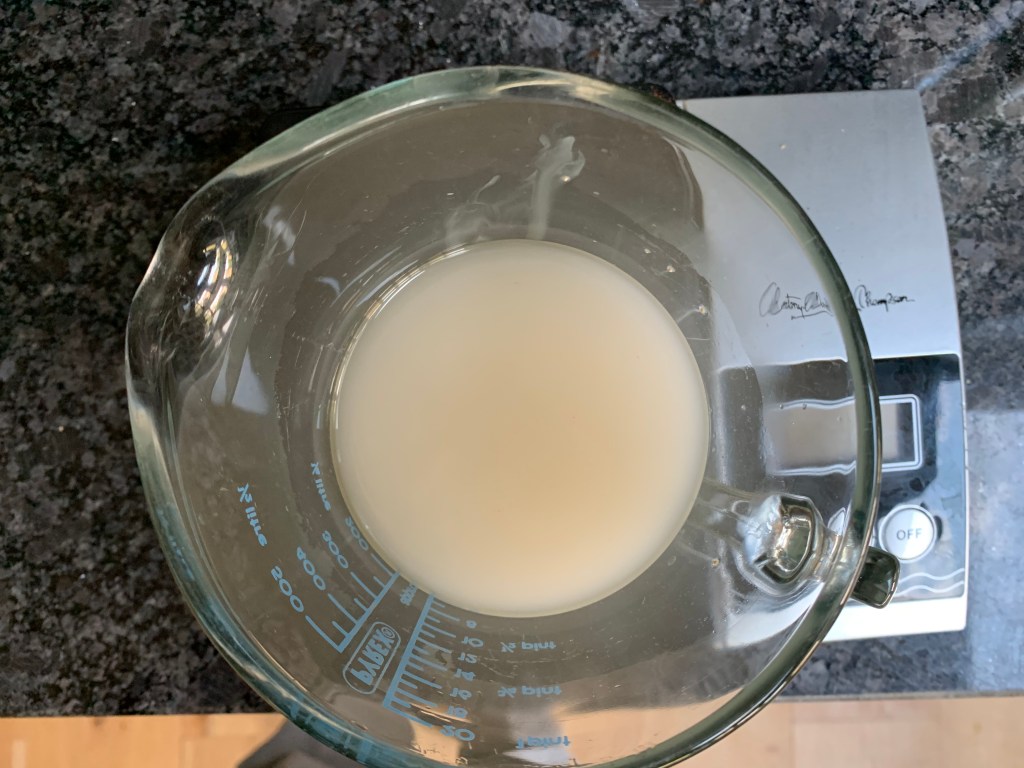
Put the milk into a saucepan and warm it to around 45℃, add the sugar and yeast, and wait for 5-10 minutes for it to go frothy. Mix the flour and salt in a bowl.

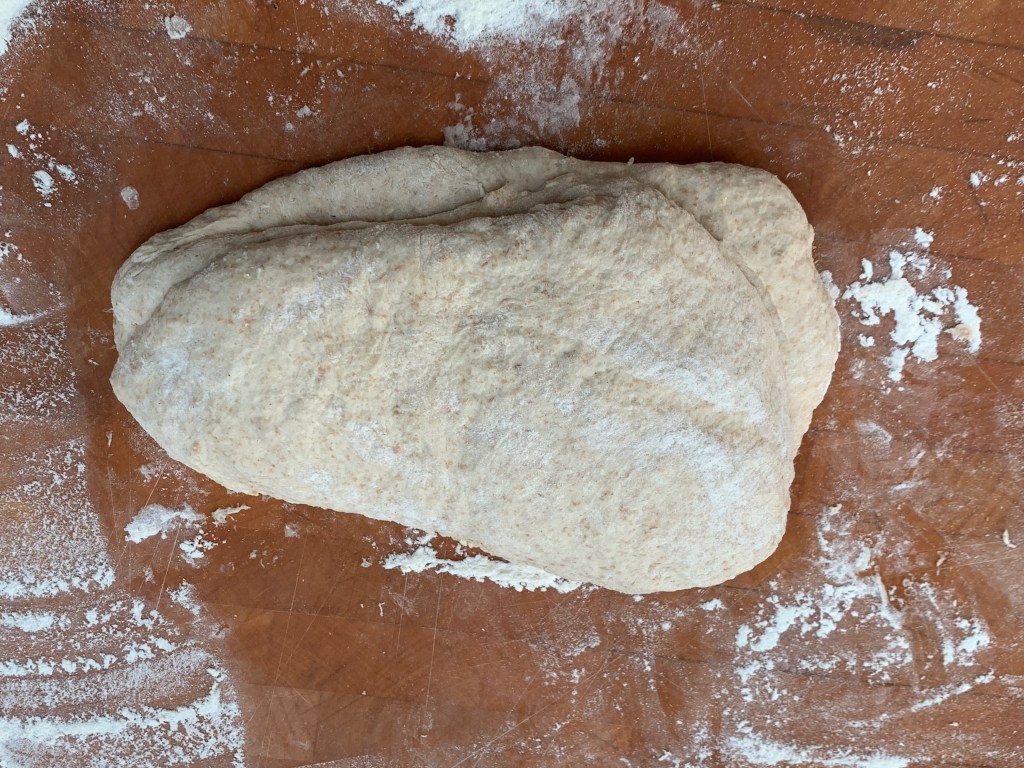
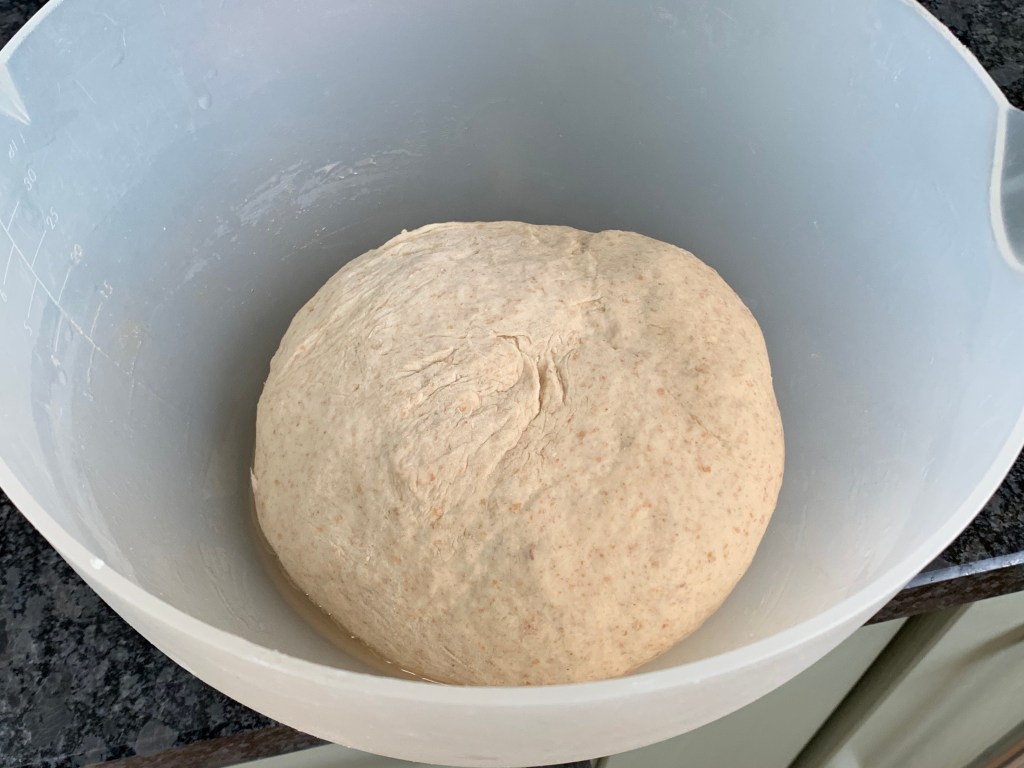
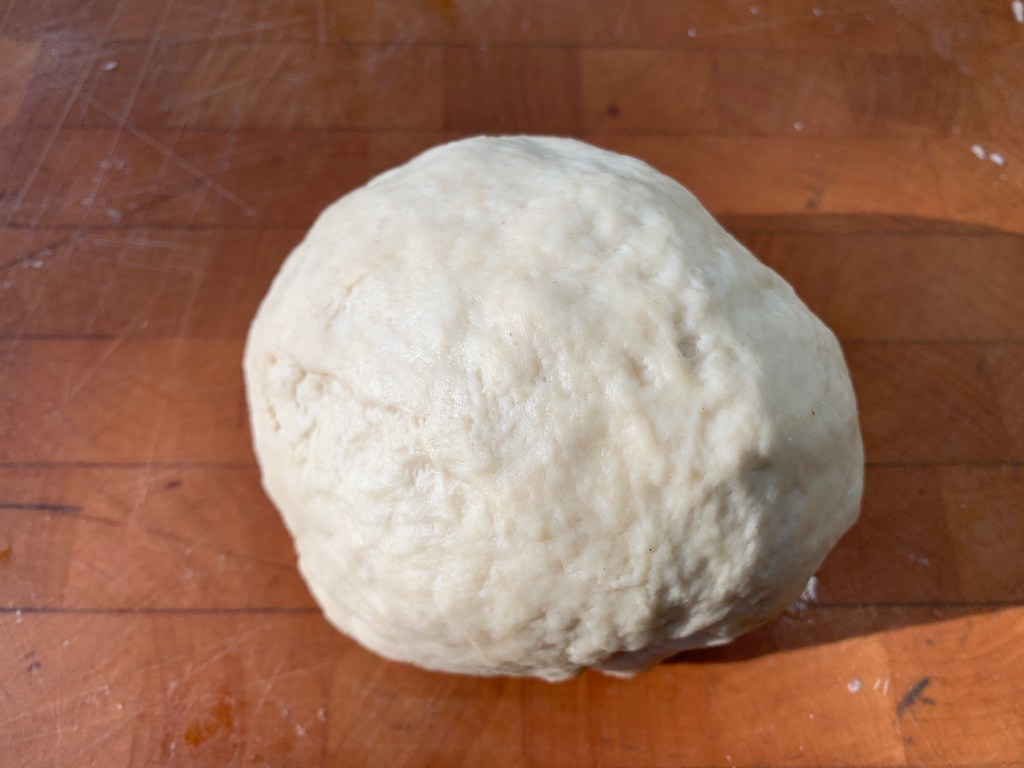
When the yeast mix is frothy, pour it into your bowl with the flour, add the oil and mix it well. You should get a soft dough: knead this reasonably vigorously until it goes nicely springy. Brush some oil around a bowl big enough to hold the dough when it’s risen, and put in a warm place. My favourite method is to heat an oven to 50℃ and turn if off just before putting the dough in to rise – it should take 60-90 minutes.

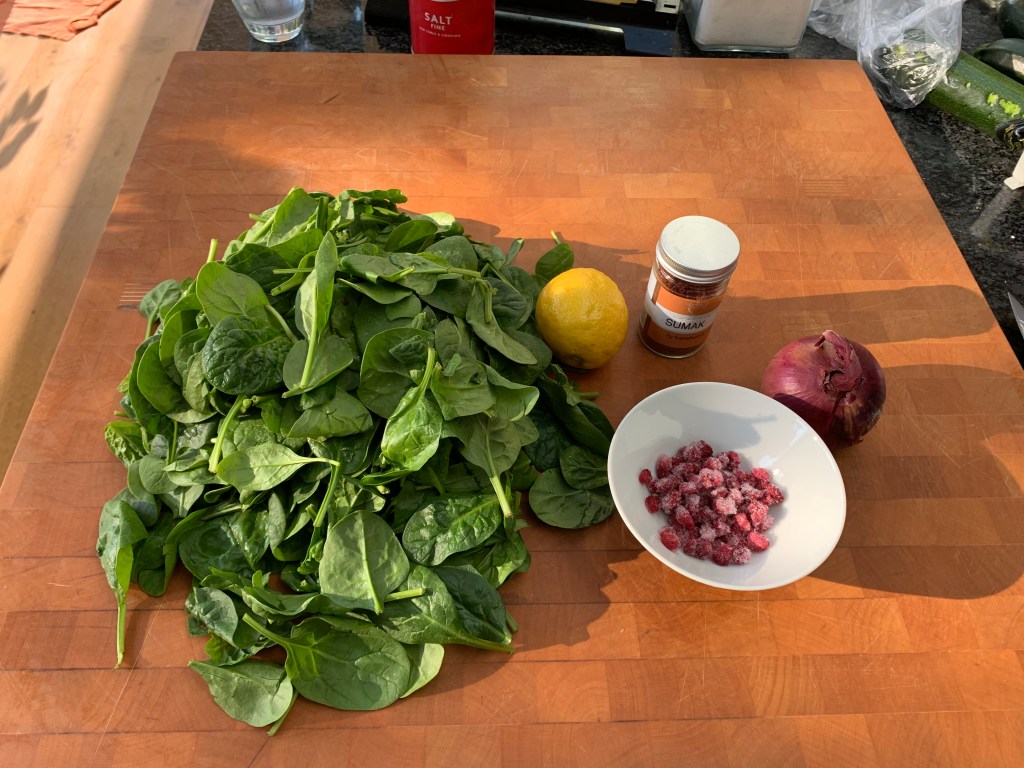
Now make the spinach filling…

  • One onion
  • 300g spinach
  • 4 tsp sumak
  • Juice of half a lemon
  • Pomegranate seeds
  • Salt and pepper to taste

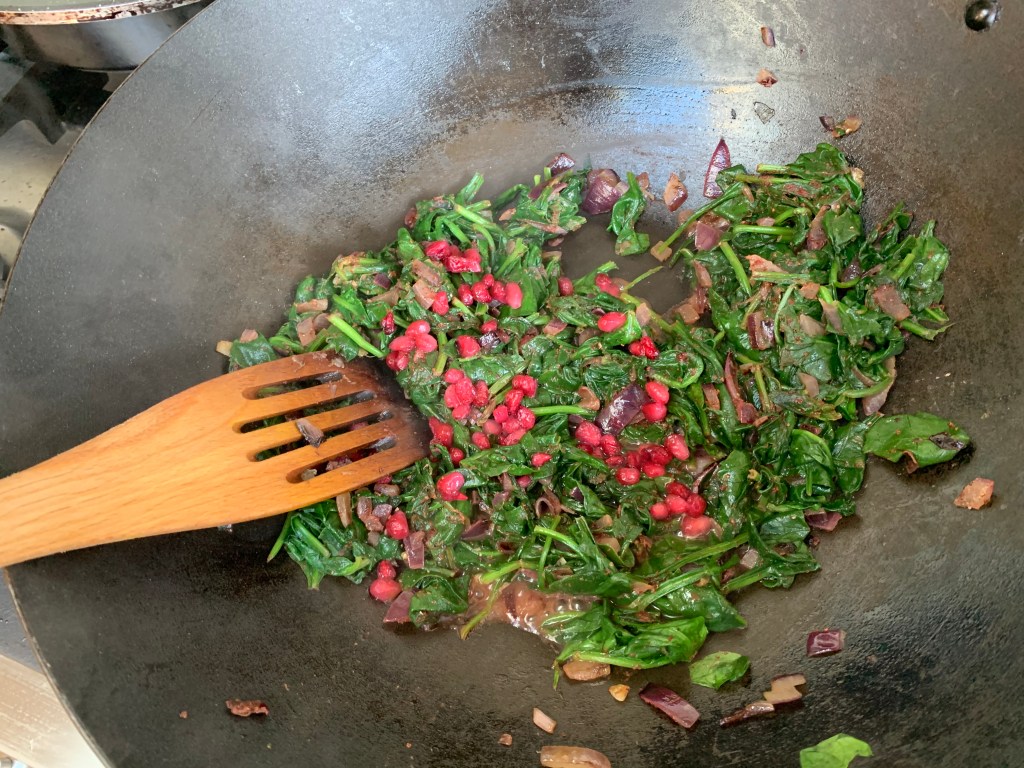
Chop the onion very finely, fry very slowly in a wok or other large pan bit of olive oil until it caramelises. (The pan has to be large enough to take the spinach before it’s wilted).

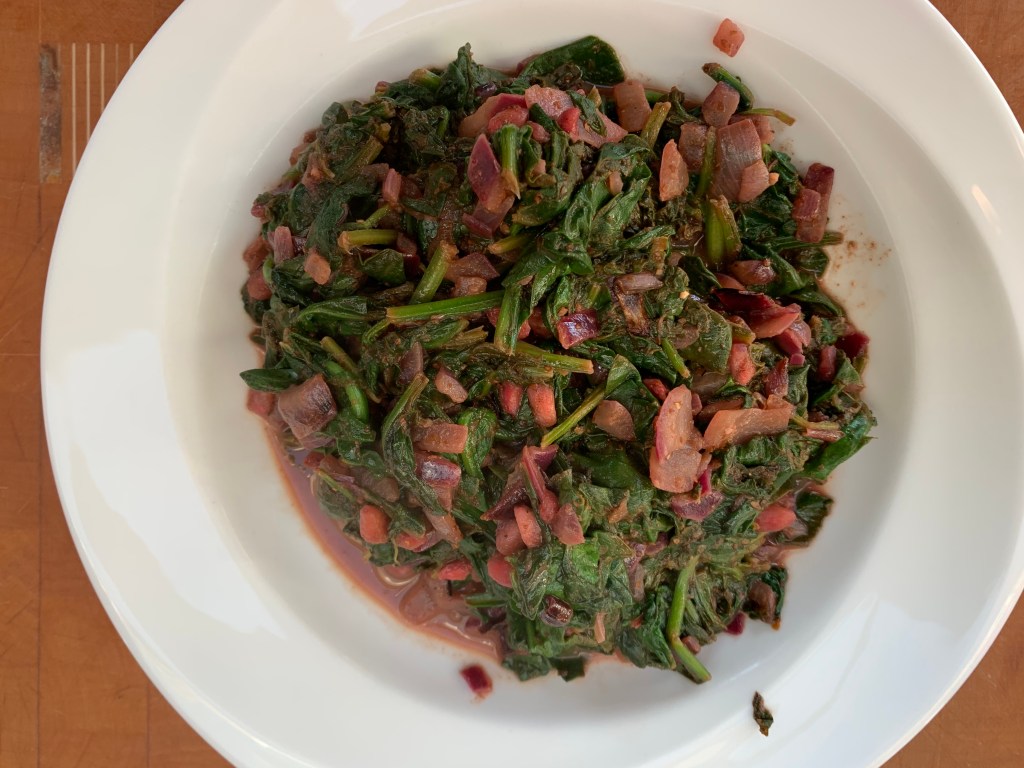
Add the spinach and keep frying until it’s wilted right down. Add the sumak, lemon juice and pomegranate seeds, season, and keep reducing gently until virtually all the liquid has gone. You don’t want the spinach to burn, but you don’t want any surplus liquid either.

…and the labneh filling

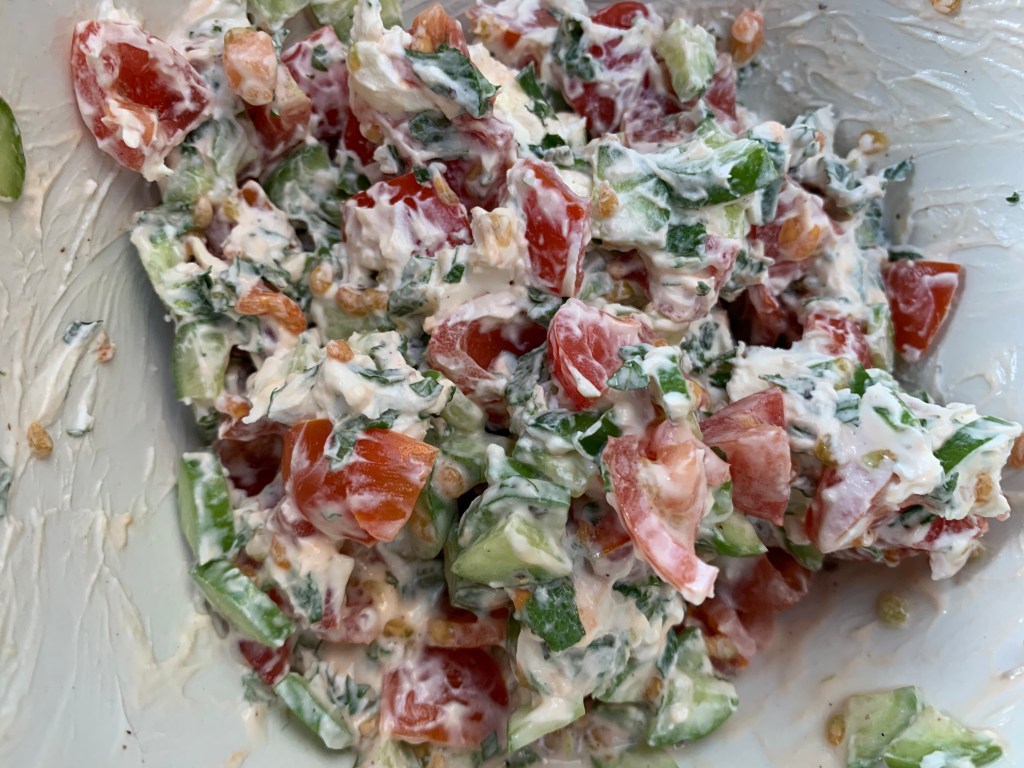
This is even simpler and, if I’m honest, the better of the two…

  • 12 cherry tomatoes
  • 2-3 baby cucumbers (or perhaps ¼of a large cucumber)
  • 5g fresh mint
  • 4 tbs labneh
  • 2 tbs olive oil

Chop the three dry ingredients as small as you can manage (or can be bothered). Mix everything together thoroughly.

Put it all together

Preheat your oven to 200℃ fan

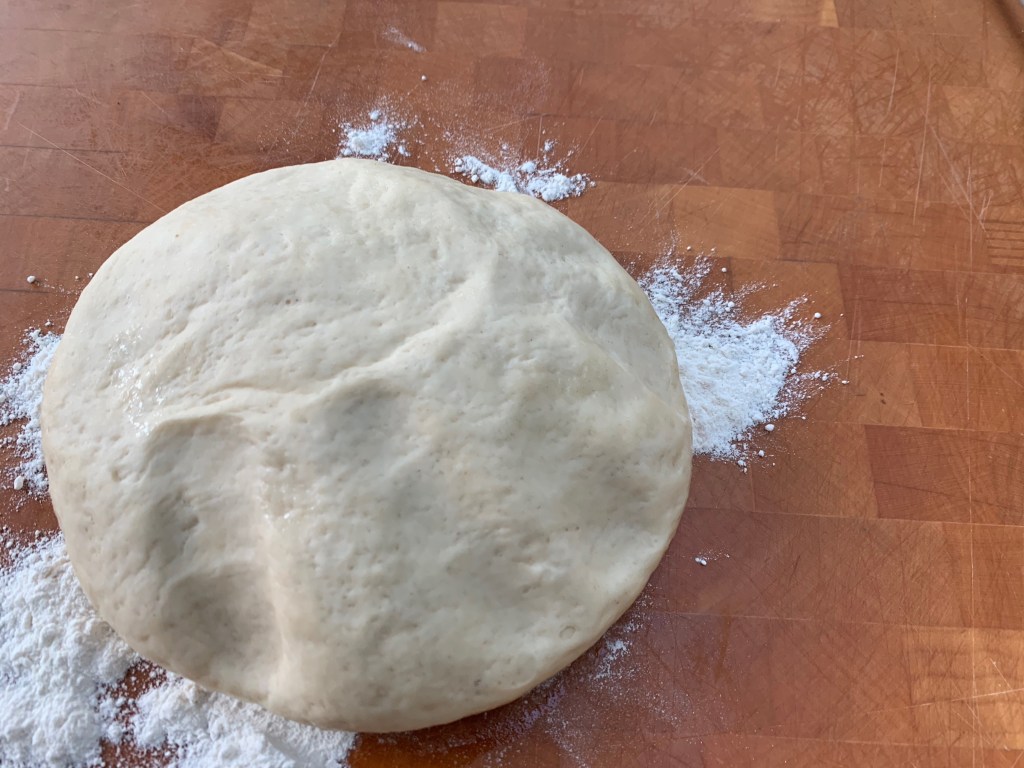
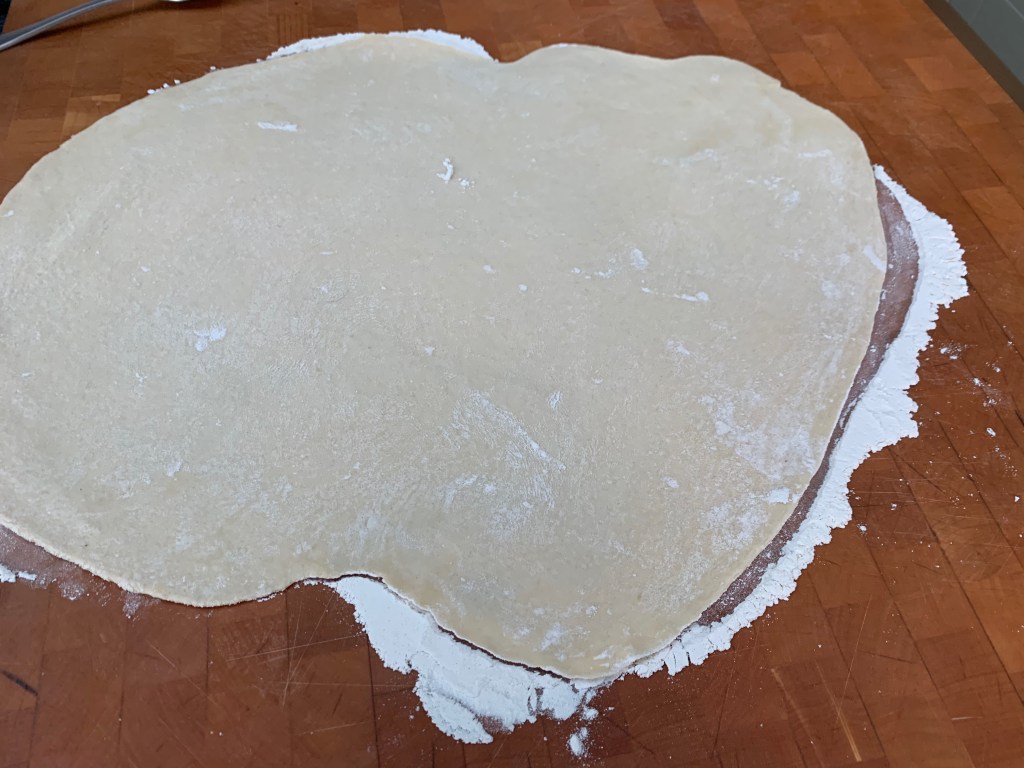
Flour your board and roll your dough out as evenly as you can. Itab and Dina say 3mm – I’d go thinner if you can do it without breakages.

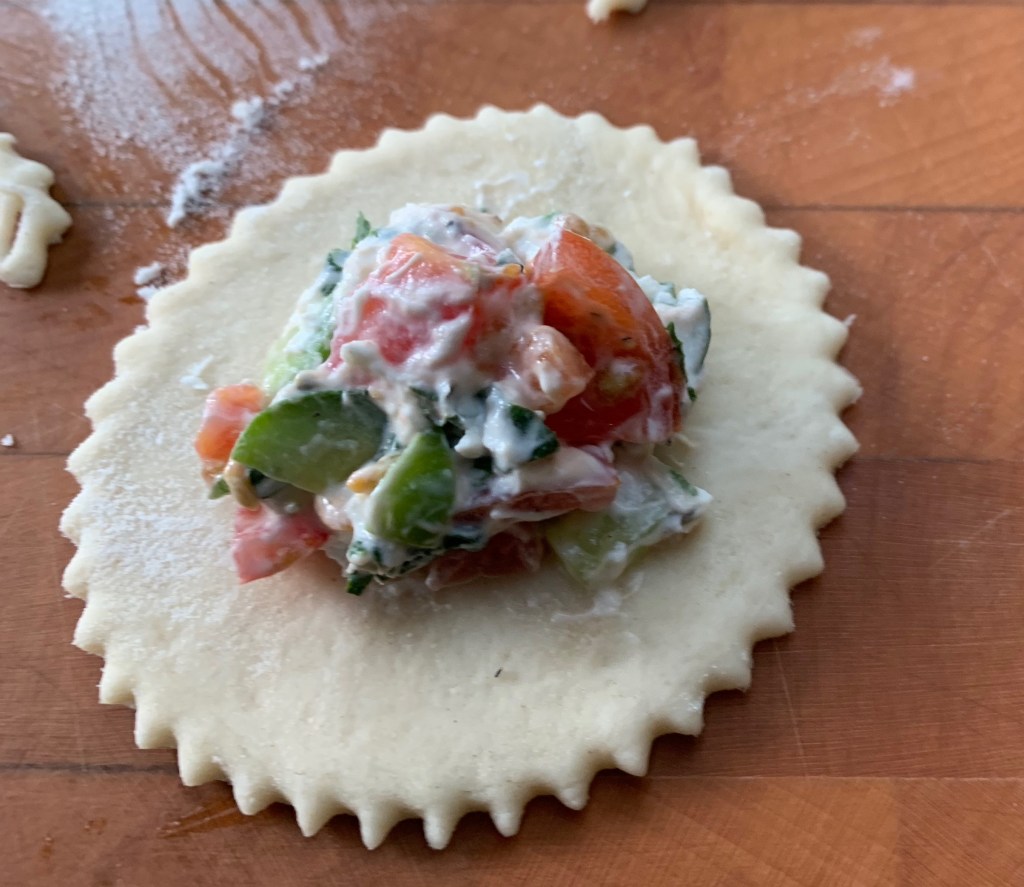
Cut out circles of dough to a size of your choice: 8cm is about the minimum. Spoon a dollop of filling into the middle of your circle, then fold the dough in half to enclose the filling. You then need to pinch it closed, taking care (a) not to let any filling seep out and (b) that you haven’t left any gaps.

The tricky part is to do this without letting liquid from the filling making it impossible for you to pinch the dough properly so that it stays closed, so two pieces of advice: (1) use a couple of teaspoons for the filling so you don’t dirty your hands and (2) don’t overfill. I ended up giving each circle a little extra roll to thin it out and give myself more margin.

Once you’ve done your first batch, you’ll have a lot of left over scraps of dough. I rolled them all into a ball, re-kneaded them somewhat and then did a second batch.

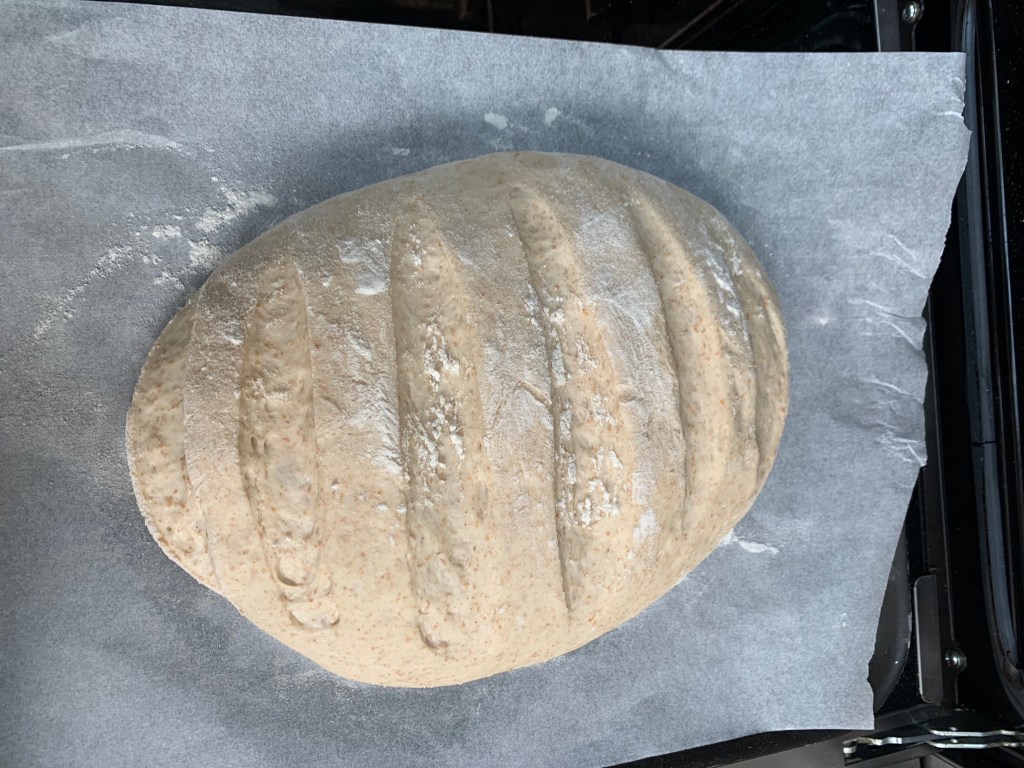
When each fatayer is made, place it on an oven tray. When they’re all made, bake them until nicely brown – everyone’s oven is different, so keep an eye on them (opening the oven won’t hurt). They took around 15 minutes in my fan oven.

Around the world in 80 bakes, no.6: Pan Rustico

This week-end, I’m heading to Spain in the tracks of the Hairy Bikers for my attempt at their Pan Rustico (virtually, that is, since we’re all in coronavirus lockdown). Think of it as a kind of sourdough for those who don’t want the faff of maintaining a starter: basically, you make a flour, yeast and water mix and leave it to ferment for 24 hours, which you then use in the same way you would a sourdough starter. It avoids all the messing around with keeping the starter fed for a week and gives results that are not dissimilar. You get a bread that’s really soft and aerated, with a nice crust, perfect for a soup or a salad-and-cheese kind of lunch.

Here in the UK, a giant lockdown-induced rise in home bread-making has meant that you can’t buy flour at the moment: apparently, the problem isn’t that the millers can’t mill the stuff but that they’re used to selling to bakeries in bulk, and they’re struggling to get retail packaging for small quantities. Fortunately, I’ve been making bread for a few months now and I’d just placed my three-monthly order from buywholefoodsonline.co.uk when the crisis hit. But the selection of flours in the house is a bit idiosyncratic, so I used wholemeal spelt flour rather than the wheat flour in Si and Dave’s recipe. As it happens, I think that was a win – but that’s for you to decide.

To make bread for lunch, you’ll need to make your starter first thing in the morning the day before; you’ll then make the actual bread on the day.

I’m going to be honest, here: I’m not sure how particularly Spanish the results are… But it was lovely bread anyway!

Starter:

  • 150 ml warm water
  • 1tsp sugar
  • 1tsp dried yeast
  • 125g strong white flour

It’s the usual bread-making drill: dissolve the sugar and yeast in the warm water, give it 10 minutes or so to start frothing, then mix in the flour. Leave the whole lot for 24 hours.

The main action:

  • 200 ml warm water
  • 1 tsp sugar
  • 1 tsp dried yeast
  • 225 g strong white flour, plus lots more for your board
  • 100g wholemeal spelt flour
  • 1 tsp salt
  • 1 tbsp olive oil, plus a bit more for greasing your bowl

Before you start, choose a bowl in which you’re going to prove your bread and grease it with olive oil. Also preheat an oven to 50℃: as soon as it gets to temperature, switch it off.

  1. Start with same drill as before: dissolve the yeast and sugar in the warm water and leave it for 10 minutes.
  2. Meanwhile, mix your flours and the salt.
  3. Once your wet mix is frothing nicely pour it into the dry mix and add the starter dough you made the previous day, as well as the olive oil. Mix thoroughly with a wooden spoon.
  4. Spread generous amounts of flour over your board or other surface and transfer your dough to it. Knead the dough for 5-10 minutes until it’s very elastic, then form into a ball and put it in your oiled bowl. You want to do a lot of stretching and folding in your kneading process, because you’re trying to get air into the dough. If your bowl has a lid, use it now; otherwise, cover it with cling film.
  5. Now let the bread rise. This takes about an hour if you do it using the “preheat an oven to 50℃ and switch it off” method; if you’re doing something different like using a boiler room or airing cupboard, I can’t guess… Wait for the bread to have risen nicely, and I’m not even going to attempt to define accurately what that means.
  6. Choose a baking tray and cut out a piece of baking paper to put on it.
  7. Shove some more flour onto your surface and carefully transfer your dough to it – keeping it in one piece as best you can. Now stretch and fold it a few times: what you’re trying to do is to get more air into it, and to stretch the ends and pull the surface tight, tucking the dough under (this is easier than it sounds). Form your dough into your favourite shape (a ball? and rugby ball?) on your lined baking tray. If you want the traditional pattern on the top, slash a few gashes in it.
  8. Now leave your bread to prove. If you have a double oven, put the bread back into the one you used for its first rise, and warm the other one up to 240℃. If you have a single one, you’ll have to find somewhere else that’s warm to do the proving (or be patient if it’s at a cold room temperature).
  9. I always struggle with knowing whether the bread has proved the right amount, so I’m not going to proffer advice here either. With me, 40 minutes was plenty enough.
  10. Bake for about 20 minutes. Take out and cool on a rack.