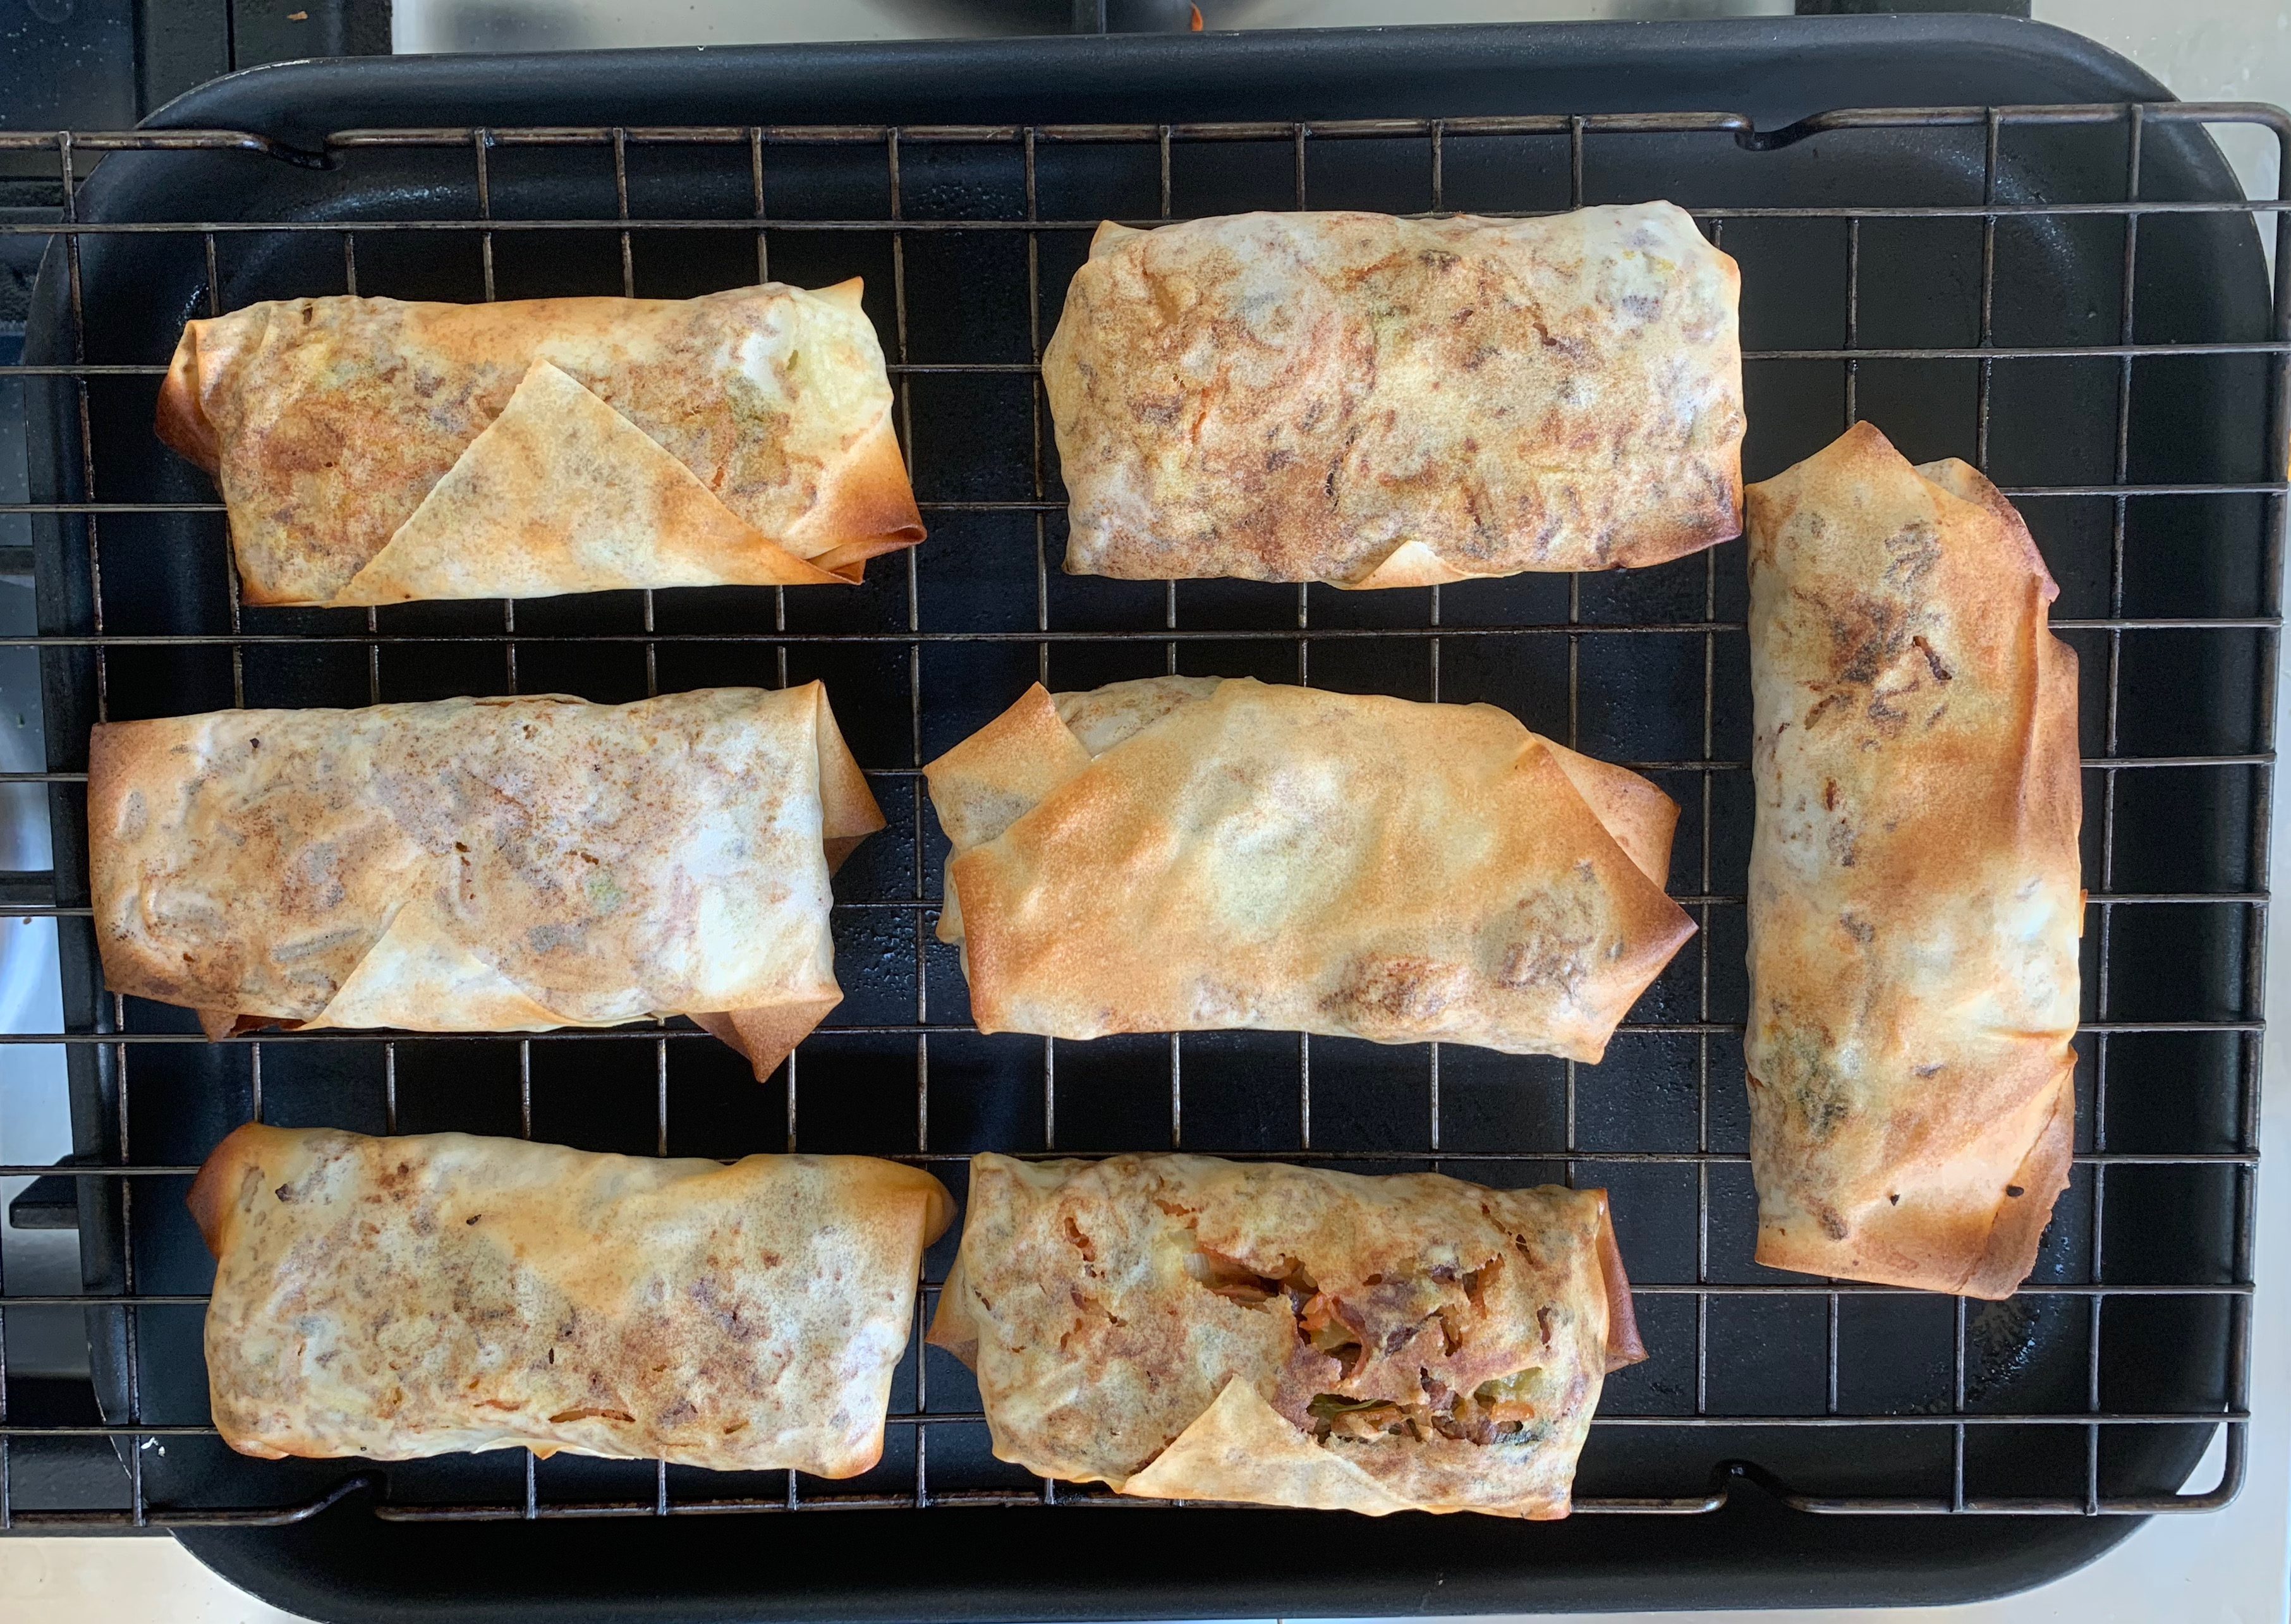
As far as I can see, the real definition of a spring roll is “anything you like that has vaguely Far Eastern flavourings, wrapped in a cigar shape of very thin pastry”. However, this being a baking blog with pretensions of authenticity, I started off with an actual Malaysian recipe – and one that specifies how to bake them rather than the more usual deep fry. If like me, you try to steer clear of deep frying, the use of cooking spray – not something I’d come across before using this recipe – seems to work pretty well, getting a result that’s crisp, non-greasy and holds its filling, even if you don’t get the classic “golden all over” look of the fried version.
The recipe will be very forgiving as to quantities: shown here are what I had easily available. The original recipe specifies jicama, a root vegetable that I couldn’t get hold of, so I substituted with a couple of cans of water chestnuts. I believe that mooli (aka daikon) also makes a good substitute, but with a more distinctive flavour of its own.
The filling
- 500g lean pork mince
- 1 tbsp dark soy sauce
- Ground black pepper to taste
- 1 onion
- 2 cloves garlic
- Oil for frying (I used groundnut oil, any neutral oil will do
- 450g water chestnuts
- 2 large carrots
- 450g cabbage
- 3 spring onions
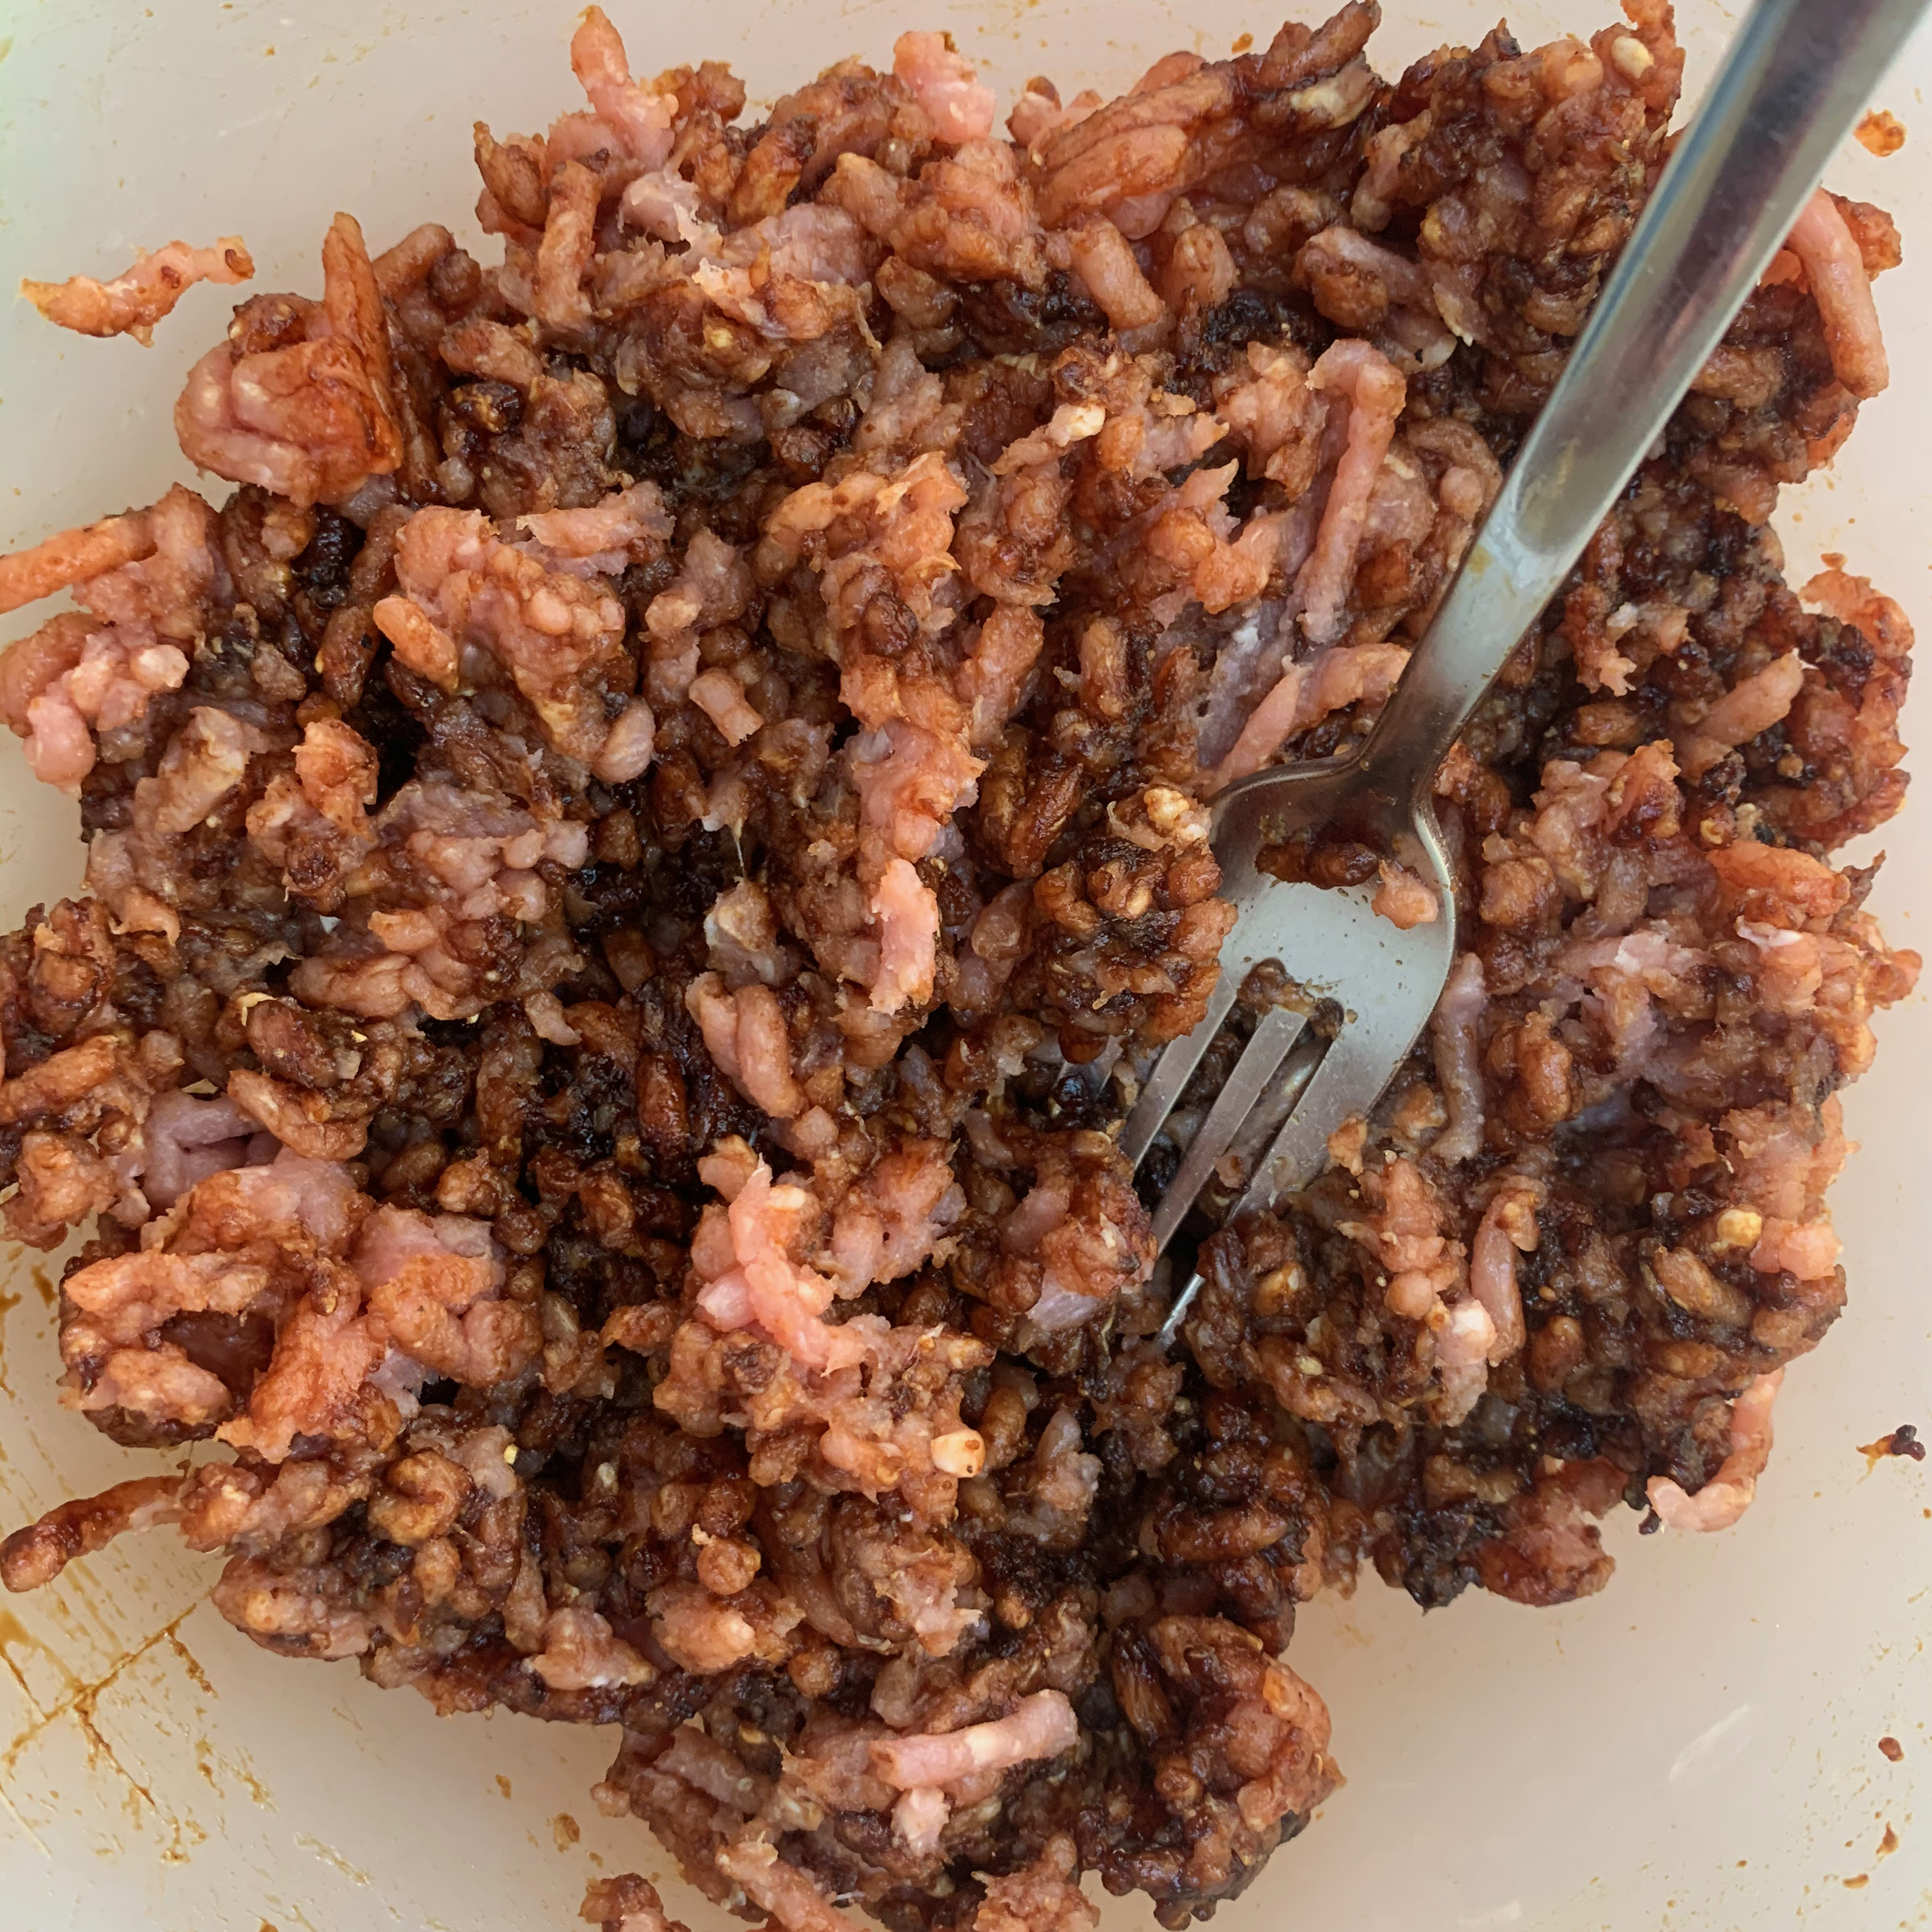
- Combine pork mince, soy sauce and black pepper in a bowl, mix well.
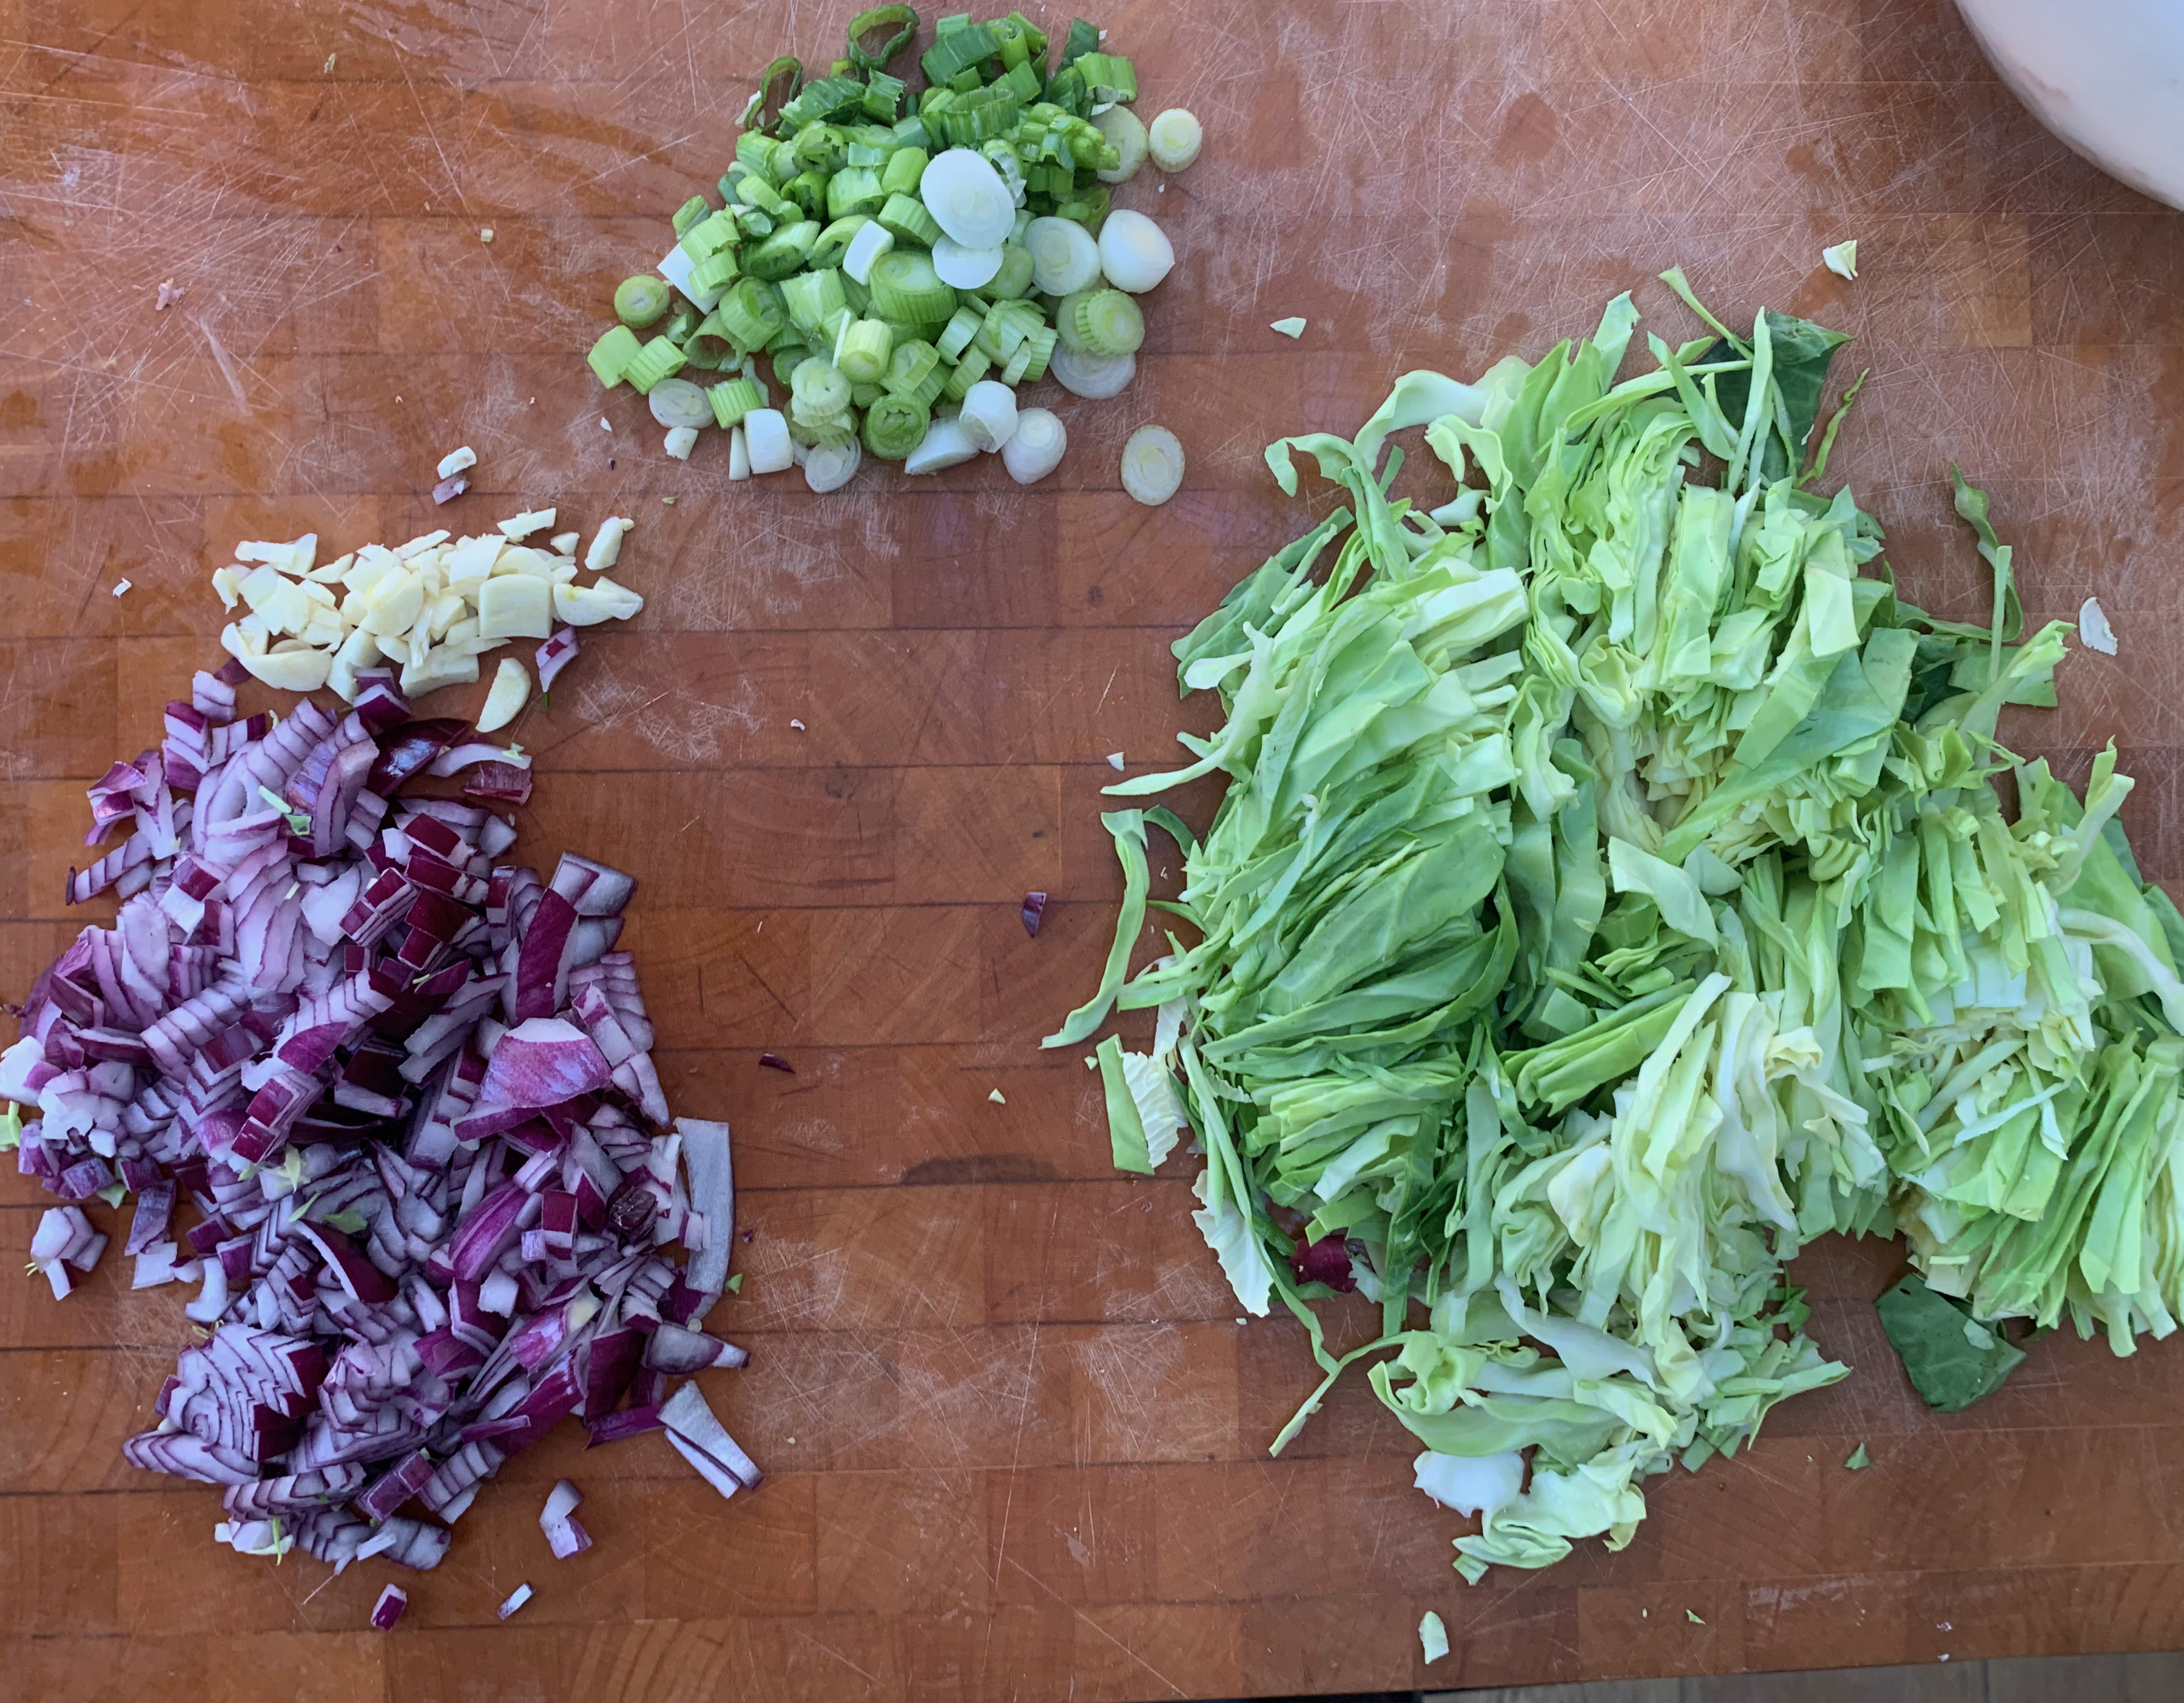
- Chop garlic and onion finely
- Shred cabbage
- Peel the carrots, grate them and the water chestnuts – I did this in a food processor.
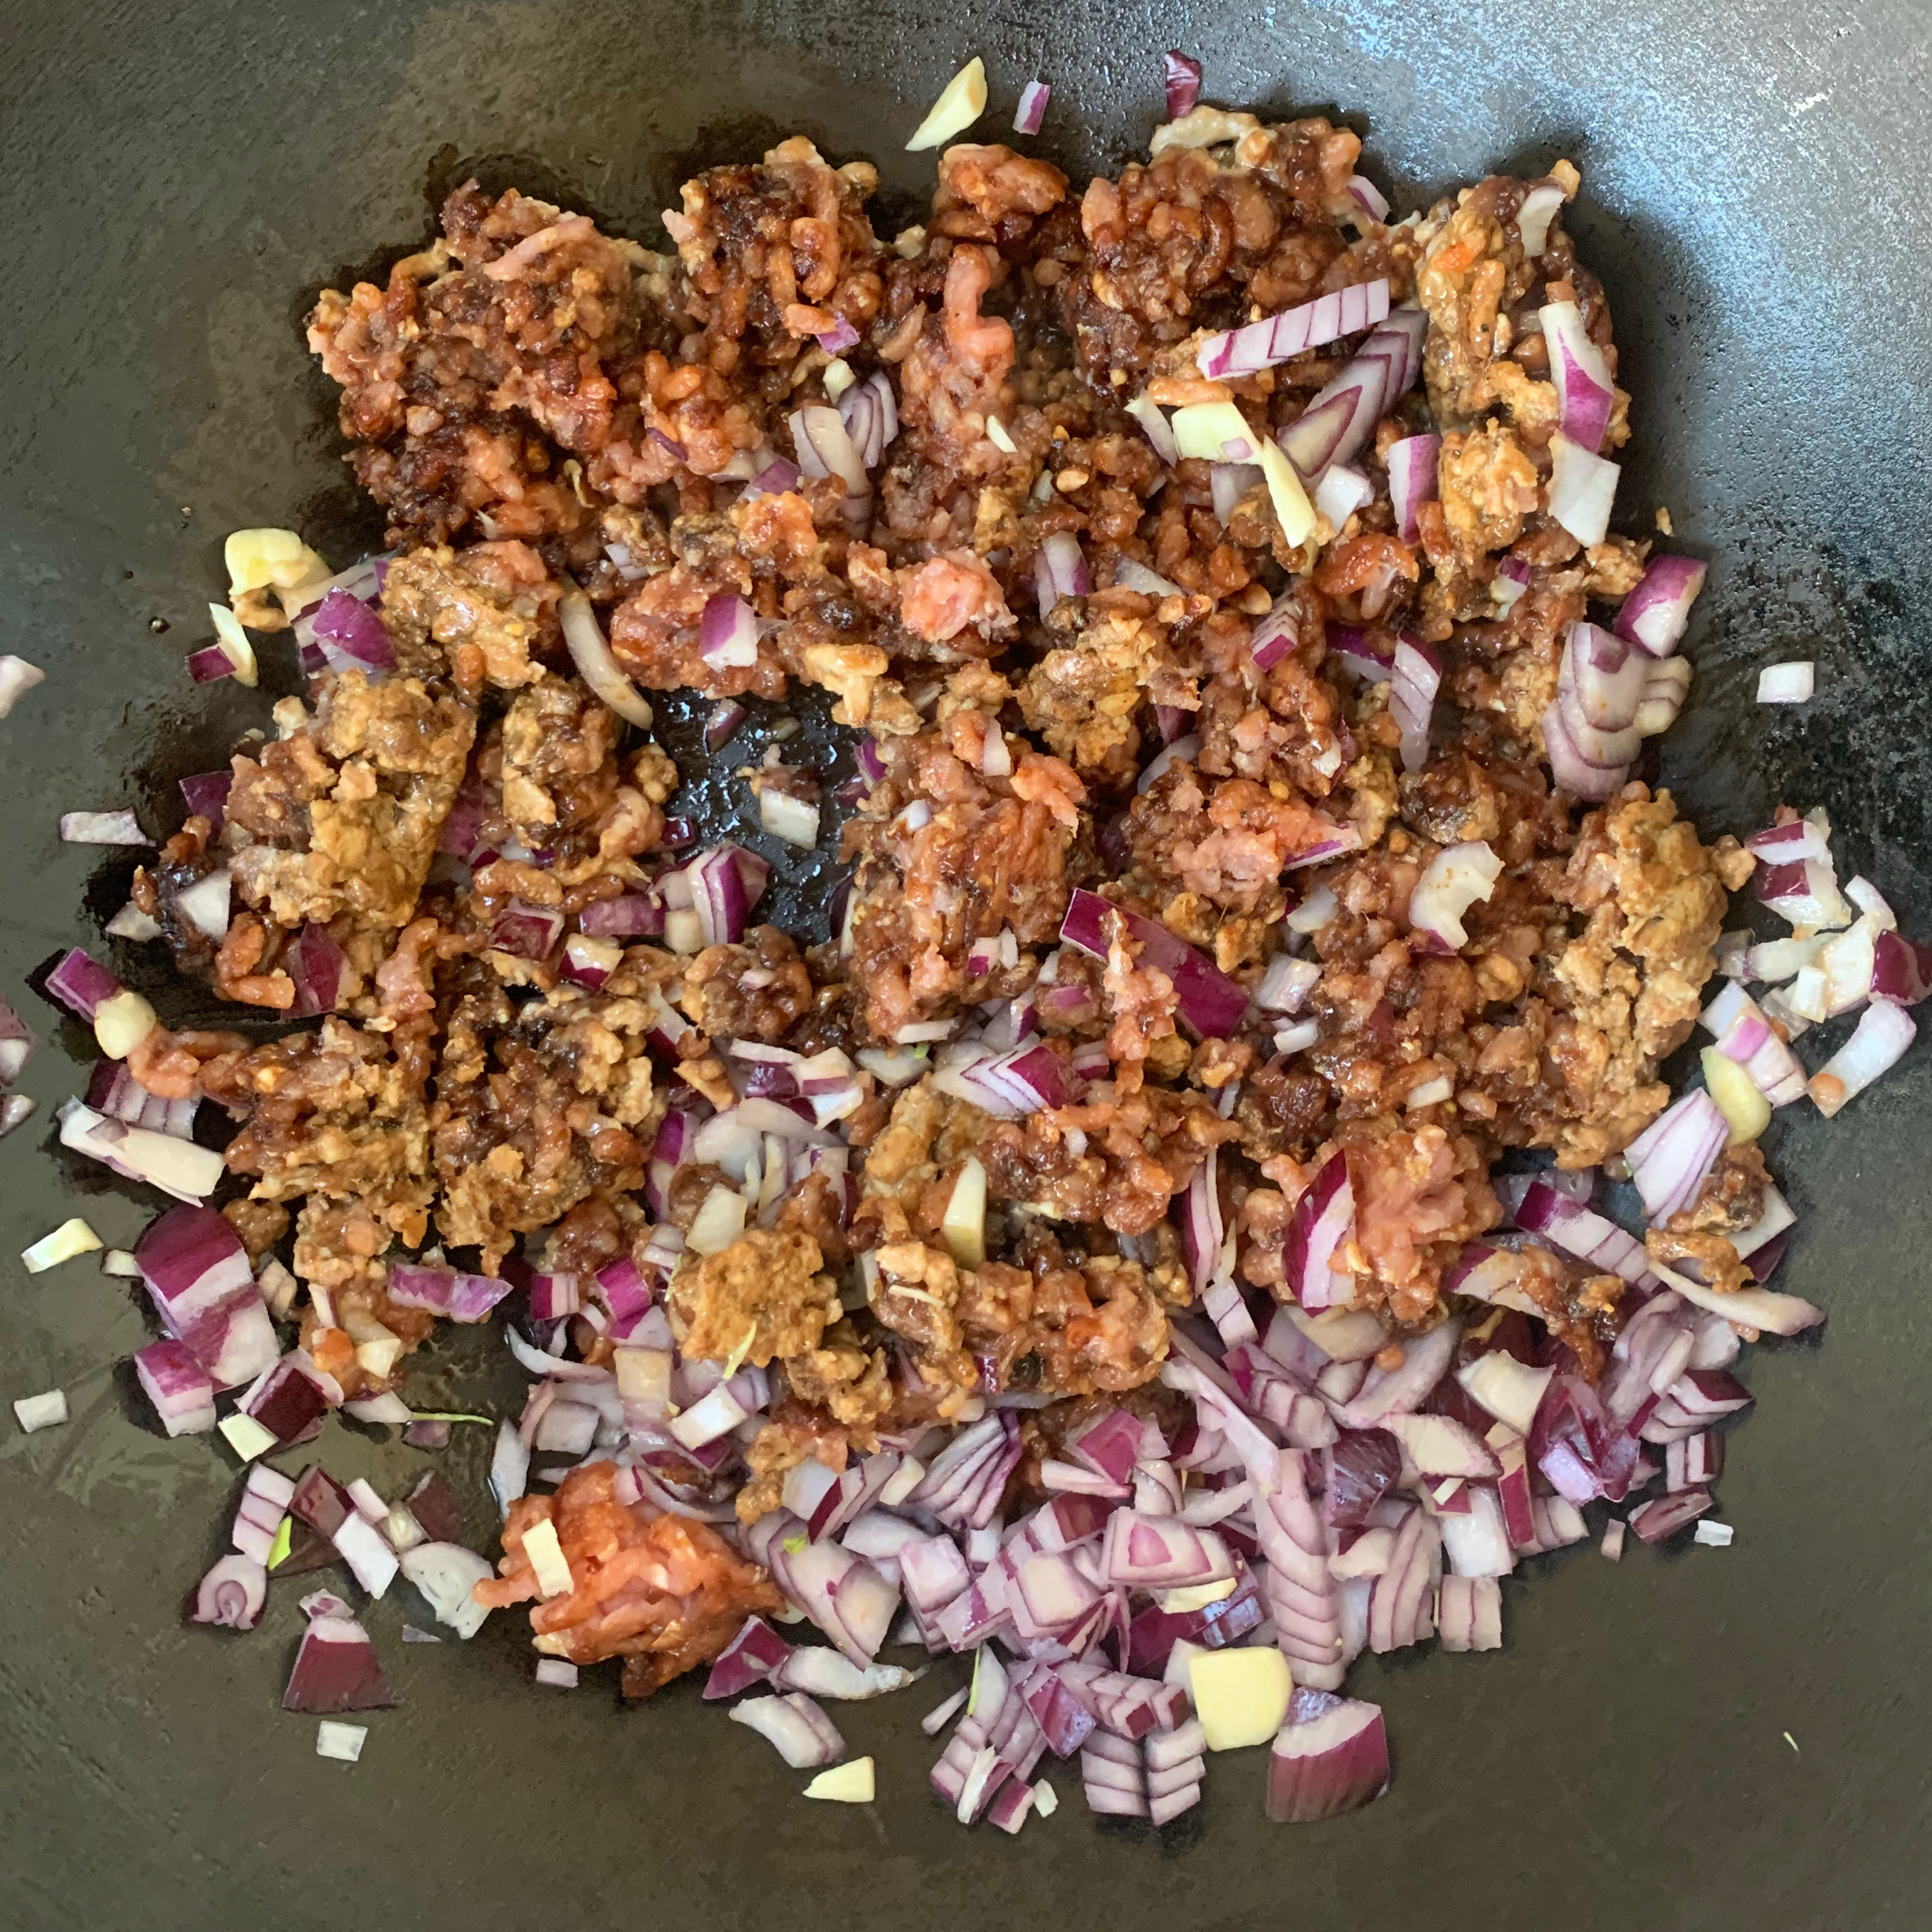
- Warm a small amount of oil in a wok, add the pork mixture and fry for a couple of minutes
- Add onion and garlic, fry until the meat is browned and the onion is soft
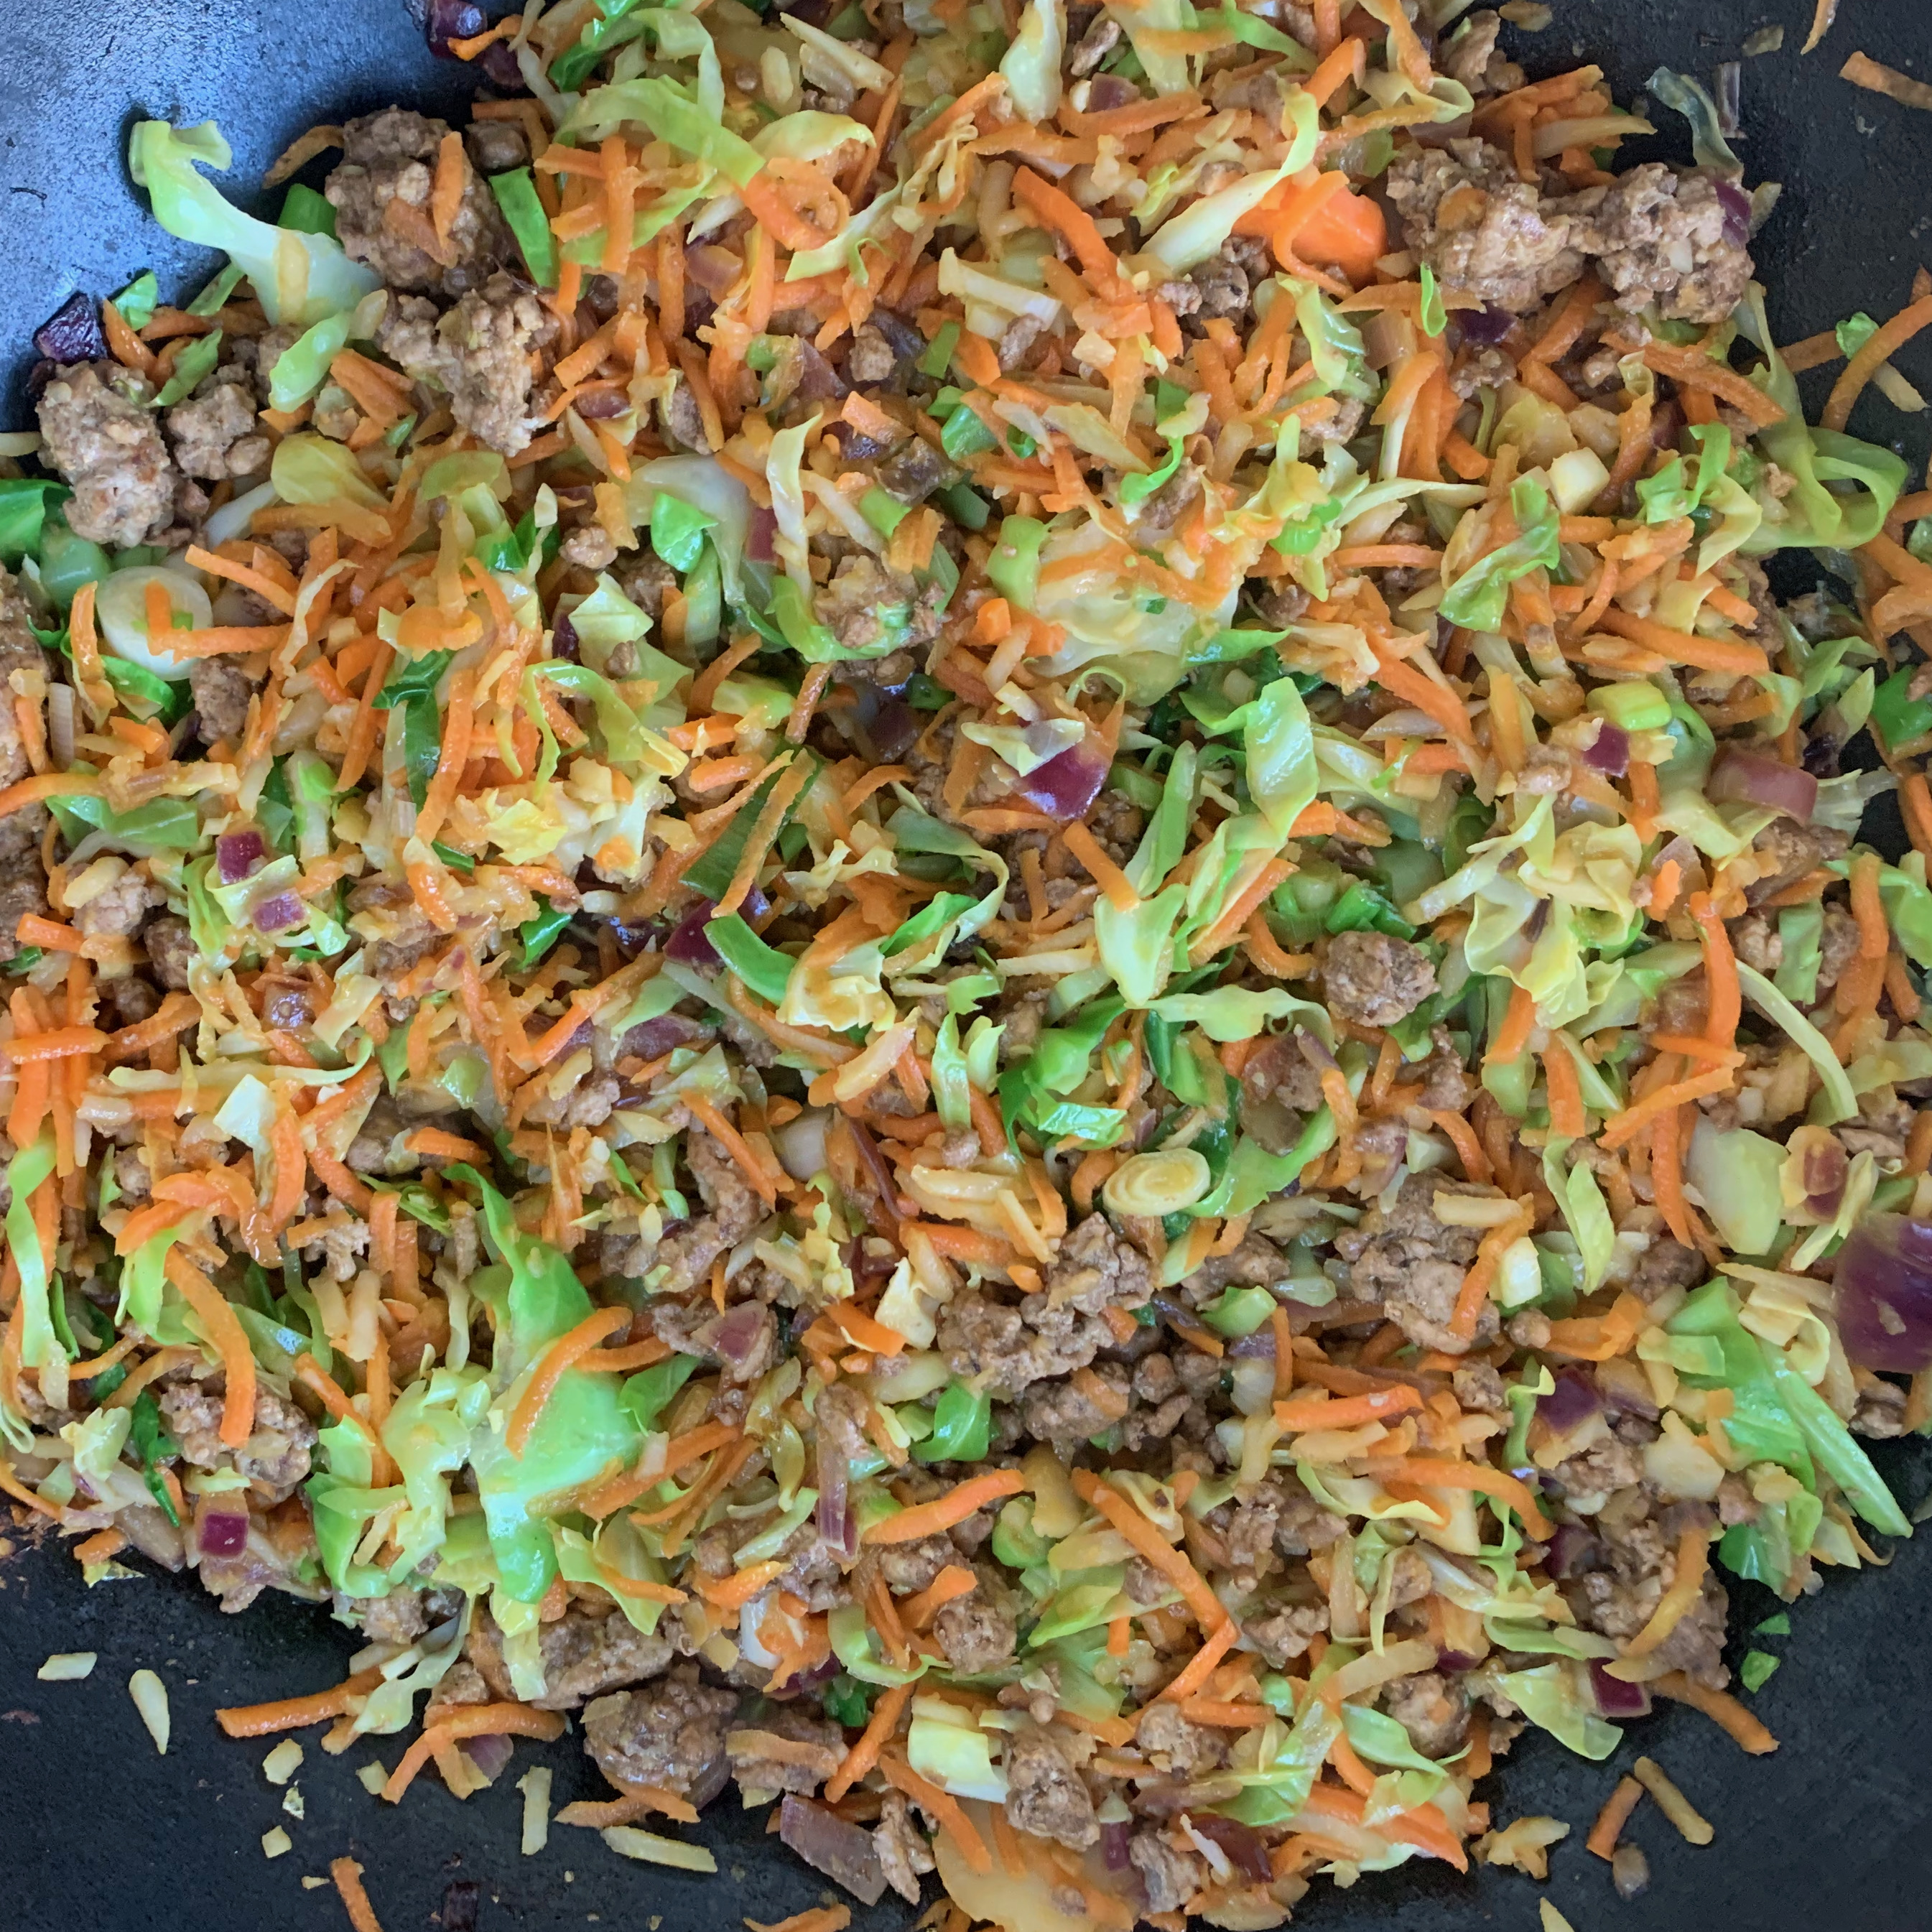
- Add the water chestnuts, carrots and cabbage, and keep cooking until the vegetables are cooked through and most of the water has been cooked out of them.
- Chop the spring onions and add them.
- Put the whole lot in a colander or sieve for ten minutes or so (or as long as you like) to allow more of the excess moisture to drain away.

Assembly and baking
Although I usually try to make my own pastry from scratch for this blog, I just couldn’t see a good reason for doing so here – and as far as I know, none of my Asian friends can be bothered either: the supermarket-bought wrappers are just fine. I couldn’t find fresh ones, so I bought a frozen pack: it was important to defrost them well in advance, because otherwise, peeling a wrapper off the frozen block would have been impossible without tearing it.
How many spring rolls this makes is a function of the size of your wrappers and how much filling you want to put into each. If you put a large amount of filling into each wrapper, you’ll have thinner pastry and a less carb-heavy dish; if you put less filling, you’ll have multiple layers of pastry, which will make it easier to get a crisper outside. I used wrappers that were 190mm square and put quite a lot of filling in, so the quantities here made about 20. Next time, I think, I’d go for two thirds of the filling I used here and make 30 rolls.
You want to work as quickly as you can manage, because the moisture from the filling will soak into the pastry faster than you would like.
- 1 packet spring roll wrappers (20-30)
- Cooking spray (I used a sunflower oil spray)
- Preheat oven to 225℃ fan
- Have ready a baking tray with a rack above it – I used a rack that I would normally use for cooling cakes or biscuits. Also have ready a small bowl of water and a pastry brush.
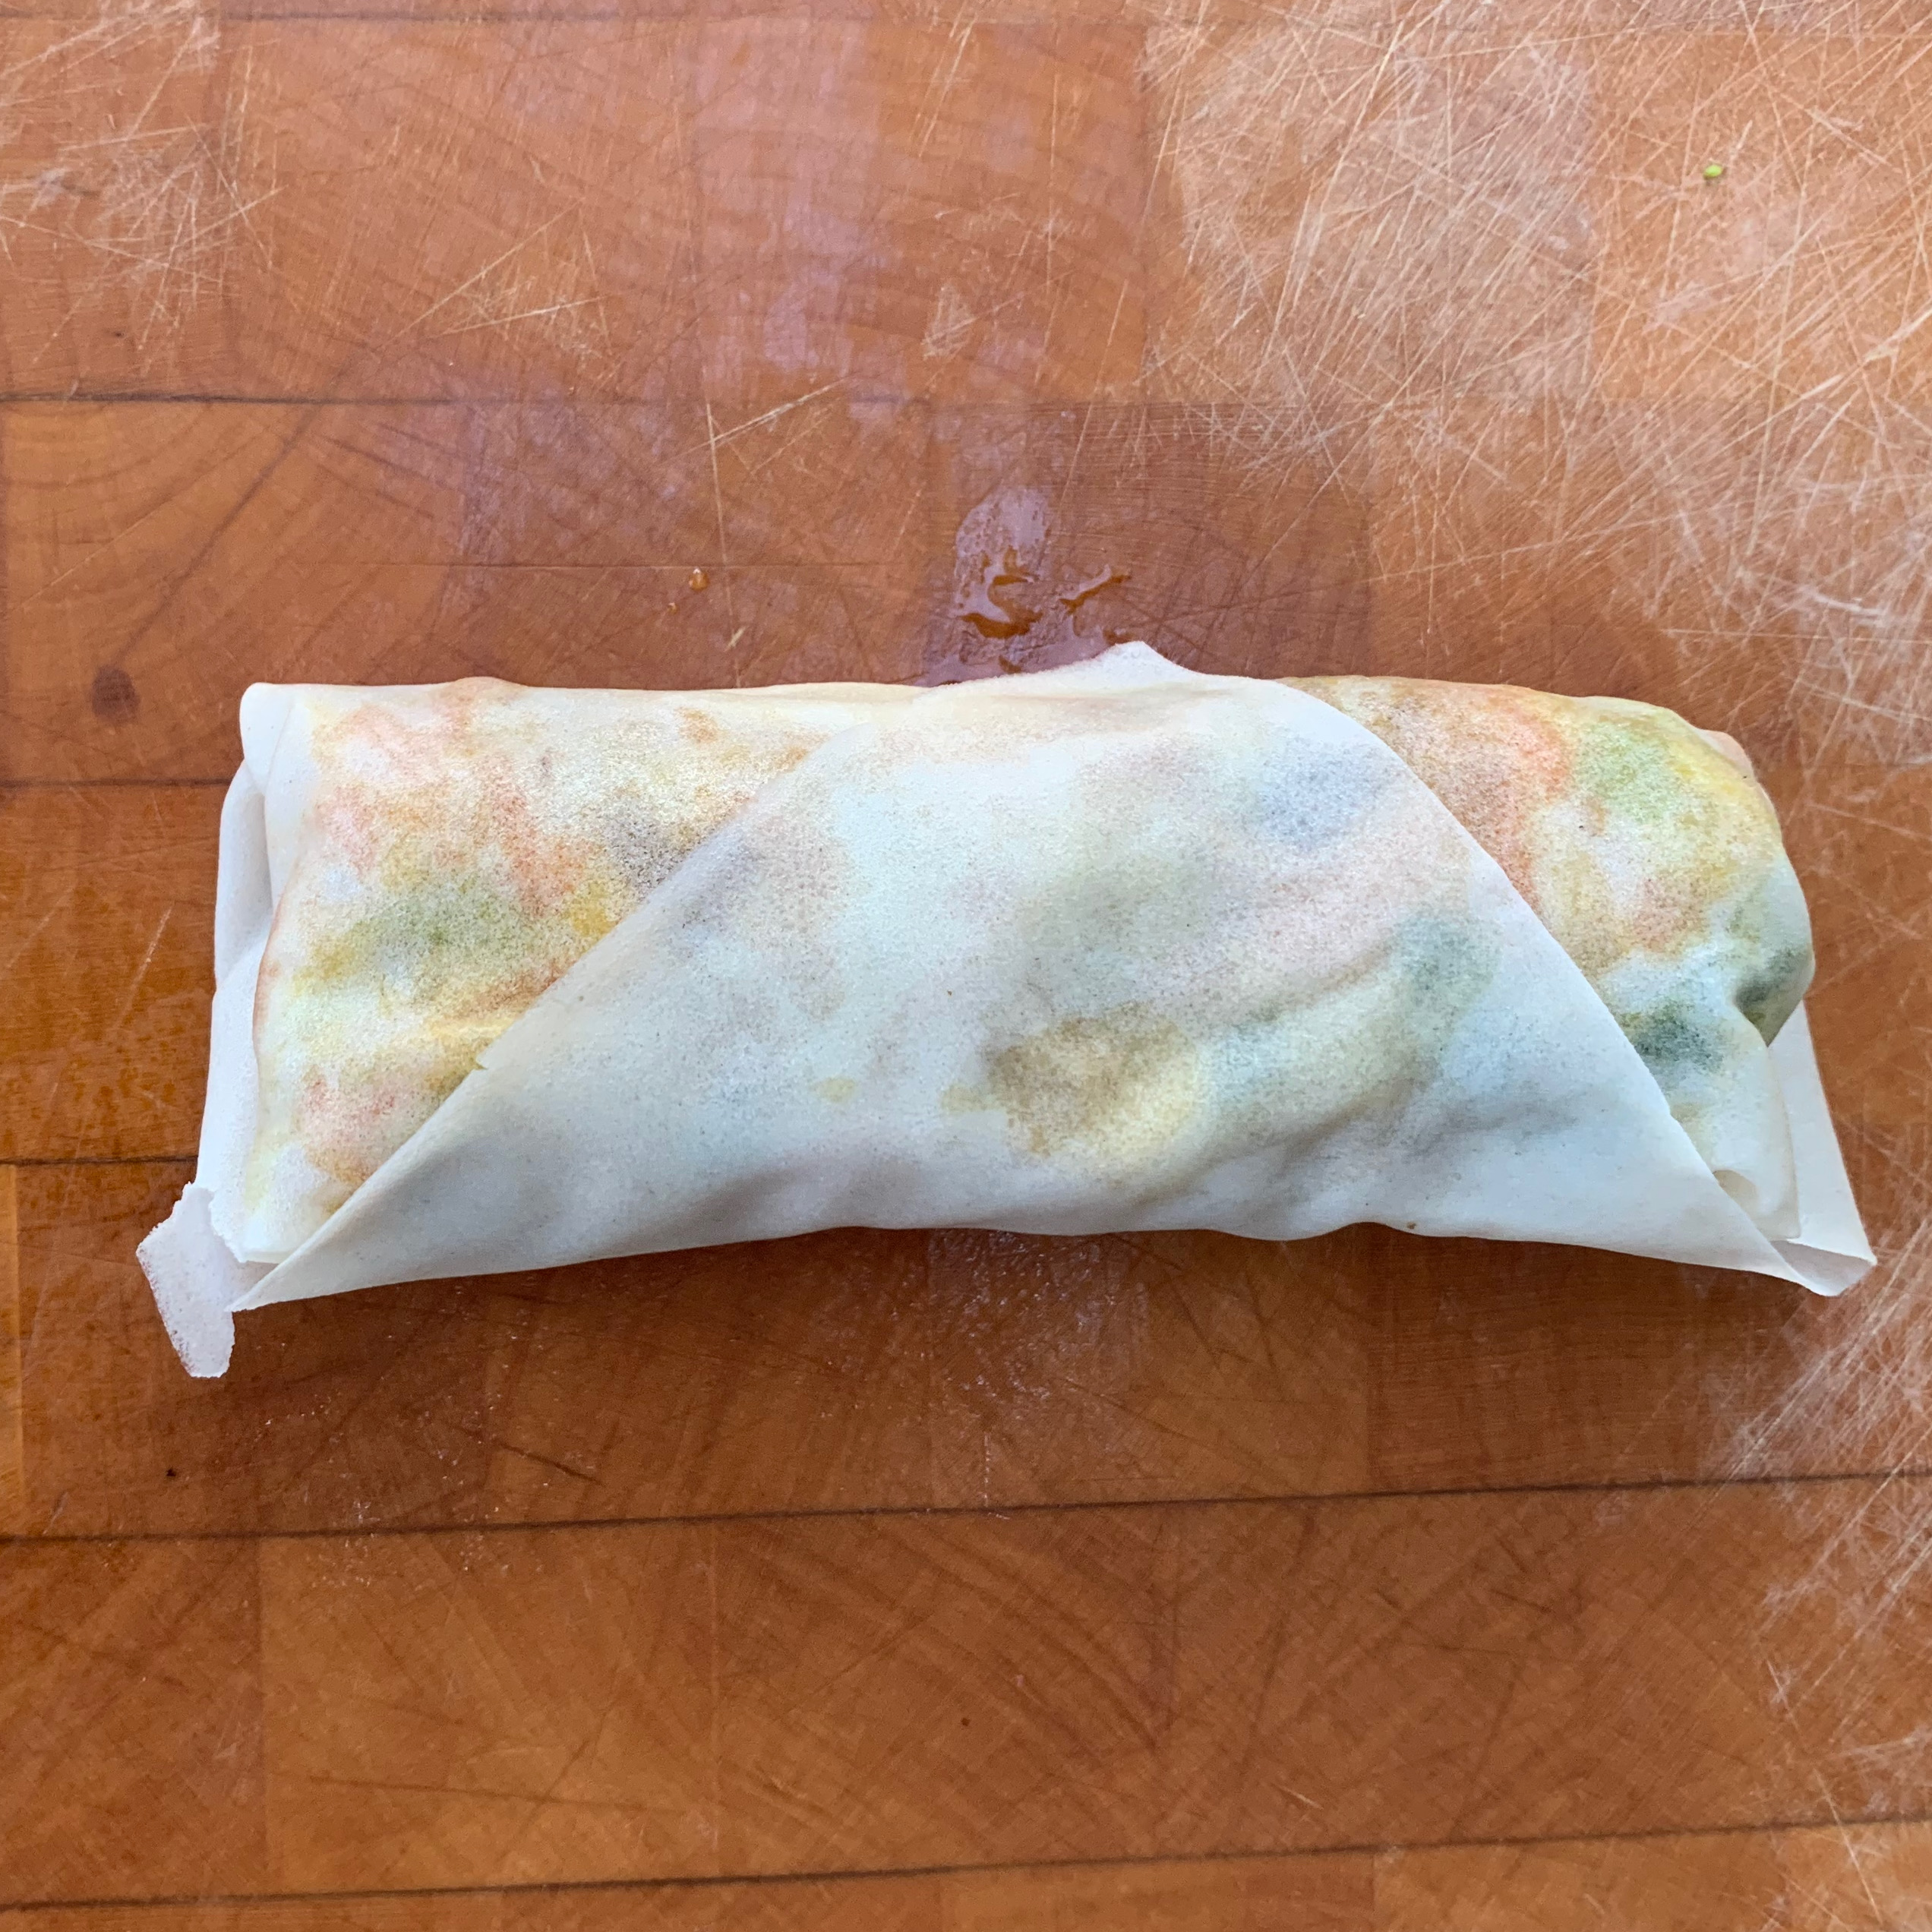
- Place a wrapper on a clean work surface so that you’re looking at a diamond rather than a square (i.e. the thing furthest away from you is a corner, not an edge).
- Spoon some filling into a cigar shape in the middle of the wrapper, going left-to-right as you see it.
- Tuck the corner furthest from you over your cigar of filling
- Tuck the left hand right corners into the middle
- Brush the remaining flat part of the wrapper with water, and tuck it over your filling to form the completed roll.
- Repeat for half a dozen or so rolls, spray them generously with cooking spray, transfer them onto you rack, turning them outside down as you go. Now spray the other side.
- Repeat until your rack is full. You’ll probably need to do the whole process twice: if you have a second pan and rack, you can bake them all at the same time; otherwise, you’ll have to wait until the first batch is backed.
- Bake for around 25-30 minutes until crisp.
- Cool slightly before eating.