When my daughter’s Argentinian colleague returns to London after a trip home, you can predict with certainty that he will be carrying a number of packs of Alfajores, his country’s favourite sweet treat. They’re biscuits made from a dough rich in butter and cornflour; a layer of dulce de leche (caramelised condensed milk) is sandwiched between a pair of biscuits, with the edges of the filling rolled in desiccated coconut – or, as in the version I’ve made here, dipped in chocolate, in which case they’re called “Alfajores marplatenses” (from Mar del Plata). The combination of crumbly, melt-in-your-mouth biscuit, soft caramel and chocolate is a sure fire winner.
I made alfajores of the most often recommended size, around 5 cm diameter, which are substantial enough to make a complete small dessert on their own, the alternative being to make smaller “alfajorcitos” of 3-4 cm diameter.
Recipes for the biscuits vary to a fair extent and my choices were largely dictated by the ingredients I had to hand. Here are some of the things you can adjust:
- Ratio of cornflour to wheat flour (many recipes put in significantly more cornflour than my 50/50).
- Flavourings: some recipes choose a dash of cognac or orange liqueur in addition to or instead of the lemon zest that I’ve used.
- You can add cocoa powder and/or use brown sugar to get a darker biscuit
The recipe that follows made 12 fully assembled alfajores with plenty of biscuits and a bit of chocolate to spare. But this will depend very much on the thickness and diameter to which you roll and cut them.
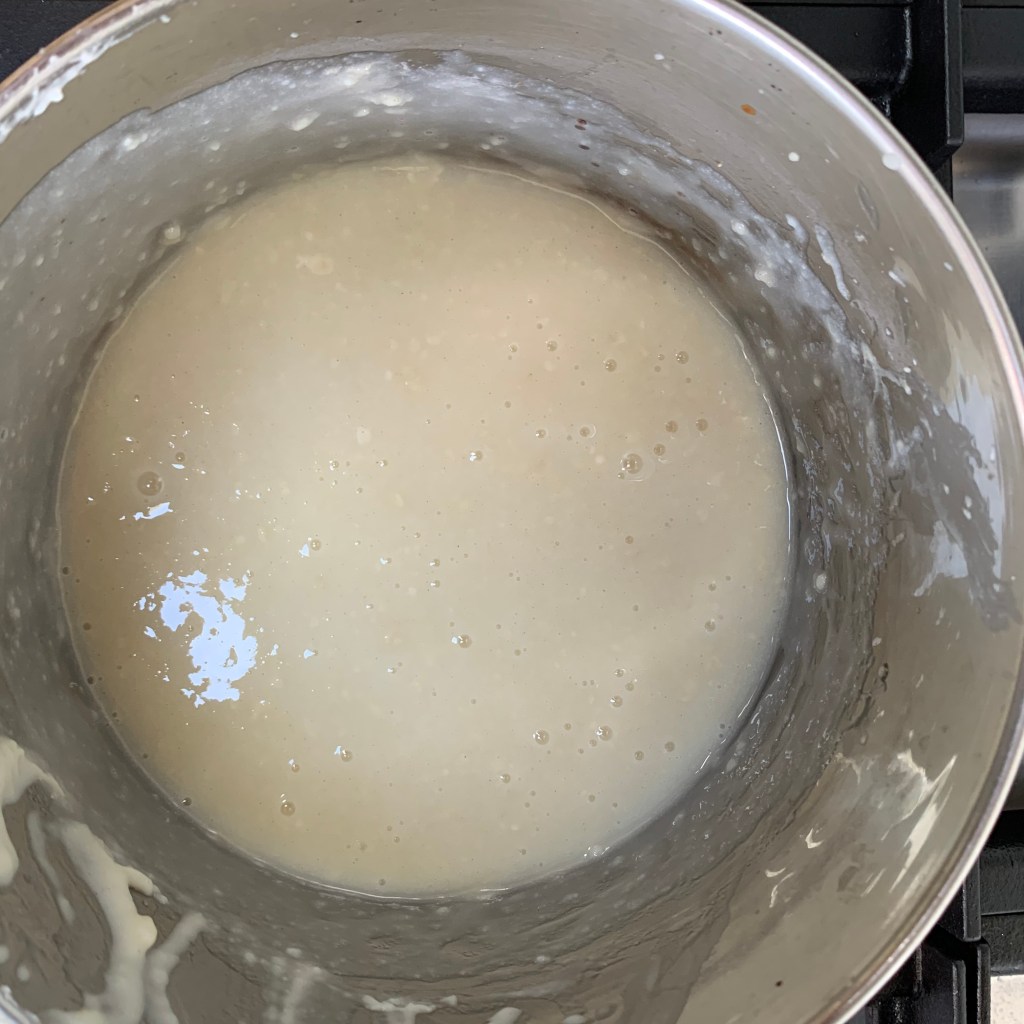
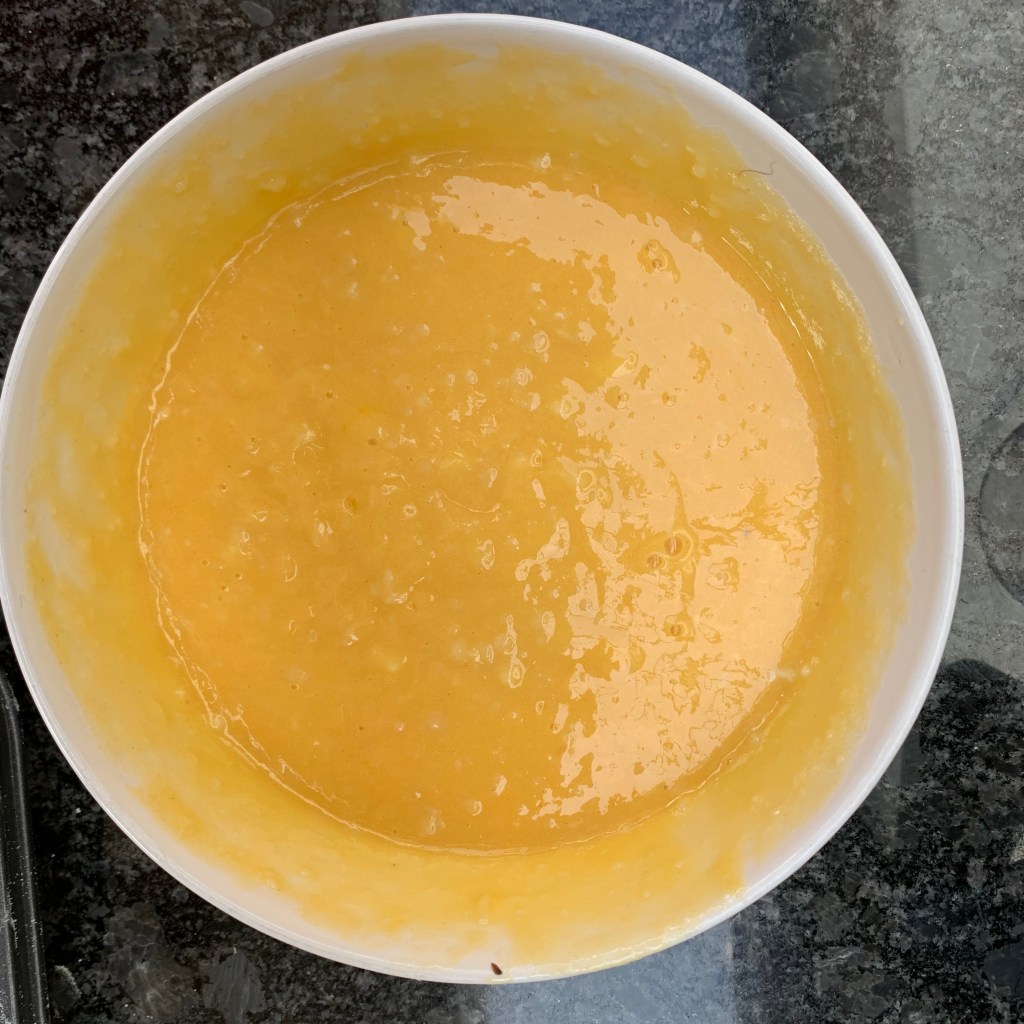
The dulce de leche filling
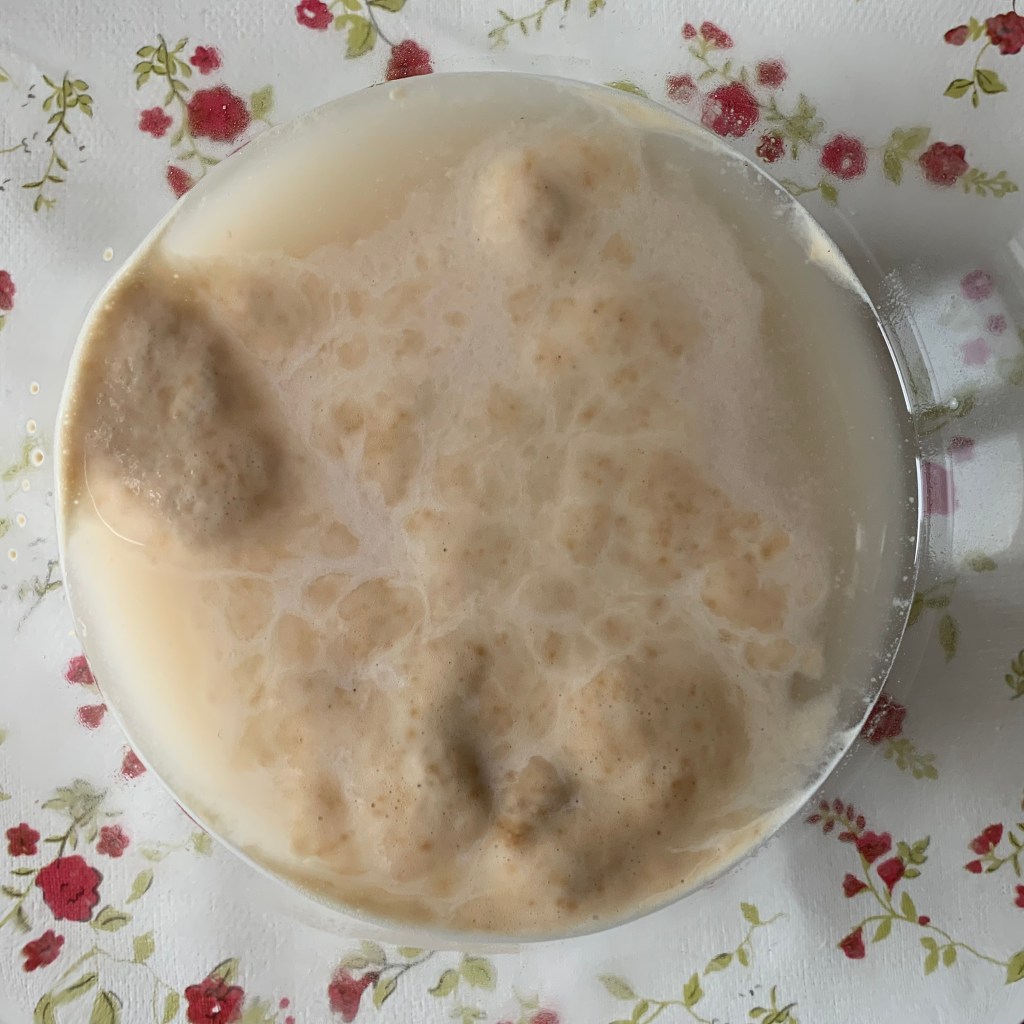
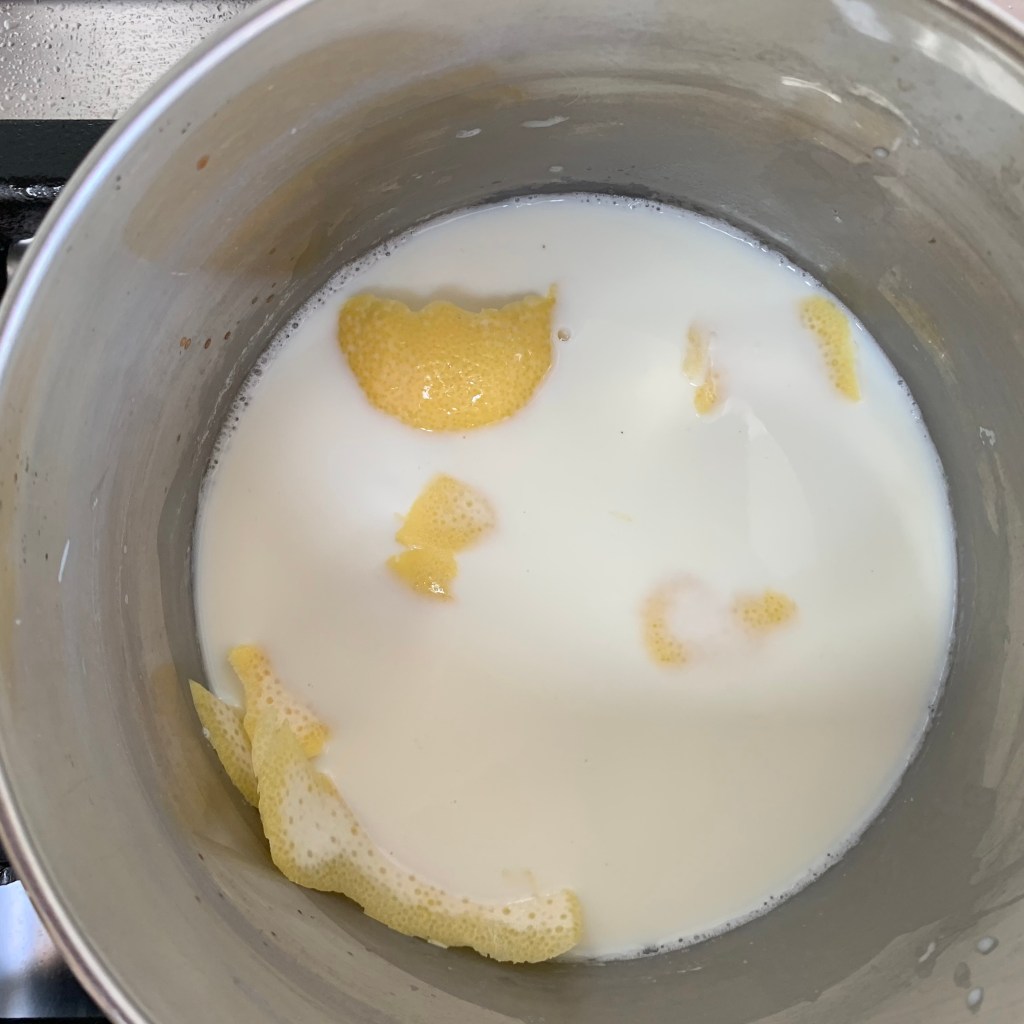
If you’re in Spain or the Americas, the chances are that ready made dulce de leche is available in your local supermarket. Otherwise, here’s how to make it from sweetened condensed milk (if you can’t find that, you can make dulce de leche from scratch from milk and sugar, as shown in this post on Epicurious, but that looks like a lot of work).
- 1 can sweetened condensed milk (around 400g)
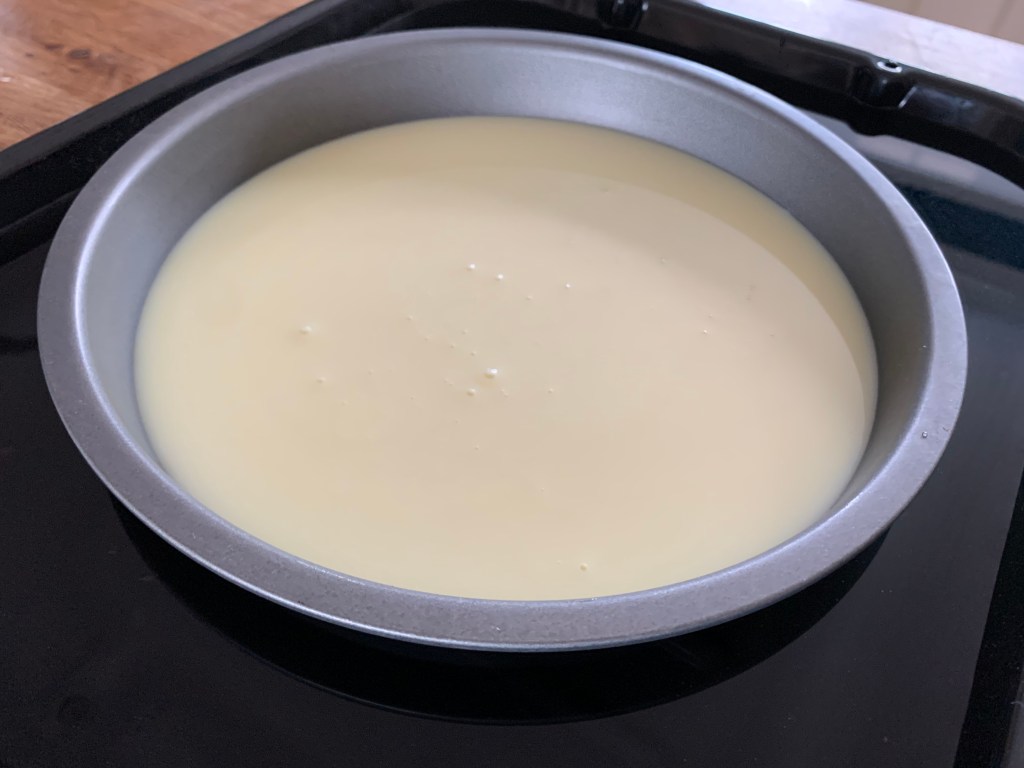
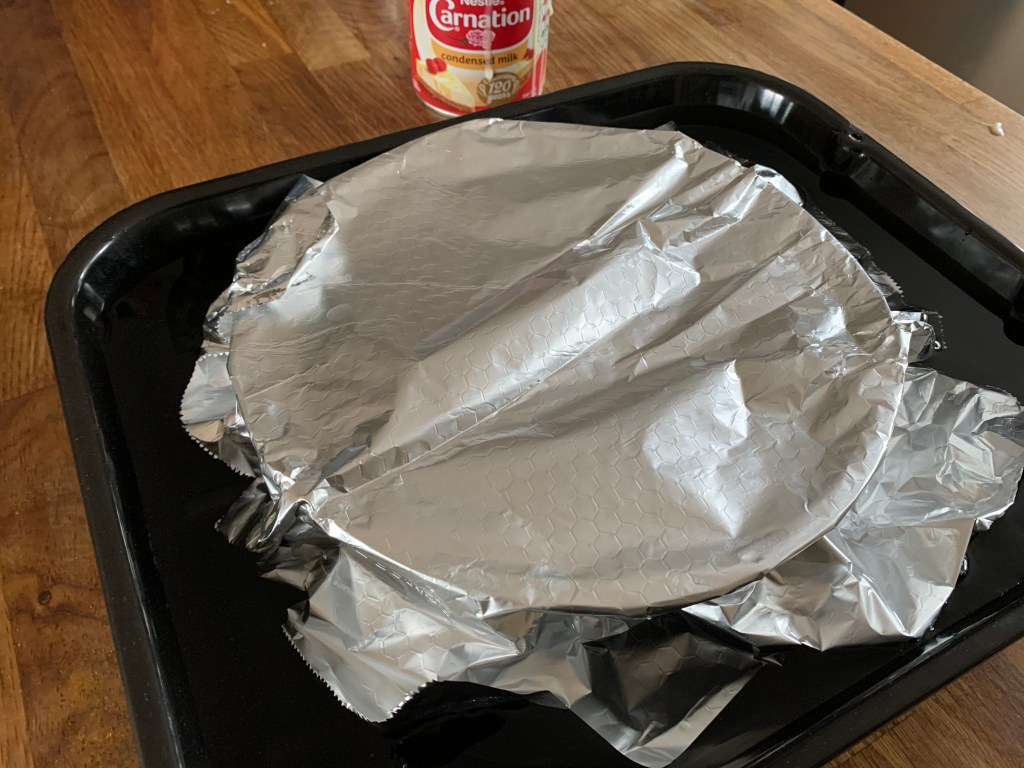

- Heat oven to 220℃
- Pour the condensed milk into a small oven proof dish
- Cover the dish with foil and place it in a high-sided baking tray. Fill the rest of the tray with water to around 2-3cm up the side of the dish
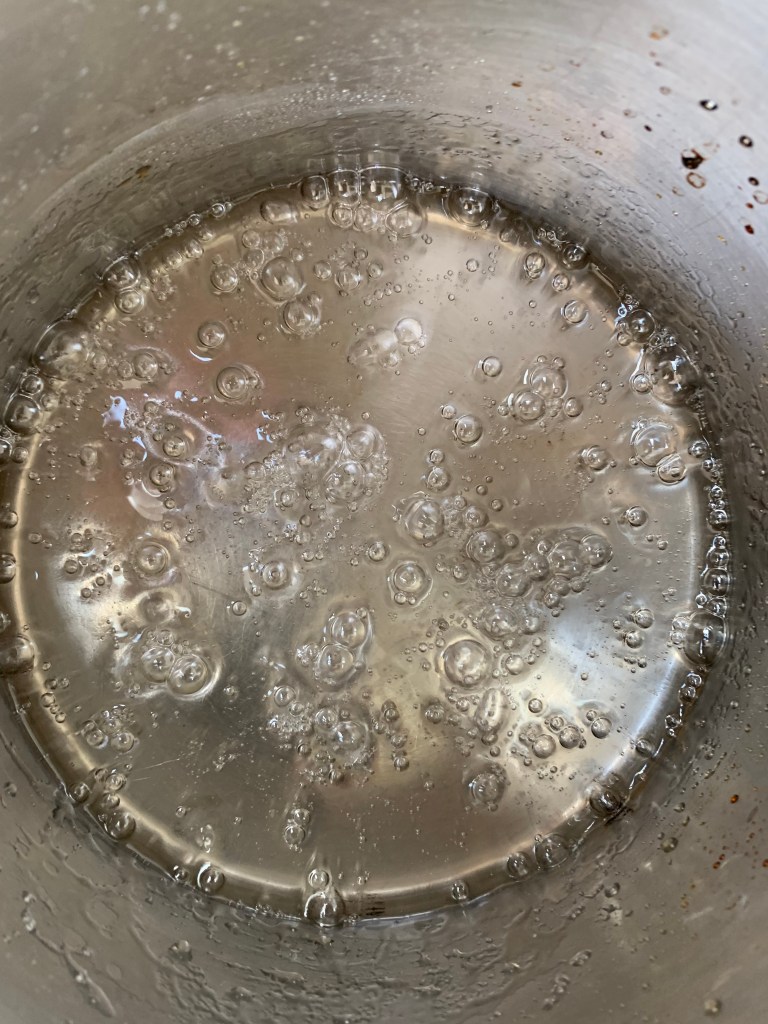
- Bake for around 60 minutes until the milk has turned light brown
- Remove from the oven and leave to cool, stirring occasionally to get any lumps out
The biscuits
- 200g butter
- 100g sugar (most recipes suggest icing sugar, which I didn’t have)
- 3 egg yolks
- vanilla essence to taste
- grated zest of one lemon
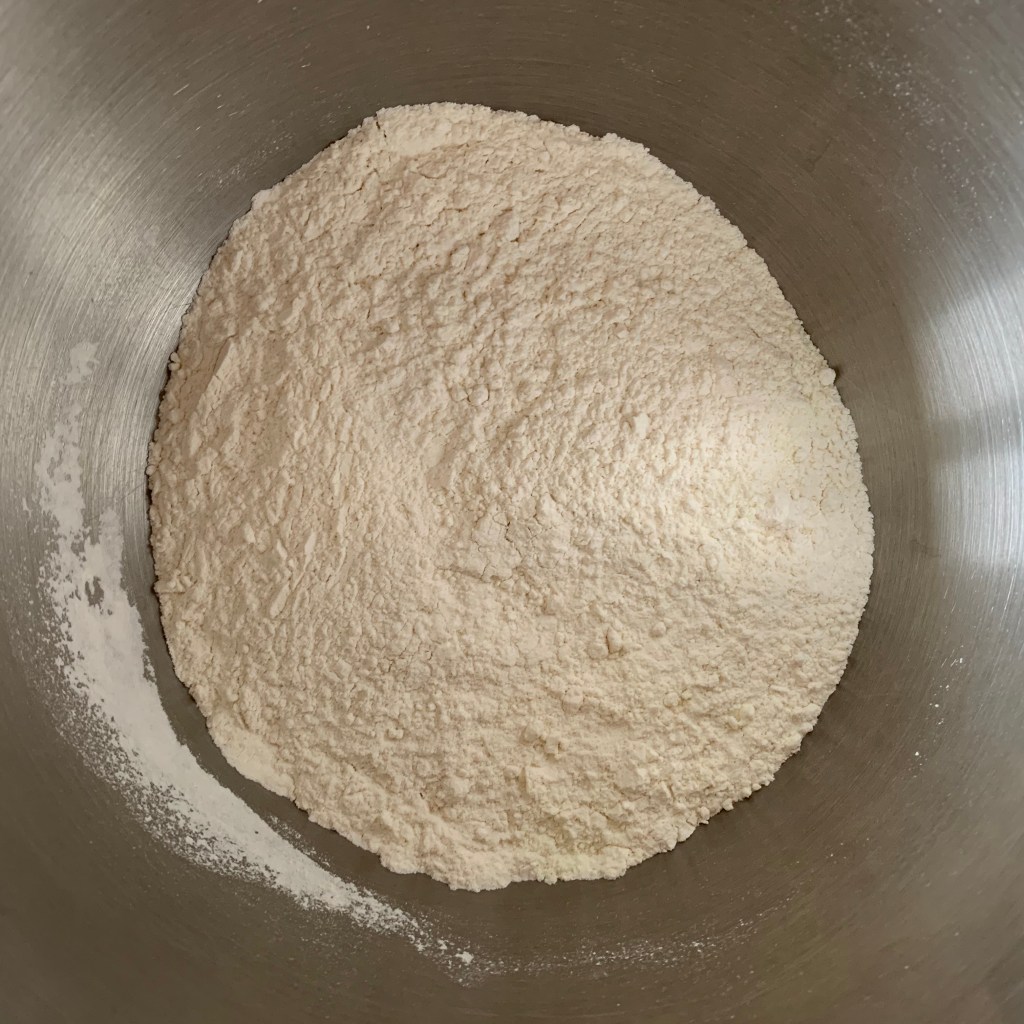
- 150g plain flour
- 150g cornflour
- 10g baking powder
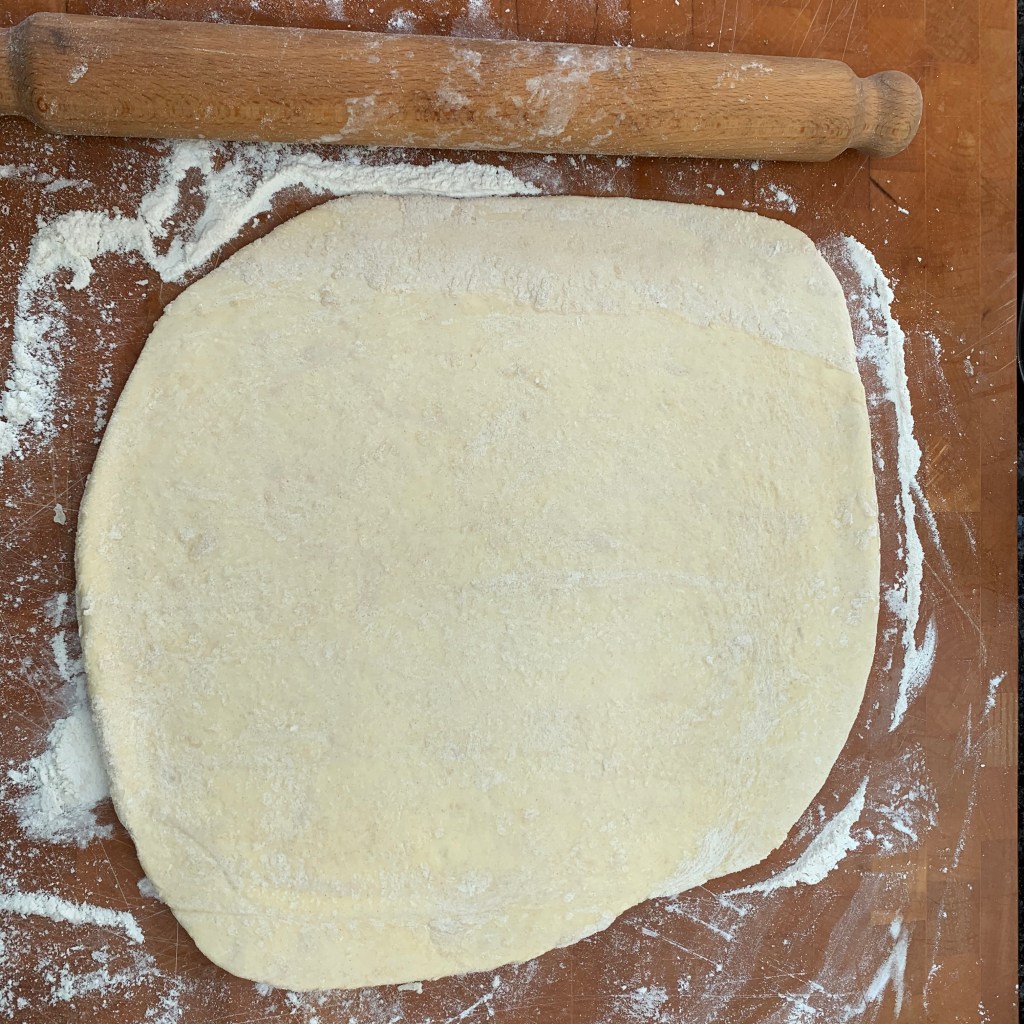
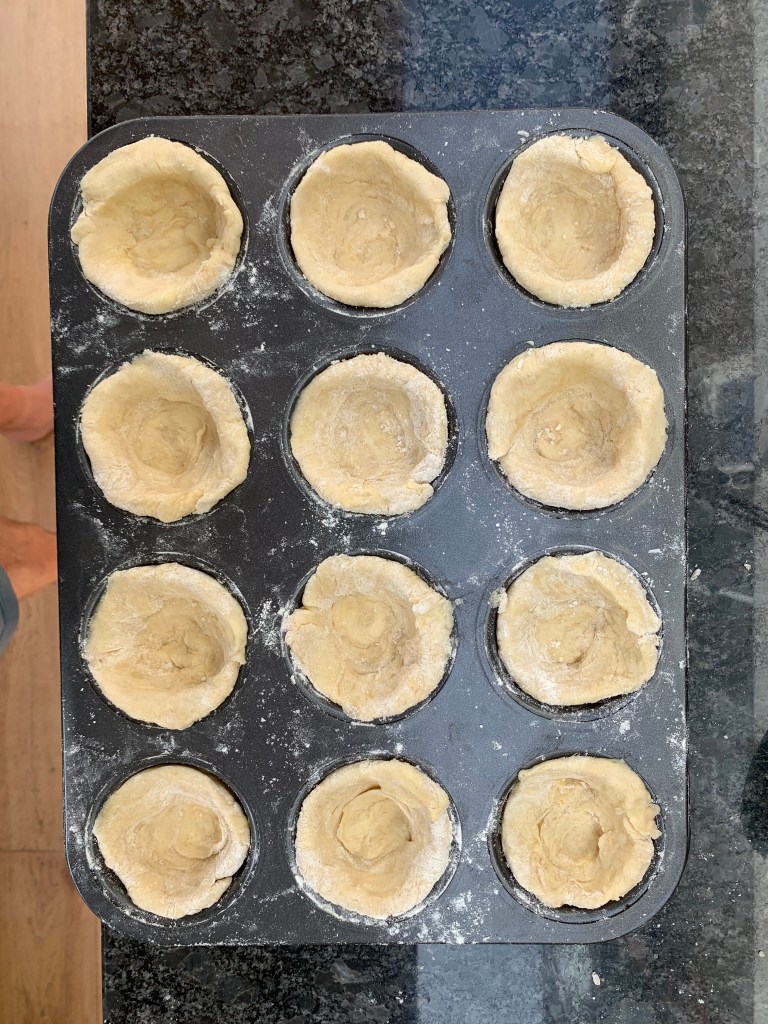
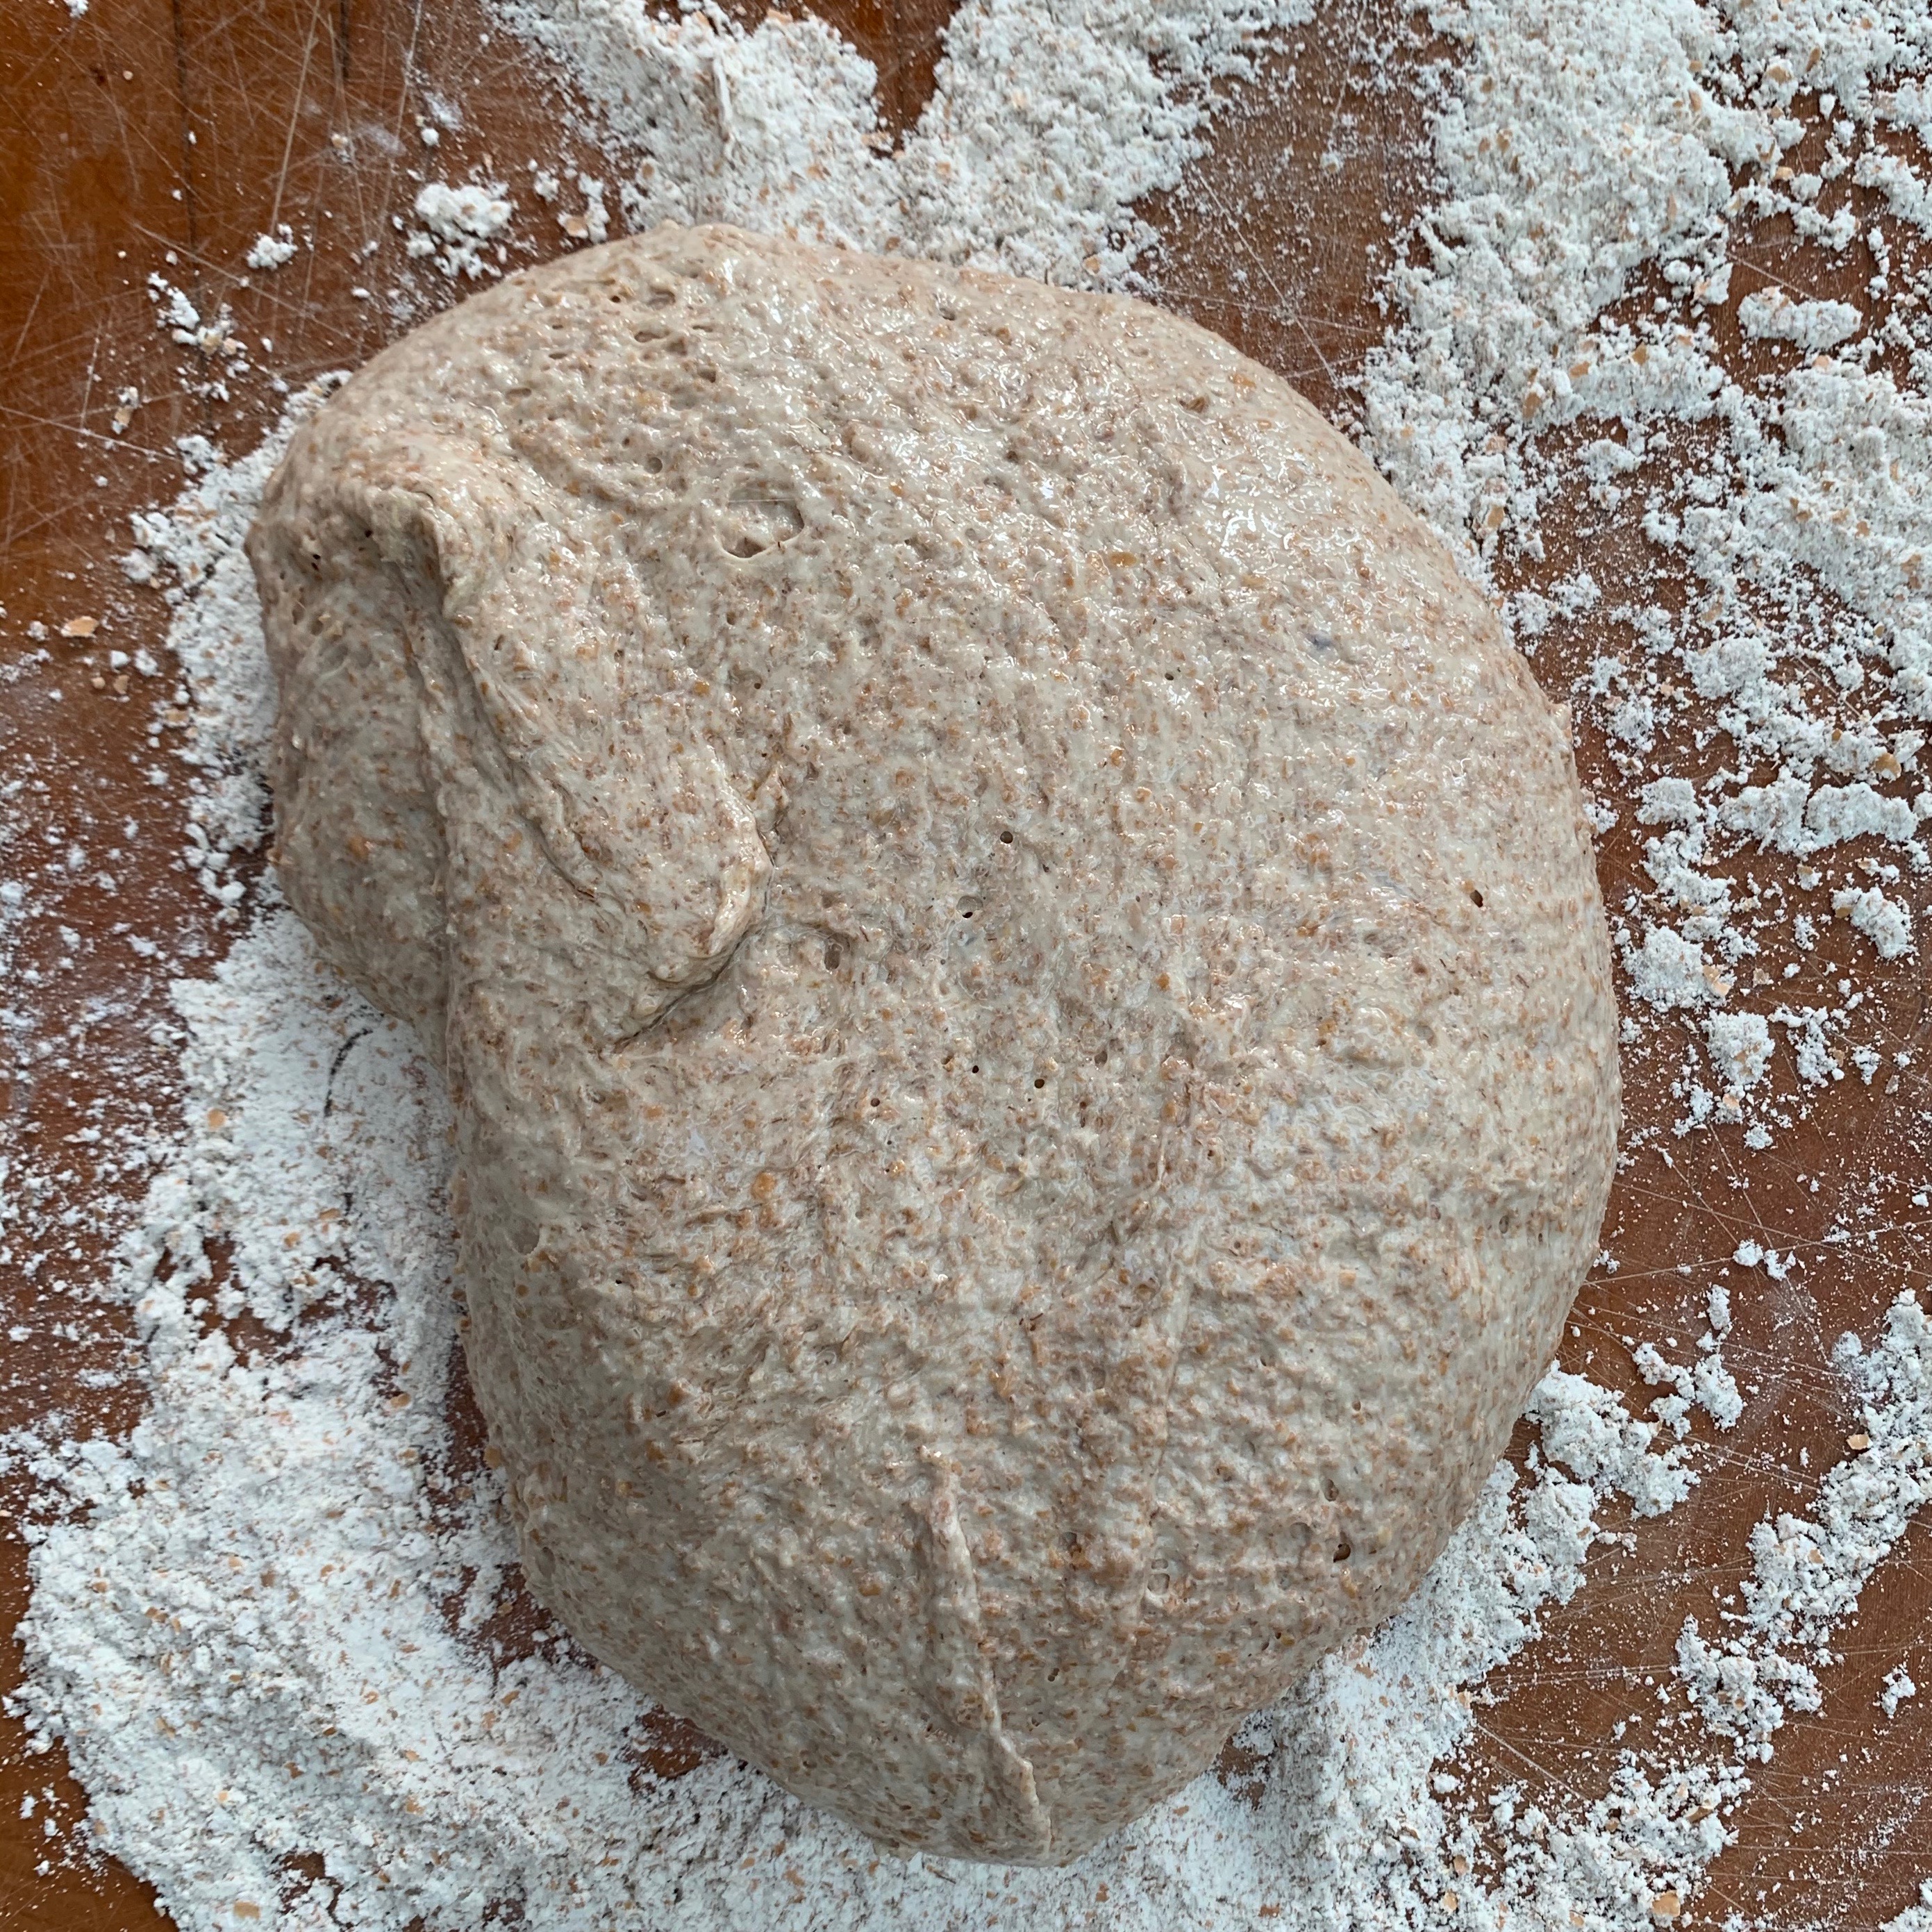
Ready to roll 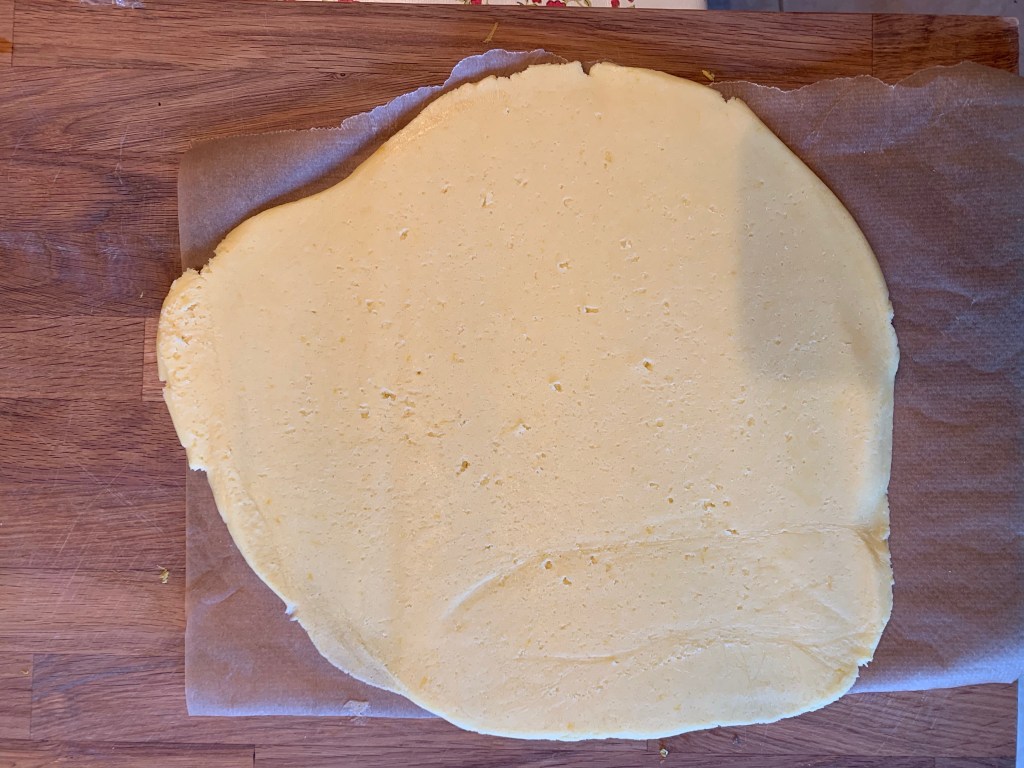
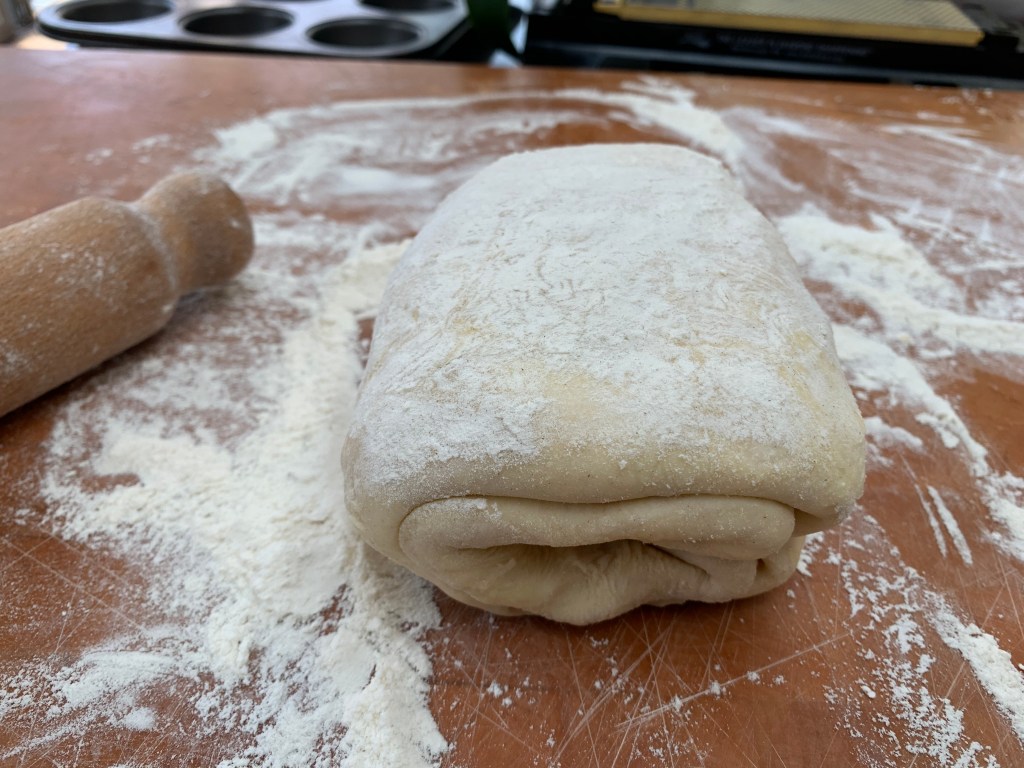
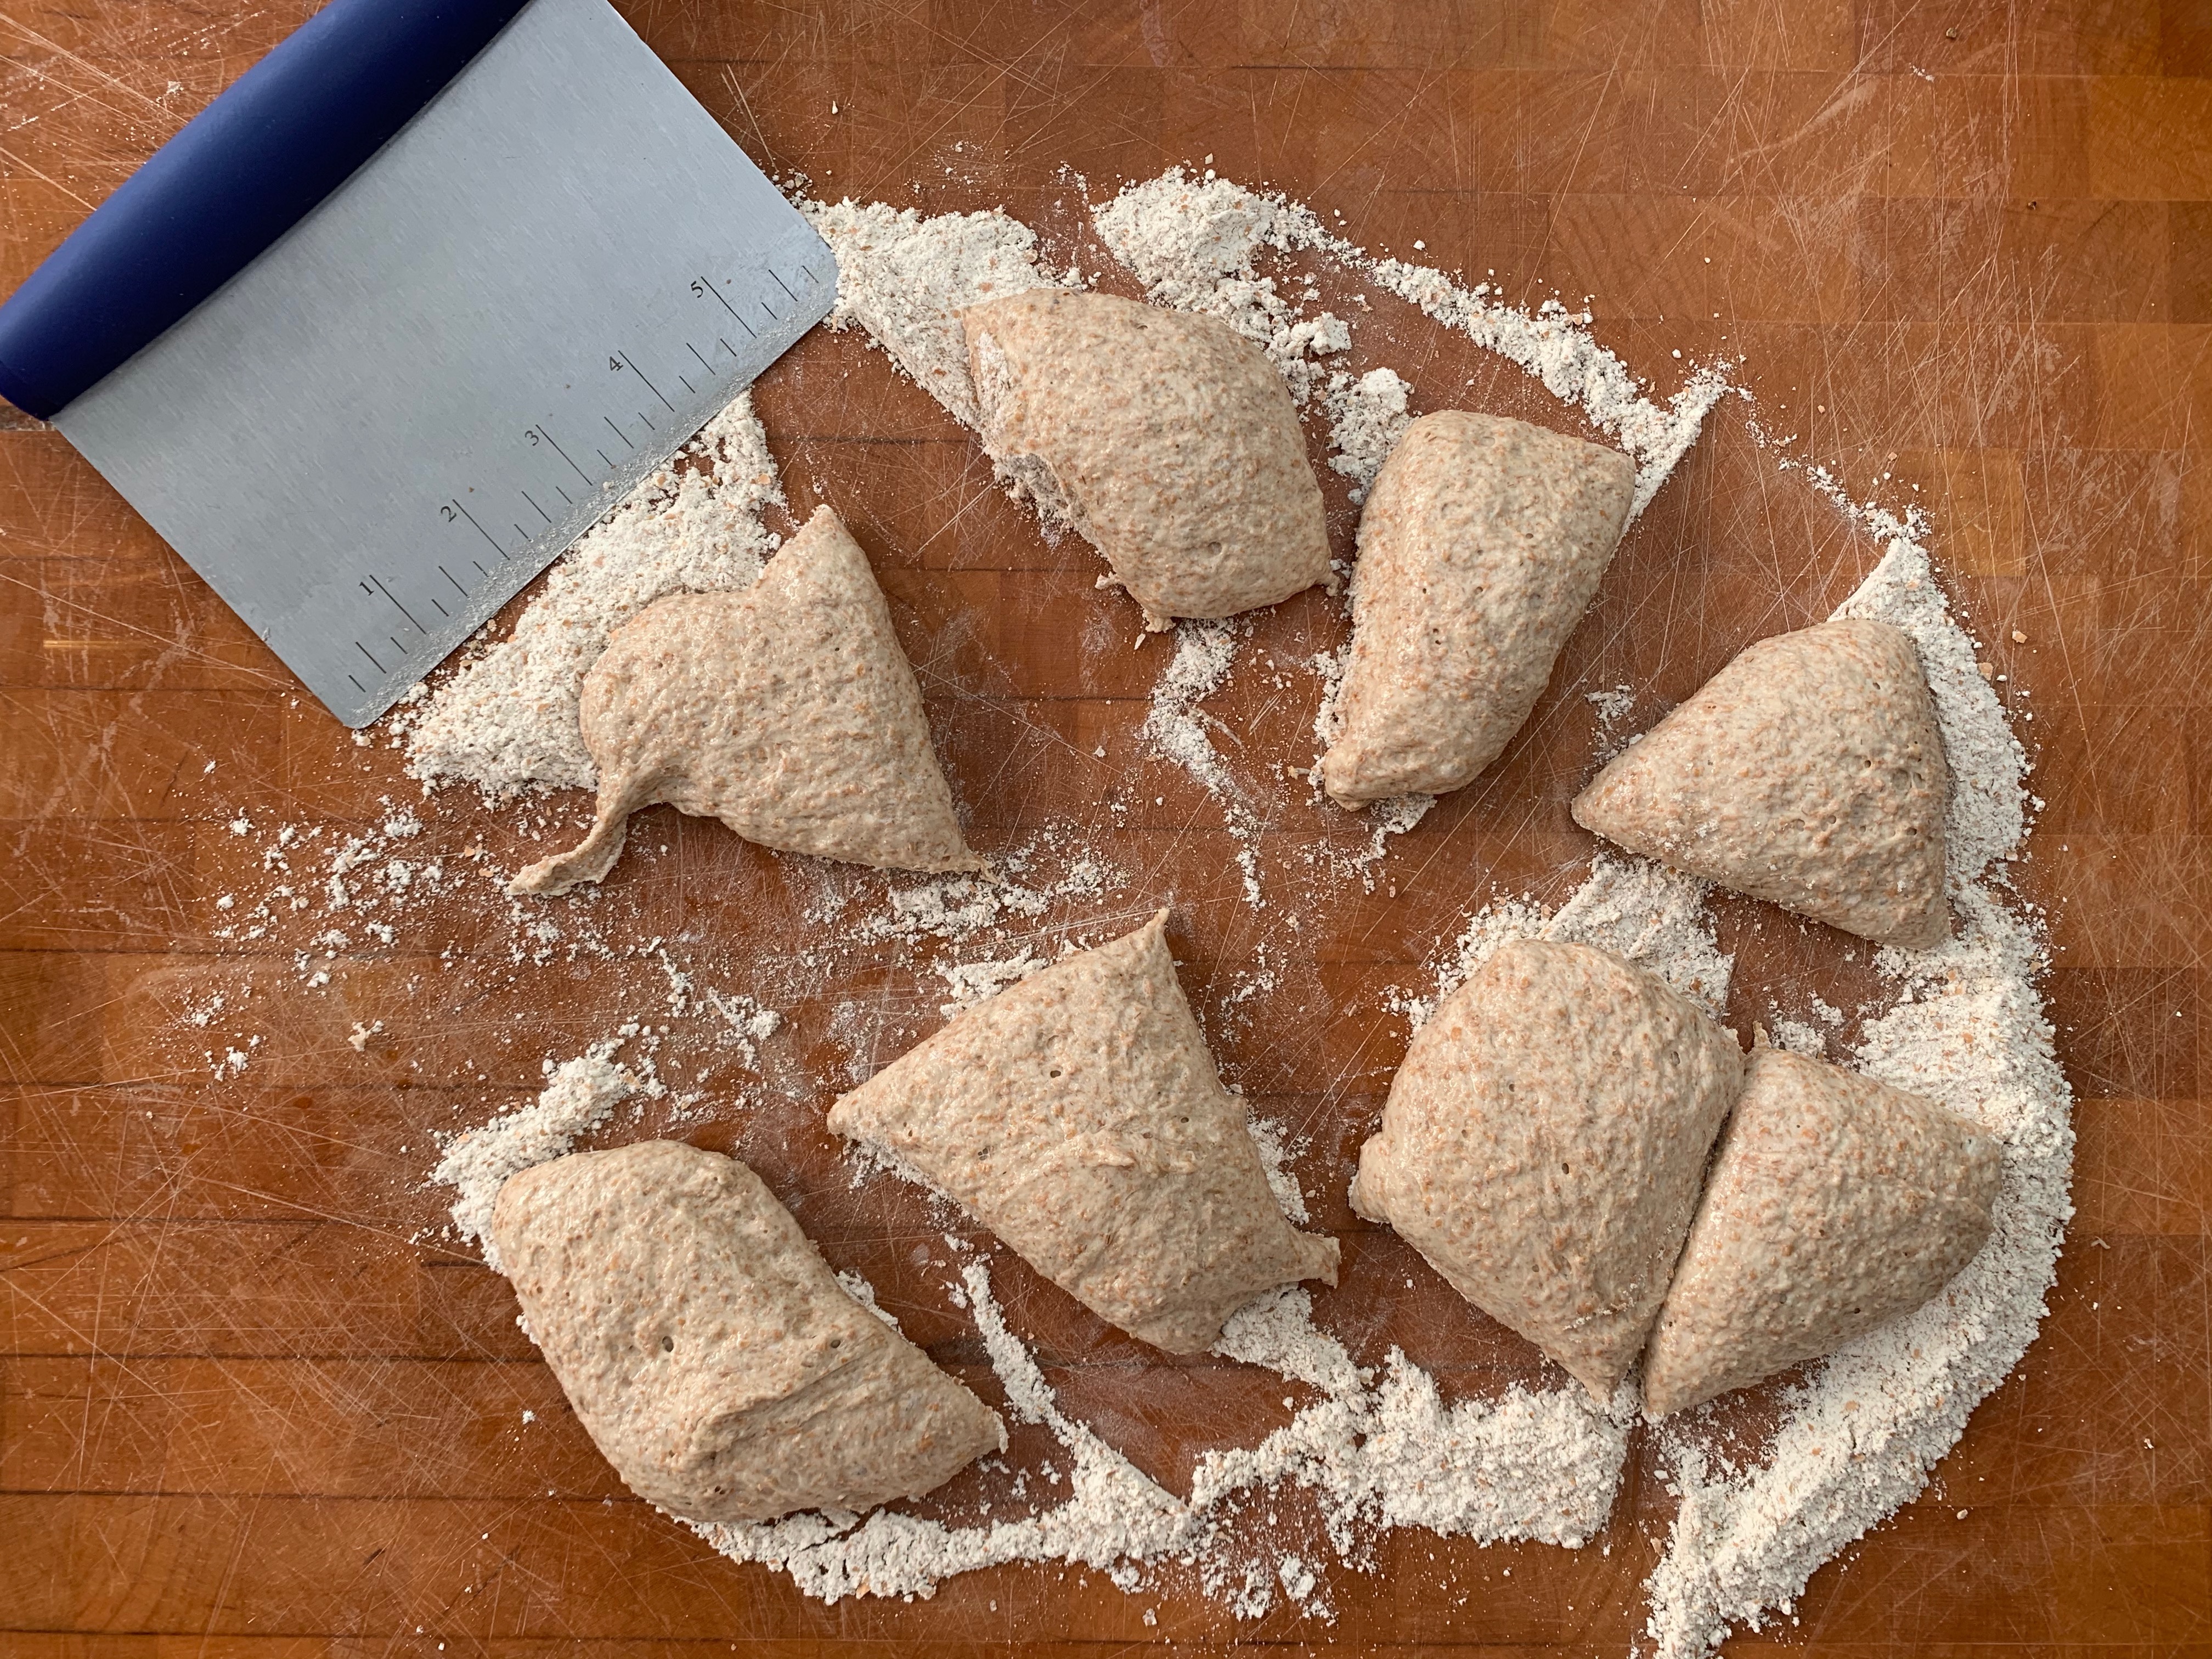
After rolling 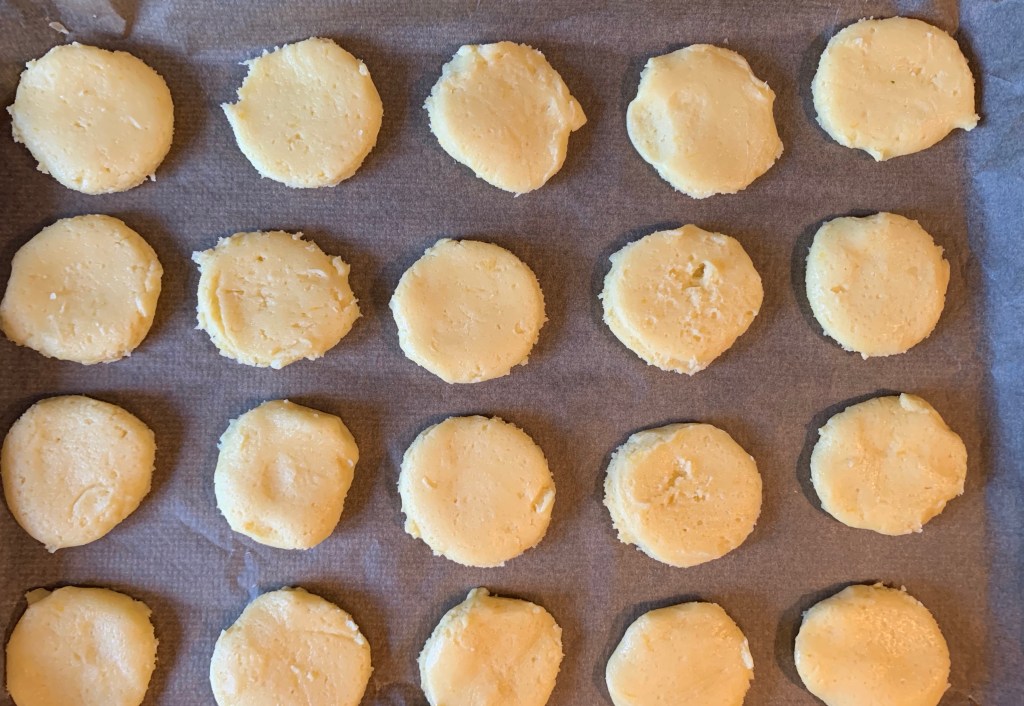
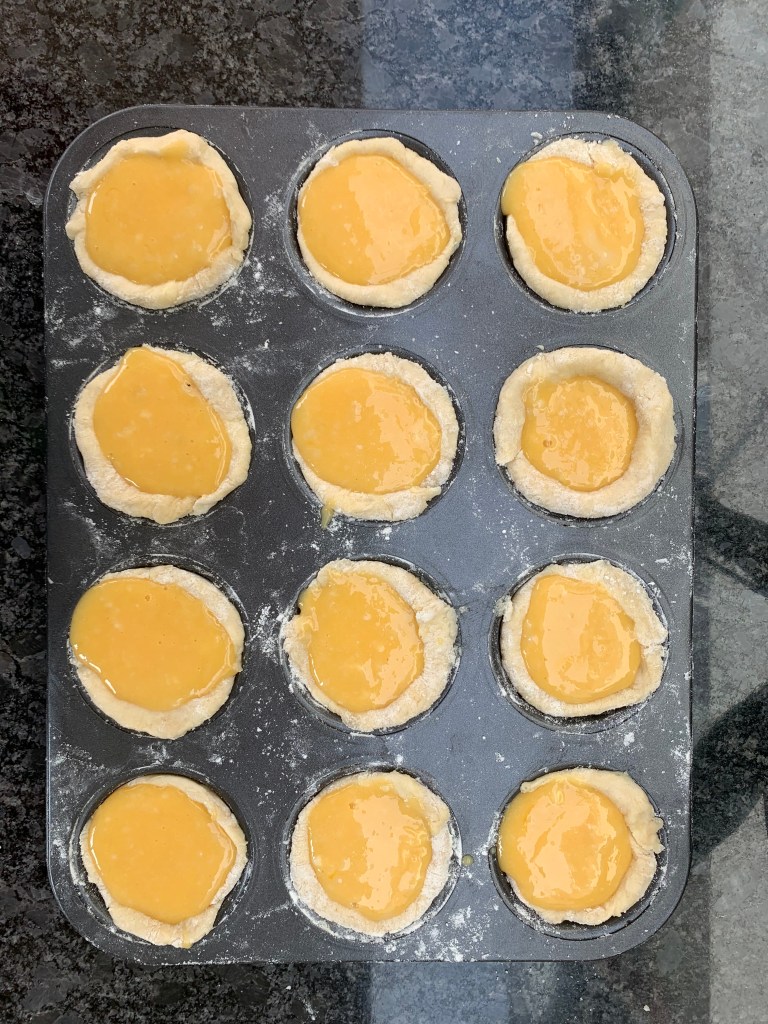
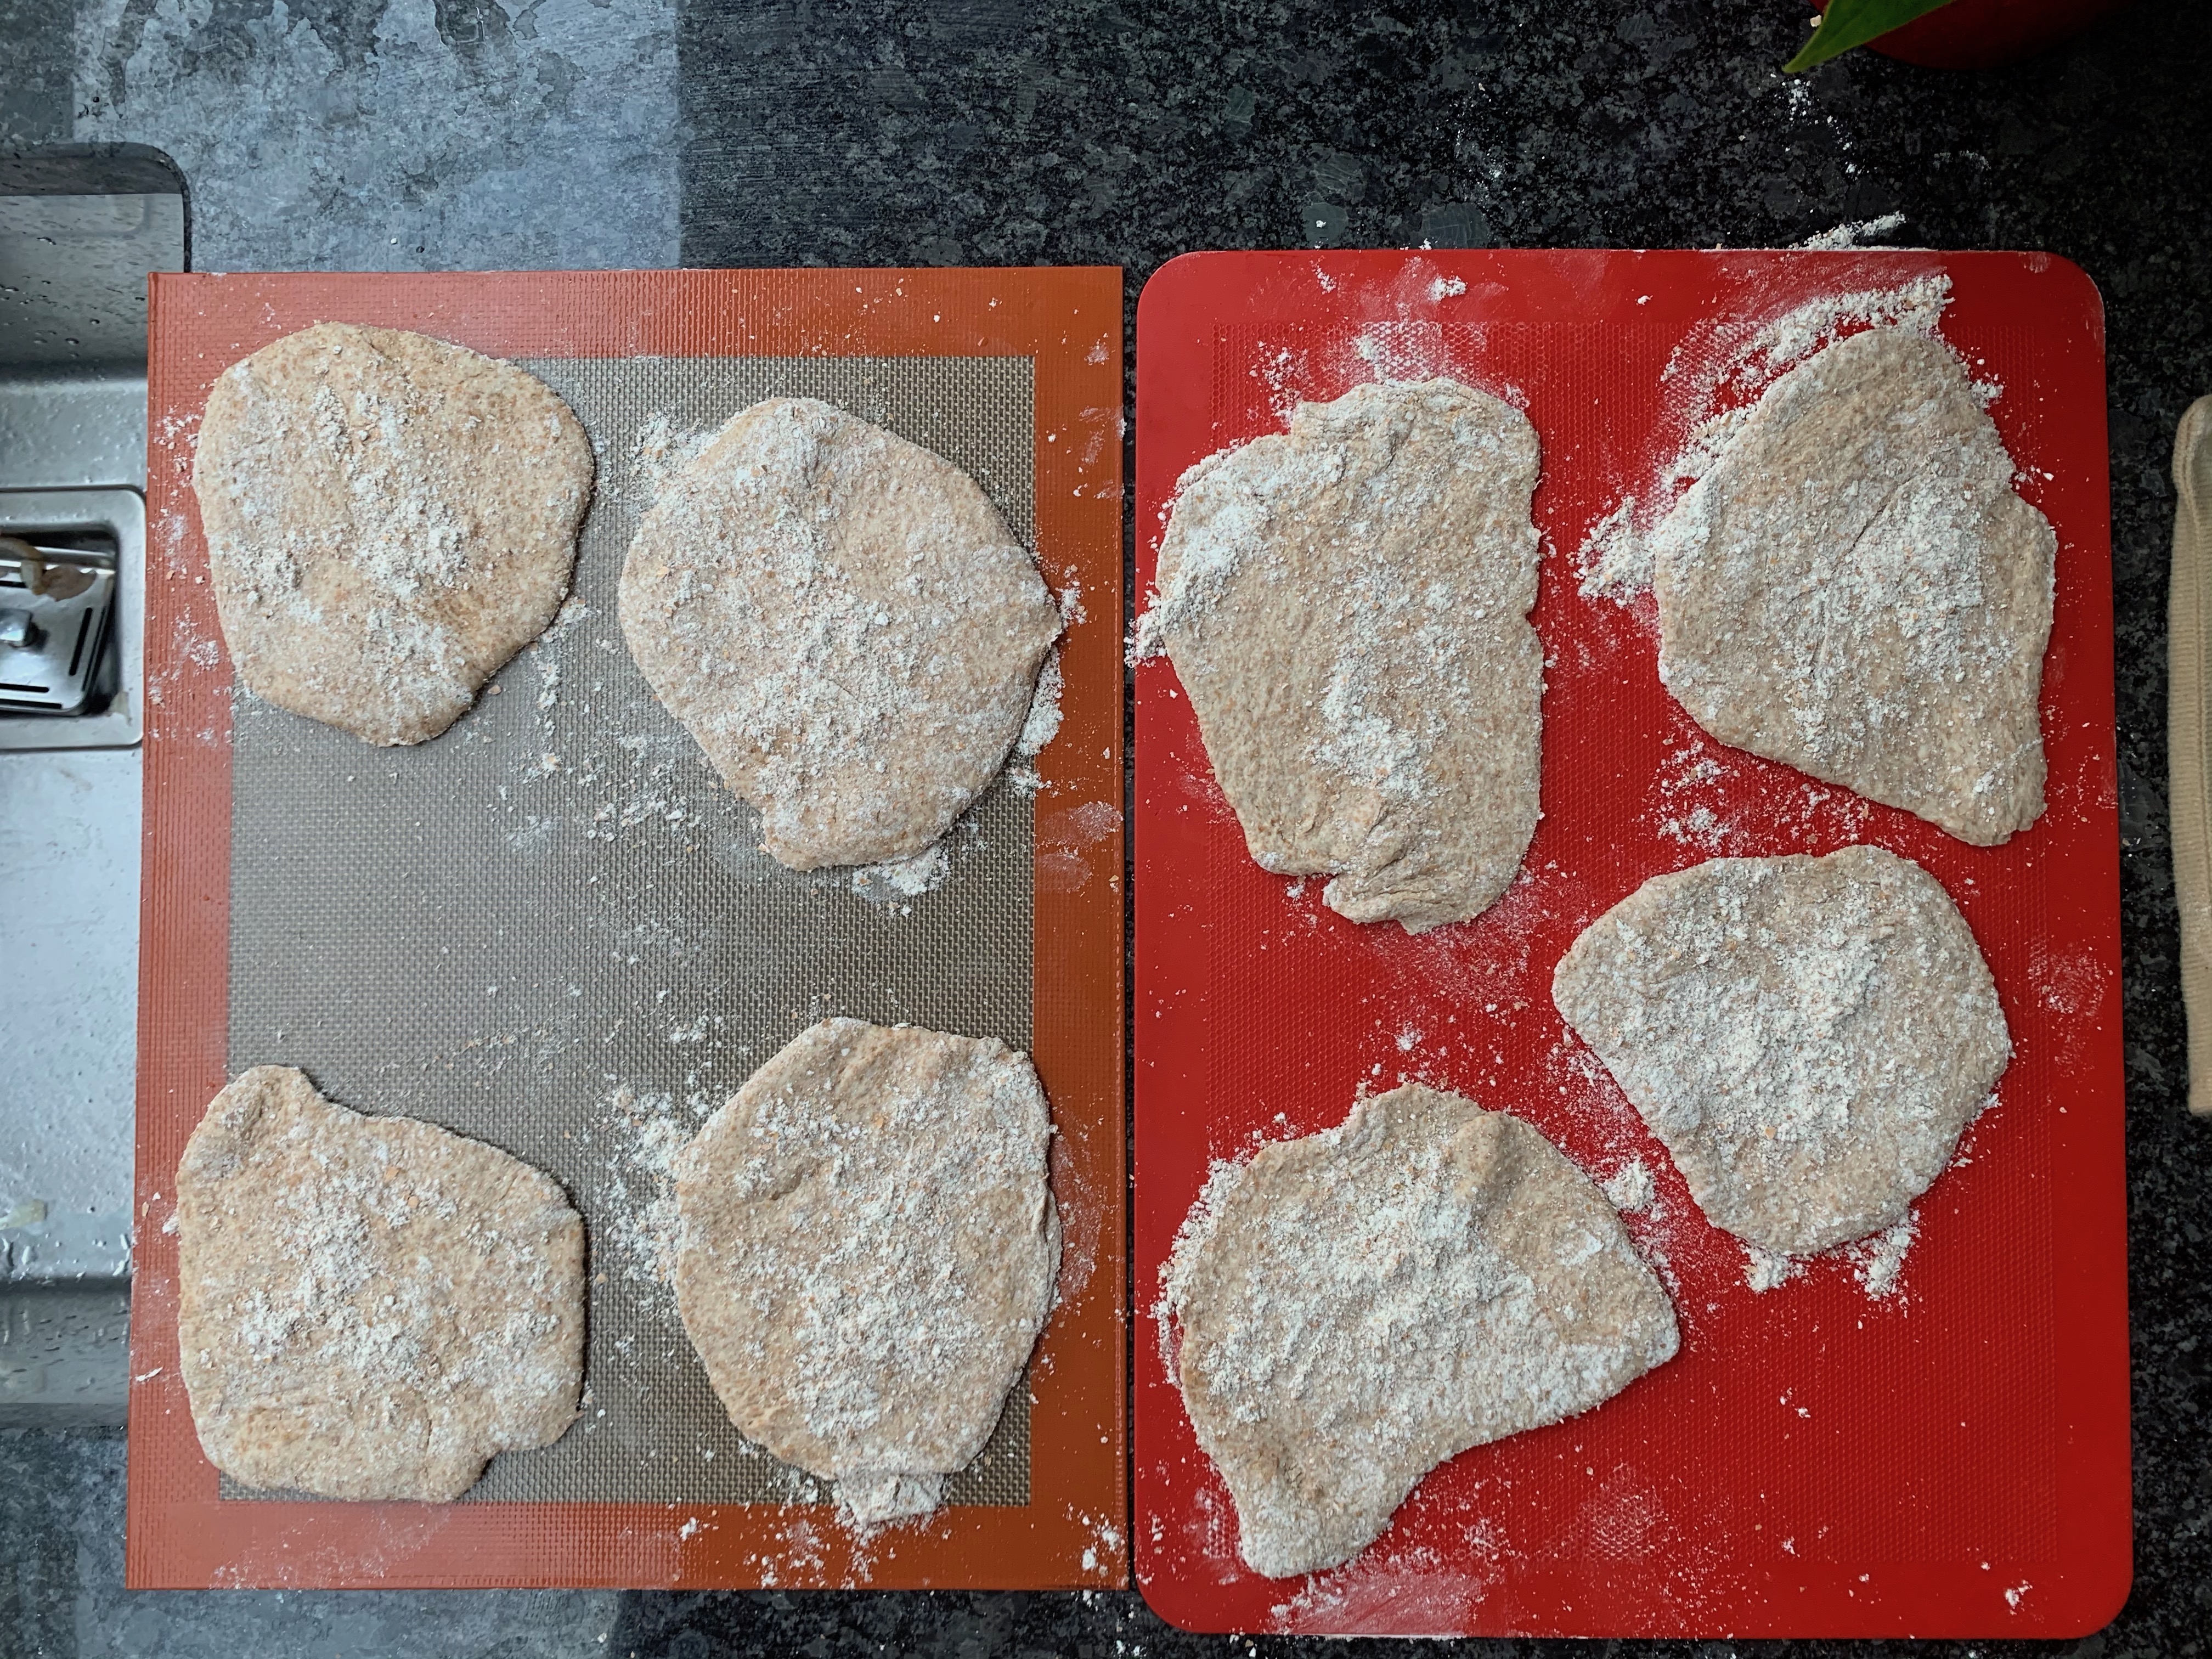
Ready for oven 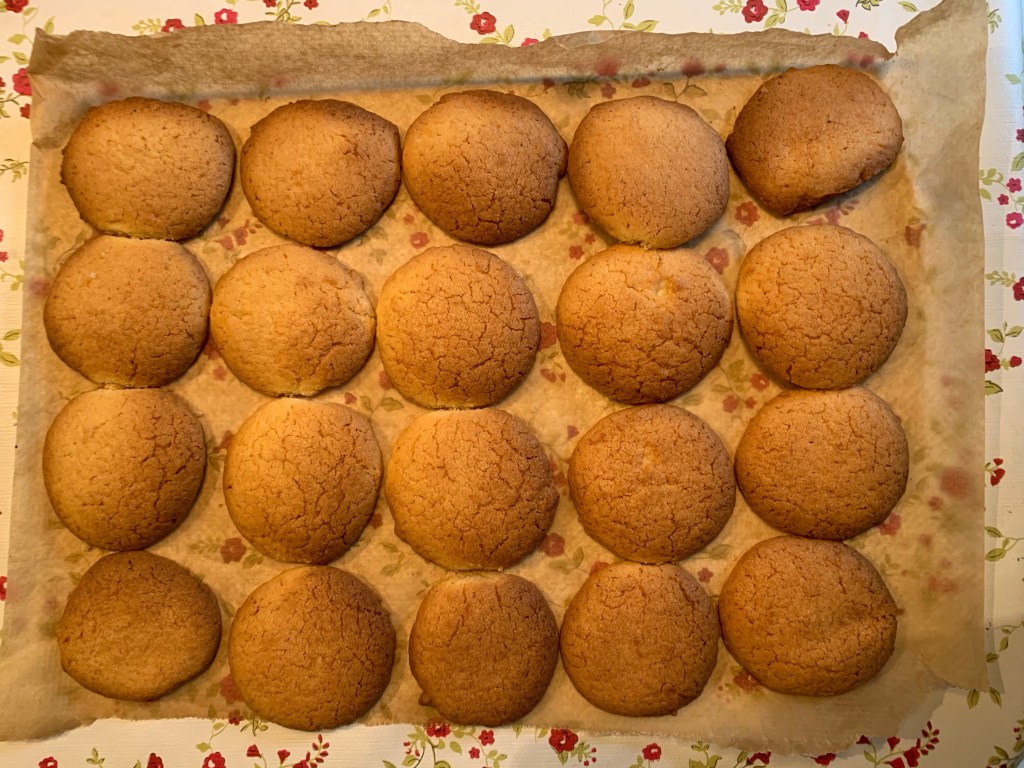
Just baked
- Preheat oven to 180℃ fan
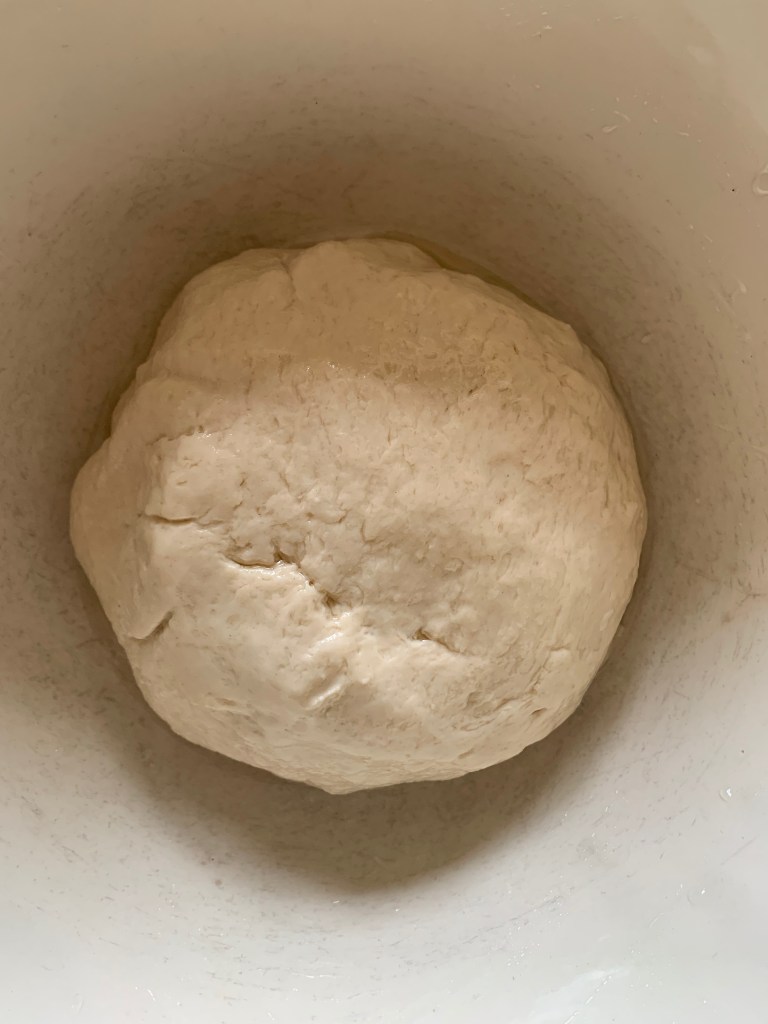
- In the bowl of your stand mixer, whip the butter gently
- Add the sugar and beat until well creamed
- Add the eggs and beat
- Add the lemon zest and vanilla and mix in
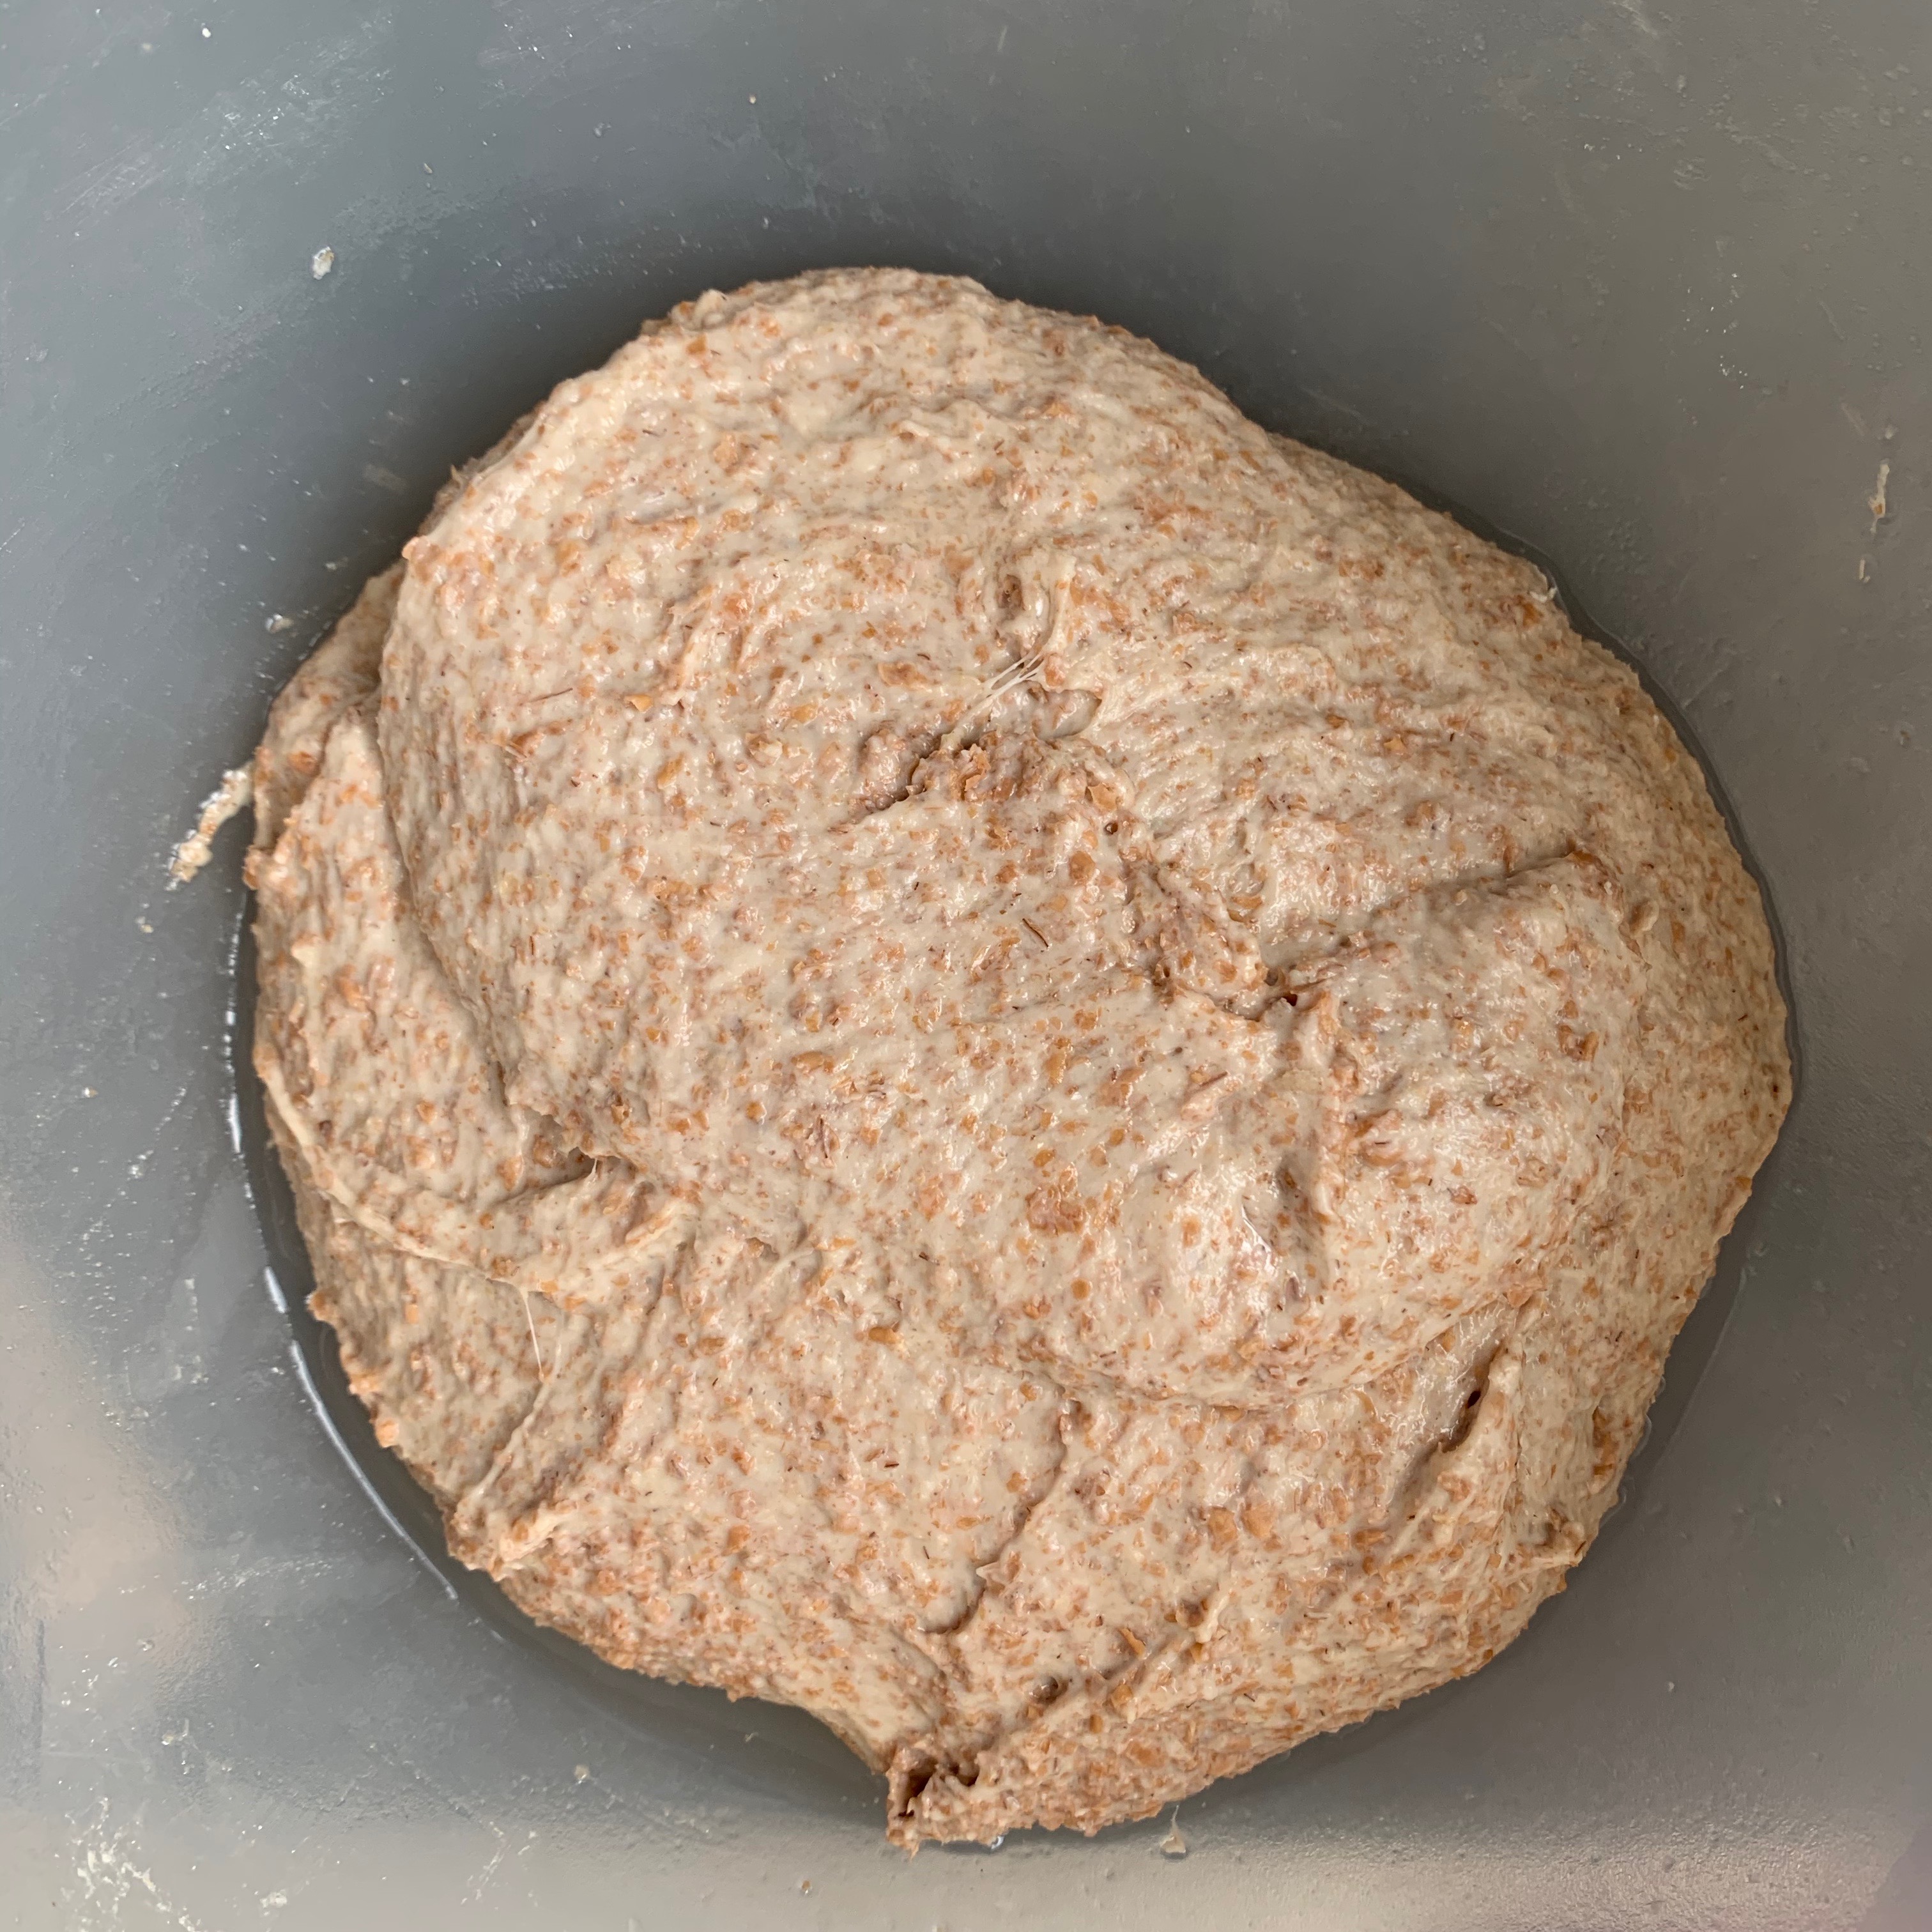
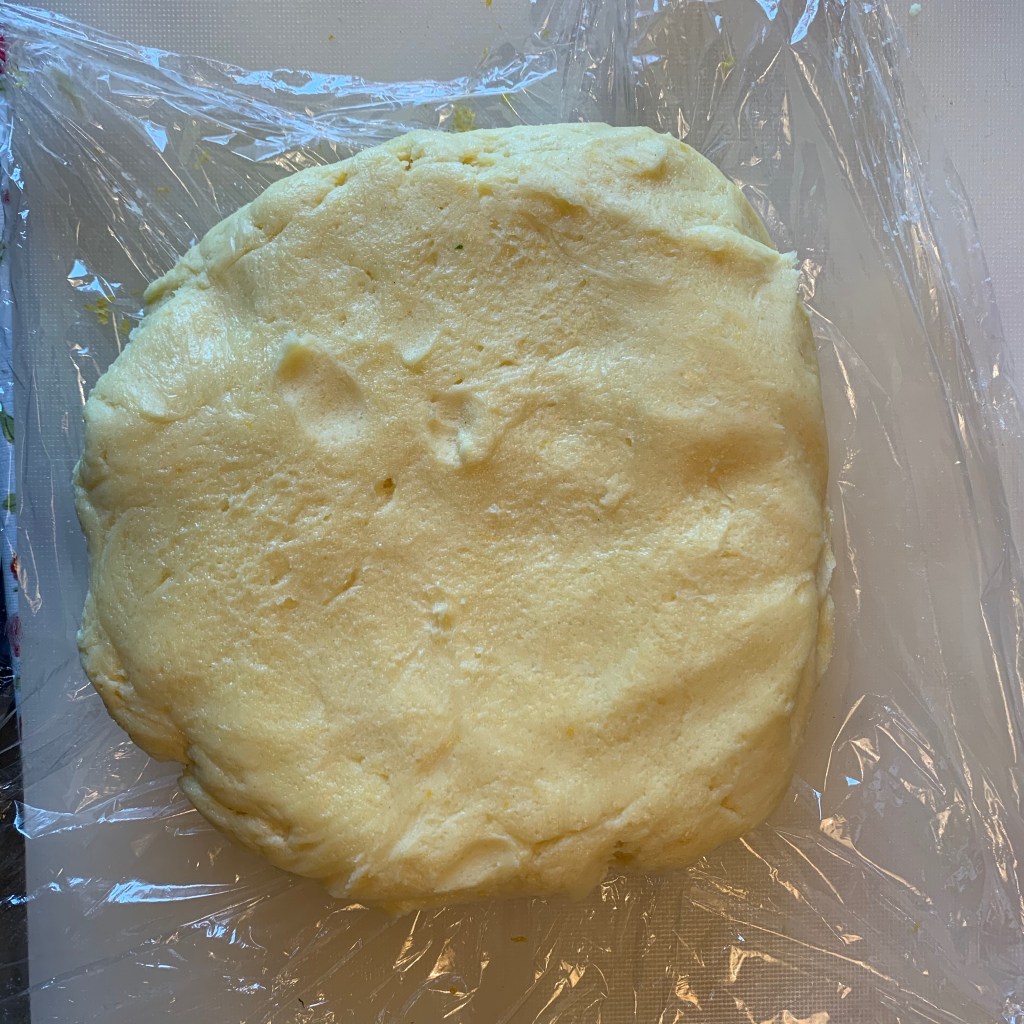
- In a bowl, combine the flours and baking powder and stir evenly. Add to the butter/sugar/egg mixture and mix until you have a smooth batter
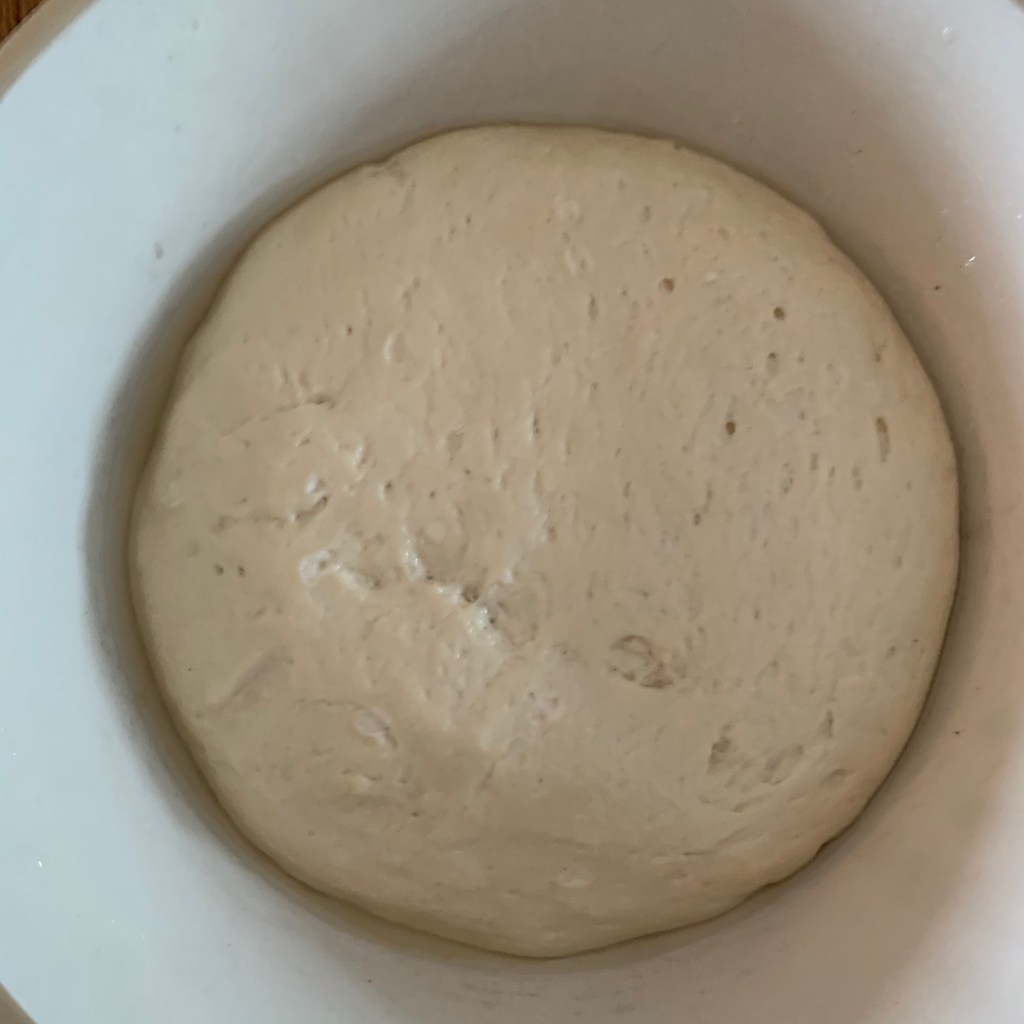
- Wrap the ball of batter with cling film and refrigerate for 30 minutes
- Place the batter between two sheets of cling film and roll out to around 3-5mm thickness
- Cut the batter into circles and transfer to a baking sheet lined with baking parchment. The biscuits will expand, so leave around 2cm gap between them (I didn’t leave enough), which means you’ll probably need two baking sheets.
- Bake for around 10 minutes until golden brown
- Leave to cool
Assembly and dipping
Warning: the many wonderful features of alfajores do NOT include structural integrity. They are very fragile – the crumbliness is part of the appeal – so handle with care!
- 300g cooking chocolate (I used 150g milk and 150g dark, but choose anything you like)
Before dipping 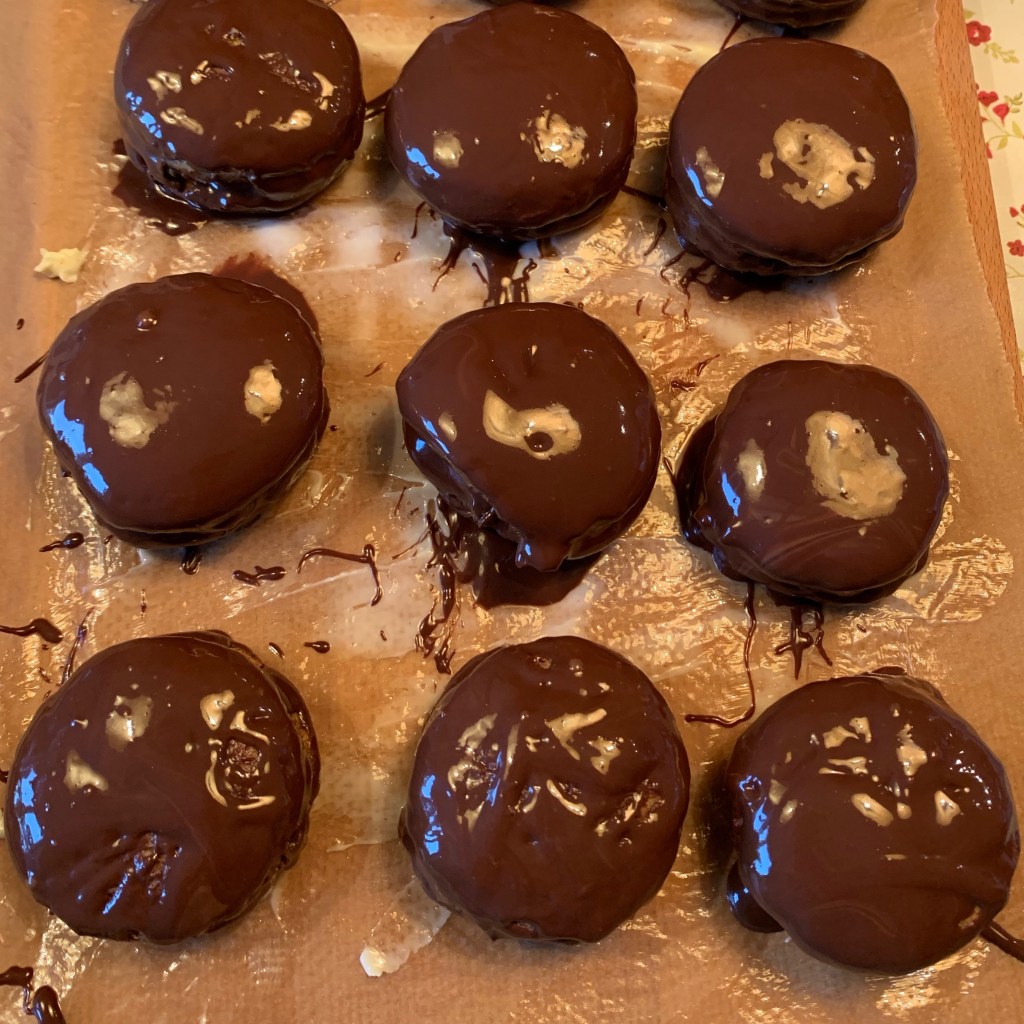
After dipping 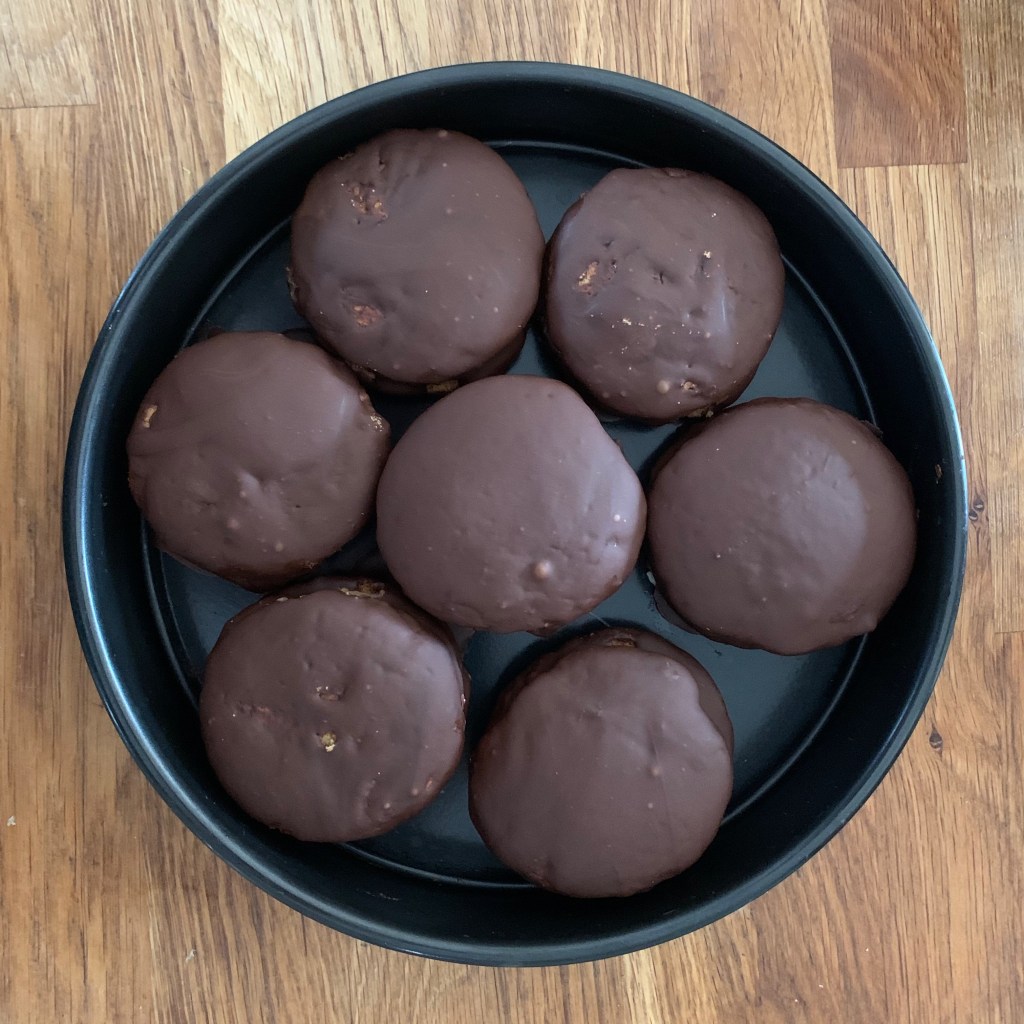
The next day
- Grease a sheet of baking parchment and put it onto a baking tray or board that you can put in the fridge
- Break up the chocolate into a heatproof dish wide enough for you to dip a biscuit easily. Place the dish over boiling water and wait for the chocolate to be all melted, stirring occasionally
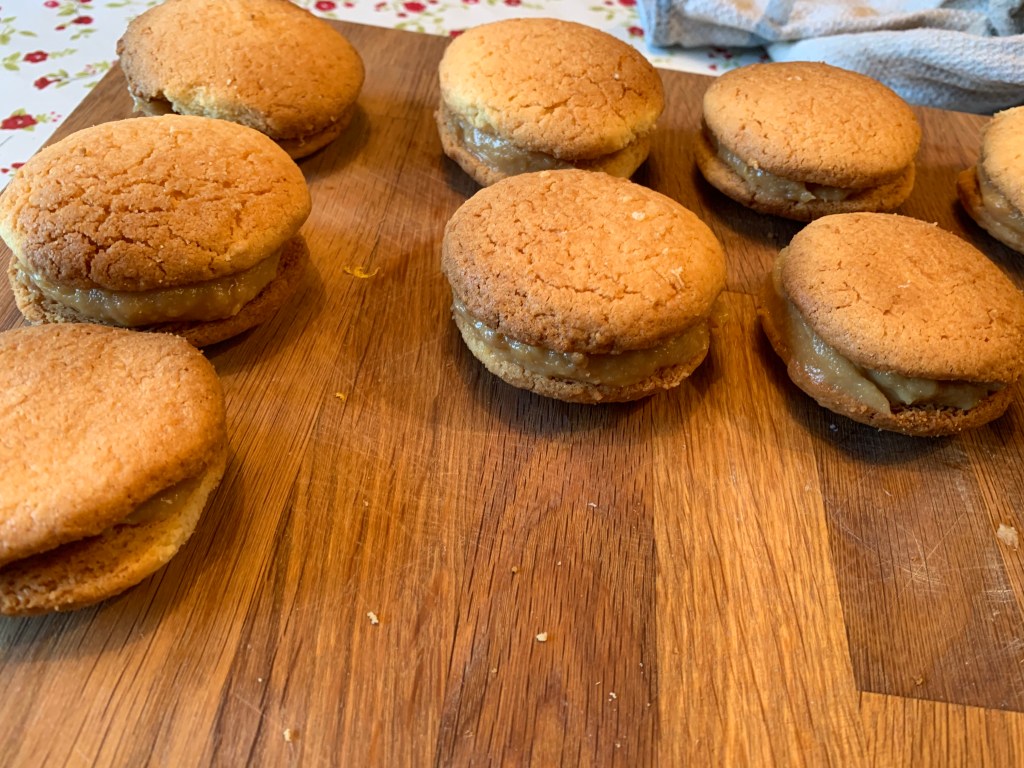
- Spread the flat side of a biscuit with dulce de leche. The pros use a piping bag to do this, but if you don’t have one, a spatula works OK. Add another biscuit, flat side down, to form a sandwich.
- Using a couple of forks, dip the biscuit into the melted chocolate and cover it completely. Hold it up to allow most of the excess to drip off, and transfer to your sheet of baking paper.
- Repeat for the remaining biscuits
- Place in the refrigerator for several hours for the chocolate to harden
Several Alfajores recipes point out that step 6 is more or less impossible to accomplish, including the one which goes “my mum always says these should be eaten the next day but I’ve never managed this”. I can confirm that they *are* better the next day, but I’ll leave the decision to you and your self-control…