We spent the months of April and May in Paris – a mixture of pleasure and business, giving us the chance to see many clients throughout France. It’s a city in which I spent several years as a child – but that was over half a century ago, so it was a chance to rediscover the city.
Some of what we found agreed with what our expectations from previous visits or from things we’ve read. But here are some things that surprised us. I should point out, of course, that anything in here is a result of our own experience – other people visiting other parts of the city might feel very differently.

Living in a residential area is an eye-opener
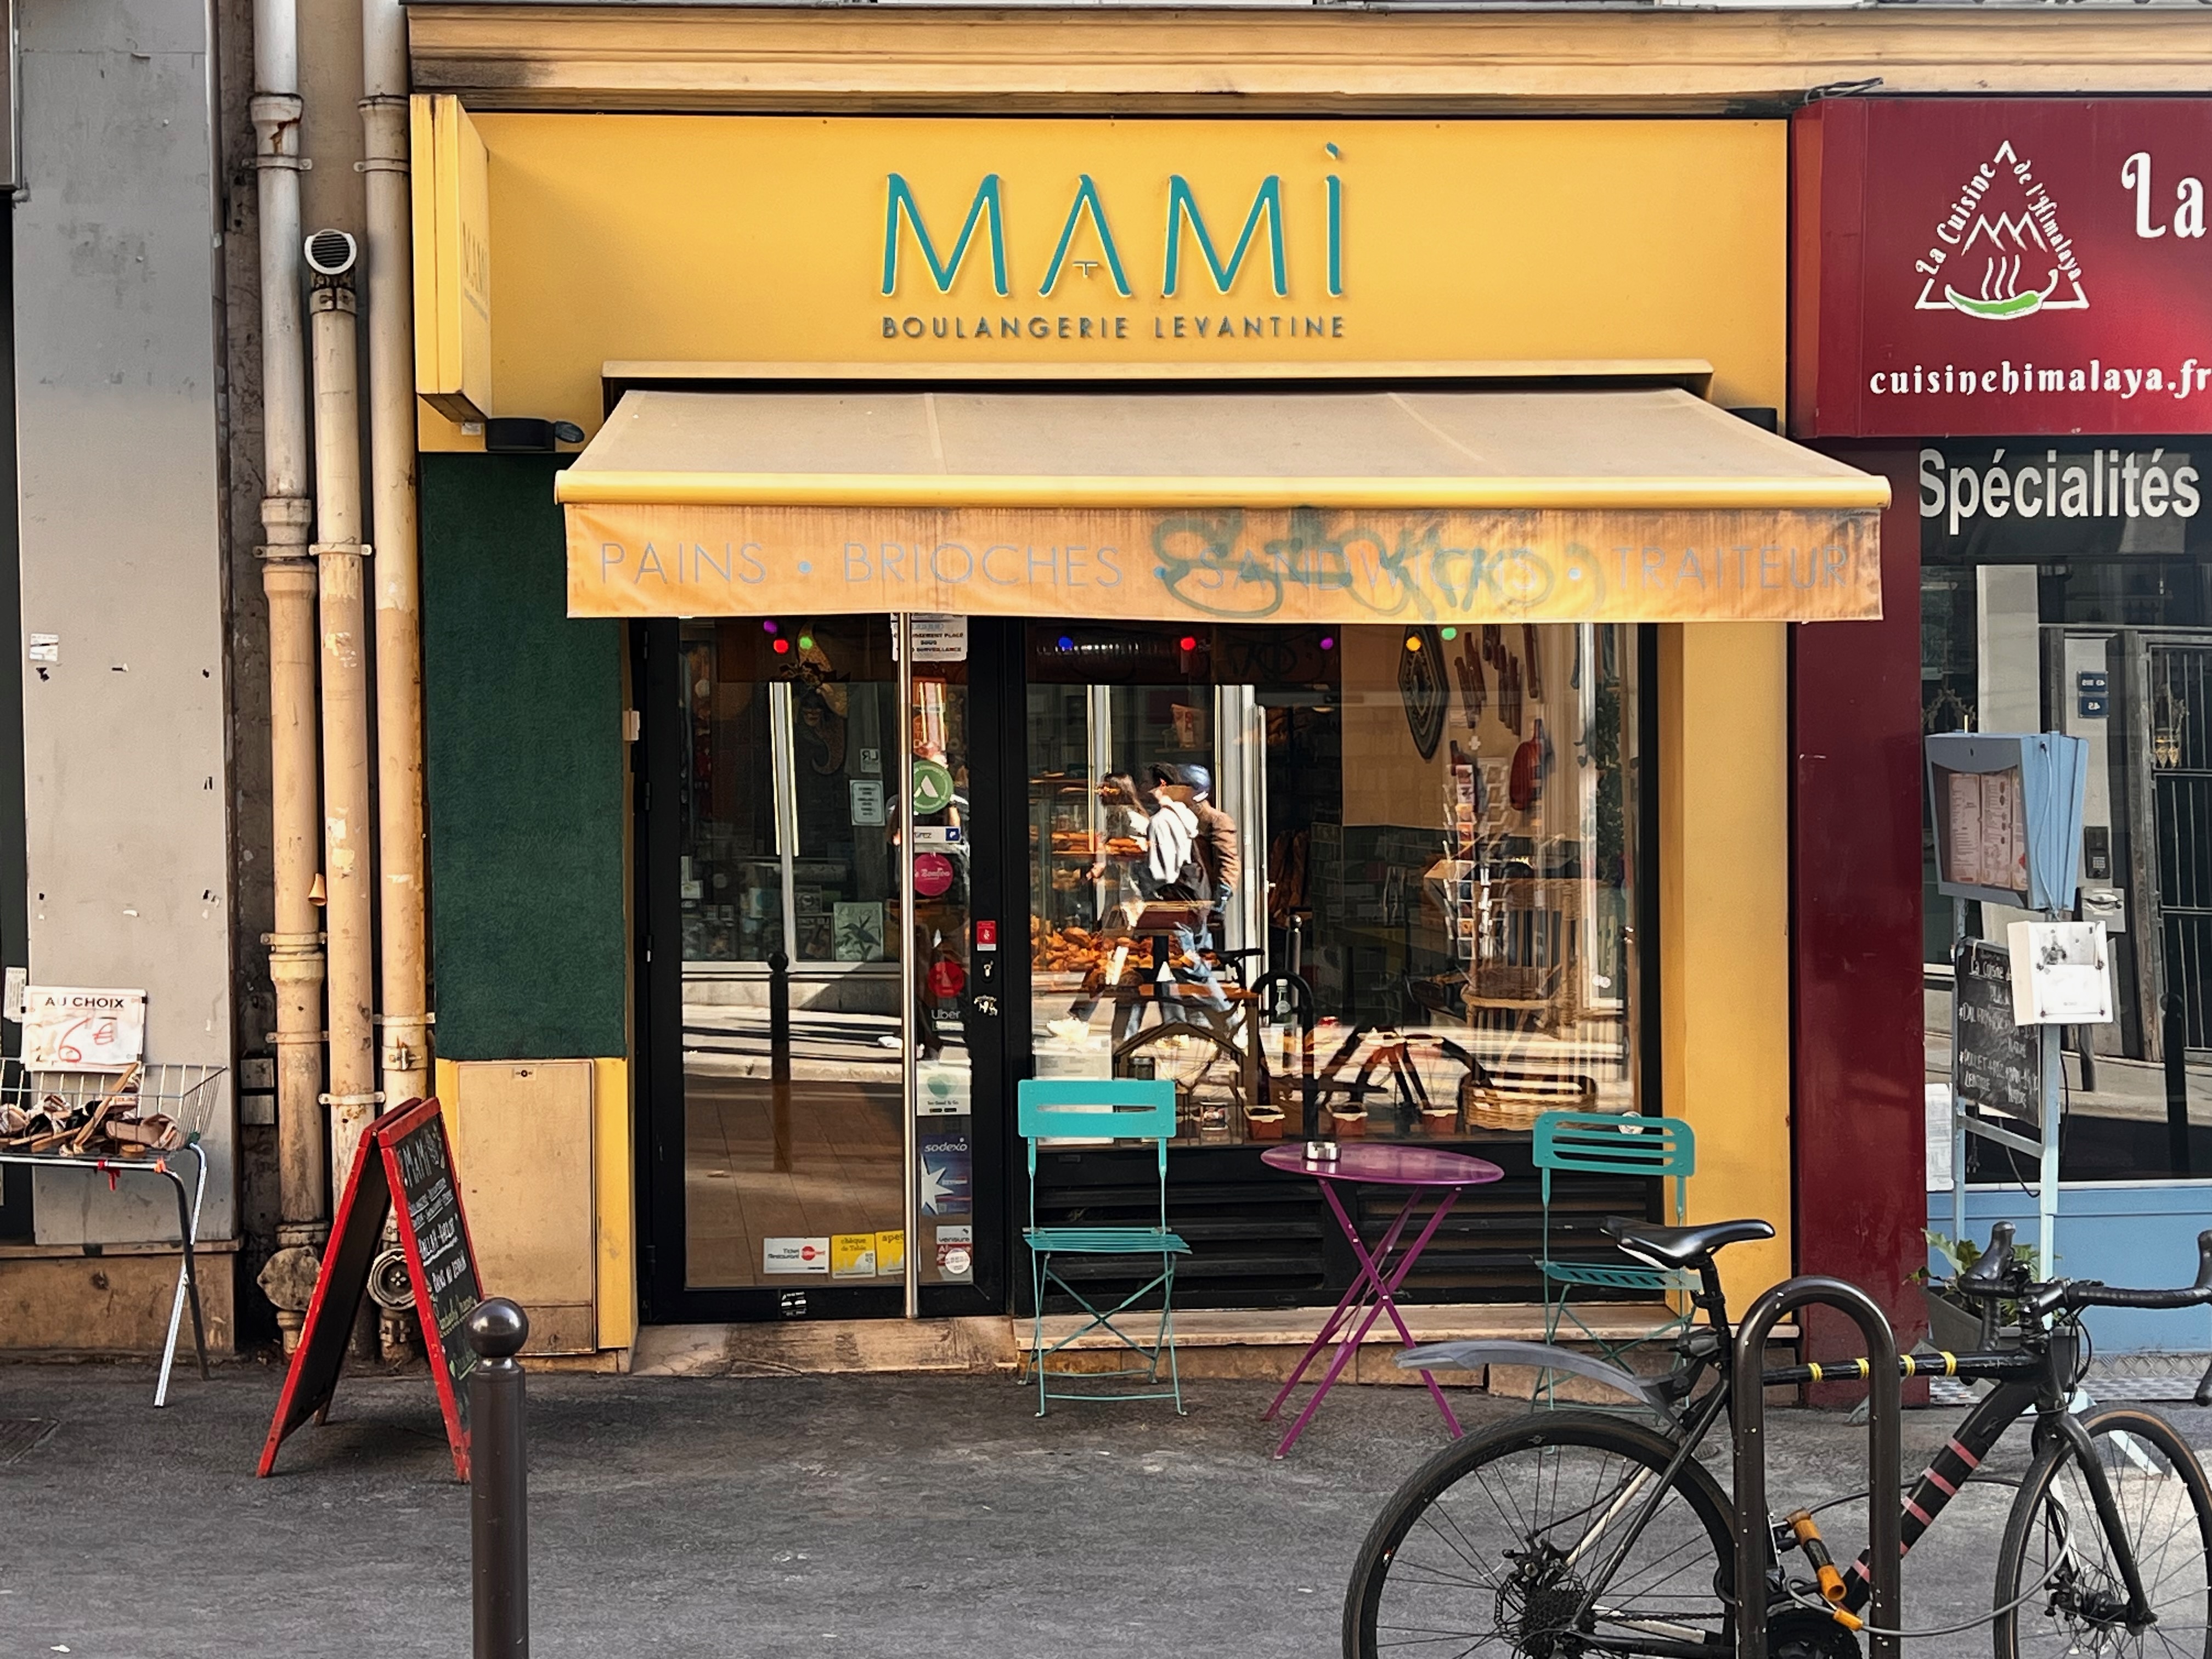
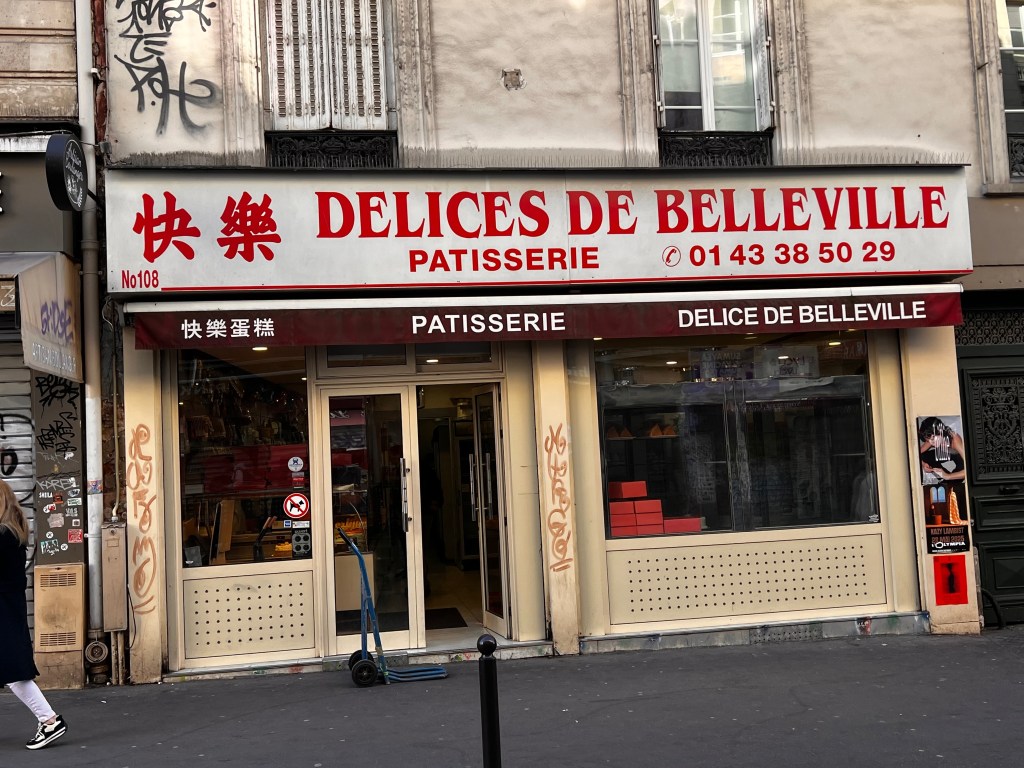
On previous visits, we’ve stayed in places where tourists go: the Marais, the area around the Opéra or the Champs-Élysées. My childhood was in the ritzy 16ème (yes, I know this signals heavy over-privilege). This time, somewhat by accident, we ended up in an apartment in Belleville, of Rendezvous/Triplets fame. It’s a residential area that attracts few tourists and is very racially mixed – lots of Africans, lots of Chinese and Vietnamese, some South American, some indigenous French, a smattering of others. And we loved every minute.
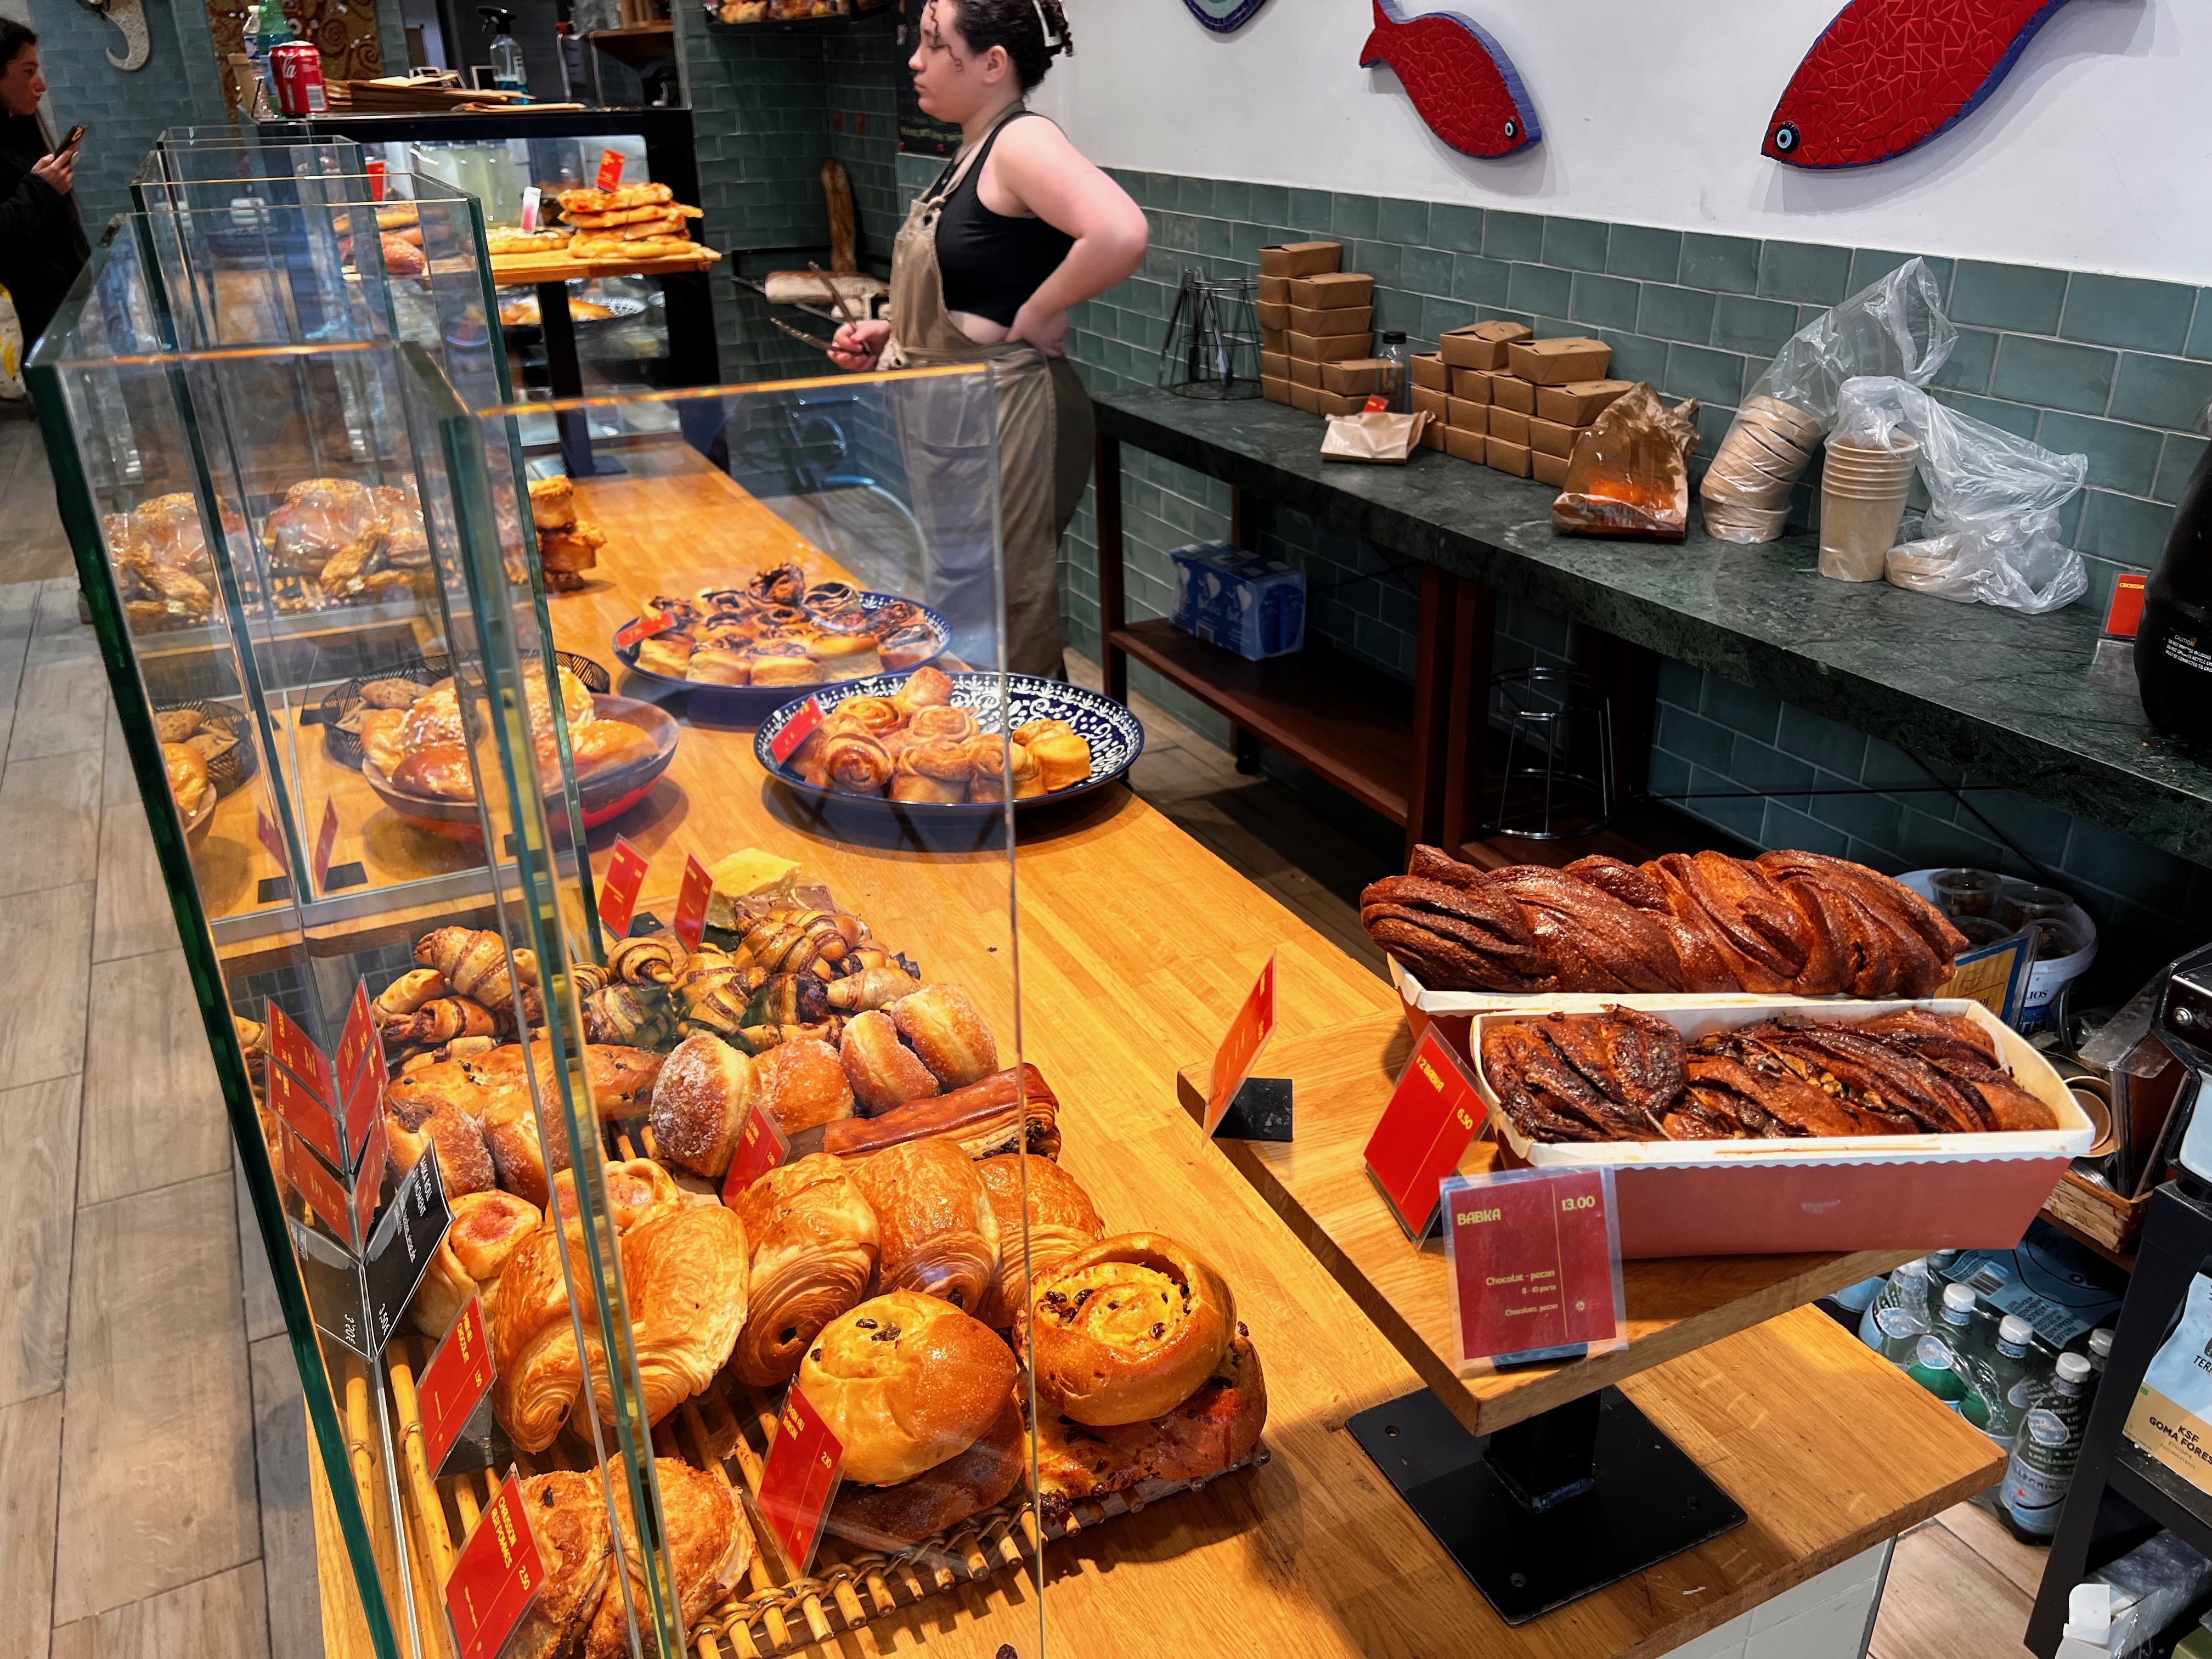
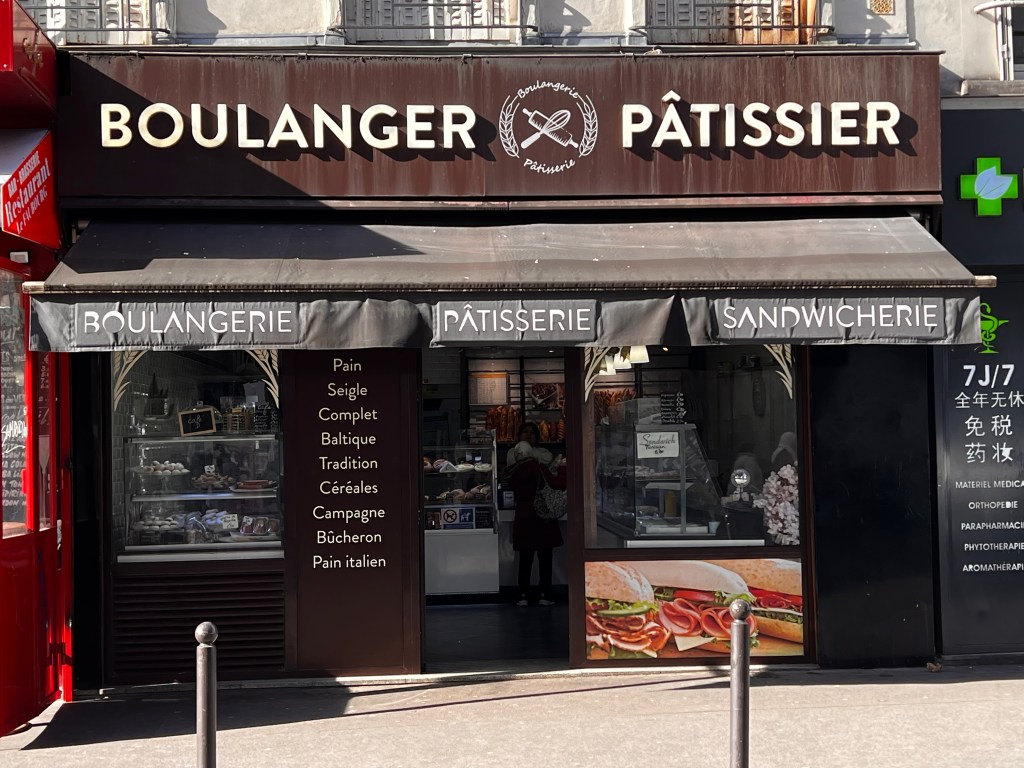
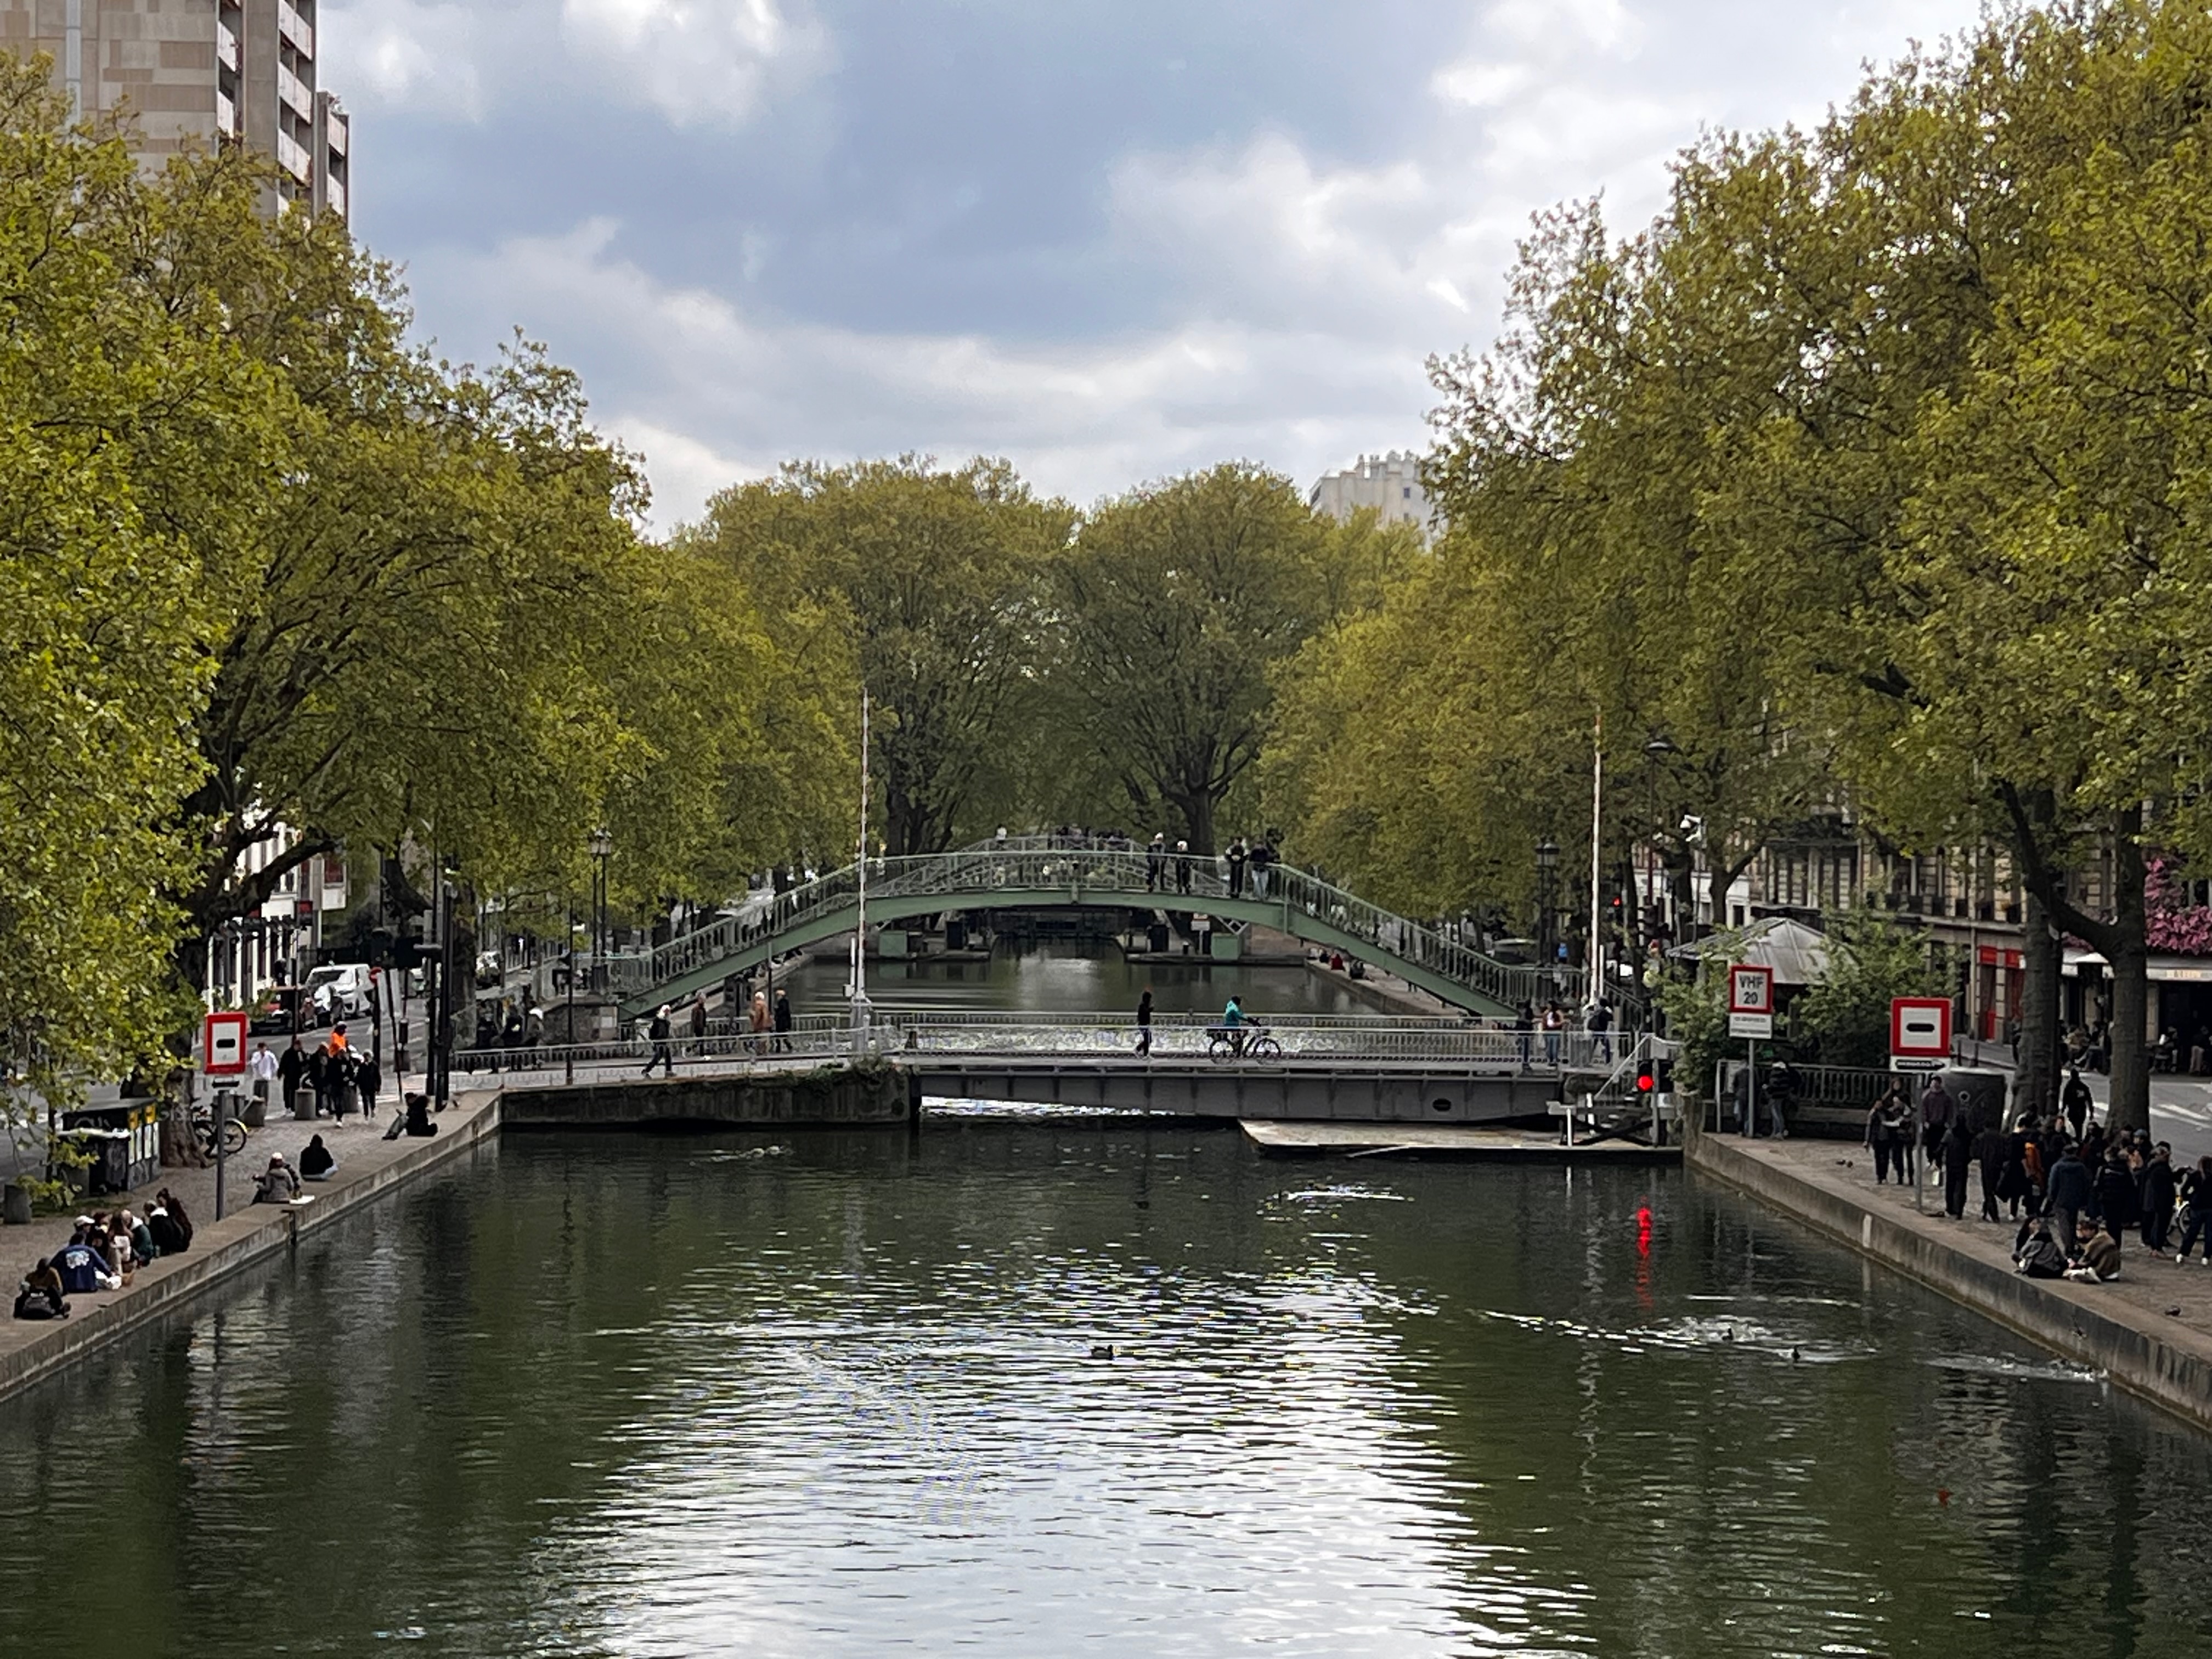
We could step out of our apartment, be swamped by a riot of colours and scents and be surrounded by the kind of shops where normal people go to buy everyday stuff (food, clothing, housewares, electronics). The whole place was unbelievably lively with the buzz of people going about their daily lives. The banks of the pretty Canal Saint-Martin were almost permanently rammed with young people hanging out, picnicking, drinking or just chatting. You just don’t get that sense of really living in the city in an area where most of the people are tourists and most of the shops are oriented to them.
People are strong on minor courtesies
Parisians have a reputation for being brusque and surly, but with very few exceptions, that wasn’t our experience. People in shops varied from generally welcoming to seriously charming. The degree of pushing and shoving was far lower than in London, either on crowded pavements or in the Metro, where people readily gave up their seats, especially to women older than them (the same rule doesn’t seem to apply for men). This seemed particularly to be enforced by non-white mothers with their occasionally-reluctant children.
The major exceptions here are the cyclists and e-scooter riders, many of whom travel fast and ignore traffic lights. To cross a street, look them in the eye and walk predicatably so they know how to avoid you.

Parisian street cleaning is awesome
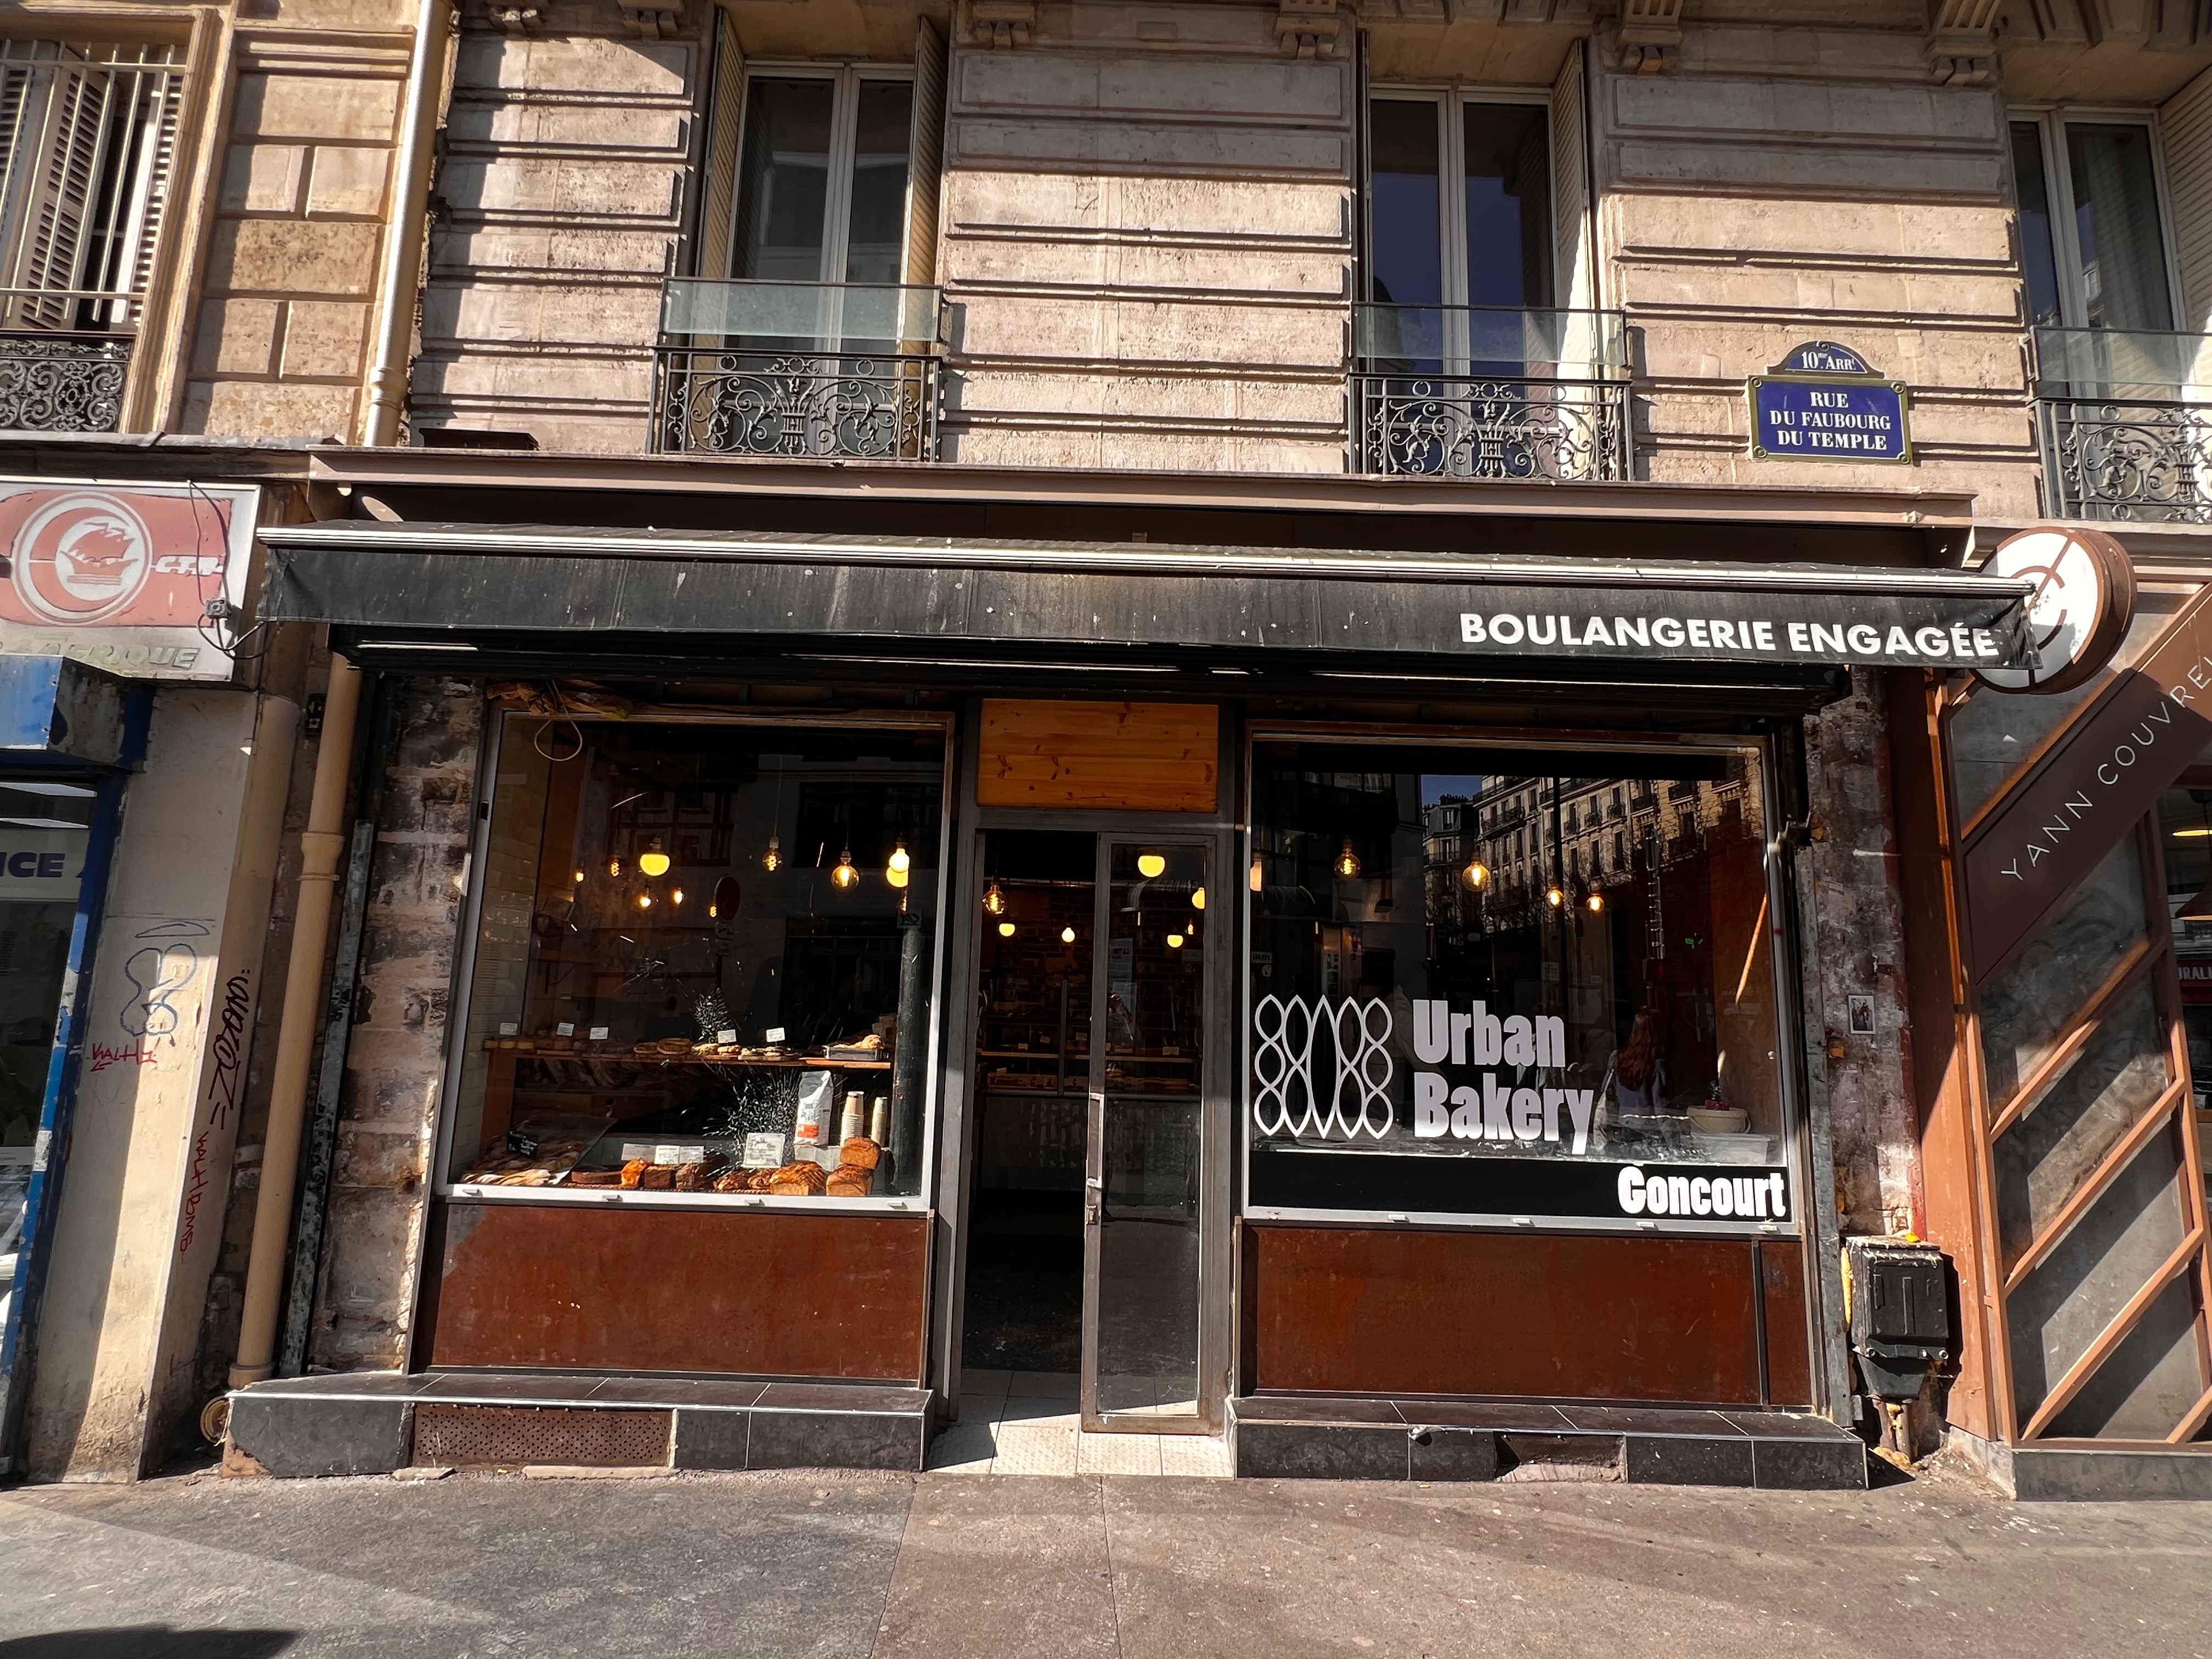
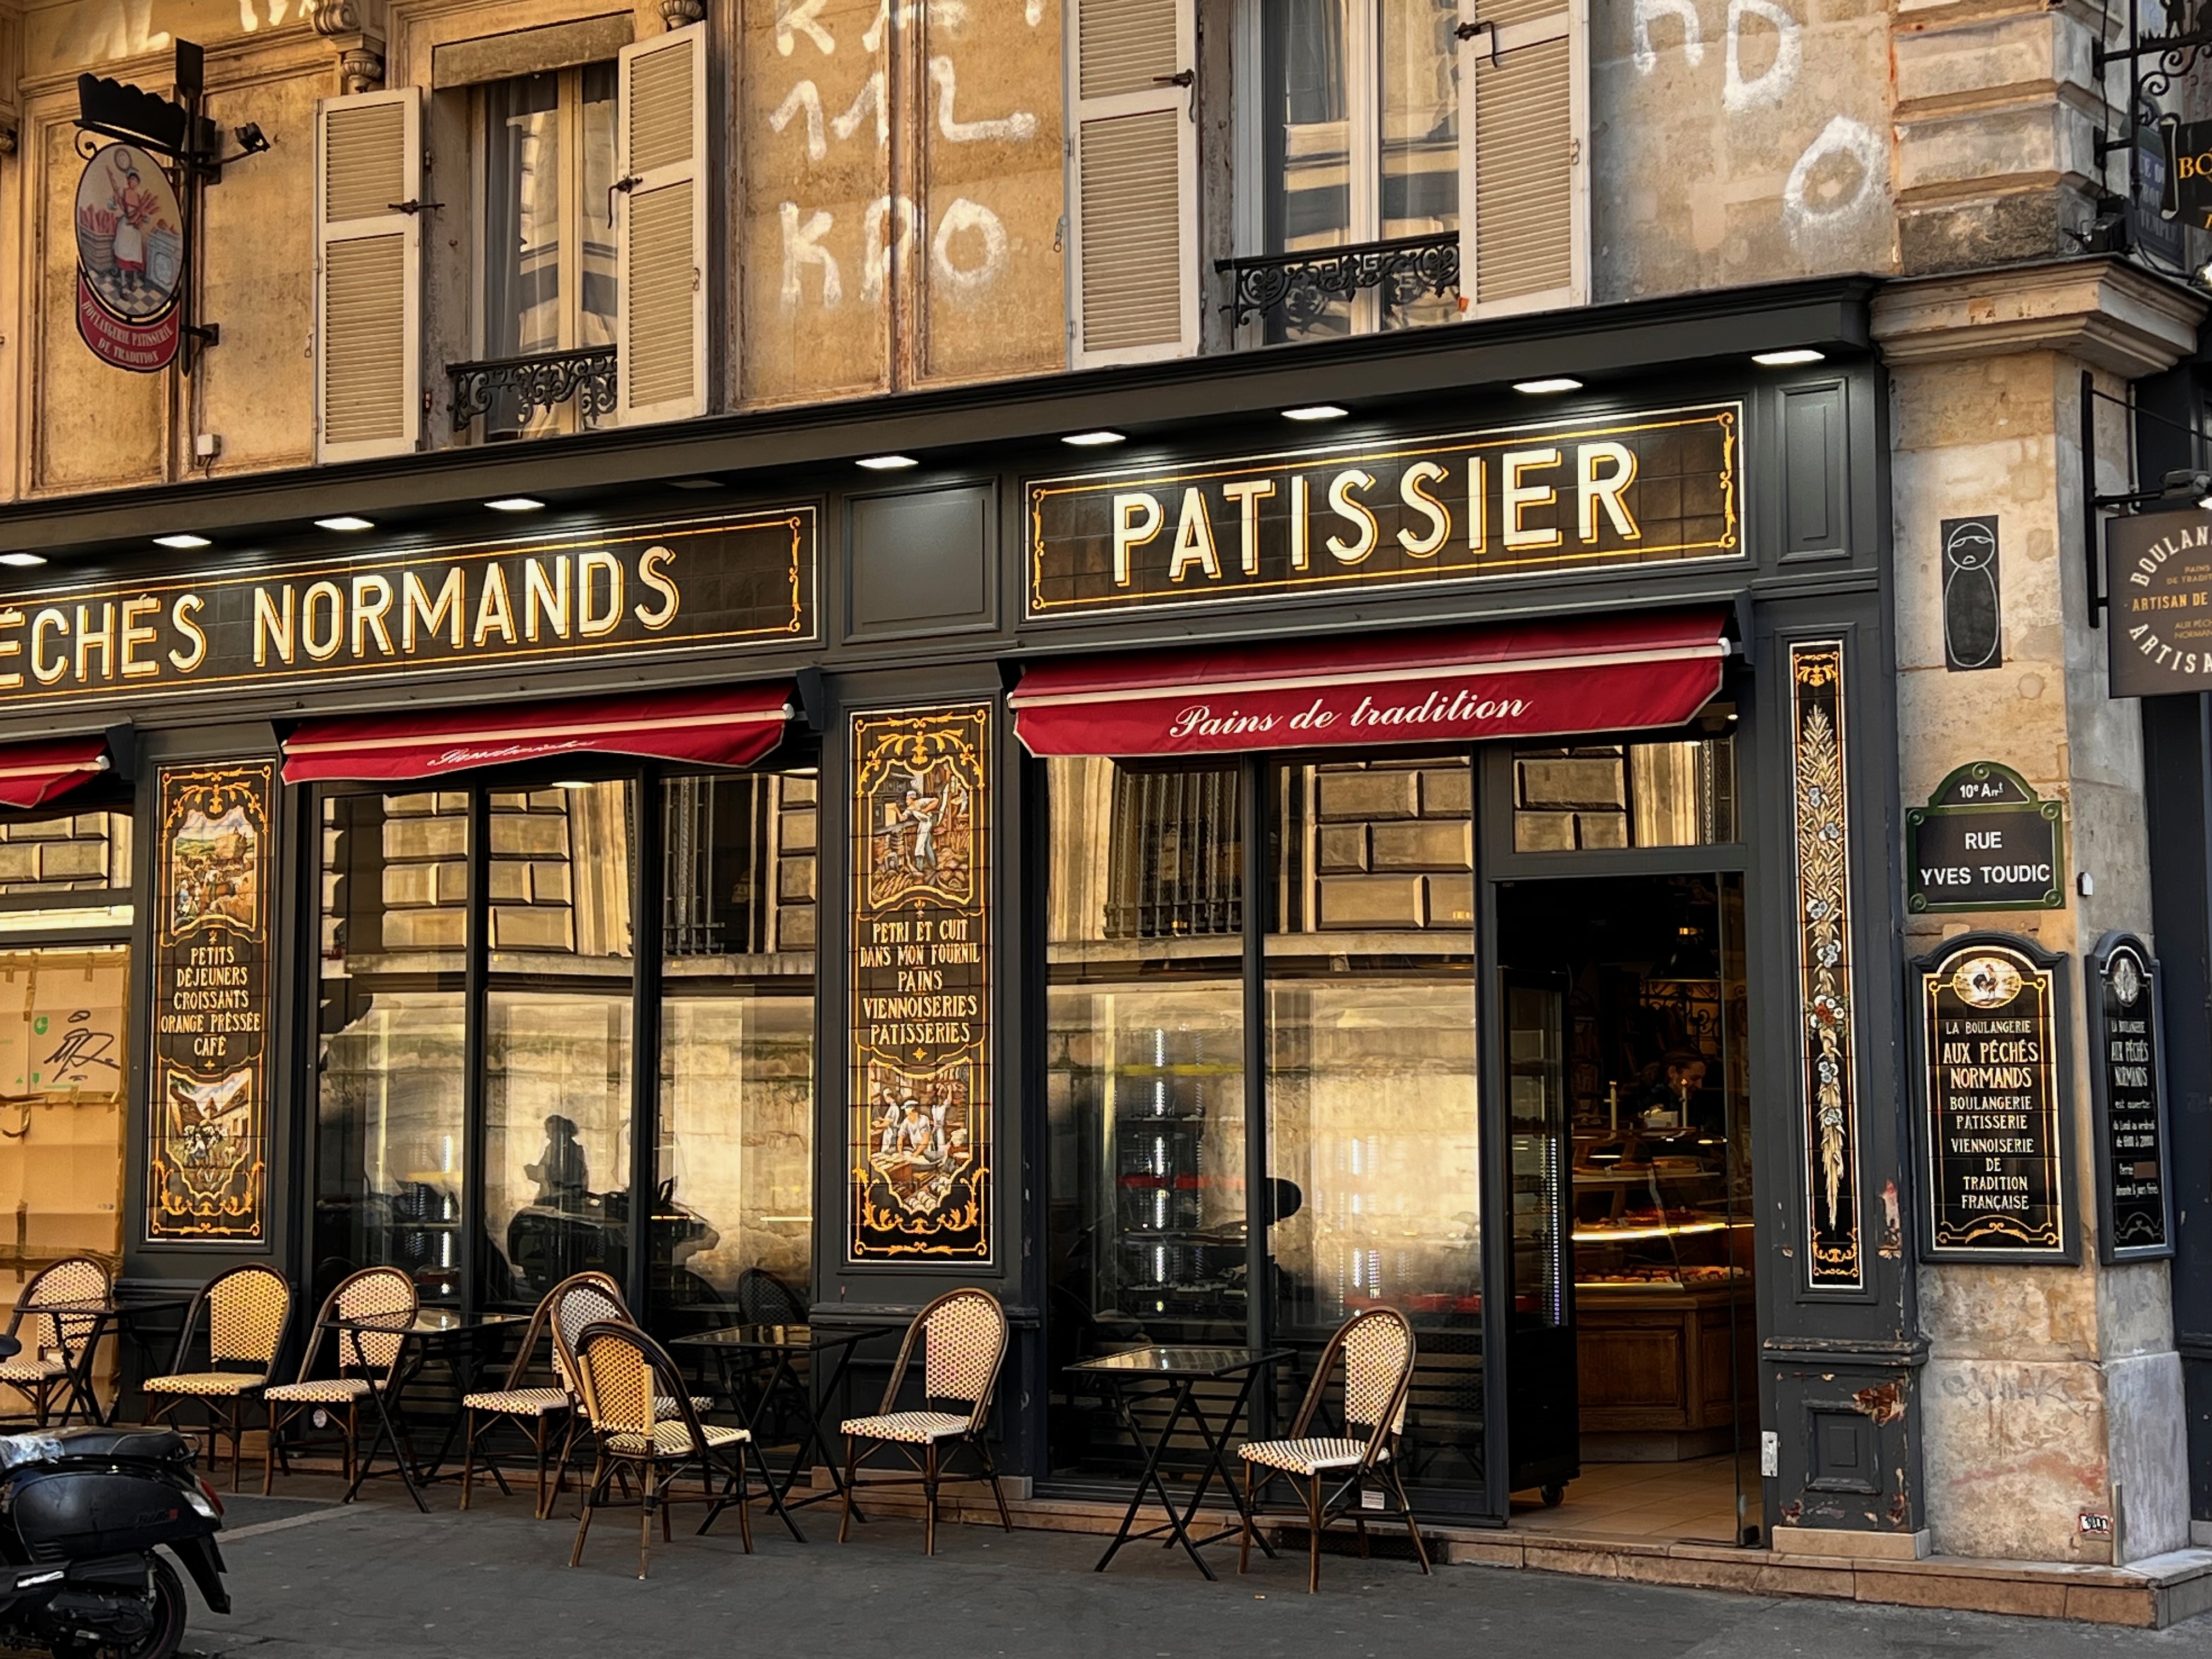
Parisians are fond of a good whinge when it comes to their public services. But our experience of their street cleaning was uniformly excellent. We were on the Rue du Faubourg du Temple, a street choc-a-bloc with food shops and cafés. By 11pm every day, there was a quantity of rubbish on the streets. Overnight, however, an army of hose-equipped trucks and broom-equipped cleaning staff would roam the street. By 7am, the place was sparkling.
The swimming pools are also awesome
We swim most mornings. The availability of public pools was extraordinary, with 41 across the city (the coverage is variable, but our apartment was within a 10 minute walk of two 25 metre pools in excellent shape). A short metro ride would have taken us to various 50 metre pools, including Piscine Suzanne Berlioux, improbably located underneath Les Halles, the giant shopping centre in the centre of town. And the prices are jaw-droppingly low: 44 € gets you a three month pass valid in all 41 pools – or 22 € if you’re over 65.
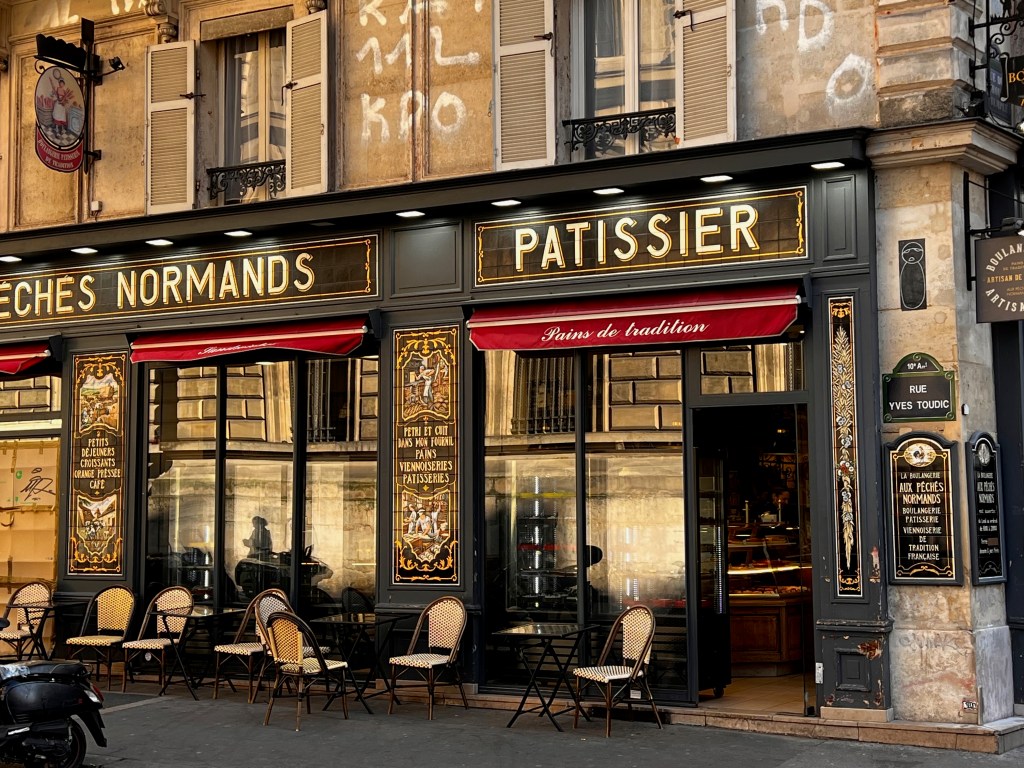
The changing rooms are mixed, with cubicles for changing – which was perfectly fine and sidesteps what is currently a political hot potato in the UK. However, the showers only have individual cubicles for the disabled, so you have to shower with your swimming costume on. And during school periods, the early morning time slots available to the public are restricted. But we rapidly embraced our morning drill of “get up at 7am, swim, buy croissants on the way home”.
The dark side: there’s a lot of homelessness and begging
Sadly, we couldn’t walk too far without coming across someone sleeping rough, or someone asking for a few coins. The begging was usually pretty gentle and surprisingly polite, although there were instances of beggars who got aggressive. Several, we suspected, were mentally ill. And to judge by the number of ads and fundraisers for food banks, there are also a bunch of people who can’t feed themselves.
I don’t honestly know how this compares to other cities. My gut feel/memory says it’s worse than London and not as bad as San Francisco, but that’s a pretty unreliable guide.
The melting pot approach to multiculturalism is beginning to work
When a country has large a immigrant population, there are two main ways to approach multiculturalism. The approach promoted by many on the left of UK politics is the maintenance of identity, the idea that people have a right to their ancestral culture and heritage, which should not be “appropriated” from them. Faith schools and ethnically unmixed areas contribute to that.
The French do the opposite: what they call la mixité. It’s closer to the US idea of a “melting pot” but more extreme – religion and race are excluded from the public sphere. One is encouraged to be “colour-blind”, so that people of all races get the same upbringing and the same opportunities.
Or at least, that’s the theory. The reality has been very different, as expressed in the horrific treatment of immigrants from the Maghreb, by recruitment outcomes which varied wildly according to whether or not you had a Muslim-sounding name, and in Paris, by the concentration of immigrants in the impoverished parts of the banlieue (the suburbs outside the Périphérique ring road), leaving “Paris intramuros” to French whites.
But I saw and heard evidence that la mixité is beginning to become a reality. I saw many more mixed race couples than on previous visits to Paris. I saw black customer-facing staff in some very smart shops that wouldn’t have dreamed of having them in the past. And the “Grand Paris” project, the extension of the Metro into the suburbs, is beginning to break down the previously hard border between the city and the banlieue.
It’s baby steps at this point, but the signs are promising.
The green side: we discovered the Coulée Verte and the Bois de Vincennes
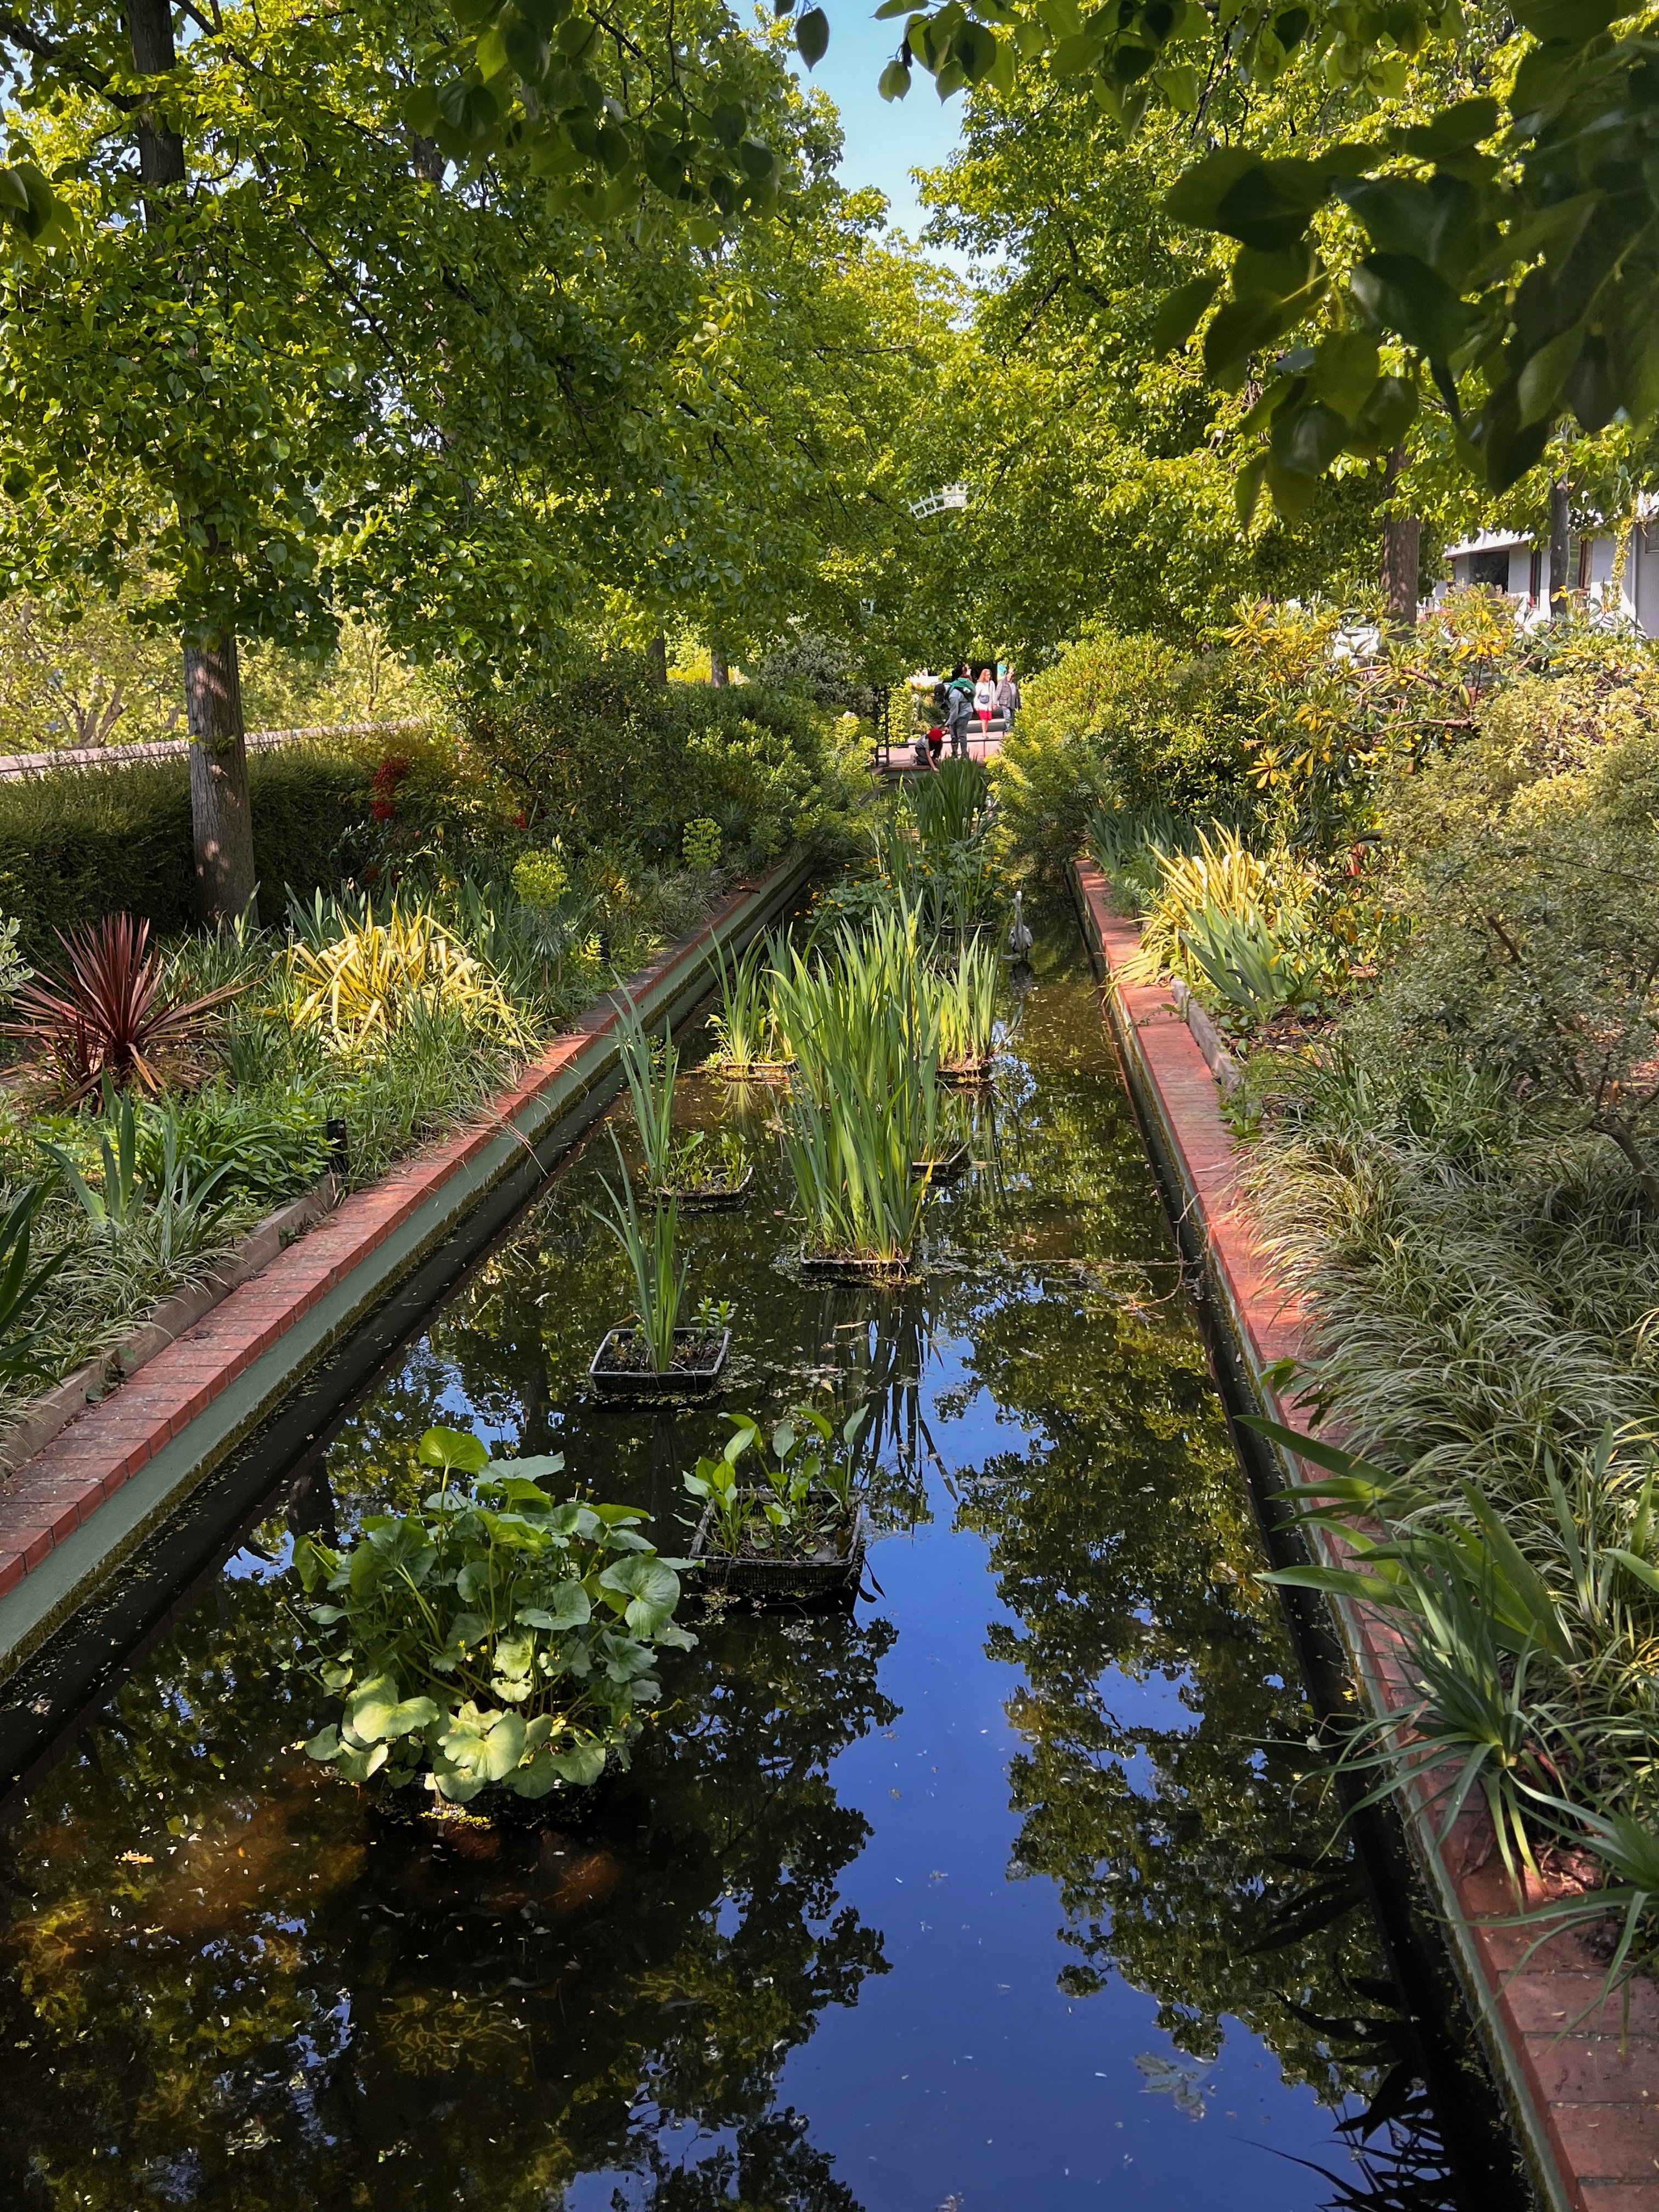
Paris isn’t celebrated for its green spaces, but there are a some real gems. The one we discovered on this trip was the Coulée Verte (formerly the Promenade Plantée), a narrow strip of land high above the streets that run from Bastille towards the Bois de Vincennes, the former royal hunting forest at the South-East of Paris. The Coulée Verte is about an hour’s walk end to end and is gorgeously landscaped: it’s like having a very long and thin botanical garden, interspersed with little nooks to chill out or gaze down at city outside. It’s blissful.
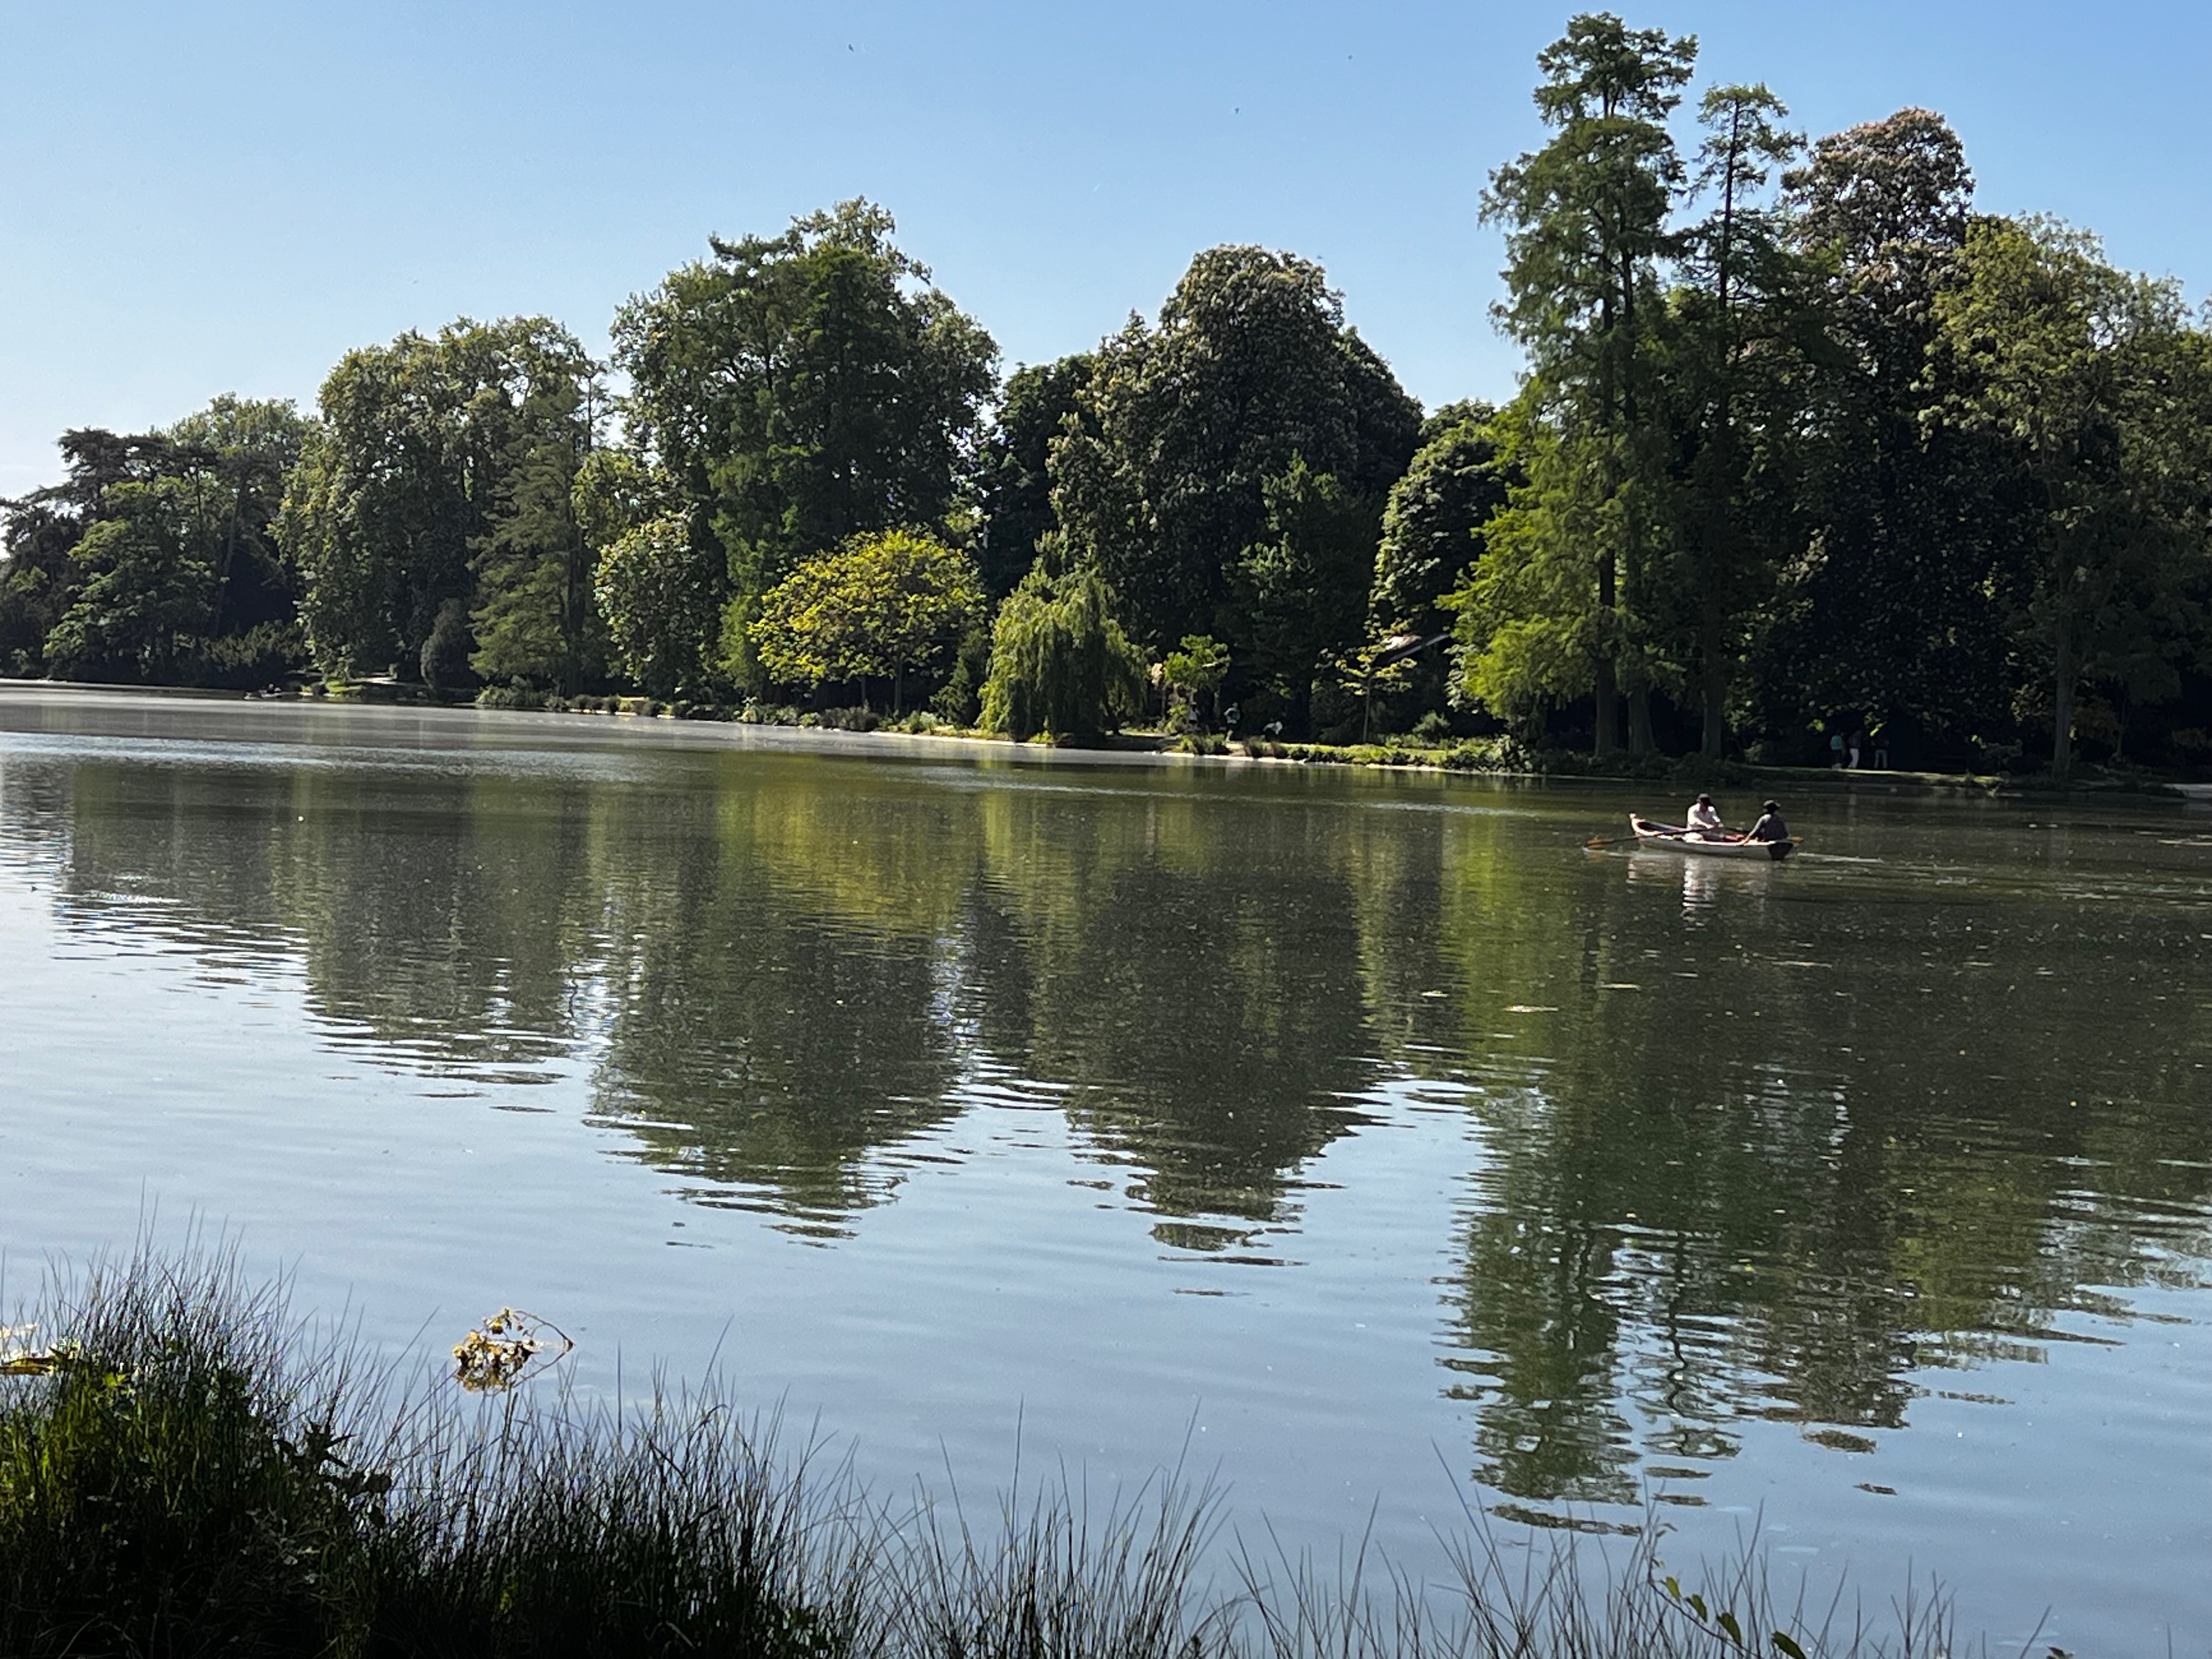
The Bois de Vincennes itself is huge and very beautiful. We didn’t make much of a dent in its overall size, but managed a long walk alongside the boating lake. I’ll be back.
The city is ever shifting
The status of different areas of Paris isn’t fixed. On the Left Bank, back in the 70s, the Boulevard St Germain and the Boulevard St Michel were the hippest of the hip, celebrated both in popular culture and in literature and the home of cool new fashions from Yves Saint Laurent and others.
We found it rather sad, the streets mainly populated by guided parties of tourists there to relive its former glories. The fashion world has moved elsewhere: the Avenue Montaigne for brands favoured by the high rollers – Dior, Chanel, Prada and the like – and the Marais for a younger, more boho crowd (or bobo, as the French call it).
The Marais is changing, also. At one time, it was very much populated by younger professionals, with many foreign students or people early on their career. That’s been changing: the eclecticism is still there, but one senses that it’s catering to tourists far more than to locals, heading towards becoming a theme park of its former self. Personally, I suspect it’s a result of AirBnB and (to a lesser extent) Brexit, but I can’t be sure.

And the stuff you know…
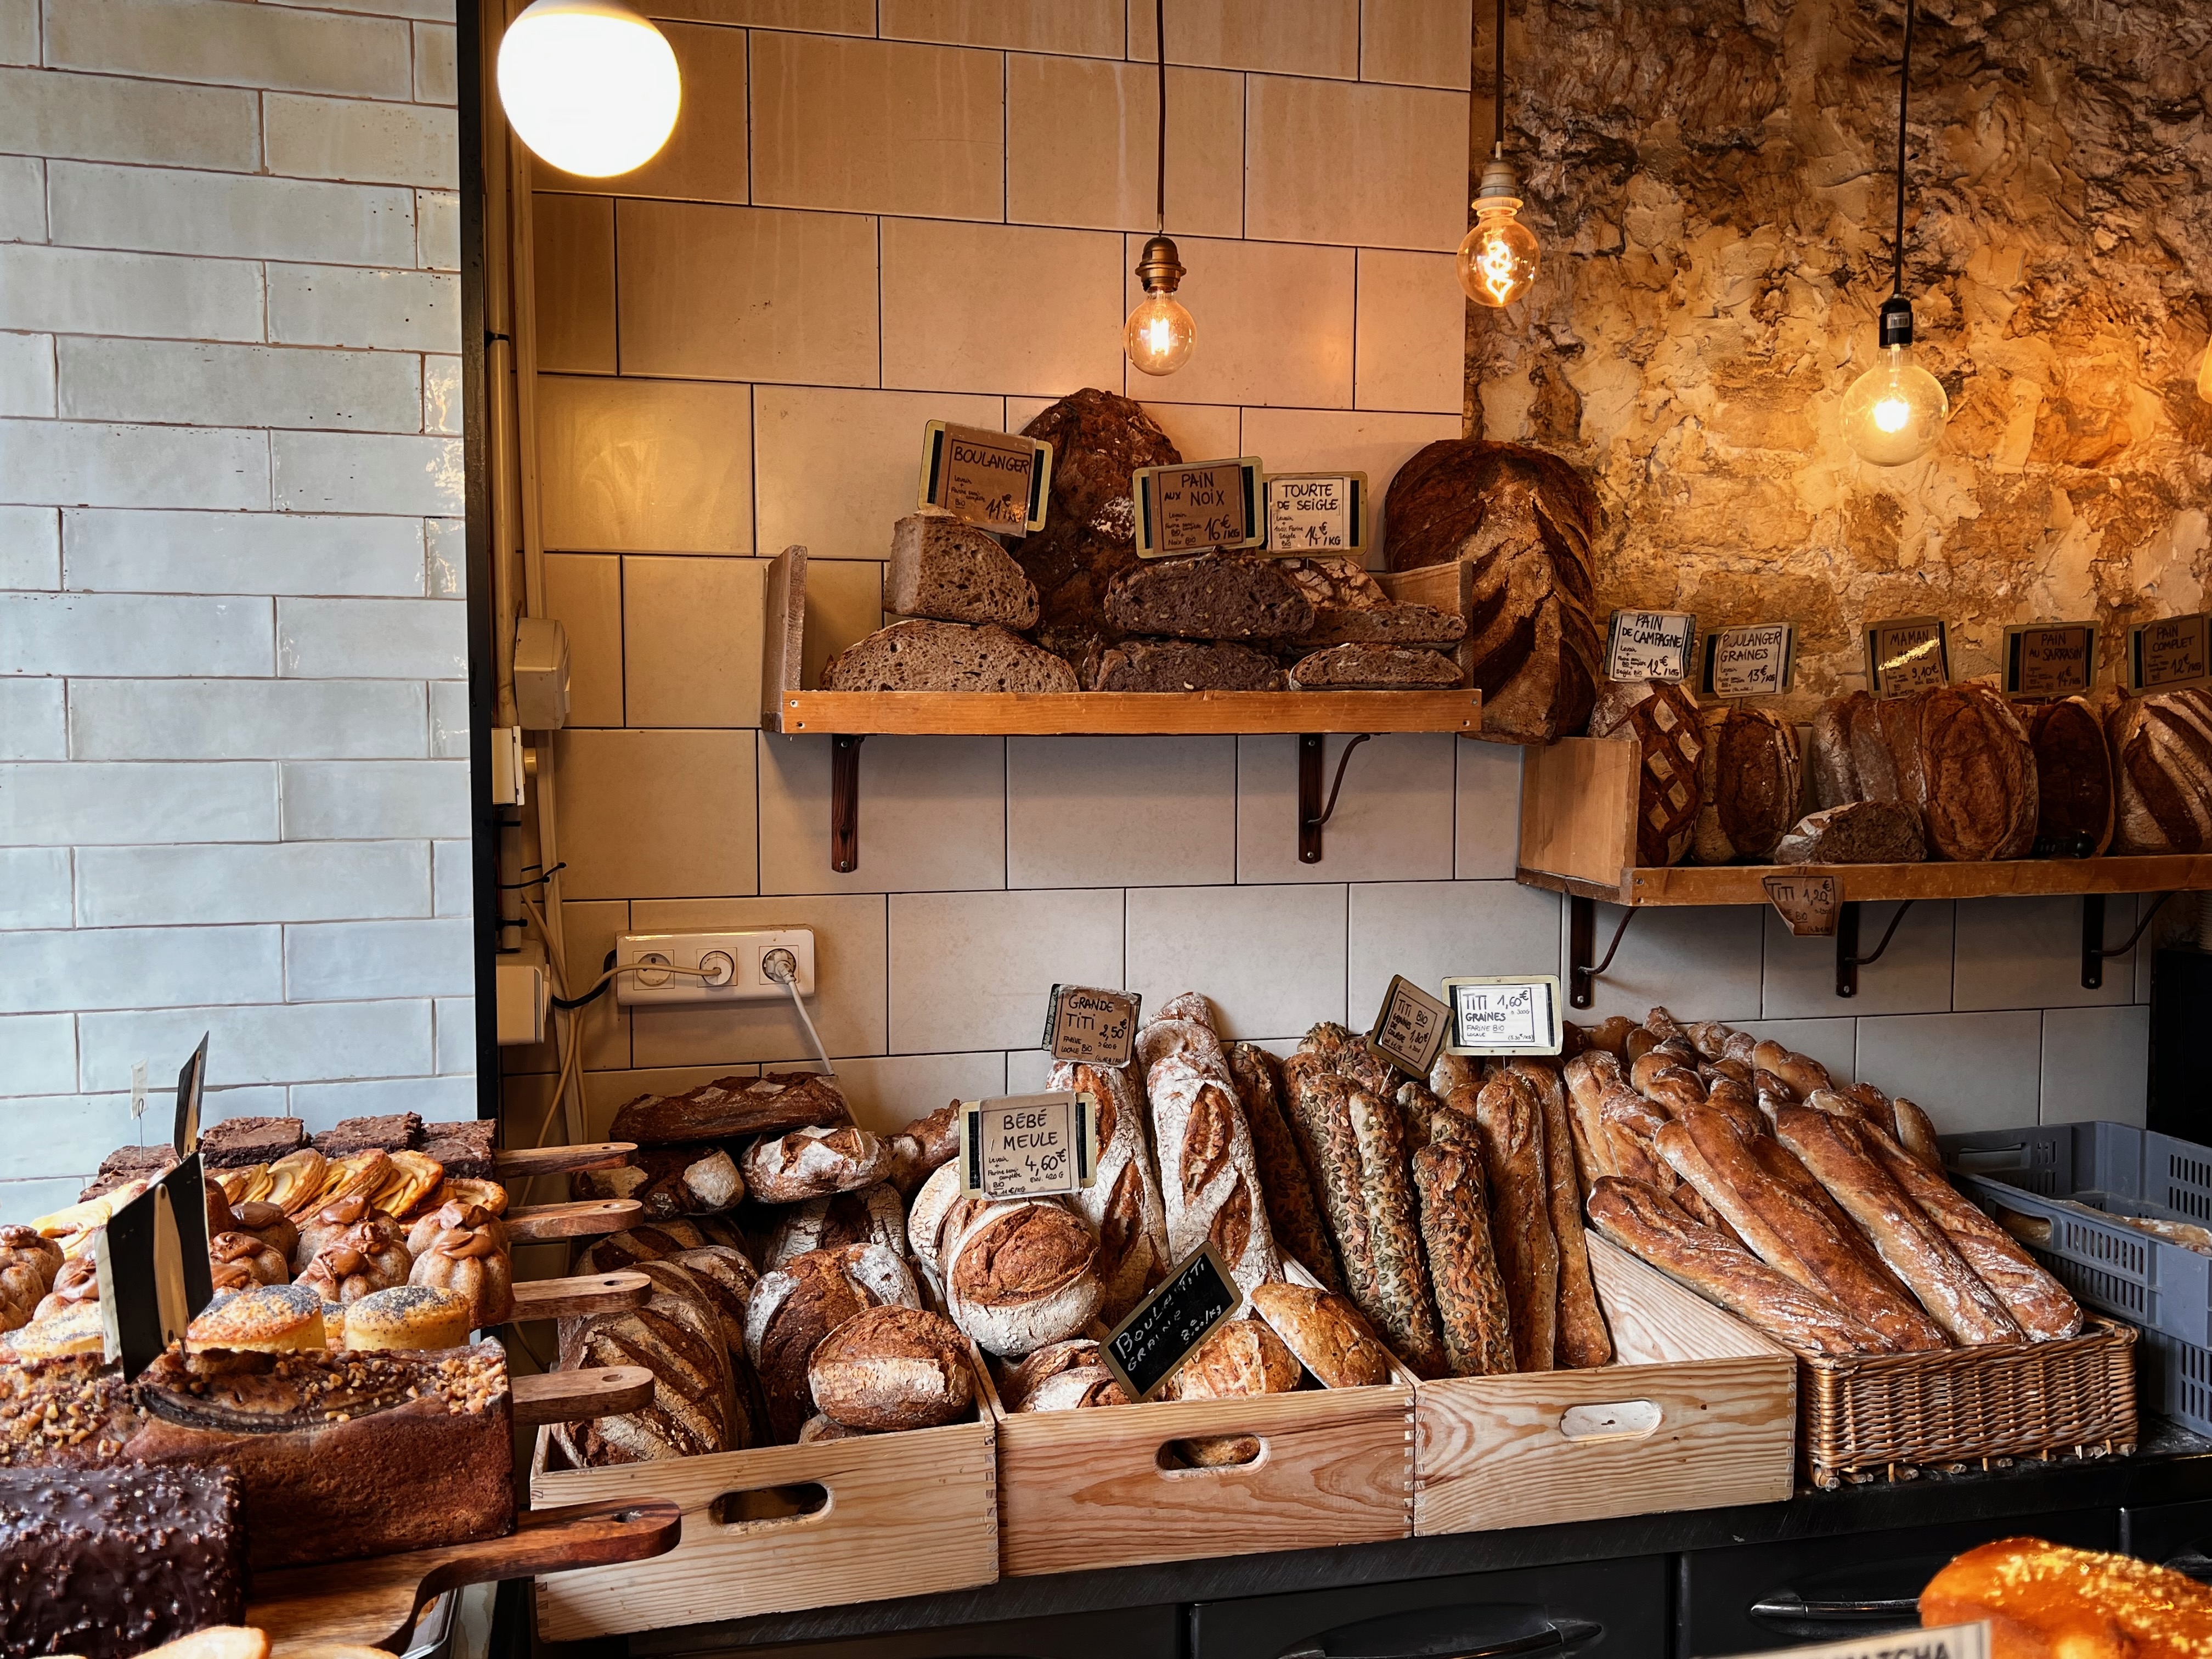
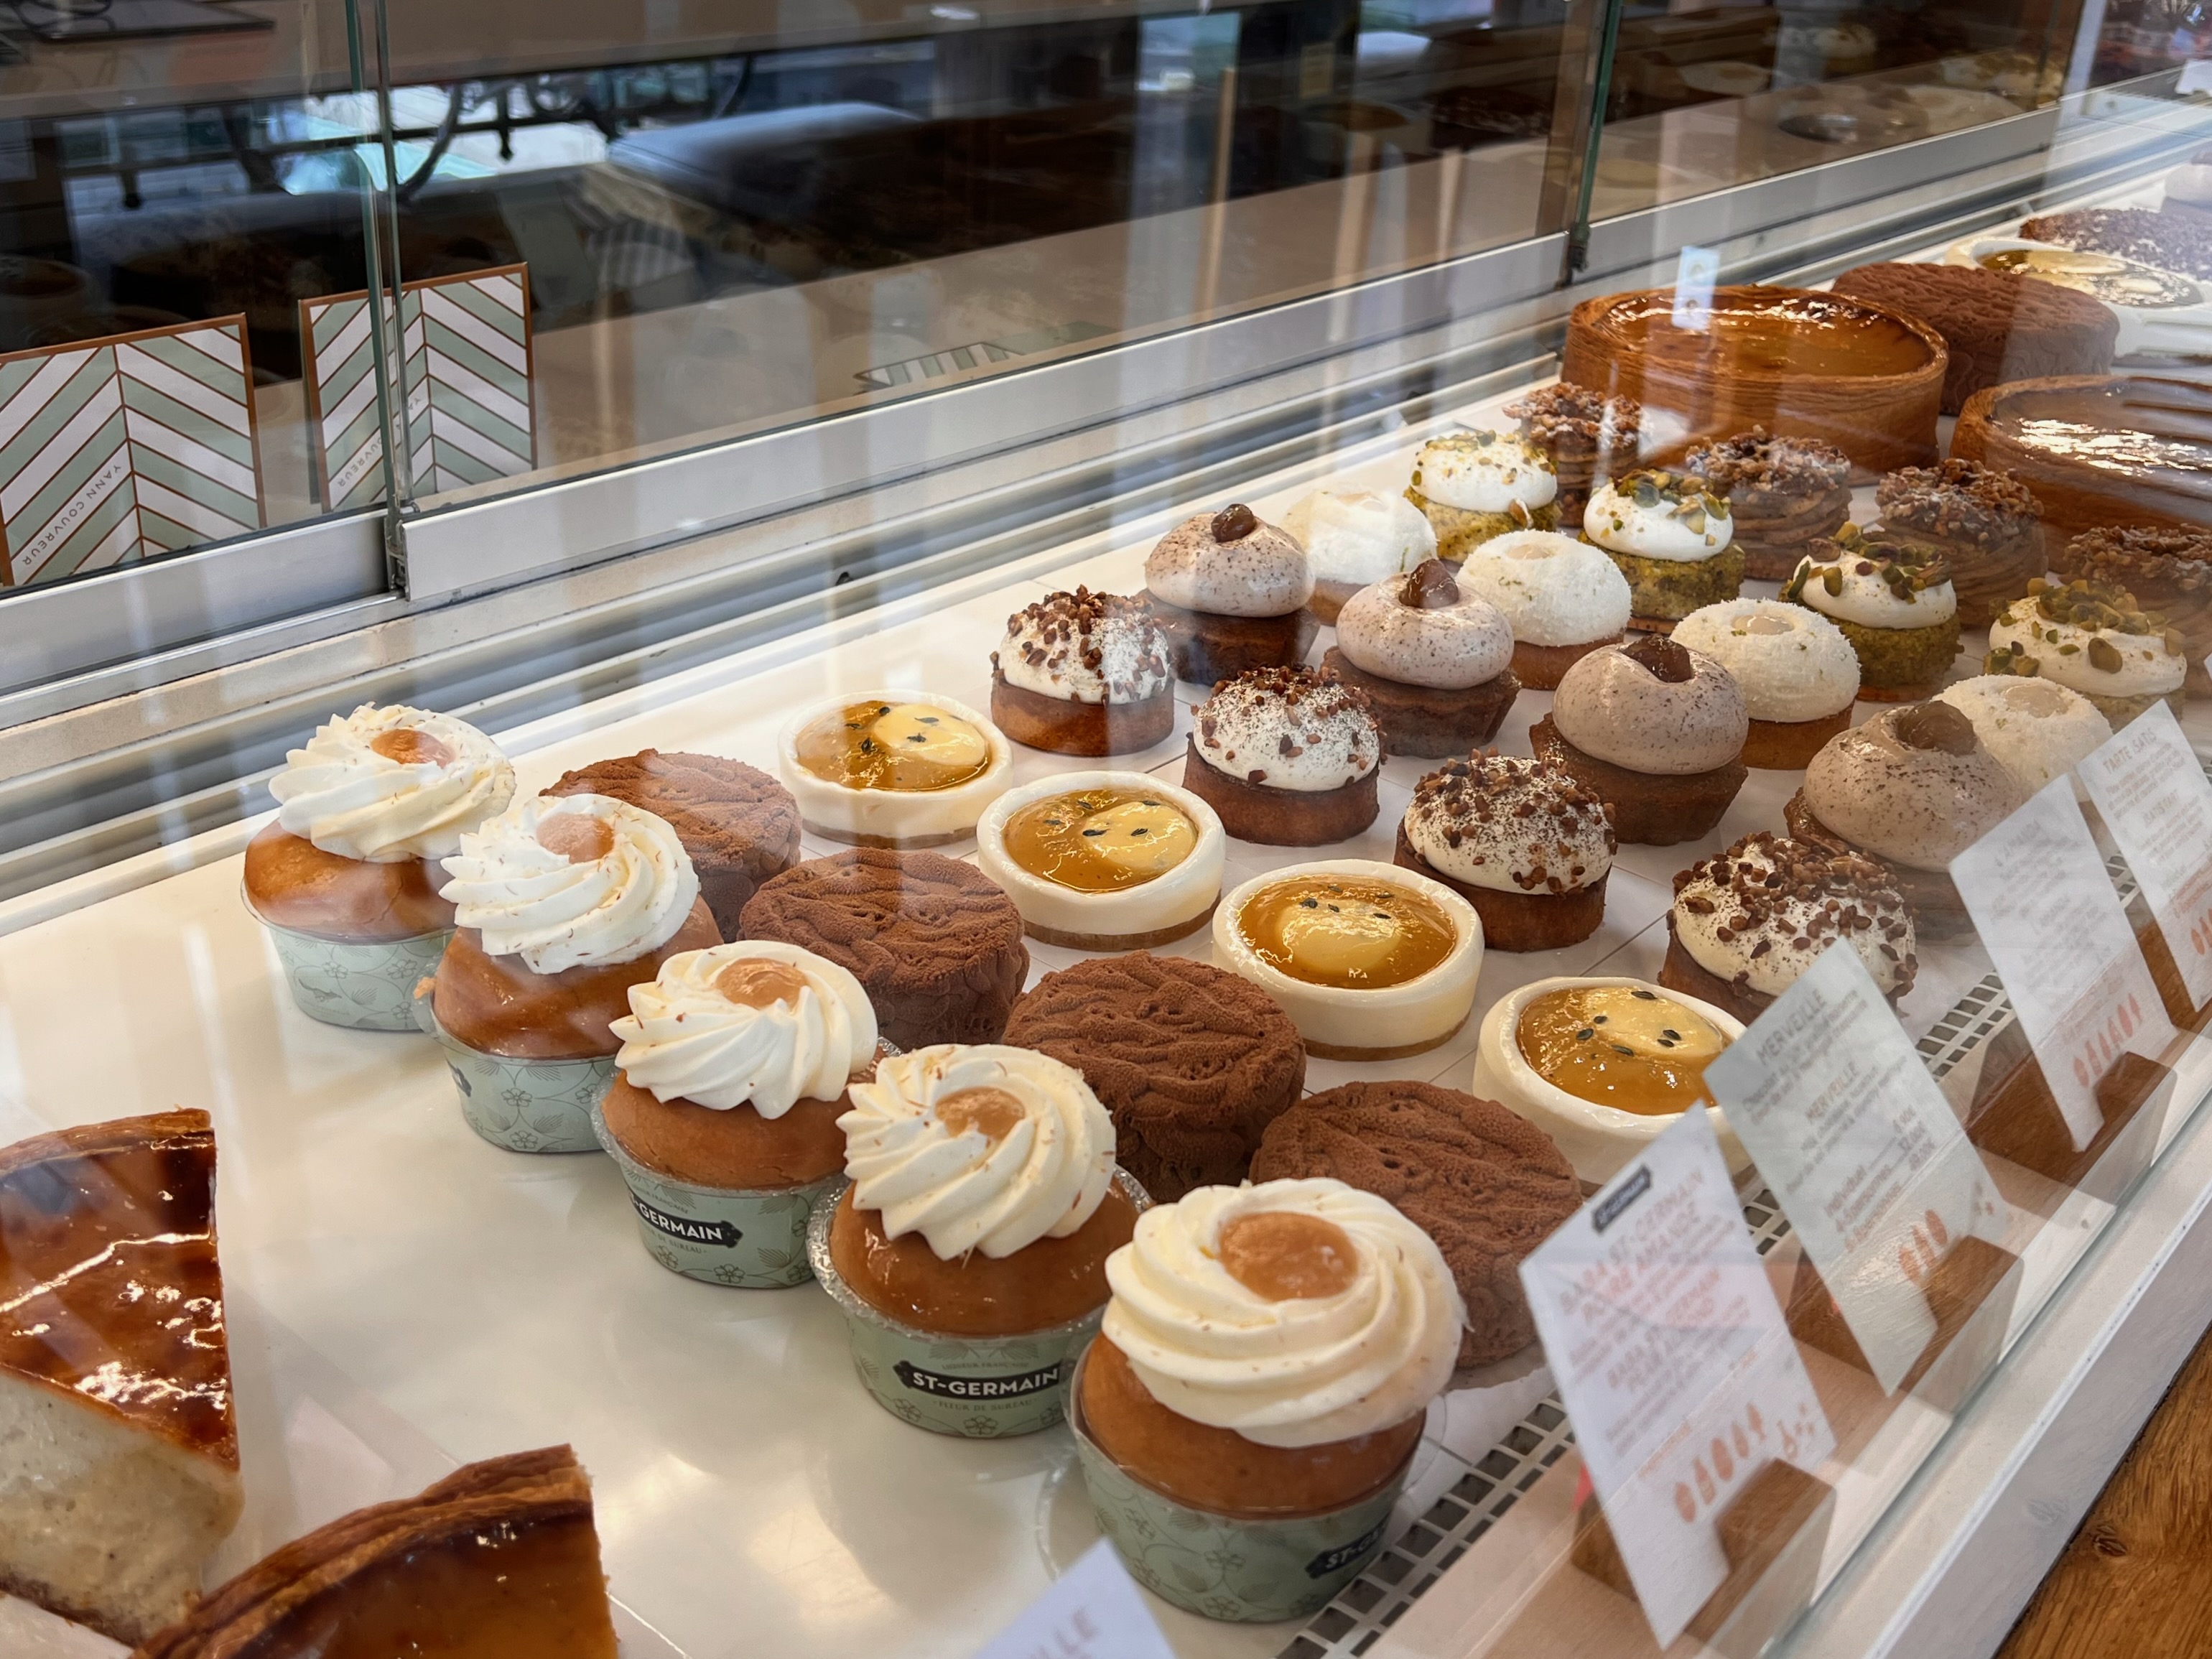
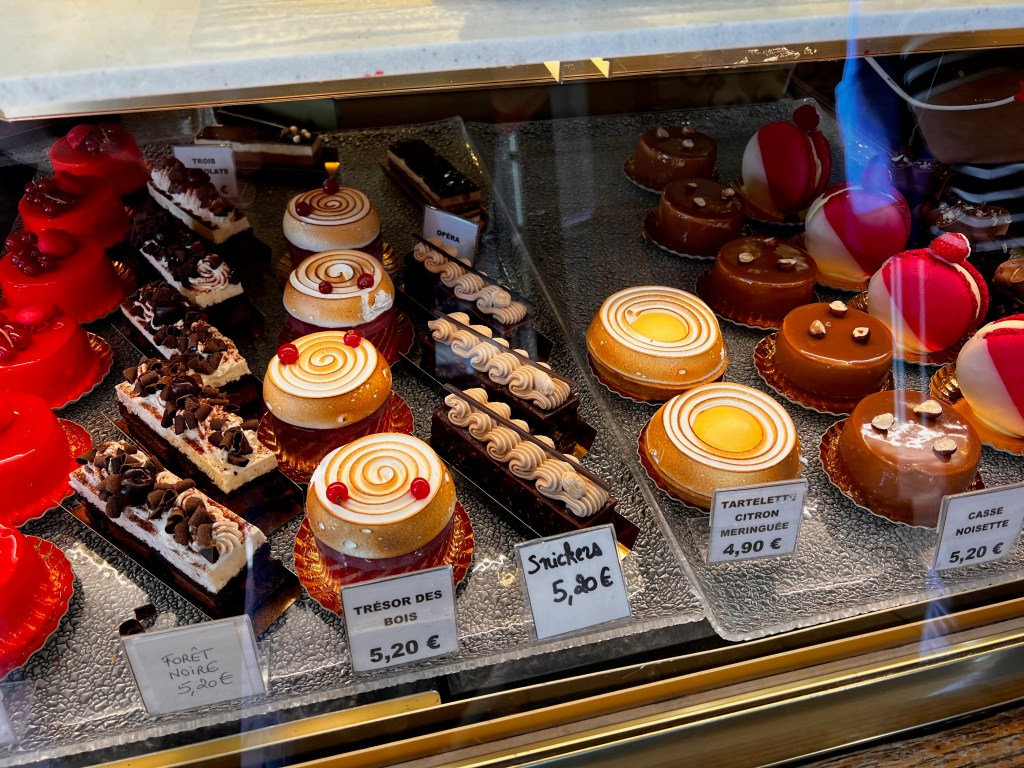
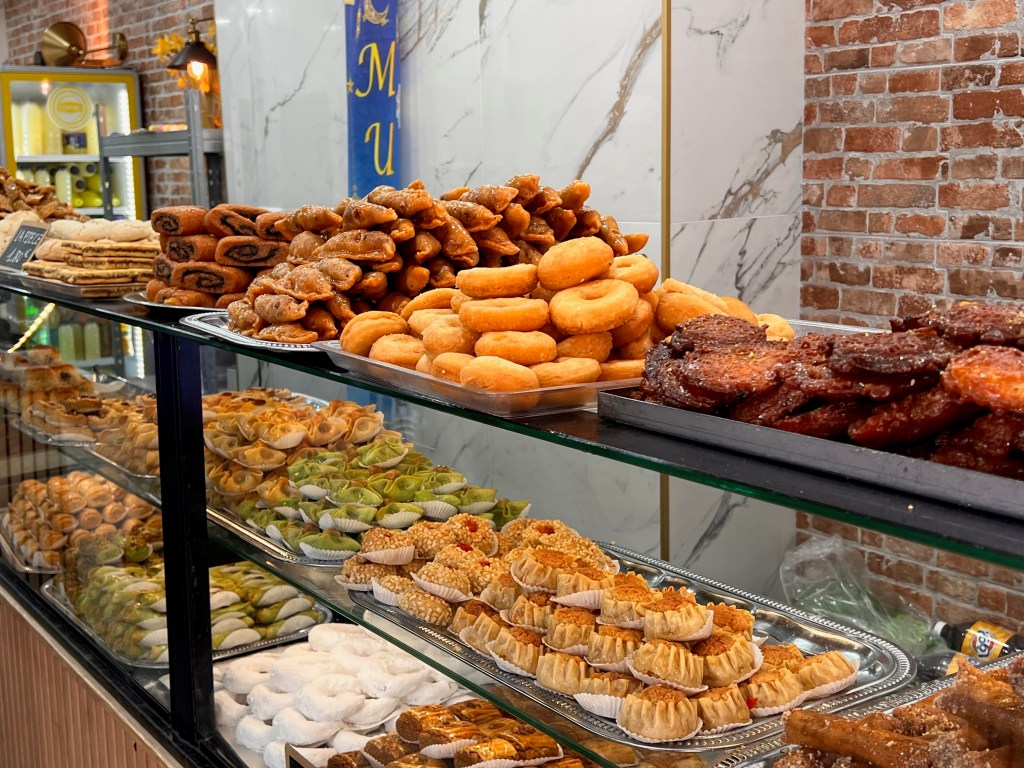
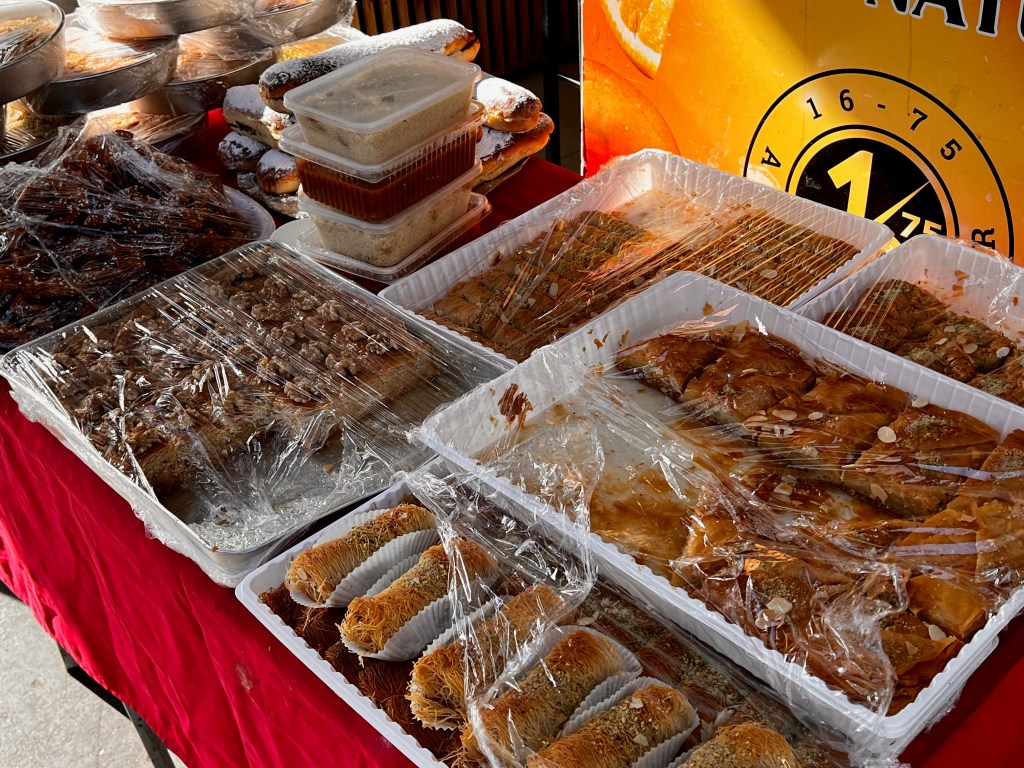
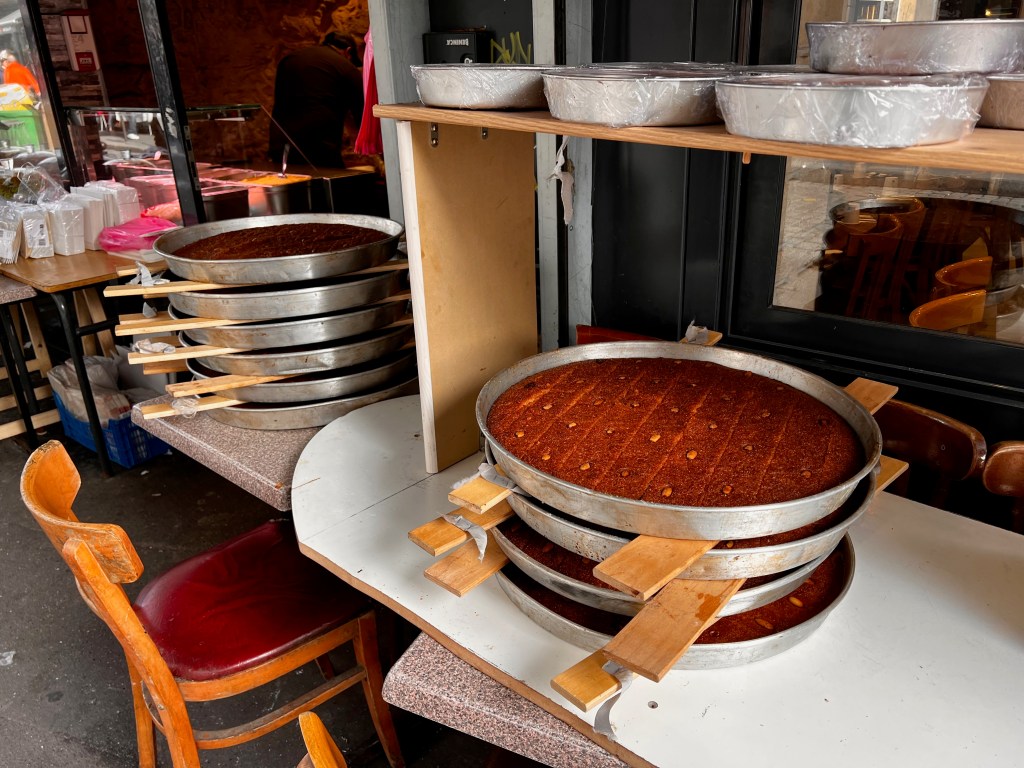
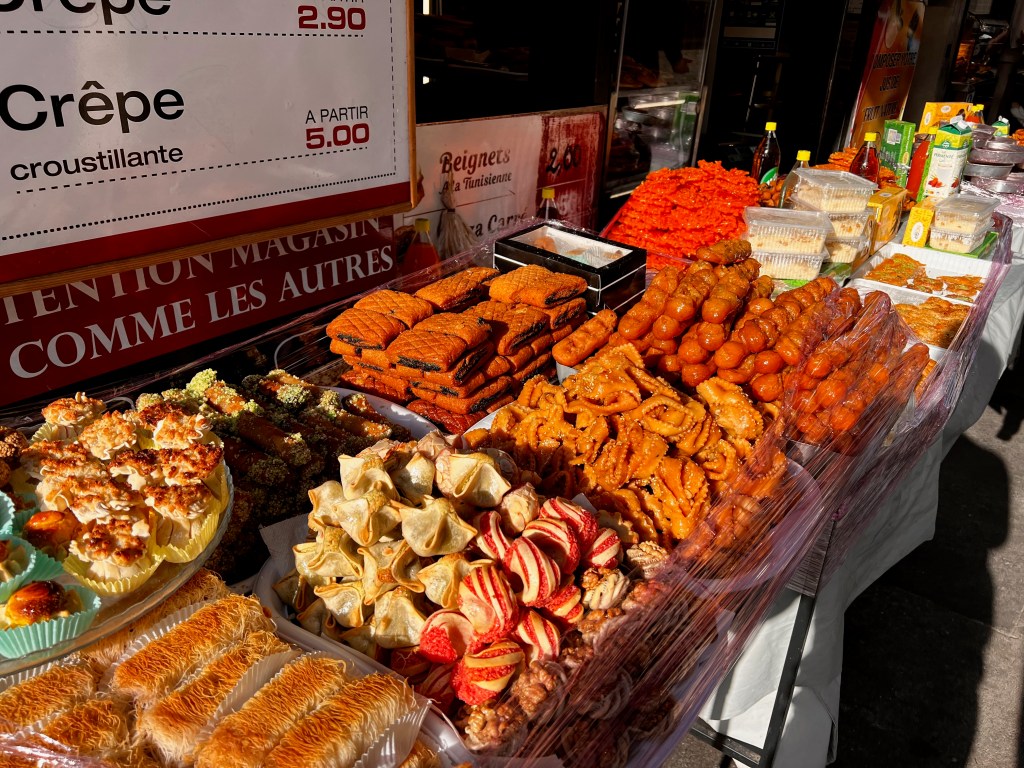
I haven’t even mentioned the things you already know all about – the phenomenal food, both restaurant meals and produce for cooking at home, the breadth of the cultural offering in both visual and performing arts, the cityscape with its famous monuments and that incredible light. Suffice to say that I’ve fallen in love with the city all over again.