Carrying on from last week-end’s public holiday theme: July 11th in Belgium is the day when the Flemish community celebrates the 1302 Battle of the Golden Spurs, in which Flanders rebels routed the forces of King Philip IV of France. To this day, the Walloons and the Flemish don’t agree about much, but at least one thing unites them: a taste for the spiced shortbread biscuits they call speculoos. Traditionally, they’re baked for St Nicholas Day (on December 6th in Belgium), but I’d run out of biscuits and I didn’t feel like waiting…
As with many baking recipes that go back a long way, there are lots of variations. Speculoos recipes vary widely in ratio of the main ingredients (flour / sugar / butter). They vote for water, milk or an egg to stop the mix crumbling. Everyone agrees on using brown sugar (cassonade in French), but there’s lots of choice as to which sub-variety. For the spicing, everyone agrees on cinnamon, but there’s lots of choice as to what else to use: I opted for nutmeg and ginger; additions/alternatives include cloves, allspice, cardamom, star anise and even white pepper. My quantities of spice are on the low side compared to many, so feel free to play around with the quantities here until you have something that’s exactly to your taste. This really looks like a recipe that defies conventional wisdom about all baking needing to be super-accurate.
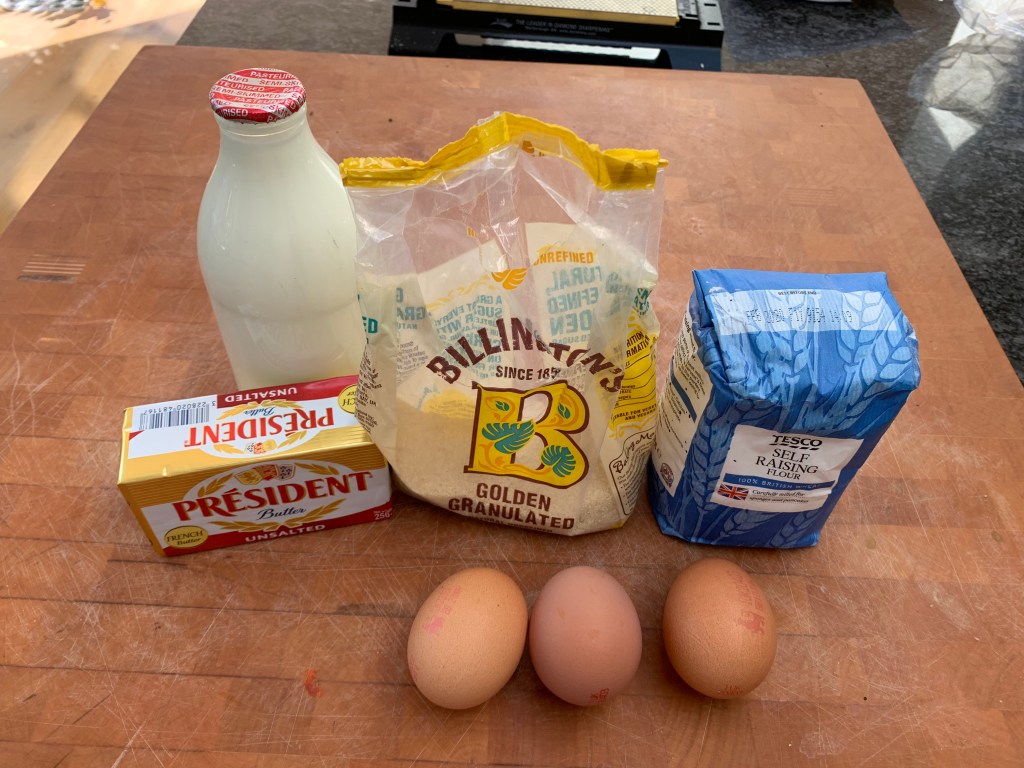
Ingredients for around 30-36 small biscuits
- 125g butter
- 250g flour
- 180g brown sugar (I used a mix of muscovado and soft brown)
- 50g ground almonds
- ½ tsp baking powder
- pinch of salt
- ½ tsp cinnamon
- ¼ tsp ground ginger
- ¼ tsp nutmeg
- 1 egg
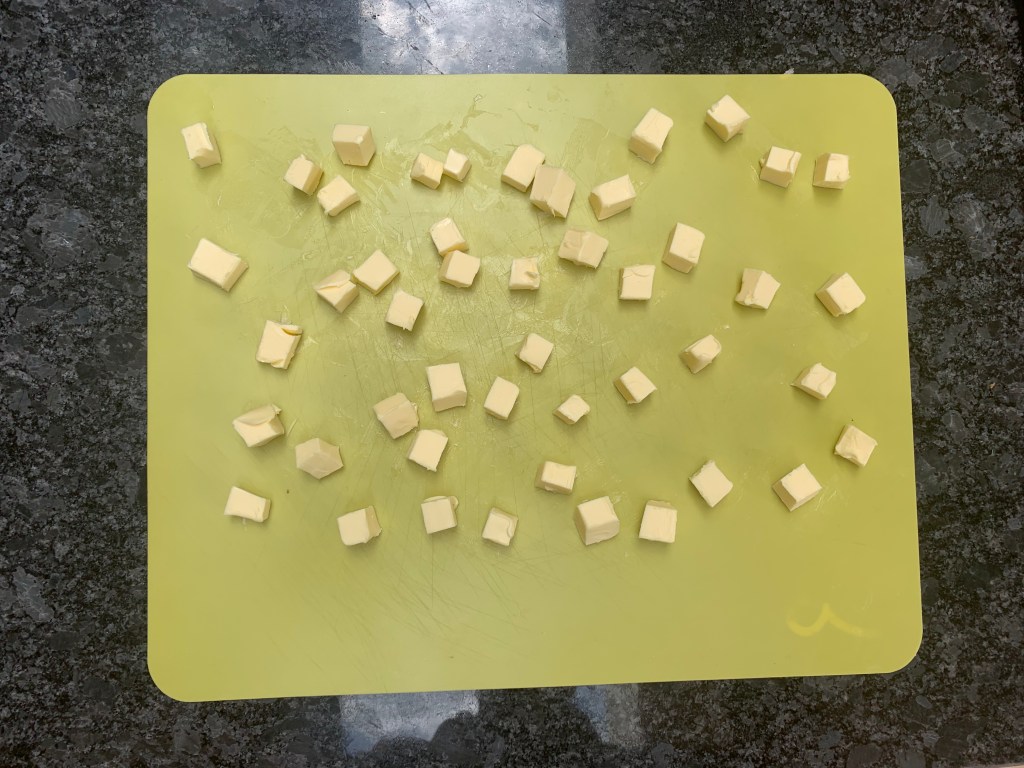
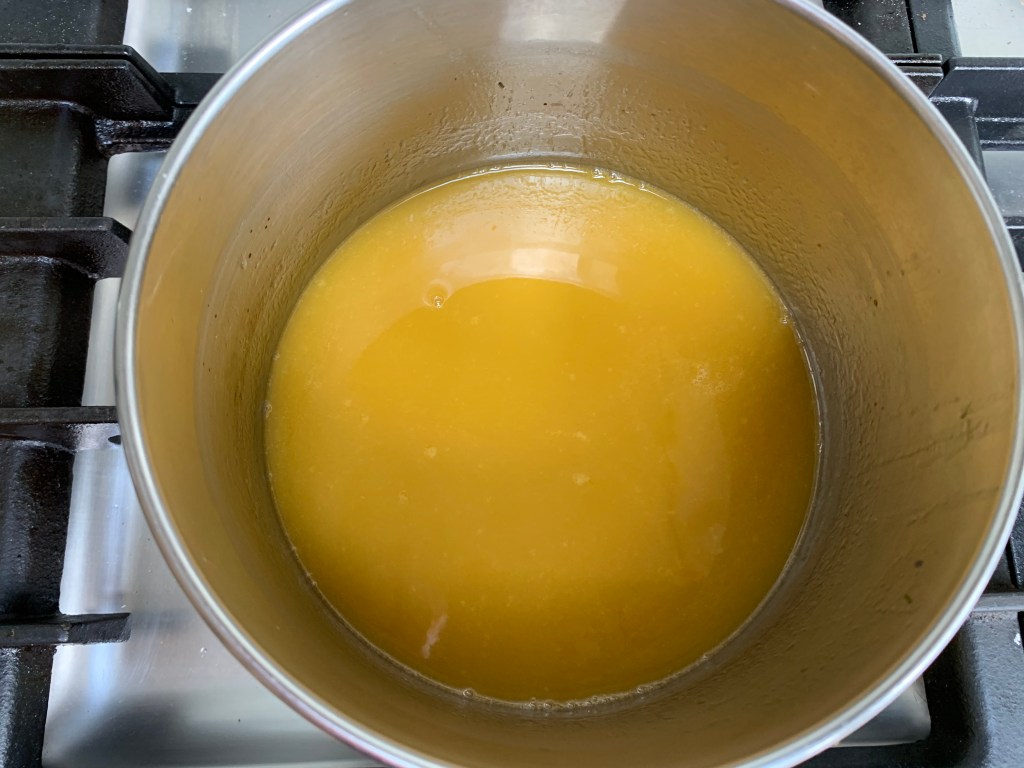
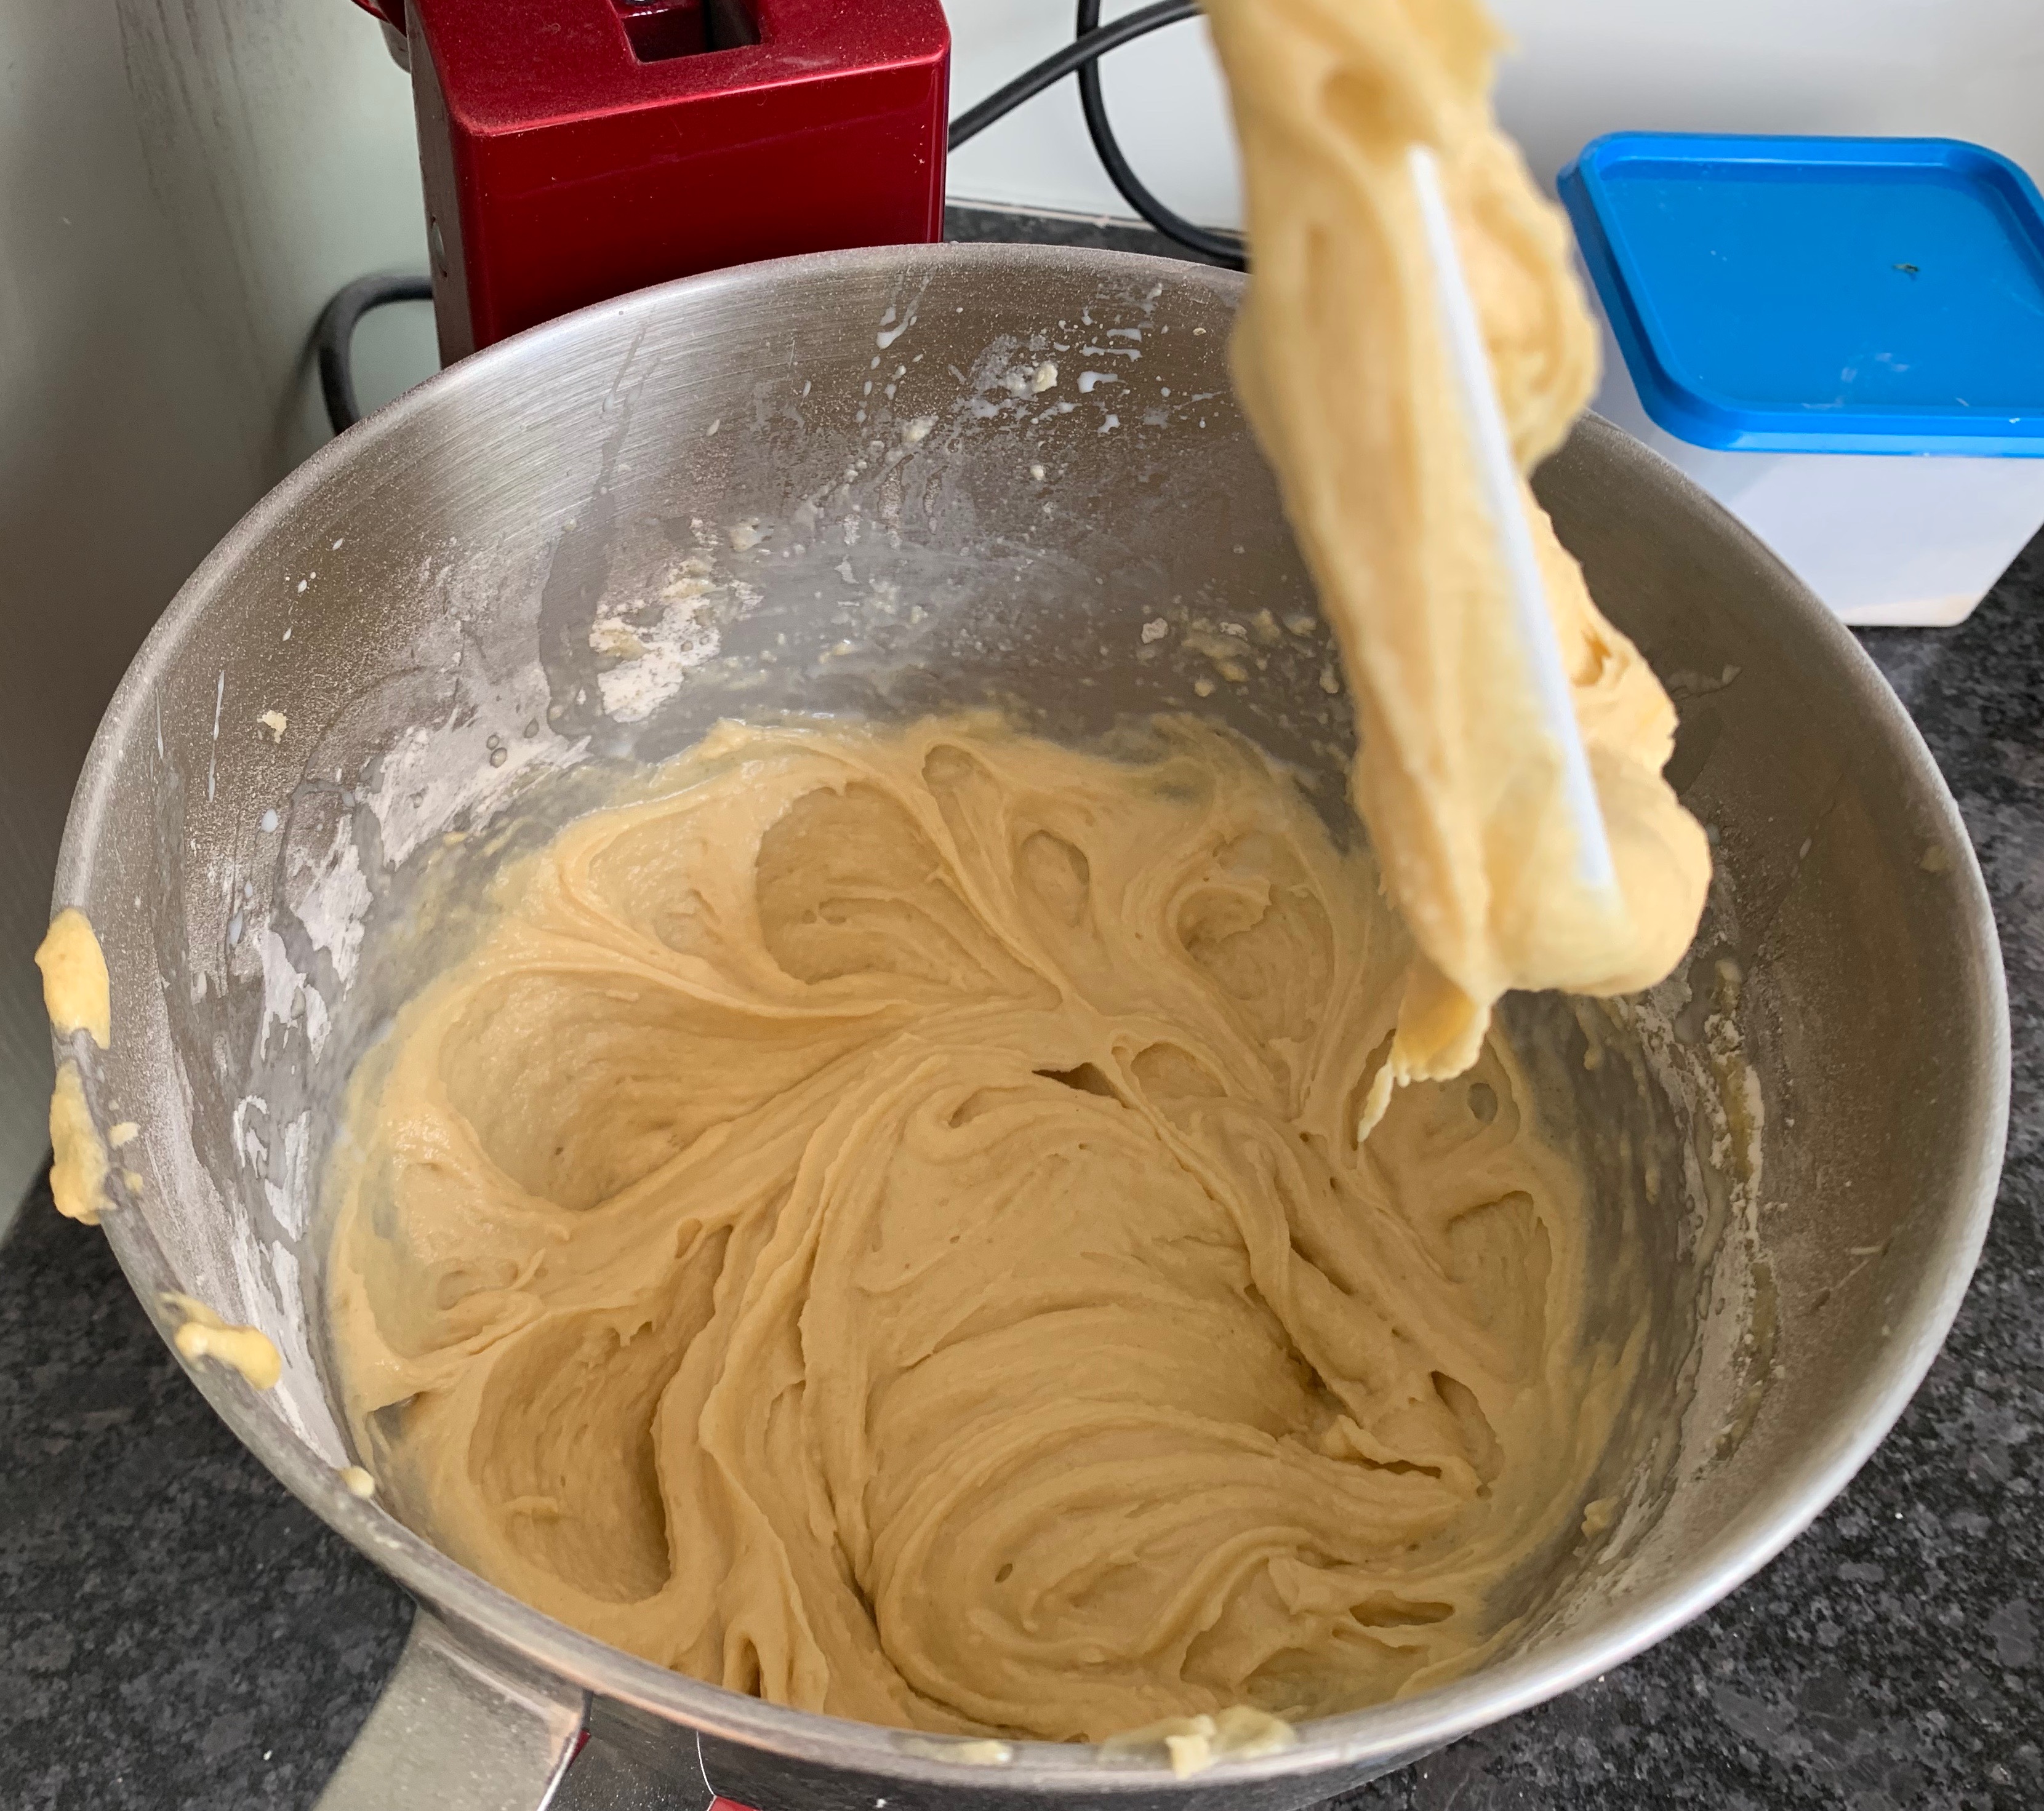
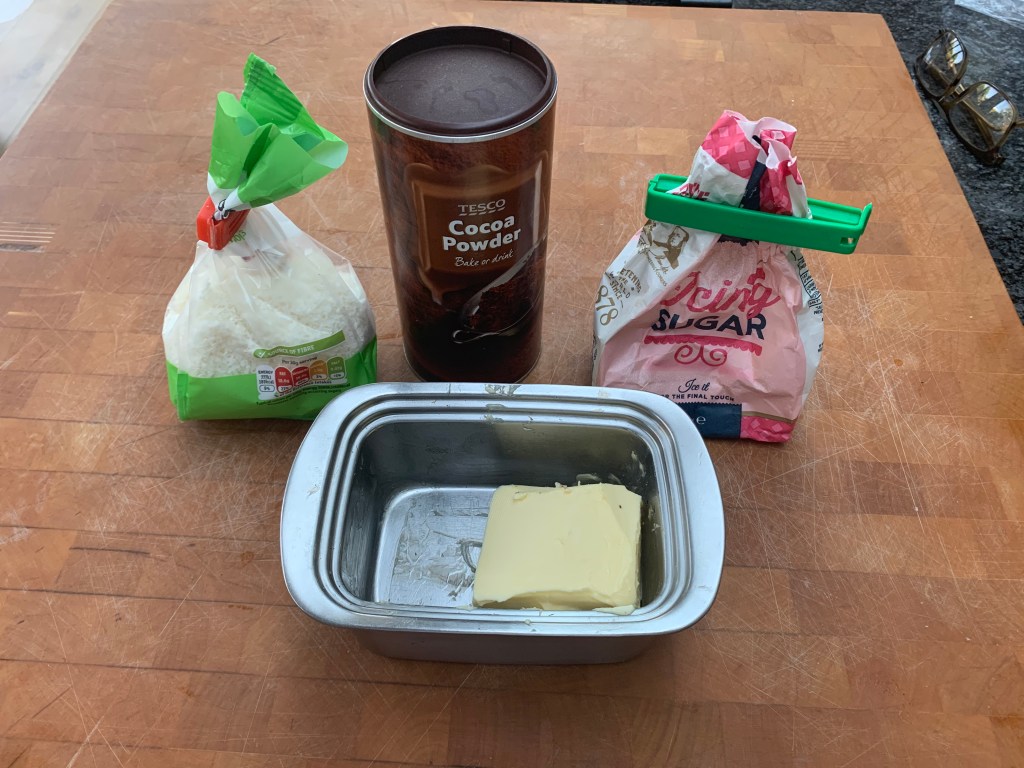
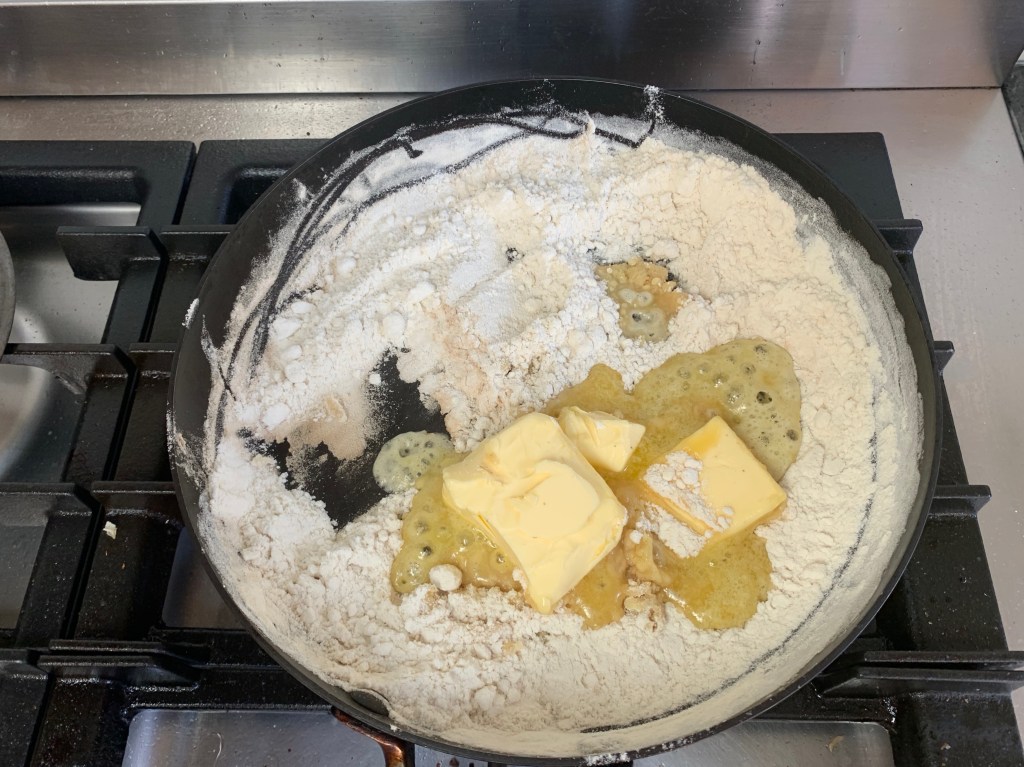
Softening butter 
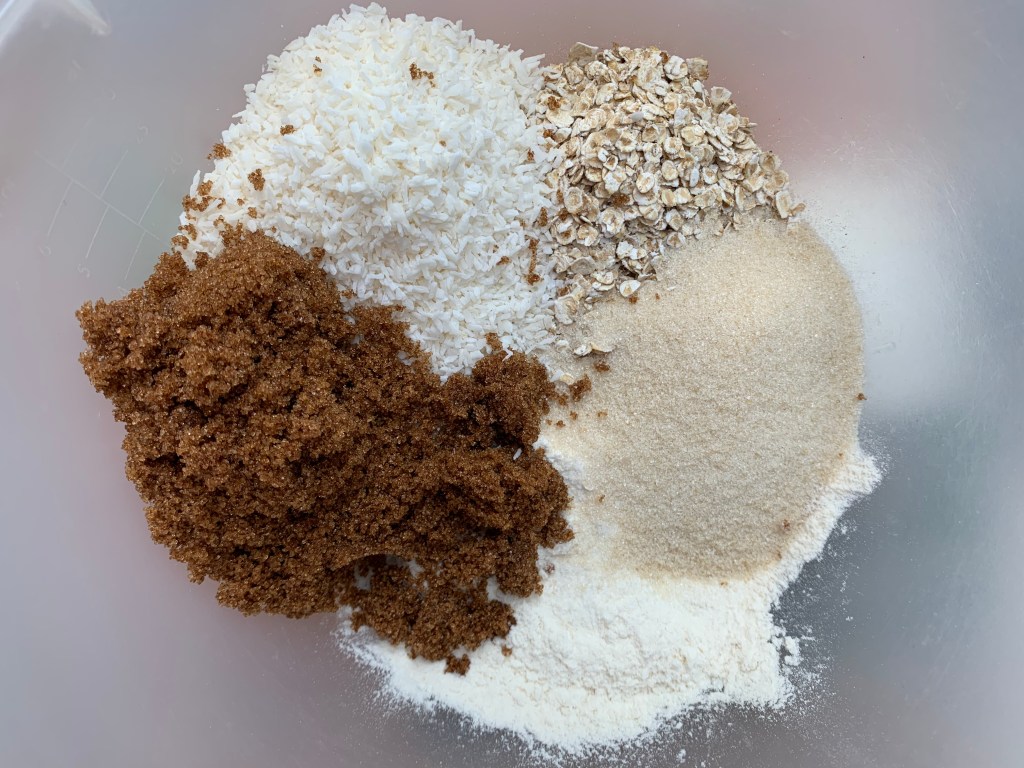
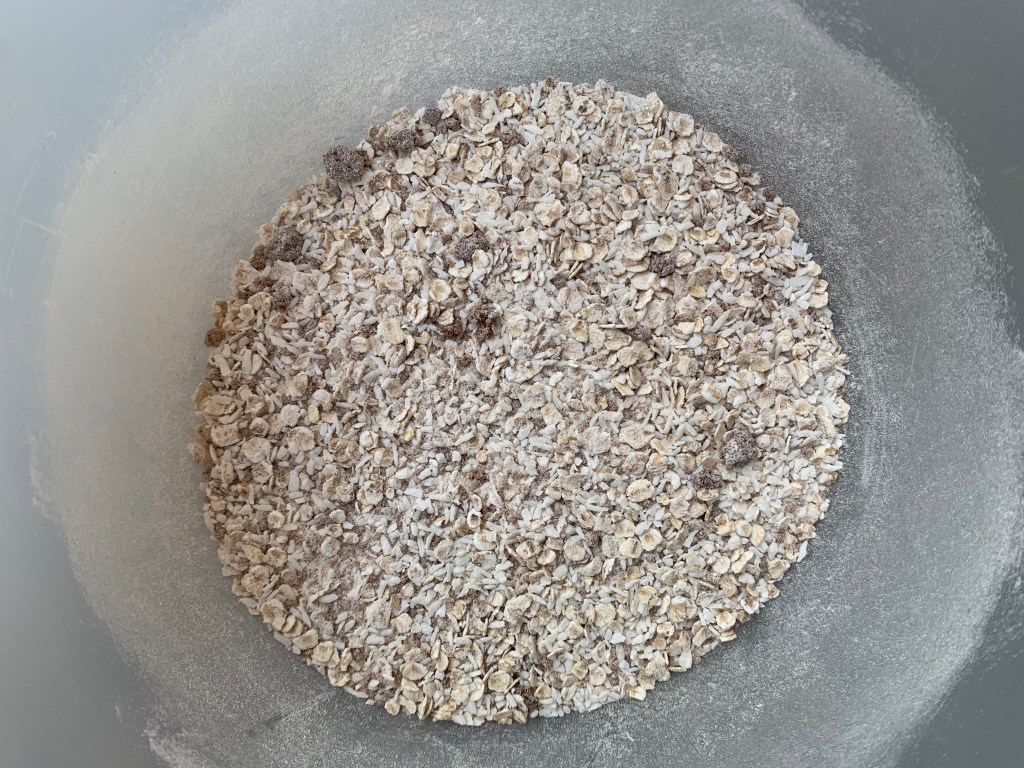
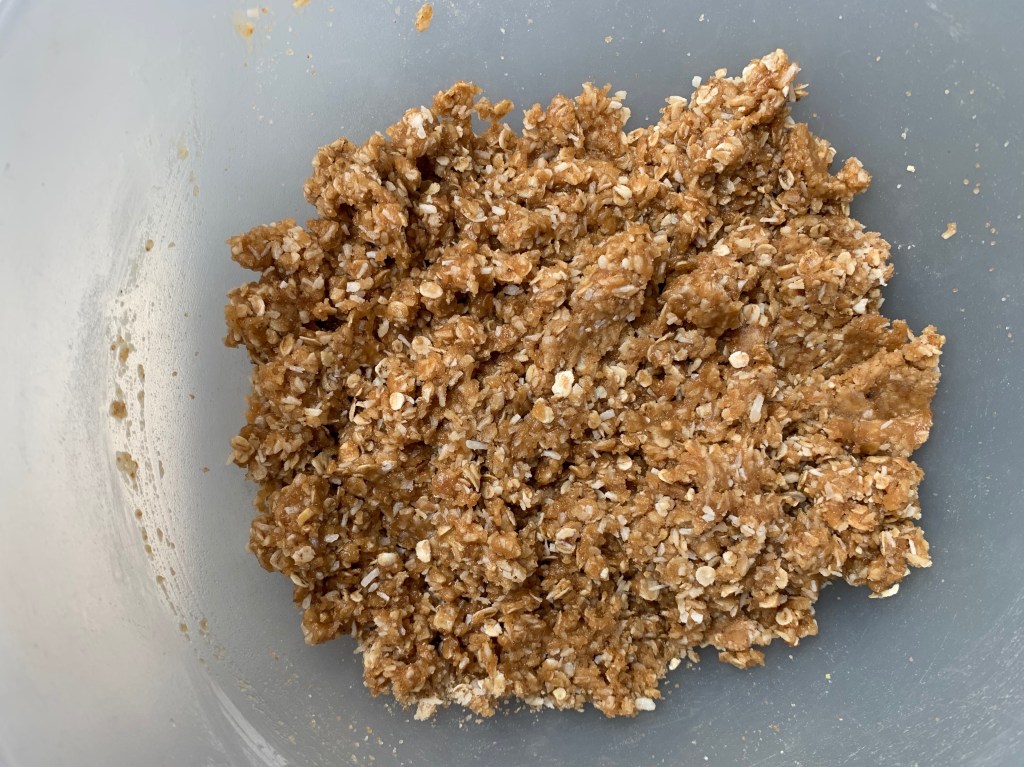
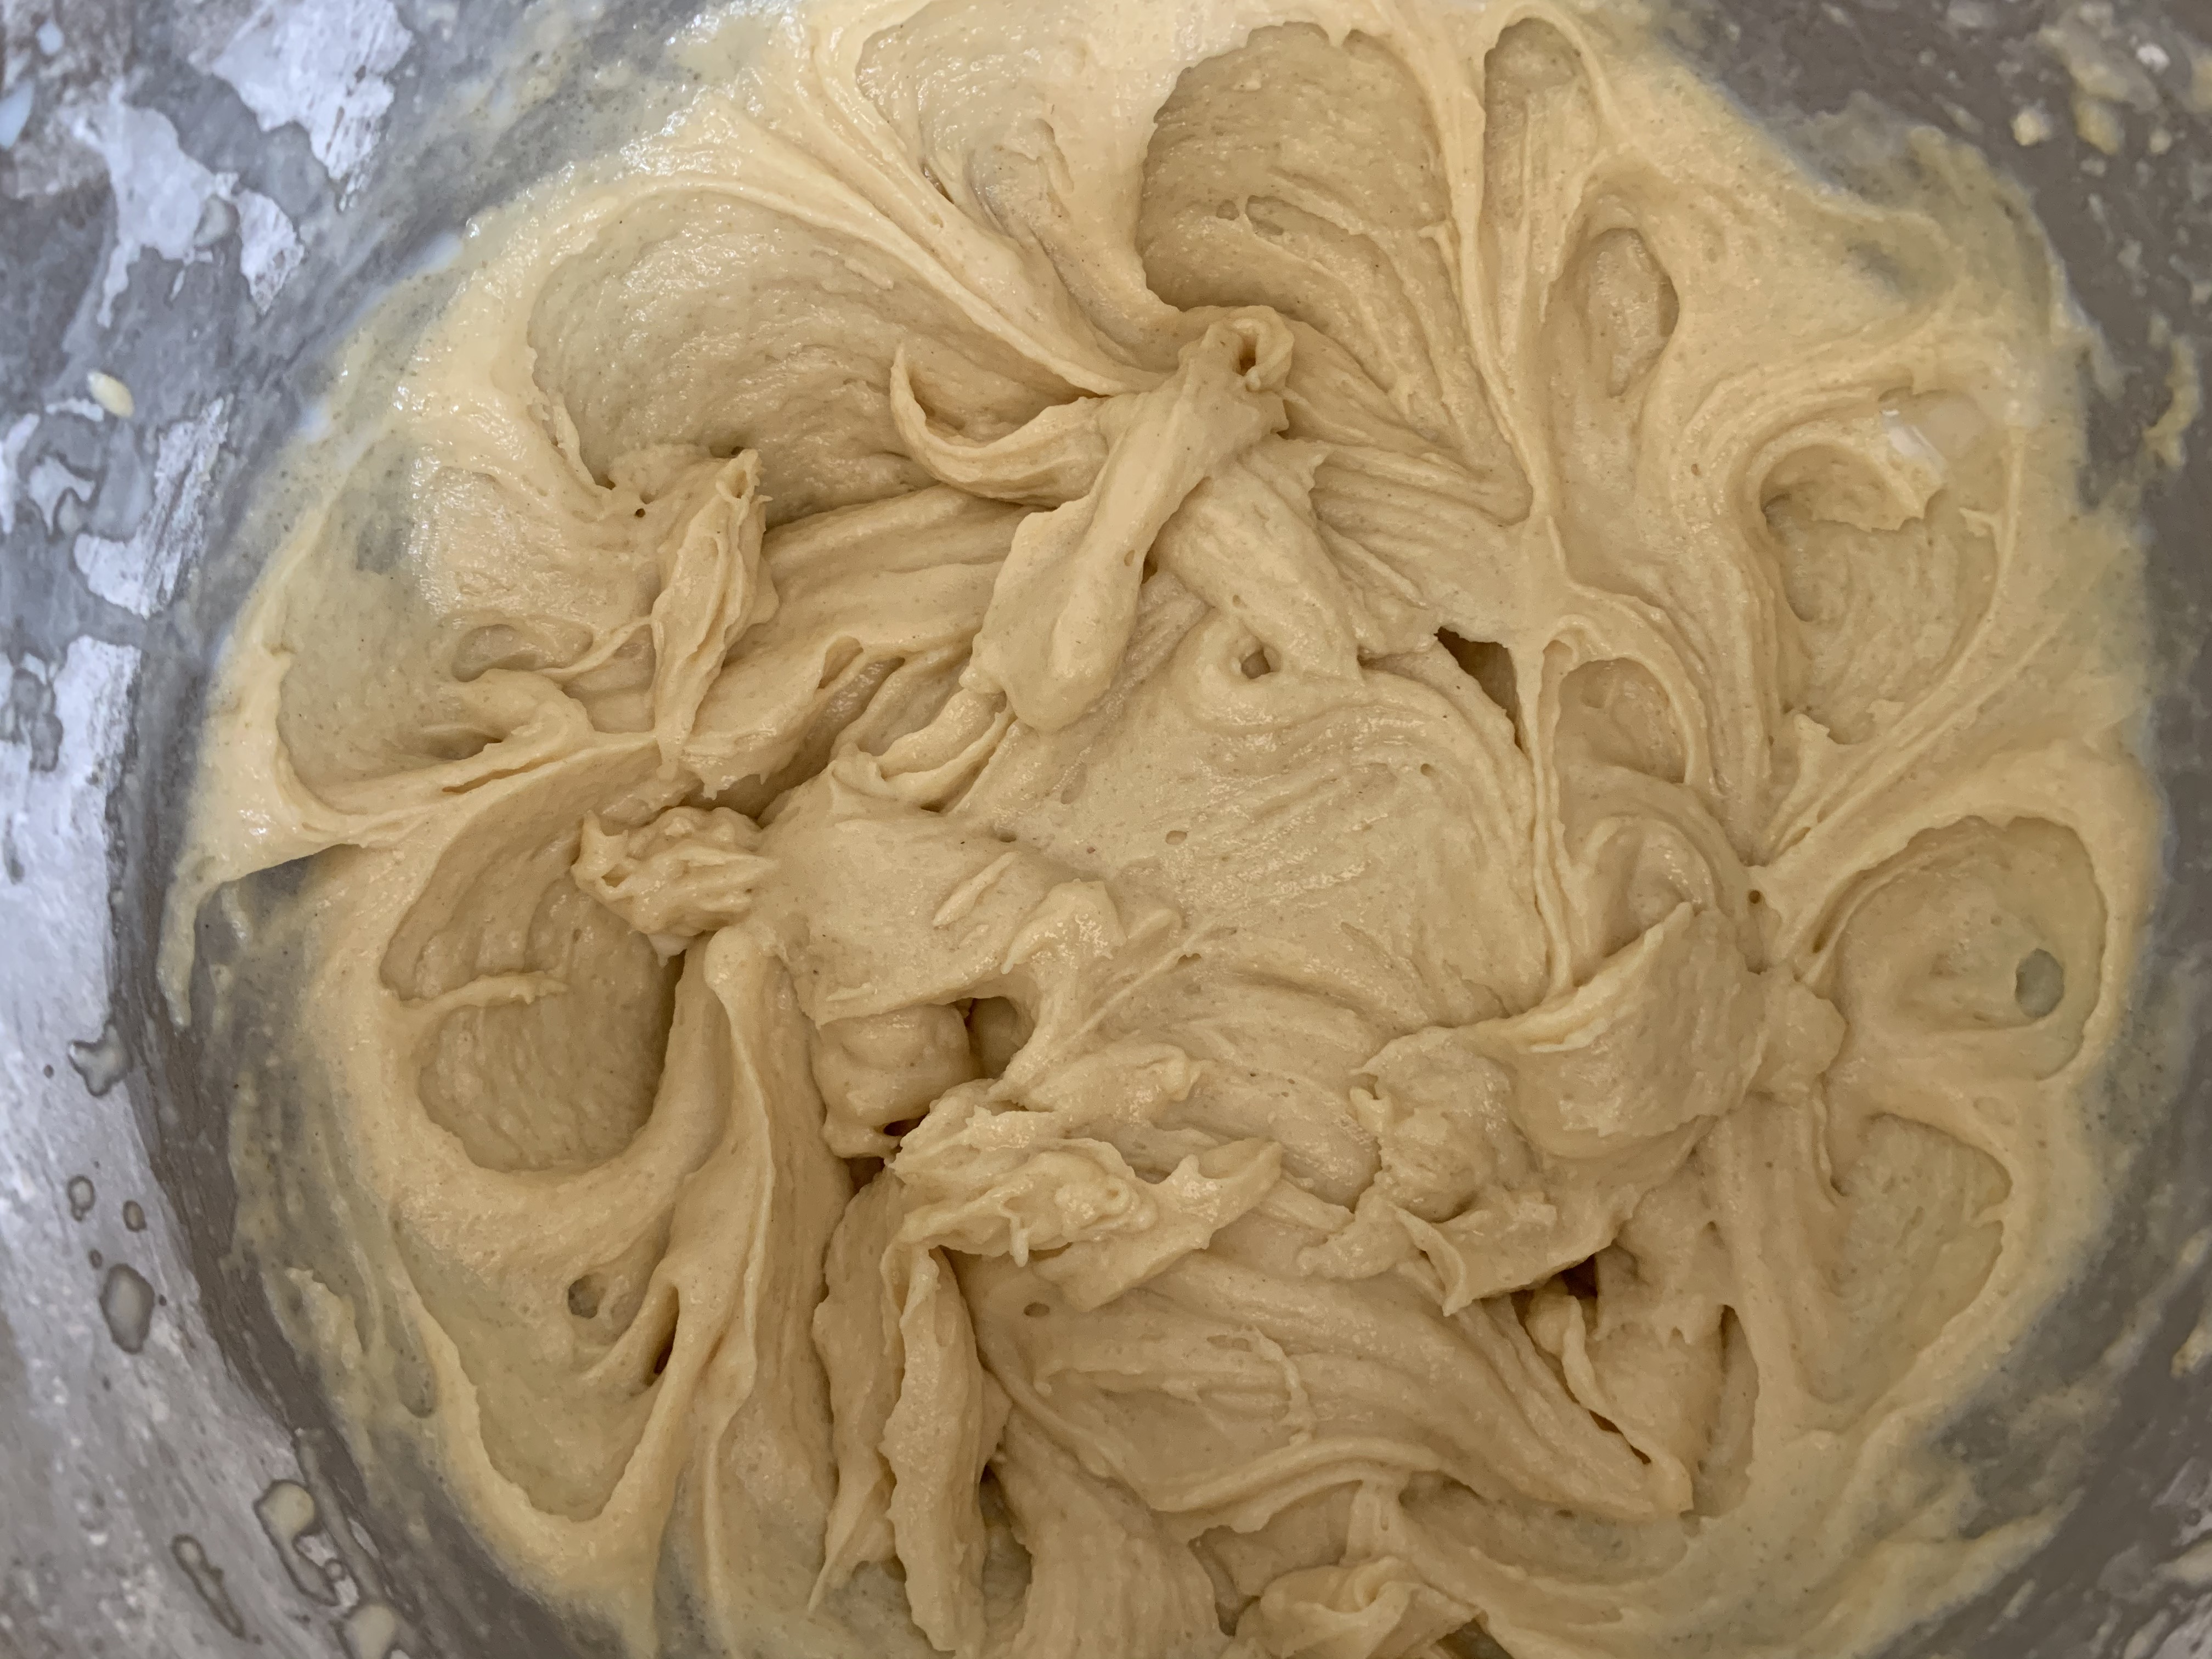
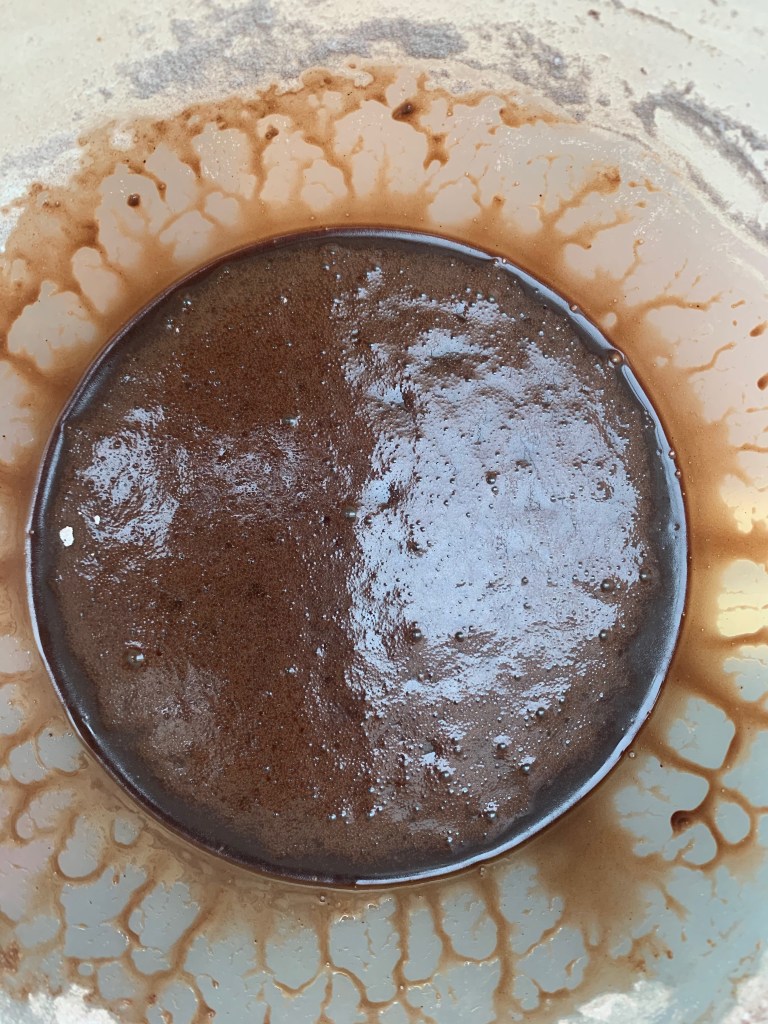
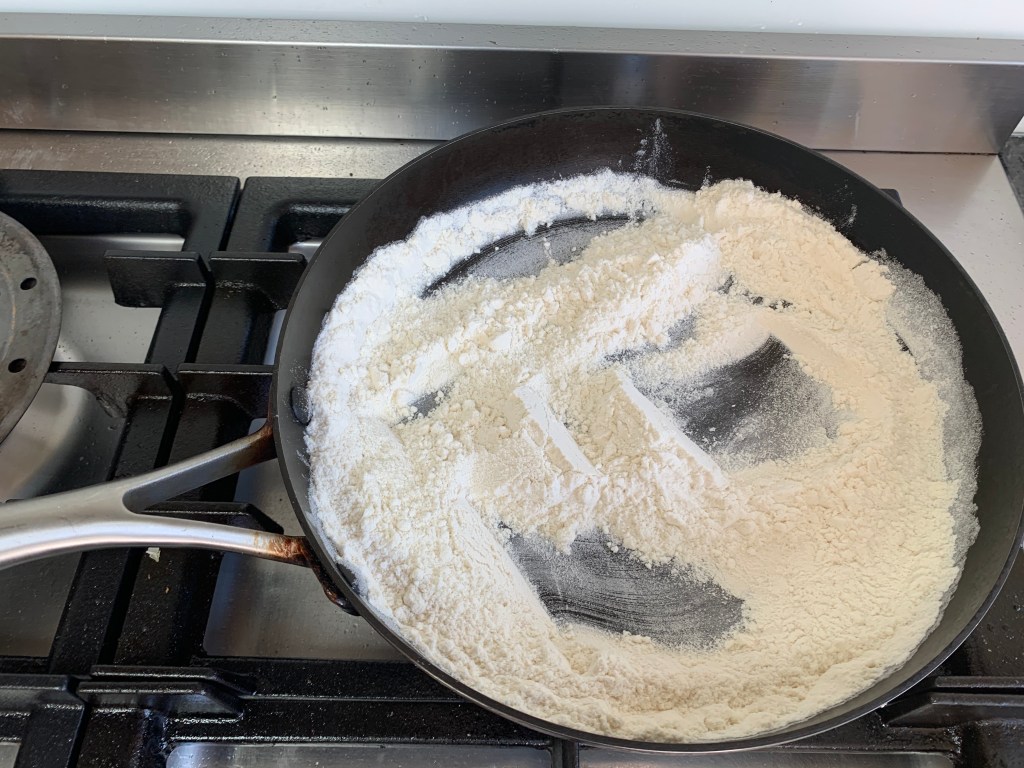
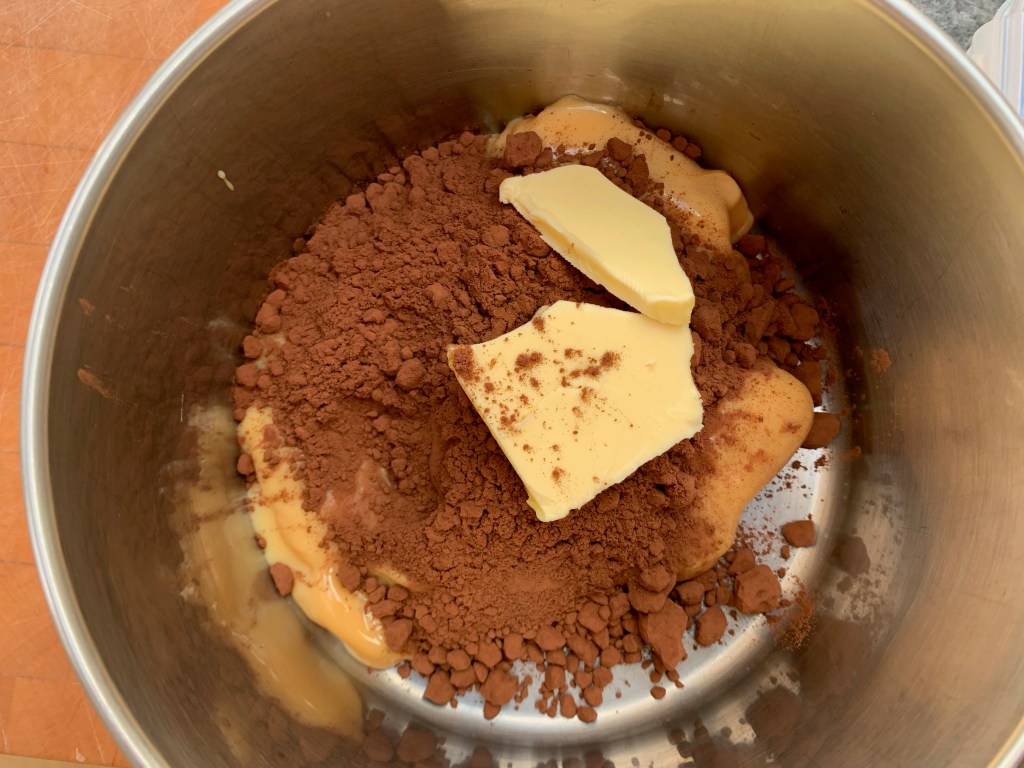
Dry mix 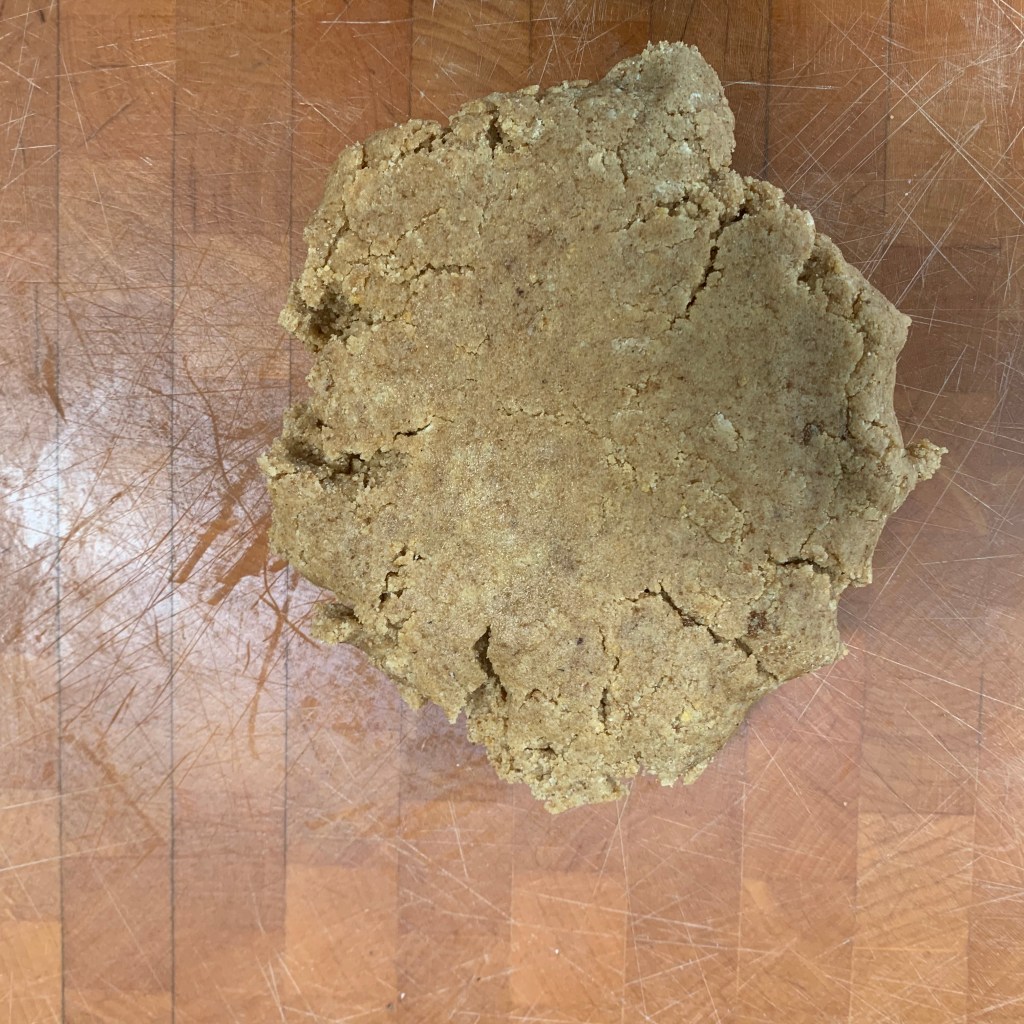
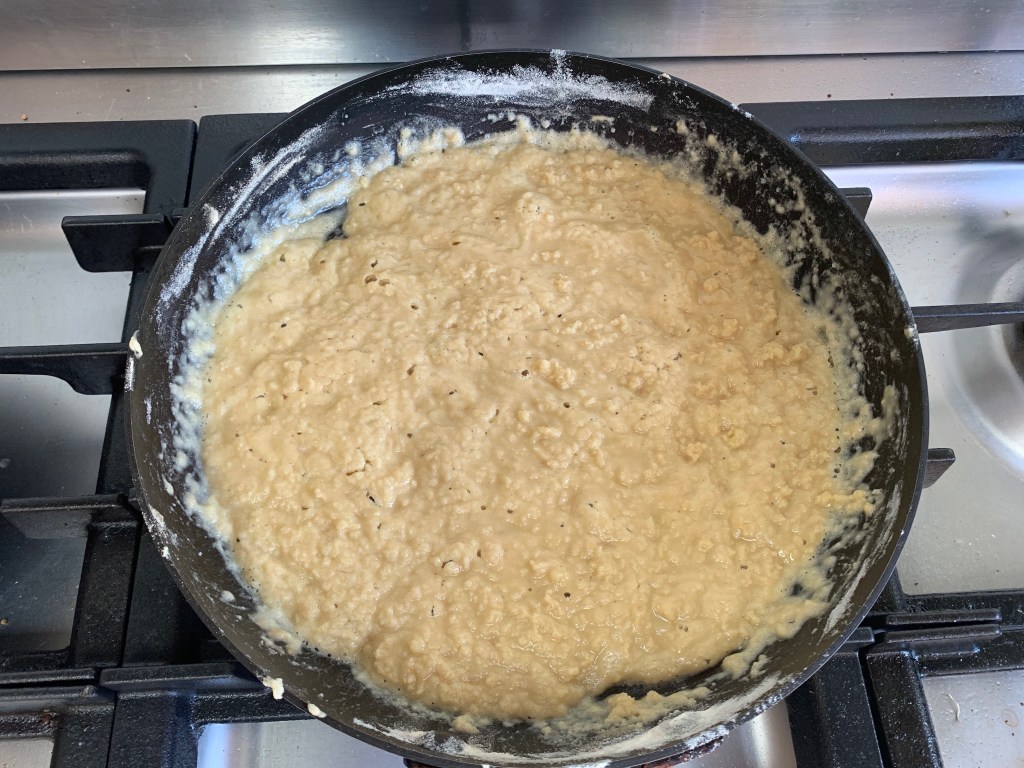
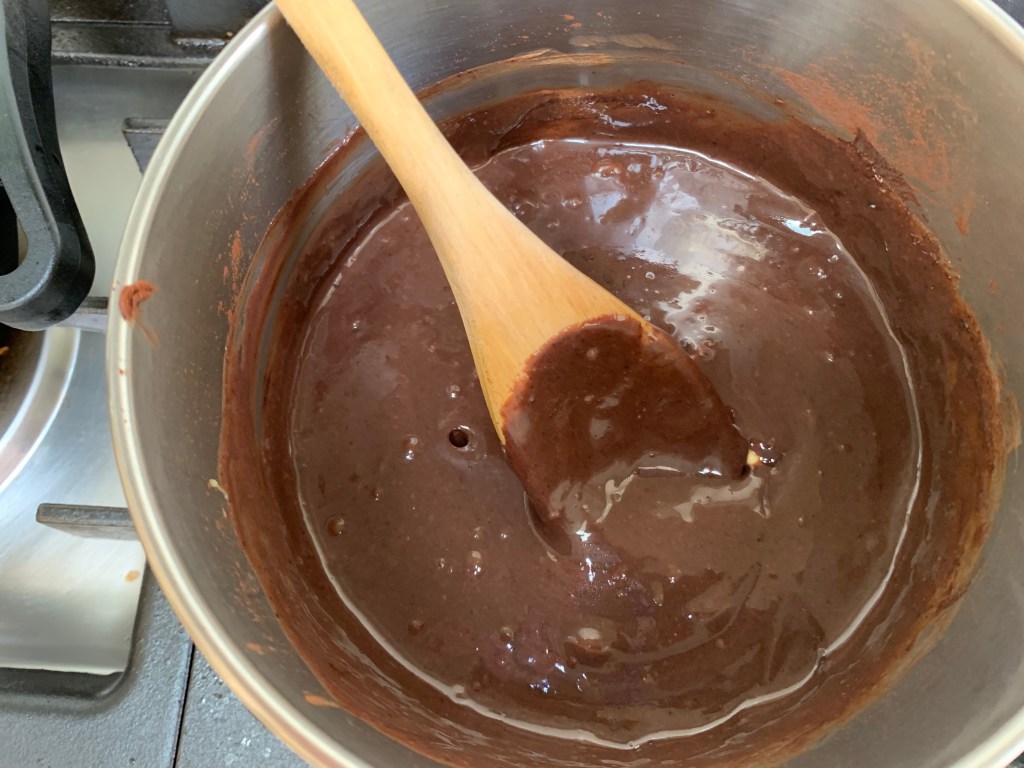
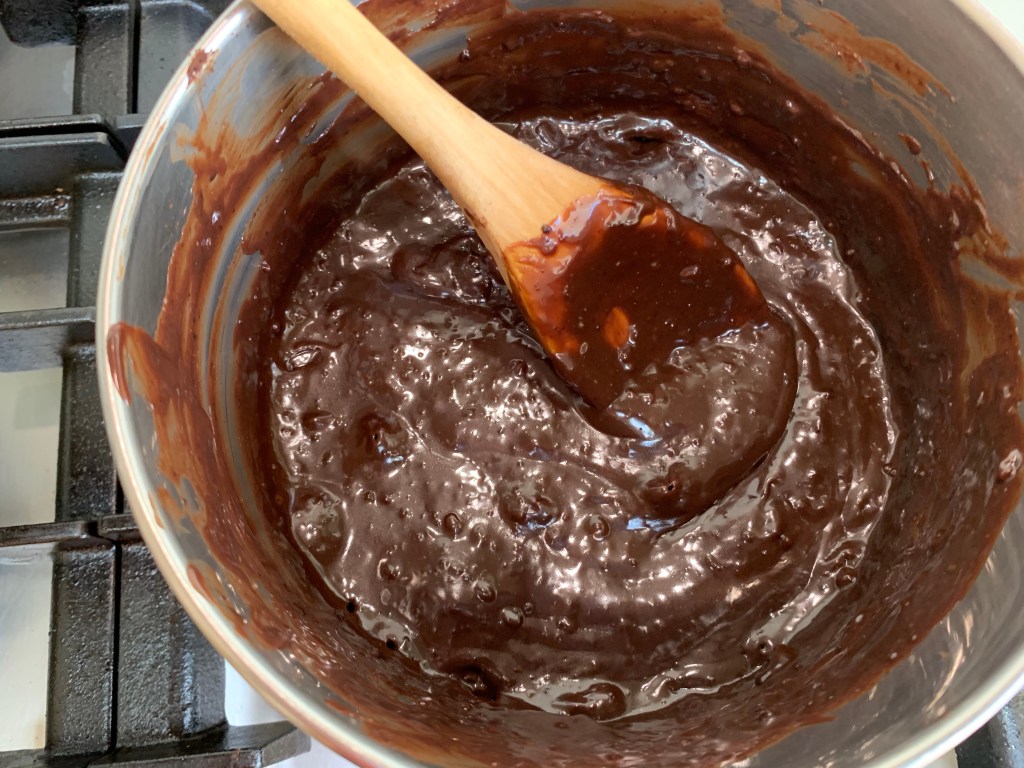
Dough before rolling 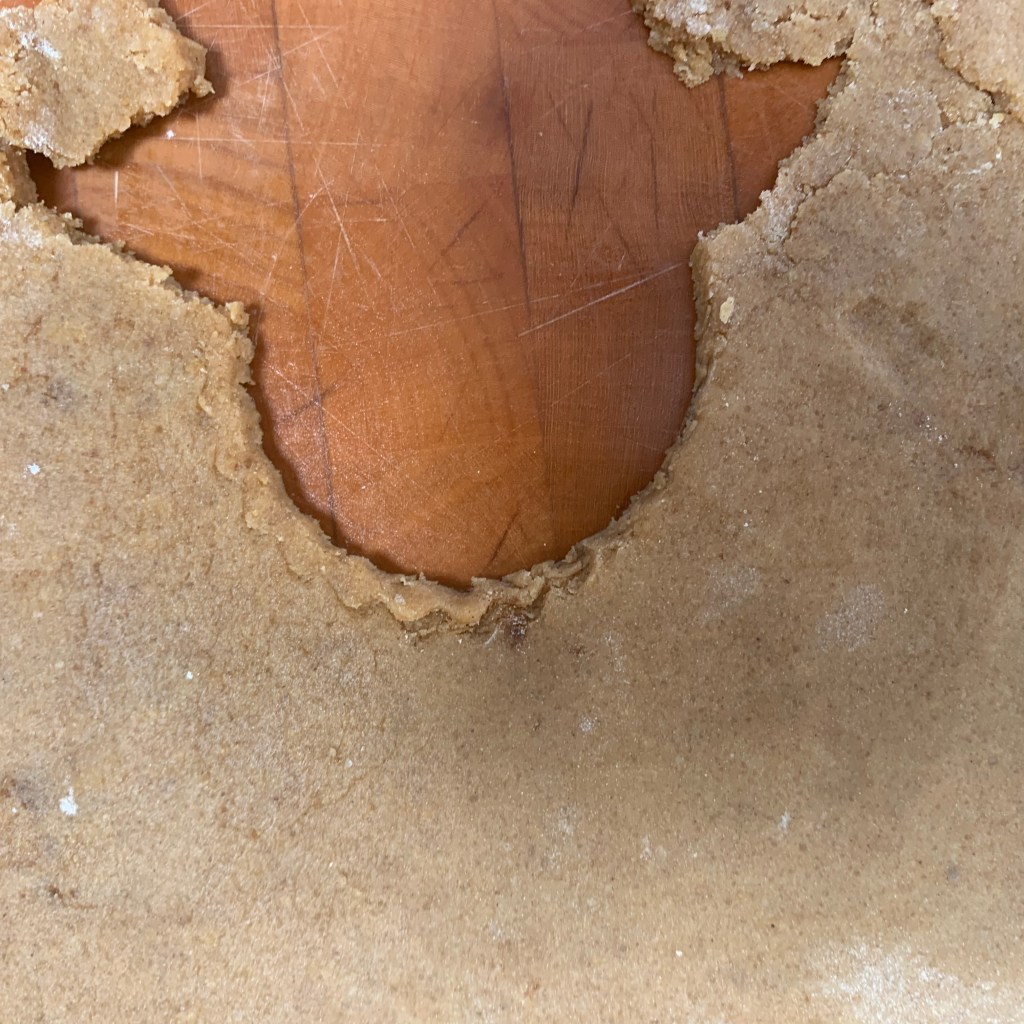
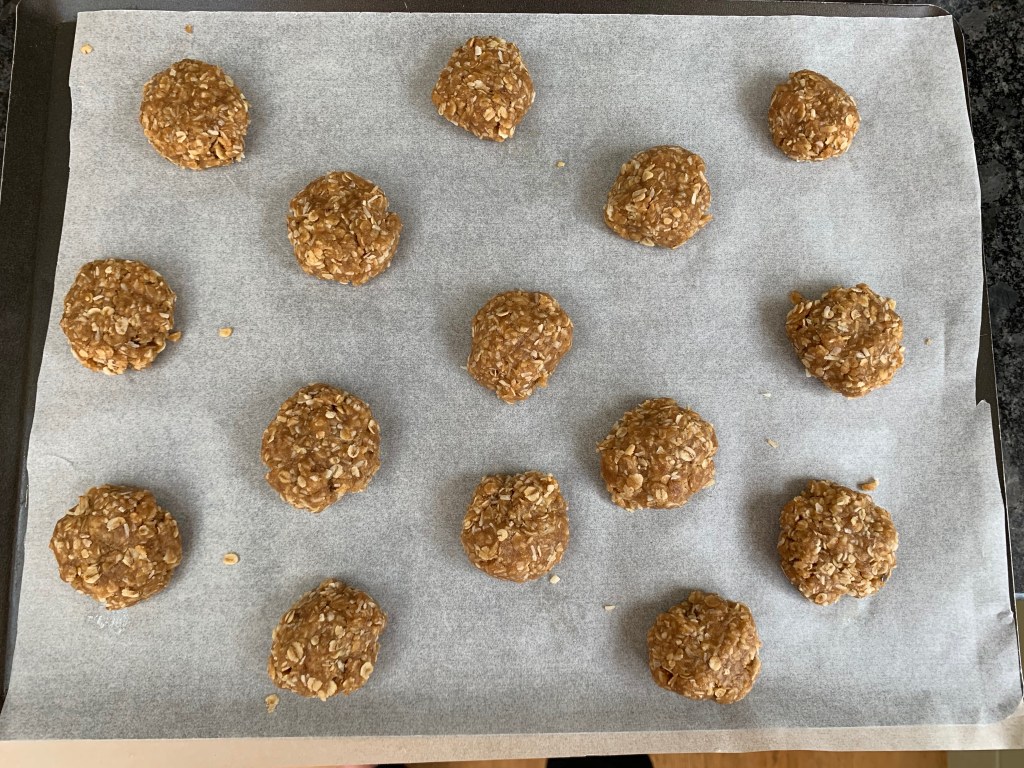
Rolled dough 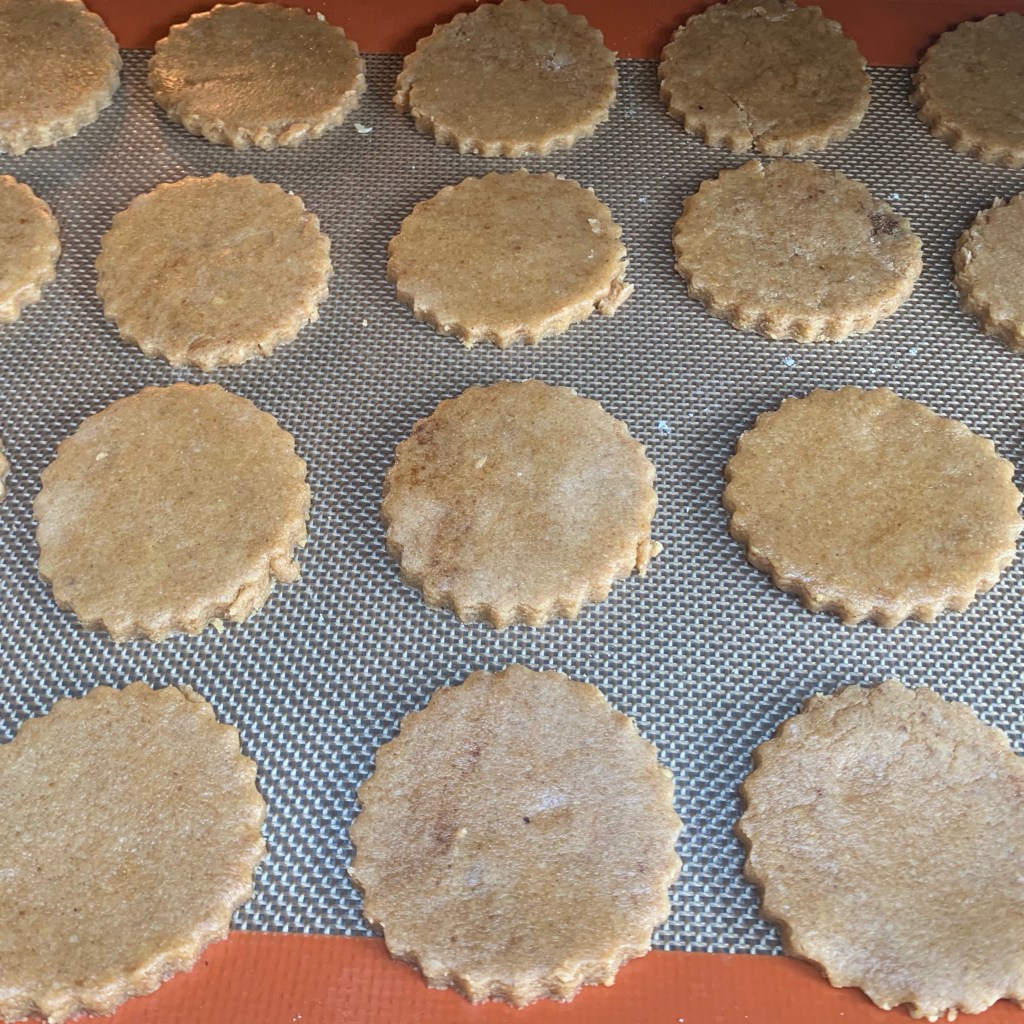
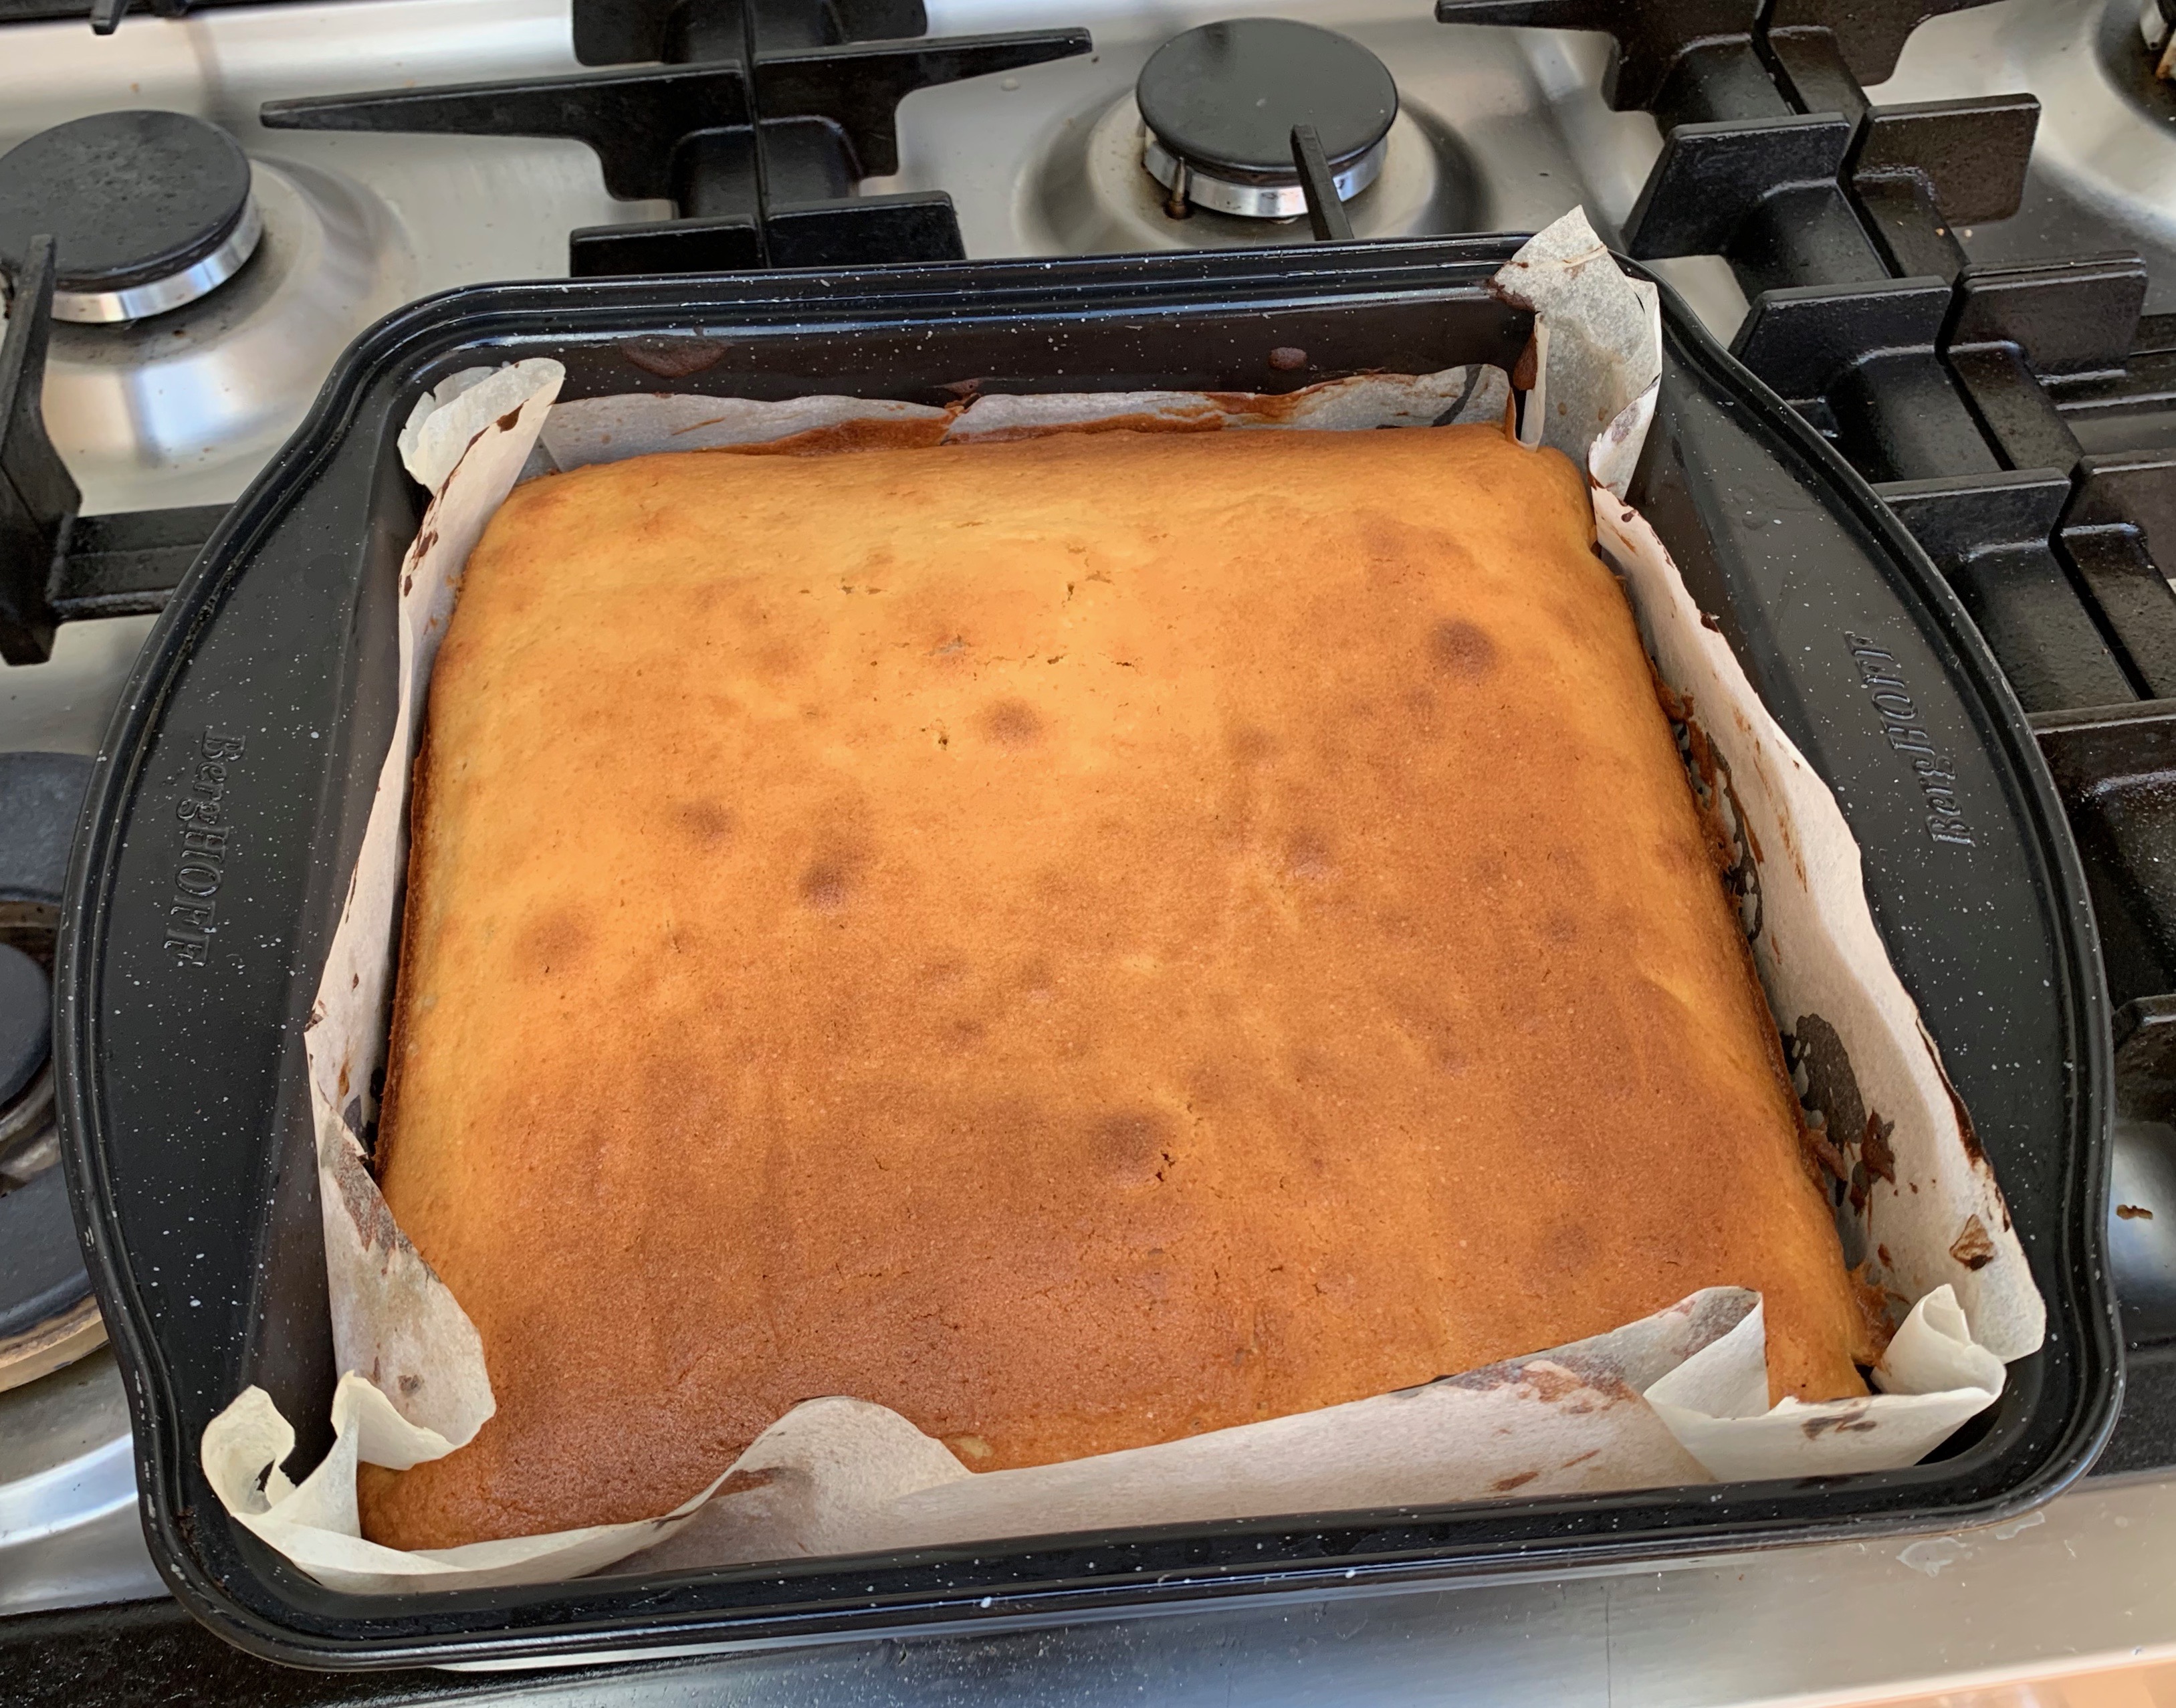
Into the oven 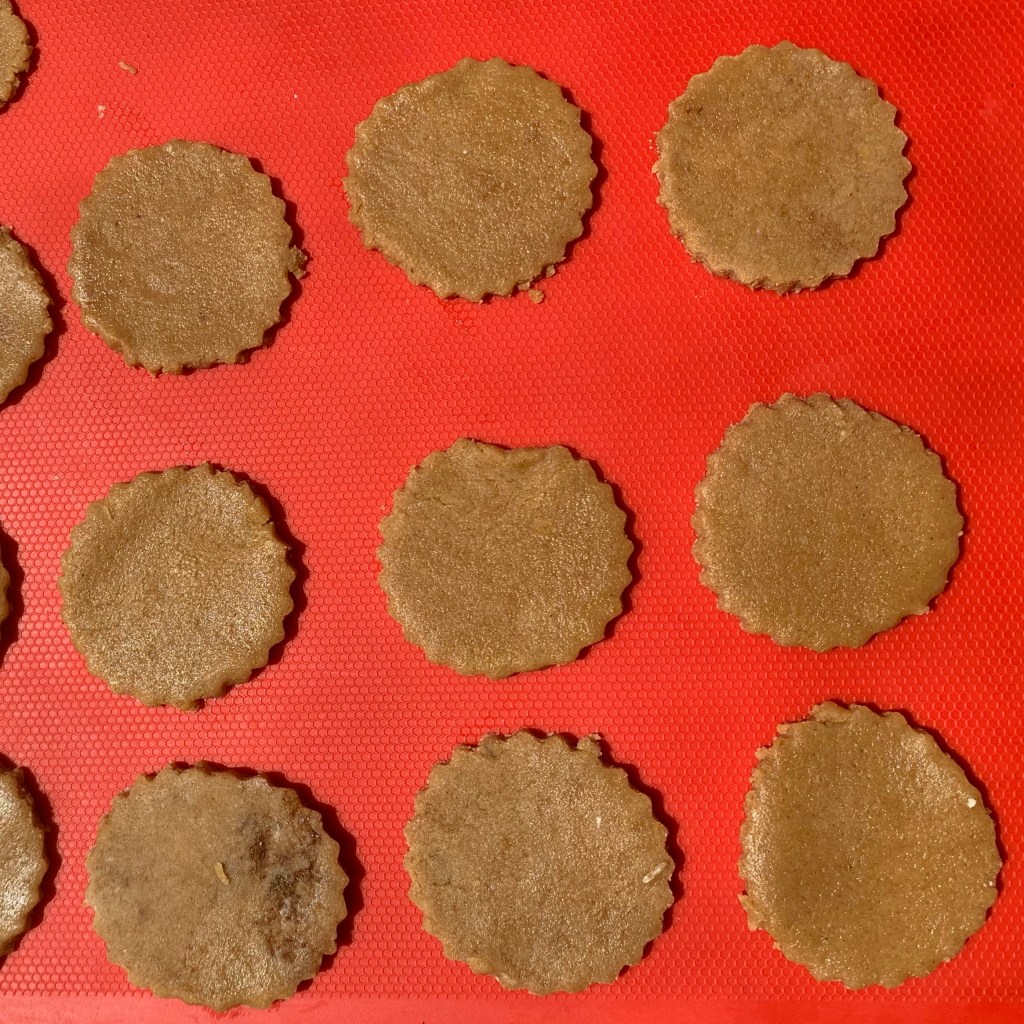
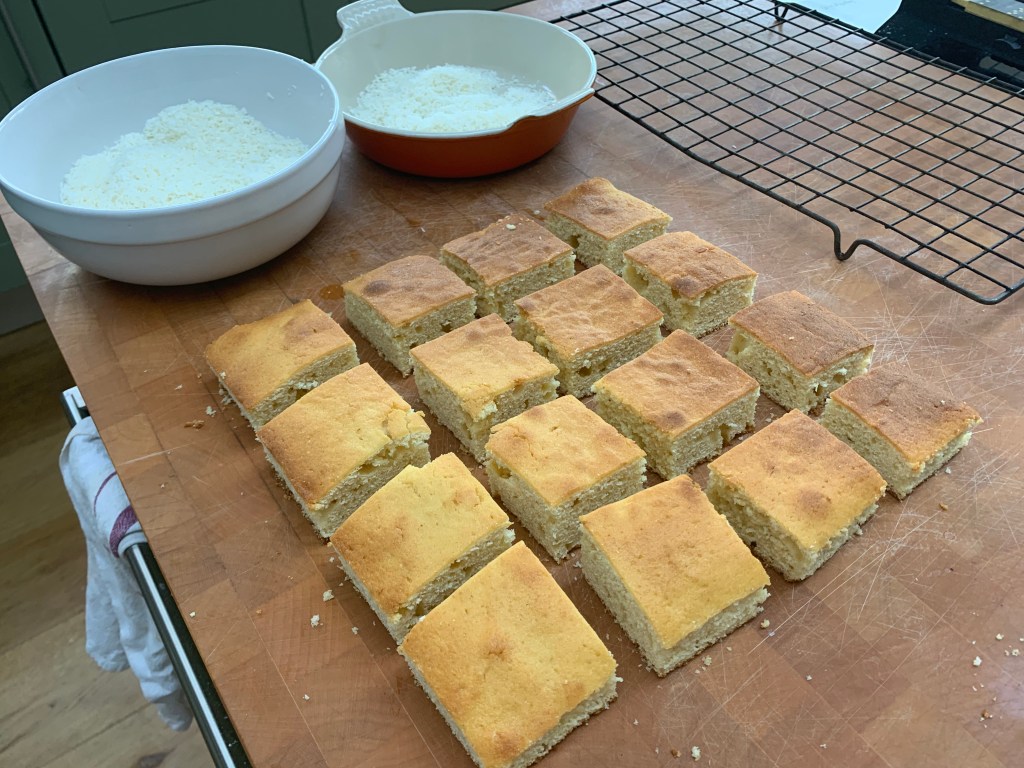
Second batch
Method
- Preheat oven to 175℃ fan
- Soften the butter (if it’s straight from the fridge, chop into small cubes, around 1cm, and leave it while you do everything else).
- Mix the flour, sugar, ground almonds, salt and baking powder in a bowl (if you have a stand mixer, you can weigh everything straight into its bowl). Stir everything until all the ingredients are evenly distributed – try to ensure that you’ve got rid of any clumps of sugar.
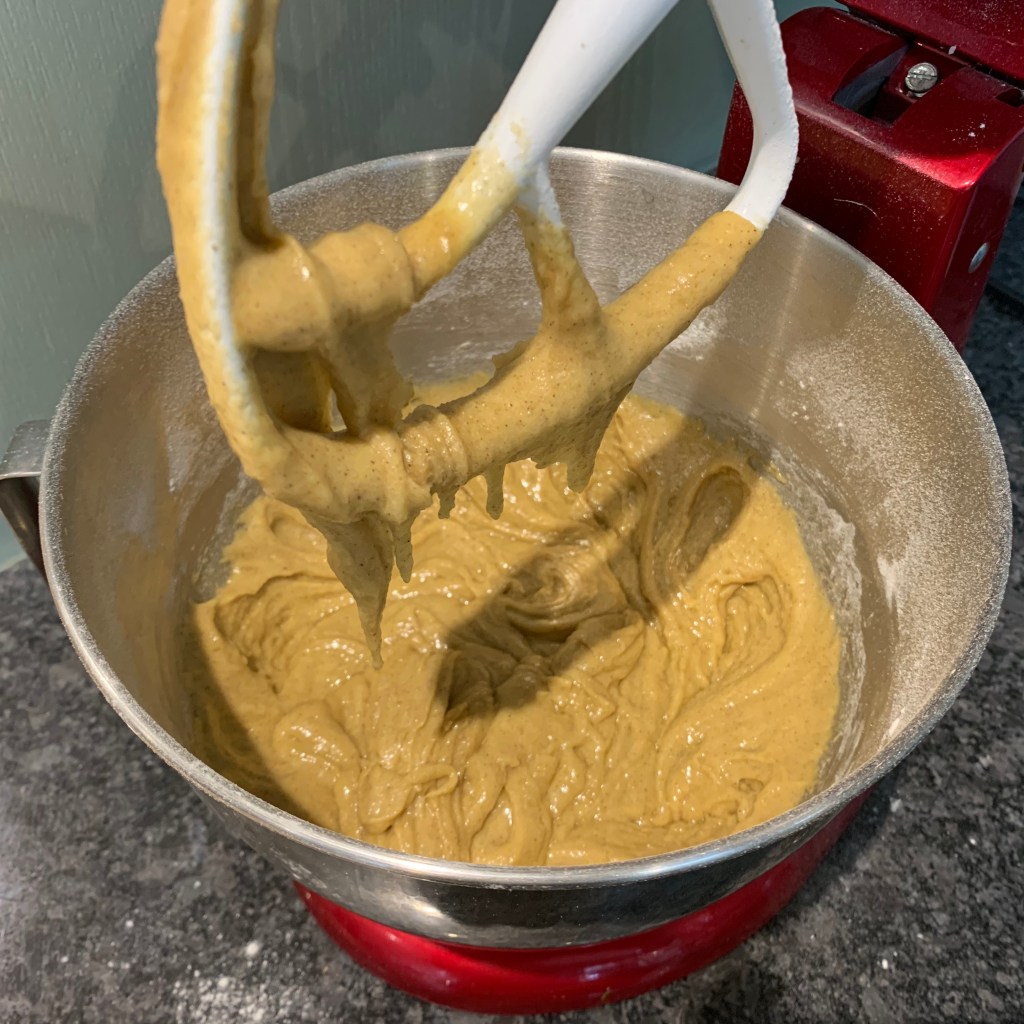
- Add the butter and egg and combine until you have a smooth, even dough – either with the stand mixer or manually with a wooden spoon.
- Roll the dough out on a flat surface to a thickness of around 5-7 mm. Try to get it pretty even, because you want your biscuits to be all baked at the same time.
- Cut out biscuits with your favourite cookie cutter(s) or cooke mould. If you have young children, you’ll probably want animal shapes, hearts or whatever: my kids are grown up and I couldn’t find any in the house other than a fairly standard circle.
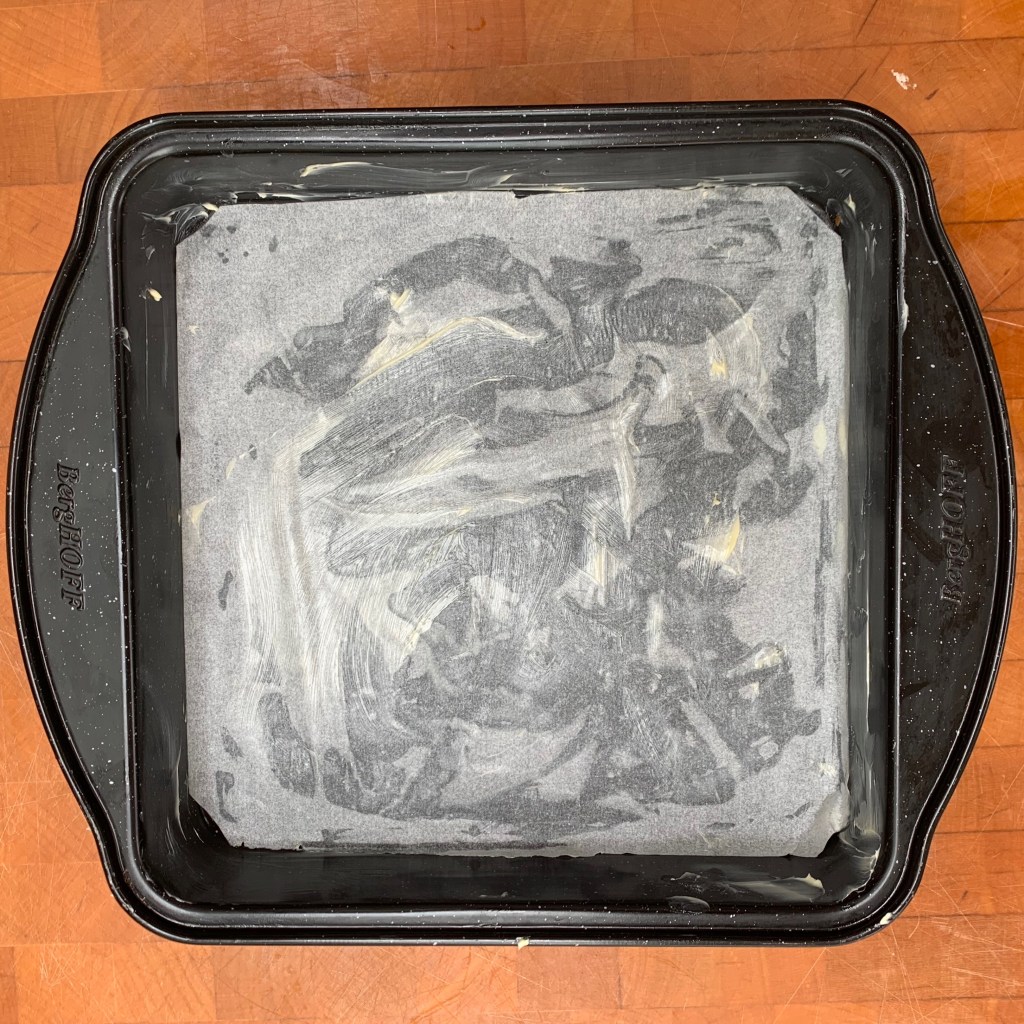
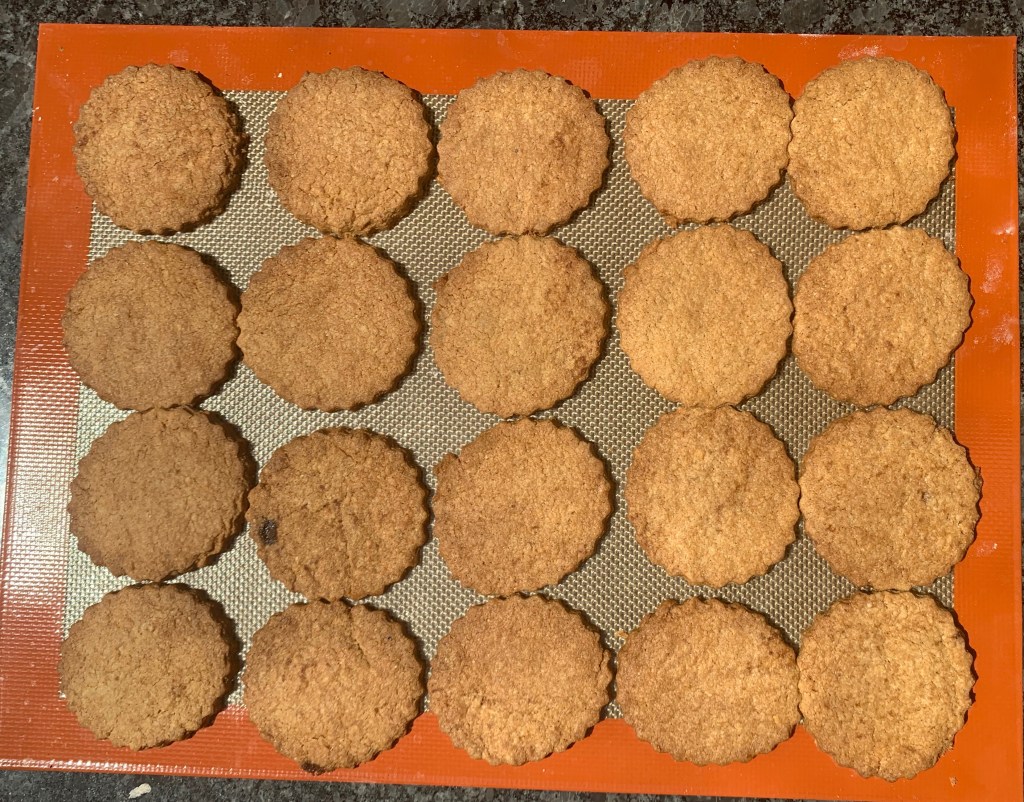
- Place on a baking tray lined with a Silpat or silicone baking sheet (if you have one) or baking parchment. You’ll probably need to do two trays worth: this makes around 30-36 biscuits.
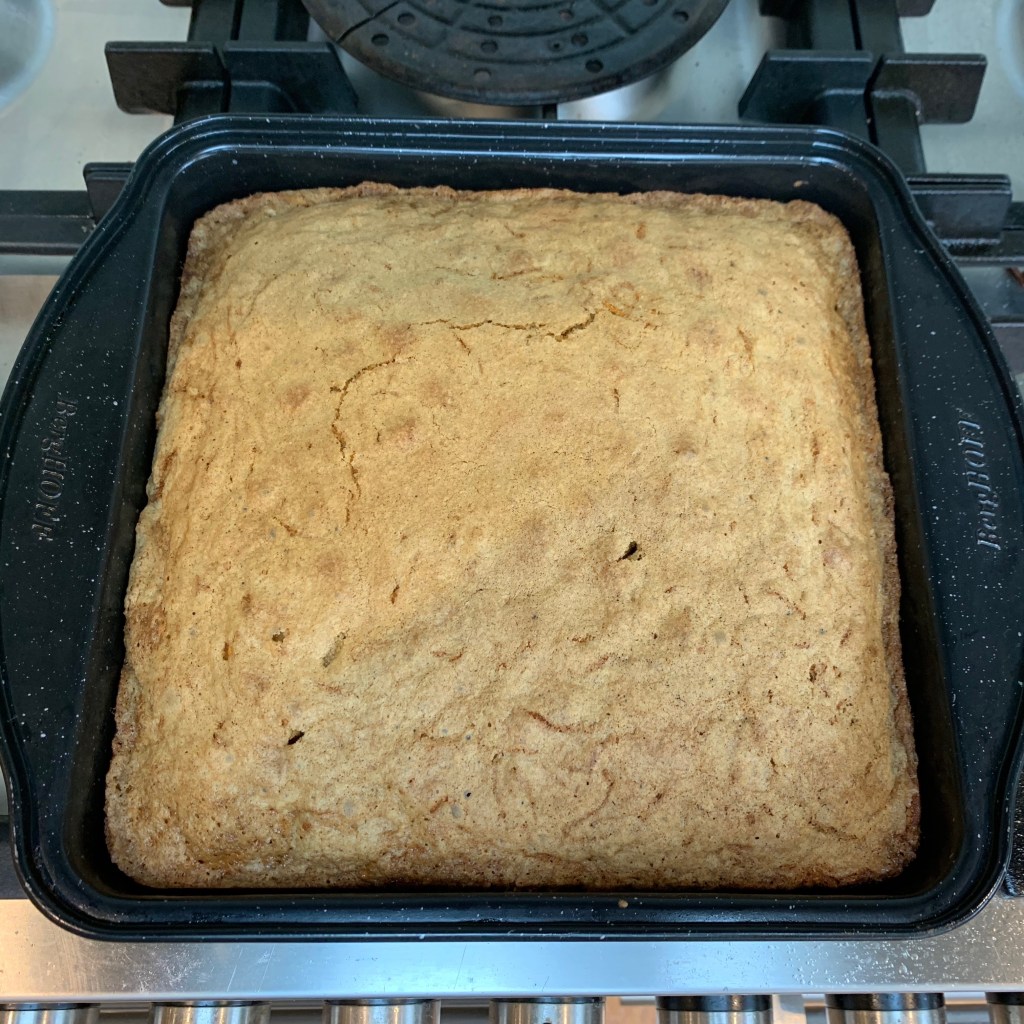
- Bake for around 15 minutes.
- The biscuits cool fine without taking them off the Silpat sheet, but if you’re using anything else, you probably want to turn them over after 10 minutes because the bottoms can get soggy.
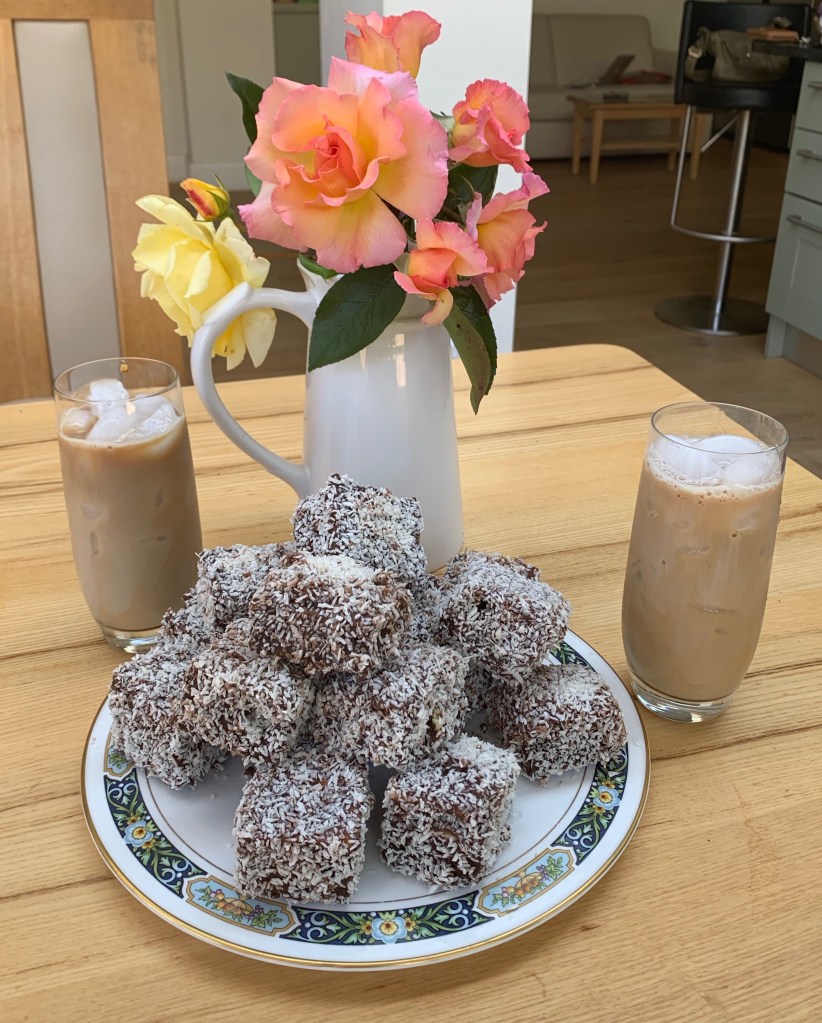
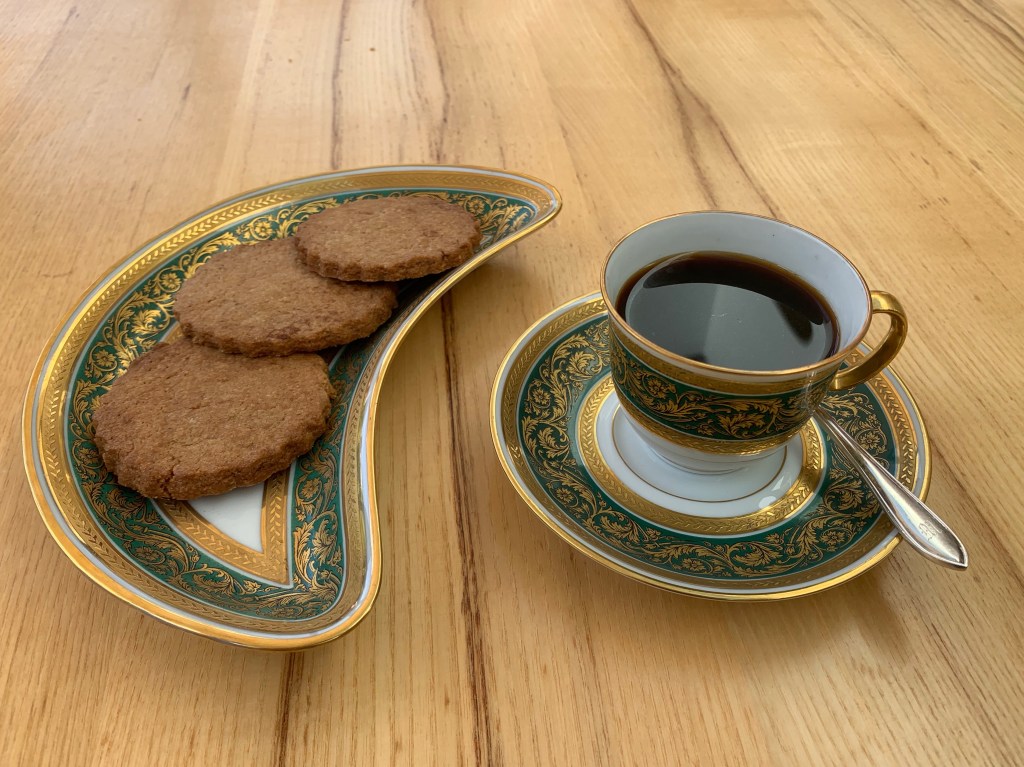
Enjoy! Speculoos are the ultimate biscuit to accompany a coffee; they can also be crumbled to make an excellent topping for a fruit-and-cream type of dessert.