Cocadas are everywhere throughout the Spanish and Portuguese-speaking world. They’re the bake is for coconut lovers: there’s nothing I’ve ever mode which has a higher percentage of pure coconut.
In most places, cocadas show up as balls or swirls (they’re often translated as “coconut cookies” or “coconut macaroons”). In Bolivia, they make them as “bar cookies”, which I take to mean baked in a tray and cut into squares, somewhat like brownies.
Western recipes tend to use sweetened condensed milk: I’ve started with a recipe from “Bolivia bella” in which you make your own condensed milk by starting with coconut milk and sugar. The original then adds freshly grated coconut, but I didn’t have any, so I’ve put in desiccated coconut at the beginning of the process to allow it to rehydrate while the coconut milk is condensing. I’ve also considerably reduced the proportion of sugar to coconut – you can increase it to 200g if you prefer a sweeter end product.
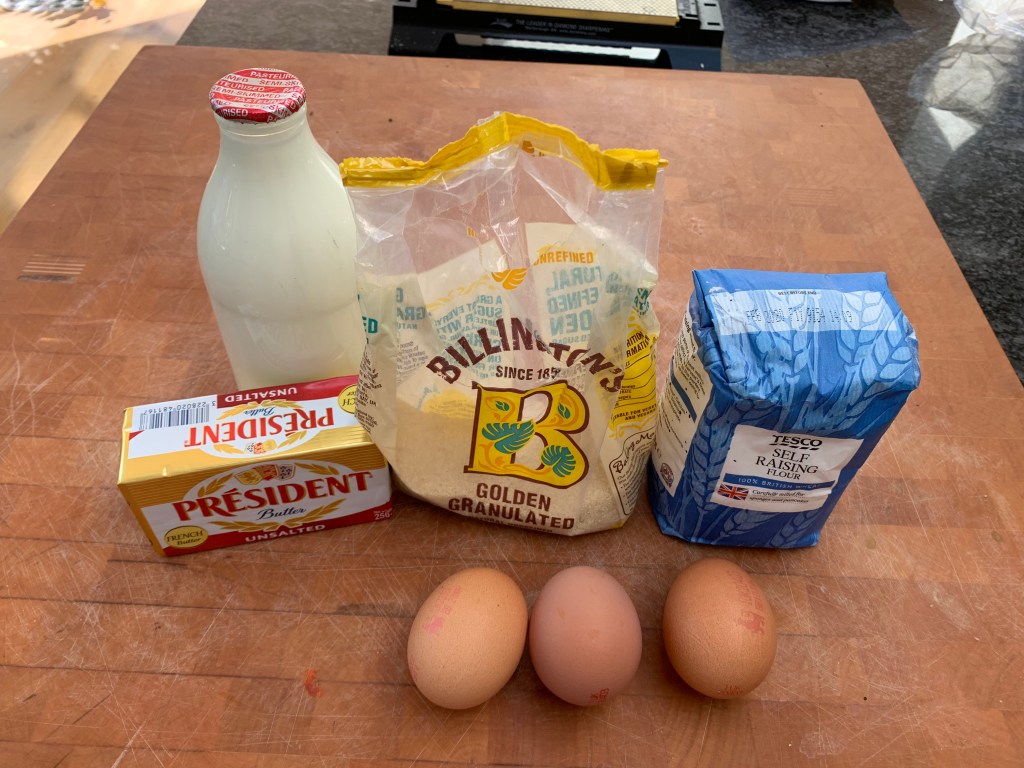
400ml coconut milk
150g desiccated coconut
150g sugar
3 egg yolks (mine clocked in at around 54g)
10g sesame seeds
25g butter
grated rind of 1 lemon (around 2g)
Heat oven to 160℃ fan
Line a baking tin with parchment: I used a 23cm x 23cm tin
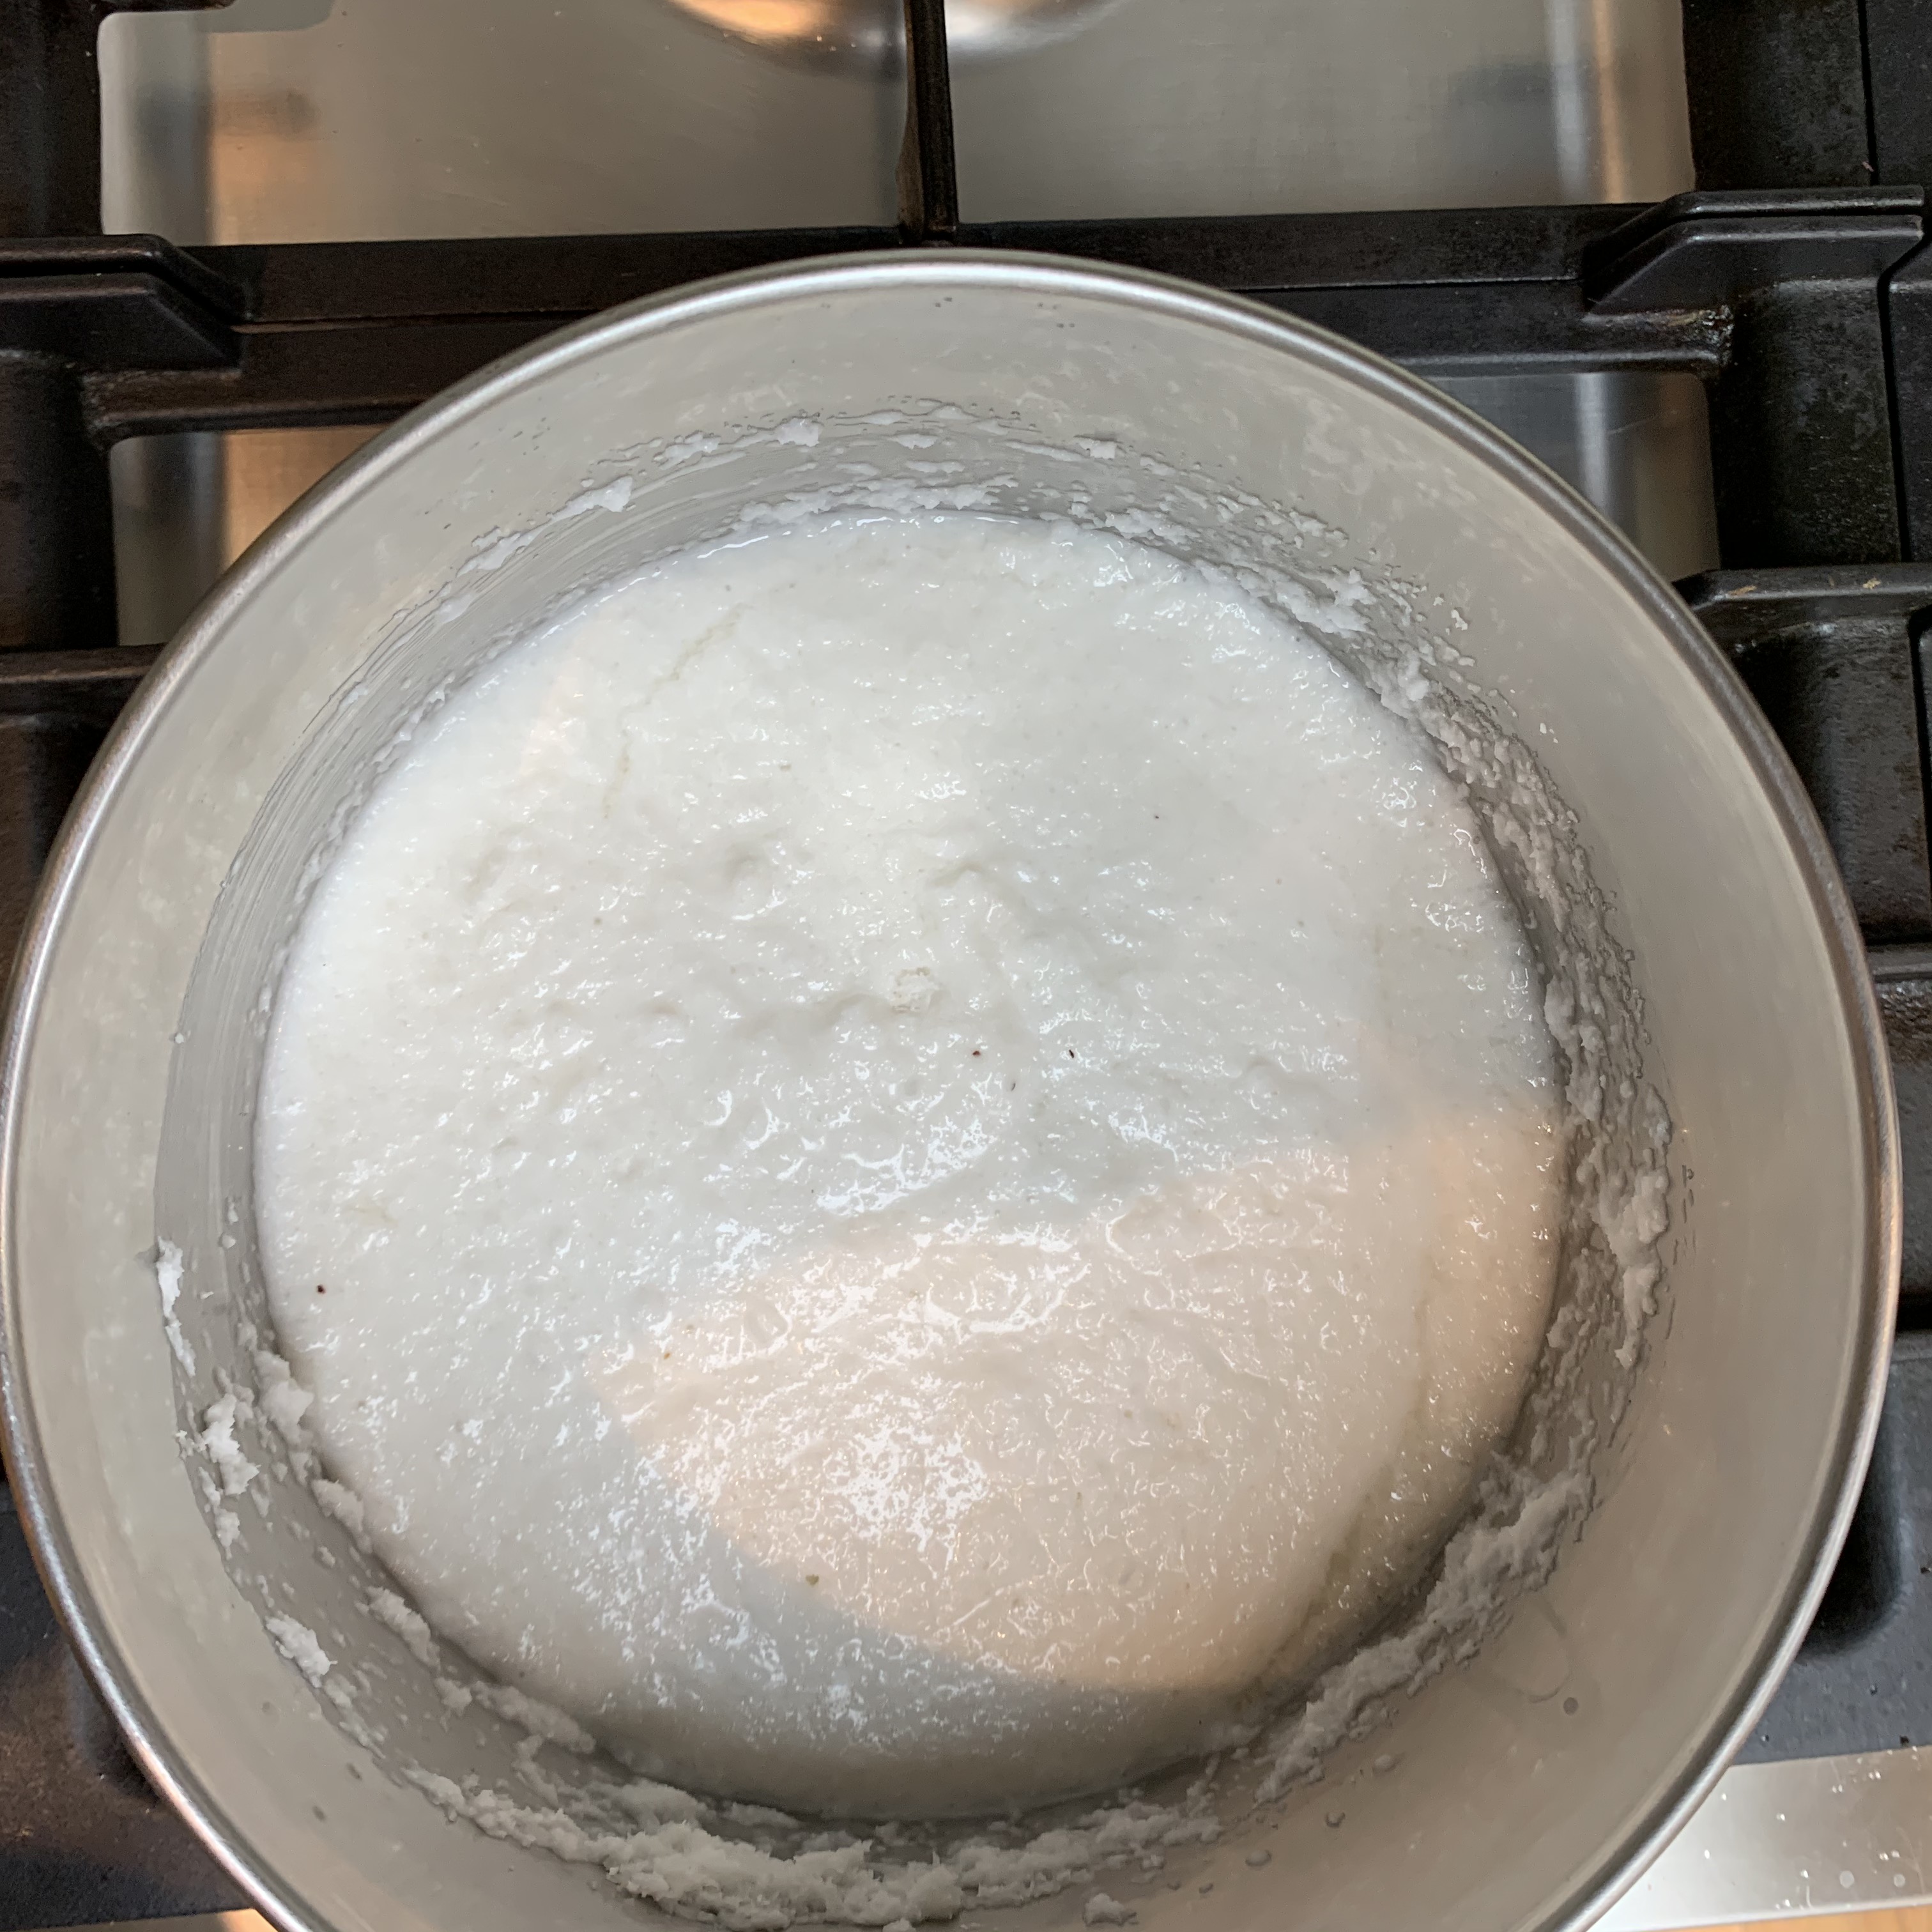
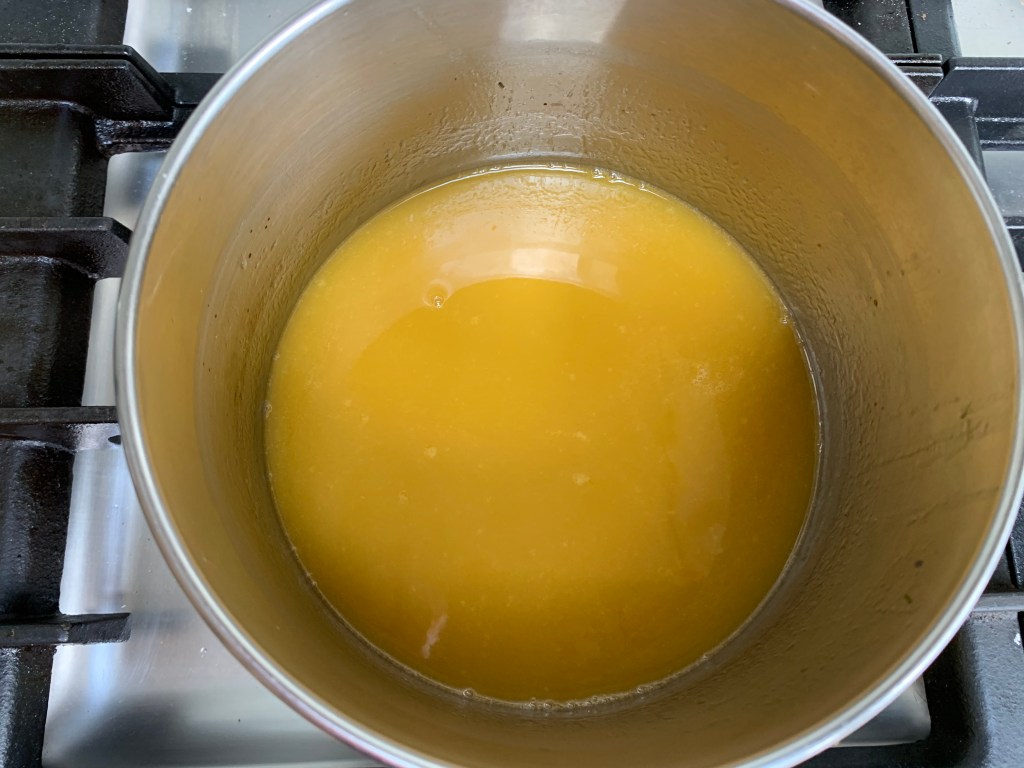
Mix the coconut milk, the desiccated coconut and the sugar into a saucepan.
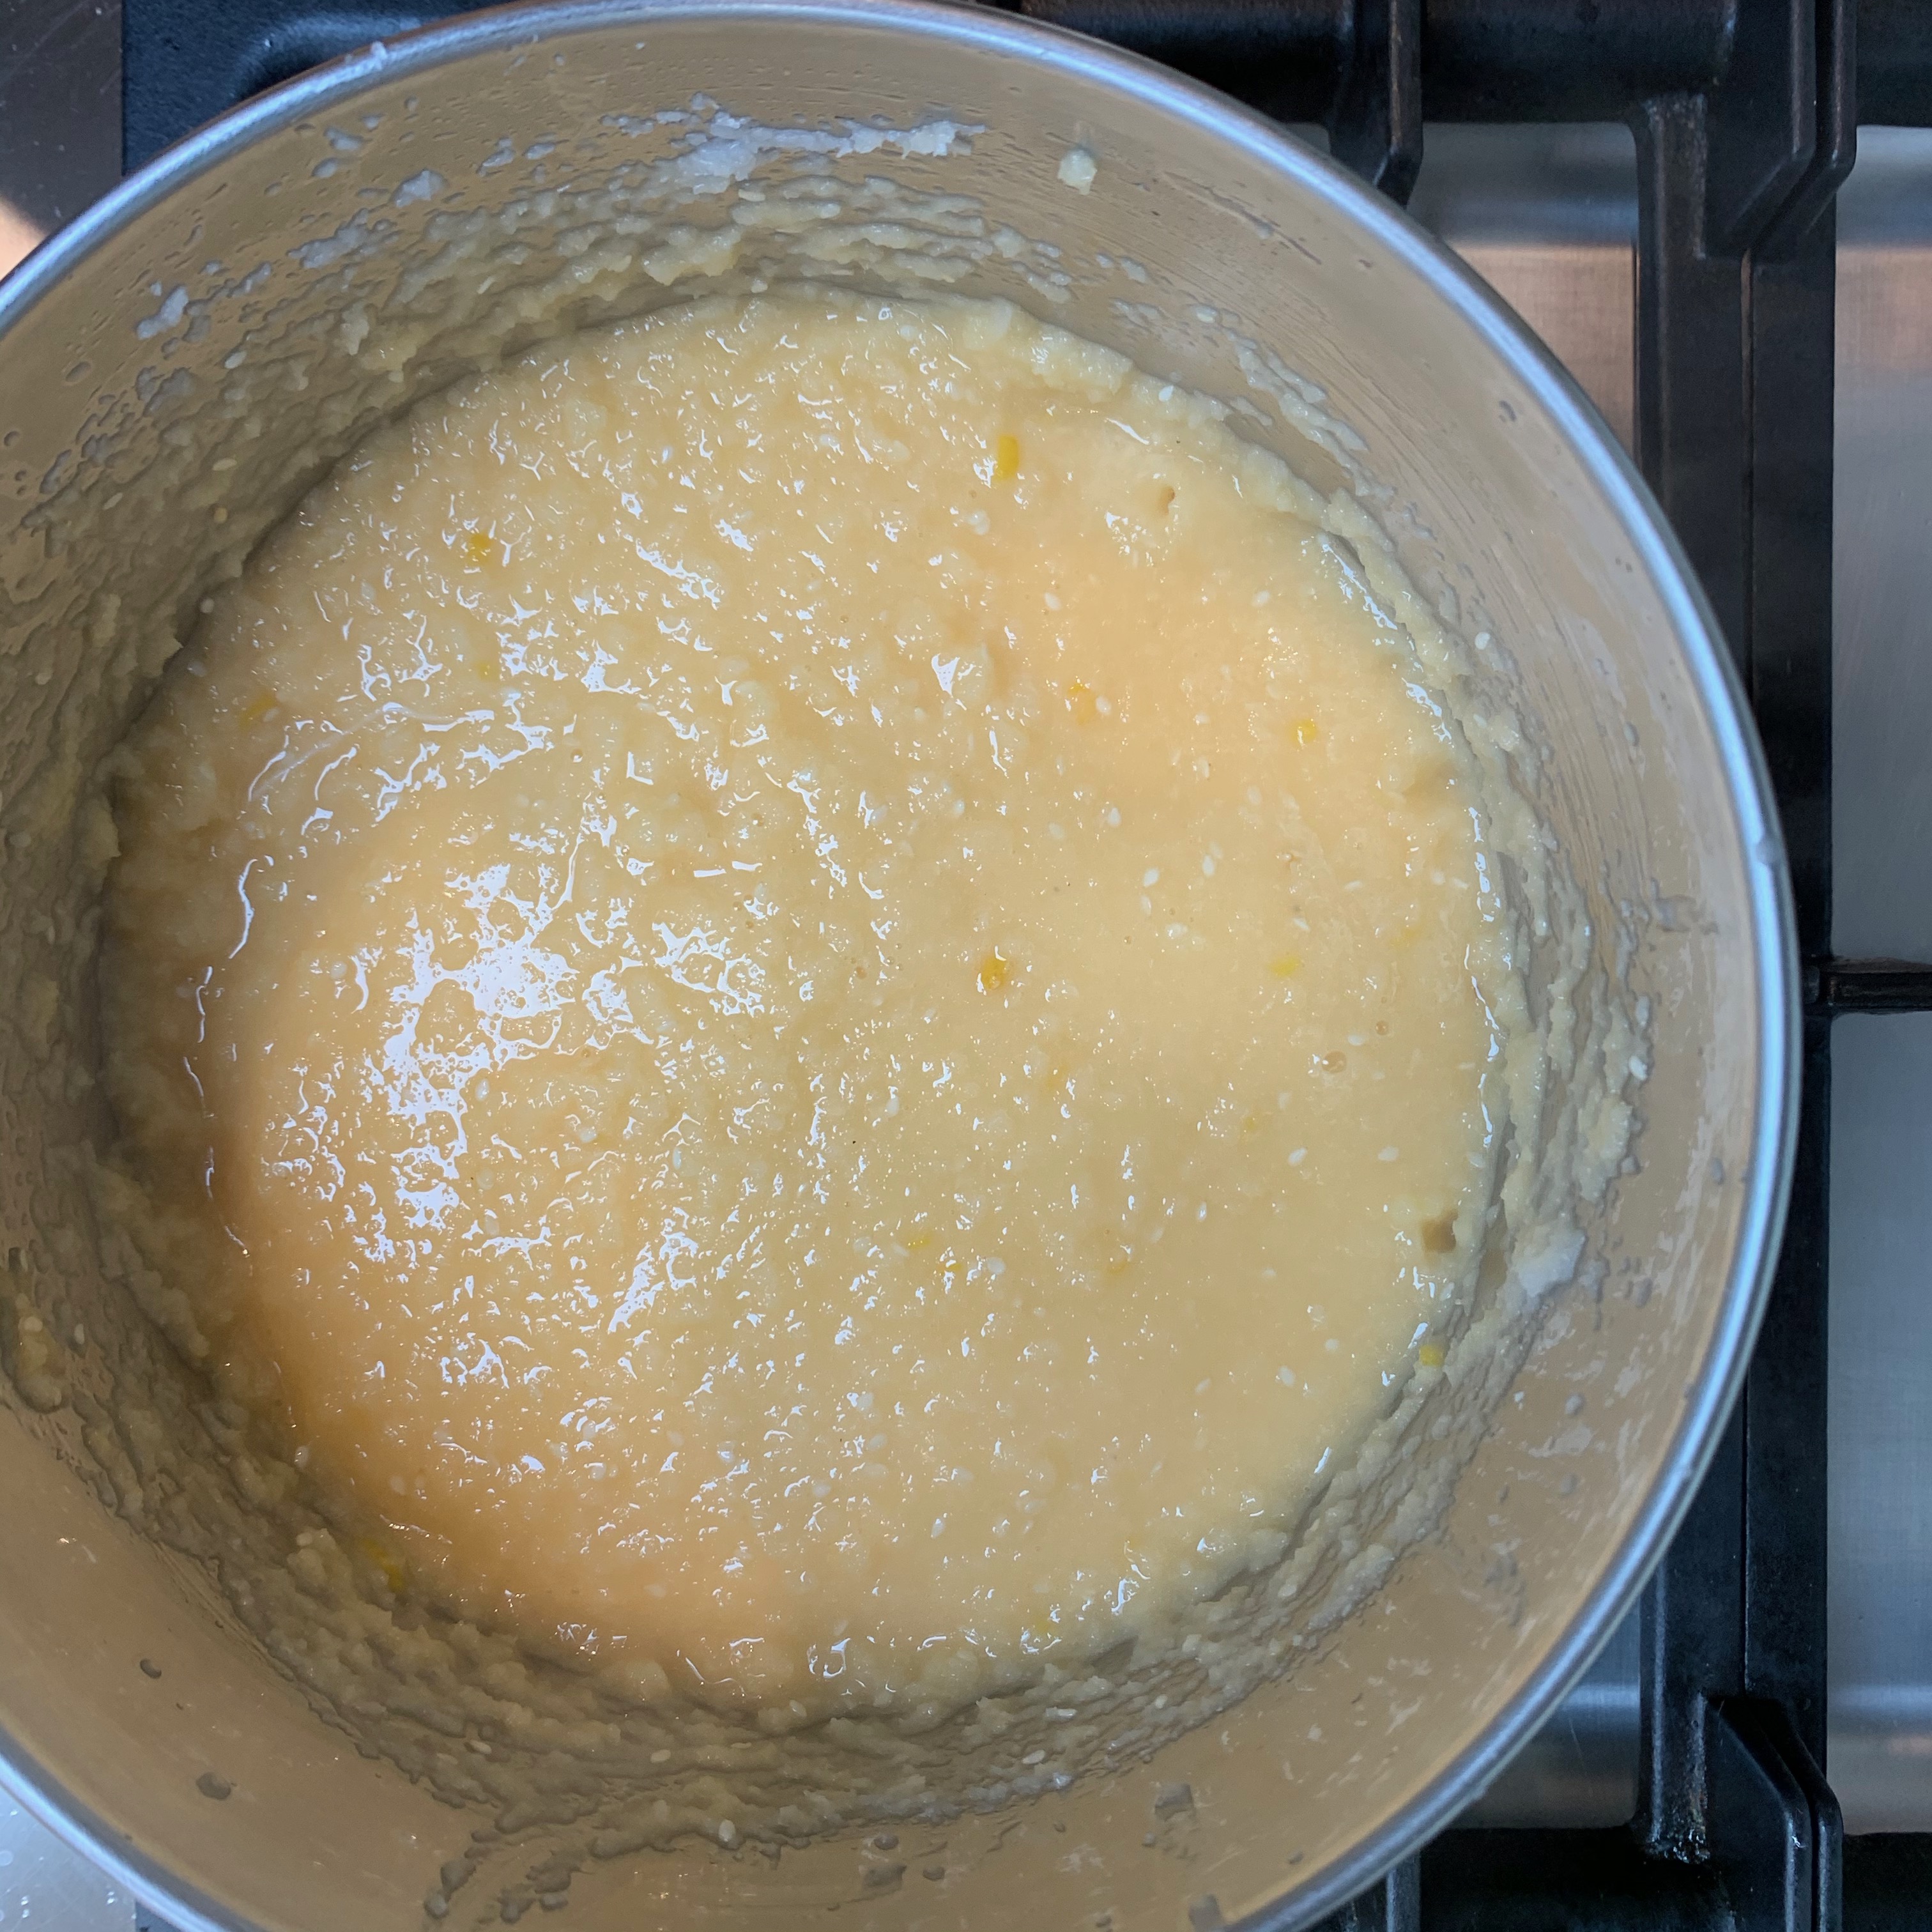
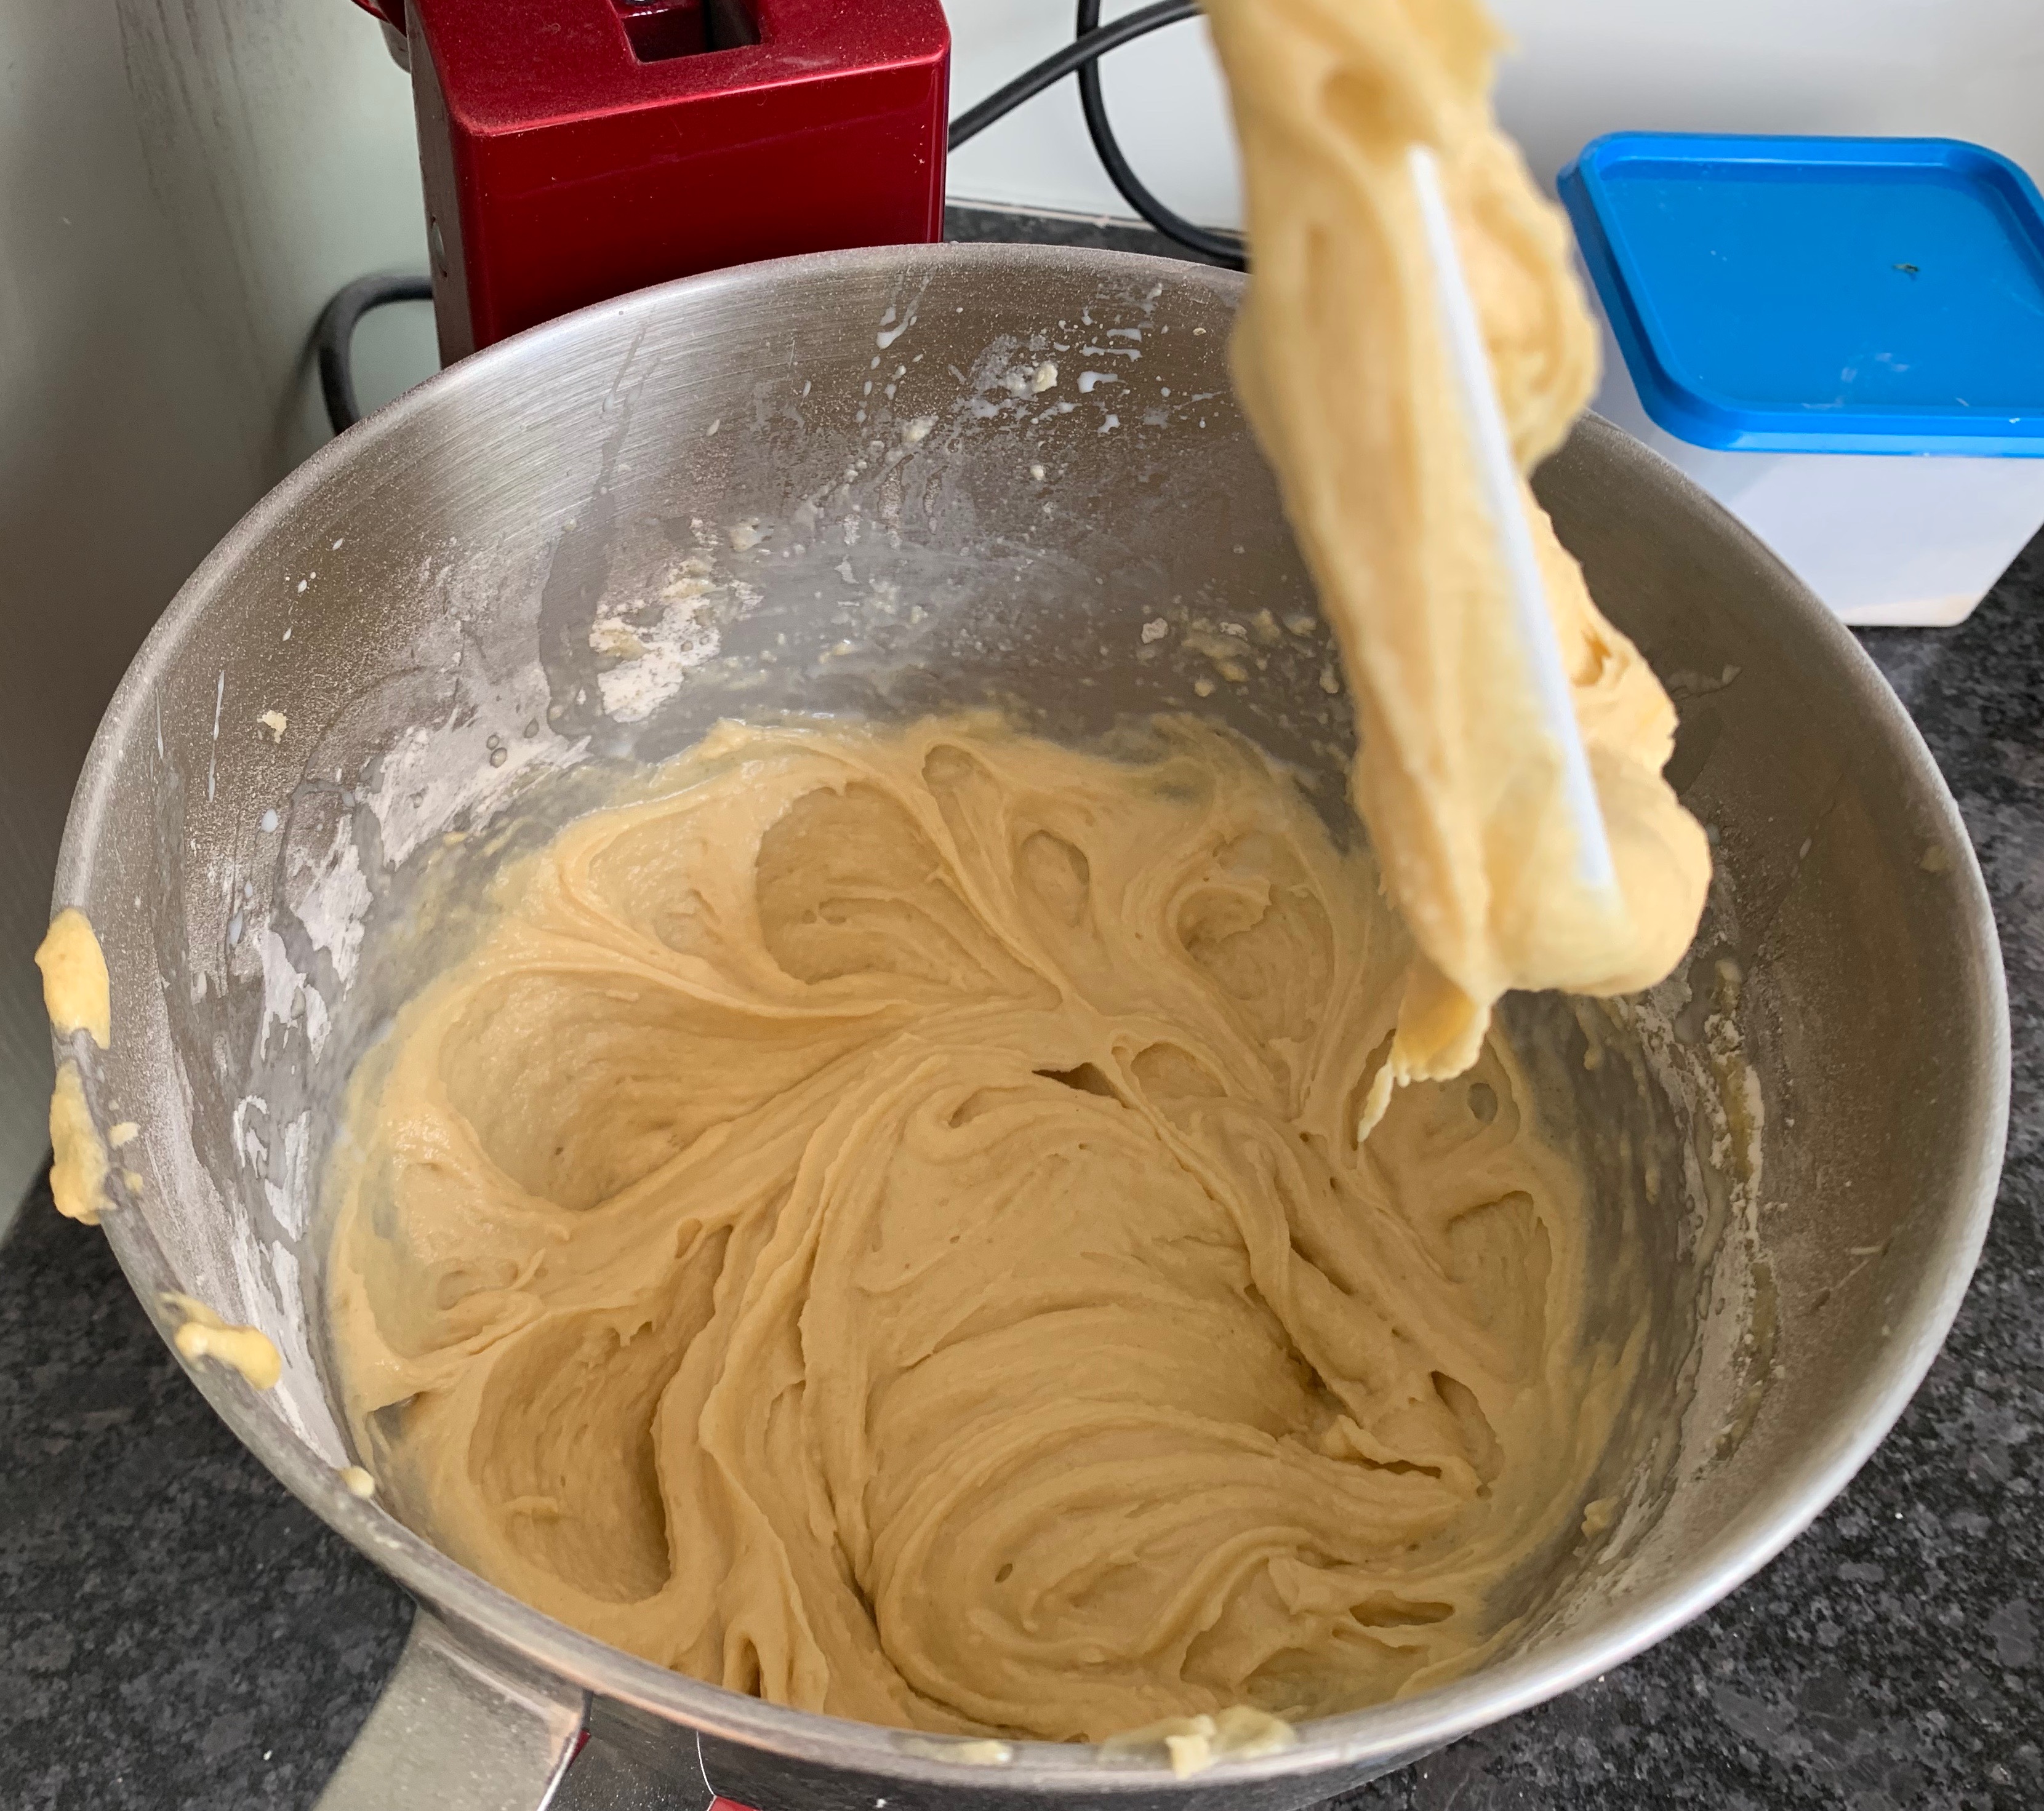
Bring to the boil and simmer gently, stirring frequently, until thickened to a paste. Take it off the heat and stir in the sesame seeds, butter and lemon rind – mix until the butter is melted and combined. Leave to cool for a couple of minutes more: you don’t want to scramble the eggs in the next step.
Beat the egg yolks thoroughly, then add them to the mix and blend them in quickly
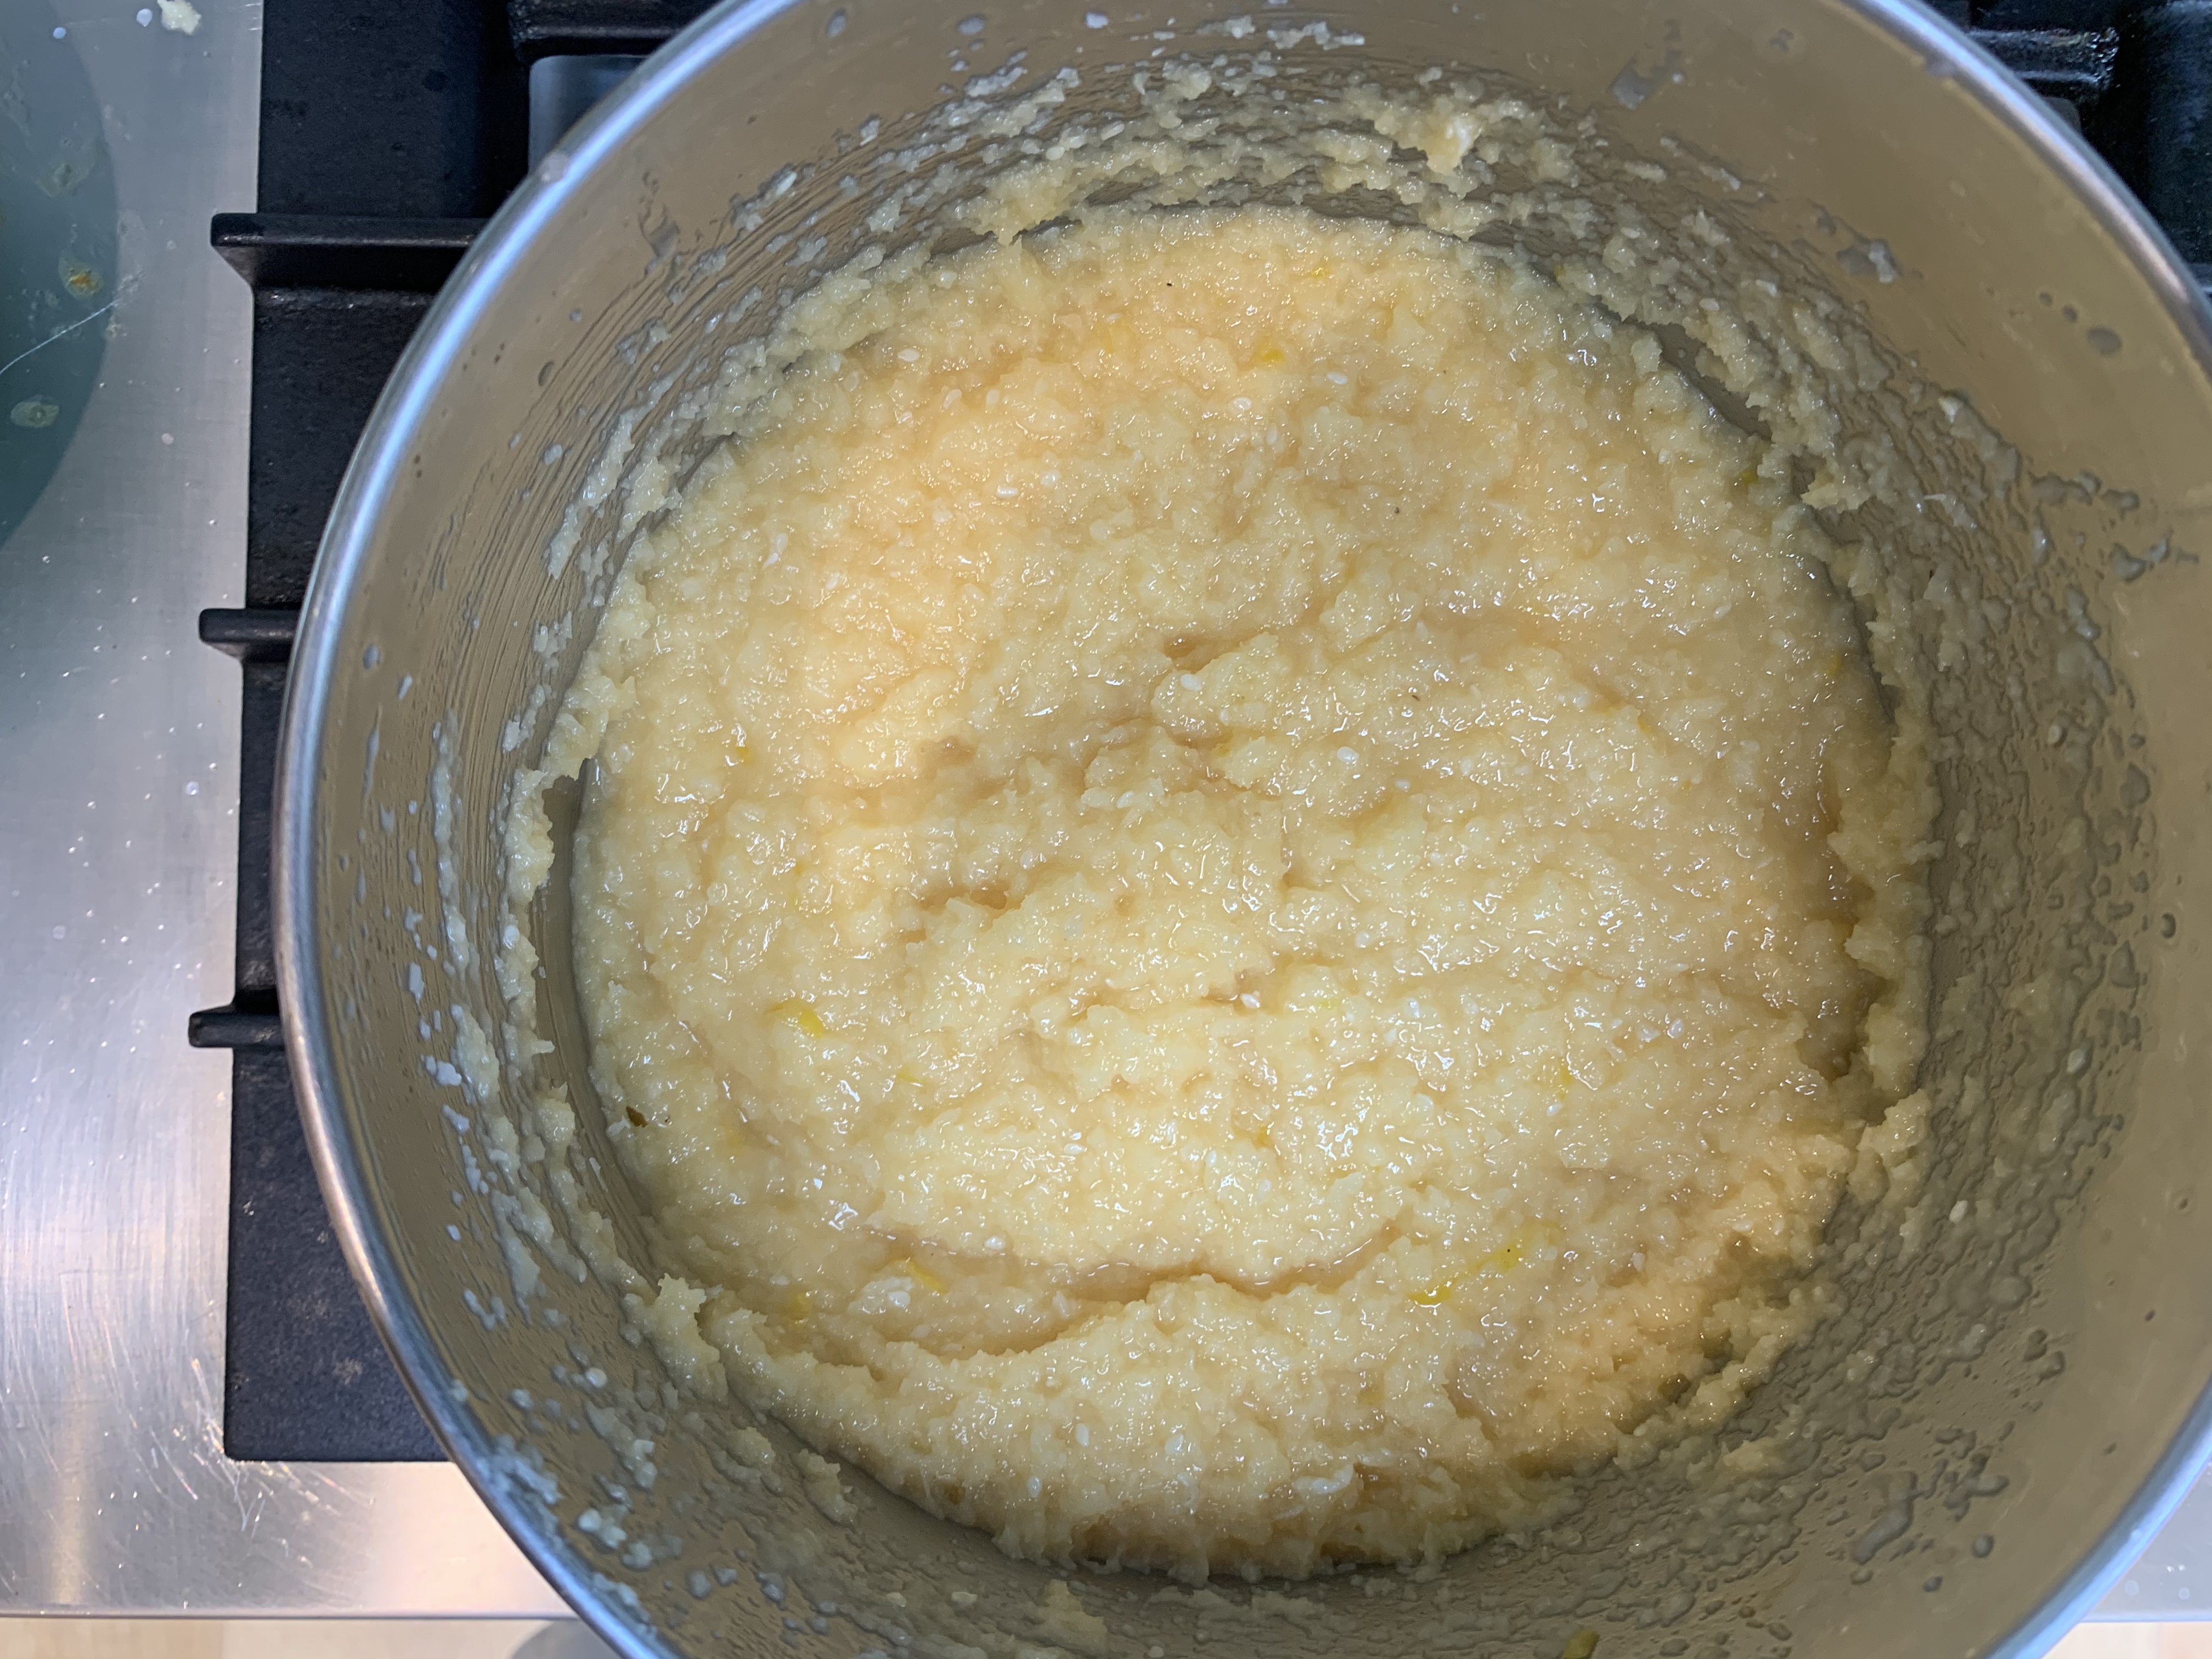
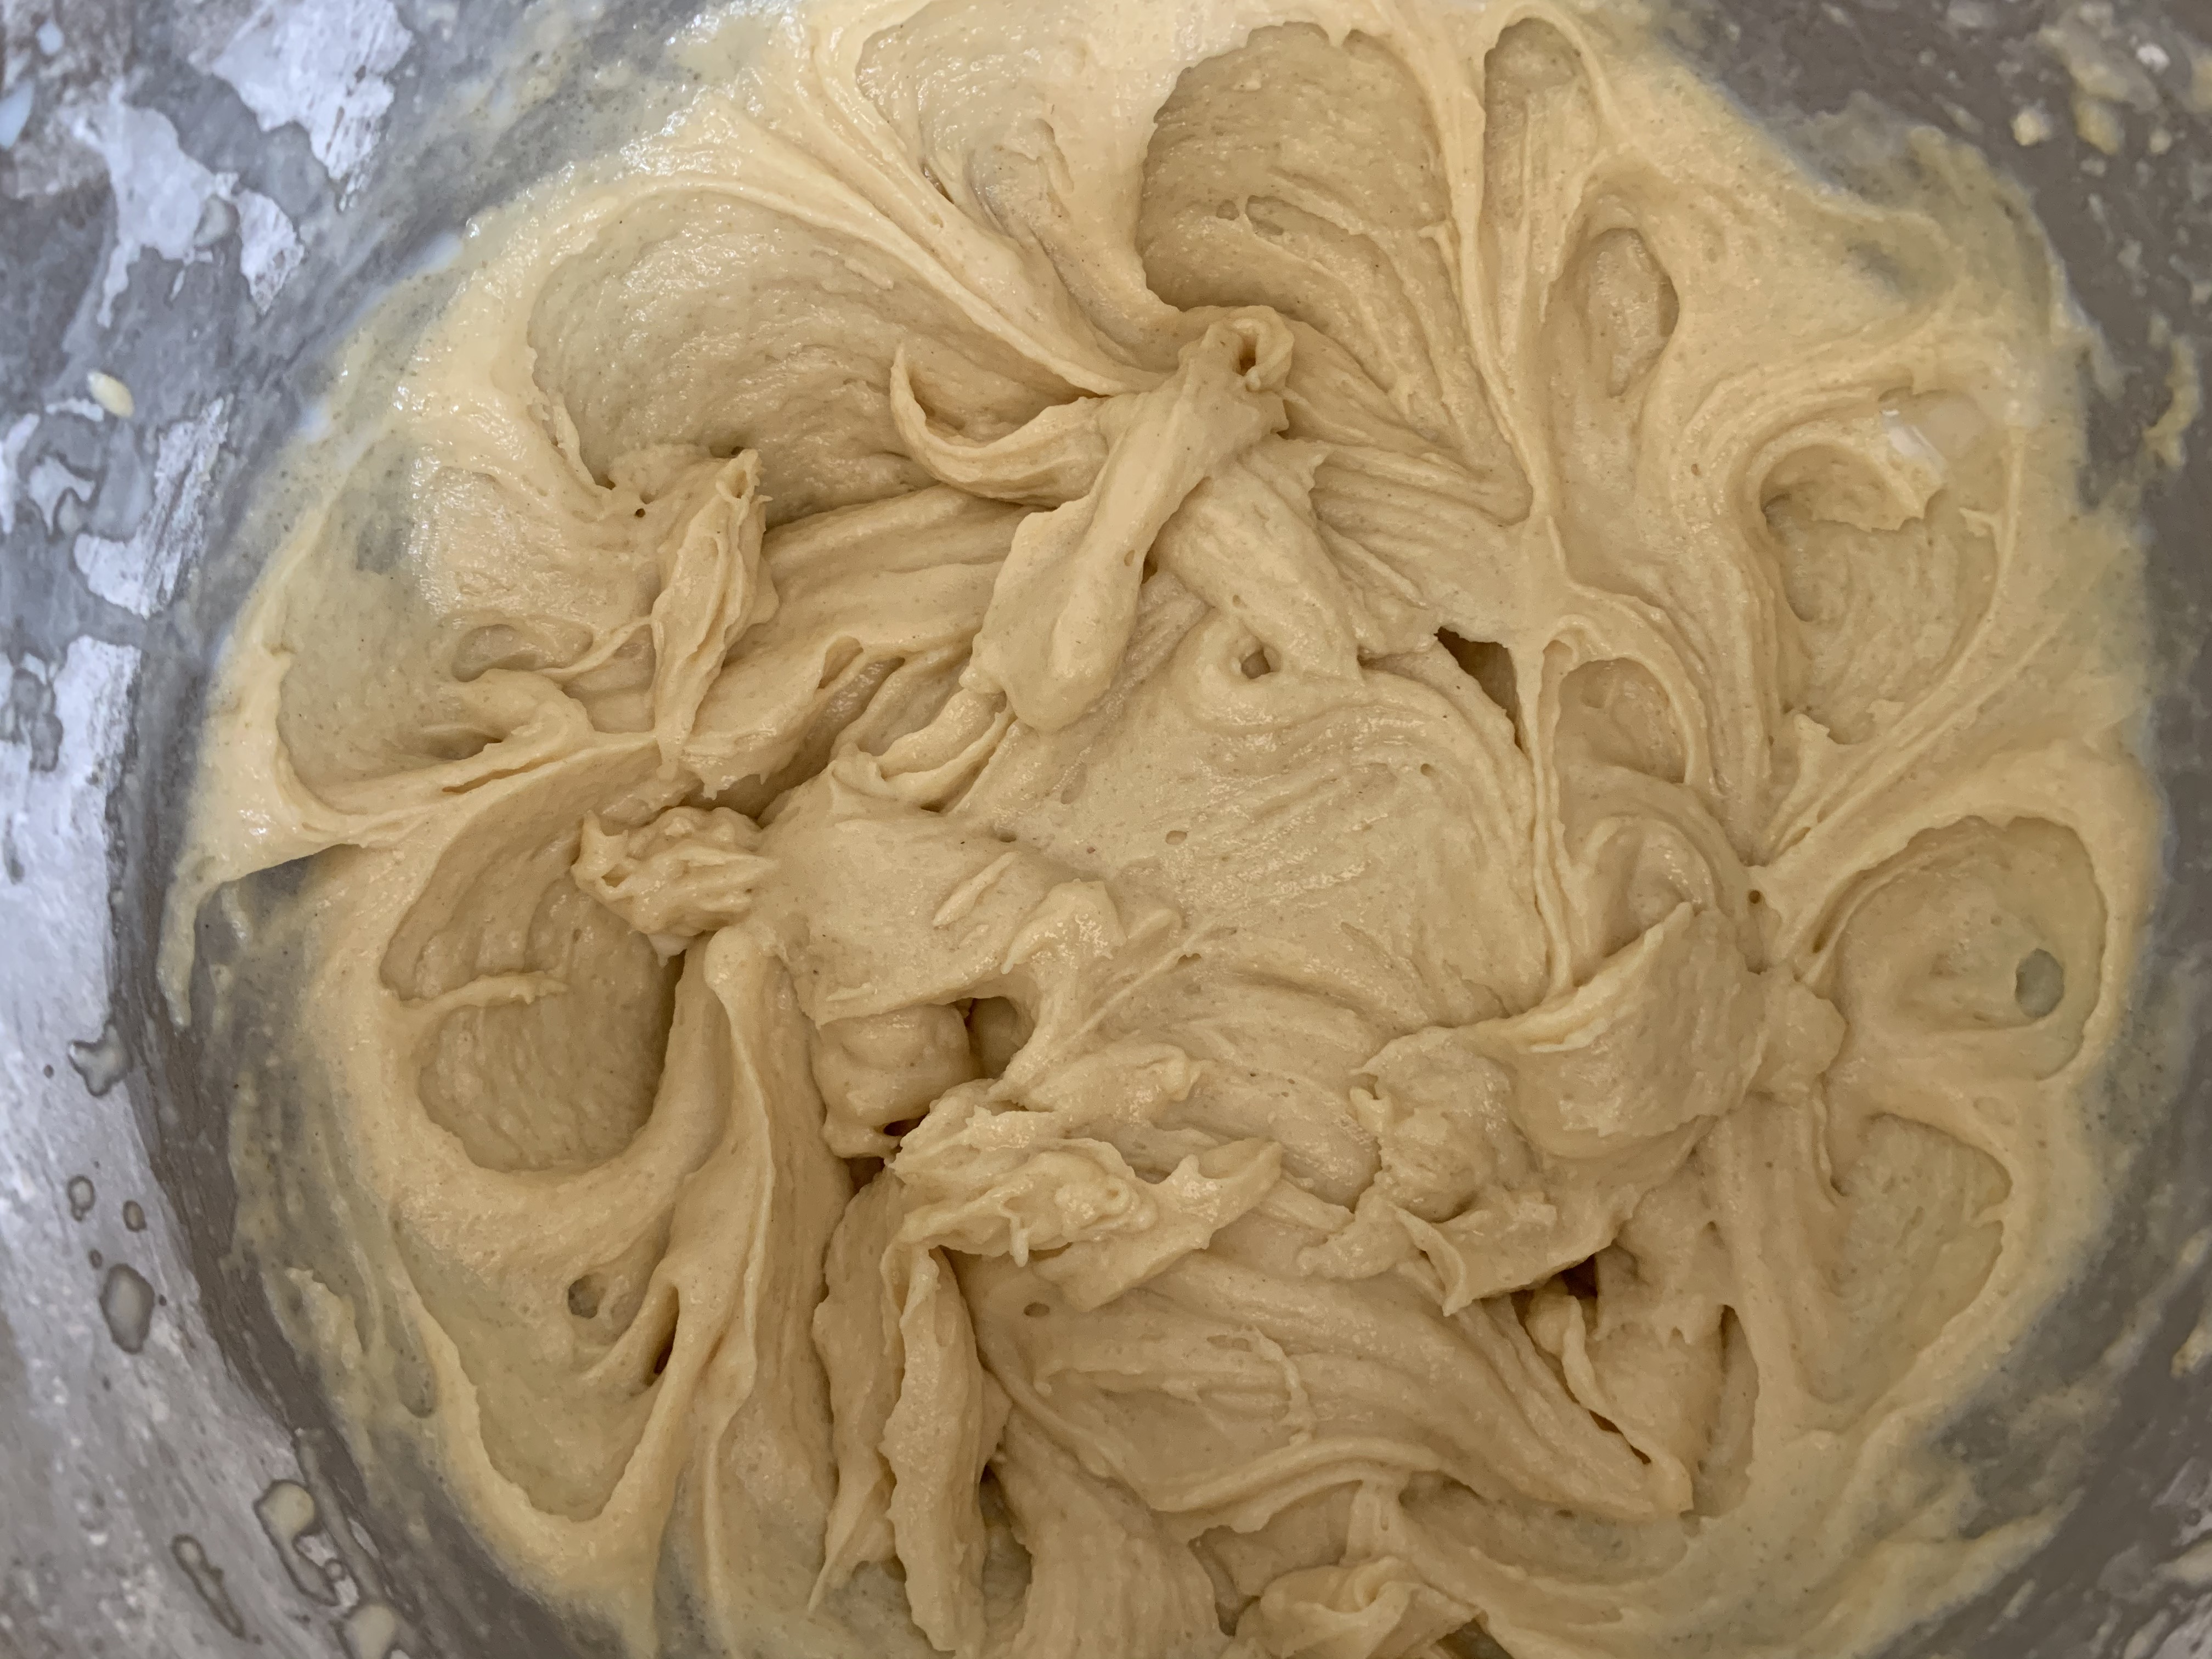
Return the saucepan to a low heat and cook for a few minutes longer until the mixture is very thick.
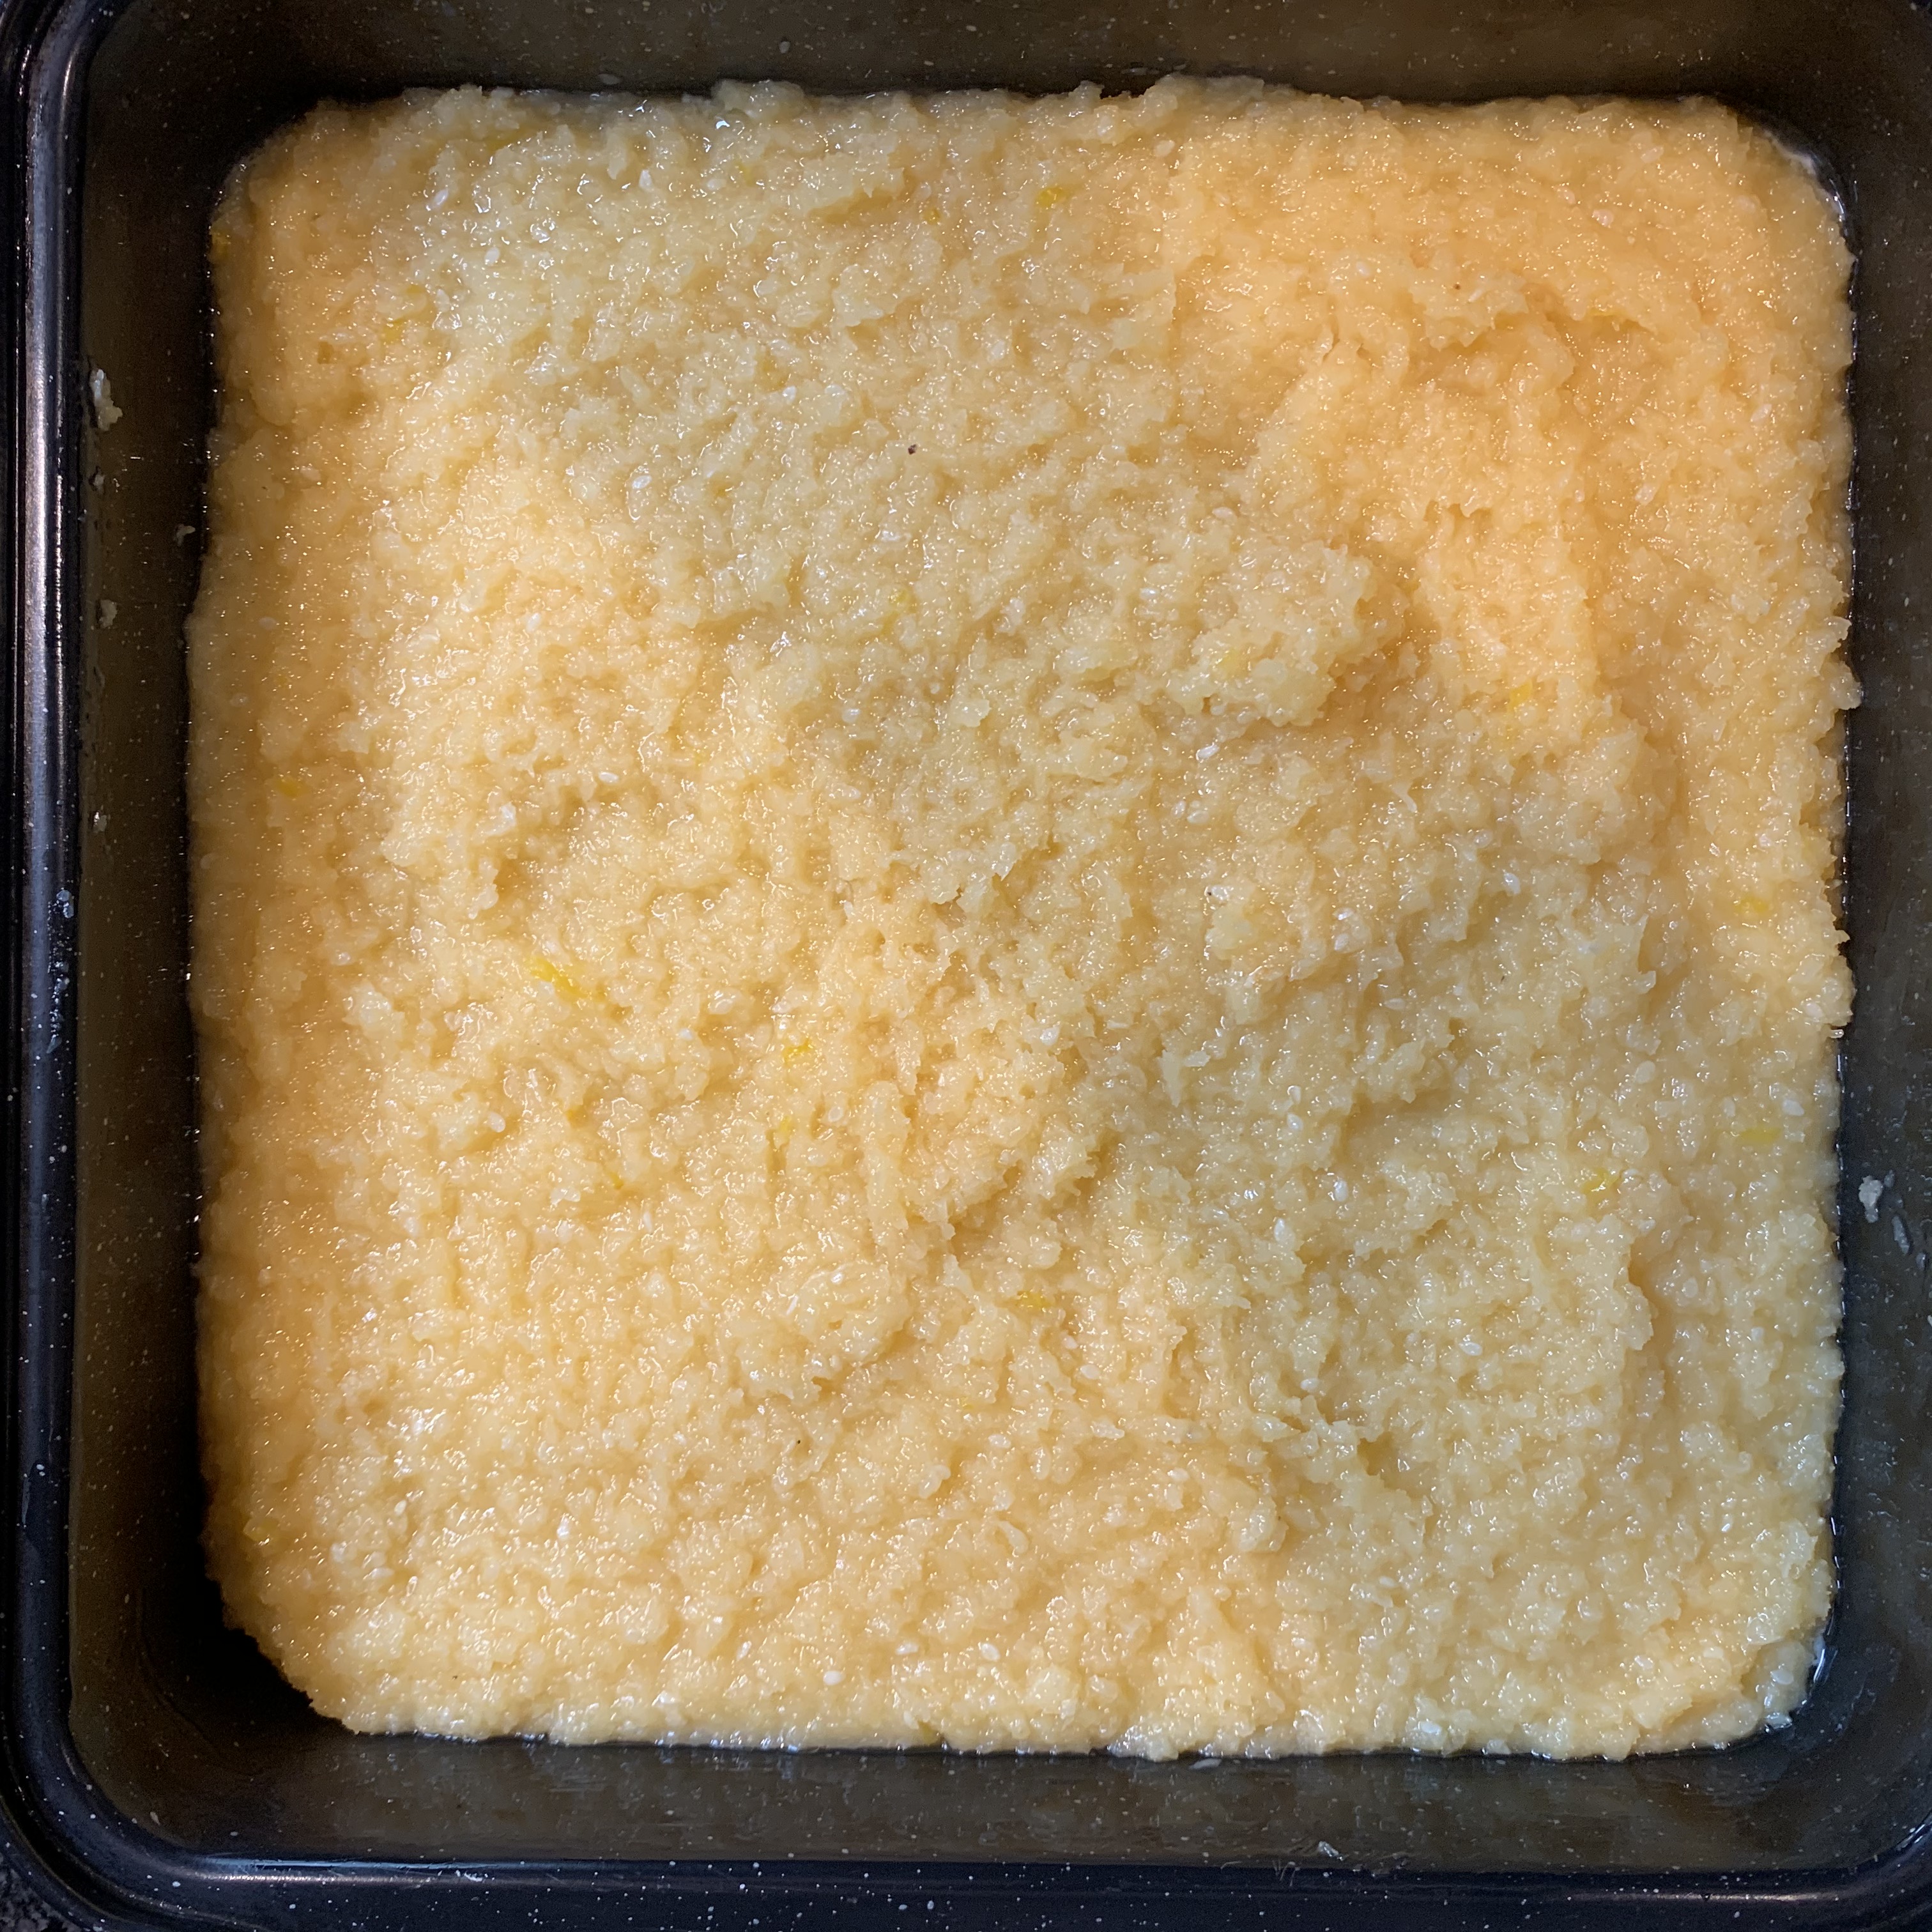
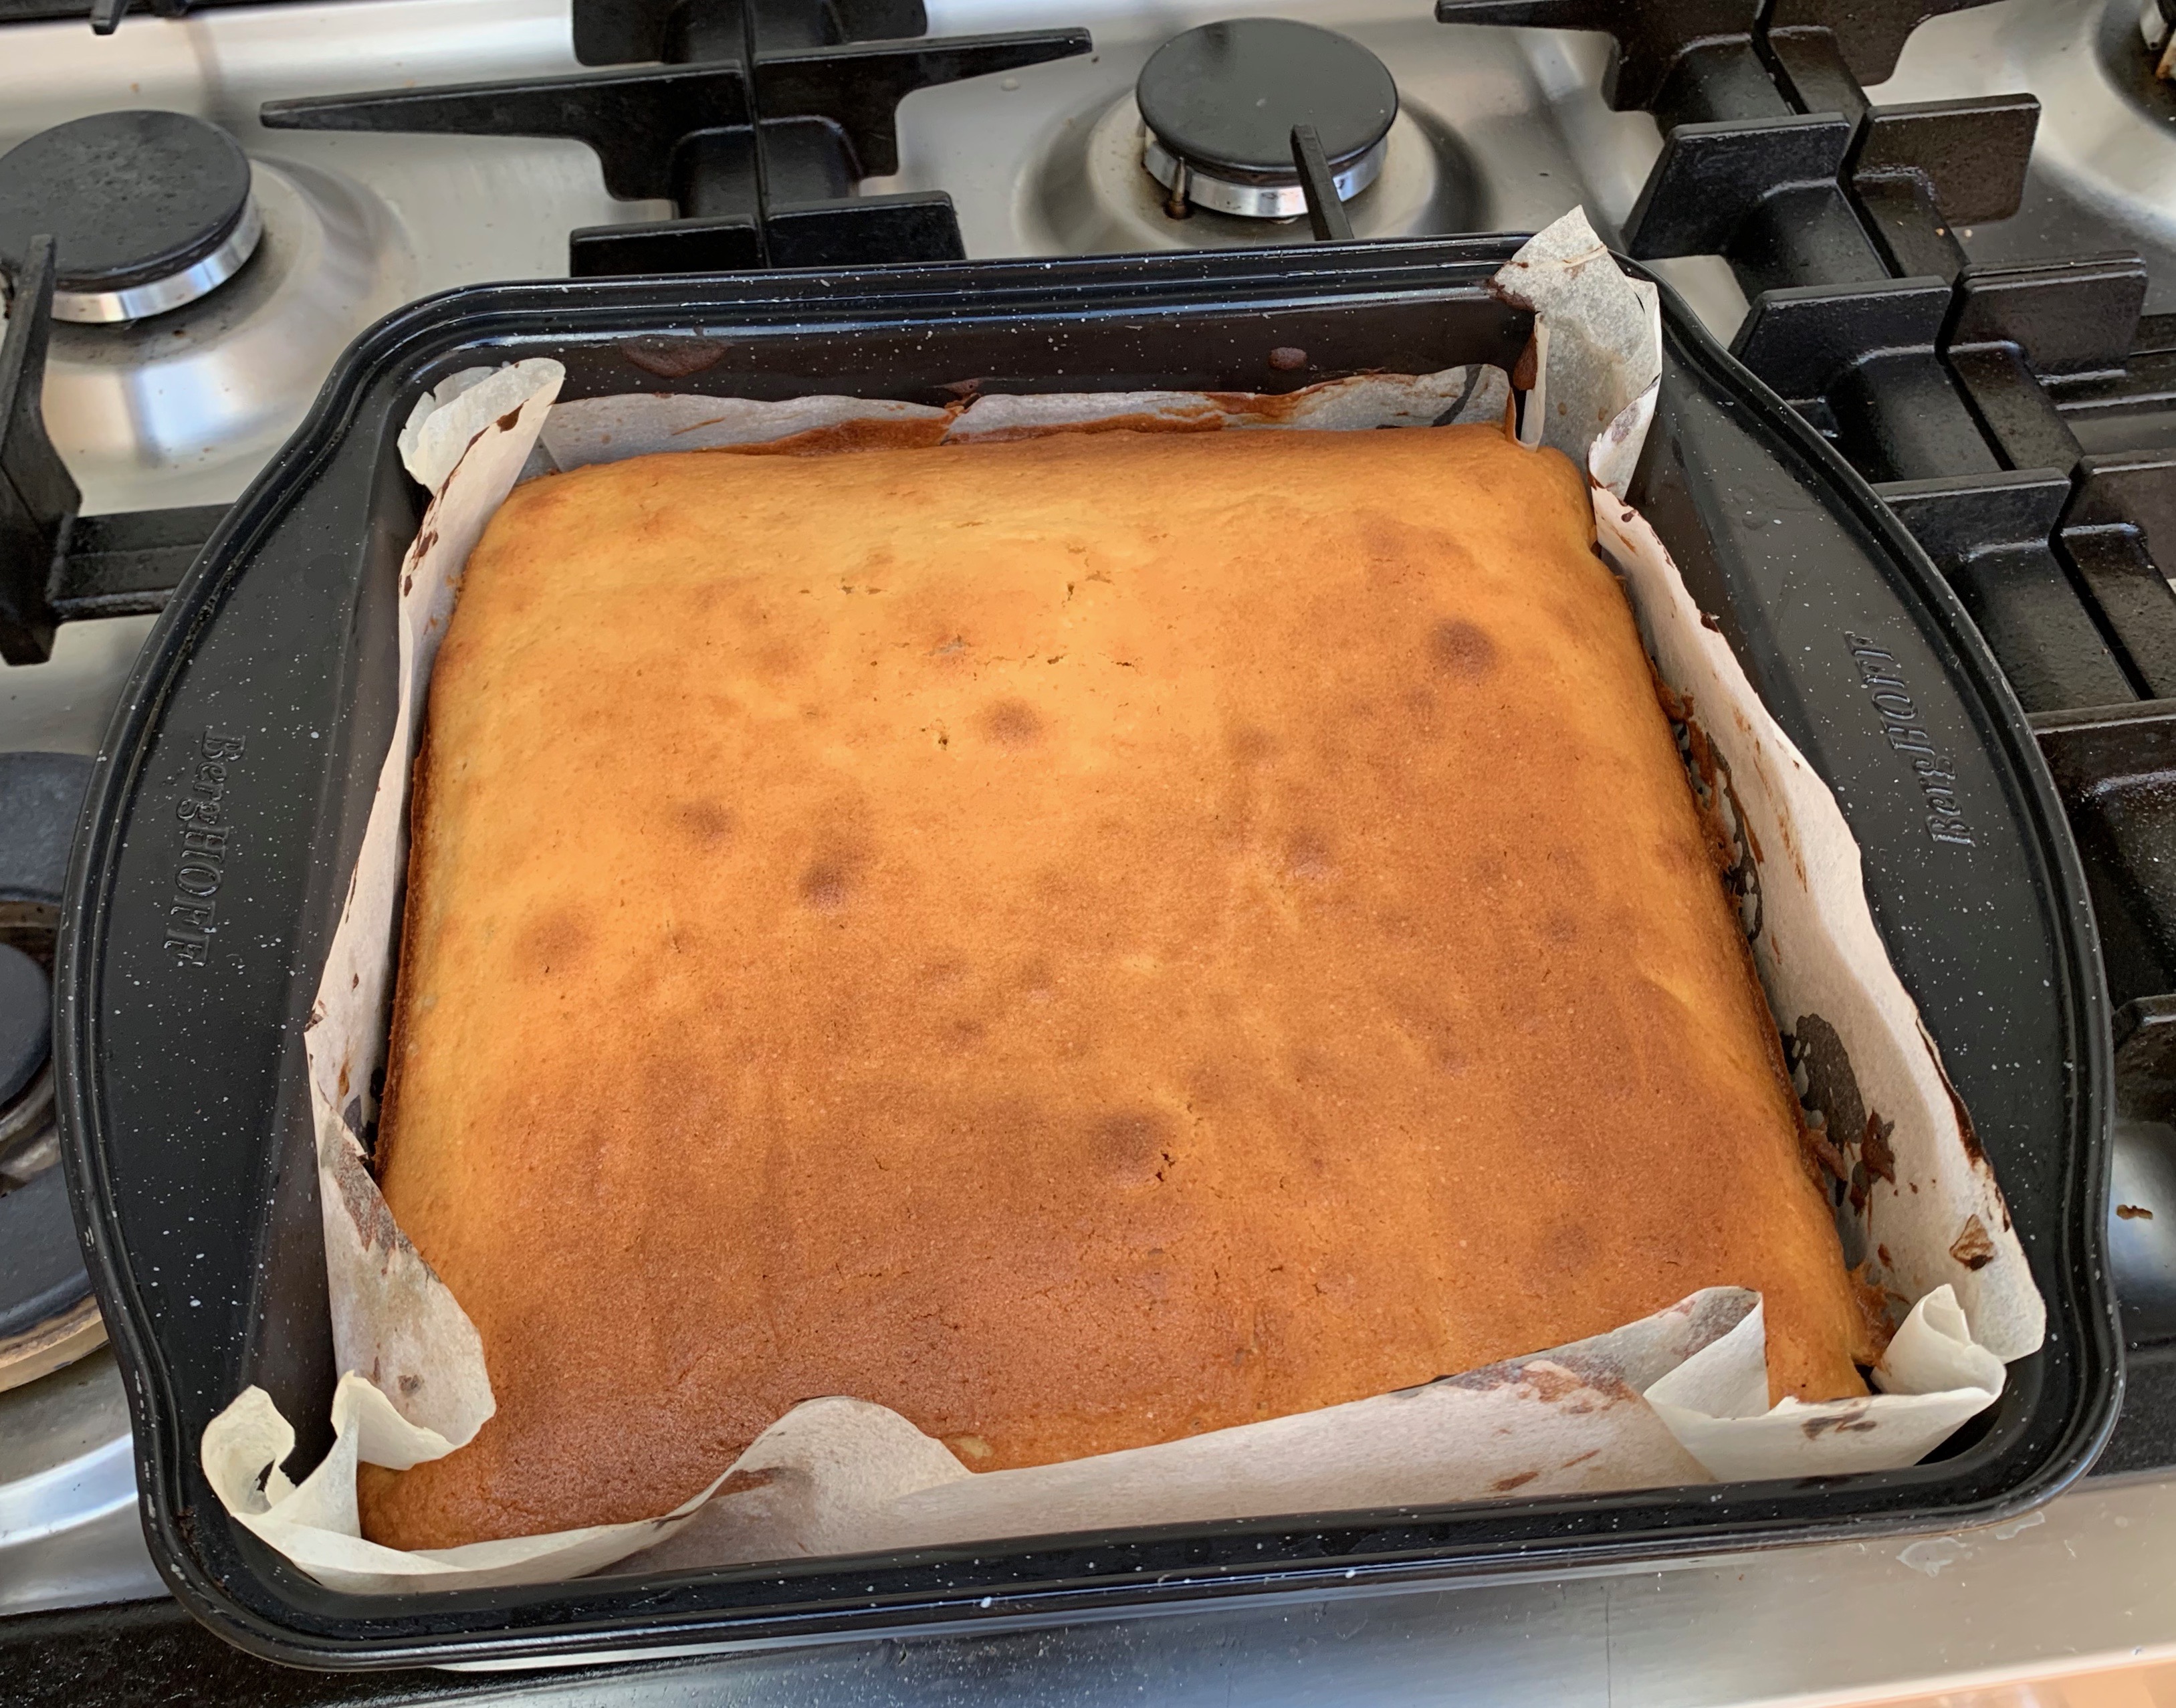
Remove from the heat and spread the batter evenly into your tin.
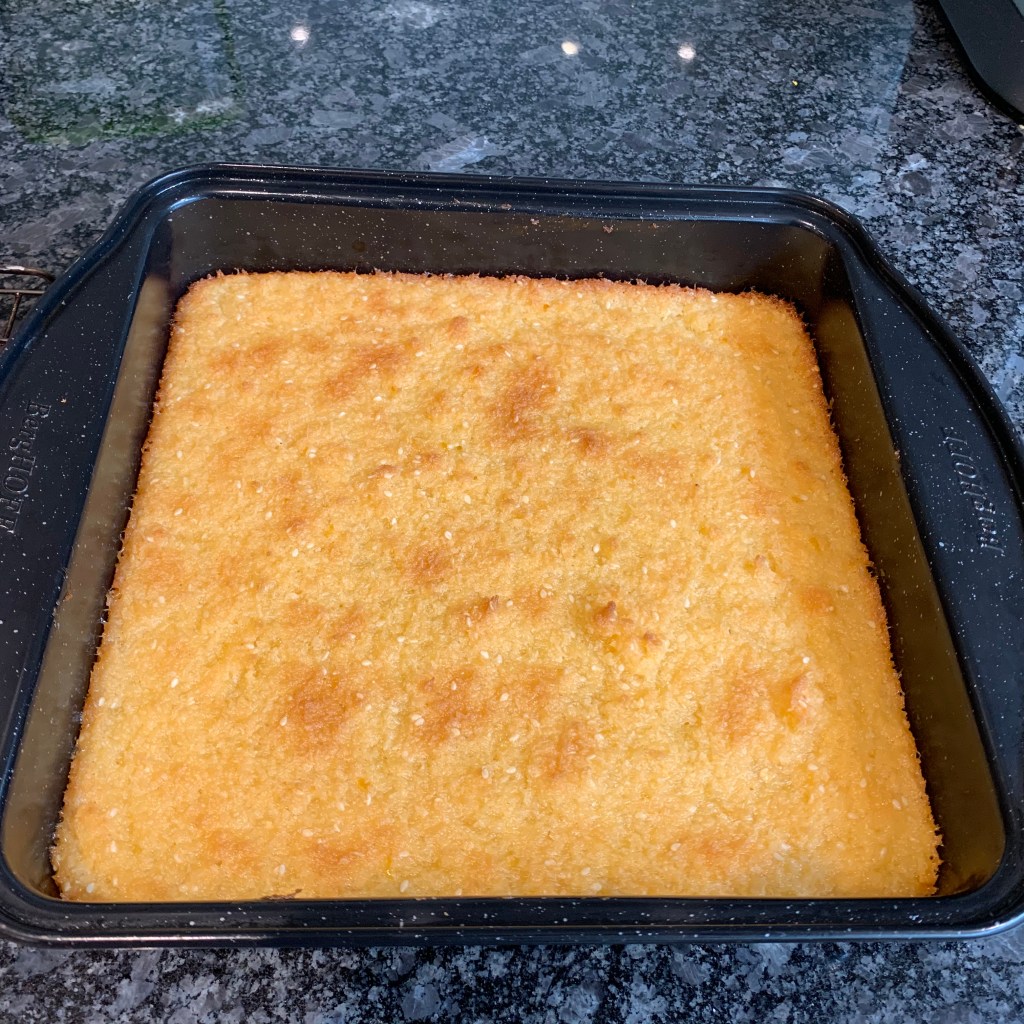
Bake for 30-40 minutes until firm to hard. Use a longer time for a crisp biscuit, a shorter time for a softer brownie-like consistency.
Leave to cool in the tin. You’ll struggle to extract it when it’s still warm.
Remove the whole thing from the tin and cut into squares or rectangles.
Confession time on the photos: I got the baking temperature/time badly wrong on my first attempt and then inexplicably used the wrong baking pan on the second. So my final cocadas are too thin and unevenly baked. But they still taste great…
Having travelled so far to get to Australia and New Zealand for the Lamington, we might as well stay there for the region’s other iconic bake: the ANZAC biscuit. It’s a biscuit with a story, conjuring up images of the wives and sweethearts of soldiers in the Australia and New Zealand Army Corps lovingly baking them to be sent to their embattled loved ones at Gallipoli and other World War I battlefields. Whether or not this is actually true (Wikipedia is mildly sceptical about the evidence), ANZAC biscuits are a feature of Australian and Kiwi veterans’ fundraising events to this day, their popularity stemming not just from the history but from their general deliciousness: the flavour combination of butter, golden syrup and coconut is a surefire winner.
More prosaically, you can think of ANZAC biscuits are a kind of sweet version of the Scottish oatcake (bake 10). They’re fairly straightforward to make: I followed the basic recipe in the ever-reliable taste.com.au, which gives variants for increased crispiness or chewiness. Most recipes are similar, varying mainly in the amount and type of sugar, with occasional other flavourings added such as vanilla essence.
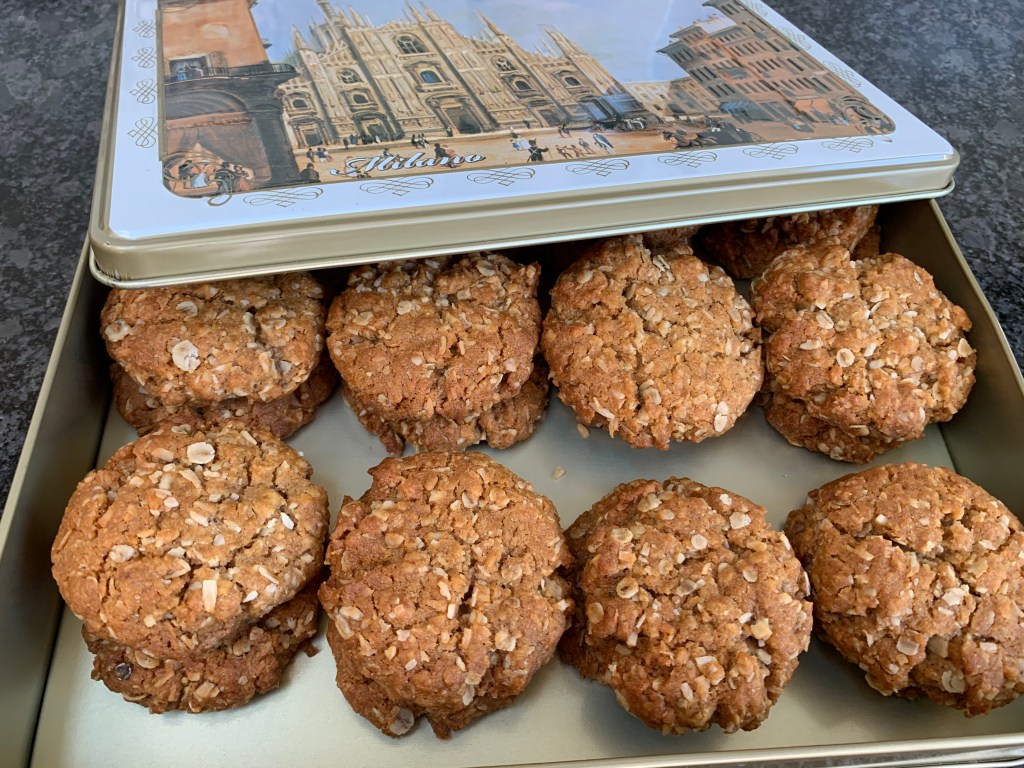
The quantities here make around 30 biscuits (the eagle-eyed will spot a level of attrition on the way to the biscuit tin).
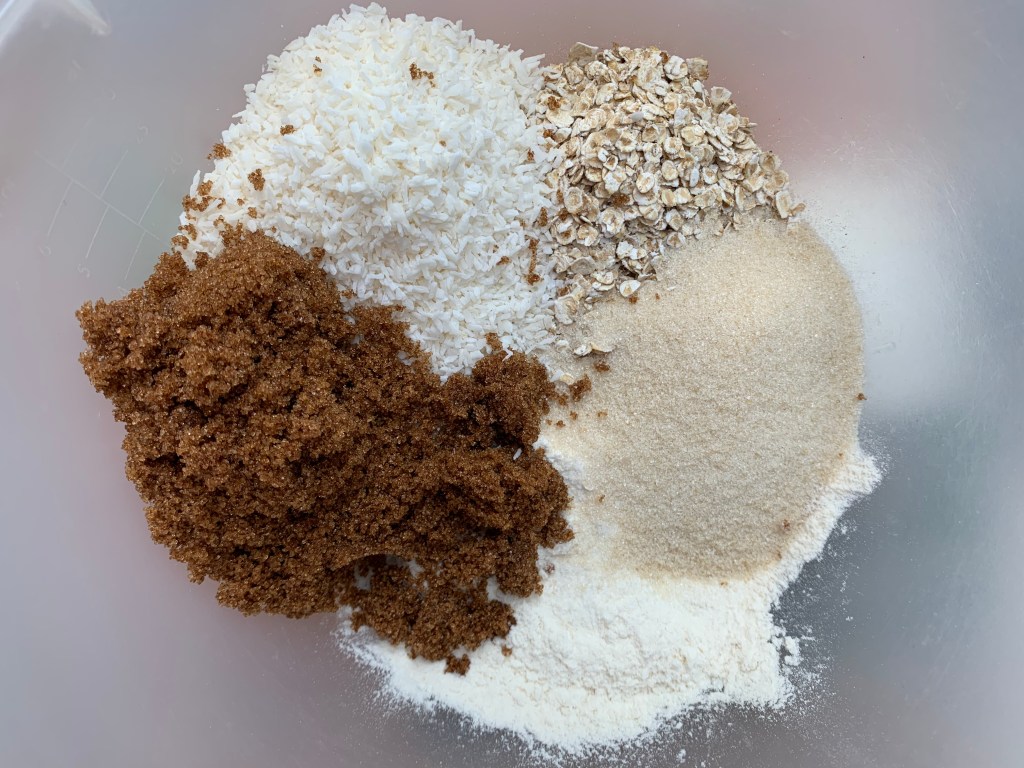
150g plain flour
90g porridge oats (don’t use jumbo oats, which are likely to result in your biscuits falling apart)
85g desiccated coconut
100g brown sugar
55g caster sugar
125g butter
40g golden syrup
30ml water
½tsp bicarbonate of soda
Preheat oven to 160℃ fan
Line a couple of baking trays with baking parchment
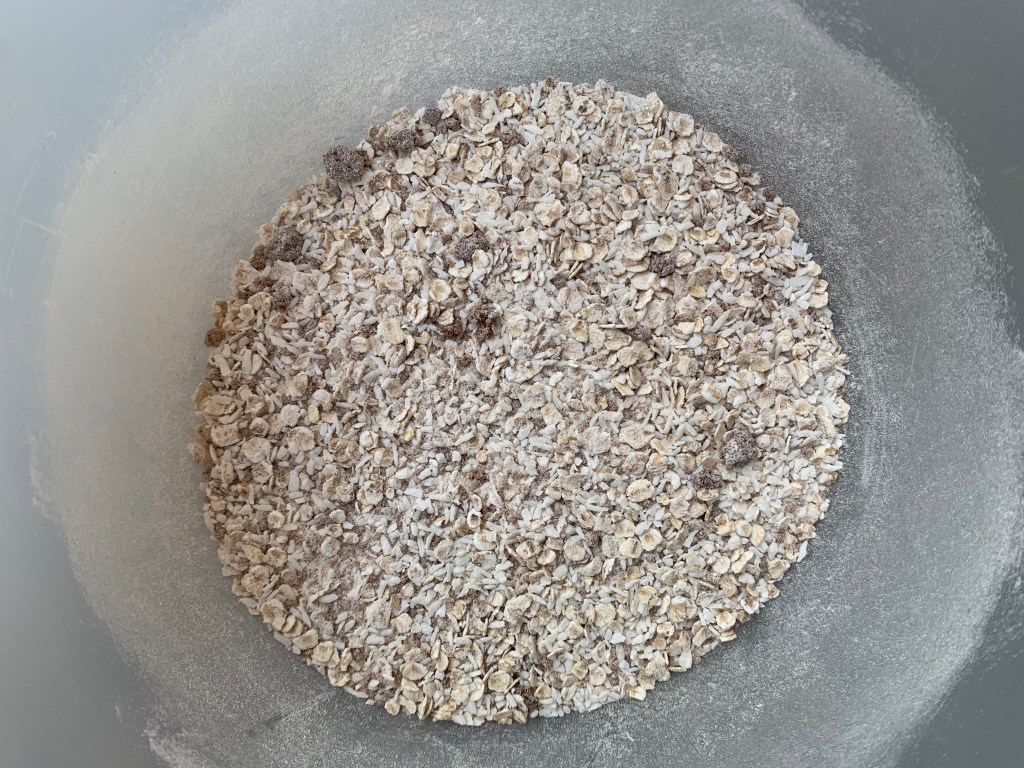
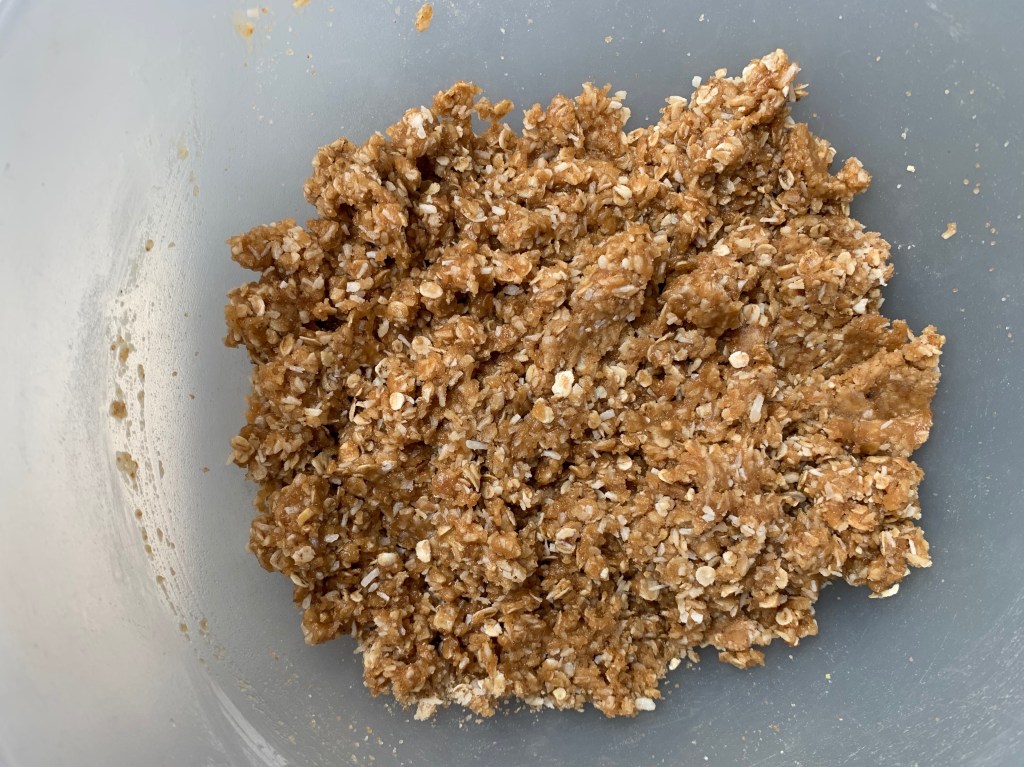
Mix the flour, oats, coconut and sugar in a large bowl.
Cut the butter into pieces and put it into a saucepan with the golden syrup and water. Warm gently until the butter is melted and everything is combined.
Add the bicarbonate of soda to the wet mixture and stir to dissolve.
Pour the wet mixture into your bowl and mix thoroughly. You want to make sure that there’s no dry flour visible when you spoon the mixture away from the sides of the bowl.
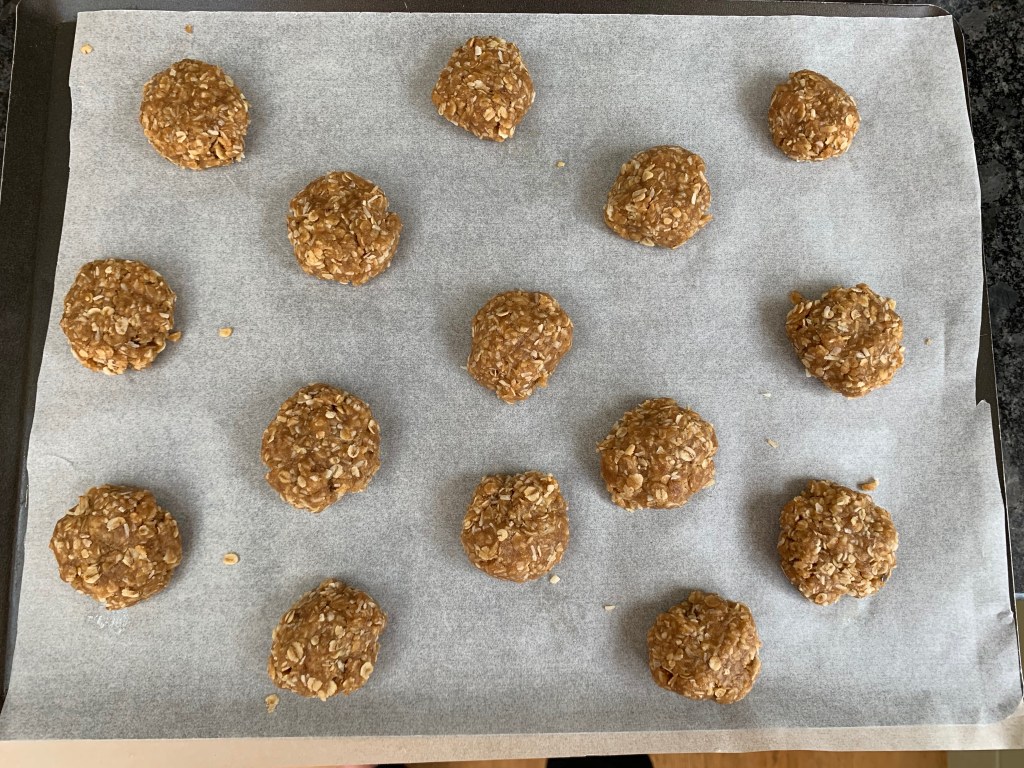
Scoop out a level tablespoon of mixture (this is a good way of getting the biscuits to be around the same size), roll it into a ball and place it on your first baking tray. Now repeat for the others, allowing as much space as you can between your biscuits.
Now press each biscuit slightly flatter. The 1cm thick suggested gets you a biscuit with a slightly chewy centre: going flatter will get you a crispier version. Either way, the biscuits will spread out somewhat during baking.
Bake for around 15 minutes, switching shelves half way to make sure they’re all baked the same amount.
The biscuit actually used as army rations was a completely different thing: a “hardtack” biscuit known as the Anzac Tile and made from wholemeal flour and milk powder.
Since long haul travel looks like being impossible – or at least unwise – for the foreseeable future, let’s travel to the opposite end of the earth in our baking imagination. The Lamington is the definitive Australian cake, named after a sometime governor of Queensland (who apparently didn’t like them, according to TasteAtlas). There’s even a National Lamington Day, on July 21st, so if you’re reading this shortly after publication, you’ve got plenty of time to practise. This makes the Lamington one of a select collection of baked goods to have its own annual celebration day (cinnamon rolls are another, with Sweden’s Kanelbullens dag).
The recipe for Lamingtons could be written in a single line: cut a sponge cake into cubes, dip each cube in chocolate icing and roll it in desiccated coconut. I’m going to go into a bit more detail (after all, what self-respecting baking blog wouldn’t) but here’s the point: they’re a great option for hot weather because the coconut helps to stop everything melting onto your fingers. Anyway, I’m a sucker for anything made with coconut, so what’s not to like?
Most Lamington recipes are broadly similar. In fact, they don’t really vary much from the first recipe on record, from Queensland Country Life in 1900. You’ve basically got a couple of choices: filled/unfilled and portion-sized/bite-sized. Also, you can choose to use a filling or not. The original recipe specifies more icing, but you can also use whipped cream and/or raspberry jam, which is popular in New Zealand. I’ve gone for plain, largely because I think the recipe is sweet enough as it is, and anyway, keeping the cube structure looks really tricky with two layers of cake stuck together.
The much quoted Australian recipe in taste.com.au gets you 15 cakes of around 6cm on a side, which is a reasonable full portion size; Jamie Oliver’s somewhat different recipe gets you 30 cakes from around the same total weight of ingredients, which makes it more suitable for finger food at a party when there’s lots of other stuff. I’ve kept the sugar down a bit in my version.
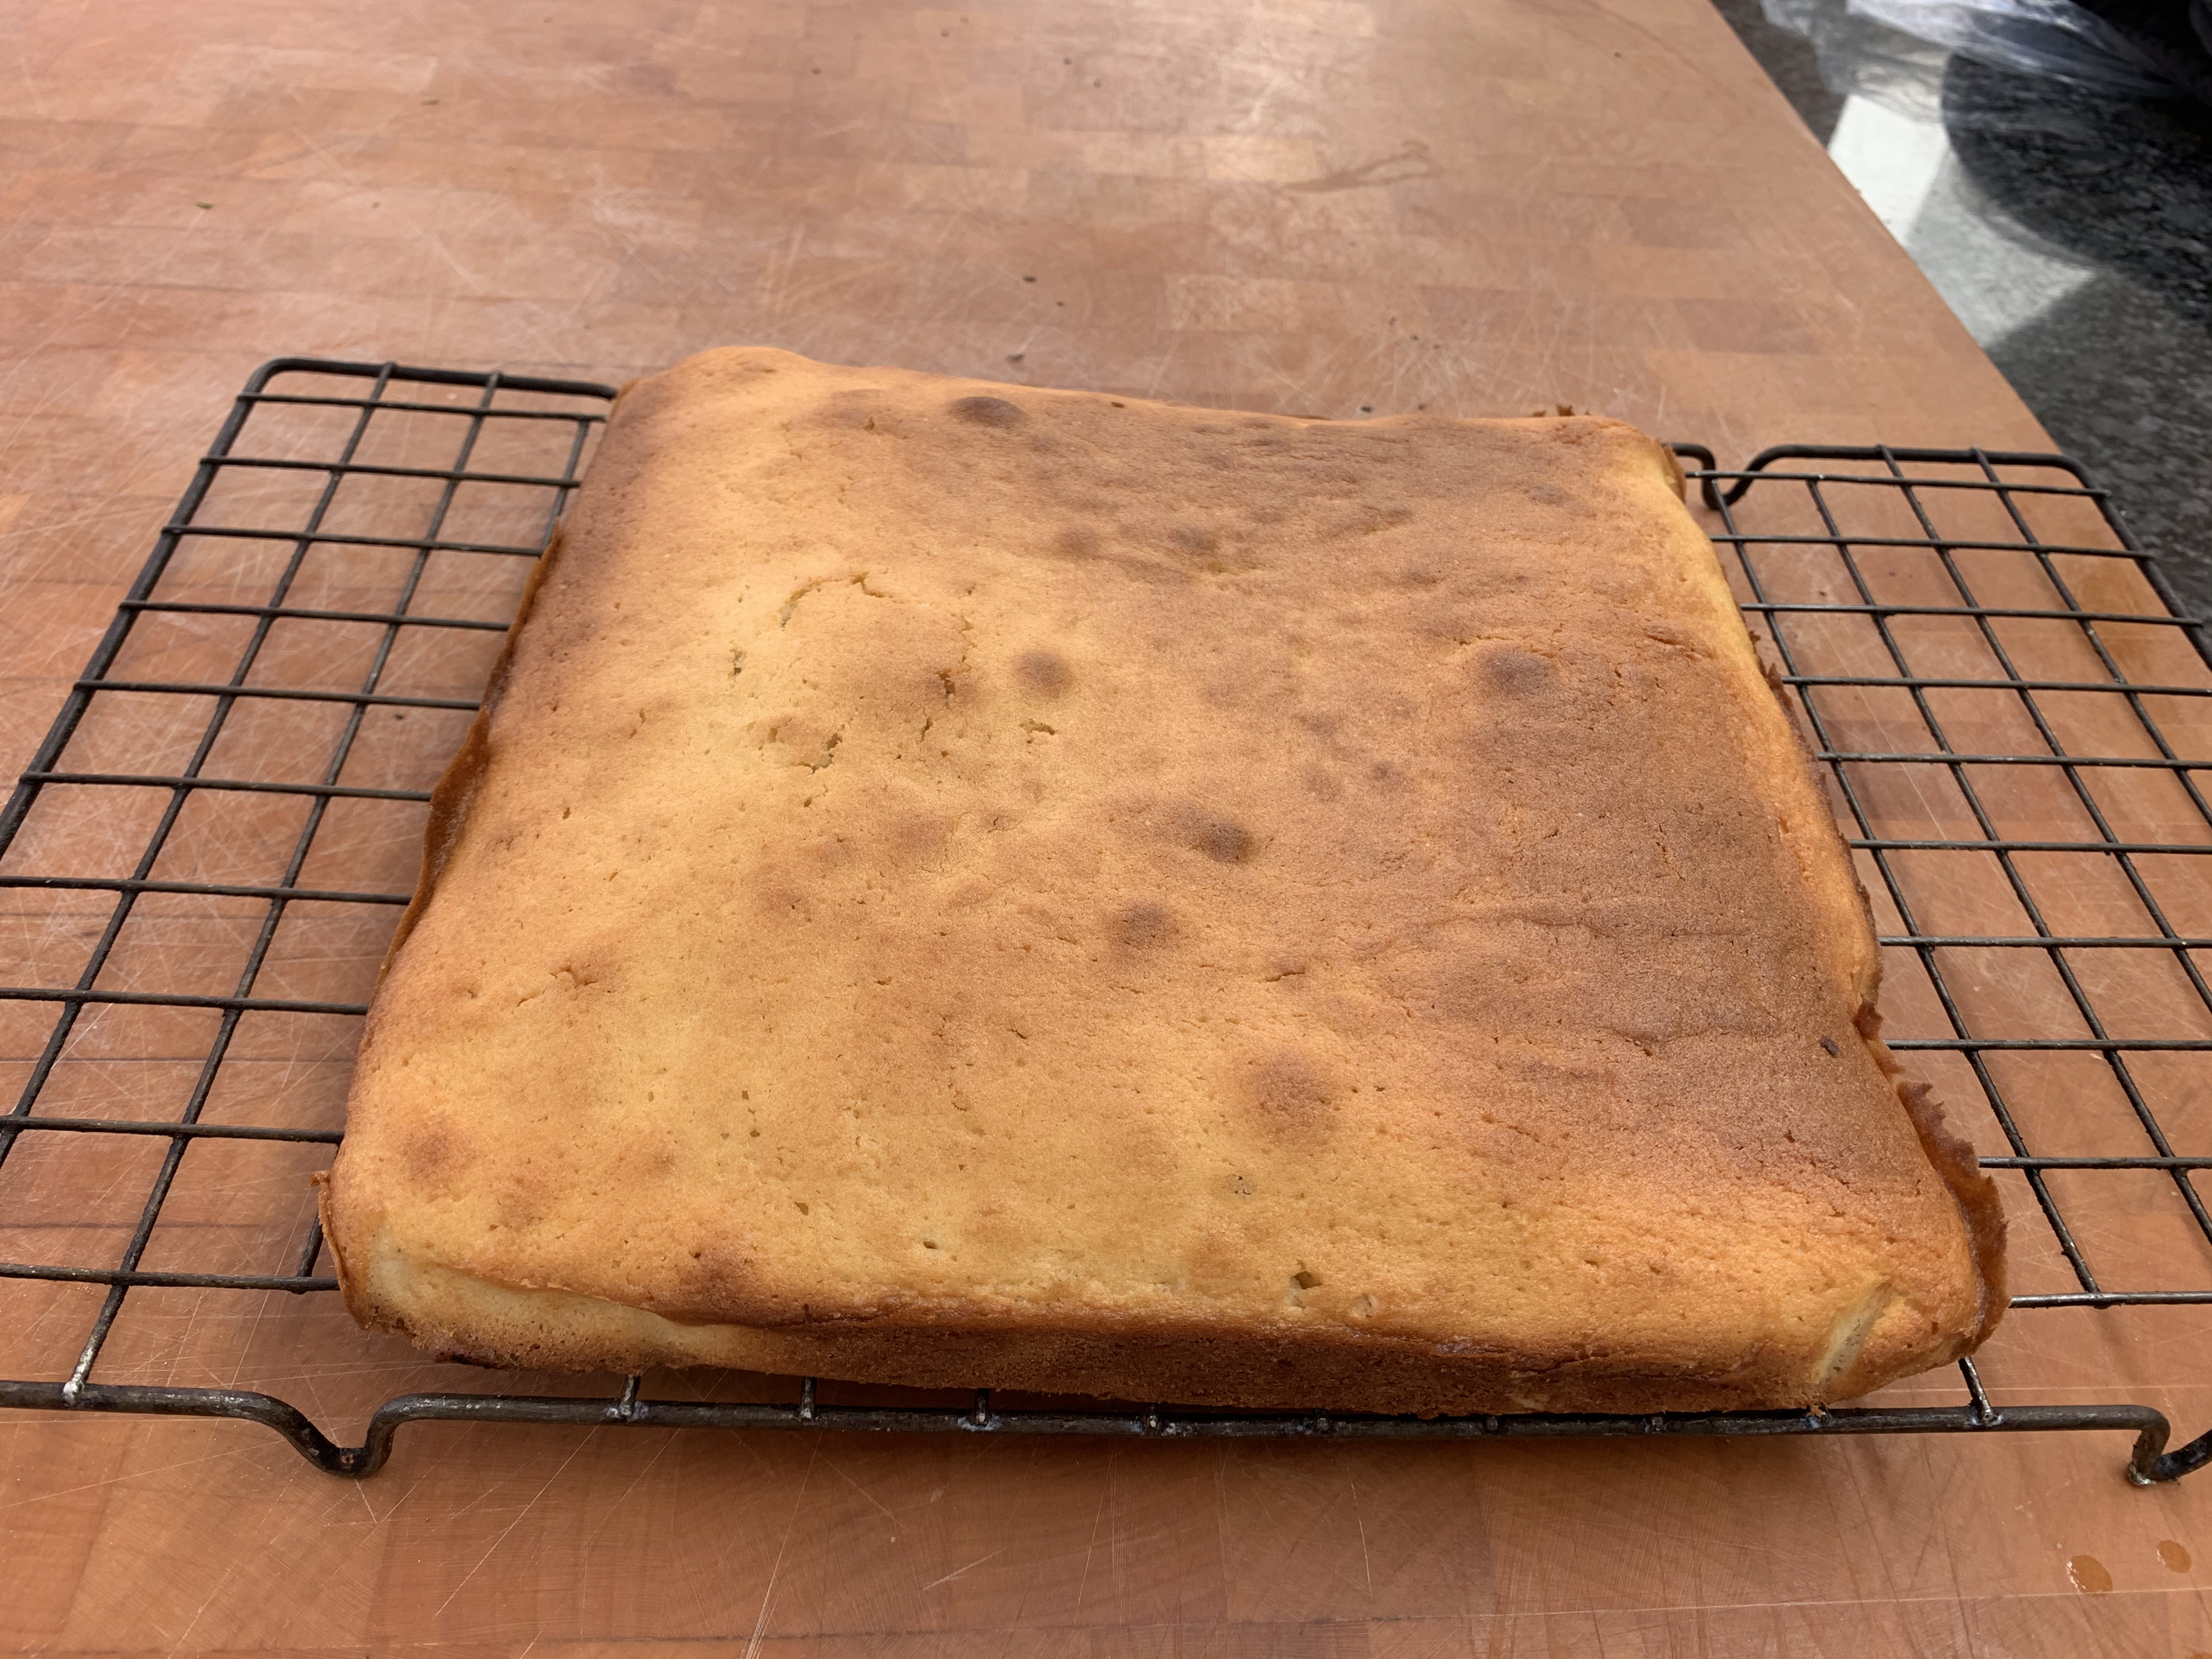
What everyone agrees is that you should make the cake the day before you try to ice it: otherwise, your cake is going to fall apart horribly when you try to dip it. So here’s the day 1 part of the recipe:
150g sugar
125g butter
3 medium eggs or 2 large
240g self-raising flour, sifted
120ml milk
Preheat oven to 180℃ (or 160℃ fan)
Grease and line a baking pan (purpose made “Lamington pans” tend to be 20cm x 30cm; mine is 23cm square)
Cream the butter and sugar together
Add the eggs, one at a time, beating after each one
Add half the flour and beat, then half the milk and beat, then repeat
Pour the mixture into your baking pan; do your best to spread it evenly
Bake for around 20-30 minutes, use the usual “a skewer should come out dry” test
Cool in the pan for 10 minutes and then on a rack
Seal with cling film or in a tupperware and refrigerate overnight
The next morning, you’ll be doing the icing and rolling.
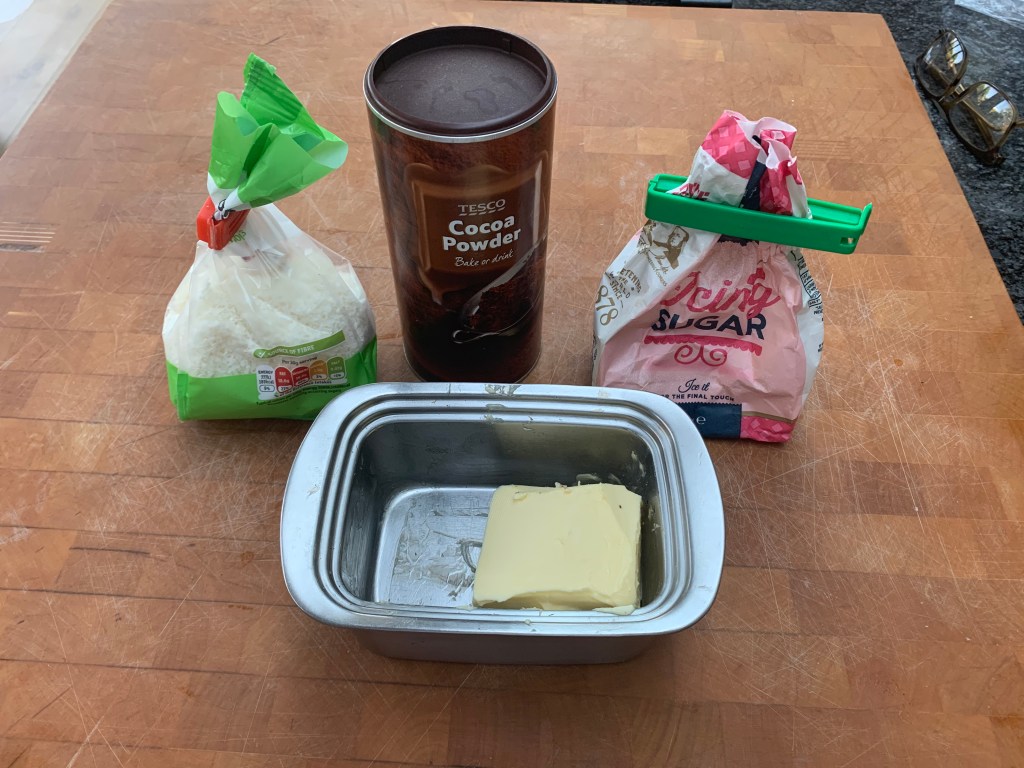
Dessicated coconut: you’ll need somewhere in the region of 300-350g, but it really depends on your rolling technique
350g icing sugar
25g cocoa
15g butter, softened
125ml boiling water
You might as well start by getting the coconut ready: you’ll want a decent amount of it in a shallow dish into which you’re going to roll your cakes and the rest in a separate bowl which you’re going to attempt to keep clear of drips of chocolate. Also get a cooling rack ready, putting it on a surface which you’ll be able to clean easily, because icing will drip onto it despite your best efforts.
Next:
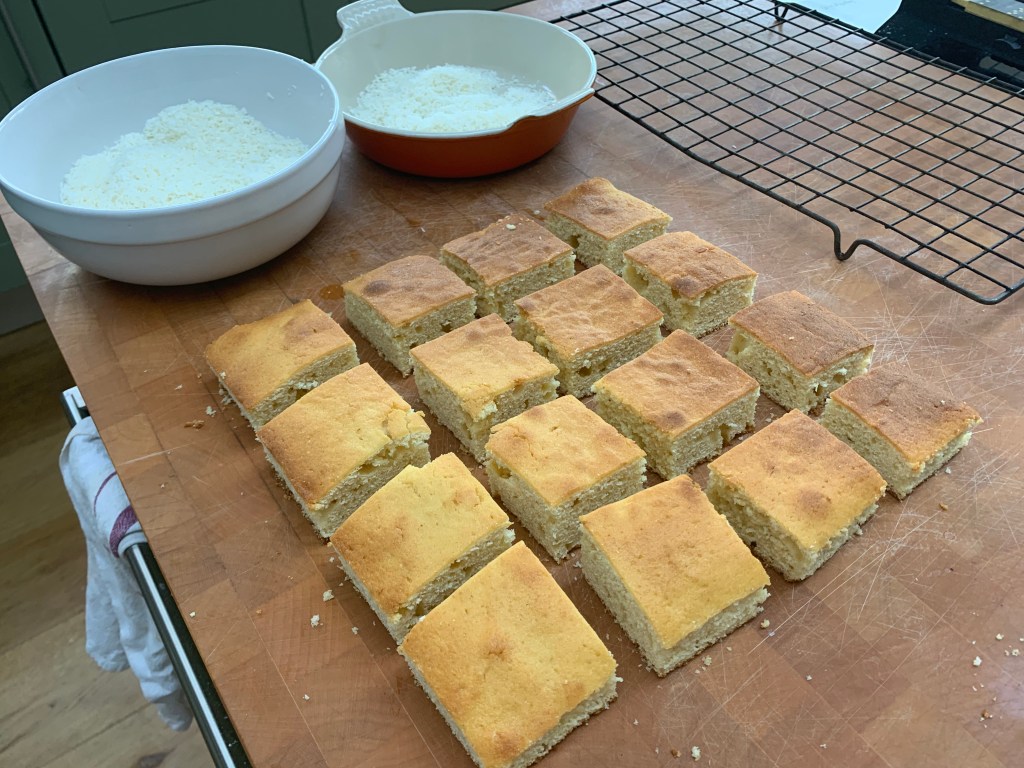
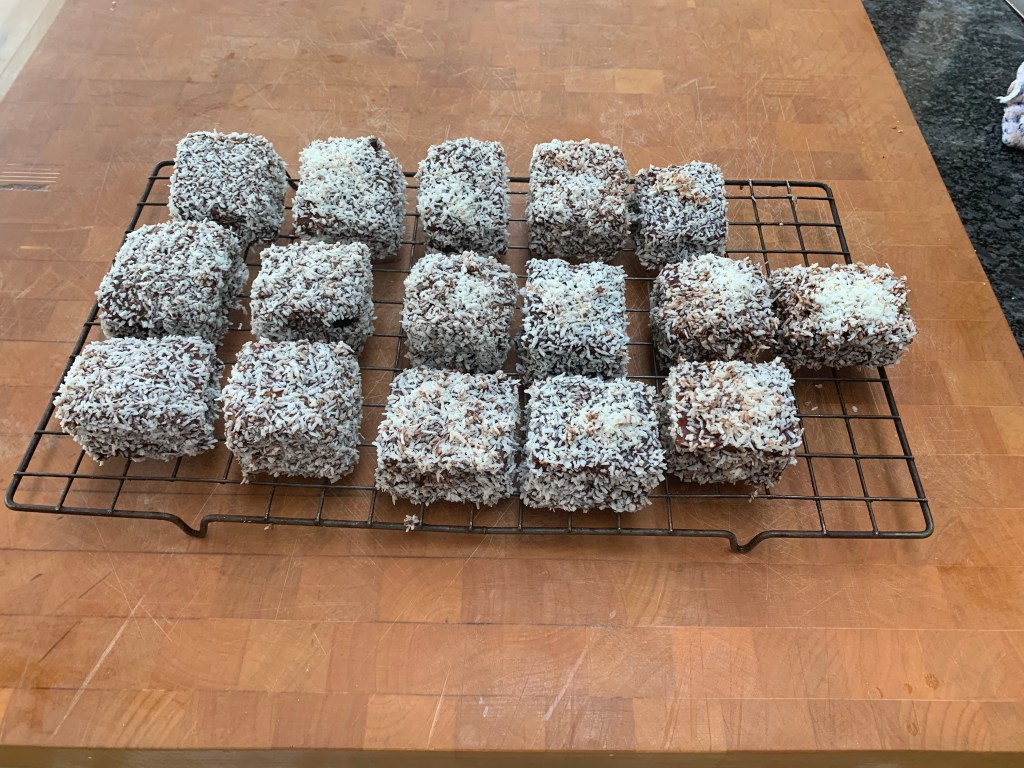
Trim off the edges of the cake and cut it into your preferred size. With my square pan, I cut it into 16 squares around 5½cm on a side (they weren’t quite tall enough to be cubes, but it was close enough). A 20 x 30cm Lamington pan will get you 15 6cm squares.
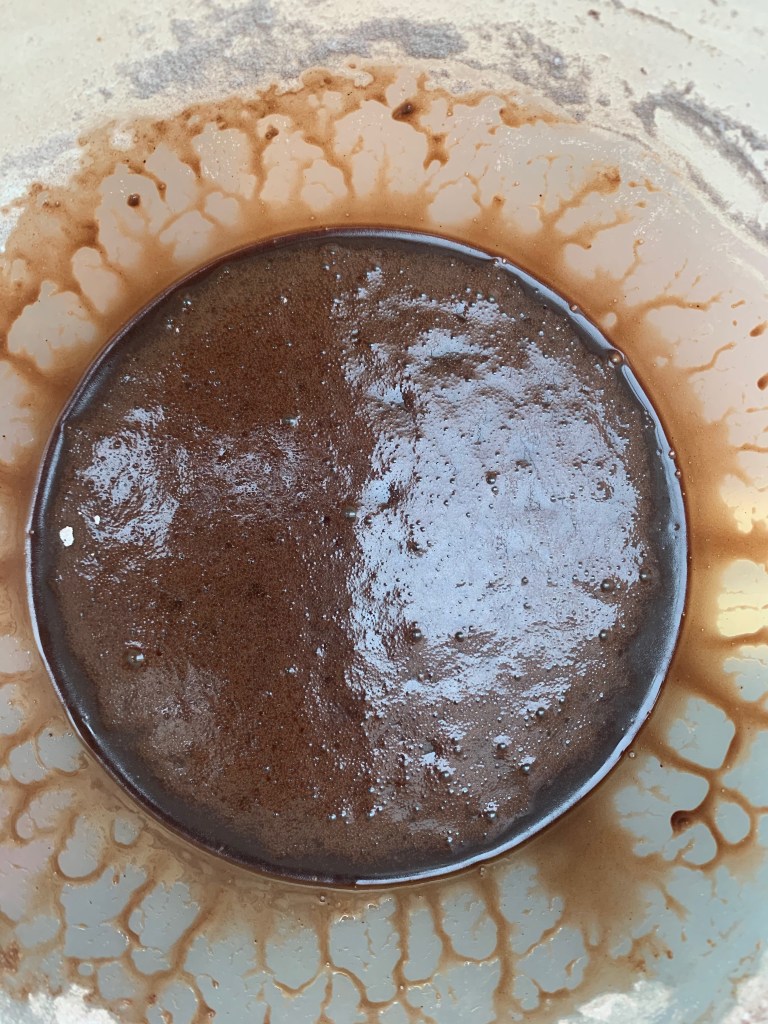
Sift the icing sugar and cocoa into a bowl, using the finest sieve you have. You’d be amazed at how lumpy they both of these can be when coming straight out of the packet.
Add the butter and boiling water and then whisk until you’ve got all of the lumps out. You will have a wet, liquid icing.
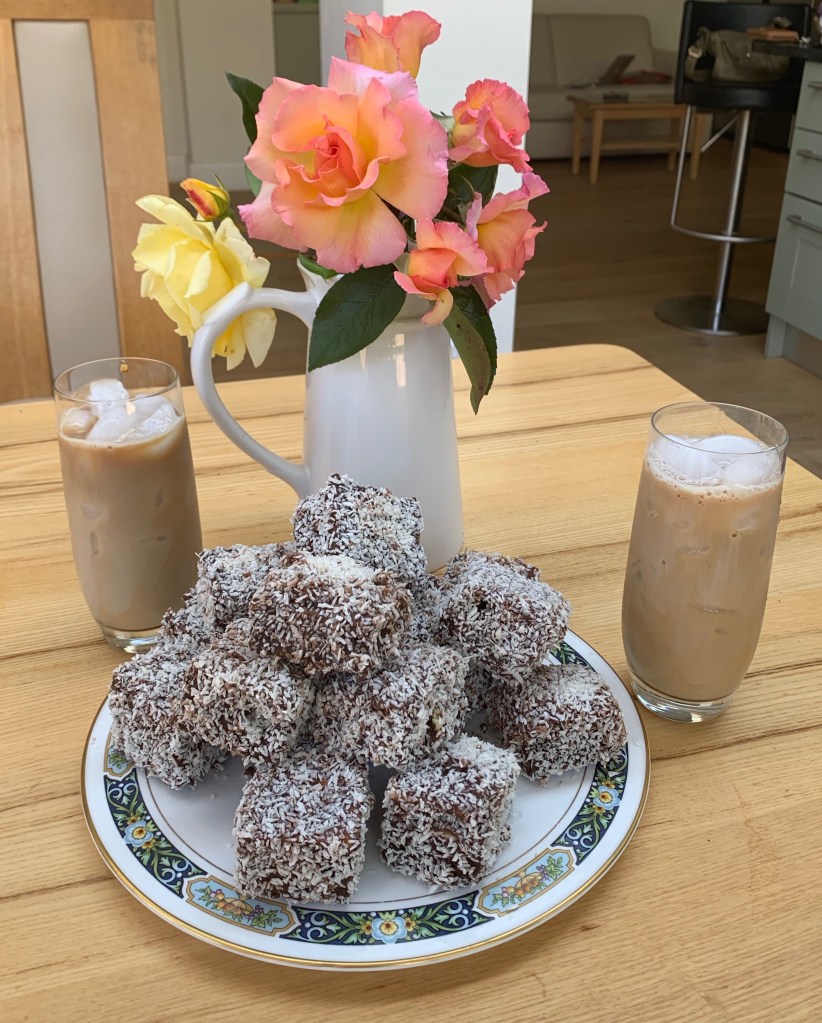
Here’s the tricky bit: you now need to completely cover each cake in icing and then roll it in desiccated coconut without making a giant, gooey mess. I did this by dropping the cake in the icing, turning it over gently with a fork and then picking it up by sticking the fork into it. I held the cake over the bowl of icing to let the excess drip off and then transferred the cake to the shallow bowl of coconut to coat the bottom; I then sprinkled coconut from the other bowl onto any sides that weren’t covered and shook of the excess (for use on the next cube.).
Having transferred all your completed Lamingtons to the rack, leave them for a couple of hours for the icing to set.
That’s it. On a hot day, a Lamington and a glass of iced coffee is a snack fit for a king.