Tag: South American food

Around the world in 80 bakes, no.57: Arepas from Venezuela

Around the world in 80 bakes, no.57: Arepas from Venezuela

Arepas are thick circular cakes made of cornmeal. They’re ubiquitous in Venezuela and Colombia and have been around in the area for at least 3,000 years. They’re served with myriad fillings, either as part of a main meal or as a snack – they’re a popular street food item.

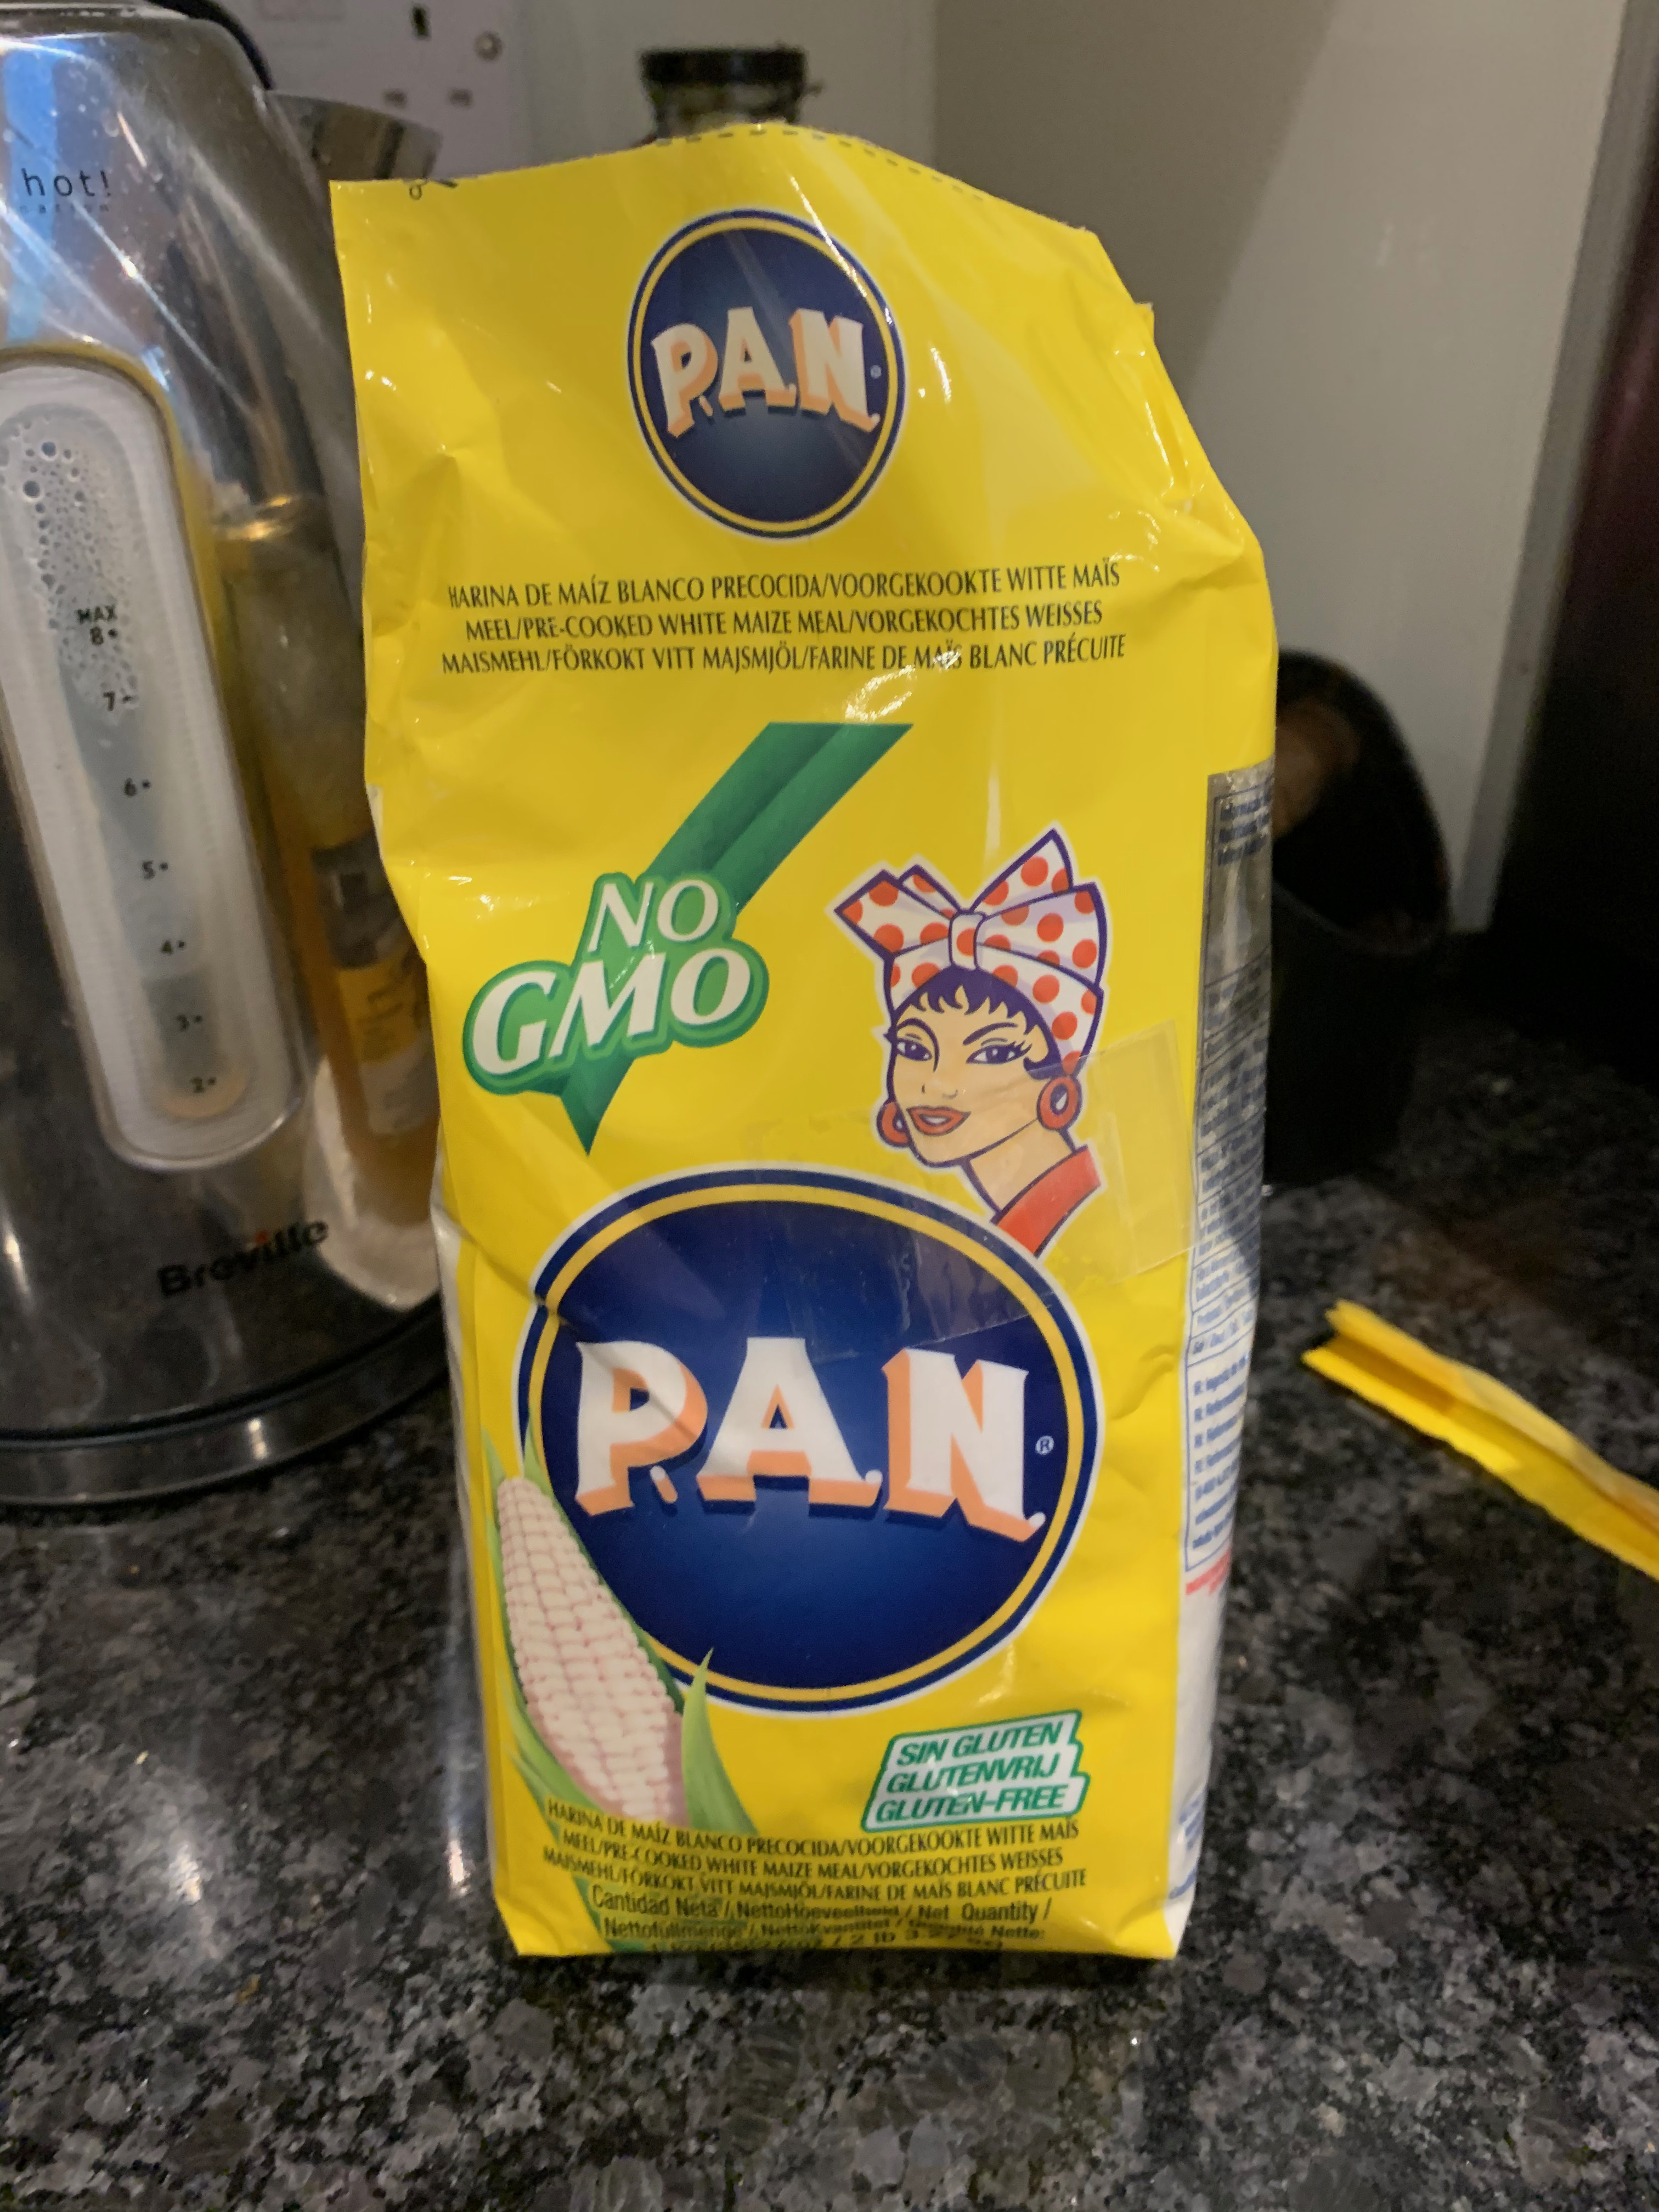
The final parts of the arepa-making process – making the dough, forming the cakes, frying them and  (optionally) finishing them in the oven – are straightforward enough for a non-native home cook. The beginning part – grinding the corn and the “nixtimalisation” process of boiling it up with lime – are best left to the professionals unless you’re really, really dedicated. The resulting ground meal is called masarepa and the most readily available brand in the UK (and, I suspect, elsewhere) is called Harina PAN. It comes in several varieties: I chose the plain white one, although I’ve also bought a packet of the yellow version for experiments yet to come.

I took my recipe for the arepas themselves from a post on healthiersteps.com: as well as your choice of masa, available variations include the addition of dairy products. All of butter, milk or quesito (white soft cheese) show up in recipes.

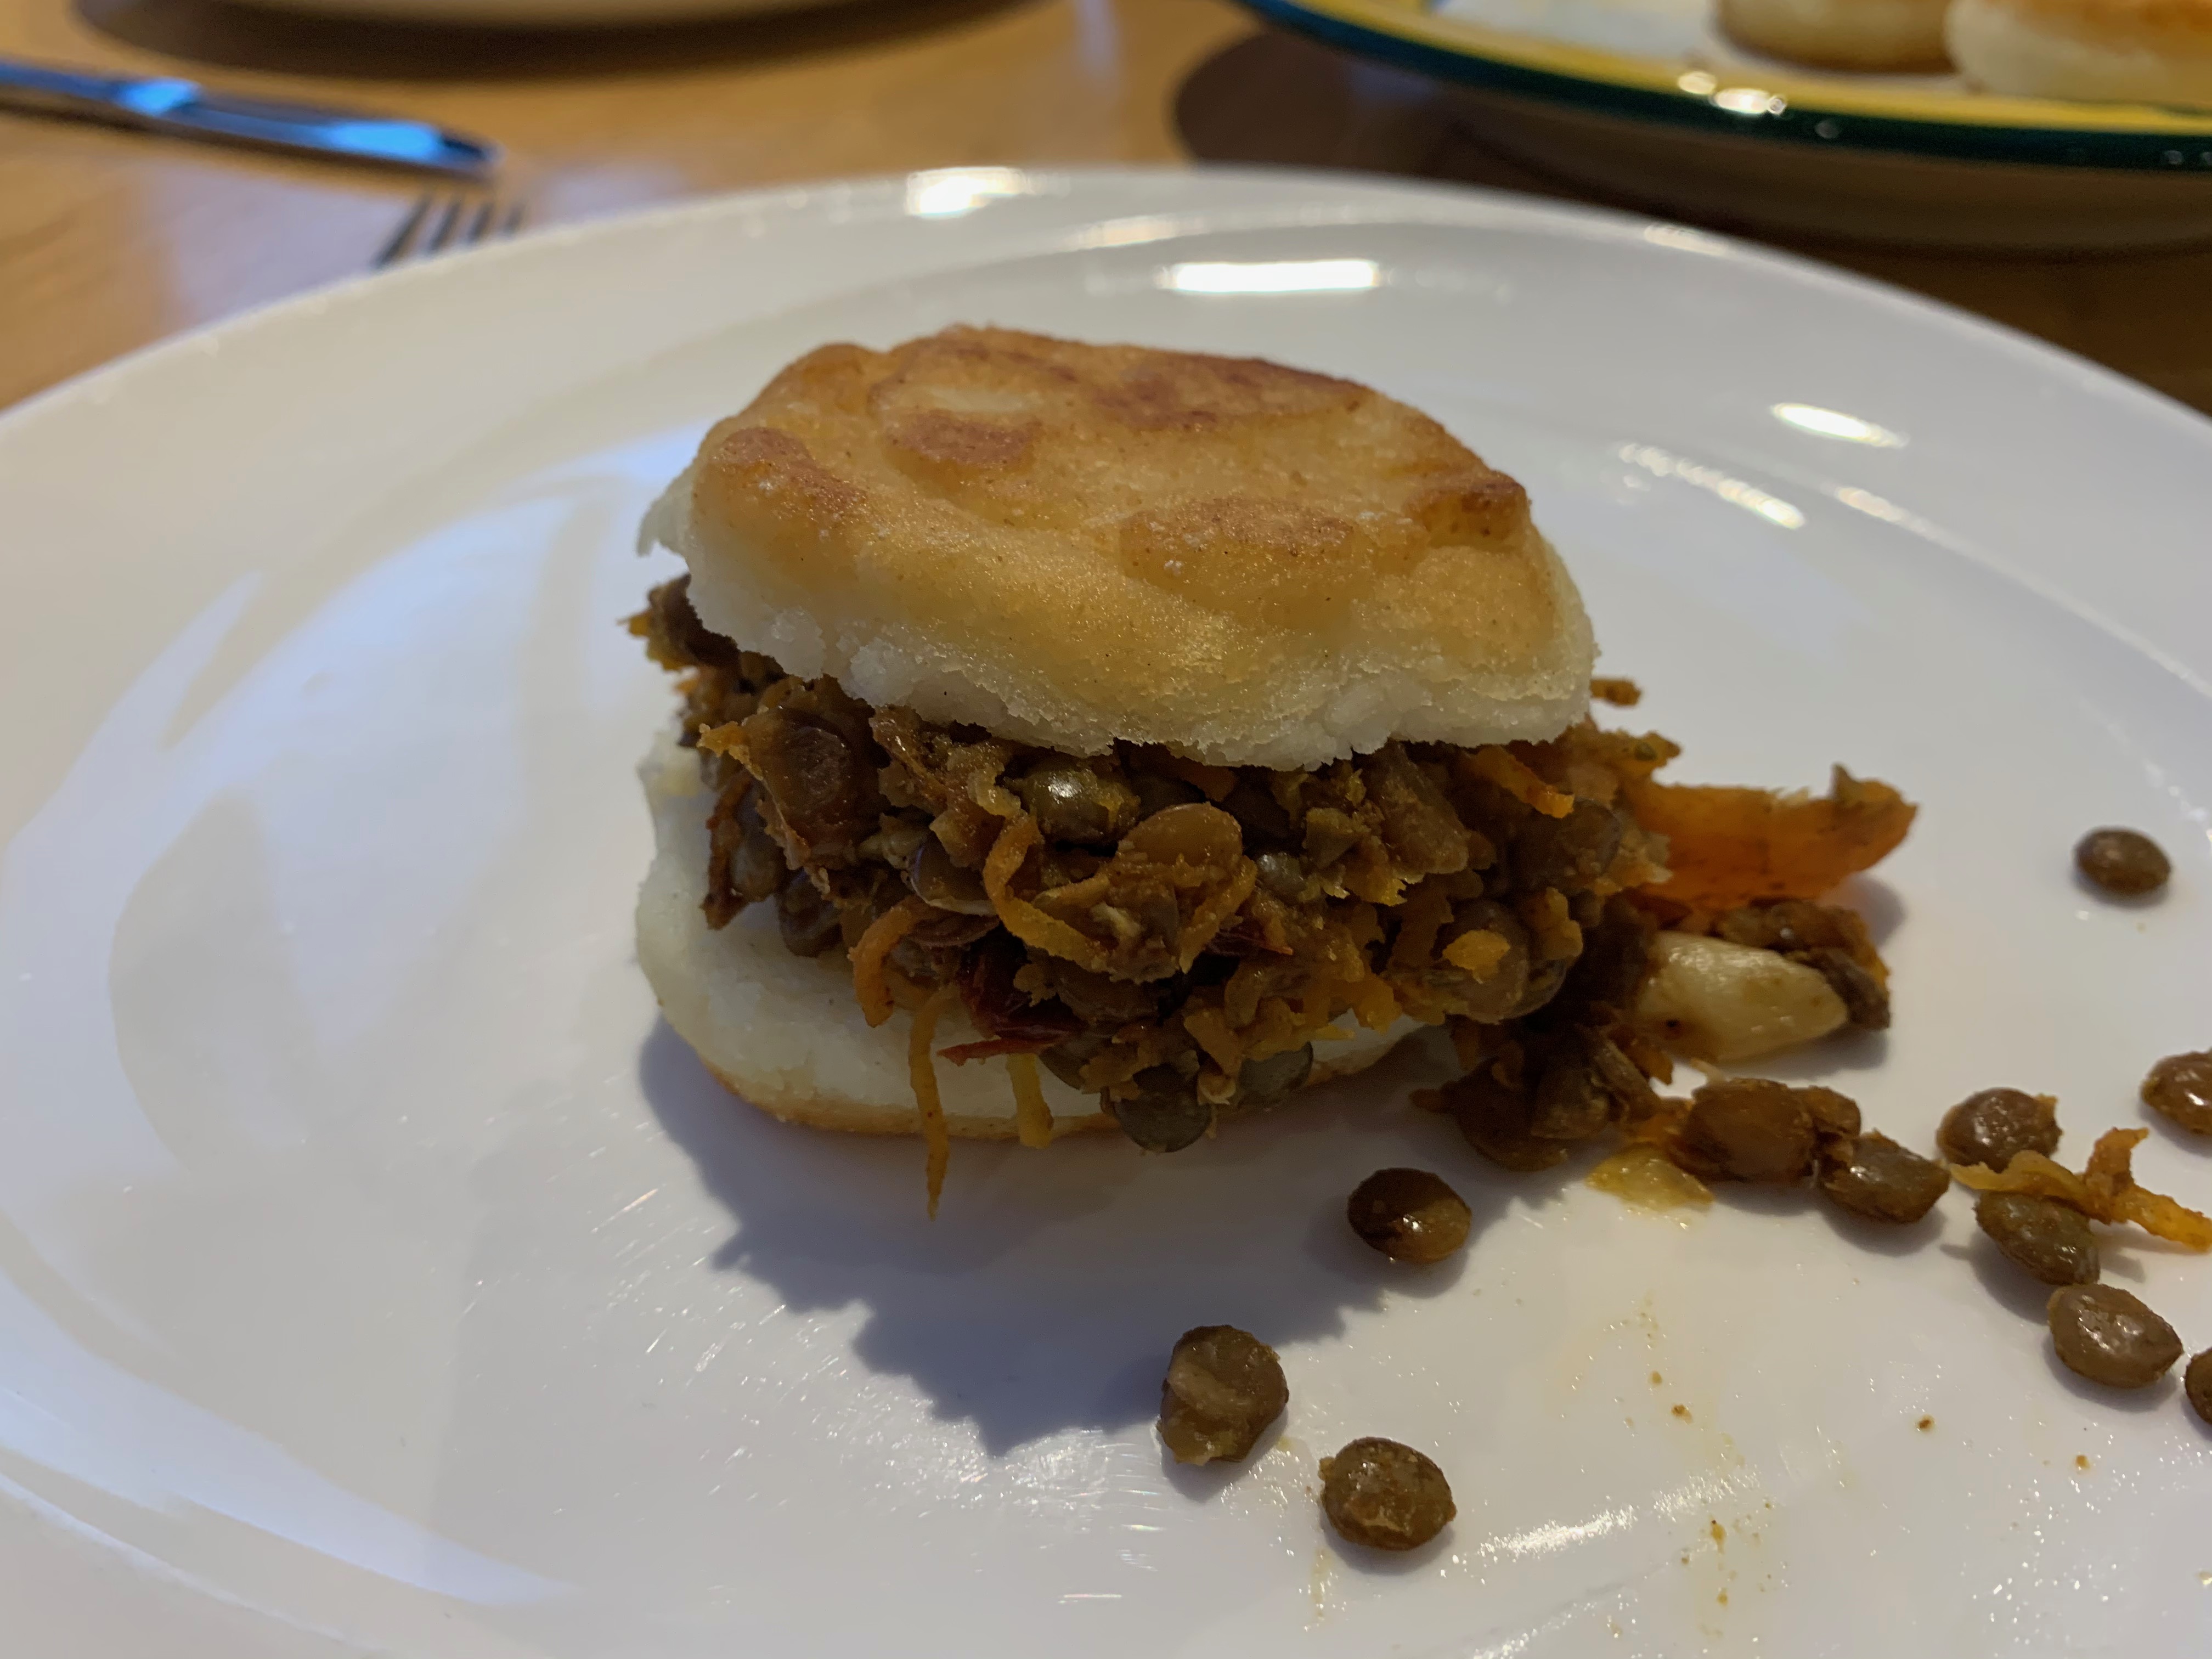
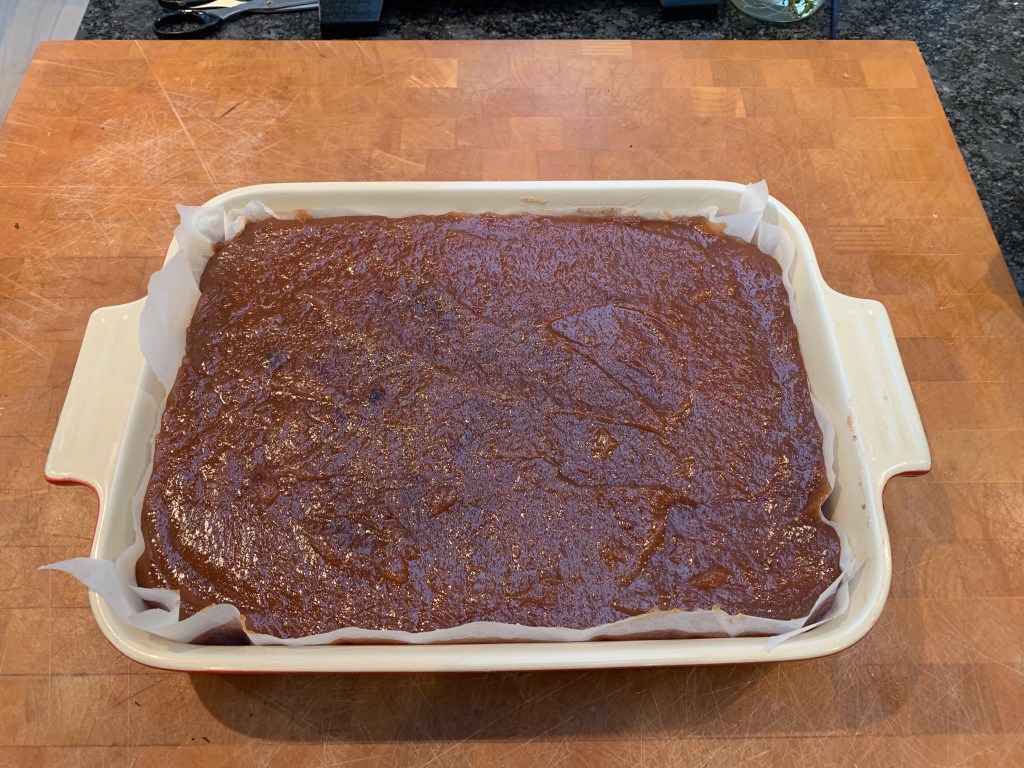
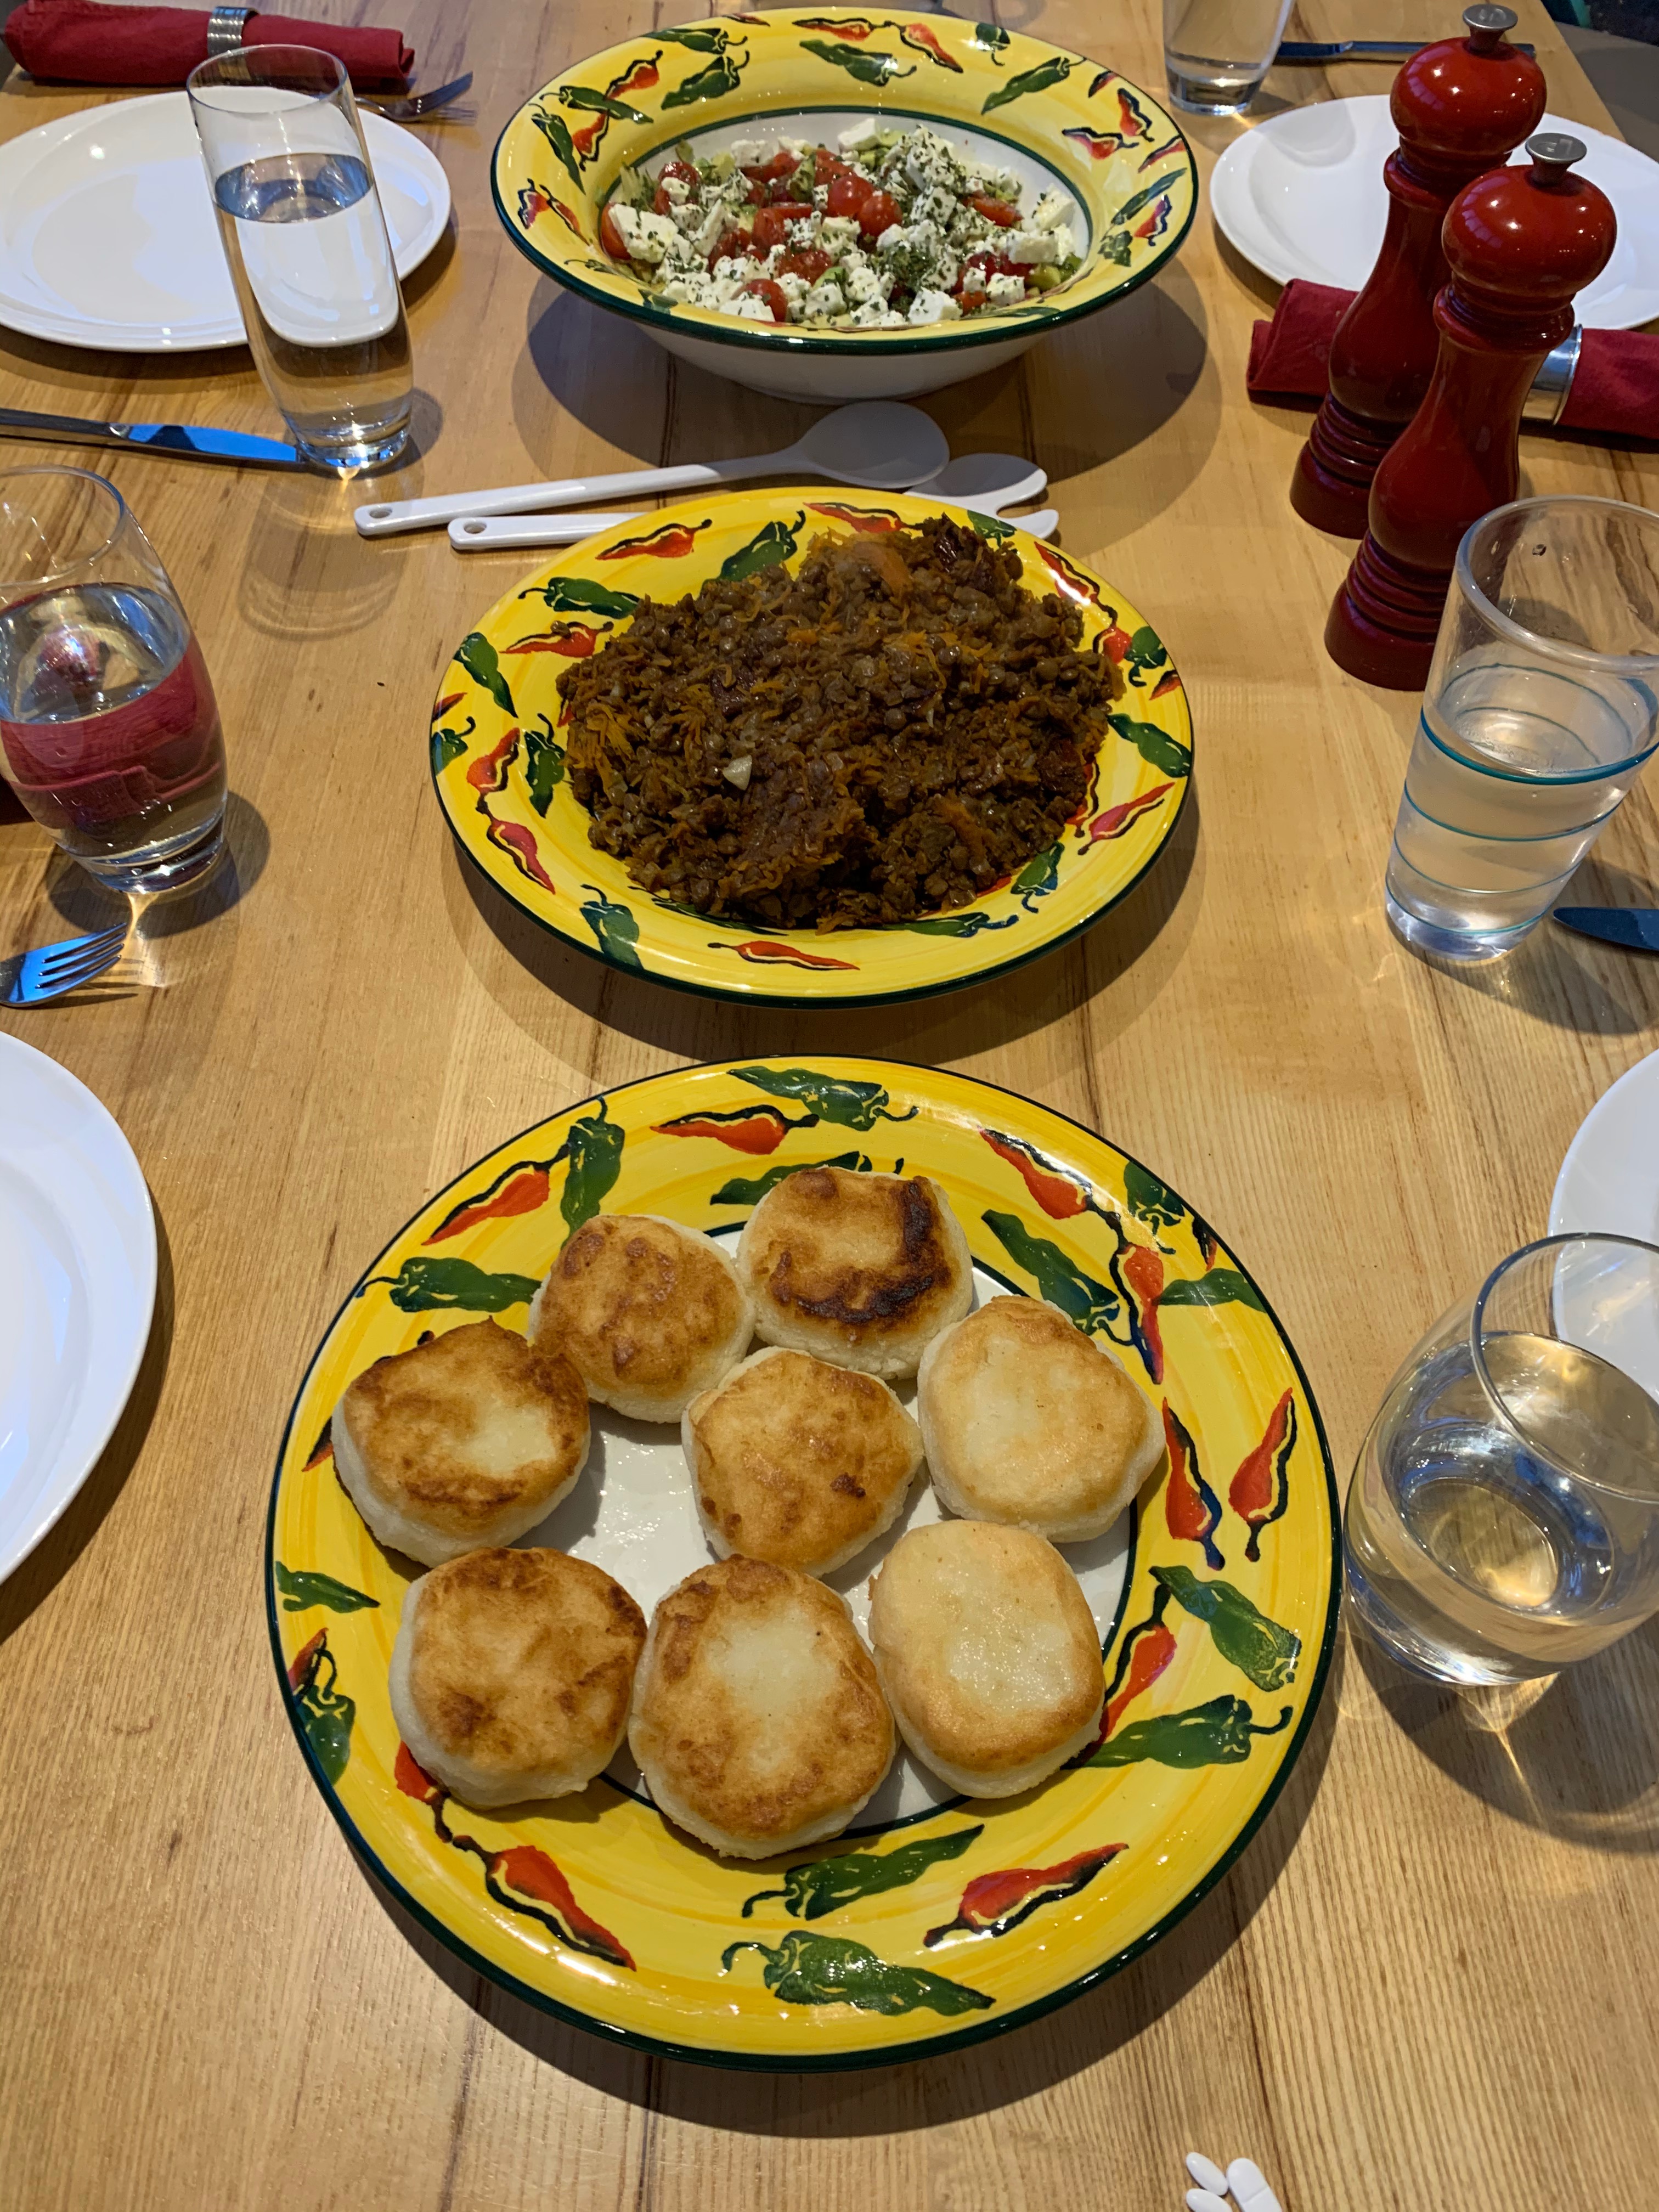
To go with the arepas, I could have picked dozens of different filling. I ended up, completely arbitrarily, by simplifying a recipe for vegan barbacoa (which is kind of a contradiction in terms, but I get the idea of emulating the smokiness of barbacoa while staying plant-based, and it turned out really delicious). As a side dish, I made an avocado, cherry tomato and crumbled white cheese salad, which I found in a recipe for Colombian arepas which I haven’t replicated here, but which is warmly recommended since it complemented the rest of the dish really well.

The vegan barbacoa filling

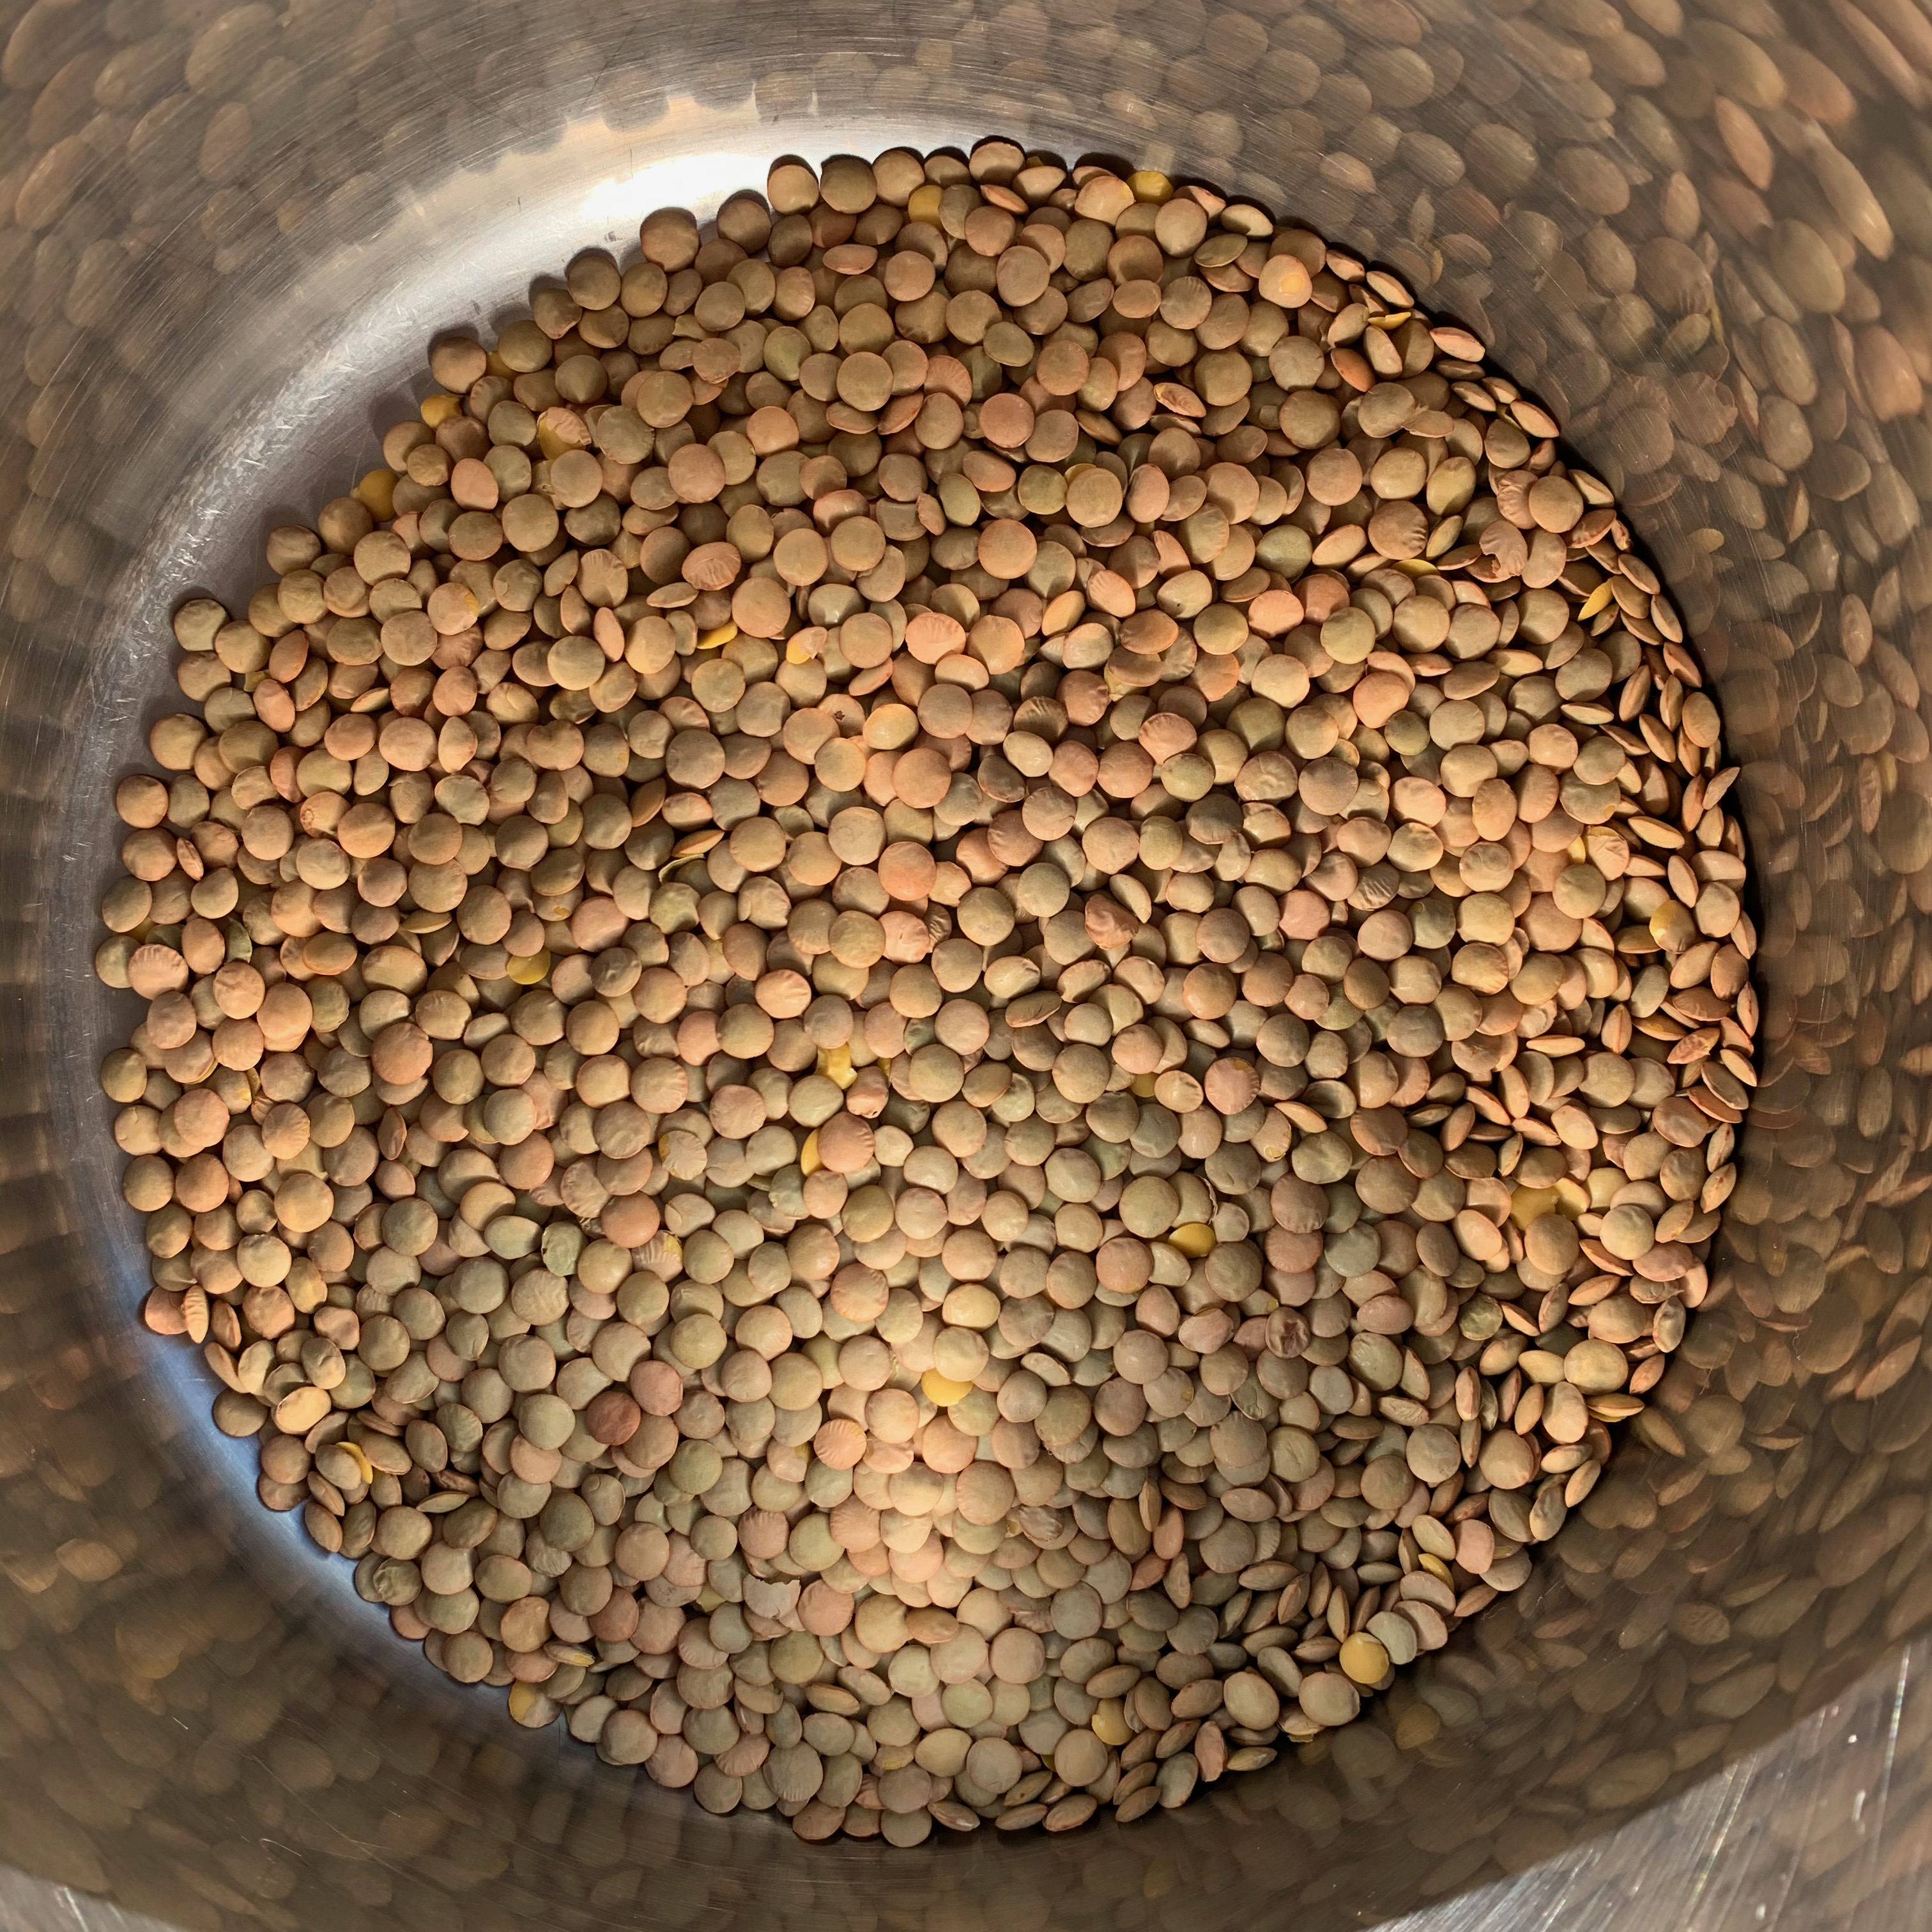
  • 250g dried green or brown lentils
  • Oil for frying (I used sunflower oil)
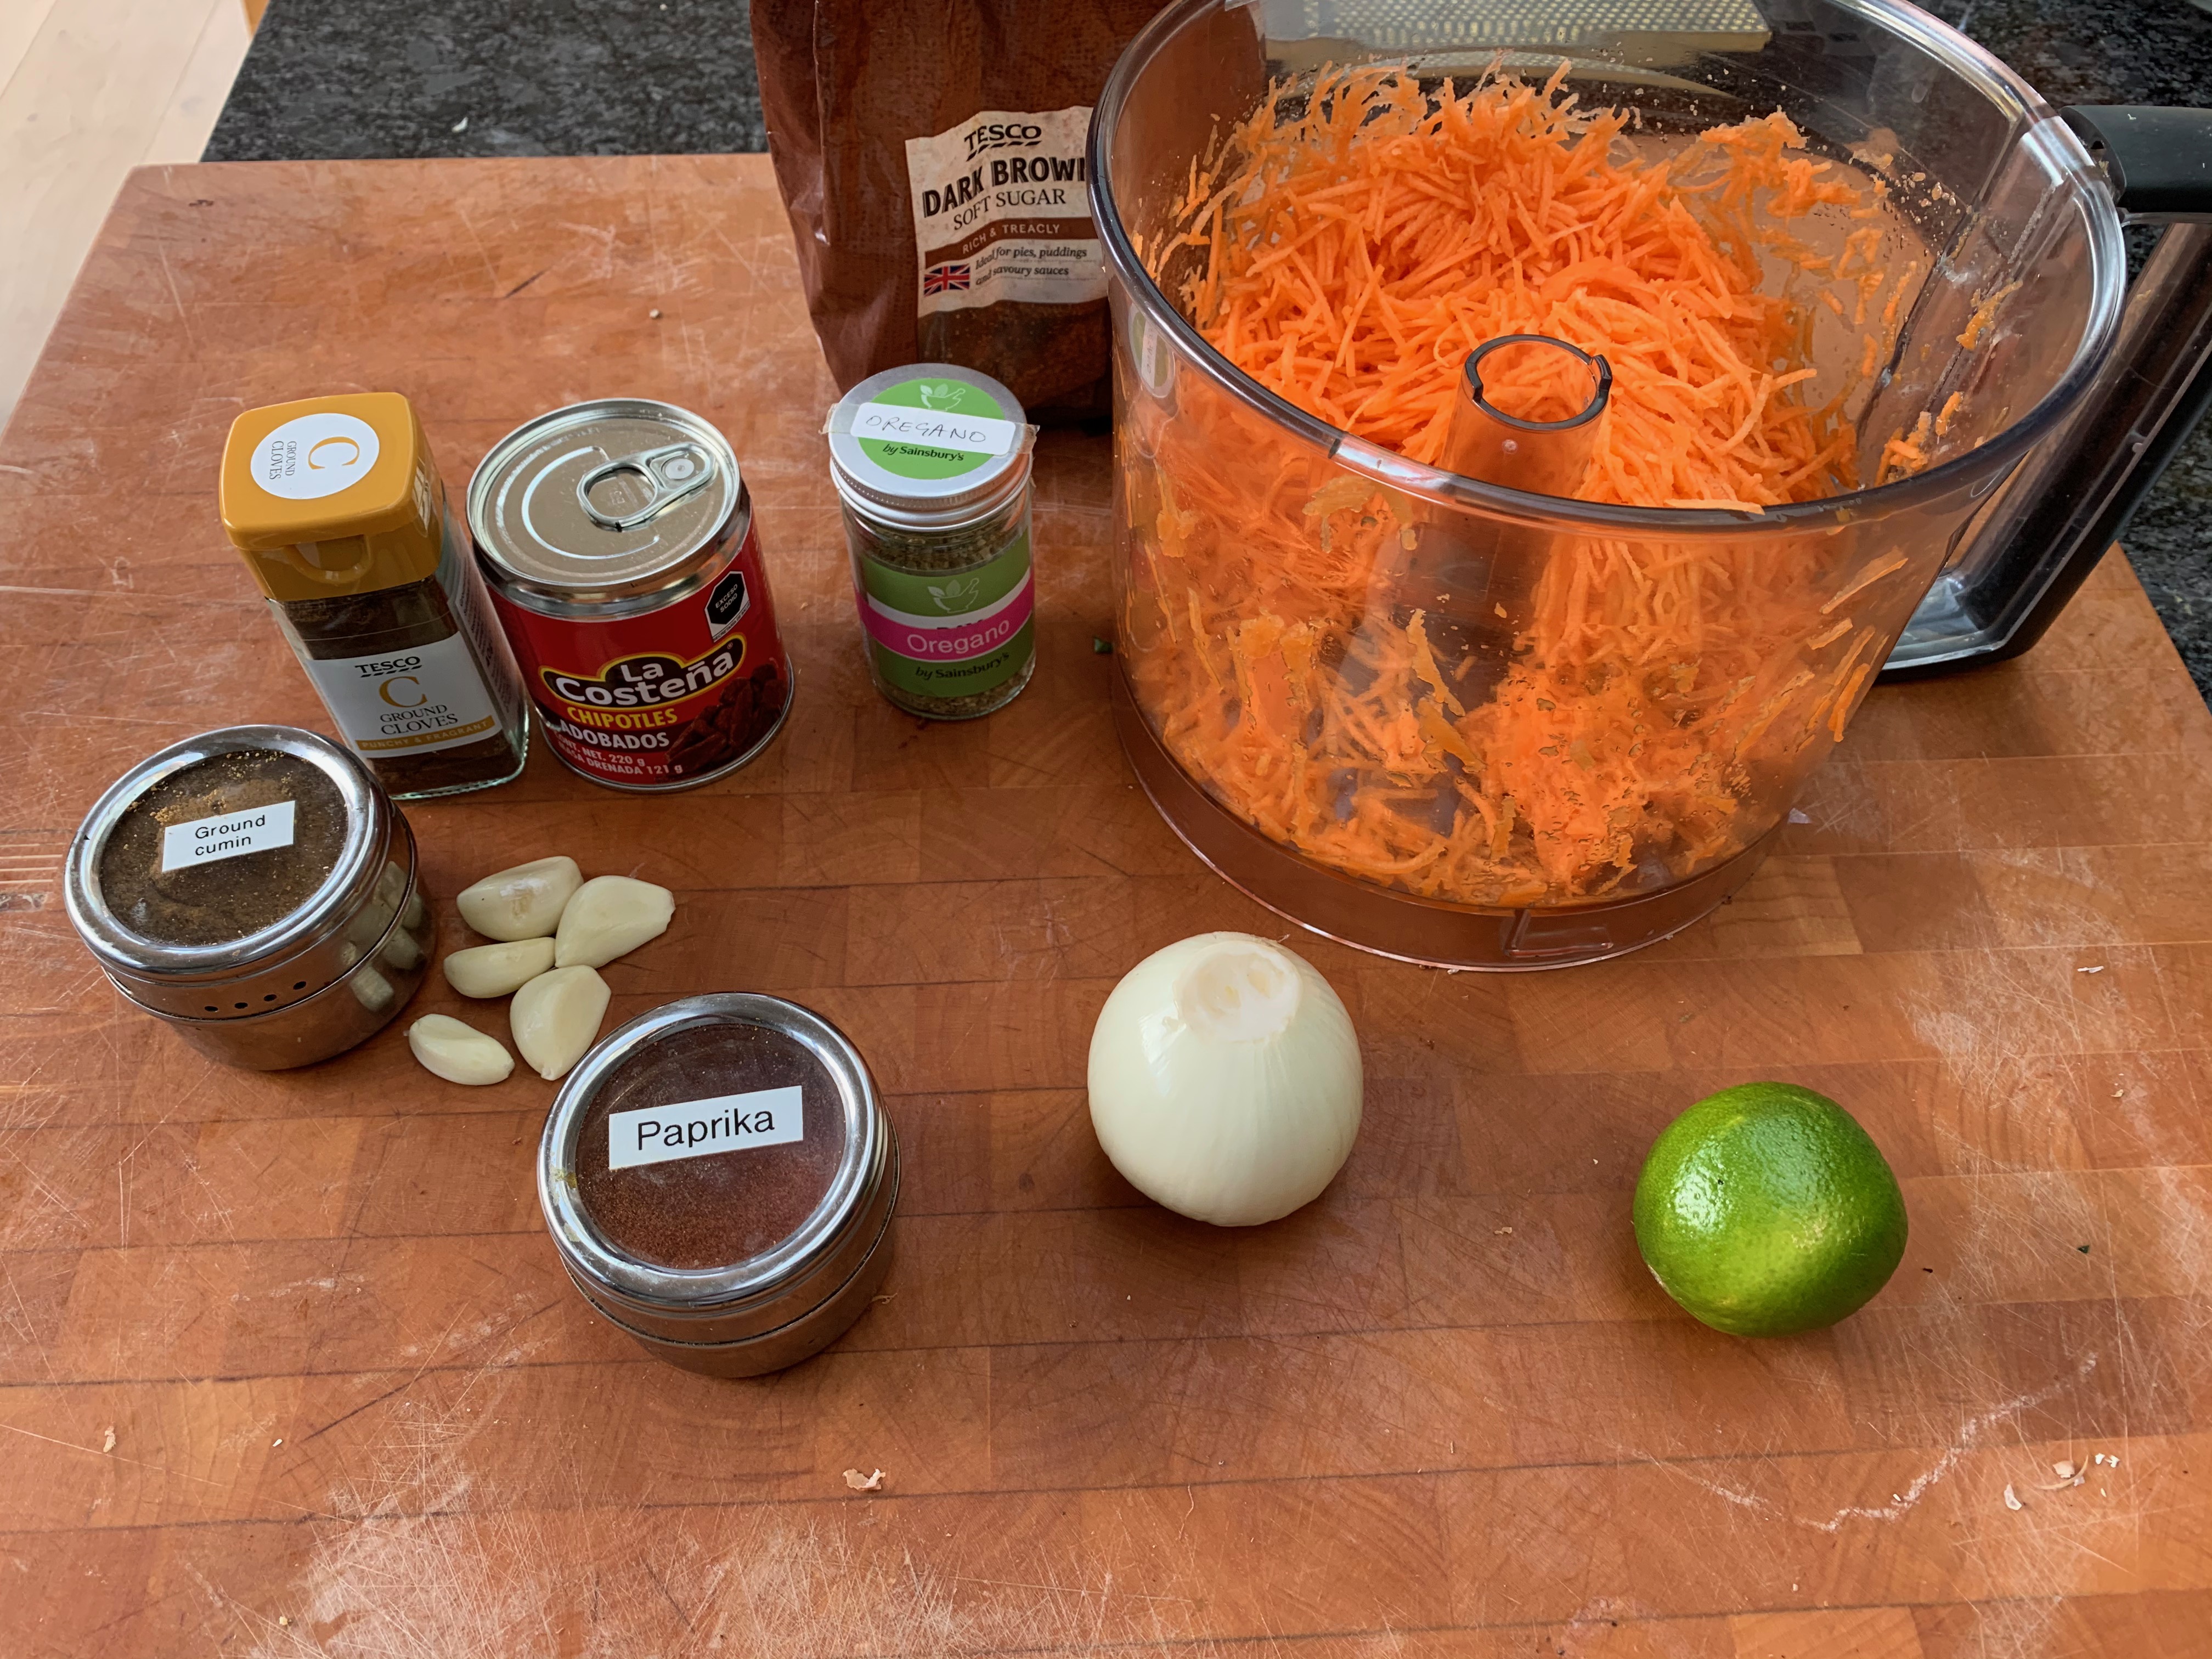
  • 1 onion
  • 3 cloves garlic
  • 3 large carrots
  • 2 tbs brown sugar
  • Salt and black pepper to taste
  • 1½ tsp ground smoked paprika
  • 2 tsp ground cumin
  • ¼ tsp ground cloves
  • 1½ tsp dried oregano
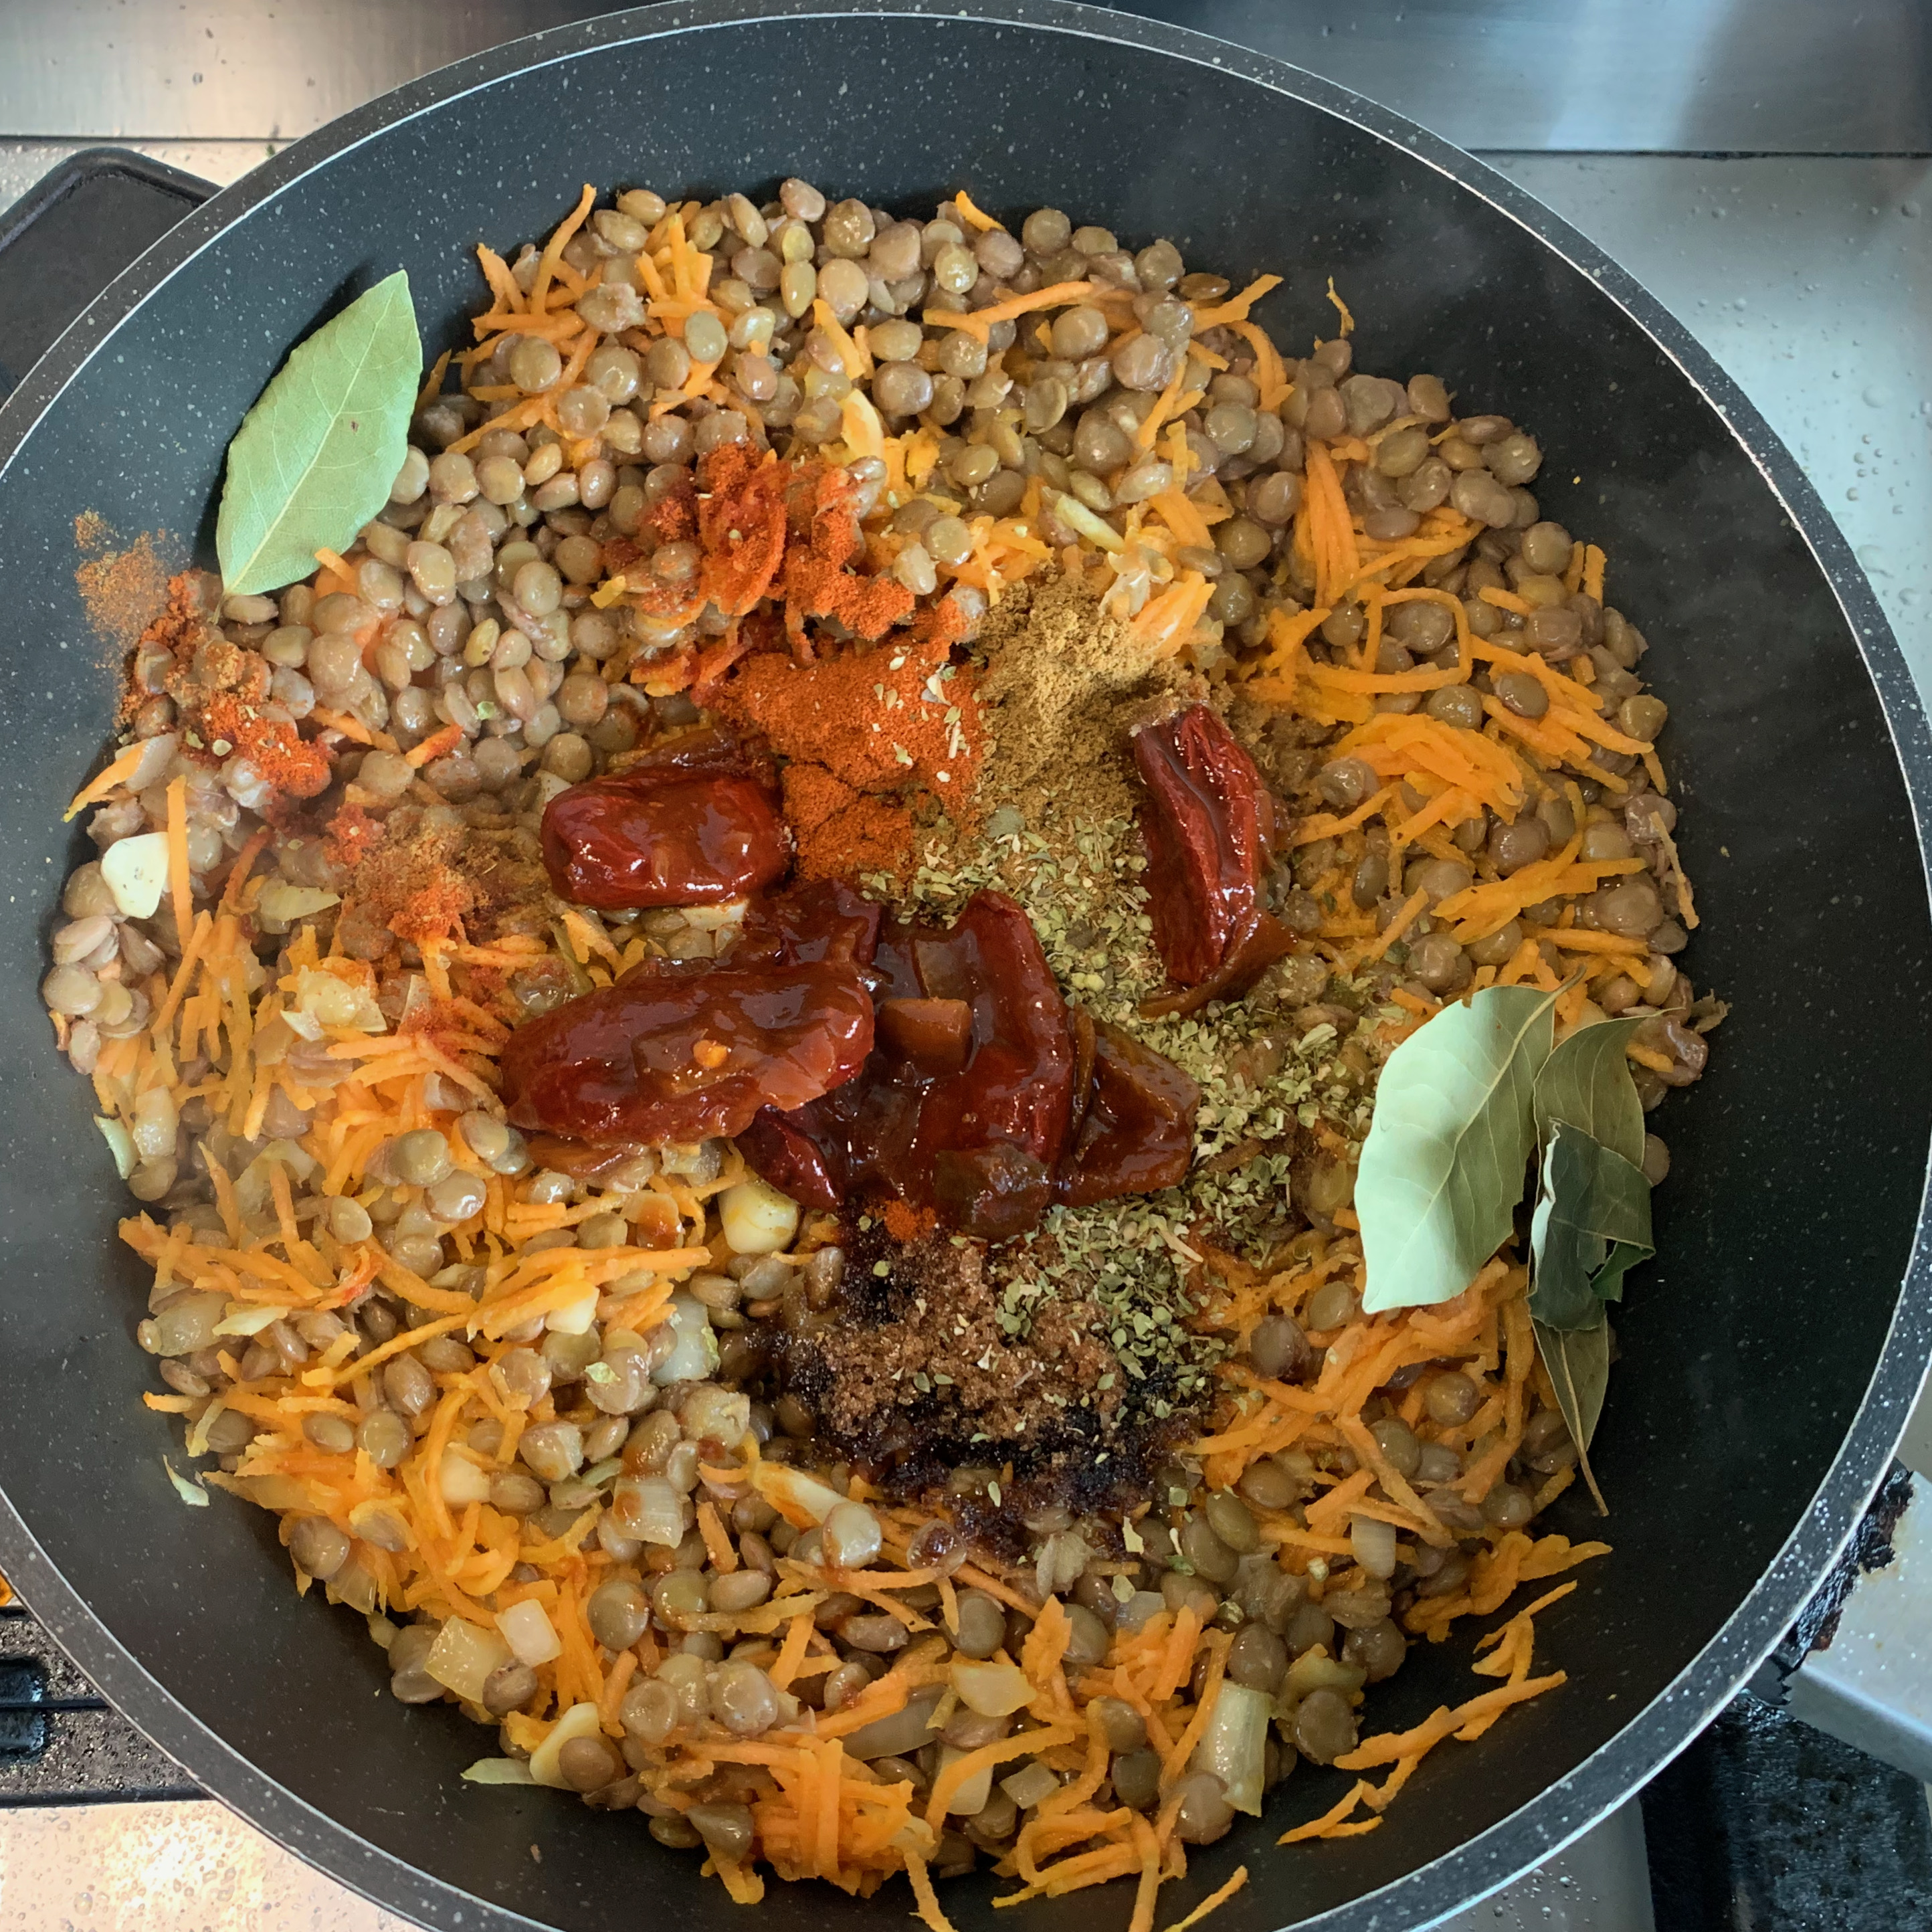
  • 2 dried bay leaves
  • 60g chipotle peppers in adobo sauce (see below)
  • Juice of one lime

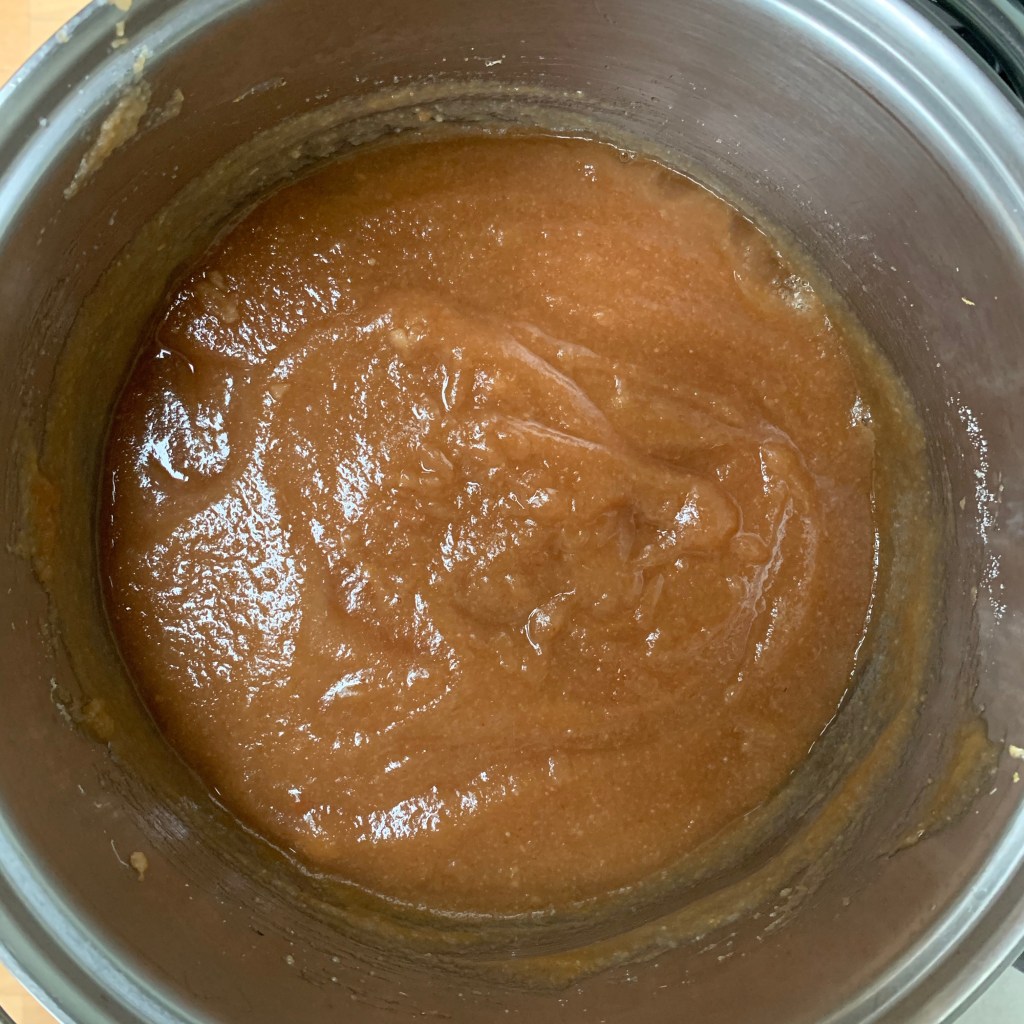
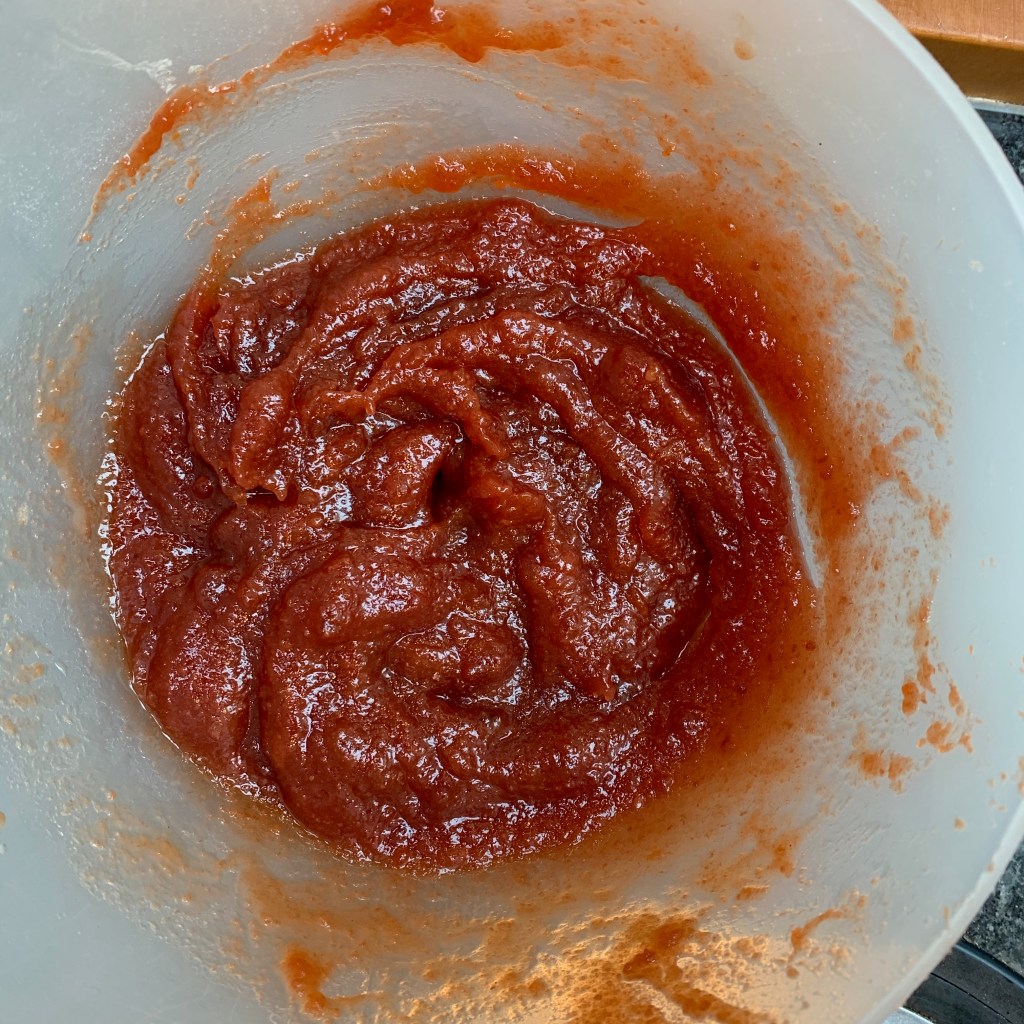
Chipotle peppers in adobo sauce come in cans: I used around a quarter of a 220g can. It’s a strong flavour and you really need to calibrate how spicy you want the dish. Starting with zero knowledge, I think I got lucky: this amount was perfect for the people round the table who like their food spicy but not excessively so, and just about OK (but right on the edge) for those who don’t like their chili much. 

  1. Boil lentils in a saucepan in plenty of water until cooked (this took me around 45 minutes). You could, of course, use pre-cooked tinned lentils if you prefer. Drain and set aside.
  2. Chop the onion and garlic very finely. Grate the carrots – if you have a food processor with a grater attachment, use it.
  3. In a heavy pan with a lid, fry the onion and garlic on medium heat until transparent.
  4. Add the carrot and fry for a few more minutes.
  5. Chop the chipotle peppers finely – this isn’t in the original recipe, so I didn’t do it. Let’s just say that biting into a whole chipotle pepper was, er, an intense experience.
  6. Add the lentils and all the remaining ingredients. Mix well and fry for a little longer.
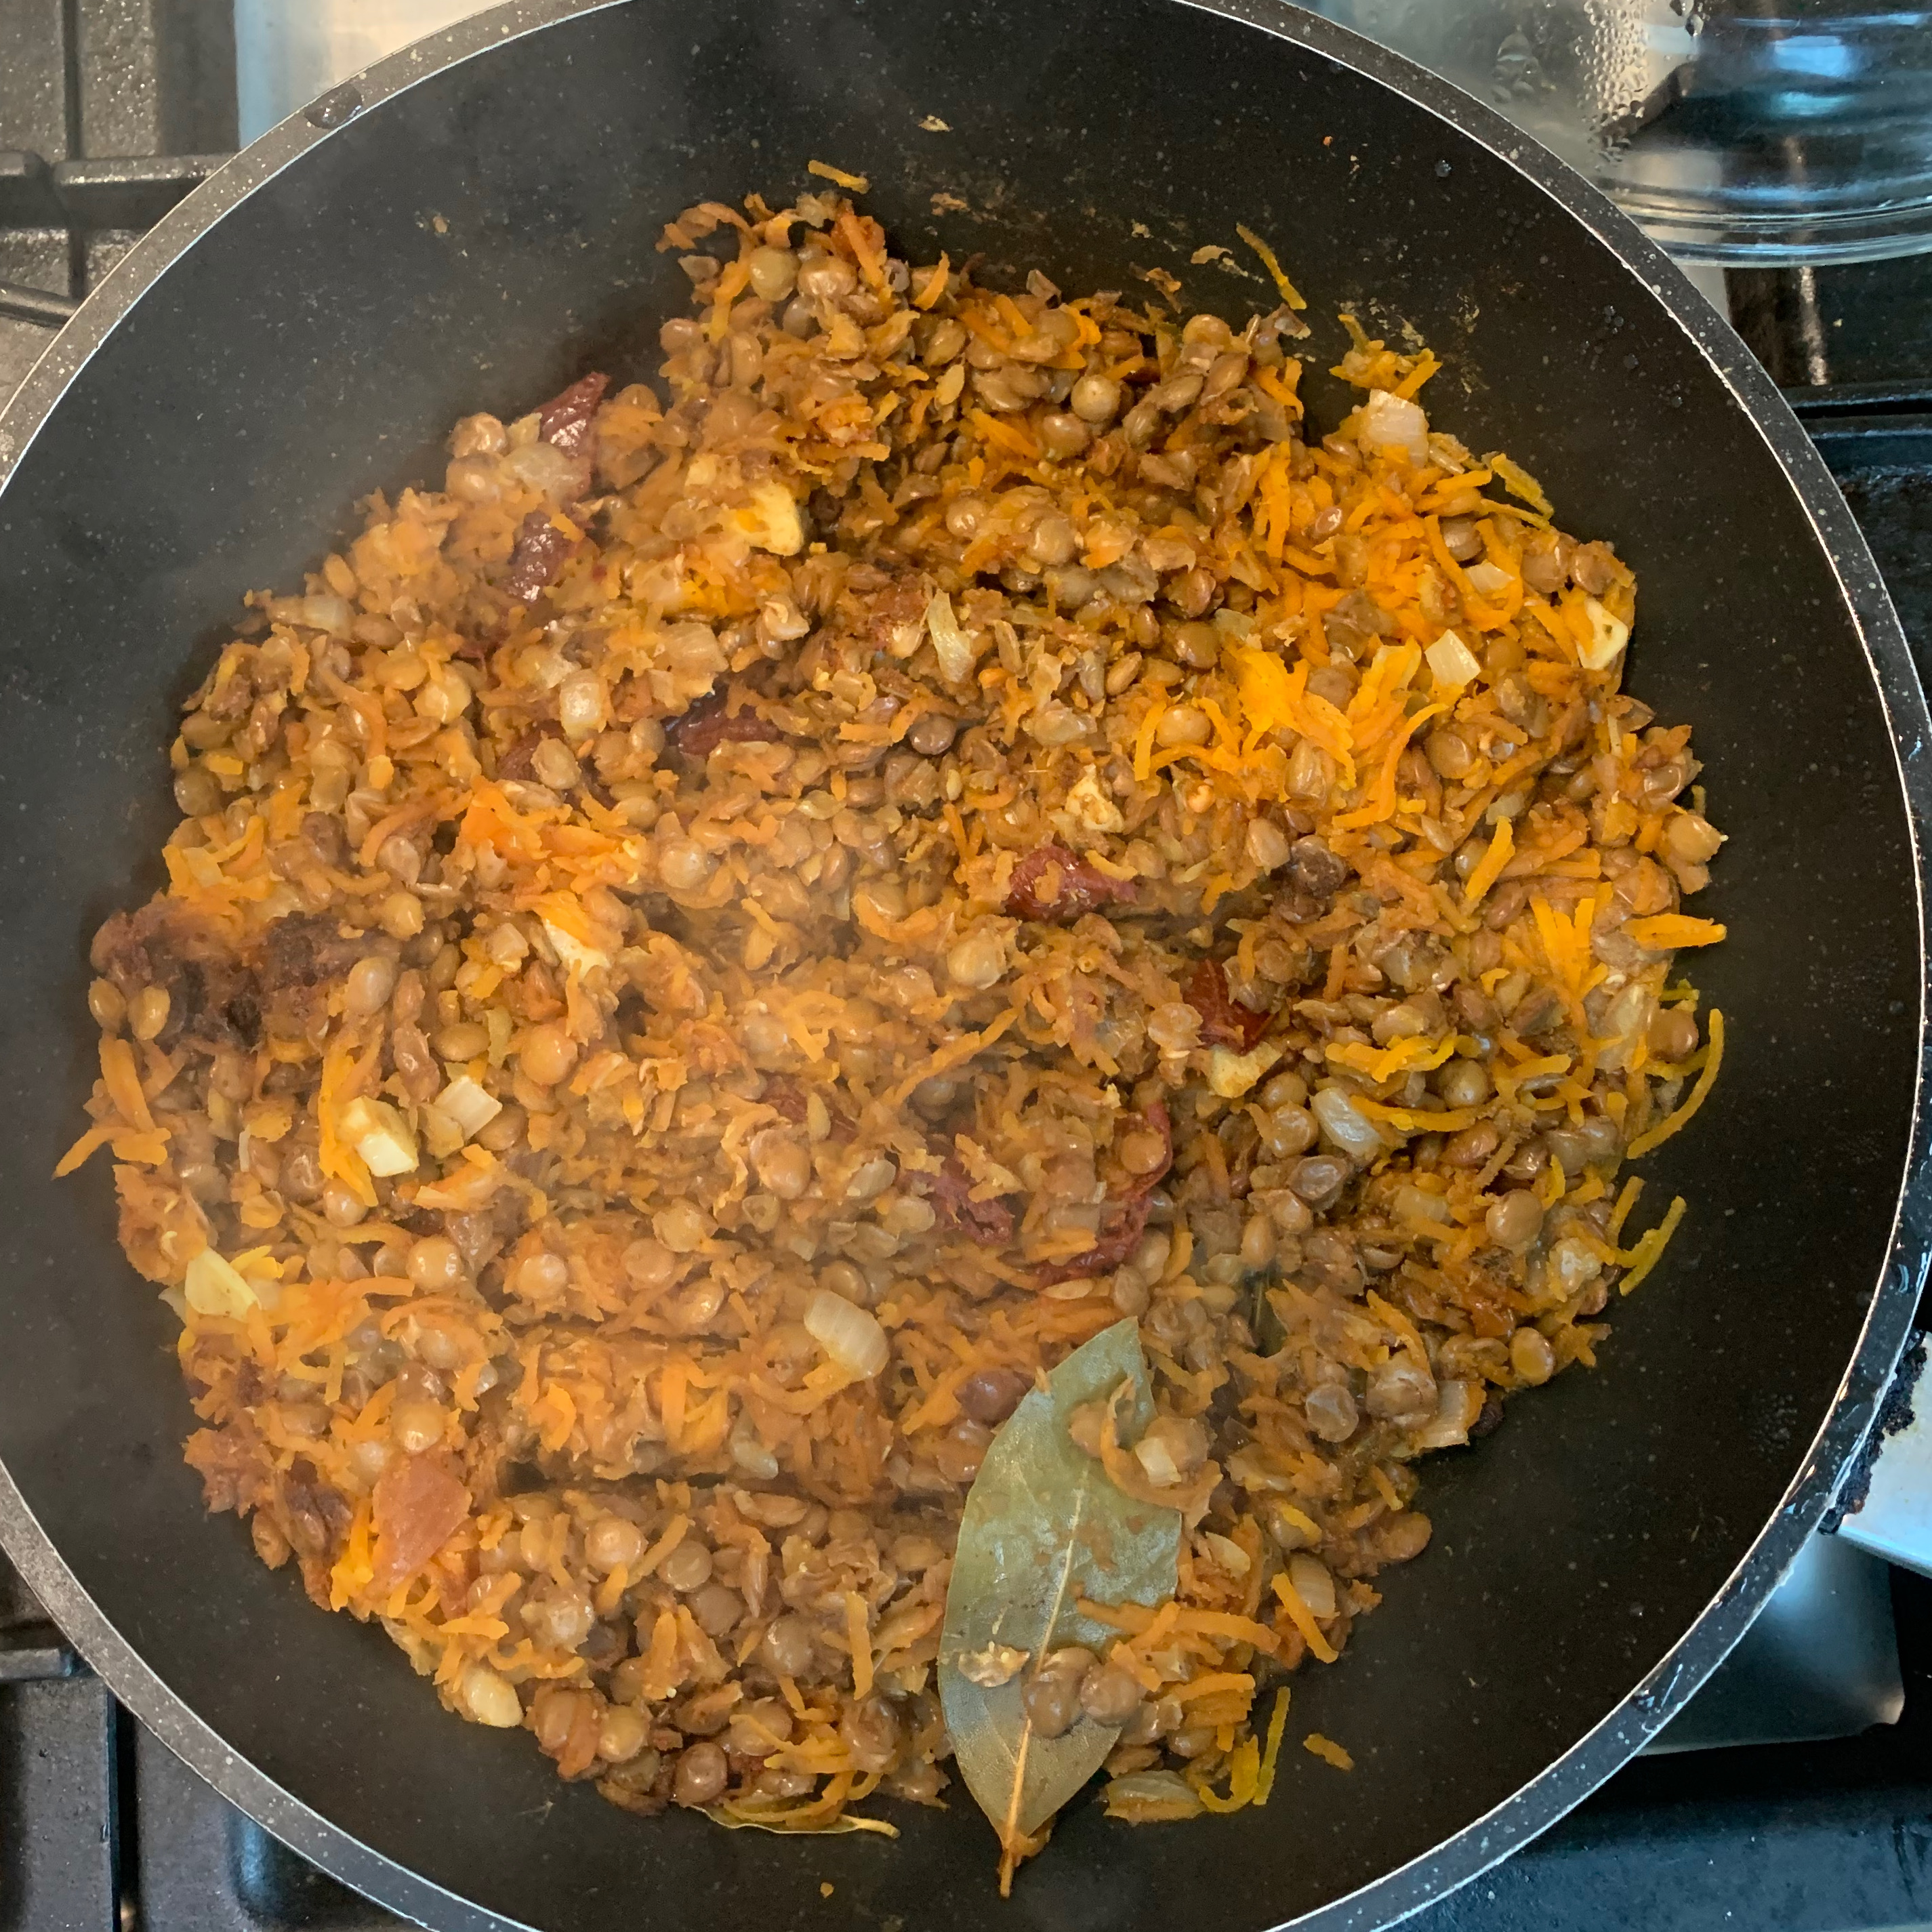
  7. Cover the pan and put onto the lowest heat you have for 40 minutes to an hour. Keep topping up the mixture with a little water to ensure that it doesn’t dry out.

The arepas

  • 300g masarepa (from Harina PAN or equivalent, see photo)
  • 10g salt
  • 500 ml warm water
  • Coconut oil for frying
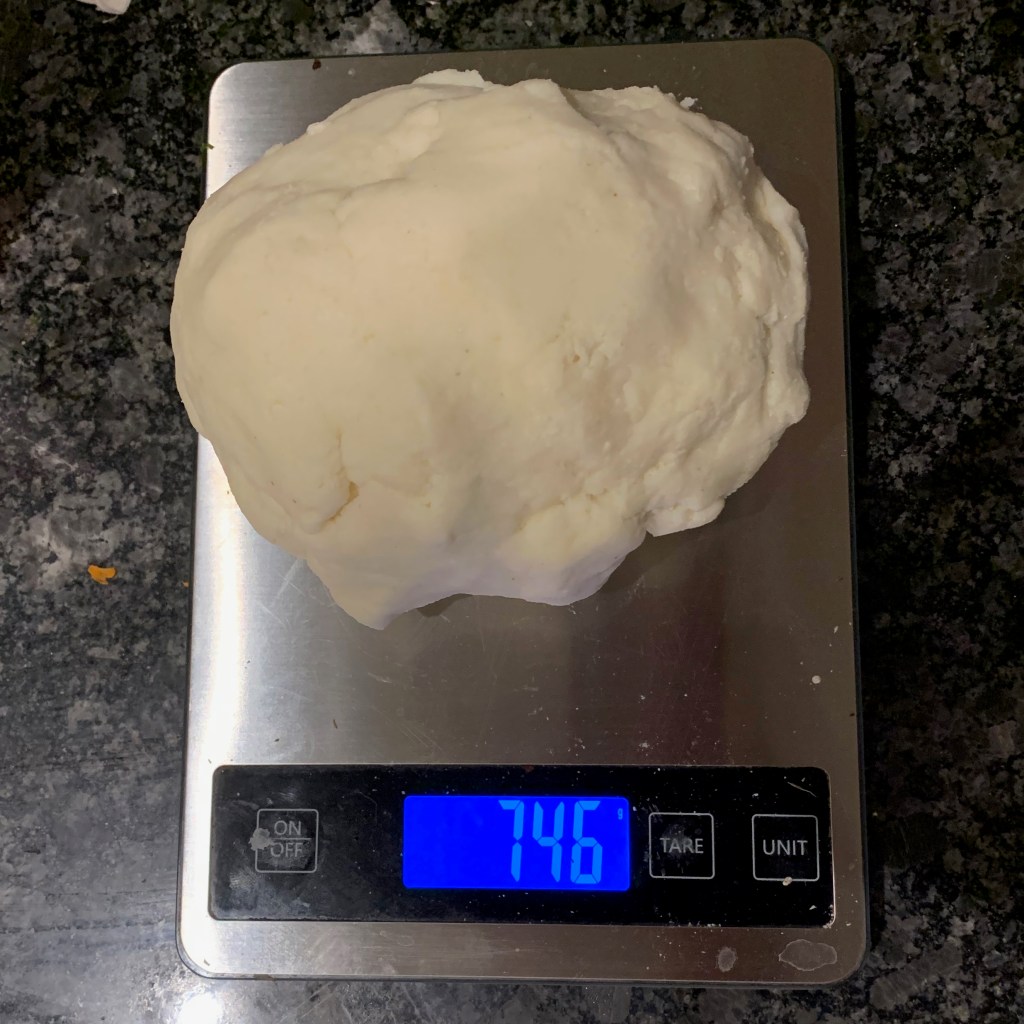
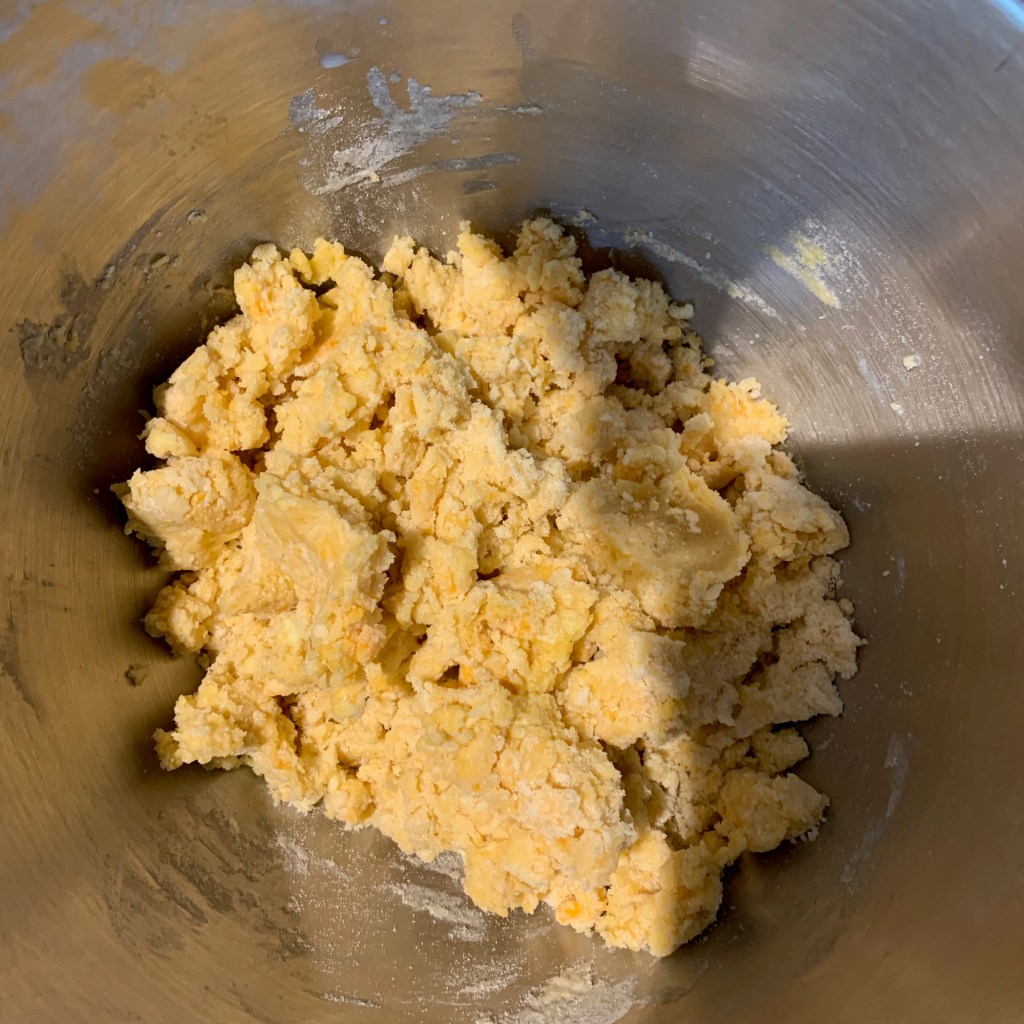
  1. Mix the masarepa, salt and water and form into a ball of dough. Leave to rest for five minutes or so.
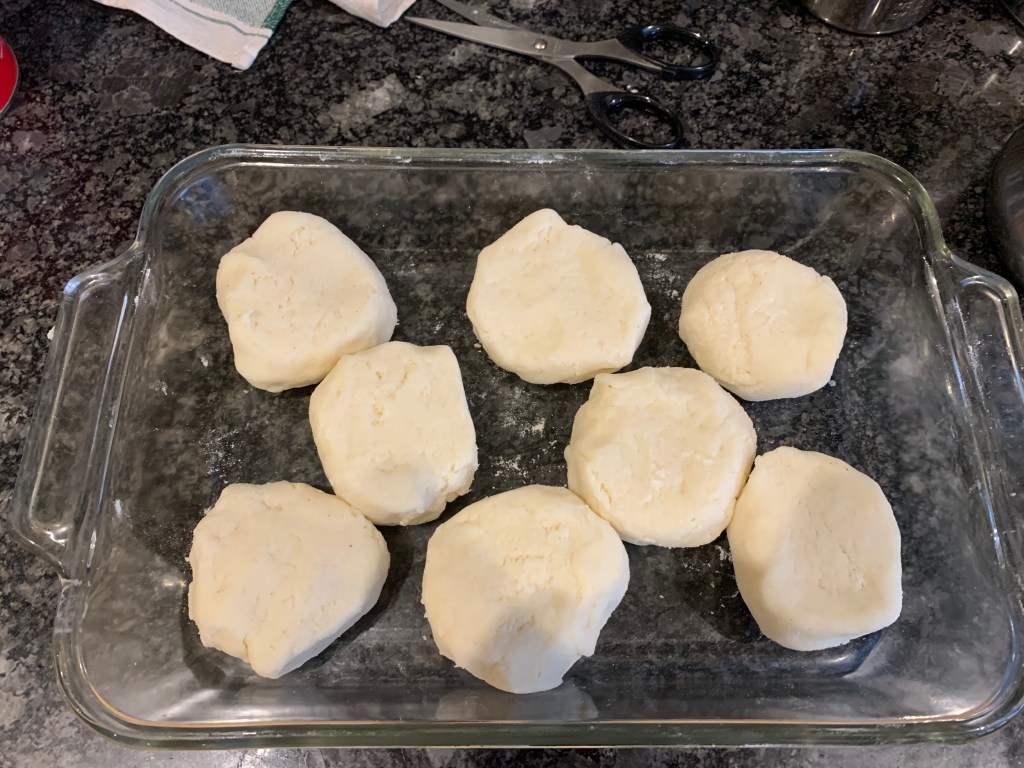
  2. Form the dough into a cylinder and cut into circular cakes, around 2cm thick. I made eight cakes, which were a bit too small; the original recipe was for six.
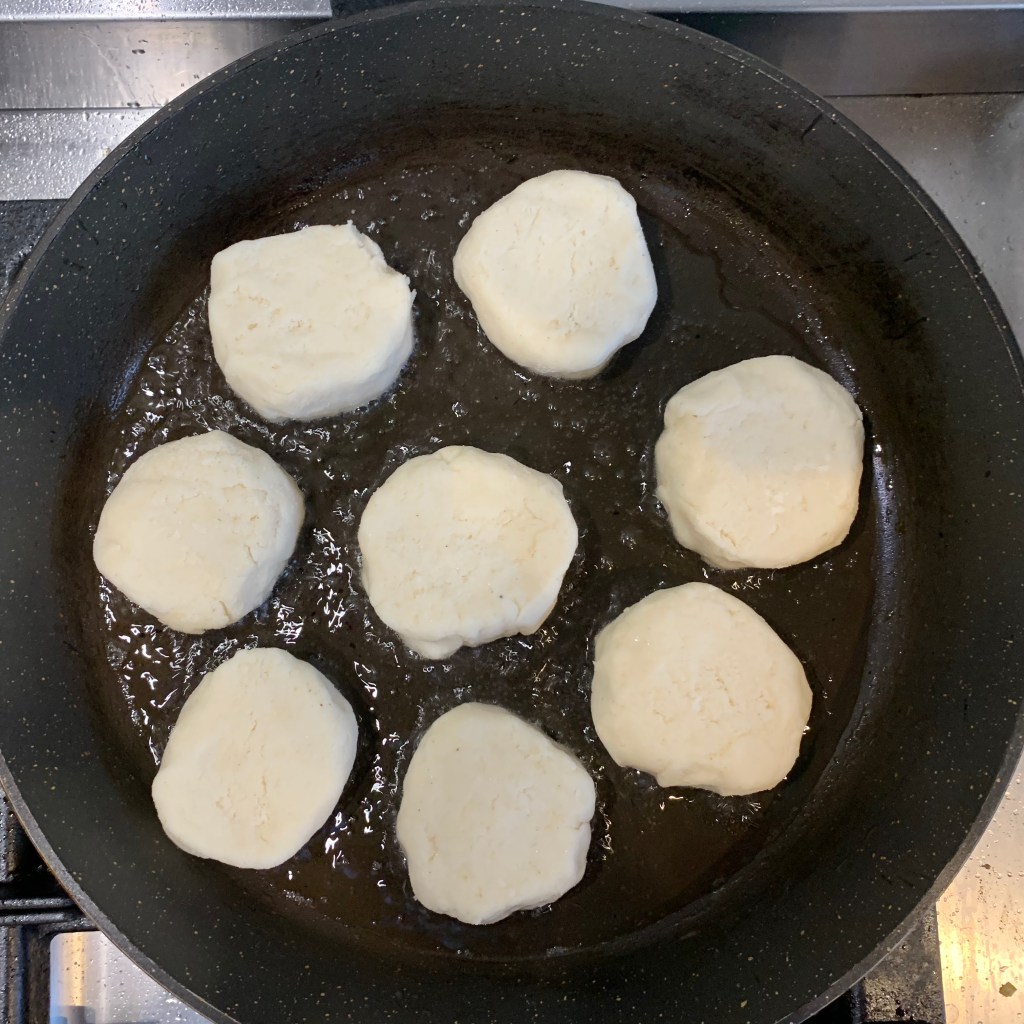
  3. Heat oil in a skillet and fry your arepas on medium heat until golden brown on both sides – turn each arepa over when it’s completely browned on the first side. The recipe said five minutes a side, but it took me around 15 minutes total. 
  4. Optionally, put the arepas in a 180℃ oven for a few minutes to make sure they’re absolutely cooked through. Perhaps because I used a relatively gentle heat, I didn’t need to do this step.
  5. To serve, slice each arepa in half horizontally, fill and replace the lid. But don’t expect anyone to eat them with their hands!
Around the world in 80 bakes, no.46: Brazo da Reina from Chile

Around the world in 80 bakes, no.46: Brazo da Reina from Chile

I have no idea why a Swiss Roll is called a Swiss Roll. I’ve travelled to Switzerland a lot and I don’t remember seeing one there. If Wikipedia is to believed, it doesn’t even come from Switzerland in the first place. But apparently, if you happen to be in Chile, at 5pm, it’s time for a coffee and a slice of Brazo da Reina – a rolled sponge cake filled with dulce de leche (caramelised condensed milk). The name in Spanish means “the Queen’s Arm”, which sounds to British ears more like a pub sign, which just goes to show that there’s no accounting for language. It’s not really clear where that name comes from either, and the same cake has other names in different bits of Latin America: Brazo de gitano (gypsy’s arm) or Pionono. Other countries also use different fillings.

The Chilean recipe I started from is notable for having a lot of eggs and no shortening whatsoever, which makes for an incredibly light, airy sponge cake. There are other recipes that use a small amount of oil.

The recipe I used tells you to fold the egg yolks into the beaten whites, then add the flour to the whole lot. That was a little too far outside my comfort zone, so I stuck to a more conventional scheme of mixing egg yolks, sugar and flour before folding, which worked very well.

The tricky part of making a roll cake – especially one as light an airy as this – is to roll it up without tearing. I wasn’t 100% successful, but it was good enough.

The last time I made dulce de leche, for Argentinian alfajores, I baked the condensed milk in an oven tray, which worked OK but was fiddly. For this recipe, I found the ultimate cheat method in the Brazo da Reina recipe in a blog called Curious Cuisiniere – just boil the condensed milk in its can. It’s close to zero effort and worked perfectly. Their advice for rolling up the cake seemed sensible too: this is the first time I’ve tried a roll cake, so I can’t speak for how well other methods work.

You’ll want a Swiss roll tin, around 30cm x 20cm.

The dulce de leche filling

  • 400g can of condensed milk
  1. Put the tin of condensed milk (unopened, but you may want to take the paper off) into a saucepan, pour water to cover it (with some spare, since it will evaporate), and bring it to the boil.
  2. Leave it to simmer for 2-3 hours (two will get you a light caramelisation, 3 will get you a more golden-brown and stronger tasting result.
  3. Remove the tin from the pan and leave it to cool.

The cake

  • Butter for greasing tin
  • 6 eggs
  • 240g flour
  • 10g baking powder
  • 180g caster sugar
  • icing sugar for dusting
  1. Preheat oven to 175℃
  2. Grease your tin with butter, then line it with baking paper, then grease the baking paper generously.
  3. Separate the eggs into two mixing bowls.
  4. Sift the flour and baking powder together.
  5. Beat the egg yolks and add half the caster sugar. Then add the flour and baking powder and mix until well blended. The mixture will be quite stiff.
  6. In the other bowl, beat the egg whites until soft peaks form, add the remaining caster sugar and whisk at high speed until you have a stiff meringue
  7. Add around a quarter of the meringue to your flour mixture and mix in until smooth. Do the same with another quarter, now taking care to keep as much air in the meringue as you can. Now fold in the remaining meringue, working really hard to keep the air in.
  8. Spread the mixture evenly into your tin. Ideally, use an offset spatula to get it really level (I don’t have one, so I just did my best.
  9. Bake for around 10 minutes. You do NOT want to overbake the sponge or you stand no chance of rolling it intact.
  10. Leave to cool for a minute or two, then run a palette knife round the edge to make sure the cake is not sticking to the edge. Sprinkle some icing sugar over the cake.
  11. Spread a tea towel over the cake, and then an inverted cooling rack. Turn the whole assembly upside down. As gently as you can, remove your cake tin. The cake should sit on its tea towel in one piece.
  12. Very gently, pull off the baking paper almost all the way, then put it back in place.
  13. Now roll the cake up as tightly as you can, and leave to cool for an hour or so.
  14. Unroll the cake (this is the part where it’s hard to stop it tearing), spread the filling over it, then roll it up again.
  15. (Optional – I didn’t) dust the cake with more icing sugar.
Around the world in 80 bakes, no.29: Pasta Frola from Paraguay

Around the world in 80 bakes, no.29: Pasta Frola from Paraguay

Where home-coming Argentinians make a beeline for Alfajores, Paraguayans head for Pasta Frola: a lattice-topped jam tart filled with either guava or quince paste. Childhood summers in Portugal have made me particularly partial to quince paste, and in any case, guavas are hard to get hold of here in England, so the quince version was the obvious choice.

Time for a couple of short linguistic digressions. The Spanish for quince is “membrillo”, and quince paste (sometimes called “quince cheese” for reasons I can’t fathom) is “dulce de membrillo”. In Portuguese, however, a quince is a “marmelo” and the paste is called “marmelada”. The English word “marmalade” confuses both Portuguese (where orange jam is just called “doce de laranja”) and Italians, for whom the word “marmellata” means jam of any sort, and “marmellare” means “to make jam”. In Italian, “pasta frolla” simply means shortcrust pastry, and this dessert would be called a “crostata”.

You can buy dulce de membrillo ready made in the UK, but it tends to be fairly expensive at around £25 or £30 for a kilo. Anyway, our local shops don’t stock it and our local fruit shop had quinces, so I had a go at making my own. Peeling quinces is a bit of faff – the skin is very tough – but other than that, the process isn’t too difficult.

Quince paste

This is metricised and modified slightly from the recipe from simplyrecipes.com. I overbought quinces and made around double this recipe, which was way too much: the quantities here will make well over 1kg of paste, which is a lot more than you need for the Pasta Frola.

  • Around 1 kg of quinces (typically 4 fruit)
  • Grated zest and juice of one lemon
  • Vanilla essence to taste
  • Around 800g jam sugar (to be adjusted)
  1. Peel and core the quinces, being sure to remove the fibrous bit of stalk that’s inside the quince. Chop coarsely (maybe 8-12 pieces per fruit).
  2. Put them in a saucepan, add the grated lemon zest cover them with cold water and bring to the boil.
  3. Simmer for around 30-40 minutes until you can cut them with a wooden spoon
  4. Drain the quince pieces and transfer to the bowl of a food processor: blitz until extremely smooth (this can take several minutes).
  5. Return the puree to a saucepan, add the sugar, vanilla essence and lemon juice.
  6. Bring to the boil, uncovered, and simmer gently for 60-90 minutes, stirring often enough to ensure that you don’t caramelise the paste on the bottom of the pan.
  7. Preheat oven to 125℃
  8. When the mixture is a dark pink/orange, remove from the heat. Line a shallow rectangular oven dish with baking parchment and spread the mixture evenly into the dish.
  9. Leave the dish in the oven for around 90 minutes for the paste to dry out. The Spanish and Portuguese cook theirs to the consistency of thick jelly, so that you can cut slices of it. It’s quite difficult to get to this stage without burning it somewhere, and in any case, you don’t need to for Pasta Frola: a soft paste is just fine and you’re going to be baking it some more anyway.

By the way, quince paste is a really wonderful accompaniment to cheese, particularly sharply flavoured cheese.

The Pasta Frola

Thanks for this to my daughter’s South American colleague Daniel (who was the person who insisted that it should be included in this blog in the first place). His recipe was for about double this amount as a 40cm x 30cm traybake: I used a square tin with a removable base of around 23cm x 23cm, which left a small amount of pastry left over.

  • 250g plain flour (use OO if possible)
  • 15g baking powder
  • 90g cup of sugar
  • 125g butter, plus some for greasing
  • 3 egg yolks (around 50g)
  • 40ml milk
  • 700g quince paste (see above)
  • 50ml madeira, port or similar fortified wine
  1. Preheat oven to 150℃
  2. If your butter isn’t soft, cut it into squares and leave it a few minutes to soften
  3. In the bowl of your stand mixer, combine flour, sugar and baking powder and mix well
  4. Add the butter and mix until you reach the breadcrumb stage
  5. Separate the eggs and add the yolks to the mixture, together with the milk
  6. Mix until you have a smooth dough
  7. Knead it for a couple of minutes until somewhat elastic, then cover and leave for 15 minutes
  8.  Meanwhile, grease the tin, and mix the quince paste and madeira in a bowl
  9. Once the dough has finished resting, separate out one third of it and set aside. On a generously floured board, roll it out to the size of your tin with around 2cm overlap all the way round
  10. Line your tin with the dough. If, like me, your dough always breaks at this point, don’t worry – just press it into the bottom and sides with your fingers as best you can. The recipe is very forgiving
  11. Pour your quince mixture into the tin and spread it to the edges
  12. If necessary, trim the pastry down to the height of the filling
  13. Roll out the remaining amount of pastry and cut it into strips approximately 1cm wide. Use these to form a lattice over the tart. At this point, you might like to think about how many pieces you’re going to cut the tart into and make sure that you have a gap, not a strip of pastry, at the point at which you’re going to do this (clue: I didn’t do this and learned the hard way).
  14. Brush the pastry on the top with some of the egg white.
  15. Bake for around 40 minutes.