To borrow Mr. Spock’s apocryphal turn of phrase: it’s baguette, Jim, but not as we know it. Tapalapa, from the Gambia, is shaped like baguette, but there the resemblance ends: where the centre of a baguette is soft, aerated and, let’s admit it, relatively tasteless (the flavour is all in the crust), tapalapa is a heavier bread with a dense crumb and a strong, distinctive taste…
…which means, dear reader, that this is a bread that splits the crowds. One of my family members loved it and one hated it. I’m in the middle: I really enjoyed tapalapa when eaten with the right things (hummous was ideal) but there a lot of European foods I wouldn’t eat it with – don’t under any circumstances try it for teatime bread and jam.
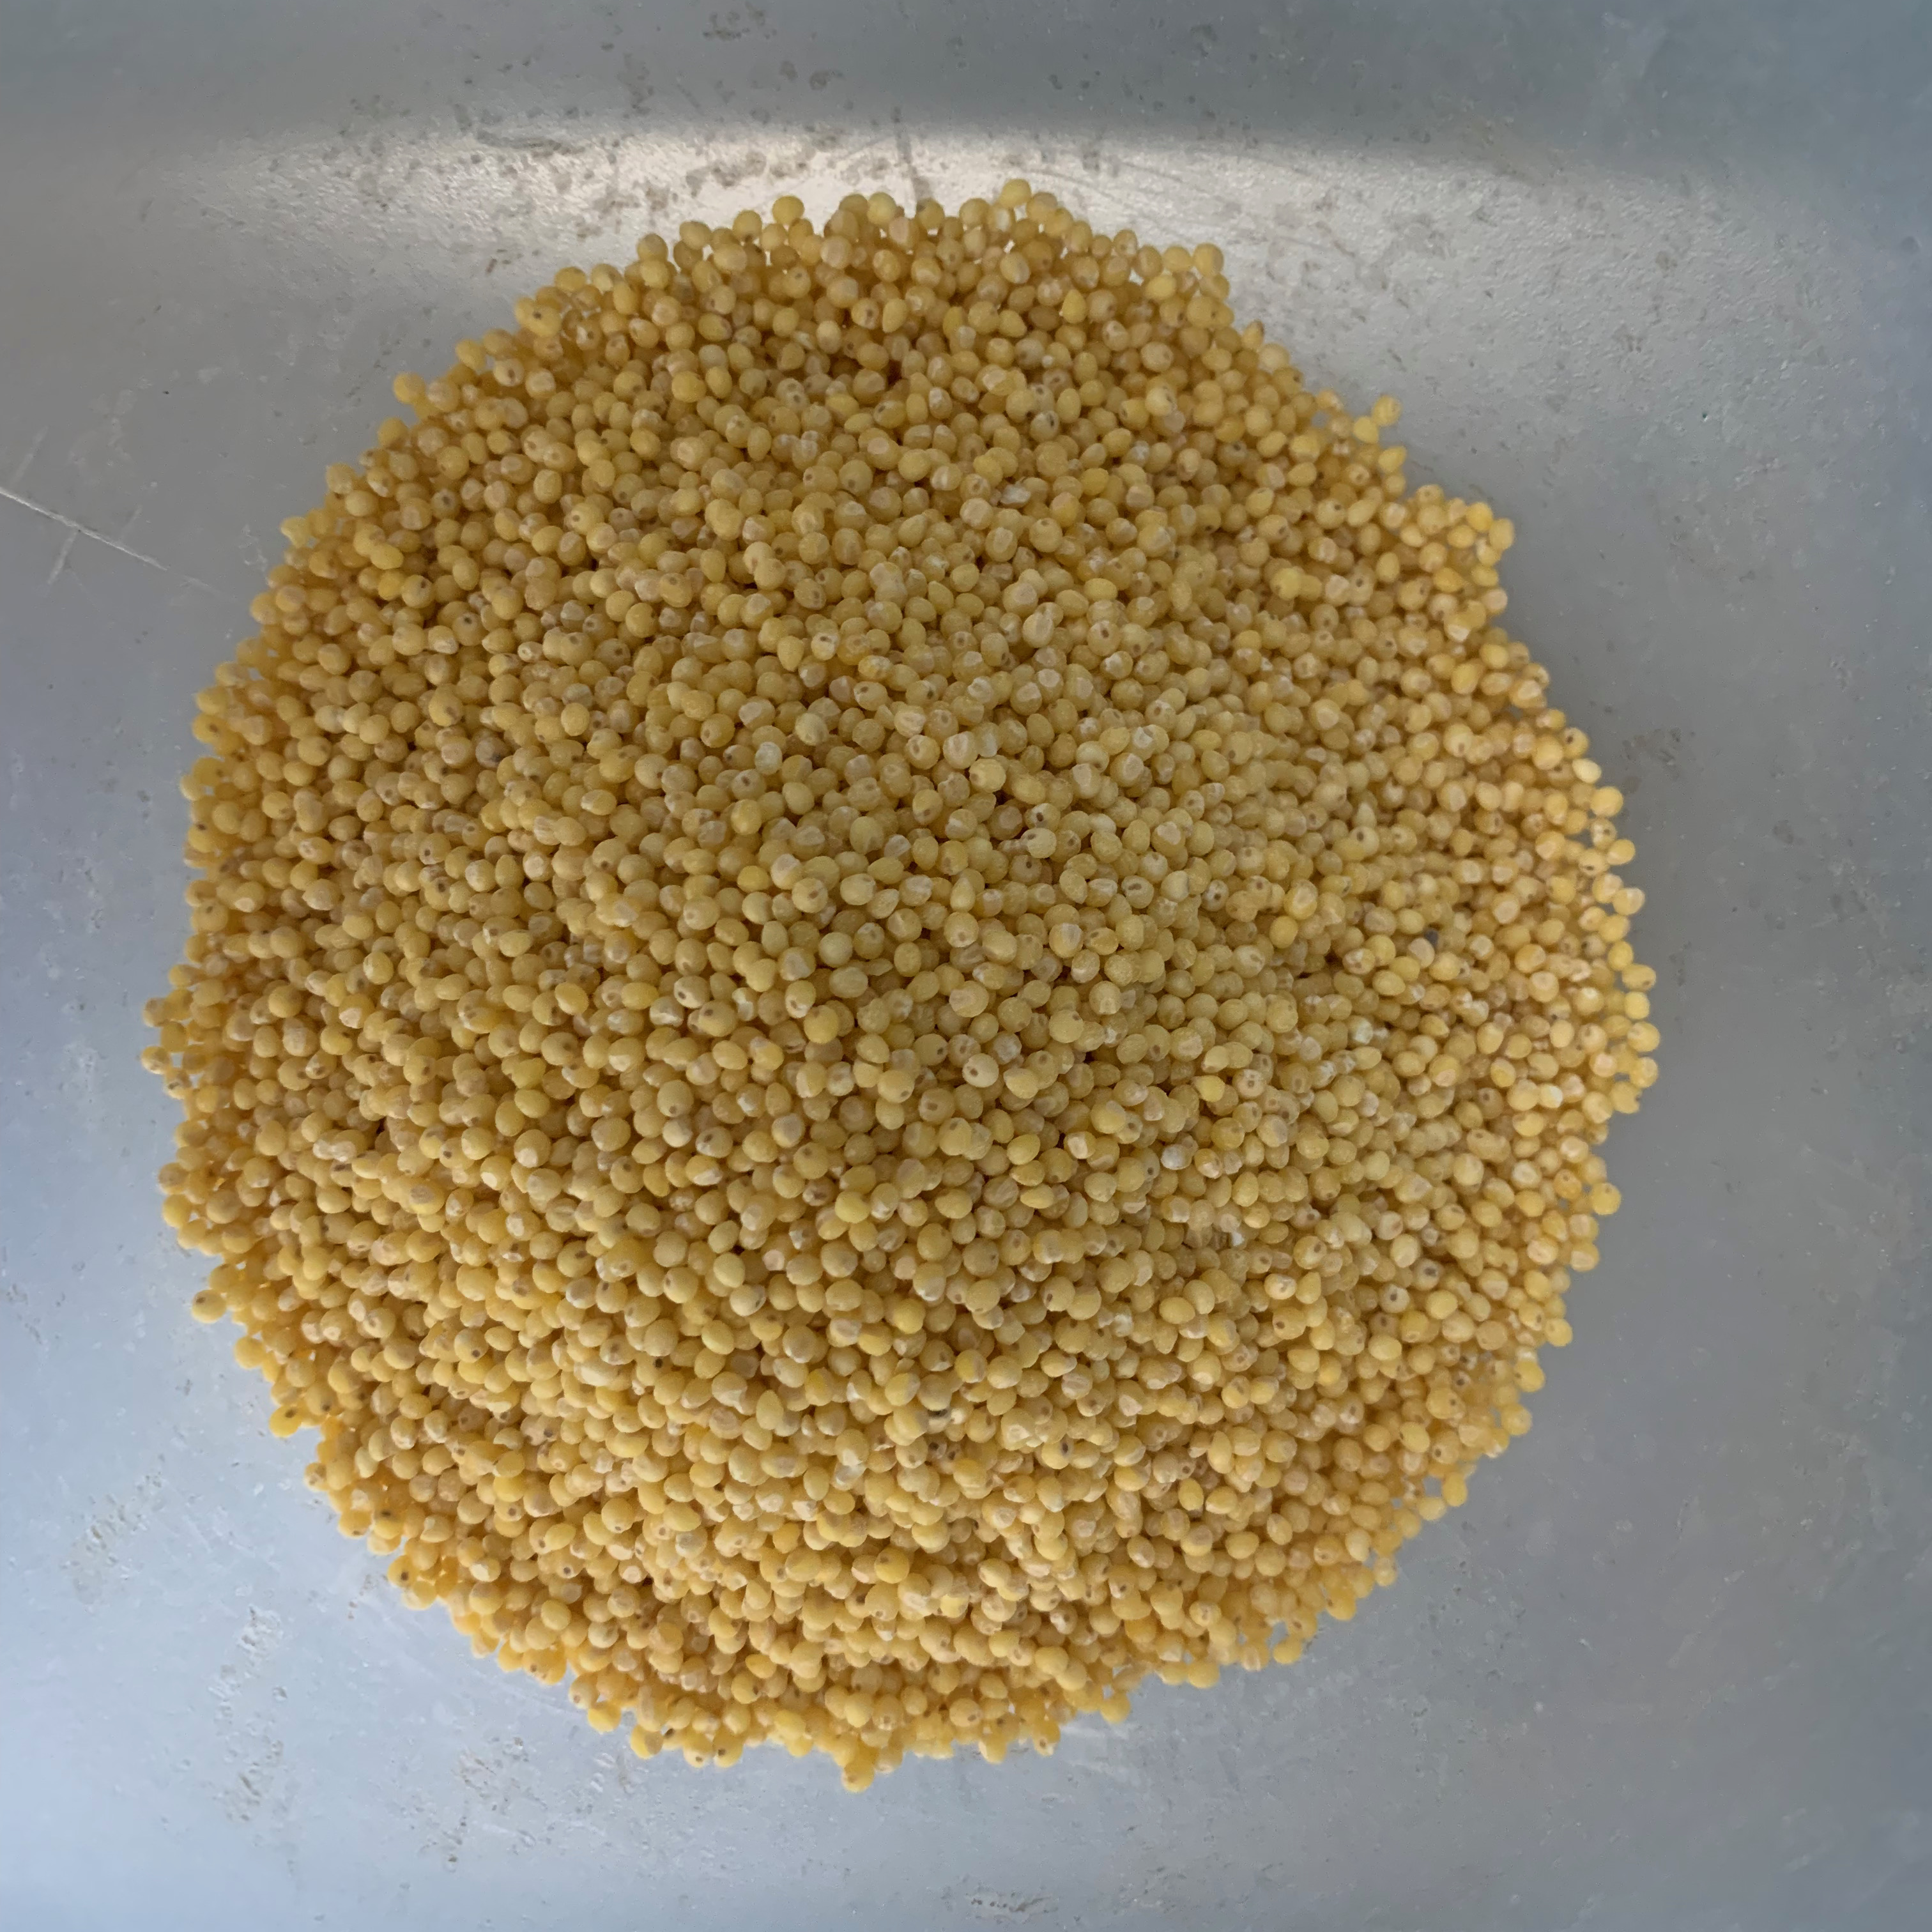
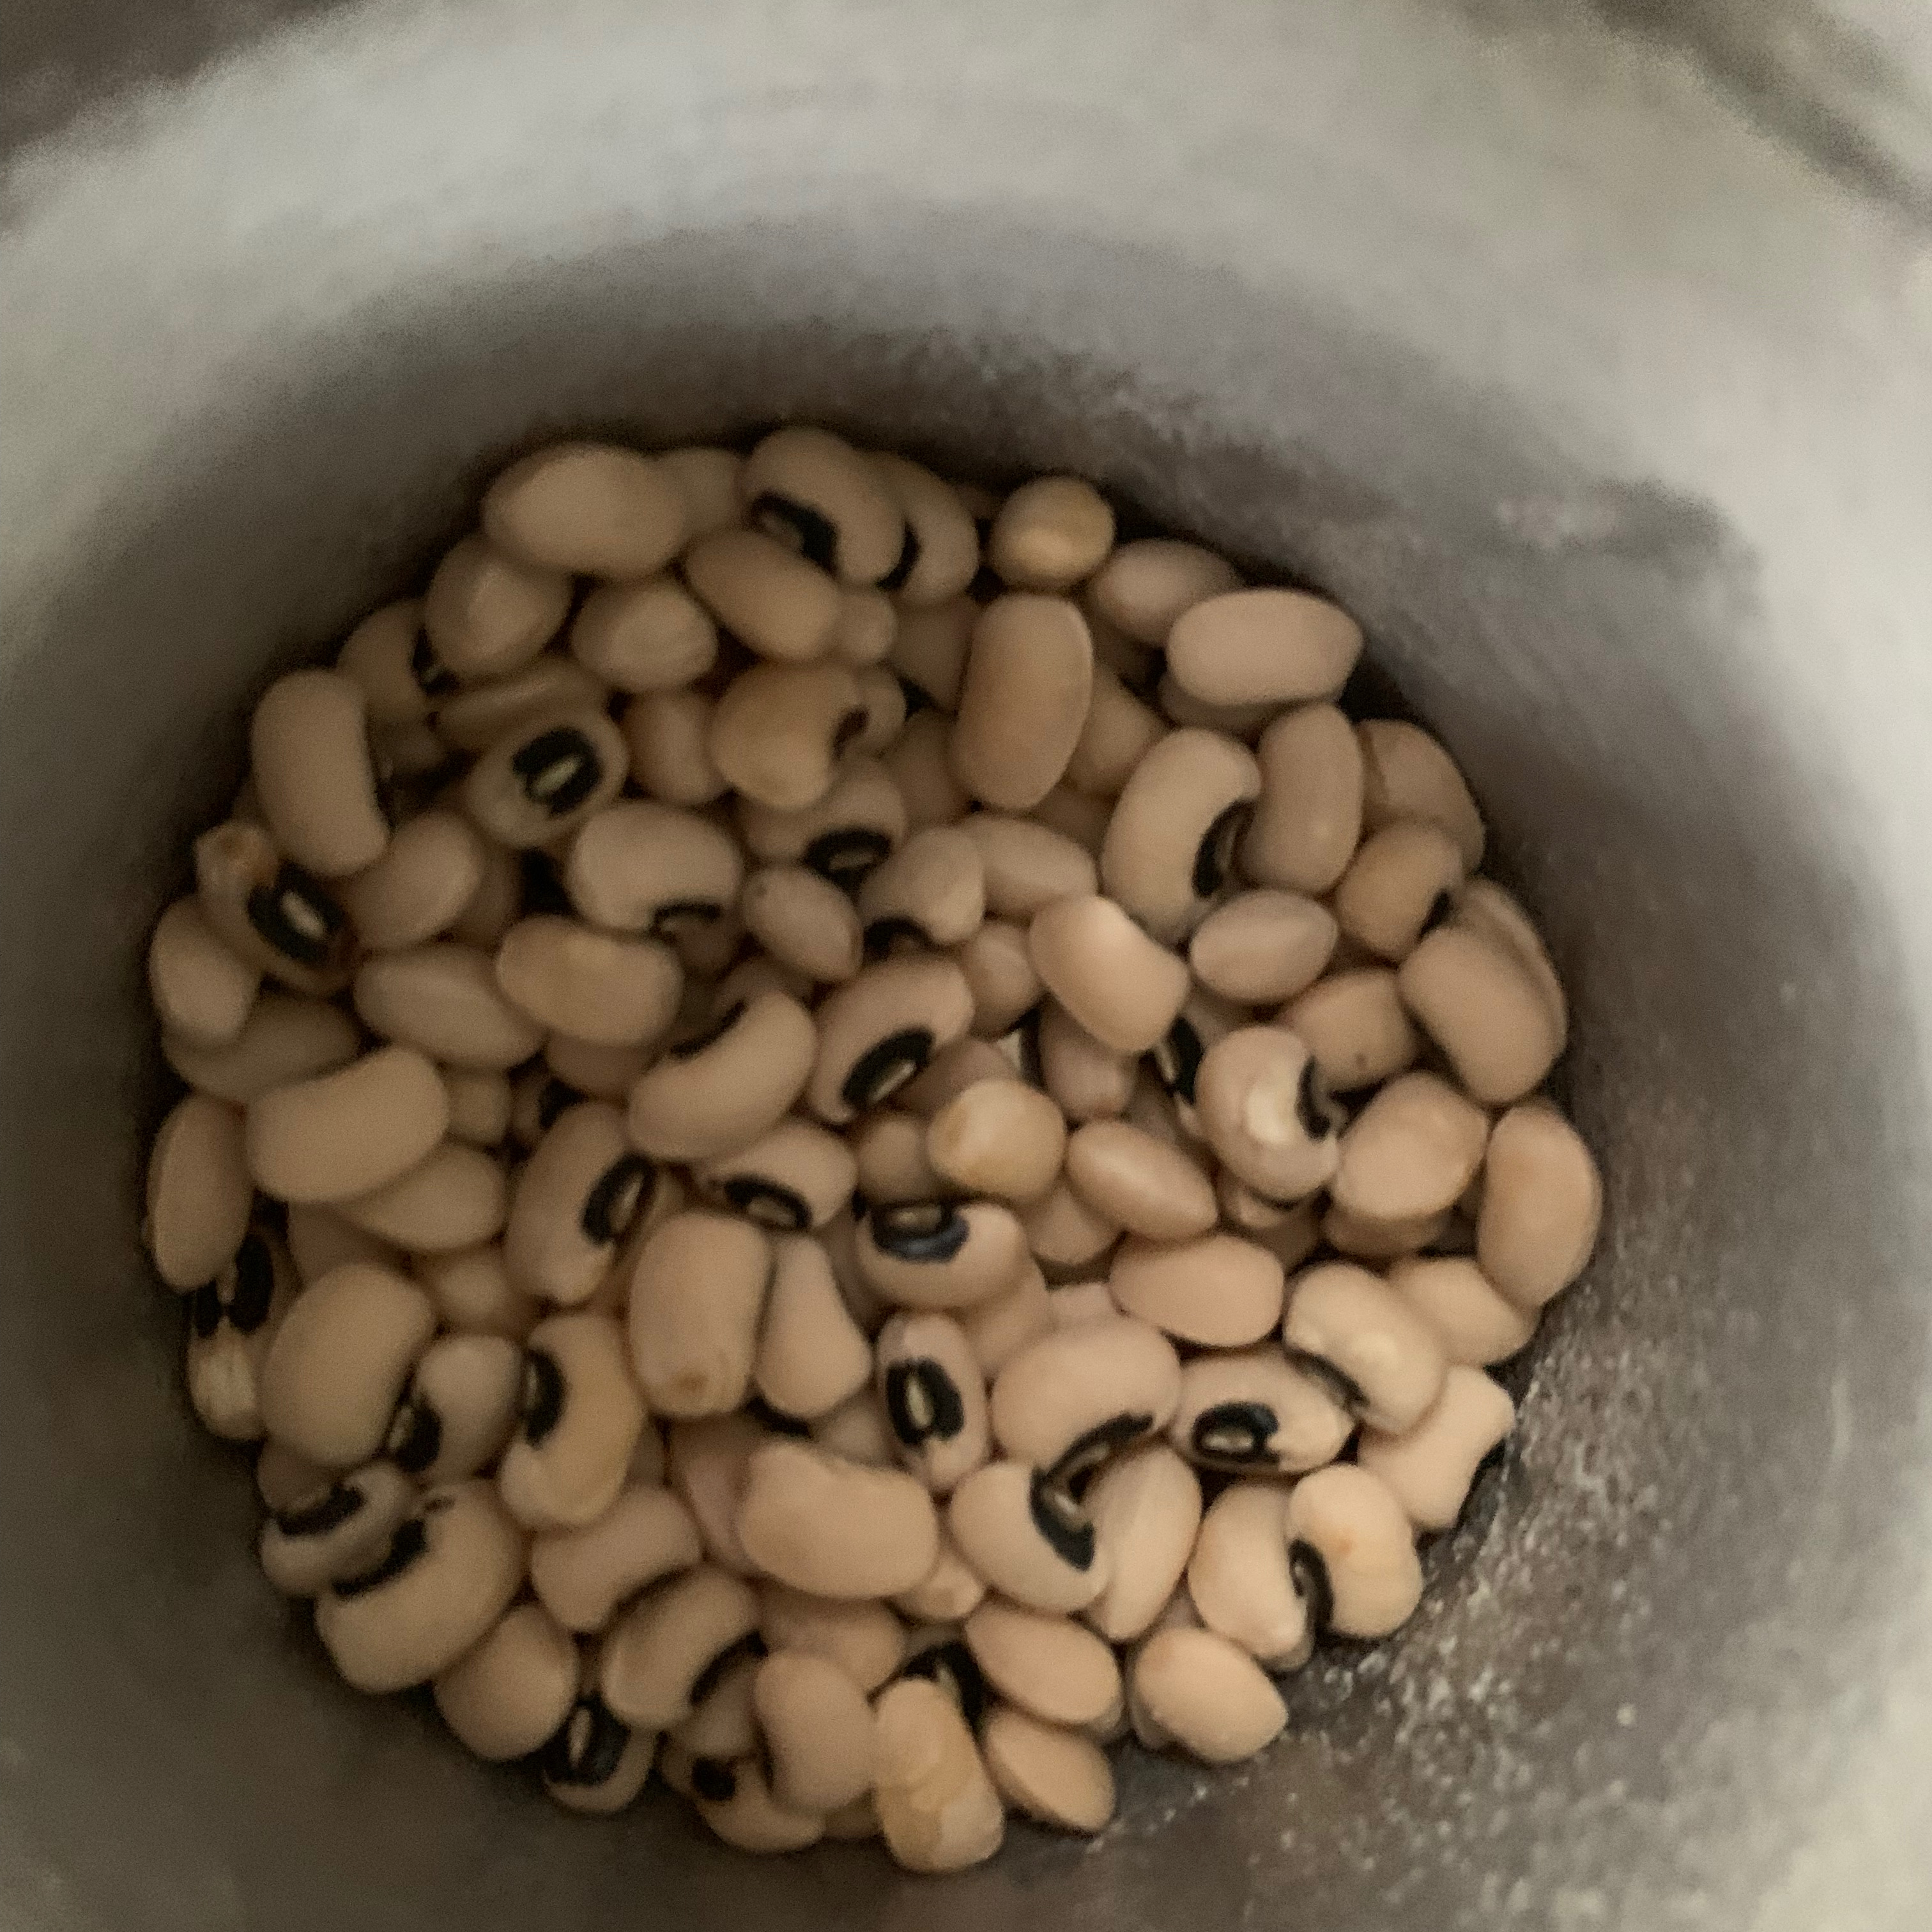
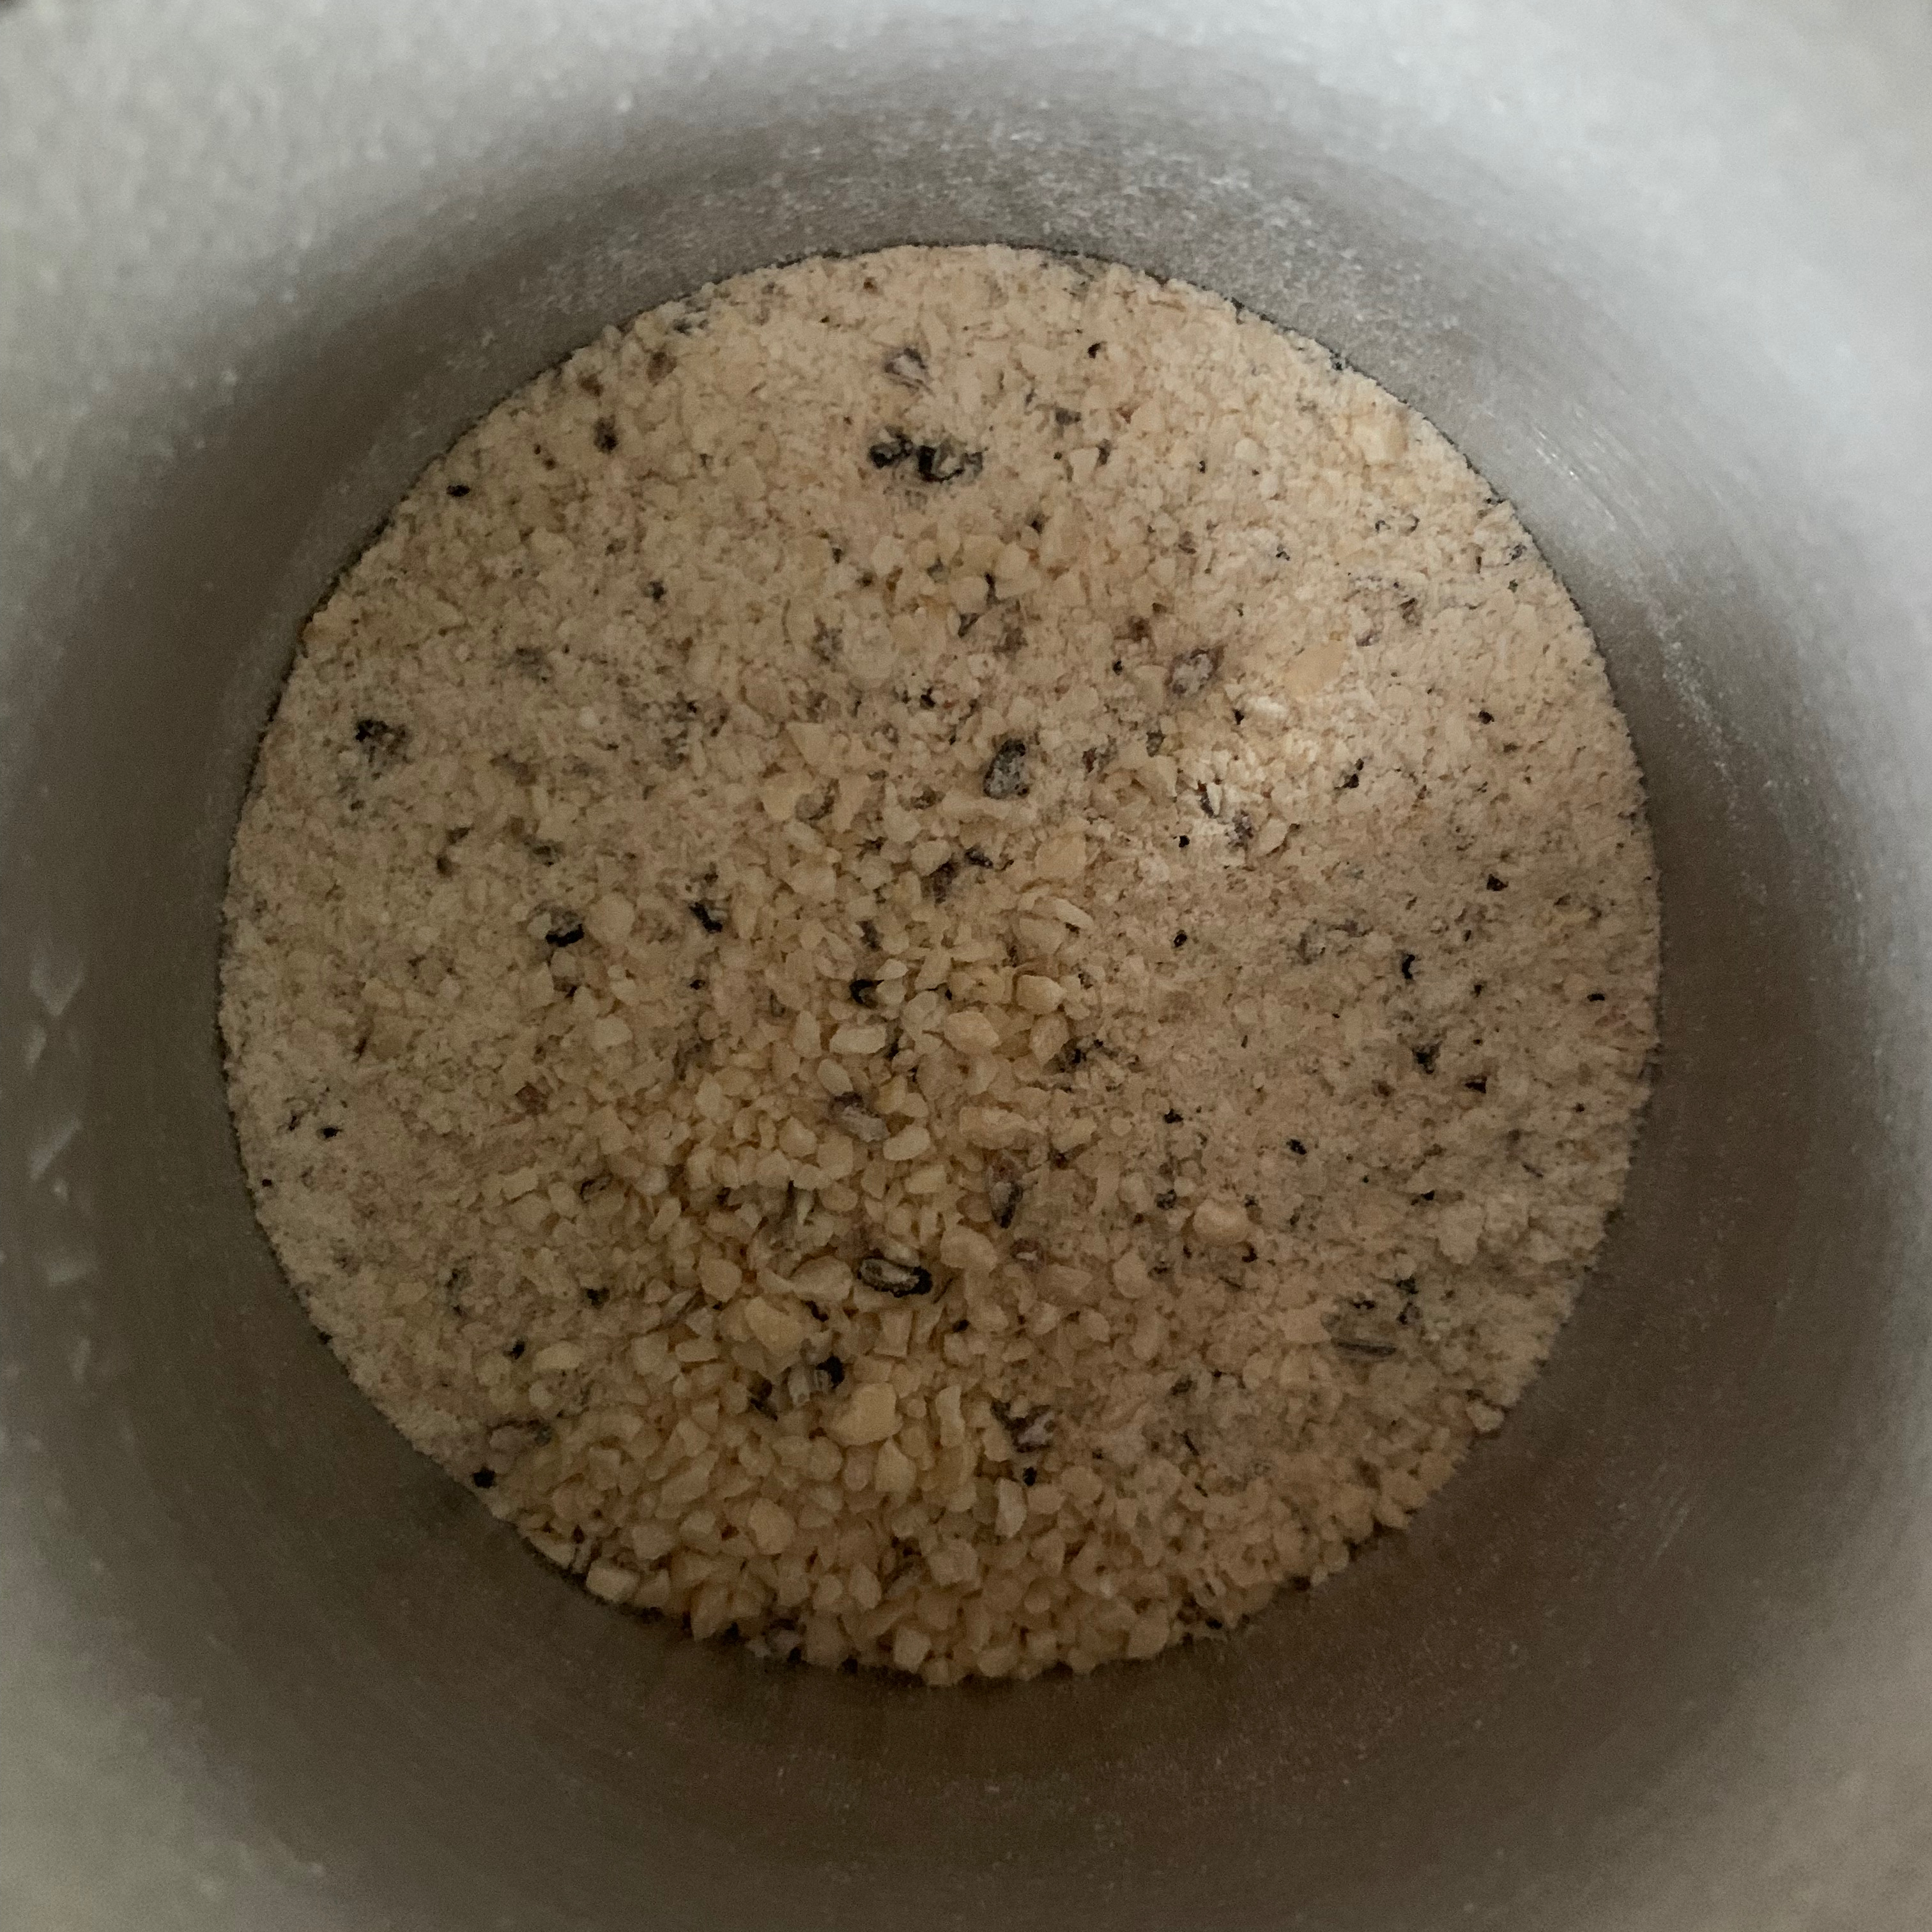
What makes tapalapa special is the combination of flours: a mixture of wheat flour, millet flour, cornflour and what’s called “cowpea flour” (in the UK, this translates as ground black-eyed beans). I used a recipe from the ever-reliable 196flavors.com – with the proviso that with my particular dried yeast on a decidedly chilly English summer’s day, the rise times were many times as long as Mike suggests in the recipe.
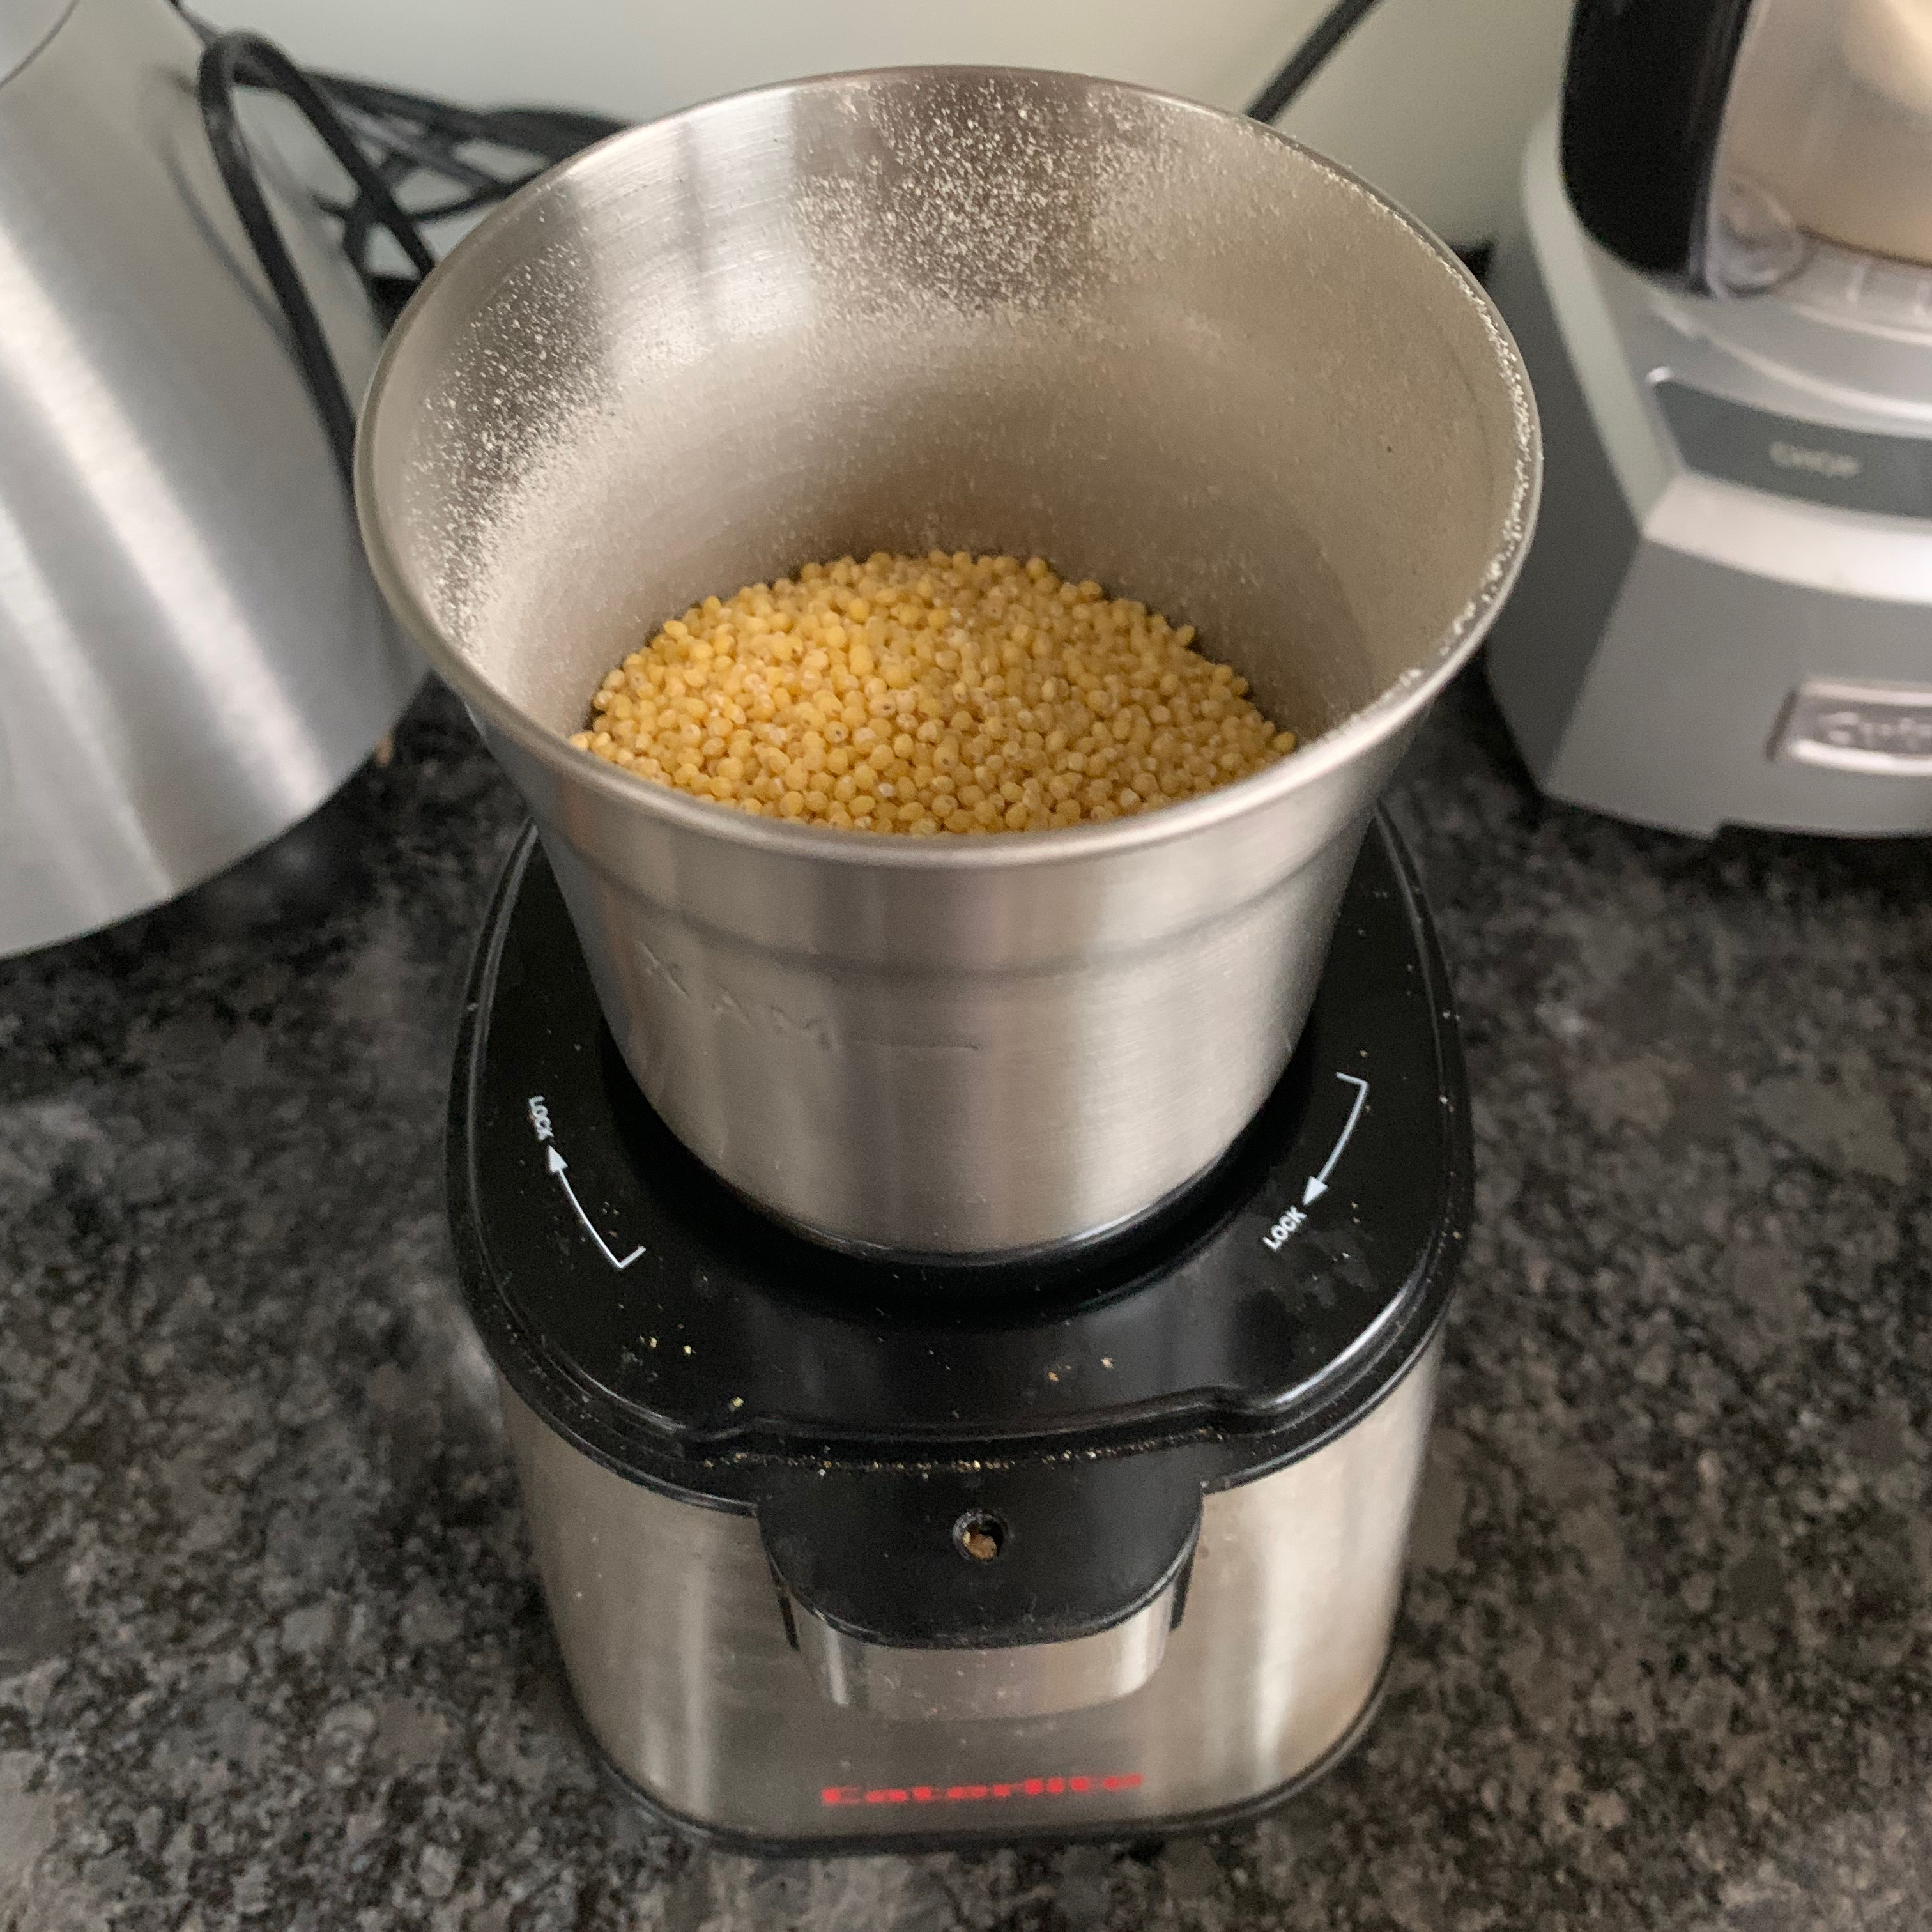
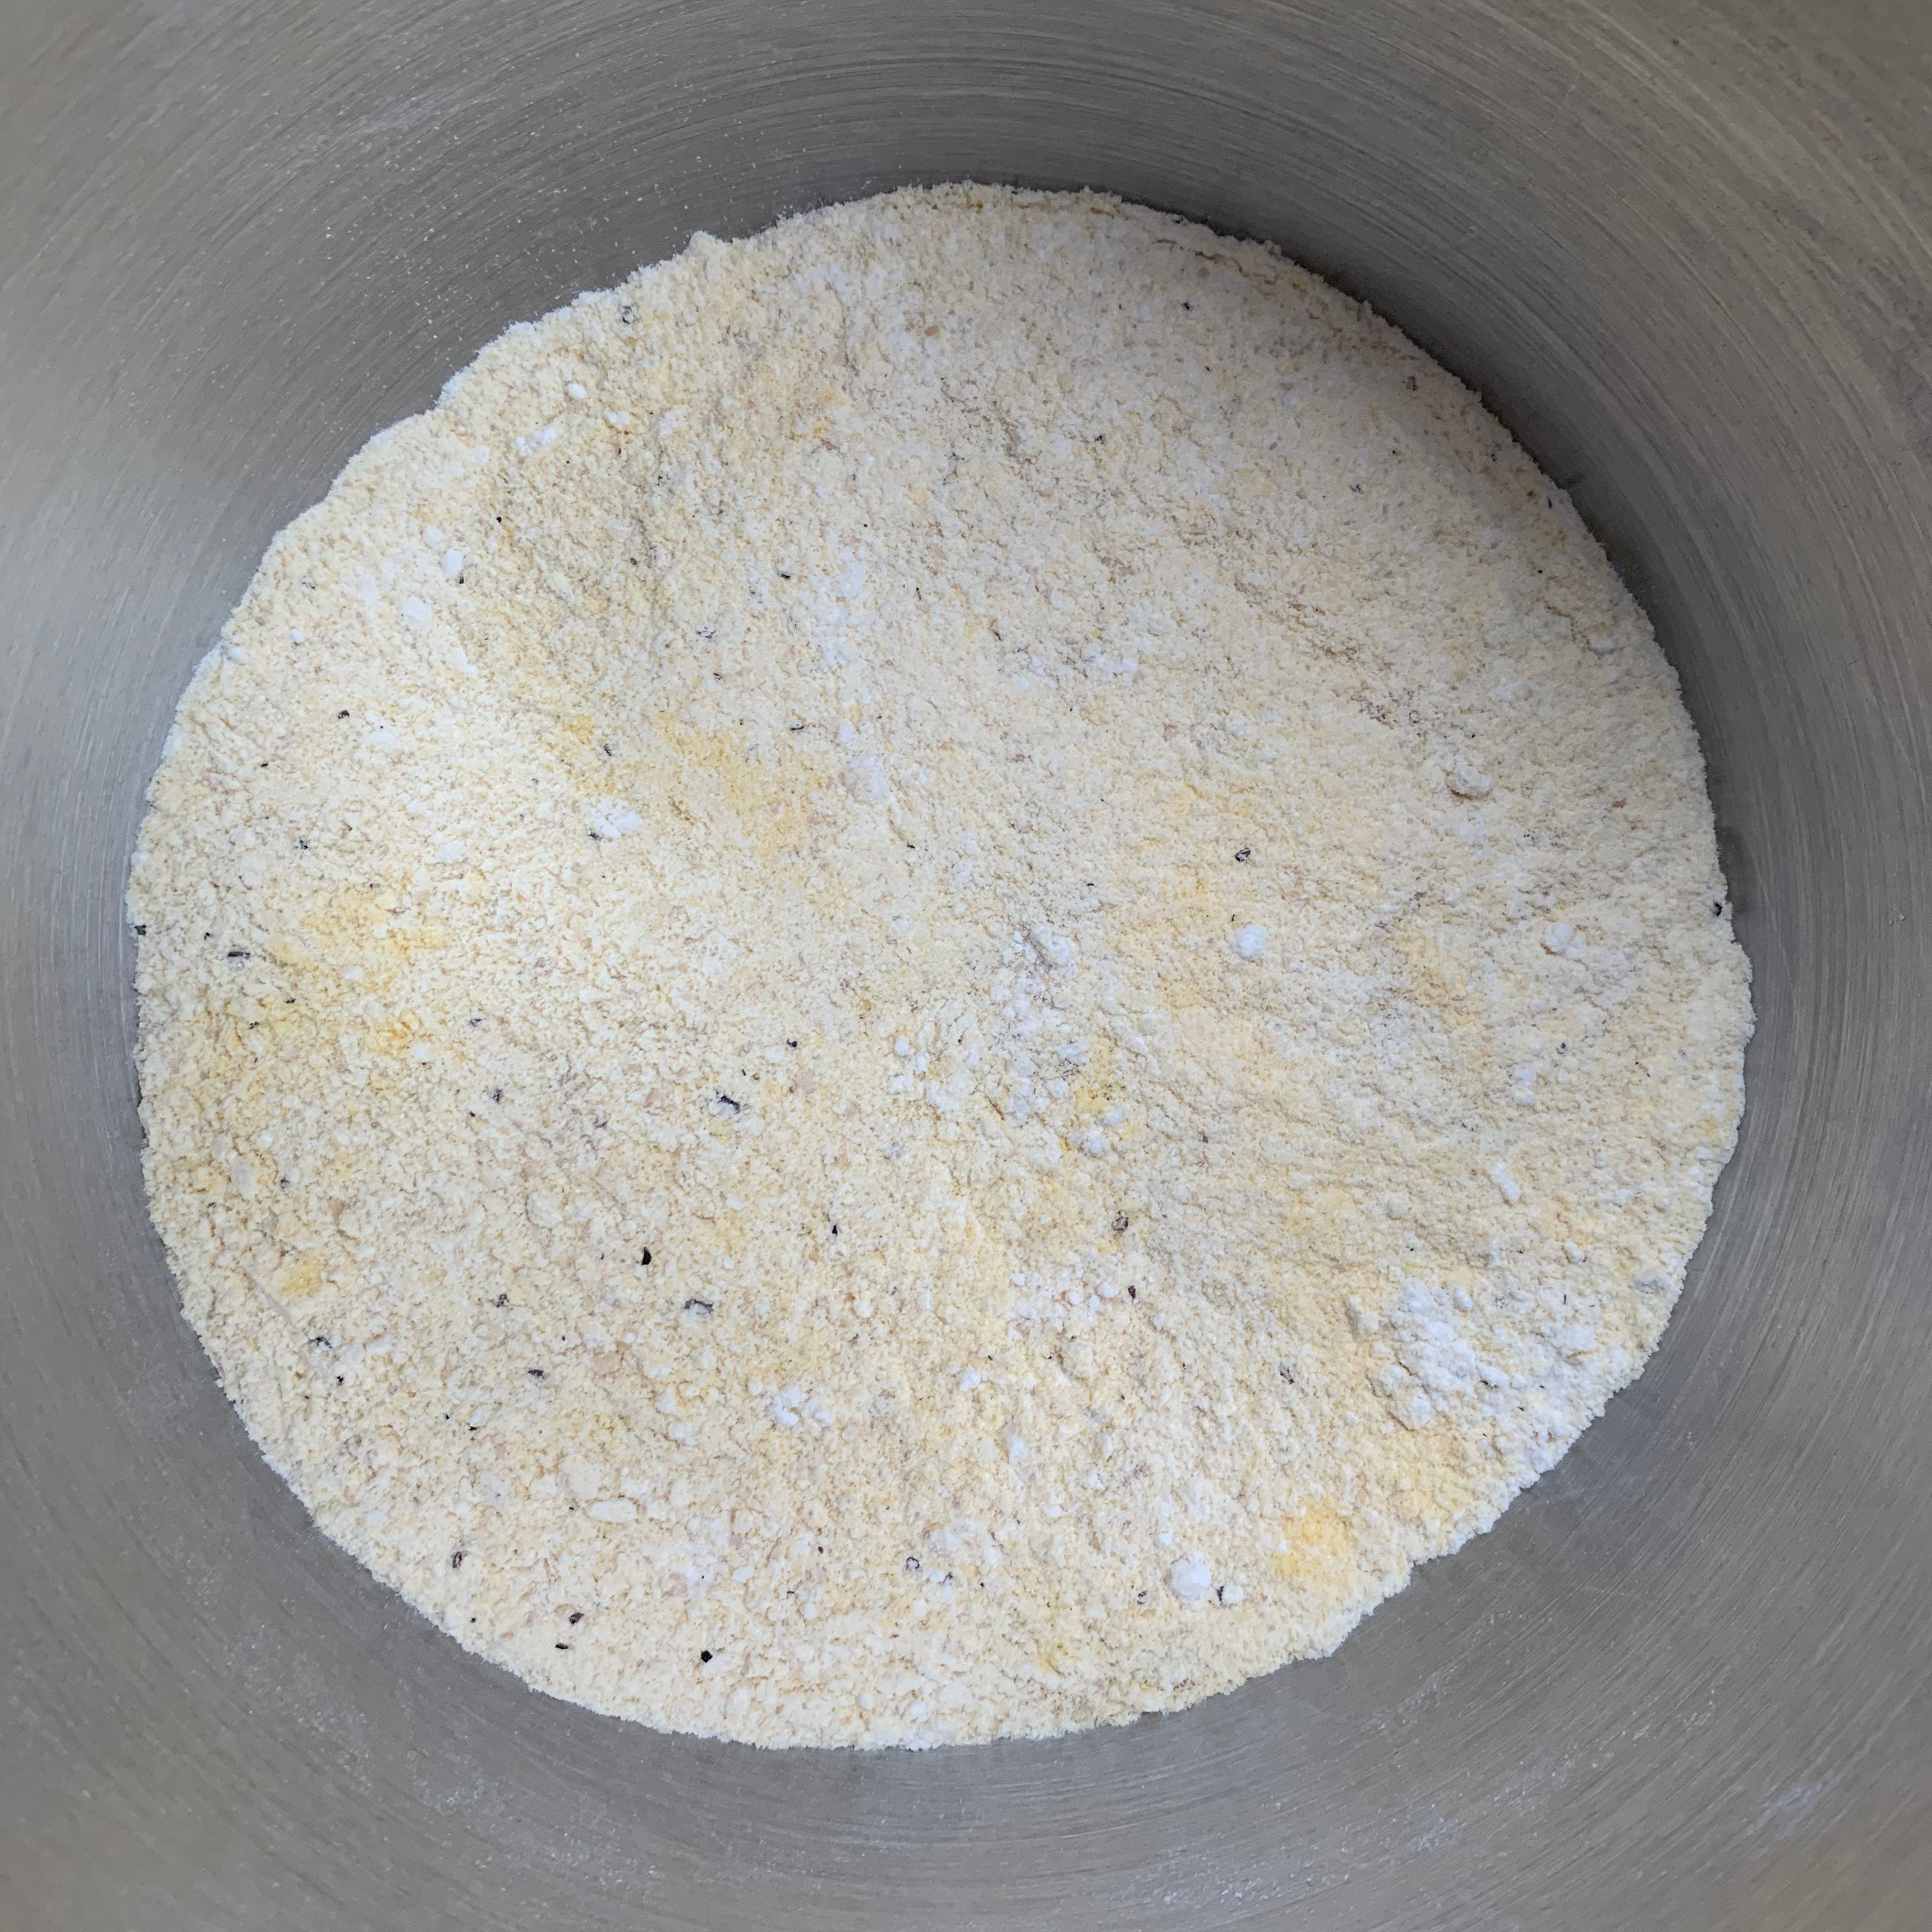
Millet flour and cowpea flour are hard to find in the UK, but it’s easy enough to get millet and black-eyed peas: a coffee grinder turns them into flour with no difficulty.
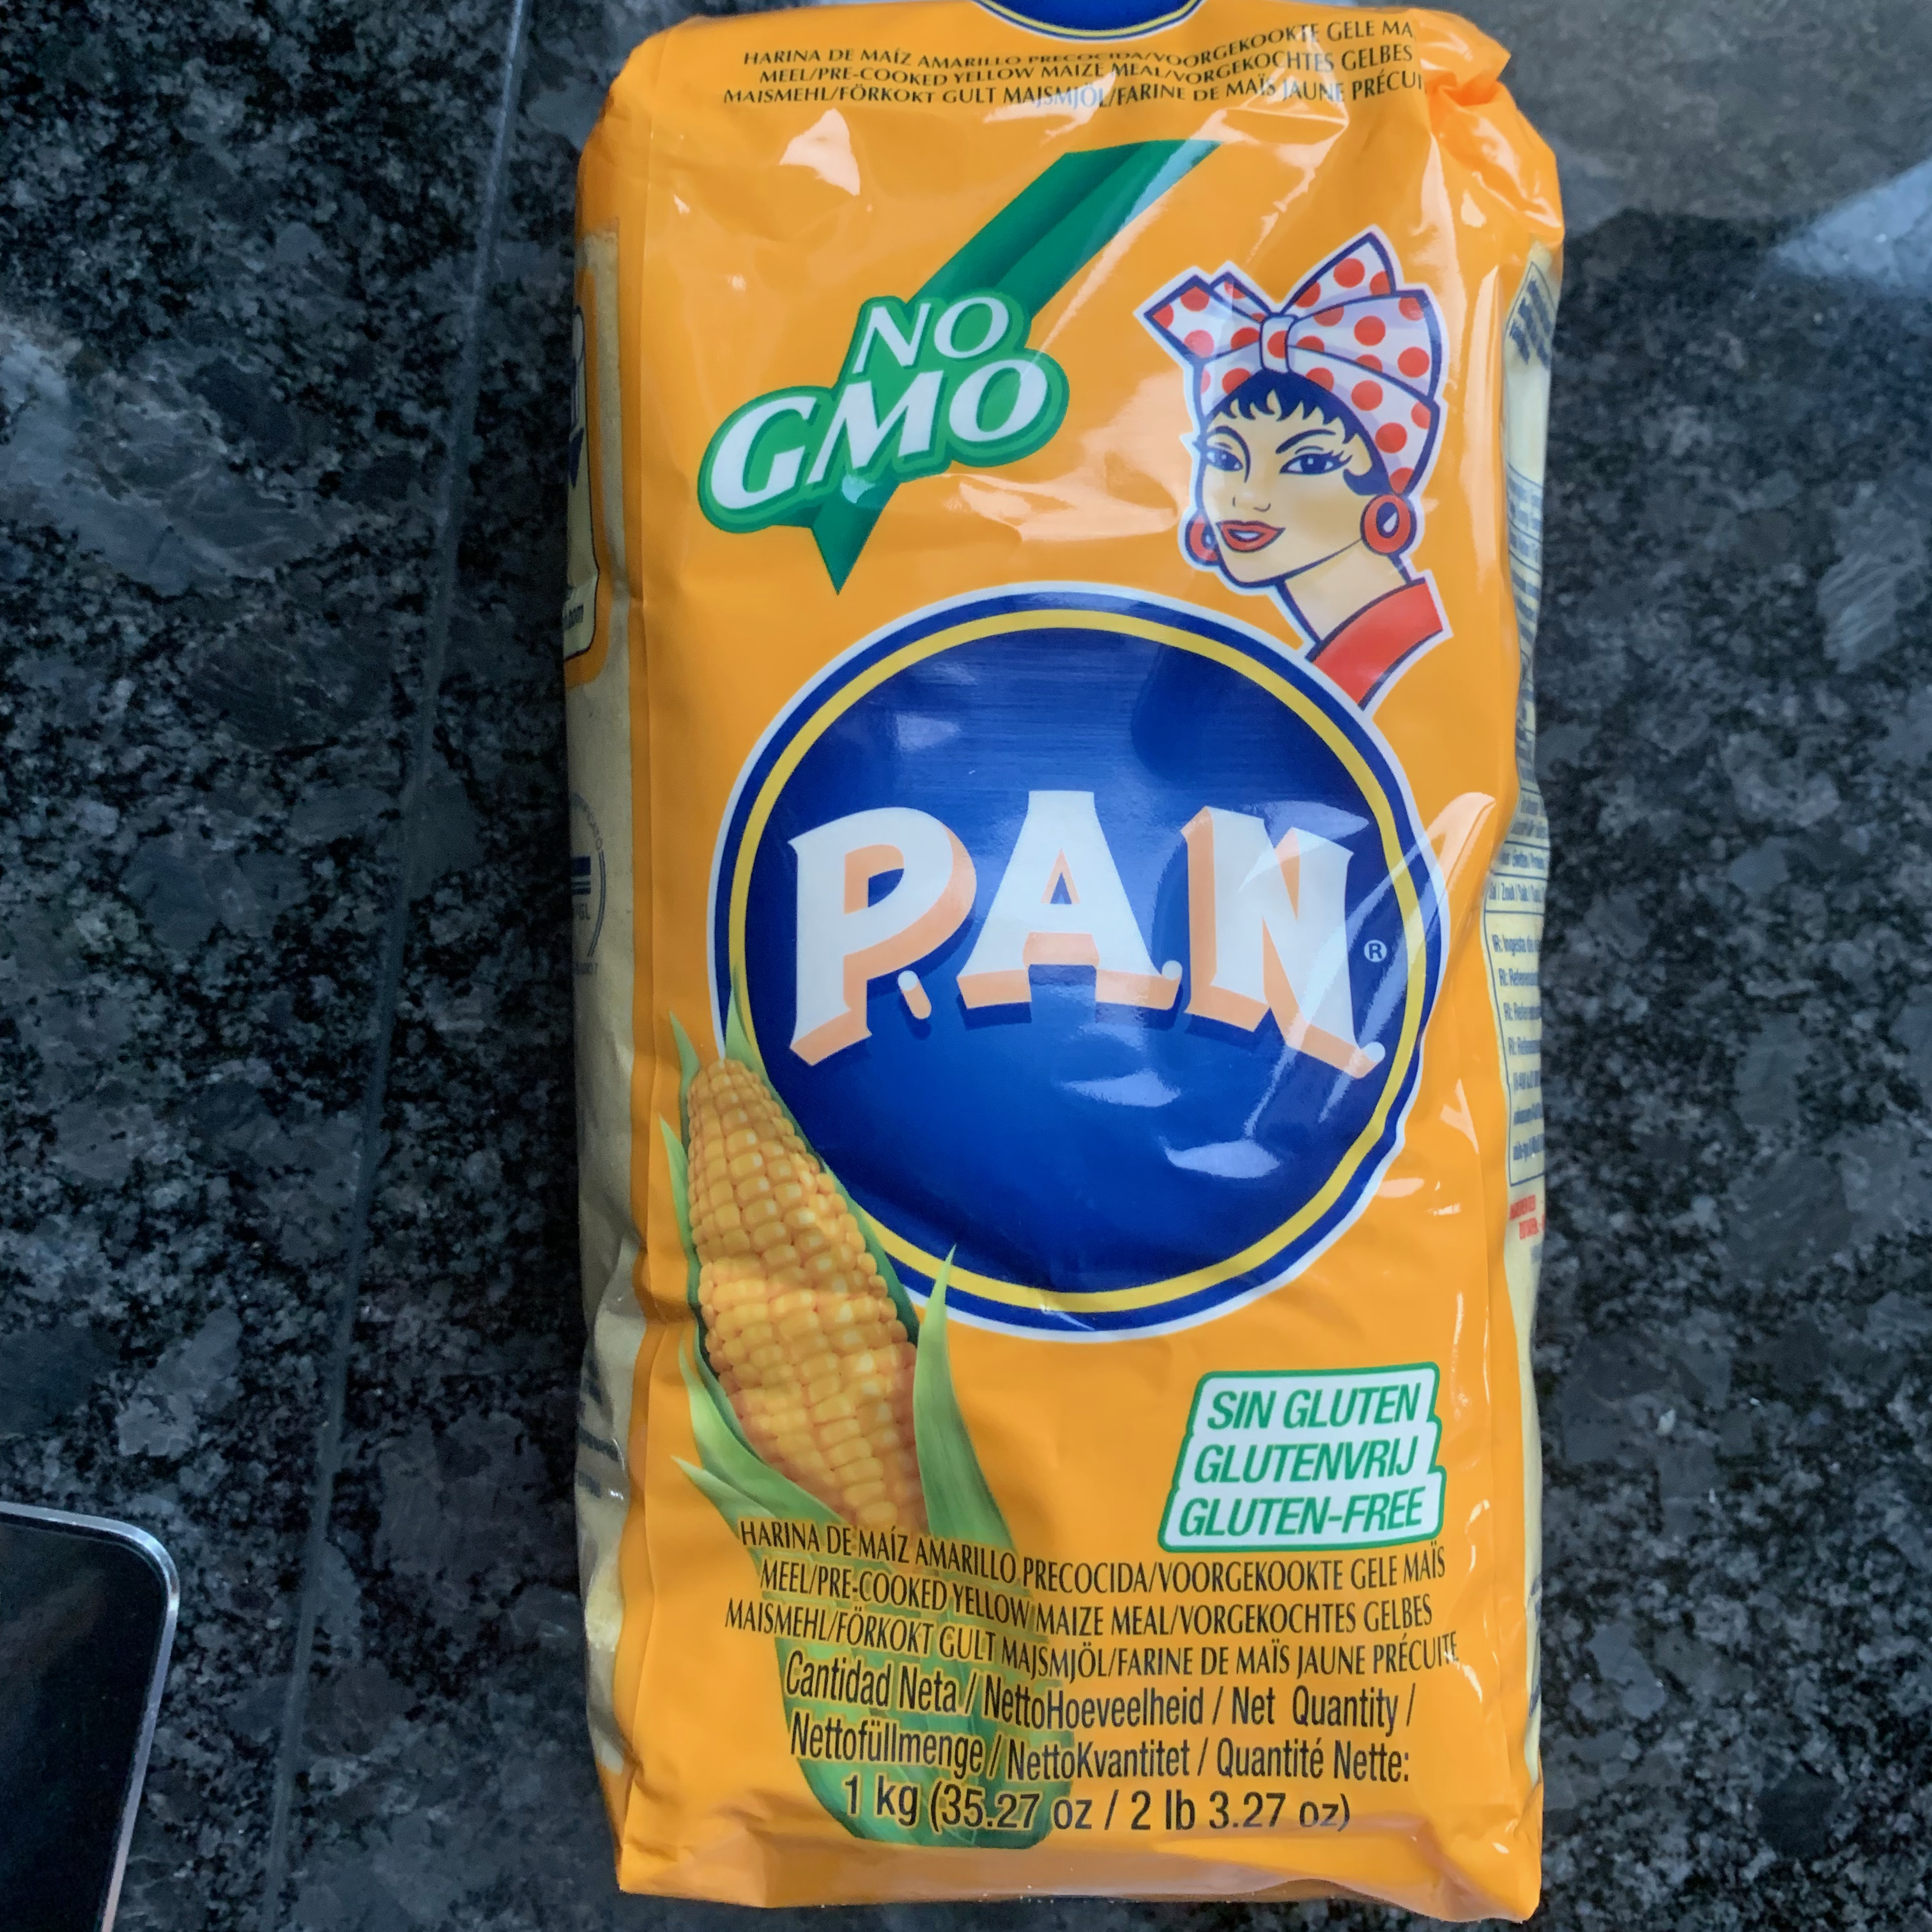
Yellow cornflour is available from specialist Mexican grocers. I’m going to guess that standard cornflour would have been fine.
160 g bread flour
70 g millet flour
160 g yellow cornflour
60 g cowpea flour
12g dried yeast
1 teaspoon salt
350ml lukewarm water (around 40℃)
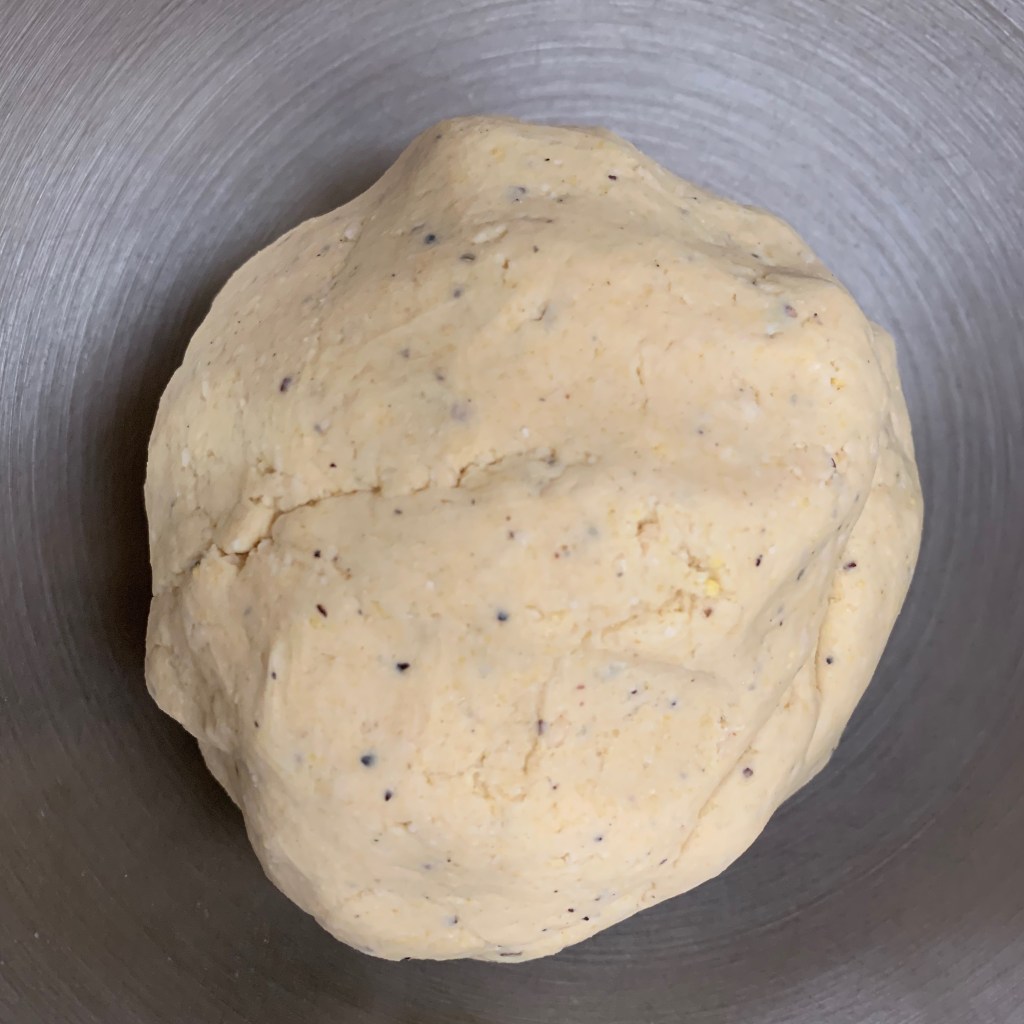
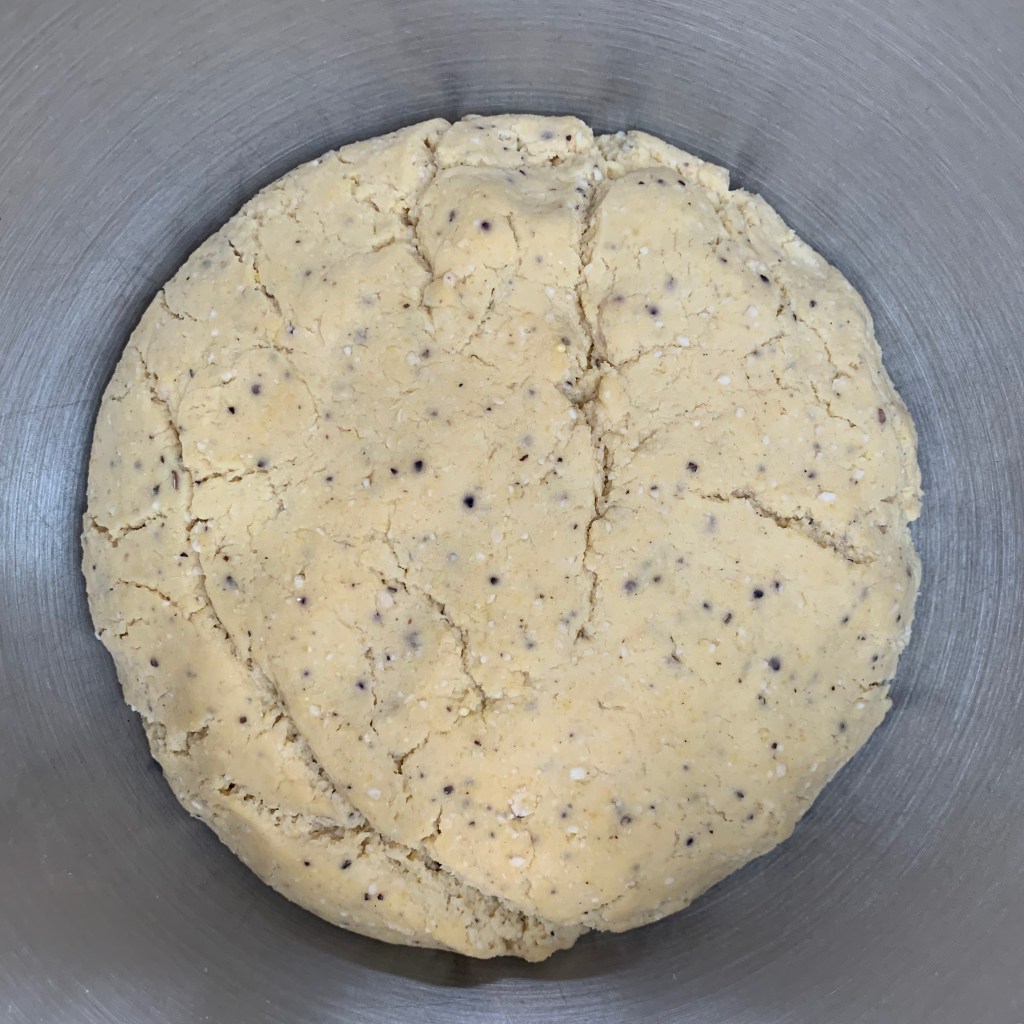
Put the flours, yeast and salt in the bowl of your stand mixer and stir until blended. Add the water and mix until you have a smooth dough.
Switch to the dough hook and knead for around 5-7 minutes.
Form the dough into a ball, cover and leave to rise until doubled in size. The recipe suggests that this might take an hour: for whatever the reason, it took around three hours in my kitchen.
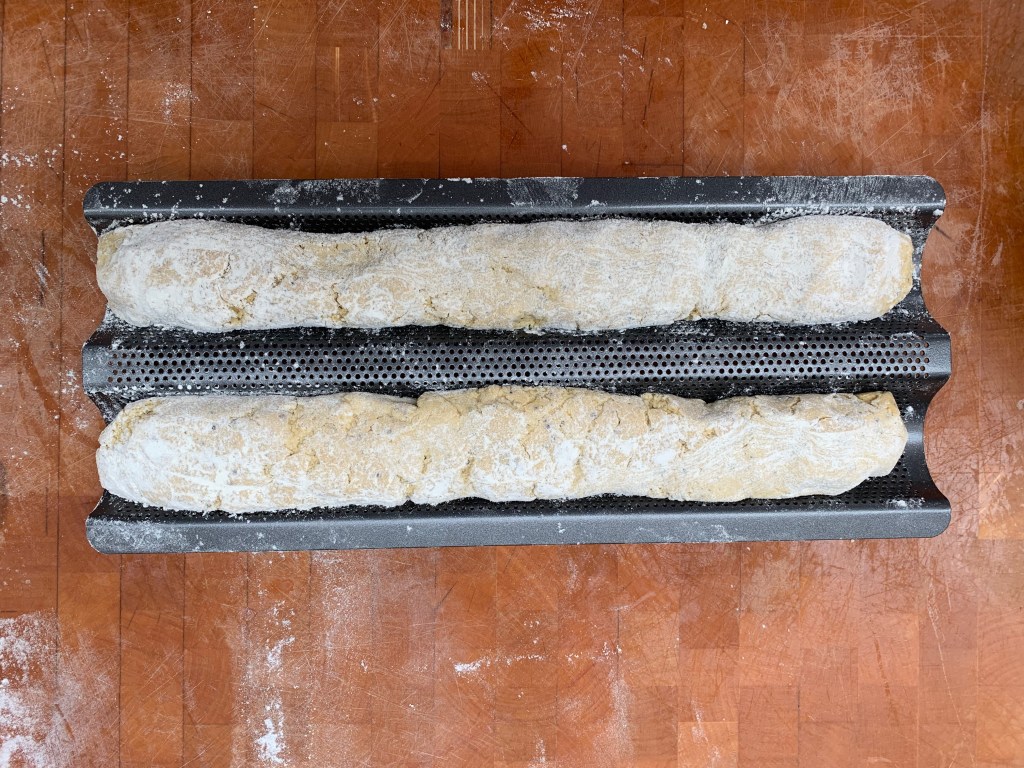
Split the dough into two and form each half into a baguette shape. I happen to have a specially shaped tin for baguettes, but you can probably get away with just putting them on a greased baking sheet.
Preheat oven to 220℃ fan
Leave to rise for another hour or so.
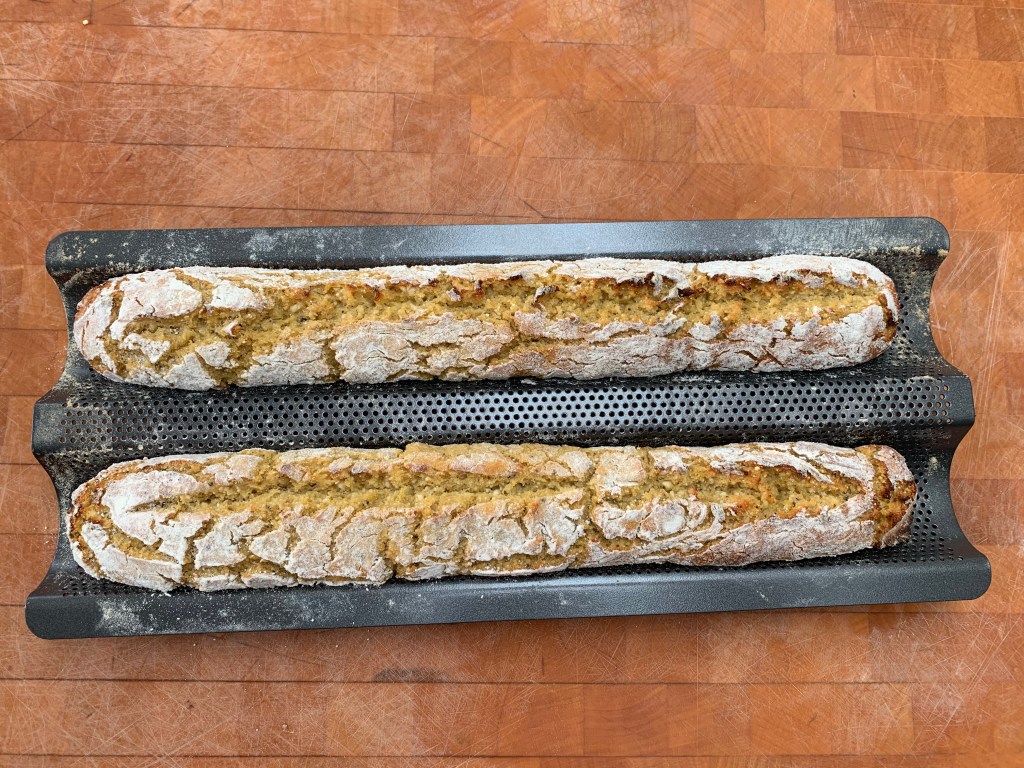
Slash a shallow gash down the middle of each stick.
Bake until golden brown and dry on the inside: this should take around 15-20 minutes
Tunisia grows a lot of oranges. Over 550,000 tonnes, according to The Guardian, in what was admittedly a freak year – apparently, 200-400,000 is more normal. Anyway, you have to do something with all that fruit, and one of things the Tunisians do is to make orange cake – or “Khobzet borgden”, as it’s called in Arabic.
If you look up English language recipes for Tunisian Orange Cake, you tend to get something different, often involving stale breadcrumbs and a lot of ground almonds. These are also very good – my wife has been making her mother’s orange almond cake recipe for years and it’s a winner – but I can’t find any evidence that they’re authentically Tunisian: the closest I got was a recipe where the cake was decorated with flaked almonds.
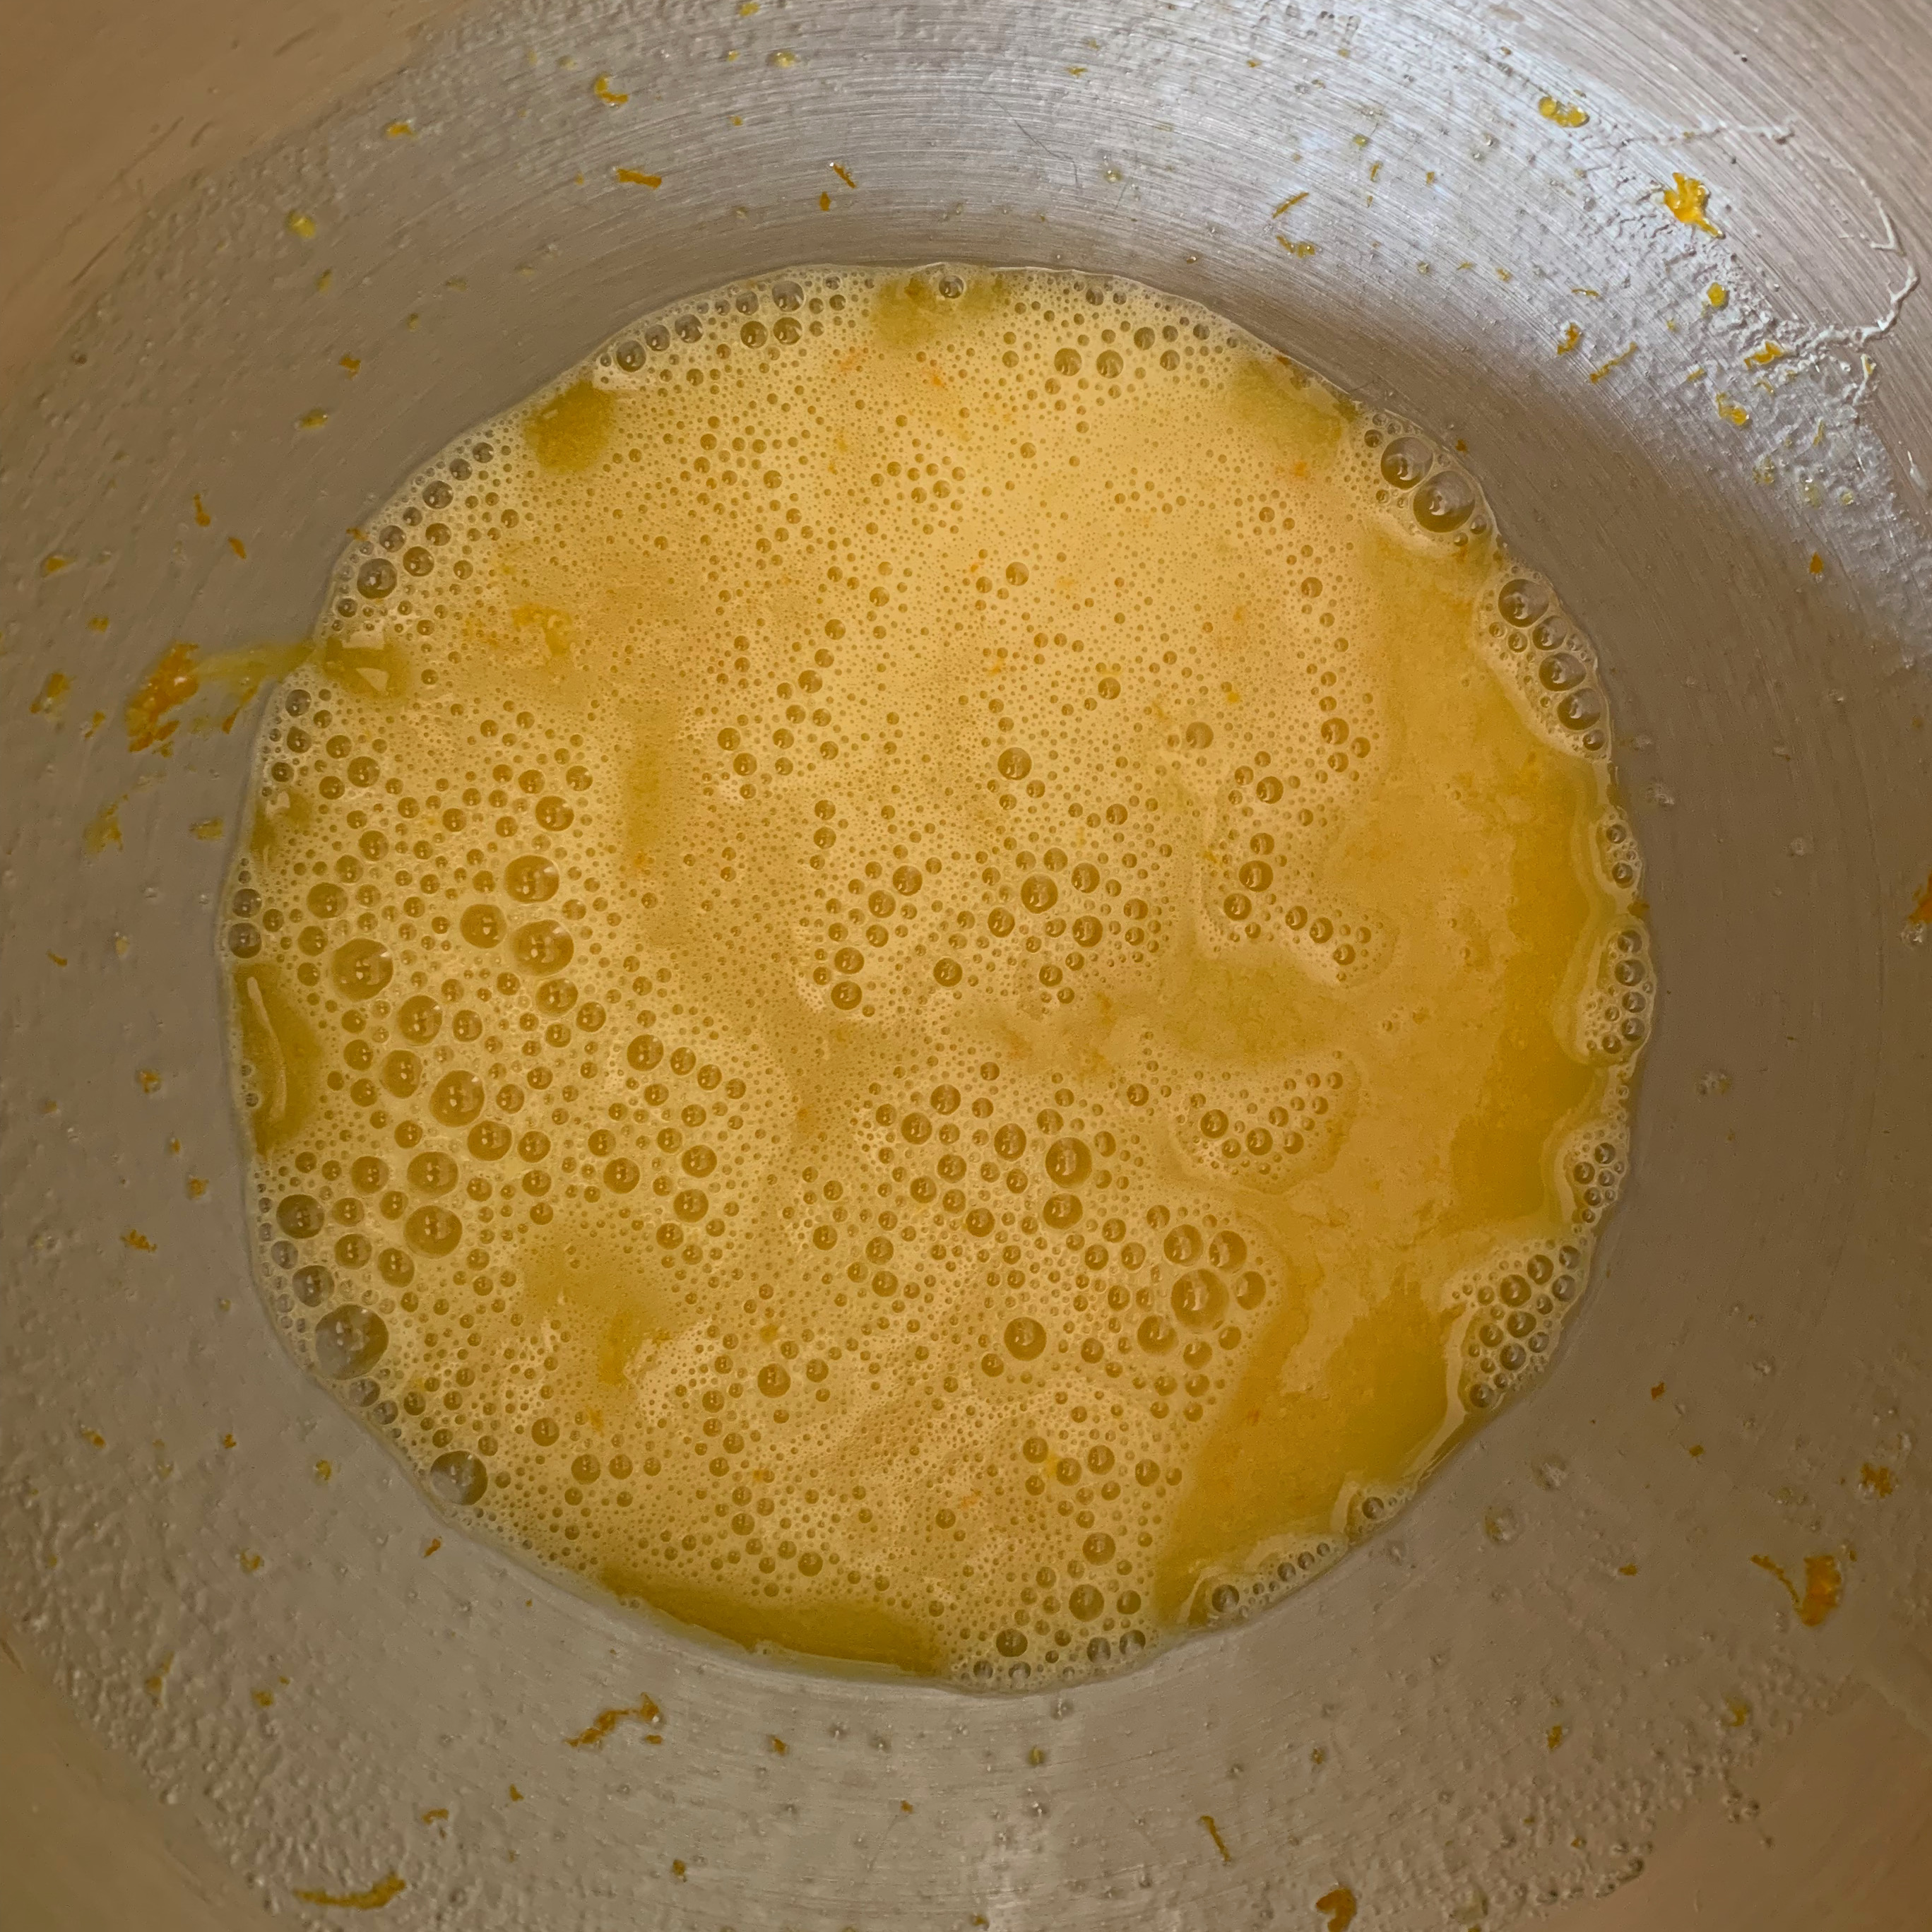
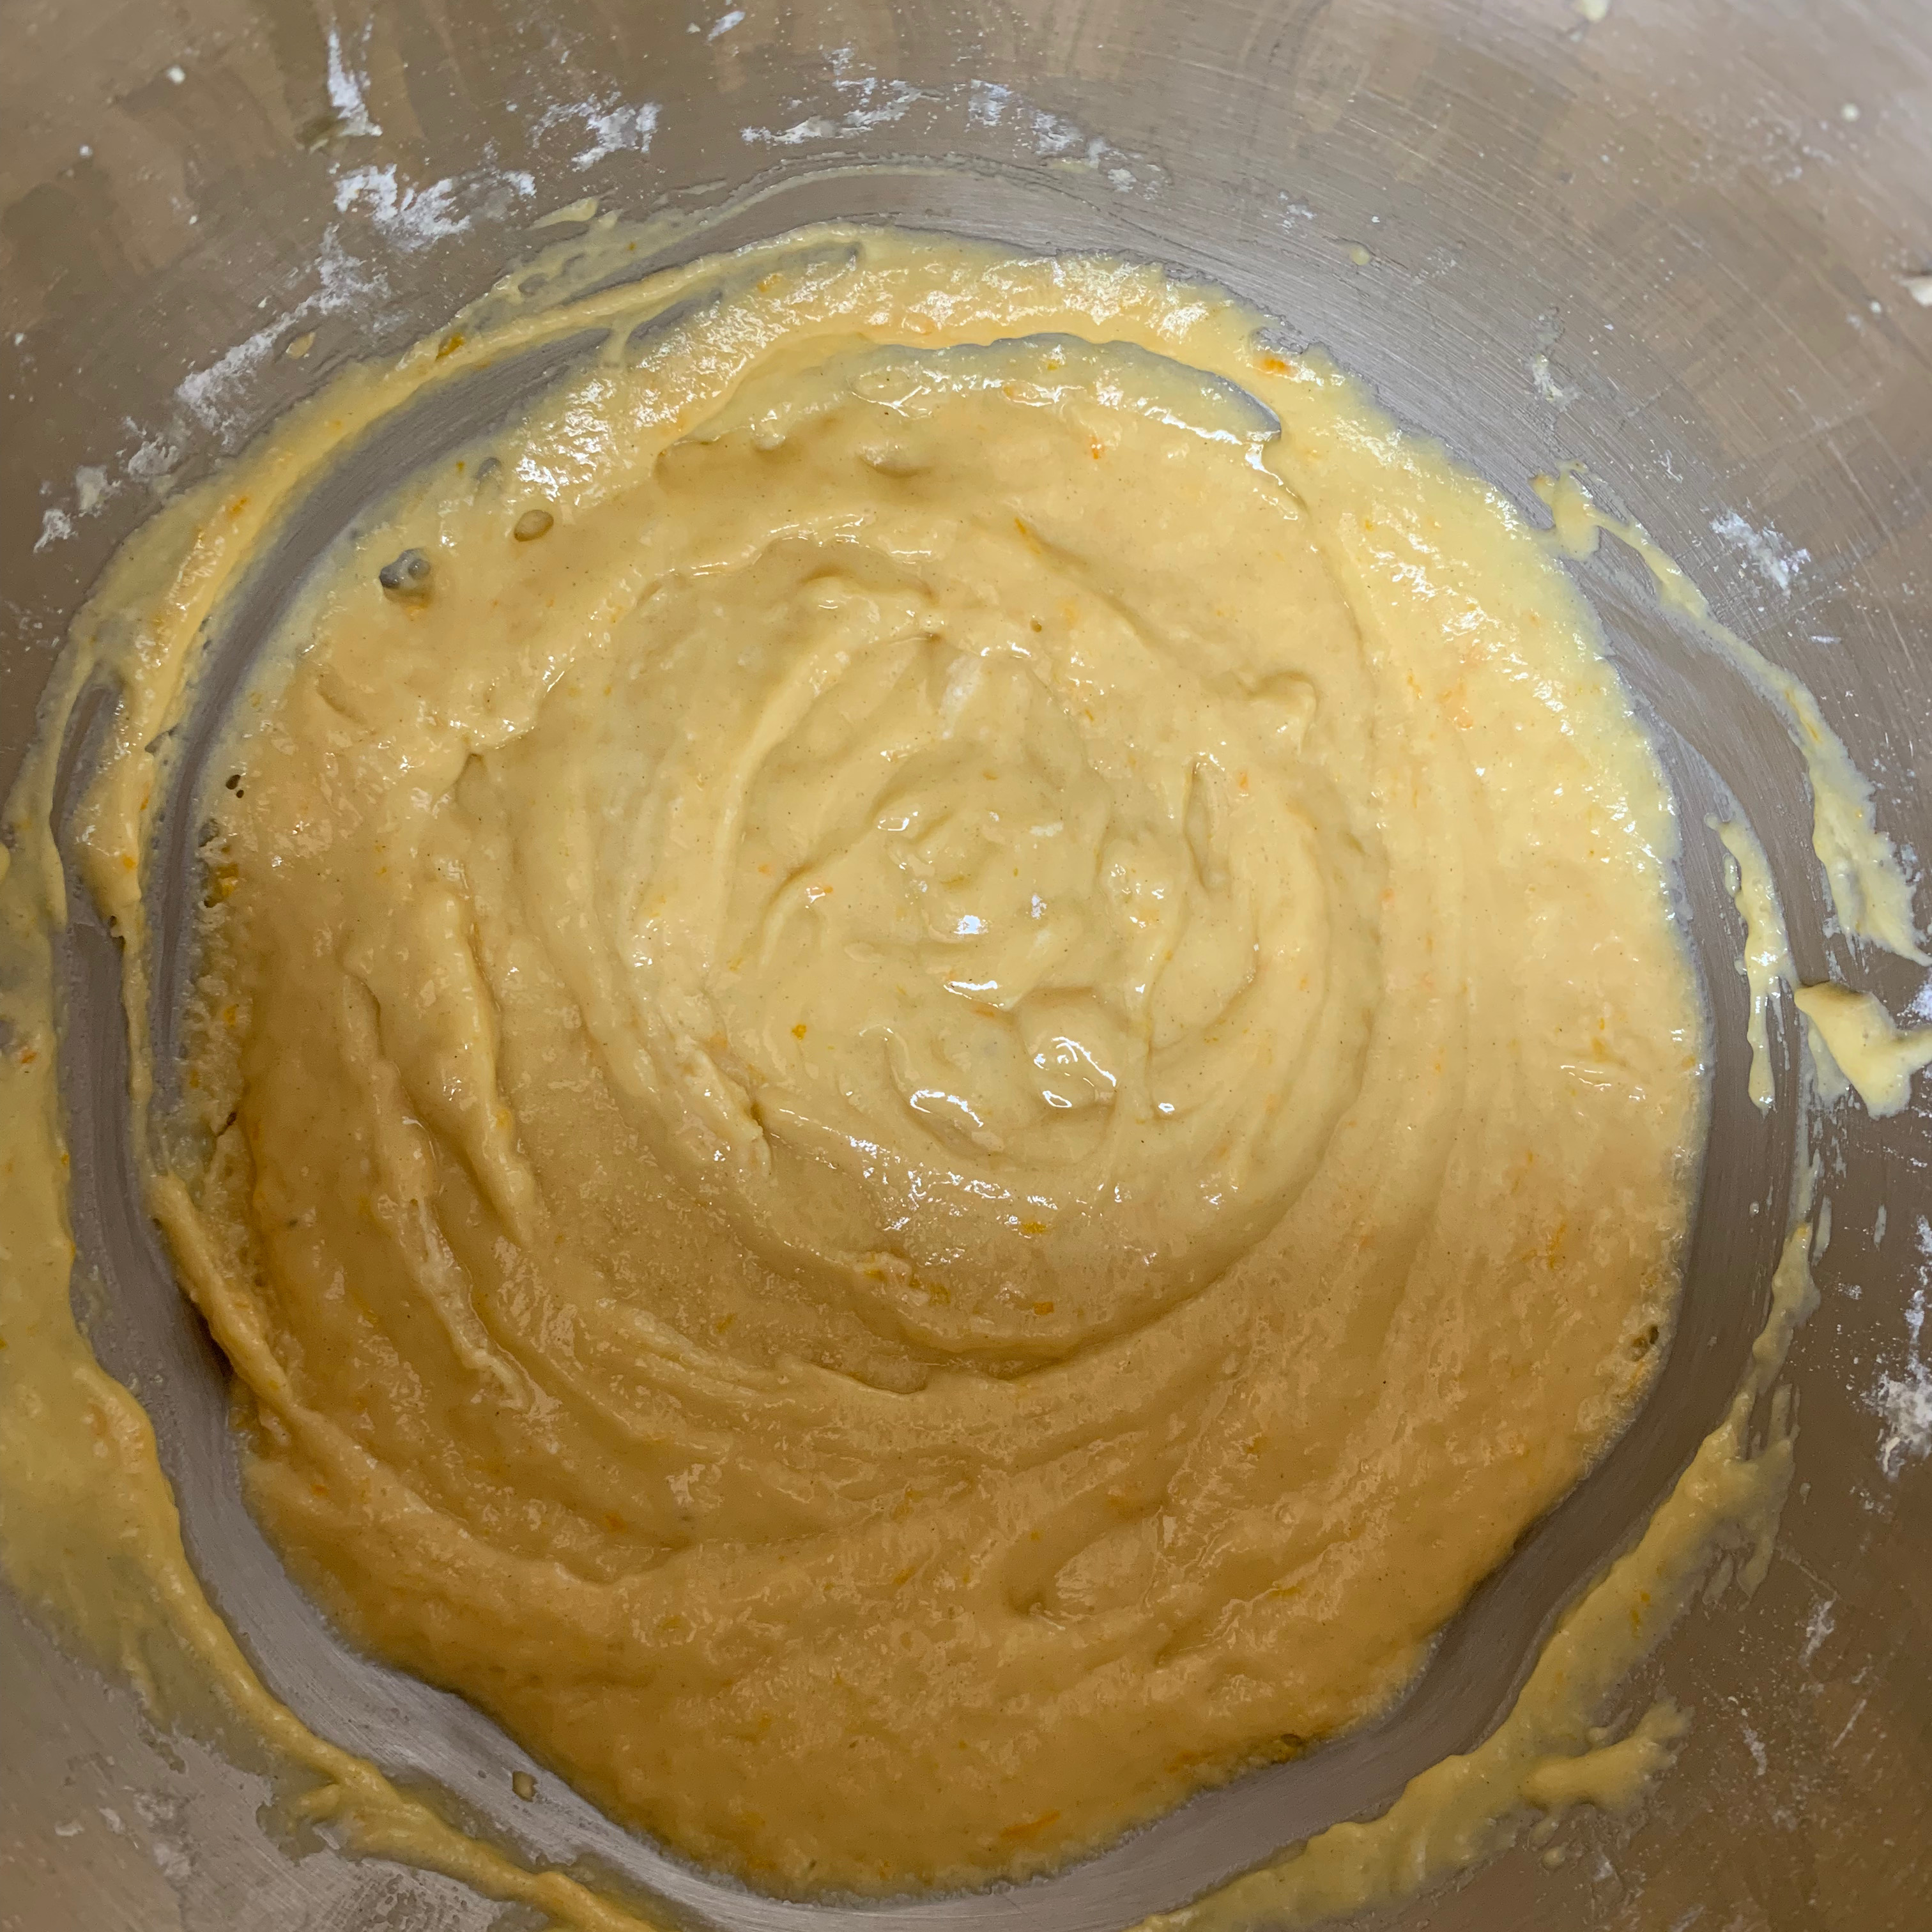
So I’ve gone for one of the many recipes for Khobzet borgden on Tunisian websites, generally in French. Variations include choice of fat (butter / olive oil / vegetable oil) and how to treat your oranges: the most extreme one I’ve seen involved blitzing whole oranges – skin, pips and all – and adding the resulting purée to your cake mix. Just about all the recipes involve drizzling your finished cake with an orange syrup. I’ve started with one from tunisienumerique.com (translation: digital Tunisia), which uses oil (I chose olive – it doesn’t specify) and lots of orange zest as well as decorating the top of the cake with slices of orange.
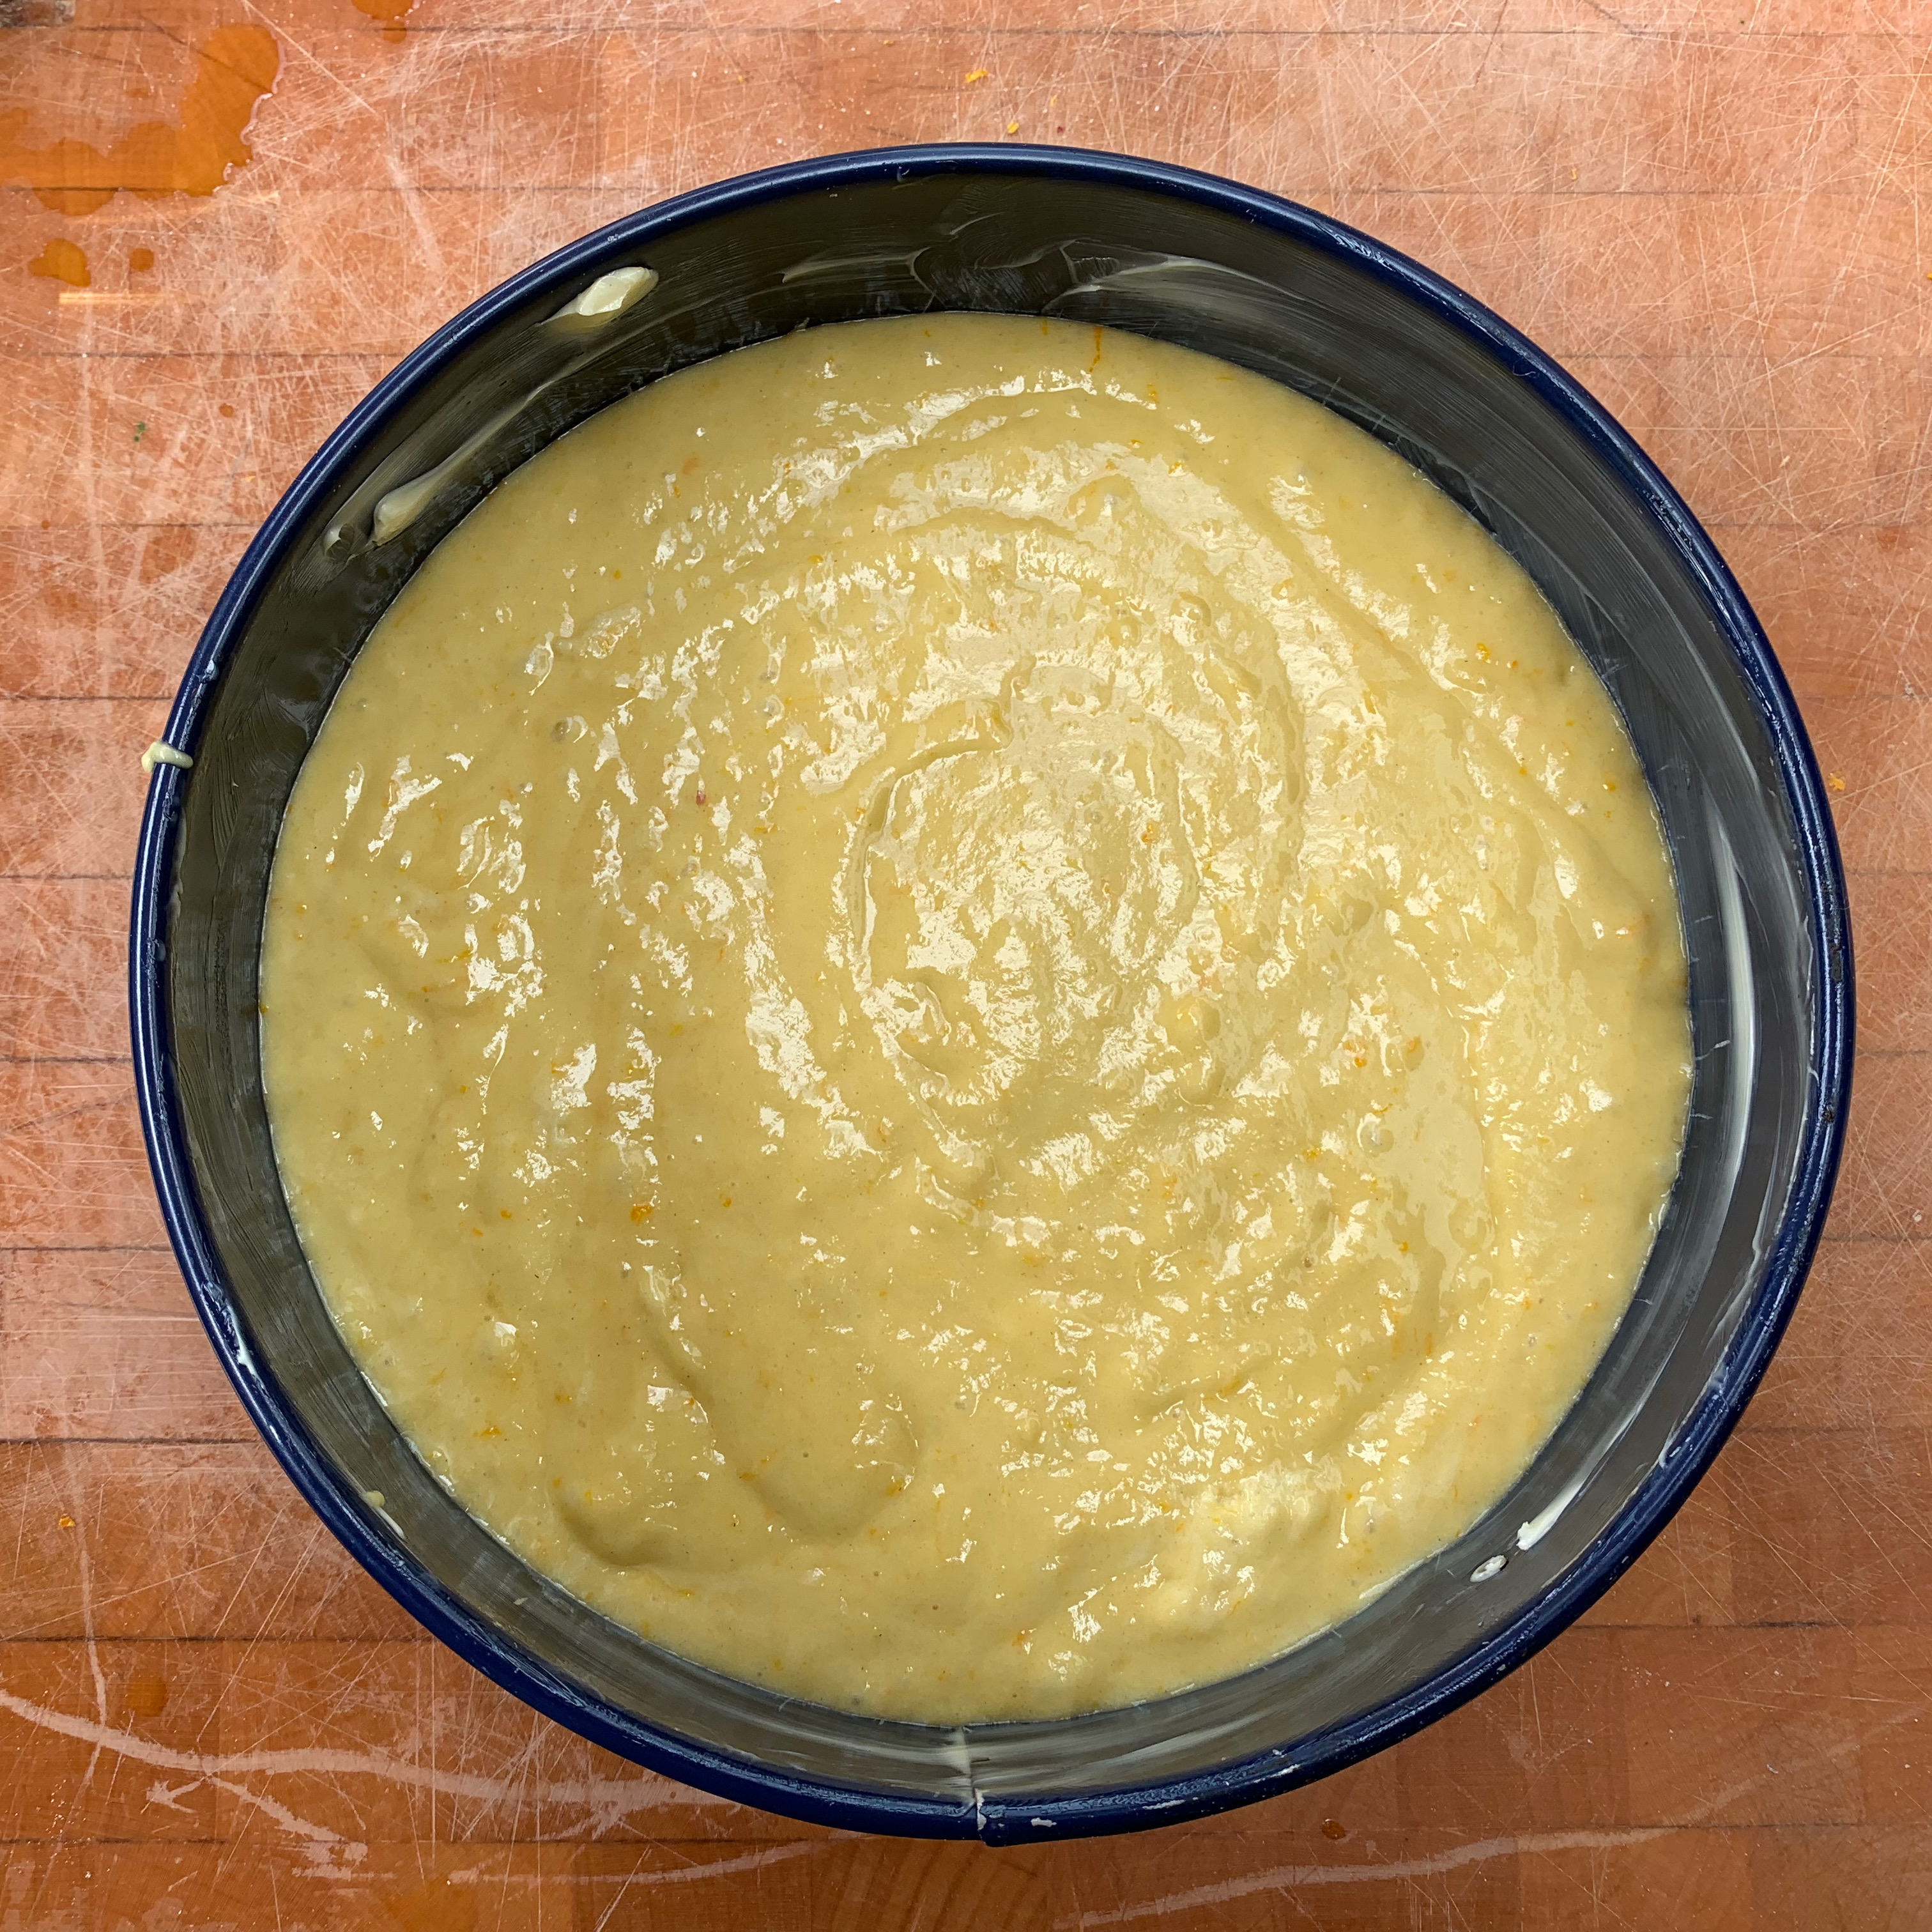
A couple of notes on my adaptation: (1) the suggested baking time of 20-25 minutes wasn’t even close. Either their oven or their baking tin is very different from mine. (2) my cake domed hugely in the middle. The original recipe specifies one sachet of baking powder, and I have no idea how much you get in a Tunisian baking powder sachet. So I went with around 12g, which may have been a bit excessive.
300g plain flour
12g baking powder
3 oranges
3 eggs
150g granulated sugar
100g olive oil
Preheat oven to 180℃ fan.
Grease with butter a 20cm springform tin (or other cake tin of similar size).
Sift your flour and baking powder into a bowl.
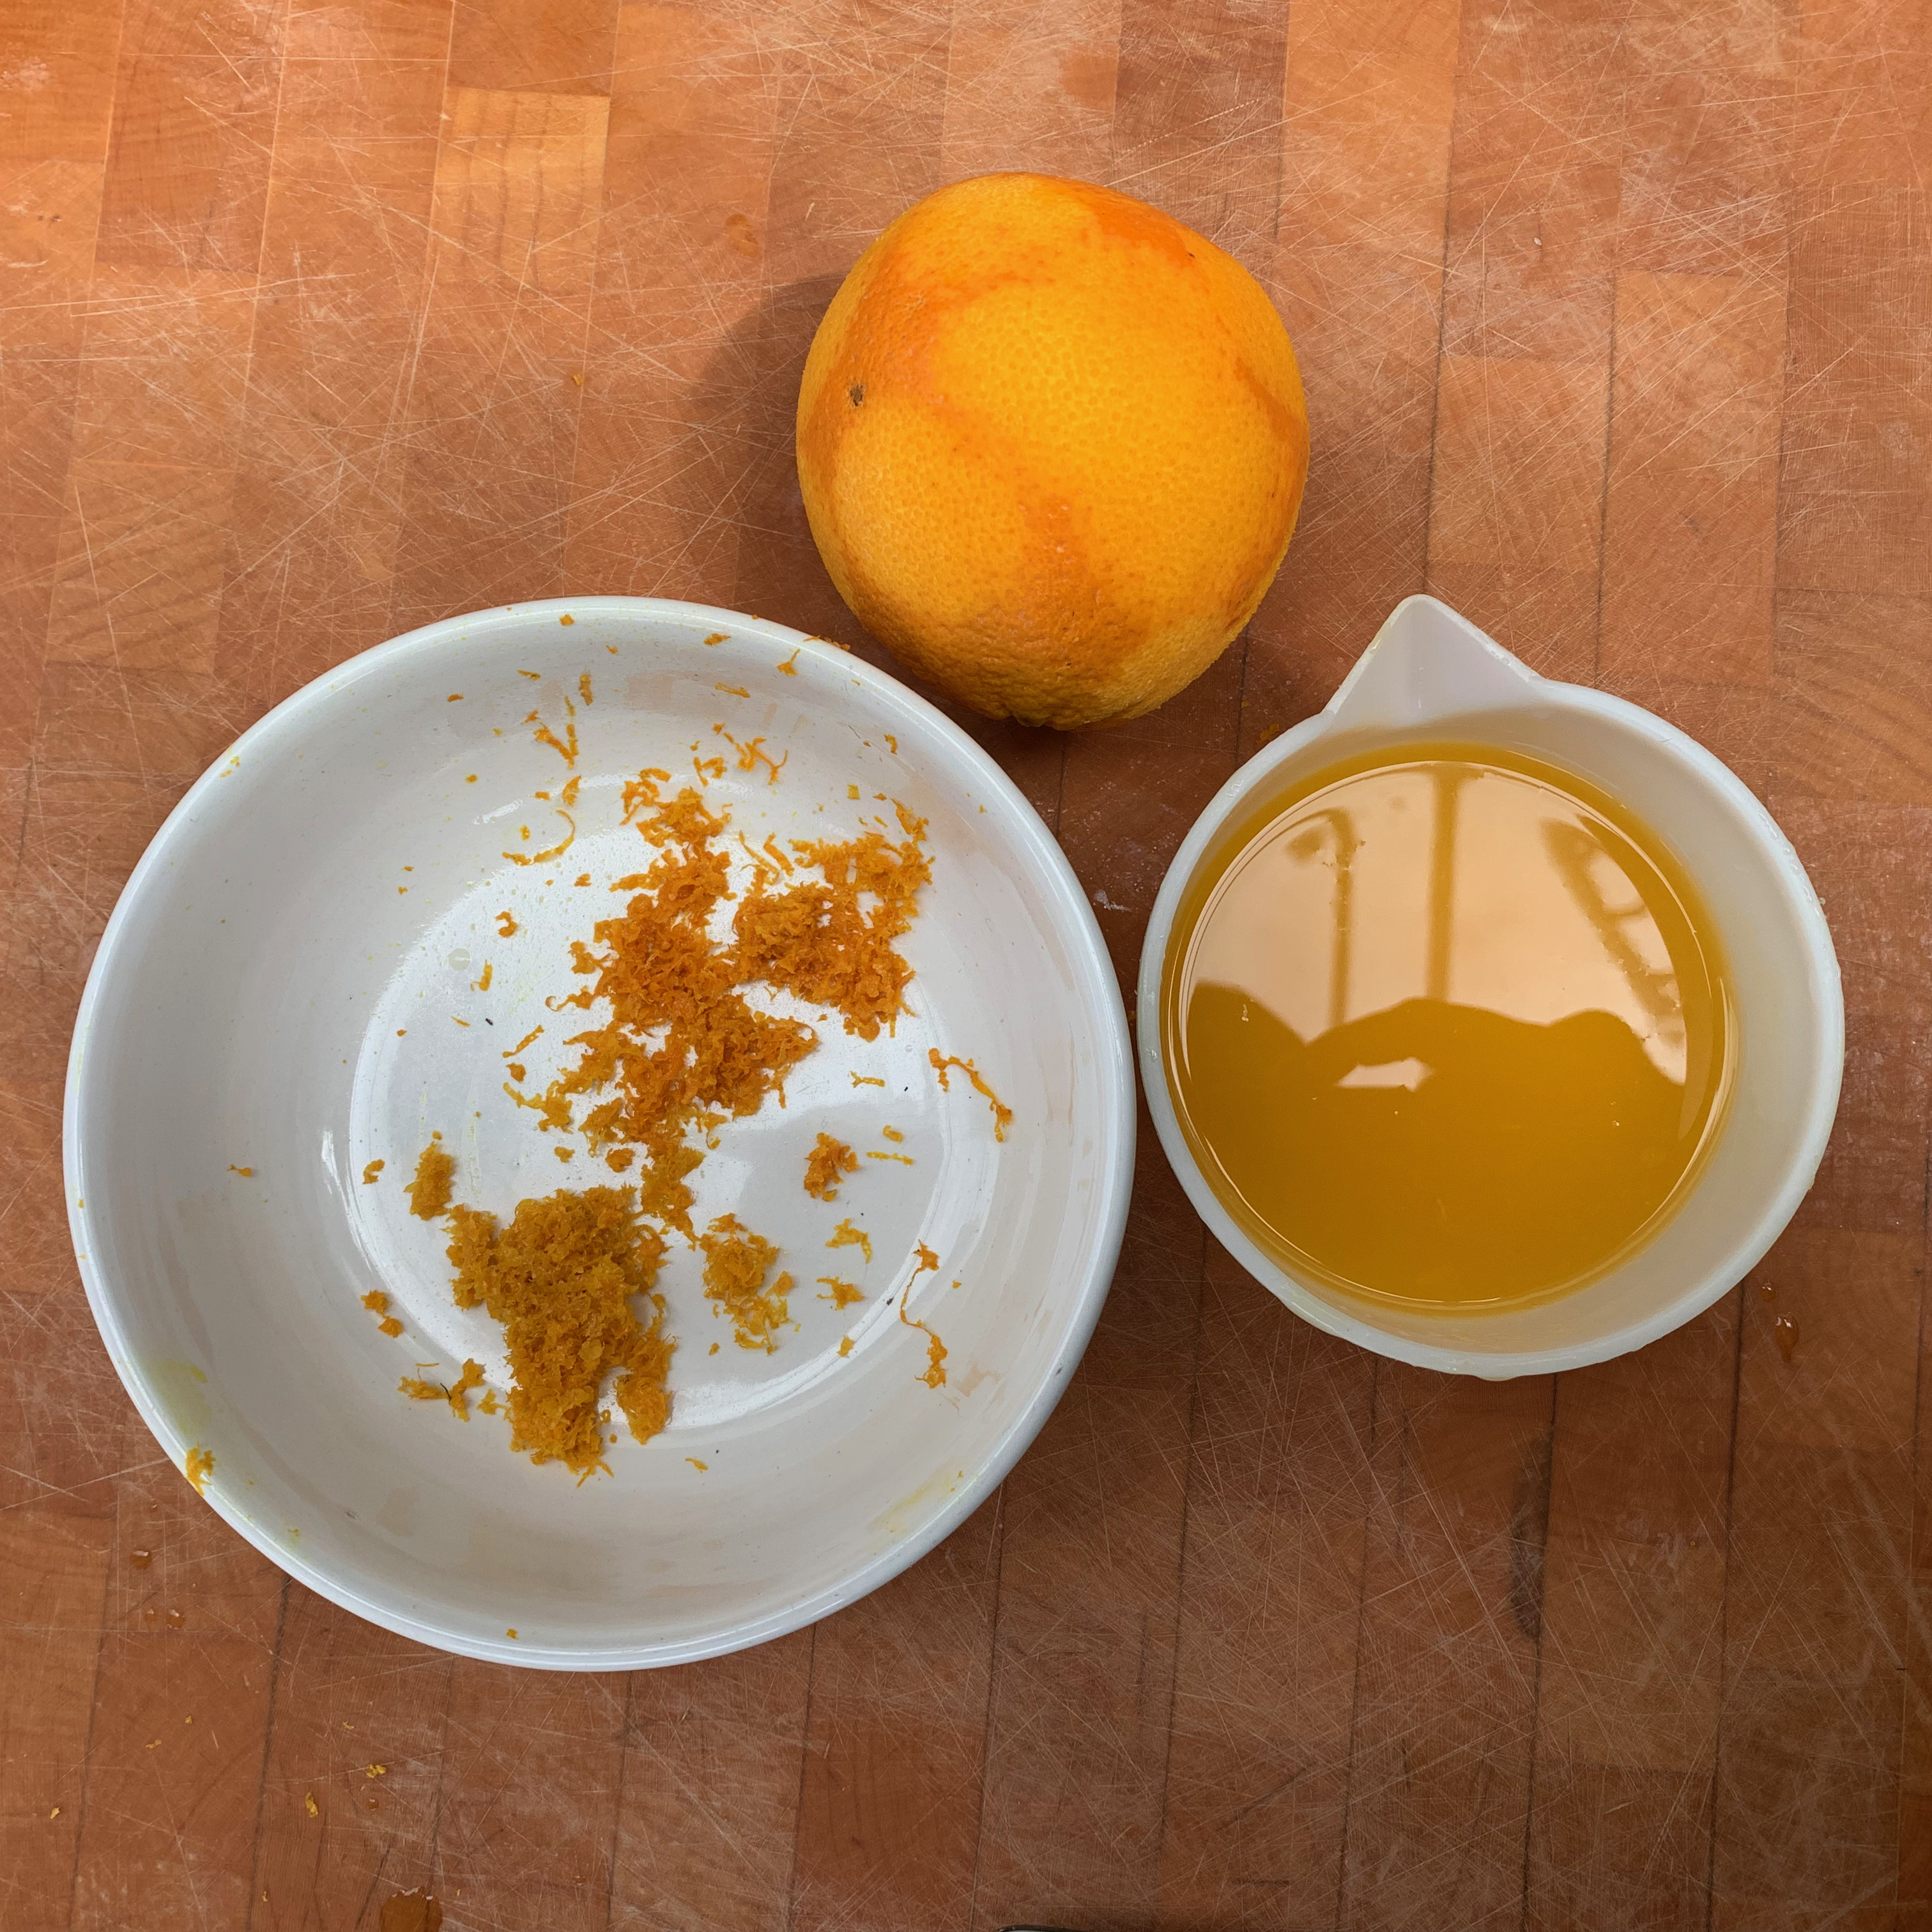
Zest at least two of the oranges (all three if you really want a bitter orange flavour).
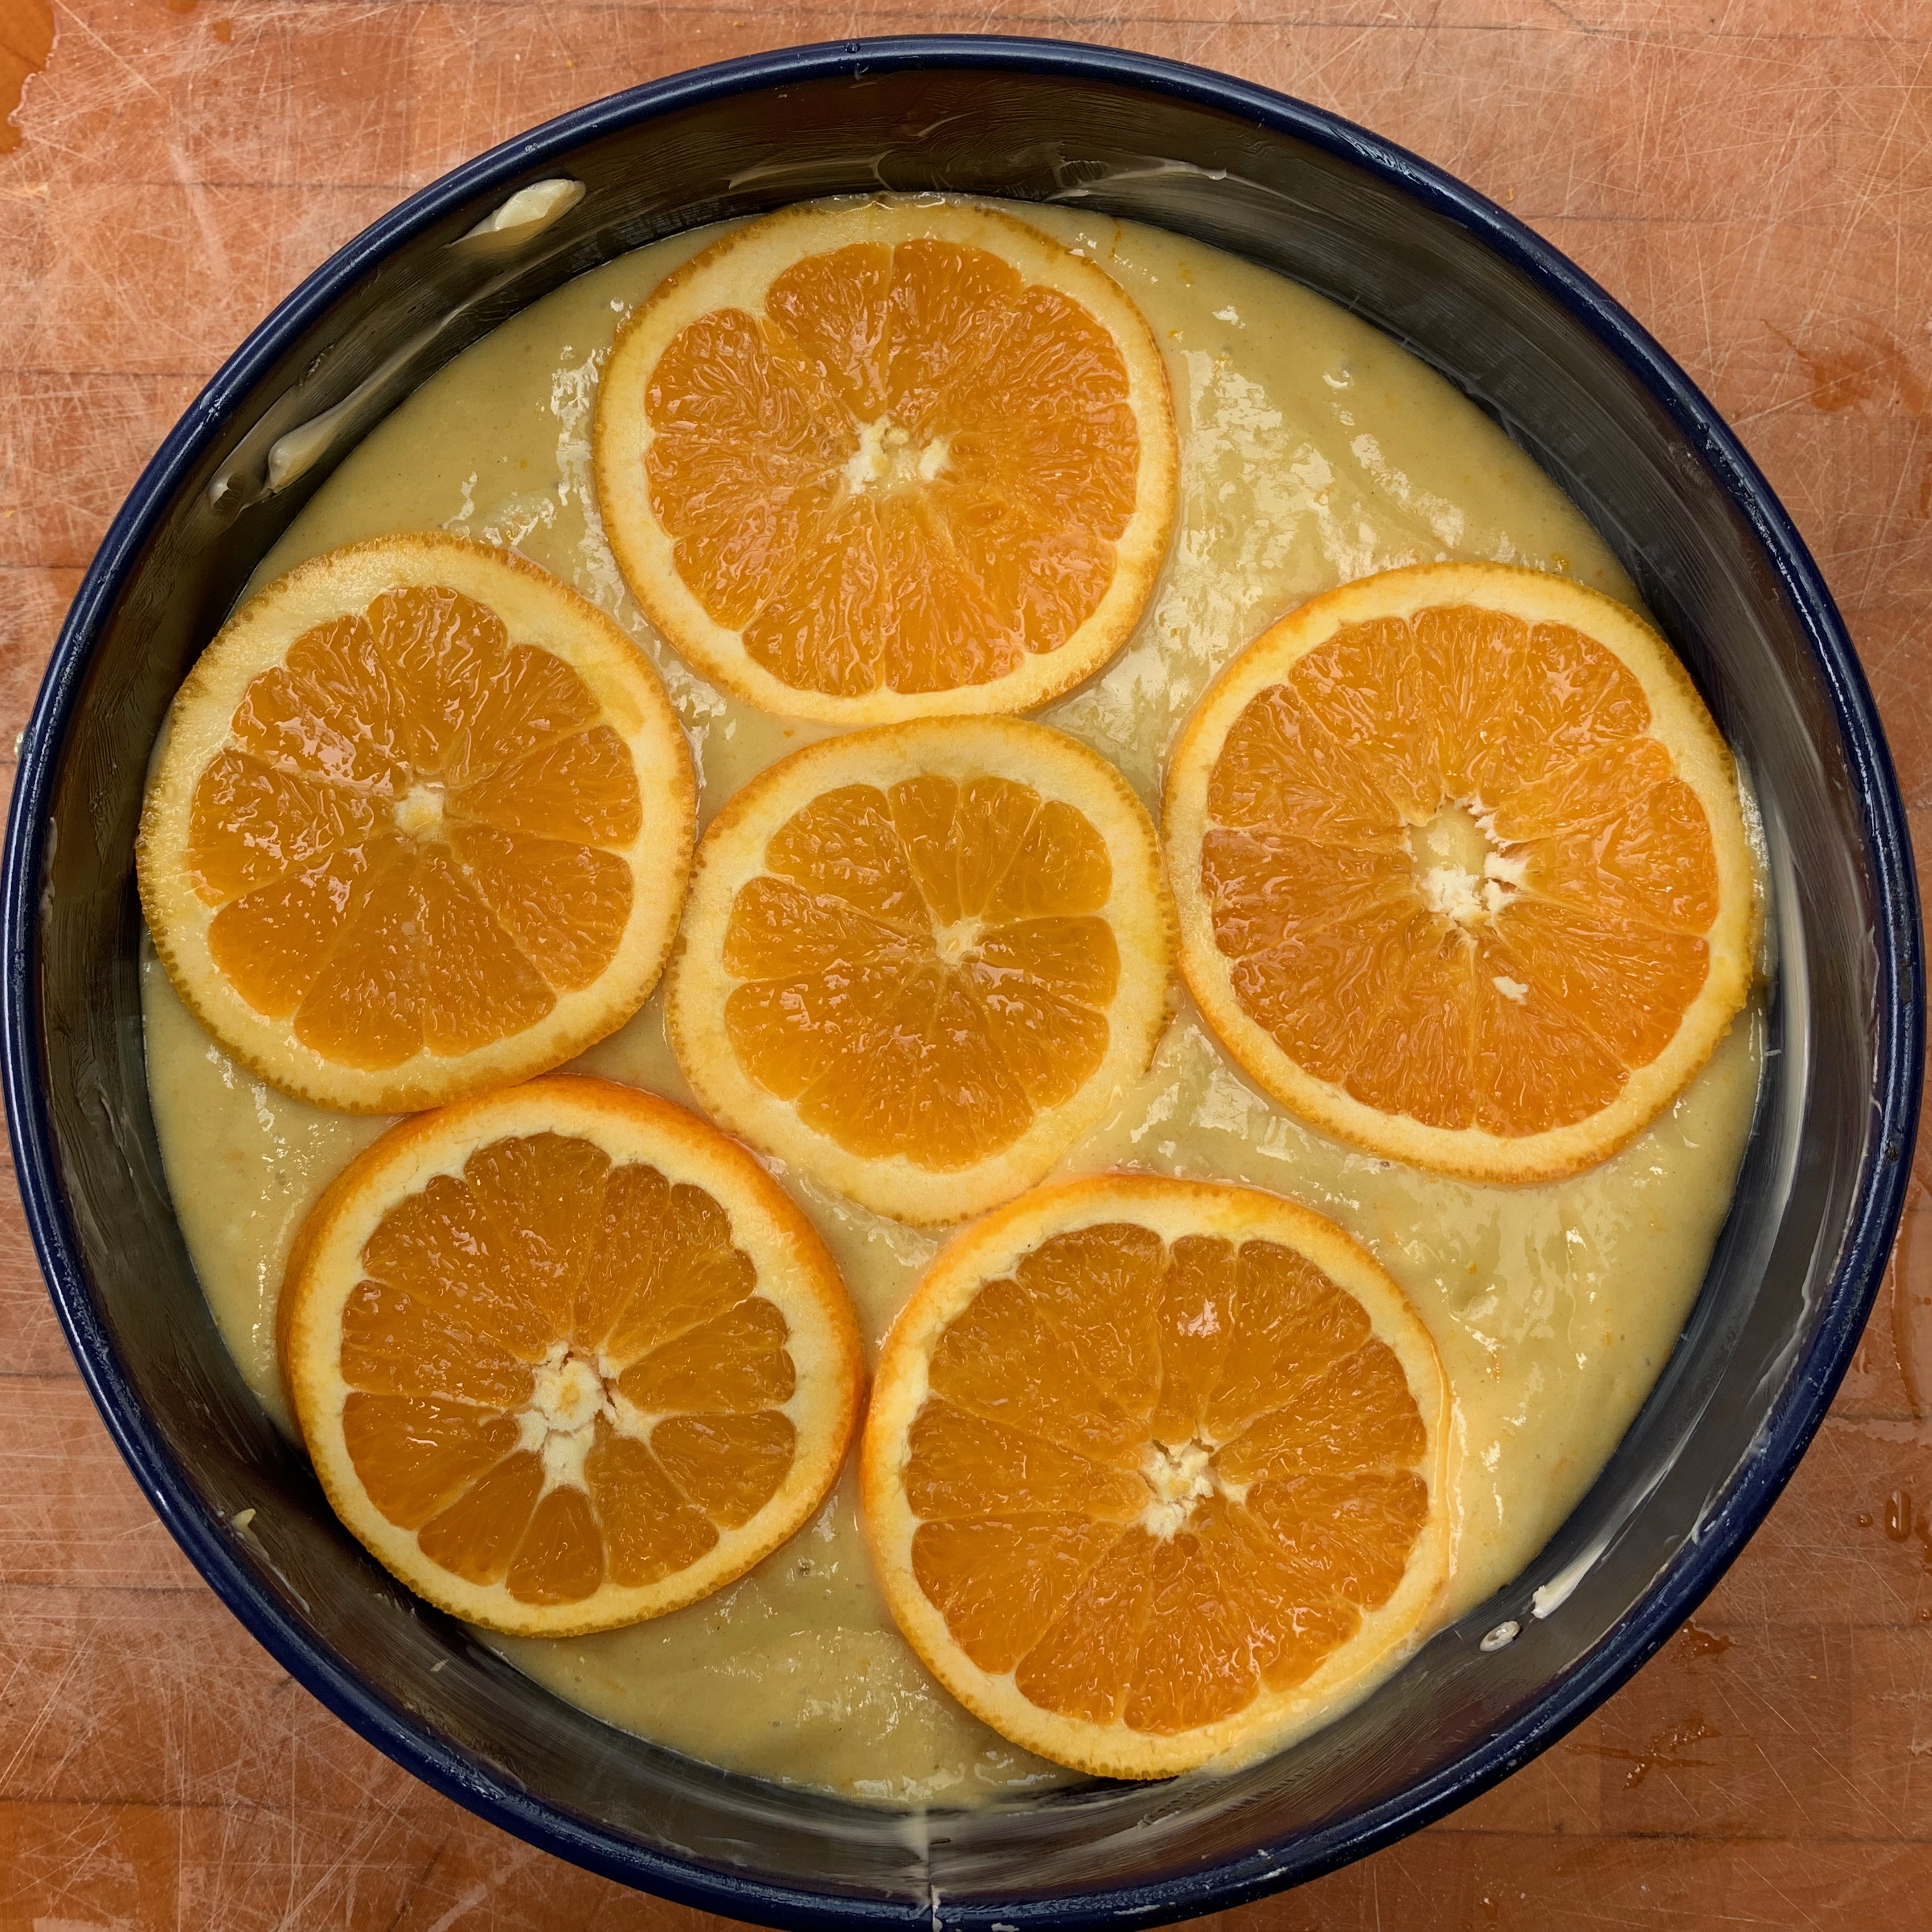
Slice one of the zested oranges into rounds (I needed five rounds to fit onto my 20cm springform tin). Squeeze the juice out of the rest of this orange and the other two: you should get around 200ml. If the yield is substantially less, you might want to add some orange juice from elsewhere (or from a fourth orange if you have one).
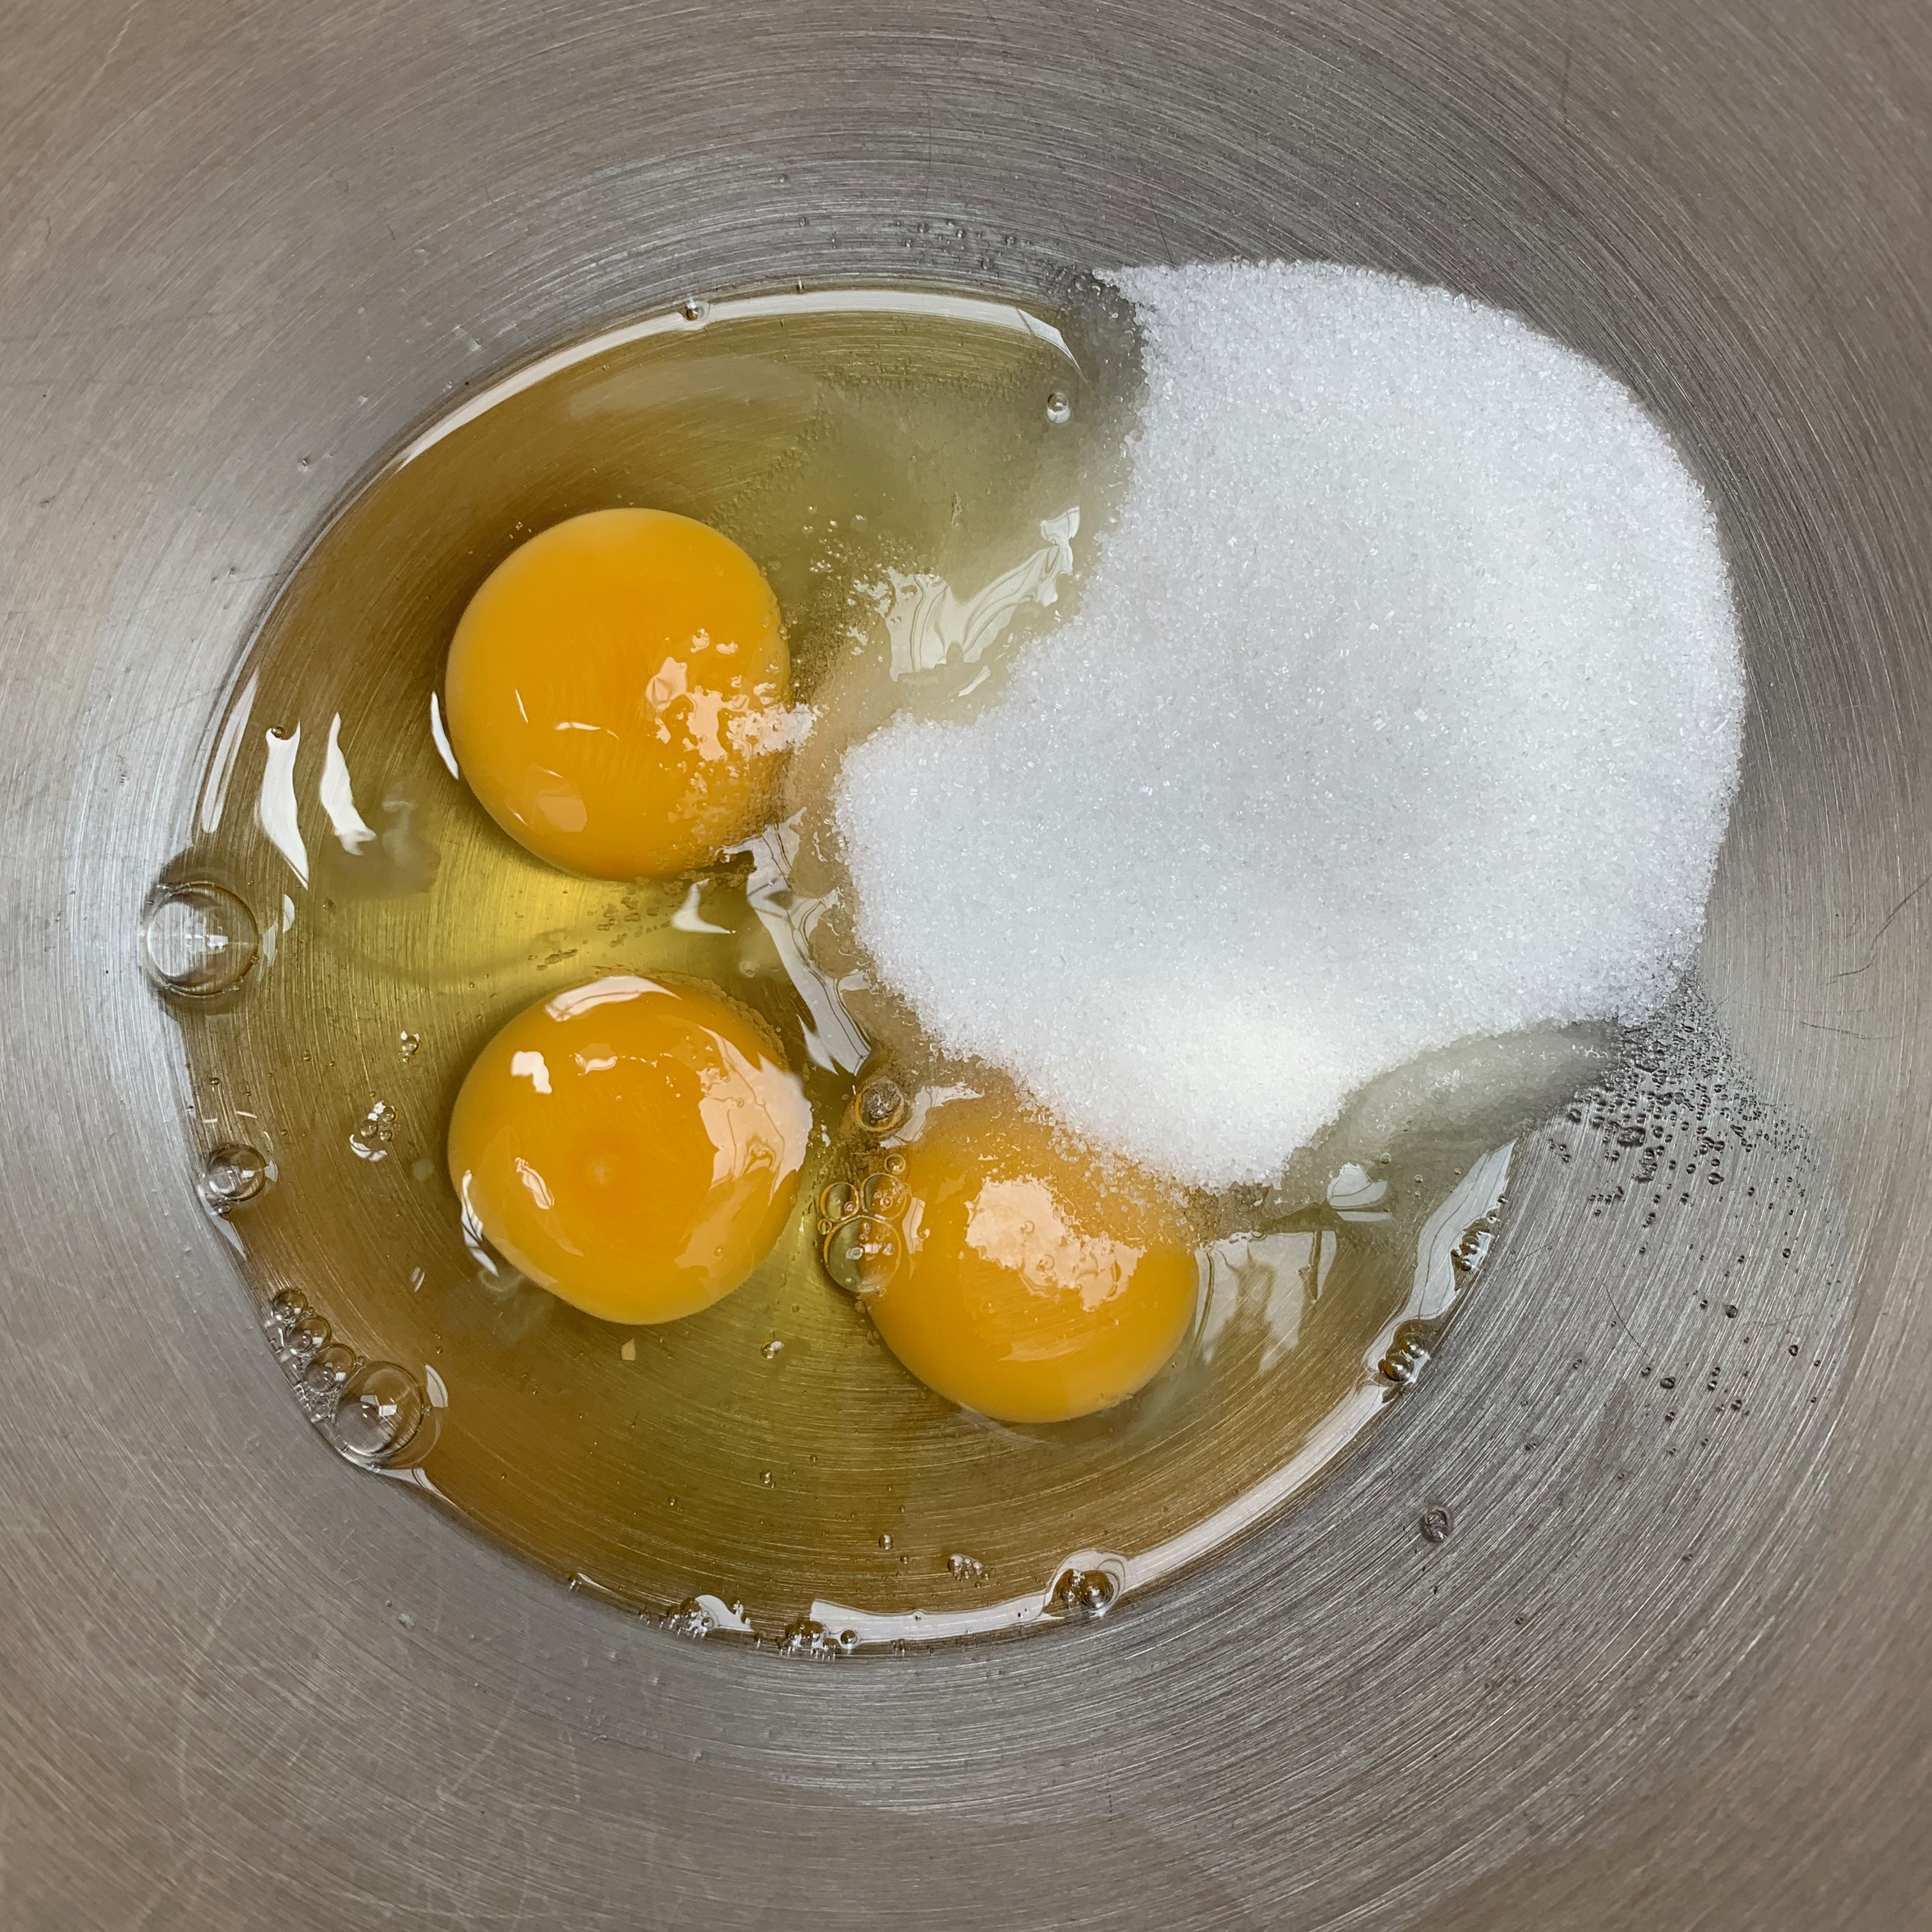
Put the eggs and 100g of granulated sugar into the bowl of your stand mixer and mix at high speed until well blended.
Add the orange zest and 100g of the orange juice and mix until well blended.
Add the oil and mix until well blended.
Add the flour and baking powder and mix until you have a smooth batter.
Pour the batter into your tin. Arrange the orange slices over the top, pressing each slightly in so that it’s level with the batter.
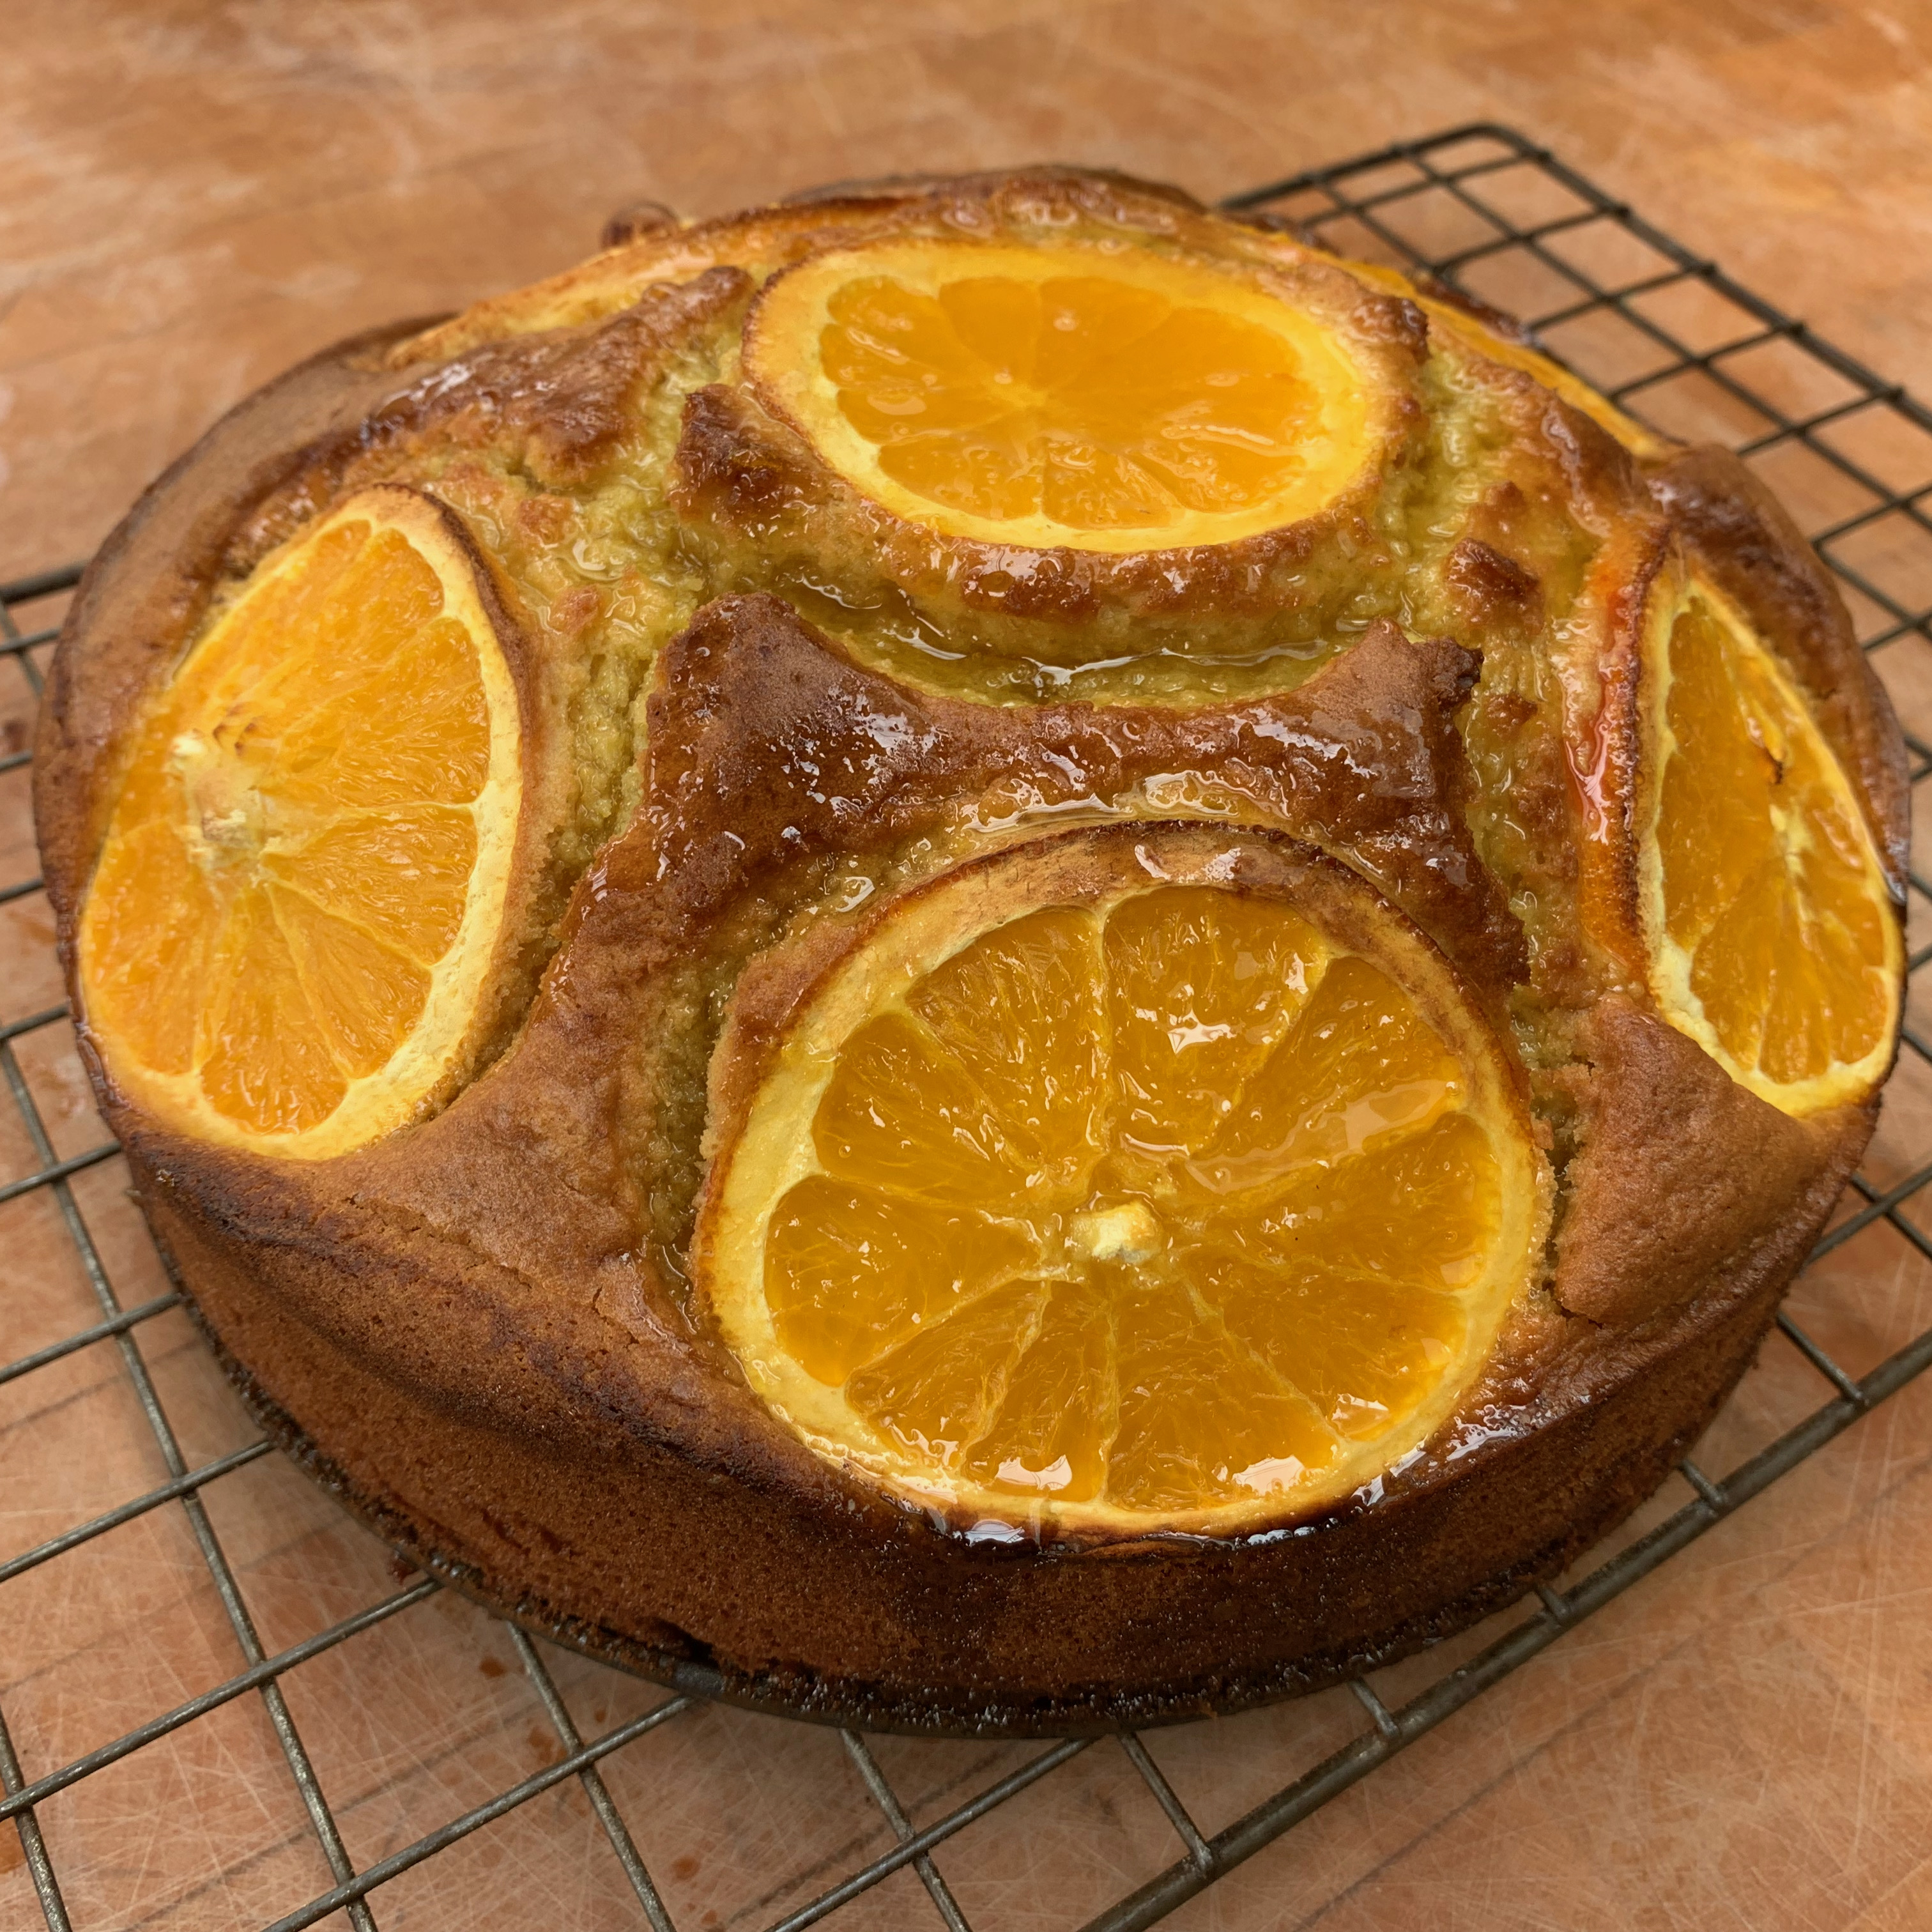
Put your tin into the oven and bake for around 30-35 minutes until a skewer comes out clean.
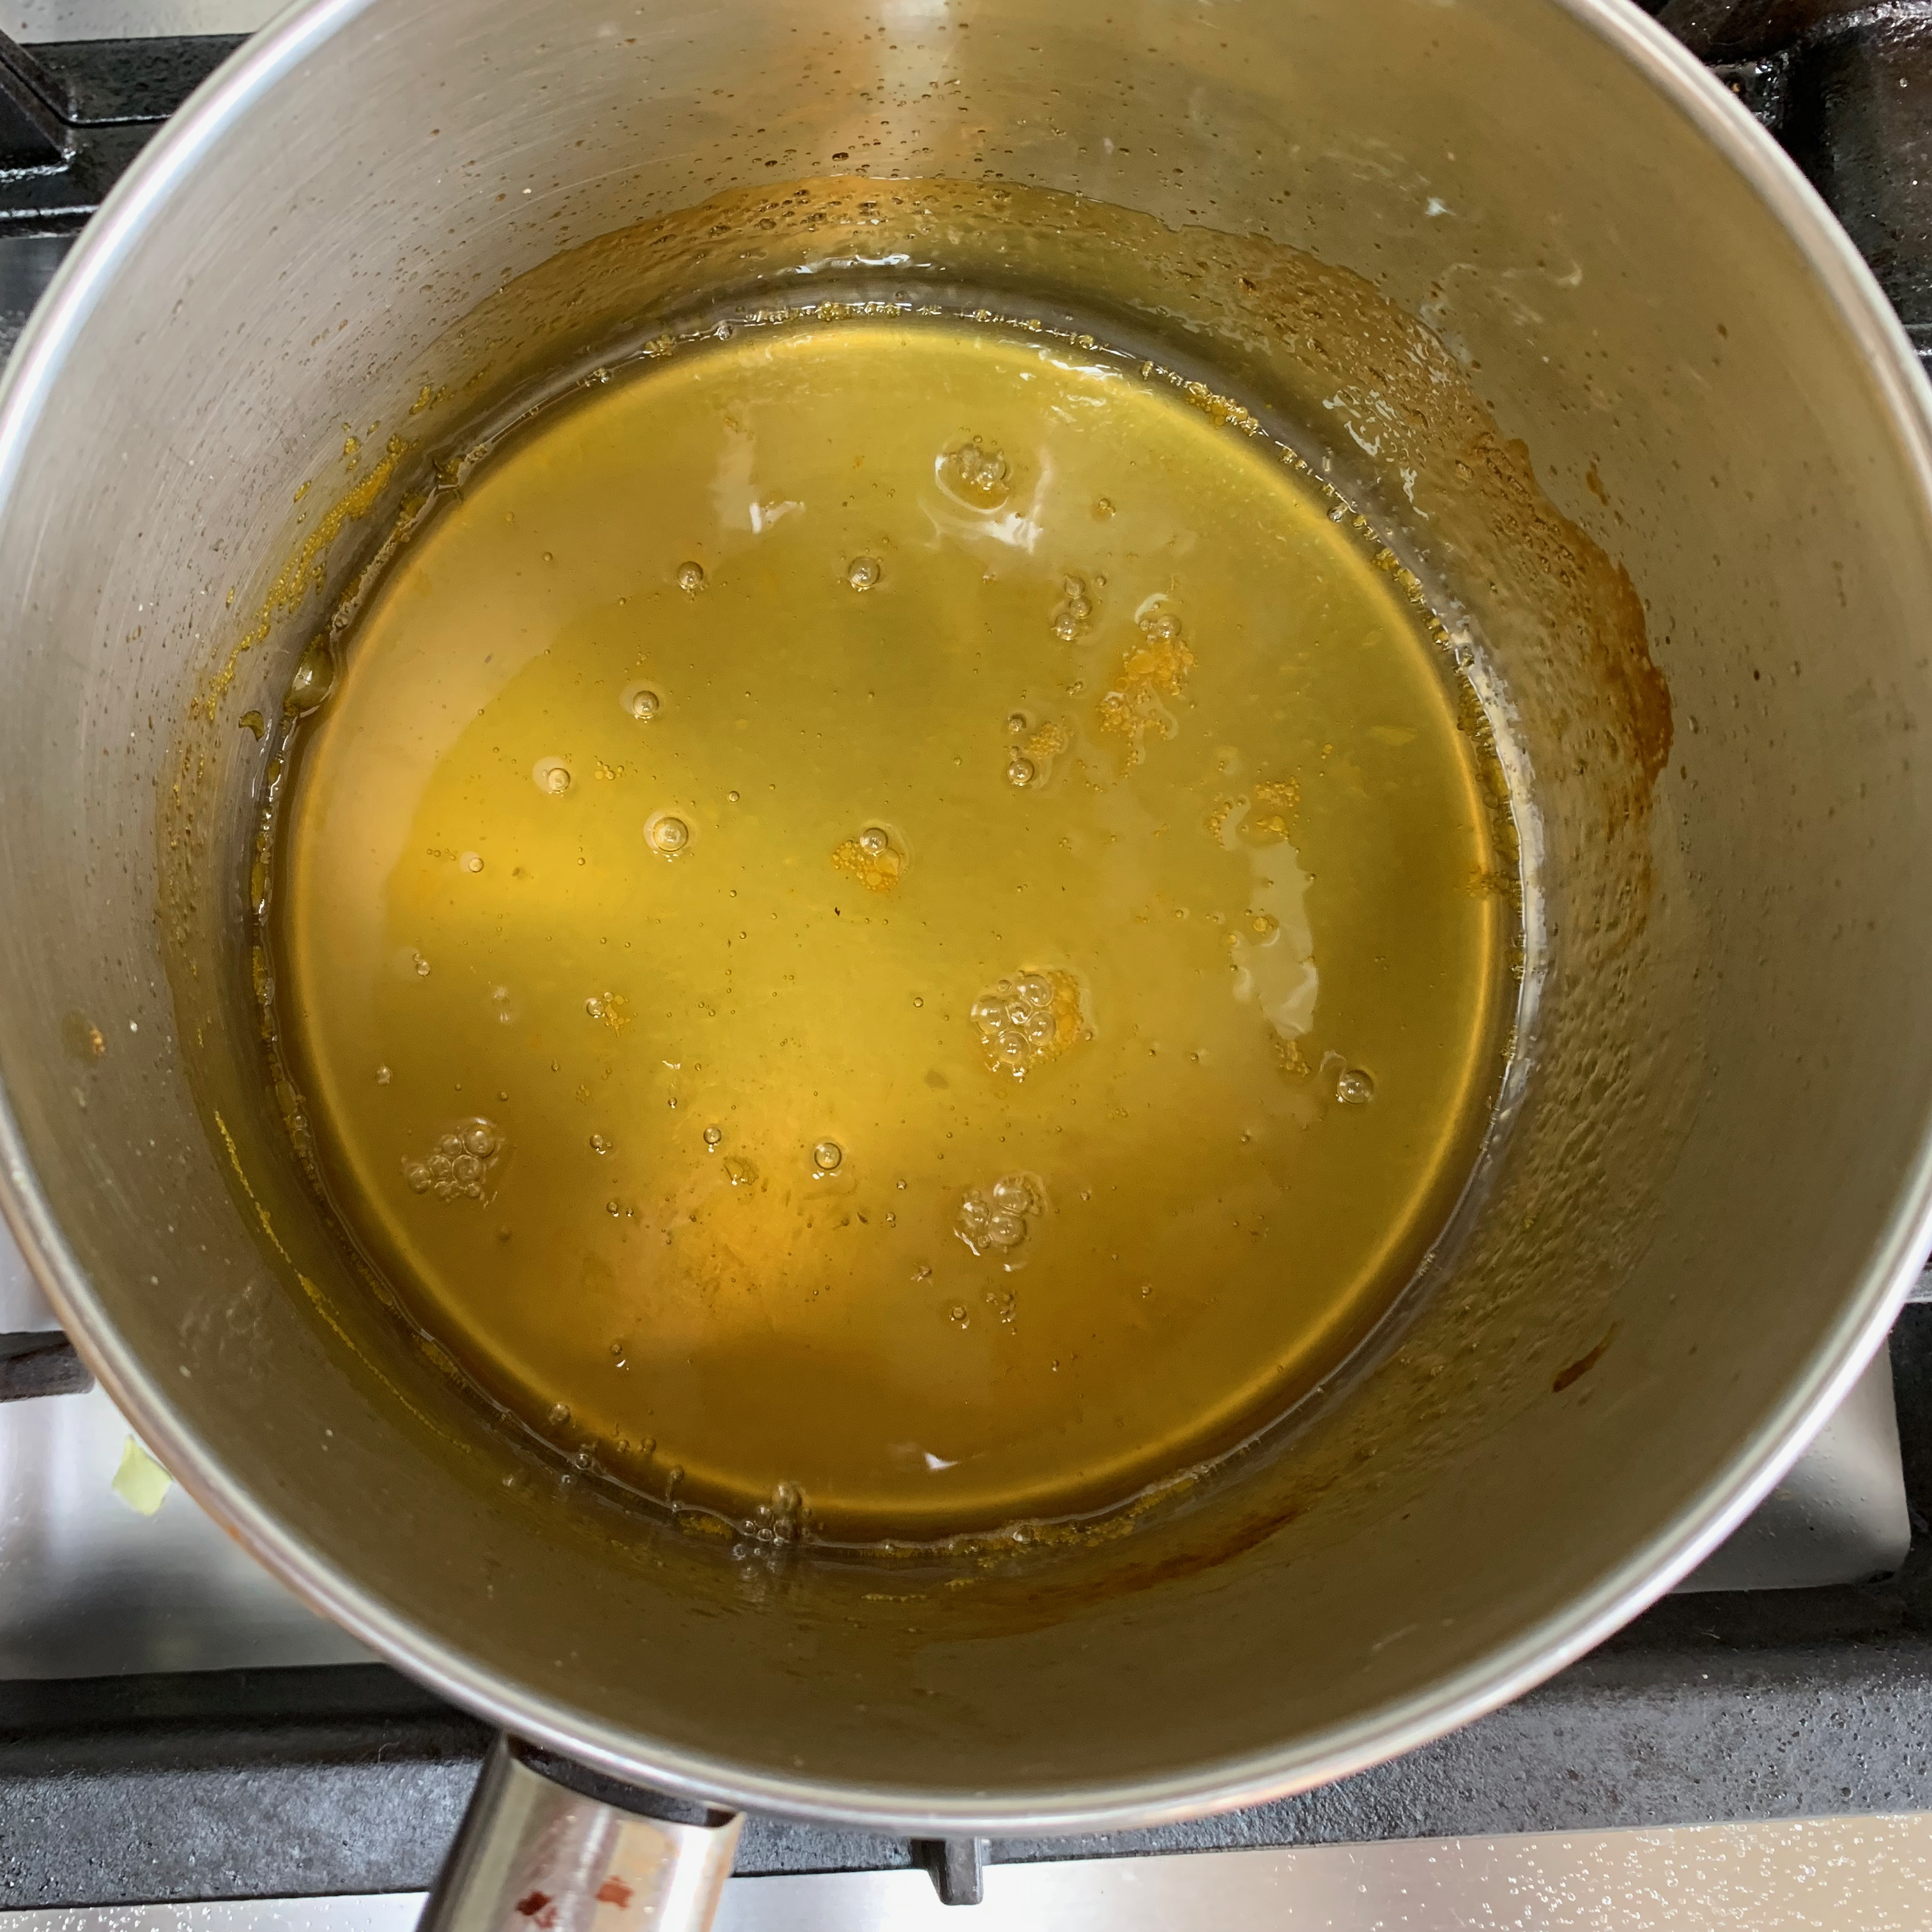
Meanwhile, make a syrup: put your remaining 50g of sugar and 100ml (approximately) of orange juice into a saucepan, bring to the boil, stirring frequently.
Cook until the syrup is thick (if you’re using a sugar thermometer, aim for around 105℃).
When the cake is done, leave it to cool for a couple of minutes, then drizzle the syrup you should try to get the rest absorbed into the cake.
Take off the outside of the springform tin and then cool the cake on a rack.
Tunisians would accompany this with black coffee. Personally, I’d go for both black coffee and a scoop of pistachio ice cream. But the choice is yours…
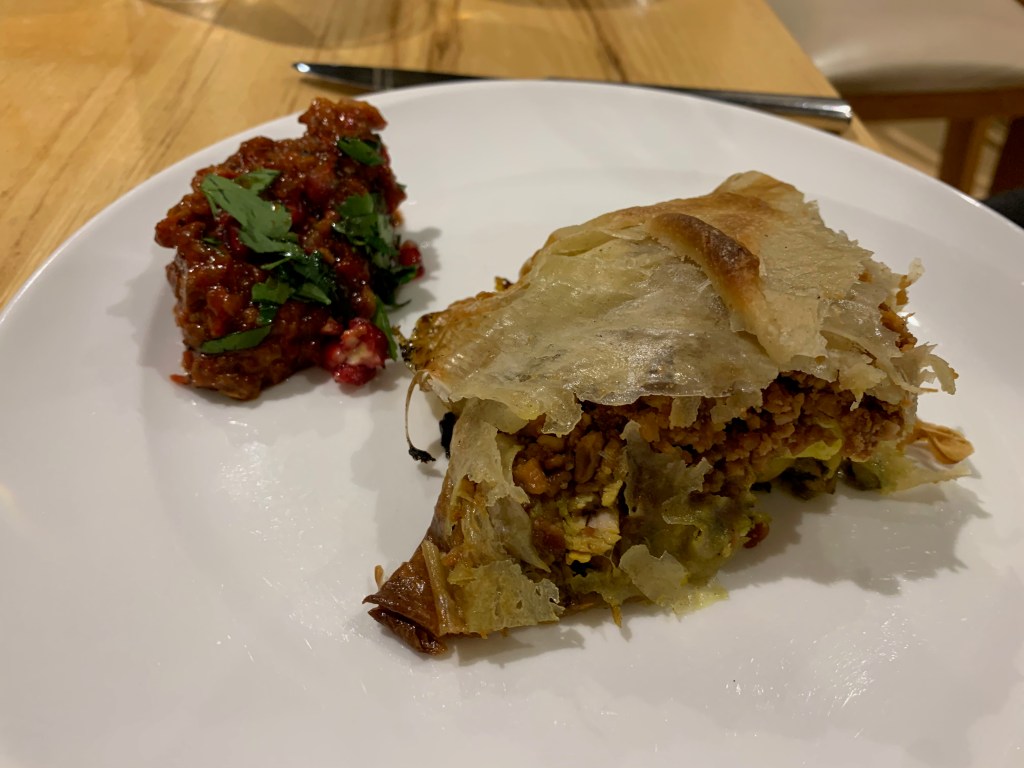
Bastillas (or Pastillas) are Moroccan pies made with ultra-thin pastry. They’re unquestionably one of the country’s most famous dishes: you will find dozens of different types, with different recipes for each type. But be careful: there are some disappointingly bland recipes around. On the other hand, a really good, flavour-packed Bastilla can be dazzling, a huge crowd-pleaser. It’s complex, but it’s worth it.
I’ve chosen one of the most popular types: the chicken, egg and almond bastilla. I based my version on a combination of The Spruce Eats, My Moroccan Food and French-language blog Choumicha.ma and the results were outstanding. But you have lots of choices, which I’ll try to explain.
There are some constants: you’re going to make a chicken and onion stew with herbs (most probably parsley and coriander) and spices, which will definitely include ground ginger and turmeric. You’re going to scramble some eggs. You’re going to chop up some almonds. And you’re going to bake all of these in a shell of layered thin pastry. But beyond those basics, you’ve got several options.
The first crucial one is the size: you can make a single large bastilla or multiple individually size ones. I went for something in between: the quantities below make enough for six people (assuming that you’ve got some other side dishes of some sort), and I chose to do two bastillas for the two of us to have on separate days (with leftovers).
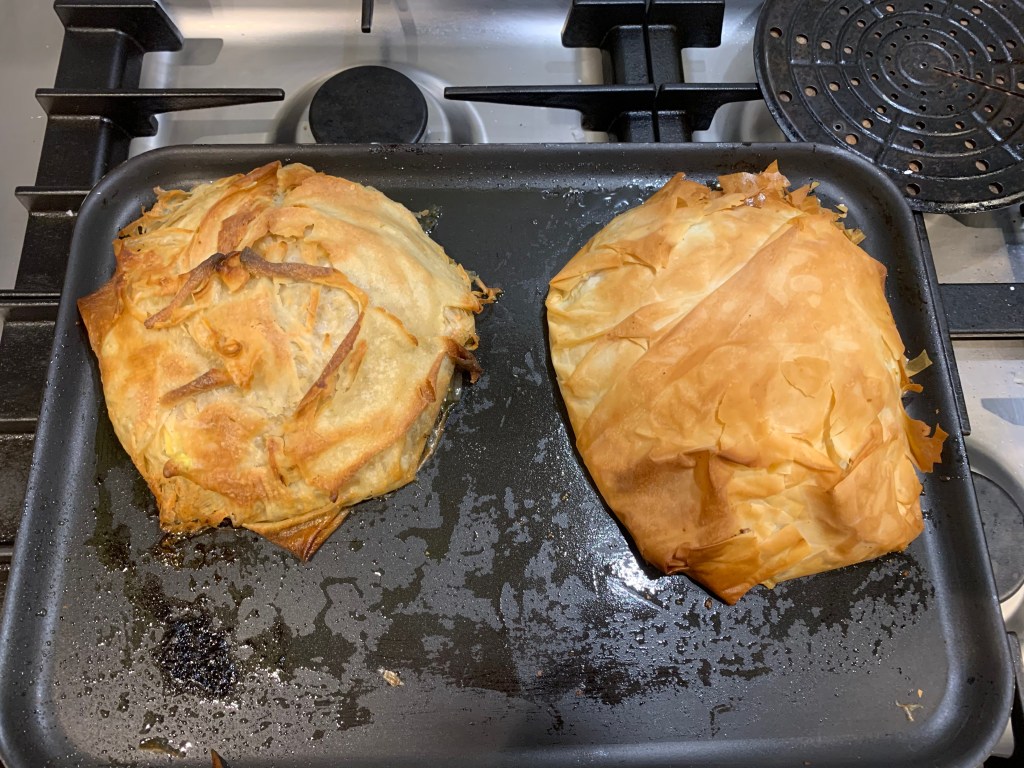
The next question is the type of pastry. If you’re going for the full-on Moroccan experience, you’ll want to freshly make your own pastry sheets: Choumicha has a really nice video showing you how it’s done. The Spruce gives the pastry a name, “warqa”, and shows a similar recipe. The warqa process is seriously weird, but works fine once you’ve got used to it. Since I wasn’t feeling super-confident, I made enough pastry for one of my two bastillas, and used supermarket-bought filo pastry for the other. The warqa version was a clear winner: it’s a time consuming faff, but the result is considerably superior and I won’t be going back to filo any time soon.
You have options on the spicing: saffron, cinnamon, ras el hanout and orange blossom water are just some of them. Some Moroccan recipes use smen, a fermented butter not dissimilar to the Indian ghee, either in place of the oil or in addition to it.
I went for chicken thigh fillets because there are better quality ones available than whole thighs at the supermarket I use. Cooking your chicken on the bone will get you a richer sauce.
Next, there’s the question of how to layer your fillings. I went for a three layer approach: chicken mixed with onion sauce, scrambled eggs, ground almonds. There are other possibilities (keep the chicken and the sauce separate and/or blend your eggs into the sauce when you scramble them).
Finally, there’s the question of icing sugar. I really don’t like things sweet so I ignored the two instructions to add icing sugar: one when grinding the almonds and one when the whole bastilla is finished.
That’s more than enough about the possible variations: let’s get down to the recipe I made.
The chicken filling
If you can, make your filling the day before. Like many stewed dishes, it tastes more intense when the flavours have had lots of time to infuse. Quantities of herbs are very approximate: I’ve never yet found a dish that gets spoiled by adding too many fresh herbs.
Olive oil for frying
800g chicken thigh fillets (or around 8 large chicken thighs)
500g onions
1 tsp turmeric
1 tsp ground ginger
1 cinnamon stick
2 tsp ras el hanout
A small pinch saffron
Salt to taste
Black pepper to taste
20g flat leaf parsley
20g coriander leaves
½ tablespoon honey
Divide the chicken thigh fillets into two at the point where they’re nearly split anyway.
Chop the onions reasonably finely (you don’t need to go overboard).
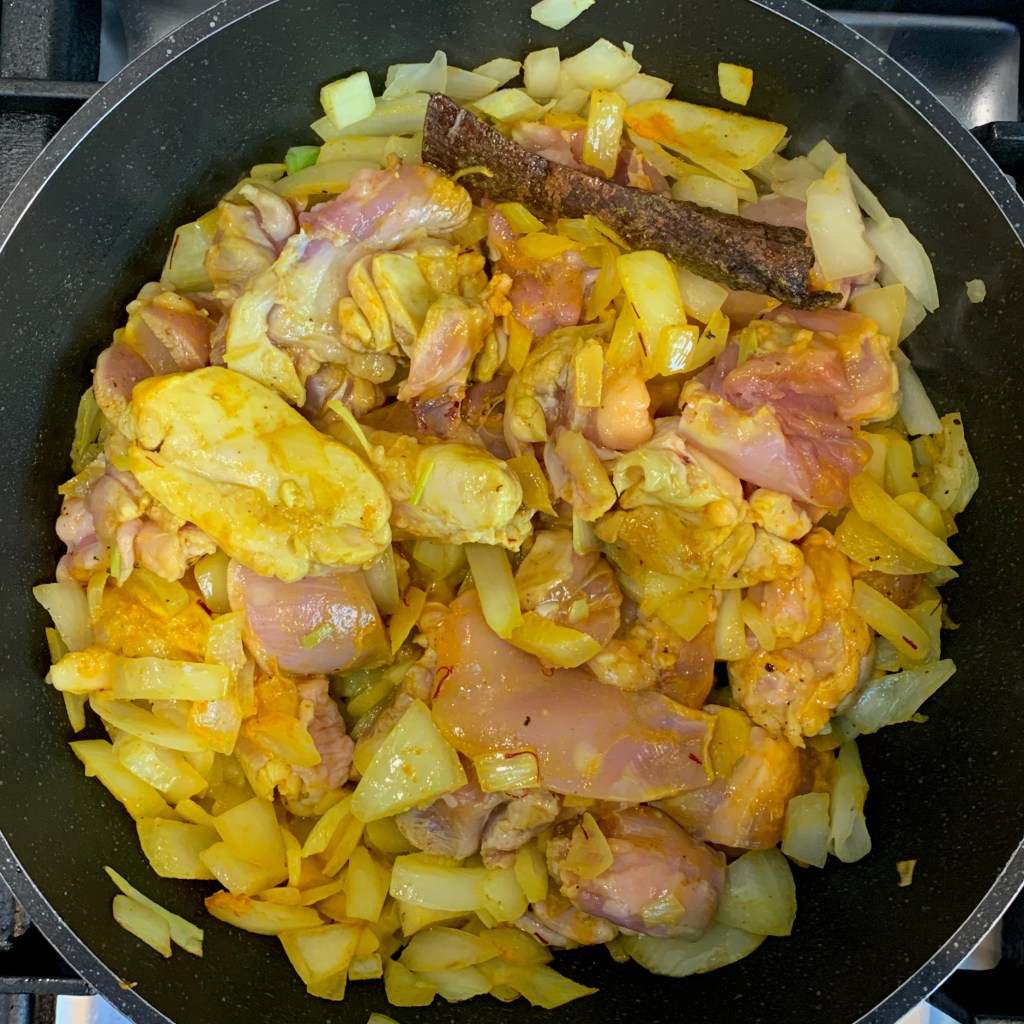
Heat oil in a pan, add the chicken, onions, spices, salt and pepper.
Fry on medium heat, uncovered, until the chicken is browned on all sides and the onions are transparent (around 10-15 minutes)
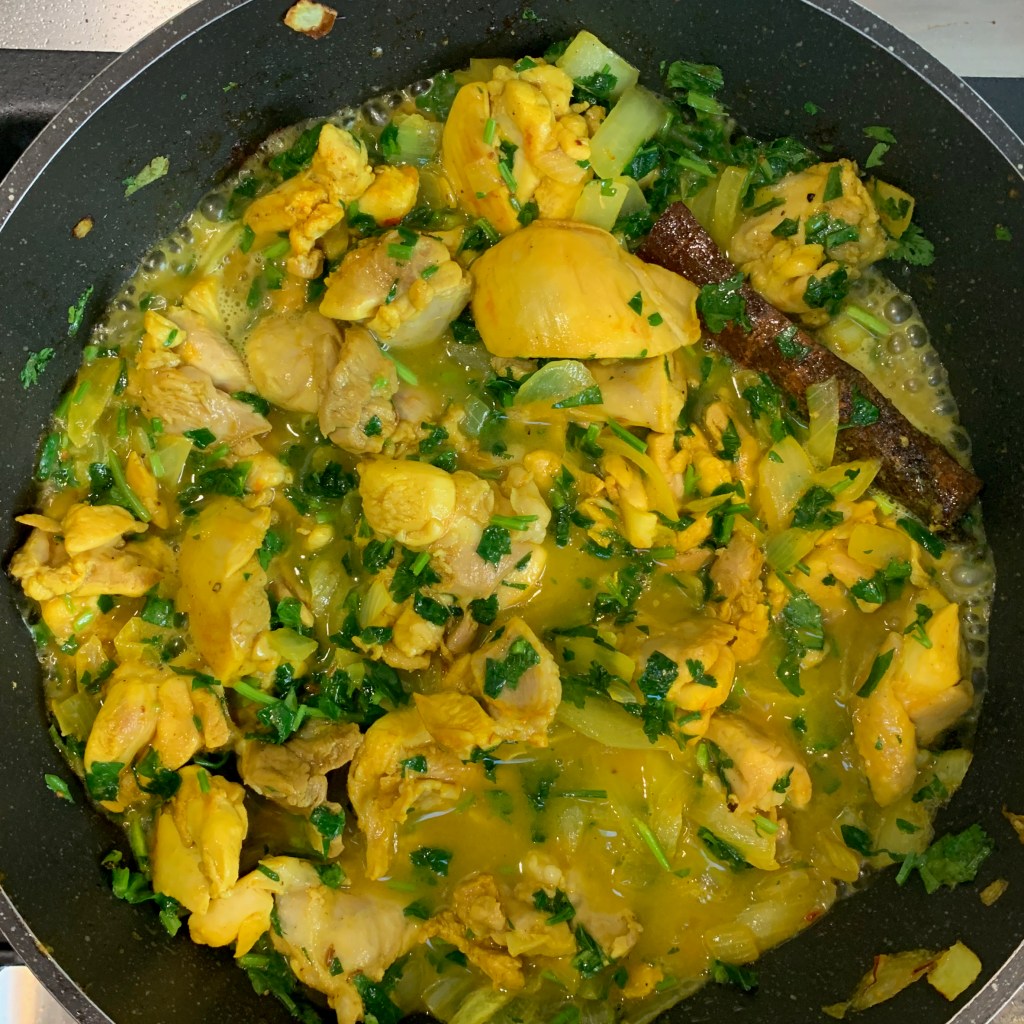
Add the parsley and coriander and a small amount of water (perhaps 50-100ml), cover your pan and simmer until the chicken is cooked through.
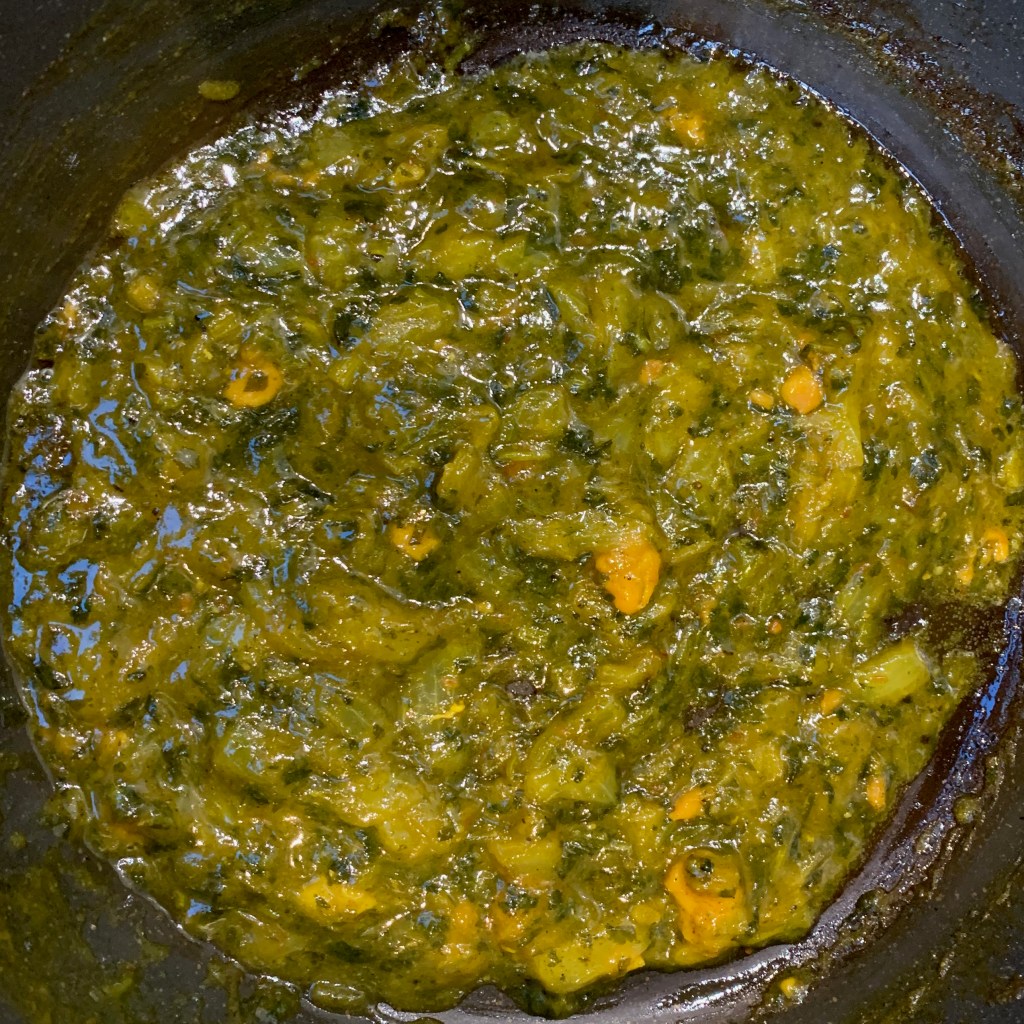
Remove the chicken and set aside. Discard the cinnamon stick. Add honey to the mixture, uncover your pan and cook until almost all the water has evaporated and you have a thick paste. You don’t want a watery sauce turning your pastry soggy.
Meanwhile, if your chicken was on the bone, remove the bones and skin. Chop the chicken into small pieces, perhaps 5-10mm across.
Recombine the chicken and the sauce and set aside.
The almond filling
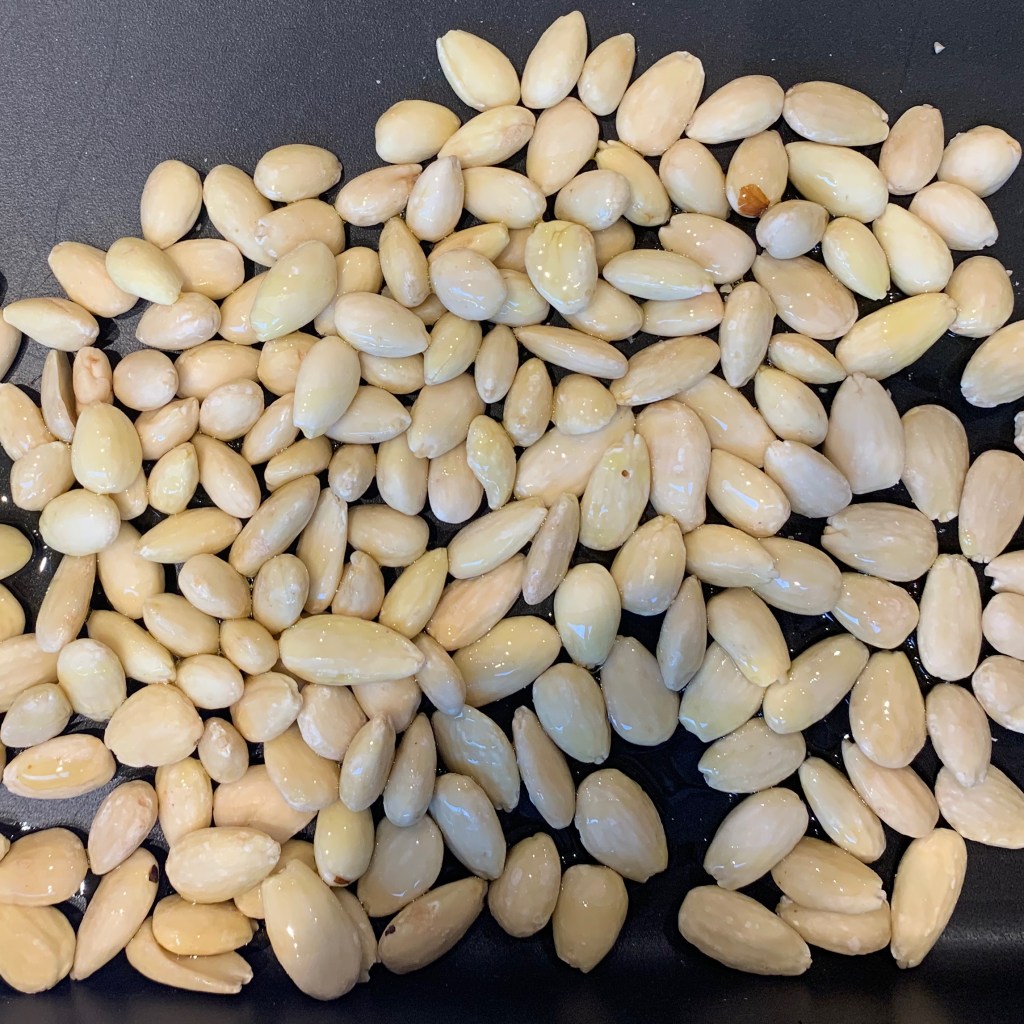
200g blanched almonds
Olive oil for drizzling
Preheat oven to 160℃ fan
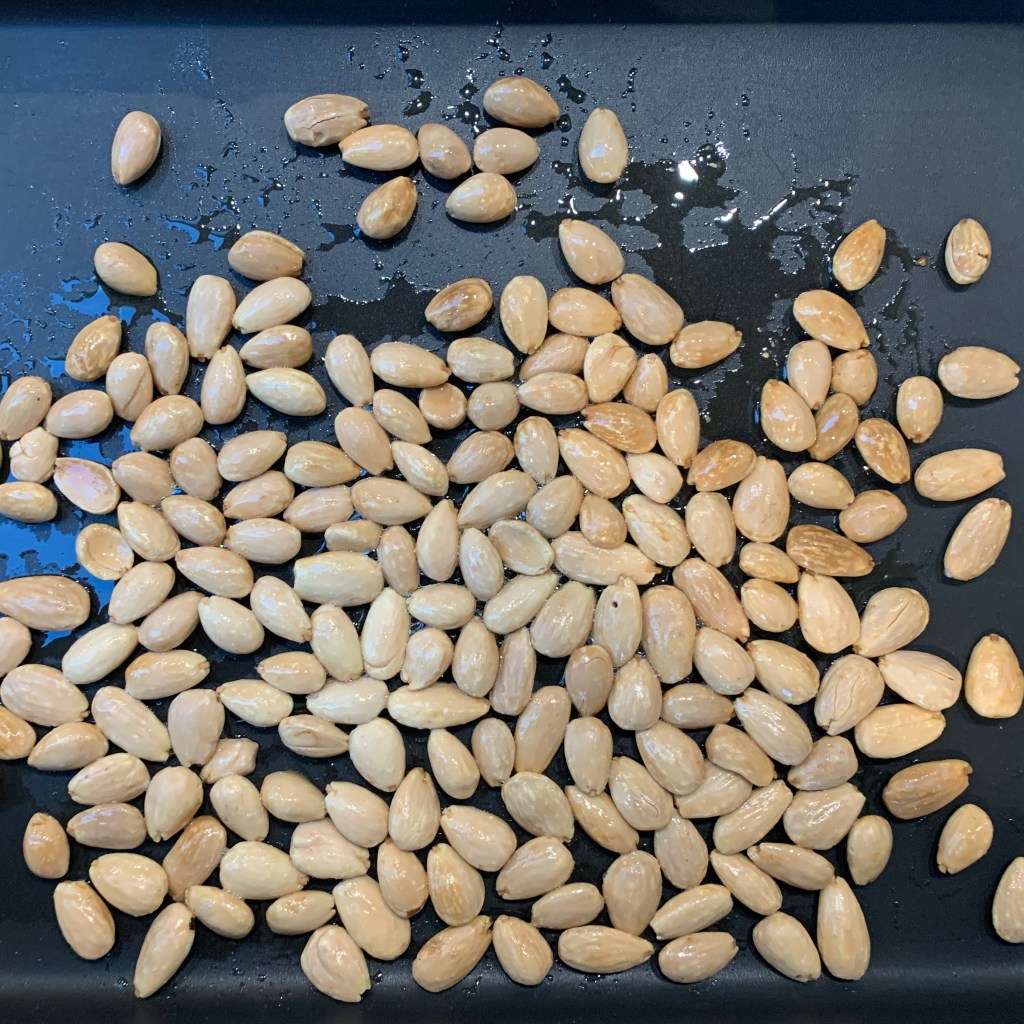
Spread almonds out on a baking tray, drizzle with olive oil
Bake in the oven for until golden: around 15-20 minutes
Remove and leave to cool
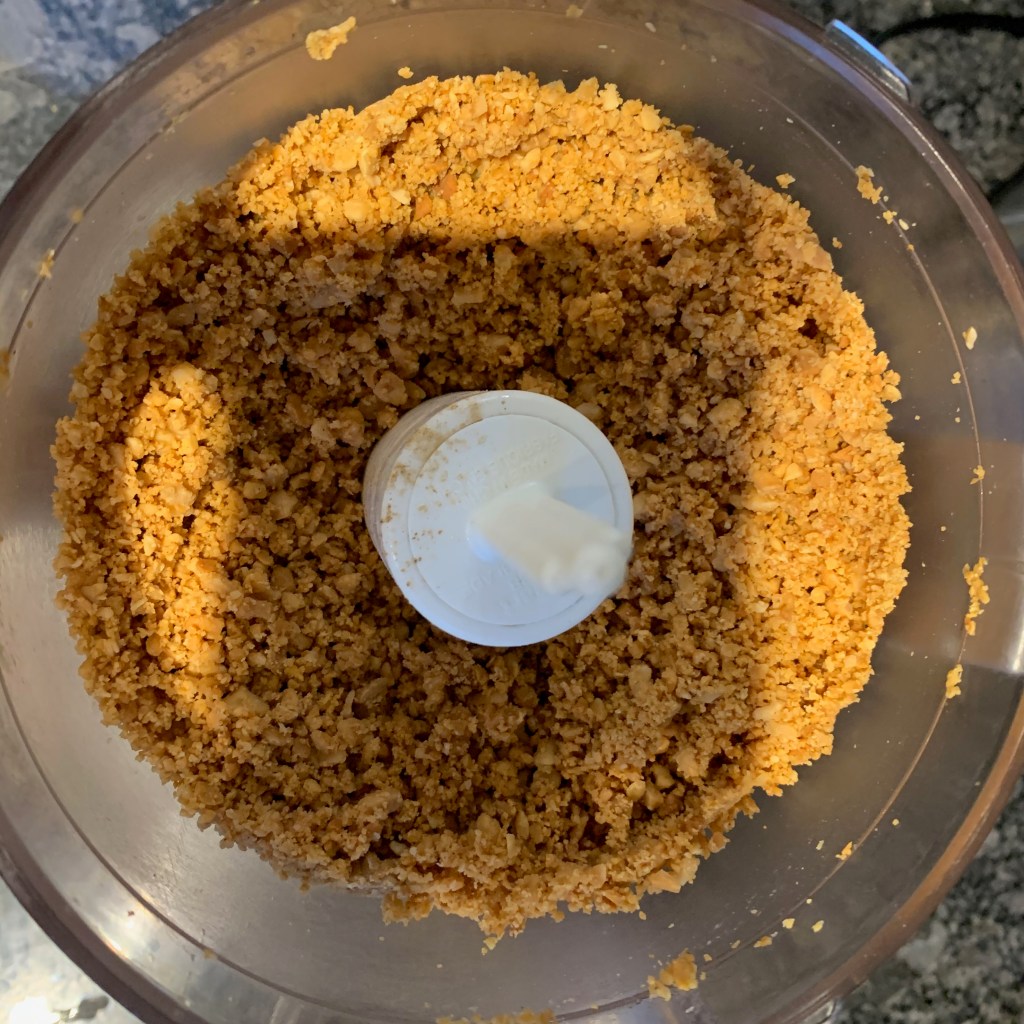
Blitz the almonds in a food processor until you have a coarse grain – you don’t want a fine powder or the oil will start coming out of the nuts.
Set aside
The warqa pastry sheets
The amount here should be about right for a single large bastilla. If you’re making more smaller bastillas and/or you’re a bit heavy handed with your pancake creation, you might need to increase the recipe, up to double.
160g flour
240 ml water
5g salt
Olive oil for brushing
Whisk together flour, water and salt until you have a smooth, runny batter. In the Choumicha video, this is done in a blender, but a bowl and a balloon whisk work fine.
Have a nylon or silicone pastry brush ready.
Have a small dish of olive oil ready, with a different pastry brush (of any type you like)
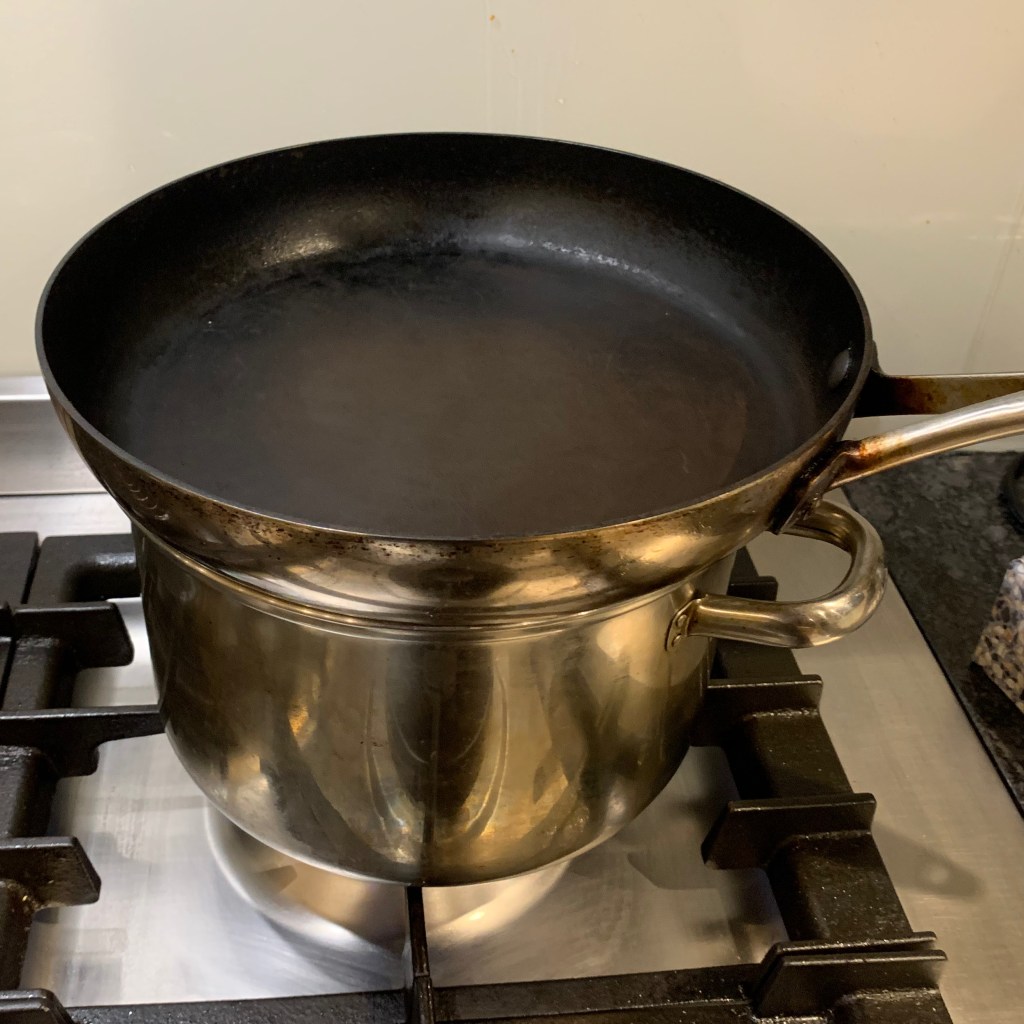
Prepare a double boiler by bringing water to the boil in a saucepan which should be just under the diameter of a non-stick frying pan that you place above it.
On a work surface as near as you can get to the pan, spread a sheet of plastic or cling film somewhat wider than your pan. Have another one of the same size ready.
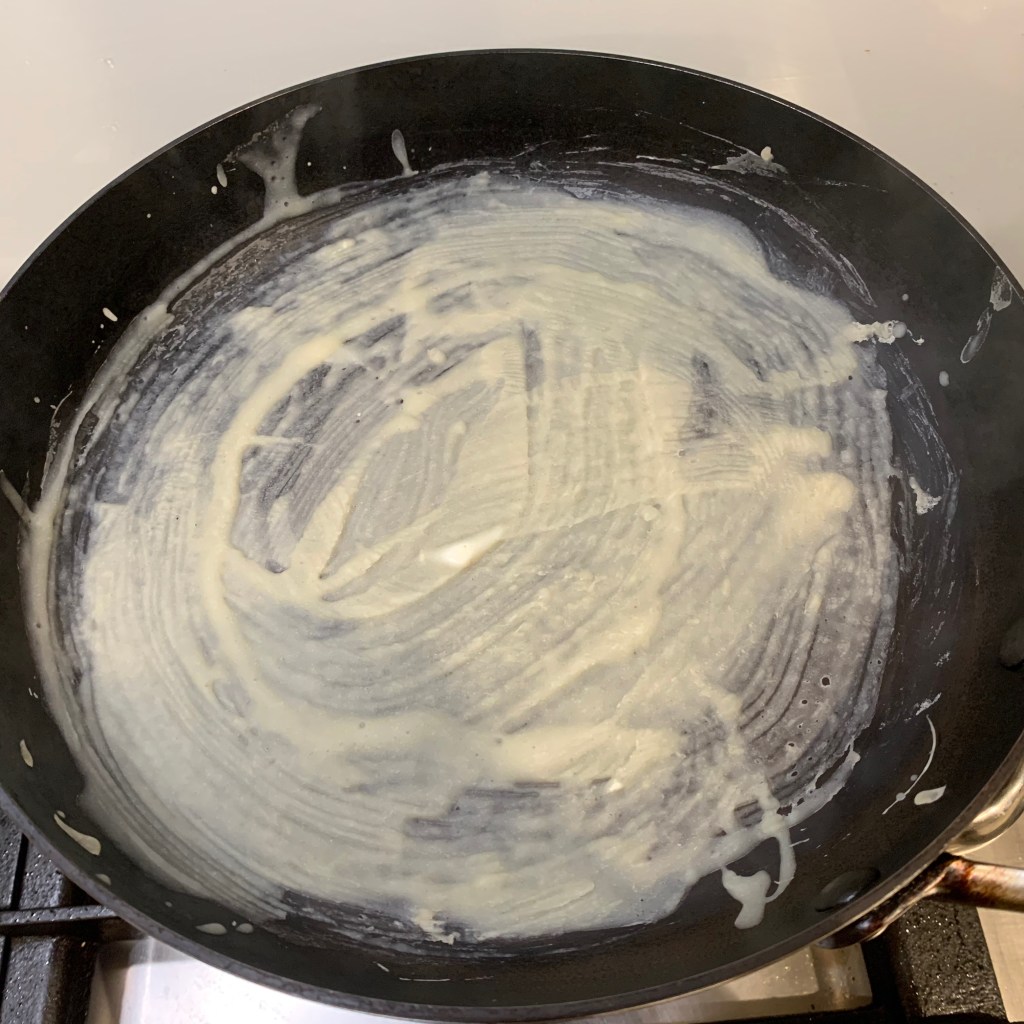
Once the pan is warm, quickly paint an ultra-thin layer of batter across all of the bottom of the pan. The correct thickness is less than you think – you’ll hardly be able to see the batter because it’s just about transparent.
After about 2-3 minutes, the pastry sheet will be cooked: you’ll know because the edges will start to curl away from the rounded sides of the pan. Now comes the scary part: pick the sheet up carefully by one of the edges and peel it off the pan.
Transfer the pancake to your plastic sheet, brush olive oil over it, and put the second plastic sheet over it to stop it drying out. You’ll lift that second sheet off shortly before the next pancake is cooked.
Repeat until you’ve run out of batter. If all goes well, you’ll hardly need to clean your frying pan, but if you’ve had a failure, just wash up the frying pan, put it back in double boiler position and wait until it’s properly warmed up again before continuing.
Batter
Pans as double boiler
First sheet – far too thick!
Second sheet – getting better
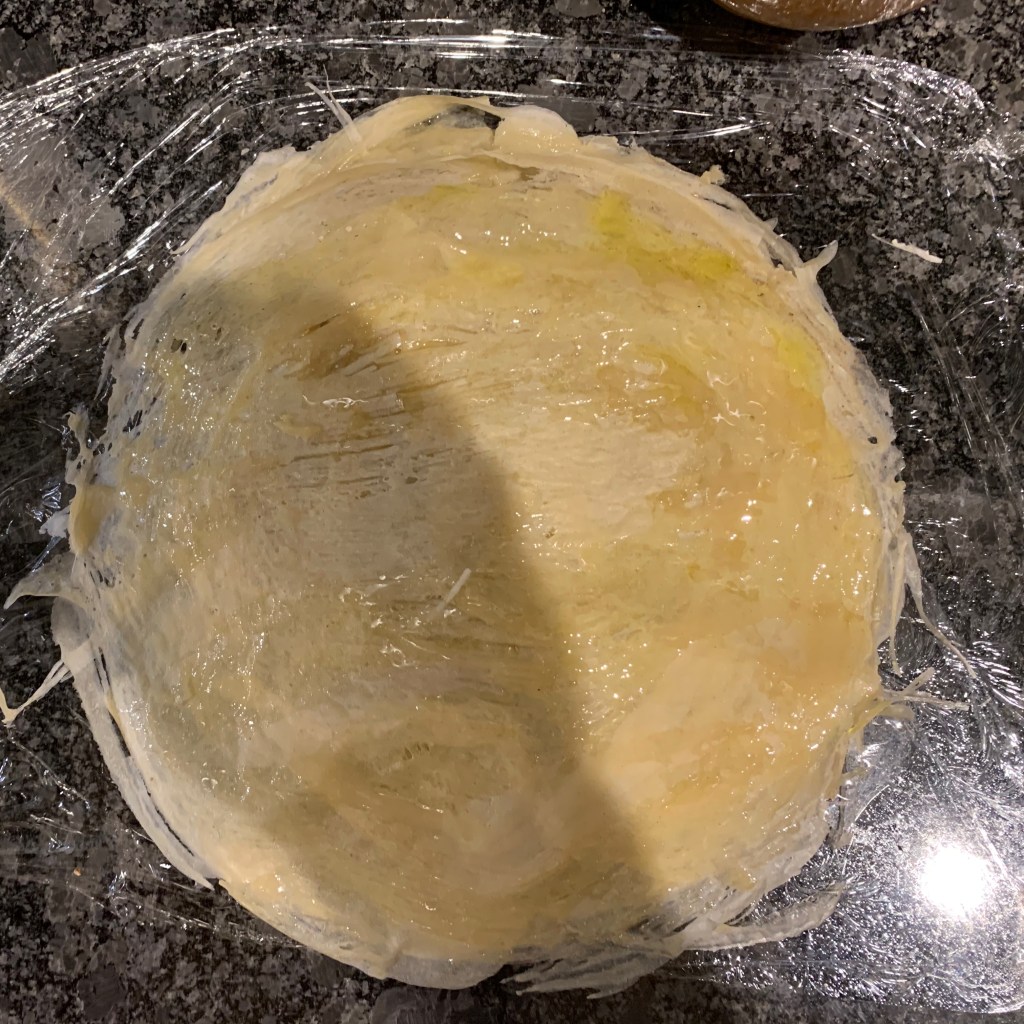
Finished pile of warqa sheets
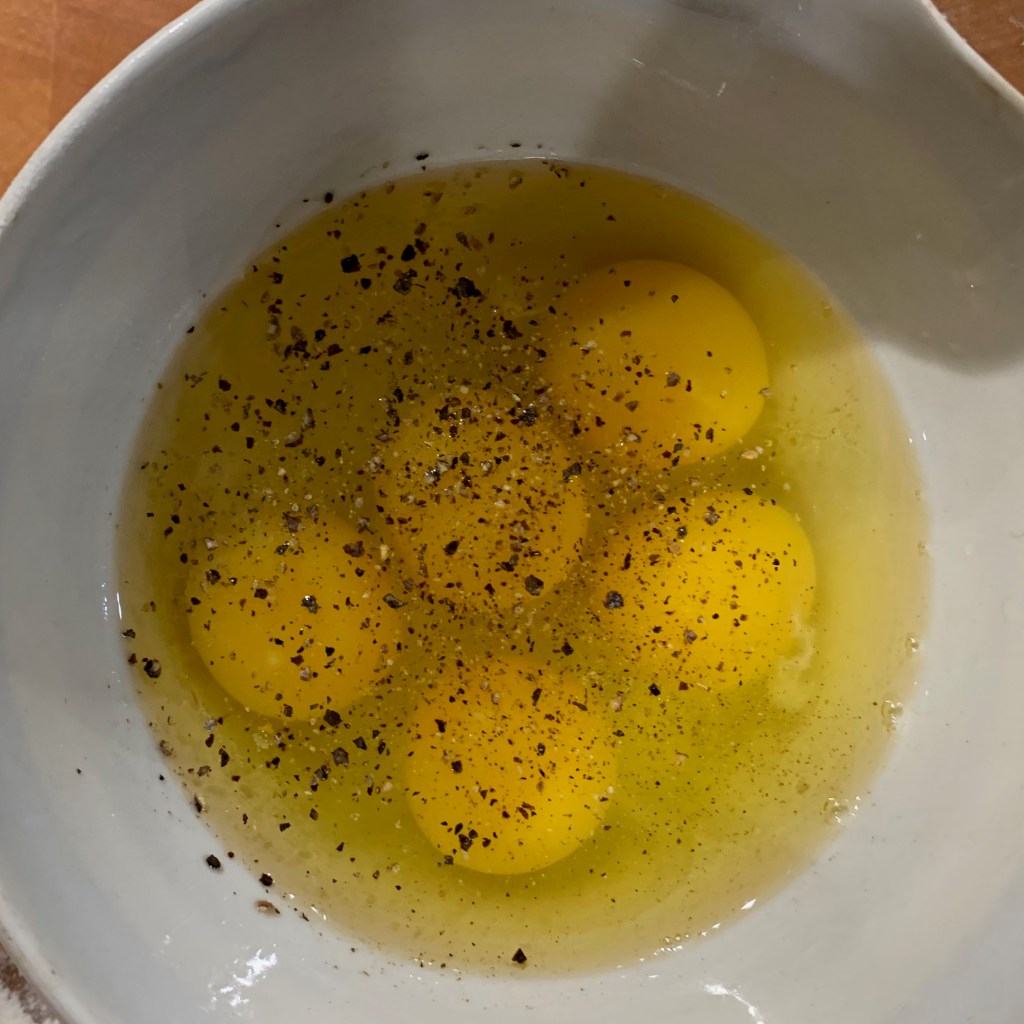
The egg filling
5 large eggs
10g butter (quantity very approximate)
Salt and pepper to taste
Whisk the eggs with the salt and pepper
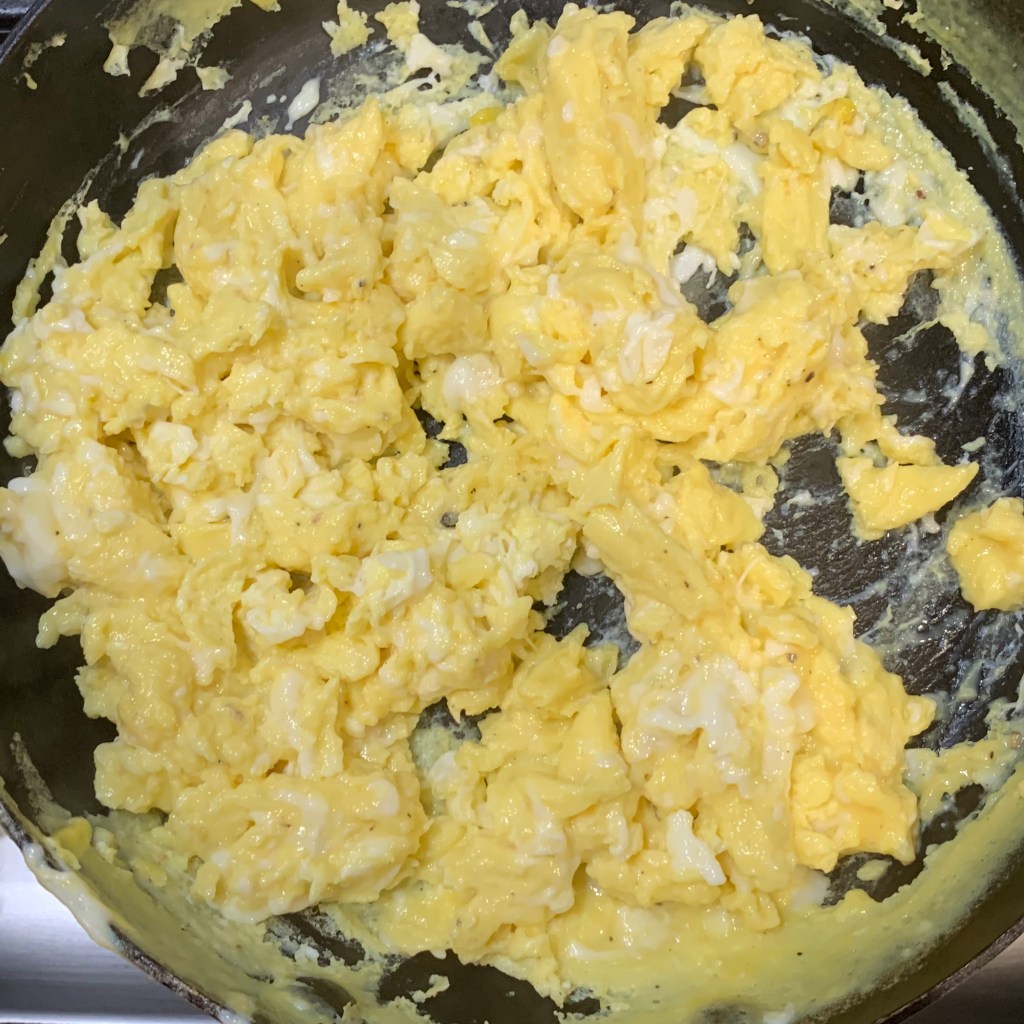
Melt butter in a pan
Add the eggs and stir over medium heat until you have a fairly dry scrambled egg mixture (like the chicken filling, you don’t want it making your pastry soggy).
Putting it all together
Ideally, you will have a round dish with shallow, slightly rounded sides to help form you bastilla into the traditional round shape. If, like me, you don’t, you’ll just have to go freehand on a greased baking tray.
Olive oil, melted ghee or smen for brushing
Preheat oven to 200℃ fan
If you’re going to make more than one bastilla, divide your fillings up into equal portions and repeat the instructions below for each.
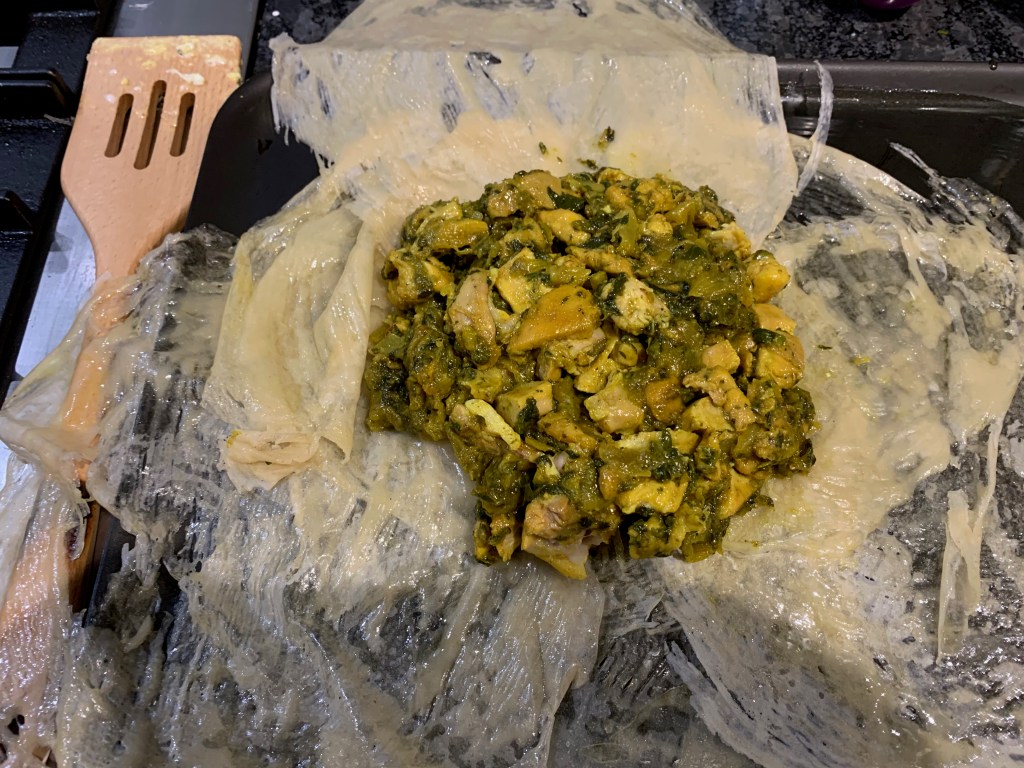
Place a few overlapping layers of pastry in a pattern big enough that once you’ve made your mound of fillings, you will be able to cover them in at least two or three sheets.
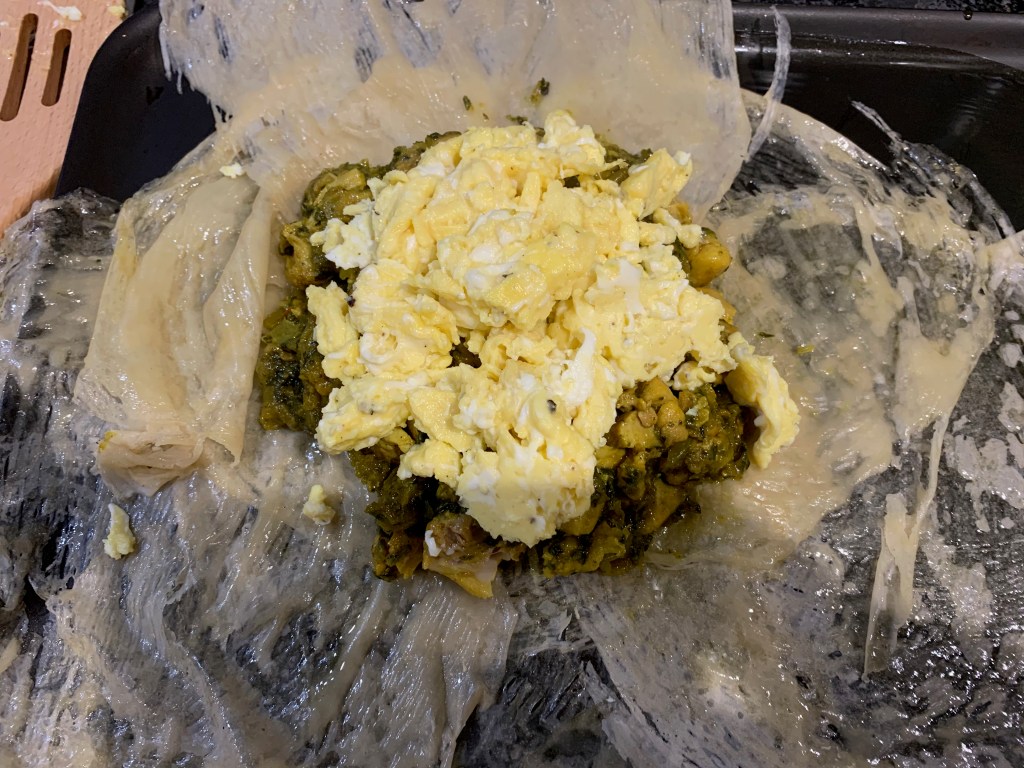
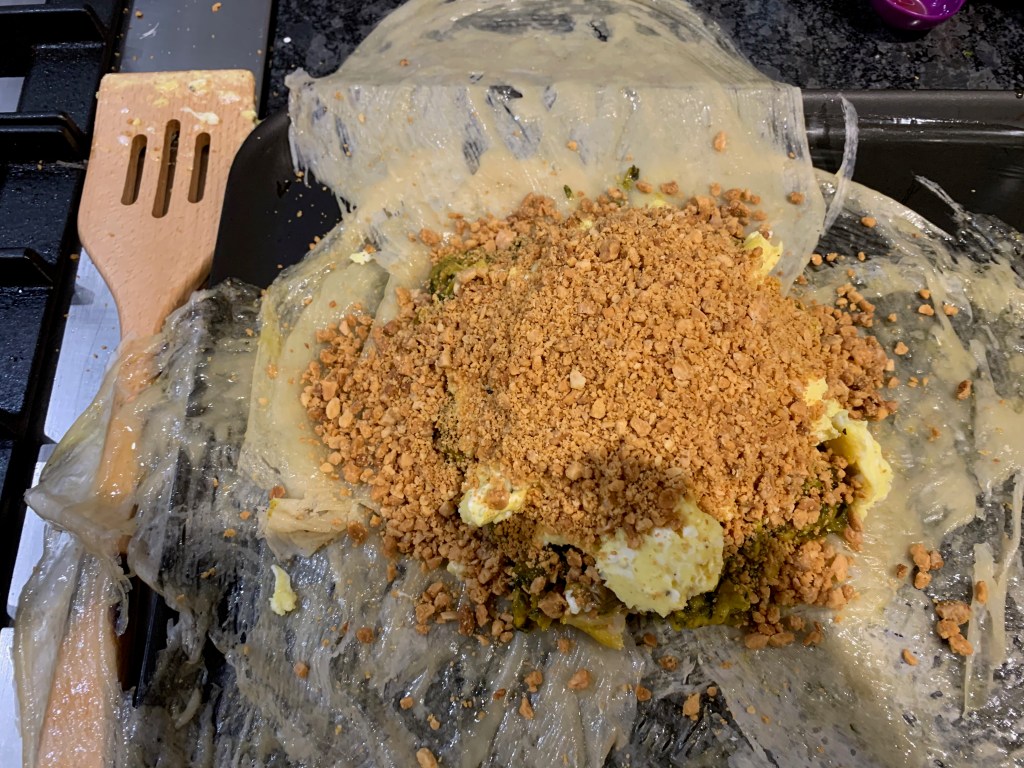
Make a flattened mound of chicken filling in the centre.
Spread the top with the scrambled egg.
Spread the top with ground almonds.
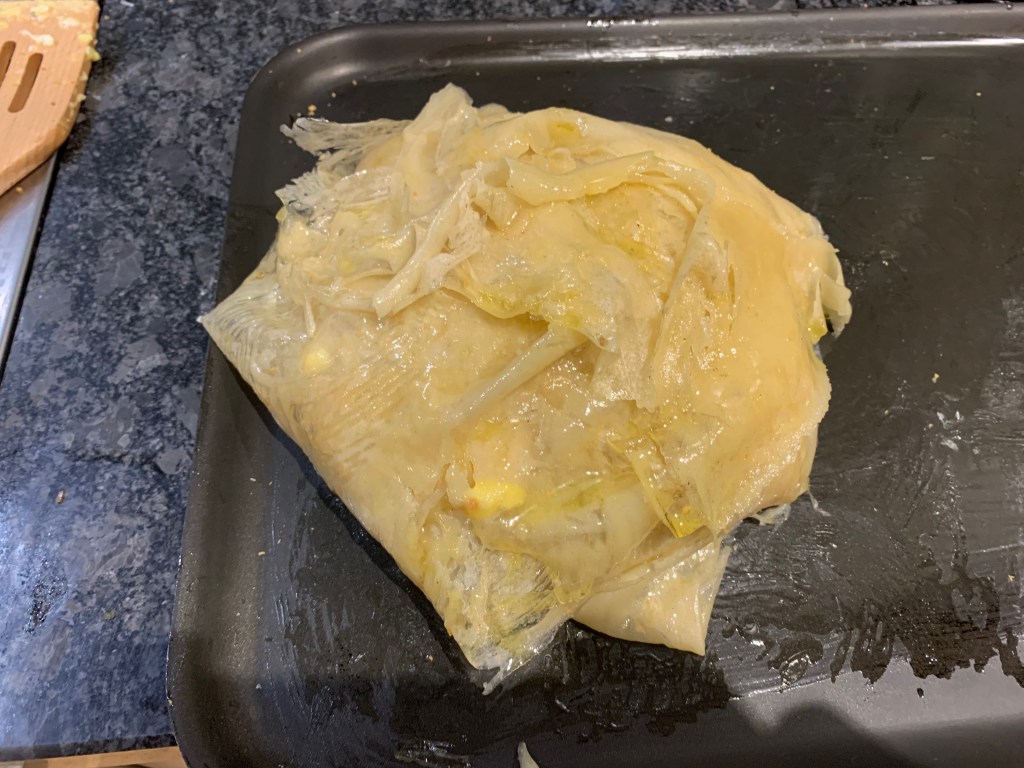
Fold a layer of pastry over the top. Brush it with oil (or ghee or smen).
Repeat until all the layers have been folder over and you have a completed round pie, brushed across its top.
Bake until golden, around 20 minutes. Take out and cool.
Moroccans sprinkle the whole thing with icing sugar and cinnamon before serving. I didn’t.
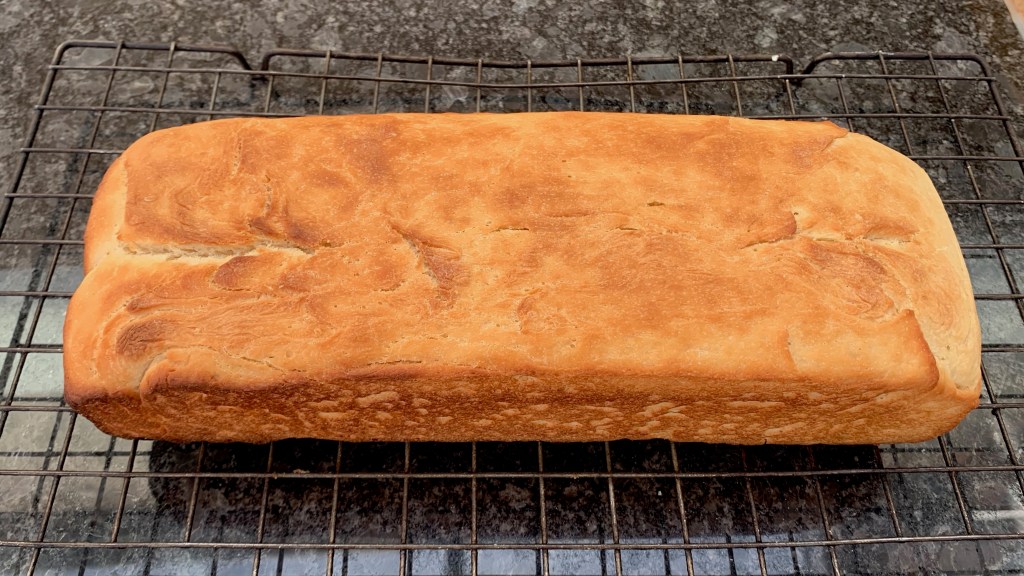
It’s time for this series to make its first foray into Africa: I’m going to start in Nigeria with “Agege bread”, named after the suburb of Lagos from which it came. It’s a bread with a story and I’ll retell the basics, with the help of this great video by “For Africans By Africans”.
Bread wasn’t native to Nigeria until the later part of the 19th century, when it started to be brought in by immigrants from the Caribbean. In 1913, Jamaican-born Amos Shackleford arrived in Lagos and set up a bakery business which thrived to the point where he was considered “the bread king of Nigeria”: his “Shackleford bread” would arrive in Agege by bus until services were disrupted in the wake of independence in 1960. A local by the name of Alhaji Ayokunnu set up his own bakery and gave his product the name “Agege bread”. Subsequently, an enterprising community leader negotiated with the suburban railway for trains to stop in Agege, which became the means by which Ayokunnu’s bread colonised the city and won a place in Nigerian hearts.
It’s a slightly sweet white loaf, usually oblong and baked in a tin, whose defining characteristic is that it’s fabulously soft and fluffy. It also keeps well, which is not an insignificant feature in Lagos’s warm, humid climate. A big part of this comes from the kneading process which uses a machine called a “dough brake”, introduced by Shackleford, which looks rather like a washing mangle or a giant pasta machine: the dough is repeatedly squeezed between a pair of rollers.
A bad episode happened in the 1980s, when President Babangida banned imported wheat. At the time, home grown Nigerian wheat was of lower quality, so bakers started using “improvers” to artificially boost the softness and fluffiness of their product. At least one of these, potassium bromate, has since been found to be carcinogenic and has been banned; other alternatives remain.
I don’t want to use improvers, but I do want to get to something like the approved fluffiness, so I’m going to follow the lead of Nigerian cook Nky-Lily Lete and use the Scandinavian “scalded flour” method – if you want to see why this works, take a look at this post on Bread Maiden, which also describes a newer method invented in Taiwan called Tangzhong.
Since I don’t have access to a dough brake, I’ve simulated the effect by repeatedly rolling the dough with a rolling pin and reforming it. To speed things up, I’ve done some kneading in advance with the dough hook of my stand mixer: if you don’t have one, you’ll need to spend longer on the kneading process.
500g strong white flour, plus more for kneading
200ml boiling water
5g yeast
50g sugar
80g warm water
40g milk
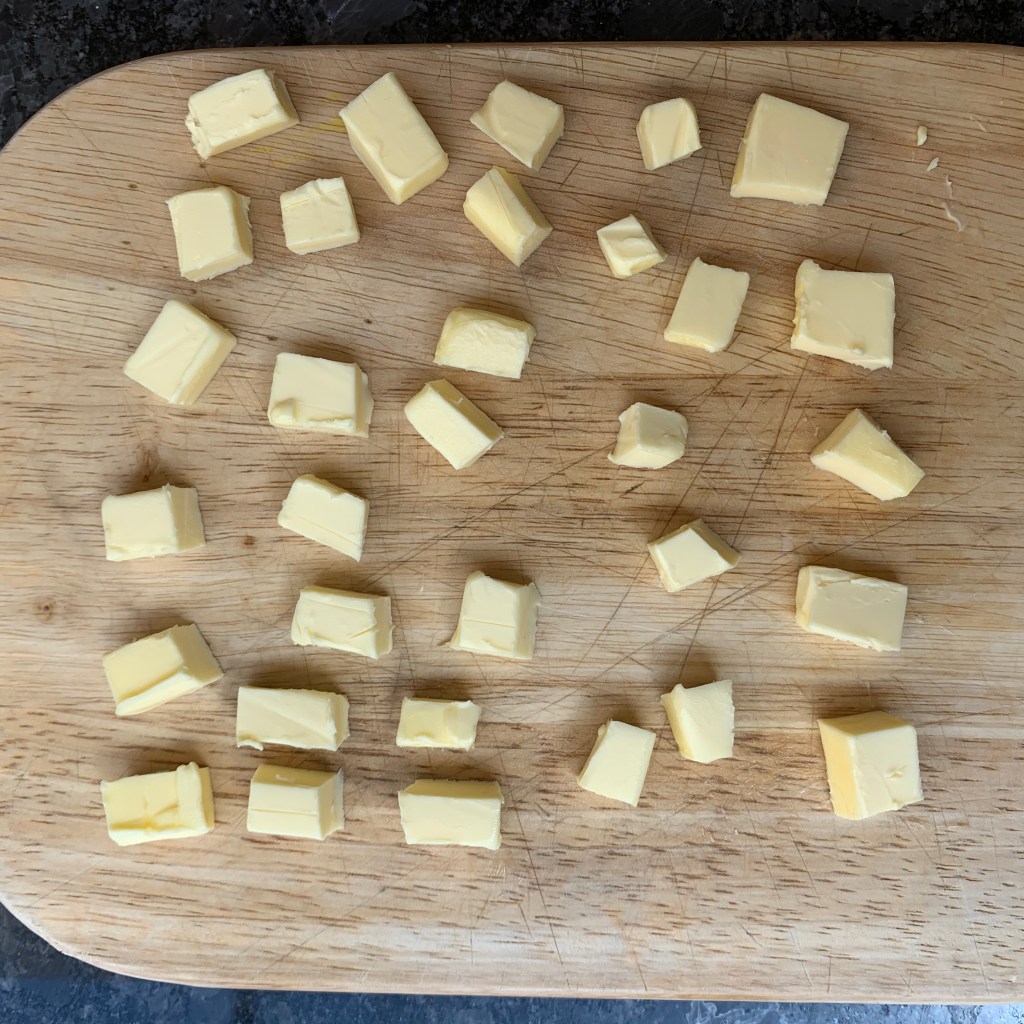
50g butter
35og flour
1tsp salt
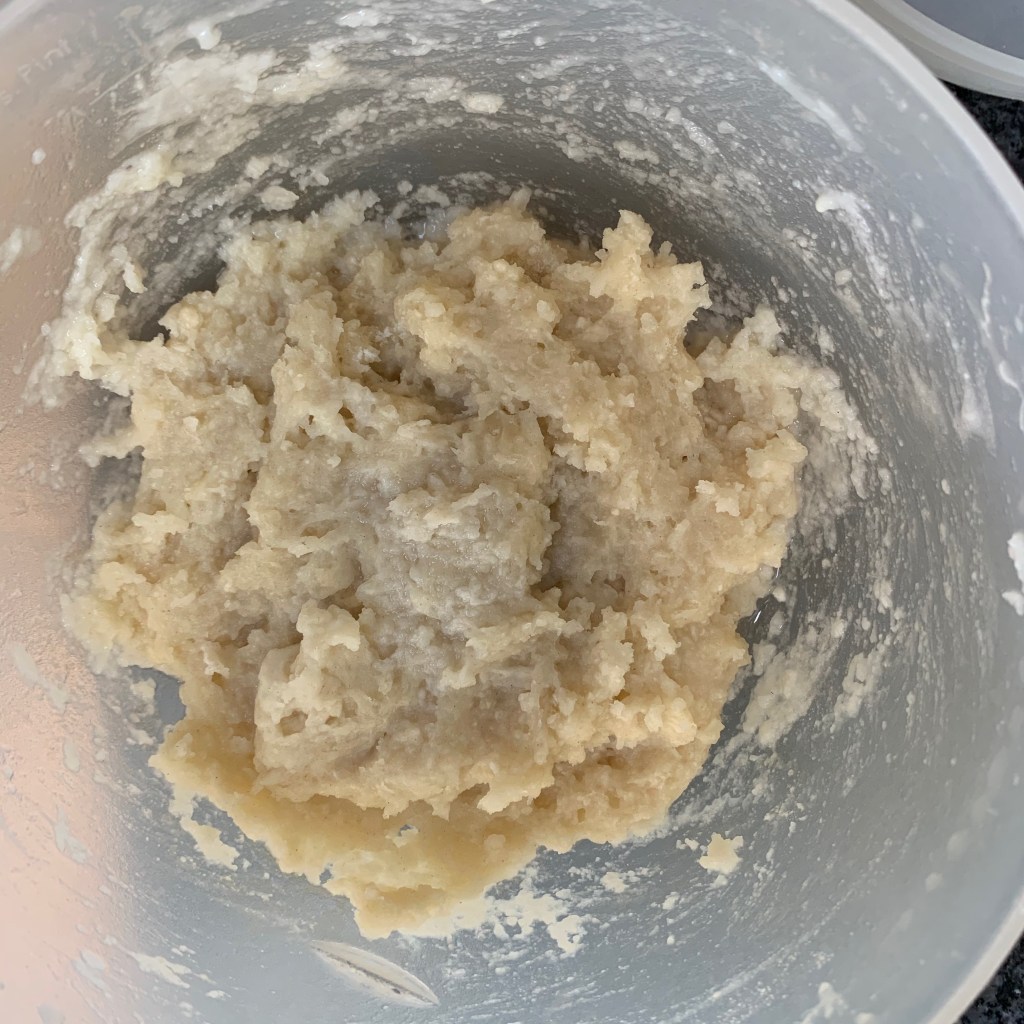
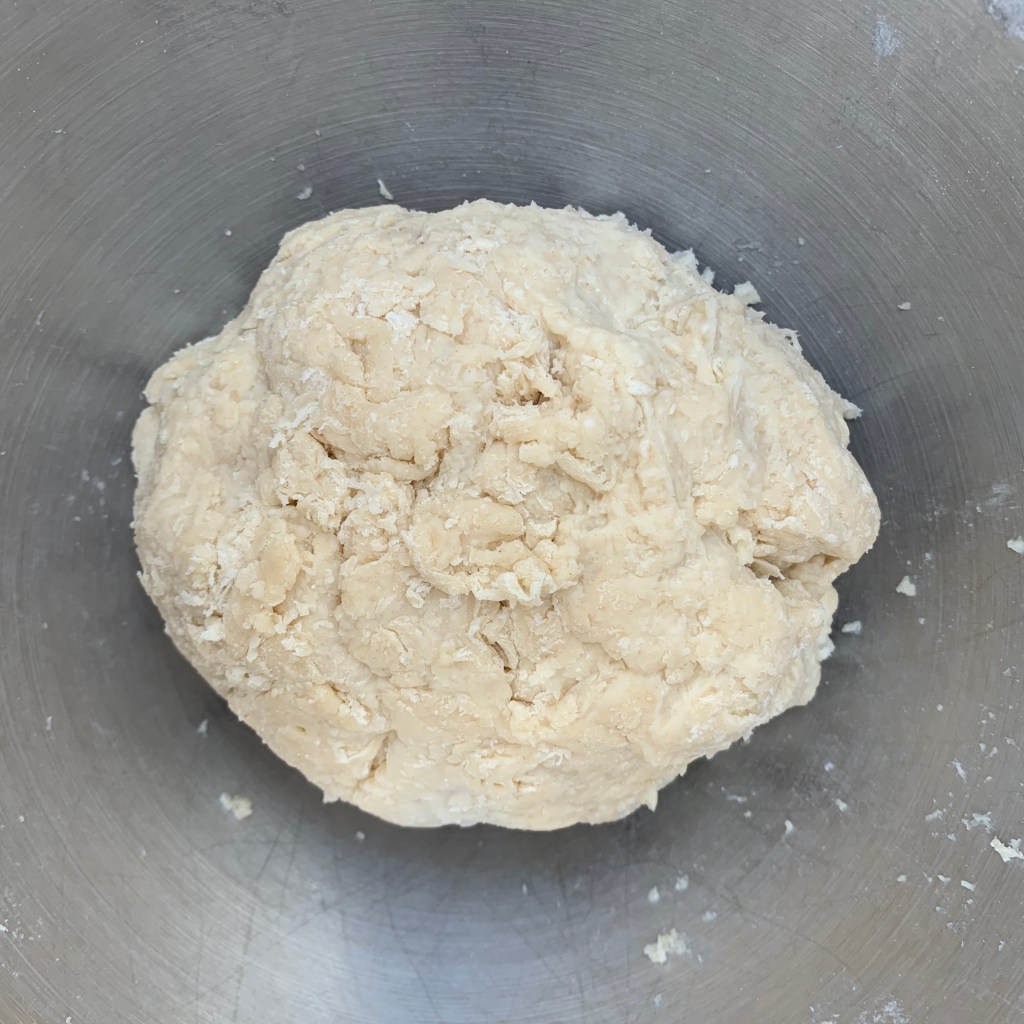
Mix the boiling water with the 100g of the flour. Cover the bowl and set aside to cool, for at least one hour (you can do this overnight if you want)
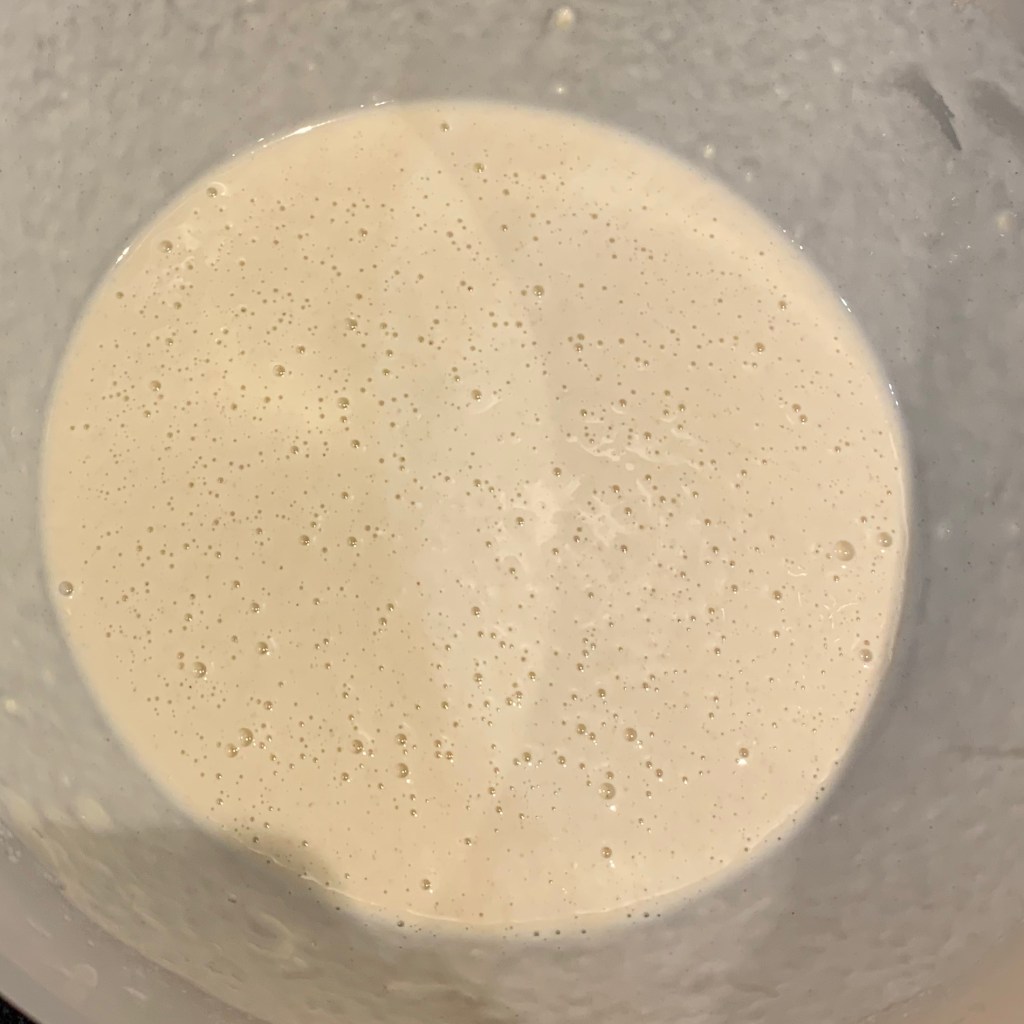
In a bowl, mix the warm water, milk, sugar and yeast. Leave for 10 minutes or so until frothy.
Soften the butter (my preferred method is to chop it into small pieces and set it aside at room temperature while you do everything else.
In the bowl of a stand mixer, mix the remaining flour with the salt.
Add the scalded flour and the wet mixture to the dry mixture and mix thoroughly (either with your hands or with the paddle attachment). Leave for 10 minutes.
Add the butter, mix it in and then mix with the dough hook for around 5 minutes
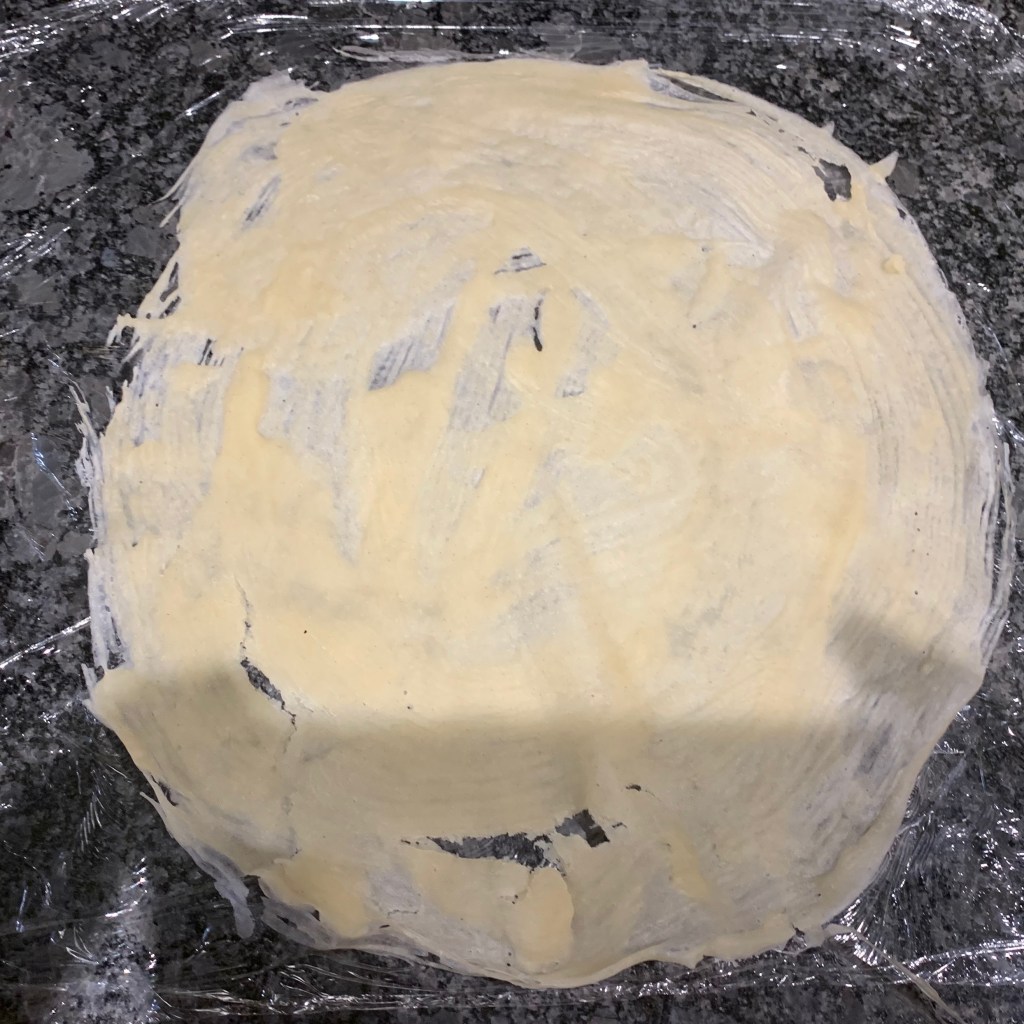
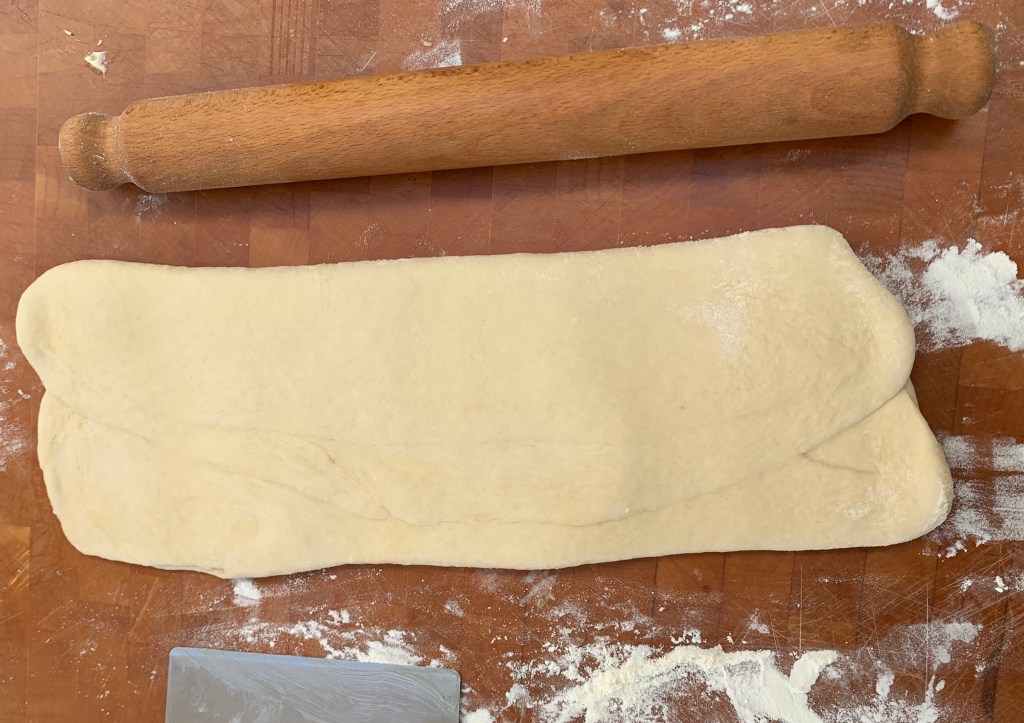
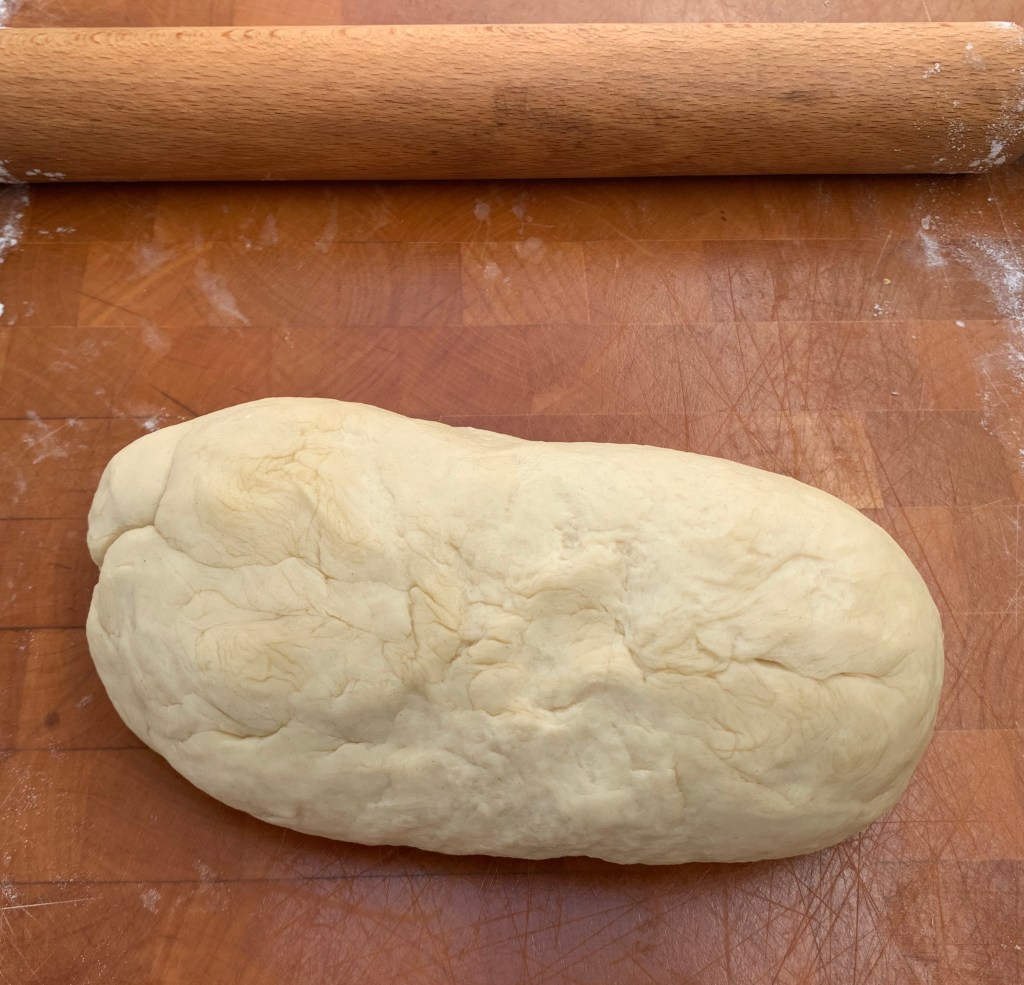
On a floured board, roll out your loaf, then fold it up, picking up as little flour as you can manage. Roll it out again and repeat until the dough is very elastic.
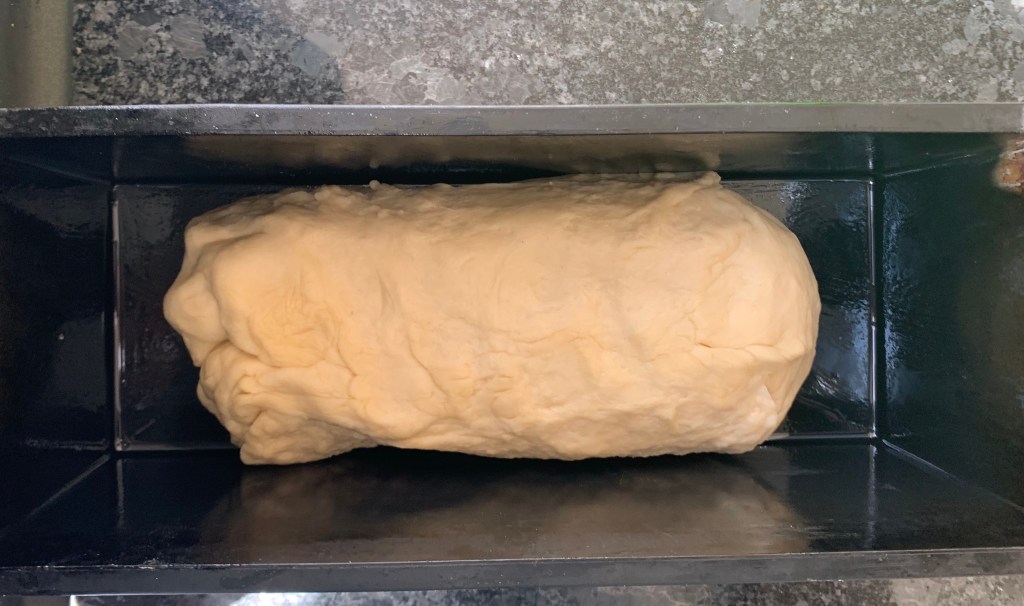
Shape the dough into an oblong and put it in a baking tin. Cover and leave until well risen – depending on your kitchen temperature, this could take anything from one to four hours.
Preheat oven to its hottest setting – mine was 250℃ non-fan.
Bake, covered, for around 20 minutes. The bread should come out soft, risen and not dried out.
It’s best to at least try this bread when it’s fresh out of the oven, even if you’re keeping most of it for later!
Note that I haven’t bothered with a knock-back and second rise: they don’t appear to do this in the Agege factories. But there’s nothing stopping you from doing this if you want.
Slight caveat on the photos here: the quantities in this recipe turned out to be too large for my smaller bread tin and rather too small for the larger one. The resulting bread should really be square in cross-section: to achieve that with the tin you can see, I’d really need to add 50% onto all the quantities here.