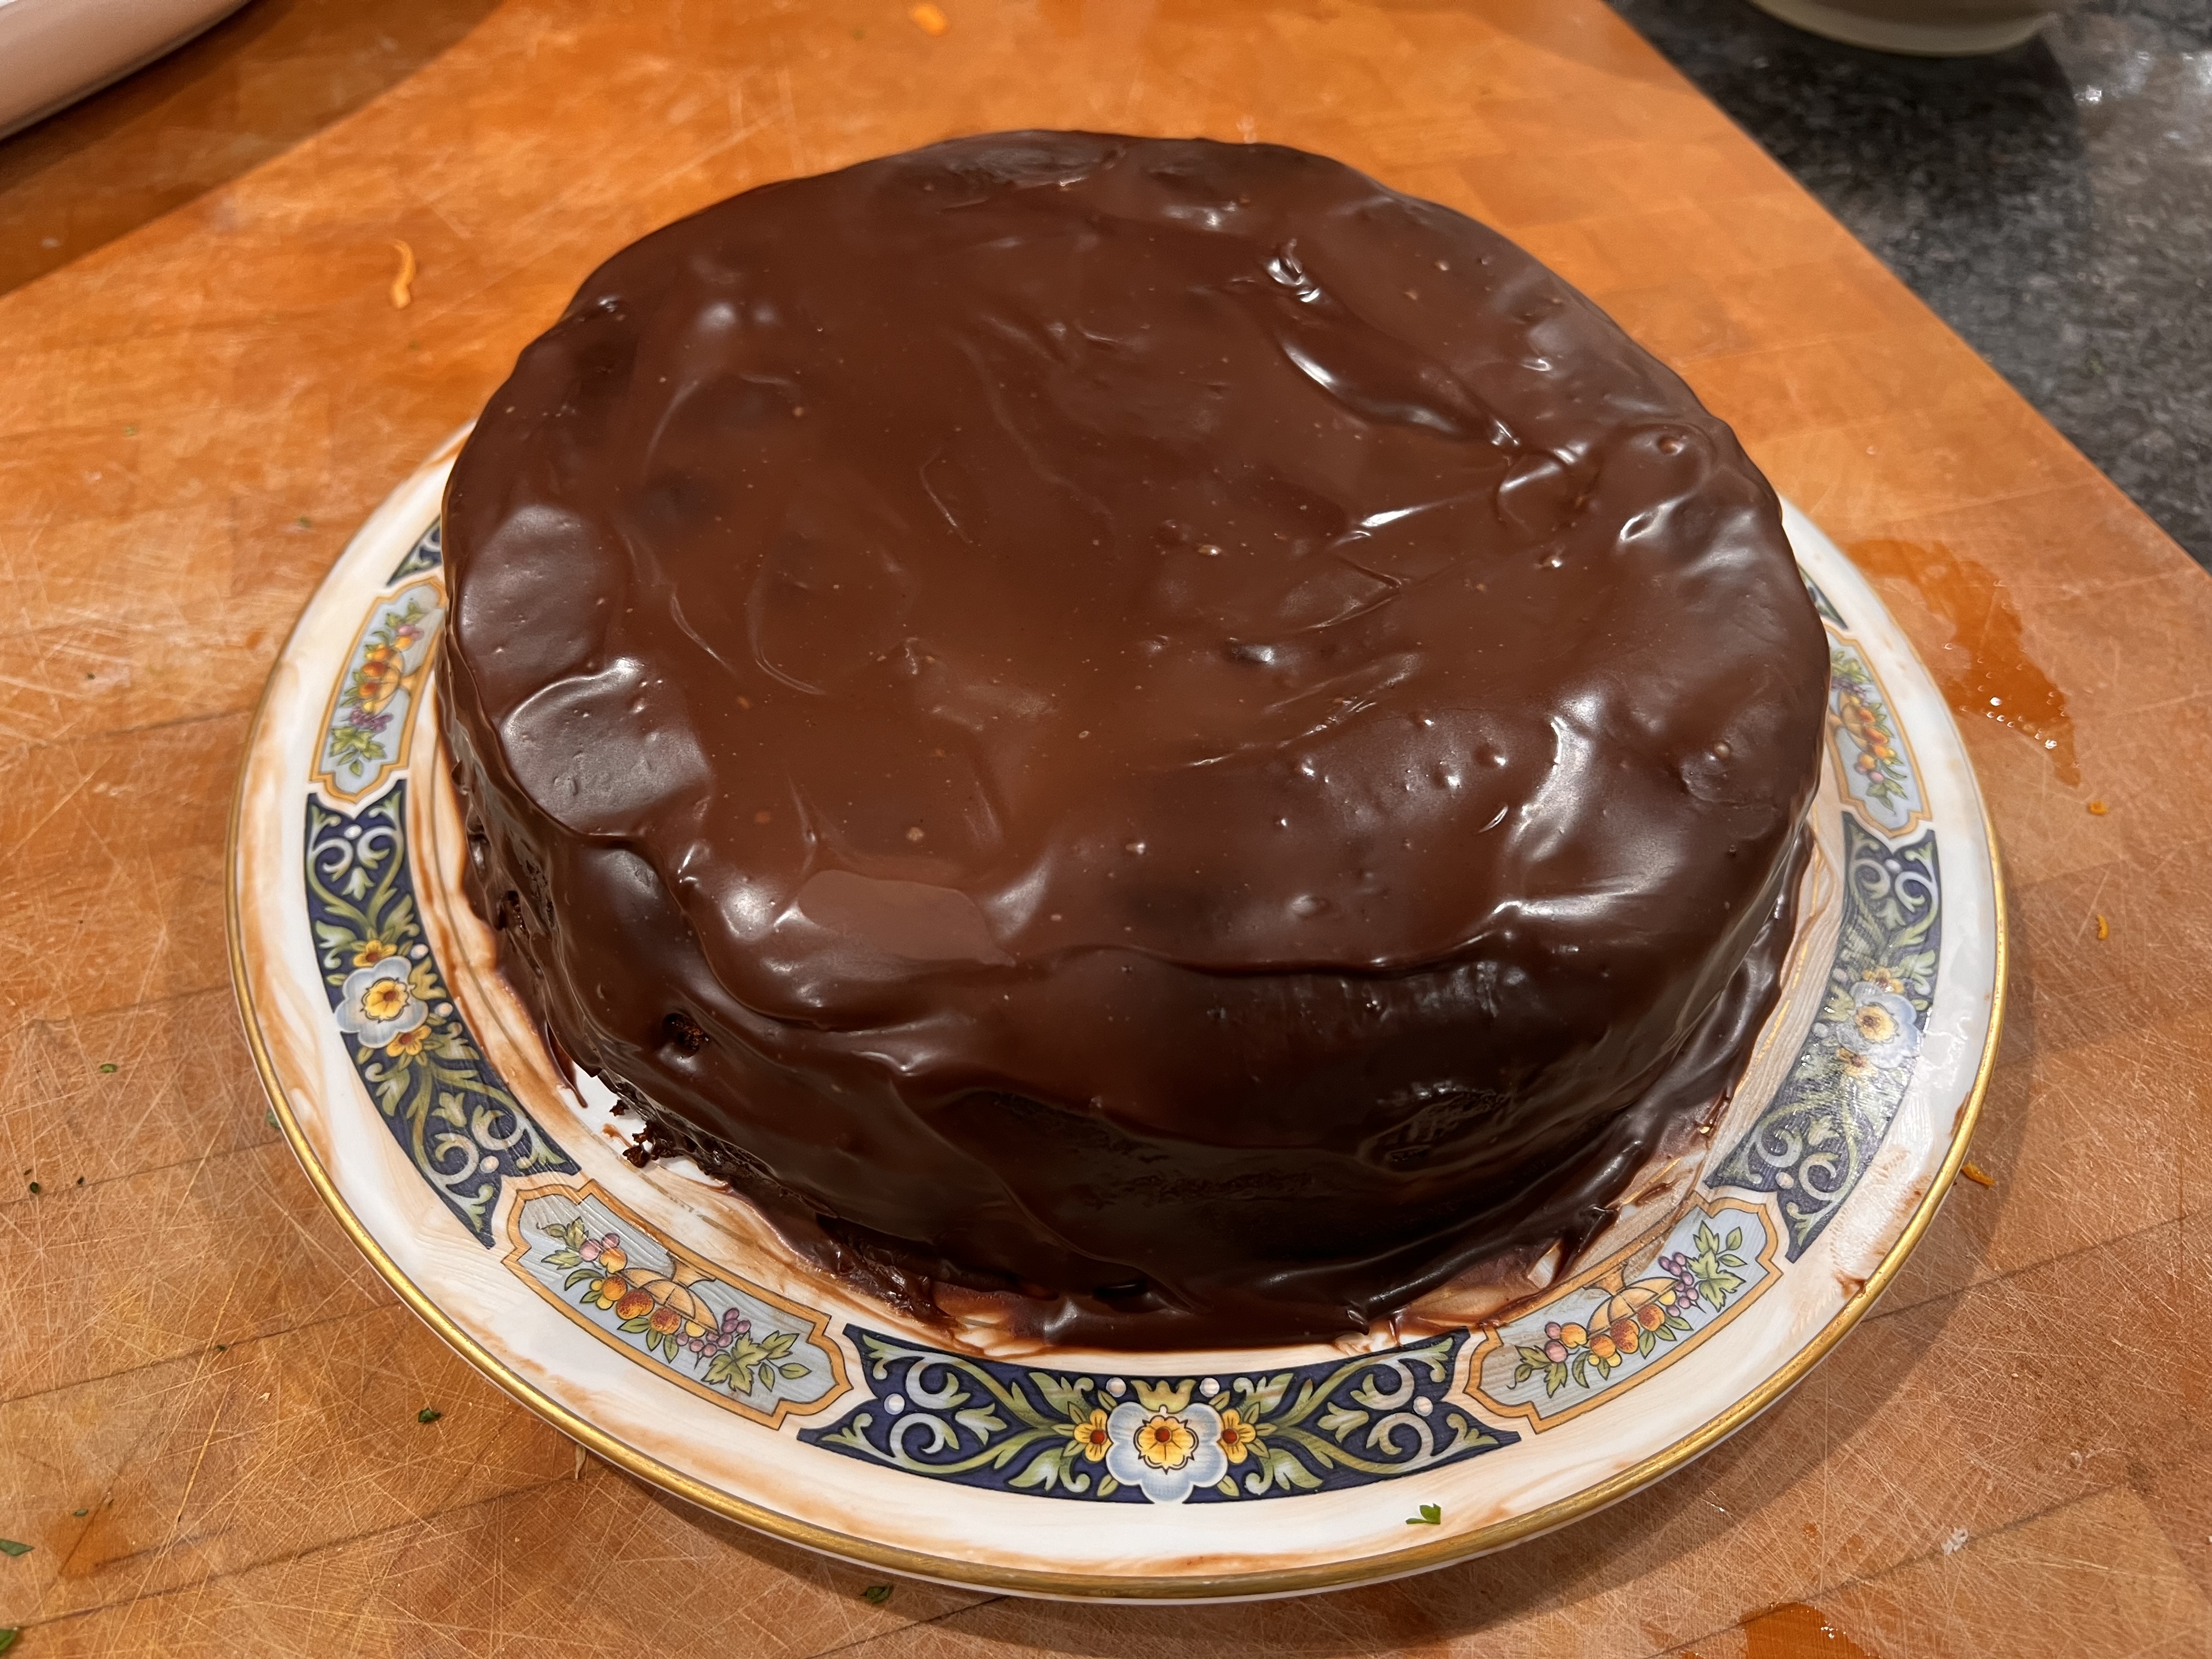
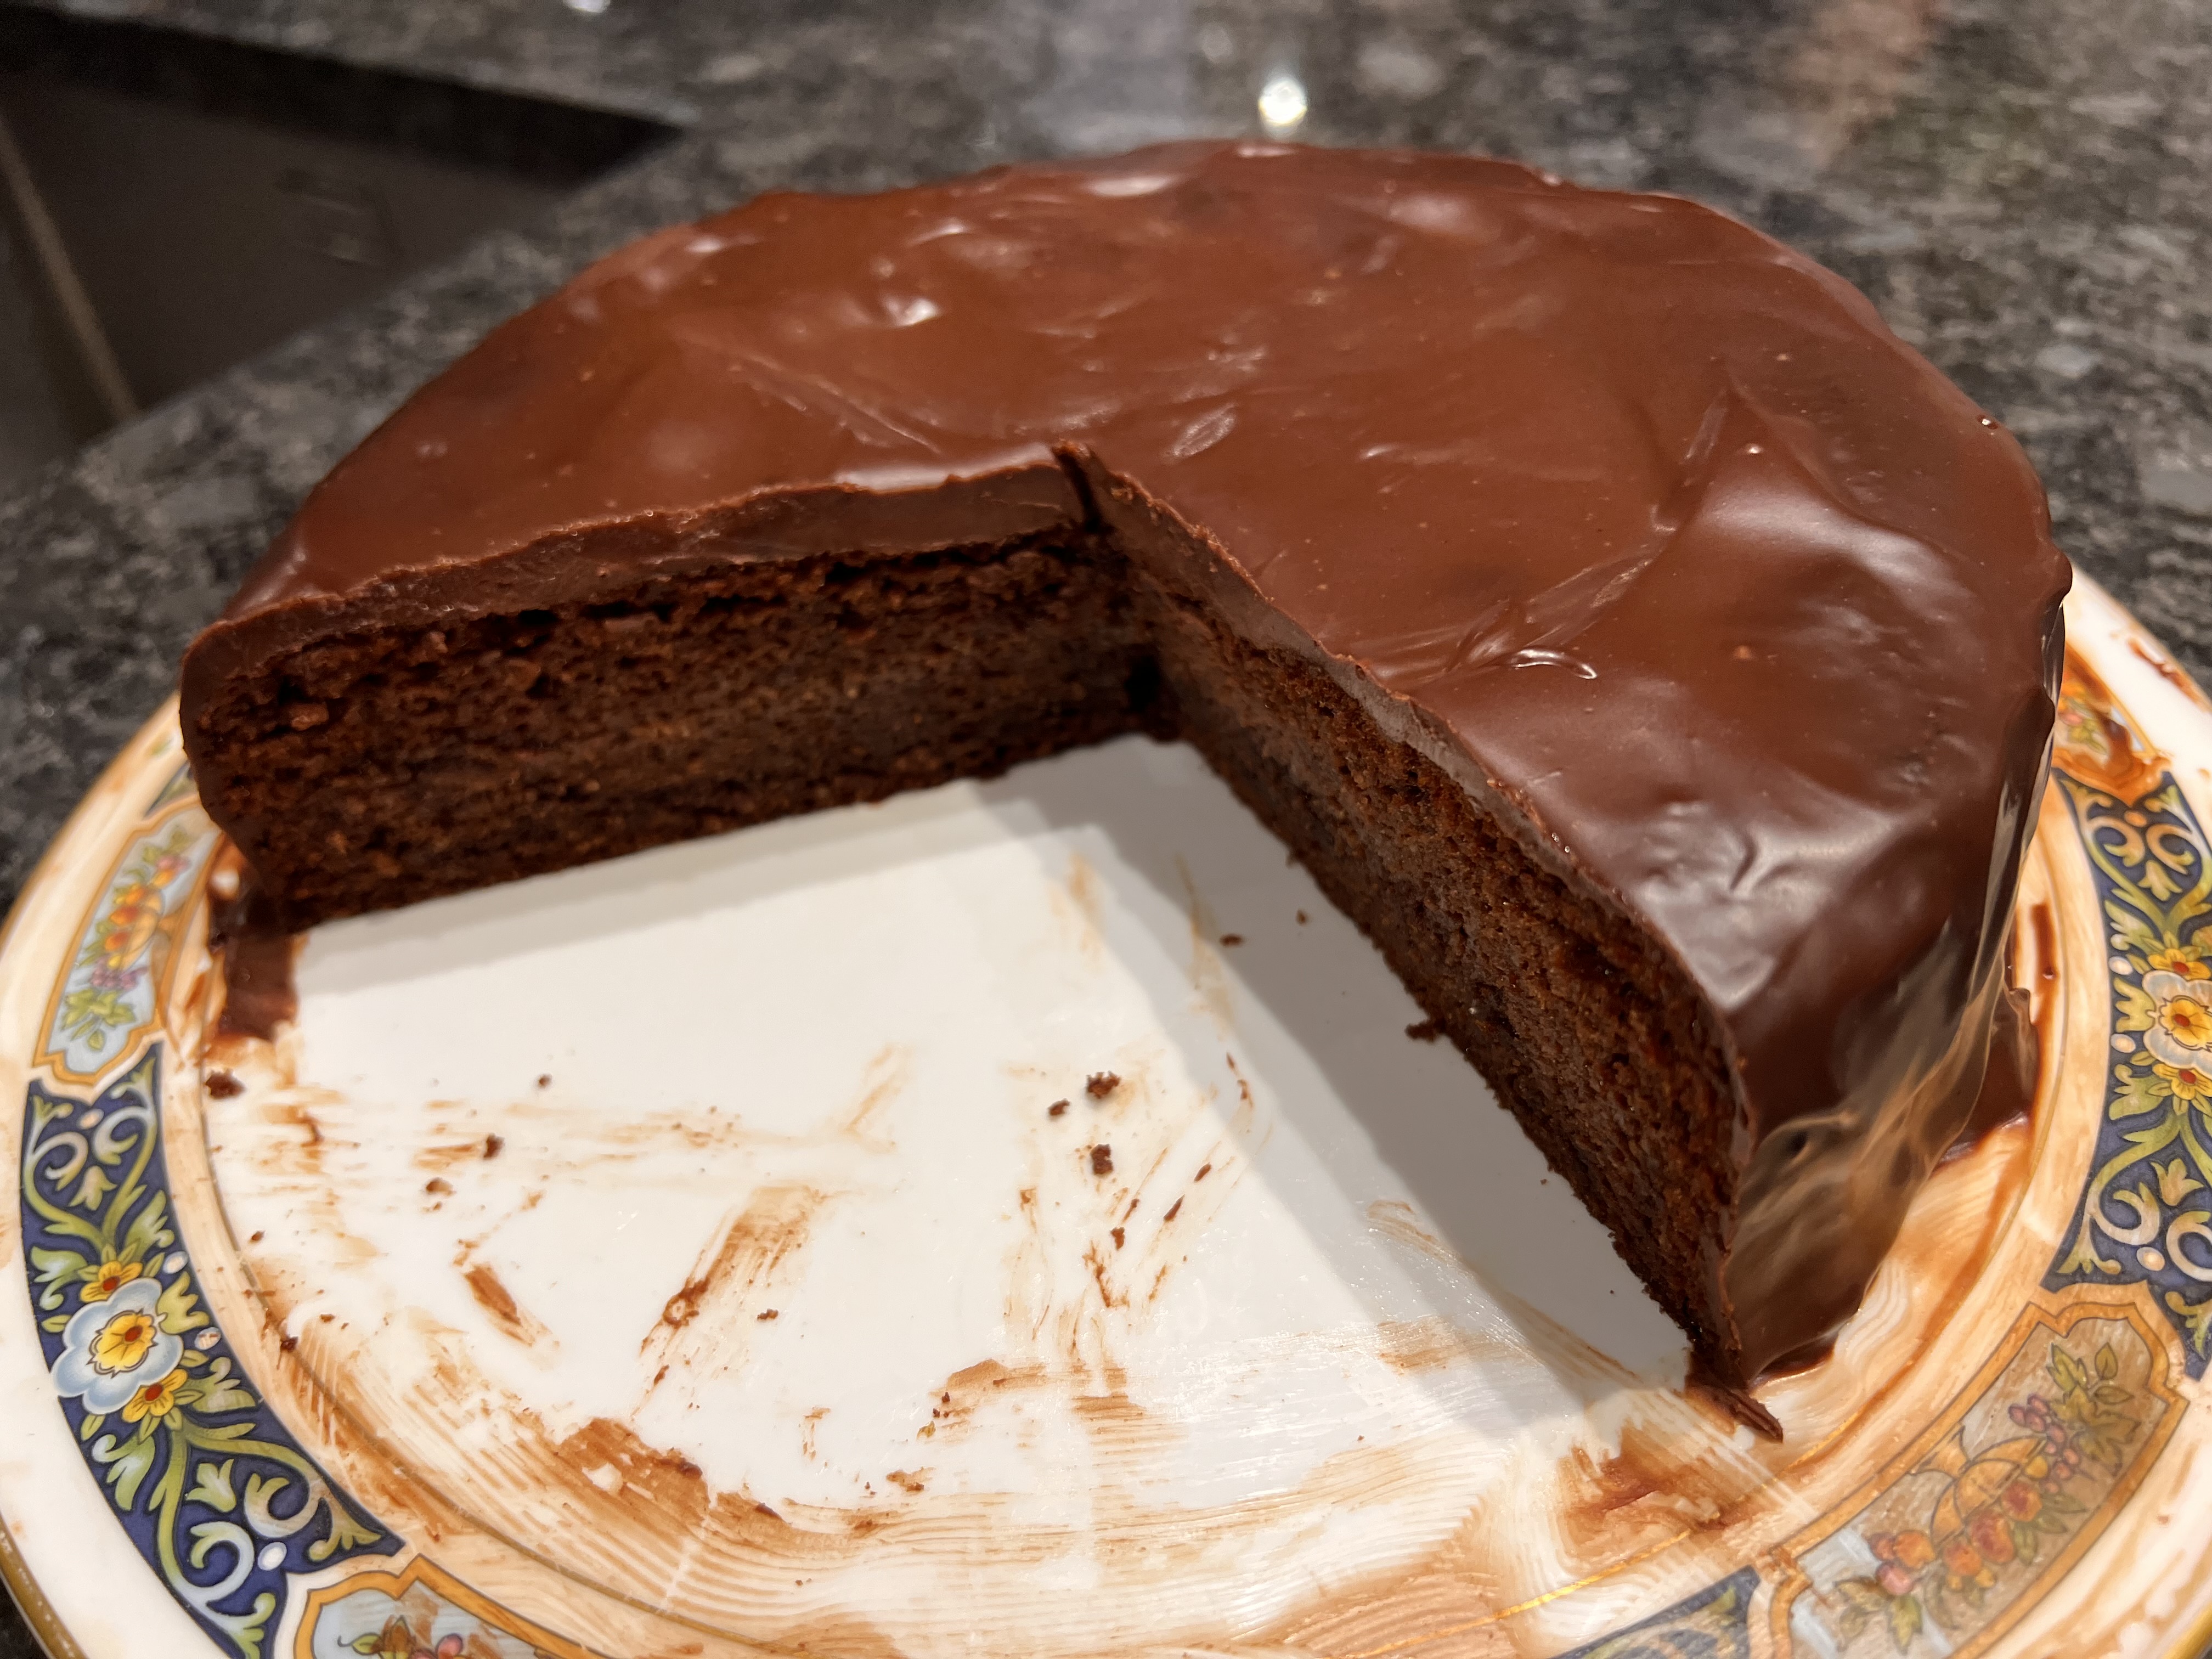
For anyone planning a Seder night (the Jewish celebration of Passover eve), the question raises itself of how to make a flourless dessert. There are various standard tricks, like using ground almonds or matzo meal to substitute for the flour, but here is a fabulous, indulgent dessert that avoids the tricks altogether.
This chocolate mousse started life as one of my mother’s standards, taken from the classic American cookbook Joy of Cooking (still in print and being revised, 93 years after its first edition – my own copy is now so tattered that it needs replacing). I’ve made things metric and changed various quantities, mainly to suit what you buy in English supermarkets, although, to be honest, it’s incredibly forgiving: the recipe will still work OK even if you change the ratios of cream to chocolate to eggs sugar, so you can make sweeter, lighter or more intensely chocolatey at will.
Recently, I’ve been making a more substantial change: making the egg whites into an Italian meringue before folding them into the rest of the mixture. The result is a far lighter, stable consistency which, in my view, is well worth the extra effort. This needs a thermometer – if you don’t have one, just go for standard sweetened beaten egg whites.
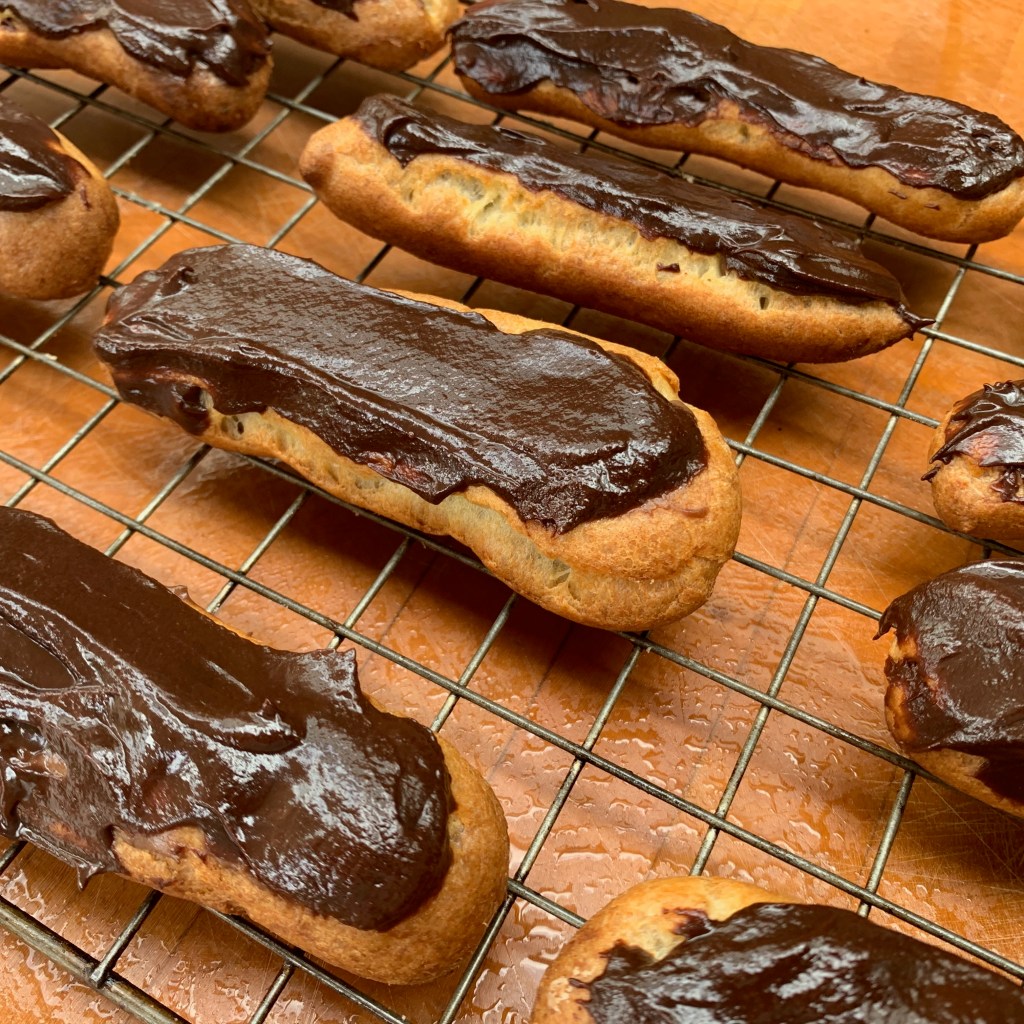
By the way, I tend to use the egg yolks for crème pâtissière, for use in éclairs or fruit tarts.
The Italian meringue
- 4 large egg whites
- 200g sugar (this is less than most recipes, so you can up it to 300g if wanted)
- 5oml water
- Juice of half a lemon
- Pu the egg whites into the bowl of your stand mixer, equipped with the whisk attachment.
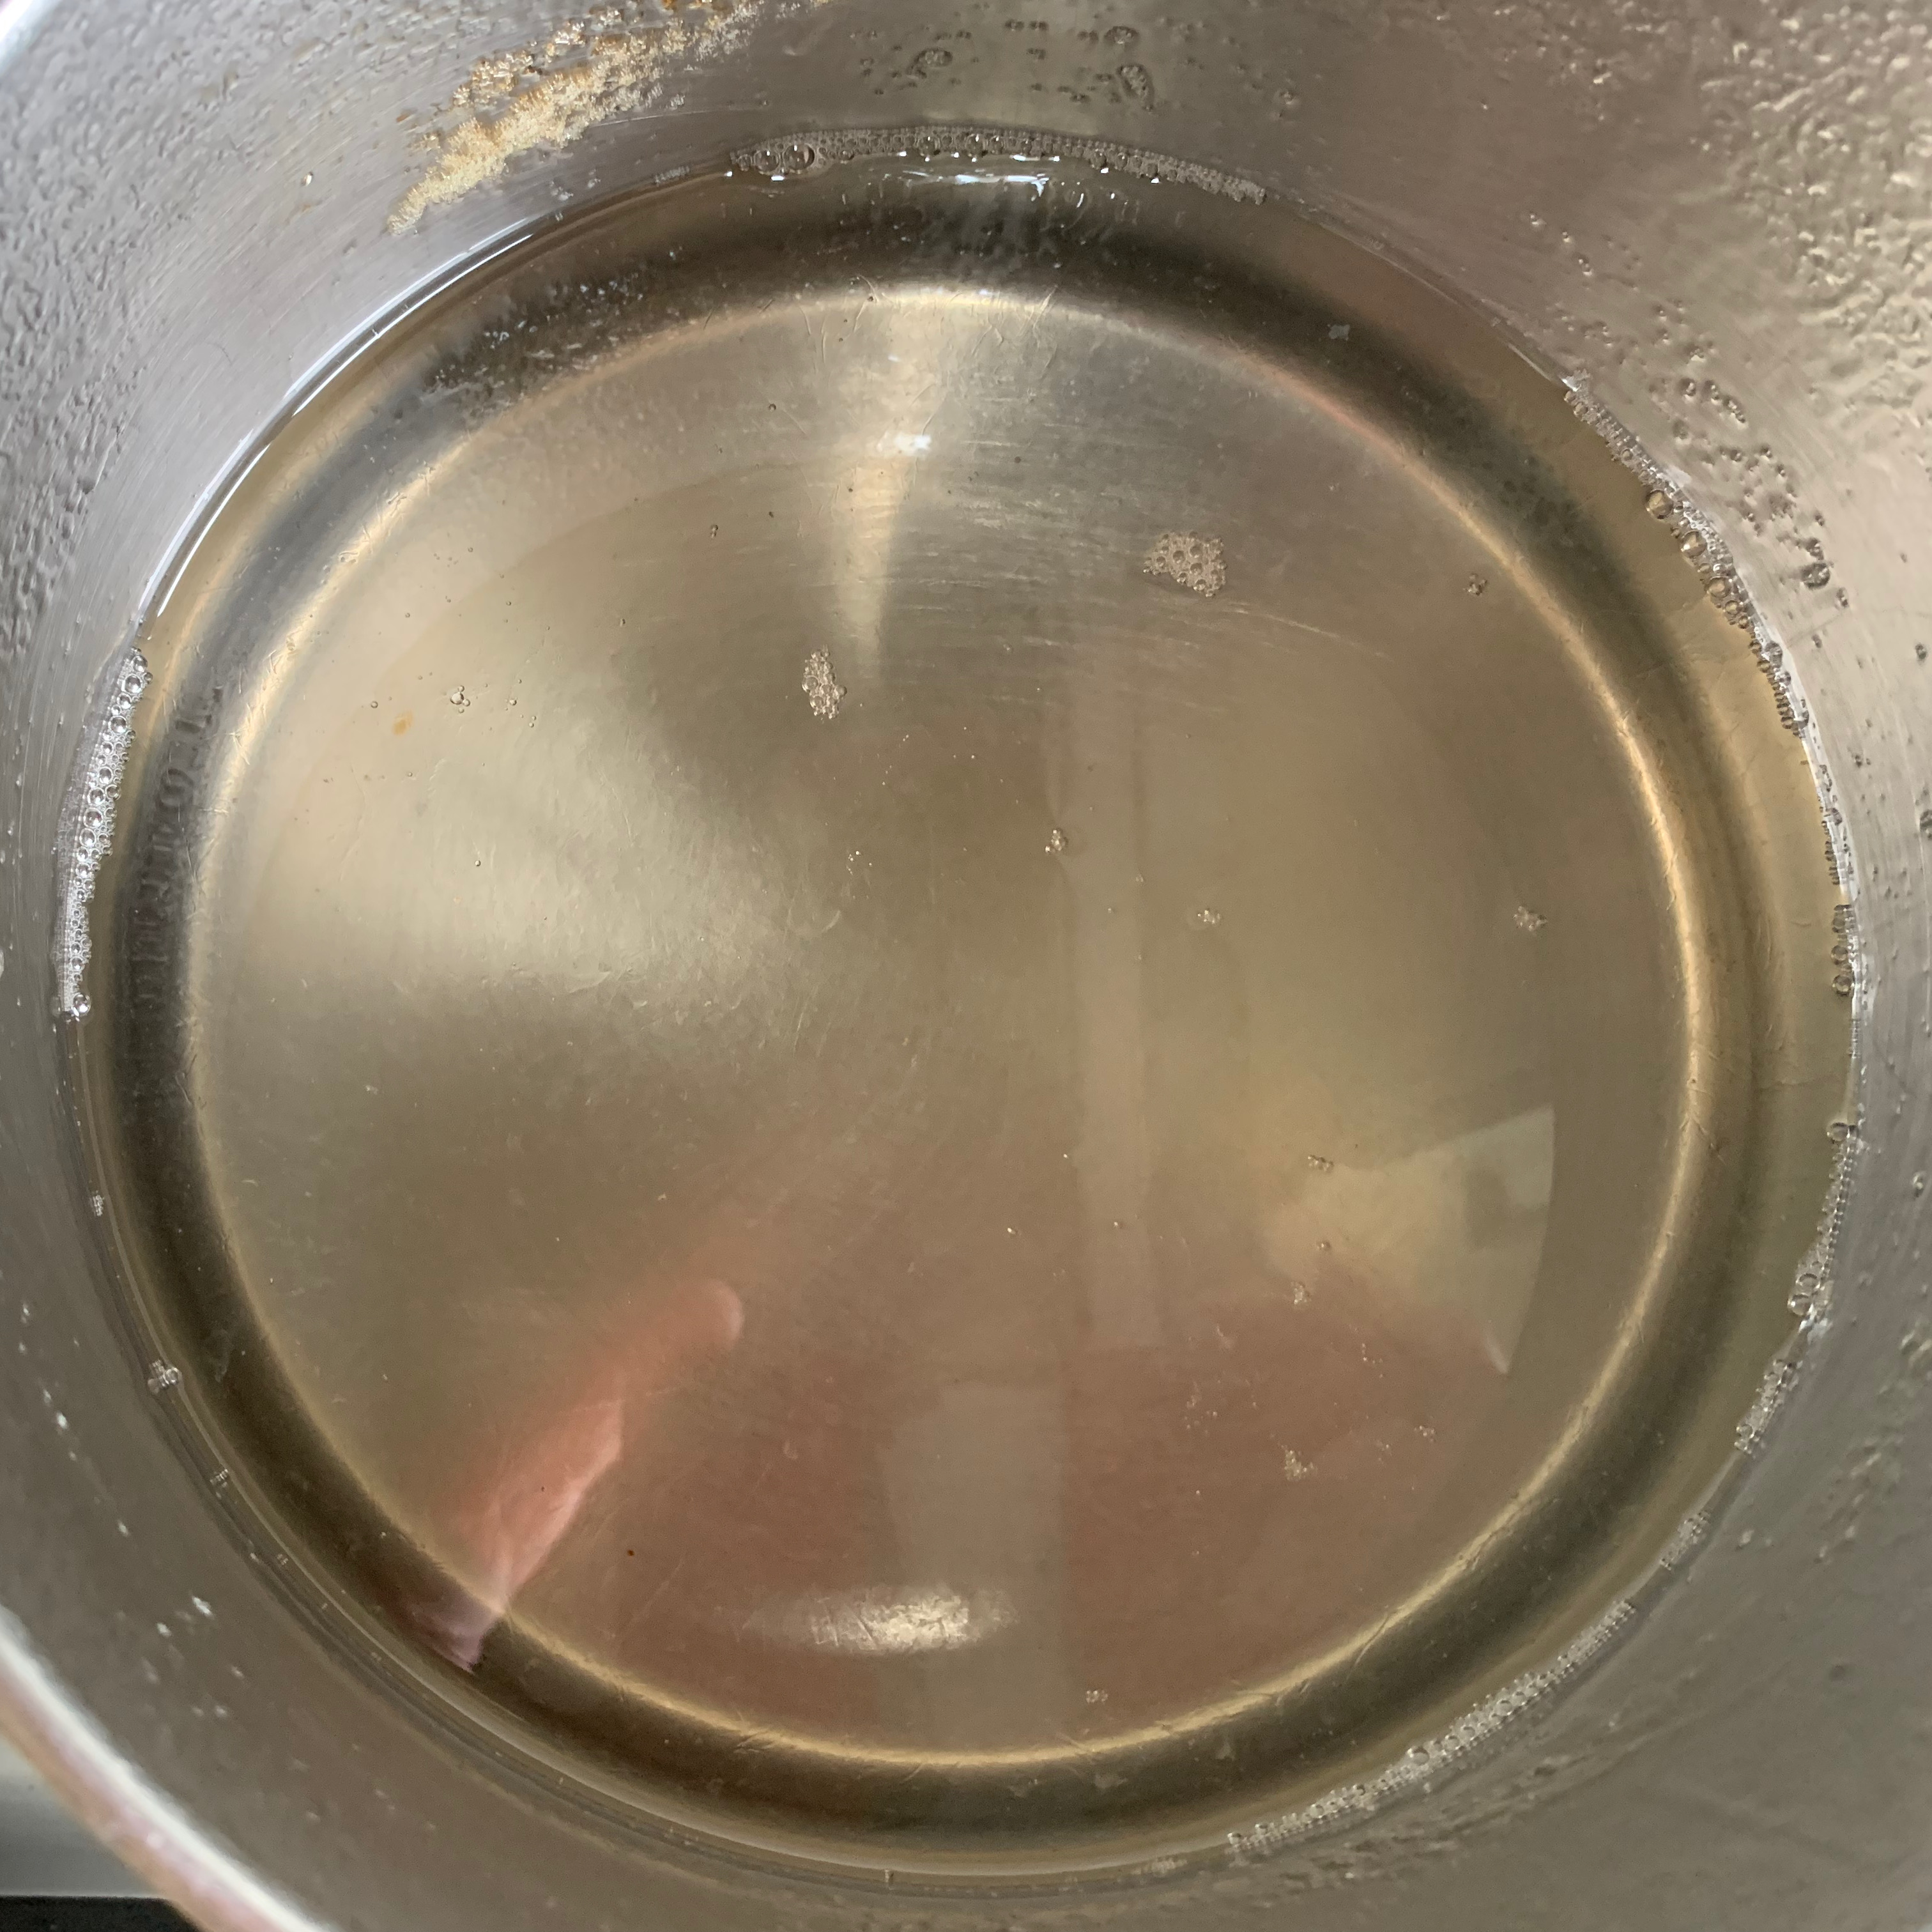
- Put the sugar and water into a small saucepan and heat: for the first part of the process, make sure you mix things until the sugar is properly dissolved.
- Monitor the temperature regularly with a thermometer: you will be using the syrup when it reaches 121℃.
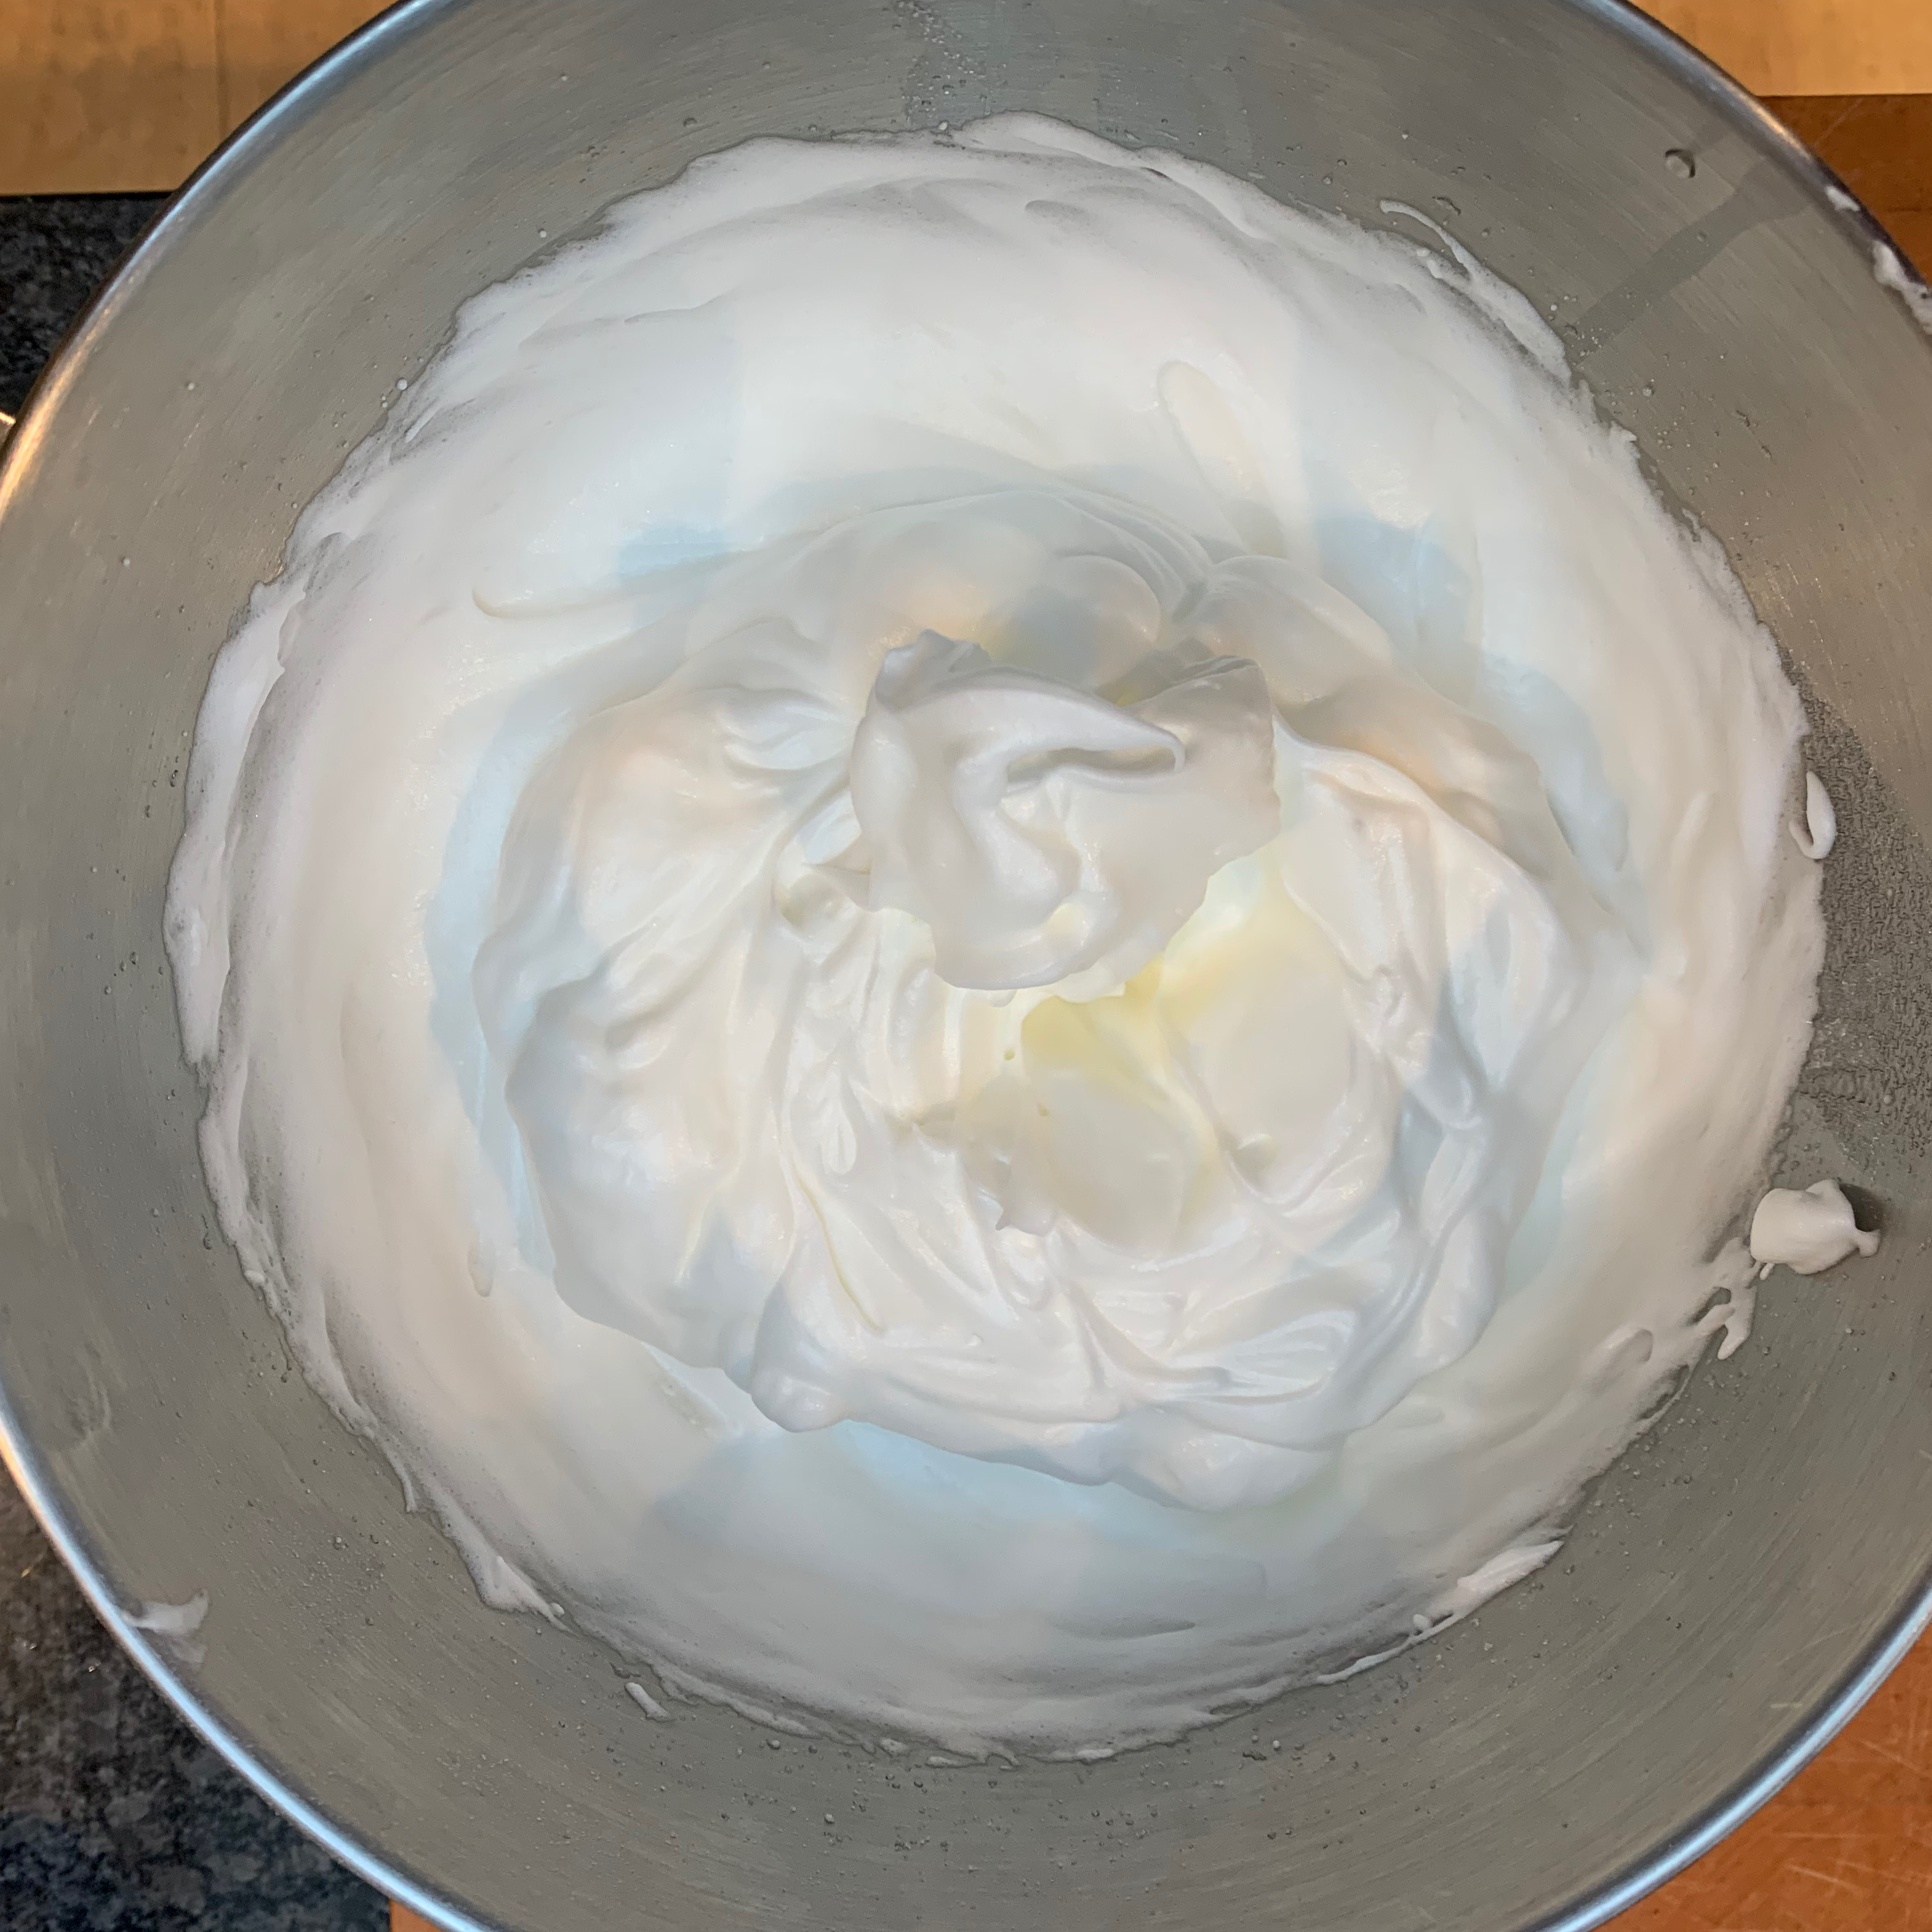
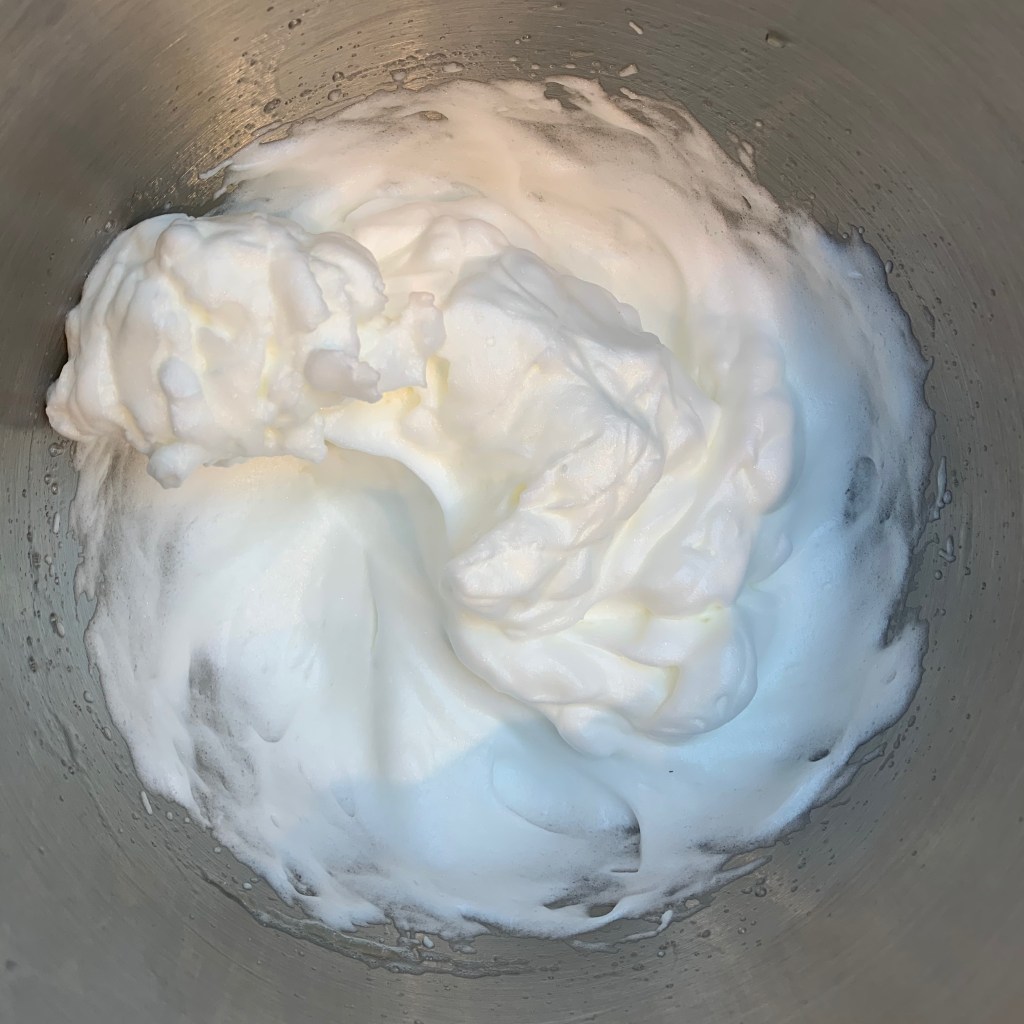
- Well in time for the syrup to be complete (I tend to start when it’s at around 90℃), whisk the egg whites until they form soft peaks. Stop the mixer.
- When the syrup reaches 121℃, restart the mixer on full speed, and slowly pour the syrup into the bowl, in as thin a dribble as you can manage.
- Add the lemon juice, then continue mixing for at least 10 minutes while the meringue cools.
- Remove the whisk – you meringue is now ready to use.
The mousse
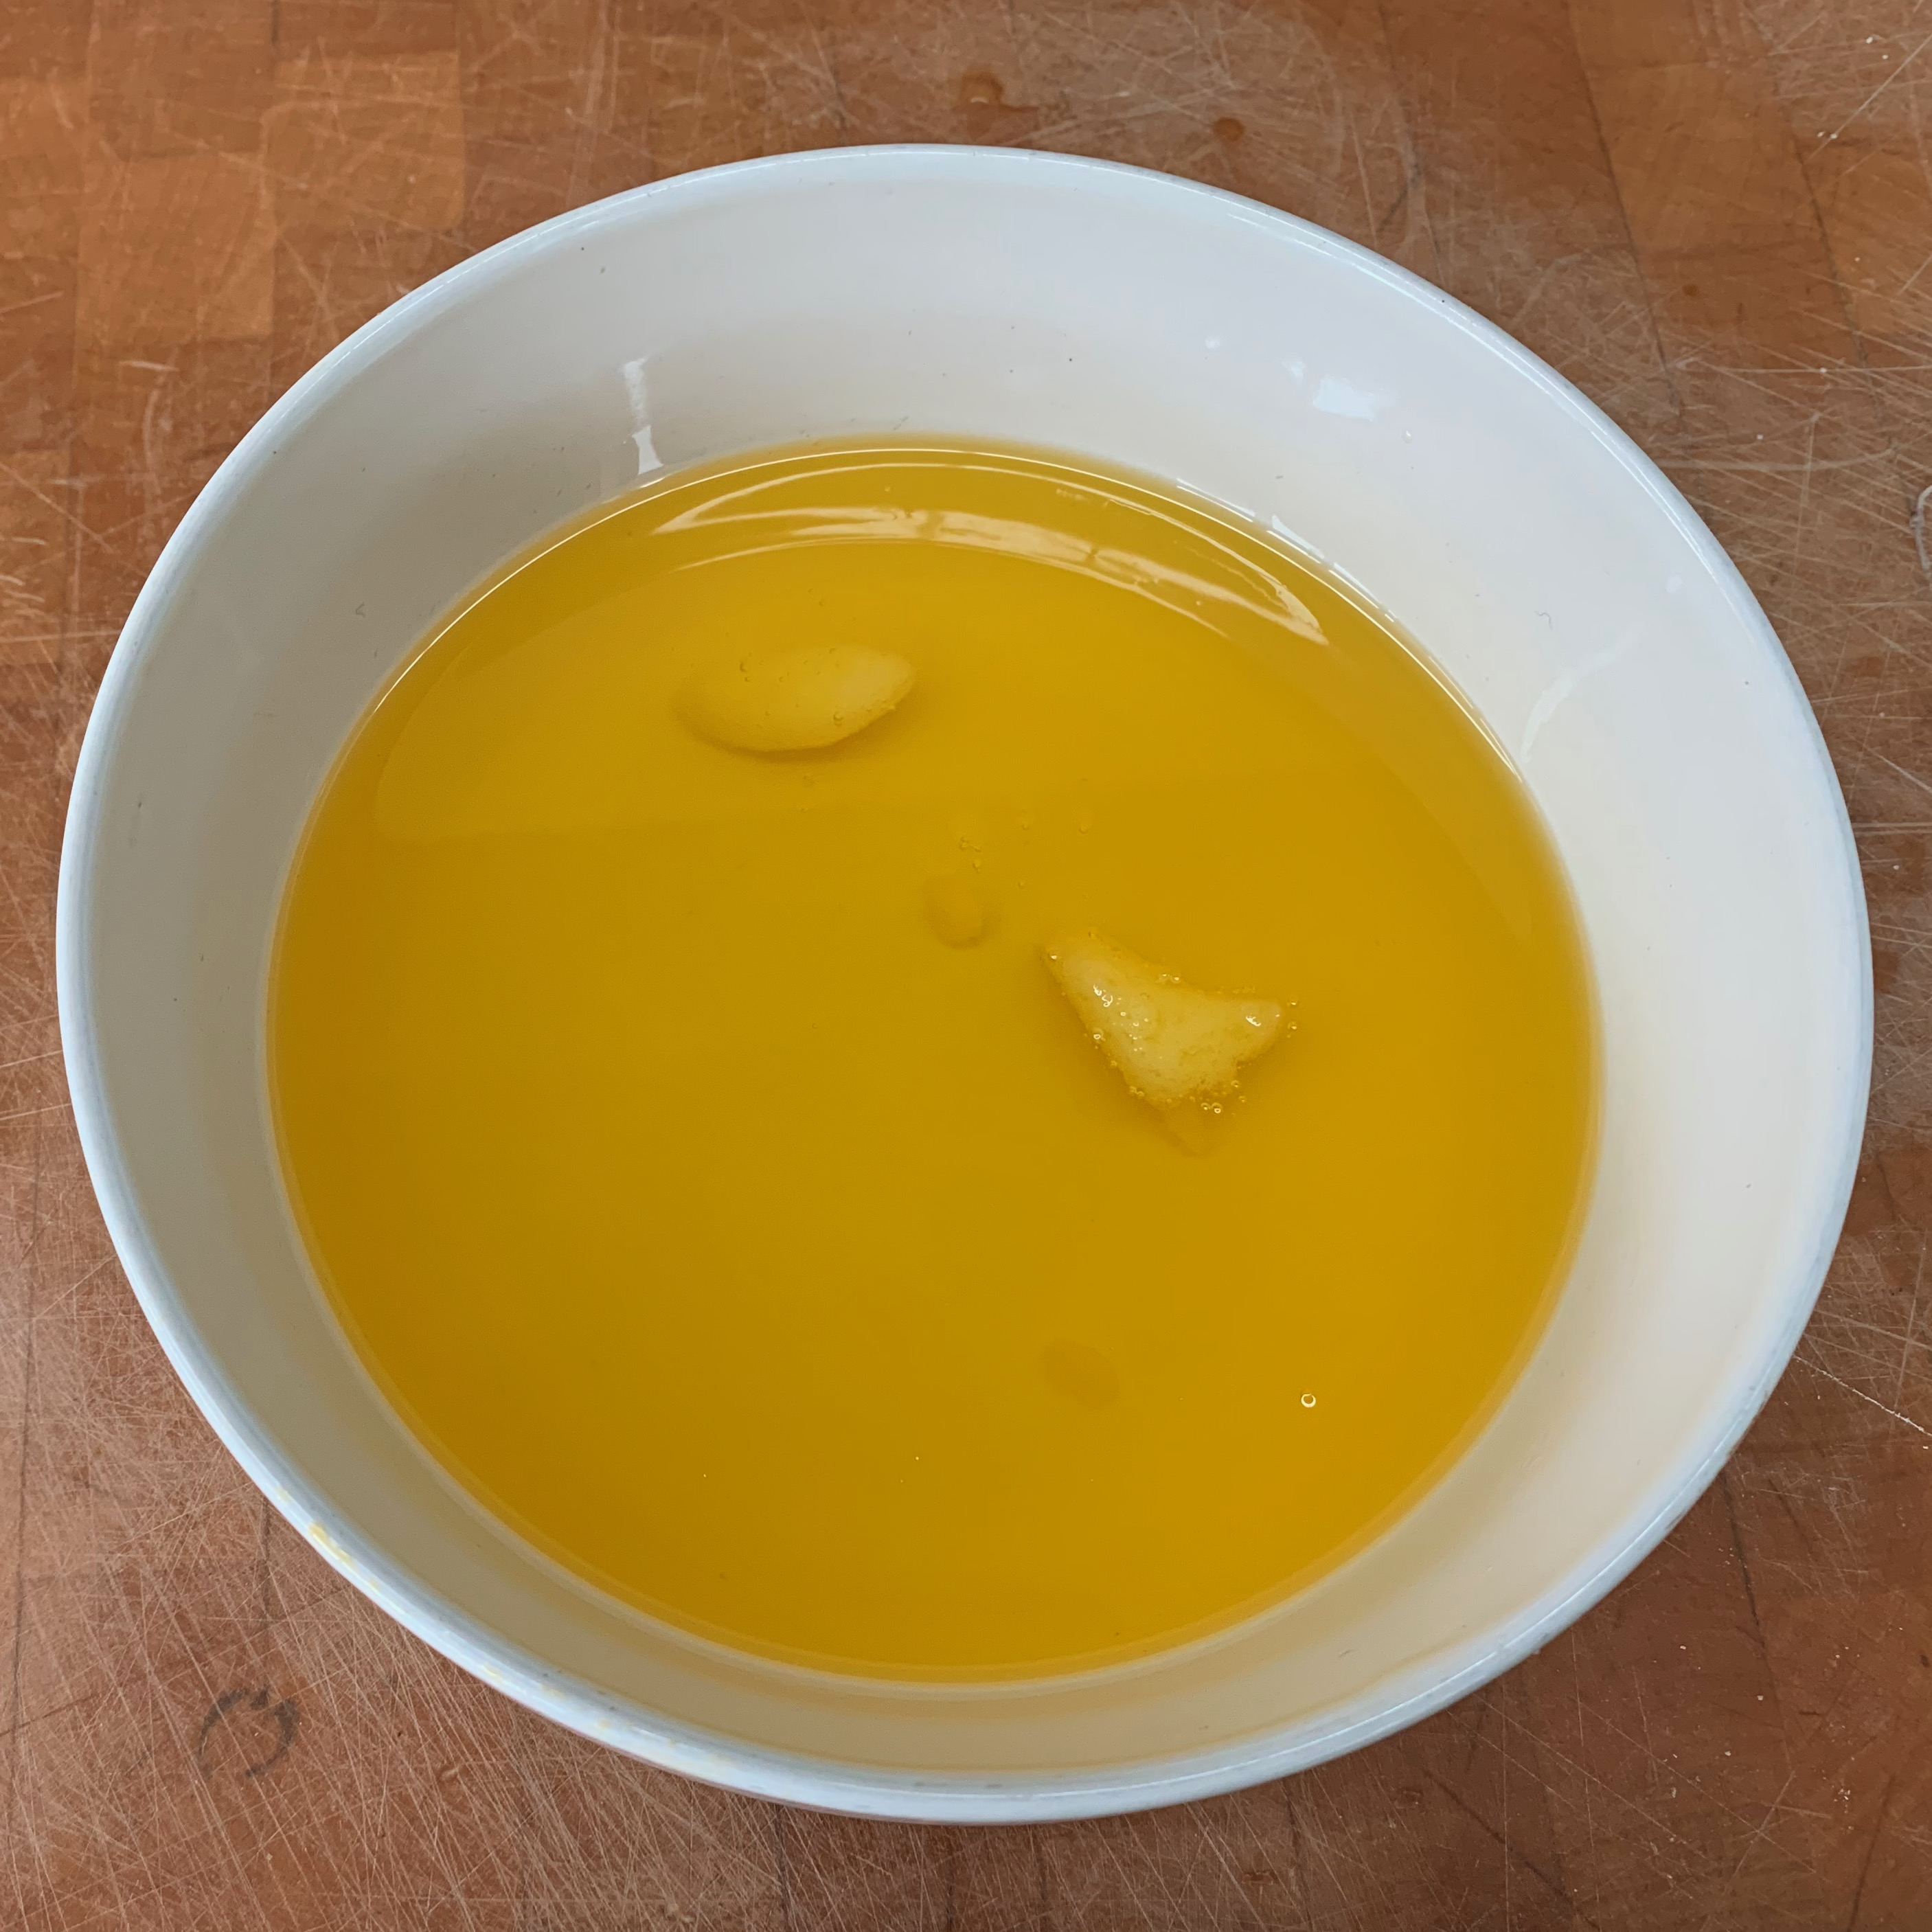
- 50g sugar
- 80g rum
- 350g dark chocolate, at least 70% cocoa solids
- 500ml cream
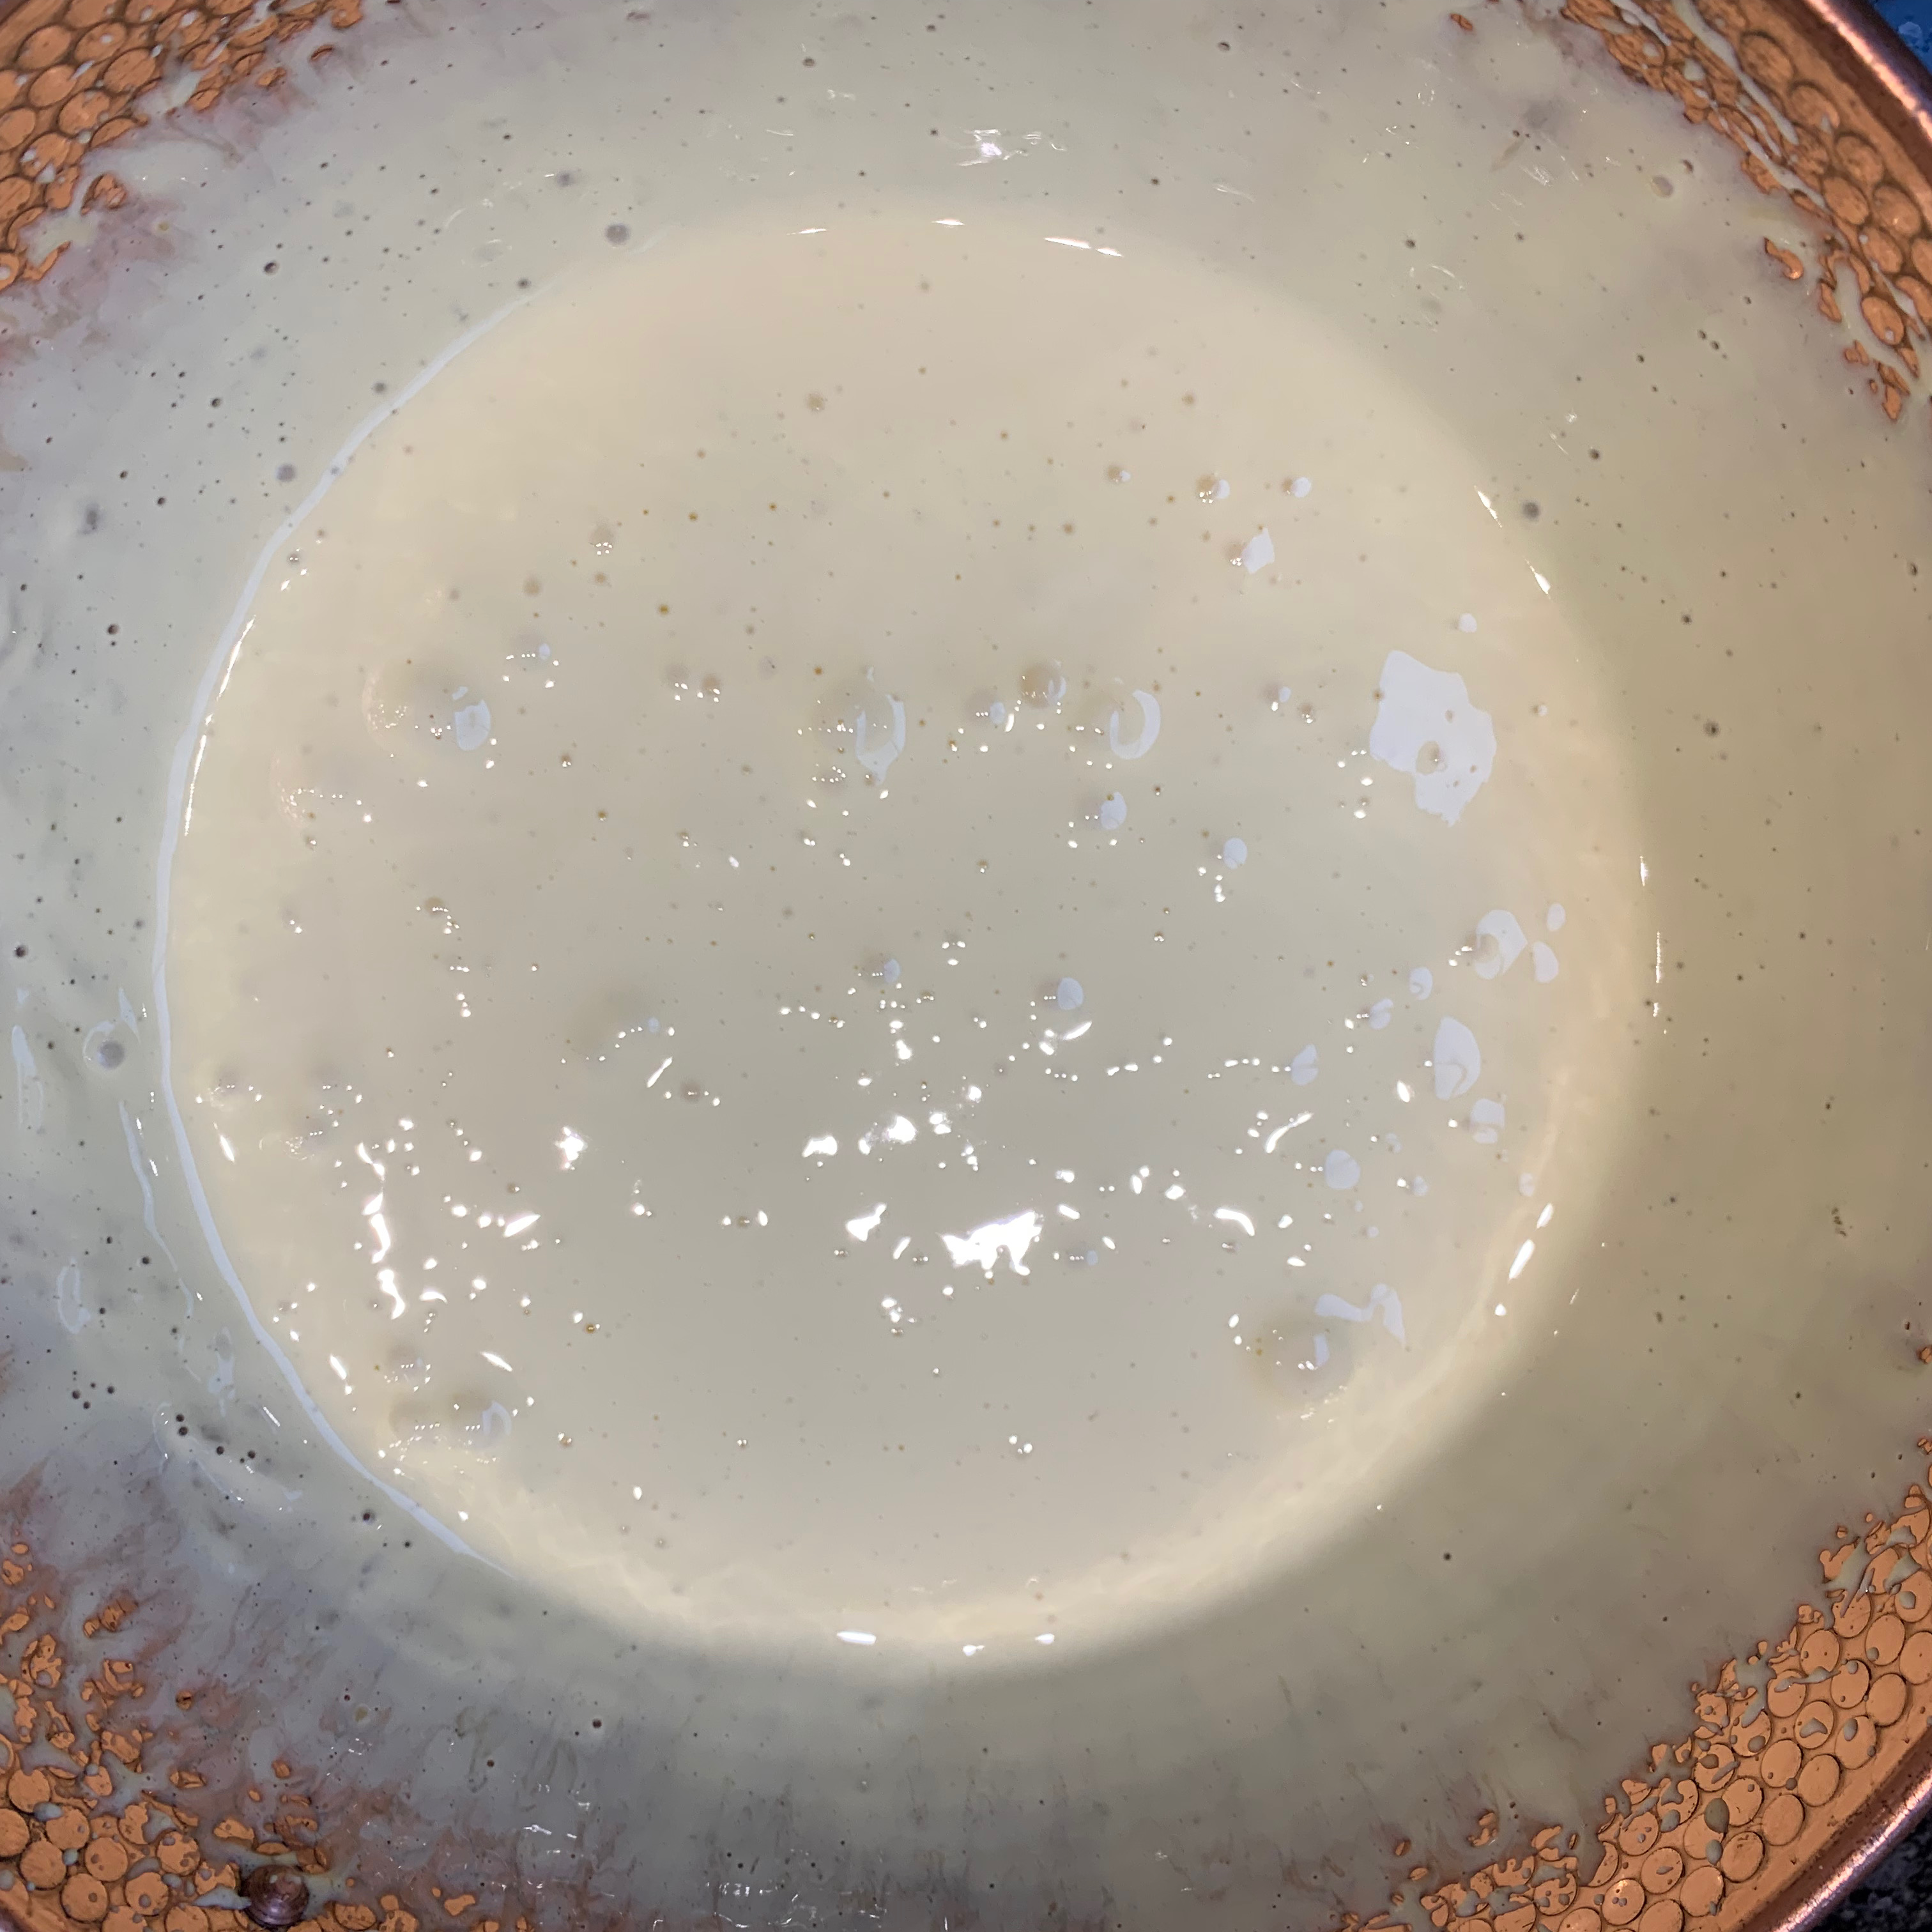
- Put the sugar and rum into a saucepan and warm gently until dissolved into a syrup. You do NOT want the syrup to caramelise.
- Take the syrup off the heat and leave to cool somewhat.
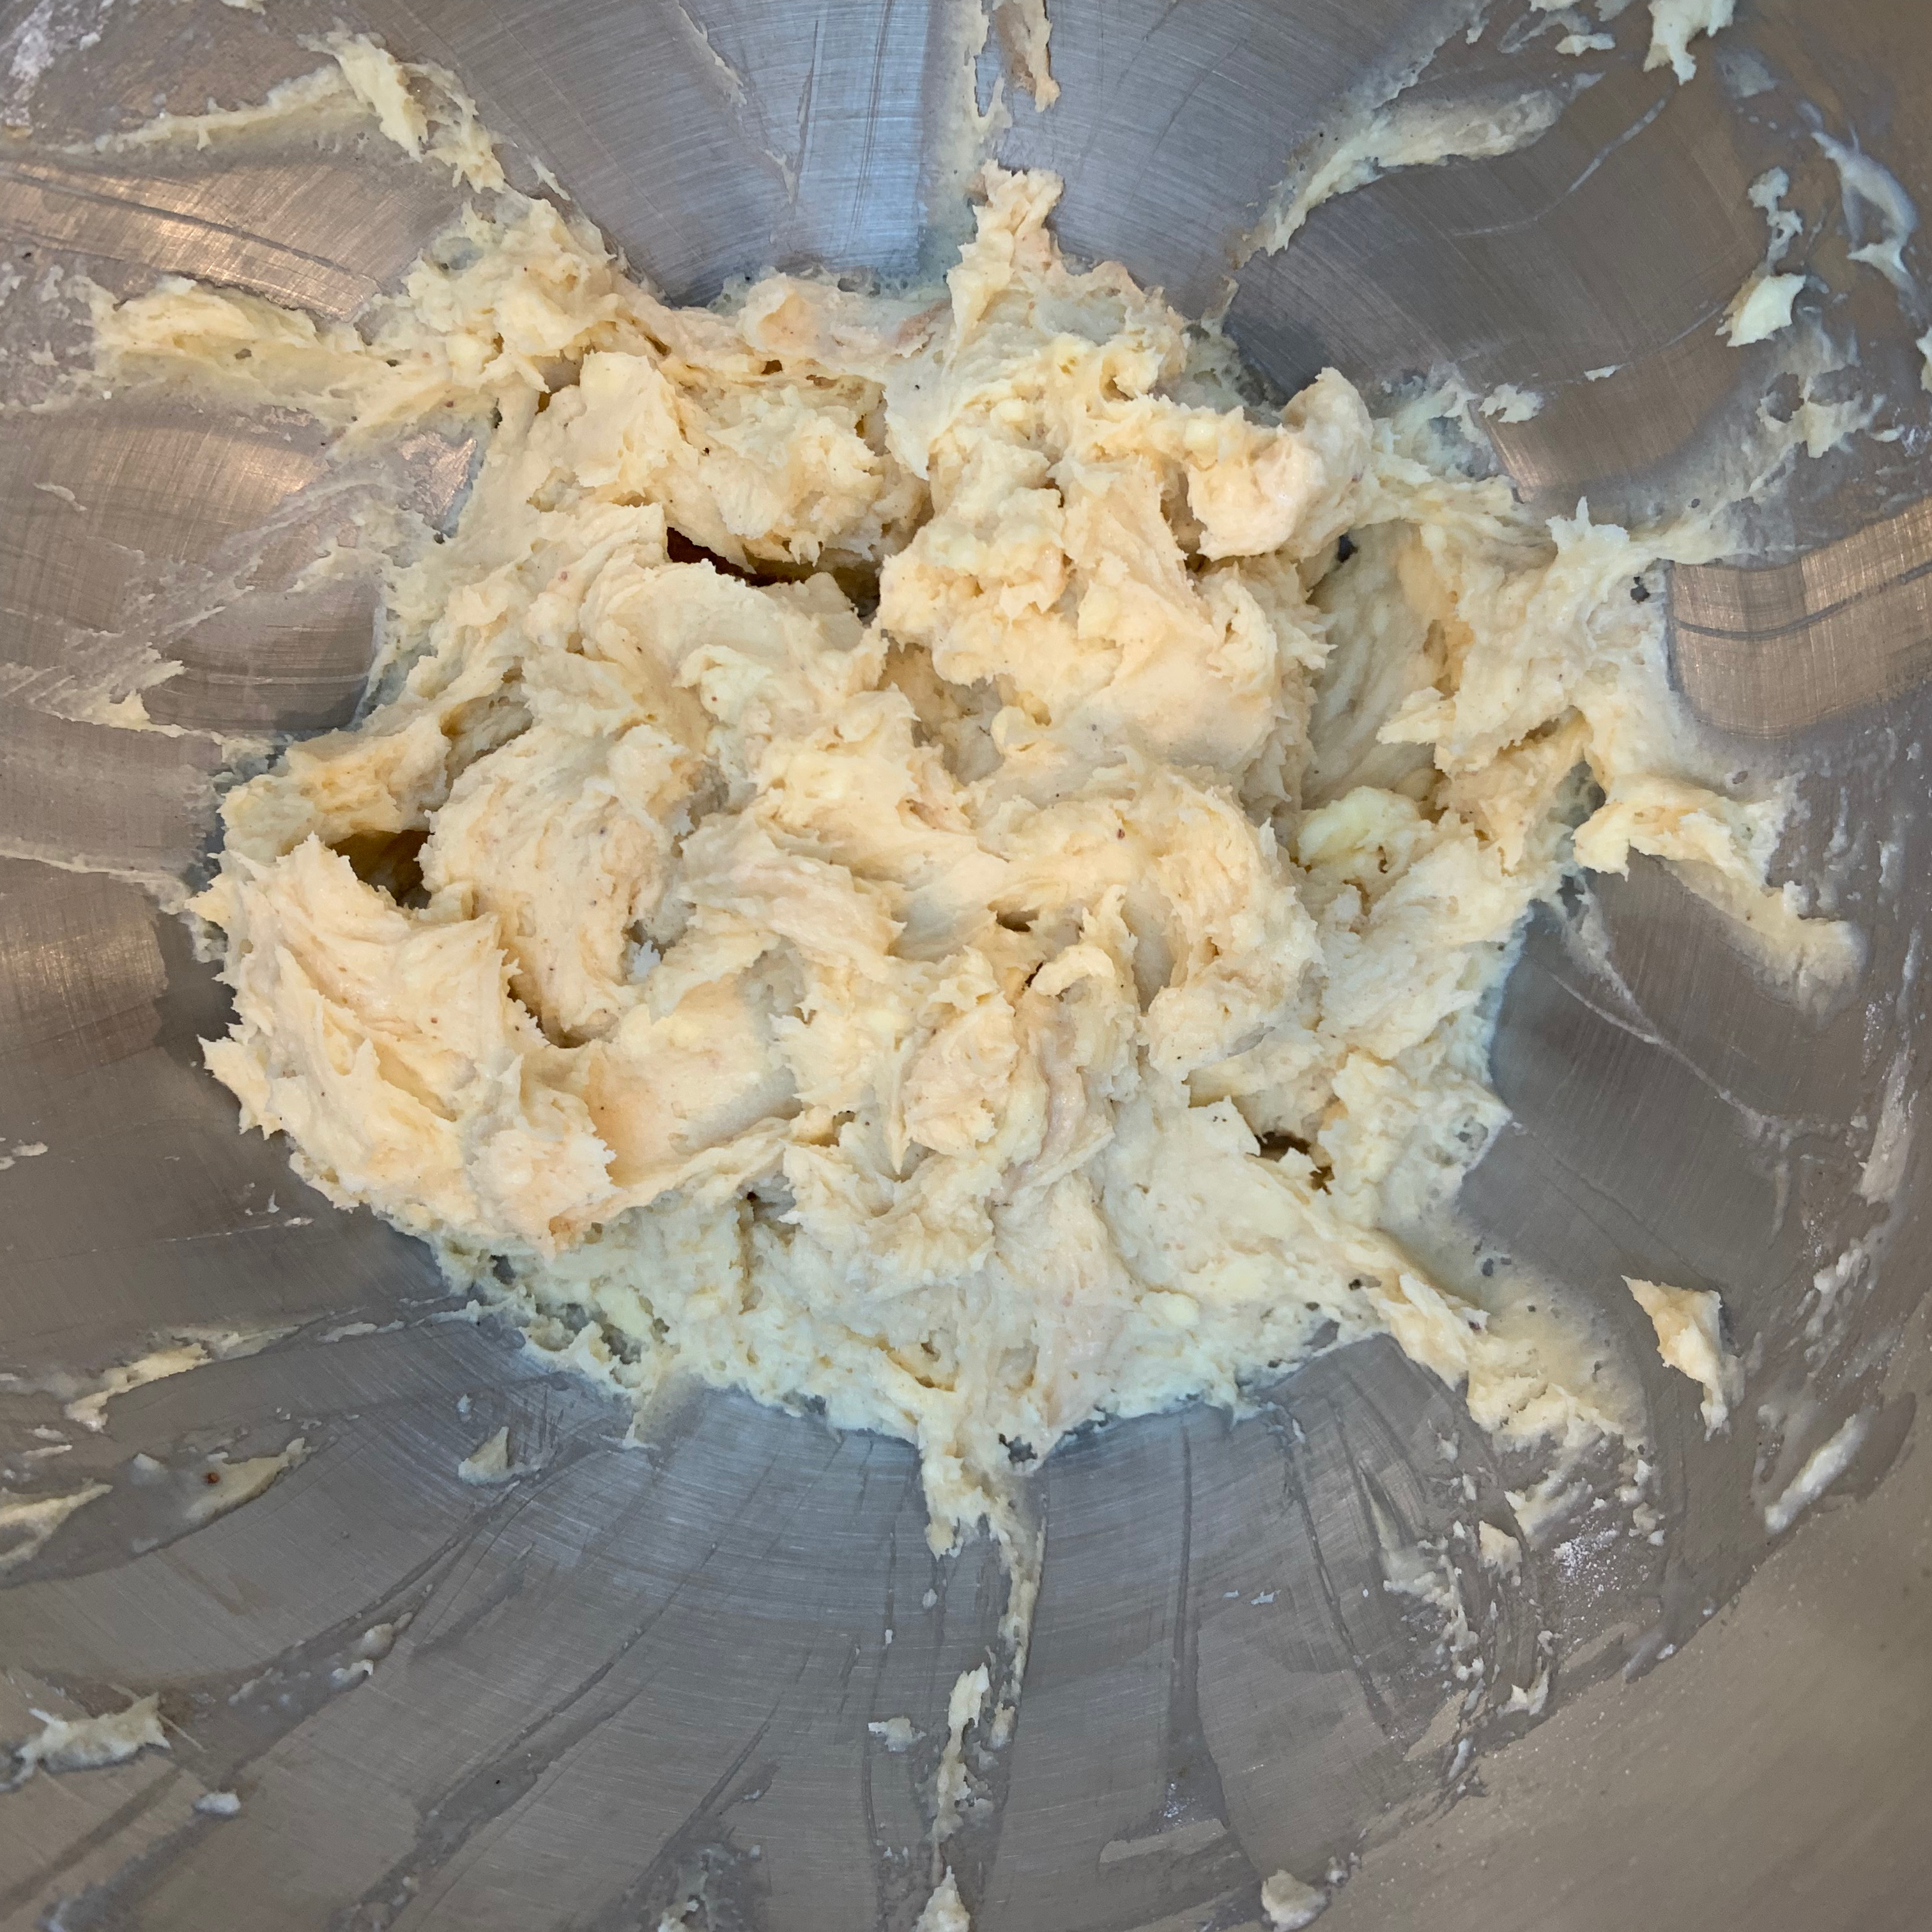
- Break up the chocolate, then heat in a double boiler until melted
- Mix in the syrup
- Mix in 100ml of the cream, a bit at a time, until everything is smoothly blended
- Whip the remaining 400ml of the cream until stiff
- Fold in the chocolate mixture until completely blended (you don’t really want white blotches).
- Now fold in the Italian meringue. Try to do it without overworking, which will lose the air – but at the same time, you want it completely mixed. It’s a good idea to fold in about a quarter of the meringue first, and then the remainder, which you’ll be able to do more gently.
- Put the mousse into a large bowl for serving, or into individual ramekins or glasses if you prefer.
I like serving this with a red fruit coulis, made from reducing and sieving frozen red fruit and sugar, with a bit of lemon juice added. The sharpness of the coulis cuts through the richness of the mousse, and anyway, raspberries and chocolate are a marriage made in heaven.