Tag: Middle Eastern food

Around the world in 80 bakes, no.63: Pistachio Baklava from Turkey

Around the world in 80 bakes, no.63: Pistachio Baklava from Turkey

As we get close to 80% of the way round the world on this journey, I have to admit, dear reader, that some of the bakes have been getting a bit on the obscure side (and there are more of those to come). Baklava, however, isn’t one of those: the nut-filled, syrup-infused flaky pastries feature on the dessert menu of just about every Turkish, Greek, Persian or Middle Eastern restaurant on the planet, not to mention innumerable cafés.

Although scholars point at recipes for vaguely baklava-like desserts going all the way back to ancient Greece, the dish as we know it today probably showed up in the kitchens of the Ottoman Empire. So essential is the dish to Turks today that during Ramadan in 2020 – in the eye of the storm of the Covid-19 pandemic – baklava bakers were granted specific permission to stay open on the grounds that this was an essential commodity (if you don’t believe me, check out the New York Times article).

 There are many variations as to the choice of nuts, the make-up of the syrup and the way the final product is shaped, but roughly, it comes to this: the Greek version is likely to be filled with walnuts and soaked in a honey based syrup, whereas the Turkish version is more likely to use pistachios with a lemon-infused sugar syrup. That’s a very broad brush distinction – you’ll find plenty of exceptions, mixtures and different ideas.

I’m going to assume that in common with 99.99% of home cooks on the planet, or at least outside the Middle East, you have no intention of making your own filo pastry. On that basis,  making your own baklava is relatively straightforward, albeit time-consuming – it depends on how quick you are at laying out sheets of filo and brushing melted butter over them, which you’re going to be doing a lot of. I ended up with a kind of amalgam of recipes from The Spruce Eats, The Mediterranean Dish and Cleobuttera. The key thing to remember is to pour cold syrup over the hot baklava and then leave it to soak for a substantial amount of time.

The syrup

  • 450g sugar
  • 750ml water (see note below about quantities)
  • Juice of ½ lemon (around 30ml)
  • Optional: 10g liquid glucose, which is supposed to help prevent your syrup from crystallising
  • Optional: other flavourings such as orange blossom water, orange extract or cloves – I didn’t use any
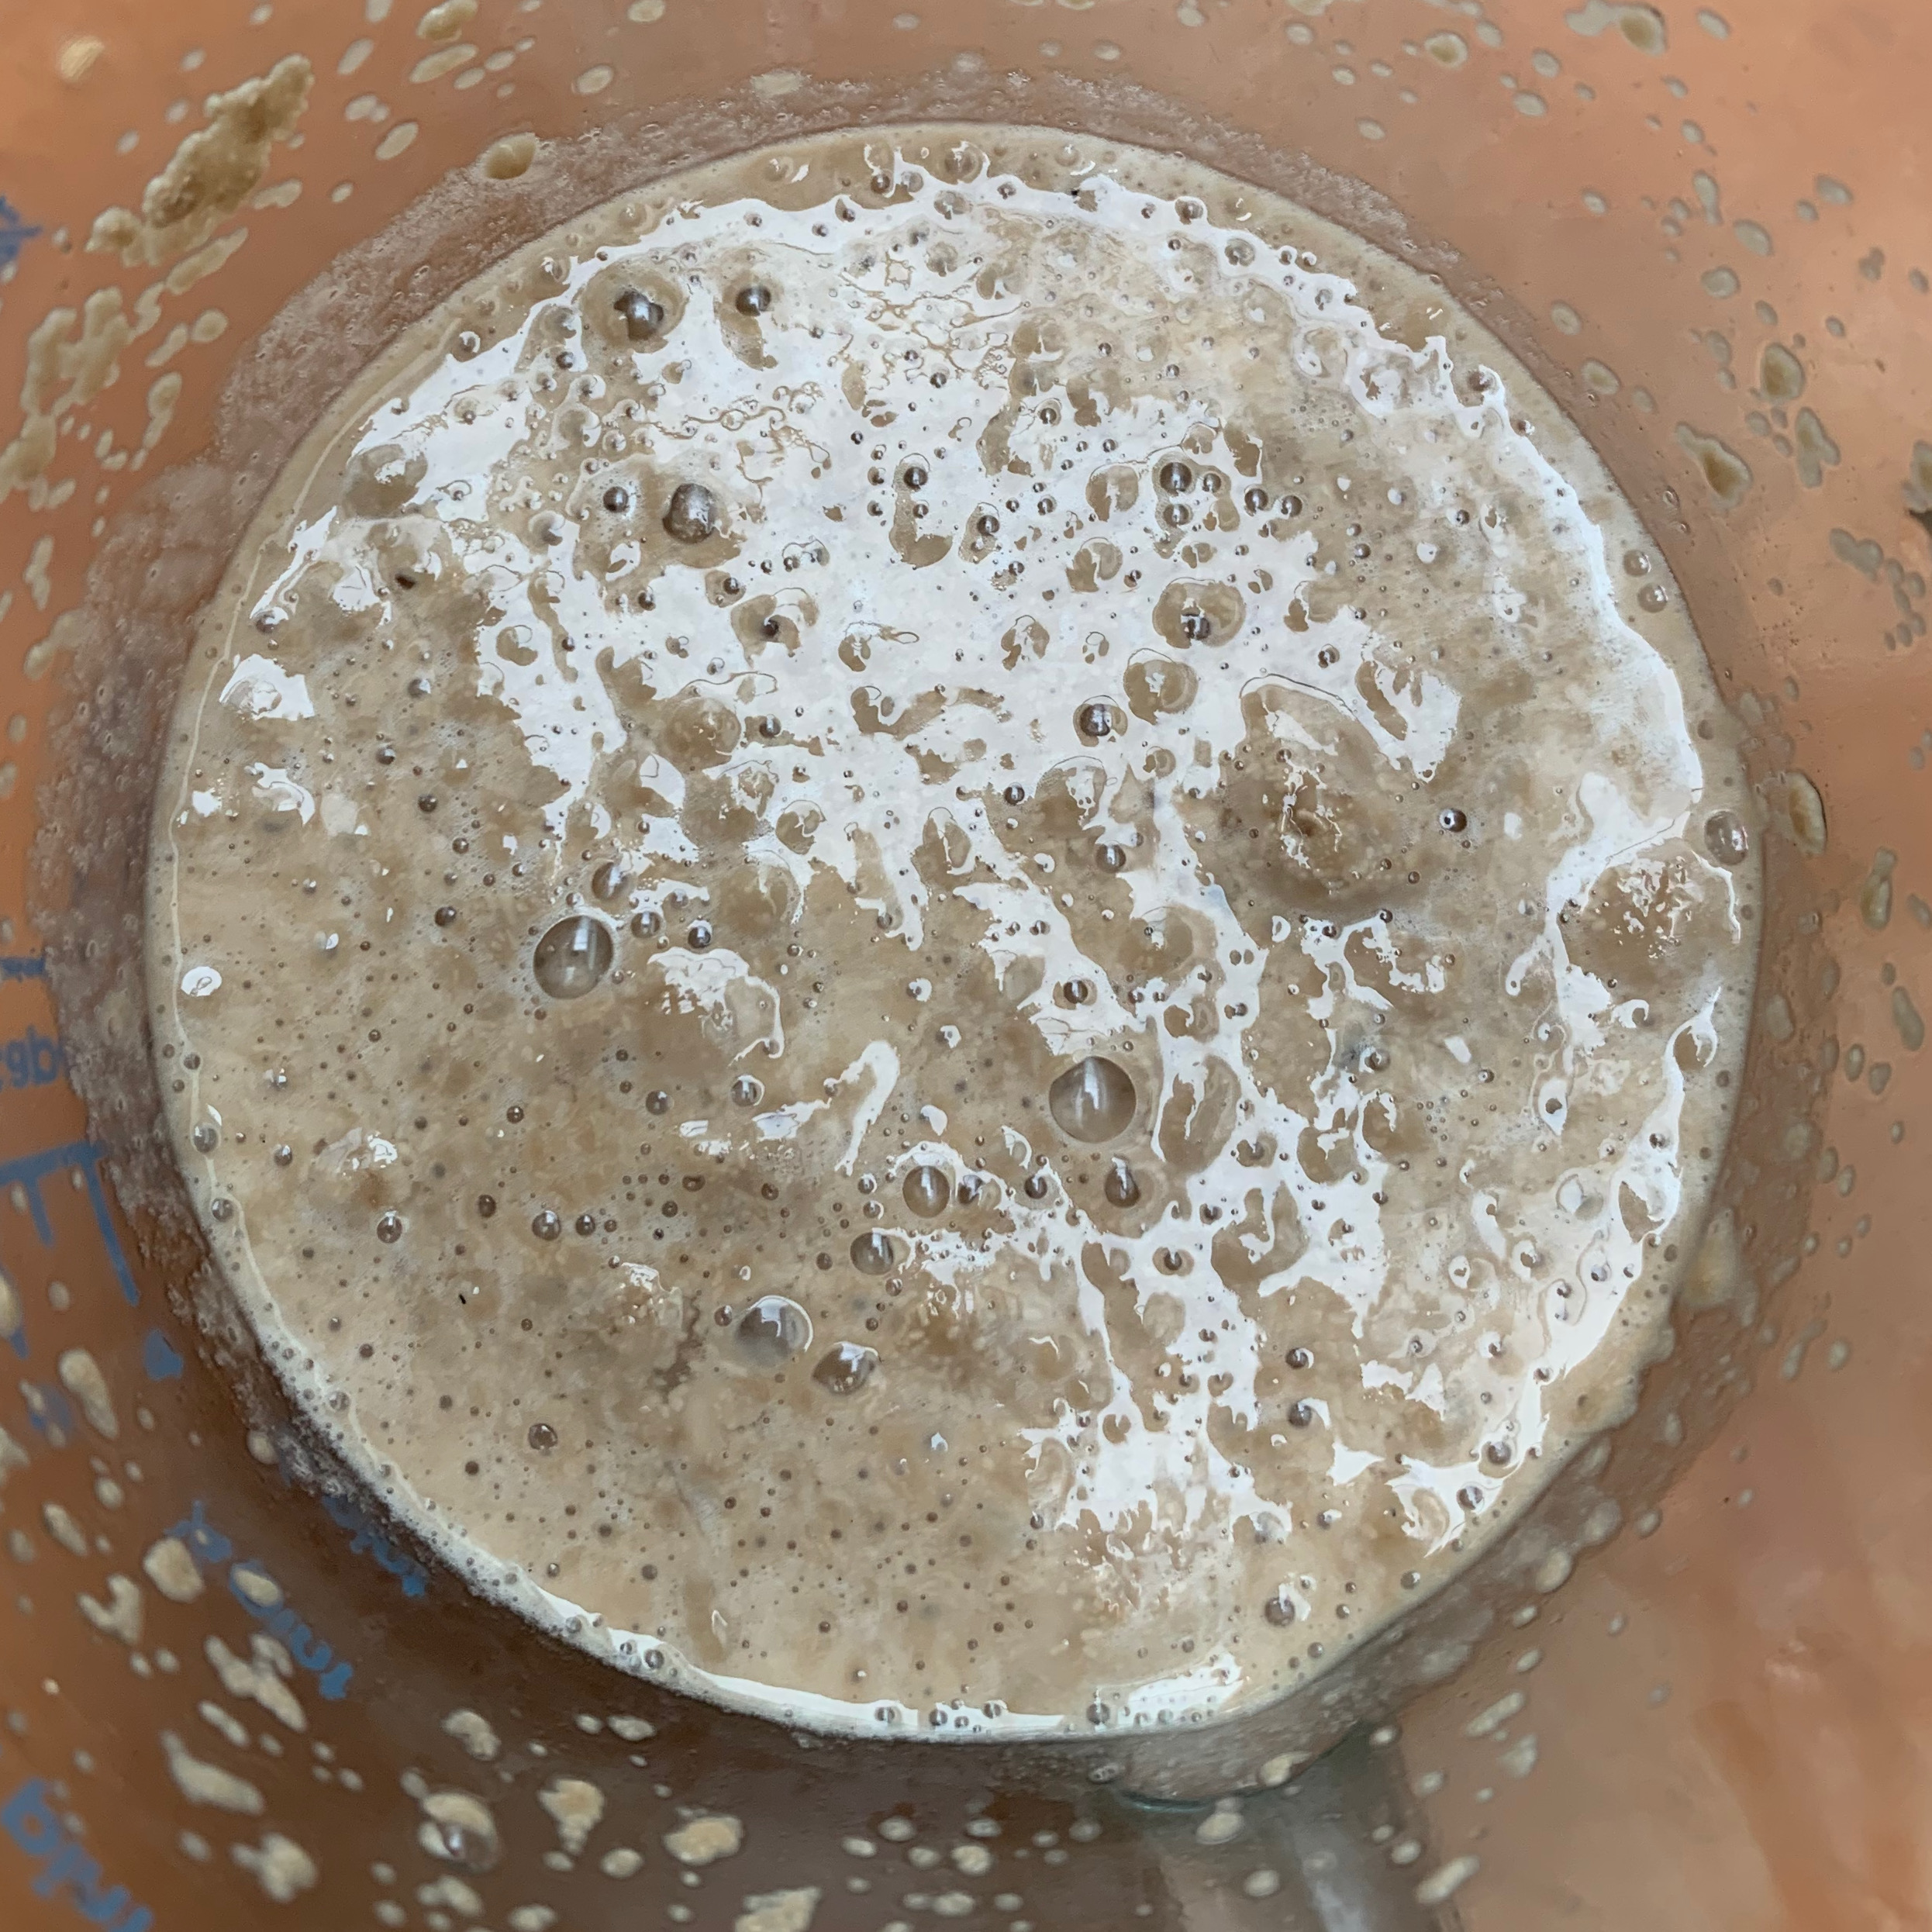
  1. Put all items into a small saucepan and mix
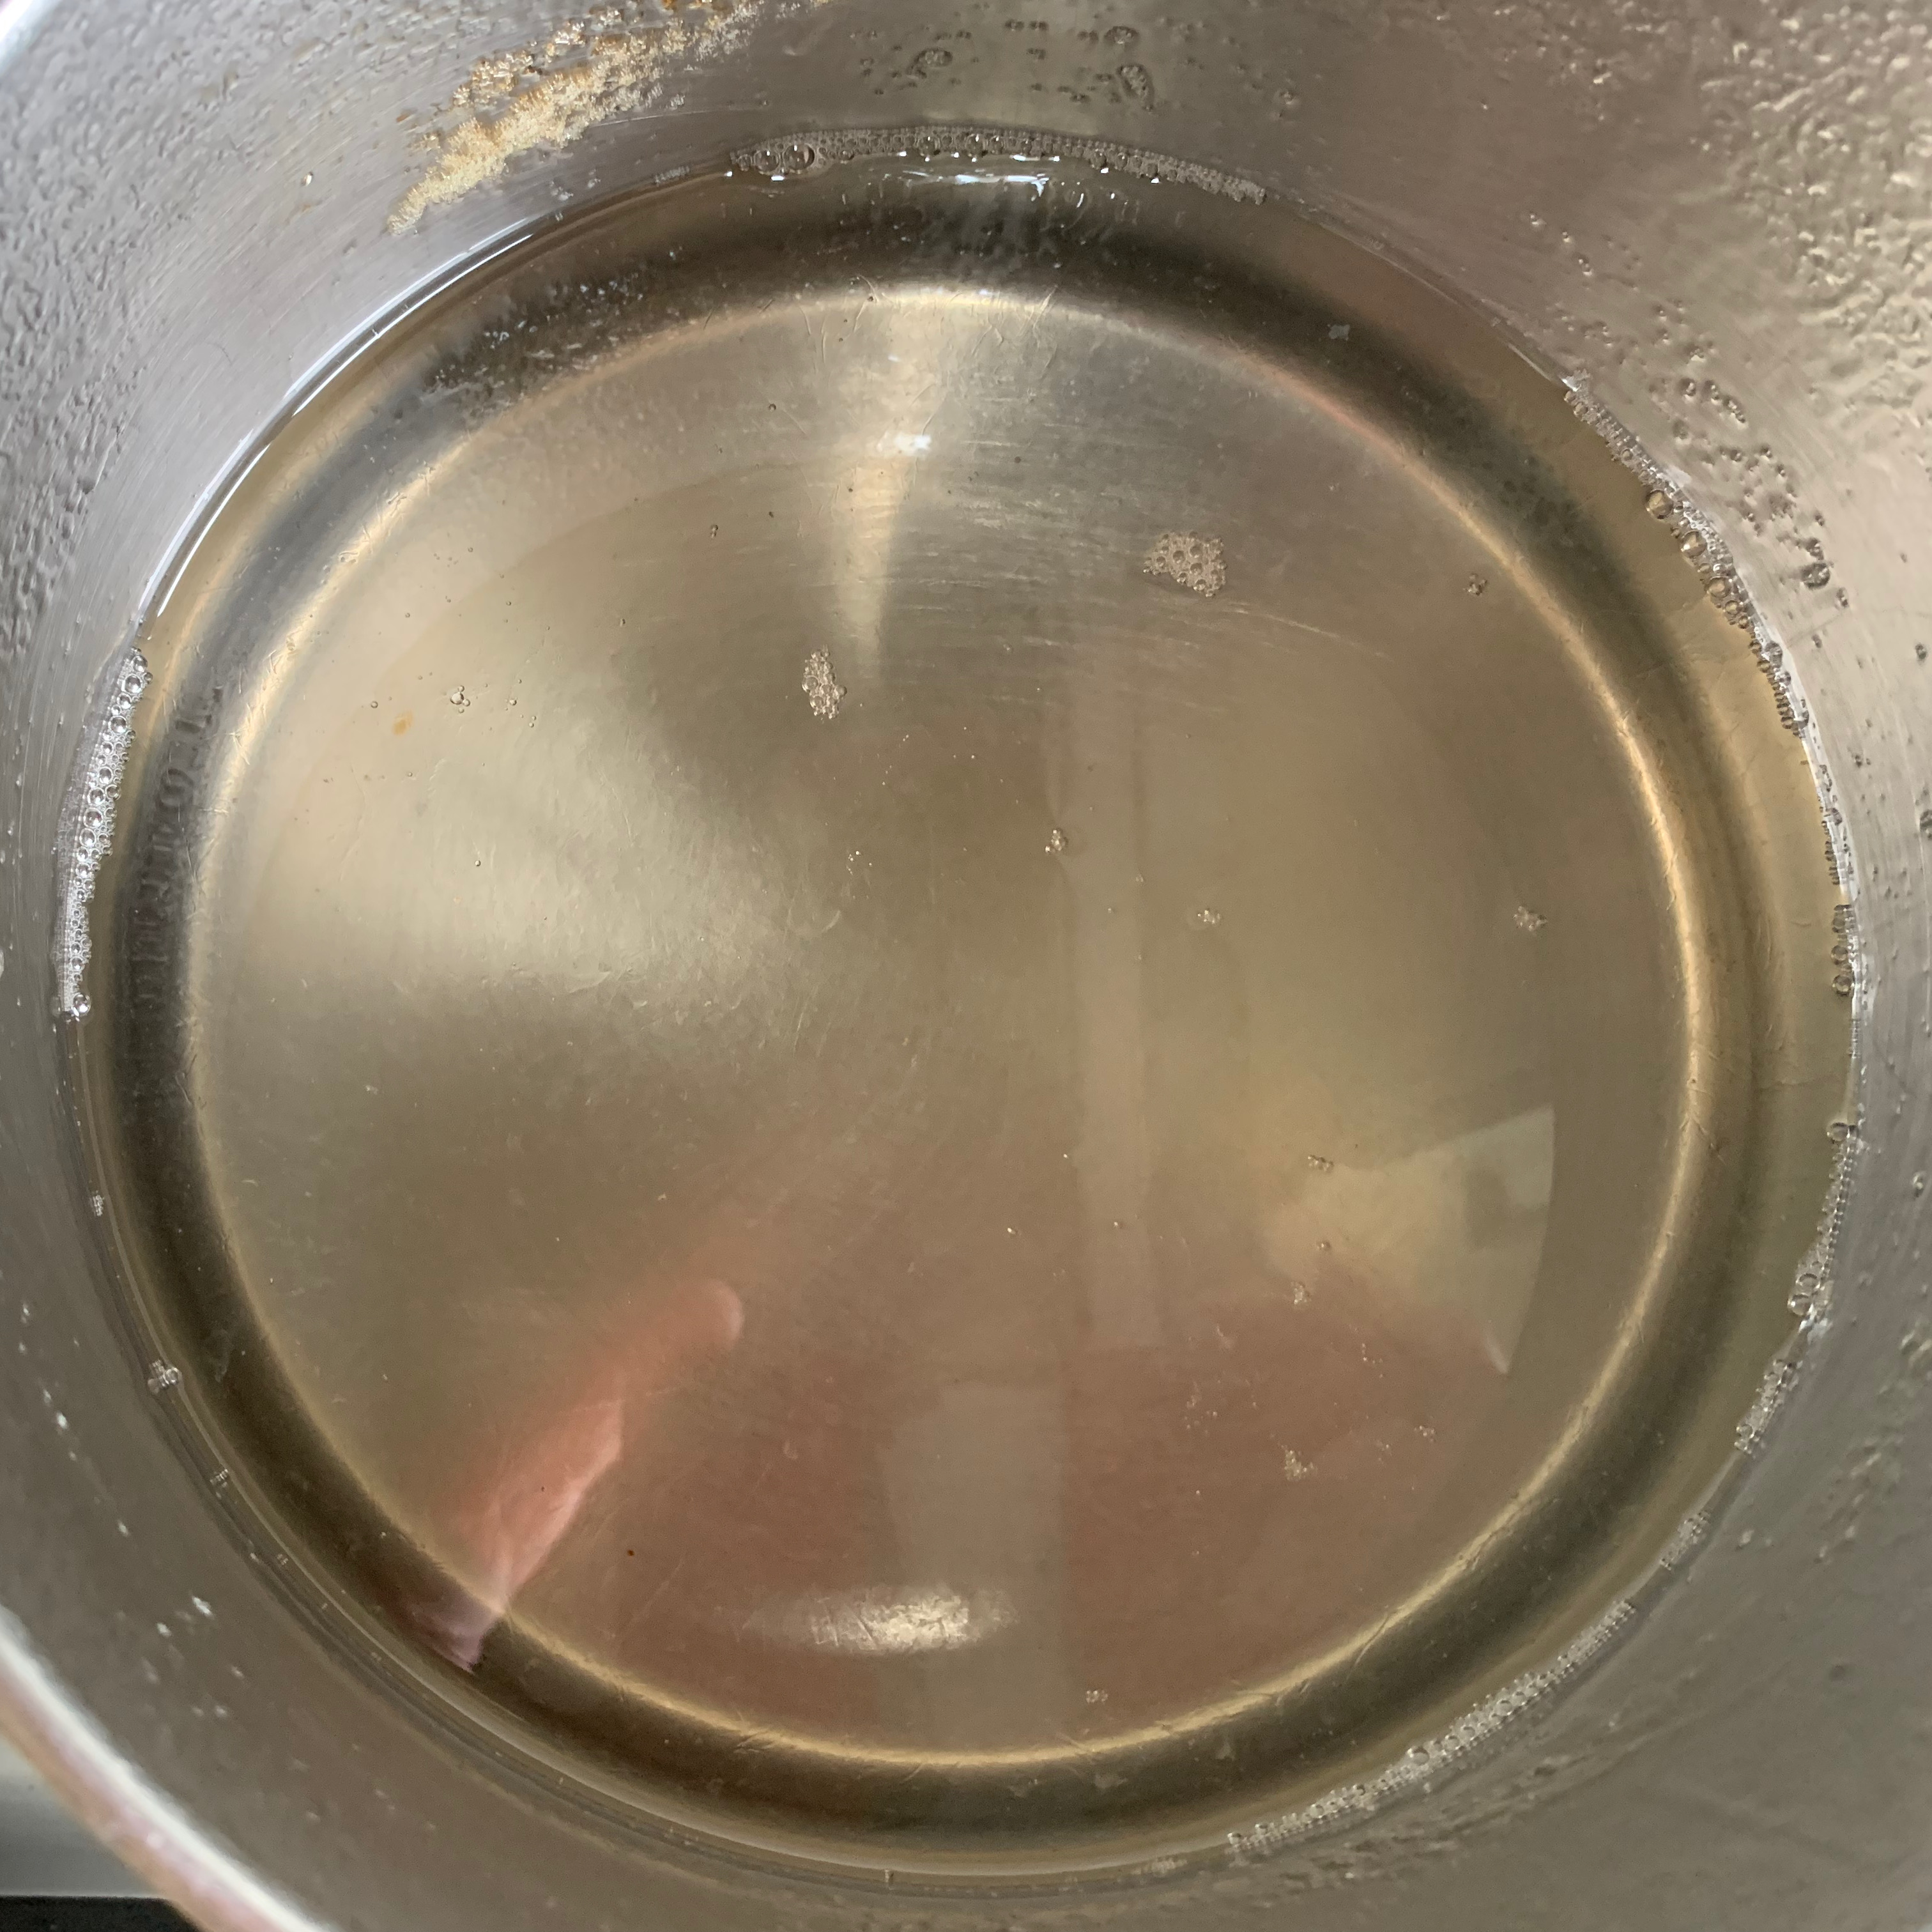
  2. Bring to the boil and simmer until you have a thick syrup, around 104℃
  3. Take the saucepan off the heat

The quantities in this recipe seems to be set so that you leave the syrup on for the whole time you’re making the baklava, reaching the right stickiness around the time you finish. This kind of worked, but next time, I think I’ll use a third of the amount of water and just get it done in adavance, with a fraction of the time boiling down.

The main thing

Ideally, you want a baking dish the same size as your filo sheets, at least 2.5 cm deep.. Mine was 37 cm x 27 cm, which was around 3 cm too narrow, so I had to trim down the filo. A word of warning, though: you will be cutting the baklava in the dish before it goes into the oven and, most likely, again when it is baked. This will probably gash any non-stick coating on your dish (it did mine). You can probably help matters by lining the tray with a single piece of baking paper so that you can lift the whole lot out after baking, which at least means you’ll only wreck it once rather than twice. Alternatively, a Pyrex dish might be a better choice.

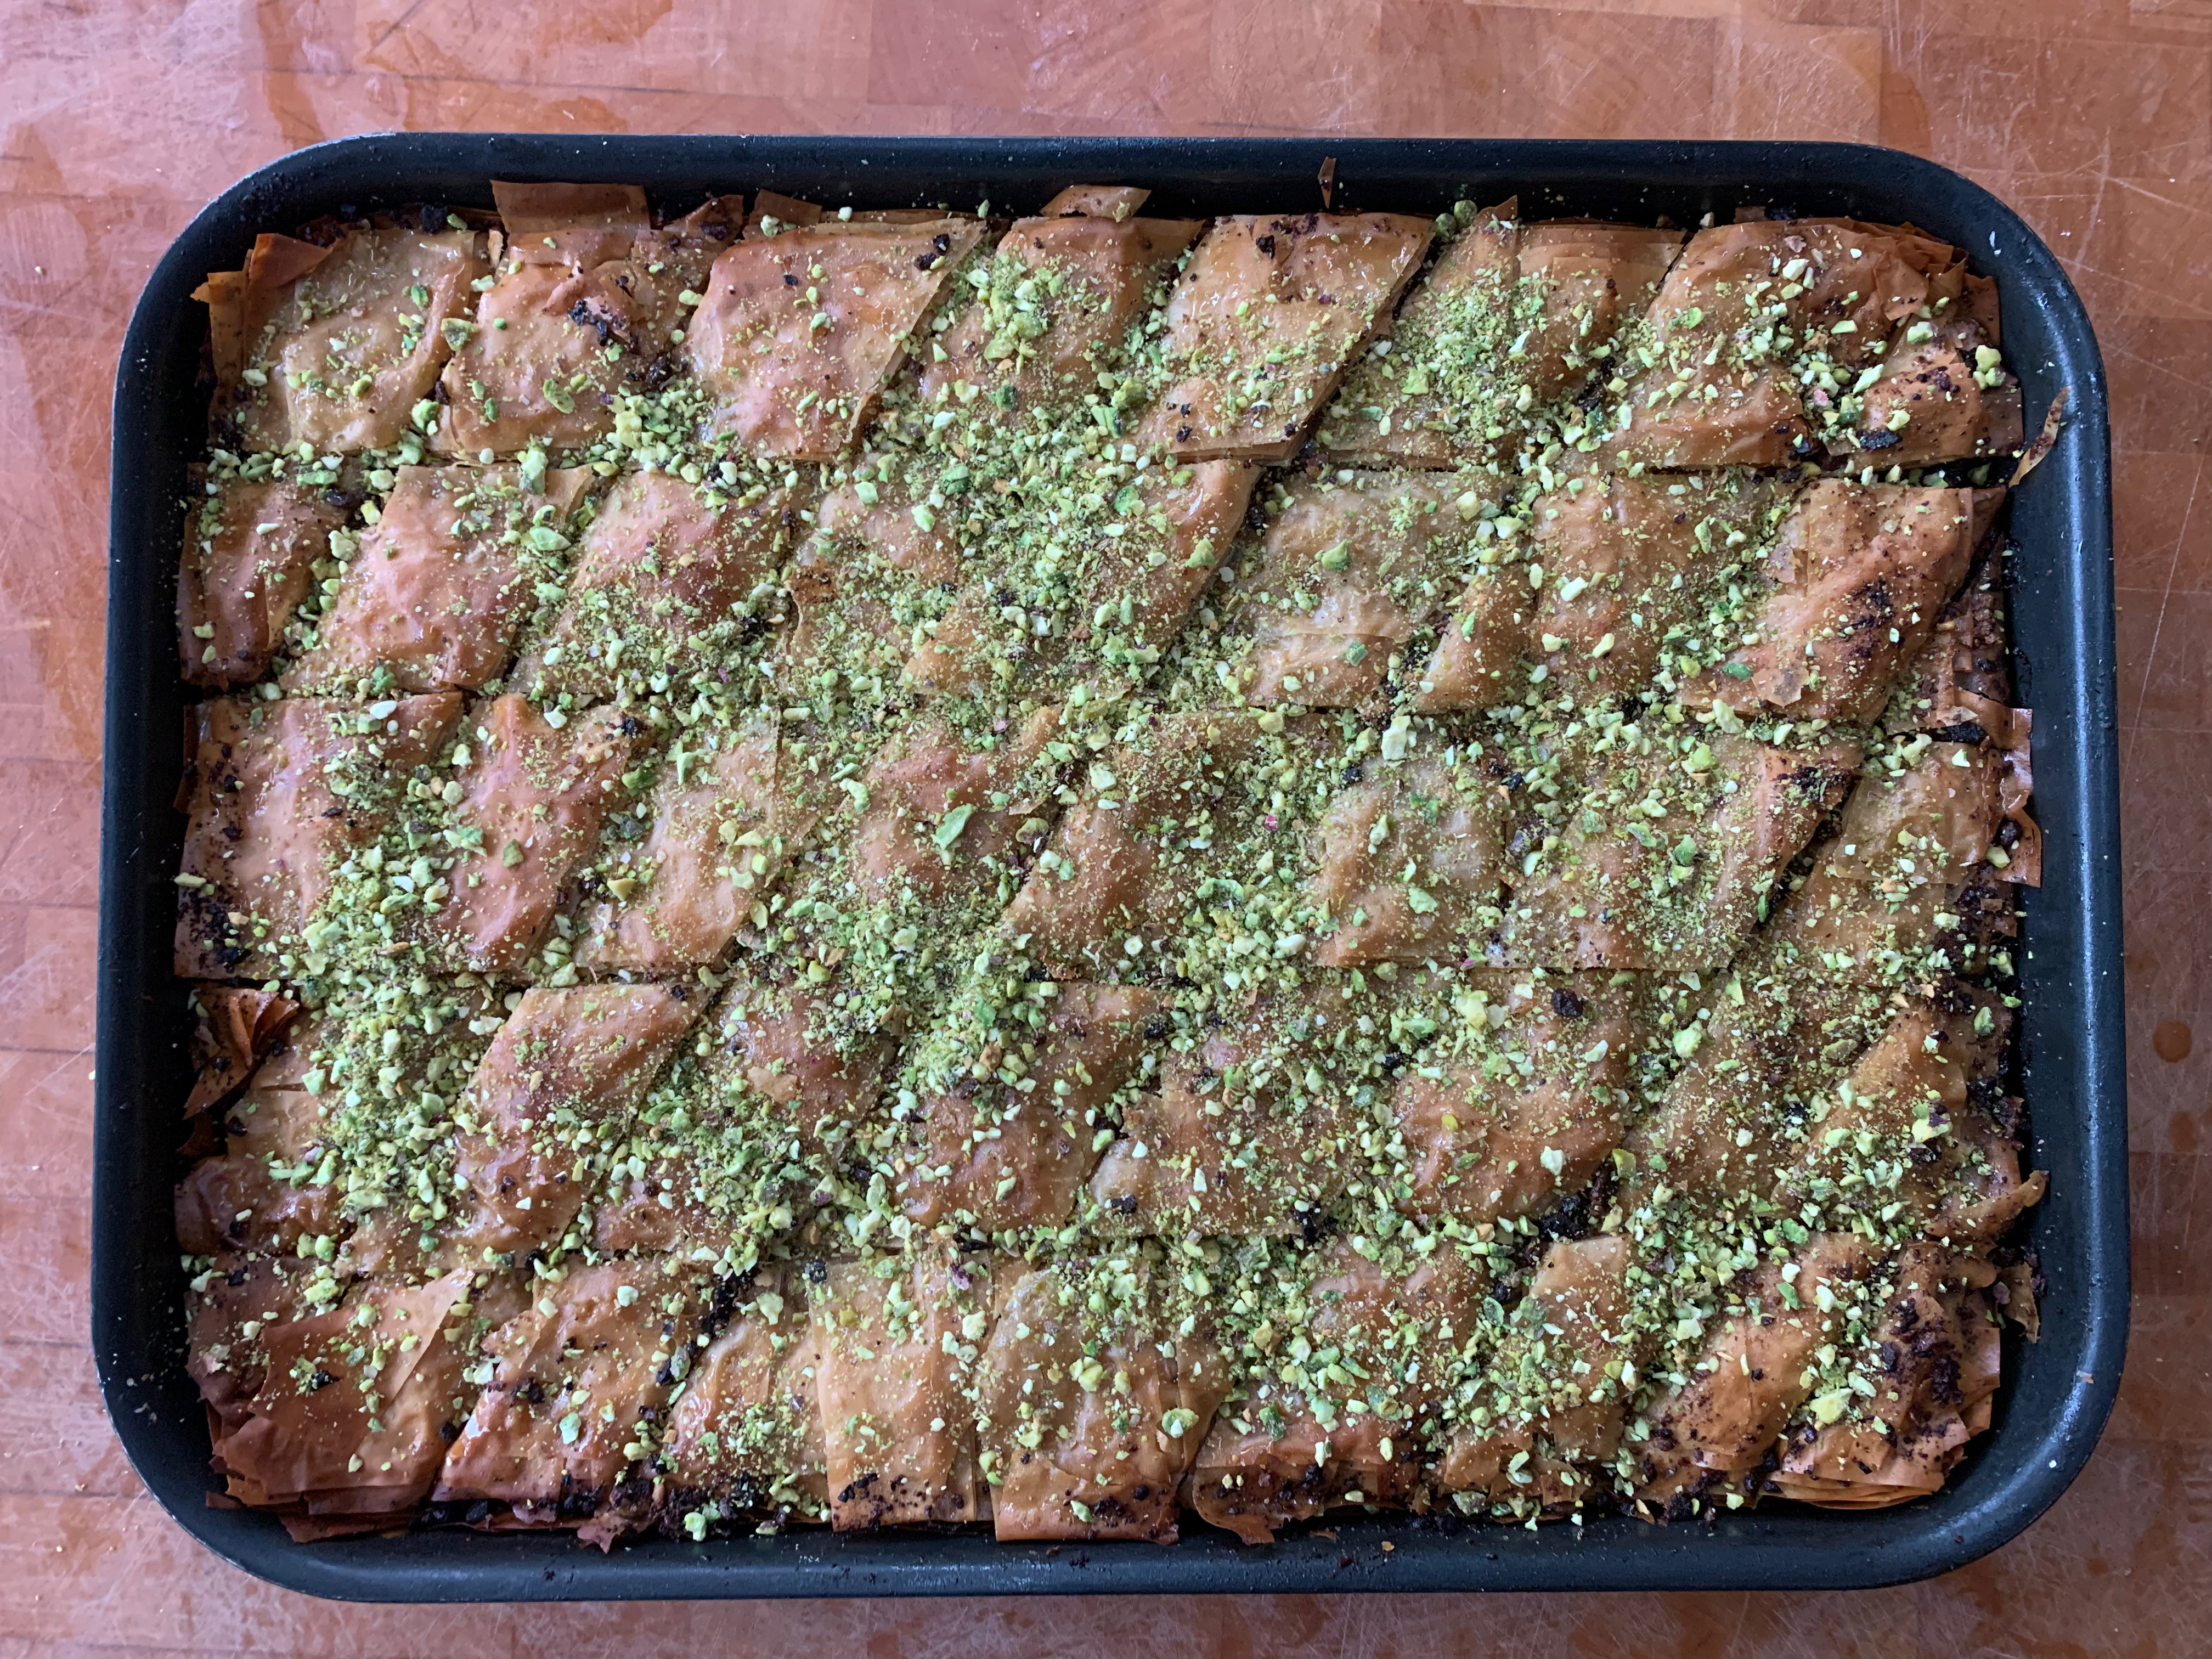
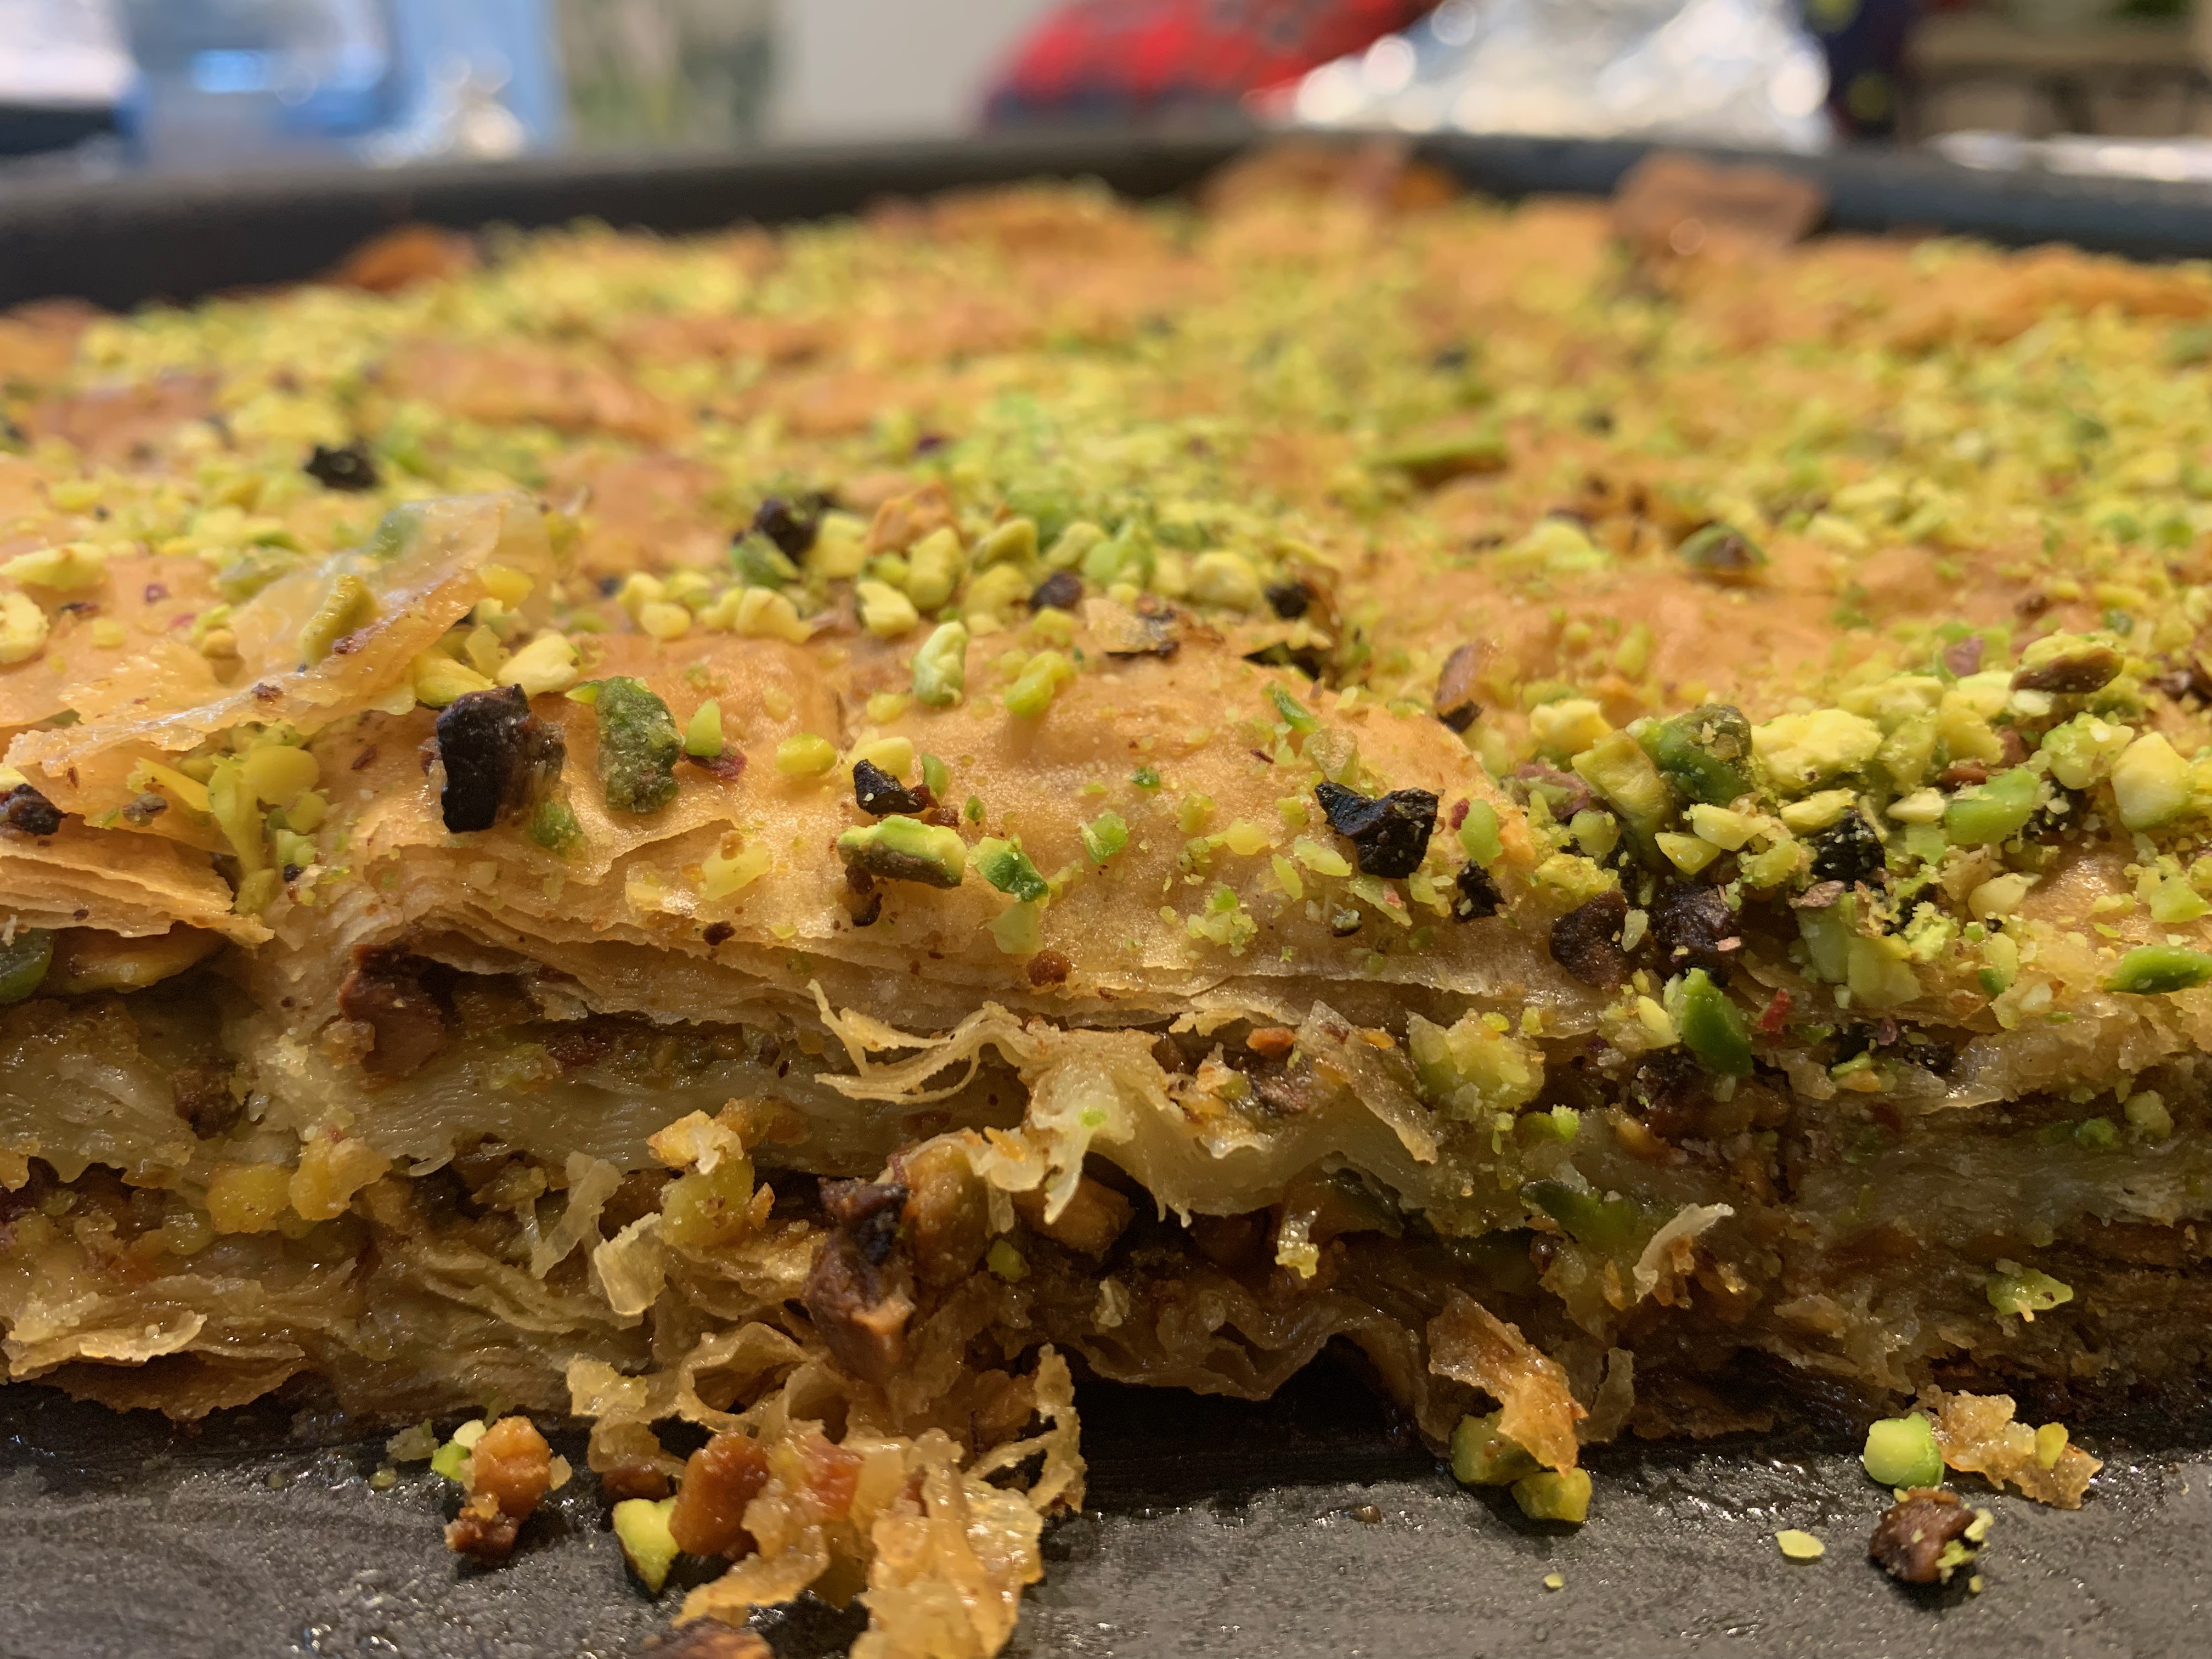
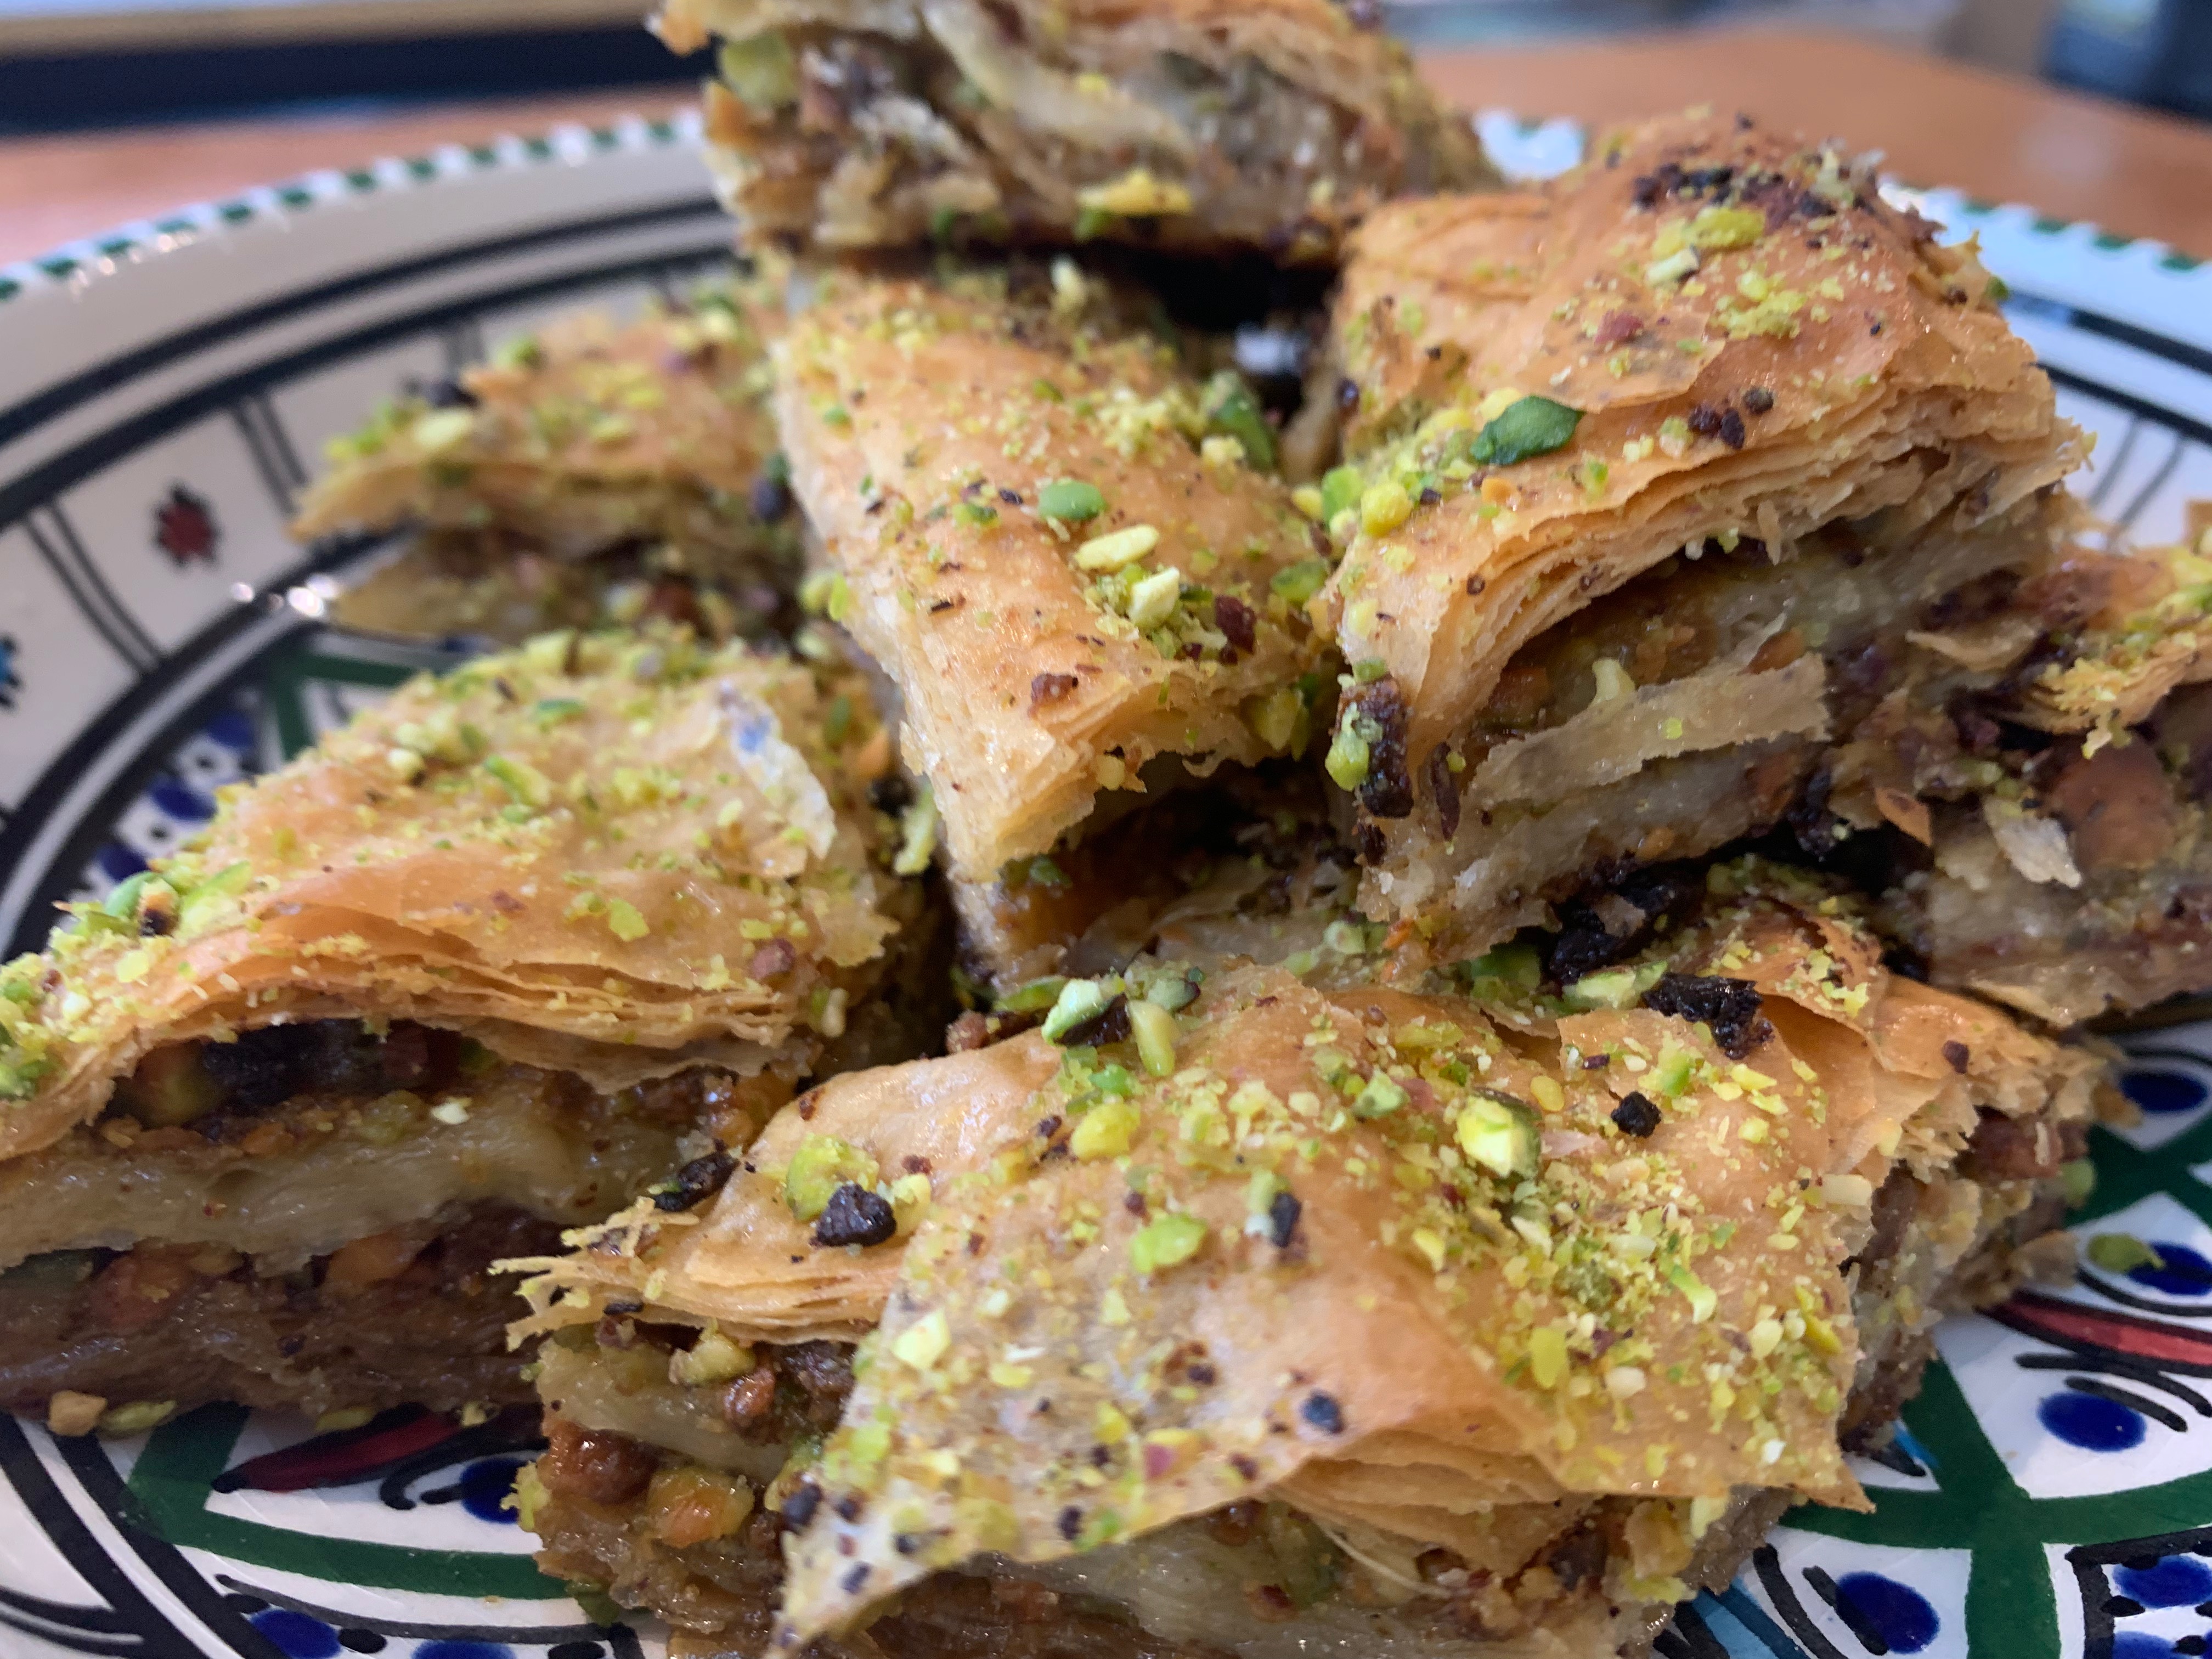
The diamond shape I used is pretty traditional, but you can, of course, try many different ideas: baklava is often sold in squares or rectangles.

The quantities assume that your filo comes in 250g packs, each of which has around 15 sheets. This lets you make three layers of 10 sheets each. Adjust the number of sheets accordingly: you want to use around ⅔ of a pack for each layer. Some recipes, by the way, just use two layers of filo with one layer of nuts – that’s fine too.

Next warning: filo dries out easily. Keep it covered with a tea towel at all times other than the minimum few seconds you need to peel a sheet off the block.

  • 400g shelled, unsalted pistachios
  • 40g sugar
  • 250g ghee (use clarified butter if you prefer or if you can’t get ghee)
  • 500g filo pastry (fresh or frozen)
  1. Preheat oven to 200℃ fan.
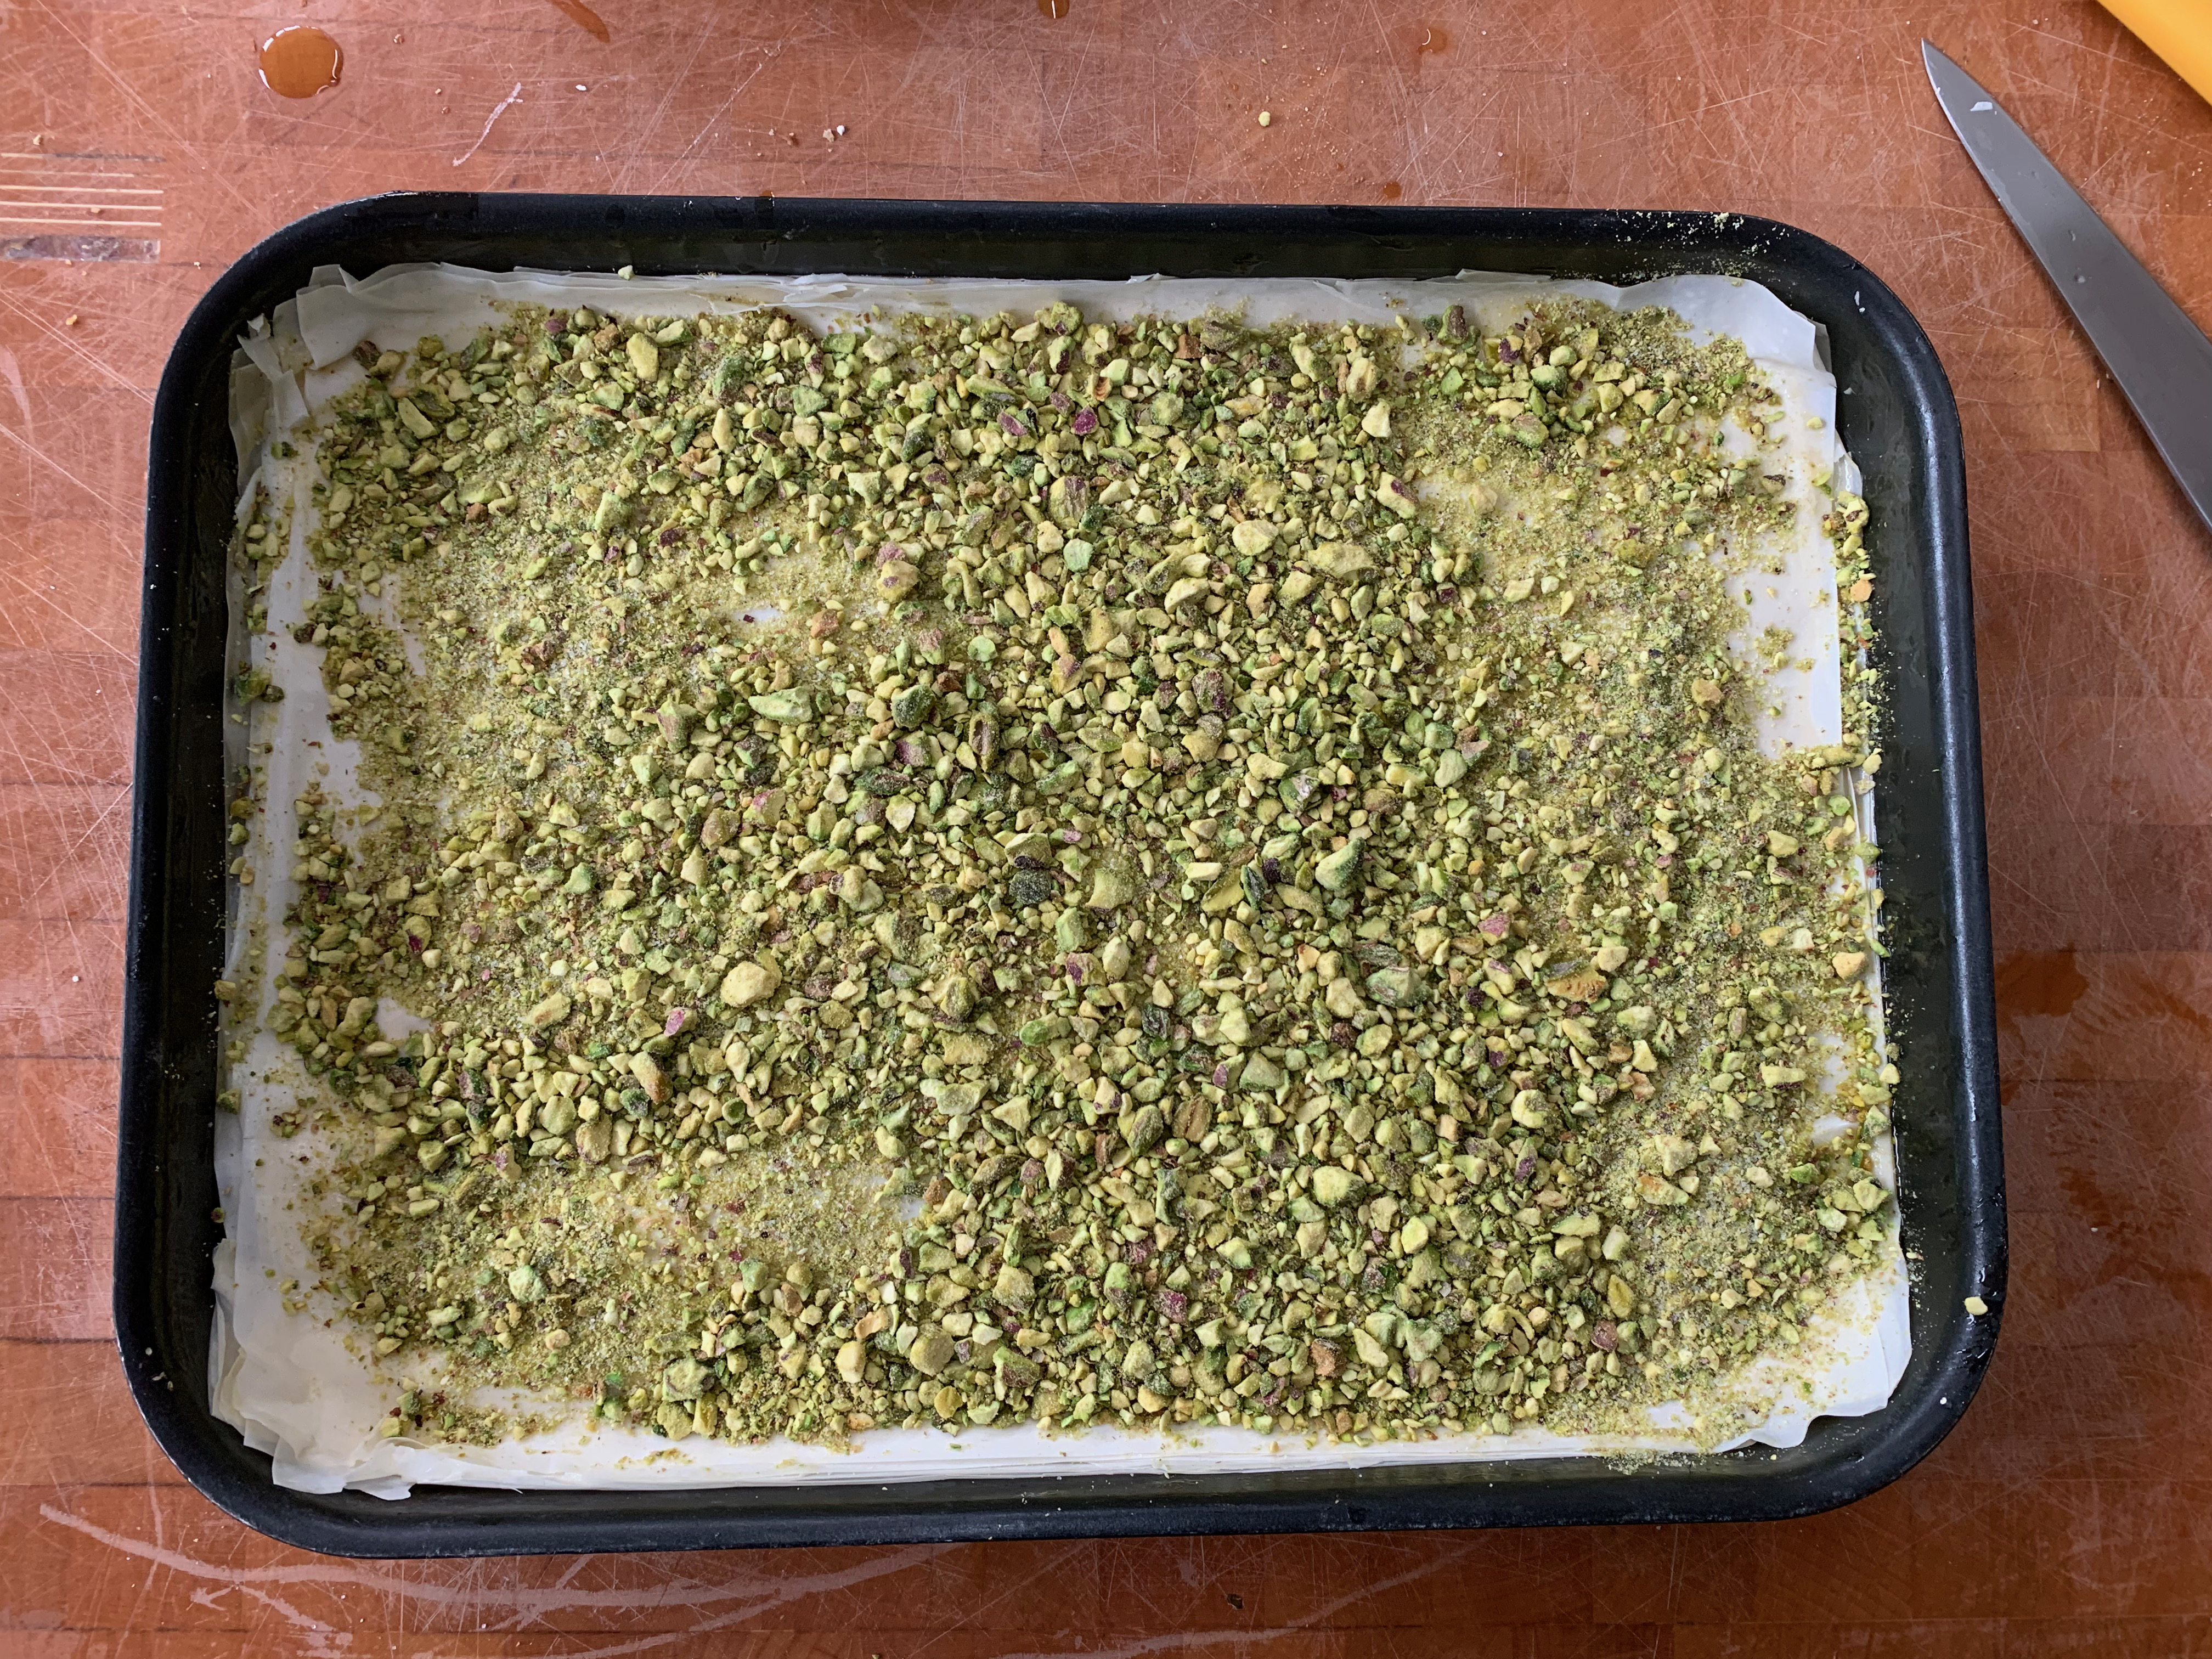
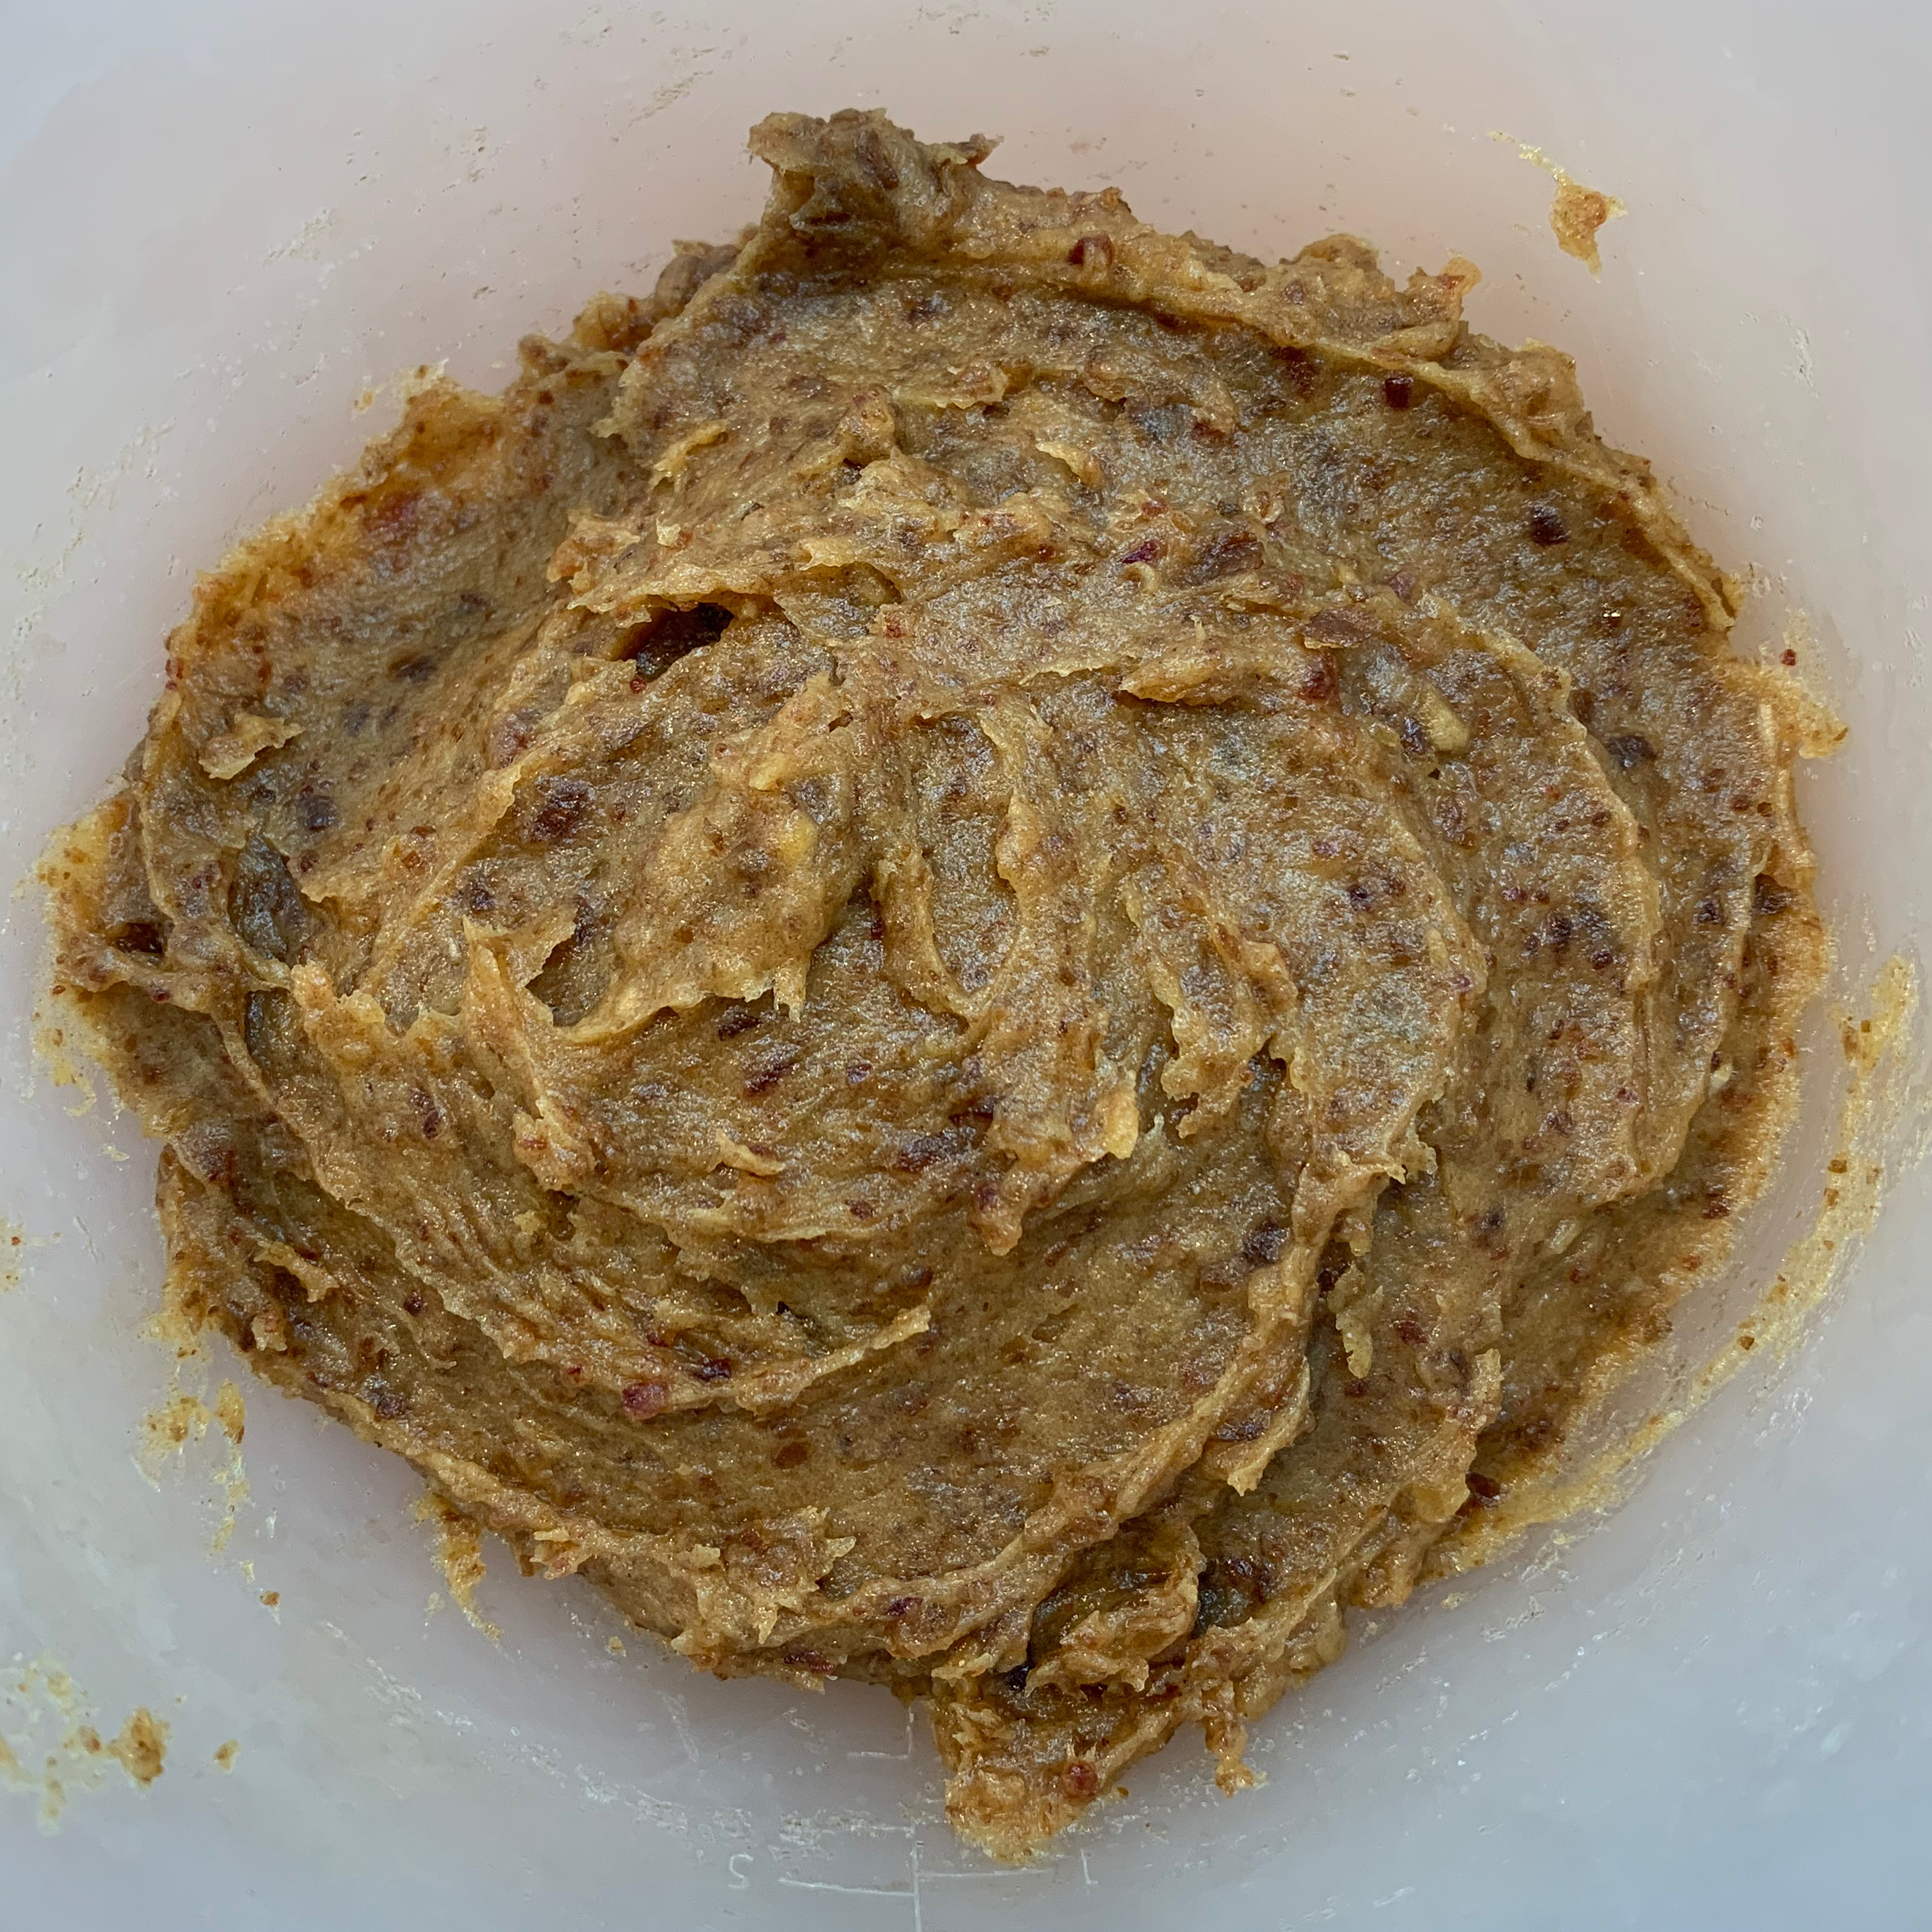
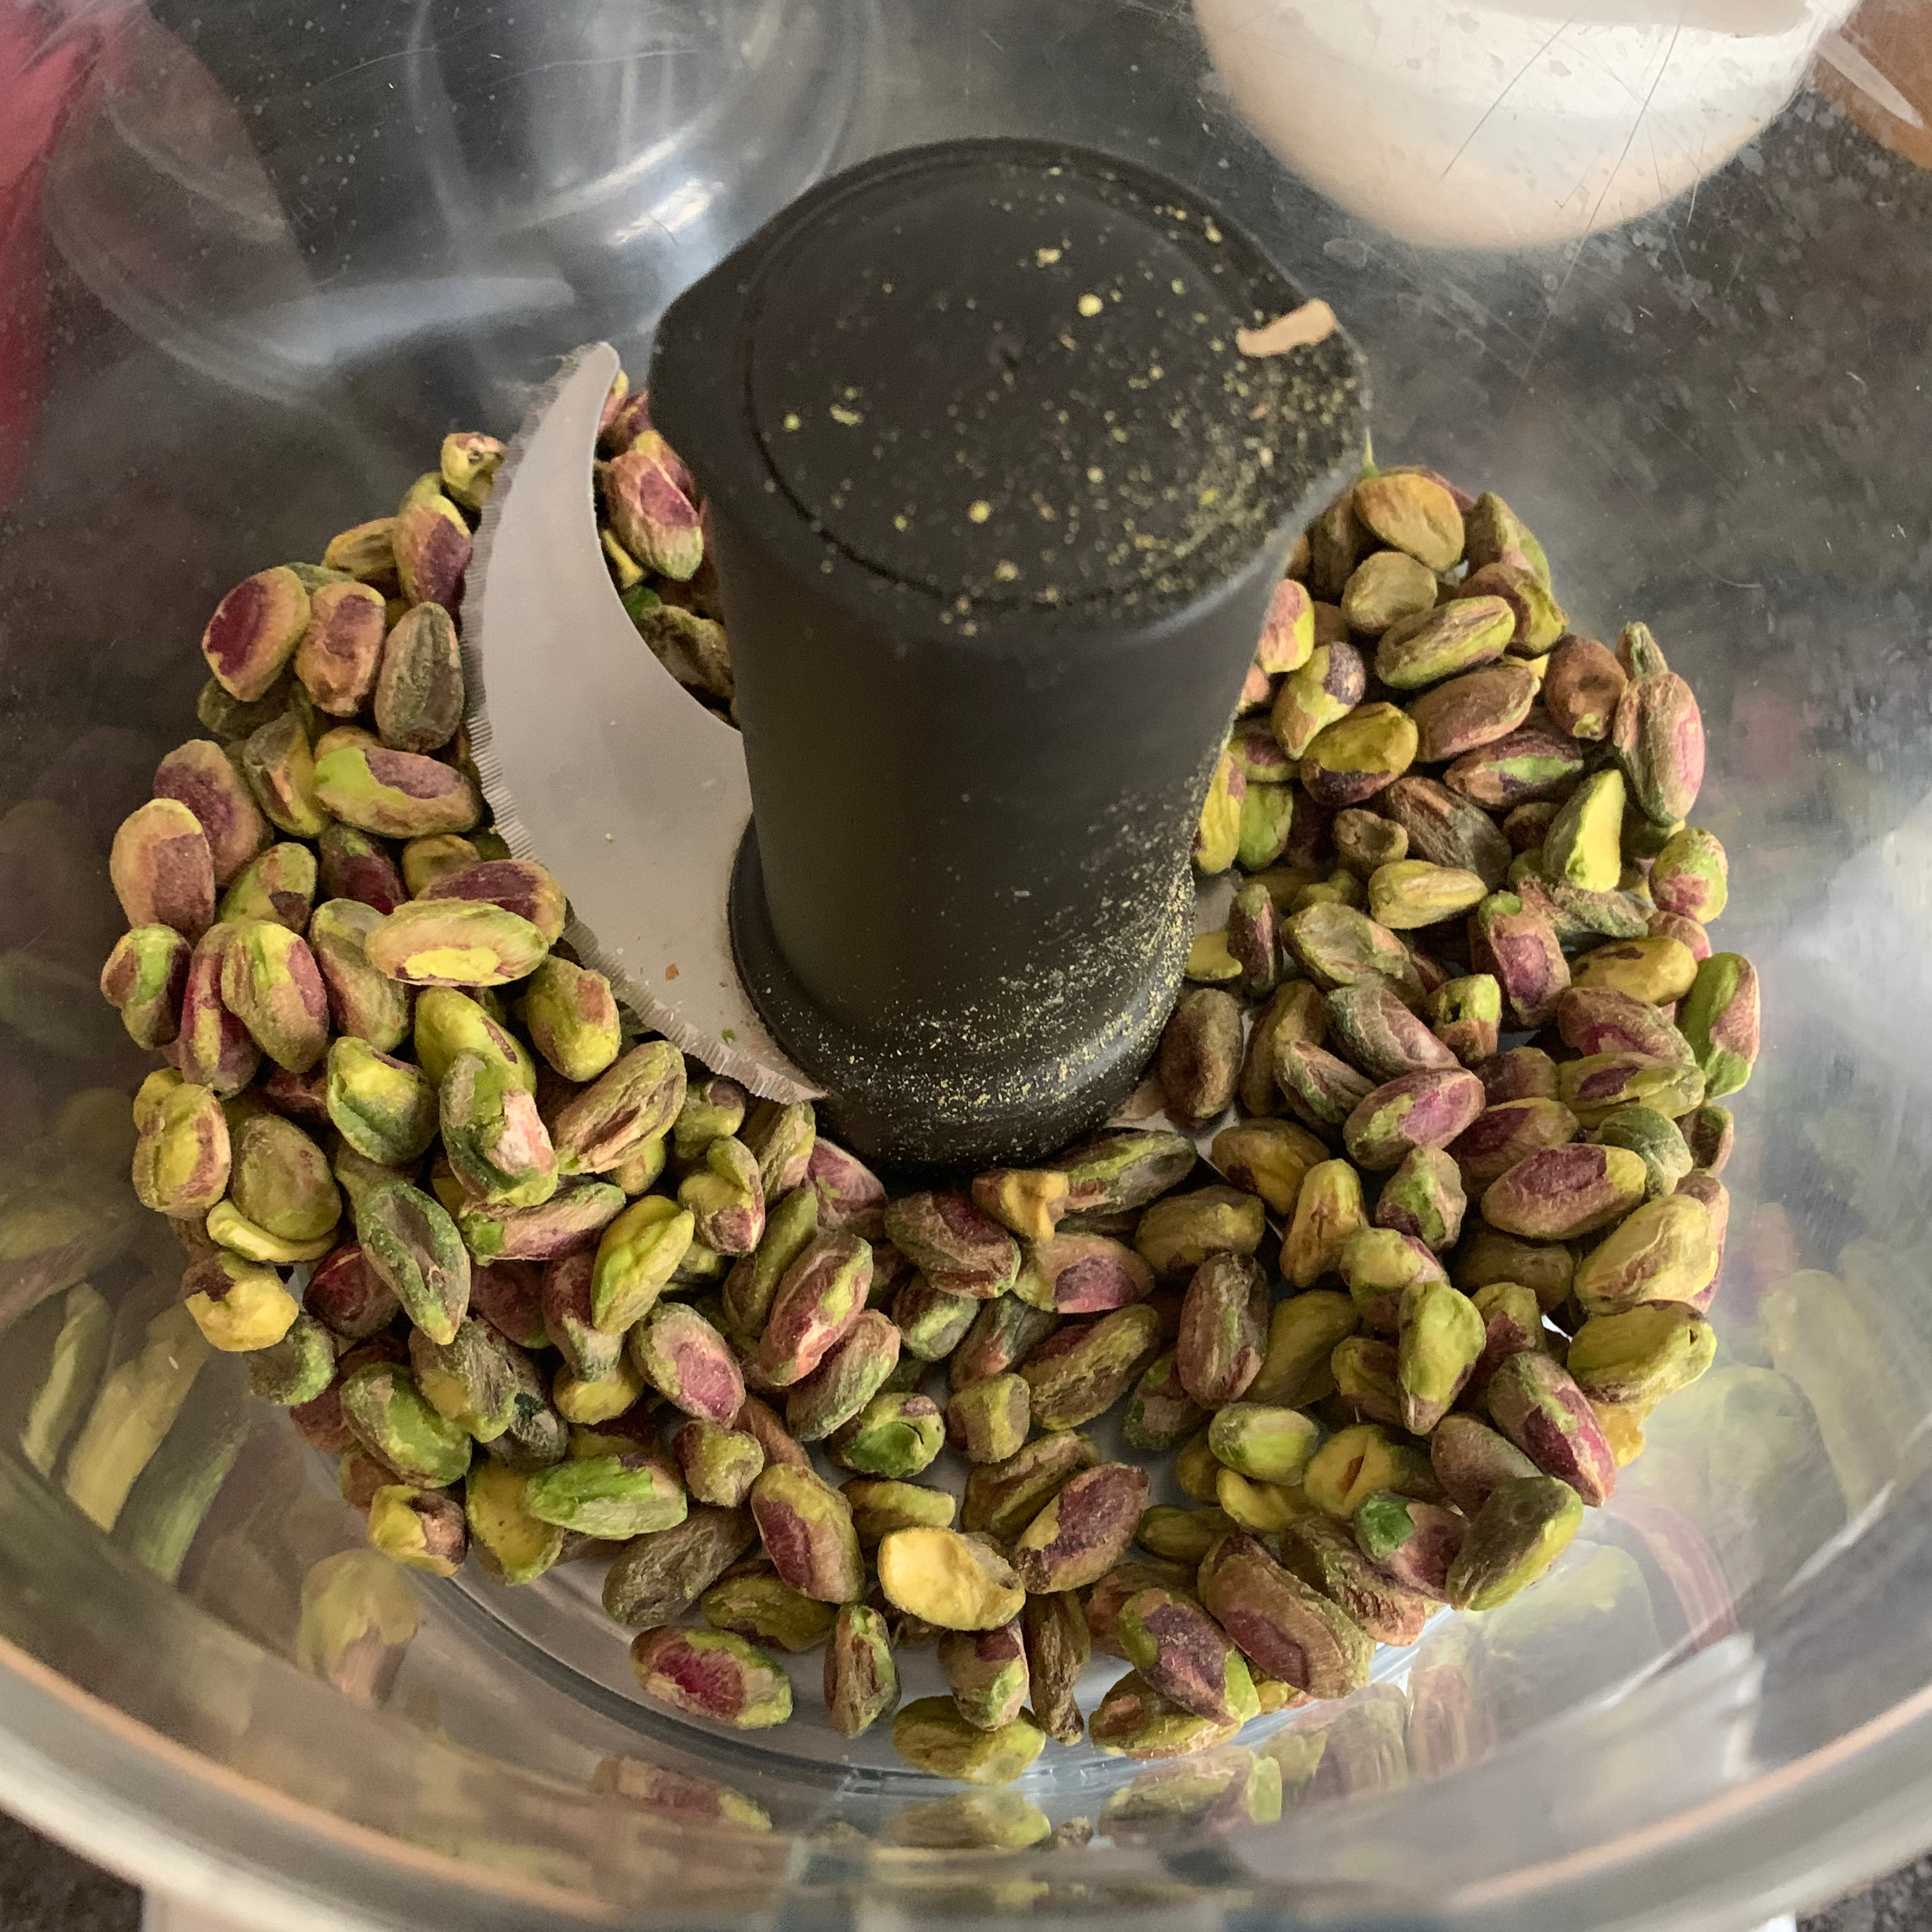
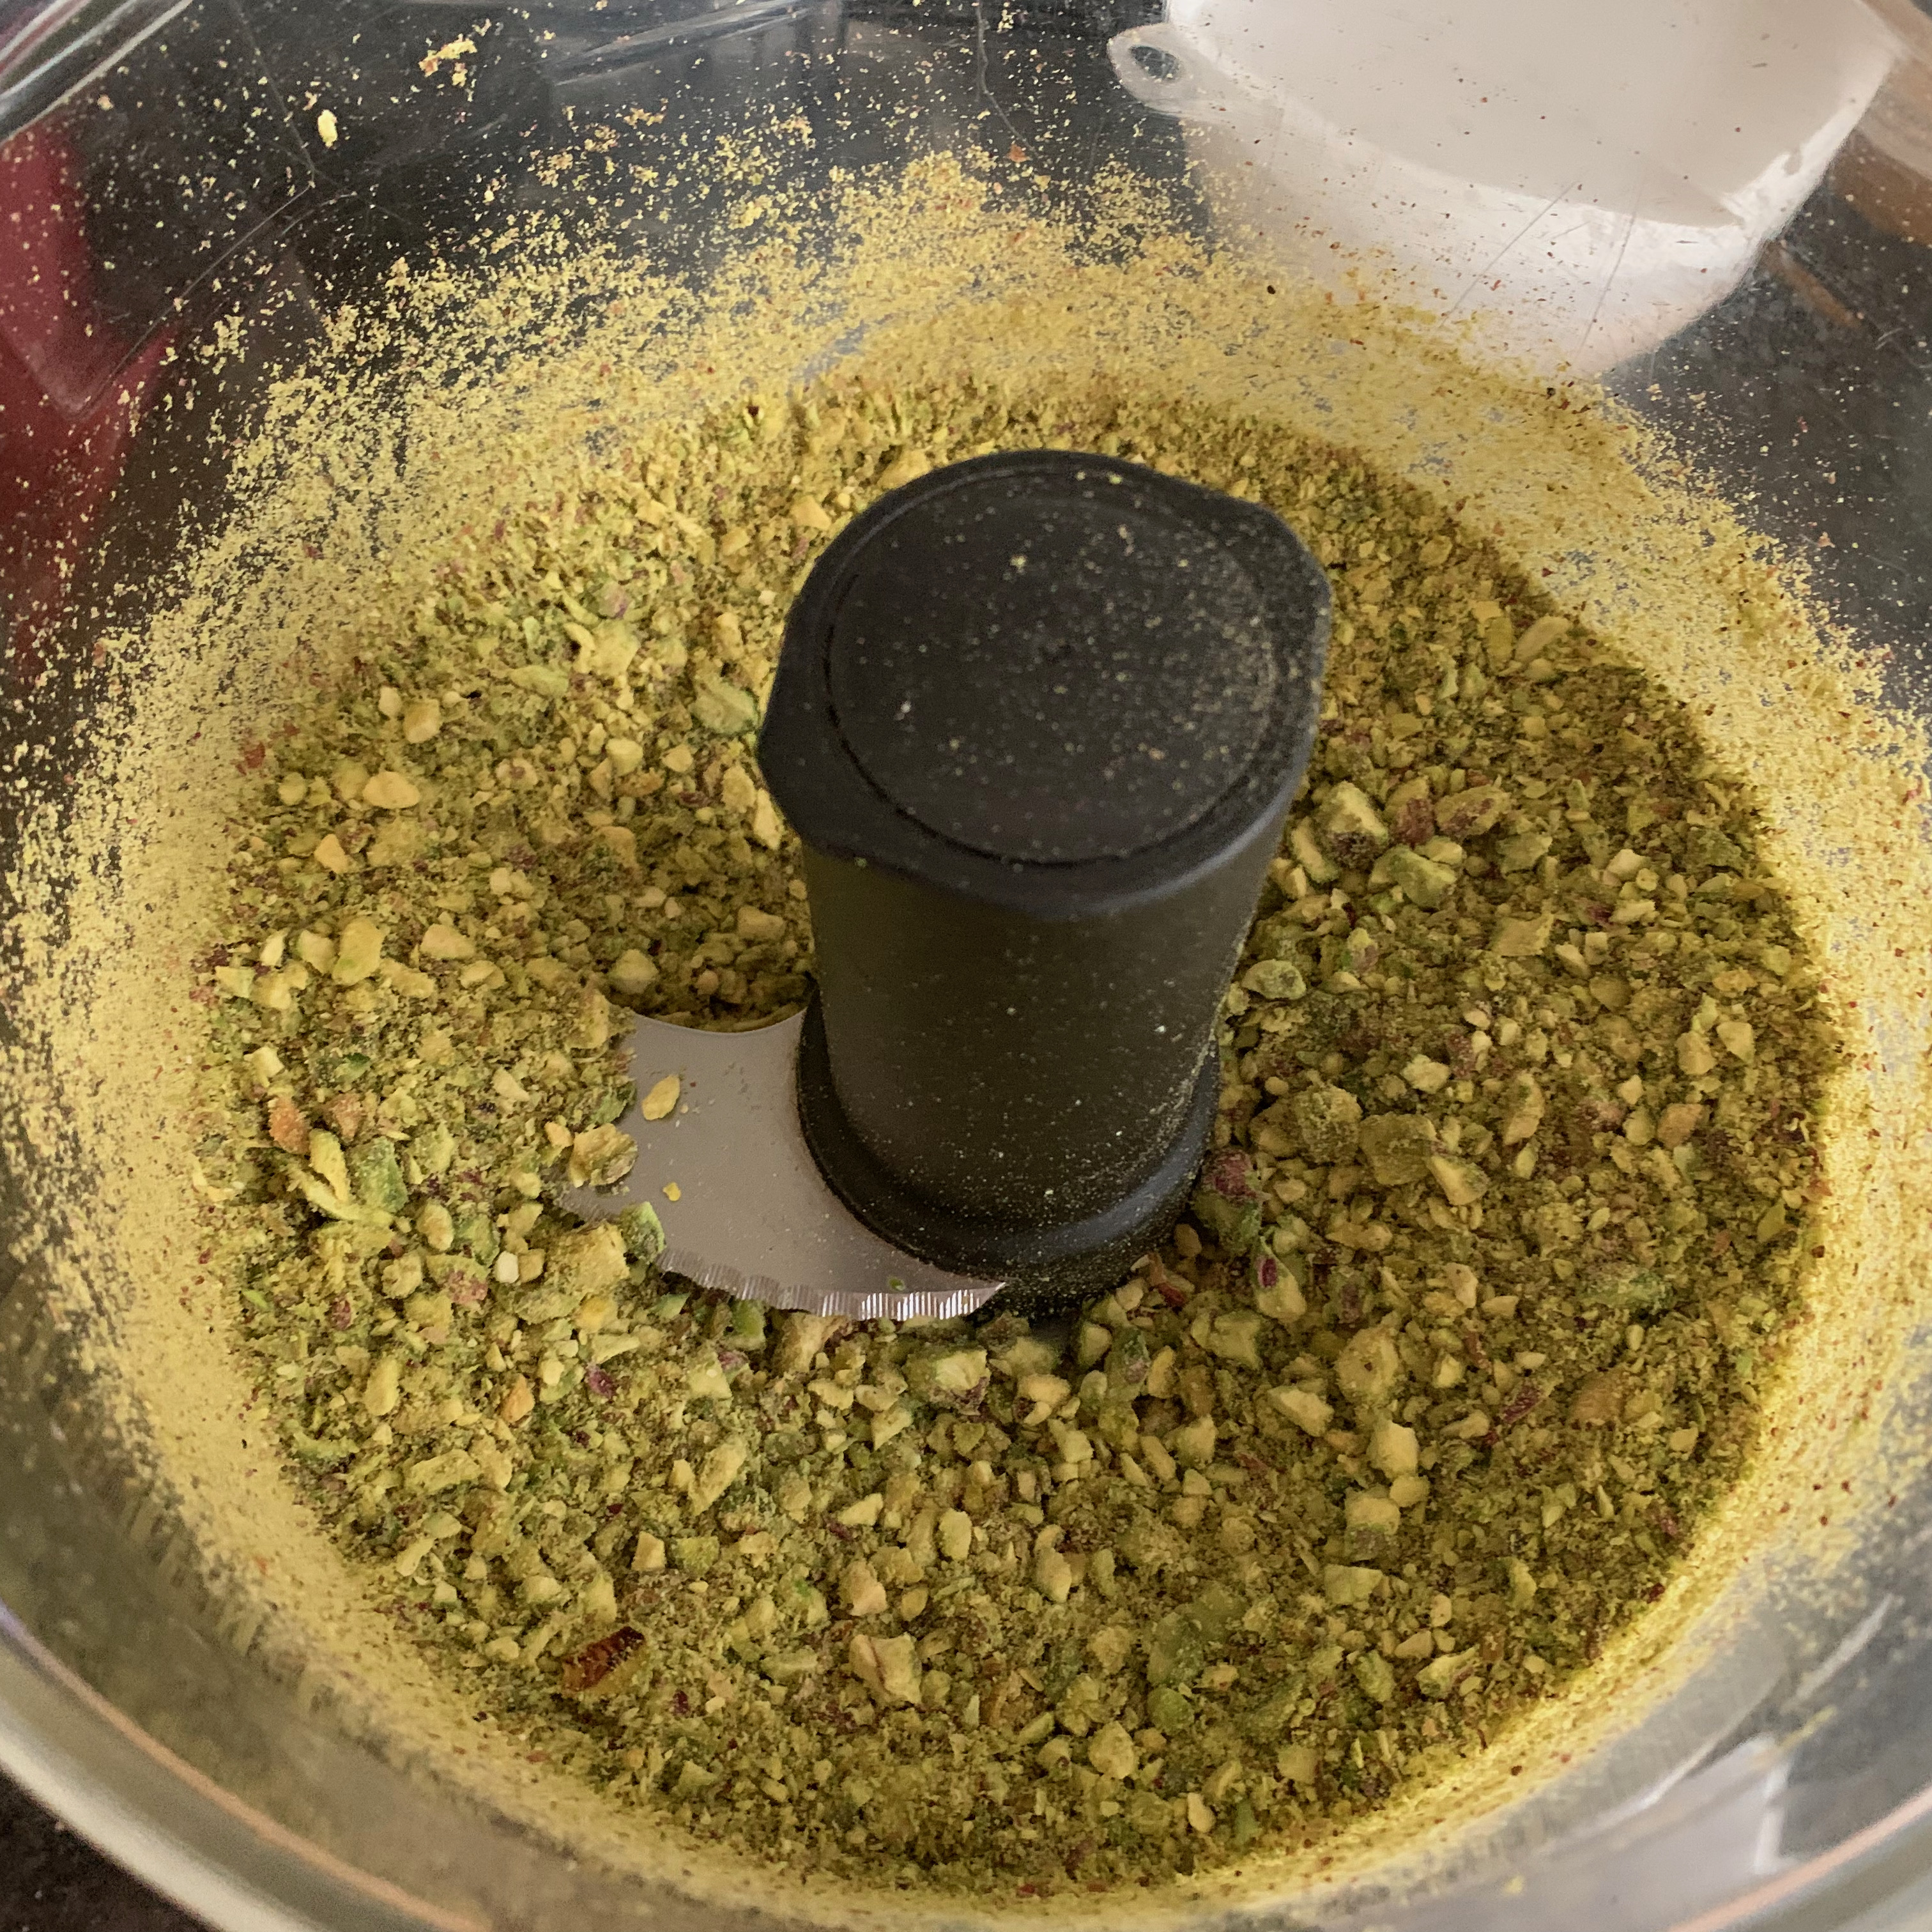
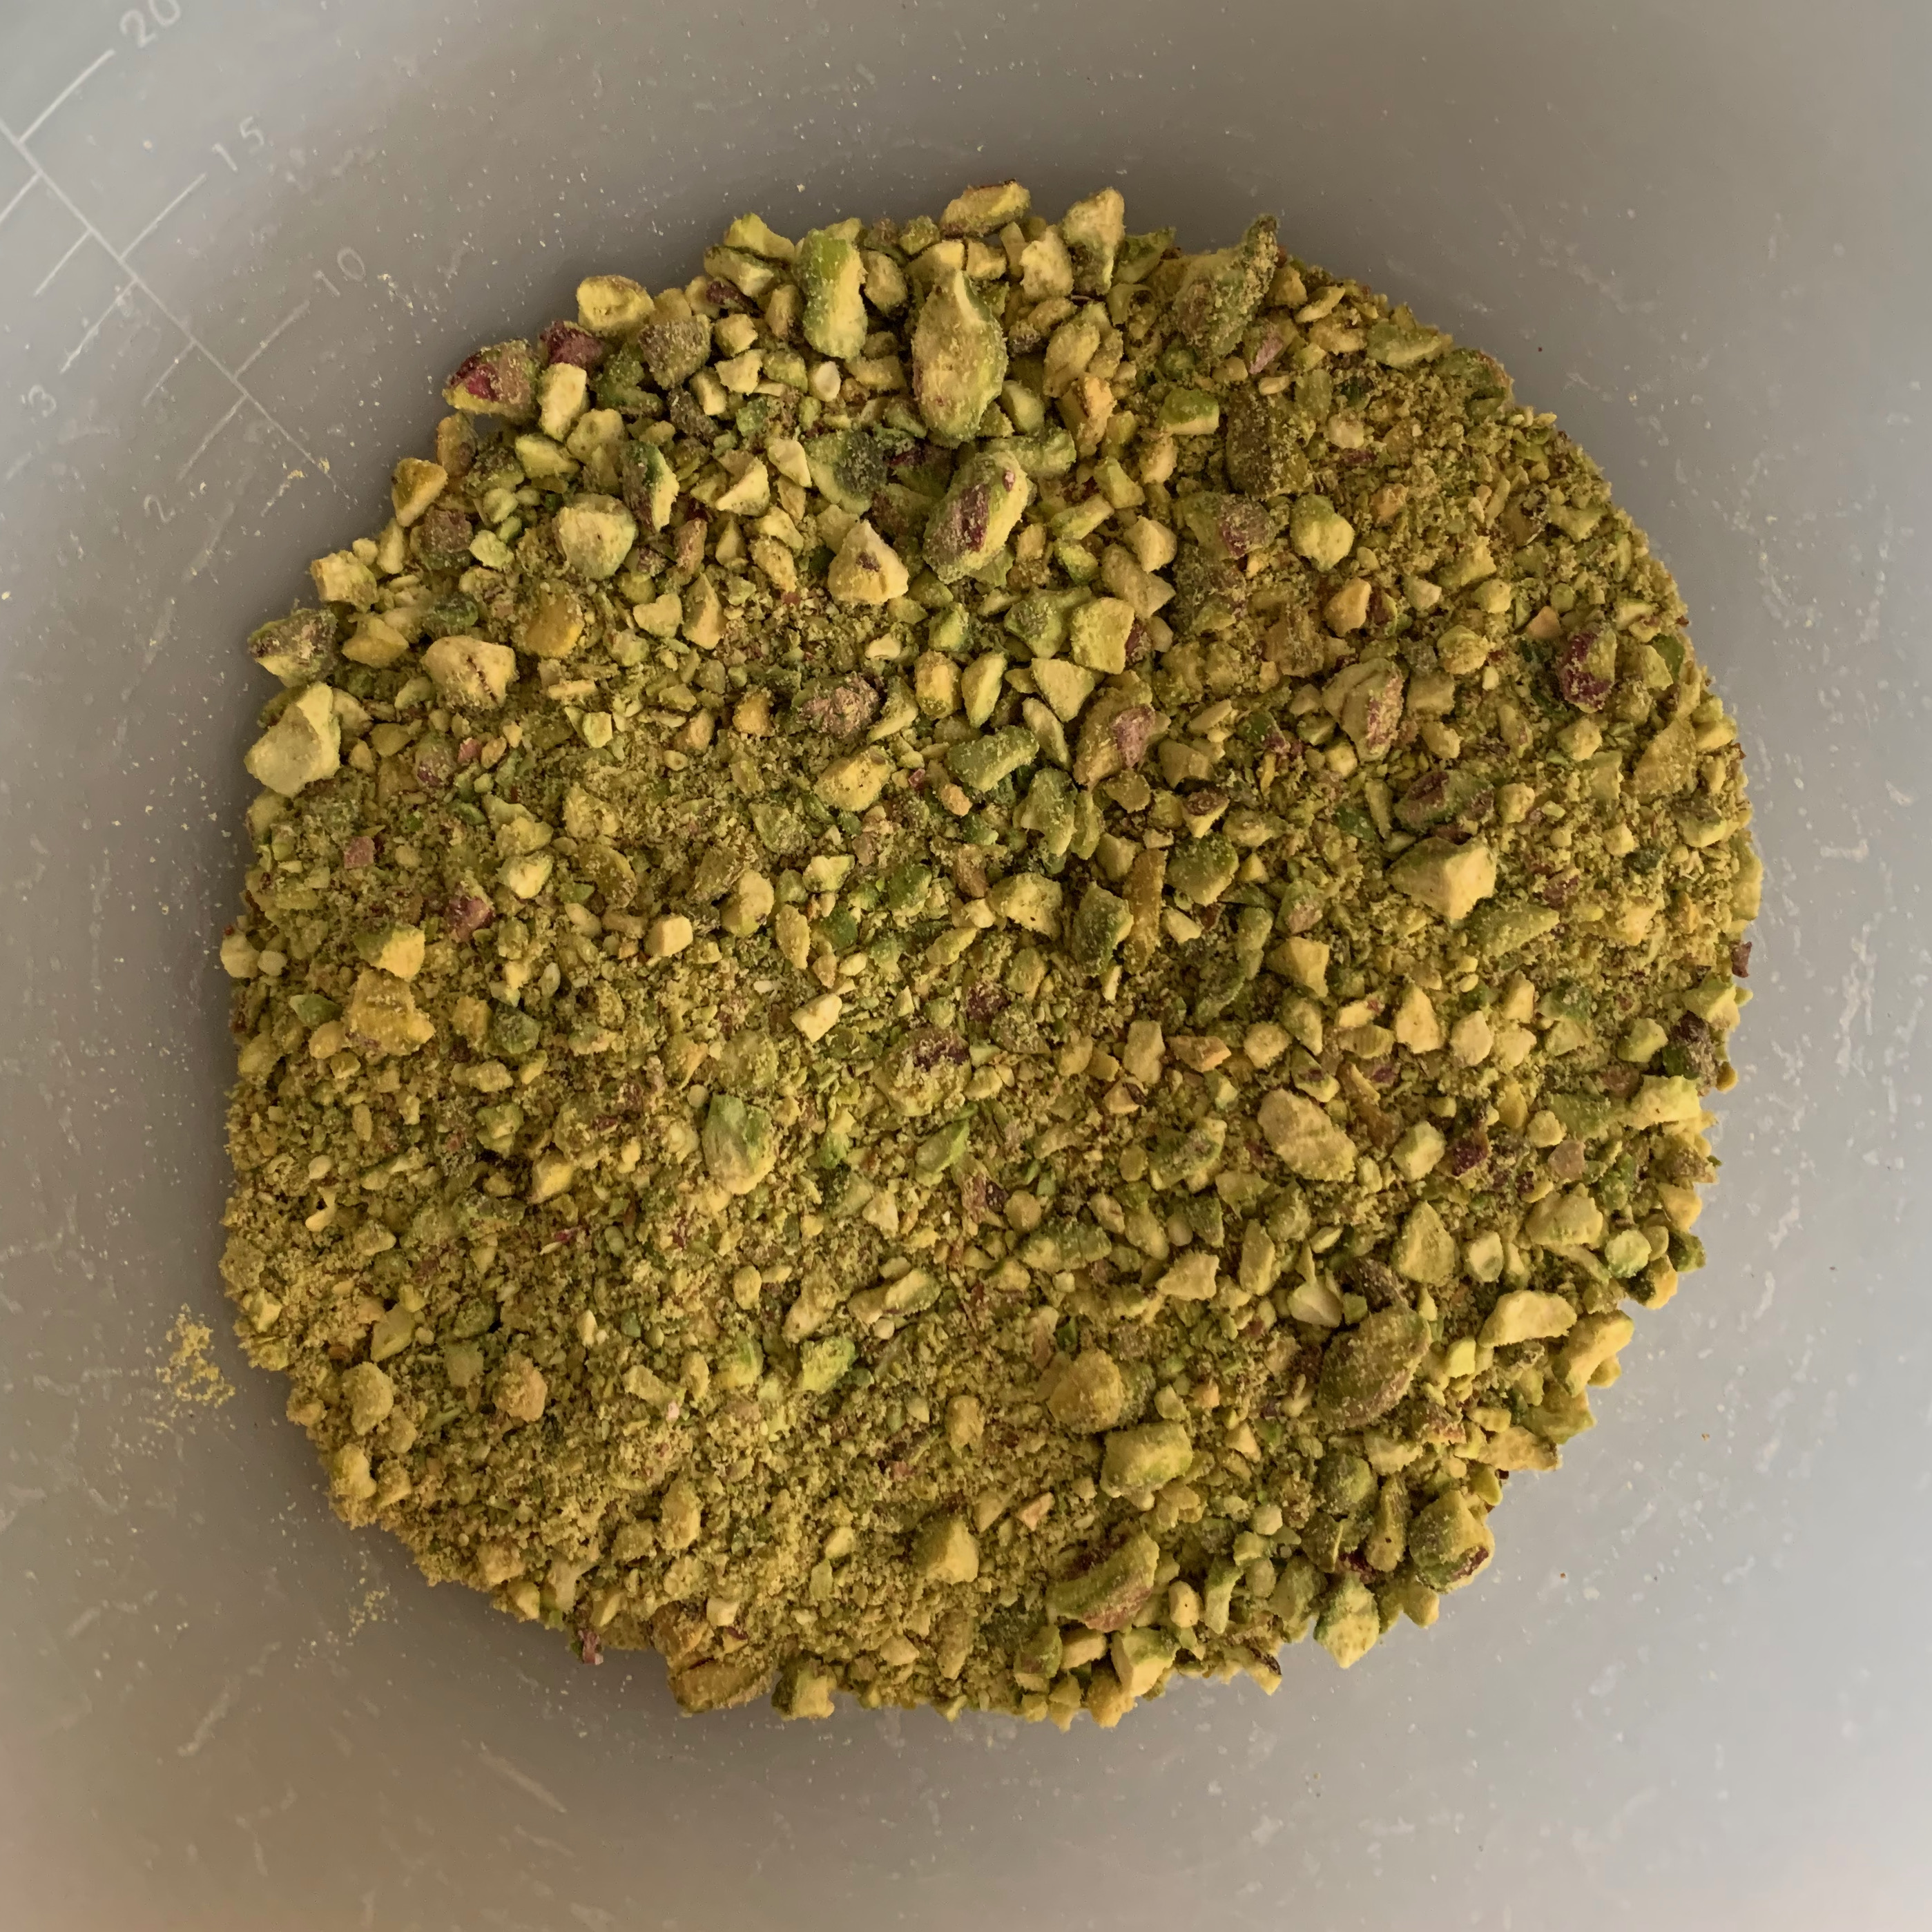
  2. Blitz the pistachios in a food processor until they are mostly powdered but still have a coarse texture with lots of small pieces.
  3. Transfer to a small bowl, add the sugar and mix. Reserve 50g for garnish after the baklava is baked.
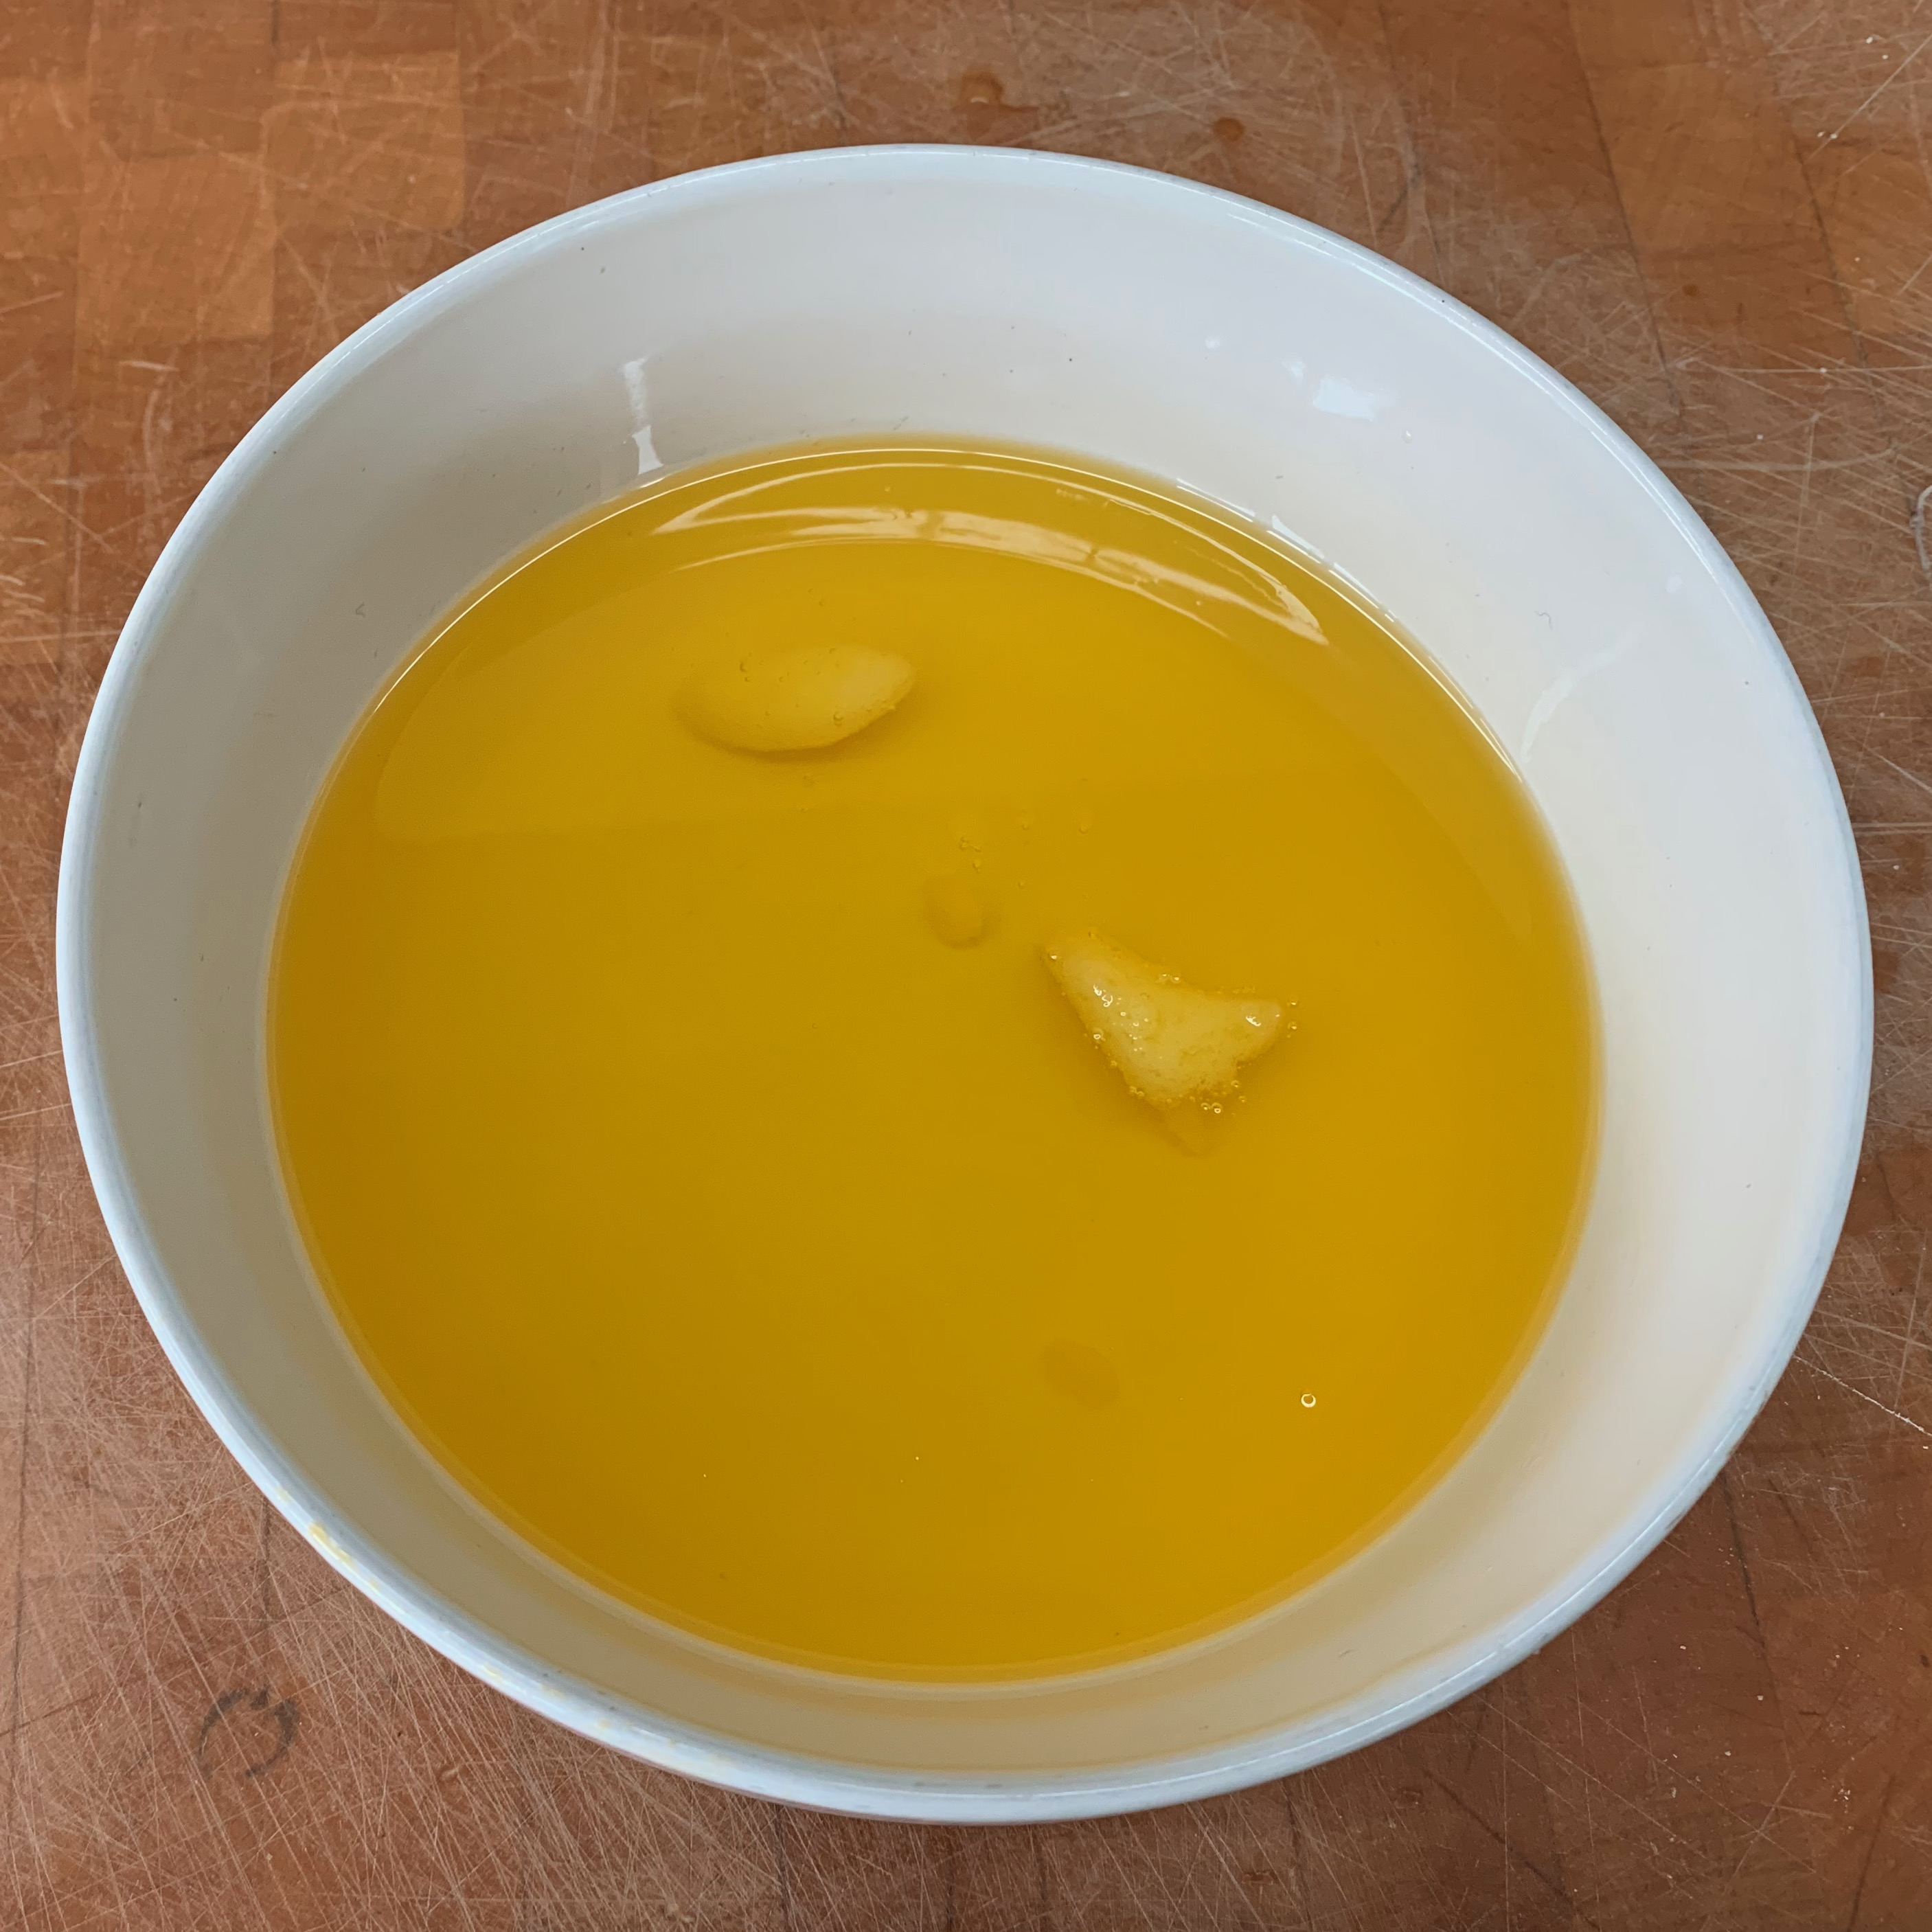
  4. Melt the ghee.
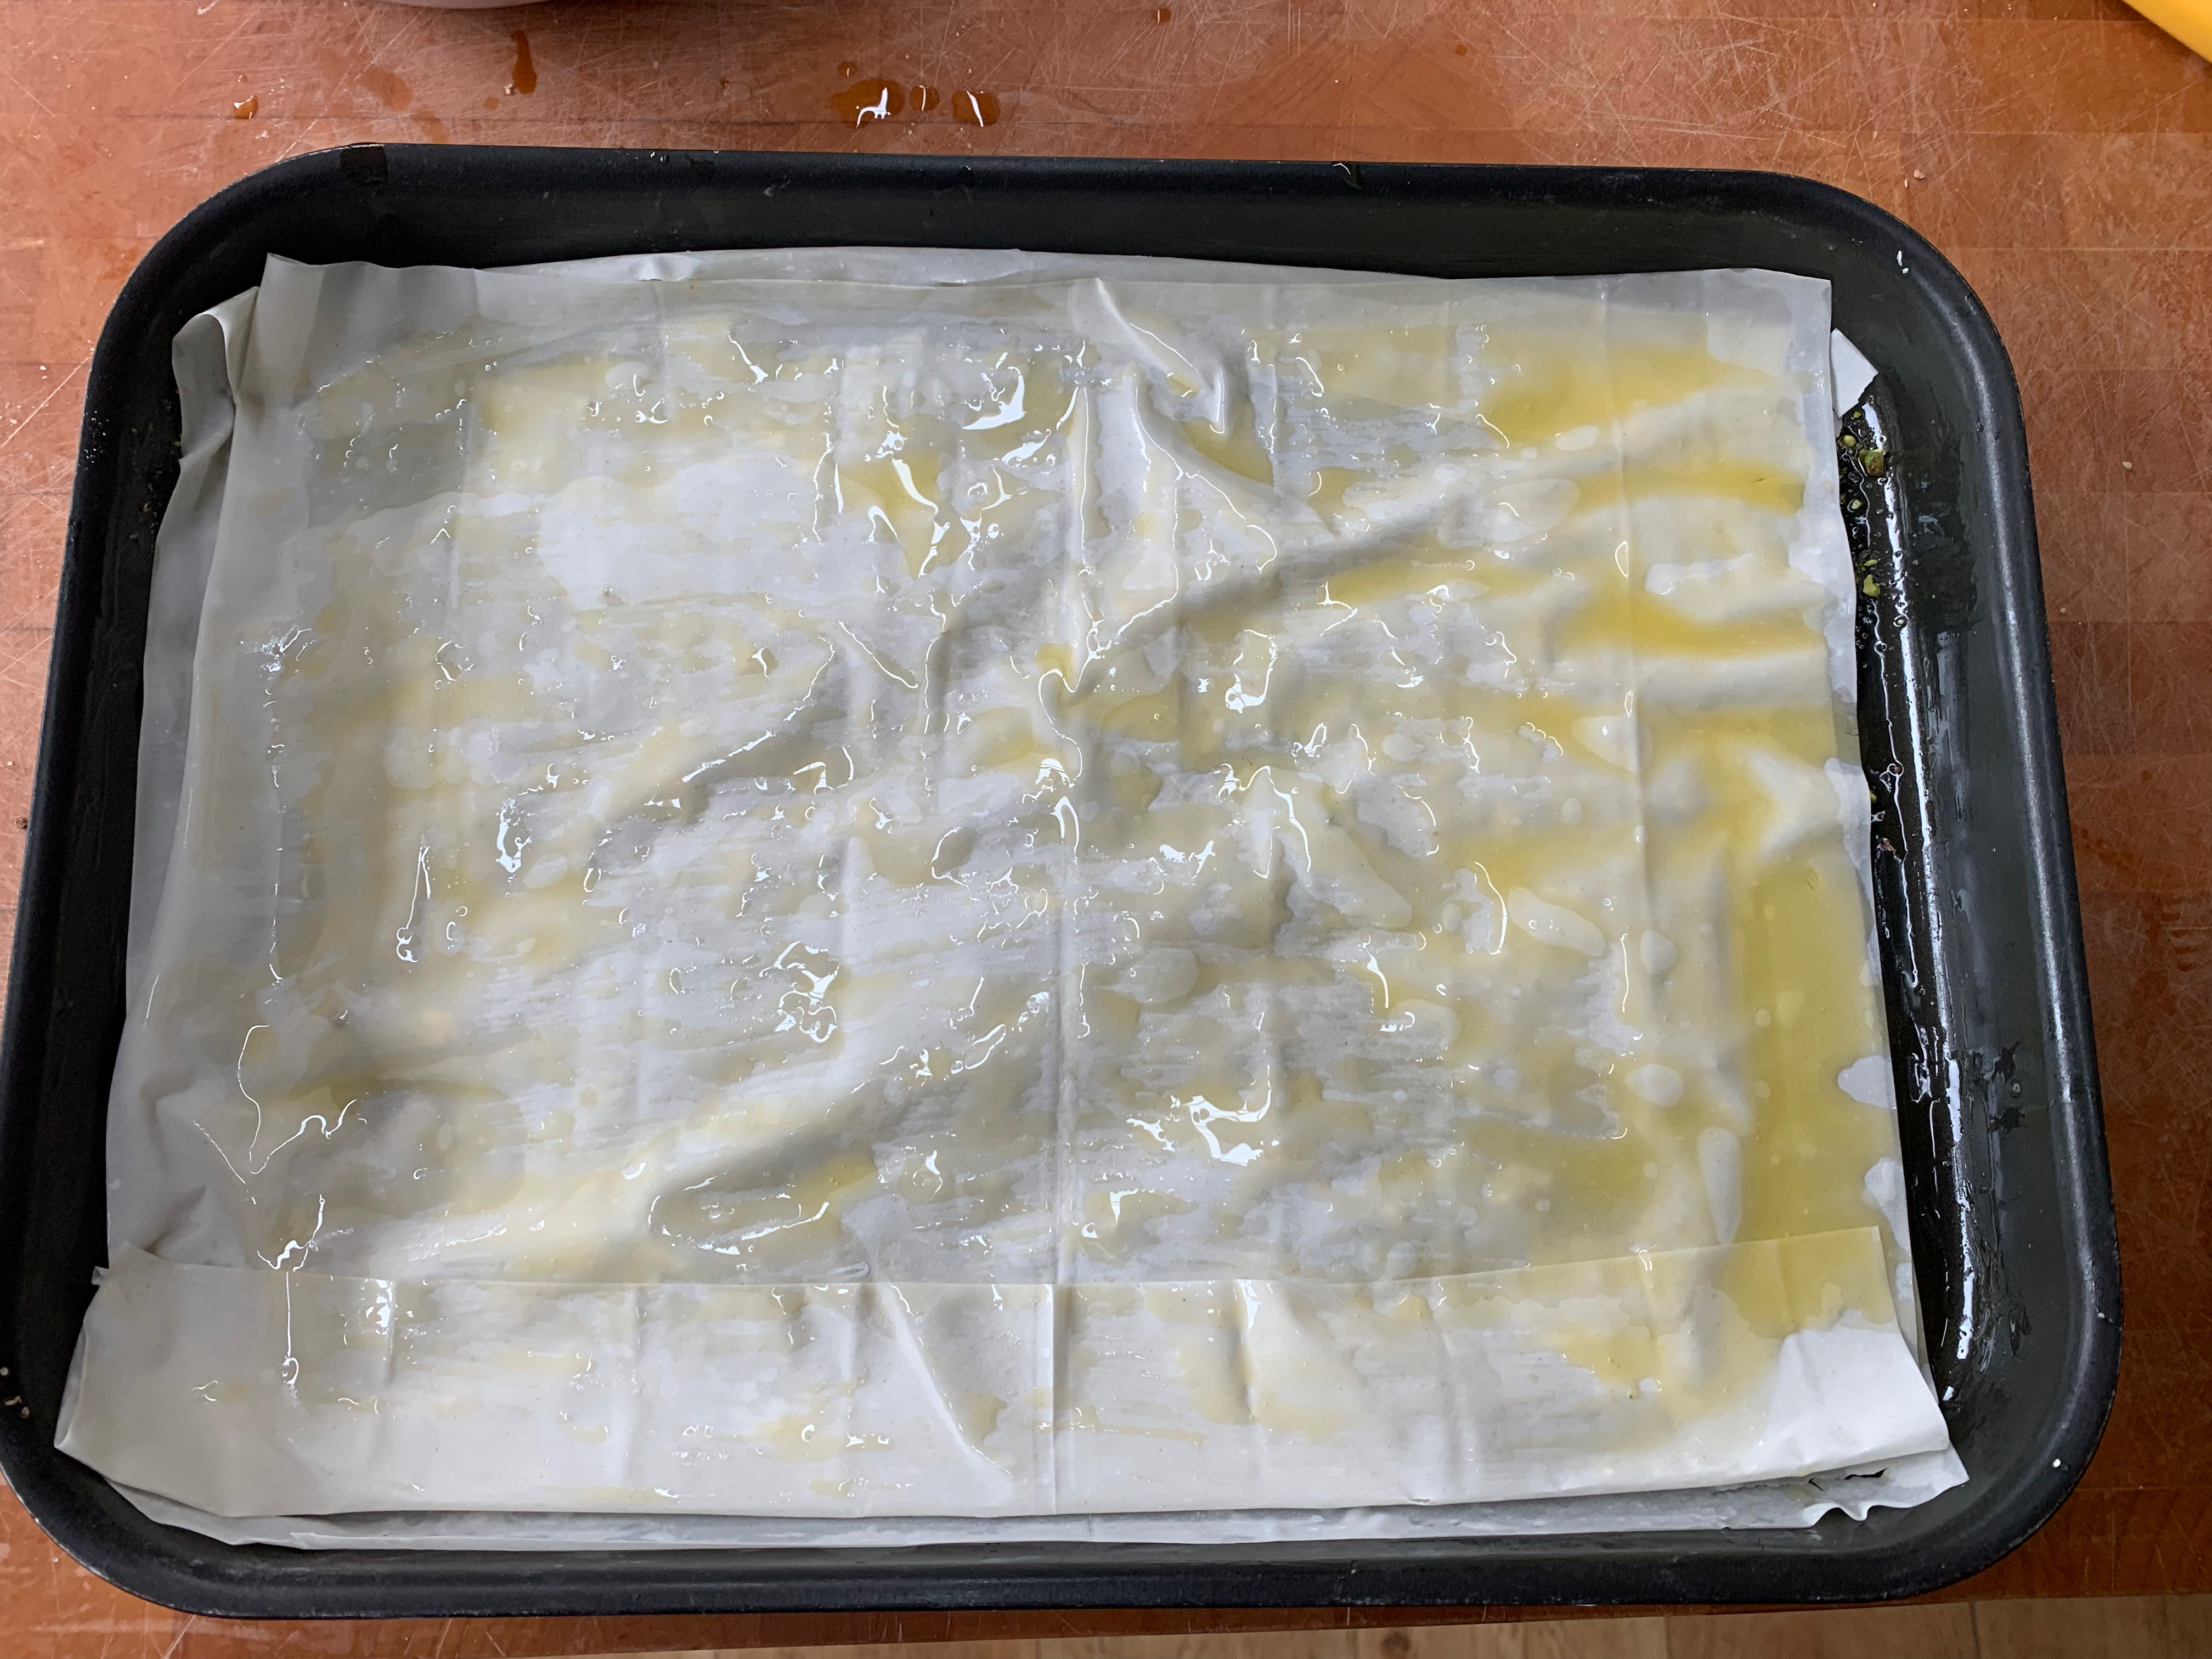
  5. Spread your baking dish with ghee, and scatter a thin layer of pistachios.
  6. Now work quickly. Peel a layer of filo off your block and place it on your dish. Cover the block with a tea towel. Spread the layer with ghee. Repeat around 10 times (see note above).
  7. Spread half the pistachio sugar mix evenly over the dish. You may need to shake the dish to get it even.
  8. Repeat steps 6 and 7.
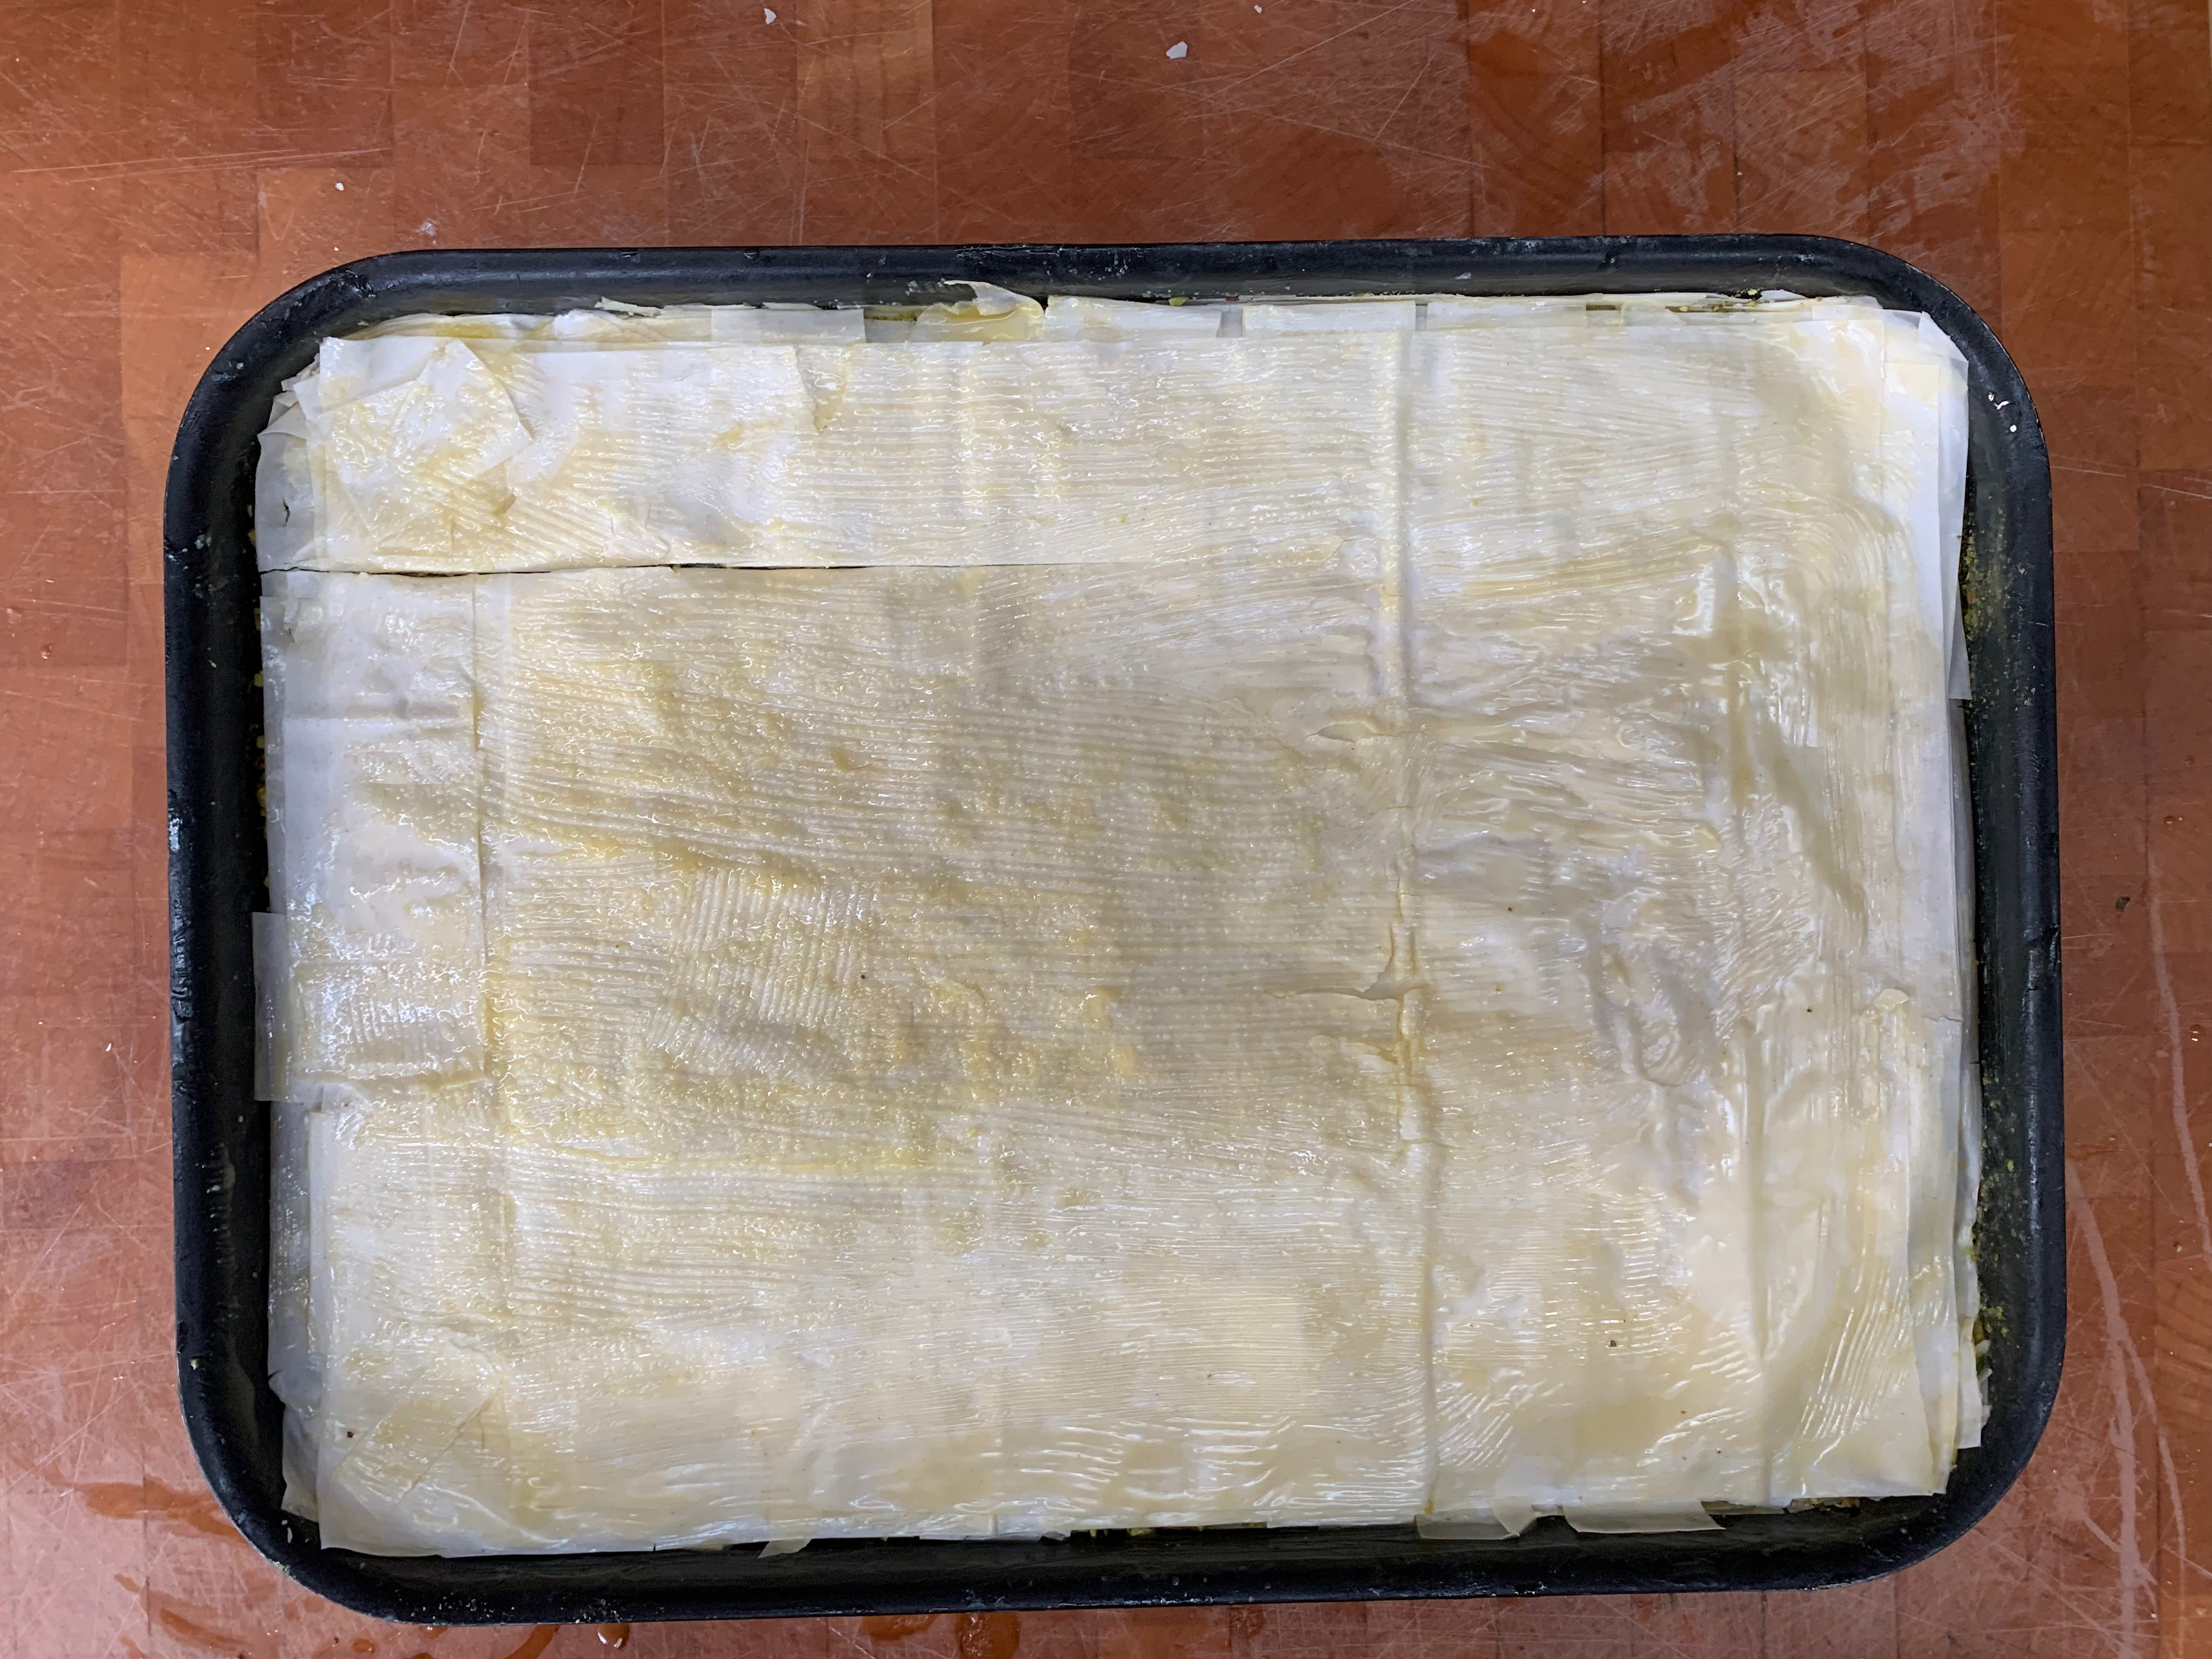
  9. Repeat step 6 for a third time to get your top layer of filo.
  10. Brush the top of your pastry with the remaining ghee. If there isn’t enough for a generous amount, melt some more: you don’t want dry filo at the top.
  11. Cut the baklava into a diamond pattern – around 5 strips along the shorter side and around 8 along the longer side. This gets you 40 generously sized baklava – you can go smaller if you want.
  12. If your syrup is still boiling, wait until it’s reached the right stickiness and you’ve taken it off the heat.
  13. Bake until golden brown, around 40 minutes.
  14. Remove the dish from the oven and place it on a rack. Pour the syrup evenly over the whole dish, then sprinkle evenly with the reserved pistachio mix. 
  15. Cover with foil (otherwise, you’ve just created the world’s biggest attraction for the local insect life) and leave to cool.
  16. When it’s cool enough, put it in the fridge and leave for at least 8 hours (or overnight). Freshly made baklava just doesn’t have the right consistency (we checked this).
  17. Re-cut into its diamond shapes and serve.

Around the world in 80 bakes, no.58: Kleicha – date-filled cookies from Iraq

Around the world in 80 bakes, no.58: Kleicha – date-filled cookies from Iraq

It’s time for a trip back to the Middle East to refill the cookie jar with what, according to Wikipedia and others, is the “national cookie of Iraq”: Kleicha (or Kleisha; as usual with Arabic, transliterations vary). Recipes also vary, particularly as to shape and choice of spices, but the most common appear to be a spiral of dough interleaved with a cardamom-infused date paste.

Kleicha turn out to be trickier to make than I expected: most of the recipes I’ve seen produce an incredibly crumbly dough. On my first attempt, the dough was almost impossible to roll and the kleicha came out at an unpleasantly sandy texture. Fortunately, I persevered, because my second attempt was a real success: the flavour combination of date and cardamom being a winner. It only worked, however, by using hugely more water than in my base recipe, from 196flavors.com.

I couldn’t find ready-made date paste, so I made my own. Another pitfall from my first attempt was getting the texture wrong so I couldn’t spread the paste: second time round, it came out perfectly.

The quantities here were supposedly for 40 kleicha – I made 32.

The date paste

  • ½ tsp ground cardamom (or 20 or so cardamom pods)
  • 400g soft dates (choose Medjool or similar in preference to the harder Deglet Nour)
  • Milk as needed (a few tablespoons)
  1. If the dates aren’t already stoned, take out the stones and discard
  2. If you are starting from cardamom pods, pound them in a pestle and mortar to get the seeds out and get rid of the husks.
  3. Put the dates and cardamom into a food processor and blitz for a minute or two.
  4. Add a little milk and blitz some more: keep doing this until you get a puree the consistency of toothpaste.

The dough

  • 15g caster sugar
  • 10g dried yeast
  • 170ml lukewarm water (around 40℃)
  • 700g plain flour
  • 10g salt
  • 15g nigella seeds
  • 225g butter
  1. Melt the butter.
  2. Mix sugar, water and yeast and leave until frothy.
  3. In the bowl of your stand mixer, combine flour, salt and nigella seeds and mix evenly.
  4. Add the butter and mix for a few seconds.
  5. Then add the yeast/water mix and mix until you have a smooth dough. You may want to add more water than I’ve shown – the quantity shown here was barely OK.
  6. Leave dough to rest for around an hour.

Putting it all together

  • 1 egg and a bit of milk for a wash
  1. Preheat oven to 180℃ fan.
  2. Cut two sheets of baking paper, around 40cm long.
  3. Divide your dough into four parts.
  4. Form a ball of dough into a rectangle, place it between your two sheets of baking paper and roll it out as thinly as you can manage.
  5. Take a quarter of your date paste and spread it evenly over your rectangle of dough.
  6. Using the baking paper to help you, roll it up along the long end (Swiss roll style) as tightly as you can
  7. Cut your cylinder into 8 pieces (or 10 if you want smaller cookies) and place on a baking sheet
  8. Repeat for the remaining three parts of dough. You’ll end up with two baking sheets’ worth, which you can bake together or one after the other.
  9. Beat the egg with a little milk to make a wash; spread this over your cookies. (I’m labelling this stage as optional because I forgot to do it, resulting in kleicha which weren’t as pretty as they might have been but tasted fine).
  10. Bake until golden and thoroughly cooked – if you break off a bit of cookie and taste it, there should be no hint of raw flour. This took around 20-25 minutes in my oven – yours may differ.
  11. Cool on a rack.
Around the world in 80 bakes, no. 52: Murtabak from Saudi Arabia

Around the world in 80 bakes, no. 52: Murtabak from Saudi Arabia

Travellers to Saudi Arabia report that the street food par excellence is Murtabak: a rectangular parcel made with paper thin dough and packed with a variety of flavourings, savoury or sweet  (the name مطبق is the Arabic word for “folded”).

Murtabak (or Muttabak or Muttabaq – there are many transliterations) probably originated in Yemen and has found its way to vast tracts of the Middle East, then to India and further. I first came across it in Singapore back in the 1980s, where it was brought by the Tamil community and is a standard item in hawker stalls: the sight of a Murtabak man flinging his circles of dough into the air to stretch them to translucency was always joyous.

Savoury fillings are more common, with minced lamb probably the most popular. Eggs are usually involved, either folded into the filling, as I’ve done here, or spread over the pancake before adding the filling (as done by the Tamils). I’ve gone for diced chicken; the recipe here is something of an amalgam of various Saudi and Yemeni sites: the spicing is authentic-ish, but truly, you have a lot of latitude for putting in your personal favourites.

Any dough that you’re trying to roll to translucent thickness takes a lot of skill and practice to do really well: strudel dough, the warqa dough used in Bastillas or home-made phyllo are all examples of this. Murtabak dough is no exception, but it’s worth mentioning that it’s fairly forgiving in the sense that if you get it wrong by tearing it or making it a bit misshapen, the world really doesn’t end – you’ll still get a thoroughly tasty result.

This recipe makes 3 murtabak. A whole one makes a very generous meal for one or, cut into pieces, a lovely component of a meze spread.

The dough

  • 240g strong white bread flour
  • 4g salt
  • 90ml water
  • 40ml sunflower oil, plus more for covering
  • 1 egg (optional, but you’ll need to adjust flour quantities if you don’t use it)
  1. Mix the ingredients together until they have come together into a smooth dough.
  2. Some recipes suggest that you should knead the dough for a few minutes. Confession time: I forgot to do the kneading, and it didn’t seem to matter.
  3. Oil your hands. Divide the dough into three balls of equal weight, coat them with oil and leave to rest. Recipes suggest anything from 30 minutes to three hours: about 75 minutes worked fine for me.

The filling

  • Oil for frying: I used olive, but you can use whatever you like
  • 150g onion
  • 10g root ginger
  • 20g garlic
  • 1 tsp ground cumin
  • 1 tsp ground coriander
  • 1 tsp Aleppo chili flakes (or whatever form of chili or paprika you fancy, but these worked particularly well for me)
  • 400g chicken breast
  • 70g spring onions
  • 1 tomato (mine was 100g)
  • 5g fresh coriander (or flat leaf parsley, or your other favourite herbs, optional)
  • 2 eggs
  1. Chop your various ingredients. The garlic and ginger need to be very fine. The onion, tomato and spring onion should be reasonably fine. The chicken should be small dice, perhaps 5mm or so. The coriander, if you’re using it, can be anything you like.
  2. Heat oil in a pan over medium heat and add the onions and some salt, fry for a couple of minutes
  3. Add the garlic and ginger and fry until the onions are translucent
  4. Add the spices and stir until nicely combined
  5. Add the chicken and stir fry until you can’t see any raw meat
  6. Add the spring onions, tomato and coriander; keep stir-frying until the chicken is cooked through
  7. Beat the eggs, add them to the pan and stir until everything is blended
  8. Set the pan aside

Putting it together

 The best video I found showing you how to do this comes from a site called Sheba Yemeni Food.

  1. Thoroughly clean a large space of work surface and spread it with a little oil.
  2. Take one of your balls of dough and press it flat.
  3. This is where you need to have faith. Pick up your circle of dough in both hands and throw the loose end away from you (a bit like when you’re shaking sand off a towel). Once the dough has landed on your surface, use your fingers to flatten out any thick bits around the edge and get it to as close to a rectangle as you can manage.
  4. Repeat this as often as you dare until the dough is thin enough to be translucent. Obviously, you can’t go too far or the dough will tear.
  5. Spoon a third of your filling into a rectangle in the middle of your dough. Fold the dough over the filling from each of the four sides.
  6. Carefully transfer the completed parcel onto a board so that you can repeat for the next two.
  7. Warm up a griddle or skillet to medium heat. Brush it with a little oil, then fry your murtabak for about 3-4 minutes on each side, until they have a medium brown pattern but aren’t burning.

Serve as soon as you can. The Tamils serve these with a briyani sauce, but for me, a simple green salad or other Middle Eastern salad works fine.

Around the world in 80 bakes, no.50: Tabun or Pita bread, from Jordan

Around the world in 80 bakes, no.50: Tabun or Pita bread, from Jordan

This blog post is a two-in-one, because these two flatbreads are the same for the whole process up to the final bake, where different techniques get a different structure. I’ve labelled them as Jordanian because the first recipe I looked up claimed to be from Jordan, but in all honesty, you’ll find these all over the Arab world. I was actually making them to eat with lamb shawarma, in a recipe from Sami Tamiri’s wonderful Falastin.

If your idea of pita bread is the small oval slices of cardboard bought from supermarkets, think again. Freshly made pita crisps and puffs up like a ball, perfect for stuffing with the filling of your choice: shawarma, falafel, muhamarra or any other Middle Eastern goodies. Tabun (or taboon) is softer and flatter: use as open sandwich rather than trying to stuff it. (The tabun is the name of the wood-fired open-topped oven in which the bread is traditionally baked, similar to the indian tandoor.)

Since  I don’t have a tabun, I’m improvising, using one of two techniques. For pita, I’m putting a pizza stone in the oven and winding the temperature as high as I can get. The sudden heat applied to the dough makes the moisture in the centre evaporate, resulting in the characteristic pocket. For tabun, I’m approximating to the stones on which the bread would traditionally be made by pouring ceramic baking beads into a frying pan (or skillet), and laying the flatbread over the top and using a lower temperature oven (you could also do this on the hob).

Here’s an updated round-up on the list of flatbreads in this blog:

  • Aish baladi (Egypt): the wholemeal version of pita or tabun
  • Focaccia (Italy): flavoured with olive oil, salt and other ingredients such as rosemary, olives or tomatoes. Thickness varies from one baker to another (it can be very thick)
  • Lavash (Armenia): similar dough to tabun, but rolled or thrown to be wafer thin before baking
  • Naan (India): between a tabun and a focaccia in thickness, often flavoured with ghee, nigella seeds or other ingredients.
  • Pita: thickness somewhere between lavash and naan, baked quickly at high heat to puff up into a pocket for filling.
  • Tabun: thickness starts similar to pita, but baked more slowly for a more pillowy texture.
  • Finally, there’s Persian flatbread (Nan Barbari), which is probably my favourite of the lot of them, which has the generous softness of a focaccia but with Middle Eastern flavours instead of the oil. I’ve already done a Persian bake in this series, so I’ll just point you at Sabrina Ghayour’s Persiana as the source of a fabulous Nan Barbari recipe. The Afghans do their own version (Nan Afghani), so this may appear in a future post – but first, when I stop being worried about lockdown, I want to go and watch them at the Afghan shop a few km from my home.

The dough

The quantities here make four flatbreads.

  • 5g dried yeast
  • 10g sugar
  • 200g lukewarm water (around 40℃)
  • 25g olive oil
  • 300g strong white flour
  • 10g salt
  1. Combine yeast, sugar and water, leave for a few minutes until frothy.
  2. Combine flour and salt. Add the wet mixture and the olive oil and mix until smooth.
  3. Knead until stretchy. I found these quantities too small to work properly with the dough hook in my stand mixer, so I did the kneading by hand. If you double the recipe, the stand mixer should work fine.
  4. Leave to rise until doubled in size (1-2 hours depending on ambient temperature and the temperature of the water you used).
  5. Divide the dough into four, roll into flat circles of around 5mm thick. Personally, I seem to be incapable of rolling a perfect circle, so mine tend to end up oval, heart-shaped or some crazy irregular alternative. This doesn’t seem to matter too much.

The Pita version

  1. Place a pizza stone in your oven and preheat the oven to 250℃ fan
  2. When you’re ready to bake, give a circle of dough an extra roll (it’s probably shrunk a bit).
  3. Working quickly, open the oven, take the stone out, place the circle of the dough on the stone and put back into the oven. If you have space for two at a time, great.
  4. Bake for around 8 minutes (you can turn the bread half way if you want, but that’s not essential) until puffed up and crisp.
  5. Repeat for the remaining flatbreads.

The Tabun version

  1. Pour baking beads into a skillet. If using an oven, preheat it to 200℃ fan. If using the hob, heat your skillet until everything is very hot.
  2. When you’re ready to bake, give a circle of dough an extra roll (it’s probably shrunk a bit).
  3. Lay the circle of dough over the beads. If using the oven, put the skillet back in.
  4. The flatbreads should each take around 10 minutes to cook. You’ll want to turn them over half way.
Around the world in 80 bakes, no.32: Ma’amoul – semolina cookies from Lebanon

Around the world in 80 bakes, no.32: Ma’amoul – semolina cookies from Lebanon

The biscuit tin (Americans: read “cookie jar”) was empty. So it was time to head back to the Middle East to refill it, in the shape of ma’amoul, filled cookies made from a shortbread dough rich in semolina. The filling is usually made of dates and/or nuts (usually pistachios, almonds or walnuts): for this first attempt, I used a date and walnut mix.

I’ve gone for a very simple, easy version of ma’amoul, using baking powder rather than yeast and eschewing any overnight resting. Even allowing for an hour’s resting, this takes not much over 90 minutes start to finish. The result was a crumbly, tasty biscuit that wasn’t excessively sweet and that I would definitely make again.

I used good quality soft medjool dates, which are easy to purée to paste with good consistency; various Middle East recipes consider that making your own date paste is tedious, preferring commercially made product.

Once ma’amoul have been filled and formed into their balls, they are often pressed into a patterned wooden mould, because (a) it makes them look pretty and (b) if you’re making more than one different filling, you can use a different pattern for each one. Strangely enough, I don’t own a ma’amoul mould, and if I bought the approved piece of specialist equipment for every item I fancy baking, my house would be filled several times over with baking junk, so I improvised the desired dome shape using a gravy ladle and a coffee tamper. It’s not like I expect everyone to have a gravy ladle, but you get the idea. If you’re doing more than one filling but you don’t have multiple moulds, you can try doing your own decorating by punching indents with a fork or skewer.

This recipe made 16 generously sized ma’amoul. Photo warning: these are more cracked and crumbly than I’d like. I should have added a bit more water to the dough.

The dough

  • 110 g butter
  • 40g icing sugar
  • 240g semolina flour
  • 160g plain flour
  • 4g baking powder
  • 30g milk
  • 30g orange blossom or rose water
  1. Pour everything into the bowl of your stand mixer and mix the whole lot for one or two minutes until thoroughly smoothly combined. The dough should be wet enough to be able to pick up stray bits of flour from the side of the bowl, but no more than that. If it’s sticky, add a bit more flour. If it’s really crumbly, add a bit more milk.
  2. Form the dough into a ball, and leave to stand at room temperature for around an hour.

Filling and baking

The quantities given are what I made as shown in the photos. The next time I make ma’amoul, I’m planning to use 200g dates and no walnuts – I’m not convinced they complement each other and I’d prefer a bit more filling. I would do a walnut filling as an alternative, chopping some 100g of walnuts very finely, adding a couple of teaspoons of syrup and making them into a paste.

  • 40g walnuts
  • 125g medjool or other soft dates
  • Icing sugar for dusting
  1. Preheat oven to 180℃ fan
  2. Chop the walnuts coarsely and toast them in a dry pan for a minute or two until fragrant.
  3. If your dates aren’t pitted, take the stones out now.
  4. Blitz the dates to a soft puree. Add a tiny amount of water if you need to, or more if your dates were quite hard. You could add sugar syrup rather than water if you want a sweeter filling.
  5. Have a 40x30cm baking sheet ready.
  6. Divide your dough into 16 parts, form each part into a ball
  7. Divide your filling into 16 parts, form each part into a ball
  8. Roll out a ball of dough flat and wide enough that you’ll be able to wrap it round your ball of filling
  9. Place a ball of filling in the middle of your dough, then stretch it over to cover.
  10. Press the whole ball into your mould (or, in my case, gravy ladle)
  11. Take the cookie out of the mould and place on your baking sheet
  12. When you’ve done all 16 ma’amoul, put the baking sheet into the oven and bake them for 15 minutes. They should be a pale brown colour: don’t bake them as far as the more usual “golden brown”.
  13. On removal from the oven, dust with icing sugar to taste.
Around the world in 80 bakes, no.27: Lavash from Armenia

Around the world in 80 bakes, no.27: Lavash from Armenia

Everyone agrees that Armenia’s national bread is baked in a tandoor-type oven and is called Lavash. Beyond that, however, it gets confusing: there’s yeasted or unleavened Lavash, there’s thick, puffy Lavash or wafer-thin crispbread Lavash. I’ve gone for a thin, yeasted version, soft enough to use as a wrap bread.

The Wikipedia article on Lavash has a fabulous short video of two Armenian women making the bread: they toss the sheets of dough and fold them over forearms before one of them stretches it impossibly thin then places it on a rounded wooden board just suited for slapping it into the oven such that it sticks to the inside. You can’t really come close to replicating that in a Western kitchen, both because a domestic oven doesn’t behave remotely like the large wood-fired Middle Eastern version and because of the years of skill required to stretch the dough the way they do. Still, my approximation wasn’t bad, using wooden boards, a large rectangular pizza stone and a fan oven turned up to maximum.

As with most baking, you can rely on the quantities shown here but you can’t rely on the timings: they’re all far too dependent on the temperature and humidity of your kitchen,  the exact characteristics of your oven and on how thin you dare stretch the dough. Lavash should be pretty tolerant of a half hour or more either way on the rise times, but where you really need to watch it is on the baking time. At three minutes, my first one turned to crispbread: delicious, but with no possibility of using it for wrapping. Two minutes was a bit on the doughy side; two and a half was just about perfect.

  • 350ml warm water (around 40℃)
  • 8g dried yeast
  • 20g sugar
  • 500g strong white flour, plus plenty more for rolling
  • 10g salt
  • sunflower or olive oil for coating
  1. The usual start for bread: mix the water, yeast and sugar and wait for it to go foamy.
  2. Mix the flour and salt.
  3. Blend your wet and dry mixes to form a dough, then knead in a stand mixer for around 10 minutes.
  4.  Brush some oil over the inside of a large bowl. Form your dough into a ball and put it in the bowl, then brush more oil to coat the top of the ball also.
  5. Cover and leave to rise for around 90 minutes at room temperature, until the dough is large and nicely stretchy.
  6. When the dough has nearly risen, put your pizza stone into the oven and preheat to its highest temperature (mine was 250℃ fan)
  7. Punch the dough back, divide the dough into eight pieces and put each piece back into the bowl, coating it with oil as you go.
  8. Cover and leave to rise for another 30 minutes
  9. Once the dough is rising, get everything ready for rolling and baking: once you start putting things in the oven, you’re going to want to work quickly. Choose a board that you’re going to roll the bread onto and flour it generously. Have your flour jar, a spoon, a rolling pin and a scraper ready. And have a basket ready for the finished Lavash, lined with a tea towel and with a second towel next to it ready to be used as a cover.
  10. Take a ball of dough and roll it flat: make sure there’s plenty of flour on the board, on your rolling pin and on both sides of your ball of dough, or it will stick. When you’ve rolled it as flat as possible, if you dare, throw it back and forth over your forearm a few times to stretch it further.
  11. Now the tricky part: working quickly, open your oven, pull the stone out, lay the sheet of dough onto the stone, push it back into the oven and close the door. Set a timer for 2½ minutes.
  12. While the first Lavash is baking, roll out and stretch the next one.
  13. Open the oven, take out the Lavash and put it in your basket, lay out the second sheet on the stone, close the oven and reset your timer. Cover the bread with the second tea towel to keep it warm.
  14. Repeat until you’ve done all eight balls.

Our wrap filling, created by my daughter, was a layer of yoghurt and dill, shredded roast spiced chicken, and a salad of finely diced tomato and baby cucumber. The resulting meal was simple, outstandingly full of flavour and worth way more than the sum of its parts.

Around the world in 80 bakes, no.20: Aish baladi from Egypt

Around the world in 80 bakes, no.20: Aish baladi from Egypt

Aish baladi is the Egyptian wholemeal version of the bread more generally known in the Middle East as “khubz arabi” (Arab bread) or in the West as “pita bread”. It’s a small, flat bread baked at high temperature which forms a pocket into which you will be stuffing your hummus, ful medames or other goodies.

Traditionally, aish baladi is baked in a very hot, wood-fired, open topped clay or brick oven (the Arab version is called a tabun, the Indian one a tandoor): the bread against the hot sides and left there for a very short time. That’s always going to make it difficult to replicate in a standard Western kitchen, the key requirement being to take your circle of dough from room temperature to high heat as fast as you possibly can. It’s the suddenness of this process that causes the water in the middle of the bread to vaporise quickly; the pressure from the resulting steam causes the two sides of the dough to separate and form the pocket.

The Saveur recipe I started from suggests that you use a pizza stone: I don’t have one, but I do have non-stick frying pans that can go into a very hot oven: these work just fine if I wind my oven up the its maximum temperature. If I start with the bread on a standard baking tin at room temperature and put the whole thing into the oven, the result is perfectly edible bread, but without the puffed up pocket, which kind of loses the point.

The dough is a pretty straightforward yeasted wholemeal dough. I’ve broadly followed Saveur’s method (although I reduced the water content considerably – the dough from their recipe is really wet), but I suspect I could have used my standard method of “start the yeast with a teaspoon of sugar and some warm water” without a problem. Wholemeal wheat flour should be fine; if you want to be historically authentic, use emmer wheat; I used spelt. Do not use wholemeal rye flour, which doesn’t form enough gluten: my first attempt at aish baladi went comically wrong when I opened a packet of dark rye flour by mistake and couldn’t understand why interminable amounts of kneading appeared to be having no effect whatsoever.

  • 7g dried yeast
  • 240ml lukewarm water (around 40℃)
  • 300g wholemeal flour, plus more for rolling
  • 6g oil
  • 5g salt
  1. Mix the yeast, the water and half the flour in a bowl and leave for 30 minutes: it should go nicely frothy.
  2. Add in the oil, the salt and the rest of the flour and blend to a smooth dough. Knead for 7 minutes with the dough hook in a stand mixer, or around 10 minutes by hand.
  3. Leave to rise for around 90 minutes
  4. Put your pizza stone (or frying or baking pan) into the oven and preheat the oven to its hottest setting (mine is 250℃ fan)
  5. Flour a surface for rolling with more wholemeal flour. Use a generous amount.
  6. Cut the dough into 8 or 9 pieces, then roll each piece into a thin circle, perhaps 15cm in diameter. You may find it easier to go for an oval than a circle: make sure you know exactly how many pieces of dough are going to fit onto your stone or pan.
  7. Optionally, sprinkle the top of each circle with some bran (if you have it) or some of the excess flour from rolling.
  8. Leave to rise for a further 20-30 minutes.
  9. Prepare somewhere to keep the bread warm: I used a basket lined with a tea towel
  10. Now work quickly: open the oven, take the stone or pan out, and put one or more circles of dough onto it, put it back in and close the oven. The faster you can do this, the more likely you are to get the approved puffiness.
  11. Bake for around 6-8 minutes. Take the pan out, transfer the bread to your basket (or whatever you’re using) and repeat until you’ve done all the batches you want.

Be careful: bread straight out of the oven will be really, really hot: you want to give it a minute or two before allowing anyone to risk biting in or they’ll burn their mouths! But the bread is at its best in the next 10 minutes after that.