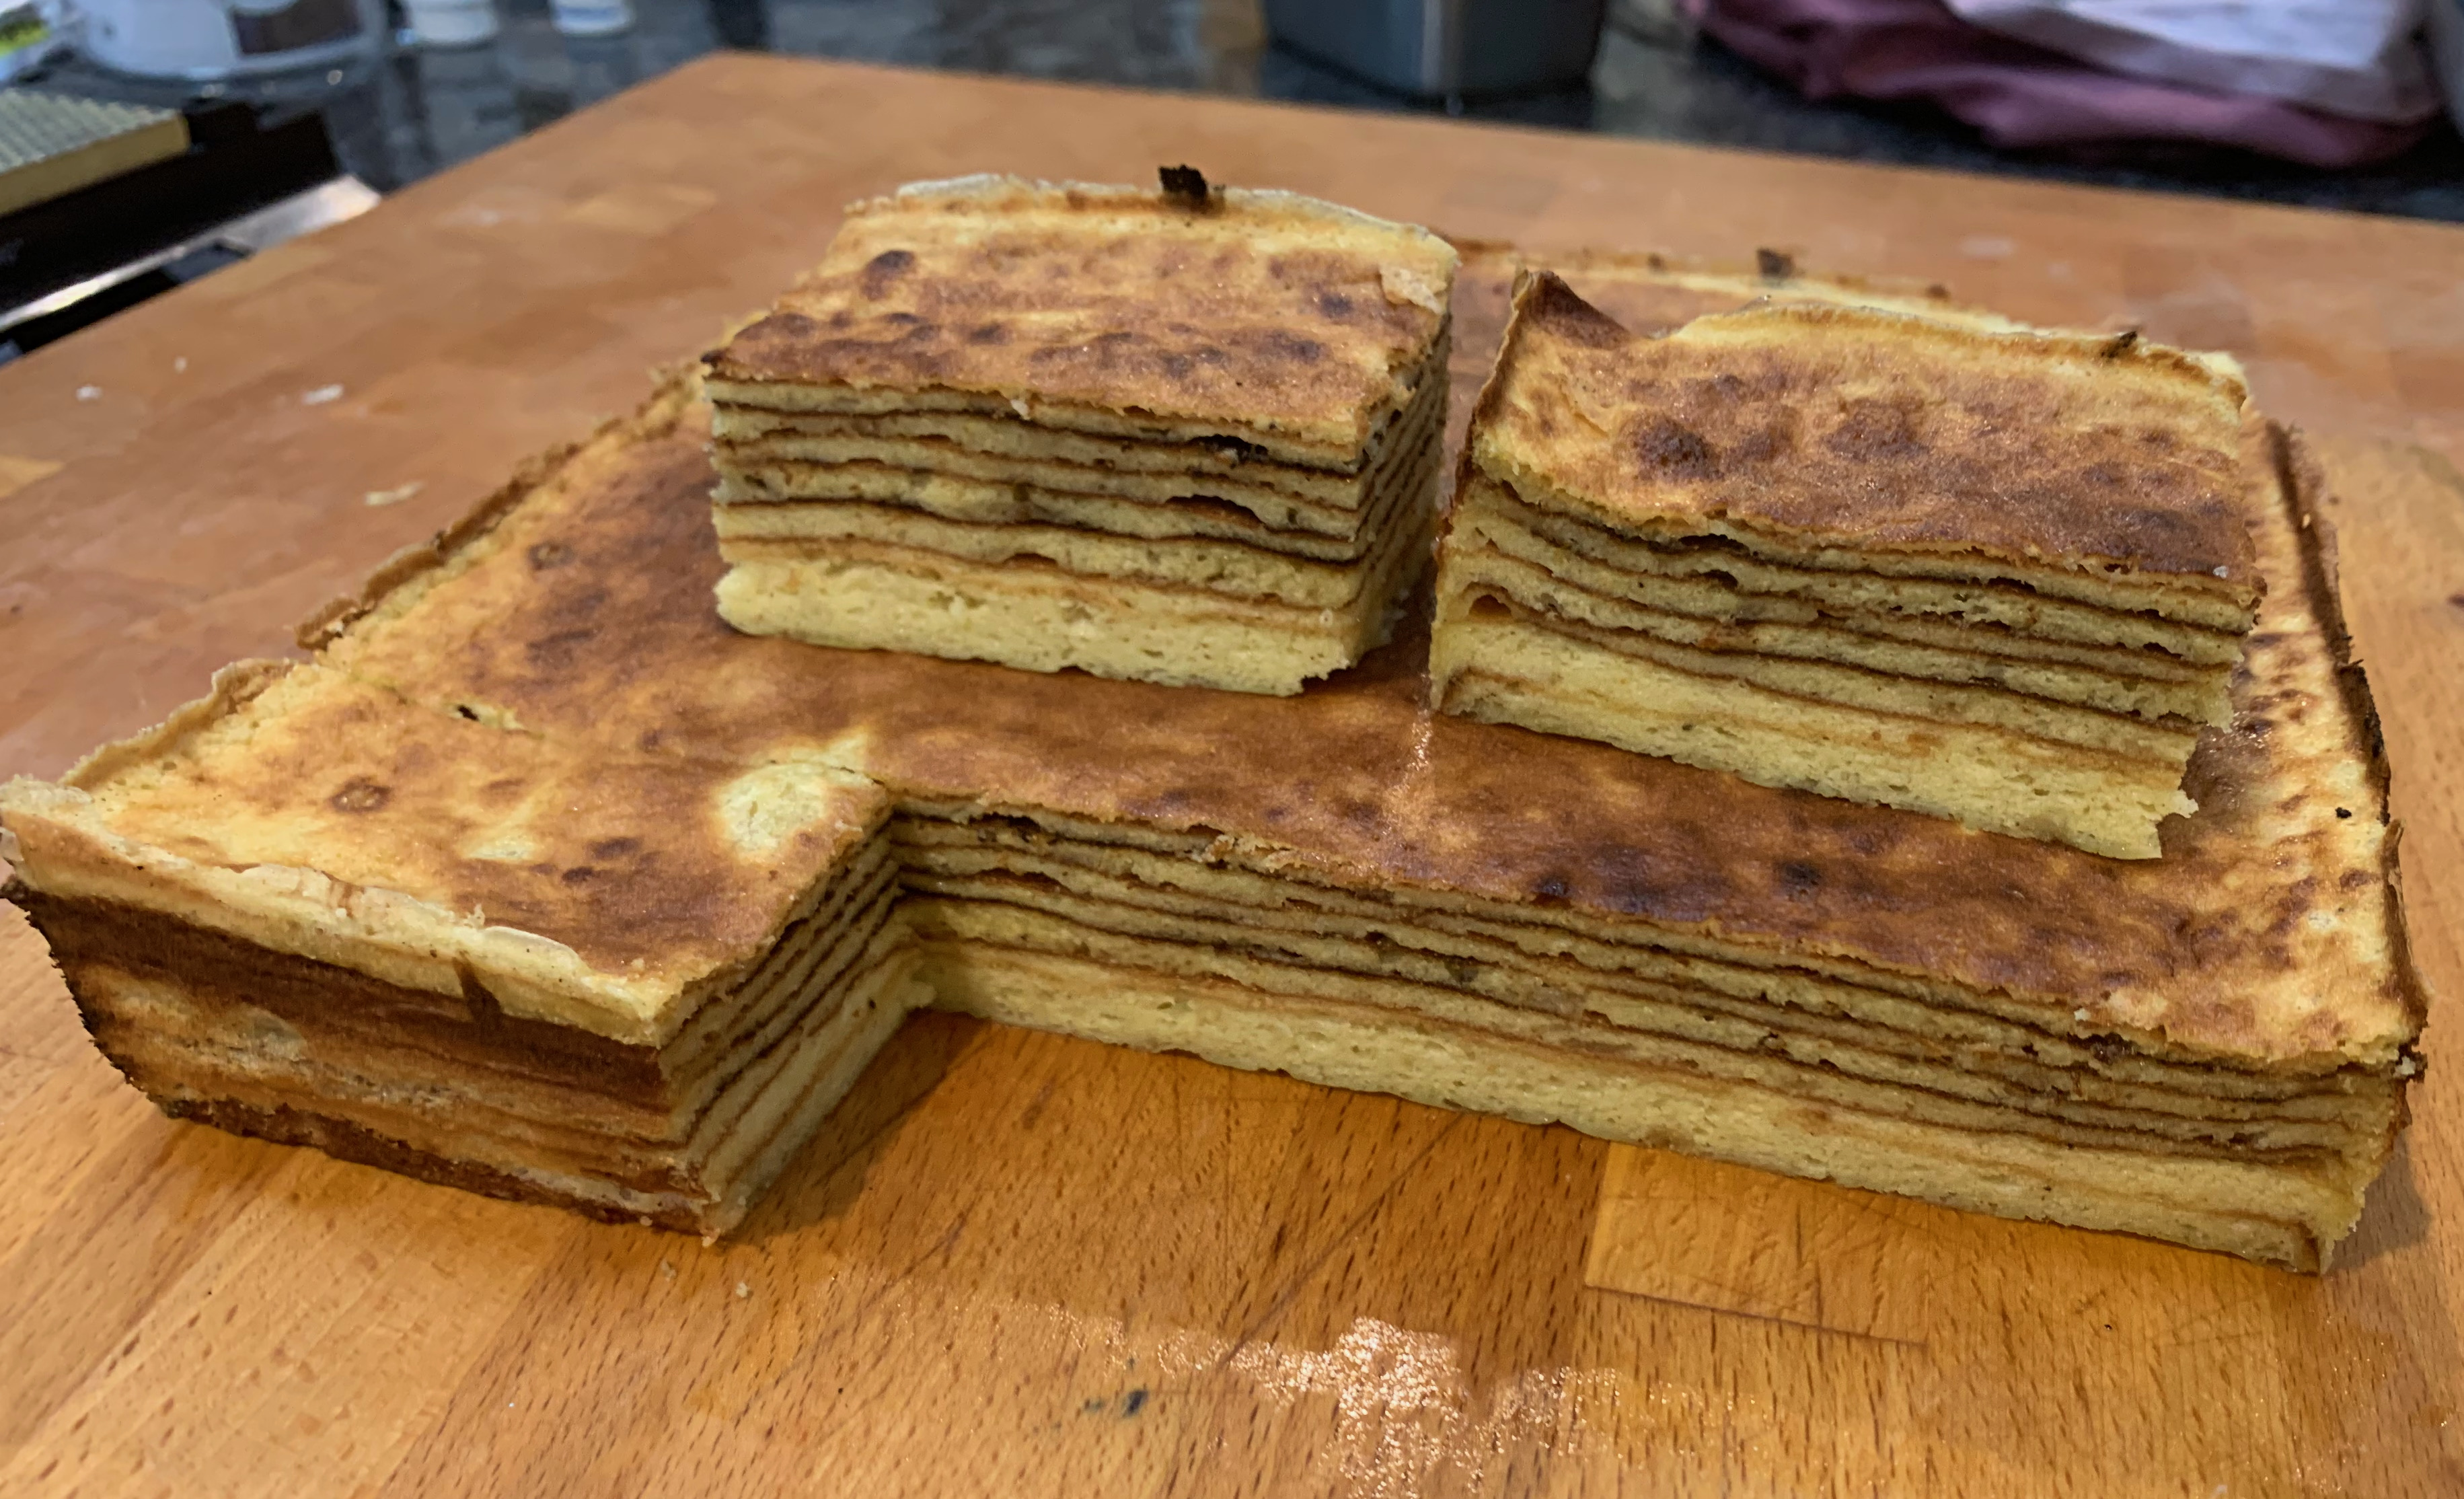
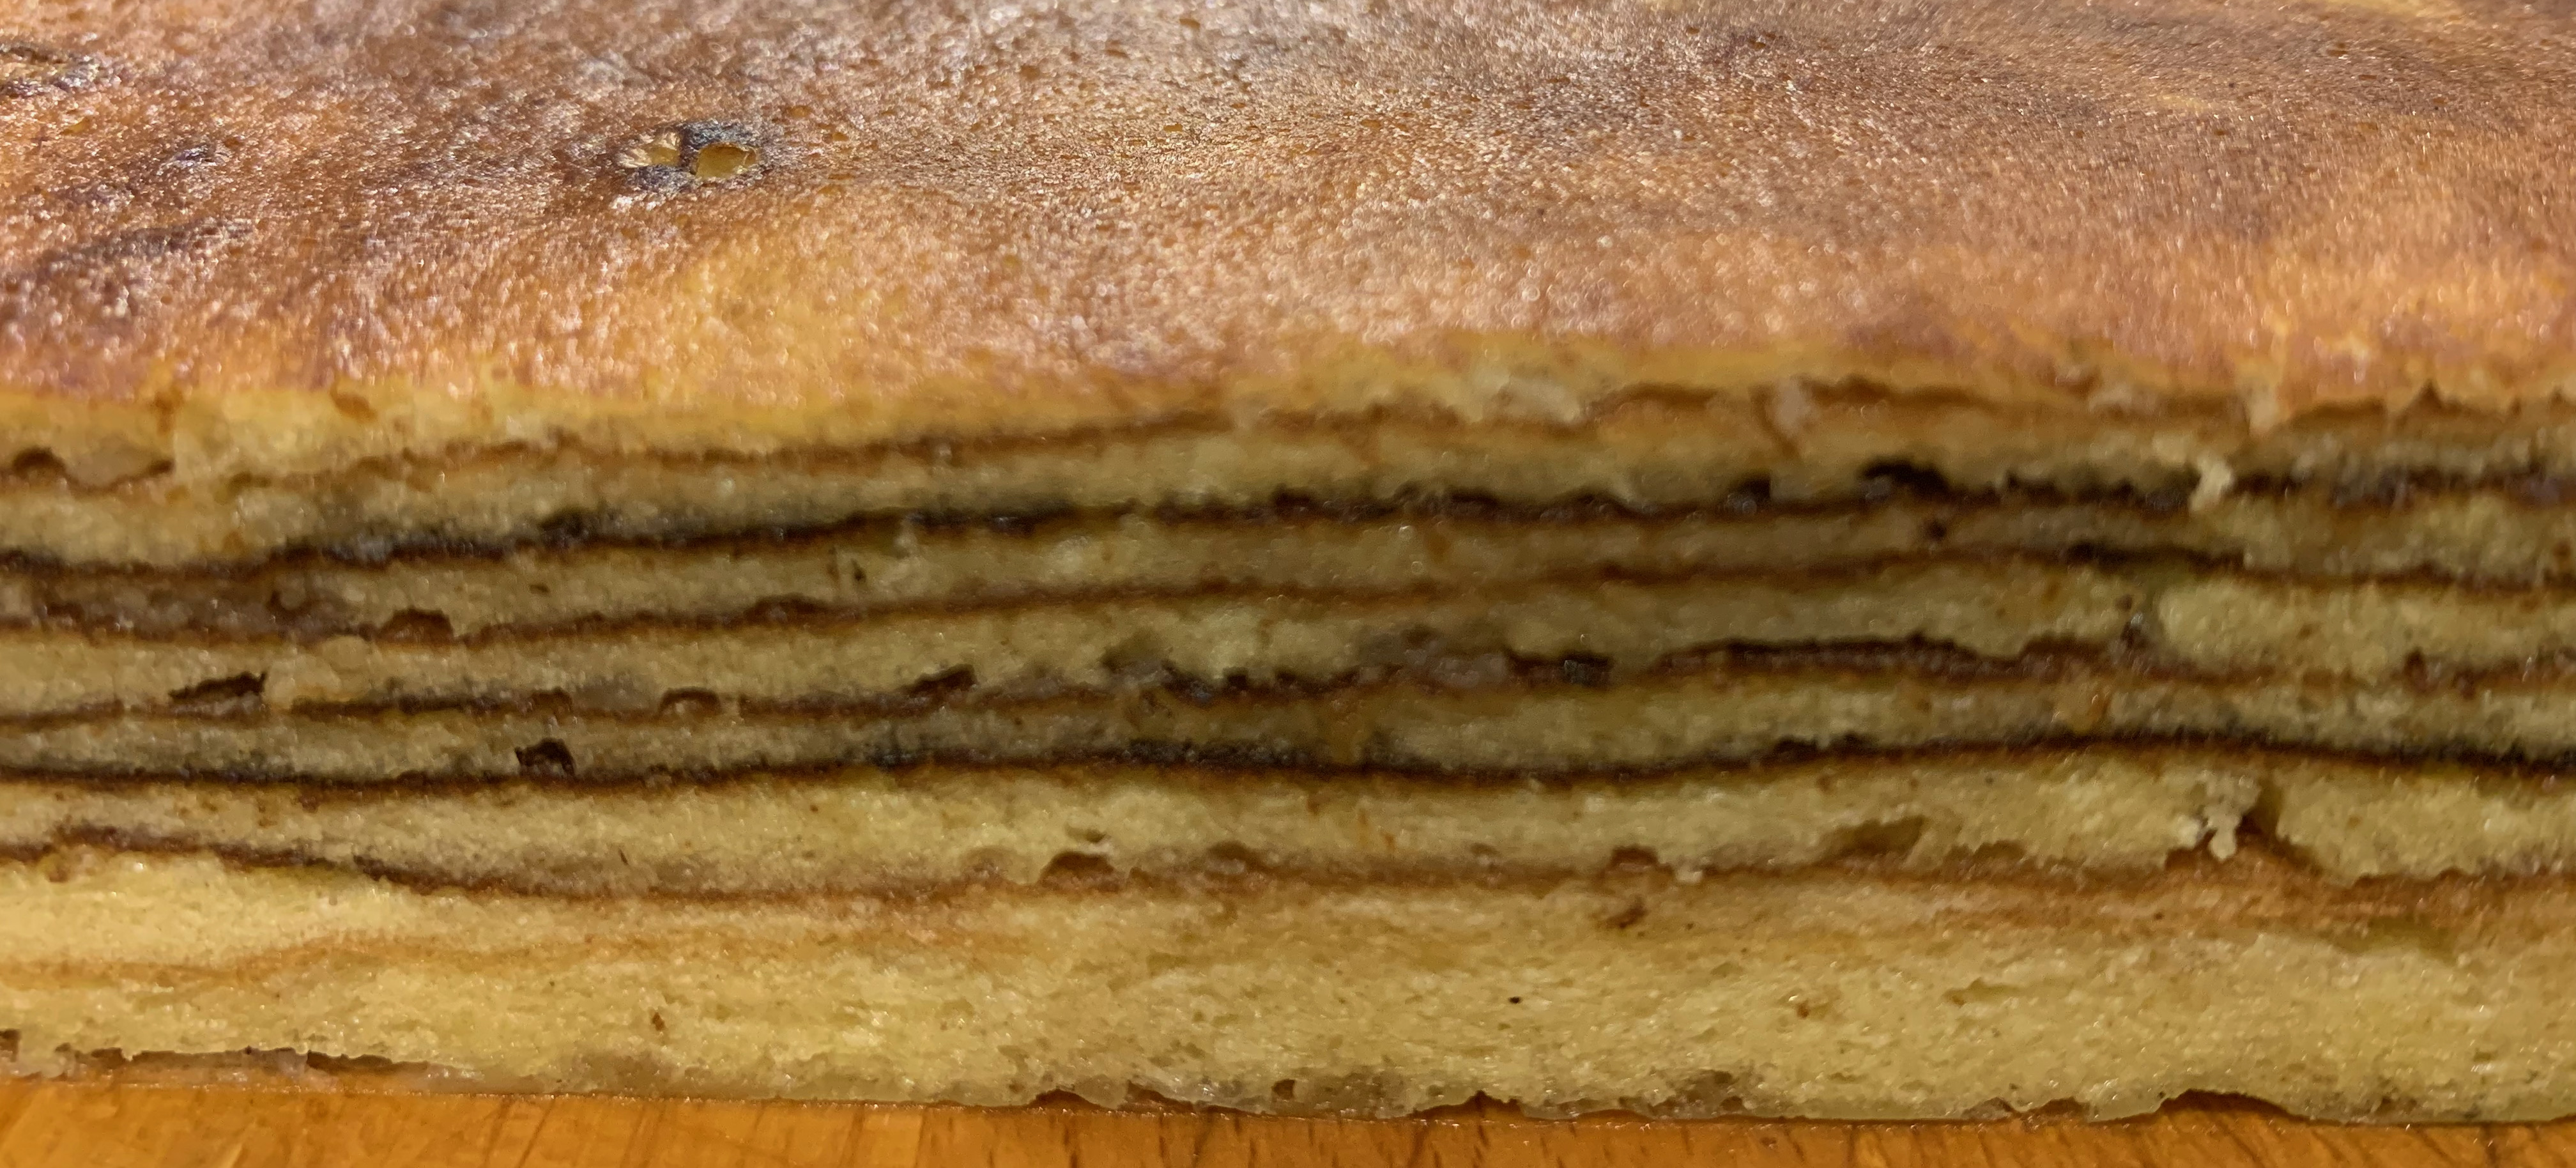
Several multi-layer cakes have featured in this series. But there’s one multi-layer cake to rule them all, which is distinguished by the thinness of the layers and the deliciousness of the caramelisation of each. It’s from the unlikely provenance of Indonesia, where it was originally baked by Dutch colonists, and it goes under several names. In Indonesian, it’s Kue Lapis Legit (Lapis Legit for short); in Dutch, its Spekkoek, named because the stripy layers that you see in cross-section reminded the Dutch of the layers in pork belly (“spek”).
What makes Lapis Legit unique is the cooking method: you spread a thin layer of fairly liquid batter over the cake and cook it under the grill (Americans: broiler) until brown and caramelised, repeating this many times to form the characteristic brown and yellow stripes of the cake’s cross section.
In neighbouring Sarawak (the half of Borneo that is in Malaysia rather than Indonesia), they have elevated Kek Lapis (as they call it there) to a fine art, using multiple colours for the layers and cutting the blocks to form intricate patterns. I’m sticking to the basic yellow-and-brown version, starting from this recipe in “Daily Cooking Quest” by Minnesota-based Indonesian cook Anita.
Although the cake looks complex, it’s not excessively time-consuming, certainly not so by comparison with some of the bread and patisserie items in this blog: it took me around two hours end-to-end plus half an hour’s cooling time. However, unlike normal cakes, that’s two hours of constant attention – there are virtually no periods of down time in which you can do something else while the cake is in the oven.
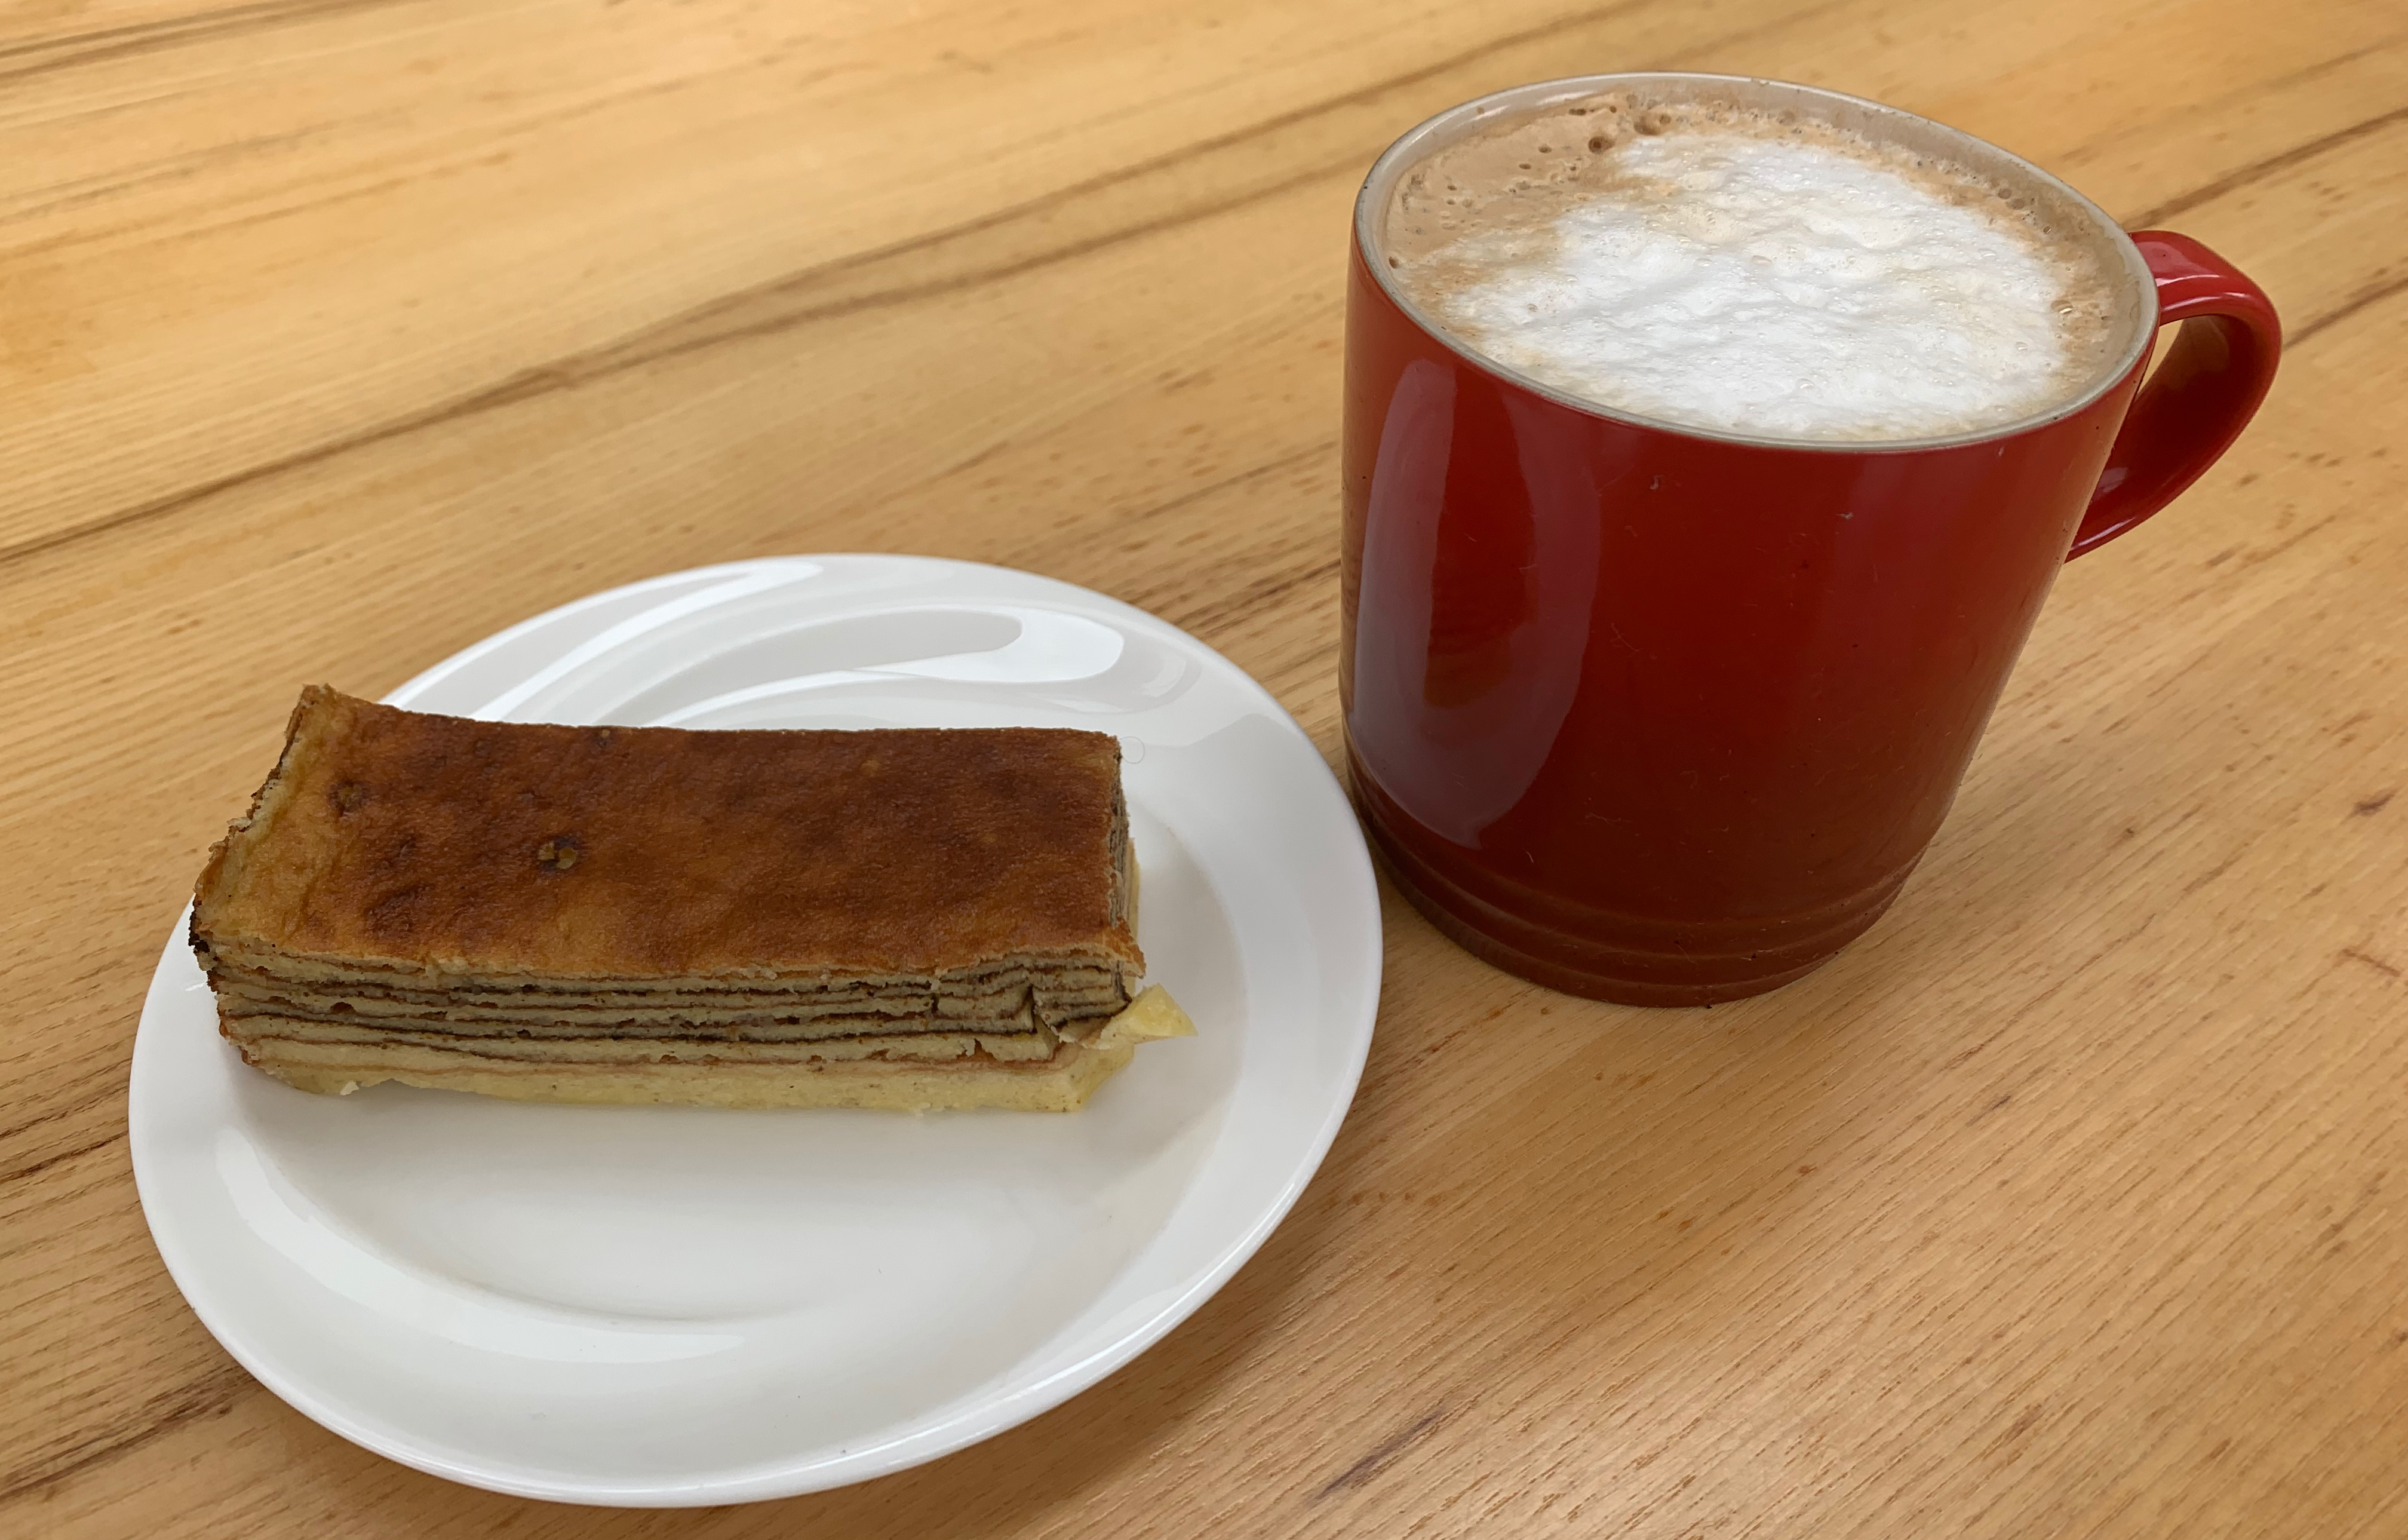
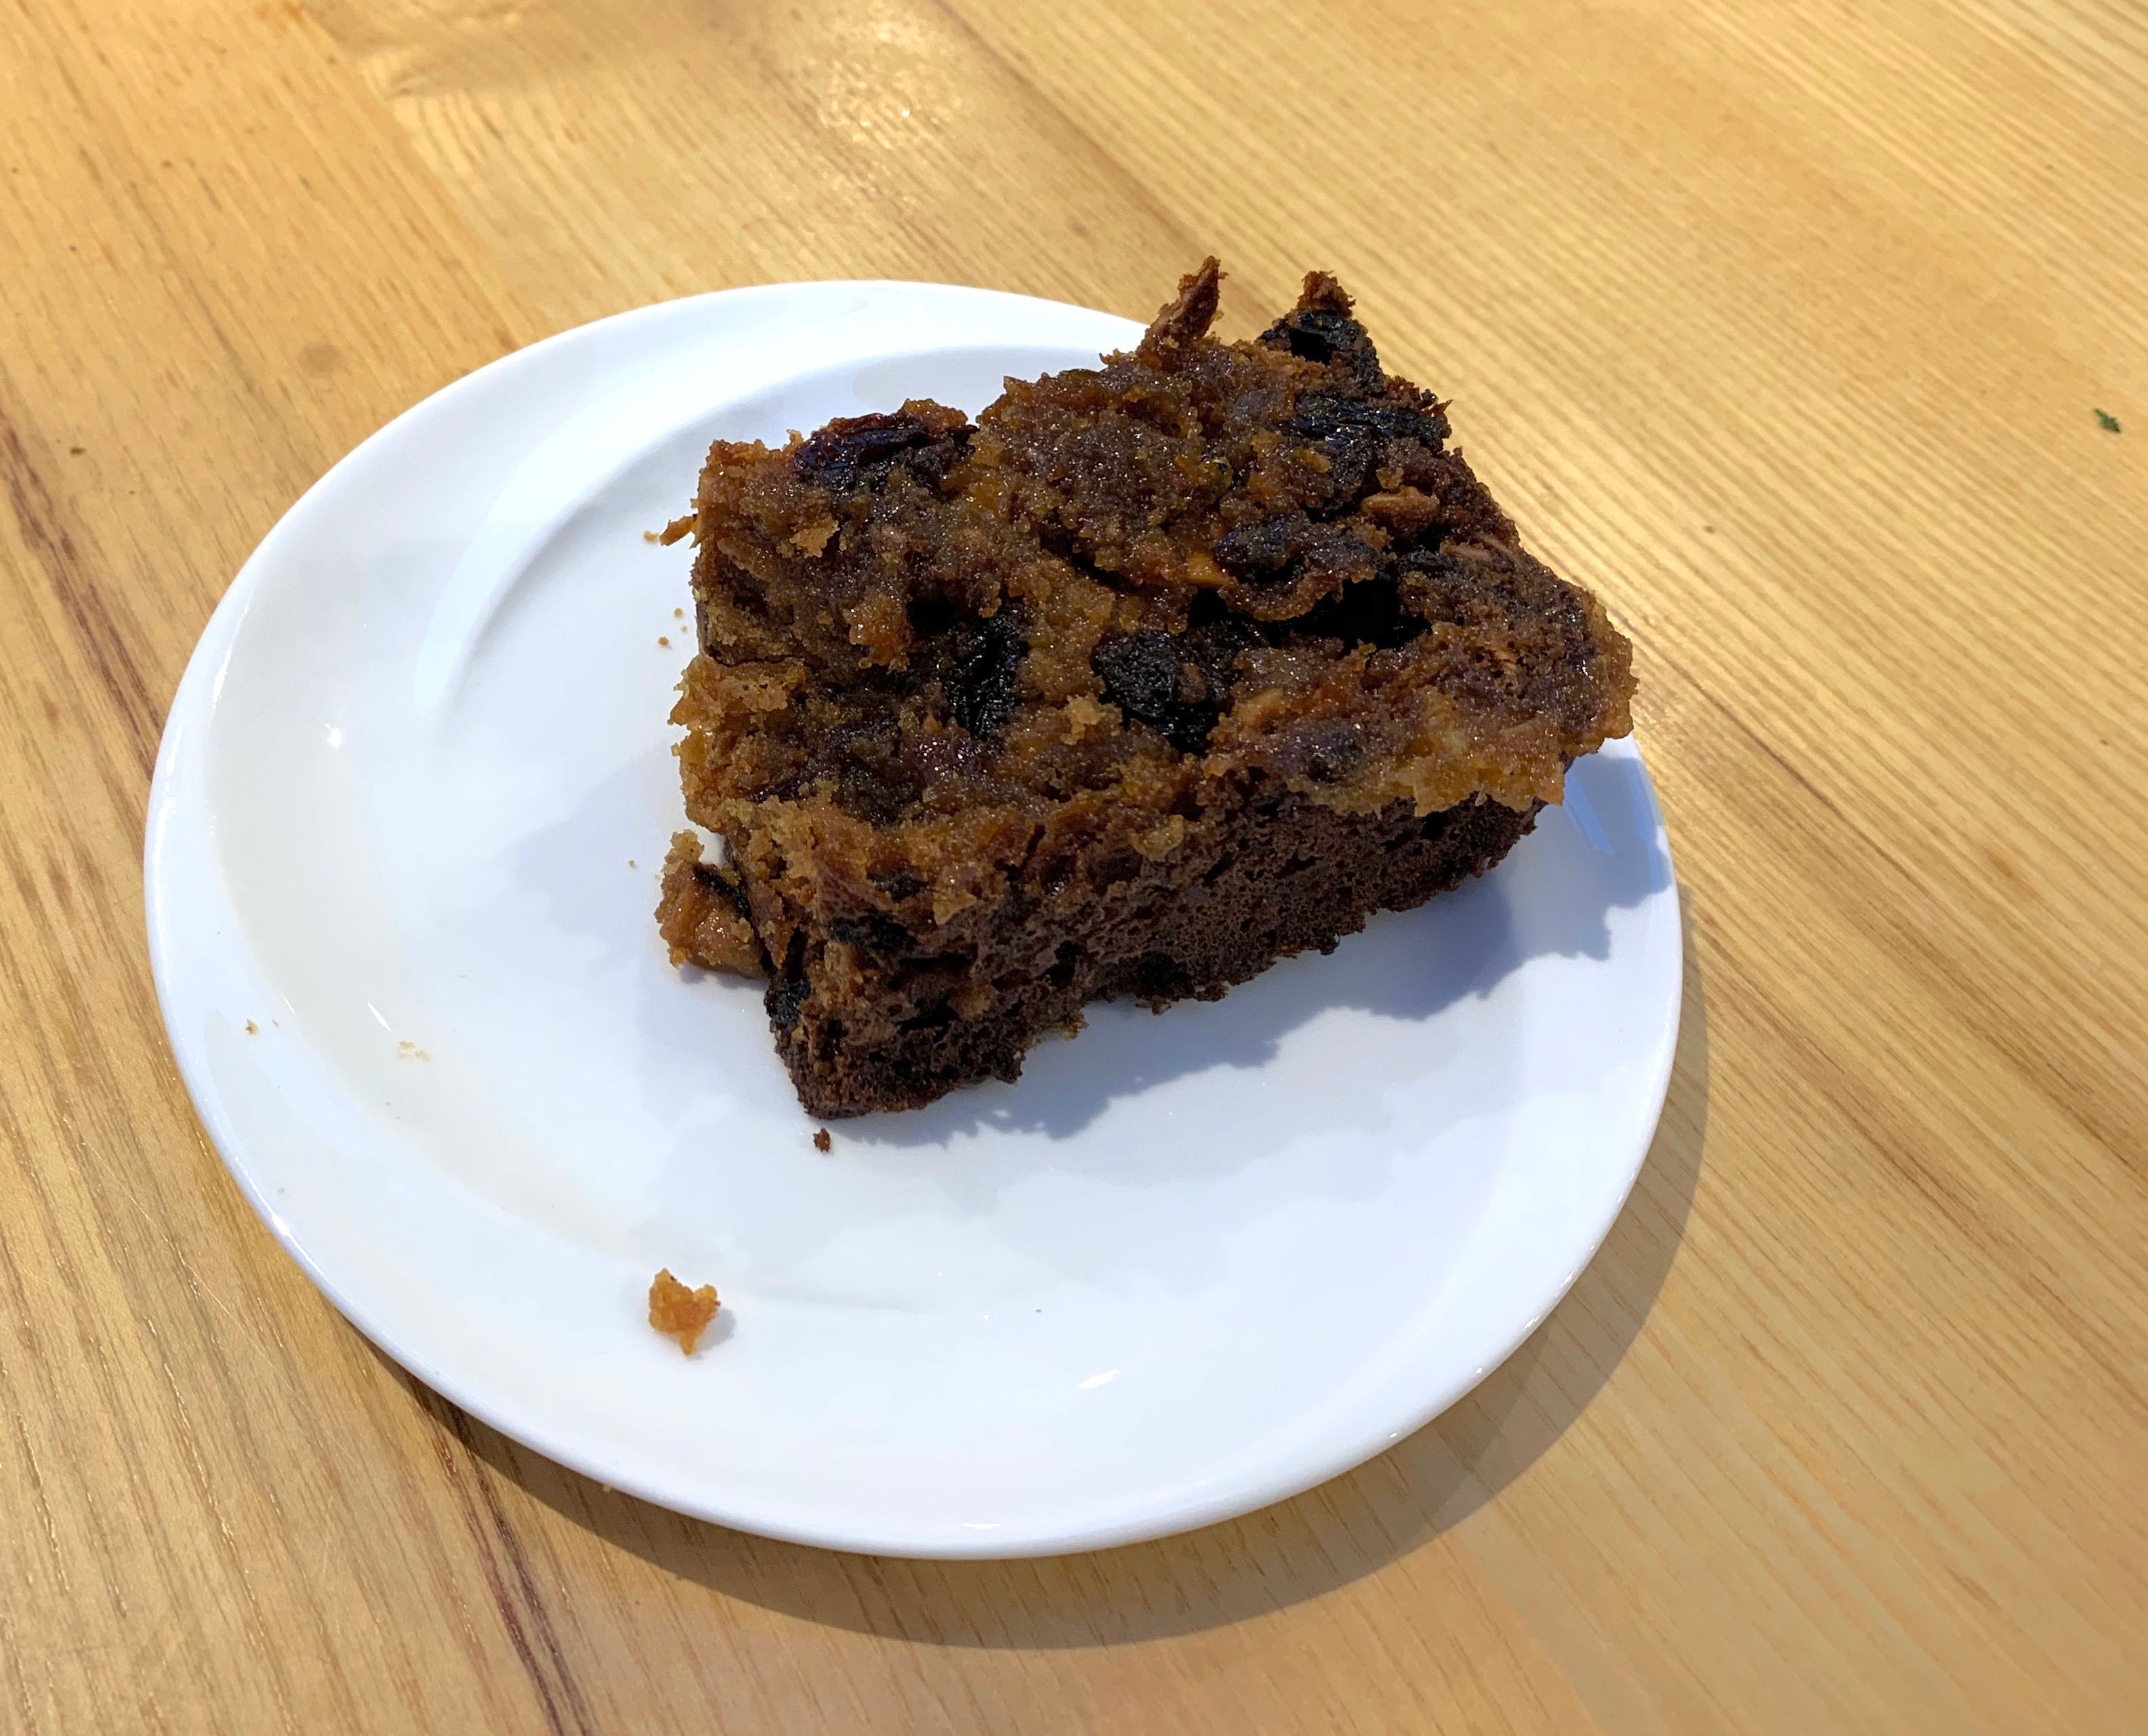
And the results, even on a first attempt, were absolutely worth it – one of the best and most interestingly different cakes I’ve made.
Setting up
- Preheat your oven to 200℃ fan.
- Use a cake tin with a removable base. If possible, use a square tin, because the cake cuts into rectangles really nicely: mine is 22cm square and worked OK, but 18-20cm would work better, giving you the opportunity for more layers. Line the bottom with baking paper, grease the sides with butter.
- You will need three bowls for your stand mixer. I only have two, so I improvised by making the sabayon mix in a separate copper bowl and using a hand mixer to whisk it, thus avoiding scraping and washing up in mid process.
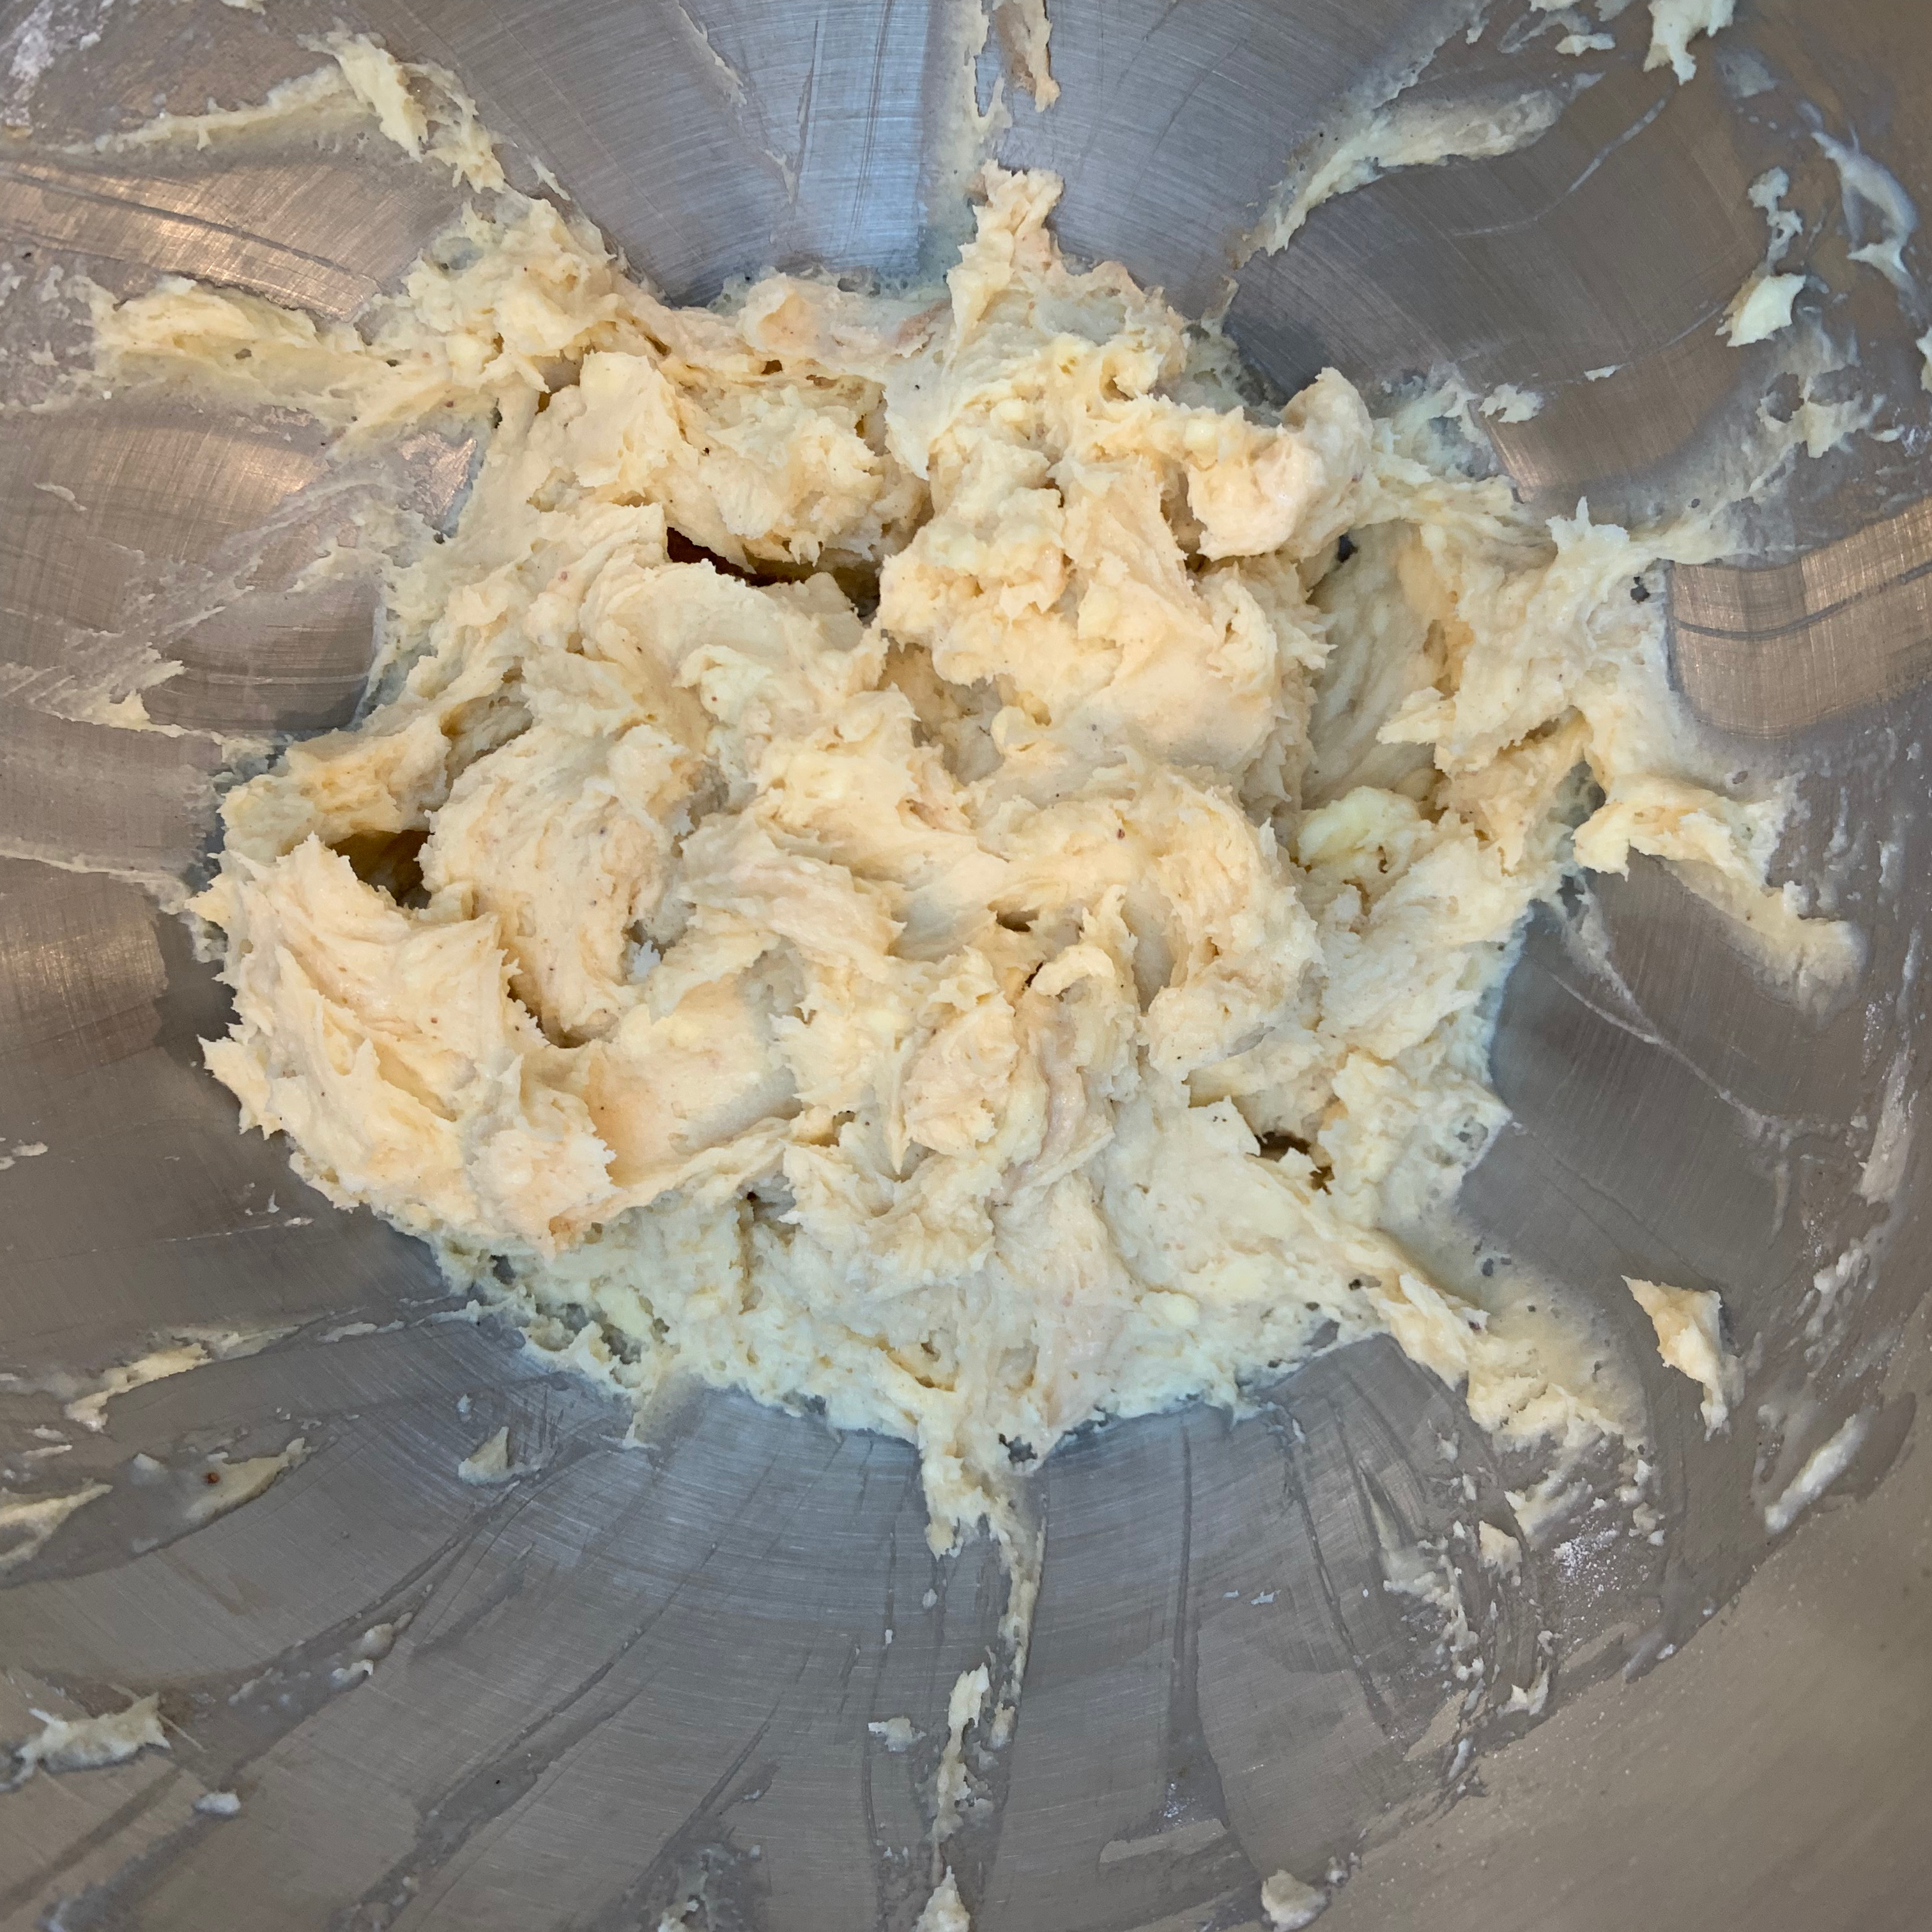
The butter base
- 300g butter
- 120g sweetened condensed milk
- 1 tbs rum
- 90g plain flour
- ¼ tsp salt
- ¼ tsp ground cinnamon
- ¼ tsp ground nutmeg
- ¼ tsp ground mace (if you have it – I didn’t)
- If your butter isn’t yet at room temperature, chop it into small pieces and leave it for a few minutes to soften.
- In your first mixing bowl, combine the butter, condensed milk and rum. With the standard beater, mix at medium speed until fluffy (Anita says 8 minutes – mine took half that).
- Mix flour salt and spices and add to the bowl, mix for another minute or so until smoothly combined.
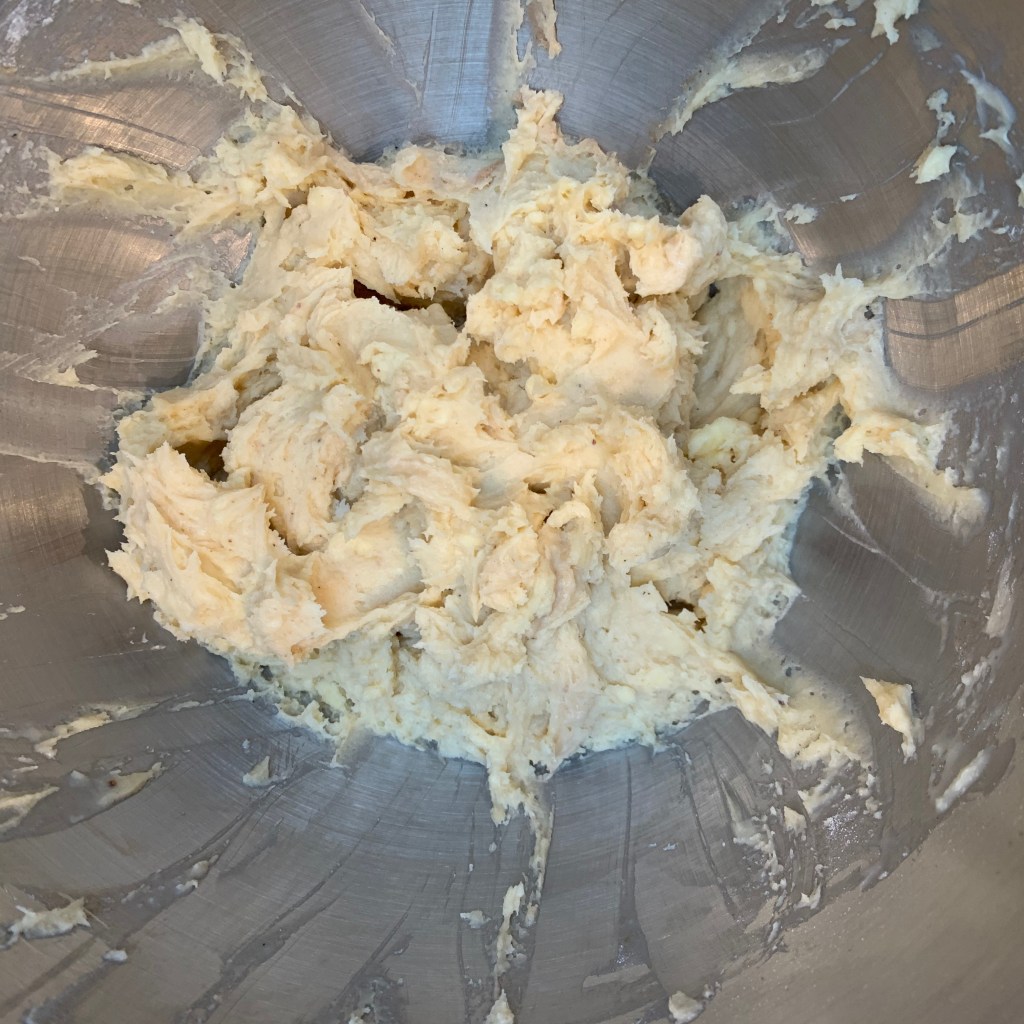
Butter base 
Sabayon mix 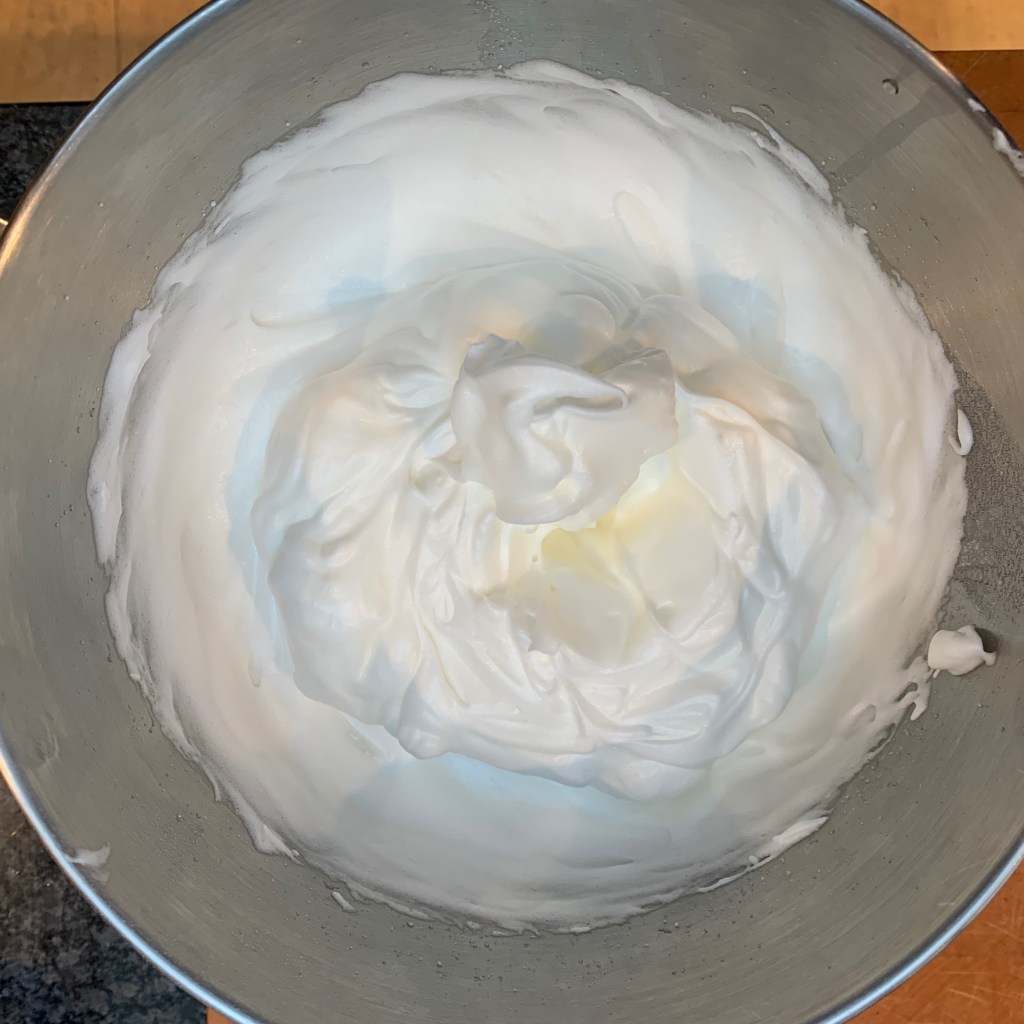
Meringue 
Butter base + sabayon 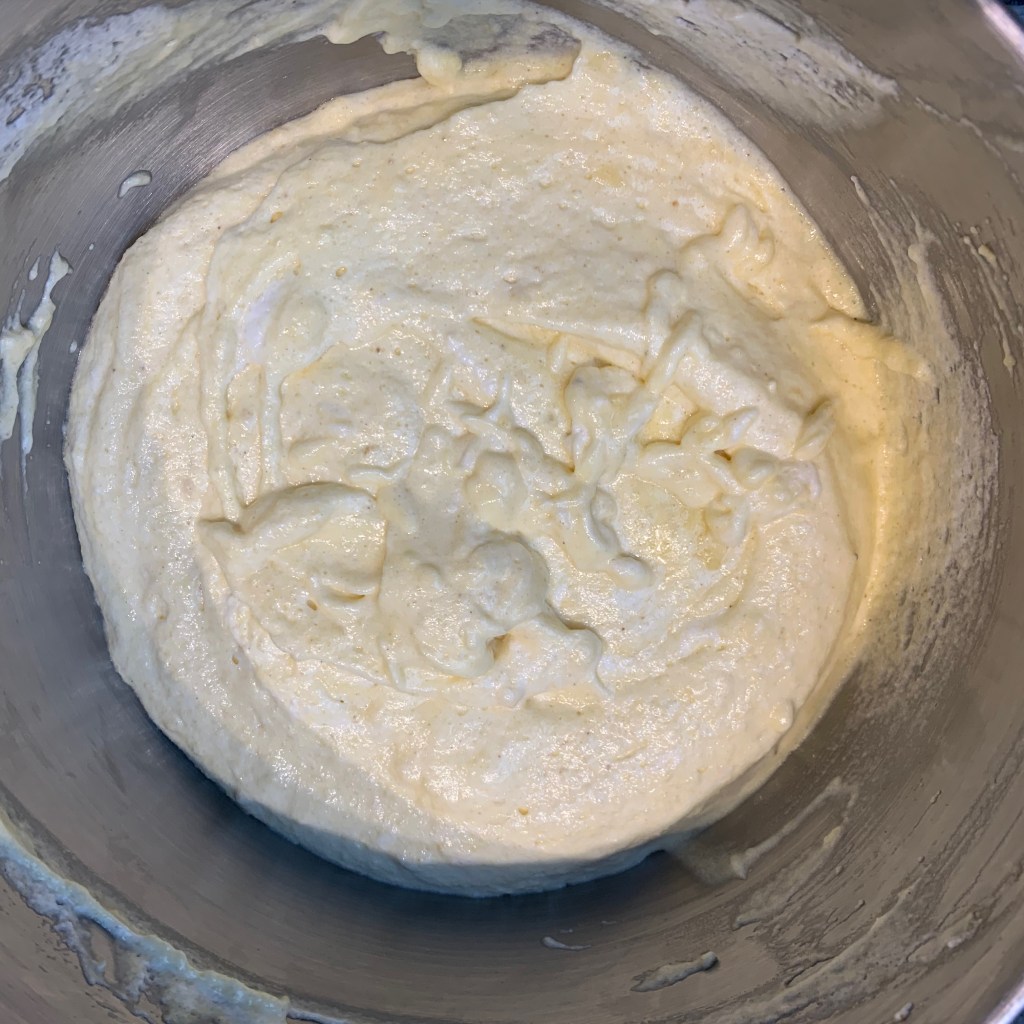
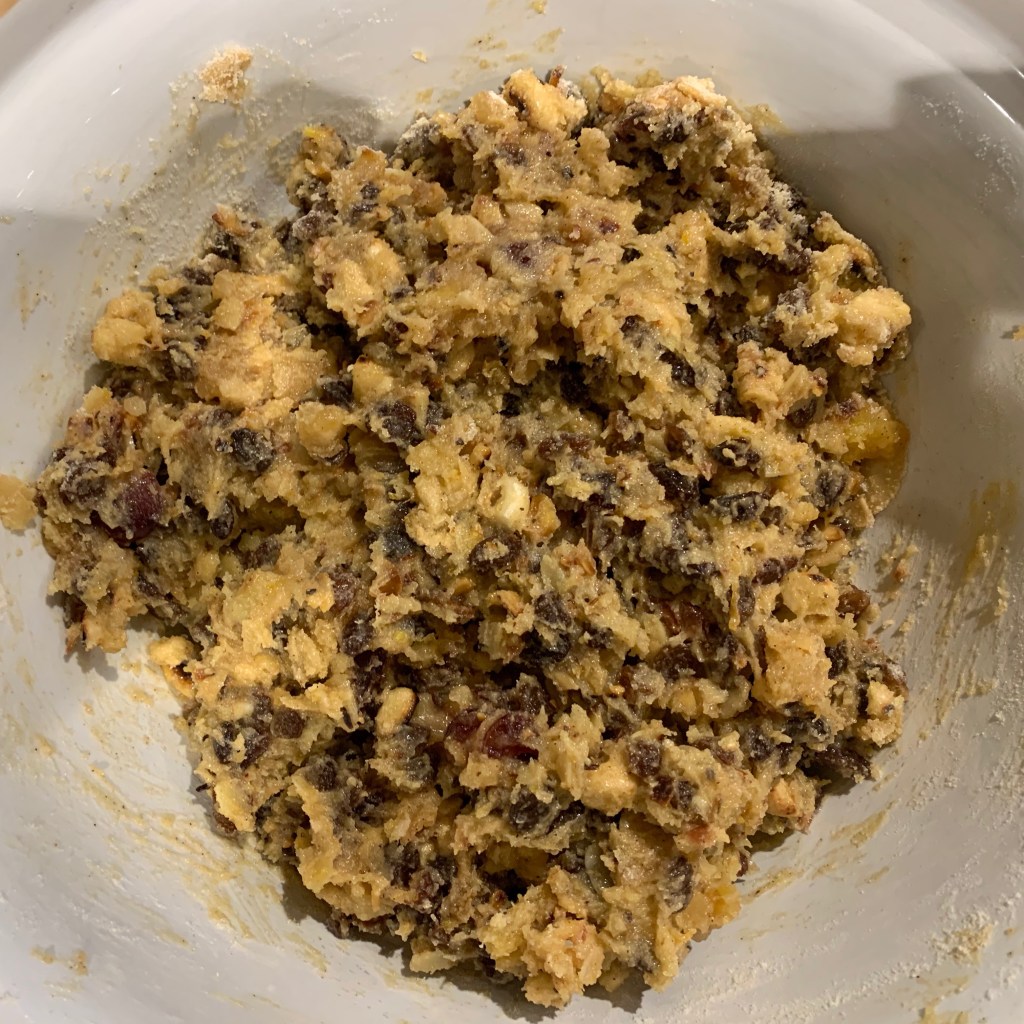
Final mixture 
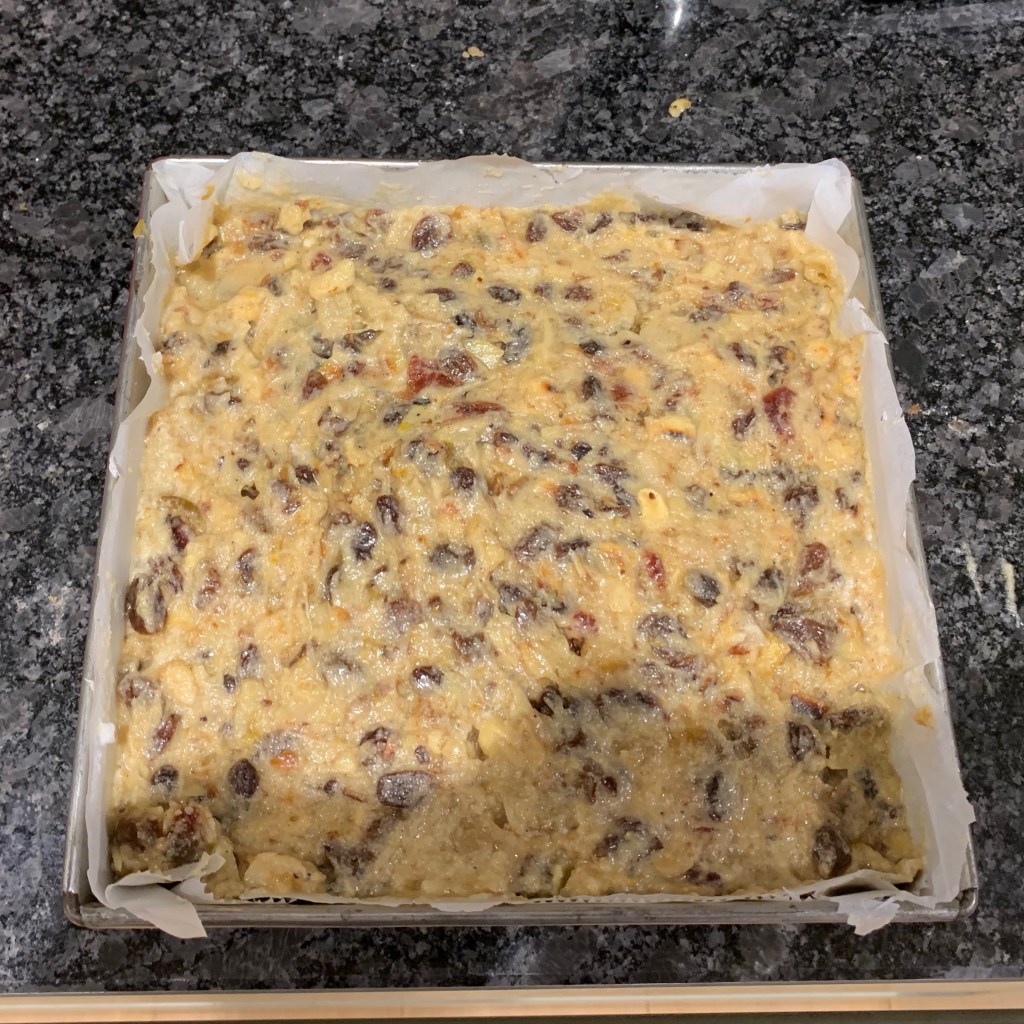
First layer in tin
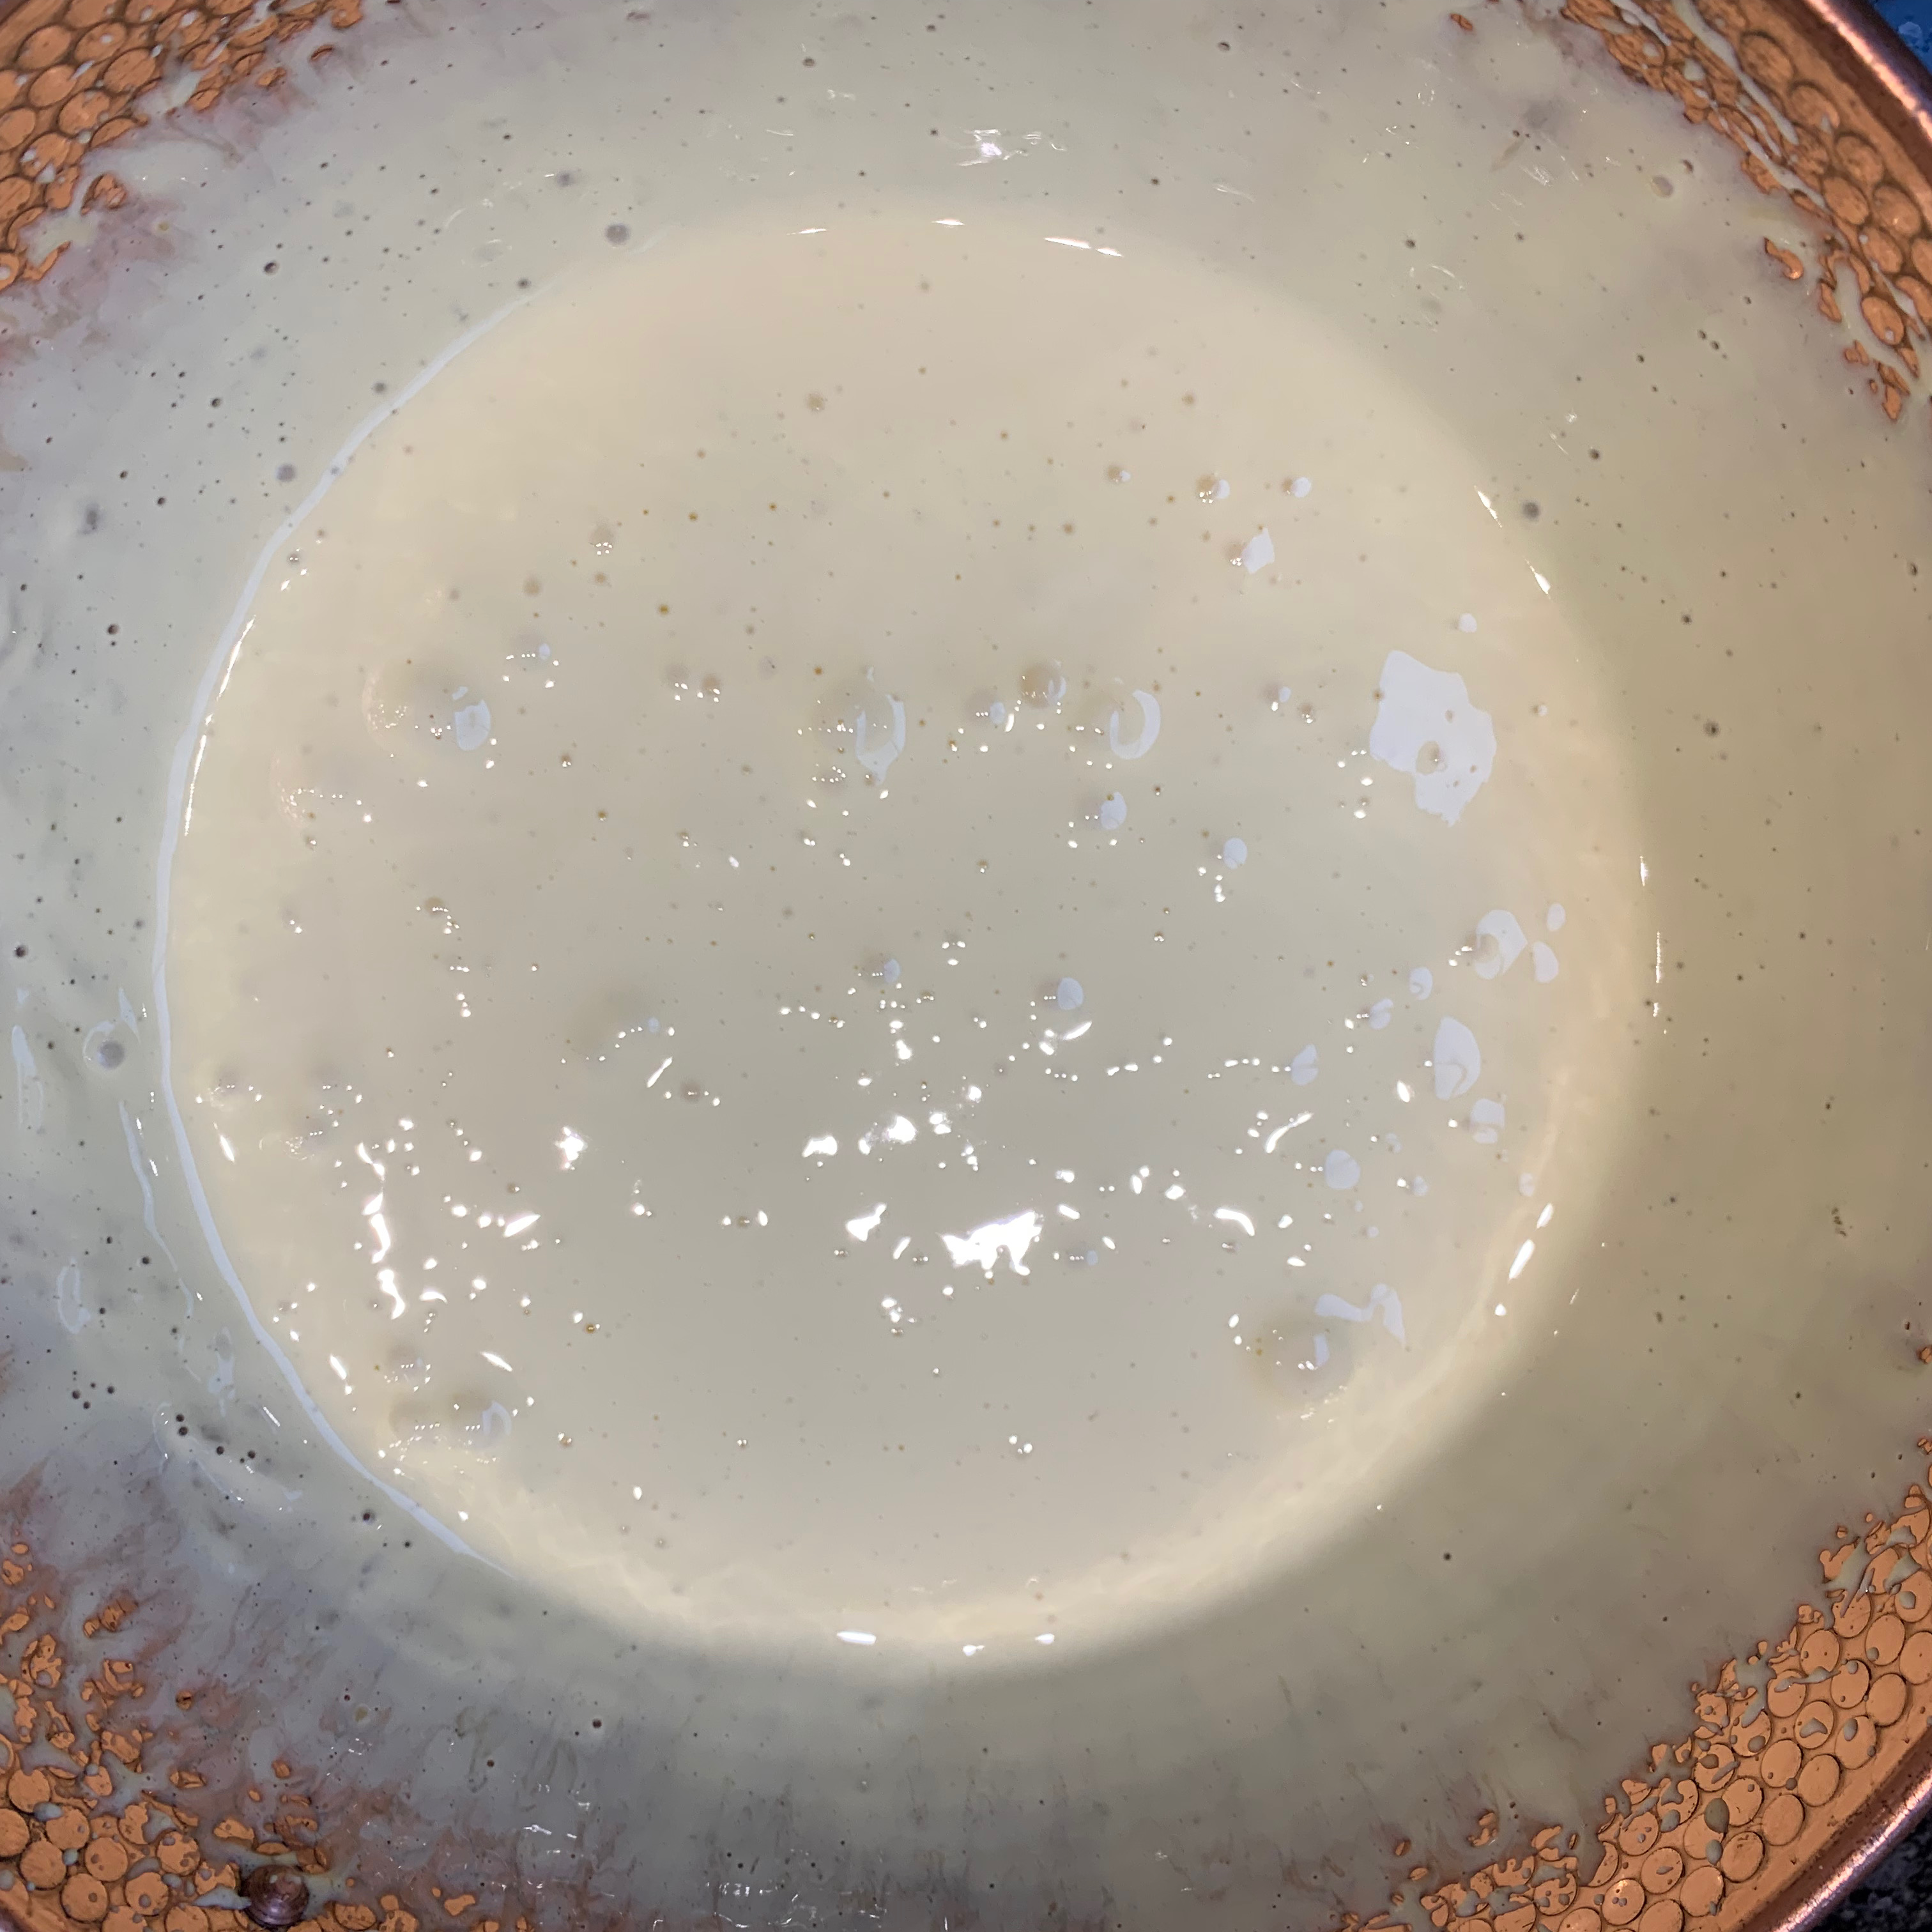


The sabayon mix
- 12 eggs
- 85g caster sugar
- Separate the eggs: put 12 yolks in one bowl and 6 whites into another, which ou’ll be using for the meringue part of the cake mix (discard the other 6 whites, or keep them for making other stuff).
- Add the sugar to the egg yolks and whisk at high speed until the reach the consistency of thick cream. They’ll never quite achieve the stiffness of whipped cream, but you can get close.
The meringue mix
- 6 egg whites from above
- 55g caster sugar
- ¼ tsp cream of tartar
- Using the whisk of your stand mixer, beat the eggs at high speed until soft and frothy
- Add the sugar and cream of tartar, and beat at high speed until you have a stiff meringue
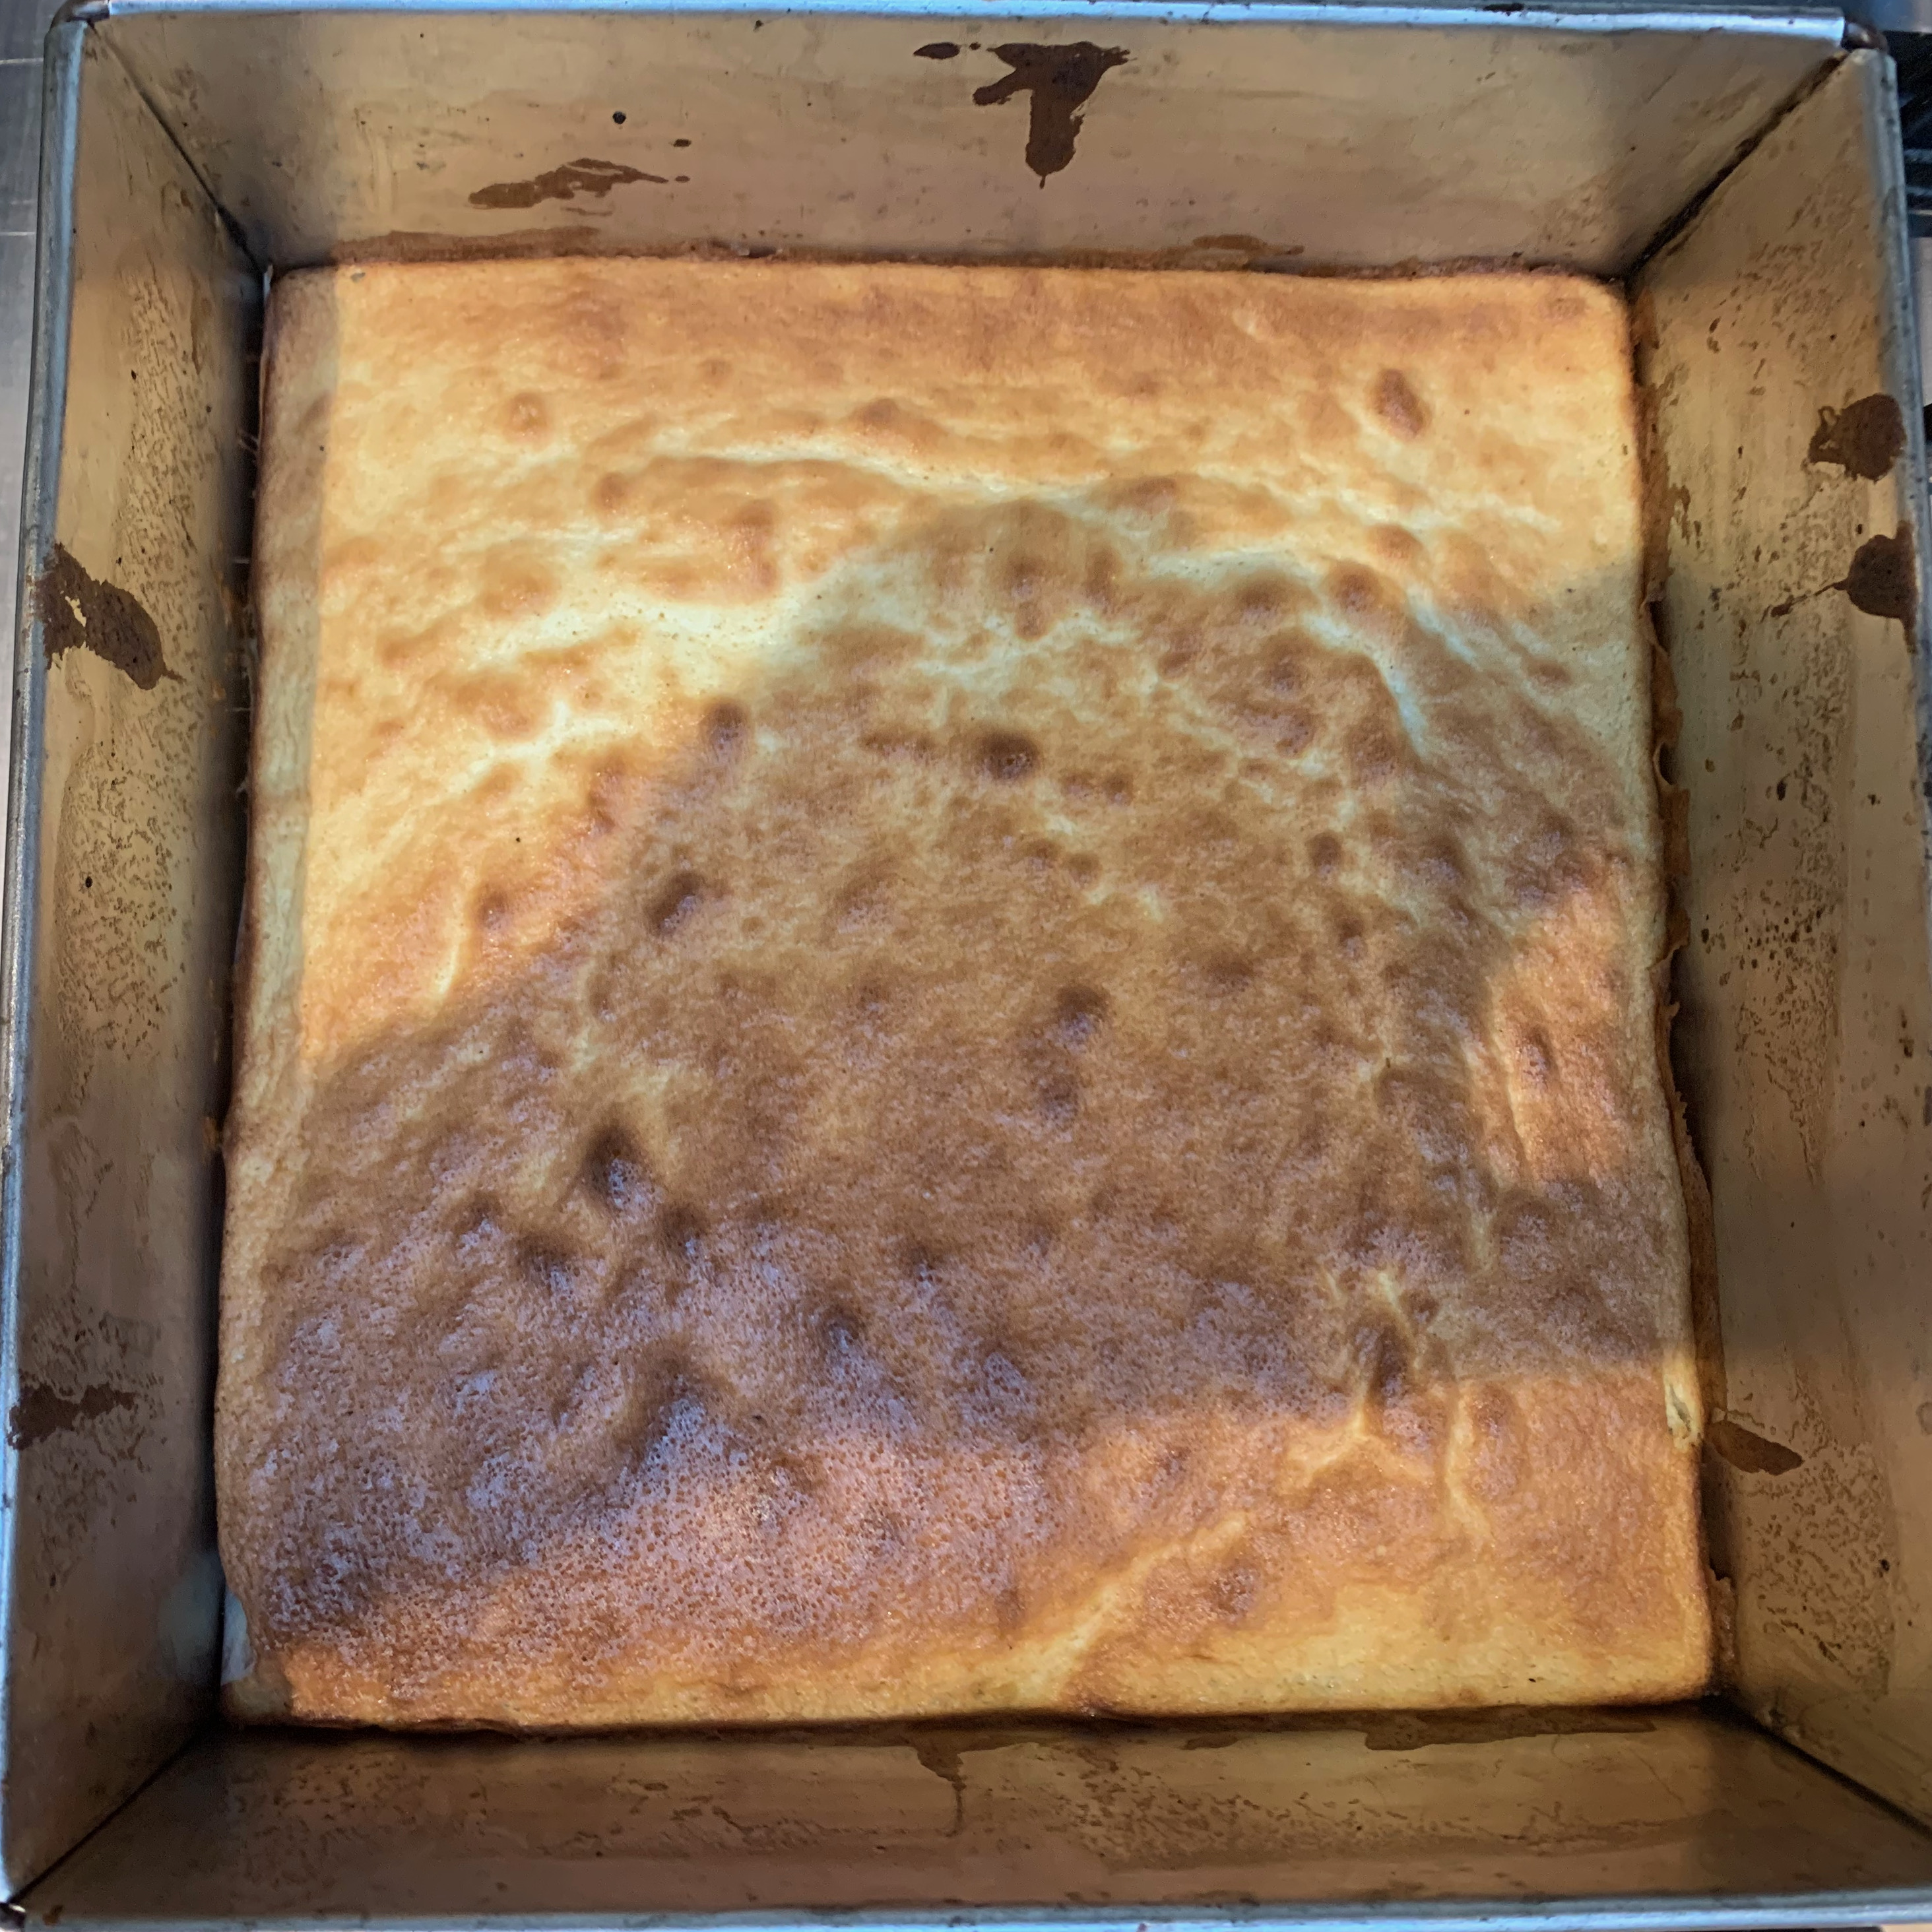
After baking first layer 
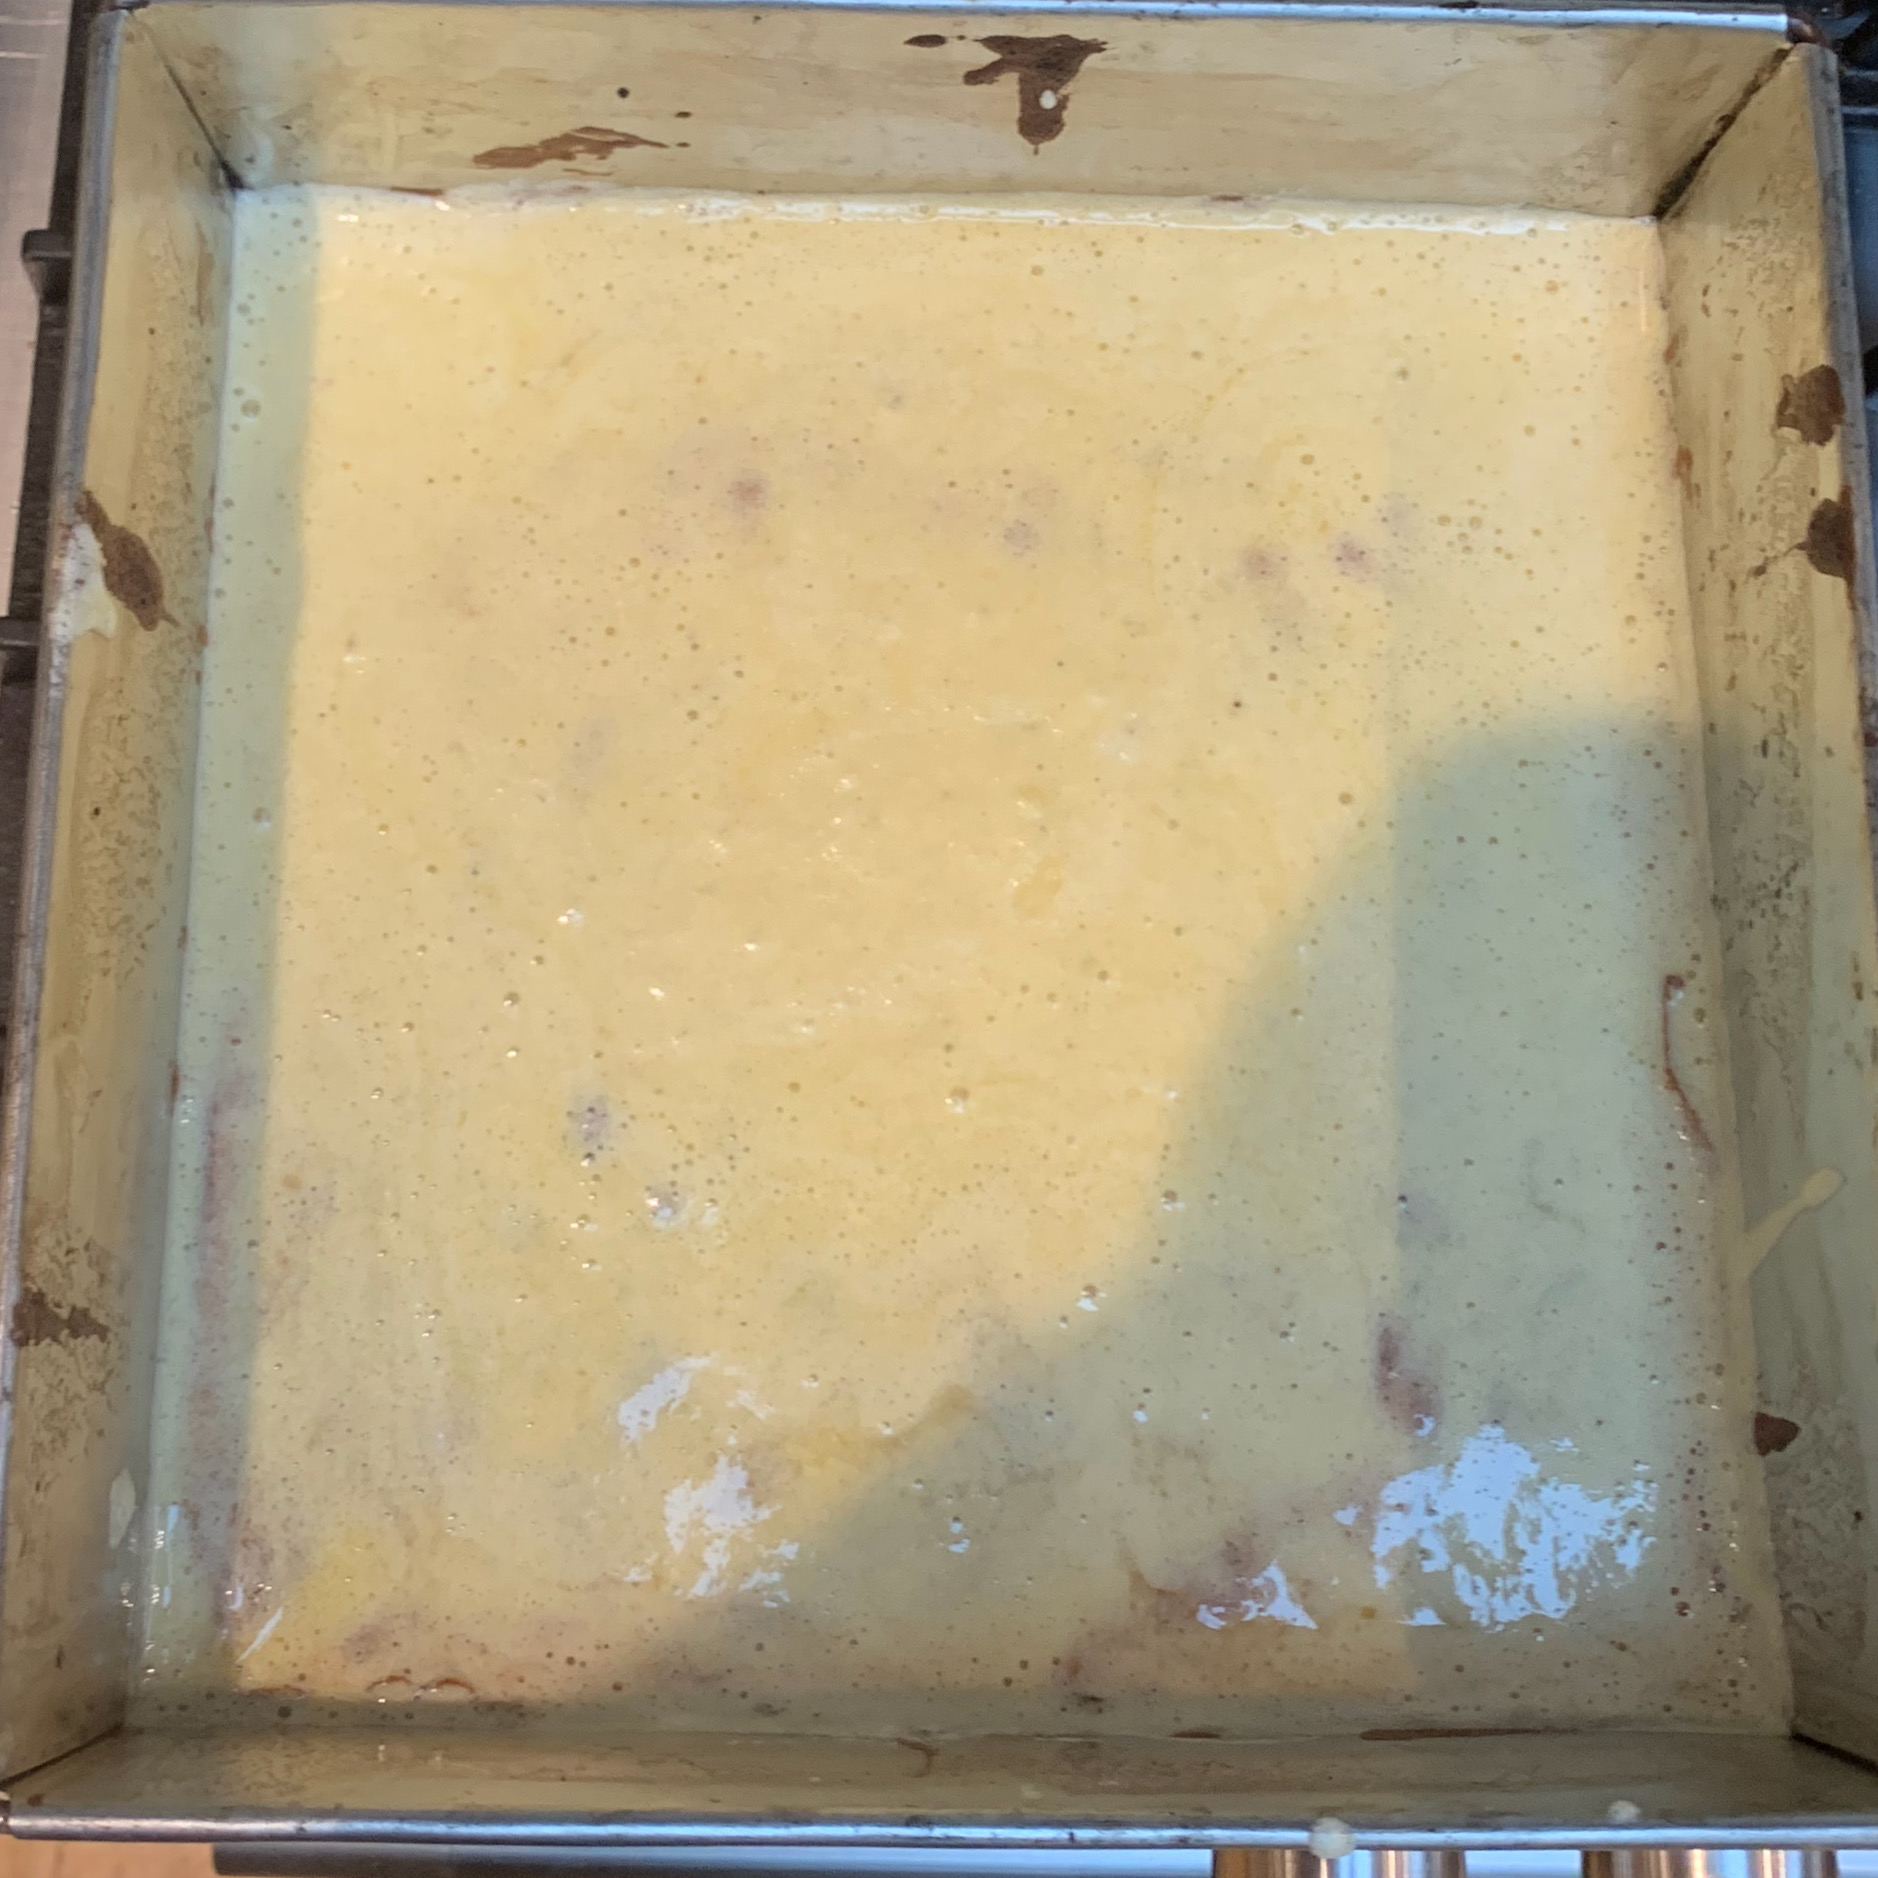
Unbaked layer over baked base 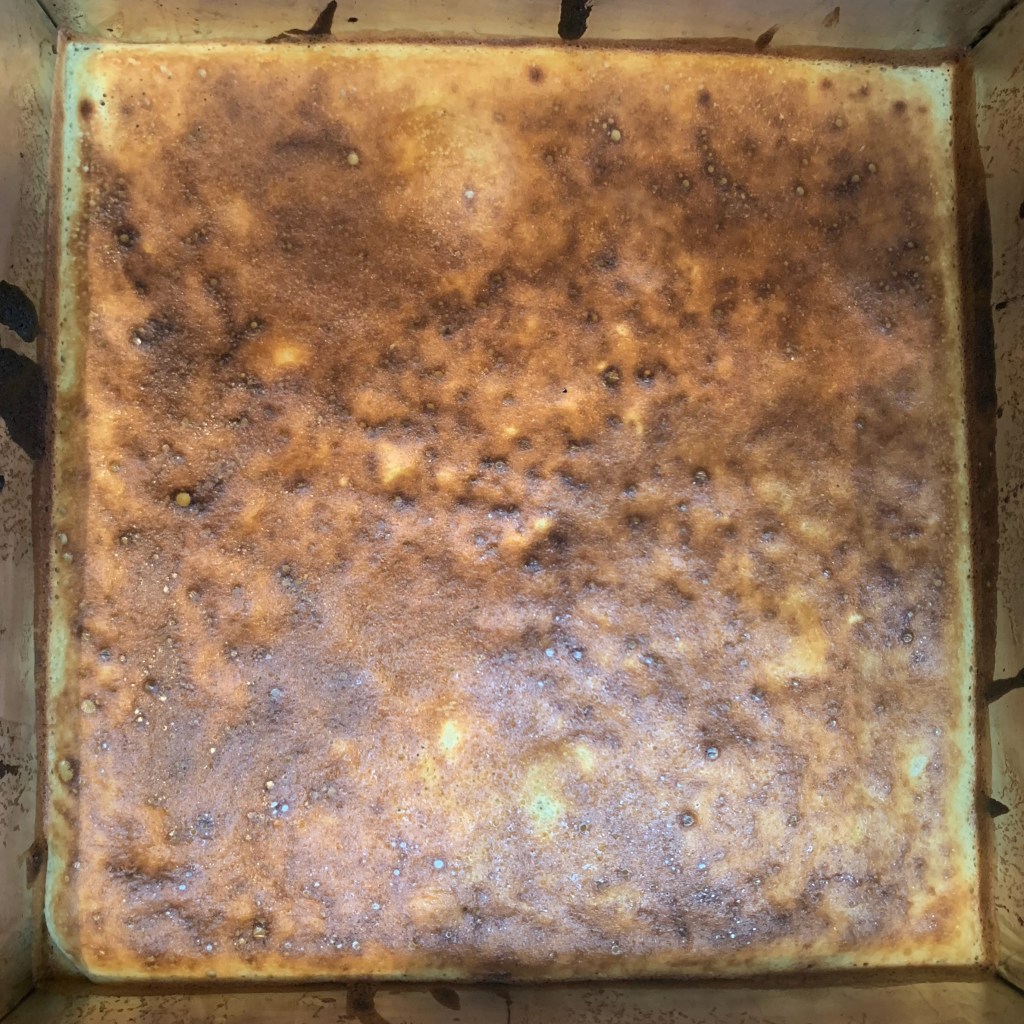
Layer after grilling

Putting it together
- If the sabayon mix has gone a bit liquid while you were making the meringue, whisk it for another minute or so.
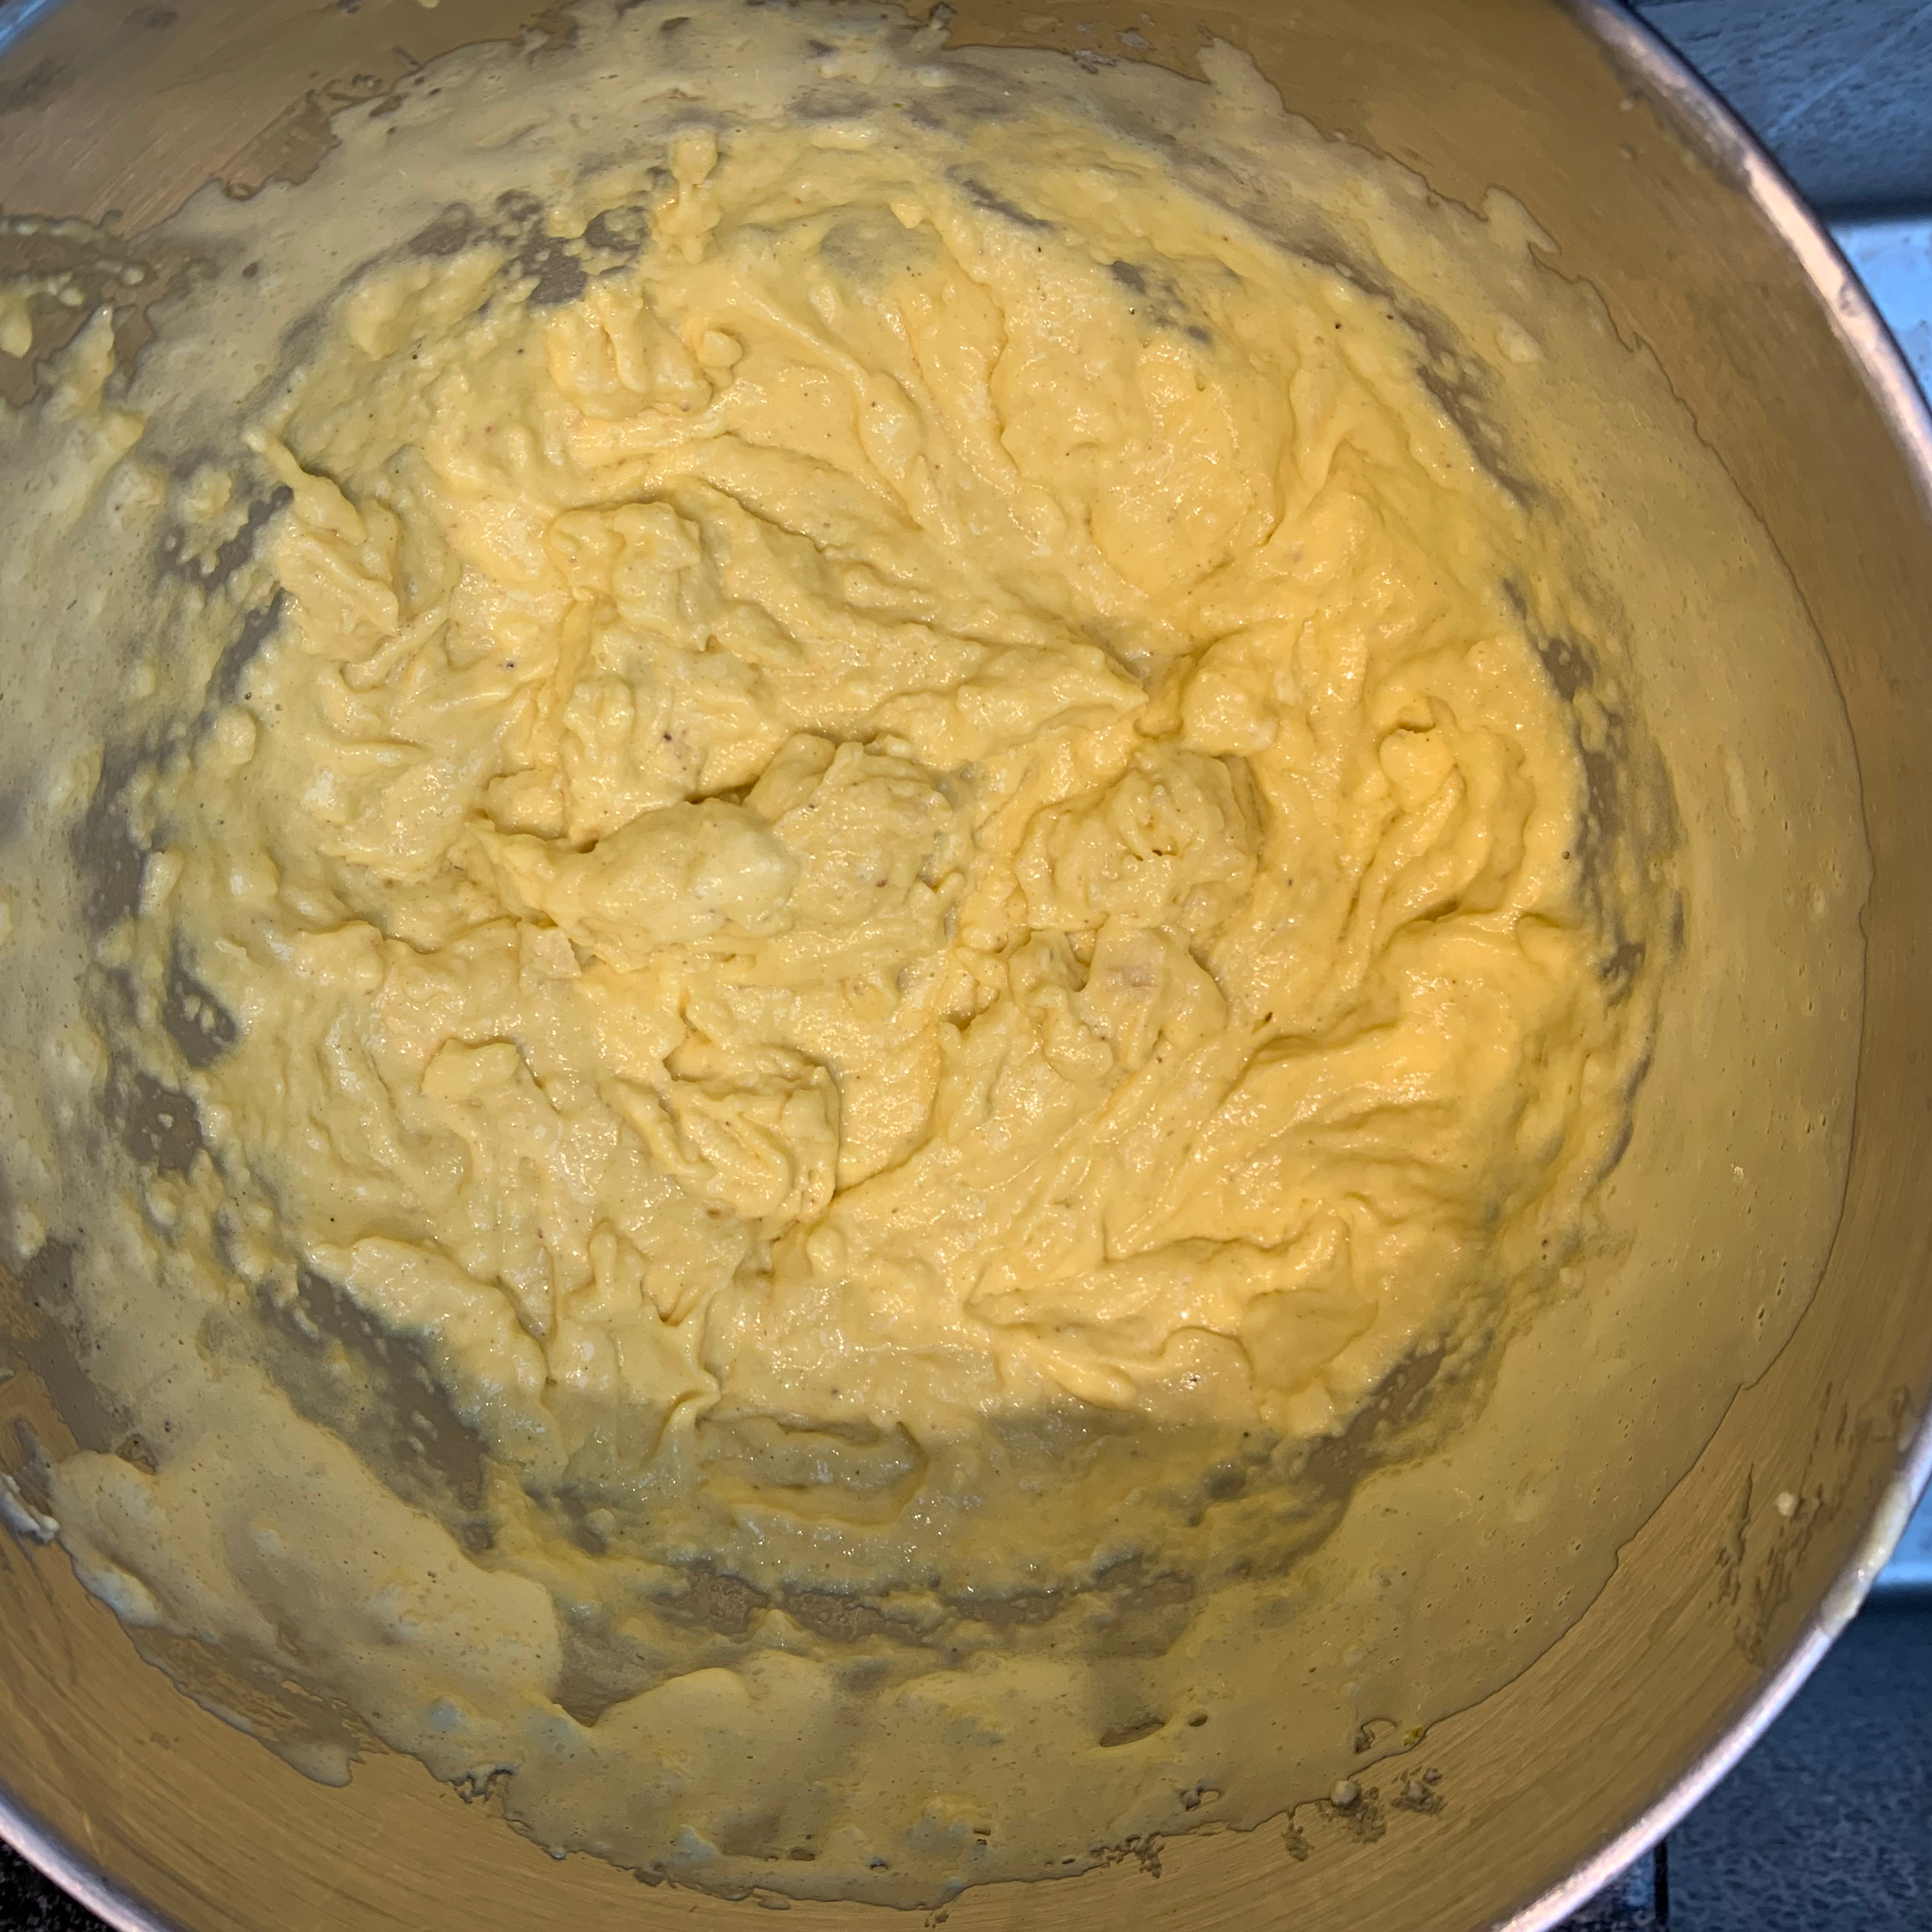
- Add the sabayon mix into your butter base and mix using the standard beater until smoothly combined.
- Fold the meringue into your mixture until smoothly combined, with no bits of unmixed egg white left.
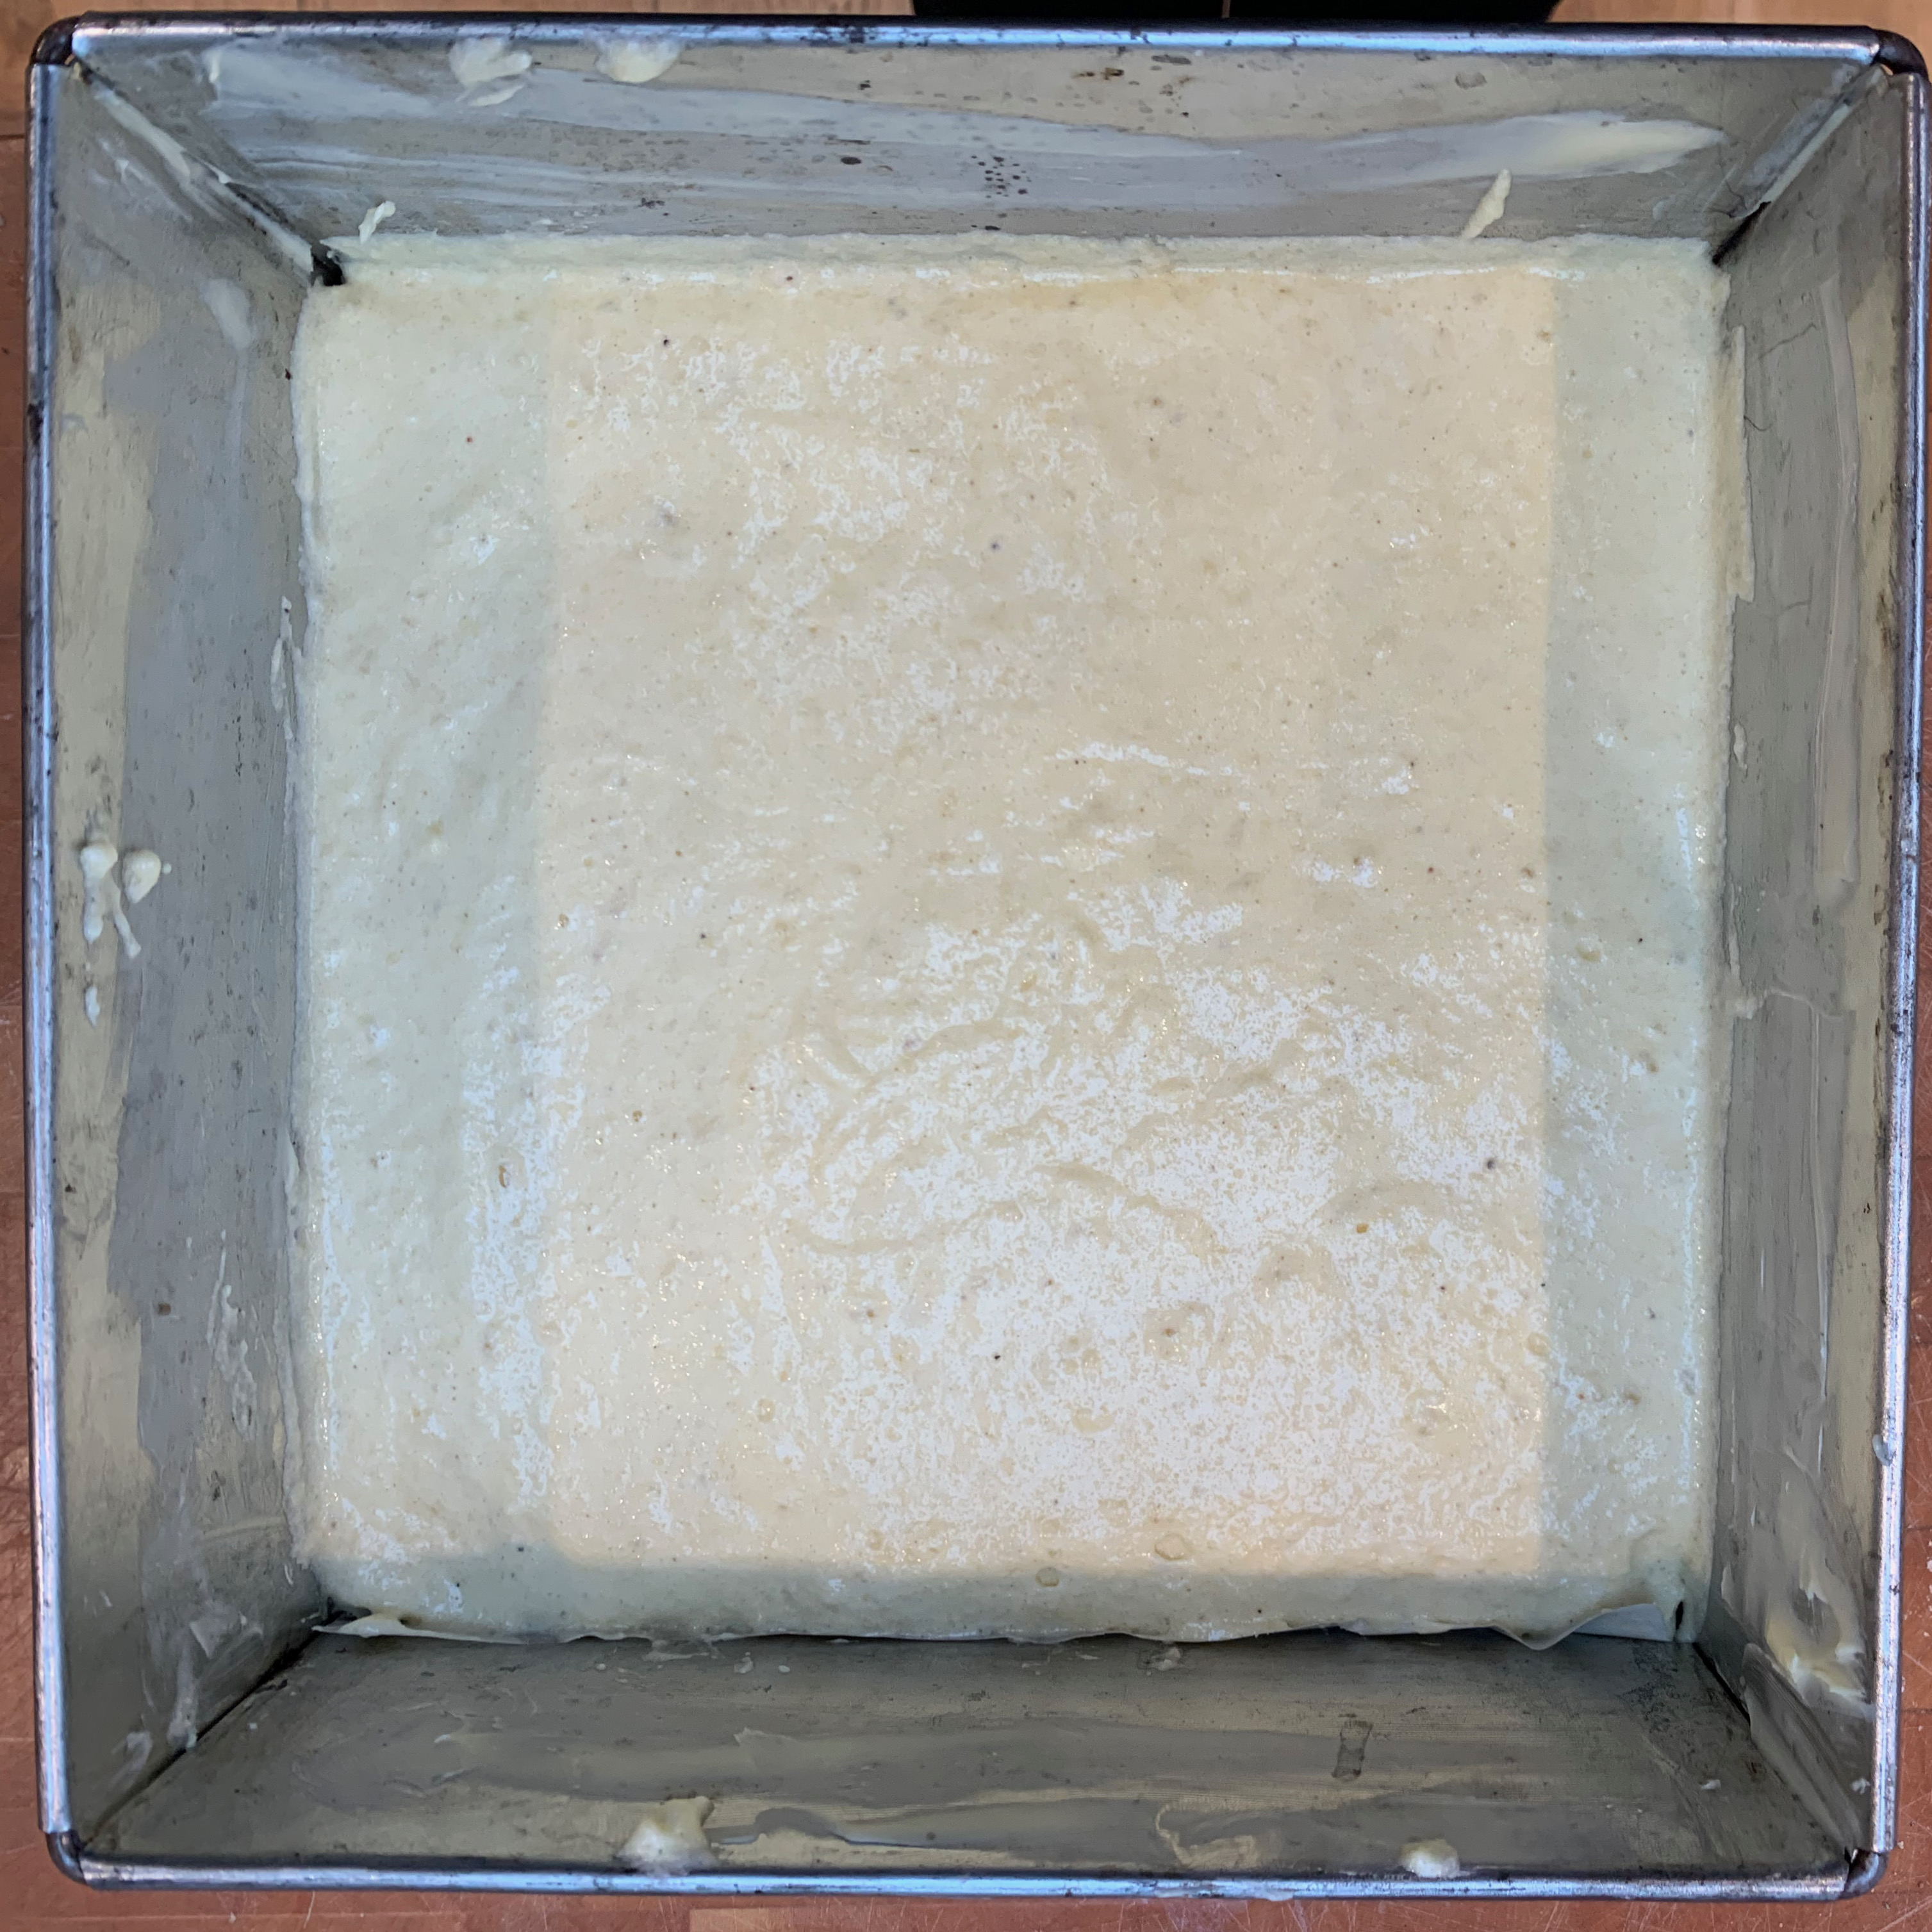
- Pour a couple of ladelfuls of mix into your cake tin and spread it so that you have a thin, even layer. Ideally, you want around 3-4mm thickness (on the photos here, I was somewhat over that).
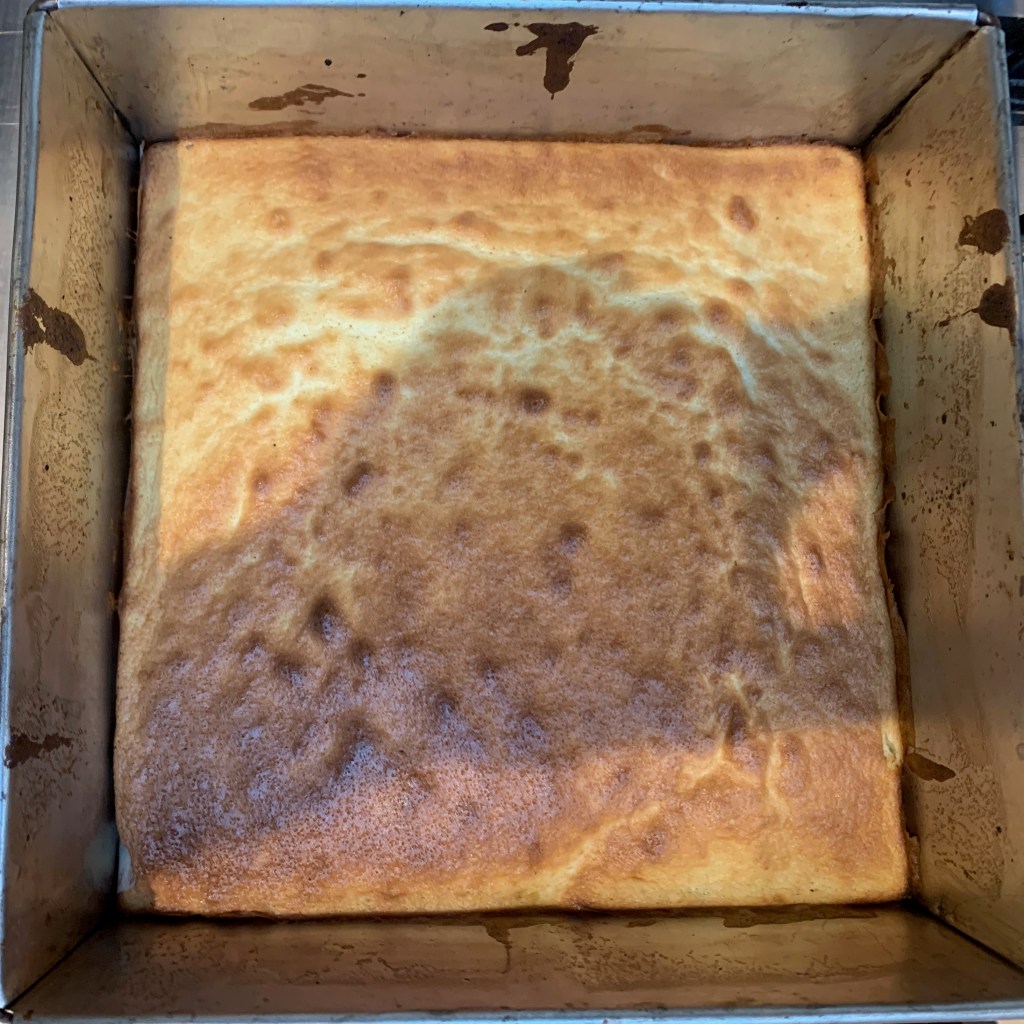
- Put in the middle shelf of the oven and bake until the top is golden. You’ll need something like 8 minutes, but check it after 5-6, because it really depends on your oven and on the thickness of your mixture.
- Take the cake out of the oven and switch it to its top grill setting at maximum temperature (or set up your separate grill if that’s what you have). Move the oven shelf to its highest position.
- Pour another ladelful or so of mixture into the tin. It will go more liquid as it contacts the hot surface. Your objective now is to get the thinnest possible layer of mixture that completely covers the whole cake: I achieved this by the combination of using an offset spatula and by tilting the tin in different directions until the coverage was smooth.
- Put the cake under the grill, and cook until golden brown. This will take between one and two minutes: you need to watch it like a hawk because the difference between uncaramelised yellow and burnt can be as little as 20 seconds.
- Take the cake out and repeat until you have run out of mixture. You’re trying to get as many layers as you can – I managed around 8.
- Once you’ve grilled the last layer, take the cake out and cool it in the tin for around half an hour.
- Finally, put a knife around the sides to make sure the cake has come away from all four sides, and take the cake out of the tin (if the tin has a removable base, this should be very easy).
- Enjoy…