I have no idea why a Swiss Roll is called a Swiss Roll. I’ve travelled to Switzerland a lot and I don’t remember seeing one there. If Wikipedia is to believed, it doesn’t even come from Switzerland in the first place. But apparently, if you happen to be in Chile, at 5pm, it’s time for a coffee and a slice of Brazo da Reina – a rolled sponge cake filled with dulce de leche (caramelised condensed milk). The name in Spanish means “the Queen’s Arm”, which sounds to British ears more like a pub sign, which just goes to show that there’s no accounting for language. It’s not really clear where that name comes from either, and the same cake has other names in different bits of Latin America: Brazo de gitano (gypsy’s arm) or Pionono. Other countries also use different fillings.
The Chilean recipe I started from is notable for having a lot of eggs and no shortening whatsoever, which makes for an incredibly light, airy sponge cake. There are other recipes that use a small amount of oil.
The recipe I used tells you to fold the egg yolks into the beaten whites, then add the flour to the whole lot. That was a little too far outside my comfort zone, so I stuck to a more conventional scheme of mixing egg yolks, sugar and flour before folding, which worked very well.
The tricky part of making a roll cake – especially one as light an airy as this – is to roll it up without tearing. I wasn’t 100% successful, but it was good enough.
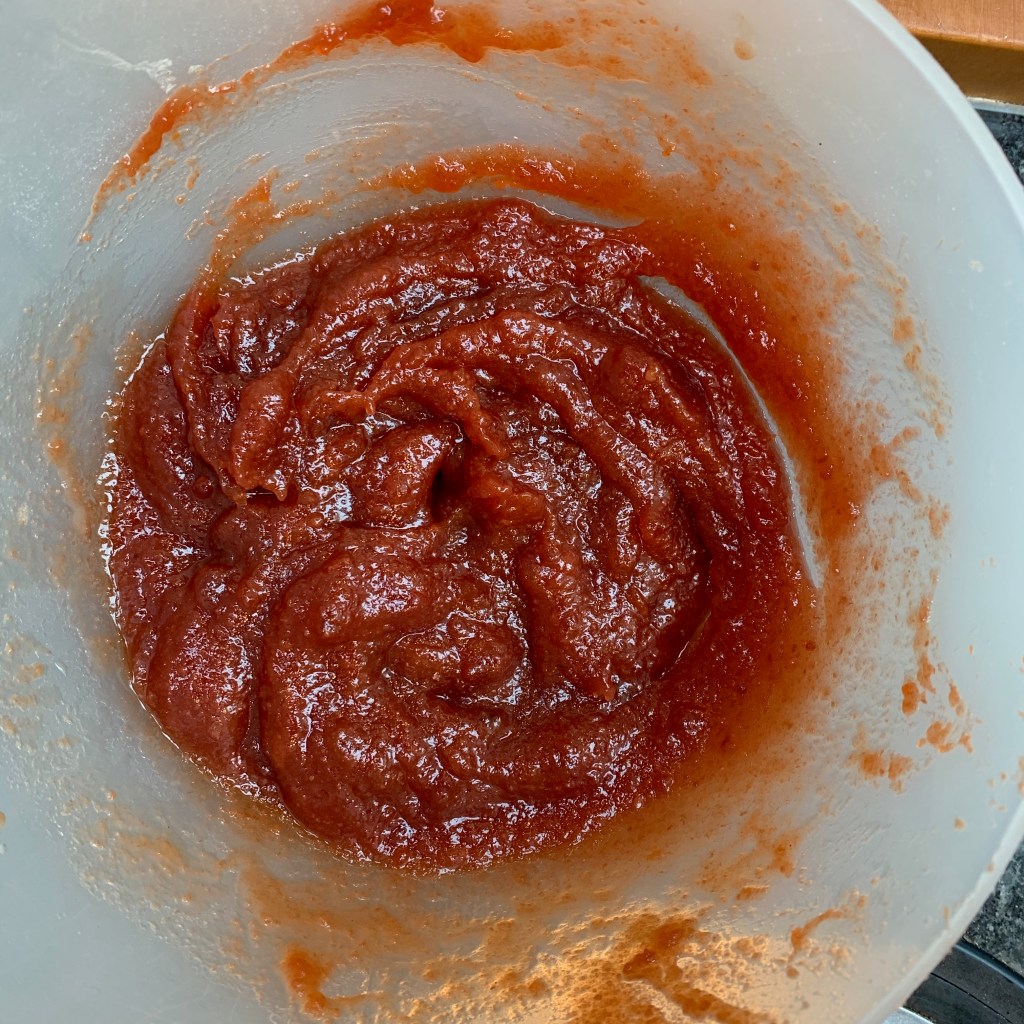
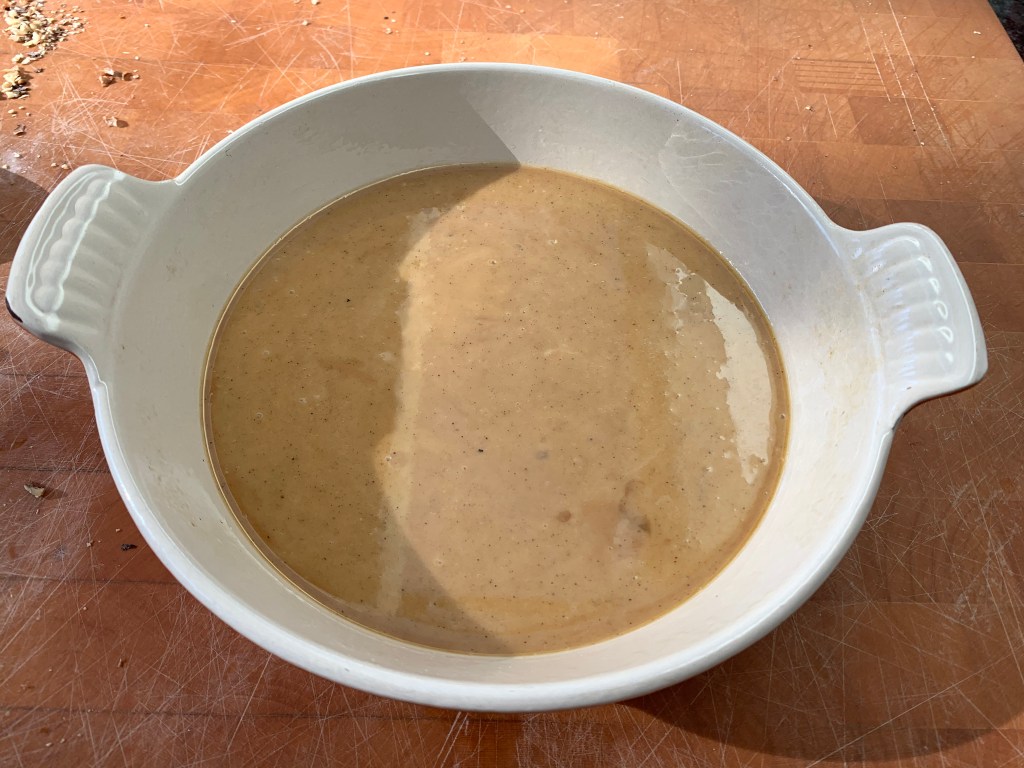
The last time I made dulce de leche, for Argentinian alfajores, I baked the condensed milk in an oven tray, which worked OK but was fiddly. For this recipe, I found the ultimate cheat method in the Brazo da Reina recipe in a blog called Curious Cuisiniere – just boil the condensed milk in its can. It’s close to zero effort and worked perfectly. Their advice for rolling up the cake seemed sensible too: this is the first time I’ve tried a roll cake, so I can’t speak for how well other methods work.
You’ll want a Swiss roll tin, around 30cm x 20cm.
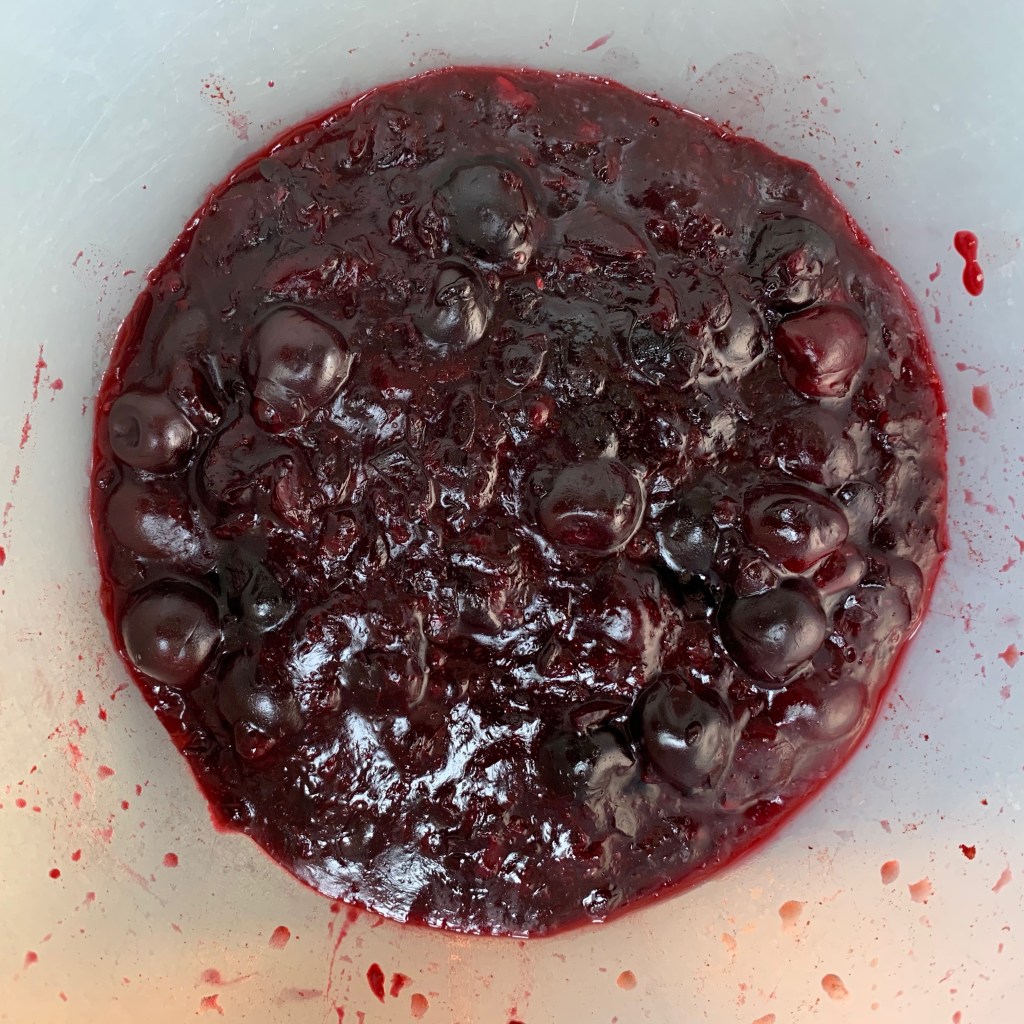
The dulce de leche filling
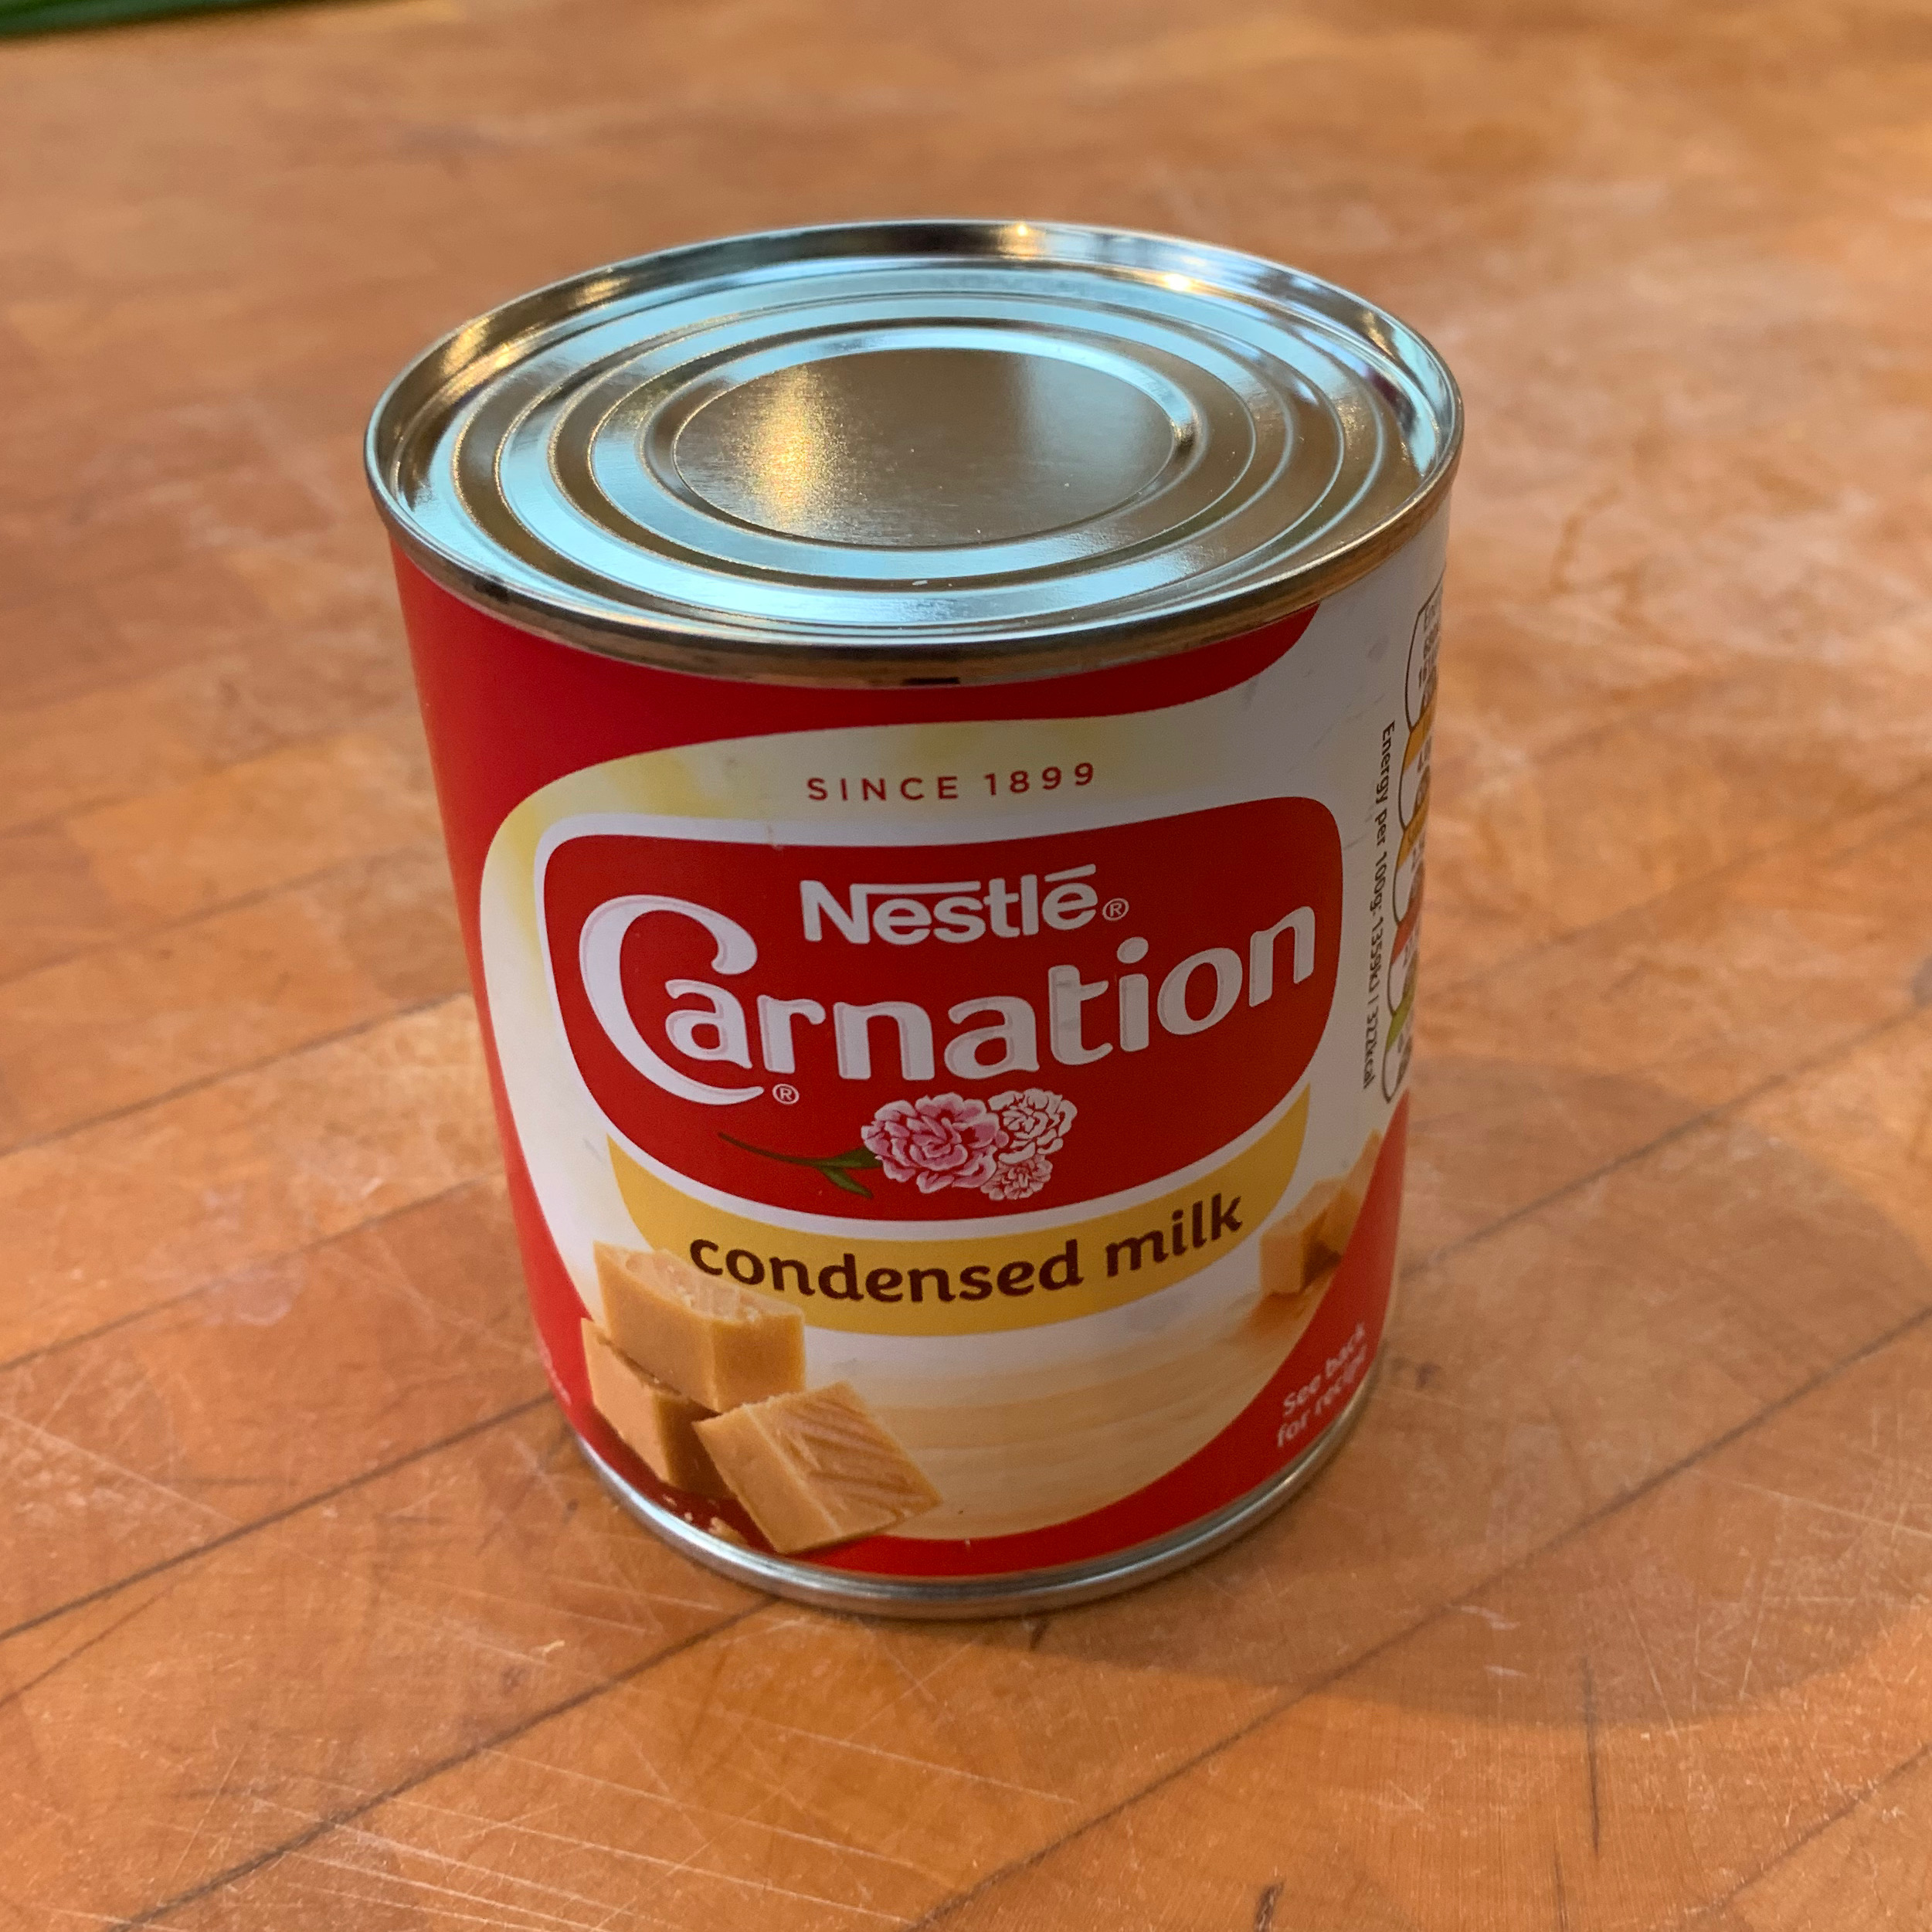
- 400g can of condensed milk
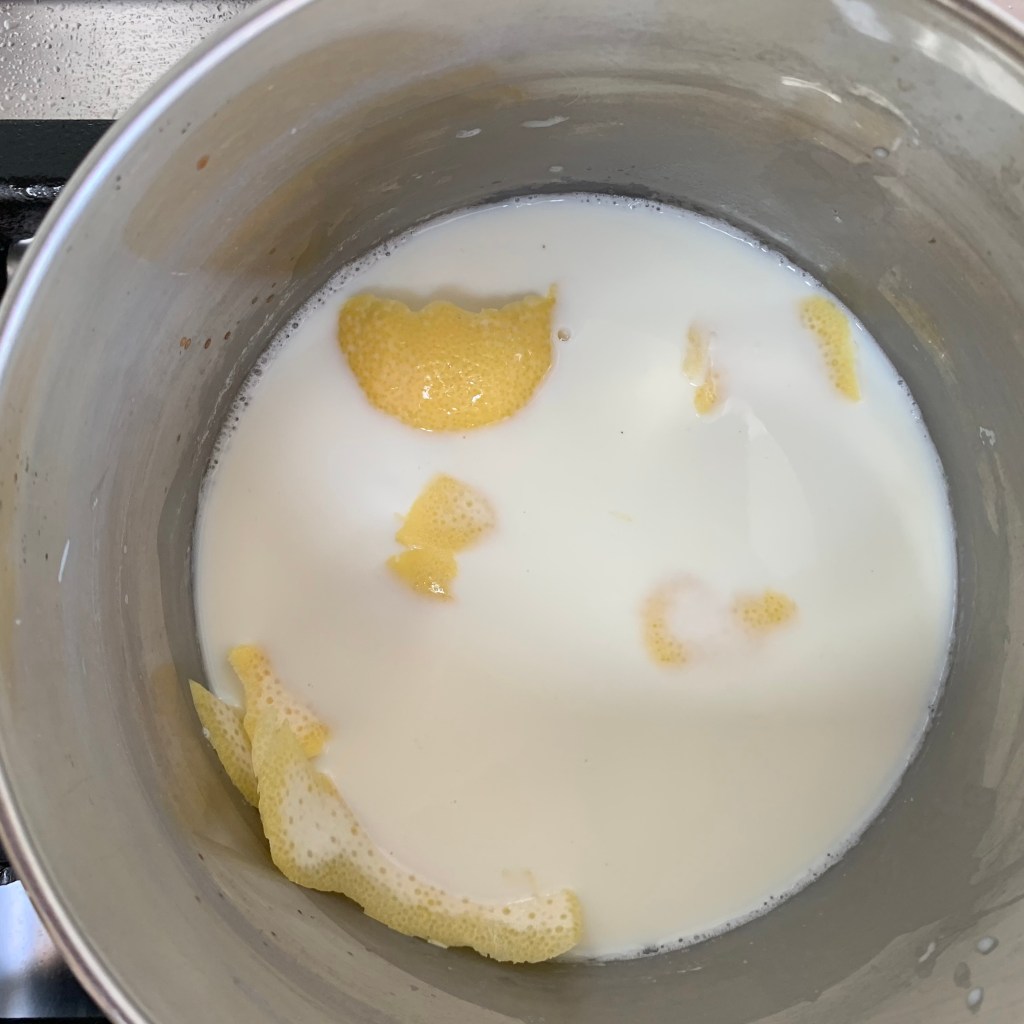
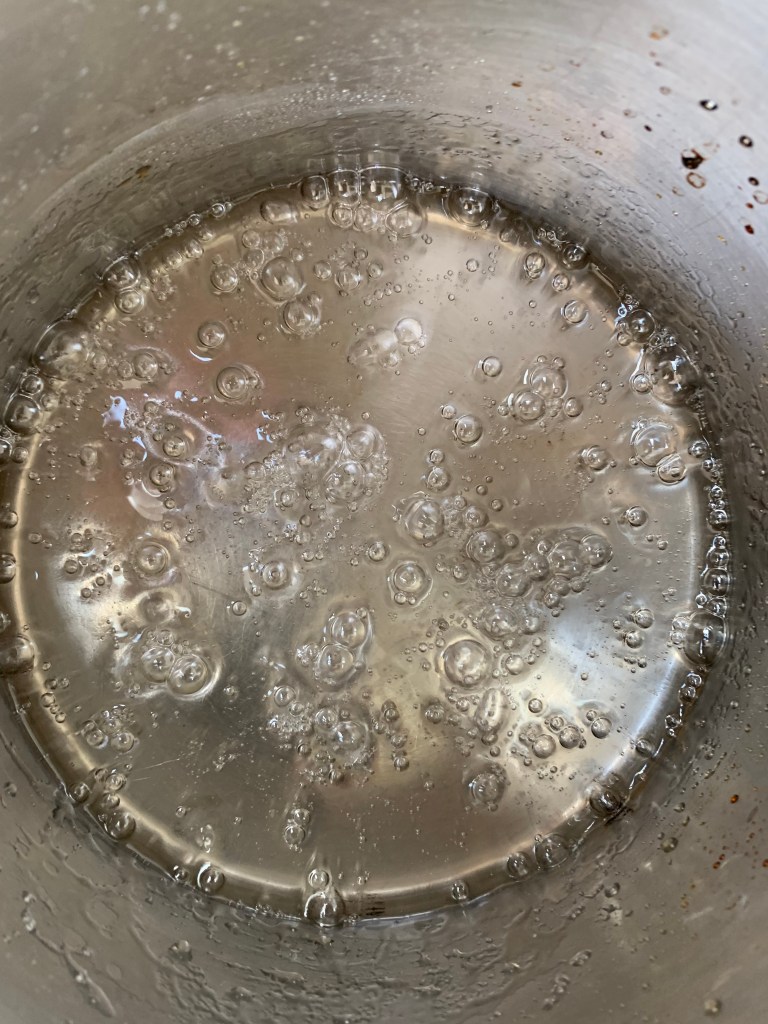
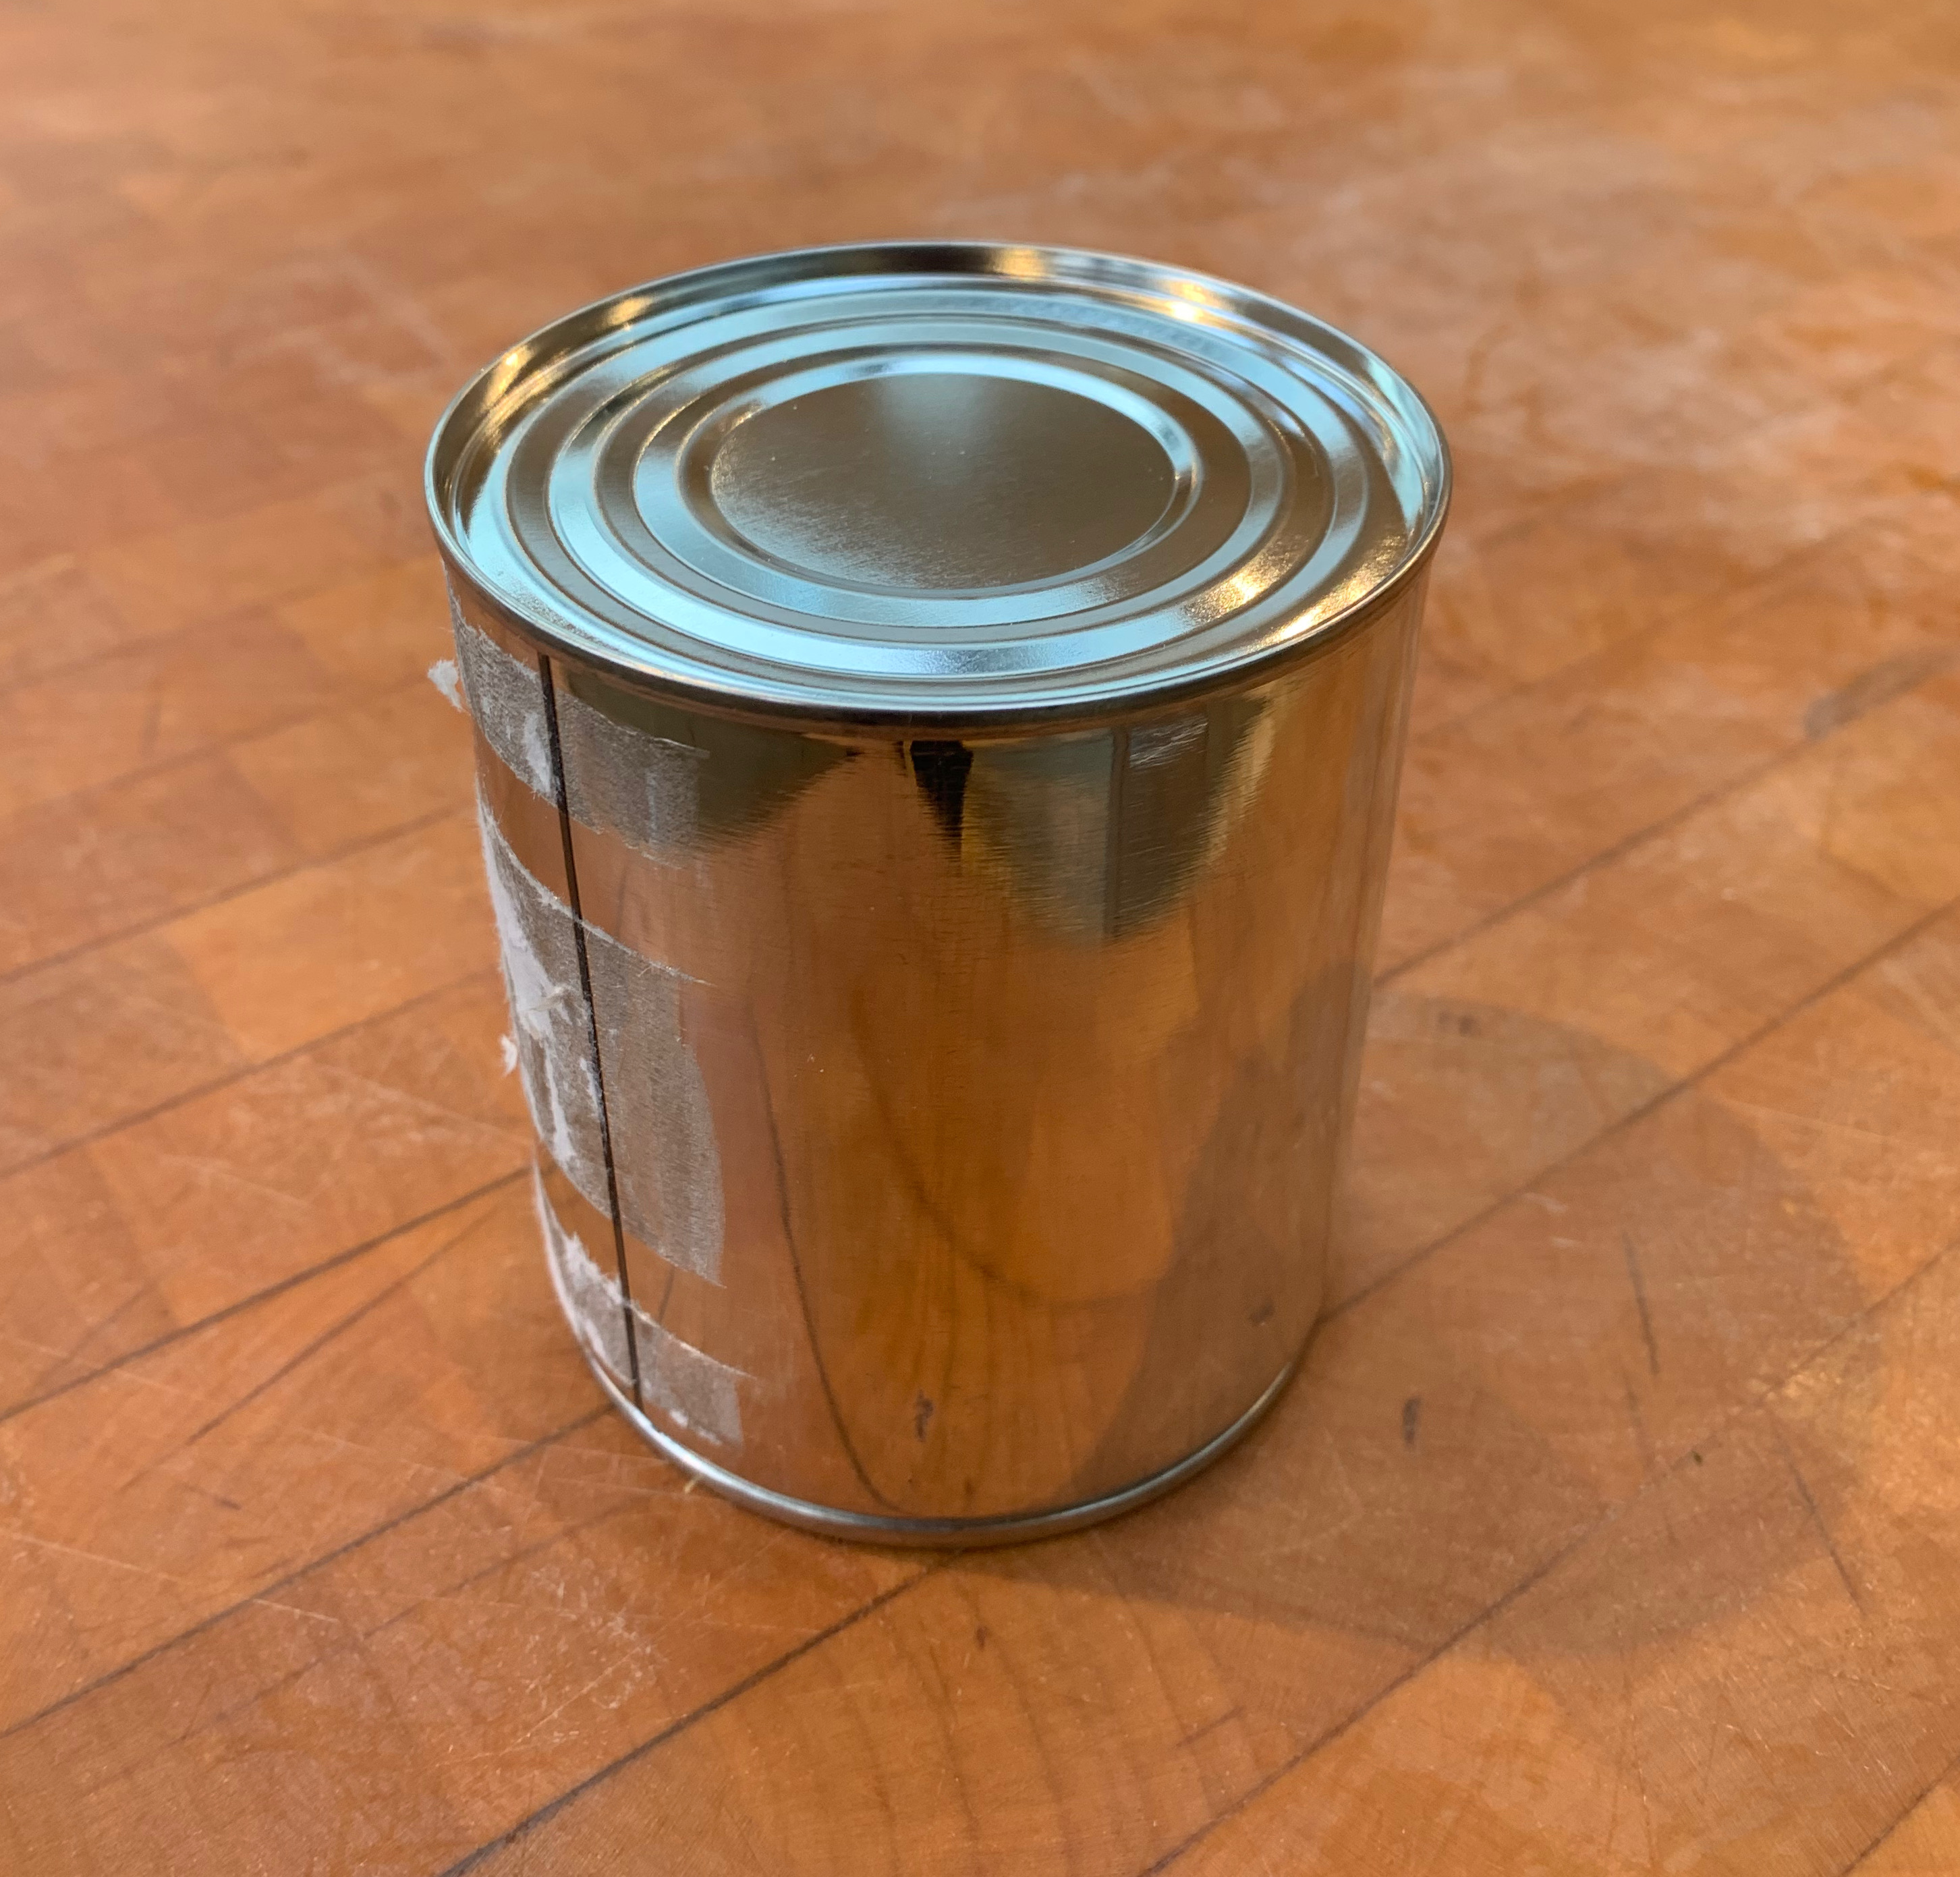
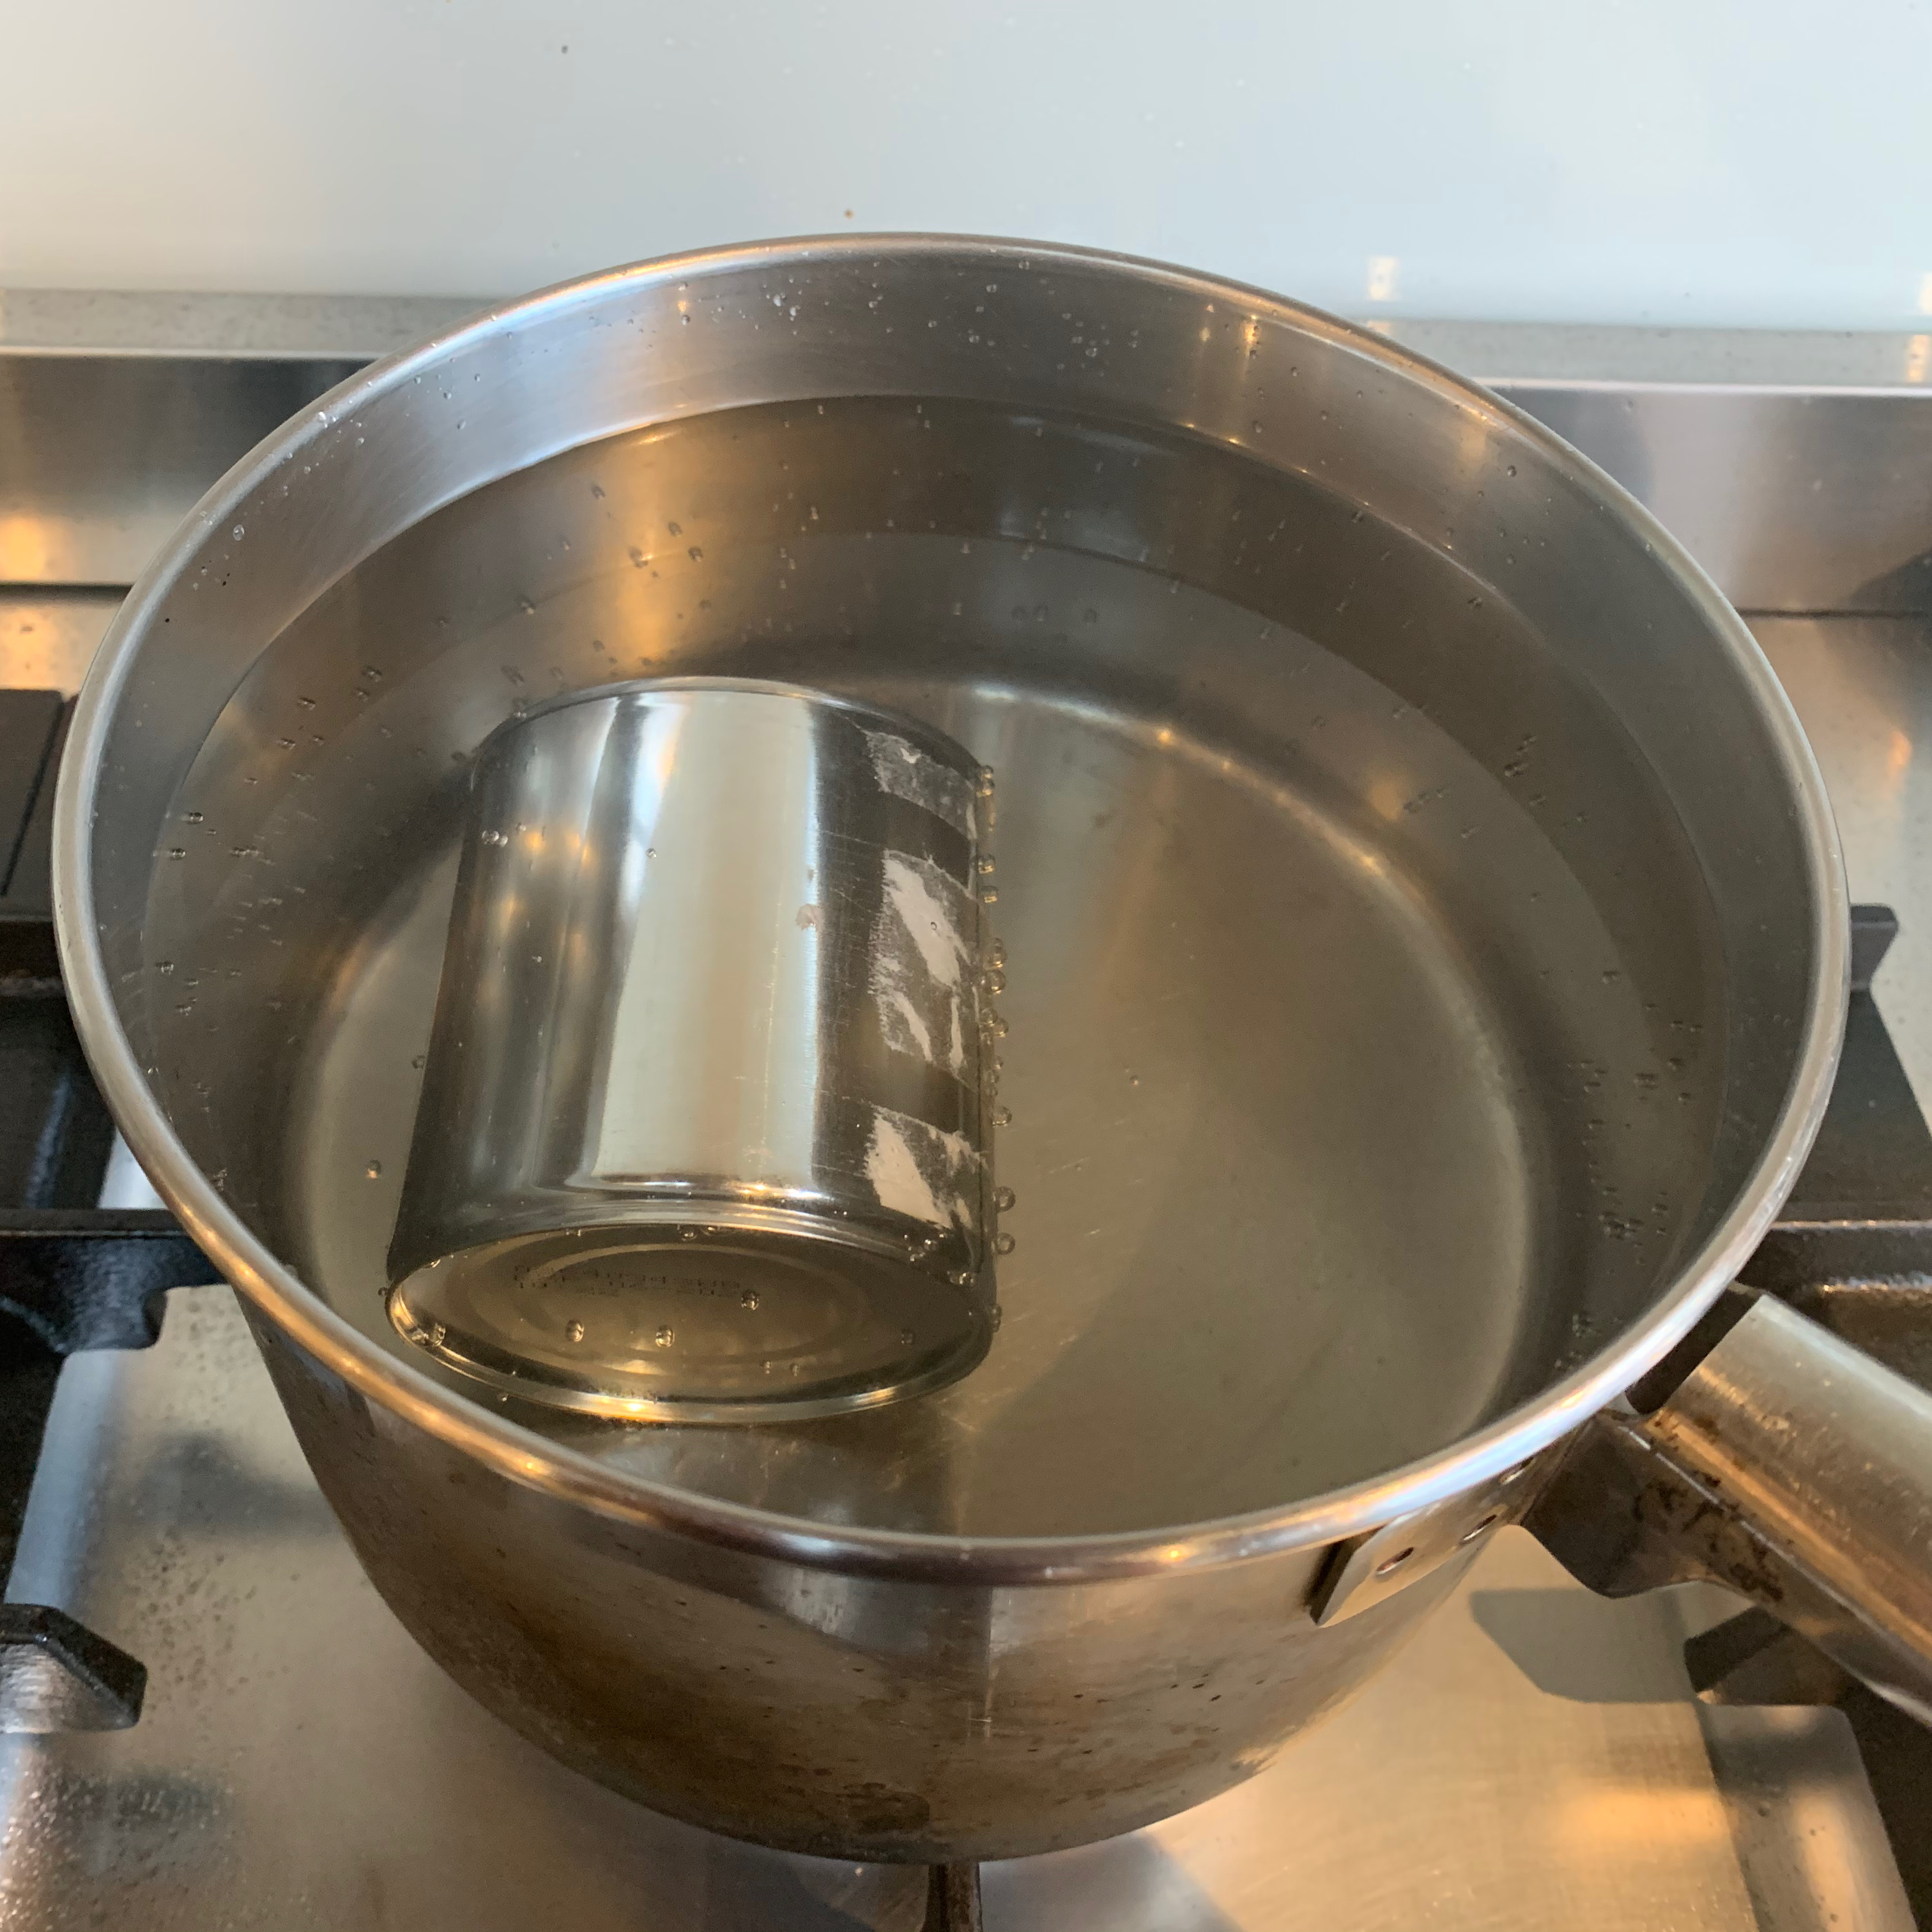
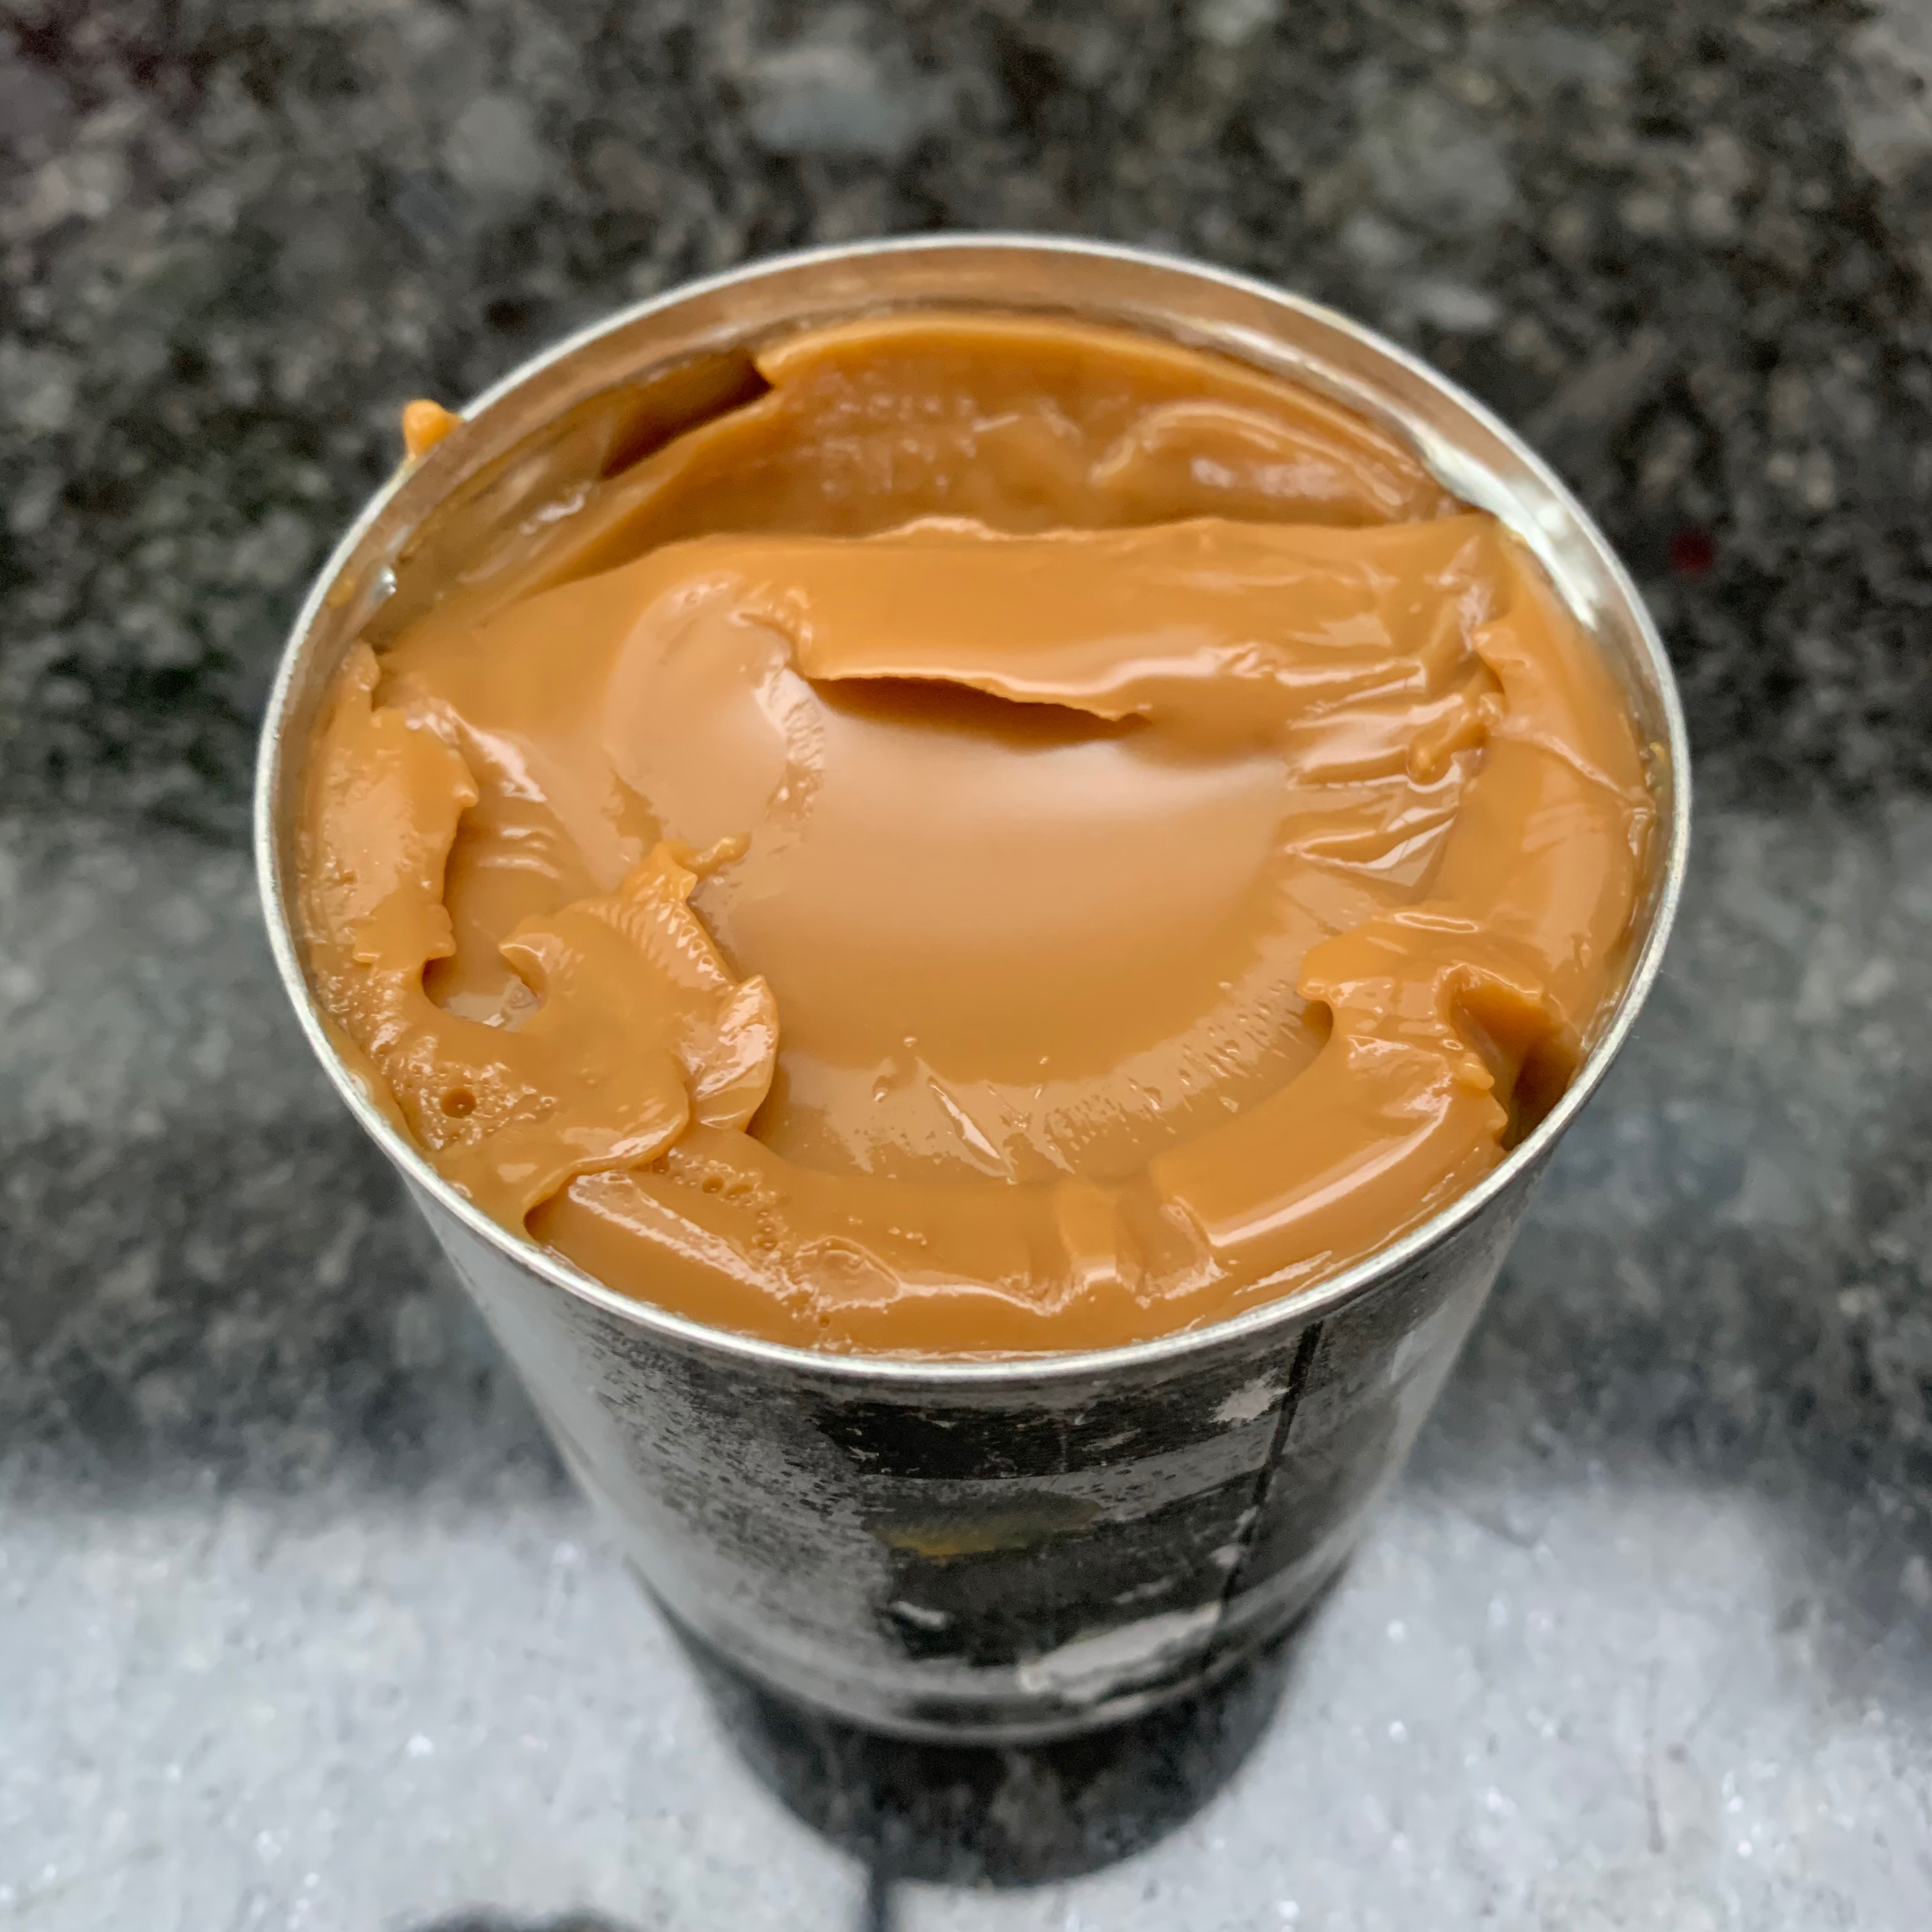
- Put the tin of condensed milk (unopened, but you may want to take the paper off) into a saucepan, pour water to cover it (with some spare, since it will evaporate), and bring it to the boil.
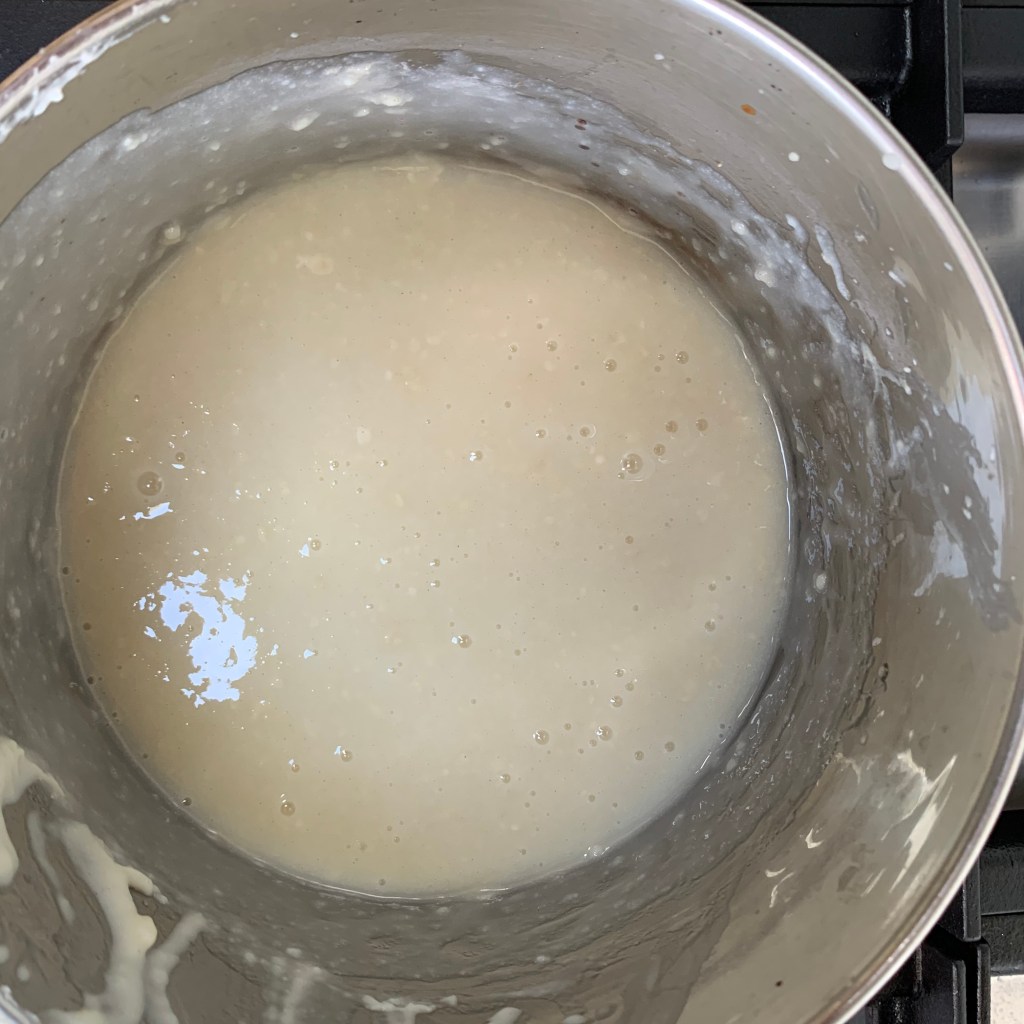
- Leave it to simmer for 2-3 hours (two will get you a light caramelisation, 3 will get you a more golden-brown and stronger tasting result.
- Remove the tin from the pan and leave it to cool.
The cake
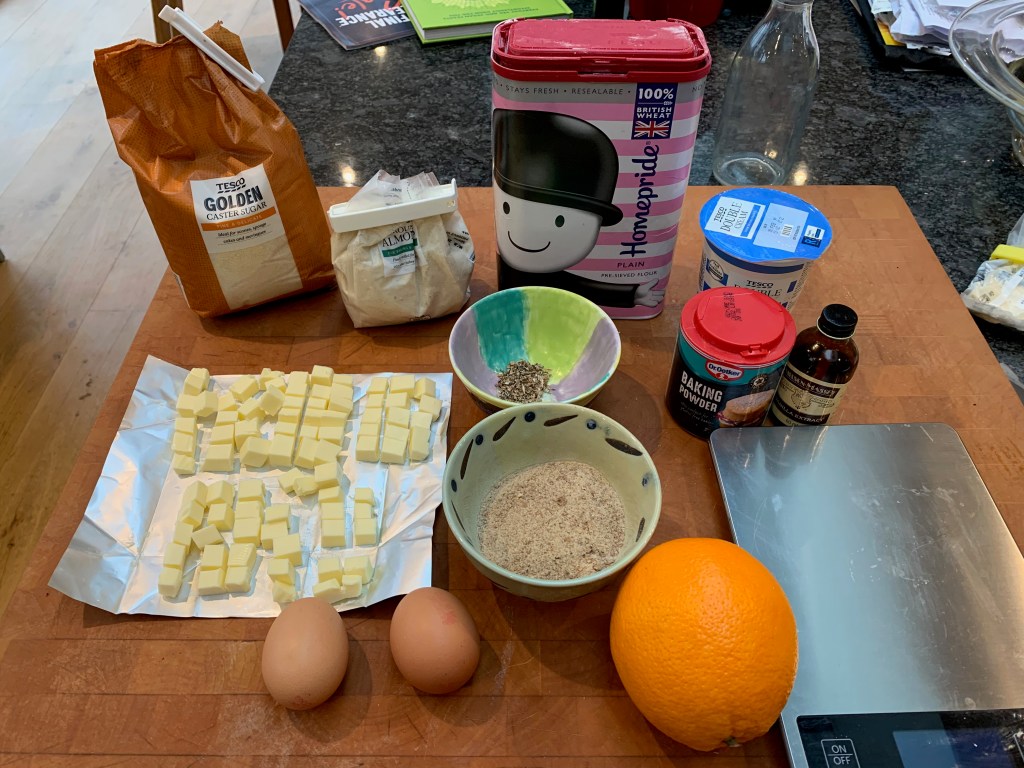
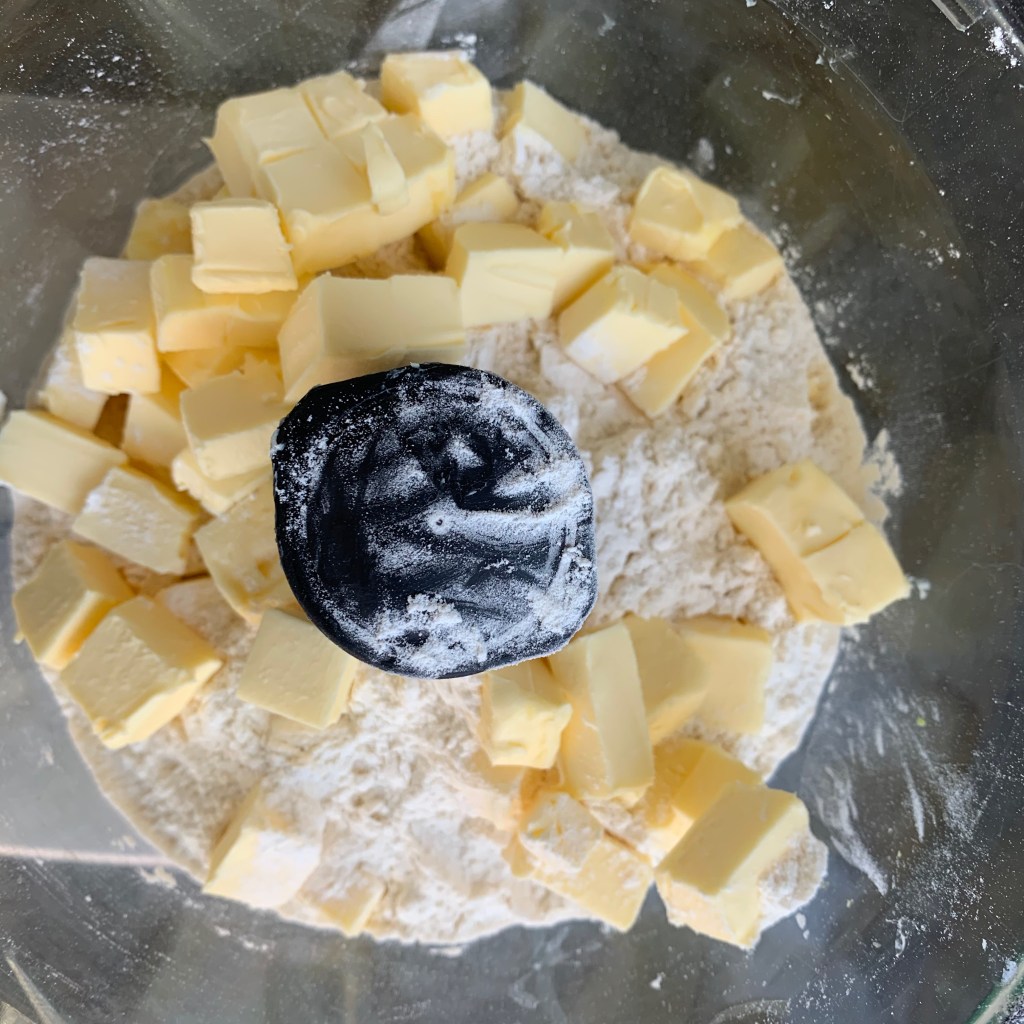
- Butter for greasing tin
- 6 eggs
- 240g flour
- 10g baking powder
- 180g caster sugar
- icing sugar for dusting
- Preheat oven to 175℃
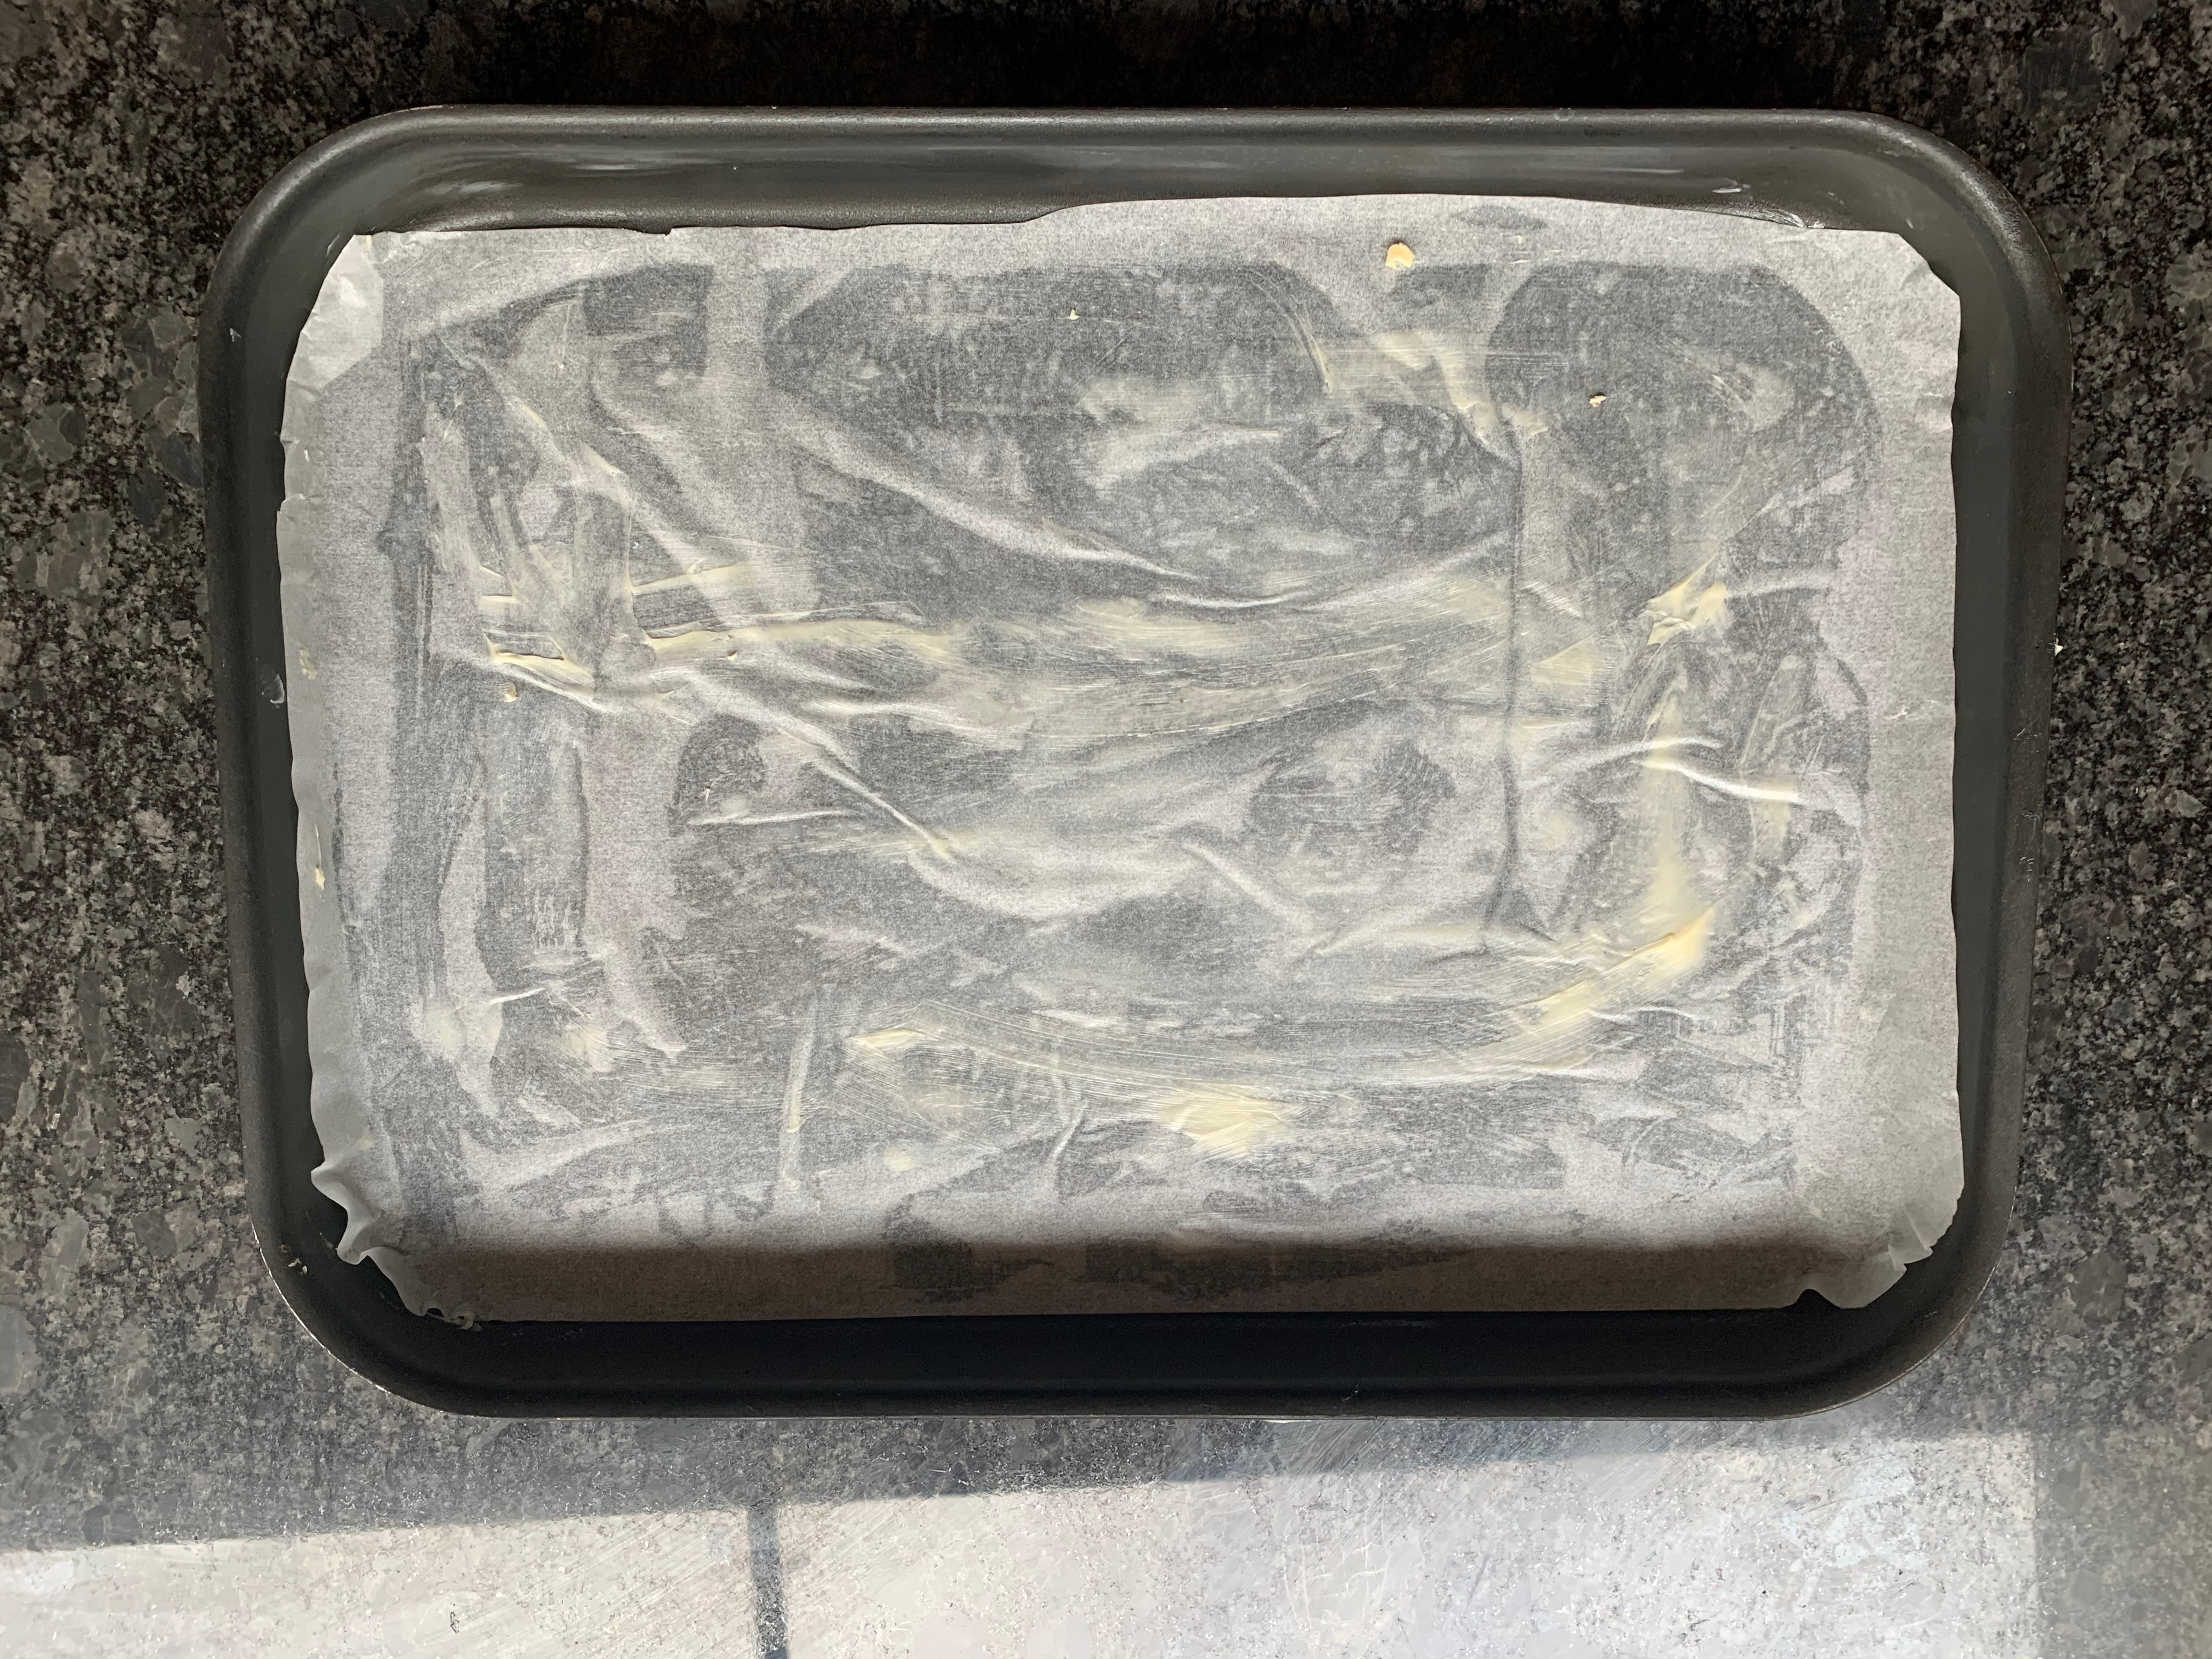
- Grease your tin with butter, then line it with baking paper, then grease the baking paper generously.
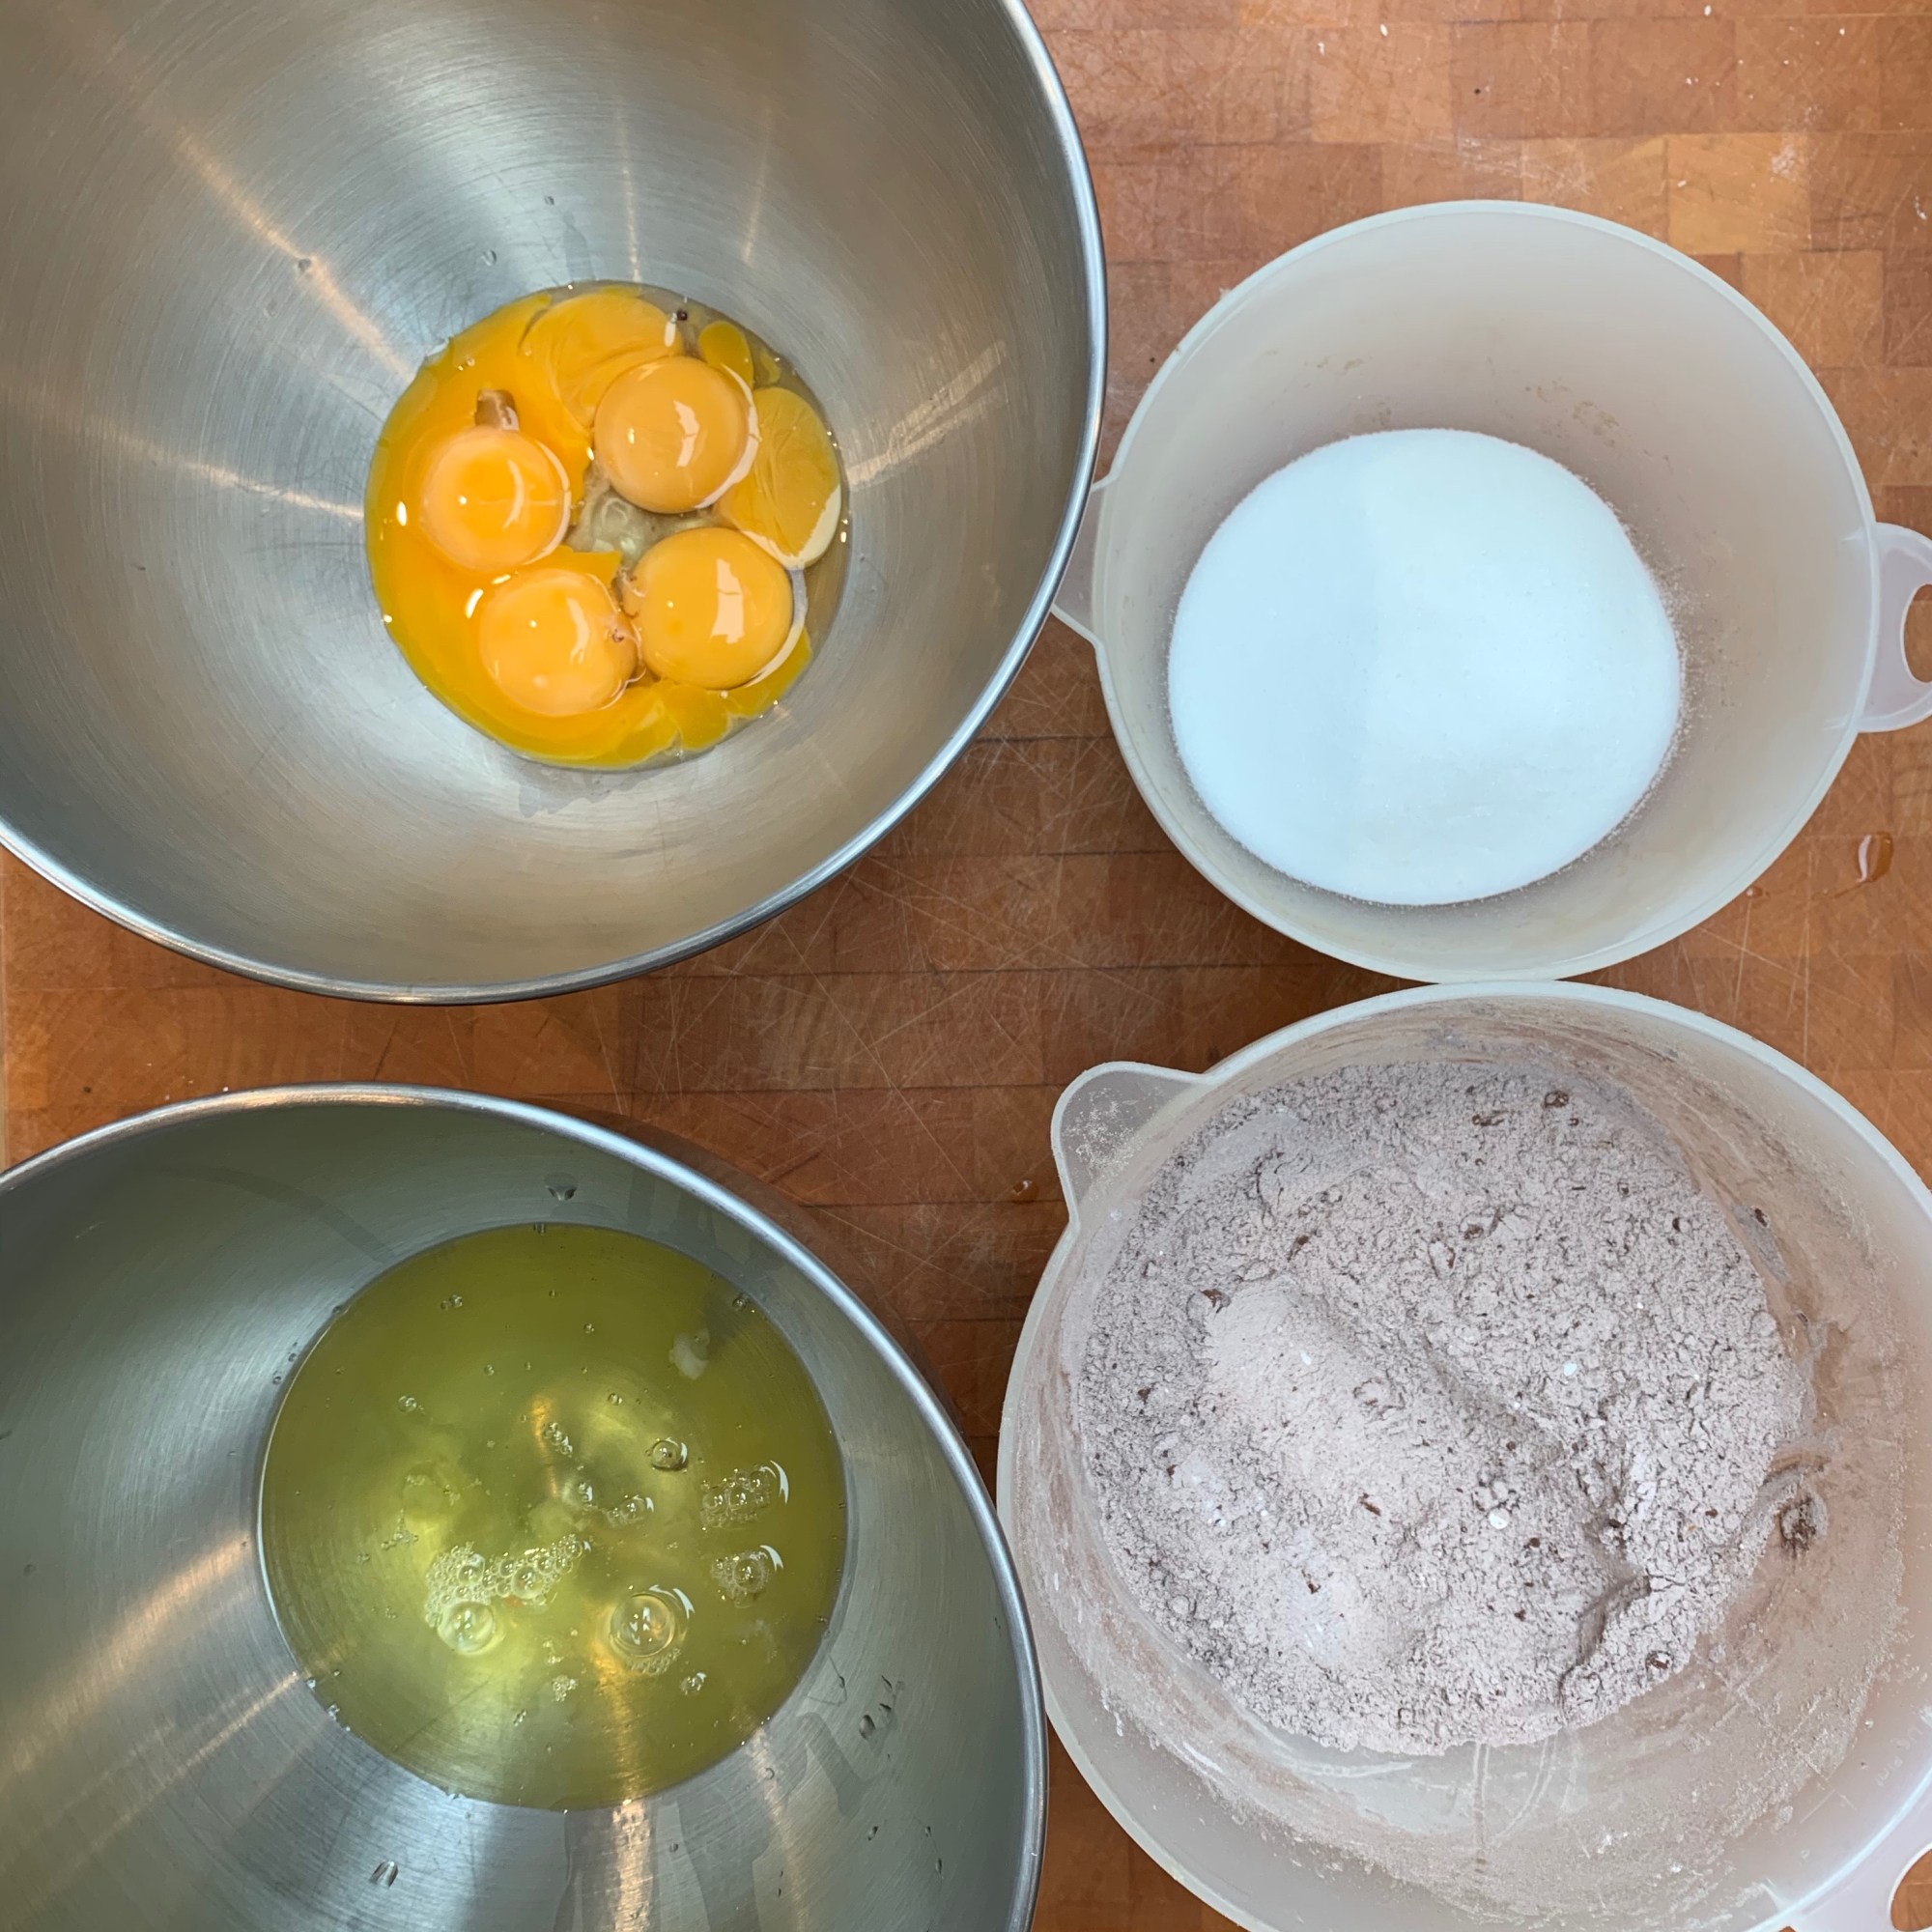
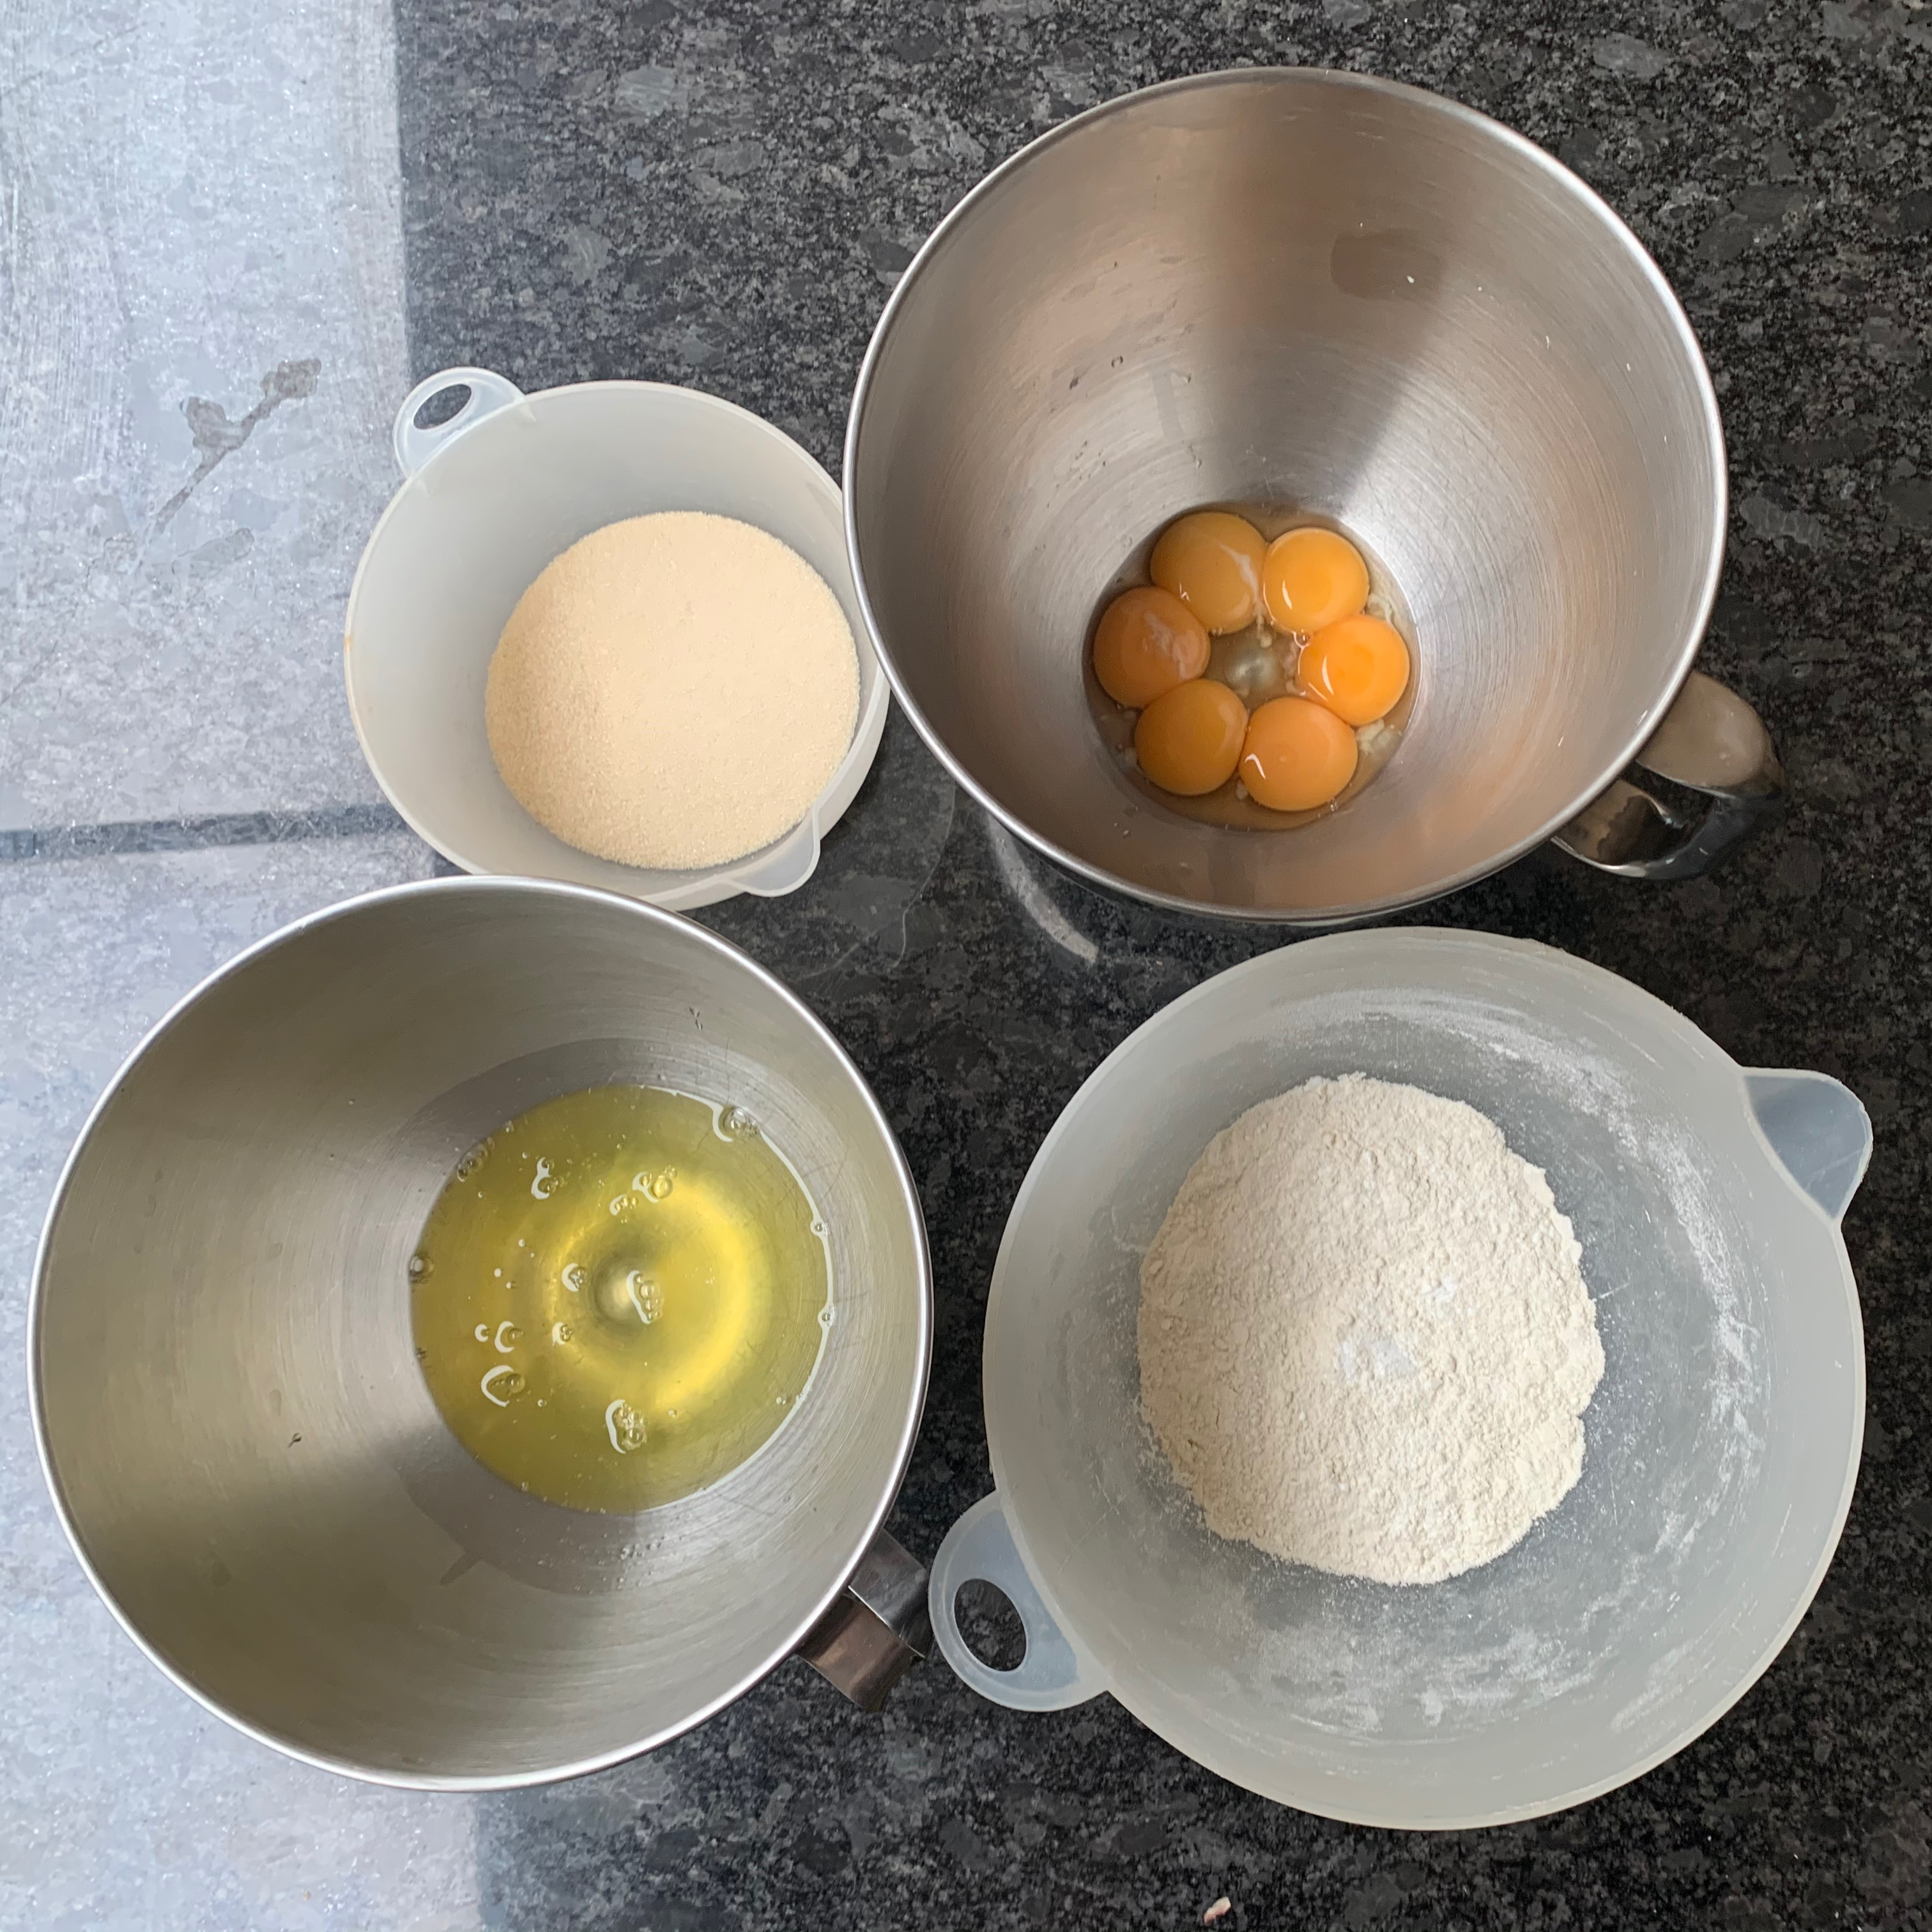
- Separate the eggs into two mixing bowls.
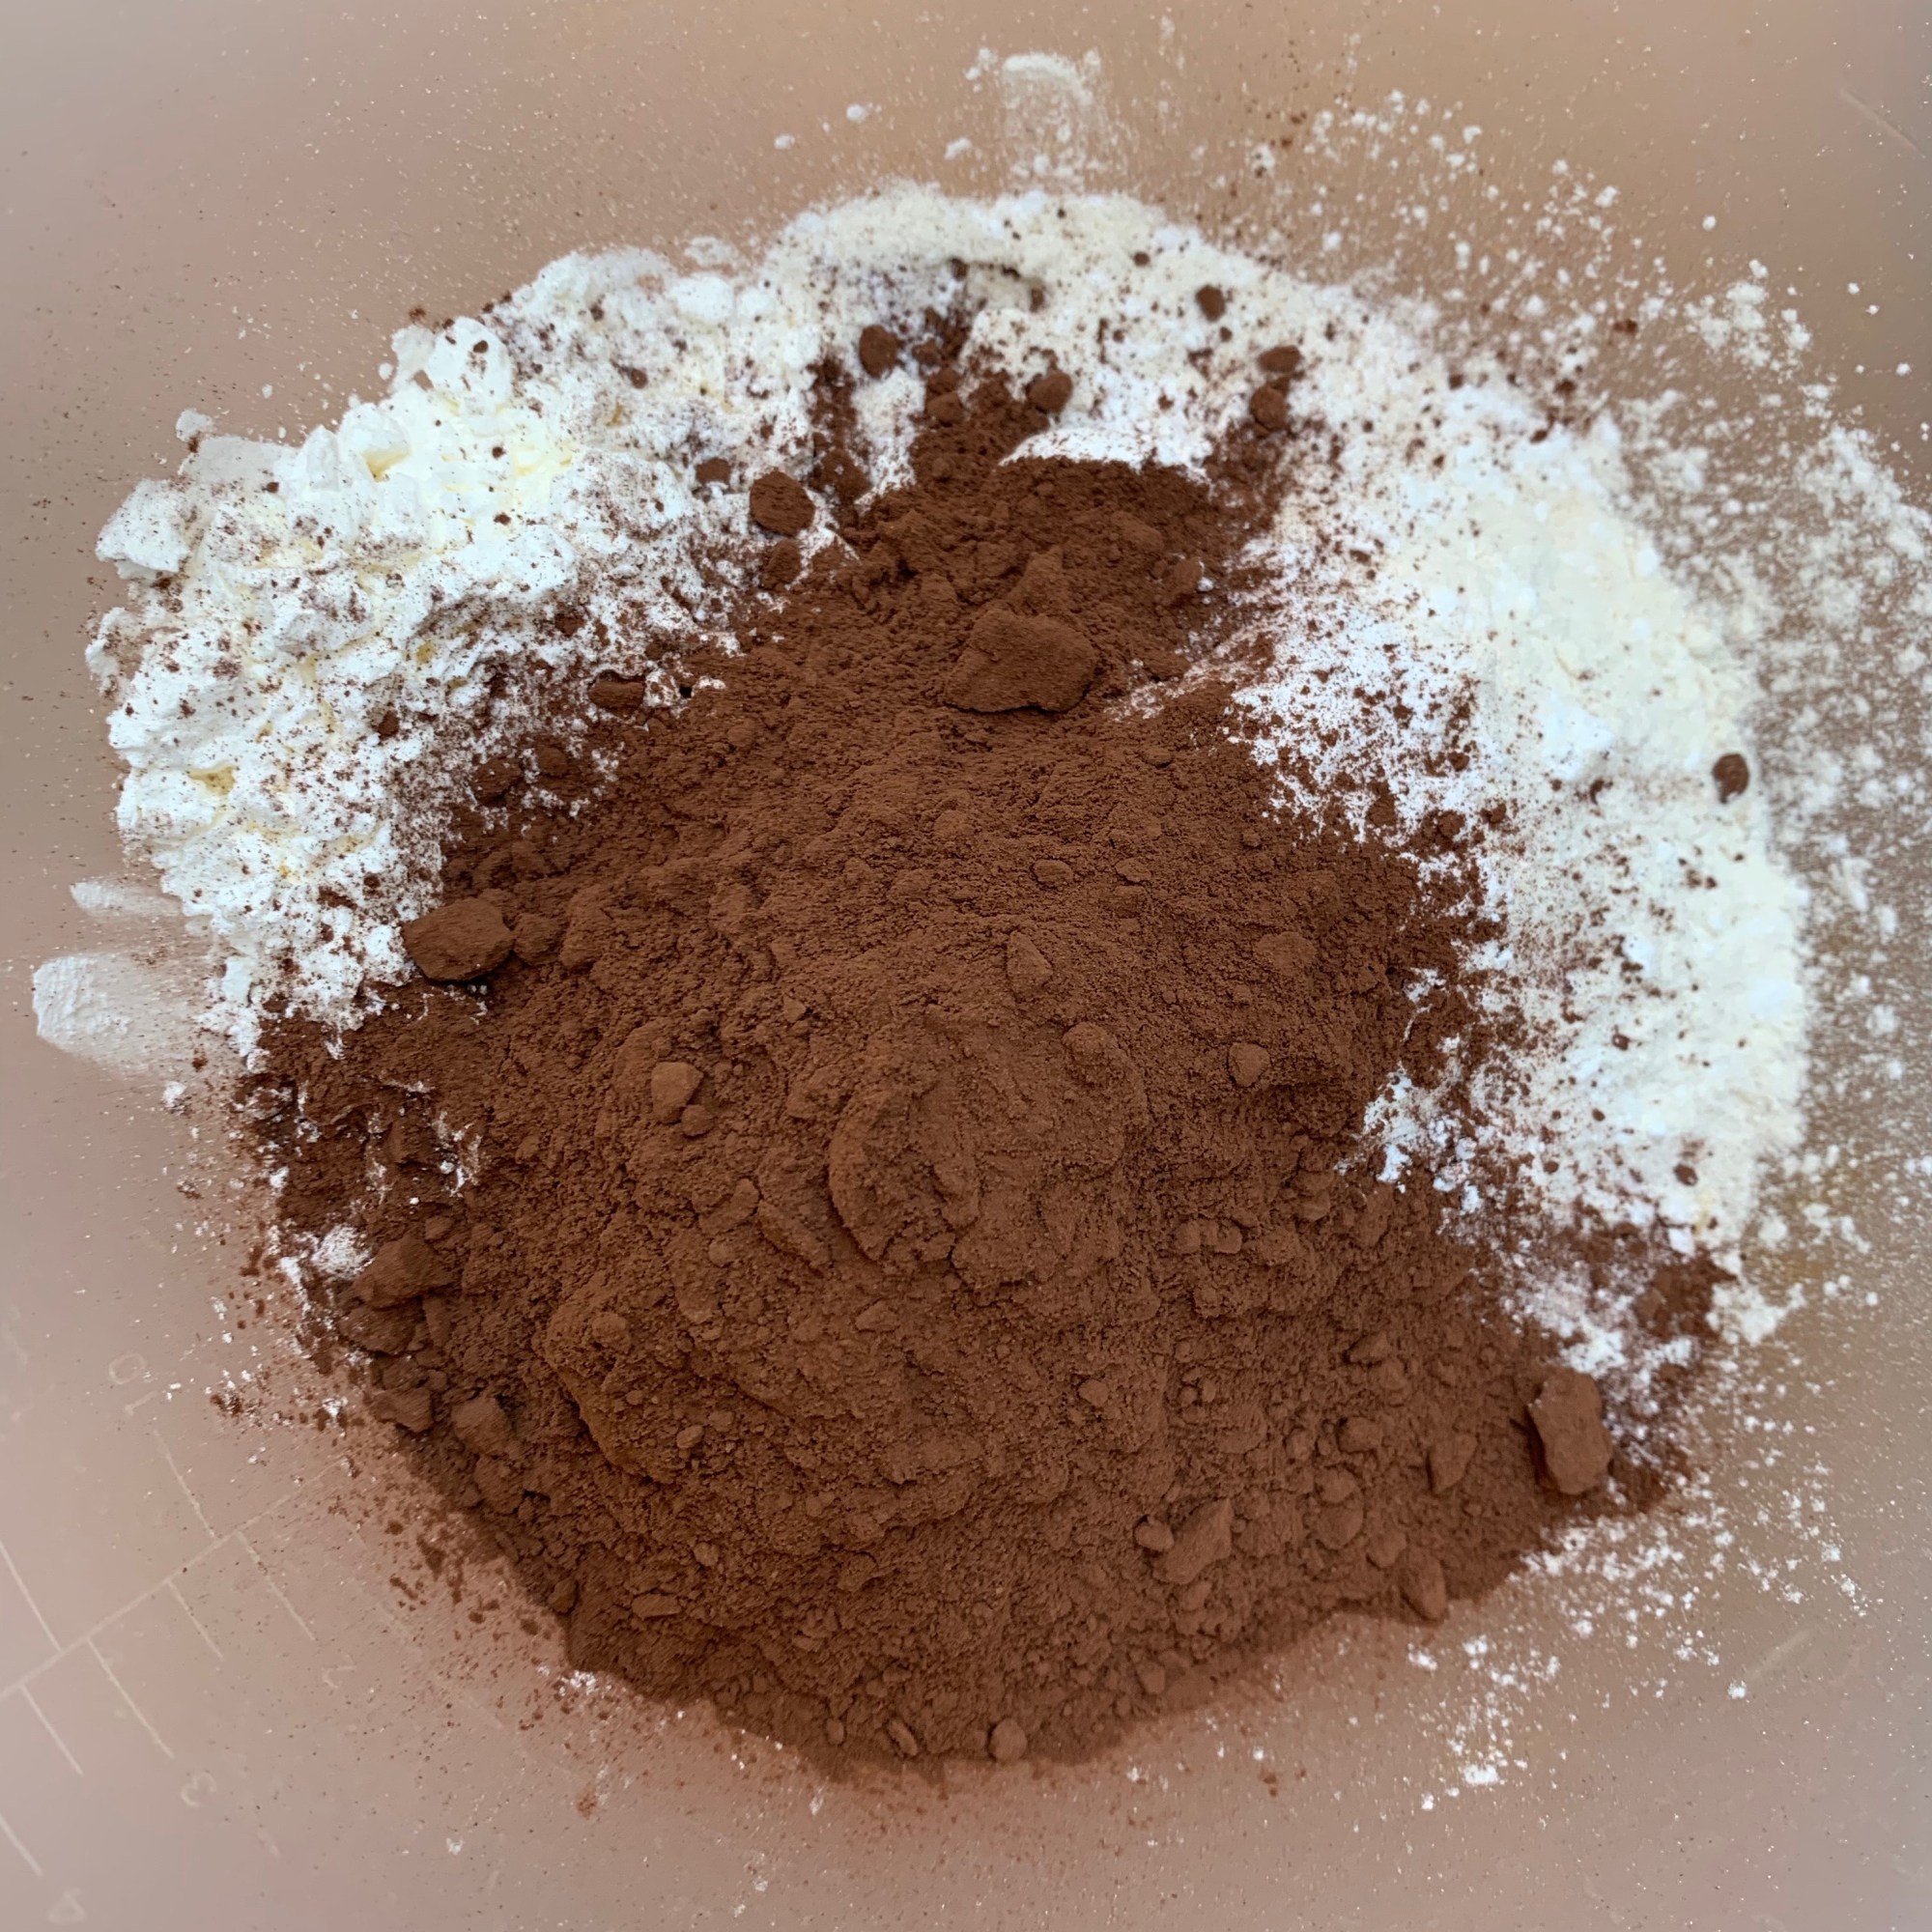
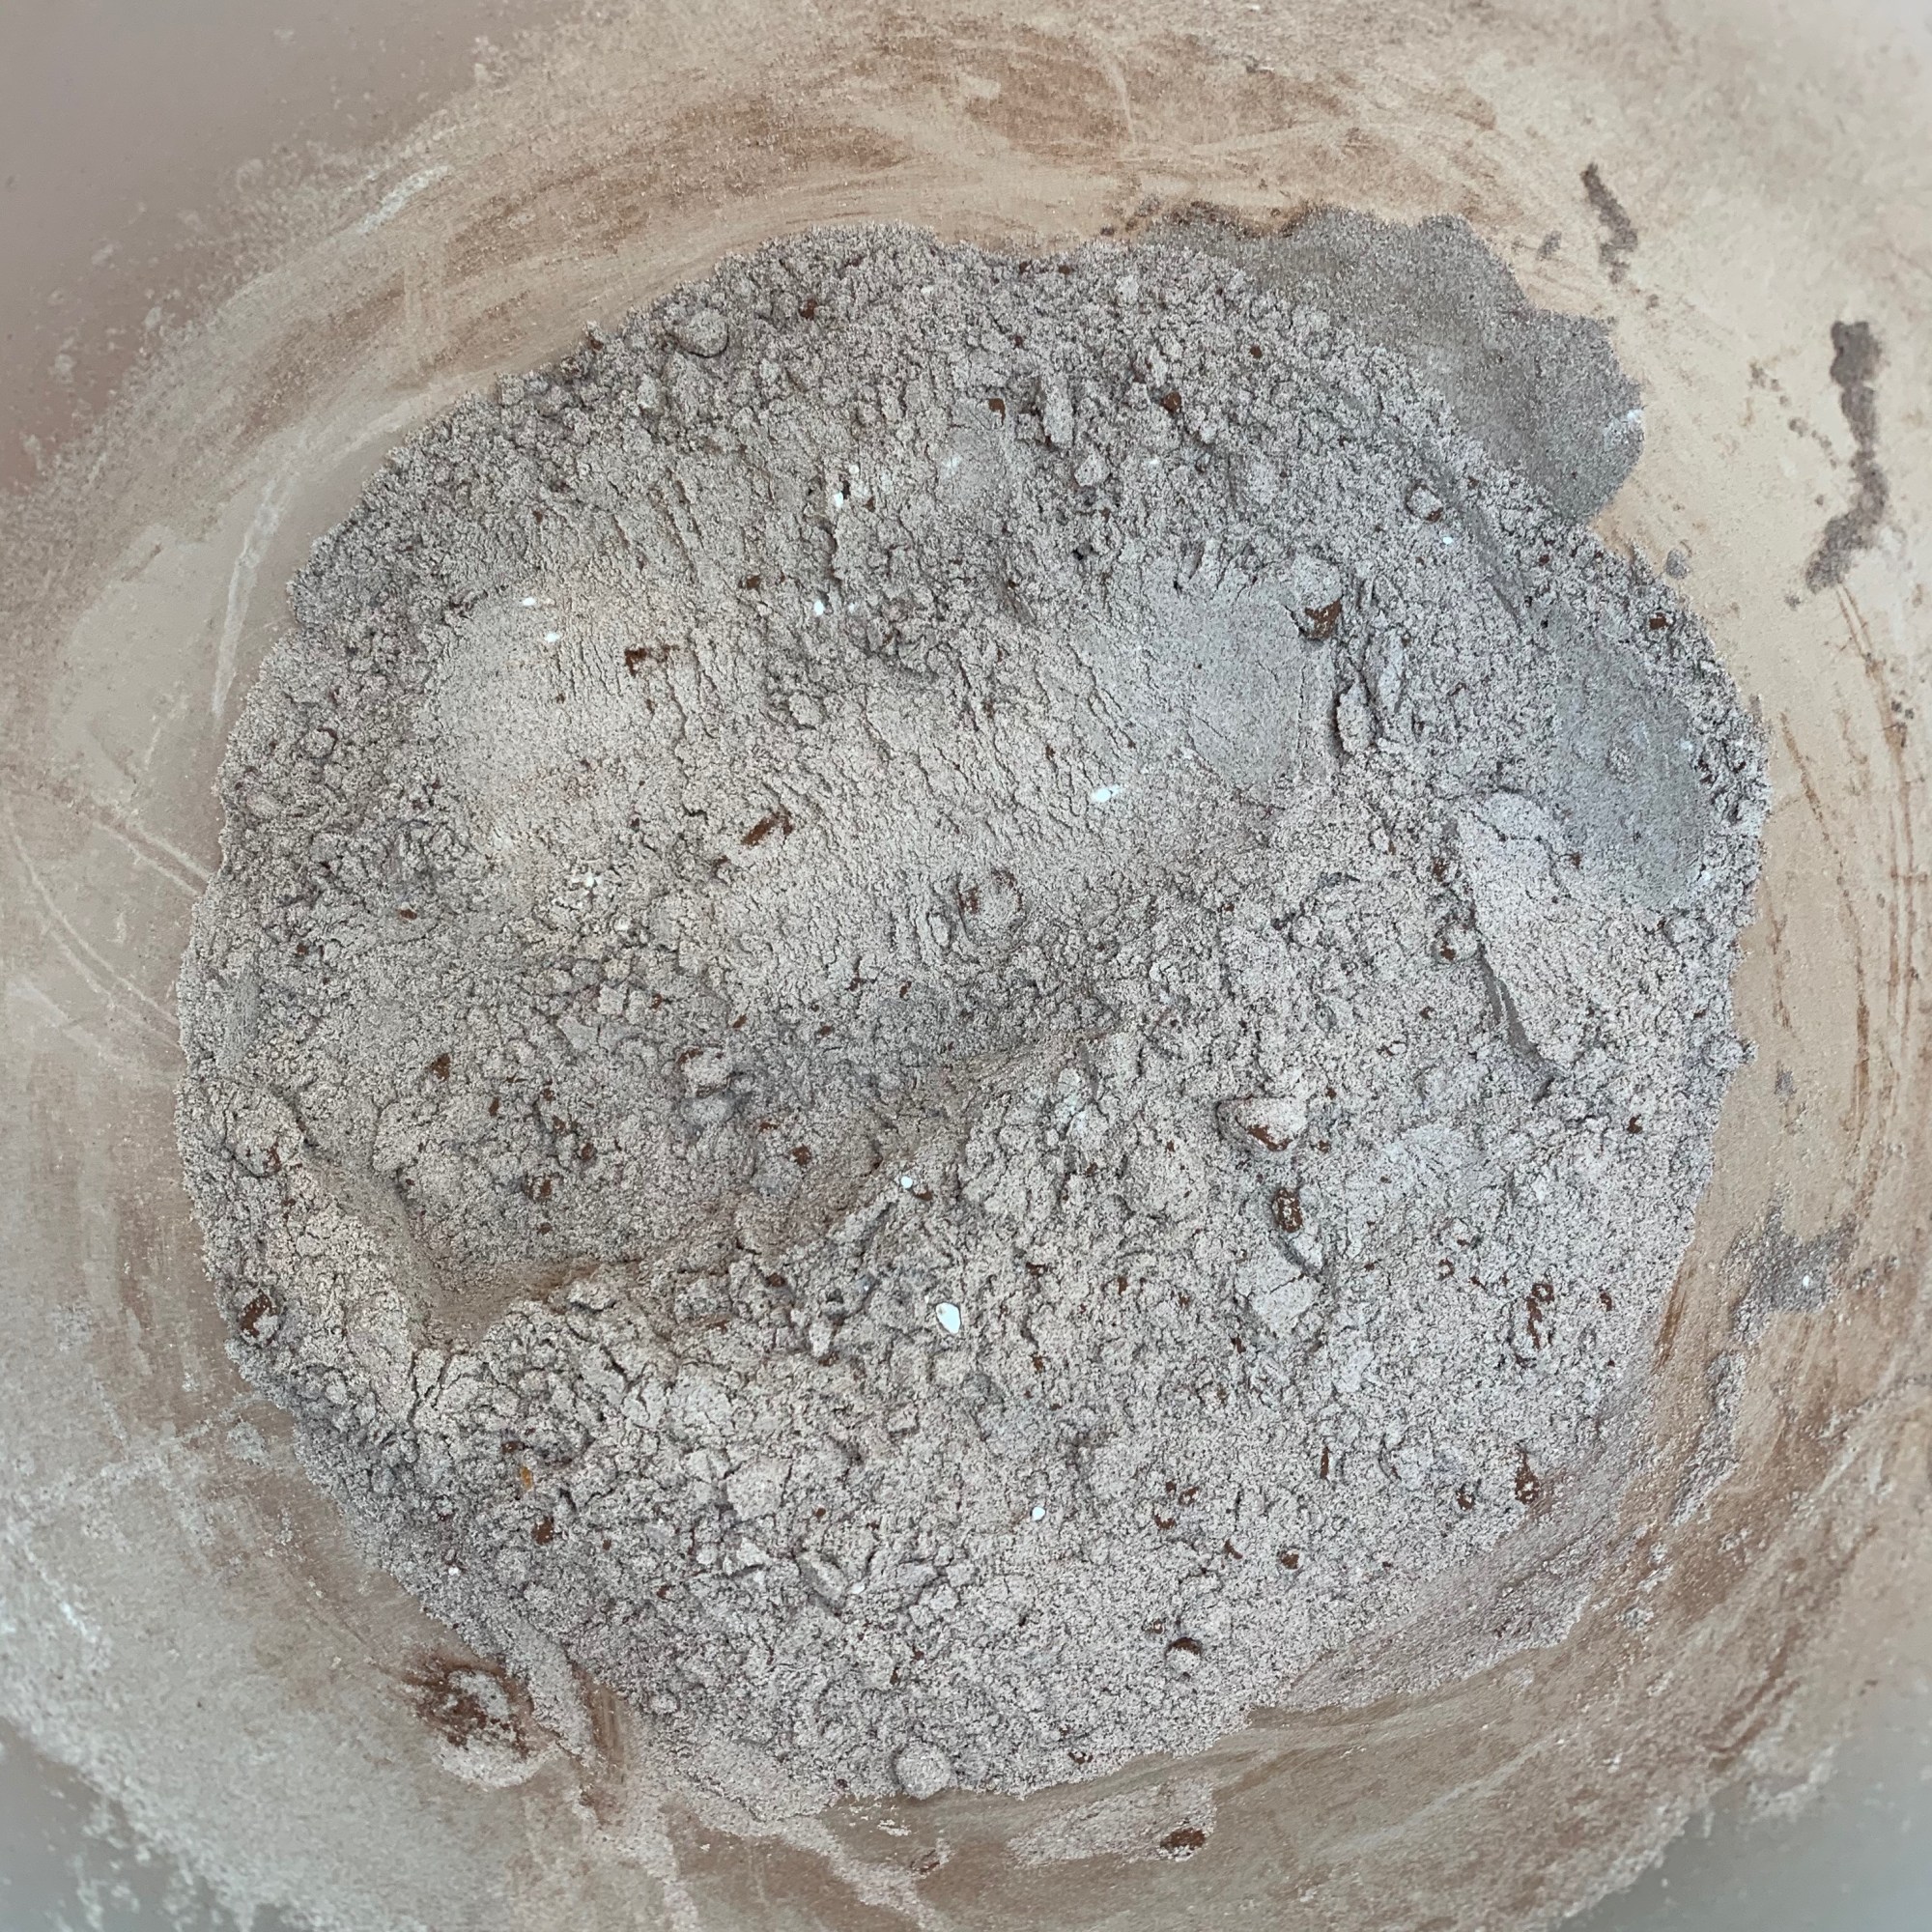
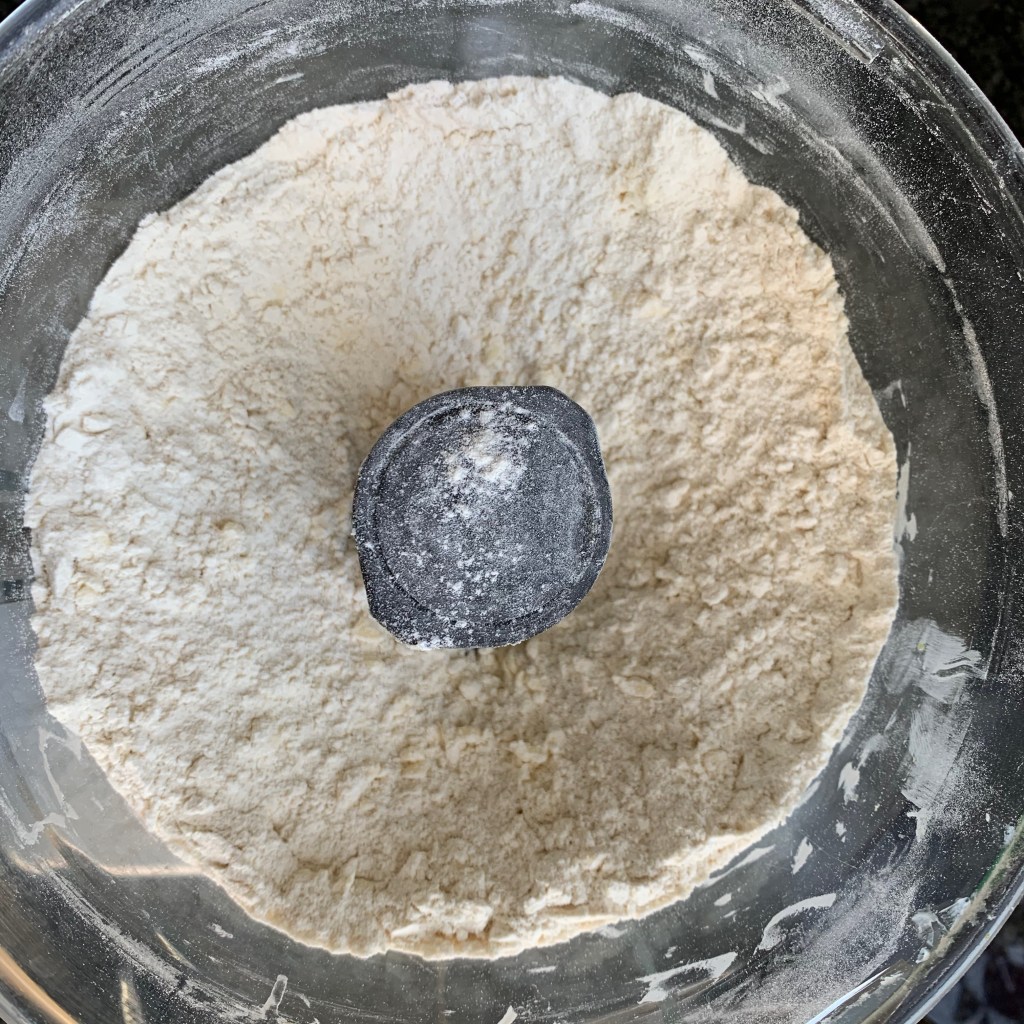
- Sift the flour and baking powder together.
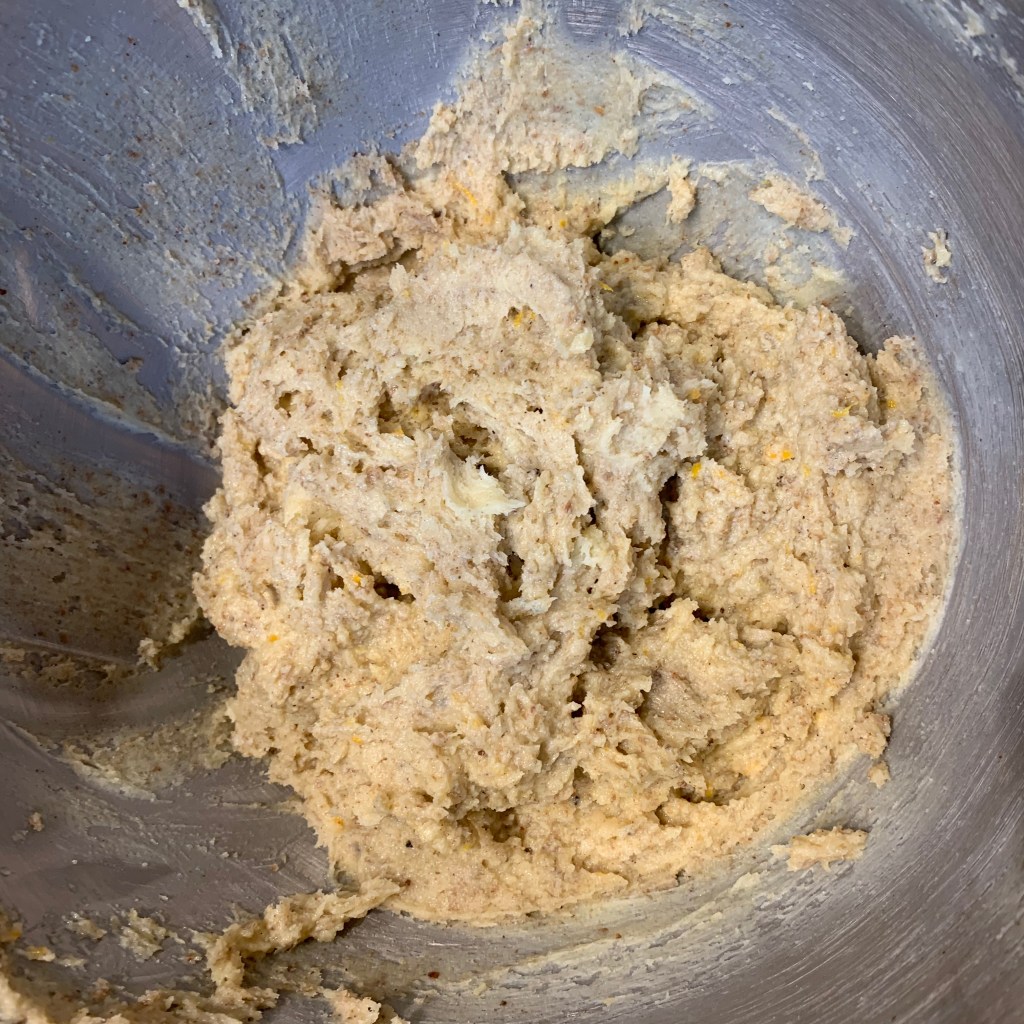
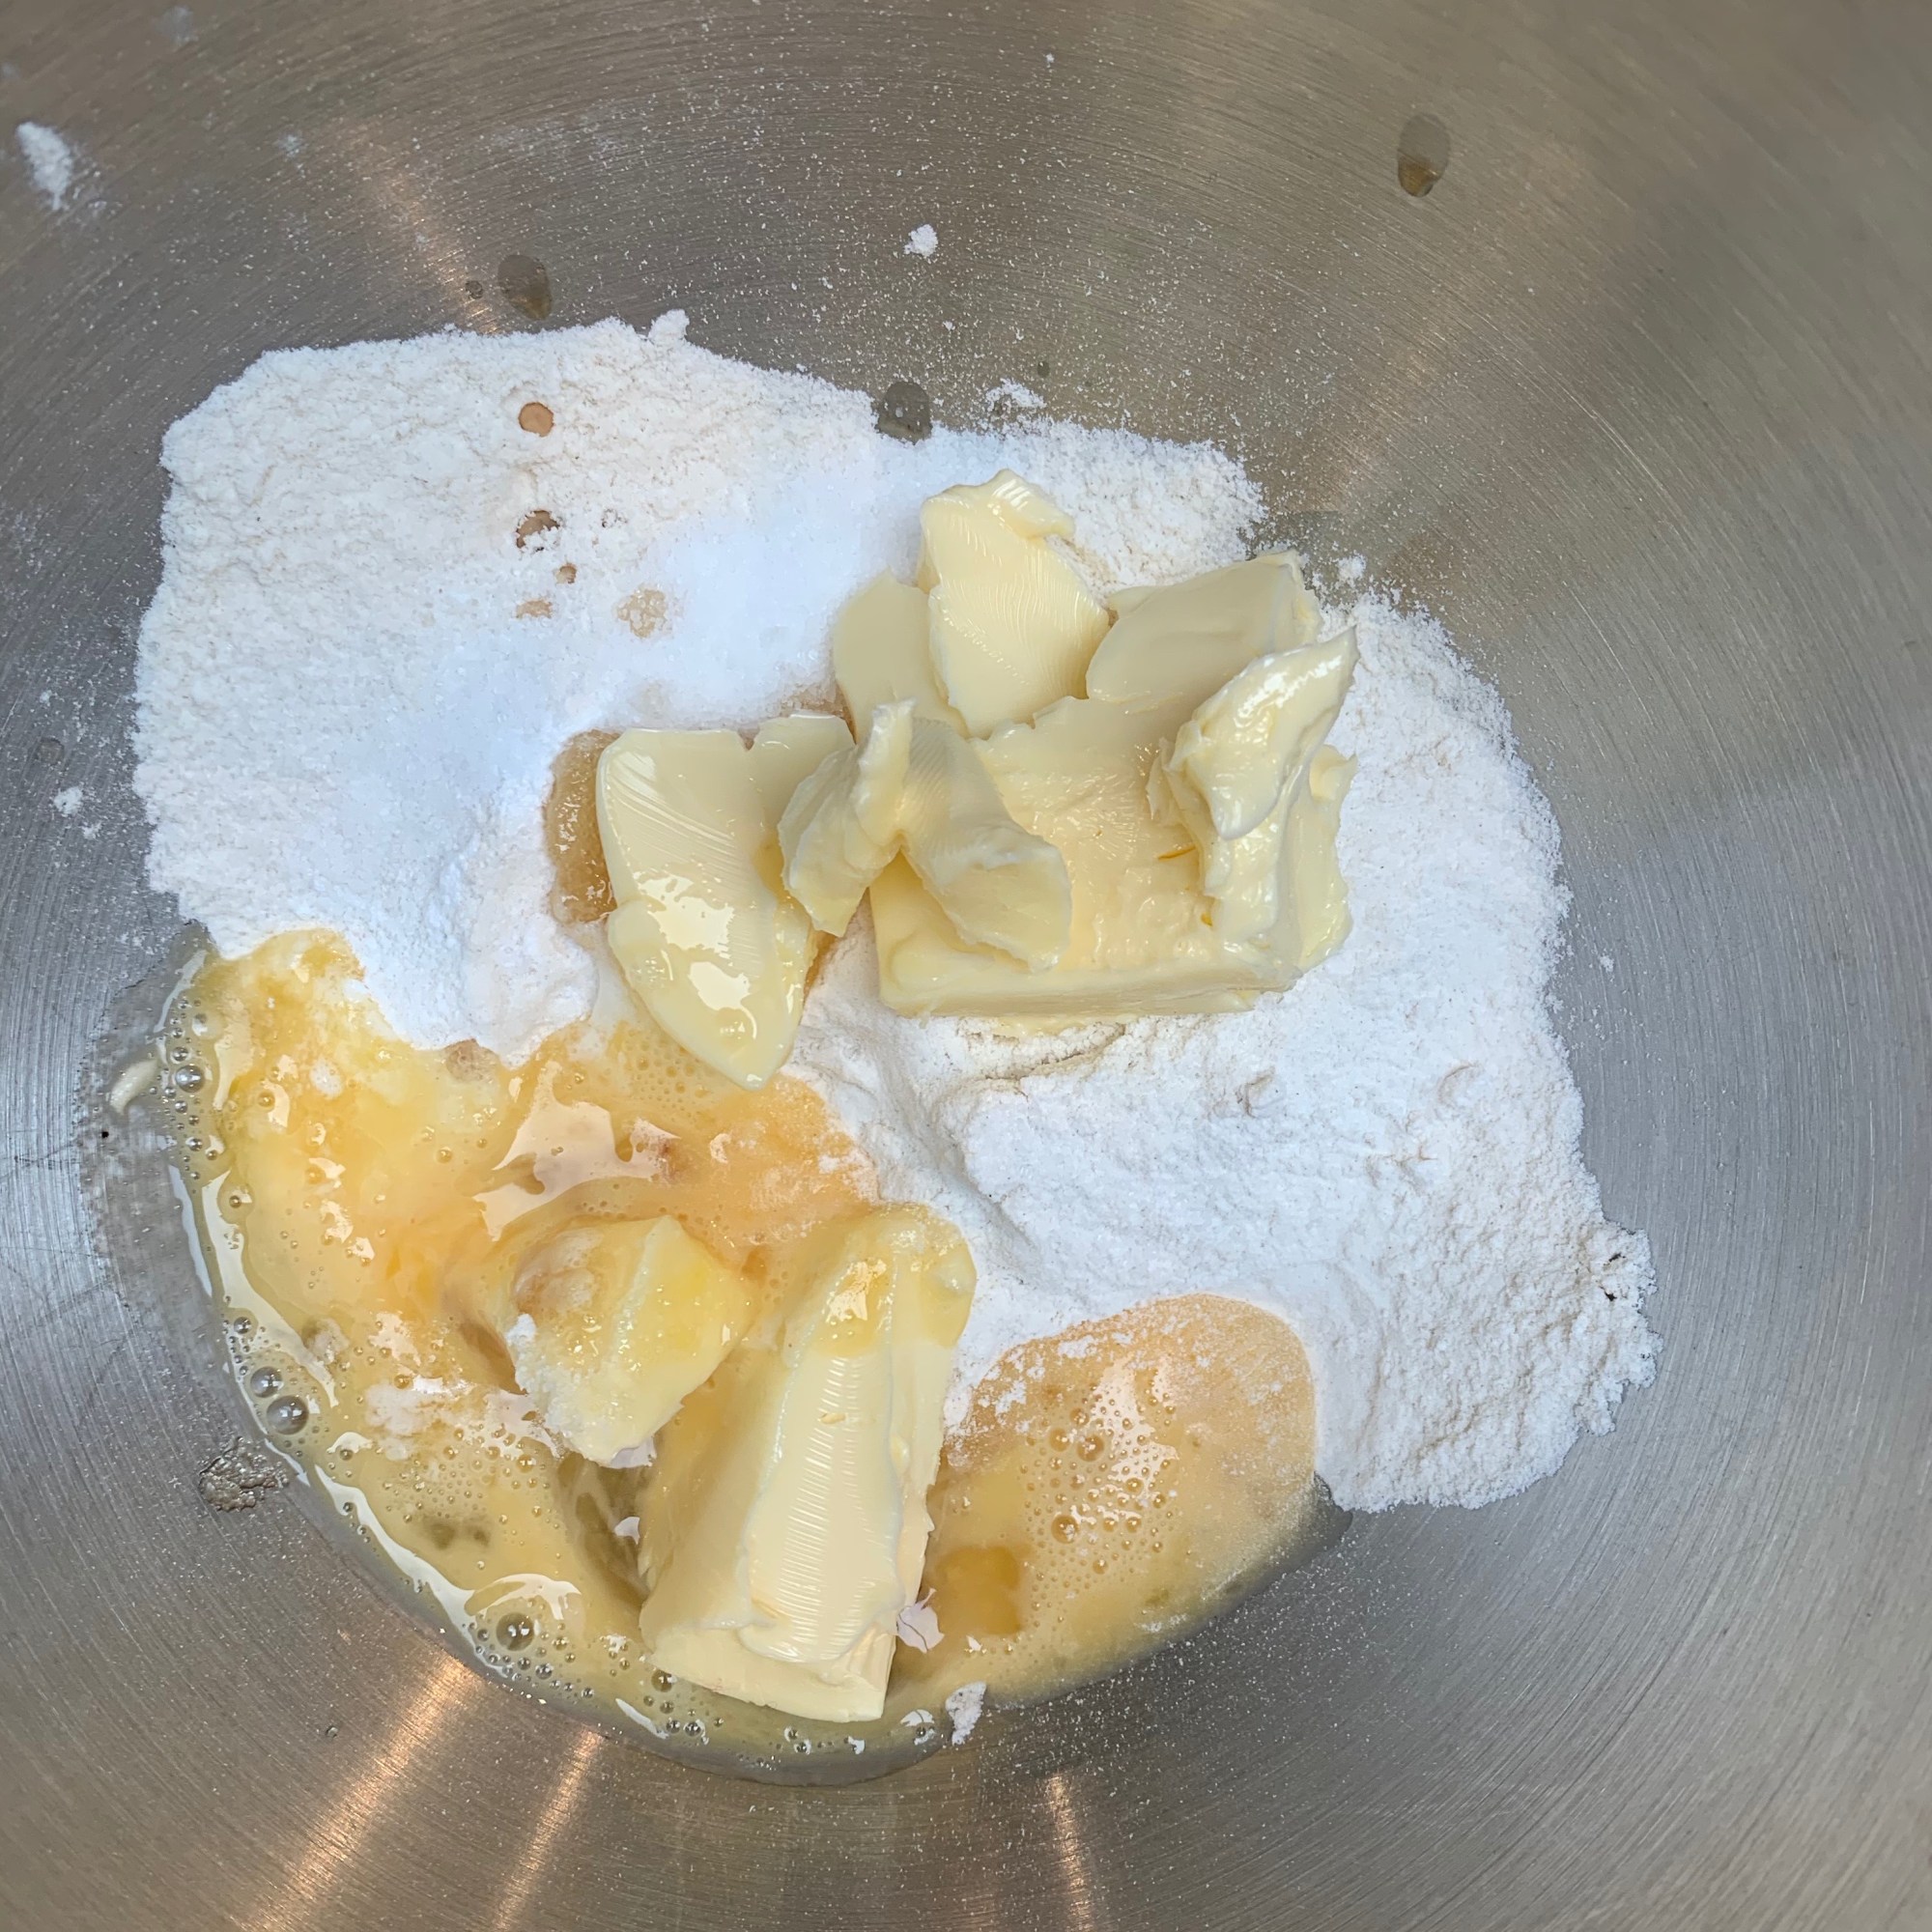
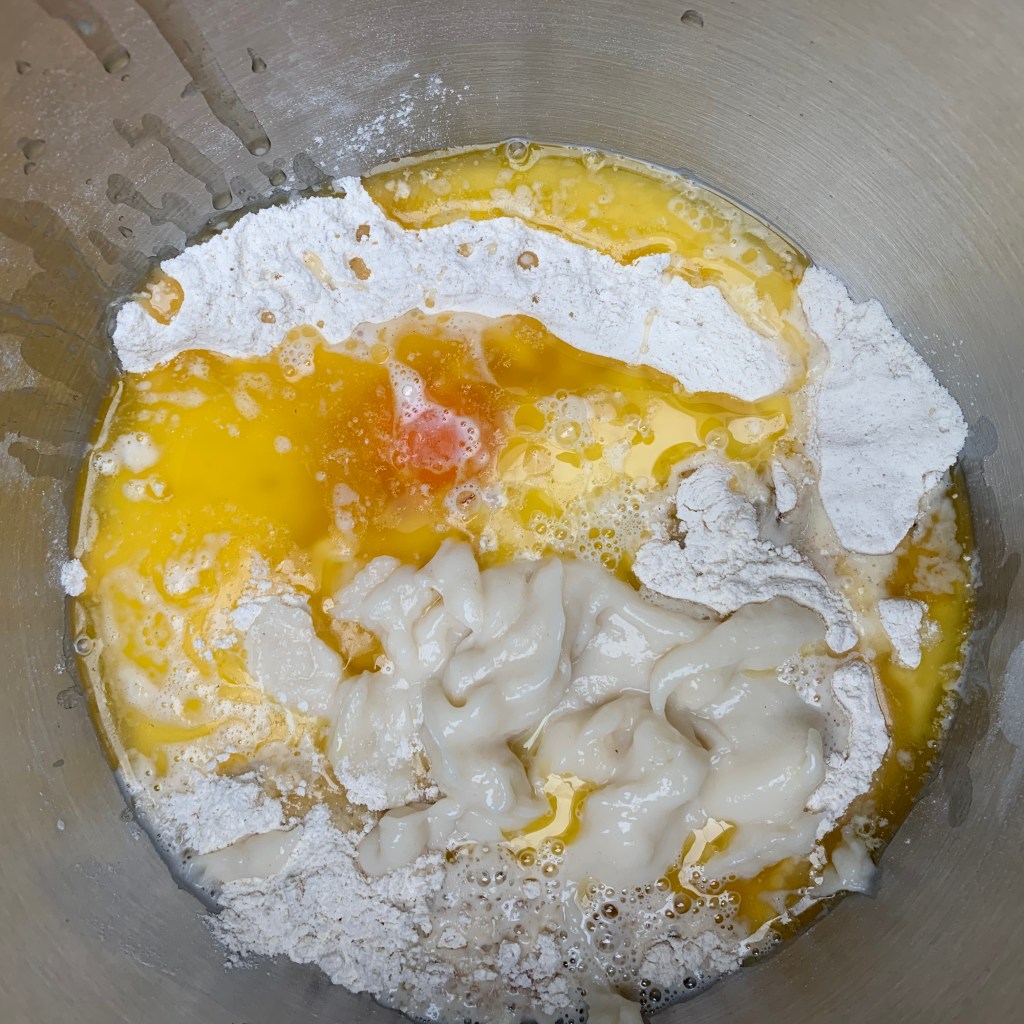
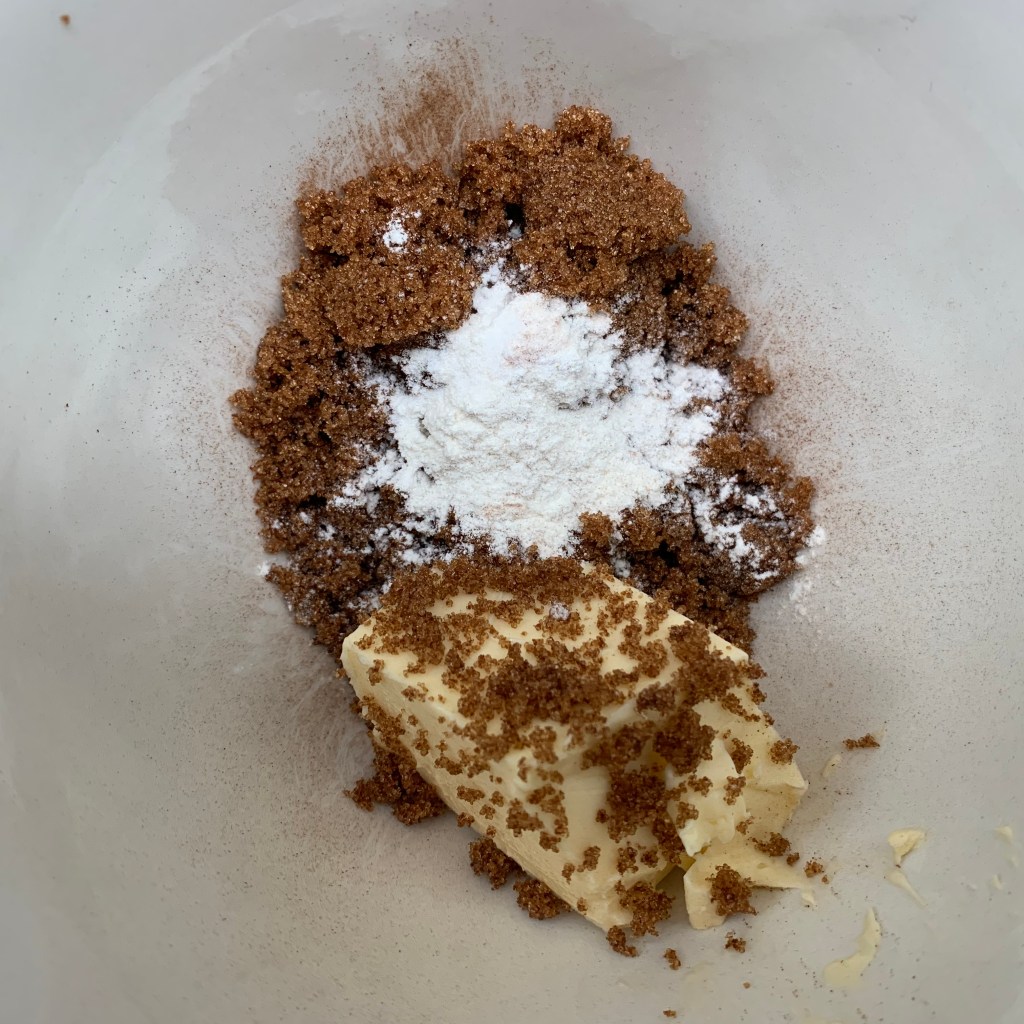
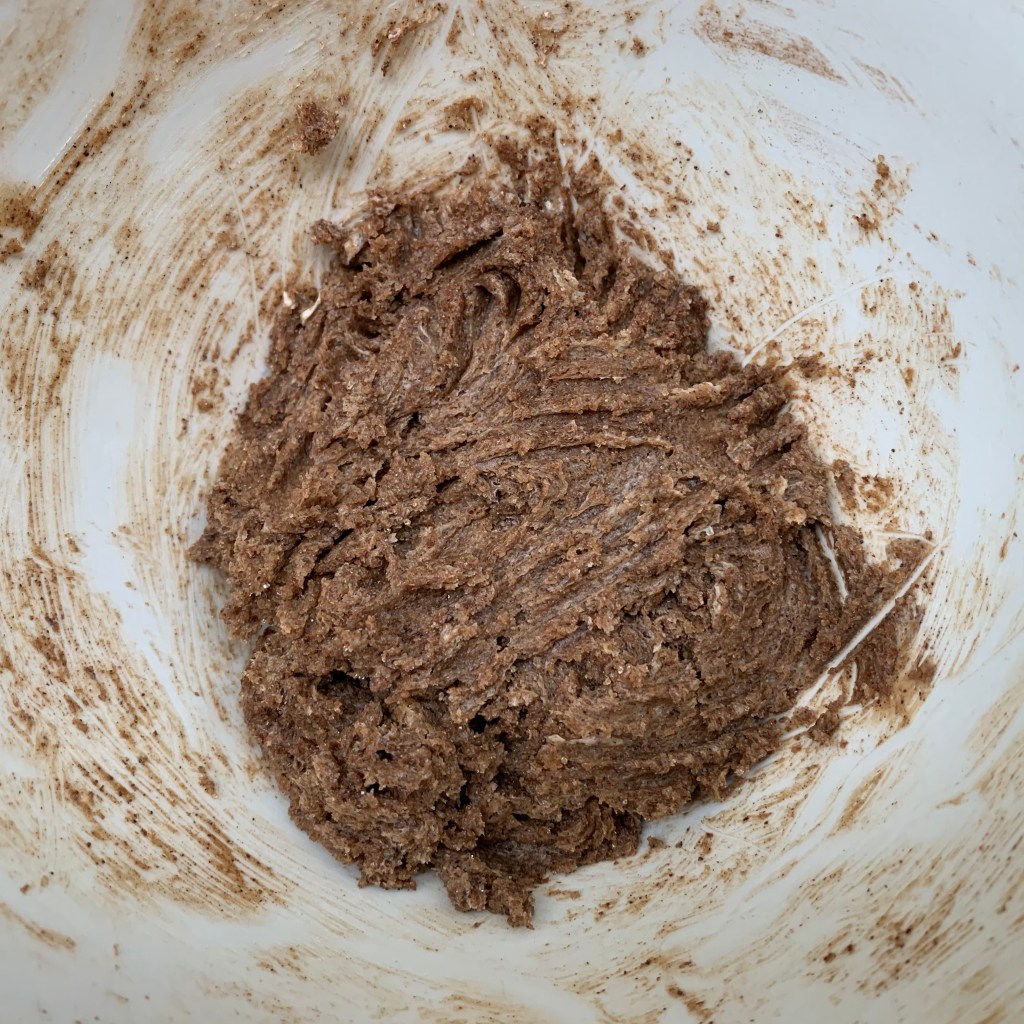
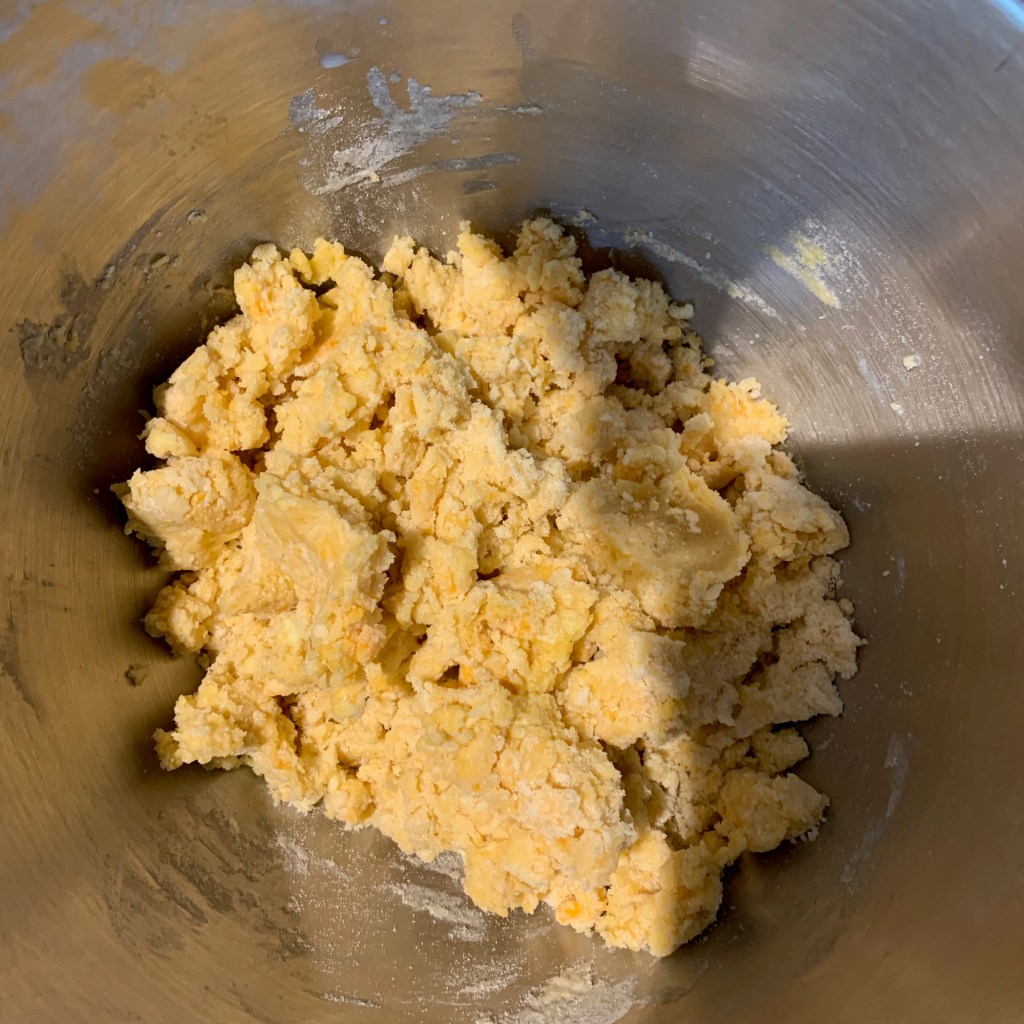
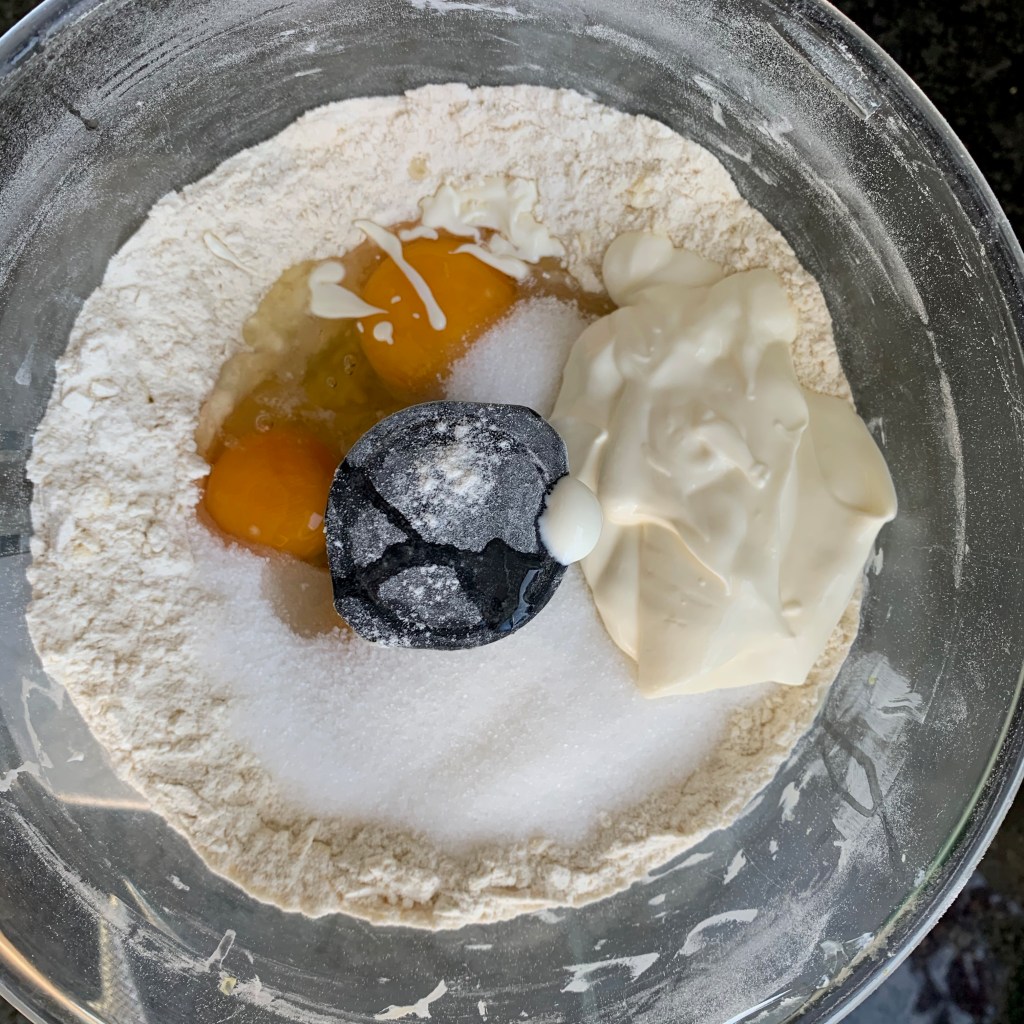
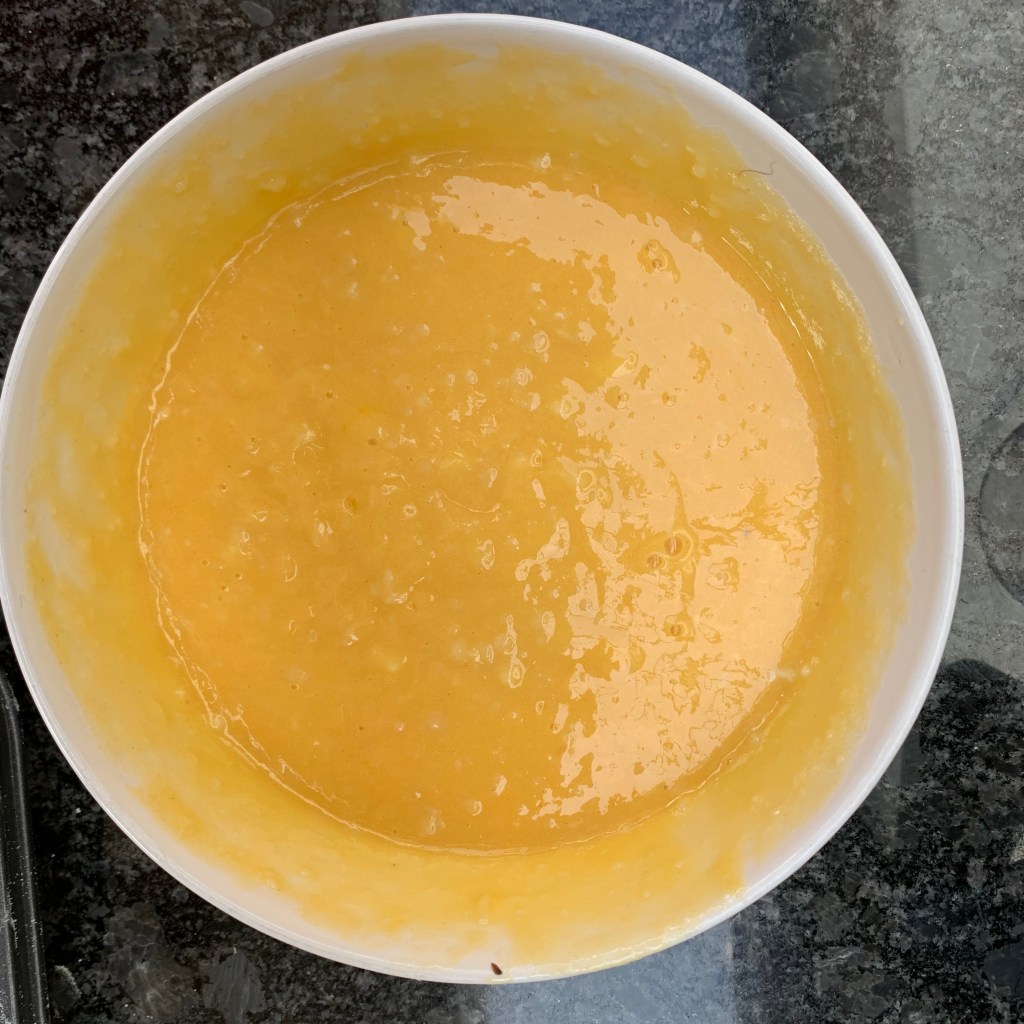
- Beat the egg yolks and add half the caster sugar. Then add the flour and baking powder and mix until well blended. The mixture will be quite stiff.
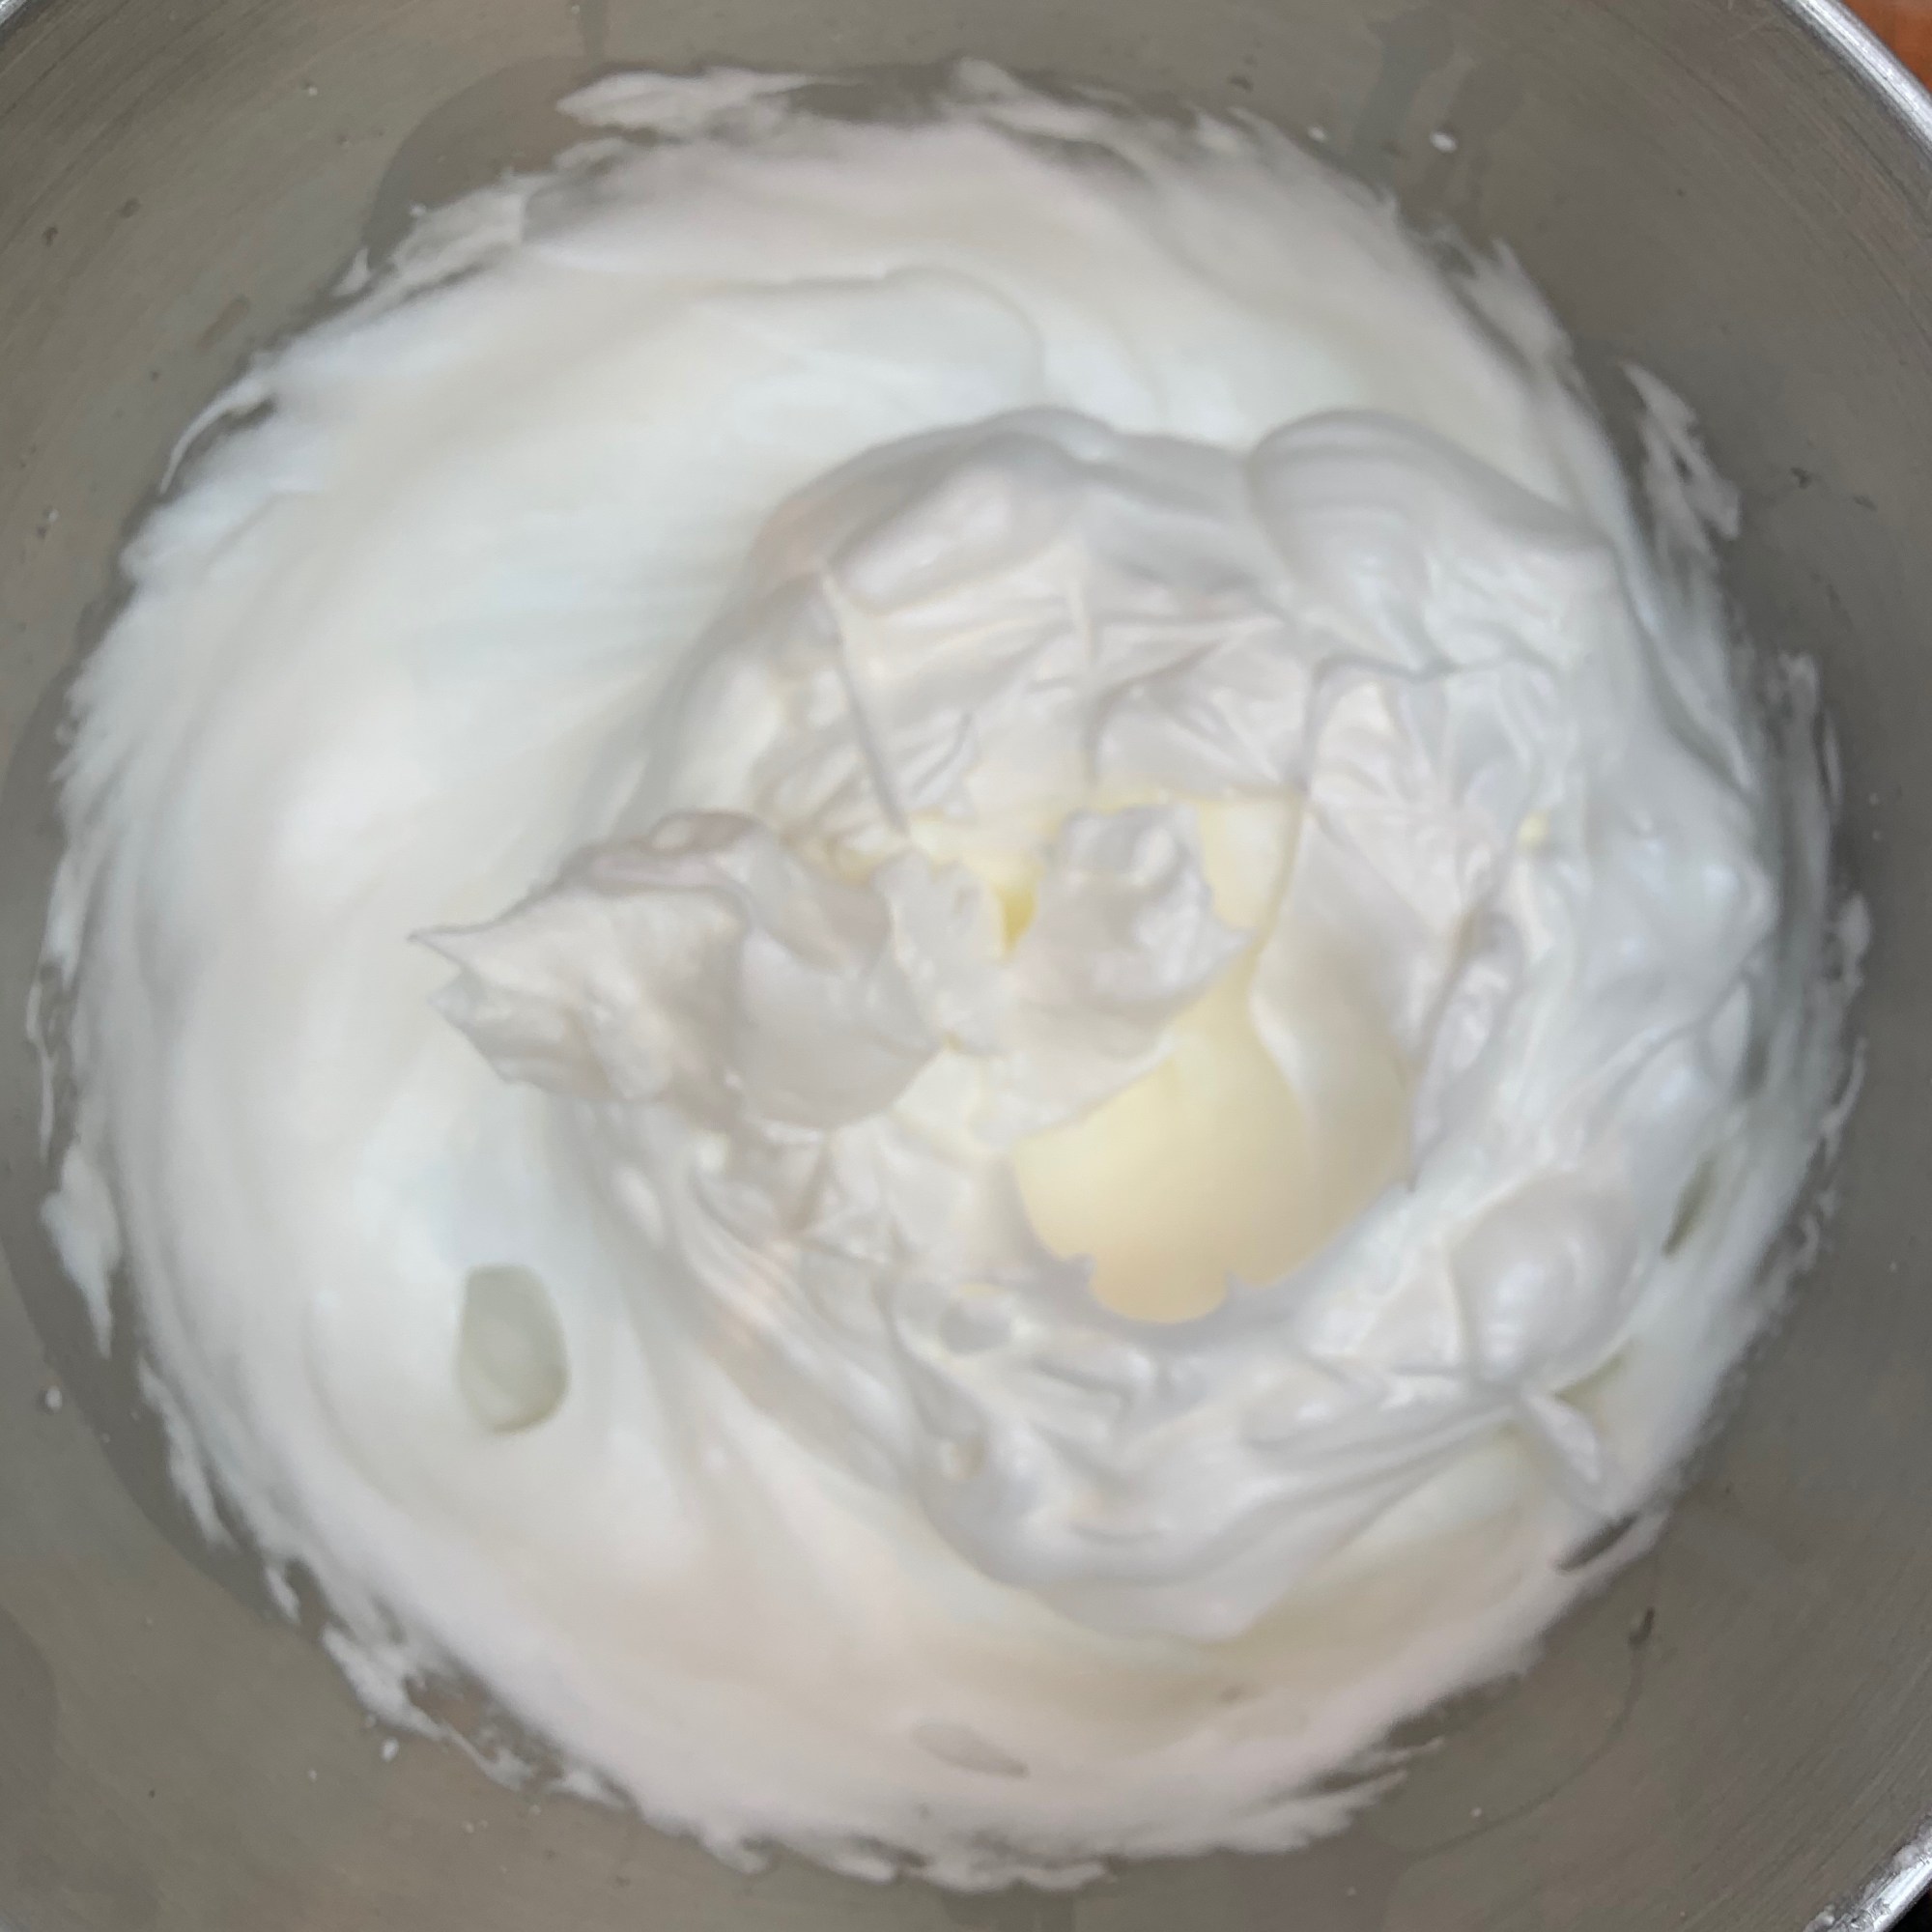
- In the other bowl, beat the egg whites until soft peaks form, add the remaining caster sugar and whisk at high speed until you have a stiff meringue
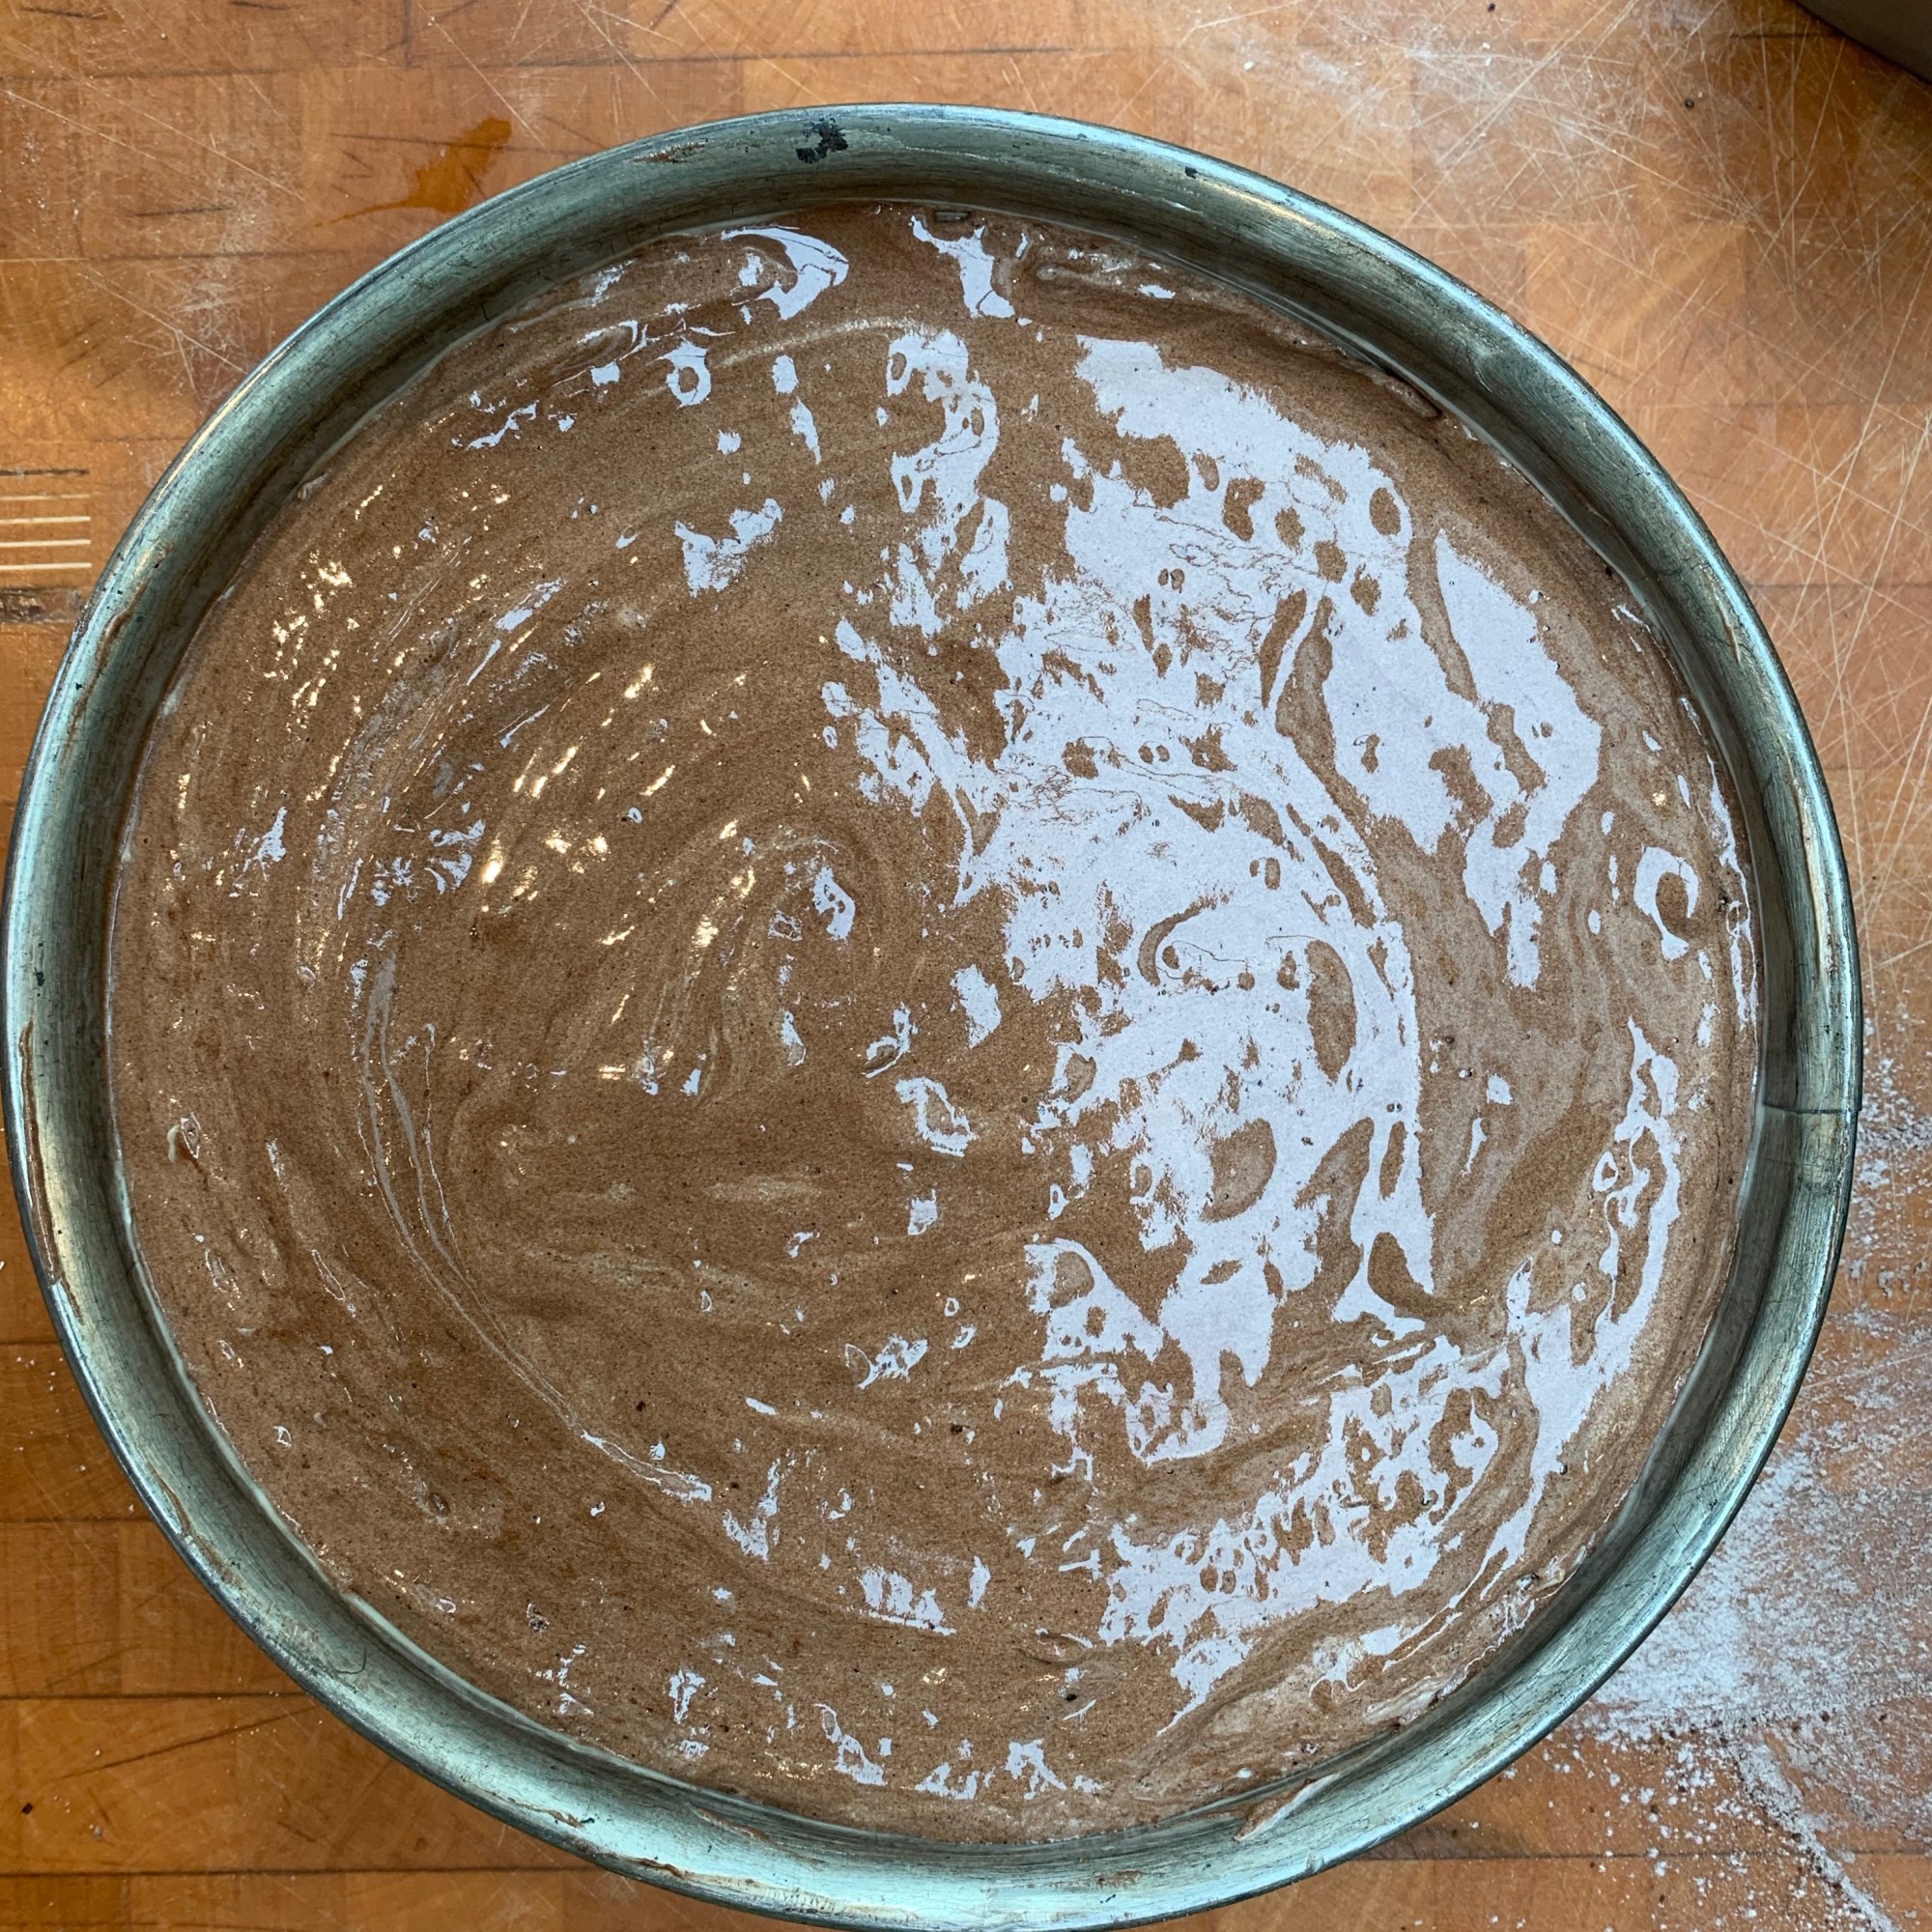
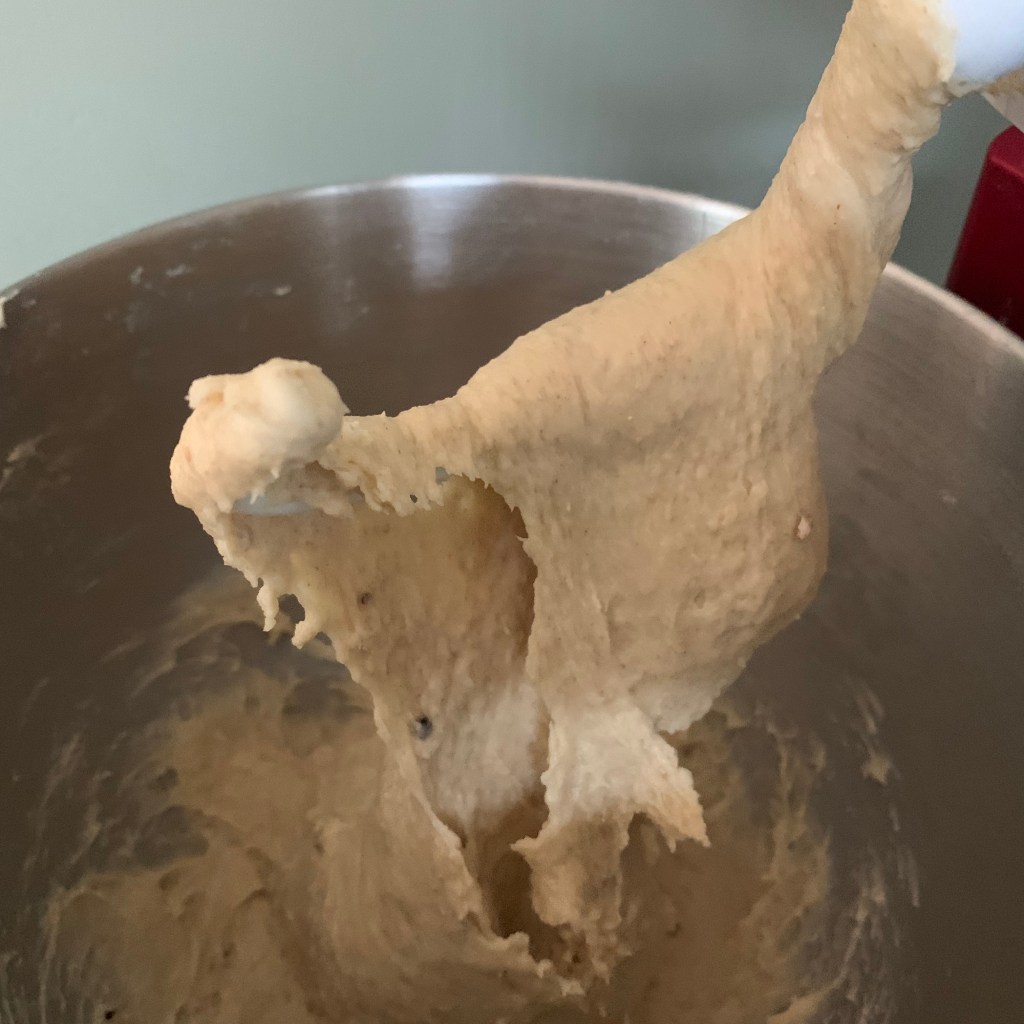
- Add around a quarter of the meringue to your flour mixture and mix in until smooth. Do the same with another quarter, now taking care to keep as much air in the meringue as you can. Now fold in the remaining meringue, working really hard to keep the air in.
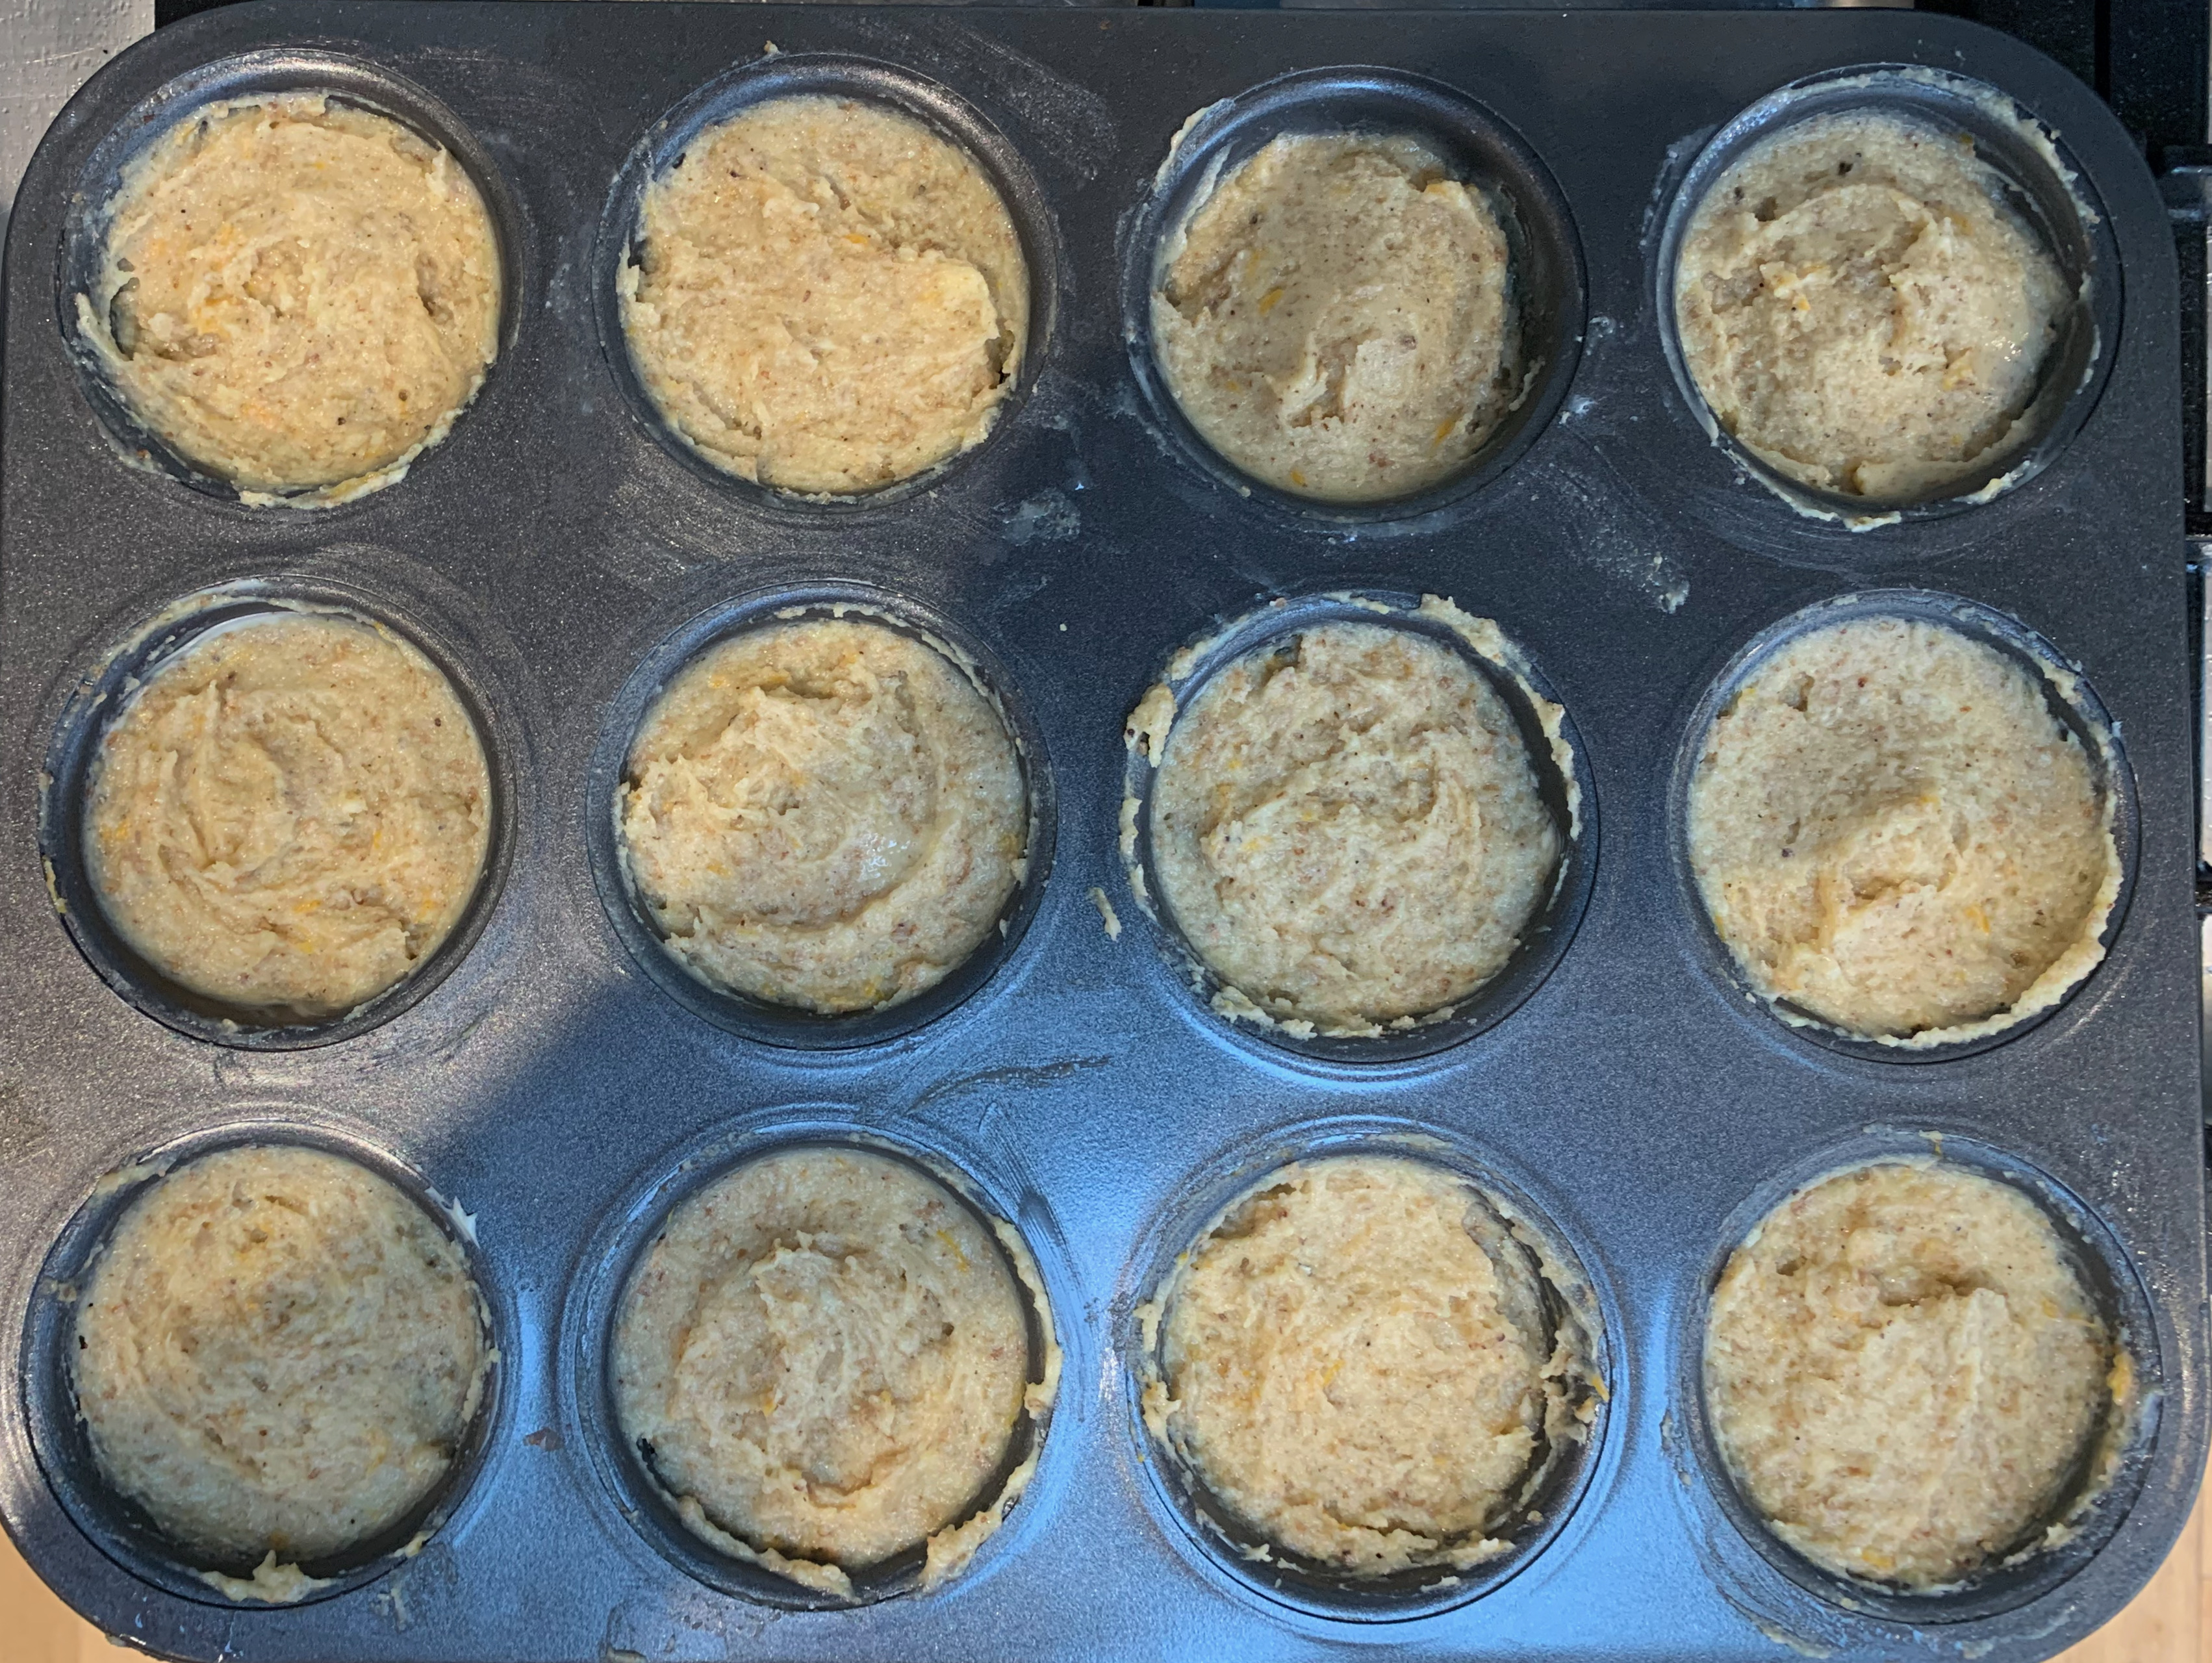
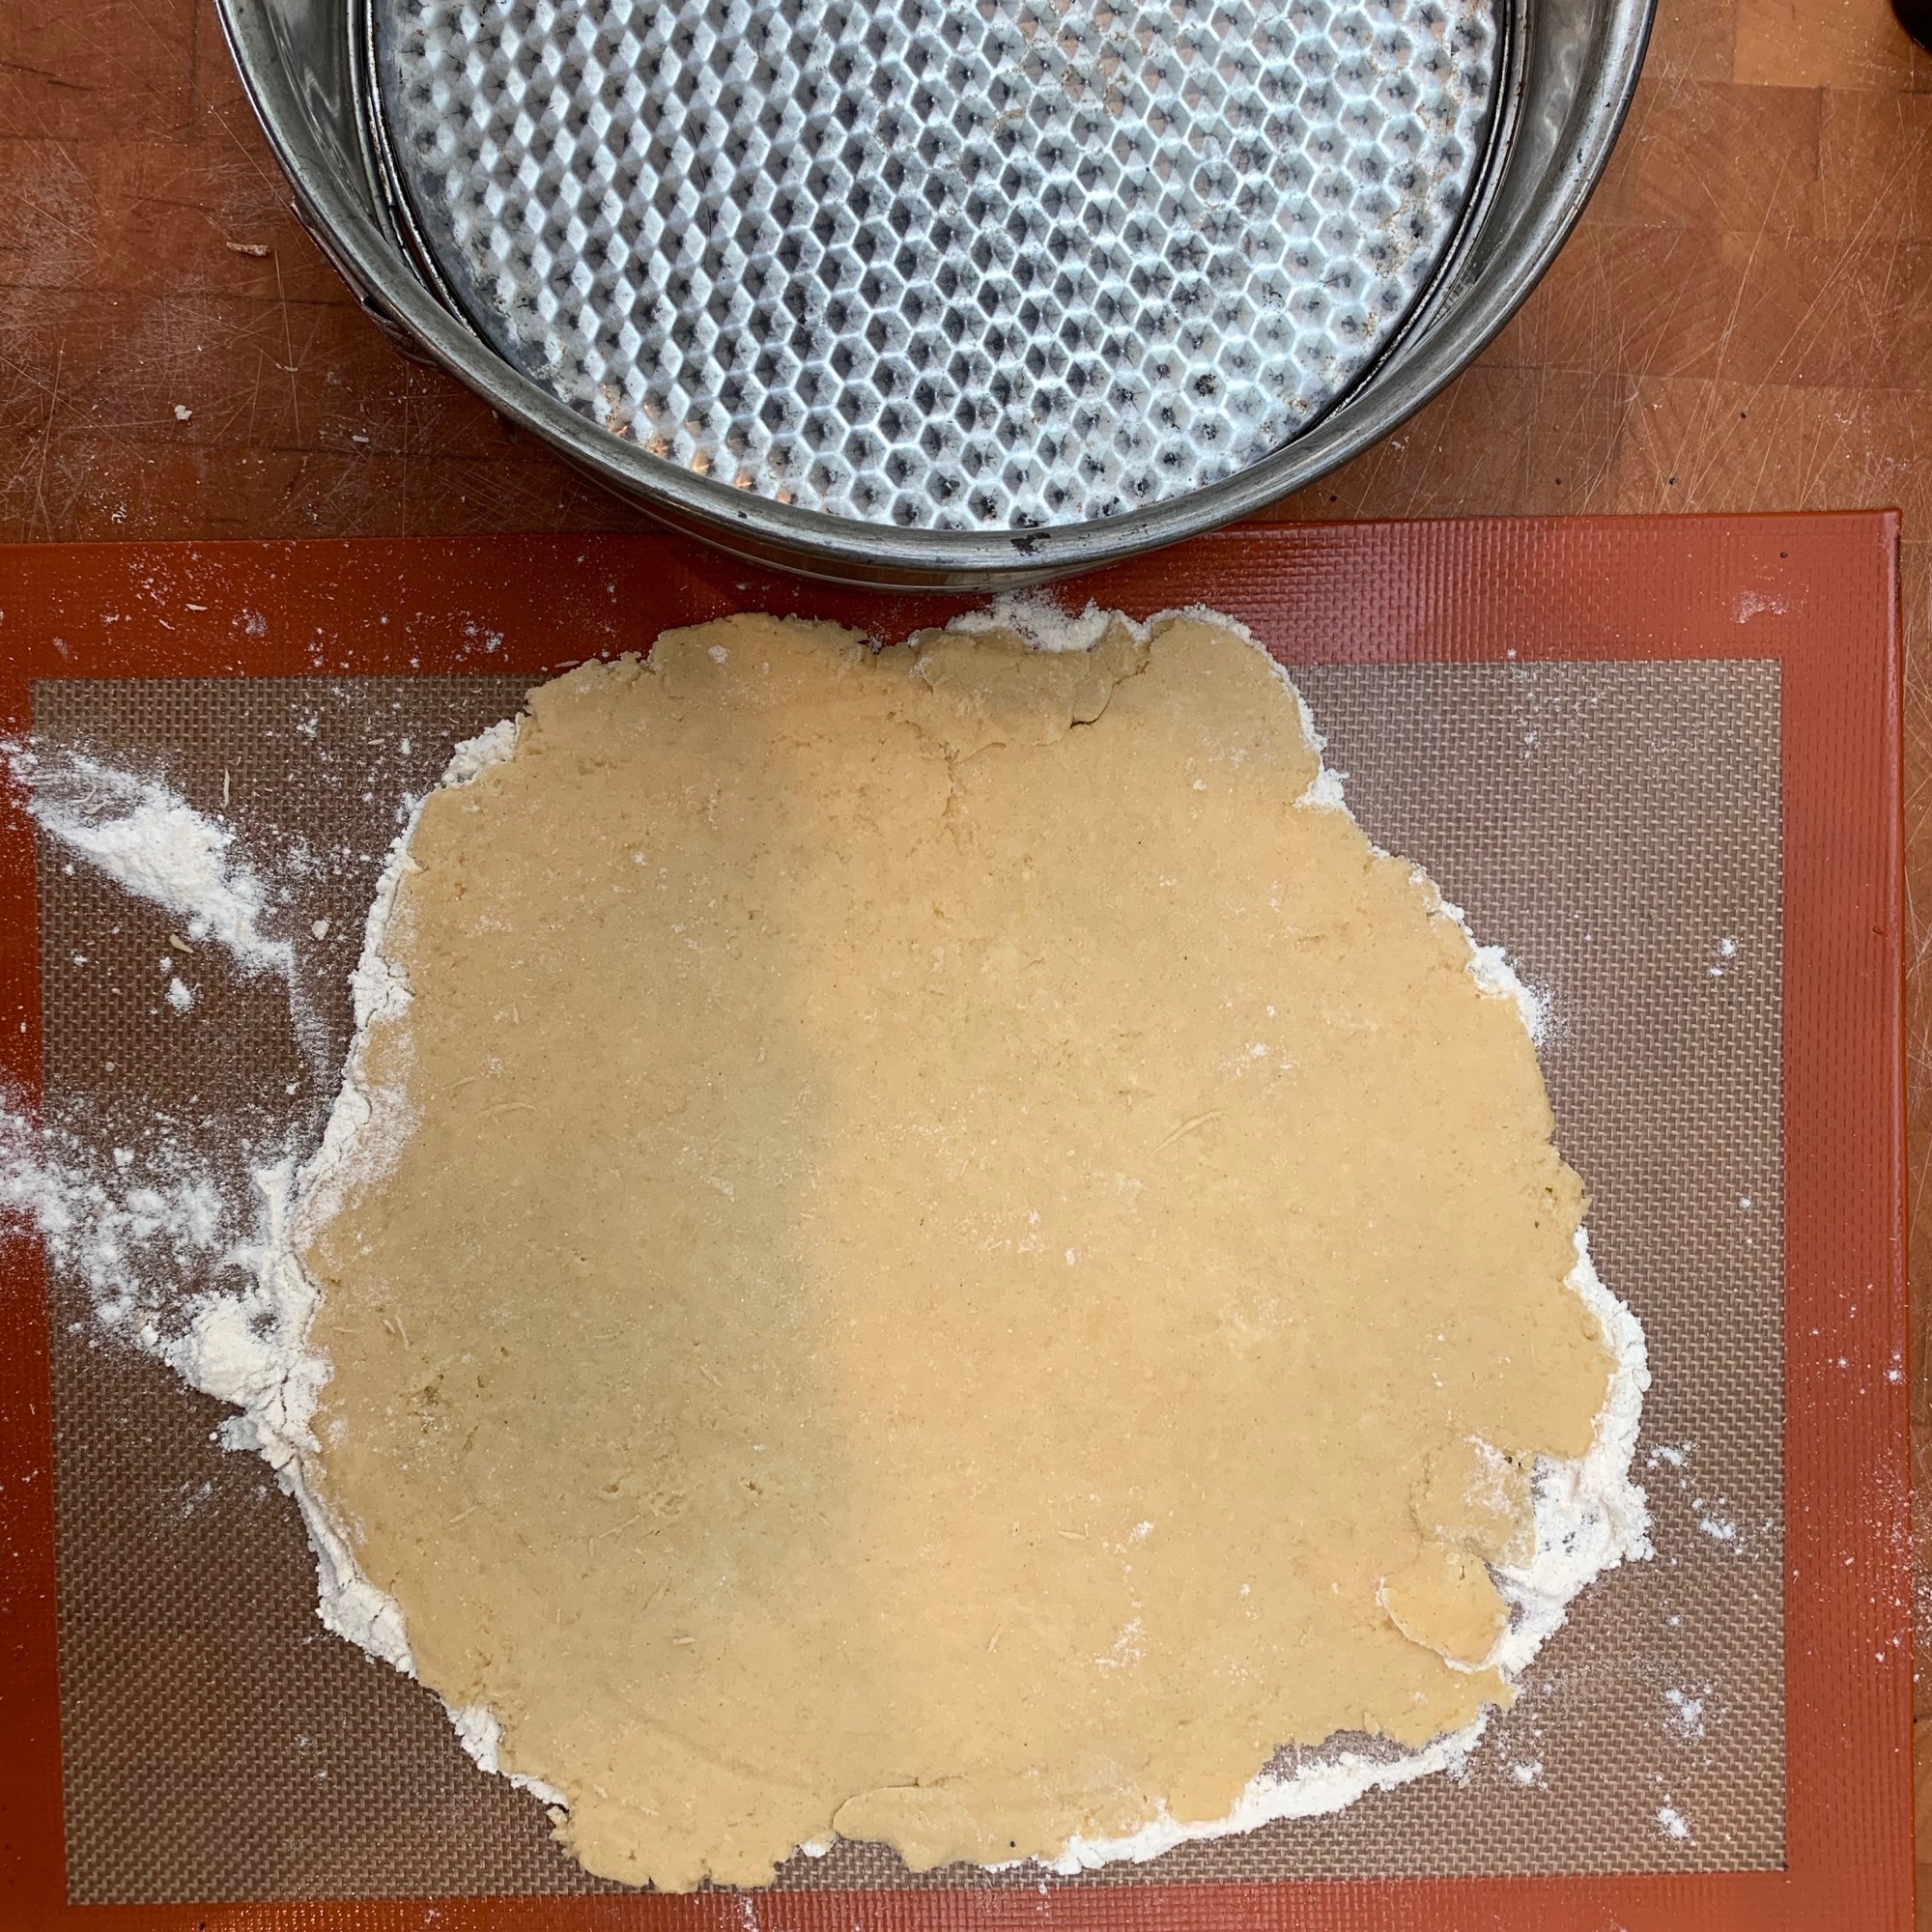
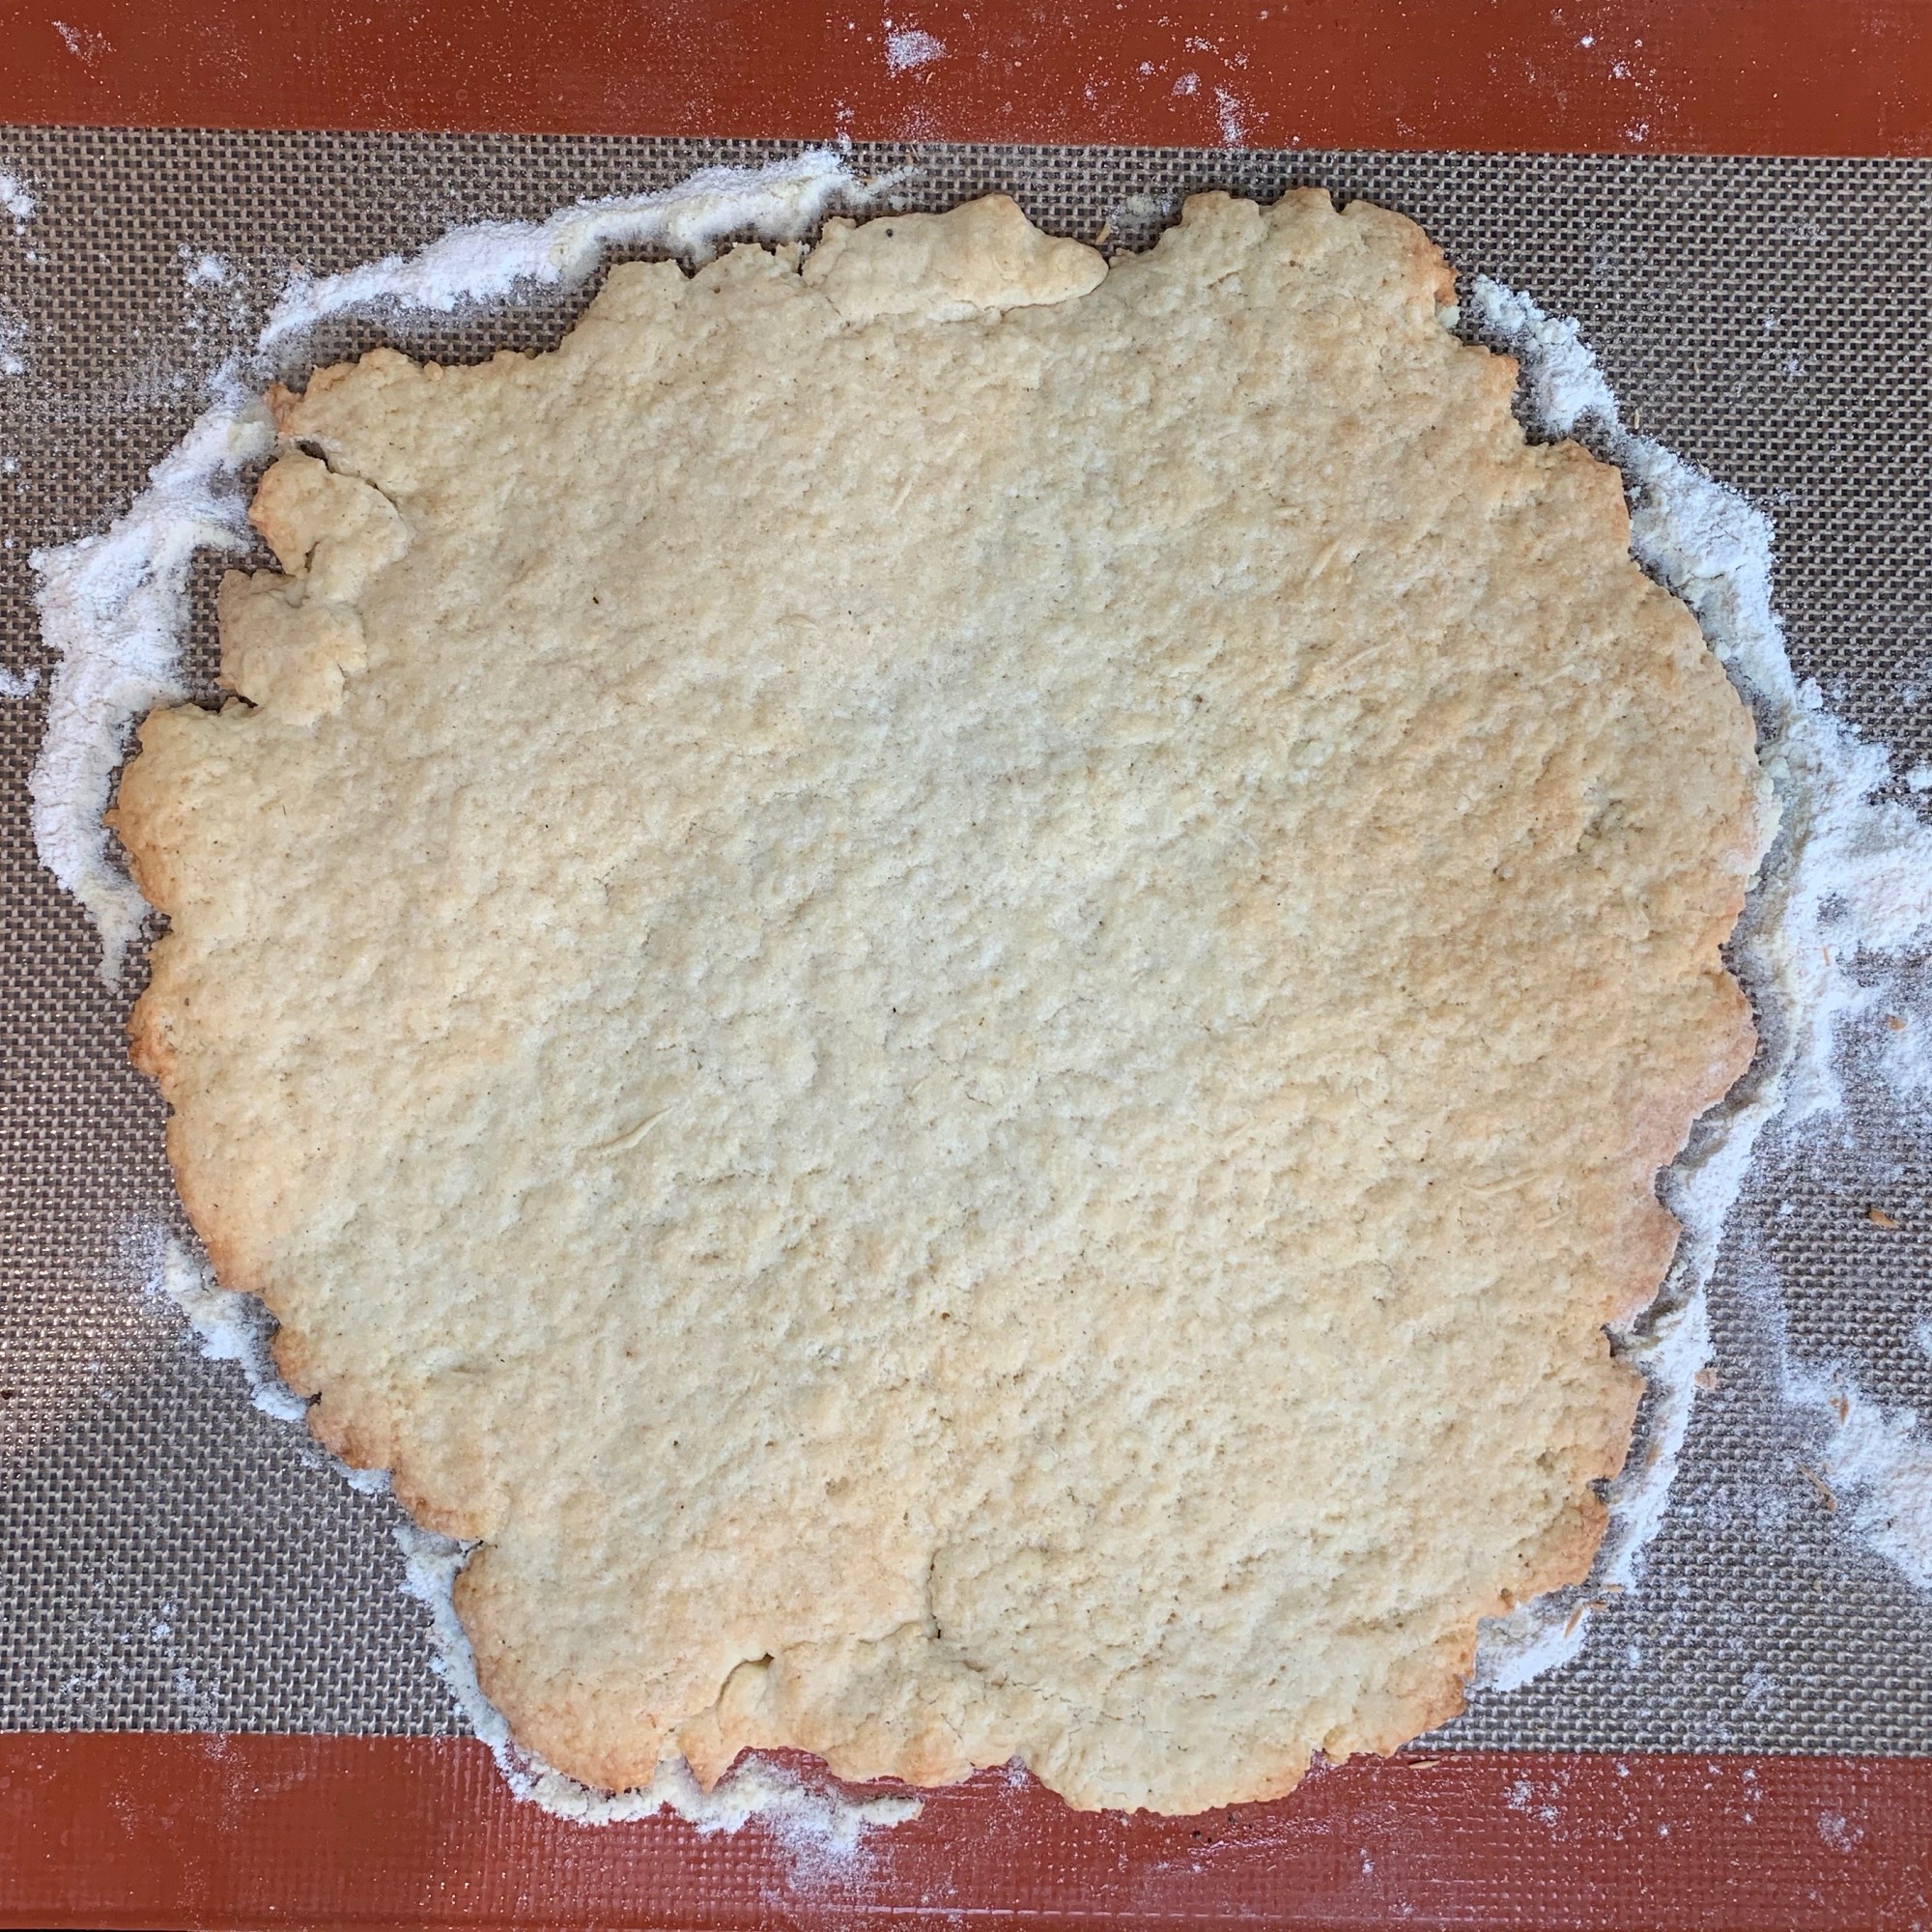
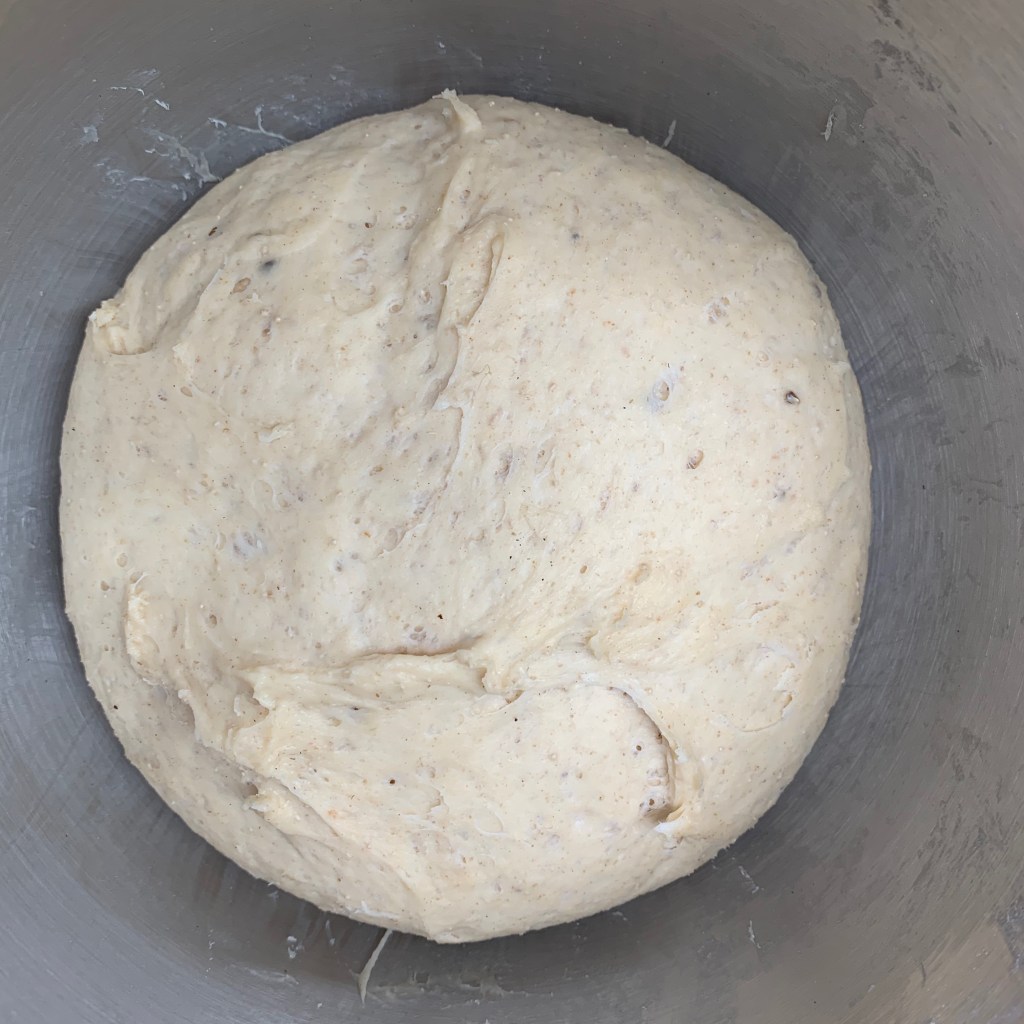
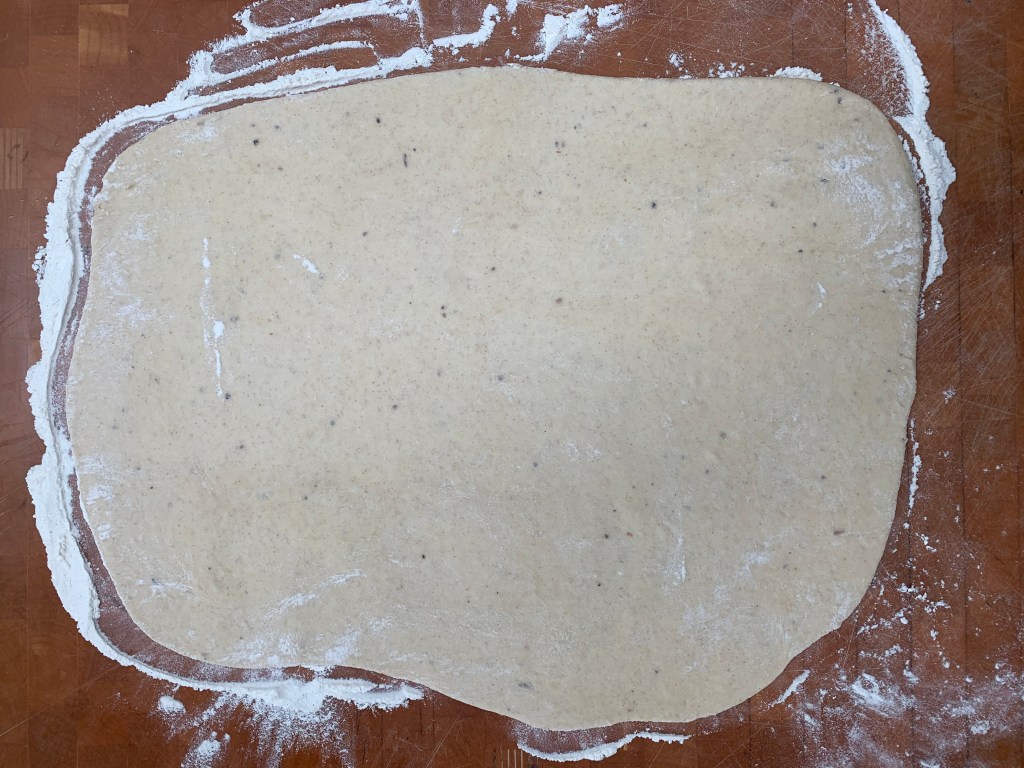
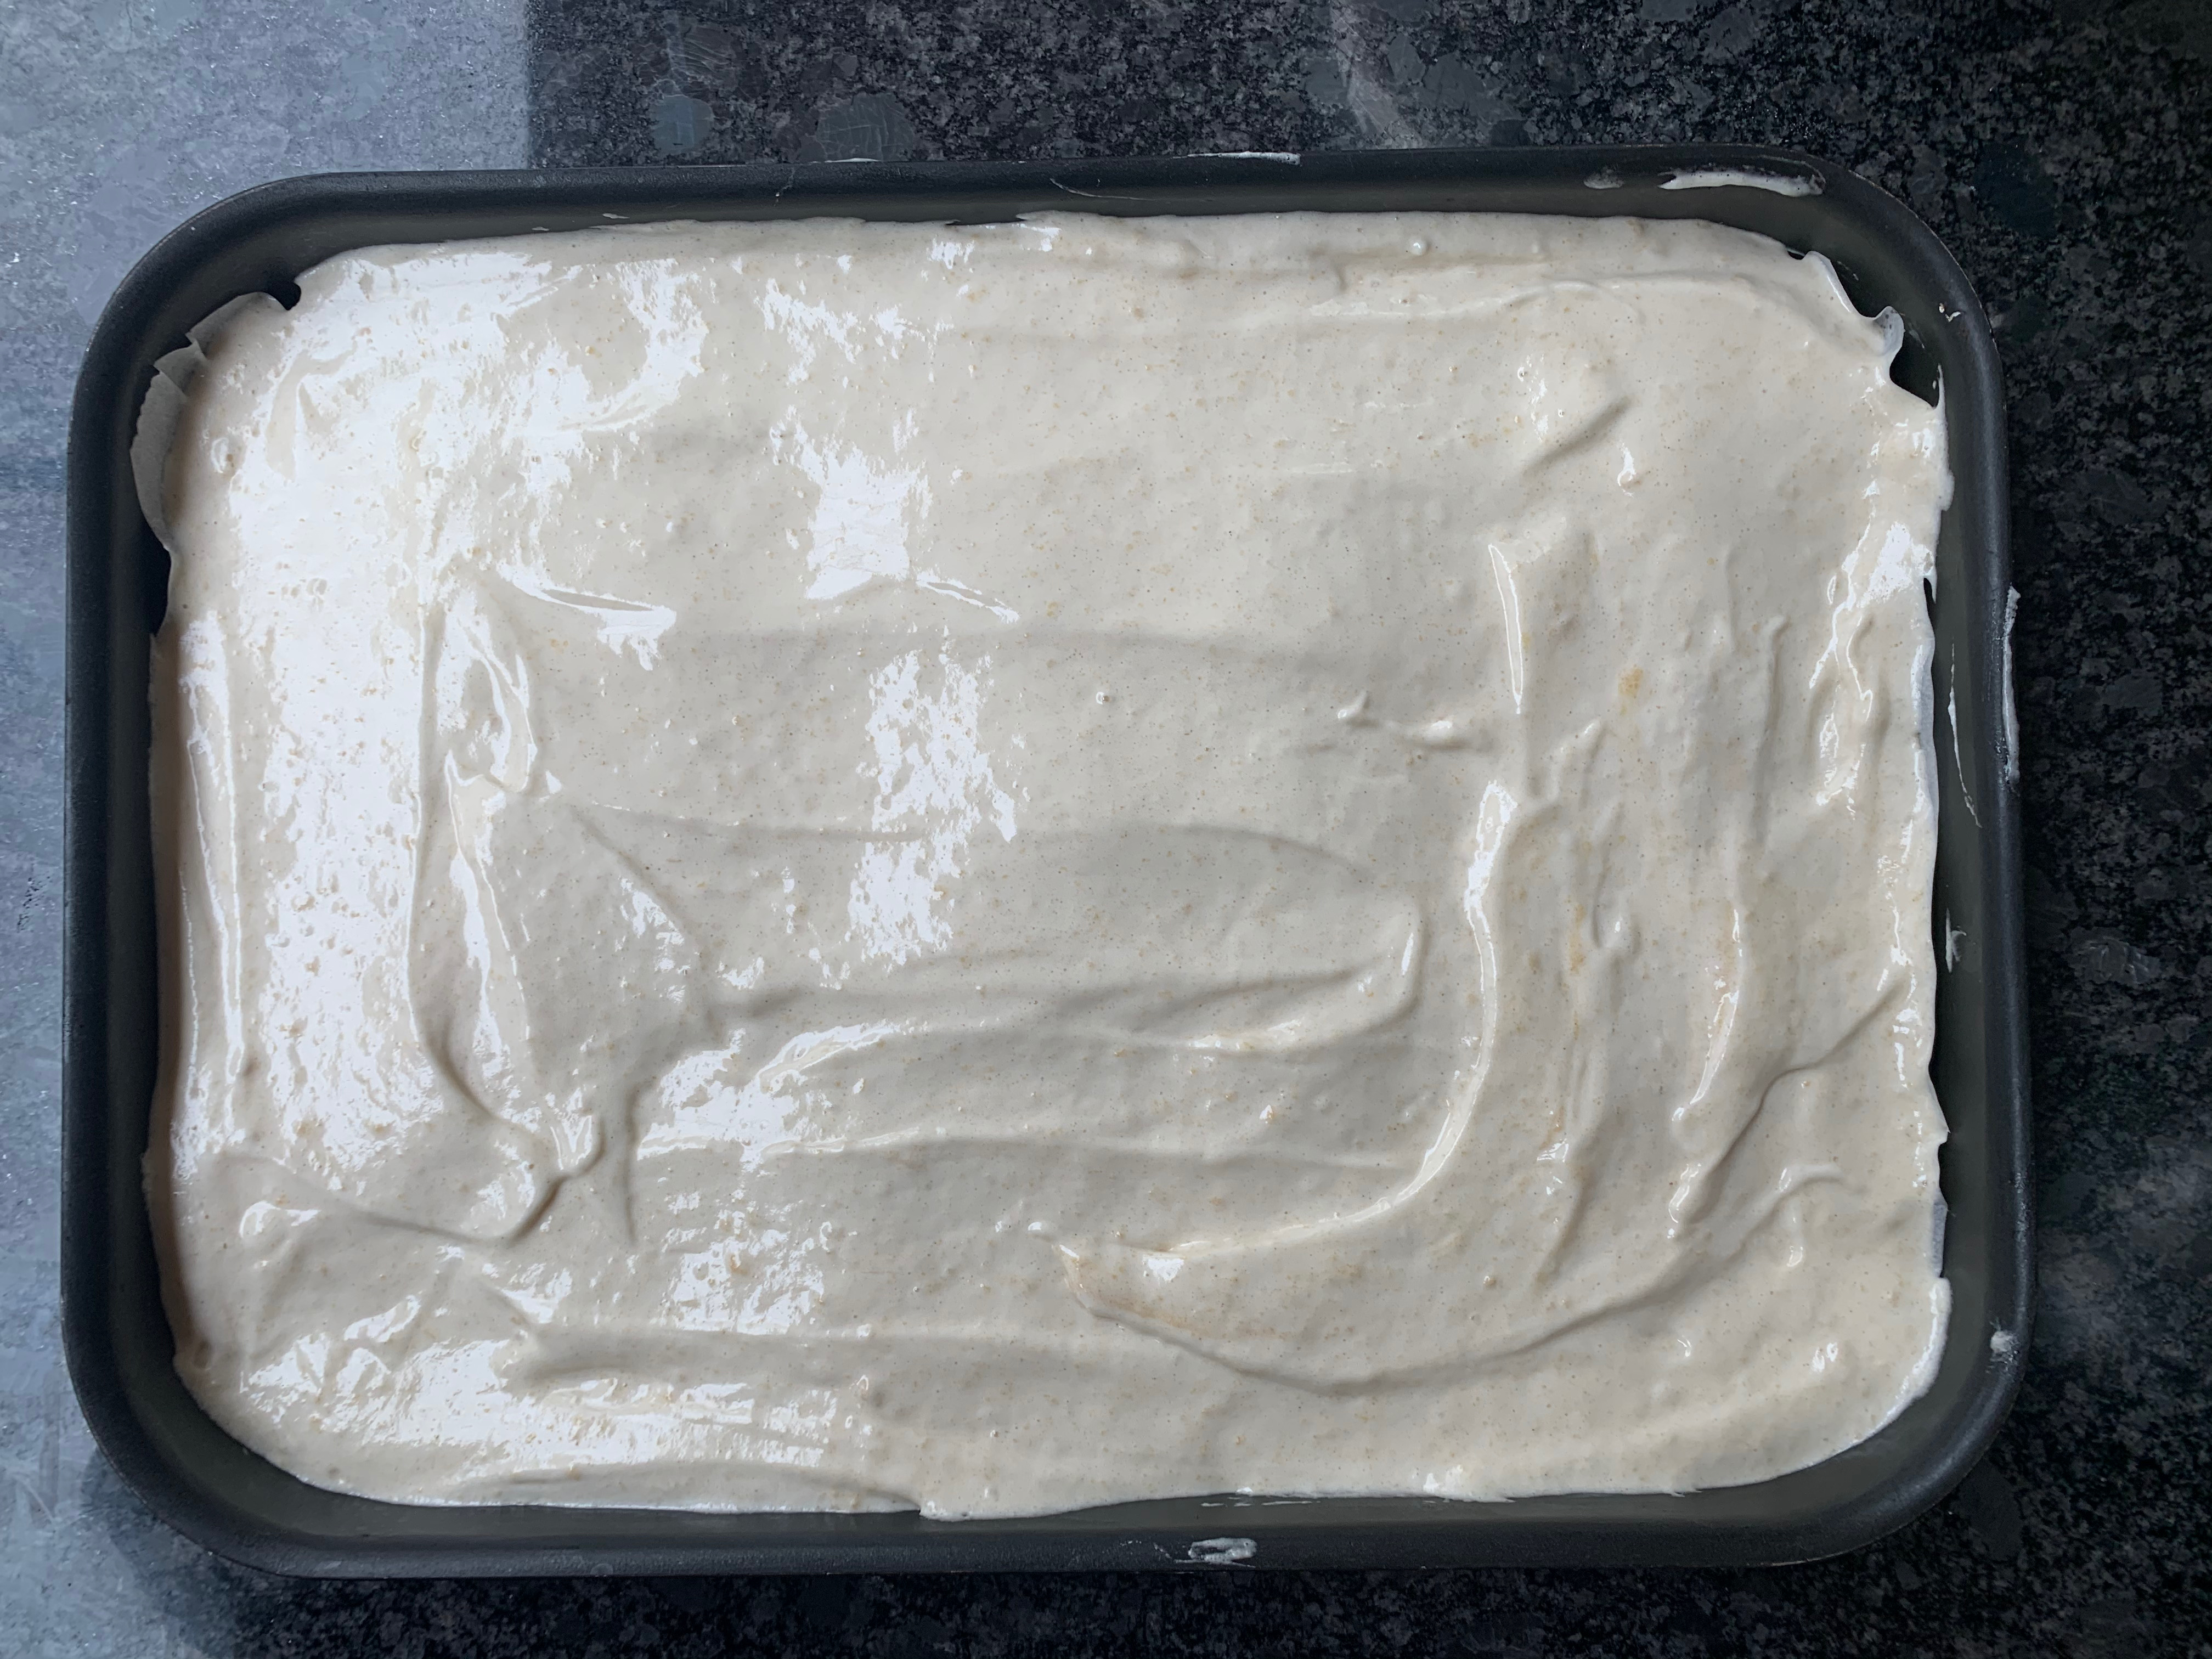
- Spread the mixture evenly into your tin. Ideally, use an offset spatula to get it really level (I don’t have one, so I just did my best.
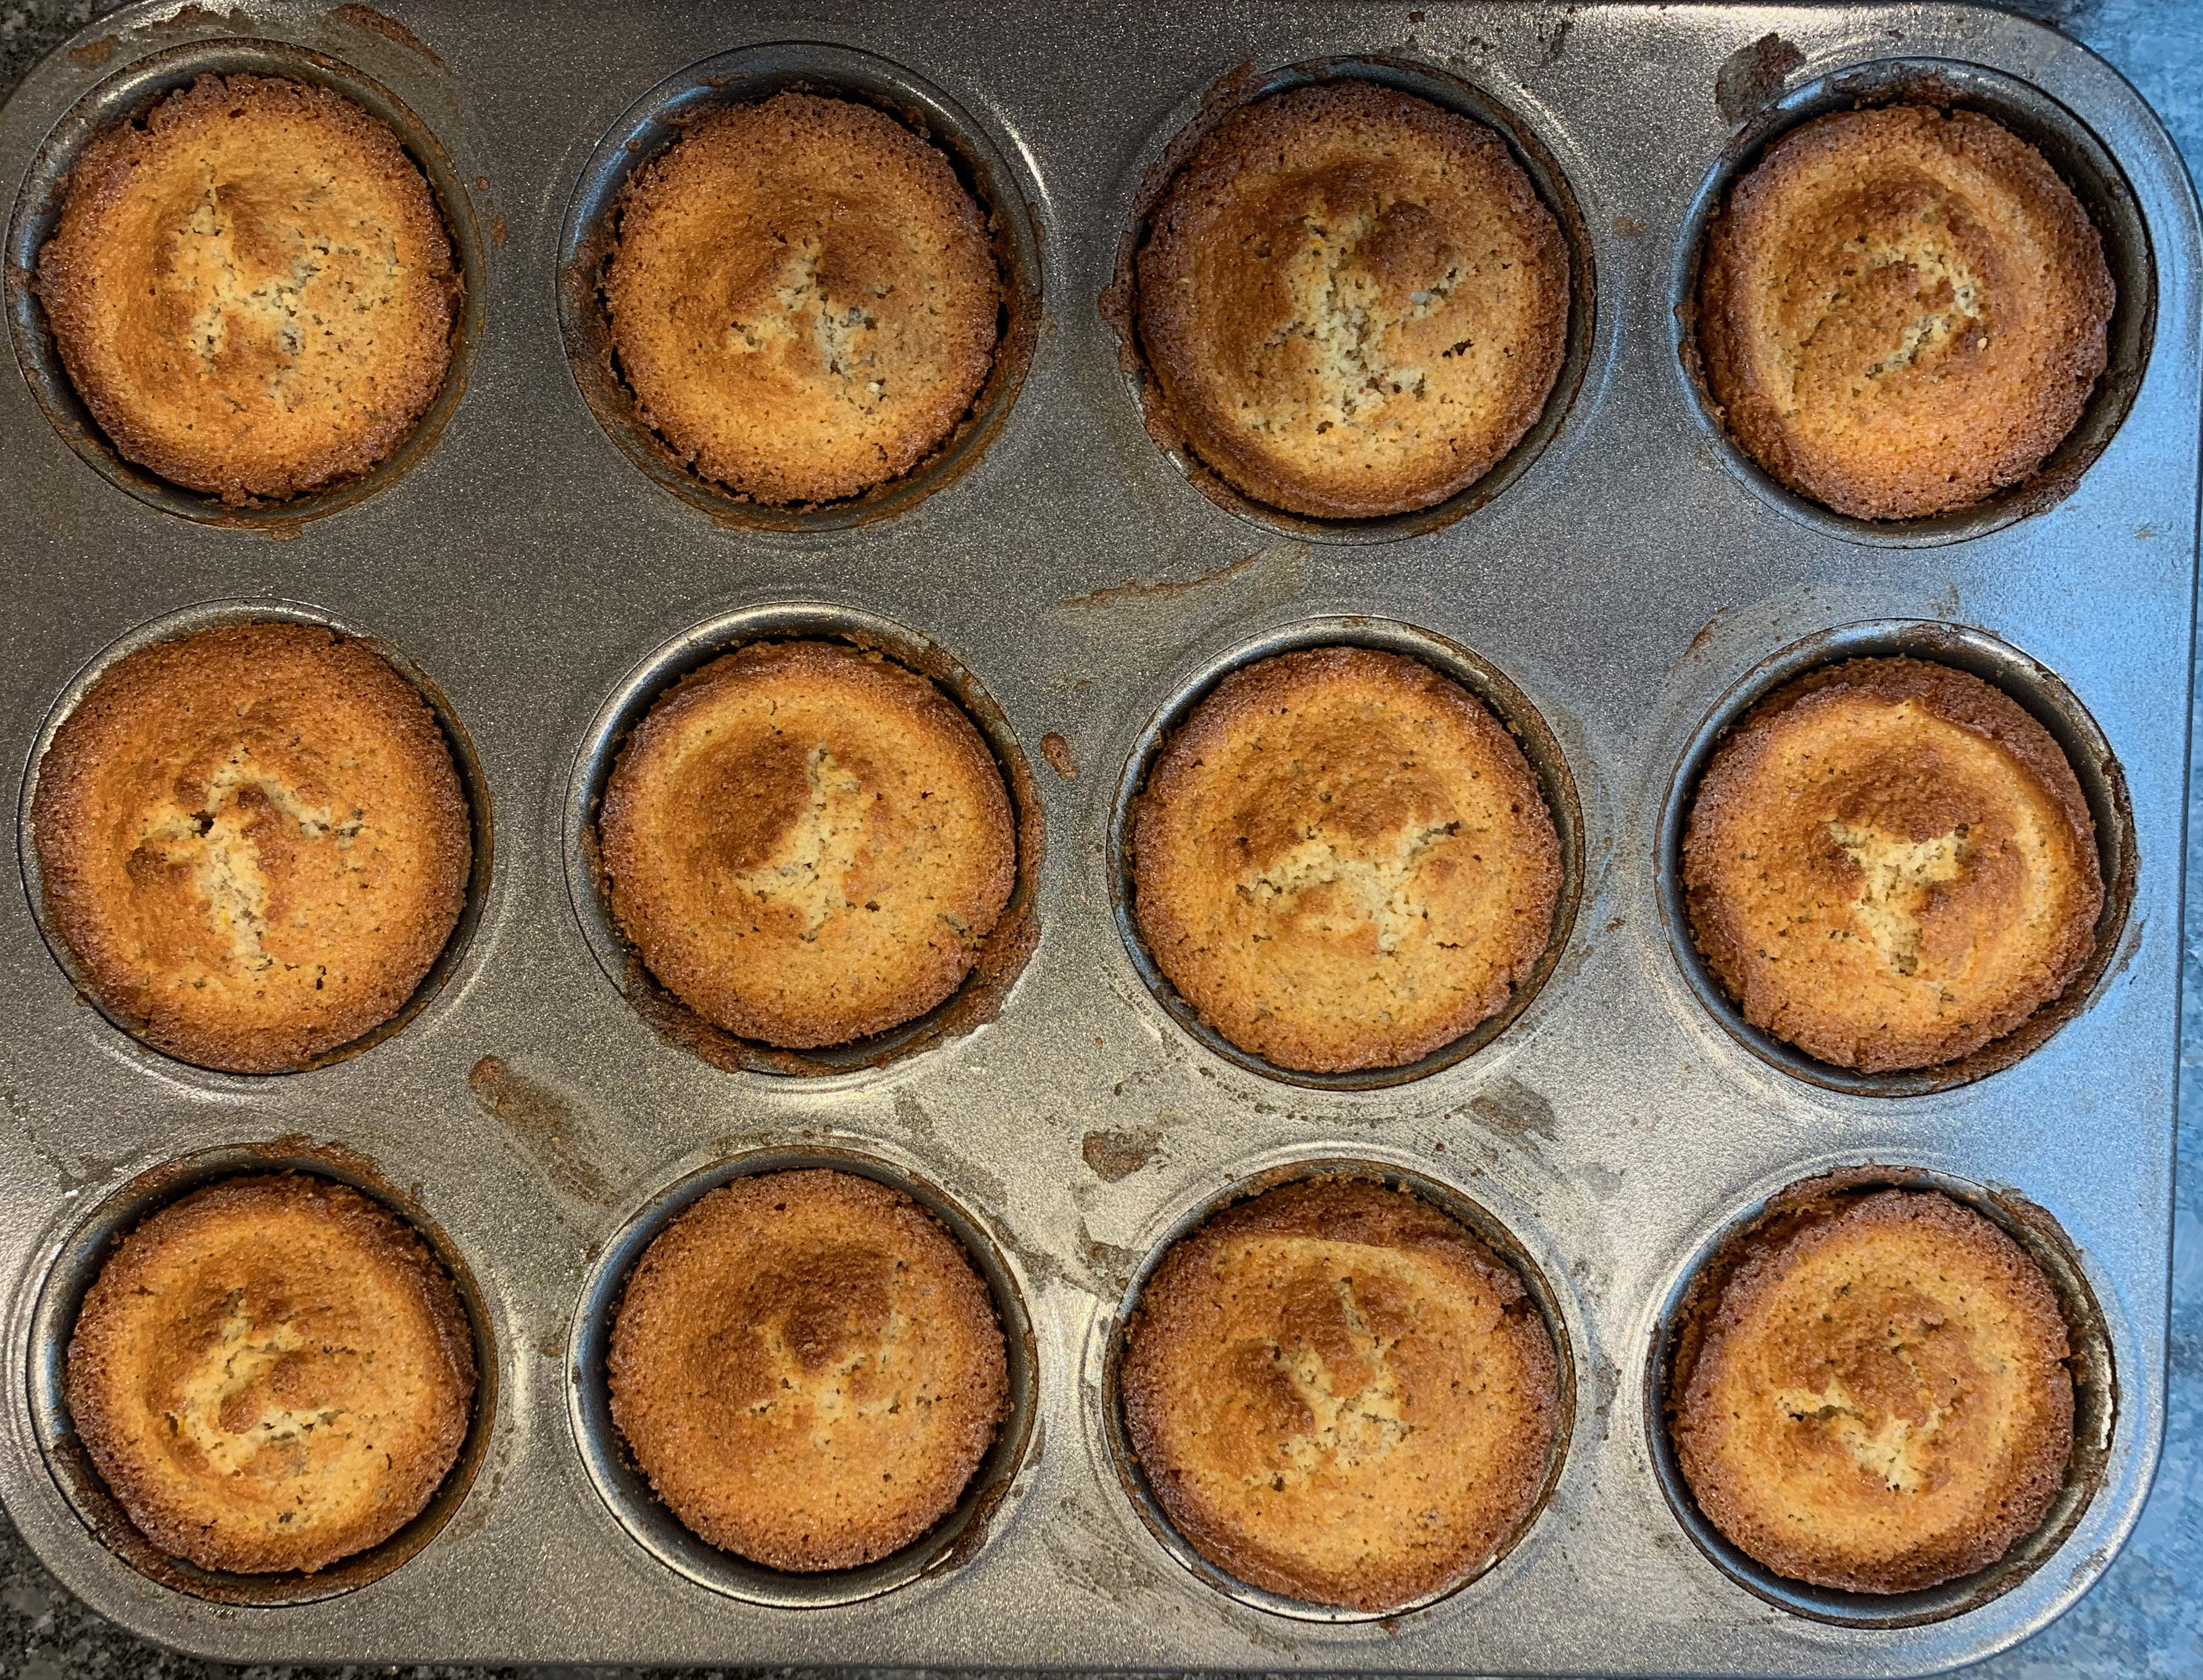
- Bake for around 10 minutes. You do NOT want to overbake the sponge or you stand no chance of rolling it intact.
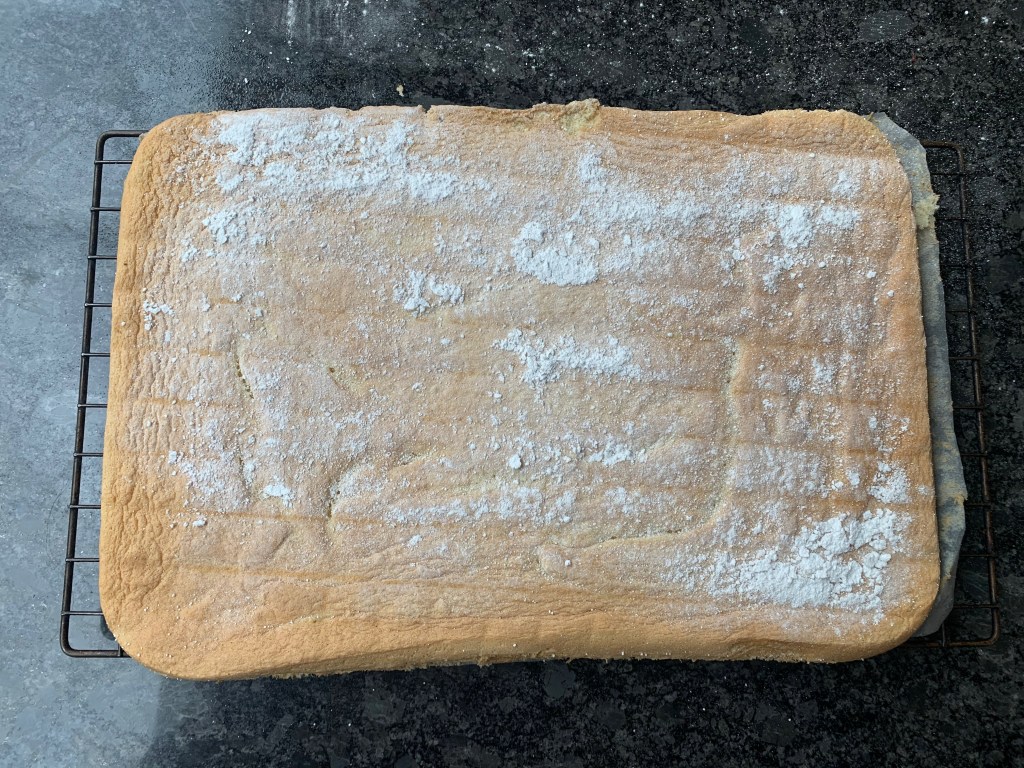
- Leave to cool for a minute or two, then run a palette knife round the edge to make sure the cake is not sticking to the edge. Sprinkle some icing sugar over the cake.
- Spread a tea towel over the cake, and then an inverted cooling rack. Turn the whole assembly upside down. As gently as you can, remove your cake tin. The cake should sit on its tea towel in one piece.
- Very gently, pull off the baking paper almost all the way, then put it back in place.
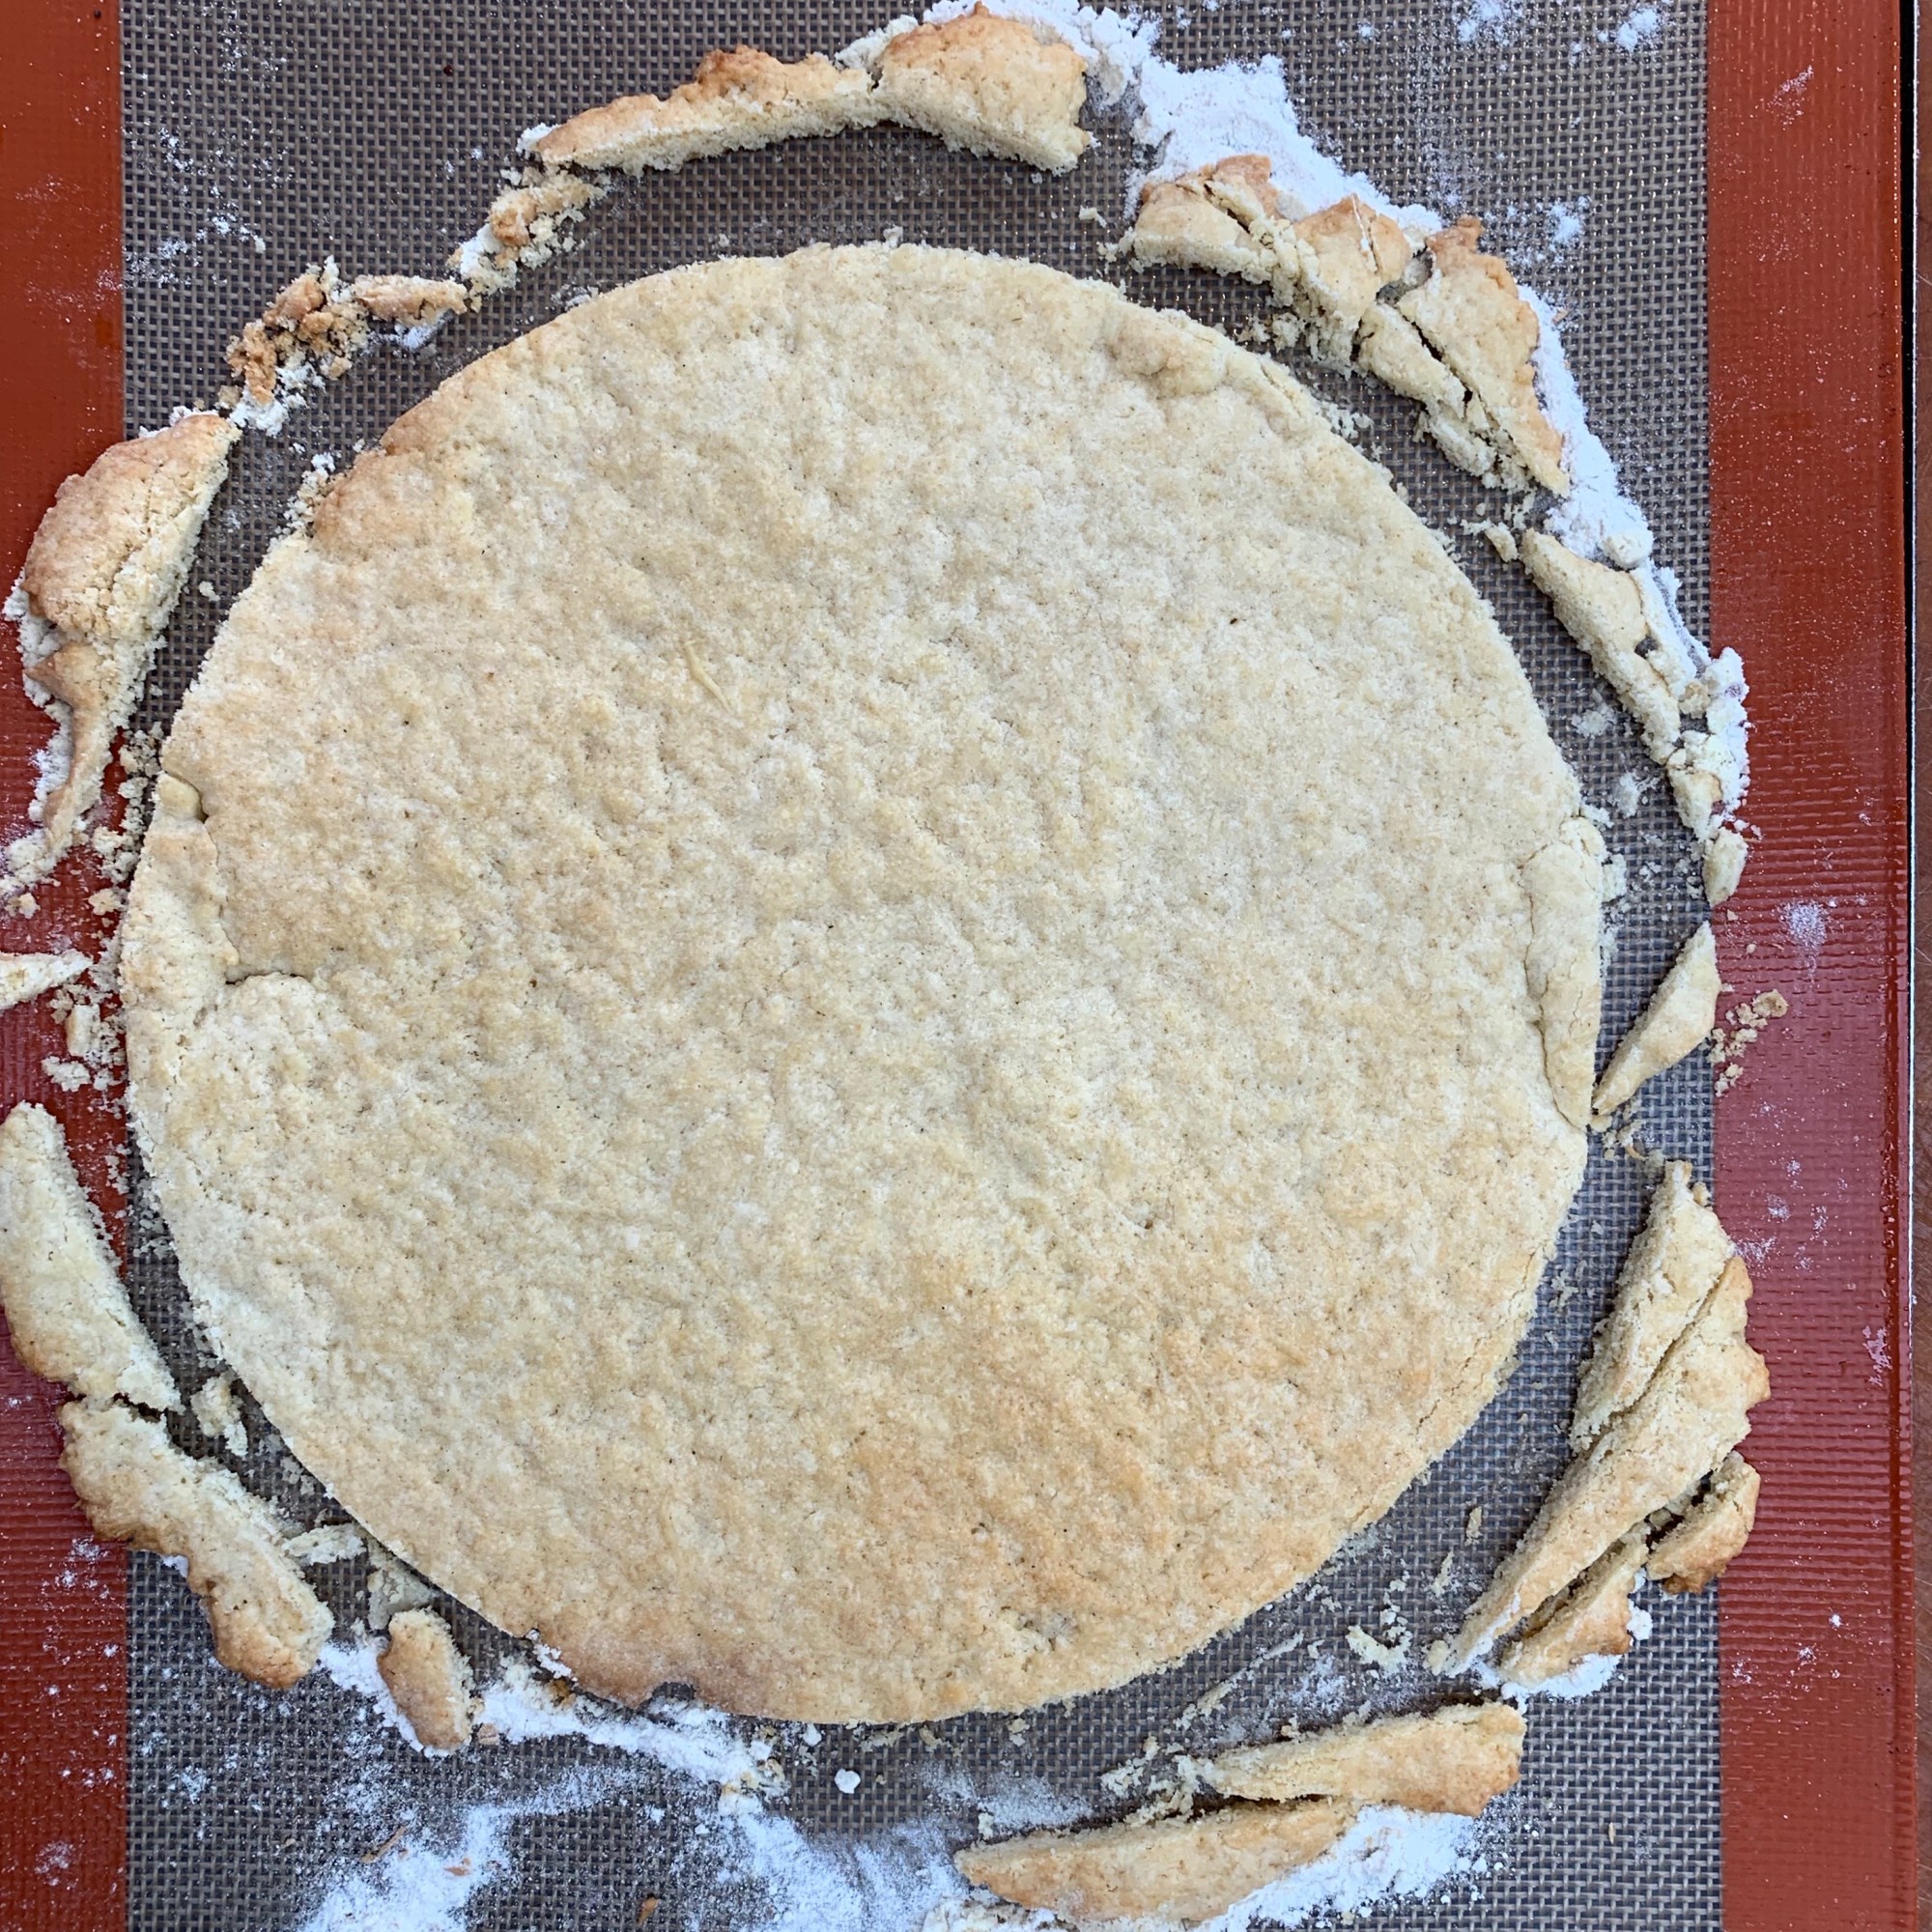
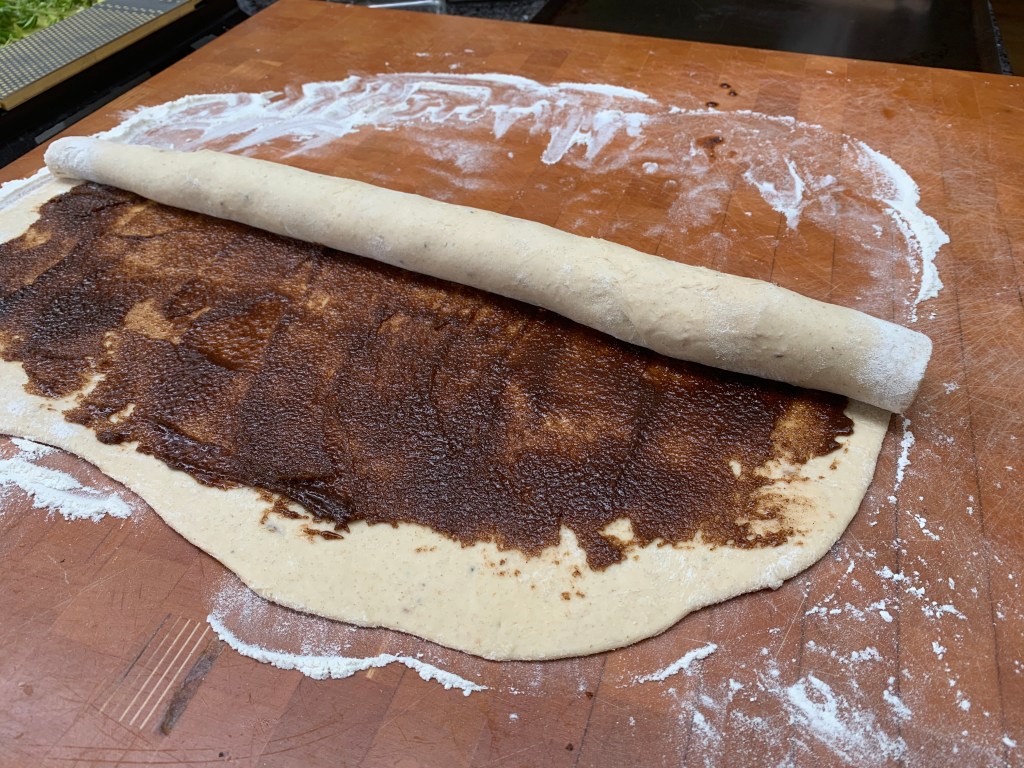
- Now roll the cake up as tightly as you can, and leave to cool for an hour or so.
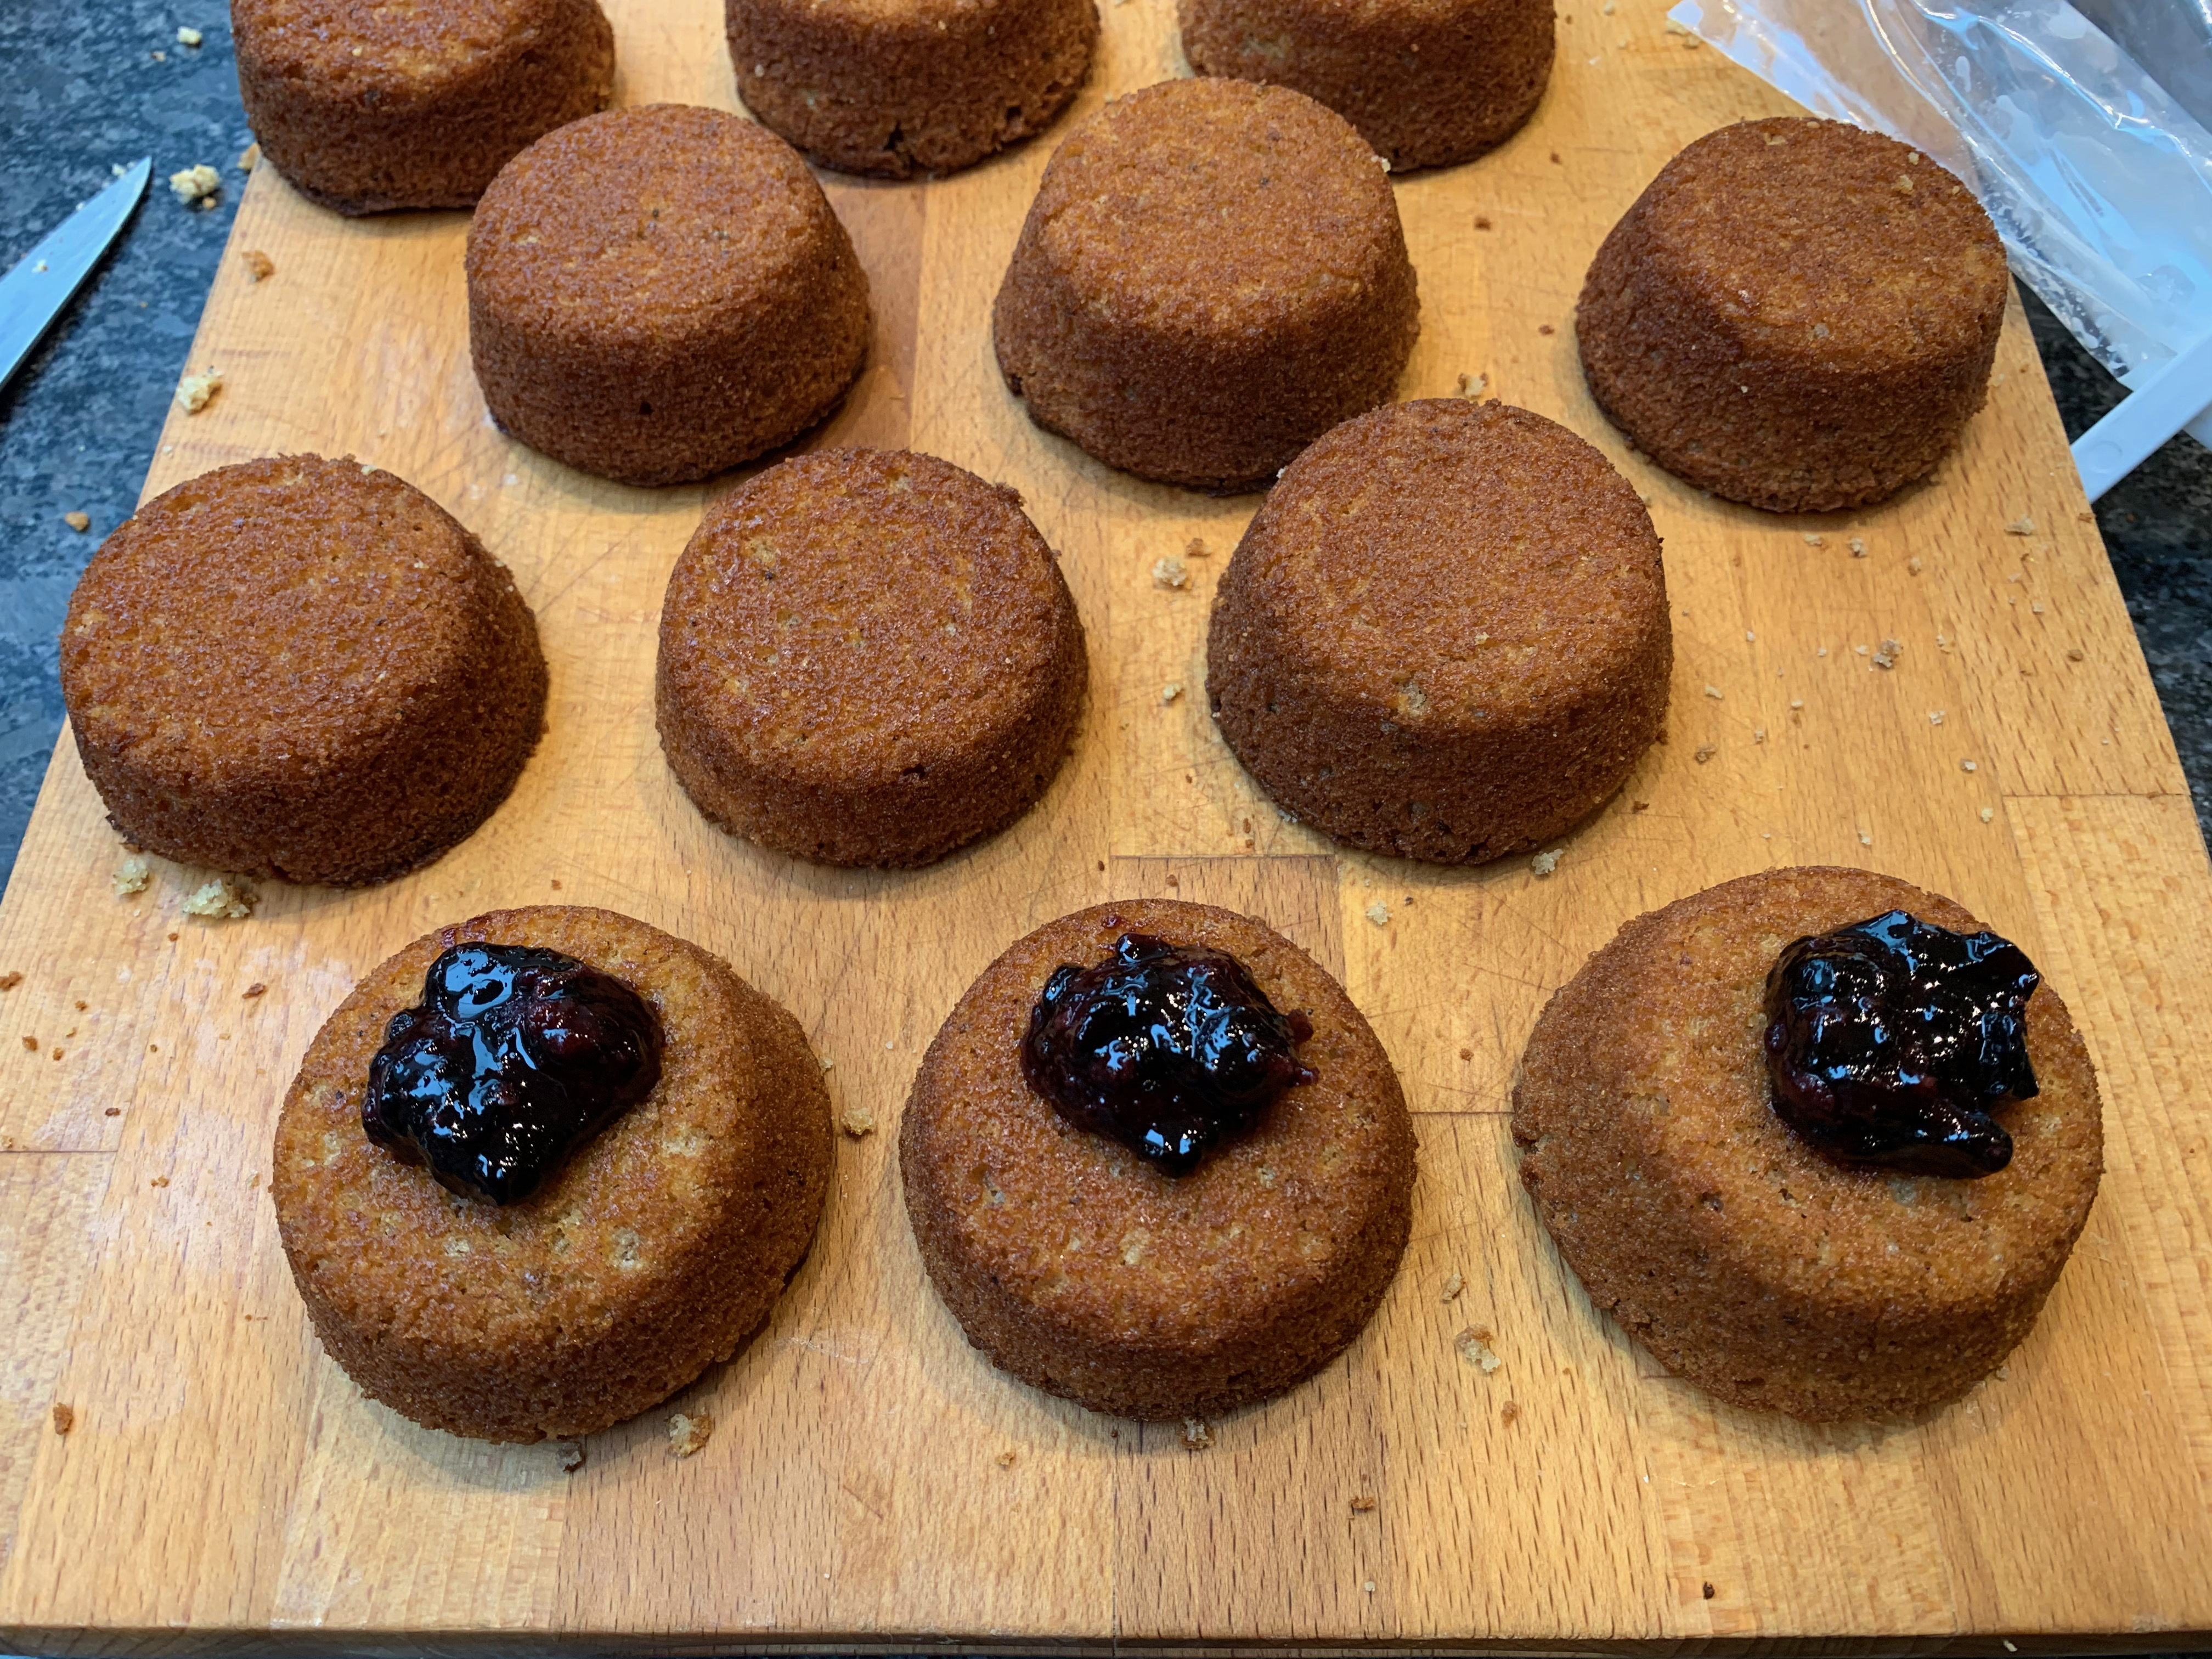
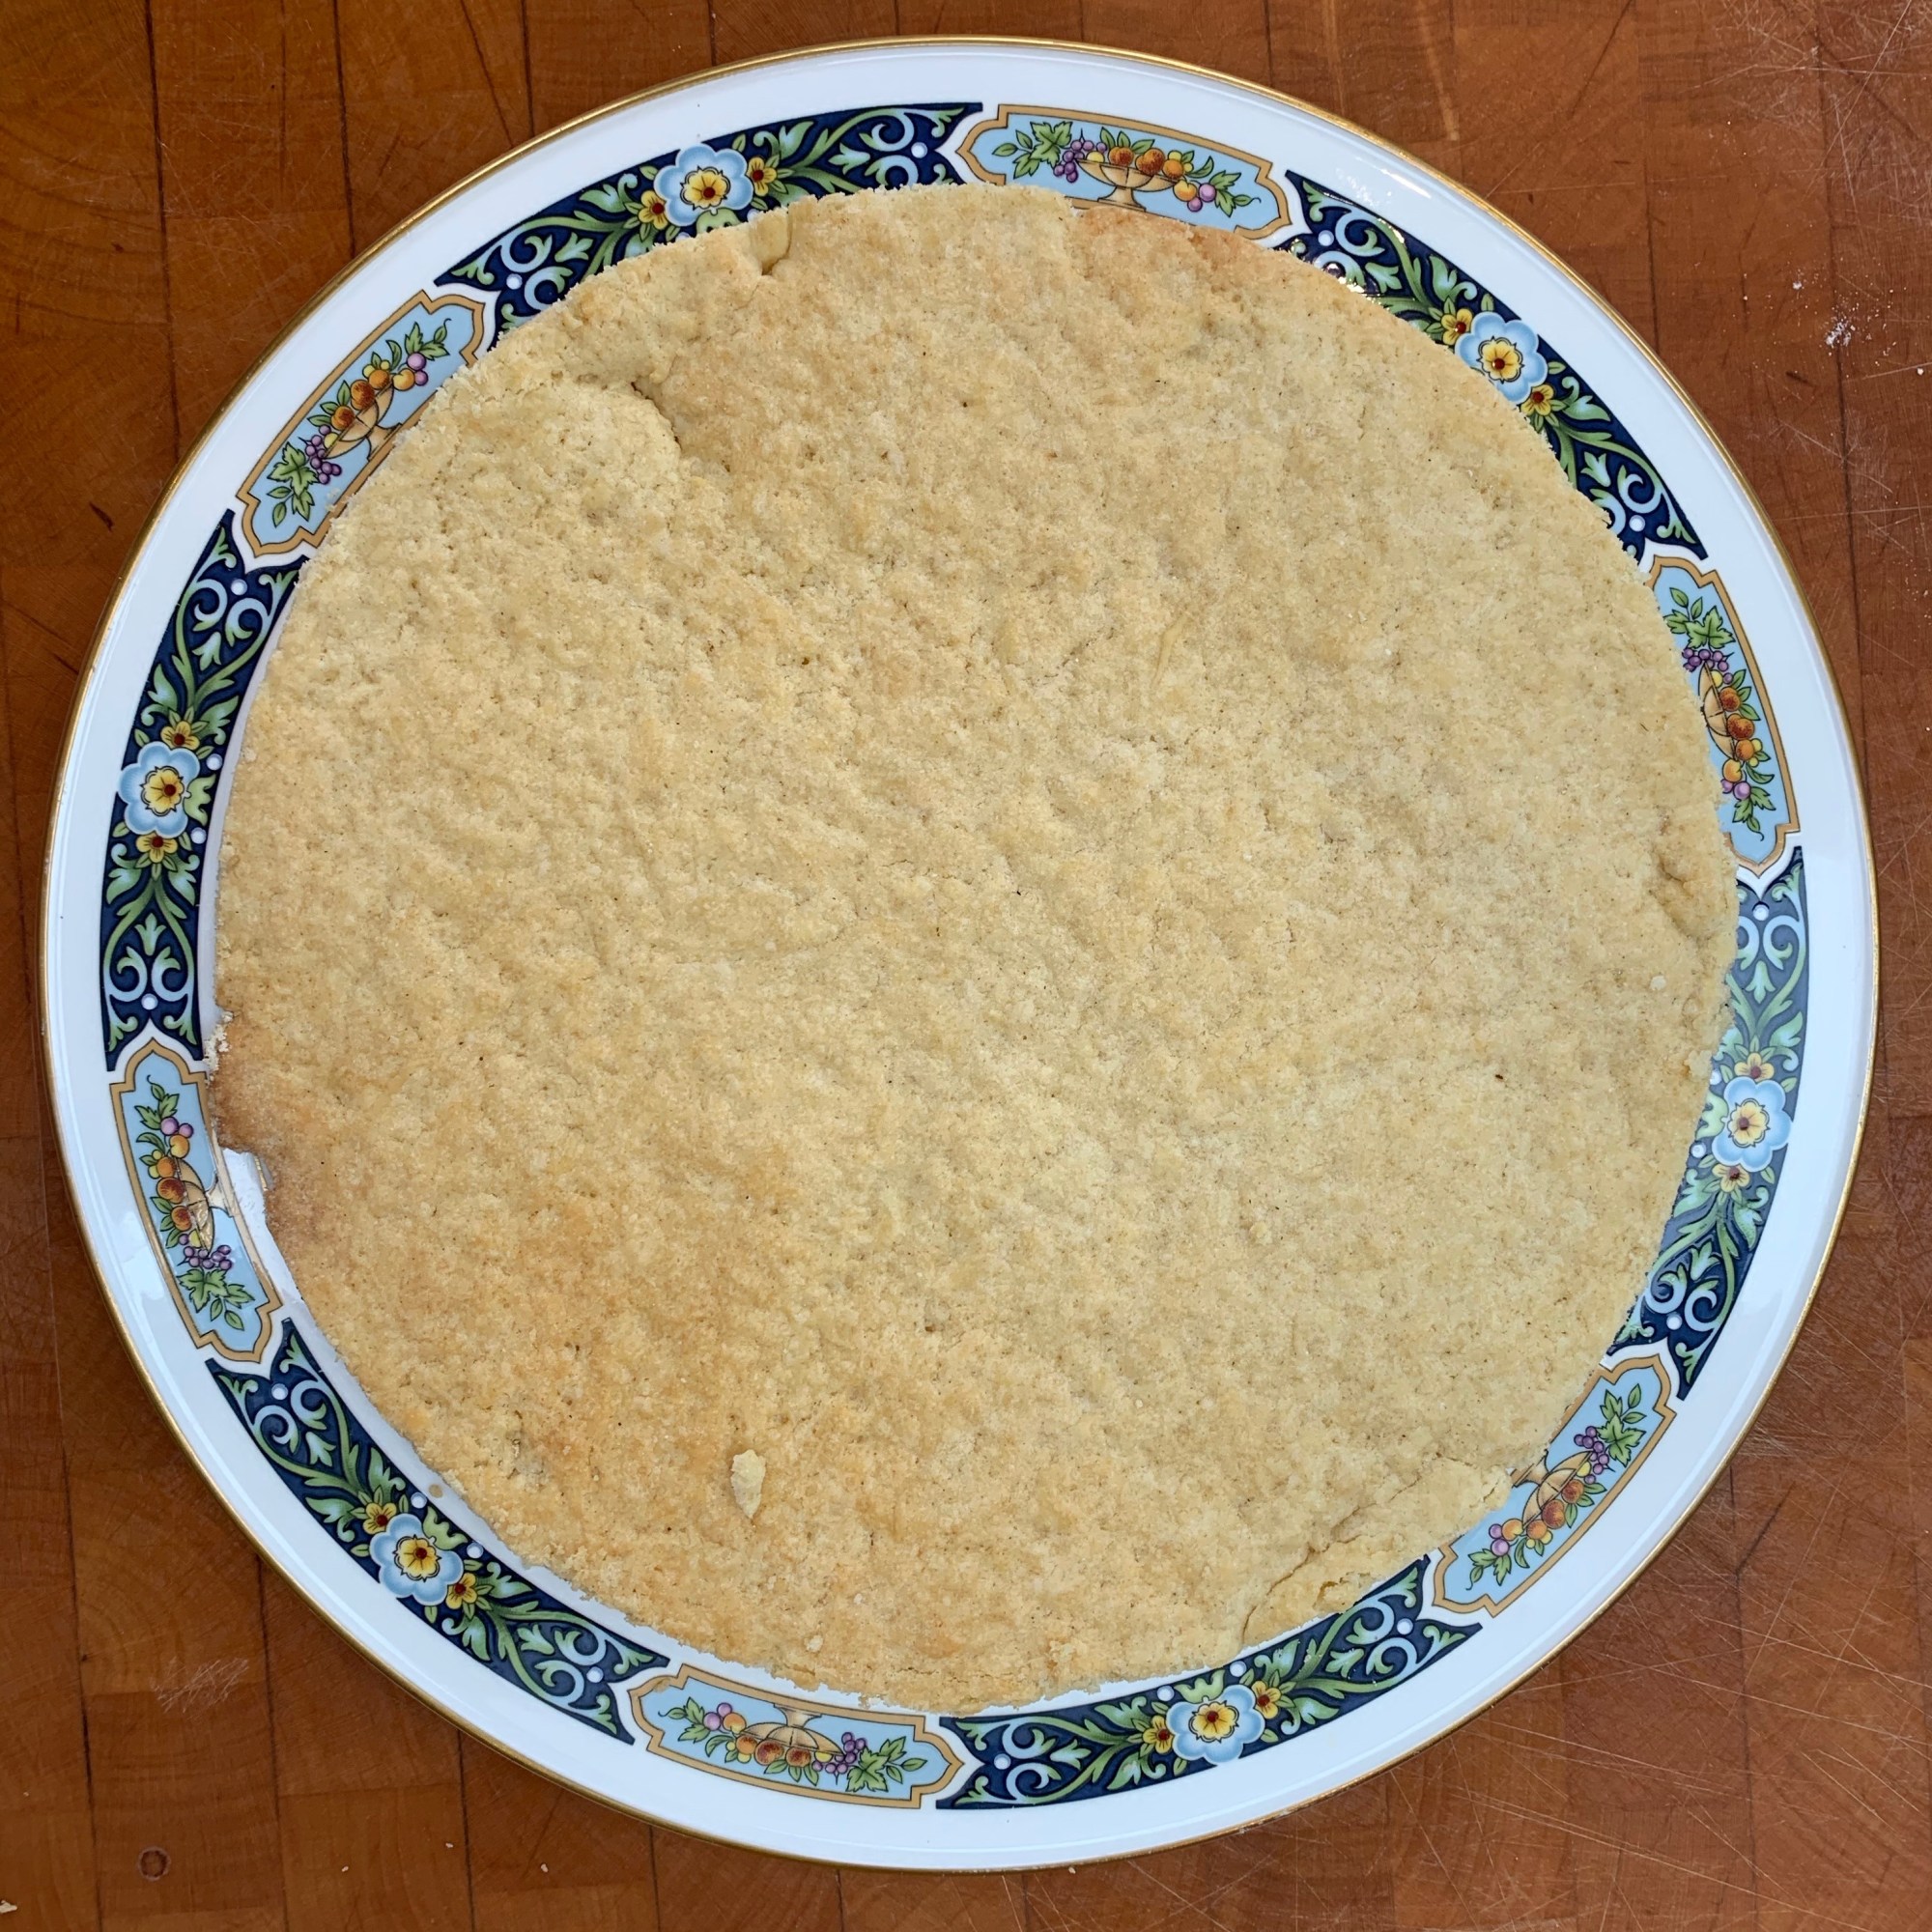
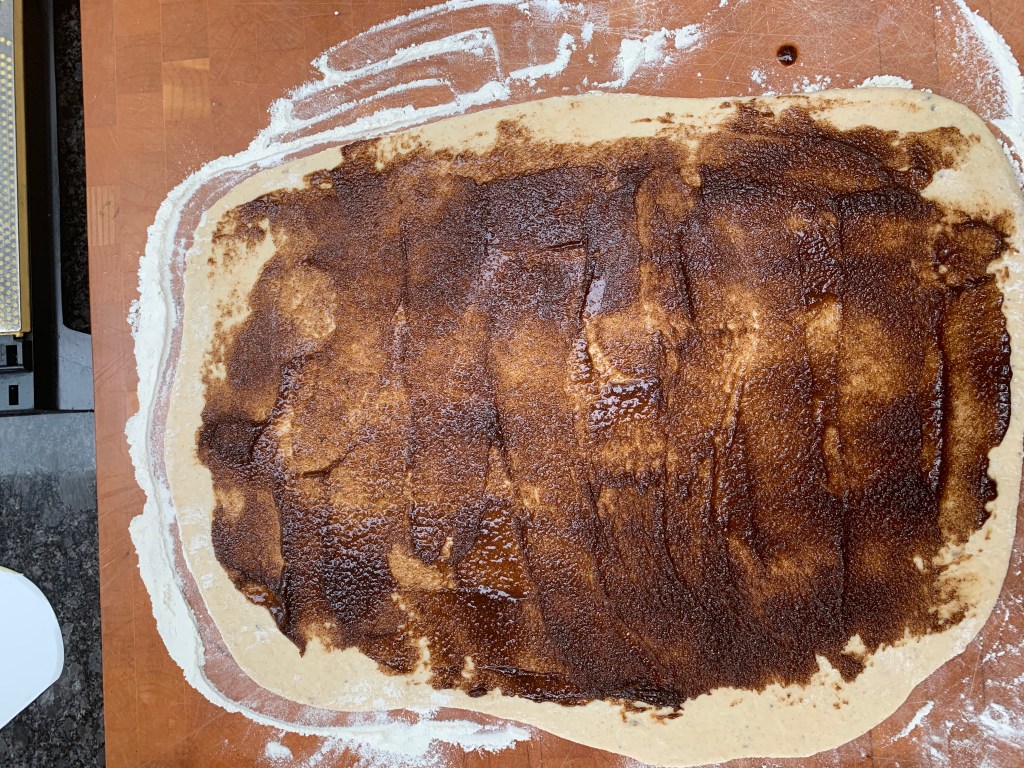
- Unroll the cake (this is the part where it’s hard to stop it tearing), spread the filling over it, then roll it up again.
- (Optional – I didn’t) dust the cake with more icing sugar.
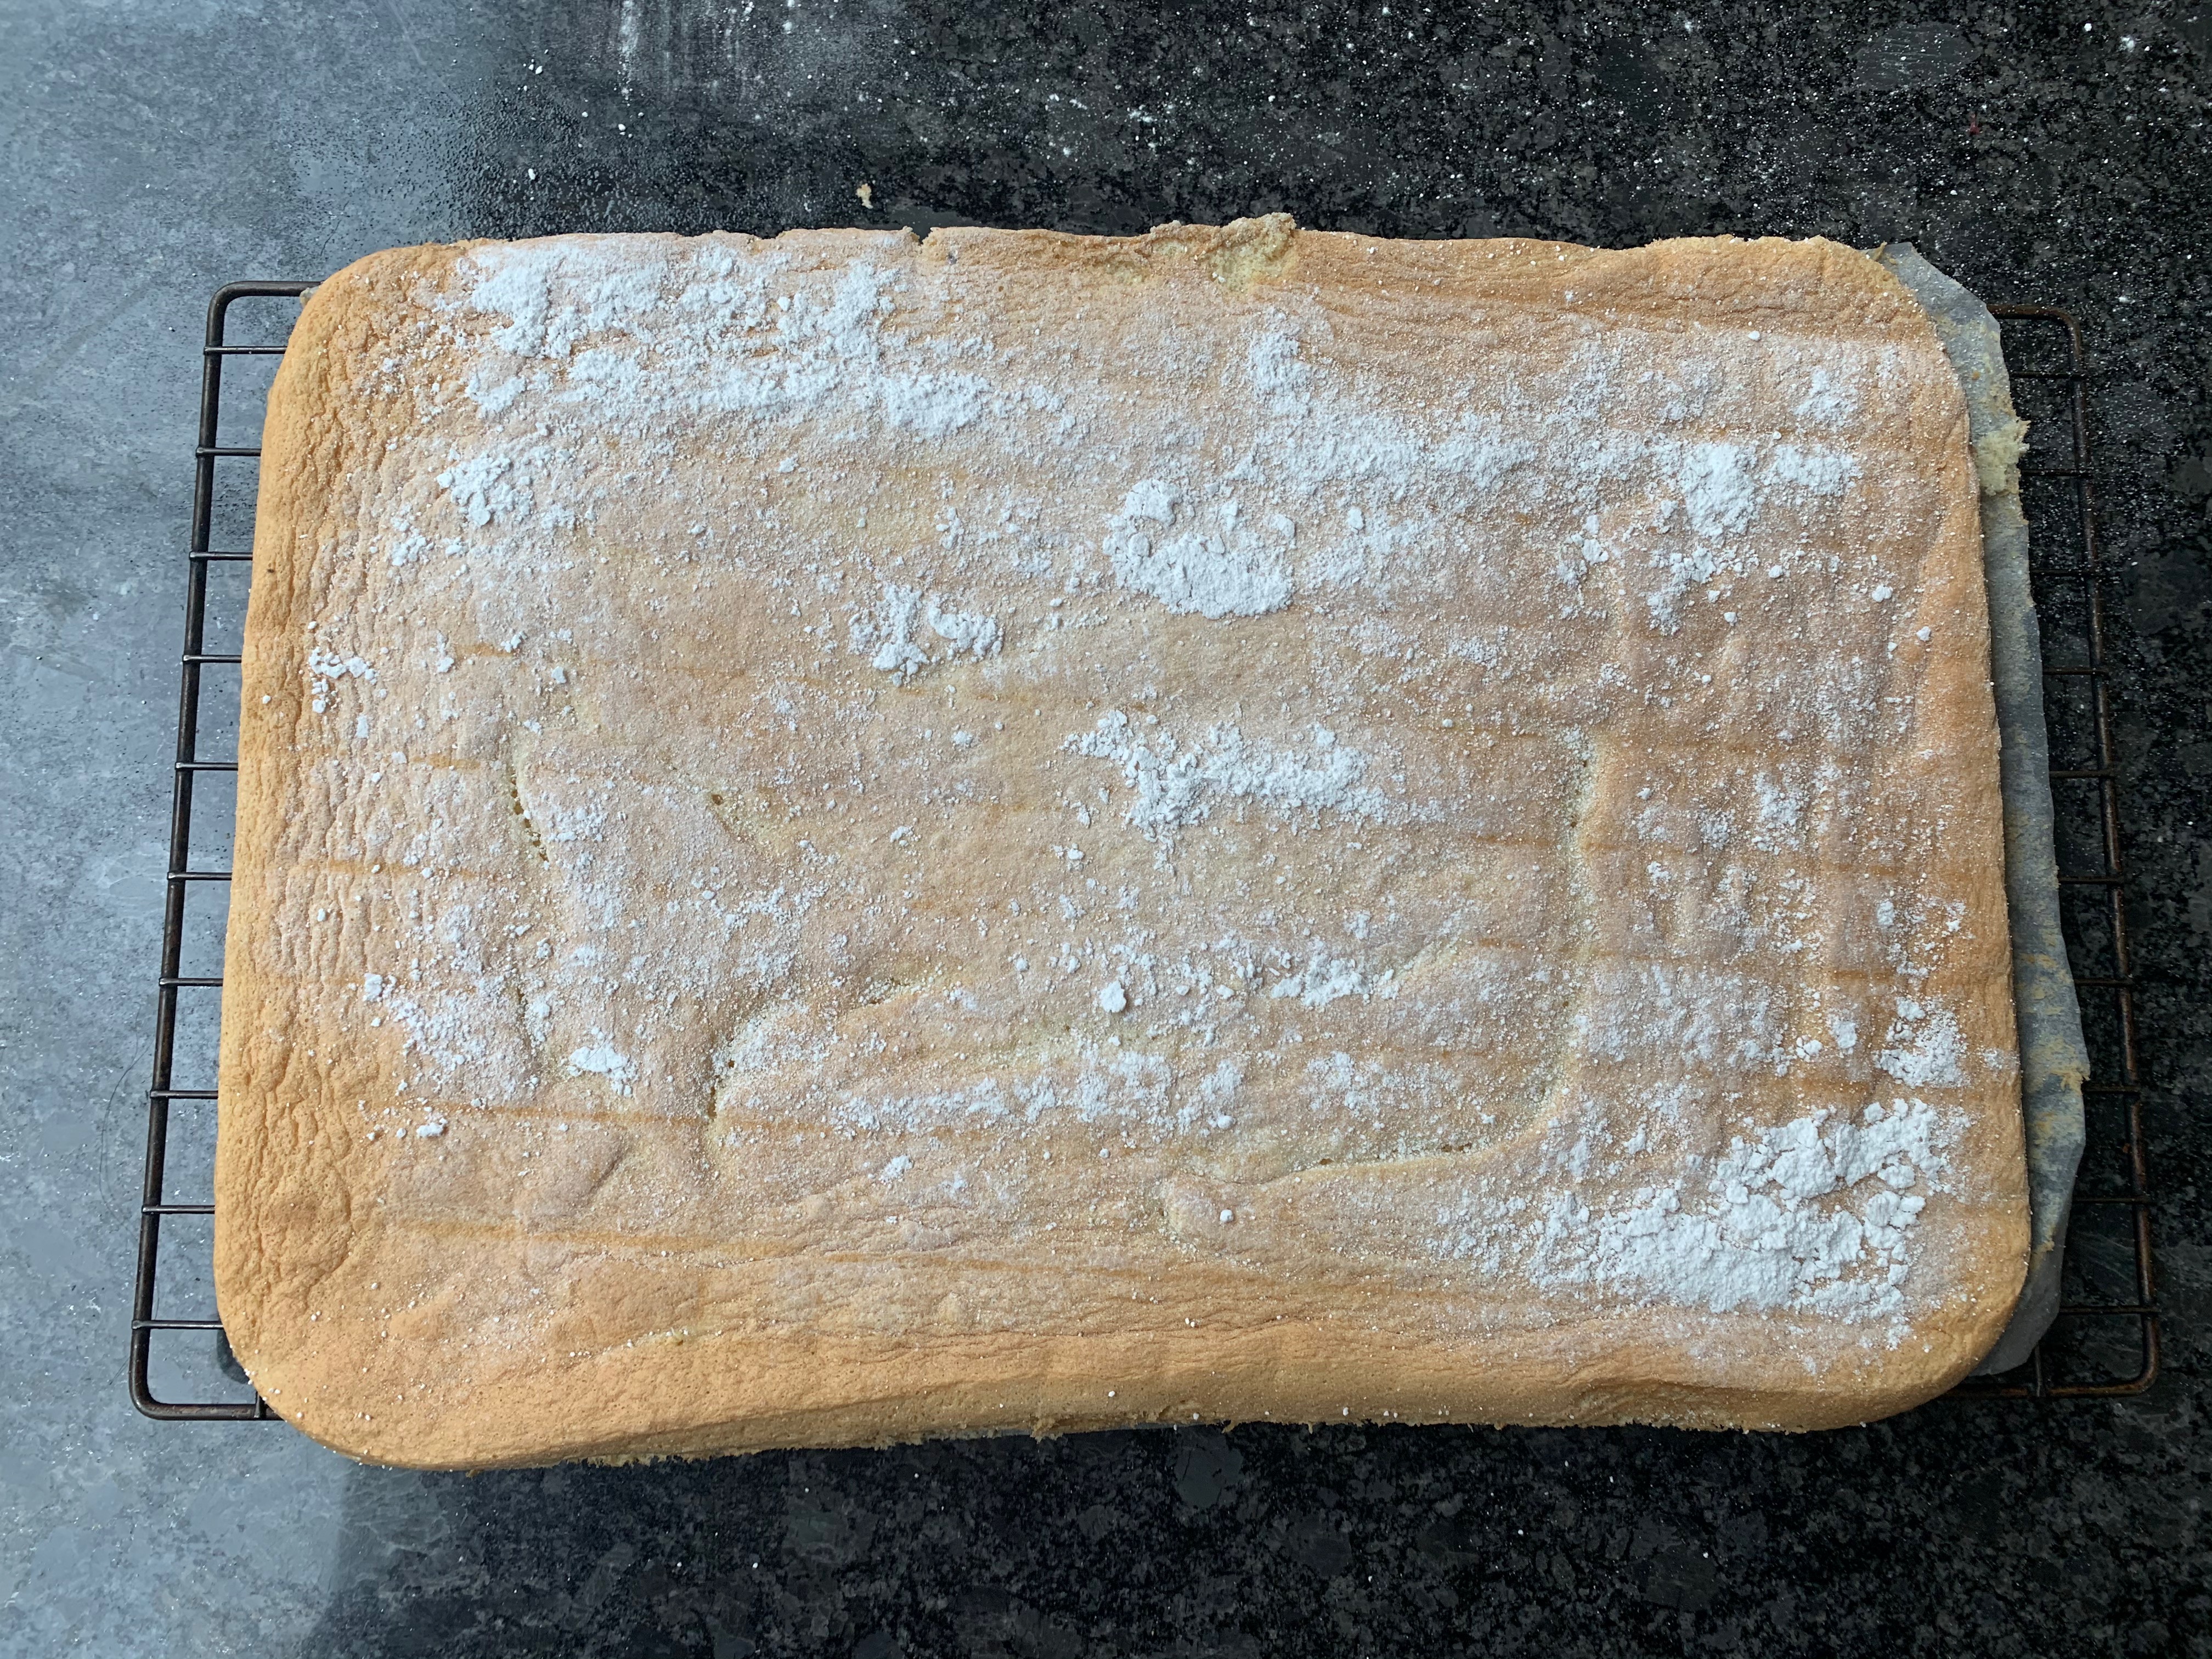
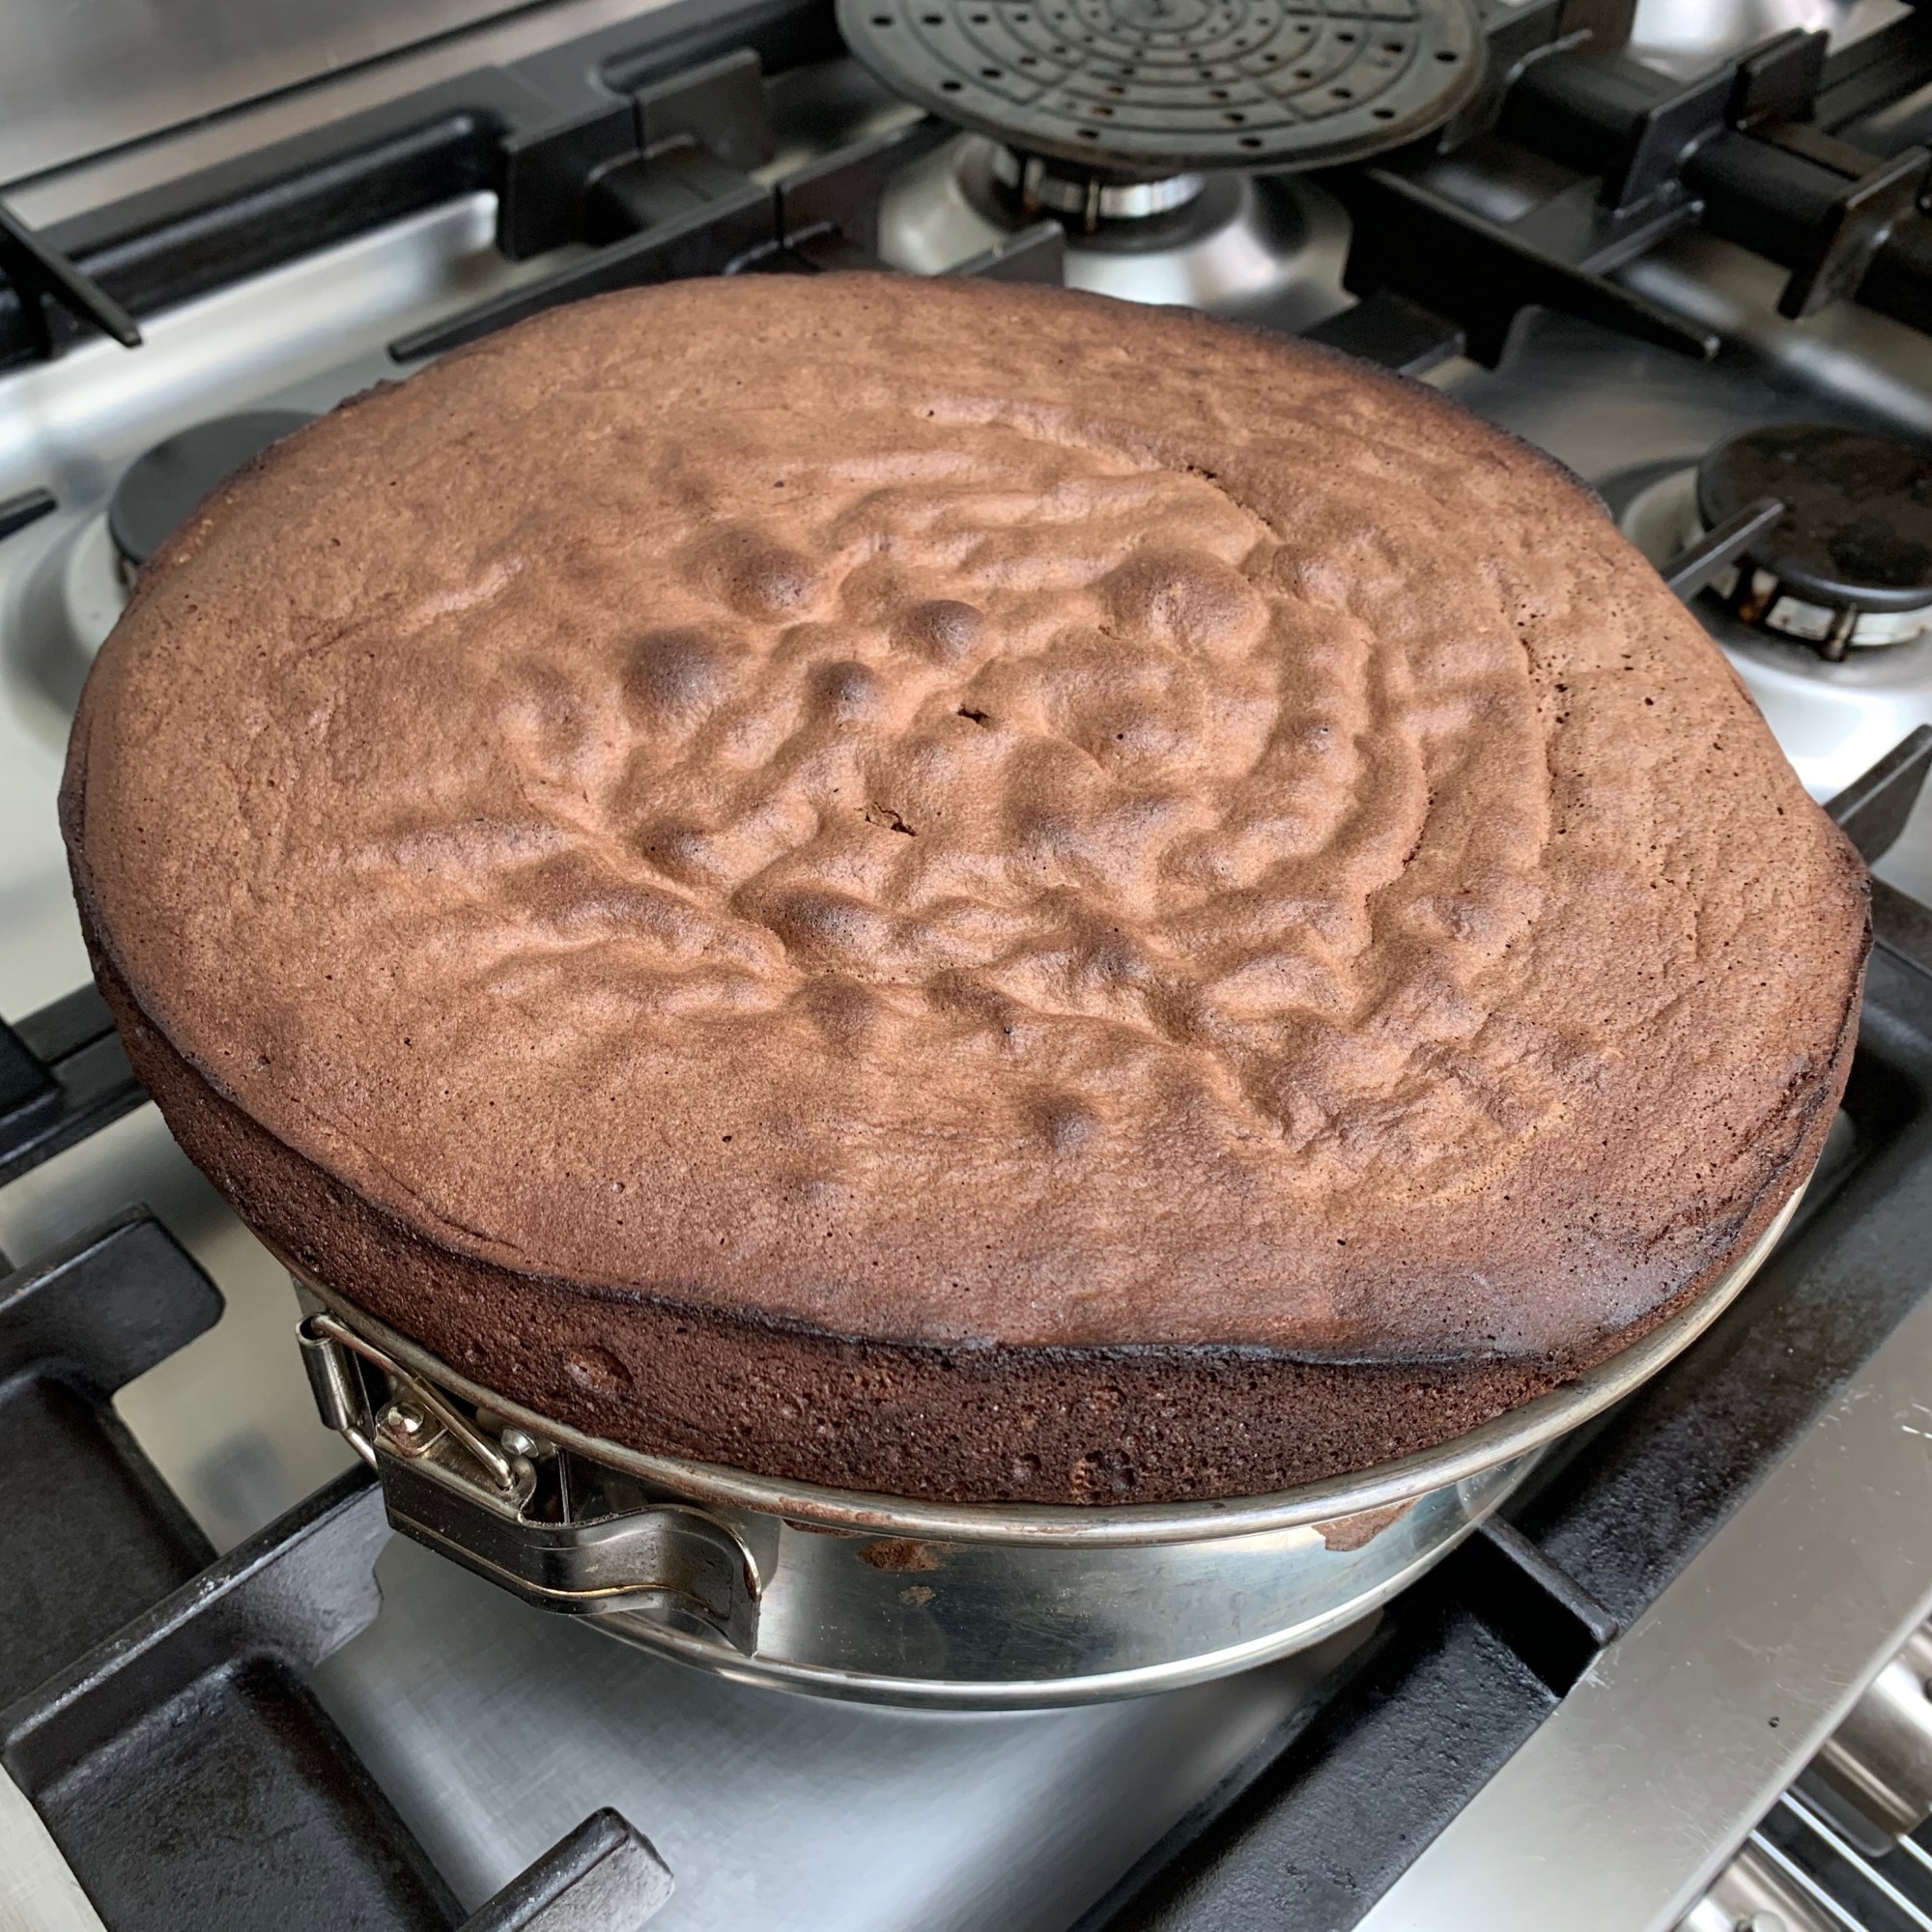
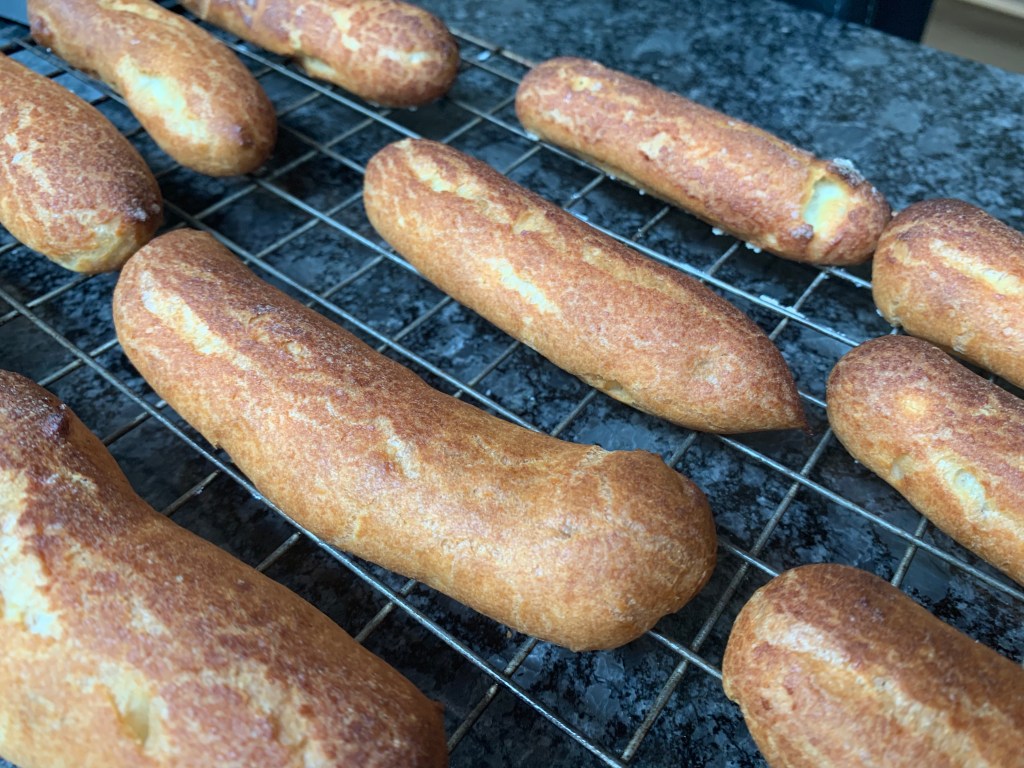
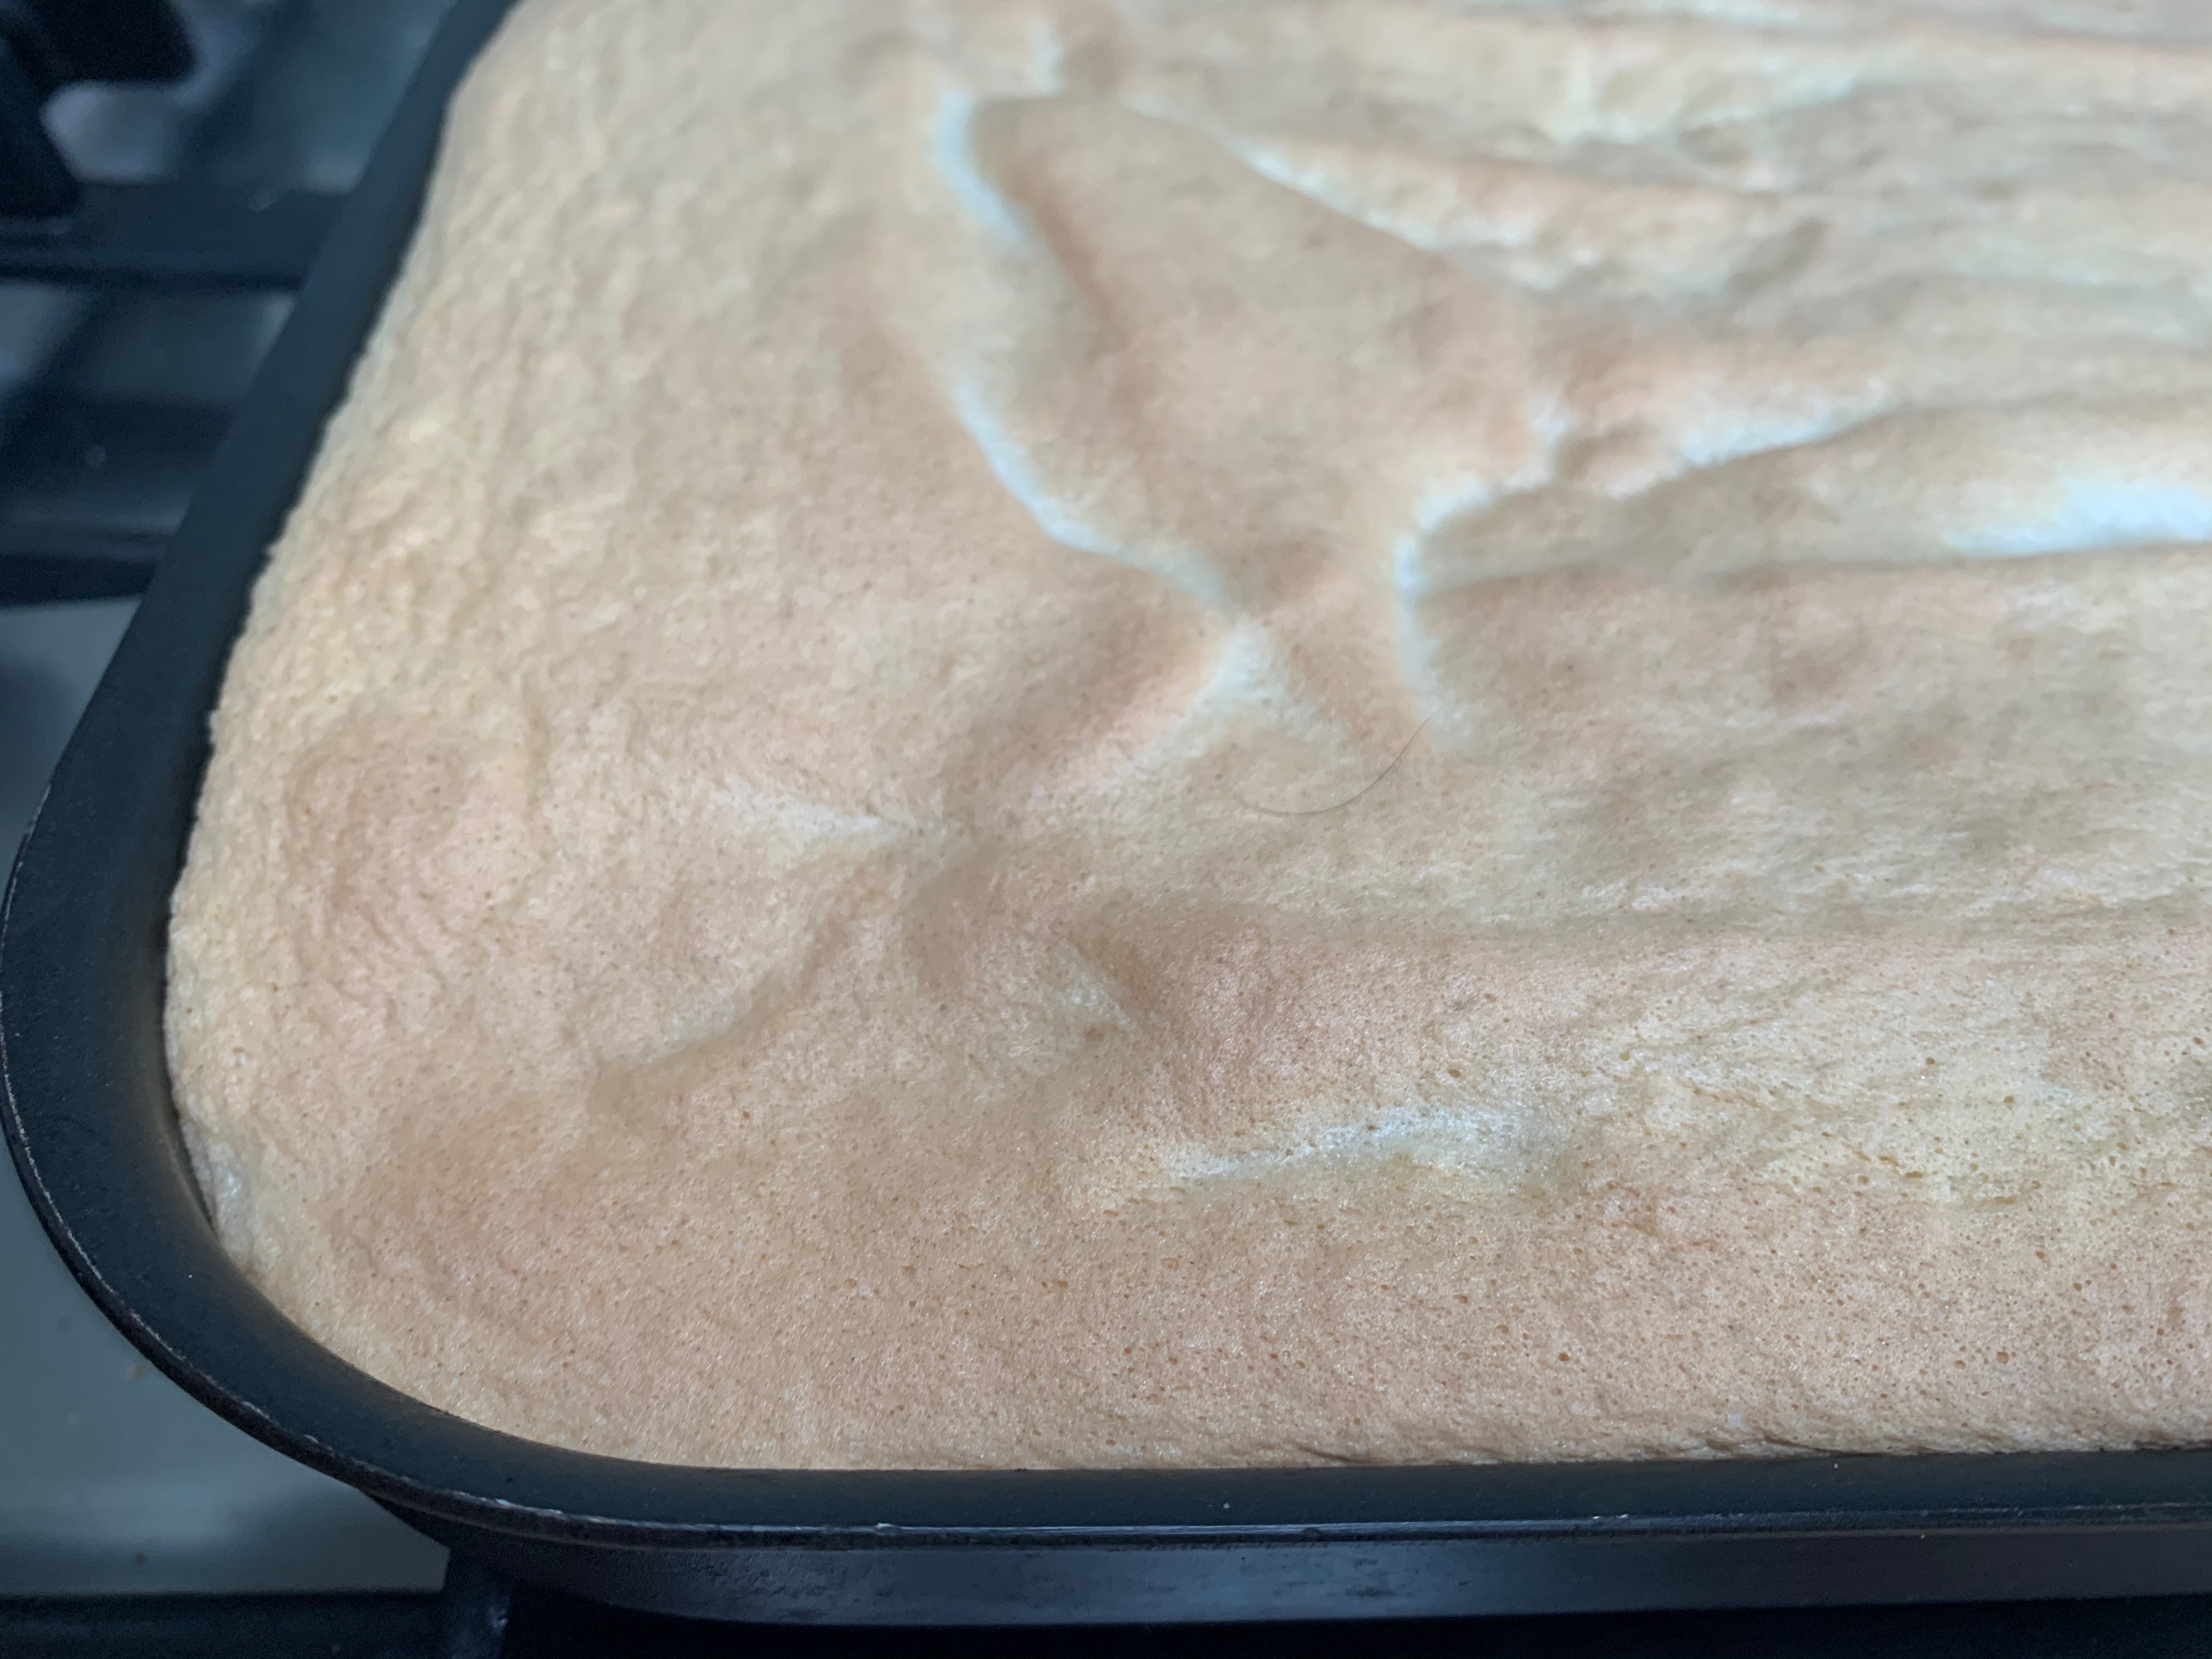
Just out of oven: pale brown 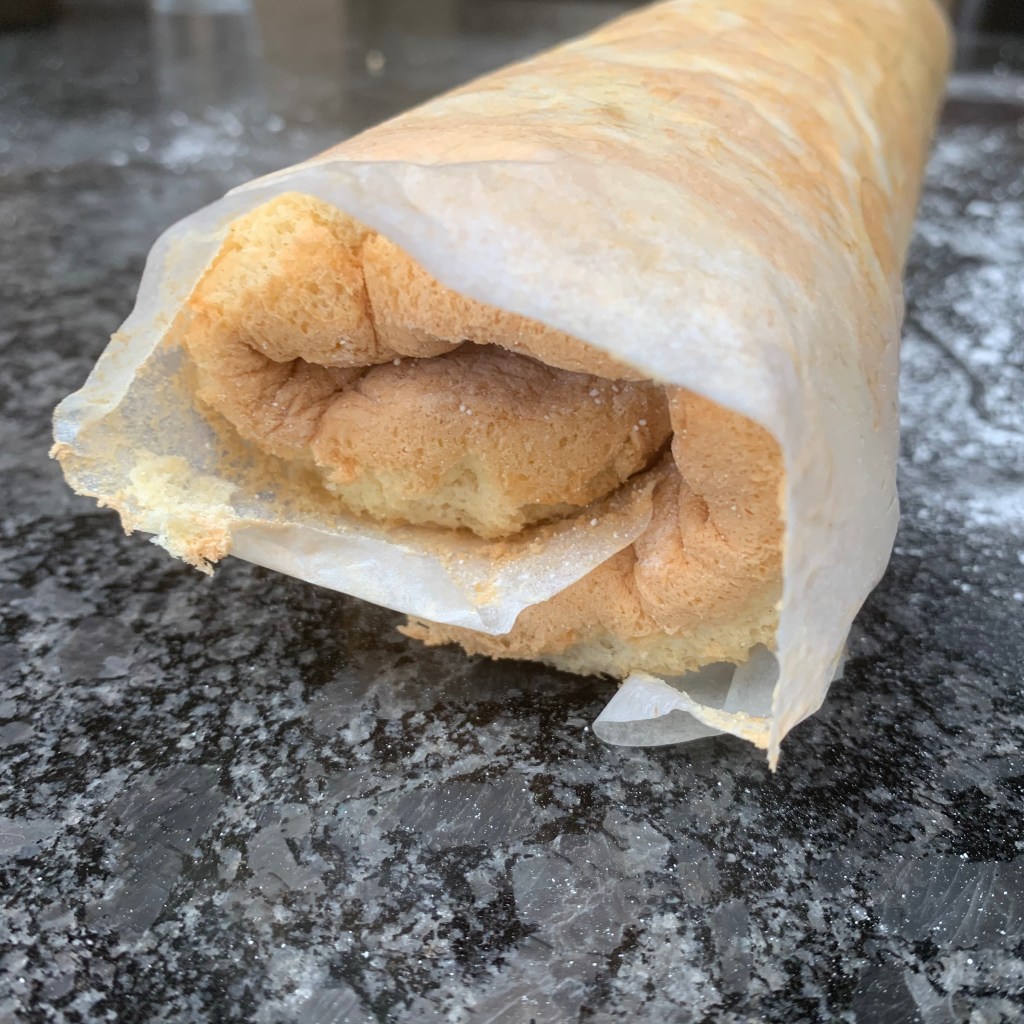
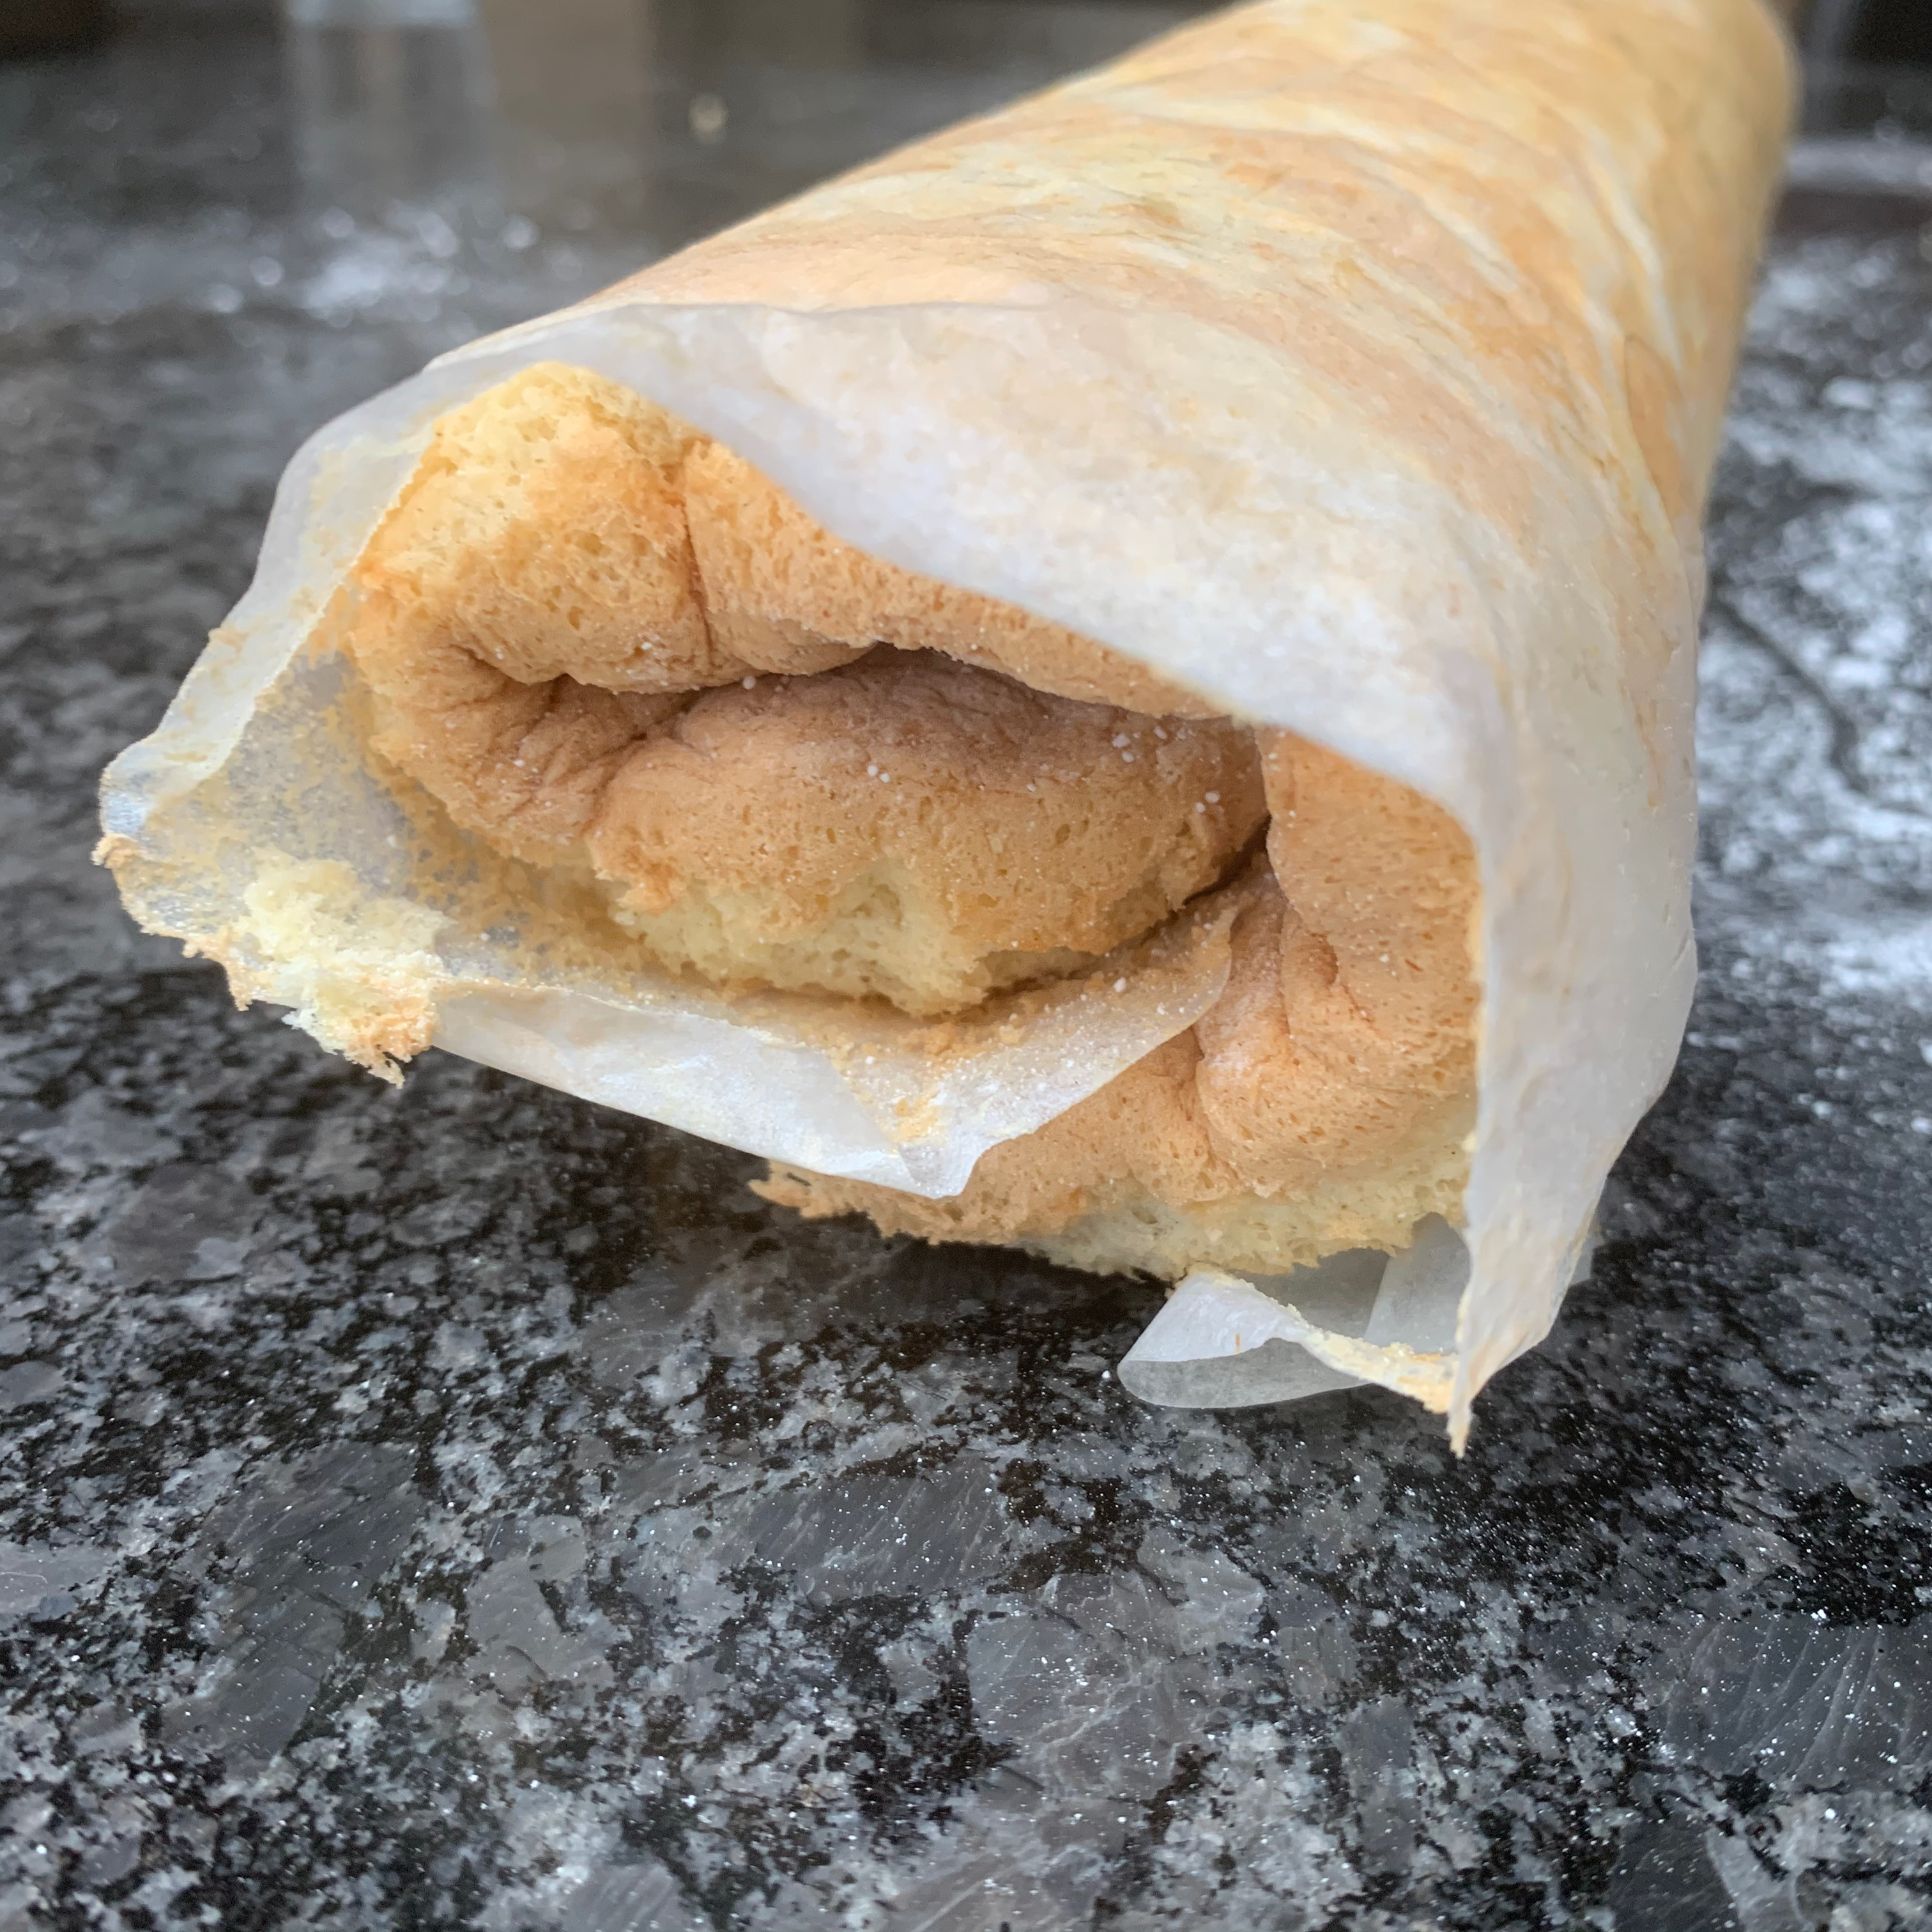
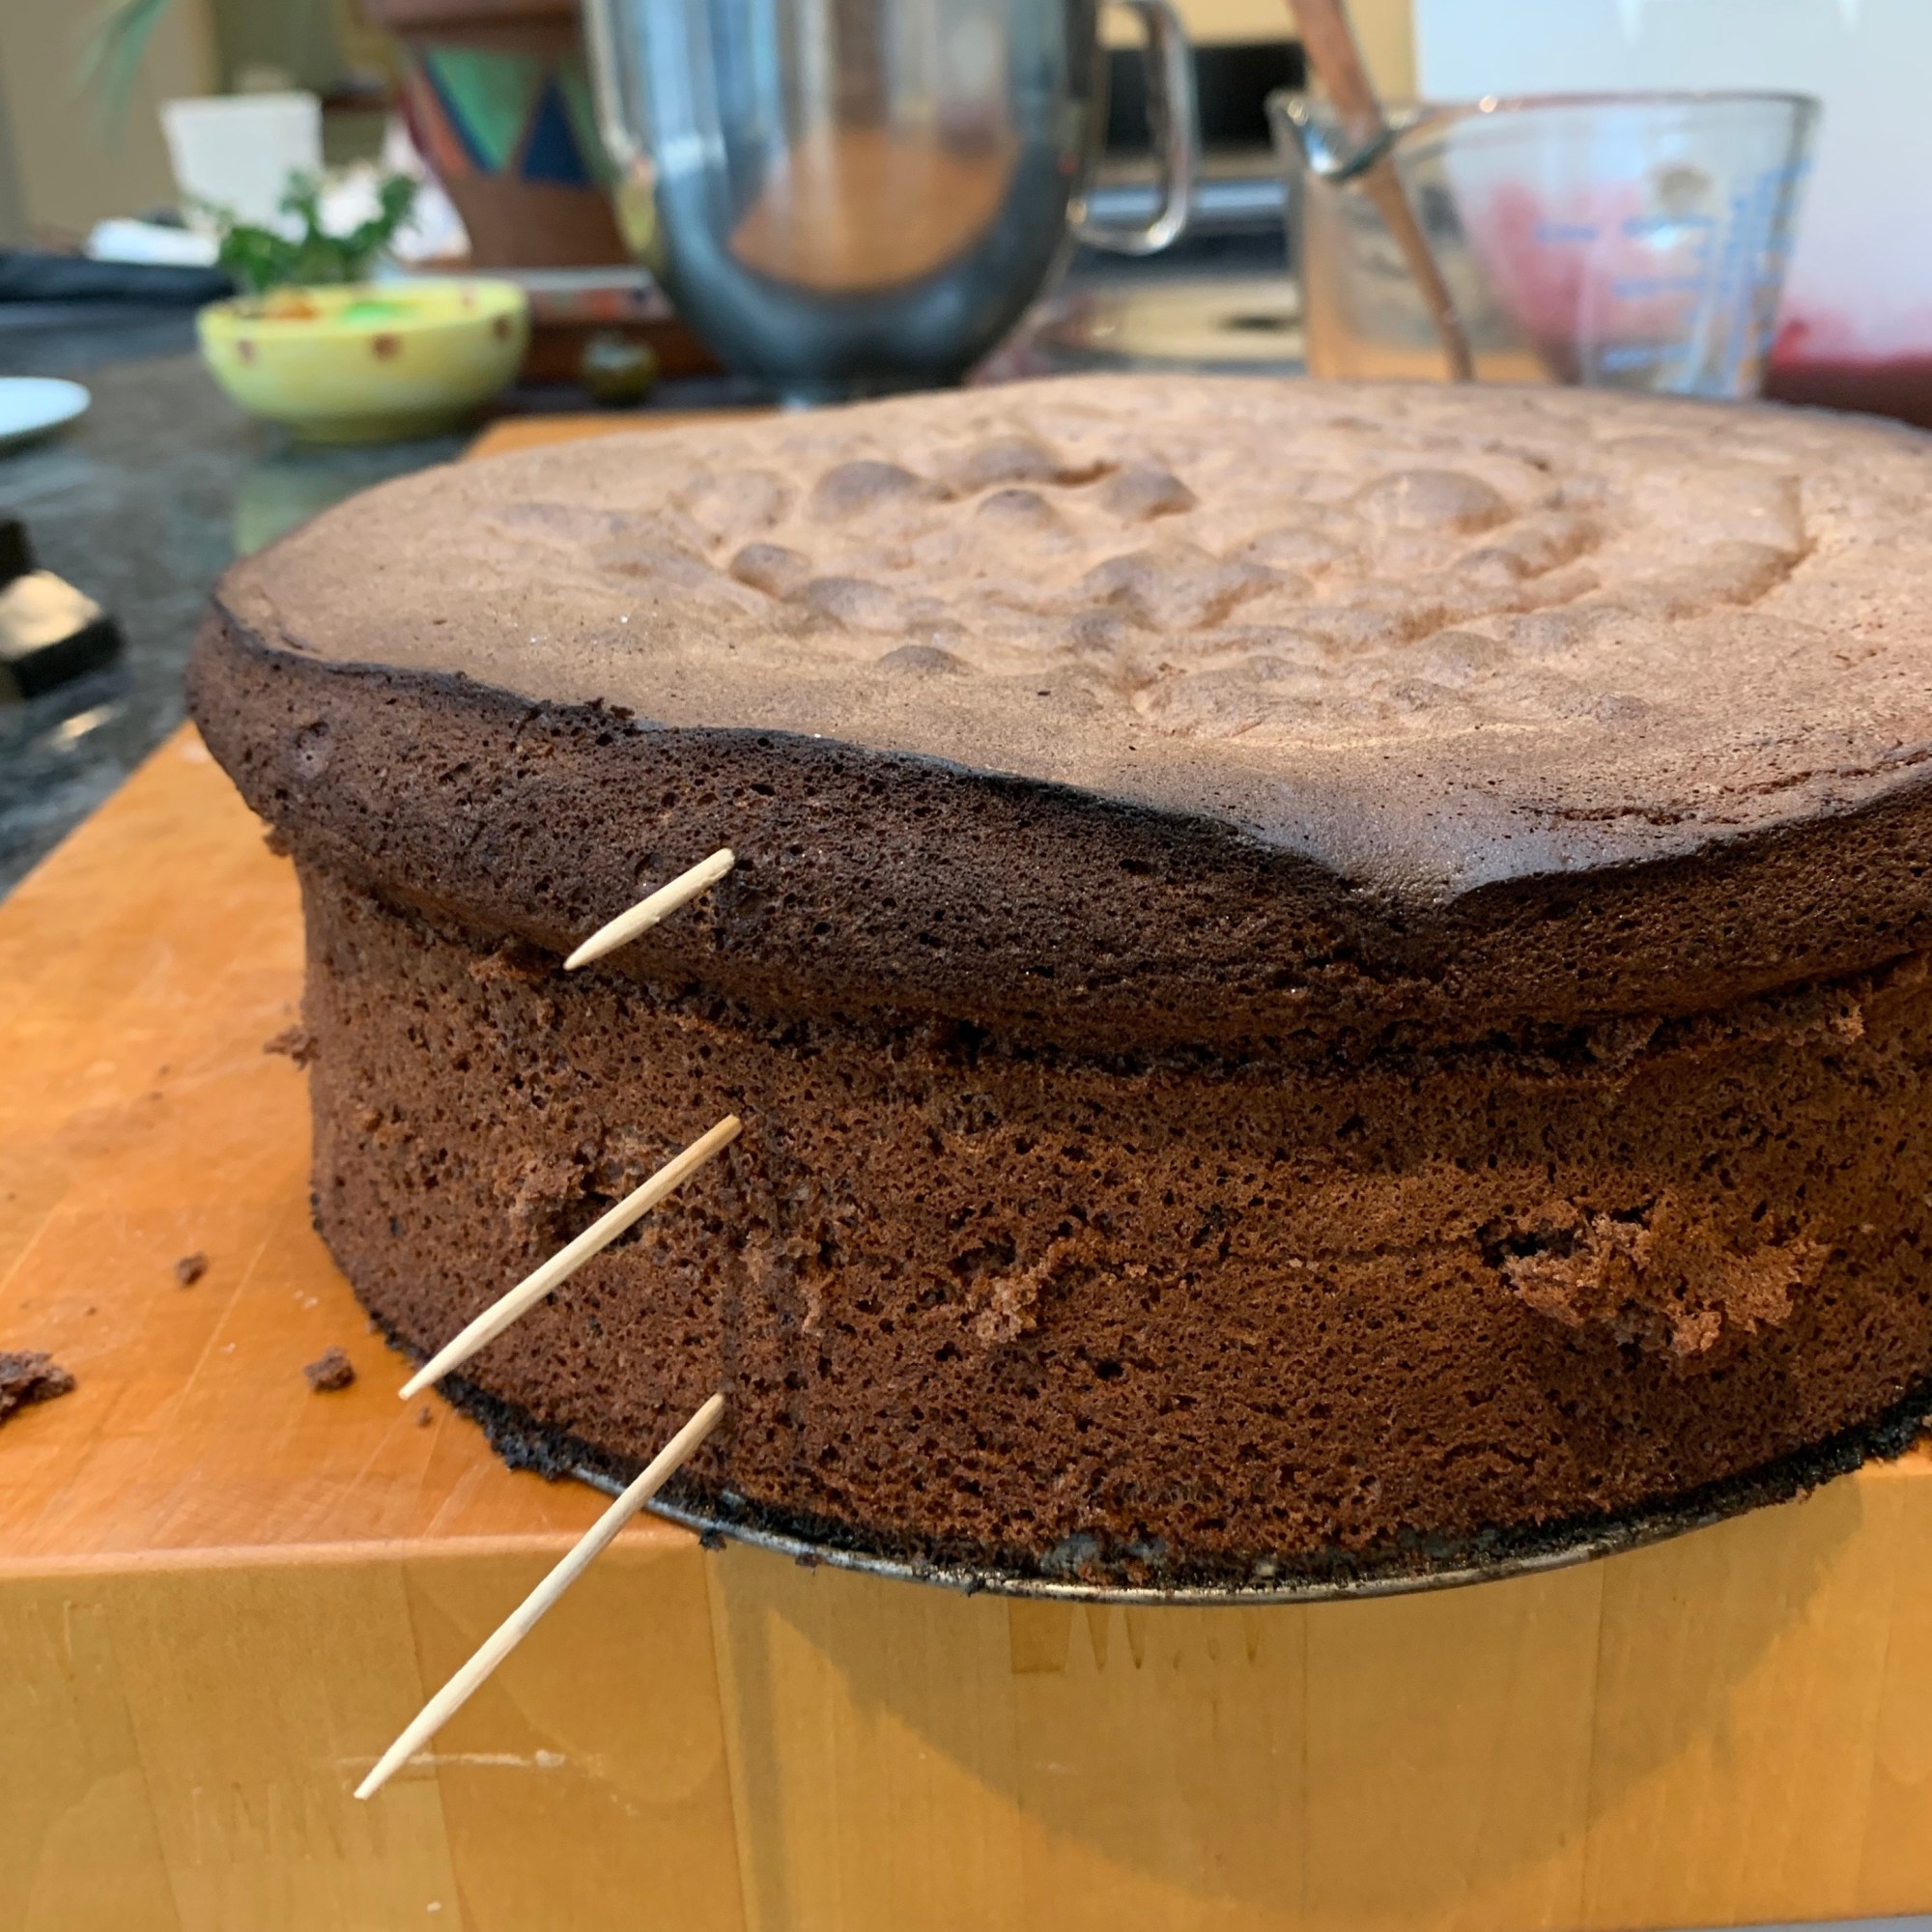
First roll-up, still in paper 
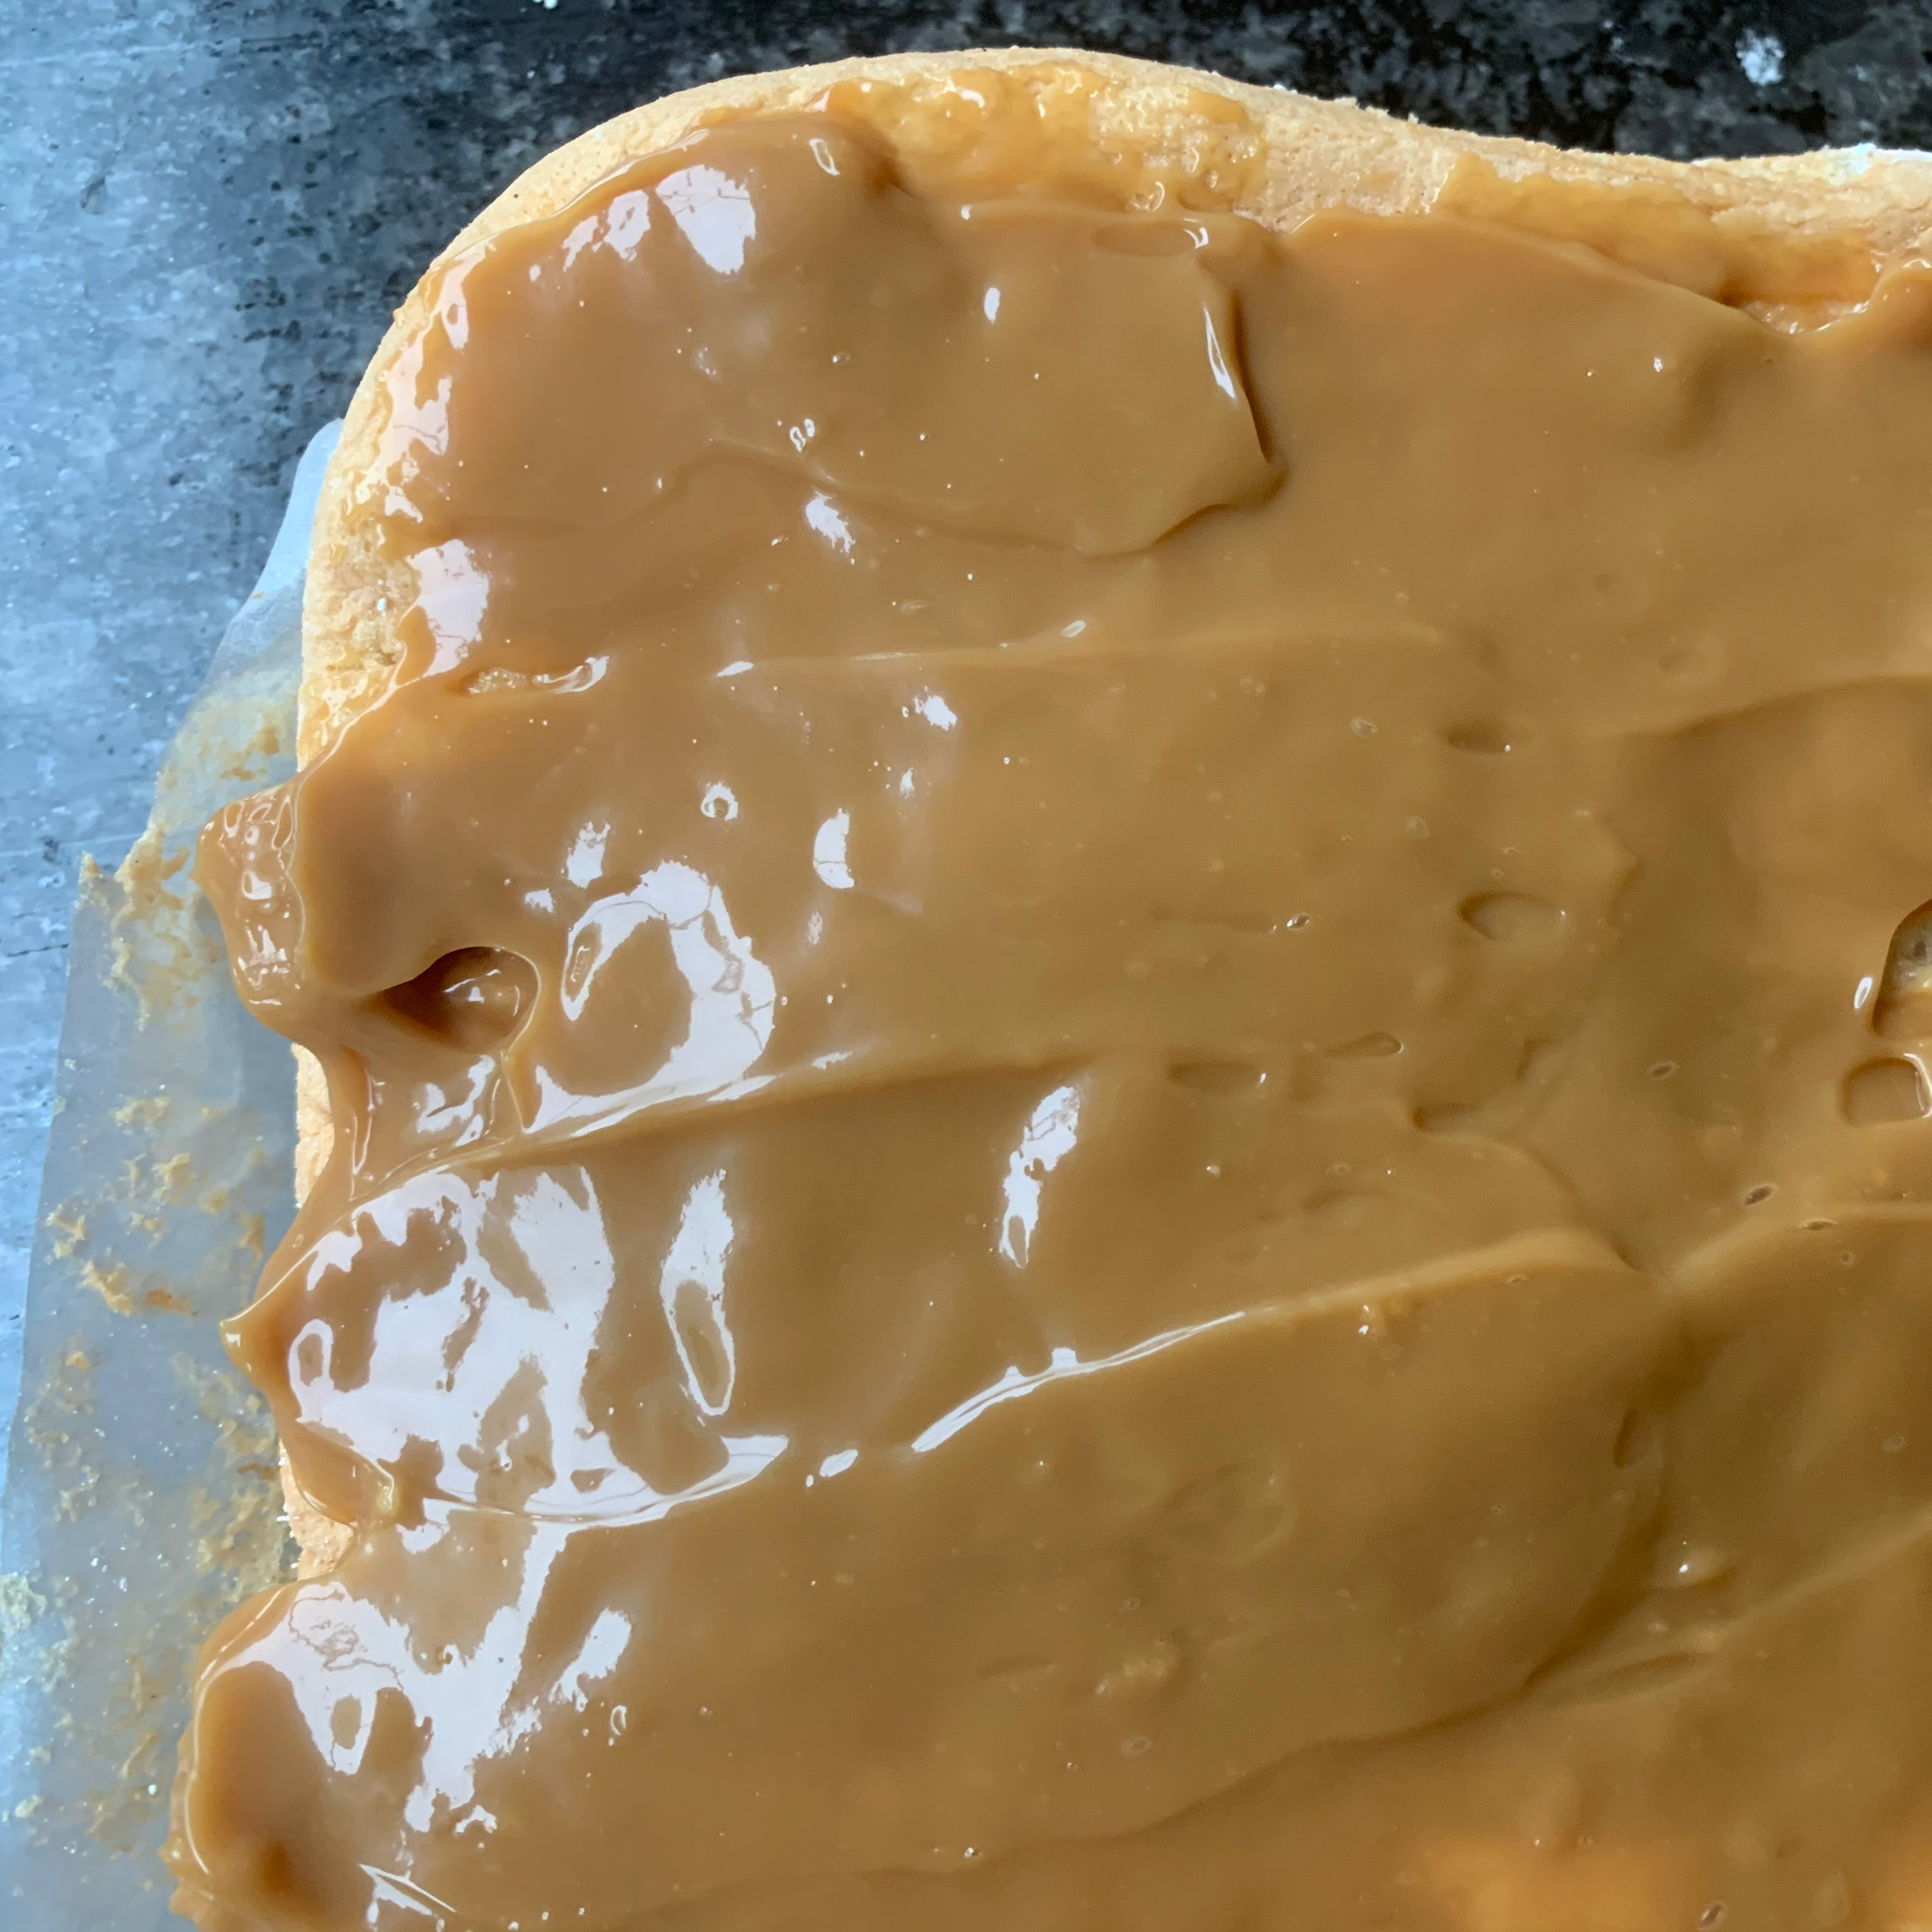
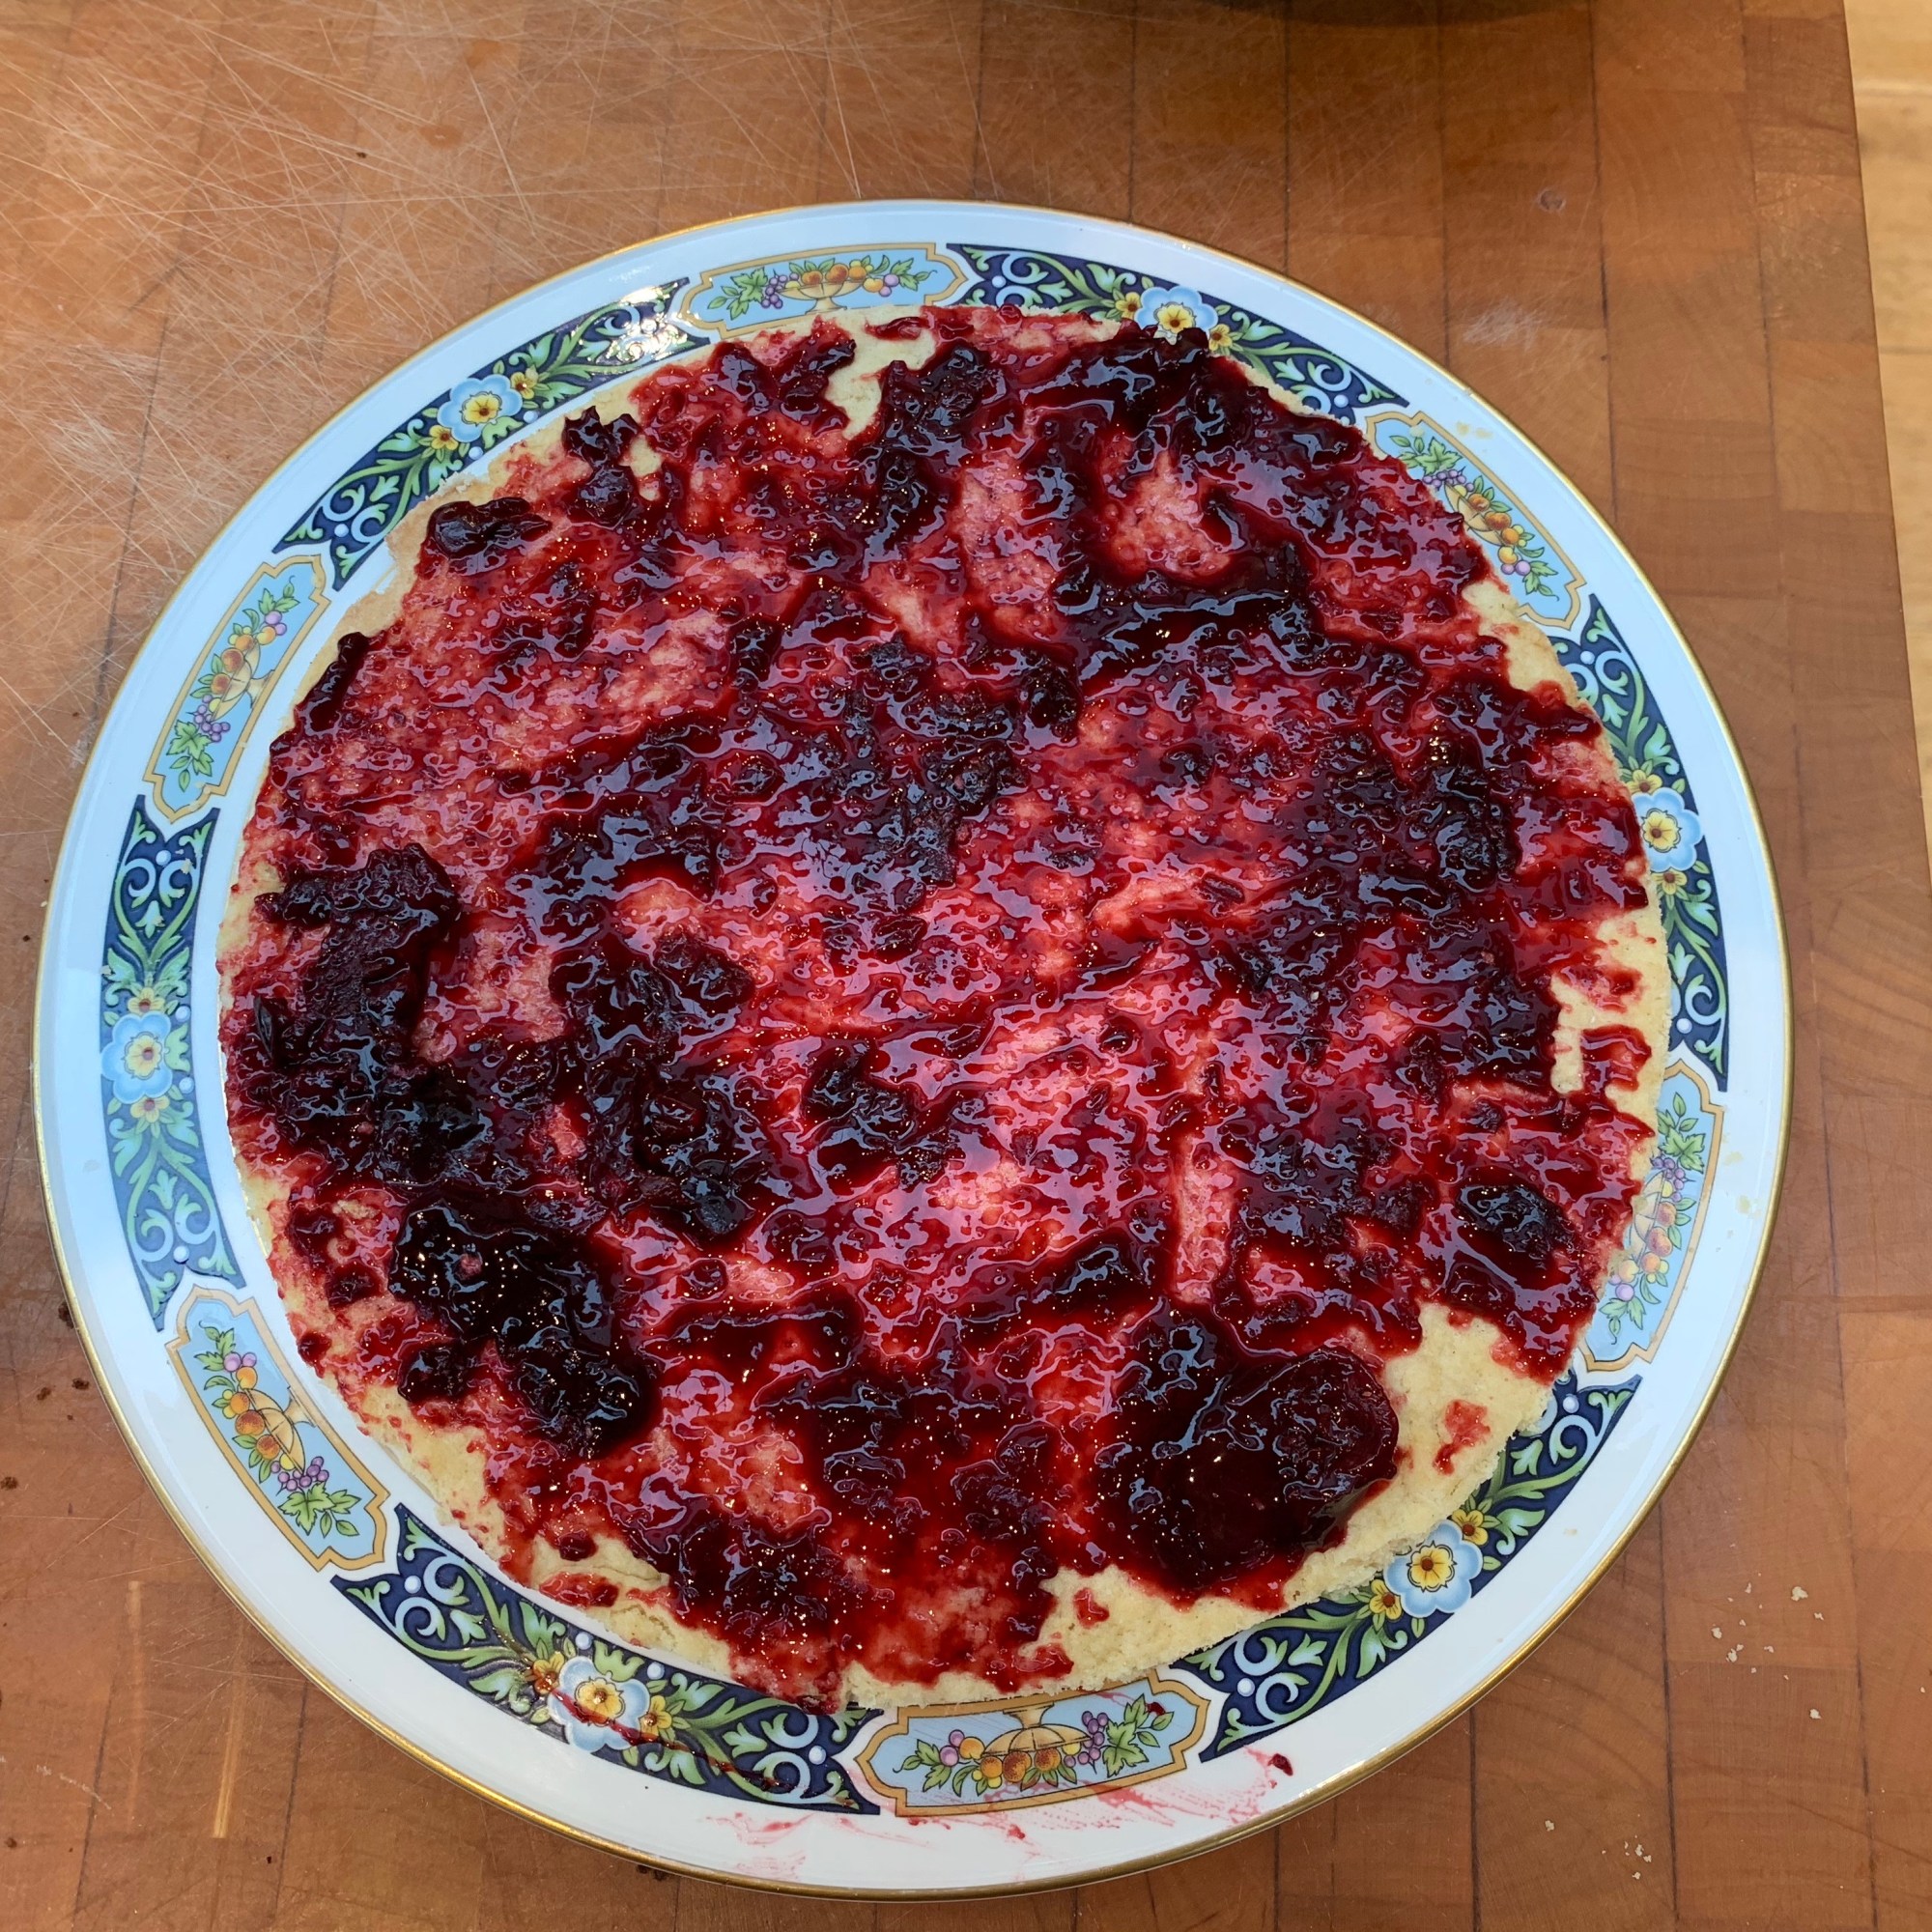
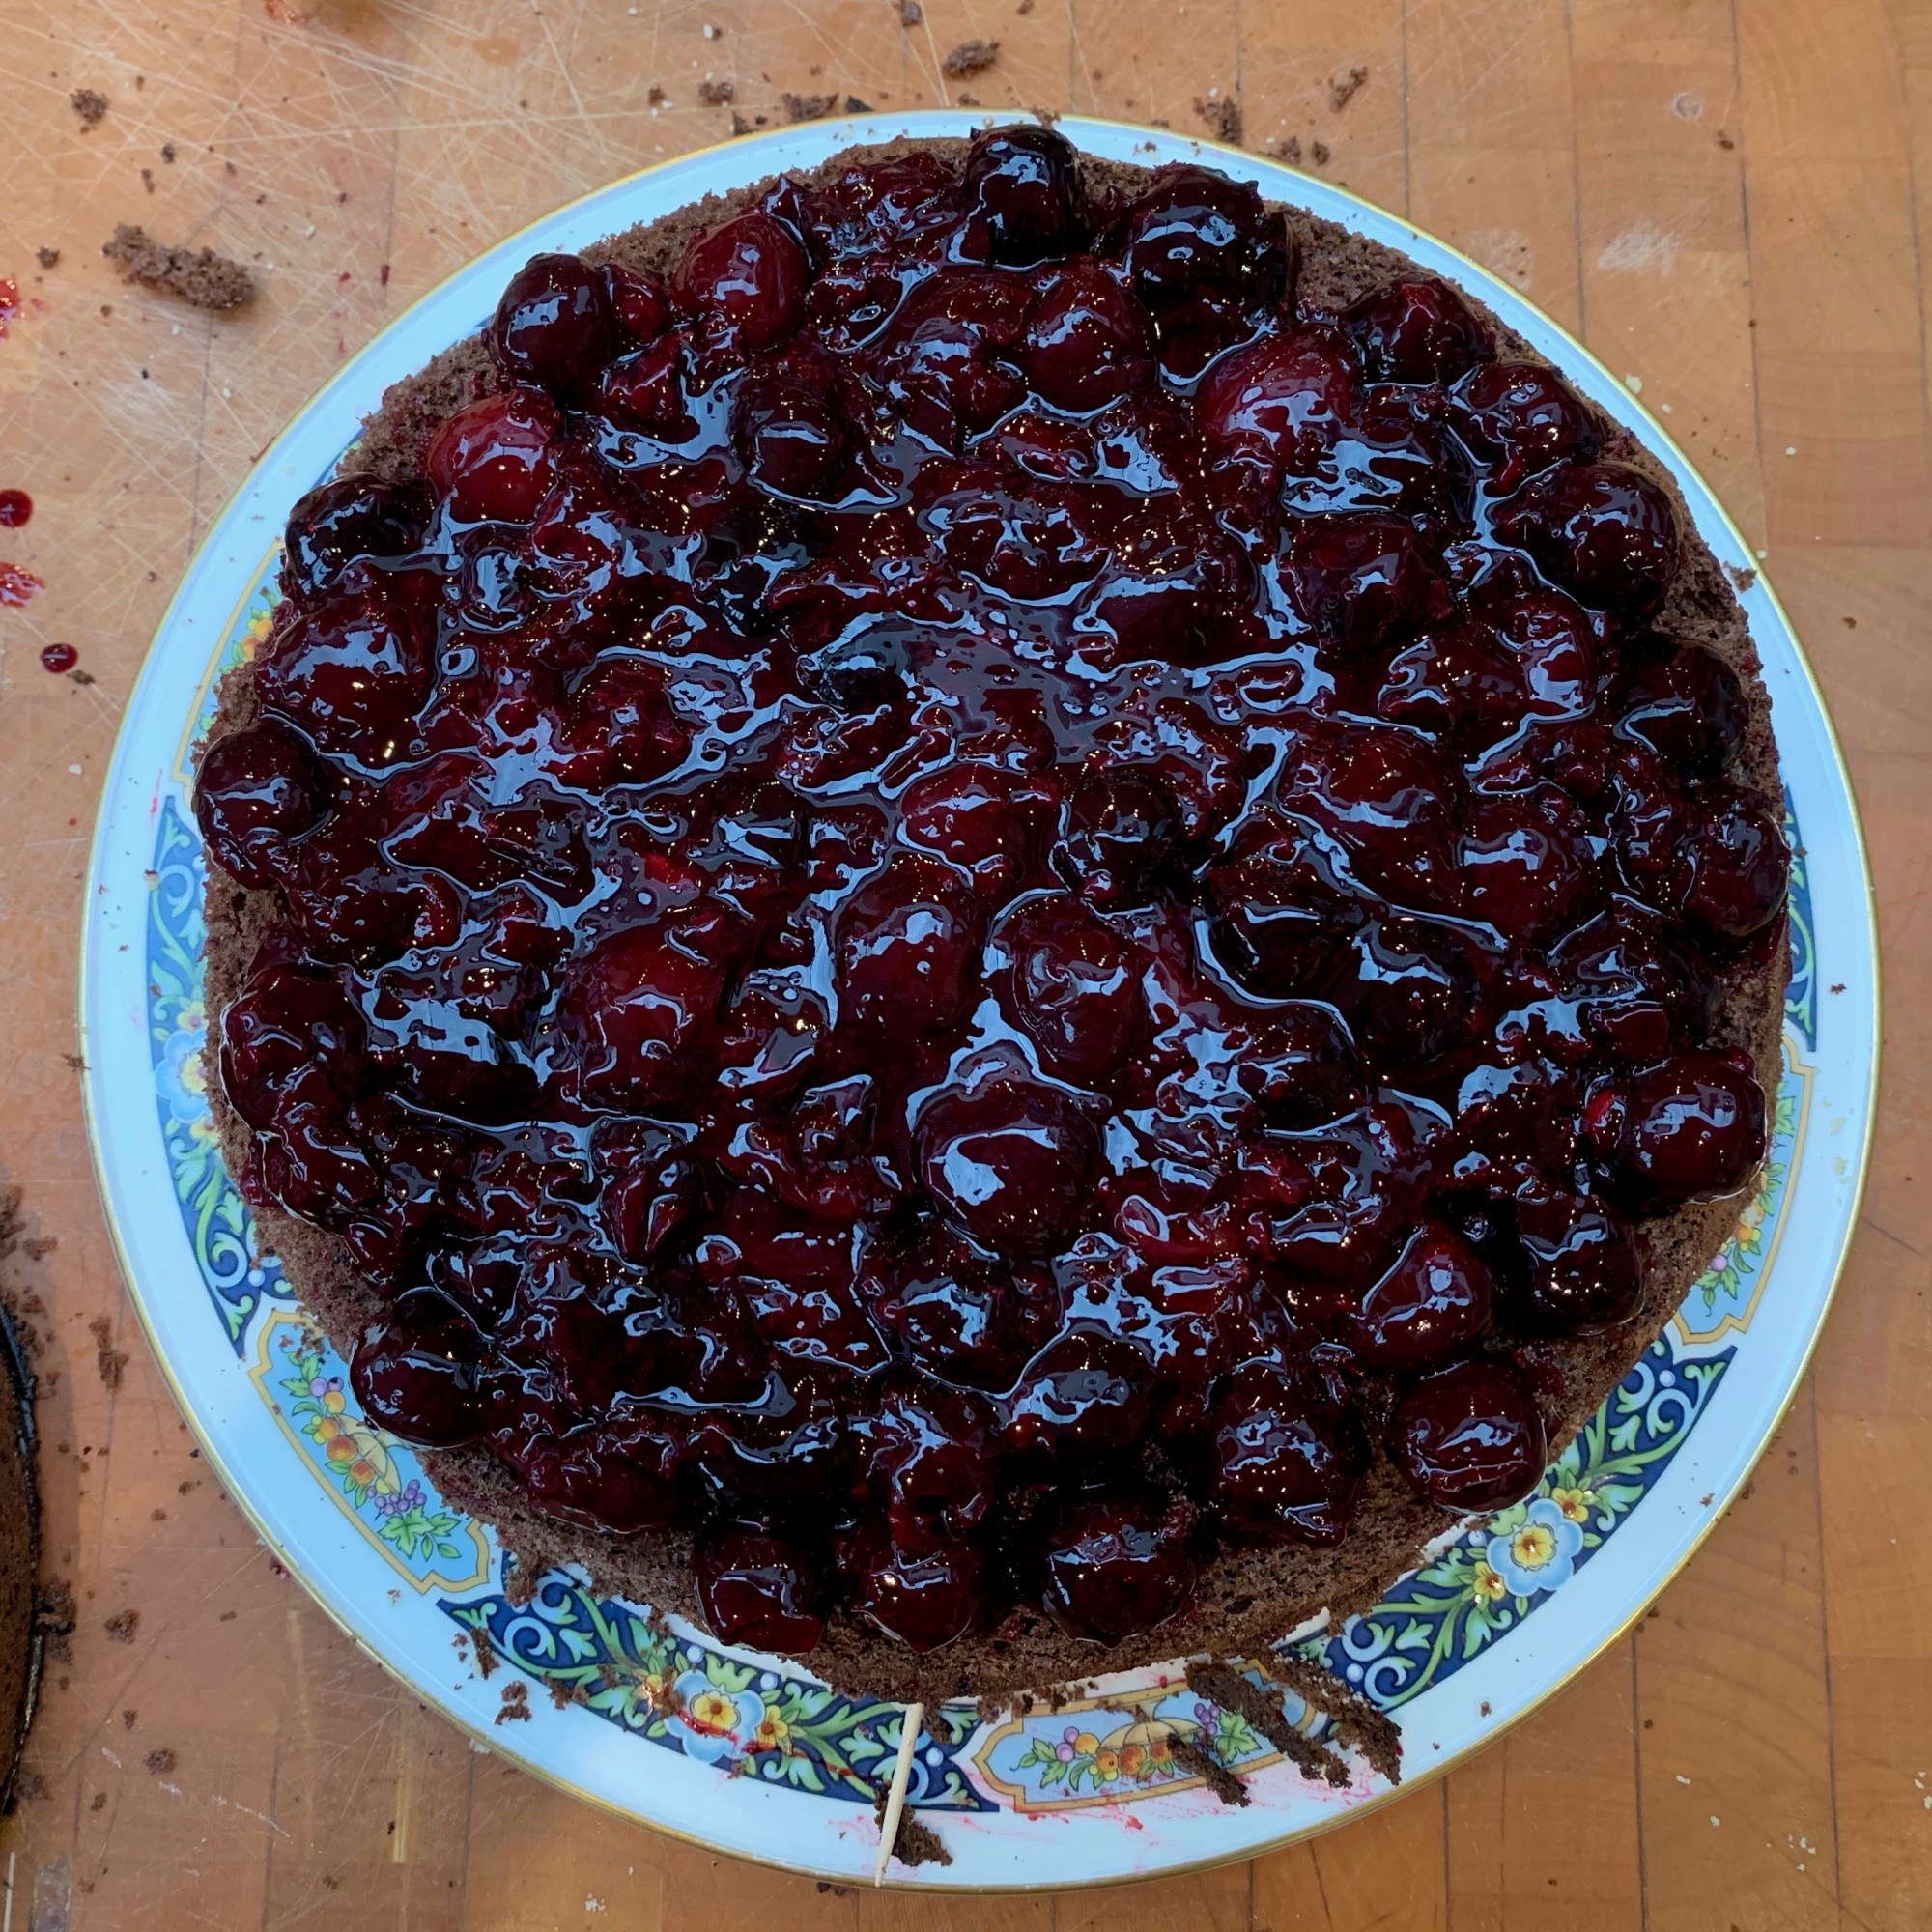
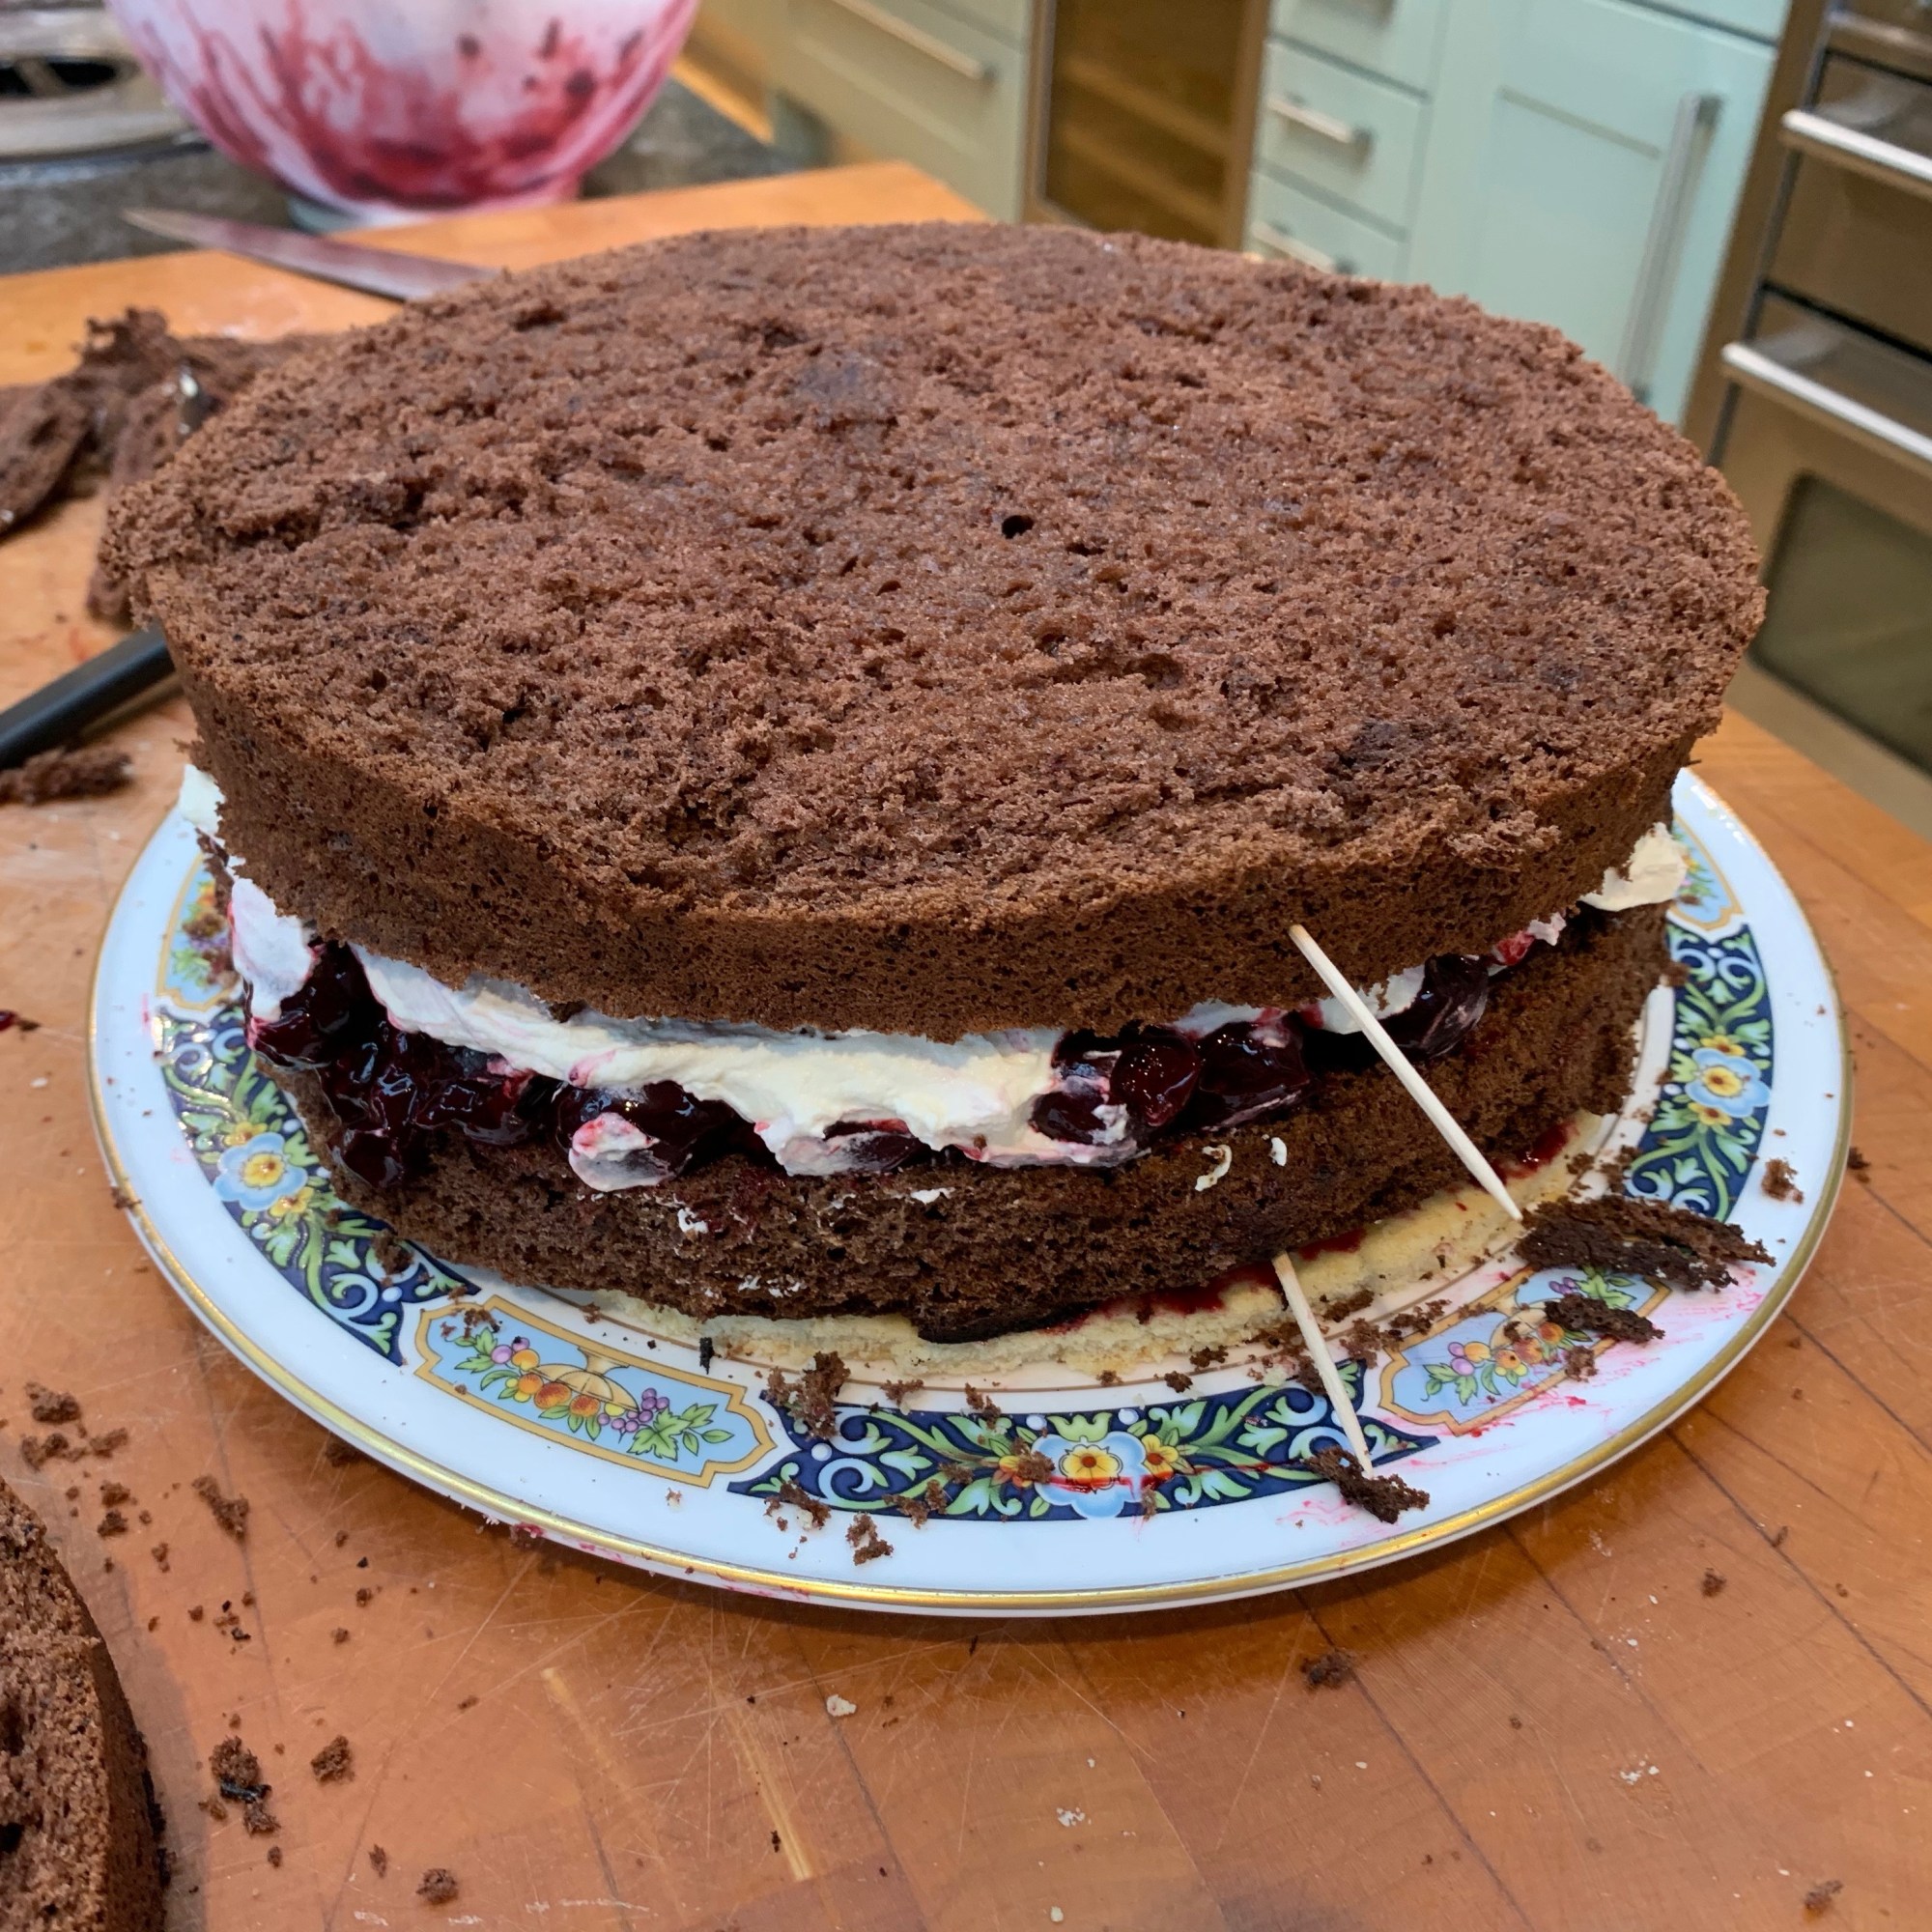
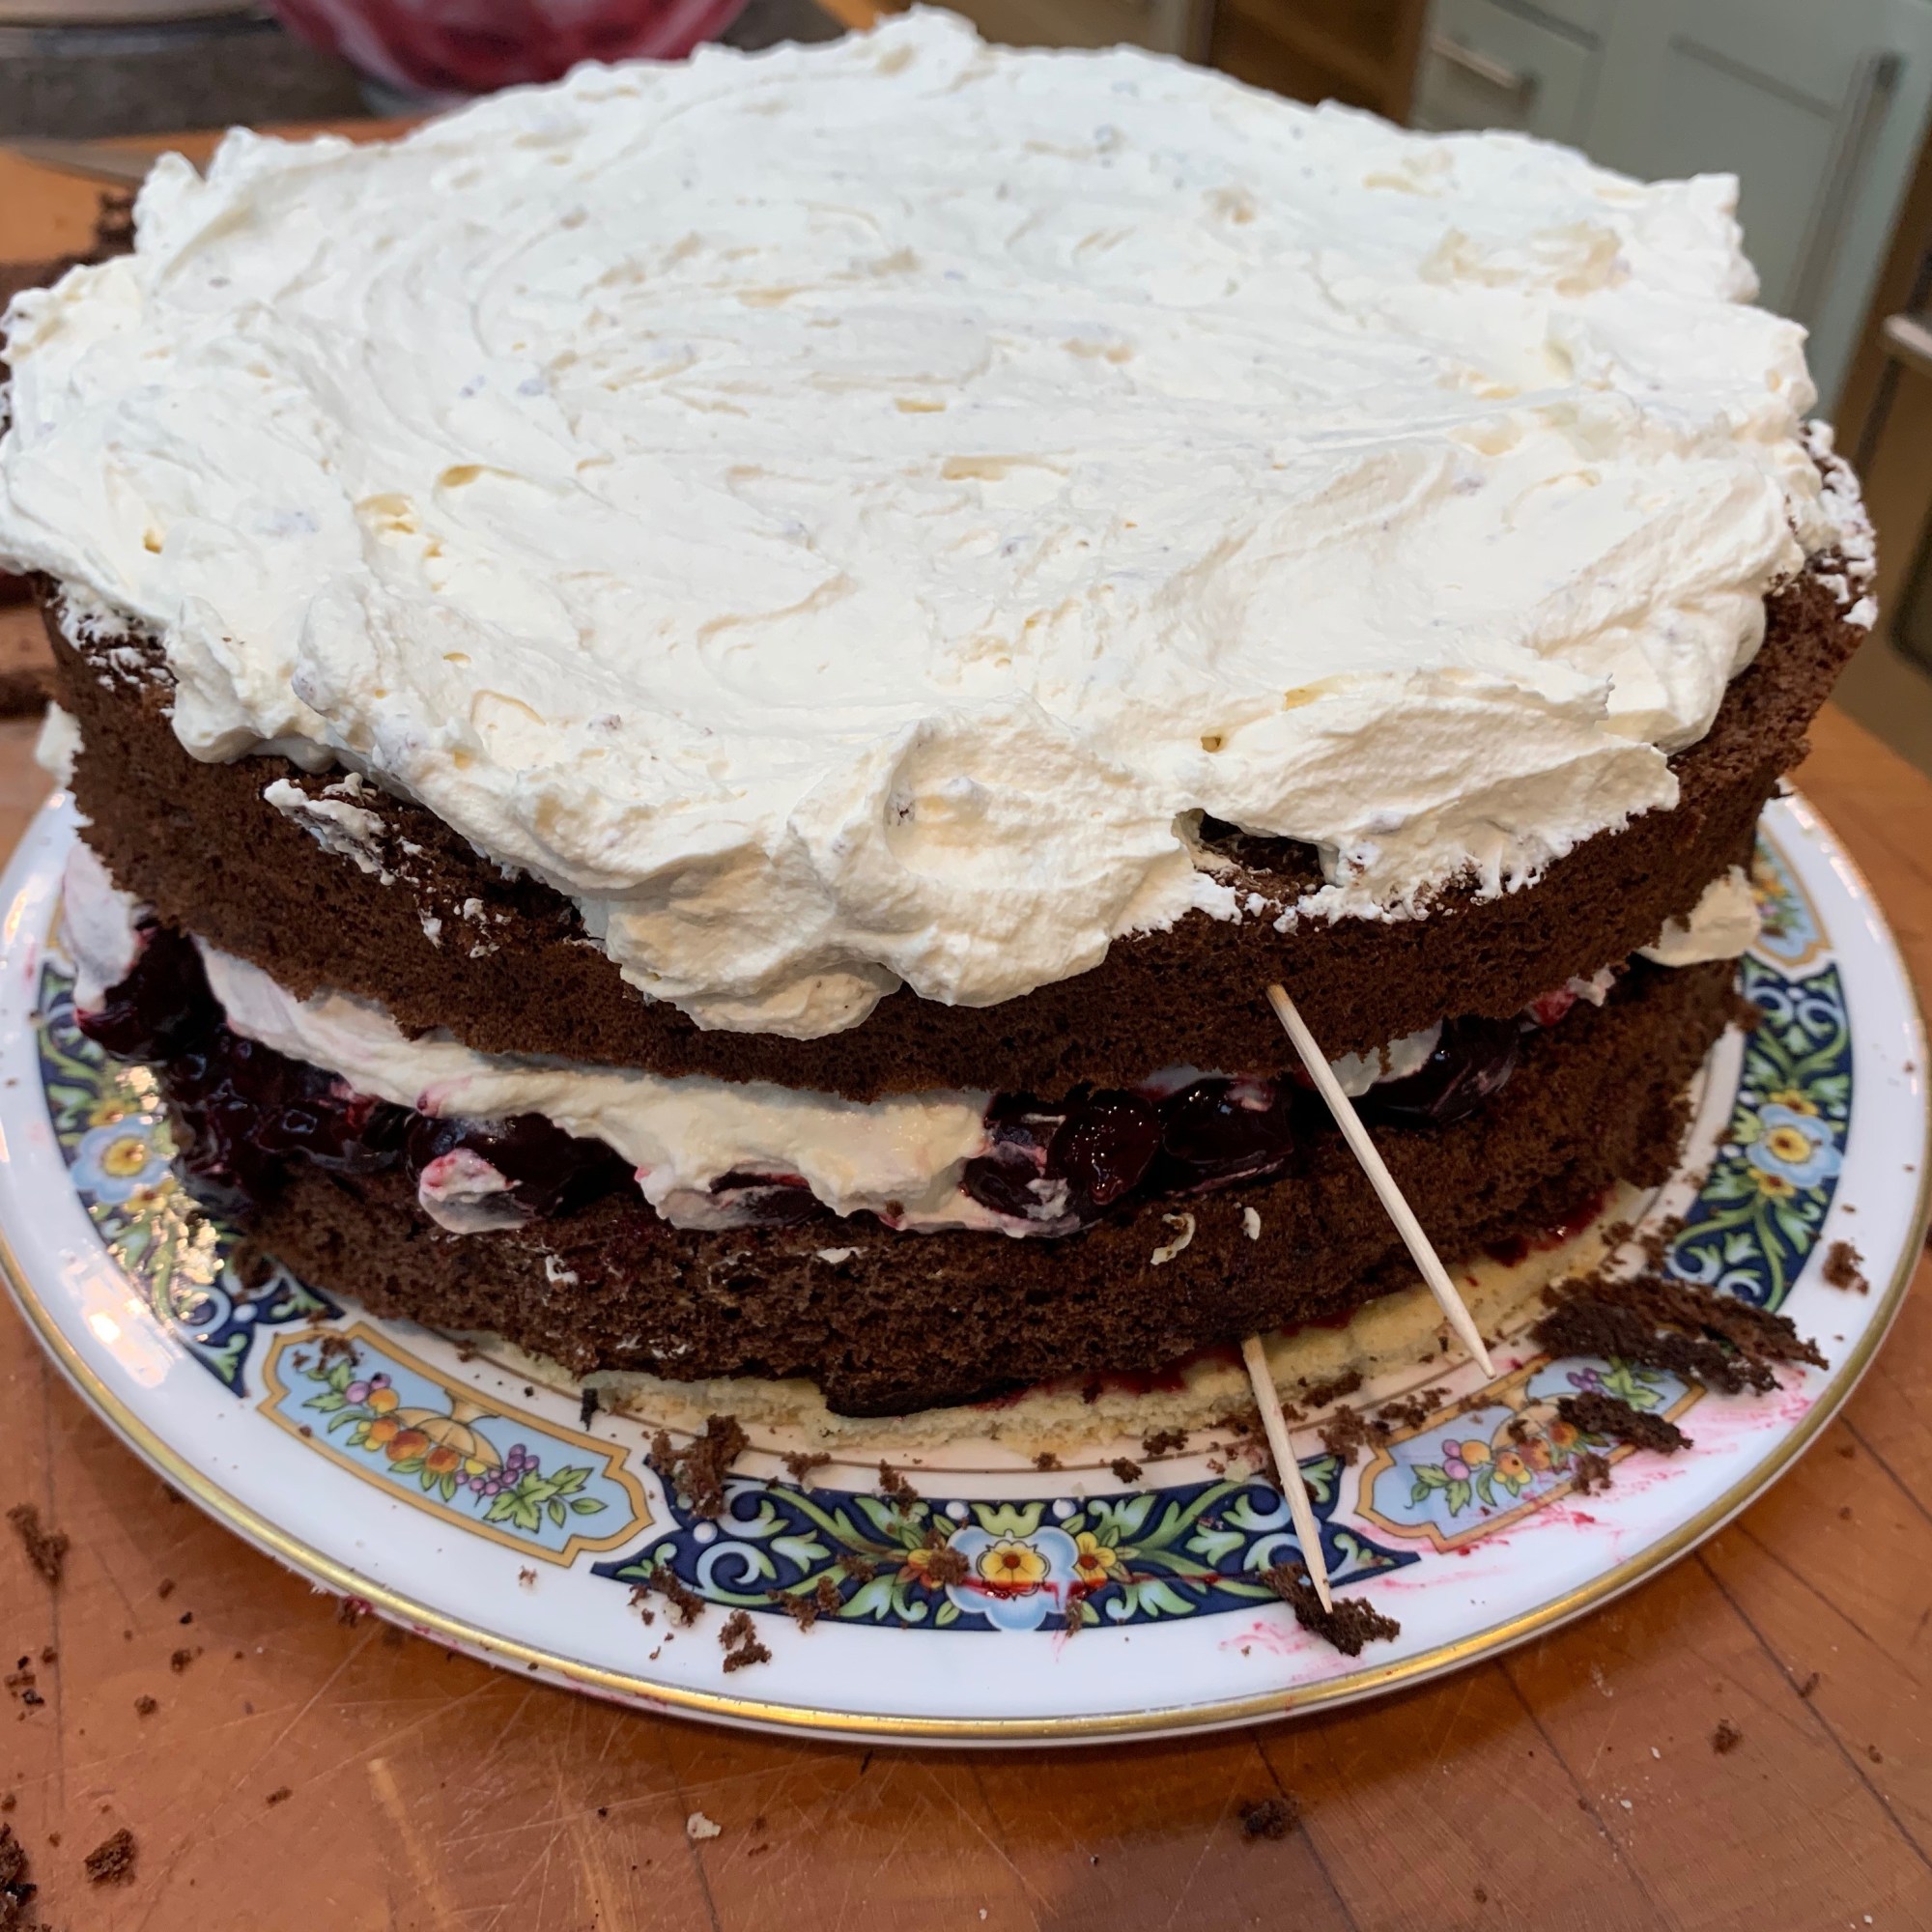
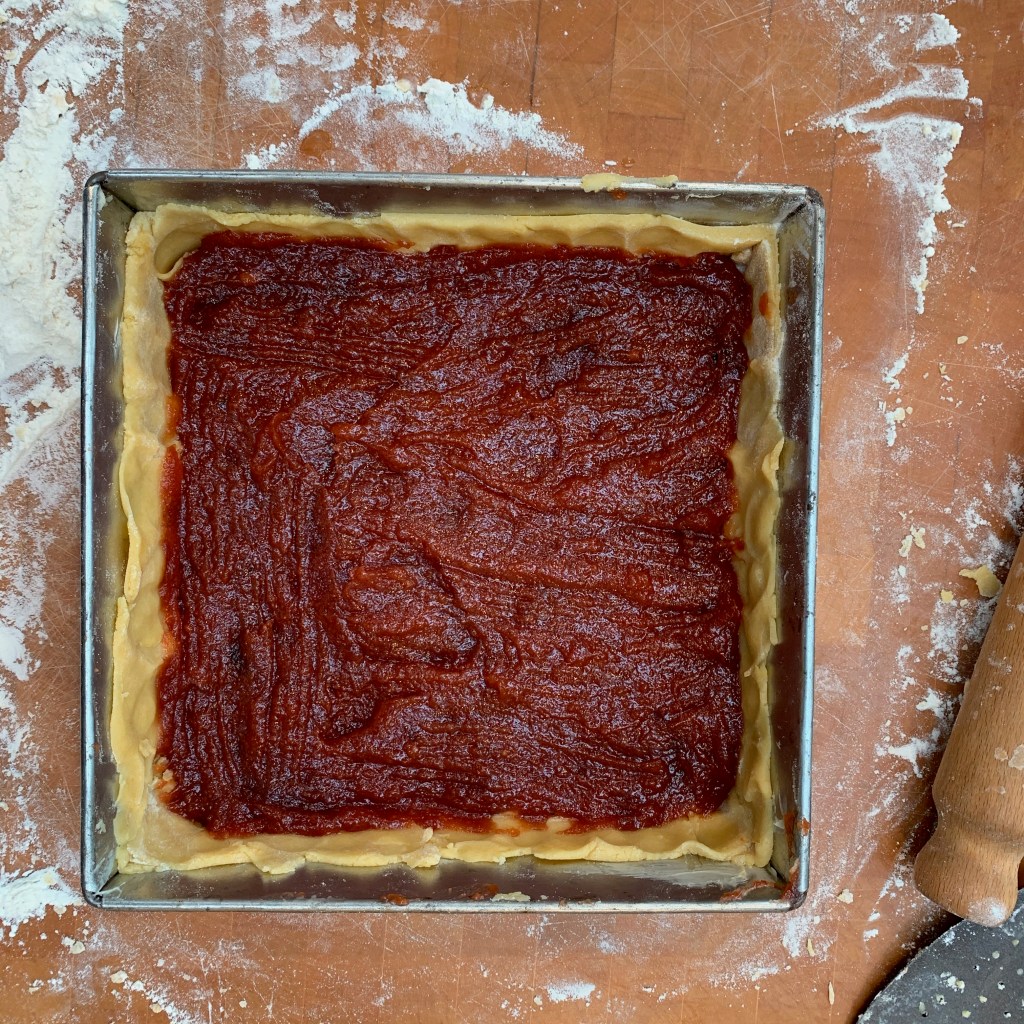
Spread the filling evenly 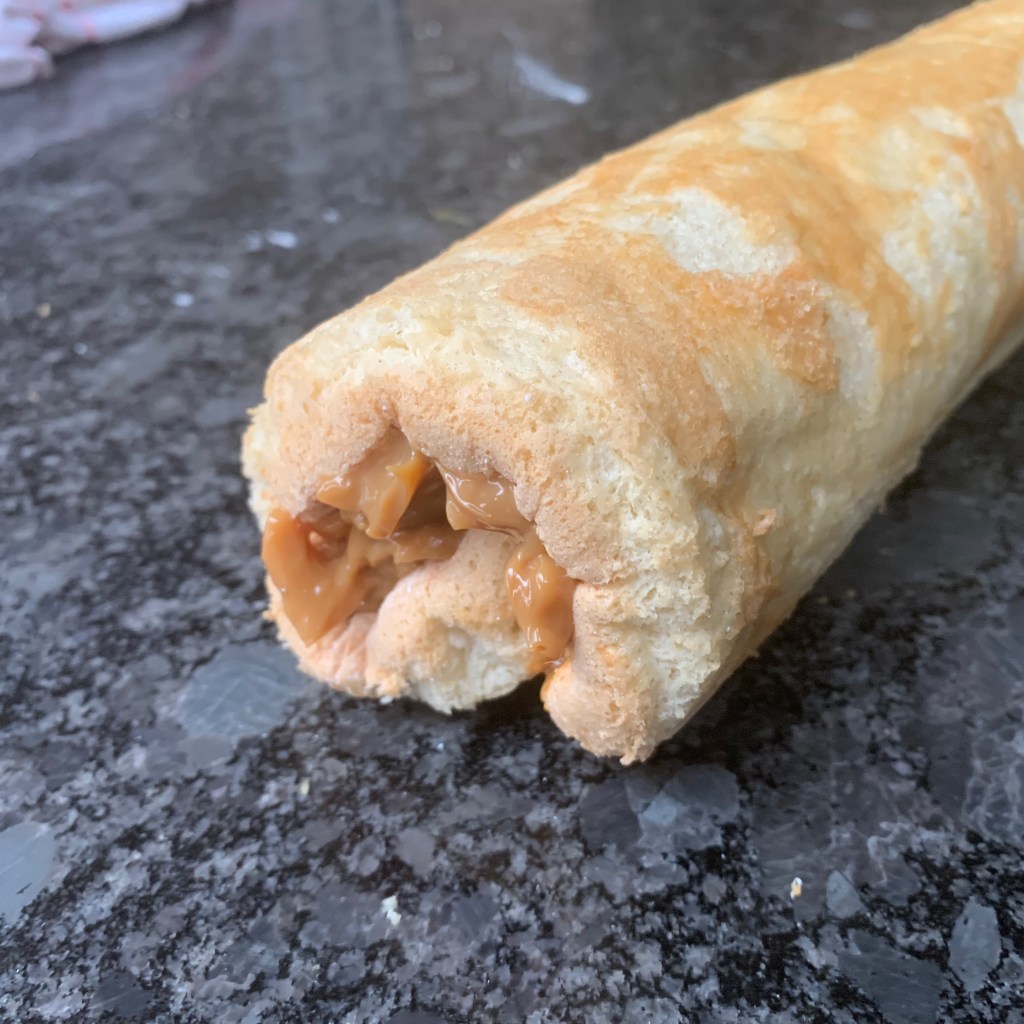
Second roll-up, now with filling