Around the world in 80 bakes, no.15: Challah

Around the world in 80 bakes, no.15: Challah

The core of every Jewish family is the Friday night dinner which greets the Sabbath. Even an unbeliever like me is deeply moved by ritual of the blessings over candles, bread and wine that bring my family together with each other and with our culture. And there’s only one bread for this: the plaited, egg-enriched, slightly sweetened white loaf called challah (or cholla, depending on your favourite transliteration of the Hebrew חַלָּה‎). Jewish children are addicted to the stuff from an early age and not just for its ritual significance: good challah combines tastiness and pillowy soft texture in a way that’s hard to beat. Beware, though: a lot of bakeries sell challah that looks the part with its perfect plaiting, but is dry or tasteless or both. Which is a good reason for making your own.

For the purposes of this series, challah counts as the entry for Israel. In truth, however, it’s spread throughout the world and you can’t help noticing that similar breads are baked all over Europe from Germany eastwards by Jews and gentiles alike.
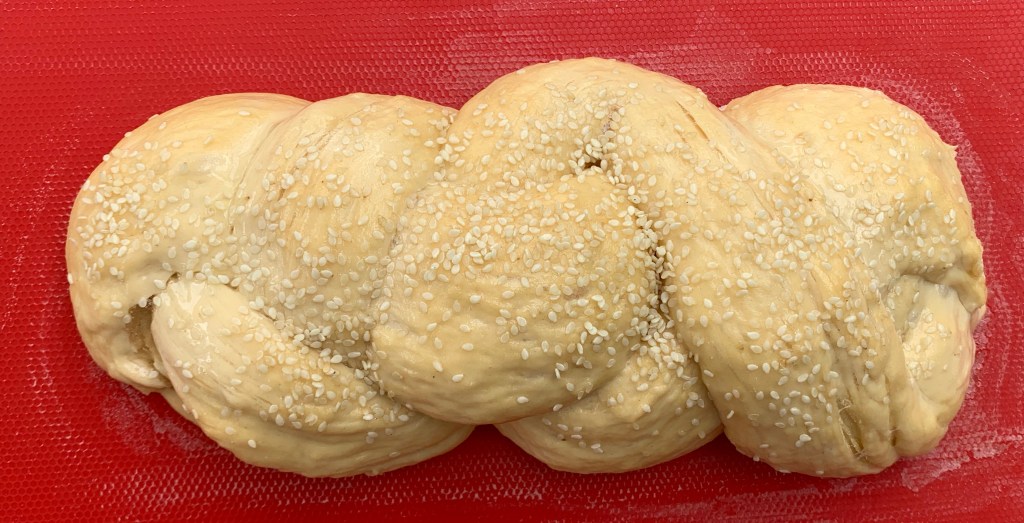
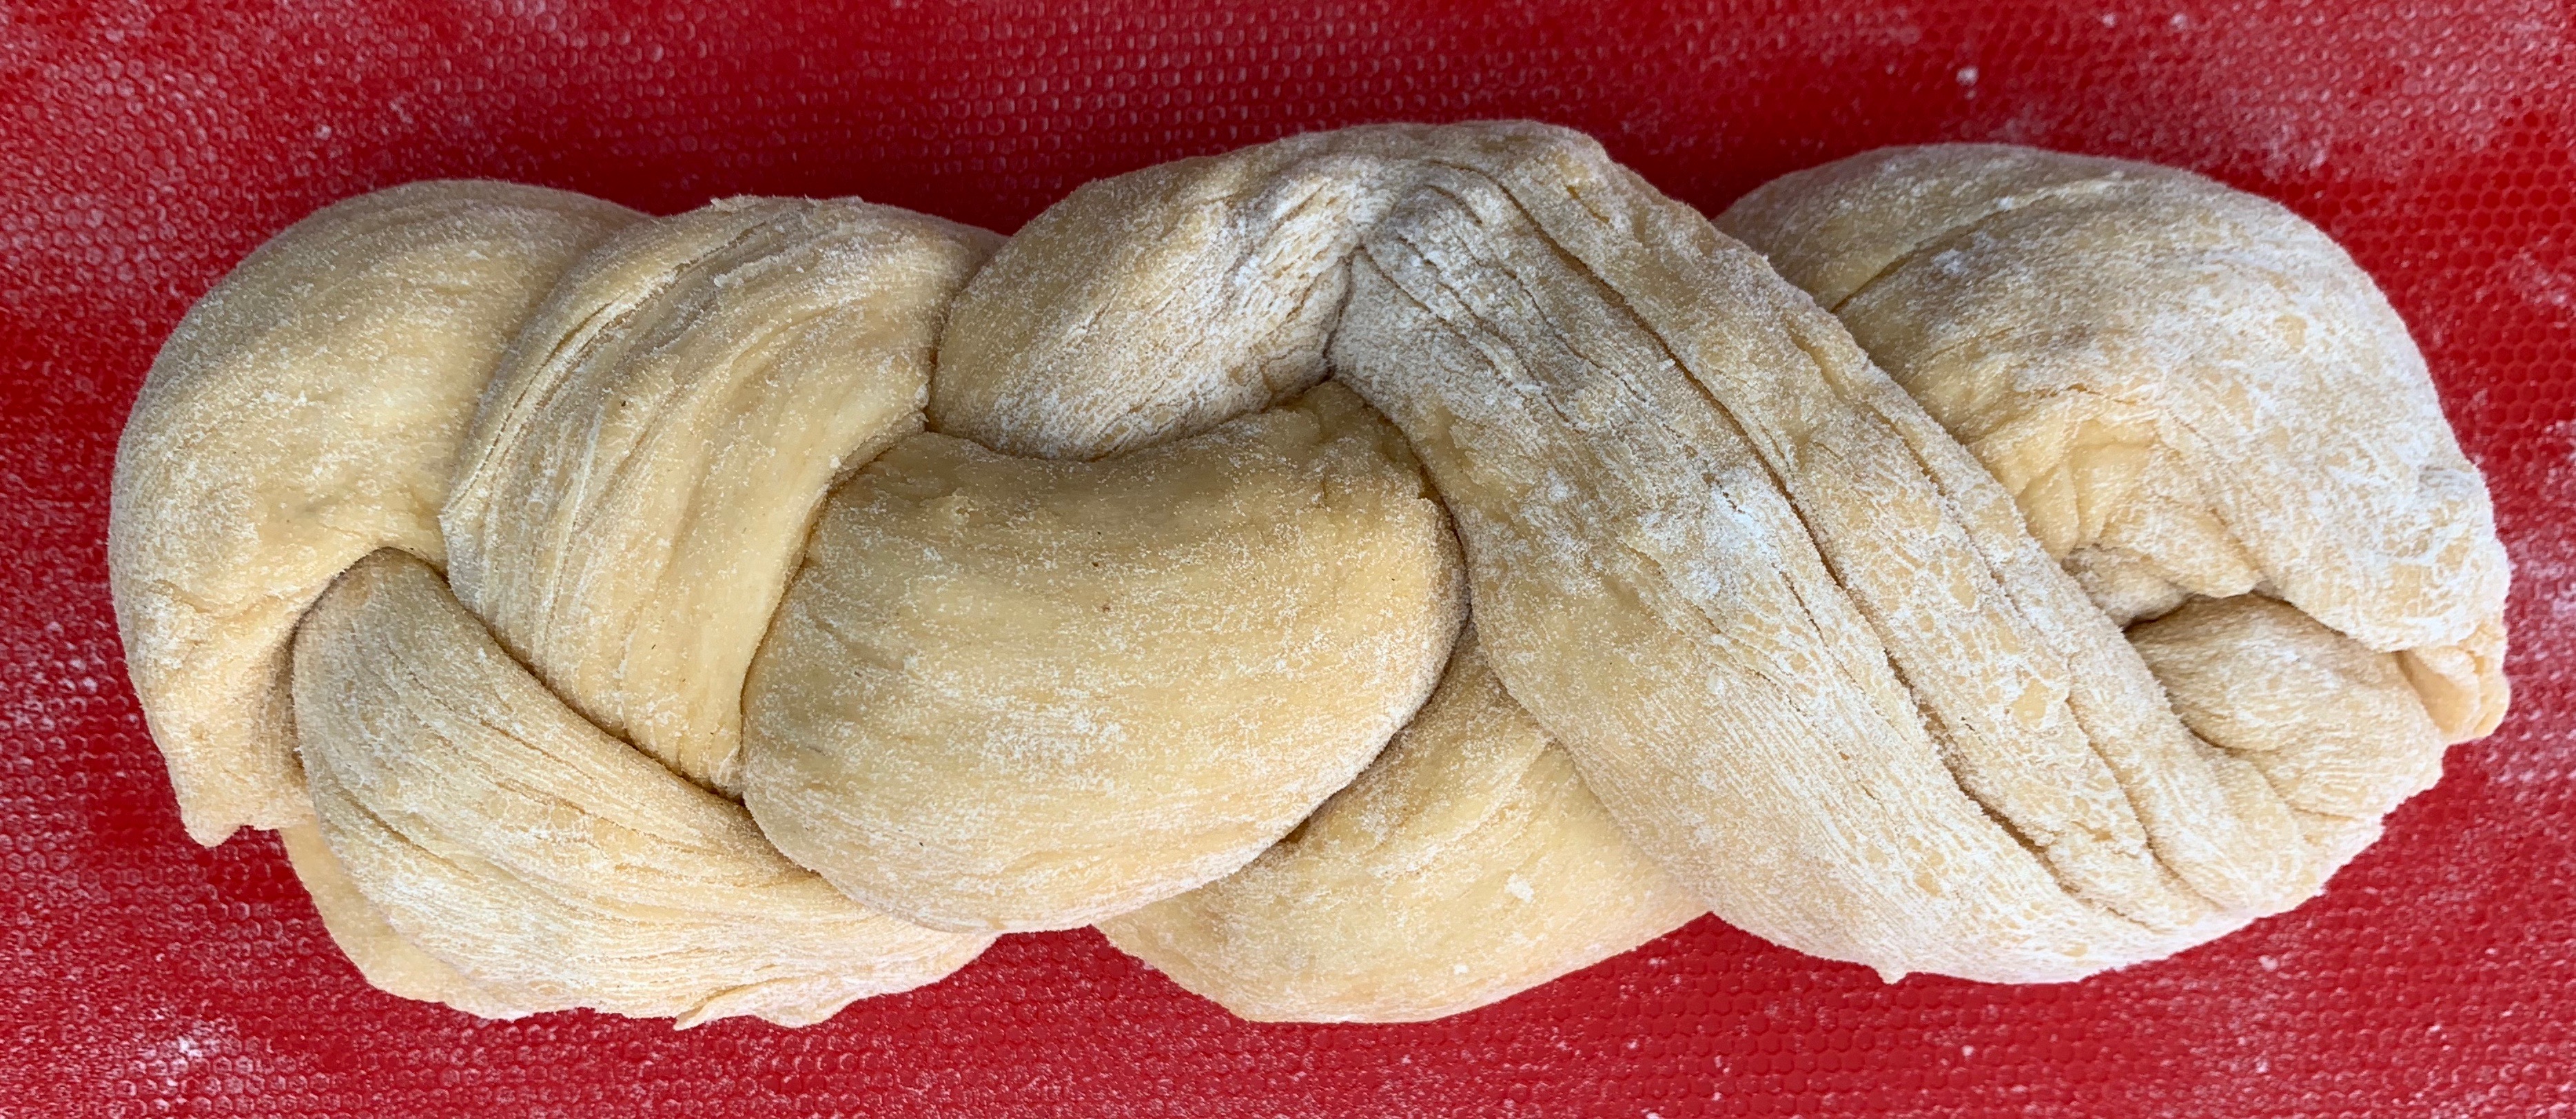
Three strand challah after second rise, ready for baking

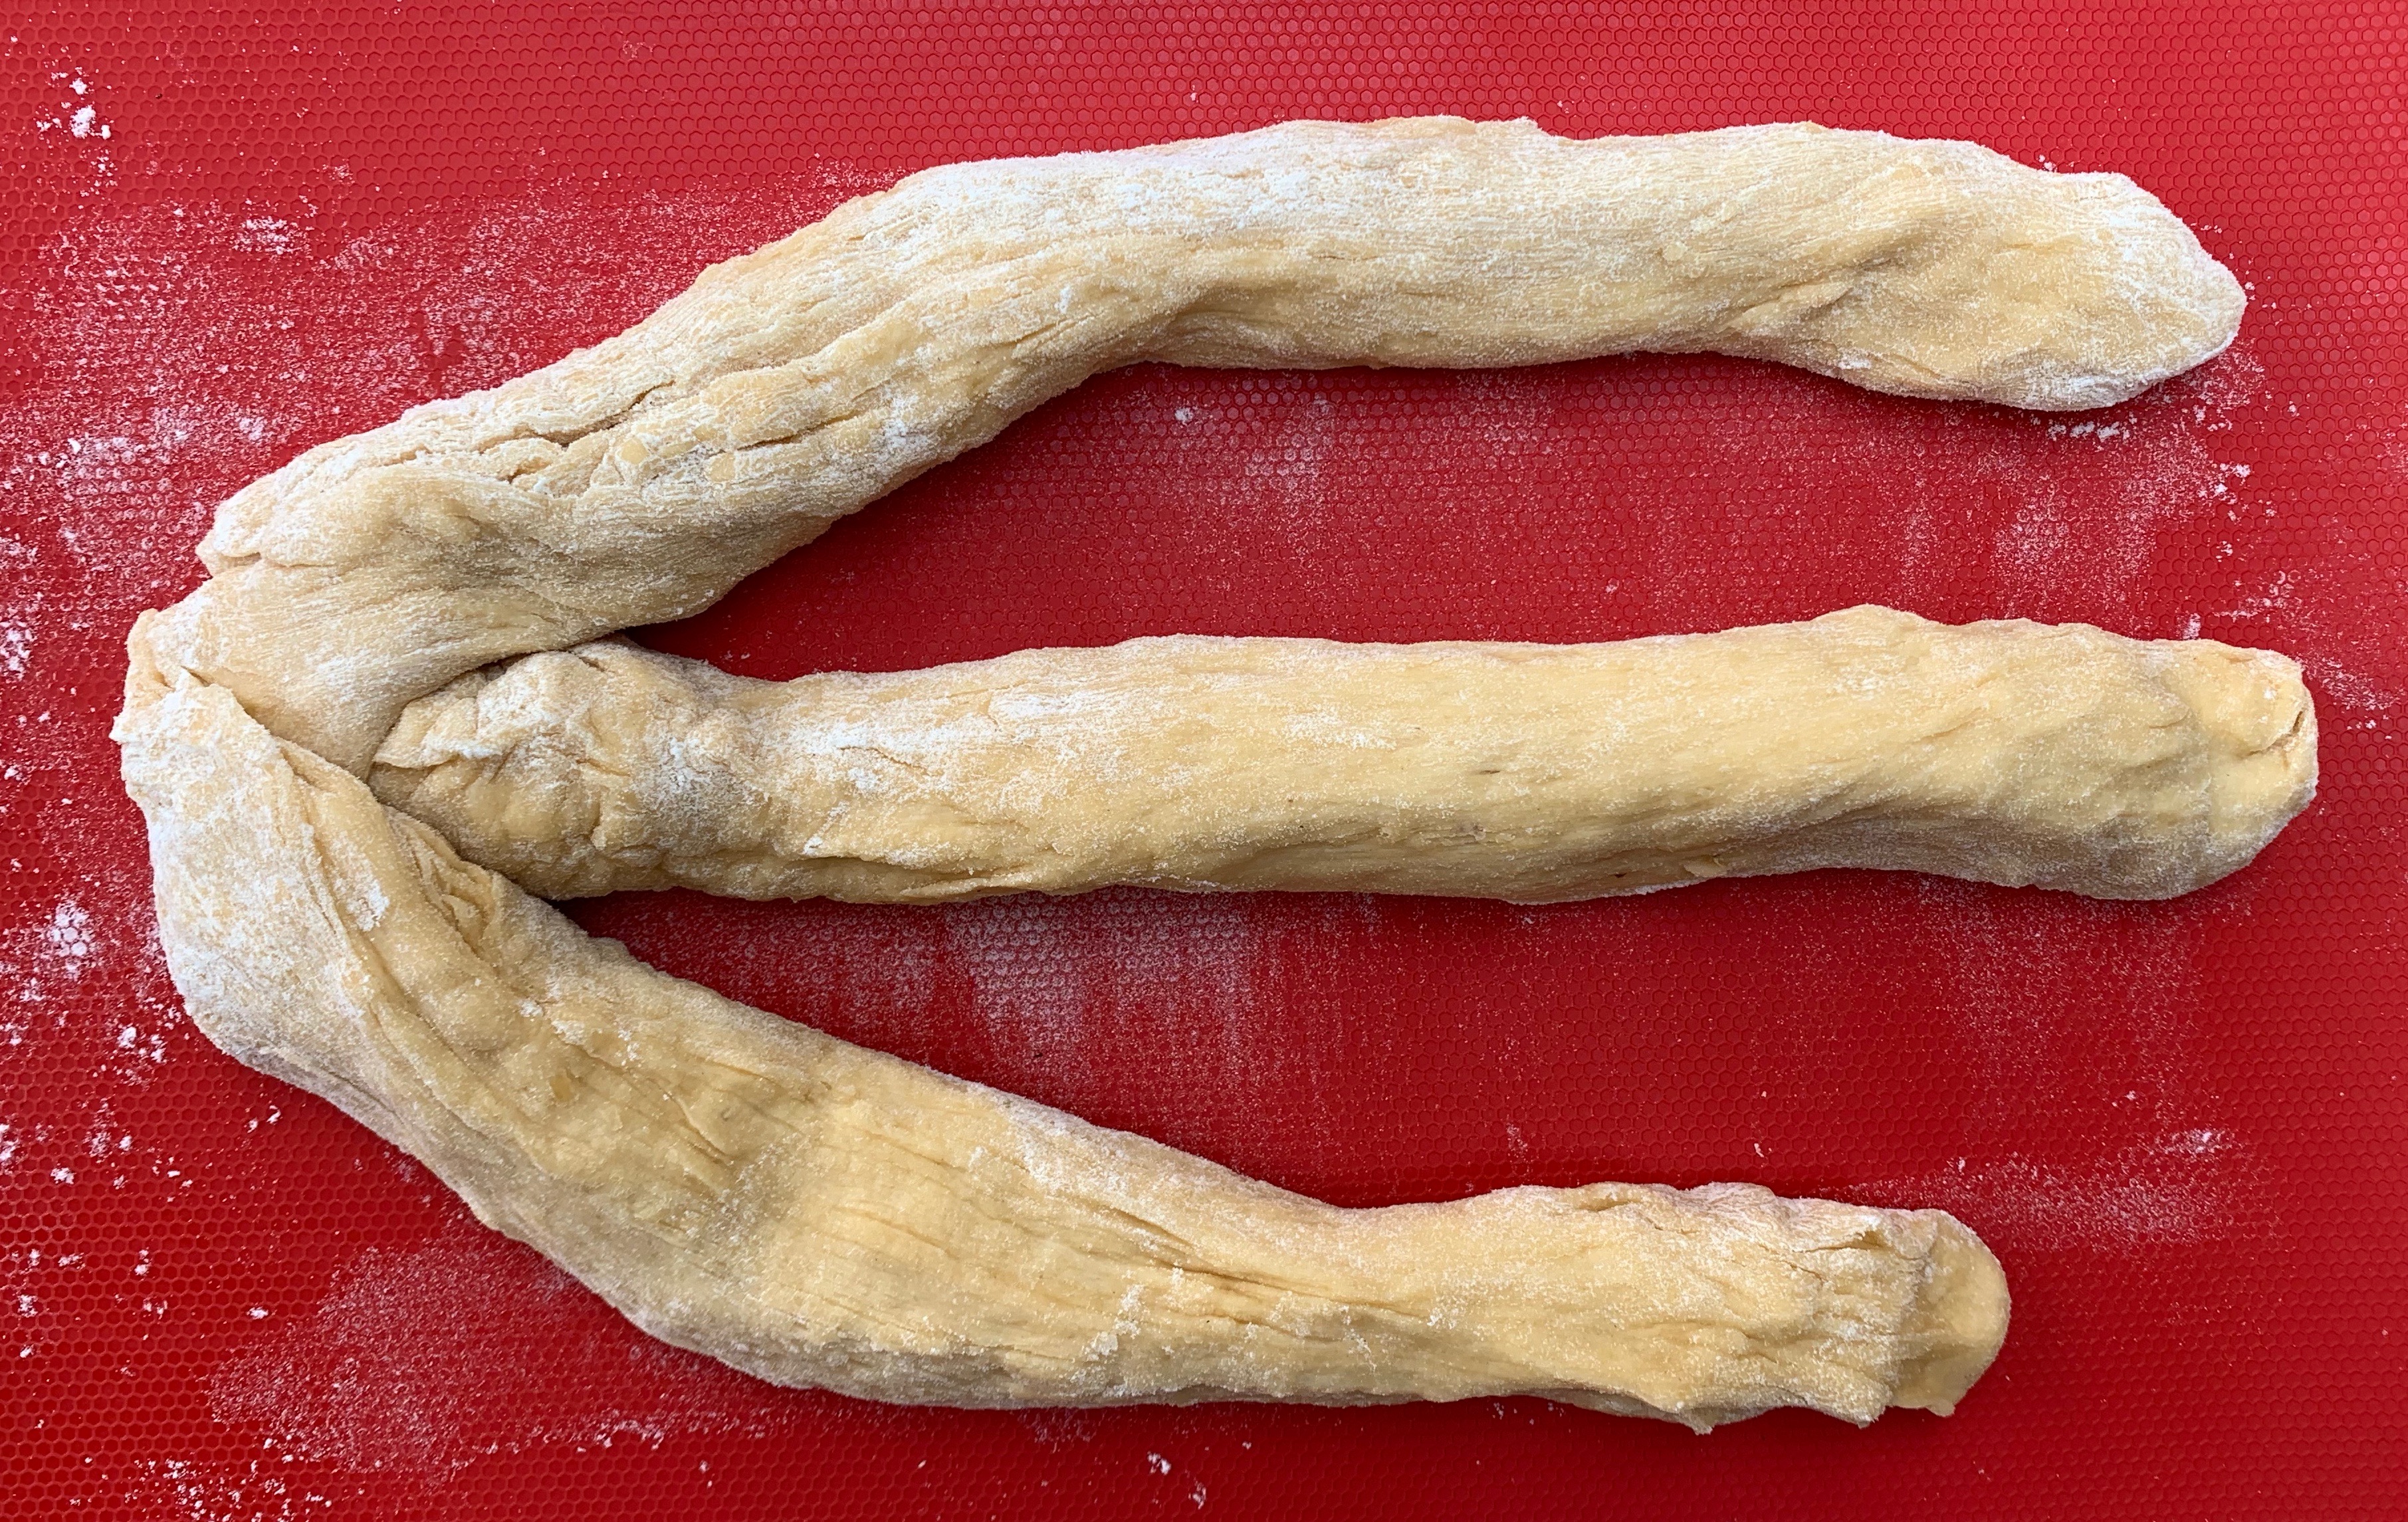
There are many ways of braiding your challah and at some point, you need to decide on how many strands you’re going to use: I recommend that you start with 3, but you can go for anything from 2 to 9. You’ve almost certainly spotted from the photographs that I’m fairly rubbish at this part of the puzzle, so I’m not even going to attempt to do a better of job of showing you how than this Czech YouTube video, which shows you how to do all of them. However, my challah is reliably soft and tastes reliably good, so I’ll stand by the virtues of my recipe, which is based on the one in Emmanuel Hadjiandreou’s excellent book How To Make Bread. Hadjiandreou is decidedly non-Jewish, but who’s asking? His recipe has worked better for me than the ones from many synagogue websites.
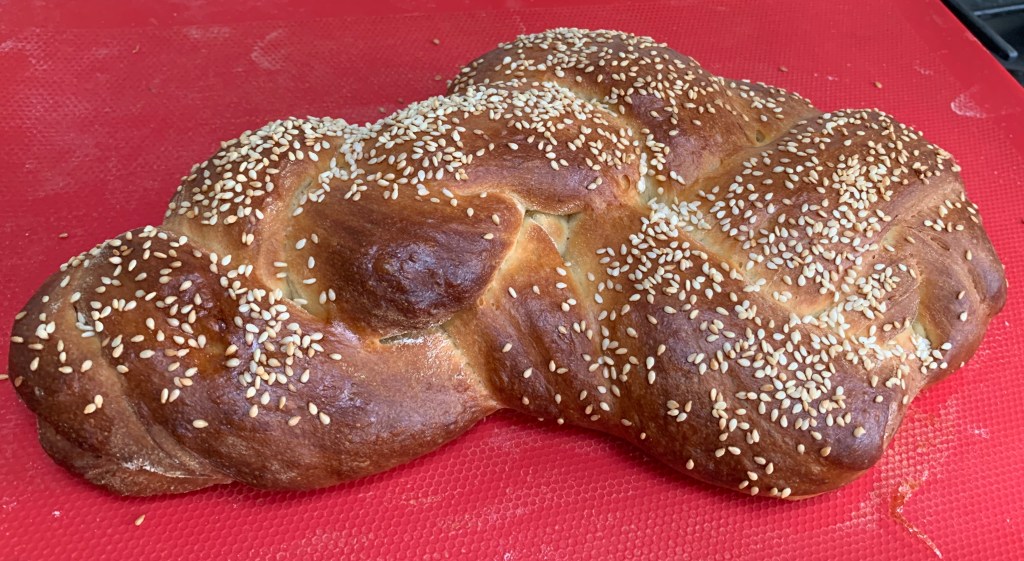
Four strand Challah after baking

This makes a single small loaf. It takes several hours from start to finish, but that’s mostly waiting time: the amount of actual work isn’t too horrific.

  • 250g Strong while flour
  • 4g tsp salt
  • 15g sugar
  • 3g dried yeast
  • 80ml warm water (around 40℃)
  • 2 eggs
  • 20g sunflower oil
  • Poppy seeds or sesame seeds for dusting the top

Ideally, you want a silicone baking sheet to put over your baking tray (better still if you have the Silpat silicone/fibreglass type, which I don’t). But otherwise, baking parchment will do.

  1. Preheat your oven to 50℃
  2. Weigh out and mix the flour, salt and sugar in a bowl
  3. Weigh out and mix the warm water and yeast in another bowl
  4. Separate one egg and set aside the white in a bowl; mix the yolk with the whole of the second egg, beat lightly and add to the water/yeast mix
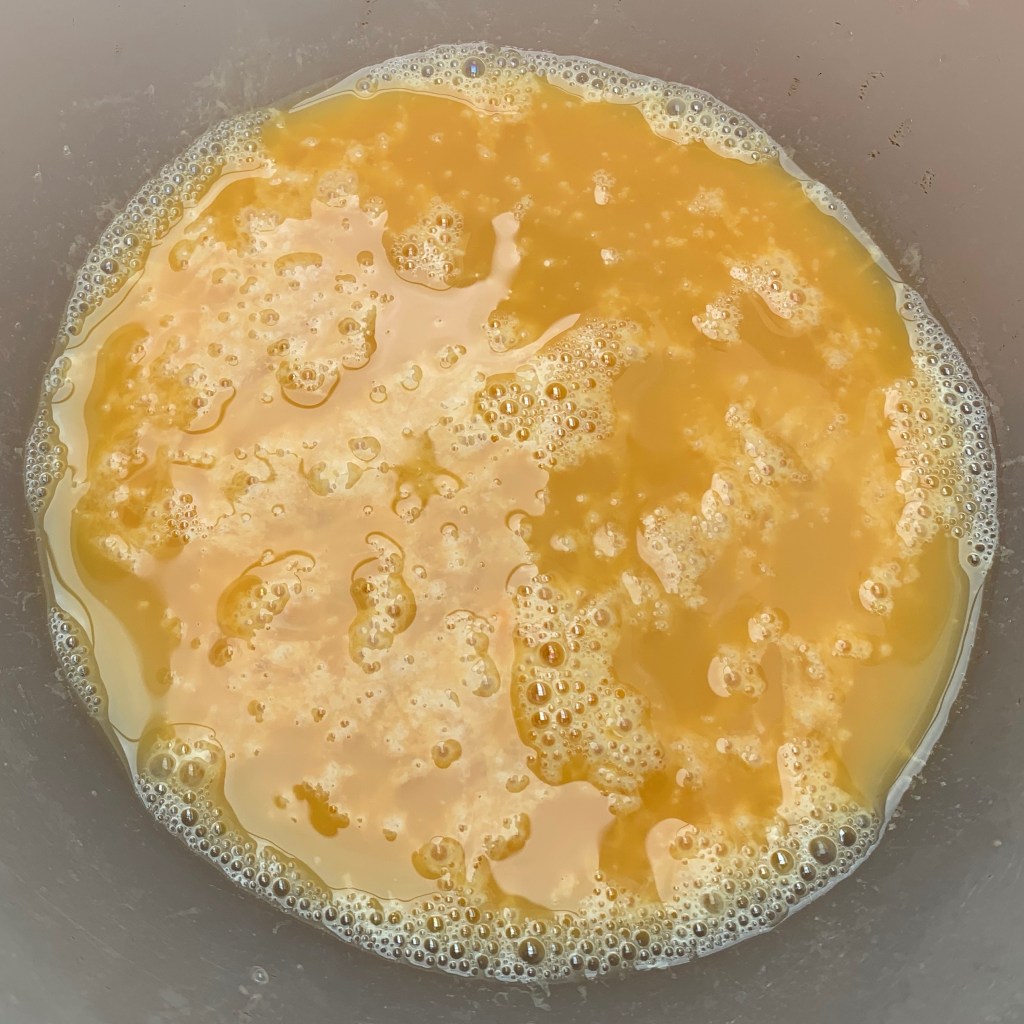
  5. Pour the dry mix into the wet mix and combine until it’s beginning to feel like dough. It will probably still be a bit gritty
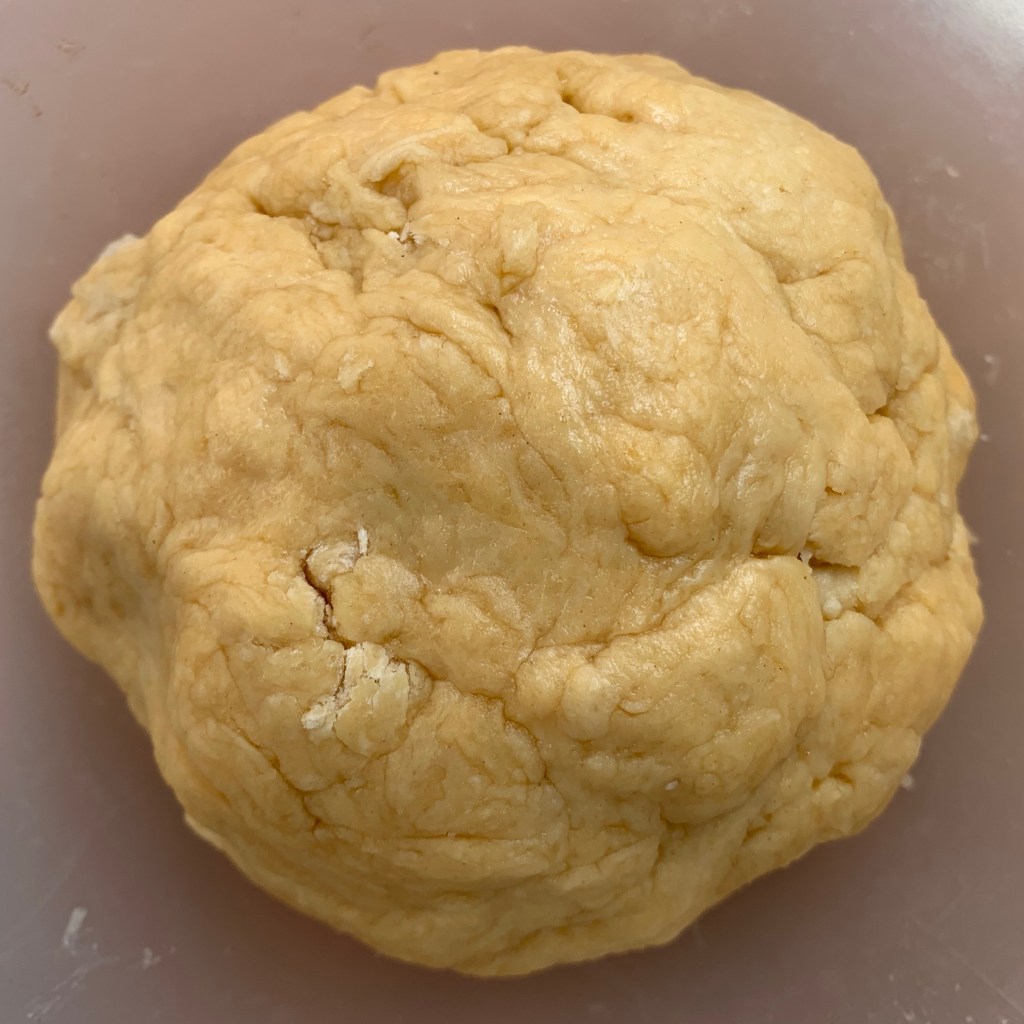
  6.  Add the oil and mix until you have  a smooth dough
  7. You could at this point proceed directly to kneading. But you’ll save yourself time and elbow grease by leaving the dough for 10 minutes (a process called autolysis), giving it a quick fold or two and then repeating this a couple of times
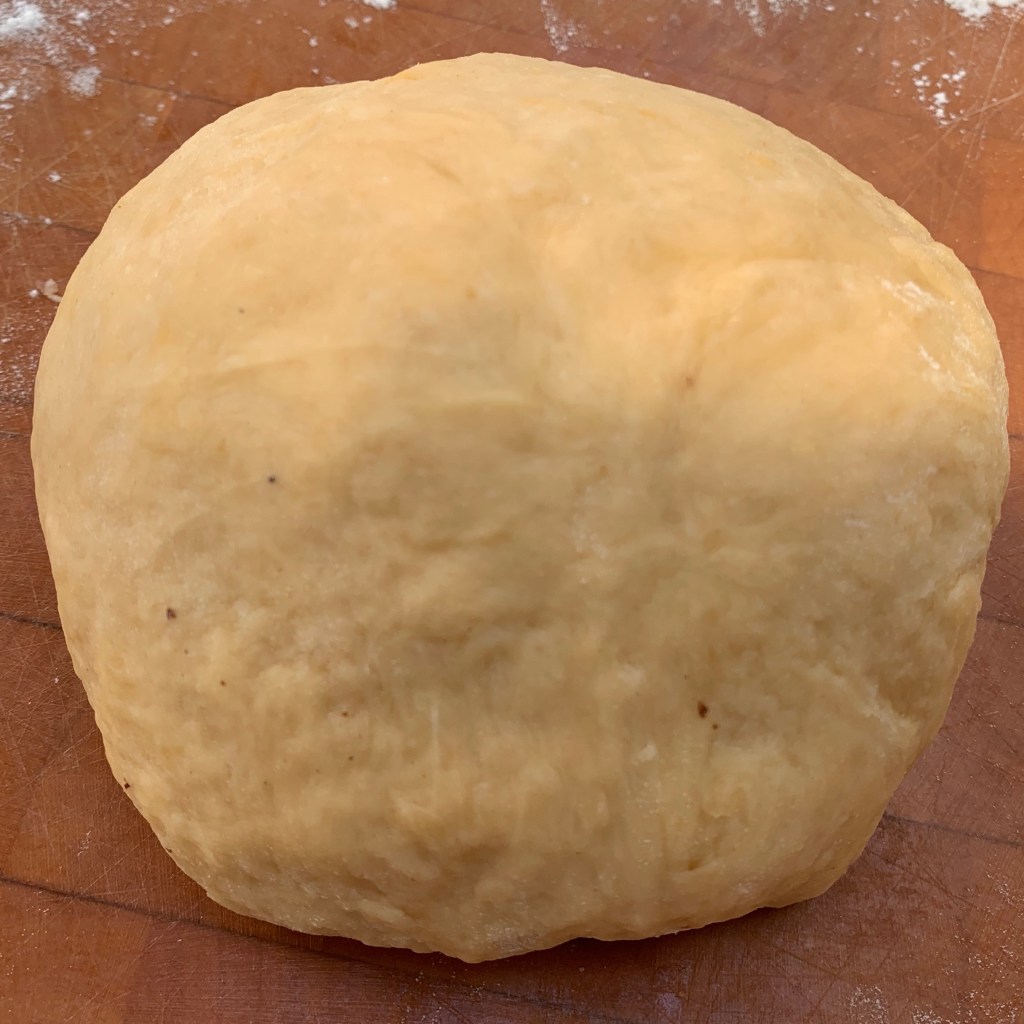
  8. Knead the dough on a lightly floured surface. You’ll only need a bit of flour on your hands and on the surface – don’t be tempted to flood the dough with raw flour at this stage. Keep kneading until the dough is elastic and springs back when tugged or prodded.
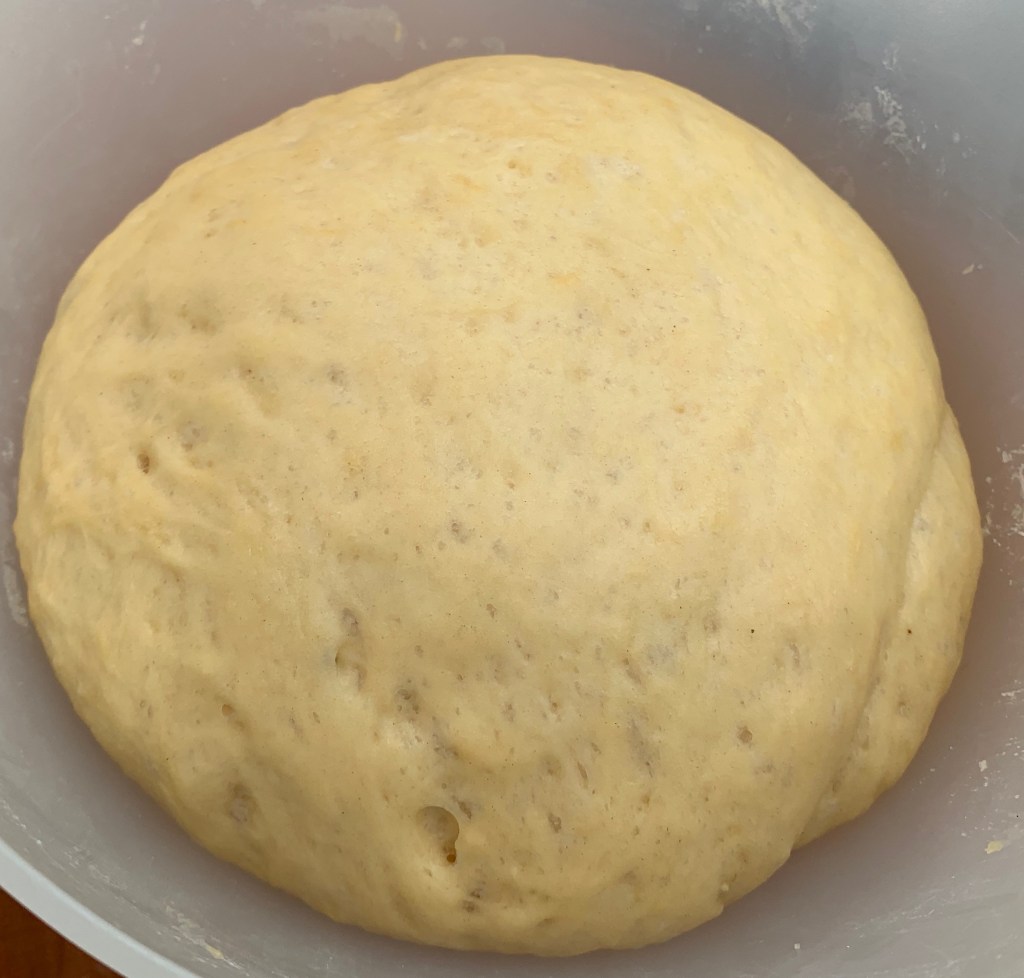
  9. Turn your oven off. Put your ball of dough back into the bowl, cover it and leave it to rise in your turned off oven. You’ll probably want it to rise for a couple of hours: you have to judge this by eye and experience. 
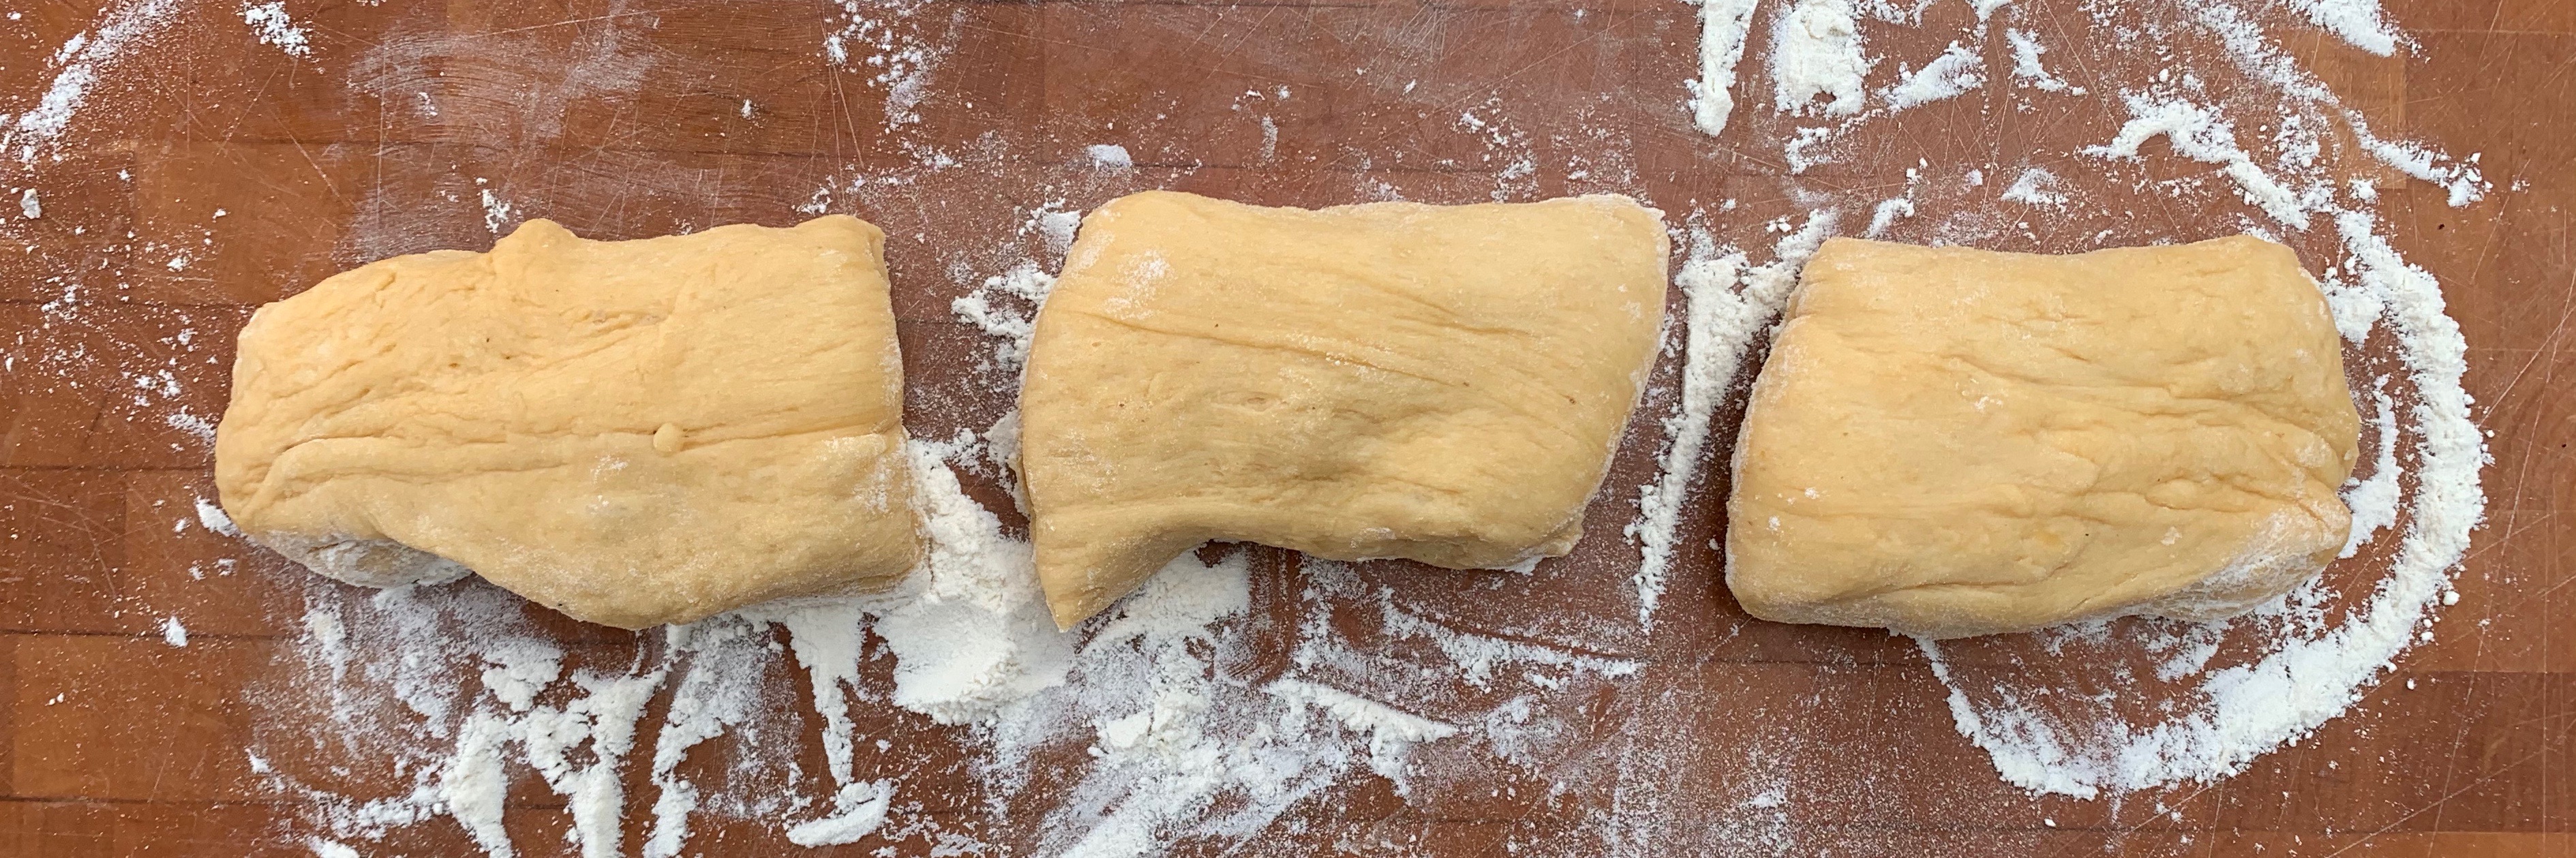
  10. Punch the dough down, transfer it to a lightly floured surface, divide it into equal parts: as many as you have chosen for your braid. Roll each part into a sausage, stretched out as long as you can reasonably make it while keeping all your strands the same length.
  11. Braid the dough as per the instructions in the video – either on your board or, preferably, directly onto the baking sheet.
  12. Transfer the baking sheet onto your tray (or, if you didn’t have a baking sheet, transfer the braided loaf to your lined tray). Brush the loaf with some of the egg white that you reserved in step 4, and sprinkle a generous helping of sesame or poppy seeds over the top.
  13. Cover the challah with an inverted bowl or domed lid that’s large enough so that the challah won’t touch it when it expands. Now leave it in a warm place until it is well risen: this can be anything from 30 minutes to a couple of hours depending on the ambient temperature and on how strong your yeast was in the first place.
  14. Make sure you turn your oven to 200℃ fan in plenty of time: the oven could easily take 15-20 minutes to come to temperature and you don’t want your challah sagging horribly while you’re waiting for it.
  15. Bake the challah for around 20 minutes. The crust should be a medium to dark golden brown and if you stick a skewer into the bottom, there should be no sign of stickiness upon removal.
  16. Leave the challah to cool on a rack.

Notes: 

For step 9, various authorities on bread-making say that you will get a better flavour by using a much slower rise at much lower temperature: perhaps 8 hours at a room temperature of 20℃ or so, or even longer in the fridge. I’ve never tried.

For step 13, if you have two ovens, you can use the same trick as step 9: preheat one oven to 50℃, then turn it off and use it as a proving drawer. Then use the other oven for the actual bake. If you only have one oven, you can’t really do this: if you have a boiler cupboard or airing cupboard that’s warmer than your kitchen, you can use it. Otherwise, you’ll just have to do the second rise at room temperature and be patient.

Some recipes recommend that you preheat the oven to 250℃ and then turn it down as soon as you’ve put the bread in. This gets a slightly better crust, but runs the risk of you forgetting to turn the oven down, something that’s now happened to me sufficiently often that I don’t go for this any more.

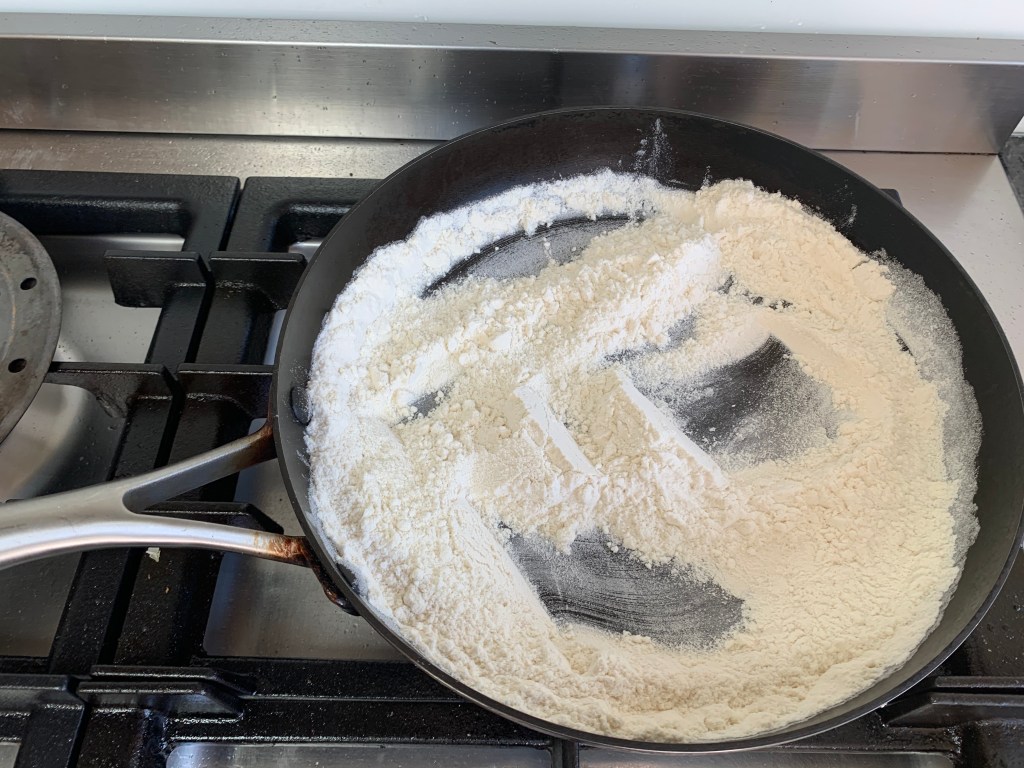
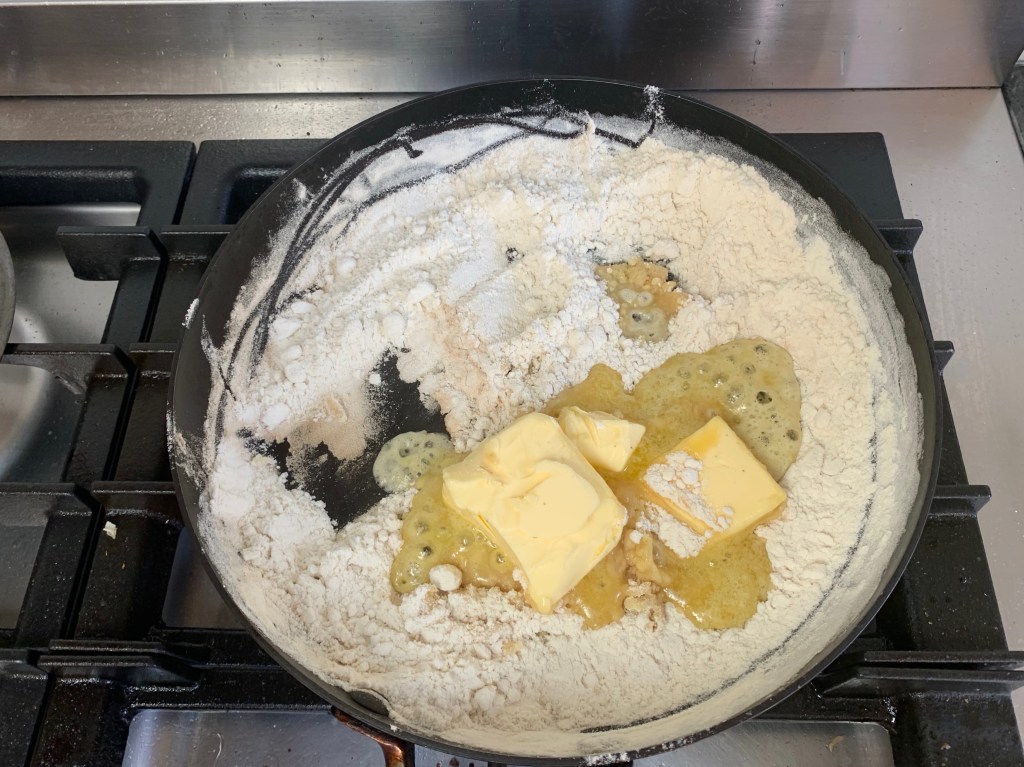
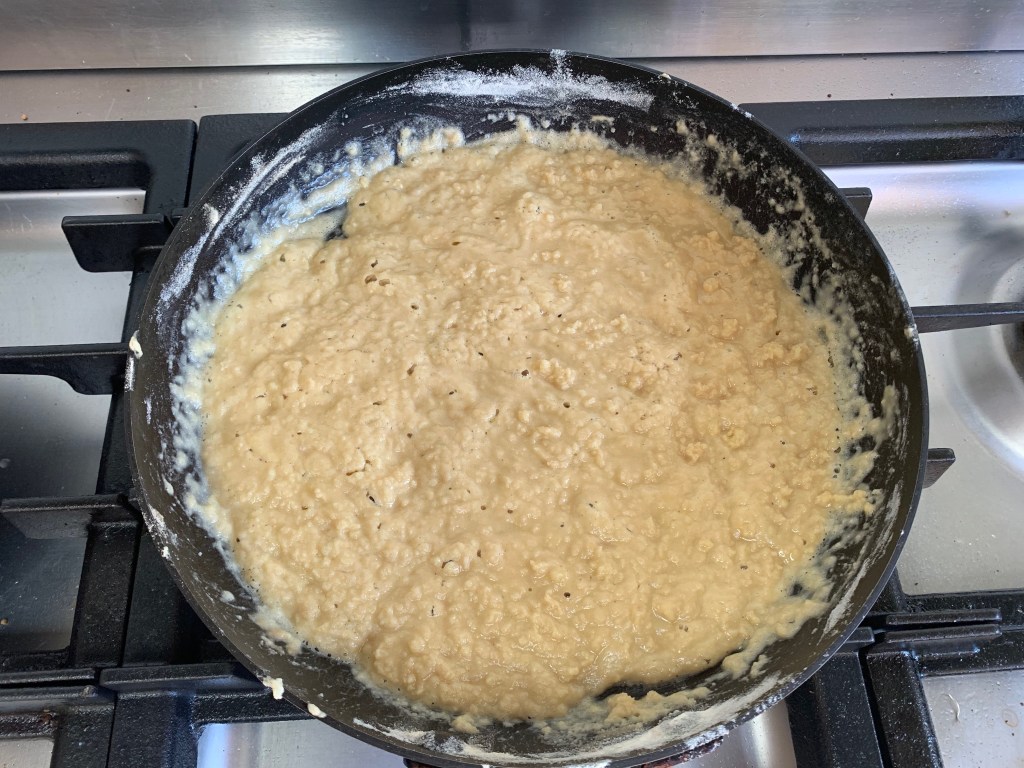
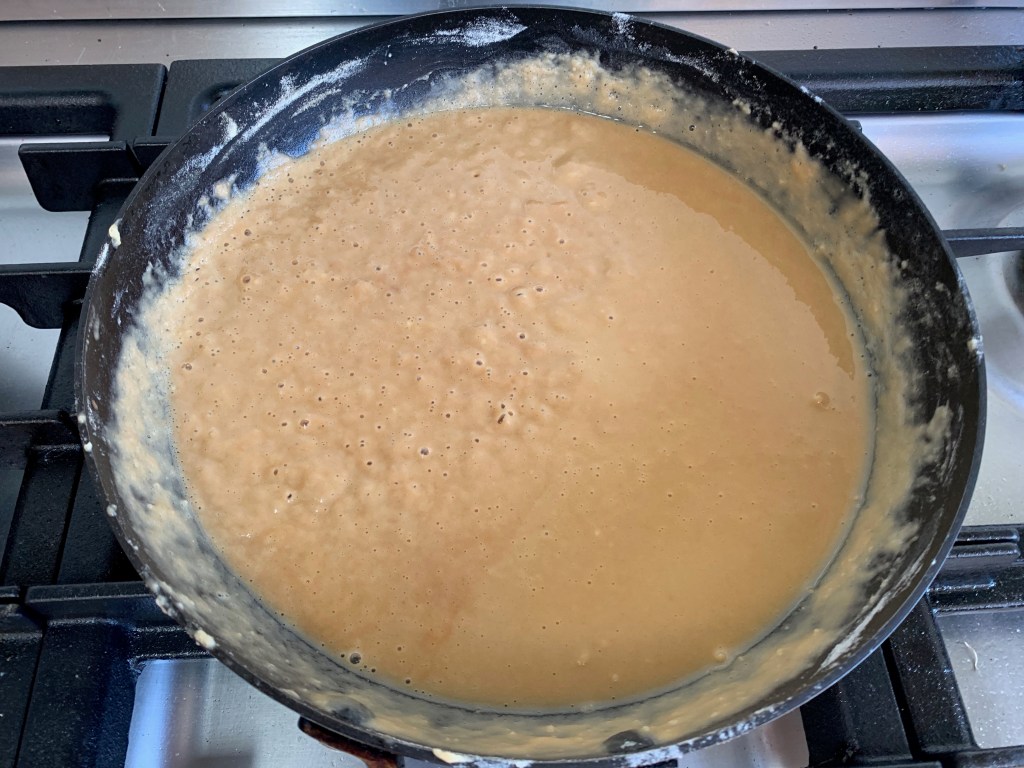
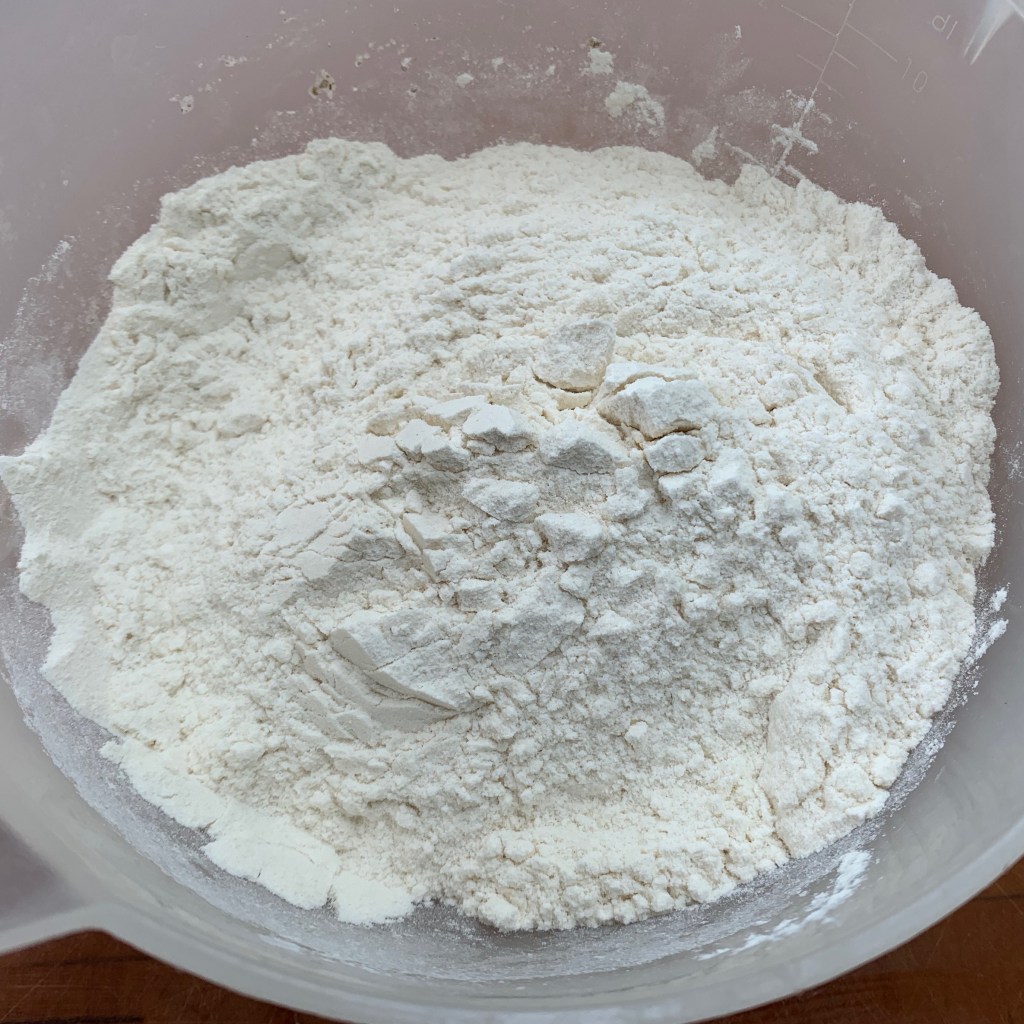
The usual in-process shots:
And here’s a quick look at the braiding process. But truly, use someone else’s!
Around the world in 80 bakes, no.14: chocolate eclairs from France

Around the world in 80 bakes, no.14: chocolate eclairs from France

The French are fabulous bakers. I could have chosen any of a dozen bakes from France, but this one is the taste of my childhood – my Proustian Madeleine, if you’re of a literary mind. So let’s hear it for the “éclair au chocolat”, which brings back a flood of happy memories of small boy in Parisian patisserie.

There have been some easy bakes in this series of posts: this isn’t one of them. It’s fiddly and  requires hand skill as well as pin-sharp attention to quantities and timing. If anyone labels an eclair recipe as “quick and easy”, don’t believe them.

The éclair is a three part dish: a cylindrical choux pastry bun, a crème pâtissière (pastry cream) filling and a ganache or glaze. Each one has its choices: I’m going to write only one recipe, but I’ll give some ideas about the other options. I should also point out that I’m not a master pastry chef: if you are looking for perfect symmetry and an immaculately shiny top, you’ll need to go well beyond my skill level. But I can assure you that these tasted suitably authentic and went down very well with the family…

The crème pâtissière filling

Eclairs in England tend to use whipped cream as a filling. The French don’t do this: the filling is always some variant of crème pâtissière (pastry cream or creme pat in English), either vanilla or chocolate. You can use plain pastry cream or add some Crème Chantilly (sweetened whipped cream), in which case it’s technically called a Crème Diplomate. I went for something in between: a chocolate crème pâtissière, but with double cream mixed in to thin it down to a pipable consistency.

  • 3 eggs
  • 15g flour
  • 5g cornflour
  • 5g (1tbs) cocoa powder
  • 60g vanilla sugar (or 60g caster sugar plus vanilla essence to taste)
  • 25g dark chocolate (I used chocolate with 70% cocoa solids)
  • 250 ml milk
  • double cream as needed – perhaps 30-50ml

In the methods, I’ve sequenced things to minimise stress rather than overall preparation time. For example, if you were trying to minimise time, you’d probably put the milk on straightaway and then quickly sort out the egg mix while the milk heats up.

  1. Separate the eggs and put the yolks in a bowl
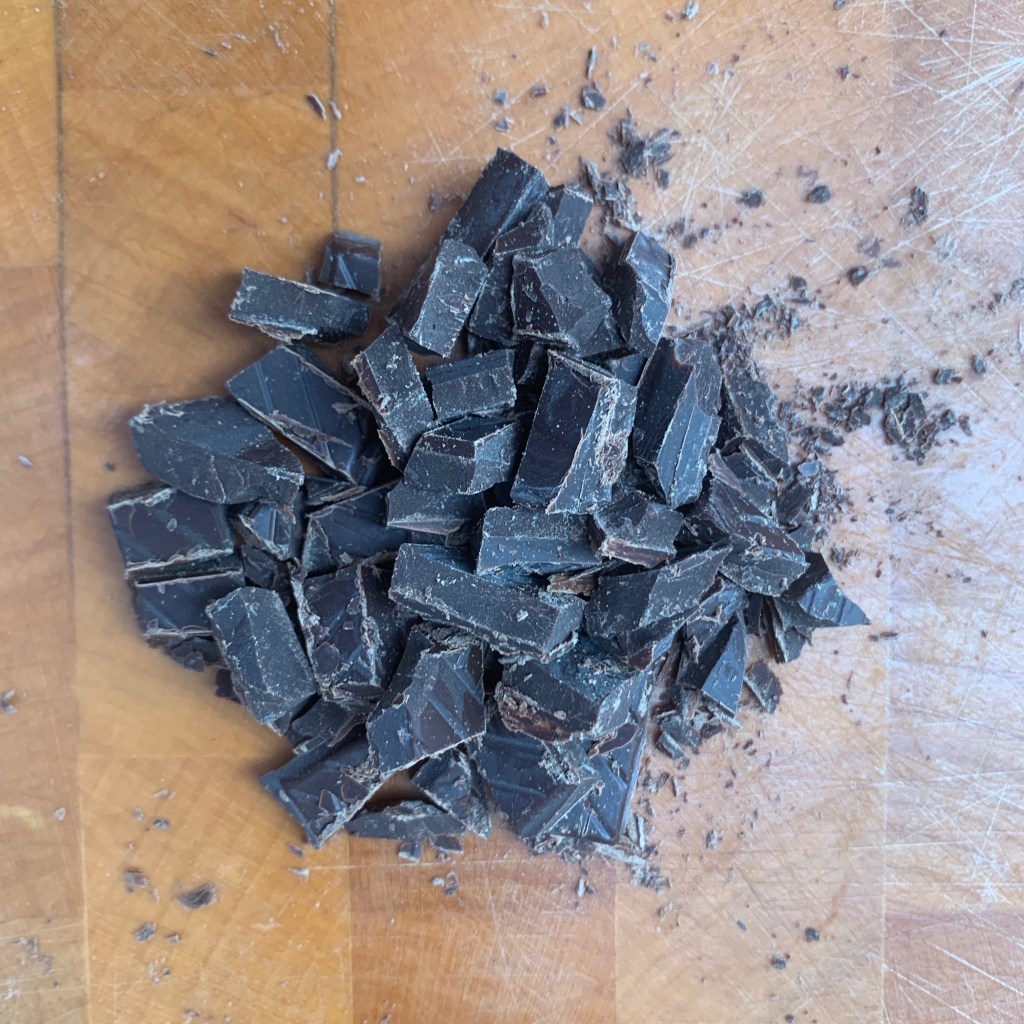
  2. If your chocolate came in a bar as opposed to chips, chop it up into small pieces
  3. Add 45g of the sugar to the eggs and whisk together
  4. Add the cornflour, flour and cocoa powder and whisk thoroughly
  5. Put the milk into a saucepan with the rest of the sugar (and vanilla essence if using) and bring to the boil
  6. Pour the milk into your egg mixture and whisk together thoroughly
  7. Return your mixture the saucepan and whisk in the chocolate
  8. Cook for a minute or two longer until there is no hint of raw flour taste in the mixture
  9. Decant your mixture into a bowl, dust it with icing sugar to stop a skin forming, cover and leave to cool; refrigerate until thoroughly cold and your eclairs are ready to be filled

The choux pastry buns

Most choux pastry recipes are pretty similar: mine mainly comes from an old Roux Brothers cookbook and therefore has a level of French authenticity. The real choice you have is how to improve the crust on the top of your eclair: I’ve sprinkled icing sugar on top, but you can use egg wash if you prefer. Some French recipes like this one from Ricardo  use a thin layer of a sweet pastry called  “craquelin”, which merges into the main eclair, caramelises and forms a characteristic cracked pattern.

  • 45g unsalted butter, plus another 5g if your milk is semi-skimmed
  • 65ml milk
  • 65ml water
  • ½ tsp sugar
  • 75g flour
  • 2 eggs
  • icing sugar to dust
  1. Preheat oven to 190℃ fan.
  2. Get your baking tray ready: lie a silicone mat over it (if you have one), patterned side up, or a sheet of baking parchment otherwise
  3. Prepare a piping bag with a 1cm nozzle. A French star nozzle is ideal: this gets you a ridged eclair with more surface area to go crisp. I don’t have one of these, so I went for plain.
  4. Sift the flour
  5. Chop the butter into small pieces and put into a saucepan
  6. Add the milk, water and sugar  (you can also add ½ tsp of salt at this stage, which some recipes suggest)
  7. Bring to the boil and take off the heat
  8. Immediately add the flour to the mixture in a single go and stir to combine
  9. When properly mixed, return to the heat and cook for a short while – perhaps a minute or two – until the mixture comes away nicely from the sides of the pan. Take off the heat and leave to cool for a short while
  10. Whisk in the eggs, one at a time, whisking thoroughly until you have a smooth mix. If the consistency is right, you should be able to pipe the mixture but it should hold its shape when piped. If it’s too stiff, you can add more egg. If it’s too loose, you’re in trouble, so an alternative to the “whisk in eggs one at a time” instruction is to whisk the eggs into a bowl on their own, and then add the egg mix a bit at a time until you are sure the consistency. For me, life was too short and I just added them in.
  11. Leave to cool for five minutes or so, then fill your piping bag with the mixture
  12. Pipe your eclairs into tubes of choux pastry around 8cm long – the recipe should get you a dozen of them. Make sure they are properly spaced out from each other: they will grow during baking. You really need to try to get an even cylinder here, which means piping quickly with a constant pressure: this takes practise. On the photos here, you’ll see that I have some way to go…
  13. Tidy up any stray bits of dough which are sticking out at the ends, doing your best not to destroy the structure of what’s left
  14. Bake for 20 minutes without opening the oven door
  15. Open the oven door to check: close it quickly and then continue baking for however long it needs for your eclairs to go golden brown (probably 5-10 more minutes)
  16. Remove the eclairs from the oven and leave to cool on a wire rack

Filling the eclairs

  1. Take your crème pâtissière out of the fridge. Whisk in enough add double cream until you have a mixture that you can pipe easily: you want it to be rather thinner than toothpaste but not runny
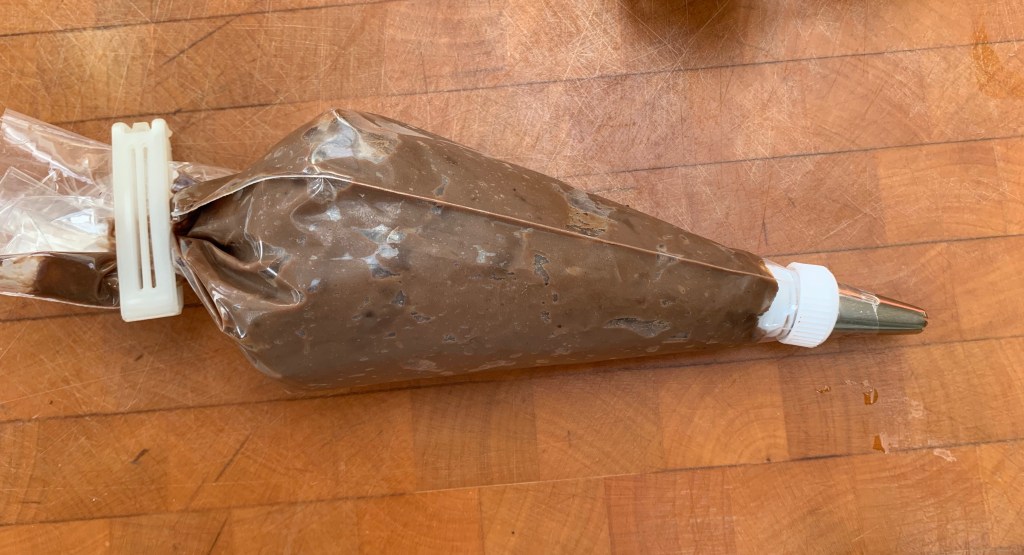
  2. Transfer the crème pâtissière to a piping bag with a nozzle of around 5mm: the exact dimension doesn’t matter, but piping will be difficult if it’s too small and you’re likely to damage the choux pastry if it’s too wide.
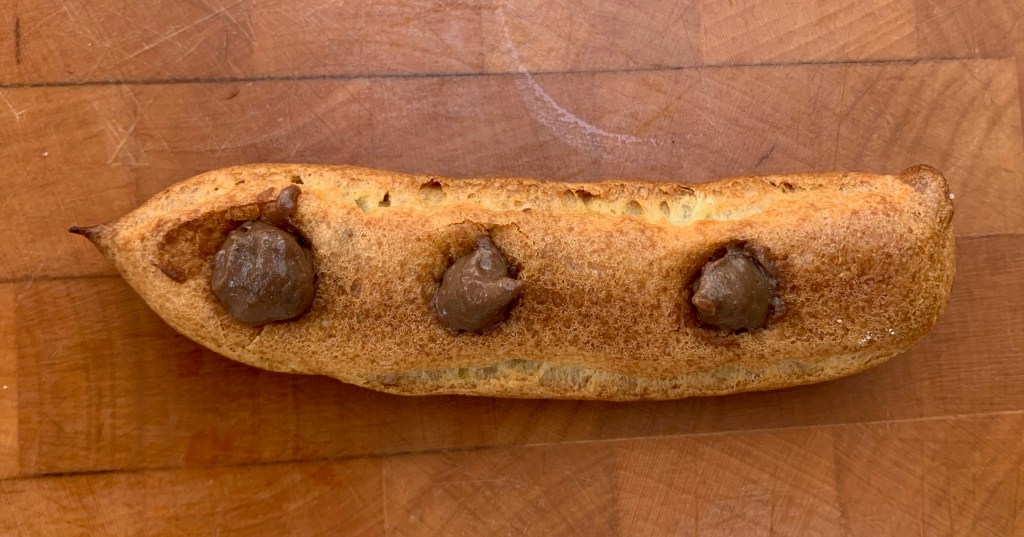
  3. With your nozzle, make three holes in what is currently the bottom of each eclair, reasonably evenly spaced, piping filling into each until the eclair is full. Wipe off any excess and add it back to bowl – in the quantities in this recipe, you’ll have little or none to spare.

The ganache or glaze

The best tasting and easiest topping, in my view, is a simple chocolate-and-cream ganache and that’s what I’ve gone for here. But if you want that patisserie hard gloss look (or you just want something that doesn’t get quite so dramatically sticky in hot weather), there are plenty of alternatives around, involving icing sugar or glucose syrup (some American recipes specify corn syrup).

  • 75g dark chocolate
  • 75g double cream
  1. Melt the chocolate in a double boiler
  2. Cool slightly
  3. Whisk in the cream and mix thoroughly
  4. Leave to cool for 10 minutes or so
  5. Spread smoothly over the eclairs with a small knife or spatula (spread them over the side with the holes you filled them from)
  6. Leave to cool for an hour or so

If you have to, refrigerate and keep them for no more than a day or two: you don’t want to leave them for much longer, because the filling soaks into the pastry and it goes soggy. Eclairs don’t  freeze, because the pastry cream splits. So really, you’re better off just eating them on the day…

Some notes and tips

Using cornflour guarantees that your pastry cream will thicken, but you risk it setting too thick to be piped easily – which is why I needed to thin it out with cream. If you use just 20g of plain flour rather than the flour/cornflour mix, you’ll need to cook the cream for much longer – perhaps as much as five minutes more – for it to thicken, but you then won’t need the cream afterwards.

Your biggest problem with eclairs is making sure that the buns dry out properly but don’t go rock hard. Of the various ways of preventing this, the one that seems to work best for me is to bake them at a relatively high temperature and have the nerve to bake them for at least 20 minutes before you open the oven to see how they’re doing. When you take them out, transfer them to a wire rack immediately: you don’t want any moisture building up on the base.

Canadian blog “the flavor bender” has an excellent post on how to troubleshoot problems with your eclairs, with a long list of what’s likely to go wrong and what you should do about it. It’s wordy and overly long, but the information is first class. Good luck!
Around the world in 80 bakes, no.13: ANZAC biscuits

Around the world in 80 bakes, no.13: ANZAC biscuits

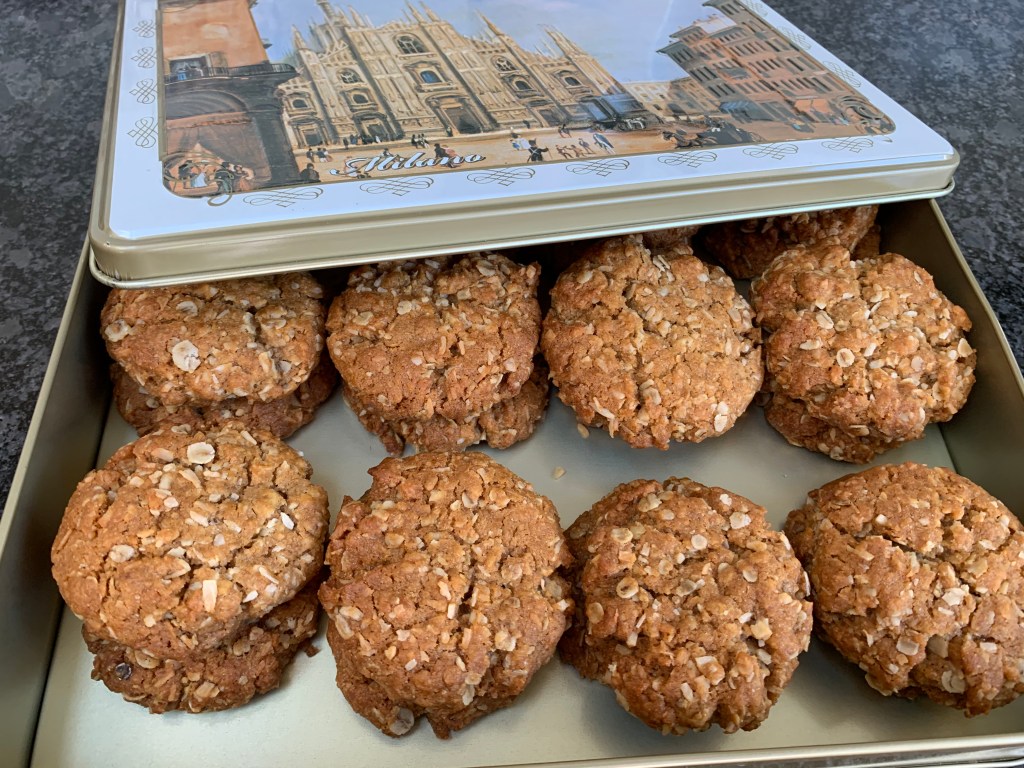
Having travelled so far to get to Australia and New Zealand for the Lamington, we might as well stay there for the region’s other iconic bake: the ANZAC biscuit. It’s a biscuit with a story, conjuring up images of the wives and sweethearts of soldiers in the Australia and New Zealand Army Corps lovingly baking them to be sent to their embattled loved ones at Gallipoli and other World War I battlefields. Whether or not this is actually true (Wikipedia is mildly sceptical about the evidence), ANZAC biscuits are a feature of Australian and Kiwi veterans’ fundraising events to this day, their popularity stemming not just from the history but from their general deliciousness: the flavour combination of butter, golden syrup and coconut is a surefire winner.

More prosaically, you can think of ANZAC biscuits are a kind of sweet version of the Scottish oatcake (bake 10). They’re fairly straightforward to make: I followed the basic recipe in the ever-reliable taste.com.au, which gives variants for increased crispiness or chewiness. Most recipes are similar, varying mainly in the amount and type of sugar, with occasional other flavourings added such as vanilla essence.

The quantities here make around 30 biscuits (the eagle-eyed will spot a level of attrition on the way to the biscuit tin).

  • 150g plain flour
  • 90g porridge oats (don’t use jumbo oats, which are likely to result in your biscuits falling apart)
  • 85g desiccated coconut
  • 100g brown sugar
  • 55g caster sugar
  • 125g butter 
  • 40g golden syrup
  • 30ml water
  • ½tsp bicarbonate of soda
  1. Preheat oven to 160℃ fan
  2. Line a couple of baking trays with baking parchment
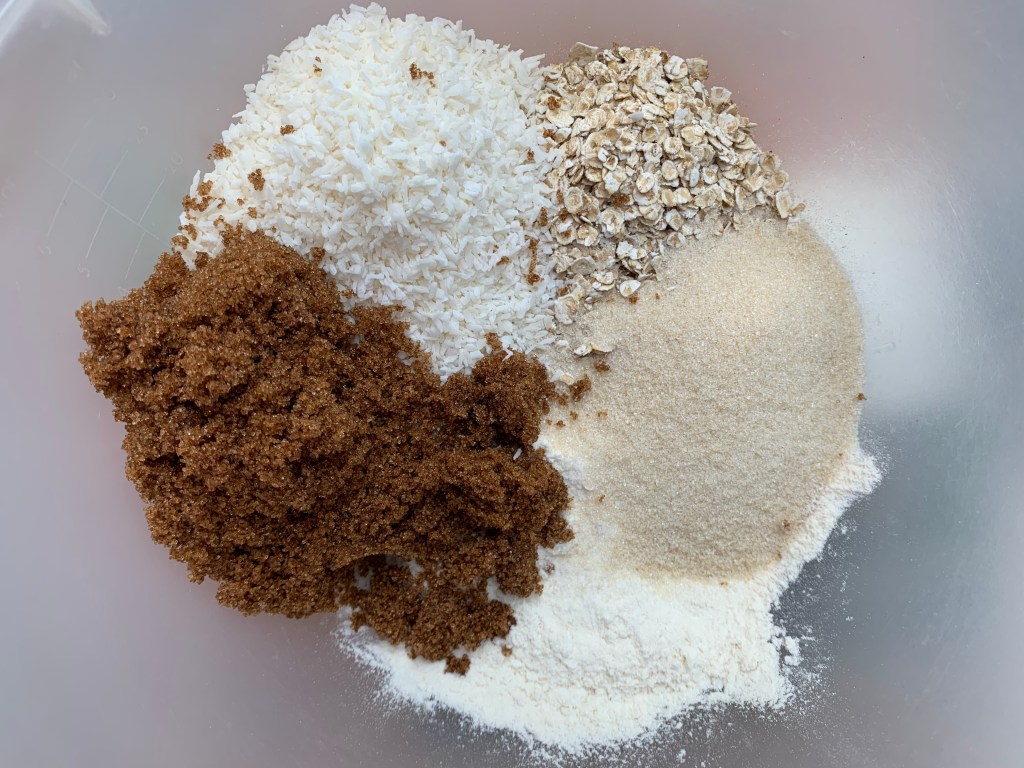
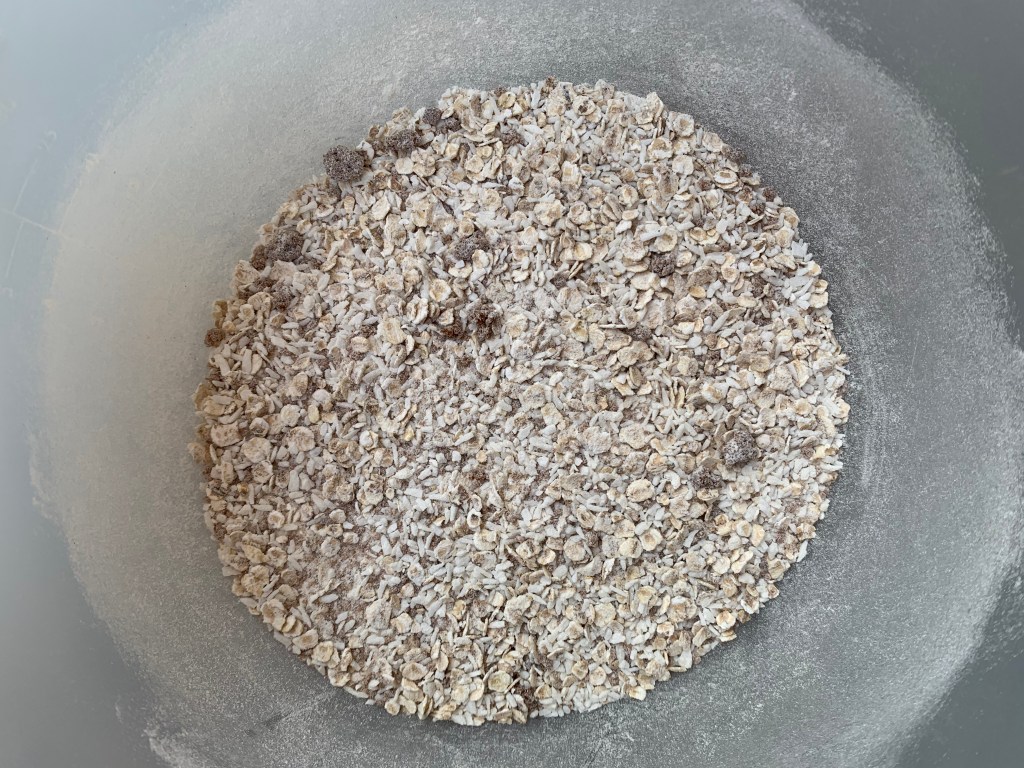
  3. Mix the flour, oats, coconut and sugar in a large bowl.
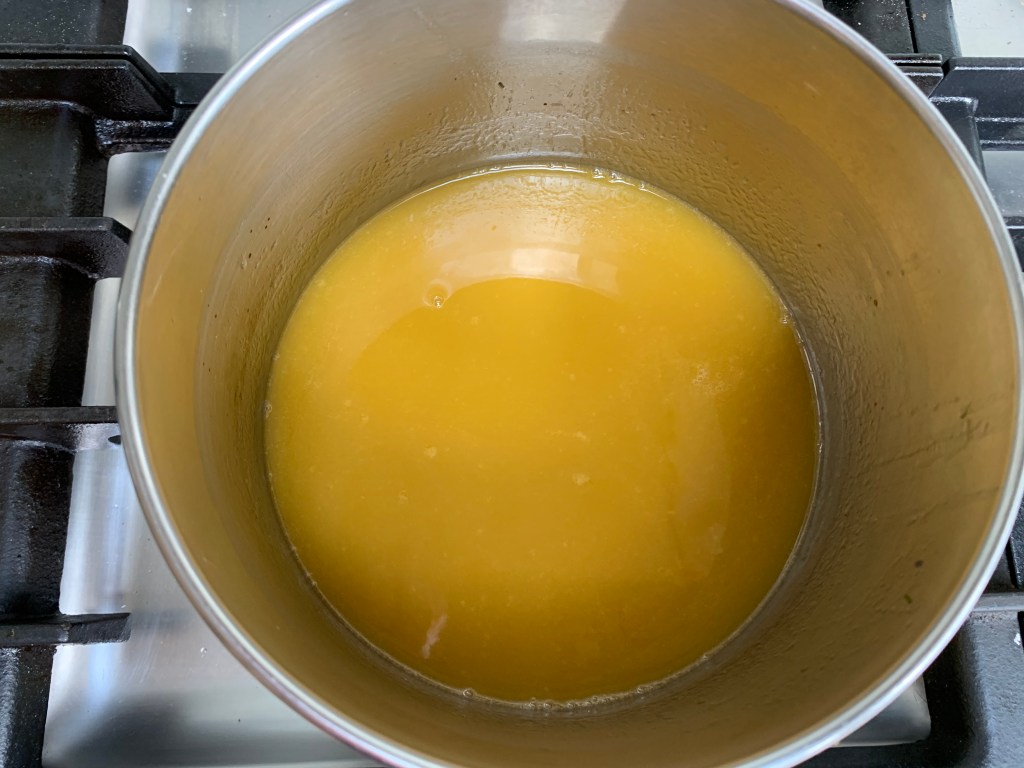
  4. Cut the butter into pieces and put it into a saucepan with the golden syrup and water. Warm gently until the butter is melted and everything is combined.
  5. Add the bicarbonate of soda to the wet mixture and stir to dissolve.
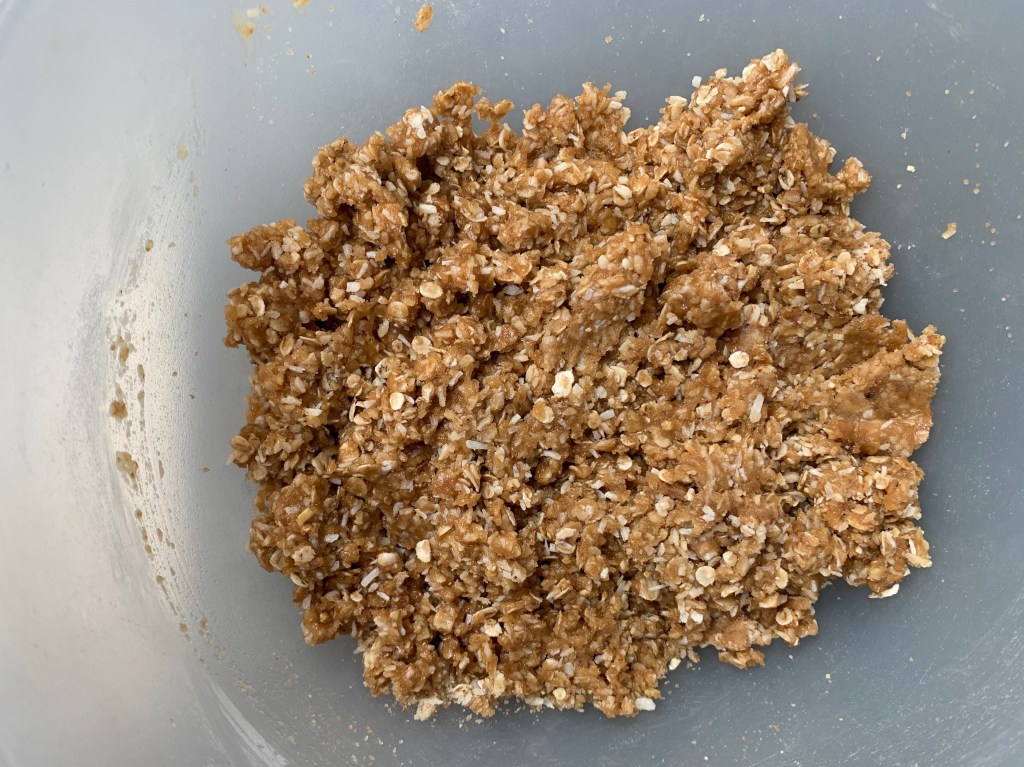
  6. Pour the wet mixture into your bowl and mix thoroughly. You want to make sure that there’s no dry flour visible when you spoon the mixture away from the sides of the bowl.
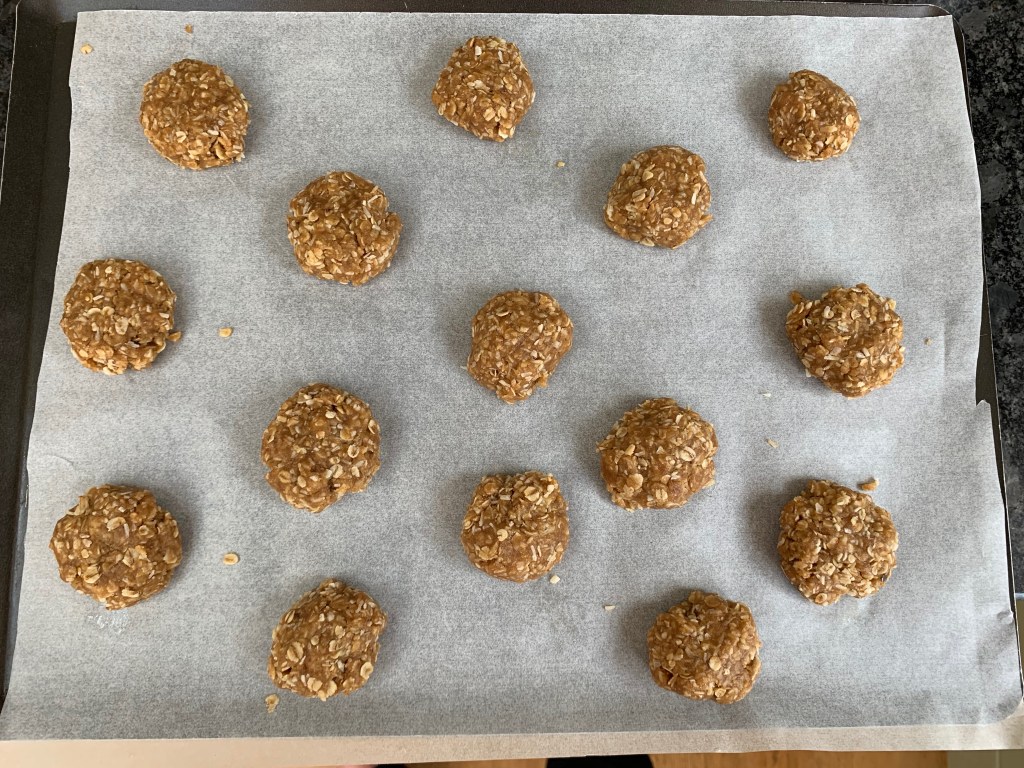
  7. Scoop out a level tablespoon of mixture (this is a good way of getting the biscuits to be around the same size), roll it into a ball and place it on your first baking tray. Now repeat for the others, allowing as much space as you can between your biscuits.
  8. Now press each biscuit slightly flatter. The 1cm thick suggested gets you a biscuit with a slightly chewy centre: going flatter will get you a crispier version. Either way, the biscuits will spread out somewhat during baking.
  9. Bake for around 15 minutes, switching shelves half way to make sure they’re all baked the same amount.
  10. Remove from the oven and cool.

I’ll leave you with two more bits of trivia, courtesy of the Australian War Memorial: 

  • Original ANZAC biscuits didn’t have the coconut.
  • The biscuit actually used as army rations was a completely different thing: a “hardtack” biscuit known as the Anzac Tile and made from wholemeal flour and milk powder.

Unelectable opinions, no.3: we should teach colonial history as it was

In the wake of the murder of George Floyd, there have been calls for black history to be taught in our schools. I’m broadly in favour of this, but I’m unconvinced that it’s the most important step in the fight against racism: it’s all too easy for the racists to brush it off as “someone else’s story”.

To confront racism head on, I believe that the most important step is to teach the history of empire and colonialism the way it was, which includes not only white-on-black violence but also white-on-yellow, white-on-brown and white-on-white. Only in that way can we persuade children to repudiate the racist behaviour of our forebears at a time where they held supreme power over swathes of the globe.

Most Chinese remember the British Empire not for any of its beneficent qualities but for Opium Wars, in which we burnt down their capital to support our drug runners in the havoc they wrought on Chinese society. Many Indians remember us not for their railways but for the Salt Tax and the Amritsar Massacre; Ireland remembers us for the Potato Famine. And that’s without mentioning our genocides of the Aborigines or Maoris or our invention of the concentration camp during the Boer Wars.

Inasmuch as British imperialism is taught in schools, it tends to be in the context of “we may have done a few bad things, but we glorified our nation and brought good to the world”. This way of representing the past must no longer be permitted: from an early age, potential racists must be made to understand the consequences of the evil wrought in the days where racism was normality pure and simple. Racist instincts may be built into all of us in some shape or form, but the mark of a truly civilised society is the ability to overcome those instincts. And that starts with being taught that they are evil and have always been so. Humanity should trump glory every time.

By the way, it’s not like we British are uniquely dreadful in this. The Americans with their native population, the French in Algeria, the Belgians in Congo, the Spanish in South America, the Japanese in Korea – I find it hard to think of a rich nation that’s untainted and that has ceased to glorify these episodes in their murky past. Of course, it’s more comfortable to focus on the good things in our past and erase our misdeeds. But that’s not the way to fight the cancer of racism today.

Around the world in 80 bakes, no.12: Lamingtons from Australia

Around the world in 80 bakes, no.12: Lamingtons from Australia

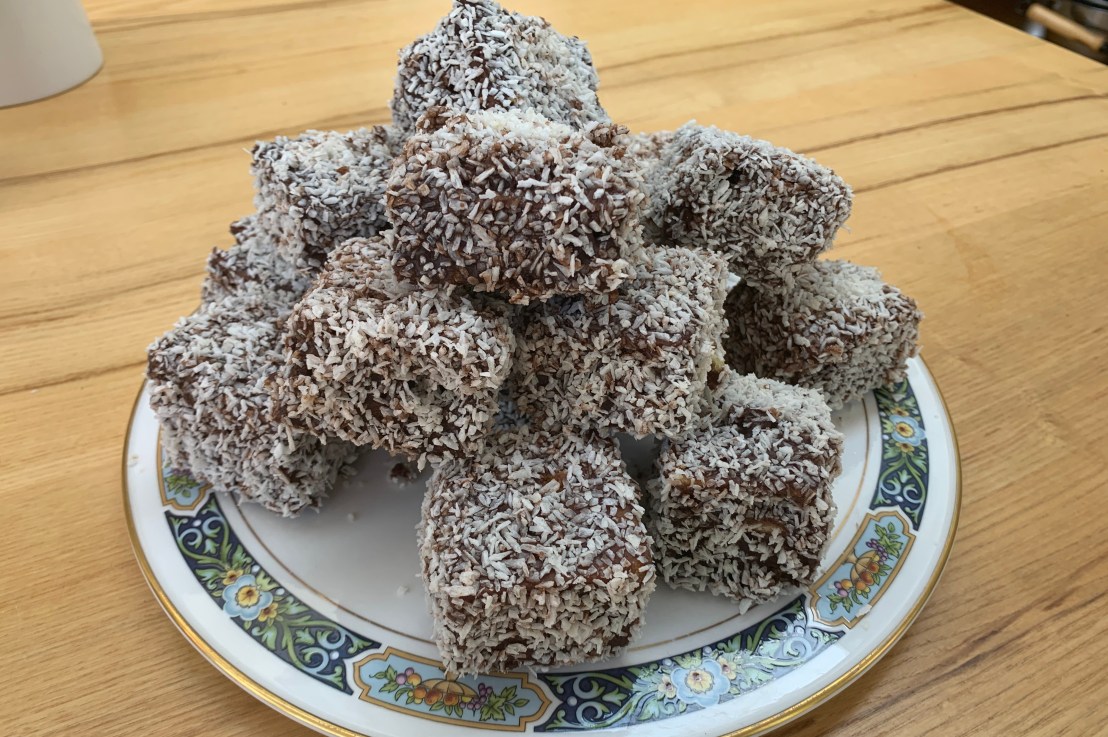
Since long haul travel looks like being impossible – or at least unwise – for the foreseeable future, let’s travel to the opposite end of the earth in our baking imagination. The Lamington is the definitive Australian cake, named after a sometime governor of Queensland (who apparently didn’t like them, according to TasteAtlas). There’s even a National Lamington Day, on July 21st, so if you’re reading this shortly after publication, you’ve got plenty of time to practise. This makes the Lamington one of a select collection of baked goods to have its own annual celebration day (cinnamon rolls are another, with Sweden’s Kanelbullens dag). 

The recipe for Lamingtons could be written in a single line: cut a sponge cake into cubes, dip each cube in chocolate icing and roll it in desiccated coconut. I’m going to go into a bit more detail (after all, what self-respecting baking blog wouldn’t) but here’s the point: they’re a great option for hot weather because the coconut helps to stop everything melting onto your fingers. Anyway, I’m a sucker for anything made with coconut, so what’s not to like?

Most Lamington recipes are broadly similar. In fact, they don’t really vary much from the first recipe on record, from Queensland Country Life in 1900. You’ve basically got a couple of choices: filled/unfilled and portion-sized/bite-sized. Also, you can choose to use a filling or not. The original recipe specifies more icing, but you can also use whipped cream and/or raspberry jam, which is popular in New Zealand. I’ve gone for plain, largely because I think the recipe is sweet enough as it is, and anyway, keeping the cube structure looks really tricky with two layers of cake stuck together.

The much quoted Australian recipe in taste.com.au gets you 15 cakes of around 6cm on a side, which is a reasonable full portion size; Jamie Oliver’s somewhat different recipe gets you 30 cakes from around the same total weight of ingredients, which makes it more suitable for finger food at a party when there’s lots of other stuff. I’ve kept the sugar down a bit in my version.

What everyone agrees is that you should make the cake the day before you try to ice it: otherwise, your cake is going to fall apart horribly when you try to dip it. So here’s the day 1 part of the recipe:

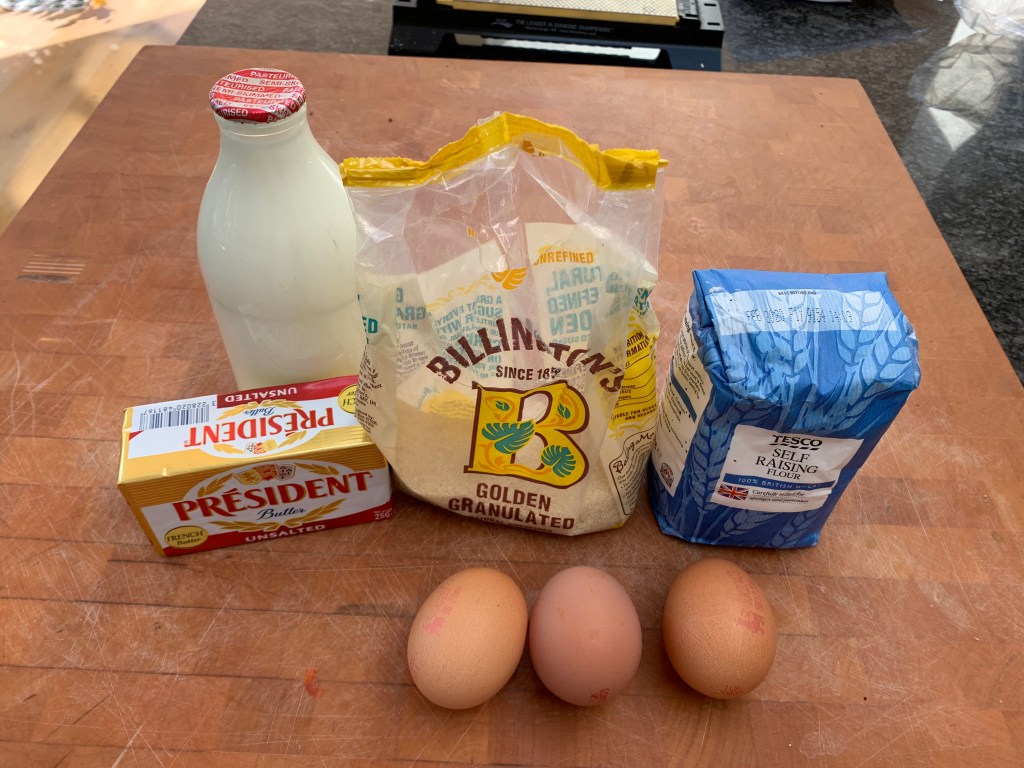
  • 150g sugar
  • 125g butter
  • 3 medium eggs or 2 large
  • 240g self-raising flour, sifted
  • 120ml milk
  1. Preheat oven to 180℃ (or 160℃ fan)
  2. Grease and line a baking pan (purpose made “Lamington pans” tend to be 20cm x 30cm; mine is 23cm square)
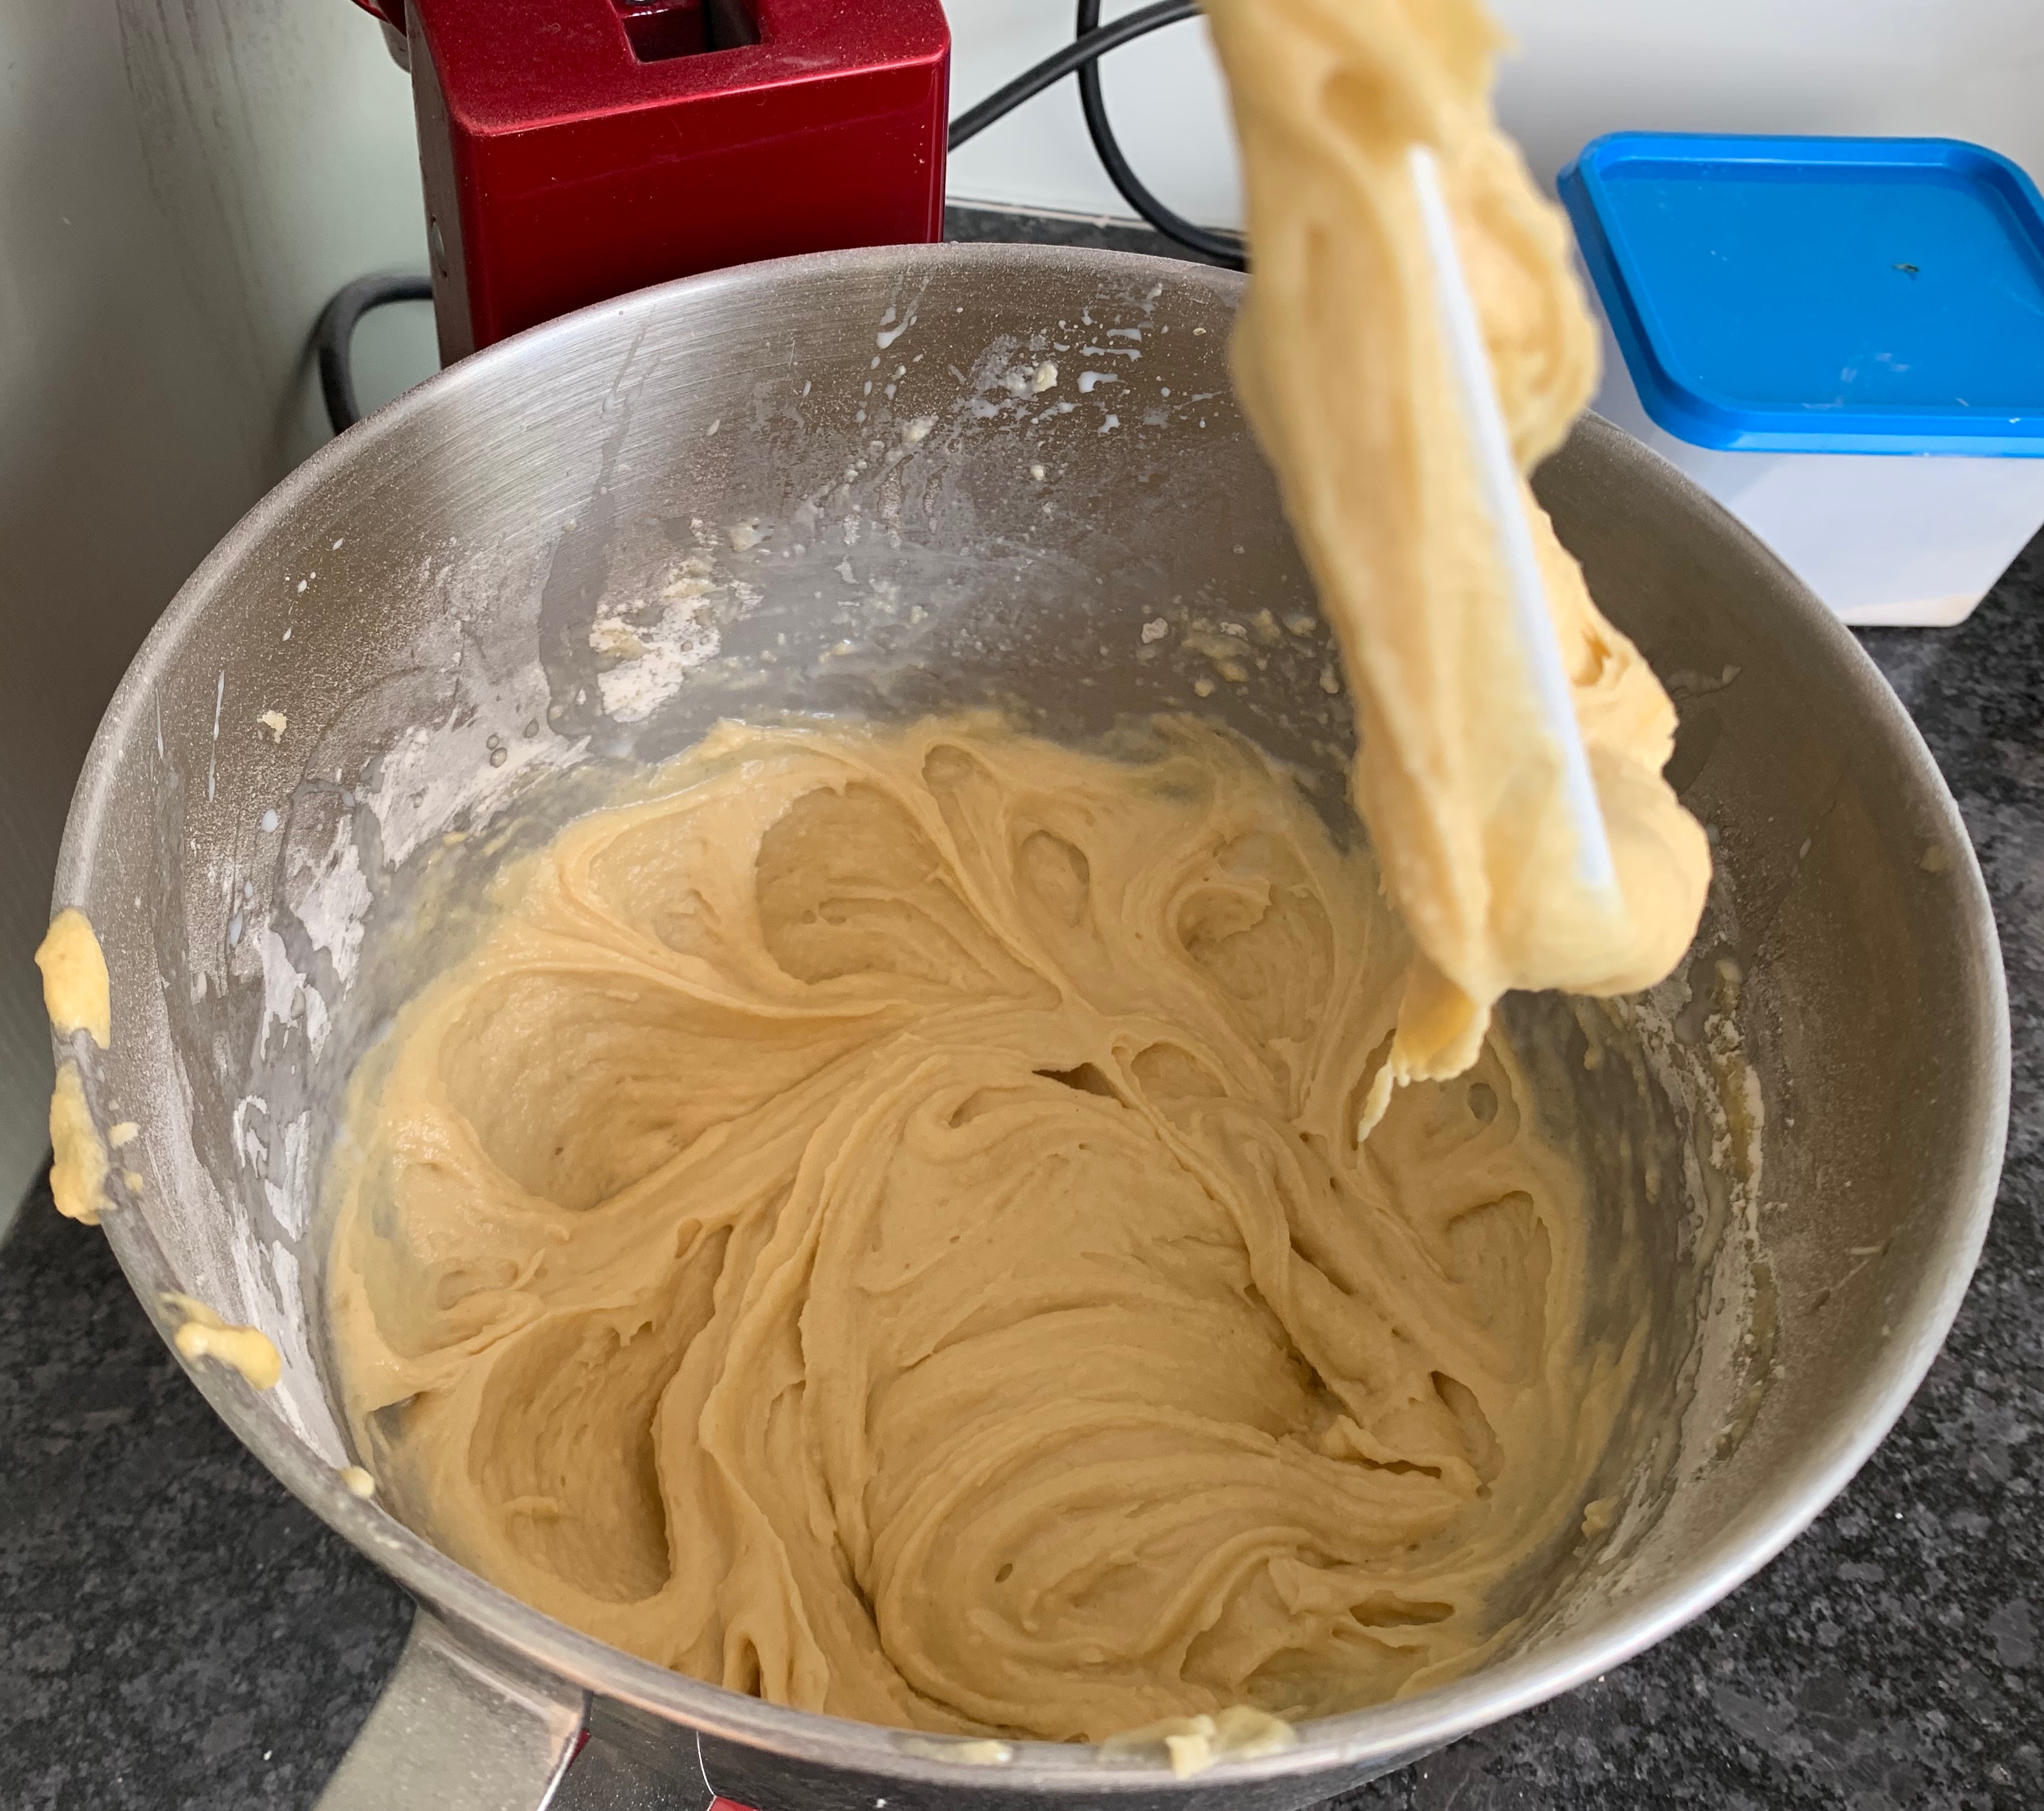
  3. Cream the butter and sugar together
  4. Add the eggs, one at a time, beating after each one
  5. Add half the flour and beat, then half the milk and beat, then repeat
  6. Pour the mixture into your baking pan; do your best to spread it evenly
  7. Bake for around 20-30 minutes, use the usual “a skewer should come out dry” test
  8. Cool in the pan for 10 minutes and then on a rack
  9. Seal with cling film or in a tupperware and refrigerate overnight

The next morning, you’ll be doing the icing and rolling.

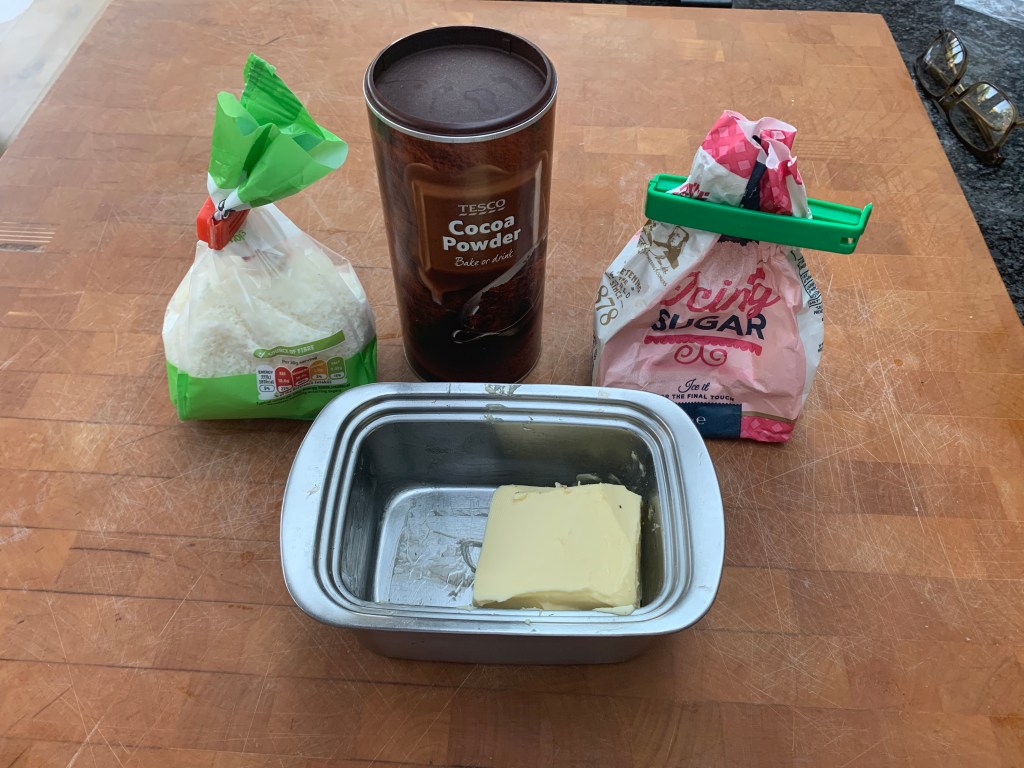
  • Dessicated coconut: you’ll need somewhere in the region of 300-350g, but it really depends on your rolling technique
  • 350g icing sugar
  • 25g cocoa
  • 15g butter, softened
  • 125ml boiling water

You might as well start by getting the coconut ready: you’ll want a decent amount of it in a shallow dish into which you’re going to roll your cakes and the rest in a separate bowl which you’re going to attempt to keep clear of drips of chocolate. Also get a cooling rack ready, putting it on a surface which you’ll be able to clean easily, because icing will drip onto it despite your best efforts.

Next:

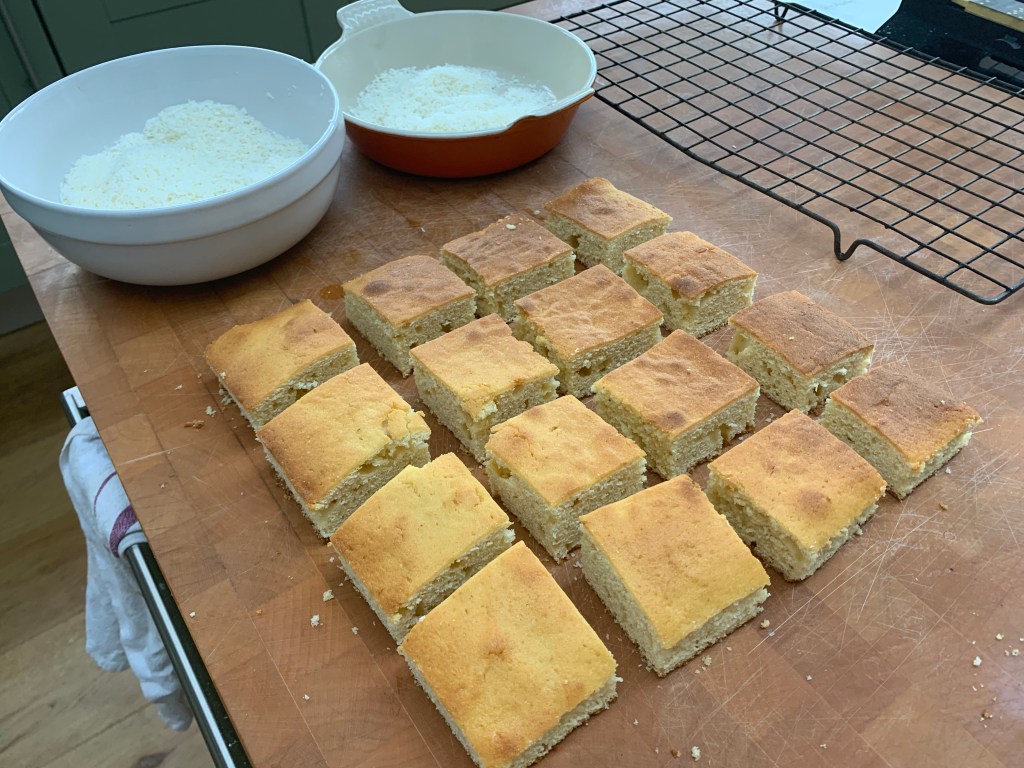
  1. Trim off the edges of the cake and cut it into your preferred size. With my square pan, I cut it into 16 squares around 5½cm on a side (they weren’t quite tall enough to be cubes, but it was close enough). A 20 x 30cm Lamington pan will get you 15 6cm squares.
  2. Sift the icing sugar and cocoa into a bowl, using the finest sieve you have. You’d be amazed at how lumpy they both of these can be when coming straight out of the packet.
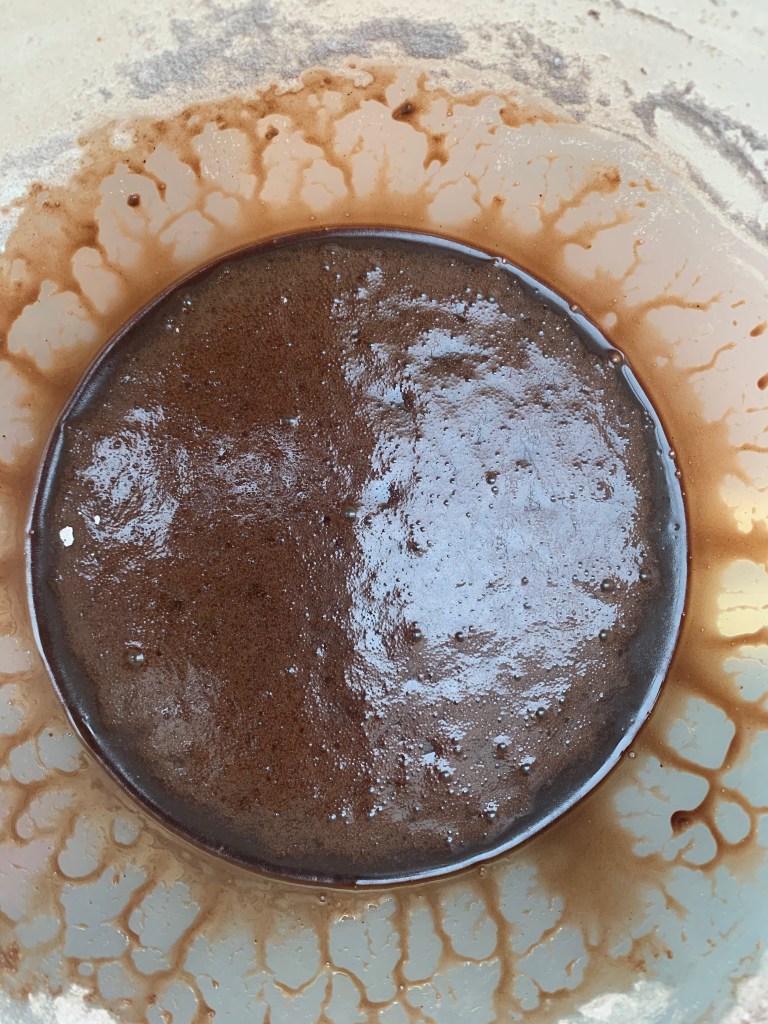
  3. Add the butter and boiling water and then whisk until you’ve got all of the lumps out. You will have a wet, liquid icing.
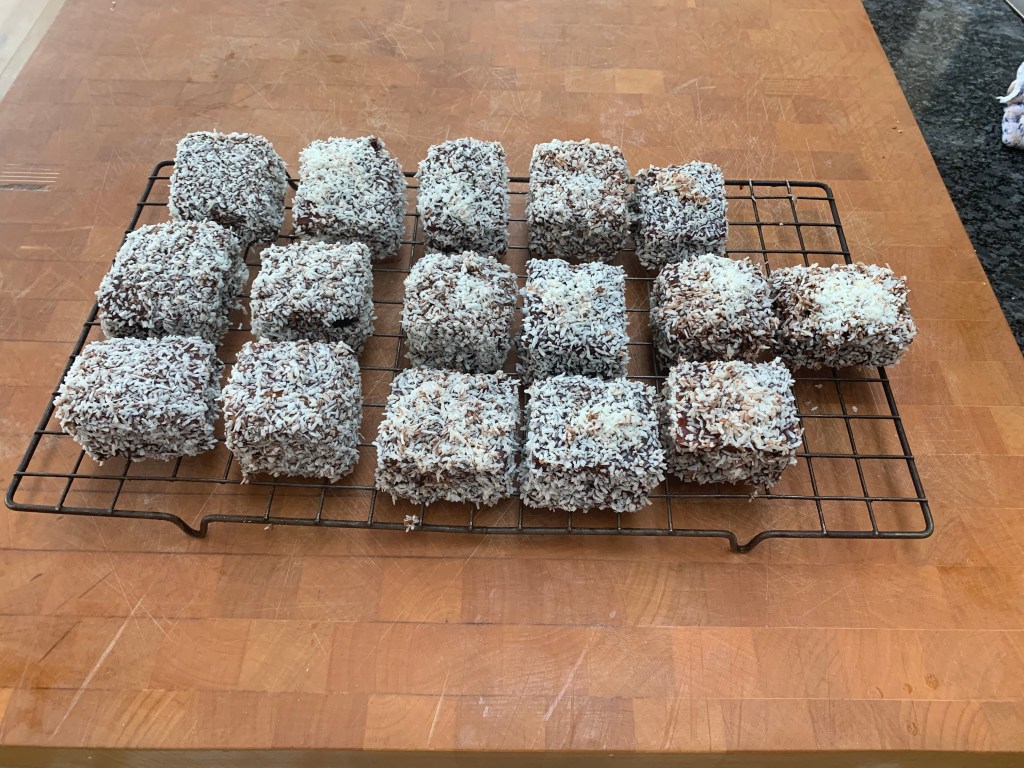
  4. Here’s the tricky bit: you now need to completely cover each cake in icing and then roll it in desiccated coconut without making a giant, gooey mess. I did this by dropping the cake in the icing, turning it over gently with a fork and then picking it up by sticking the fork into it. I held the cake over the bowl of icing to let the excess drip off and then transferred the cake to the shallow bowl of coconut to coat the bottom; I then sprinkled coconut from the other bowl onto any sides that weren’t covered and shook of the excess (for use on the next cube.).
  5. Having transferred all your completed Lamingtons to the rack, leave them for a couple of hours for the icing to set.

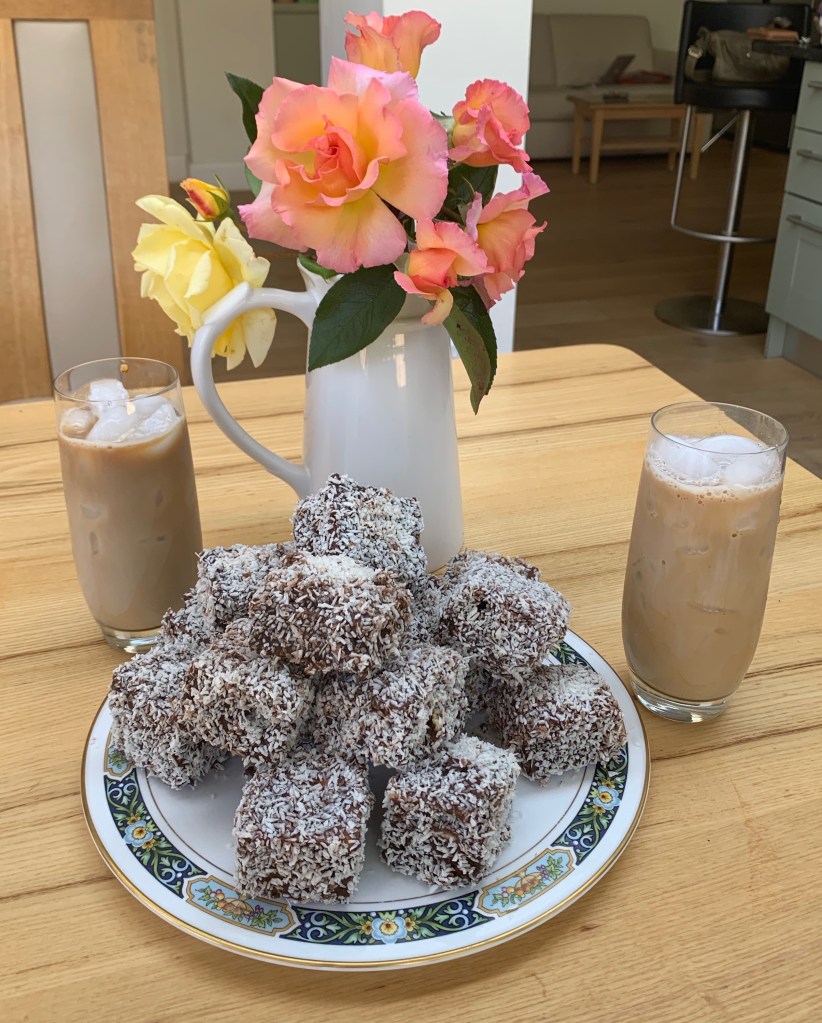
 That’s it. On a hot day, a Lamington and a glass of iced coffee is a snack fit for a king.

Around the world in 80 bakes, no.11: Ranginak from Iran

Around the world in 80 bakes, no.11: Ranginak from Iran

It’s time for a trip to the delicately balanced, aromatic foods of Persia. Strictly speaking, Ranginak isn’t a baked dish – it’s cooked in a skillet, not an oven – but it’s a dessert made from a flour/butter/sugar mixture as found in many Western baked goods, so I’ll stretch a point. Ranginak gets described as a sort of Persian date and walnut fudge, but it’s much better than that because it isn’t overpoweringly sugary: cut into small chunks, it makes for a lovely, scented, sweet-but-not-too-sweet bite of deliciousness.

Ranginak is famous as a festive dessert in Iran: the name means “colourful”, which is mildly dubious since it’s basically brown until you add garnish. There are many regional variations, the most improbable of which comes from a seventeenth century Isfahan recipe and involves dressing the completed product with  rice pudding. I’ve gone for a simple one, starting from a recipe in the lovely Persian website Turmeric and Saffron and adding in the odd bit from my Persian cookery bible, Margaret Shaida’s The Legendary Cuisine of Persia.  As usual, I’ve given some details and turned most measurements into metric: I just find it easier to measure things accurately with a set of digital scales than with measuring spoons and cups. 

I’ve halved the recipe, since we’re still in lockdown here in London and I don’t really want to make giant desserts if I’m not sure they’re going to freeze properly. The amounts here are about right for a round dish 15cm in diameter: adjust to suit whatever size dish you are going to use.

Ingredients, in order of use

  • 50g walnut halves
  • 200g dates
  • 125g flour
  • 125g butter
  • 20g icing sugar
  • 1/4 tsp ground cinnamon
  • 1/4 tsp ground cardamom
  • A free pistachios, shelled and unsalted, to garnish

If you talk to anyone Iranian, they will tell you that Persian produce (walnuts, dates, melons, garlic, saffron, etc) is different from everyone else’s – and, of course, superior. This starts out by being incredibly irritating until you try things out and come to the inevitable conclusion that for the most part, they are simply stating correct information. Or nearly, anyway: Omani dates are as good as the Persian products, Chilean walnuts and Kashmiri saffron likewise. But you get the idea: if you can find a Persian food shop for your dates and walnuts, it’s a good idea.

In the more likely event that you don’t have access to a Persian shop: most supermarket walnuts will be fine, but the quality of the dates is important: the rock hard ones that you often see in oblong cardboard packets will be hard to work with and yield a disappointing result. Make sure the dates are soft. If they’re pitted, that will save you effort.

Method

  1. Choose a shallow dish just large enough to hold your dates laid flat; grease it with a bit of melted butter. 
  2. In a dry pan on medium heat, toast the walnuts until fragrant but not yet burning (should be 3 minutes or so). Take them off the heat.
  3. While the walnuts are cooling, take the stones out of the dates (if this hasn’t already been done for you).
  4. In a bowl, mix the icing sugar, cinnamon powder  and cardamom powder.
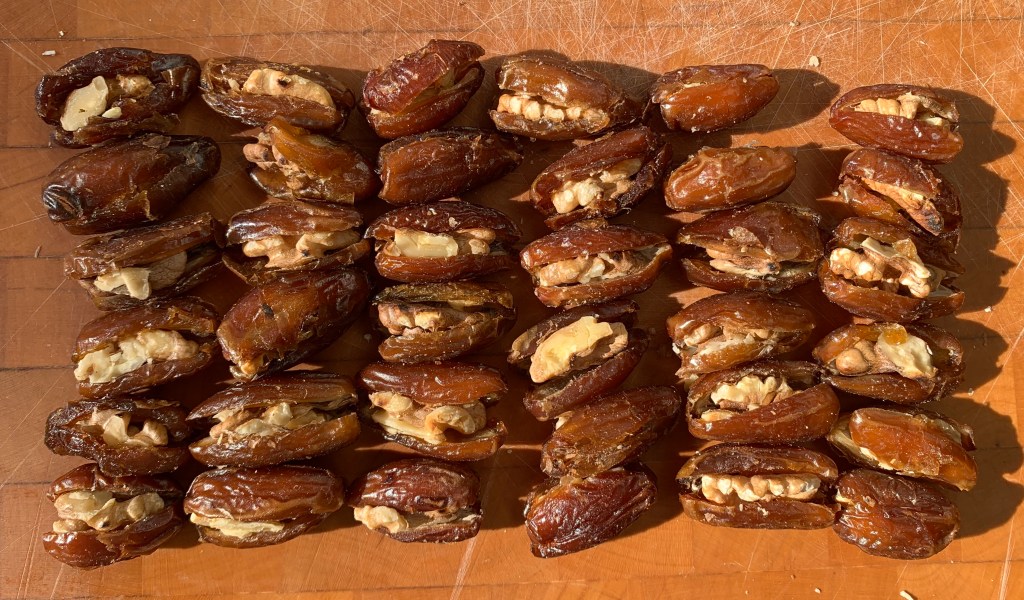
  5. Once the walnuts are no longer too hot to touch, cut each piece in half so that you now have walnut quarters. Stuff a walnut quarter into the cavity of each date.
  6. In a pan on medium heat, toast the flour until it’s just beginning to go pale brown and smell aromatic (around 5 minutes).
  7. Add the butter and mix thoroughly as it melts. Now cook for around 10-15 minutes until your mixture is a medium butterscotch kind of colour. Don’t let it go as far as dark brown.
  8. Add the spiced sugar and mix thoroughly, then pour the mixture into your dish. Leave to cool for long enough that you’re not going to burn your fingers in the next step.
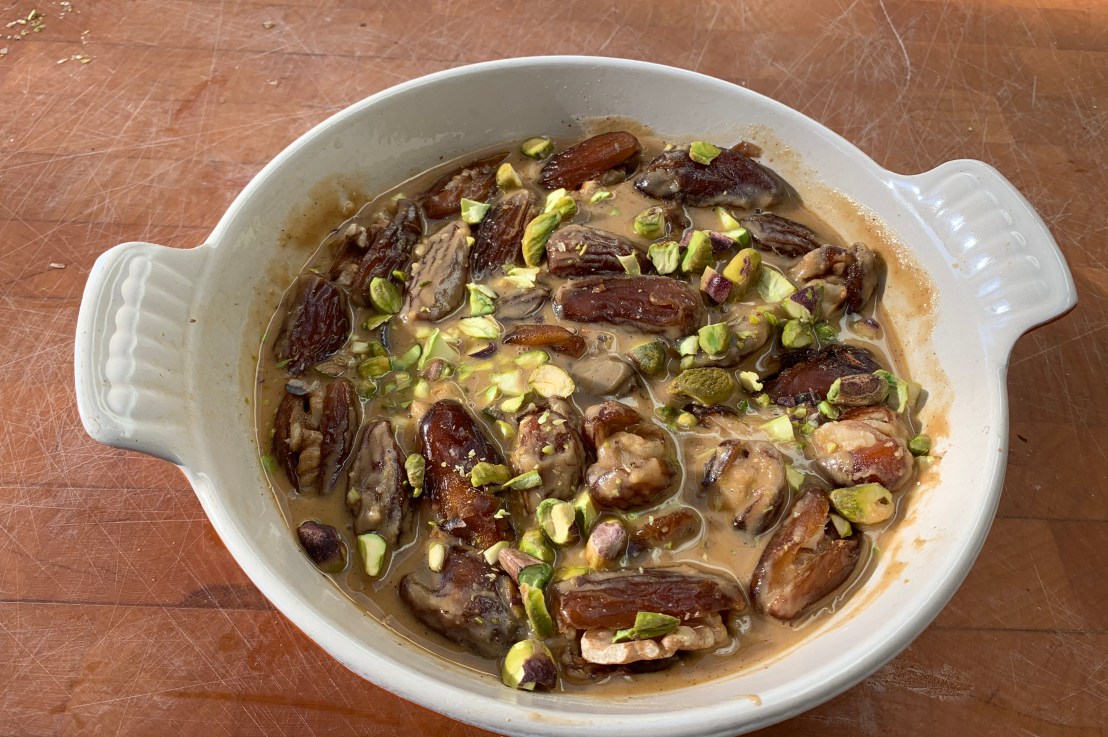
  9. Now lay out the stuffed dates on the mixture, and sprinkle some chopped pistachios. If you’re of an artistic bent (and especially if you’re doubling or trebling this recipe), you’ve got scope for some fun here. Sadly, I’m not, but there are plenty of pretty photos online to give you the idea.
  10. Leave to set, which should take a couple of hours at normal room temperature. If it’s a hot day and you’re in a hurry, you’ll probably want the Ranginak to spend part of the time in the fridge.

Traditionally, Ranginak is served with tea. Personally, I like going cross-cultural and serving a piece with a scoop of pistachio ice-cream. But I’ll leave that one to you…

Around the world in 80 bakes, no.10: Scottish oatcakes

Around the world in 80 bakes, no.10: Scottish oatcakes

I eat between meals. Because I’m type 2 diabetic, I need things that I can snack on that are neither overly sweet (we’ll draw a discreet veil over the cake recipes in this series of posts) nor overly salty (I can eat bags of peanuts for days, but this is a terrible idea also). Scottish oatcakes contain little or no sugar, don’t have to be overly salty and are really delicious, either on their own or with a bit of cheese: in short, they are the perfect snack. And they turn out to be one of the easiest things on the planet to bake.

This recipe is only slightly modified from the recipe by BBC good food contributor “zetallgerman”: I’ve changed a few things and added some details, but it’s basically their recipe and hats off to them, because it works like a charm.

I’ve given quite a lot of detail on rolling and cutting here, because this is a really good beginner’s bake – I beg forgiveness from experienced bakers for whom this is all obvious.

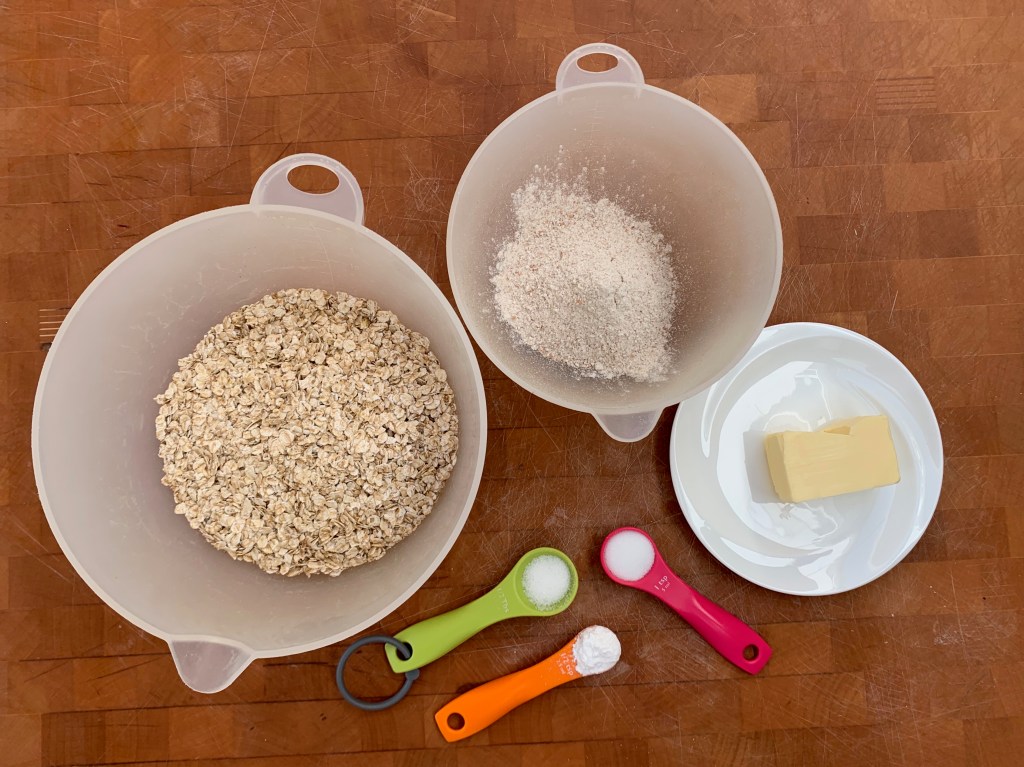
Ingredients

  • 225g oats (ordinary porridge oats if you can; jumbo oats need to be blitzed first)
  • 60g wholemeal spelt flour (ordinary wholemeal wheat flour is fine: my lockdown larder has spelt flour and it works very well)
  • ½ tsp bicarbonate of soda or baking powder
  • ½ tsp salt (zetallgerman says 1 tsp: I prefer ½ to ¾)
  • ½ tsp sugar (optional, as far as I’m concerned)
  • 60g unsalted butter (or use salted and reduce the amount of added salt)
  • 70ml warm water, plus 10ml or so more for the next round

Method

  1. Preheat oven to 190℃ fan
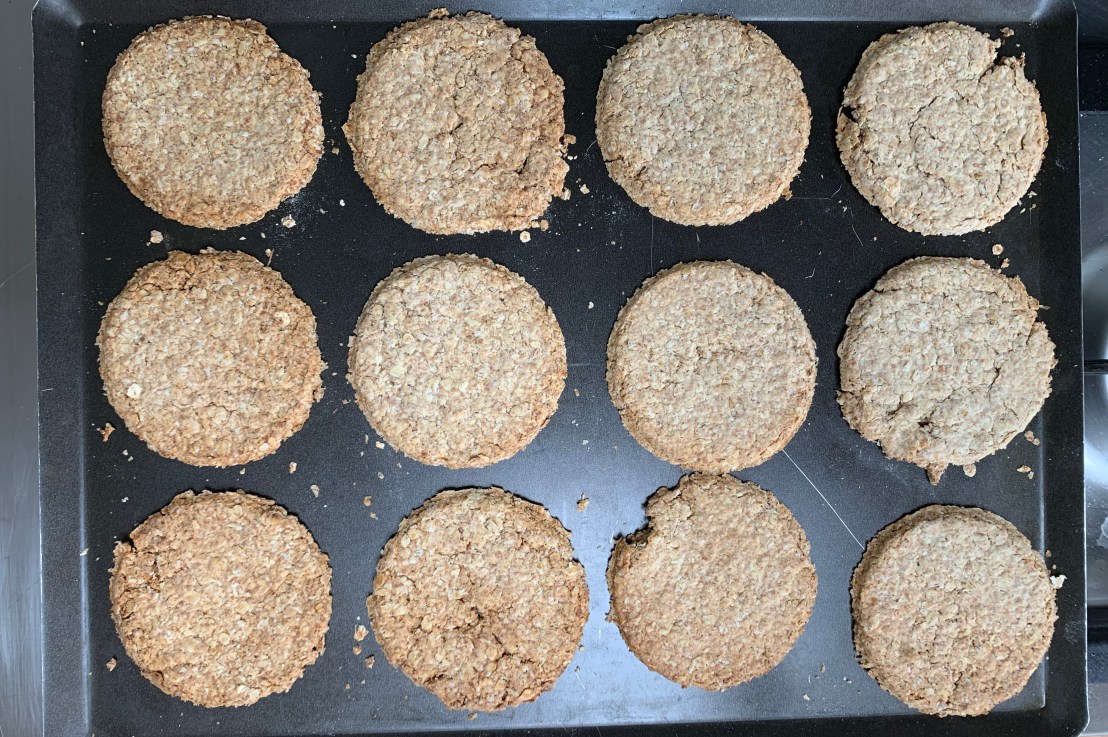
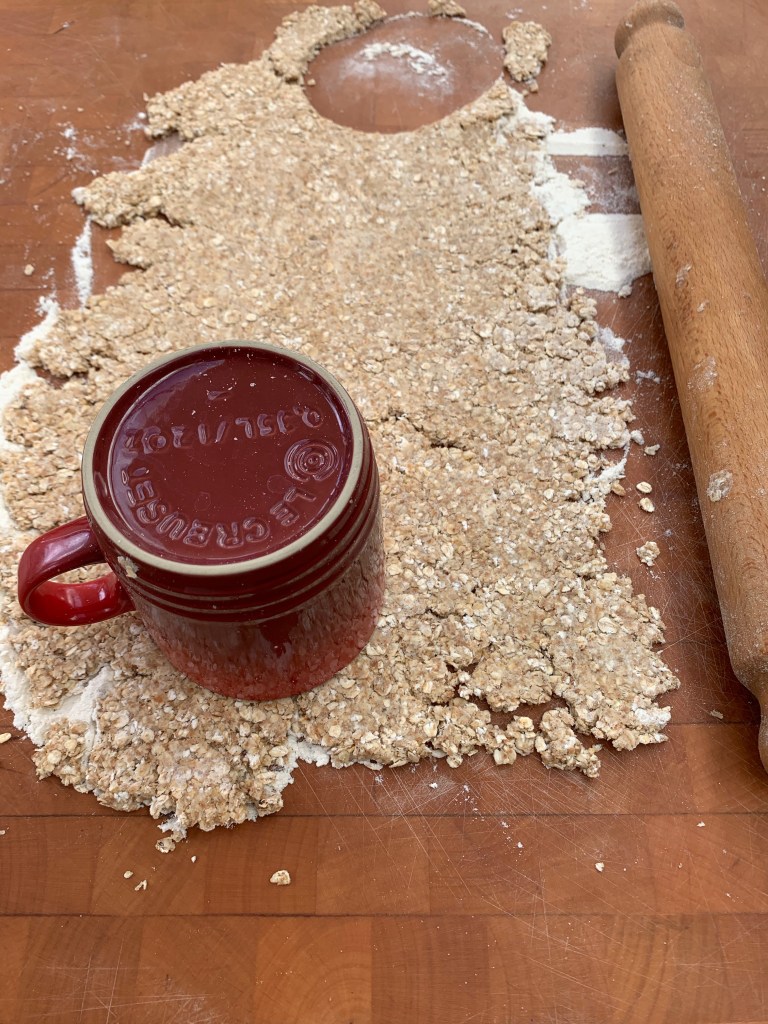
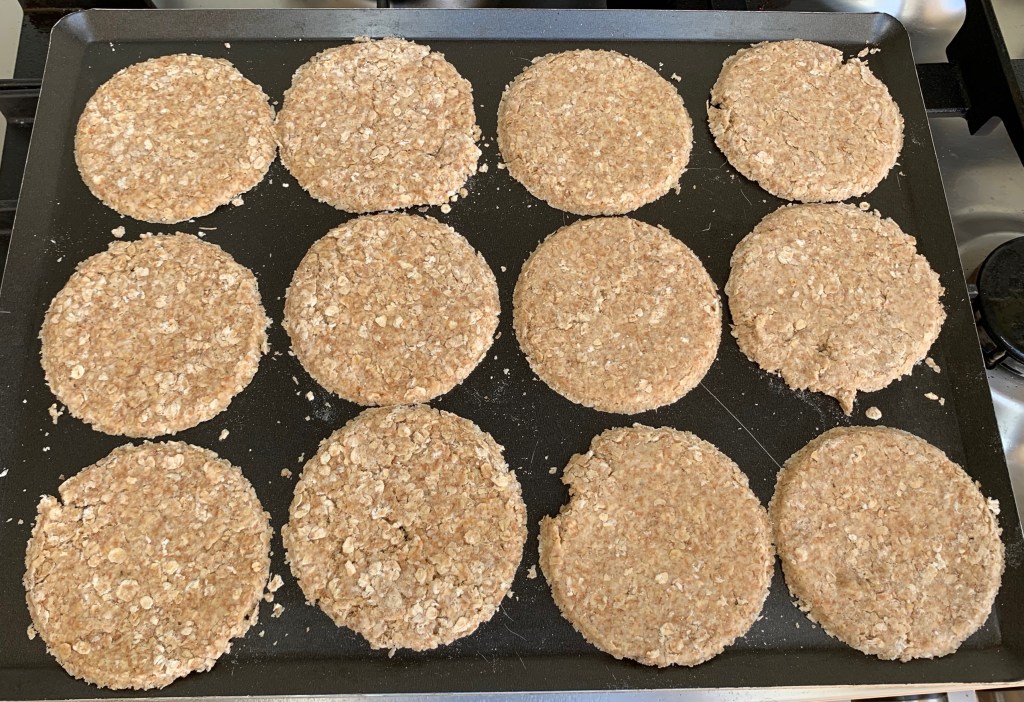
  2. Get a baking tray ready. If it isn’t non-stick, line it with baking paper. You’ll also need something with which to cut the oatcakes into circles: I use a fairly solid mug whose diameter is 9cm, so I just fit 12 oatcakes into my 30cm x 40cm tray.
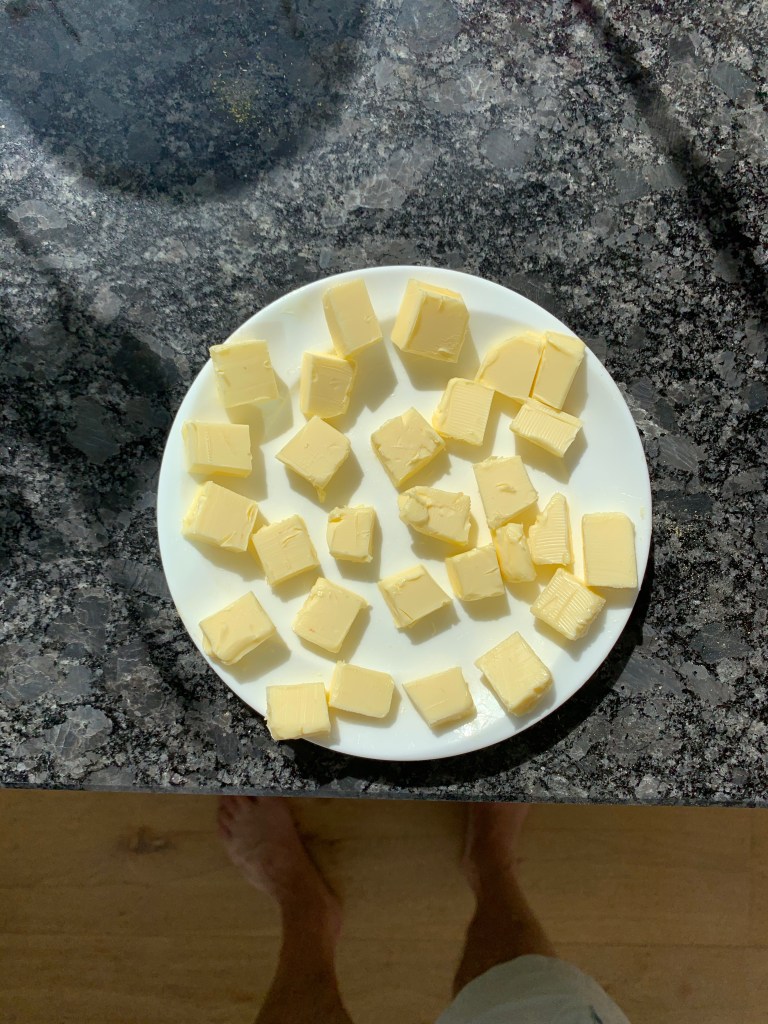
  3. If your butter came out of the fridge, soften. My favourite way is to cut it into small cubes and leave it in a warm place in the kitchen: five minutes in spring sunshine is plenty.
  4. Mix the oats, flour, baking soda or powder, salt and sugar until everything’s reasonably evenly distributed.
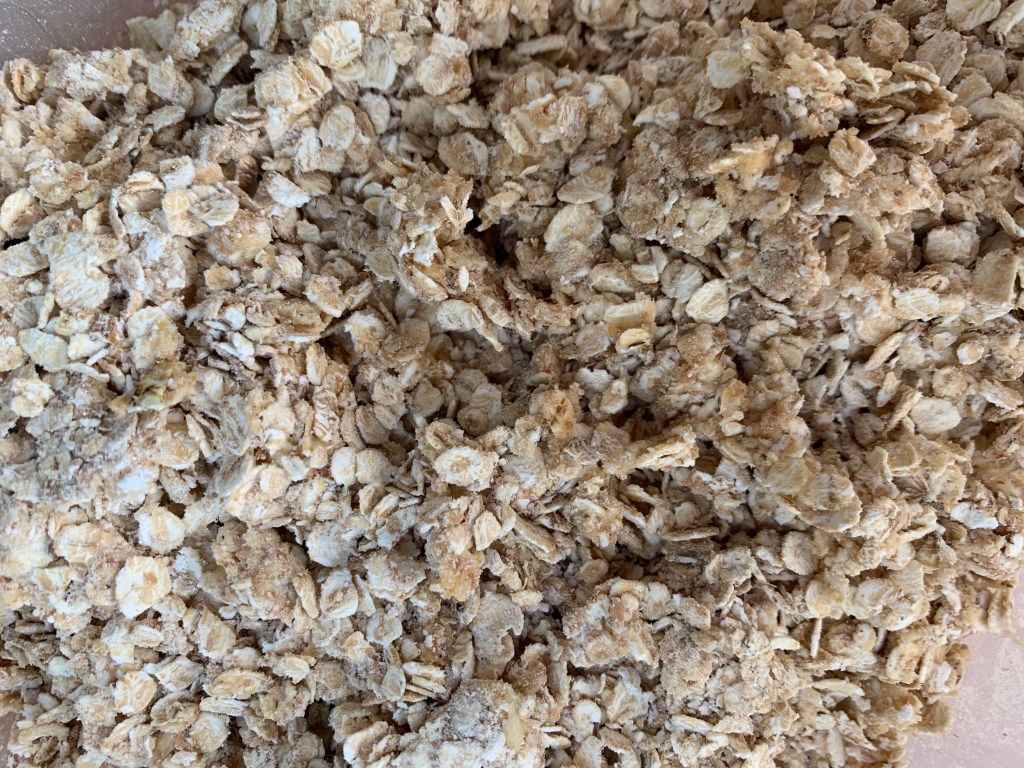
  5. Add the butter and mix thoroughly, pinching with your fingers until all the butter is absorbed. If you can, do this with one hand to keep the other one clean. Pastry and biscuit recipes always say “to the consistency of breadcrumbs”: personally, I’ve never succeeded in achieving anything looking remotely like a breadcrumb, but it doesn’t seem to matter. 
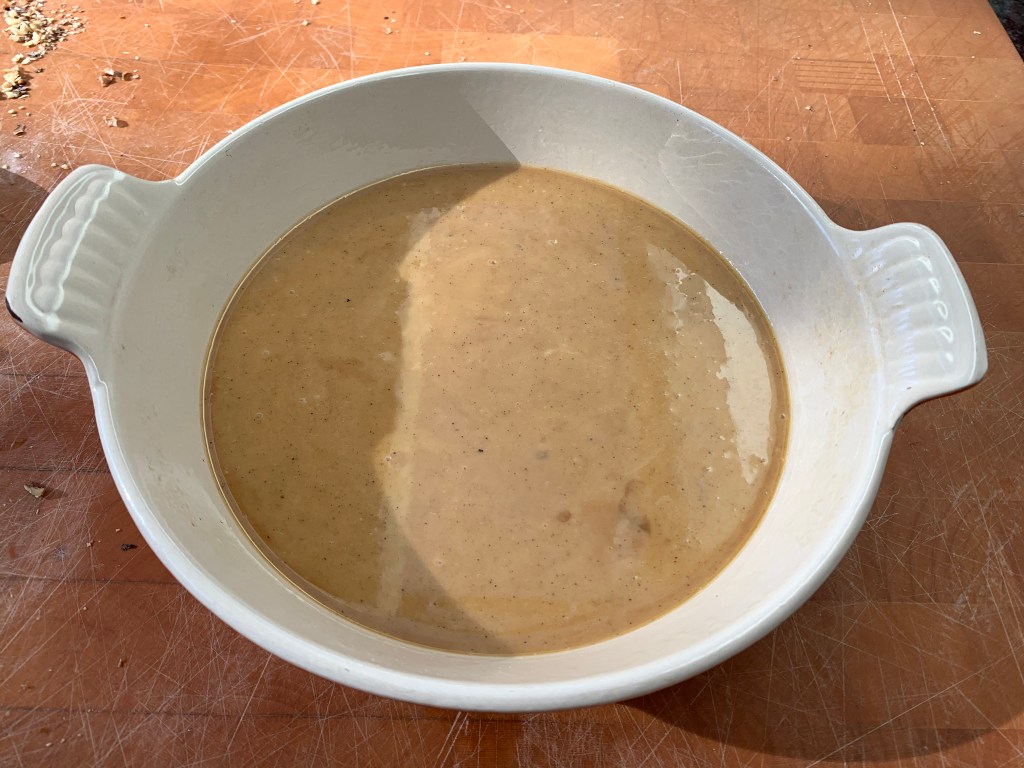
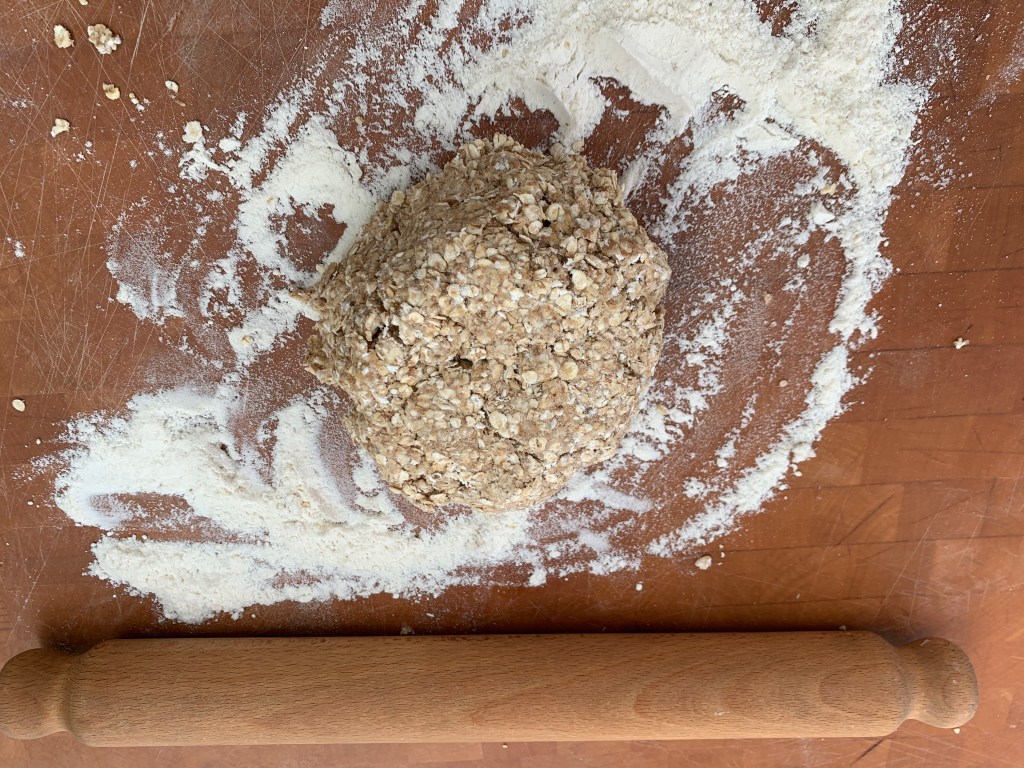
  6. Add 70ml of warm water and combine everything together into a dough. The amount of water is a bit variable: if your dough fragments horribly when you try to roll it, add a few drops more, remix and try again.
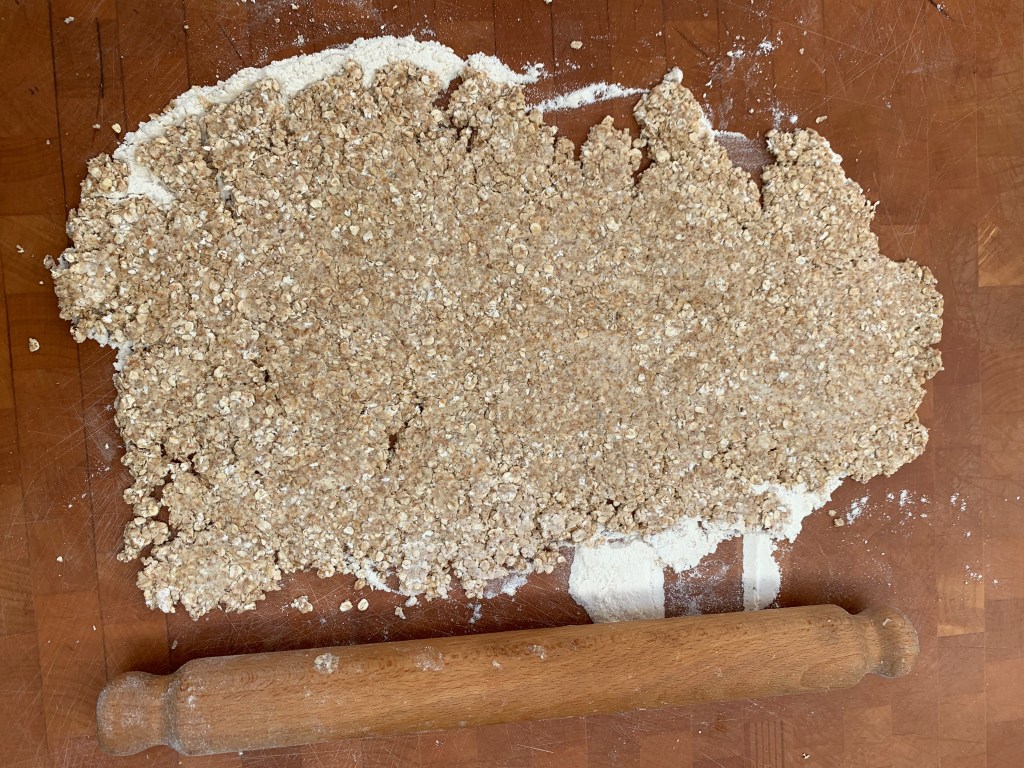
  7. On a floured board, roll your dough out to 4-5mm thickness. Cut a circle (I use a mug) and transfer to your baking sheet (I have to first put the mug over my hand and then thump it for the oatcake to come out). Repeat: if all is well, you should be able to get six oatcakes.
  8. Now gather together the off-cut dough and put it back in your bowl, add a few drops more water and recombine. You can now roll out the dough again and repeat. Hopefully, you’ll manage another four oatcakes this time.
  9. At this stage, I normally have enough dough for two oatcakes. I divide it in half and roll them out individually
  10. Bake for 20 minutes. As well as the usual oven variability, the exact time is a matter of taste: longer = crispier but gives more danger of a burnt taste

That’s it folks – a really low effort bake which has given me reliable results every time!

The usual in-process shots:

Unelectable opinions, no.2: the ineptness of rule sets for Coronavirus lockdown

Unelectable opinions, no.2: the ineptness of rule sets for Coronavirus lockdown

Last Wednesday, tennis players across England celebrated being given permission to return on court – for singles, that is. Tennis coaches celebrated getting their earnings back and ceasing to rely on the prospect of government handouts.

But why, you might ask, was singles tennis banned in the first place? It’s one of the most socially distanced sports one can imagine, with players spending the vast majority of the game over 20 metres apart. Compare that to someone jogging along a narrow track, breathing heavily without wearing a mask, which pretty much guarantees that anyone coming the other way is going to breathe in their potentially virus-laden droplets. Yet running was actively encouraged at a time when tennis and golf (another sport with built-in social distancing) were banned.

Of itself, tennis isn’t the biggest issue in the world. But it’s an example of a more significant problem: the UK government’s rules on lockdown – and, indeed, those of most other countries – have seemed full of inconsistencies, creating consequences that just seemed to fly in the face of common sense. Why limit going out of the house to an hour? Why was this supposedly  the same if you lived in the middle of a busy city as if you lived in an isolated farmhouse?

The underlying problem is this: rather than carefully lining up the rules with the principles of what we were trying to achieve, the government preferred to make simple, prescriptive rules about individual points of behaviour. And that was always going to create idiocies which would bring the rules into disrepute and prompt people to ignore them.

The rules that we actually want are these:

  1. Don’t breathe on anyone else. To help guide you: when breathing normally, your breath travels under a metre, when speaking, it’s more like 2m, when breathing heavily as a result of strenuous exercise, it can easily reach 4m. Wearing a face covering – pretty much any sort, it doesn’t have to be surgical – reduces this to under 1m with acceptable probability.
  2. Don’t put yourself in a position where other people can’t avoid coming into range of you breathing on them. Guideline: your breath hangs in the air for around 15 minutes, or somewhat longer in stagnant air indoors.
  3. If you touch anything that someone else may have breathed on within the last 24-48 hours (in practise, almost anything outdoors), don’t touch your eyes, nose or mouth before you have washed your hands thoroughly.

    (By the way, if you’re living in the same household and you get infected, everyone else in the household probably will too. So exclude them from “anyone” in the above rules).

Consider what this means for going out and meeting people. If you want to go out and meet your friends, it’s fine: you can meet as many of them as you like as long as (a) you’re keeping a couple of metres apart at all times (less if you’re wearing masks) and (b) you’re not standing somewhere making it impossible for other people to get past you. Getting together in a circle with your friends in the middle of a field is just fine. And it really doesn’t matter how long you spend. Sunbathing in the middle of a park – for any length of time, as long as there’s space – is fine, sunbathing on a park bench next to a path is not, especially if you’re talking.

For the runners I’ve mentioned above, this would have various implications to stop them breathing heavily into confined spaces – which is profoundly antisocial at the moment. Firstly, if they can, they should avoid narrow spaces: pavements, alleys, pathways with walls or trees either side. If that’s impossible, at the very least, they should wear a mask and do their best to steer clear of people coming the other way. Local governments could help by marking out official one-way lanes for runners in local parks, much as our larger supermarkets have done for shoppers pushing trolleys.

I’m not going to overburden this post with more examples: suffice to say that I could write hundreds of words going through irrational inconsistencies even within my own small area of life. What I’m more interested is the principle: why did government officials think that it was a better idea to micro-manage individual activities rather than explain the problem to people and expect them to make good decisions?

I don’t know the answer to this, but I have my suspicion and I don’t like it. My best guess is that the rulemakers think the majority of people are too fundamentally stupid and/or irresponsible to take a simple set of principles and deduce how they should behave. It’s an incredibly patronising attitude, which fails to recognise that it cuts both ways: for everyone too stupid to understand a principle, there’s someone else who recognises a stupid rule when they see one and draws the conclusion that all rules are stupid and should therefore be ignored. It also fails to realise that the really irresponsible people are going to be as irresponsible on detailed rules as they are on the big picture.

Our tennis coaches are mainly self-employed and will have been filing their claims under the Self-Employment Income Support Scheme when it opened – at exactly the time that the rumblings over “how are we going to pay for all this debt” have started increasing. Those claims were completely unnecessary: a result of poorly targeted rulemaking. I’m sure there are thousands of other examples.

Dear Government, please start treating people with some respect and make the rules line up with what we’re all trying to achieve, to minimise the havoc caused by this epidemic. Otherwise, you waste everyone’s time and resources and bring yourselves into disrepute.

Caveats:

In my guidance to rule 1, I don’t know whether 1, 2 and 4 metres are the best numbers to use: better scientists than me equipped with the latest evidence might choose different thresholds.

I’m talking about guidance to the public here. Obviously, there are many types of environment where there’s a need for clear guidance specific to that environment – hospitals, schools, offices, building sites and many more.

This all assumes that we agree with the basic strategy of “we need lockdown in order to minimise transmission of the virus”. Not everyone does, but that’s another story which needs to be explored separately.

Around the world in 80 bakes, no.9: Char siu bao from China

Around the world in 80 bakes, no.9: Char siu bao from China

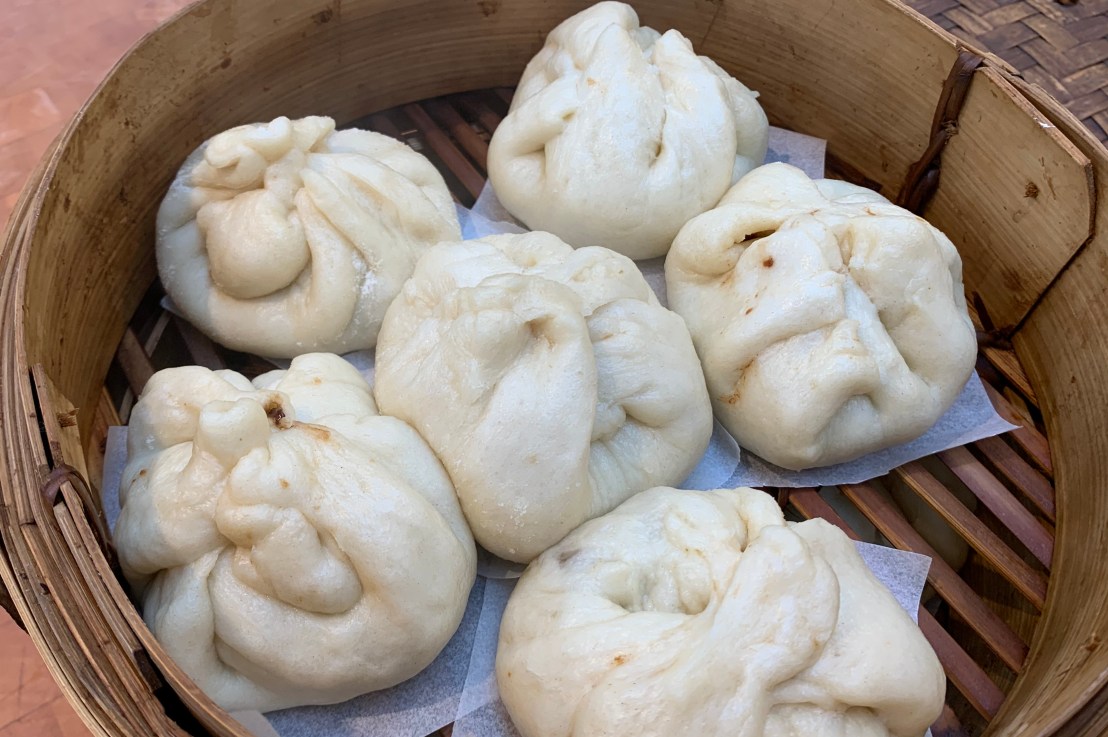
Quite simply, Char siu bao are the best street food ever. These steamed, yeasted dumplings filled with sticky barbecued pork may have started life in the heat of Southern China, but they’ve migrated to every corner of the country (and much of Asia and the rest of the world). In Beijing and Shanghai, there are whole shops devoted to them, not least because they make a fantastic warmer in the cold winters. People argue about the finer points of whose version is best.

None of this is a secret, but there are two surprises. The first is that bao are relatively easy to make, if you’re used to baking: you mostly use standard bread-making techniques, the difference coming only at the end when you use a steamer instead of an oven (there are baked versions of bao, but the steamed ones are far more common). The second is that they’re as good a dish to make at home as they are to eat on the street or in a dim sum joint: they freeze wonderfully and 20 seconds in a microwave will get a bao from fridge temperature to a delicious and warming snack.

A few subtleties before you start:

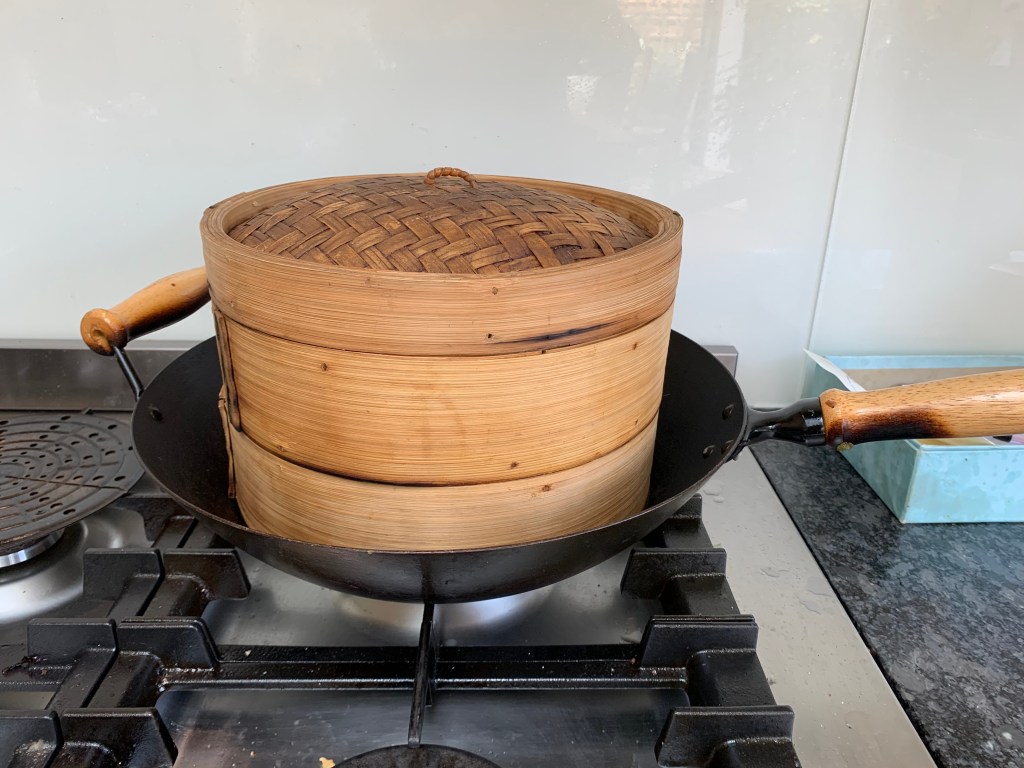
  • You will need a steamer, either purpose-built or jury-rigged. The ideal is to have one or two Chinese bamboo steamers set over a wok with a couple of centimetres of boiling water (they stack). But you can use anything you like that gets steam flowing around your bao without them ending up in a pool of hot water.
  • The bao you buy off the street in China or in dim sum joints are preternaturally white. That’s because they’re made from highly bleached flour (if you’re in a Chinese shop, ask for “Hong Kong flour”). Personally, I’m not bothered.
  • Tracts have been written on the best way to achieve maximum fluffiness of the bun. I’ve still got room from improvement here: when lockdown ends, I’ll be trying some different types of flour and technical variations on when to add the baking powder, whether to do a second prove, etc. For now, I’m going with a 5:1 mix of strong white bread flour to cornflour (it’s what I’ve got). Ideally, use a white flour with a low protein content.
  • The filling given here is an example. Use your favourite Chinese flavourings: bean pastes, oyster sauce, whatever; add chili if want it spicy. The choice is yours.
  • Choose your favourite spelling: Char siu vs Char siew vs chāshāo. And choose your favourite recipe for making it: I’ve given you one below.

Dough

  • 8g dried yeast
  • 50g sugar
  • 180g warm water (around 40℃)
  • 20g oil (I used sunflower oil, any fairly neutral oil will work)
  • 300g white flour
  • 60g cornflour
  • 1 tsp salt
  • 2 tsp baking powder
  1. Preheat oven to 50℃ (you’ll be using it to prove the dough).
  2. Combine water, sugar and yeast; stir well to dissolve; leave for 10 minutes or so
  3. Combine flour, cornflour, salt and baking powder and mix thoroughly
  4. Once your wet mixture is nicely frothy, add it to the dry mixture and add the oil. Mix thoroughly into a ball and then knead for around 5-10 minutes – you’ve kneaded it enough when the dough is very elastic and bounces back nicely when you stretch or punch it.
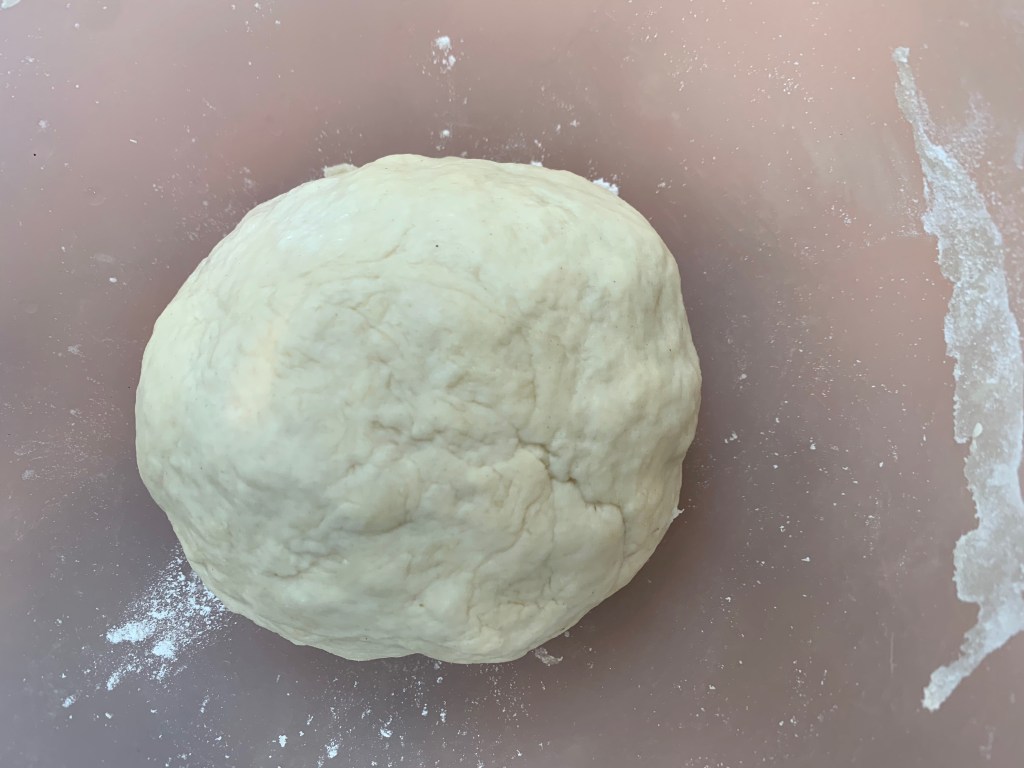
  5. Put the dough into a large bowl with a damp tea towel over it. SWITCH OFF THE OVEN and put it in. Leave the dough to to rise for around 60-90 minutes. I can never figure out what people mean when they say “until it’s doubled in size”: I leave the dough until it’s mostly filled the bowl.

Filling

You’ll have time to make your filling while the dough is being left to rise.

  • 200g Char siu (see below for recipe)
  • 90g red onion or banana shallots
  • 3 cloves garlic
  • 3 spring onions
  • 1 tbs oil (I used sunflower oil, any fairly neutral oil will work)
  • 1 tbs hoisin sauce
  • 1 tbs dark soya sauce
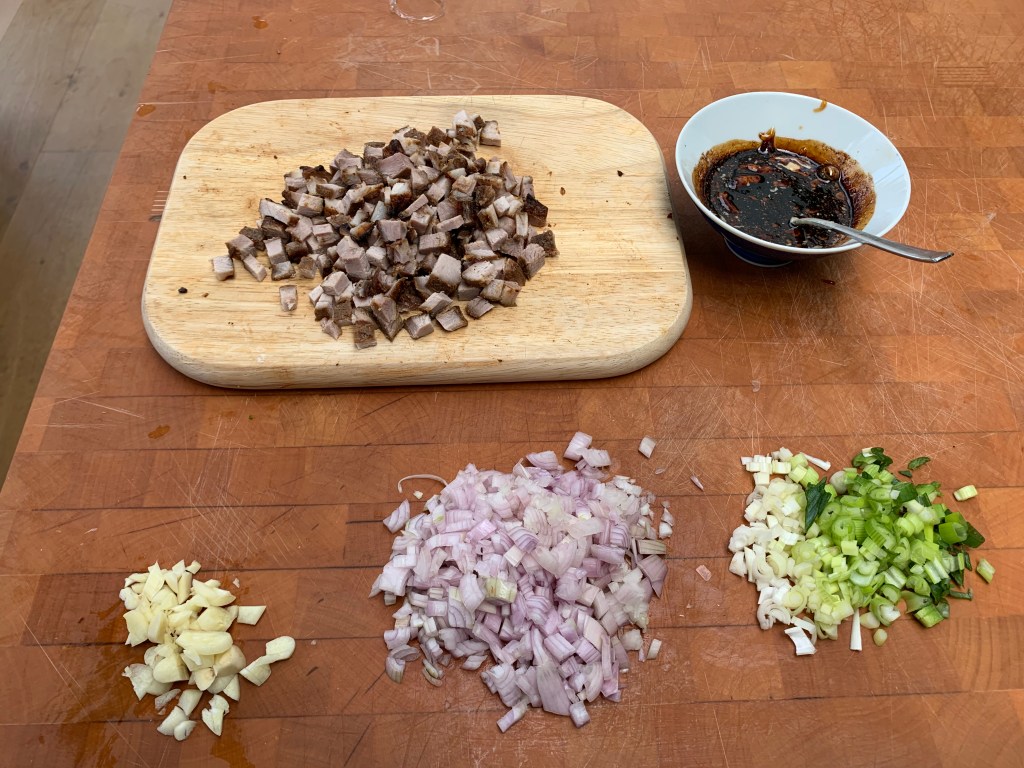
  1. Chop the Char siu very finely (around 3mm dice would be ideal). Chop the onion, garlic and spring onions very finely also.
  2. Heat oil in your wok to high heat. When hot, add the onions and garlic, stir-fry for a couple of minutes
  3. Add spring onions, stir fry until onions are transparent
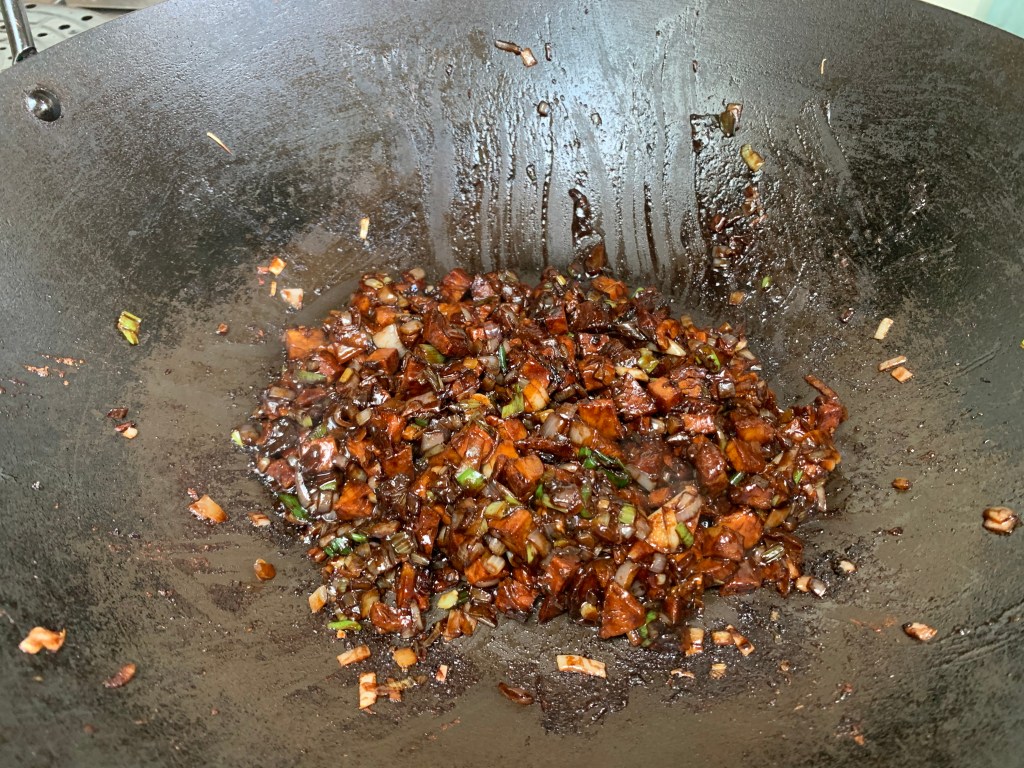
  4. Add Char siu, hoisin sance and dark soya sauce, mix thoroughly, then turn the heat down and stir fry for a minute or two until everything is combined and fragrant.
  5. Remove from heat and let cool while your dough is rising. If you’re going to use the same wok for steaming, you’ll now need to decant the filling to another bowl and wash up the wok.

Assembly

  1. Cut twelve squares of greaseproof paper, around 8cm square.
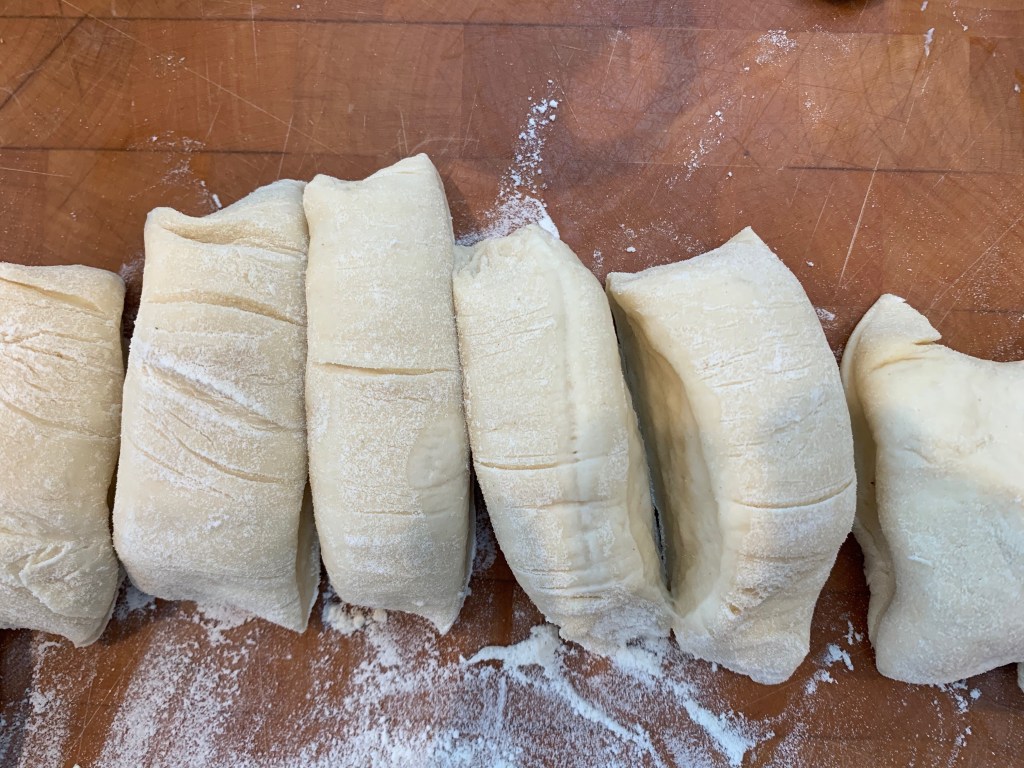
  2. Take the dough out of its bowl and divide into twelve portions, as evenly as you can manage (the easiest way to get them even is to roll the dough into a cylinder, chop it into half, chop each half in half and then each remaining piece into three).
  3. With a floured rolling pin on  floured surface, roll a portion of dough out into a flat disc, around 12cm in diameter.
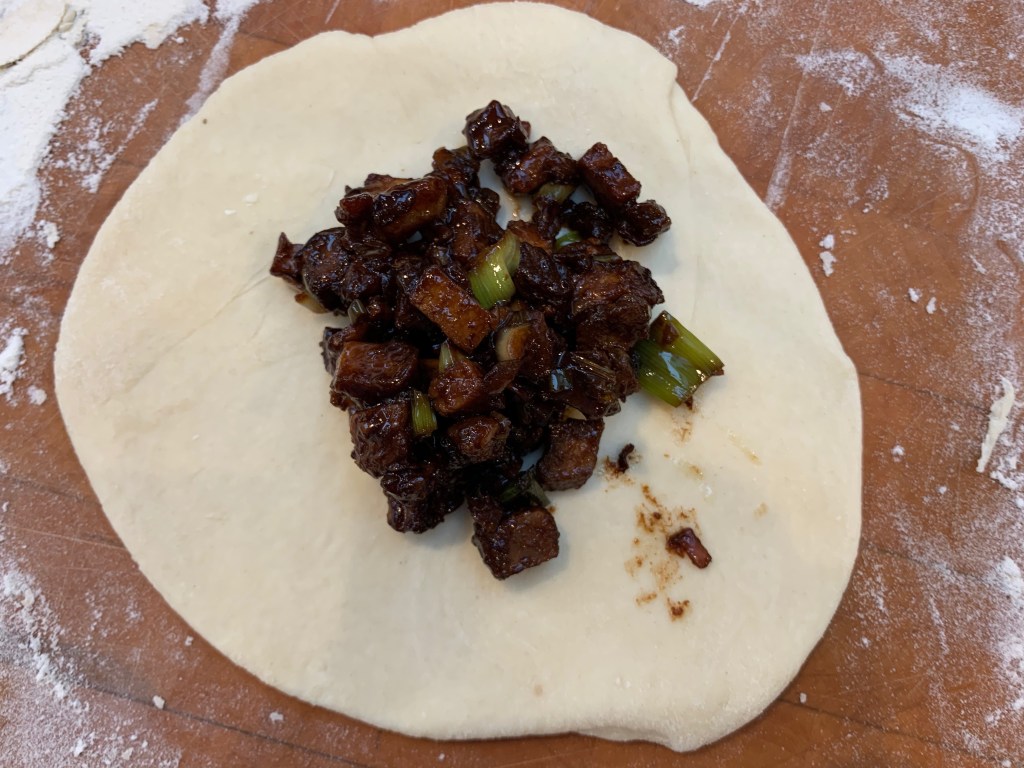
  4. Spoon a dollop of filling into the middle (don’t touch it with your fingers or you’ll then stain the dough)
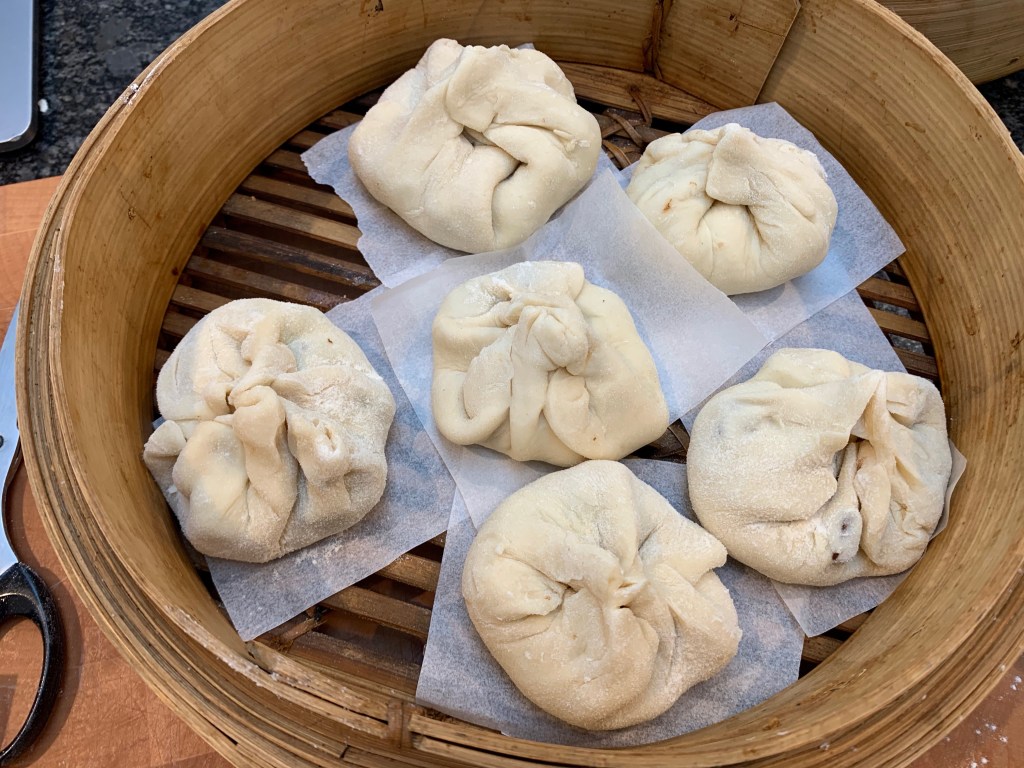
  5. Pinch up the dough into pleats, ensuring at each stage that the filling isn’t being allowed to drop out. You end up with a shape a bit like the onion dome on a Russian church.
  6. Put the completed dumpling on a square of greaseproof paper and transfer it to your steamer.
  7. Repeat for the remaining bao. Depending on the size of your steamer, you may have to do this in several batches.
  8. Steam the bao for around 12-15 minutes until fluffy and cooked through.

Making your own Char Siu

Char siu is barbecued, marinated pork. The first thing you have to decide is what pork to buy. My preferred cut is shoulder, which has some fat in it but not too much. Fillet (aka tenderloin) or loin is OK, but has so little fat content that it tends to dry out. Belly is the opposite: your char siu will be beautifully soft but you may find it rather fatty.

There are a million different recipes for the marinade. They pretty much all involve soy sauce, garlic, five spice powder, a sweetener (sugar / honey / hoisin sauce) and something to make it sour (vinegar / tomato puree). Shaoxing rice wine is a popular addition. Quantities can vary wildly according to taste.

The best suggestion I’ve found for simulating the way the Chinese make char siu comes from Woks of life: set your oven to its highest setting (probably 250℃ fan) and roast your meat on a grid over water. I’ve gone for a simplified version of what they do.

By tradition, char siu is red. In practise, this is typically achieved by using red food colouring. Personally, I can’t be bothered, so my char siu is brown.

  • Pork shoulder – 1 kg
  • Garlic – 3 clove, crushed
  • Five spice powder – ½ tsp
  • Dark soya sauce – 1 tbs
  • Hoisin sauce – 1 tbs
  • Shaoxing rice wine – 1 tbs
  • Tomato puree – 1 tbs
  1. Cut the pork into large strips (around 6-8 cm in diameter). If you’re using tenderloin, that’s pretty much the width of the whole thing, so just cut it in half.
  2. Mix all the marinade ingredients in a bowl big enough to hold the pork, dunk the pork into the marinade and make sure it’s all properly coated, cover and leave overnight.
  3. Preheat oven to 250℃, with an oven shelf near the top.
  4. Use a deep oven dish half-filled with water. Place a grid over the oven dish, then put the pork on the grid. 
  5. Put the whole lot into the oven and roast for around 40 minutes. You want the pork to be cooked through, but not dry. You may want to baste the pork with any remaining marinade every 10 minutes or so.

The quantities given are for 1 kg of pork, which is over three times what you’ll need for one batch of bao. The idea is that you’re going to eat some freshly cooked for a main meal, and then use the leftovers for bao a day or so later, freezing any you have left after that.

Guest post: how to make coronavirus masks

Guest post: how to make coronavirus masks

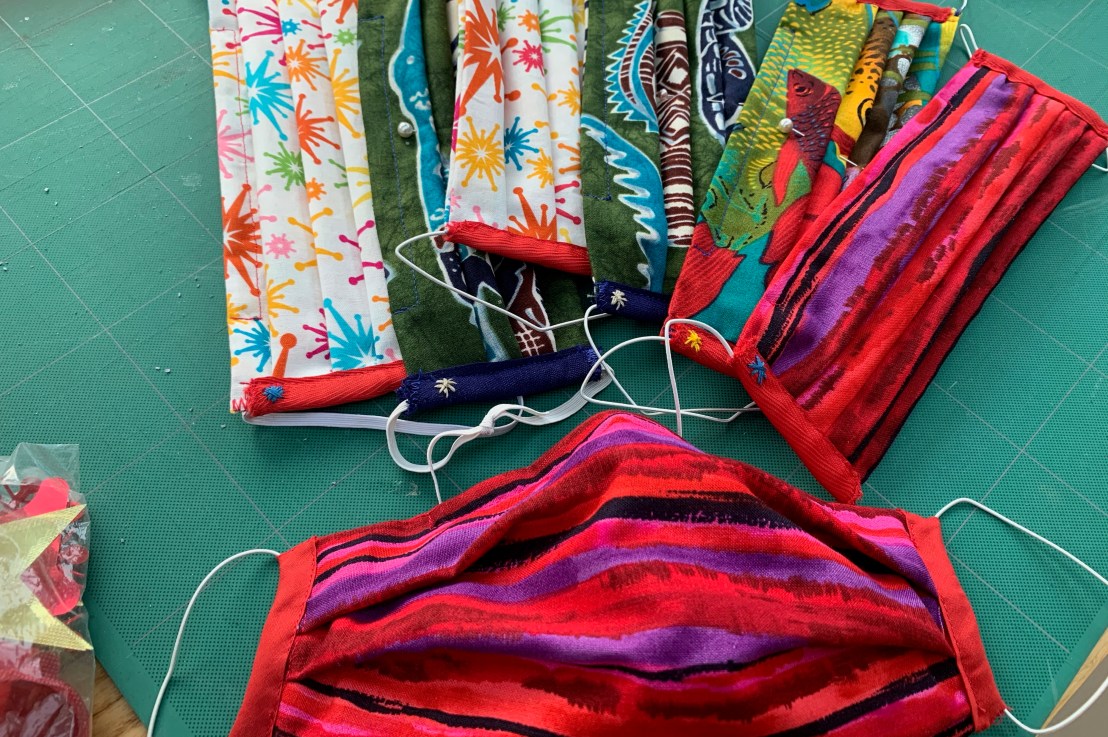
The “I” in this post is my wife Alison, who has spent much time making brightly coloured masks for family and friends from an assortment of materials hoarded in our home. She doesn’t have her own blog but very much wanted to share this with anyone who might find it useful.

There are other blog posts for making masks online, but for one reason or another I didn’t get on with them as they failed to give exact measurements where I most needed them and provided a video when I prefer images that I can study. Here is a complete version of masks that family and friends have found fit our faces well, and look stylish.

The cotton I have recommended is very crisp and has a very tight weave. This means if you hold it up to the light you should find it doesn’t let much light through. It is not stretchy if you pull it. The idea of this is that tightly woven material lets through fewer germs. A double thickness of the material is recommended. I tried adding a non woven fabric within the mask and found it too thick to allow me to breathe comfortably.

What you need

  • High thread count cotton fabric: 2 pieces 23 cm wide by 20 cm high. 
  • Cord elastic or 3mm flat elastic 50 cm
  • Tape 14 cm long x 2 cm wide – ideally cotton so it does not fray easily, but if you can’t find that bias binding or ribbon 2 cm wide (Note it’s very fiddly if the tape is 1 cm wide)
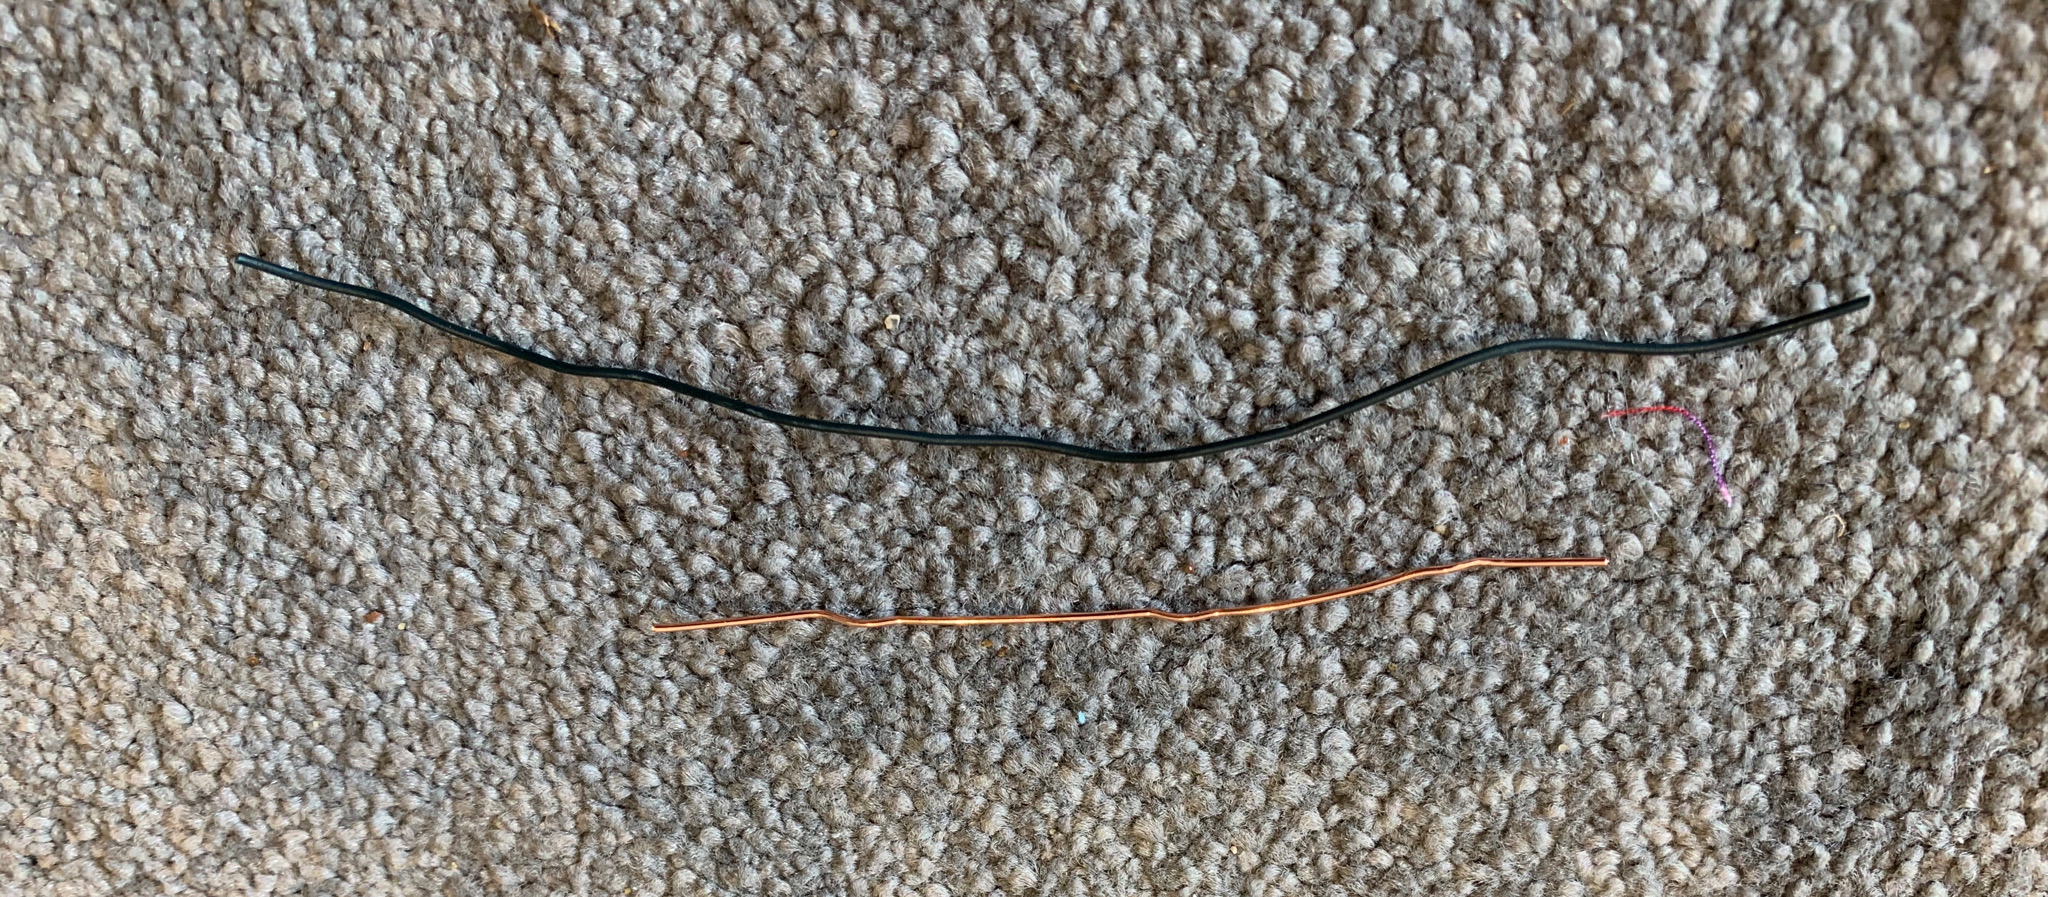
  • Wire for nose Garden wire, or a paper clip unwound, or a pipe cleaner, select anything from length 9 cm (paper-clip) to 15 cm (garden wire).
  • Thread

Method

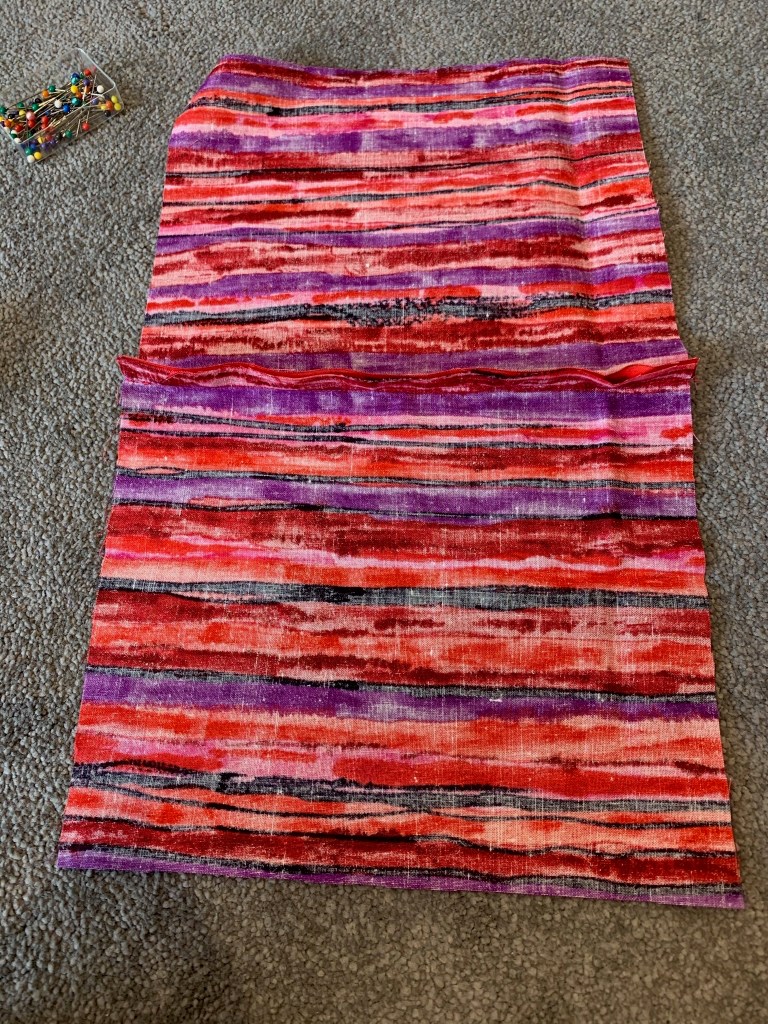
  1. Cut out your fabric into 2 pieces of material 23 cm wide by 20 cm high. Put the right sides together.
Masks cut 20 cm high x 23 cm wide, right sides together
Wire to shape around nose
  1. Machine sew the two pieces together along one long side 1 cm from the edge of the material.
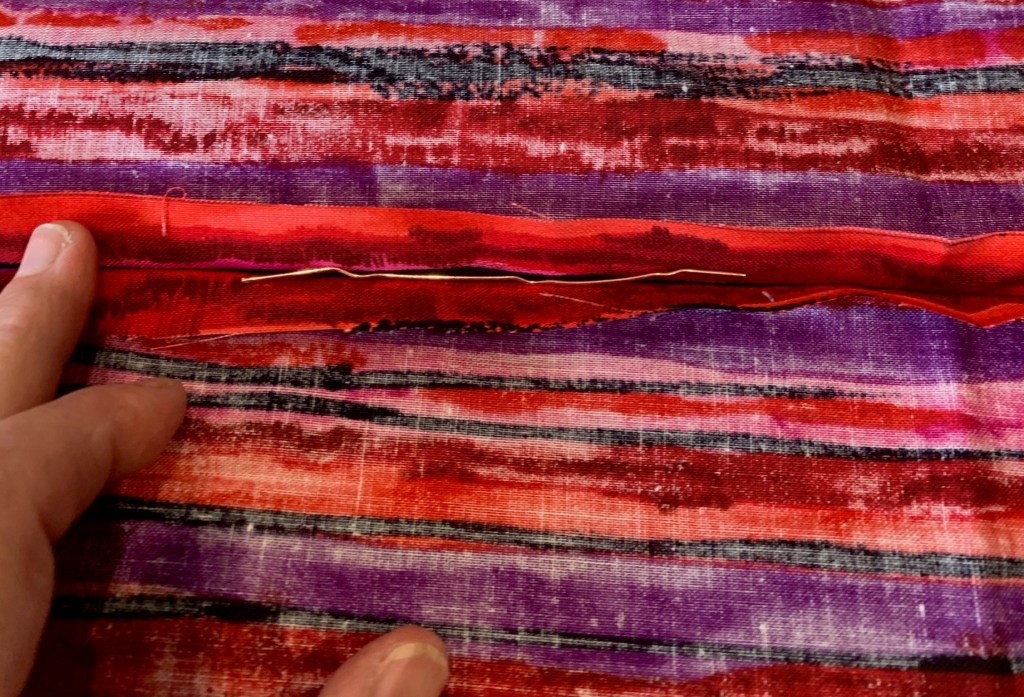
  2. Open out the fabric with the right side facing down. The hemmed edge faces up. Place your piece of wire in the middle, between the two edges of material 
Wire between two edges of material
  1. Bring the top piece of the material down so you trap the wire in place. Hold it there by pinning it into position leaving equal amounts of room to the left and right.
Pin the nose wire into position marking the ends
Nose wire sewn in mask
  1. Now flip the material so you have the right sides together again and sew the second long seam, parallel to the first seam, again 1 cm from the edge and when down, turn inside out so you now have a cylinder of material, right side facing out. You’re now ready for the pleating!
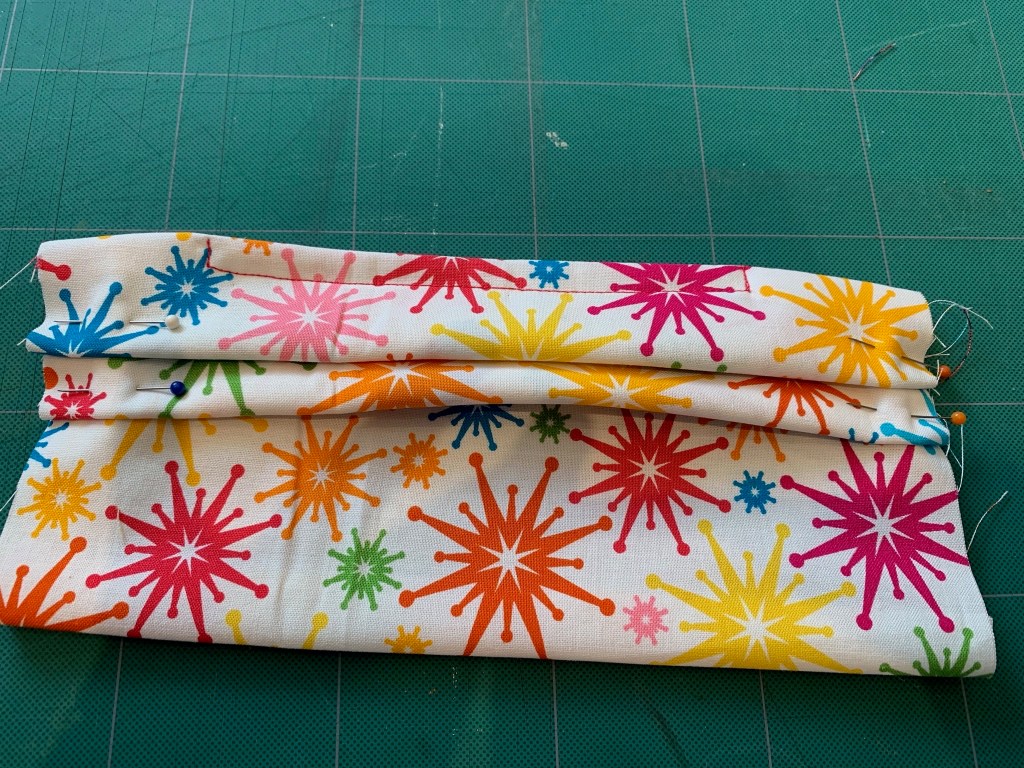
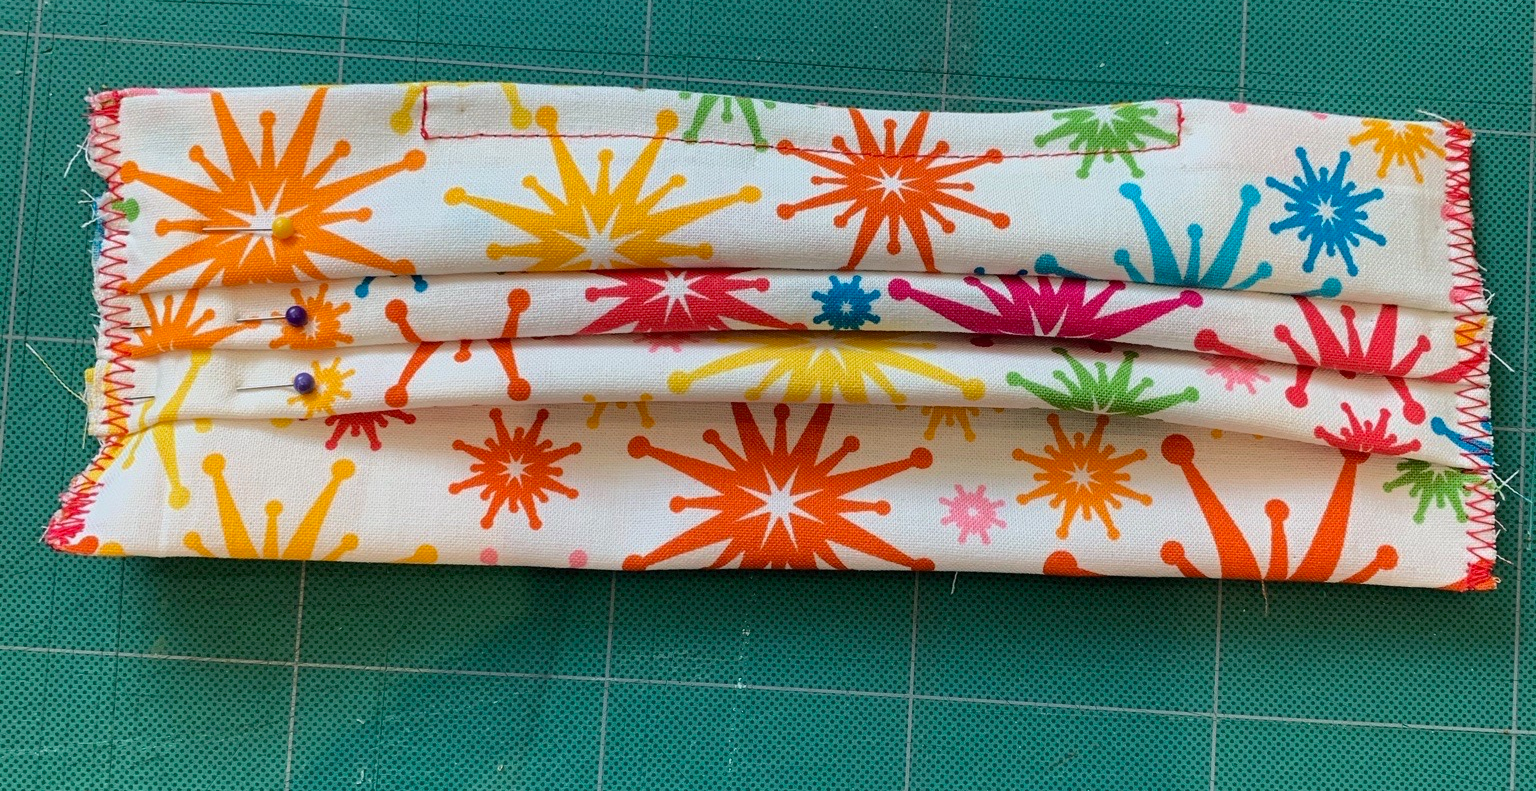
  1. The pleating is easy once you get used to it but the first time seems really fiddly. Remember your pleats must face down your mask, away from the nose wire. You need a total of 3 pleats. The top of one pleat should approximately meet the bottom of the next one. You want to end up with a mask which is 7cm wide at the sides. You fold the material starting just under the stitching of your box for the wire, about 2cm from the top.
Making pleats for mask, 2 out of 3 done
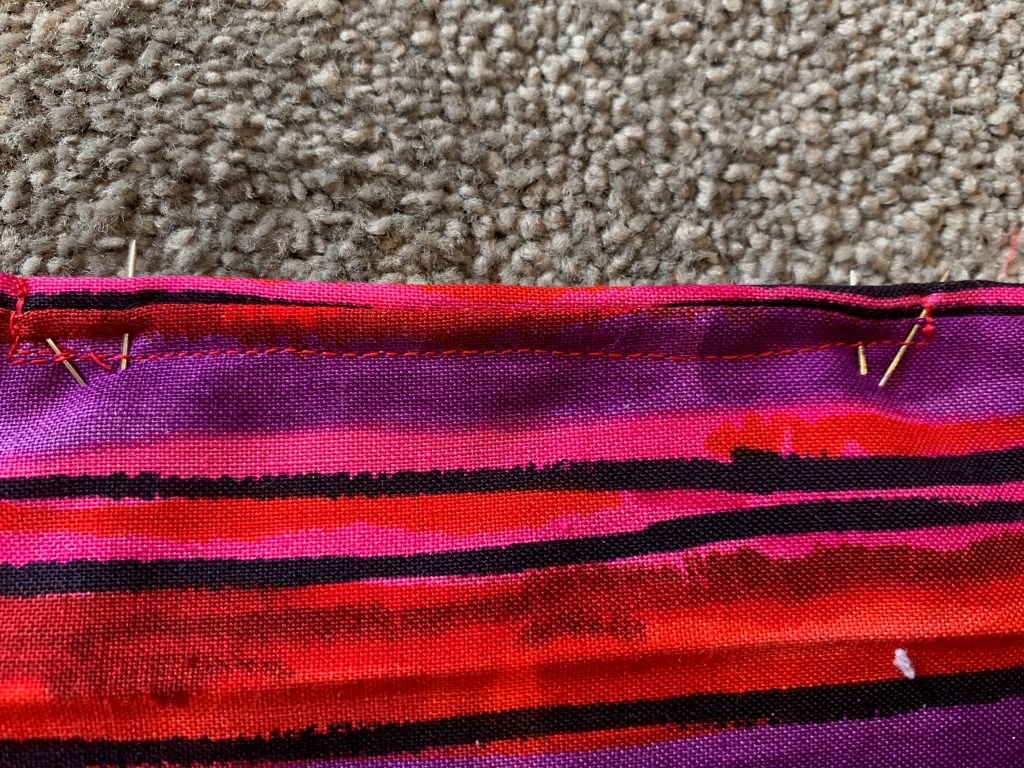
  1. You pin the pleats into place and once you’ve made your 3, check the width of your mask is no more than 7 cm wide, perhaps slightly less. When you’re happy with it, zig-zag stitch the edges of the mask to hold the pleats in place.
Zig-zag stitch edges of mask
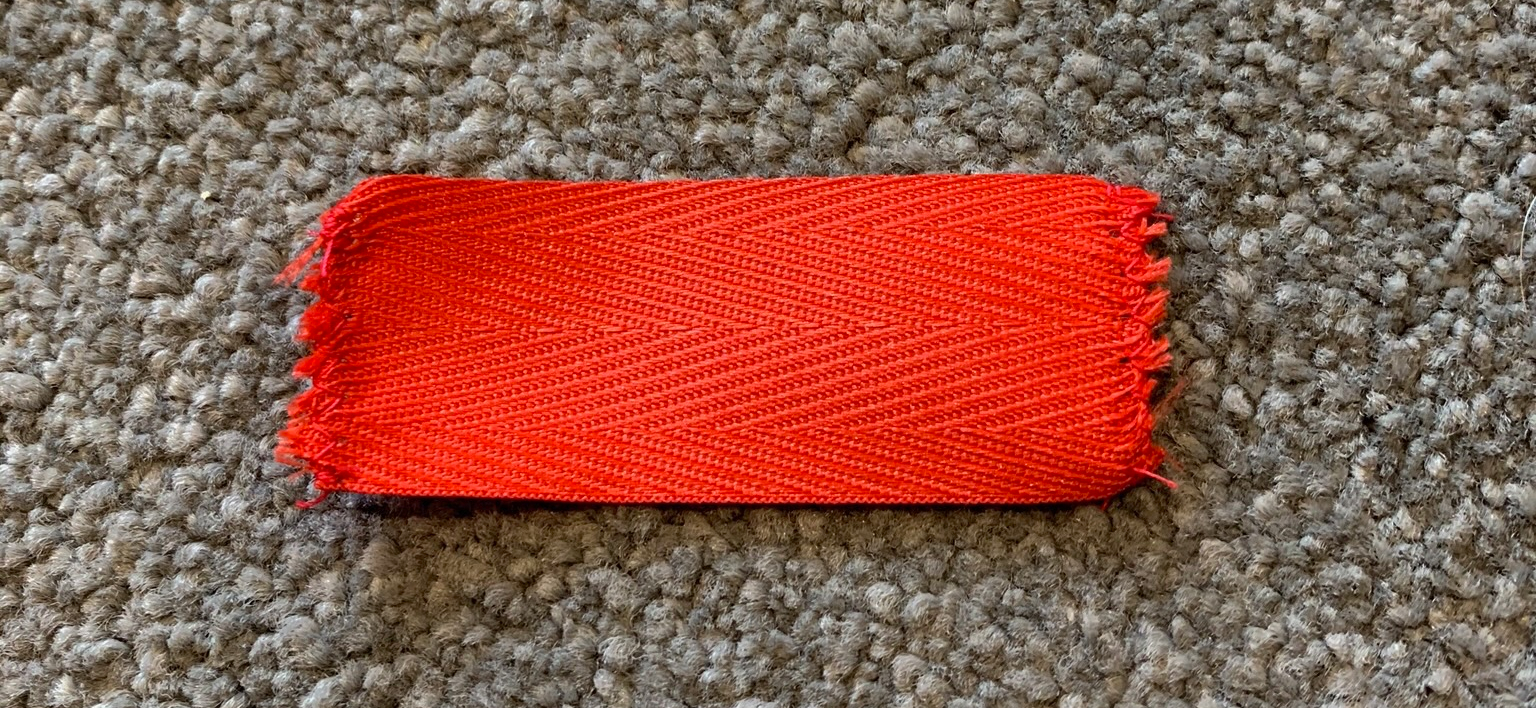
  1. Cut your tape exactly into two so you have 2 pieces 7 cm long. Zig-zag the short edges so they don’t fray. These must not be sewn onto the mask to enable you to get the elastic in and out (in case the knots in the elastic come undone.)
Zig-zag edges of tape to stop fraying
  1. Pin the tape to the edges of your mask as shown below. Try to get the same amount of tape on the back and the front of the mask. 
Tape pinned onto mask
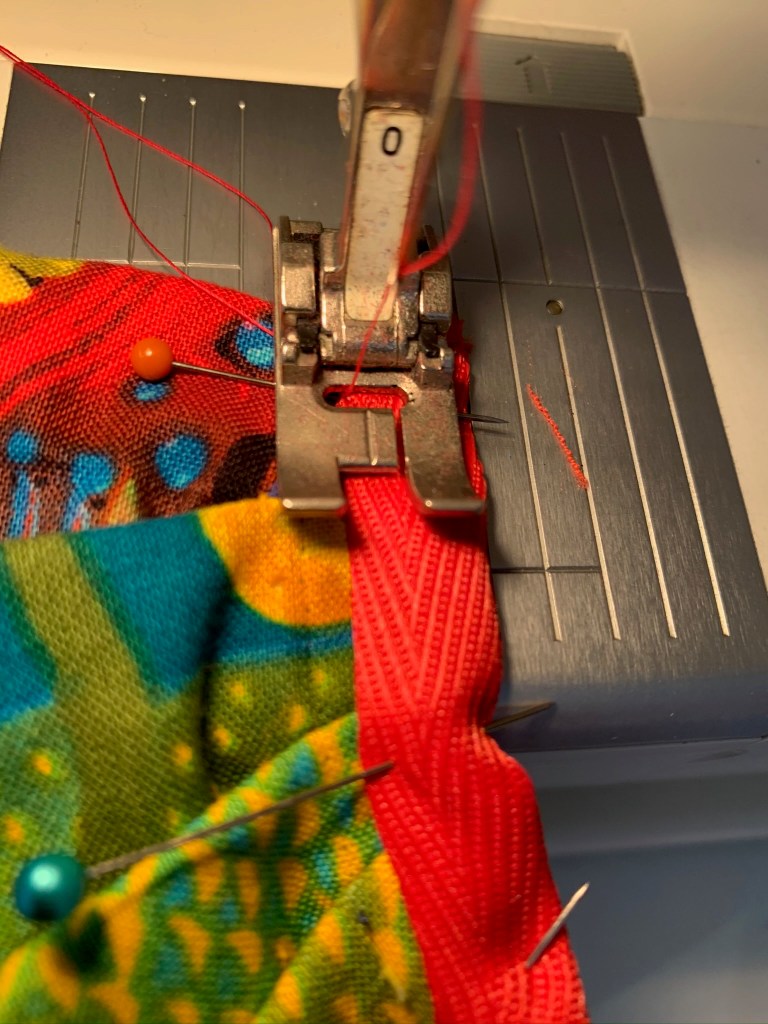
  1. Stitch the tape to the mask as close to the edge as you dare. 
Stitch tape close to its edge to allow the tape to go through easily
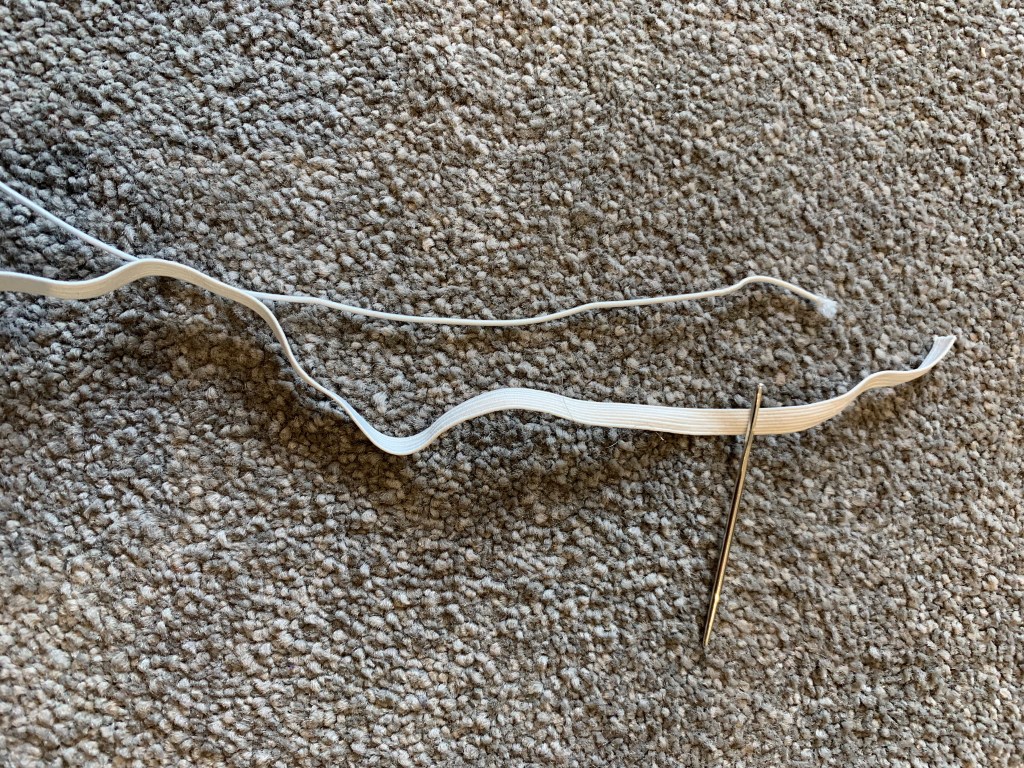
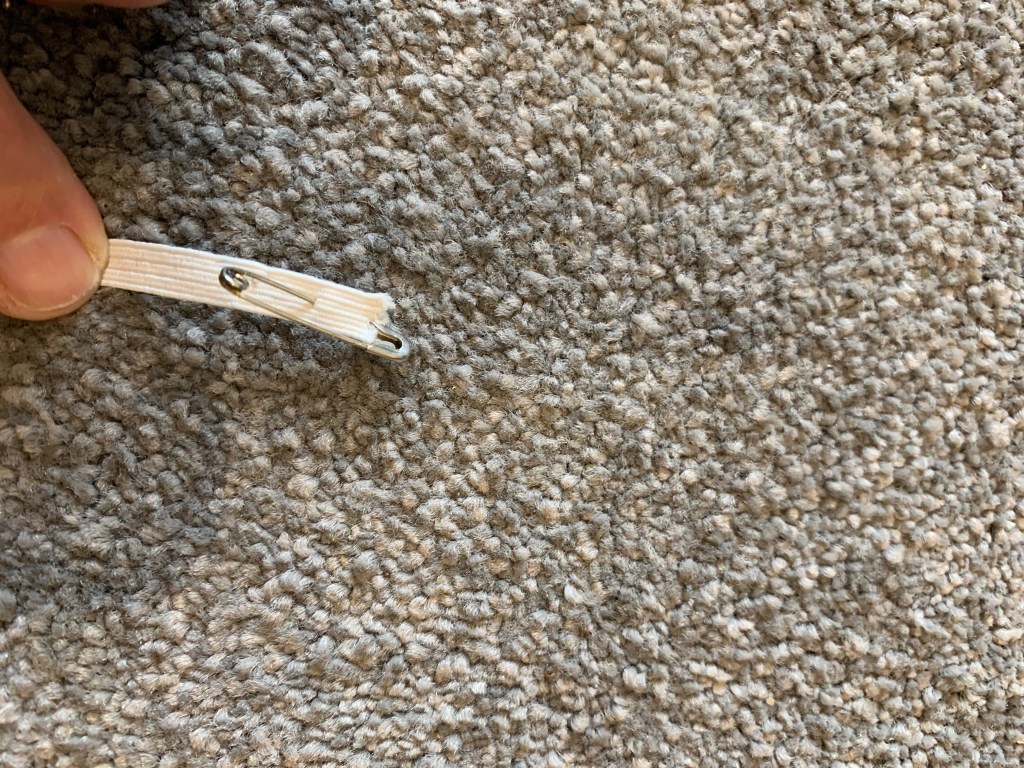
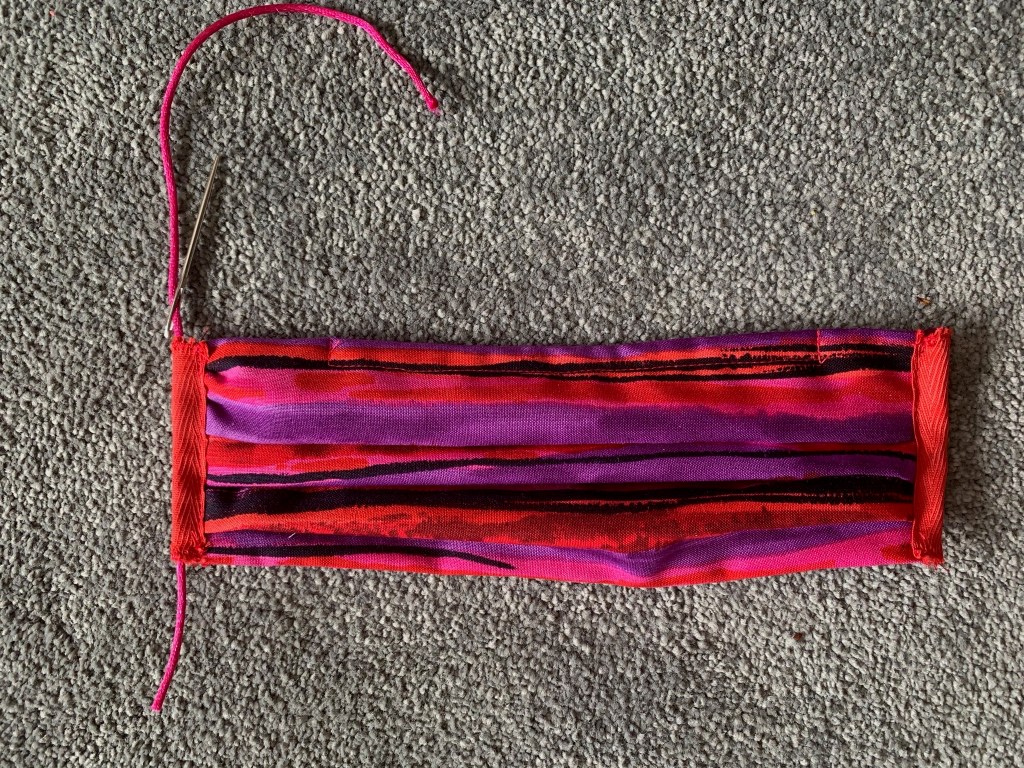
  1. Now cut the elastic exactly into two 25 cm lengths. Using either a tapestry needle to thread the elastic or a tiny safety pin, wiggle the needle or safety pin through the tape to bring the elastic from the bottom to the top.
Elastic for masks
How to thread elastic using a safety pin
  1. Now tie the ends of the elastic together to make a secure knot – maybe a reef knot, 1 cm from the end of each piece of elastic and you have your mask
Thread elastic through the tape
Finished mask, adjustable by tightening the knots

I hope you enjoy making these and that they keep you cheerful and safe.