Yes, we all know the (probably apocryphal) history of the upside down tart made by mistake. But the reason for including a Tarte Tatin in this series is that quite simply, it’s the single thing that I bake that is most requested by my family. There’s something about the way that caramel blends into the fruit that is quite irresistible.
Tarte Tatin is most commonly made with apples and there’s plenty of room for debate as to which variety of apple to use. The most authentic version uses a French variety called “Reine de Reinettes”, which is equivalent to an English “King of Pippins”, but neither of these are readily available in UK supermarkets. Many modern French recipes specify Granny Smiths, although these can be very acid and even a touch watery. You’ll also see Golden Delicious: the trouble here is that there are some wonderful Golden Delicious apples around, particularly in Italy, but also some really powdery, tasteless ones. When I’m not using apples from the tree in our garden, I tend to use a half-half mix of Braeburn or Jazz and Granny Smith.
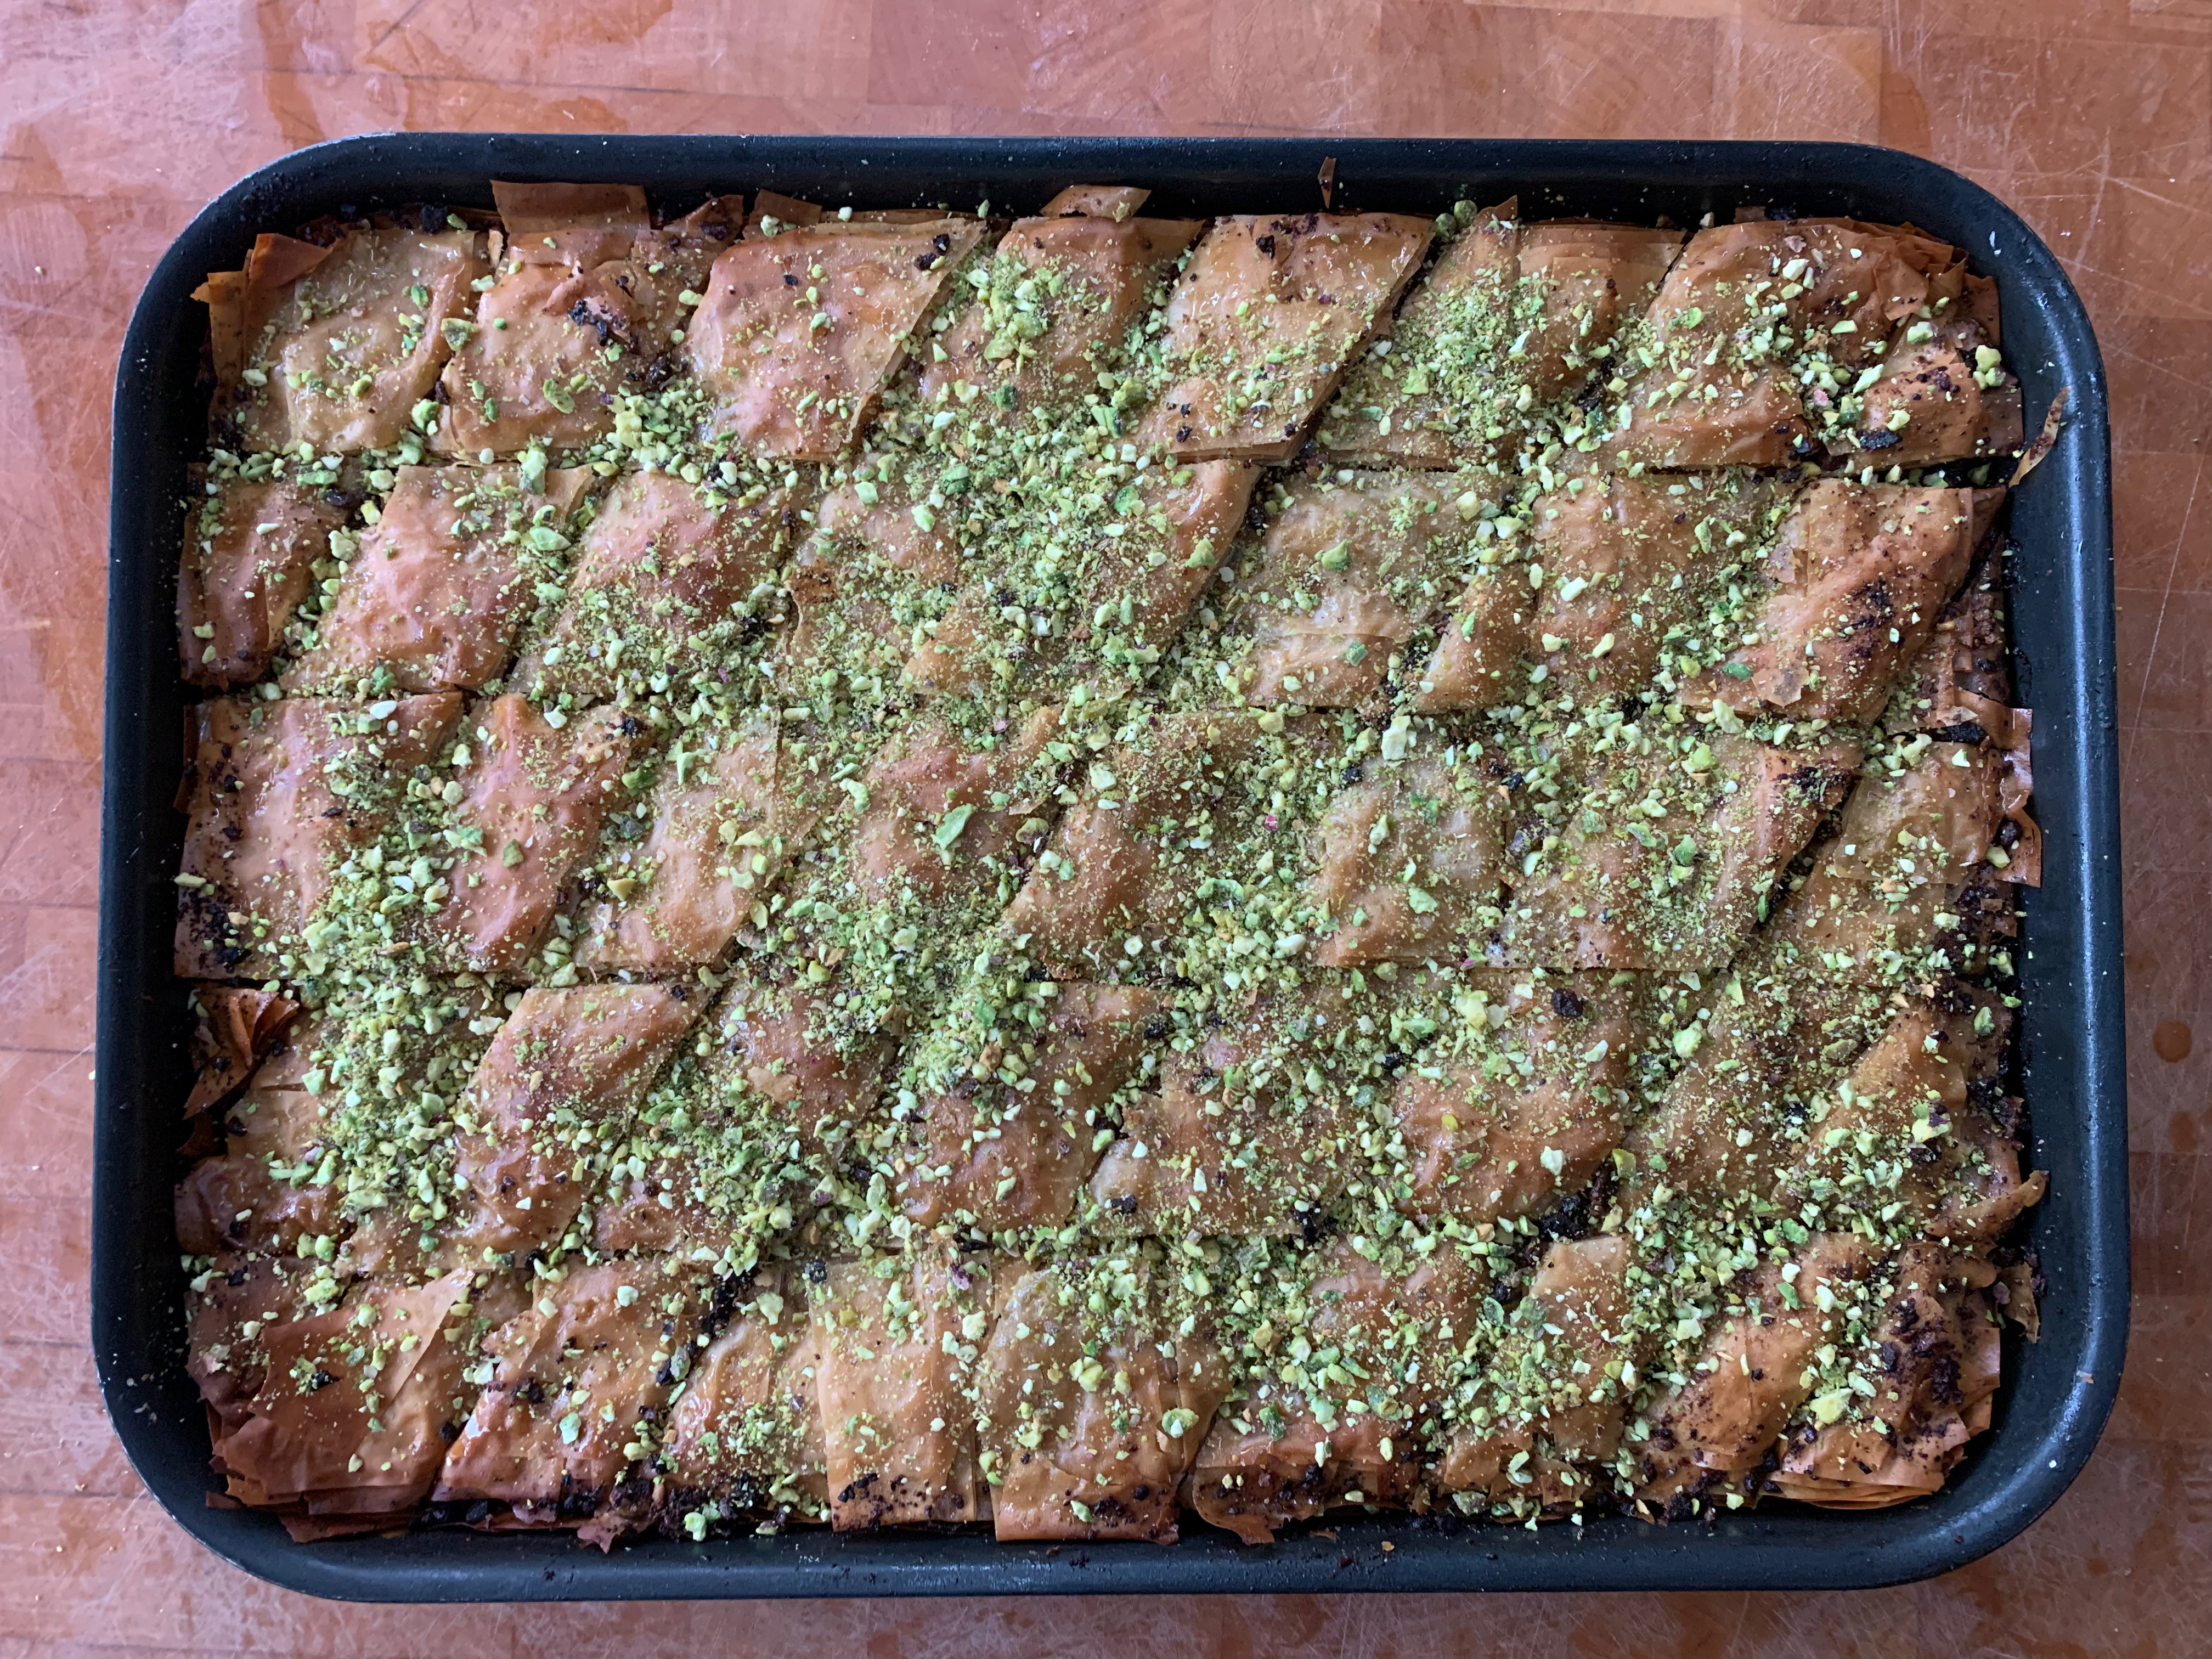
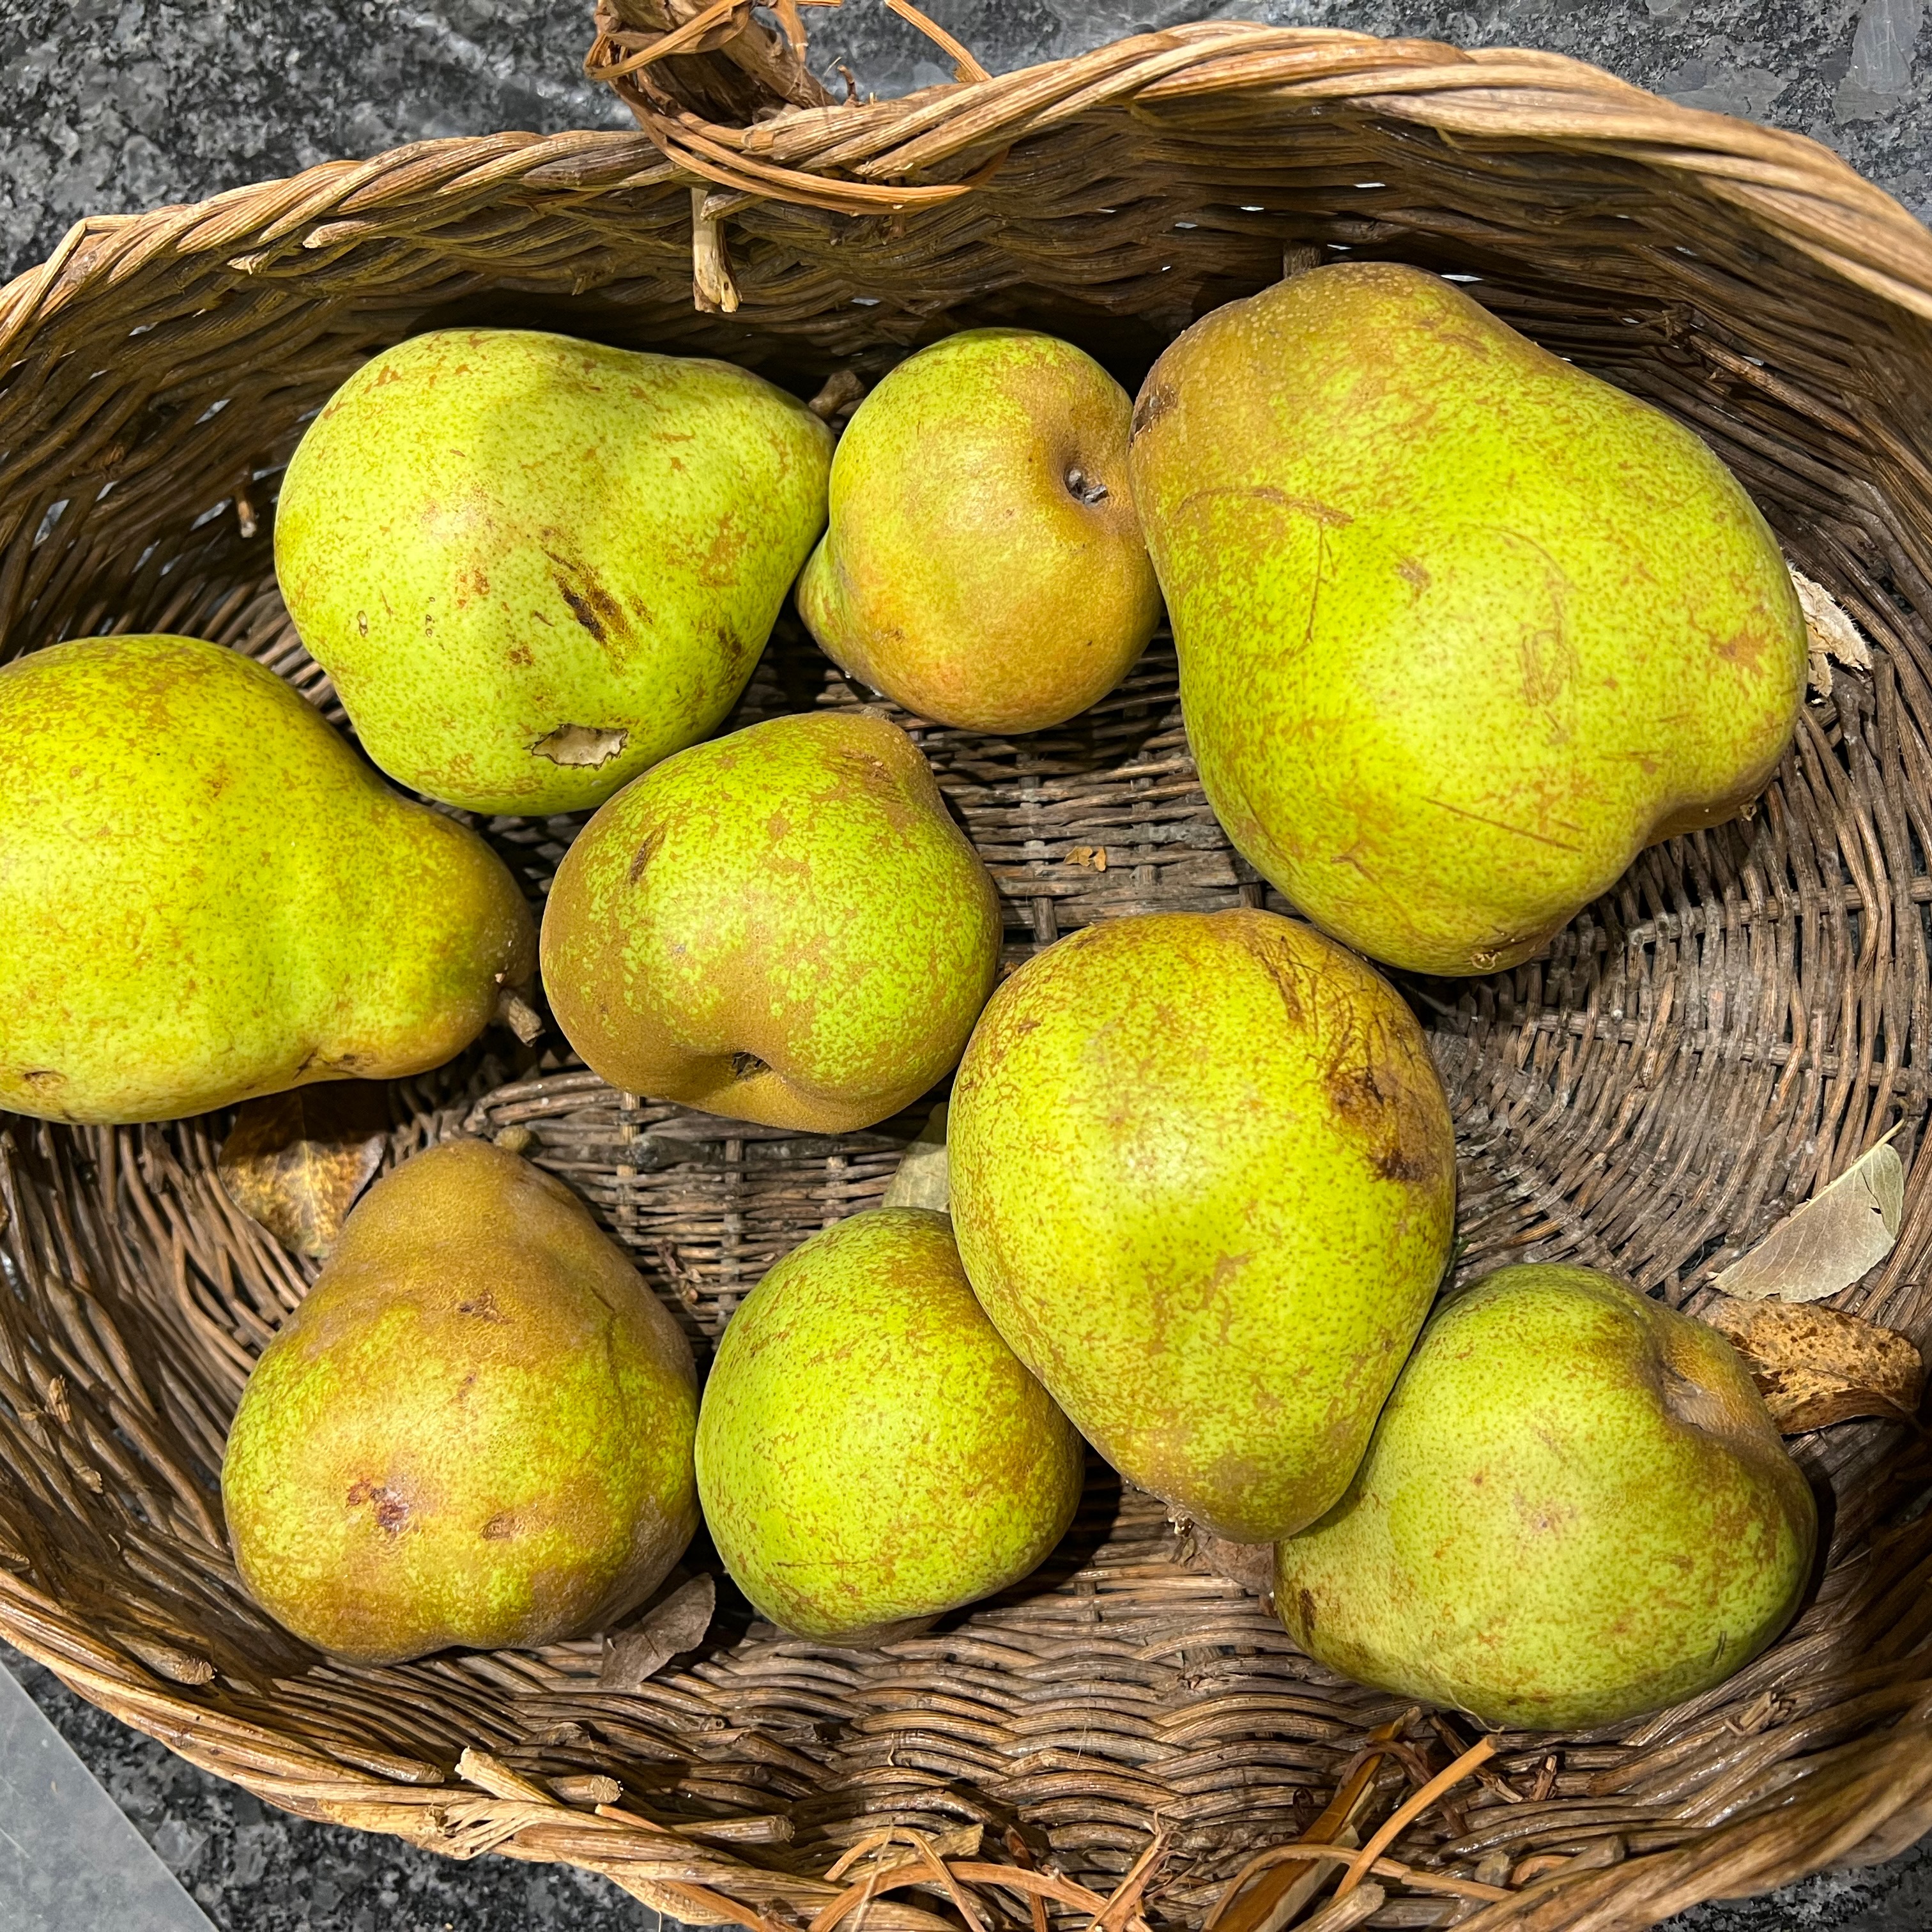
However, for this post, I’m not using apples at all. A fabulous new French restaurant, Les Deux Garçons, has opened down the road from our home and they do a stunning pear Tarte Tatin. Our apple tree has finished producing for the year, but we have a glut of slightly underripe pears which, the chef at Les Deux Garçons explained, should be perfect for making a Tatin. I checked this out and it worked like a dream: a gentler, more subtle flavour than the apple, but very fruity and truly scrumptious. The only real downside of using pears (at least our ones) is that they release at lot more moisture than apples, so any surplus caramel is considerably more runny than I’d like.
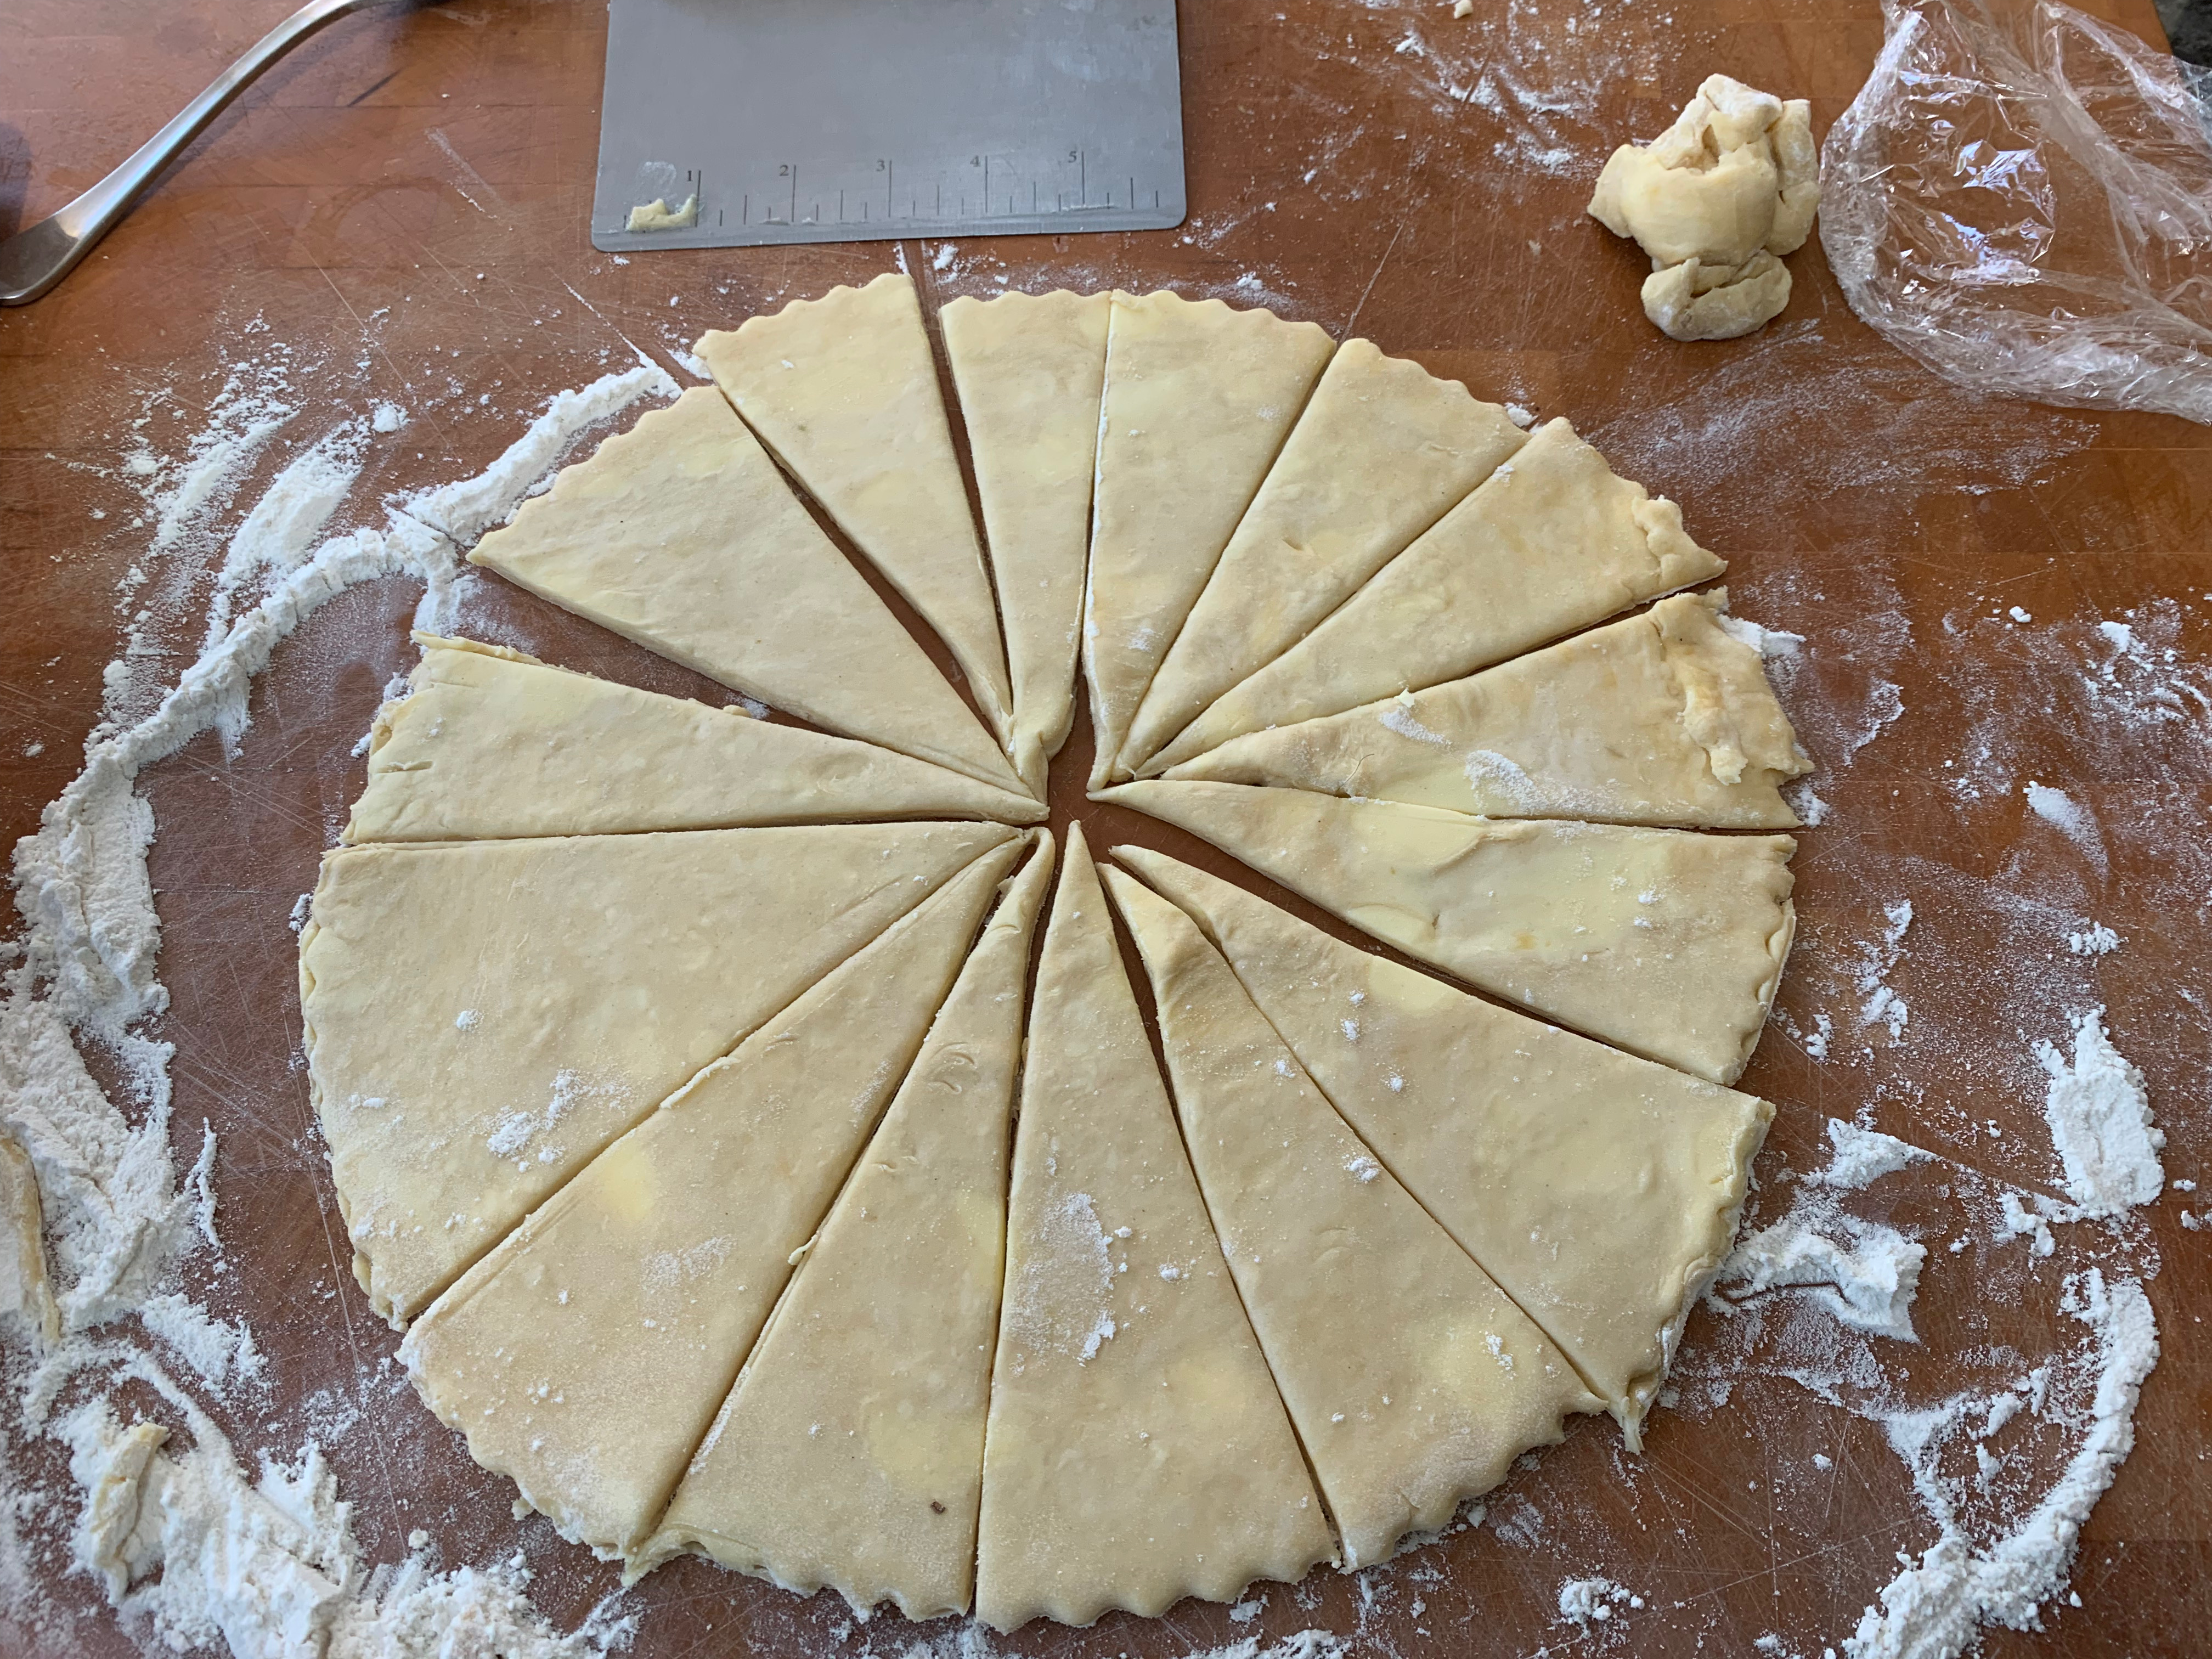
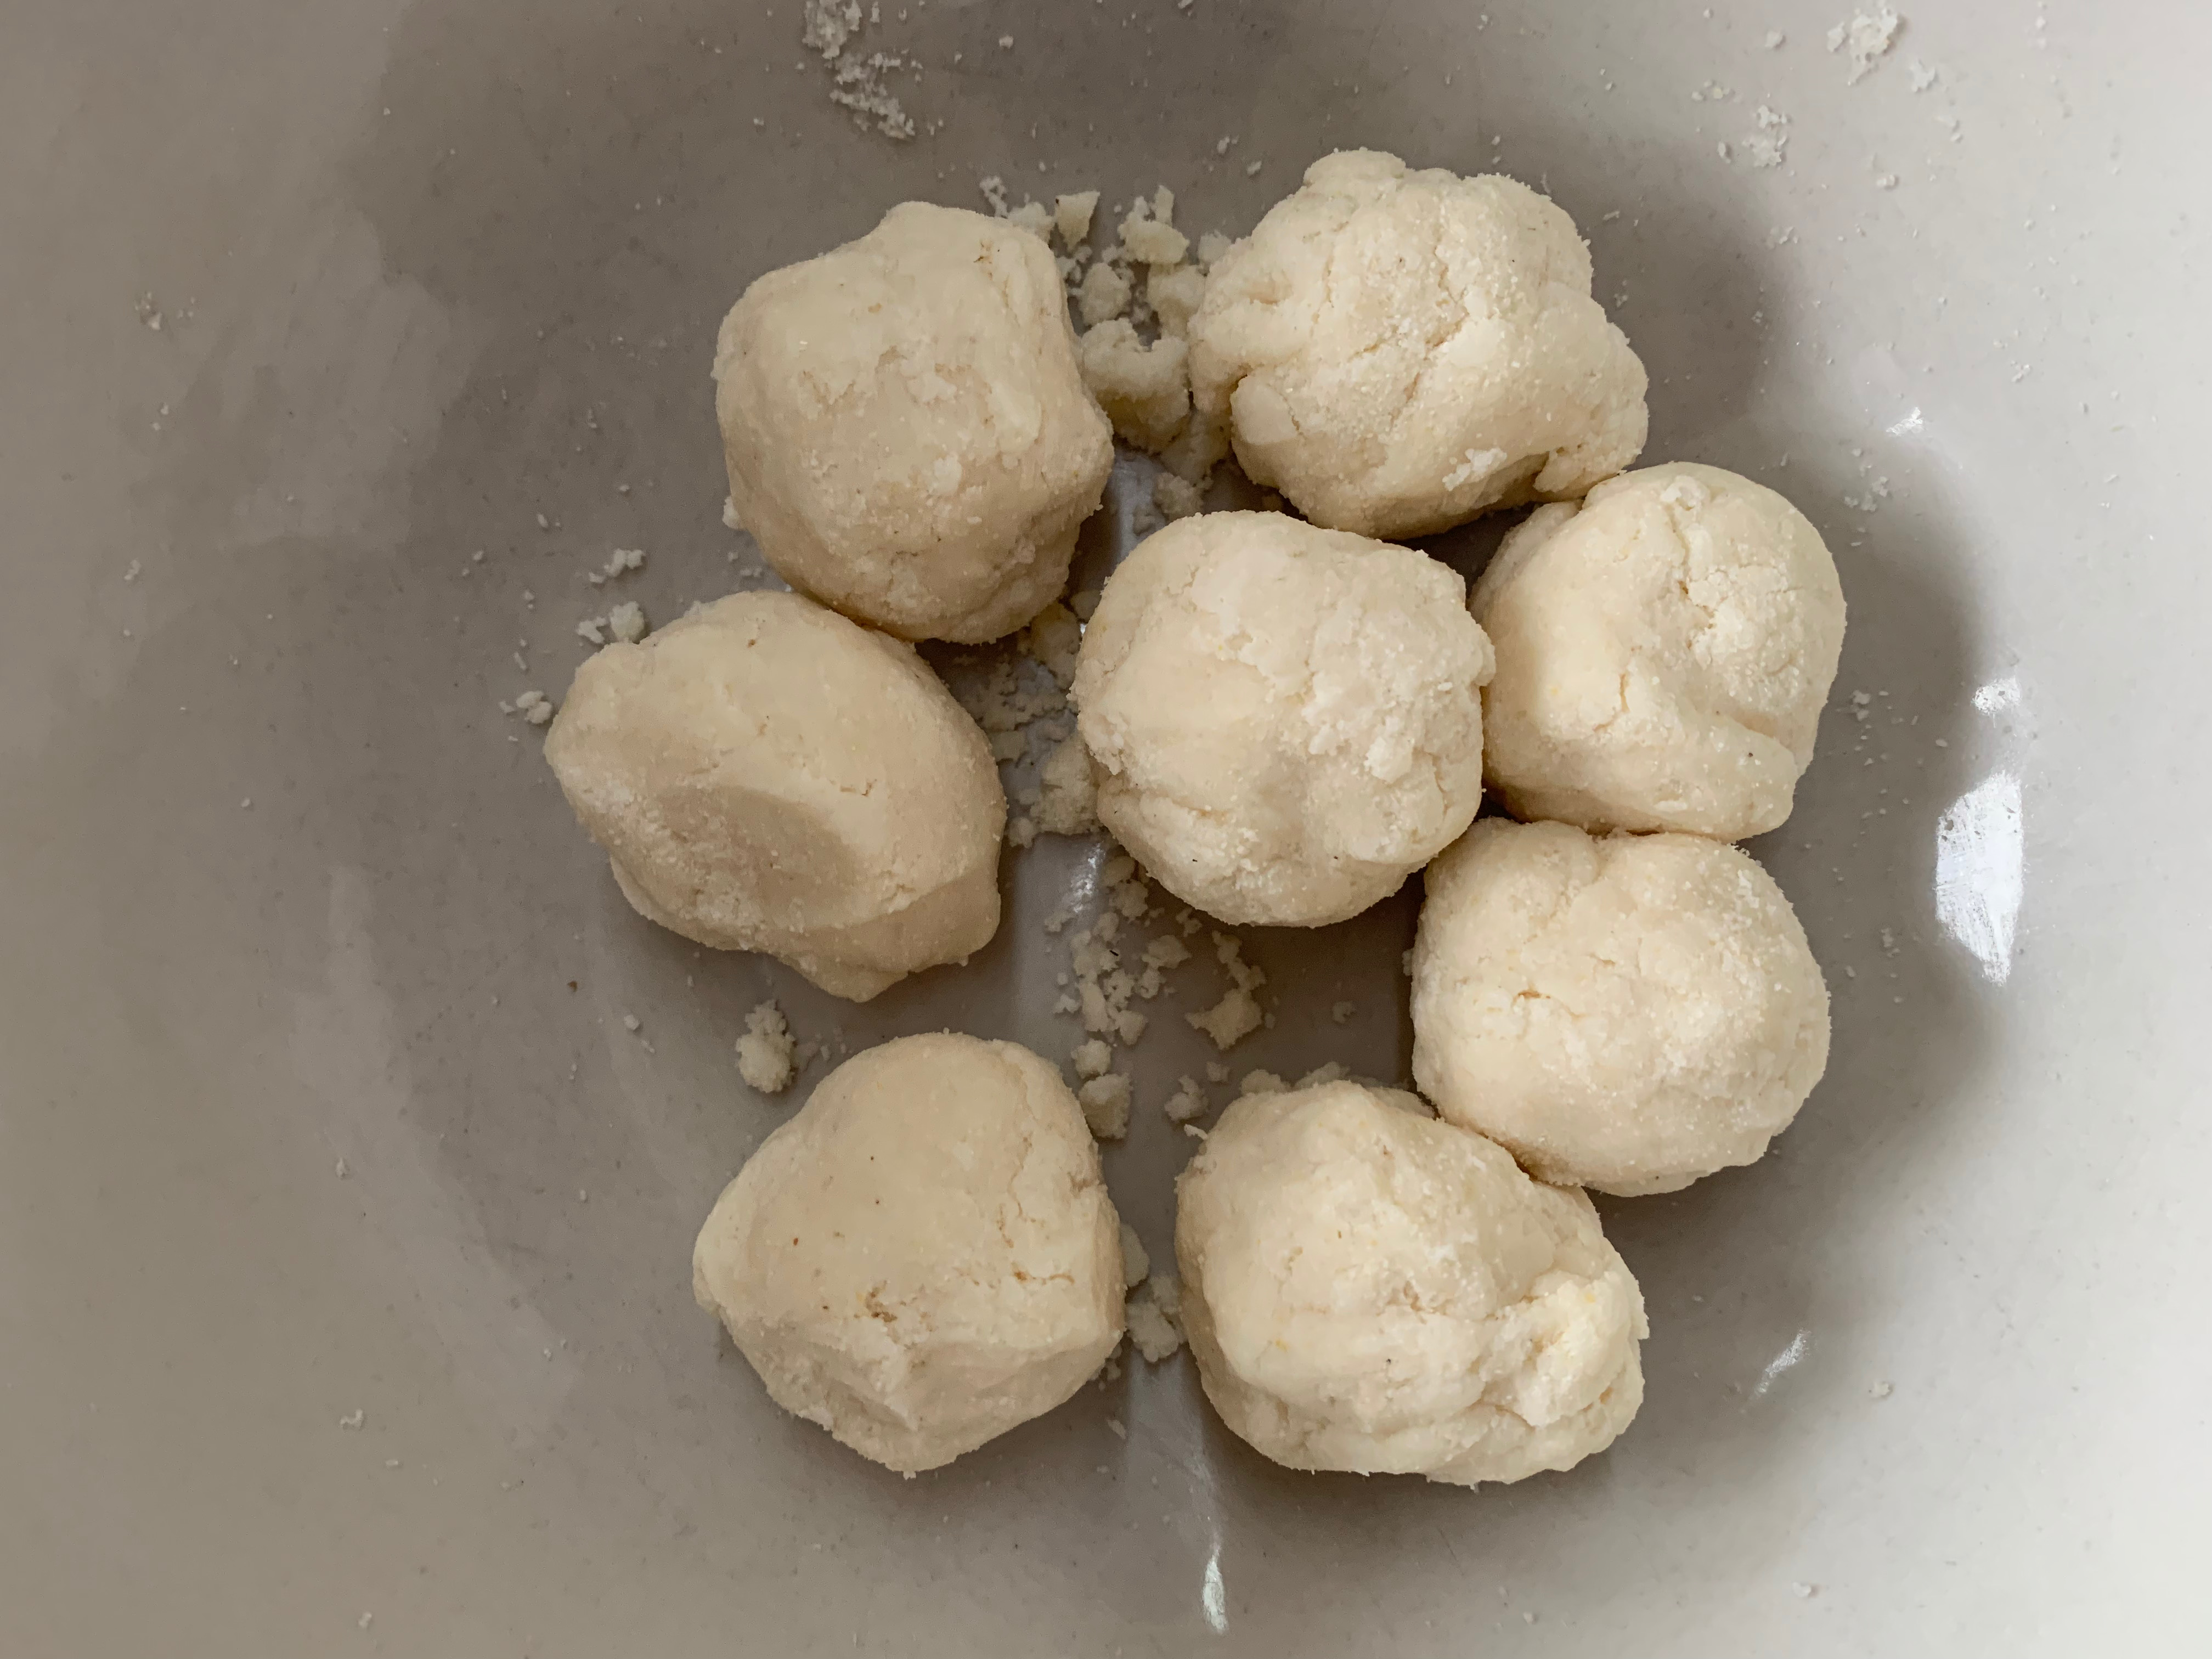
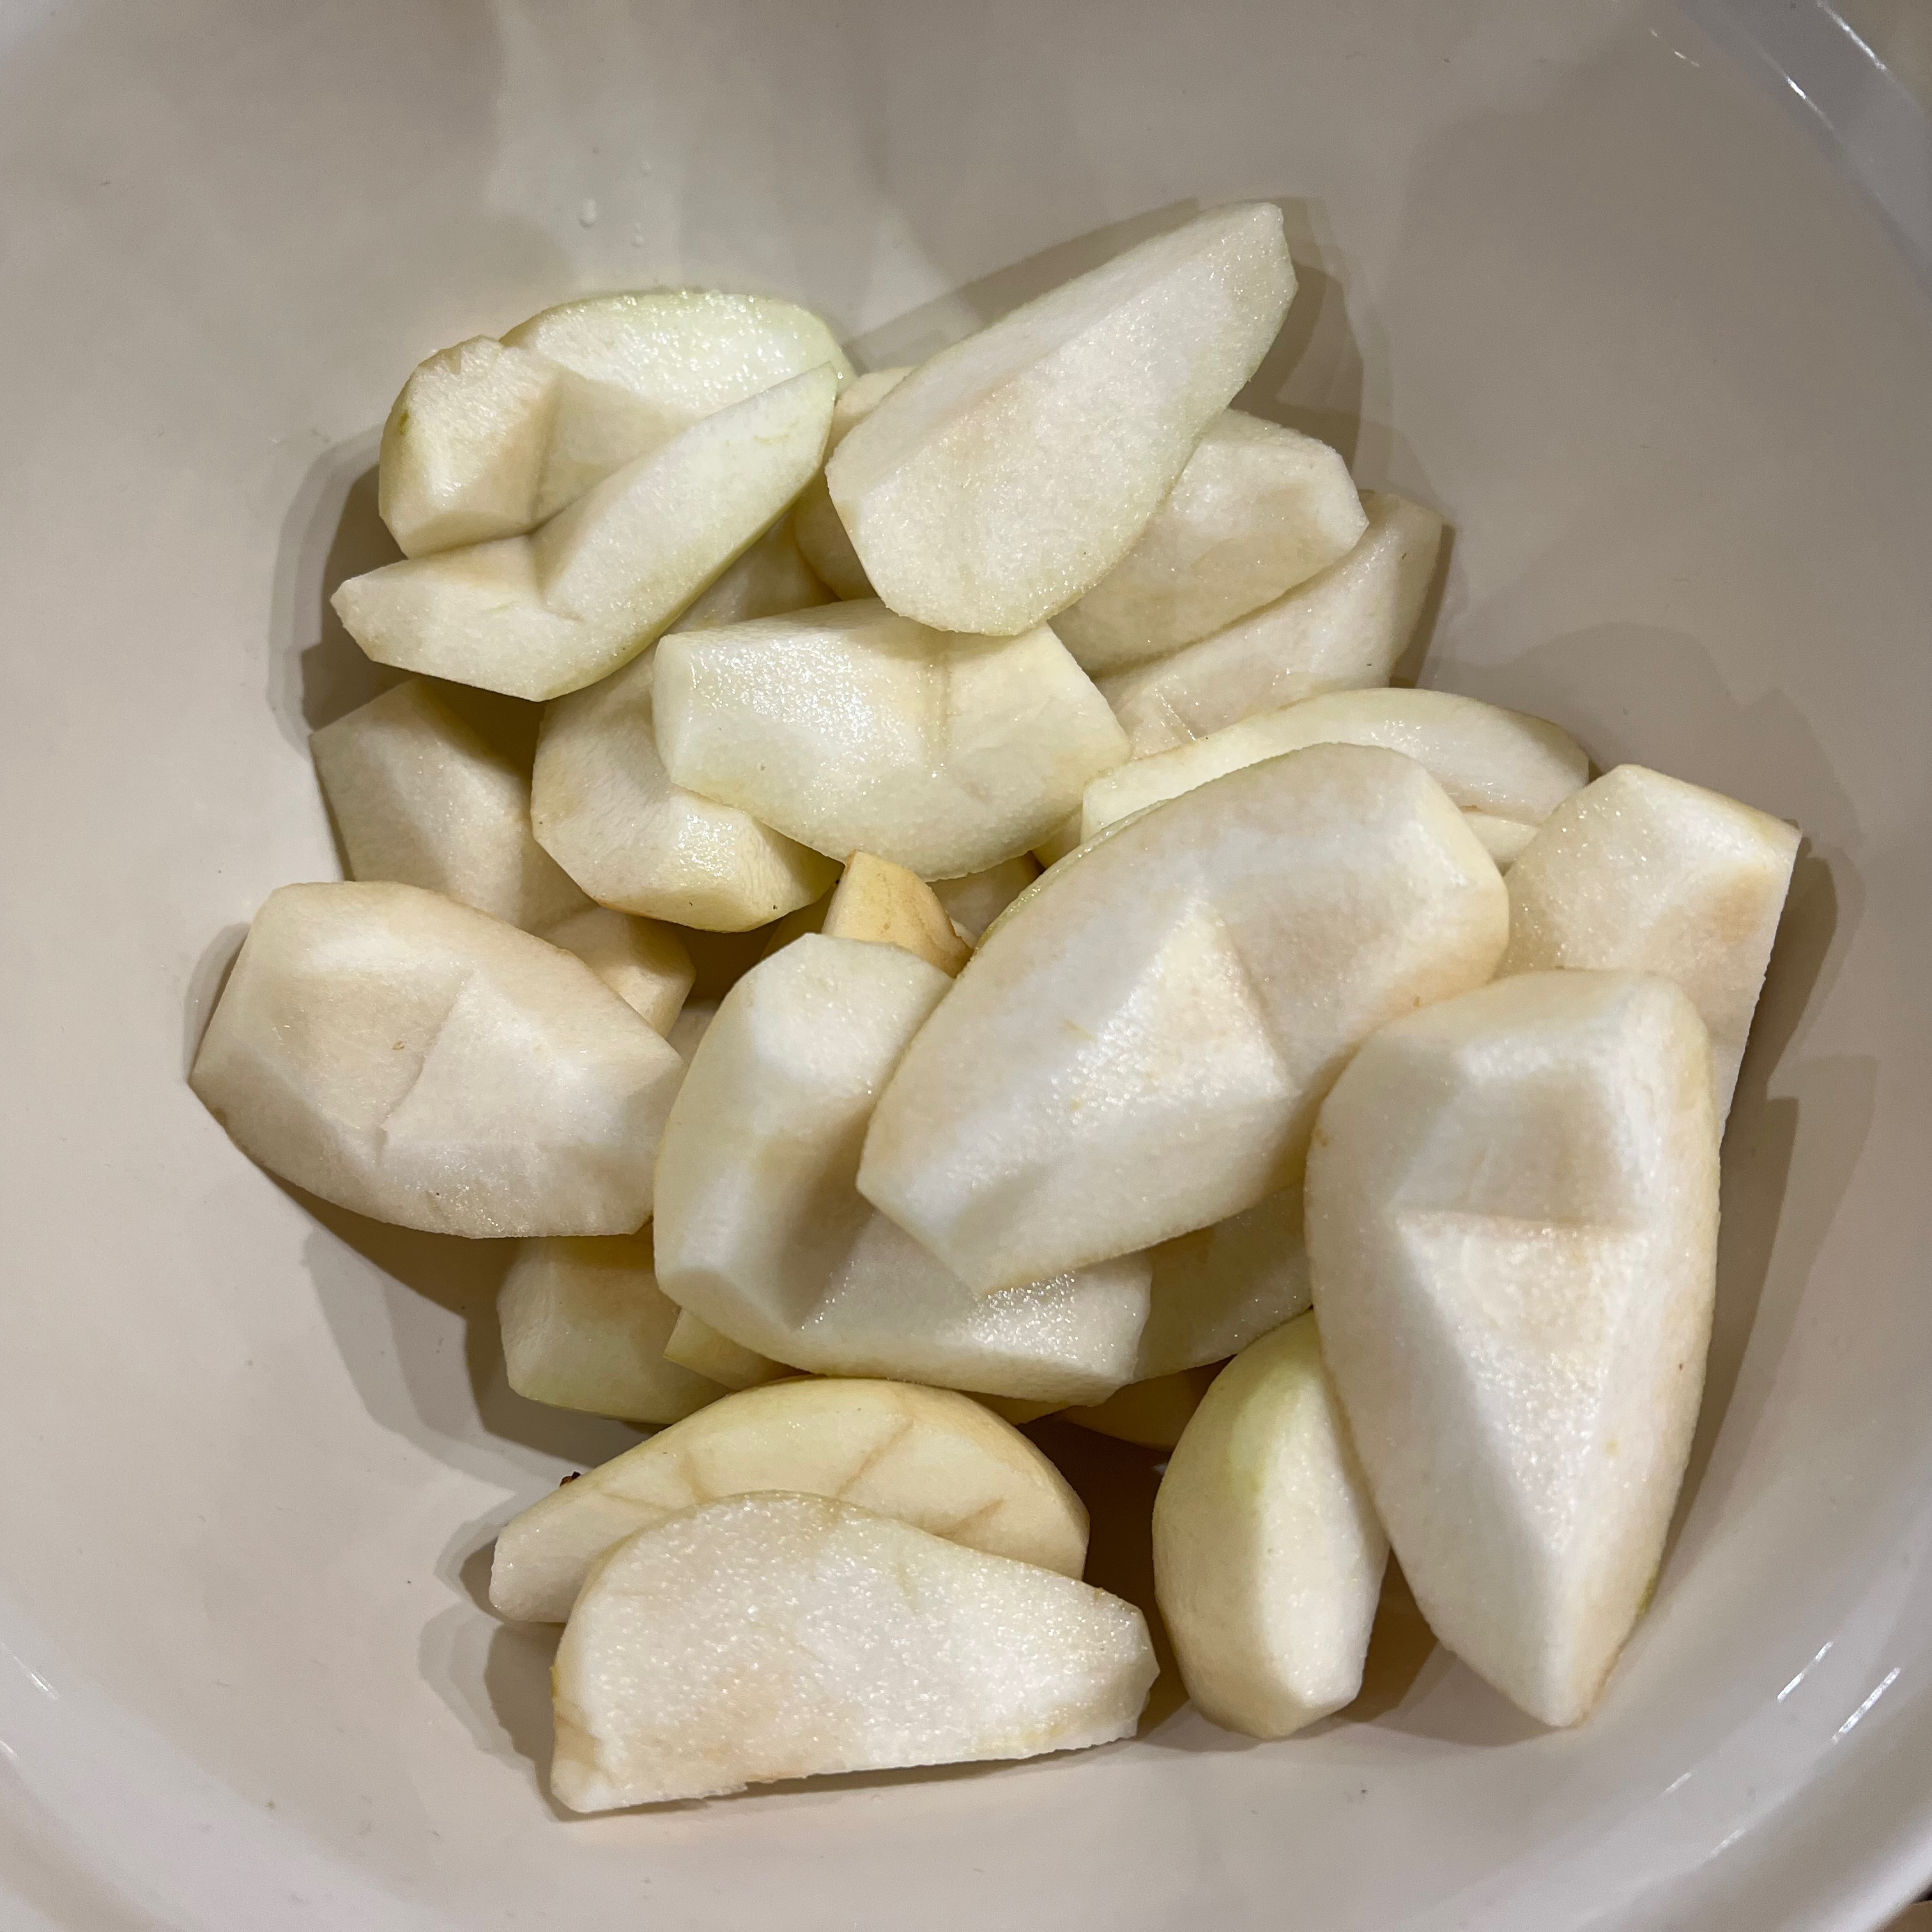
Depending on your level of patience and skill, there are various ways of cutting your fruit. The posh way is to cut out a circular core with a dedicated apple-corer, and then cut the fruit in half. This is fairly difficult to execute, but allows you to pack your fruit really tightly in a regular shape. For those of you with less time and patience (like me), just peel each fruit, chop it into four and cut out a triangle around the pips, which is what I’ve done here. I remember one recipe which suggested cutting each fruit into three: I tried this and it struck me as particularly tricky to do with no obvious benefit.
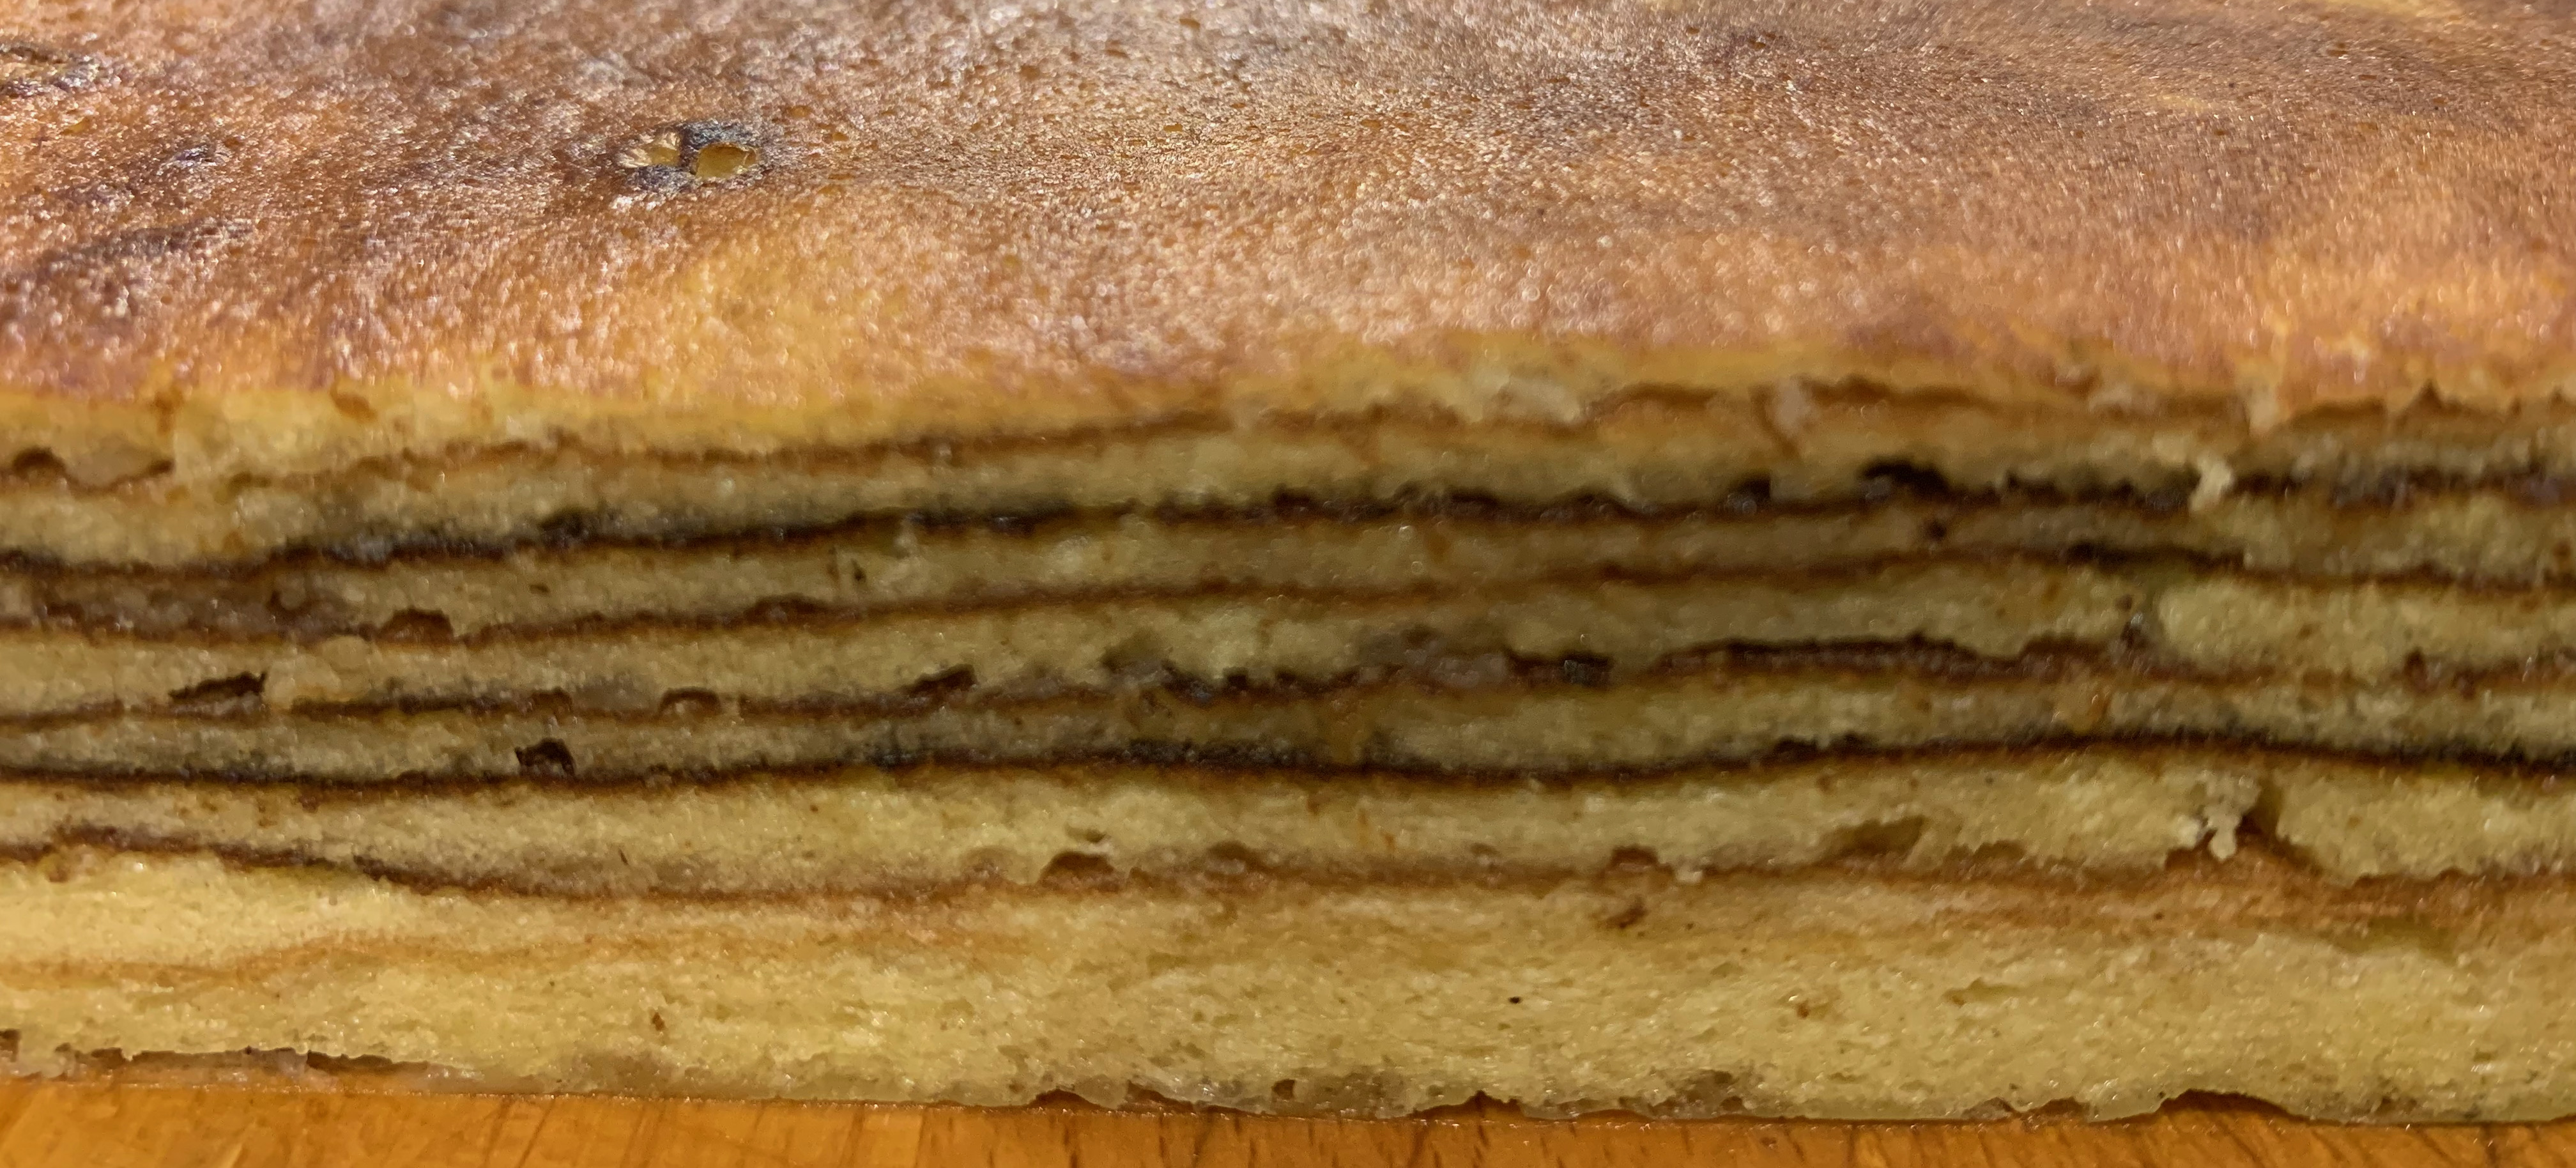
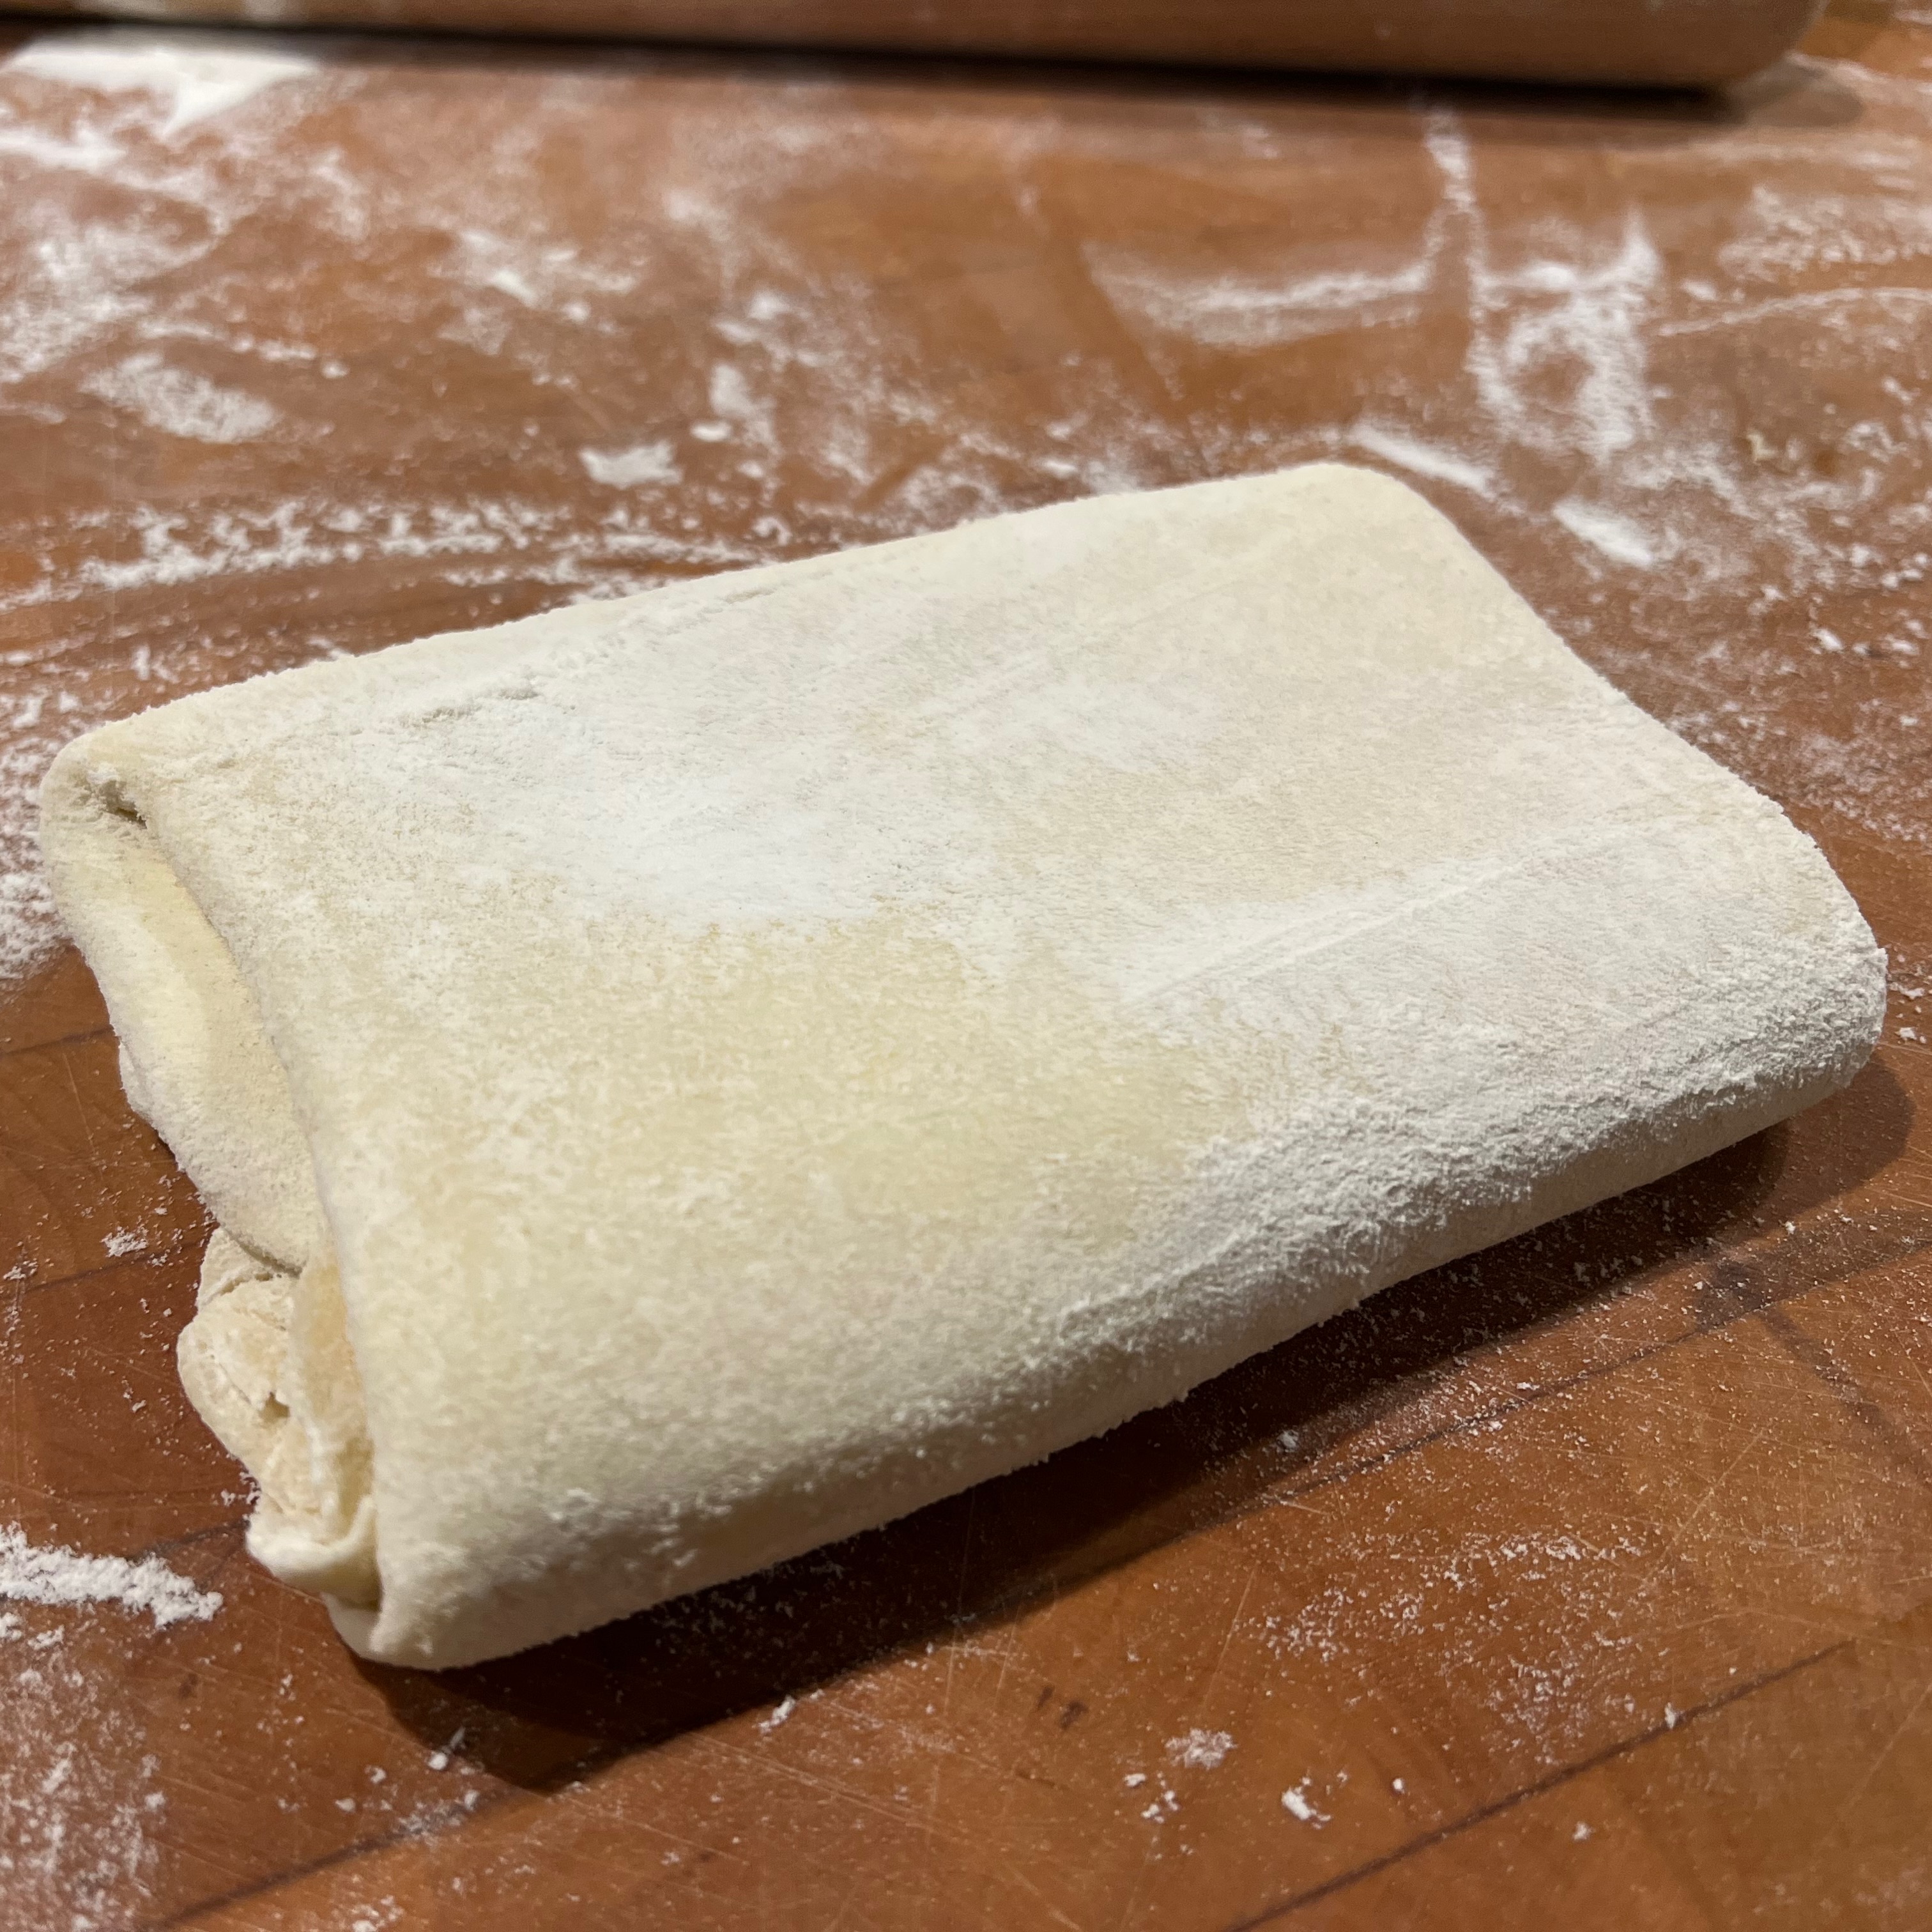
You can use pretty much any pastry: shortcrust, rough puff or full puff – just don’t go for a sweet pastry because the caramel makes the tart plenty sweet enough as it is. In this recipe, I’ve gone for a rough puff because I really like the flakiness, but it’s a fairly lengthy process. You can always use shop-bought puff pastry instead of making your own, but try and find the stuff that’s made with butter (unless, of course, you’re vegan or lactose-intolerant).
Some twenty years ago, I made an impulse purchase of a dedicated ceramic Tarte Tatin dish. At the time, it seemed a ridiculous overpriced indulgence. Since then, the number of tarts I’ve made in it must be approaching three figures, which makes it seem quite reasonable, really. The truth is, though, that you can use pretty much any pan that has sides which are 5cm or so deep and is robust enough both to be used both on the hob and in the oven.
The quantities here are for my dish, which is around 29cm in diameter and produces 8 generous portions. Adjust the quantities for the size of your own dish but remember that it’s a square law, so you’ll need just under half the quantities for a 20cm dish and 1/4 for a 15cm one.
The rough puff pastry
- 200g plain flour (I use OO grade) plus some more for dusting and rolling
- 180g butter, frozen
- 100ml (approximately) ice cold water
- 1 tsp lemon juice
- If you have time, measure out the flour and put in the freezer for half an hour or so before you start.
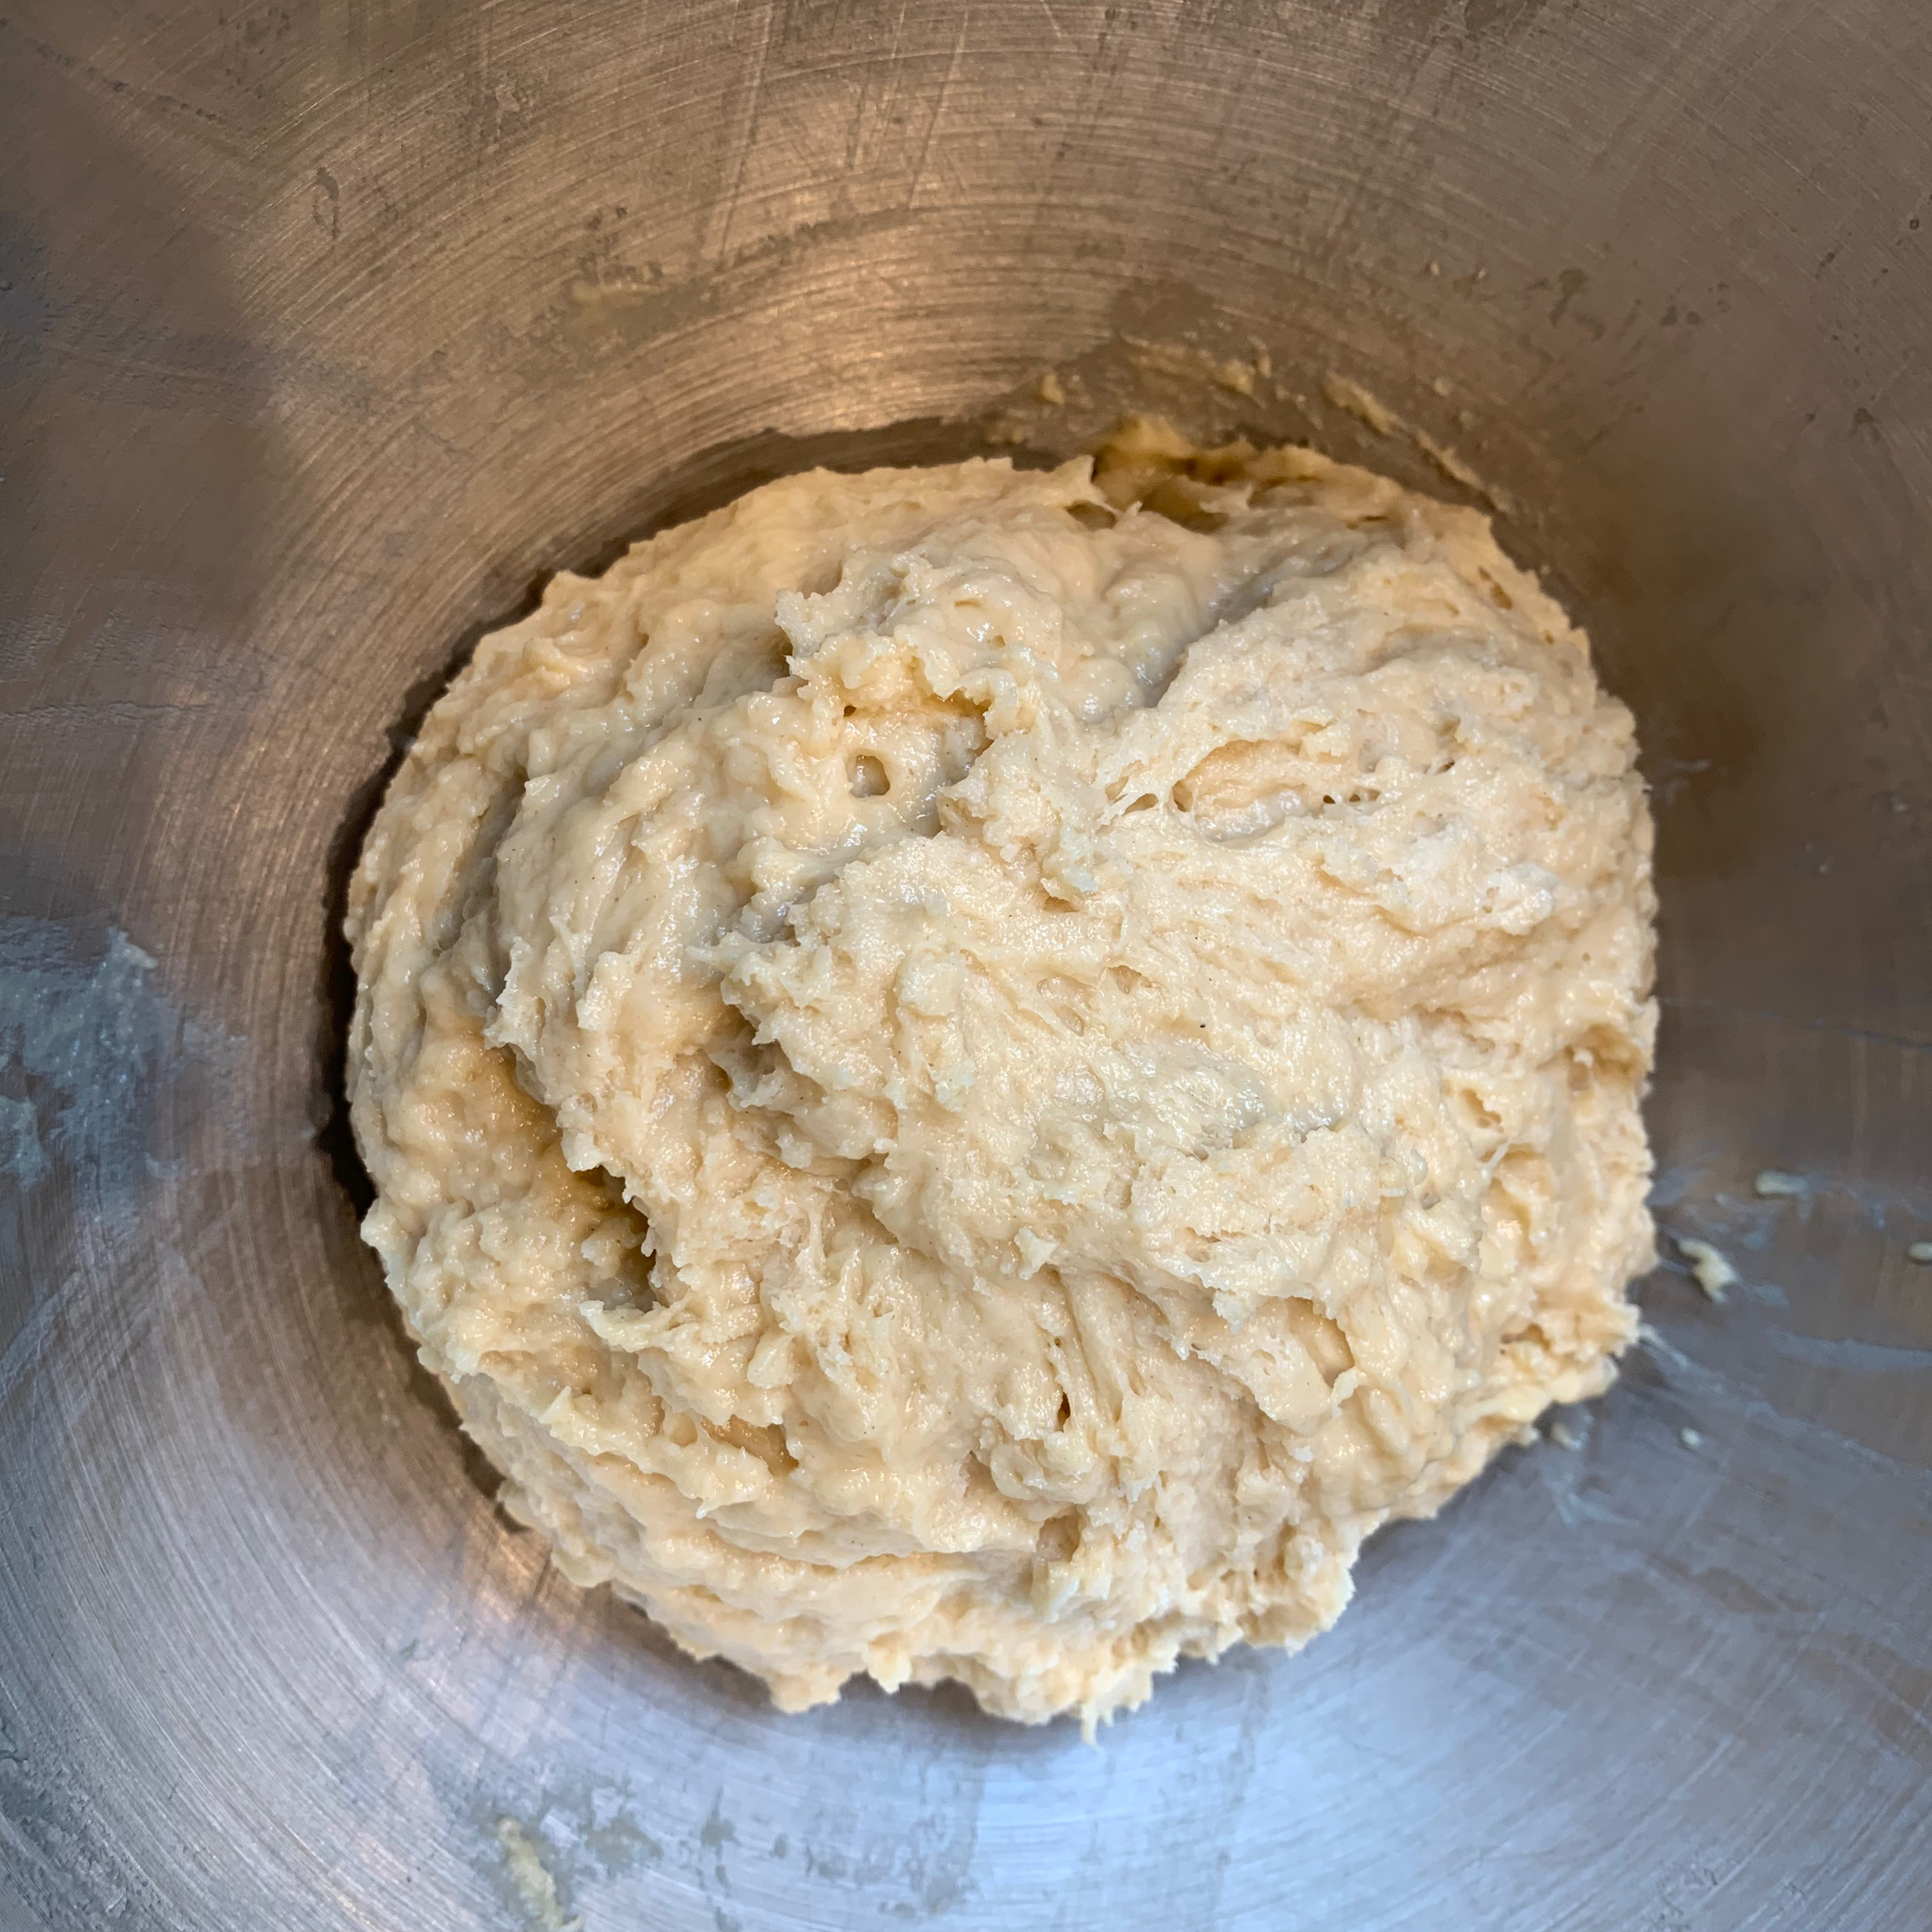
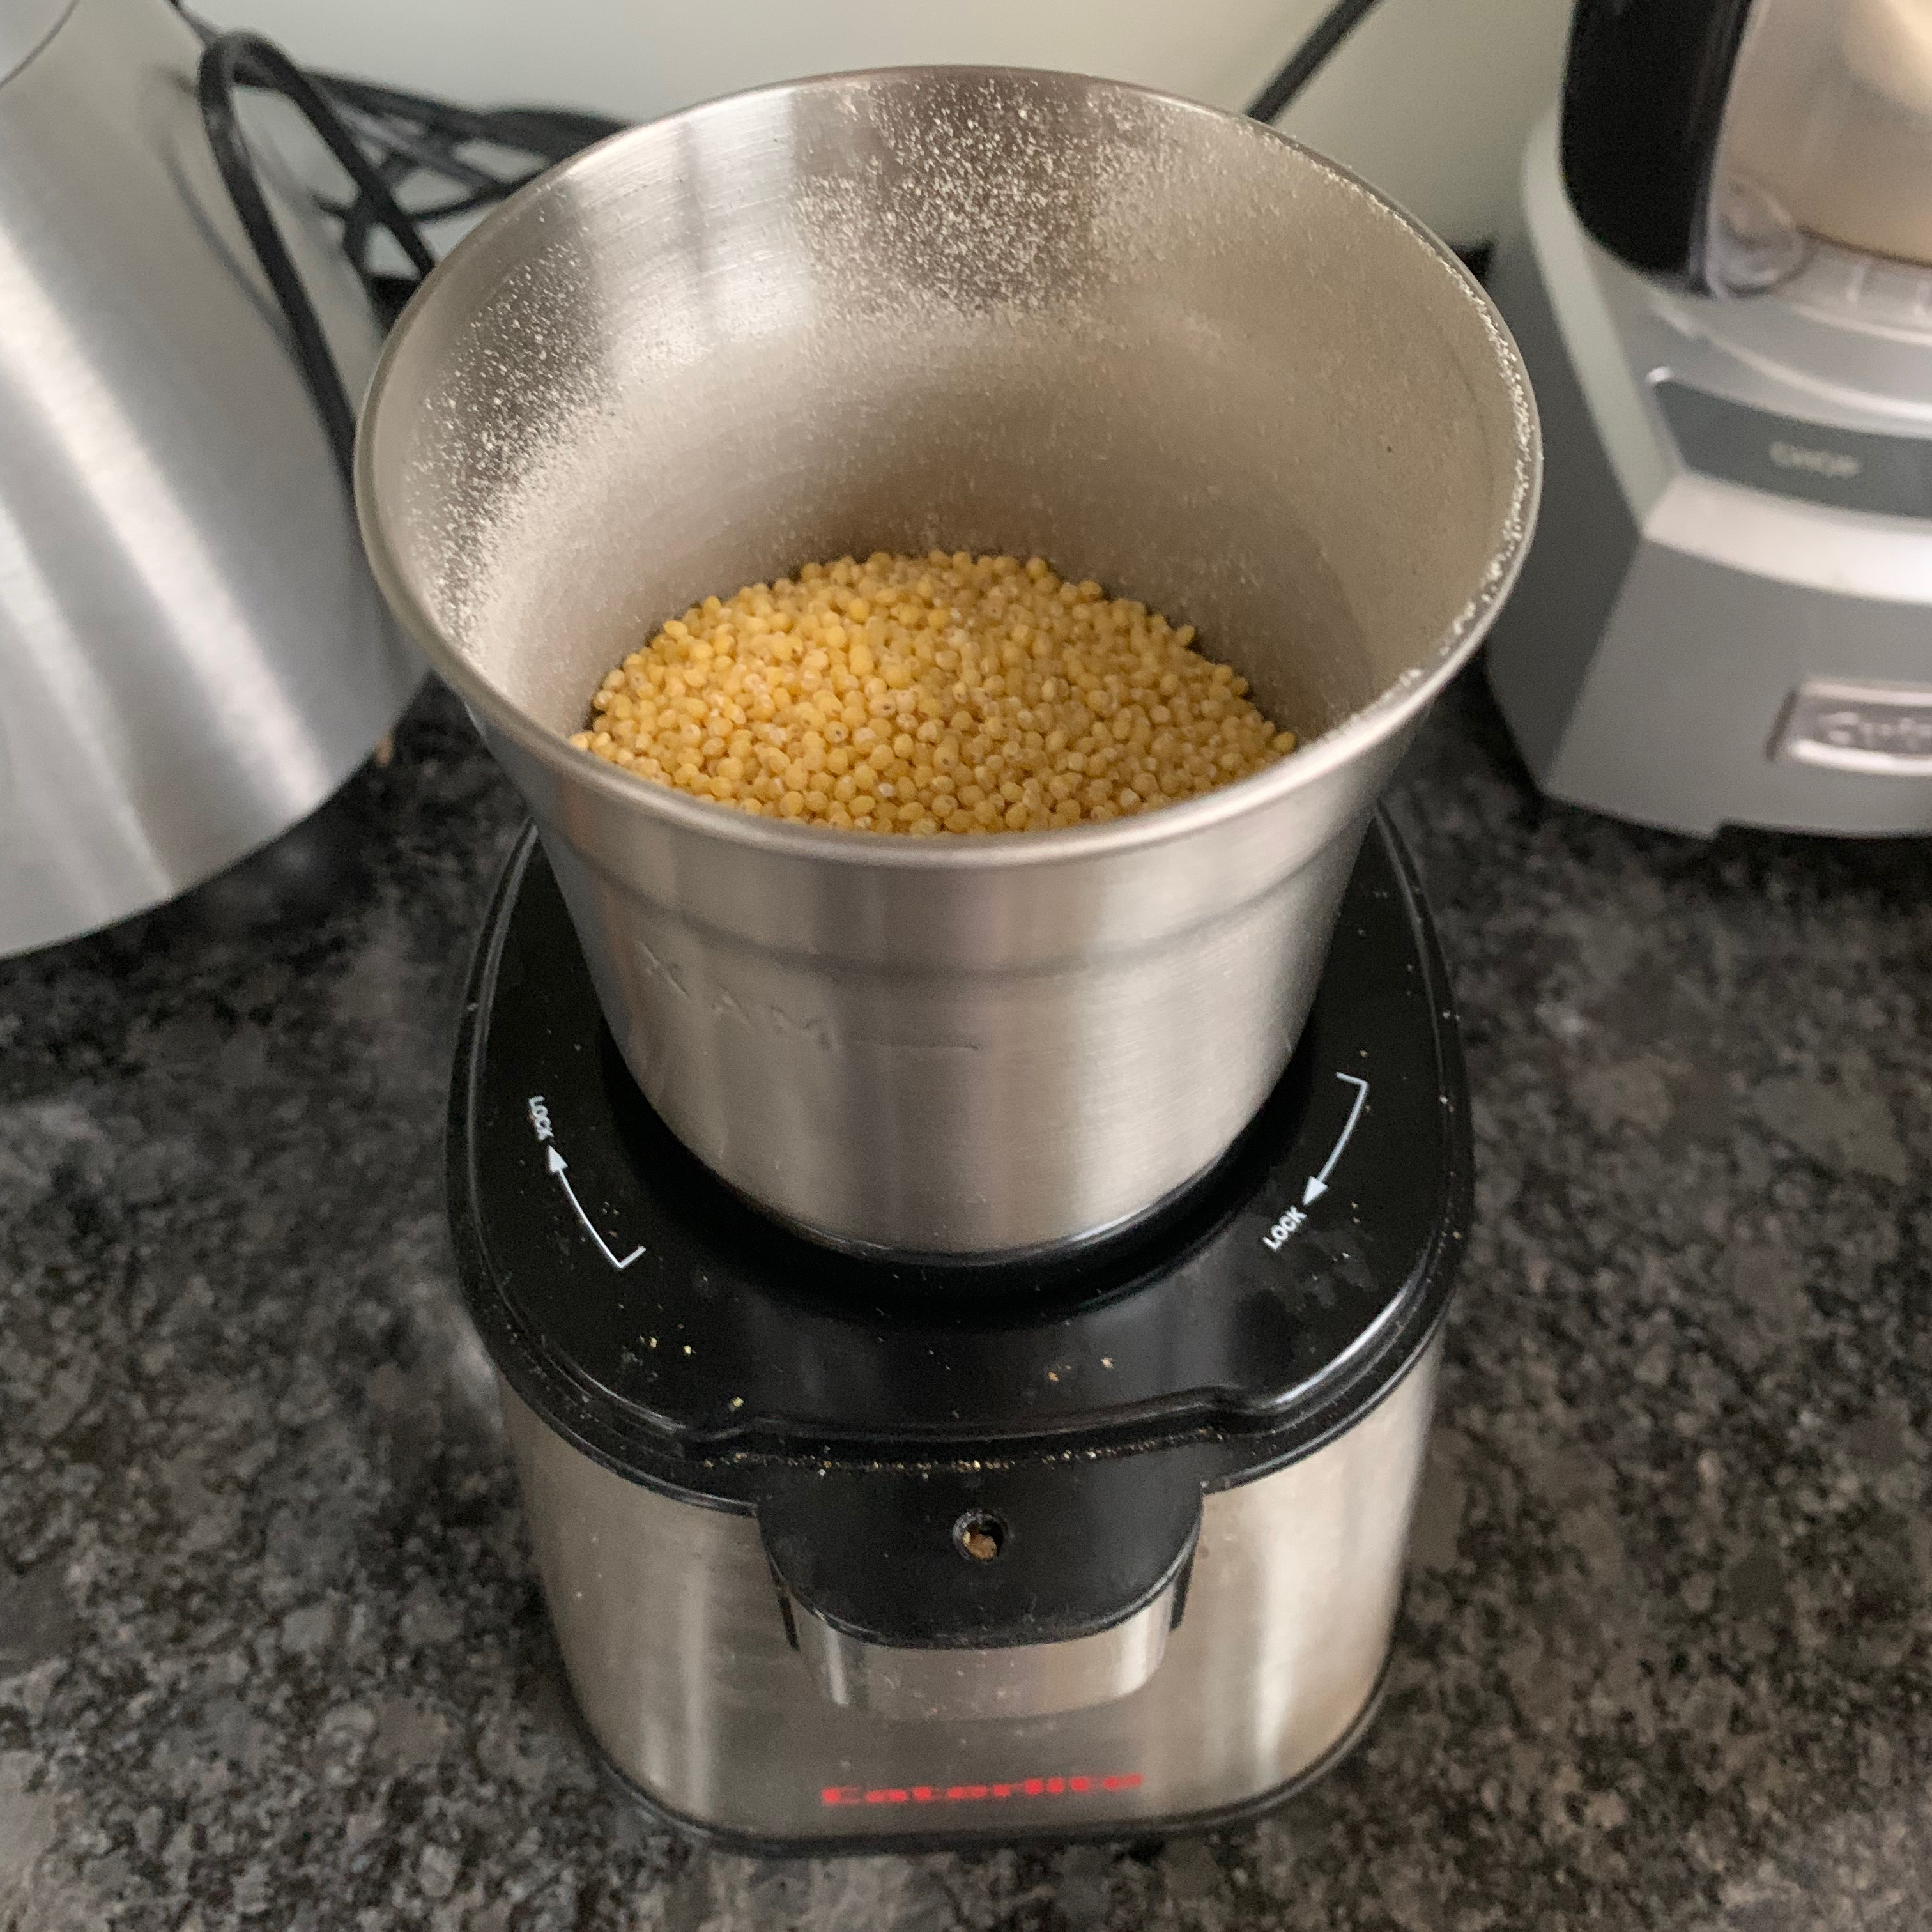
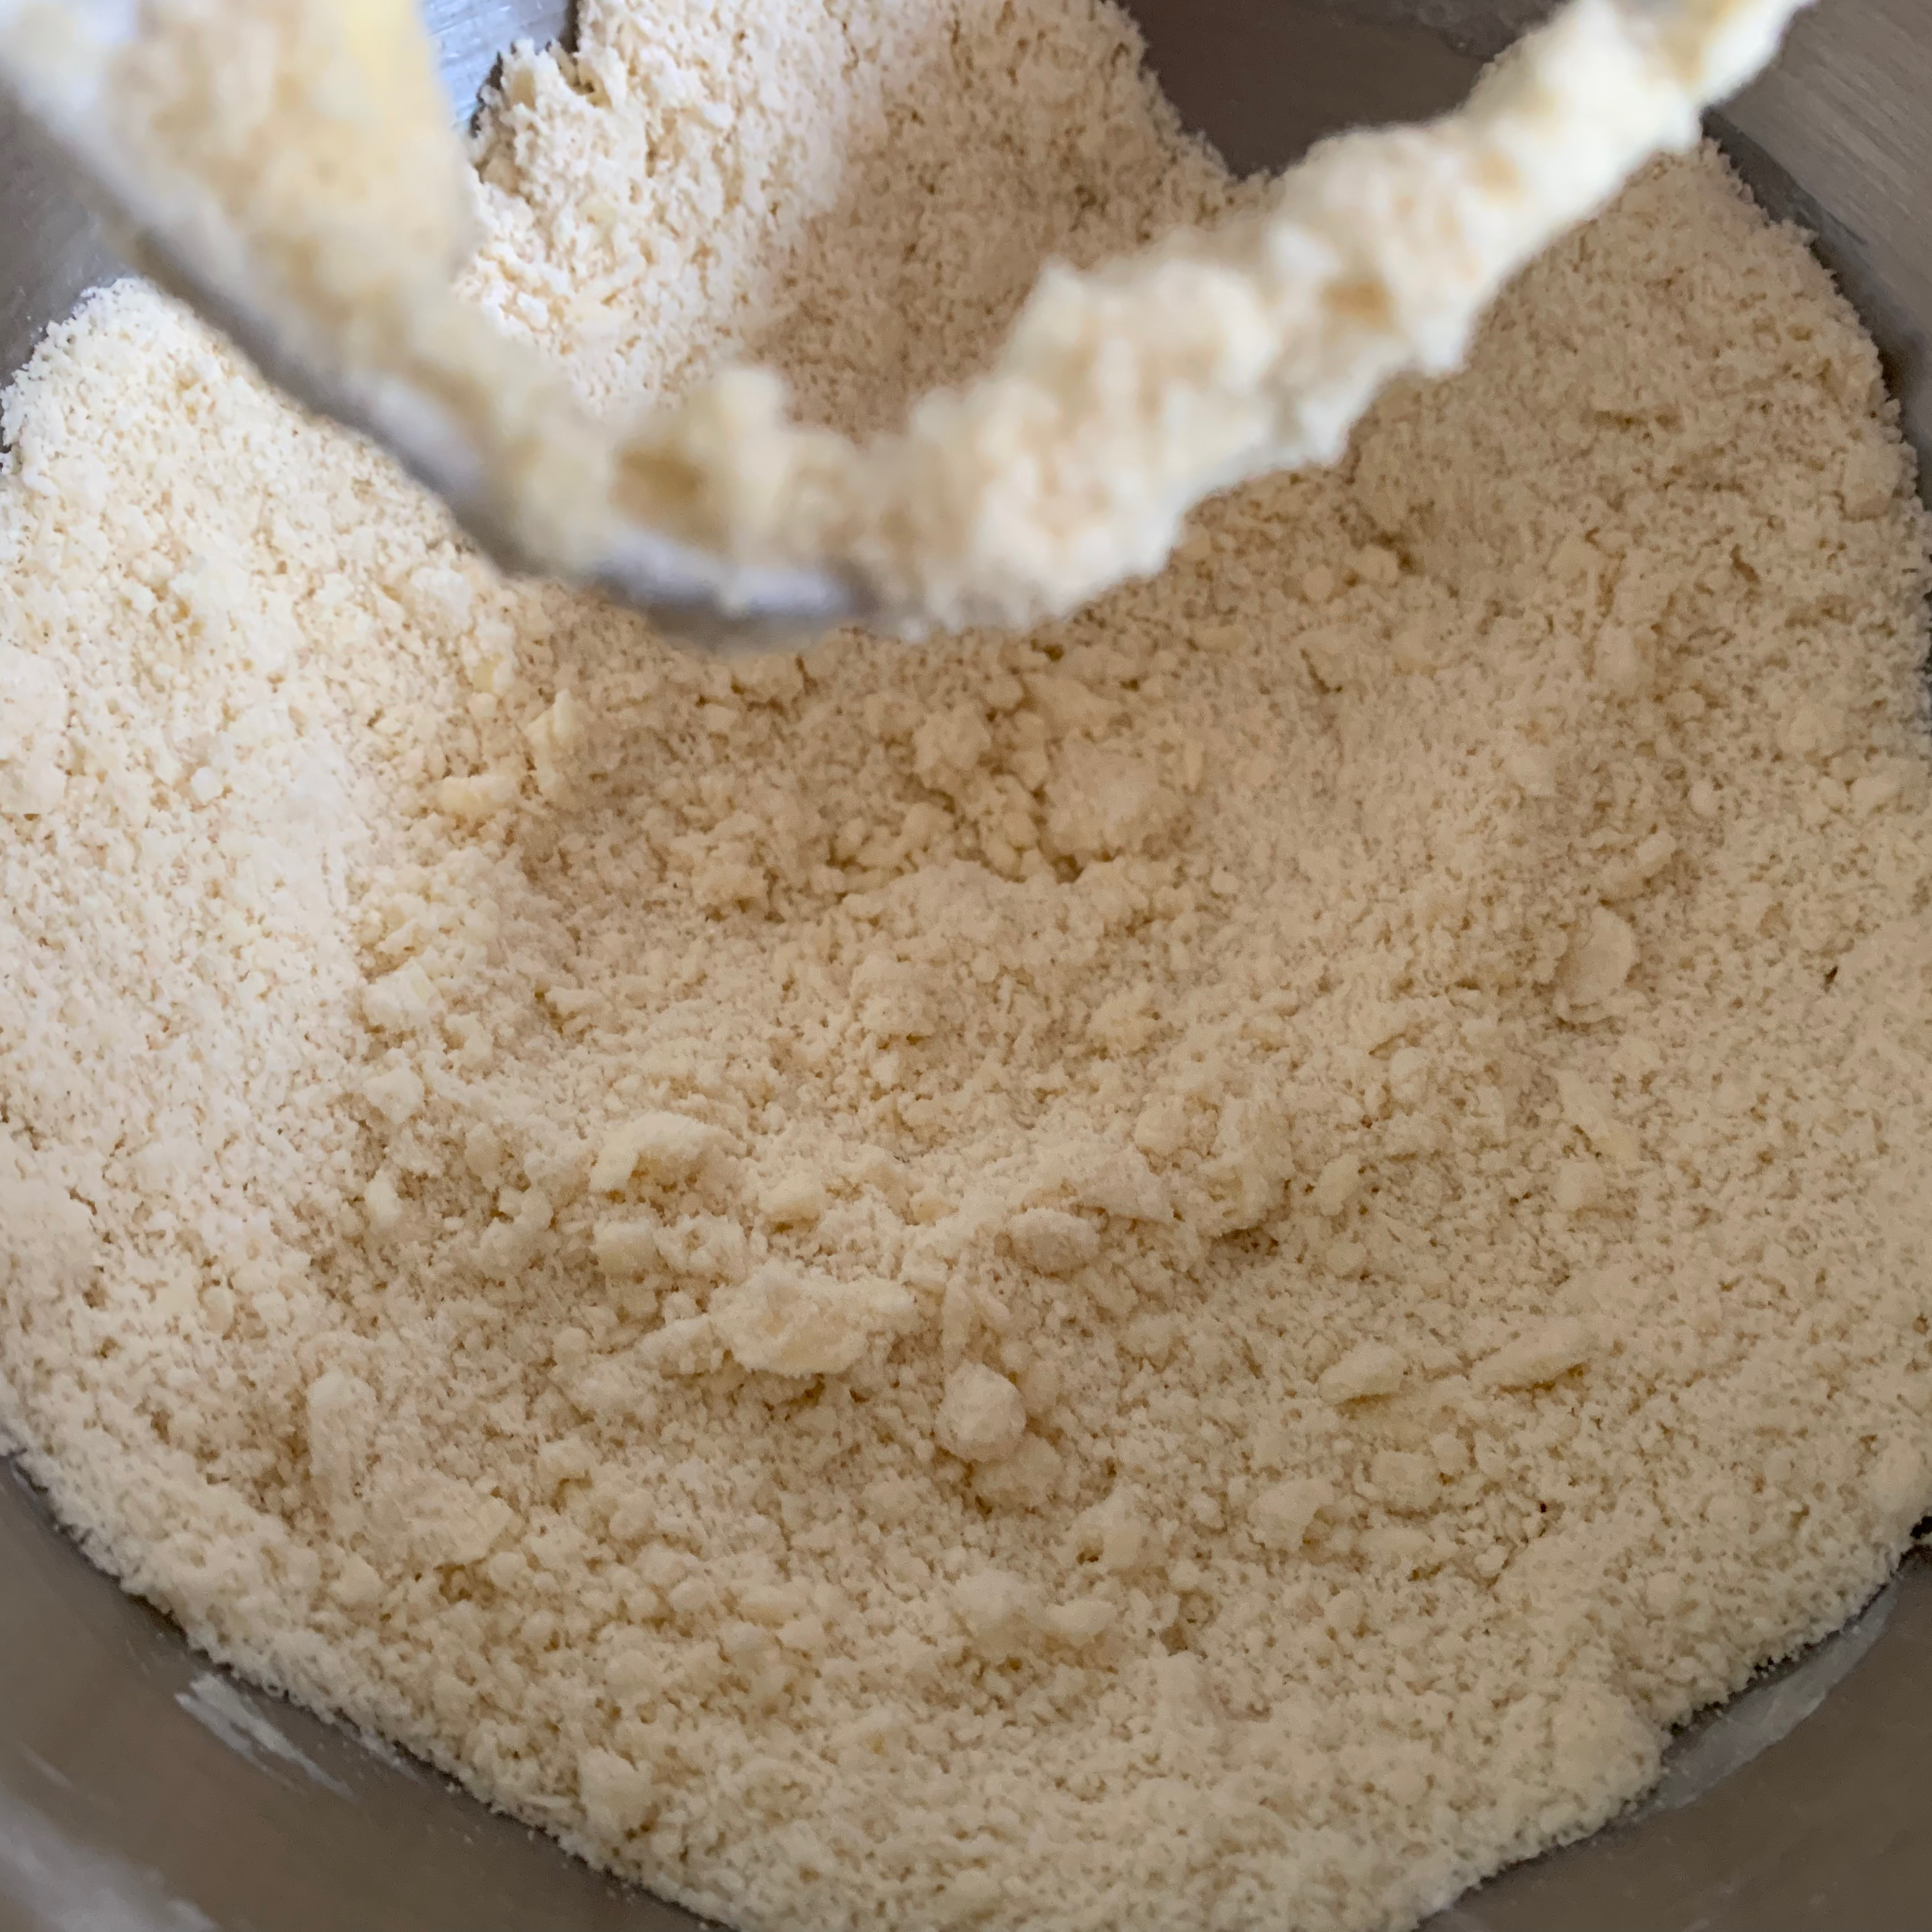
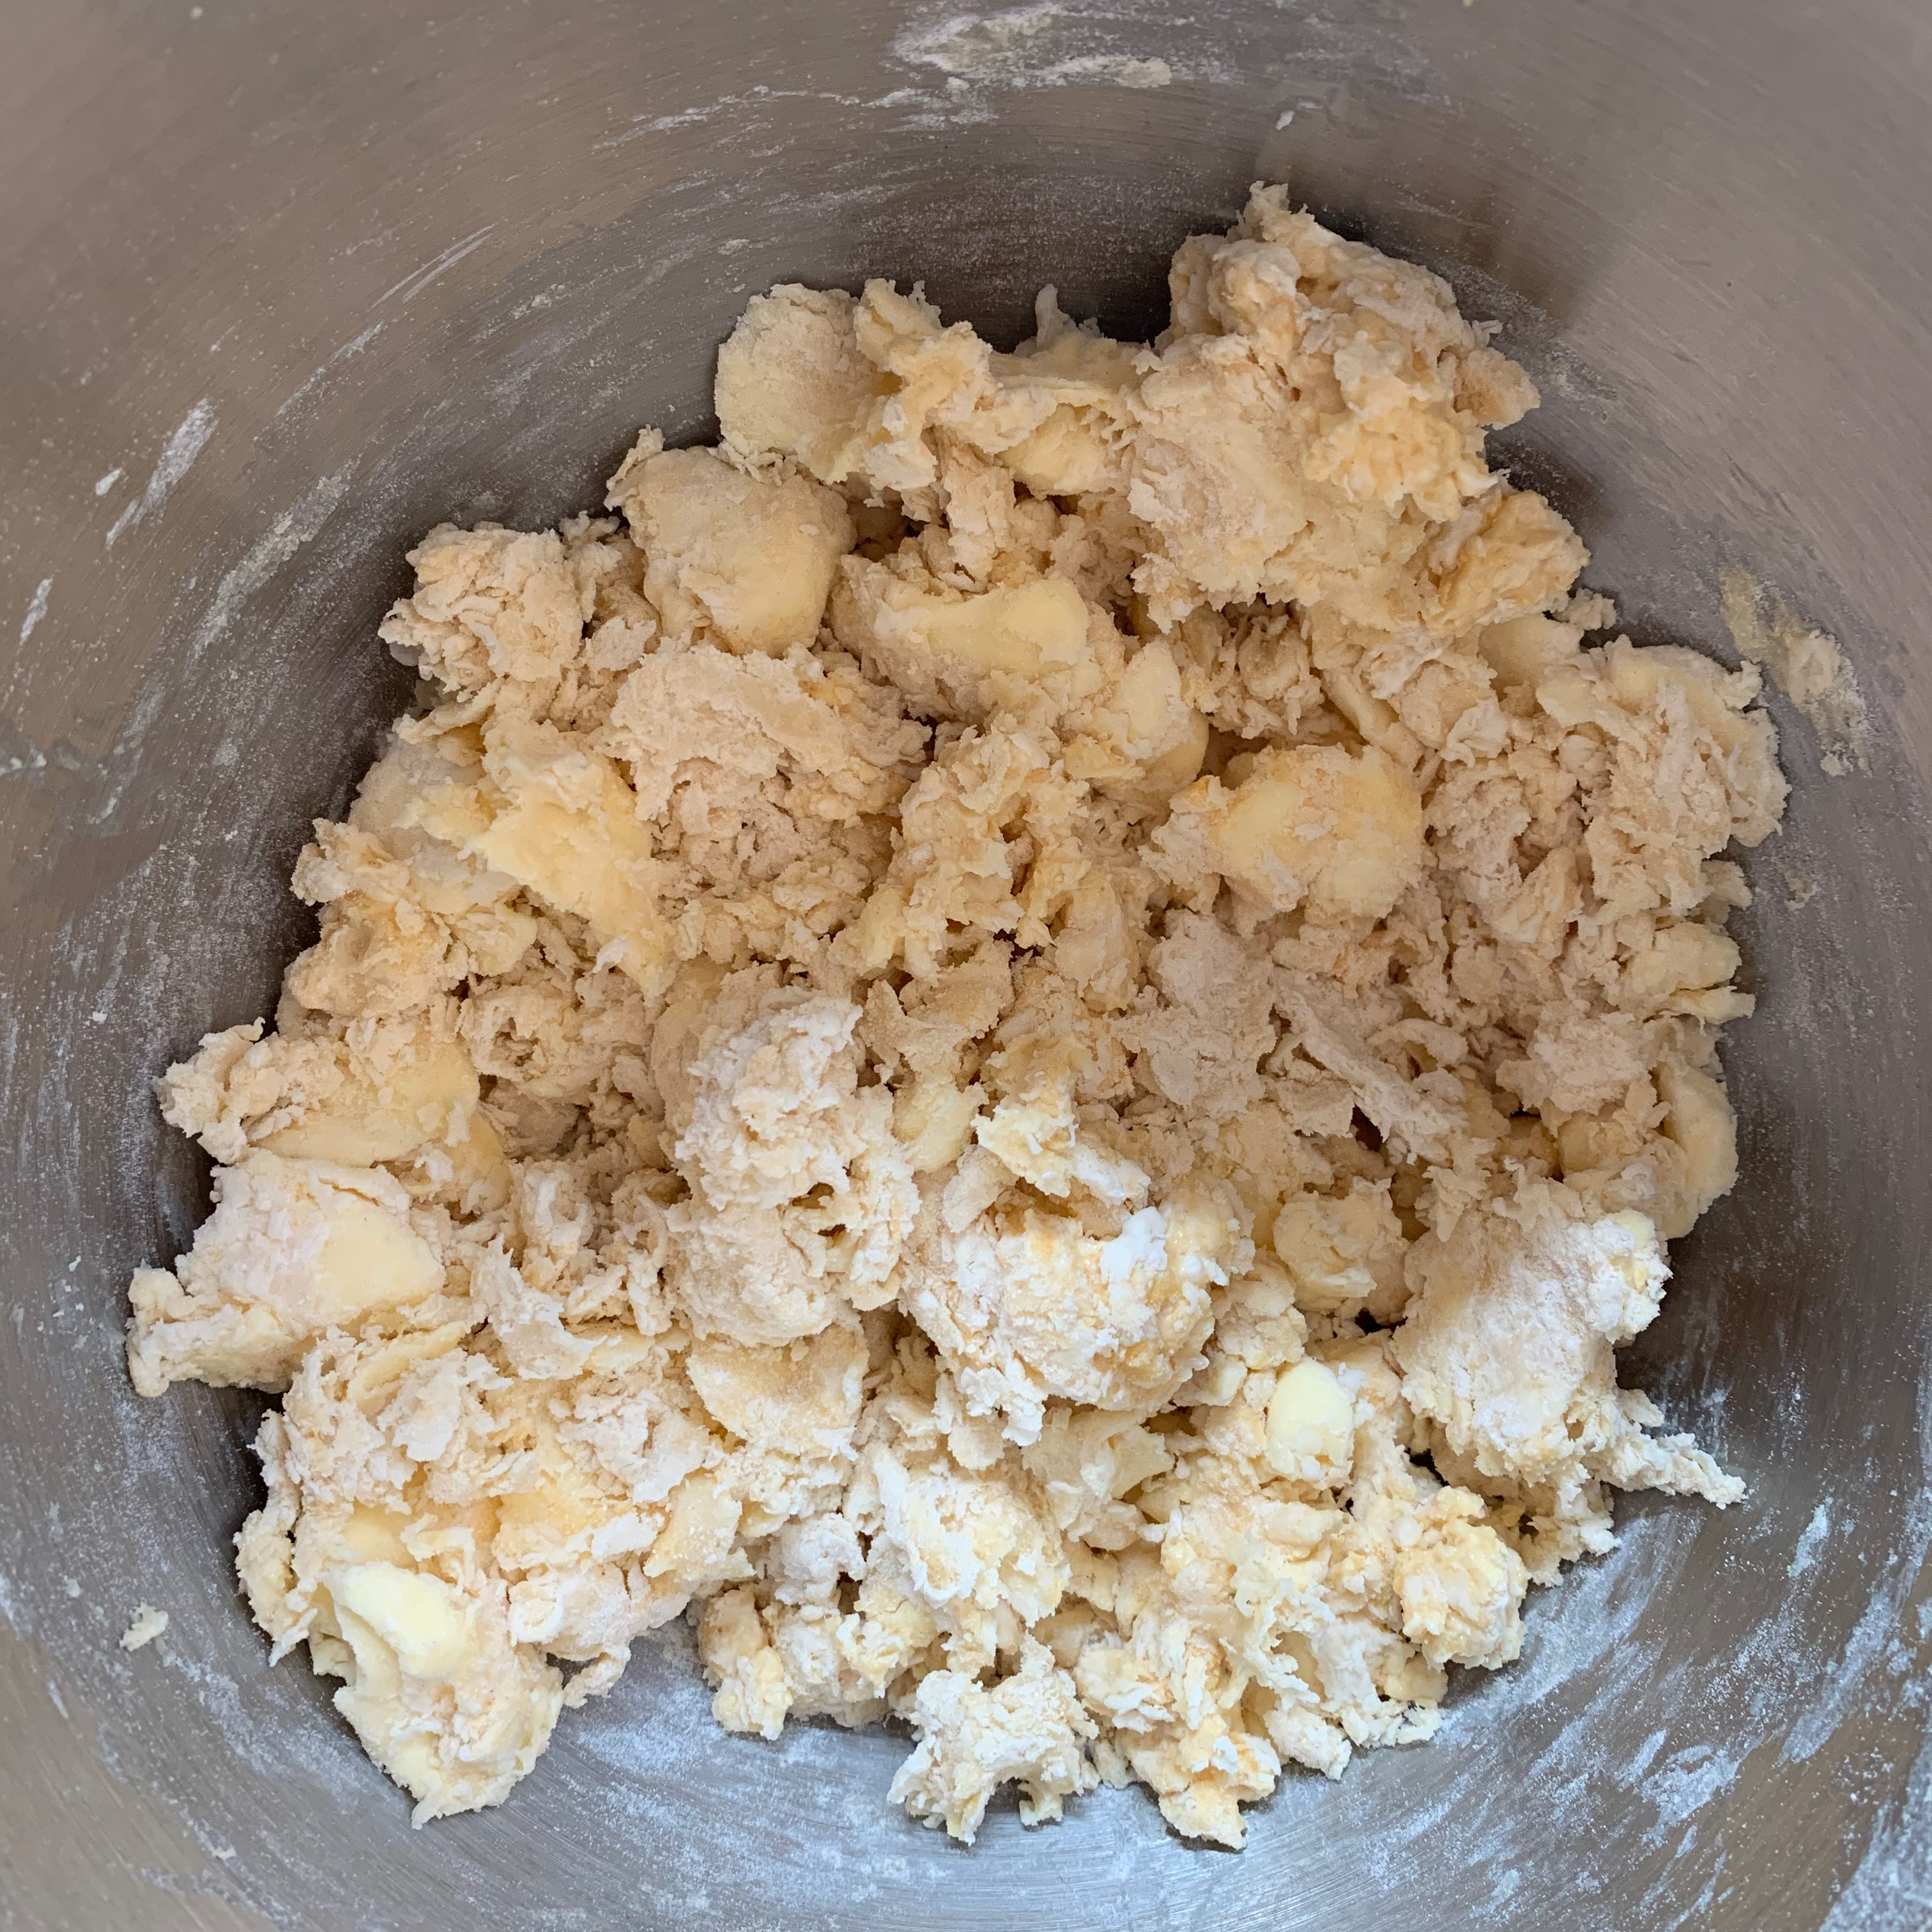
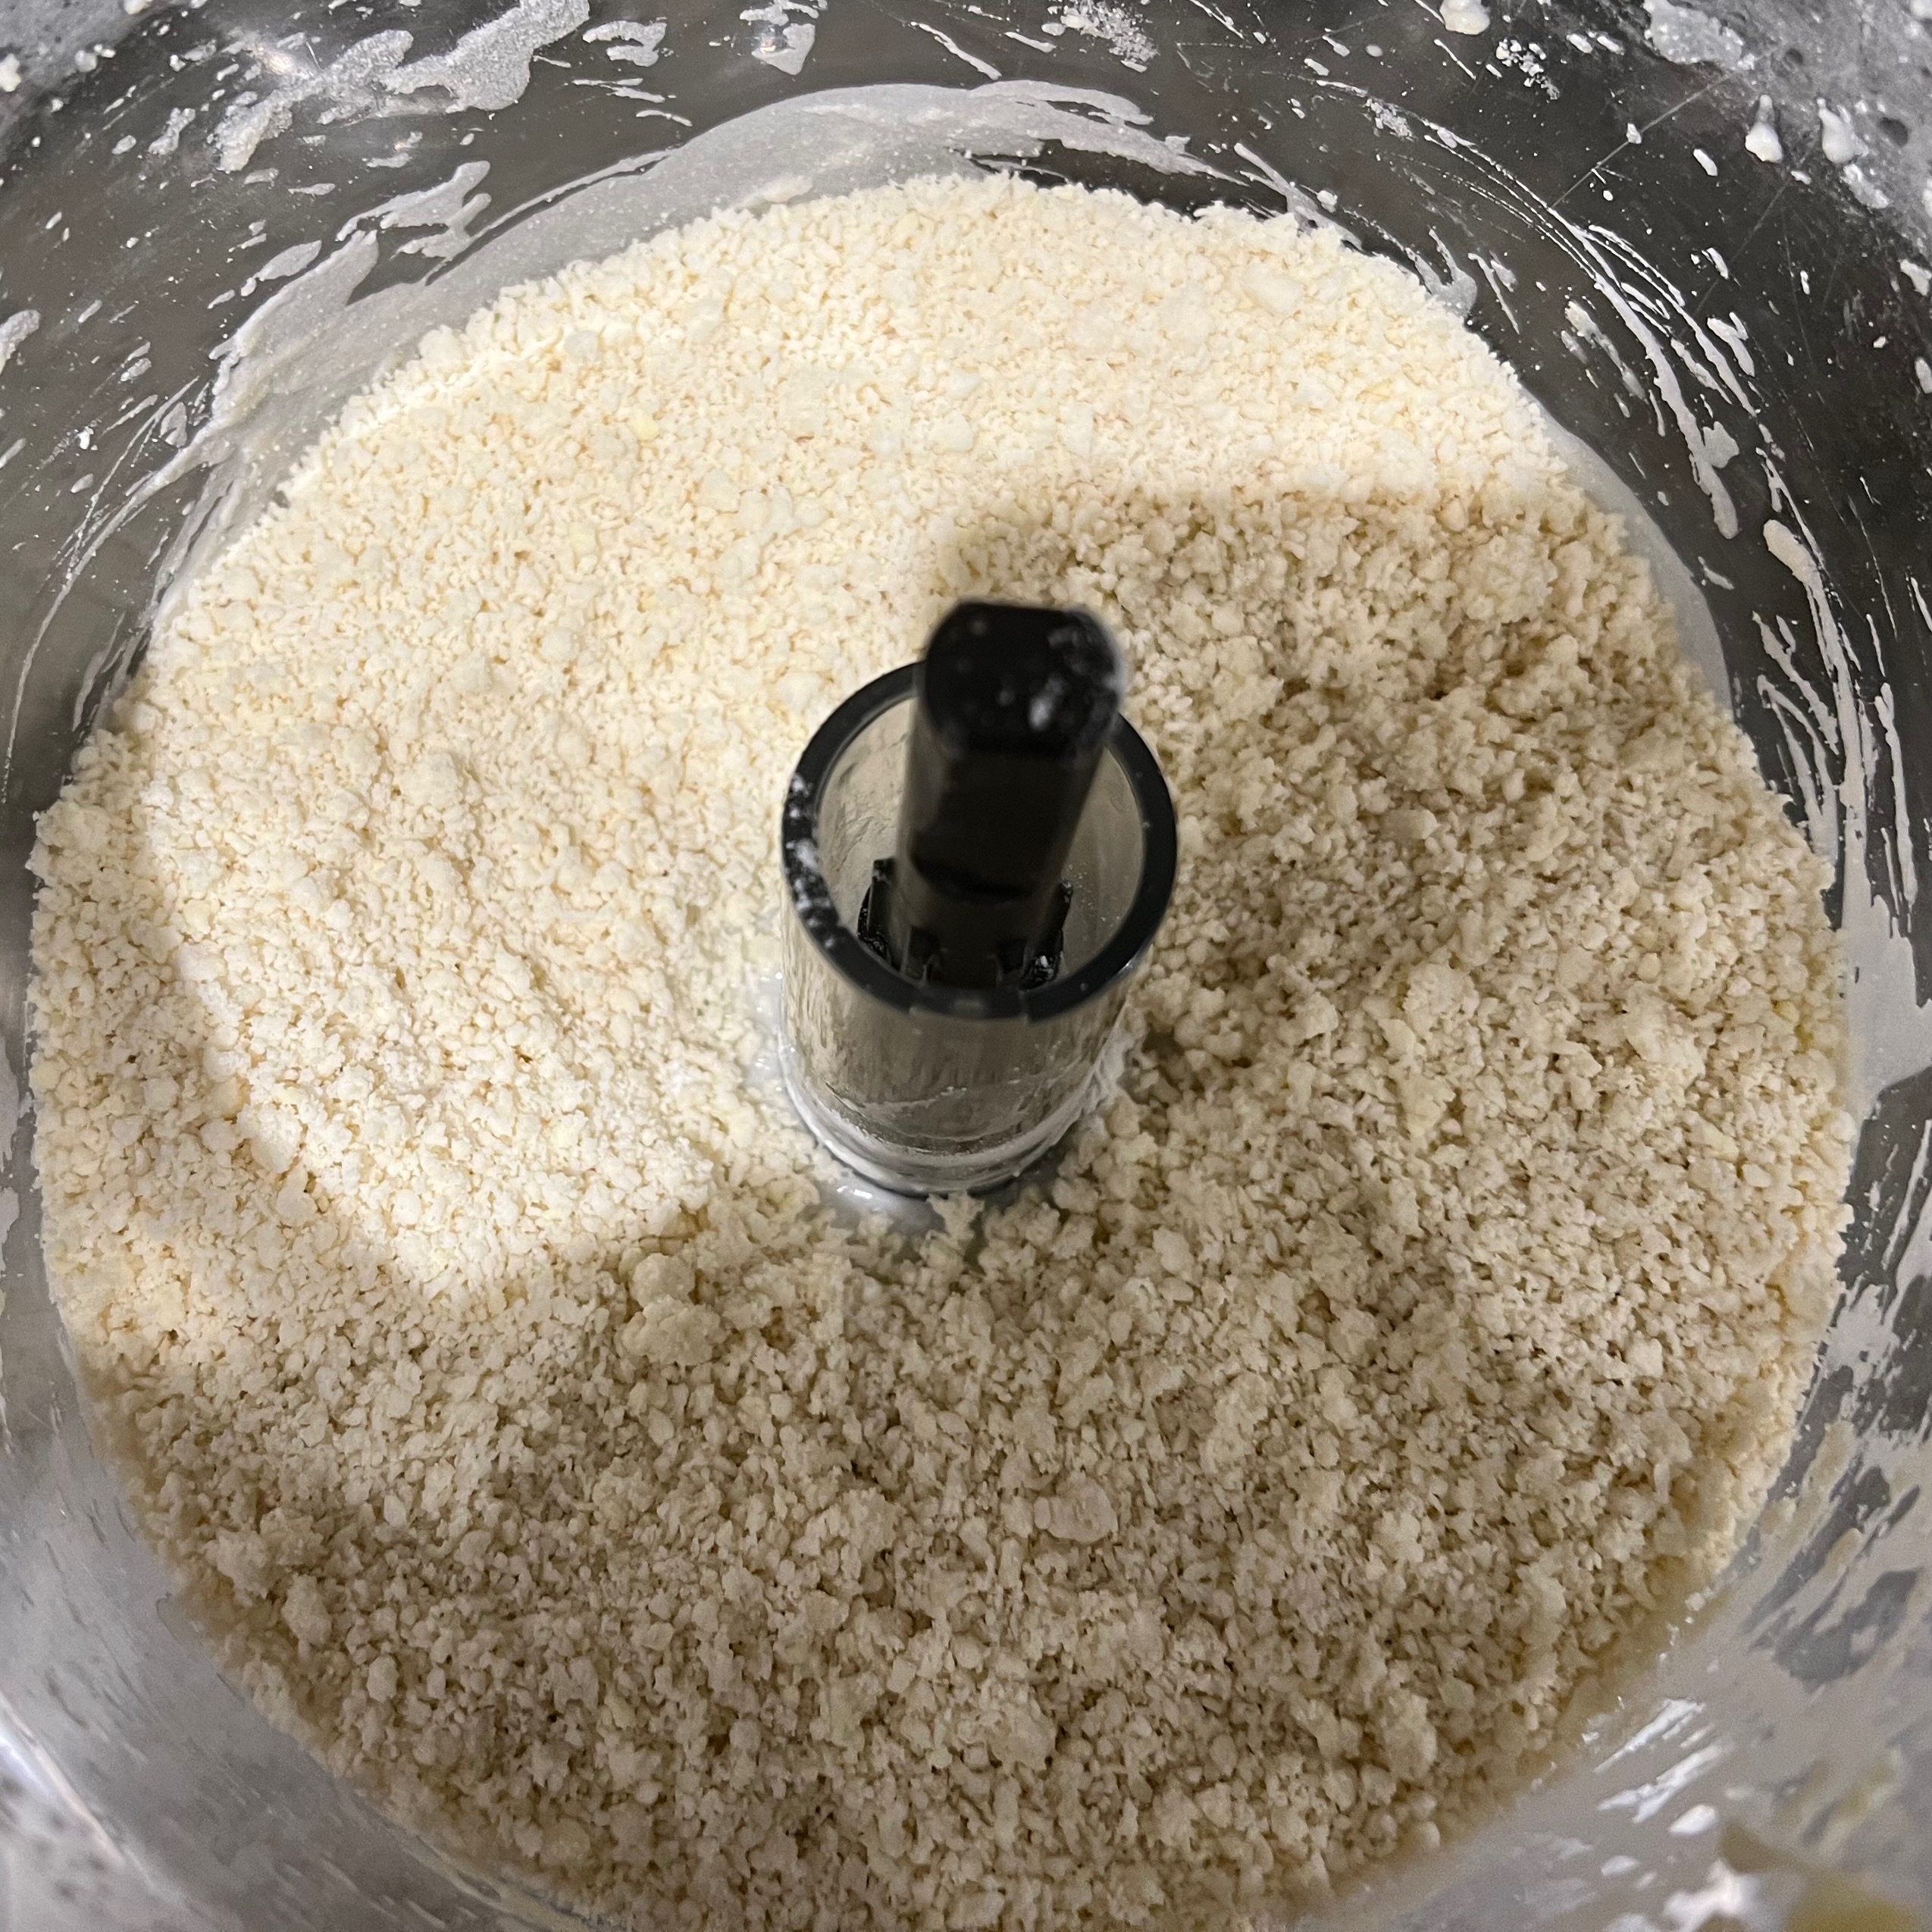
- Put the flour into the bowl of your food processor.
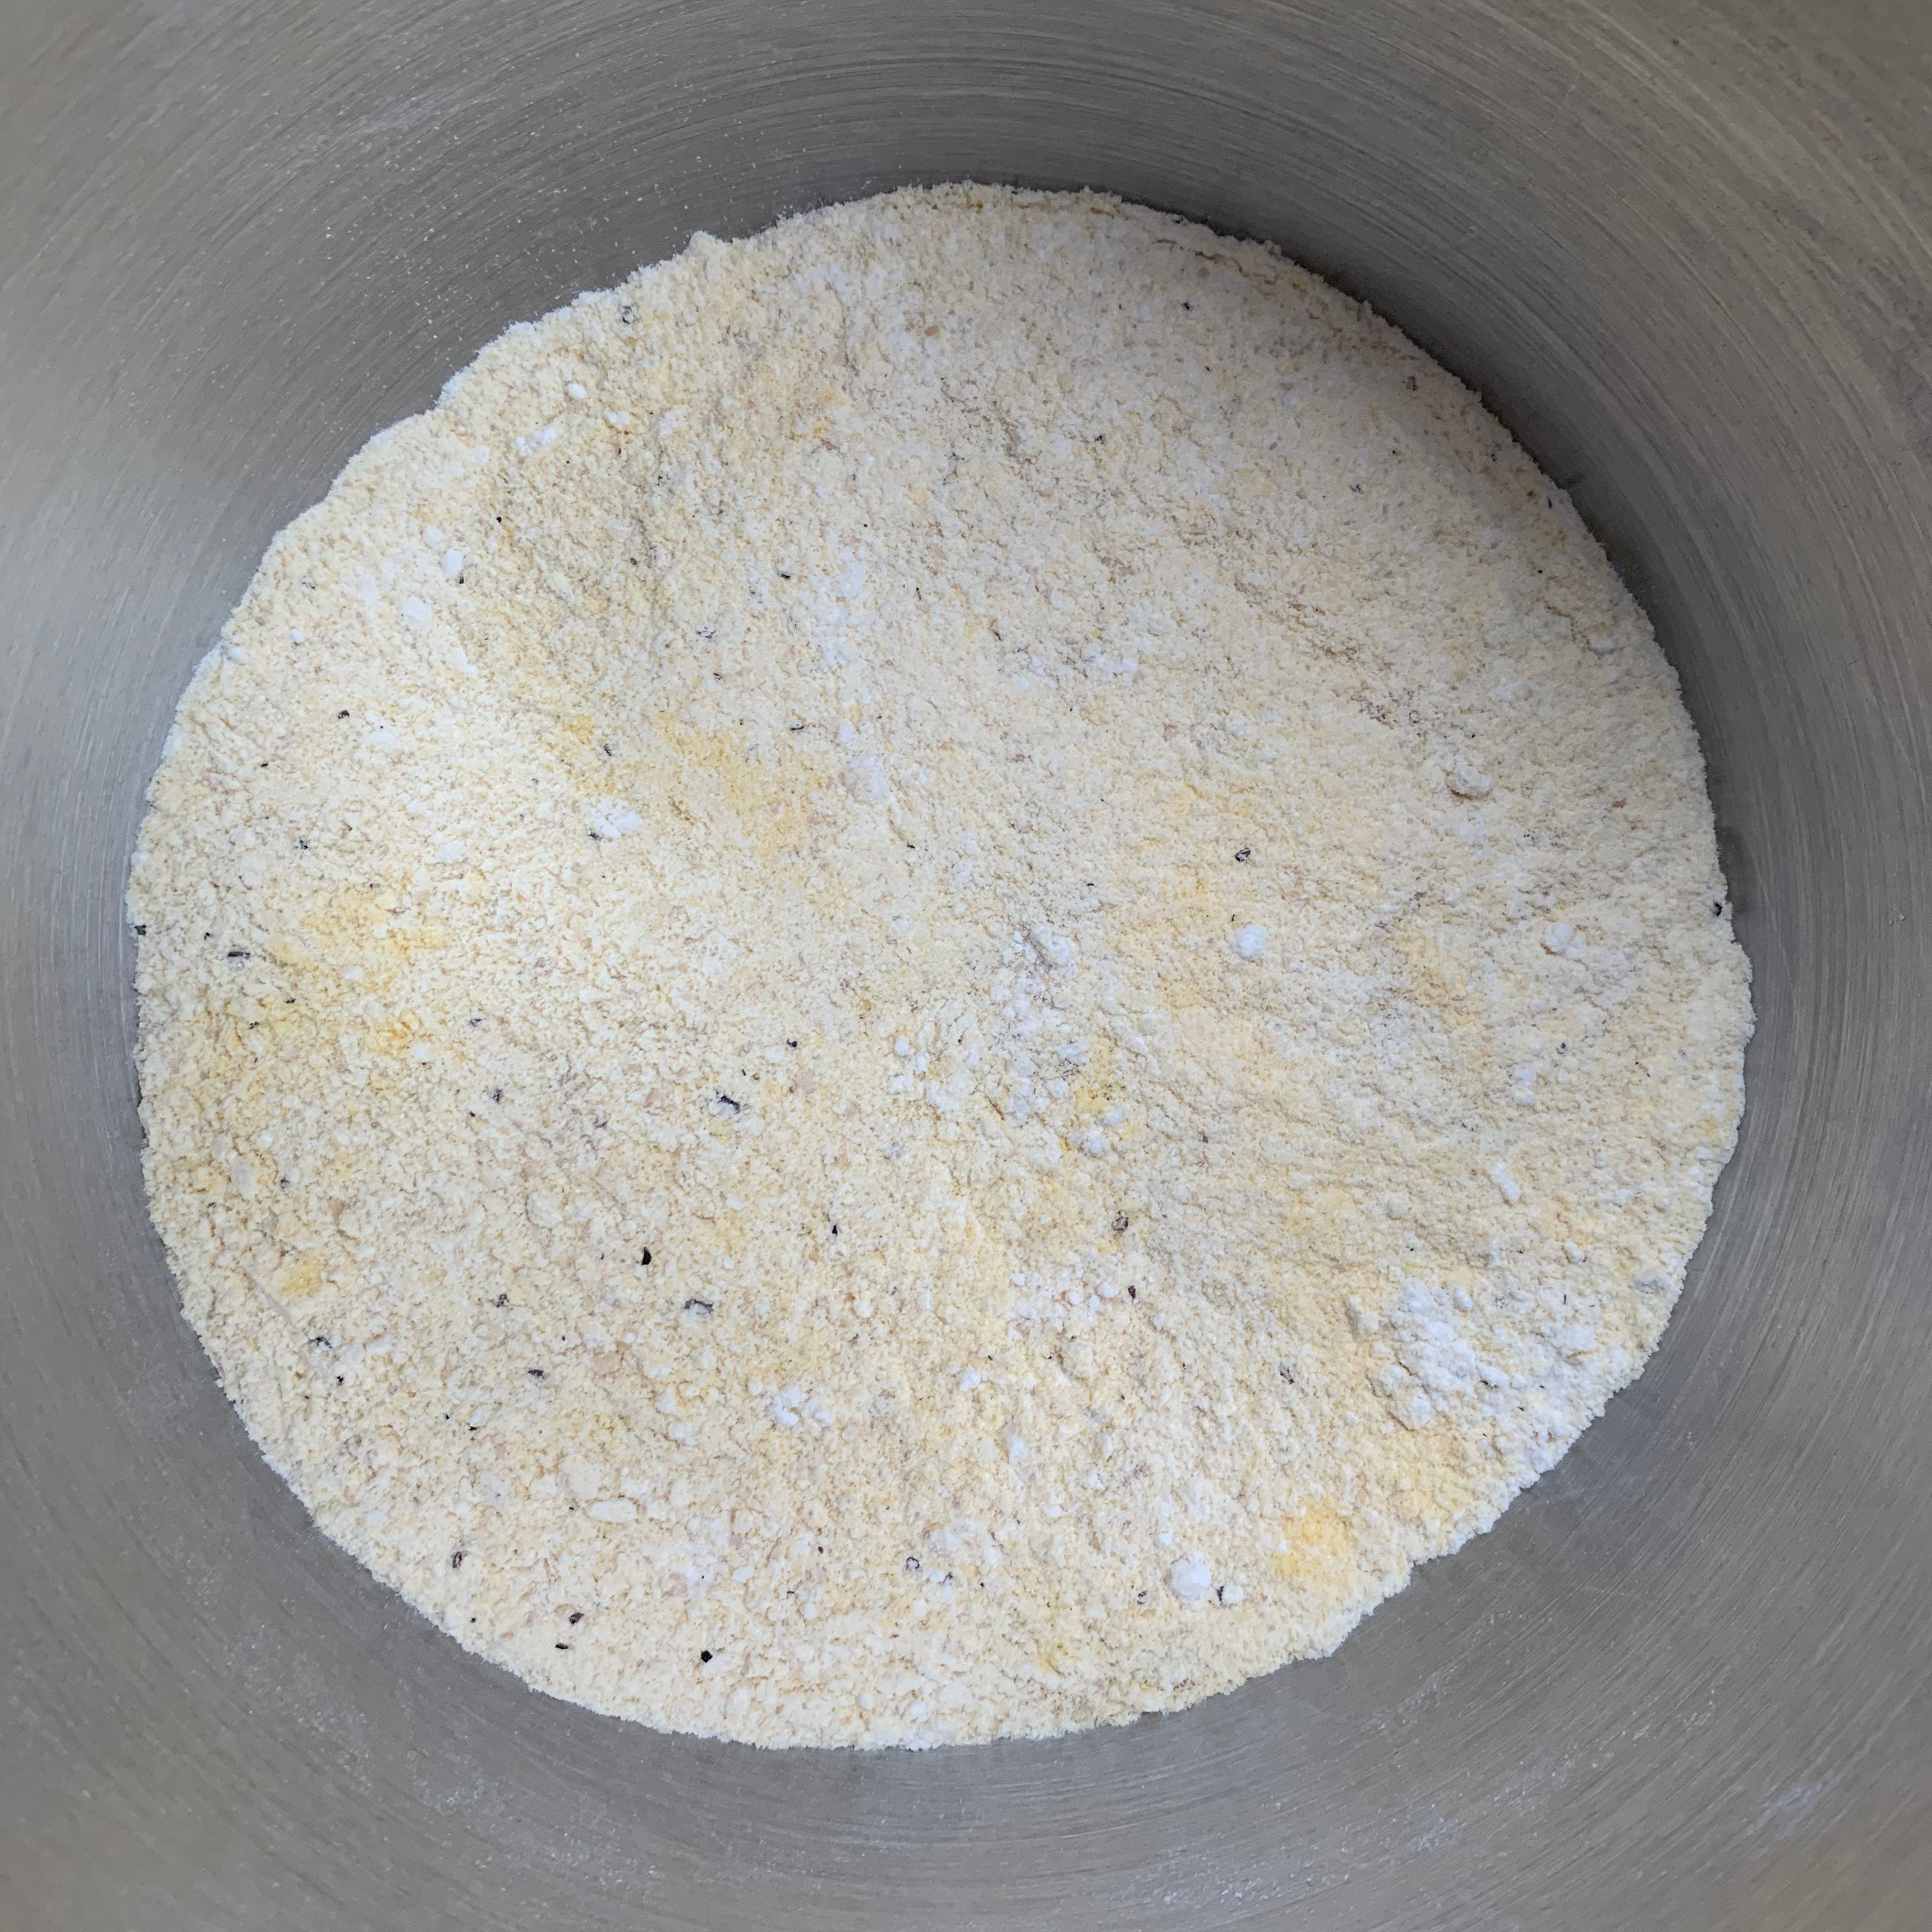
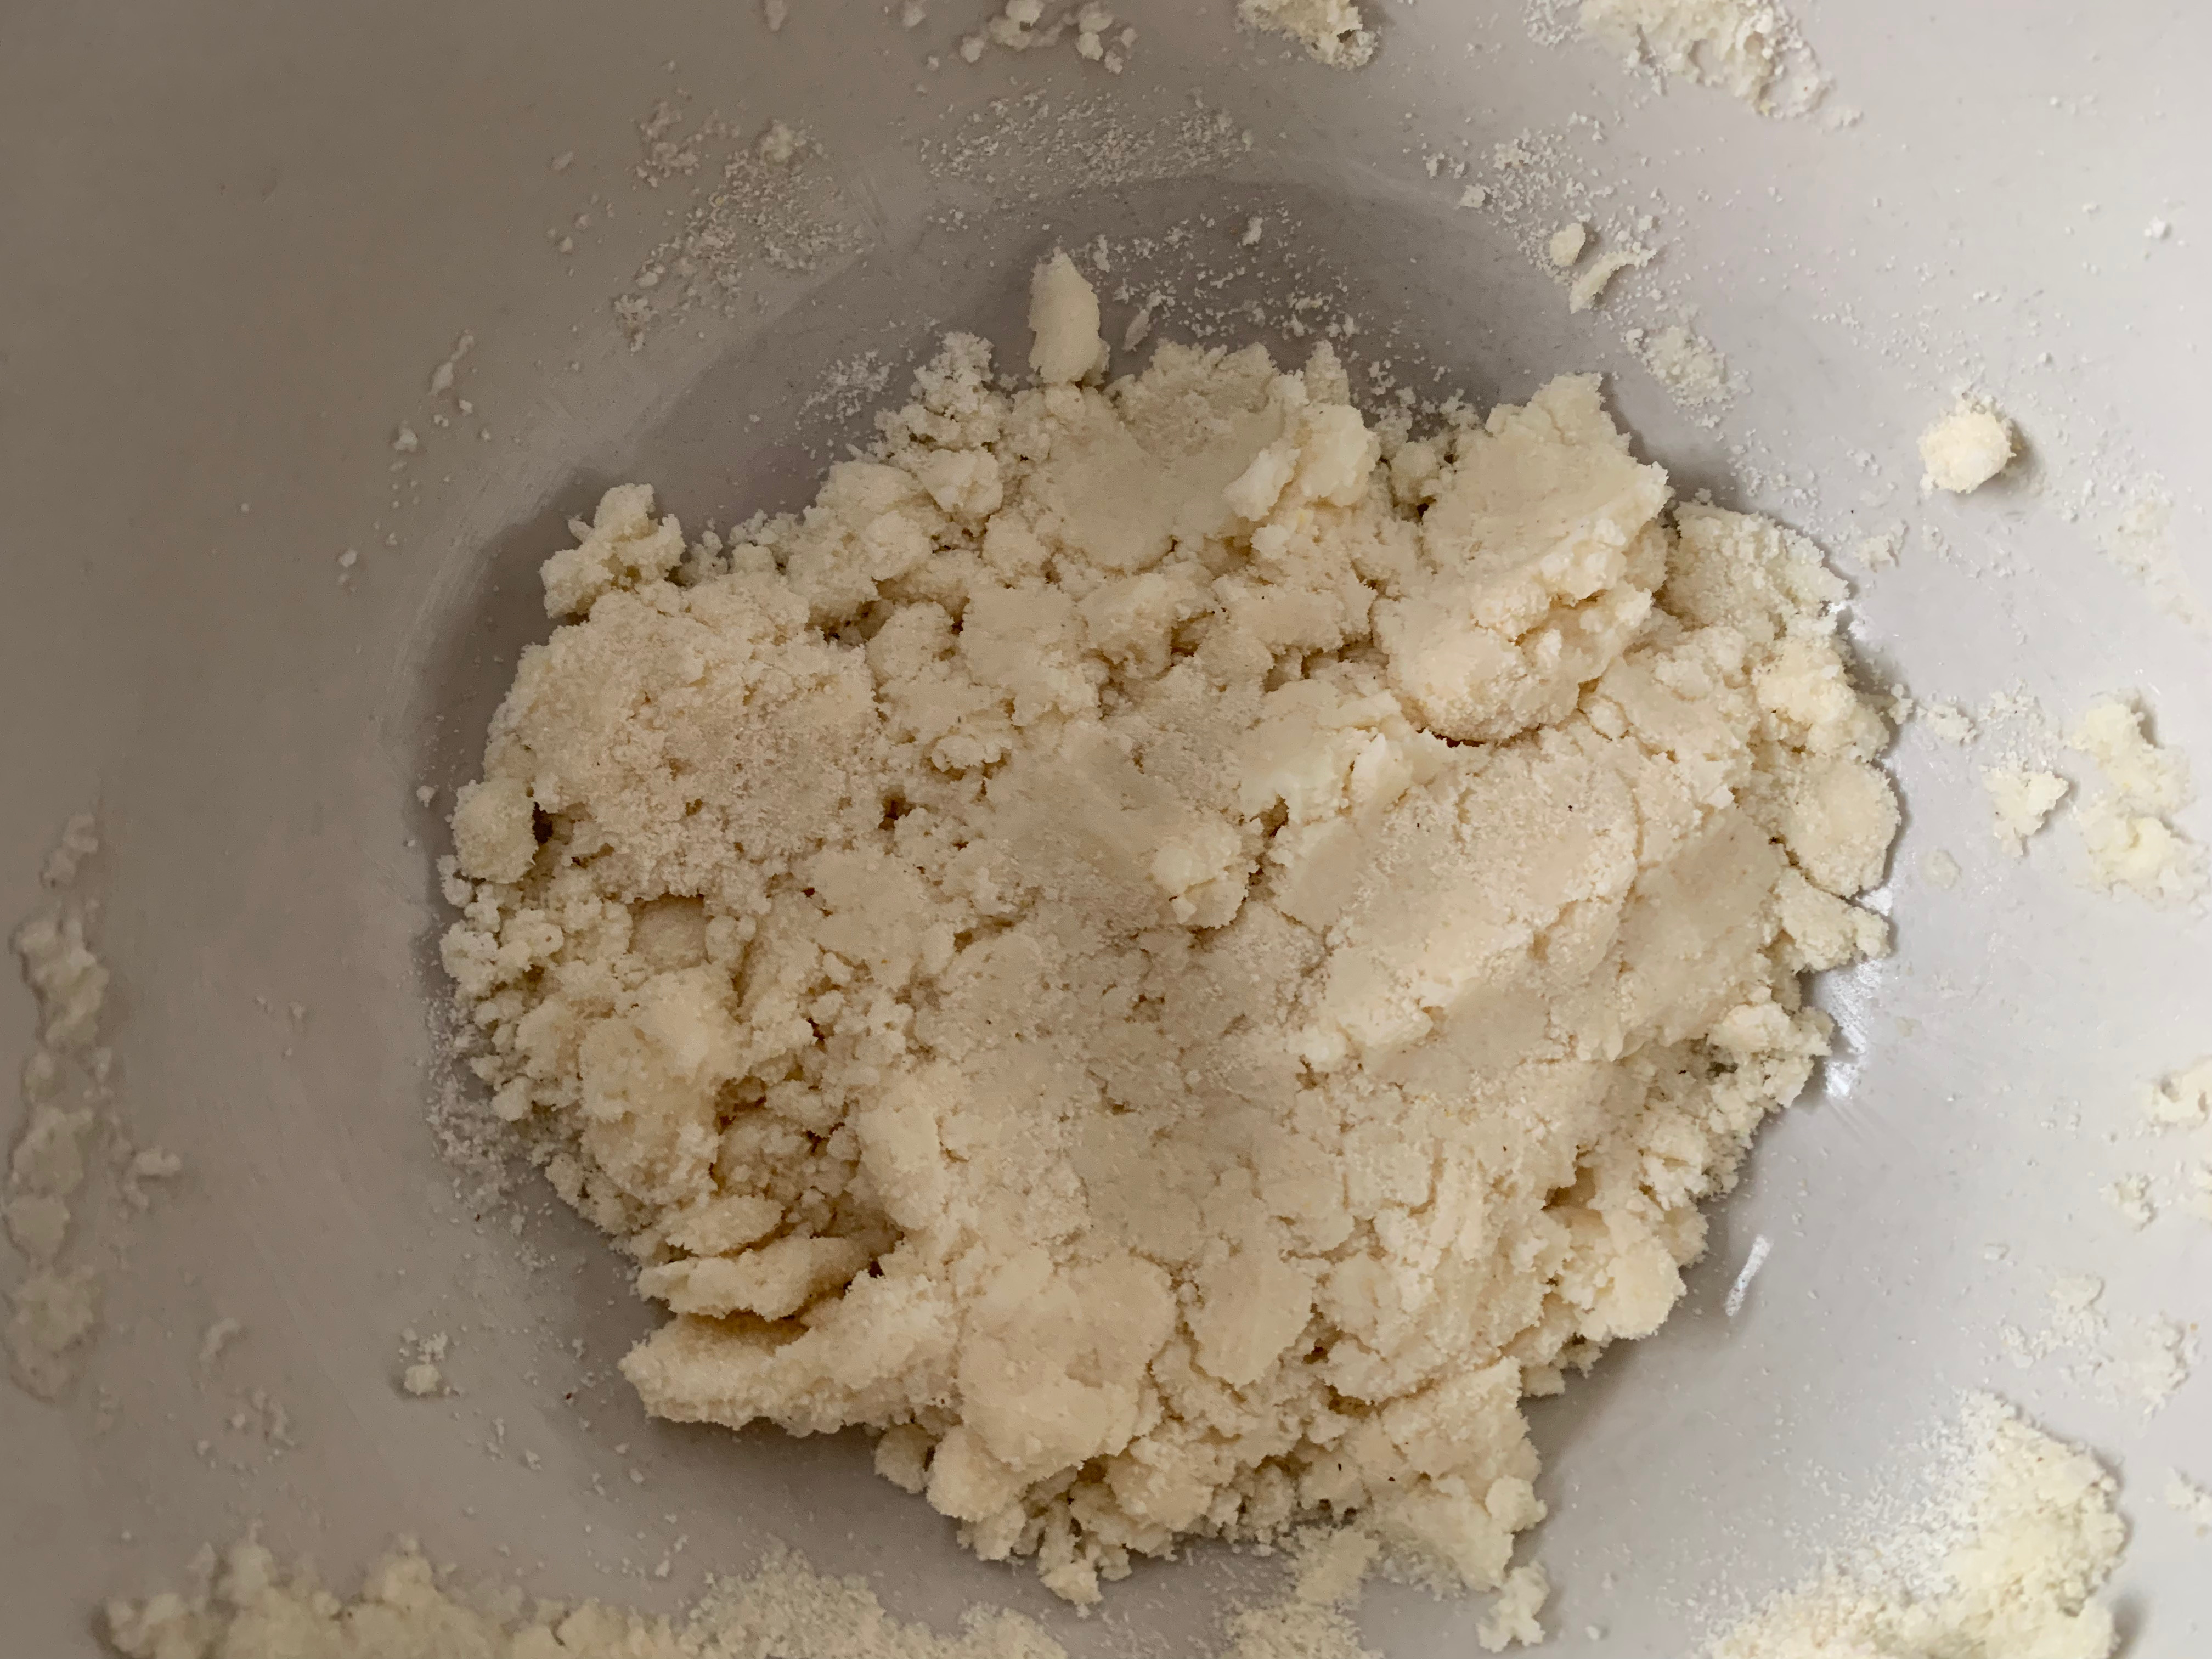
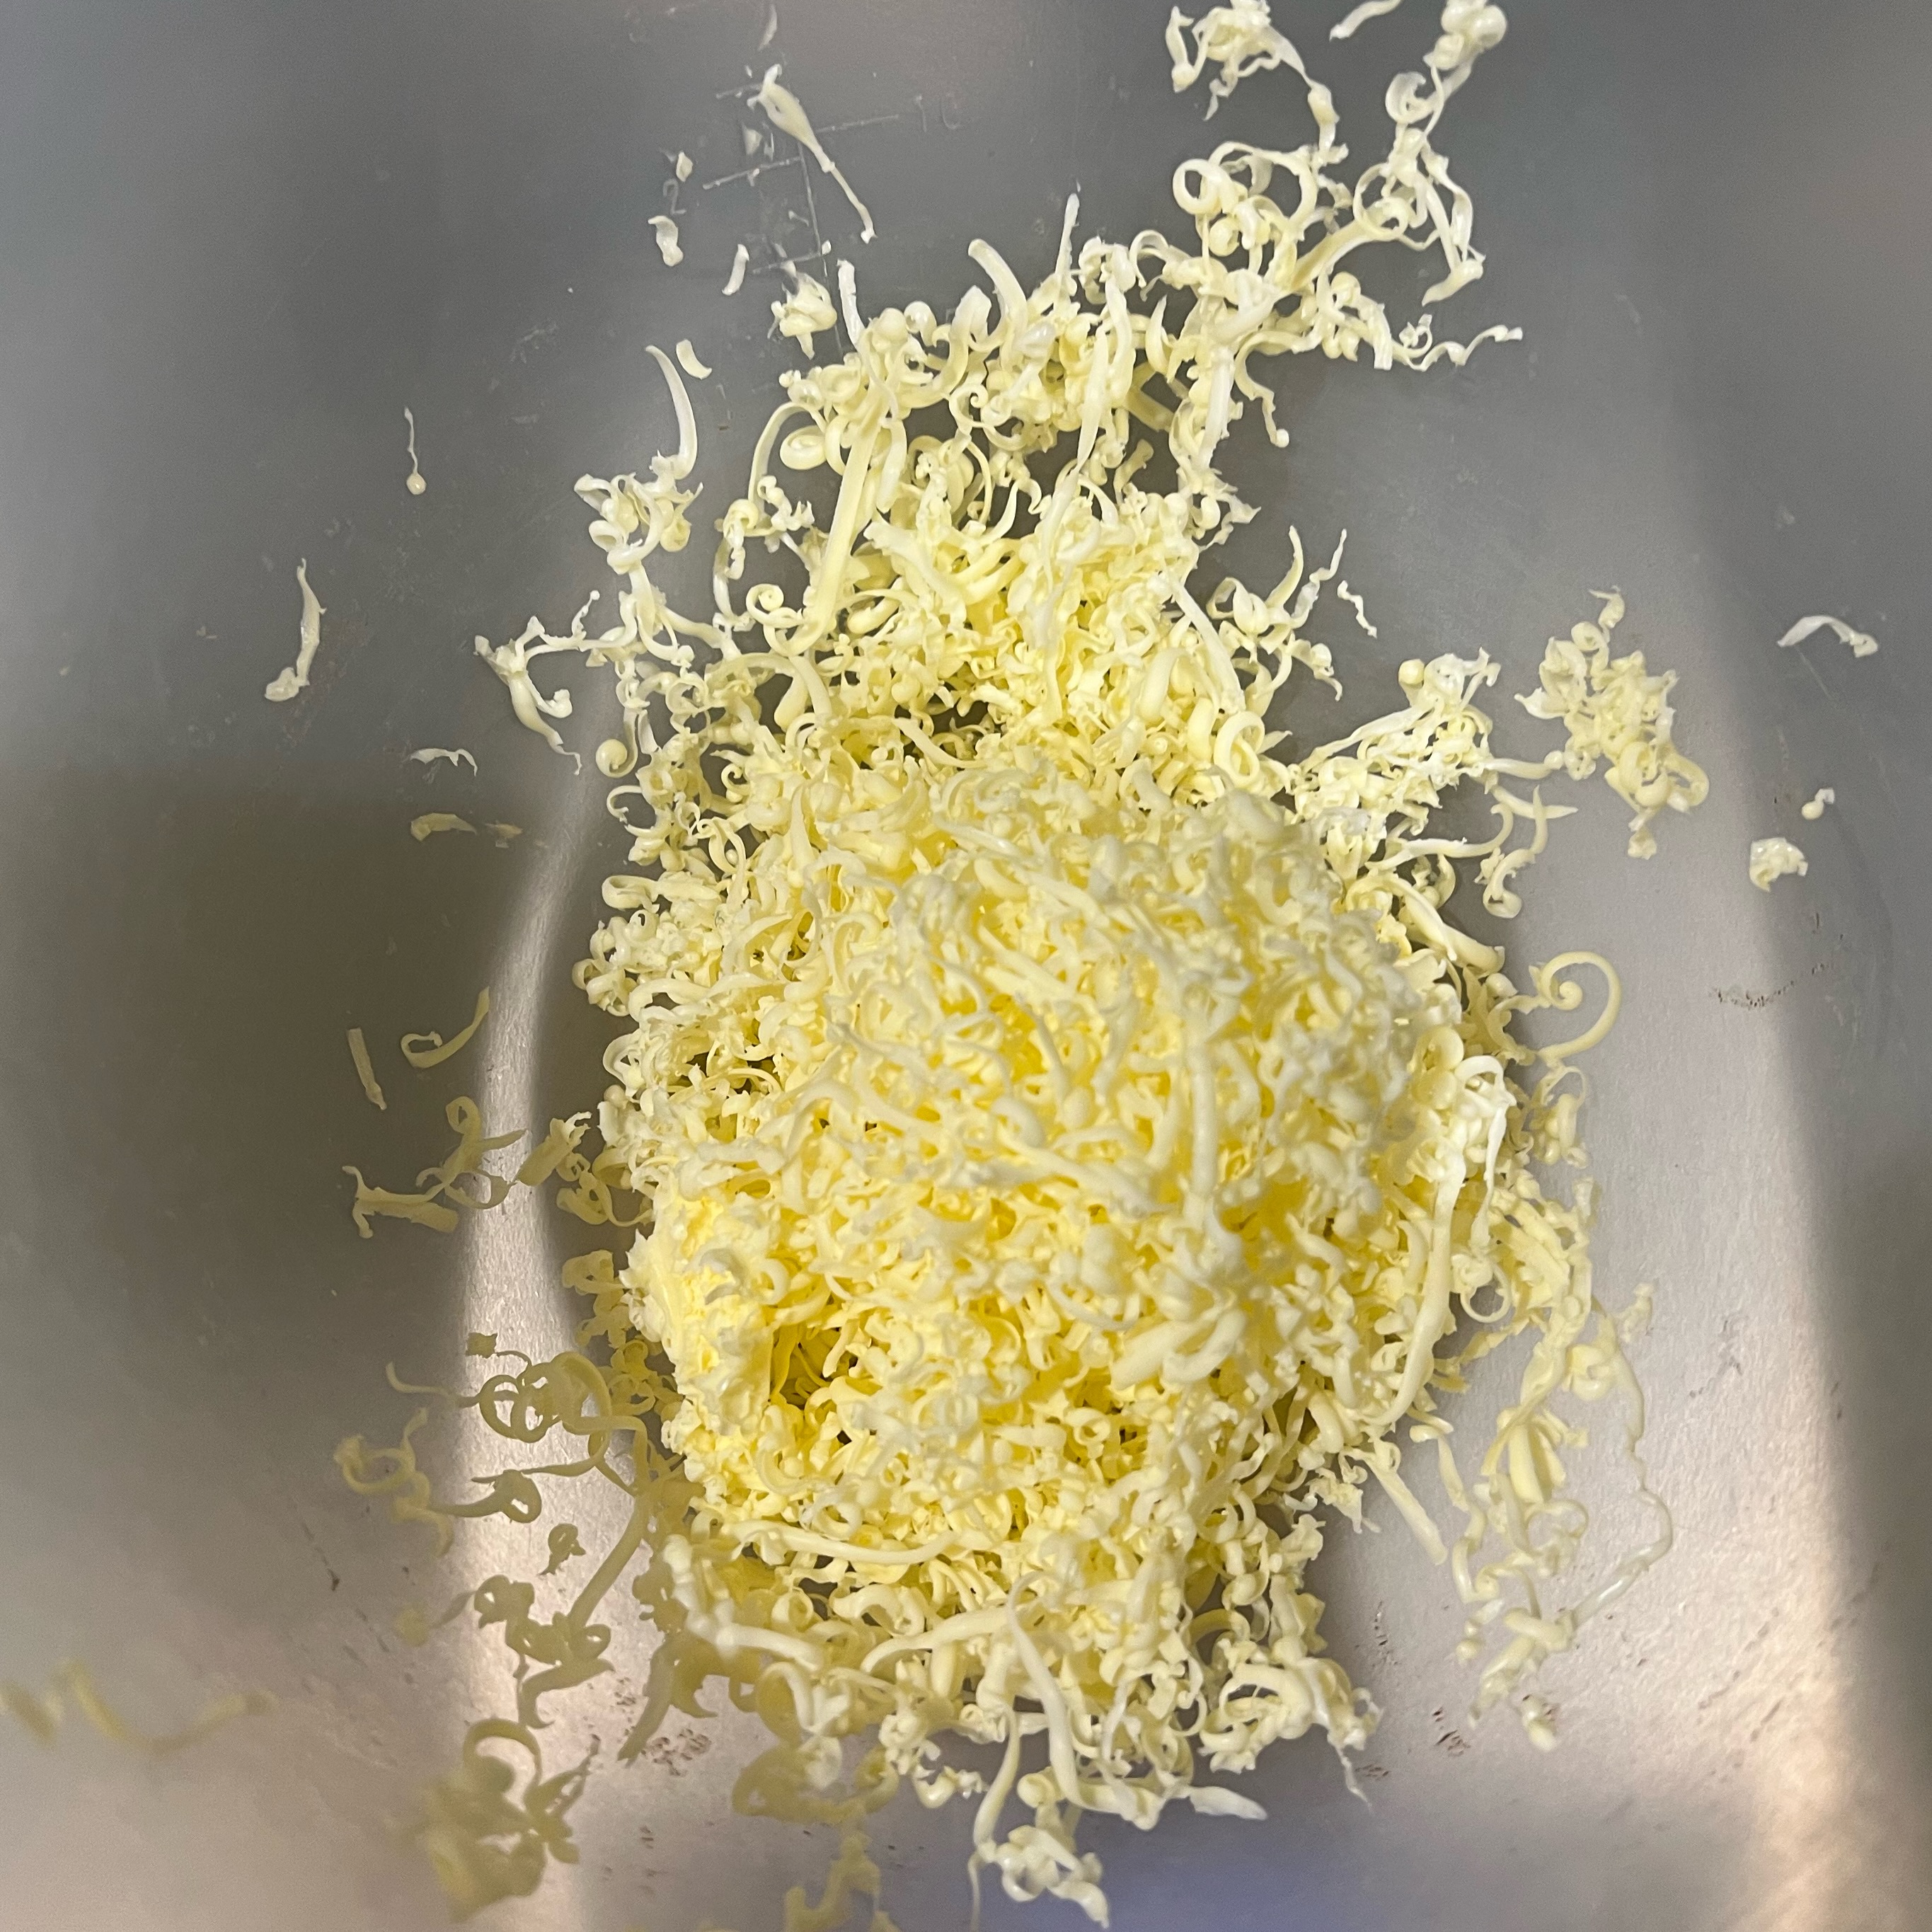
- Grate 30g of the butter and add to the bowl; process until you have a fine mixture
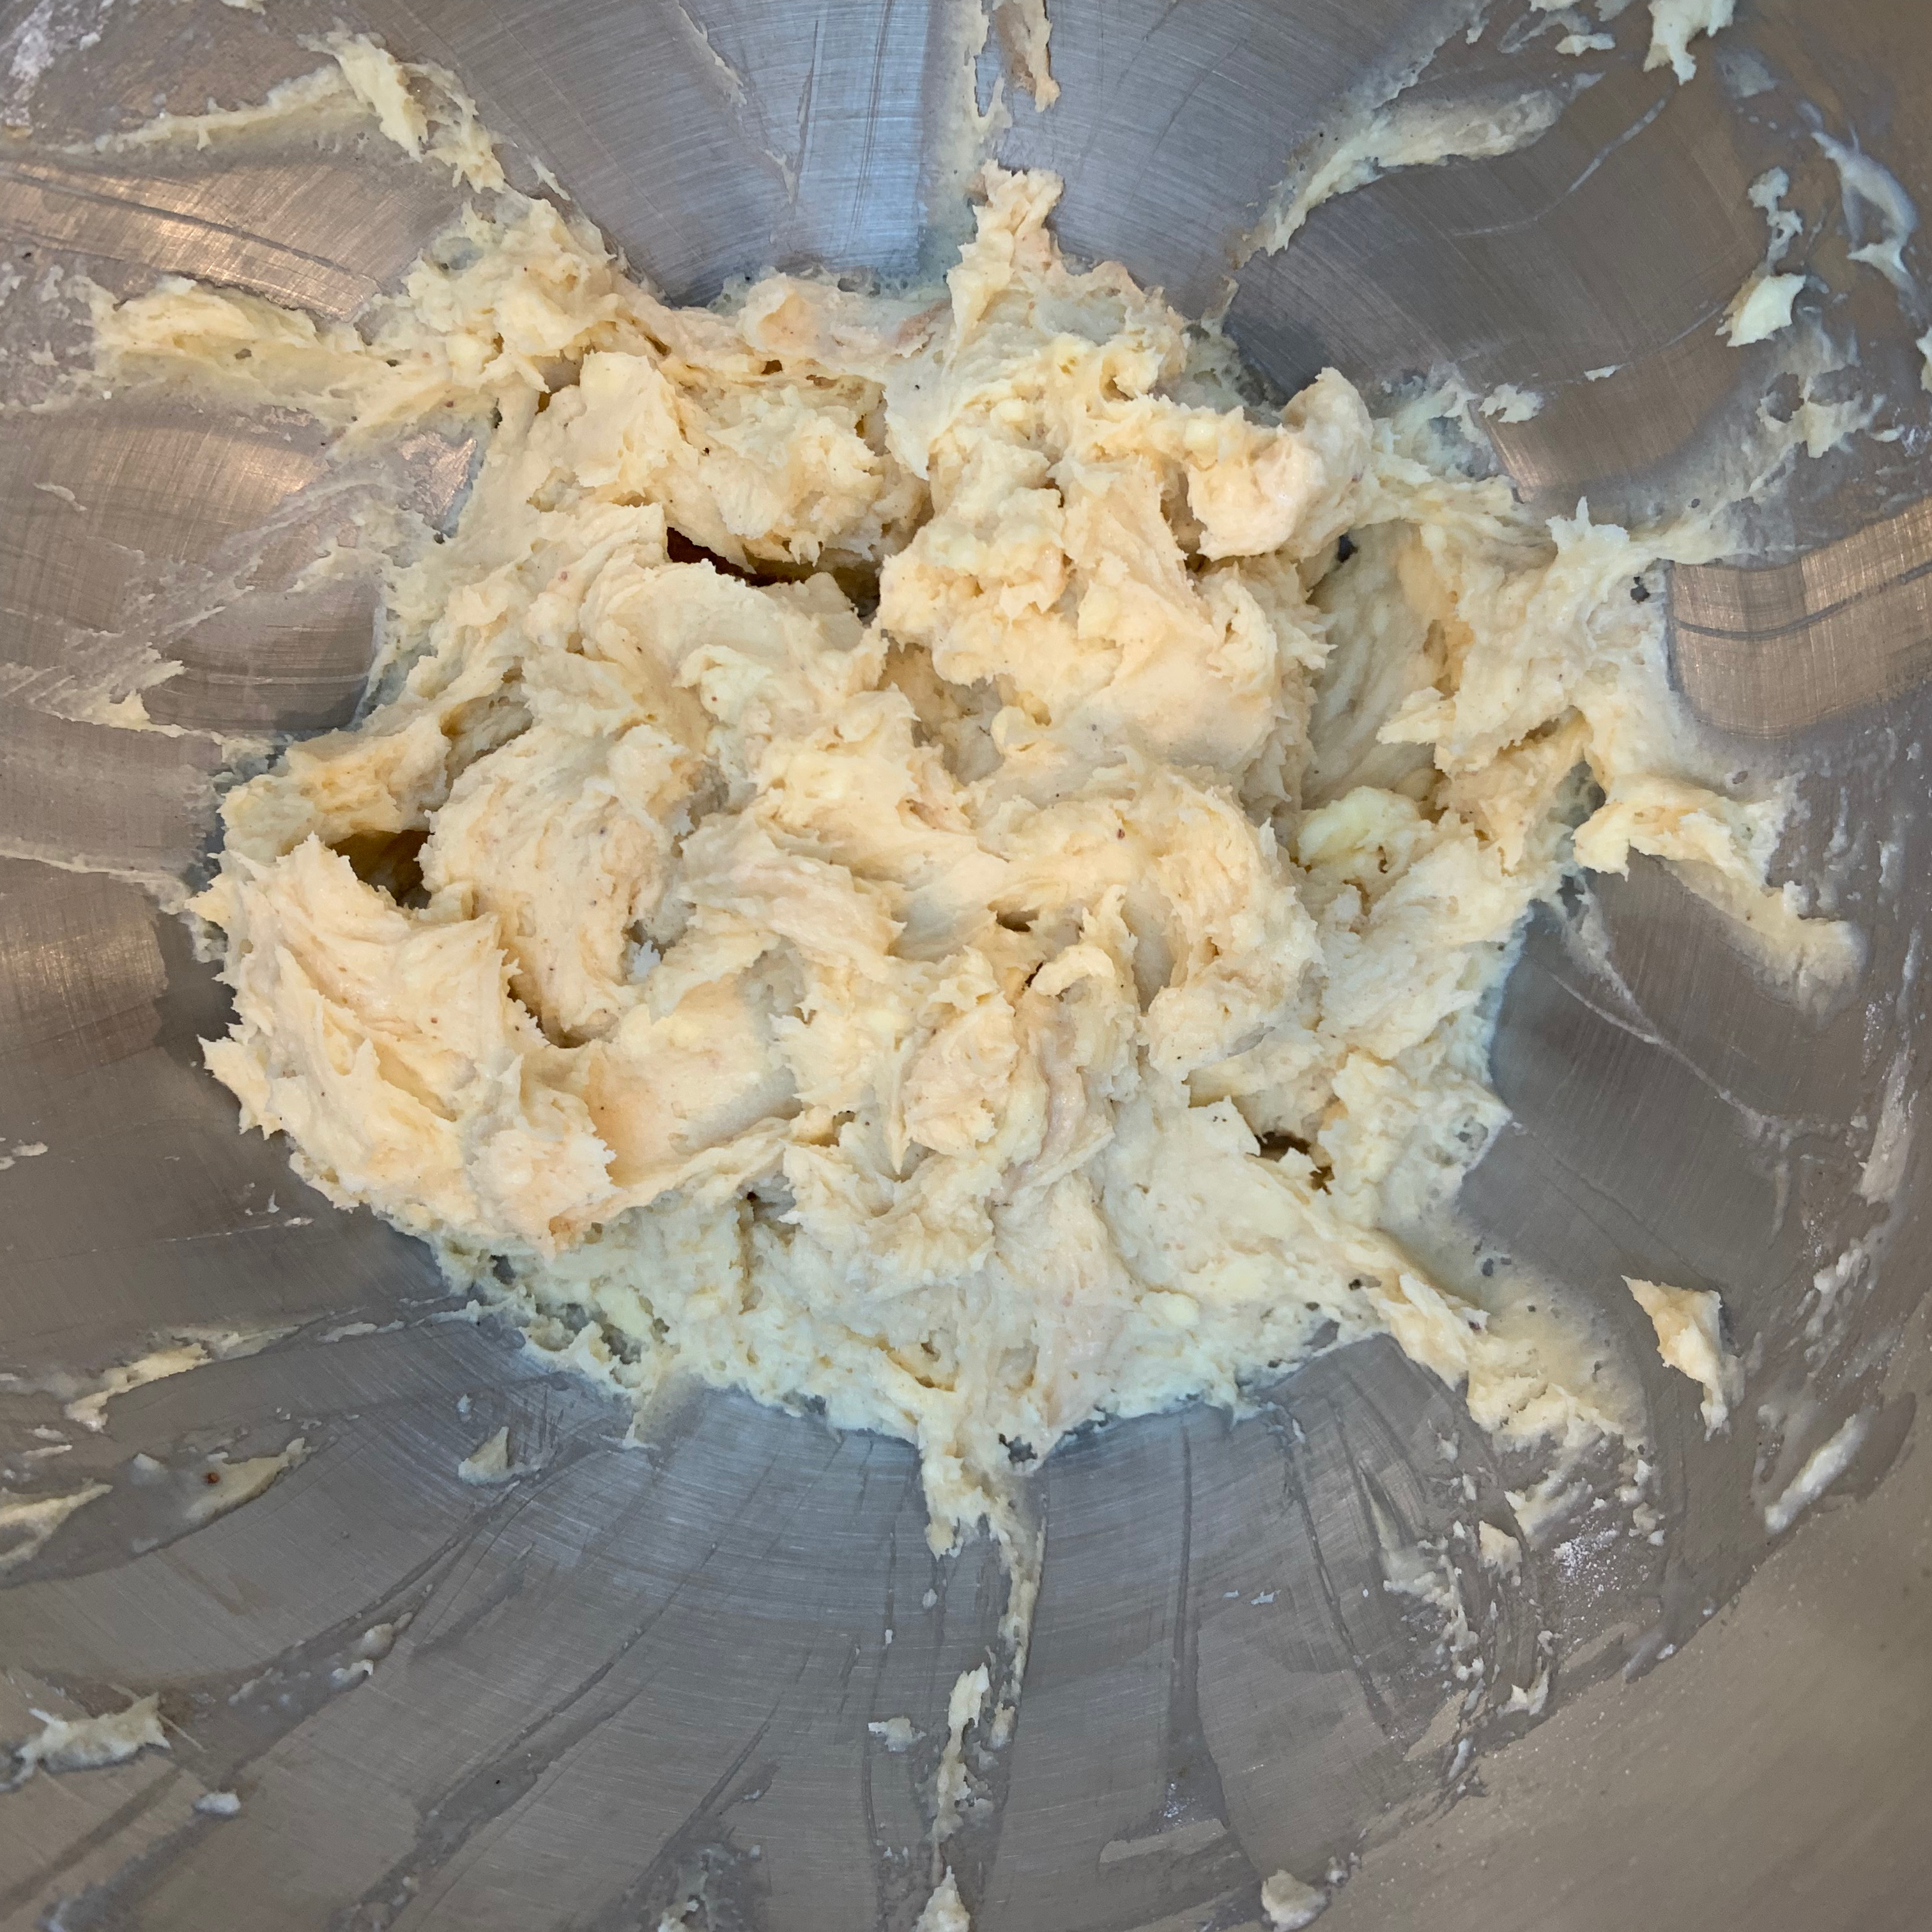
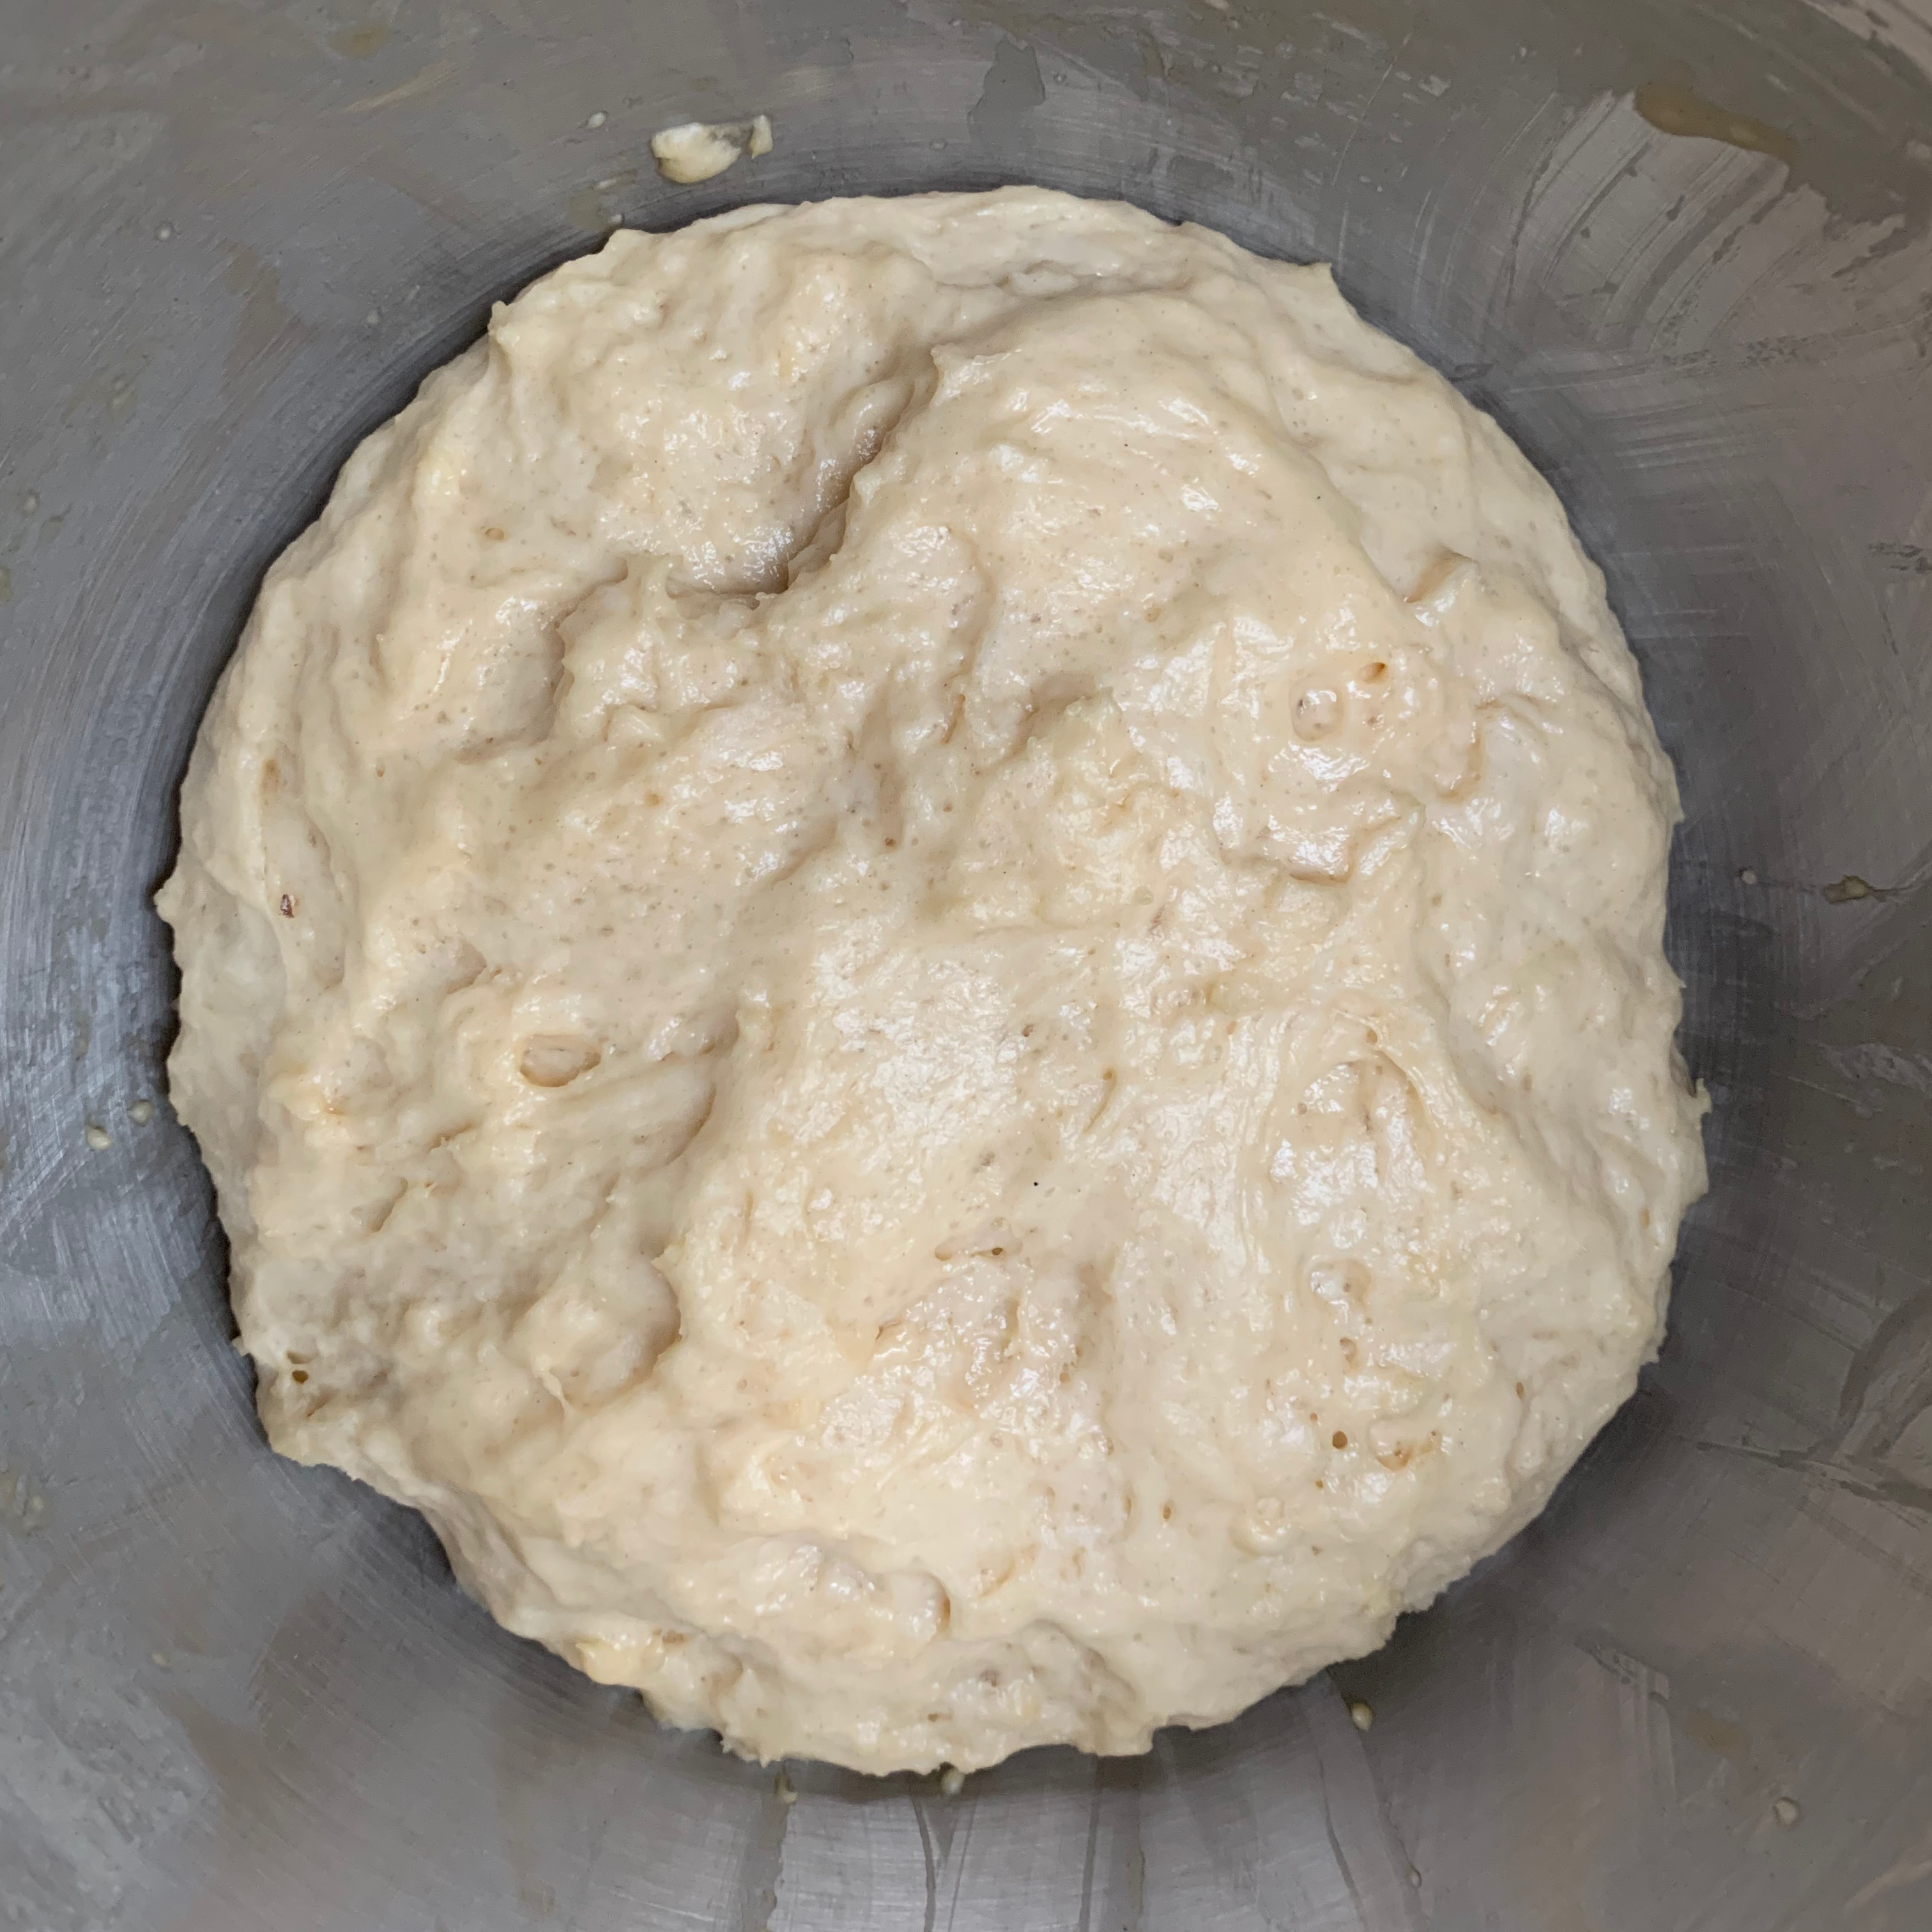
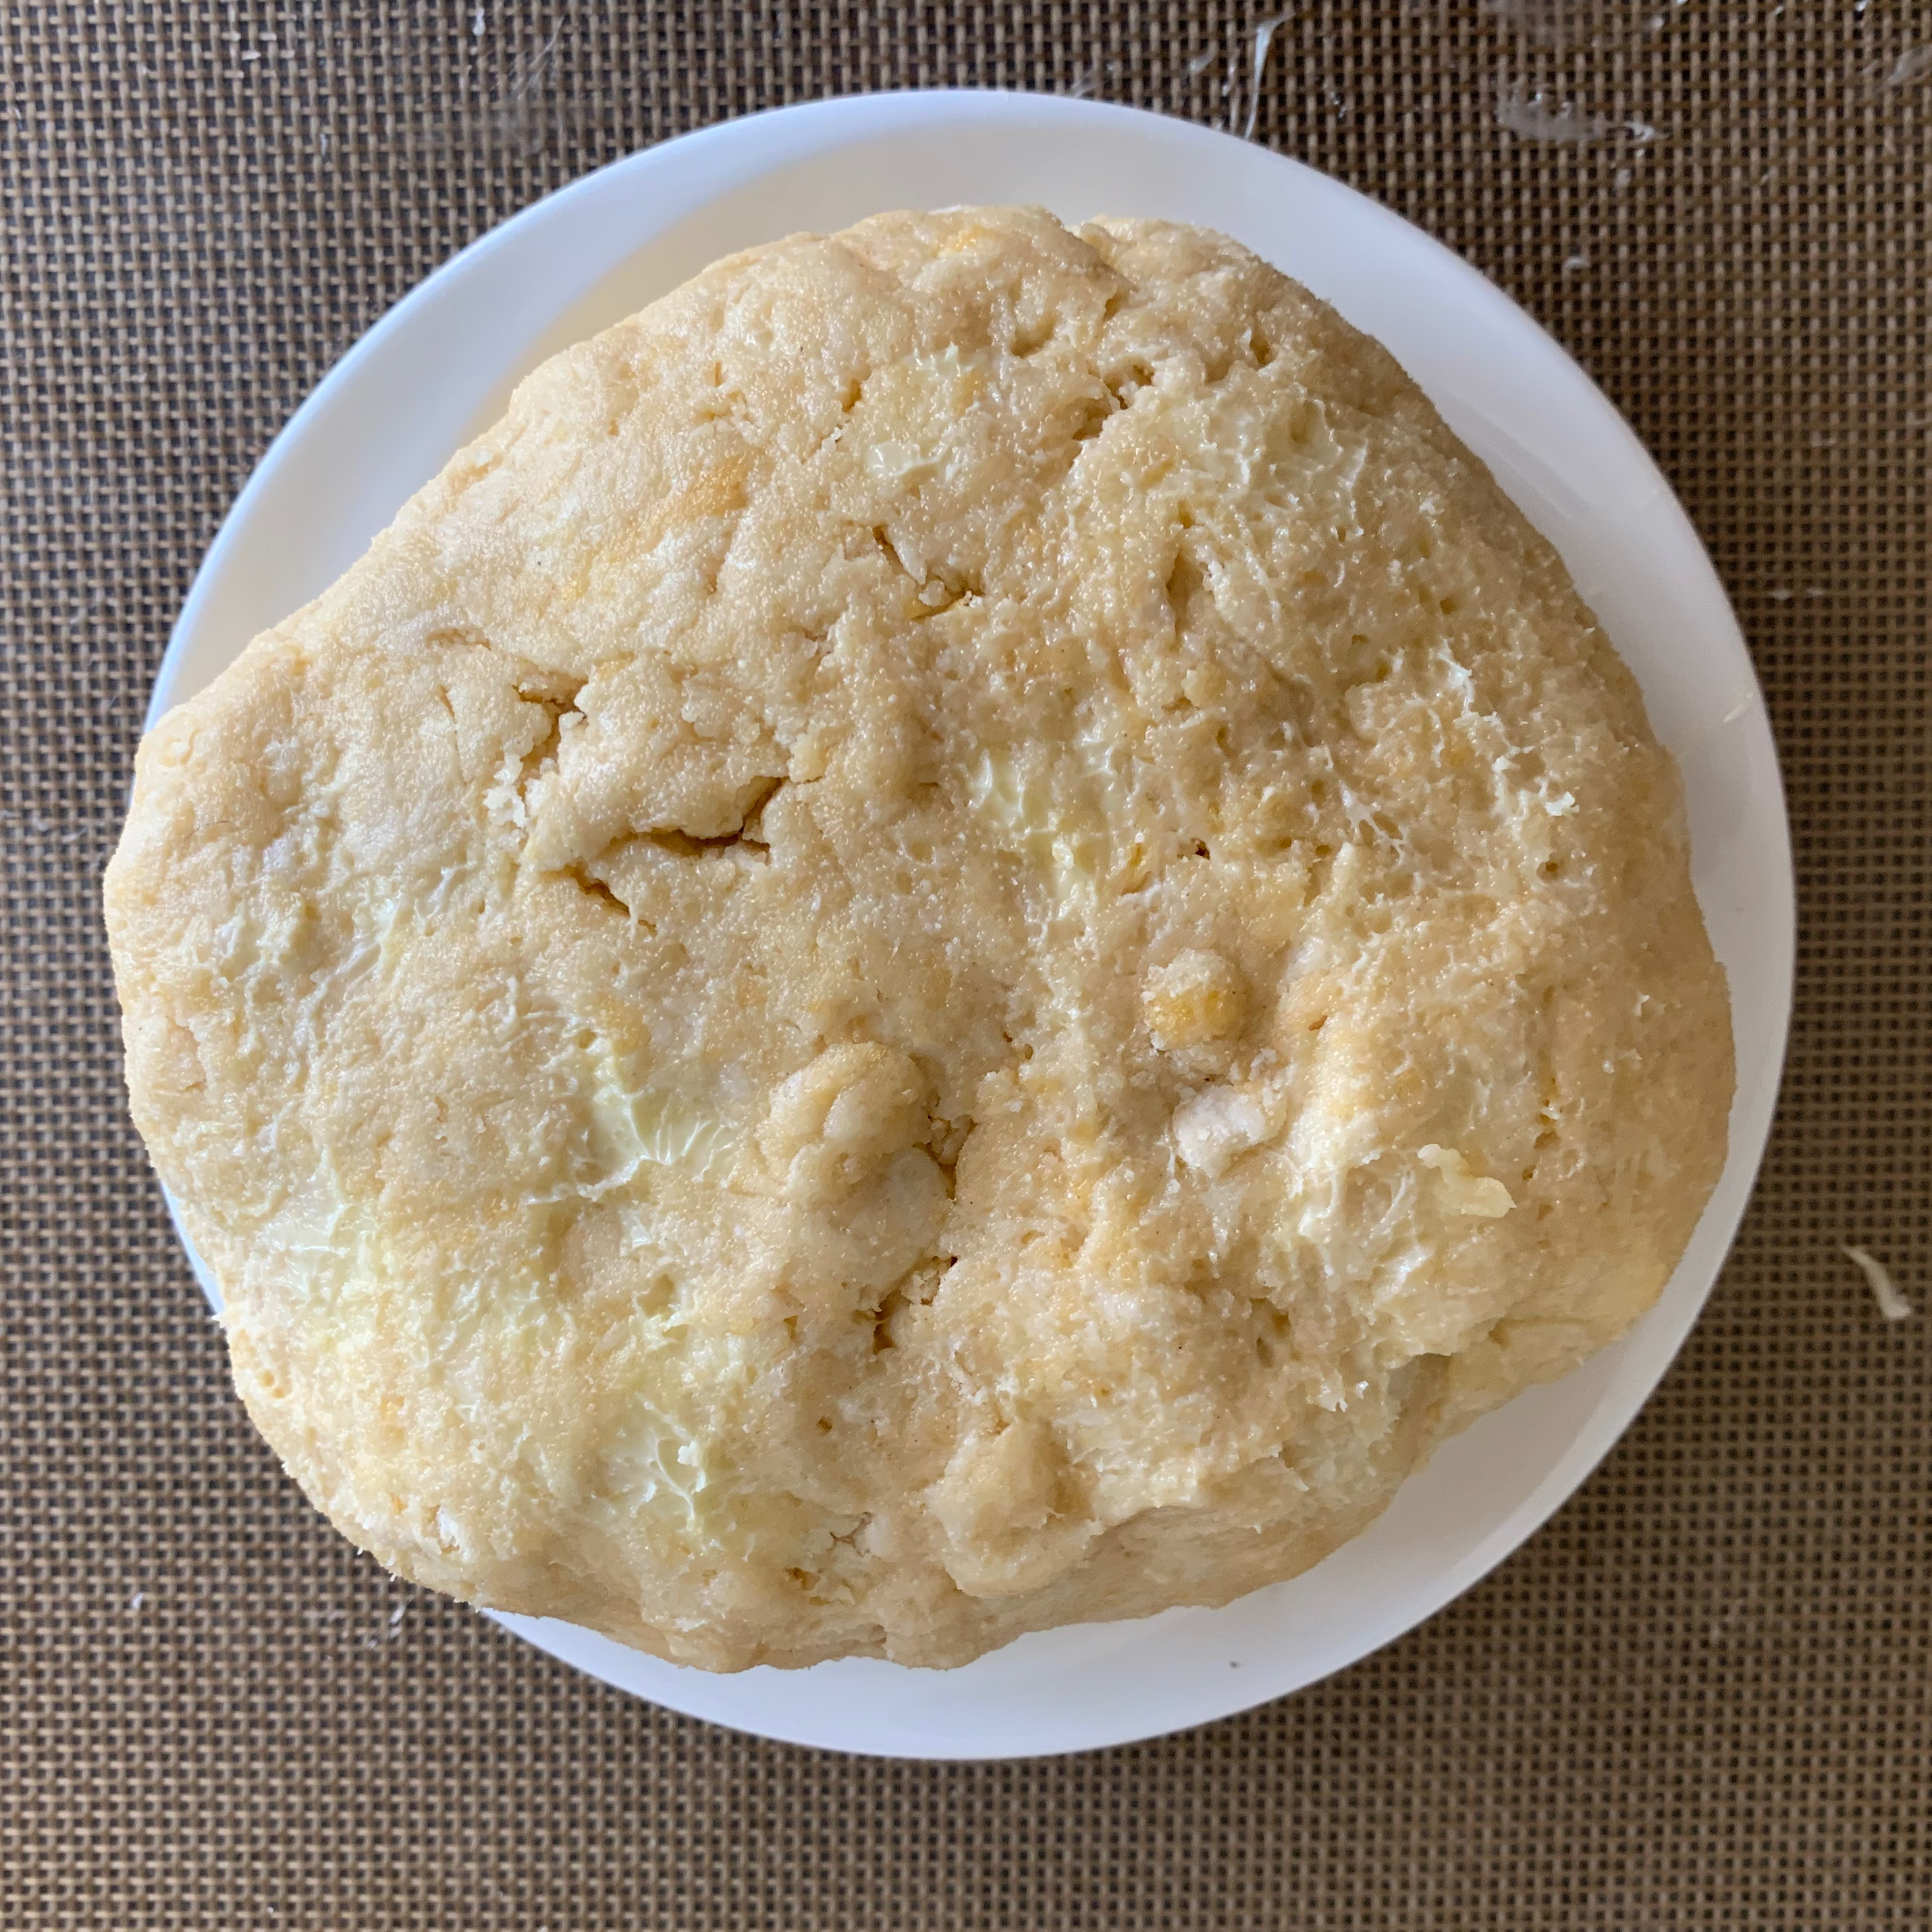
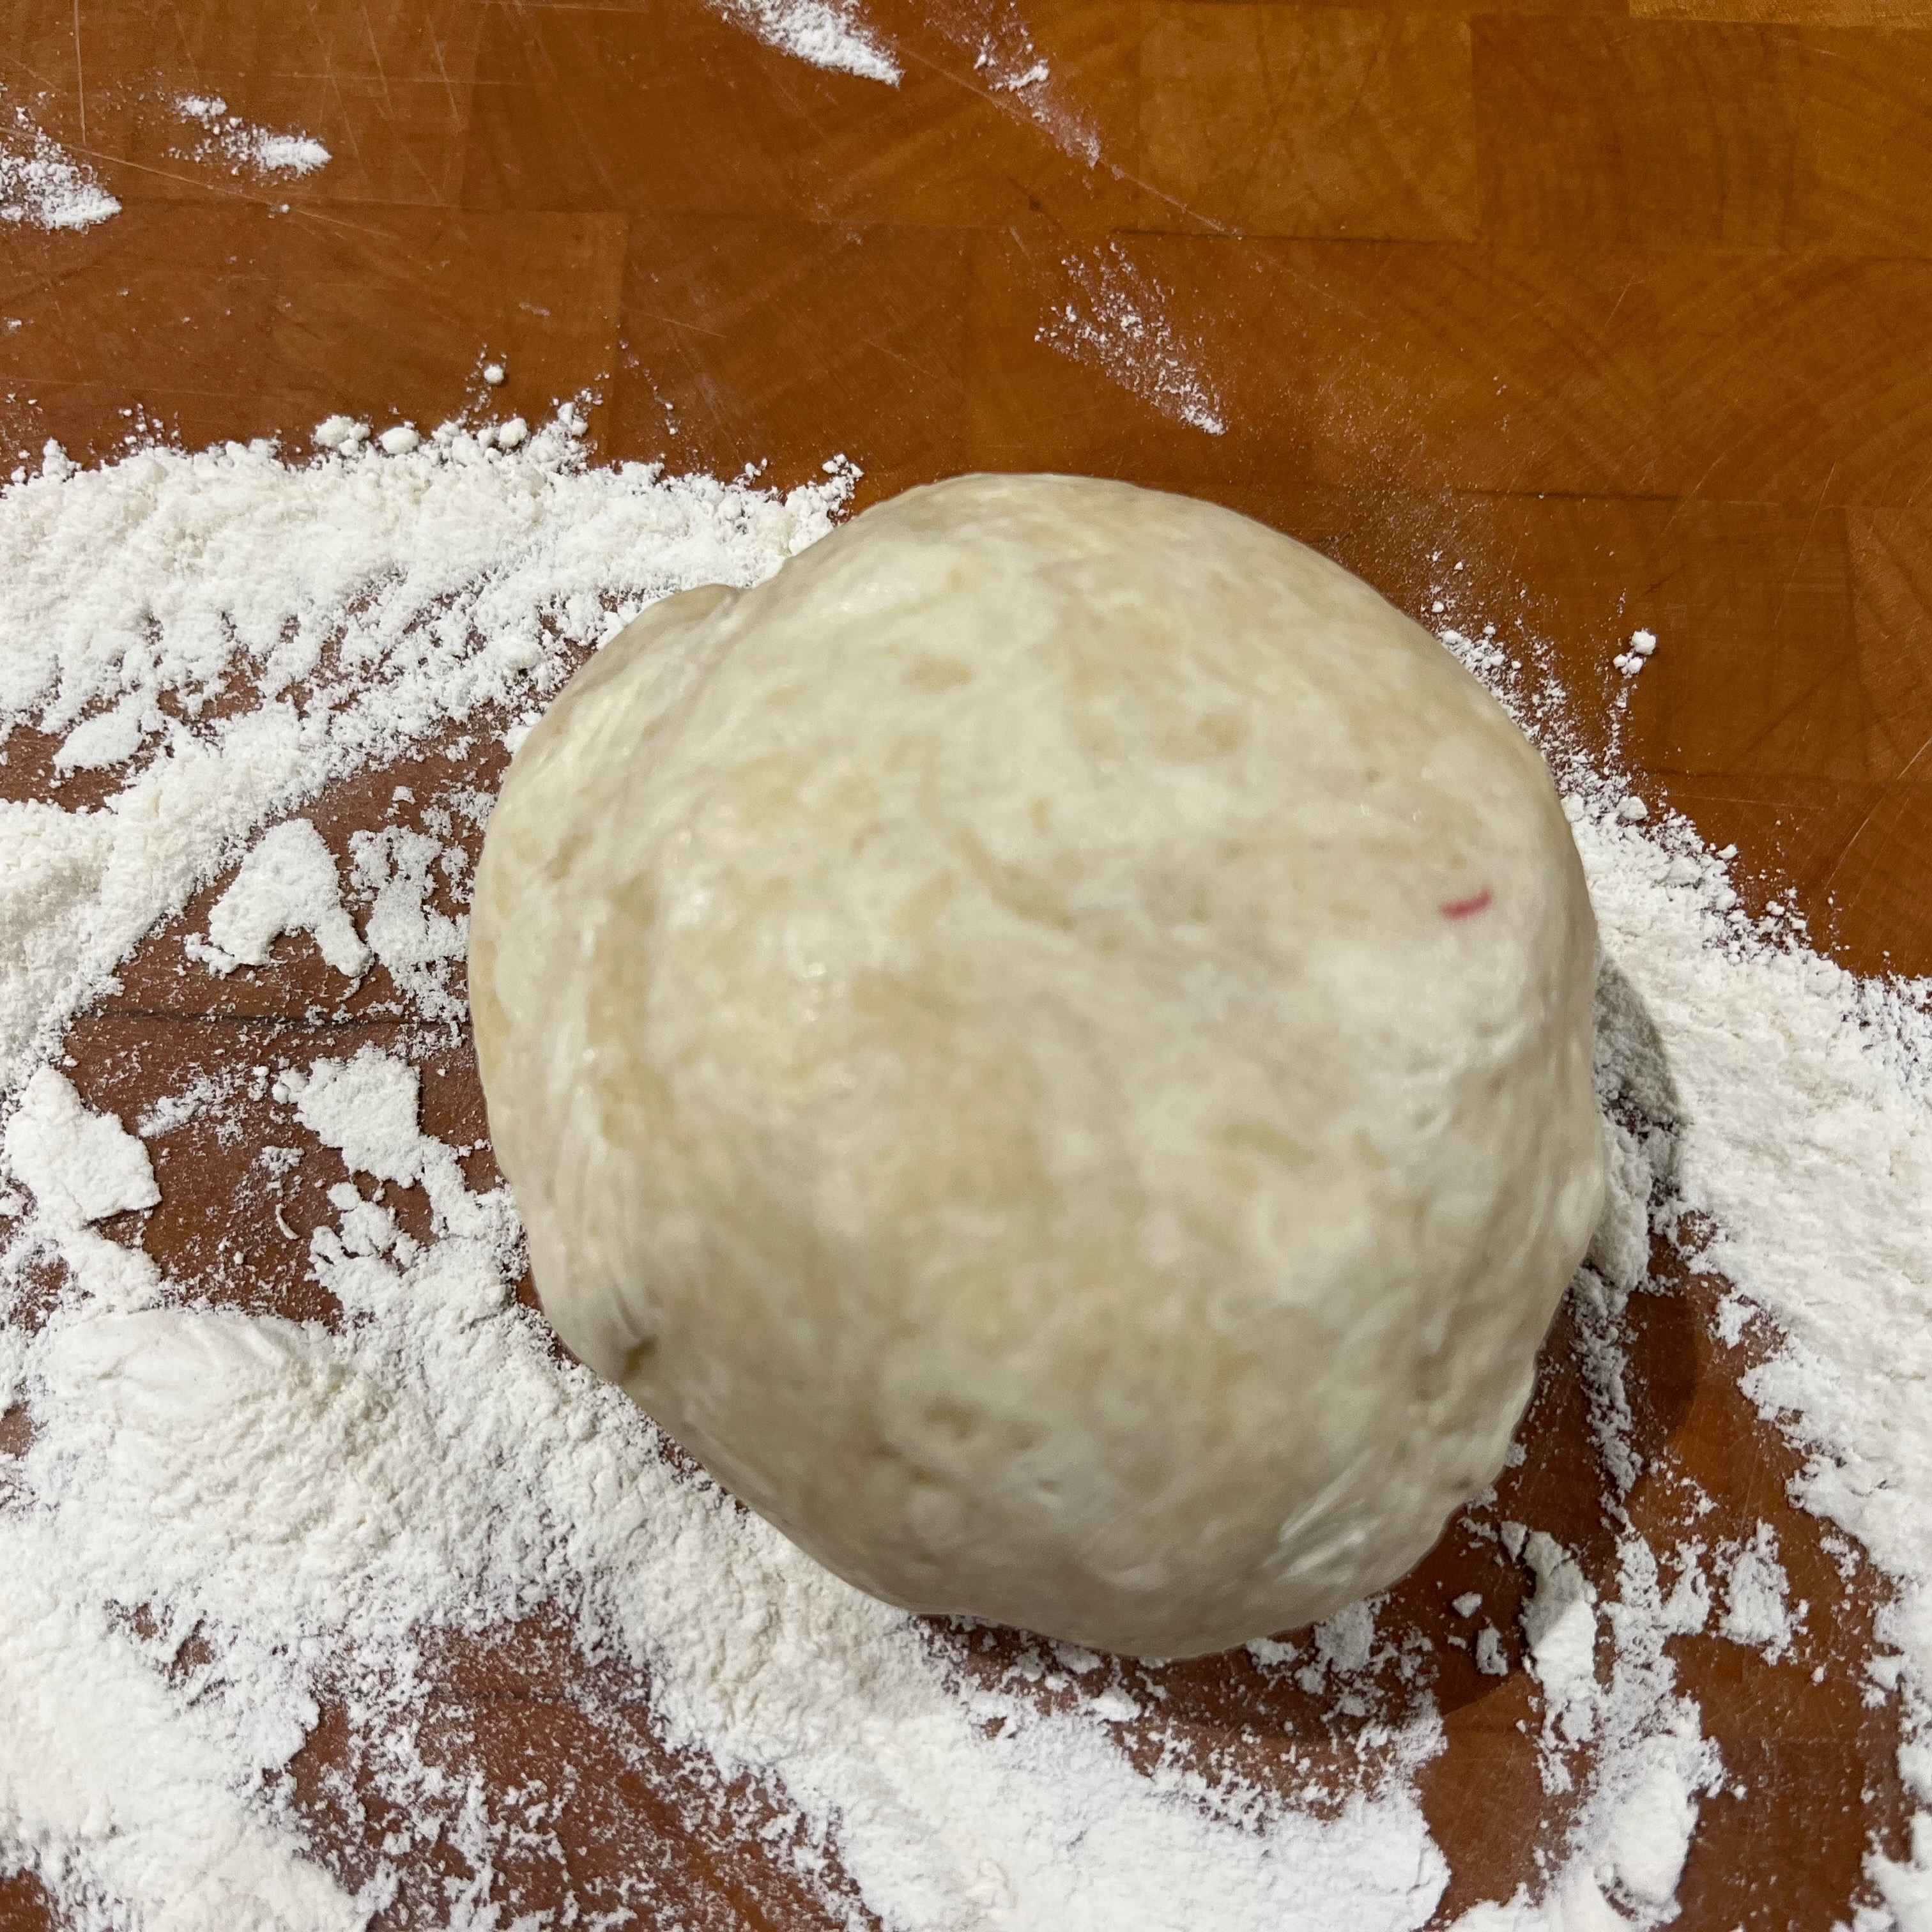
- Add the lemon juice and most of the water and process some more. You want the dough to be pliable but not actually sticky. Take it out of the food processor, bring it together into a ball, adding a bit more water or flour as needed to get to a good consistency.
- Wrap the dough in cling film and freeze for 30 minutes
- Just before taking the dough out, grate the rest of the butter
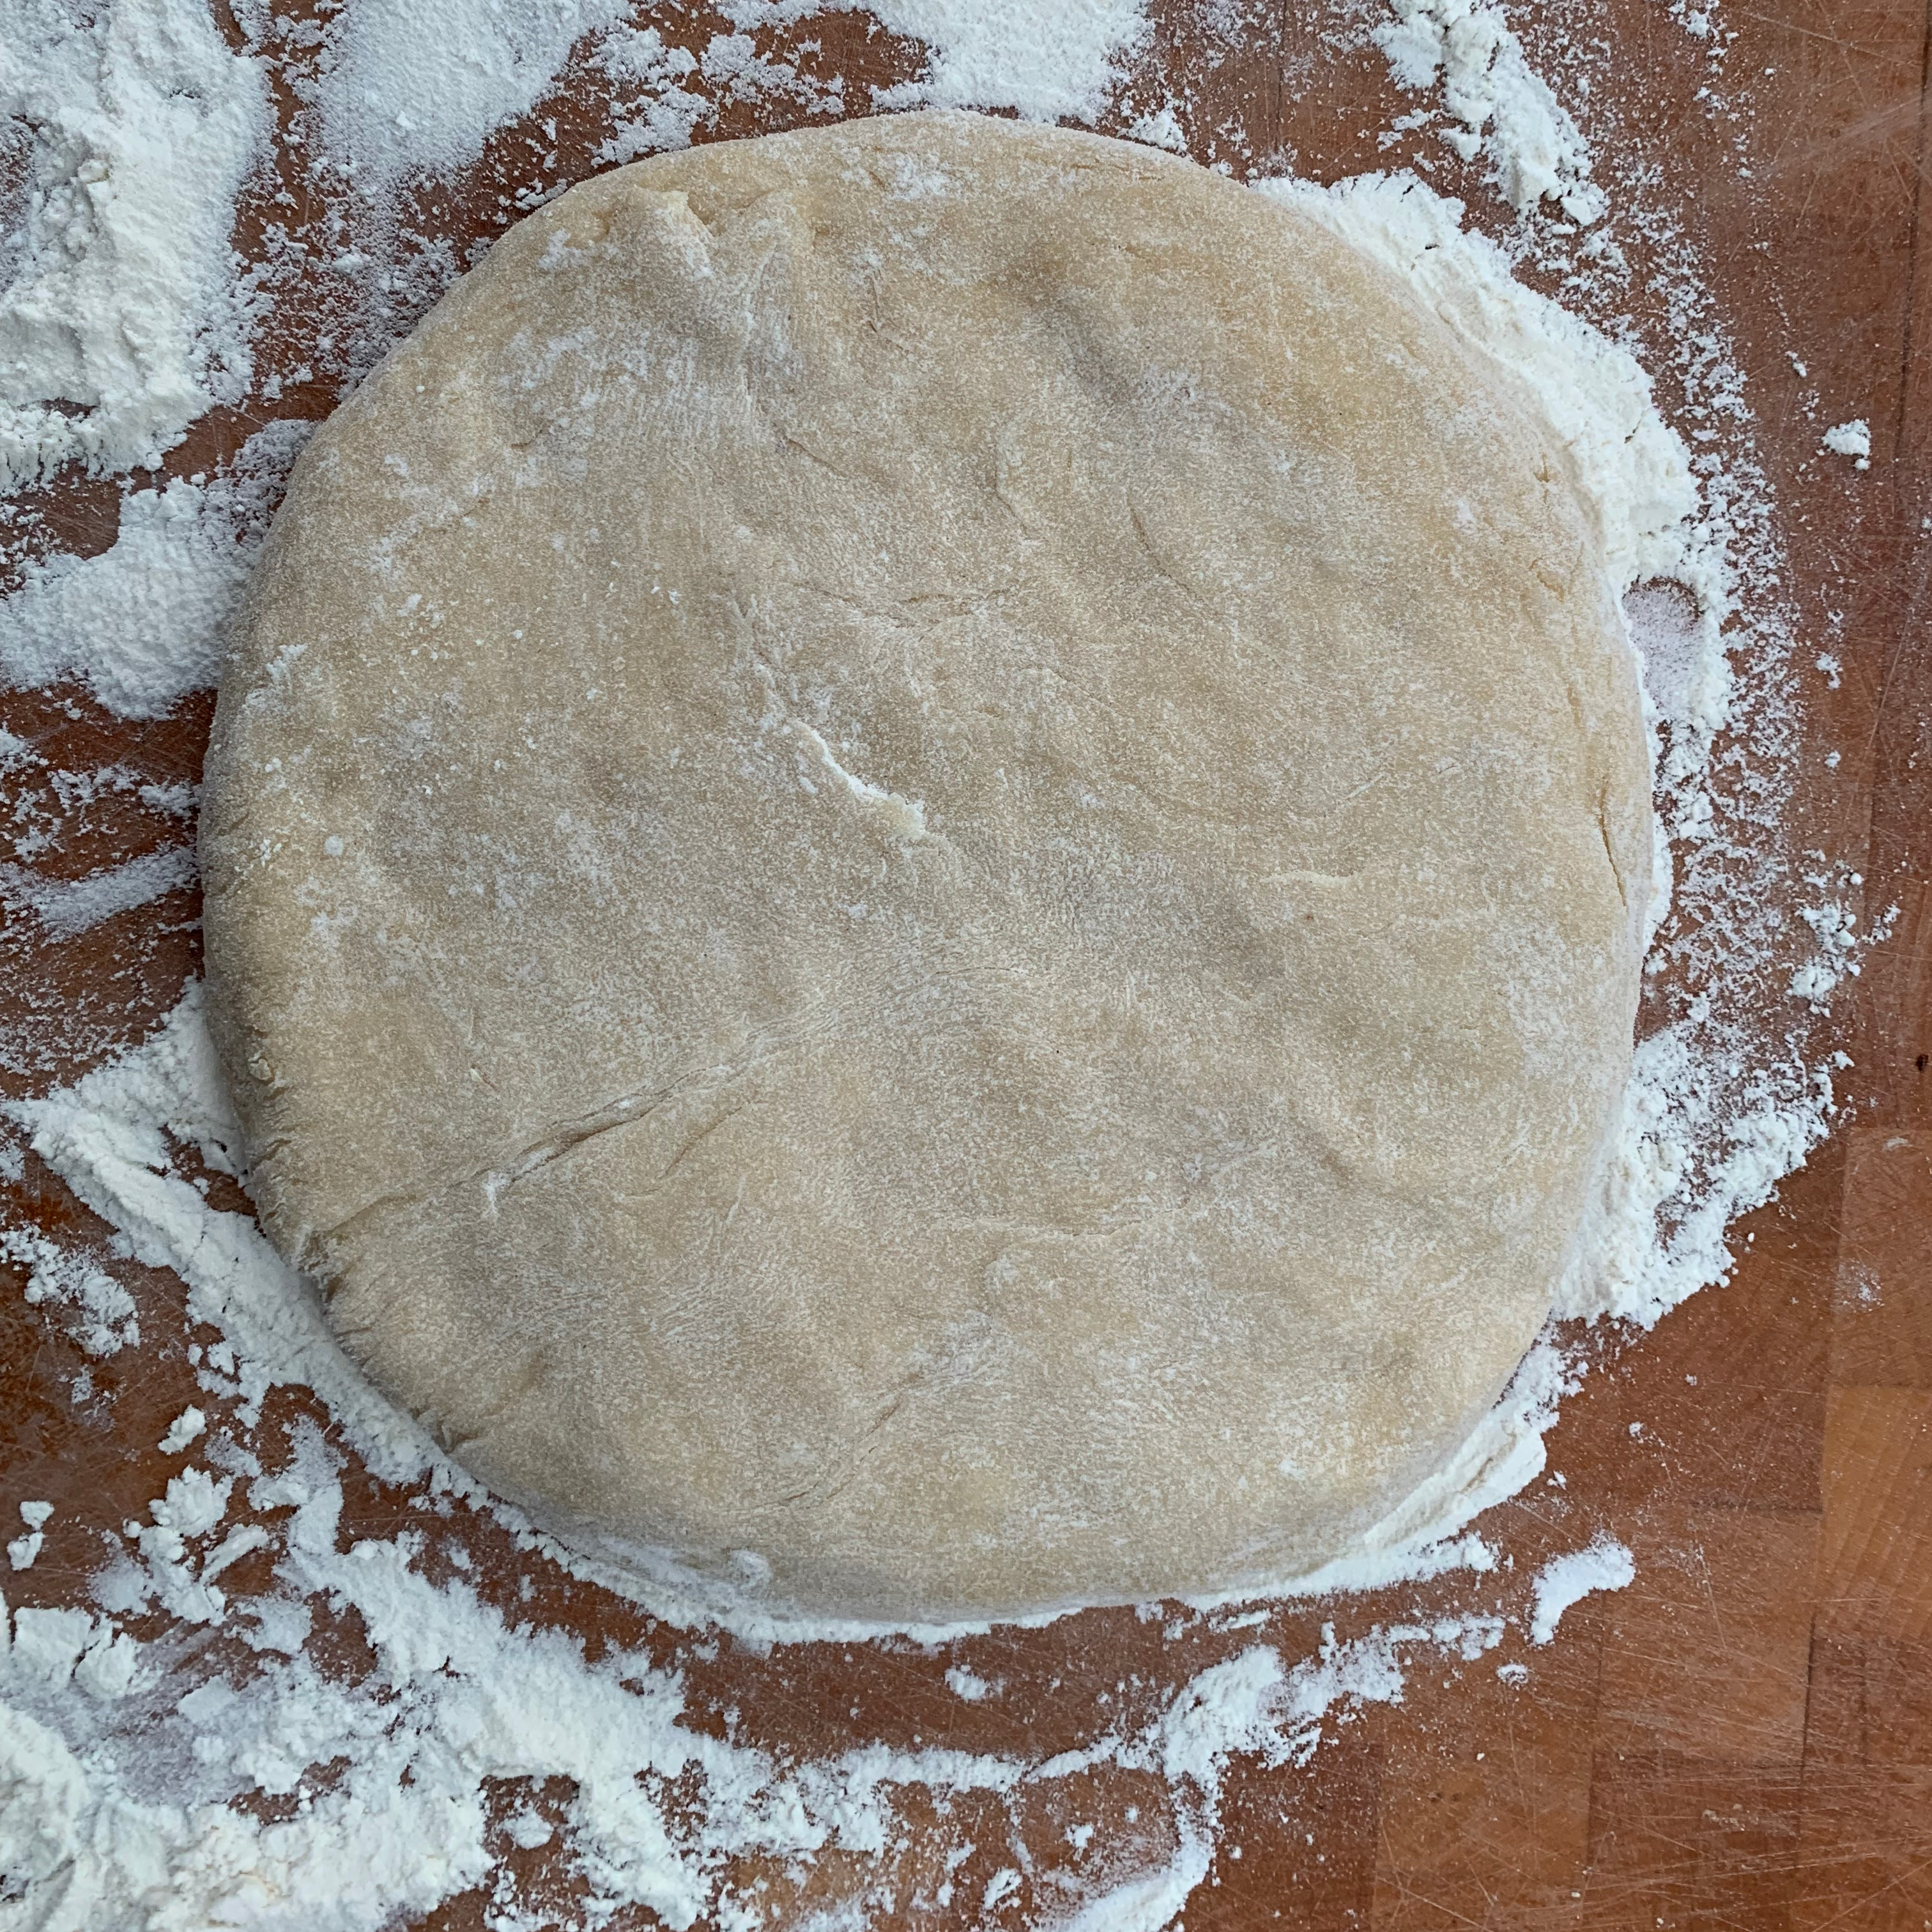
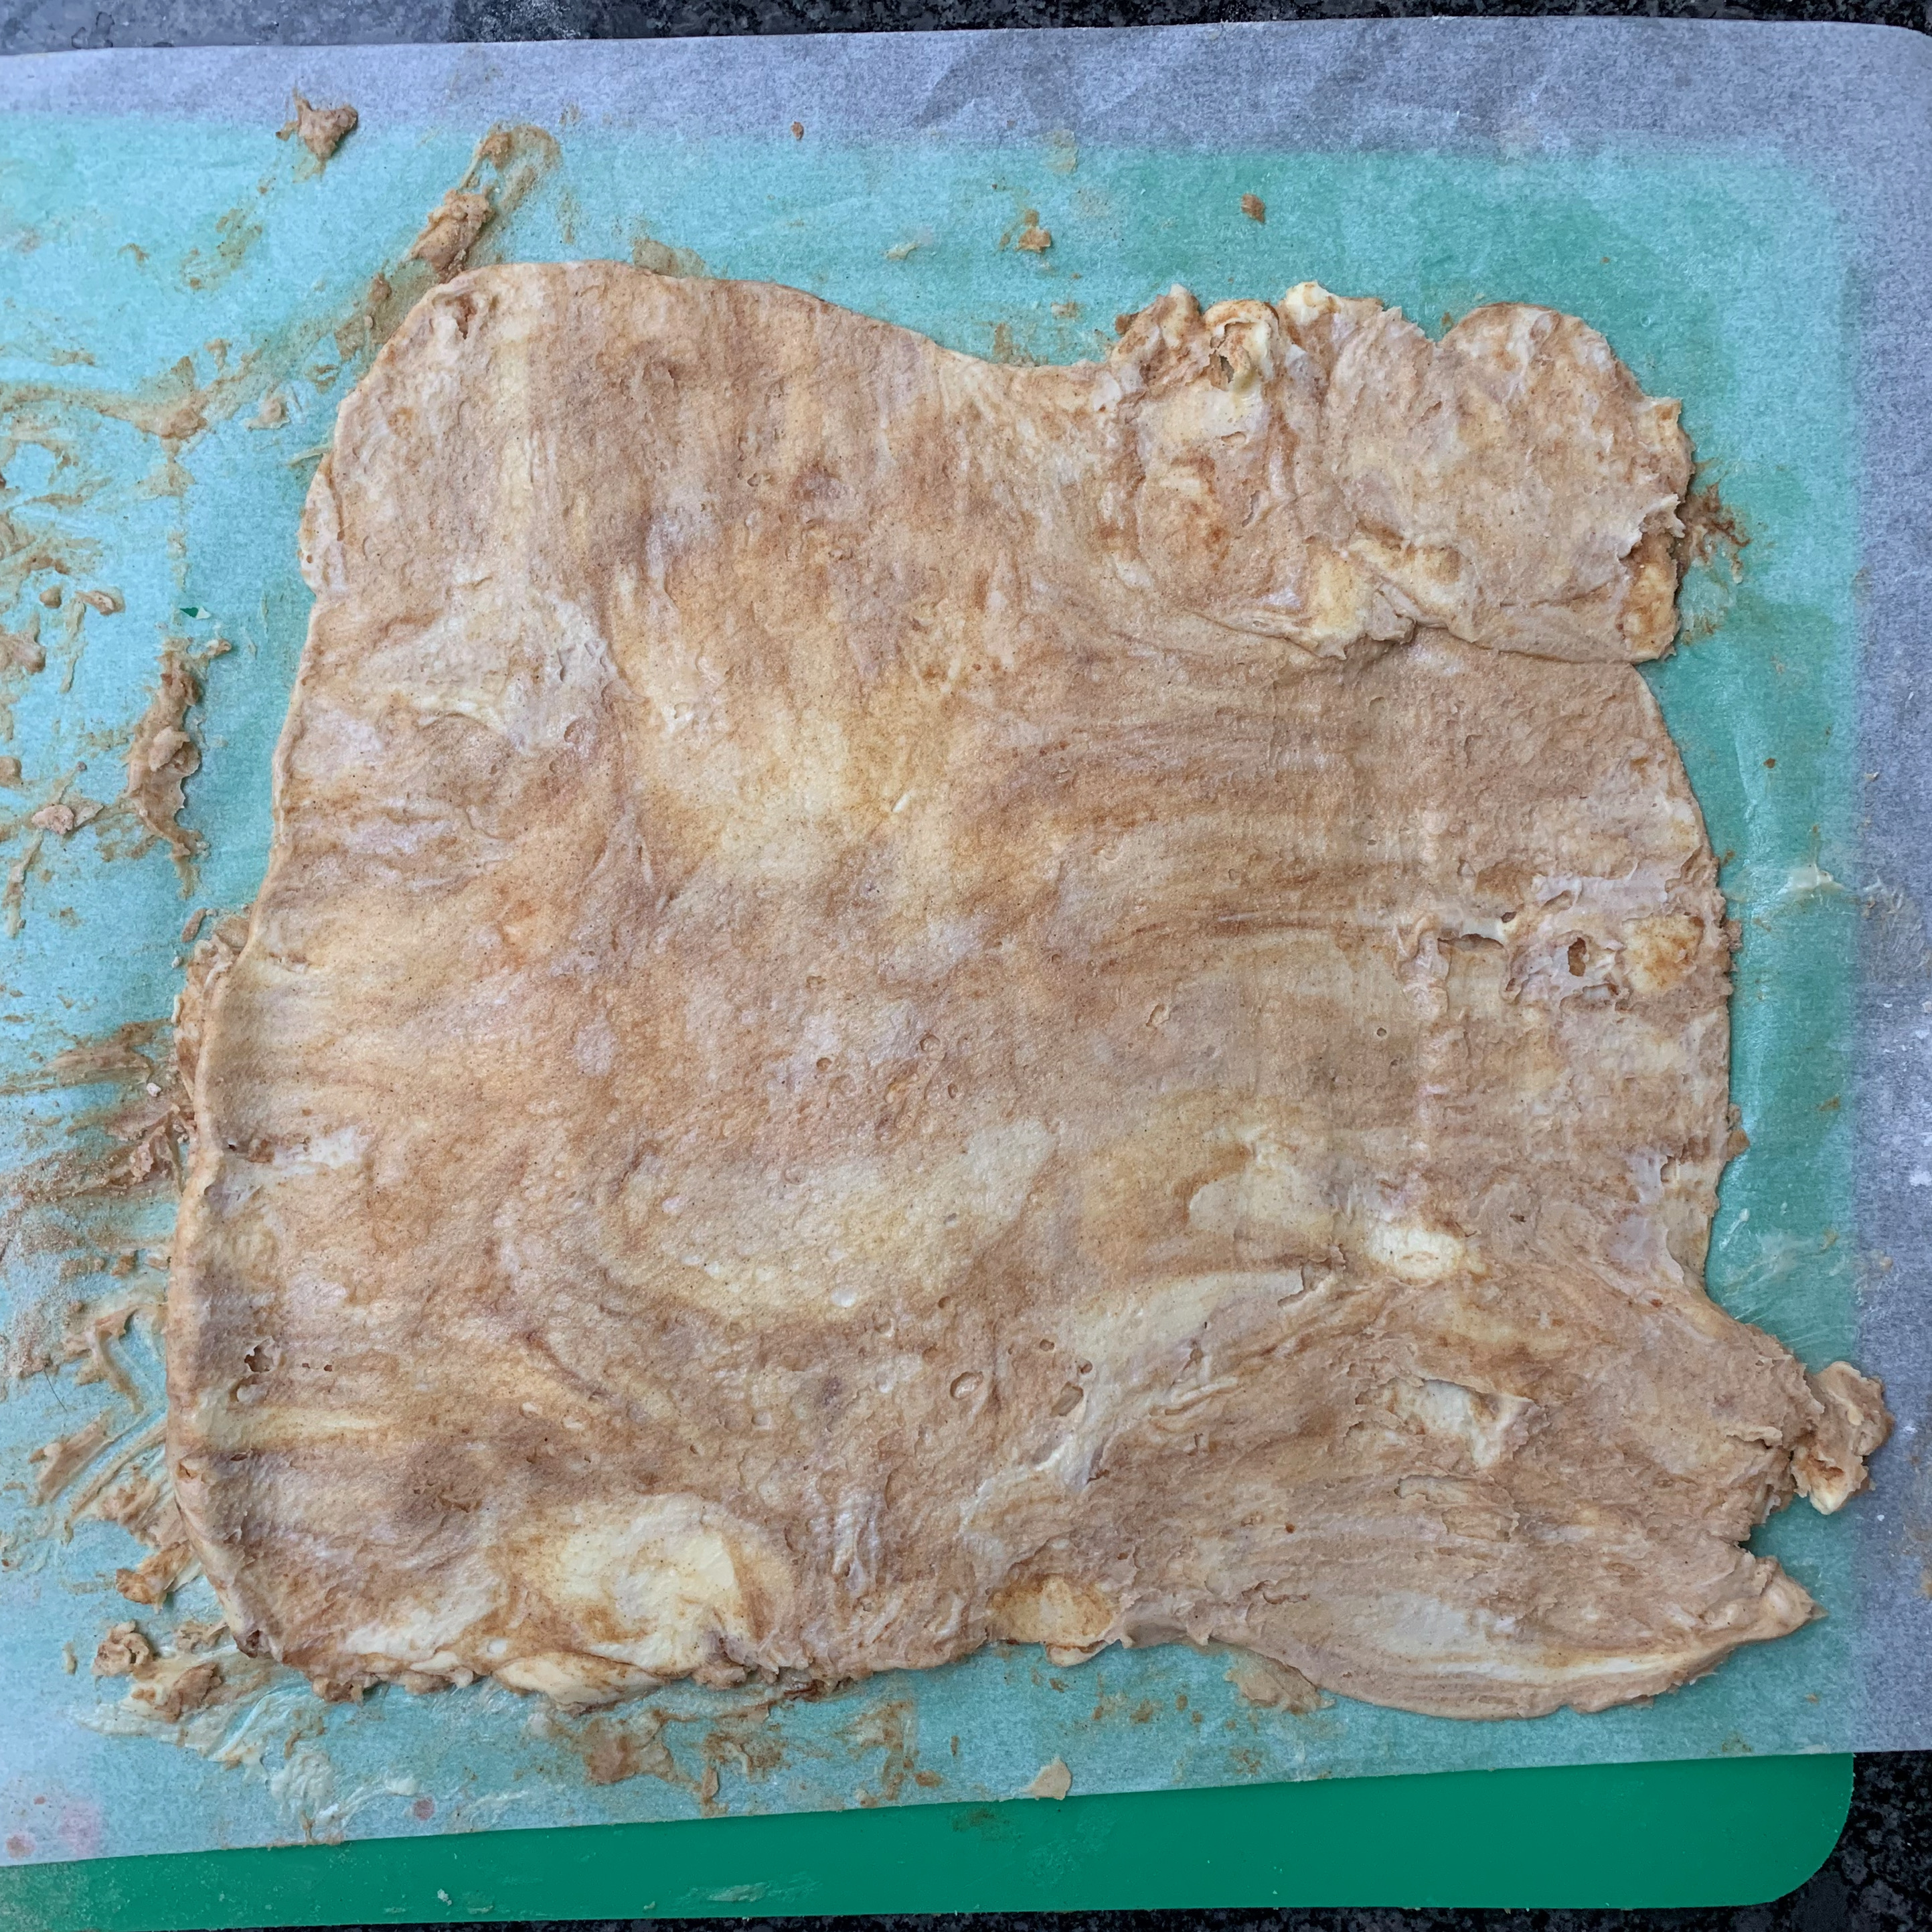
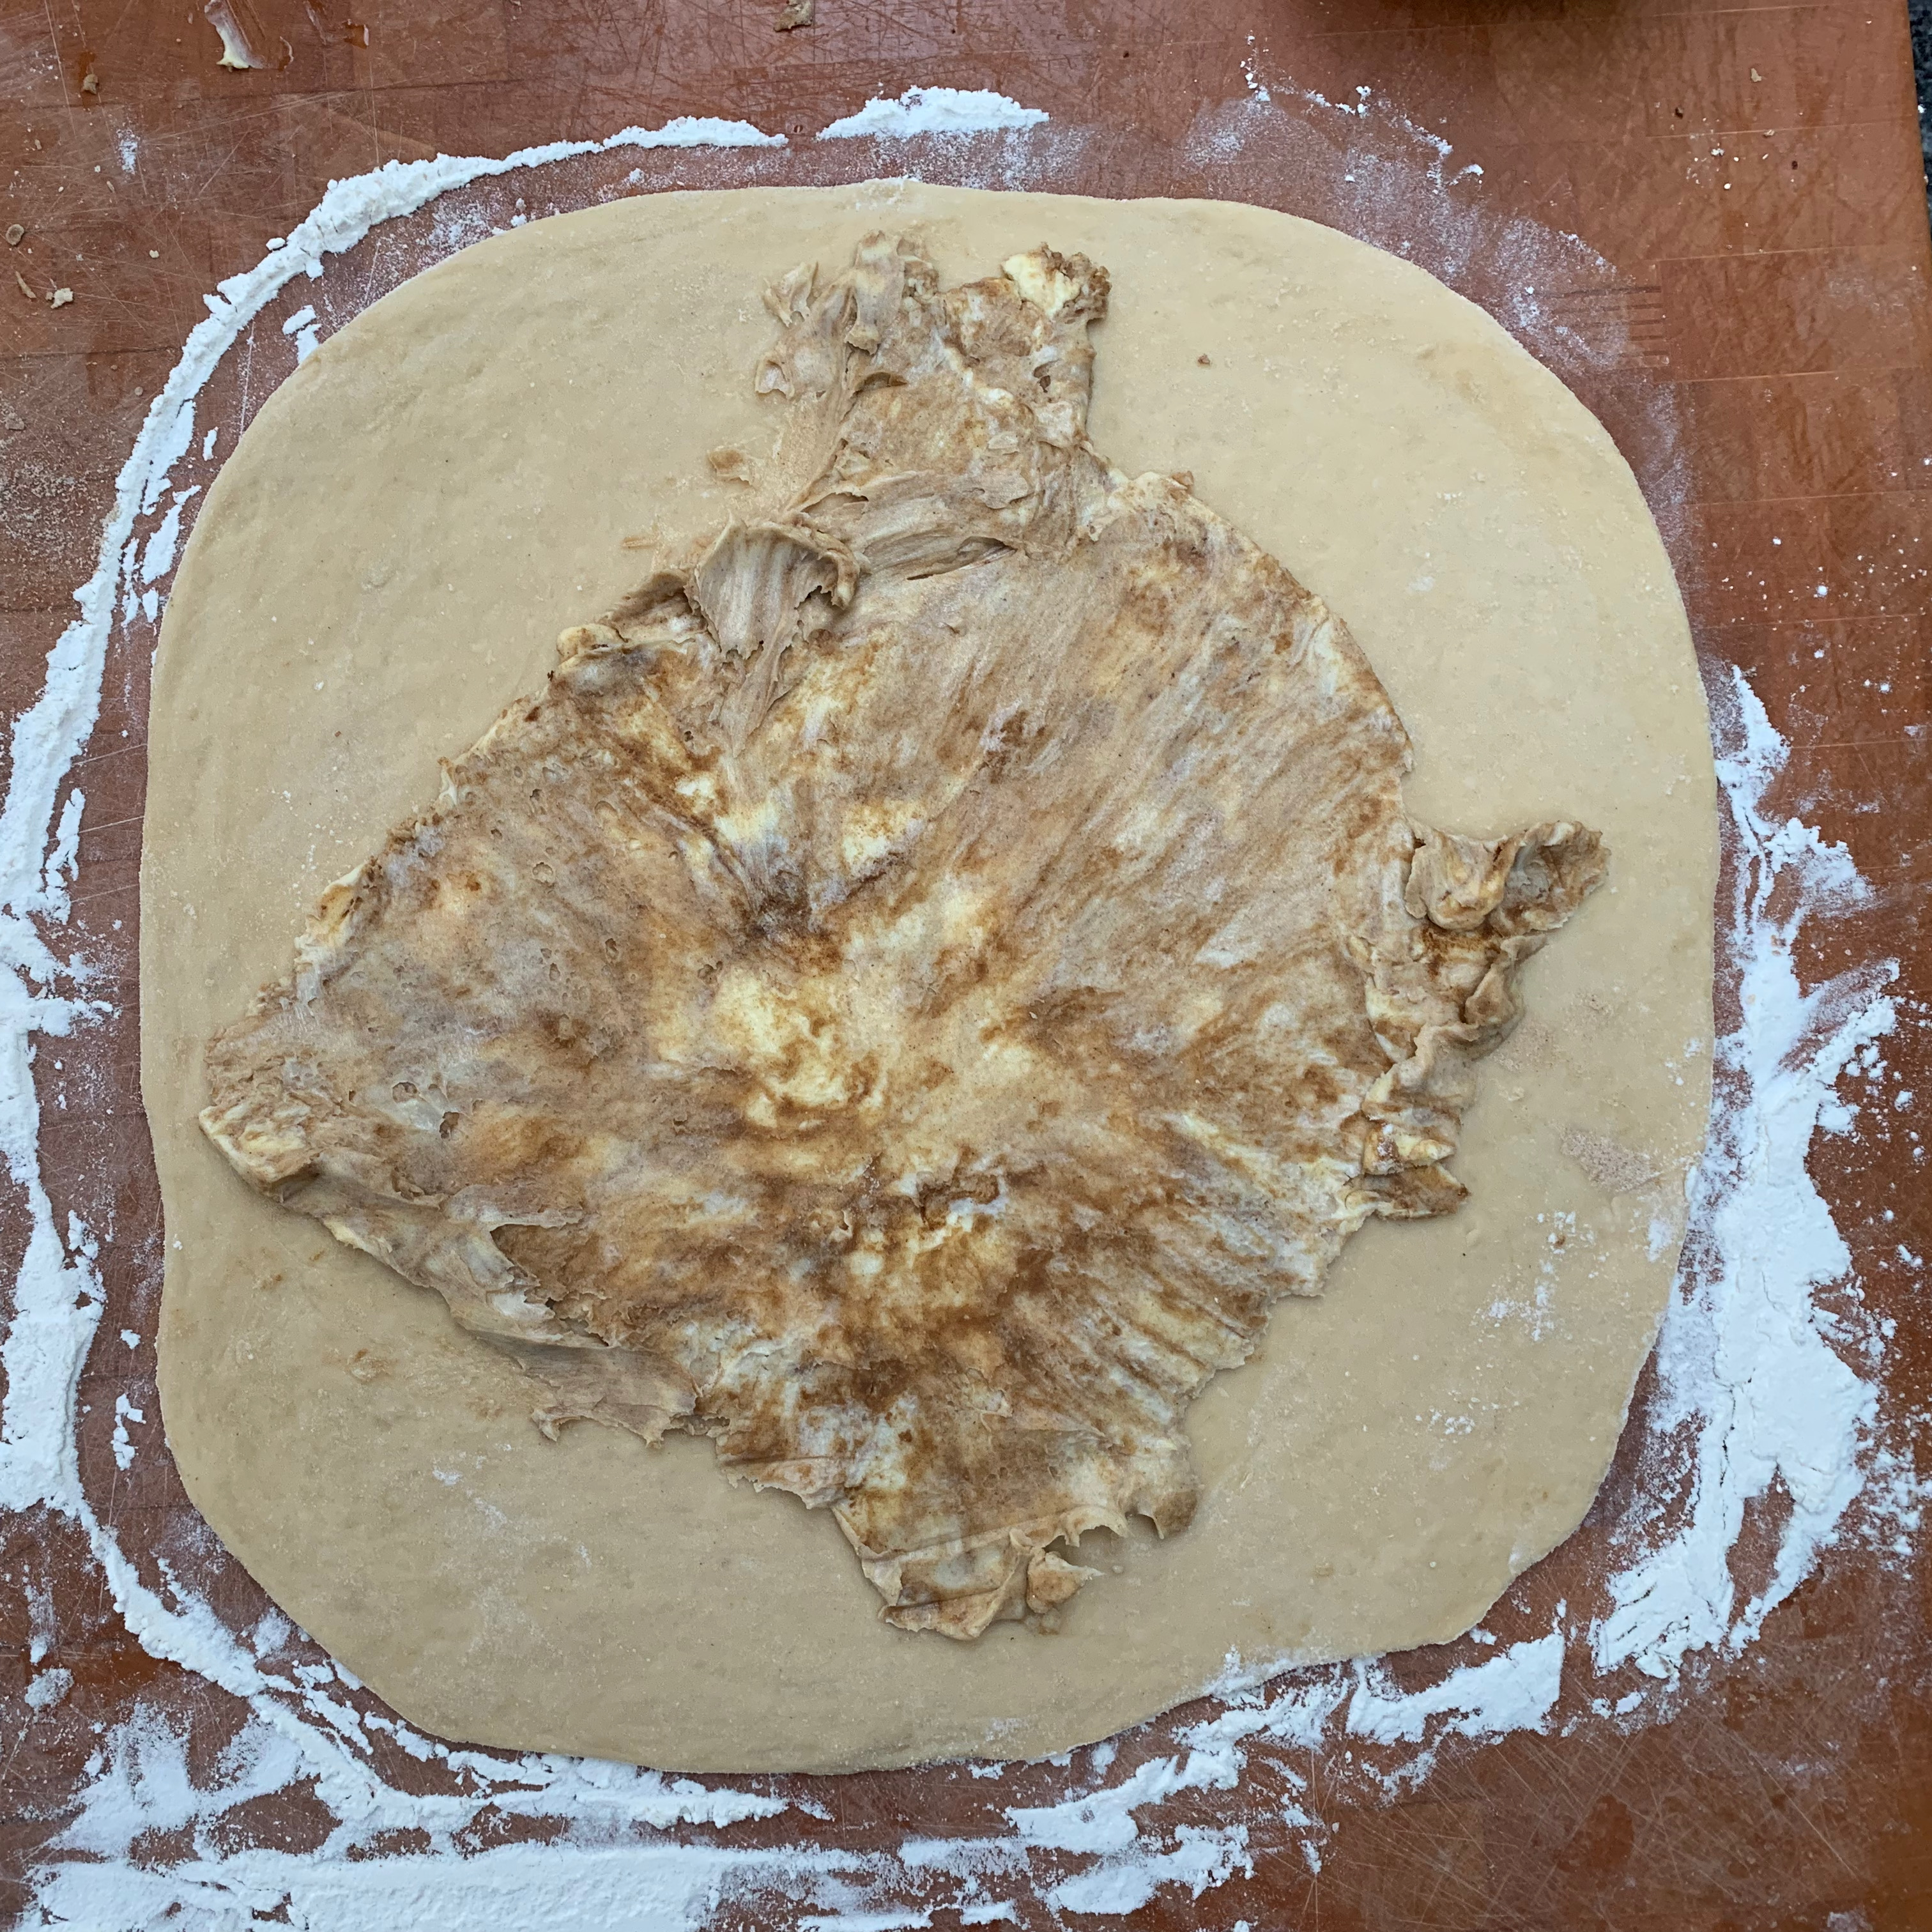
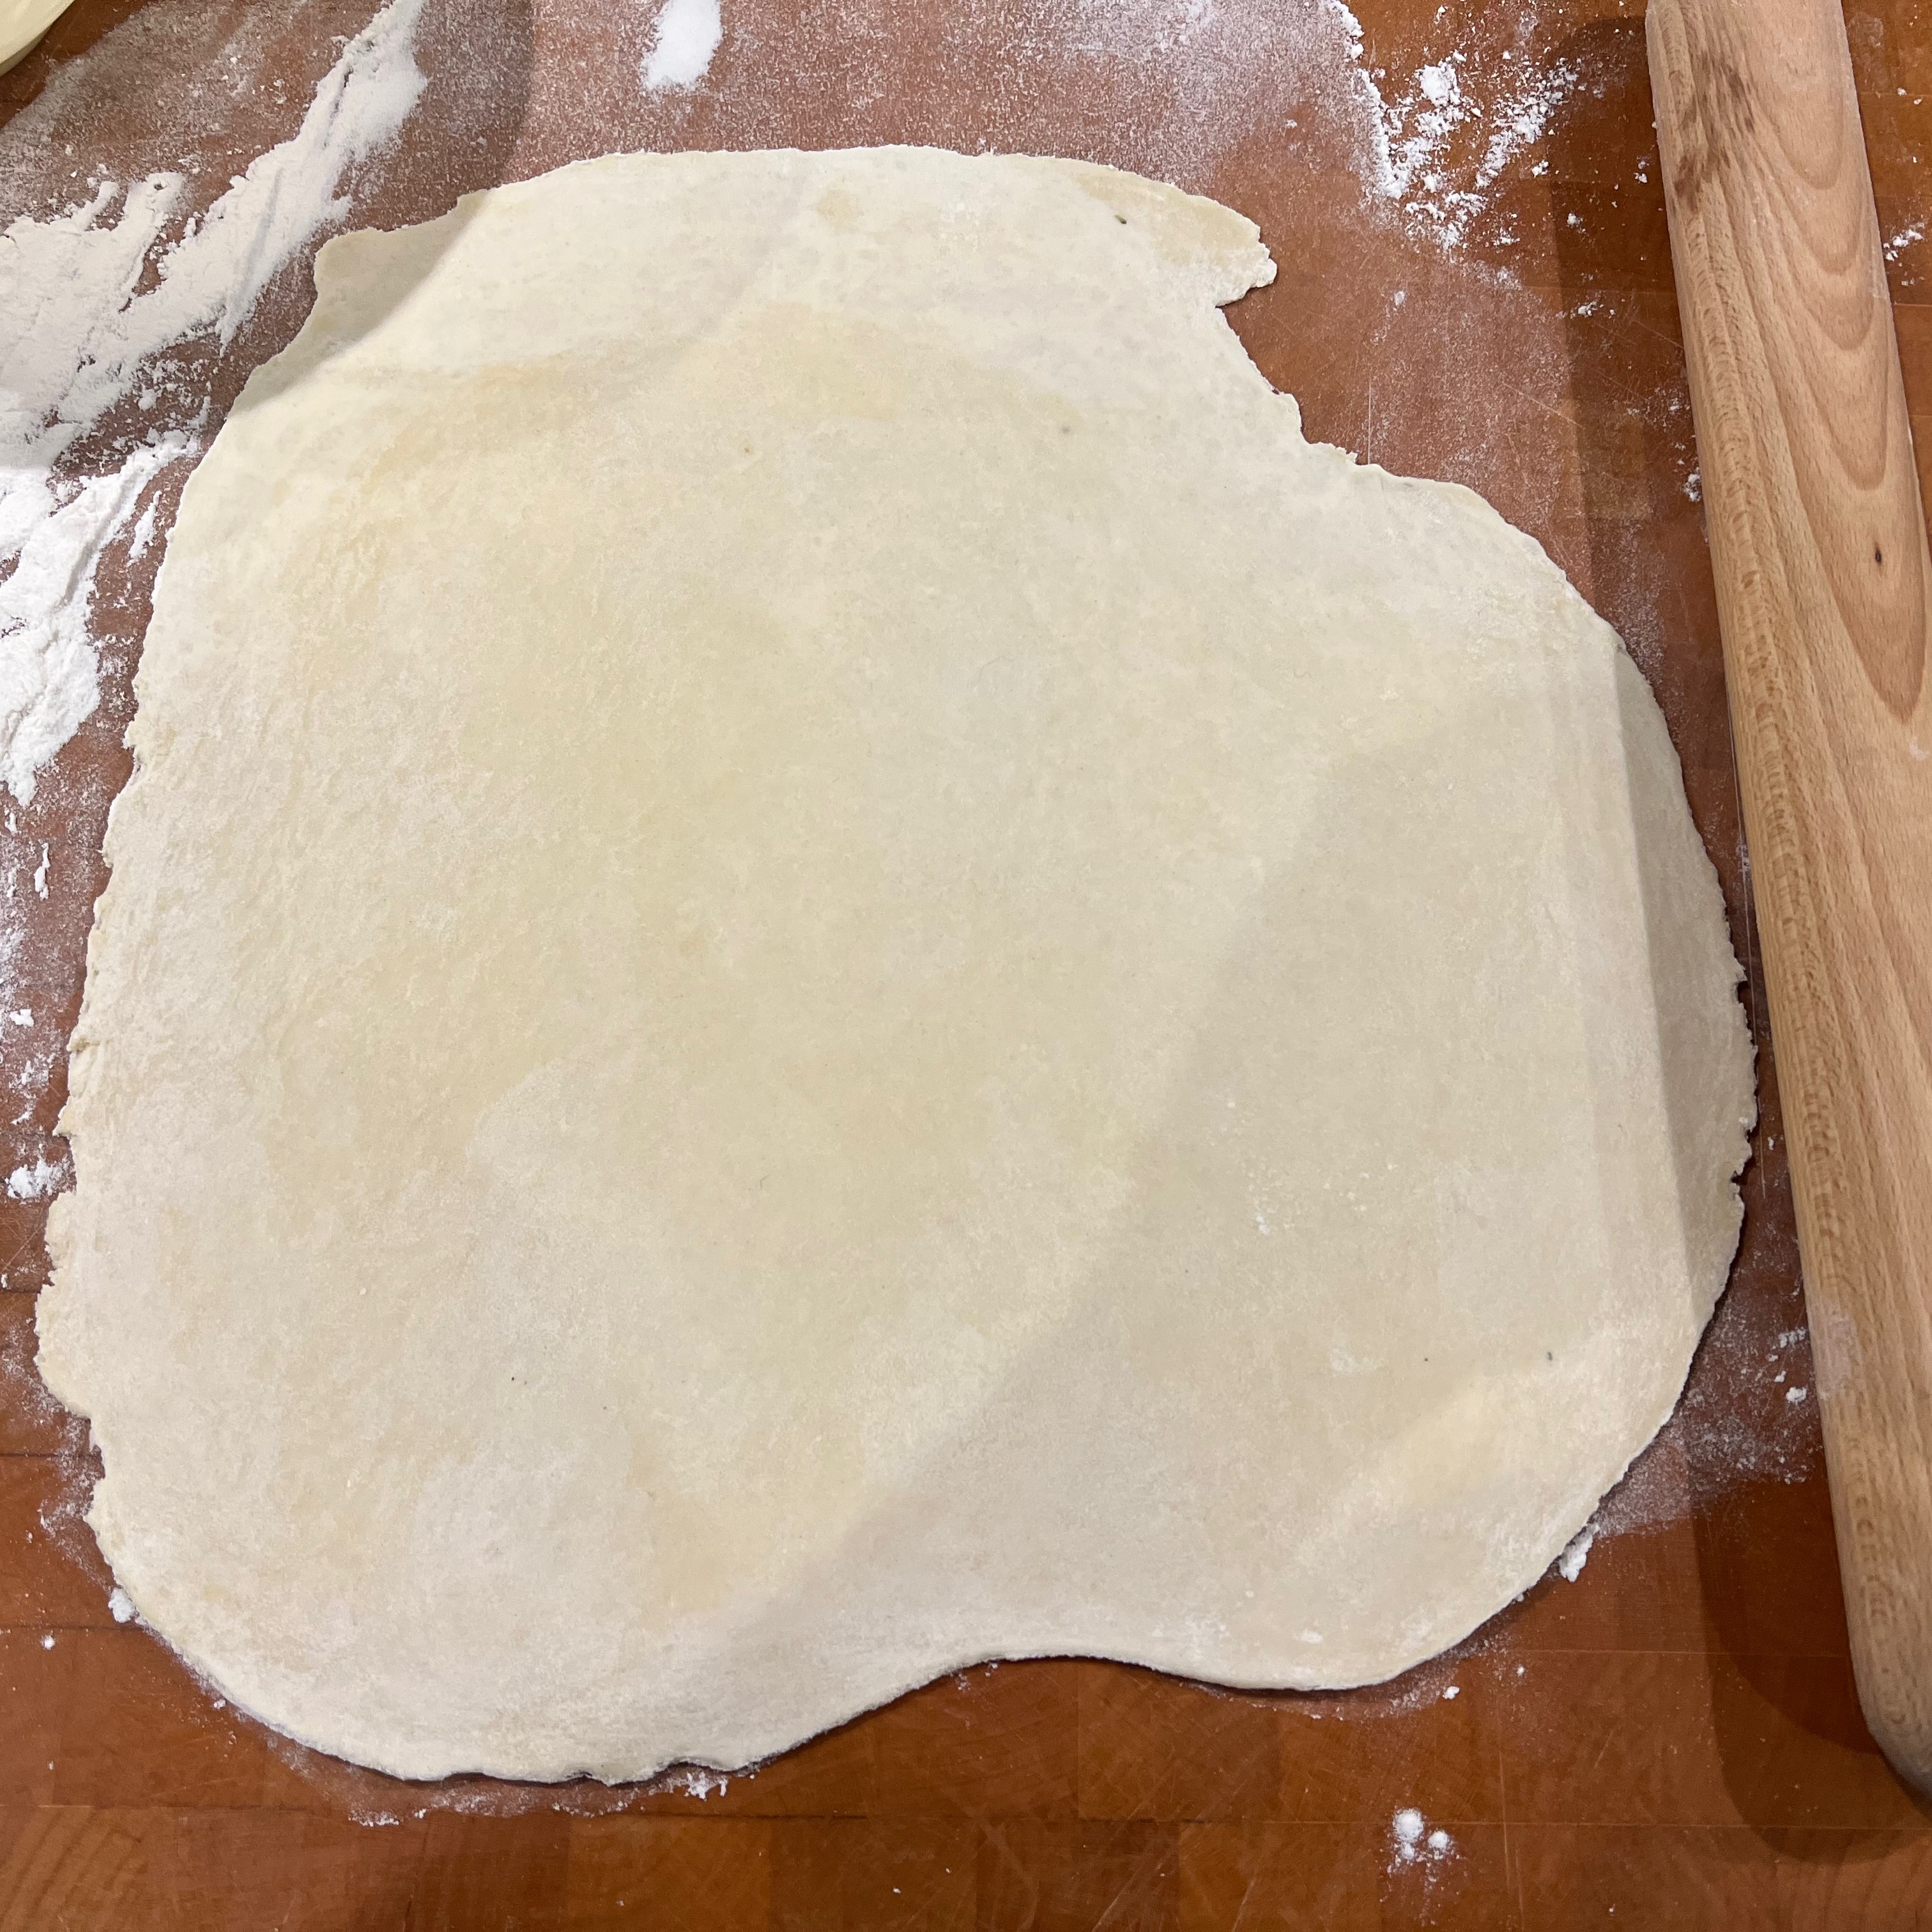
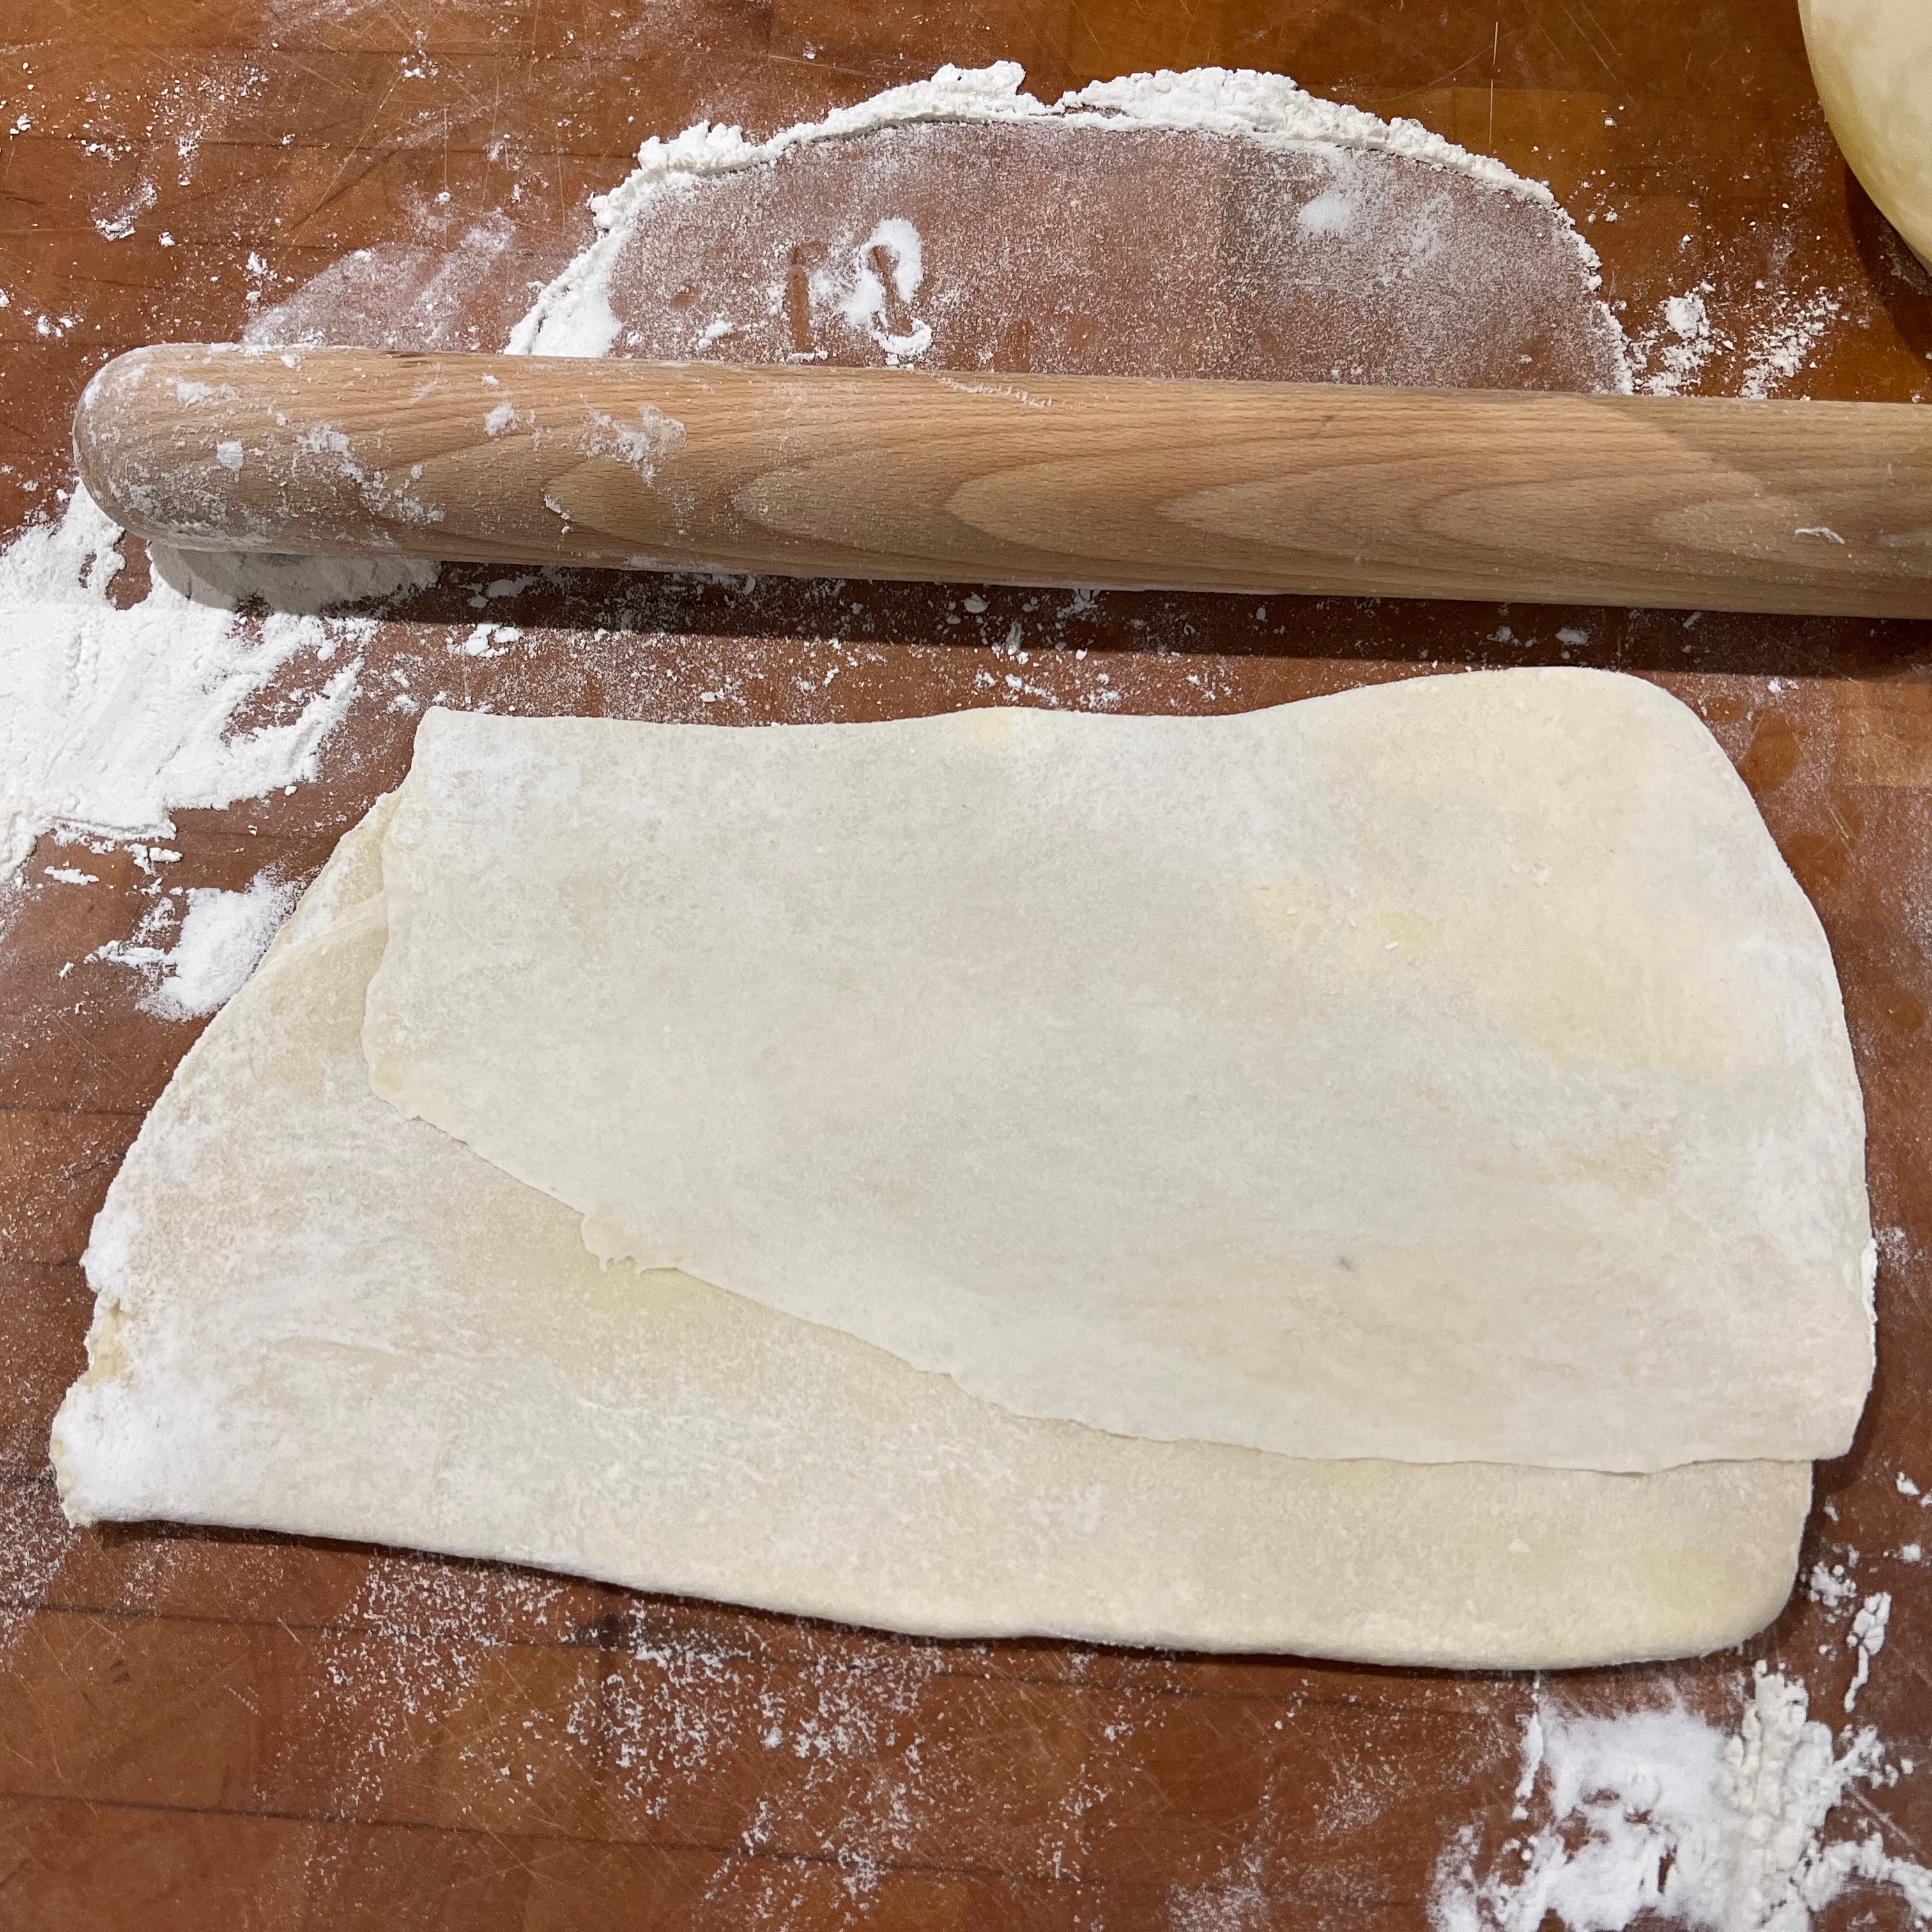
- Flour your board and rolling pin, take the dough out and roll into a thin rectangle
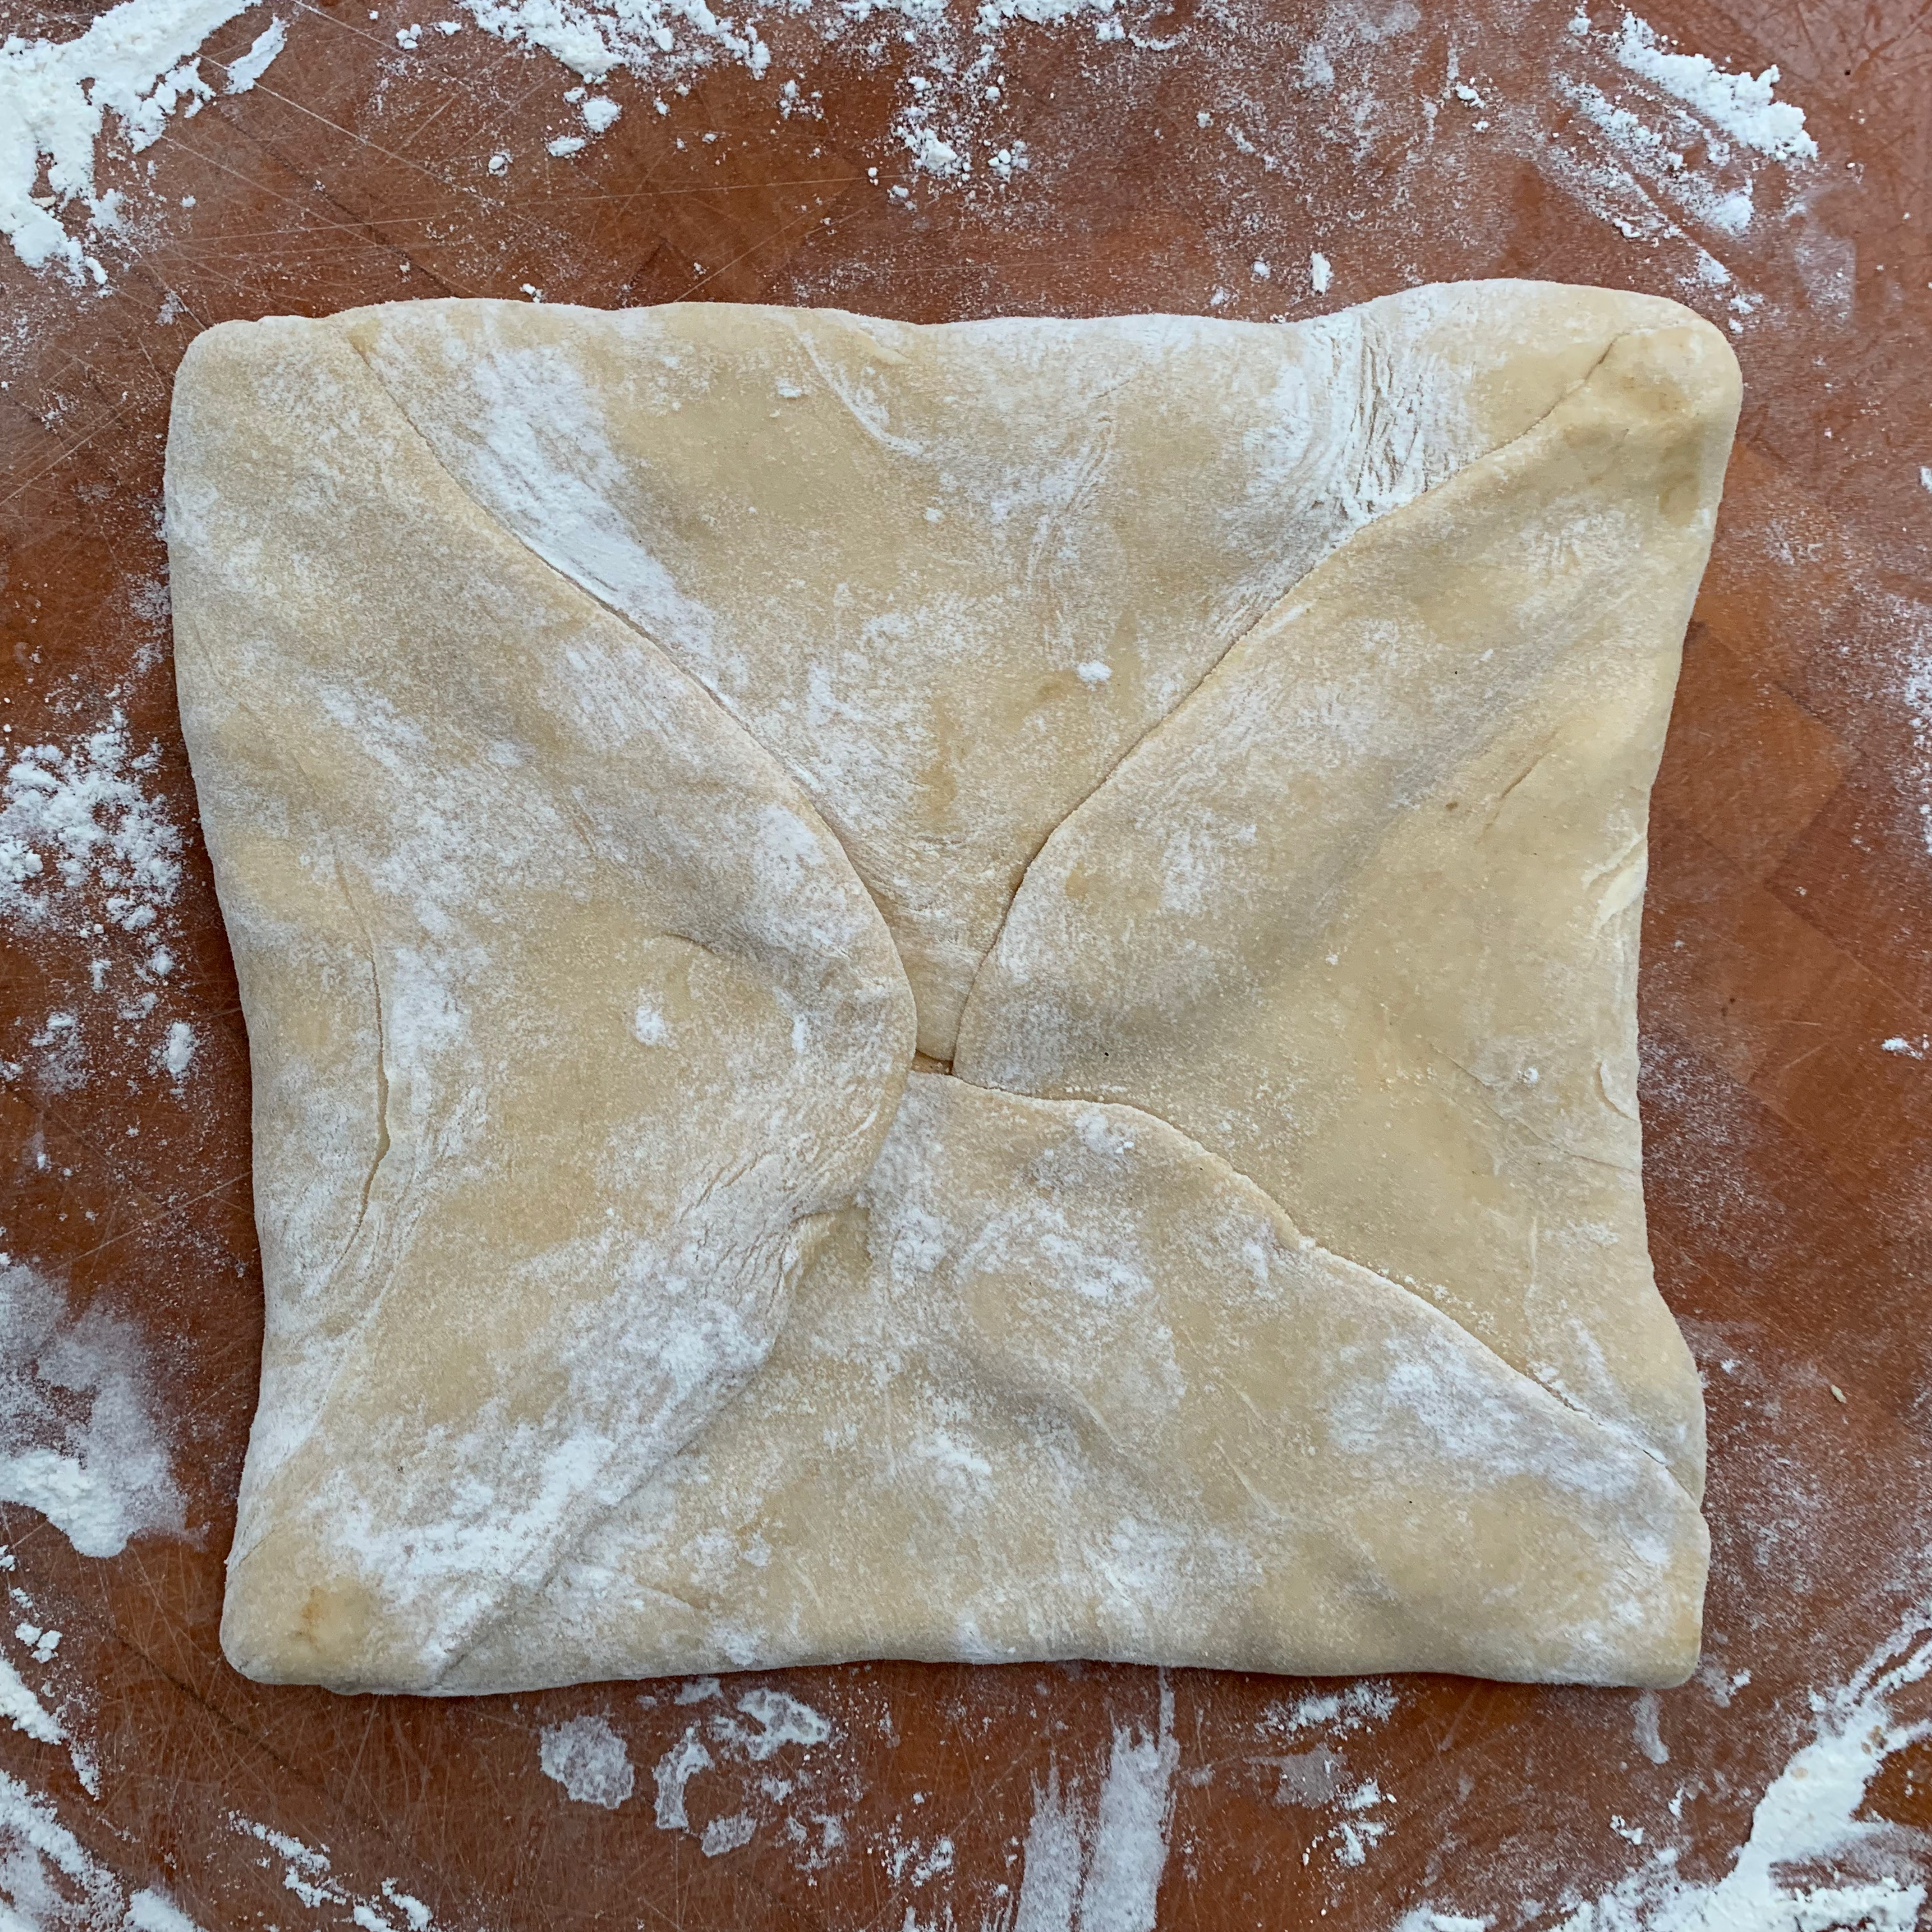
- Do a book fold: add half the butter to two thirds of one end of the rectangle, fold the unbuttered end over, then fold the other end over.
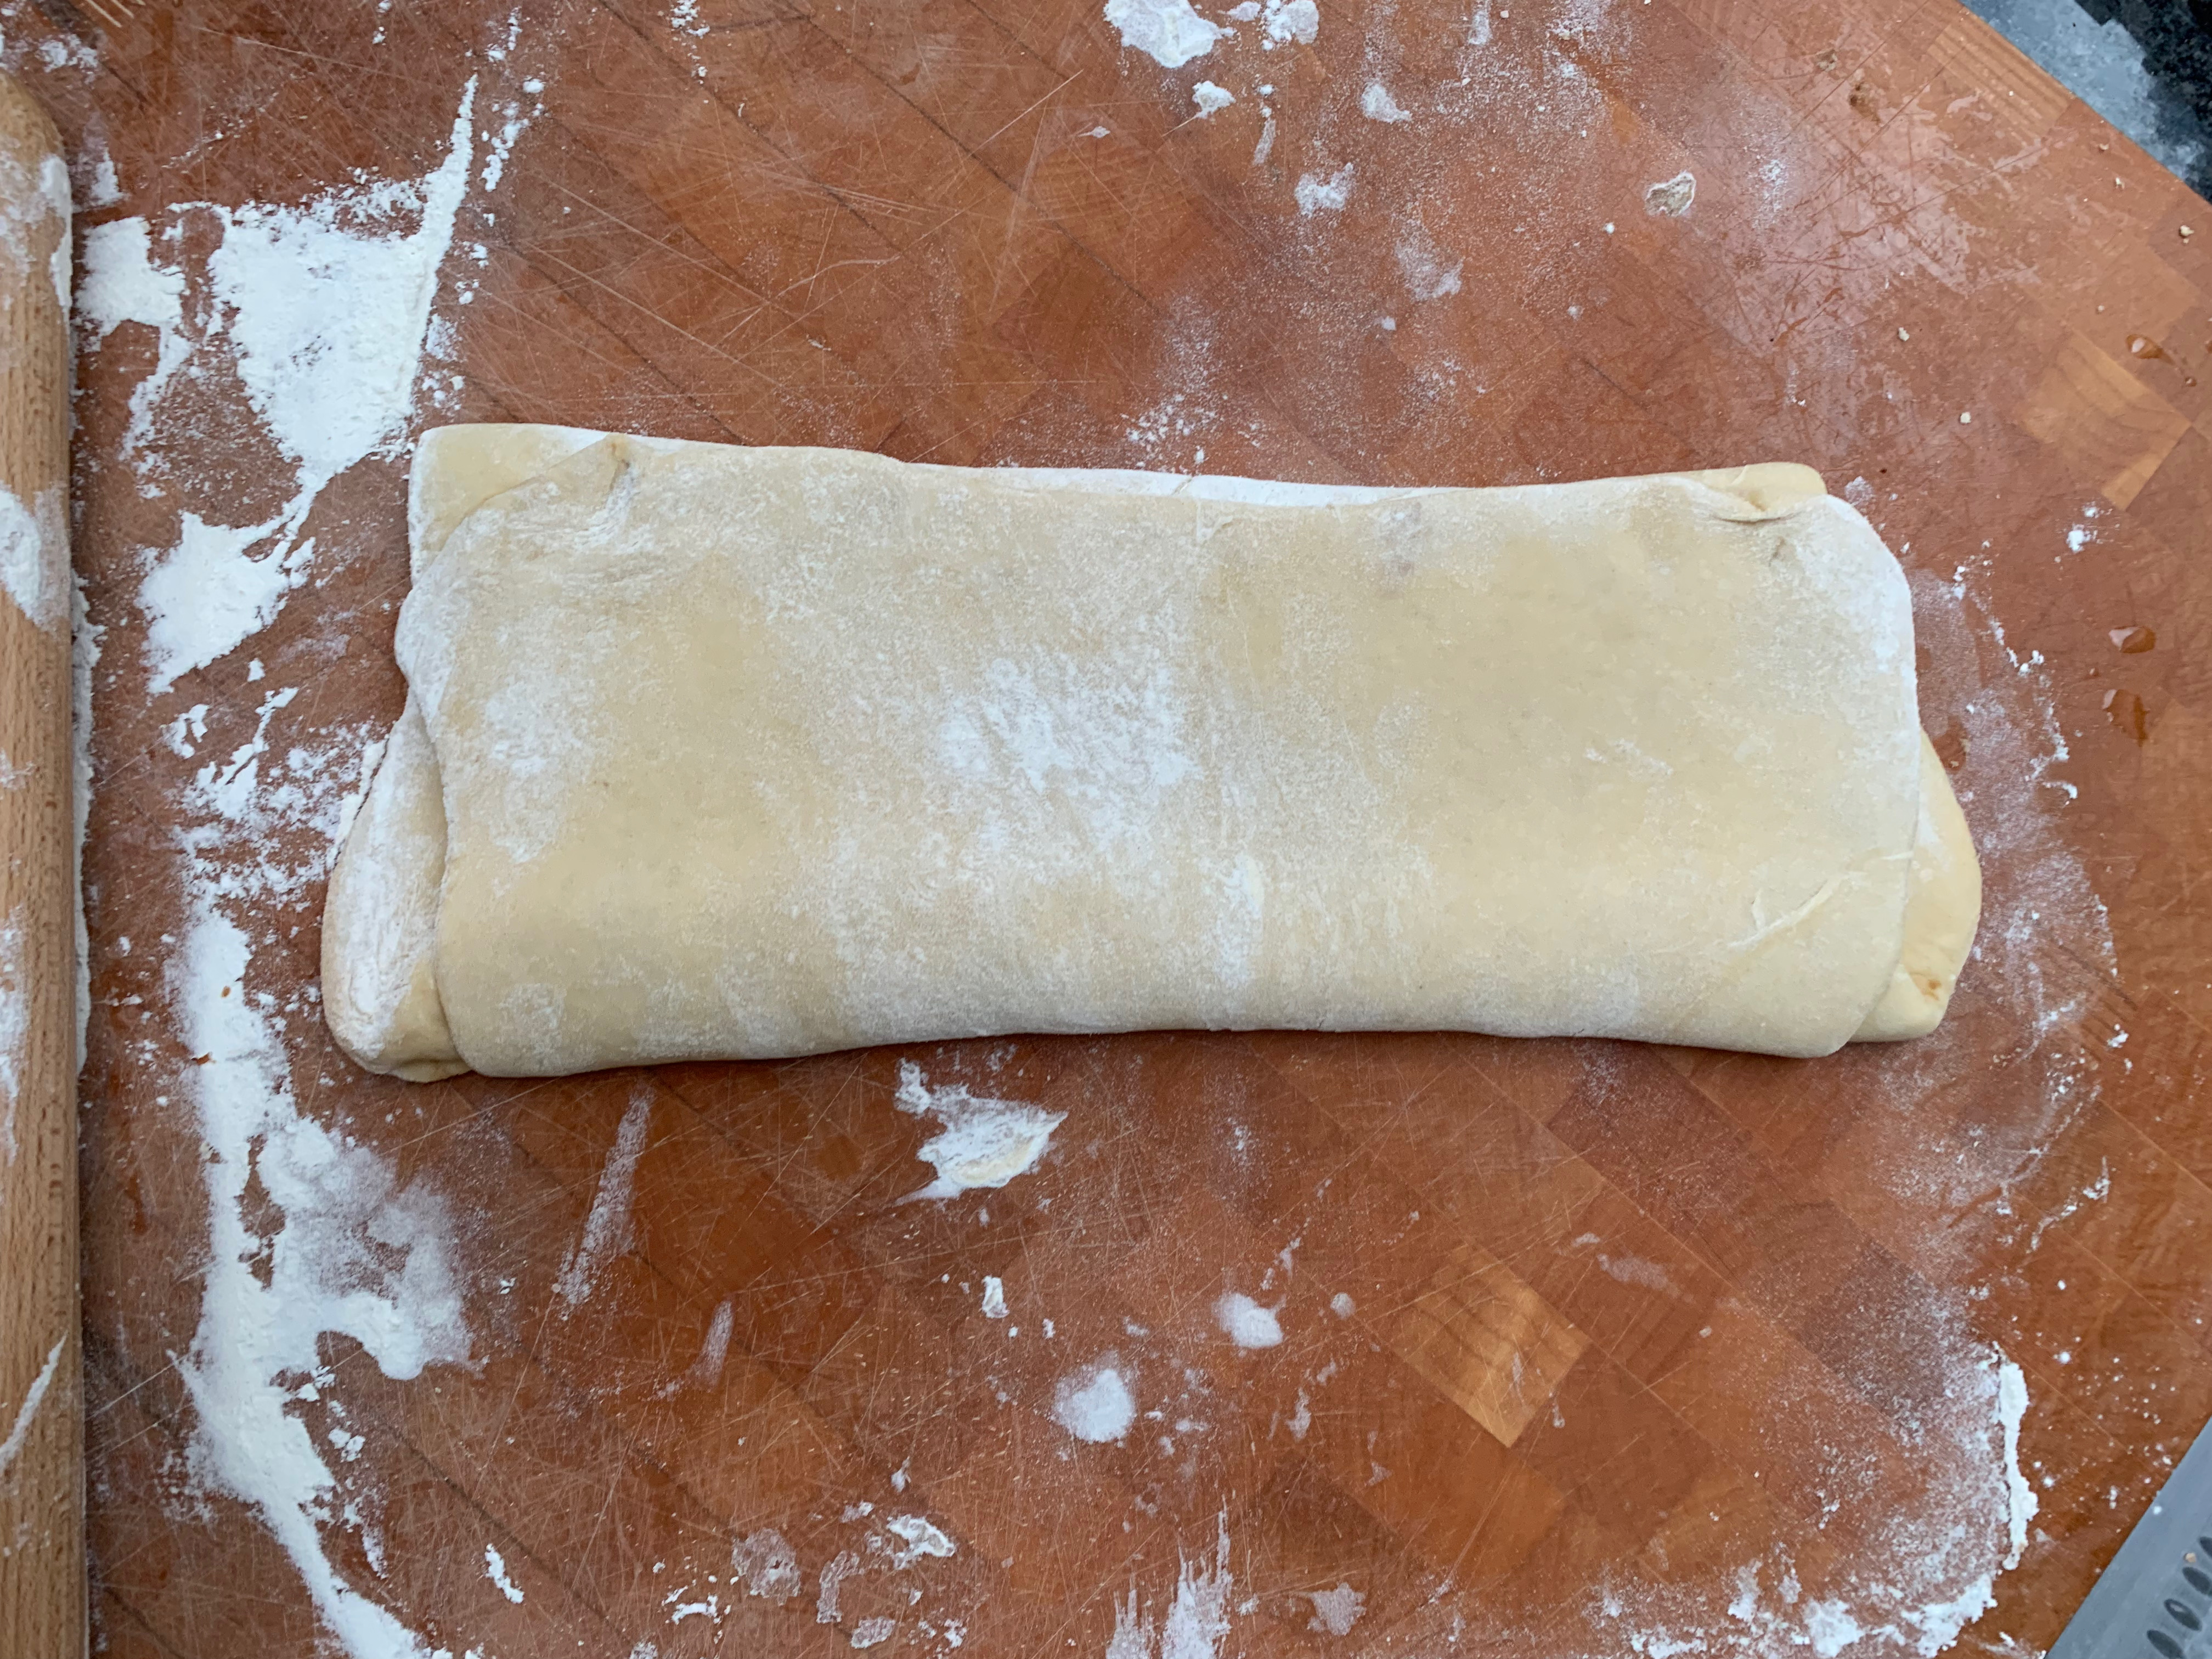
- Seal the edges, roll the rectangle out again, turning it by 90 degrees. Repeat the book fold process with the second half of the butter.
- Wrap the dough in the cling film again and freeze for another 20 minutes (now, by the way, is about the right time to start on your filling).
- Take the dough out again, roll it out and do another book fold. Now it’s back into the freezer for 20 minutes and do it again. You will have done five book folds in total.
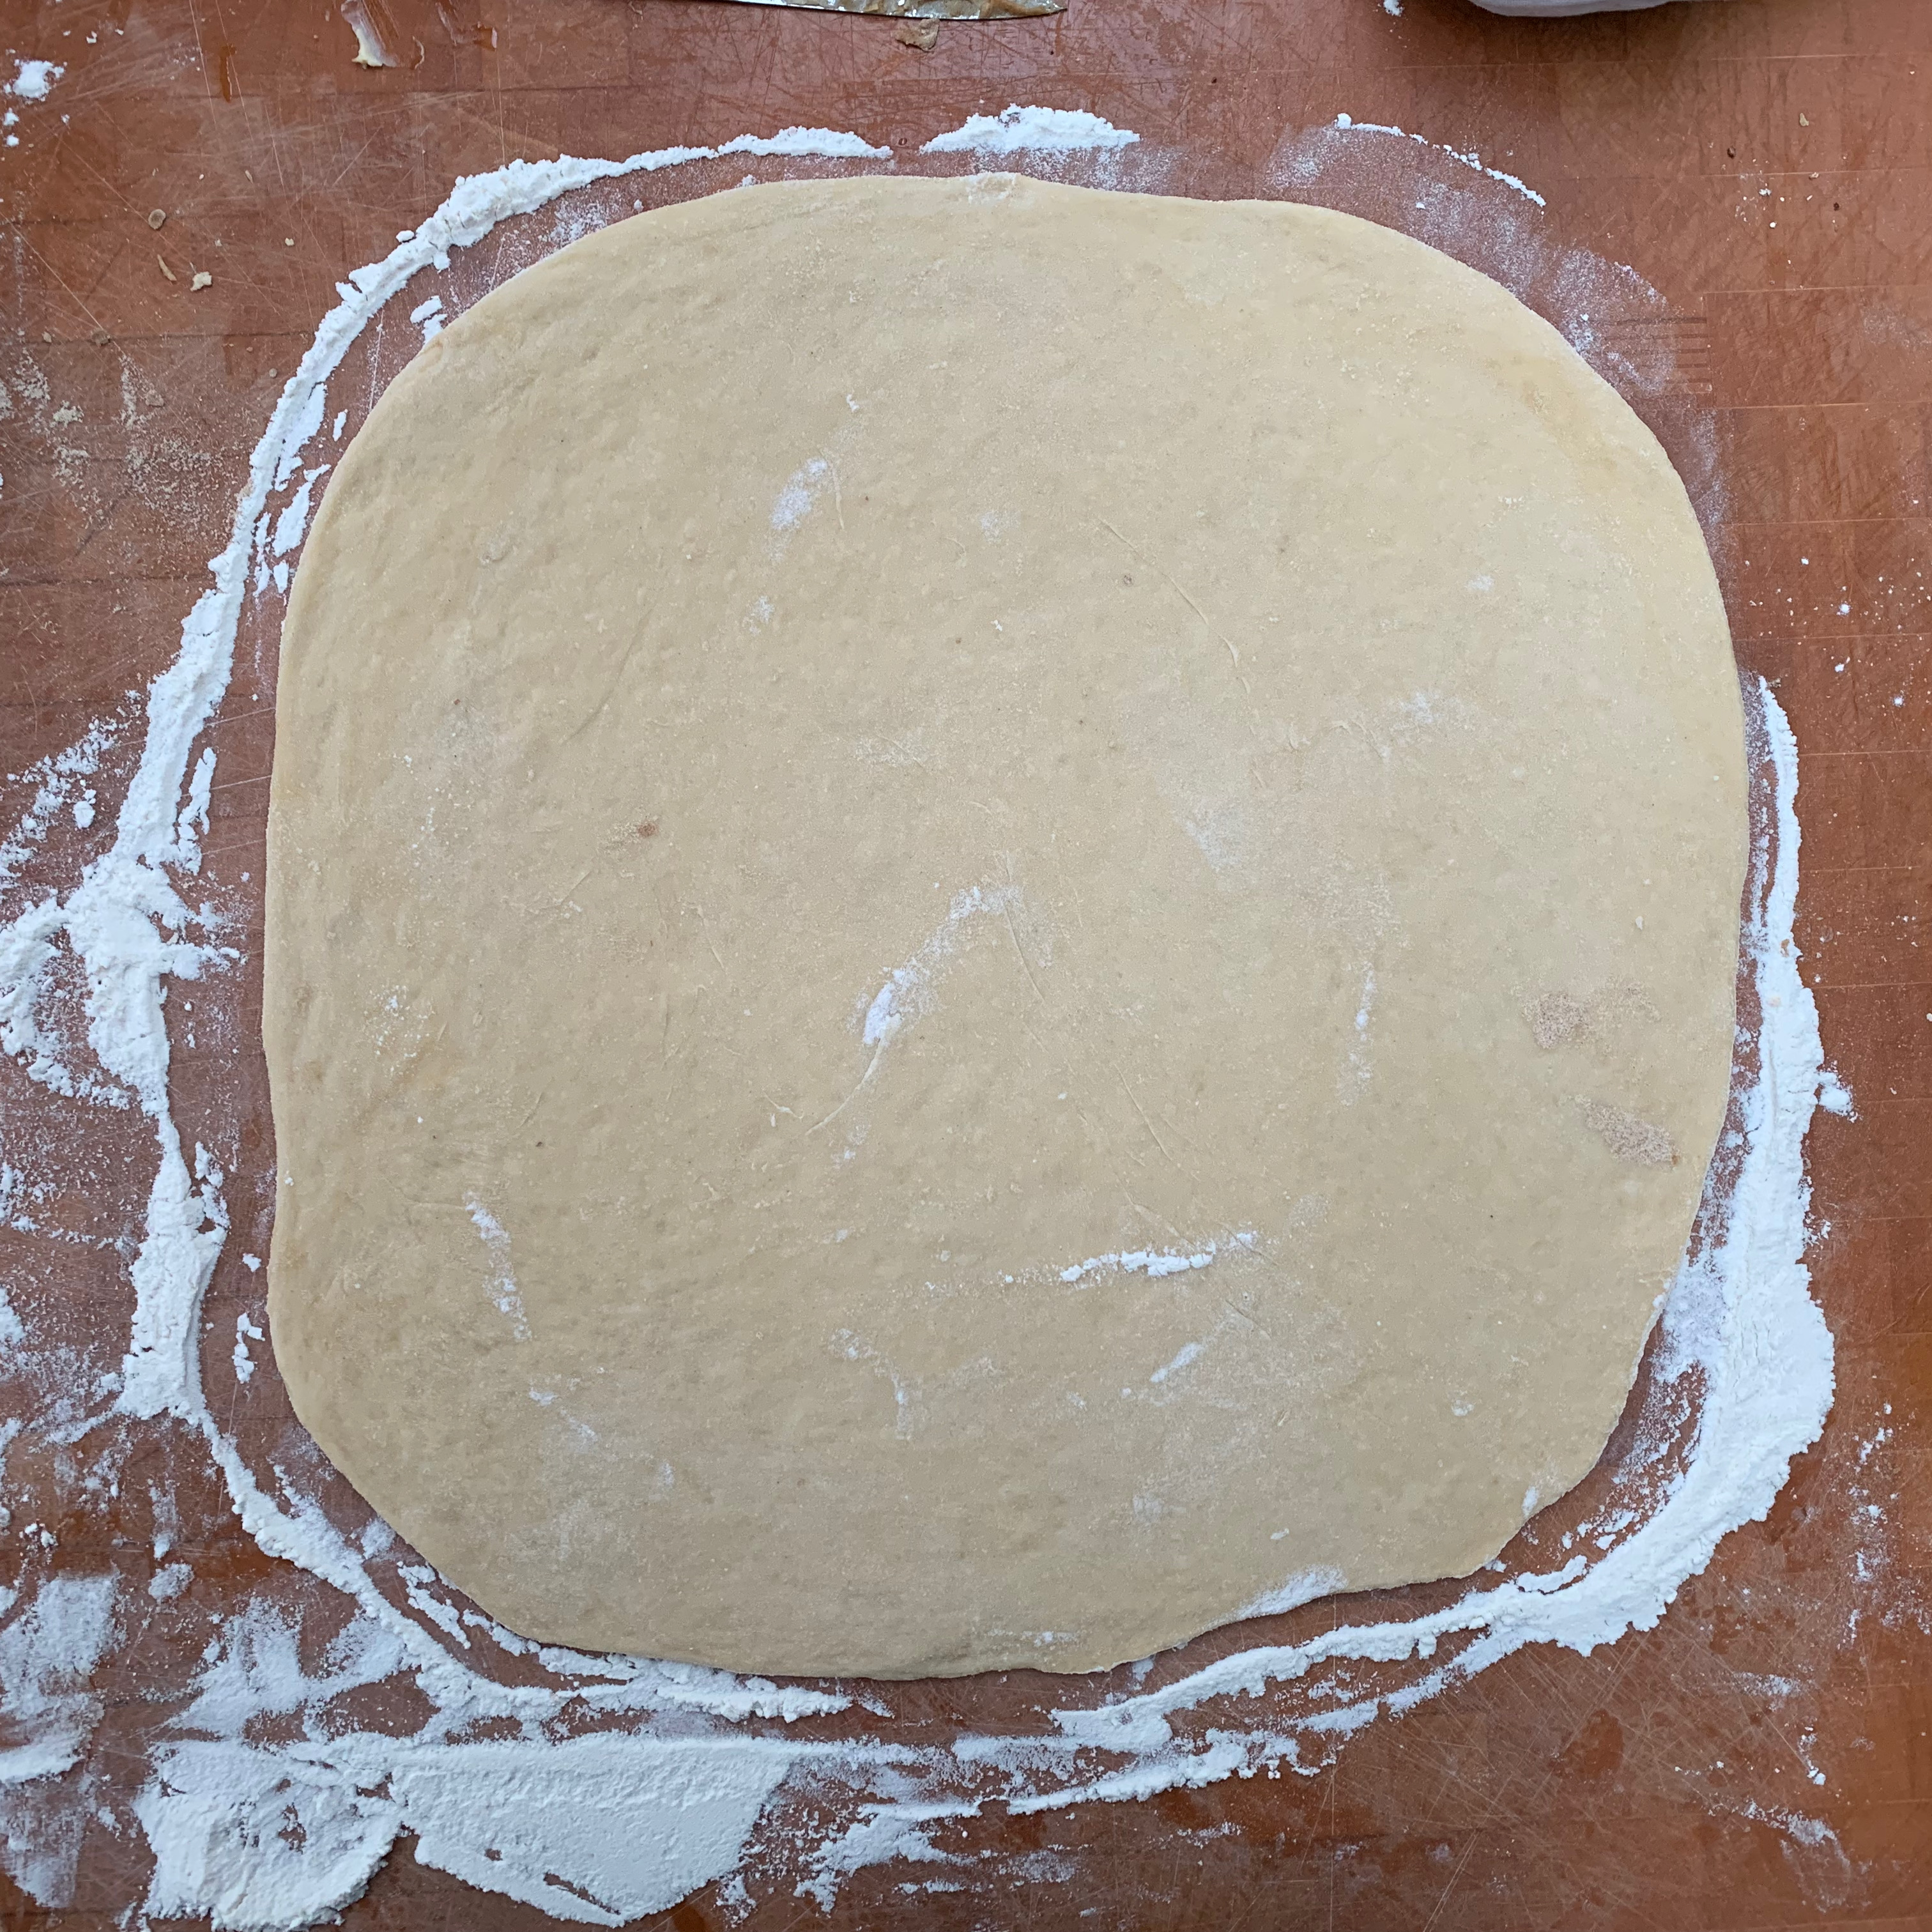
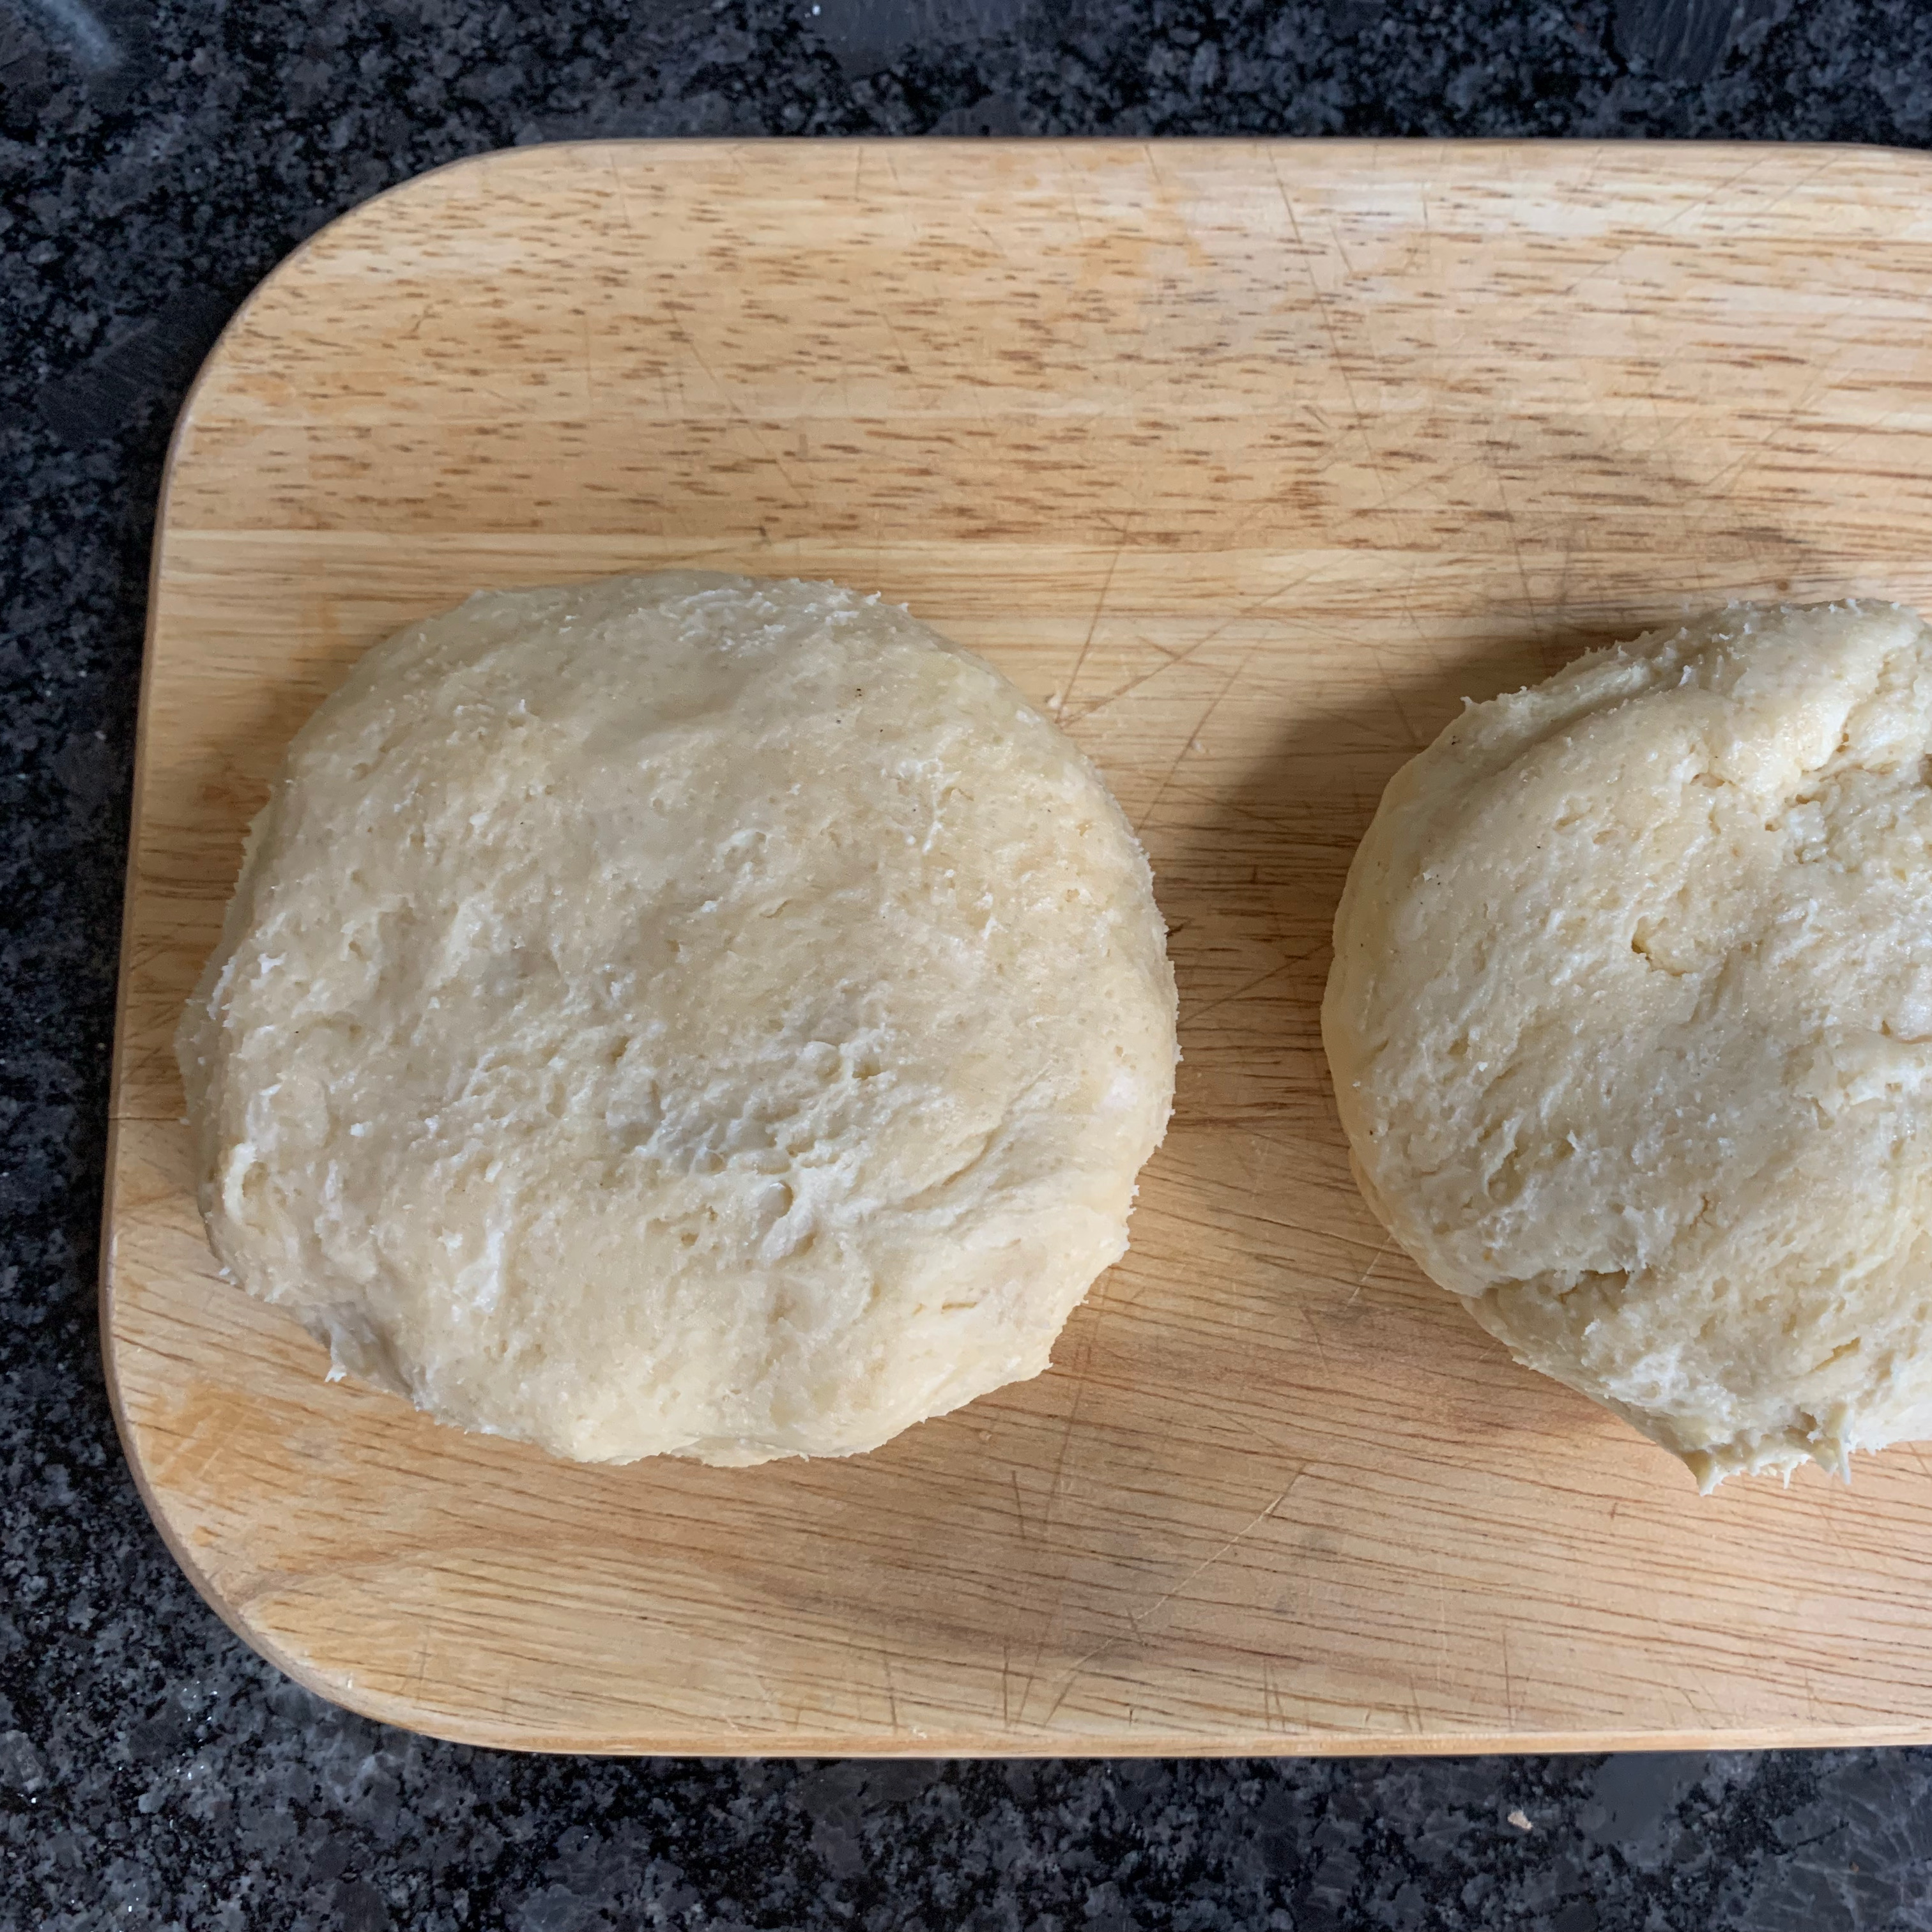
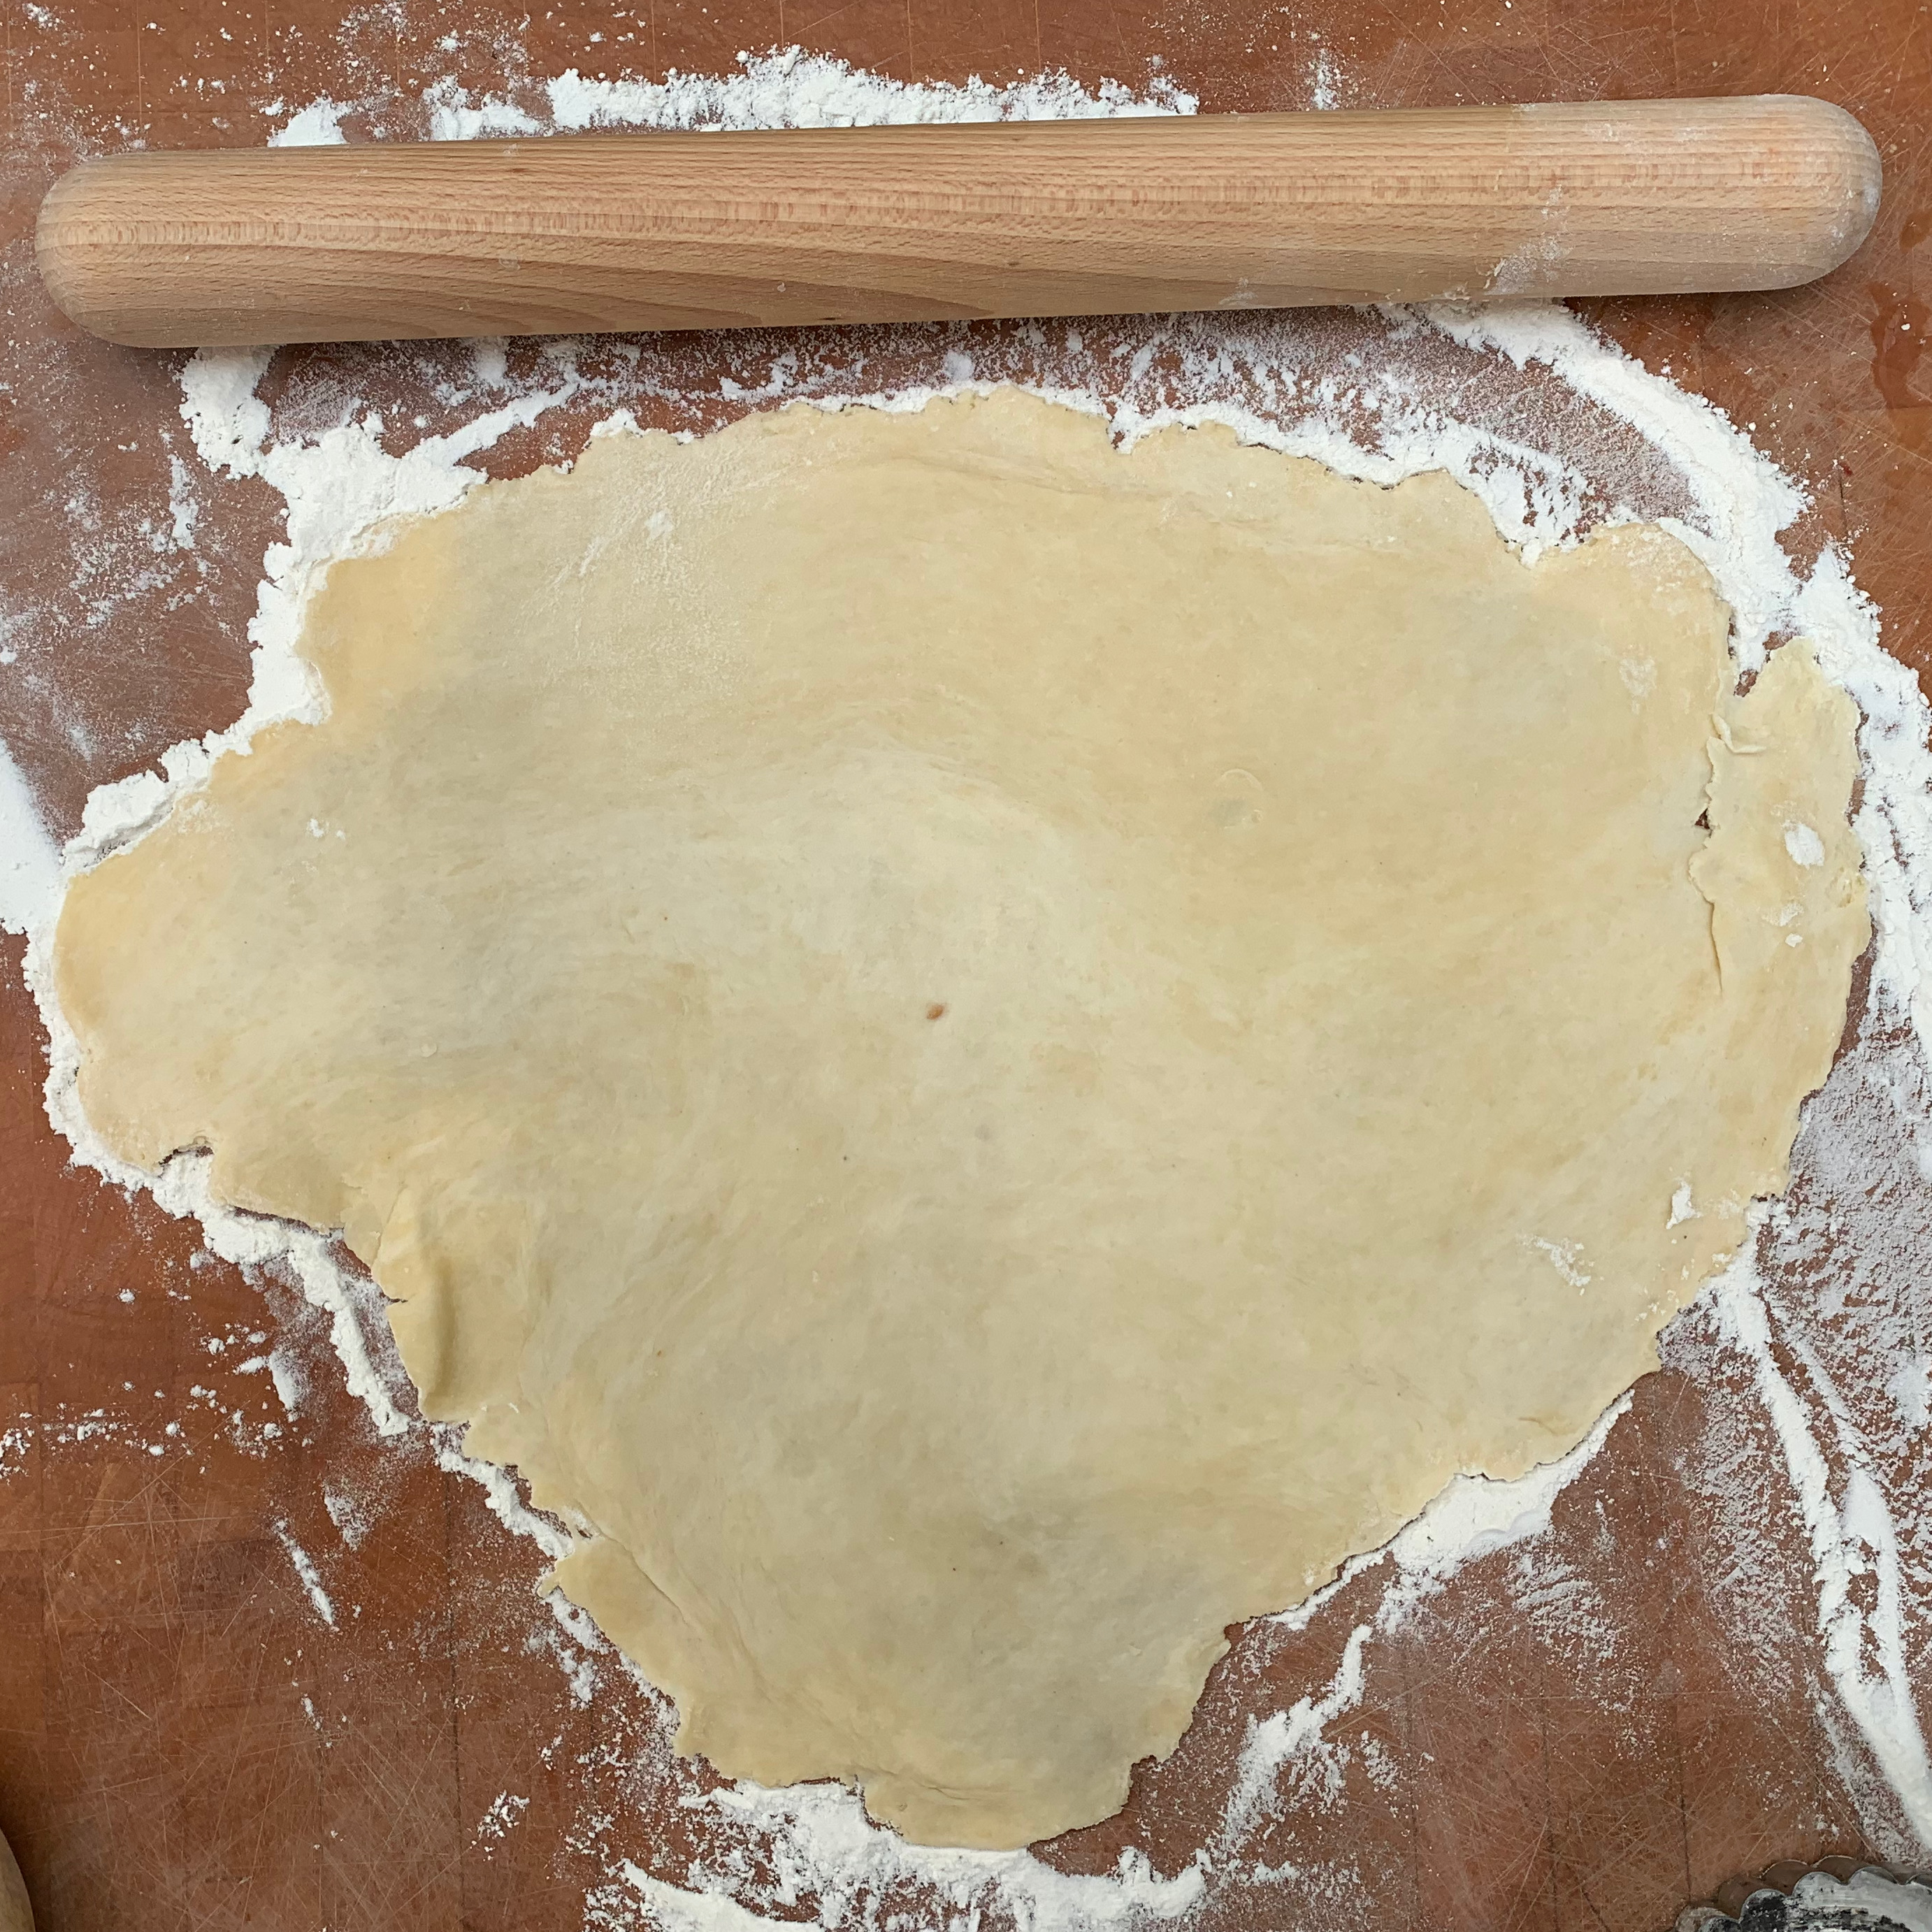
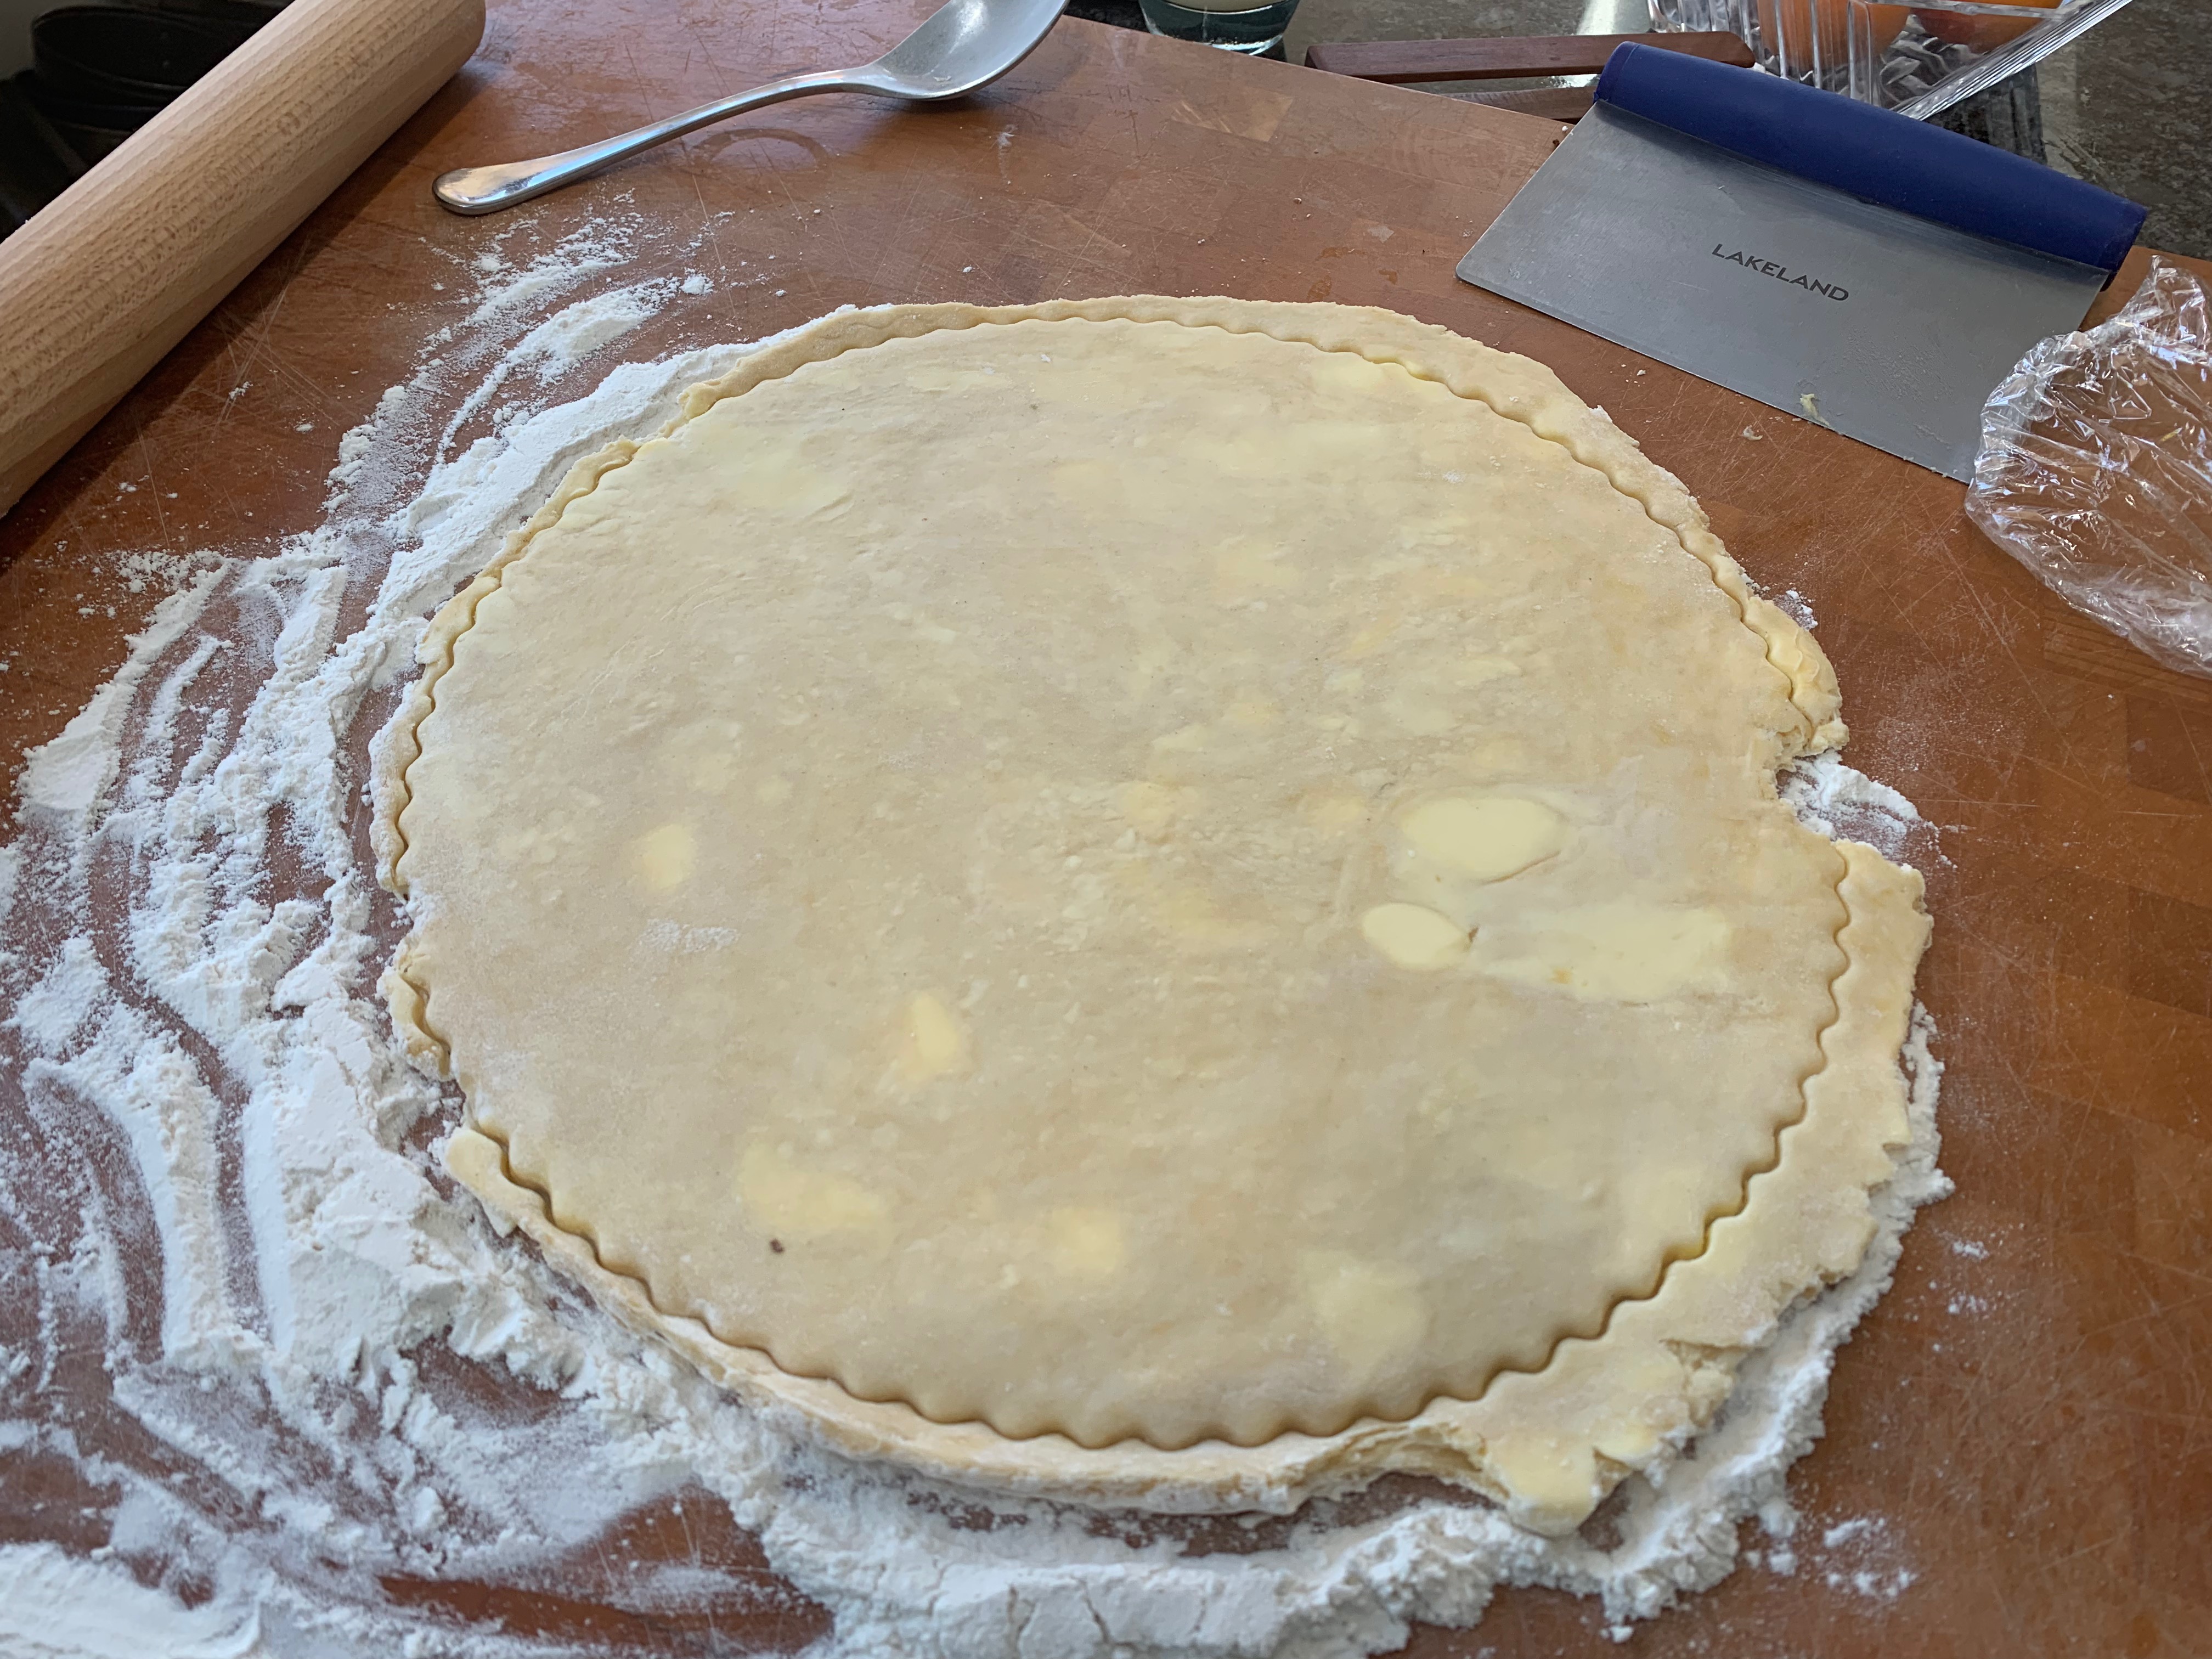
- Finally, you’re ready to roll your pastry into a thin circle, big enough to overlap the edges of your dish. Don’t worry about making it a perfect circle: you’ll be tucking it in around the edges and if there are some huge areas of excess, you can trim them off.
- If you have time, measure out the flour and put in the freezer for half an hour or so before you start.
- Put the flour into the bowl of your food processor.
- Grate 30g of the butter and add to the bowl; process until you have a fine mixture
- Add the lemon juice and most of the water and process some more. You want the dough to be pliable but not actually sticky. Take it out of the food processor, bring it together into a ball, adding a bit more water or flour as needed to get to a good consistency.
- Wrap the dough in cling film and freeze for 30 minutes
- Just before taking the dough out, grate the rest of the butter
- Flour your board and rolling pin, take the dough out and roll into a thin rectangle
- Do a book fold: add half the butter to two thirds of one end of the rectangle, fold the unbuttered end over, then fold the other end over.
- Seal the edges, roll the rectangle out again, turning it by 90 degrees. Repeat the book fold process with the second half of the butter.
- Wrap the dough in the cling film again and freeze for another 20 minutes (now, by the way, is about the right time to start on your filling).
- Take the dough out again, roll it out and do another book fold. Now it’s back into the freezer for 20 minutes and do it again. You will have done five book folds in total.
- Finally, you’re ready to roll your pastry into a thin circle, big enough to overlap the edges of your dish. Don’t worry about making it a perfect circle: you’ll be tucking it in around the edges and if there are some huge areas of excess, you can trim them off.
The fruit and caramel filling
- Juice of 1 lemon
- Around 8 medium to large apples or pears (see above)
- 170g caster sugar
- 50g butter
- Preheat oven to 180℃
- Put the lemon juice into a bowl big enough to hold all your fruit
- Peel and chop the fruit (see above for details). As you do each one, put the pieces into the bowl and coat them with juice – this will help to stop them discolouring.
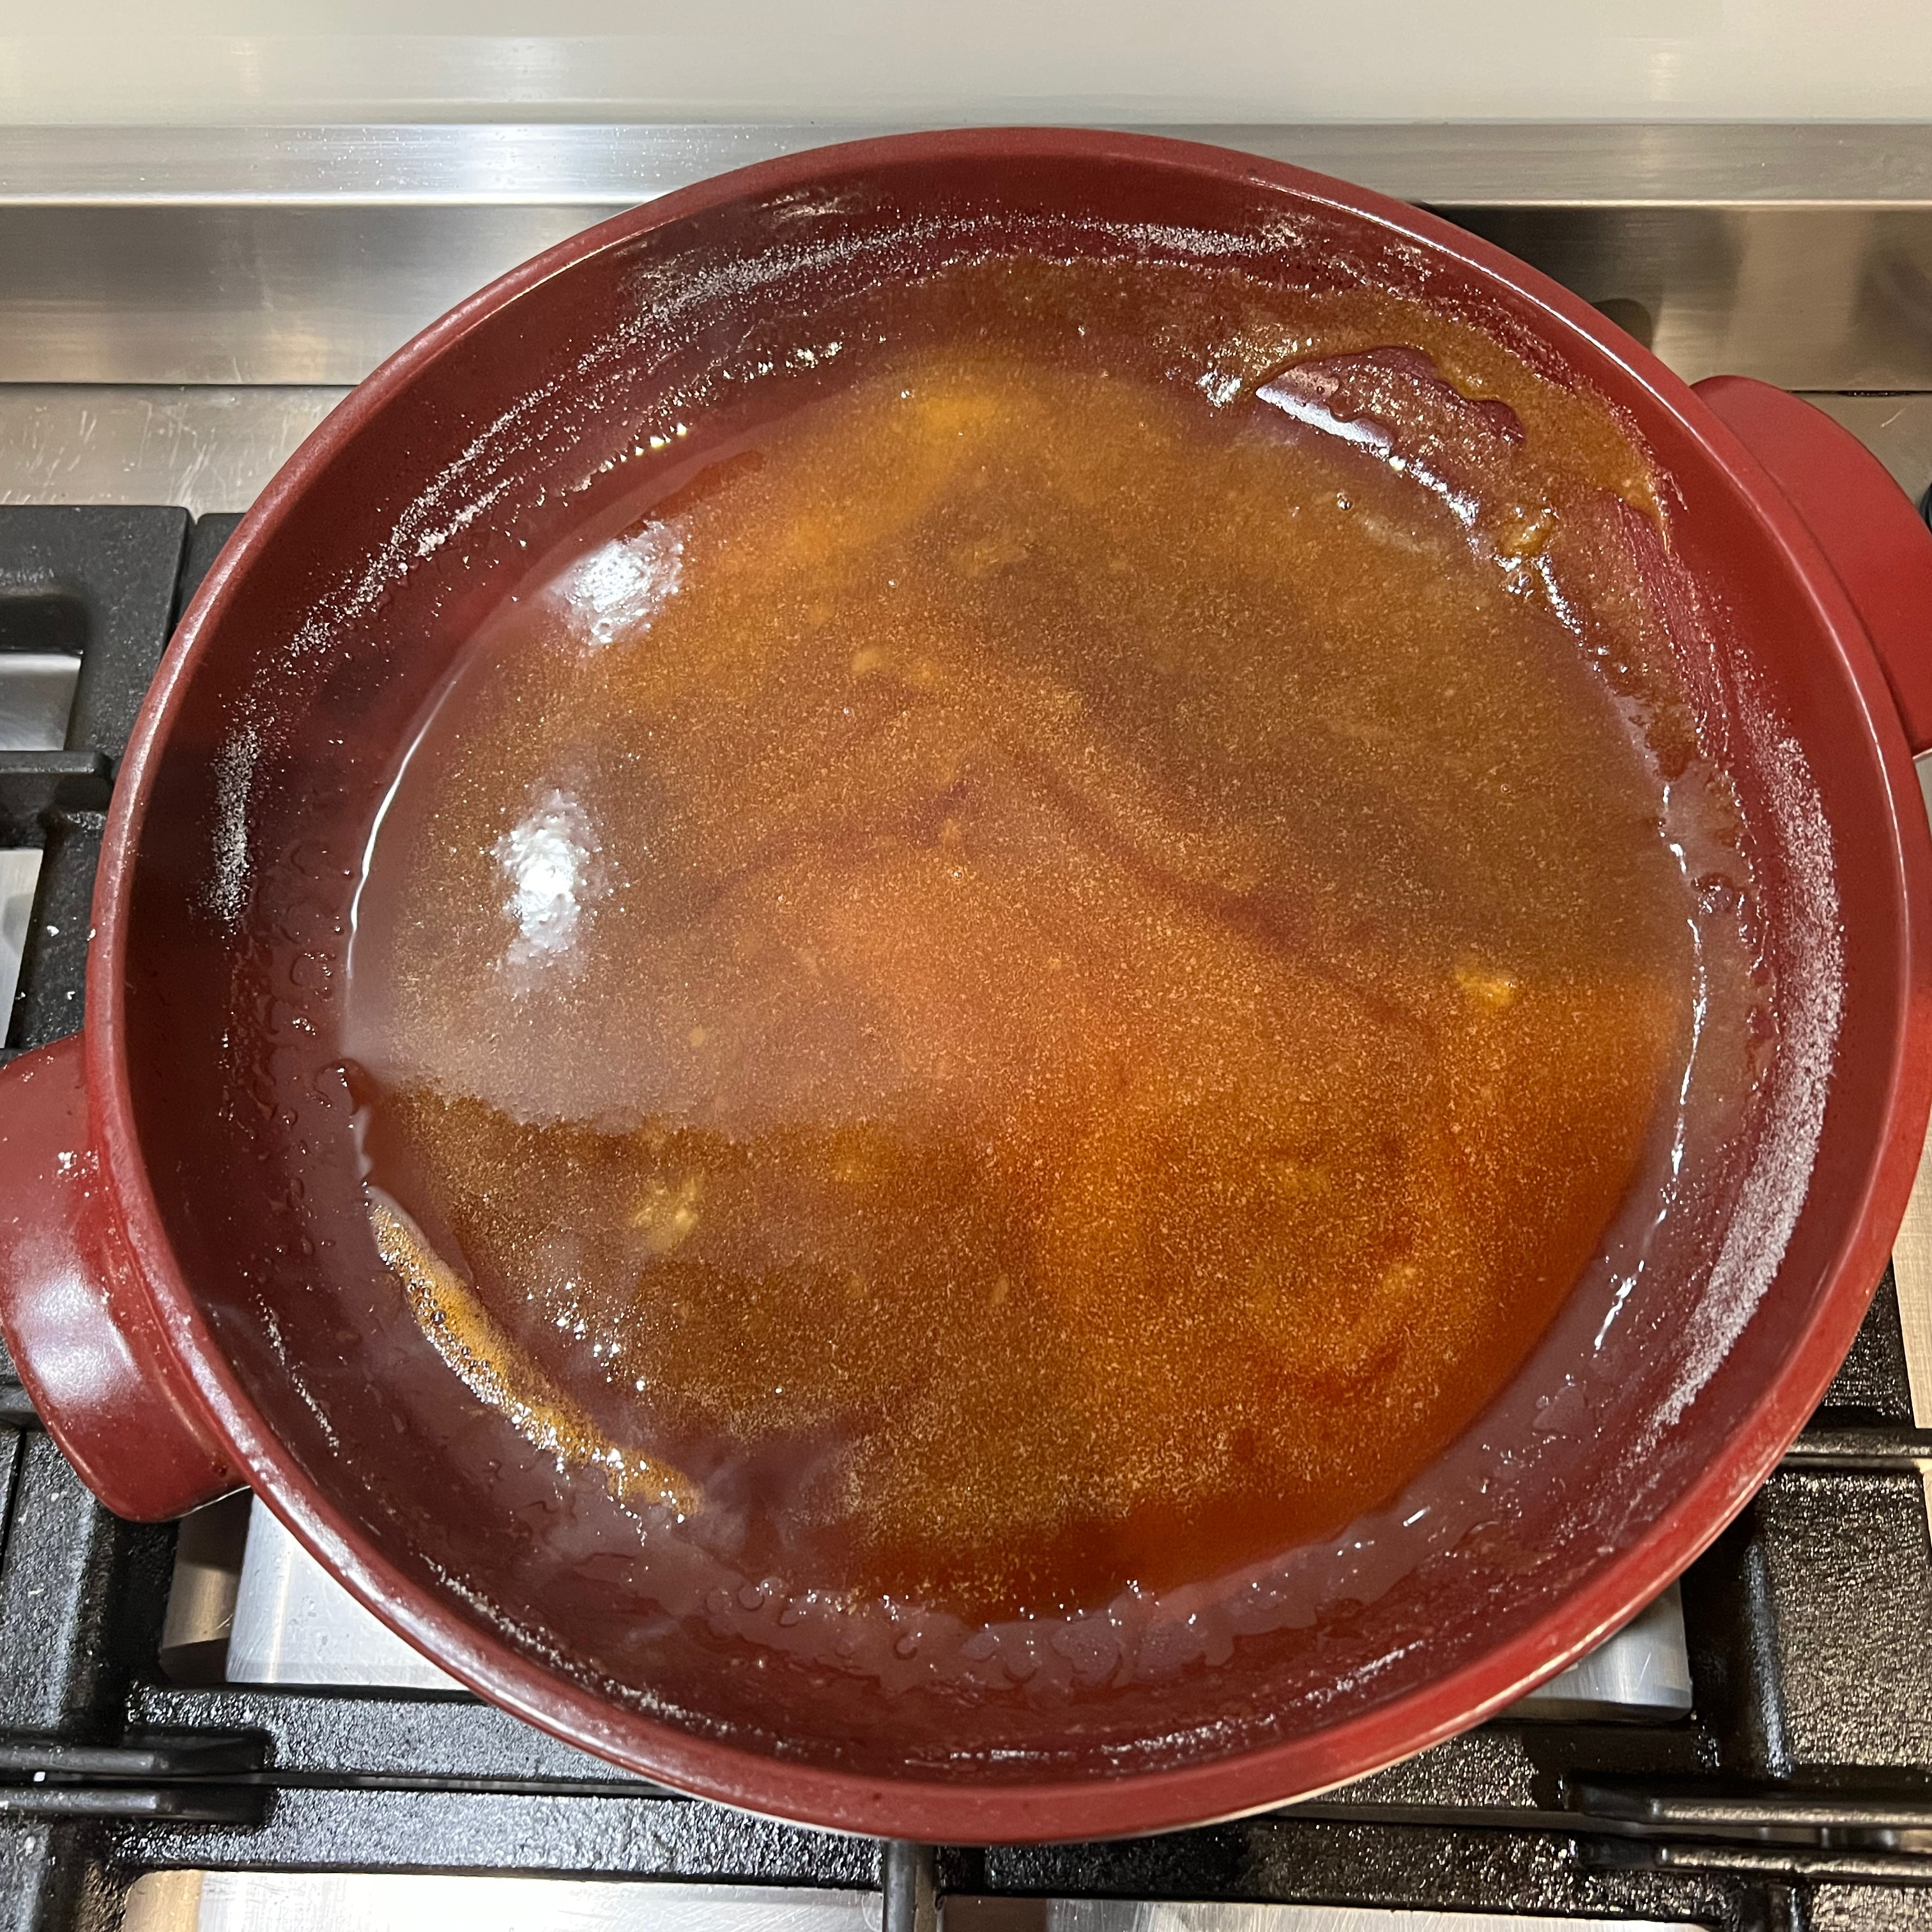
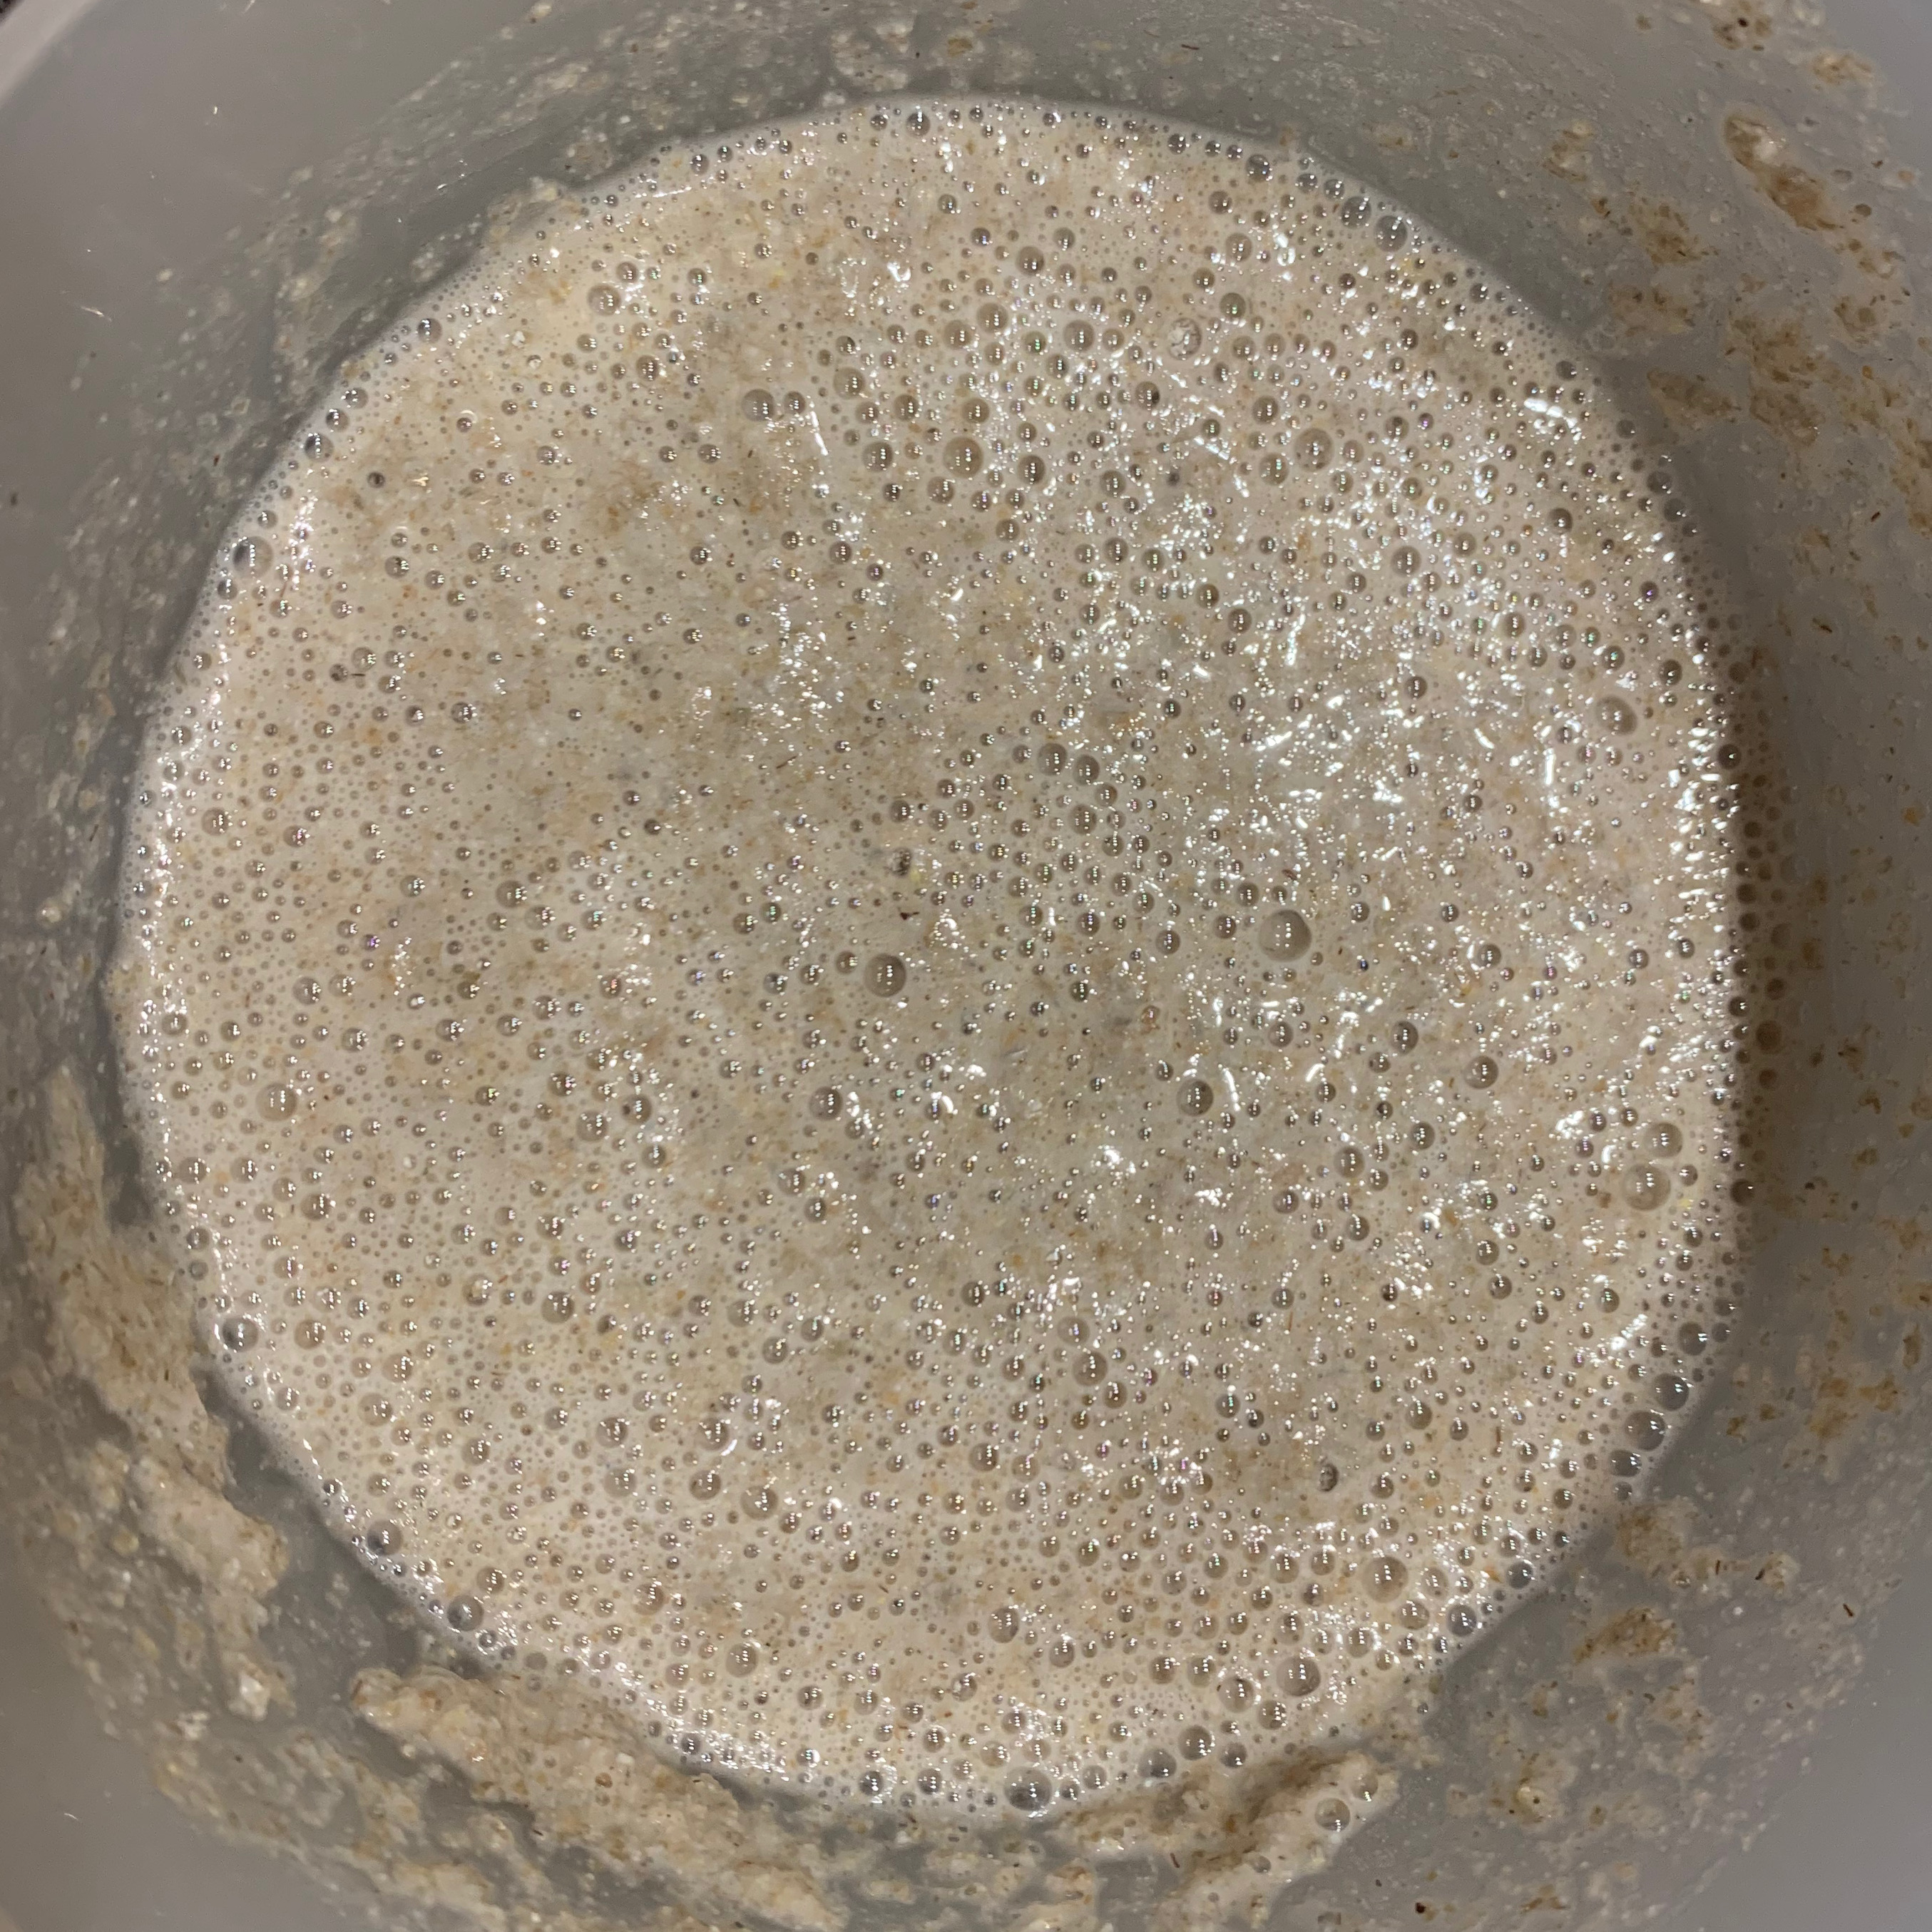
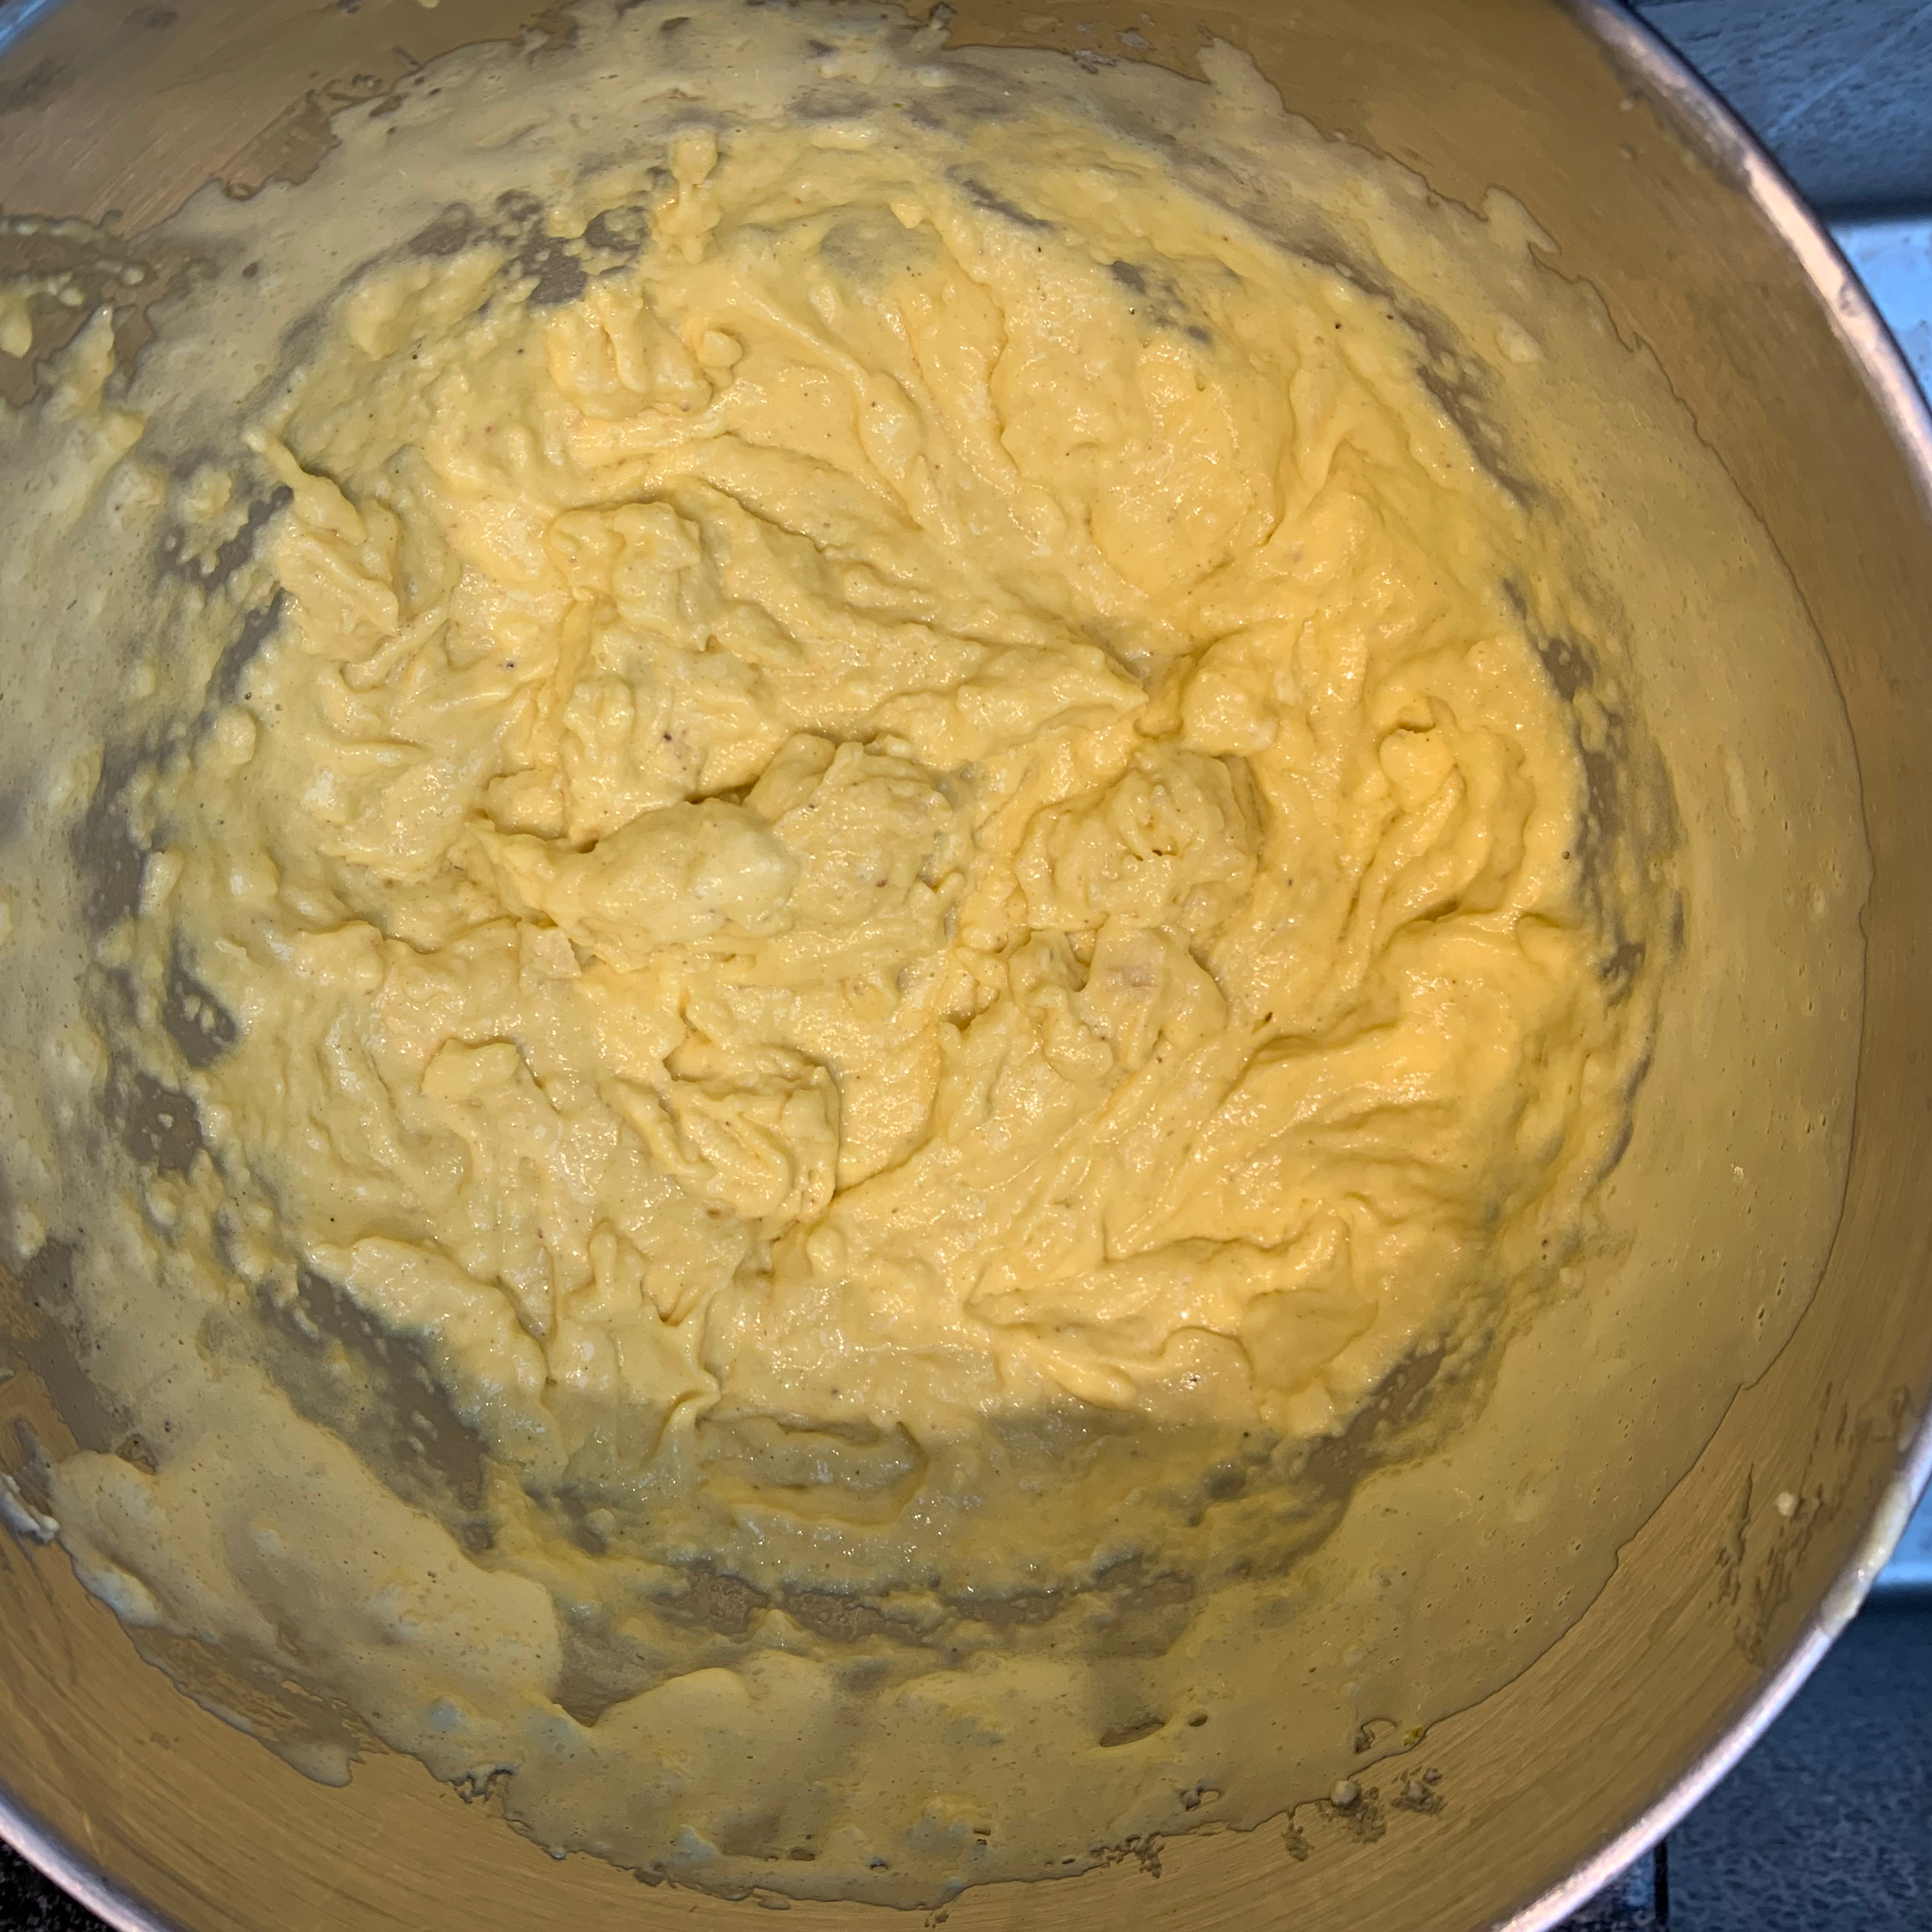
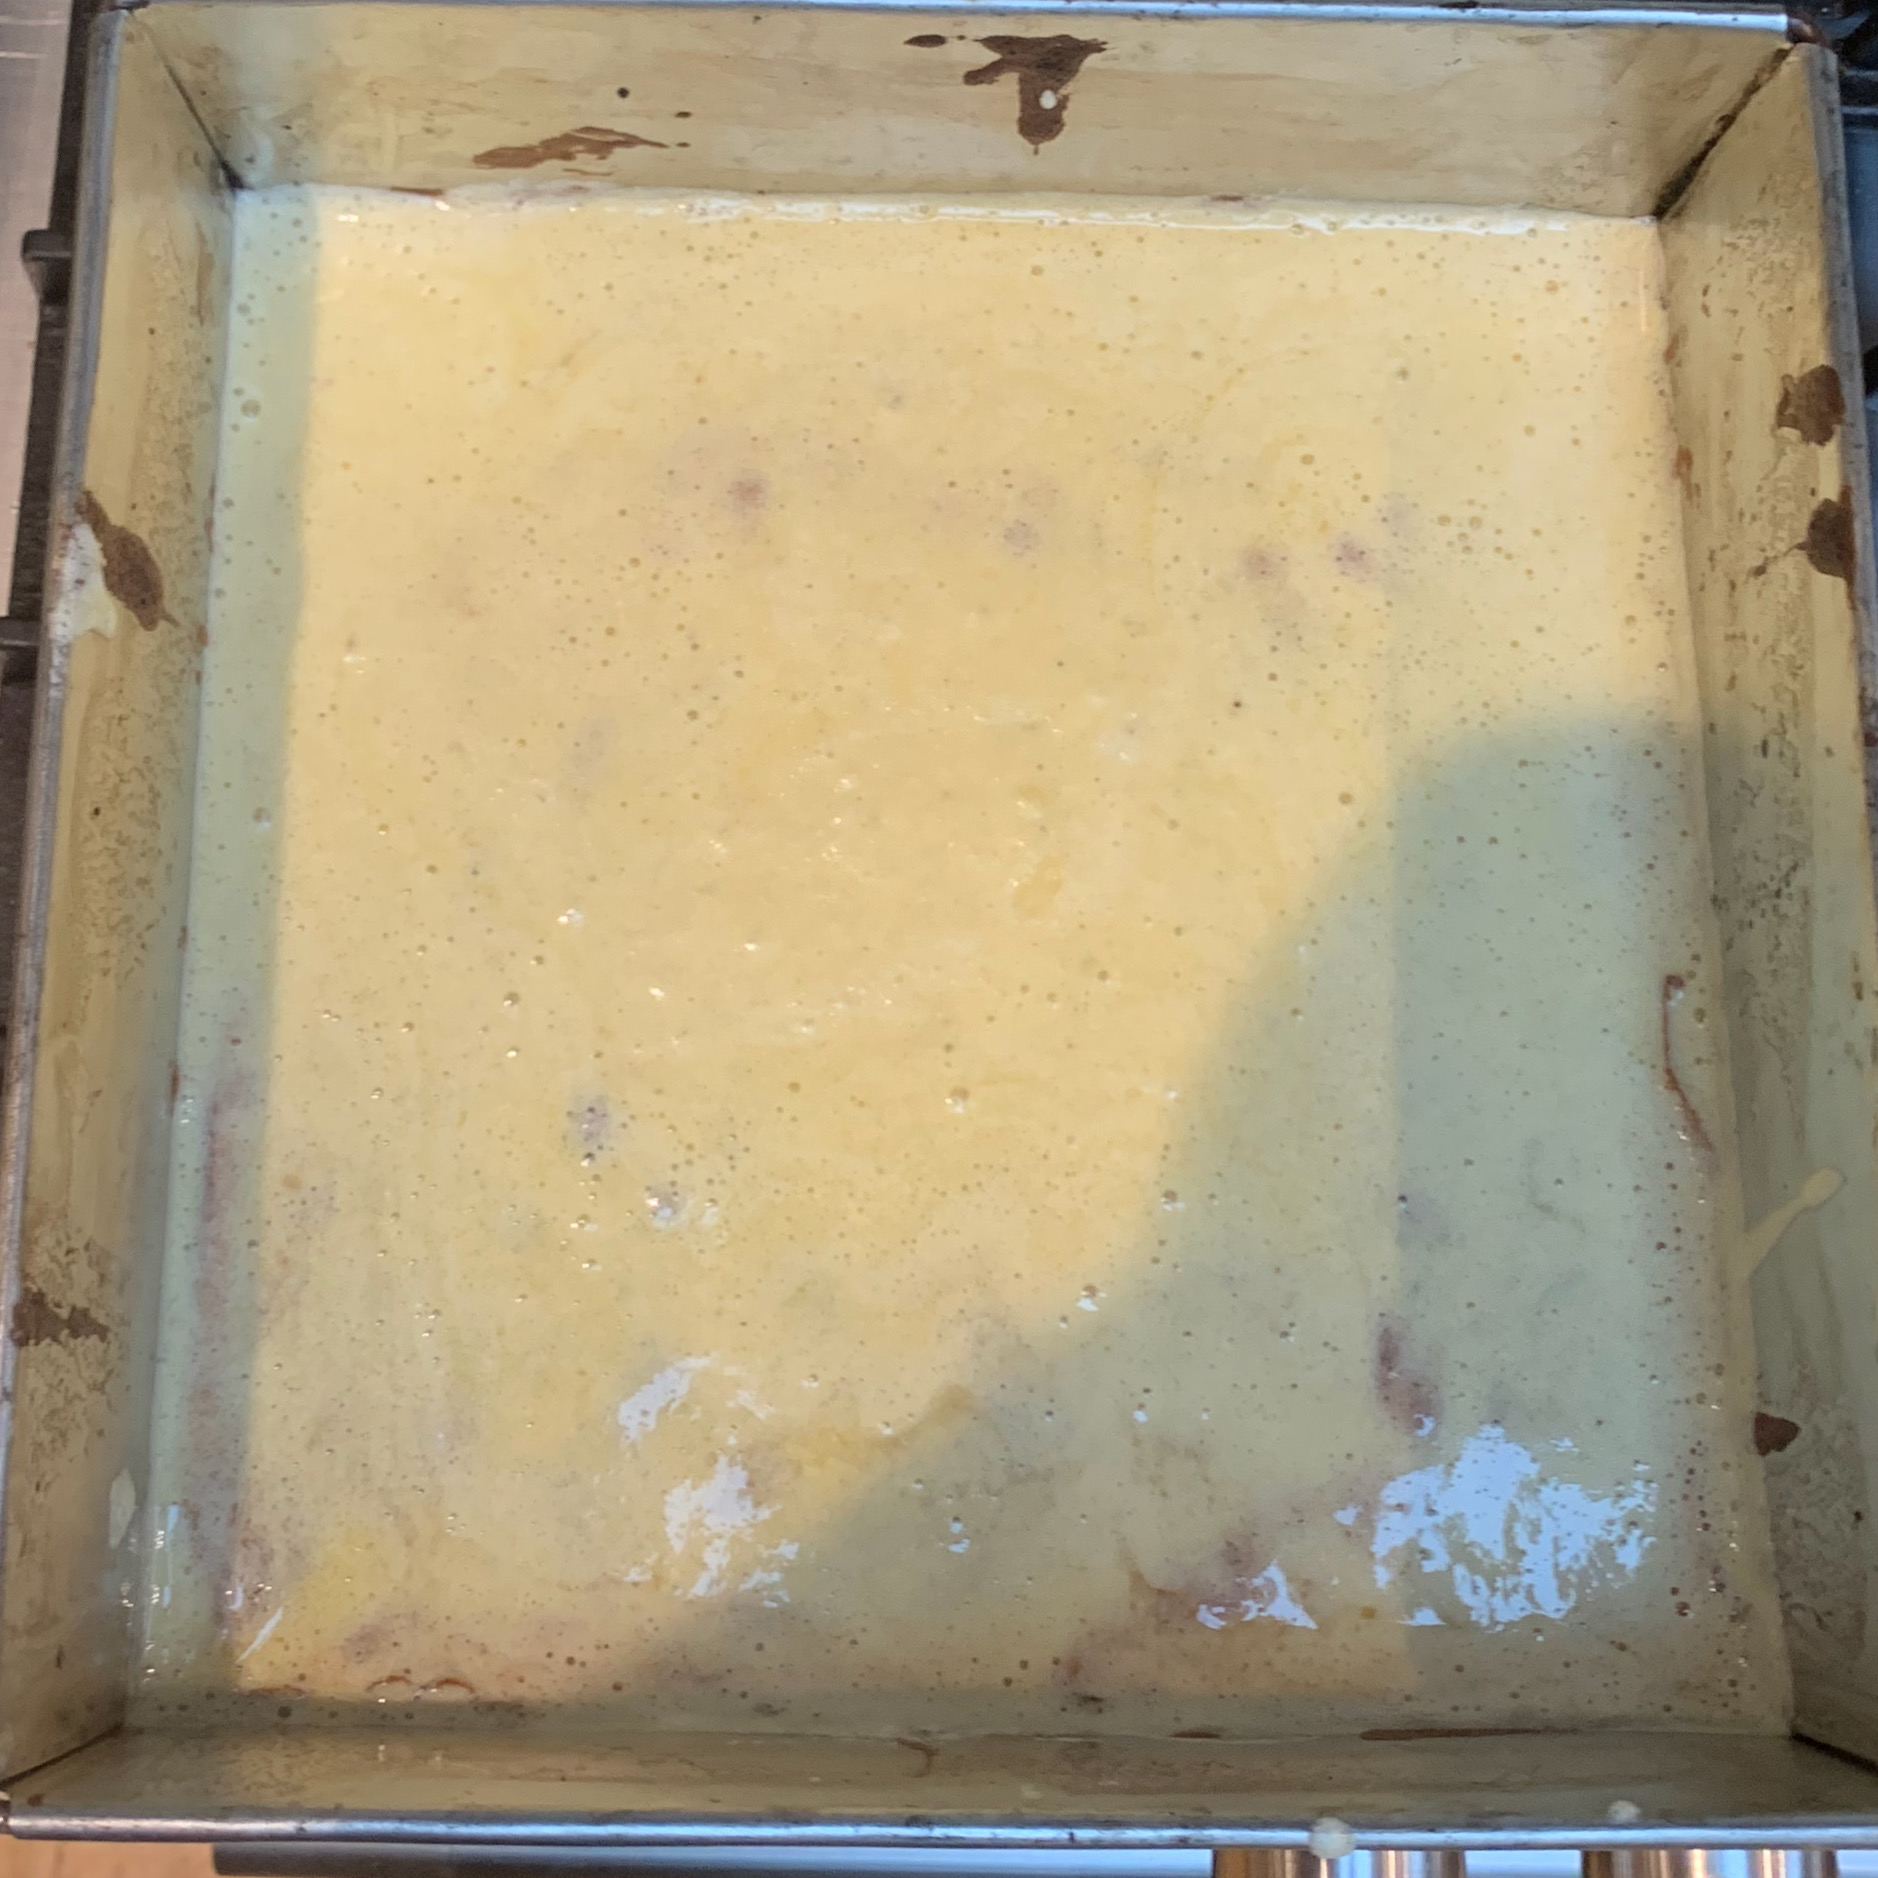
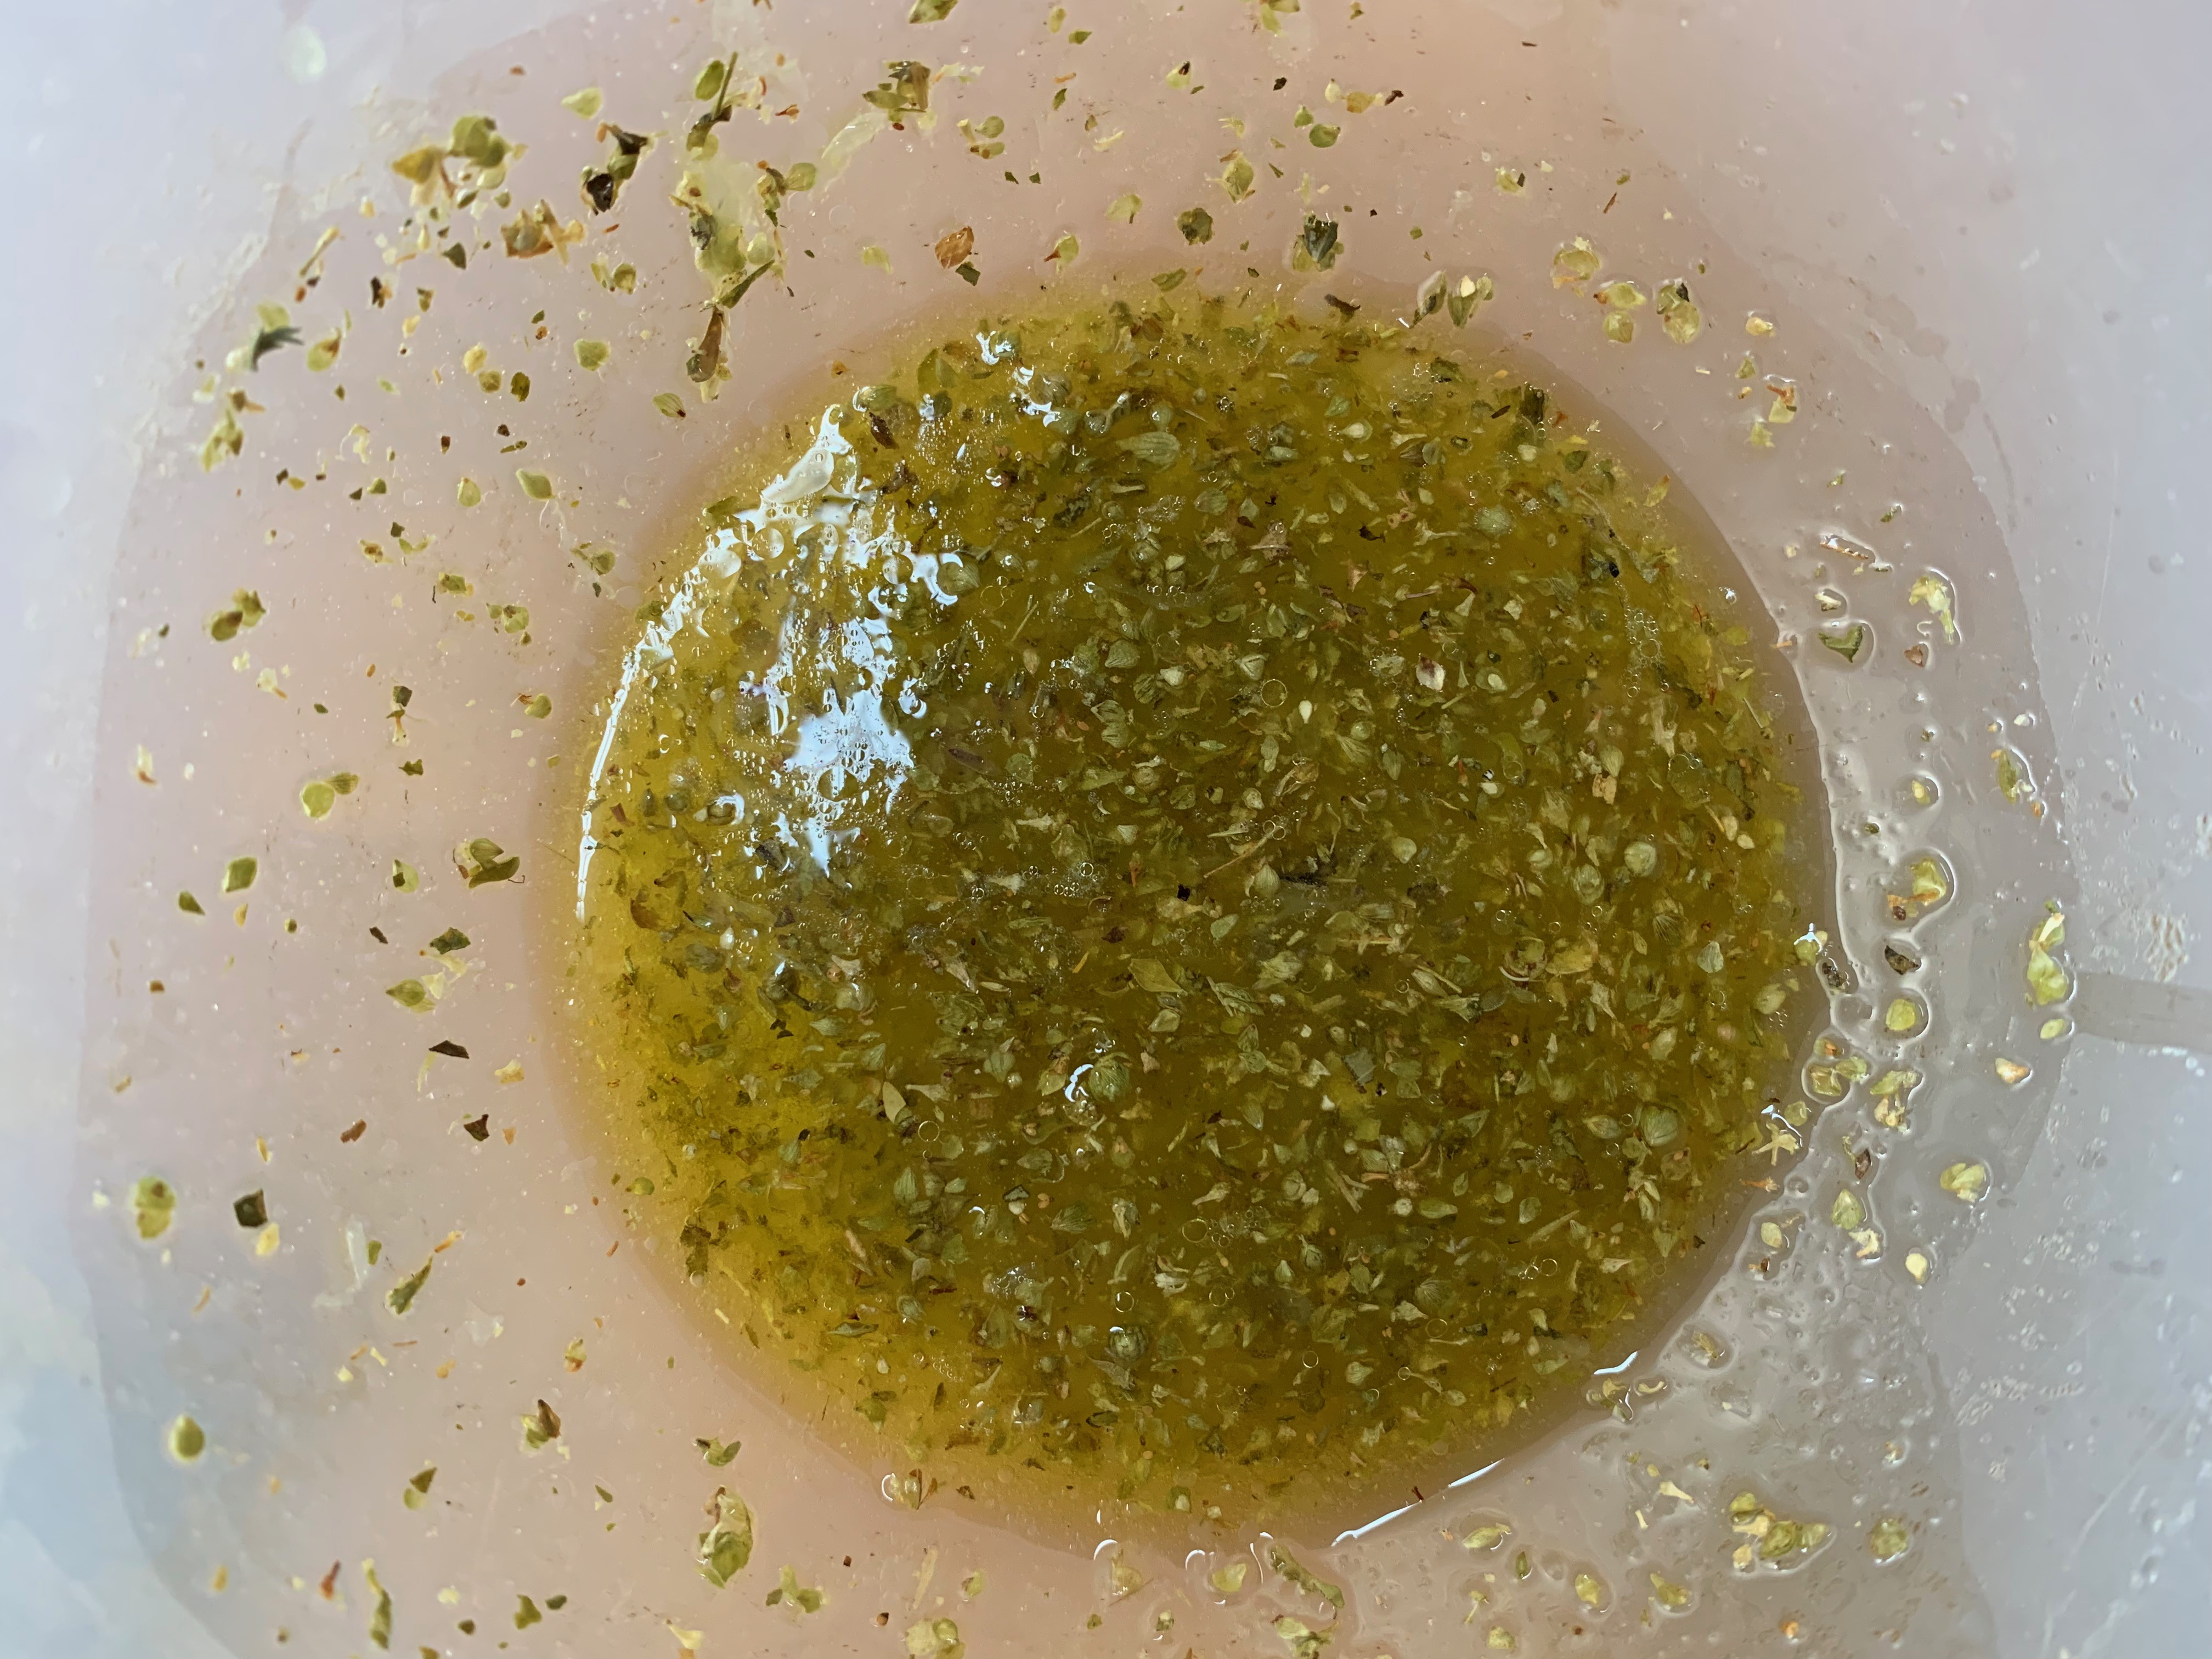
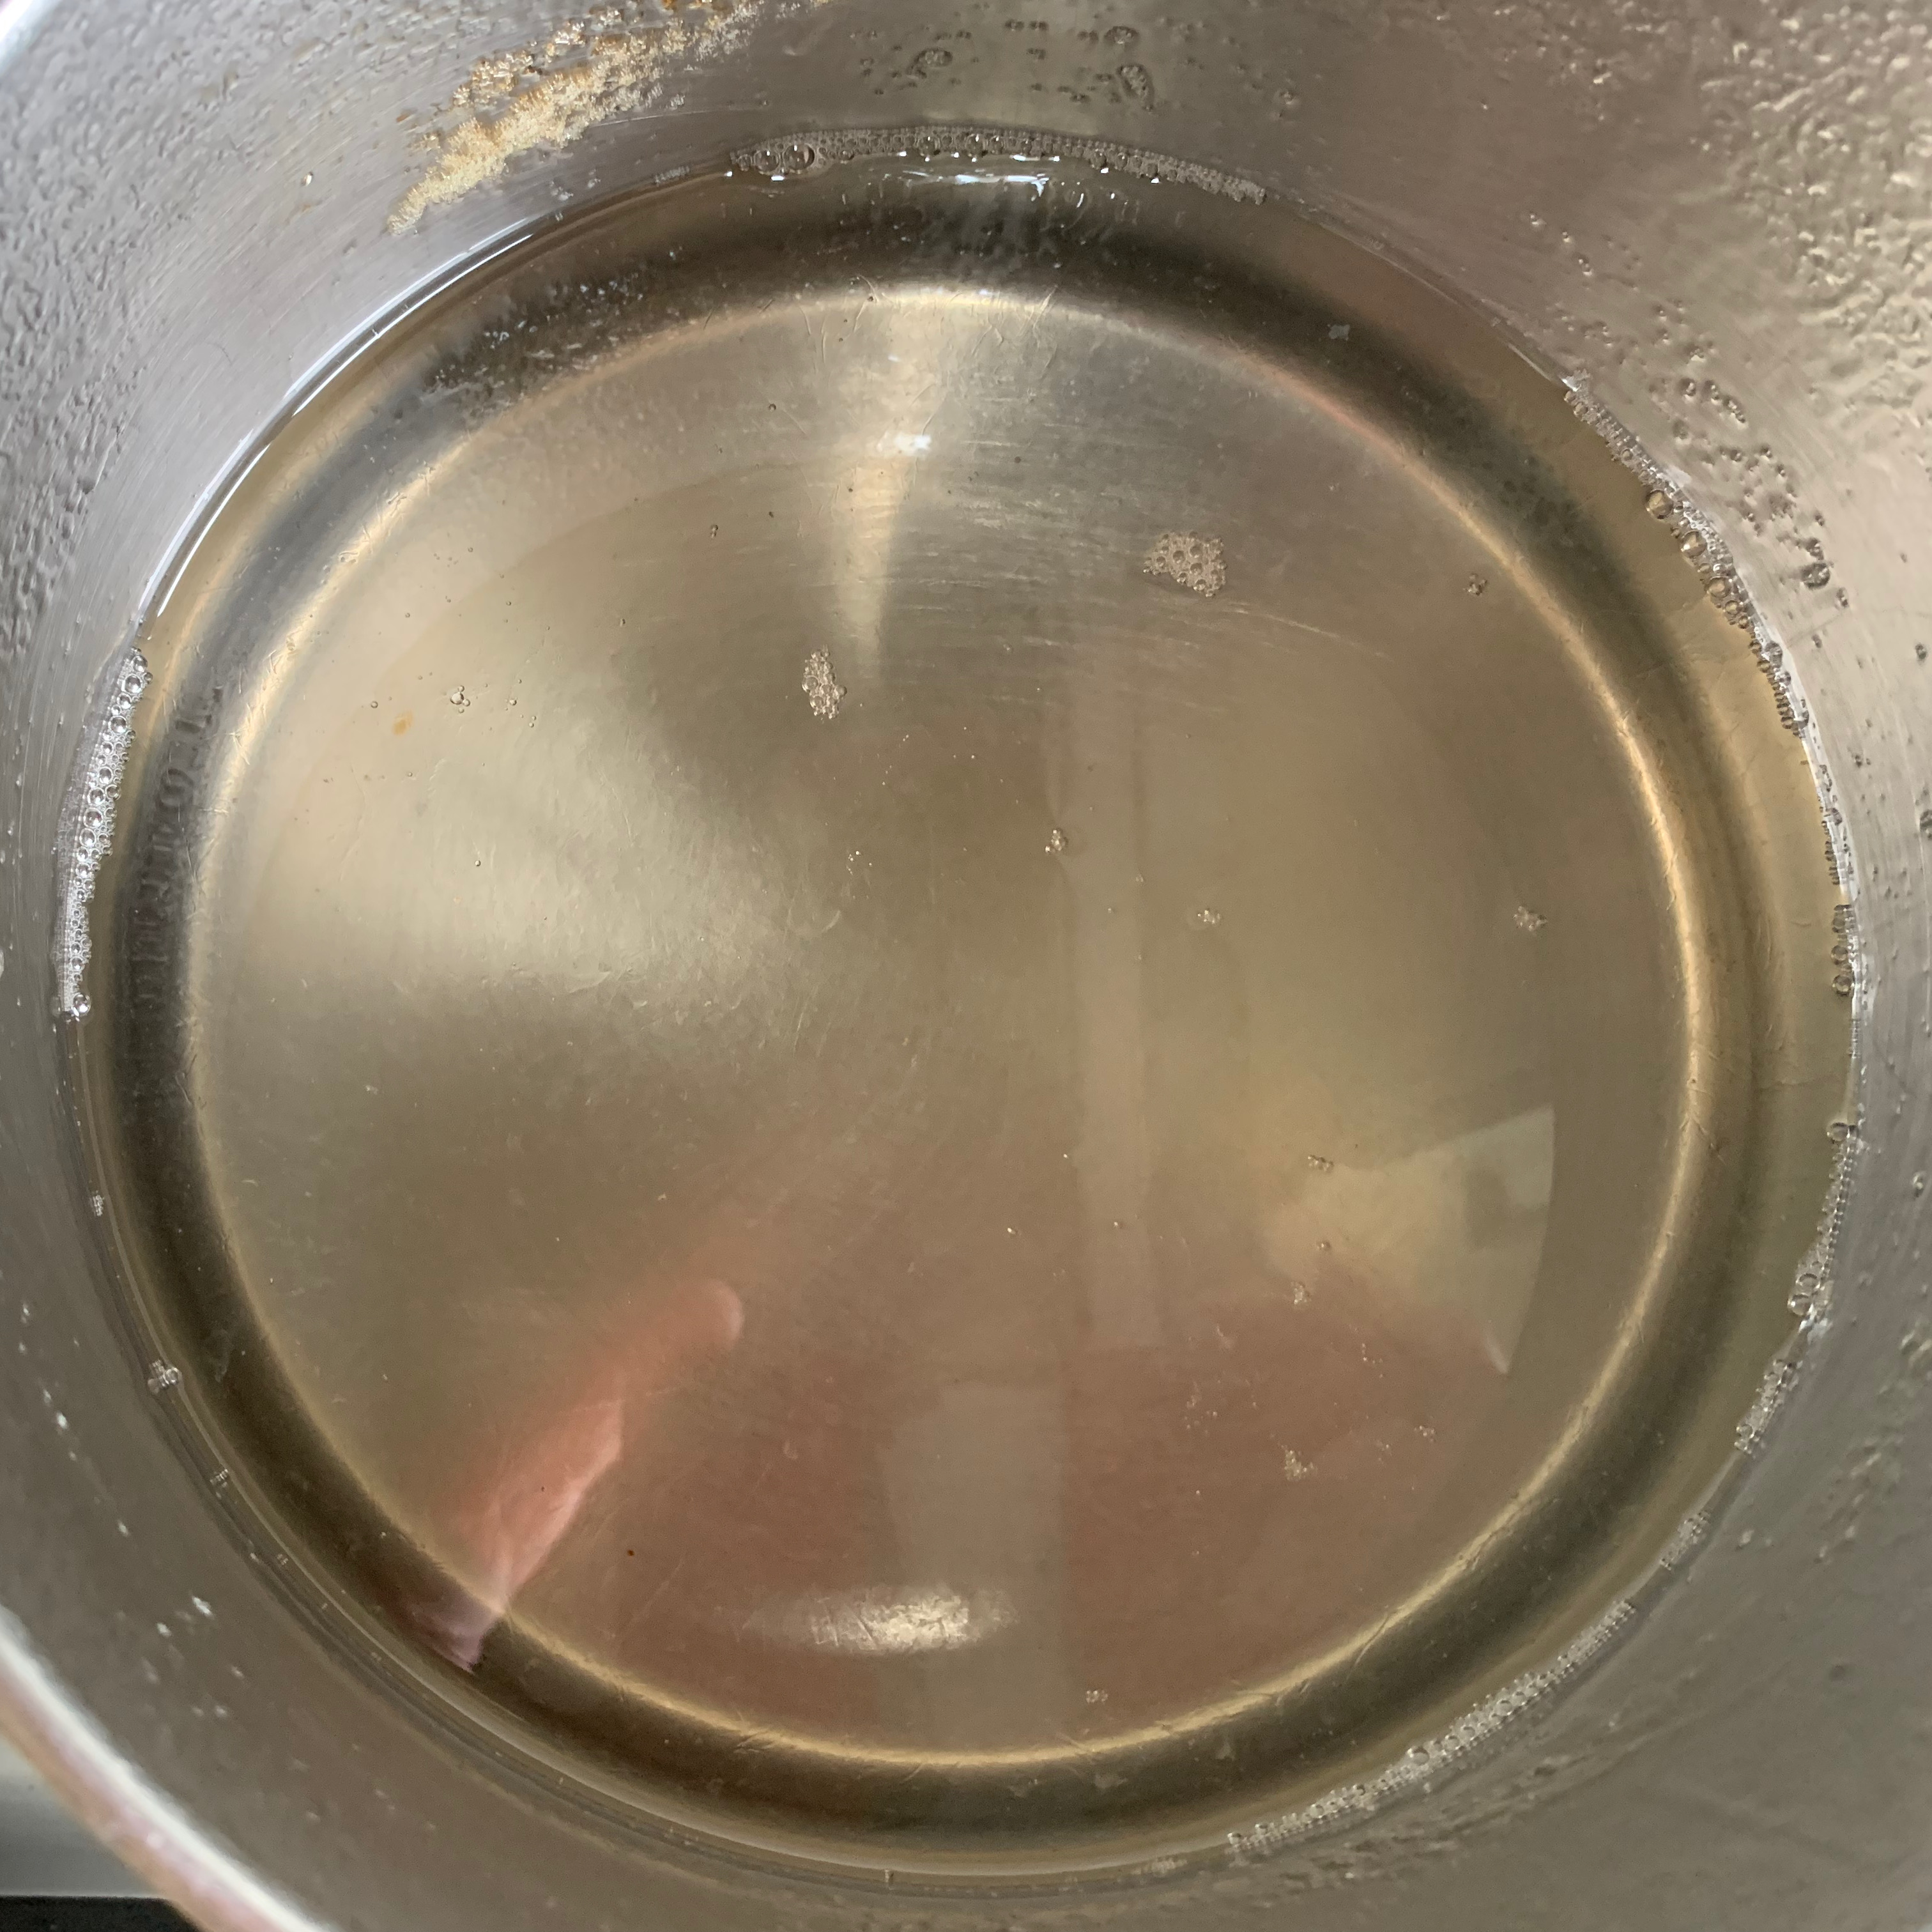
- Put your dish onto the hob at medium heat. Spread the sugar over it in an even layer. Keep heating and stirring until you have a smooth caramel. How long you keep going is very much a matter of personal taste: if you take it off fairly early, at a sort of butterscotch colour, you will have a smooth, gentle flavour. Leave it on for longer and you will get to a dark colour and a flavour that is stronger and more bitter: I’ve had both in perfectly respectable French restaurants, so it’s really up to you.
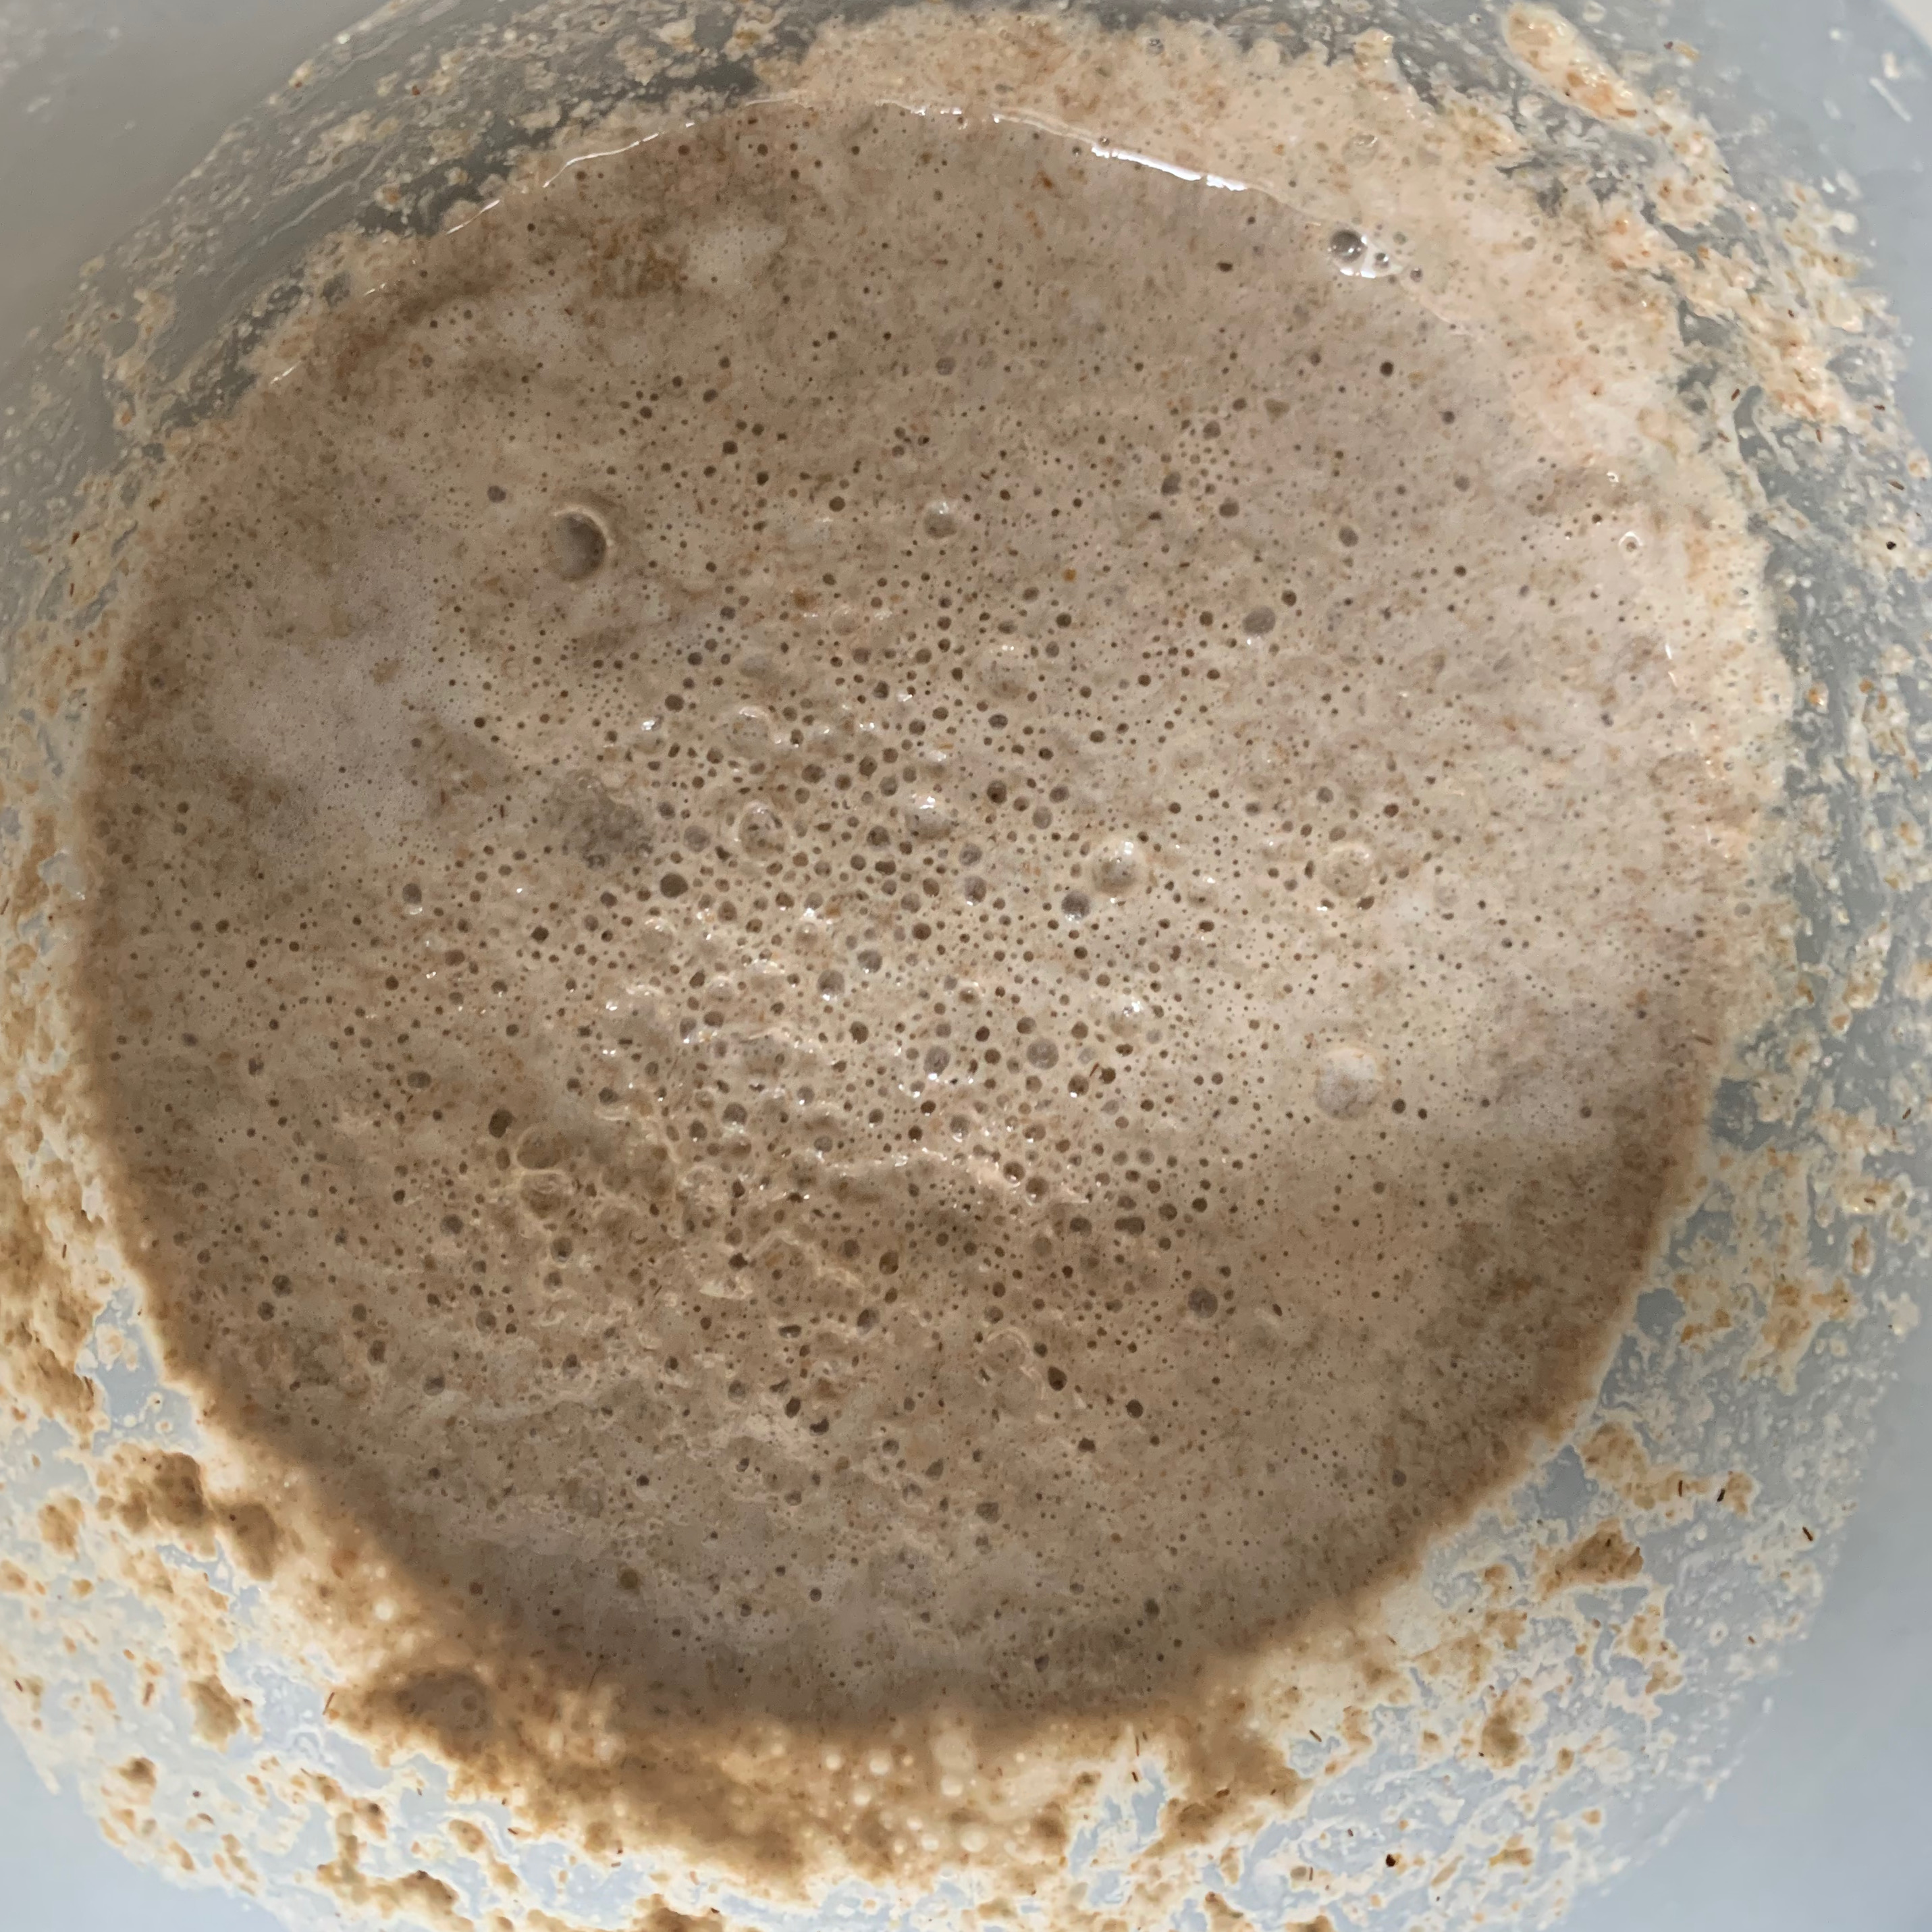
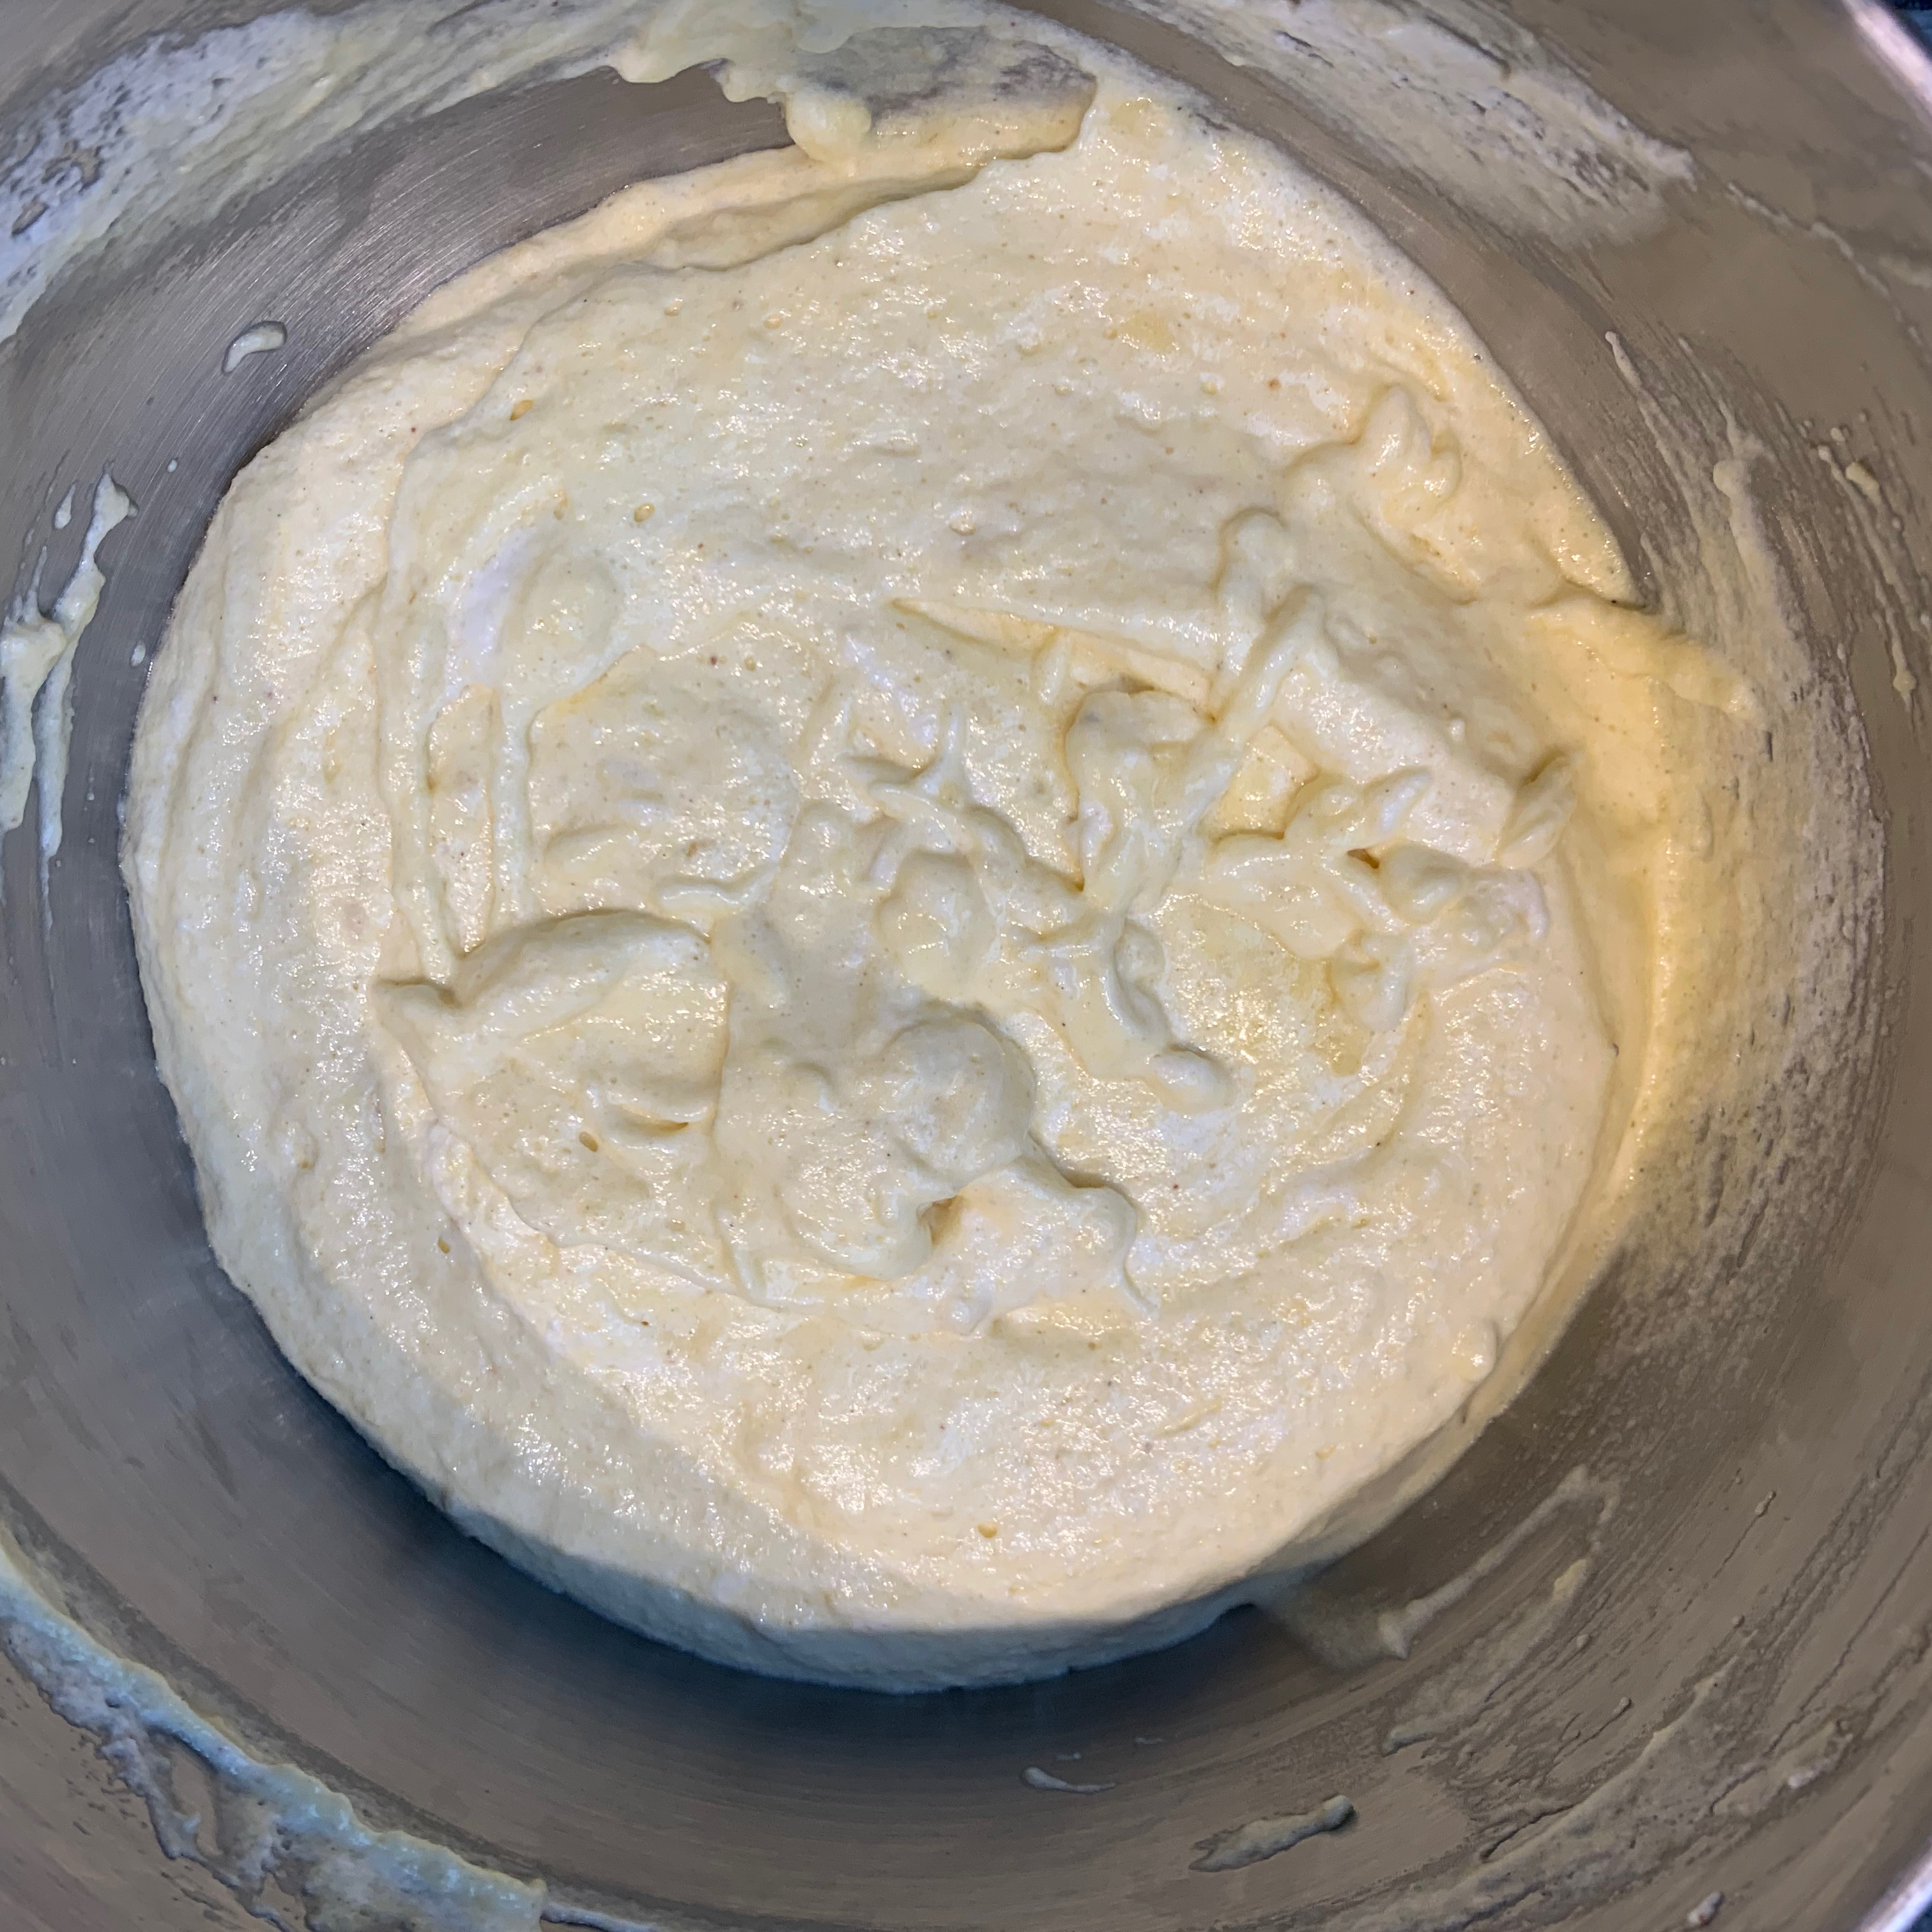
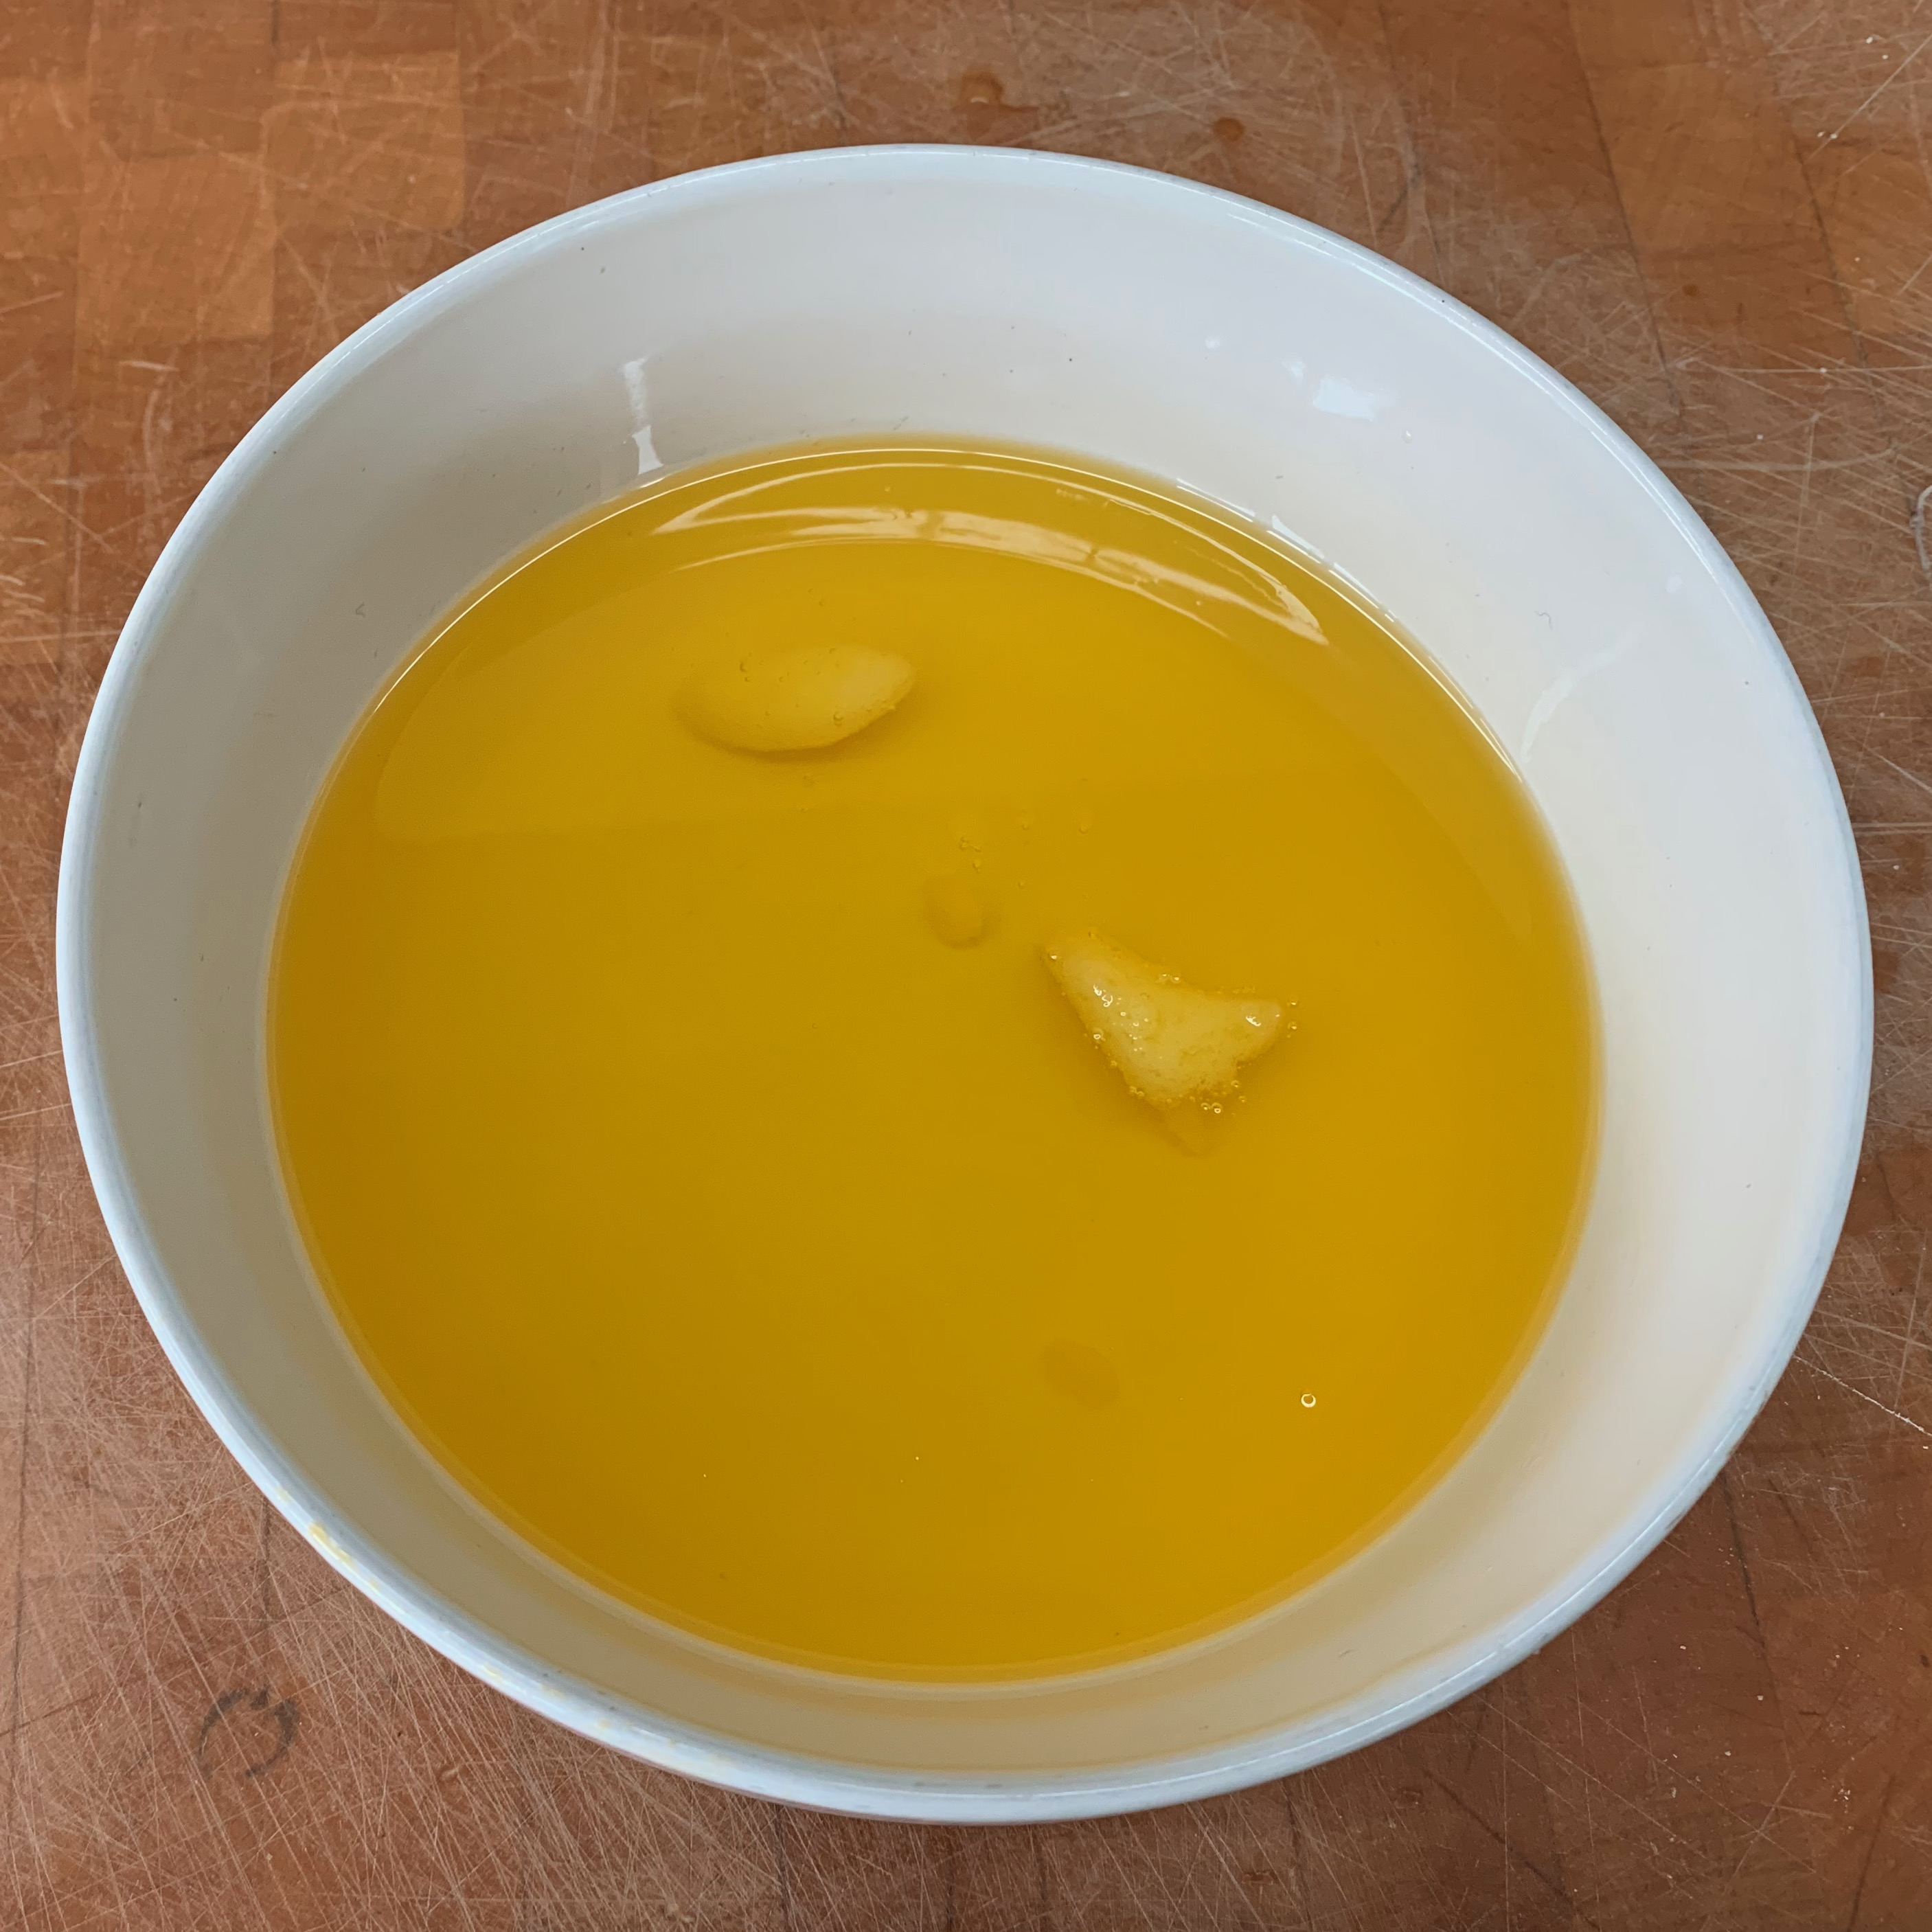
- Remove from heat, add butter, stir in until smooth. The caramel will froth alarmingly, but don’t be frightened. And if bits of hardened caramel stick to your spoon, just hack them off. They’ll melt into the rest in the oven even if they don’t do so straightaway.
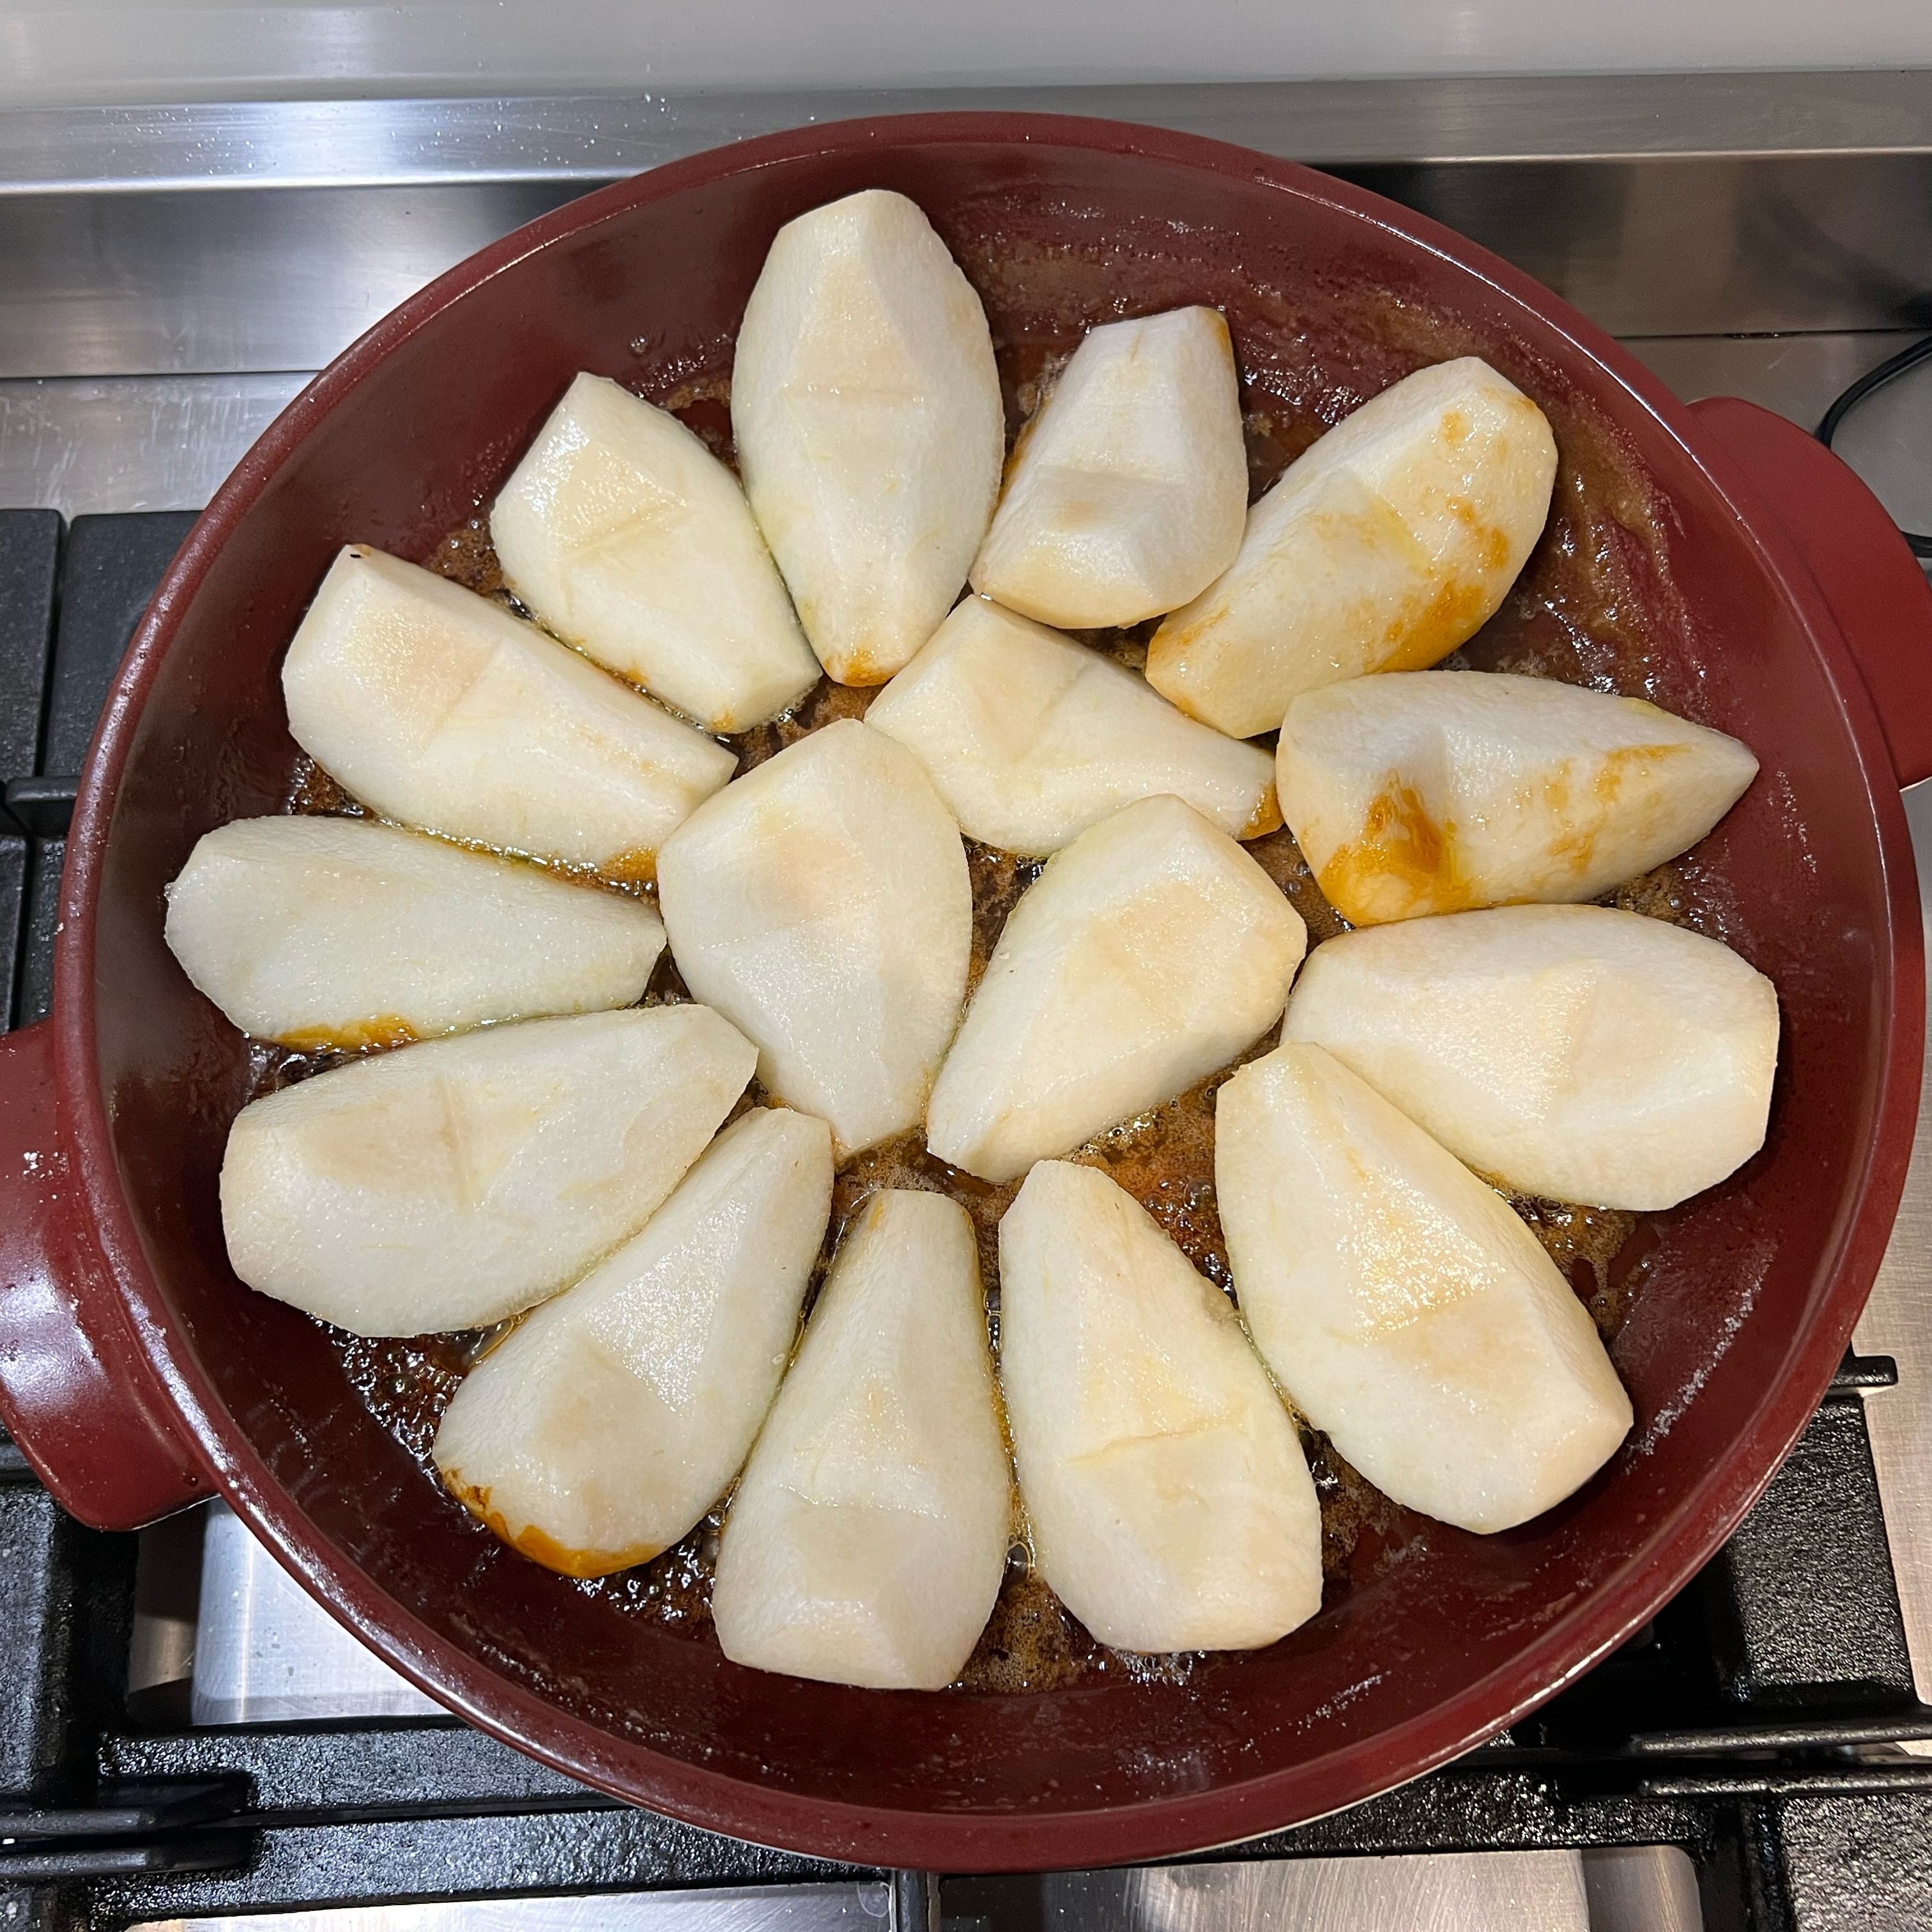
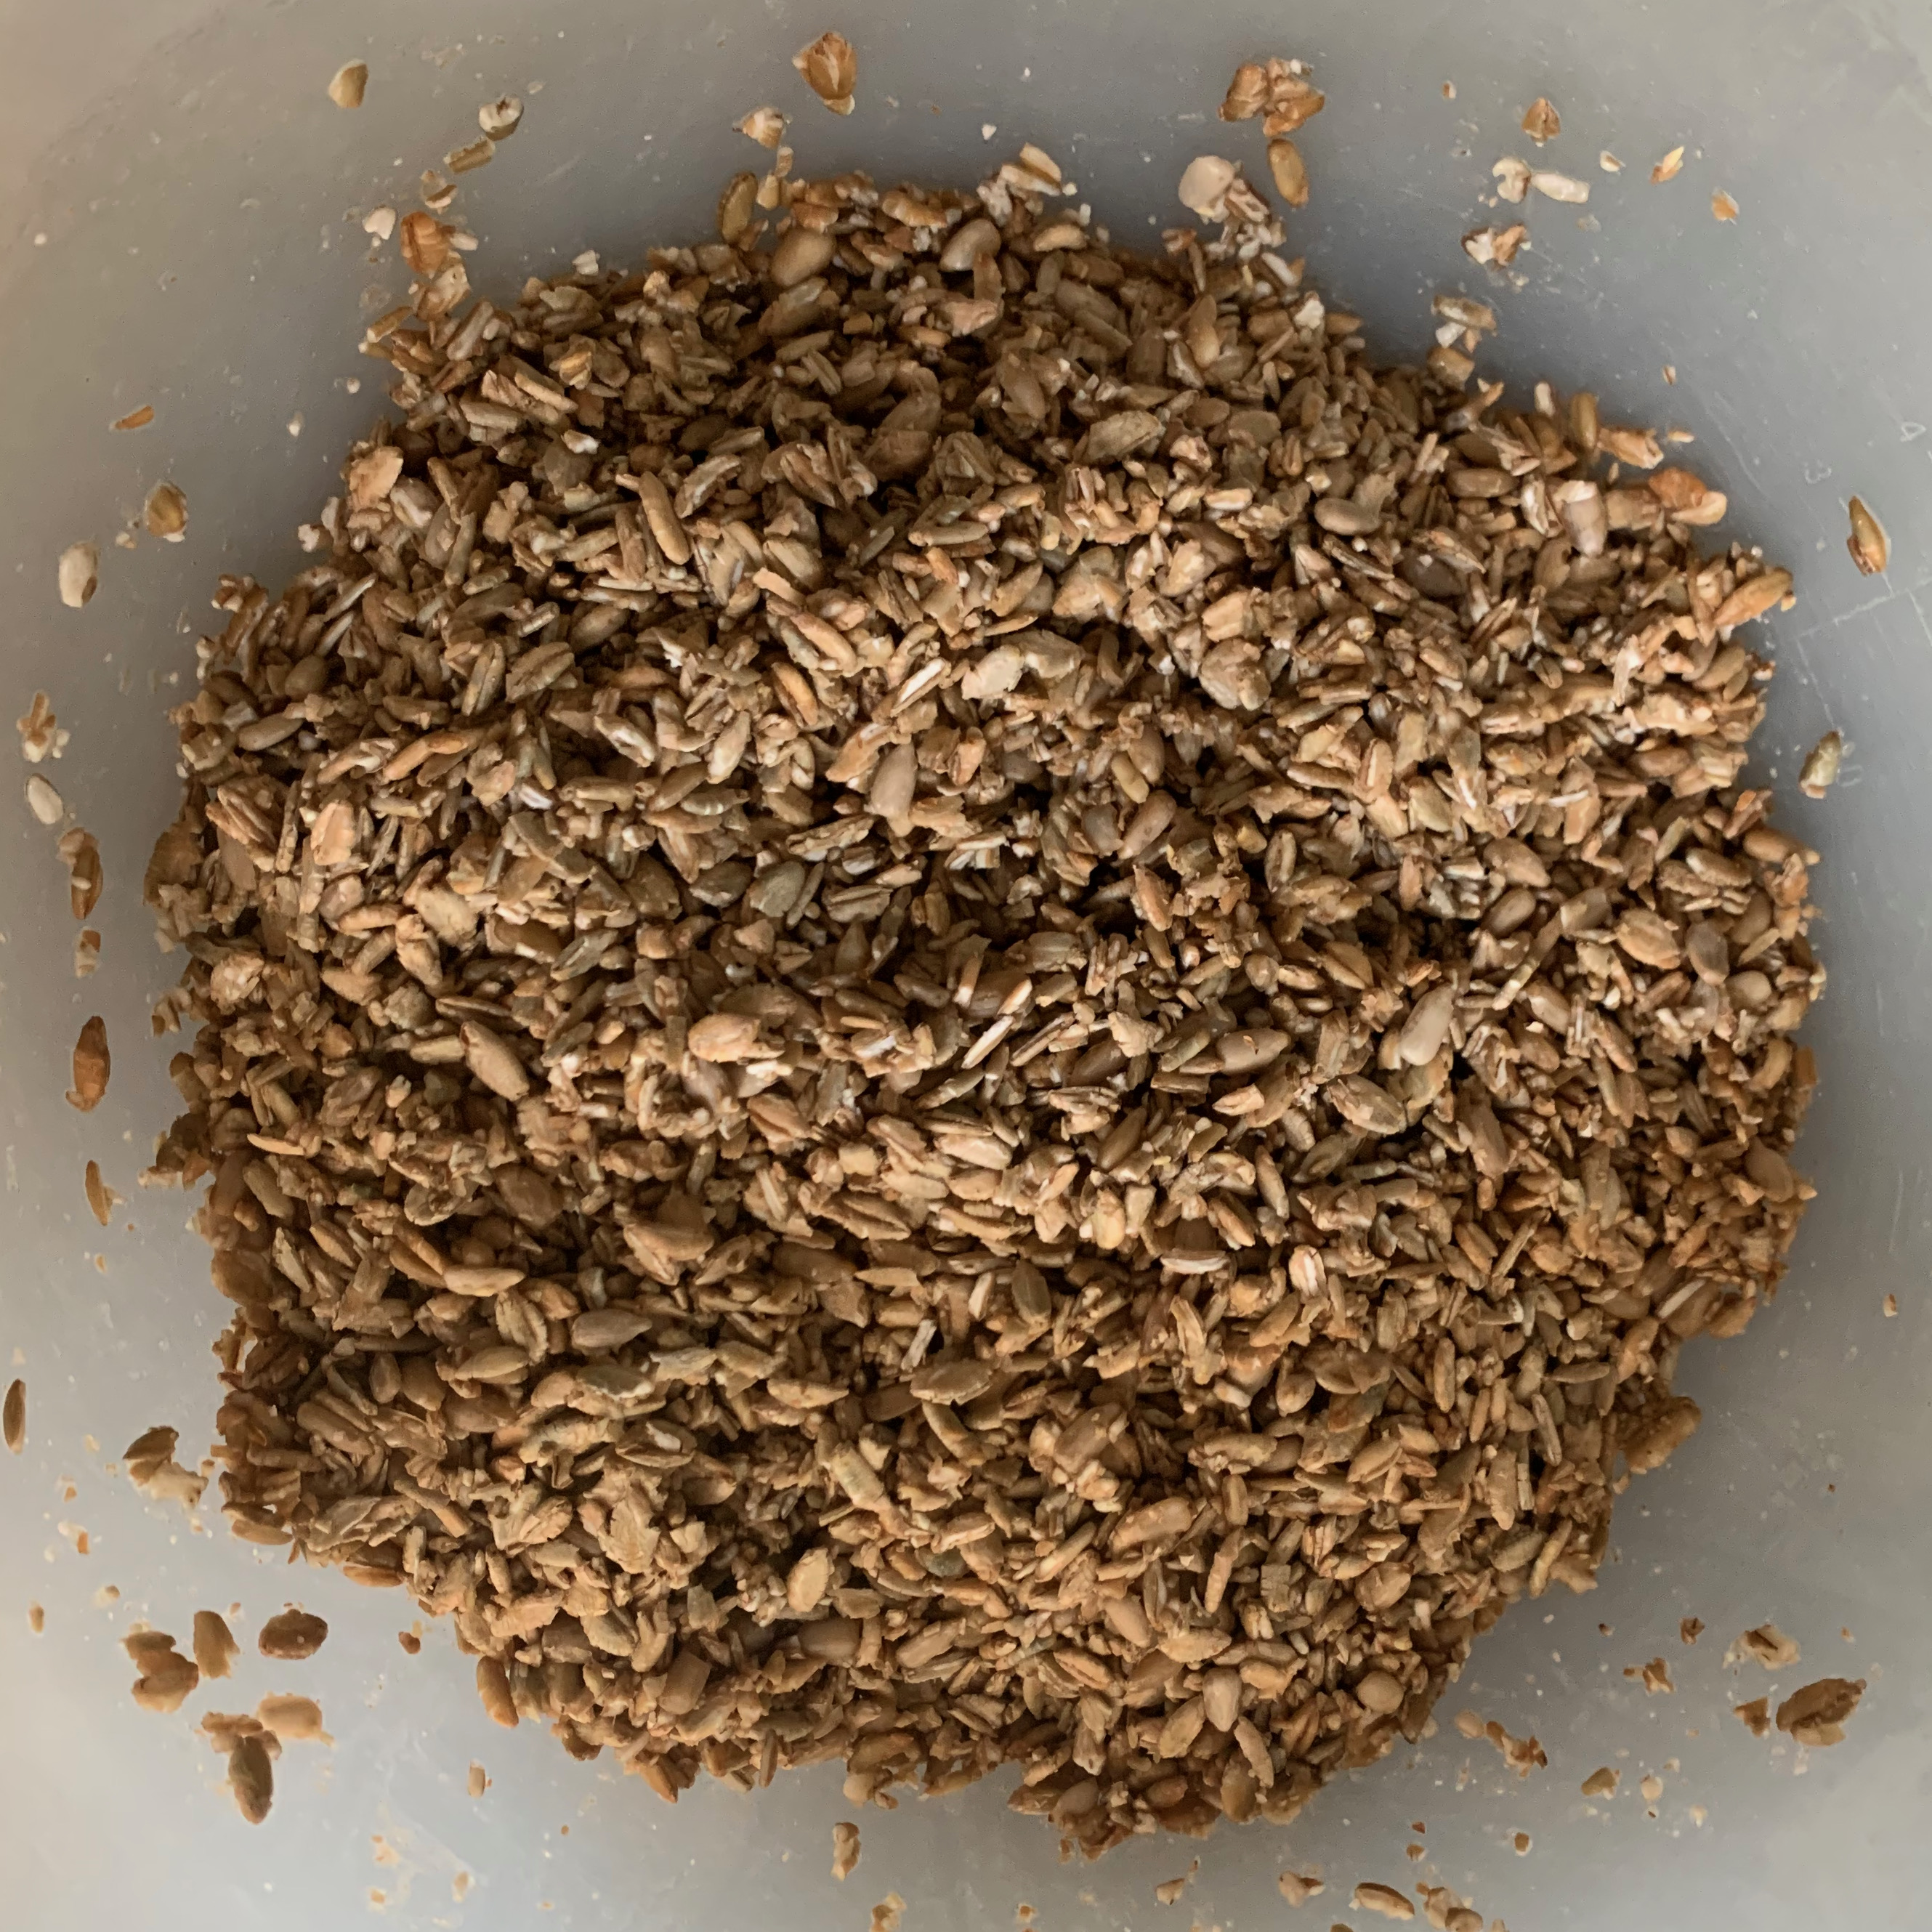
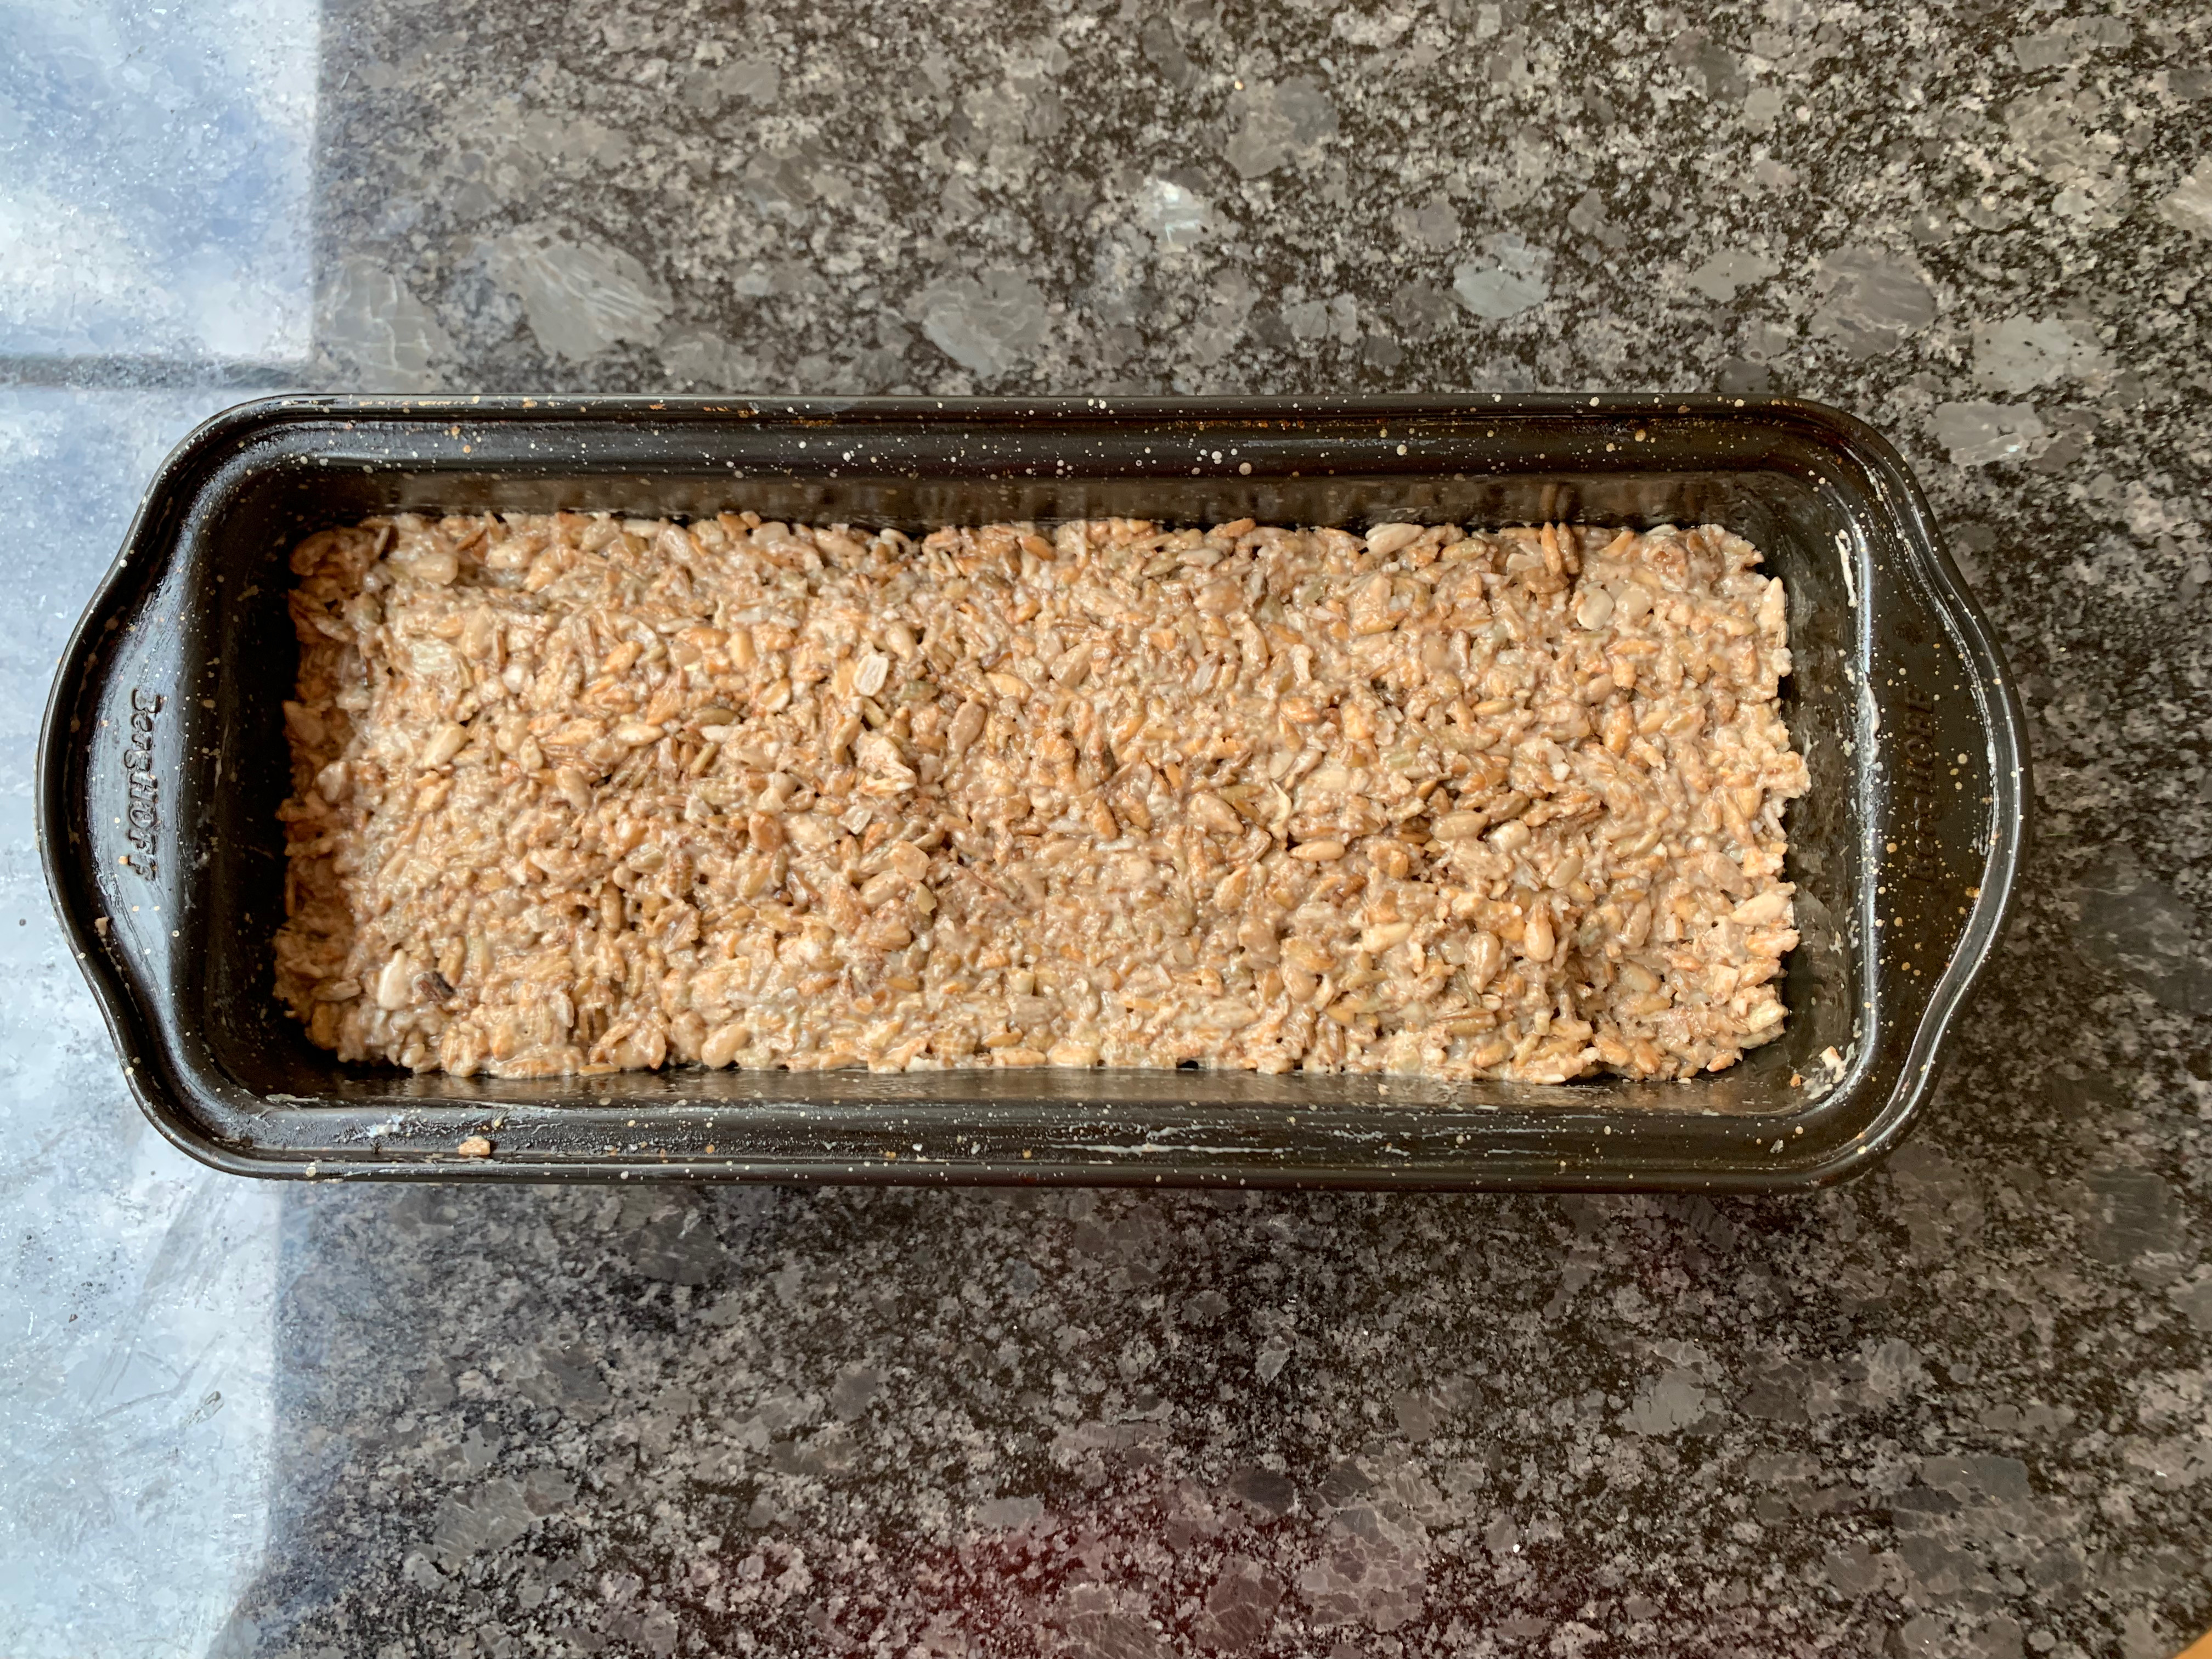
- Array the apples or pears into your dish, packing them as best you can to get a reasonably level top. If you used quarters, once you’ve filled the dish with one layer, cut the remaining quarters in half and use them to fill in the gaps.
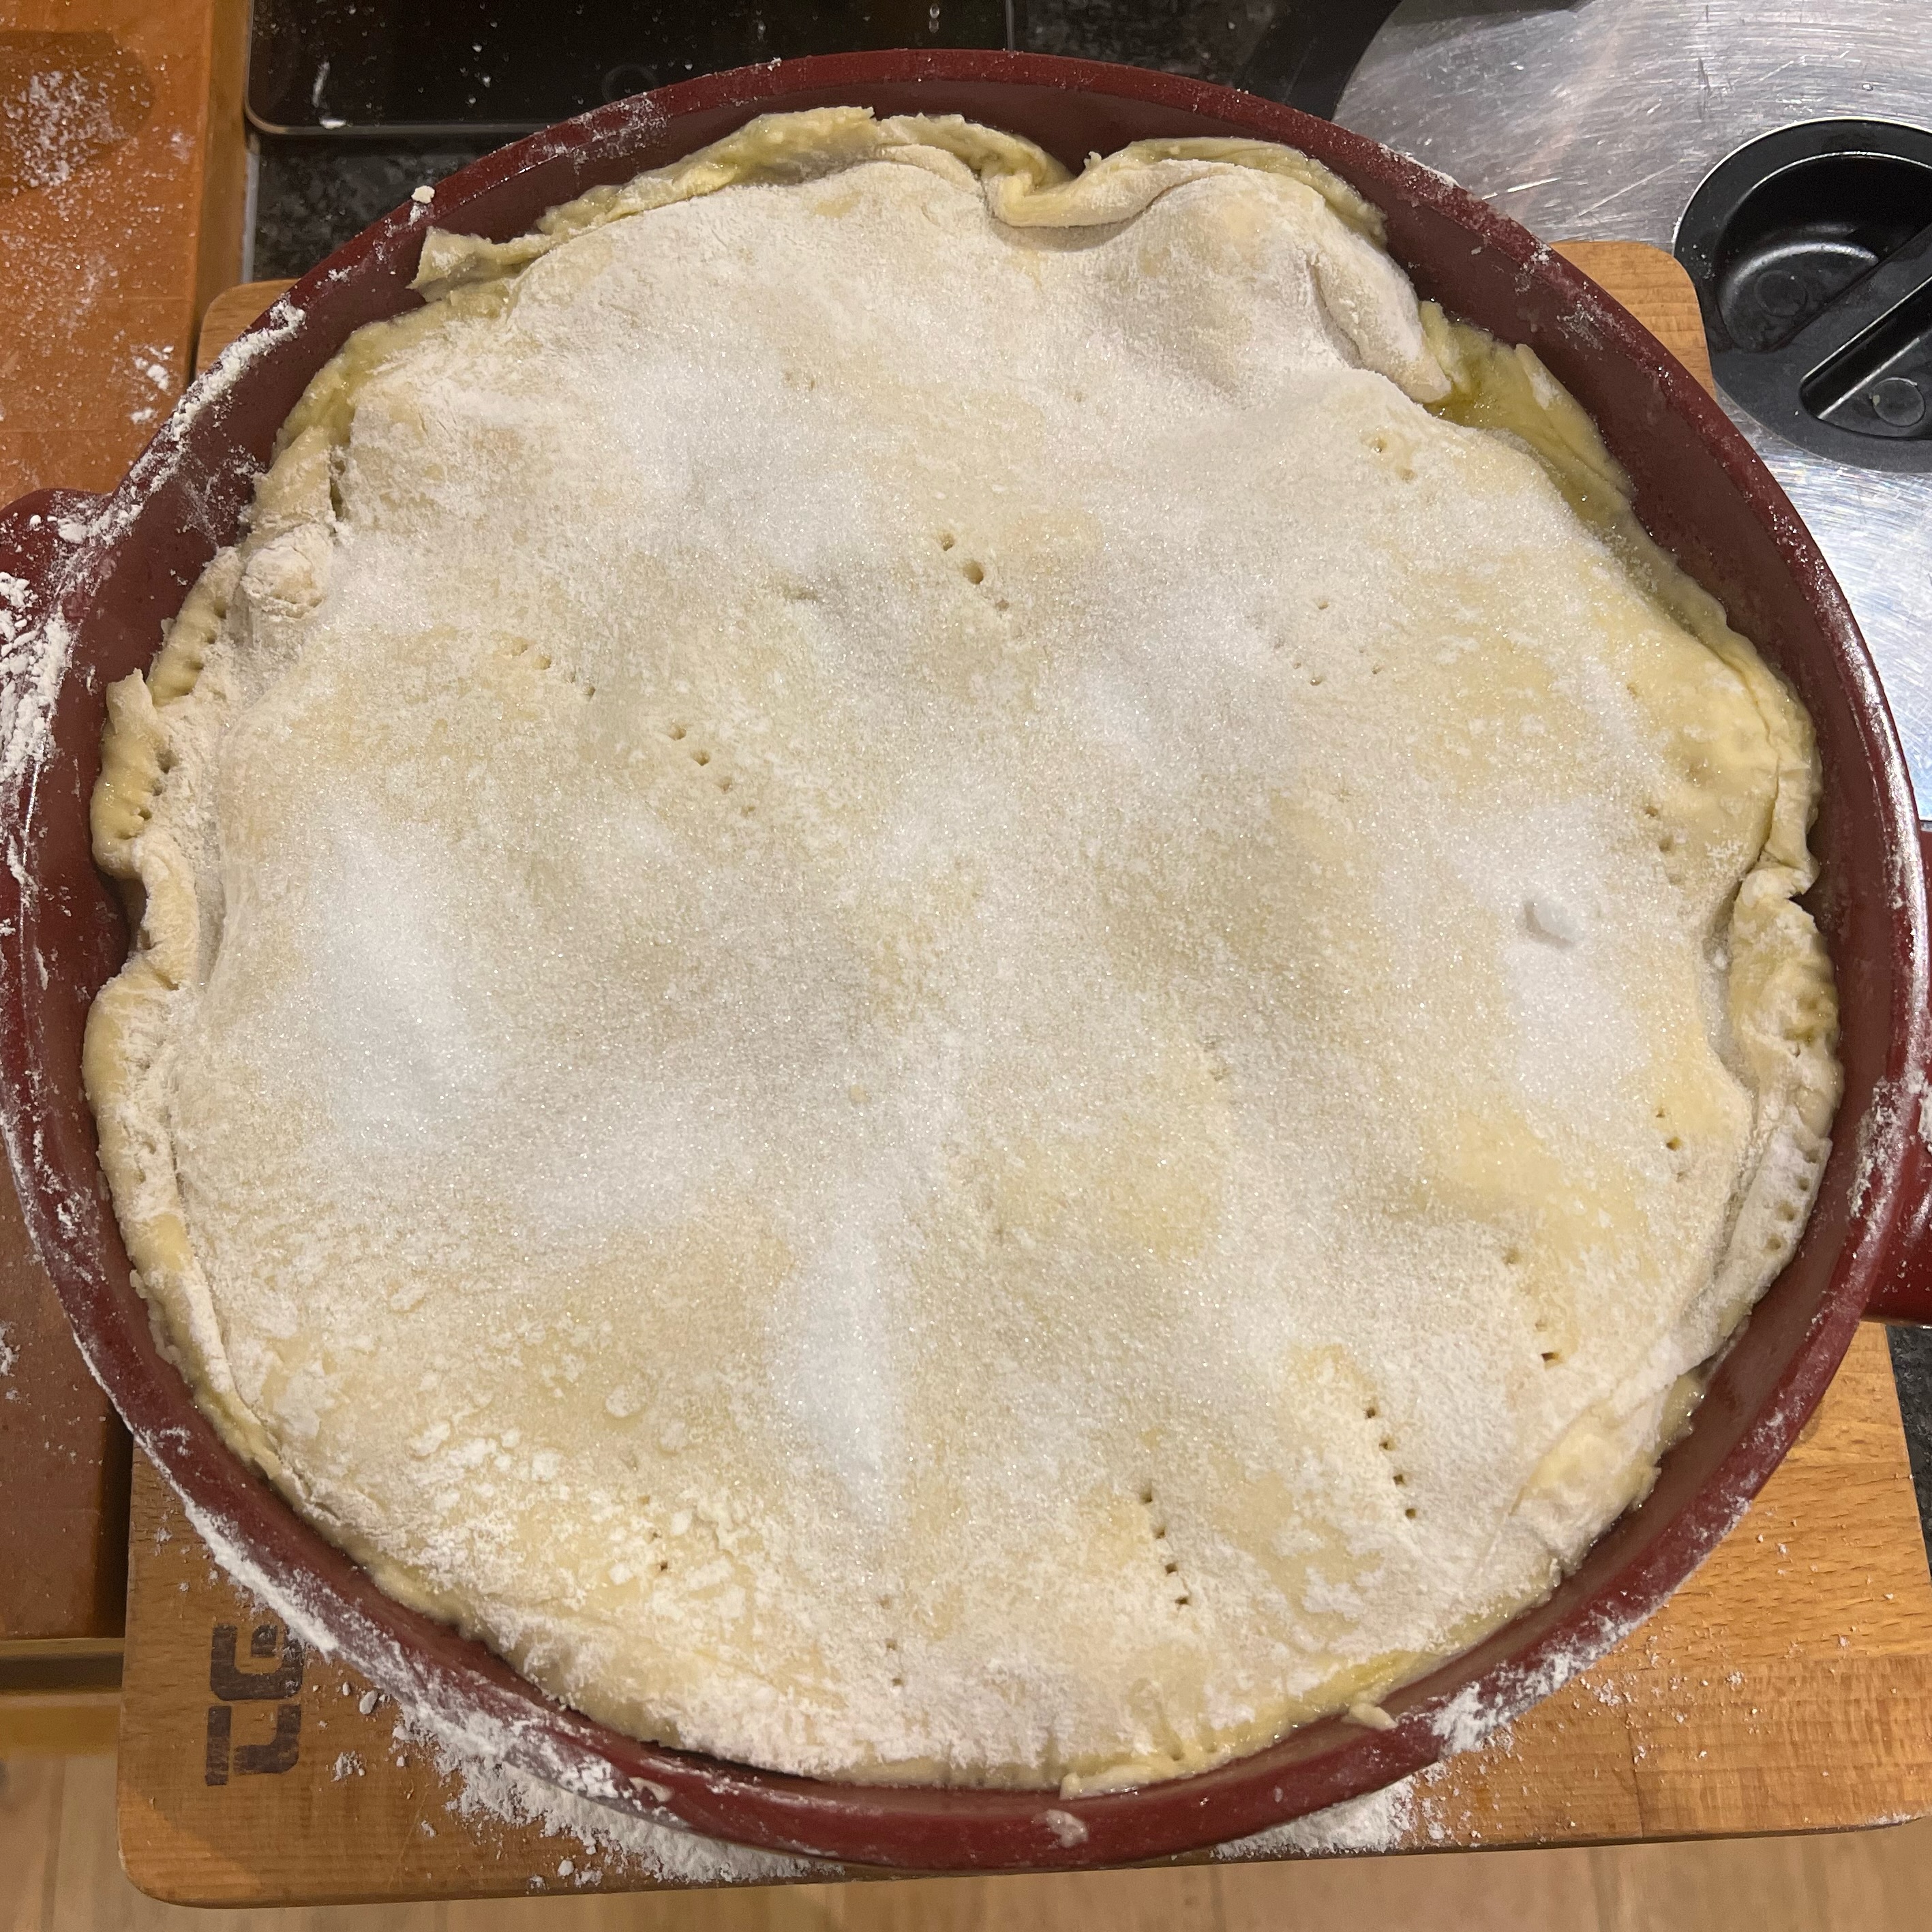
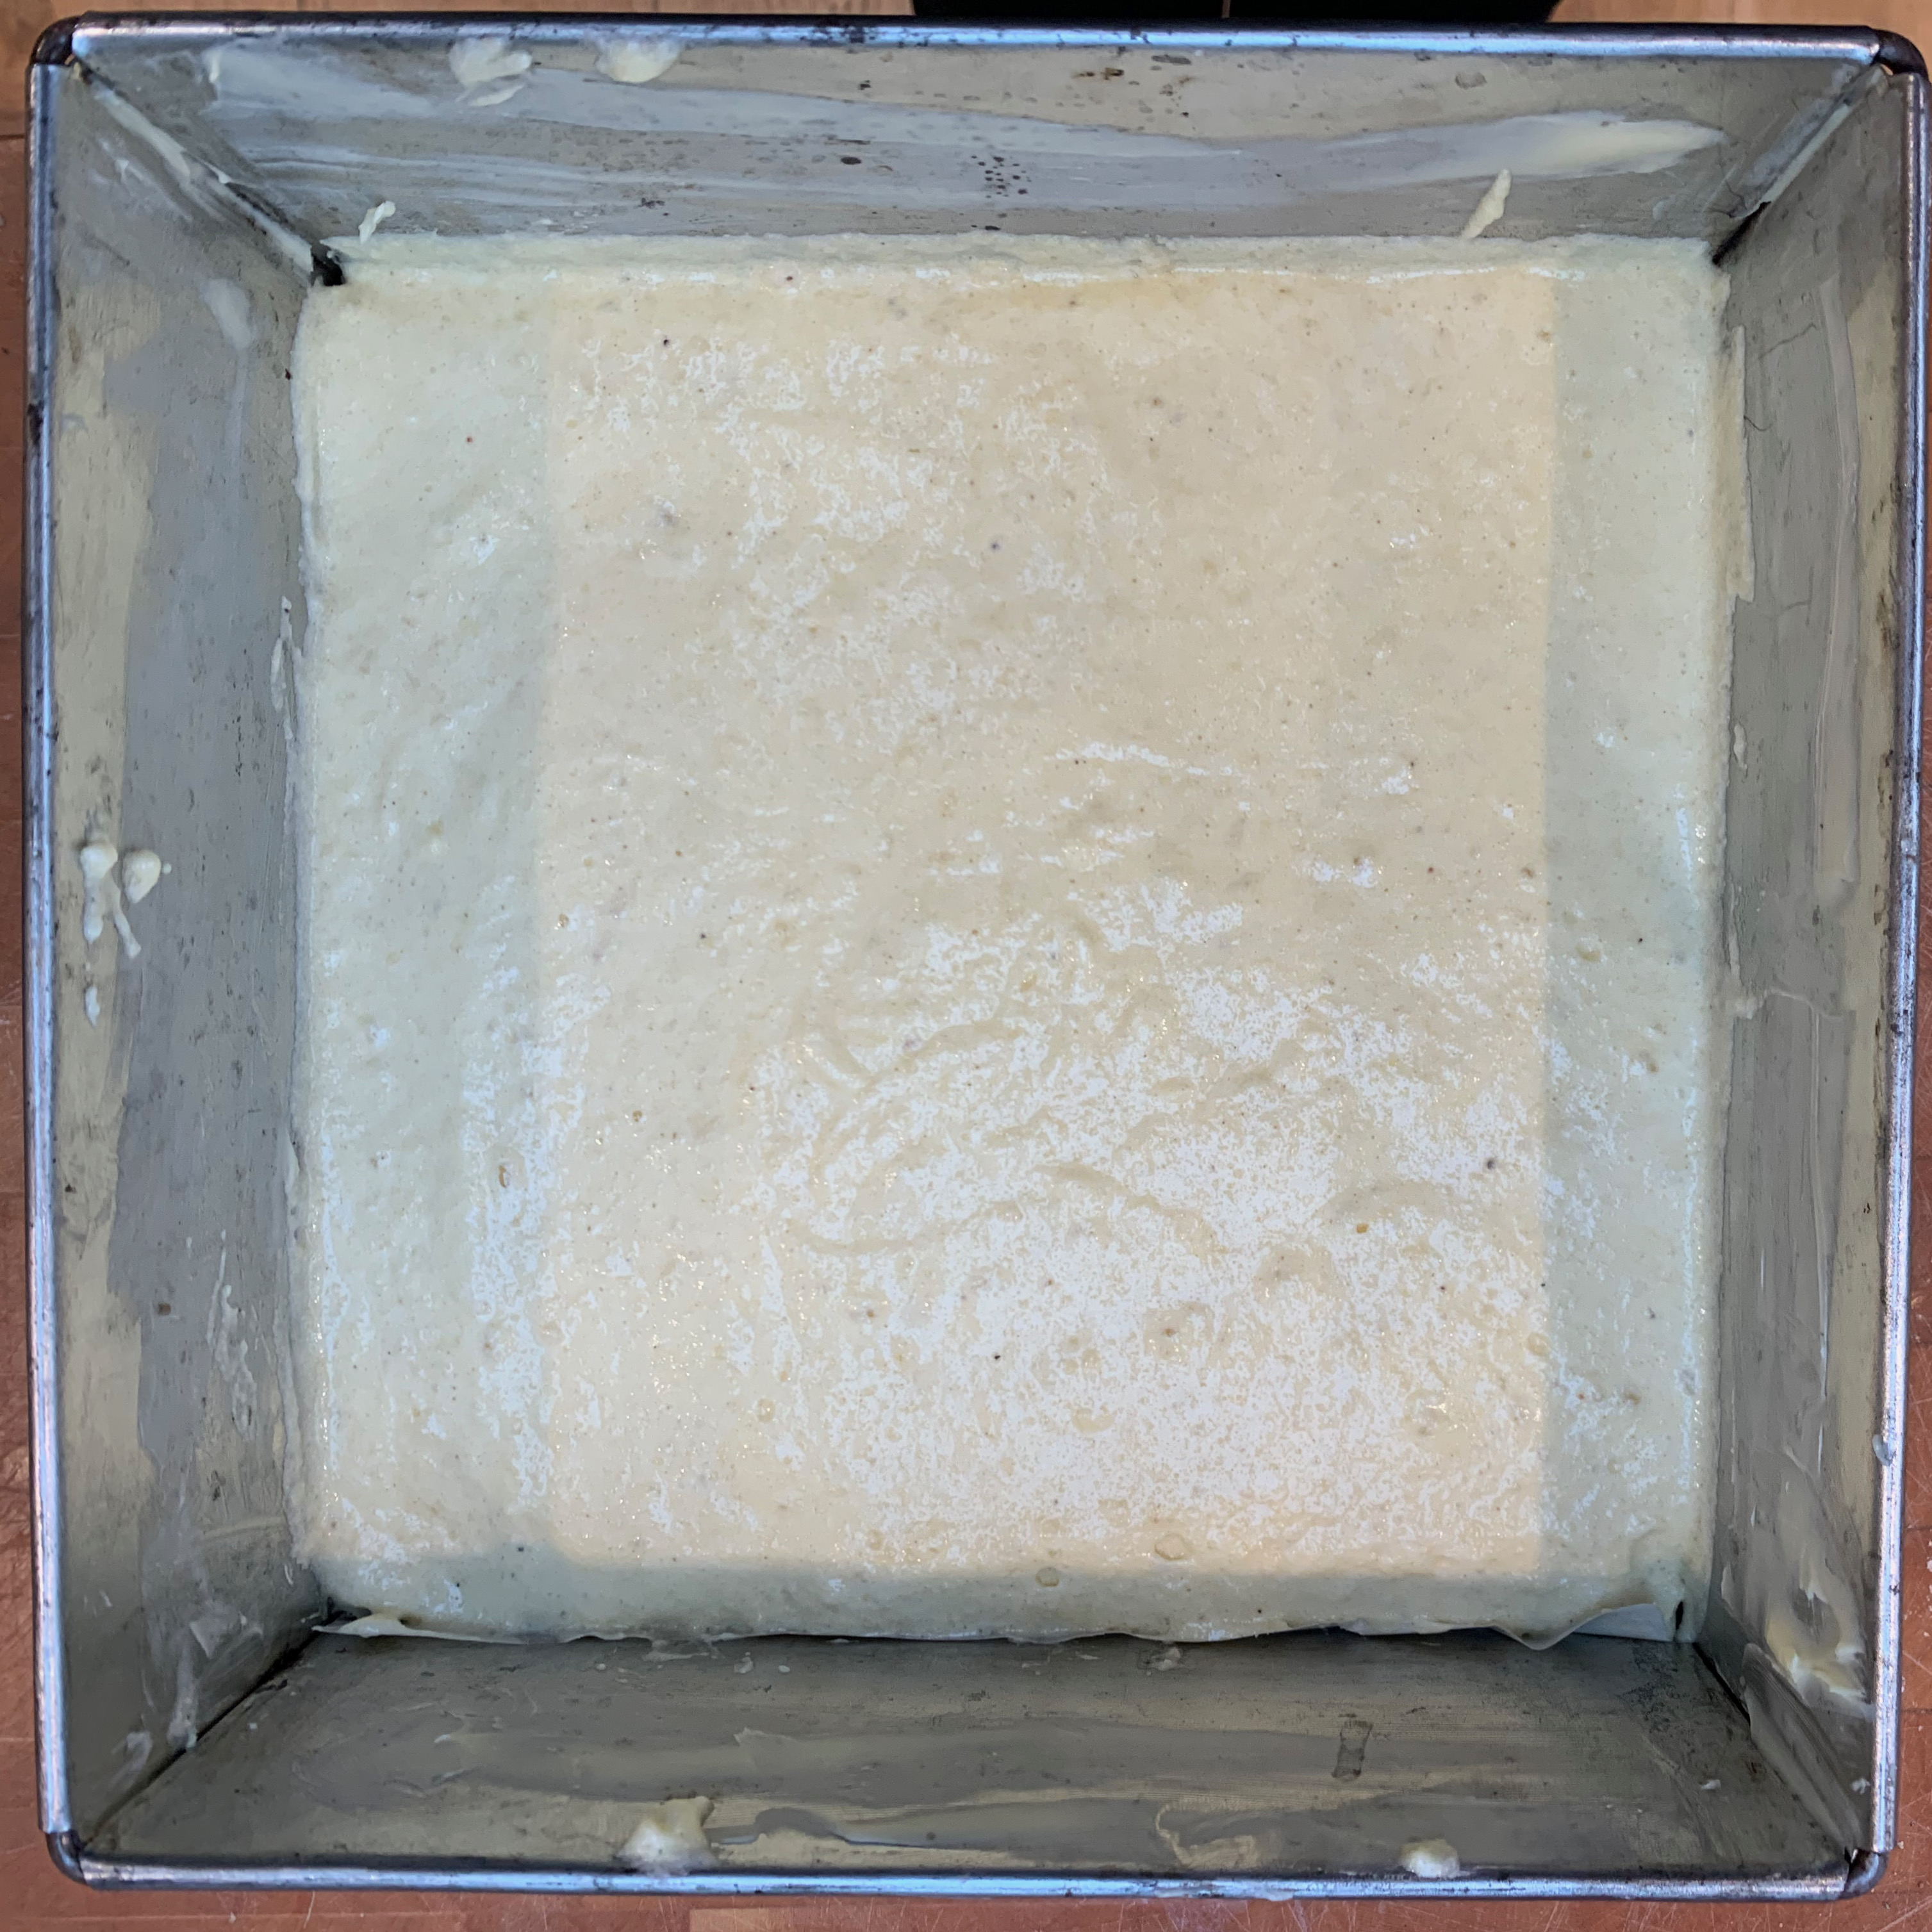
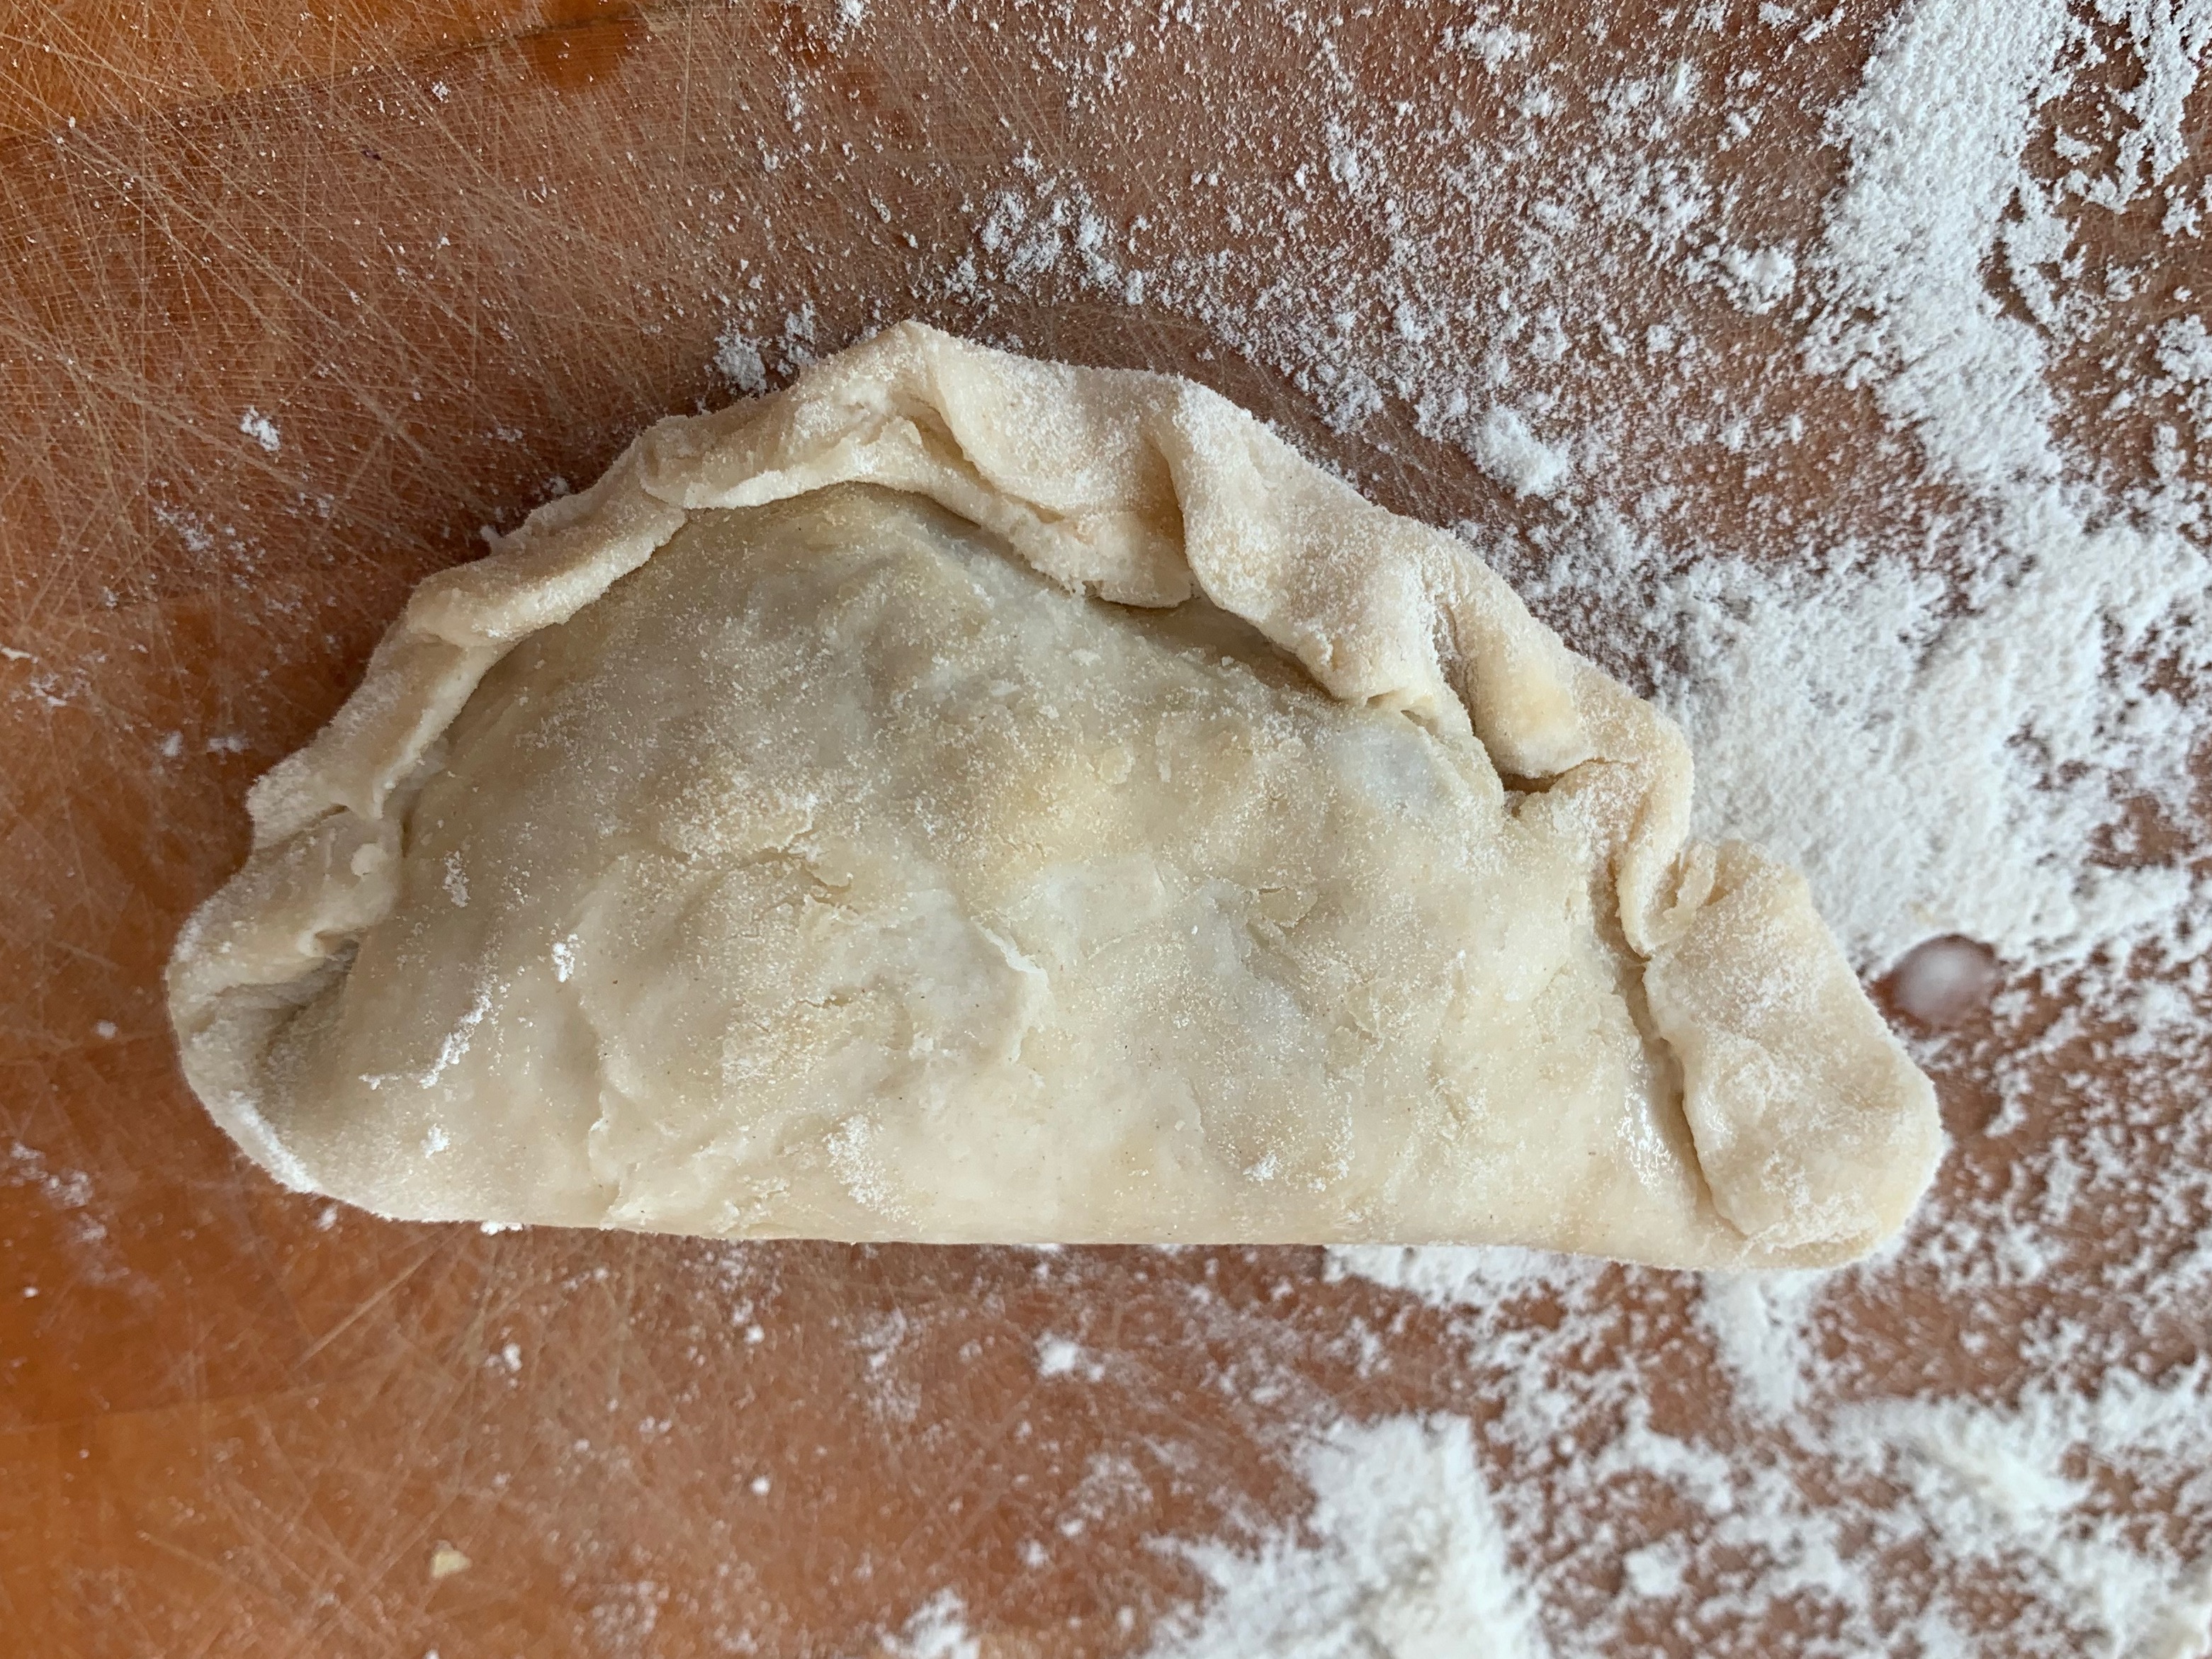
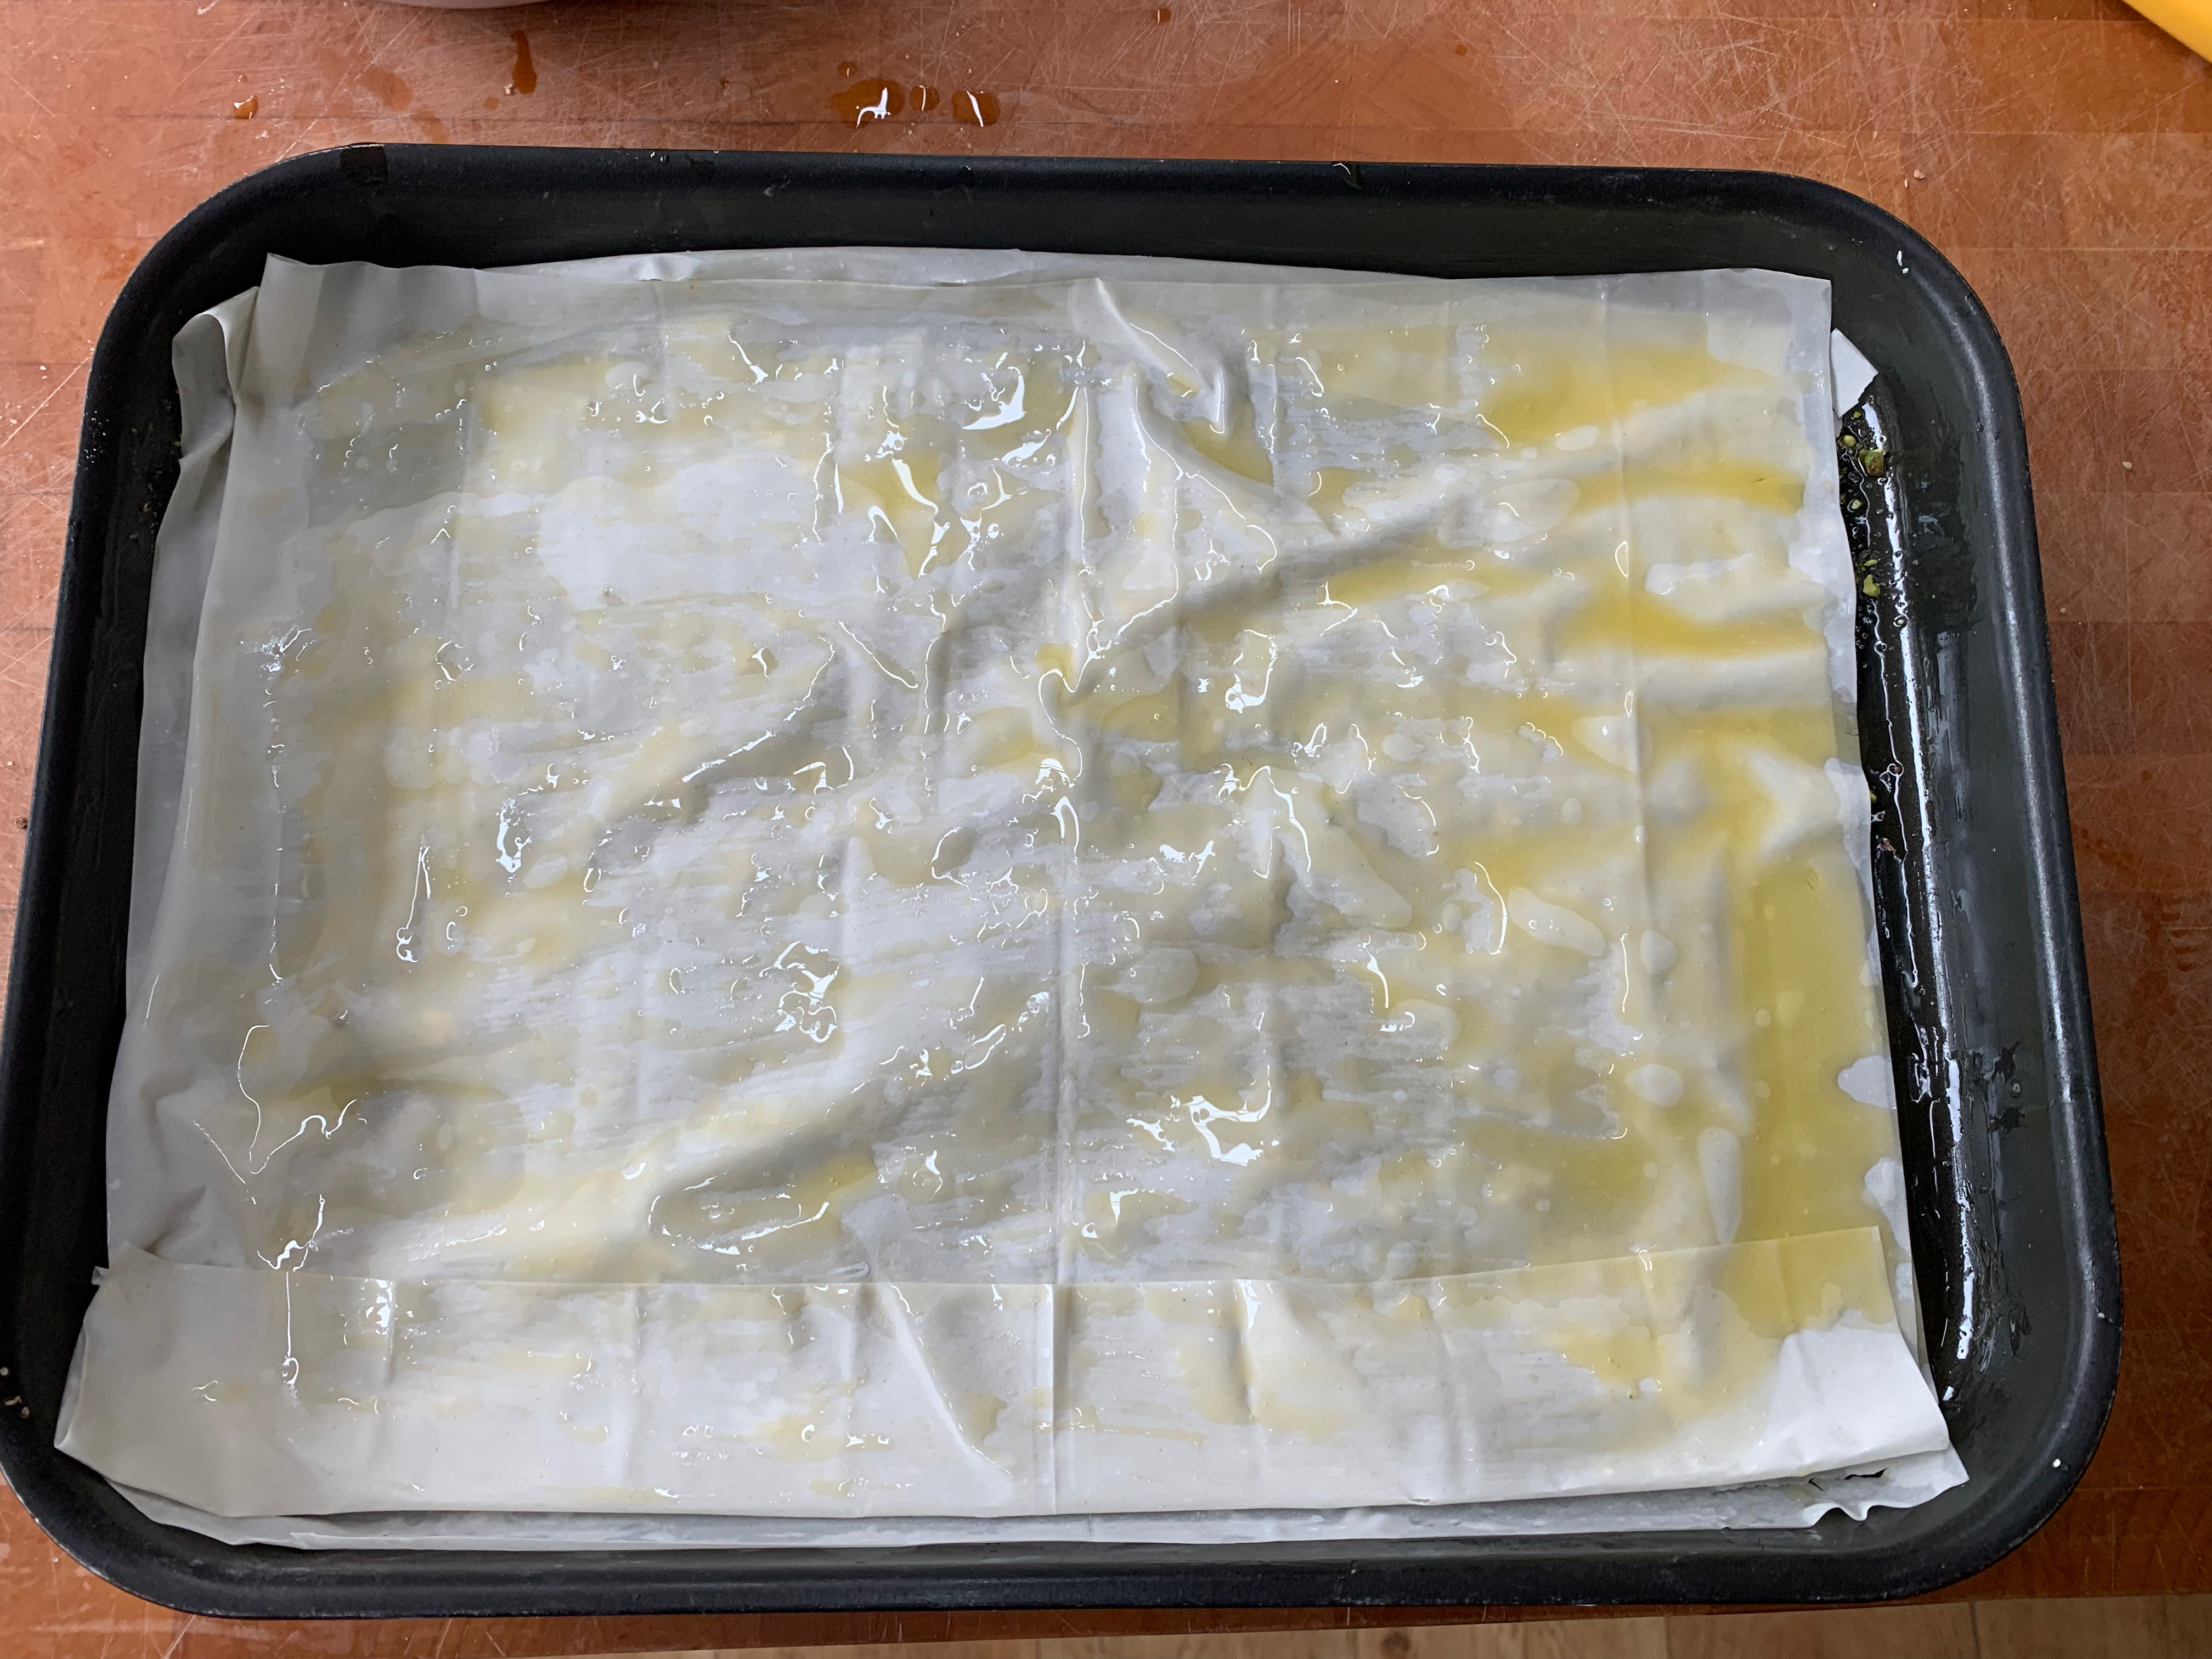
- Spread pastry on top, trim off any large bits of excess, and tuck the rest in around the sides. Pierce the pastry in lots of places: you want steam to be able to escape.
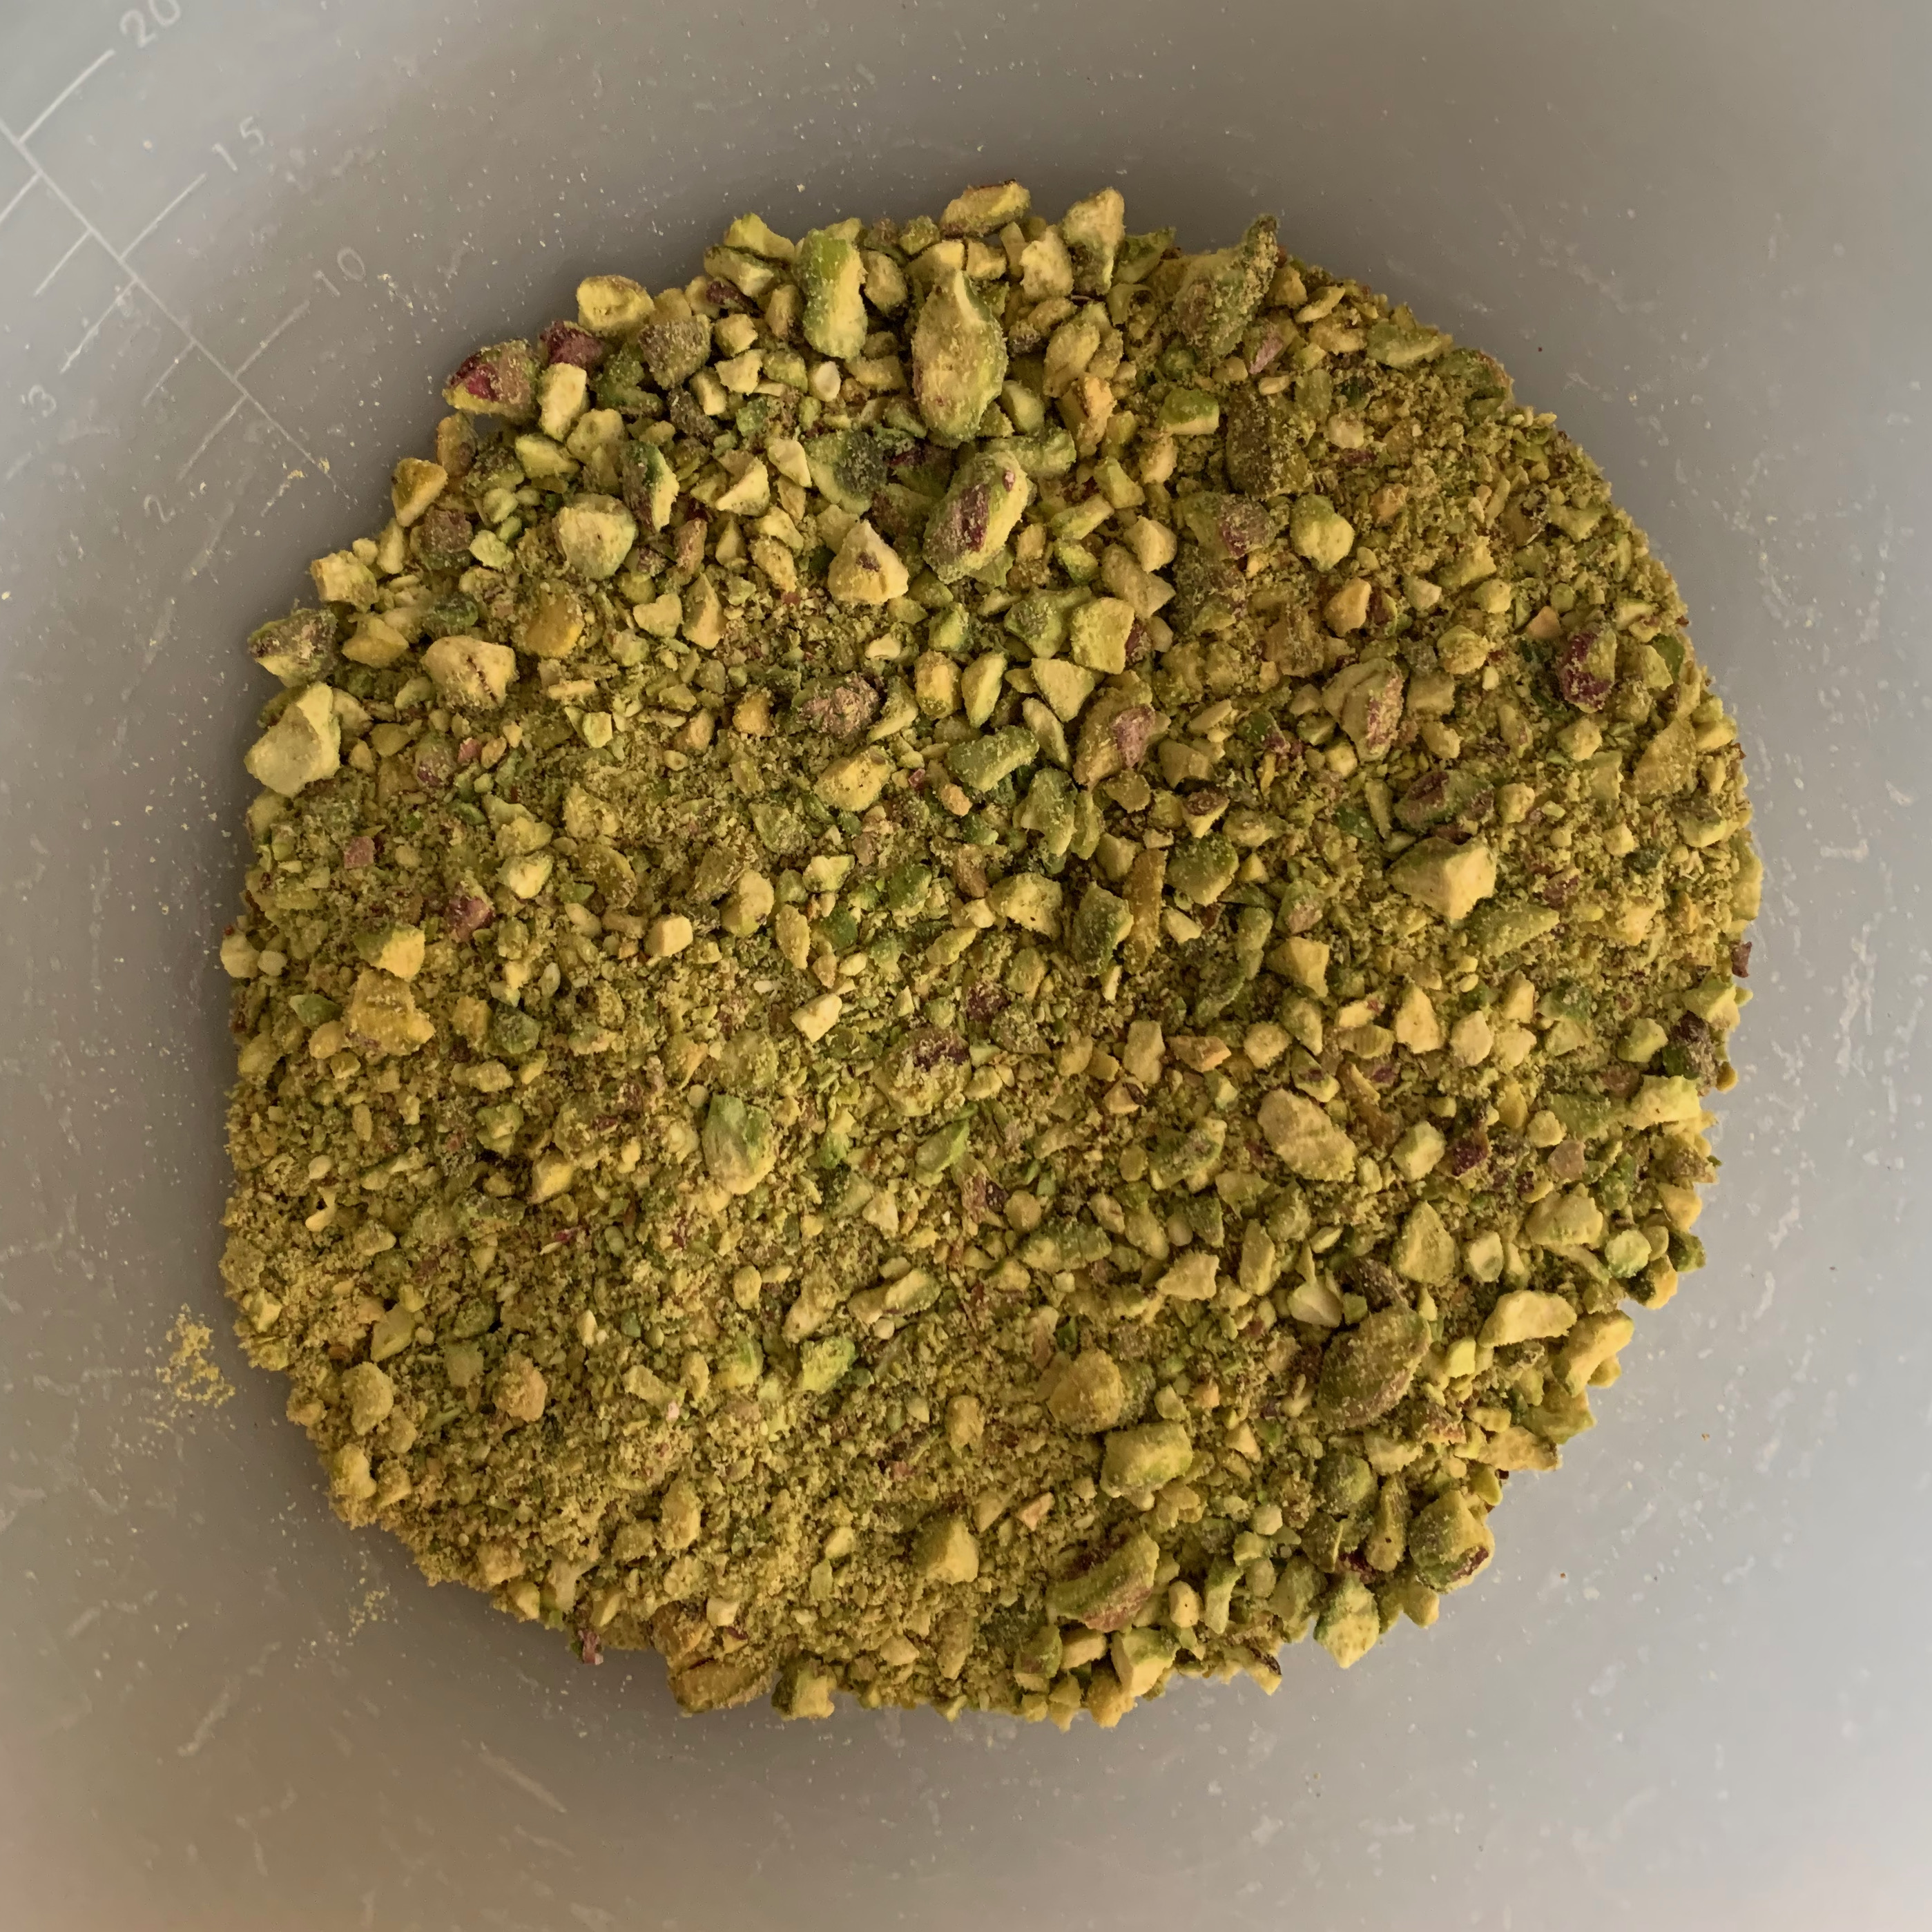
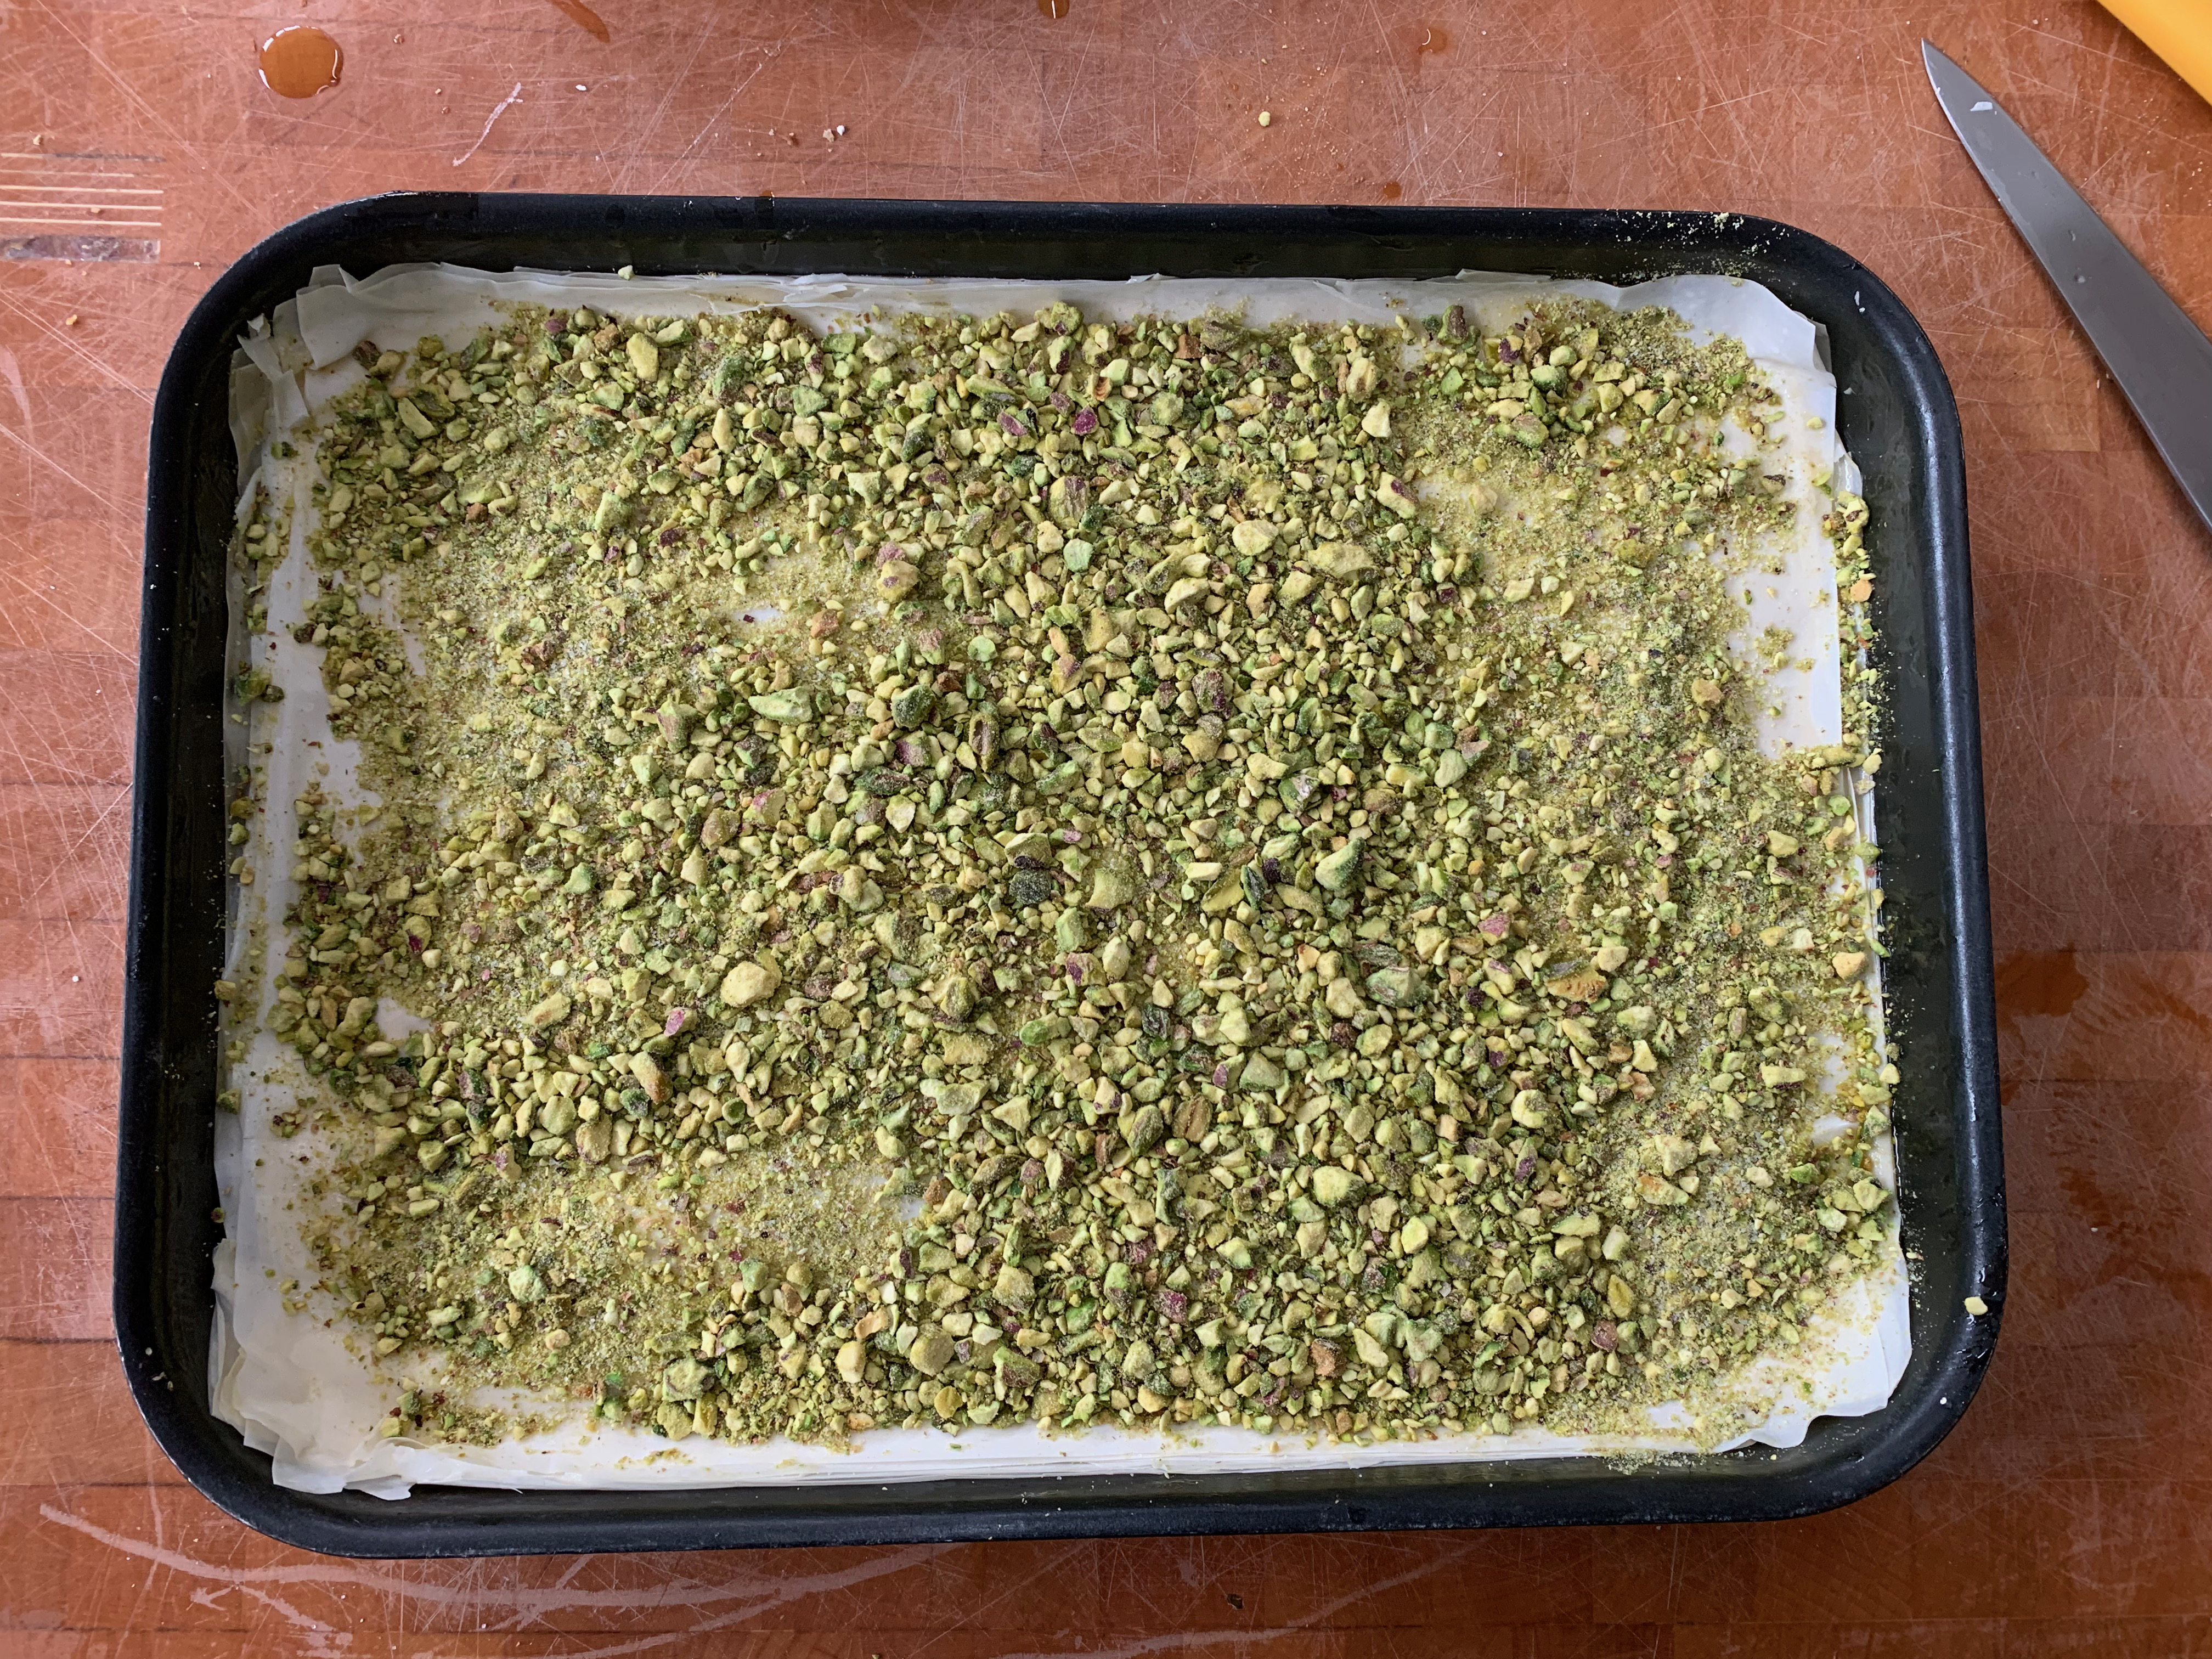
- Optionally, sprinkle a little more
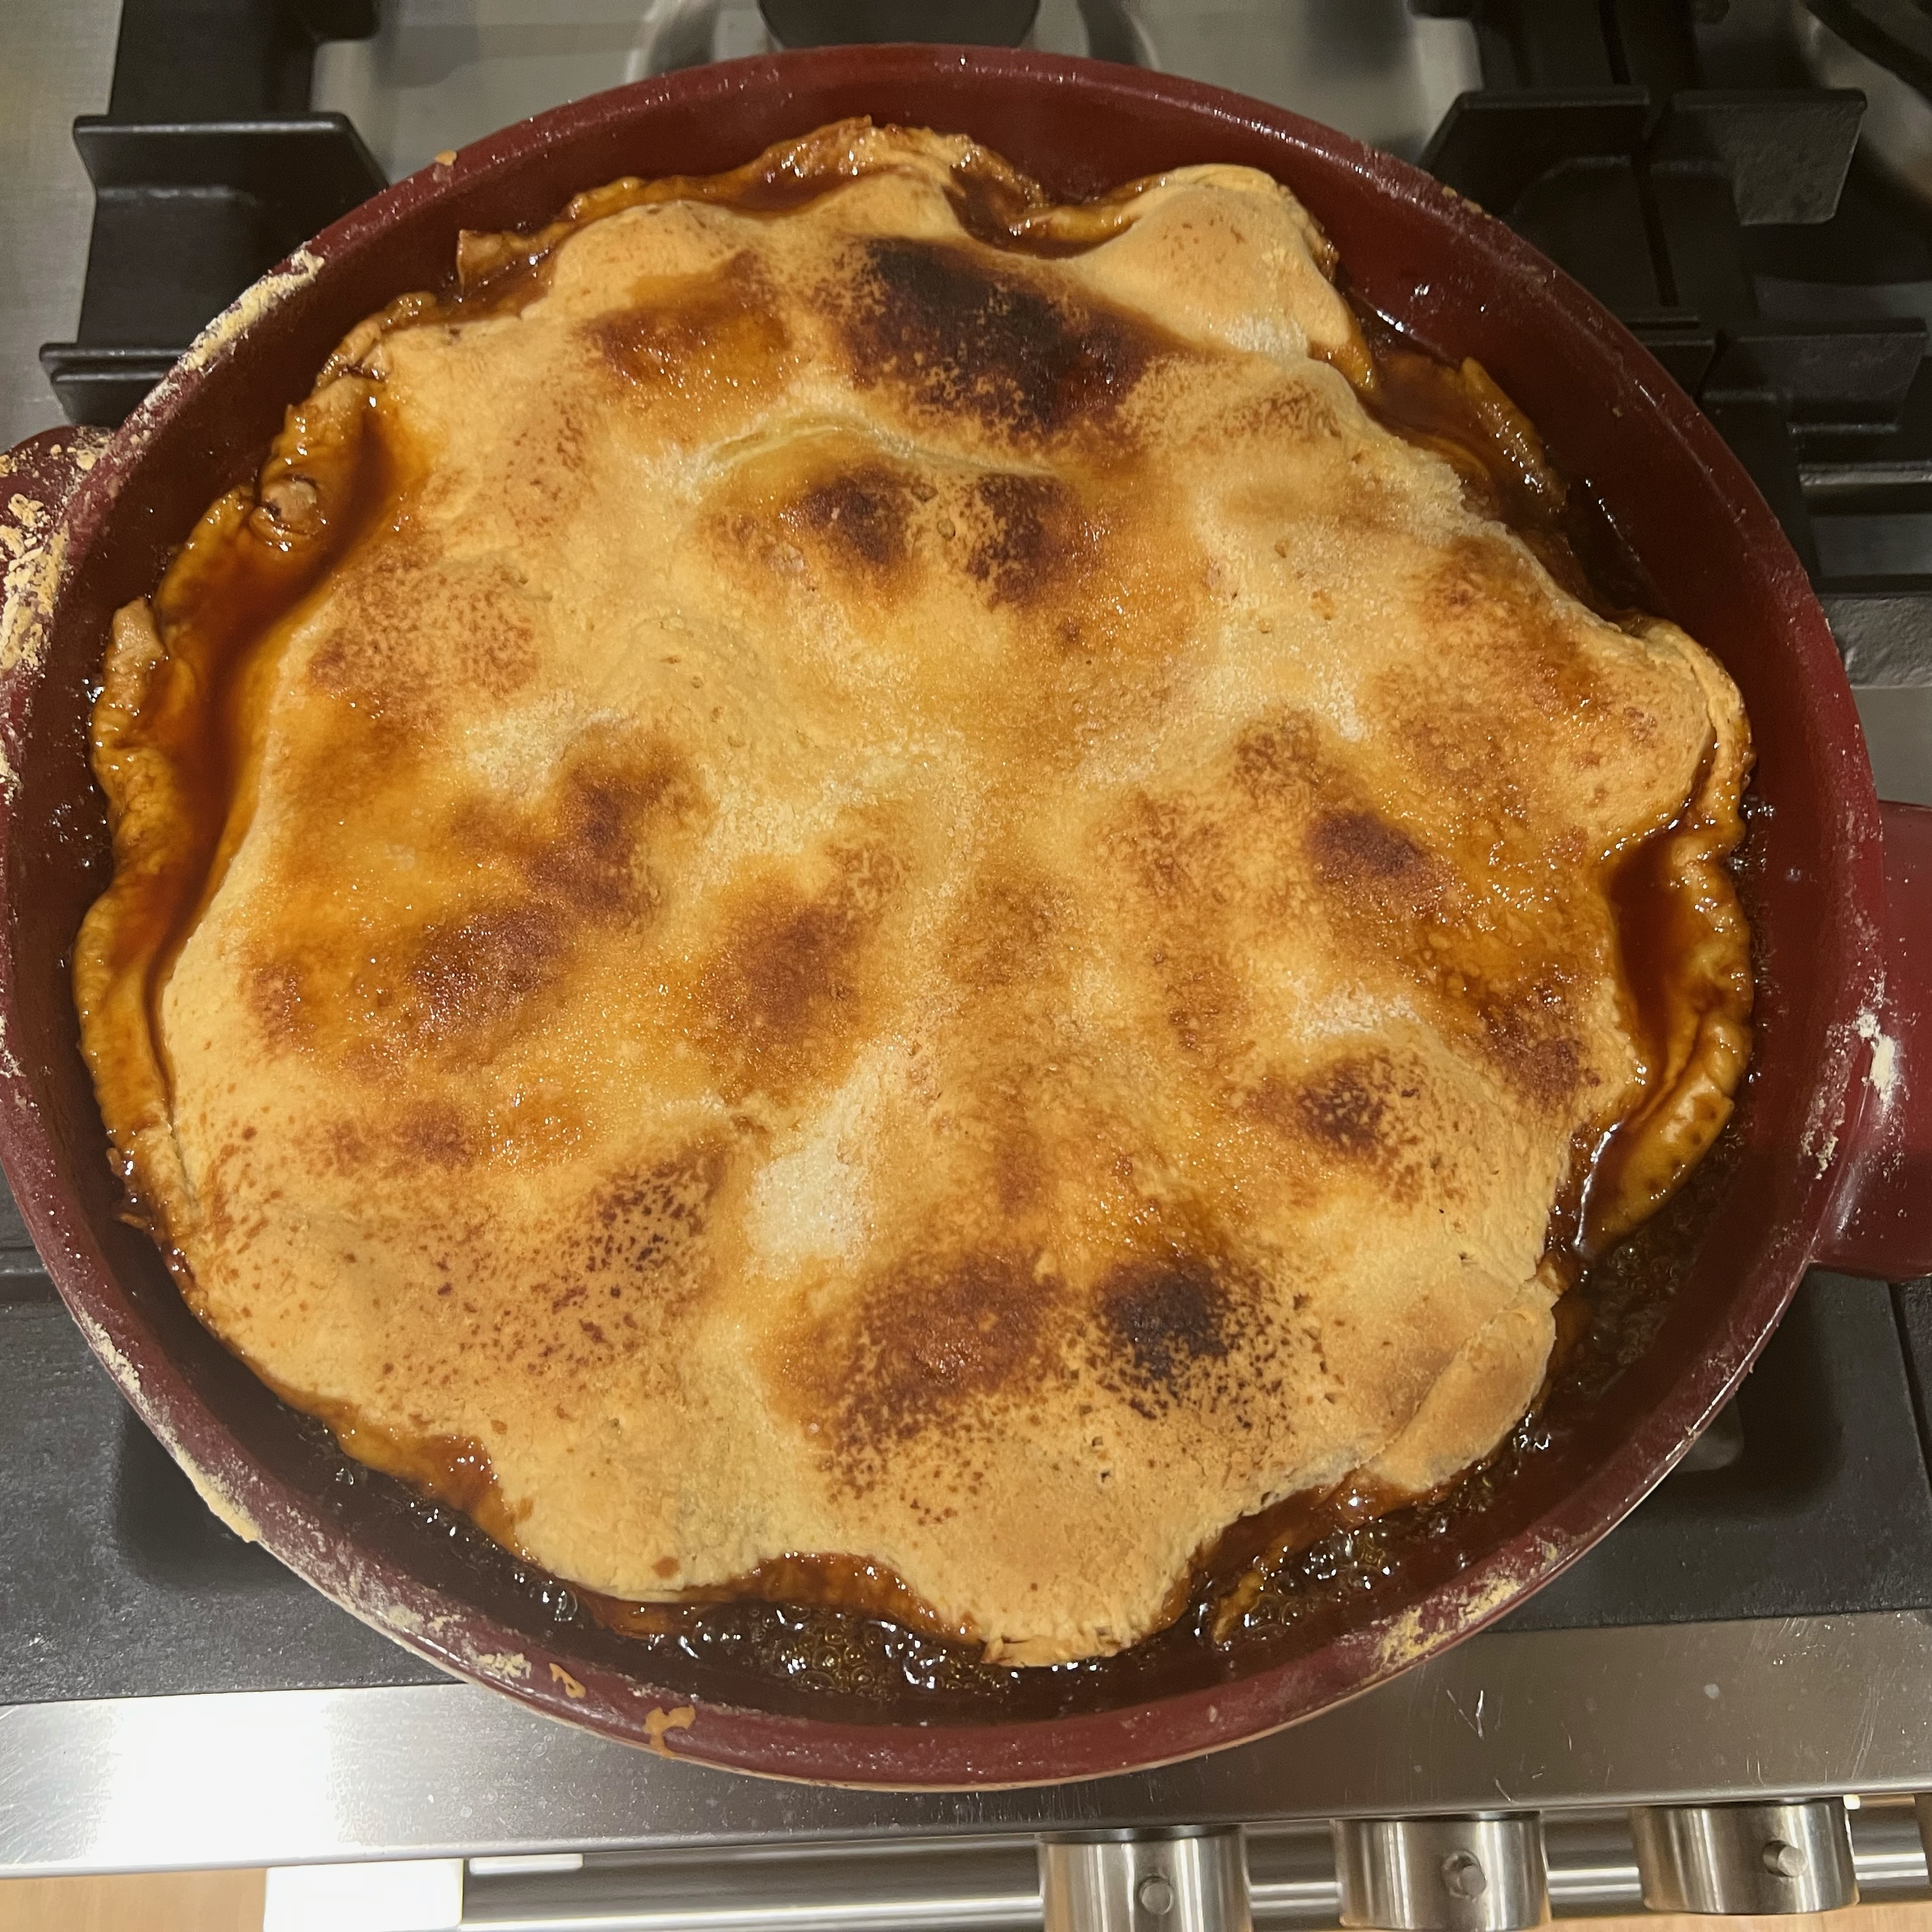
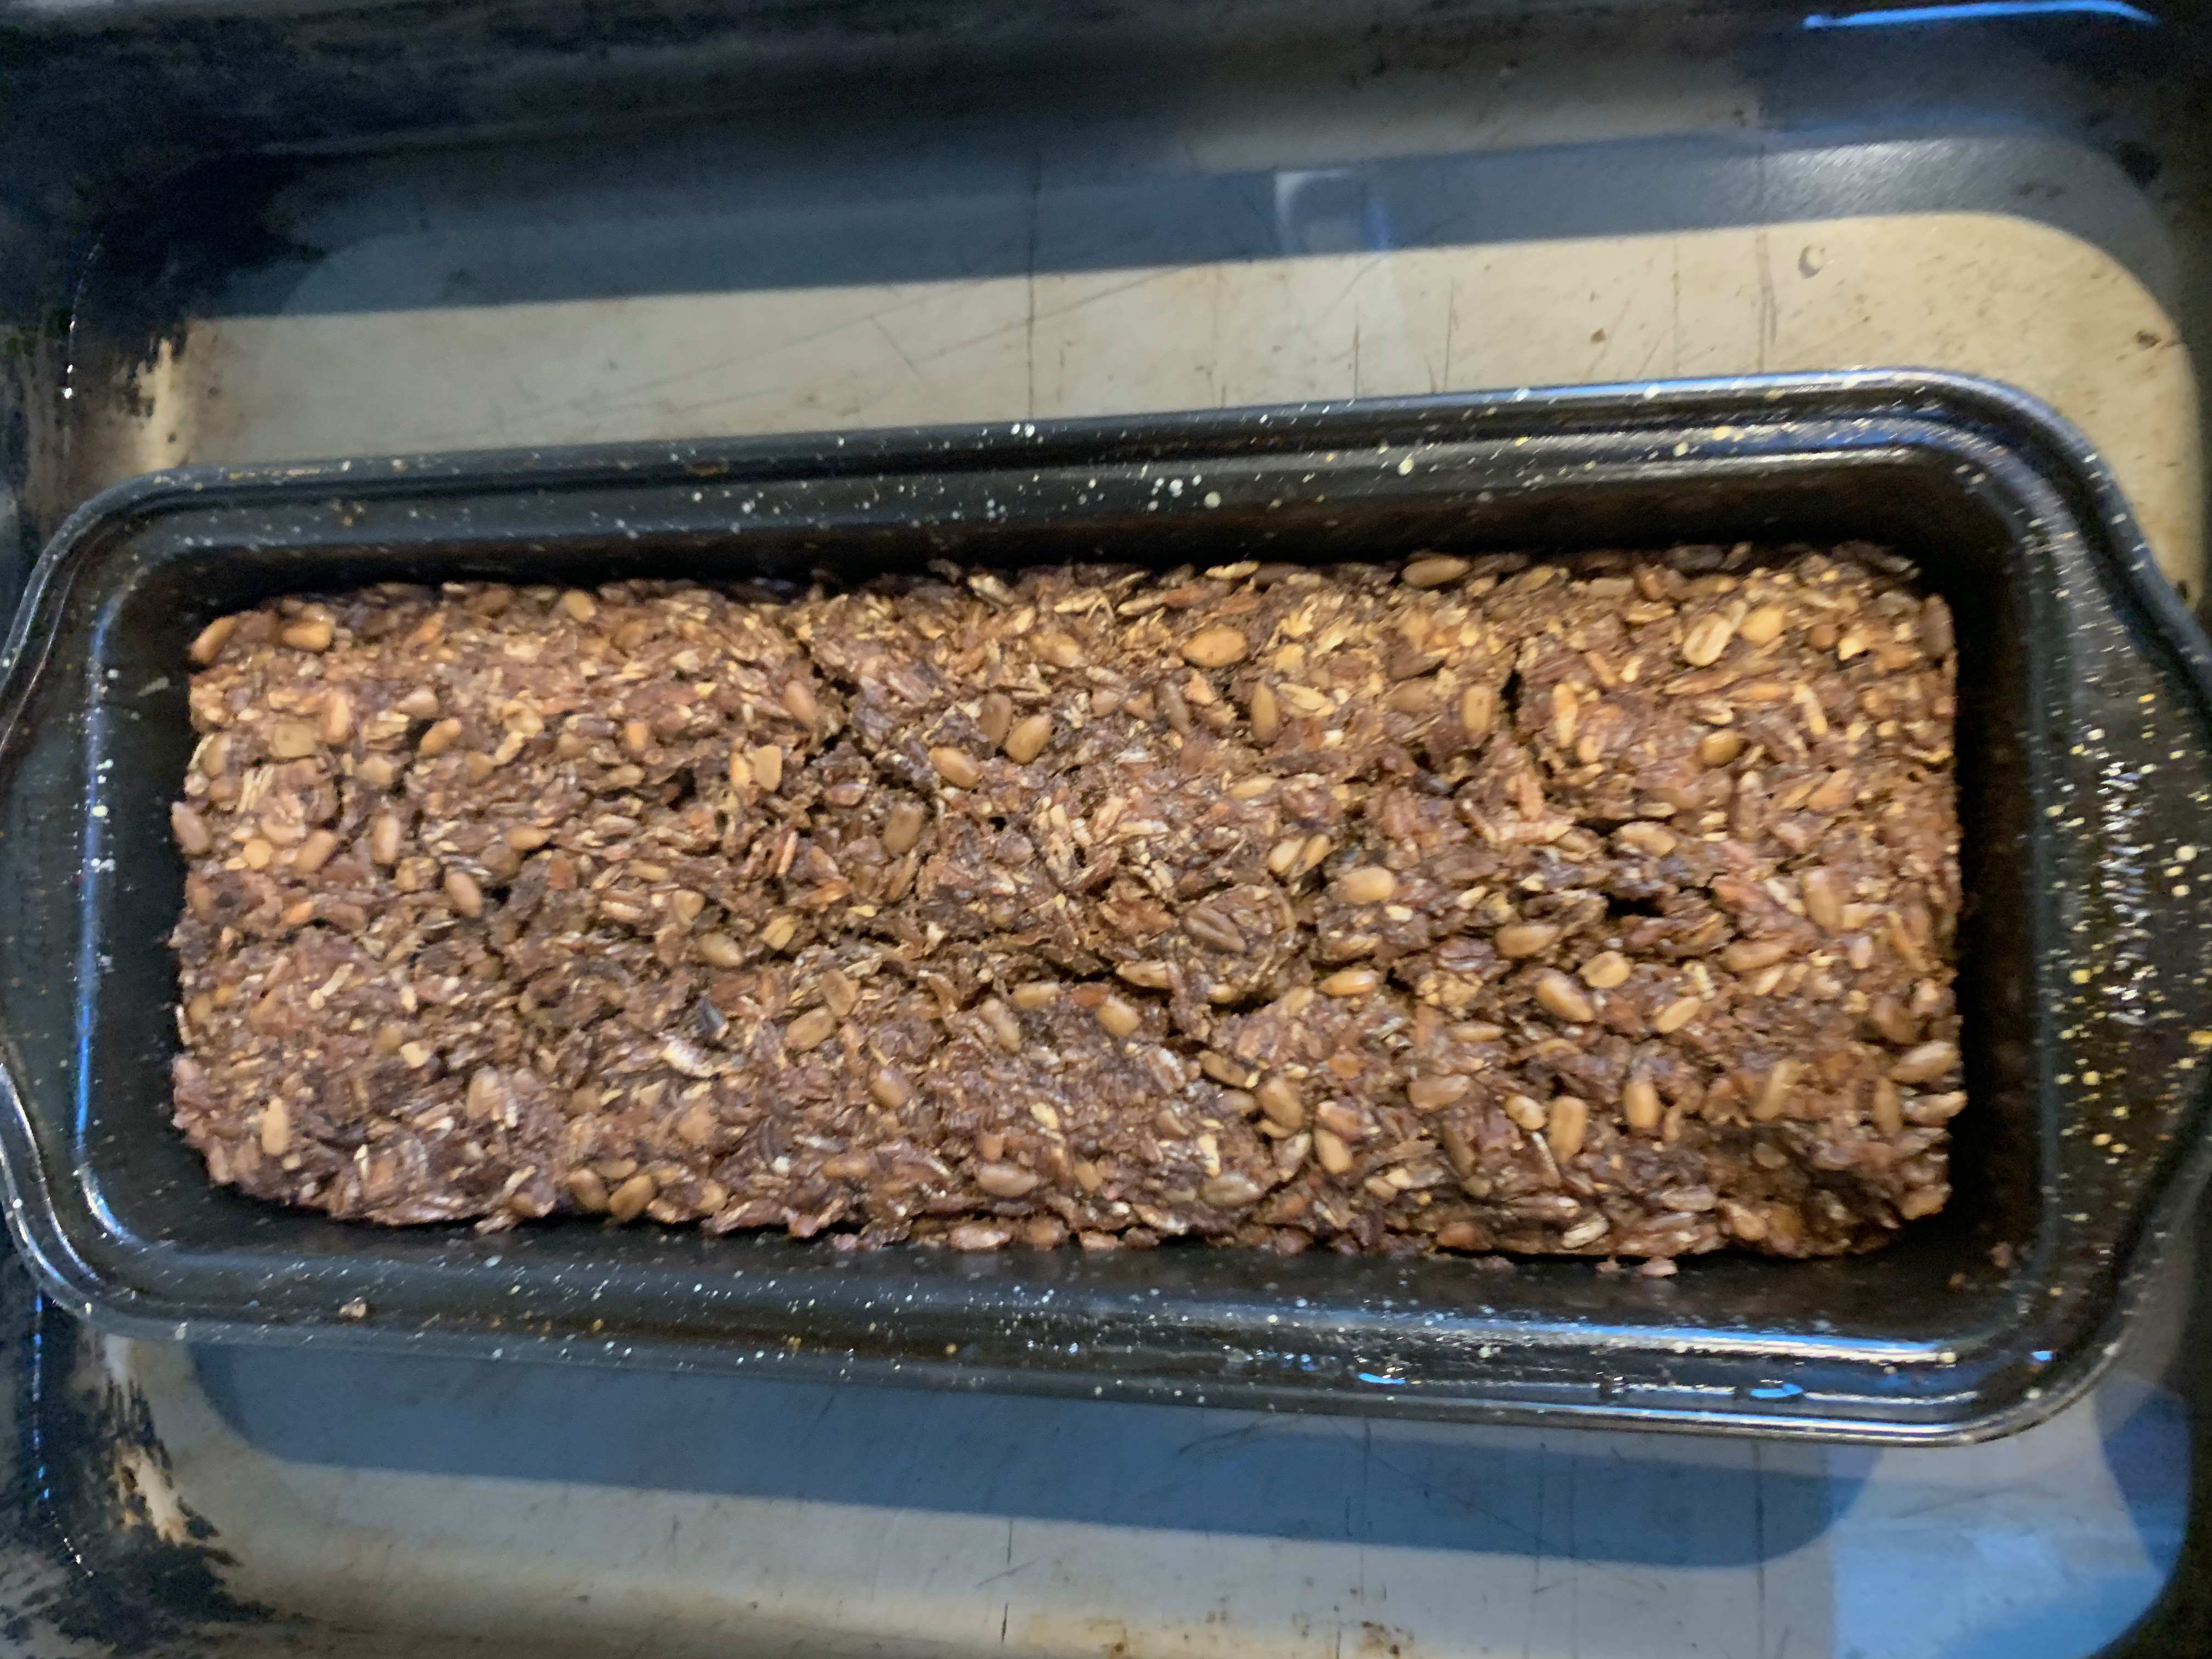
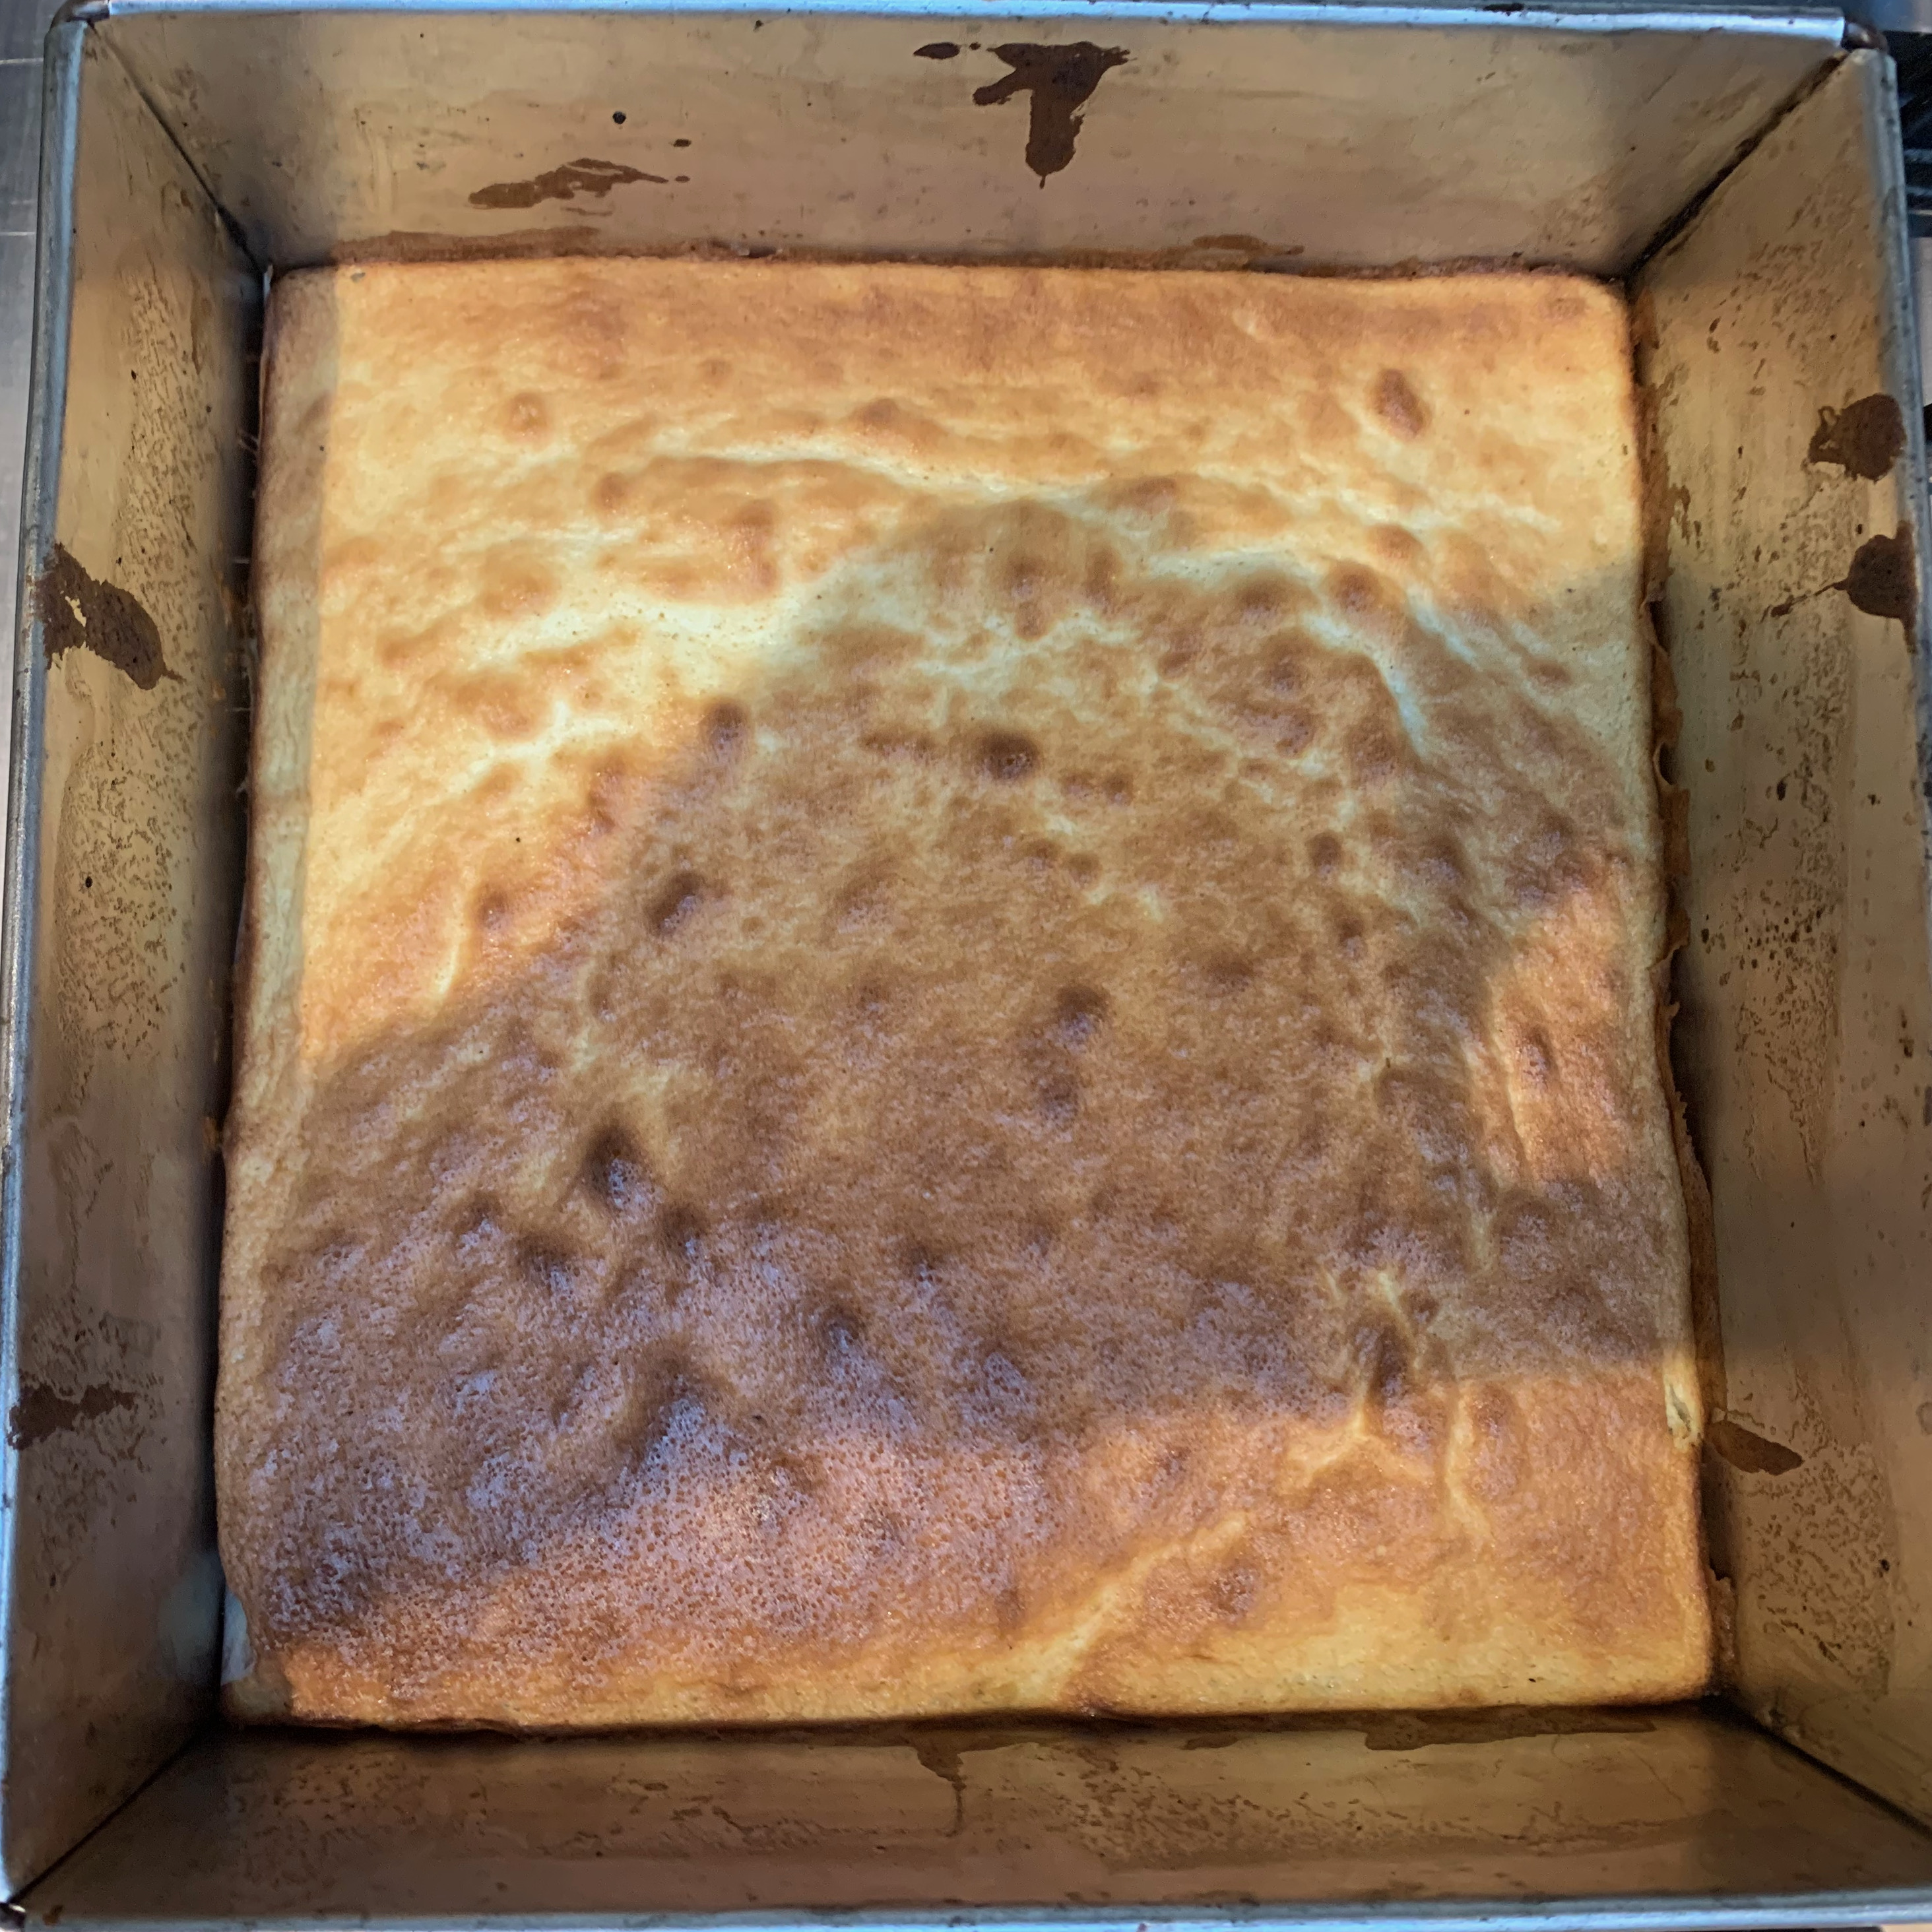
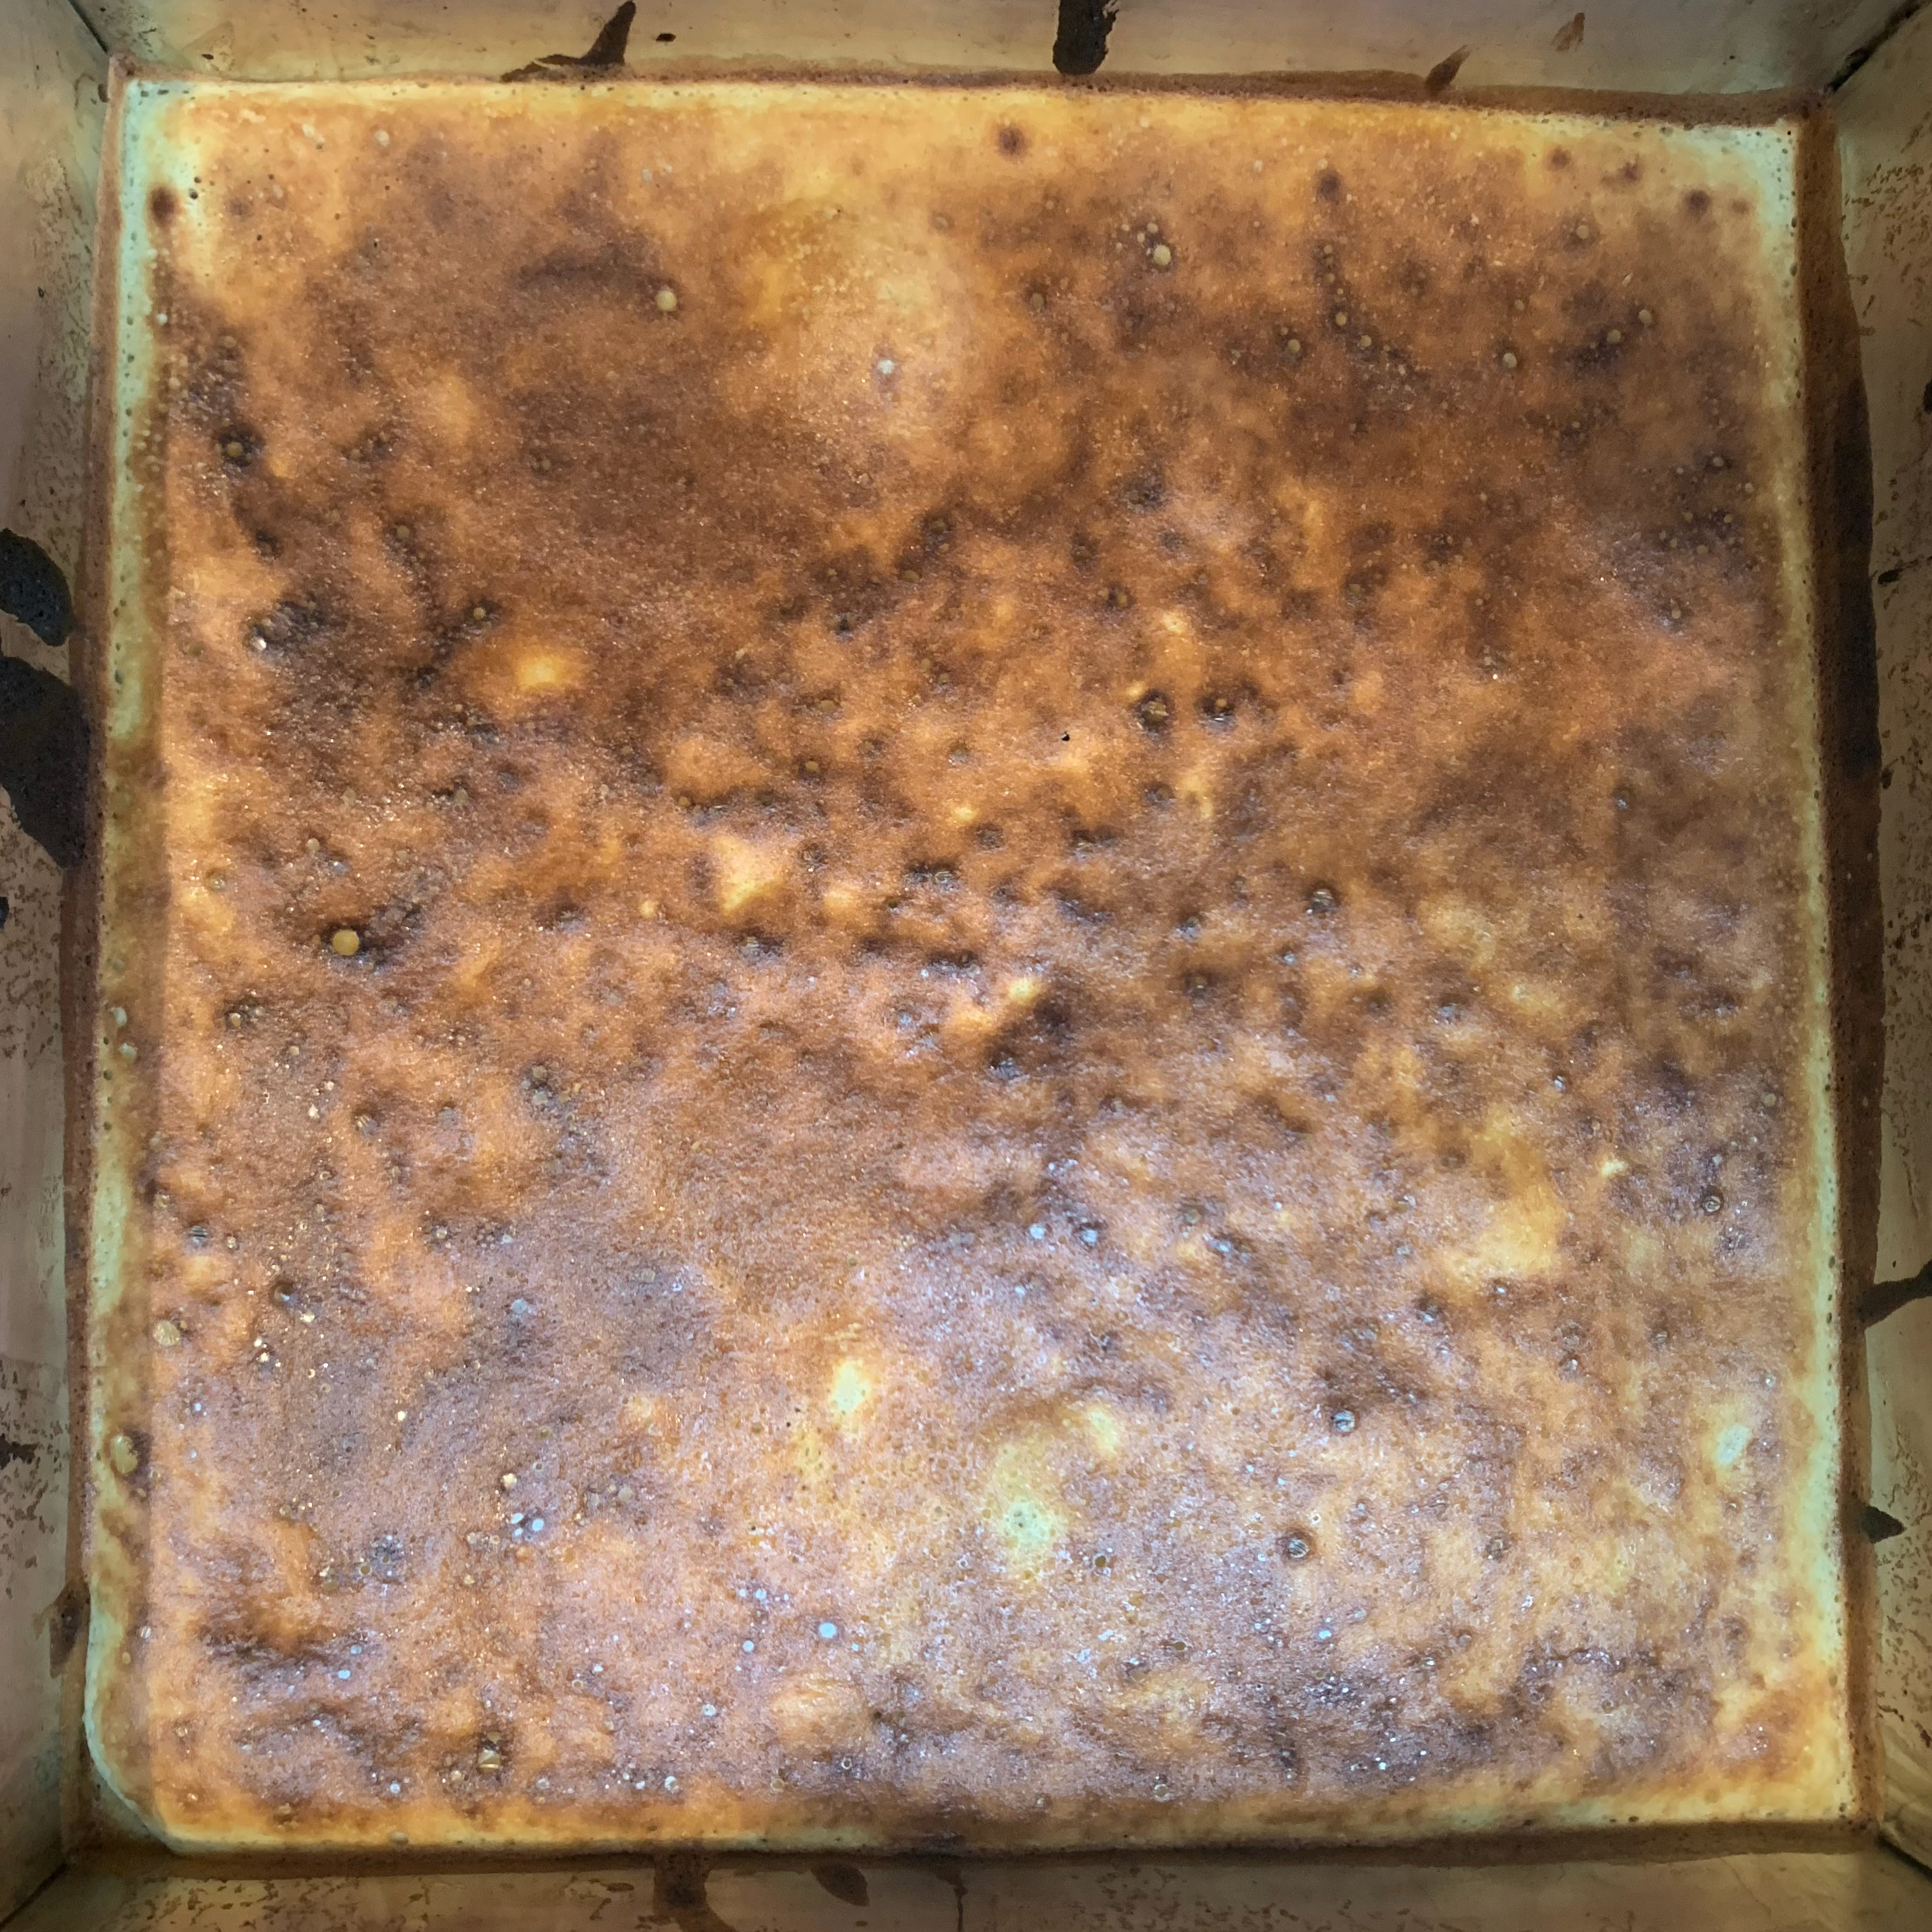
- Bake until golden. Your oven may differ, but mine took around 40-50 minutes.
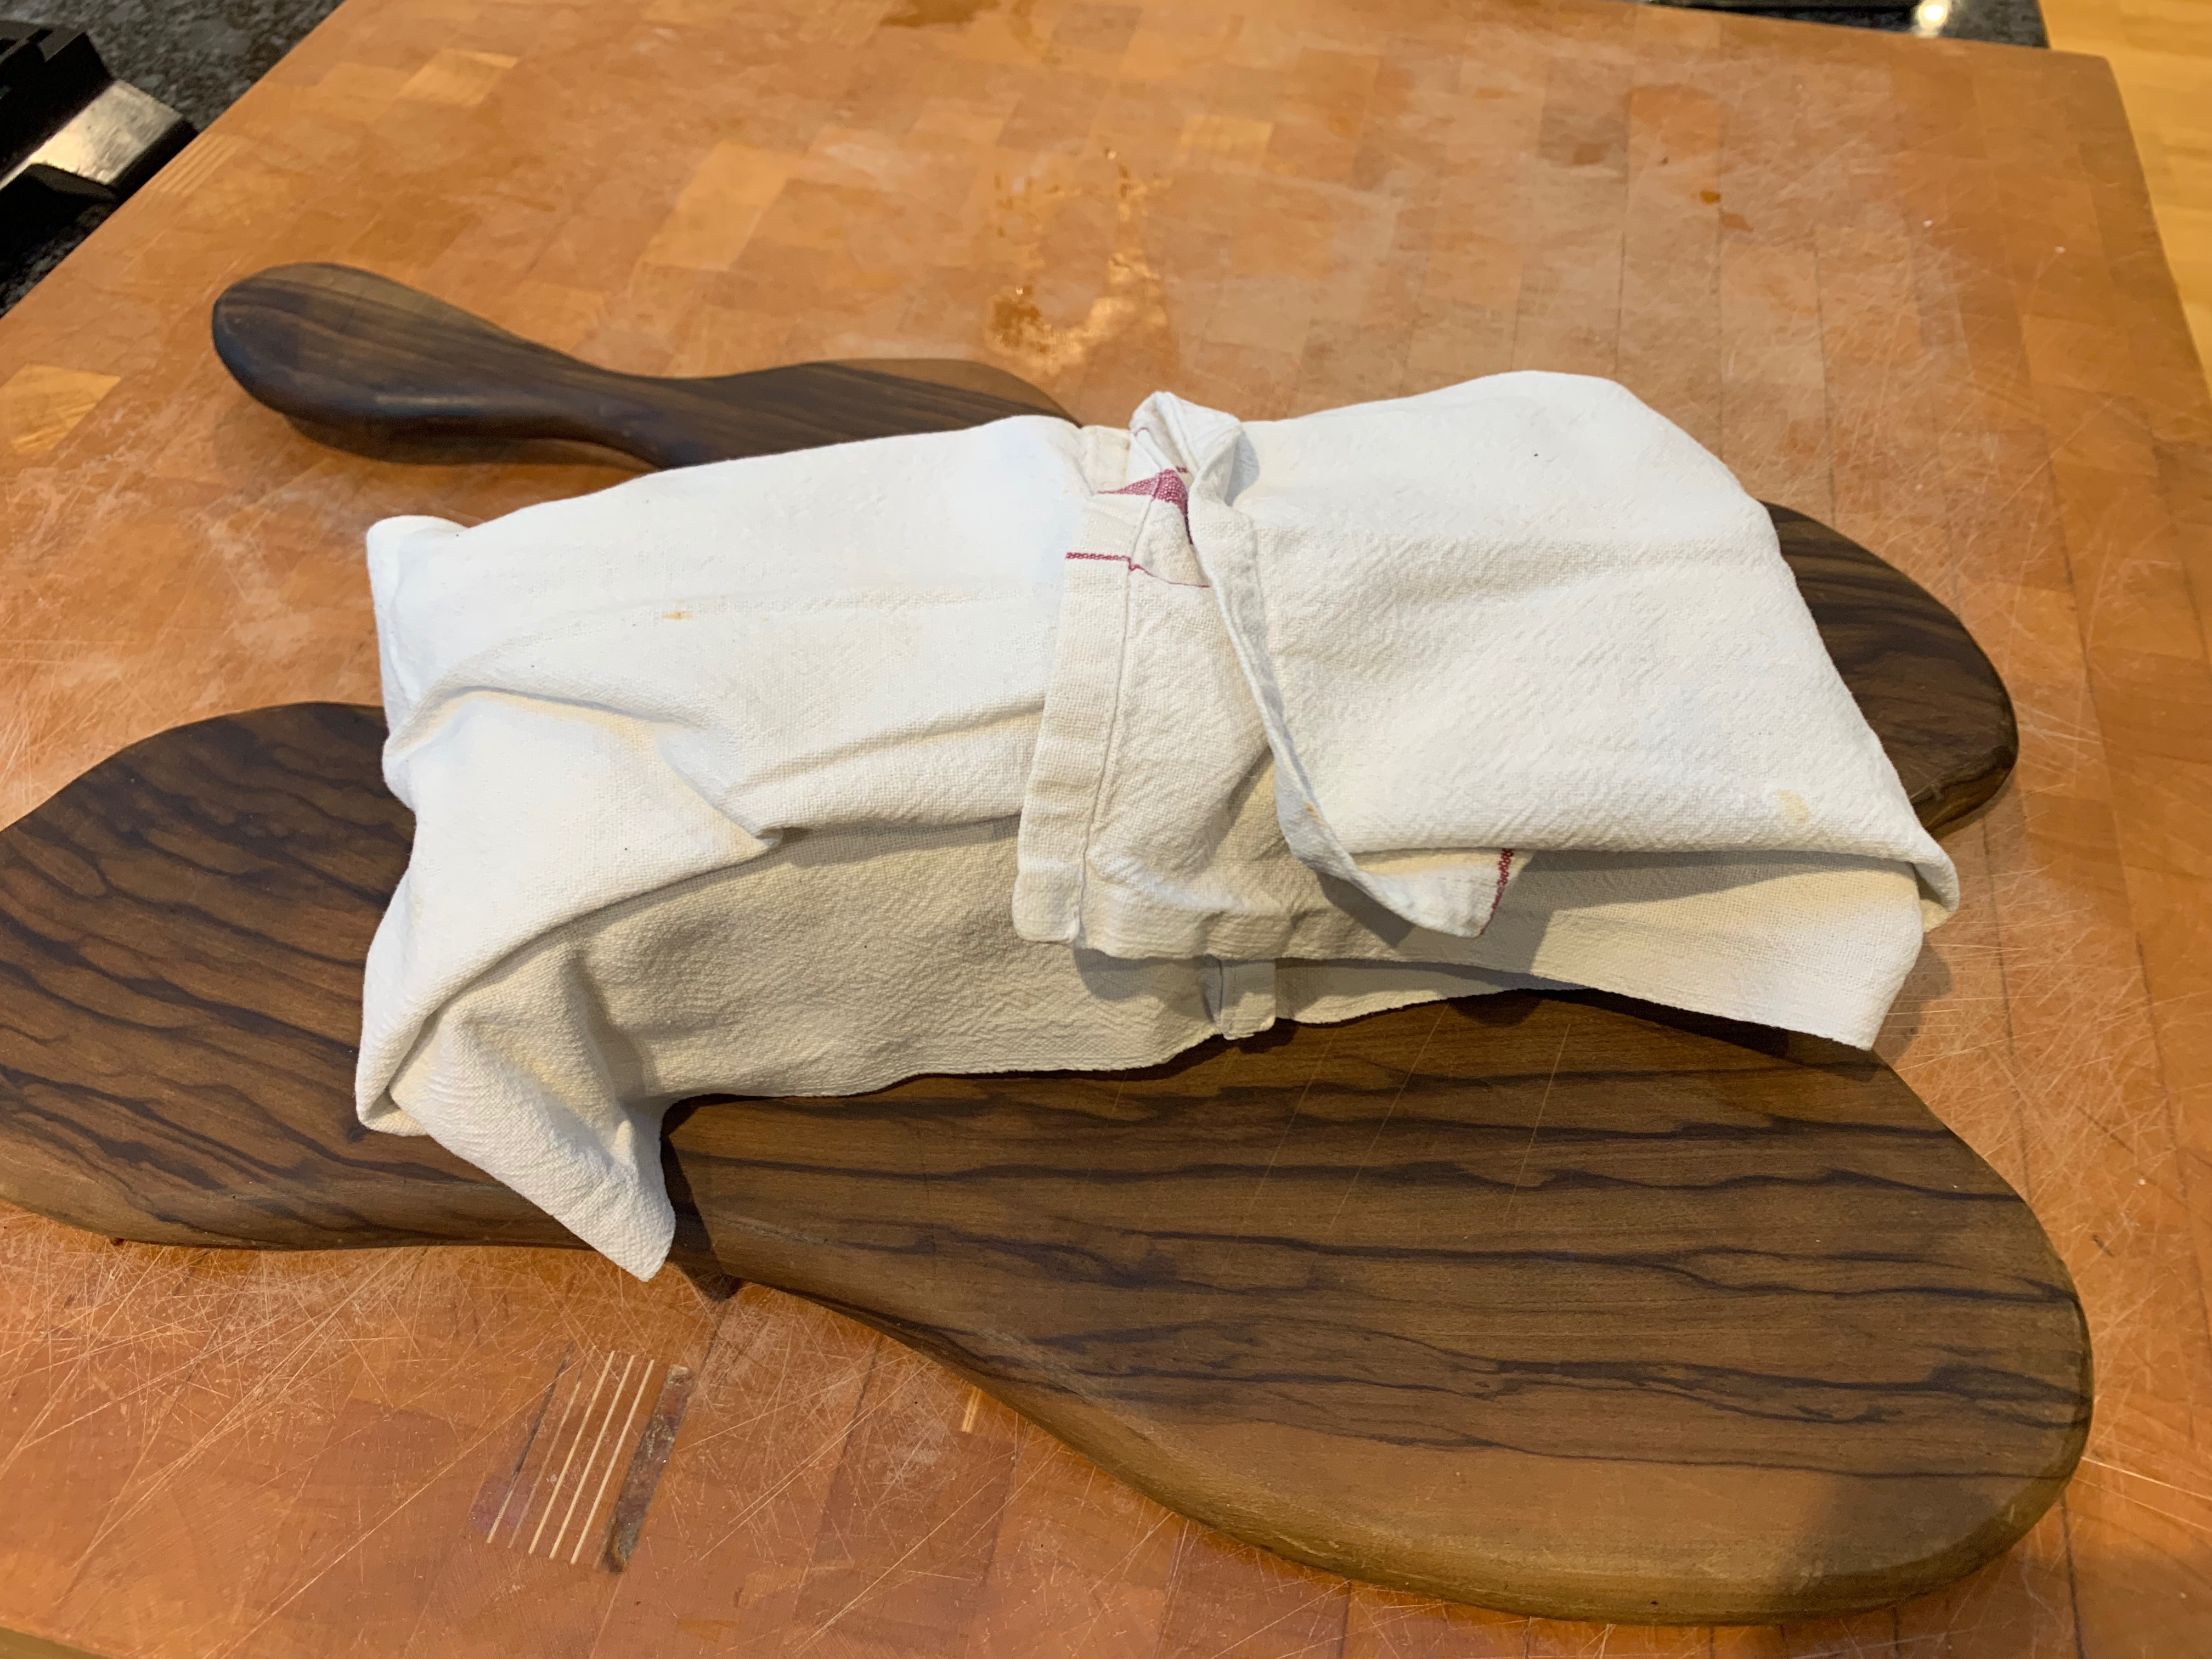
- Take out from oven and leave for around 20-30 minutes.
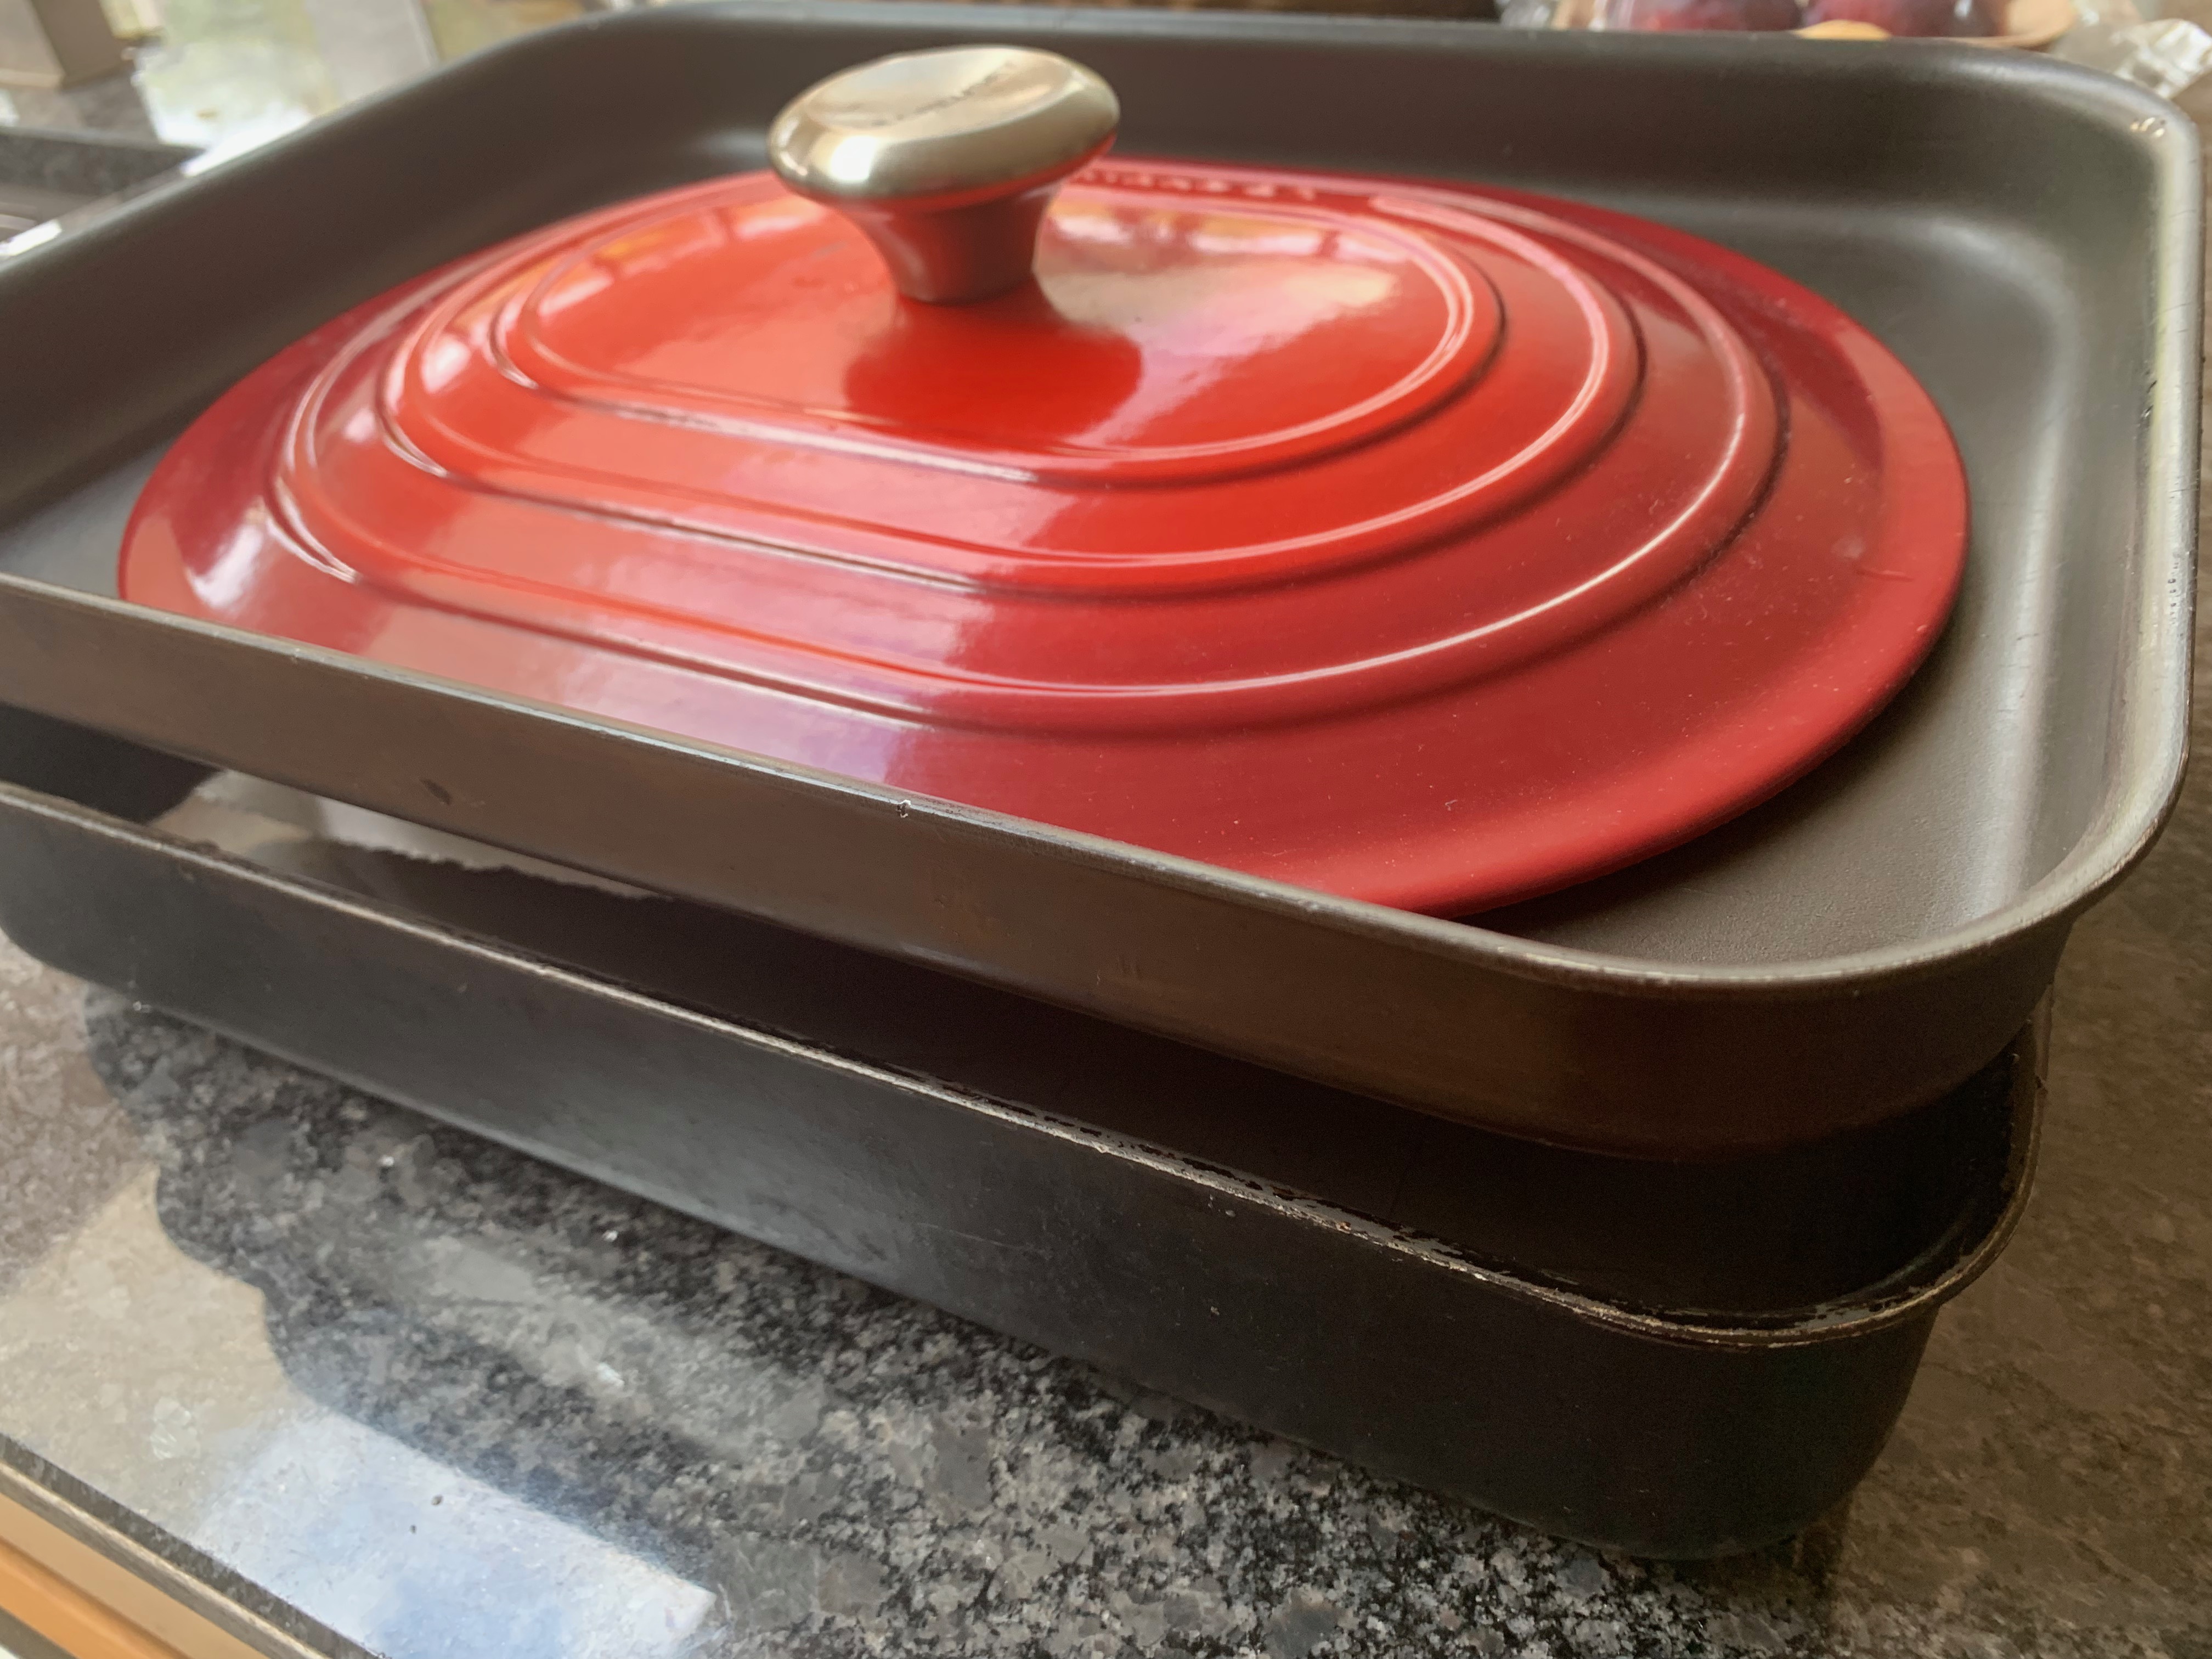
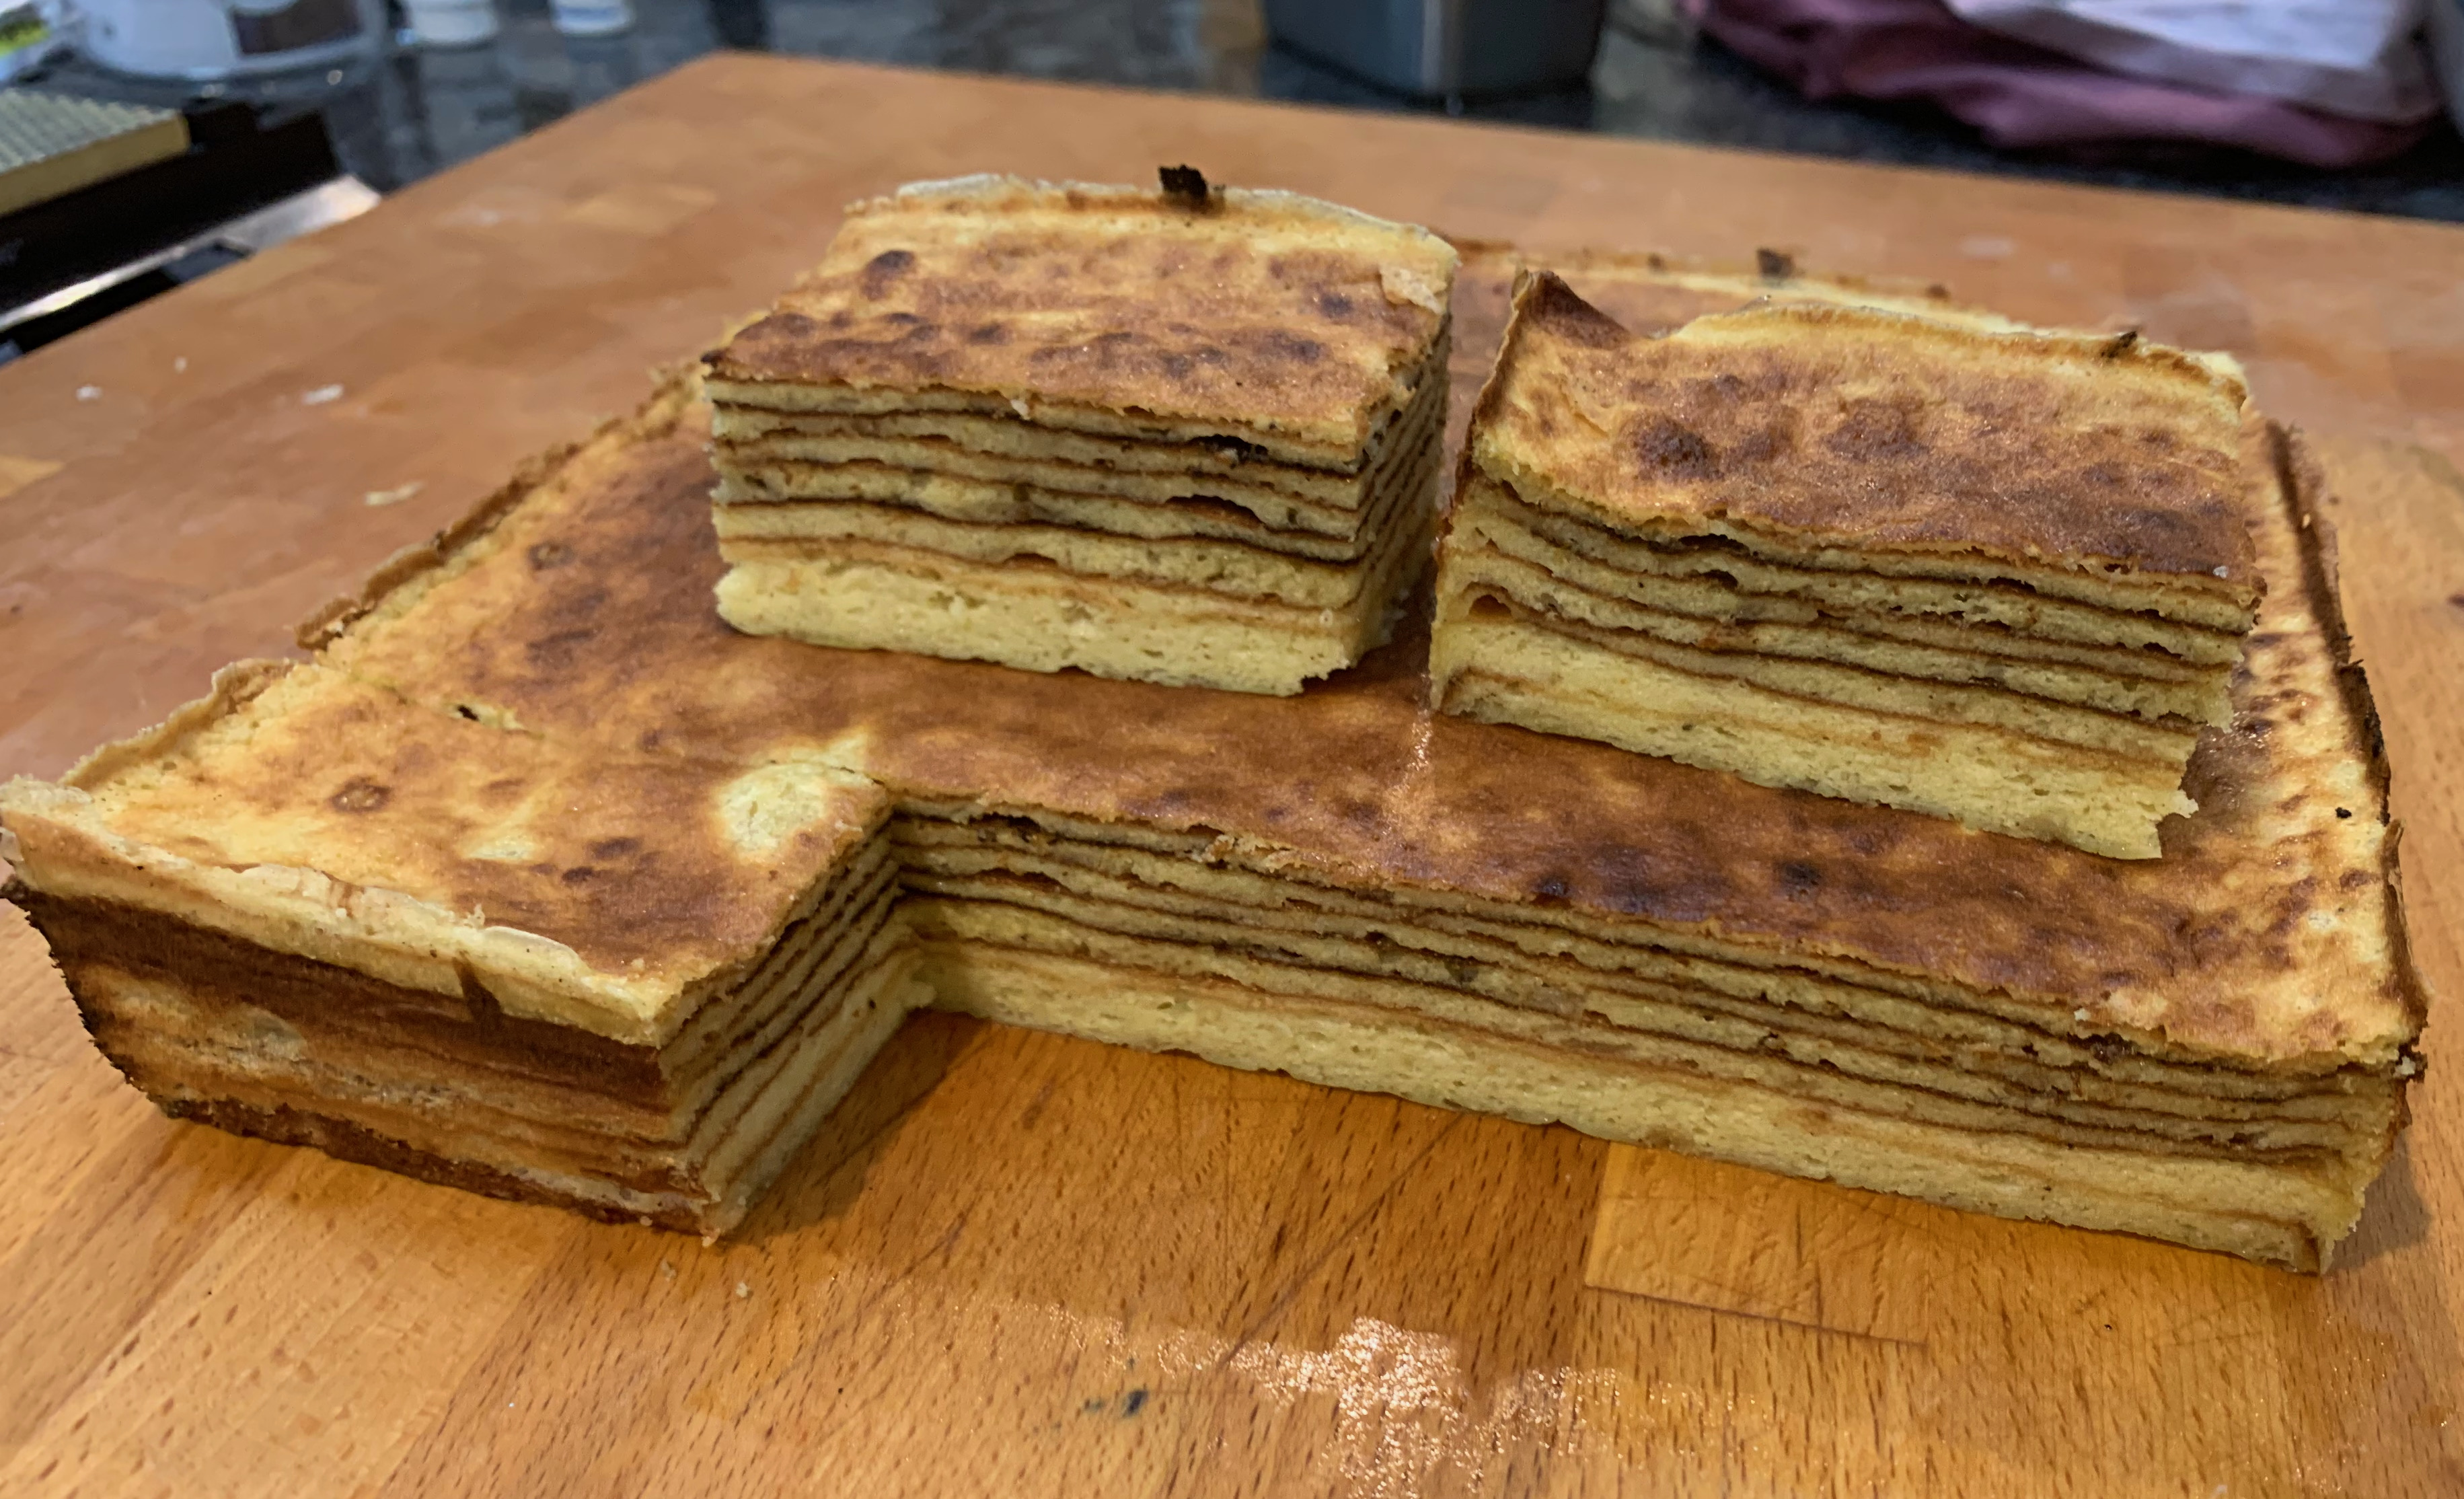
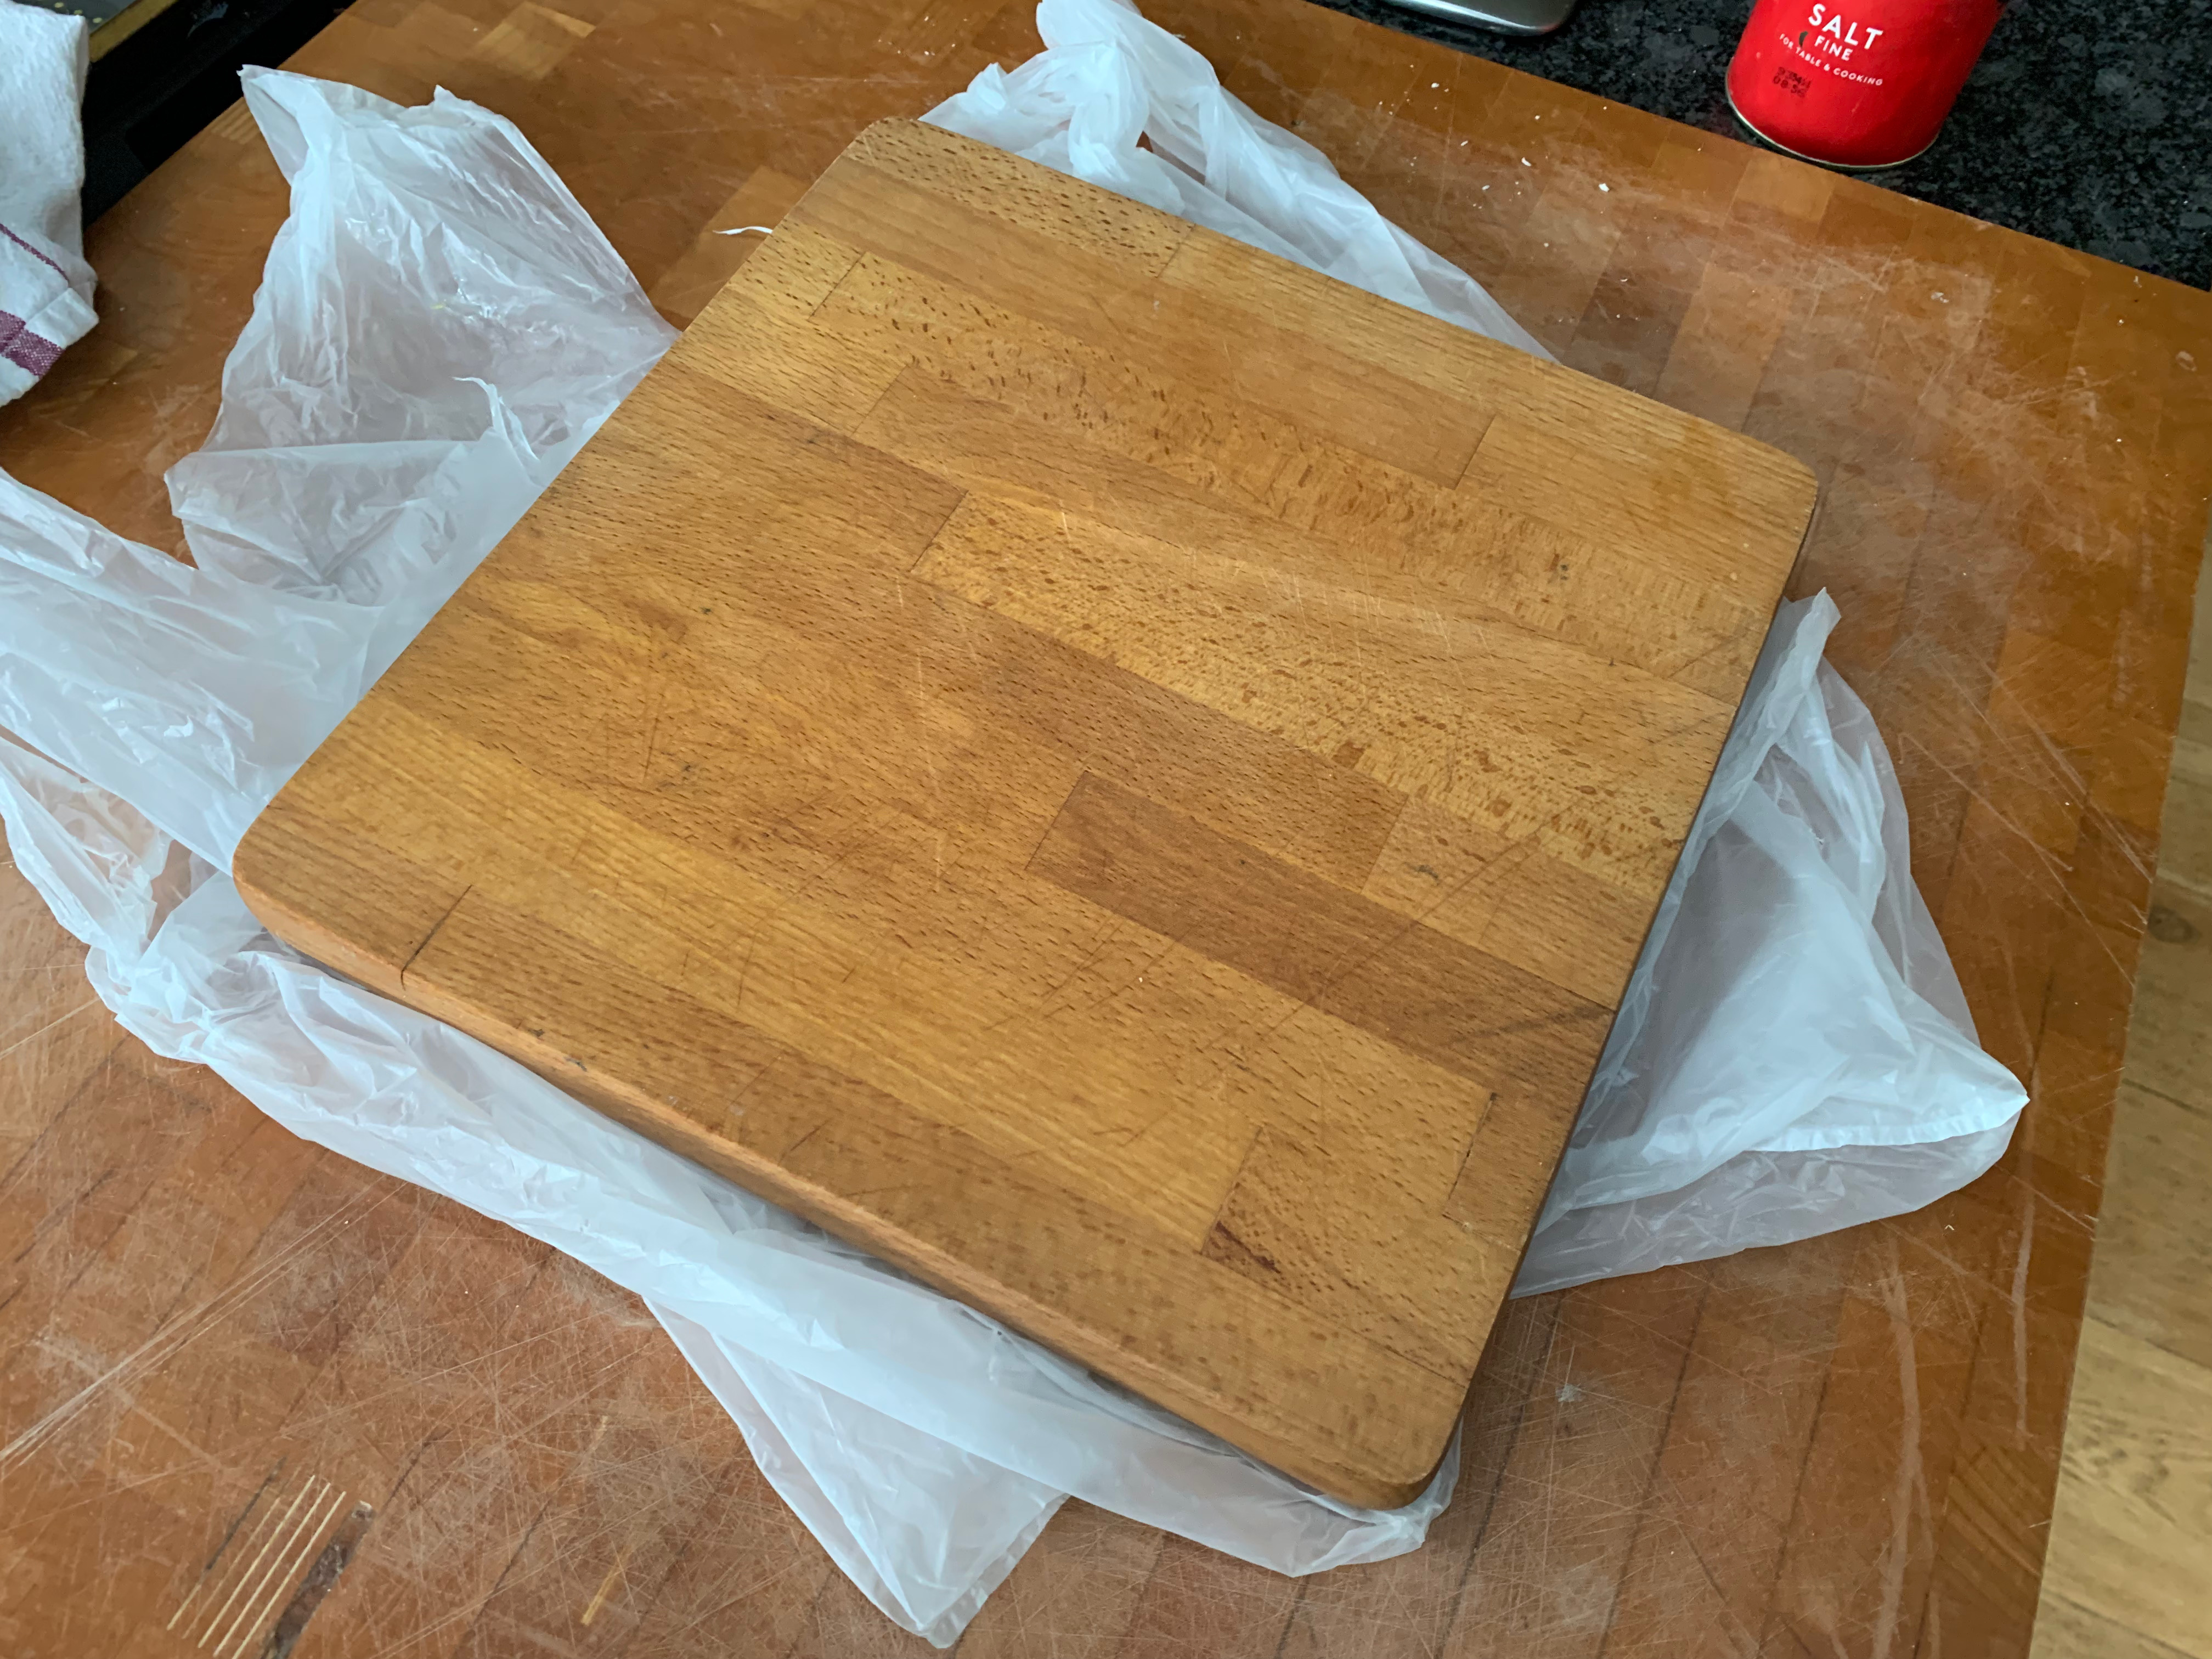
- Now say a quick imprecation to your favourite deity to stop pieces of fruit staying stuck to the dish (I tend to go for “Bismillah” because my favourite Persian cookery book specifies it at a critical point in its main rice recipe), cover your dish with a flat heatproof plate or wooden board and turn the whole lot upside down.leave at least 30 mins, then turn it over onto a plate or board, then remove the tin in the fervent hope that the tart has fallen out onto your board (the caramel will run, by the way, particularly if you used pears, so make provision for dribbles). If your deity wasn’t looking kindly on you, there may be a need for some swift repair work.
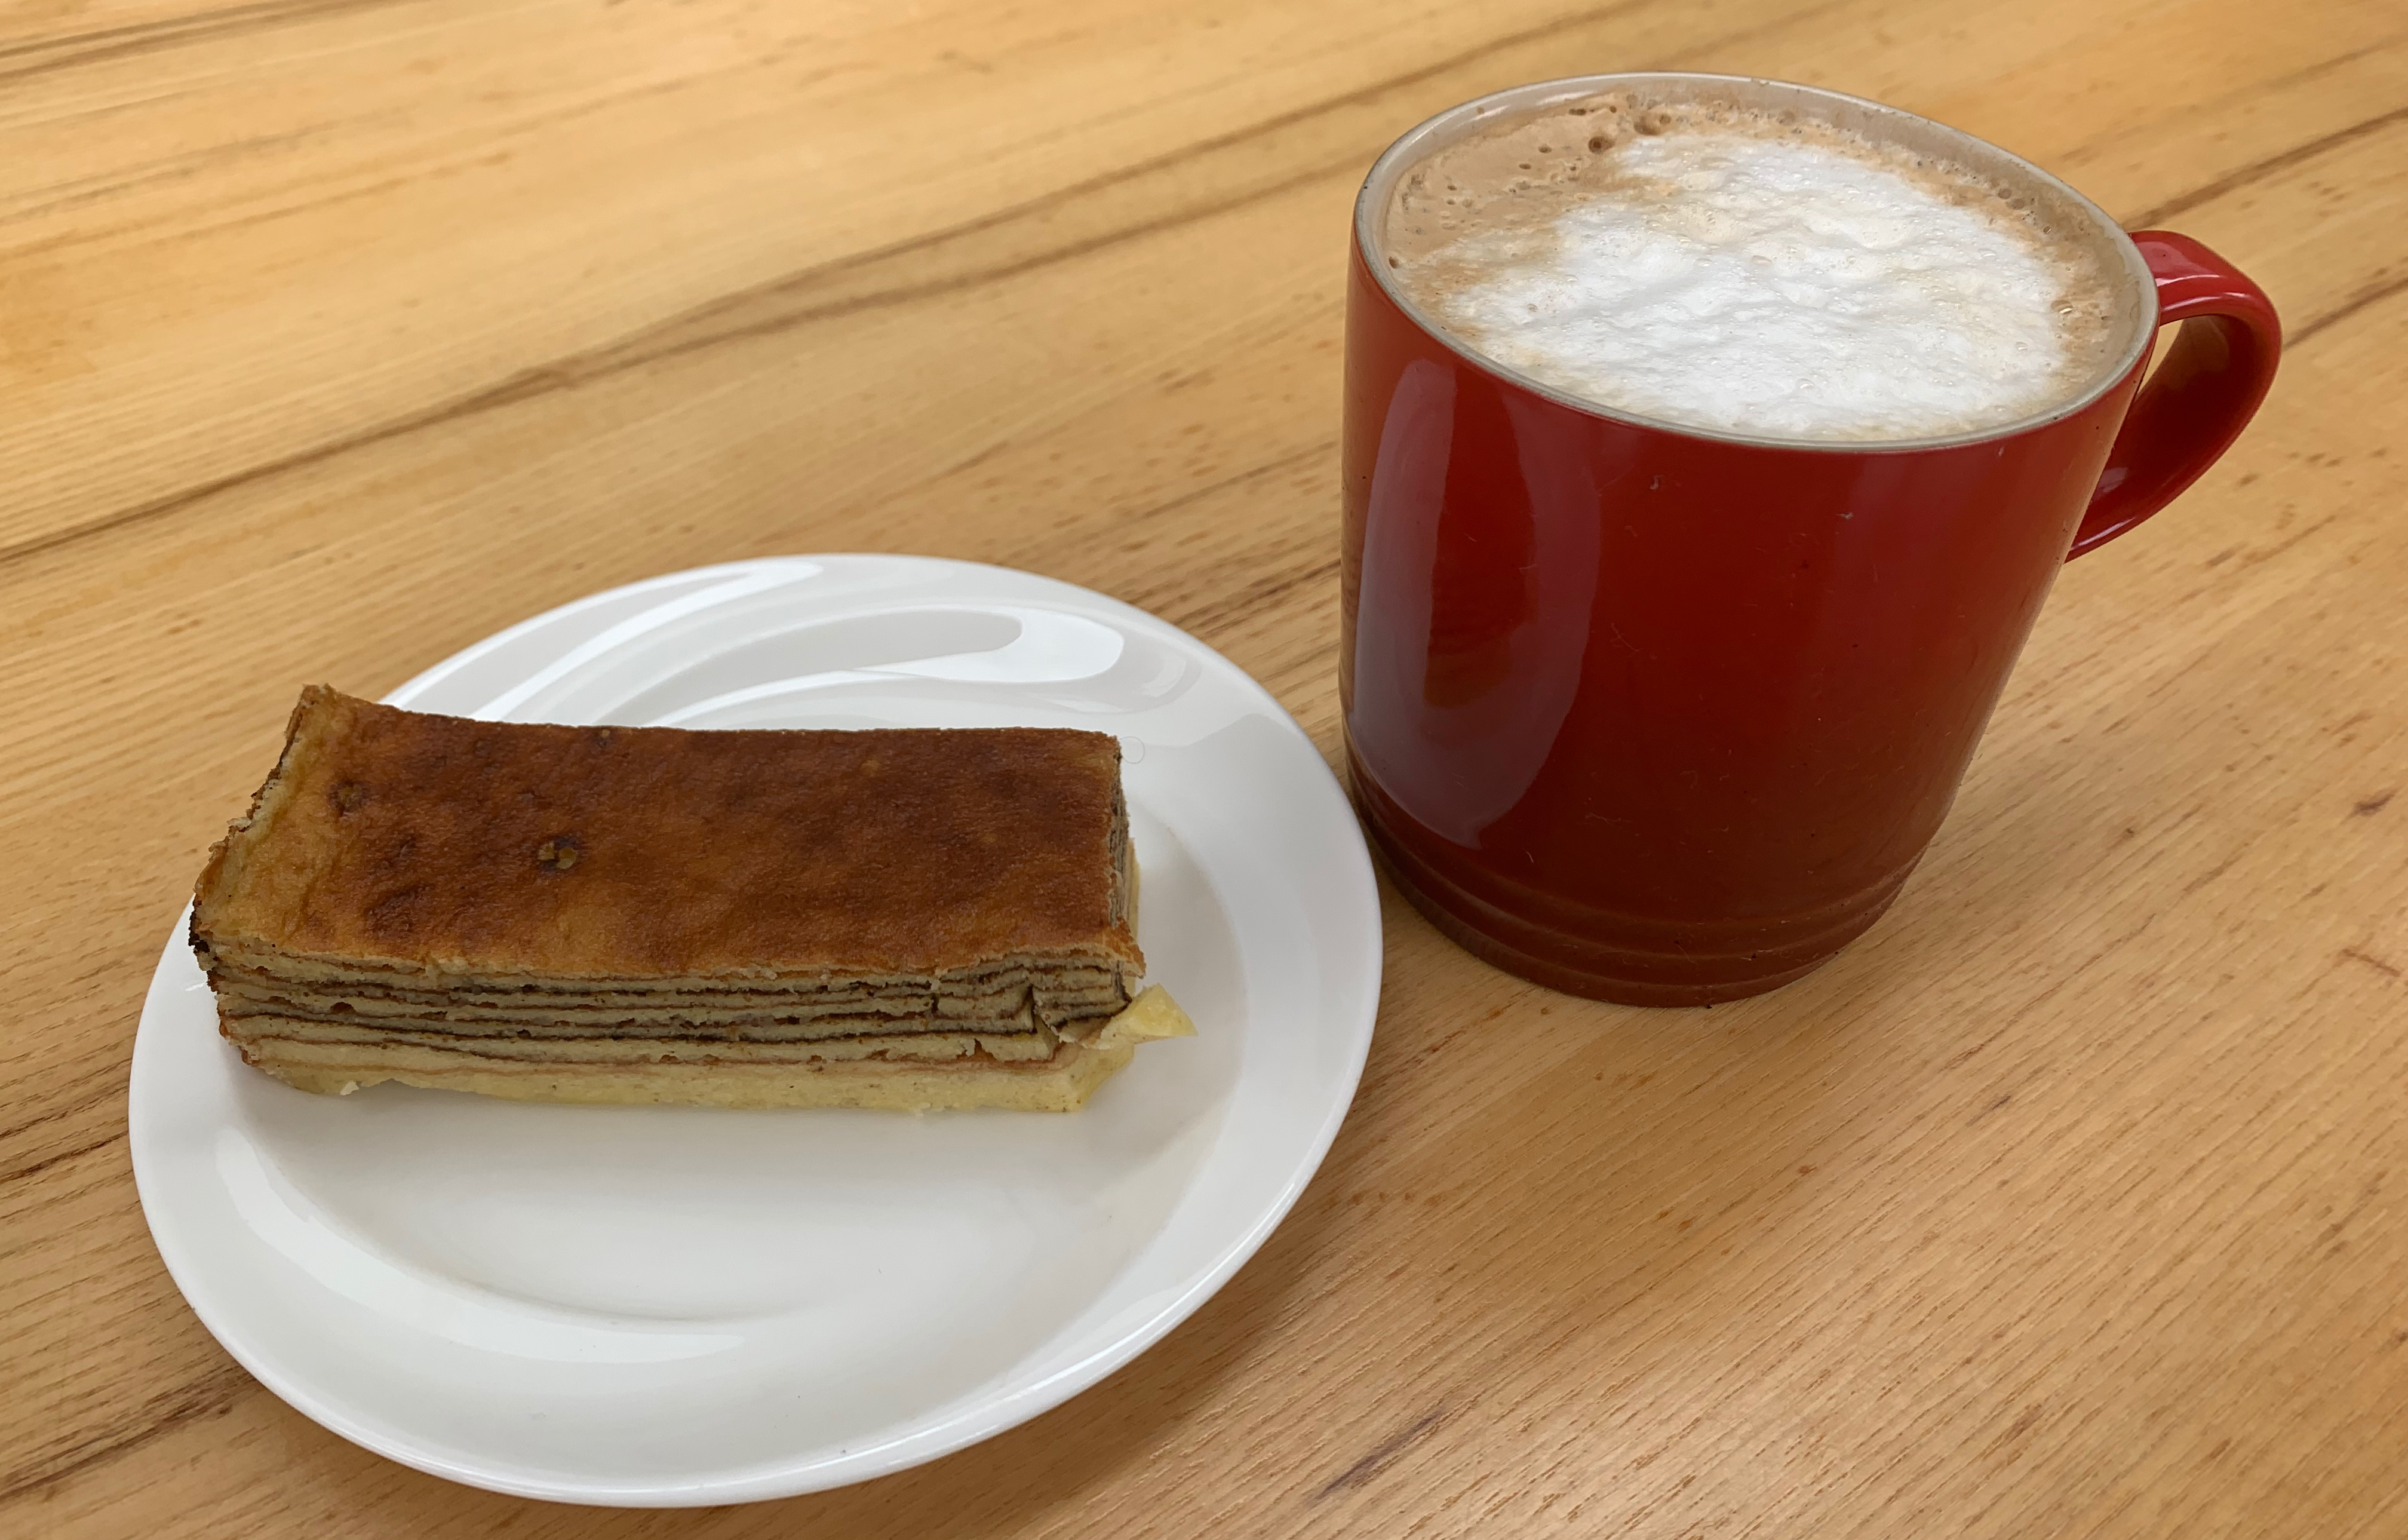
- If you’ve timed it such that you can serve the tart warm, so much the better. But it’s pretty good cold as well. Either way, vanilla ice cream makes a great accompaniment; a splash of Calvados doesn’t hurt either.

Heating the sugar 
Ready to stir in the butter 
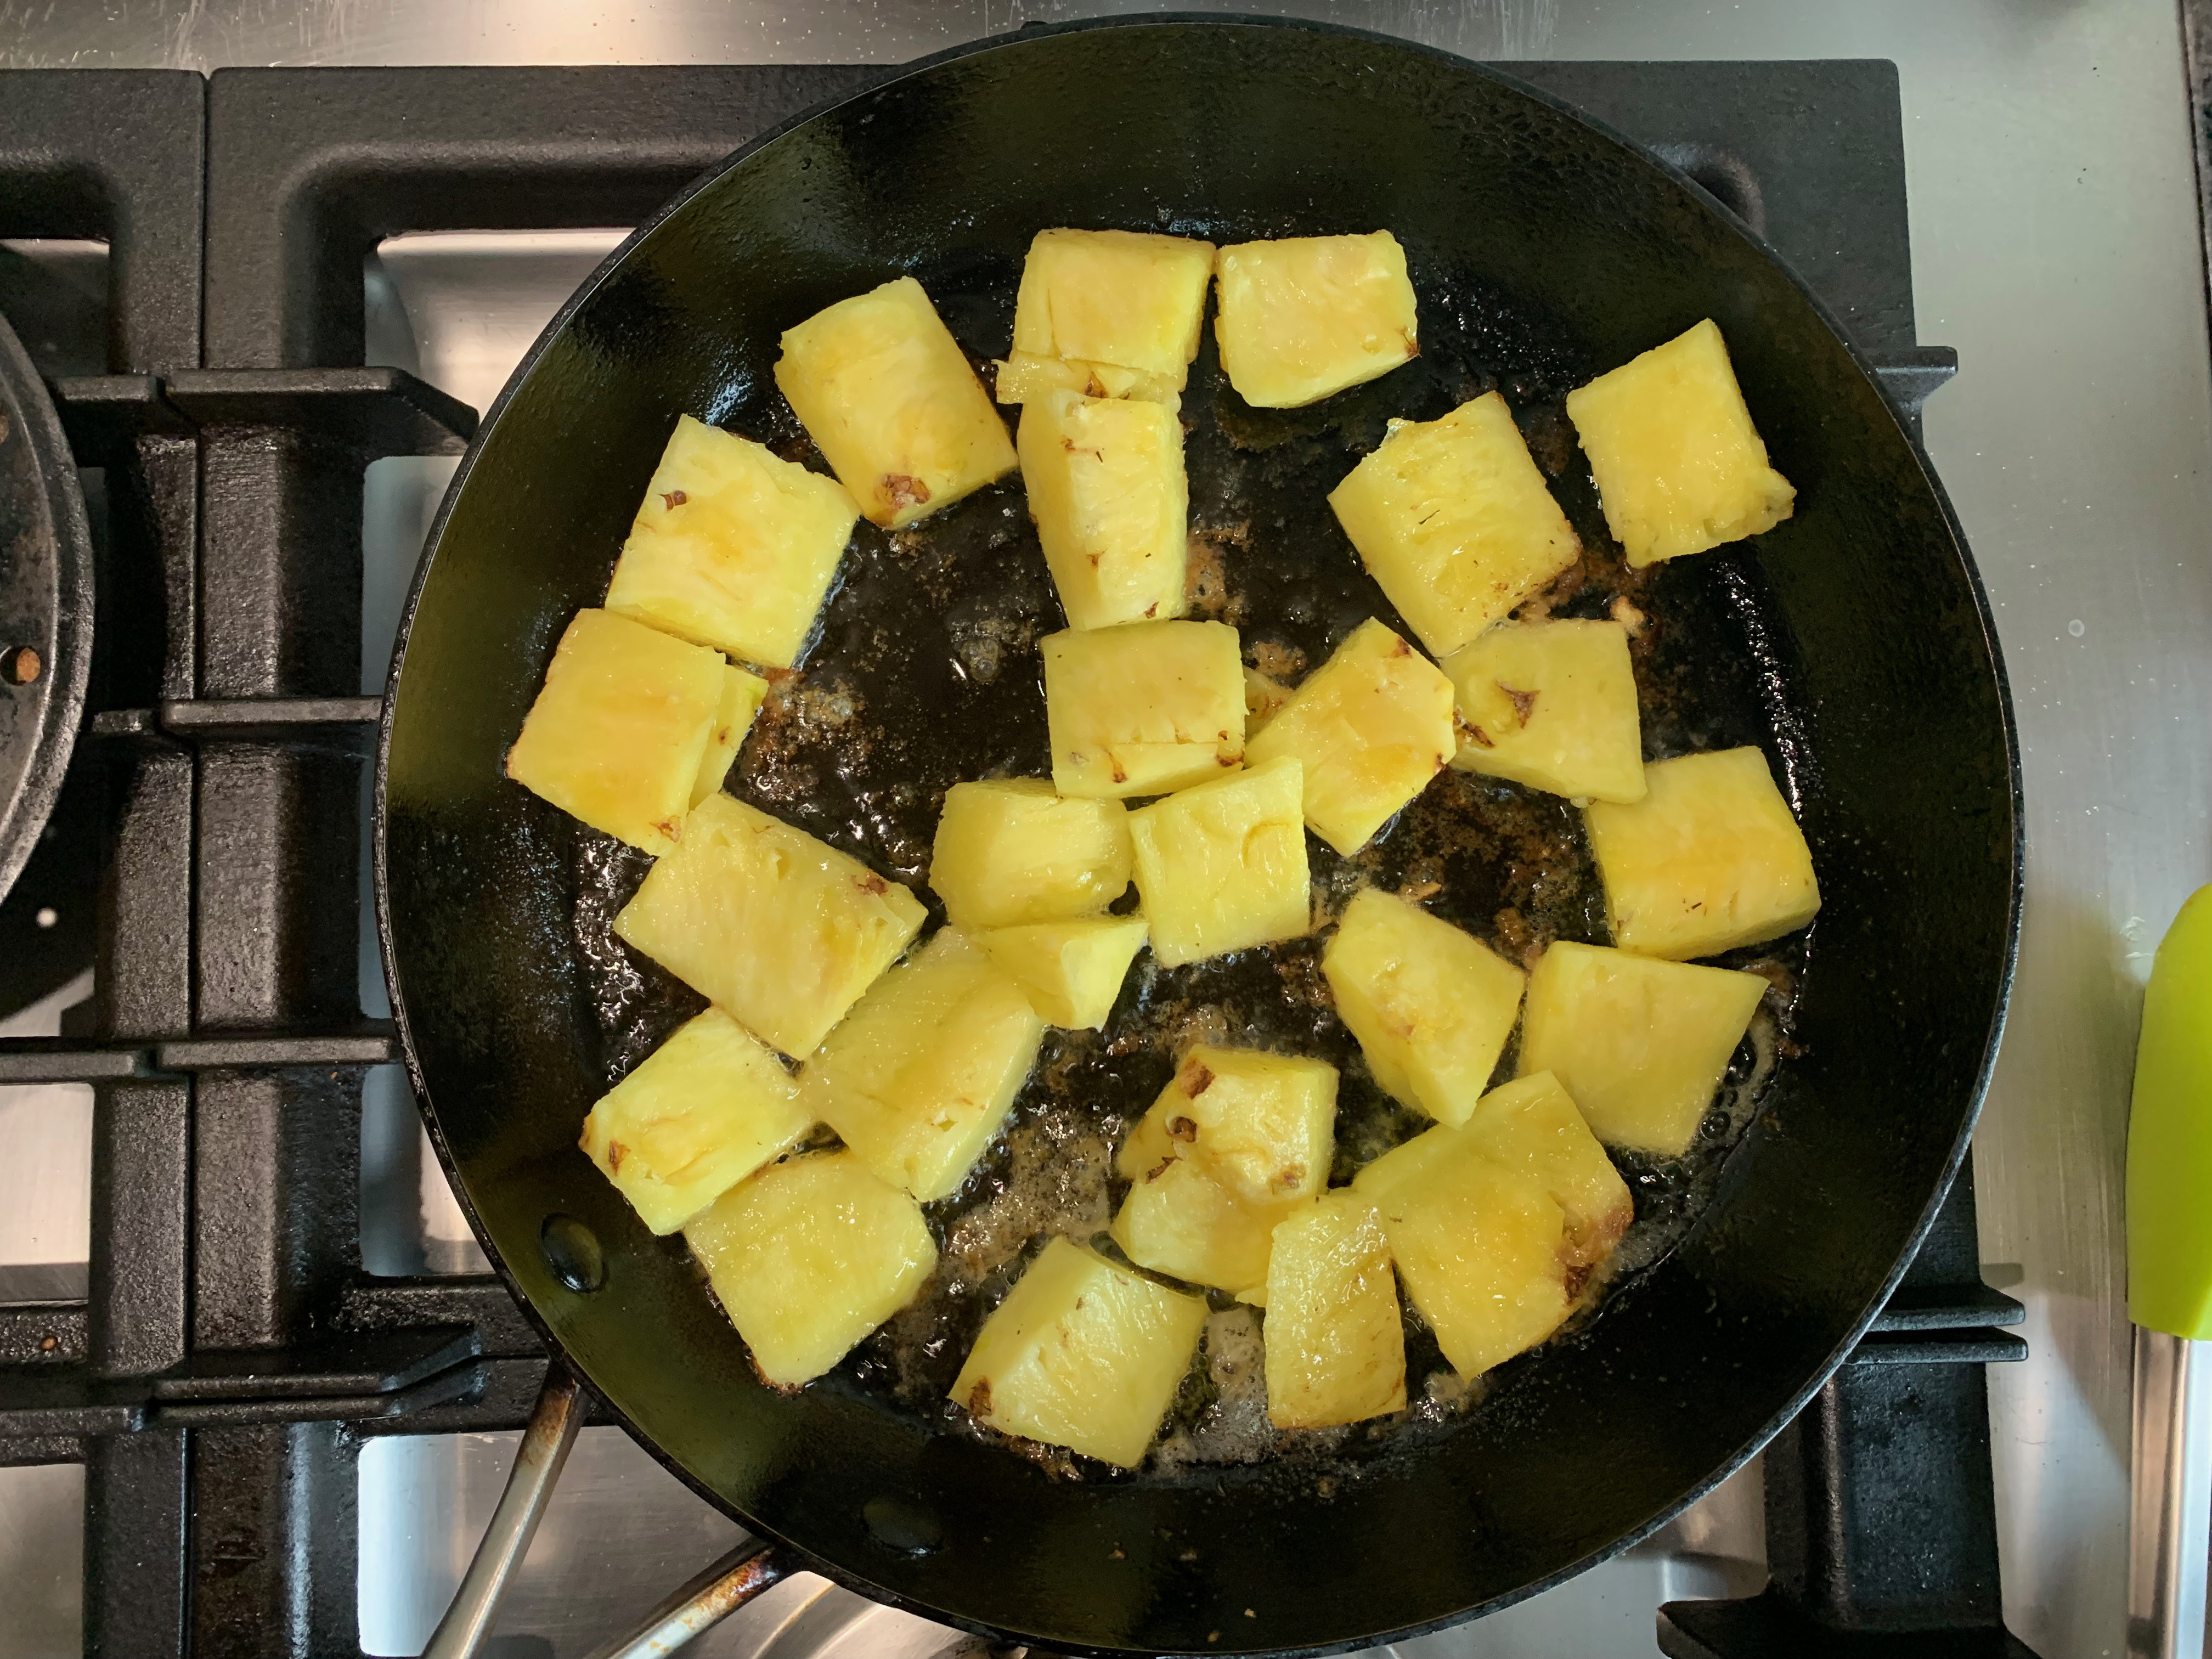
First laer of pears 
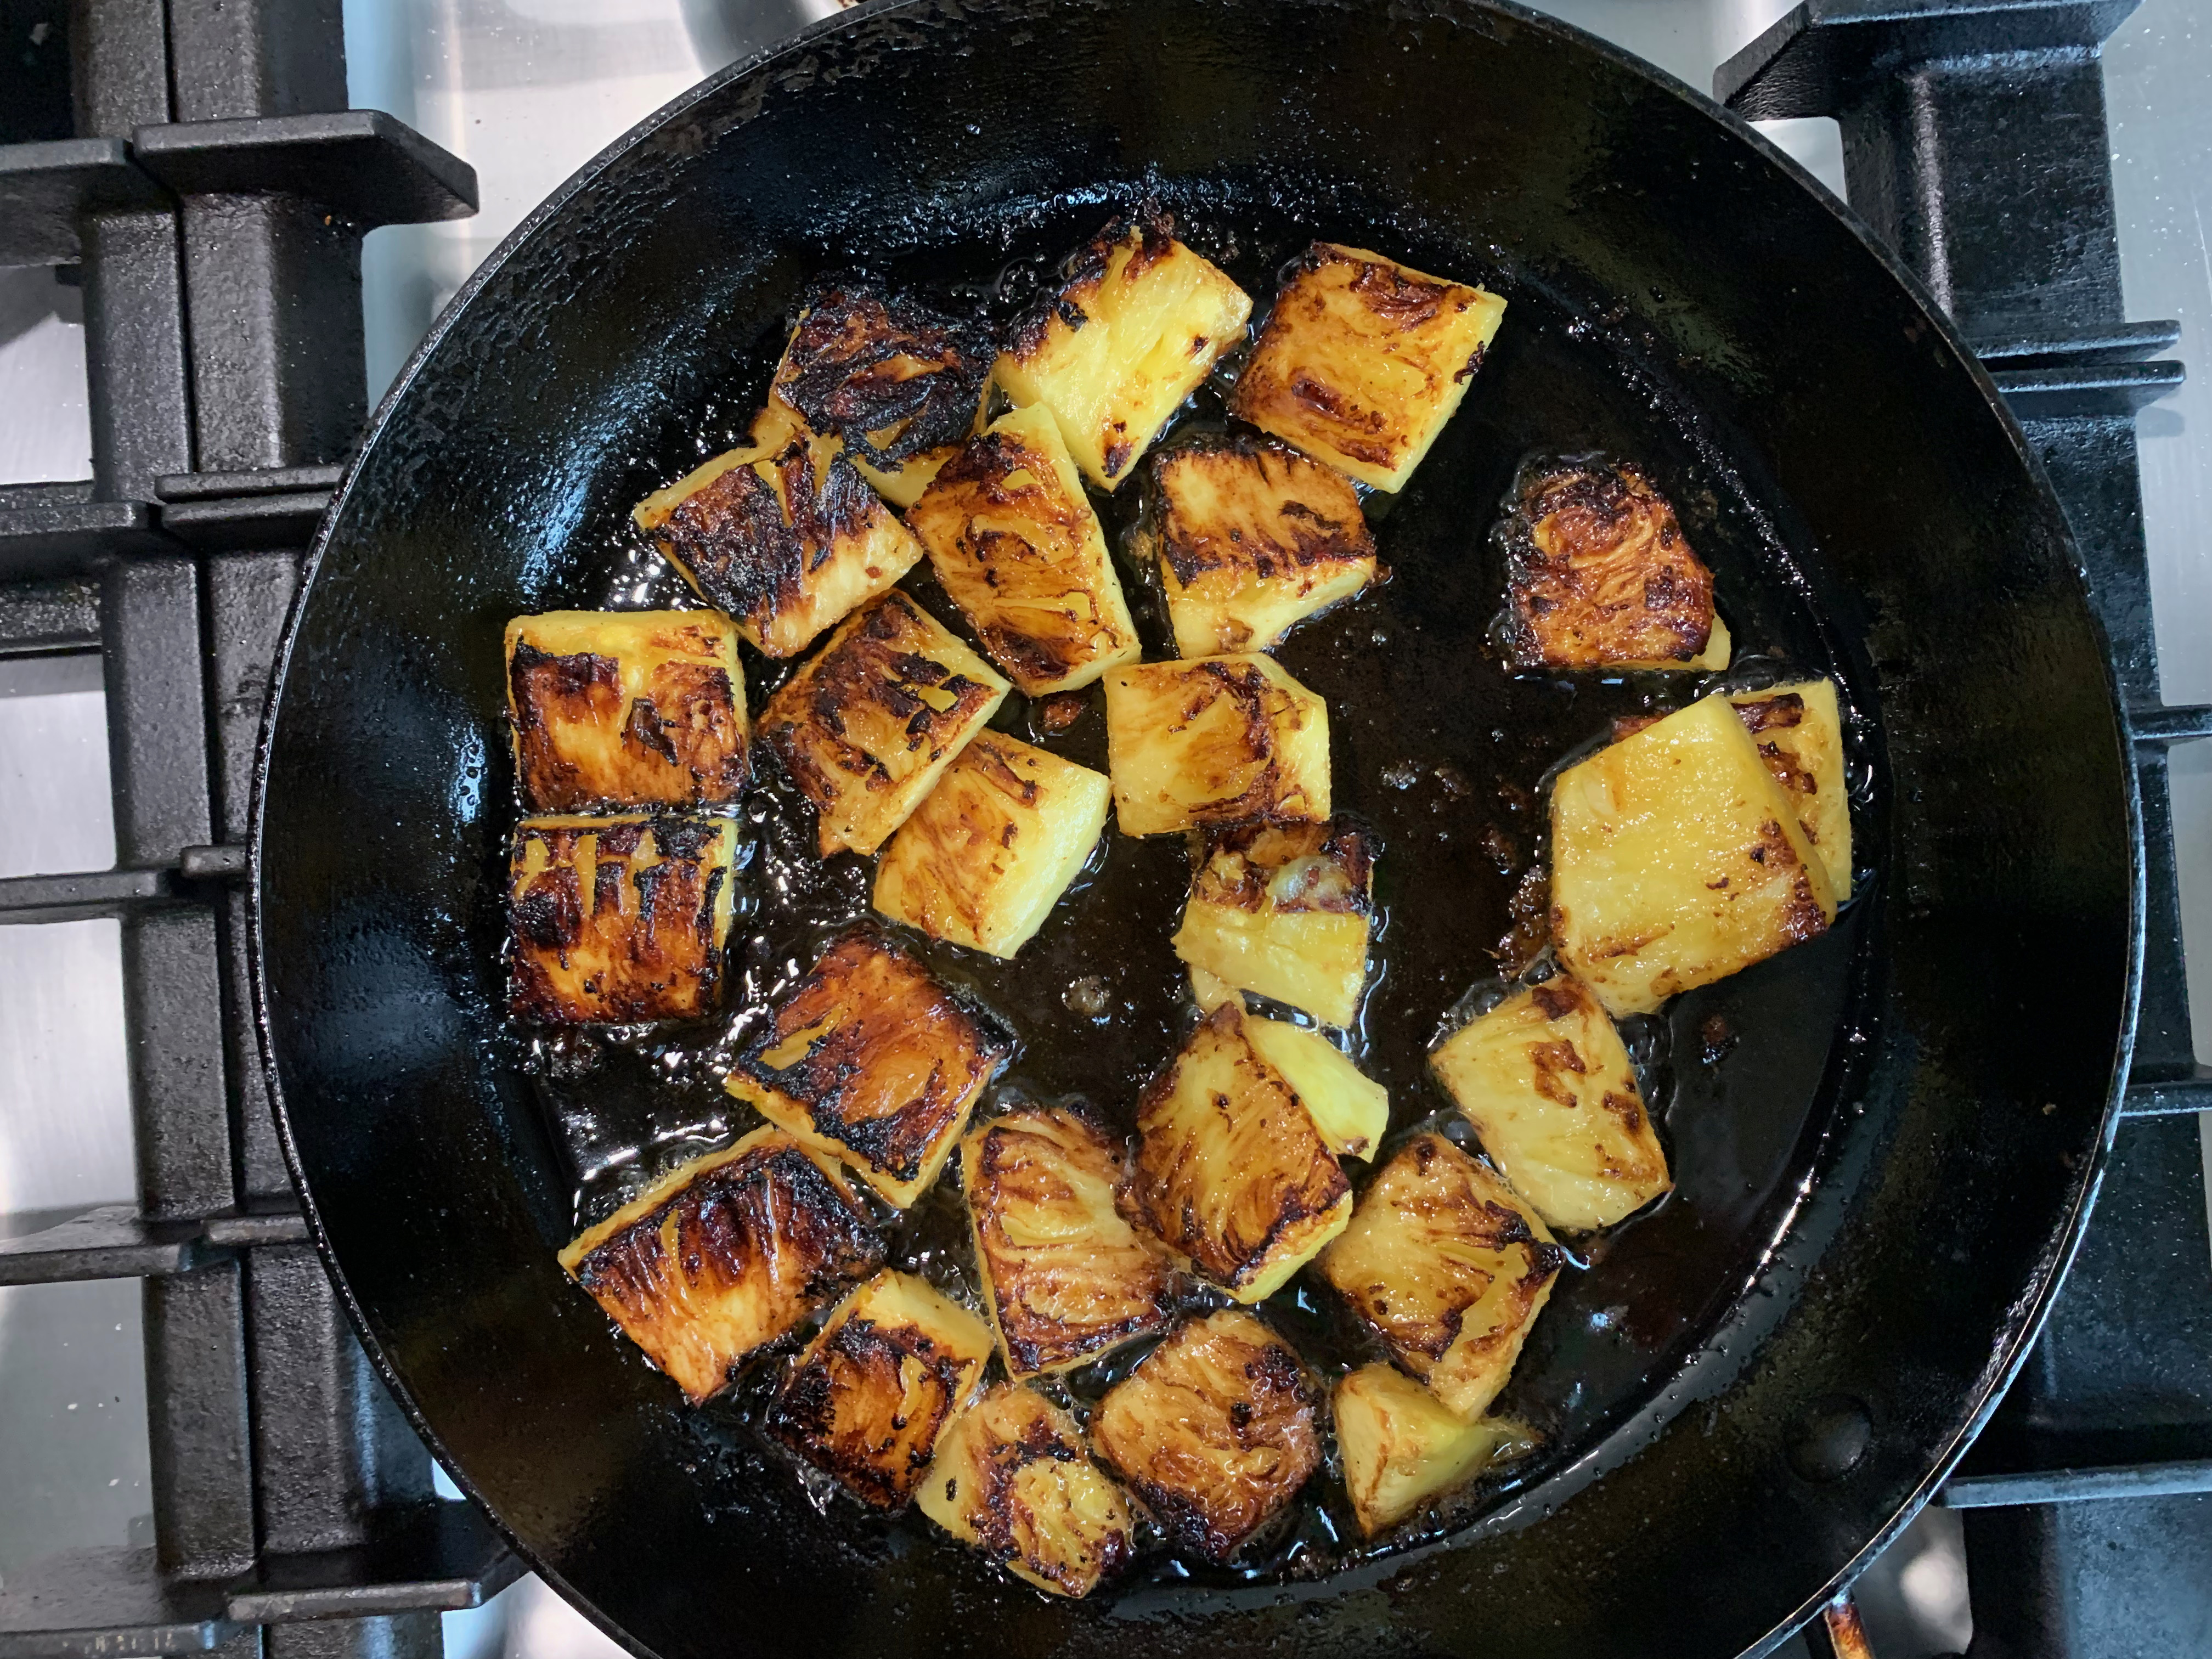
All the pears now in 
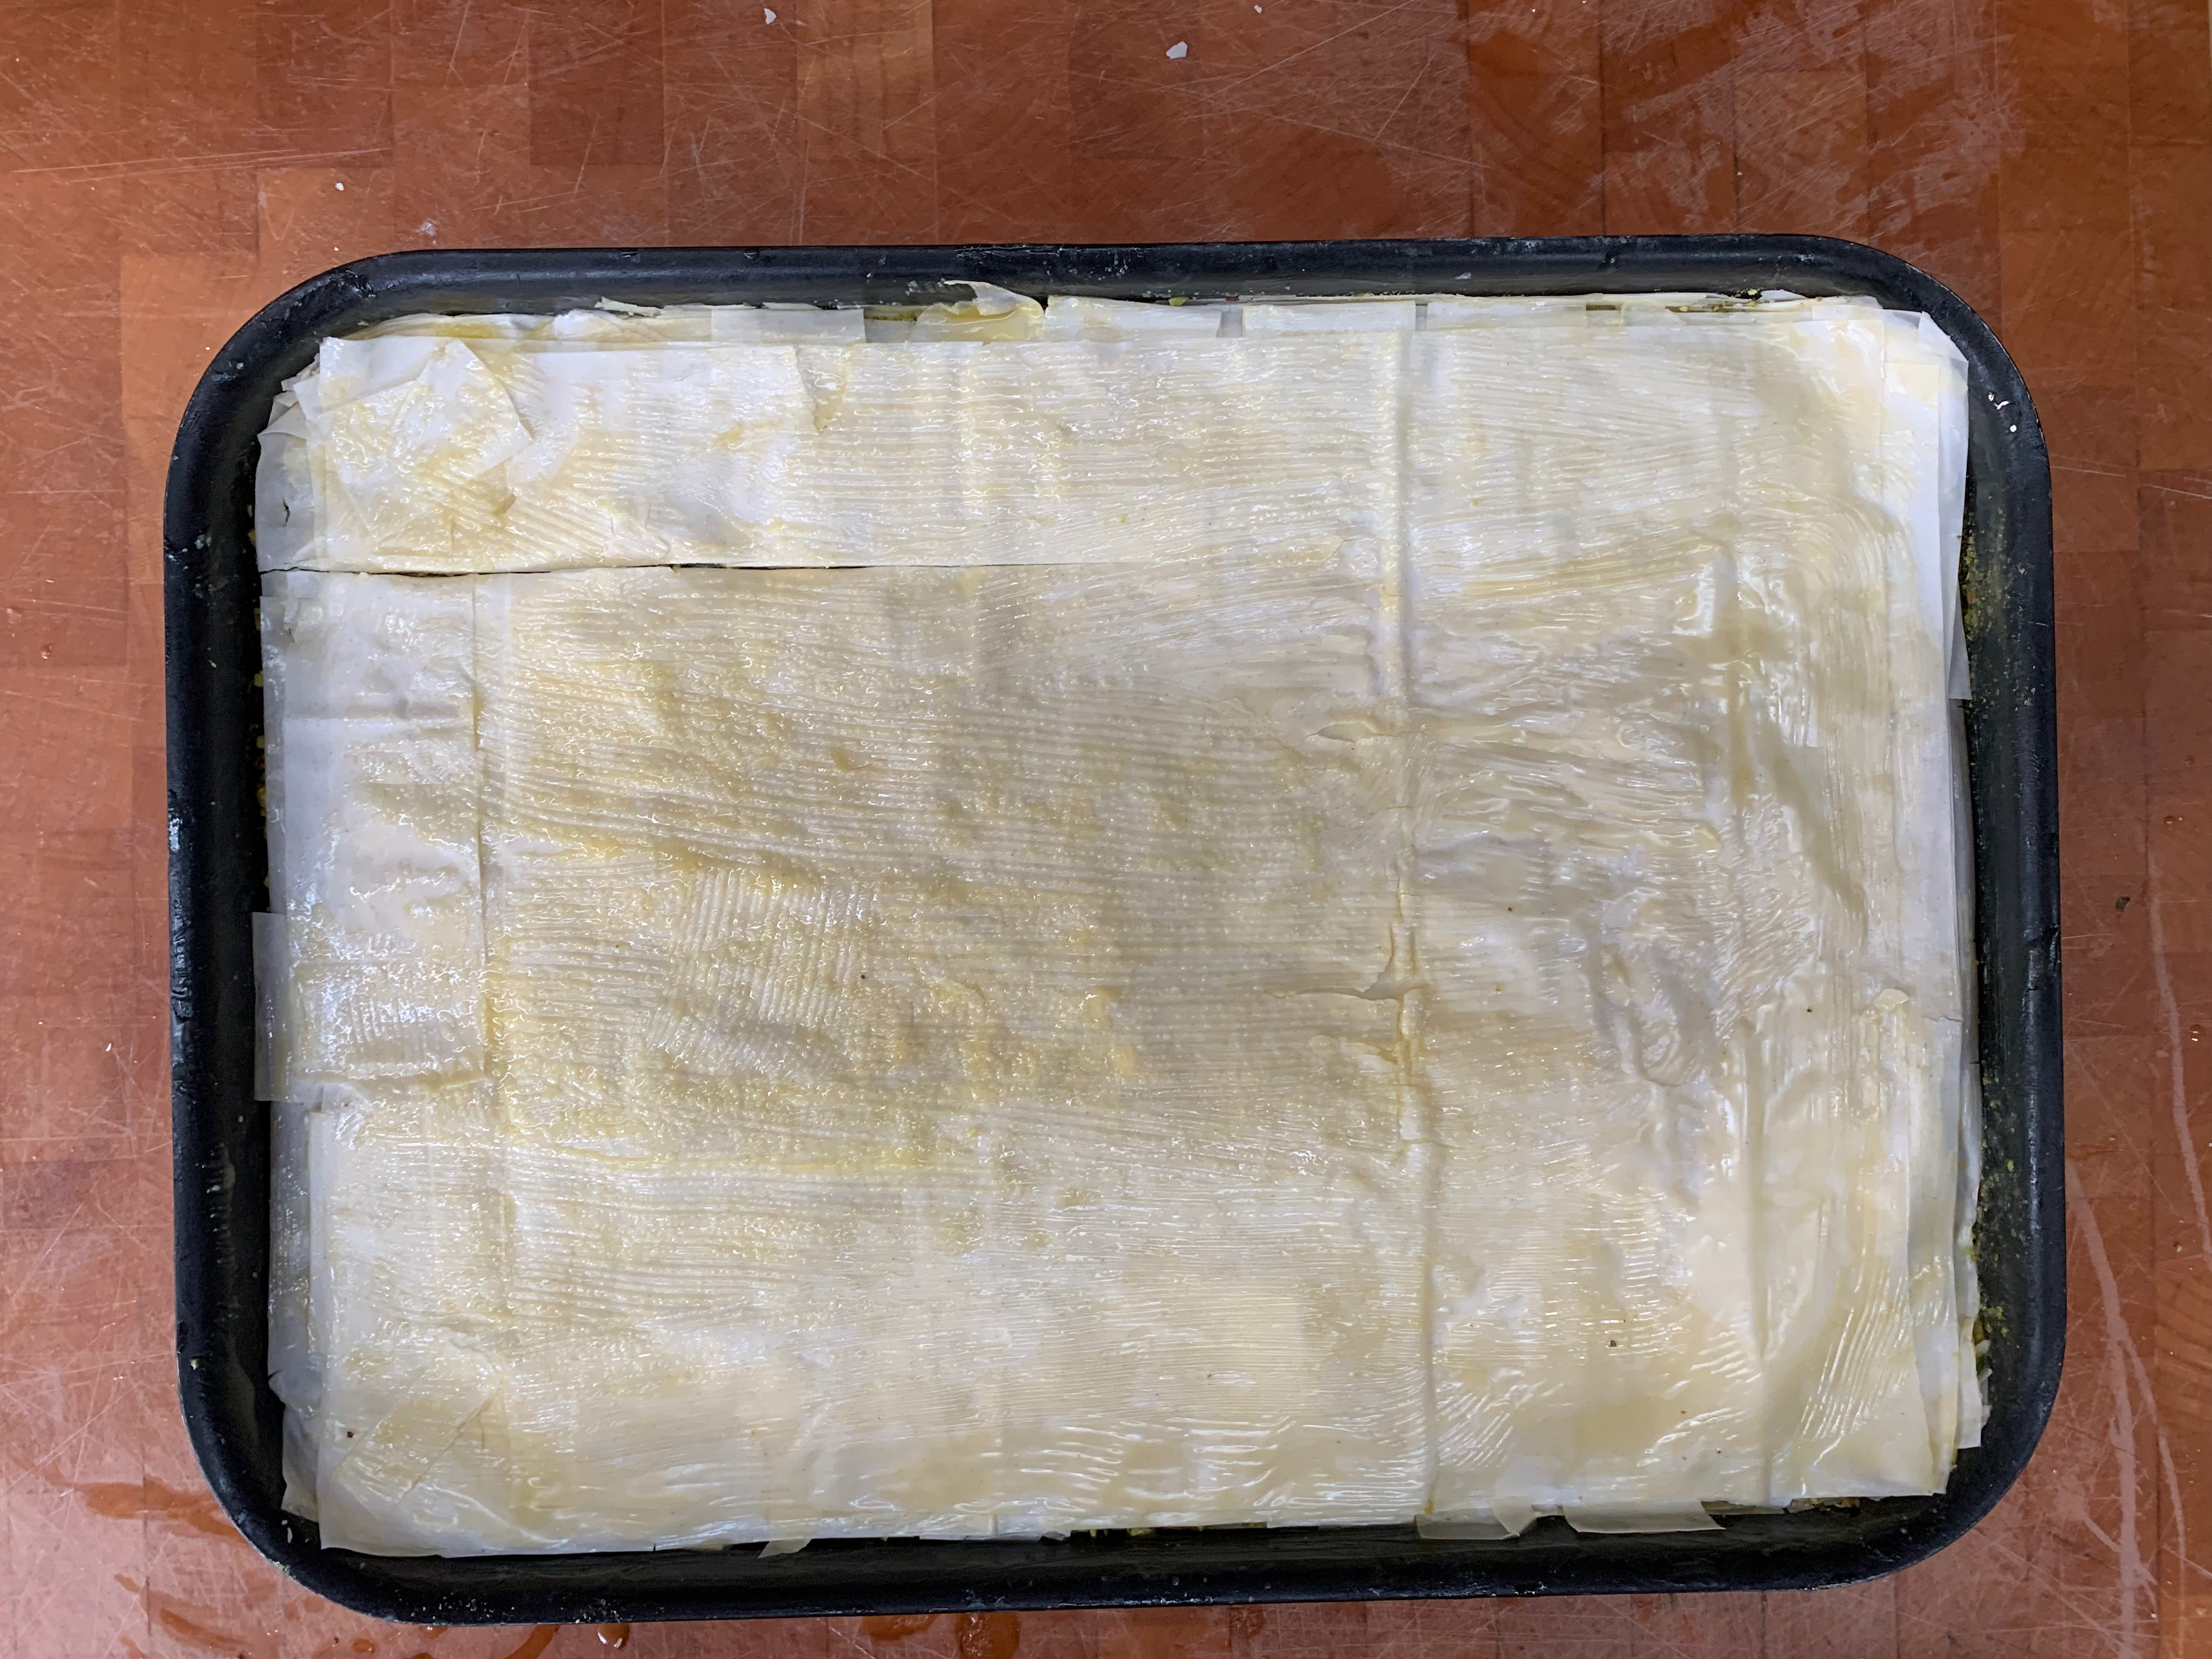
Ready to go into the oven 
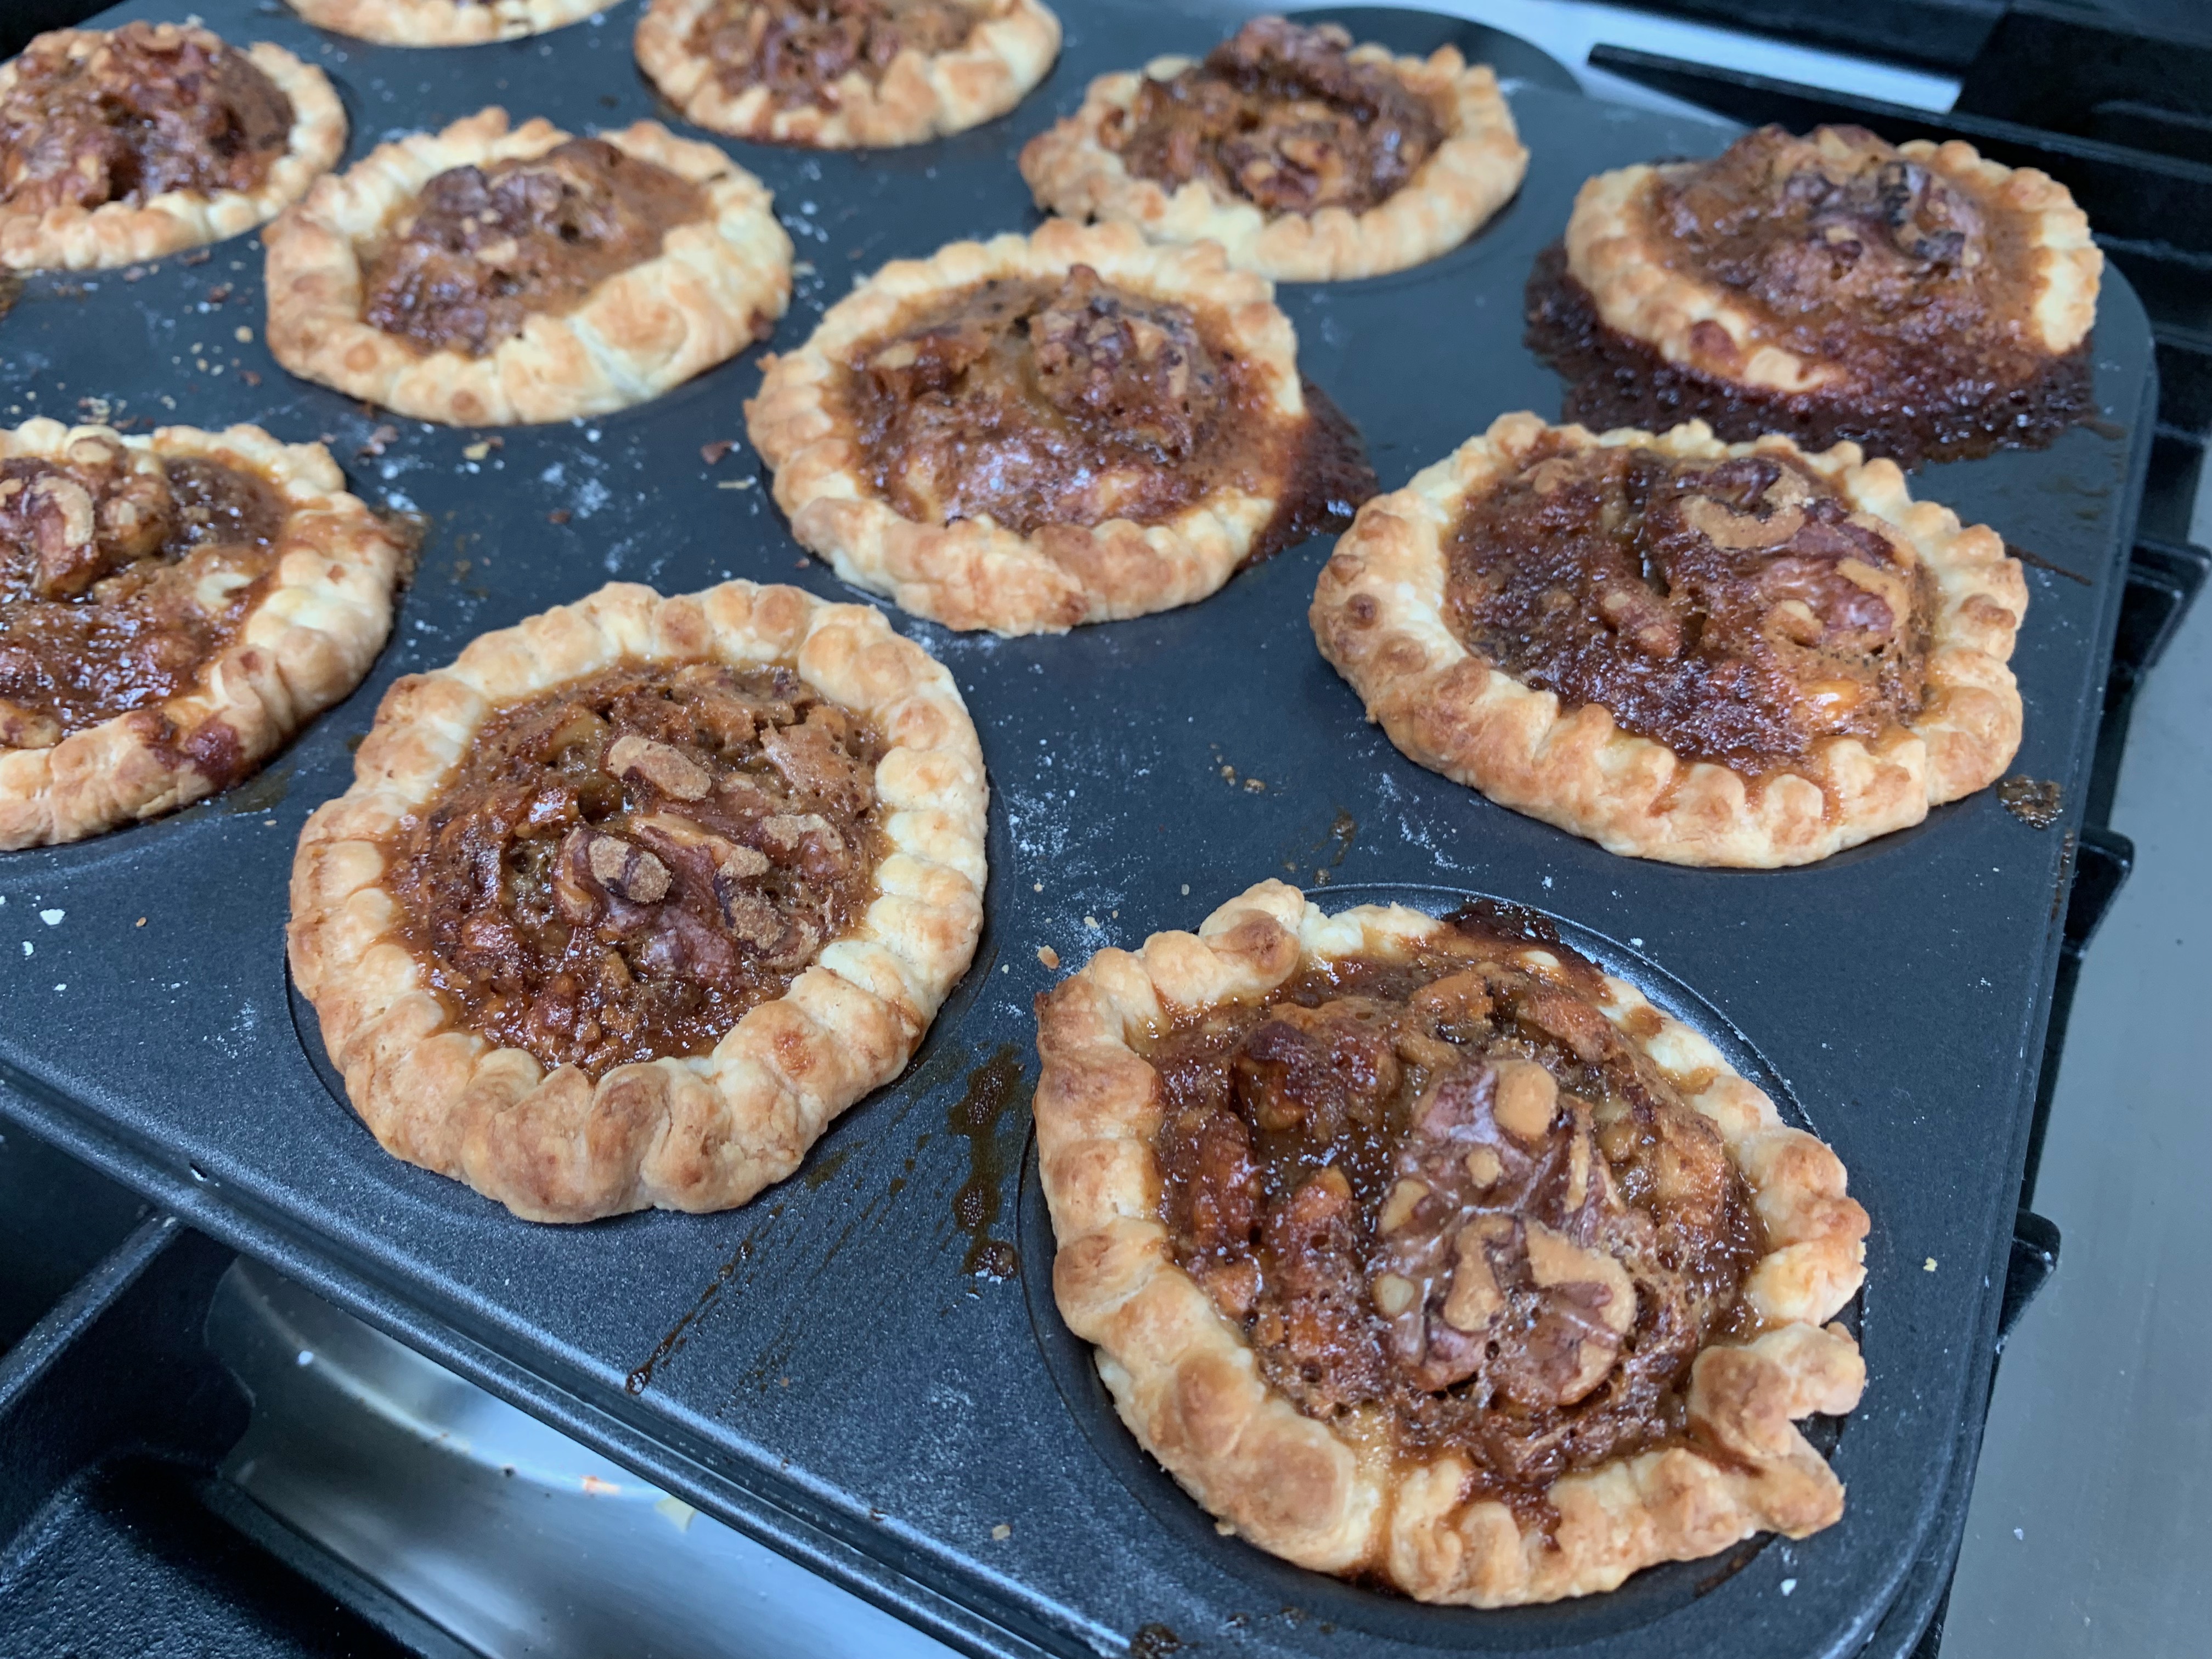
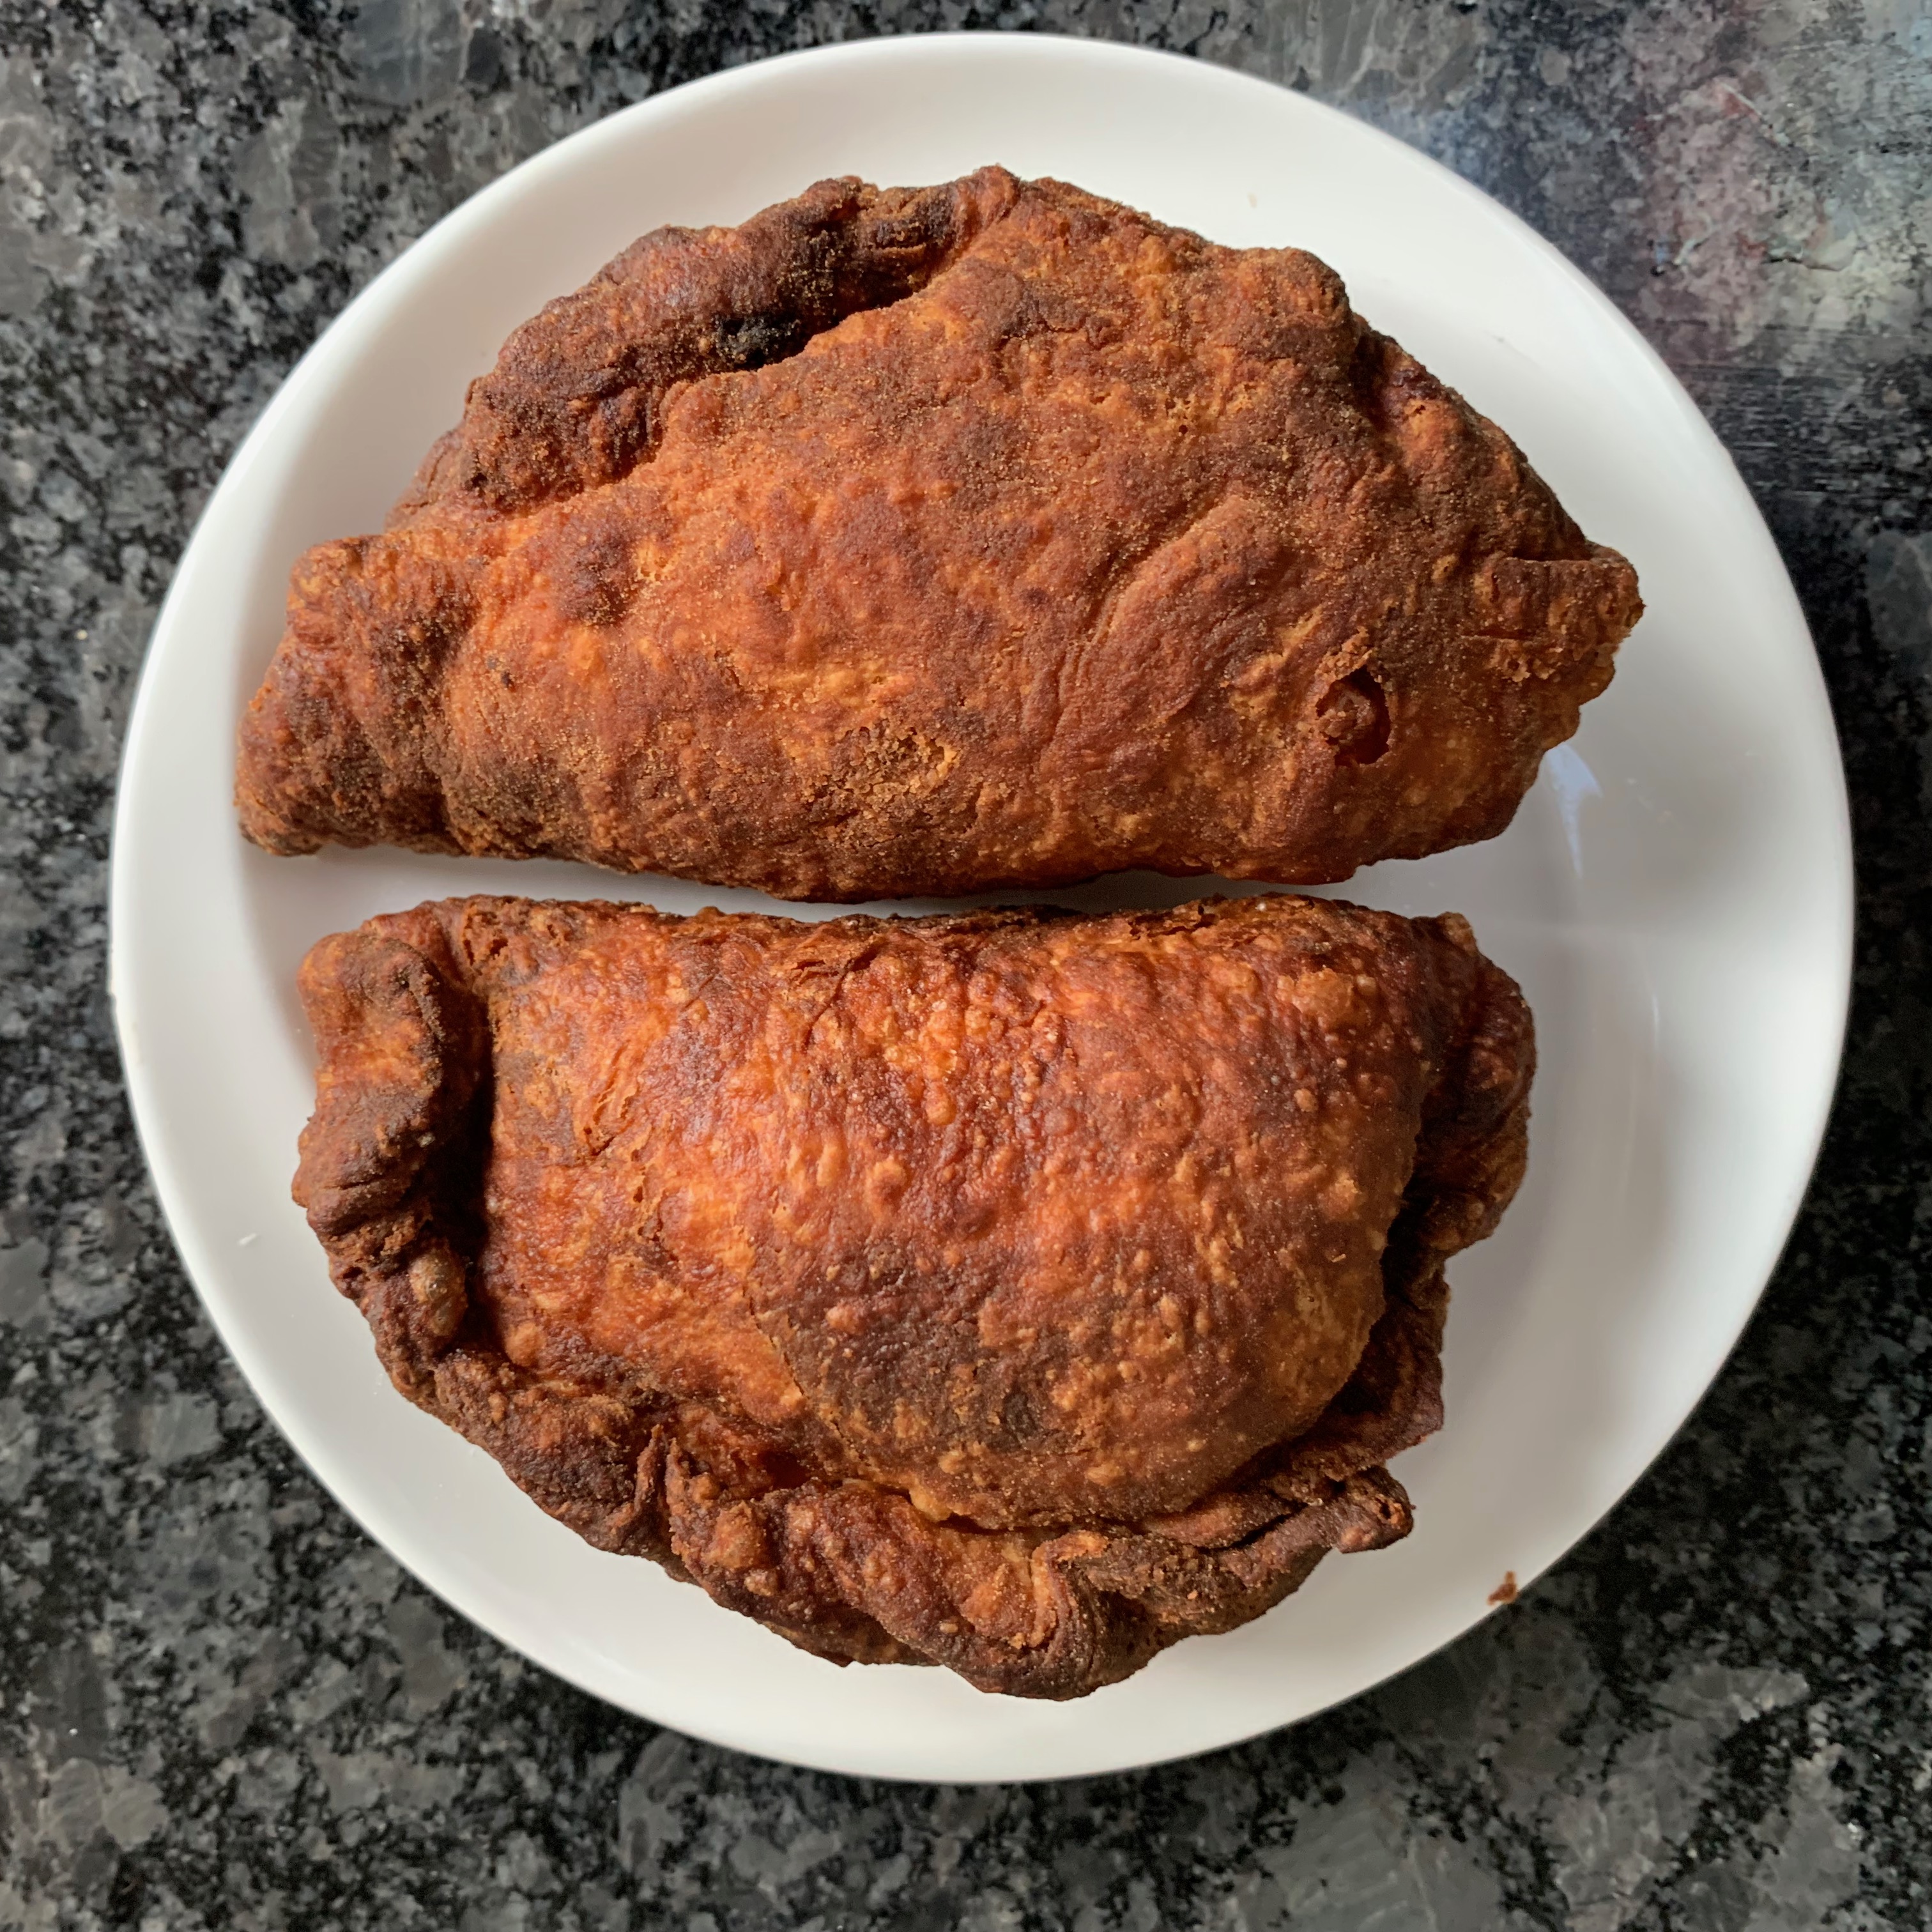
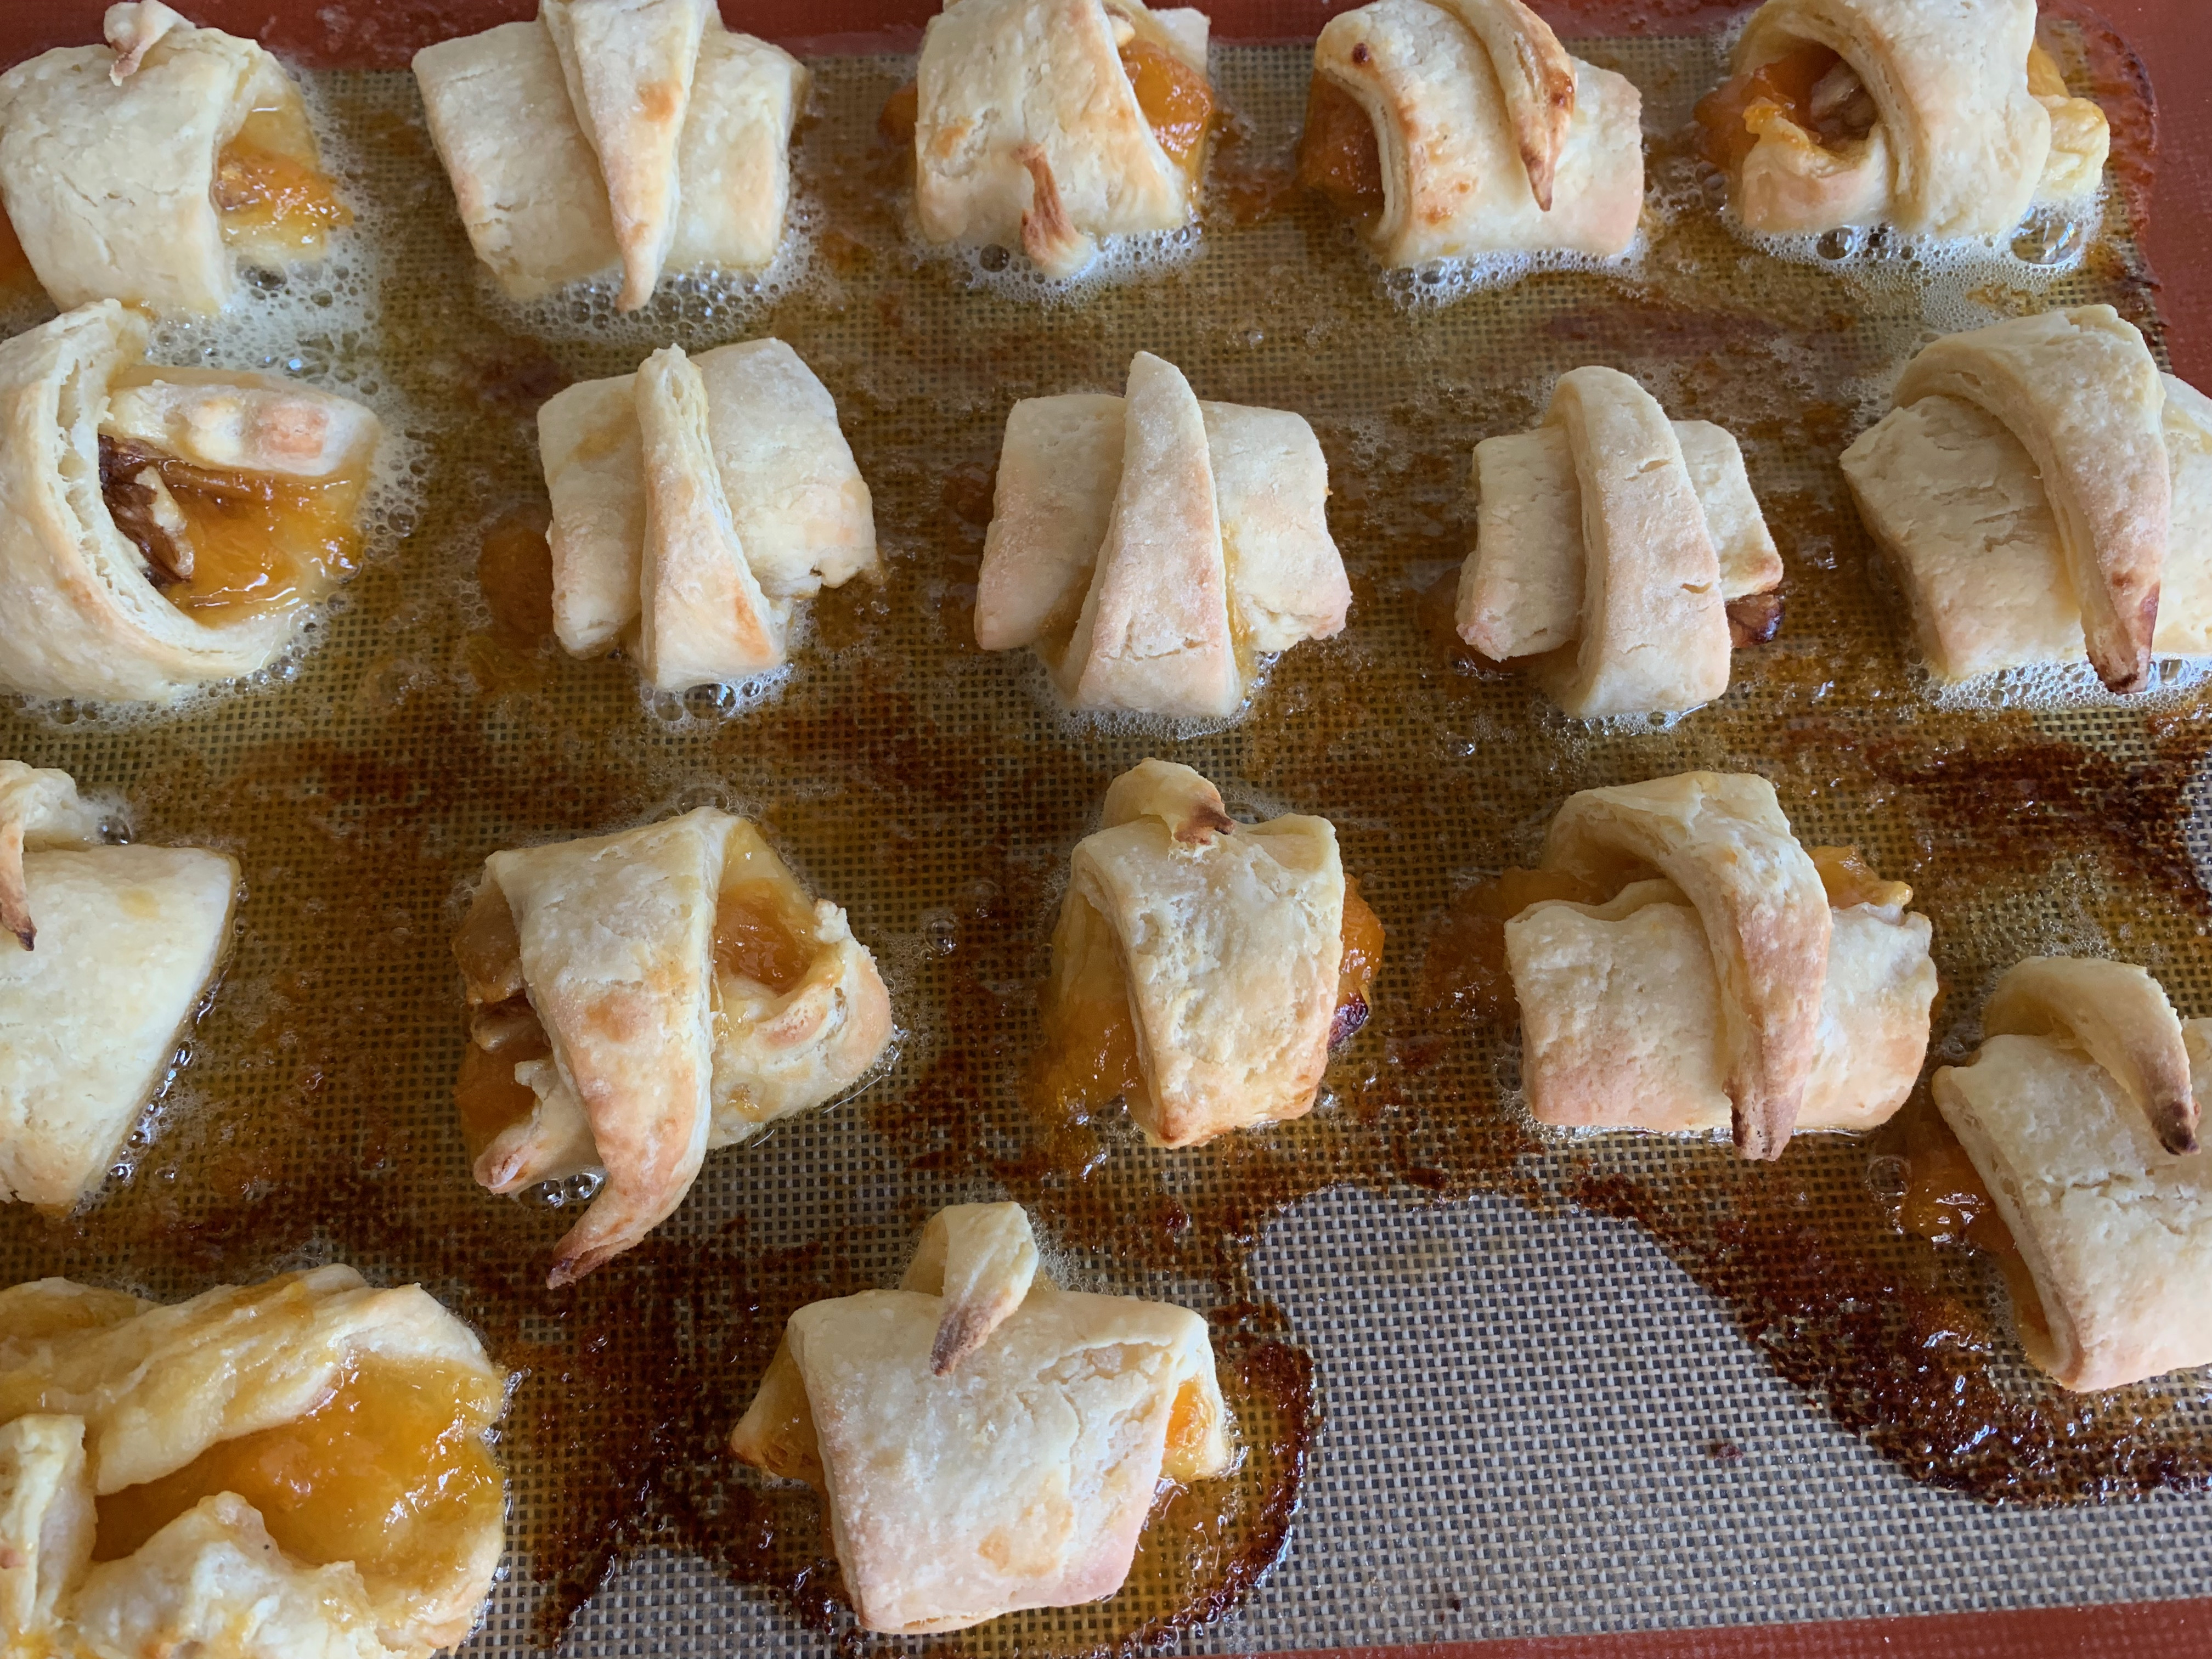
Coming out of the oven