
You will find good rye bread everywhere around the Baltic Sea, but in Latvia, rye bread is virtually a national symbol, with a thousand stories surrounding it. There are many different types, but I’ve chosen one that packs a huge punch of flavour – Latgalian Rye Bread (Latgaliešu Maize). The starting recipe comes from Stanley Ginsberg, who styles himself “The Rye Baker” – his website is a real baker’s treasure trove, with rye bread recipes from all over Europe. His books sound great also.
Warning: this bread is something of a project. There are multiple steps lasting three days, and it’s fiddly as regards temperature control. There’s a Russian language Youtube video (remember, Latvia has a large Russian-speaking population) which is very similar and reminds you on several occasions that you shouldn’t attempt this if you’re a beginner. The techniques, using various scalds and pre-doughs, are similar to the full Russian recipe for Borodinsky (as opposed to the simplified version I did early on in this blog series). Because of the sheer complexity, I’m not sure that it’s a bread I’m going to be making again and again – but for a treat, it’s fantastic.
The point of the recipe is to encourage lots of fermentation and the creation of various sugars, acids and lactobacilli which impart the amazing depth of flavour. Interestingly, this multi-stage process isn’t the only possible method: other methods start with Bulgarian Yoghurt or kefir and I came across one blog post from an agritourism trip to Latvia which describes a traditional baker who left out much of the complexity but went for five days of fermentation in a bucket!
So here goes, largely paraphrasing Stanley Ginsberg and substituting ingredients when I couldn’t get his exact suggestions. I’ve given the exact times I used: obviously, you can shift them around to suit your own day and anyway, I’m sure the timings are by no means precise.
Day 1, around 9pm – “The scald”
- 320g dark rye flour
- 650ml hot water (65℃)
- 20g malt extract
- 5g caraway seeds
- Preheat oven to 55℃.
- Put all the ingredients in the bowl of your stand mixer and mix thoroughly.
- Cover your bowl and put it into the oven for around 18 hours.
Day 1, around 9pm – “The sponge”
- 20g rye sourdough starter
- 50g dark rye flour
- 30ml water tepid (40℃)
- Mix all ingredients in a small bowl or tupperware. It will result in a very thick dough.
- Cover and leave to stand at room temperature for around 18 hours.
Day 2, around 1pm
- Inspect your two mixtures. They should both be smelling strongly and showing evident signs of fermentation. The scald will have gone very dark, and the sponge will have become, well, spongy in feel.
- Add the sponge to the scald mixture in your mixing bowl and combine thoroughly (I did this with a wooden spoon).
- Cover the bowl and return to the oven, which should still be at 55℃.
Day 2, around 9pm
- 5g dried yeast
- Remove your combined mixture from the oven.
- Add the yeast and stir thoroughly.
- Leave to ferment overnight at room temperature.
Day 3, around 9am
- 600g dark rye flour
- 100ml water
- 5g salt
- 30g honey
- Add the ingredients to your fermented mixture.
- With the dough hook, mix at low speed for 7-10 minutes until thoroughly mixed.
- On a floured board (I used light rye flour), form the dough into a rounded oblong and transfer onto a piece of baking paper.
- For the full traditional look, use your fingers to make indentations into the loaf. By tradition, each area of Latvia had its own signature: I just went for a few bars on each side.
- Brush the loaf with water, cover with a tea towel and leave to rise at room temperature for 60-90 minutes. You will need to brush water over the loaf regularly to stop it drying out – every 15-20 minutes or so.
Final bake and glaze
- 3g cornflour
- 150 ml water
- In plenty of time before your loaf has finished rising, preheat oven to 250℃ fan, with a pizza stone placed inside.
- Brush your loaf with water one last time, then transfer it on its baking paper to the pizza stone.
- Bake for 45 minutes.
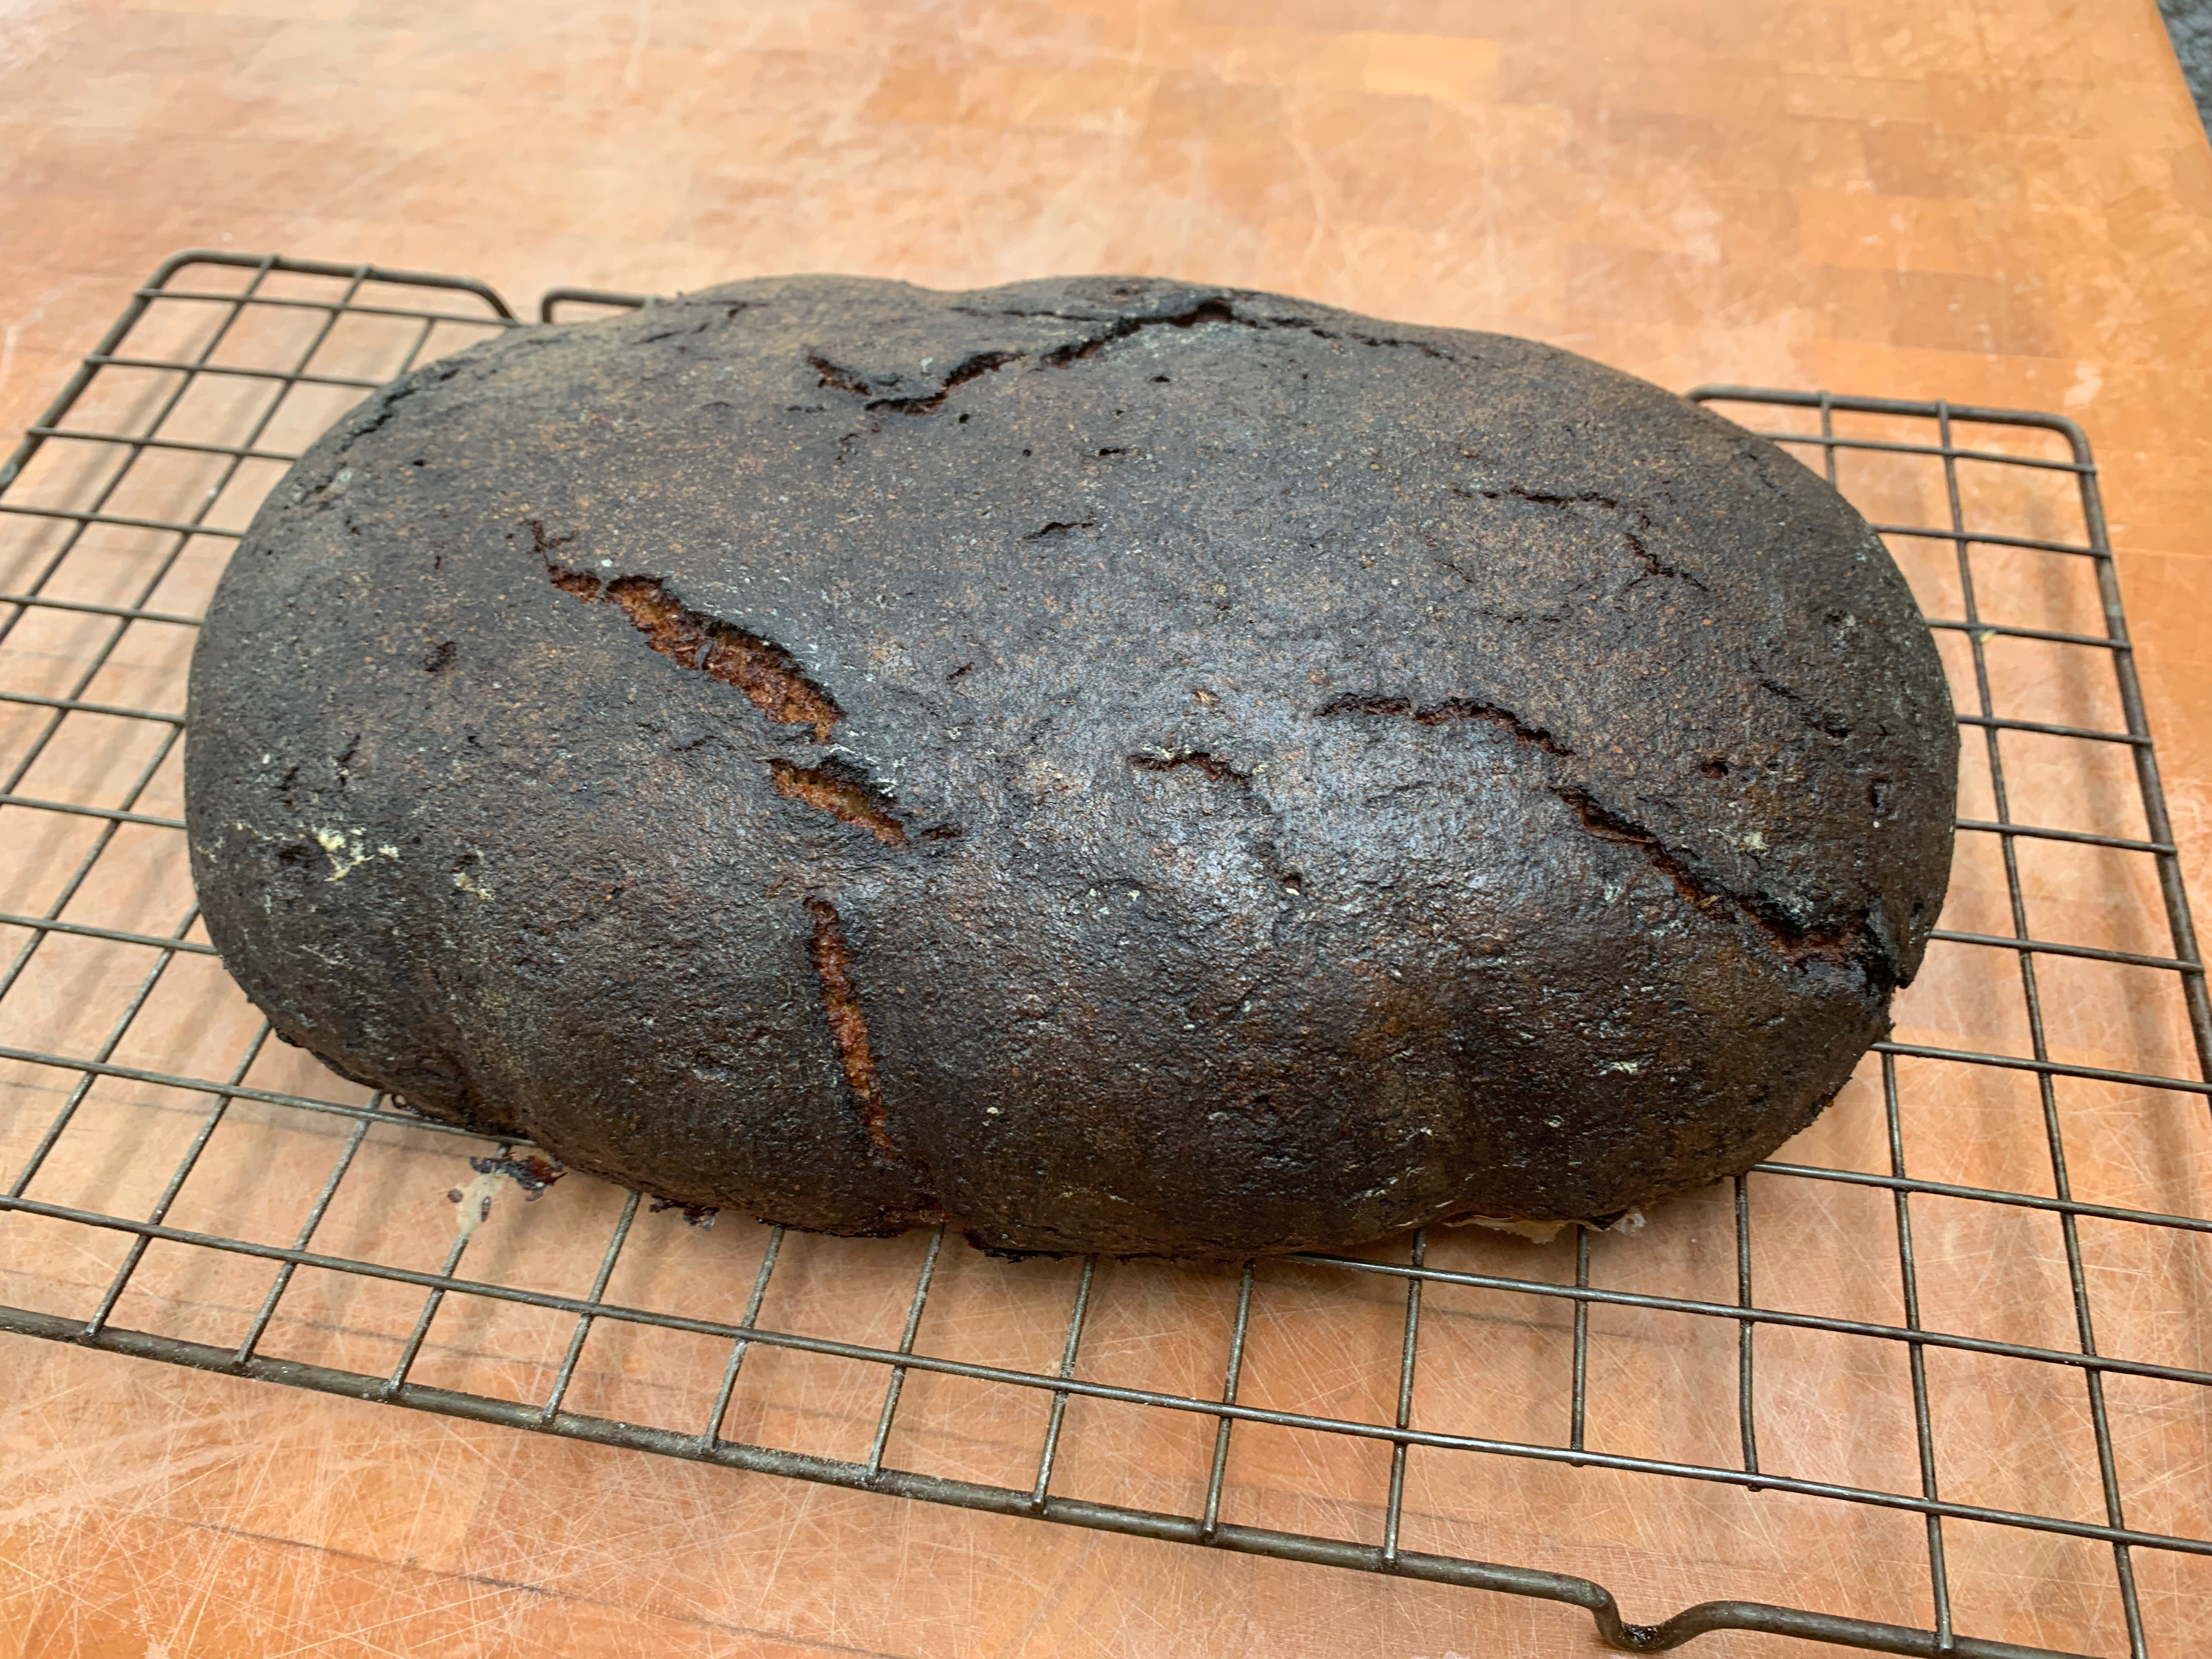
- Reduce the temperature to 200℃ fan. Keep baking until the internal temperature is around 95℃ – probably another 20 minutes (admission: I underbaked mine by a few minutes, so you can see from the photo that it’s a bit doughy. It still tasted fabulous).
- Brush the glaze over the loaf, return to the oven and bake for another 5 minutes.
- Cool the loaf on a rack.

As written, on day 1 the scald is put into an oven at 55 degrees C, which is 131 F. Most electric ovens (at least the inexpensive ones in most American homes) aren’t built to maintain temperature lower than 175 degrees F. What sort of equipment are you using for this step? It is confusing that on Day 2 you say to “lower” the oven temperature to 55 degrees C, which is the SAME temperature that’s listed in Day 1. Does that mean there is a mistake somewhere? What are the actual temperatures that are intended for each step? And can you clarify why the day 1 scald and day 2 mixture are at an elevated temperature, in contrast to other similar baltic ryes, where the scald and 2nd day dough are incubated at room temperature.
LikeLike
Thanks the questions and sorry for delay in reply!
(1) Electric ovens in Europe are often capable of being set all the way down to 50C.
(2) You’re correct – the word “lower” is nonsense. I’ll fix this.
(3) With all this kind of baking, you can pretty much always use a lower temperature and expect things to take longer, so I’m sure you can do the incubation at room temperature and it will work. And I’m not going to claim to have huge amounts of experience in using scalds, so if you have, I would be inclined to follow processes that you’re comfortable with rather than following slavishly what’s written here. Follow the link to Stanley Ginsberg’s original (which is in American units, btw) if you want to see his explanation.
Hope that helps…
LikeLike
The reason for the holding the “scald” at temperature is starch conversion. The recipe as listed doesn’t say it, but the malt/malt extract must be diastatic malt, meaning the enzymes that convert starches to sugars haven’t been destroyed by roasting. Holding the scald at that specific temperature for the specified time allows the enzymes to do their job and convert the starches in the grains into sugars.
Using non-diastatic malt, or the wrong temperature will not get you the desired result.
LikeLike