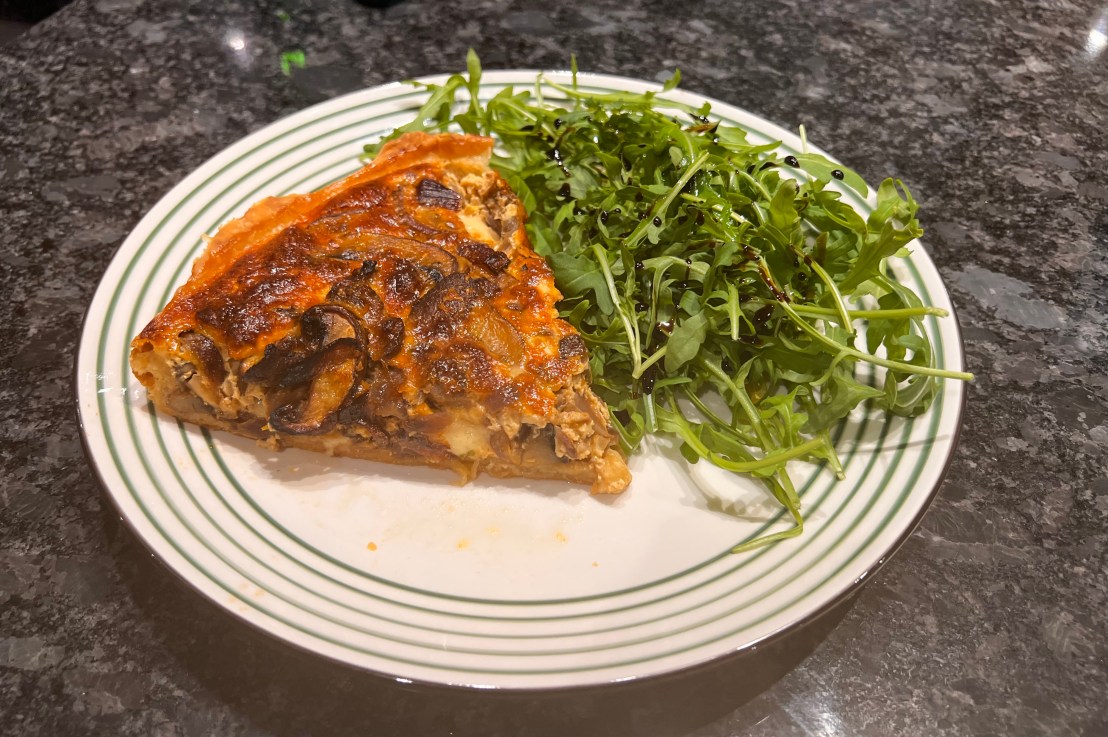
For anyone old enough to remember the 80s and Bruce Feirstein’s Real Men Don’t Eat Quiche: this particular real man not only eats quiche but also loves making them. But I’m picky about what sort of quiche: I’m not particularly fond of the thick version that’s essentially pastry-coated set custard, possibly with a few flecks of bacon. The version I love has thin, crisp pastry and is packed with flavourful ingredients (the egg binds it all together, but isn’t the principal component of the dish) and it’s backed to a gorgeous golden brown.
I make a bunch of variations on this particular theme. This Mushroom and Comté tart is my all time favourite dish to serve to vegetarian guests, but I also make versions with different cheeses and various nuts, peppers or other vegetables. If I’m not serving vegetarians, I will often add bacon or chorizo; if in the mood for spice, different chilies and peppercorns can put in an appearance.
This recipe is on the luxury end of ingredients: the truffle oil at the end is very optional; Cheddar is a perfectly good substitute for the Comté, albeit with a different flavour profile. The dried porcini can get very expensive in the UK (we buy them in bulk during trips to Italy): a teaspoon or two of white miso paste will add plenty of extra umami at noticeably lower price.
With the aid of a side salad or two, the quantities here will serve six generously as a main course and, depending on how hungry your guests are, will do 8-12 for a starter.
For the pastry, I use a stand mixer to combine the butter and flour. You can also use a food processor, or you can just use your fingers; whichever you choose, try to keep the ingredients cold.
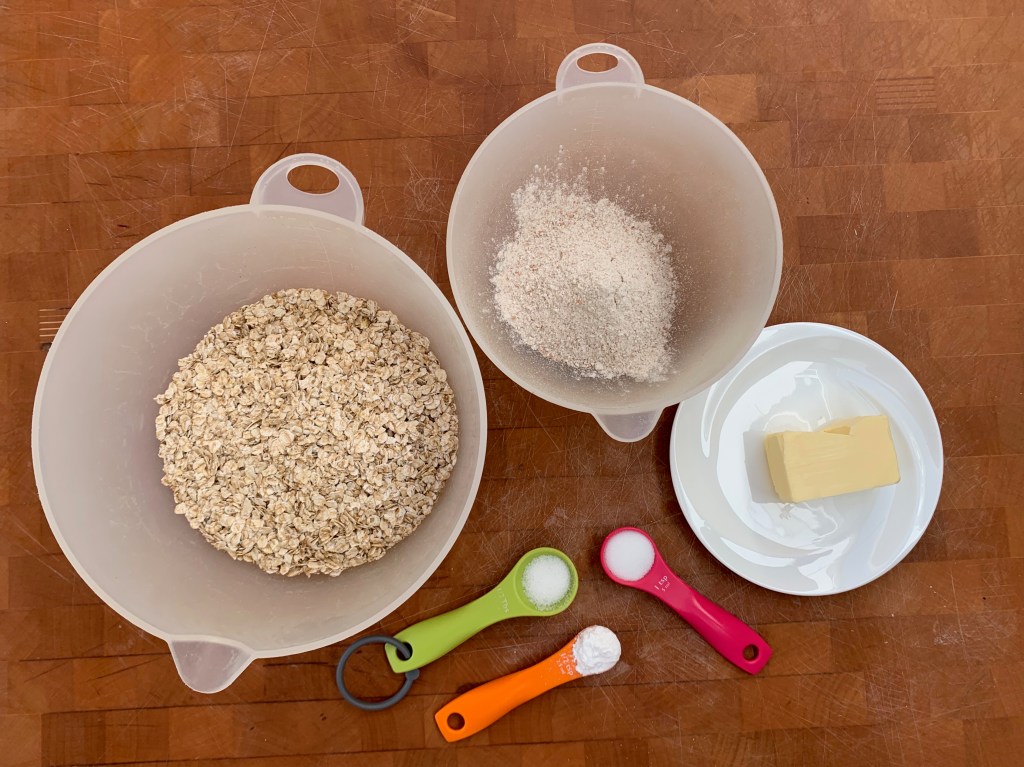
Pastry
- 250g plain flour (preferably OO)
- 2g salt
- 125g unsalted butter, cold from fridge
- 30g yoghurt (I used Greek)
- 2 eggs
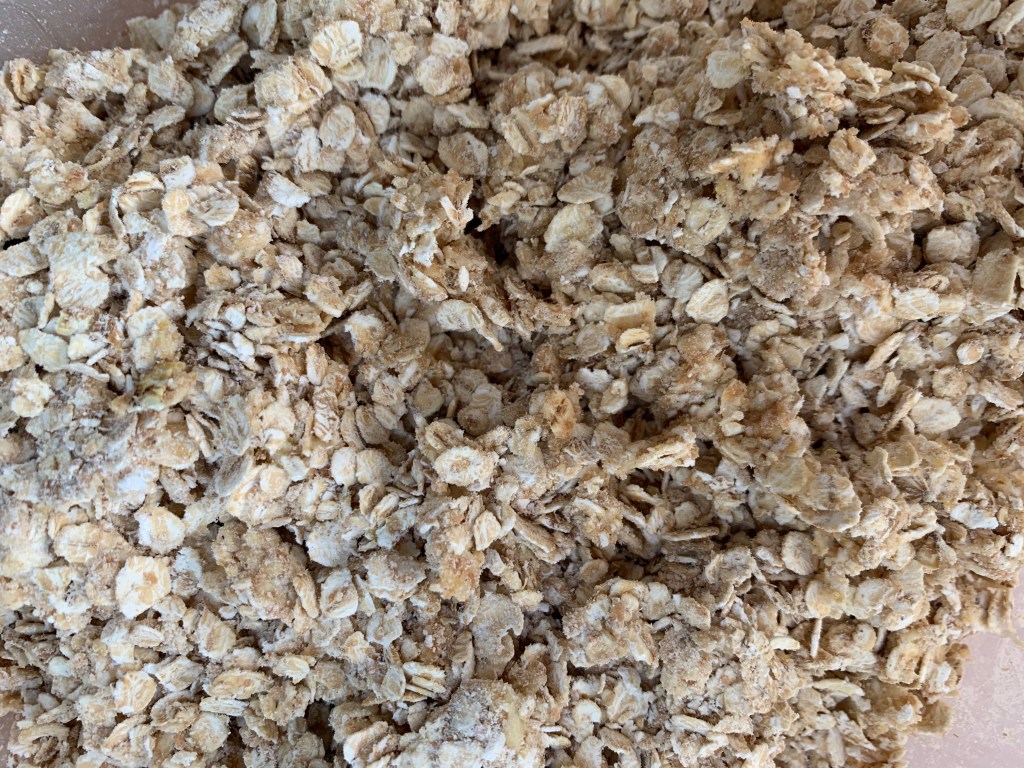
- Put flour and salt into a mixing bowl. Cut the butter into small cubes (perhaps 5mm) and add them.
- Mix the flour and butter until it reaches the texture of coarse breadcrumbs.
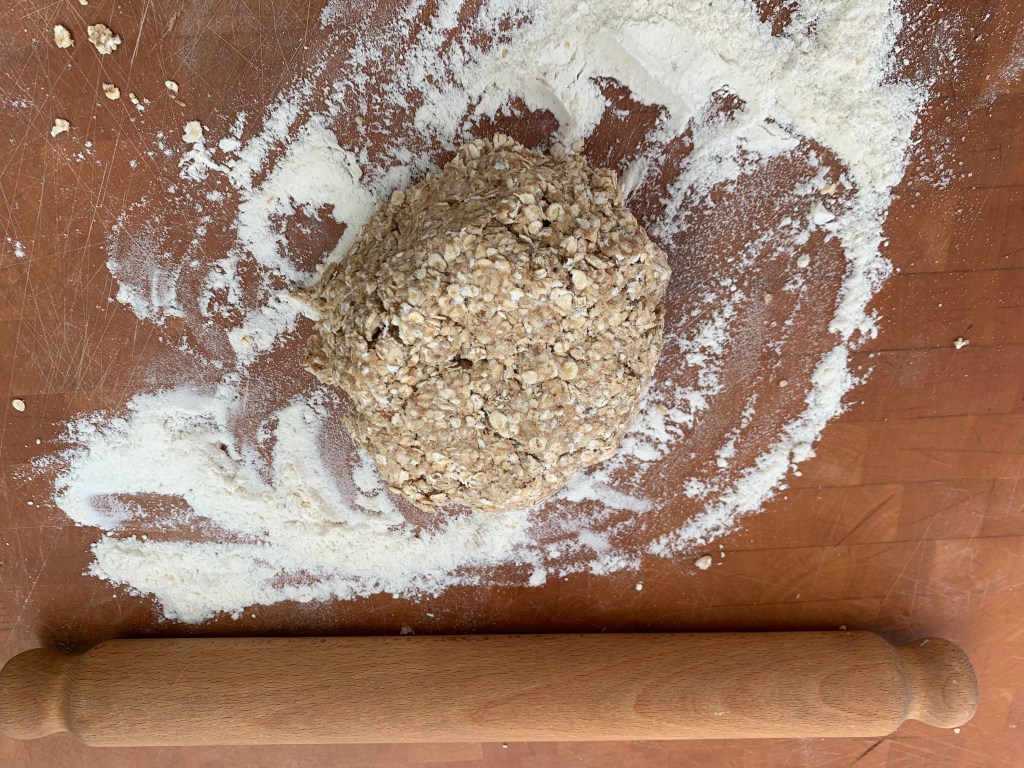
- In a small bowl, beat the eggs and yoghurt together, then add to the flour/butter mixture.
- Mix until well combined into a smooth dough. Knead a few times with your hands, wrap in cling film and put in the fridge, preferably for 30 minutes or more (this will develop the gluten which will make the pastry stretchy and easier to roll).
Filling
- Dried porcini to taste (I use around 15-20g)
- Olive oil for frying – perhaps 20ml
- 1 medium red onion (could use brown; could use a larger onion – 200g peeled weight)
- 400g chestnut mushrooms
- 1 tsp paprika (or choose your favourite seasoning: I’ve used different chilies and chili flakes; the best was some peppercorns my daughter brought home from a holiday in Madagascar).
- 1 tsp dried oregano
- A handful of garlic chives (optional, or could choose some other herb)
- Salt and pepper to taste
- Chop the onions finely
- Slice the mushrooms
- In a small bowl, cover the dried porcini in hot water and leave them for a few minutes to rehydrate
- In a deep frying pan or wok on medium heat, fry the onions until transparent
- Drain the porcini, add them and fry for another minute or so
- Add the sliced mushrooms, paprika and dried oregano; fry until they are cooked and most of the liquid has evaporated.
- Add the garlic chives, salt and pepper and mix; take off the heat

Final assembly
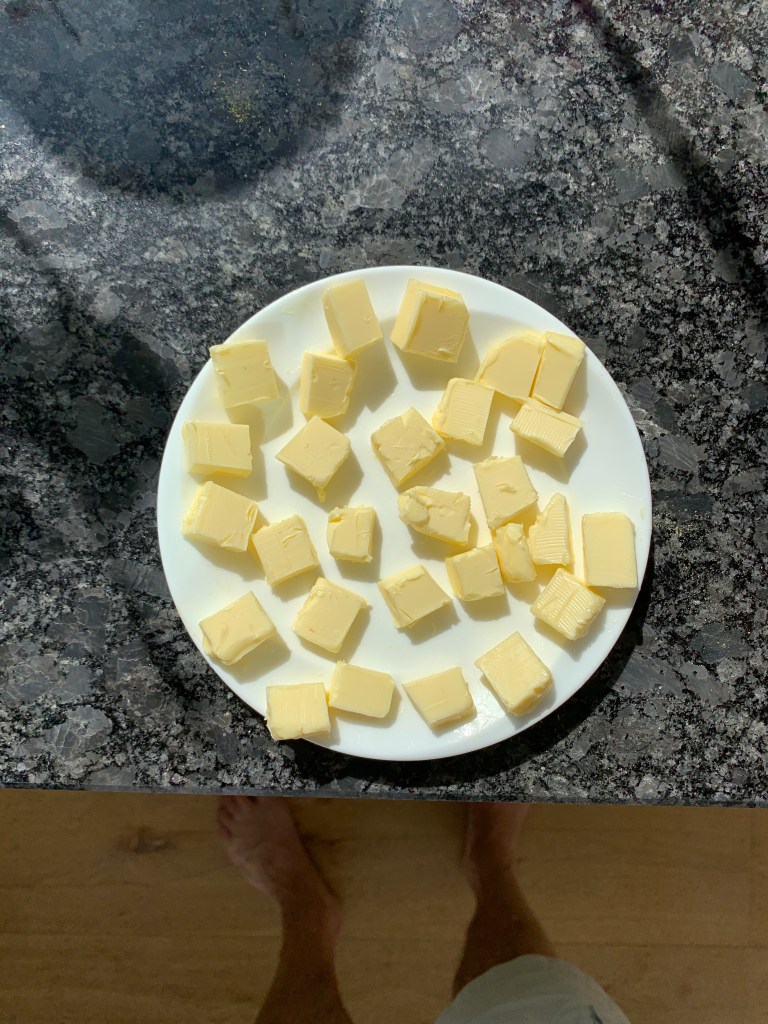
- 200g Comté cheese (Gruyère works fine; so would Beaufort; Cheddar would be a good cheaper alternative)
- 4 eggs
- Butter for greasing the tart tin
- Flour for rolling
- 200 ml milk
- 30g Parmesan, grated
- Truffle oil (optional)
- Preheat oven to 200℃ fan
- Chop the cheese into cubes, around 1cm.
- Separate one egg: you’ll put the white into a small bowl and the yolk into a medium-to-large bowl. Put the other three eggs in with the yolk.
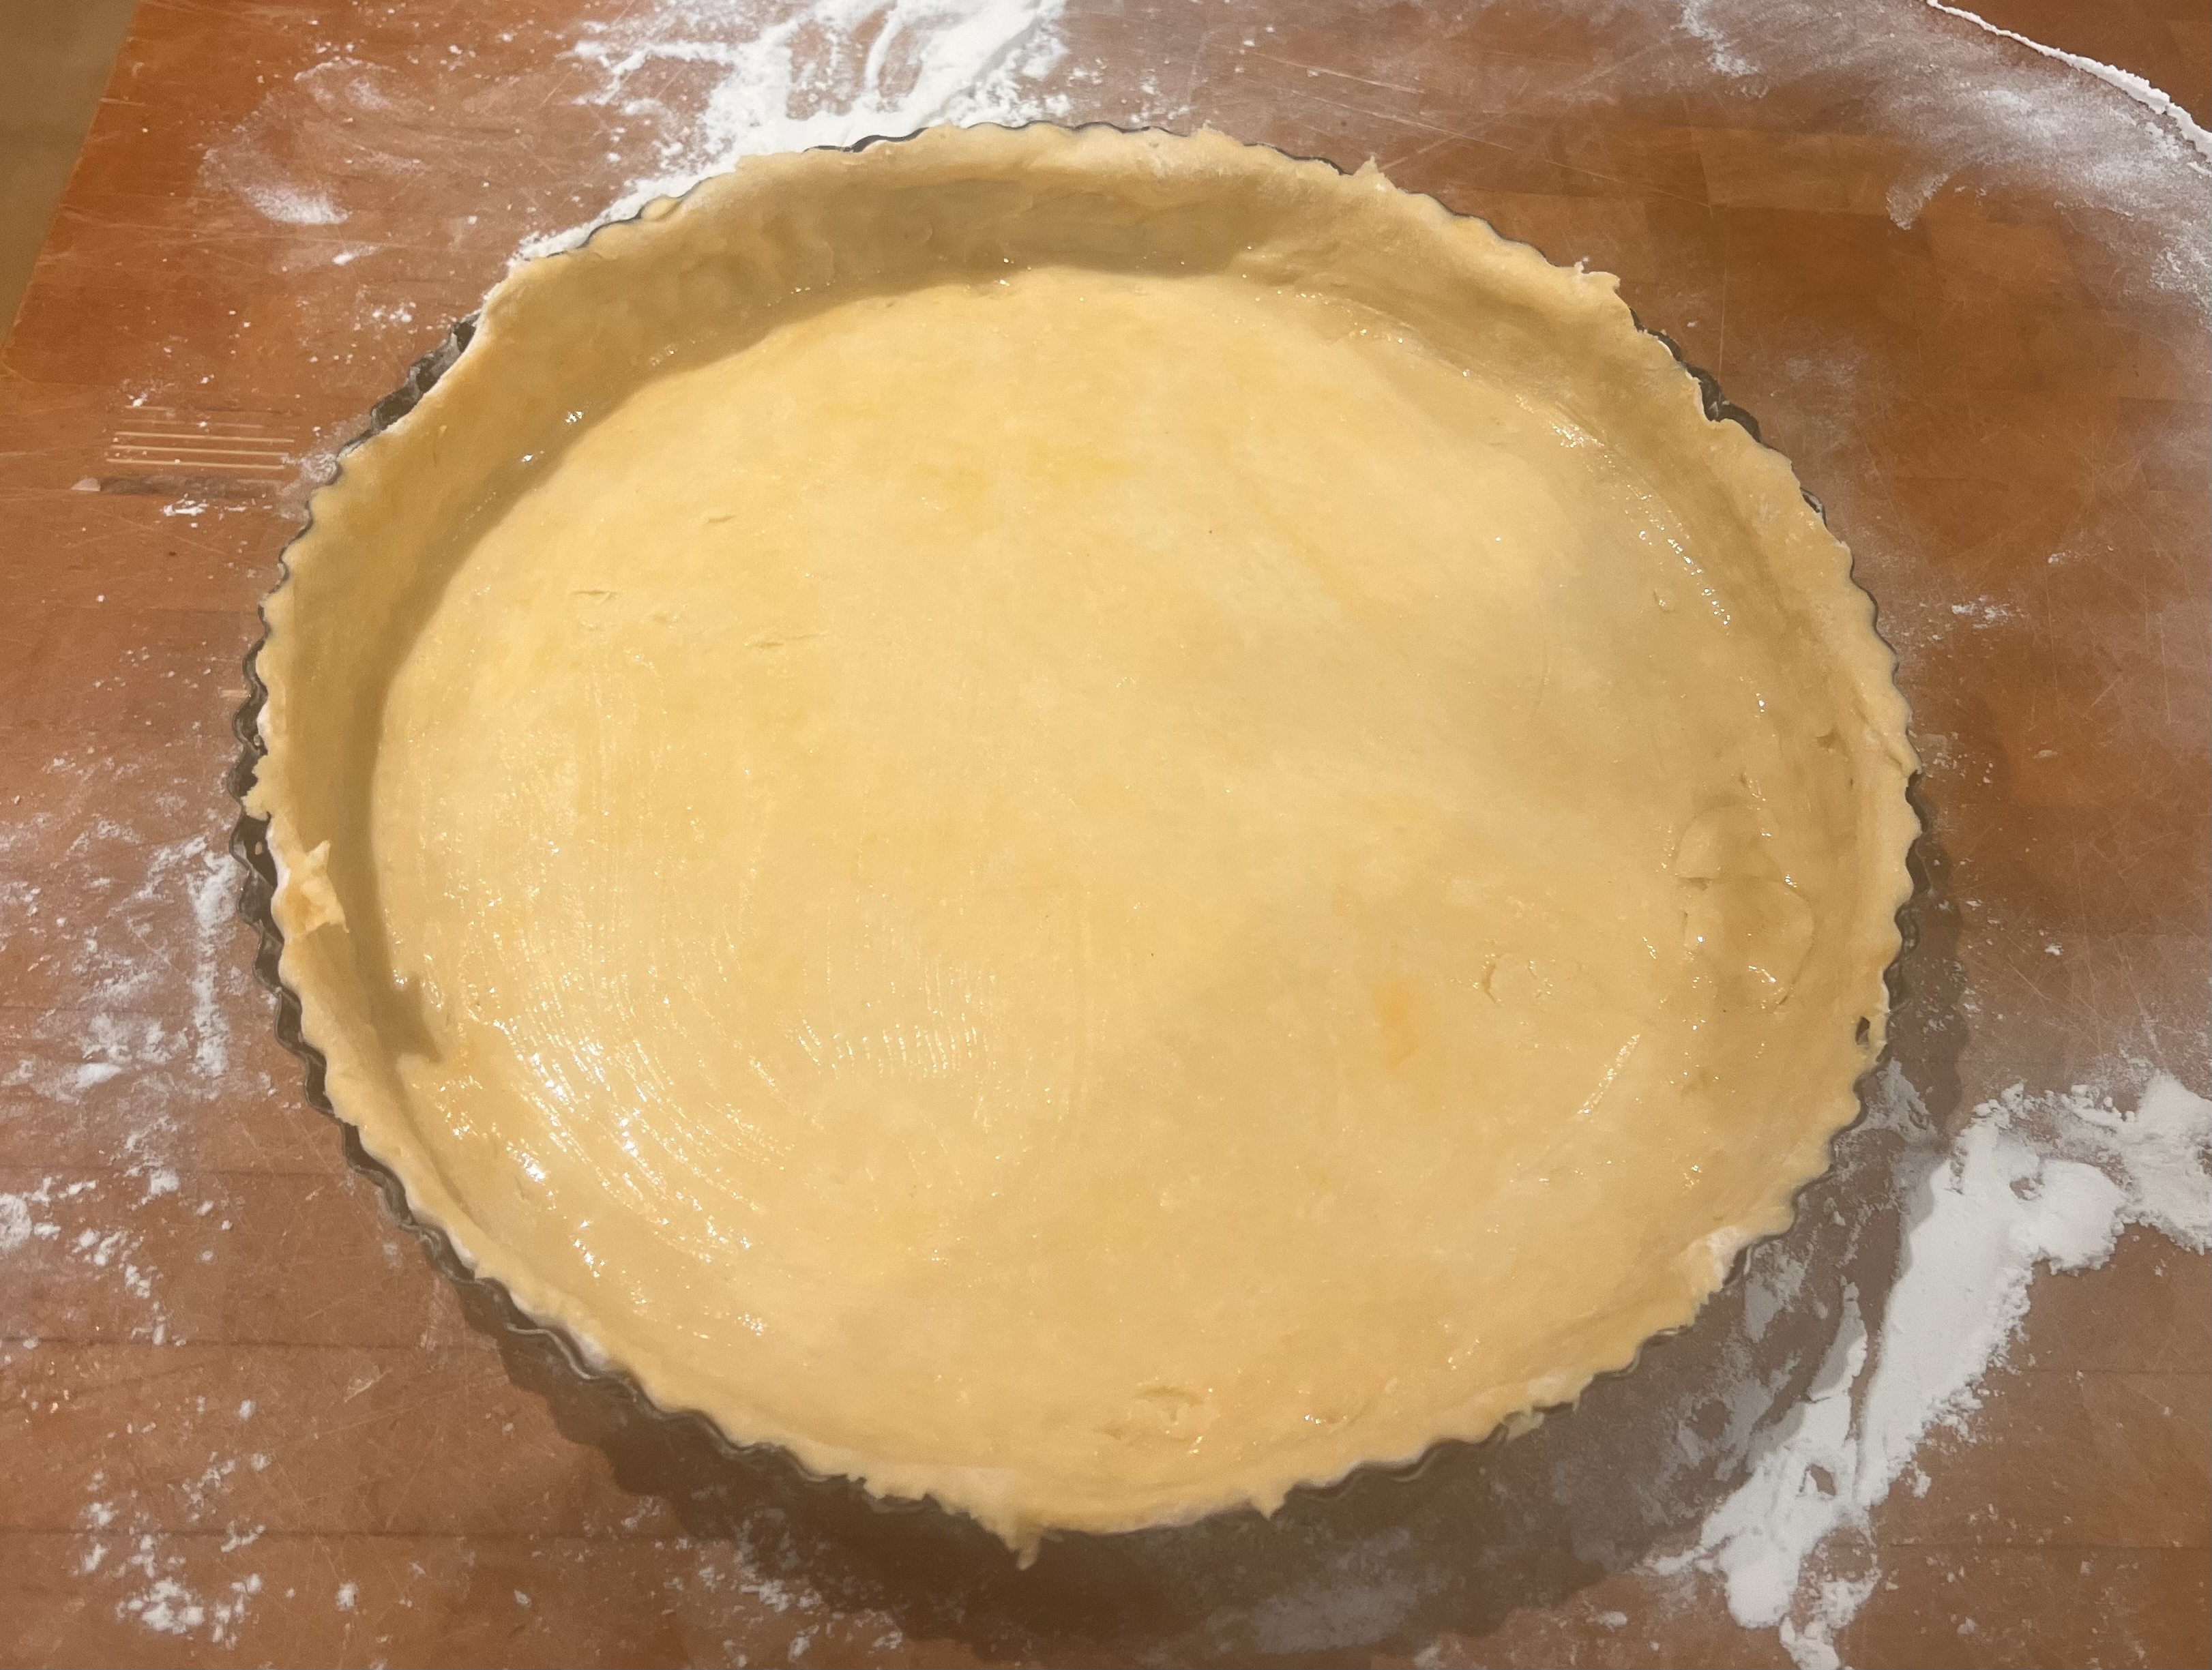
- Grease your tart tin with butter
- Roll out your pastry and line the tart tin. Prick the bottom with a fork.
- Brush the pastry with the egg white, then put any left over egg white in with the rest of the eggs.
- Beat the eggs; add the milk and mix; add the Parmesan and mix
- Scatter the cheese cubes evenly across the pastry
- Scatter the mushroom filling evenly across the spaces pastry, discarding any excess liquid.
- Pour the egg/milk mixture over to fill the remaining gaps
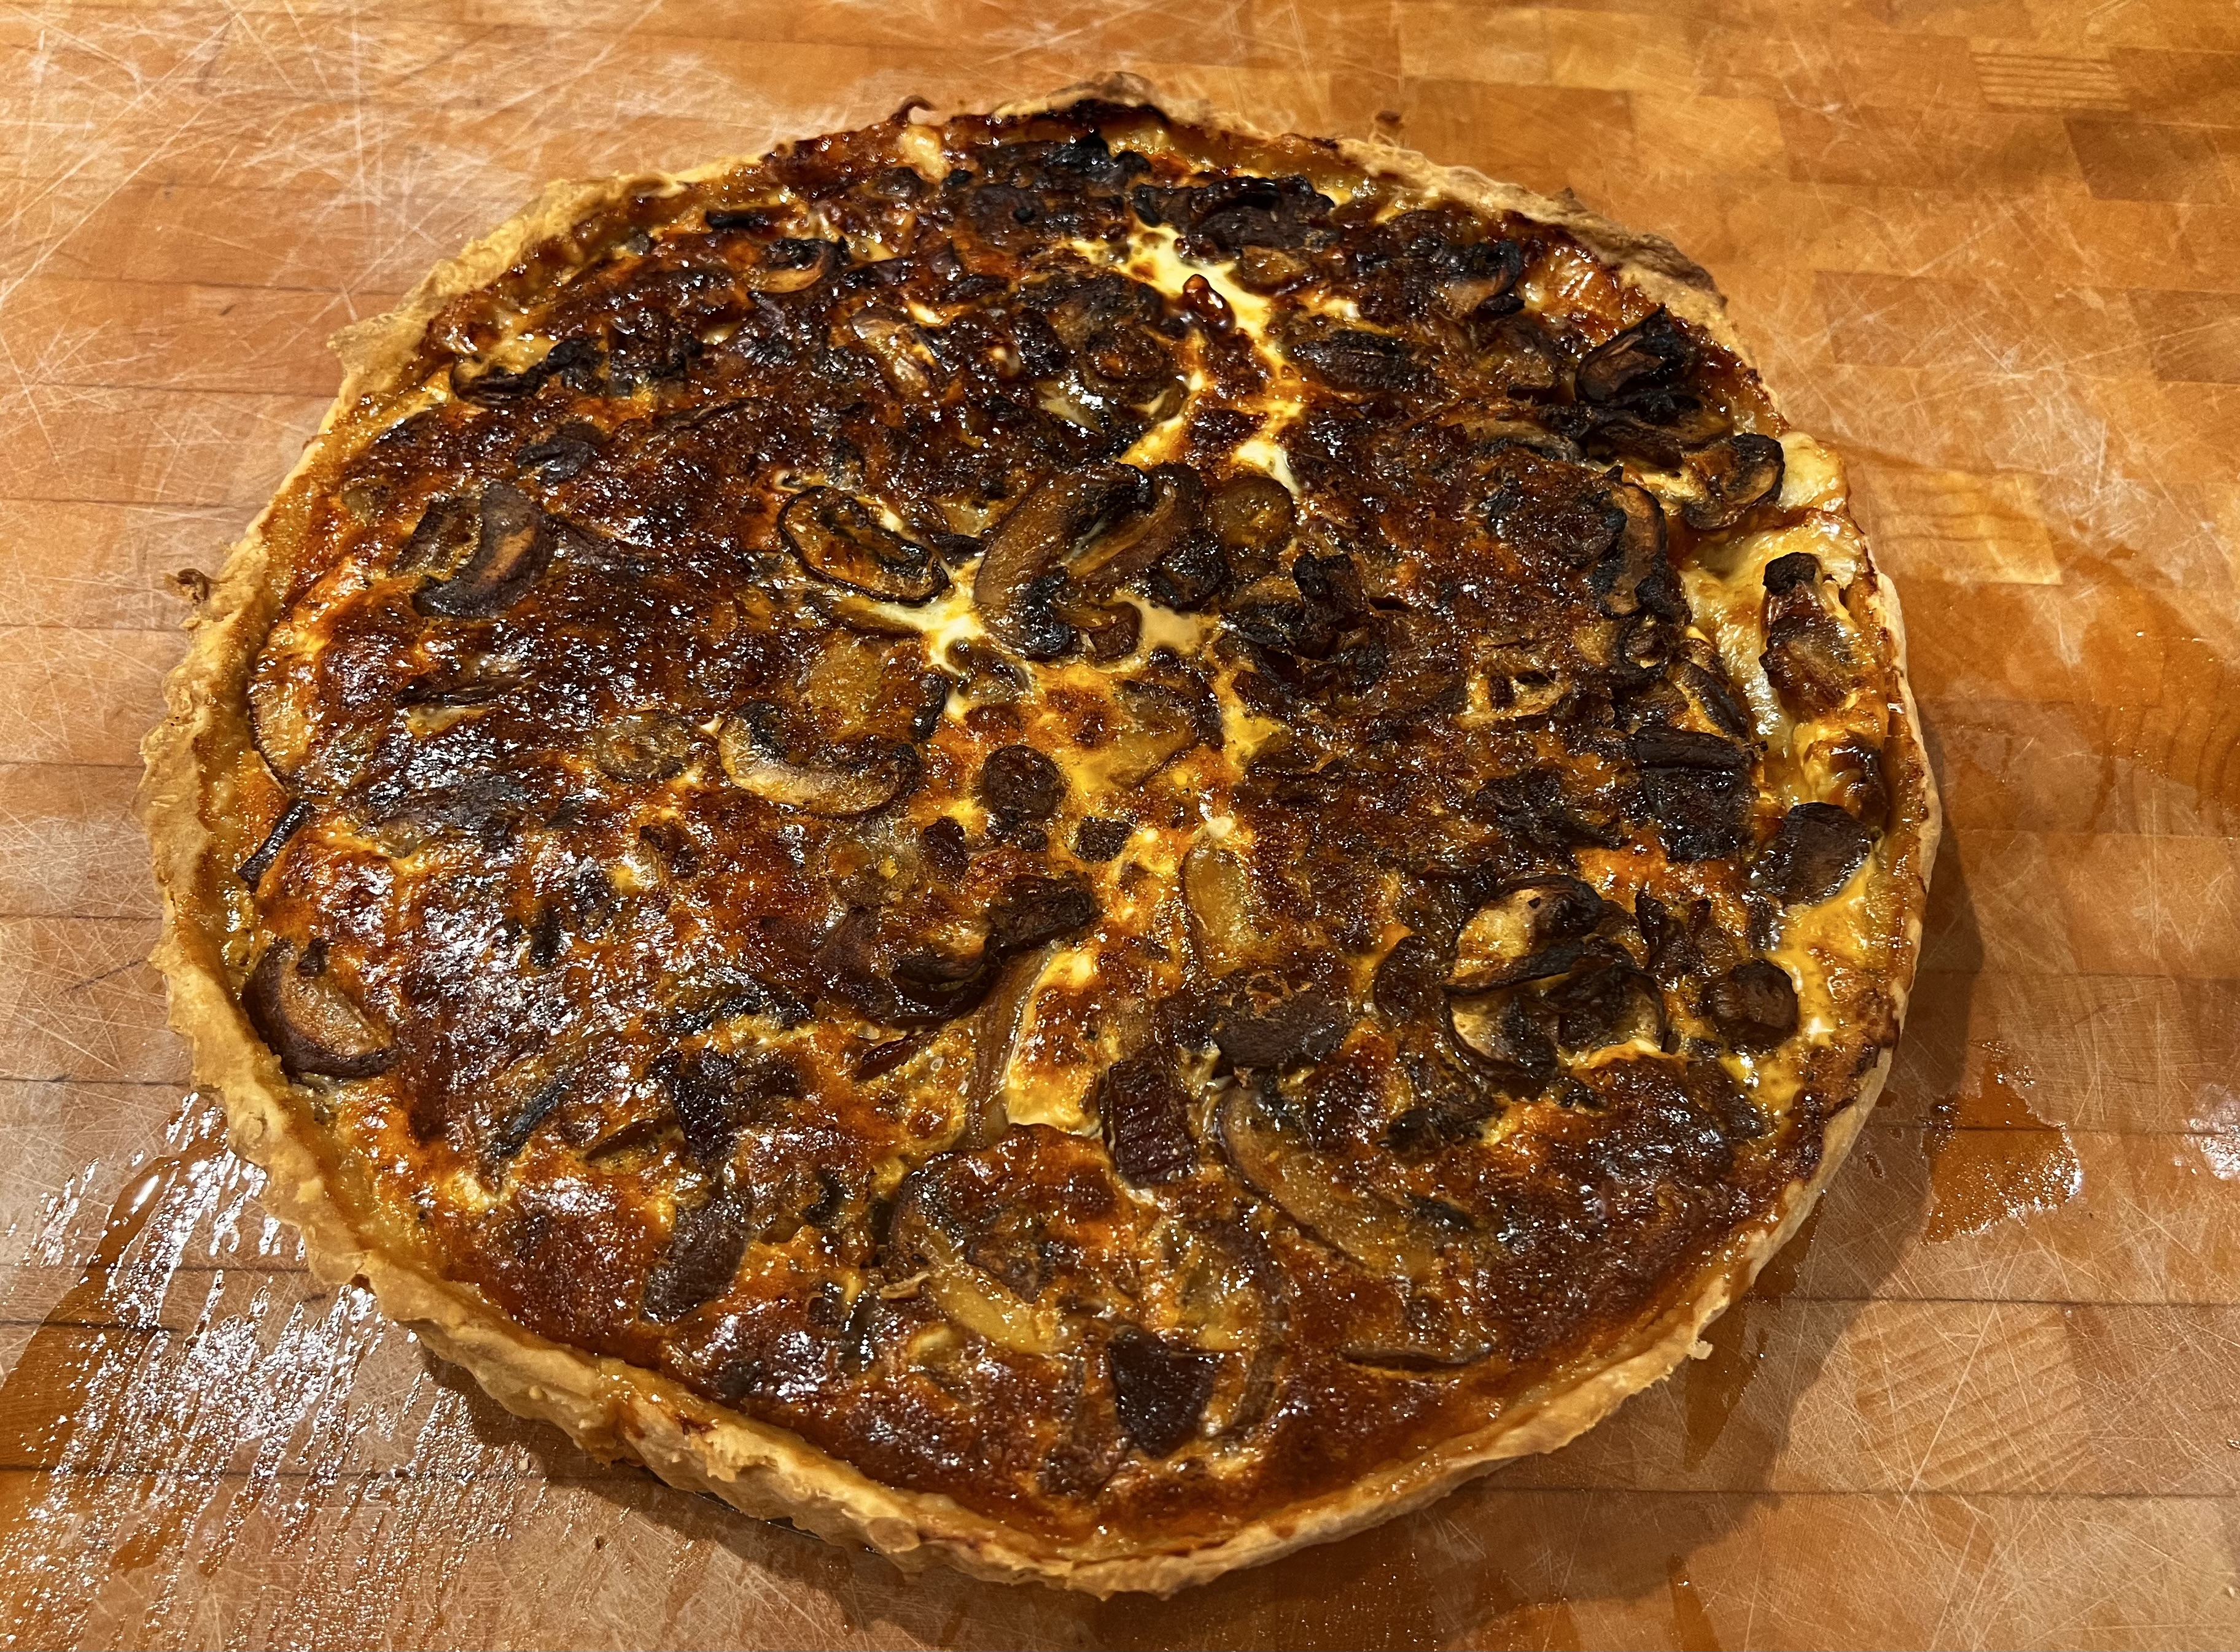
- Bake until the surface is a deep golden brown, around 35 minutes
- Optionally: drizzle the tart with truffle oil
- Serve lukewarm to hot. A little rocket, oil and aceto on the side makes a good garnish.